Note: I was sent a case of Ball® Smooth Sided Regular Mouth Half Pint 8 oz., 4 Ball® Collection Elite® Regular Mouth Pint 16 oz. Spiral Mason Jars with lids and bands, and Ball® 4-piece Utensil Set in order to write this post on Blueberry Chia Seed Jam. All opinions are mine alone.
I’m so excited to do a bit of canning this year, starting with this Blueberry Chia Seed Jam! I’m not terribly experienced at canning, but I’m getting the hang of it — it’s surprisingly easy, assuming you can follow directions.
This Blueberry Chia Seed Jam is an awesome “beginners” canning recipe, because it doesn’t use any pectin; the chia seeds add as the thickener.
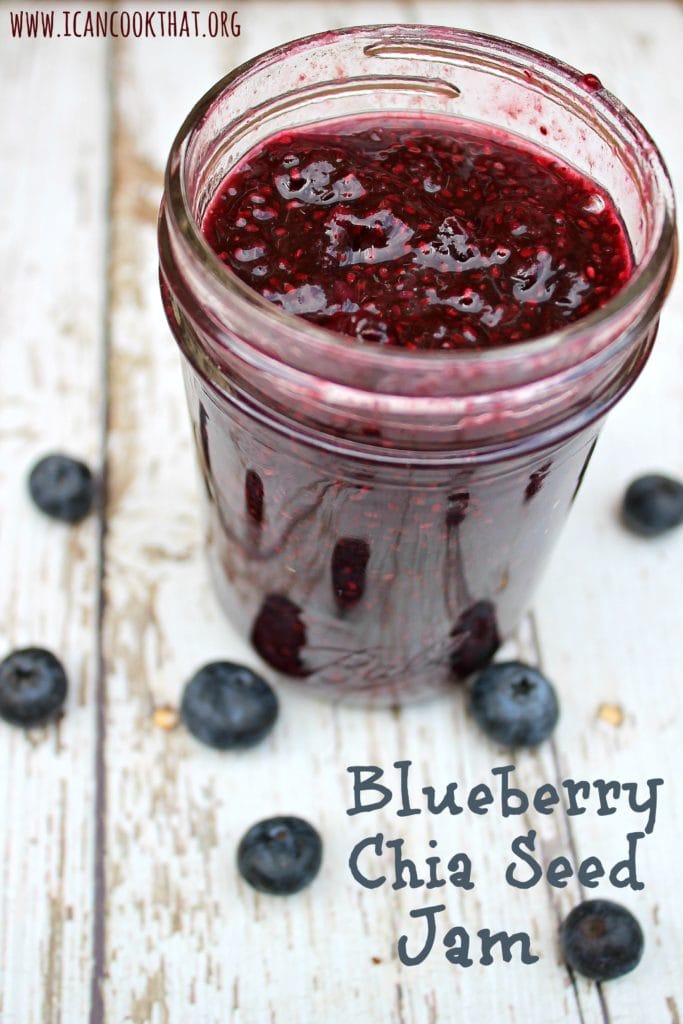
In fact, you just might have all of the ingredients you need for this recipe already in your house!
Ingredients:
- 6 cups fresh blueberries
- the juice and zest of 4 lemons
- 1/2 cup pure maple syrup
- 1/2 cup chia seeds
If you’re trying canning out for the first time, I’d suggest picking up the Ball 9 Piece Home Preservers Starter Kit, which includes a rack that will fit in most tall stockpots, a jar lifter, a jar funnel, and a bubble remover and headspace tool. These tools make it much easier to can, without investing too much in the process.
Jams are usually canned in 1/2 pint (or 1 cup) jars. (I used these smooth sided half pint jars.) You can find them at most hardware stores, or online.
If you are canning, fill a very large pot with enough water to cover the jars by 1 to 2 inches. Wash 4 half pint jars, lids and bands in hot soapy water. Rinse well and dry the bands thoroughly. Add the jars to the water and put over high heat. You want the jars to be warm when you fill them. With the timing of this recipe, the pot of water will barely reach a simmer before the jam is ready to be canned.
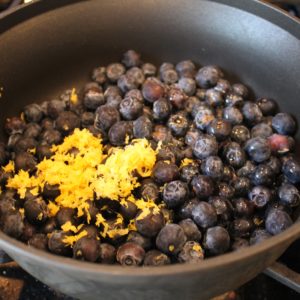
To begin making the Blueberry Chia Seed Jam, add the blueberries, lemon zest, lemon juice and maple syrup to a large pot over medium high heat. Stir occasionally, until the blueberries begin to burst, about 5 minutes.
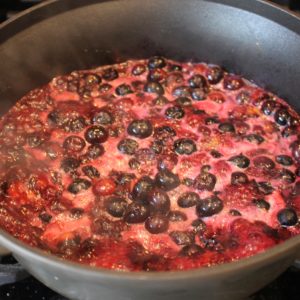
Use the back of a spoon to lightly mash roughly half of the berries, releasing their juice.
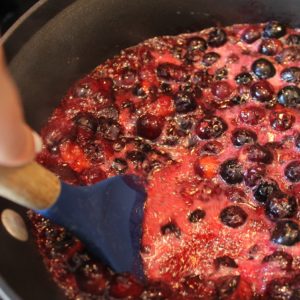
Turn the heat up to medium-high and bring the mixture to a boil. Stir occasionally, for 5 to 10 minutes, or until the mixture has reduced by half. Stir in your chia seeds and cook for 1 minute.
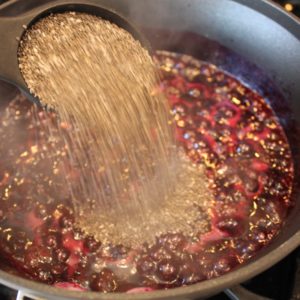
Remove from heat and let cool slightly.
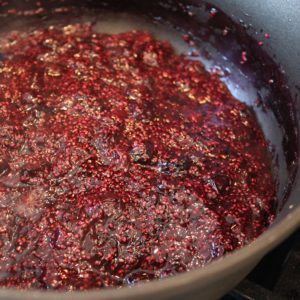
While the jam is cooling, remove the jars from the hot water, emptying out the water. Fill each jar with the jam, leaving approximately 1/4 inch headspace (this is where that headspace tool comes in handy).
Remove air bubbles by sliding a non-metallic spatula between the jar and food to release trapped air (or you can use the other side of the headspace tool like I did).
Repeat this around the jar two to three times to ensure you’ve removed all air bubbles. This helps ensure a firm seal.
Clean the rim and threads of the jars using a clean, damp paper towel.
Add the lid on top of each jar, allowing the reddish sealing compound to come in contact with the jar rim. Add the band and twist until its fingertip tight.
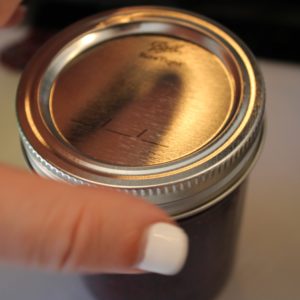
Place the jars on your rack and lower the rack filled with the jars into your pot. Make sure the water level covers the tops of the jars by 1 to 2 inches, adding boiling water if necessary.
Add the lid to your pot and bring to a rolling boil. Process the jars for 10 minutes (it may be more if you live in a high altitude area – increase processing time 5 minutes for 1,001 to 3,000 ft, 10 minutes for 3,001 to 6,000 ft, 15 minutes for 6,001- to 8,000 ft, and 20 minutes for 8,001 to 10,000 ft).
When processing time is complete, turn off the heat and remove the lid. Let jars stand in the water for 5 more minutes.
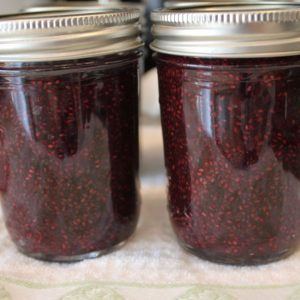
Remove the jars from the canner (using a jar lifter if you have it) and set upright on a towel. This helps prevent jar breakage when the jar comes in contact with a cooler surface. Let jars sit for 12 to 24 hours. Do not tighten the bands during this time.
After 12 to 24 hours, check the lids for seals. The lids should not “pop” when the center is pressed. Remove the bands and try to lift the entire jar by the lid. If the lid stays on top, you have a good seal.
Label and store in a cool dry place for up to 1 year. You can store with or without the bands.
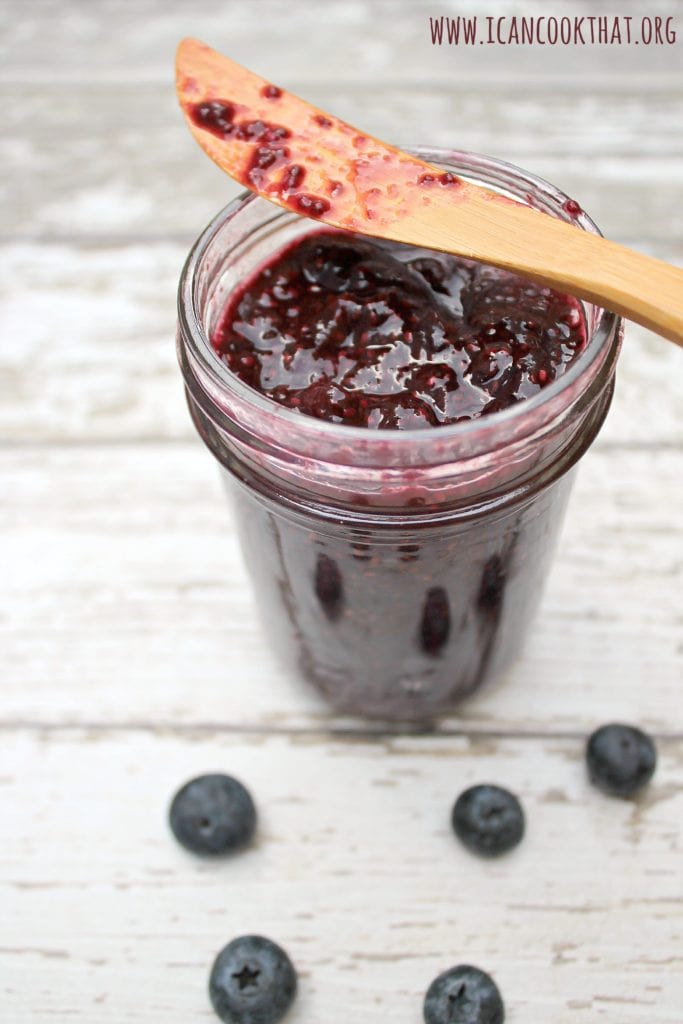
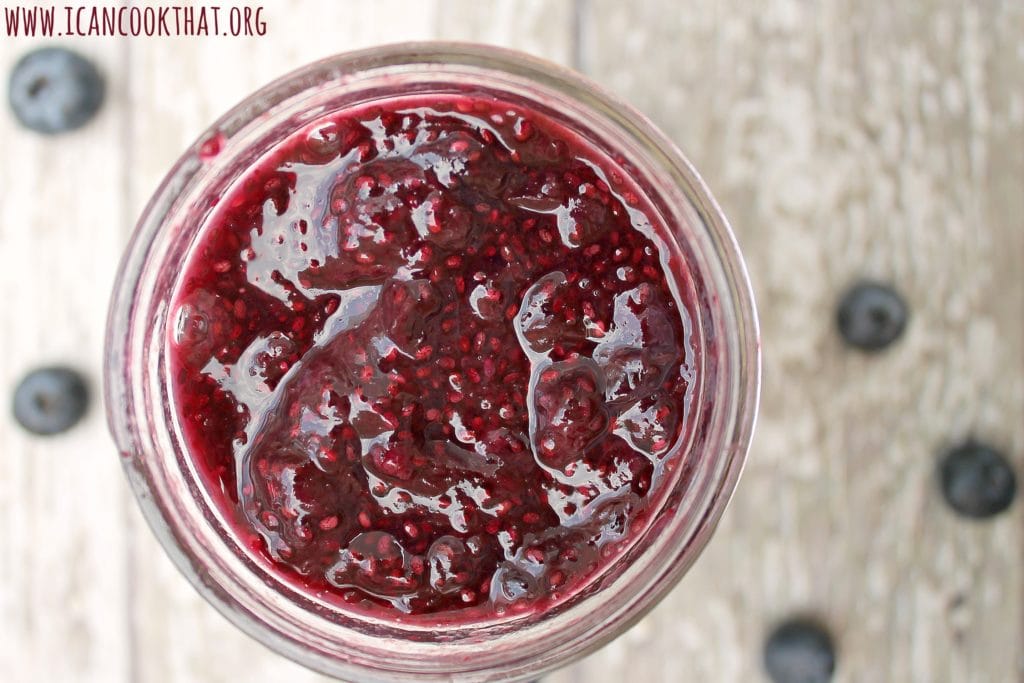
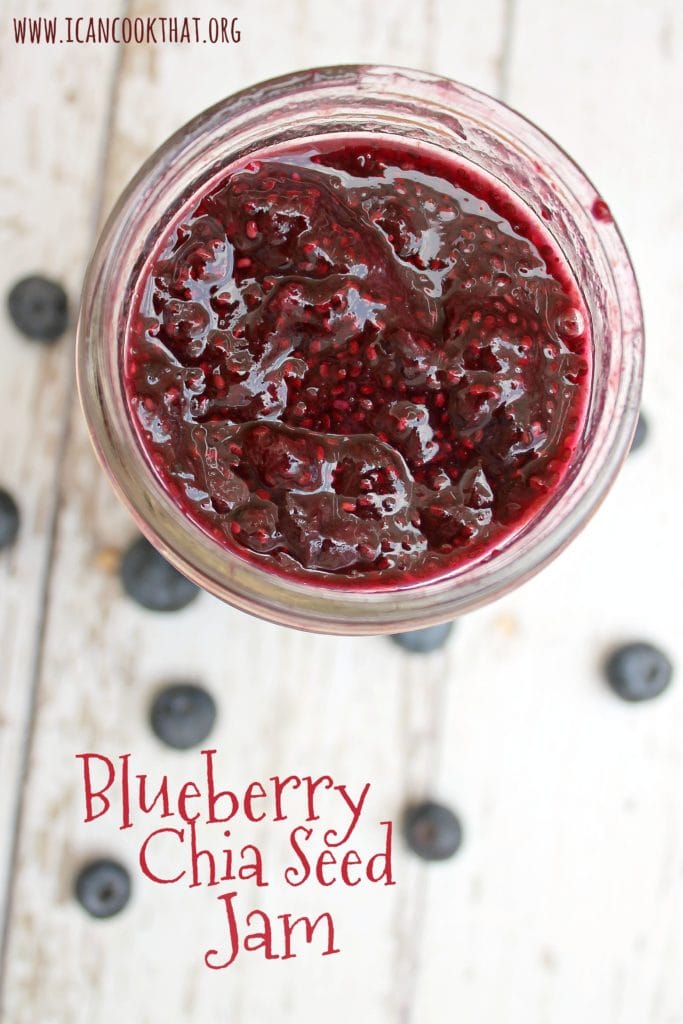
I clearly had to try some of this blueberry chia seed jam, so I opened up one of the jars.
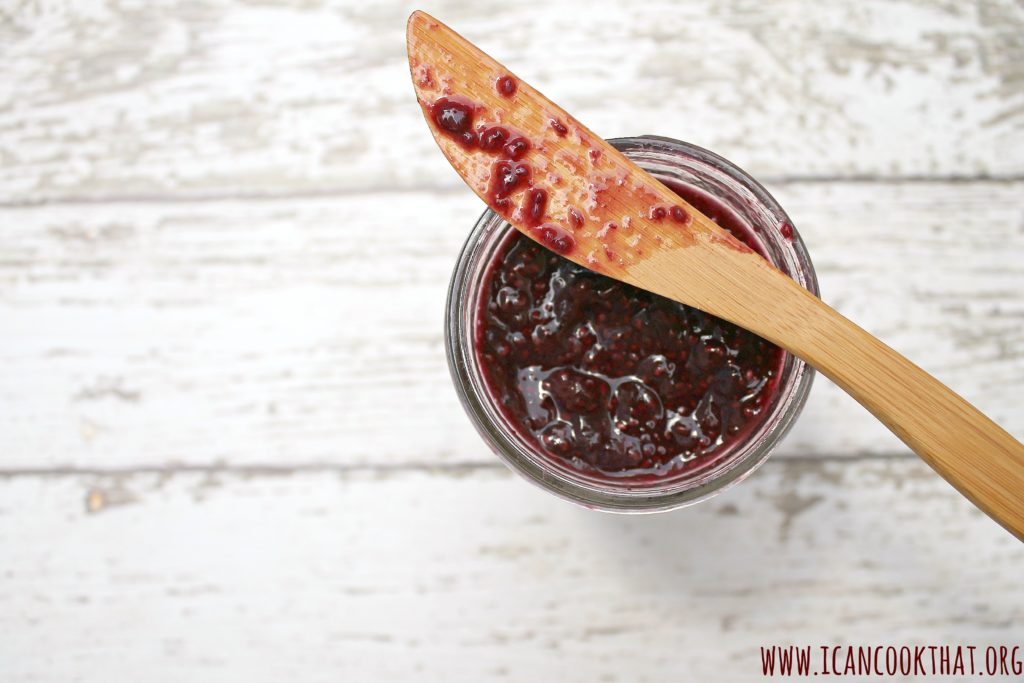
The chia seeds give it a nice thick consistency overall, with some chucky texture from the unmashed blueberries.
It’s not an overly sweet jam, which I really like.
This would be so good on a toasted English muffin with a bit of butter as well!
I’ll be using this jam in an upcoming post as well, so stay tuned!
Blueberry Chia Seed Jam
Ingredients
- 6 cups fresh blueberries
- the juice and zest of 4 lemons
- 1/2 cup pure maple syrup
- 1/2 cup chia seeds
Instructions
- If you are canning, fill a very large pot with enough water to cover the jars by 1 to 2 inches. Wash 4 half pint jars, lids and bands in hot soapy water. Rinse well and dry the bands thoroughly. Add the jars to the water and put over high heat. You want the jars to be warm when you fill them. With the timing of this recipe, the pot of water will barely reach a simmer before the jam is ready to be canned.
- Add the blueberries, lemon zest, lemon juice and maple syrup to a large pot over medium high heat. Stir occasionally, until the blueberries begin to burst, about 5 minutes.
- Use the back of a spoon to lightly mash roughly half of the berries, releasing their juice.
- Turn the heat up to medium-high and bring the mixture to a boil. Stir occasionally, for 5 to 10 minutes, or until the mixture has reduced by half. Stir in your chia seeds and cook for 1 minute.
- Remove from heat and let cool slightly.
- While the jam is cooling, remove the jars from the hot water, emptying out the water. Fill each jar with the jam, leaving approximately 1/4 inch headspace (this is where that headspace tool comes in handy).
- Remove air bubbles by sliding a non-metallic spatula between the jar and food to release trapped air (or you can use the other side of the headspace tool like I did).
- Repeat this around the jar two to three times to ensure you’ve removed all air bubbles. This helps ensure a firm seal.
- Clean the rim and threads of the jars using a clean, damp paper towel.
- Add the lid on top of each jar, allowing the reddish sealing compound to come in contact with the jar rim. Add the band and twist until its fingertip tight.
- Place the jars on your rack and lower the rack filled with the jars into your pot. Make sure the water level covers the tops of the jars by 1 to 2 inches, adding boiling water if necessary.
- Add the lid to your pot and bring to a rolling boil. Process the jars for 10 minutes (it may be more if you live in a high altitude area – increase processing time 5 minutes for 1,001 to 3,000 ft, 10 minutes for 3,001 to 6,000 ft, 15 minutes for 6,001- to 8,000 ft, and 20 minutes for 8,001 to 10,000 ft).
- When processing time is complete, turn off the heat and remove the lid. Let jars stand in the water for 5 more minutes.
- Remove the jars from the canner (using a jar lifter if you have it) and set upright on a towel. This helps prevent jar breakage when the jar comes in contact with a cooler surface. Let jars sit for 12 to 24 hours. Do not tighten the bands during this time.
- After 12 to 24 hours, check the lids for seals. The lids should not “pop” when the center is pressed. Remove the bands and try to lift the entire jar by the lid. If the lid stays on top, you have a good seal.
- Label and store in a cool dry place for up to 1 year. You can store with or without the bands.
Rachel says
Would it work to grind up the chia seeds before making the jam so it is more smooth? I’ve made jam that way before but I haven’t canned it.
Kaitlin @ I Can Cook That says
Hi Rachel, I’m not sure… I’ve never tried it that way before. If you’ve done it prior and it worked, it should be fine to can as well, but you may want to do some research to make sure.