This Saturday marks Jarden Home Brands fifth annual Can-It-Forward Day, which will be broadcast live online at FreshPreserving.com from 11AM – 4PM EST from the new state-of-the-art Jarden Home Brands headquarters in Fishers, Indiana.

An event celebrating the joys of fresh preserving, the -It-Forward Day webcast will have an integrated chat function where viewers can submit their home canning questions to be answered in real time. New this year, there will also be an exciting celebrity mason jar auction unveiled during the webcast!
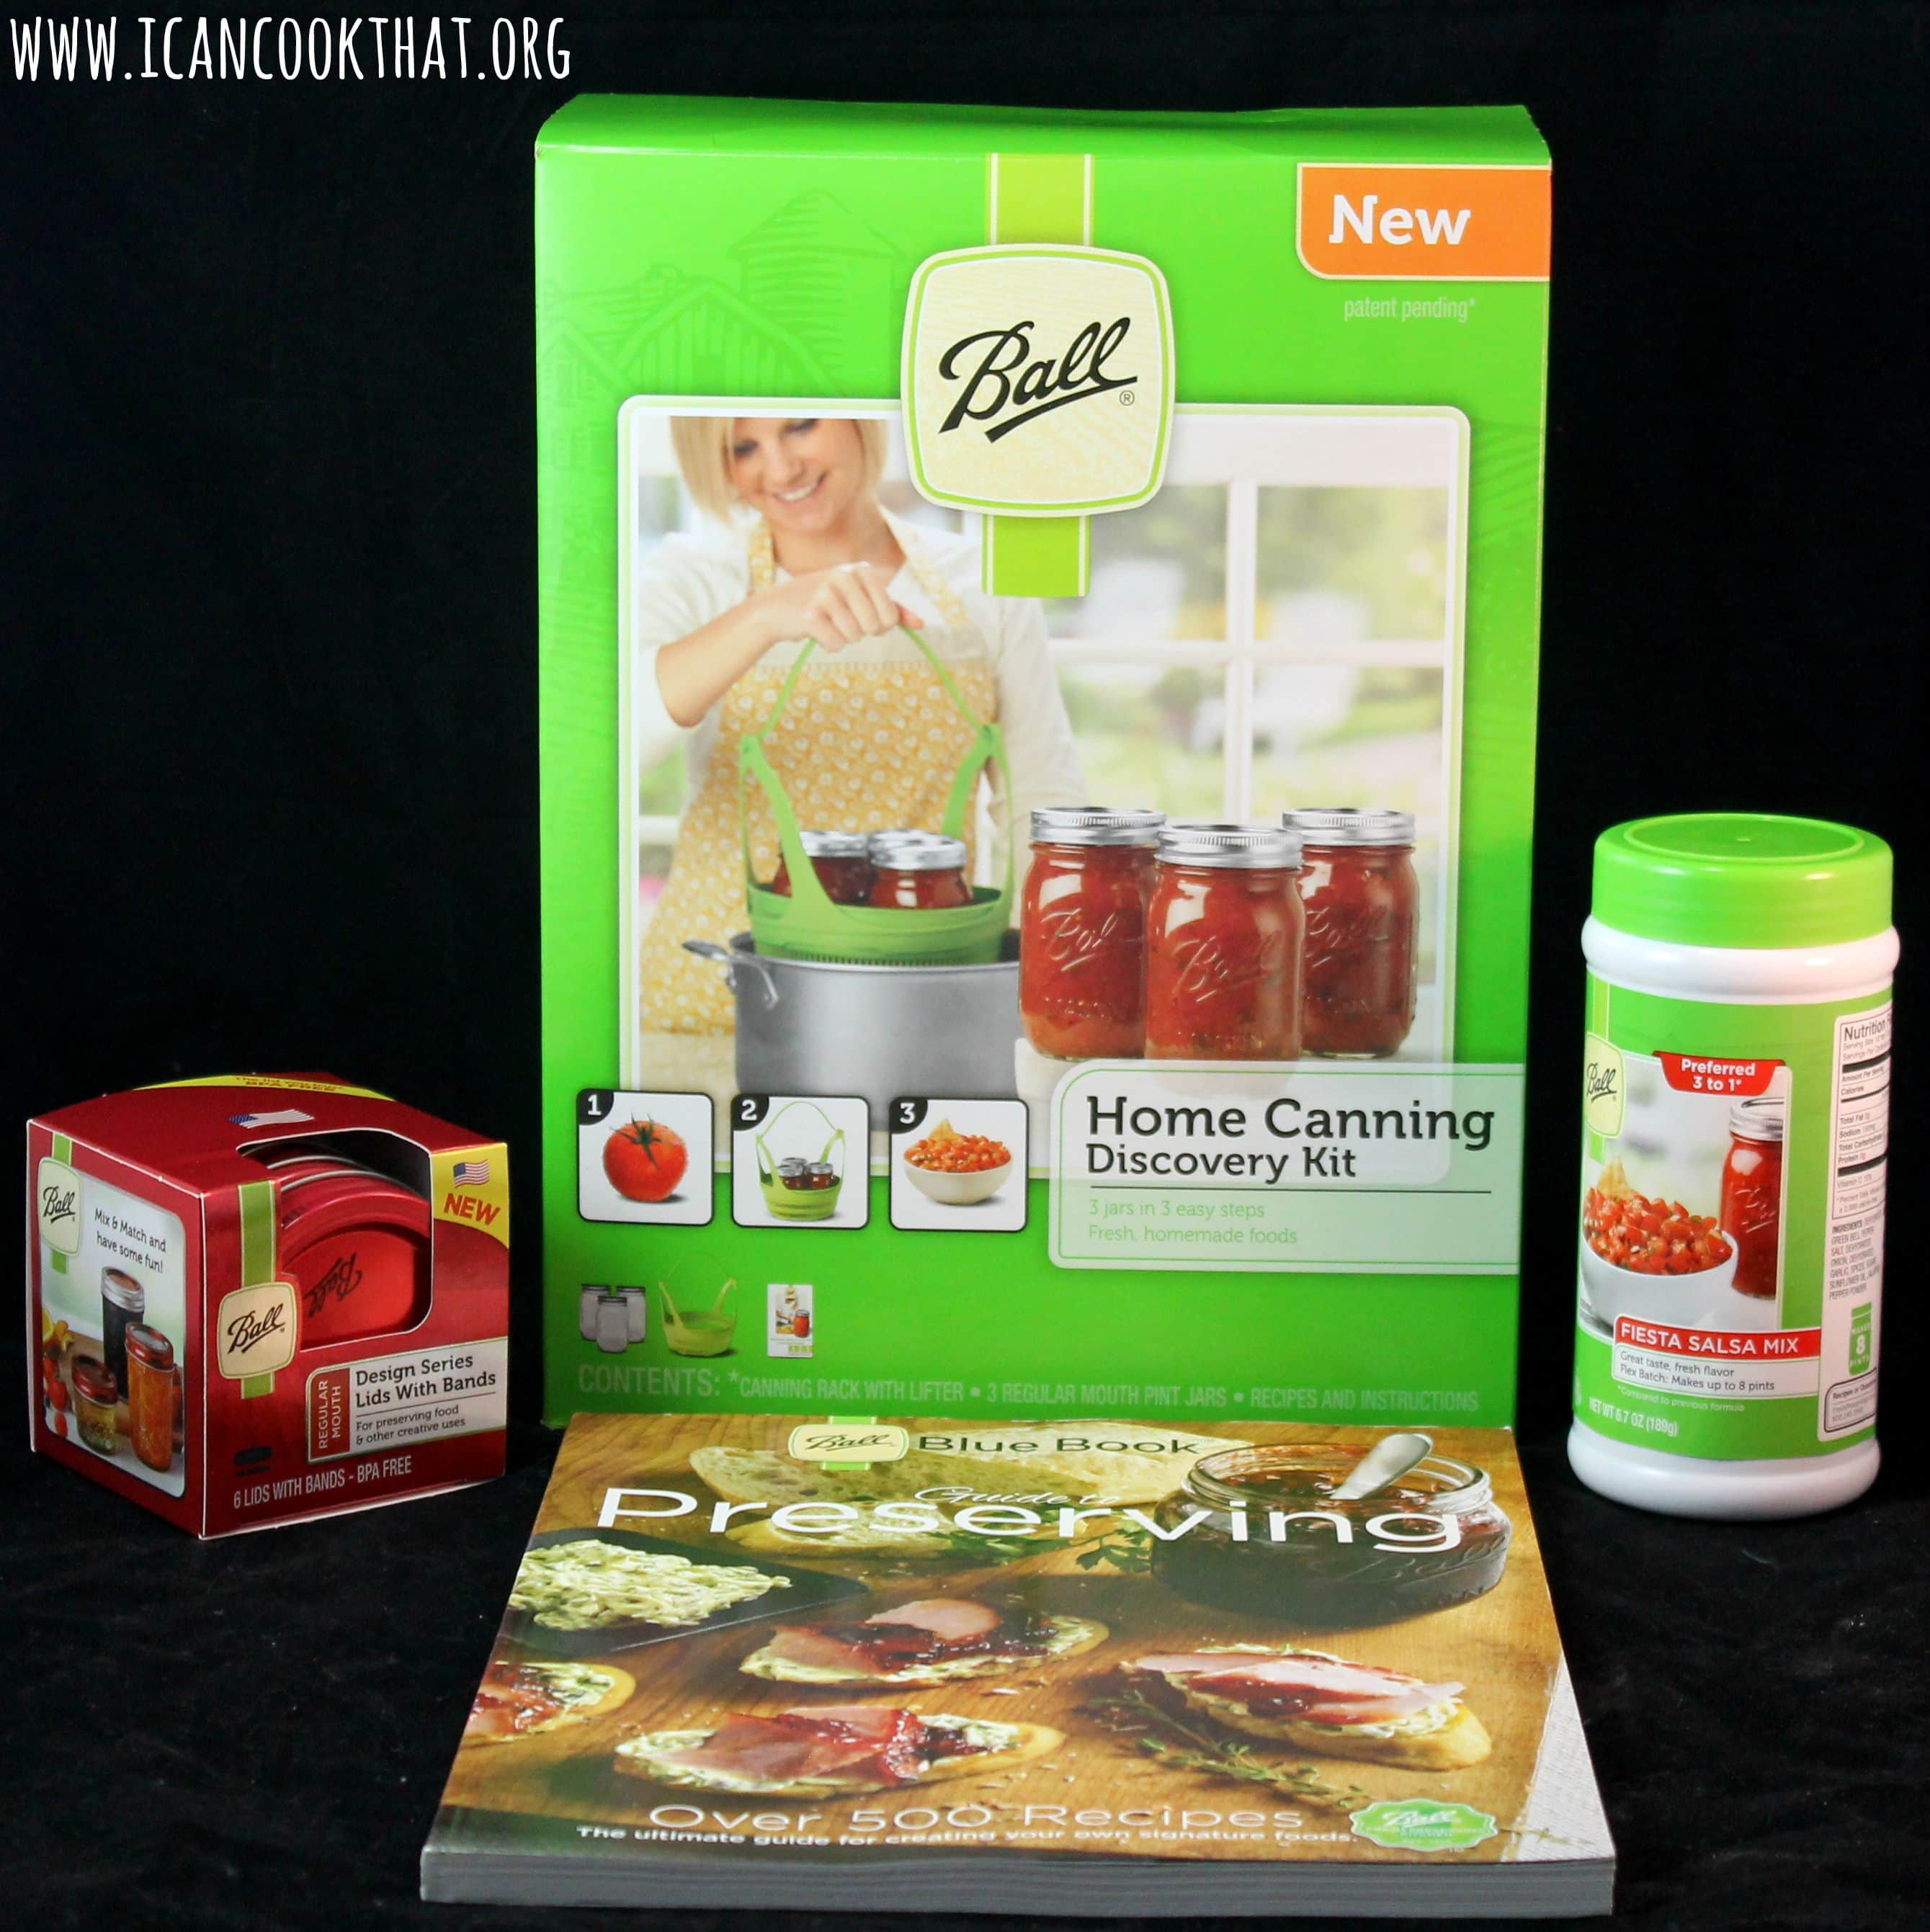
To celebrate, I was sent a Ball Canning Discovery Kit (paid link), Ball Blue Book Guide to Preserving (paid link), Red Design Series Lids, and Ball Fiesta Salsa Mix (paid link).
My future sister-in-law is big into canning, and I’ve “helped” (a.k.a kept her company in the kitchen) once before, but the process of canning is really intimidating to me. I was told that if I can boil water, I can can, so I was both wary and excited to try this out!
I need to give a little shout out to my city, because the Mason jar was, in fact, invented and patented in Philadelphia in 1858 by local tinsmith John Landis Mason. So, this should be in my blood, right?

- The Ball Canning Discovery Kit is a great beginners kit; it comes with a canning rack that fits into most pasta pots, a recipe guide, and three jars. The kit is really affordable ($11.99) and allows you to assess if canning is for you before investing fully into the process.
- My sister-in-law assured me that if I had a Ball Blue Book Guide to Preserving, I’d be just fine canning. So. WHEW. This book lays out each step of the process (and even tells you why you are doing it this way) to ensure a successful canning process. The step-by-step guides are particularly helpful as a beginner.
- The Red Design Series Lids are normal lids and bands, just prettier. 🙂 The lids can only be used once during canning, so it’s helpful to have extras on hand. (You can reuse the jars and bands as many times as you want)
- The Ball Fiesta Salsa Mix makes the process of seasoning salsa super easy. You just need fresh or canned tomatoes, a splash of vinegar, and the mix to make a yummy salsa!
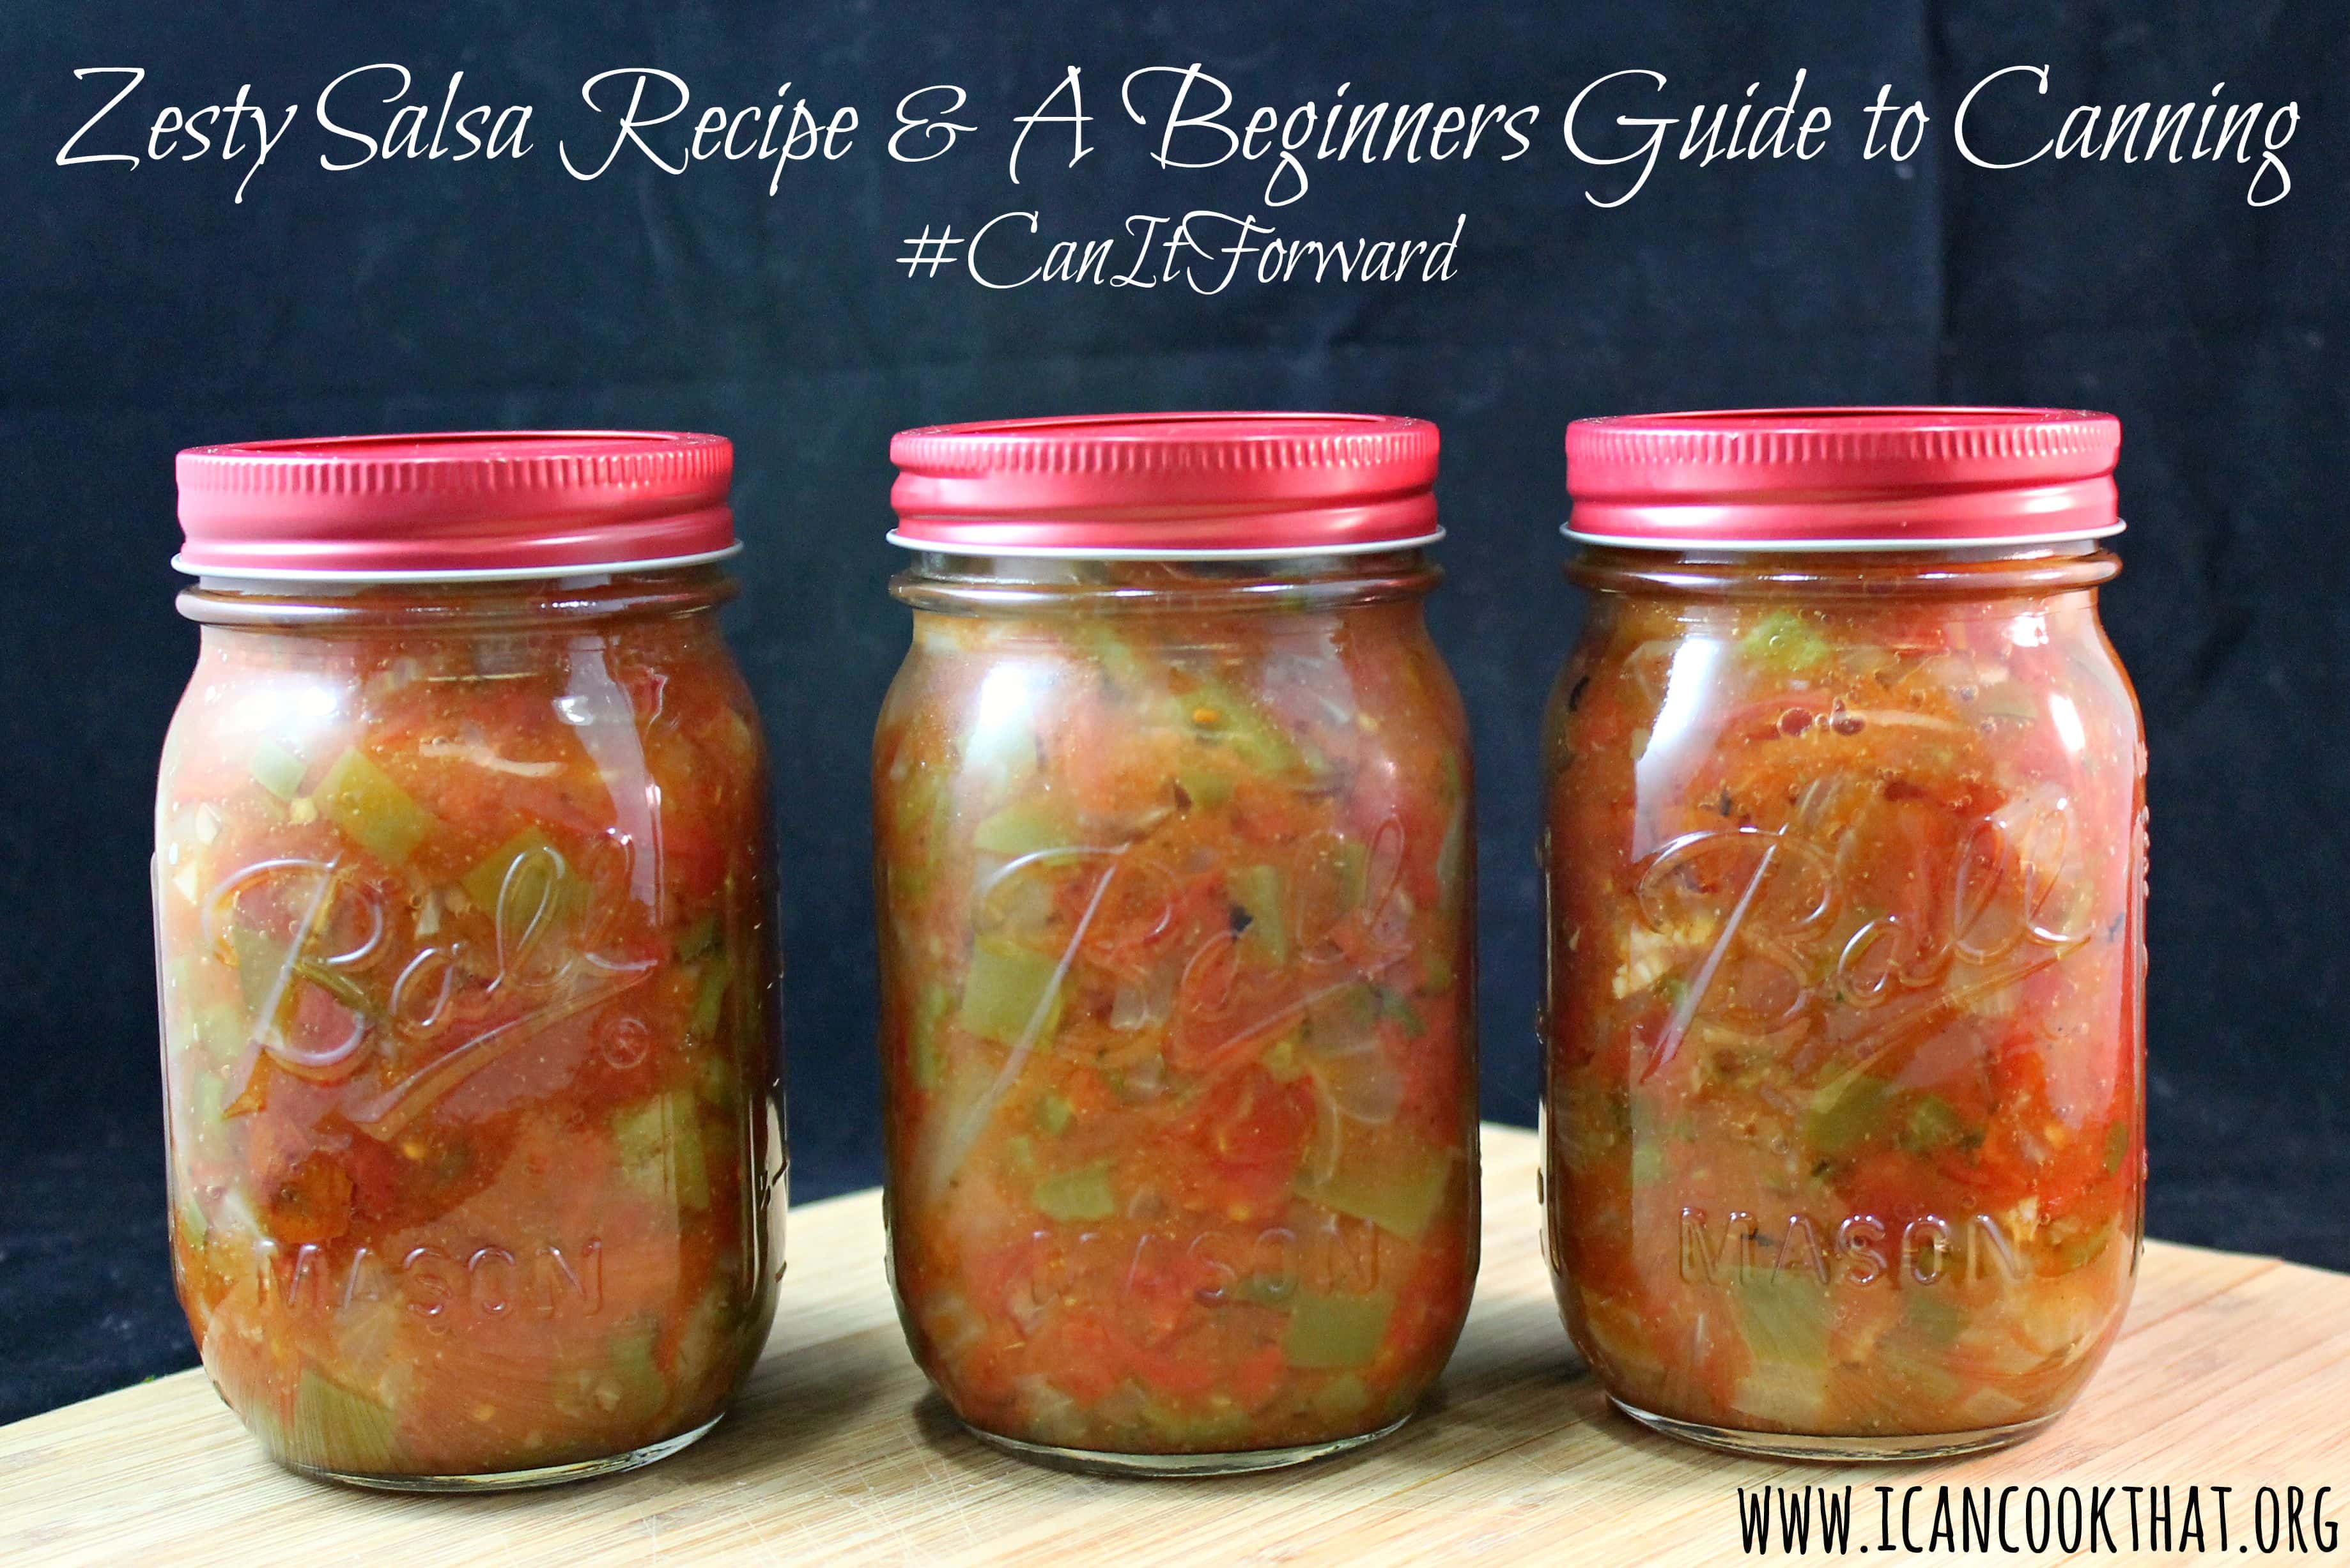
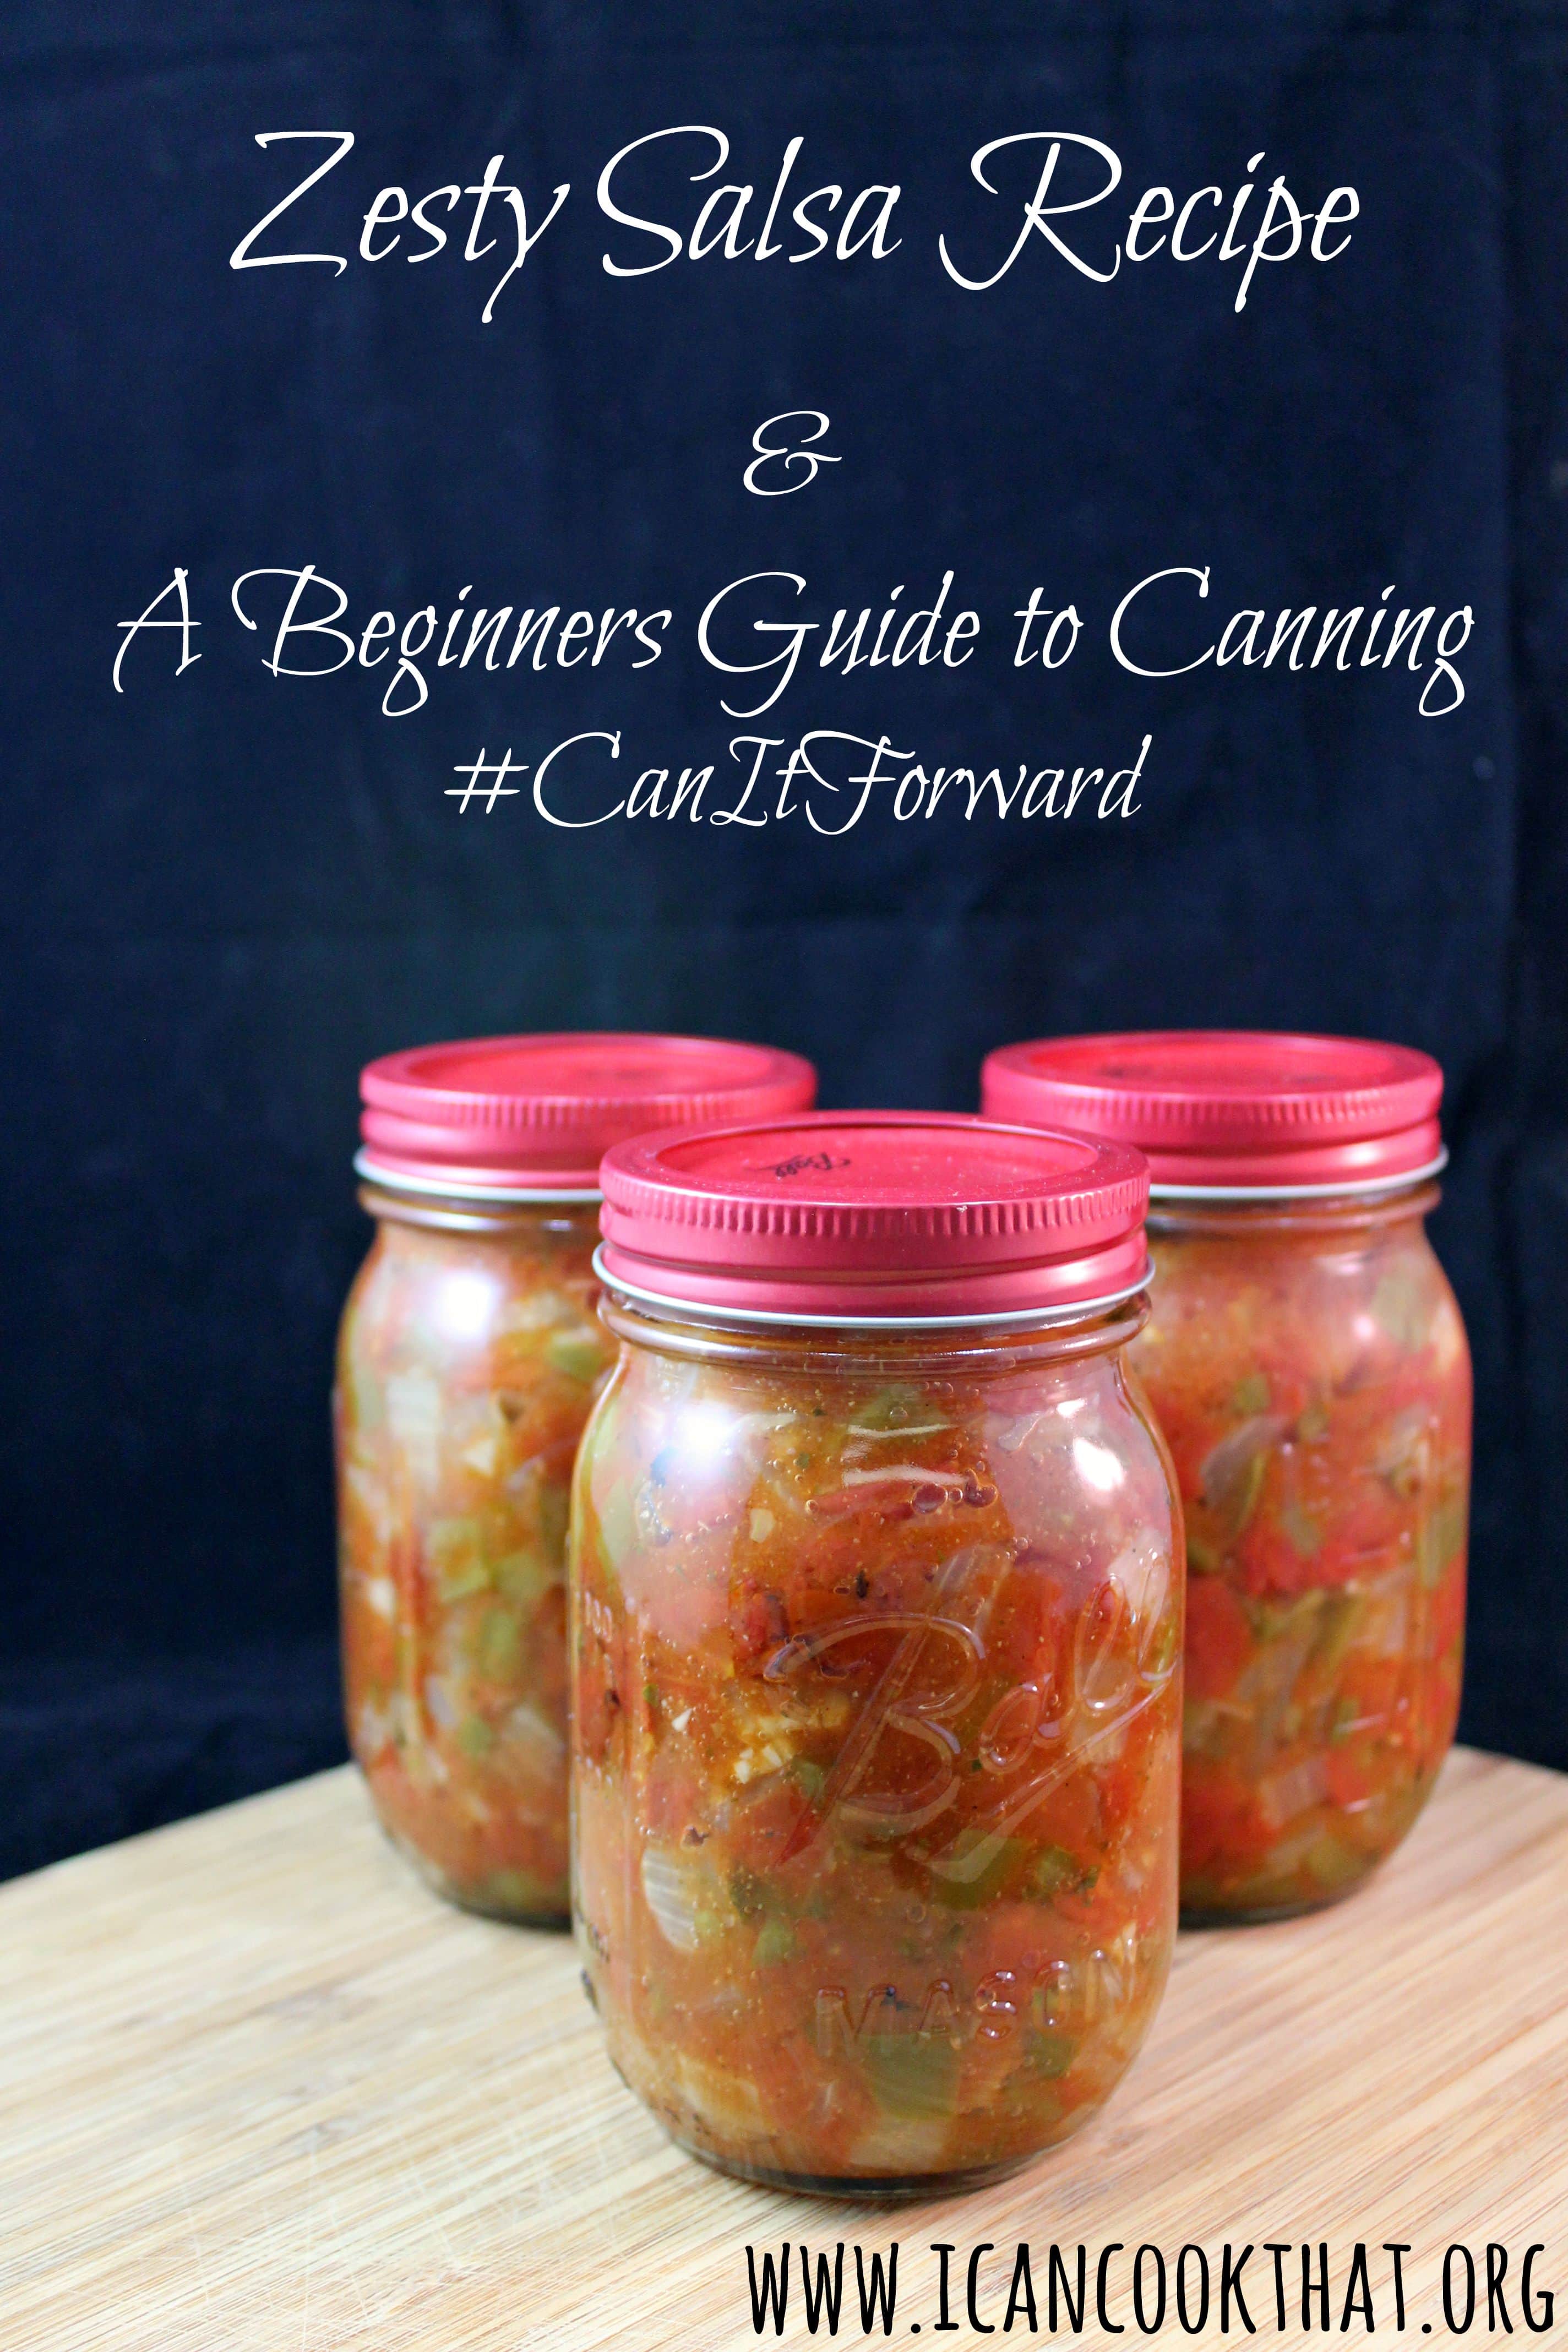
I decided to make a salsa from the Ball Blue Book, but adapted it slightly to include the Ball Fiesta Salsa Mix. The recipe is simple, and is basically just cutting up the ingredients, so this post is more about the canning process than the actual recipe.
I am absolutely a beginner with this, but luckily was able to glean some tips from my sister-in-law and the Ball Blue Book, which I will share as well.
I also am giving away a coupon for a free case of jars! Details at the end of the post.
Zesty Salsa (adapted from Ball Blue Book Guide to Preserving)
Yields ~3 pint jars
Ingredients:
- 5 cups chopped cored peeled tomatoes (fresh or canned)
- 4 green bell peppers, seeded and chopped (~2.5 cups)
- 1 large onion, chopped (~2.5 cups)
- 1 large jalapeno, seeded and finely chopped (~3 tablespoons)
- 2 garlic cloves minced
- 2/3 cup cider vinegar
- 1 tablespoon fresh cilantro, finely chopped
- 1/4 cup Ball Fiesta Salsa Mix
Gear:
- Ball canning rack with lifter
- 3 Ball Pint Jars with lids and bands (I used the Red design series lids and bands)
- Large stockpot (at least 7.5 inches tall and 9.5 inches in diameter)
- a non-metallic spatula (I ended up using chopsticks. They worked just fine)
- A clean, damp towel to wipe rims of jars
Prep all of your ingredients and set aside. Wash your jars, lids, and bands in hot, soapy water and rinse well. Keep the jars warm until they are ready to use (you can either add them to a pot of simmering water, or I just added them to my dishwasher during the heated dry cycle). The reason you want them to stay warm is so that they don’t break when you fill them with the hot salsa later on.
Fill a large stockpot with enough water to cover the jars with at least 1 inch of water. Heat to a simmer (you’re aiming for 180 degrees F).
Now you’re ready to make the salsa! Add all of the ingredients to a large saucepan and bring to a boil over medium-high heat, stirring constantly.

Reduce heat and simmer, stirring frequently, until slightly thickened, about 10 minutes.

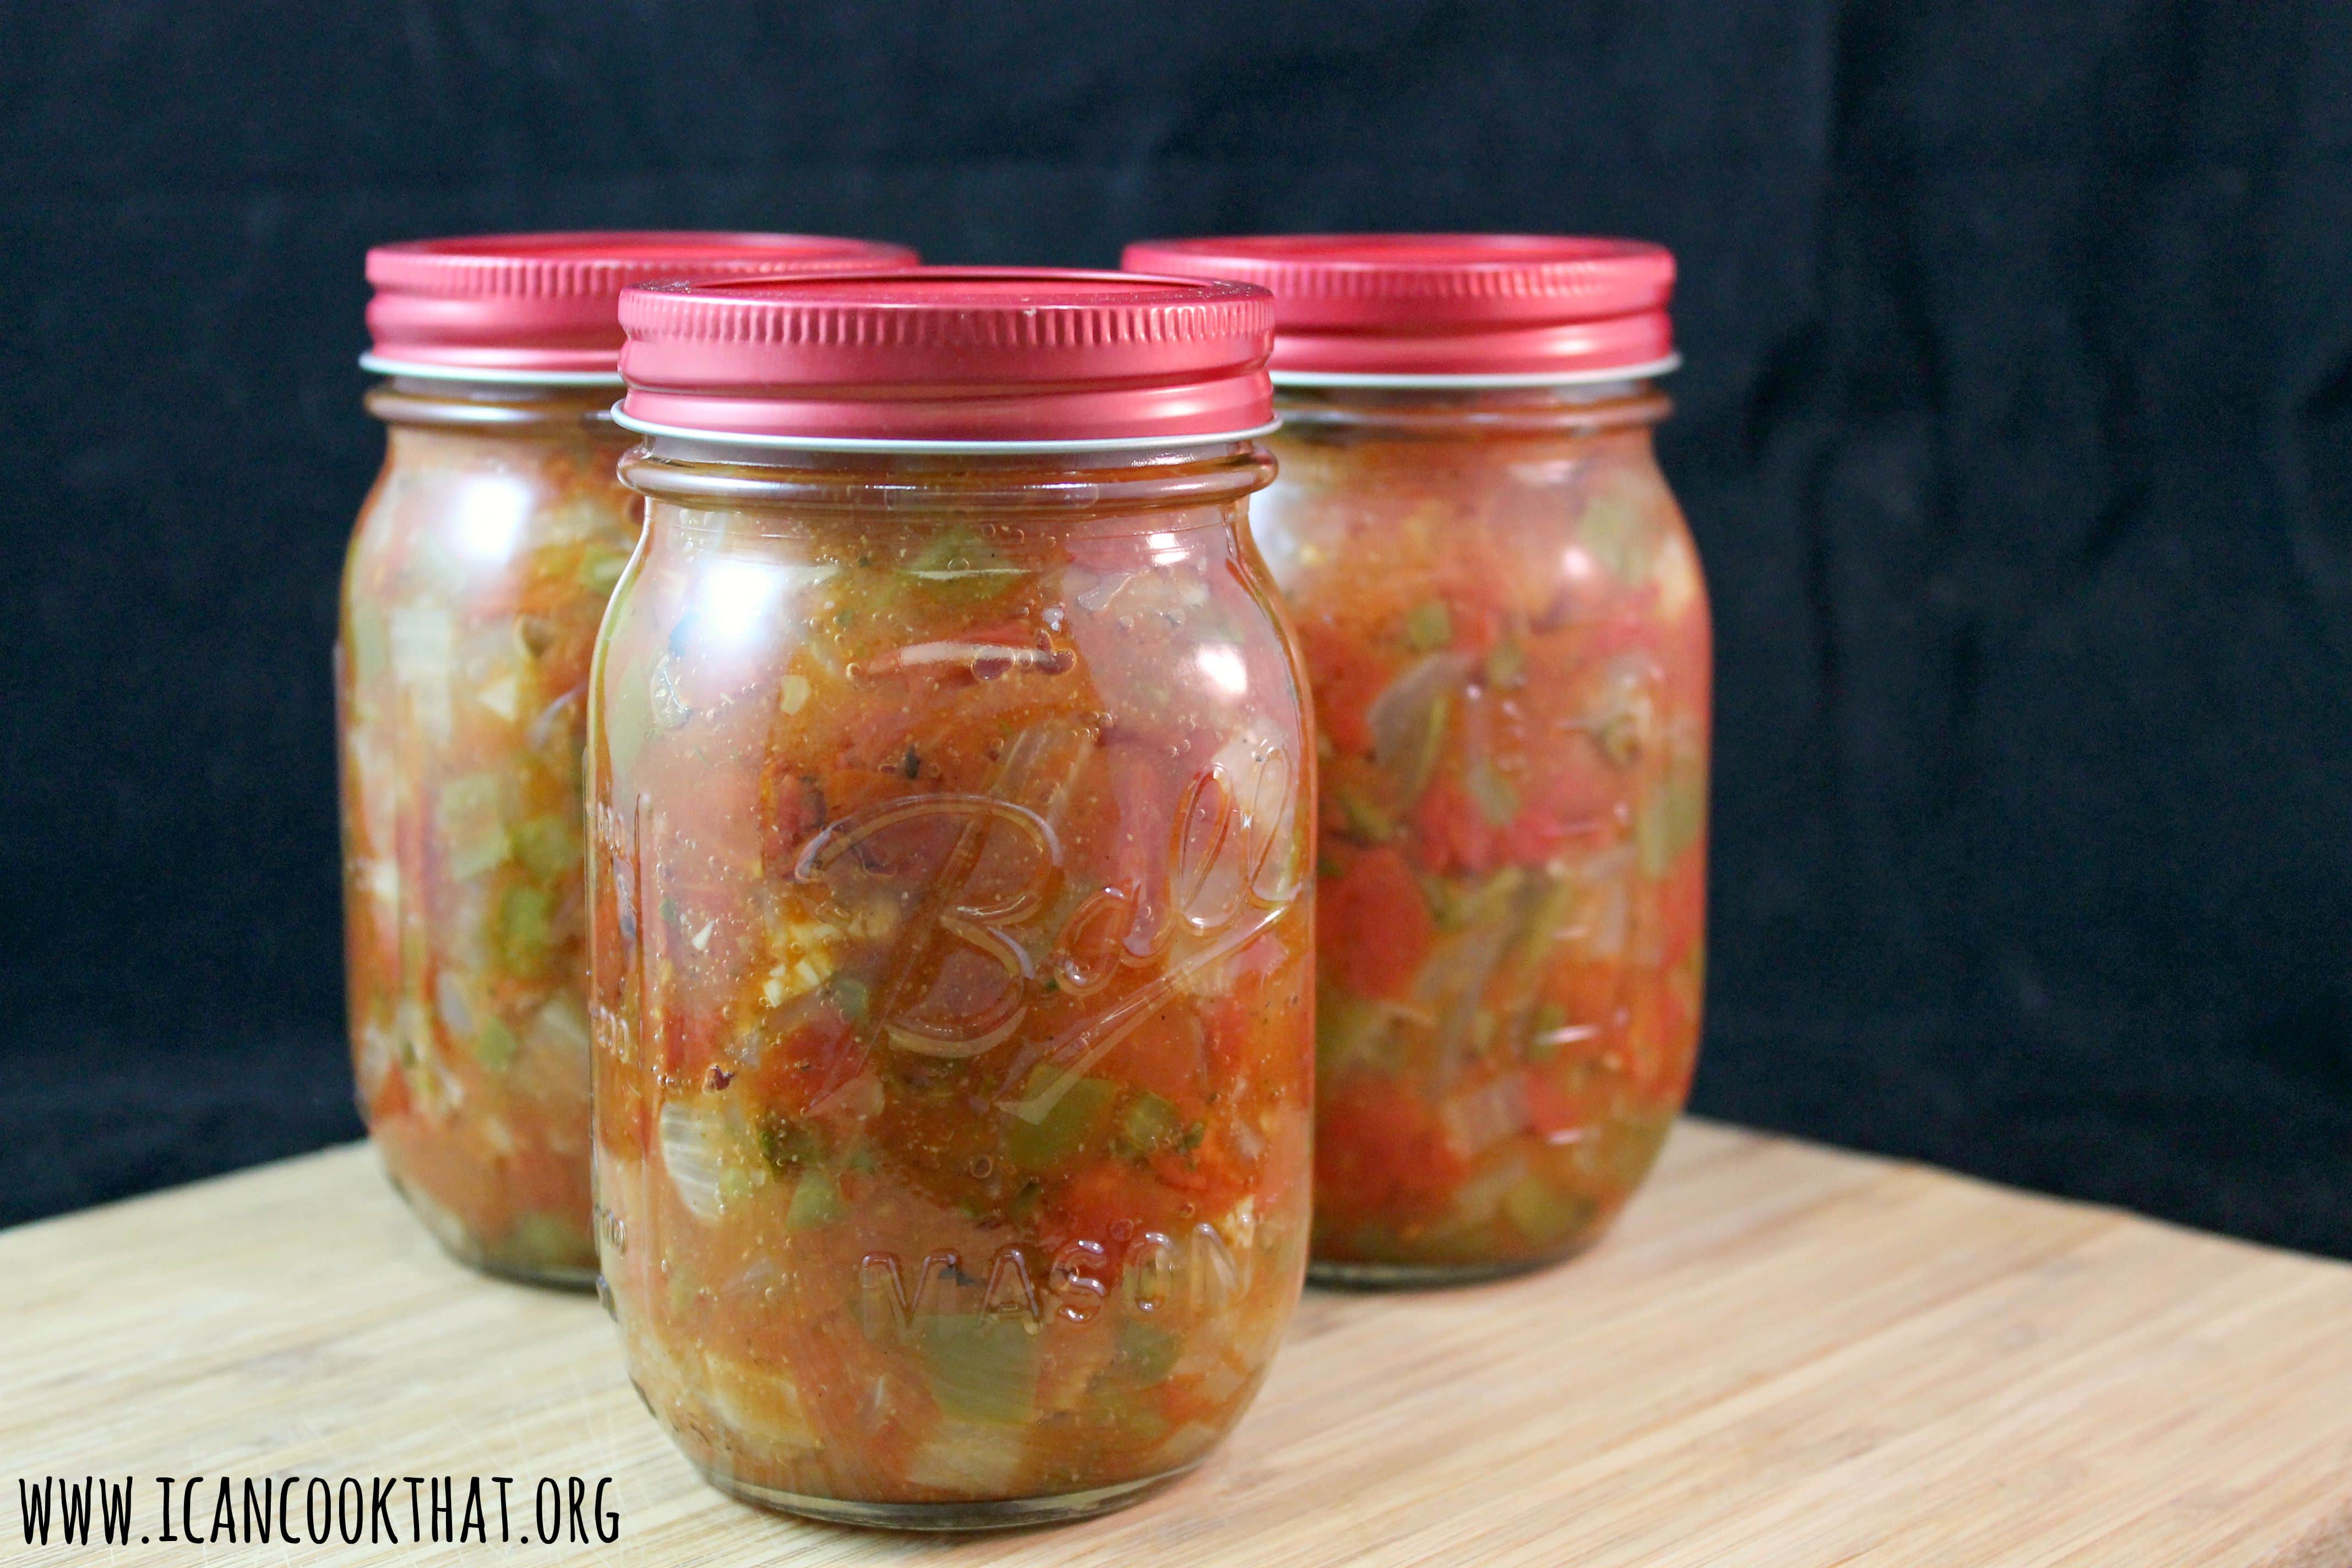
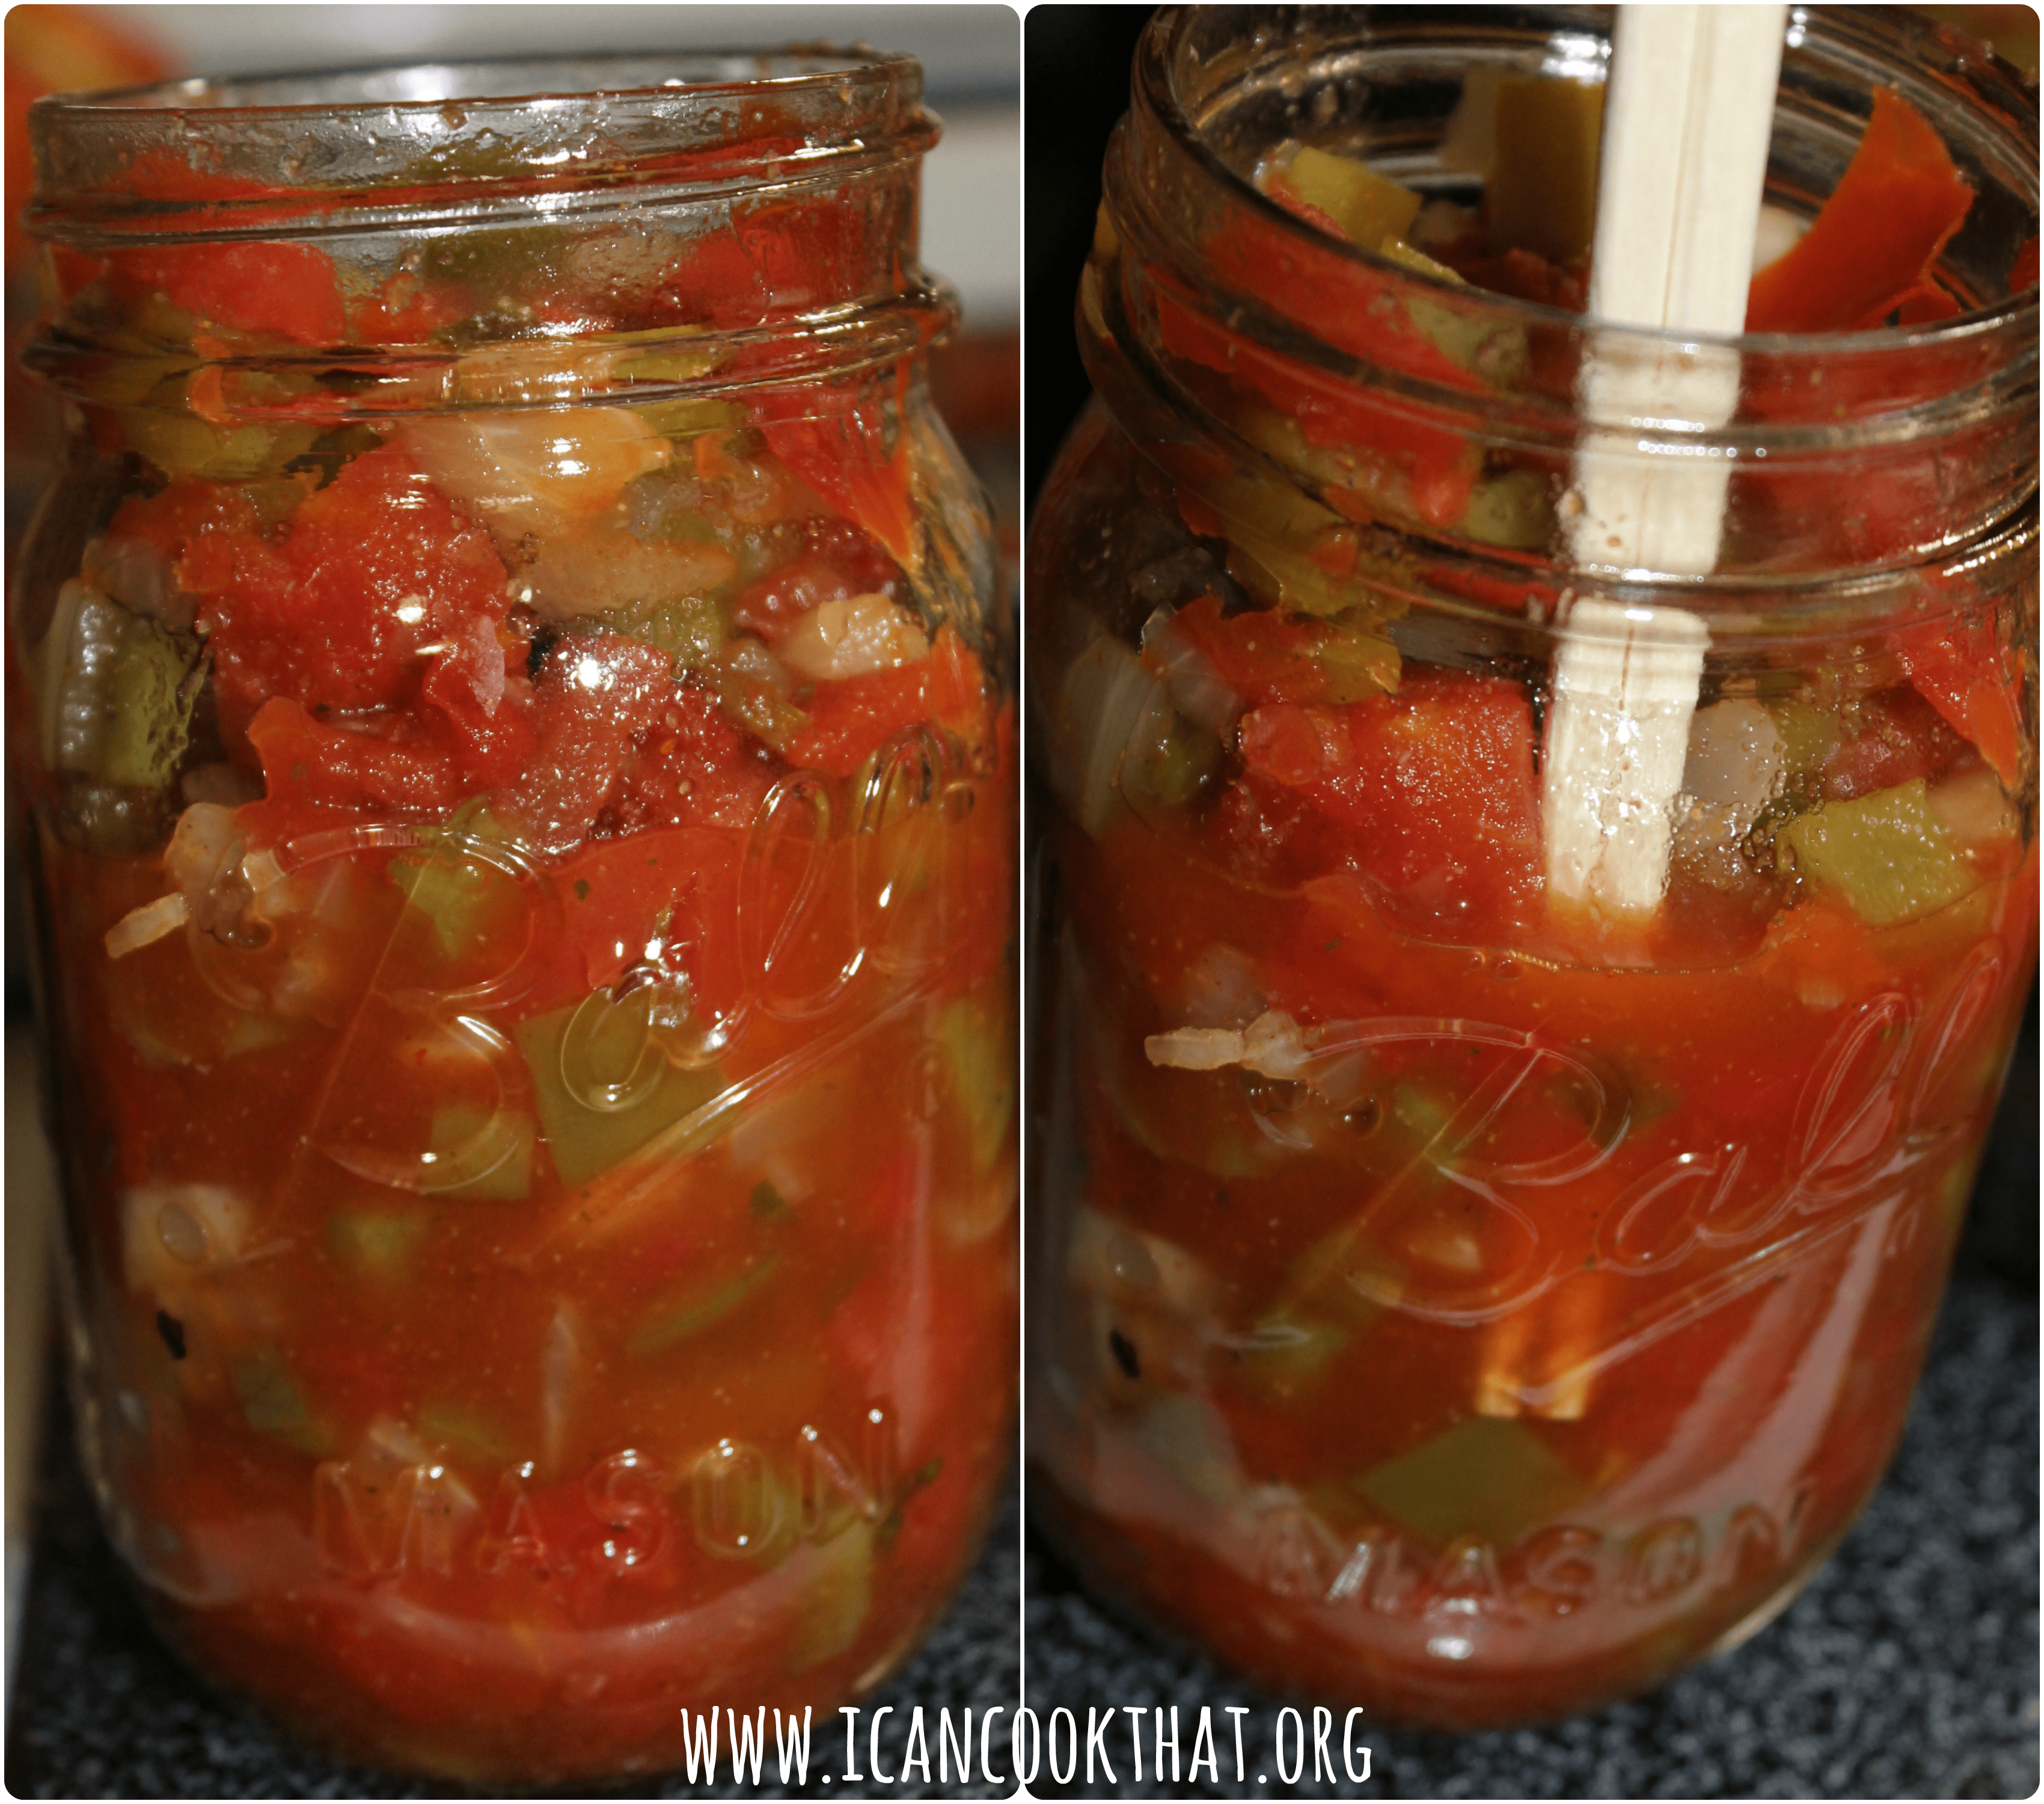
Take one jar, lid, and band out of wherever you have it warming. Ladle the salsa into the jar, leaving 1/2 inch headspace (this is about to where the lowest screw line is on the jar).
Remove air bubbles by pushing the non-metallic spatula between the food and the side of the jar. Then gently press the spatula against the food to release the trapped air. Air bubbles inside the jar may affect how well the jar seals. You also don’t want to use metal utensils because it can scratch the glass which can lead to breakage.
Add more salsa, if needed, to meet the recommended headspace. Wipe the rim to remove any particles of food that may prevent a vacuum seal using a clean, damp cloth.
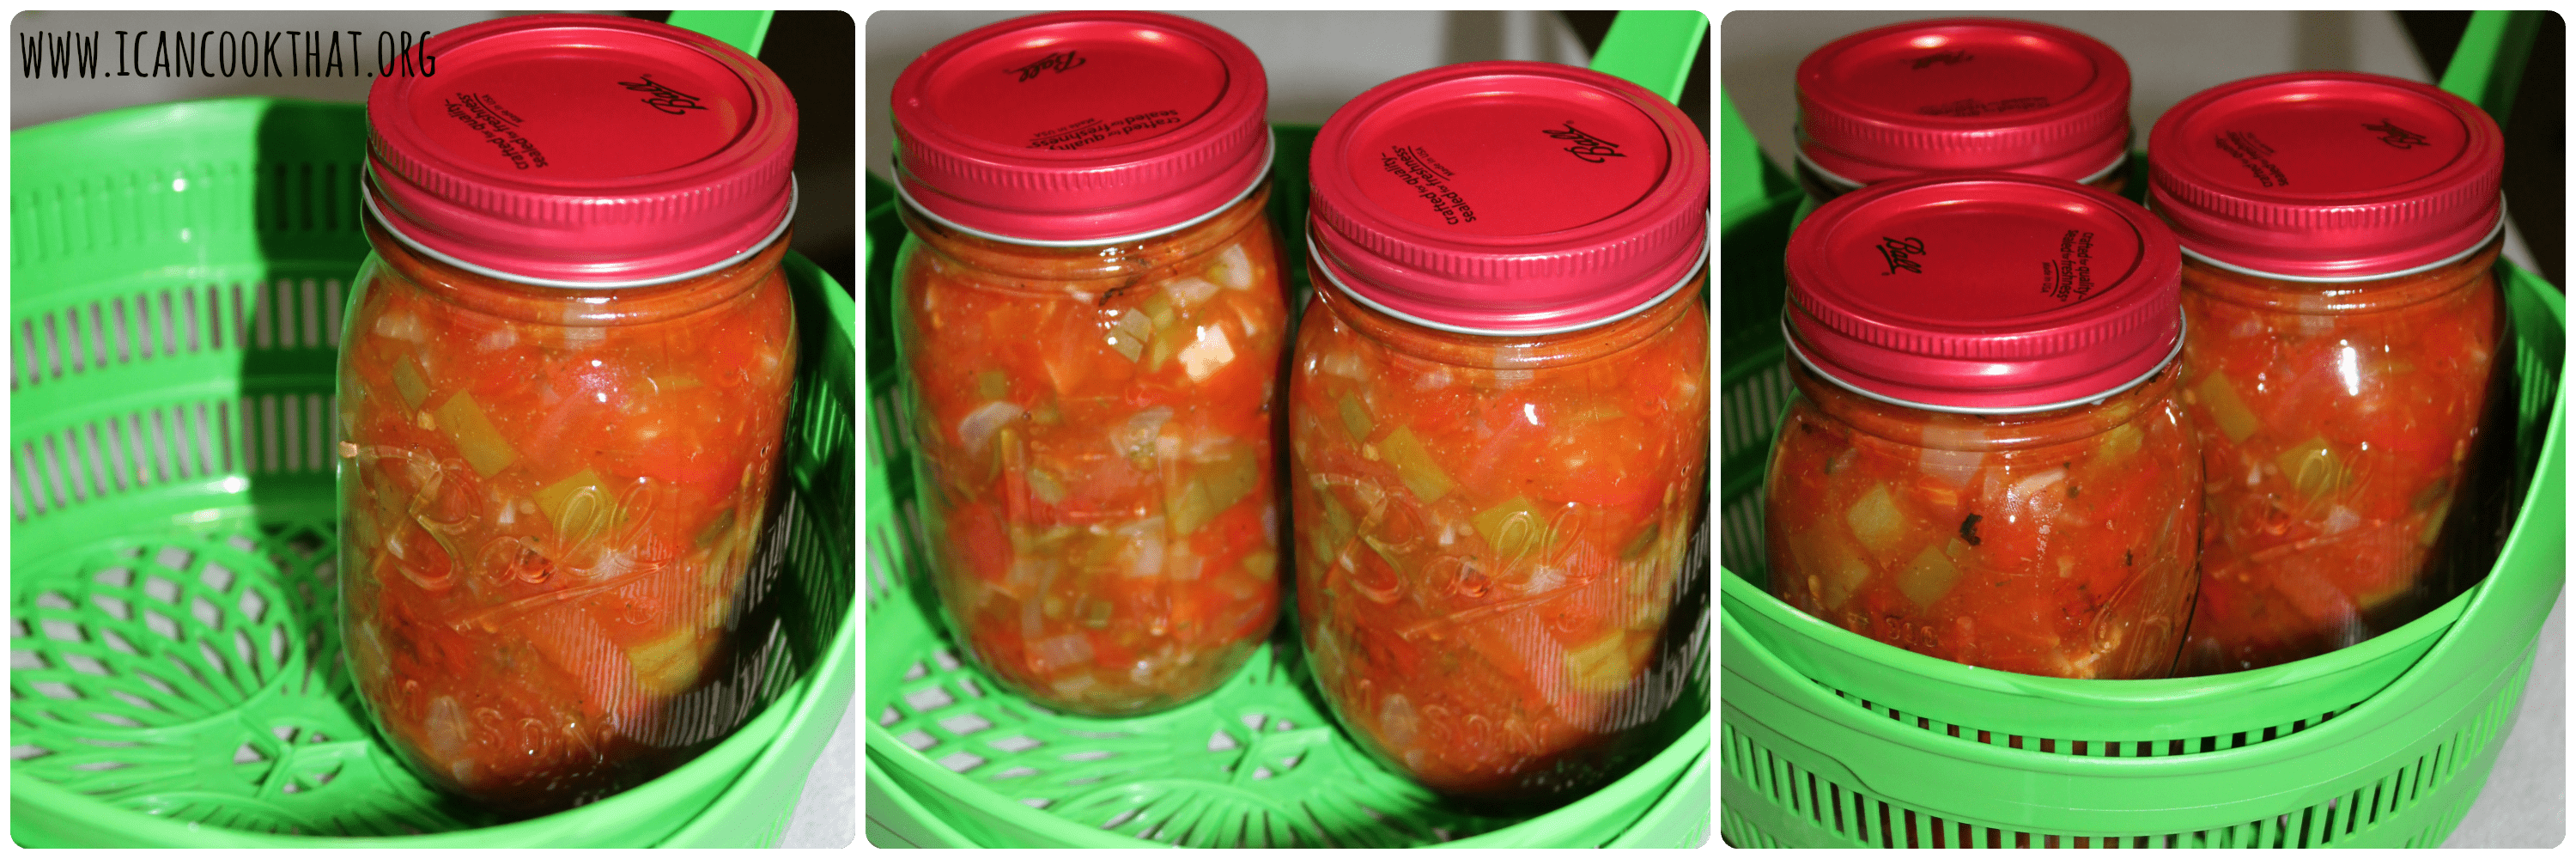
Center the lid on the jar so that only the sealing compound (that orangy stuff) is in contact with the jar rim. Screw a band over the lid until fingertip-tight. Don’t make the bands any tighter than fingertip tight; remaining air inside the jar must be able to escape during canning so that a seal forms.

Add the jar to the canning rack. Repeat this process with the remaining two jars.
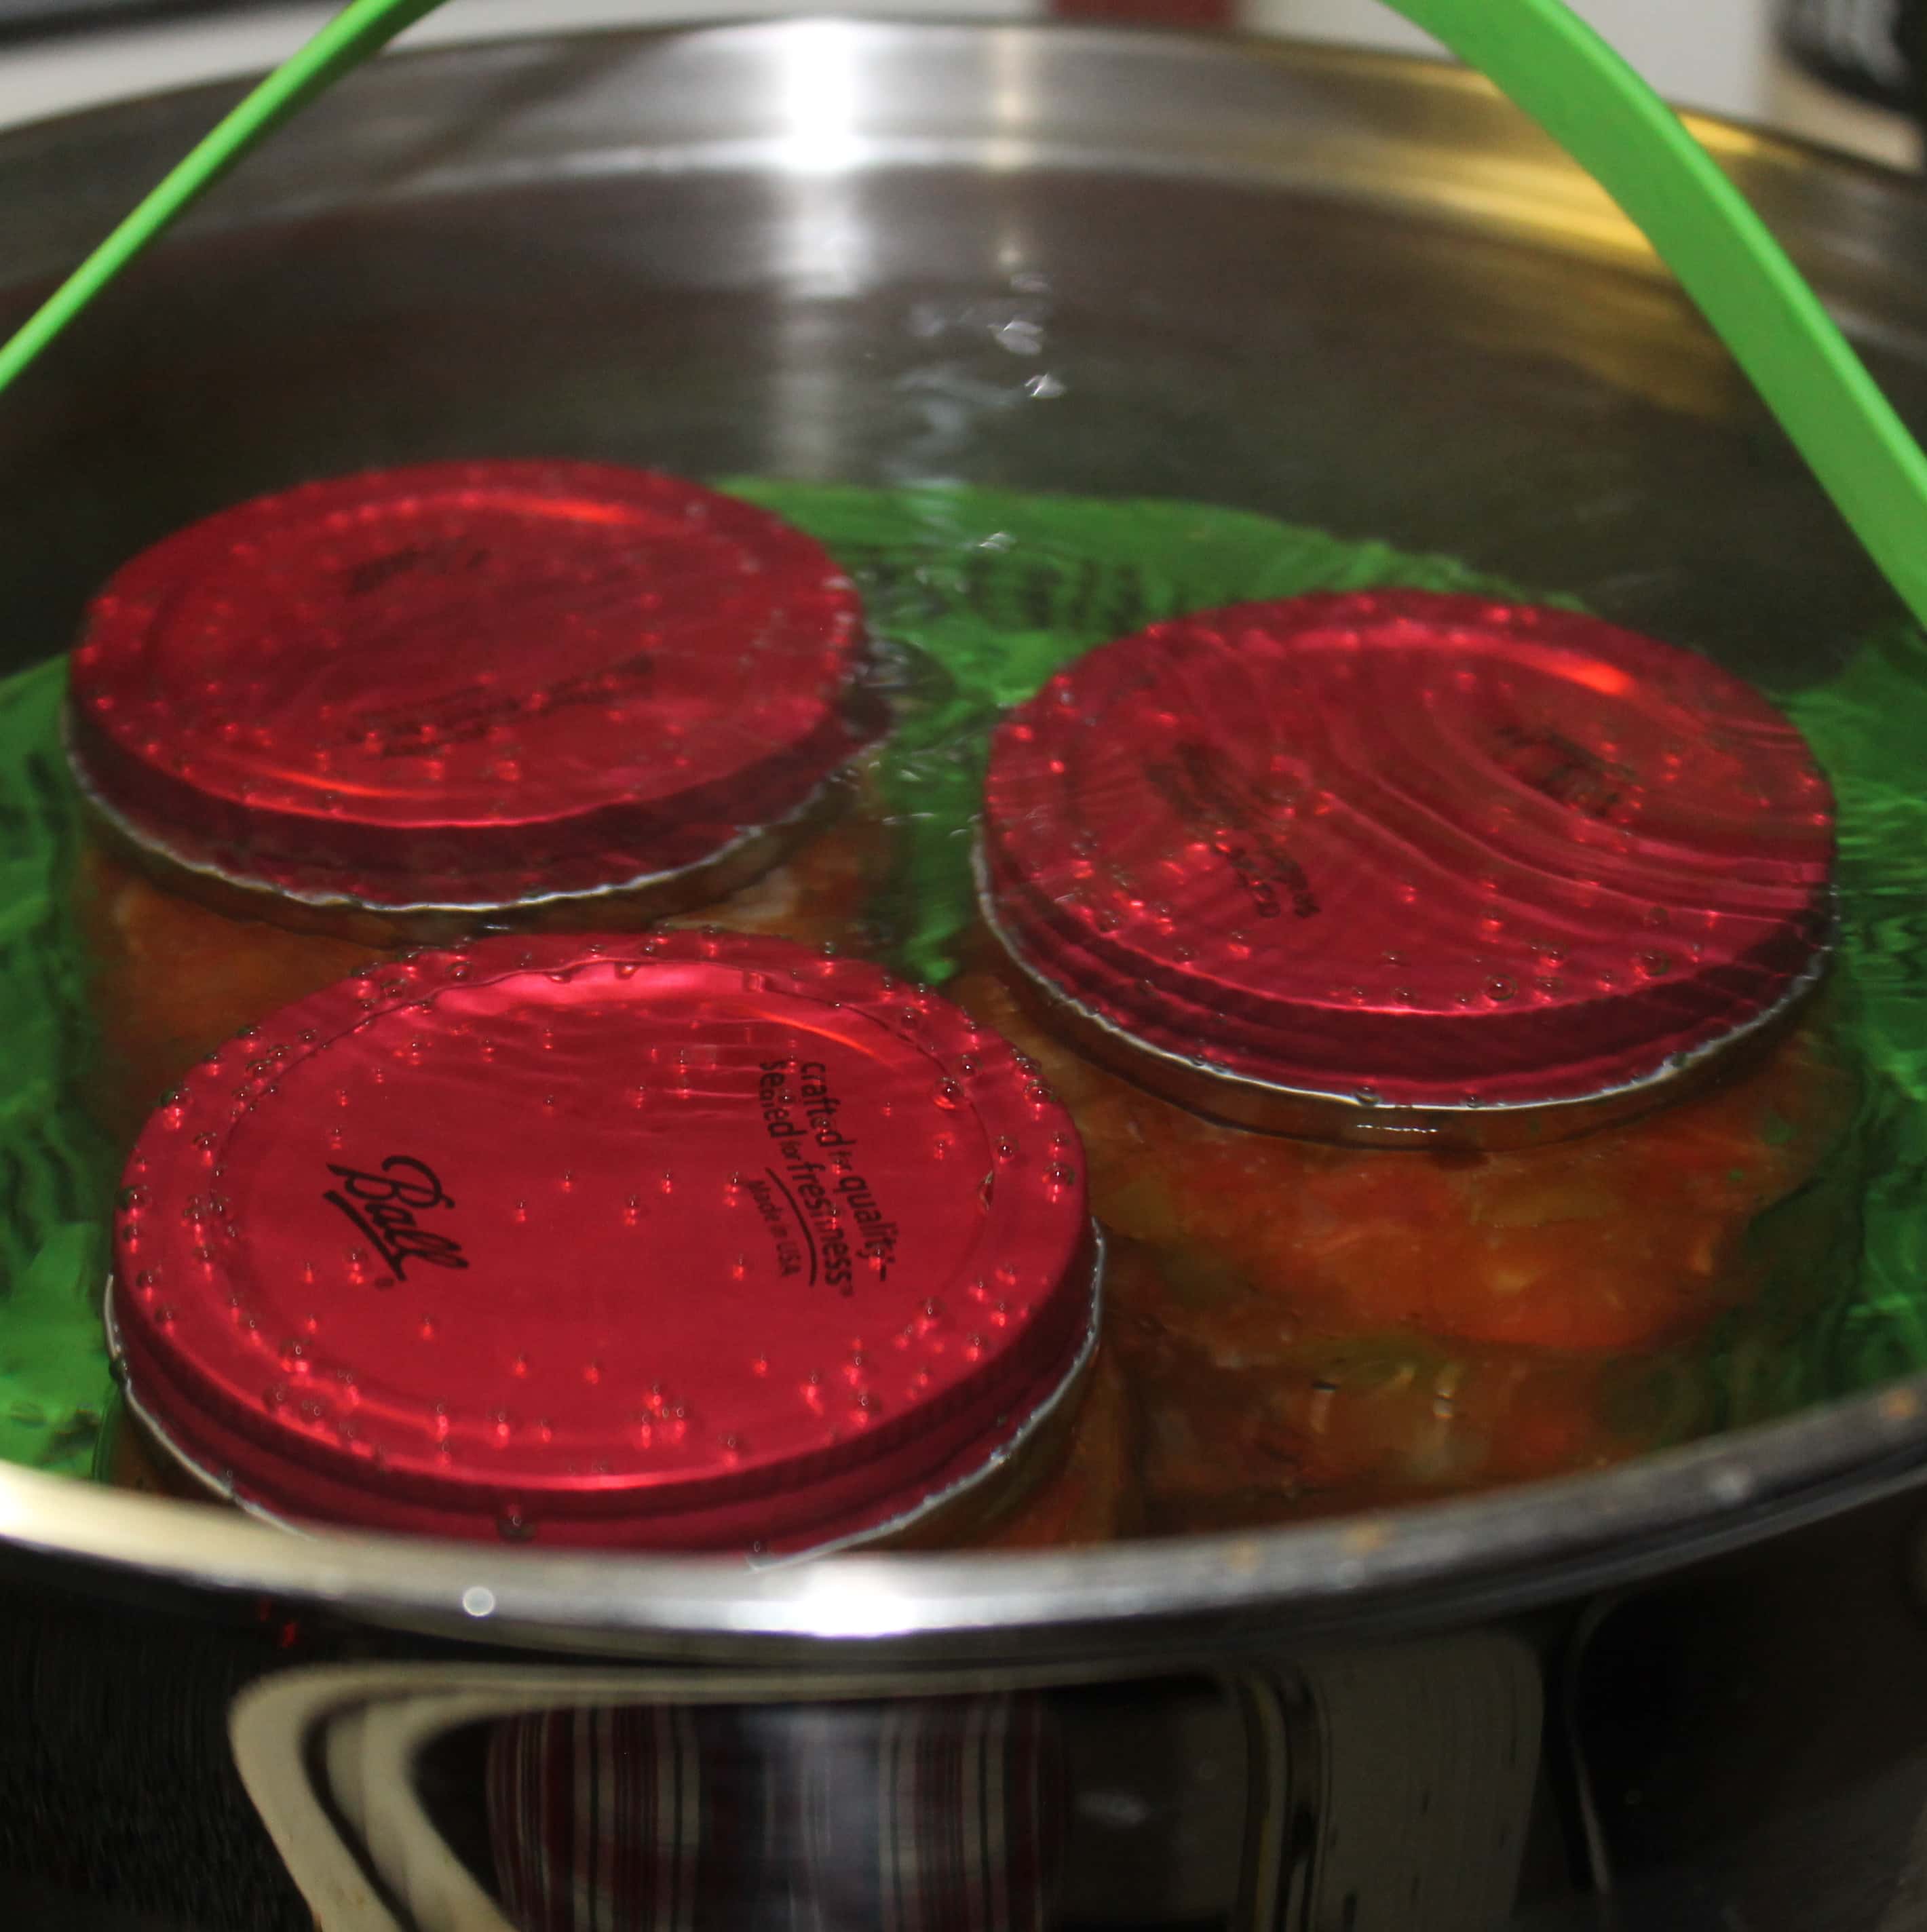
Lower the rack into the stockpot of simmering water, making sure that the jars are covered by 1 inch of water. Push the rack down into the pot until it touches the bottom of the pot.
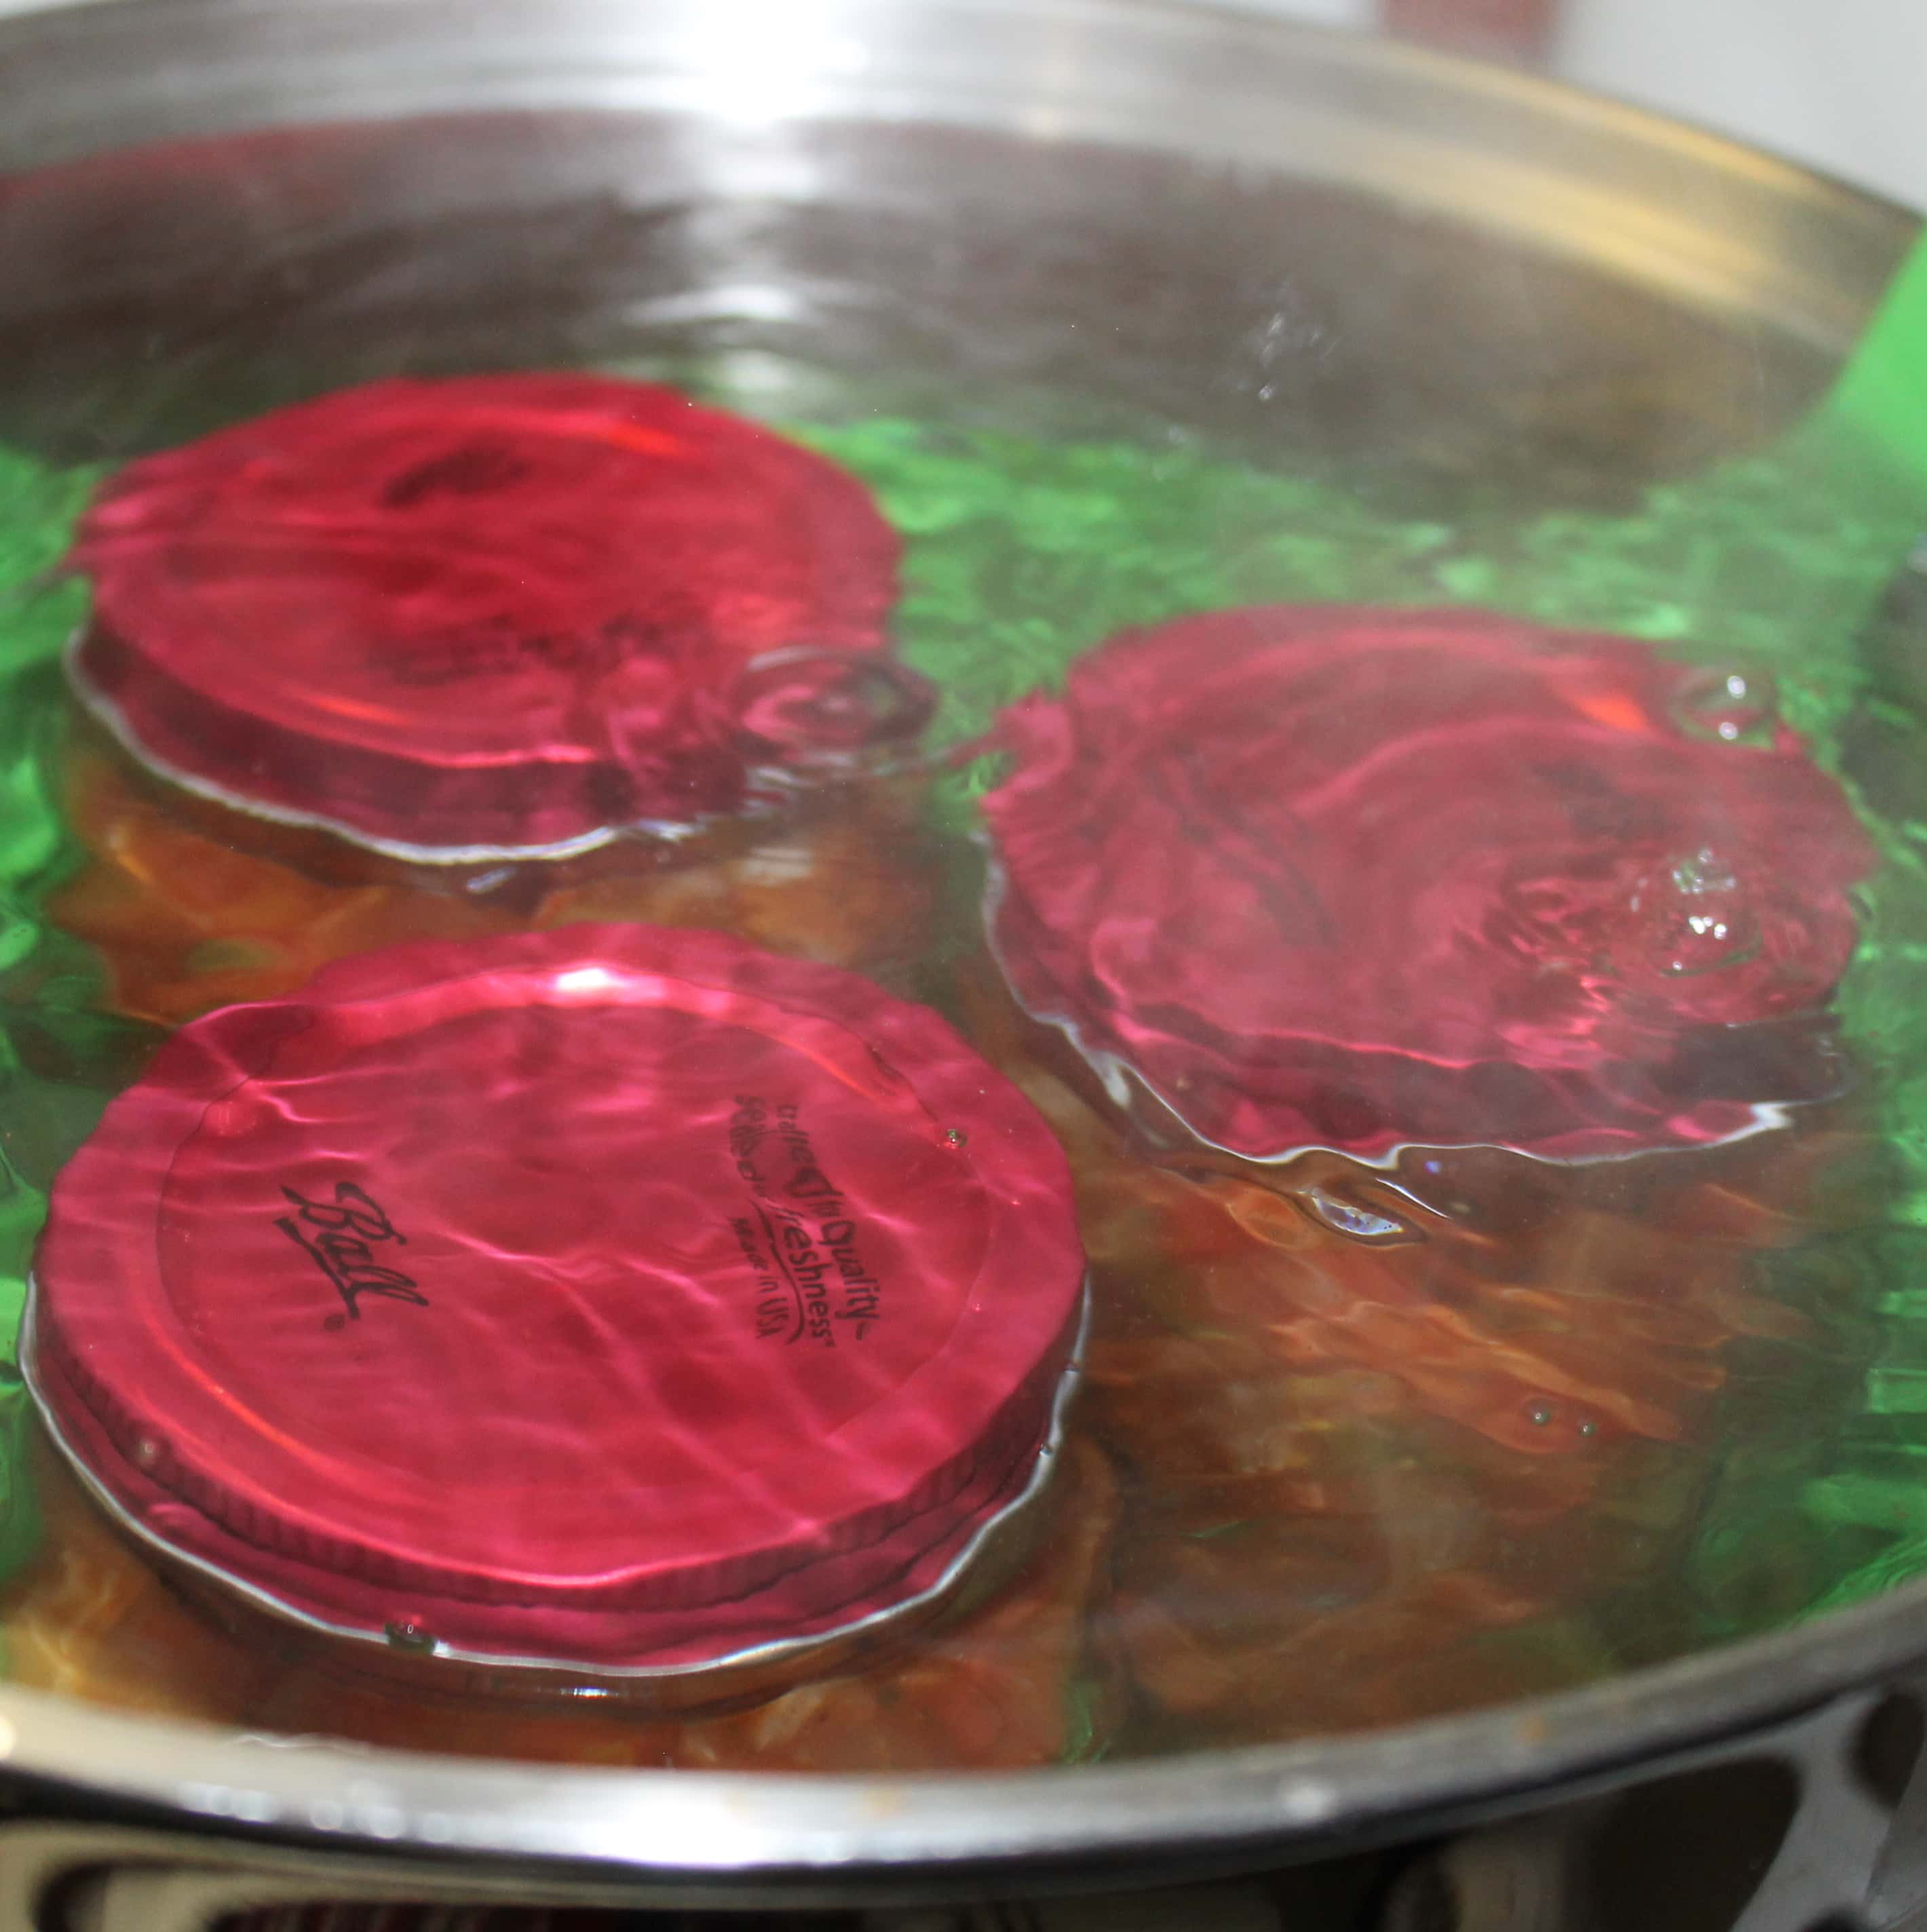
Push the flexible handles of the rack into the pot and cover with a lid.
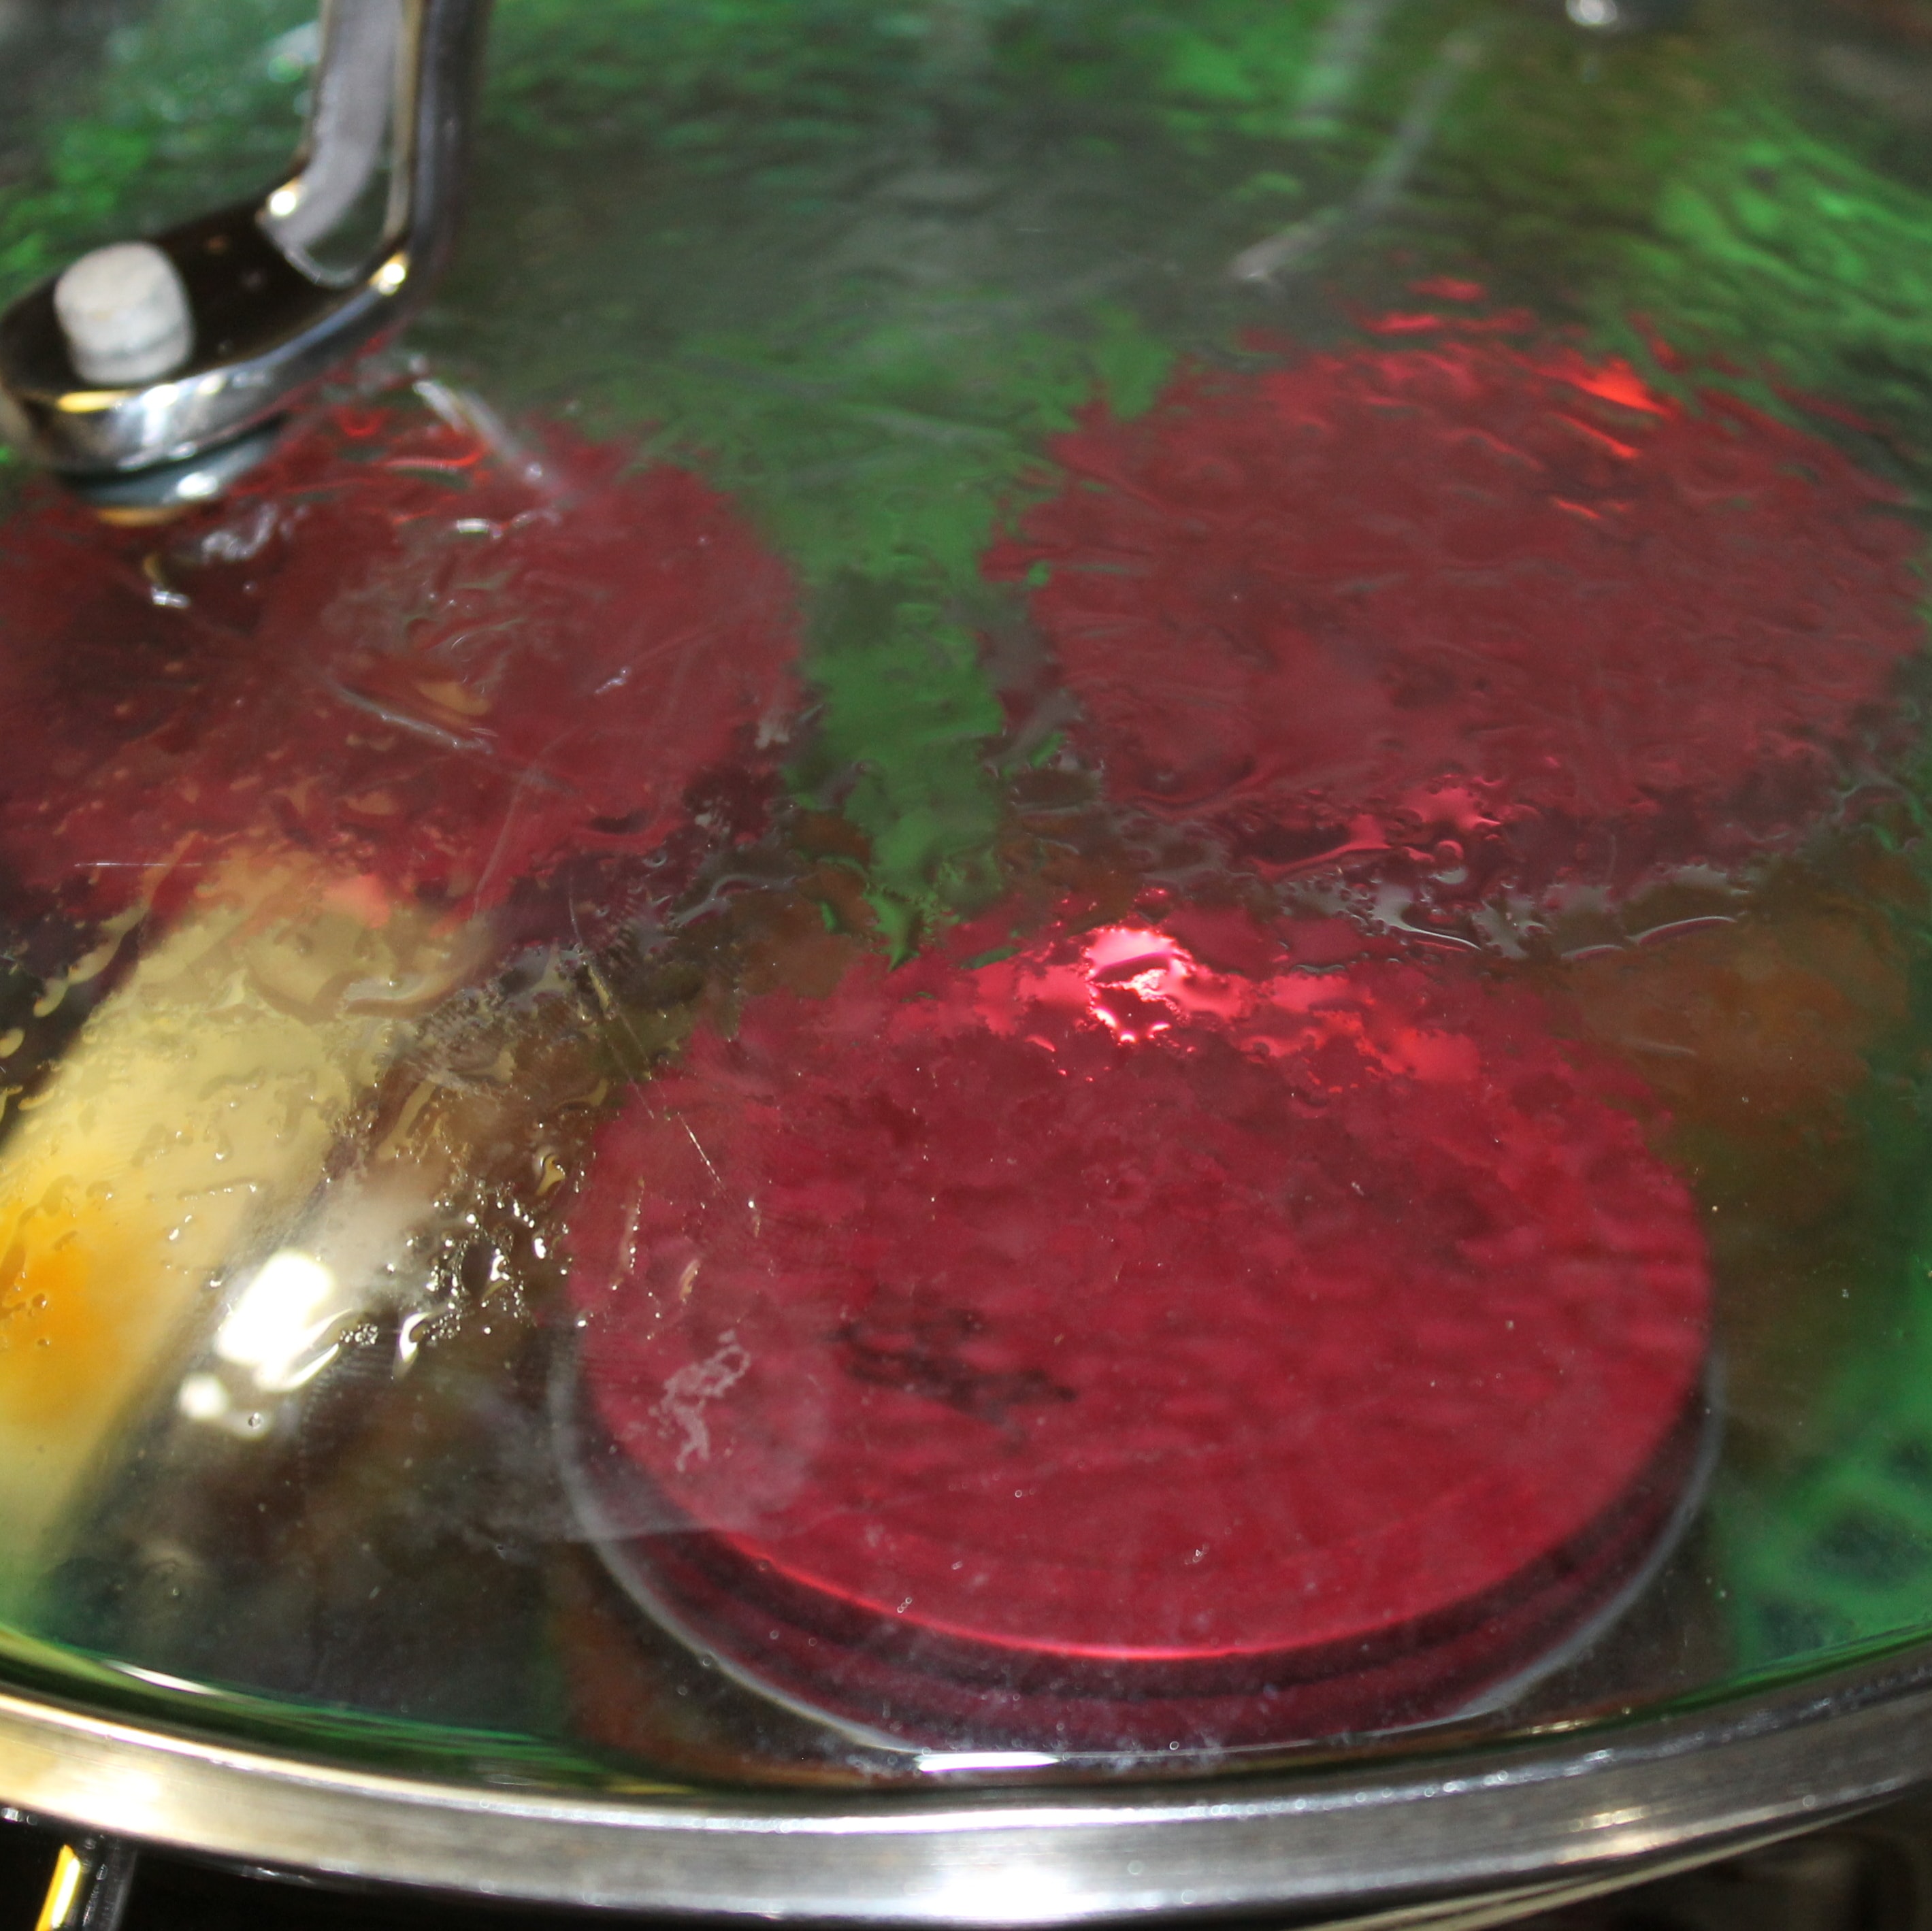
Boil jars for 20 minutes (if you’re in higher altitudes, the times are different and will require a longer time to boil depending on the altitude.)
After 20 minutes, turn off the heat and let jars stand in the water for 5 minutes.
Remove the rack from the water (the rack will be hot, so use an oven mitt) and cool jars in the rack for 12 hours.

After 12 hours, check the seal by tapping on the top in the center of the lid. If it pops, the jar didn’t seal correctly. You can try to reseal it by removing the lid and band, cleaning off the rim, and adding a new lid and adding it back to simmering water for 20 minutes, or you can just add that jar to your fridge and eat in in the next week or so. There is nothing “wrong” with that jar’s ingredients, it just didn’t seal properly so should be eaten sooner.
I had one that didn’t seal so that became my taste test jar! The sealed jars are good without refrigeration for up to 1 year. As a heads up, the jar may “seal” once you put it in the refrigerator, as the cooling pushes more air out. Still count that one as an unsealed jar and eat it within a week. You can never be too careful! (Suggestion: add a label (paid link) with the contents and month/year it was canned so you know when to use it by.)

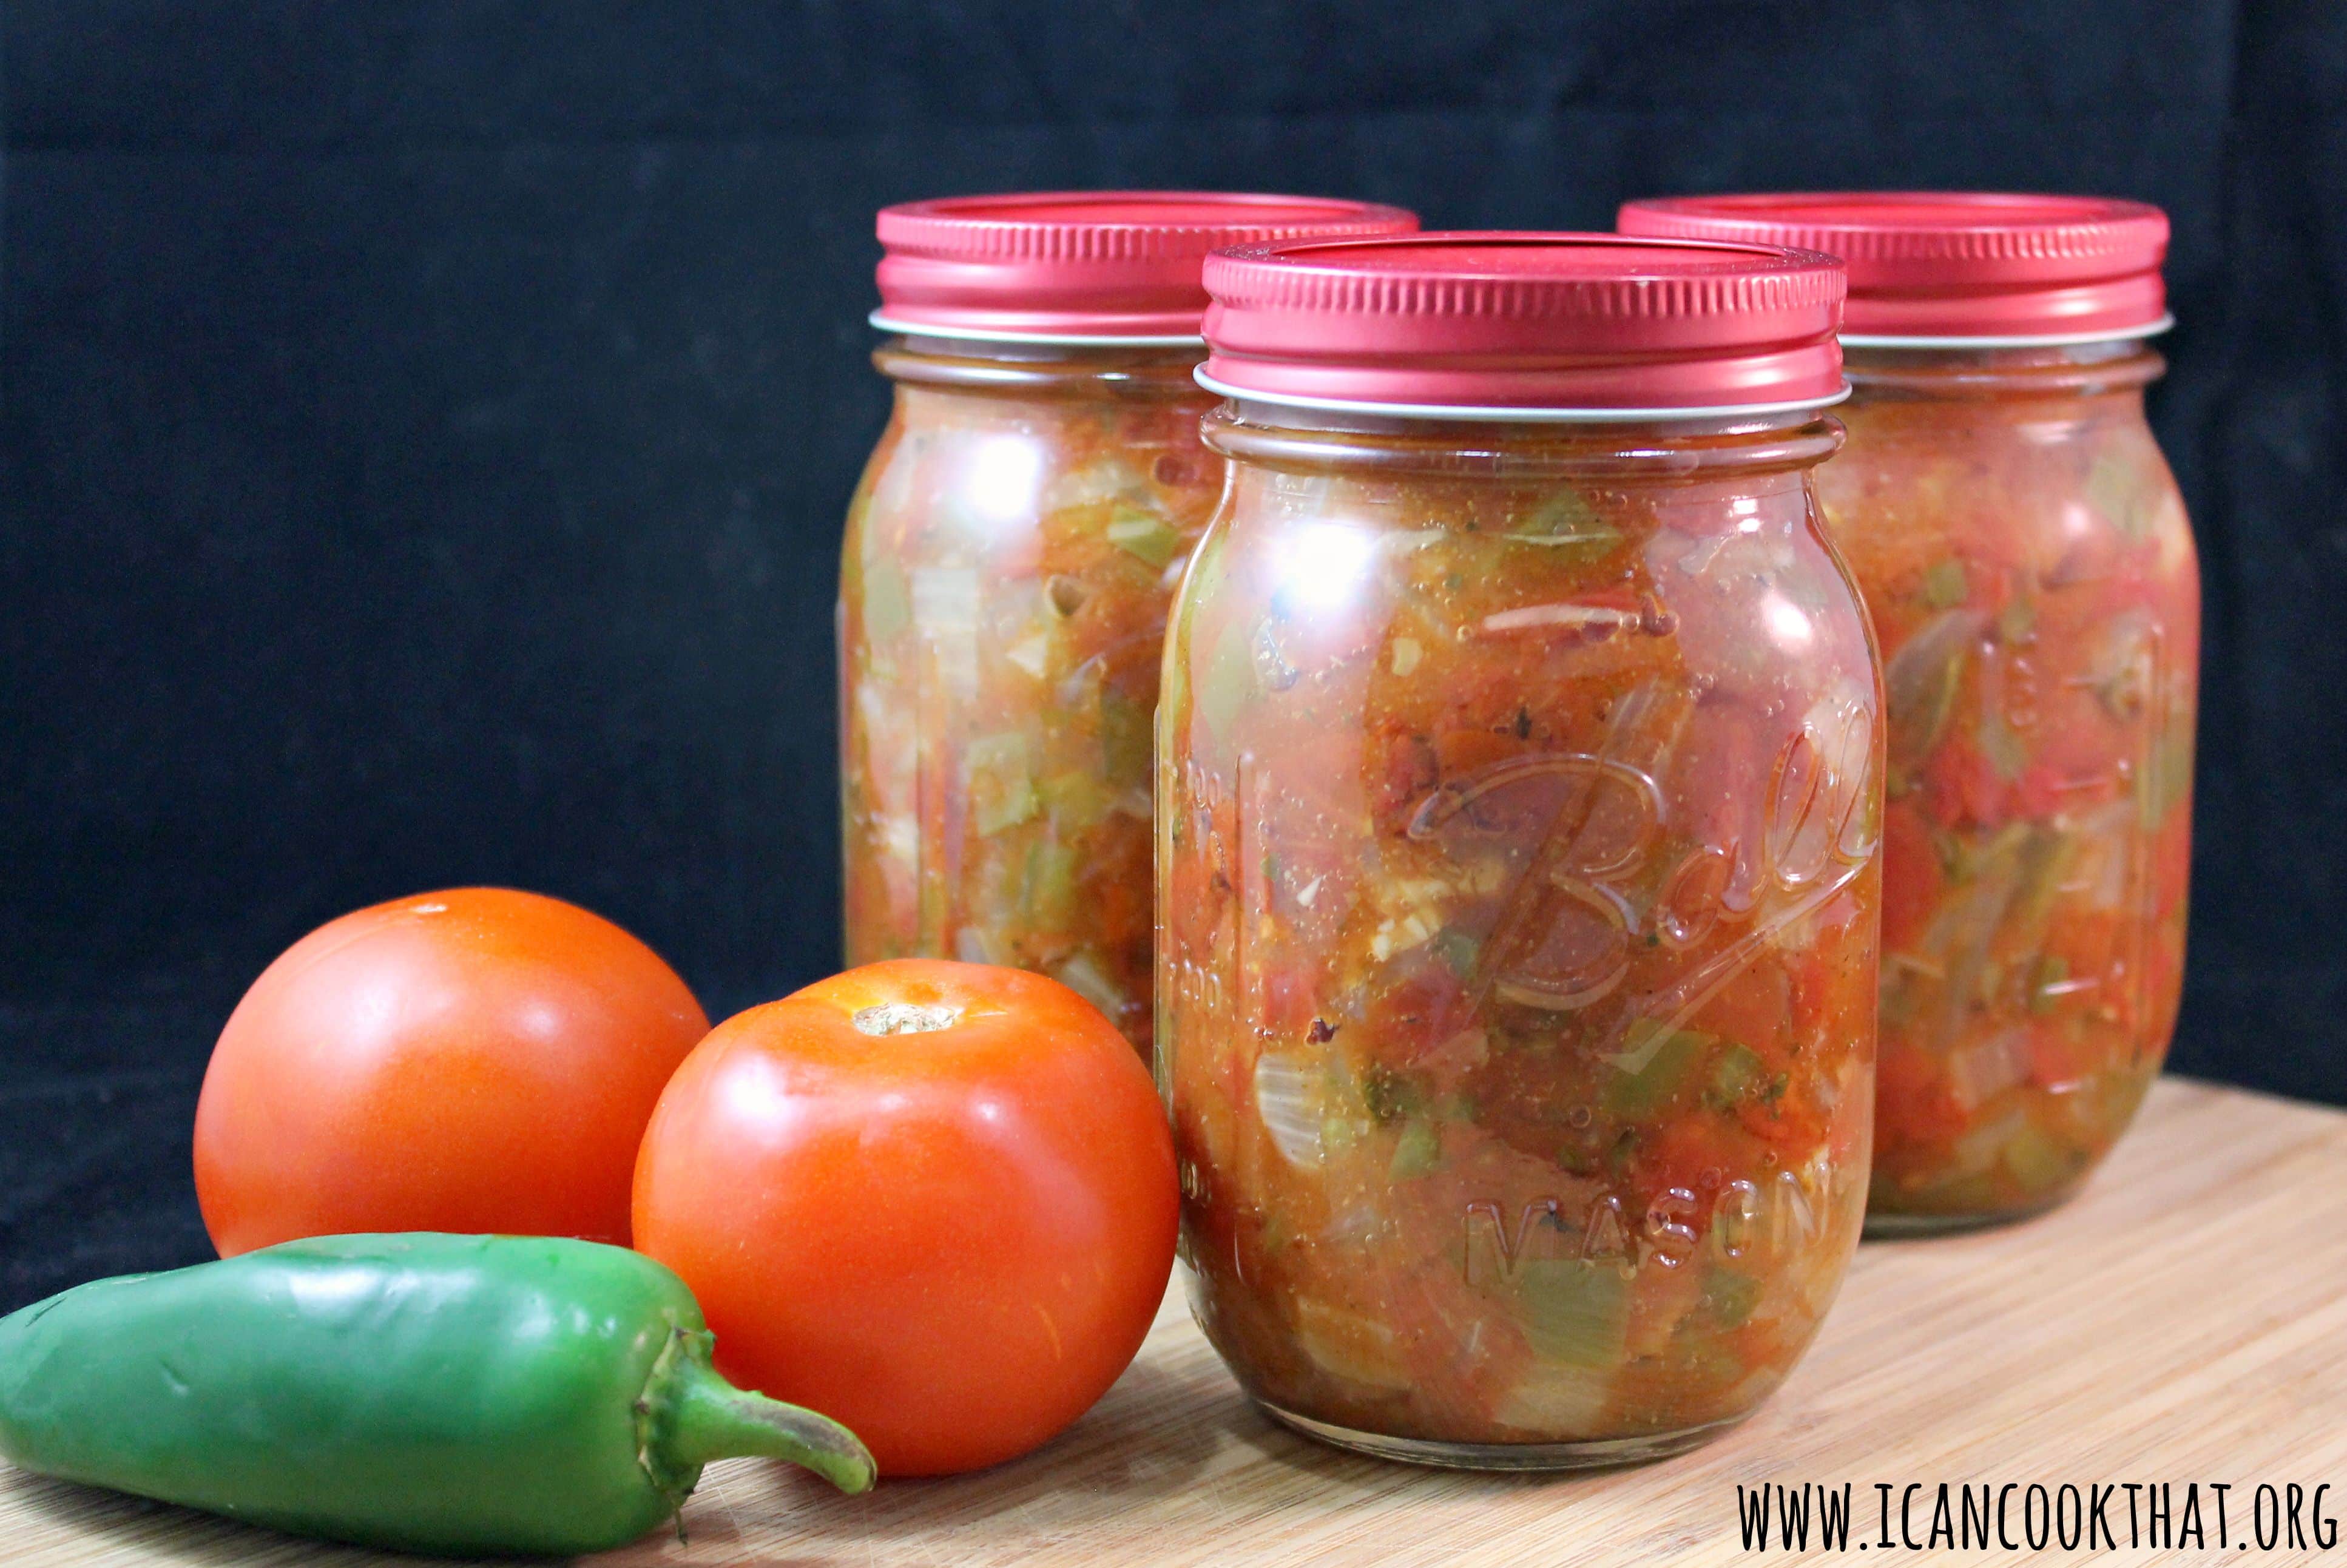
The salsa was really tasty! The Fiesta Salsa Mix seasoned it perfectly and there was a subtle heat from the jalapeno (I like my salsa relatively mild, you can add more jalapeno if you want to bring on the heat). I liked the mixture of bell peppers and tomatoes as well. Yum!

This was so much easier than I had imagined! The canning rack was simple to use, and I loved that I could just use one of my stockpots!
My sister-in-law is a huge fan of the Jar Lifter (paid link) which would have come in handy when adding the hot filled jars to the canning rack (it’s not completely necessary when you first start off though, I just wore an oven mitt on one hand to support the jar underneath and grasped the jar around the band). Another product that would have been great to have on hand would be this collapsible funnel (paid link). My stove got a bit messy as I tried to ladle the salsa into the jars! I also love that it collapses, perfect for my tiny apartment.
This kit is great for small batch canning, as the canning rack only fits three jars at a time. It’s also awesome for someone like me to doesn’t have a lot of room for storage; the rack can easily be folded to fit inside a stockpot when not in use. As I get more comfortable with canning (and hopefully move into a larger space), I may upgrade to a canner with a rack (paid link) Until then, this kit will do me just fine!
I’m now intrigued by the process. I’m thinking my next canning should be pickles! For all the devoted canners out there, any suggestions on which recipes I should try next? (FreshPreserving.com has a pretty awesome recipe search tool to help you find recipes with the ingredients you have on hand in case you need some inspiration like me.)
Interested in canning, or already canning? Enter to win a coupon for a free case of Ball jars below!

Ingredients
- 5 cups chopped cored peeled tomatoes (fresh or canned)
- 4 green bell peppers, seeded and chopped (~2.5 cups)
- 1 large onion, chopped (~2.5 cups)
- 1 large jalapeno, seeded and finely chopped (~3 tablespoons)
- 2 garlic cloves minced
- 2/3 cup cider vinegar
- 1 tablespoon fresh cilantro, finely chopped
- 1/4 cup Ball Fiesta Salsa Mix
- Ball canning rack with lifter
- 3 Ball Pint Jars with lids and bands (I used the Red design series lids and bands)
- Large stockpot (at least 7.5 inches tall and 9.5 inches in diameter)
- a non-metallic spatula (I ended up using chopsticks. They worked just fine)
- A clean, damp towel to wipe rims of jars
Instructions
- Prep all of your ingredients and set aside. Wash your jars, lids, and bands in hot, soapy water and rinse well. Keep the jars warm until they are ready to use (you can either add them to a pot of simmering water, or I just added them to my dishwasher during the heated dry cycle). The reason you want them to stay warm is so that they don’t break when you fill them with the hot salsa later on.
- Fill a large stockpot with enough water to cover the jars with at least 1 inch of water. Heat to a simmer (you’re aiming for 180 degrees F).
- Now you’re ready to make the salsa! Add all of the ingredients to a large saucepan and bring to a boil over medium-high heat, stirring constantly.
- Reduce heat and simmer, stirring frequently, until slightly thickened, about 10 minutes.
- Take one jar, lid, and band out of wherever you have it warming. Ladle the salsa into the jar, leaving 1/2 inch headspace (this is about to where the lowest screw line is on the jar).
- Remove air bubbles by pushing the non-metallic spatula between the food and the side of the jar. Then gently press the spatula against the food to release the trapped air. Air bubbles inside the jar may affect how well the jar seals. You also don’t want to use metal utensils because it can scratch the glass which can lead to breakage.
- Add more salsa, if needed, to meet the recommended headspace. Wipe the rim to remove any particles of food that may prevent a vacuum seal using a clean, damp cloth.
- Center the lid on the jar so that only the sealing compound (that orangy stuff) is in contact with the jar rim. Screw a band over the lid until fingertip-tight. Don’t make the bands any tighter than fingertip tight; remaining air inside the jar must be able to escape during canning so that a seal forms.
- Add the jar to the canning rack. Repeat this process with the remaining two jars.
- Lower the rack into the stockpot of simmering water, making sure that the jars are covered by 1 inch of water. Push the rack down into the pot until it touches the bottom of the pot.
- Push the flexible handles of the rack into the pot and cover with a lid.
- Boil jars for 20 minutes (if you’re in higher altitudes, the times are different and will require a longer time to boil depending on the altitude.)
- After 20 minutes, turn off the heat and let jars stand in the water for 5 minutes.
- Remove the rack from the water (the rack will be hot, so use an oven mitt) and cool jars in the rack for 12 hours.
- After 12 hours, check the seal by tapping on the top in the center of the lid. If it pops, the jar didn’t seal correctly. You can try to reseal it by removing the lid and band, cleaning off the rim, and adding a new lid and adding it back to simmering water for 20 minutes, or you can just add that jar to your fridge and eat in in the next week or so. There is nothing “wrong” with that jar’s ingredients, it just didn’t seal properly so should be eaten sooner.


My favorite things to can are apple butter, pickles and tomato soup.
I have been doing a lot of canning. Mostly I make jam.
With the current onion situation I’m looking for a salsa or chili canning recipe without onions. Any thy?
With the current onion situation I’m looking for a salsa or chili canning recipe without onions. Any thoughts?
I love homemade jam!
I am dying to try this. My mother canned sauces and fruit butters. I wish now I’d paid closer attention.
I haven’t tried canning yet, but i’ll love to learn.
I come from a long line of canners but have never worked up the courage to can myself. I’d love to do salsa and spaghetti sauce.
I love to can salsa and I’m going to have to try this recipe.
I’ve always wanted to can blackberry preserves.
I want to start canning salsas and jams.
I want to can some pickles
Yay, you did it! I’m a huge fan of canning practically anything. I find that whenever I get to eat something that I’ve canned it always tastes better and I get a little boost of happiness knowing that I actually made that! I just made dill pickles (Grandma’s dill pickles in the 2-day pickle section of the big Ball Home Preserving book) and raspberry peach jam that I may not share with anybody this Christmas as I’m loving it a bit too much.
Keep trying new things, you’ll be amazed that jams, pickles, etc aren’t that hard or scary!
I love canning pickles and pasta sauce.
I like to can pears
I like to can applesauce.
I love canning applesauce and pearsauce!