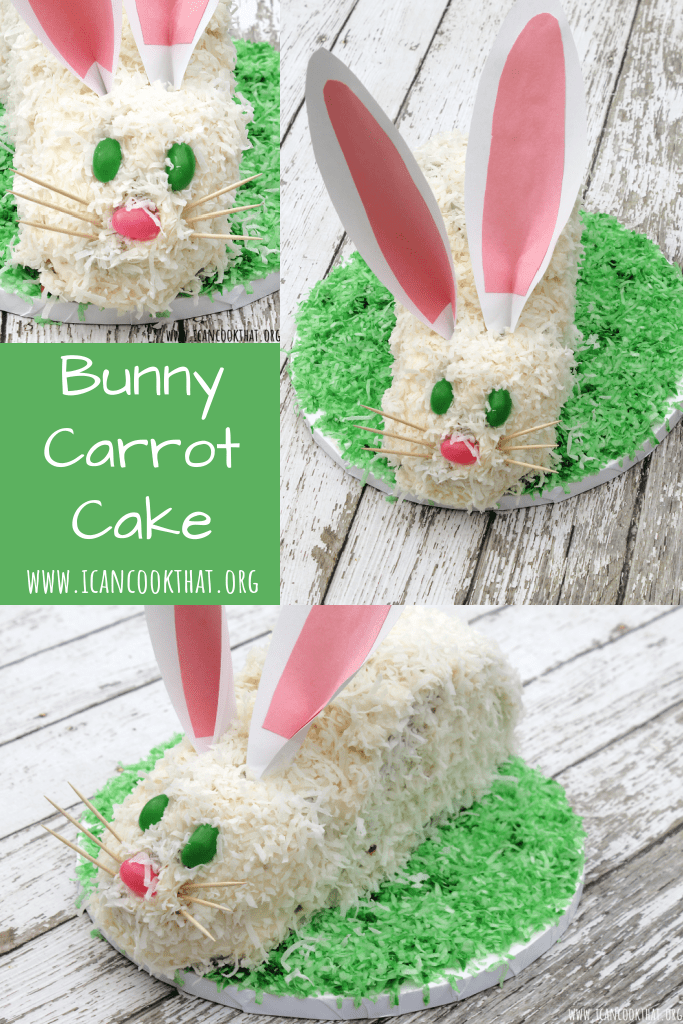
Every Easter, we have this adorable little bunny cake that shows up for dessert. I honestly don’t know what bakery we get it from, but it always makes me smile. So I thought I’d try to recreate it. Obviously, a bunny would be filled with carrots, so I decided to make a Bunny Carrot Cake with cream cheese frosting, covered in coconut.
I used a recipe from David Lebovitz for the cake and frosting, and used Betty Crocker‘s instructions on how to make it into a bunny.
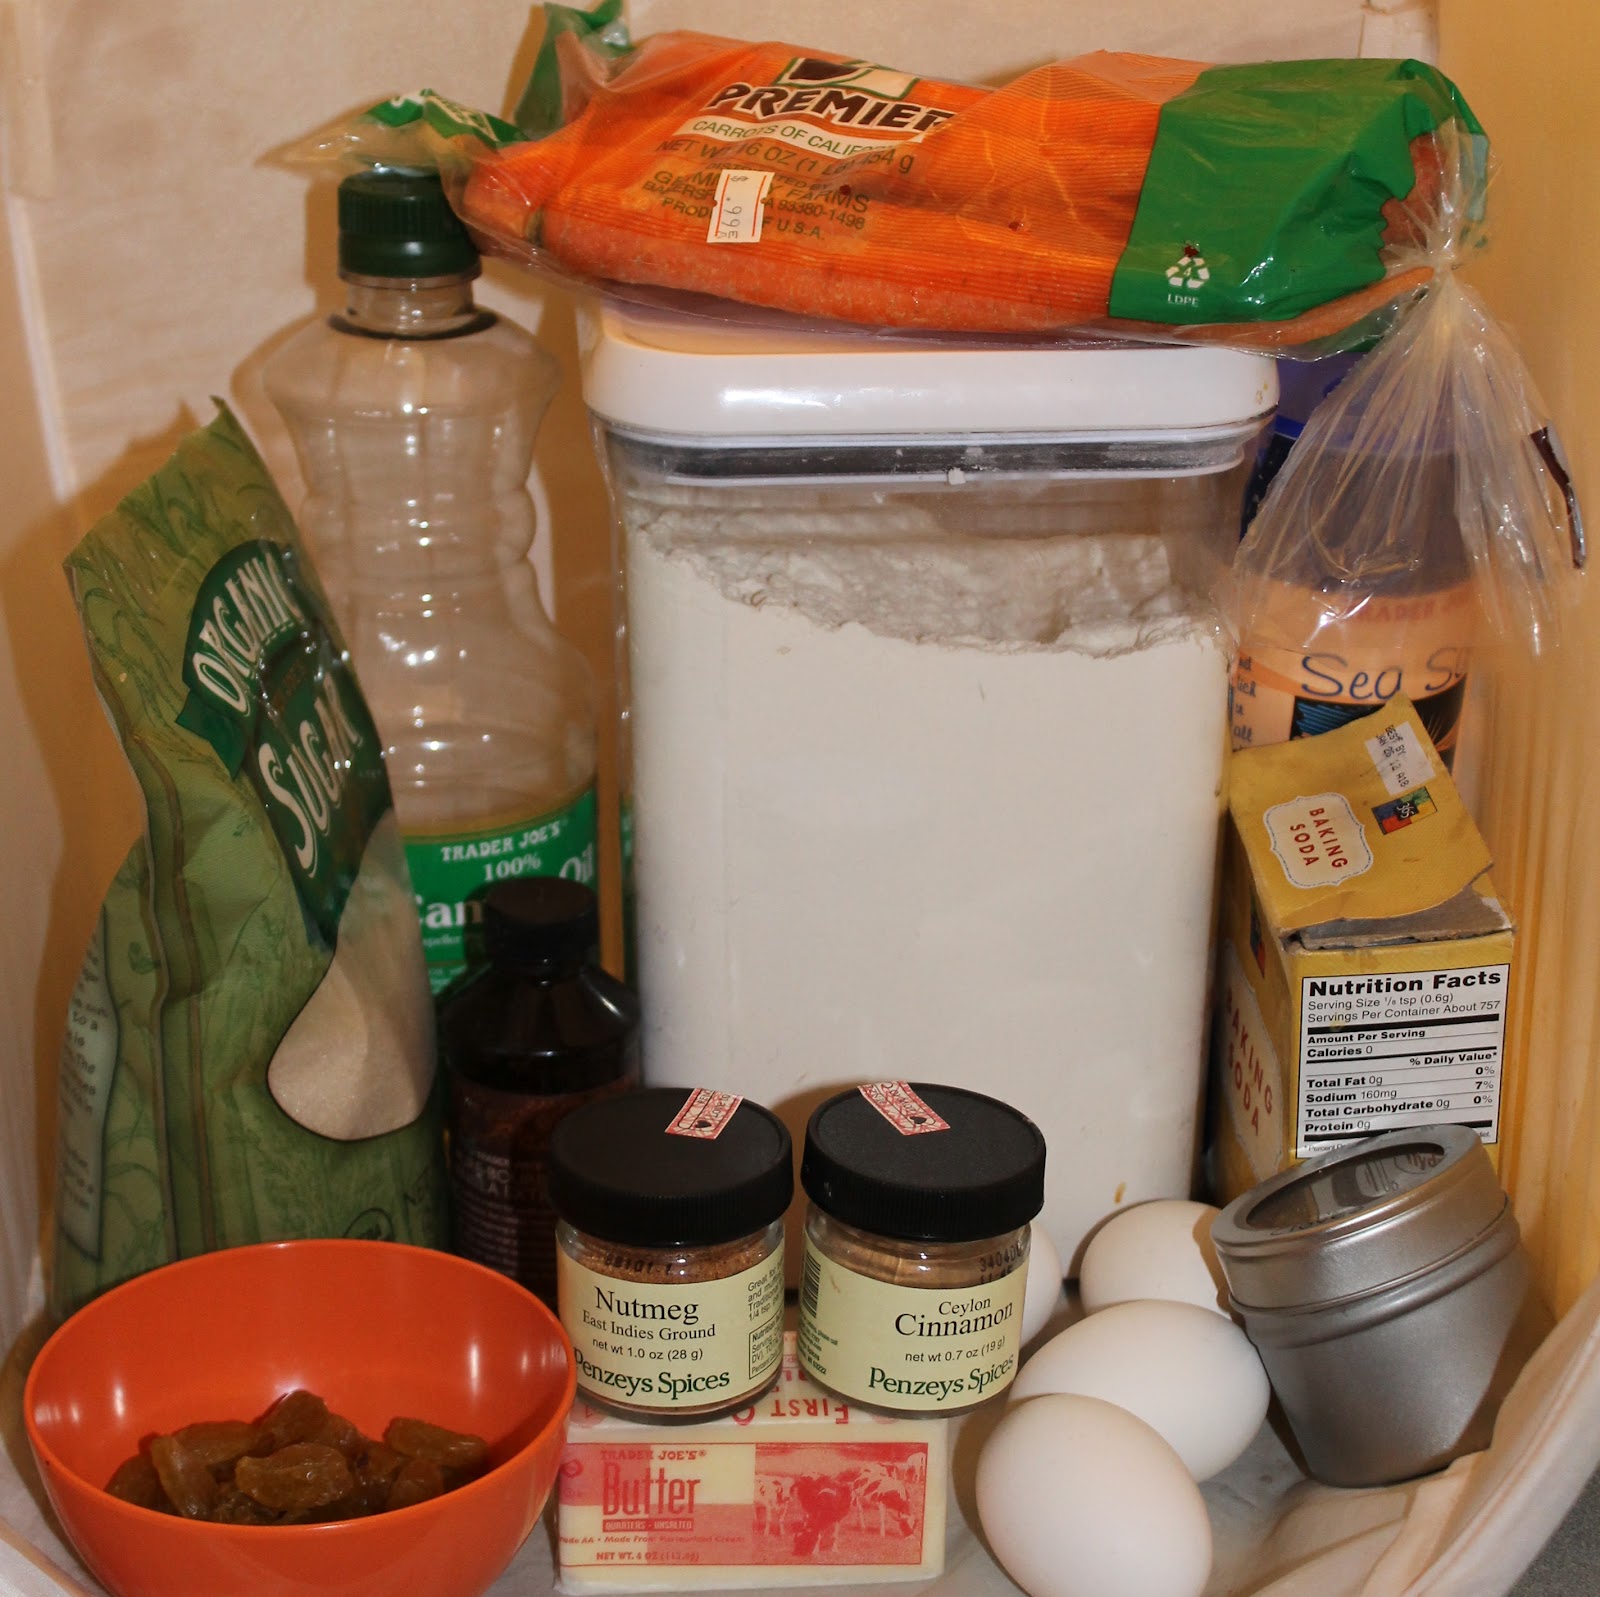
Ingredients:
Carrot Cake:
- ¾ cup butter, melted and browned
- 2 cups all-purpose flour
- 2 cups sugar
- 2 teaspoons baking soda
- 1 tablespoon cinnamon
- 1/4 teaspoon nutmeg
- 1/4 teaspoon cloves
- 1 teaspoon salt
- 4 large eggs, at room temperature
- ¼ cup vegetable oil
- 1 teaspoon vanilla extract
- 4 cups loosely packed grated carrots (about 5 carrots)
- 1/2 cup golden raisins
Frosting:
- 2 (8oz packages) cream cheese, at room temperature
- 1/2 cup unsalted butter, at room temperature
- 3 cups powdered sugar
- 1/2 teaspoon vanilla extract
Additional ingredients:
- 1 bag of coconut flakes
- green food dye
- jelly beans
Tools needed (paid links):
- grater
- electric mixer (hand mixer or stand mixer)
- 10-inch round cake pan
- 5 in round cake pan
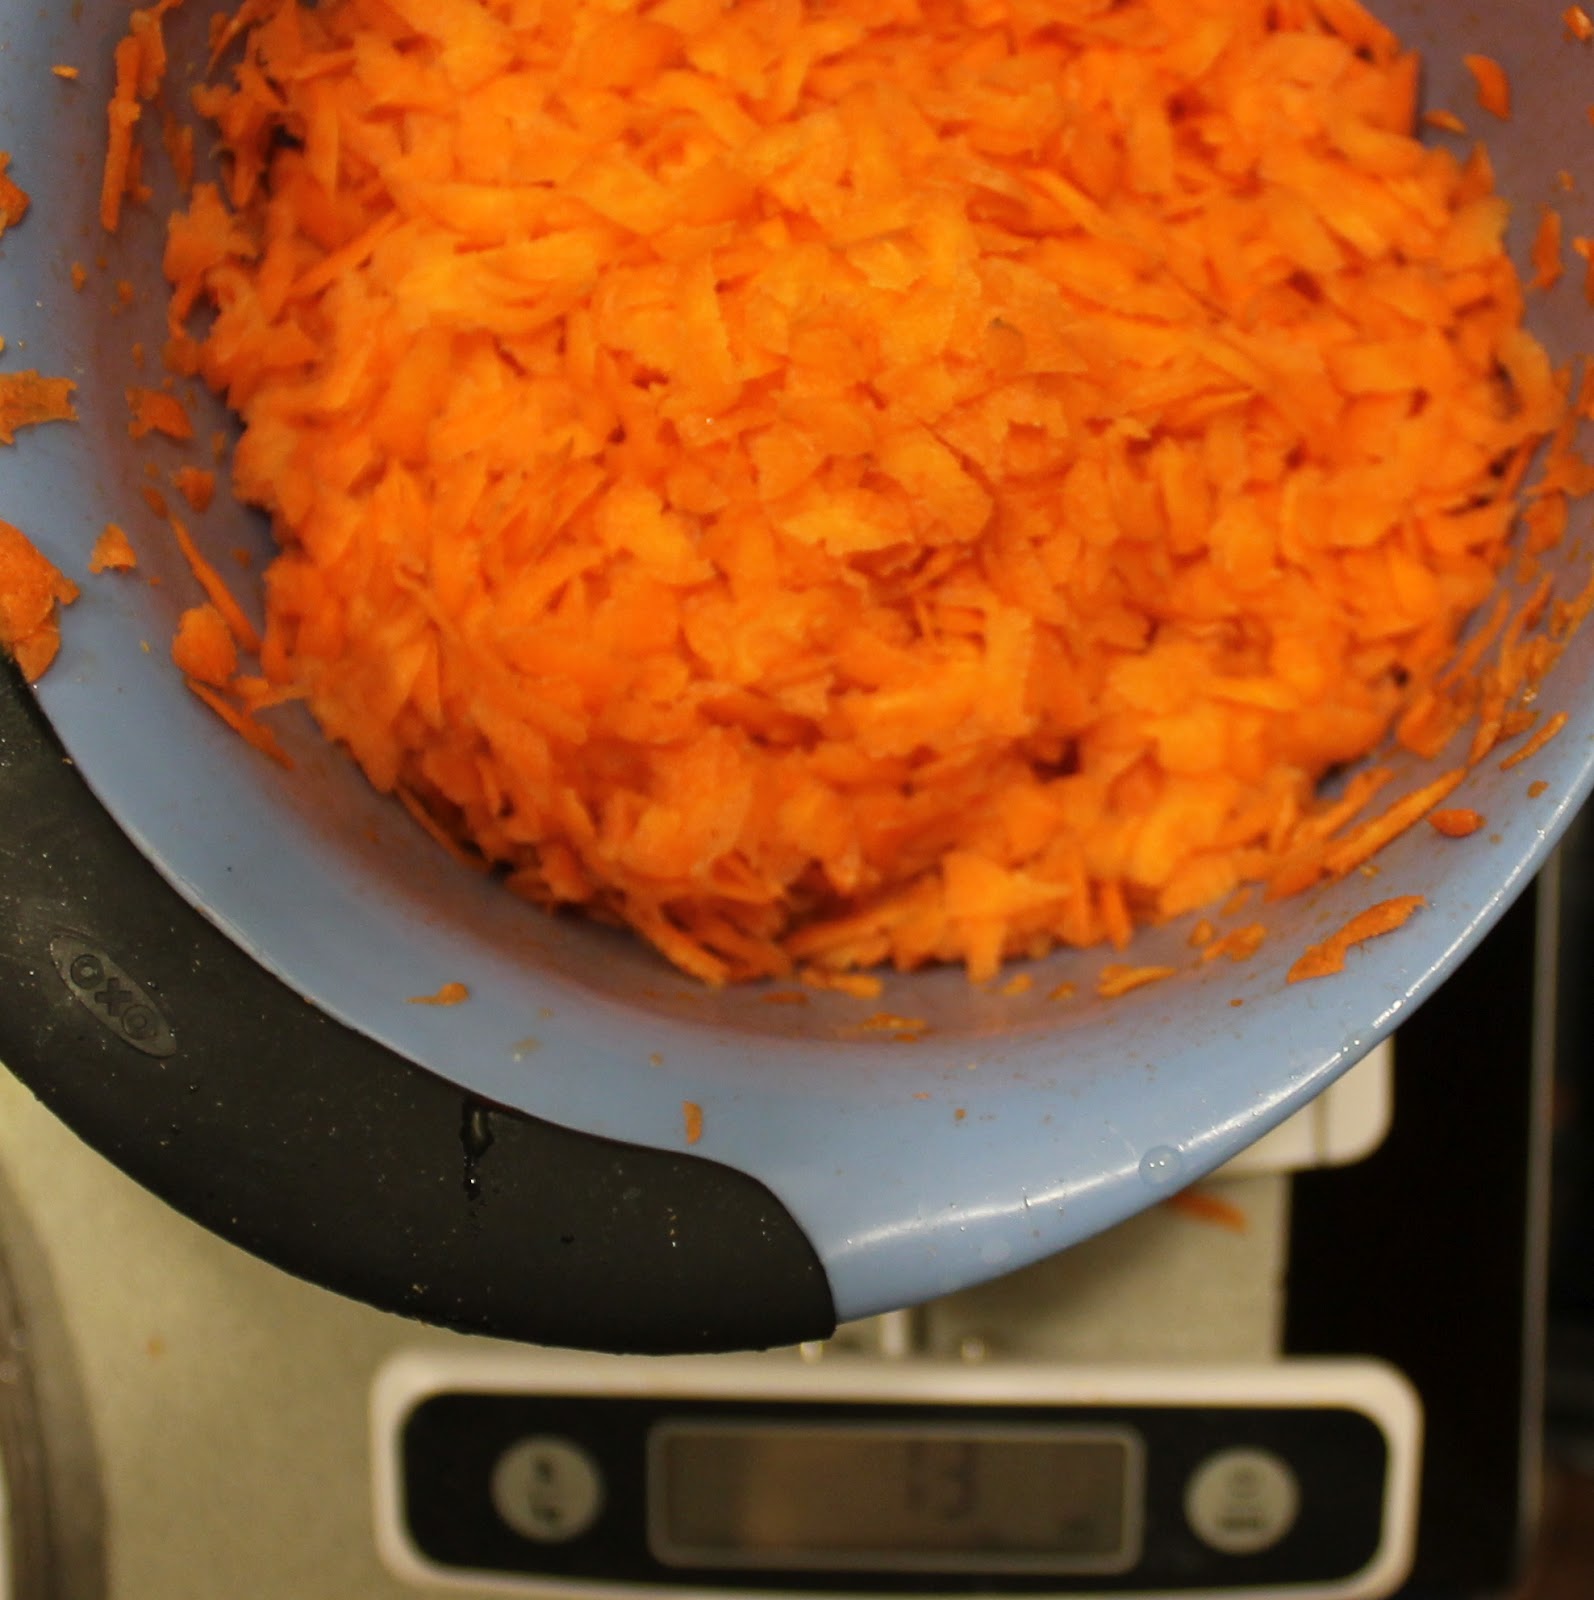
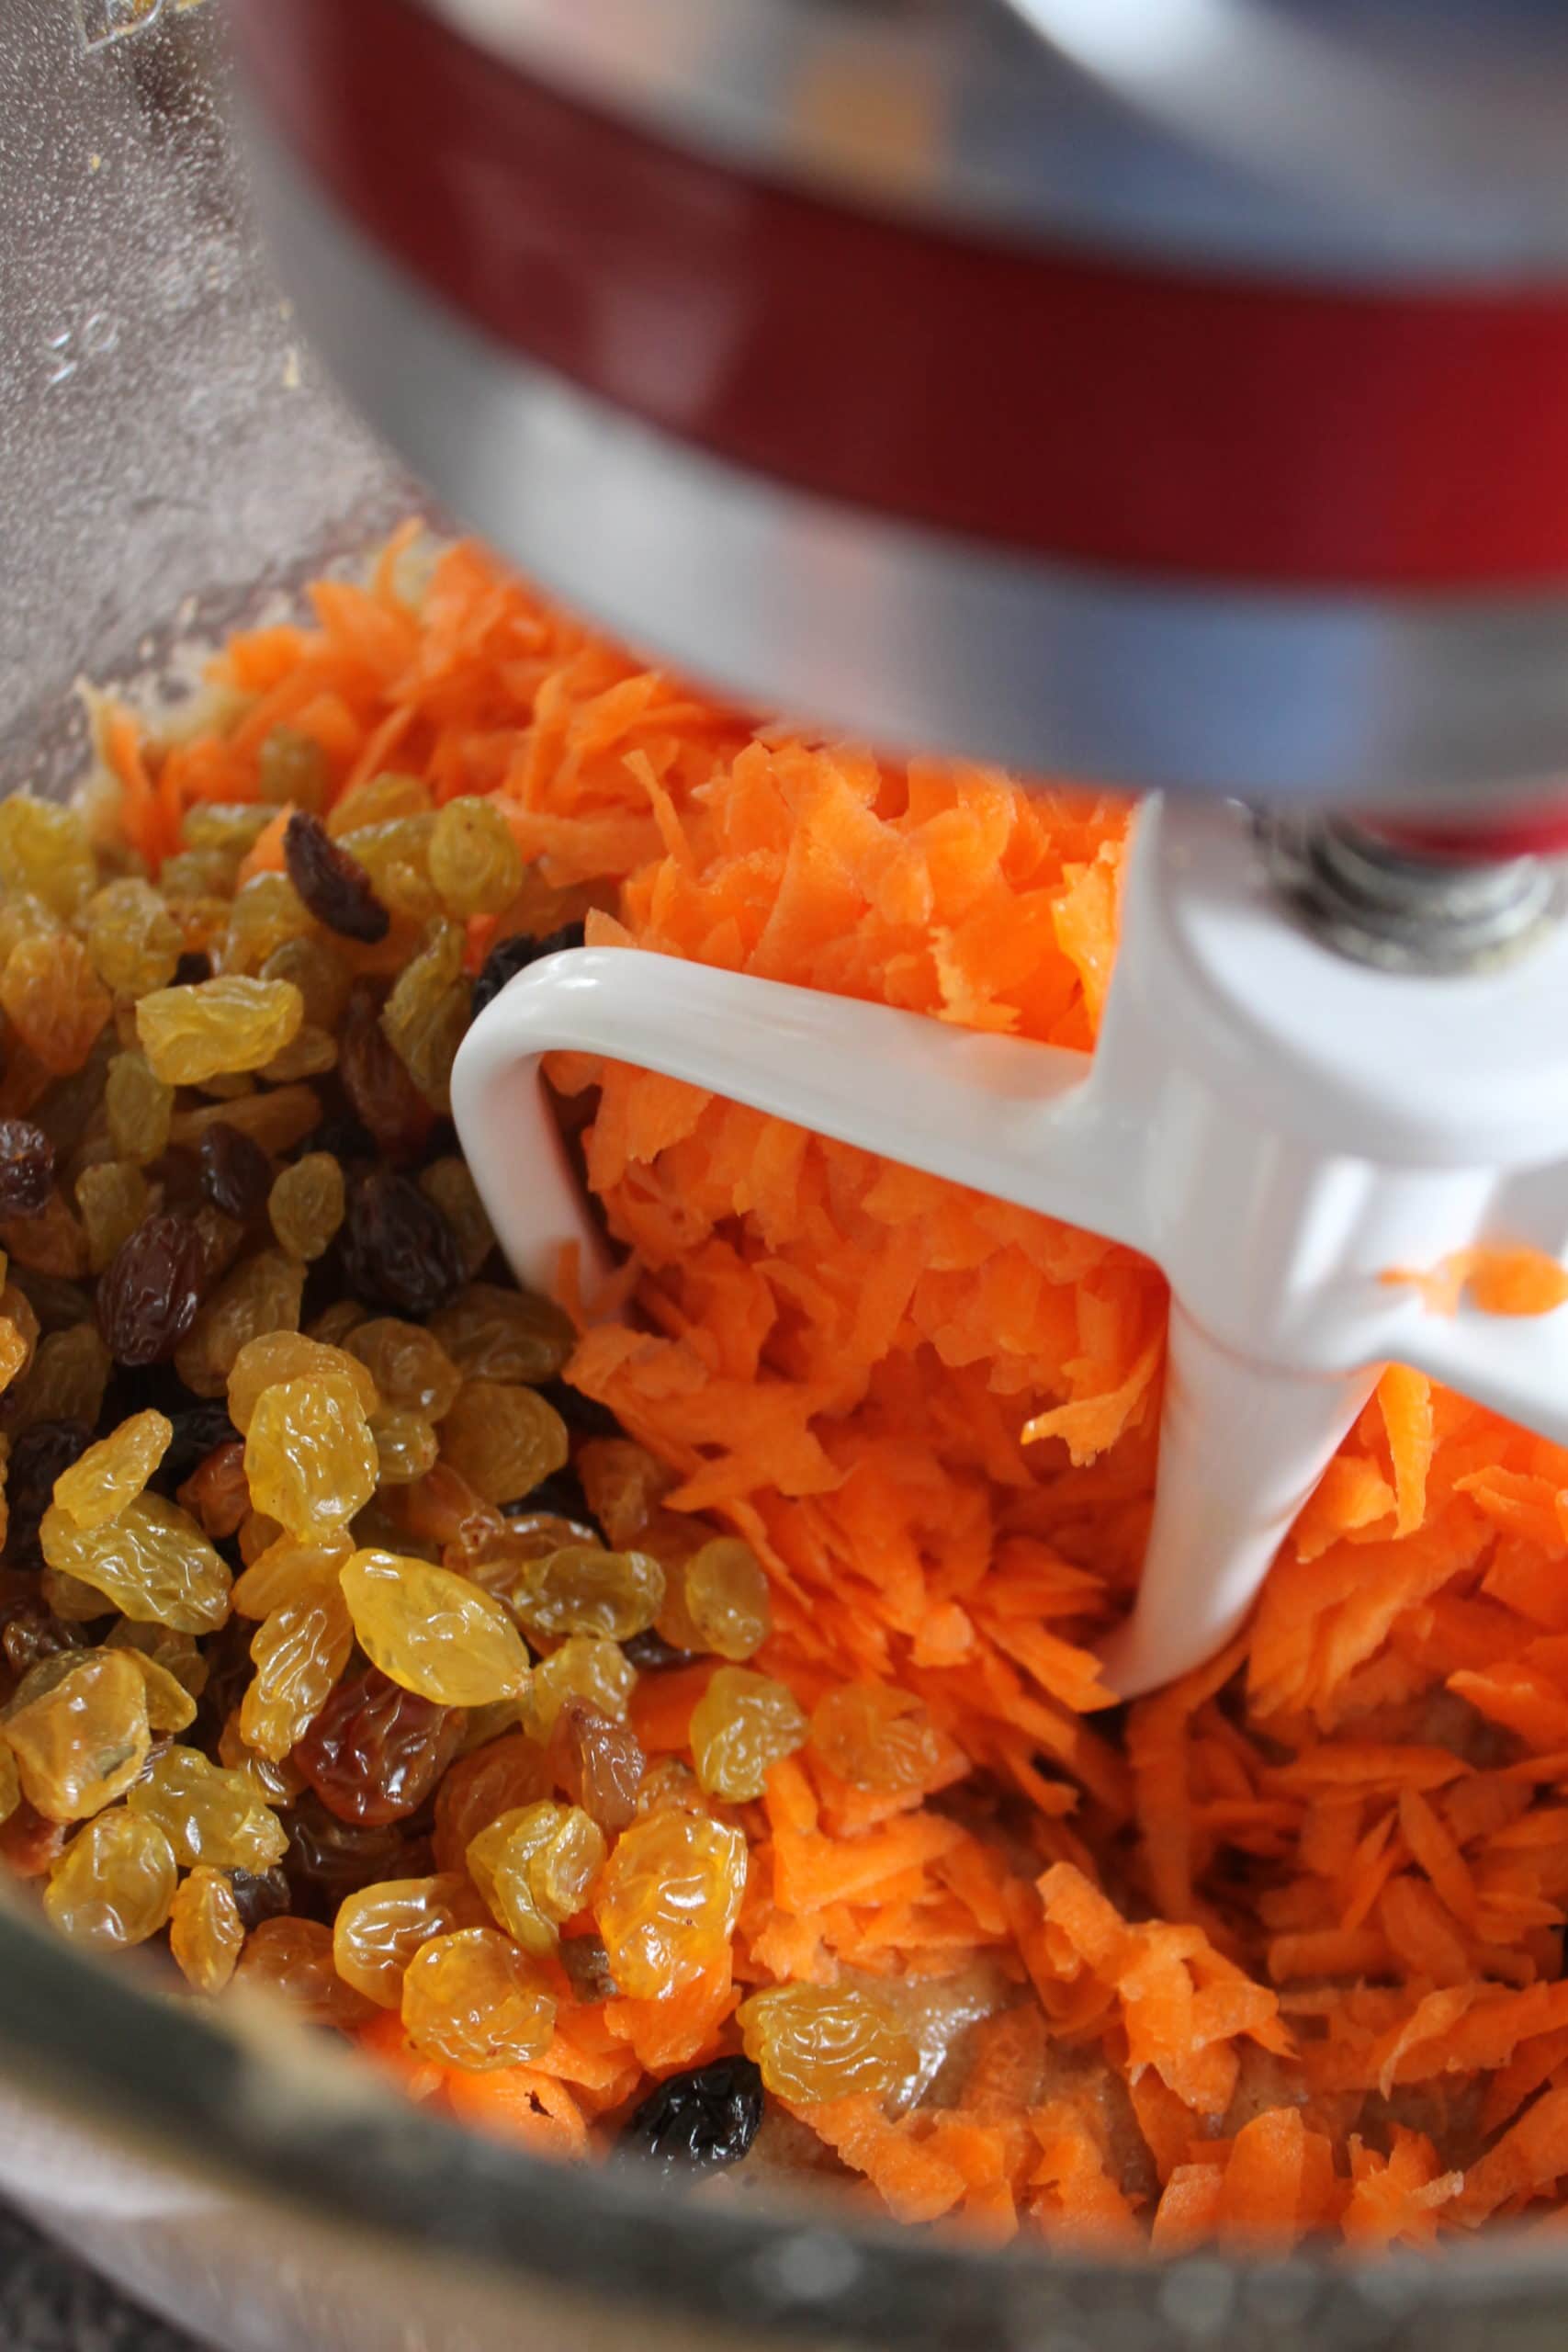
Begin by grating your carrots.
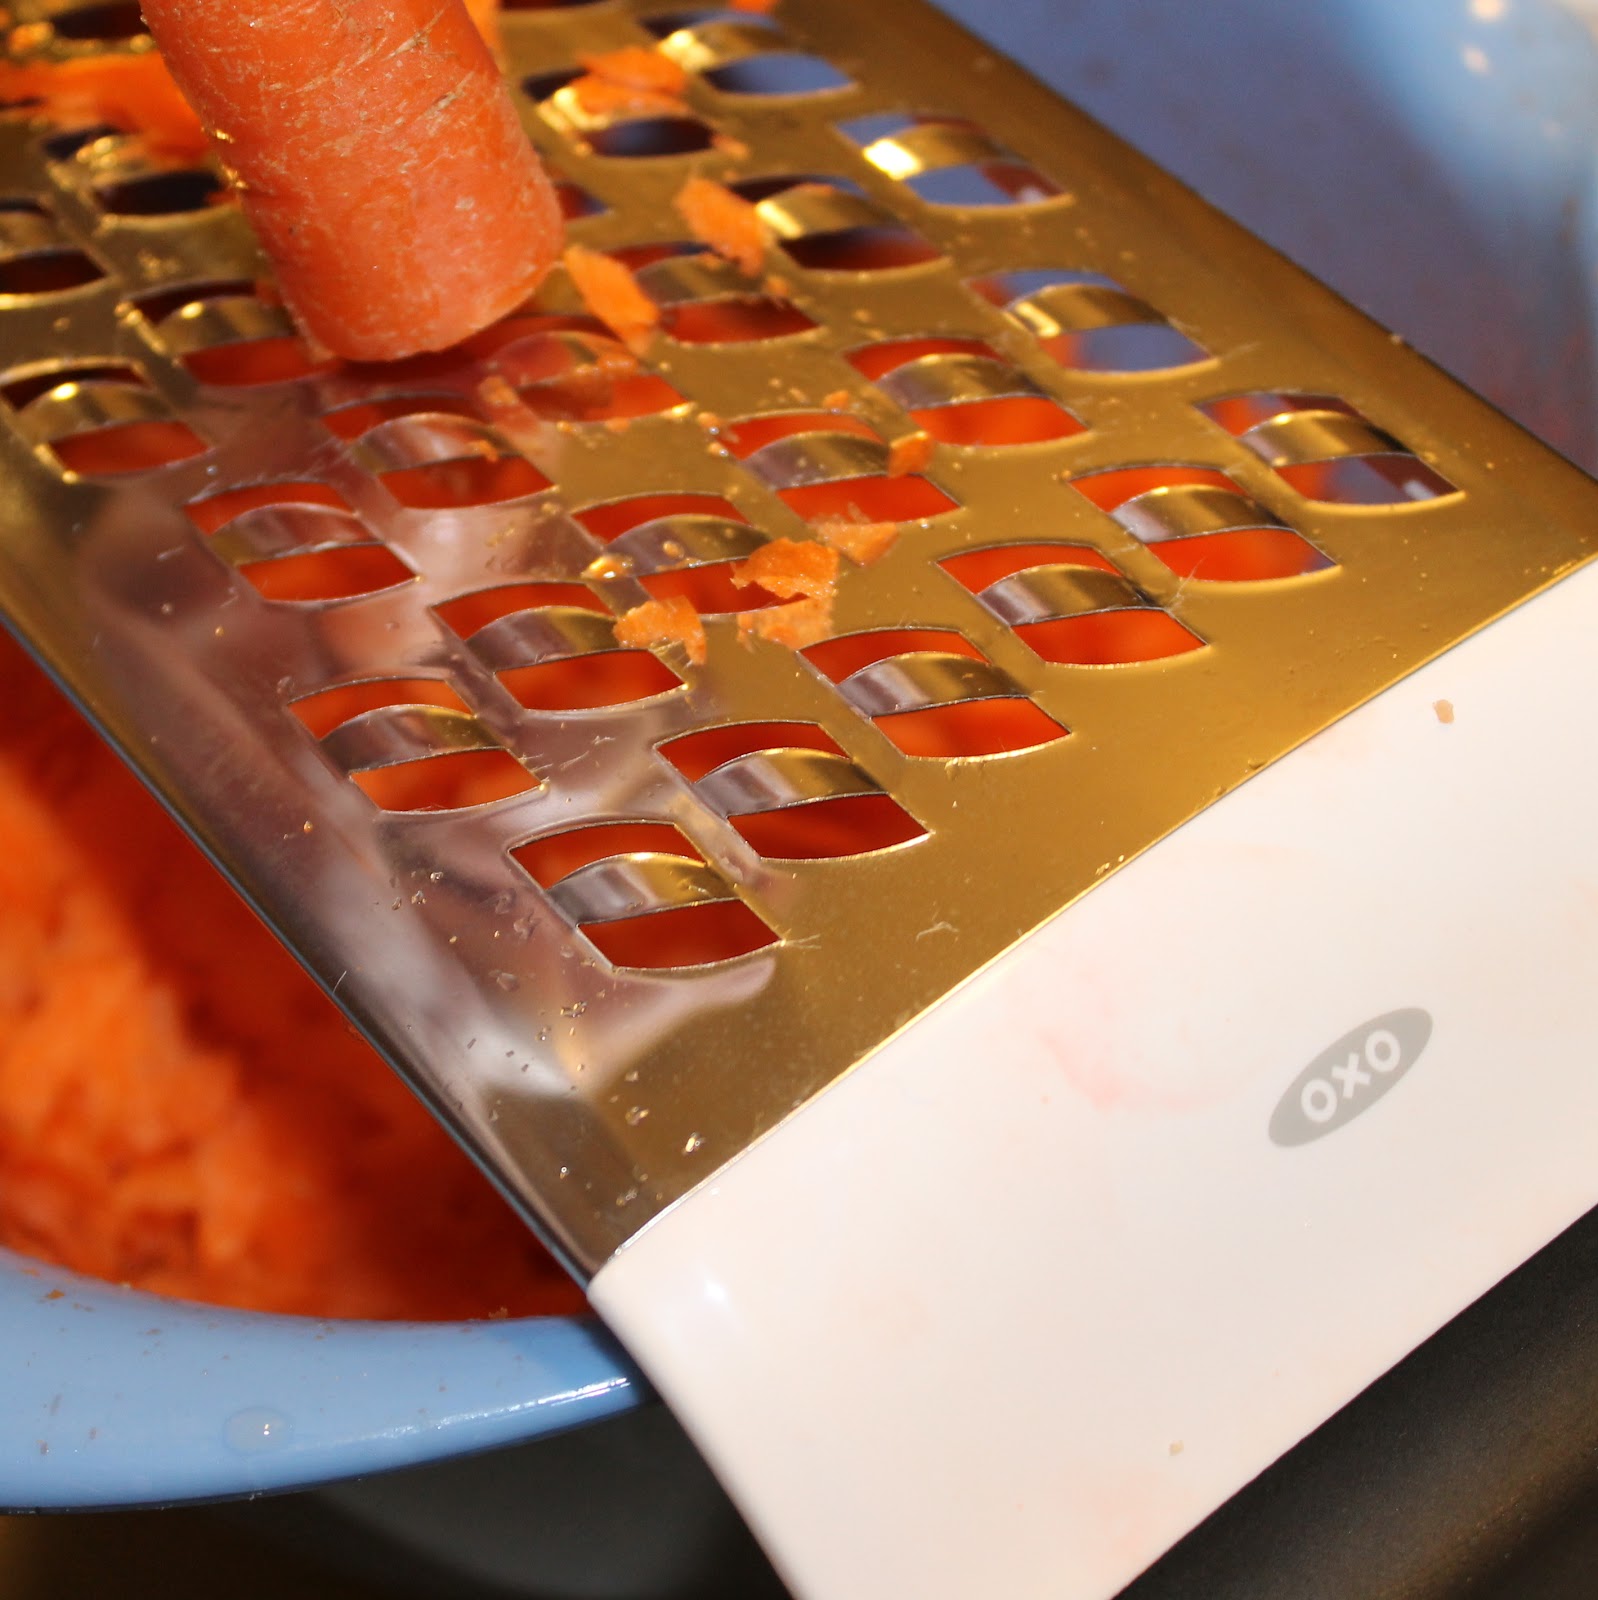
It took about 4-5 carrots to reach 4 cups.
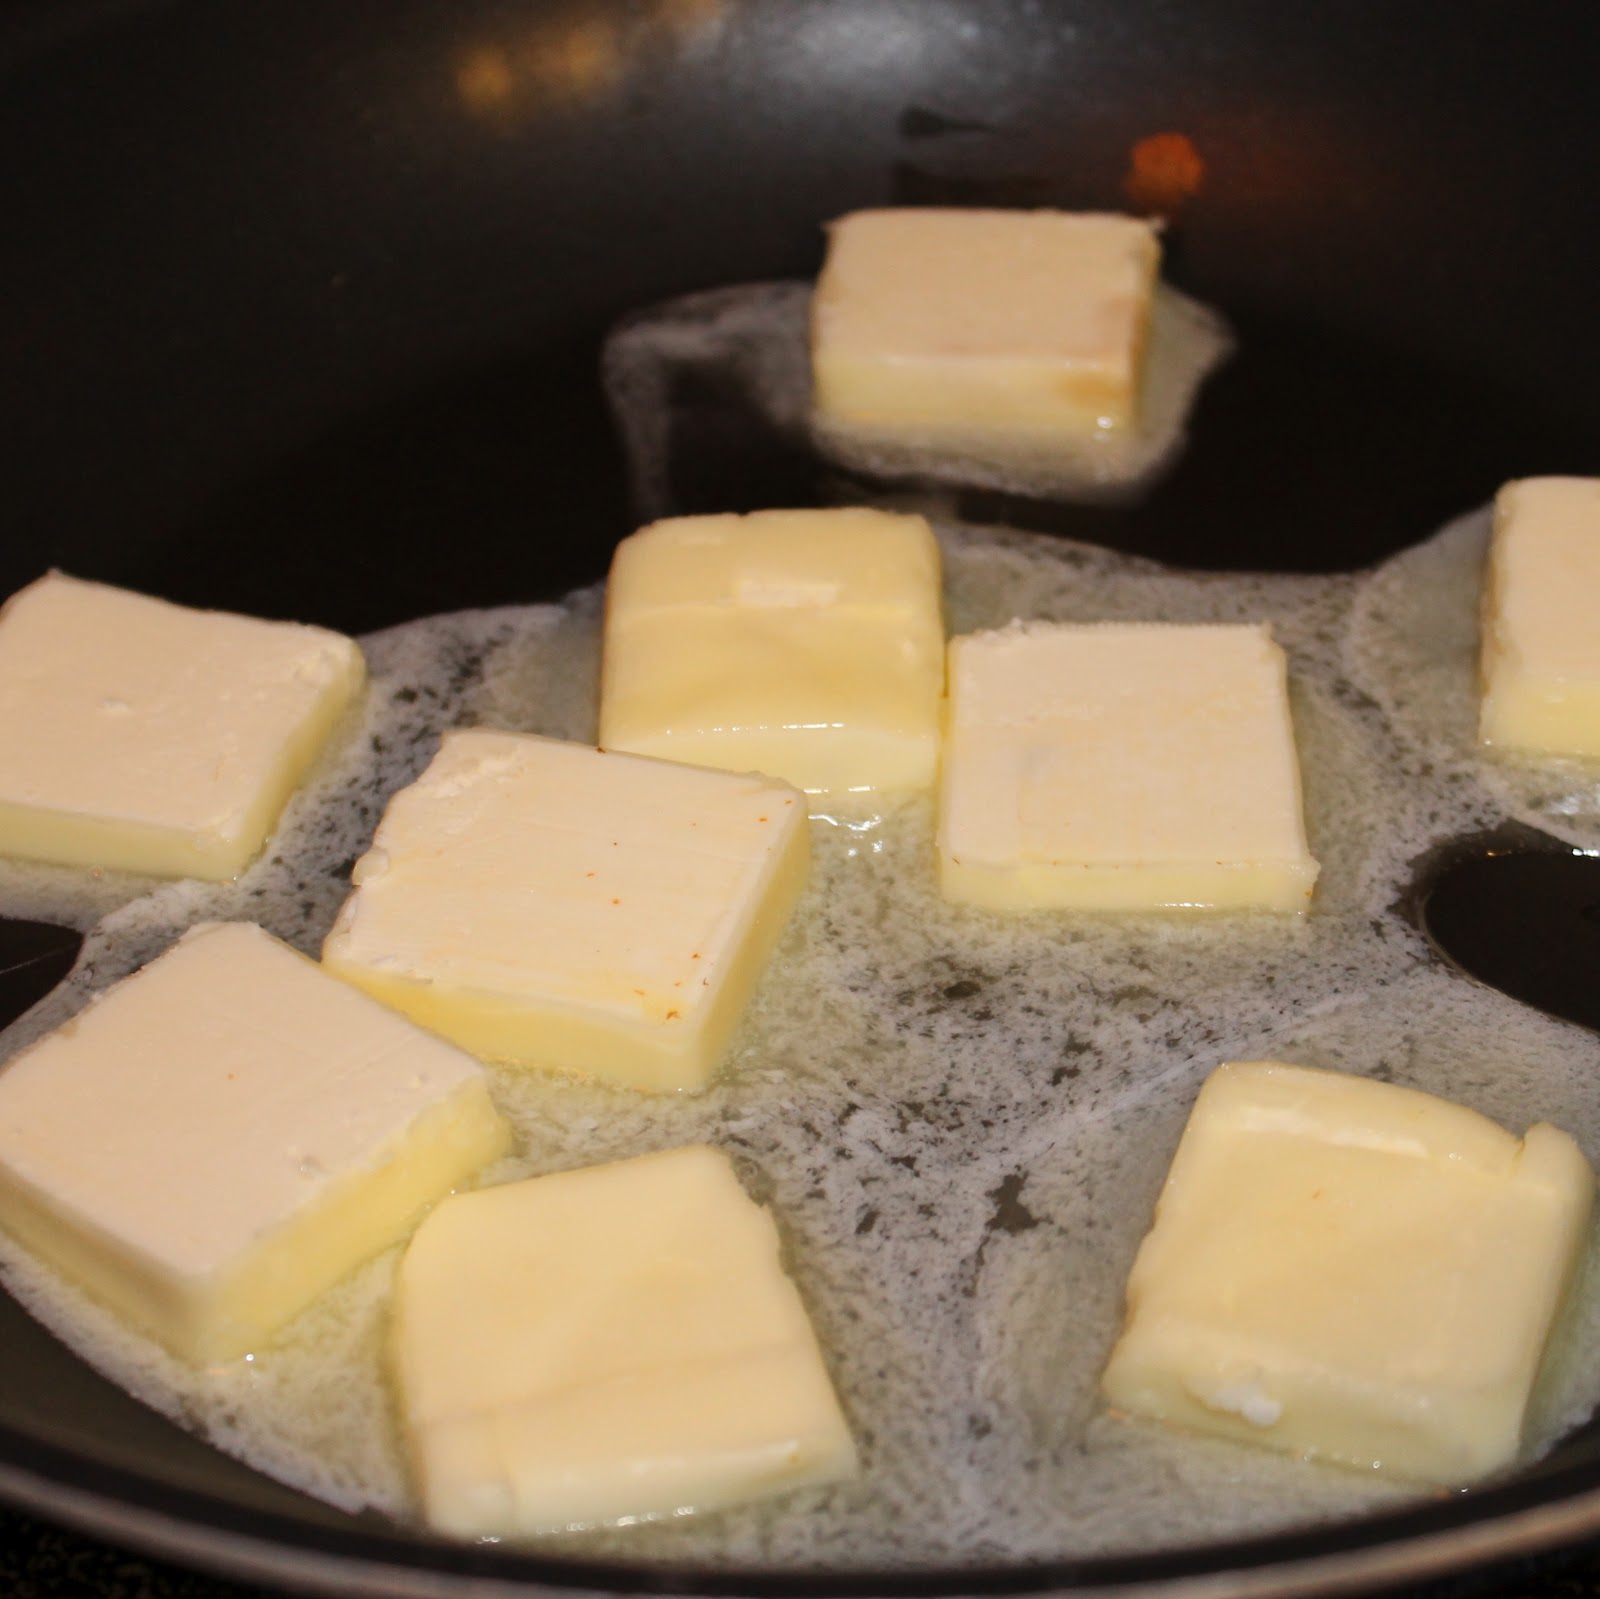
This recipe calls for brown butter. If you want, you can just use melted butter without browning it, but brown butter adds an extra boost of flavor. To brown butter, heat a saute pan over medium heat. Add the butter cut into tablespoon sized pieces.
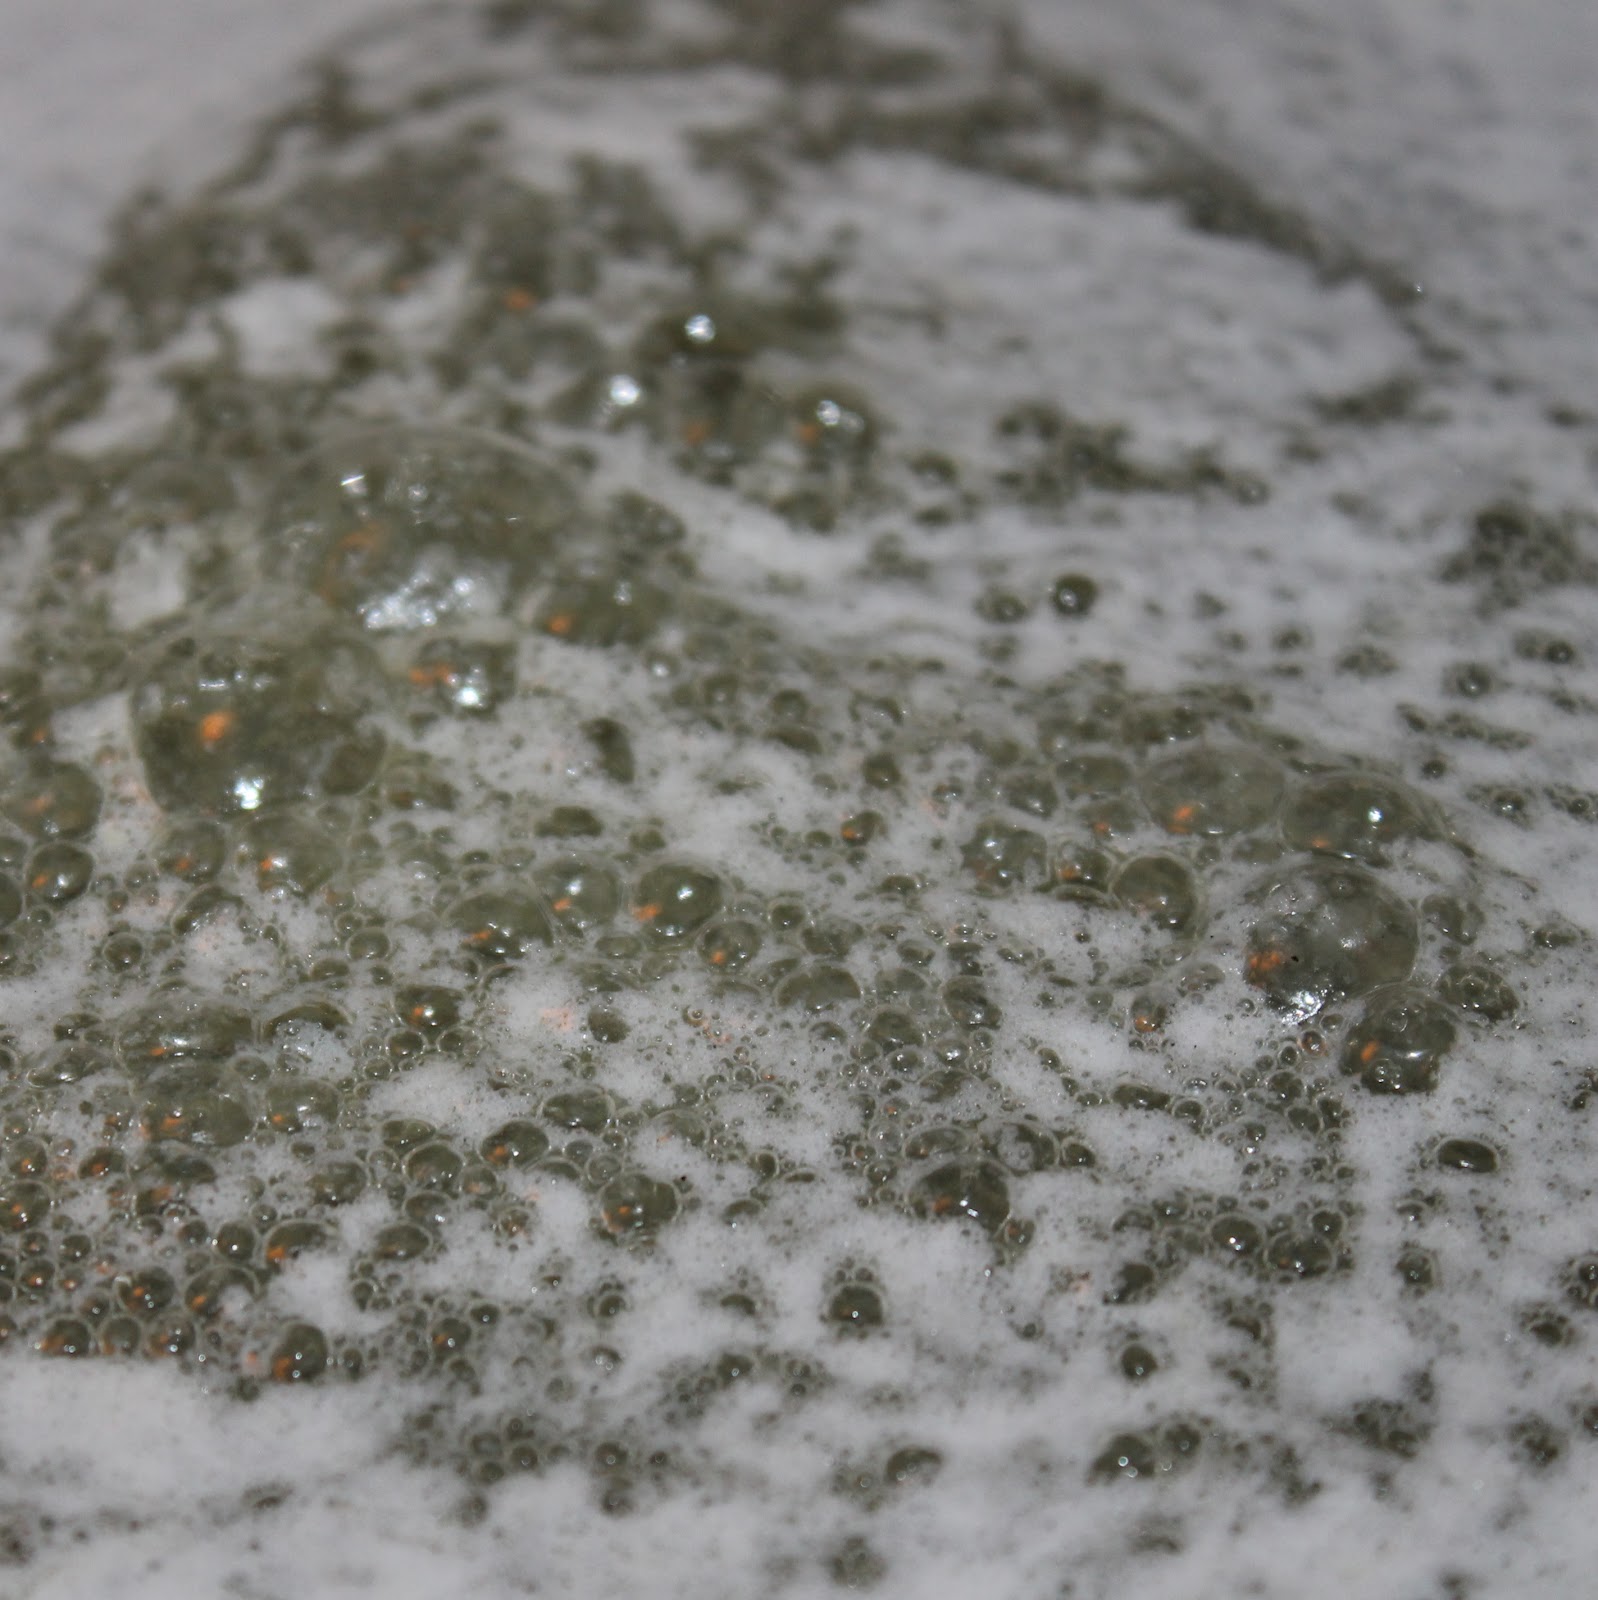
Allow to melt, whisking. It will start bubbling.
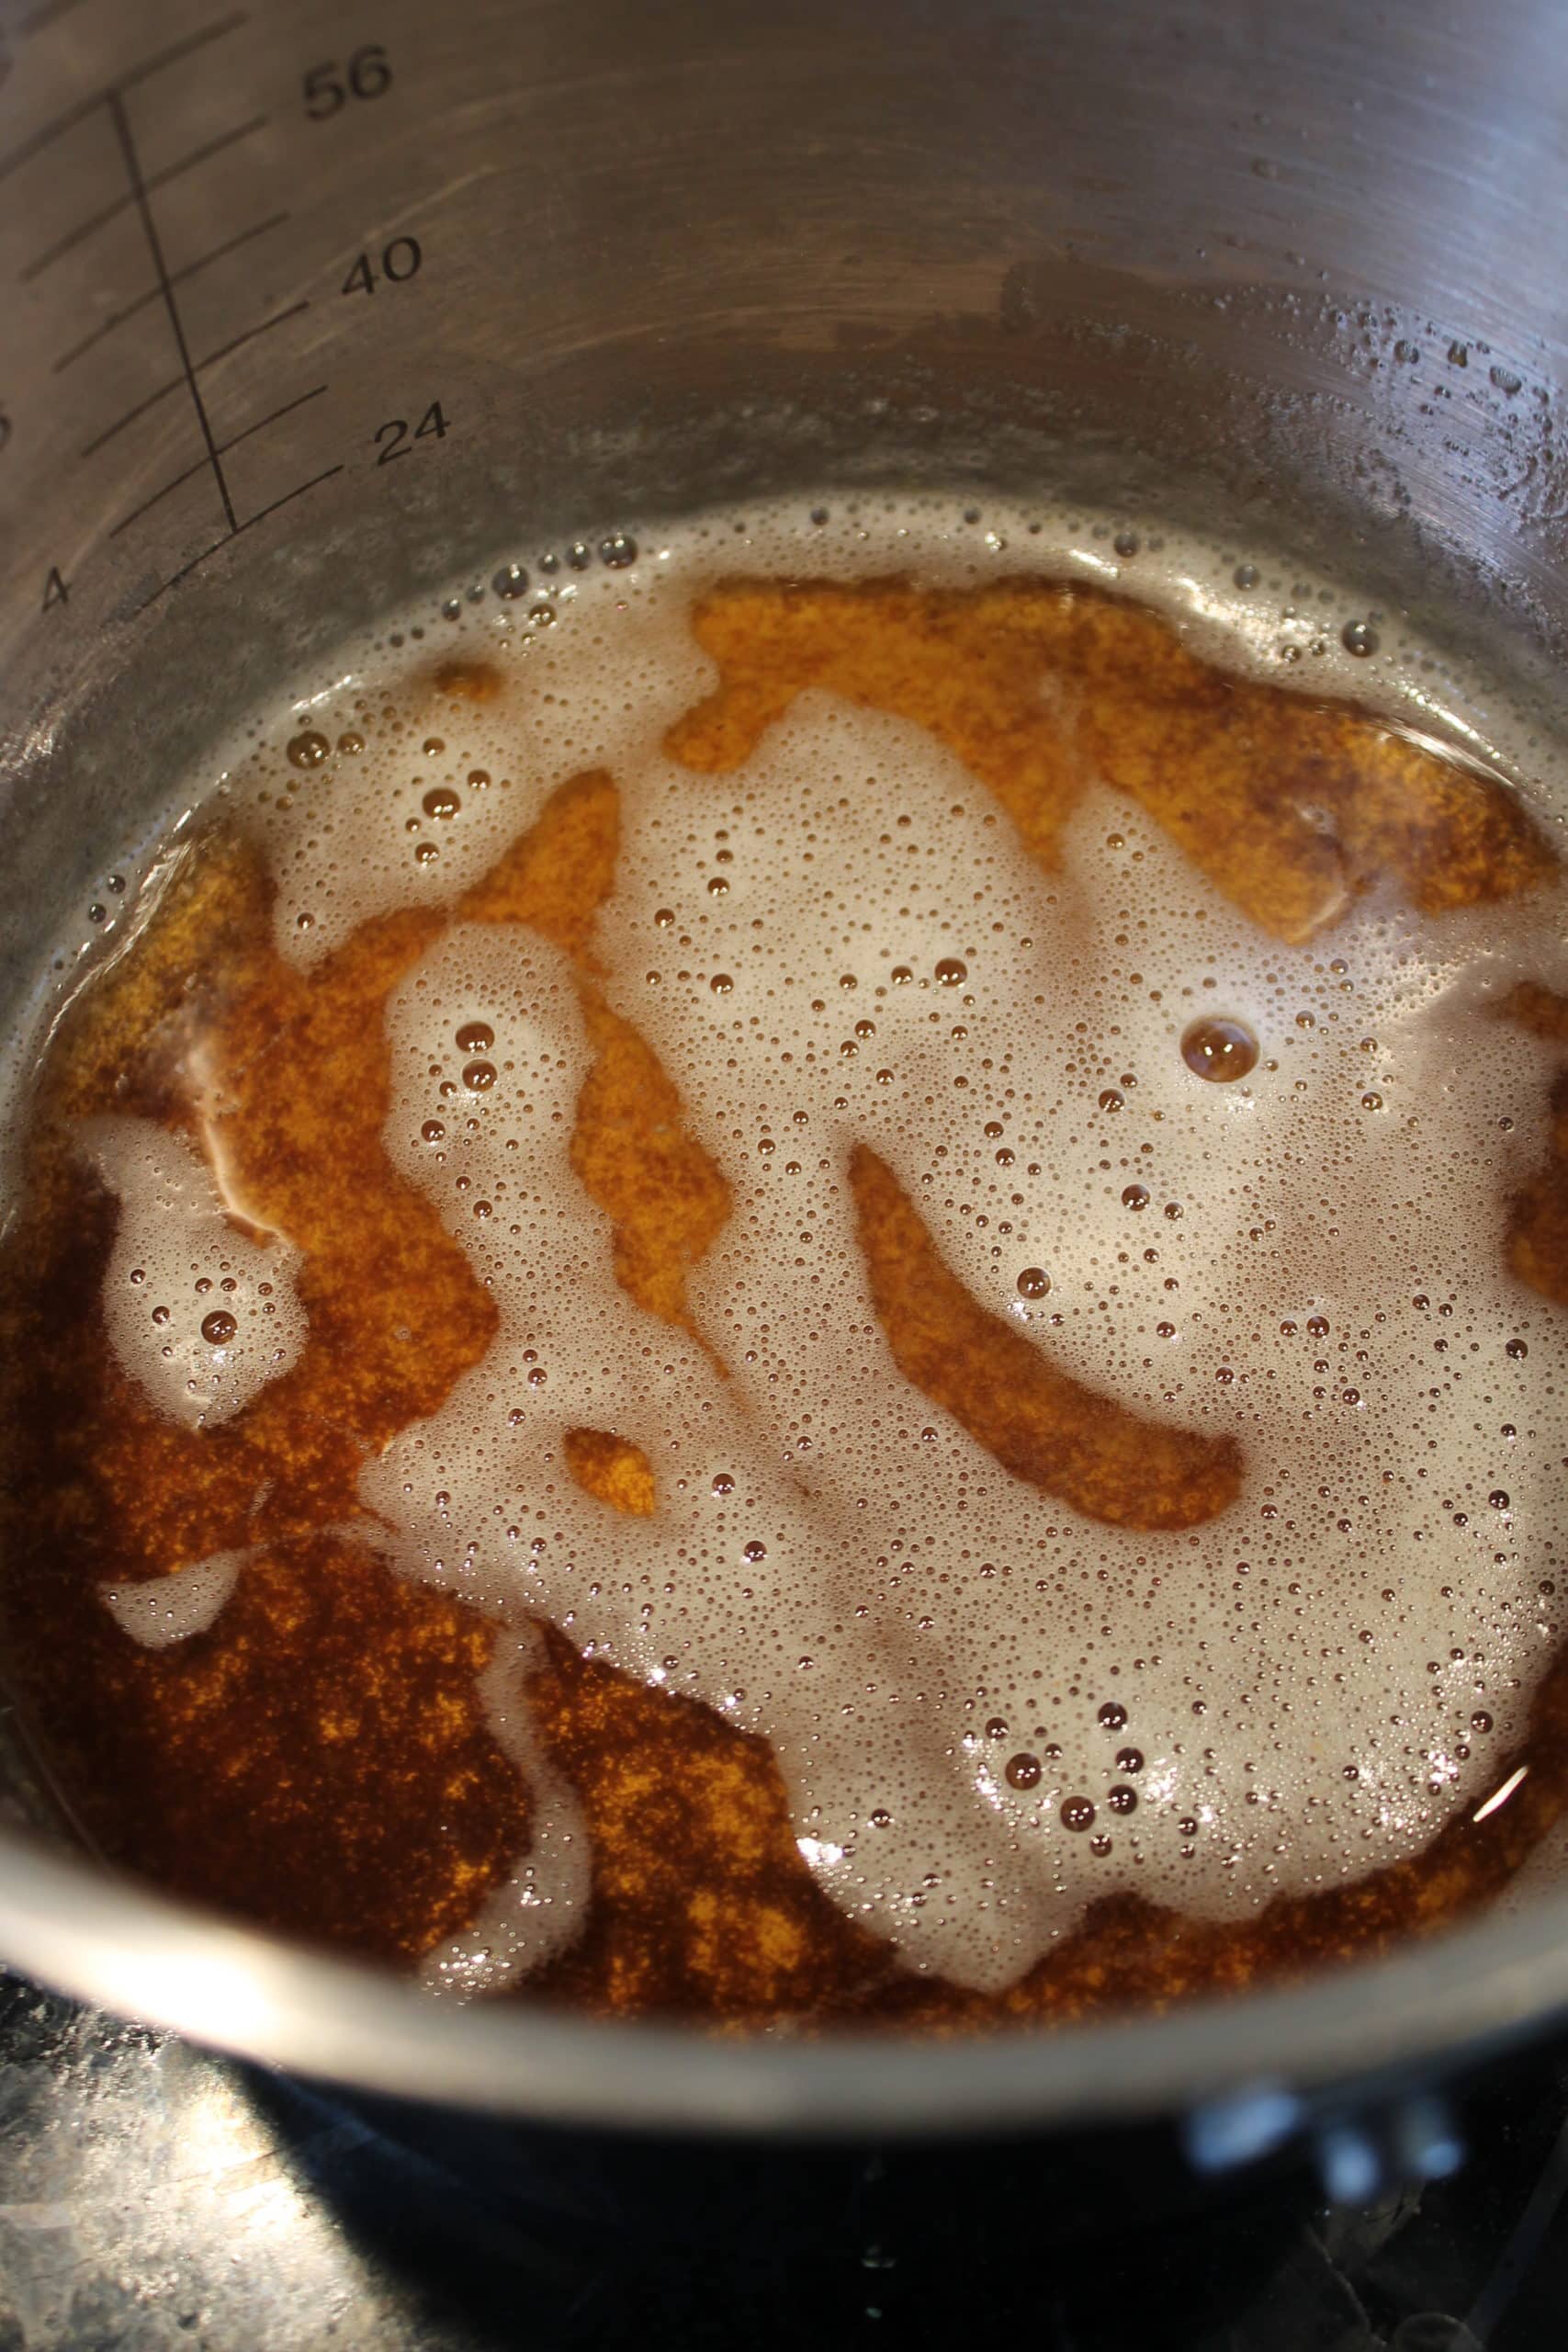
When you begin to see some browning, remove it from heat. Set aside.
Preheat your oven to 350 degrees. Butter and flour a 10 inch cake pan and line the bottom with parchment paper.
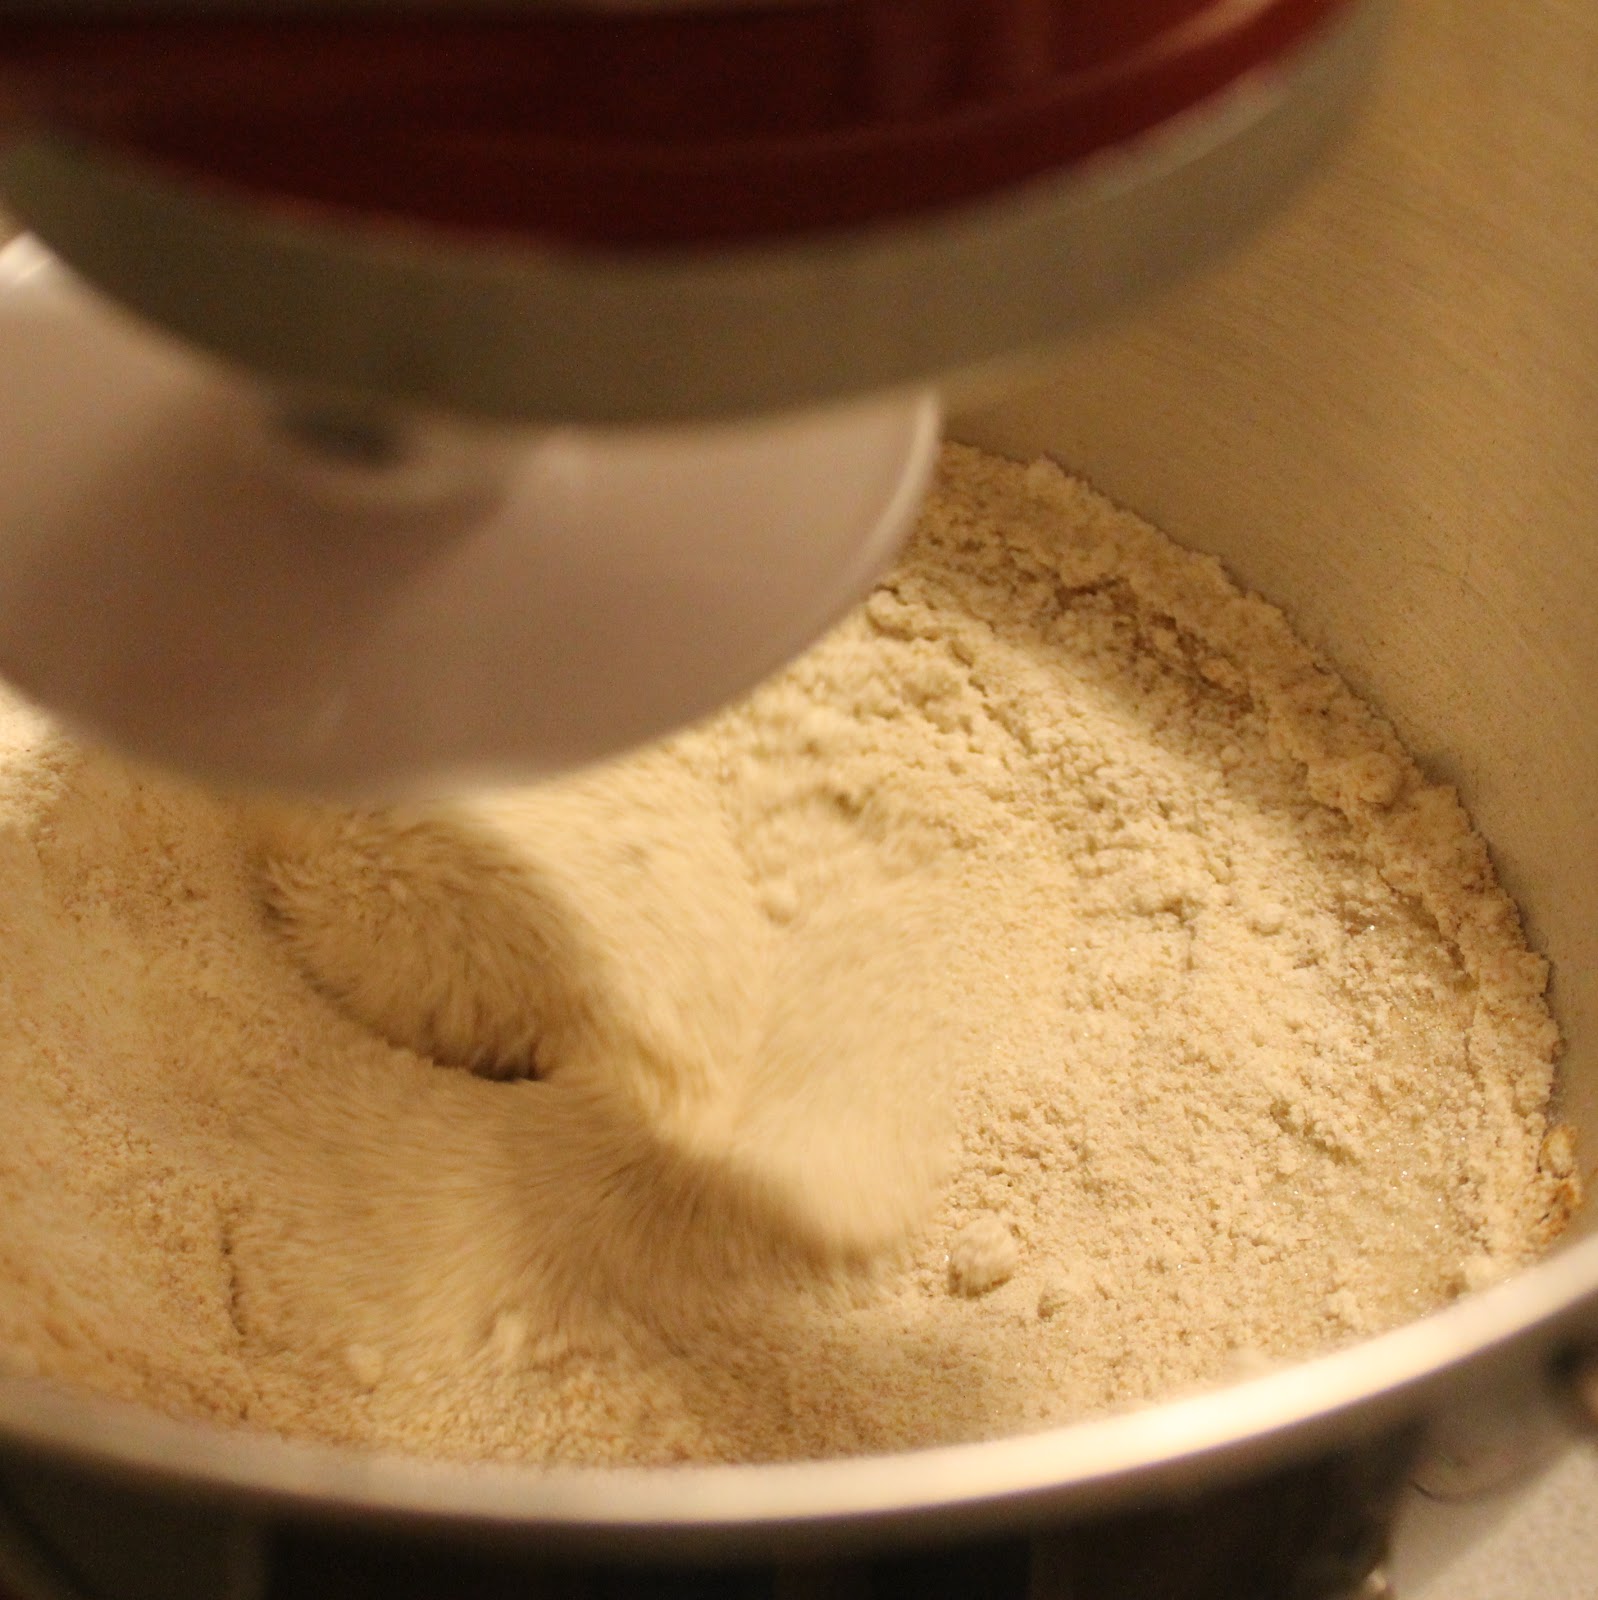
Whisk together the flour, sugar, baking soda, cinnamon, nutmeg, cloves and salt. Set aside.

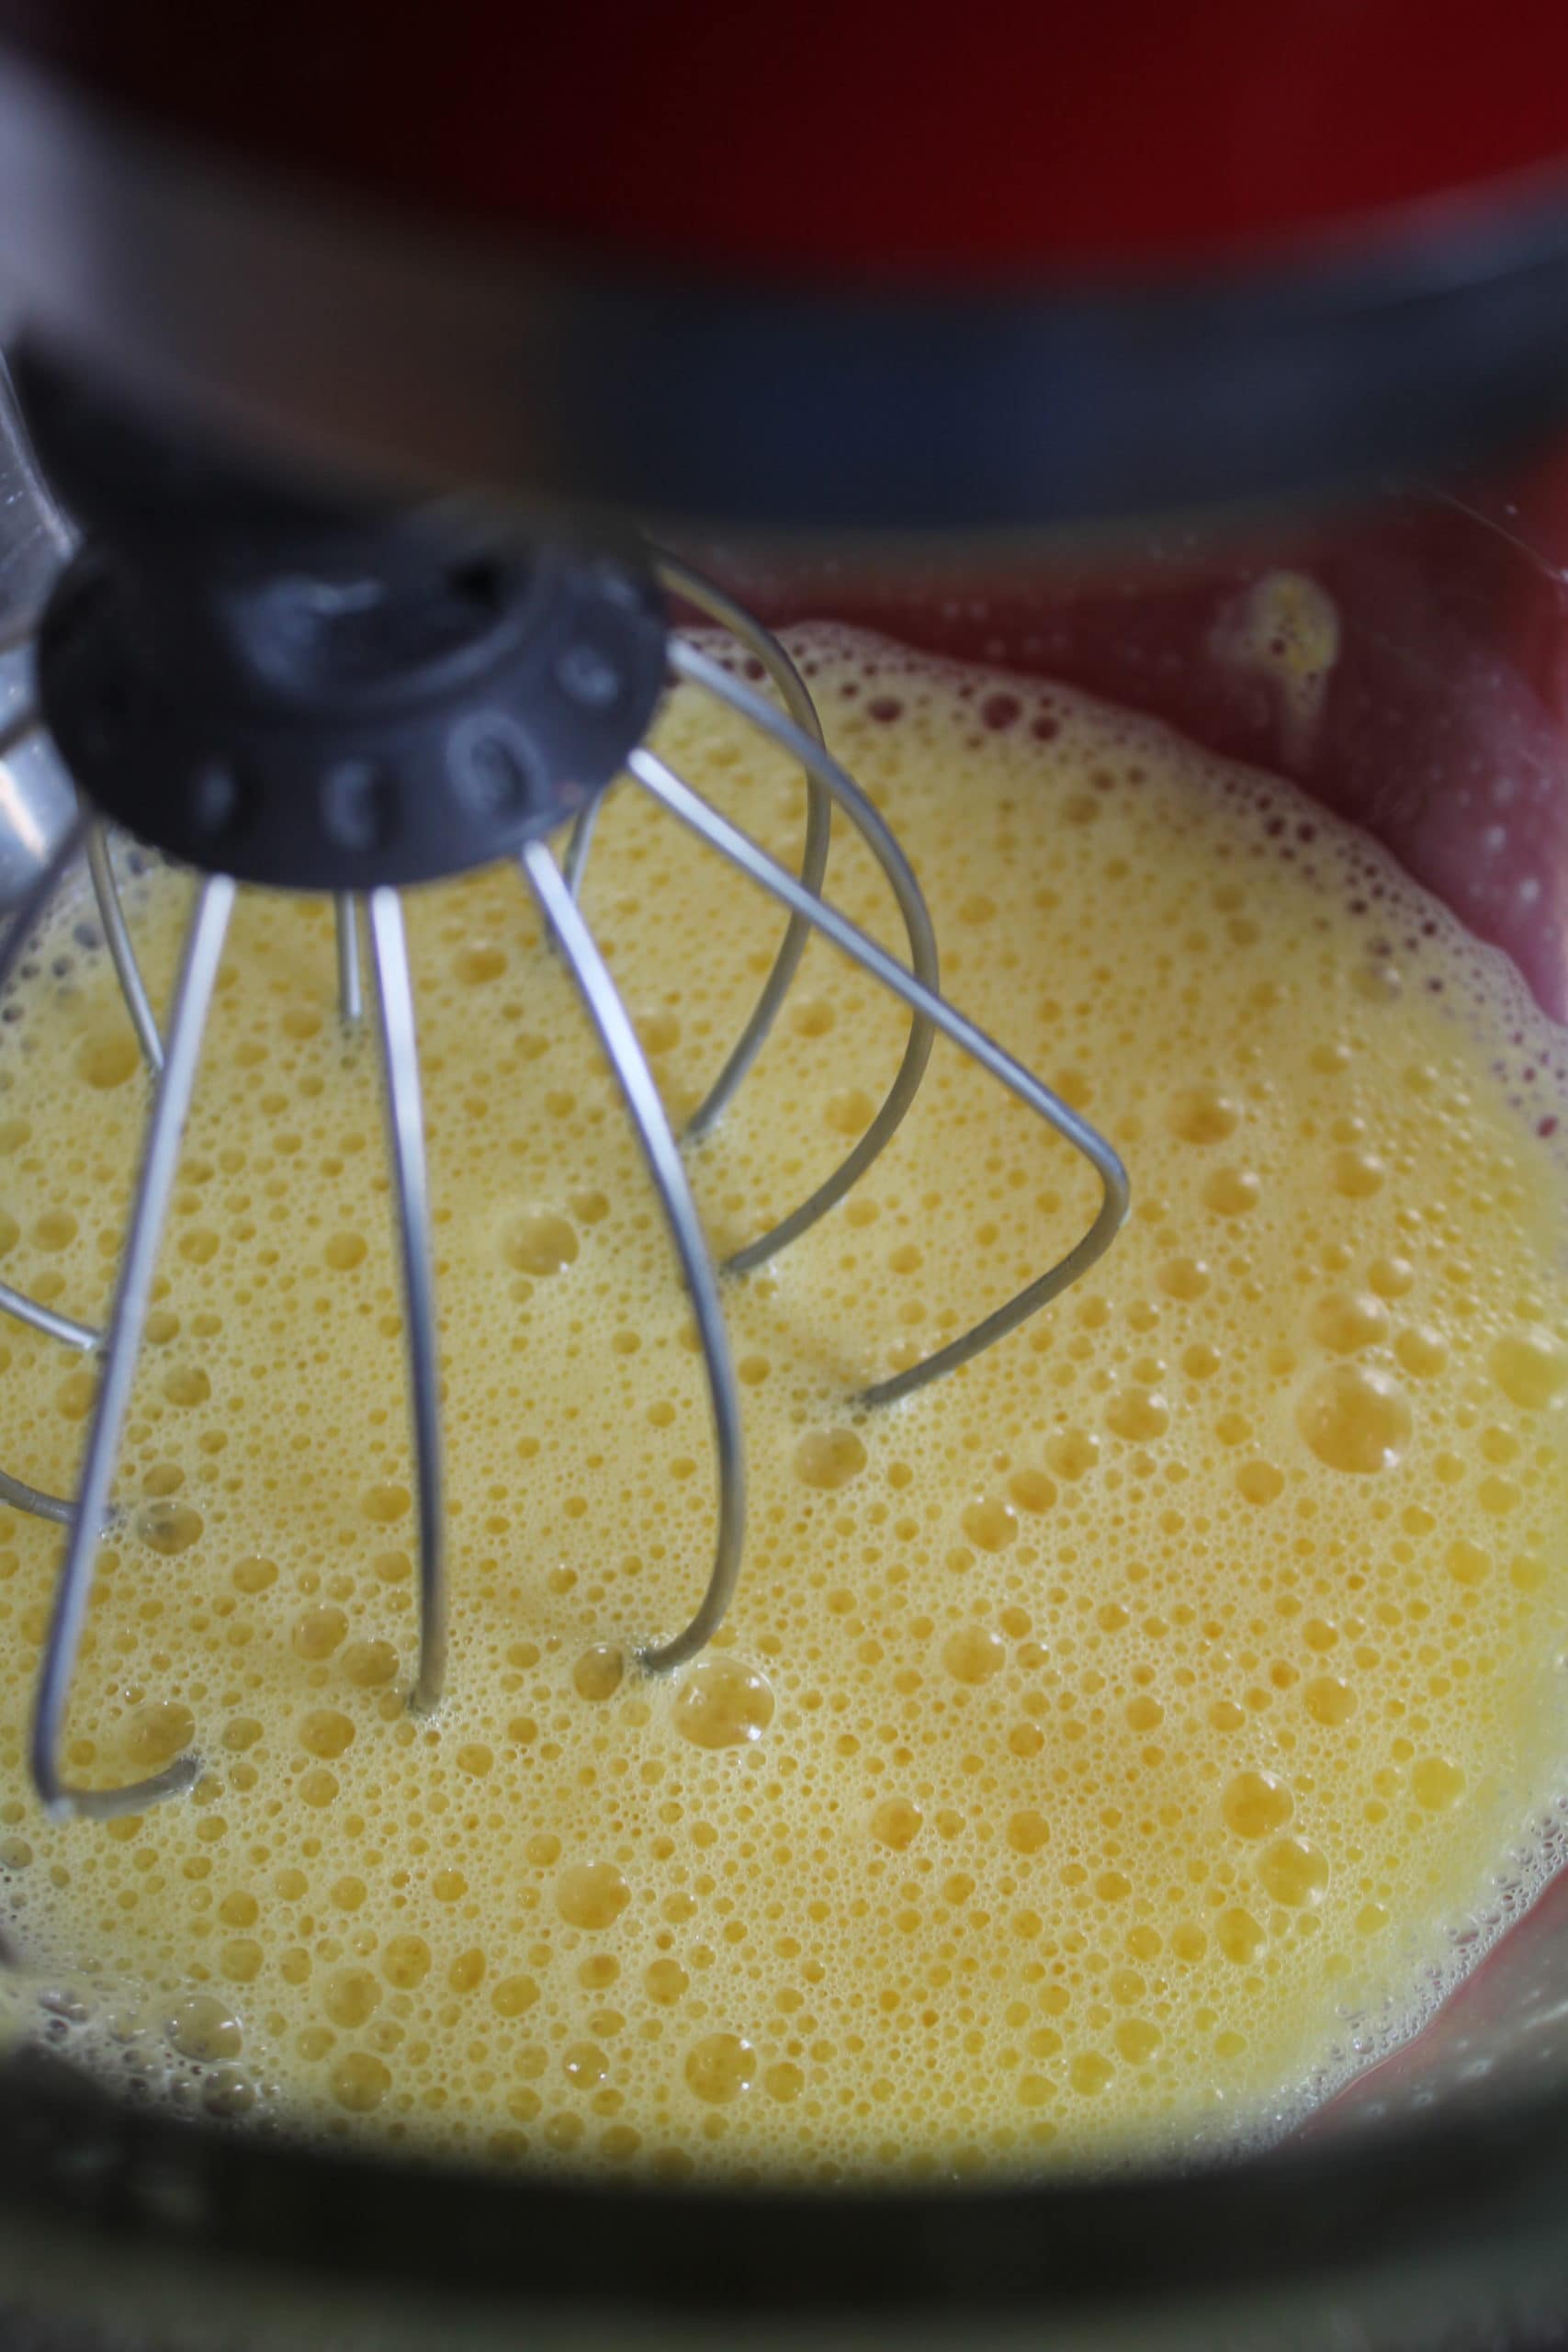
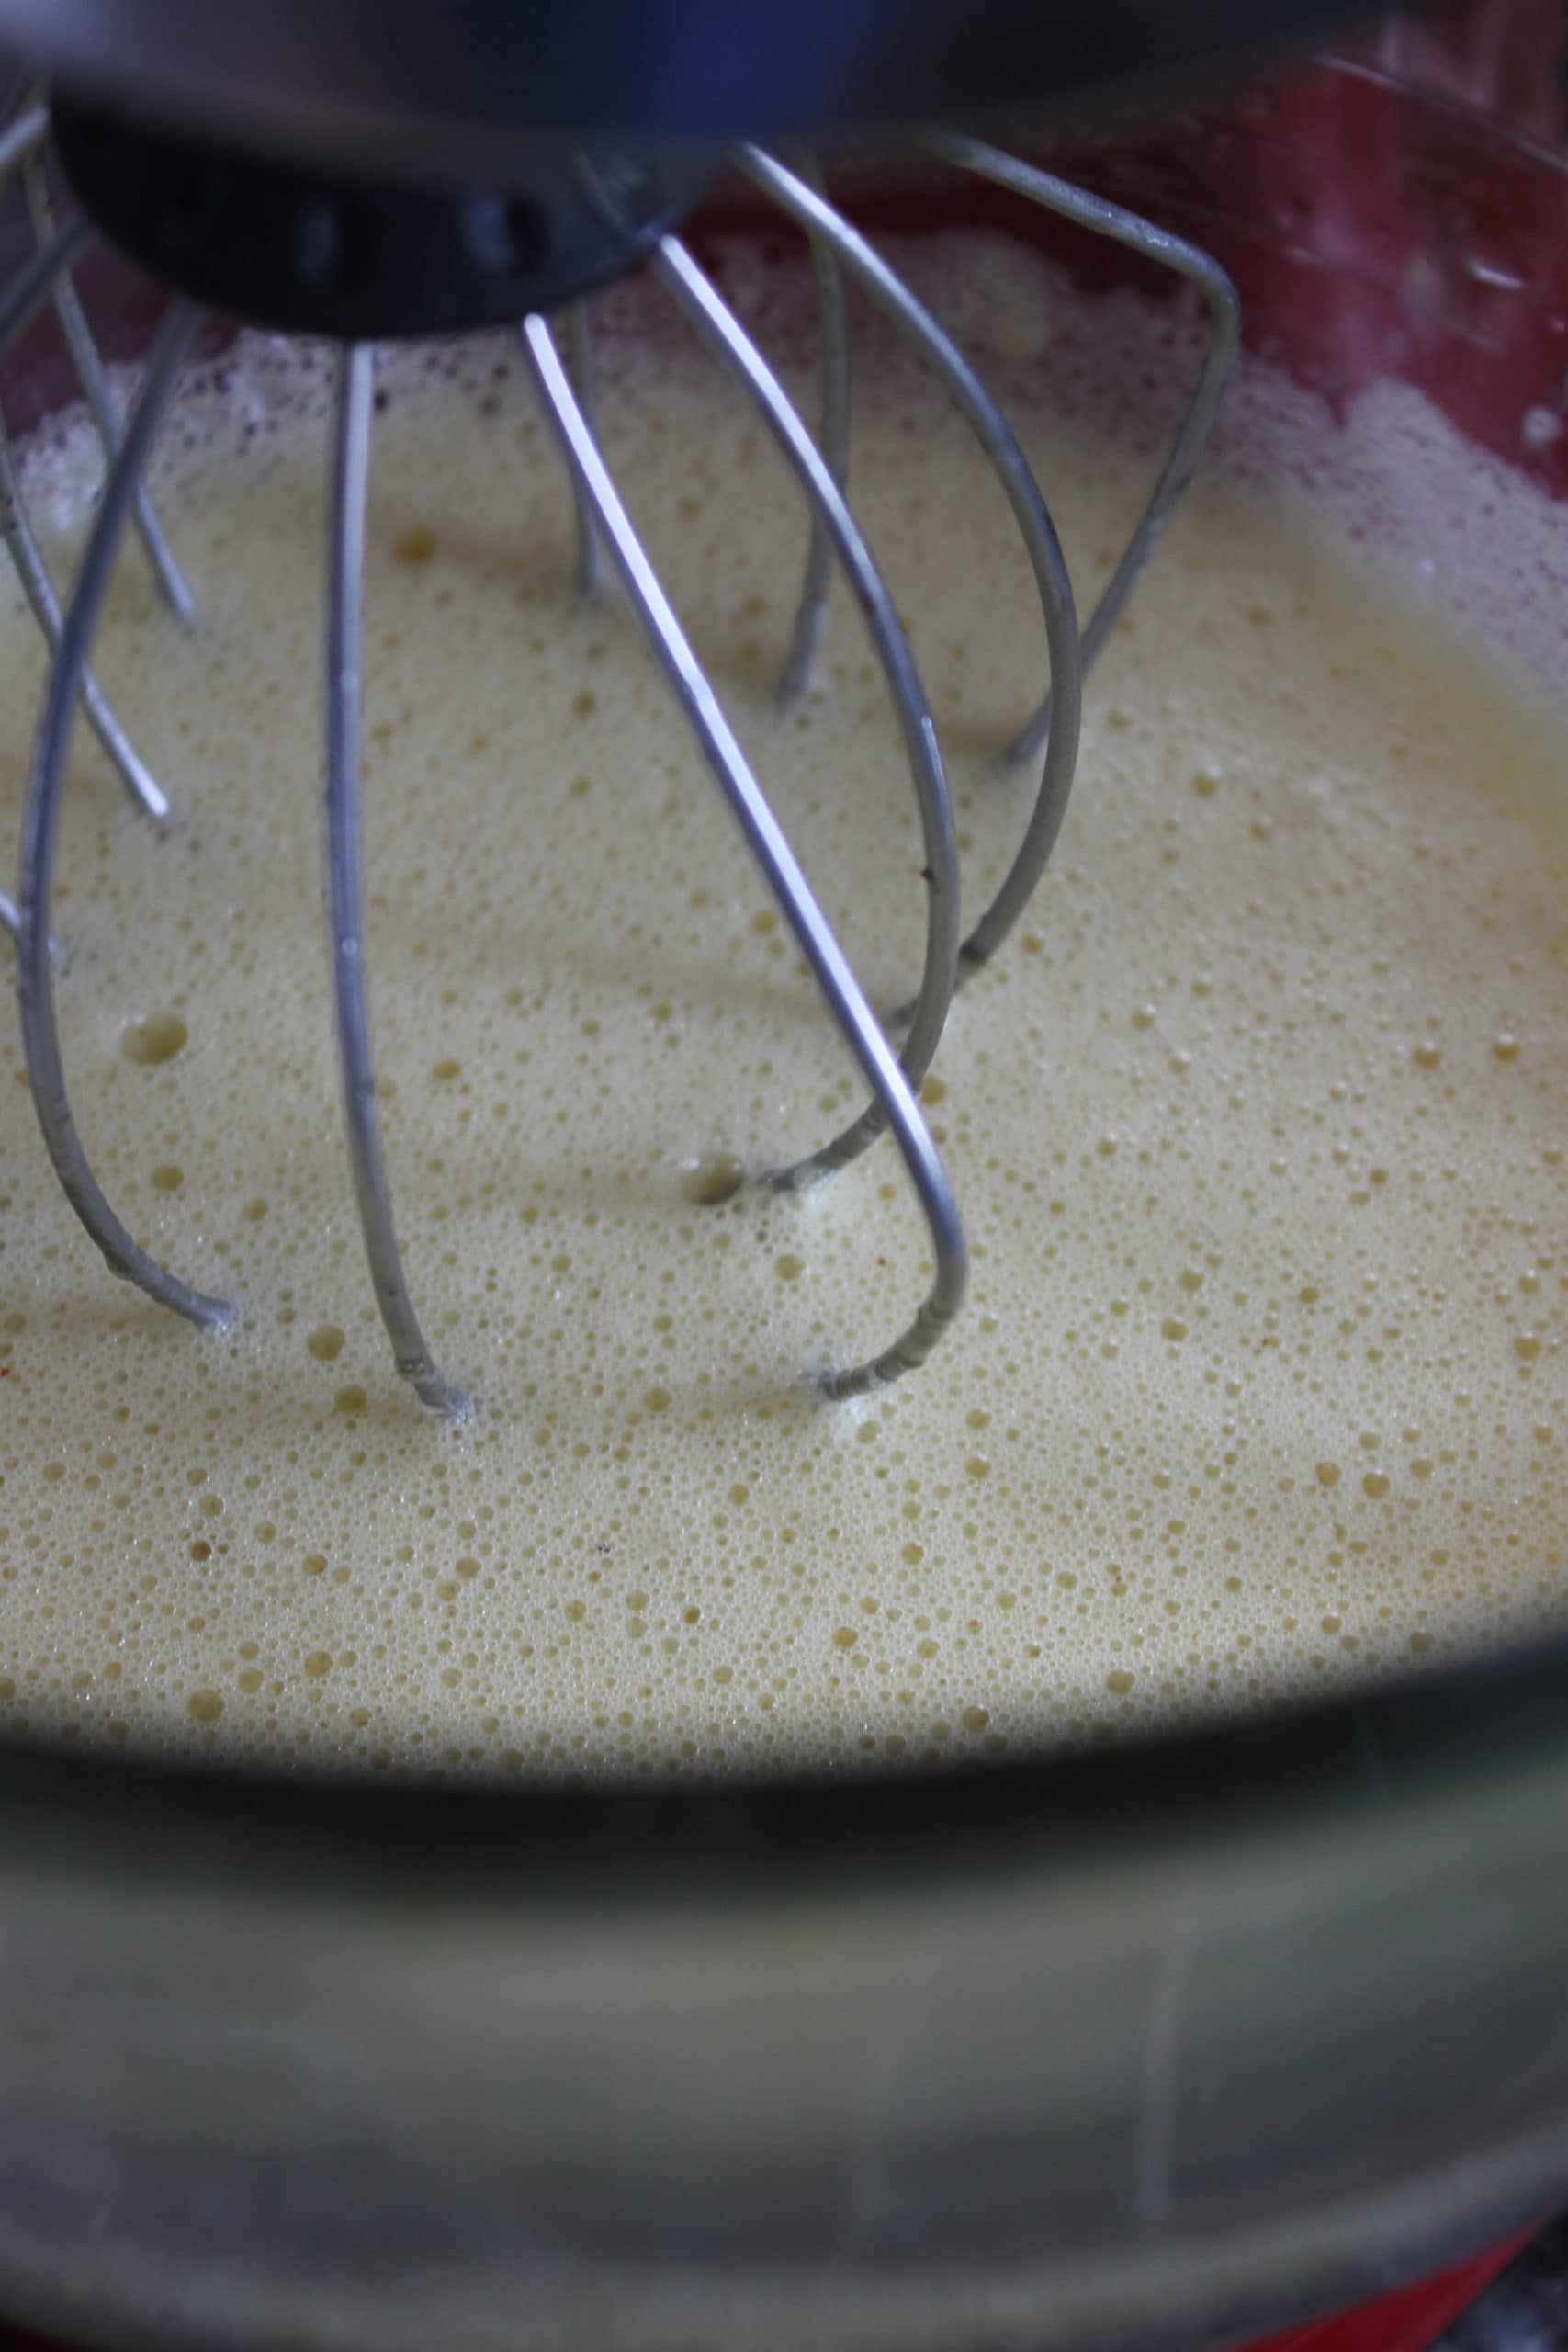
Beat the eggs until frothy.
Add the oil, melted butter, and vanilla extract.
Add the dry mixture little by little until combined.
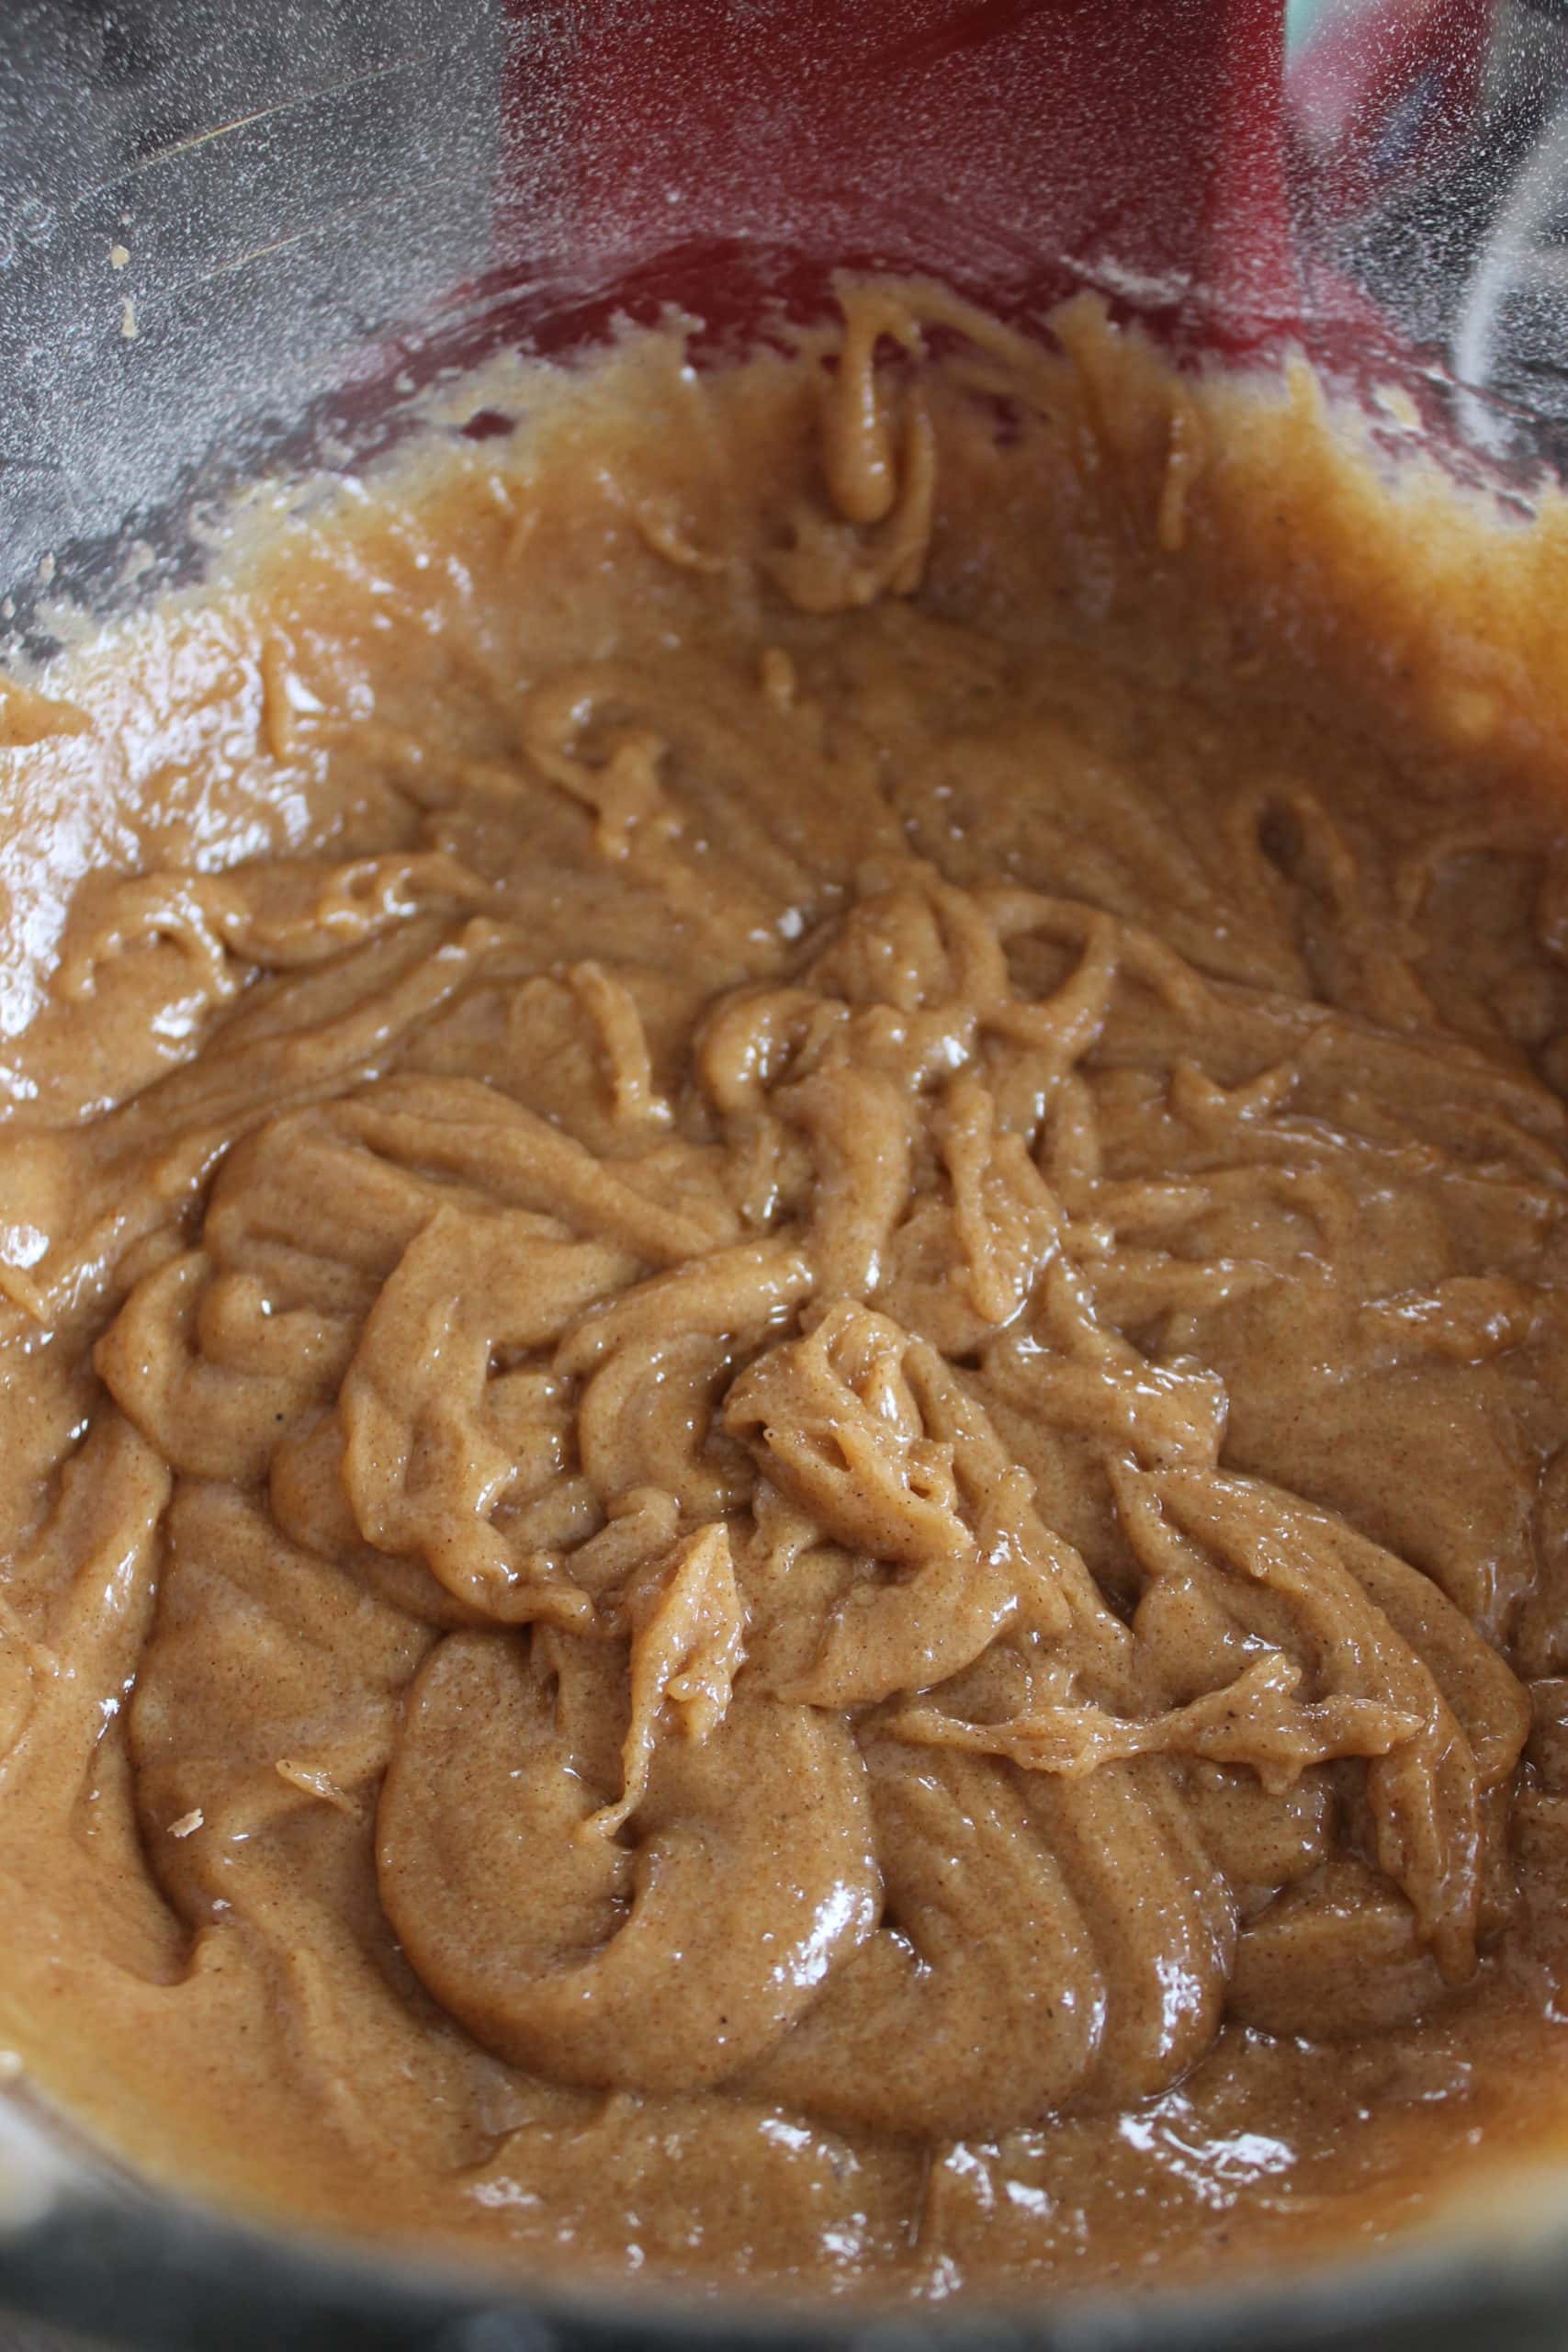
Add in the shredded carrots and raisins.
Fill the 10 inch pan halfway full.

Filla 5-inch pan with the remaining mixture.

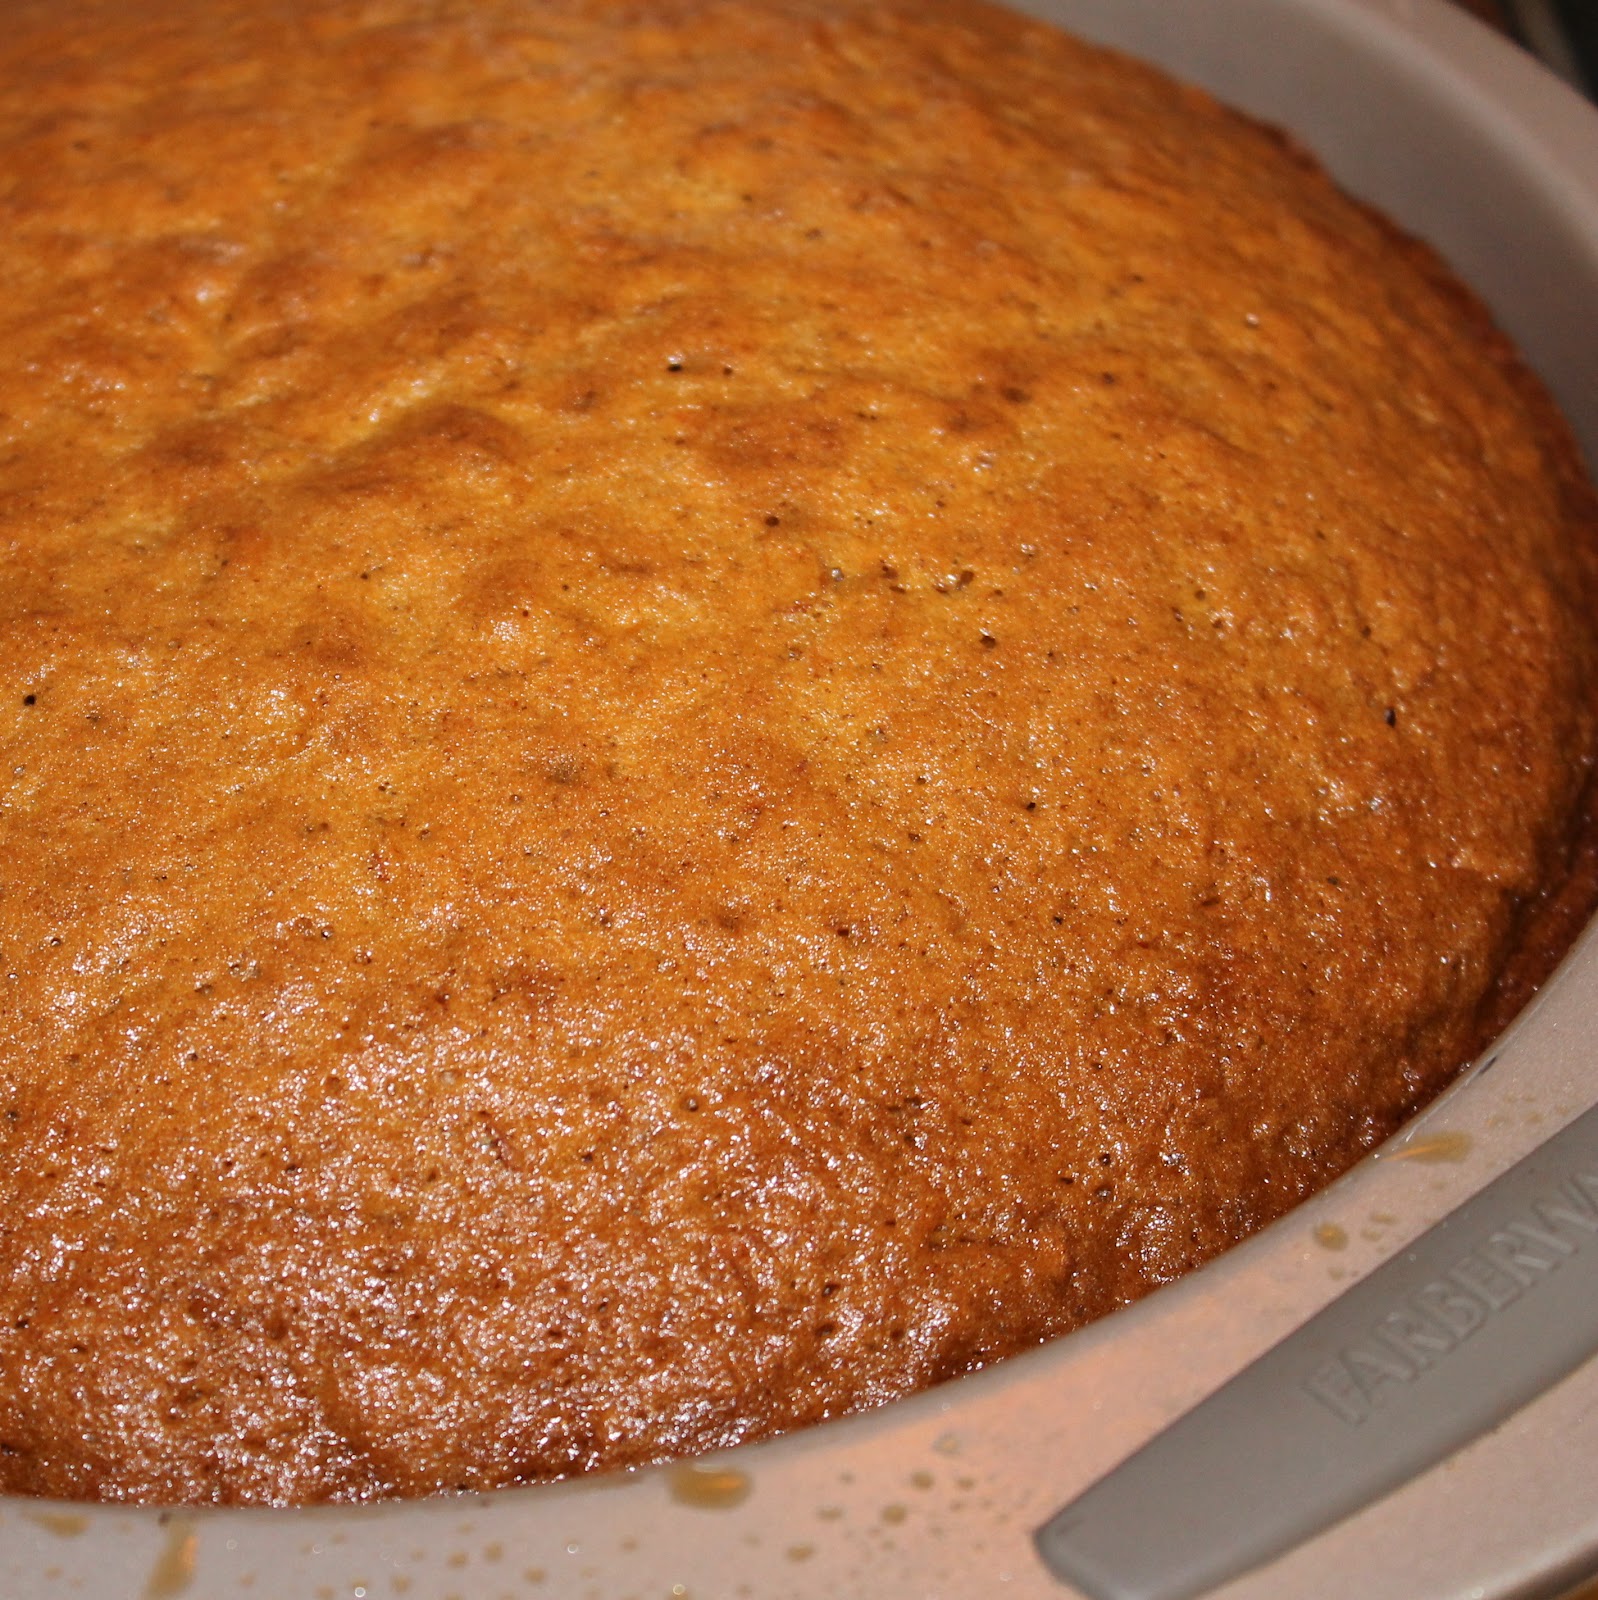
Bake the 5-inch pan for 20 minutes or until a toothpick inserted into the center comes out clean.
Bake the 10-inch pan for 35 minutes at 350 degrees or until a toothpick inserted into the center comes out clean. Allow both cakes to cool completely.
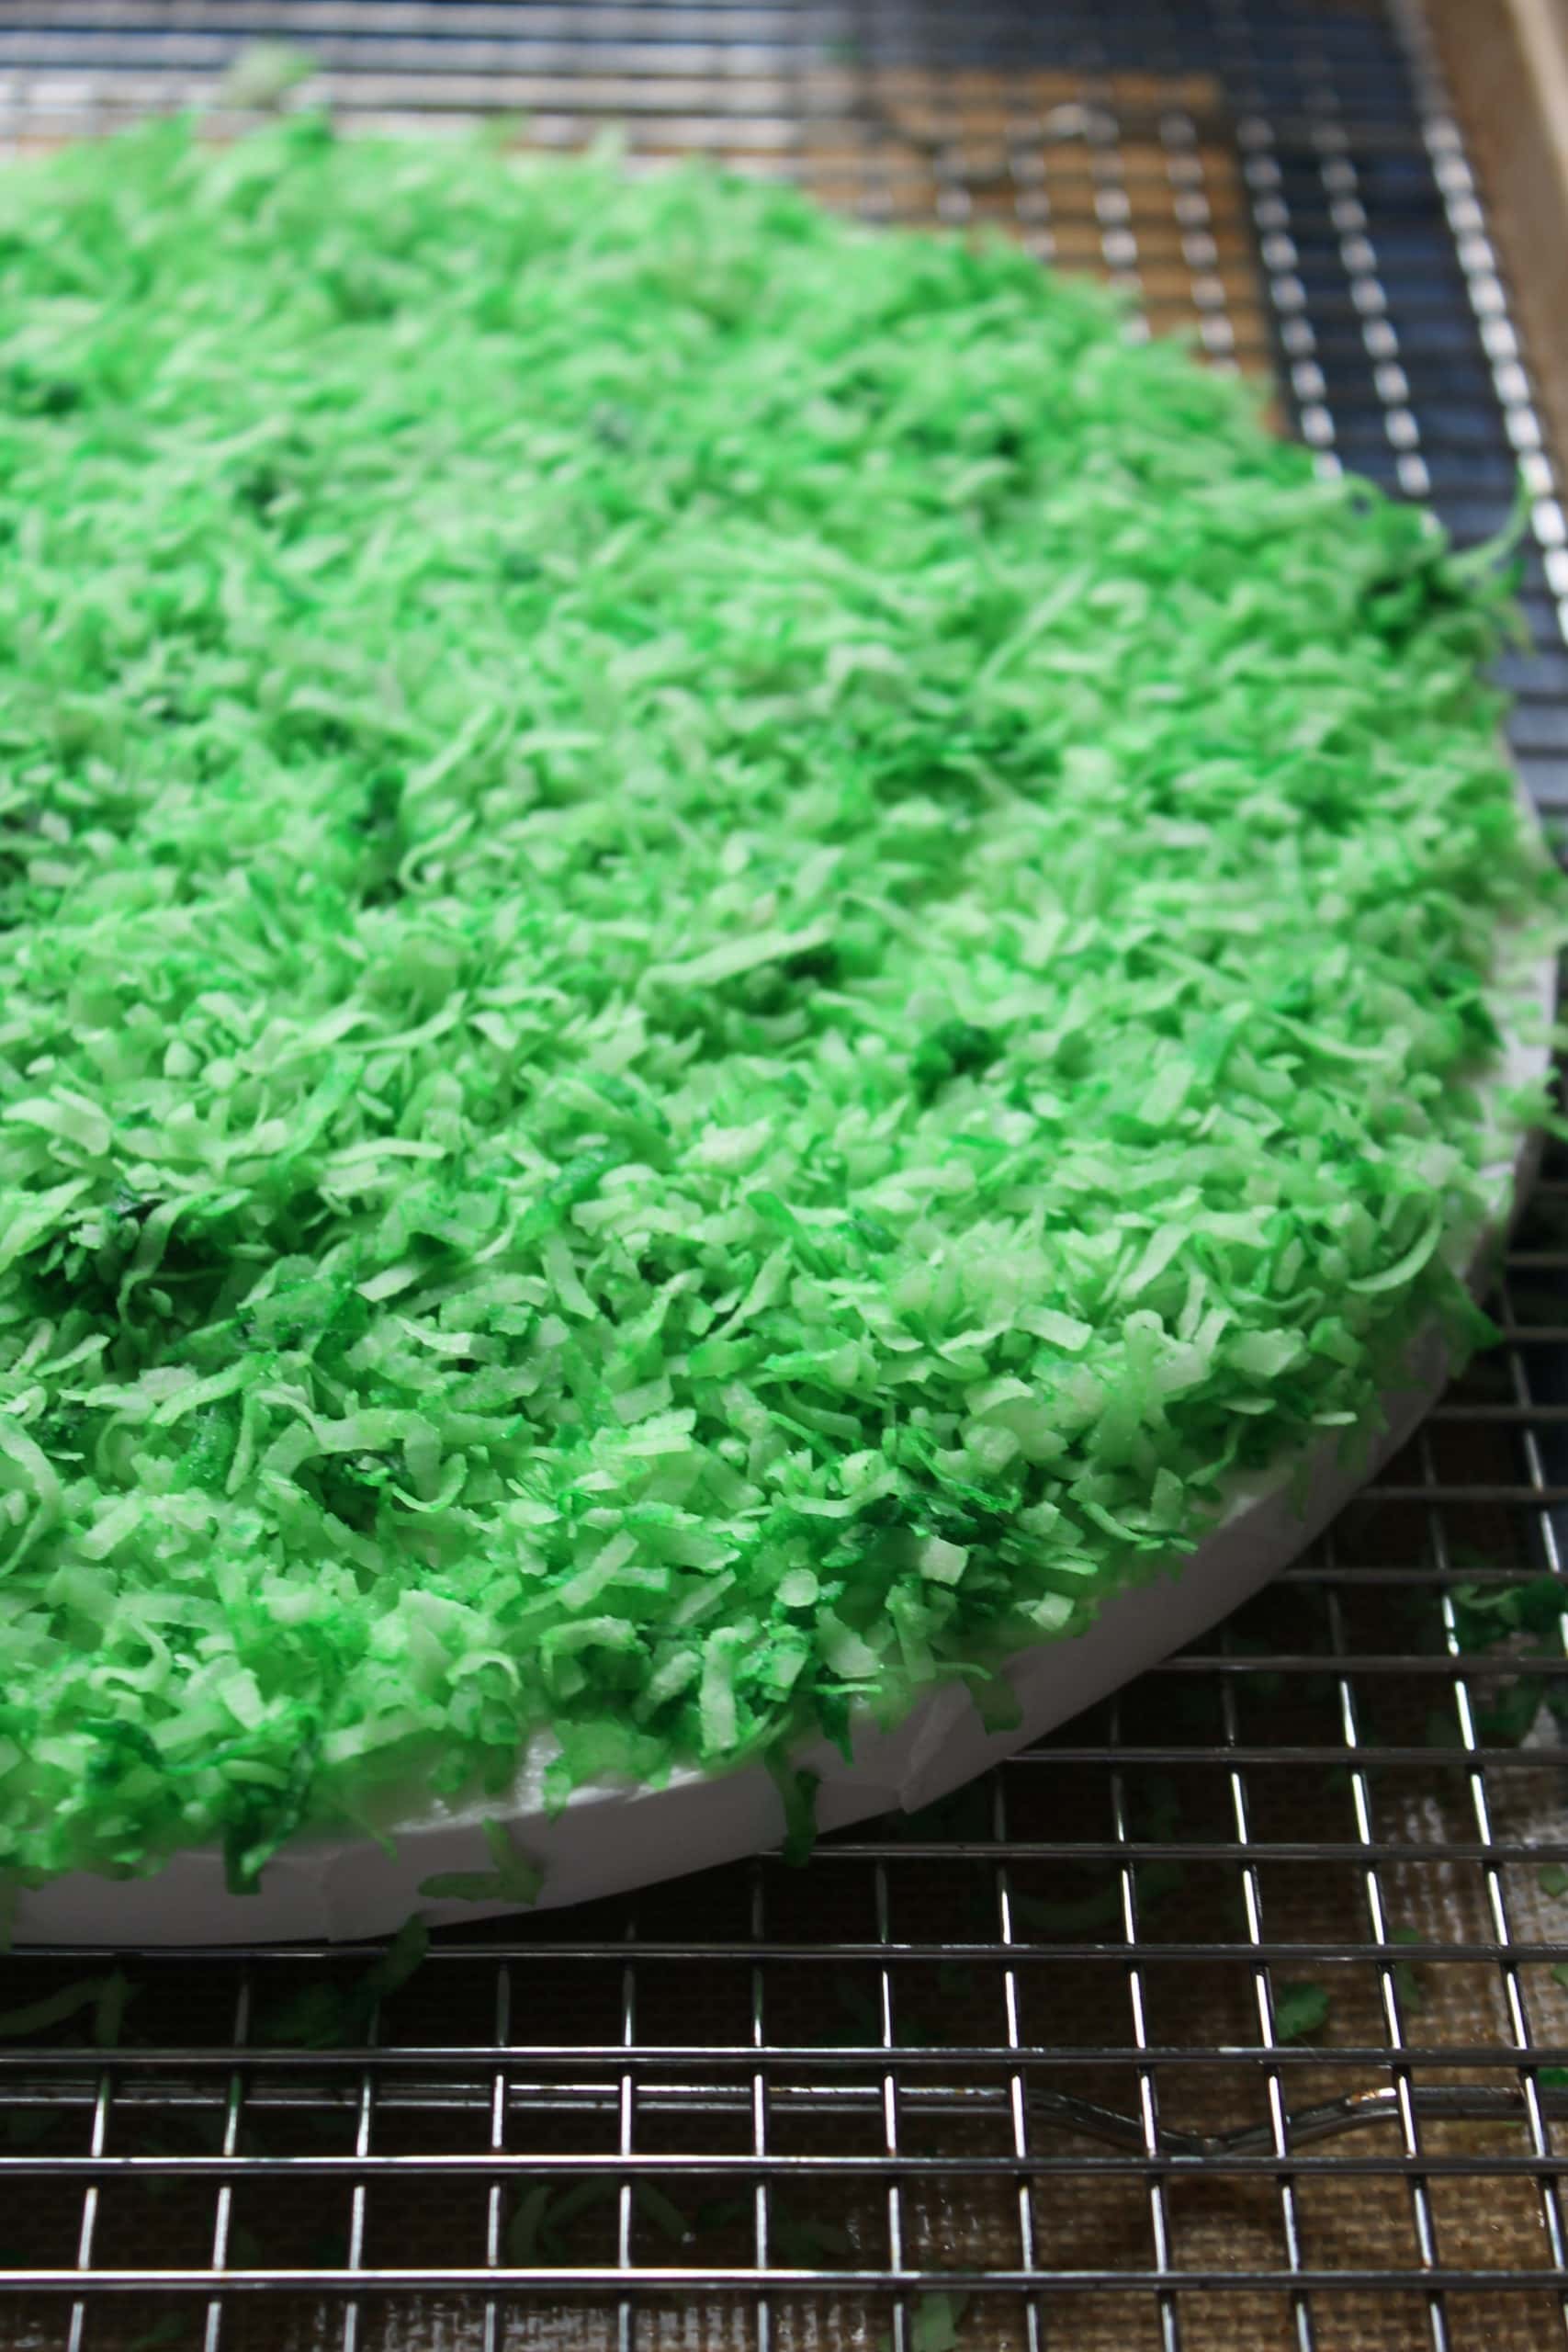
While the cakes are baking, take a handful of the coconut flakes and add to a Ziplock bag. Add the green food dye and shake.

Add dye until desired color is reached so that it resembles grass.

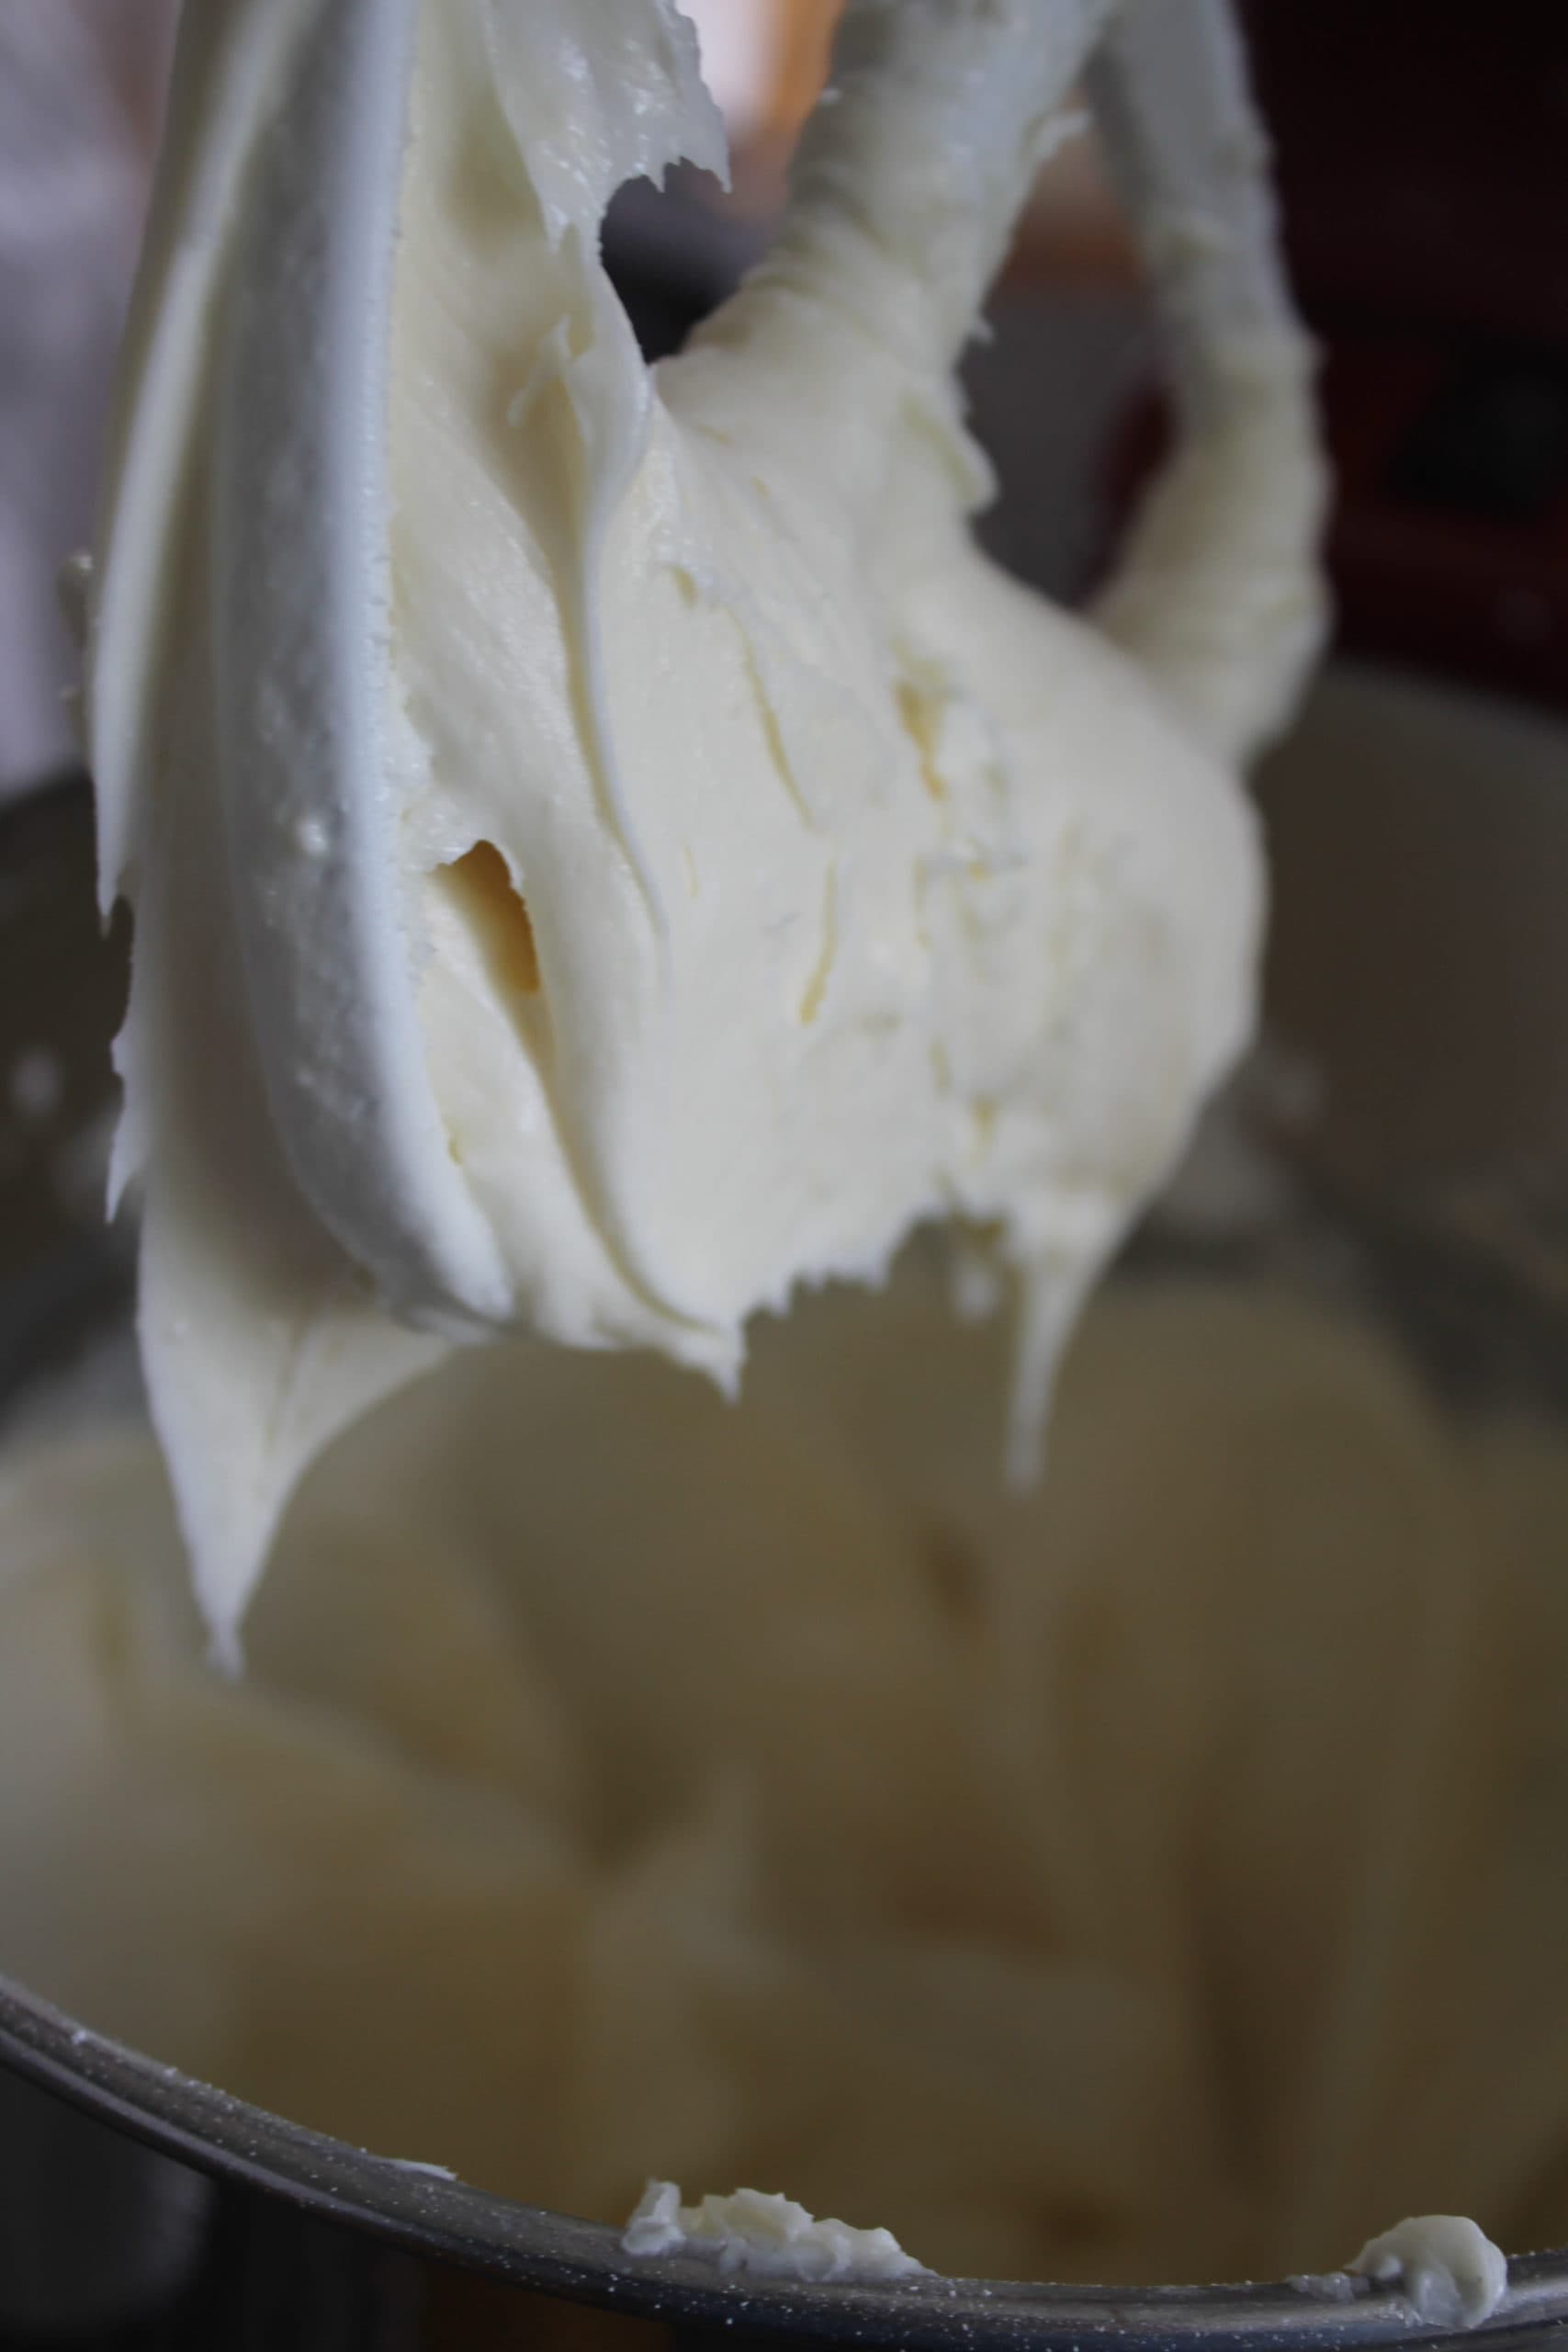
While waiting for the cakes to cool, make the icing. Add the cream cheese and butter to a bowl and beat until smooth. Add the powdered sugar little by little until combined and then add the vanilla; mix to combine.
Add some of the frosting to a cake round, or to the plate that you will put the cake on.
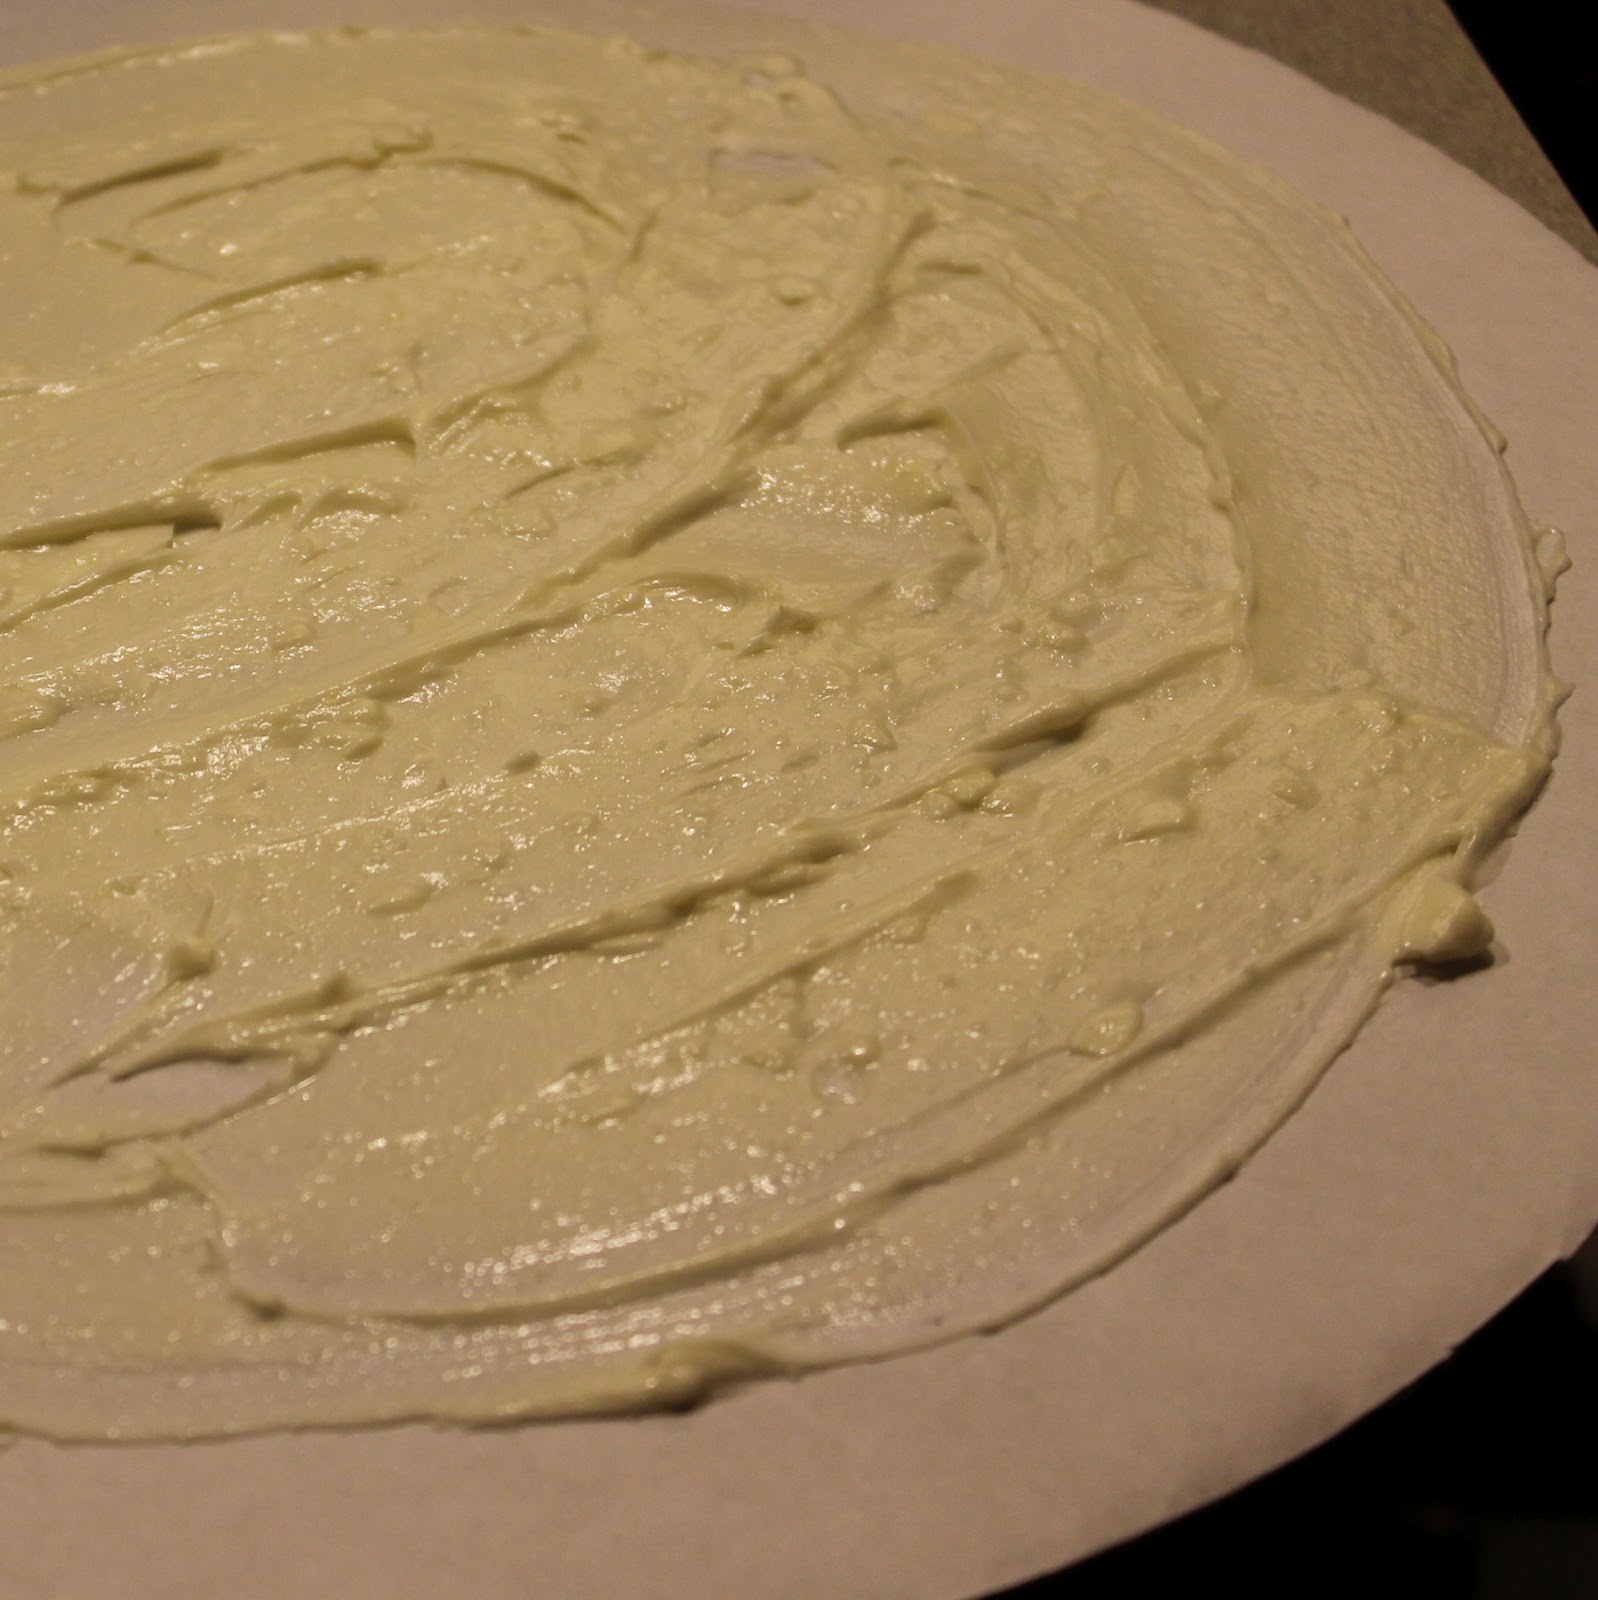
Sprinkle with the green coconut flakes.
To form the cake into a bunny, first cut the large cake in half. Use some of the icing to adhere the two halves together.
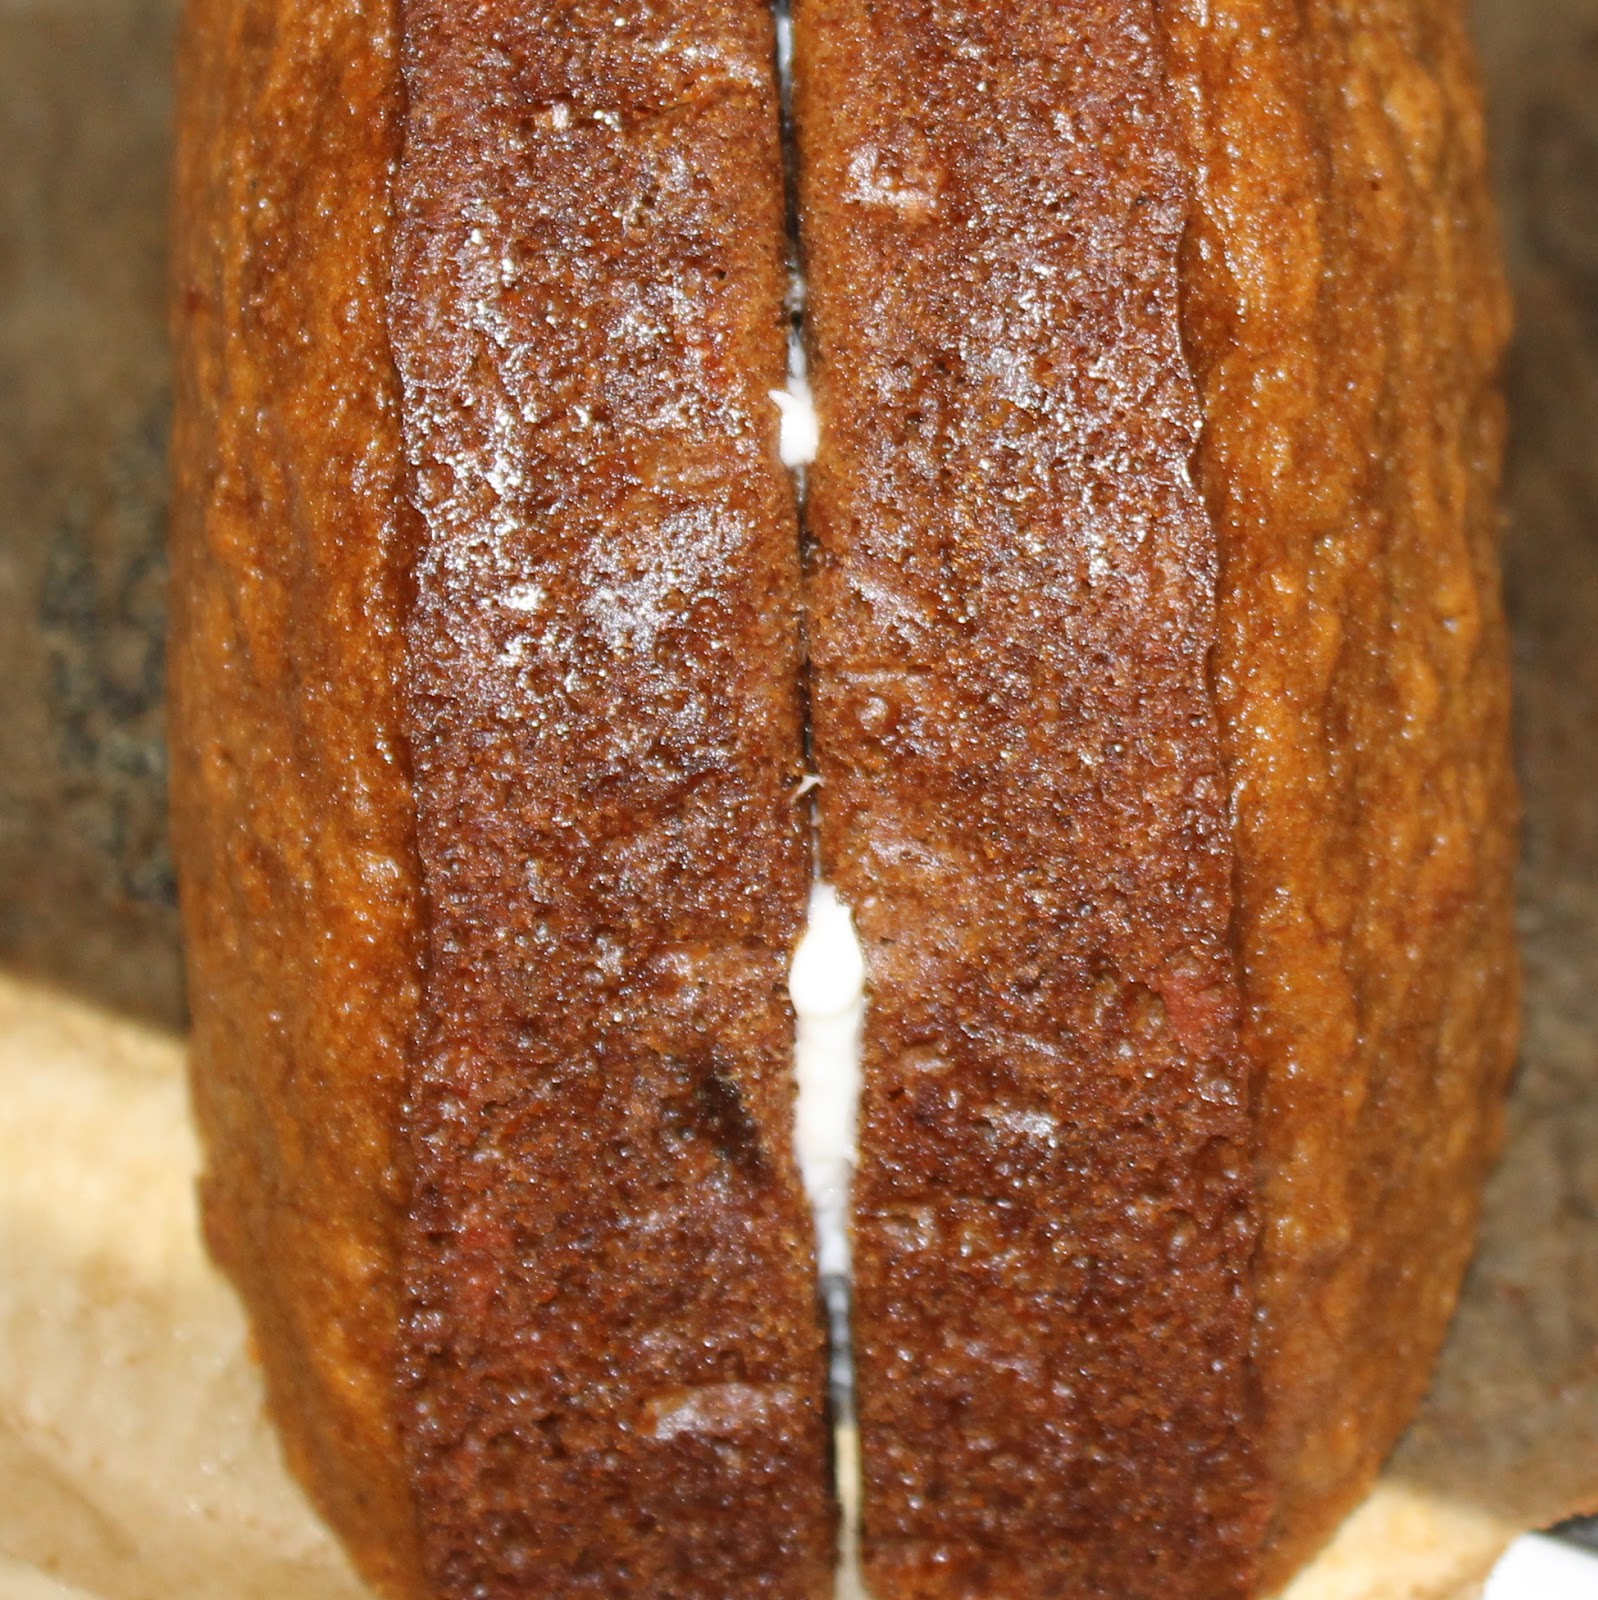
Cut out a wedge of the cake about one third of the way into the round side. This will form a head and body. Reserve the cutout piece to make the tail.

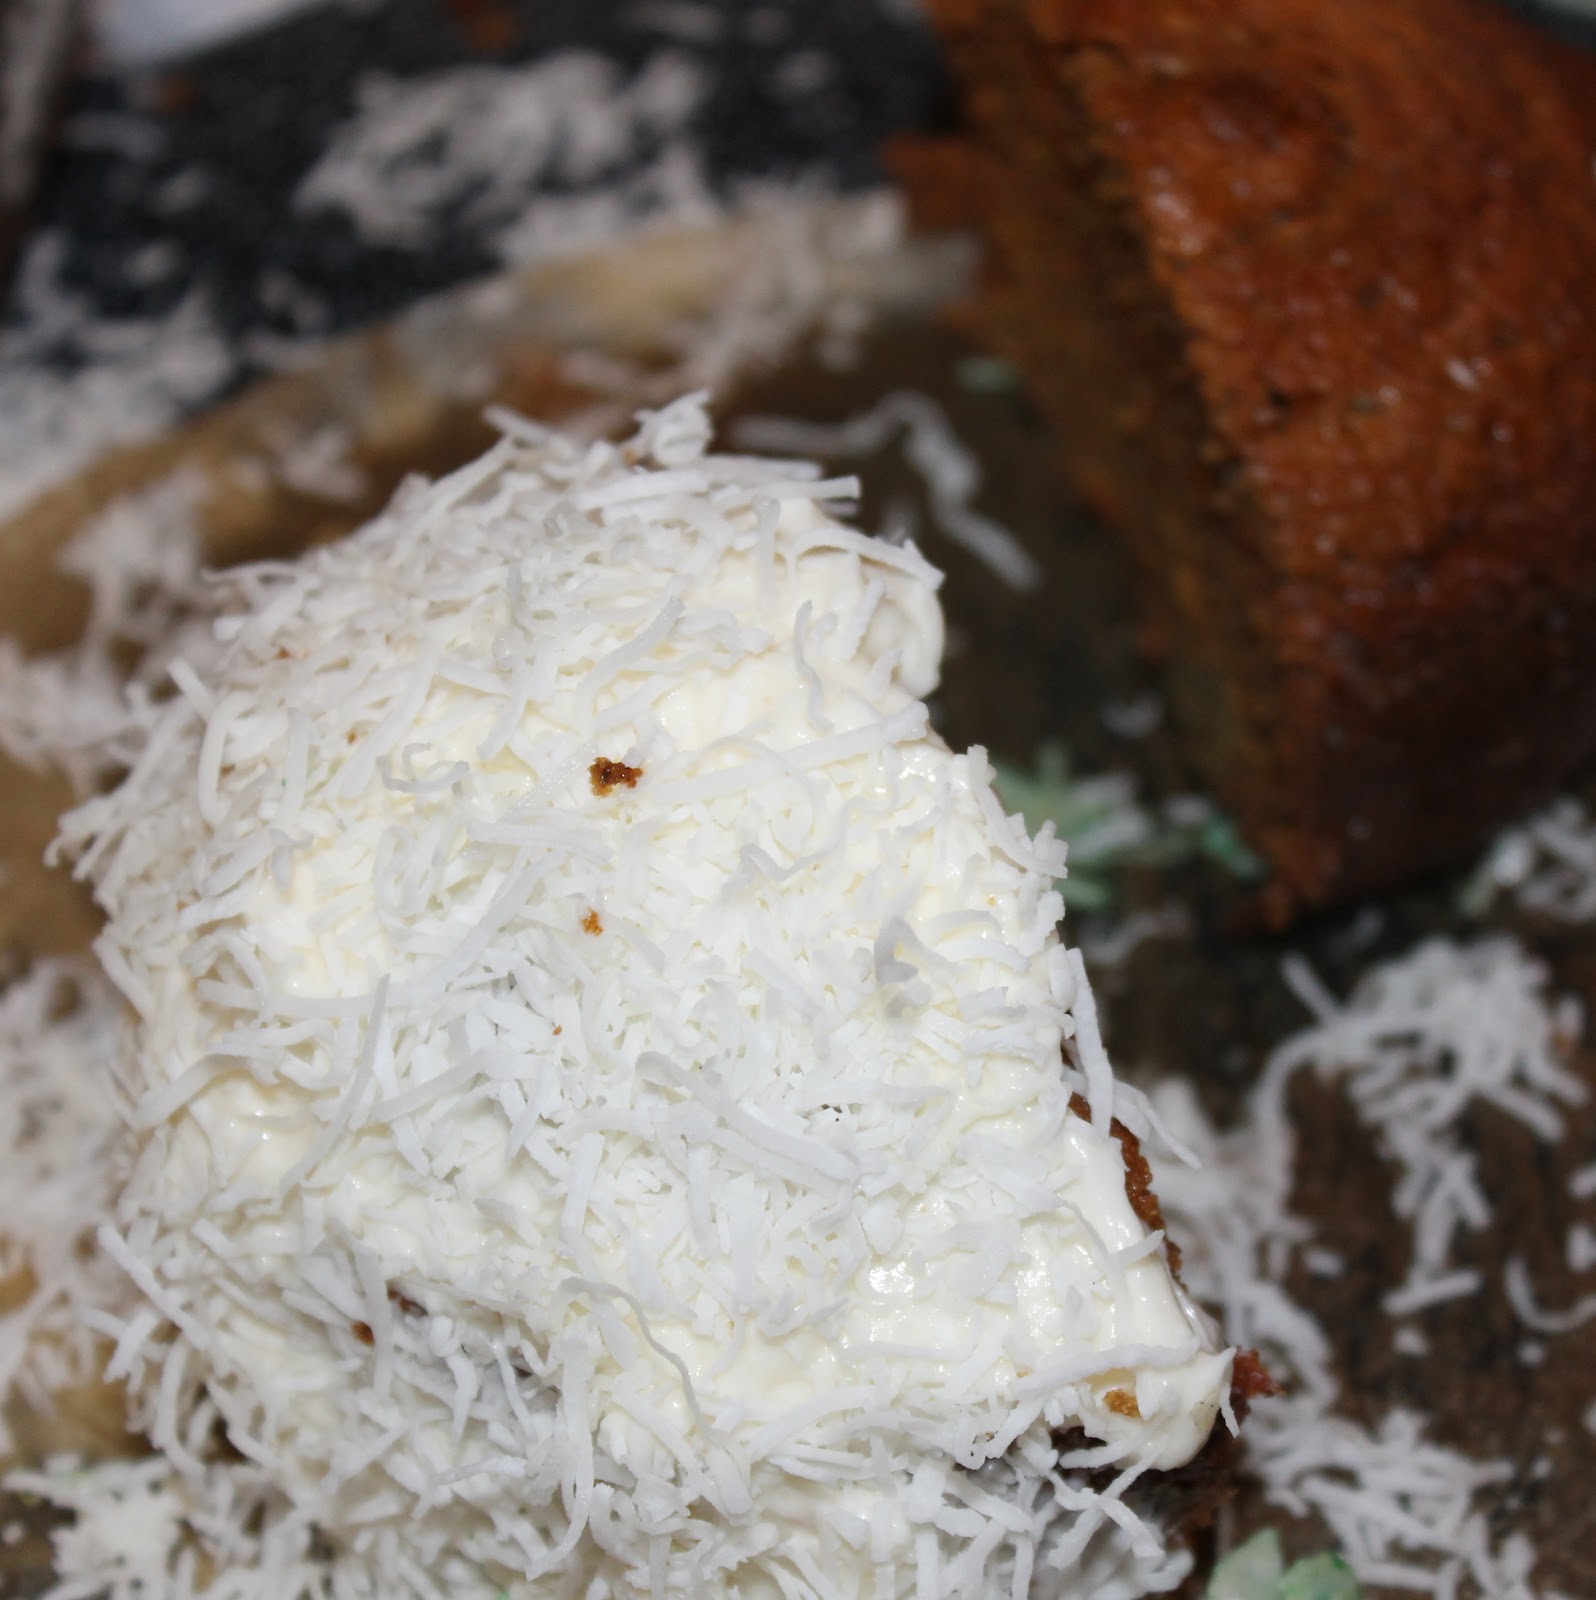
Frost the cake. Repeat with the smaller cake if using. (Cut the smaller cake in half and then add the icing). Also frost the cutout piece.

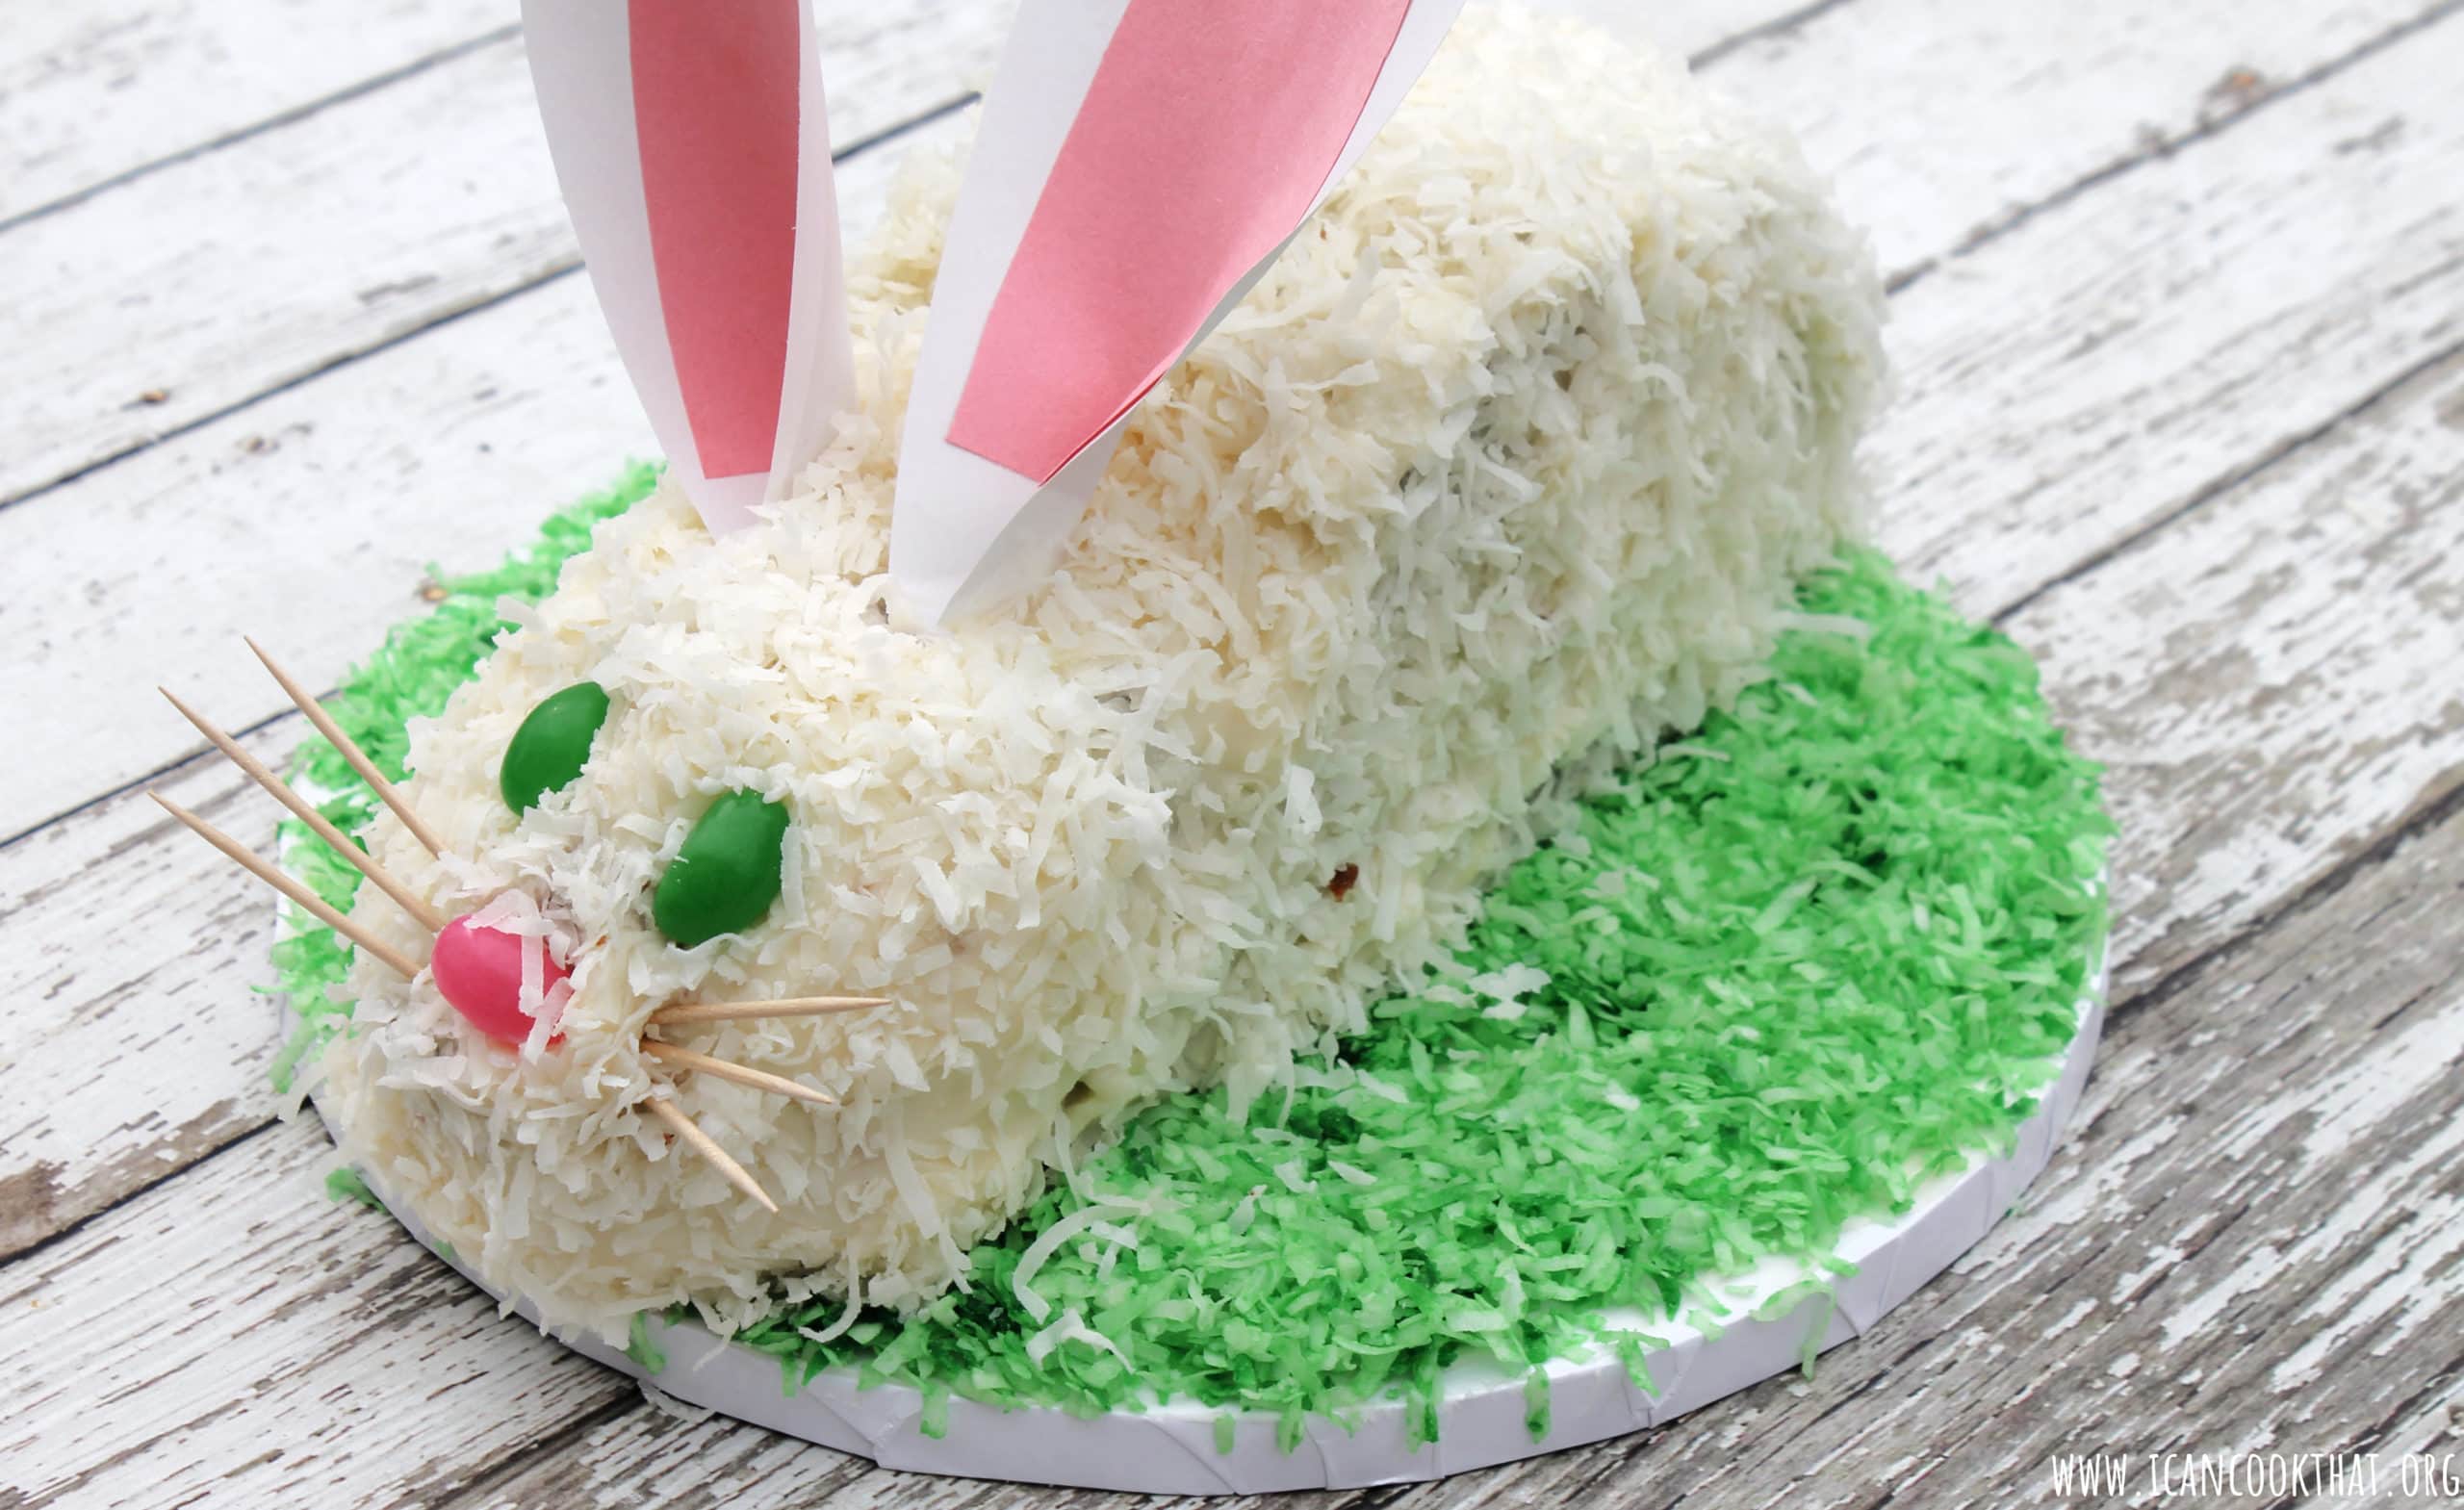
Add the smaller cake halves to each side of the upright cake. Add the tail to the end of the cake (you can also use a marshmallow as the tail if you want). Sprinkle the cake with coconut flakes until completely covered.
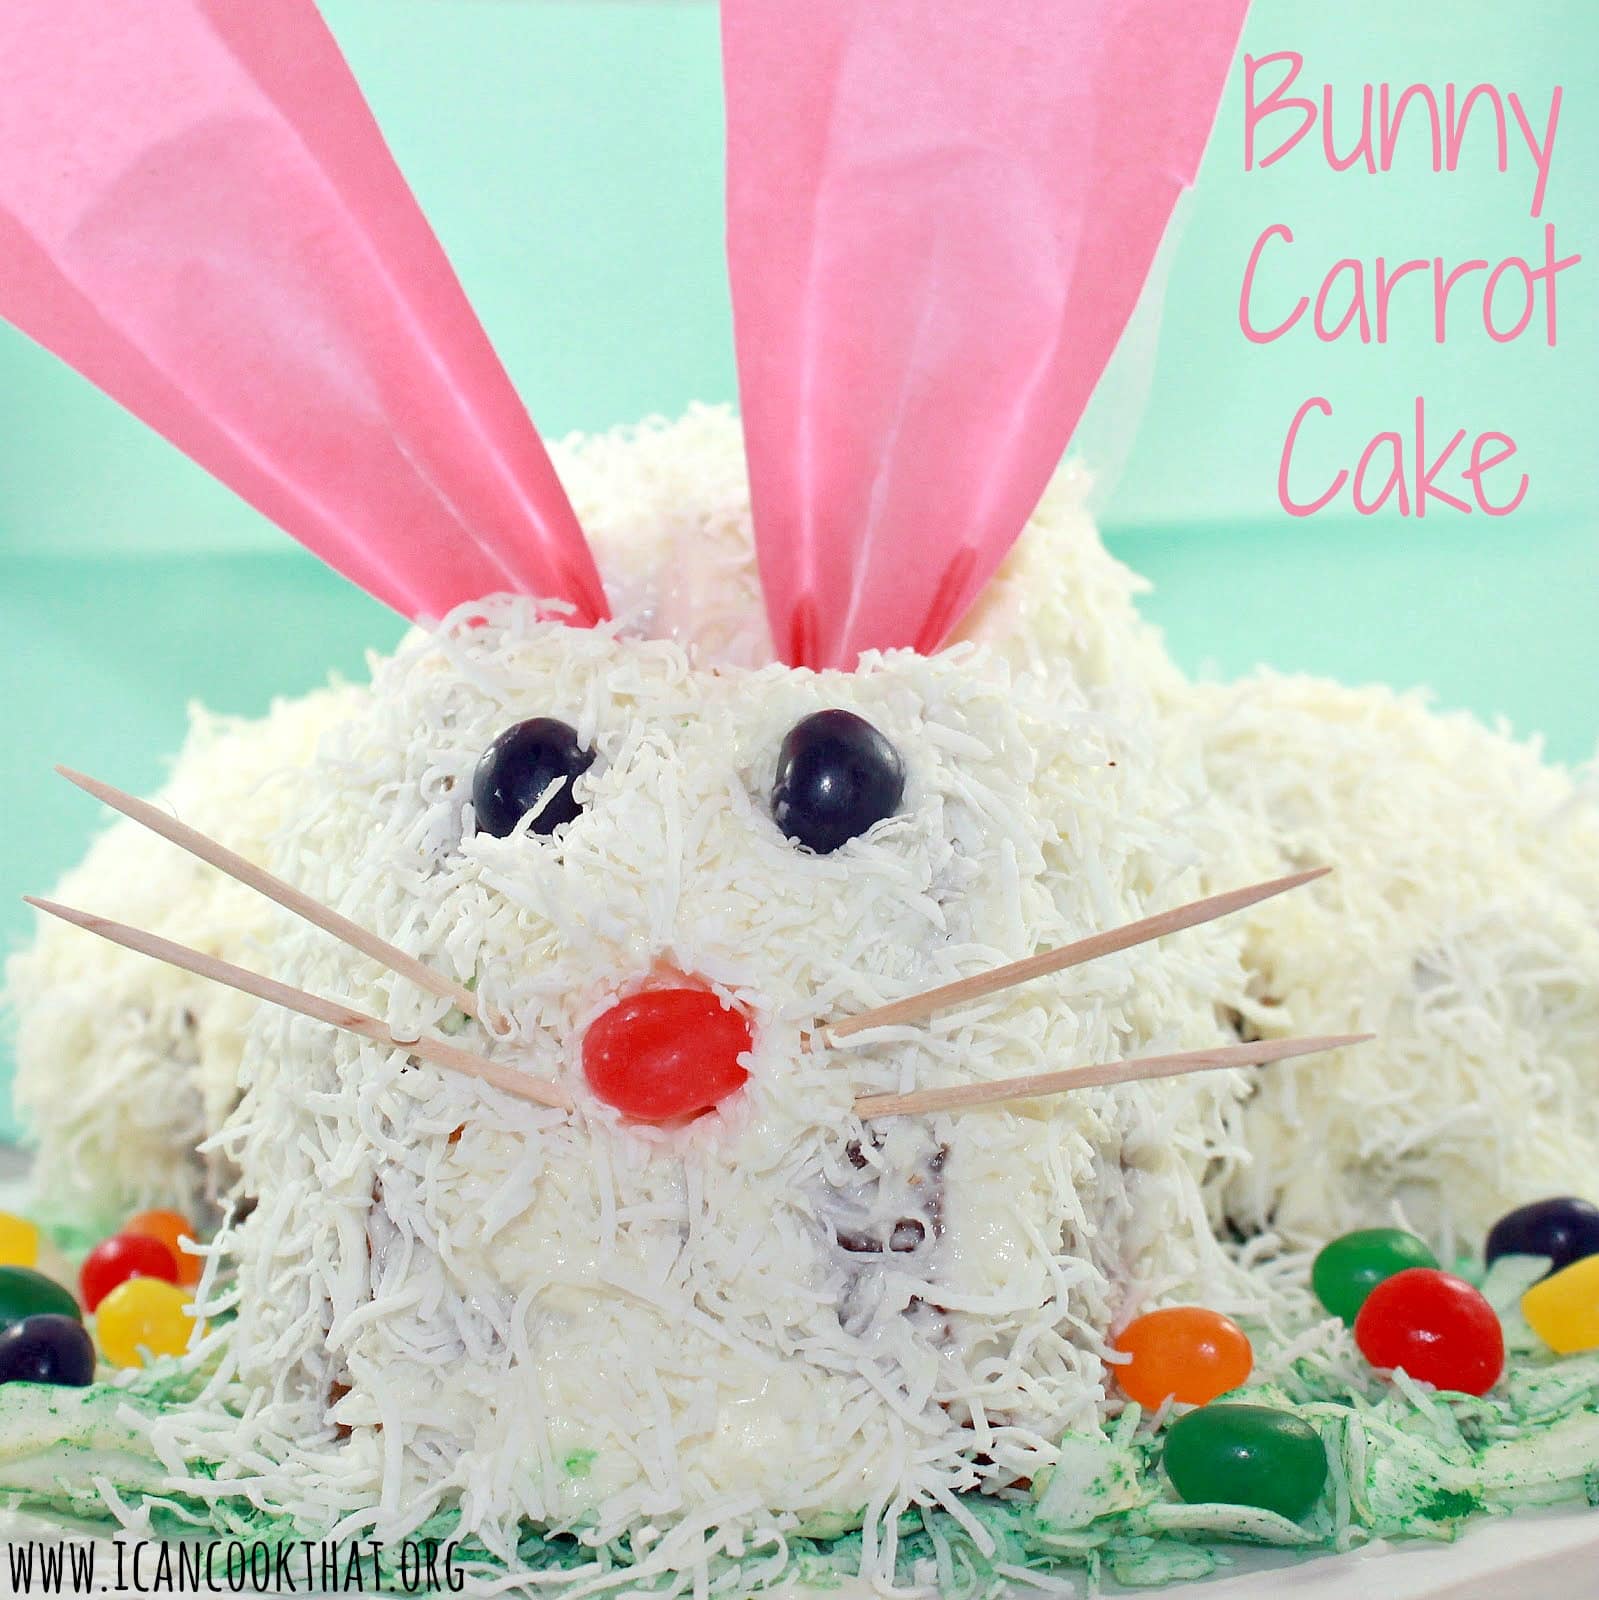
To make the ears, cut them from construction paper. Use jelly beans for eyes and nose, and toothpicks for the whiskers.

How cute is he?
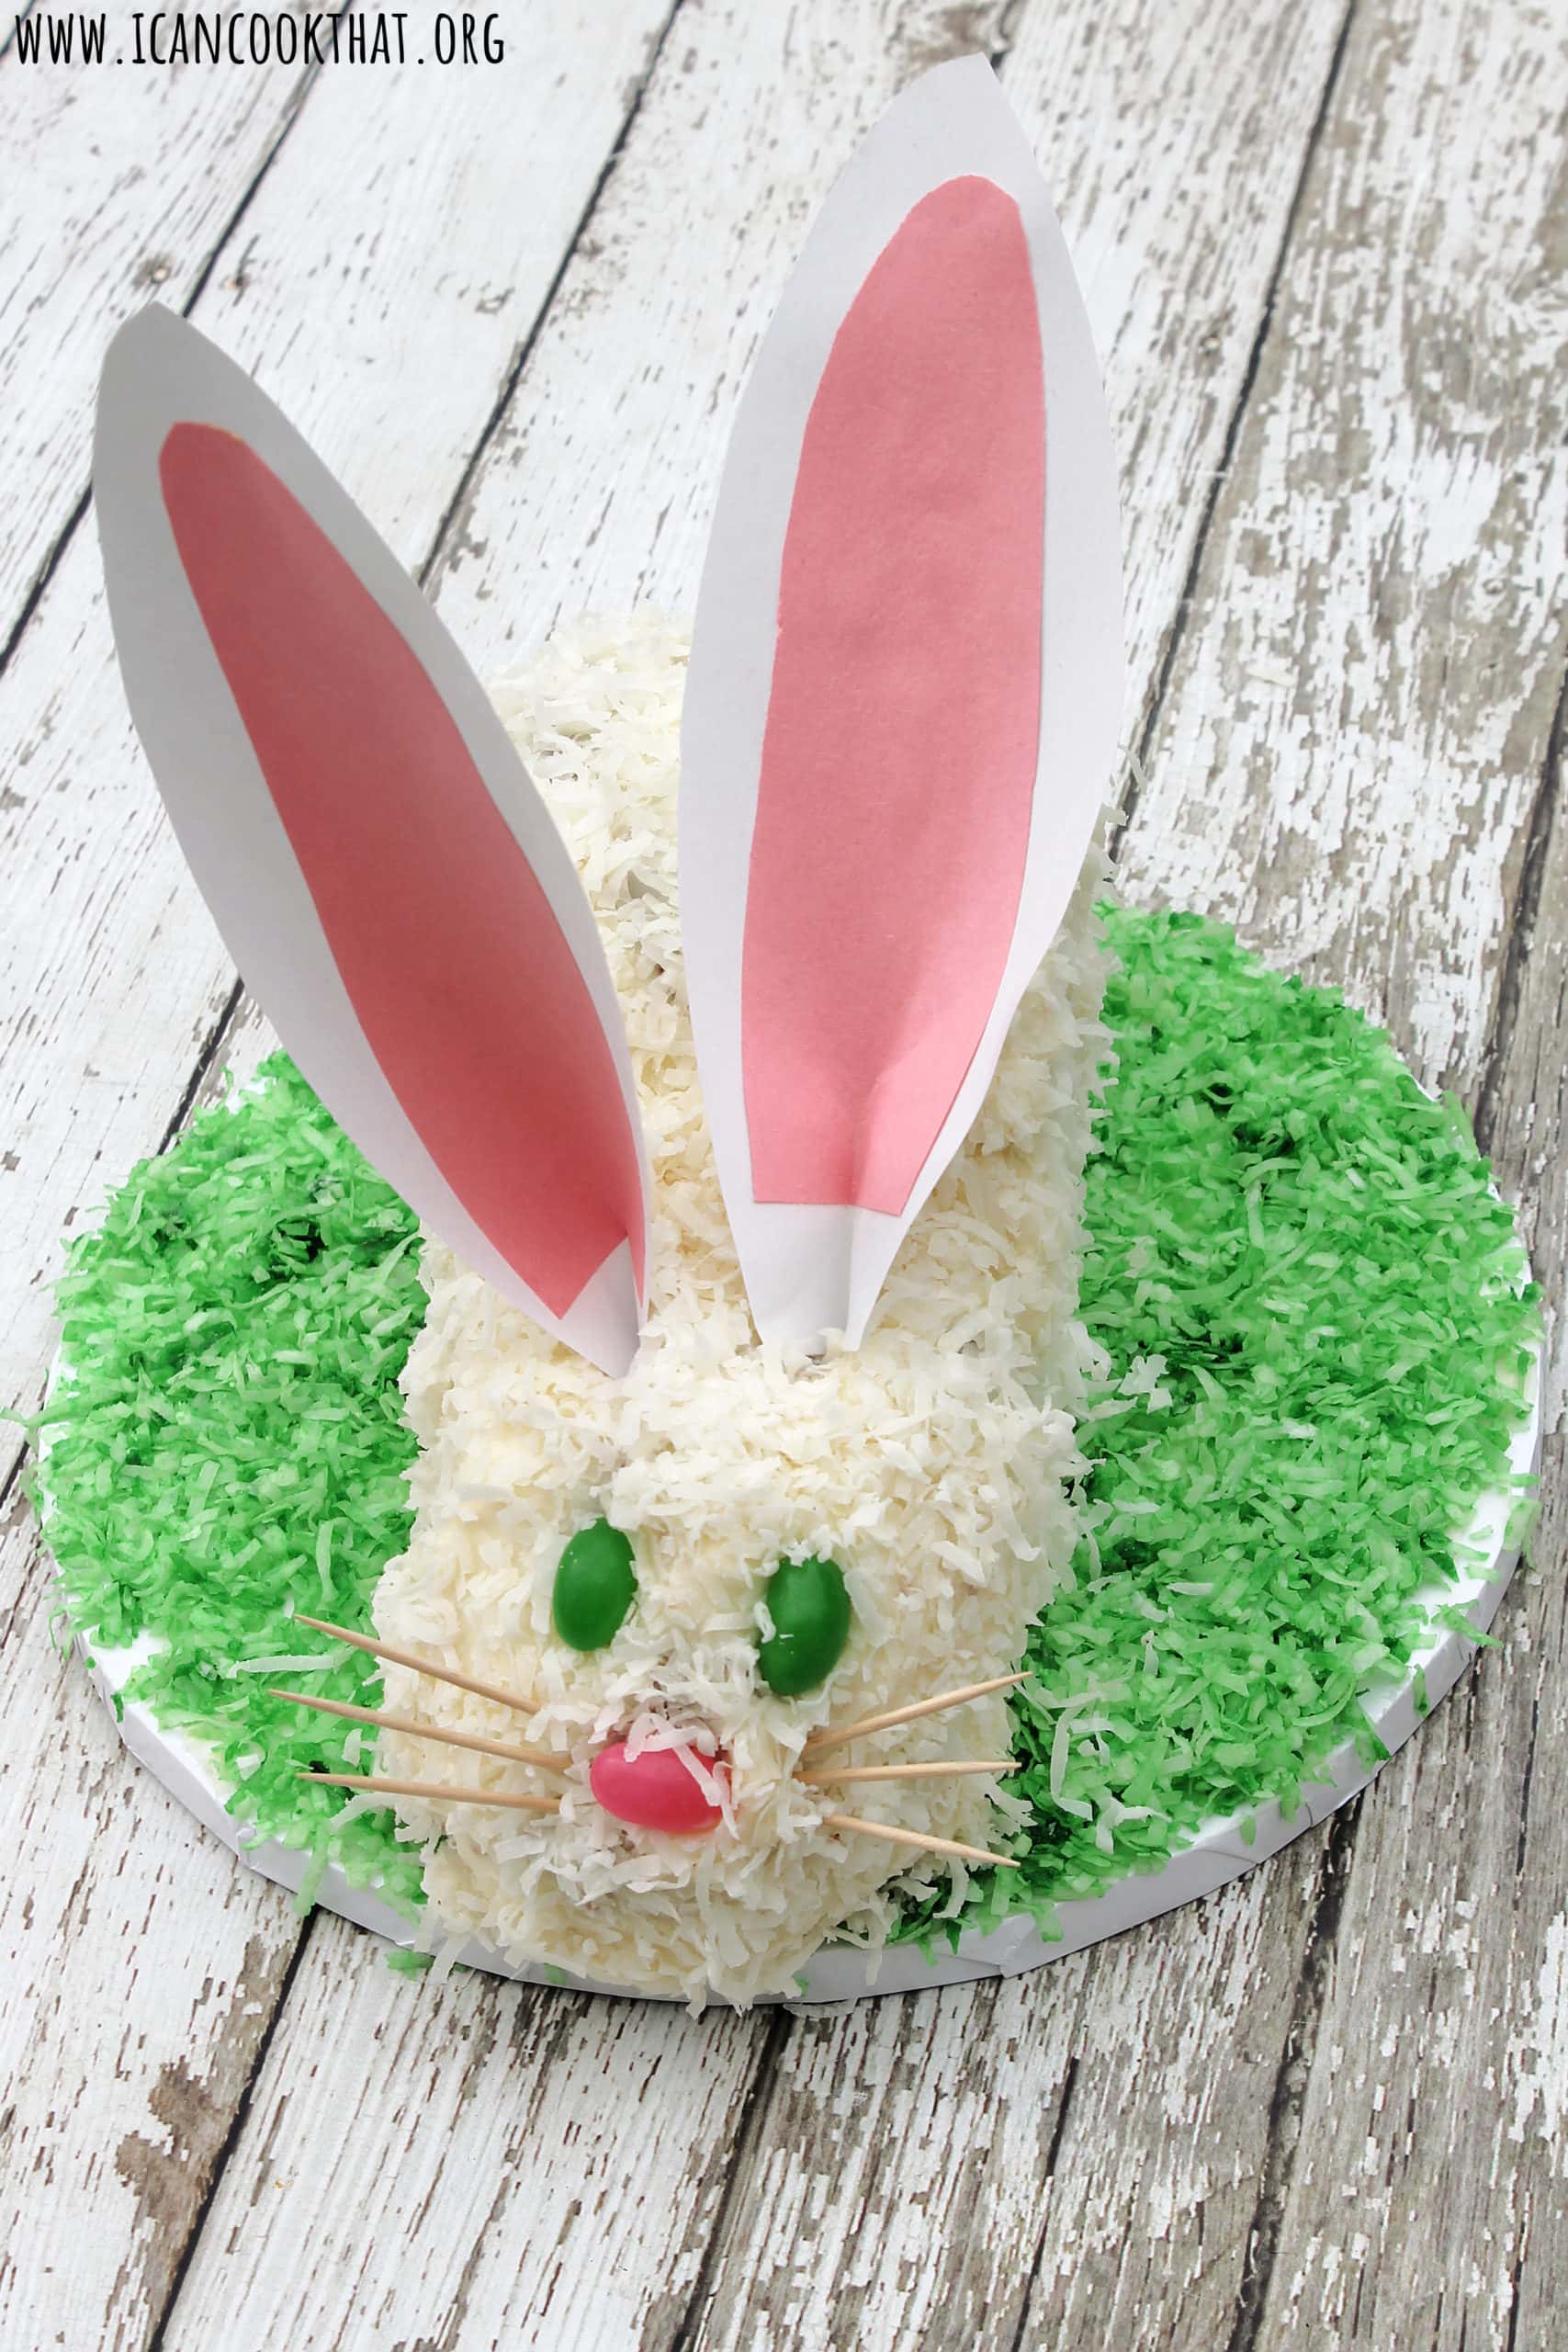
I’ve named him Coconut Tail. hehe.
The carrot cake itself was so moist and delicious. I think if I made this again I’d actually sub in some kind of nut for the golden raisins because I really wanted some sort of crunch in the cake. Past that super delicious. And adorable!

Bunny Carrot Cake
Carrot cake formed into the shape of a bunny, topped with shredded coconut. The cutest addition to your Easter dessert table!
Ingredients
Carrot Cake:
- ¾ cup butter melted and browned
- 2 cups all-purpose flour
- 2 cups sugar
- 2 teaspoons baking soda
- 1 tablespoon cinnamon
- 1/4 teaspoon nutmeg
- 1/4 teaspoon cloves
- 1 teaspoon salt
- 4 large eggs at room temperature
- ¼ cup vegetable oil
- 1 teaspoon vanilla extract
- 4 cups loosely packed grated carrots about 5 carrots
- 1/2 cup golden raisins
Frosting:
- 2 8oz packages cream cheese, at room temperature
- 1/2 cup unsalted butter at room temperature
- 3 cups powdered sugar
- 1/2 teaspoon vanilla extract
Additional ingredients:
- 1 bag of coconut flakes
- green food dye
- jelly beans
Instructions
- Begin by grating your carrots. It took me about 4-5 carrots to reach 4 cups.
- This recipe calls for brown butter. If you want, you can just use melted butter without browning it, but brown butter adds an extra boost of flavor. To brown butter, heat a saute pan over medium heat. Add the butter cut into tablespoon sized pieces.
- Allow to melt, whisking. It will start bubbling.
- When you begin to see some browning, remove it from heat. Set aside.
- Preheat your oven to 350 degrees.
- Butter and flour a 10-inch cake pan and line the bottom with parchment paper.
- Whisk together the flour, sugar, baking soda, cinnamon, nutmeg, cloves and salt. Set aside.
- Beat the eggs until frothy.
- Add the oil, melted butter, and vanilla extract.
- Add the dry mixture little by little until combined.
- Add in the shredded carrots and raisins.
- Fill the 10-inch pan halfway full.
- Fill a 5-inch pan with the remaining mixture.
- Bake the 5-inch pan for 20 minutes or until a toothpick inserted into the center comes out clean.
- Bake the 10-inch pan for 35 minutes at 350 degrees or until a toothpick inserted into the center comes out clean. Allow both cakes to cool completely.
- While the cakes are baking, take a handful of the coconut flakes and add to a Ziplock bag. Add the green food dye and shake.
- Add dye until desired color is reached so that it resembles grass.
- While waiting for the cakes to cool, make the icing. Add the cream cheese and butter to a bowl and beat until smooth. Add the powdered sugar little by little until combined and then add the vanilla; mix to combine.
- Add some of the frosting to a cake round, or to the plate that you will put the cake on.
- Sprinkle with the green coconut flakes.
- To form the cake into a bunny, first cut the large cake in half. Use some of the icing to adhere the two halves together.
- Cut out a wedge of the cake about one third of the way into the round side. This will form a head and body. Reserve the cutout piece to make the tail.
- Frost the cake. Repeat with the smaller cake if using. (Cut the smaller cake in half and then add the icing). Also frost the cutout piece.
- Add the smaller cake halves to each side of the upright cake. Add the tail to the end of the cake (you can also use a marshmallow as the tail if you want). Sprinkle the cake with coconut flakes until completely covered.
- To make the ears, cut them from construction paper. Use jelly beans for eyes and nose, and toothpicks for the whiskers.
Notes
If you make this recipe, share a photo on Instagram and tag me @icancookthat!


Absolutely adorable! I haven’t decided what my ‘wow’ dessert will be yet..I better hop to it..get it…GET IT! haha
Great idea for the Easter. Very cute and delicious bunny waiting to be eaten. =)
This is adorable. I love it and I love that it is made of carrot cake and topped with coconut. Yum!
That is too cute to eat. The cake does look super moist – YUM!
I am loving the beautifully decorated bunny cake and thats so creative. Can’t take my eyes off the pics you have attached.
This cake is adorable. You did such a lovely job. I love that you used coconut for the bunny’s fur.
Oh my! These cake is so ADORABLE! You’ve done a great job ! Love it! 🙂
Heh! This is adorable. Cute wittle bunny wabbit… come here, wittle bunny. Erhmmm, sorry, I’ll stop now.
That looks incredibly delicious 🙂 I am such a coconut fan, so the cute bonus is a double bonus of coconuttiness! Well played 😉
Love your bunny cake! So cute!
That is so darn adorable!
Such a cute cake!
i just make 2 layers; leave one whole for the face of the bunny, the other one I cut 2 ears out of the side, and then the middle becomes the bow tie. frost and cover with coconut; use red licorice for whiskers; jelly beans for eyes and nose; and sprinkle pink sugar for the inside of the ears.
Aw so cute! And so creative 🙂 Wanna make me one and send it over for Easter, I suck at shaping baked goods lol. But seriously – I love the whole idea. Great post!
🙂 that’s the beauty of this cake! There really isn’t much shaping at all!
WOW! I love cute traditions like these! You did a fabulous job. 🙂
Oh hiii. I’m the cutest little edible easter bunny ever!
This is super cute. You are really talented!
This is absolutely precious. I’ve always wondered how this is made, and now I can finally give it a try! Thanks for the awesome tutorial 🙂
aww it is adorable! and very creative
The bunny looks really adorable! Can’t wait to give my designer skills a try on this wonderful recipe!Hope I’ll not mess it up!