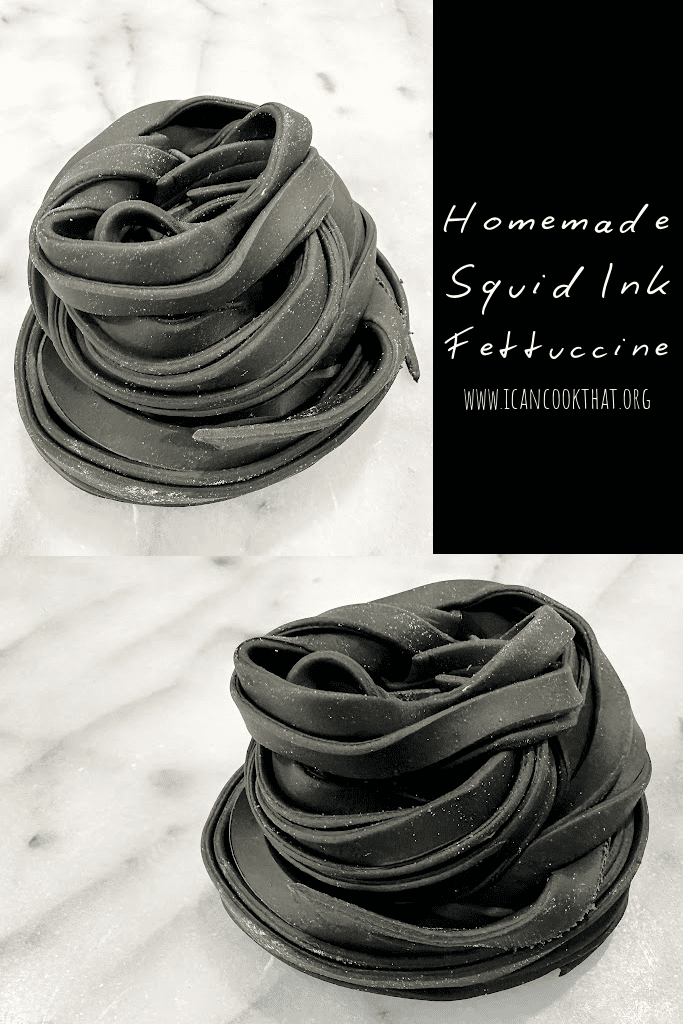
I am taking full advantage of the long weekend by making a recipe I’ve wanted to make for a while now: Homemade Squid Ink Fettuccine!
I’ve been inspired to finally try to make homemade pasta after Danny Freeman’s demo at Binding Agents a few months back. And on a recent stop at Ippolito’s, I noticed they had cuttlefish ink for sale and knew that homemade squid ink fettuccine was in my near future!
Homemade pasta is surprisingly easy to make, but it does take some time (the dough has to rest a few times) so just keep that in mind when planning to make it. I have a bunch of tools on hand that make pasta making even easier, so I’ll link to those throughout this post.
Ingredients:
- 3 eggs
- 1/2 tablespoon (1 1/2 teaspoons) cuttlefish ink
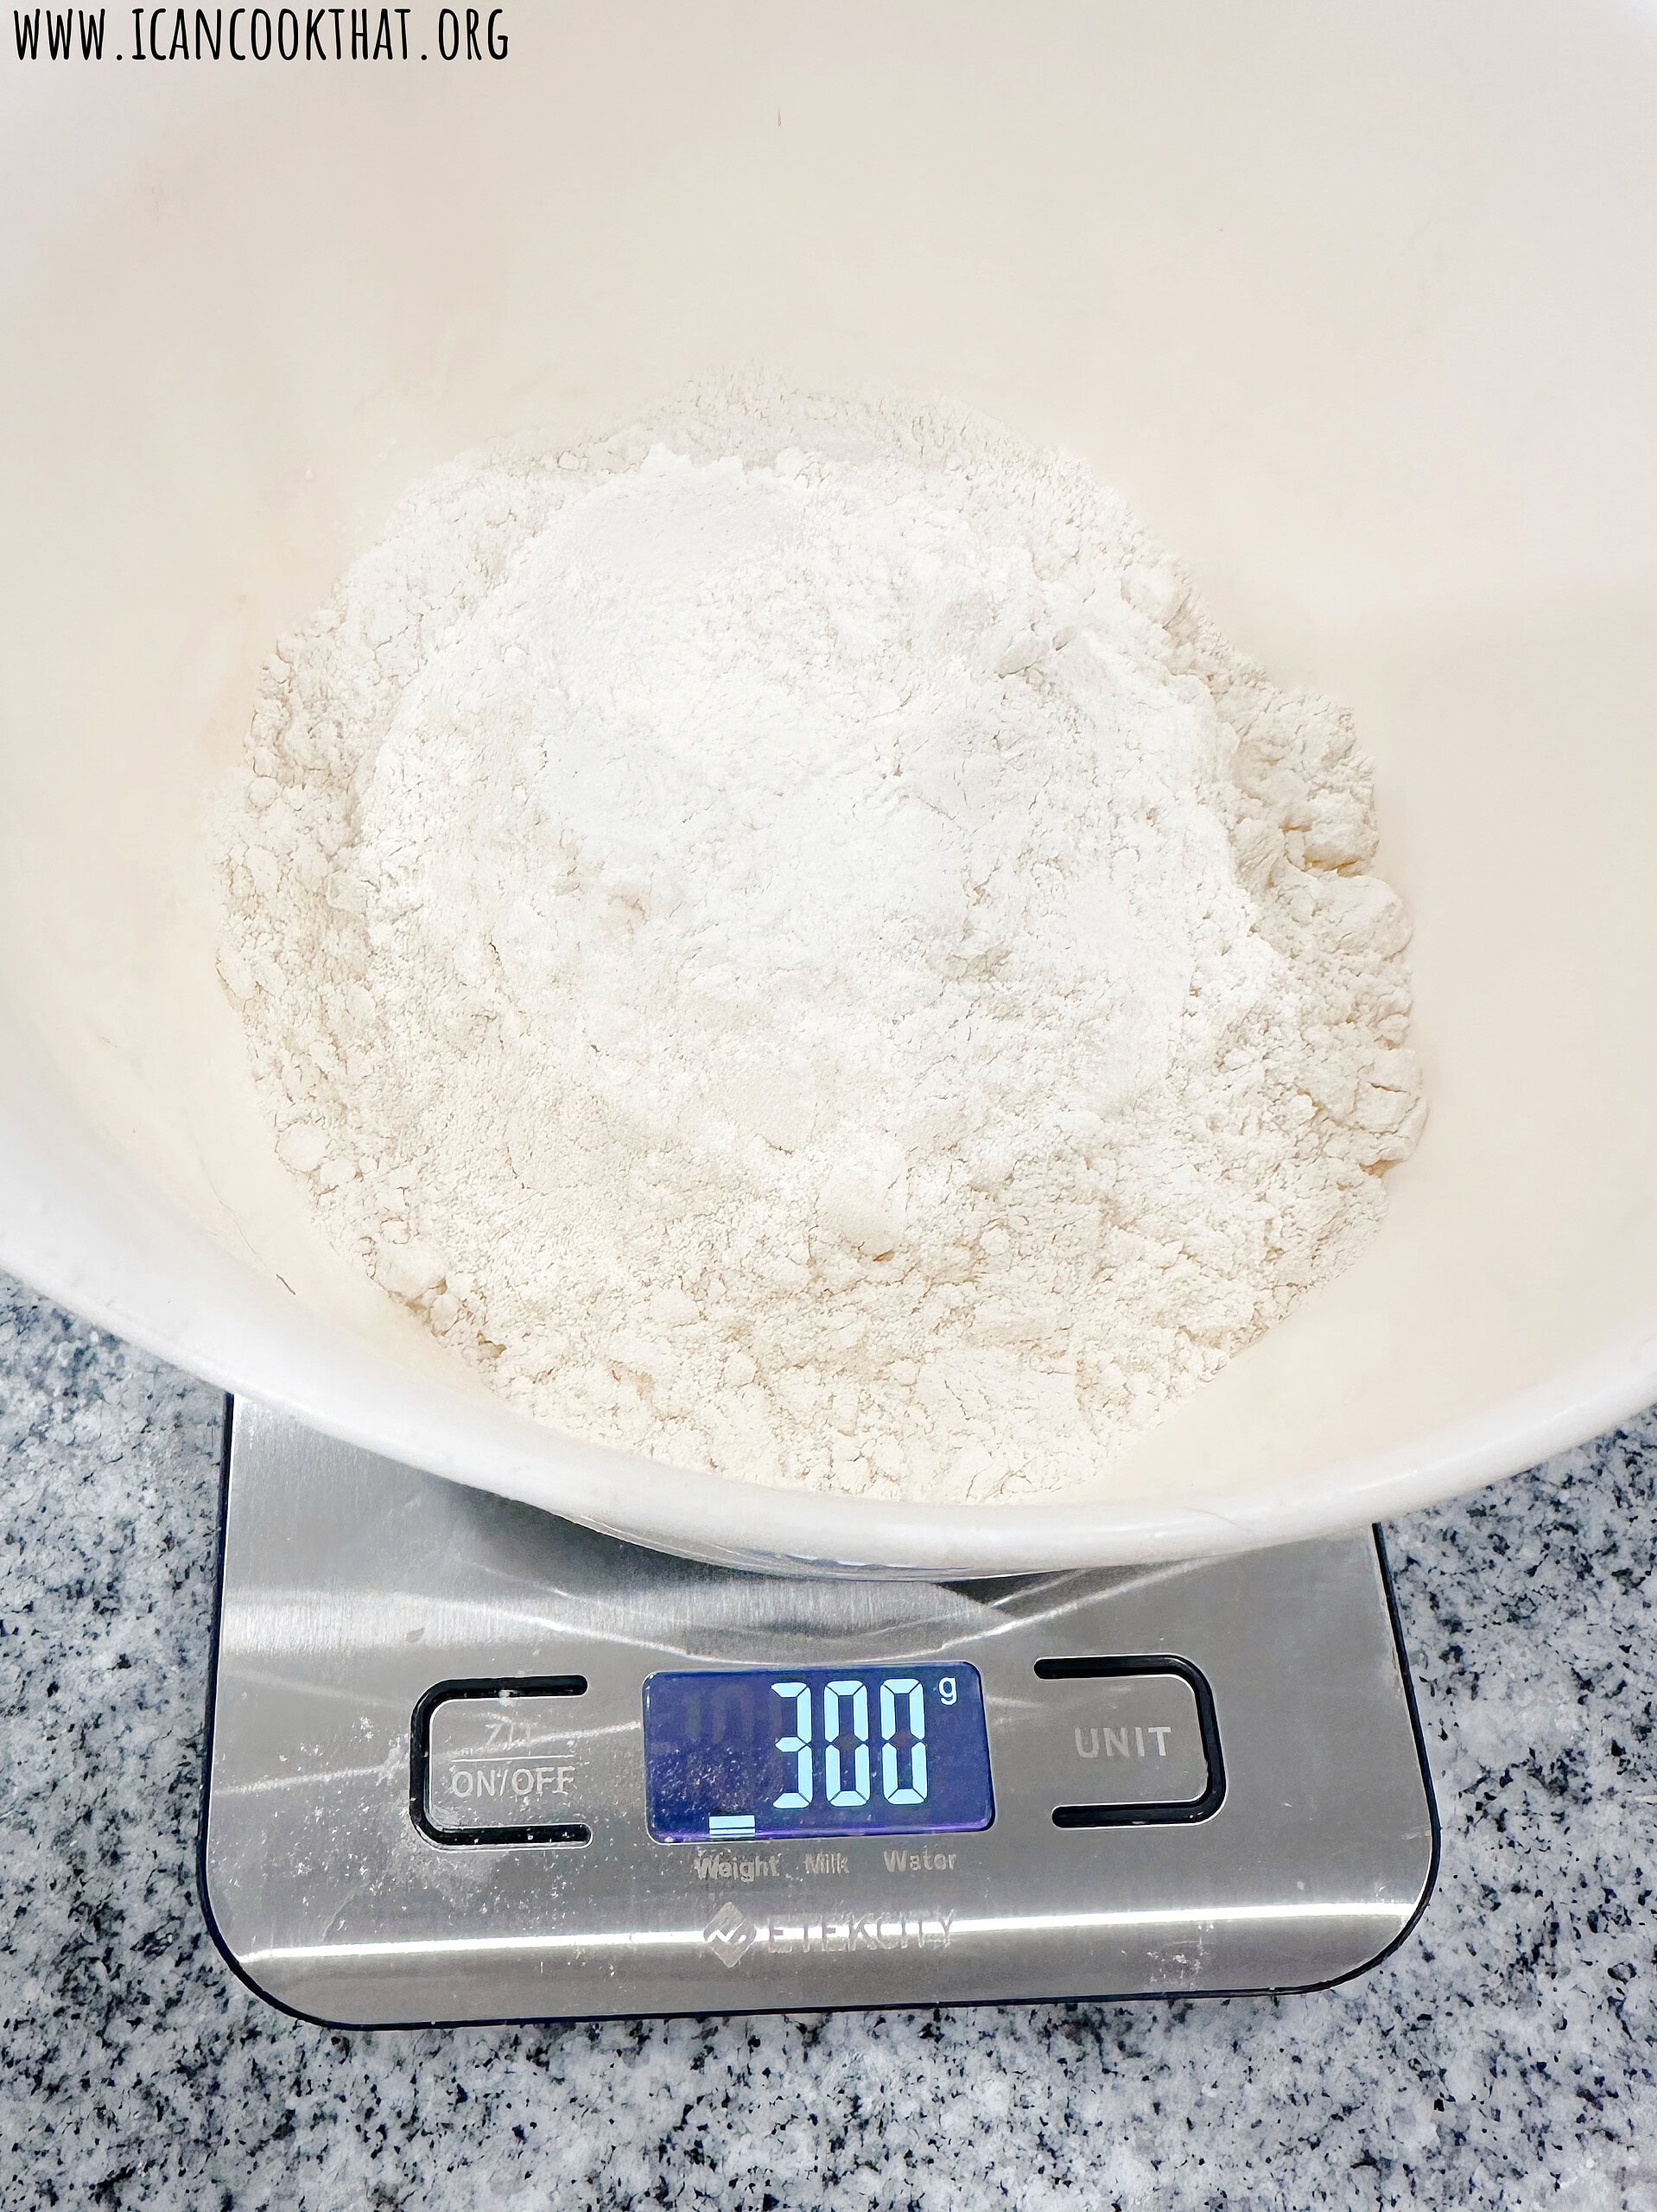
- 3oo grams (about 2 1/2 cups) all-purpose flour, plus more for dusting
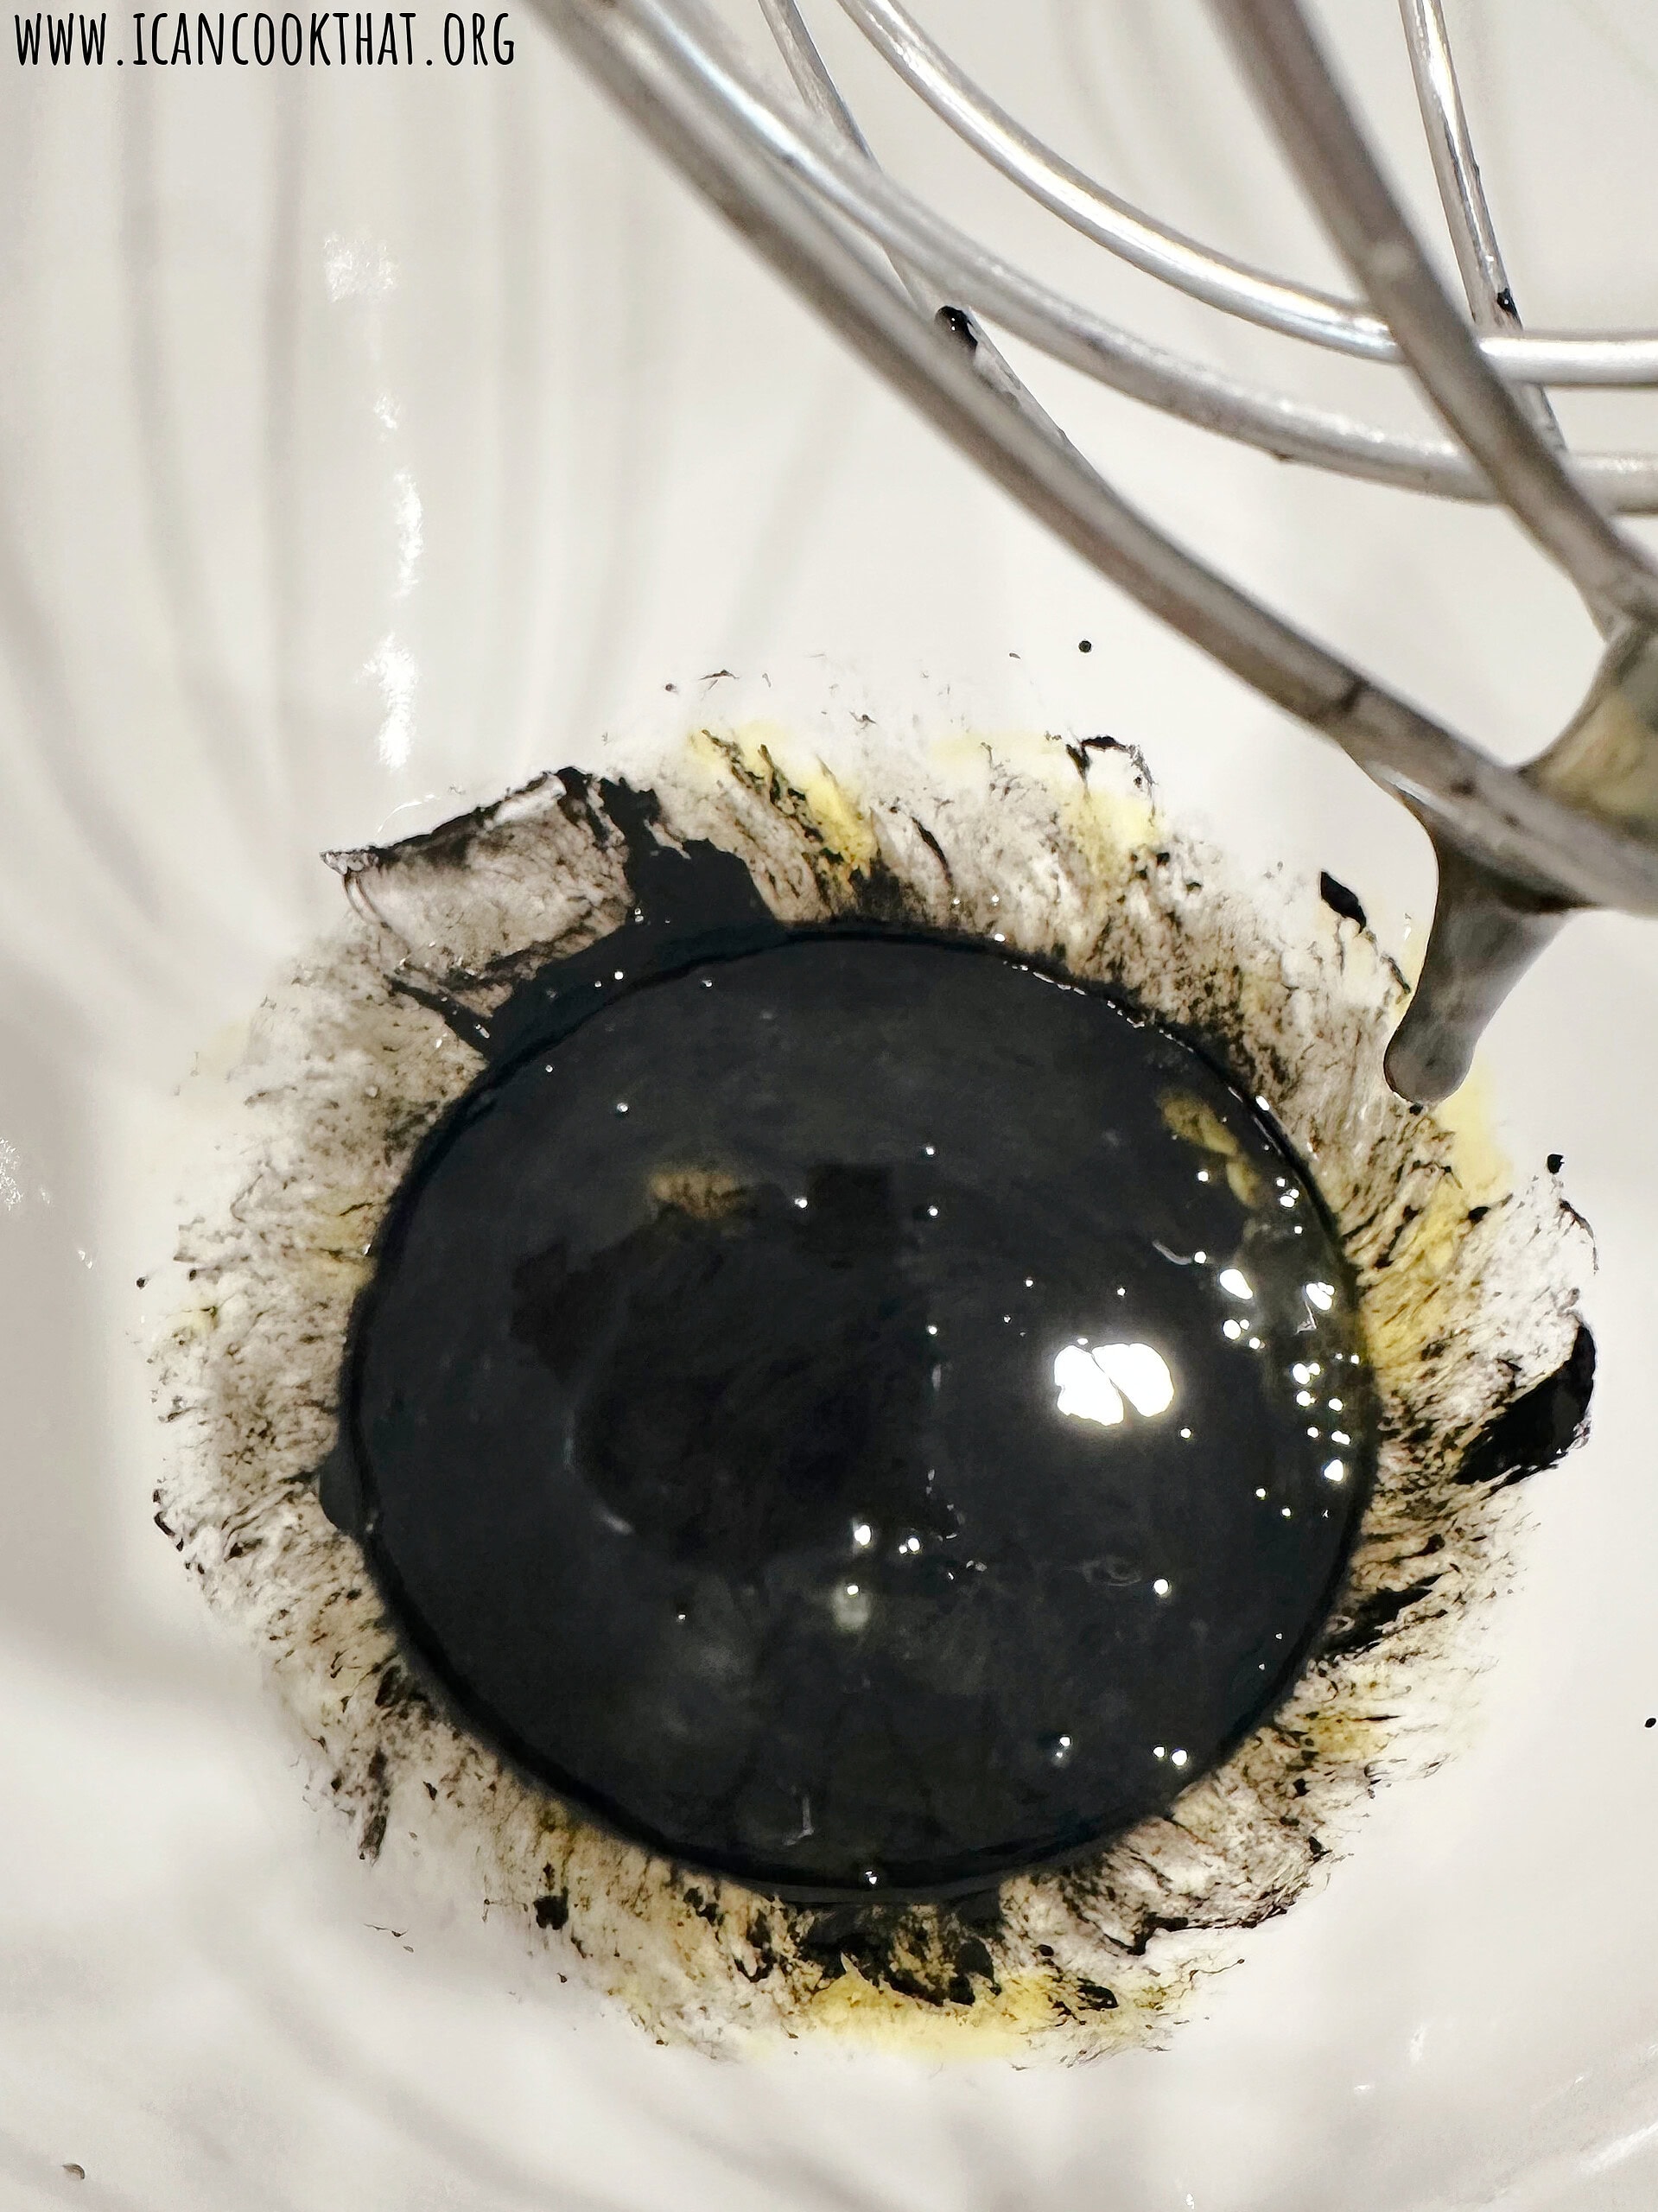
To make your squid ink fettuccine, add your eggs to a medium sized bowl (or the bowl of a stand mixer – paid link) along with the cuttlefish ink.
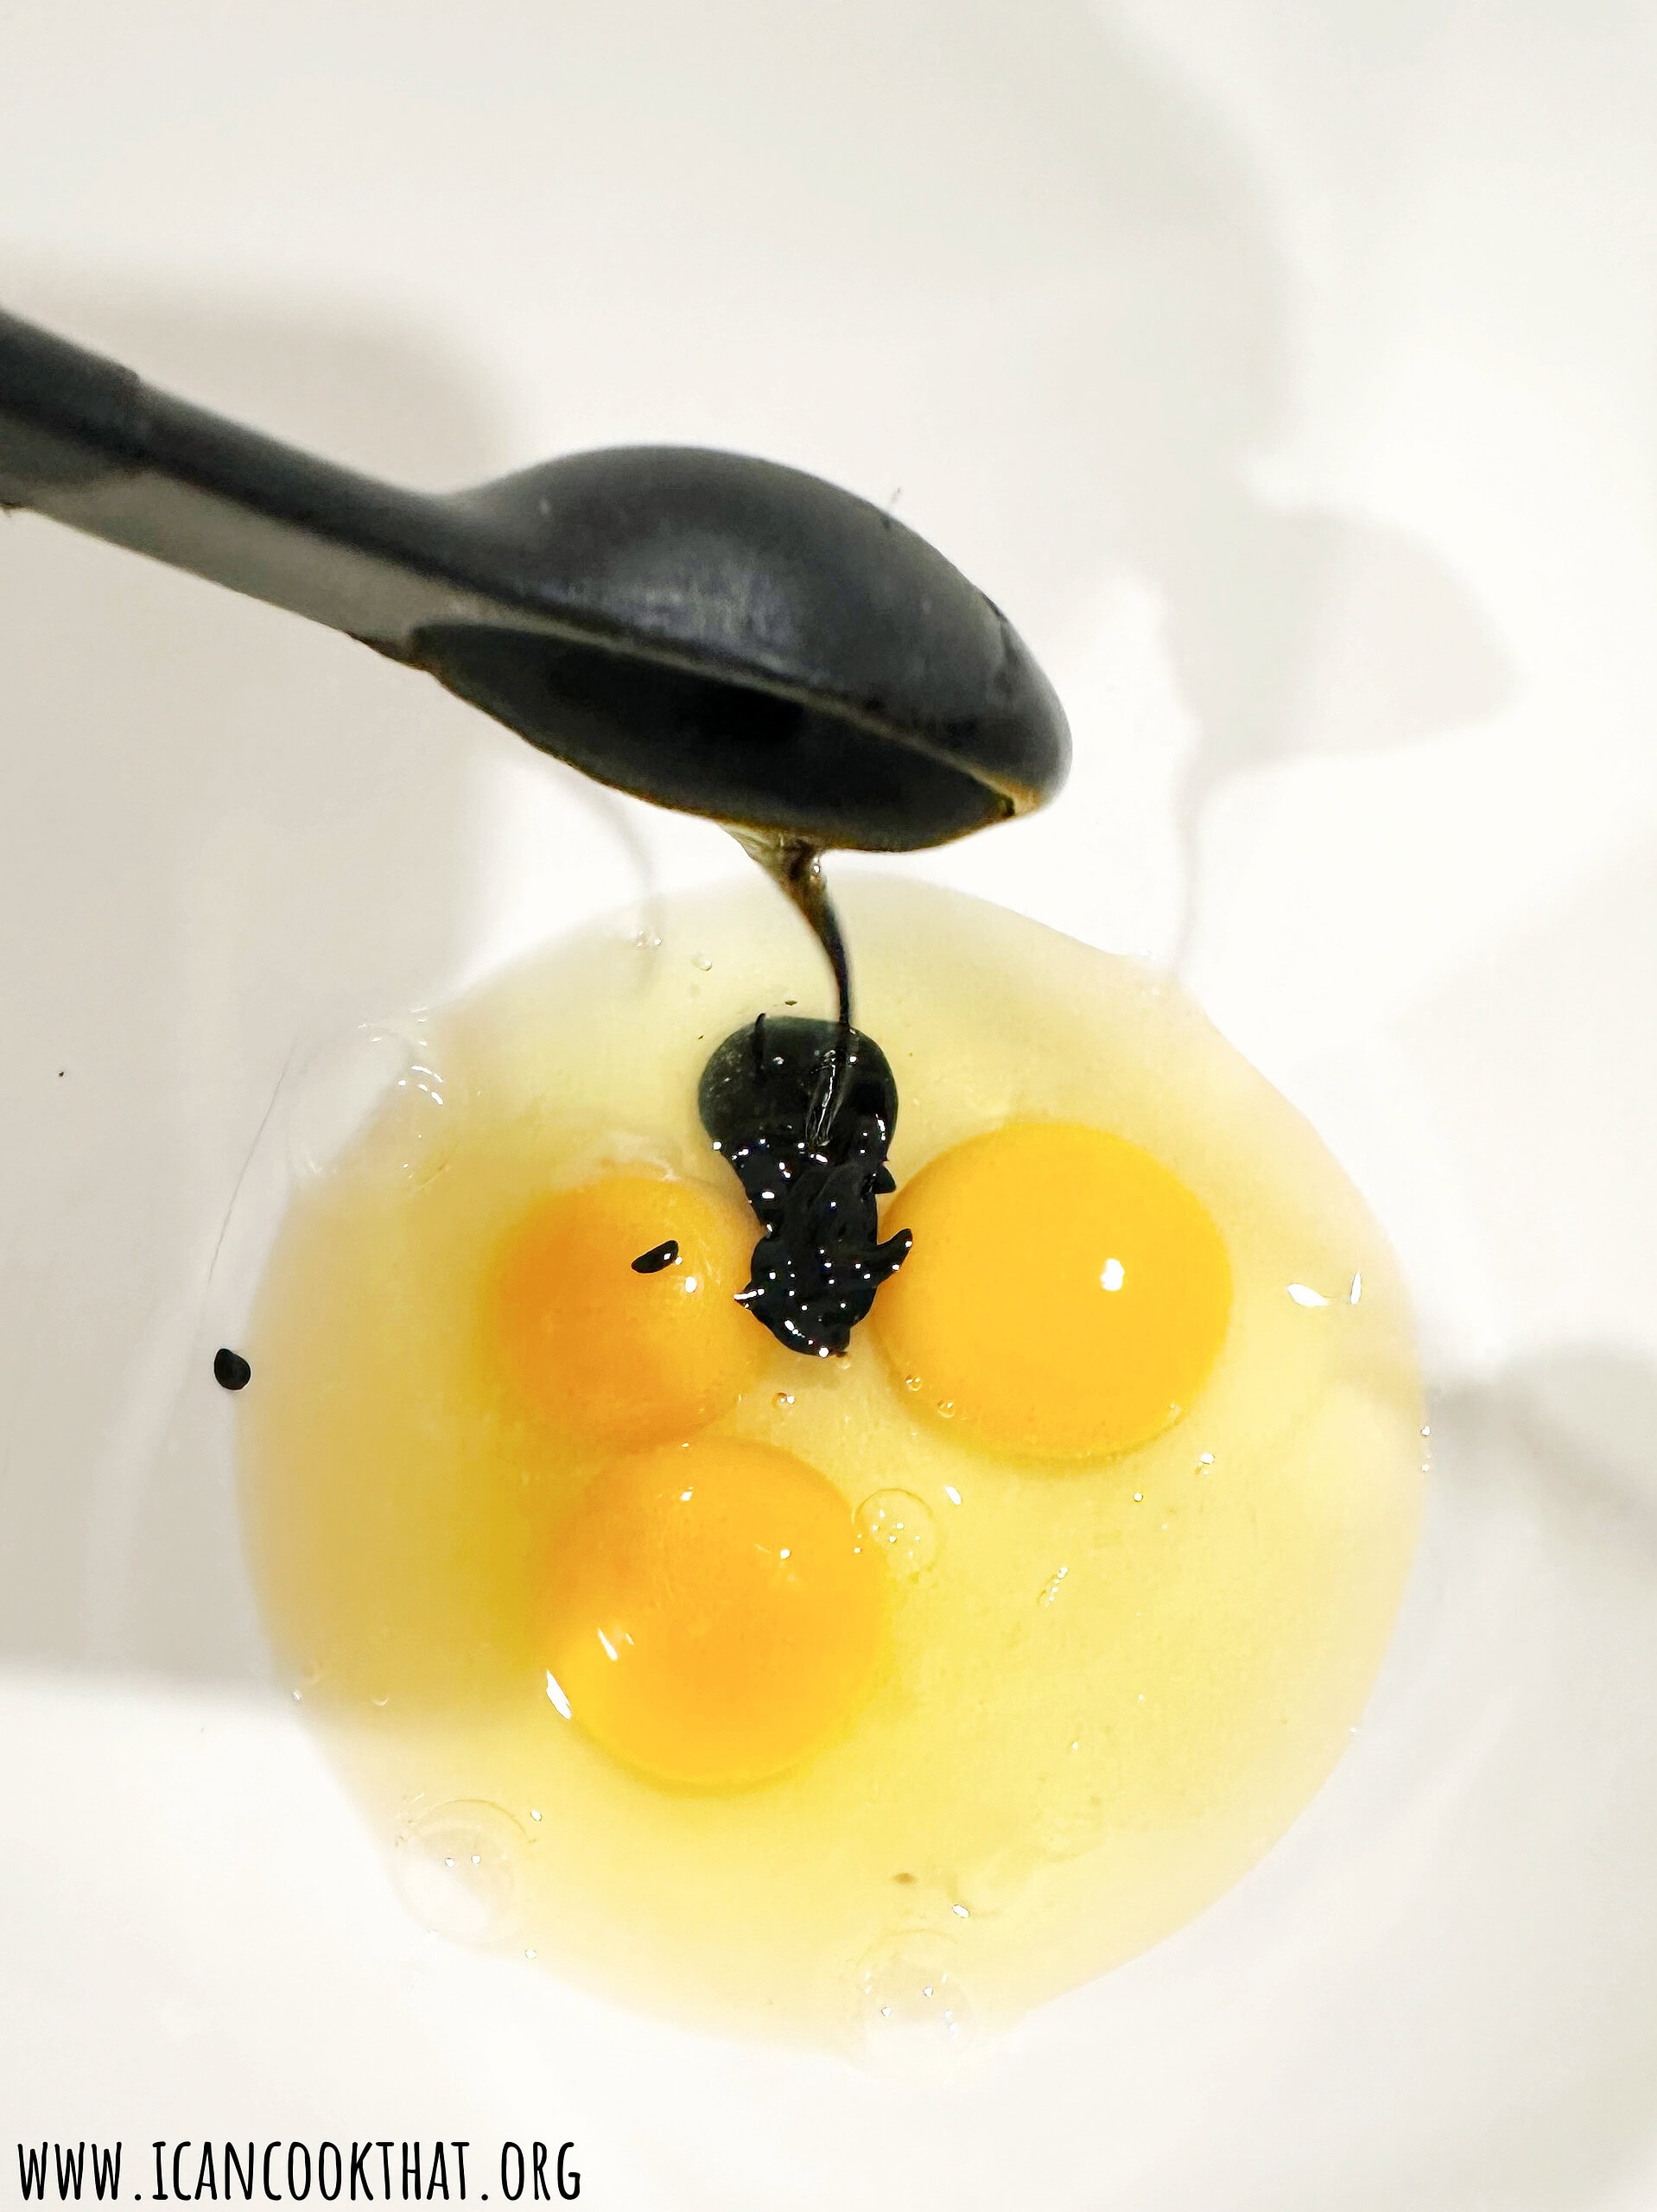
Whisk together the eggs and cuttlefish ink until mostly combined.
Measure out your flour; I suggest using a scale (paid link) rather than volume measurements to get the right amount.
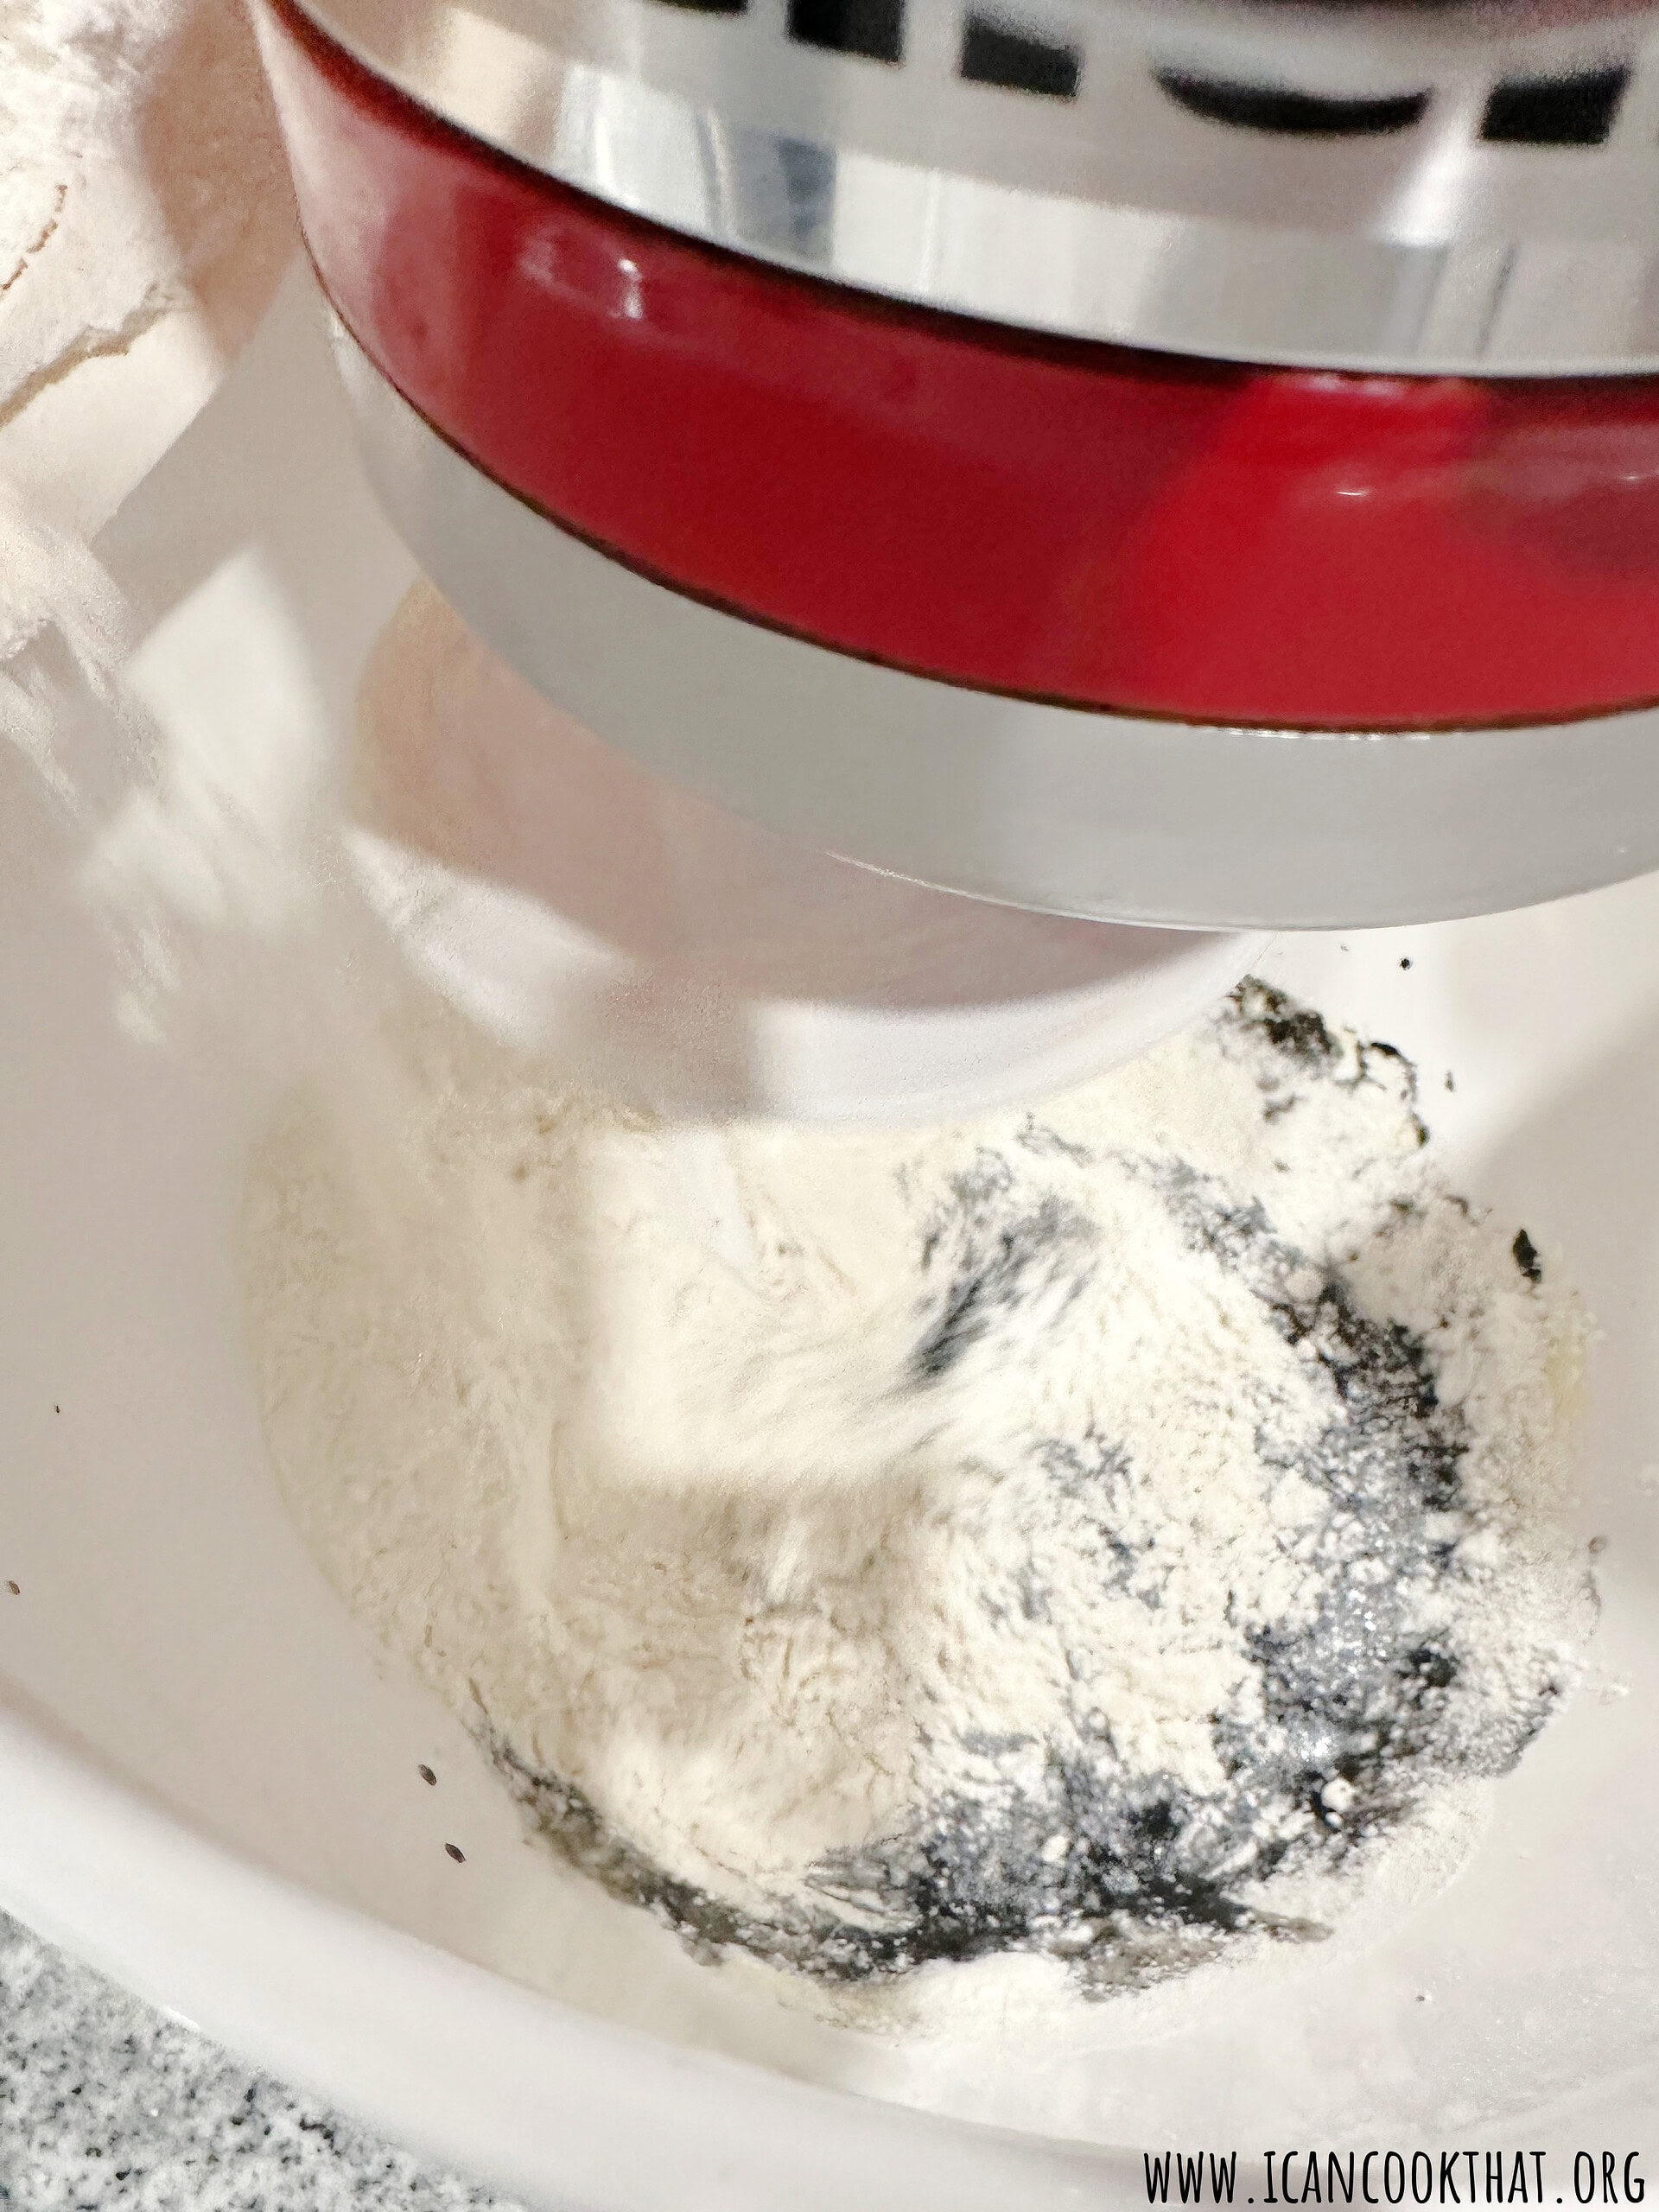
Because cuttlefish ink is a really potent dye, I made this dough mostly in my stand mixer. To do the same, add the dough hook (paid link) to your stand mixer and slowly incorporate the flour into your egg mixture until it forms a ball, about 5 to 10 minutes.
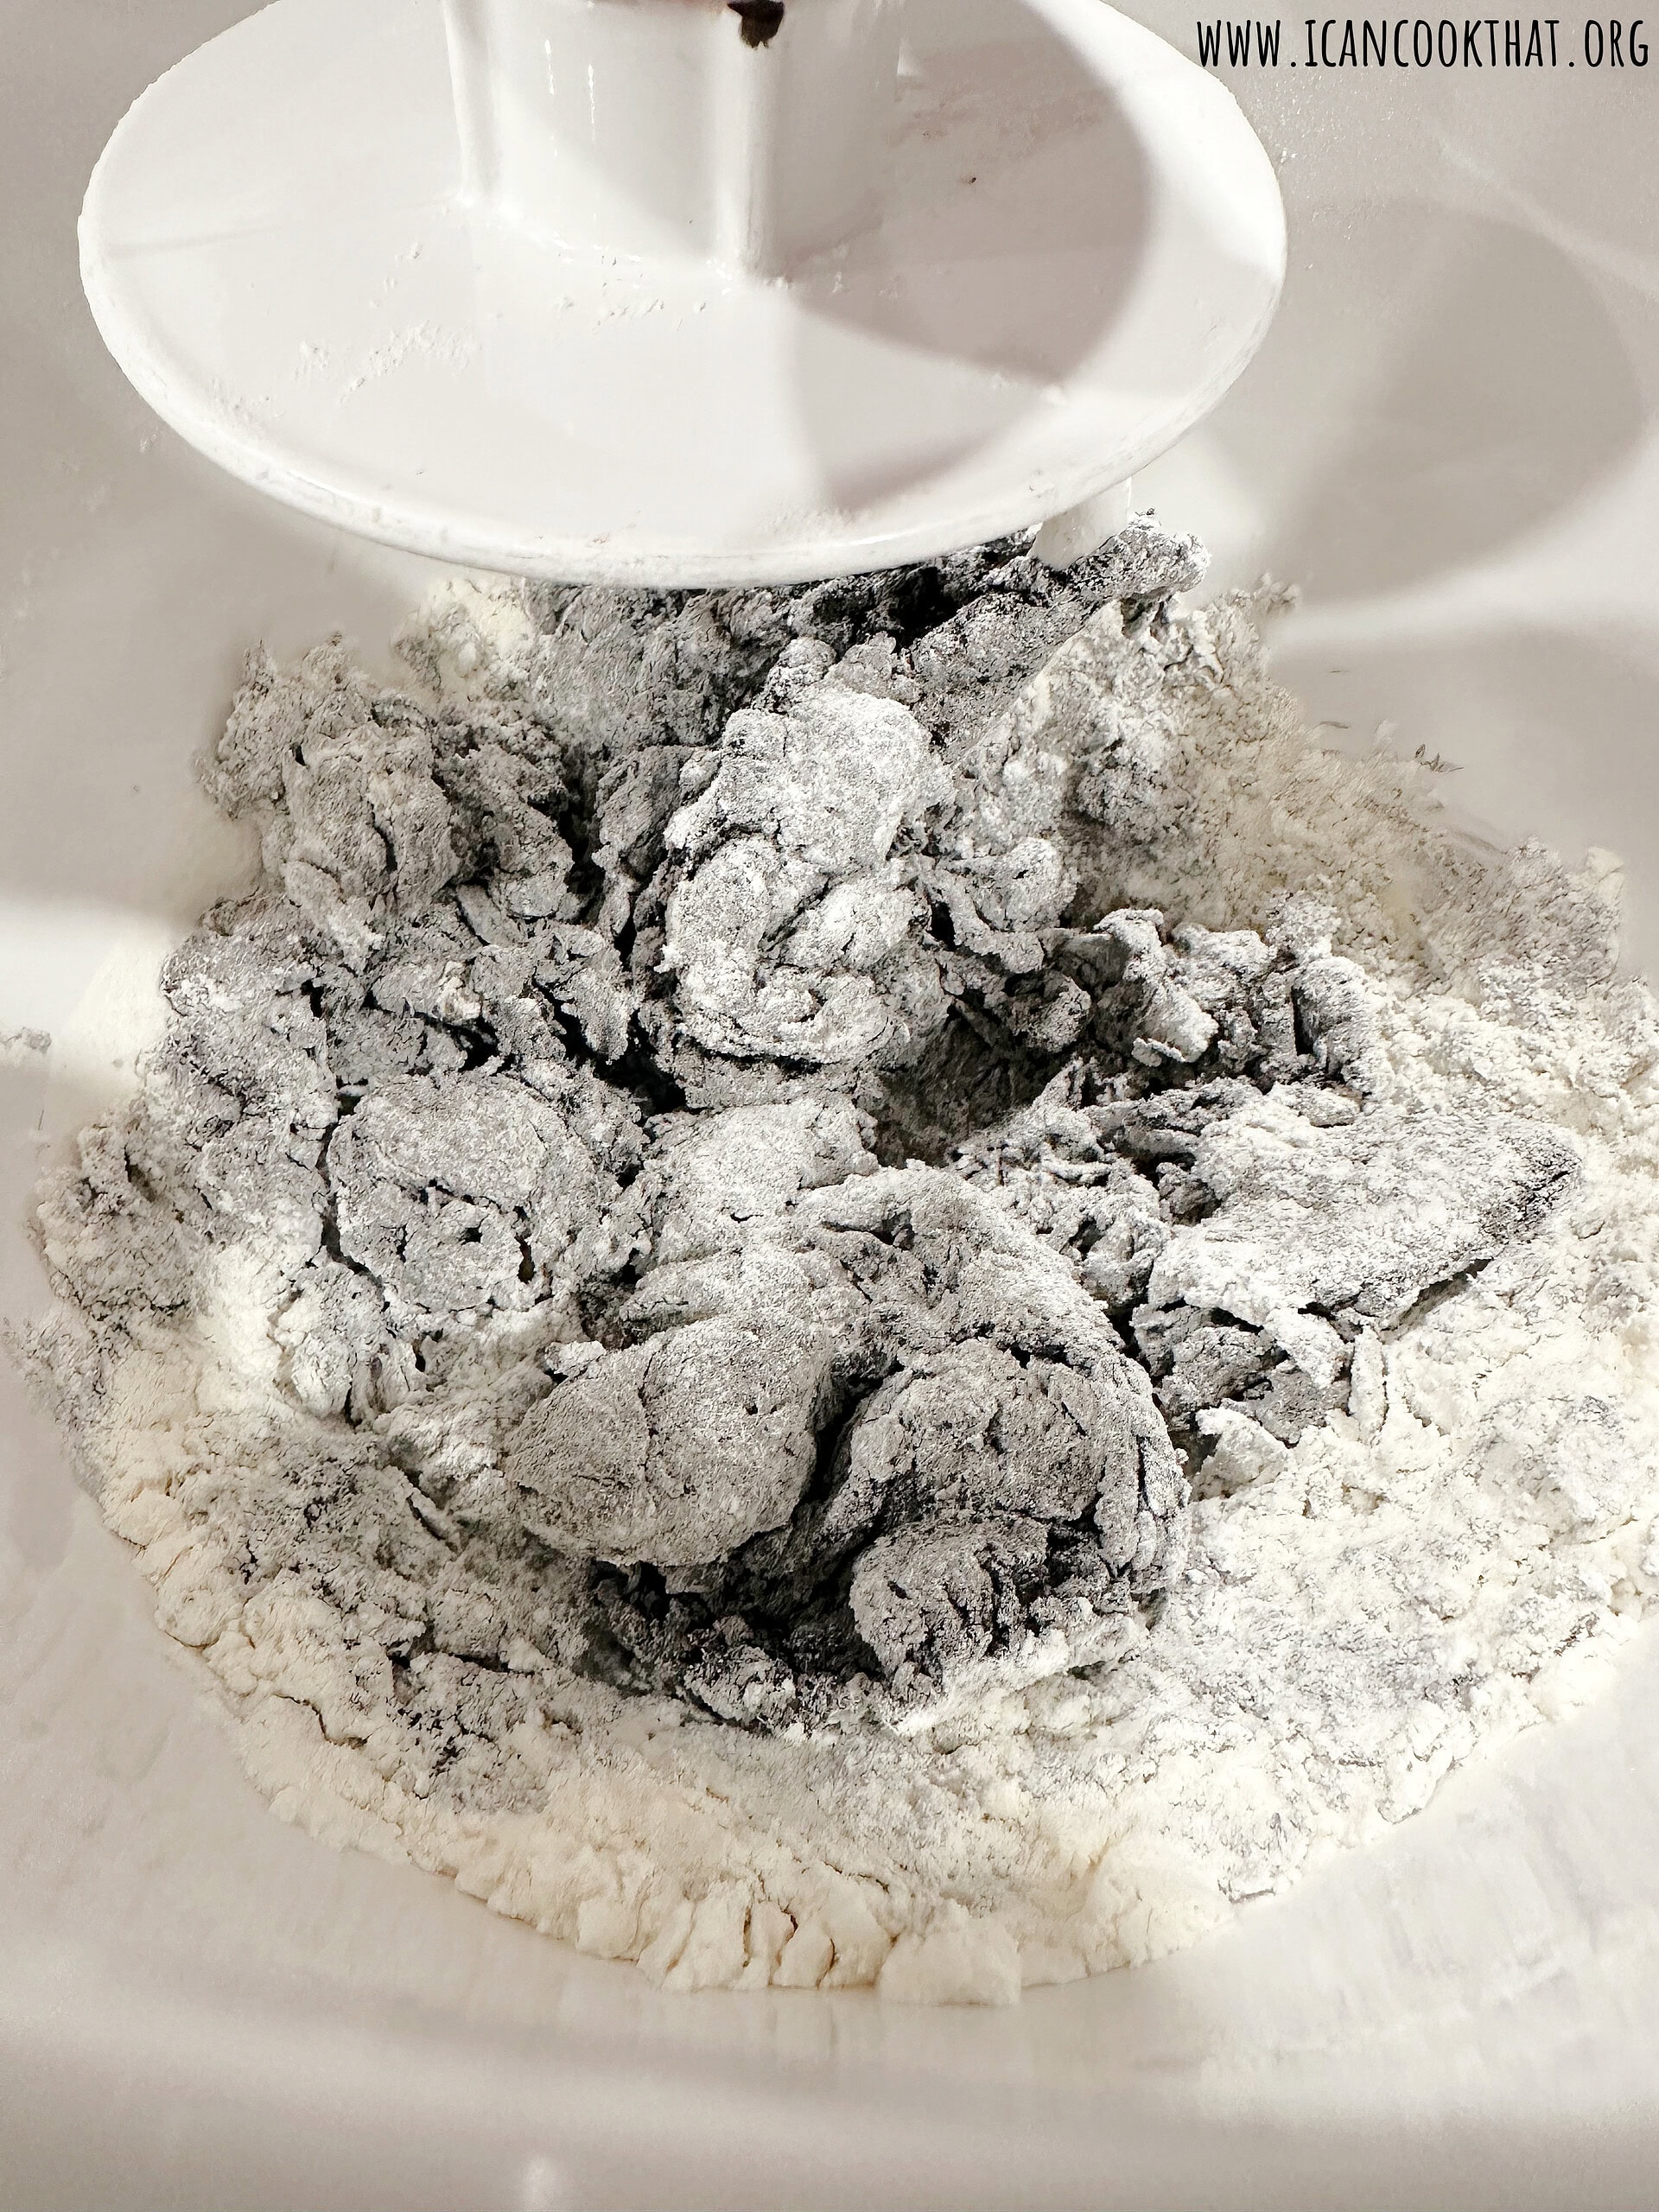
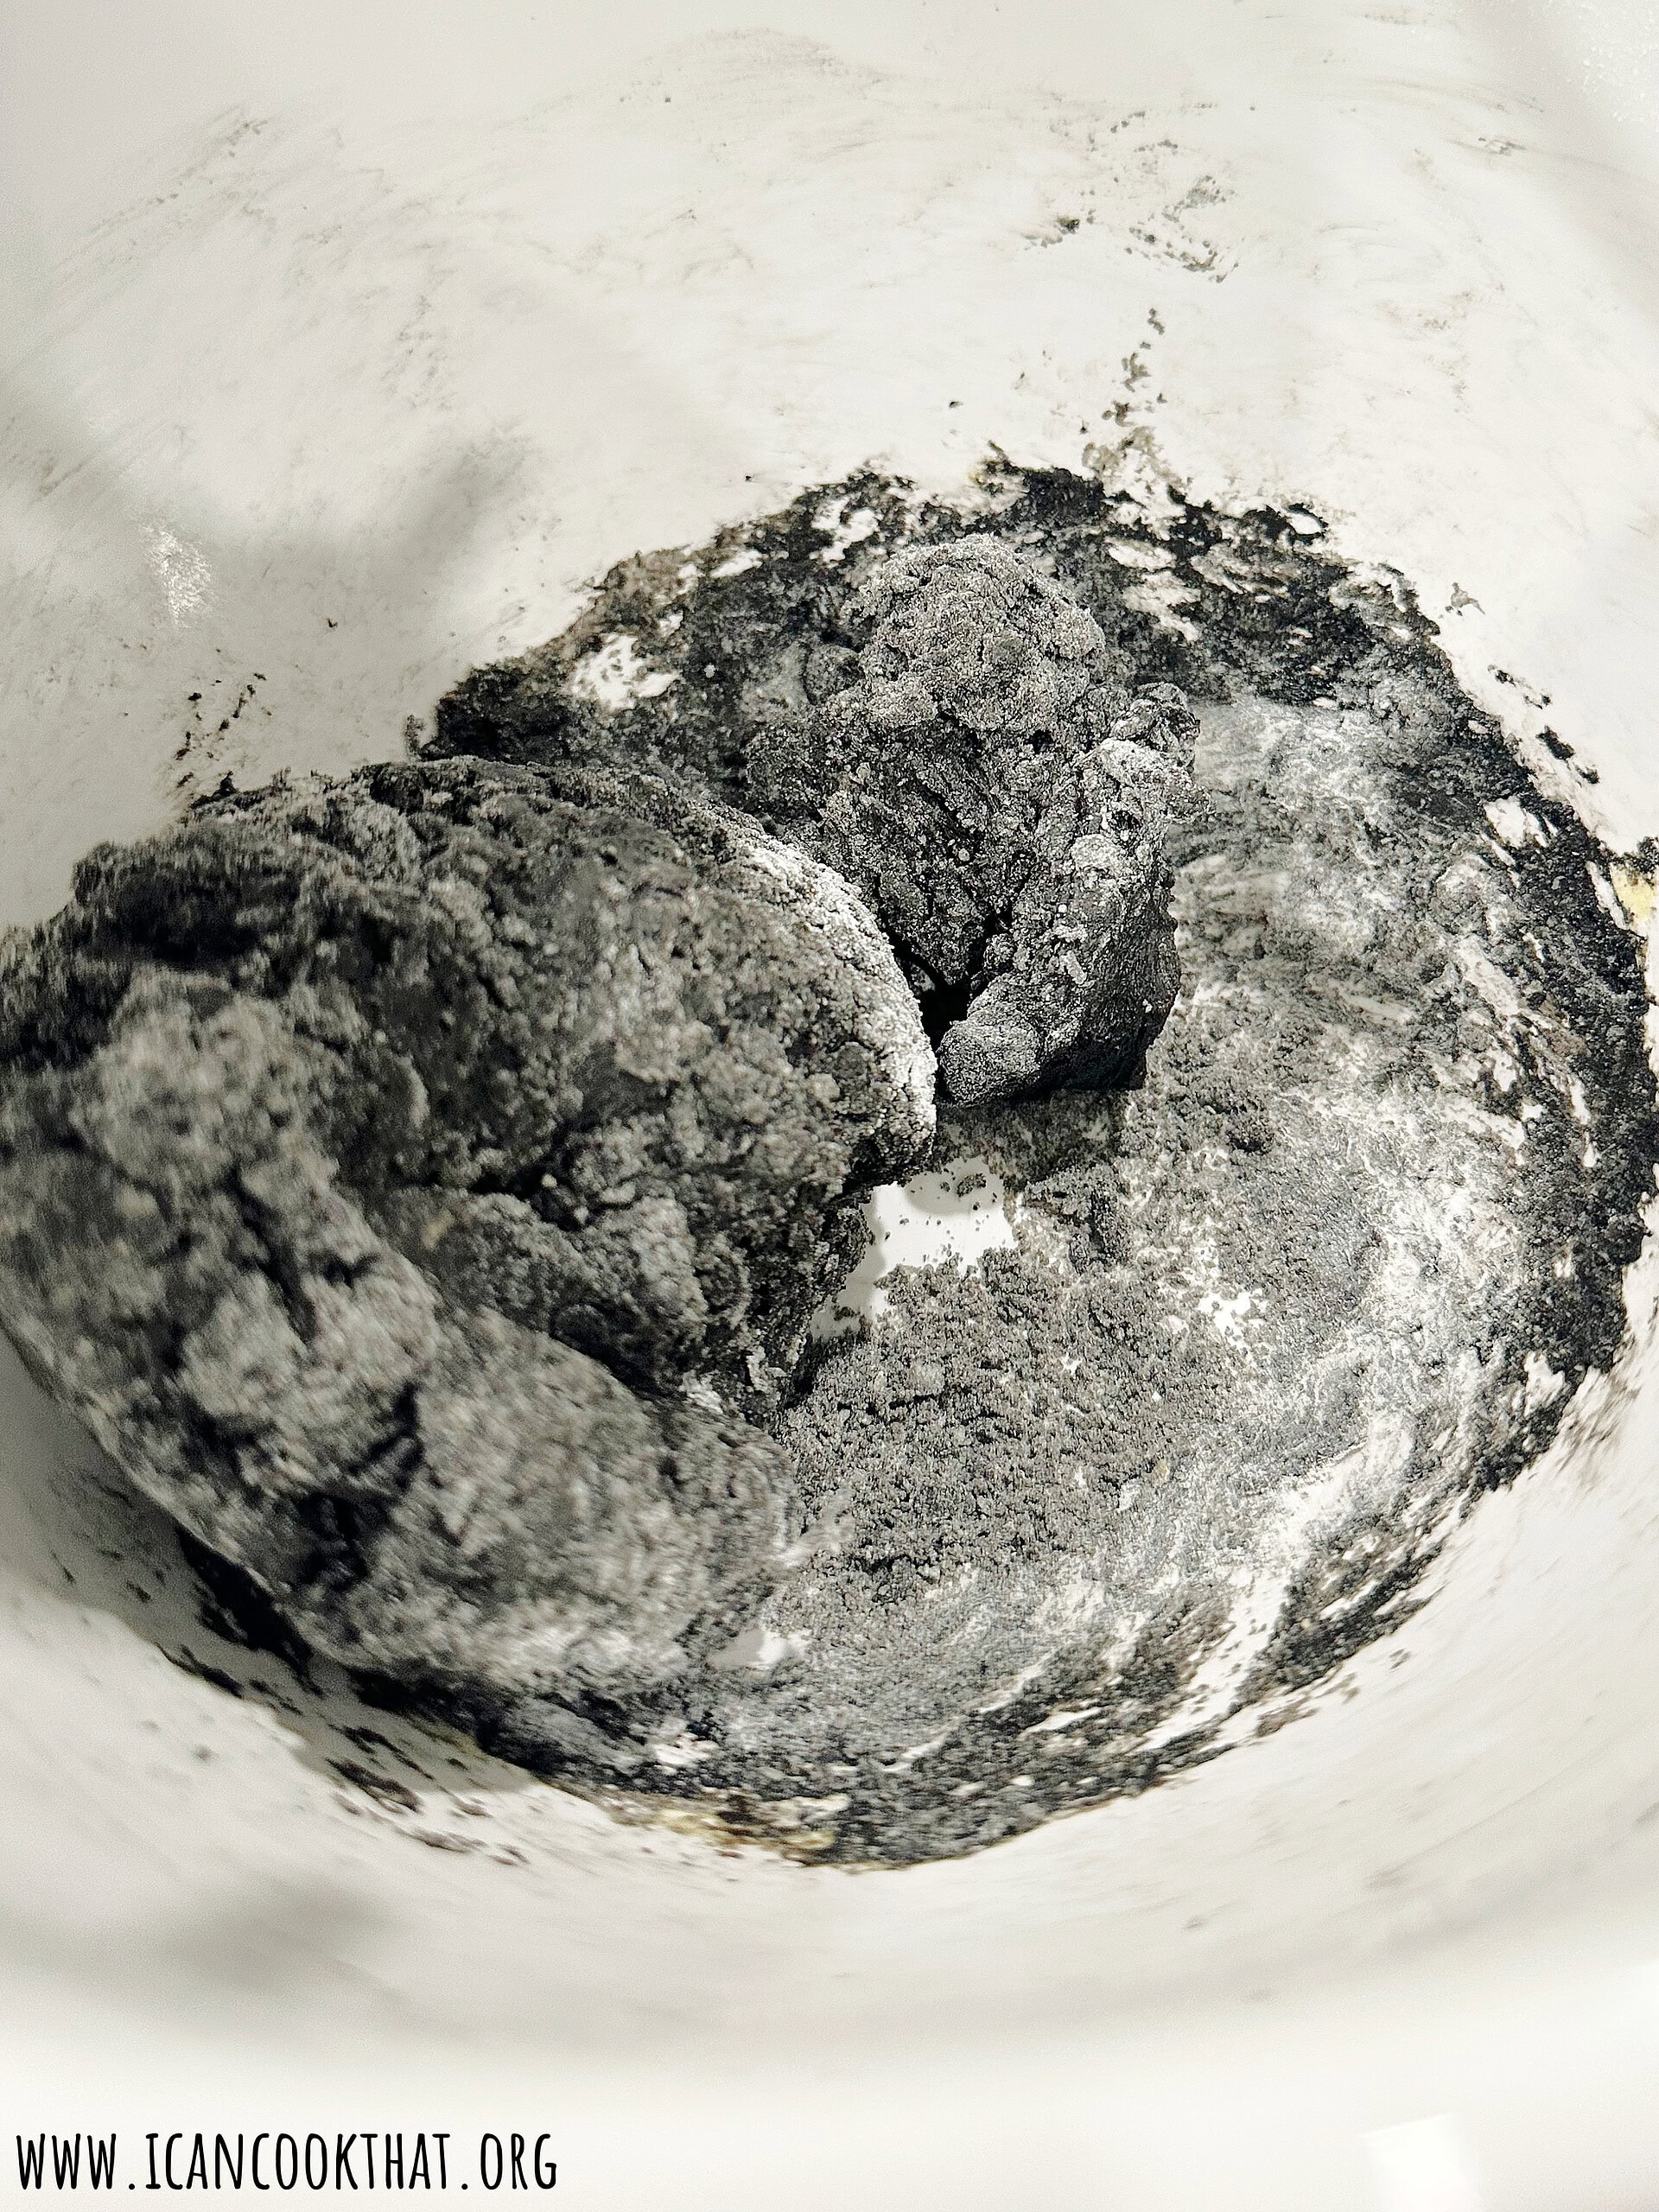
If the dough is still not coming together and looks dry/ragged, add a teaspoon of water and mix for another minute. Repeat if necessary. If the dough looks too sticky, add a teaspoon more of flour and mix for another minute, repeating if necessary.
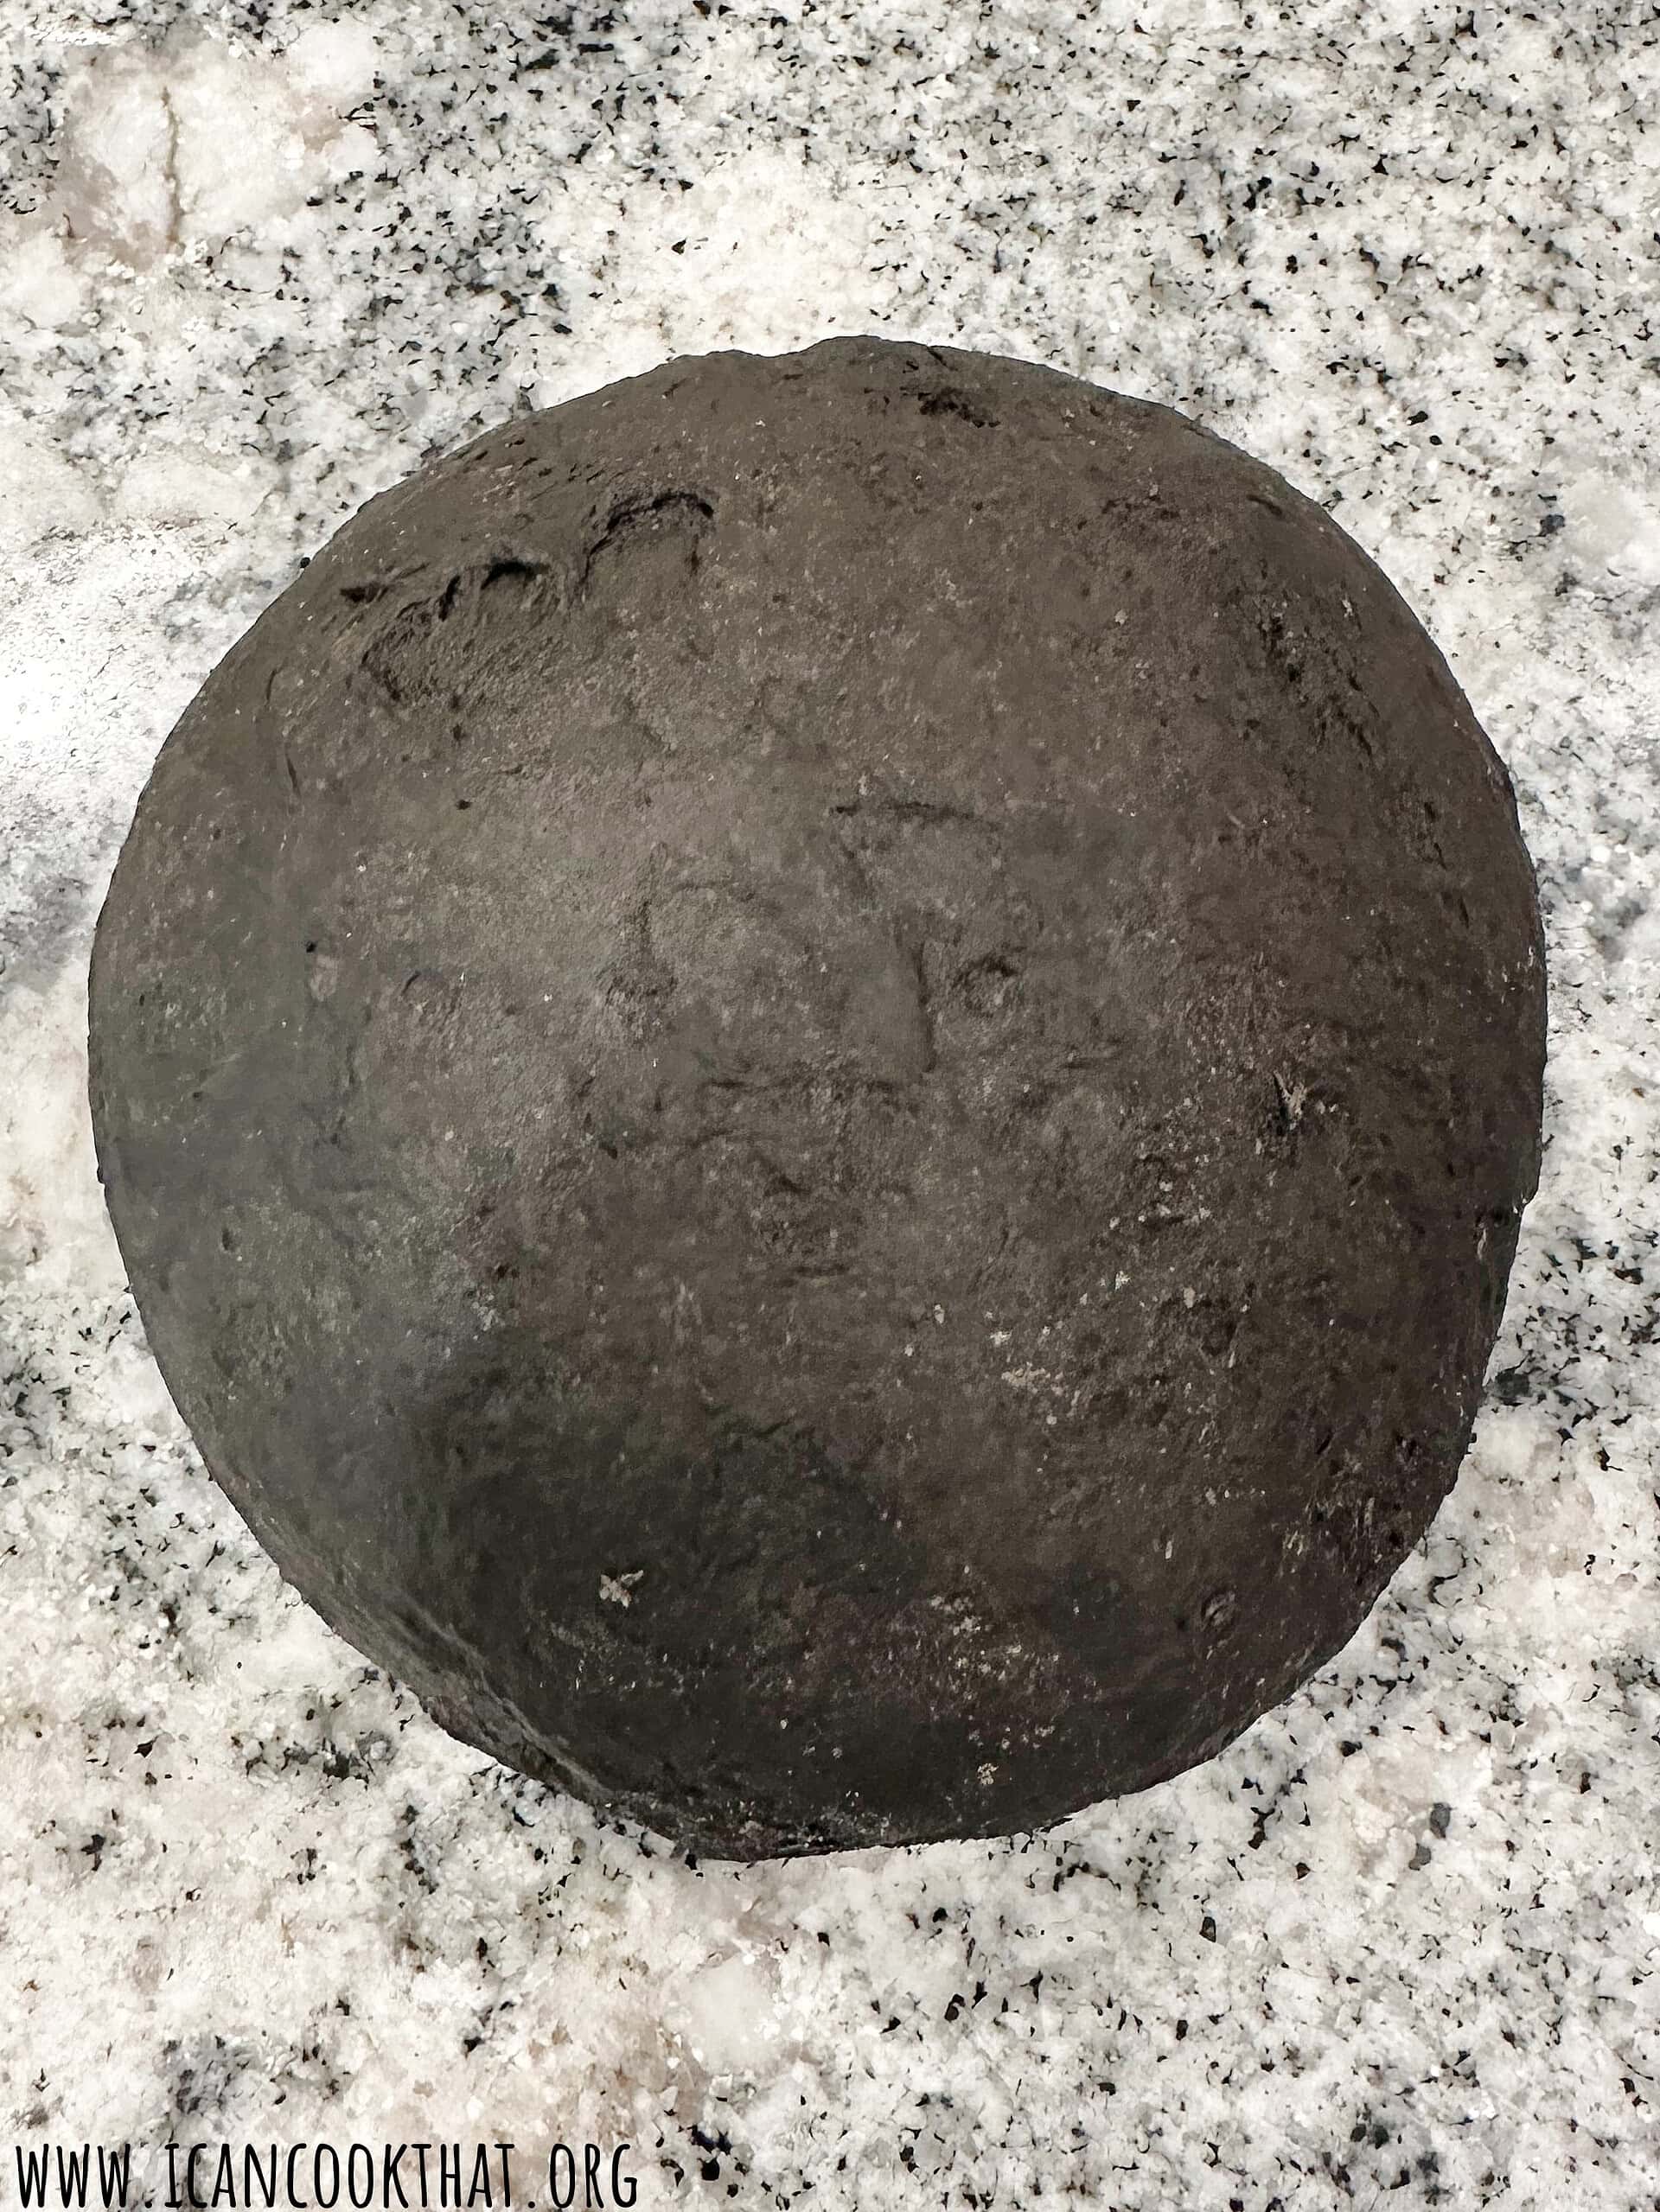
Once the dough has formed into a ball, turn out onto a lightly floured surface, like your countertop.
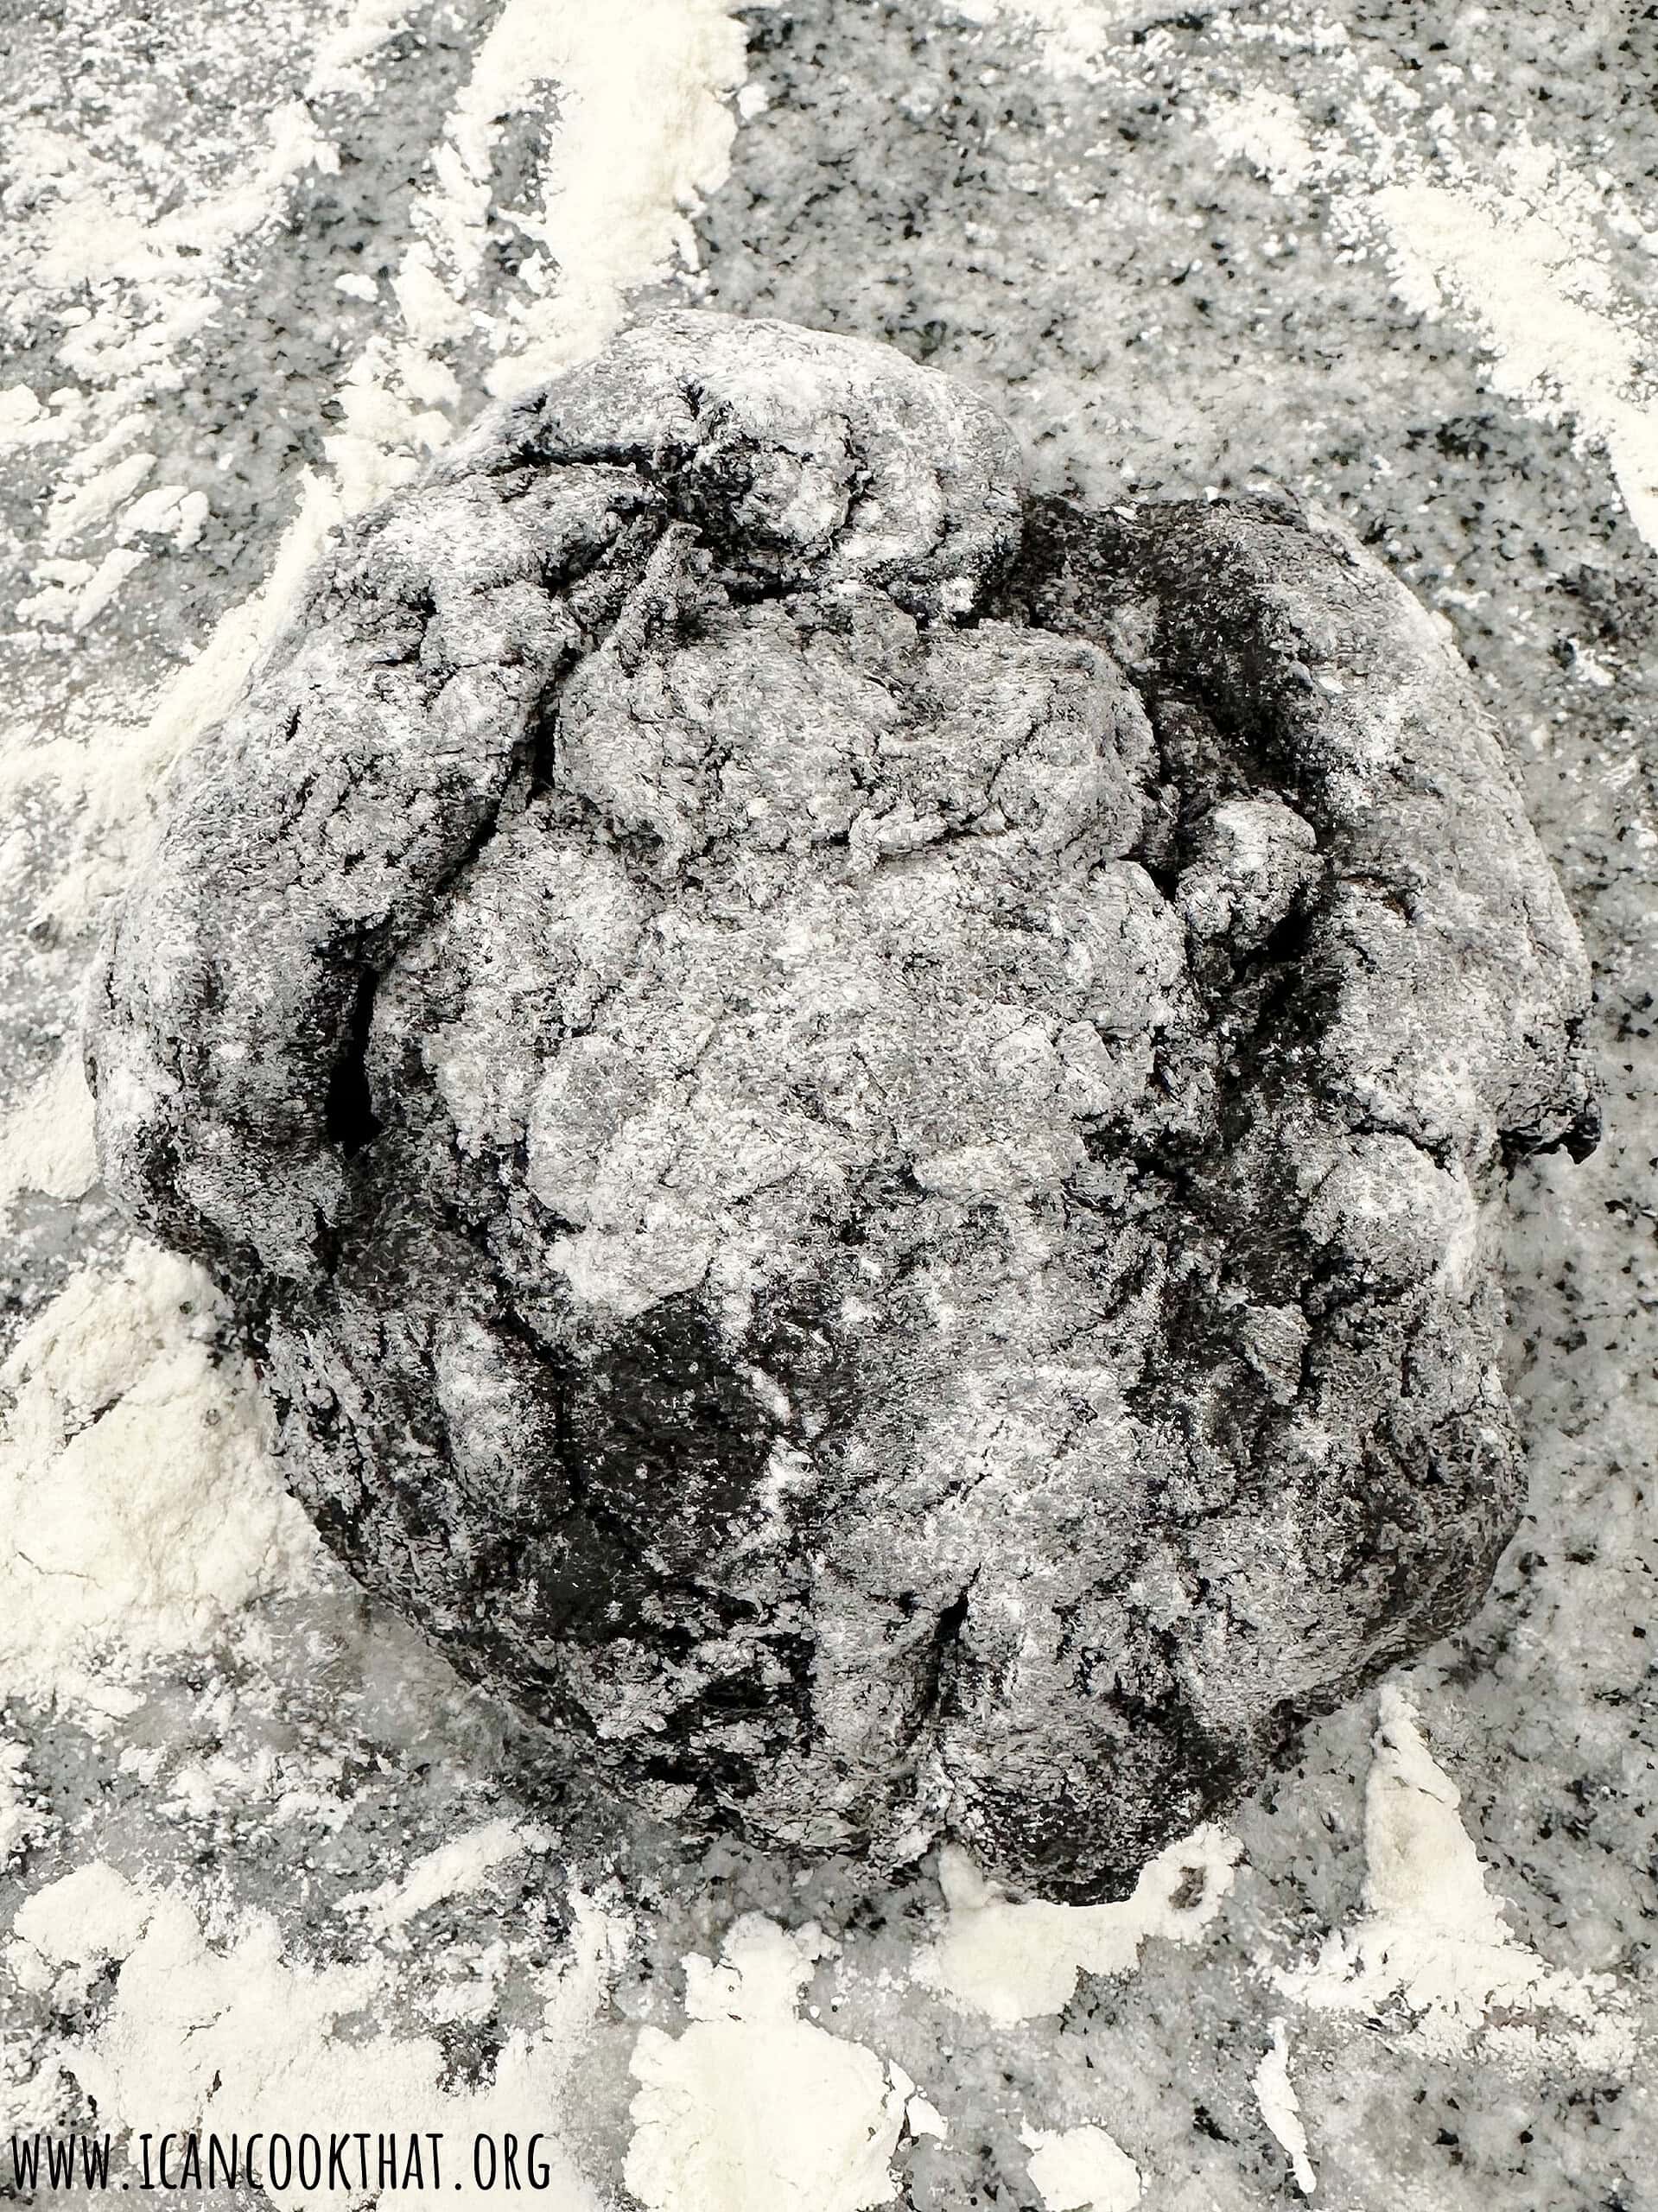
Using your hands, knead the dough for about 5 or 10 minutes, or until it becomes smoother and elastic.
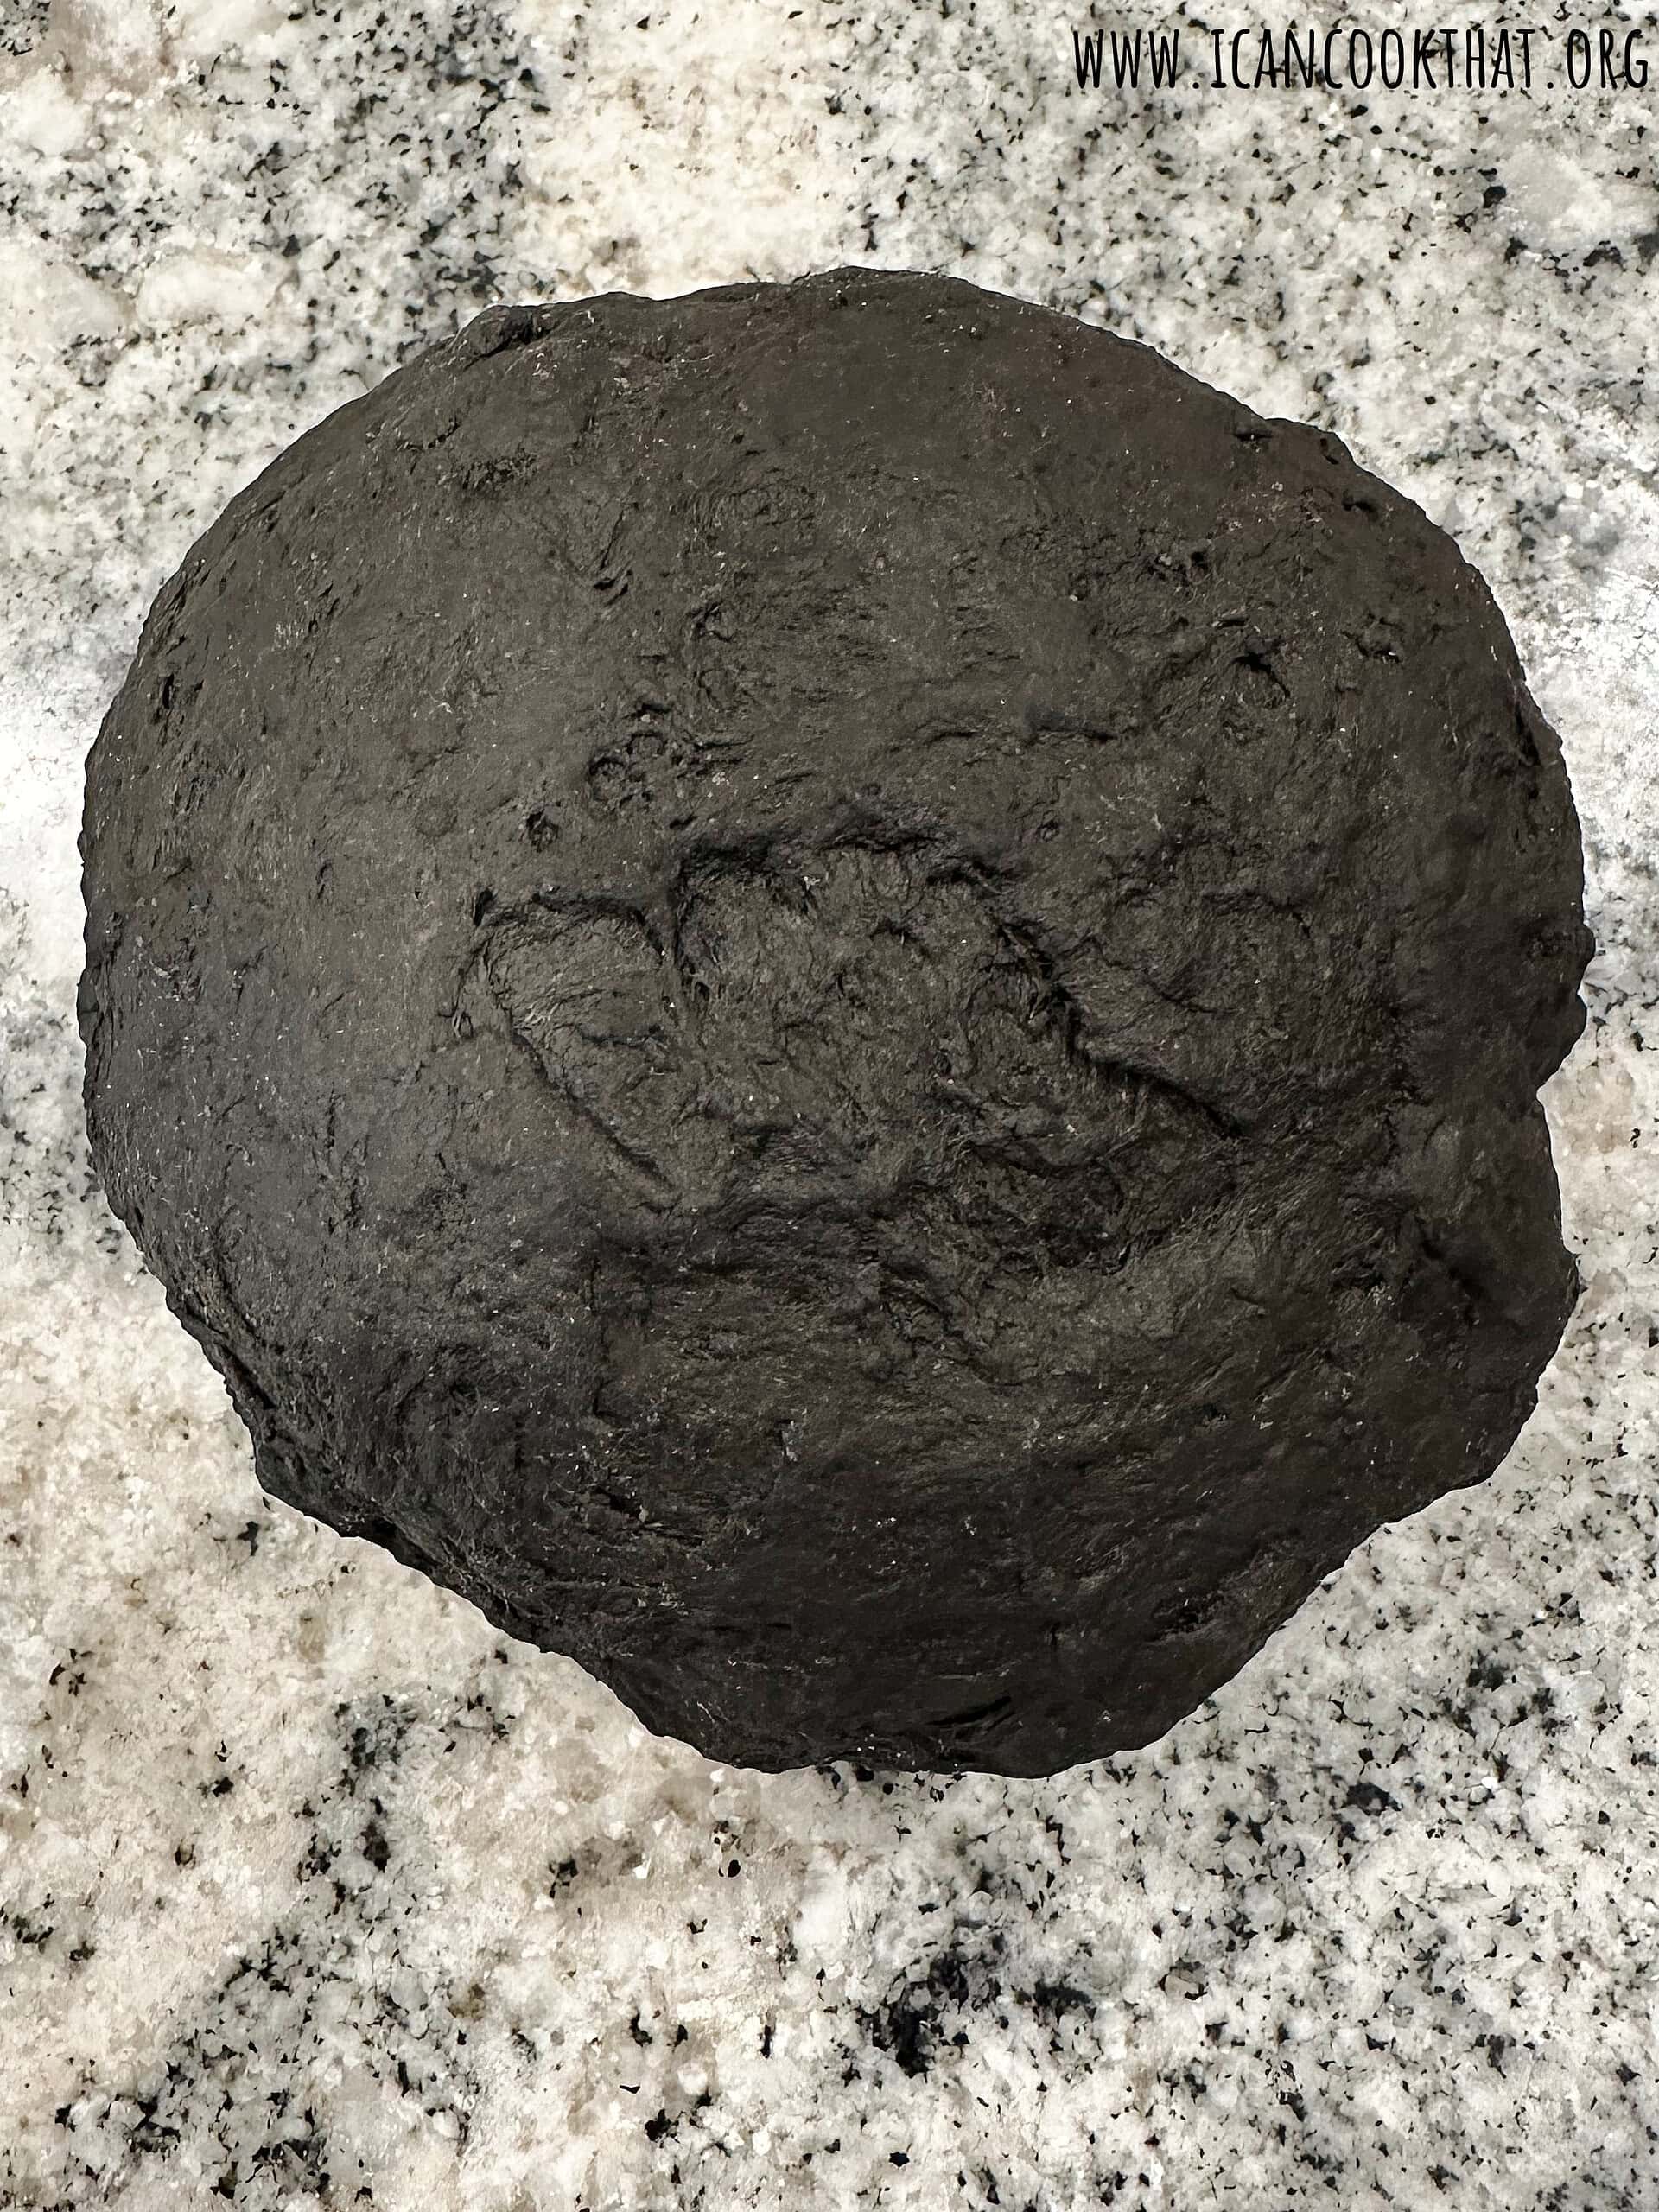
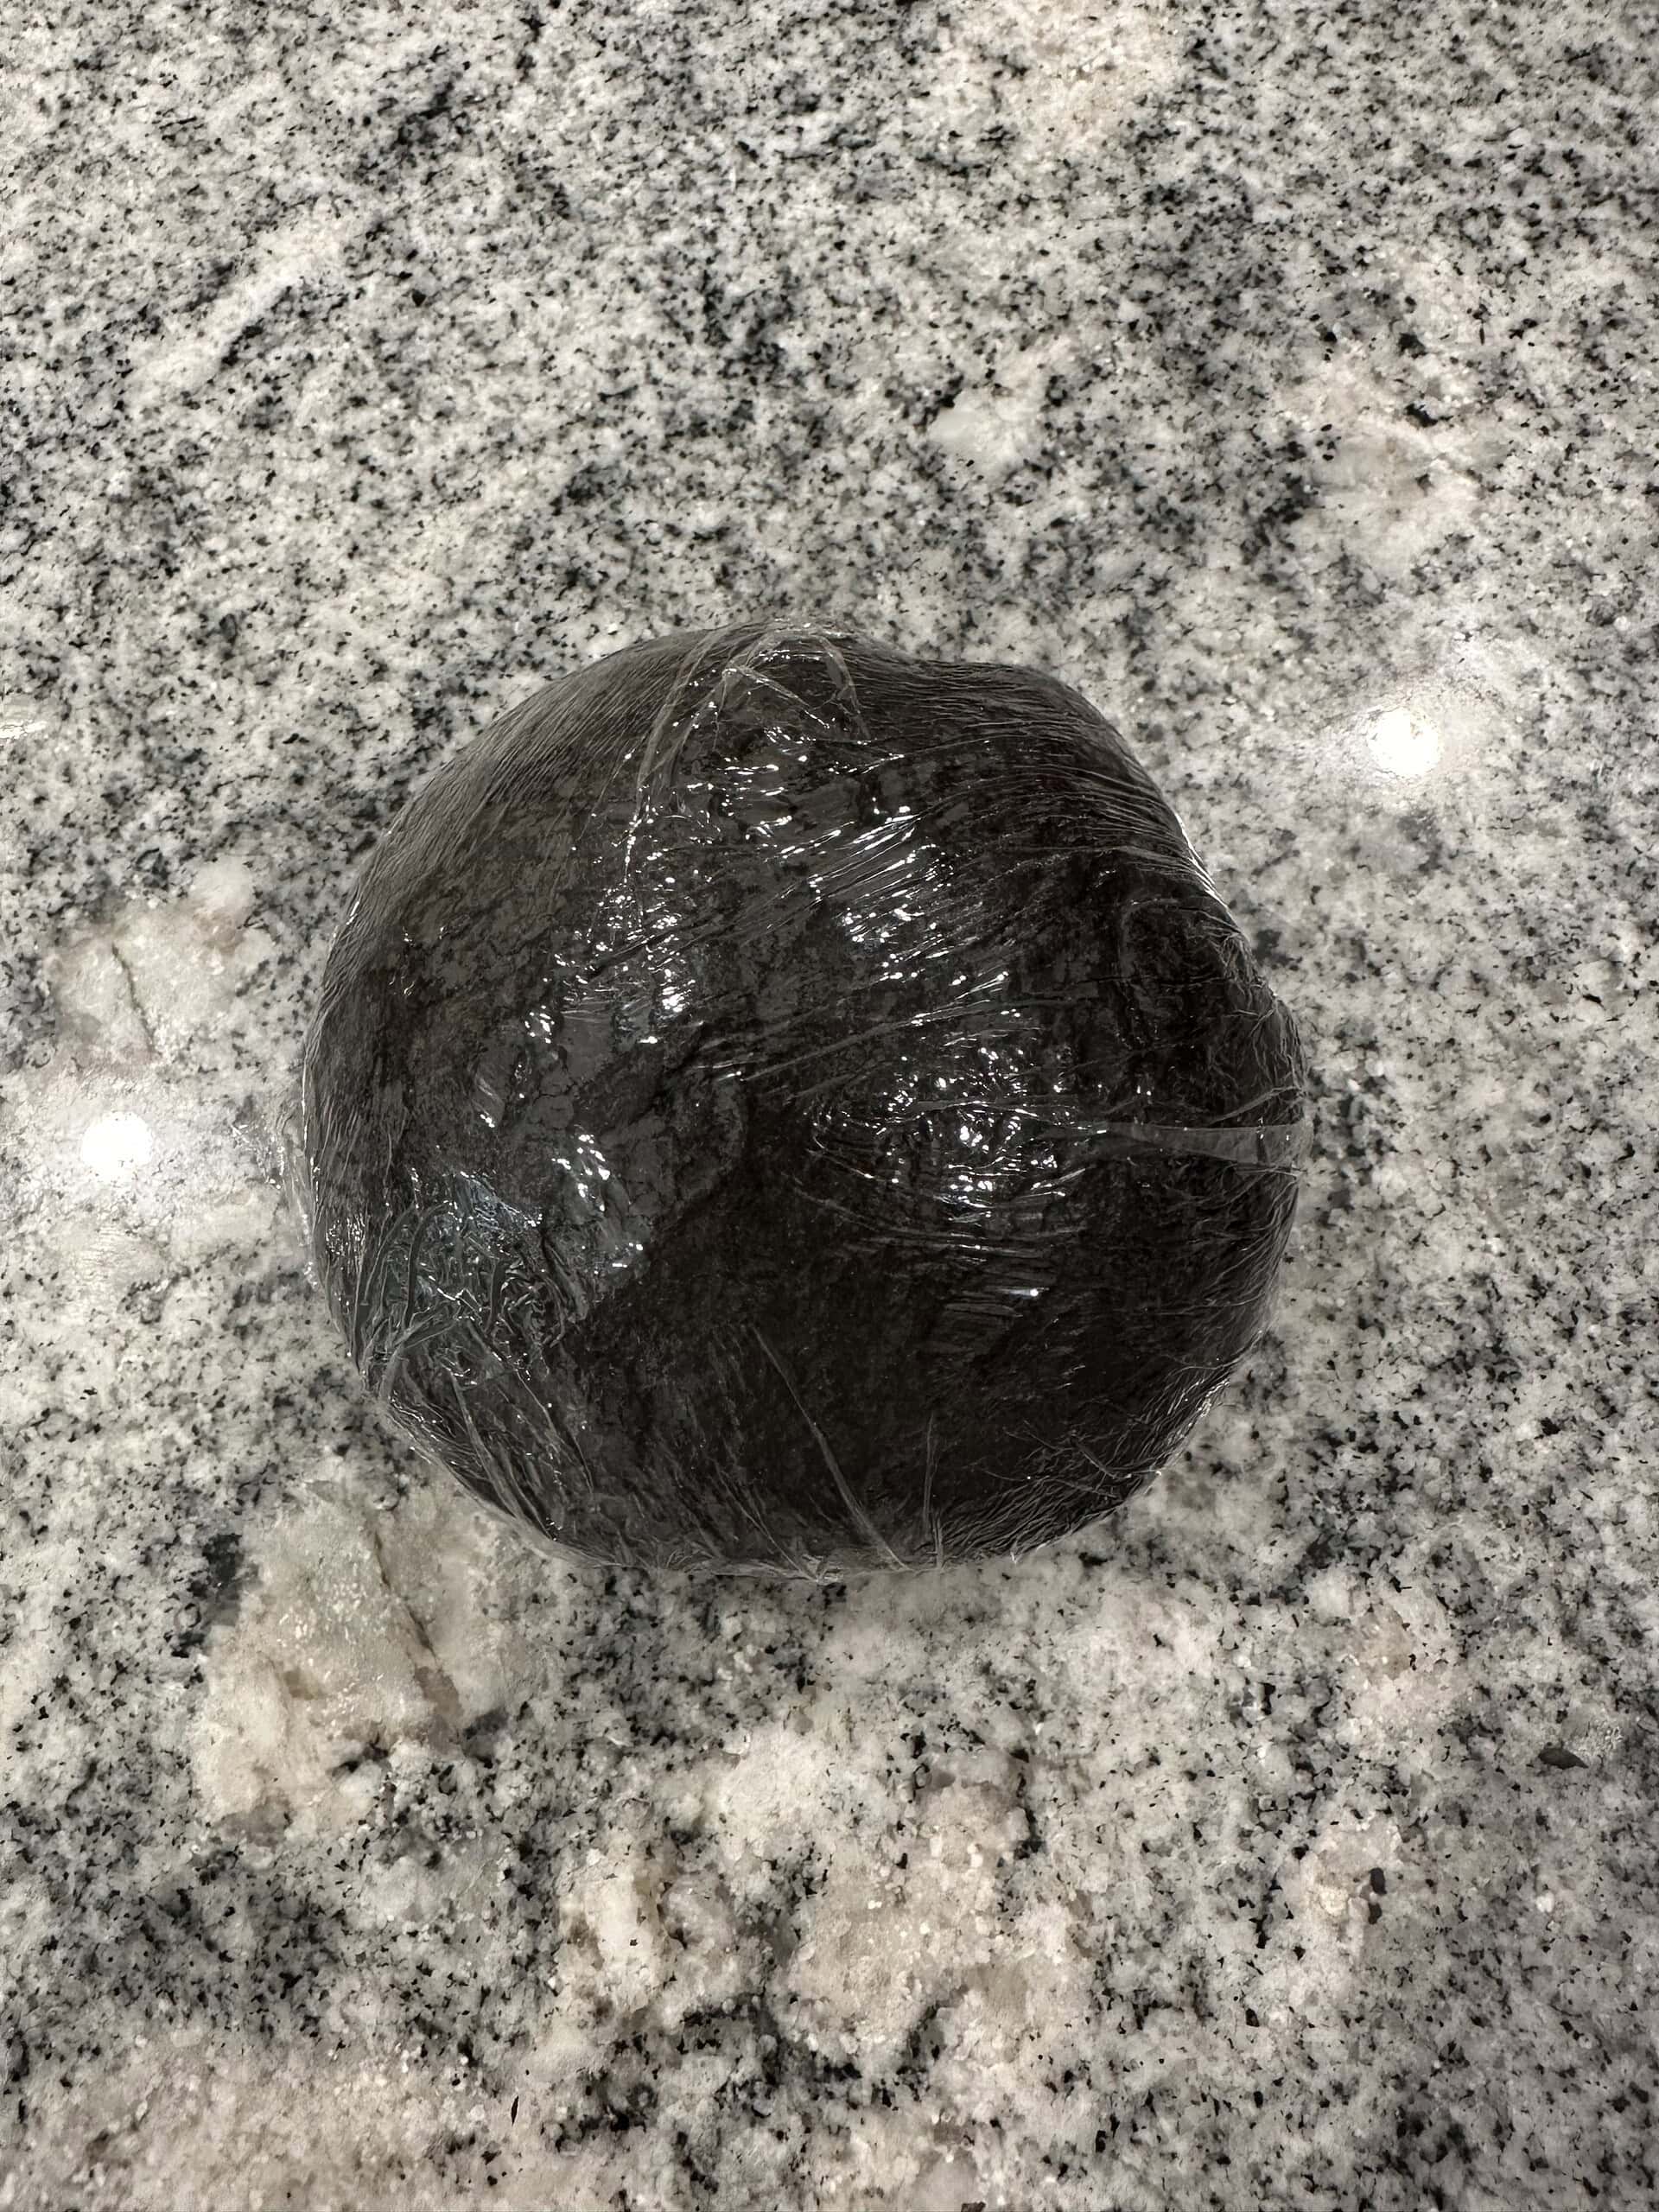
Wrap in plastic wrap and let sit for 10 minutes.
After 10 minutes, knead again for another 3 minutes until you have a nice smooth ball of dough.
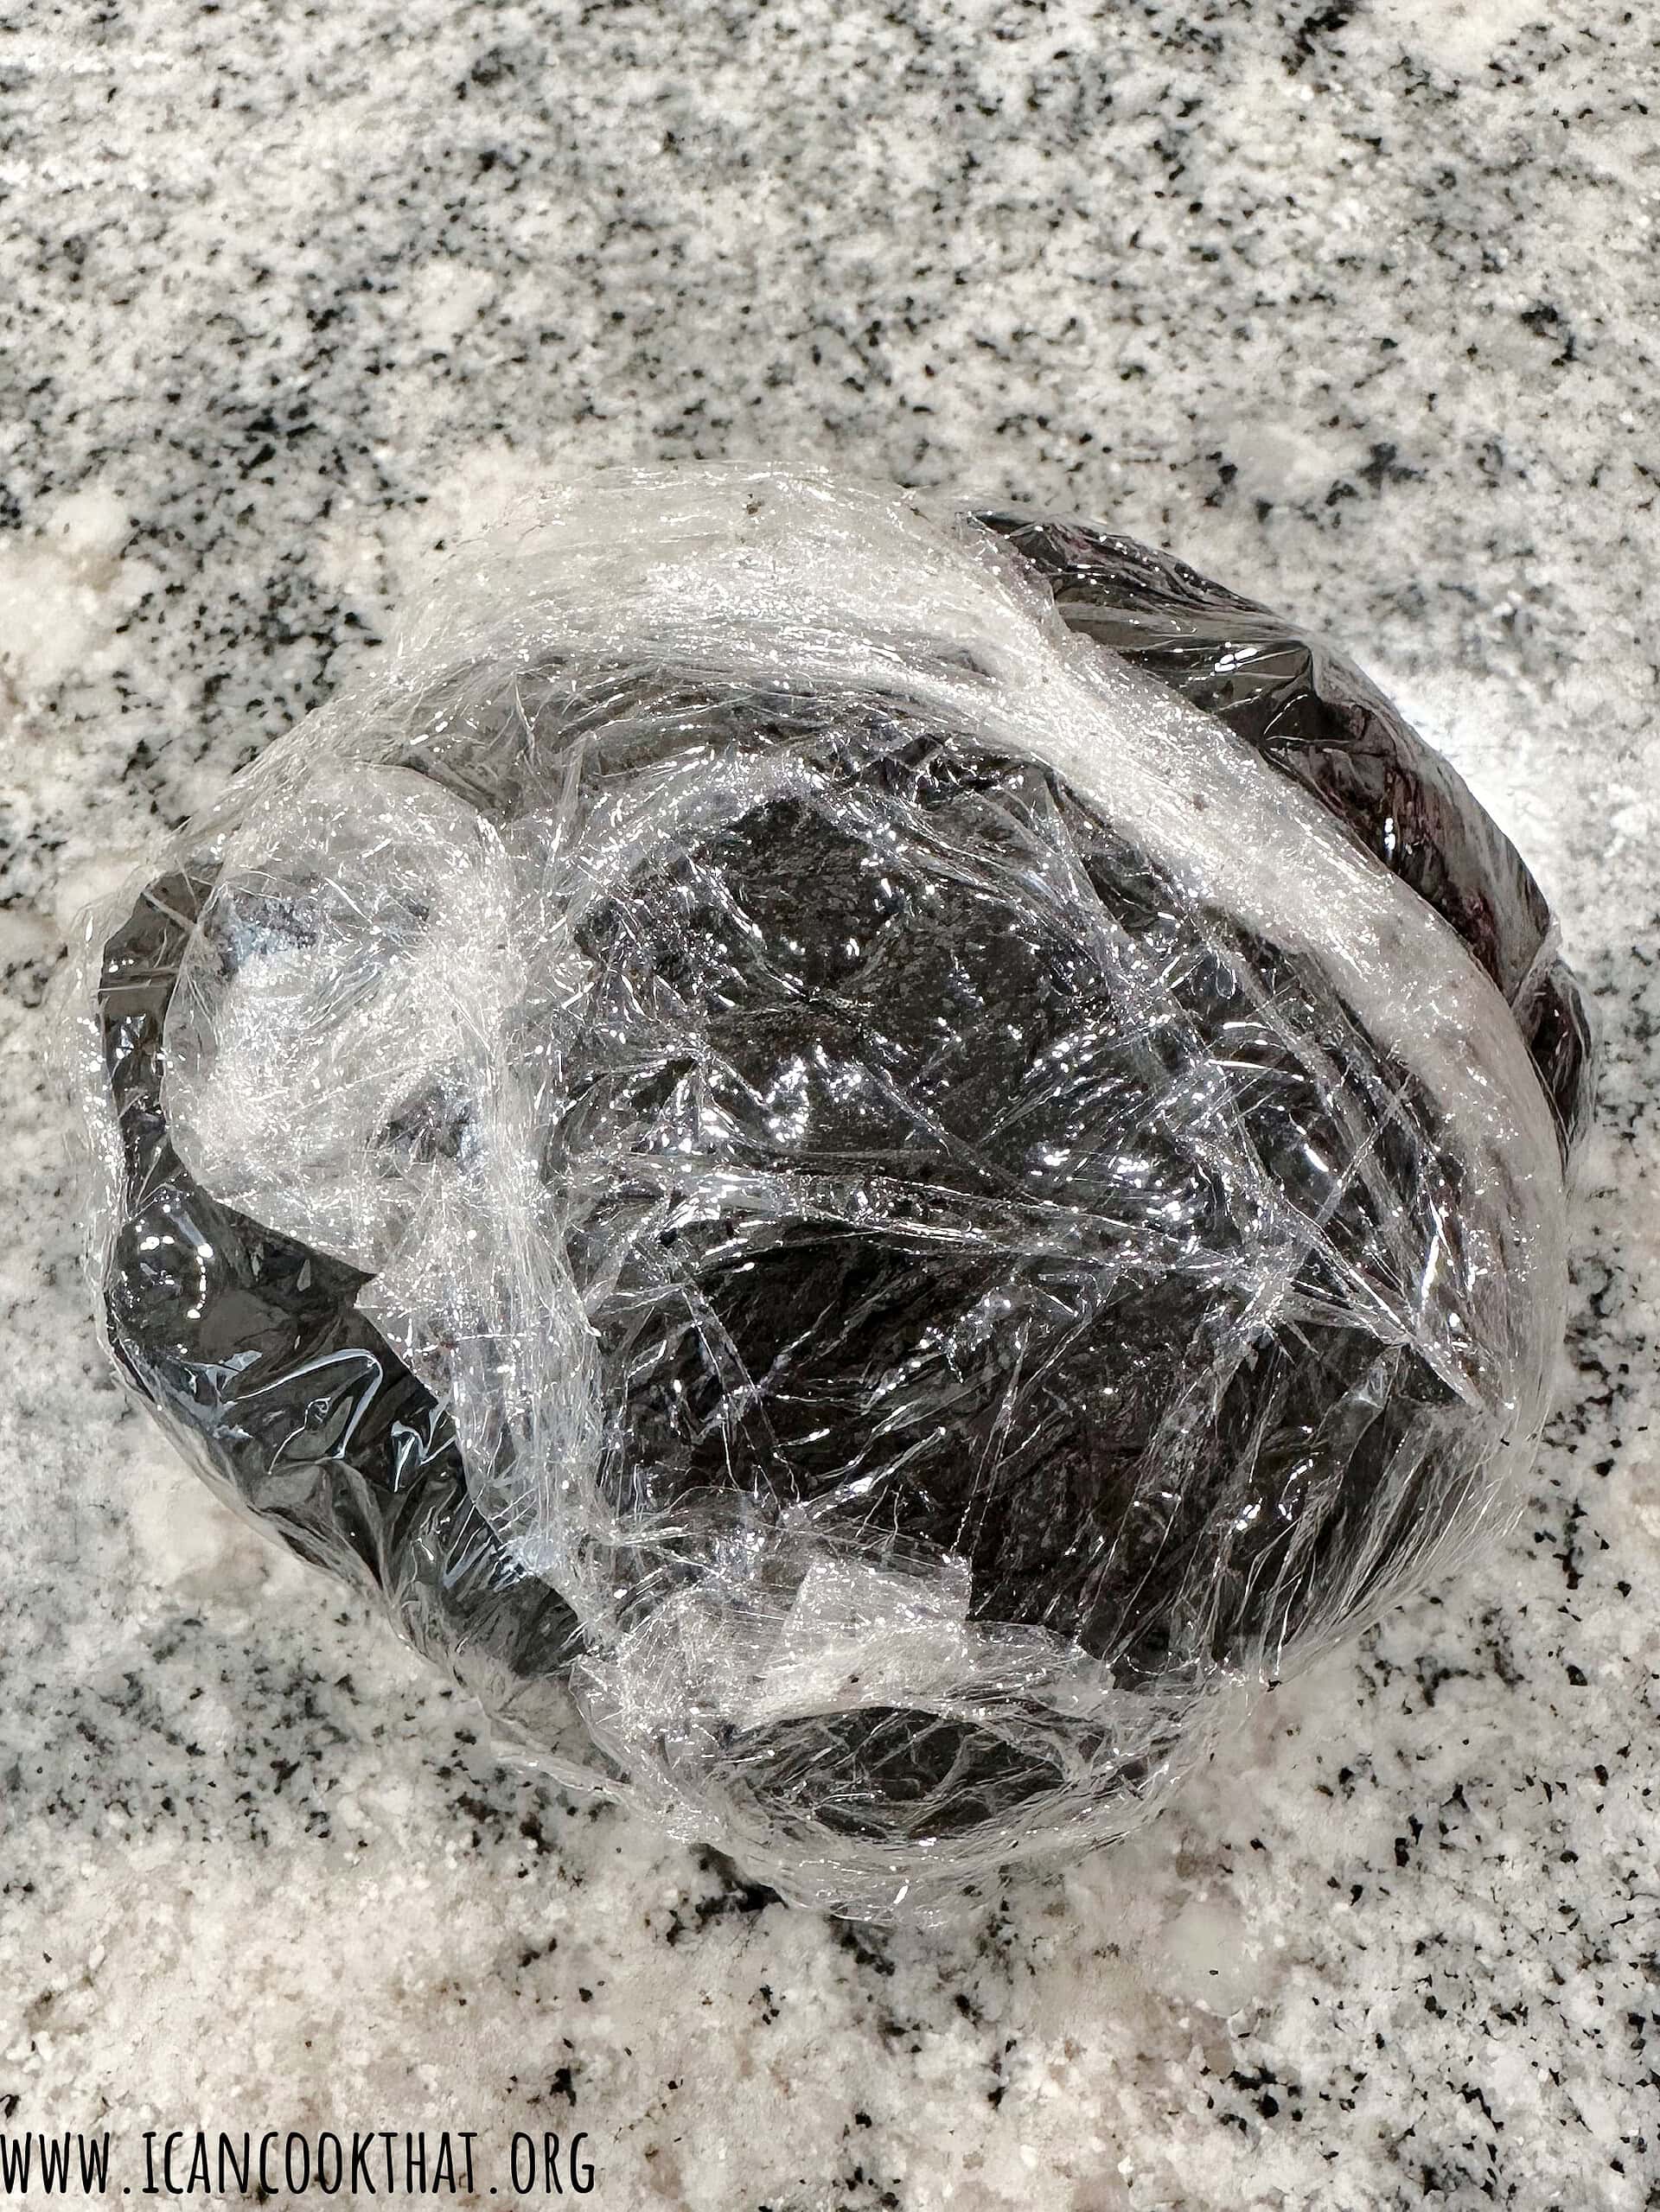
Rewrap the dough in plastic wrap and let sit for 1 hour. If making ahead, add to your refrigerator for up to one day.
When ready to shape into pasta, if you refrigerated the dough, let it come up to room temperature before continuing.
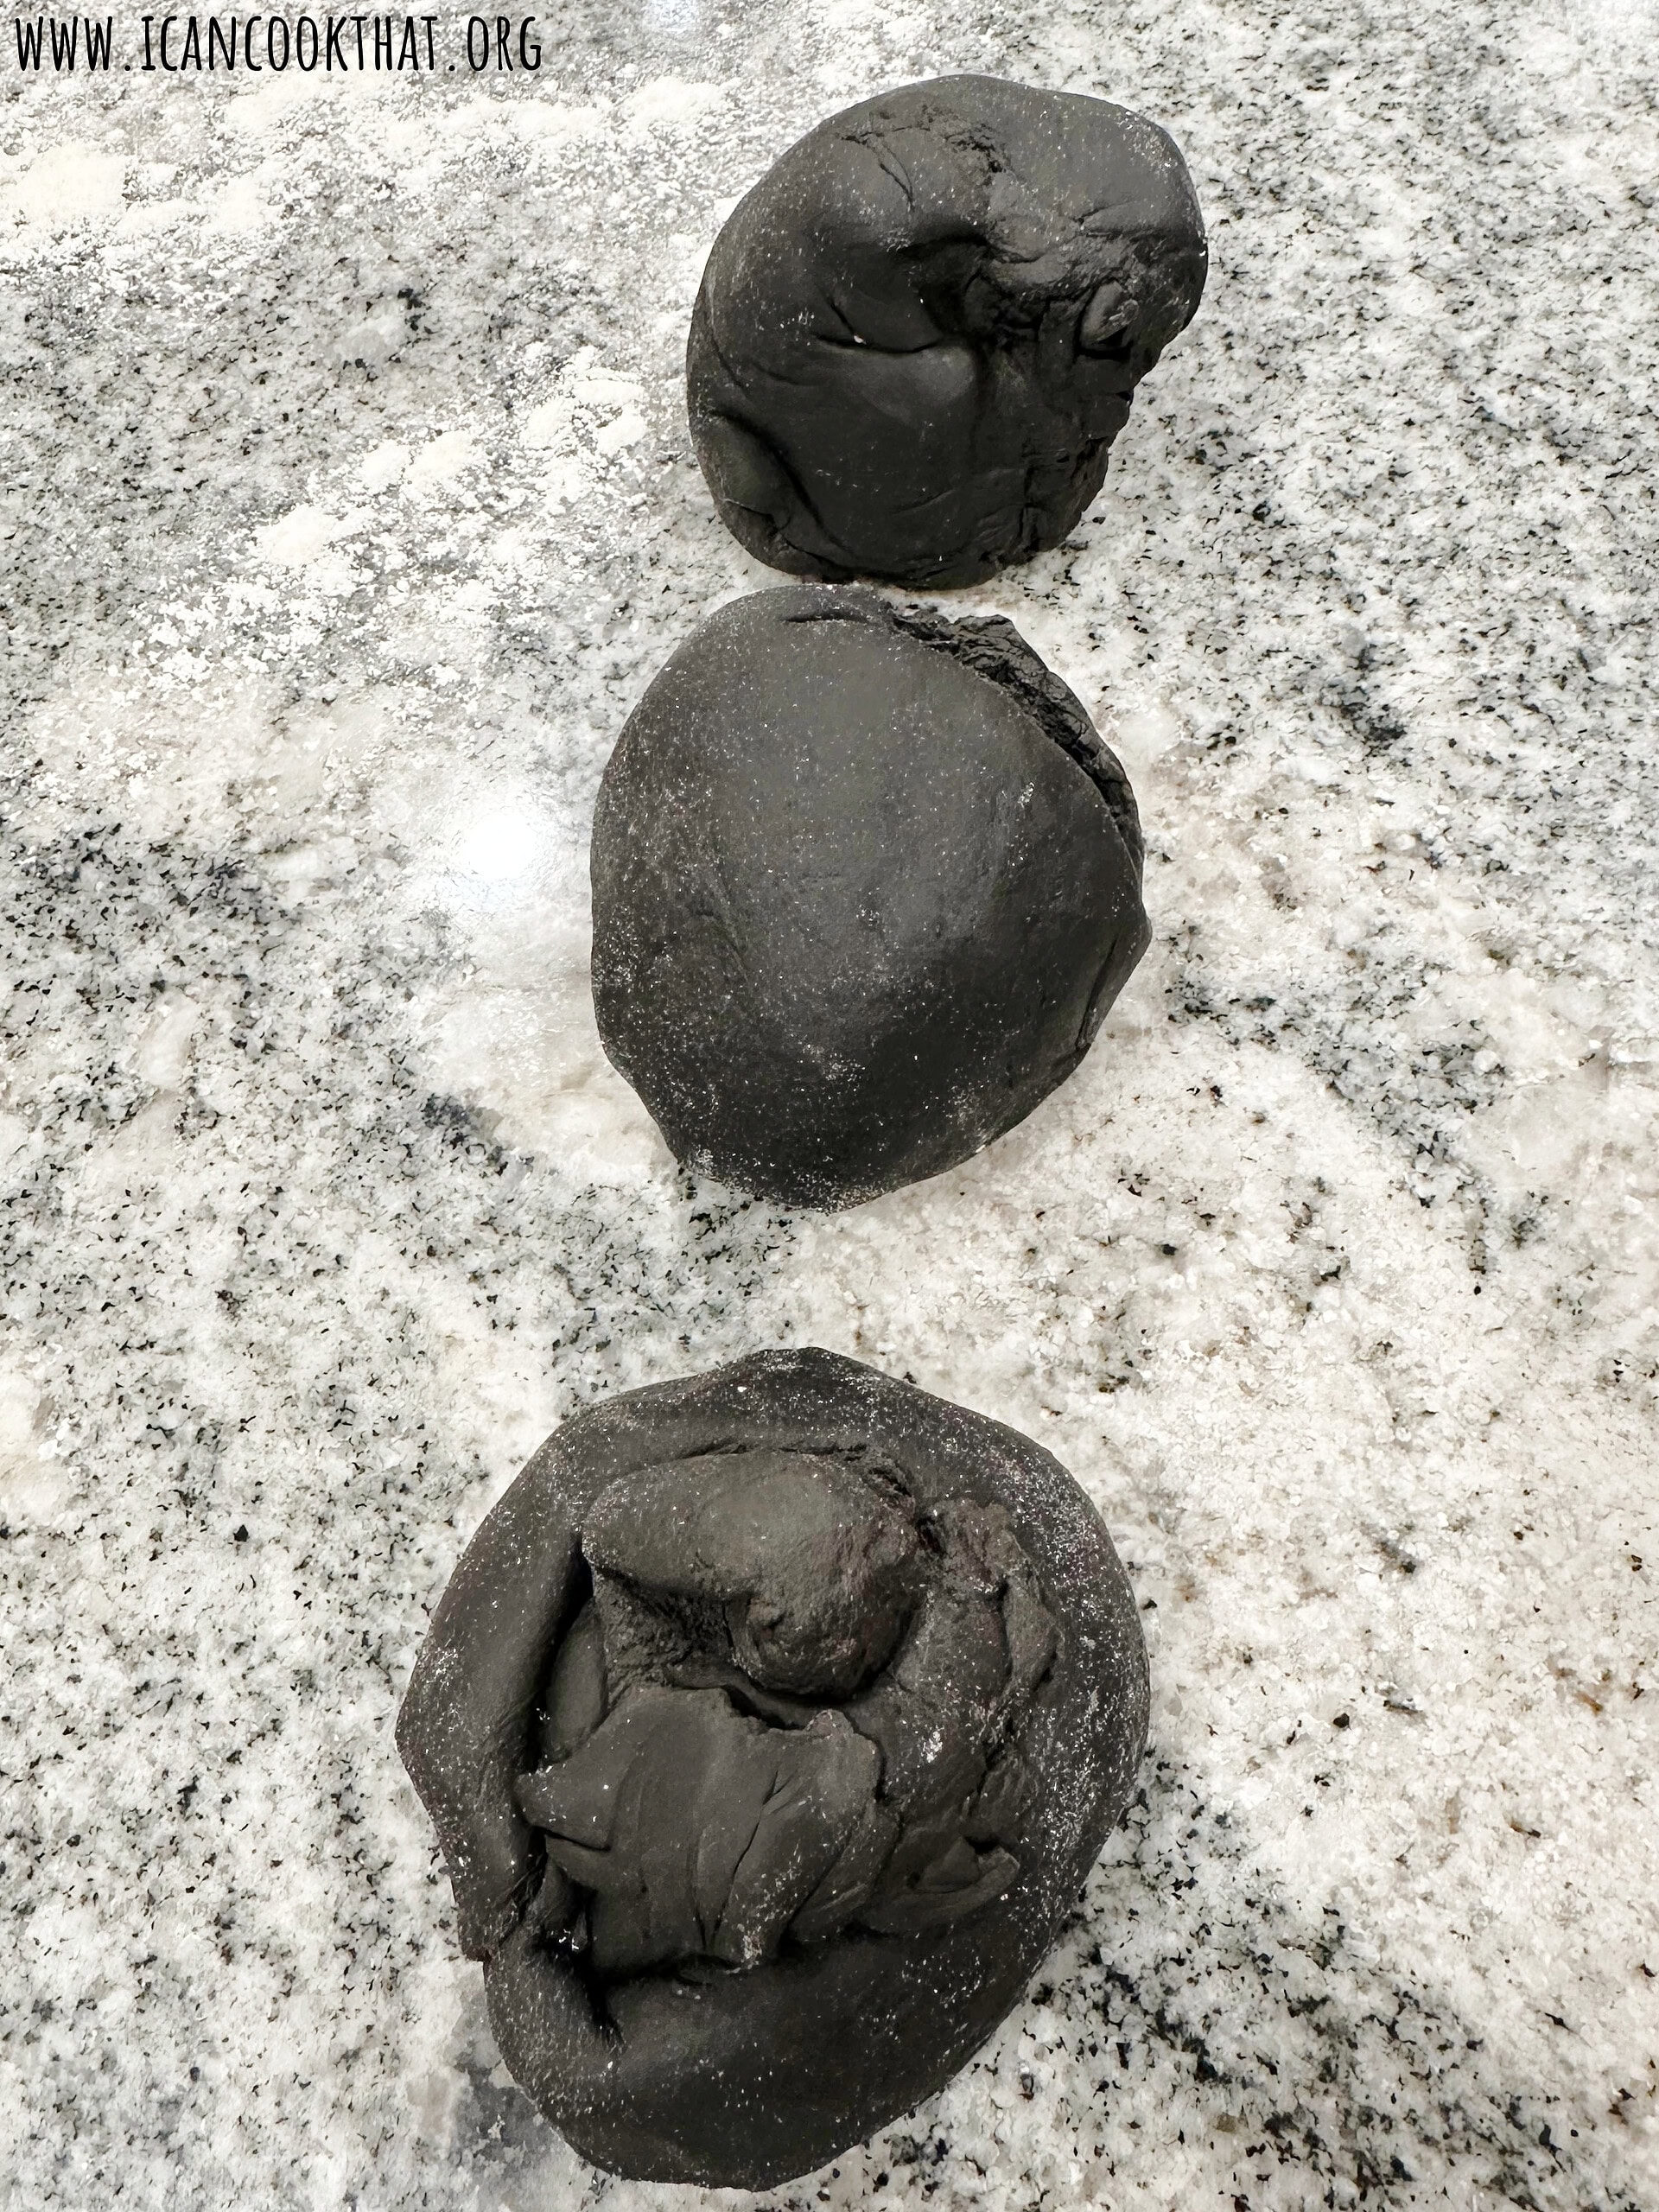
Cut the dough into thirds and take 1/3 of the dough to work with, wrapping the remaining 2/3 back in the plastic wrap.
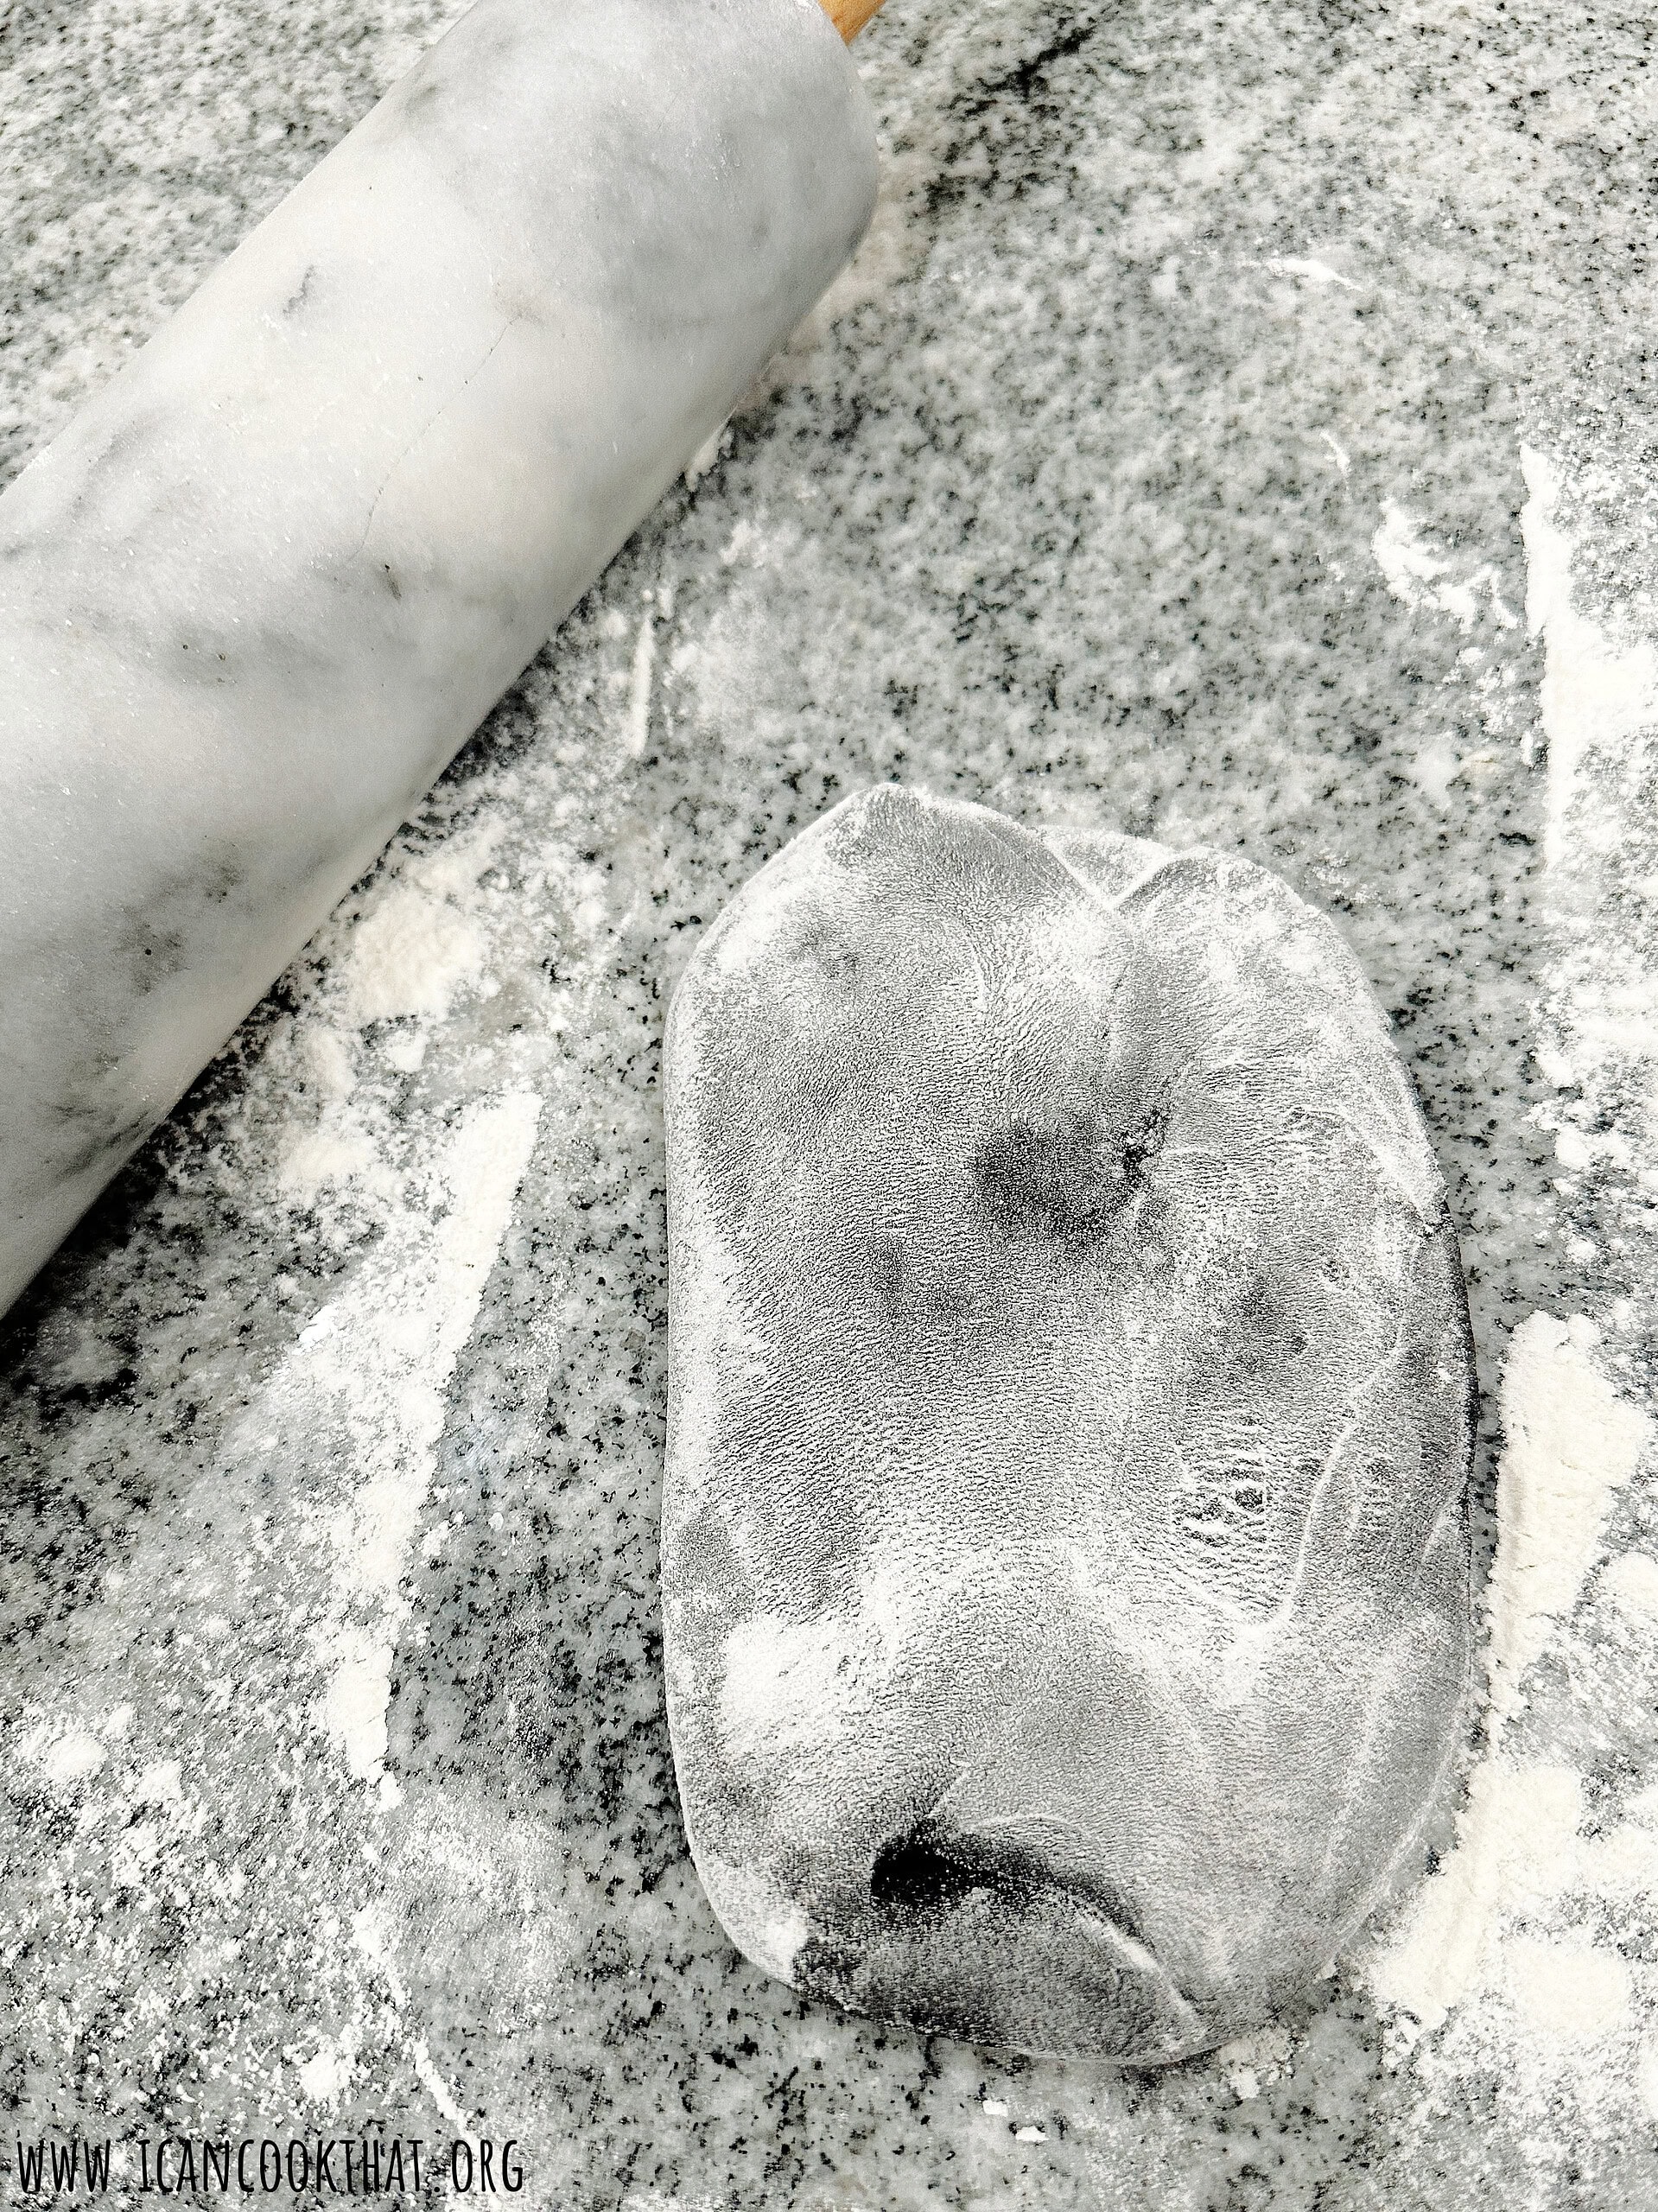
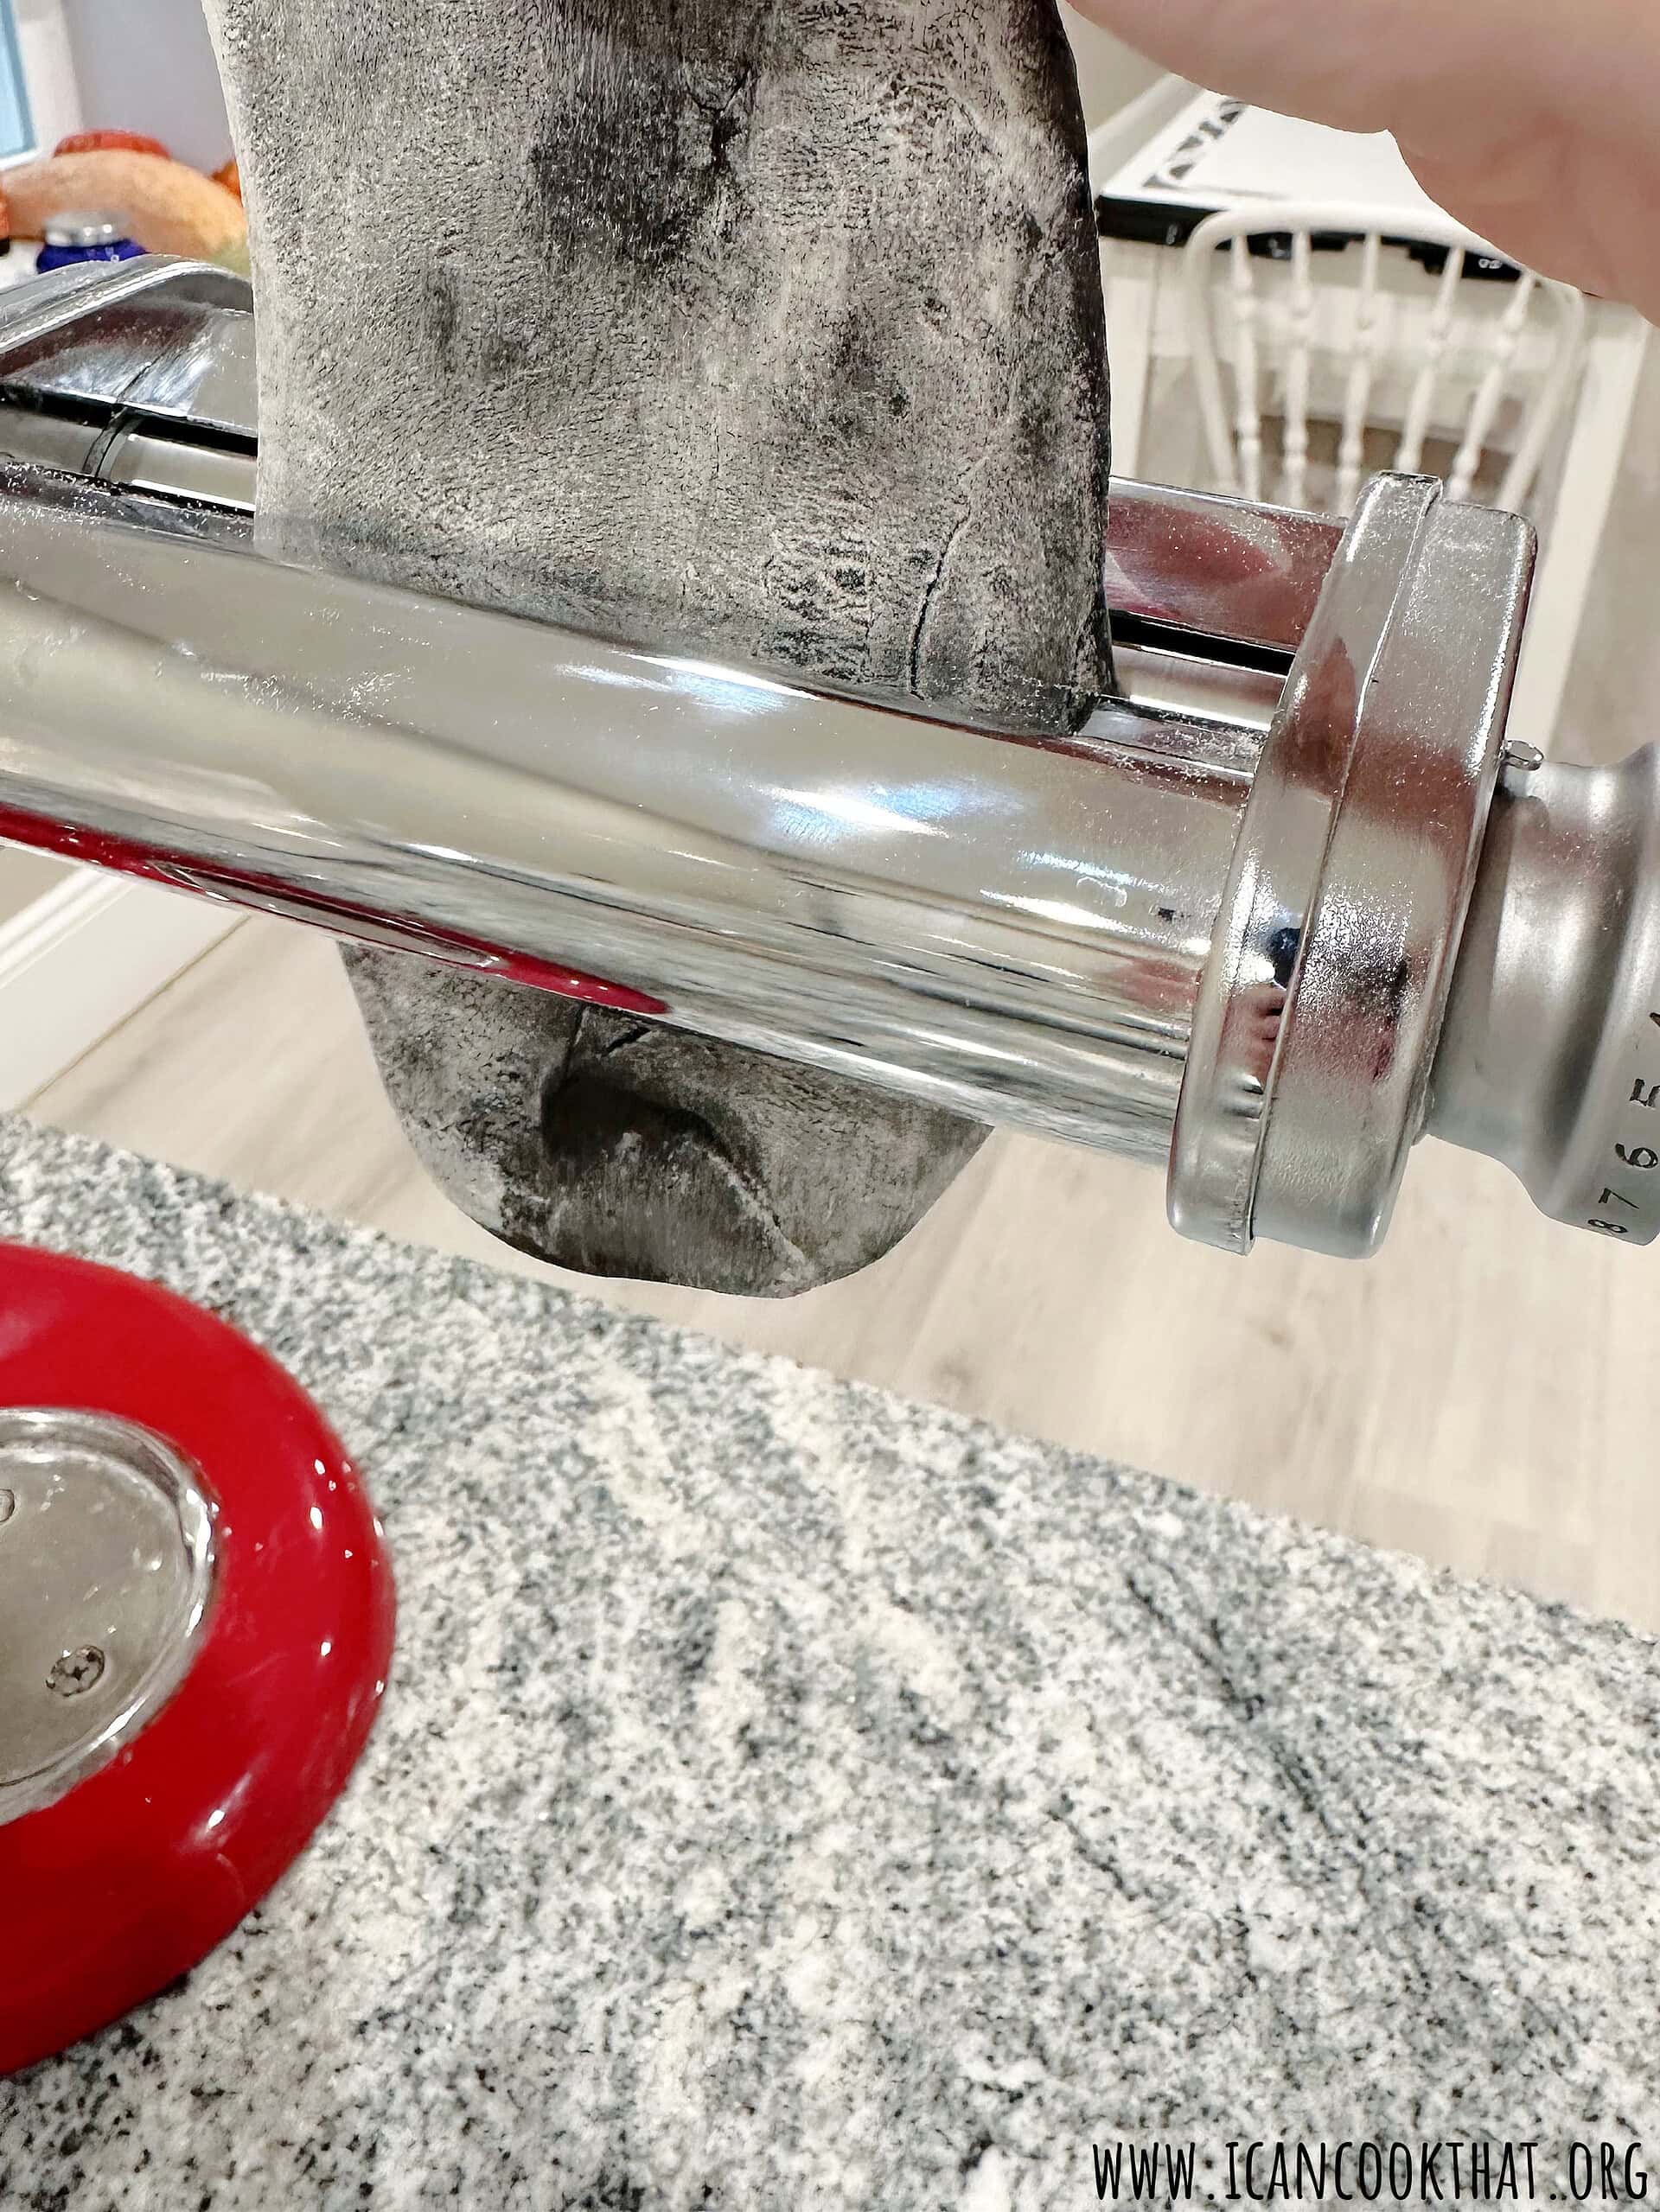
Use a rolling pin (paid link) to roll out the portion of dough on a lightly floured work surface into a rectangle.
I use a pasta roller attachment (paid link) for my stand mixer, so my directions are made using that. Using a hand cranked pasta maker (paid link) should yield similar results.
Put your pasta roller on the widest setting (1) and turn the pasta roller on.
Dust the rectangular dough with some flour, then feed it through your pasta roller.
Fold the dough into thirds like a book, then feed through the pasta roller again.
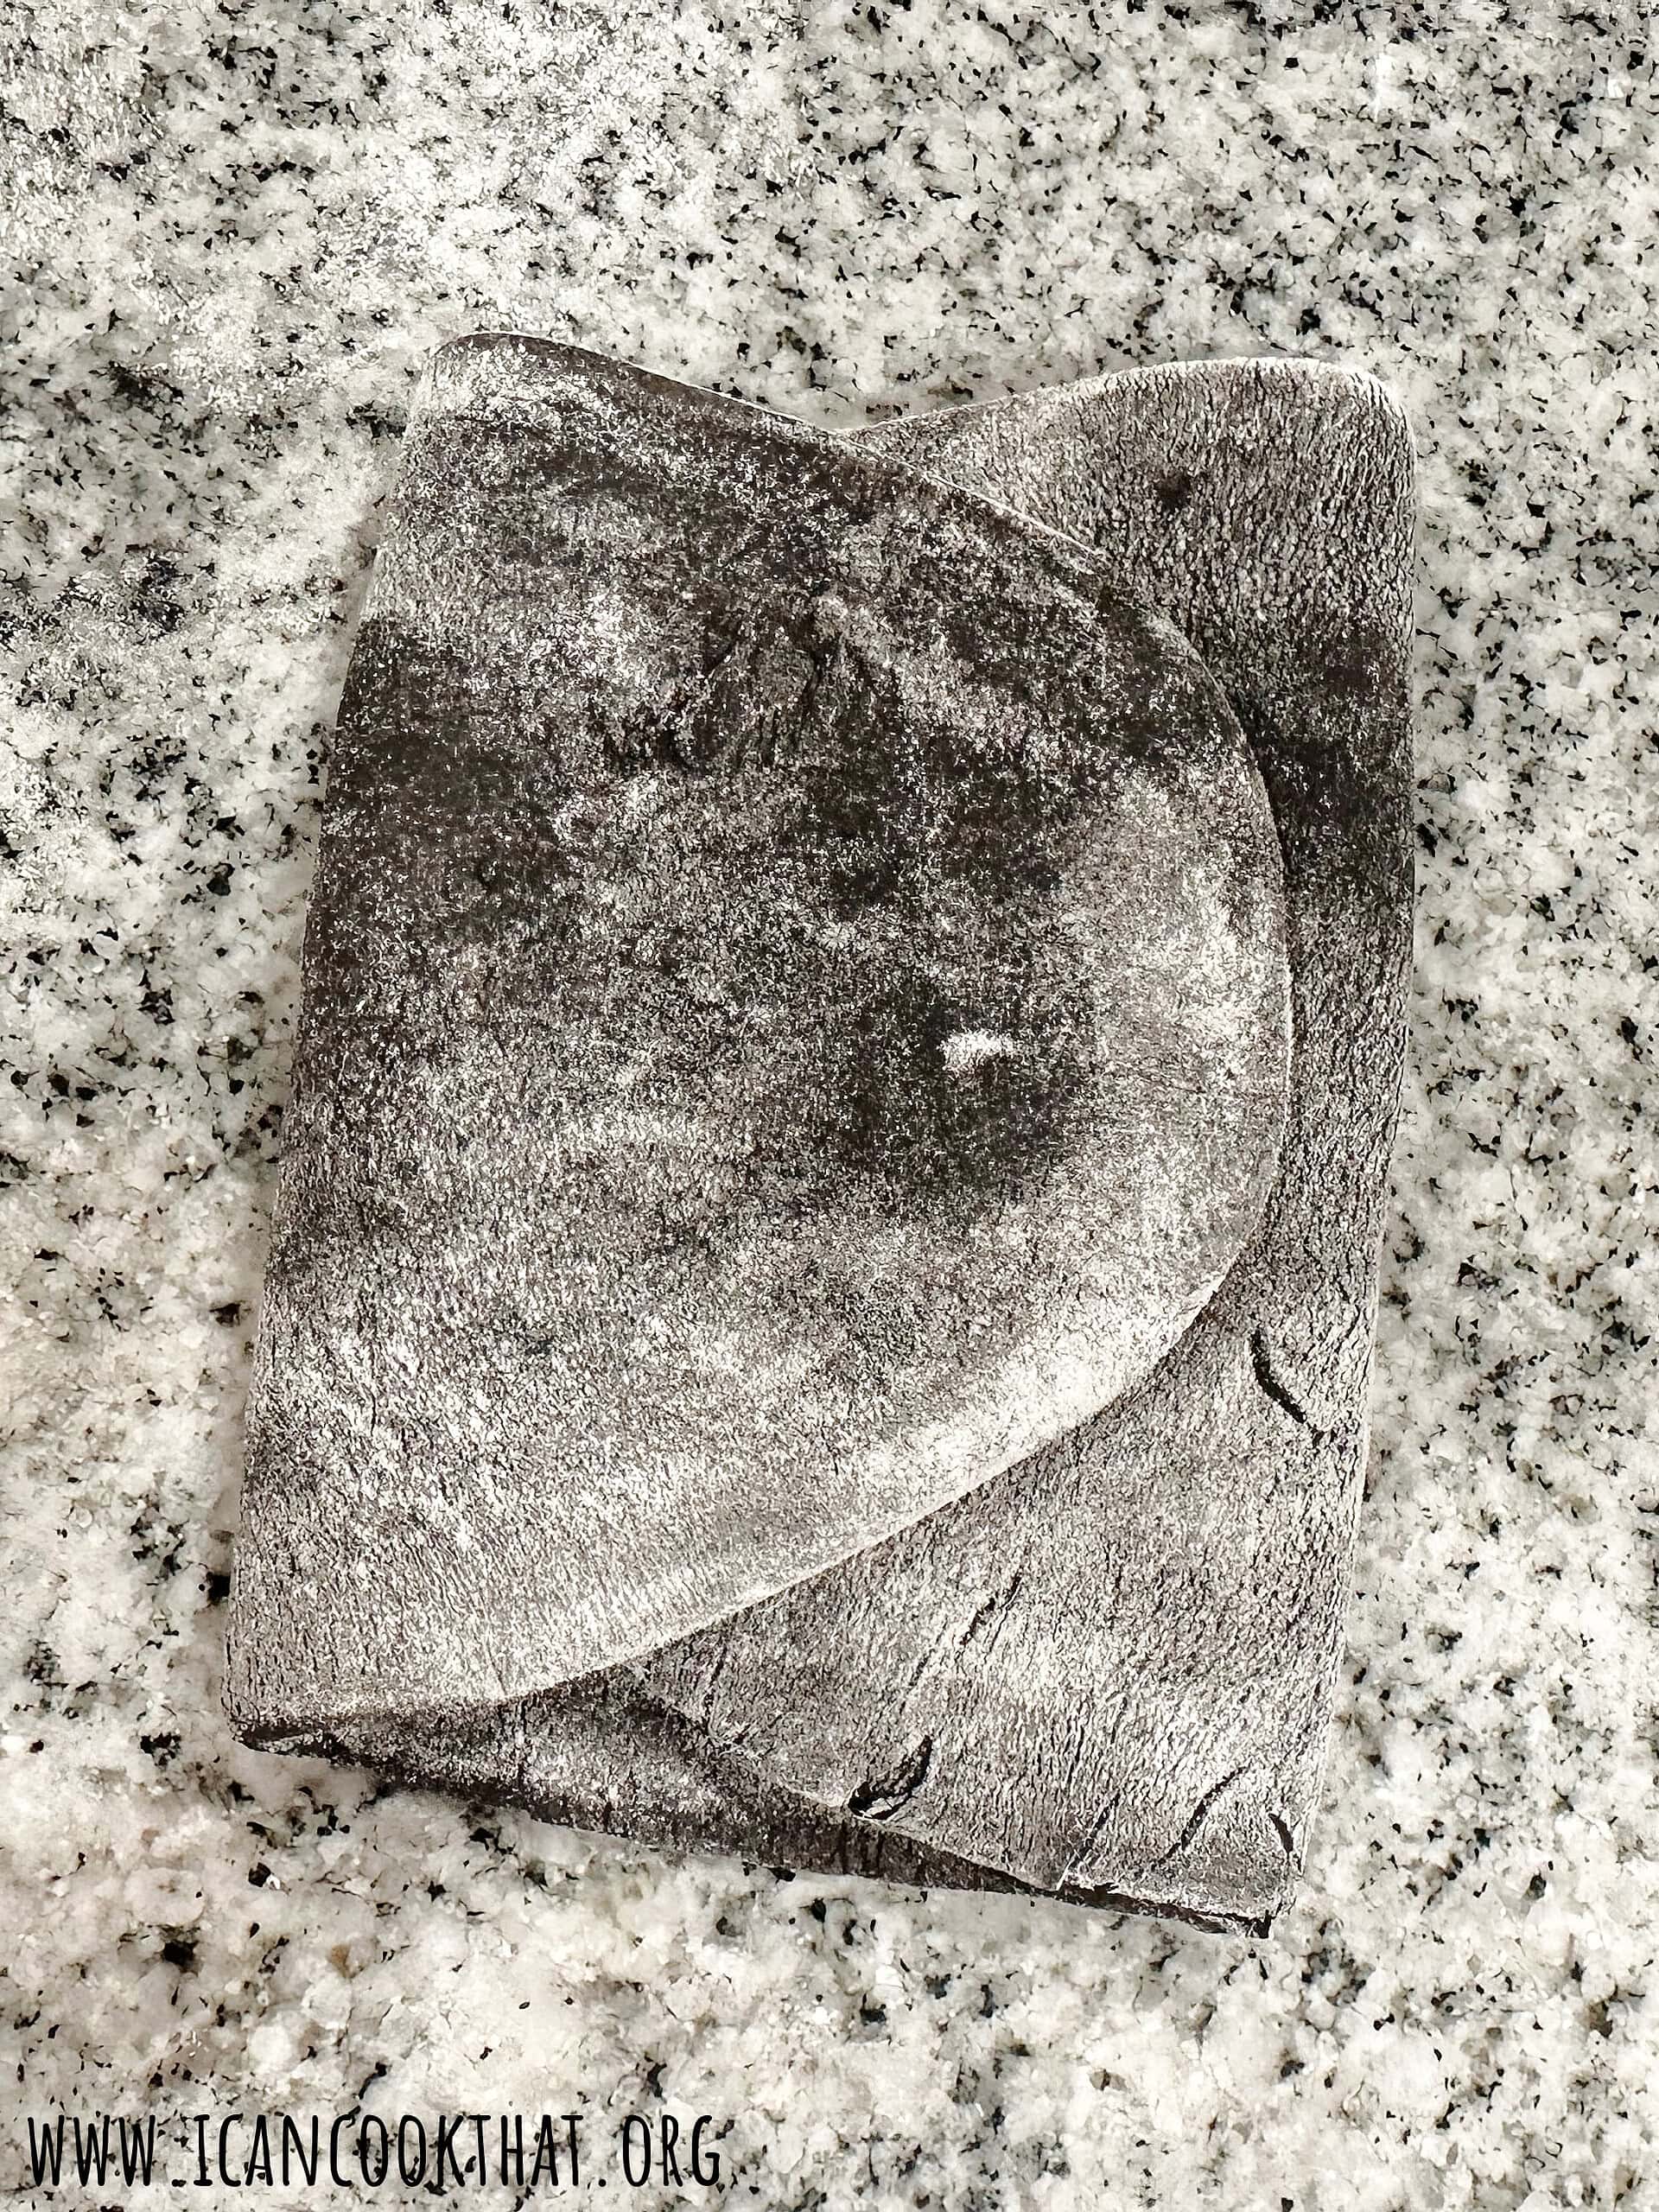
Repeat one more time through the widest setting. If it feels sticky or tears when going through the pasta roller, add a bit more flour and run through again.
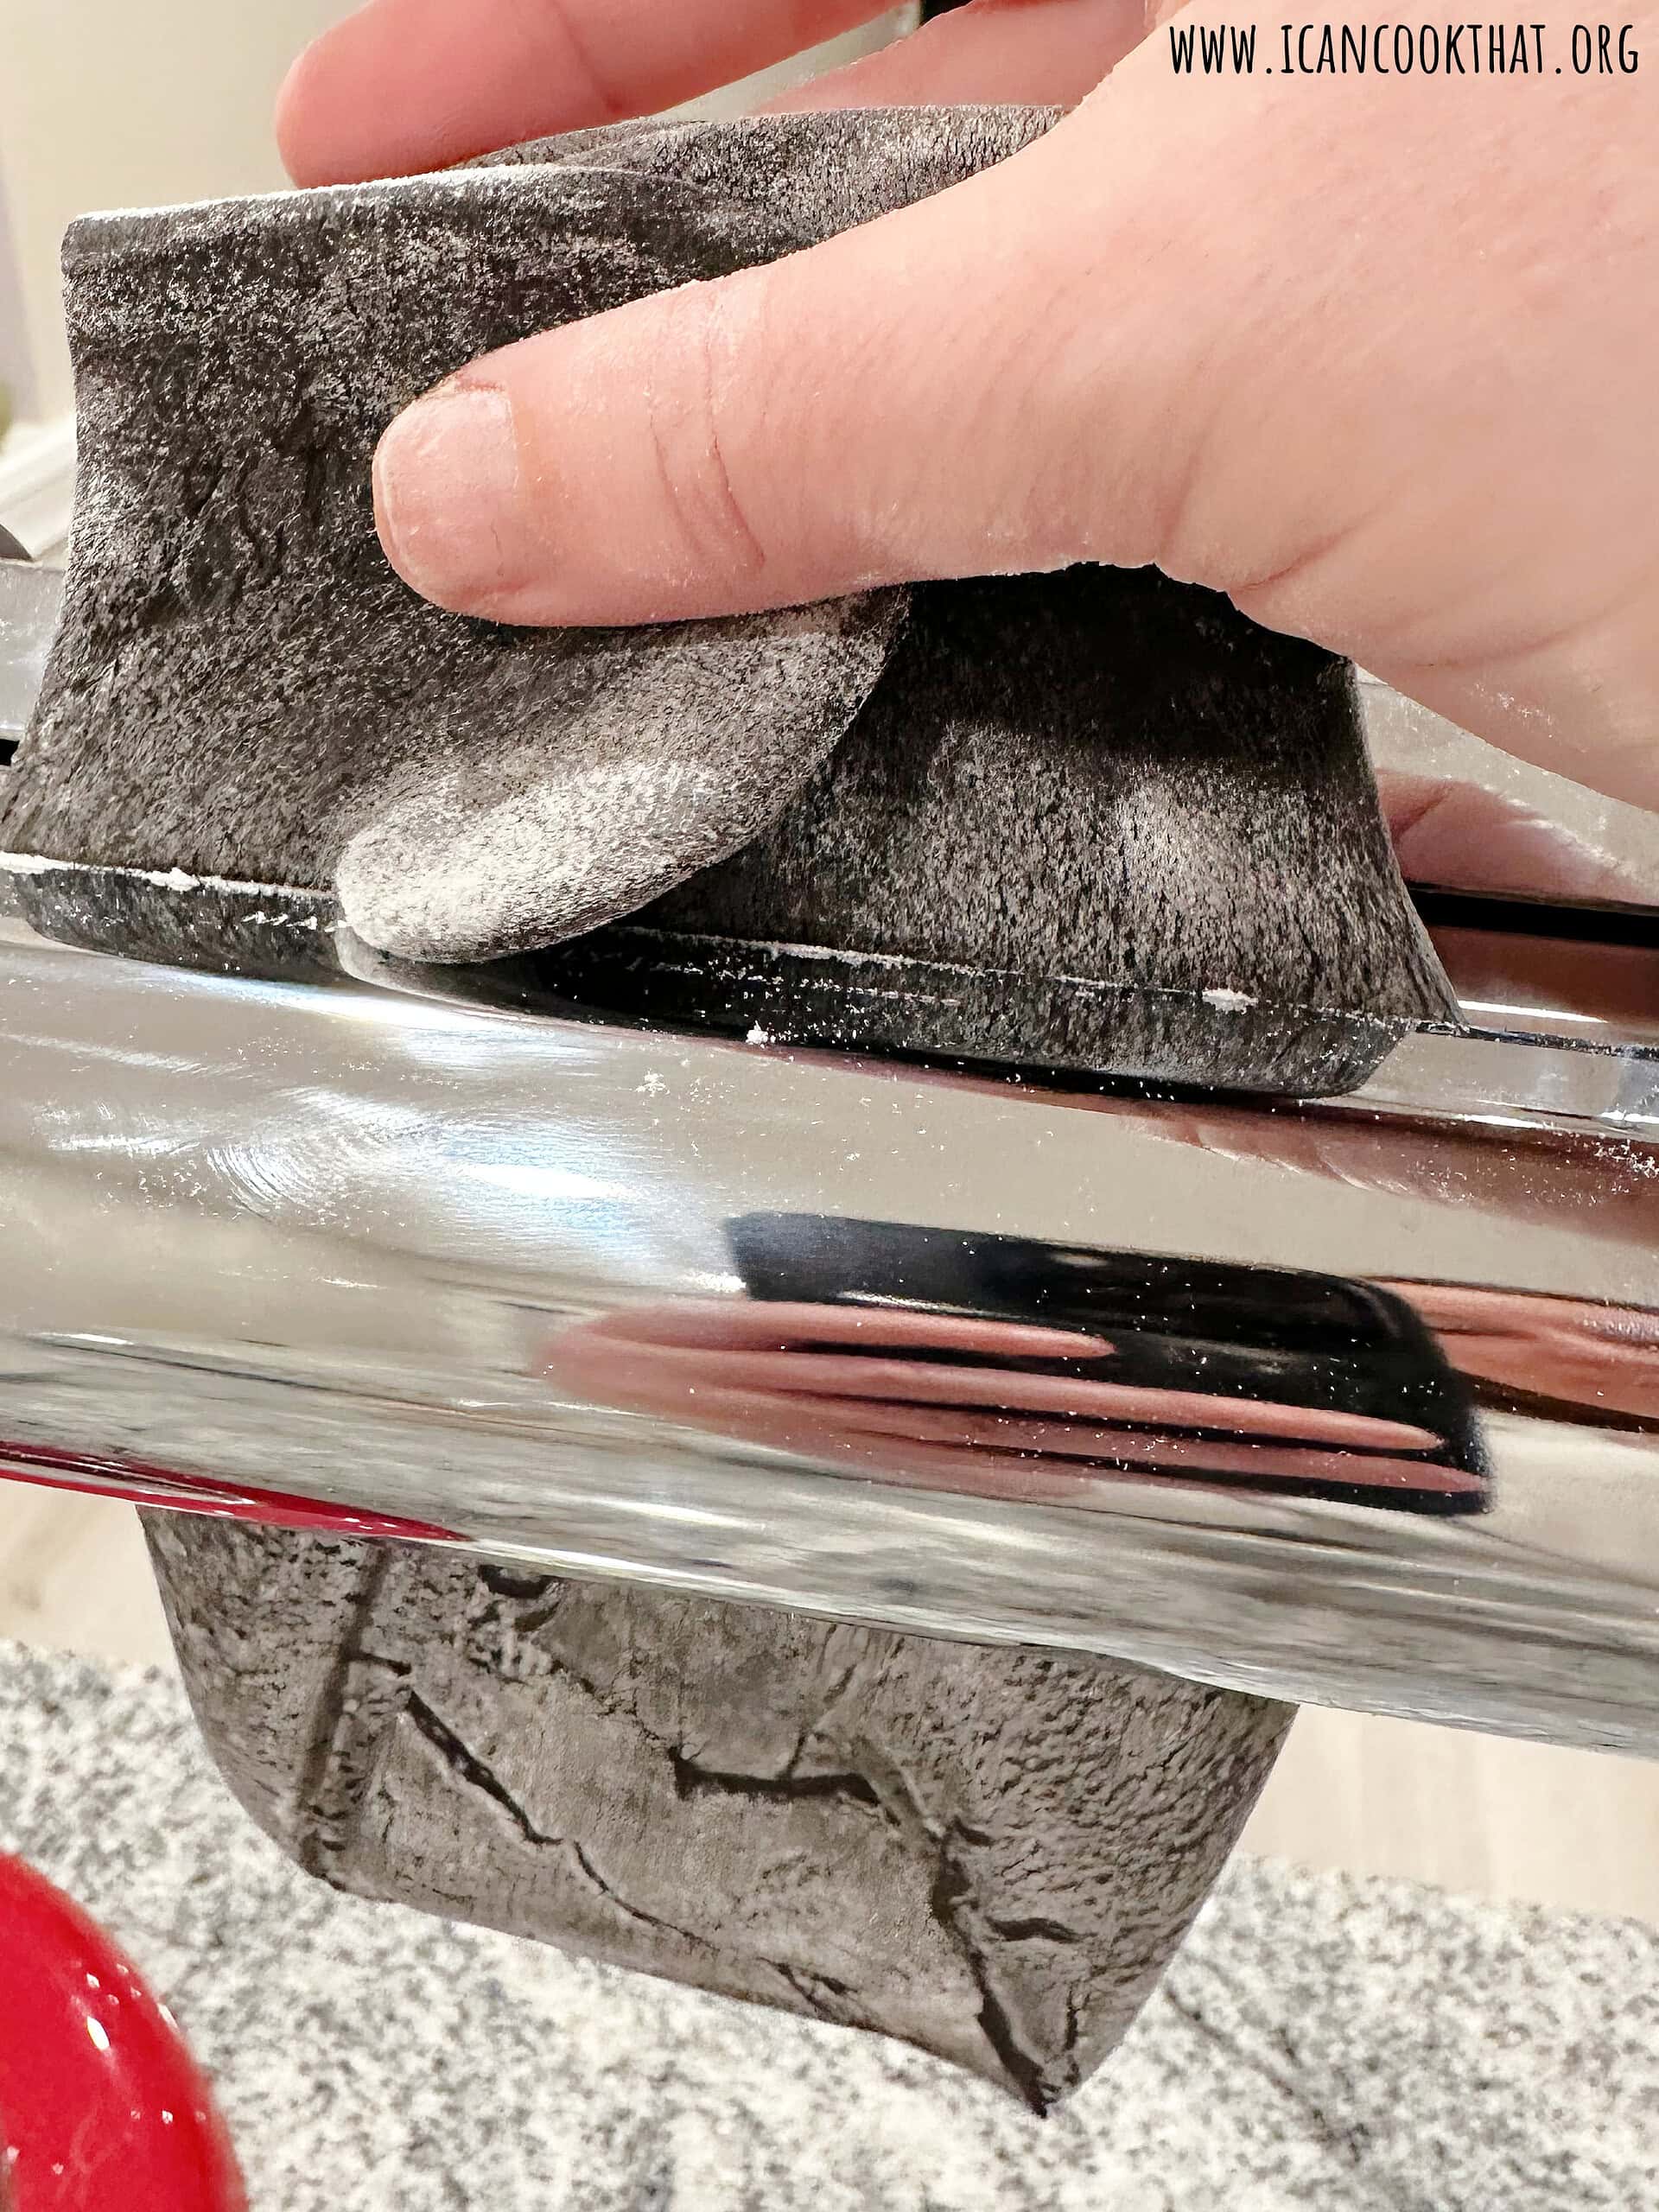
Move the setting on your pasta roller to 2 and repeat the above process three more times (run the dough through, fold it in thirds, run it through again).
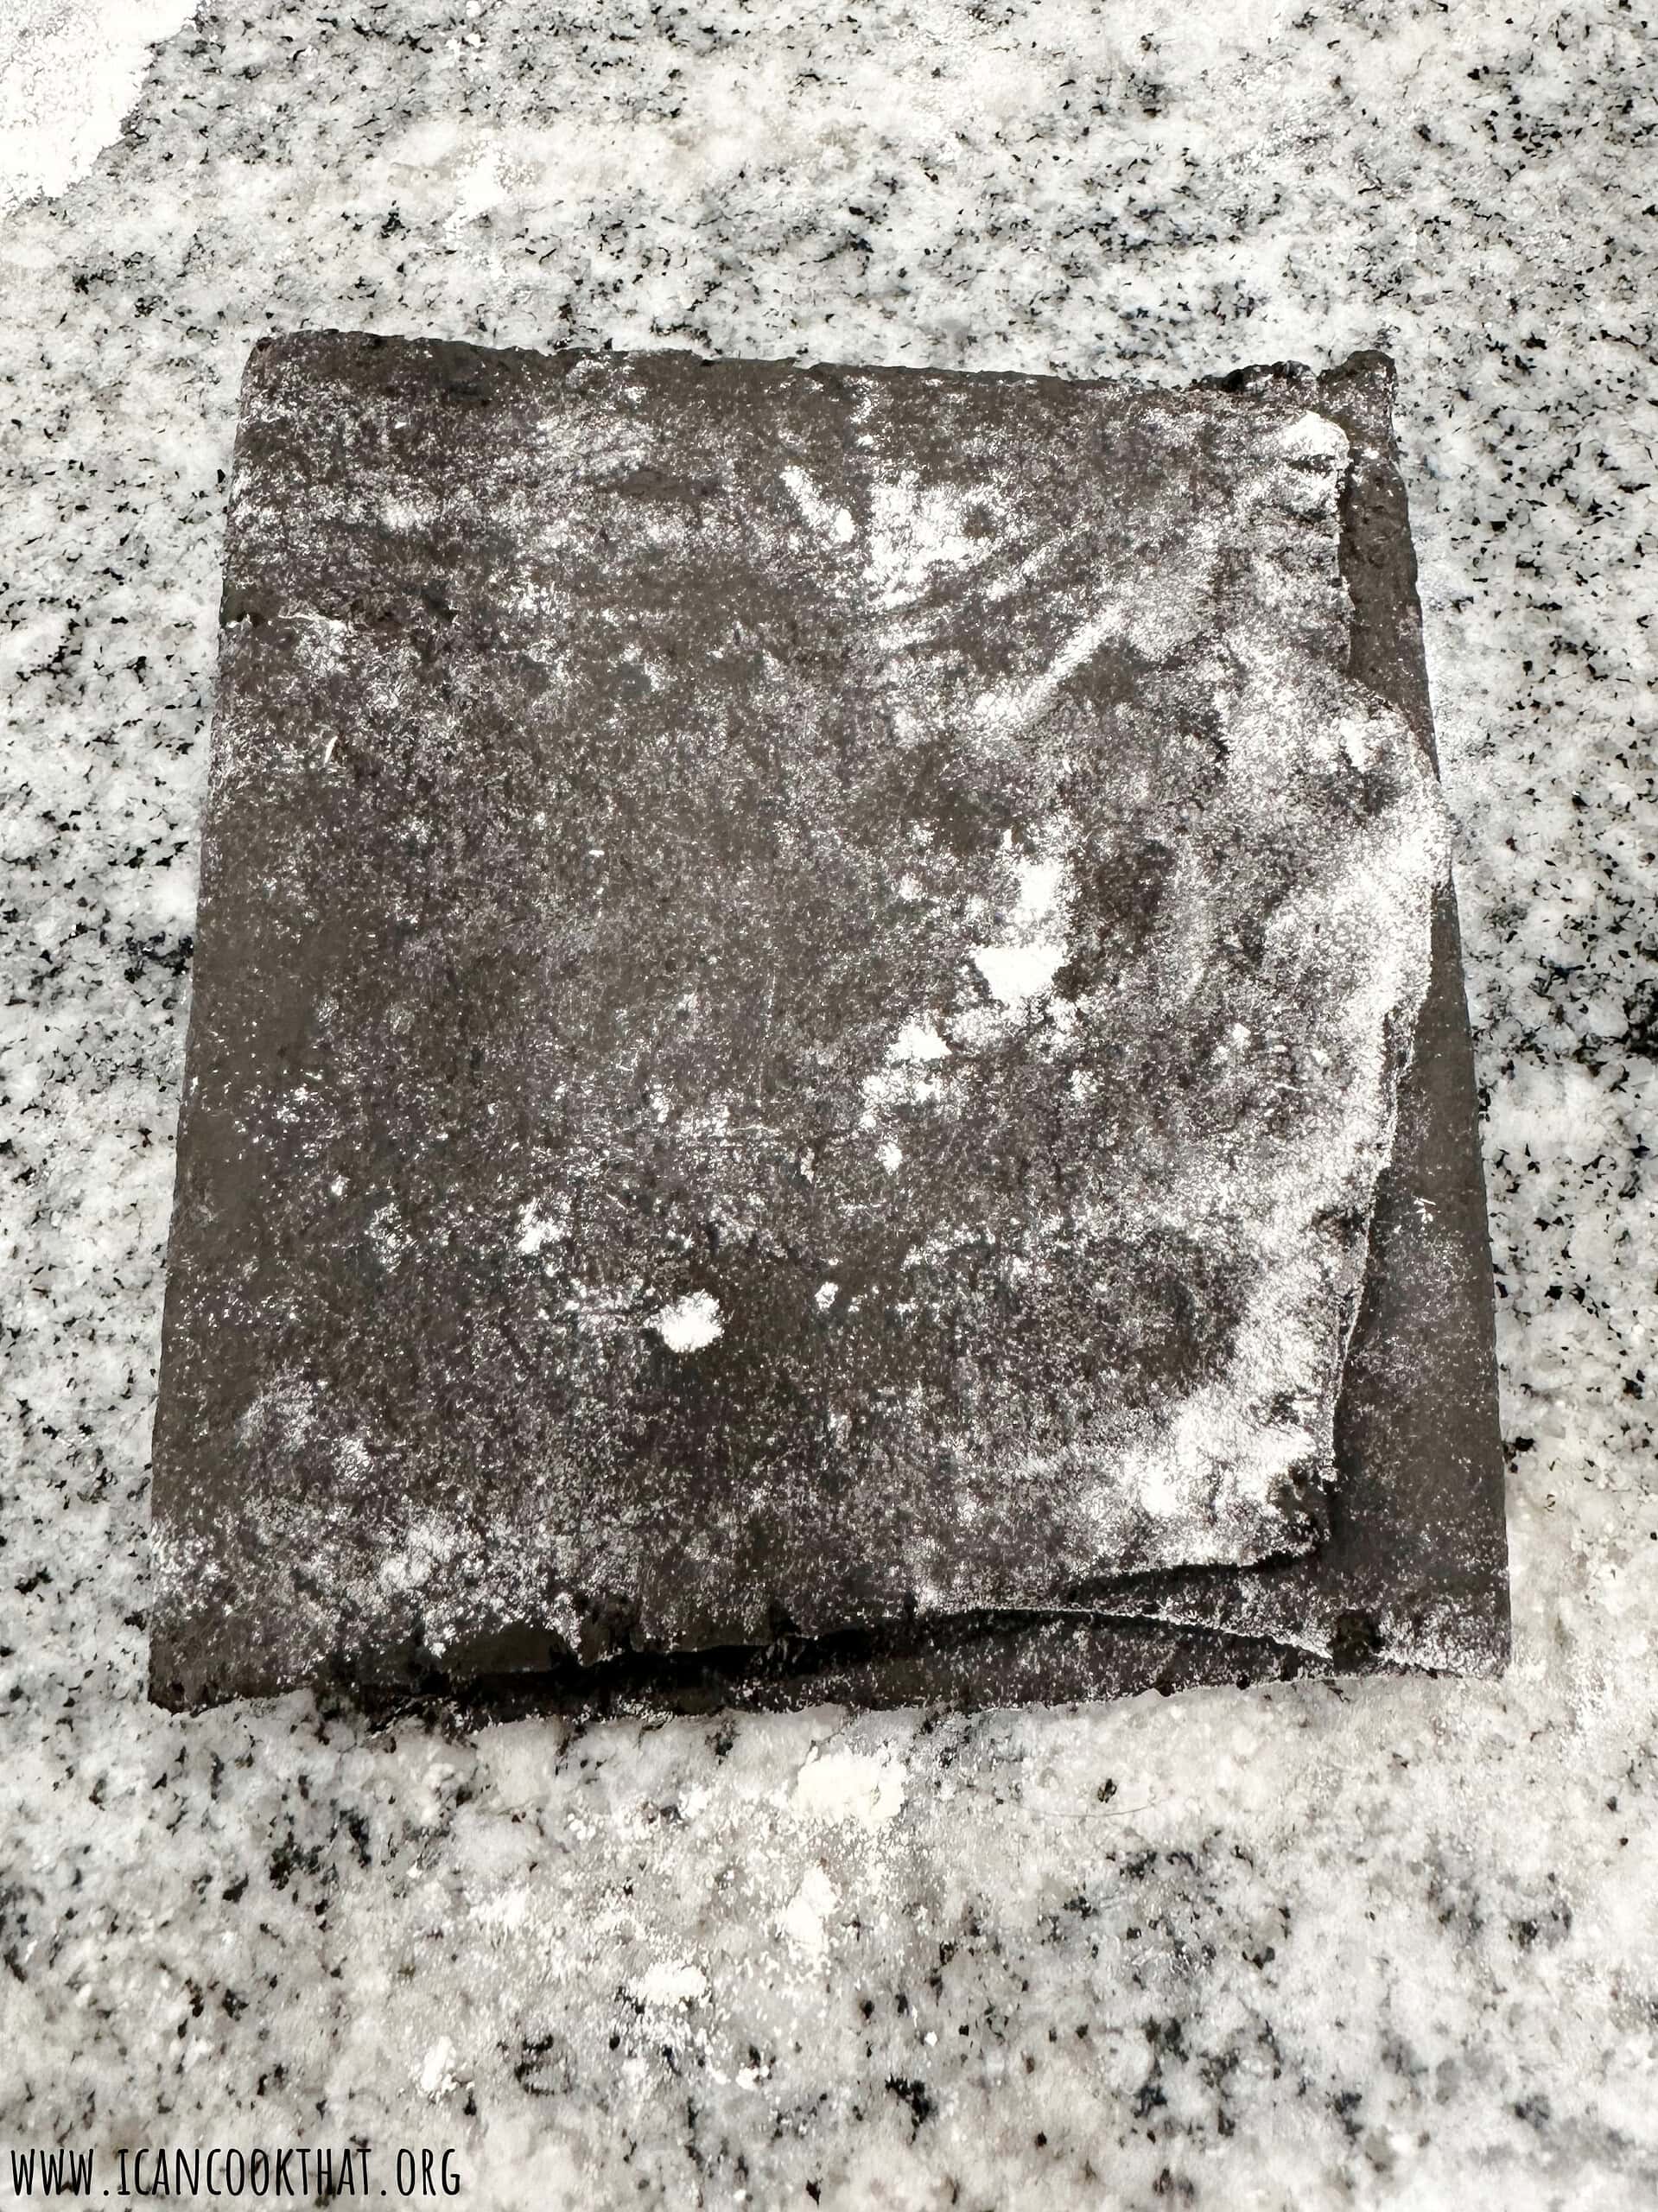
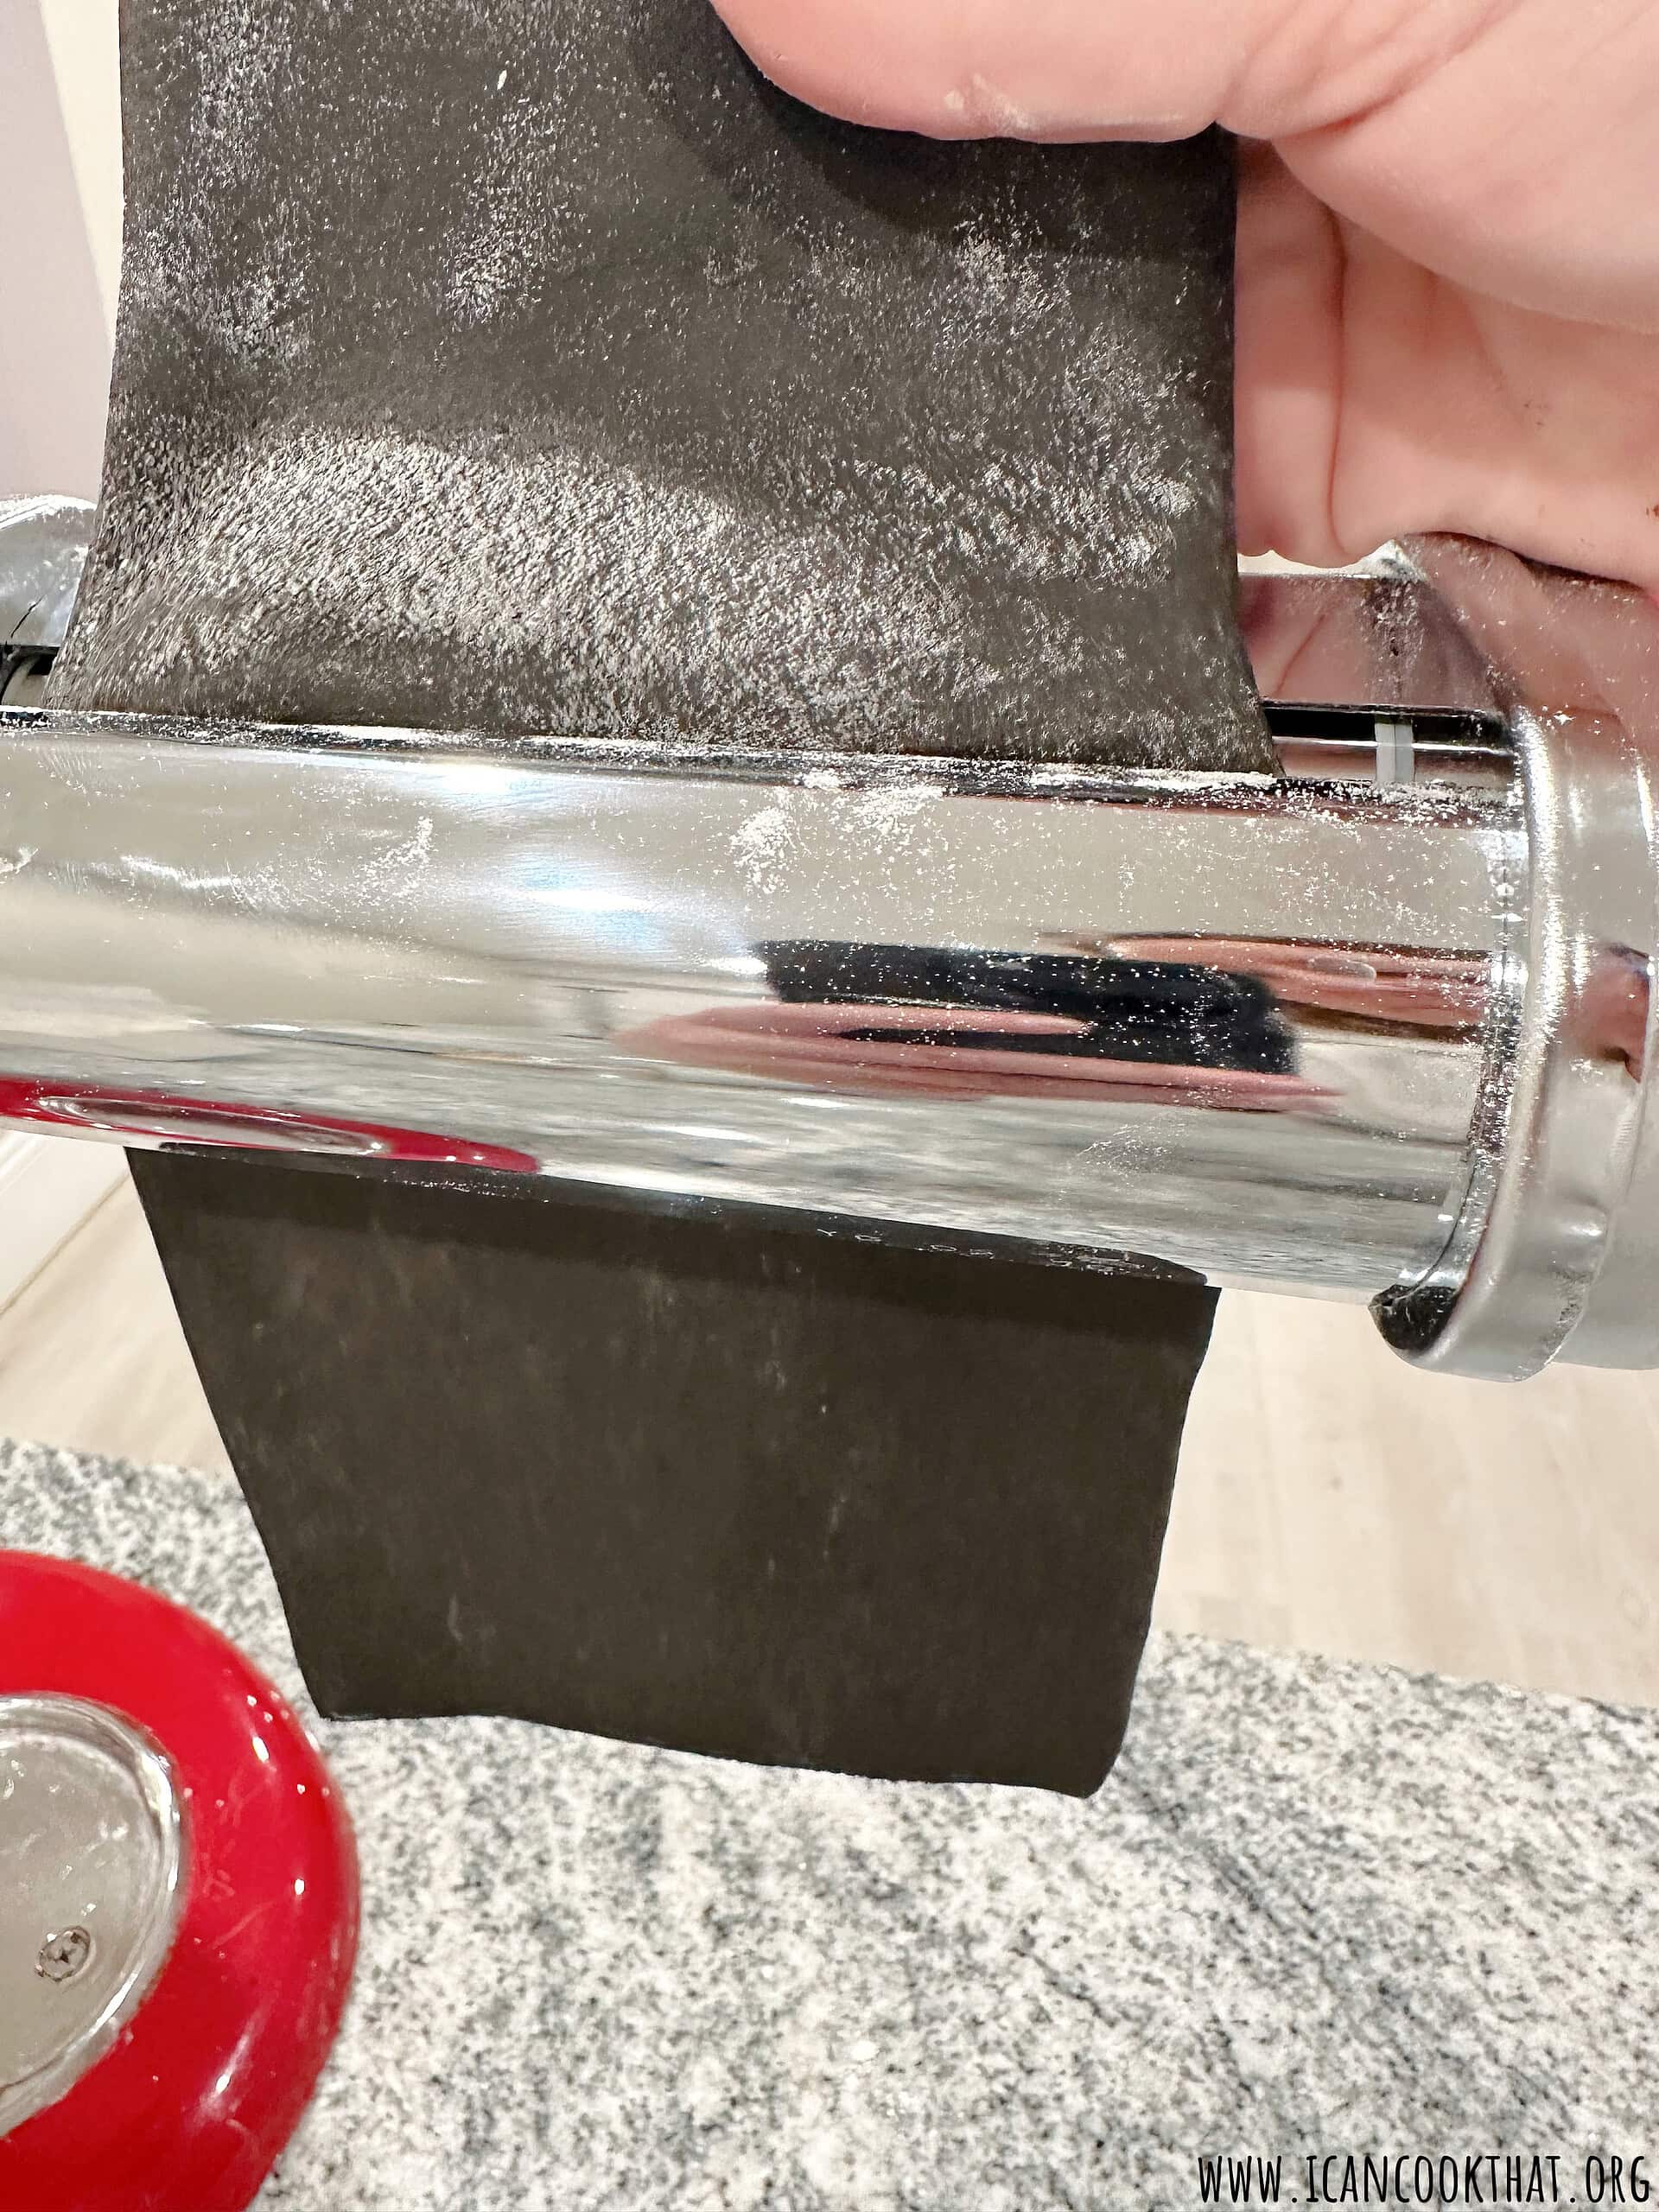
Move the setting on your pasta roller to 3 and repeat the process another three times.
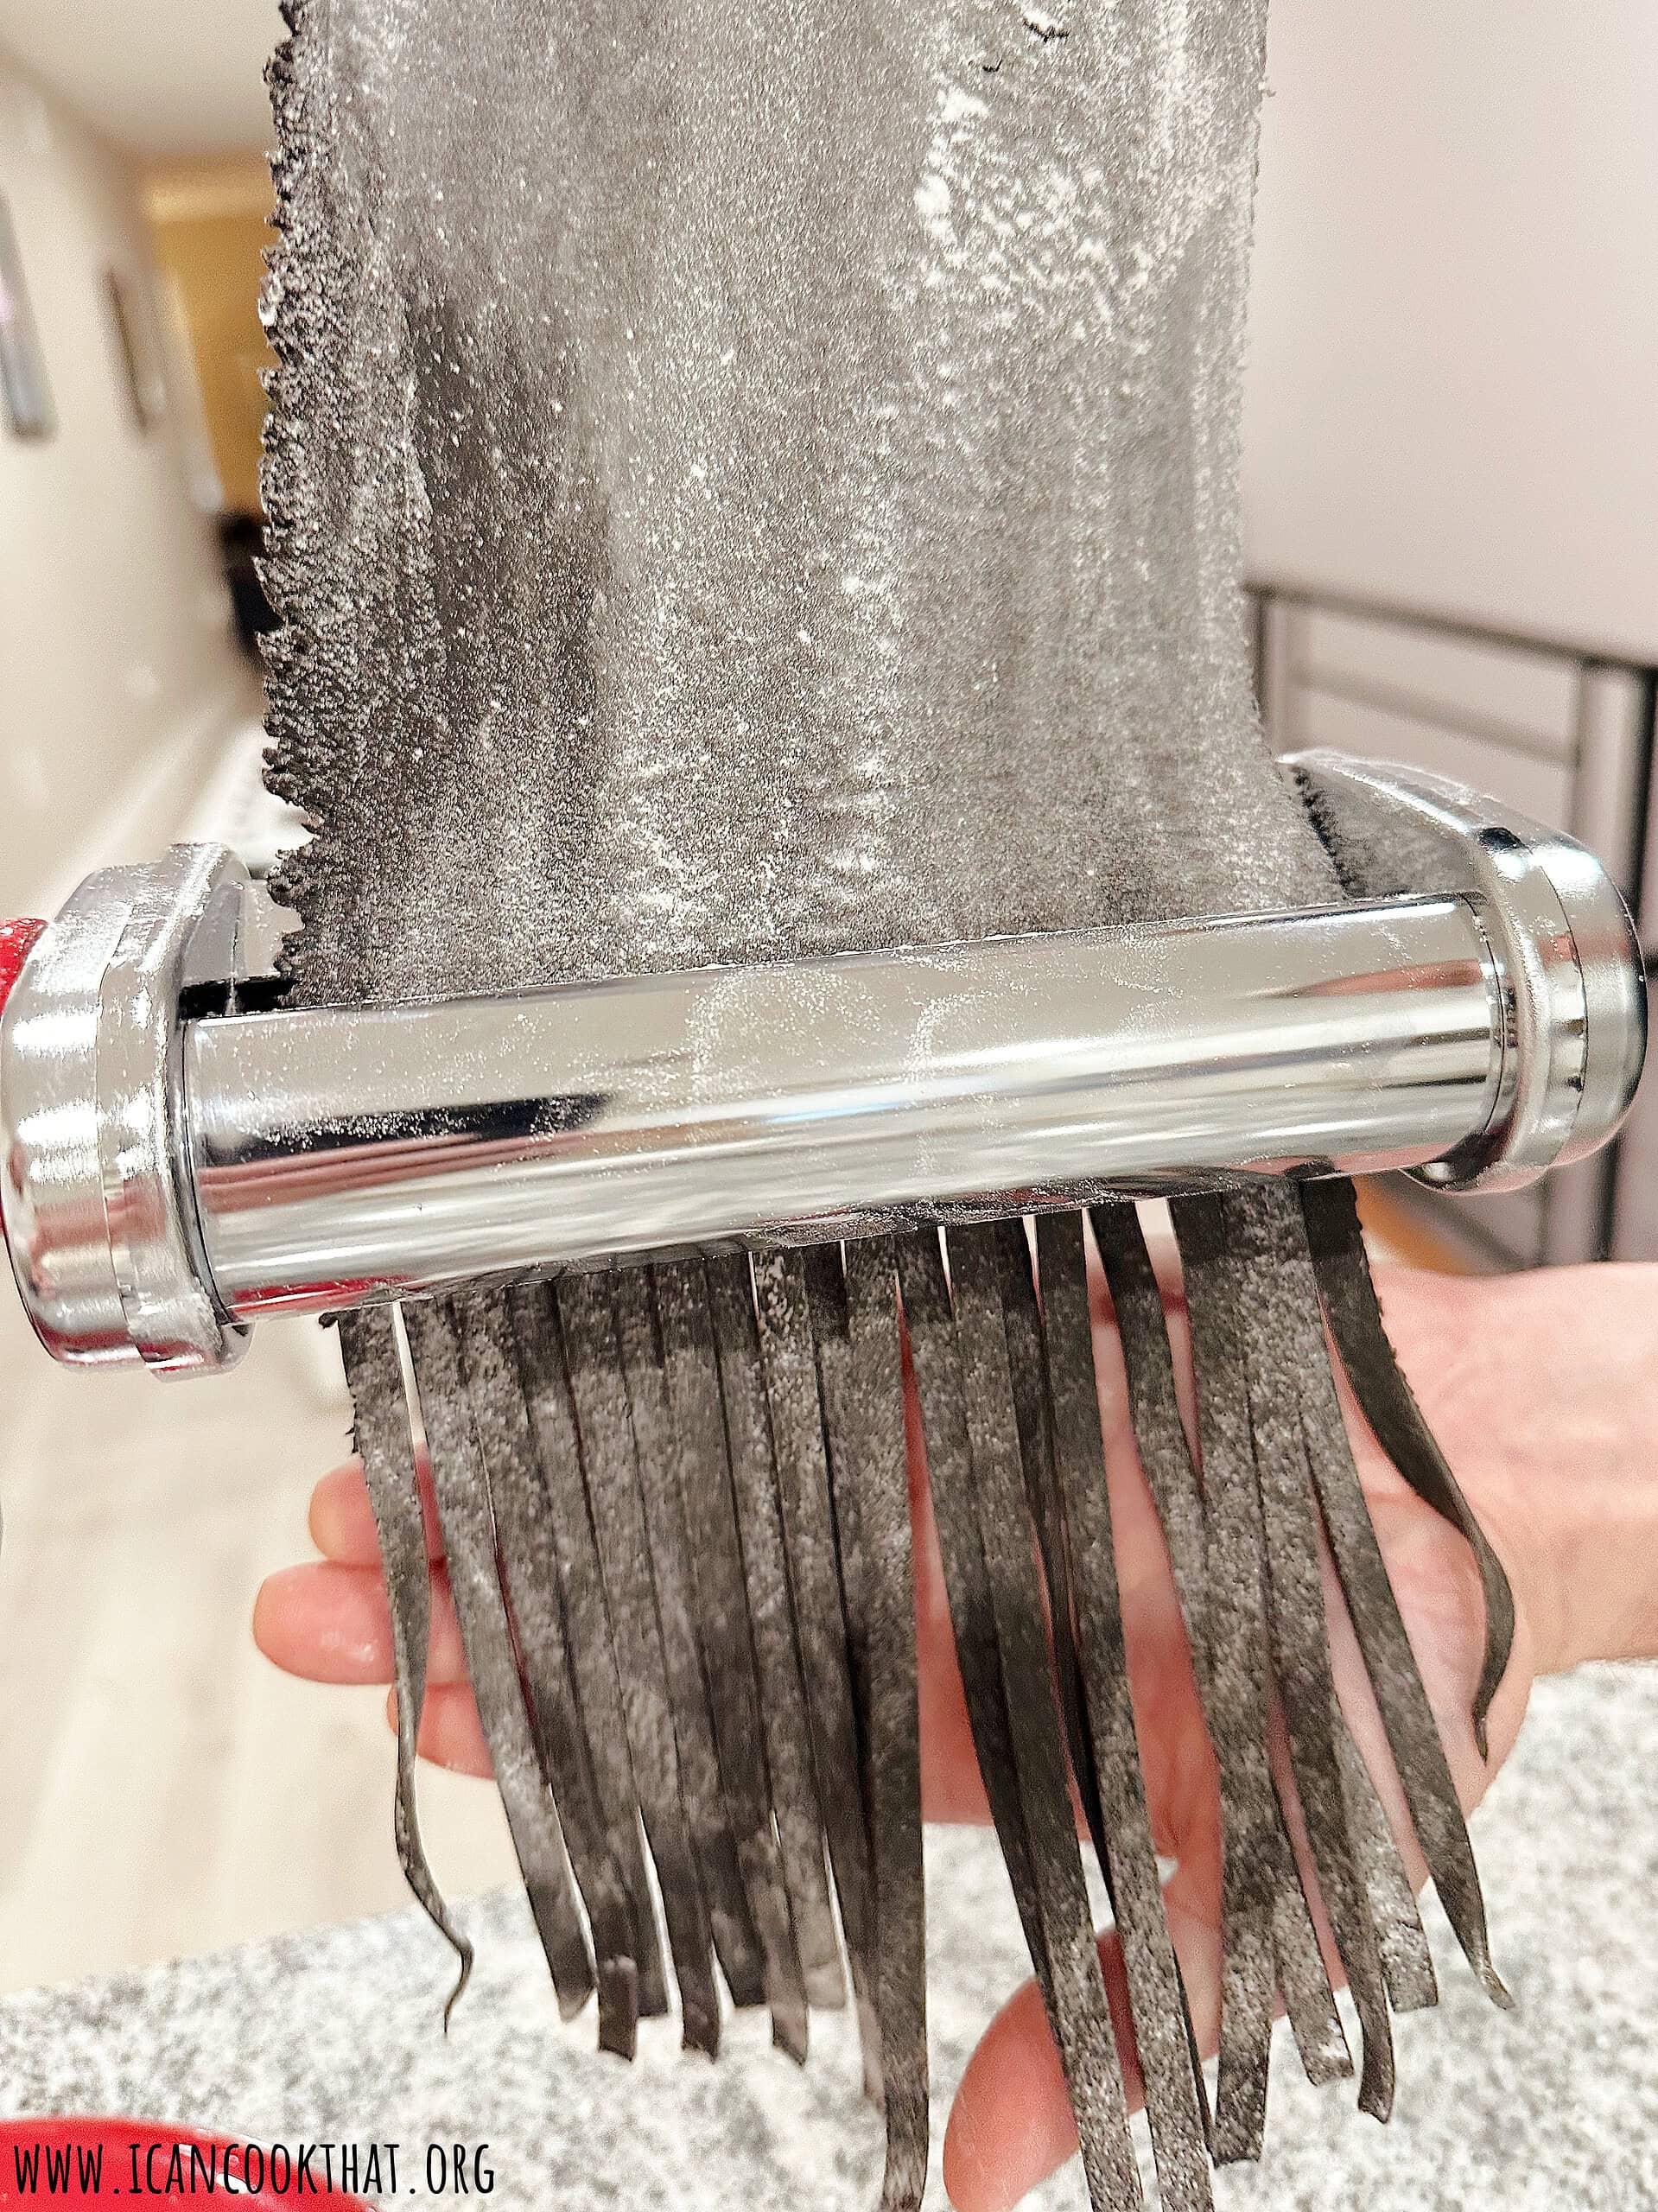
At this point, you can hand cut your pasta or use a pasta cutting attachment as I did. If doing so, attach the fettuccine cutting attachment to your stand mixer and turn on the lowest setting.
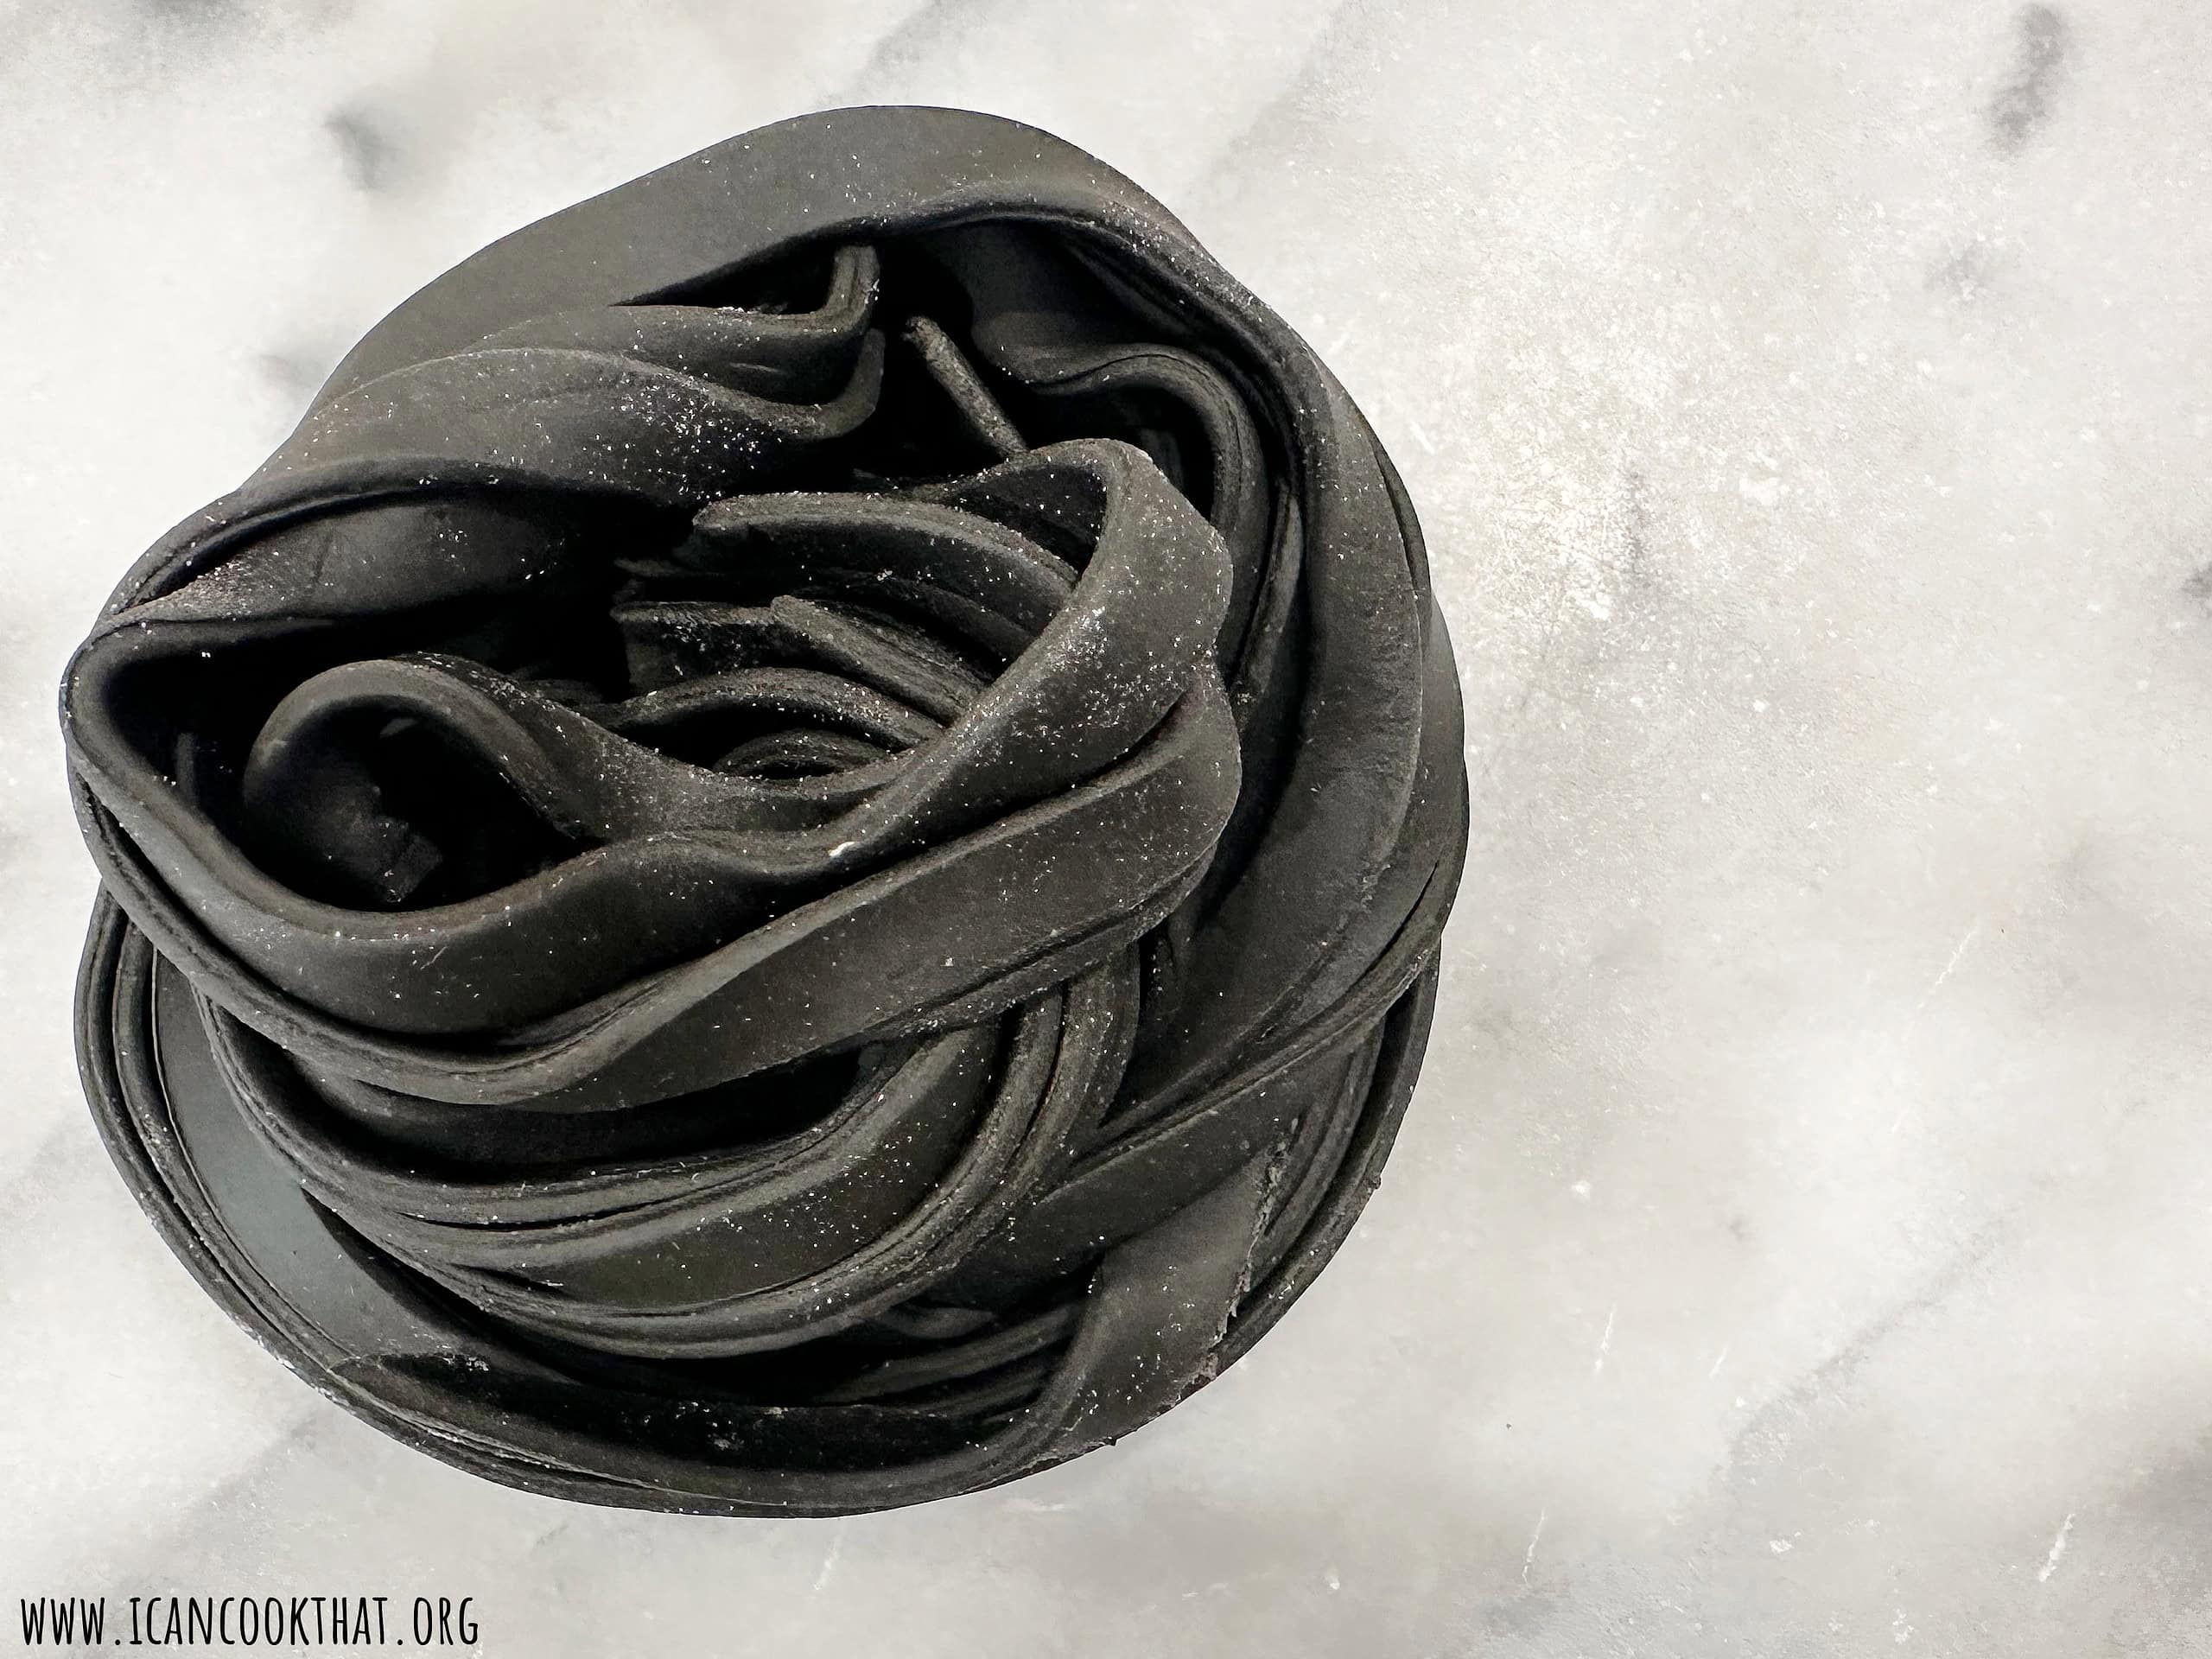
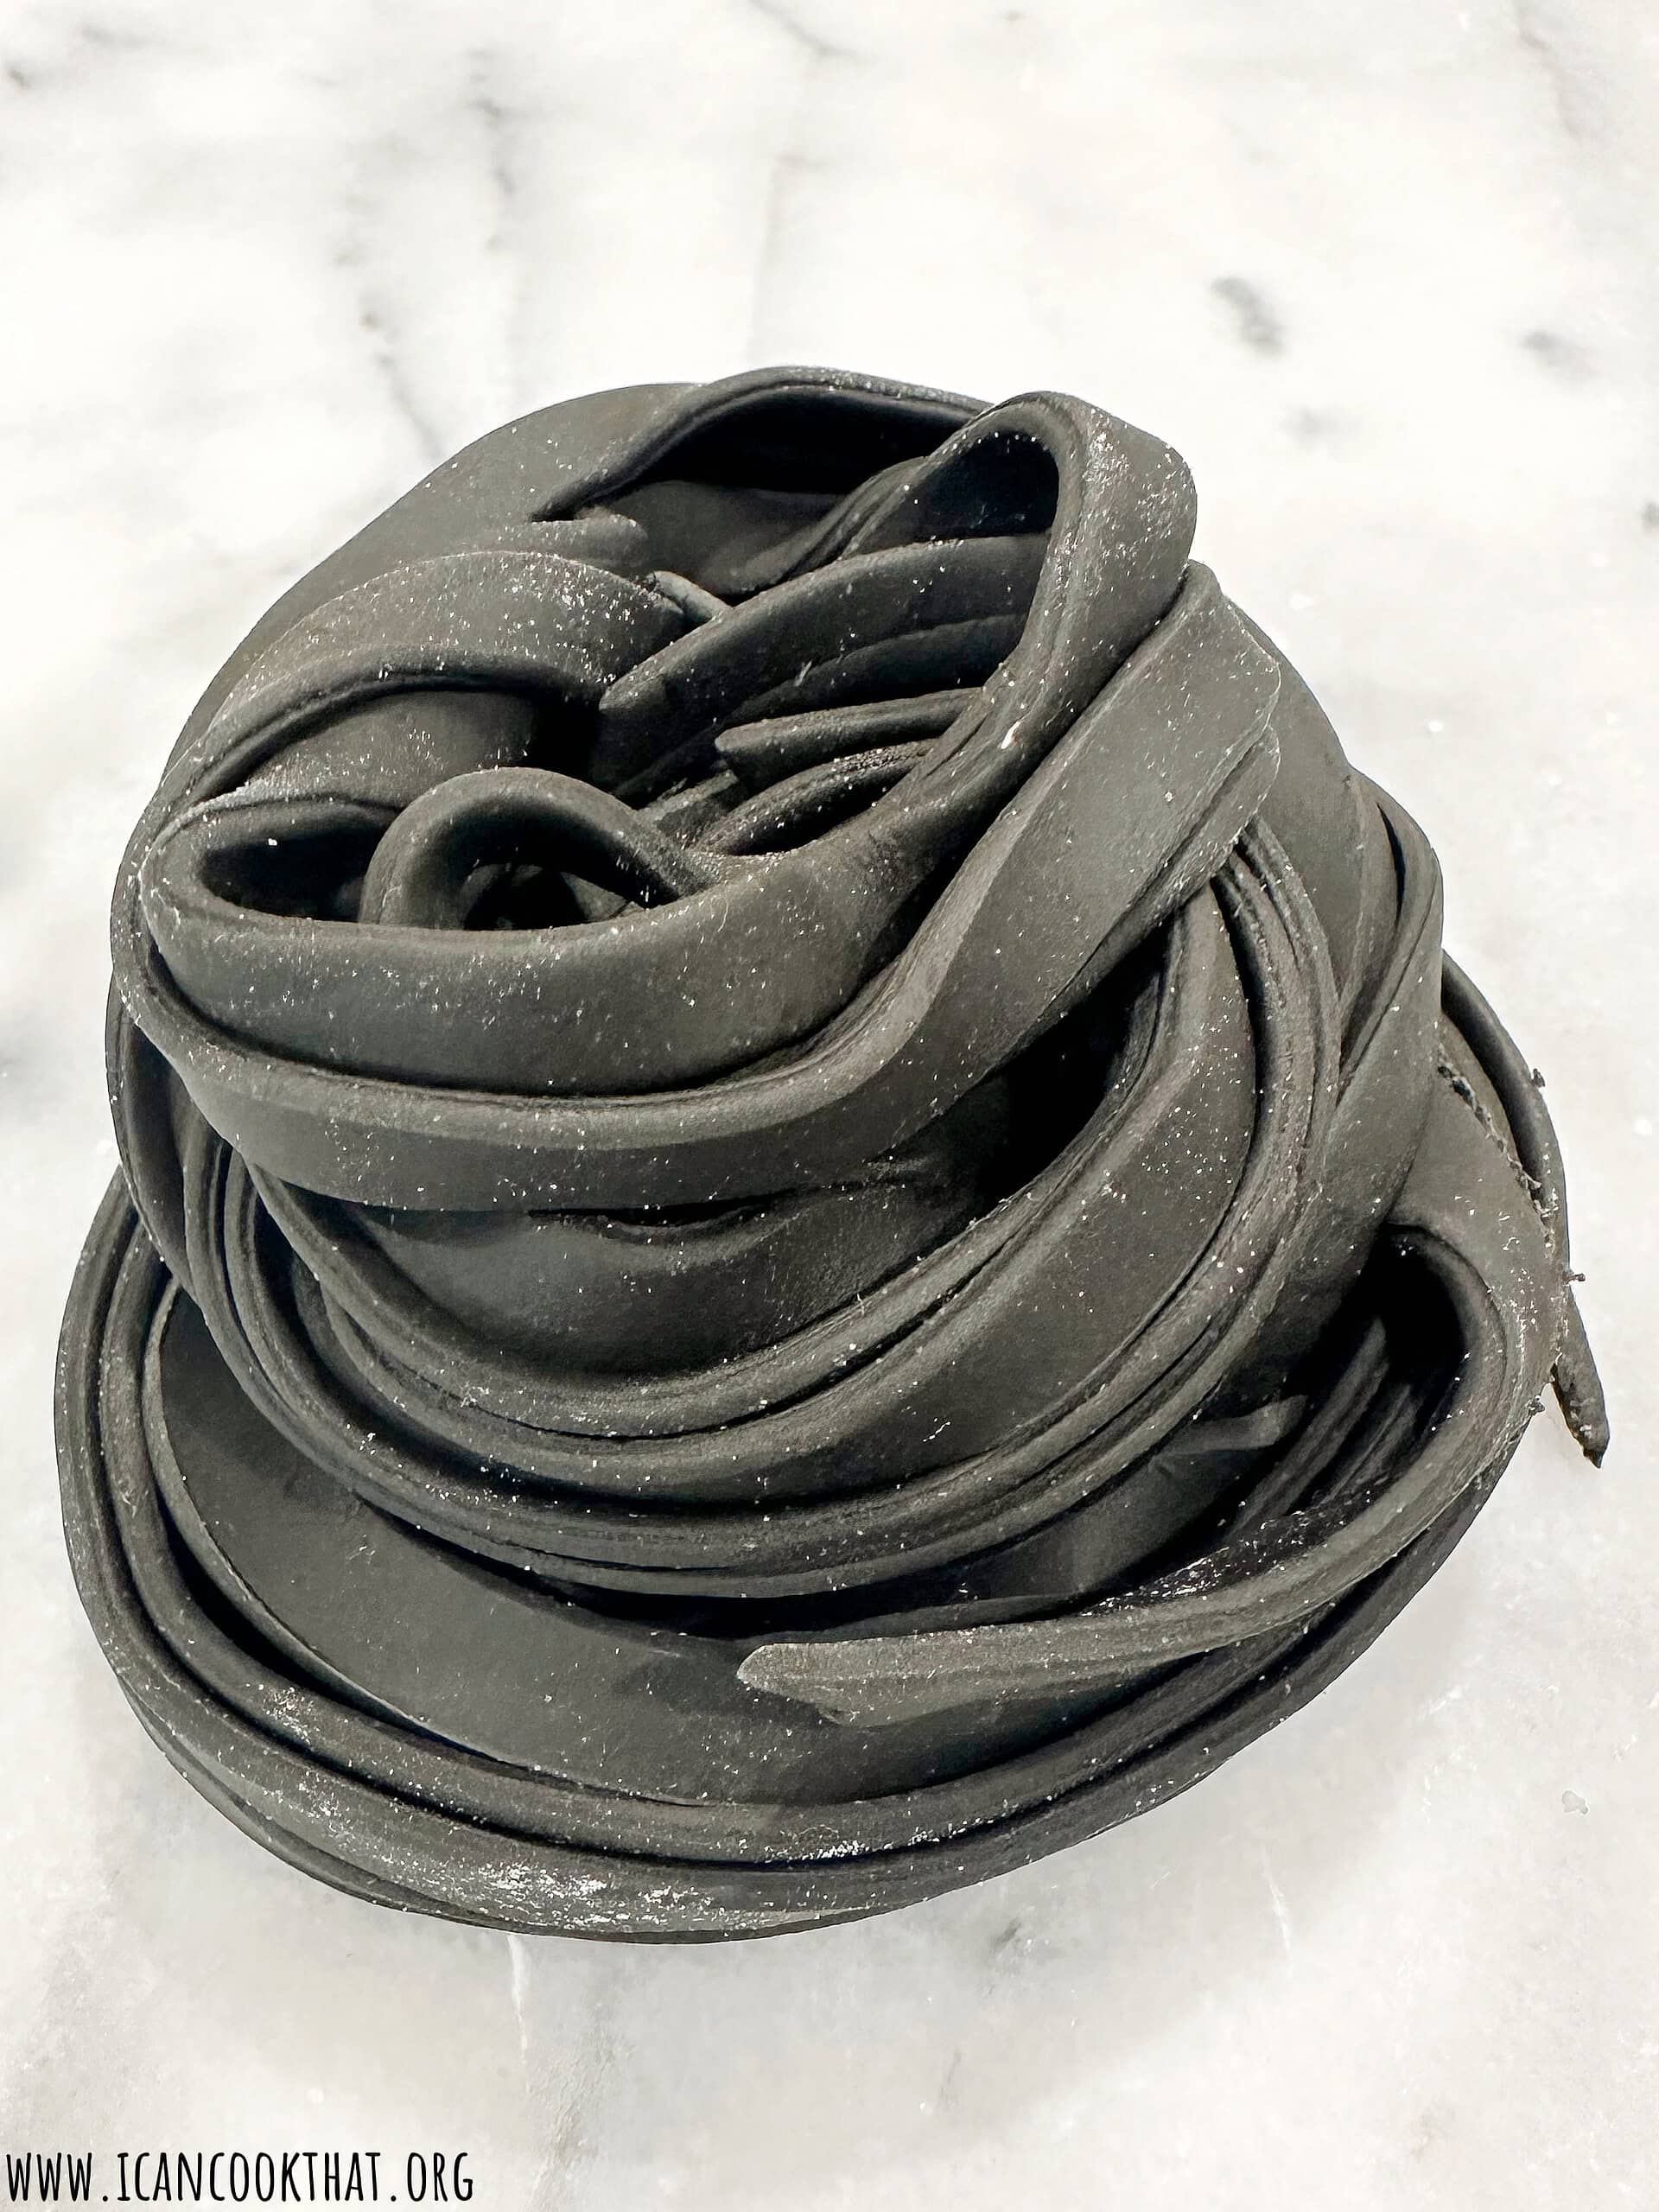
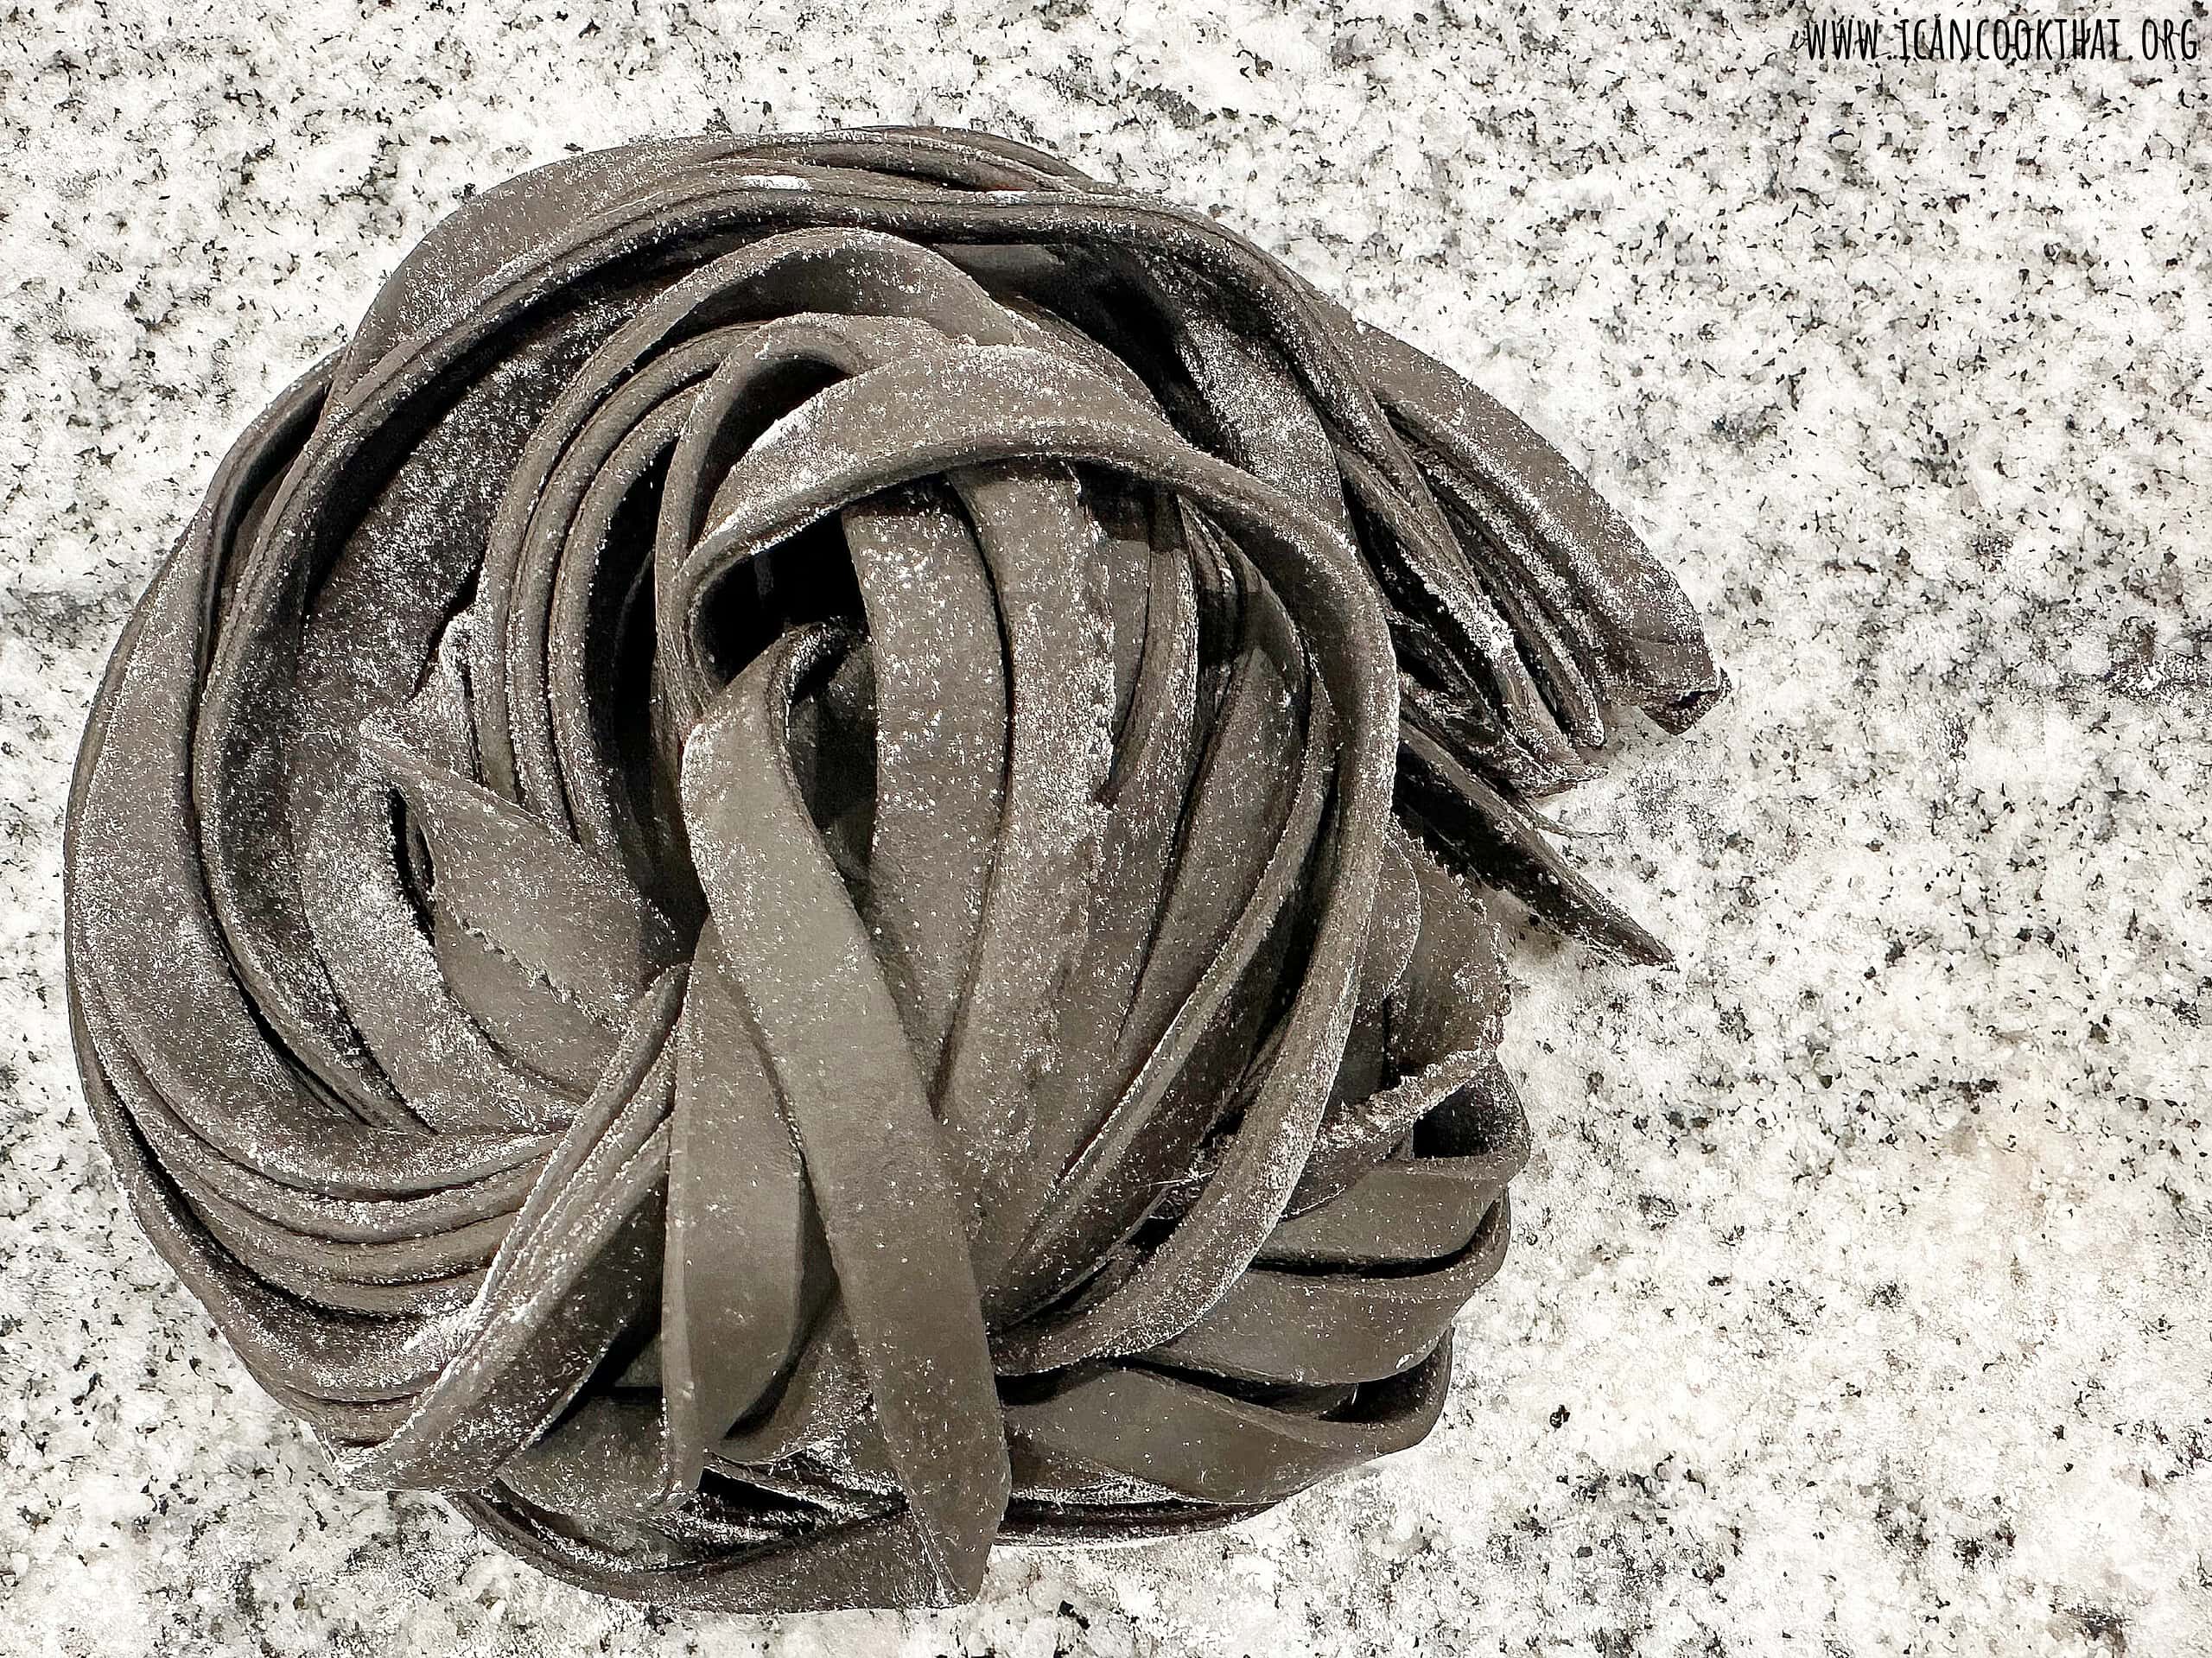
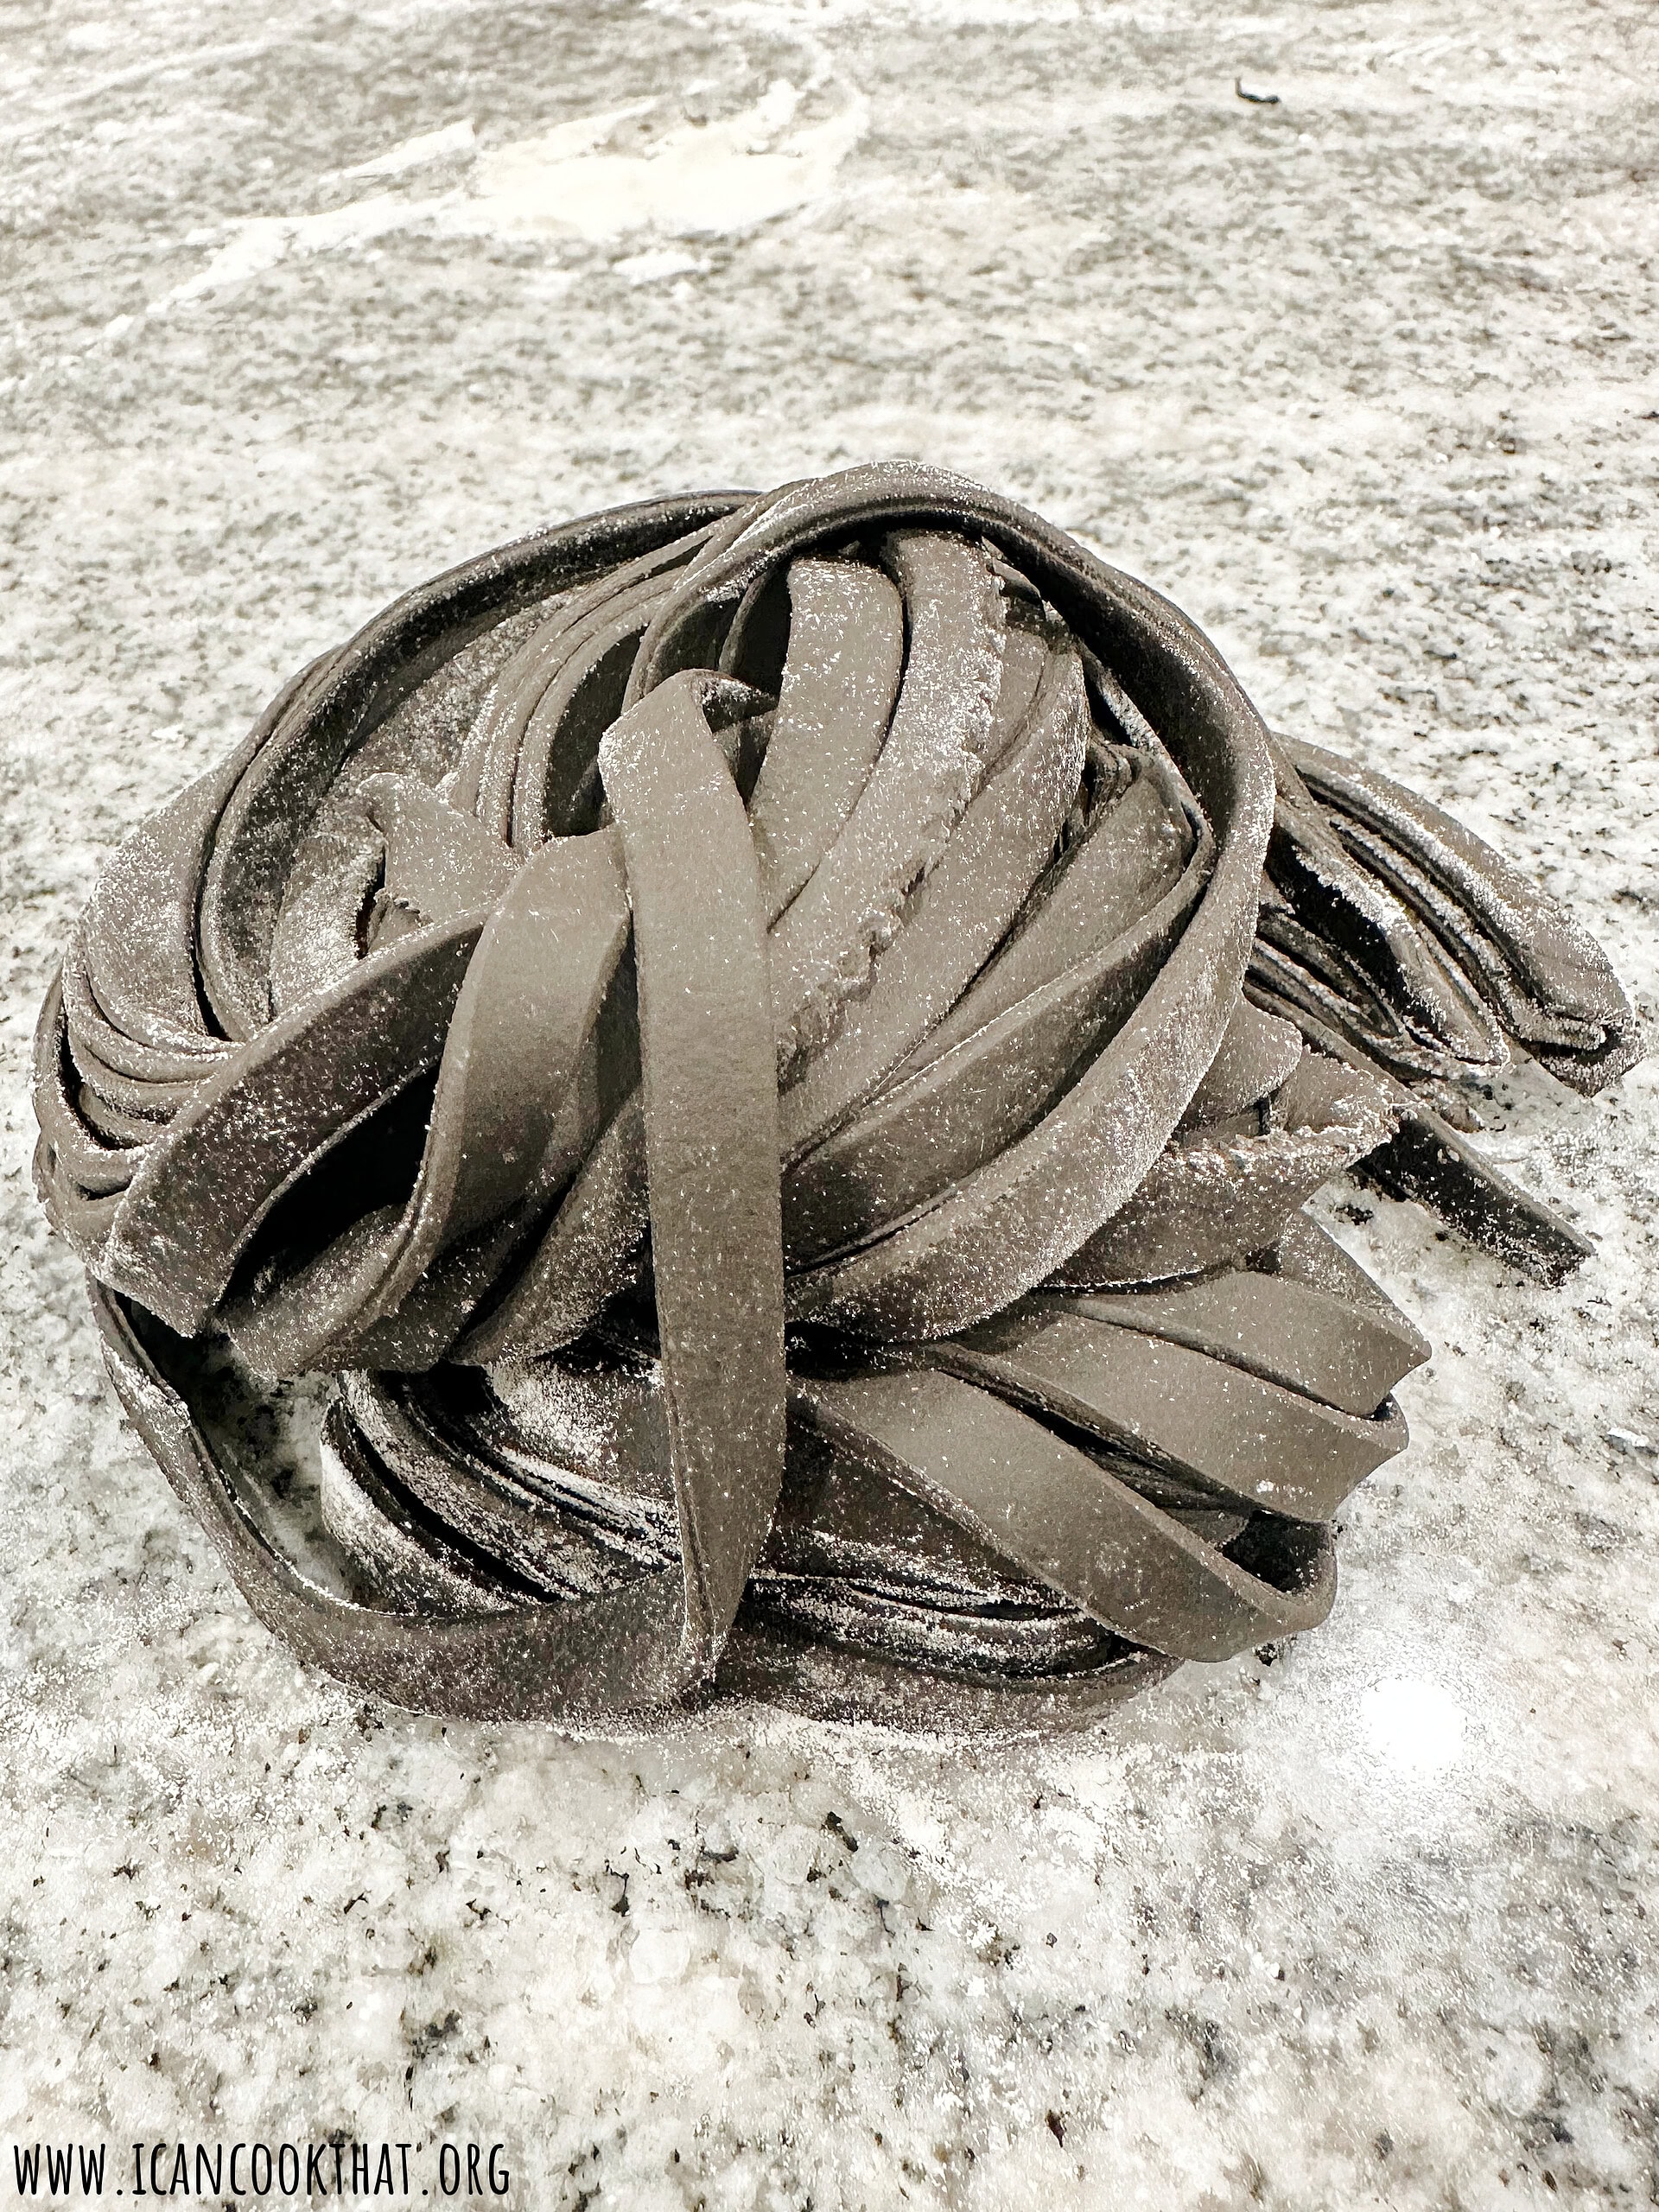
Feed the dough through, catching the dough with your other hand as it feeds through the machine. You now have homemade squid ink fettuccine! Repeat with your remaining dough.
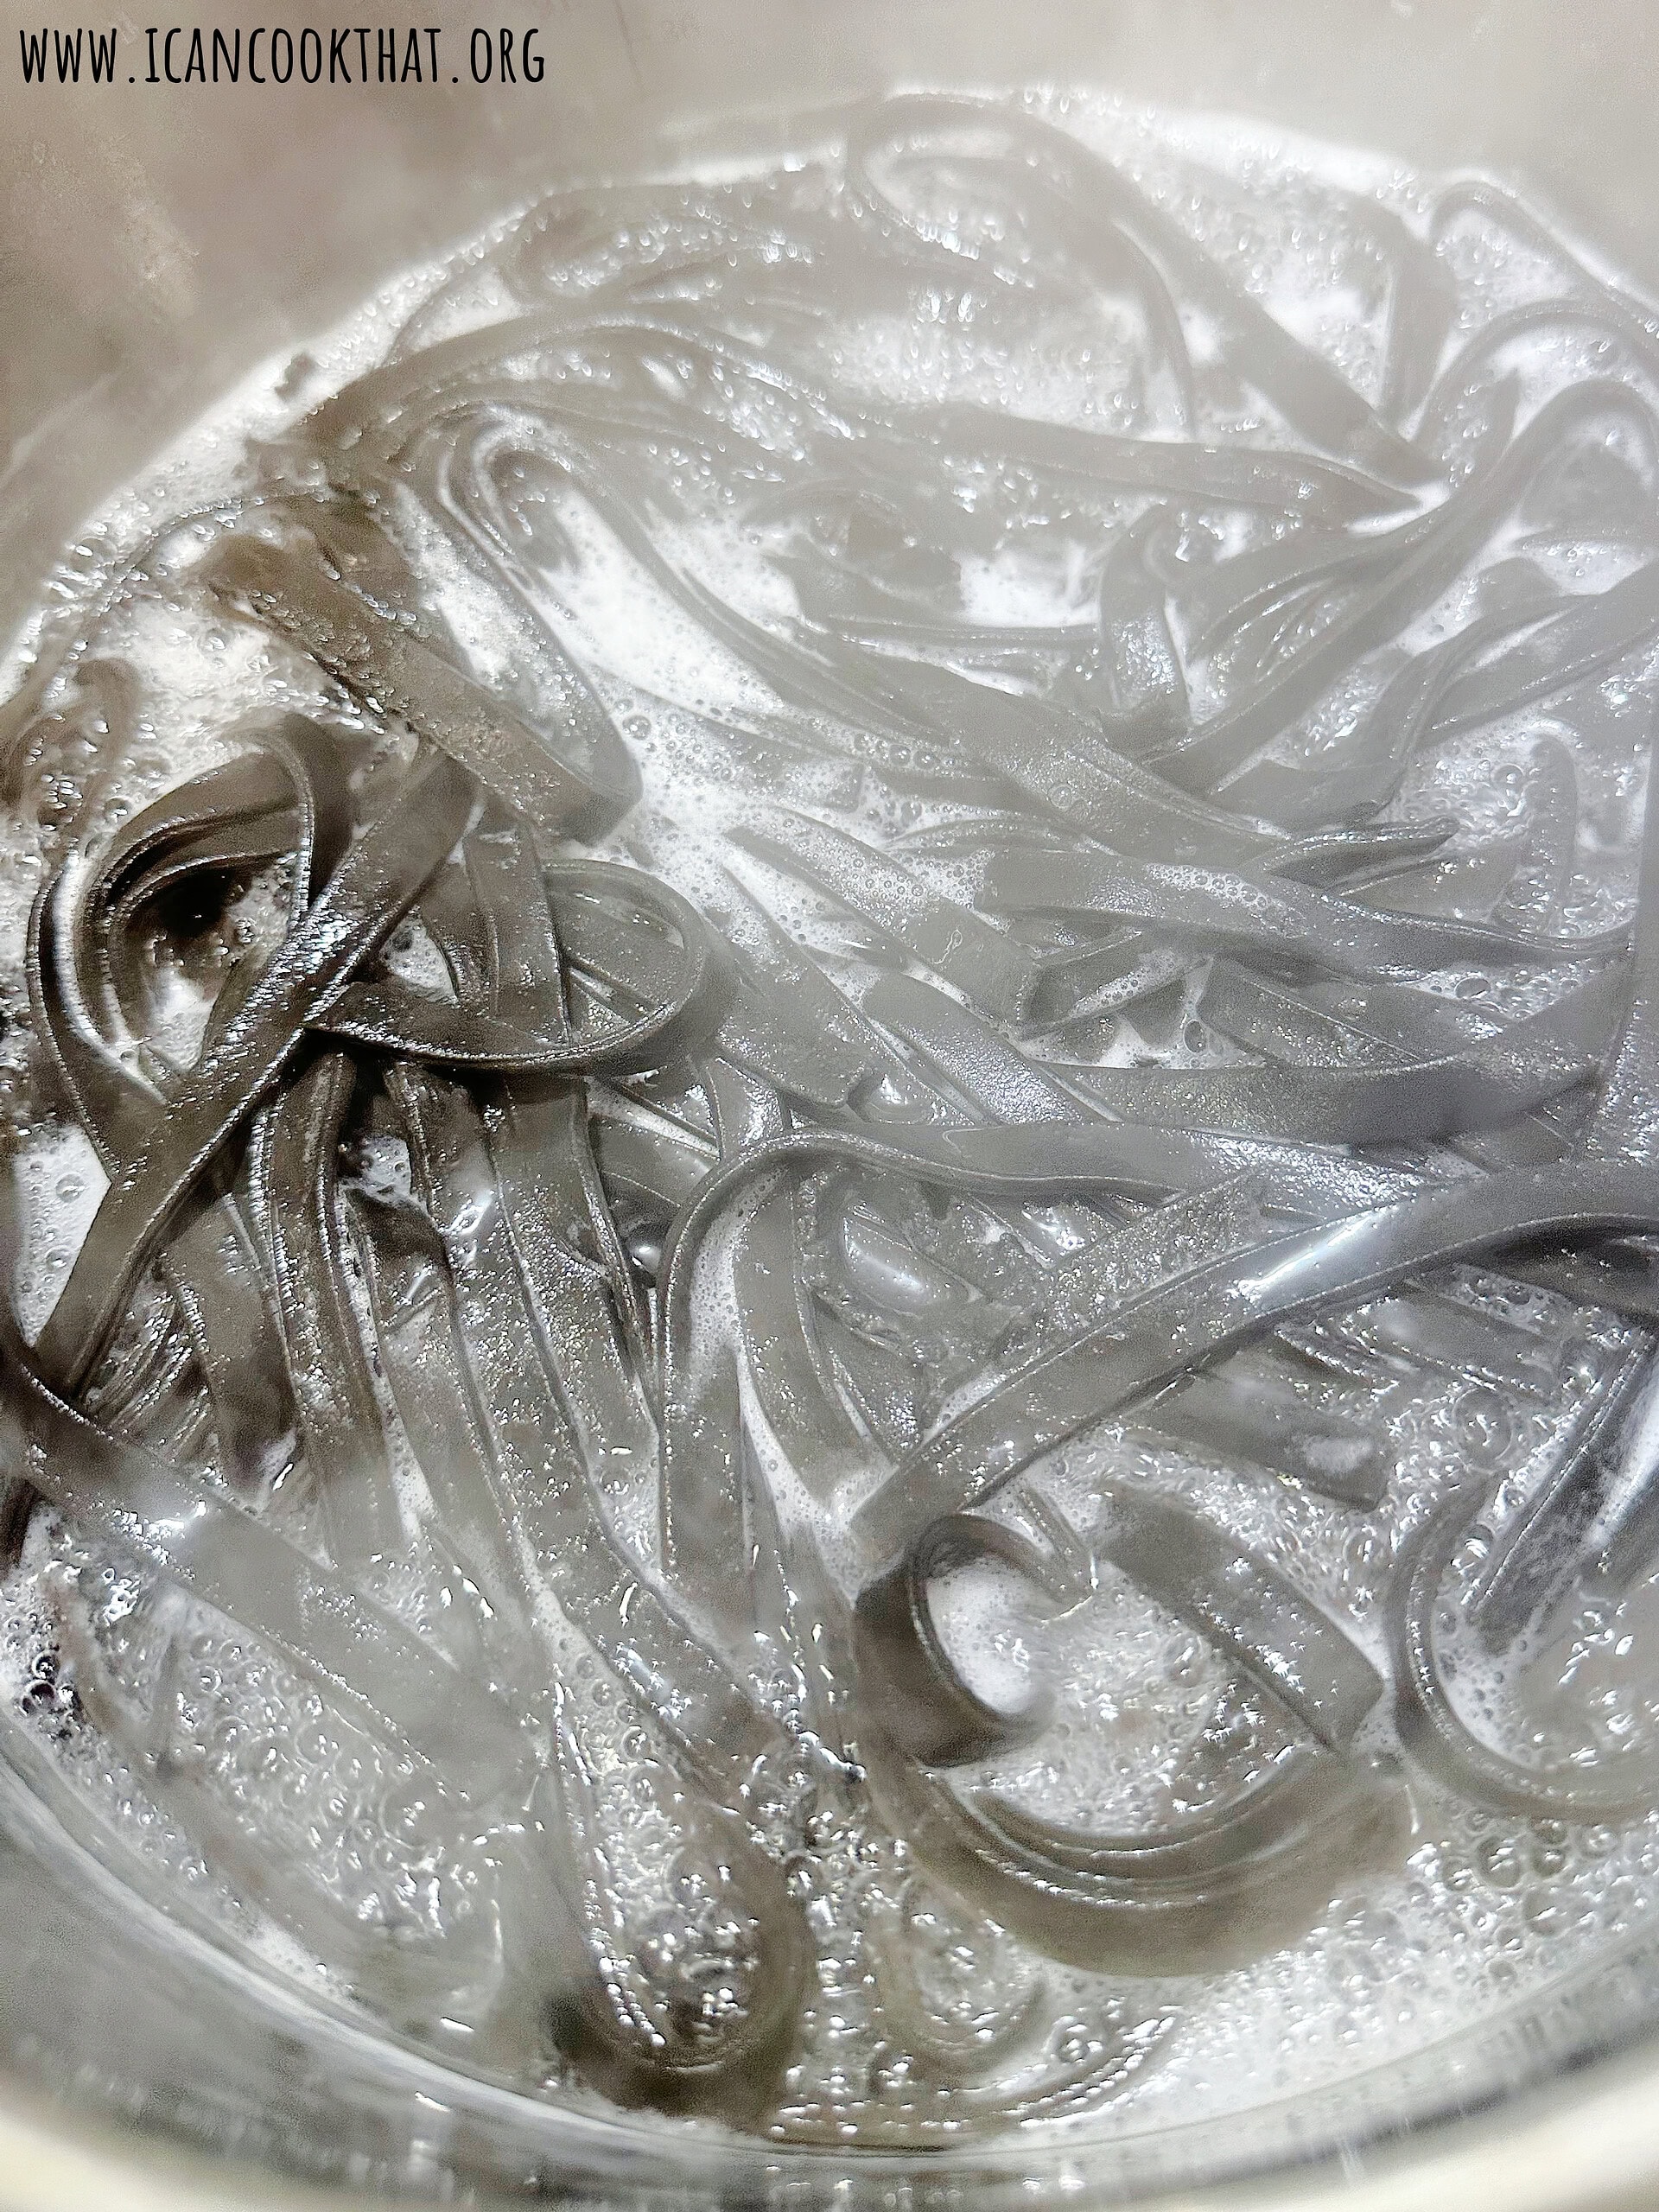
When ready to cook your squid ink fettuccine, add a large pot of water over high heat and bring to a boil. Season the water with salt, then add in the fettuccine. Cook, stirring to keep the fettuccine separate, for 3 minutes, or until the pasta rises to the surface.
Drain and serve with your favorite sauce.
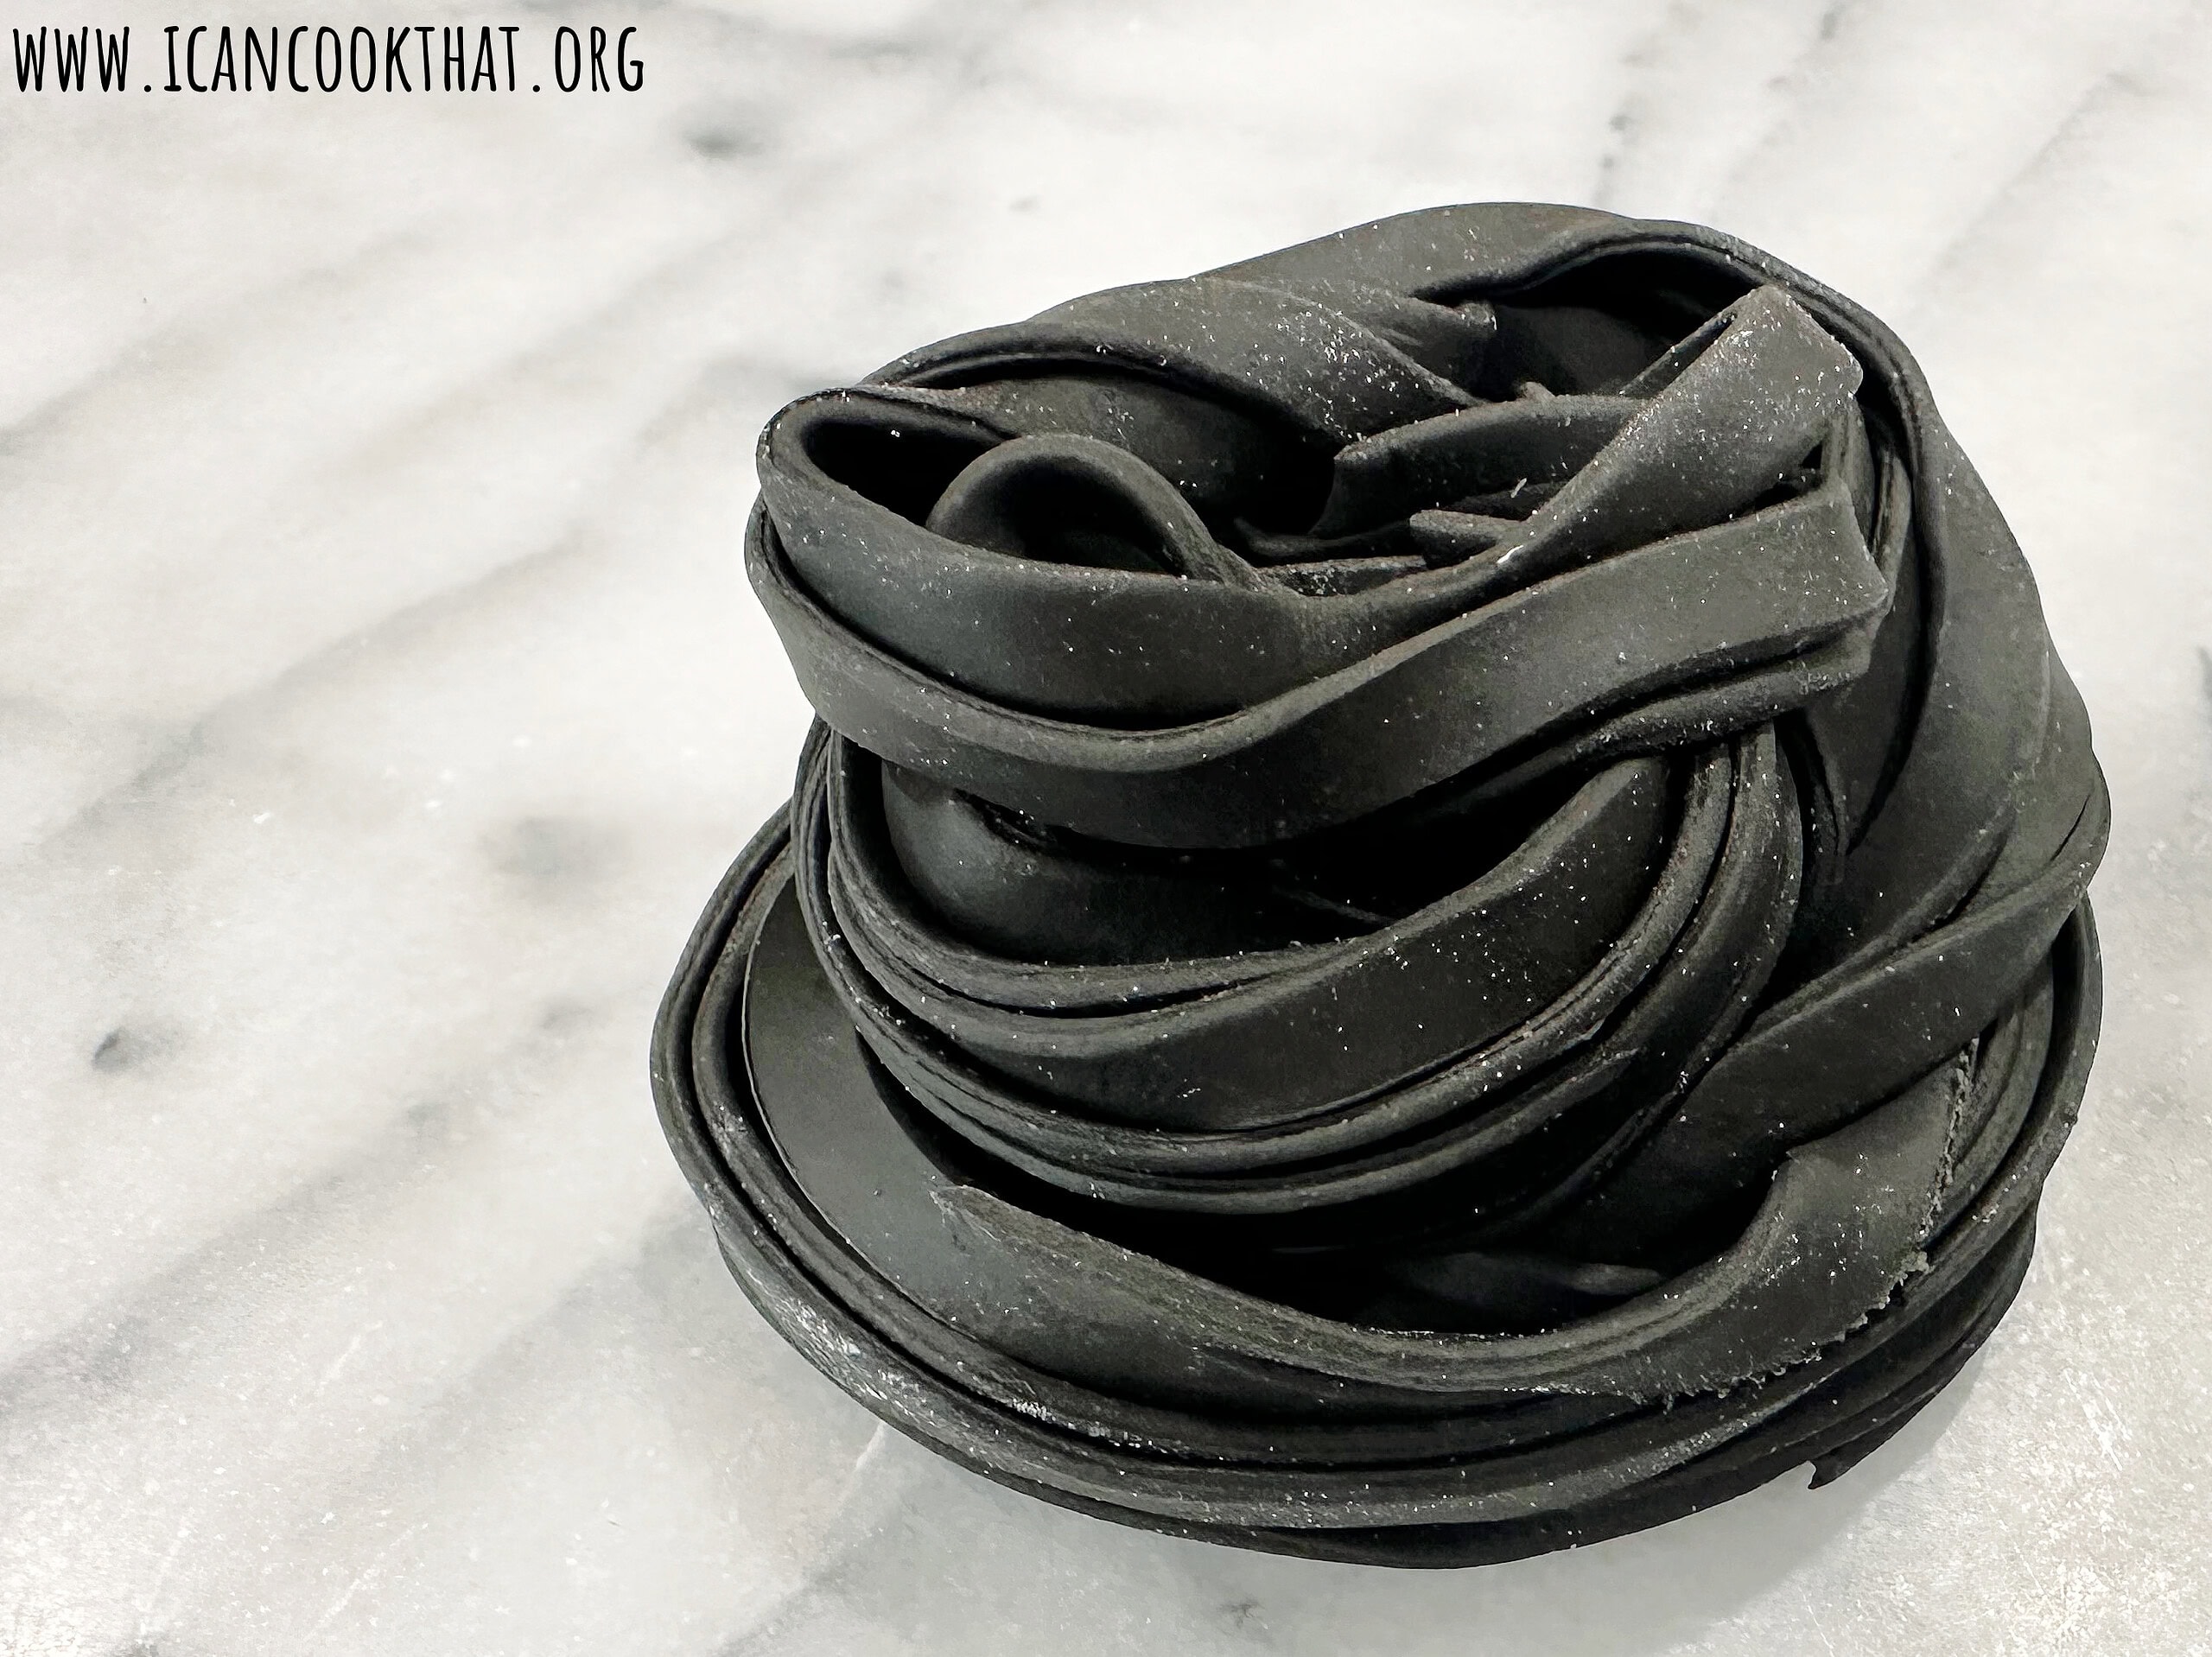
That was surprisingly easy, right?
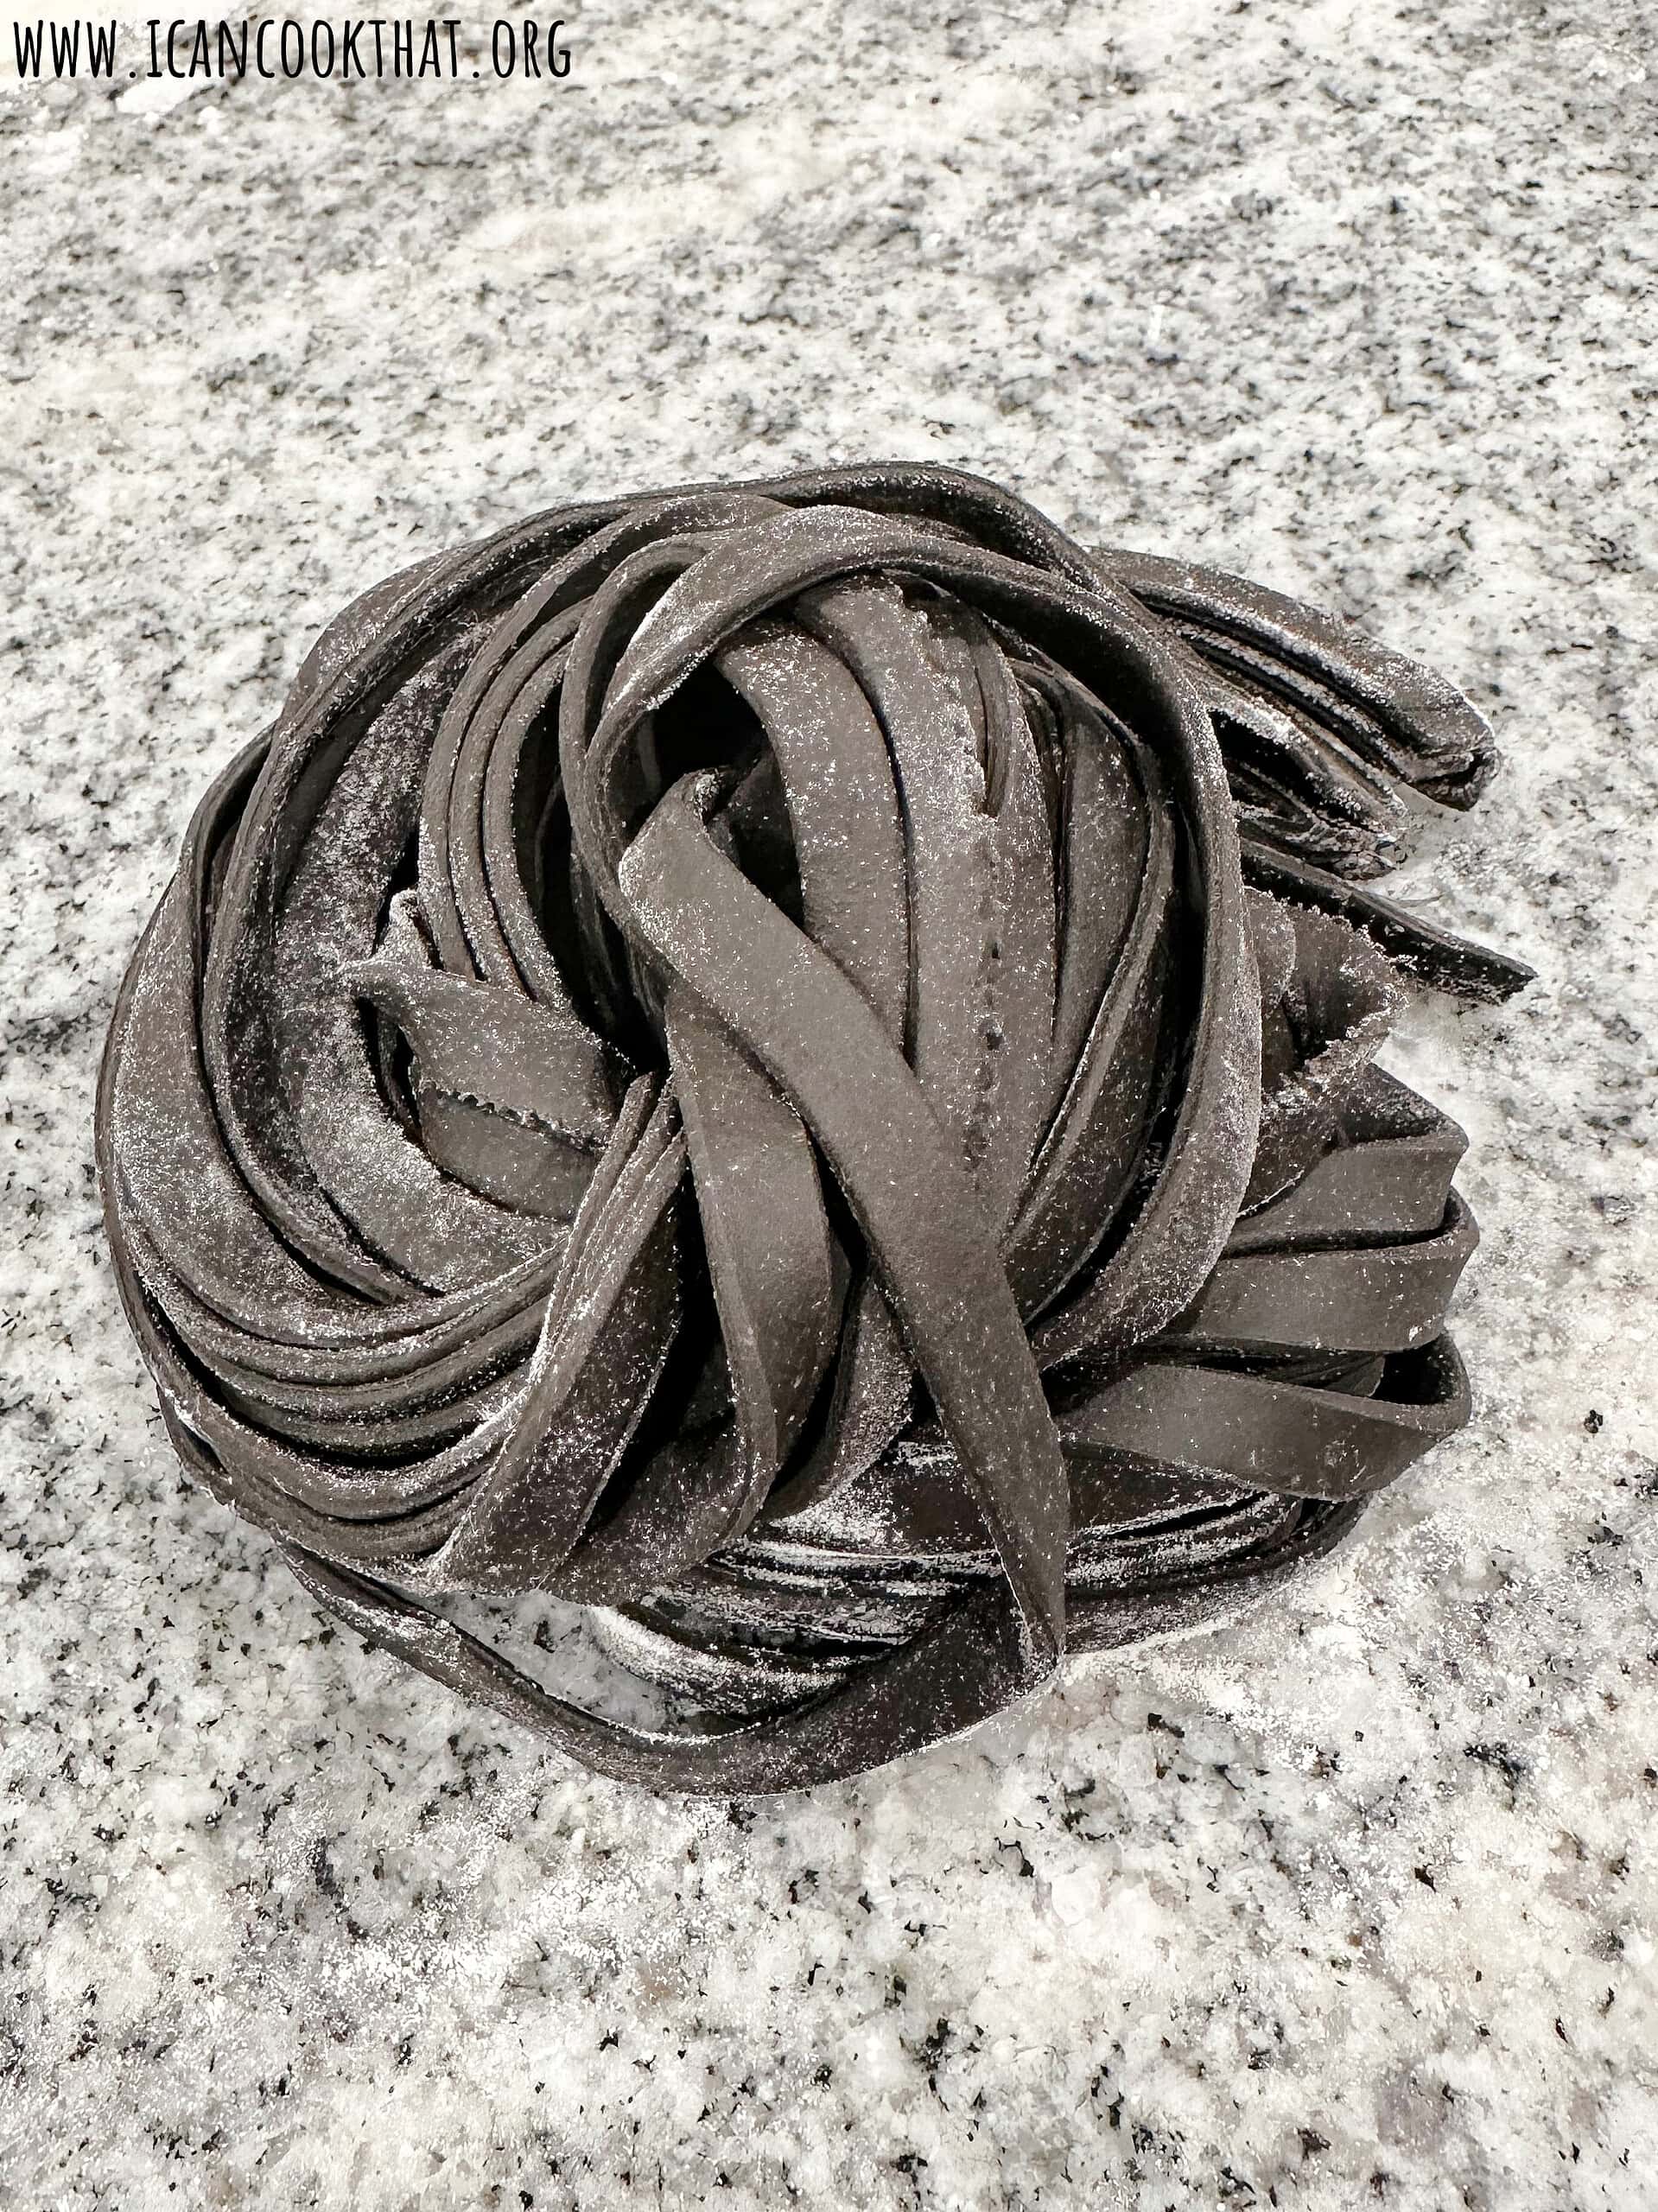
Despite how easy it is to make, squid ink fettuccine really elevates a simple dish into a real showstopper!
Serve with a garlic and olive oil sauce, or with your favorite seafood. Or try this amazing recipe for Squid Ink Seafood Pasta!

Homemade Squid Ink Fettuccine
Ingredients
- 3 eggs
- 1/2 tablespoon 1 1/2 teaspoons cuttlefish ink
- 3 oo grams about 2 1/2 cups all-purpose flour, plus more for dusting
Instructions
- To make your squid ink fettuccine, add your eggs to a medium sized bowl (or the bowl of a stand mixer) along with the cuttlefish ink.
- Whisk together the eggs and cuttlefish ink until mostly combined.
- Measure out your flour; I suggest using a scale rather than volume measurements to get the right amount.
- Because cuttlefish ink is a really potent dye, I made this dough mostly in my stand mixer. To do the same, add the dough hook to your stand mixer and slowly incorporate the flour into your egg mixture until it forms a ball, about 5 to 10 minutes.
- If the dough is still not coming together and looks dry/ragged, add a teaspoon of water and mix for another minute. Repeat if necessary. If the dough looks too sticky, add a teaspoon more of flour and mix for another minute, repeating if necessary.
- Once the dough has formed into a ball, turn out onto a lightly floured surface, like your countertop.
- Using your hands, knead the dough for about 5 or 10 minutes, or until it becomes smoother and elastic.
- Wrap in plastic wrap and let sit for 10 minutes.
- After 10 minutes, knead again for another 3 minutes until you have a nice smooth ball of dough.
- Rewrap the dough in plastic wrap and let sit for 1 hour. If making ahead, add to your refrigerator for up to one day.
- When ready to shape into pasta, if you refrigerated the dough, let it come up to room temperature before continuing.
- Cut the dough into thirds and take 1/3 of the dough to work with, wrapping the remaining 2/3 back in the plastic wrap.
- Use a rolling pin to roll out the portion of dough on a lightly floured work surface into a rectangle.
- I use a pasta roller attachment for my stand mixer, so my directions are made using that. Using a hand cranked pasta maker should yield similar results.
- Put your pasta roller on the widest setting (1) and turn the pasta roller on.
- Dust the rectangular dough with some flour, then feed it through your pasta roller. Fold the dough into thirds like a book, then feed through the pasta roller again. Repeat one more time through the widest setting. If it feels sticky or tears when going through the pasta roller, add a bit more flour and run through again.
- Move the setting on your pasta roller to 2 and repeat the above process three more times (run the dough through, fold it in thirds, run it through again).
- Move the setting on your pasta roller to 3 and repeat the process another three times.
- At this point, you can hand cut your pasta or use a pasta cutting attachment as I did. If doing so, attach the fettuccine cutting attachment to your stand mixer and turn on the lowest setting.
- Feed the dough through, catching the dough with your other hand as it feeds through the machine. You now have homemade squid ink fettuccine!
- Repeat with your remaining dough.
- When ready to cook your squid ink fettuccine, add a large pot of water over high heat and bring to a boil. Season the water with salt, then add in the fettuccine. Cook, stirring to keep the fettuccine separate, for 3 minutes, or until the pasta rises to the surface.
- Drain and serve with your favorite sauce.


What do you think?