Every Sunday night is pasta night in my house. Most of the time, that means taking out a batch of tomato sauce from the freezer and cooking whatever dry pasta we have one hand, but it’s nice to switch it up every now and then, like making this recipe for Mexican Spaghetti Squash Egg Boats.
I have never worked with spaghetti squash before, so I thought Sunday night would be a great time to try it.
This recipe for Mexican Spaghetti Squash Egg Boats tops the spaghetti squash with a flavorful chunky salsa, plus an egg that is cooked to over-easy (slightly runny), and then (if you are in the mood) topped with cheese and avocado slices.
These Mexican Spaghetti Squash Egg Boatss are very hearty without being too heavy. They take some time to prepare, so these are good for a weekend meal rather than trying to make these on a busy weeknight.
Note: I was sent a Rubbermaid’s Easy Find Lids 20-Piece Storage Set to review. All opinions are mine alone.
We have had a pretty moderate fall so far, but the cold weather isn’t too far off. This time of year, I like to fill my freezer with different meals so I always have comfort food on hand for busy weeknights. One of my favorites, of course, is chili.
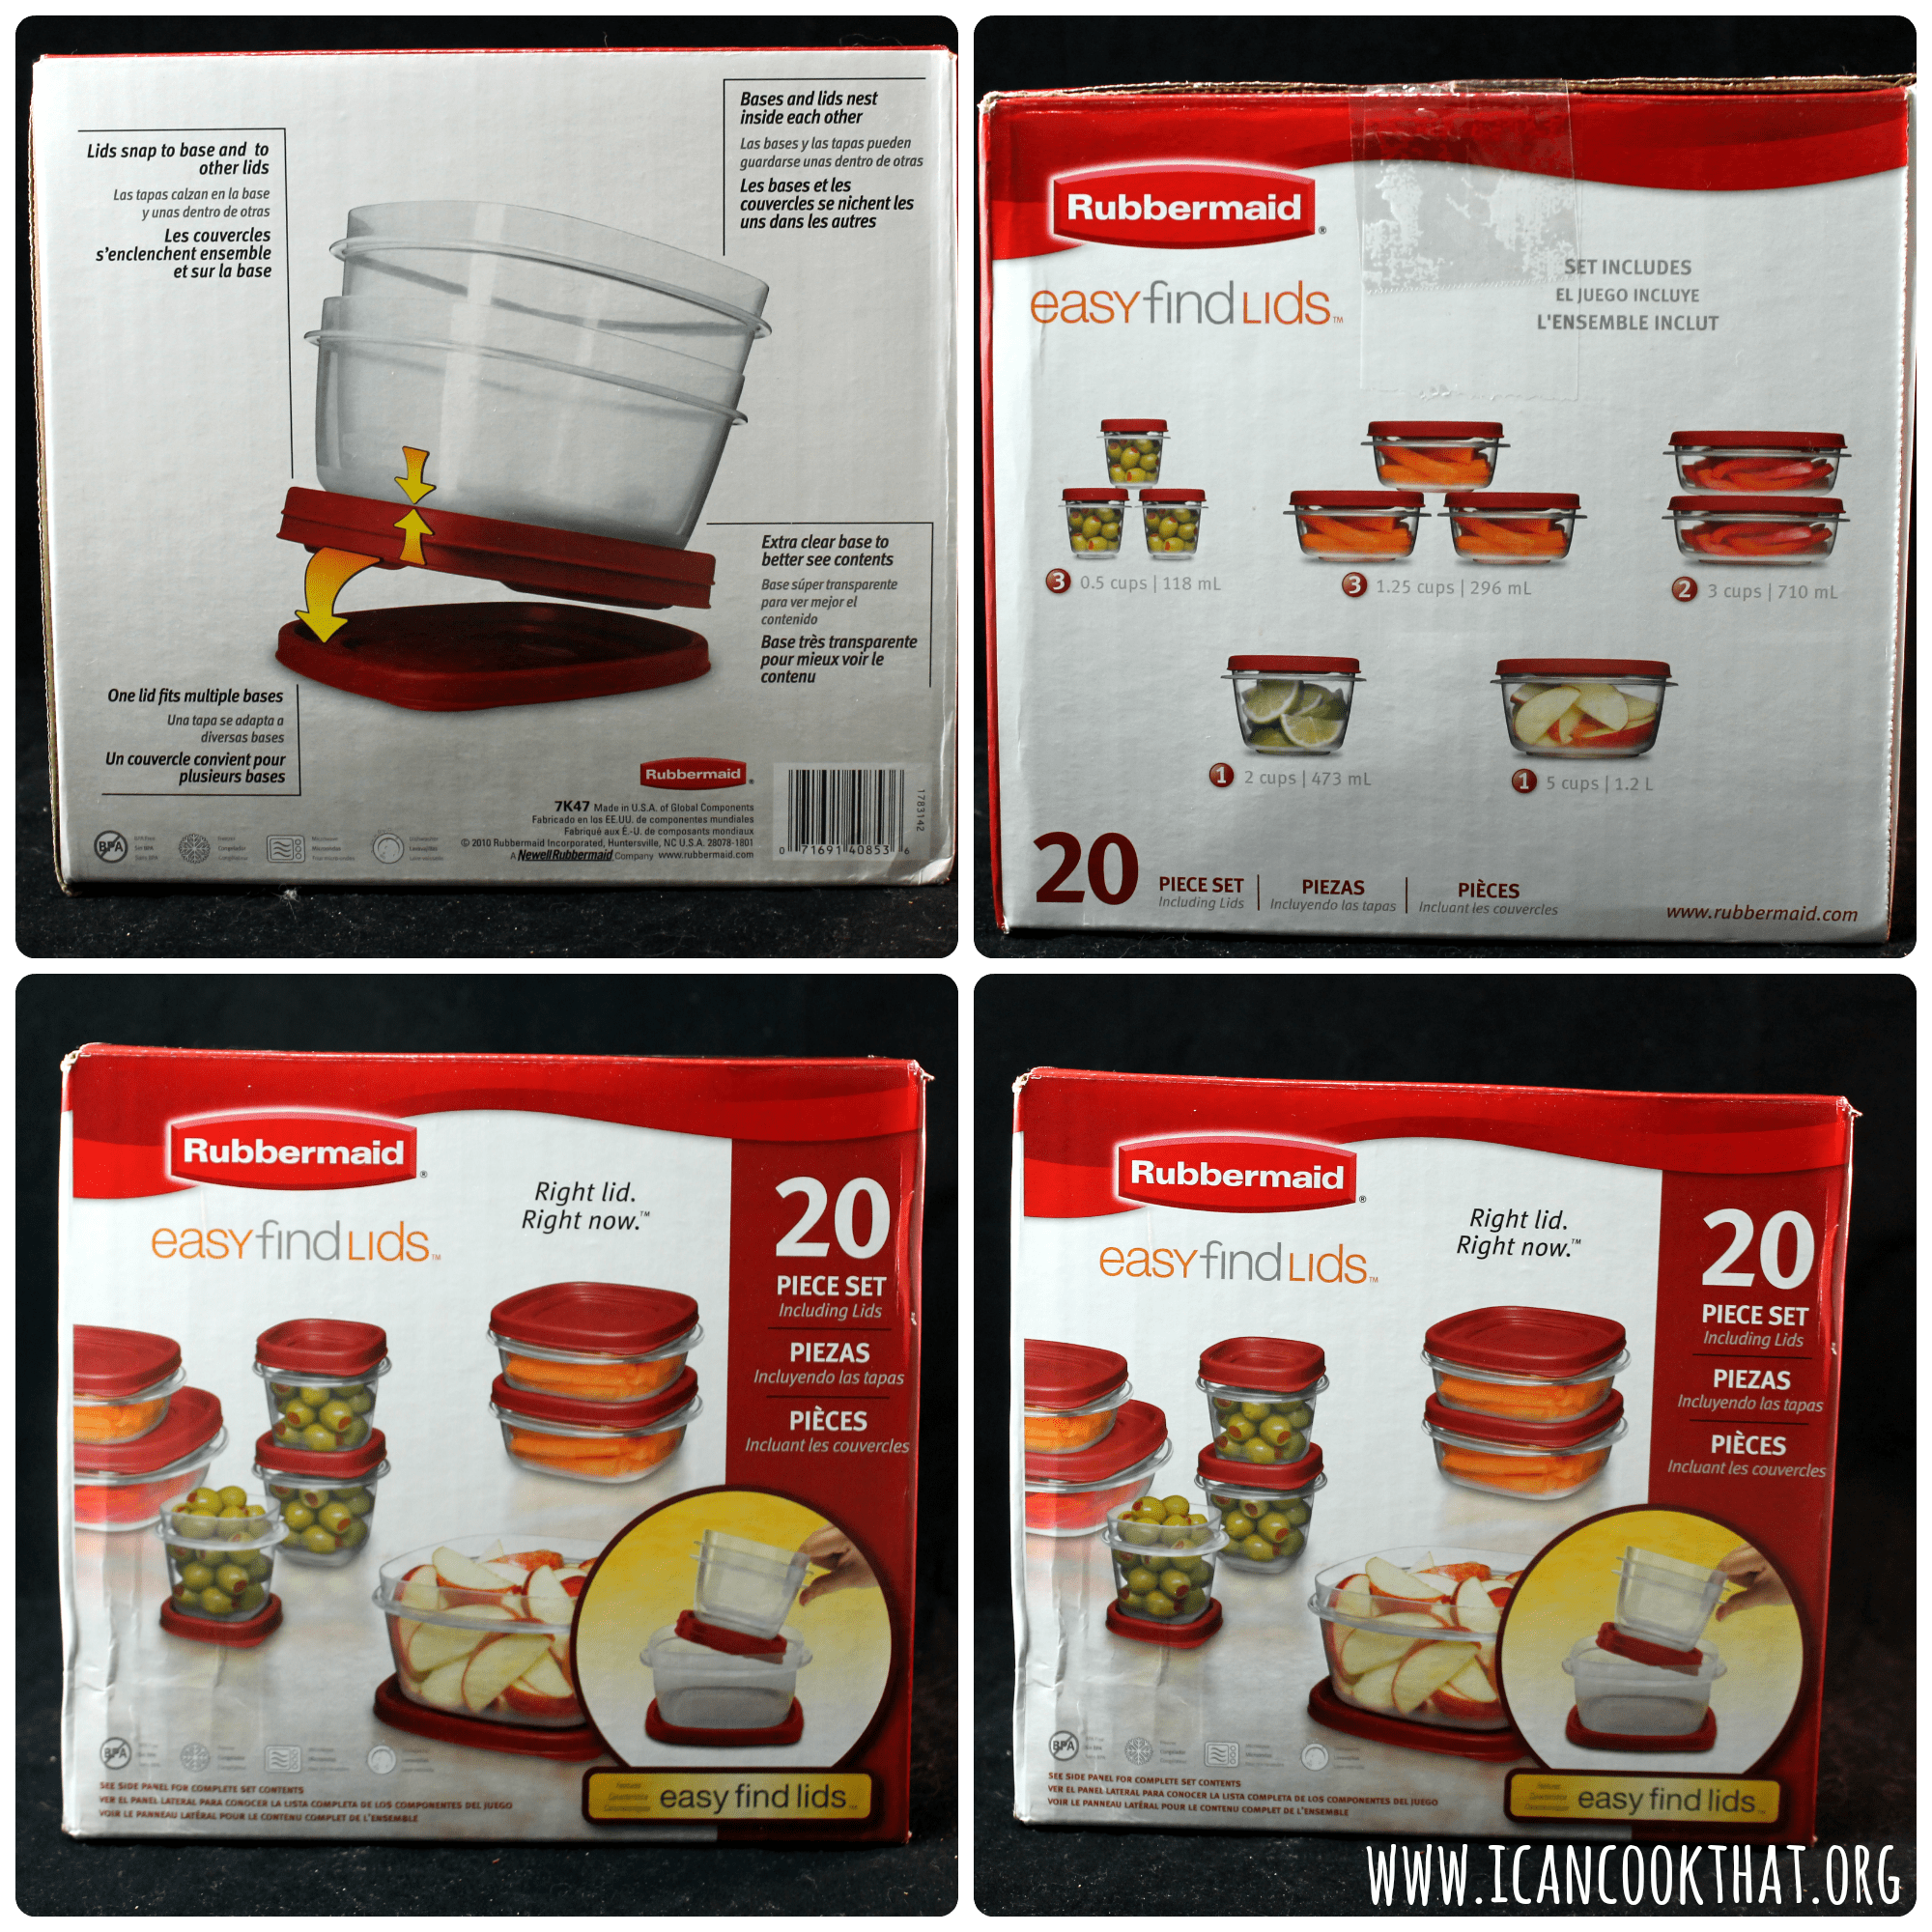
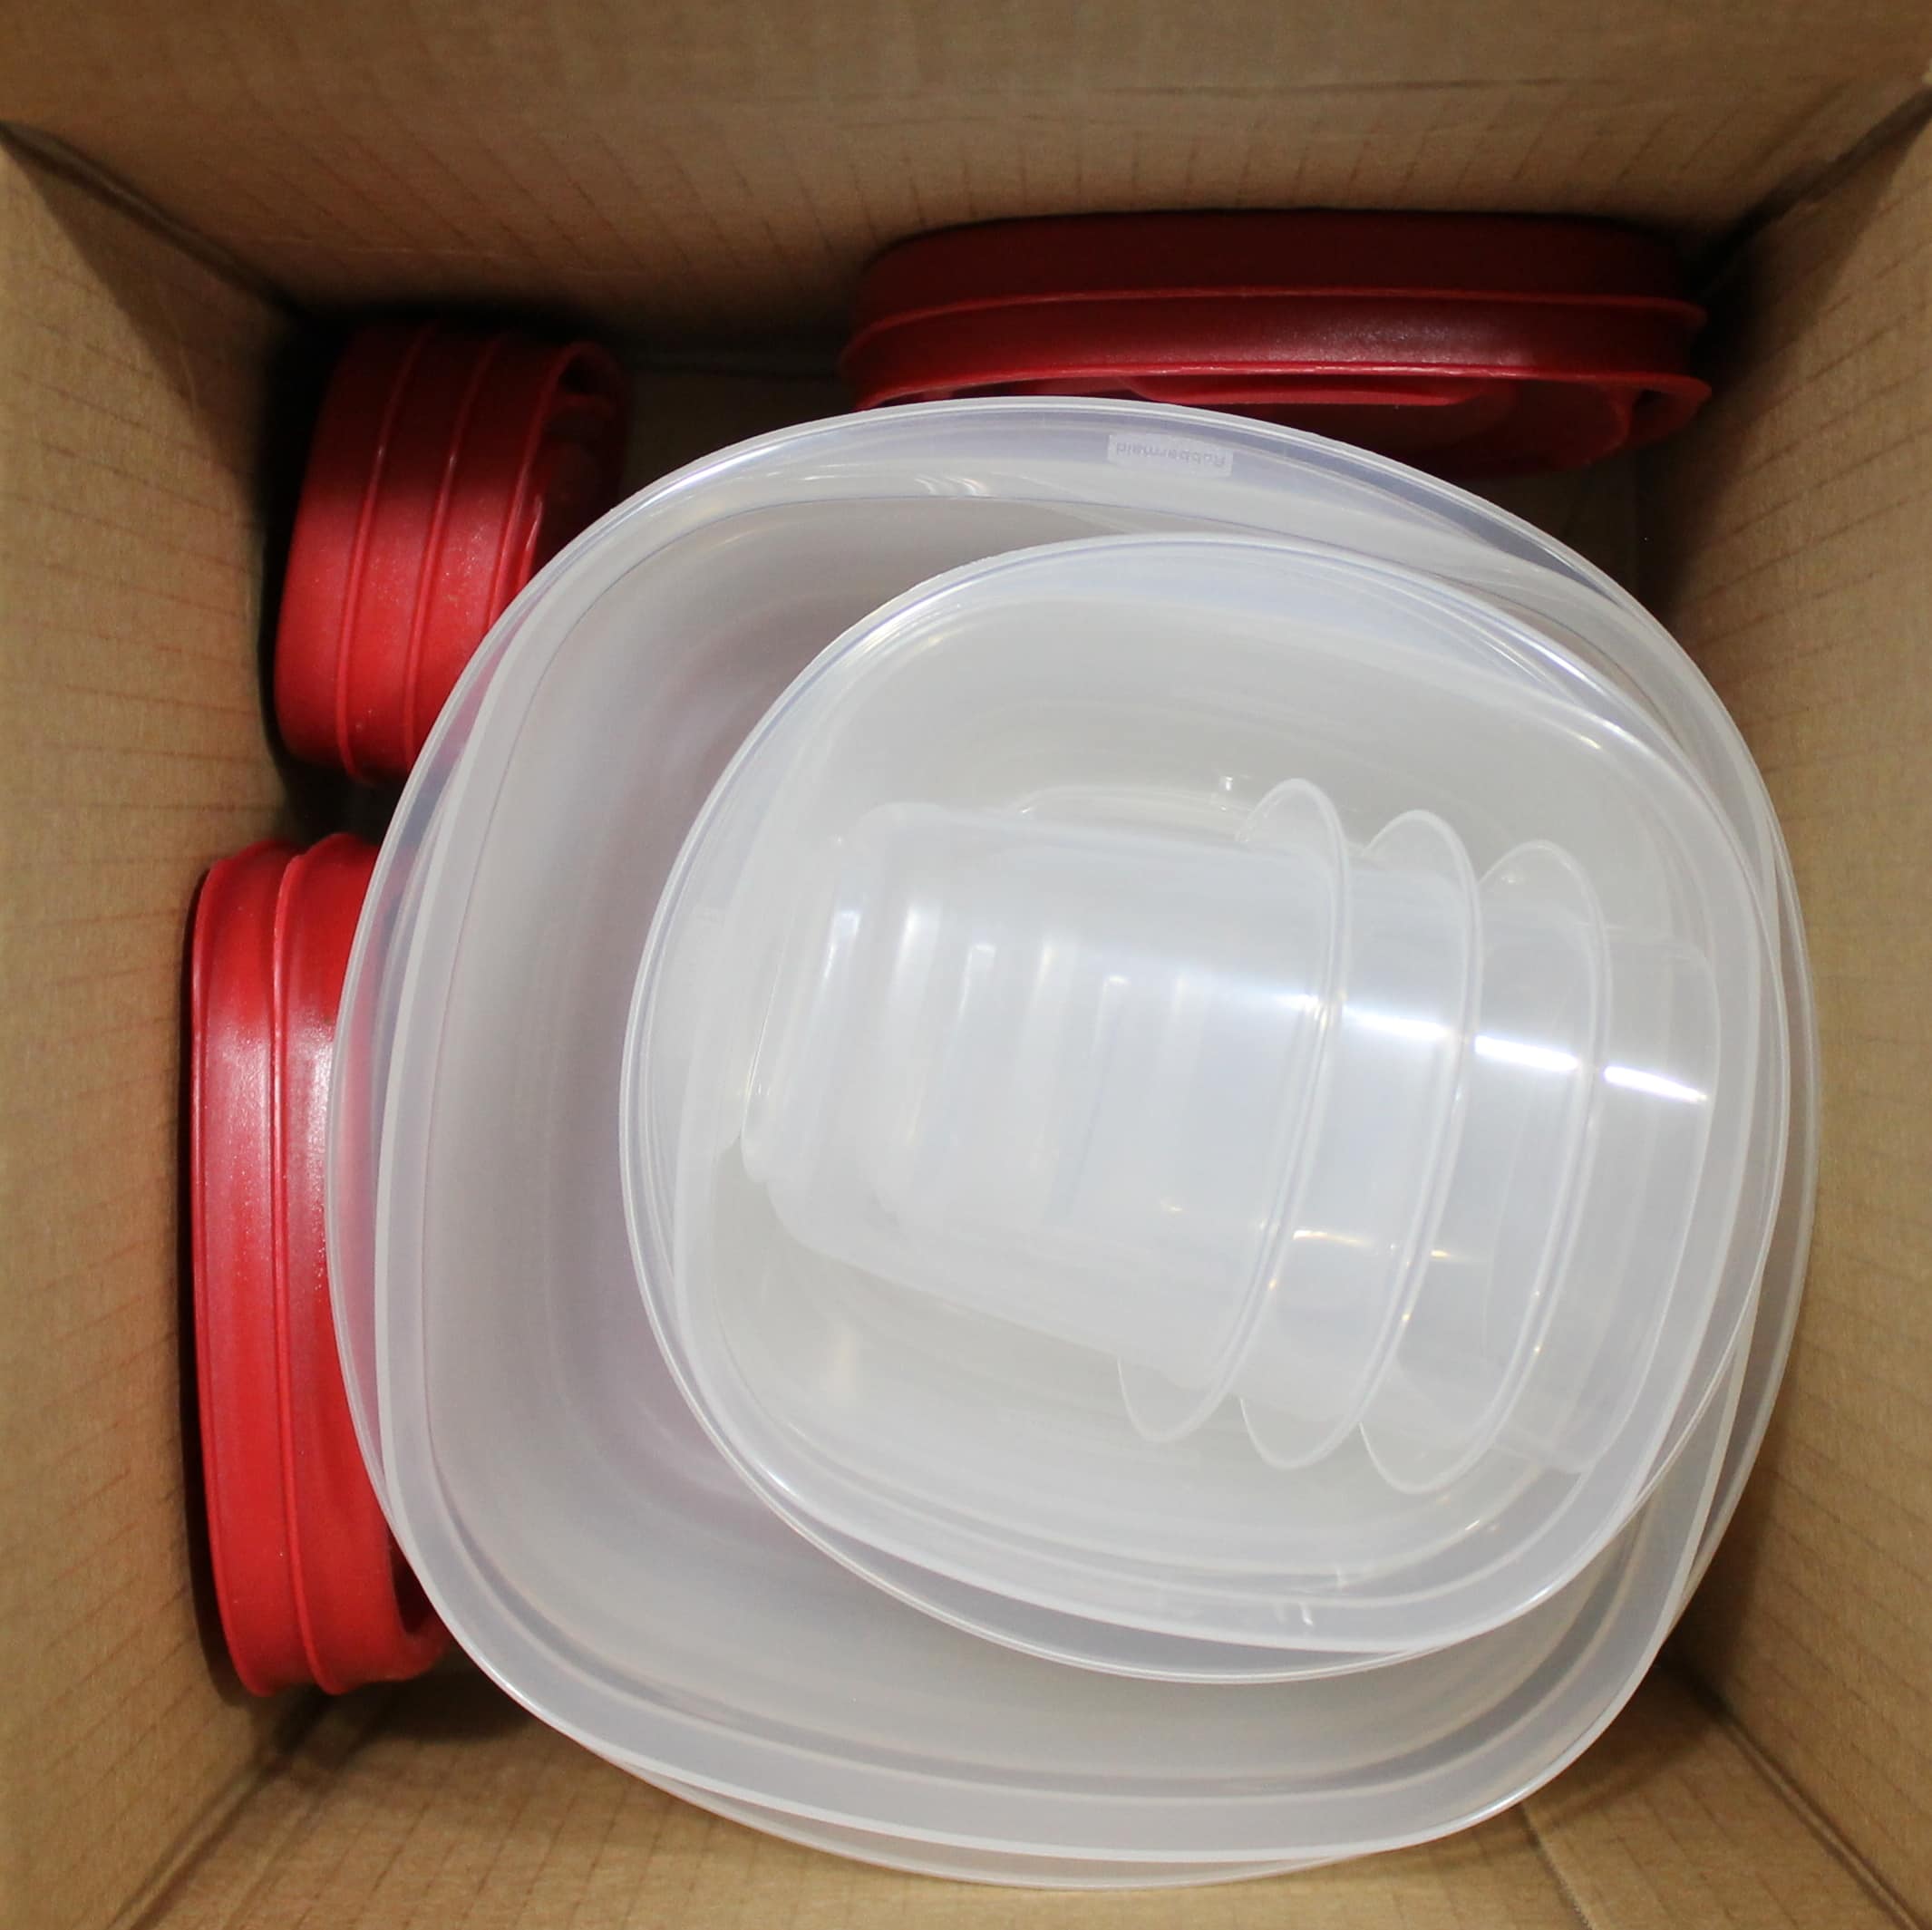
Rubbermaid Easy Find Lids are a life saver – I typically just keep the containers from take out and they are all just shoved into a cabinet net to my stove, with no organization to them whatsoever. So i spend a good 10 minutes finding the right top to go with whatever container I’ve chosen. Rubbermaid’s storage set takes the annoyance out of trying to find the right top — the Lids snap on to the bottom of their respective containers so you can find them in no time! The containers also nest inside each other so you can have a small stack of all of your containers and lids in one spot.
The 20-piece set comes with 3 (0.5 Cup), 3 (1.25 Cup), 1 (2 Cup), 2 (3 Cup), 1 (5 Cup), and 10 respective Easy Find Lids. The plastic is dishwasher, freezer, and microwave safe and is also BPA-free.
On to the recipe! This time around, I went for a classic – ground beef and beans with some bratwurst meat for additional flavor (I used beef bratwurst, but you can use any type you’d like).
Ingredients:
1 tablespoon unsalted butter (omit for dairy free)
1 tablespoon olive oil
2 pounds ground beef
1 pound bratwurst, removed from its casing
5 garlic cloves, minced
1 onion, chopped
1 chipotle from can of chipotles in adobo sauce, finely chopped (seeds removed if preferred)
1 tablespoon adobo sauce from can of chipotles in adobo
2 red bell peppers, chopped (or whatever color you prefer)
2 (15.5 oz) cans red kidney beans, drained
1 (15.5 oz) can black beans, drained
1 (28 oz) can crushed tomatoes
1 (28 oz) can diced tomatoes, undrained
2 tablespoons tomato paste
2 tablespoons Worcestershire sauce
1 tablespoon ground chili powder
1 teaspoon cumin powder
1/2 tablespoon dried parsley
1/2 tablespoon dried basil
1/2 teaspoon cayenne
1 cup beef stock
1 tablespoon espresso grounds
For garnish: 1 tablespoon fresh cilantro, chopped; 4 oz sour cream; 4 oz cheddar or pepper Jack cheese, shredded
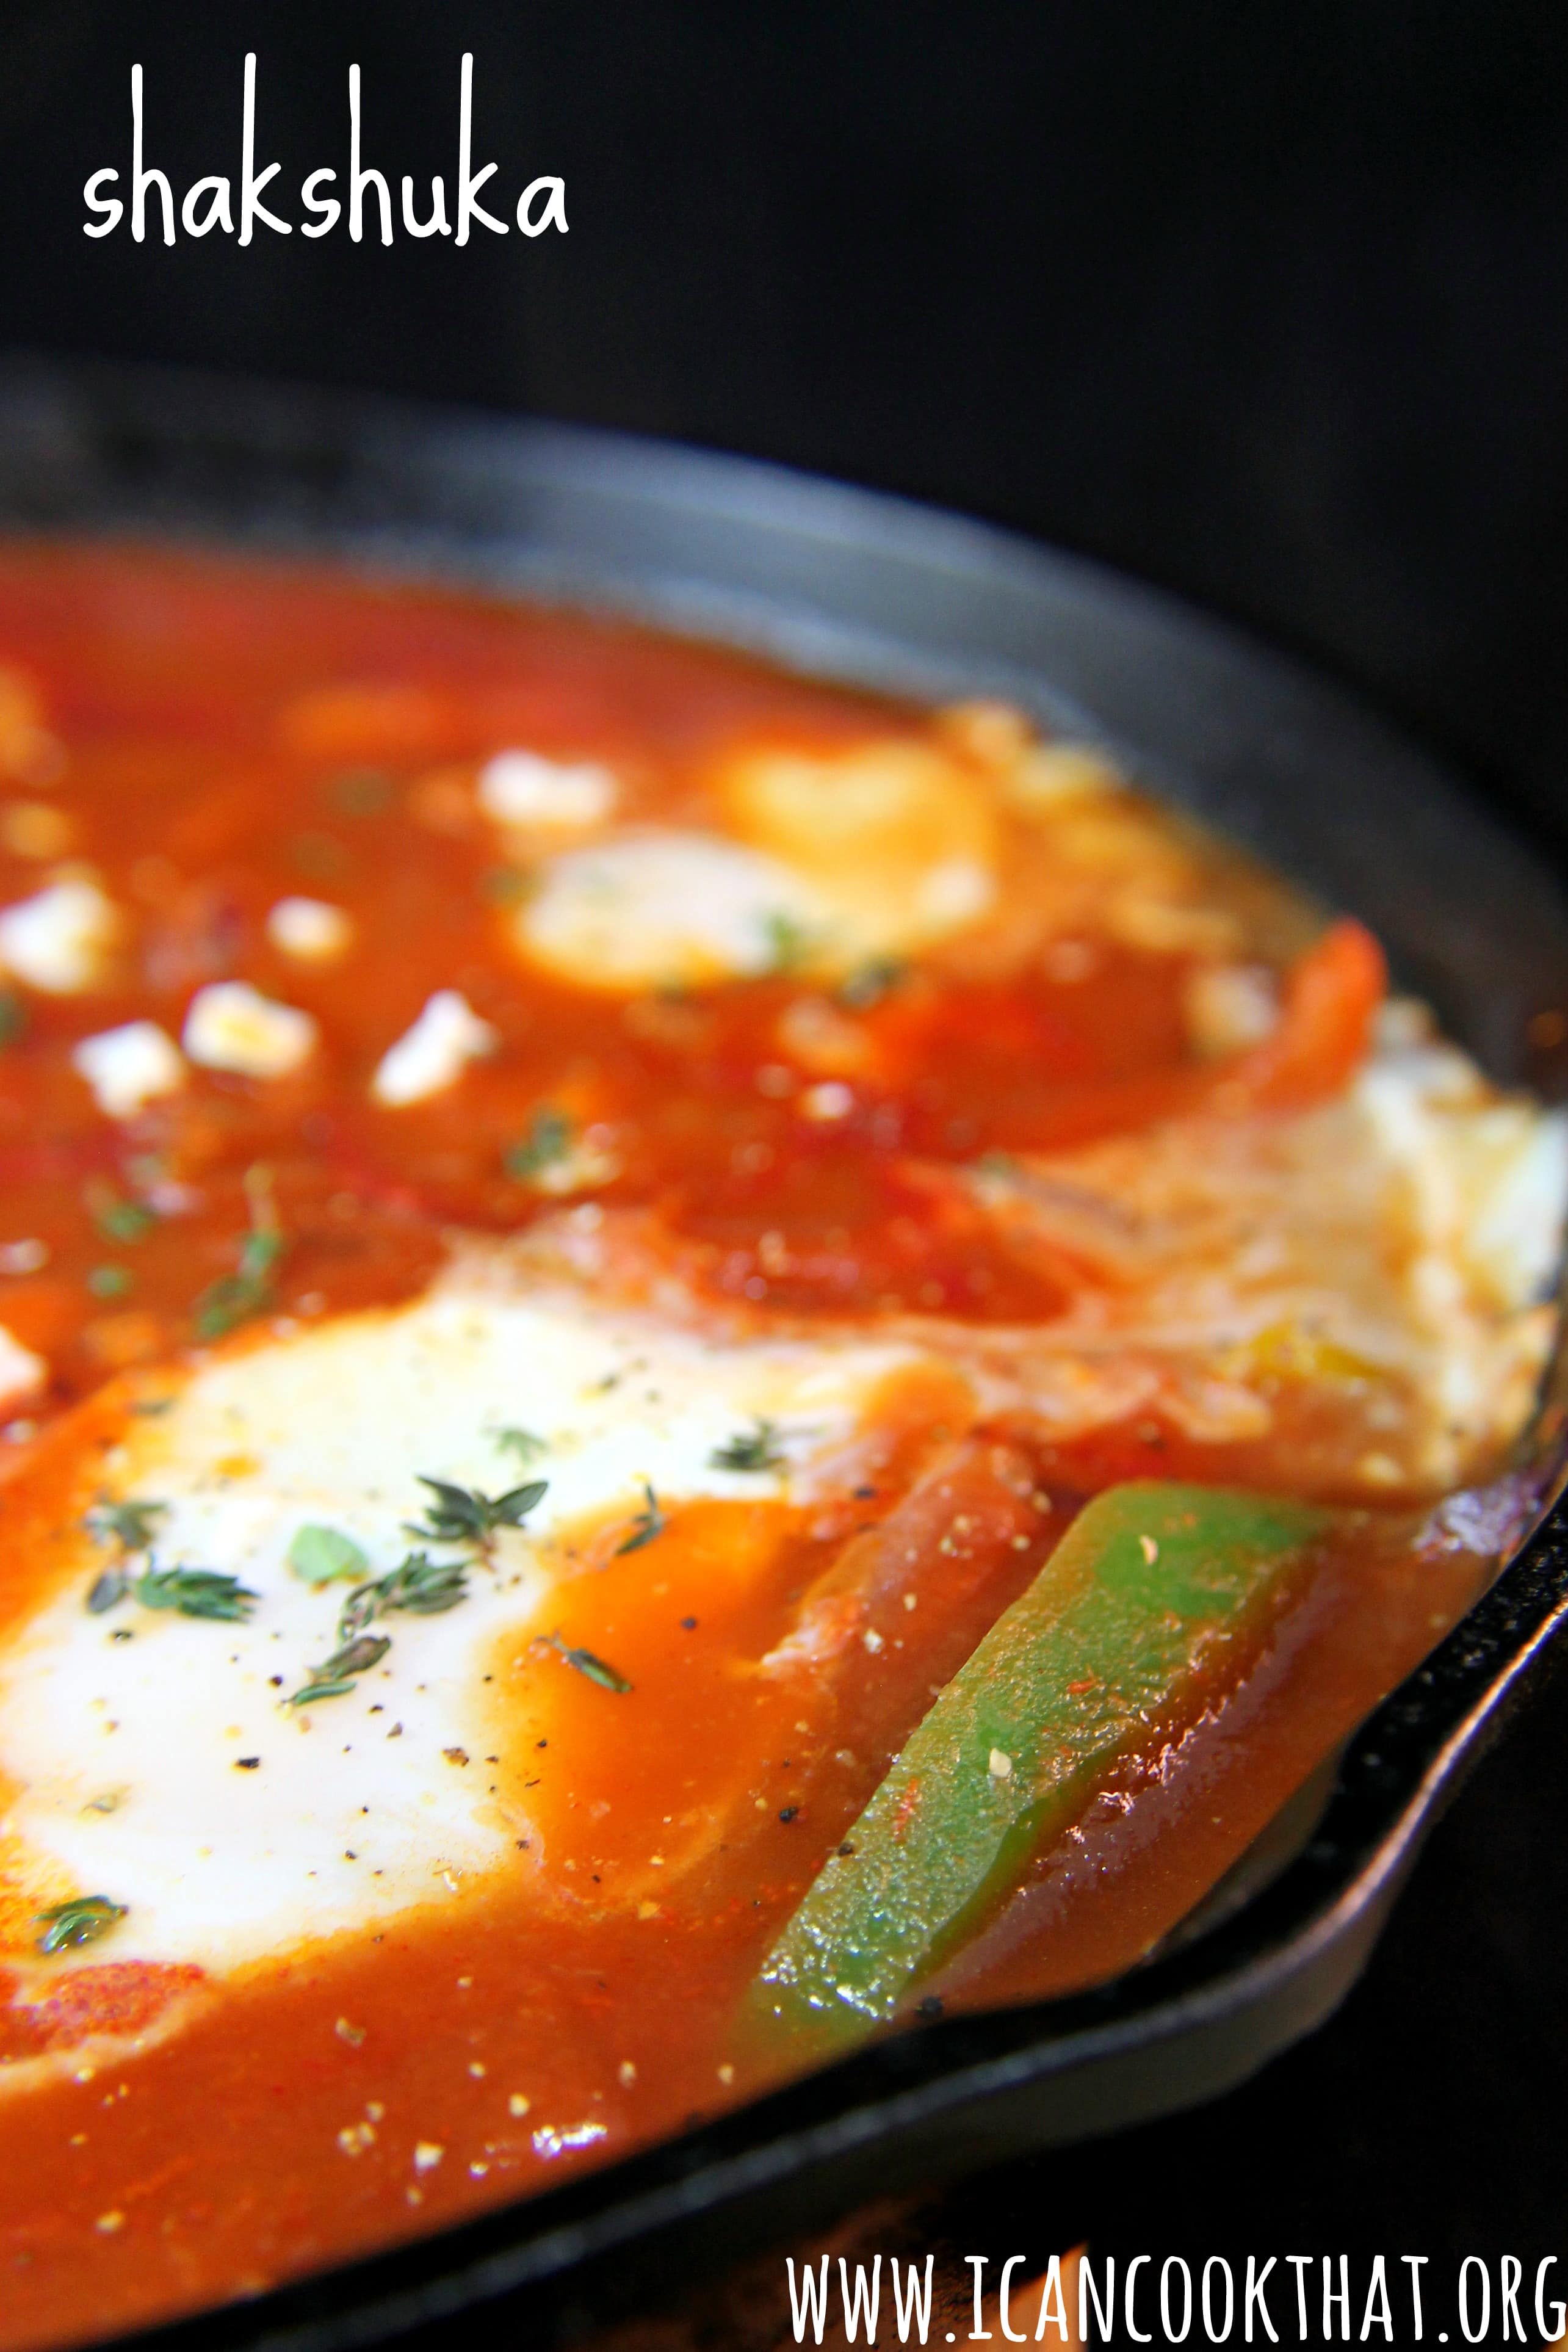
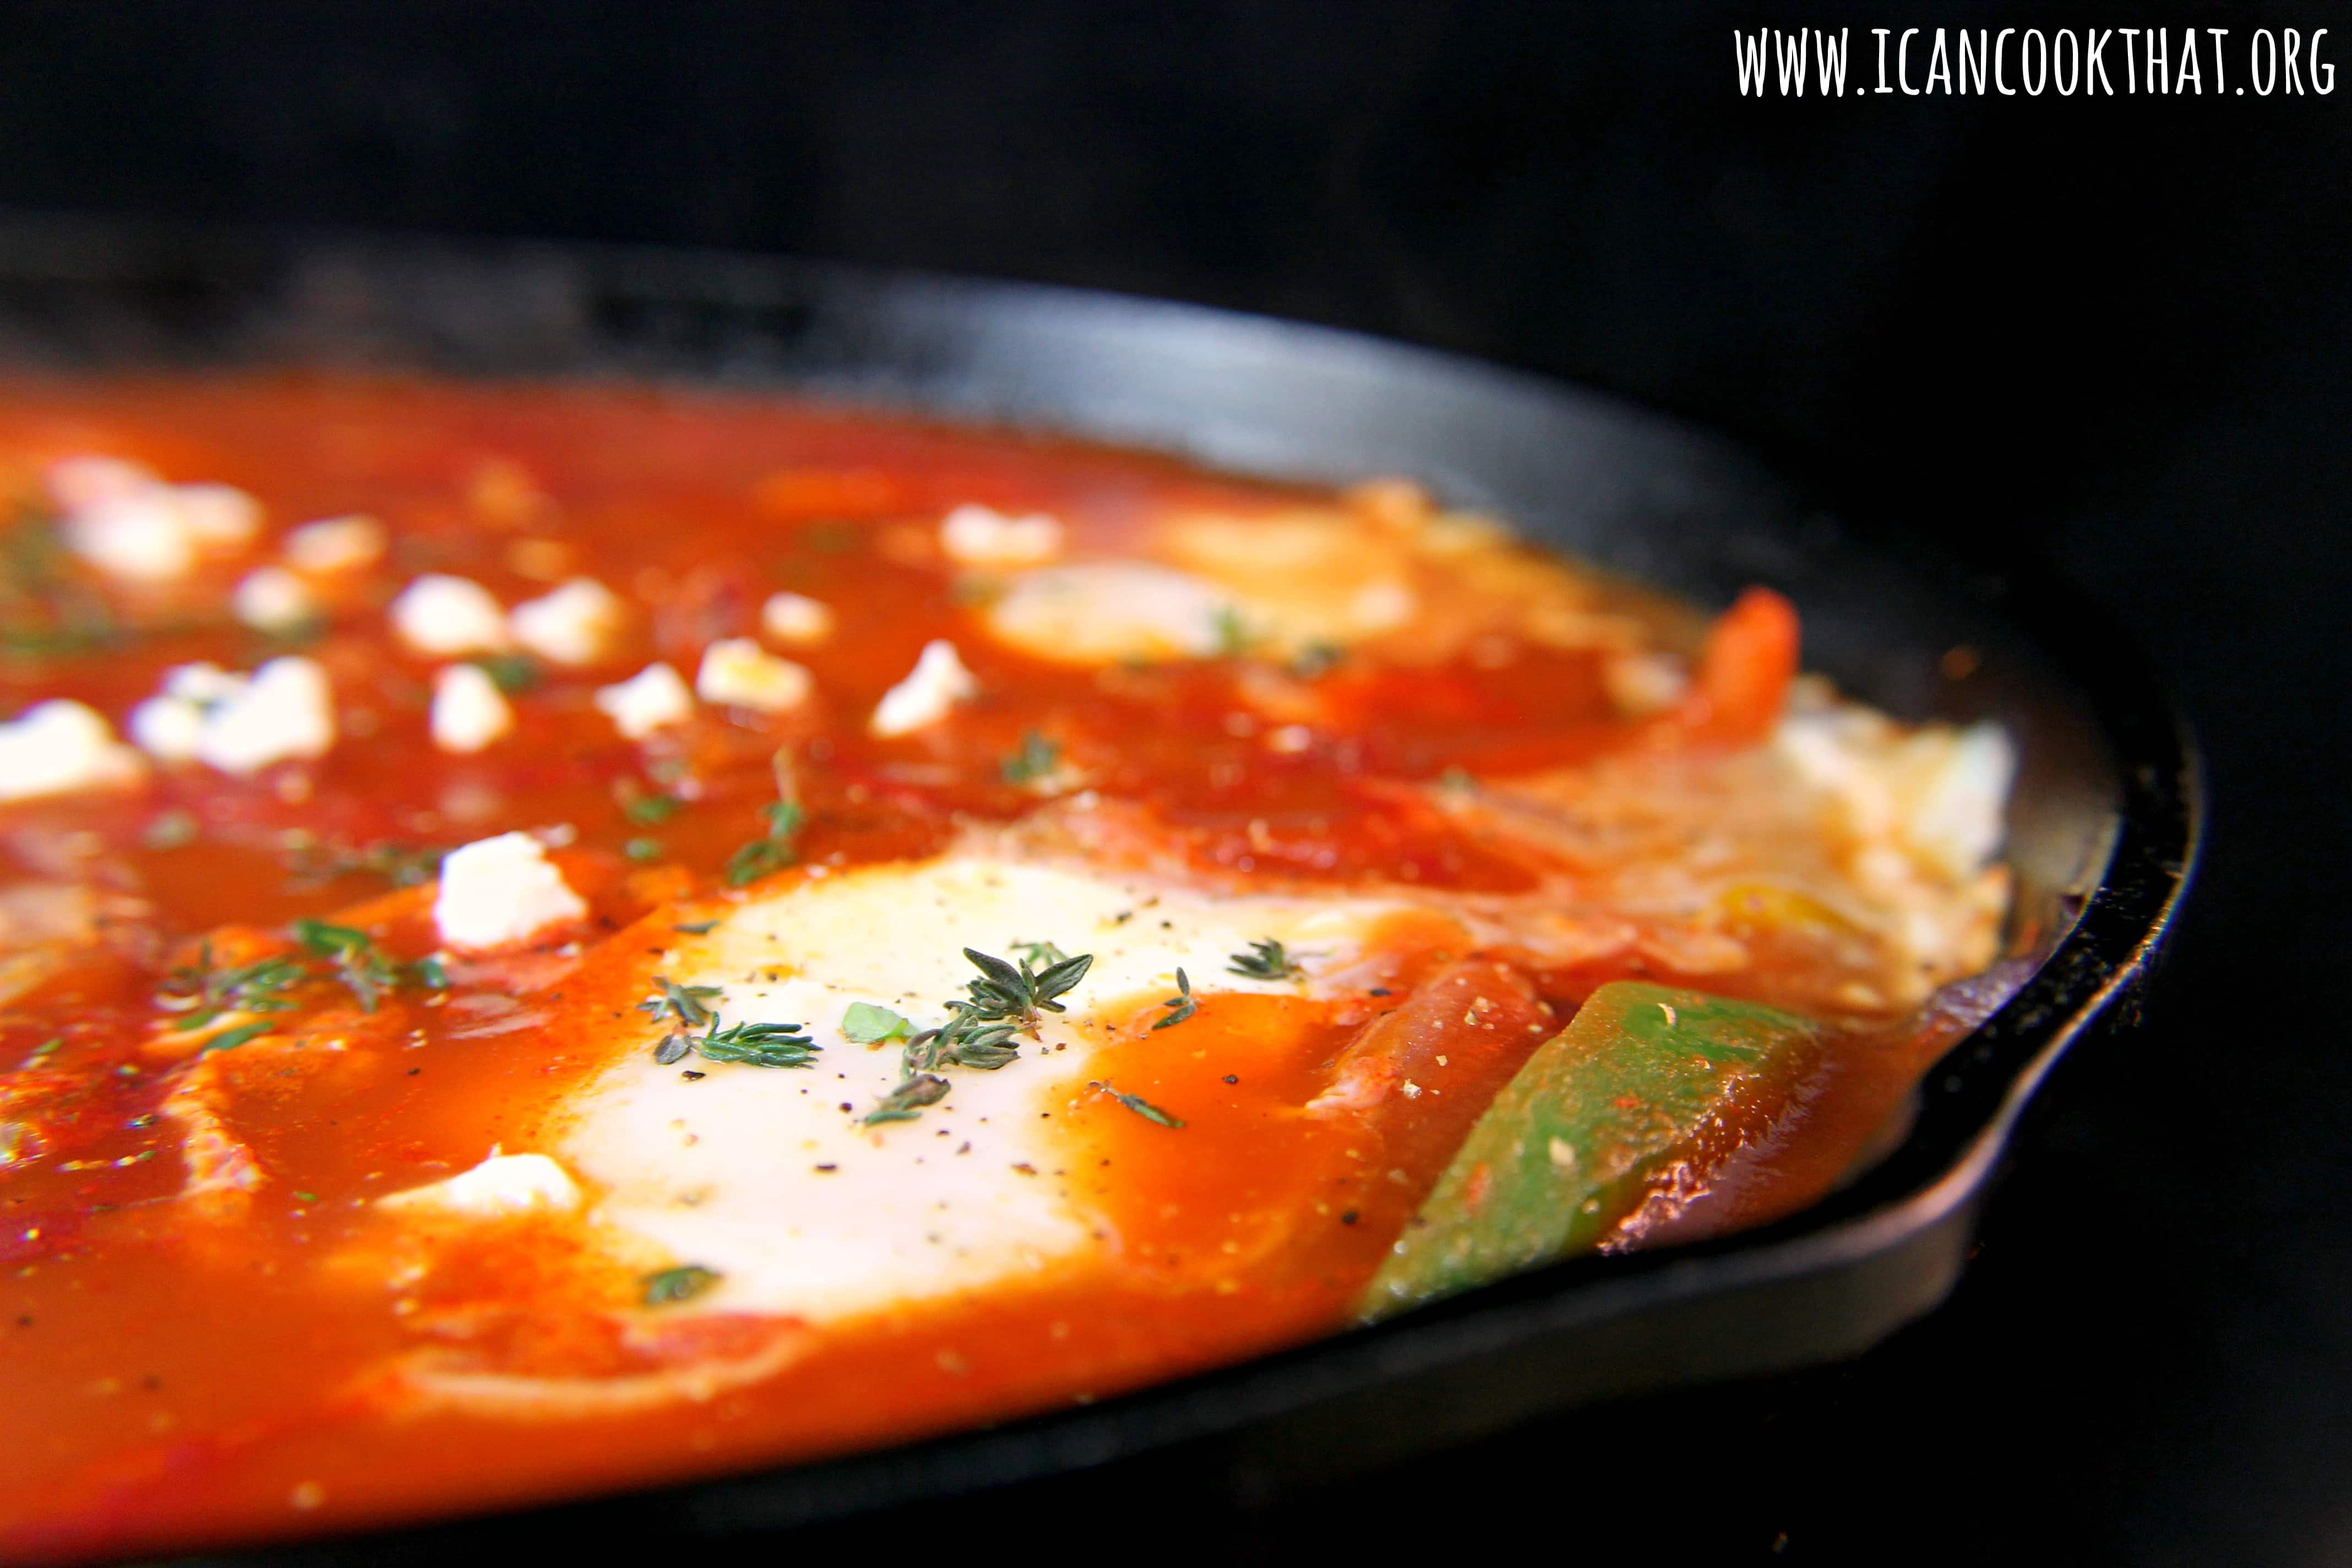
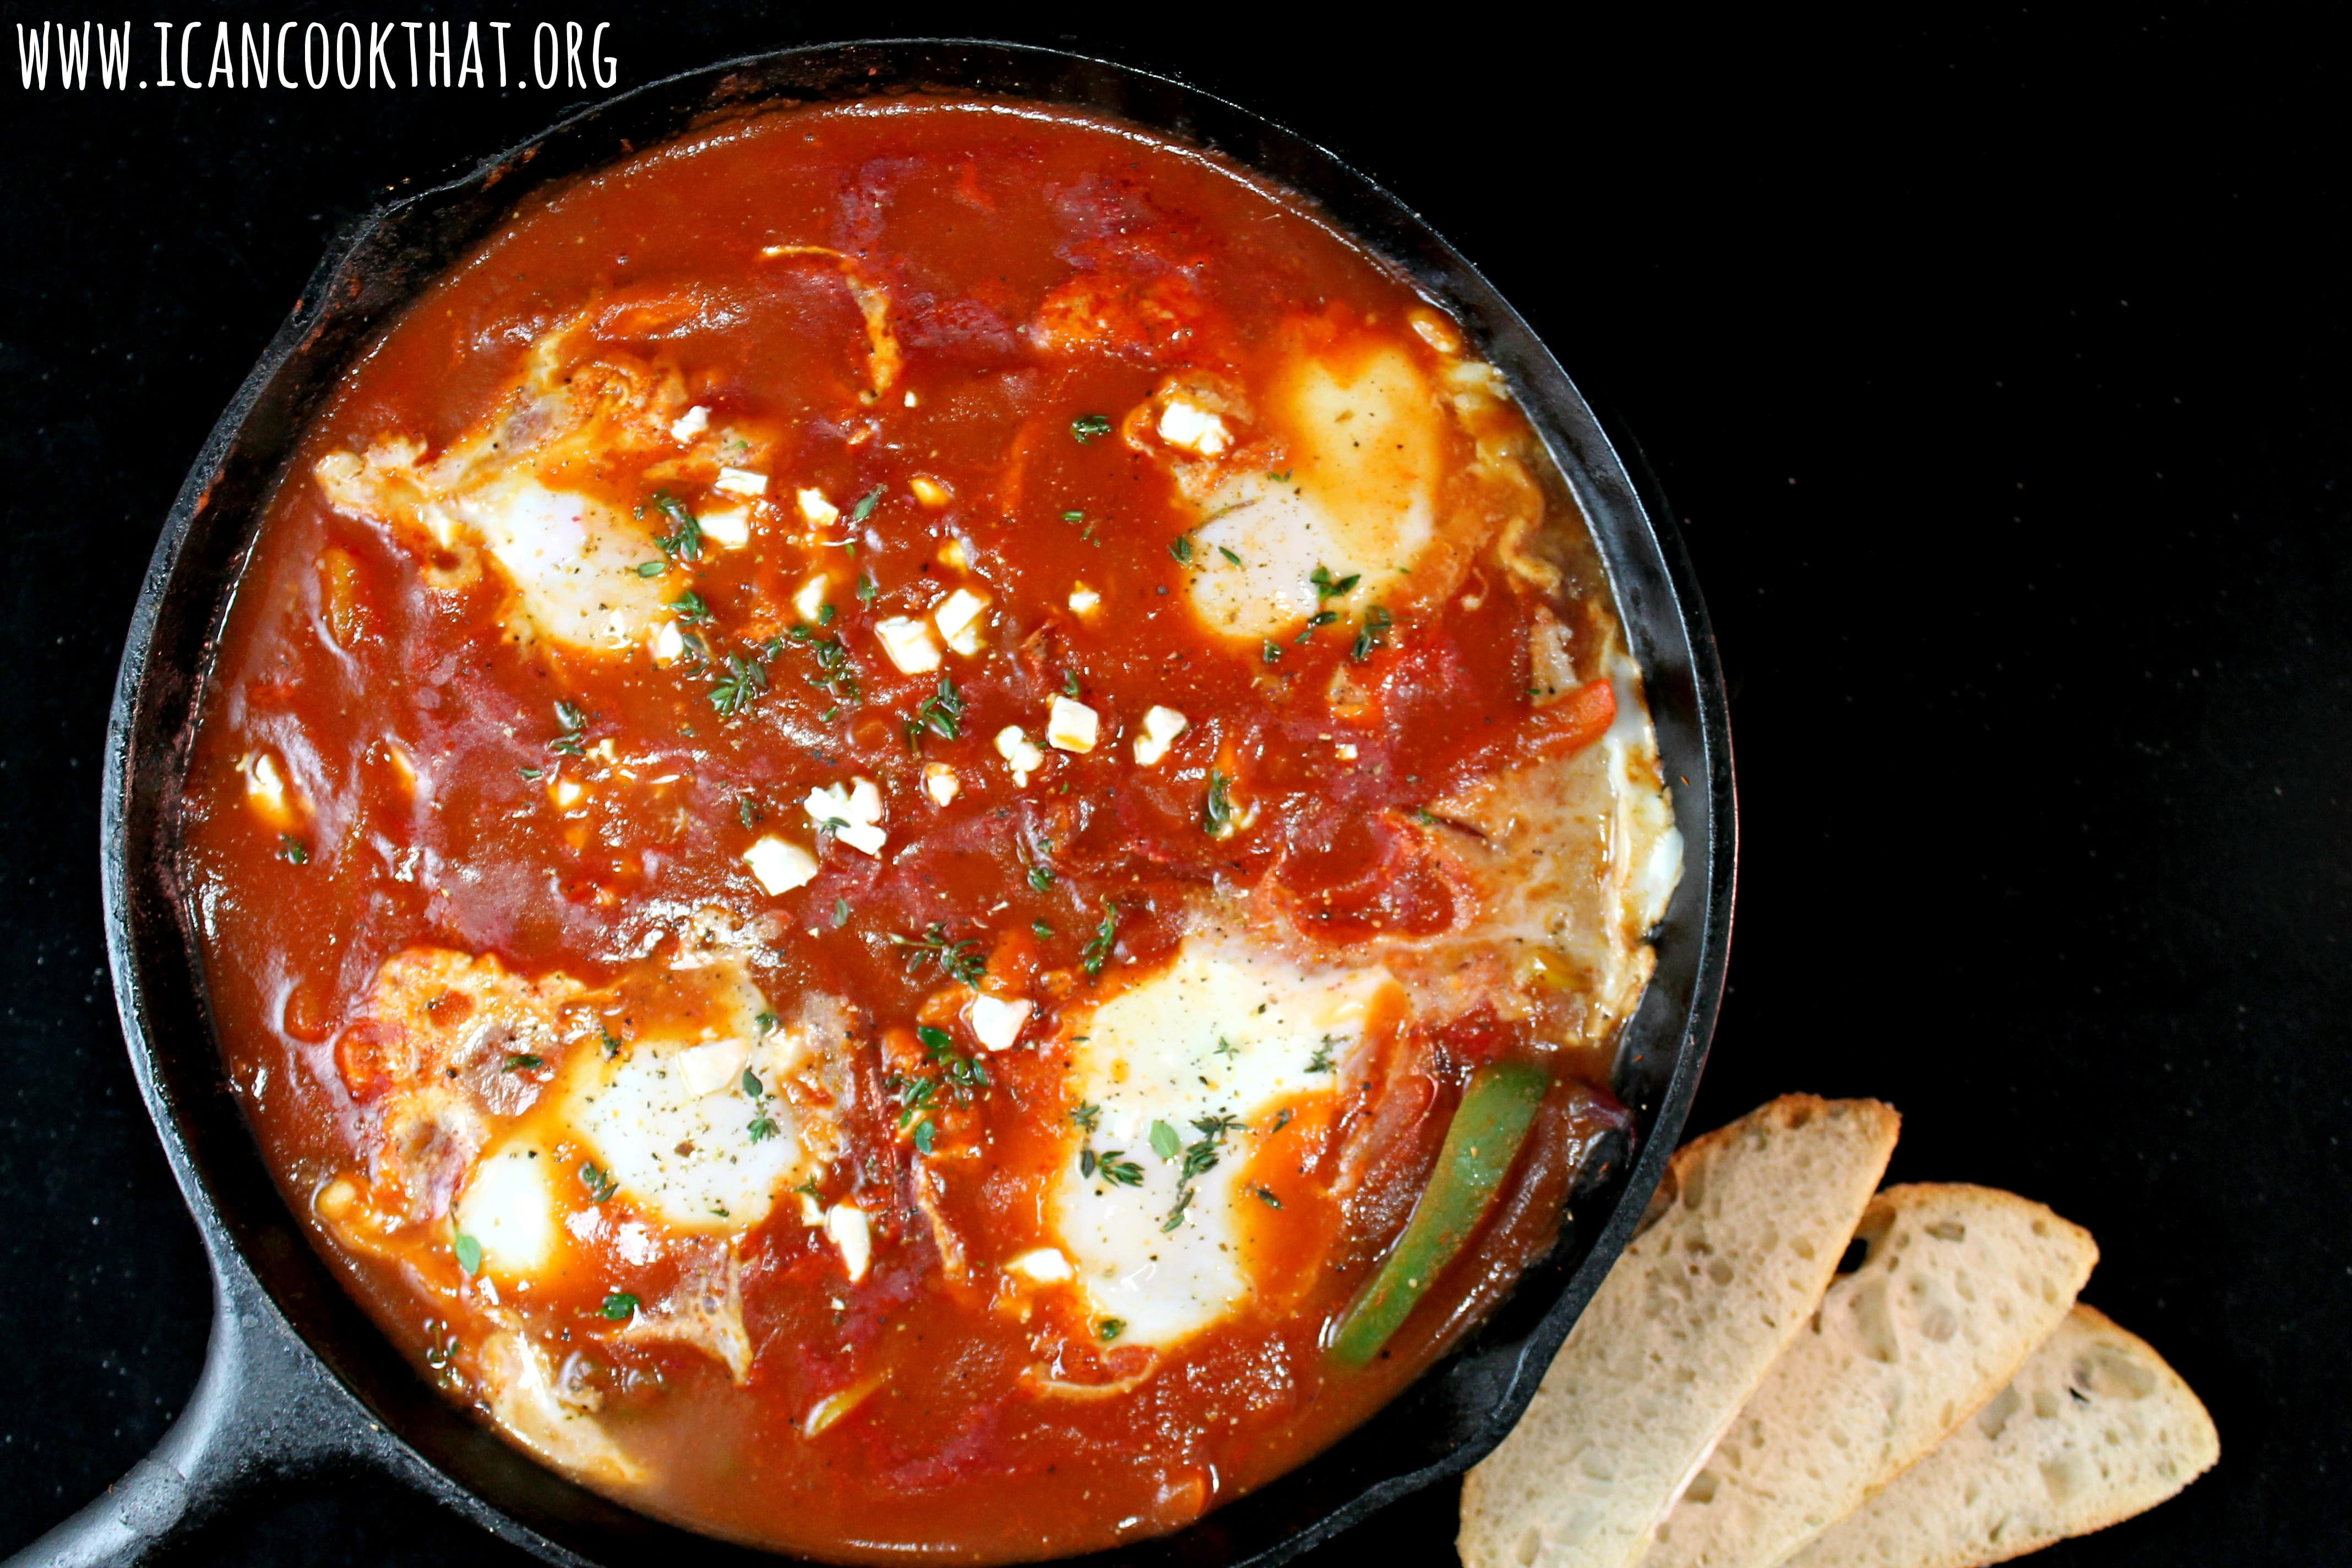
Shakshuka (or shakshouka) is an Israeli breakfast dish of eggs poached in a chunky tomato sauce with spices. It’s a favorite of mine, and easily works as a “breakfast for dinner” option for a busy weeknight.
This recipe can be easily customized to suit your tastes. My version below, adapted from a Cooking Light recipe, has a bit of a Middle Eastern take to it, but could also be made more Mediterranean by adding in olives and fresh basil.
Shakshuka is awesome on it’s own, but is even better with pita or crusty bread, or spooned over rice to soak up the flavors of the dish.
Ingredients:
1 tablespoon olive oil
1 red bell pepper cut into thin strips
1 green bell pepper cut into thin strips
1 yellow or orange bell pepper cut into thin strips
1 red onion, sliced
3 garlic cloves, minced
salt and pepper, to taste
1 (29 oz can) tomato puree
1 teaspoon smoked paprika
1 teaspoon cumin
a few drops hot sauce, or to taste
4 large eggs
1 teaspoon fresh thyme leaves
2 tablespoons crumbled feta cheese (omit to make dairy free)
2 cups prepared white rice (optional)
pita or crusty bread for dipping (optional)
(note: this recipe is gluten free if served with rice rather than bread)
Note: I received products to use in this recipe from Just Hemp Foods. All opinions are my own.
Today is the last day of #Choctoberfest! If you haven’t already, be sure to go enter the giveaway now!
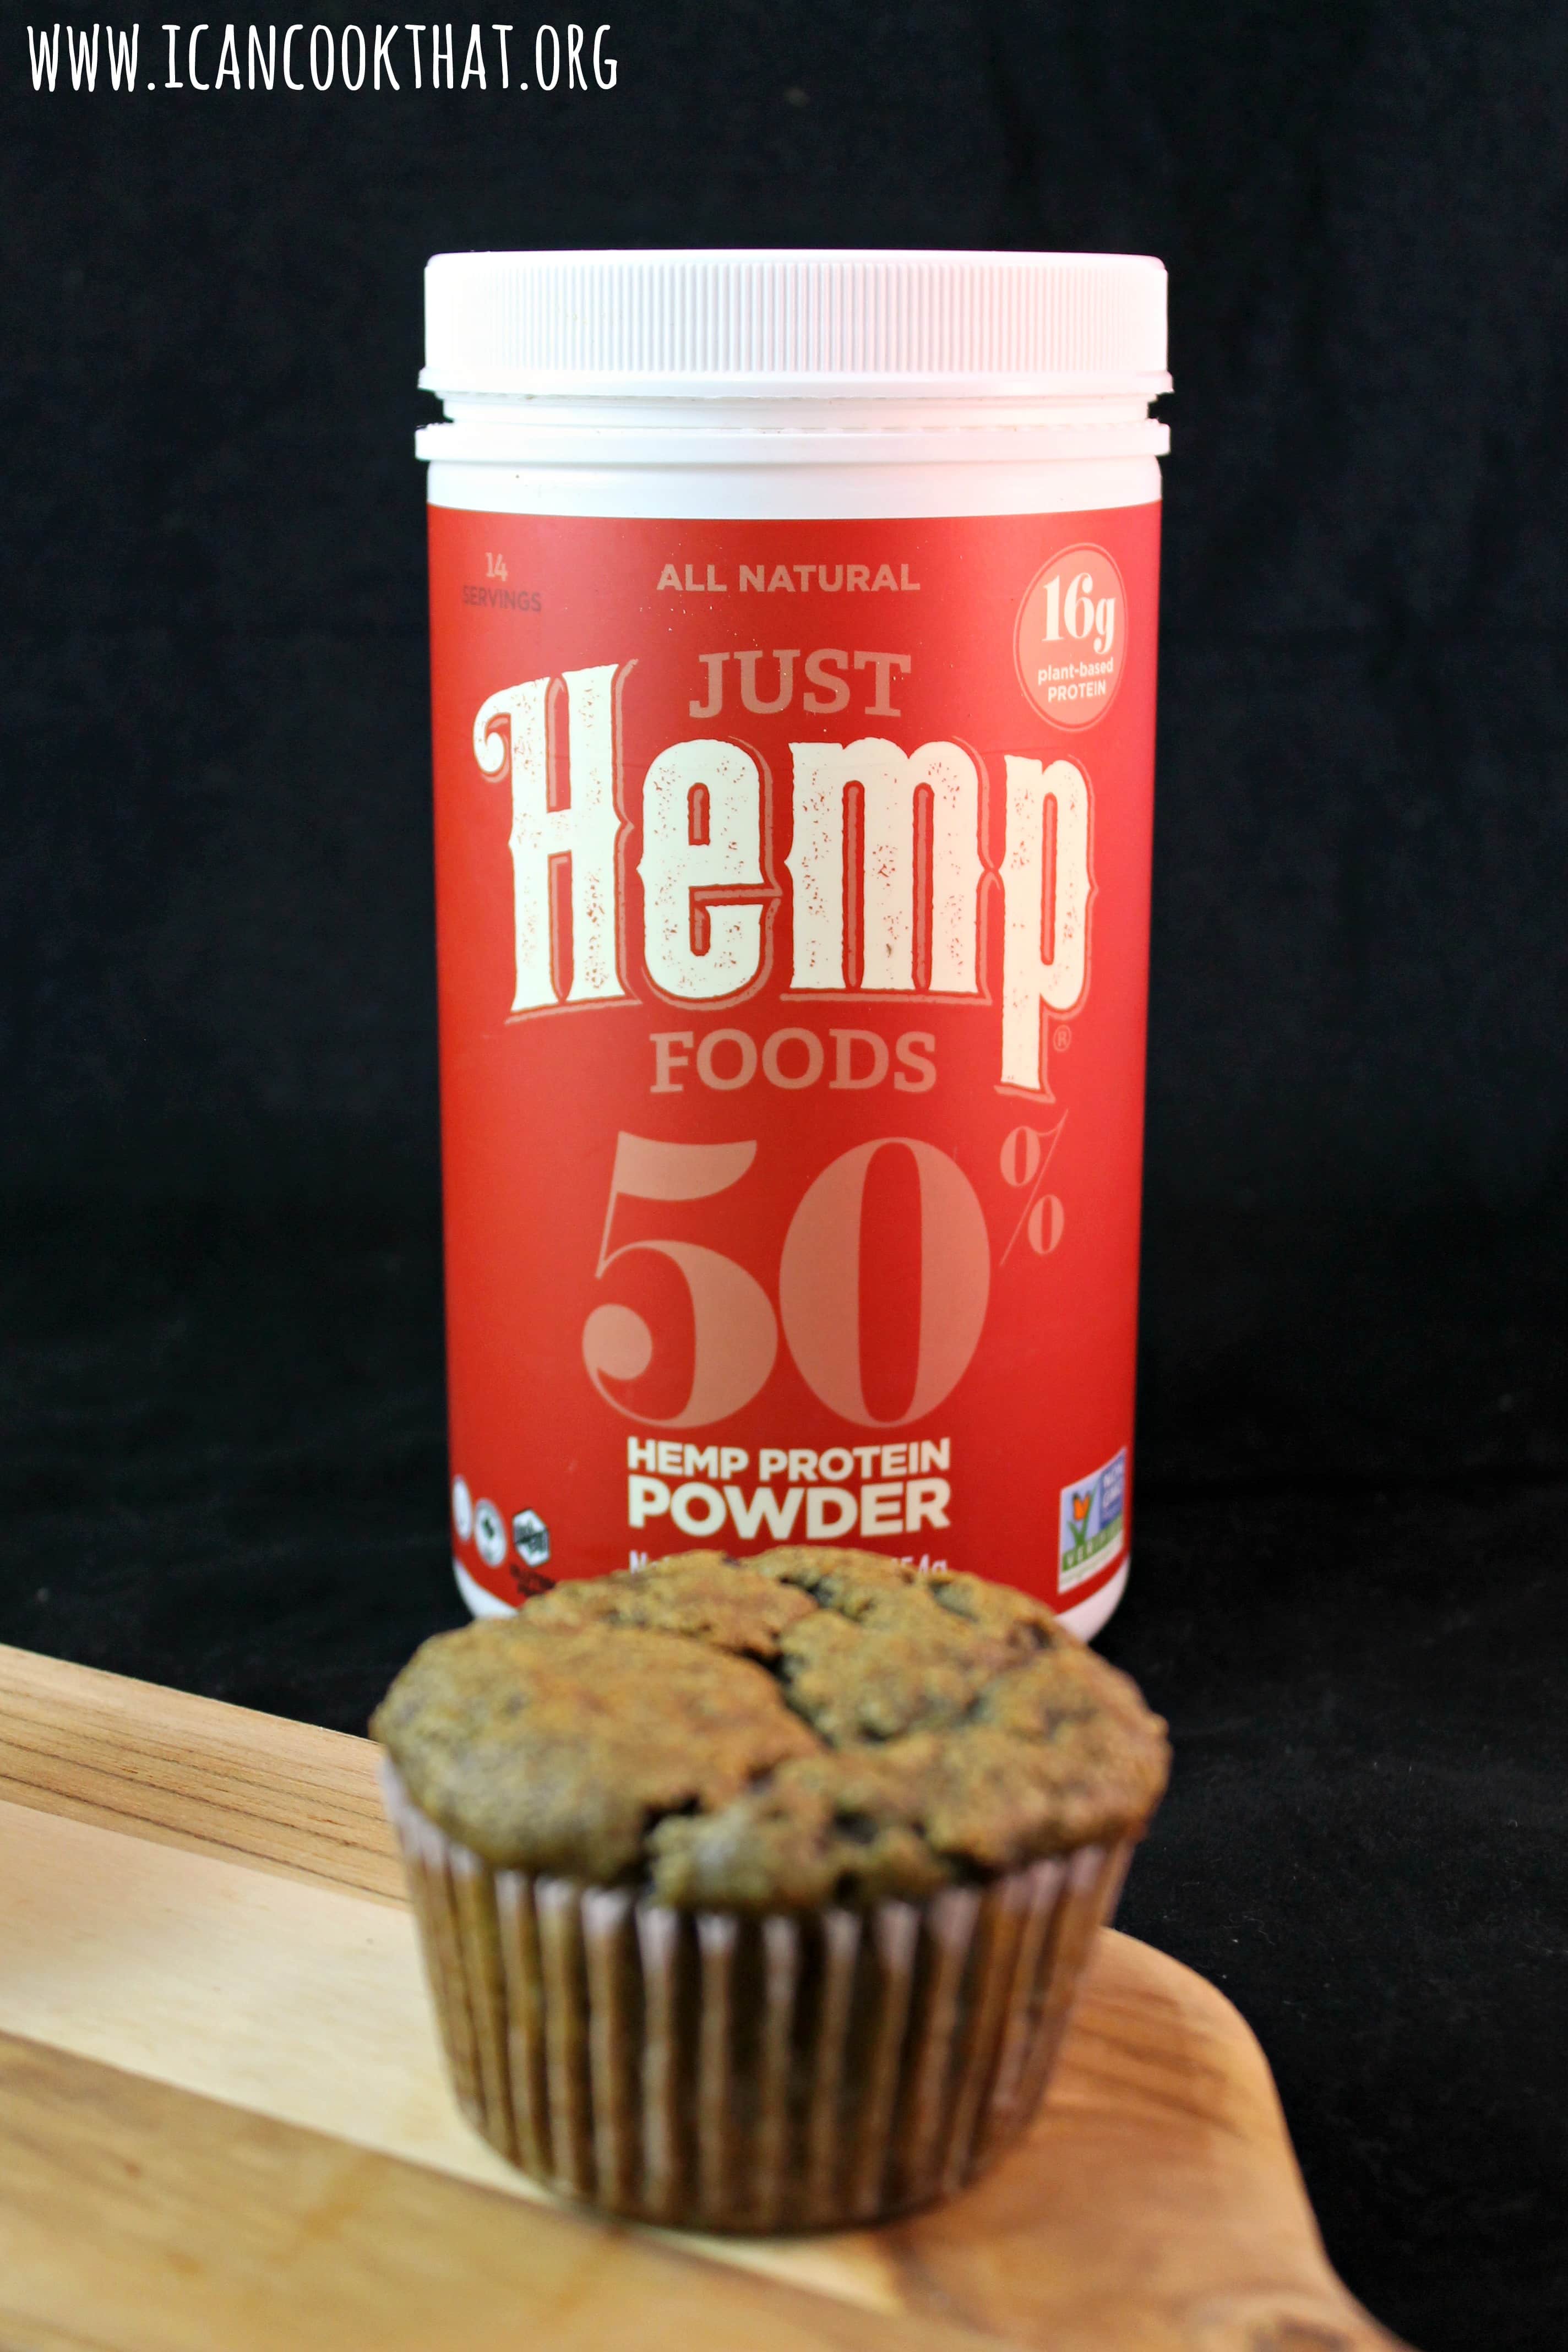
Because it’s Sunday, I have my mind on the week ahead. I really struggle to have an on-the-go breakfast option that actually tastes good and doesn’t load on the calories. I love making homemade muffins because then breakfast is set for the week, but it’s kind of tough to justify much nutritional value in most muffins.
But these little guys are amped up with Just Hemp 50% Protein Powder, which is a plant-based protein powder with essential amino acids vitamins and minerals. The powder is gluten-free, soy-free, and lactose-free, and can be added to just about anything! Each 4 tbsp serving contains 0.7g omega-3’s, 2g omega-6’s, and 6g of fiber.
Hemp protein powder is a great substitute for some of the flour in a baked good, up to 25%. I also happened to have some overripe bananas on hand, and still have some dark chocolate chips leftover from my #Choctoberfest baking, so I made these yummy gluten free banana chocolate chip hemp muffins for my fiance and me to enjoy all week! (This recipe can be made with normal flour instead of almond meal as well, it just won’t be gluten free.)
I can’t believe I’ve never tried to make a flourless chocolate cake before. This oversight will happily be corrected with the help of #Choctoberfest with Imperial Sugar!
This Flourless Chocolate Cake with Dark Chocolate Ganache is a dense, rich, chocolate cake. Because there is no flour in the recipe, it is also gluten free!
Because this is #Choctoberfest and you can never have too much chocolate, this cake is finished off with a yummy dark chocolate ganache topping.
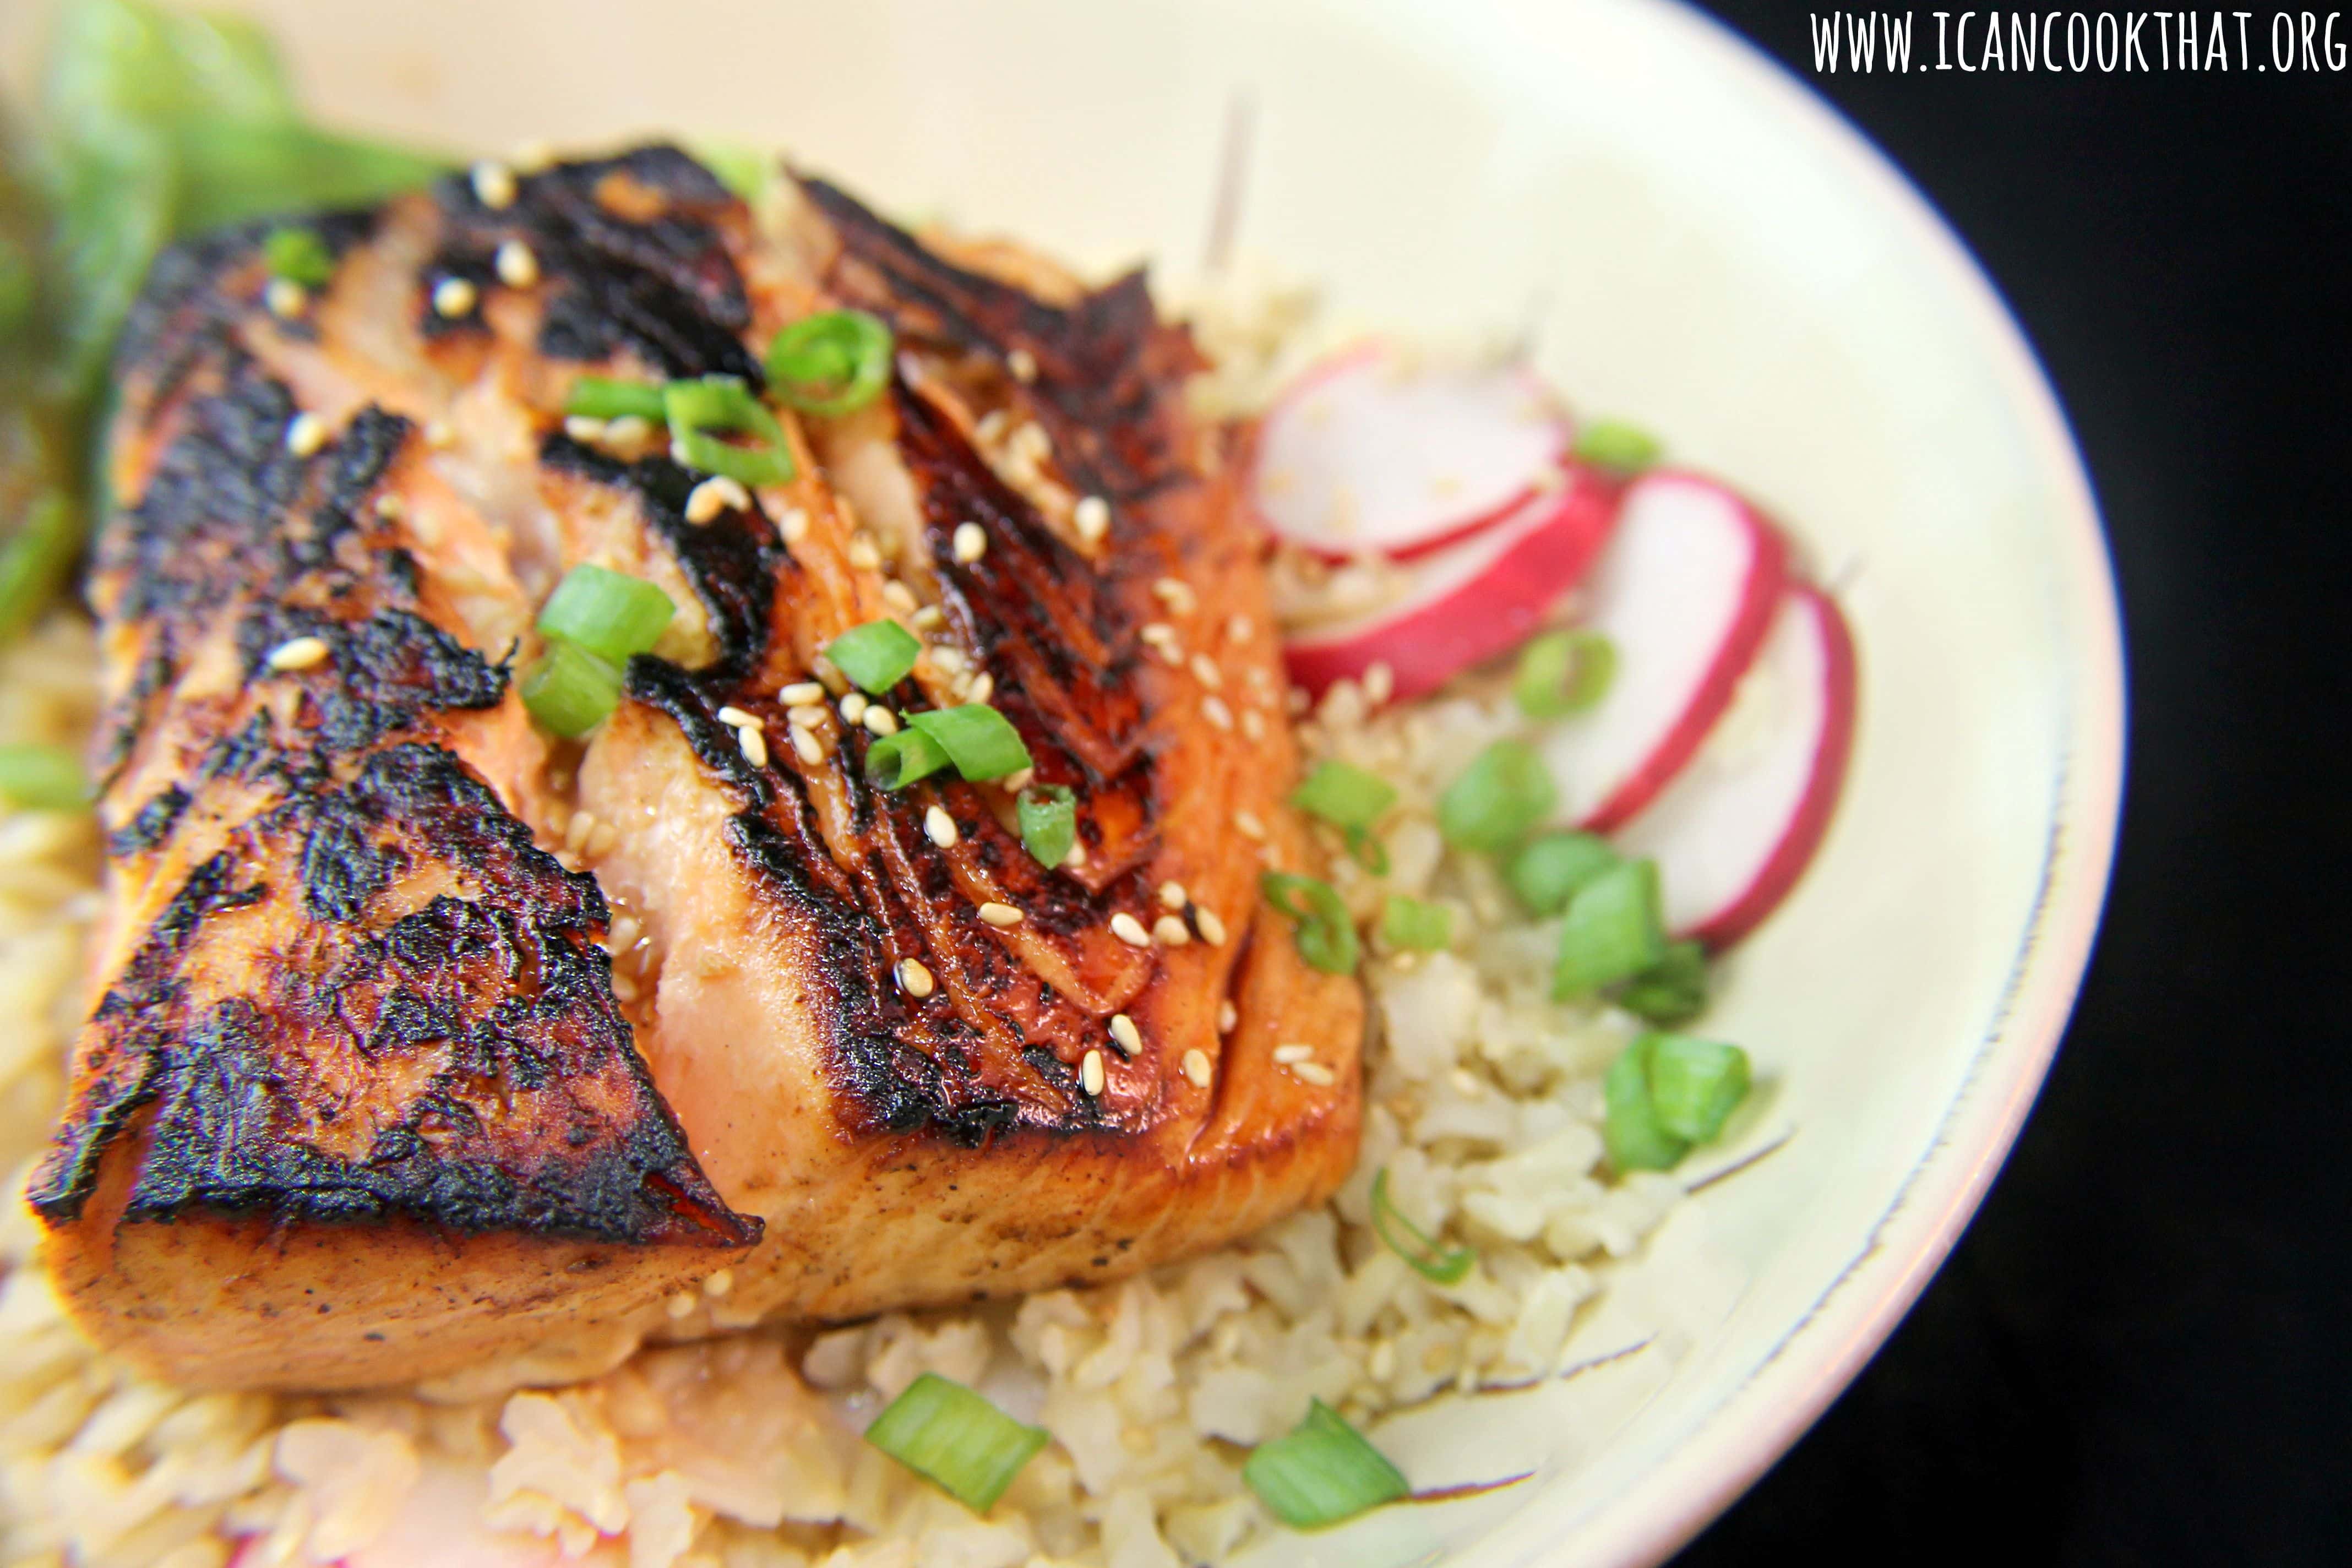
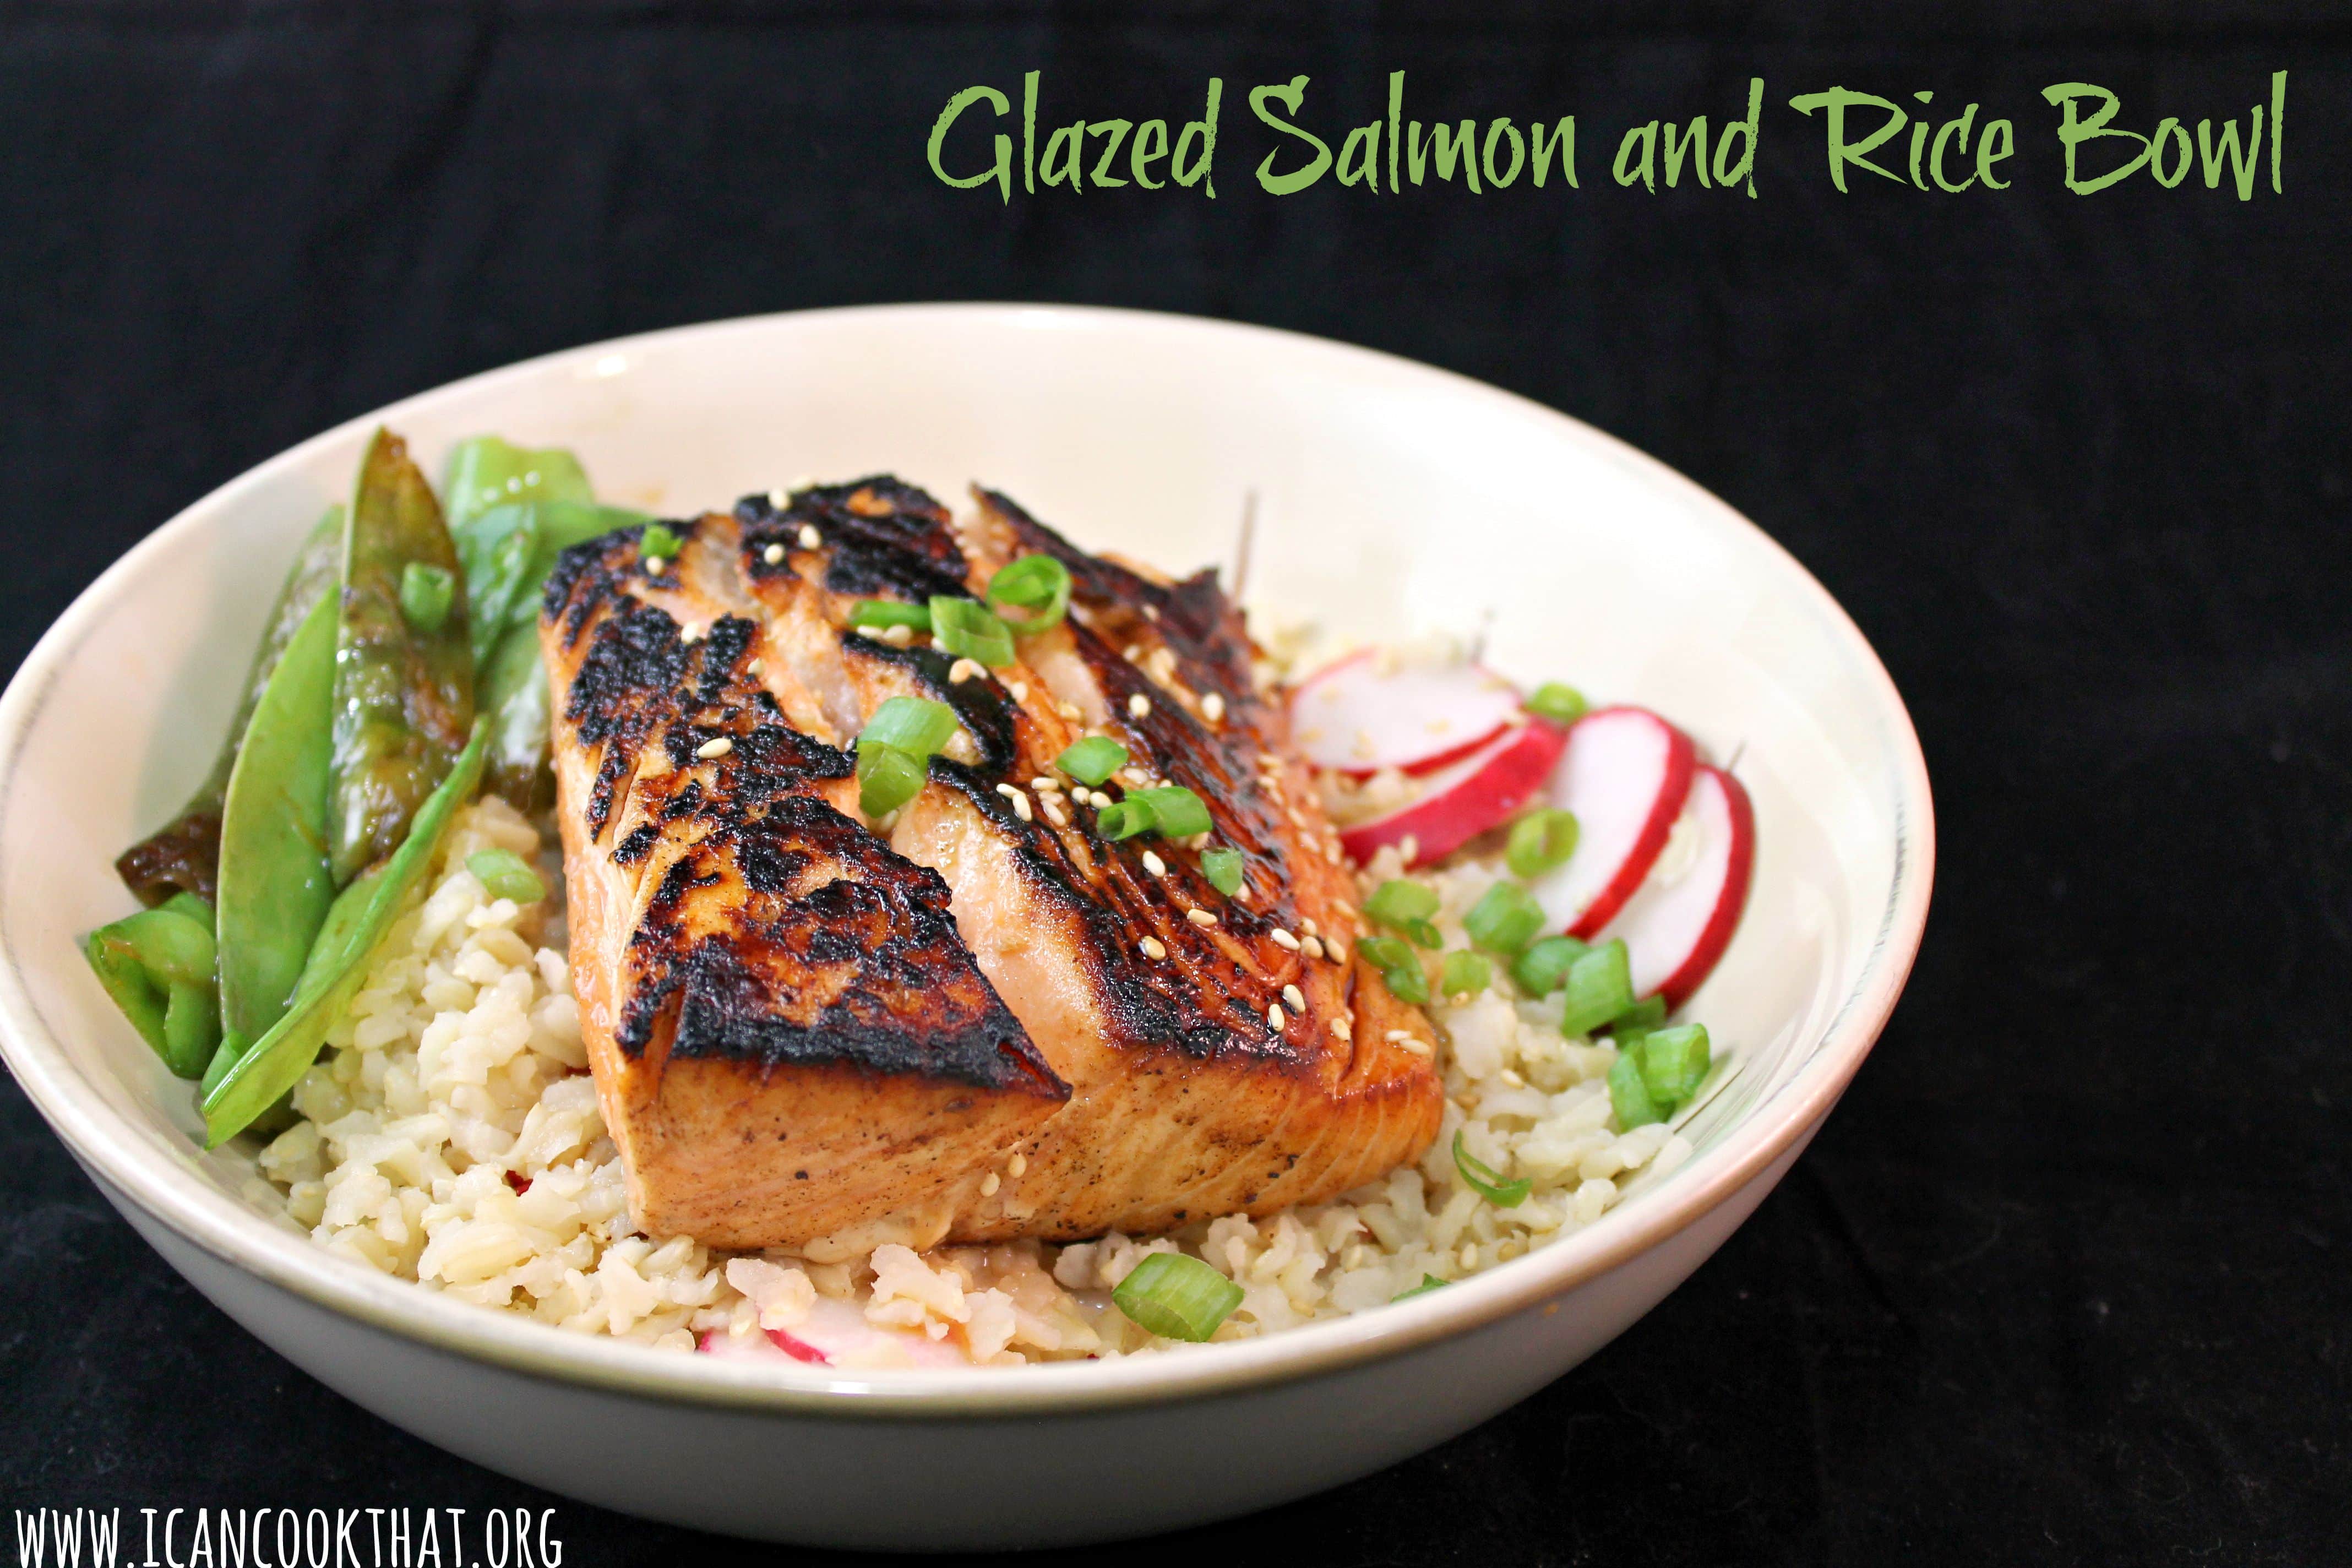
I don’t think I’ll ever have enough 30 minute weekday recipes, especially healthy ones! Here’s another one from Cooking Light, that includes salmon, brown rice, snow peas, and quick pickled radishes for a bunch of flavor, crunch, color, and a little tanginess.
This shop has been compensated by Collective Bias, Inc. and its advertiser. All opinions are mine alone. #KingOfFlavor #CollectiveBias
The countdown to the football season is almost over! As a Philadelphian, I am very much in Eagles territory, where Sunday (and Monday night) schedules revolve around the birds. A huge part of watching the game (at least for me) is obviously the food!
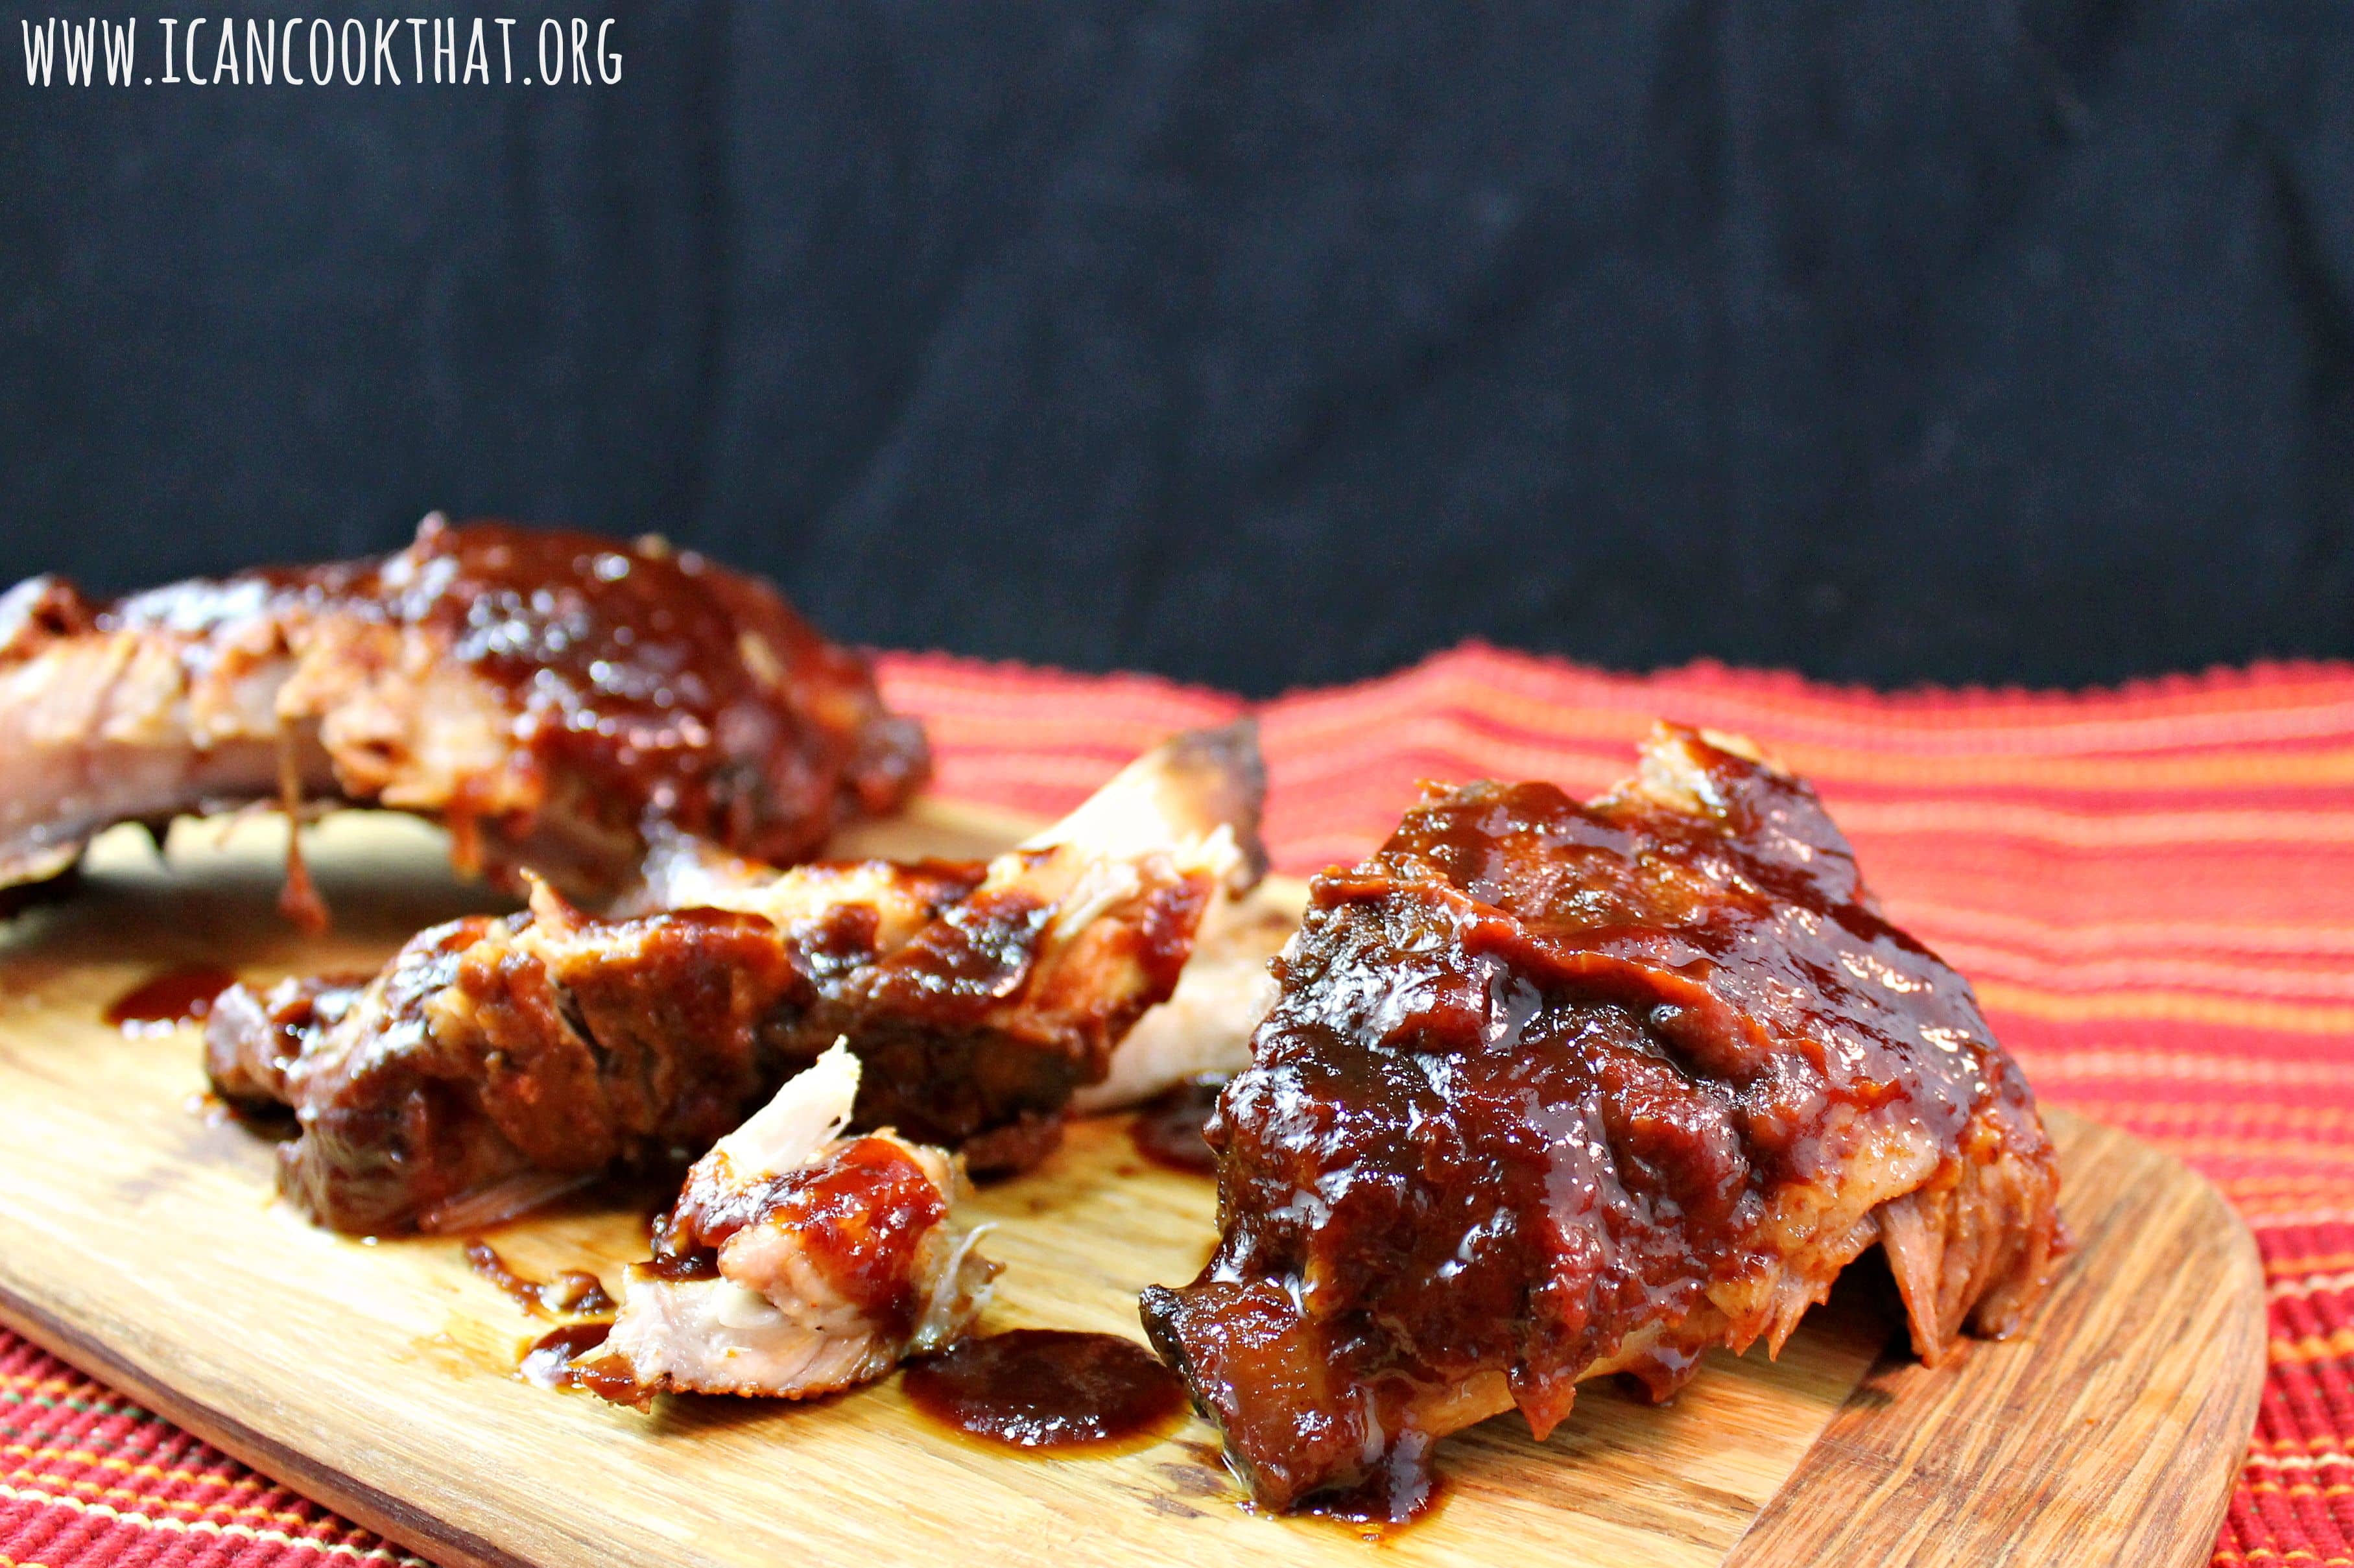
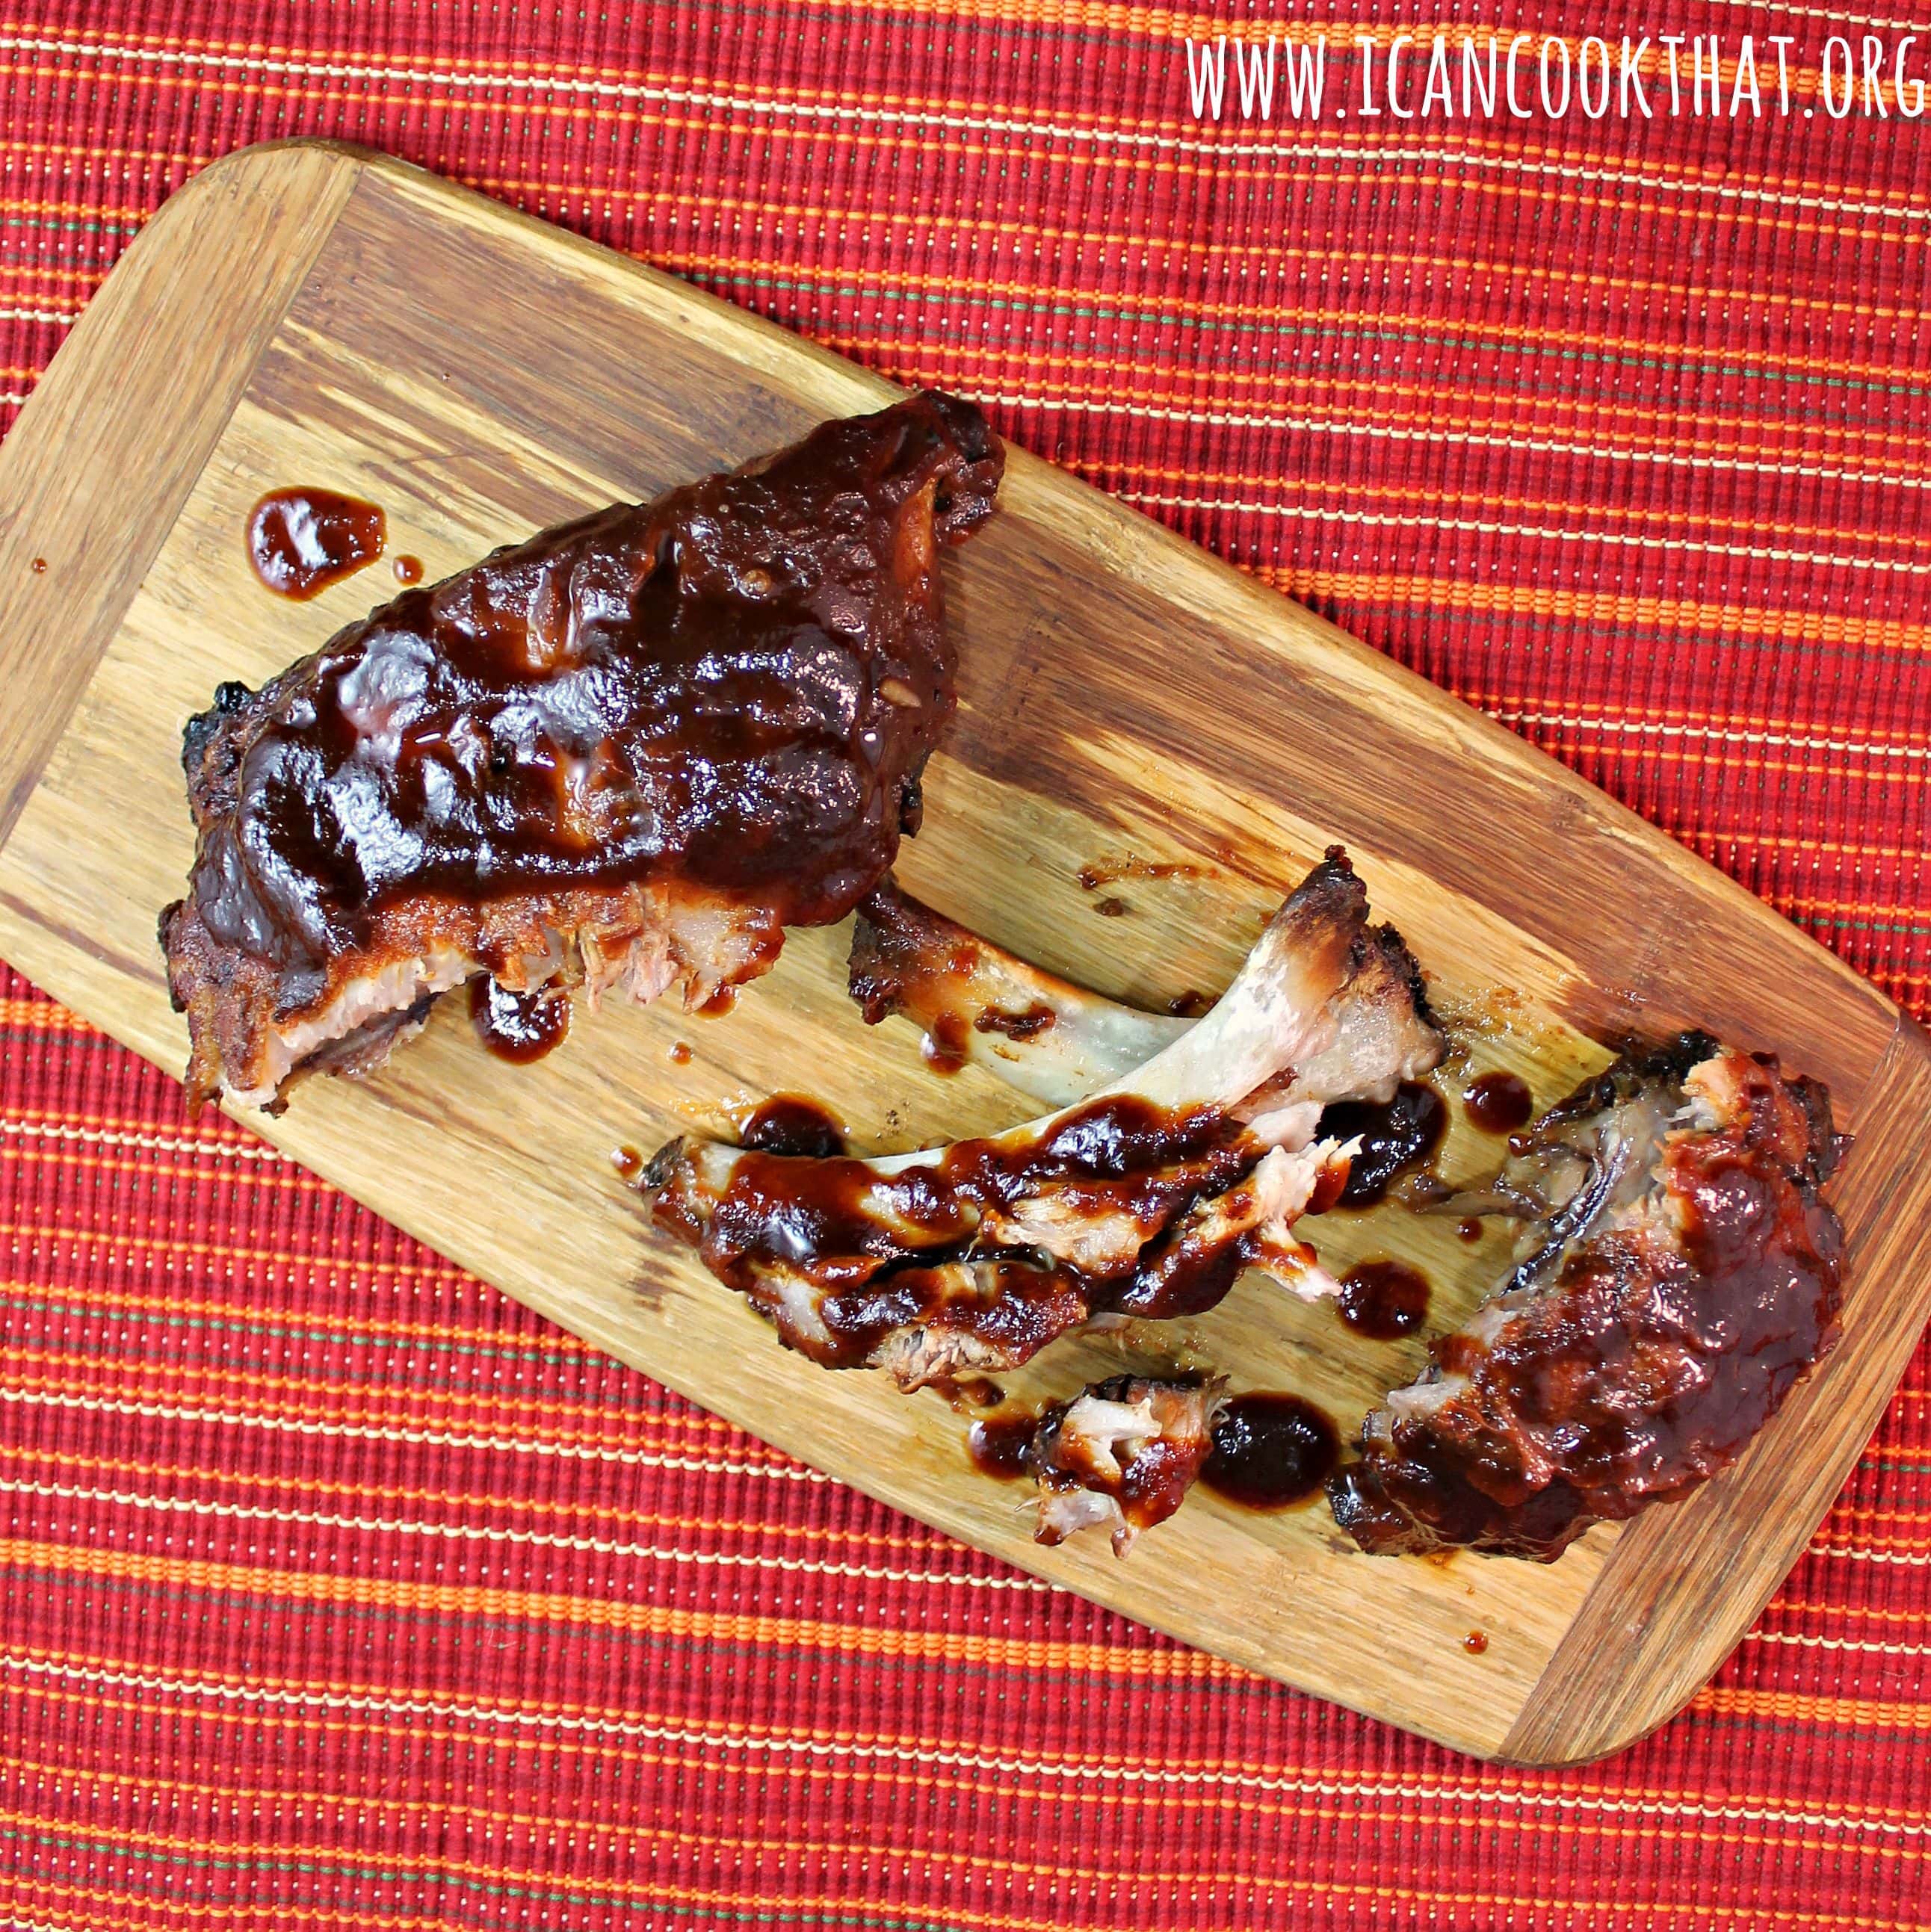
One of my favorite game day foods is a rack of ribs. I don’t have a grill, so my go-to method to get fall-off-the-bone ribs is to use my slow cooker.
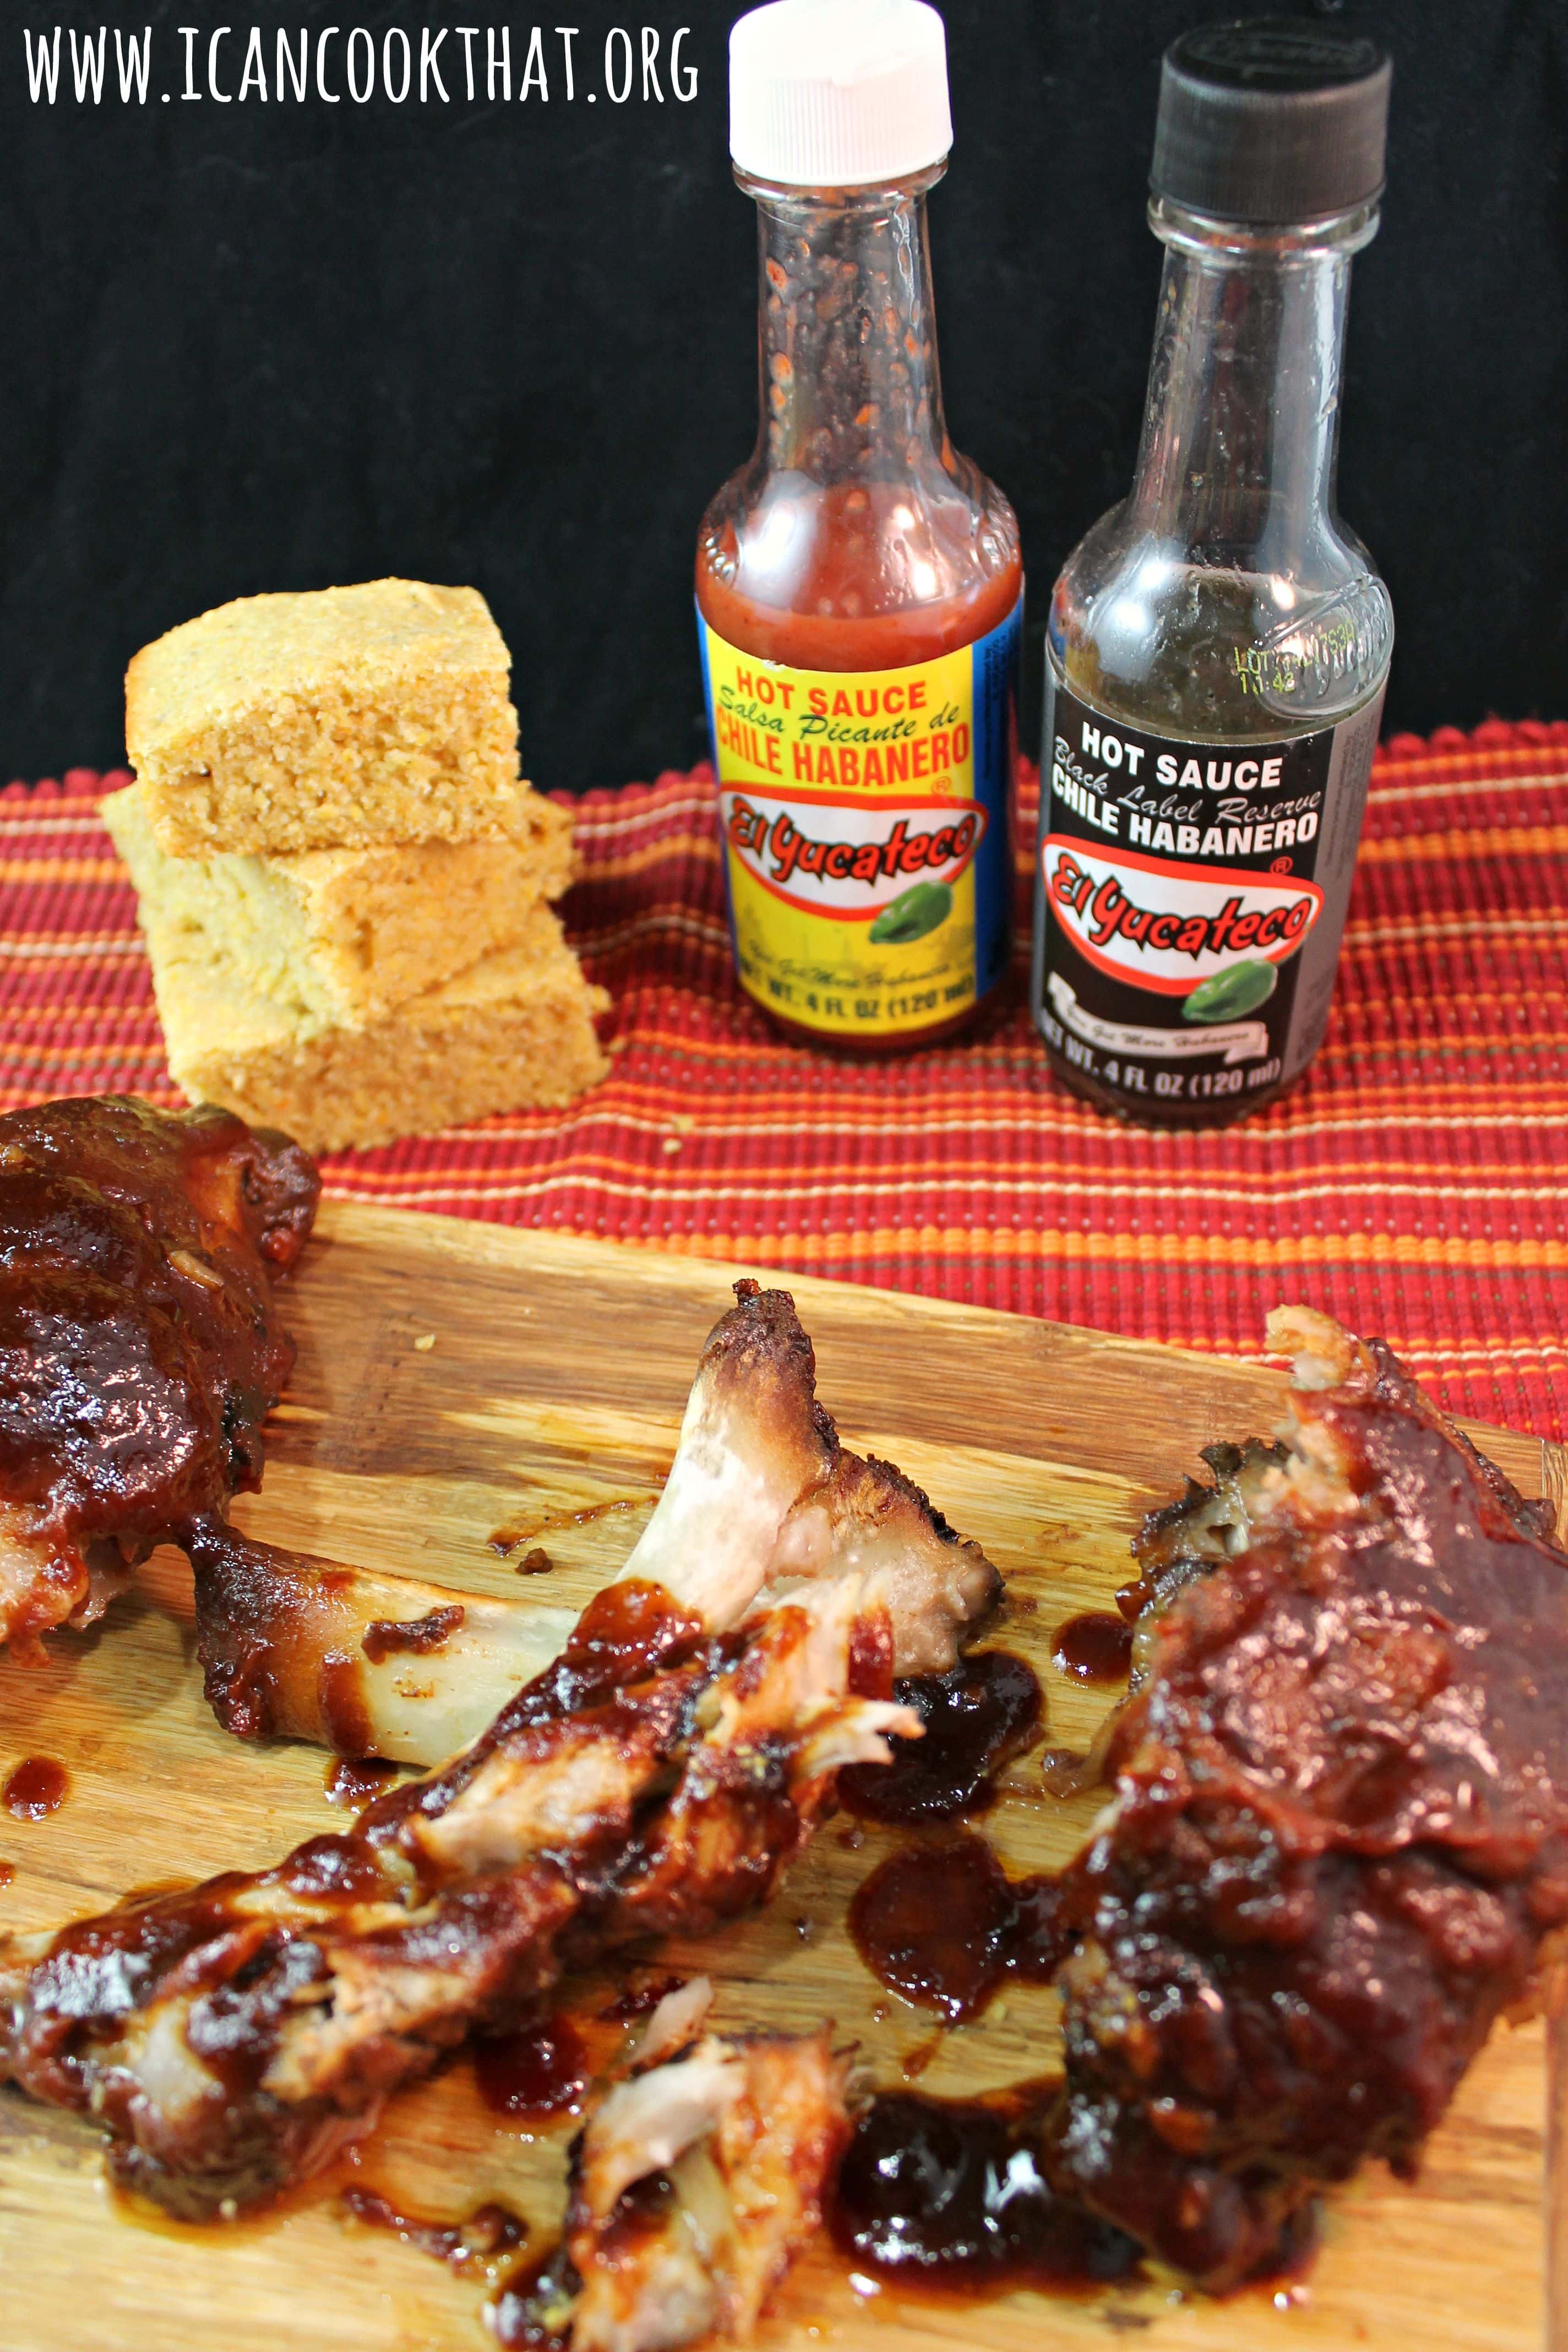
The best ribs have a little bit of heat to them, don’t you think? This recipe brings both some heat and smokiness with the use of two El Yucateco hot sauces: Red Habanero Hot Sauce and Black Label Reserve Hot Sauce.
I actually picked up three of El Yucateco’s hot sauces at Walmart (you can never have too much hot sauce on hand!) I found them in the Hispanic Food Section.
El Yucateco Red Habanero Hot Sauce is a combination of red habanero peppers, tomato, spices and seasonings. What sets El Yucateco apart from other hot sauces is that it has less vinegar, so the flavor (and kick!) of the pepper comes through more. The red habanero sauce is a great pantry hot sauce and is a great addition to everything from a Bloody Mary to wings. The tomato flavor in the red habanero hot sauce also makes it a great addition to a barbecue sauce!
El Yucateco’s Black Label Reserve Hot Sauce is made from fire roasted habaneros and has an awesome smoky flavor without being overpowering. This hot sauce works great with red meat, chili, and even chocolate! The Black Label Reserve Hot Sauce adds the smoky flavor of barbecued ribs to my slow cooker version!
El Yucateco also has a Green Habanero Hot Sauce, which is a combination of green habanero peppers, garlic, spices and seasonings. This hot sauce is perfect with lighter foods — chicken, seafood, veggies, etc.
I’ve included two methods of cooking these ribs, based on if you’re watching a day or night game. I’m not going to lie, the results are best when you can cook the ribs at a lower temperature for a longer time, but are really delicious both ways!
Ingredients:
3 lbs baby back ribs
1 teaspoon salt
1 teaspoon smoked paprika
1/2 tablespoon garlic powder
1/2 tablespoon onion powder
2 cups ketchup
1 cup brown sugar
2 tablespoons Worcestershire sauce
2 tablespoons apple cider vinegar
1 1/2 tablespoons El Yucateco Black Label Reserve Hot Sauce
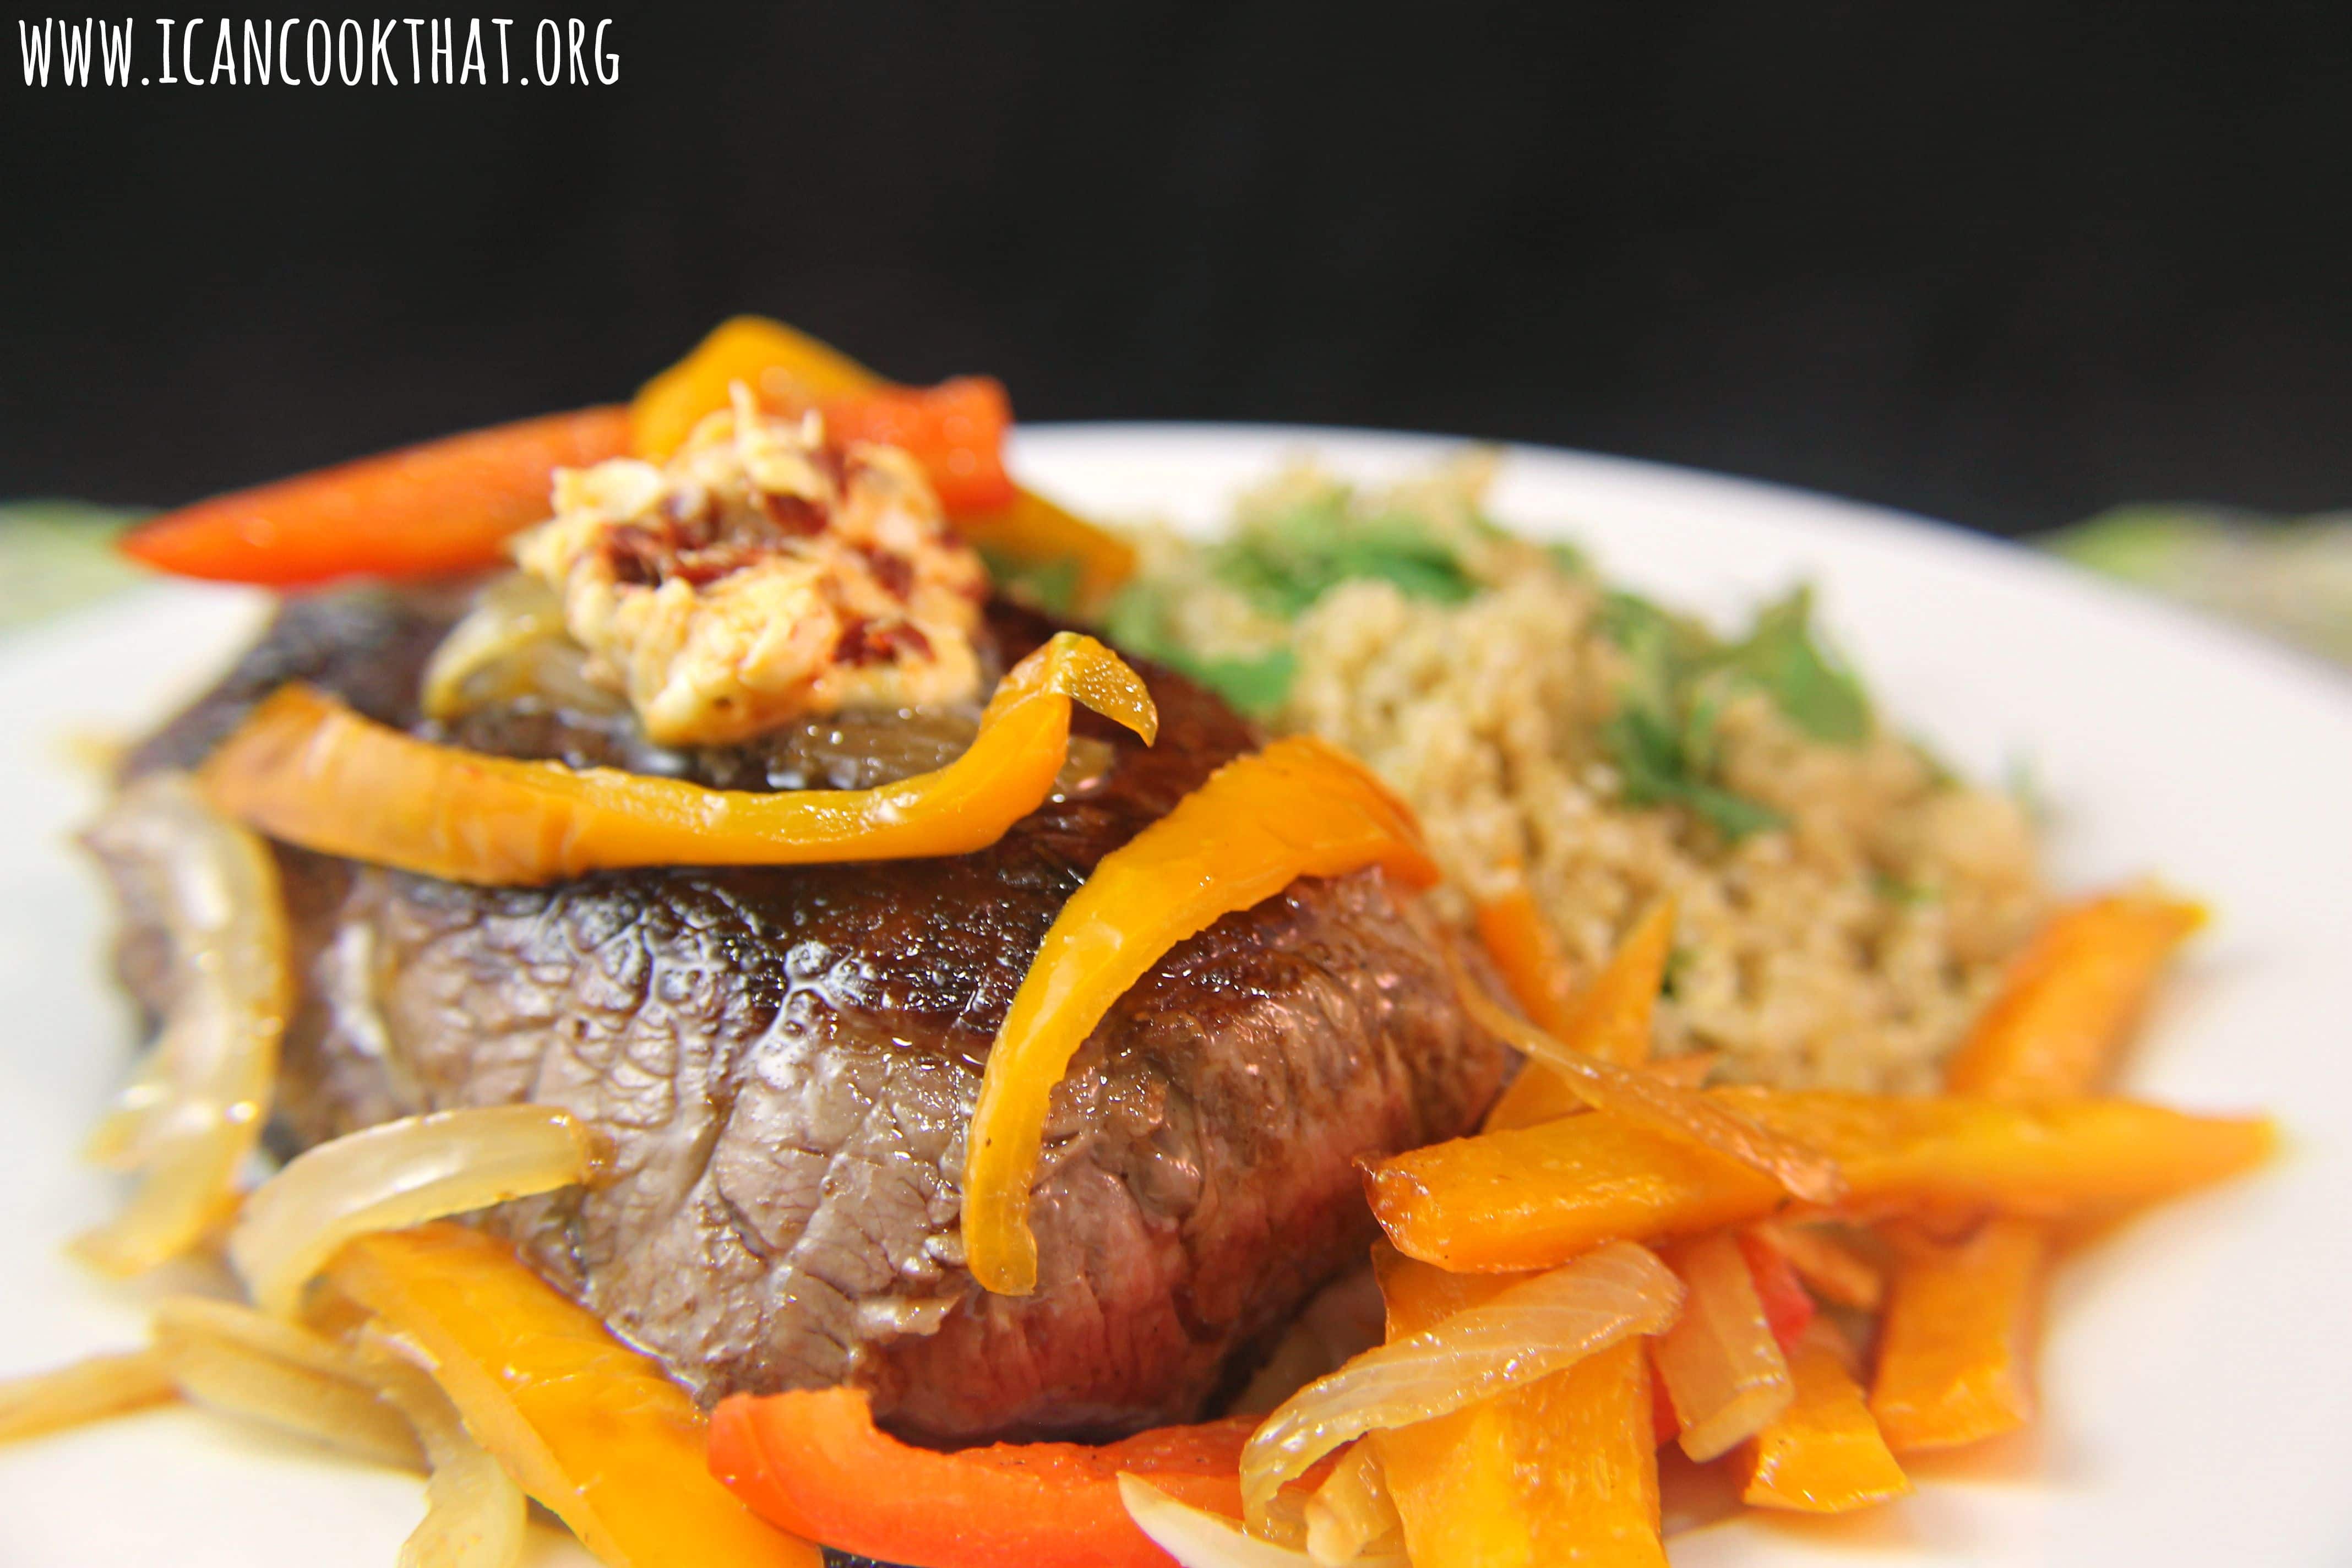
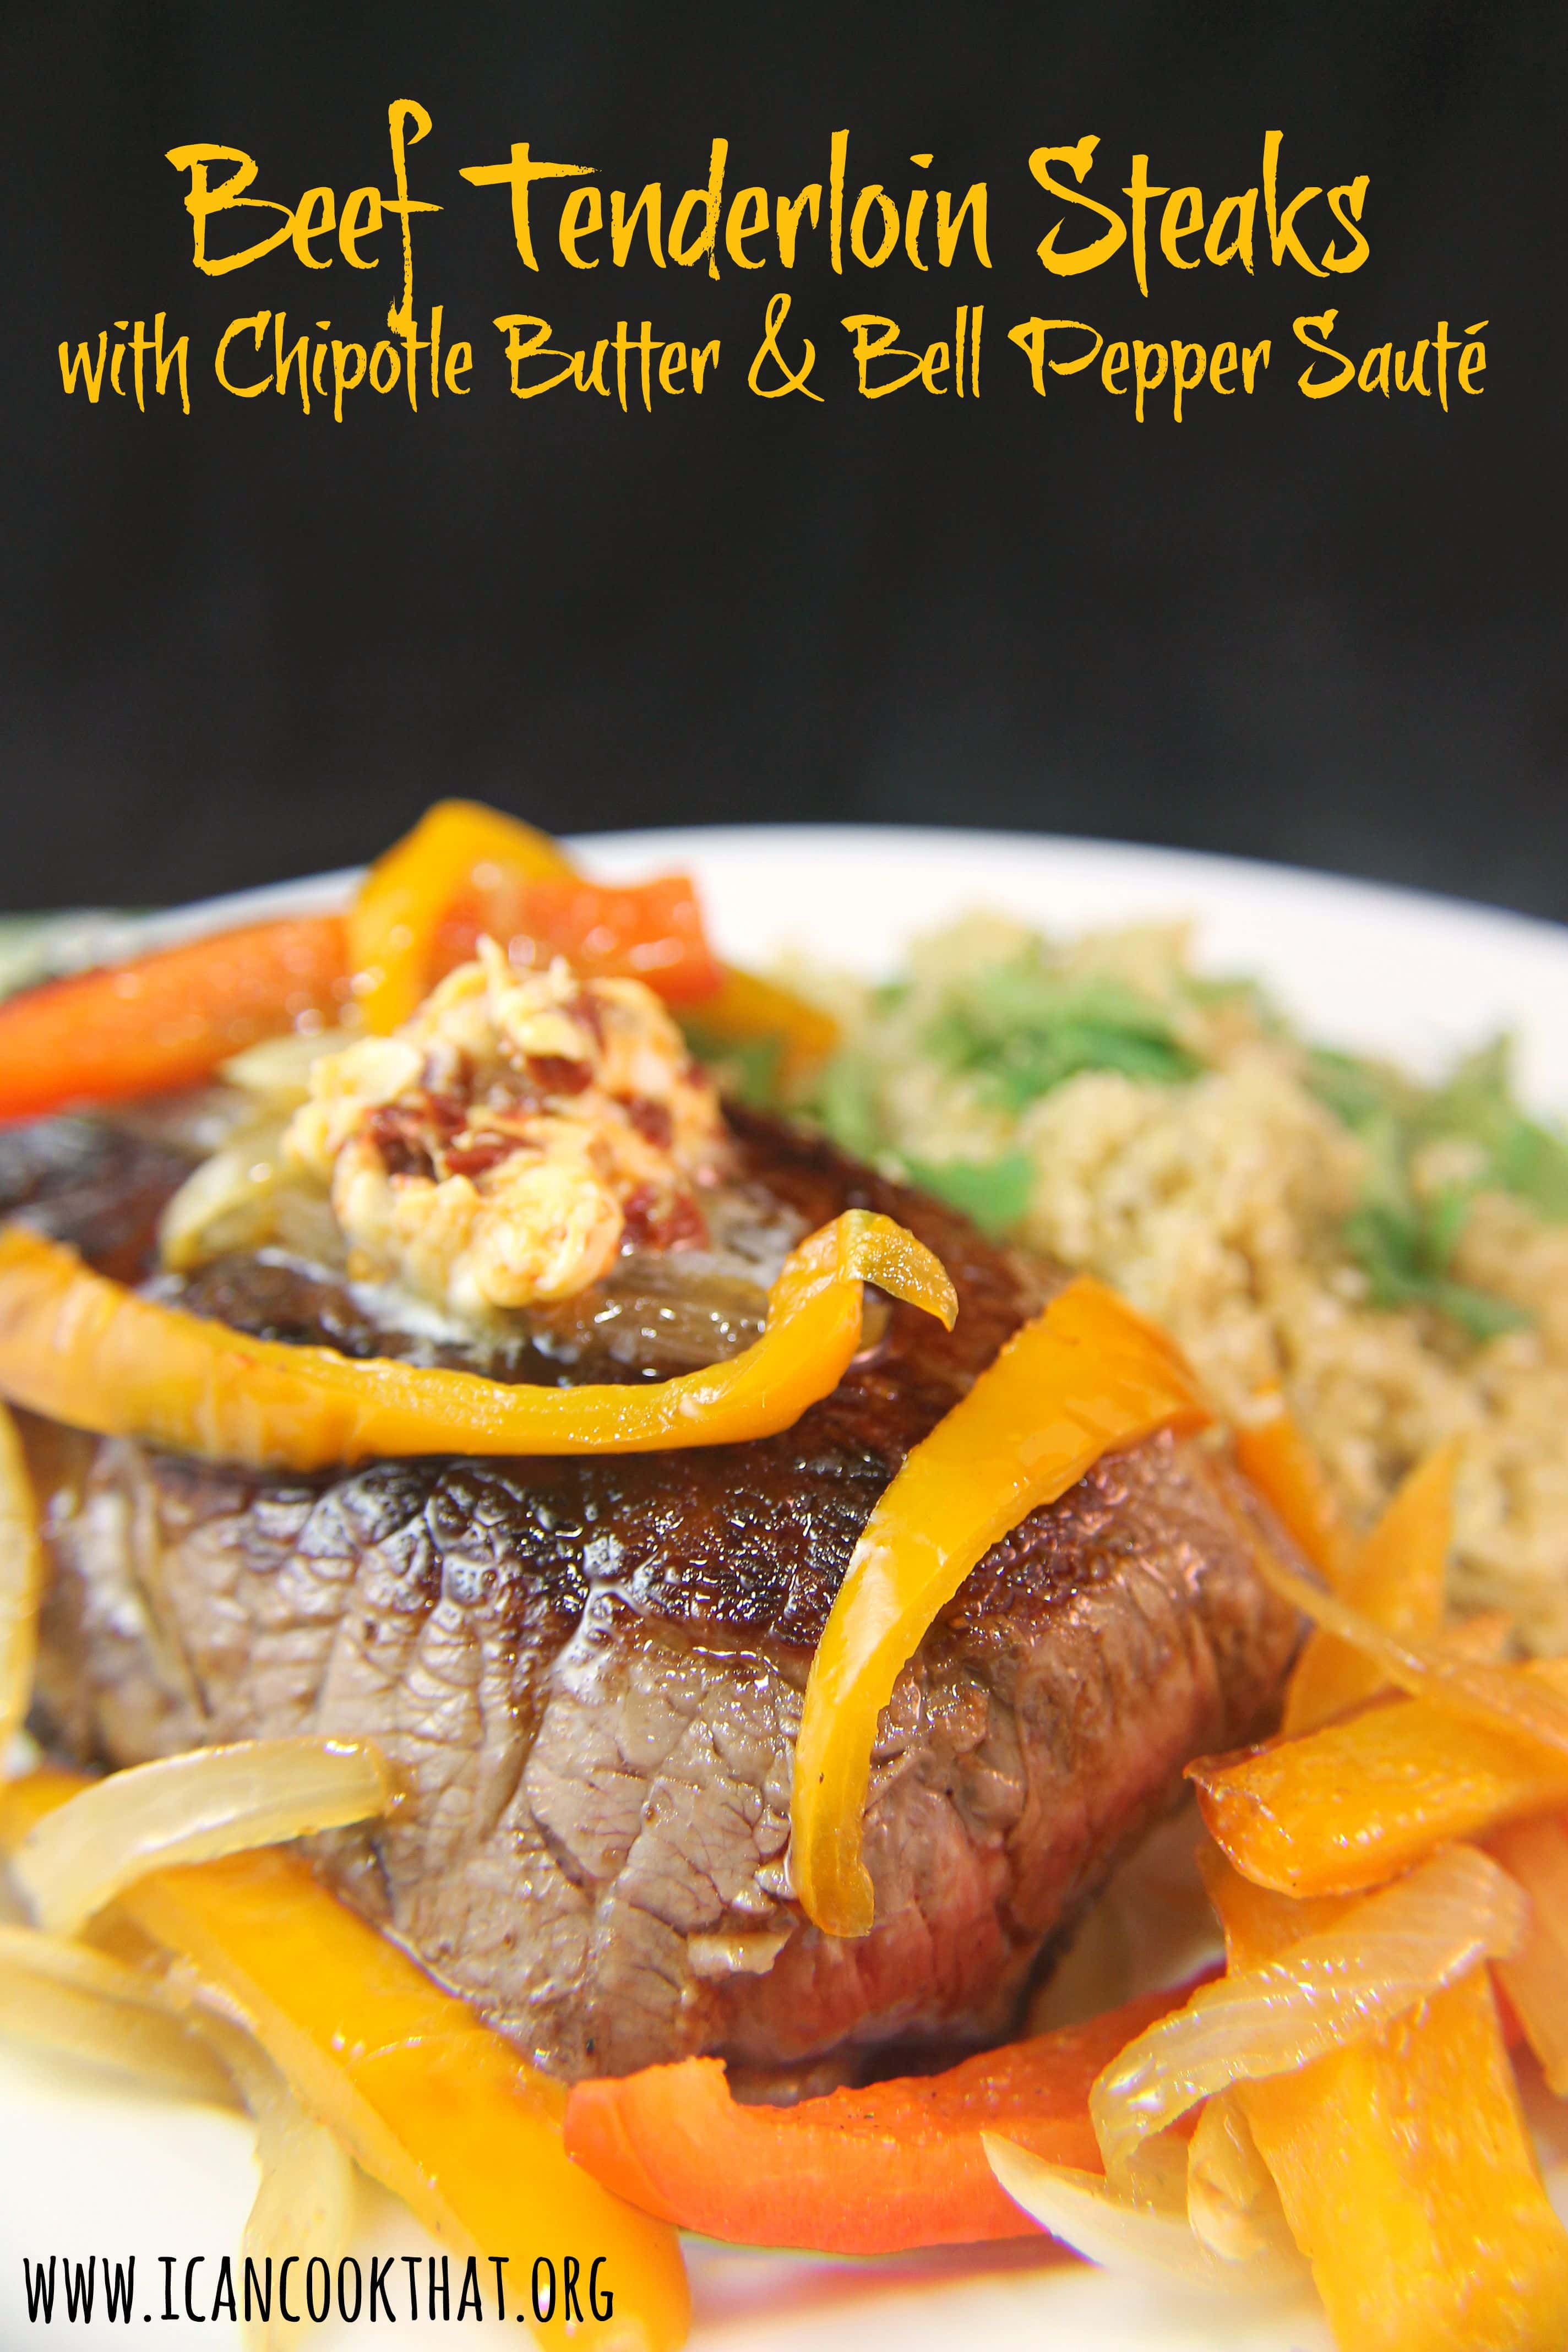
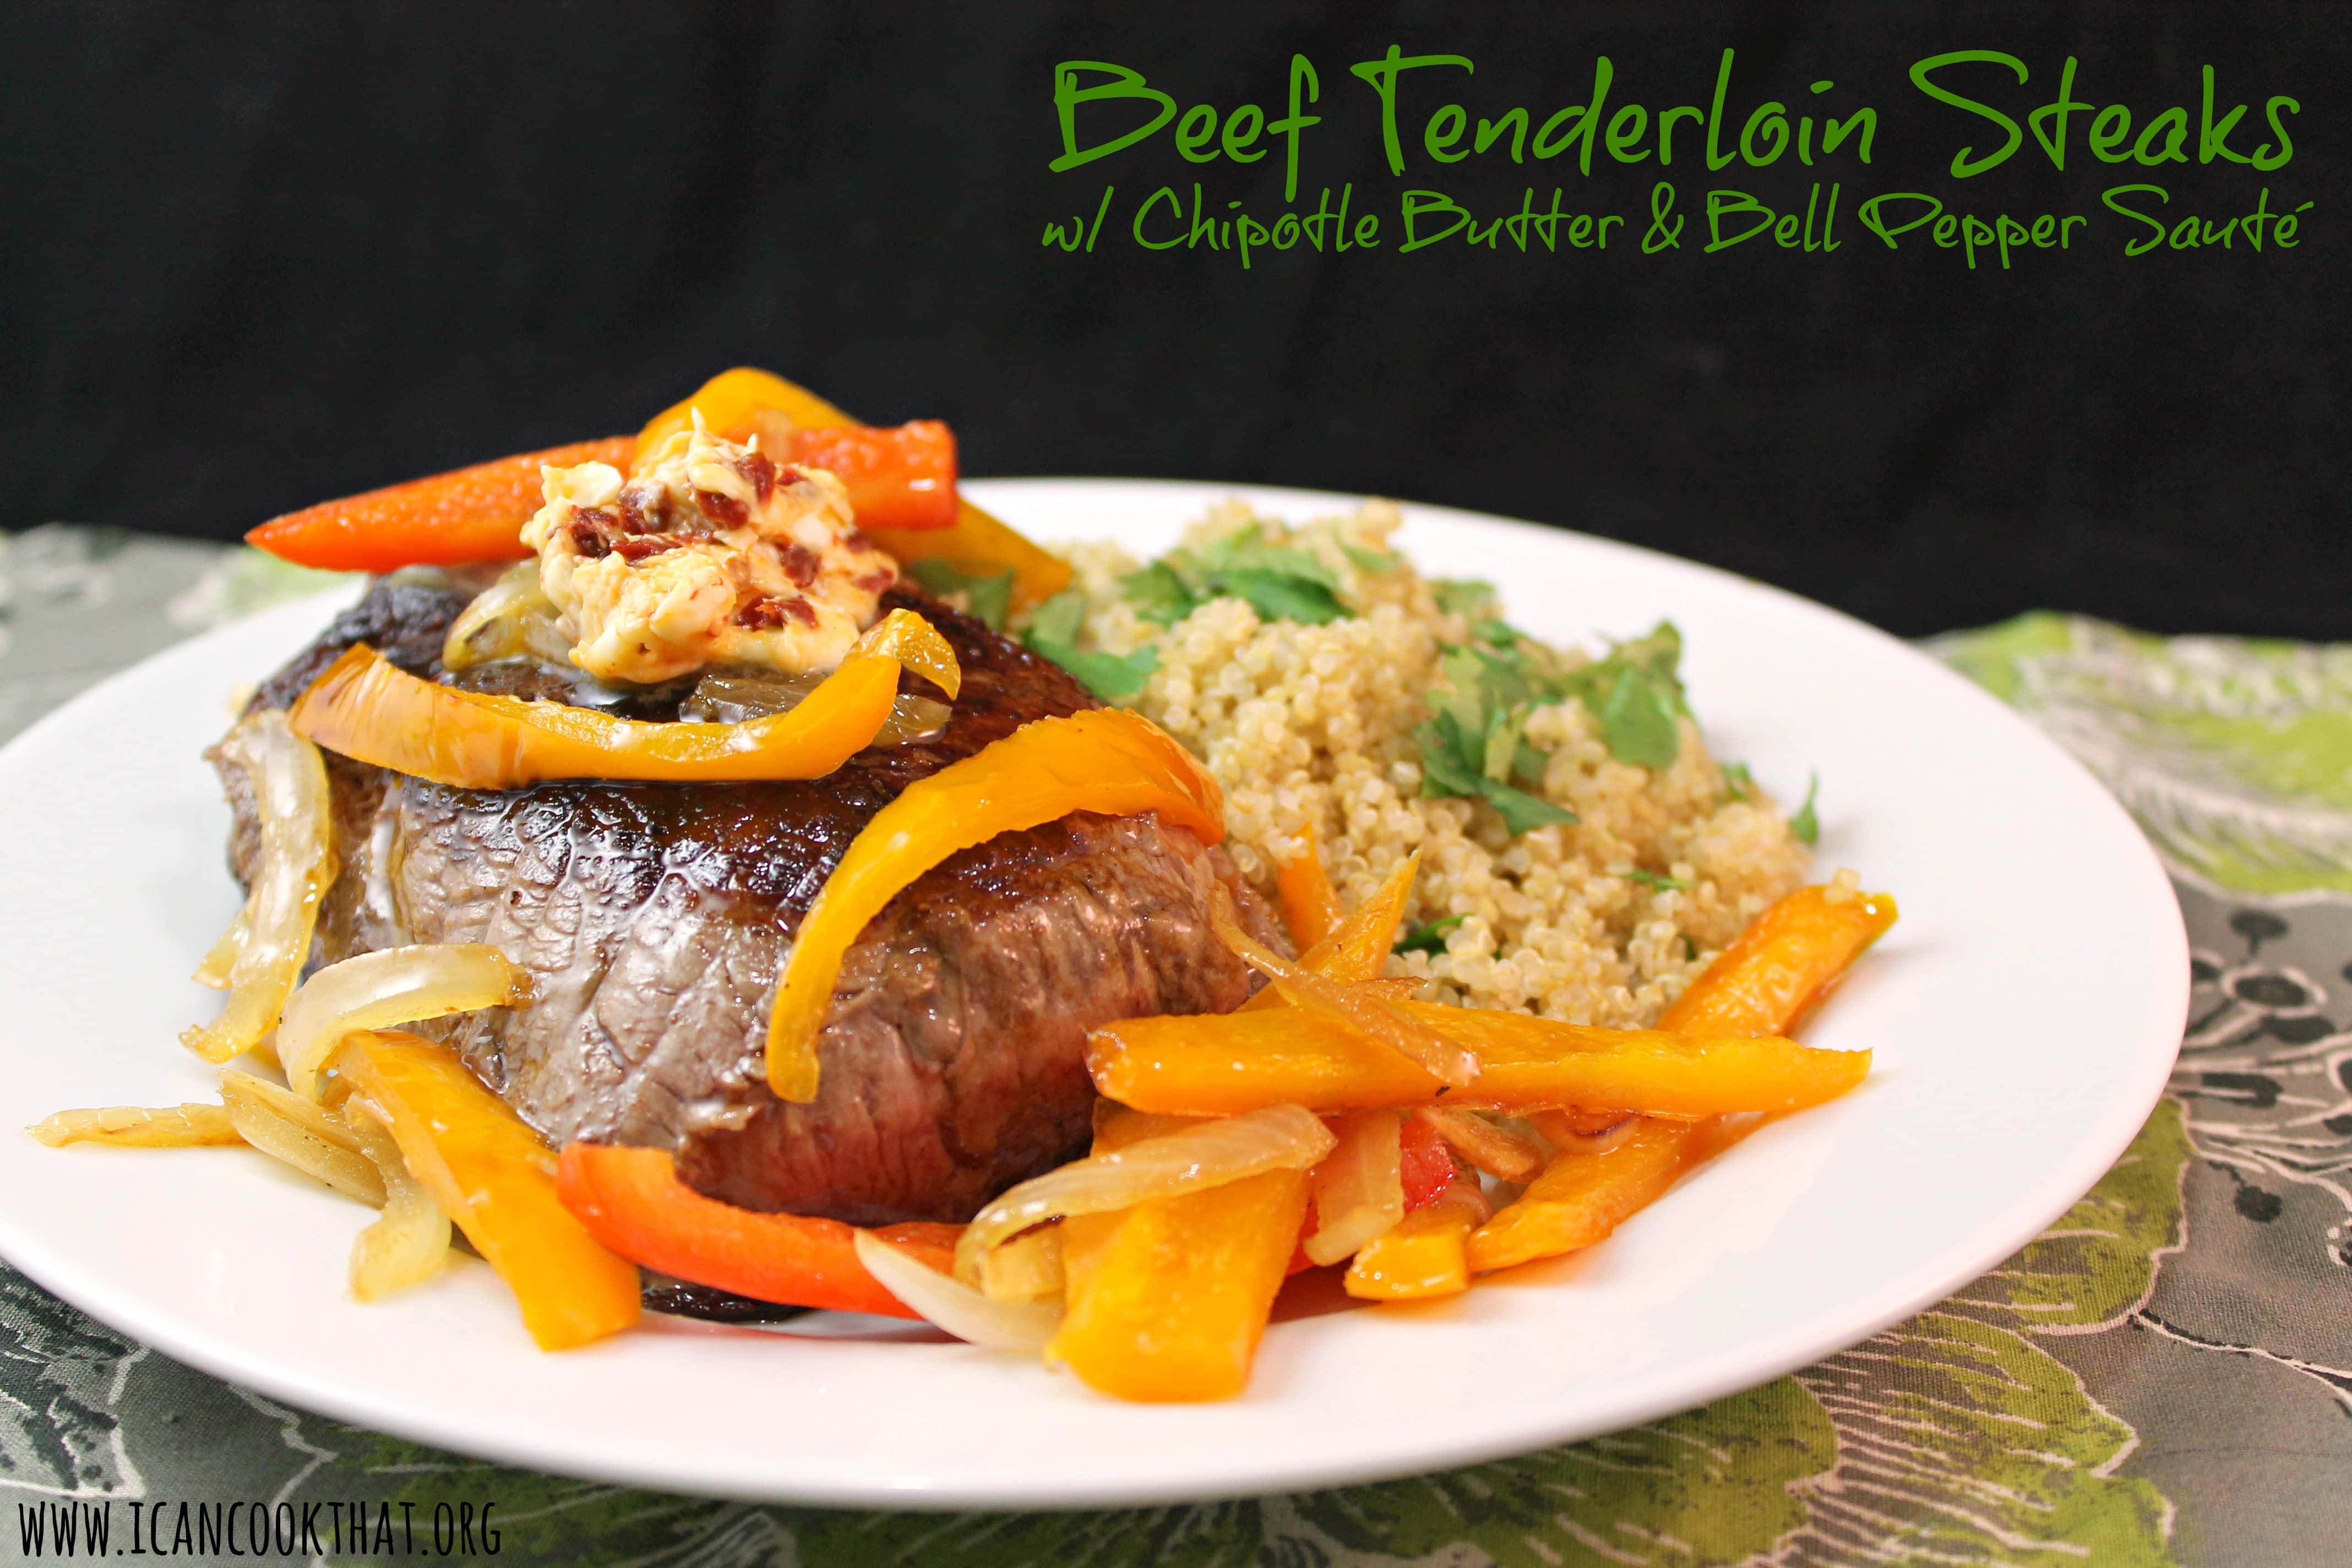
I haven’t posted a beef recipe in quite a while, so I’m happy that the one I’m sharing is absolutely delicious! It’s really simple to make as well! This recipe is from the latest Cooking Light and works great as a weeknight dinner. I paired it with the suggested side, Cilantro-Cumin Quinoa, which was also really tasty.
I found the portion of my steaks to be too big, so the below ingredients is a smaller cut than is shown. The beef tenderloin steaks are topped with a simple bell pepper saute and chipotle butter, so a flavorful dinner is ready in no time!
Ingredients:
1 tablespoon olive oil, divided
1/4 cup sliced onion
3 garlic cloves, sliced
1 small red bell pepper, sliced
1 small orange bell pepper, sliced
1/4 cup dry sherry
1/2 teaspoon freshly ground black pepper, divided
3/8 teaspoon kosher salt, divided
2 (4-ounce) beef tenderloin steaks or 1 (8-ounce) sirloin steak
1 tablespoon butter, softened
1/2 tablespoon finely chopped chipotle chile in adobo sauce
It’s probably no secret that I love pasta. My fiance and I eat it every Sunday night. But its so darn hot in Philadelphia right now and I’ve been craving something a bit less heavy to eat.
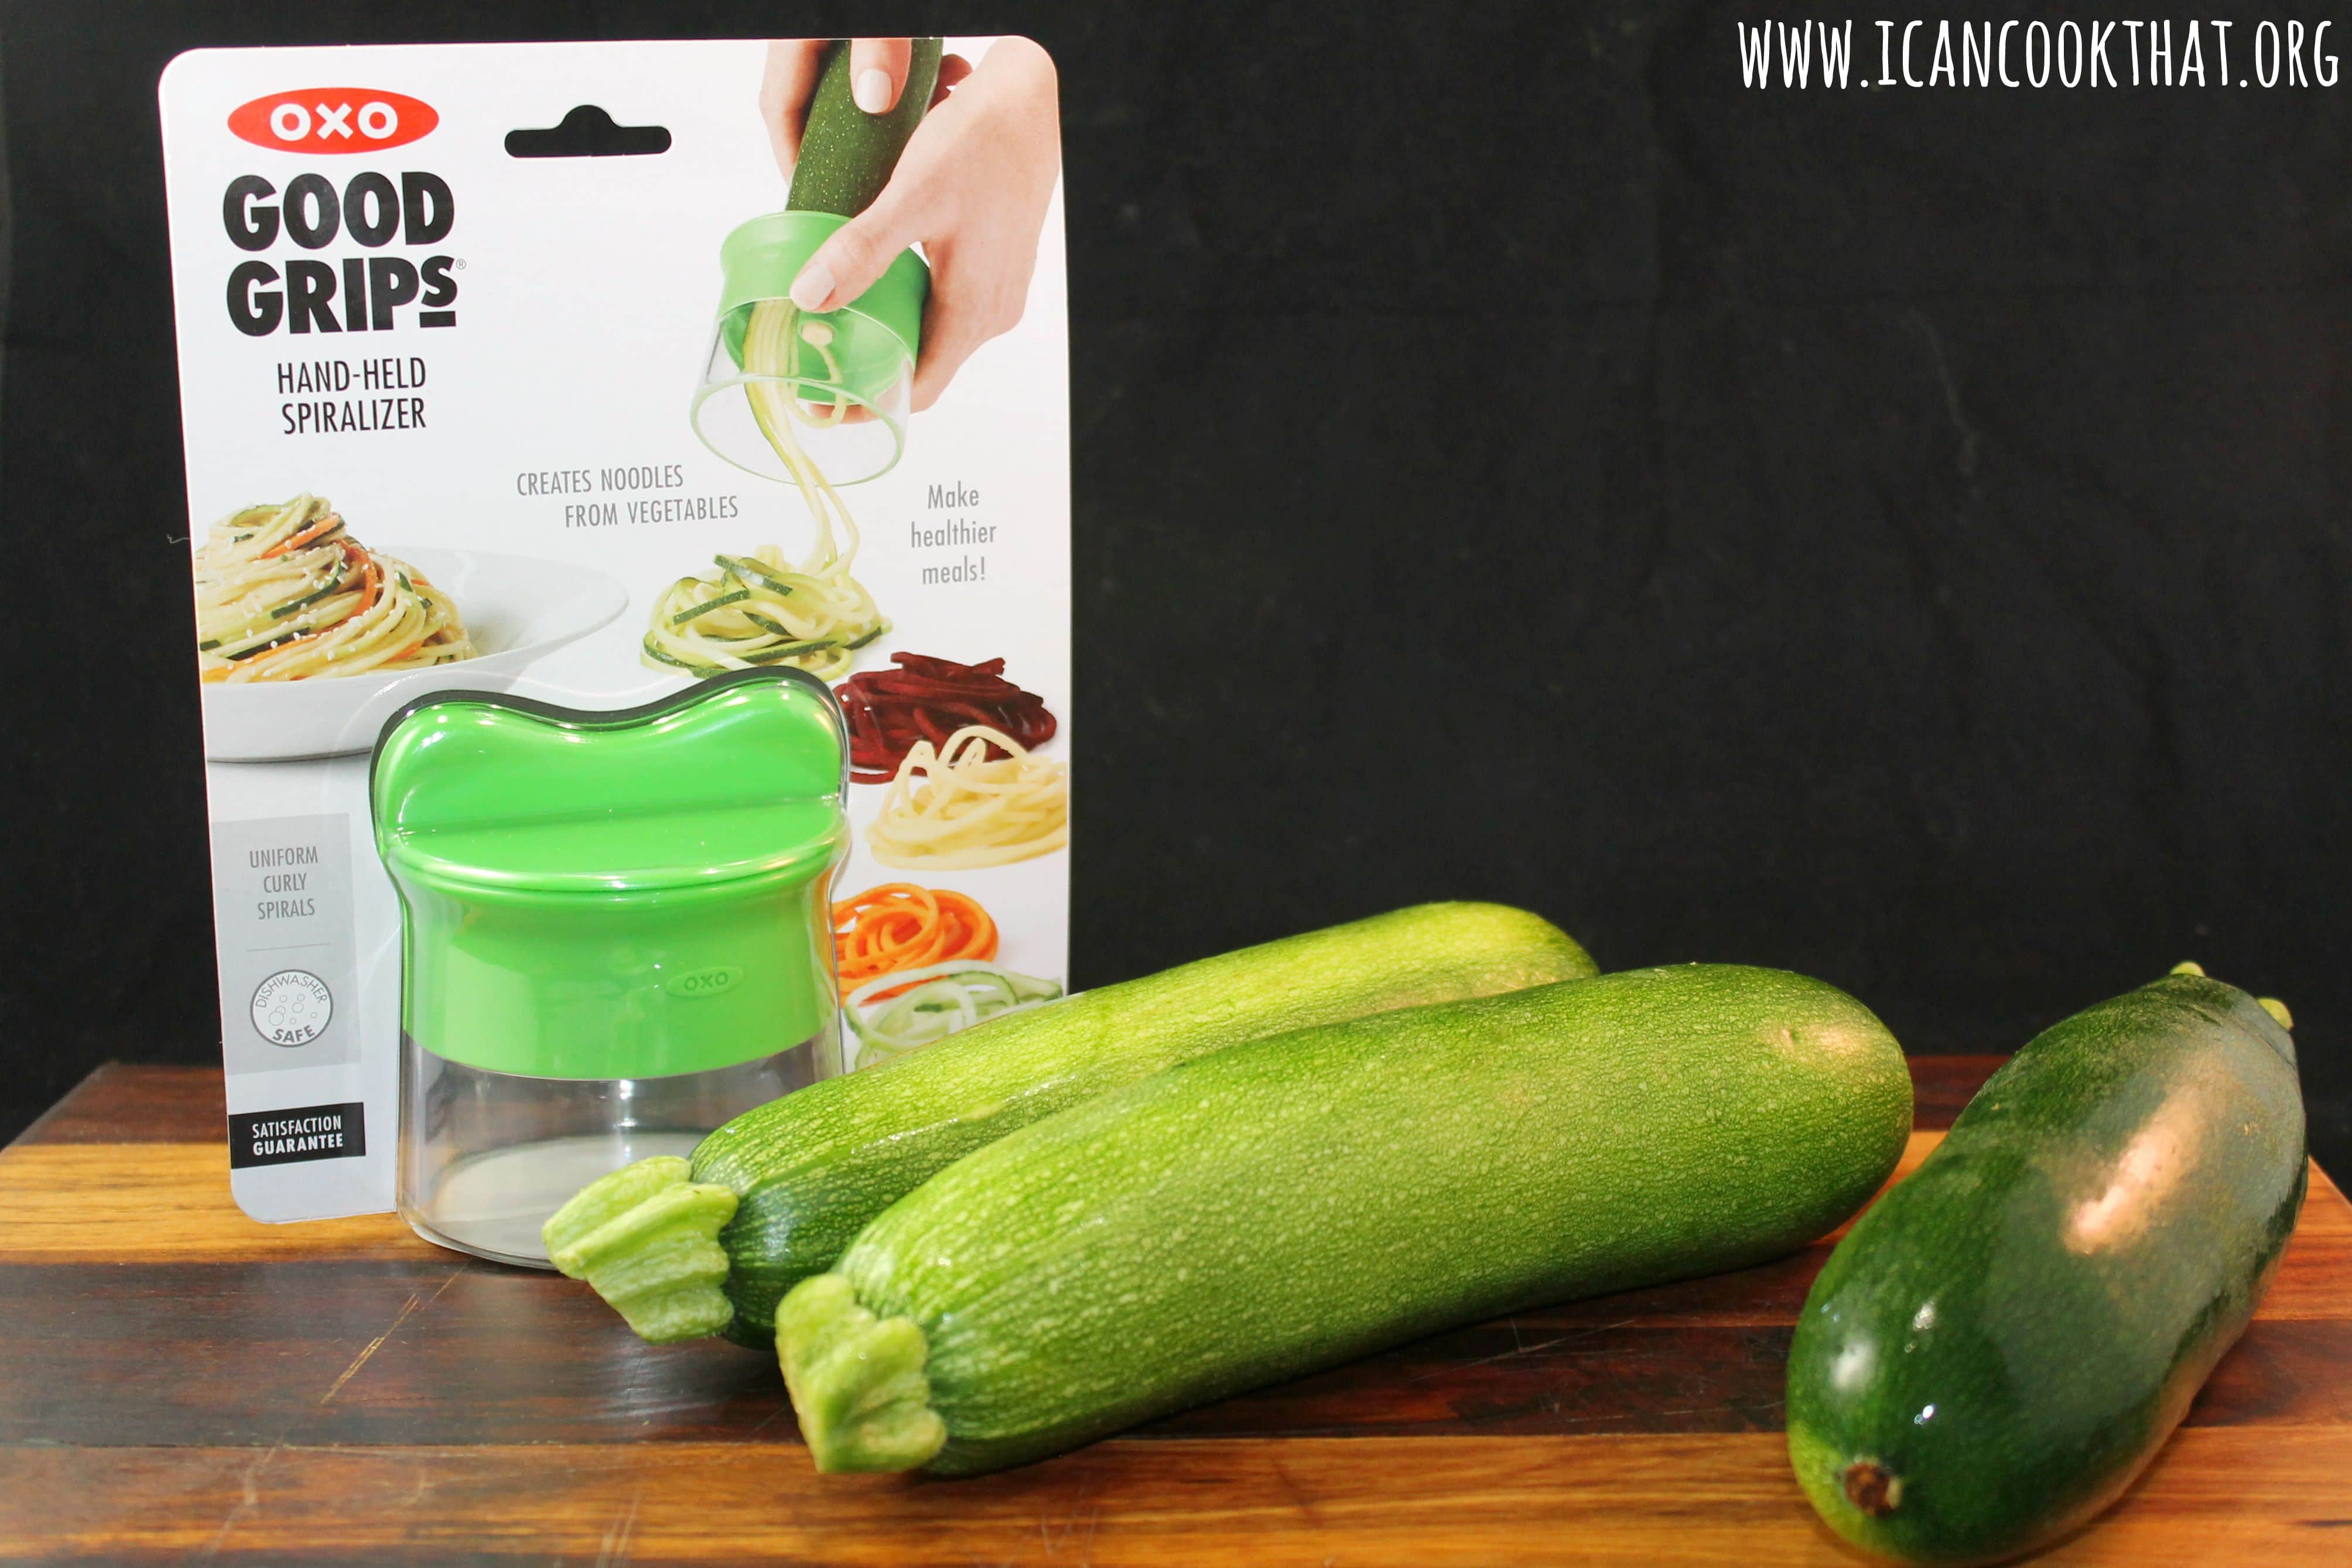
OXO must have known my pasta-loving dilemma because they sent me their new Hand-Held Spiralizer, which turns veggies into long thin spaghetti-like strands in no time!
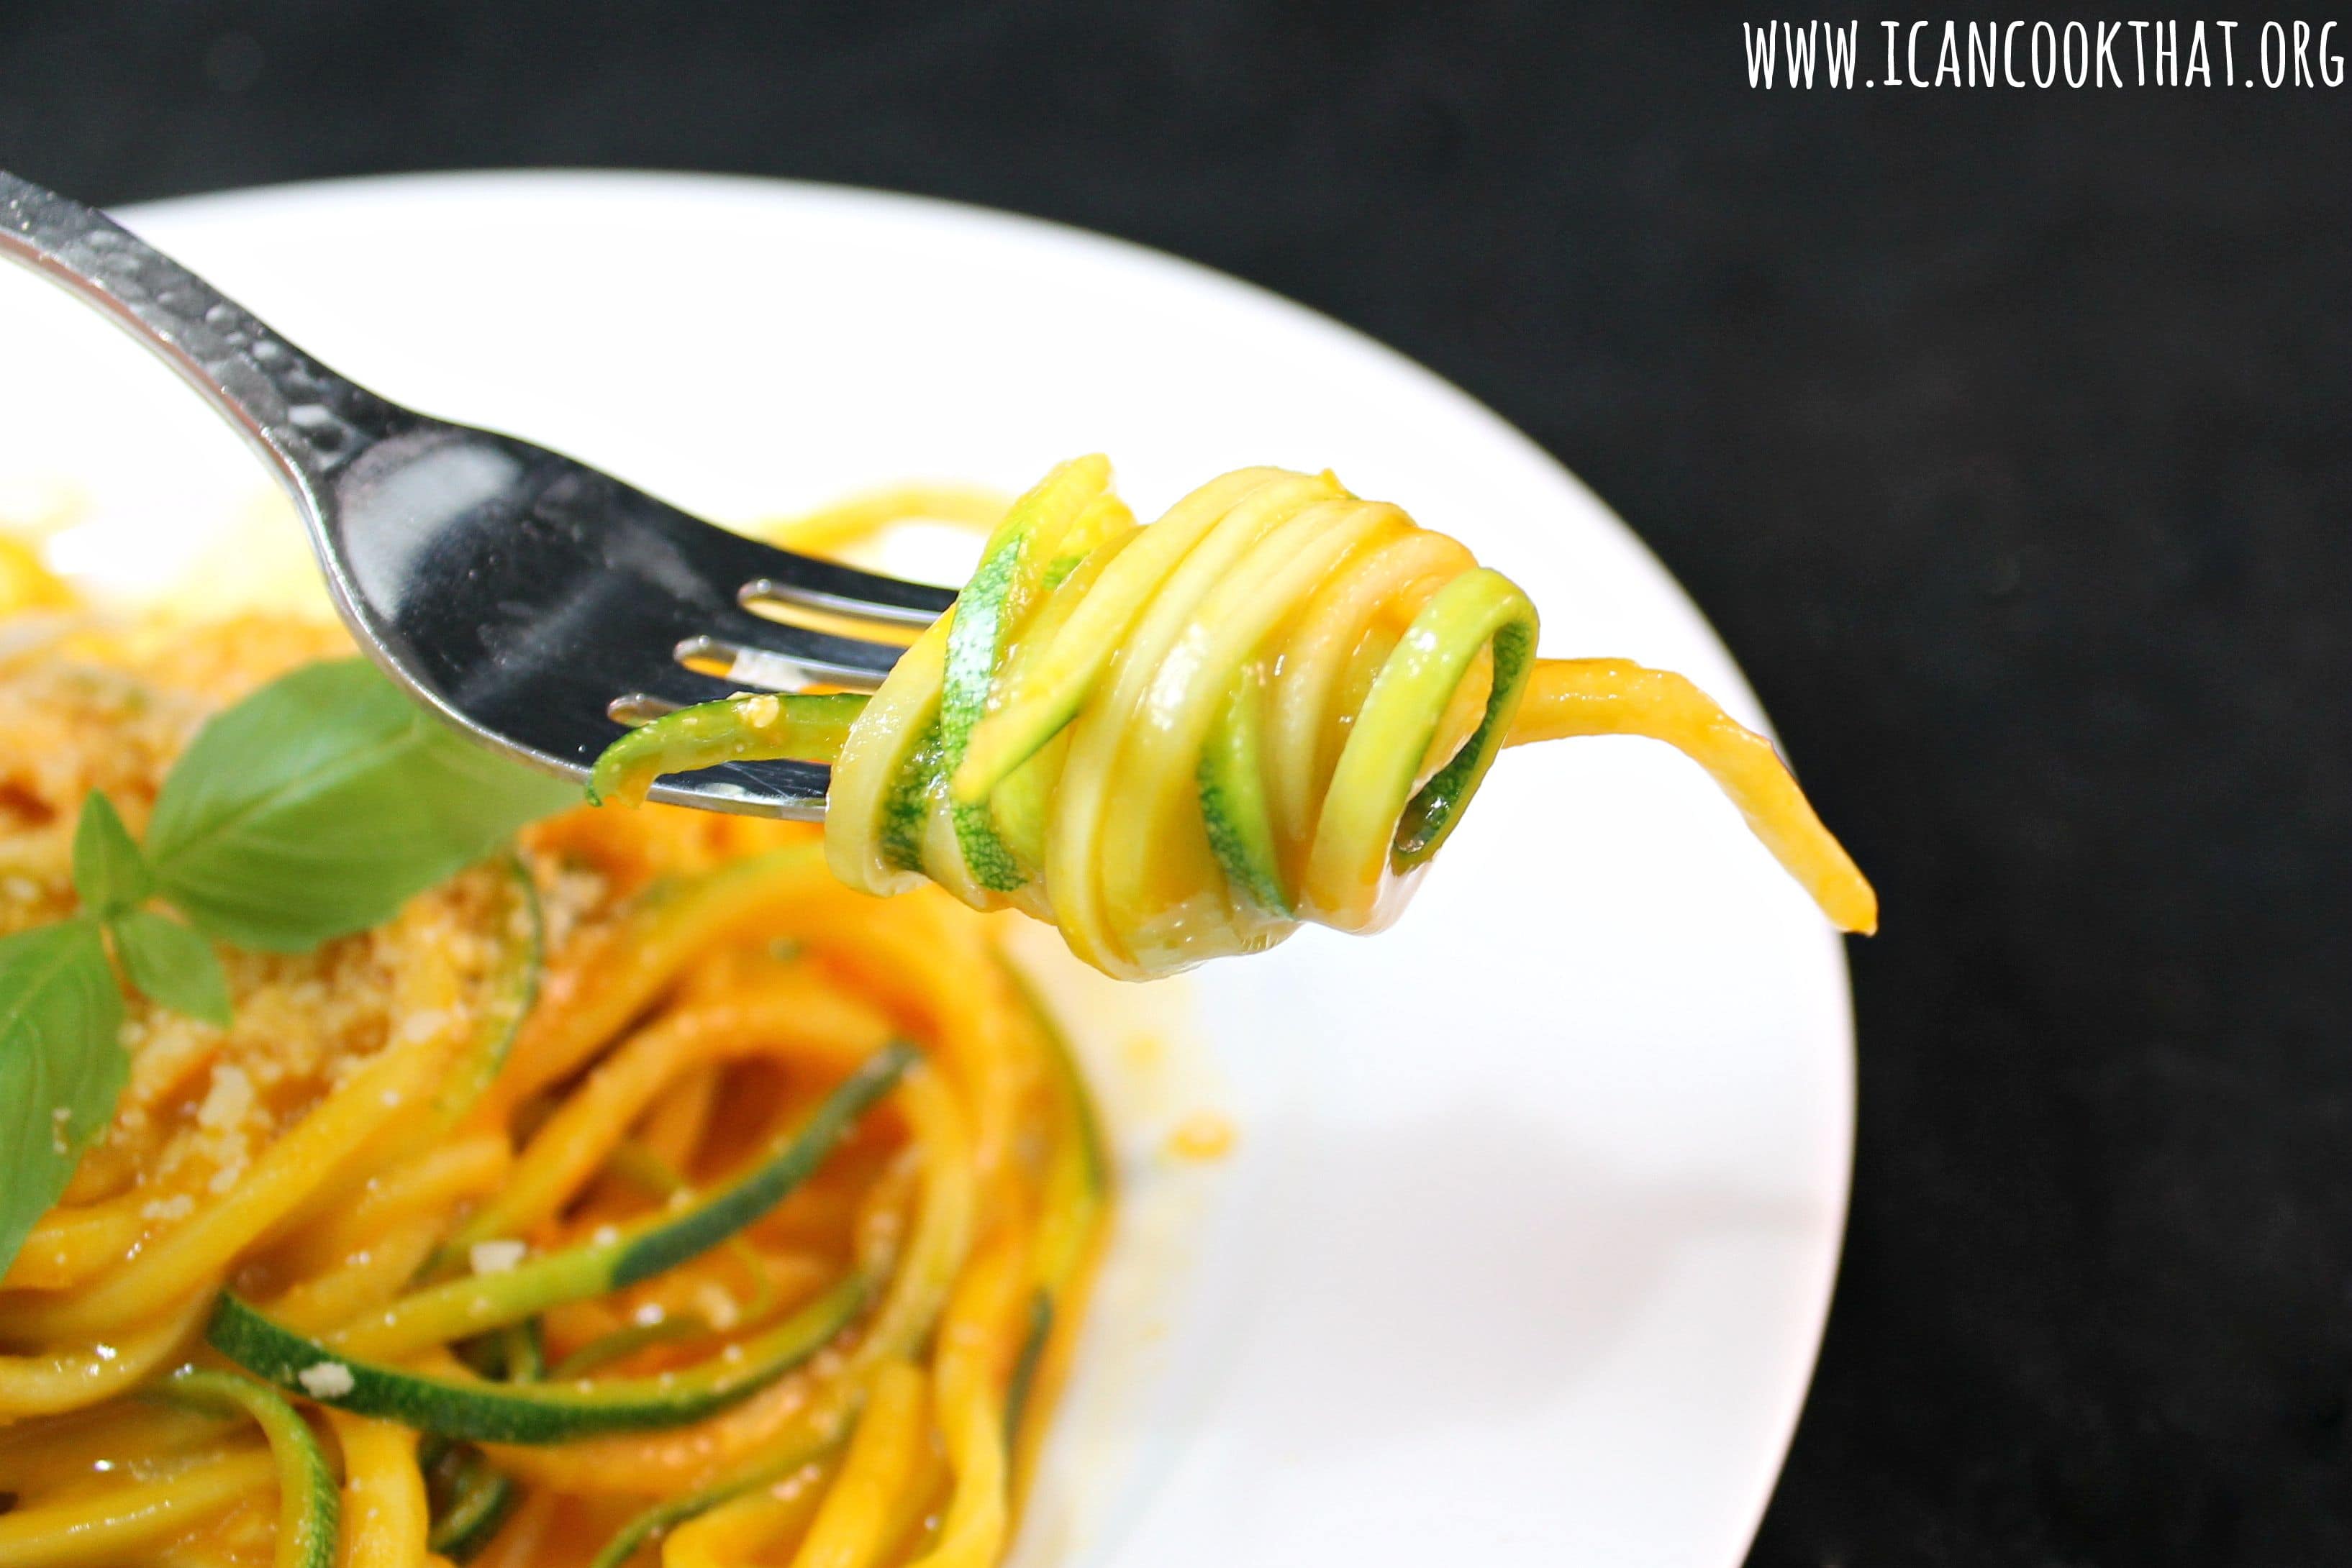
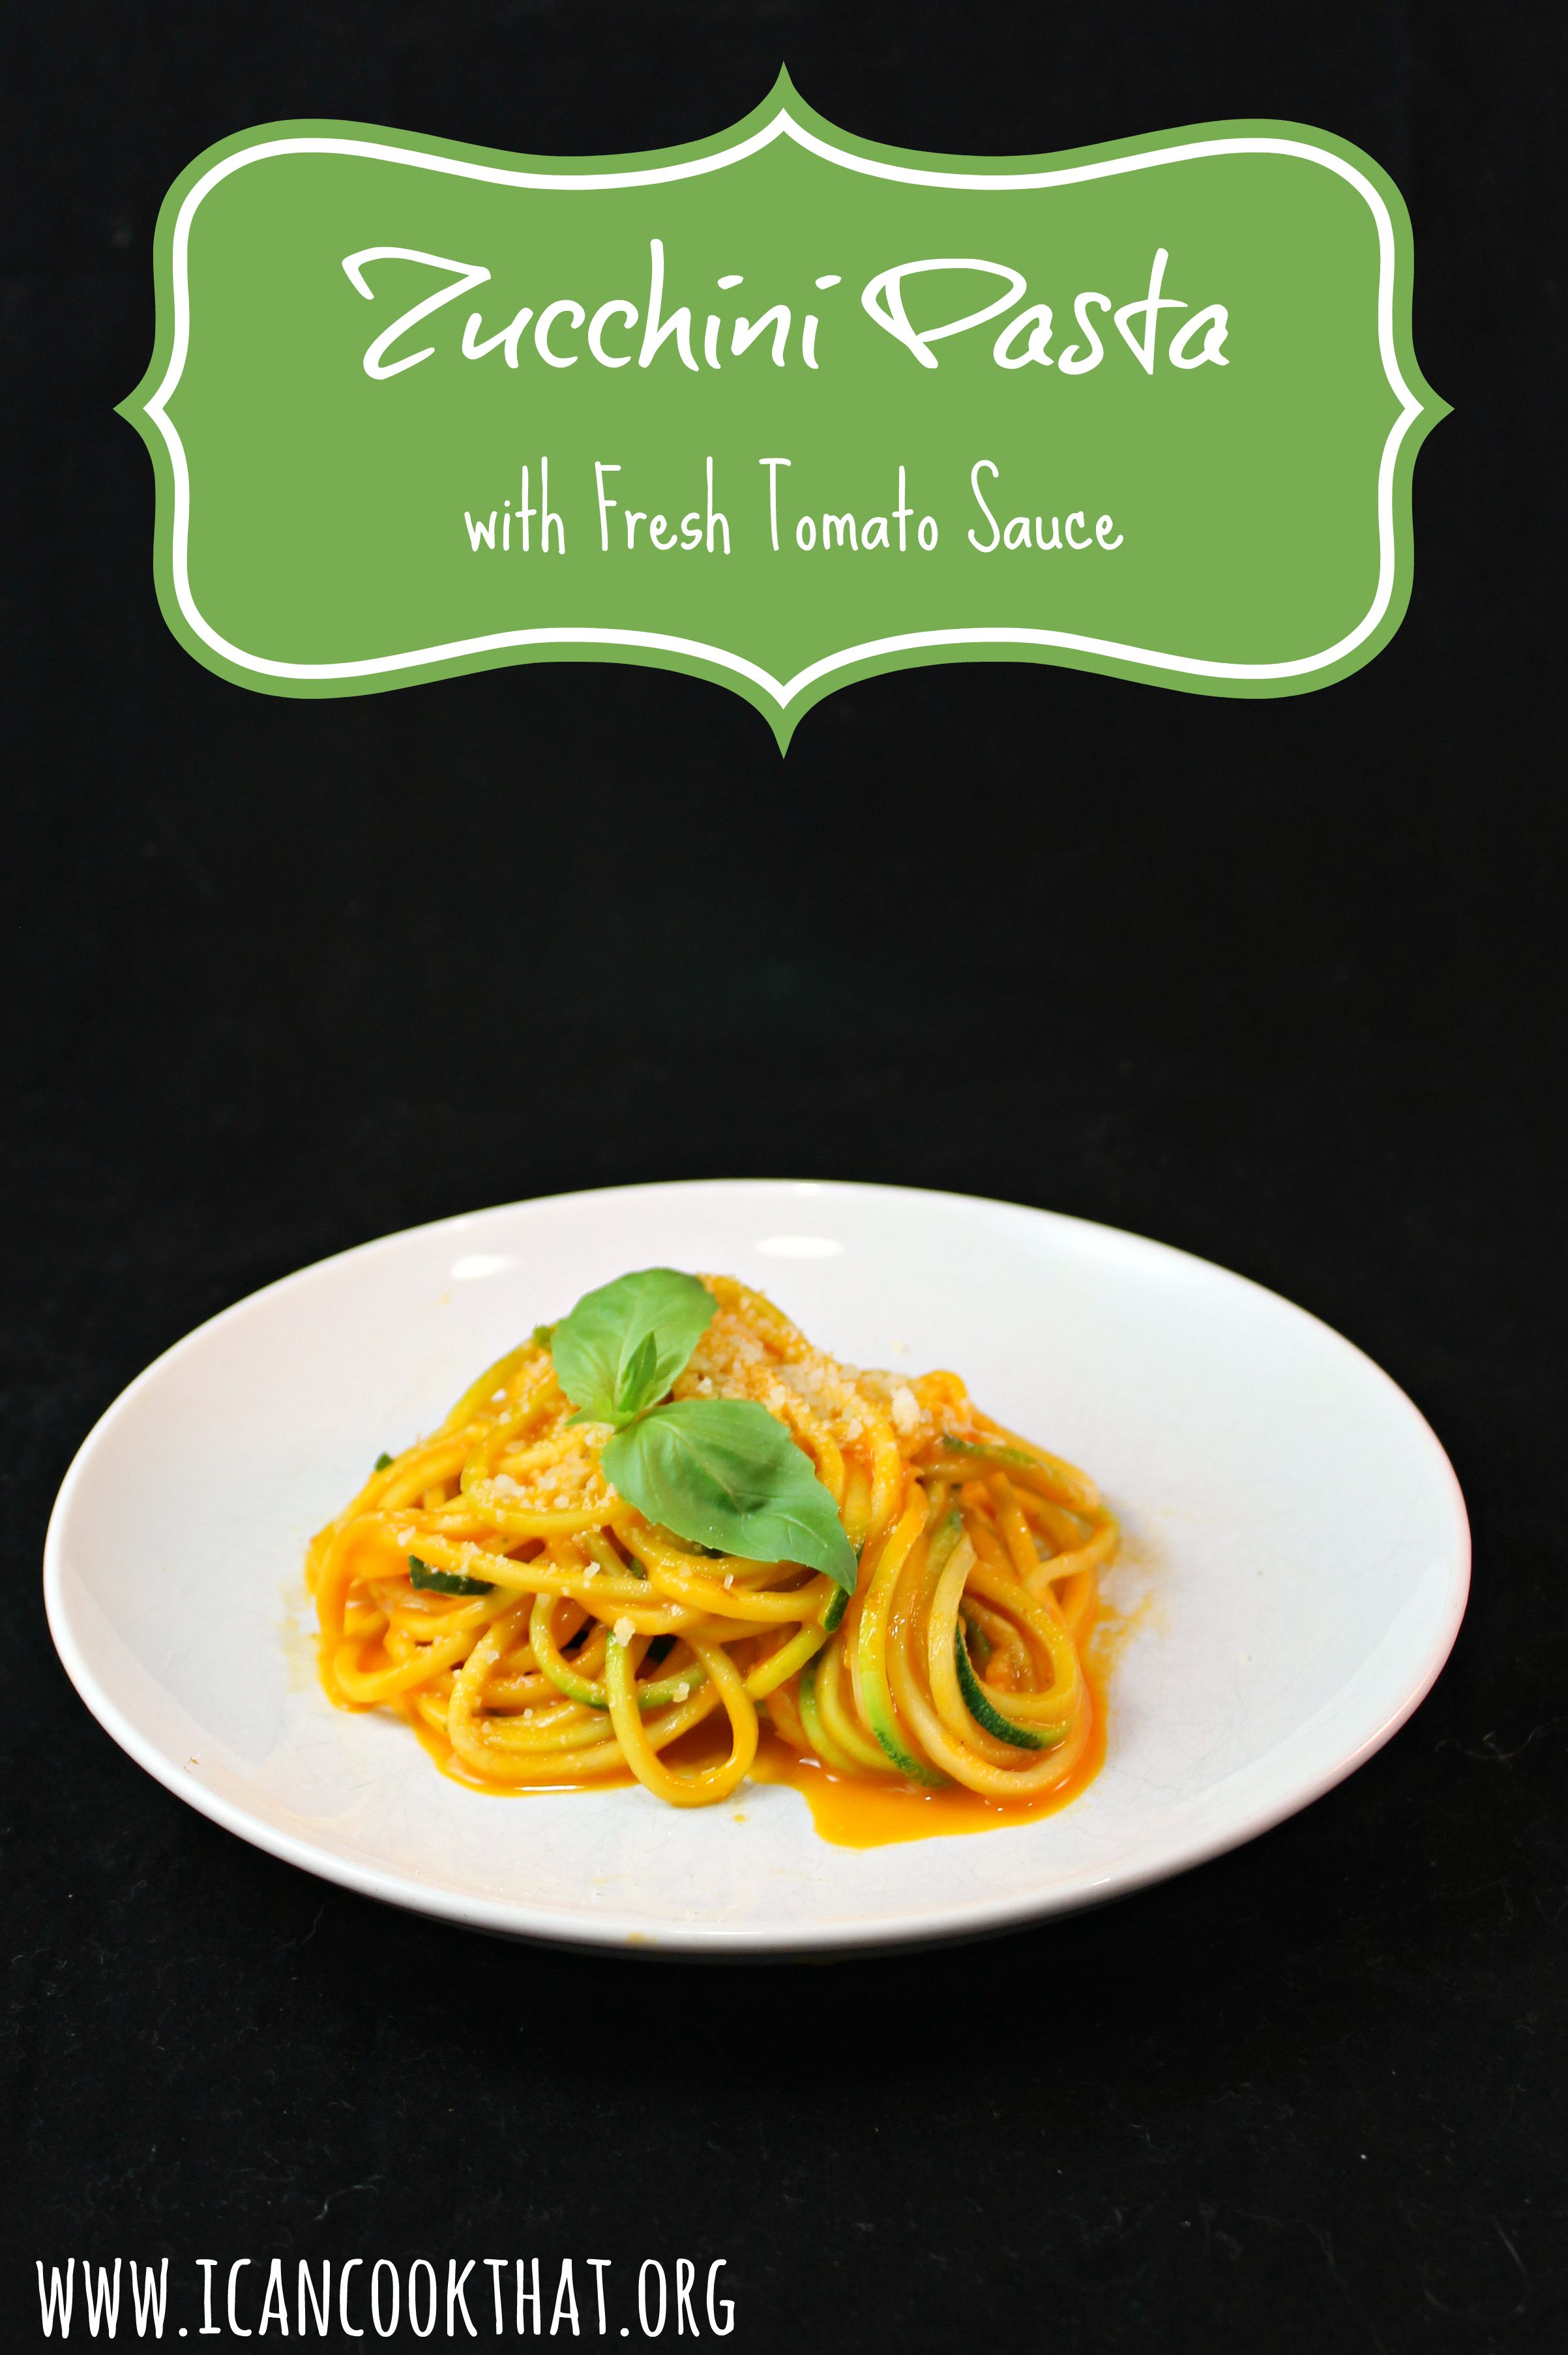
Zucchini noodles (or “zoodles”) seem to be all the rage at the moment, so I was excited to try them out myself!
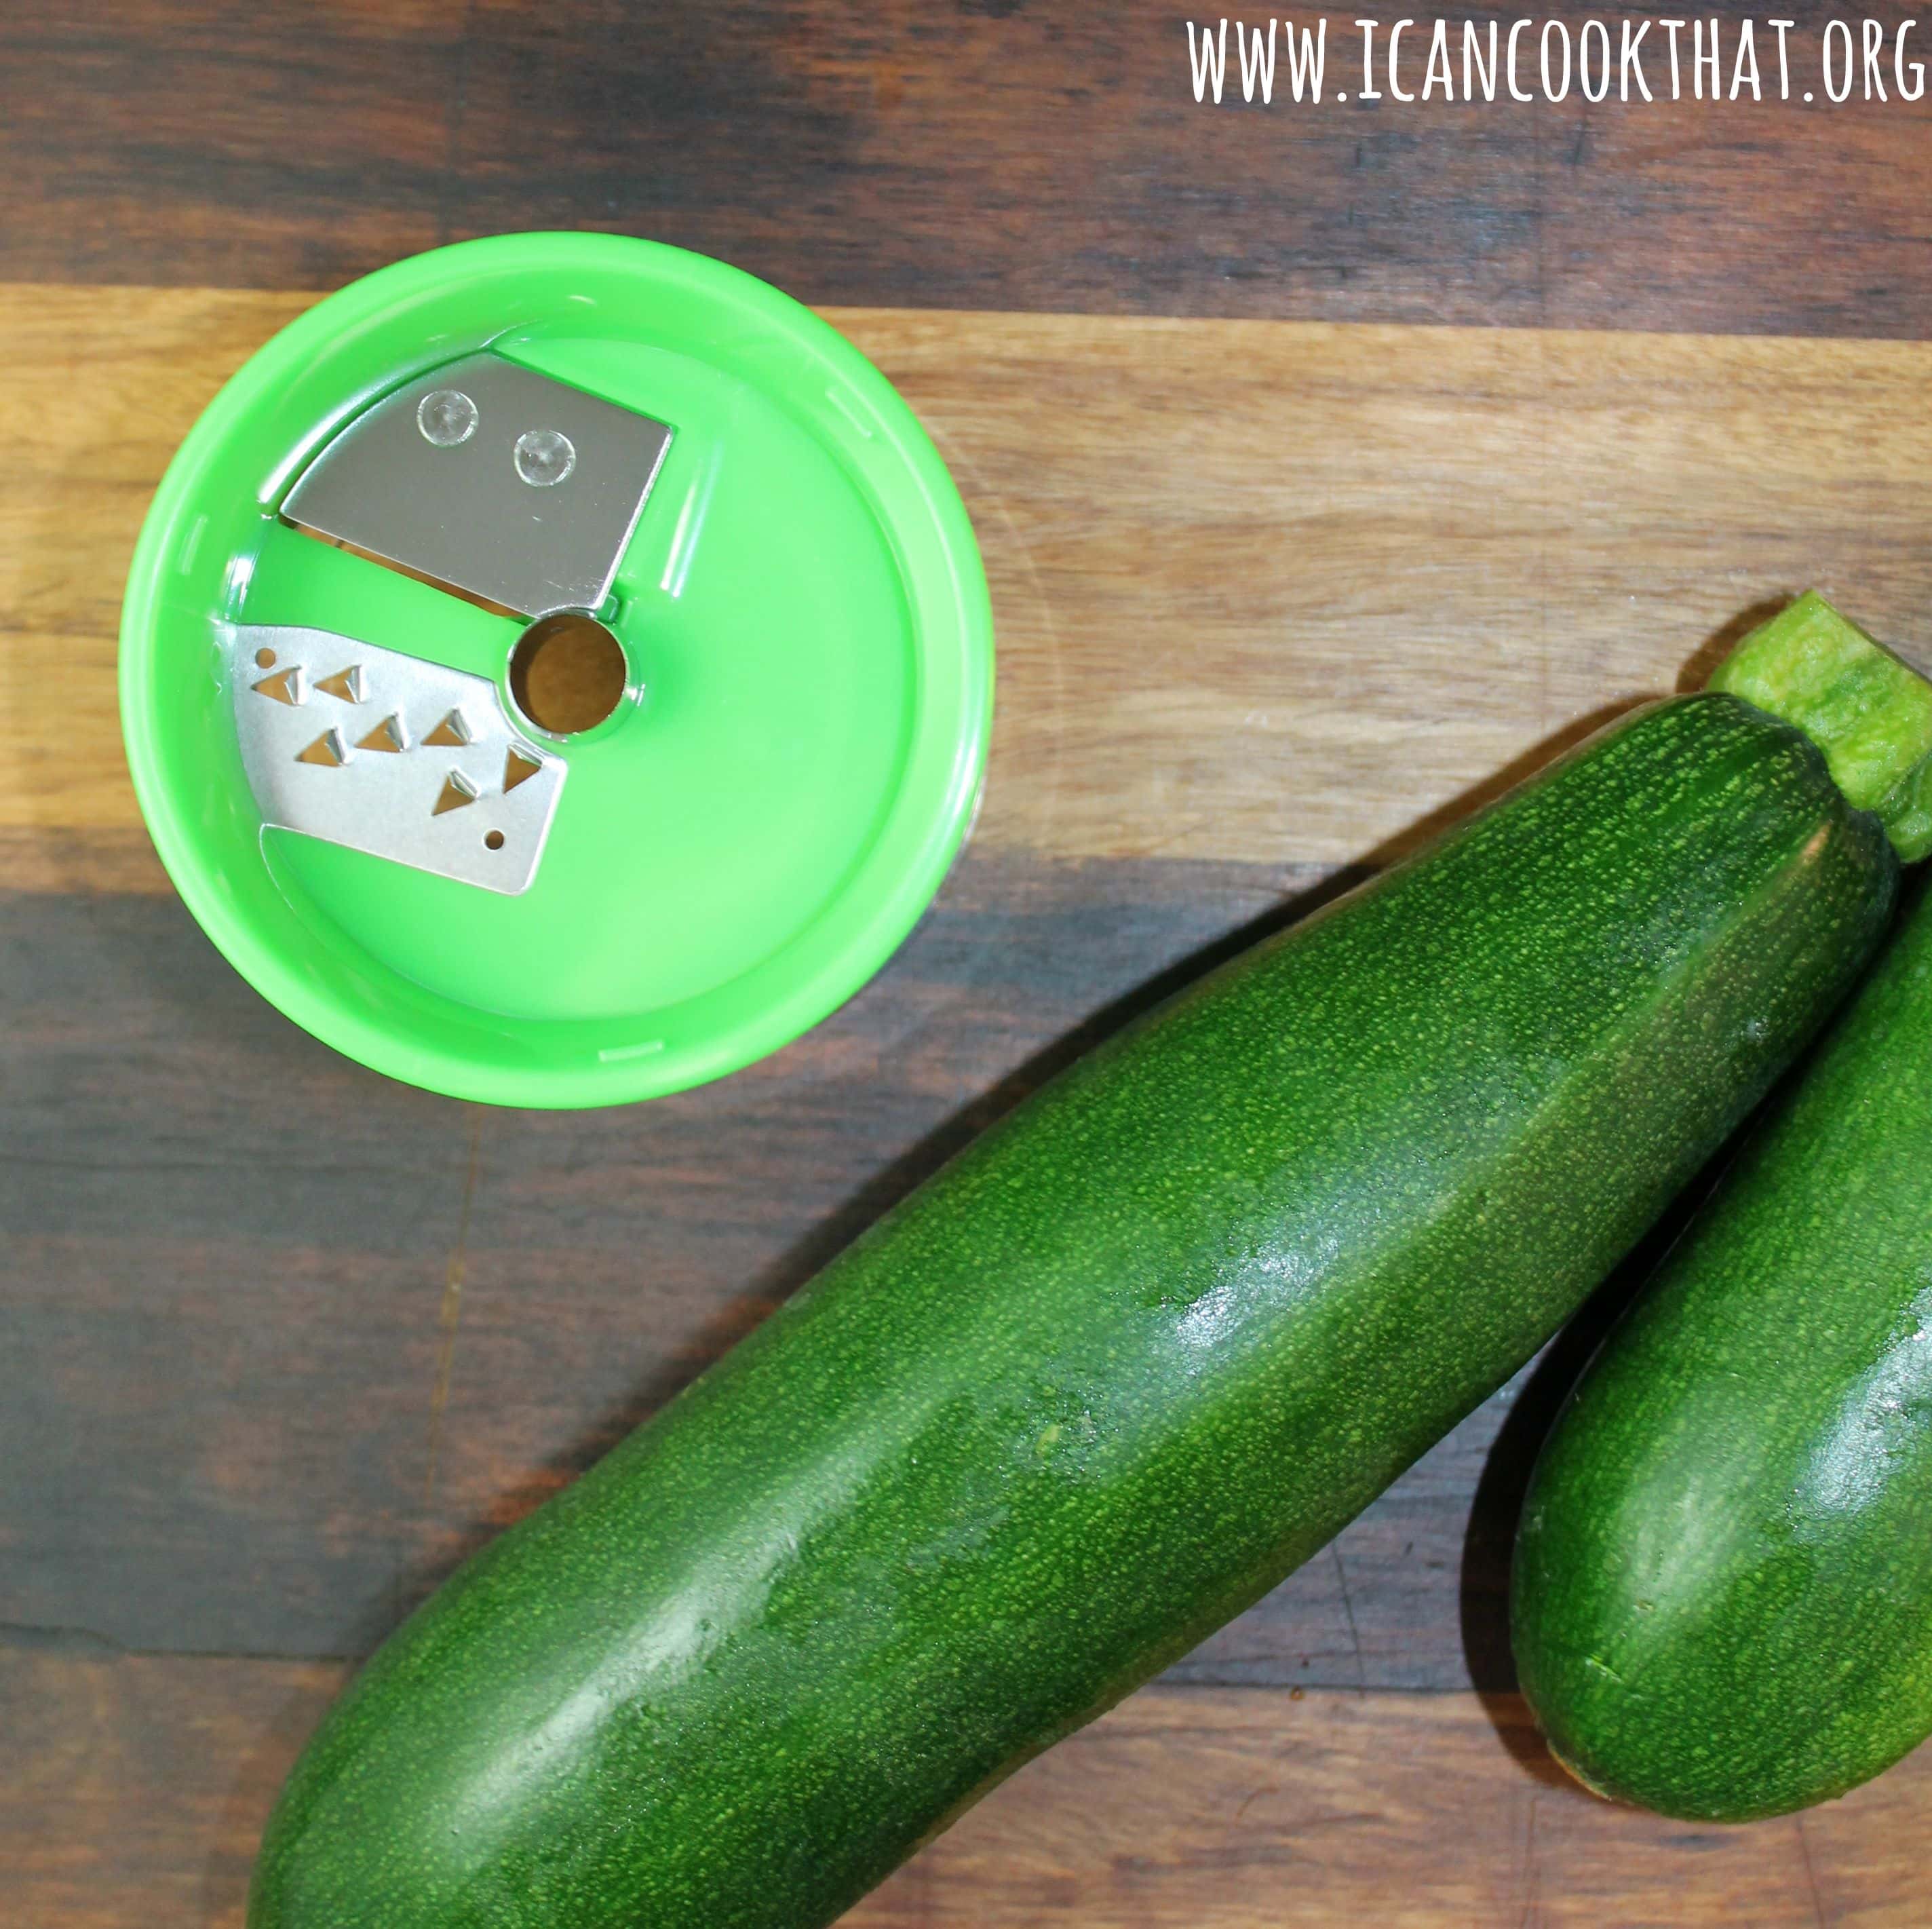
The OXO Hand-Held Spiralizer creates curly noodles from long vegetables like zucchini, carrots, and cucumbers, while it’s open blade design accommodates round vegetables like beets, potatoes, and sweet potatoes. The food holder keeps hands safe from the blade and the easy non-slip grip container makes it simple to turn the Spiralizer. It is also BPA-free and dishwasher safe.
For this recipe, I decided to make a tomato sauce out of the fresh tomatoes I had in my house, so this recipe for Zucchini Pasta with Fresh Tomato Sauce is a very summery meal!
Note: I was sent an OXO Hand-Help Spiralizer to try for this post. Opinions are my own.
I was sent quite a few jalapenos as part of my Door-to-Door Organics box, more than I could really use in a normal time frame. So as part of #MyFarm2Table dinner, I decided to make Stuffed Jalapeno Poppers as one of the side dishes to use up the jalapenos.
I’m not the biggest fan of super spicy dishes, so after cutting and seeding the jalapenos, I placed them in a bowl of water for at least an hour to try to take some of the heat out of them. There was still some in the peppers, but it did help! (Note: there were still a couple of peppers that packed a punch, so be aware that every pepper is different in terms of heat).
This post is sponsored by Door-to-Door Organics. All opinions are my own. #MyFarm2Table
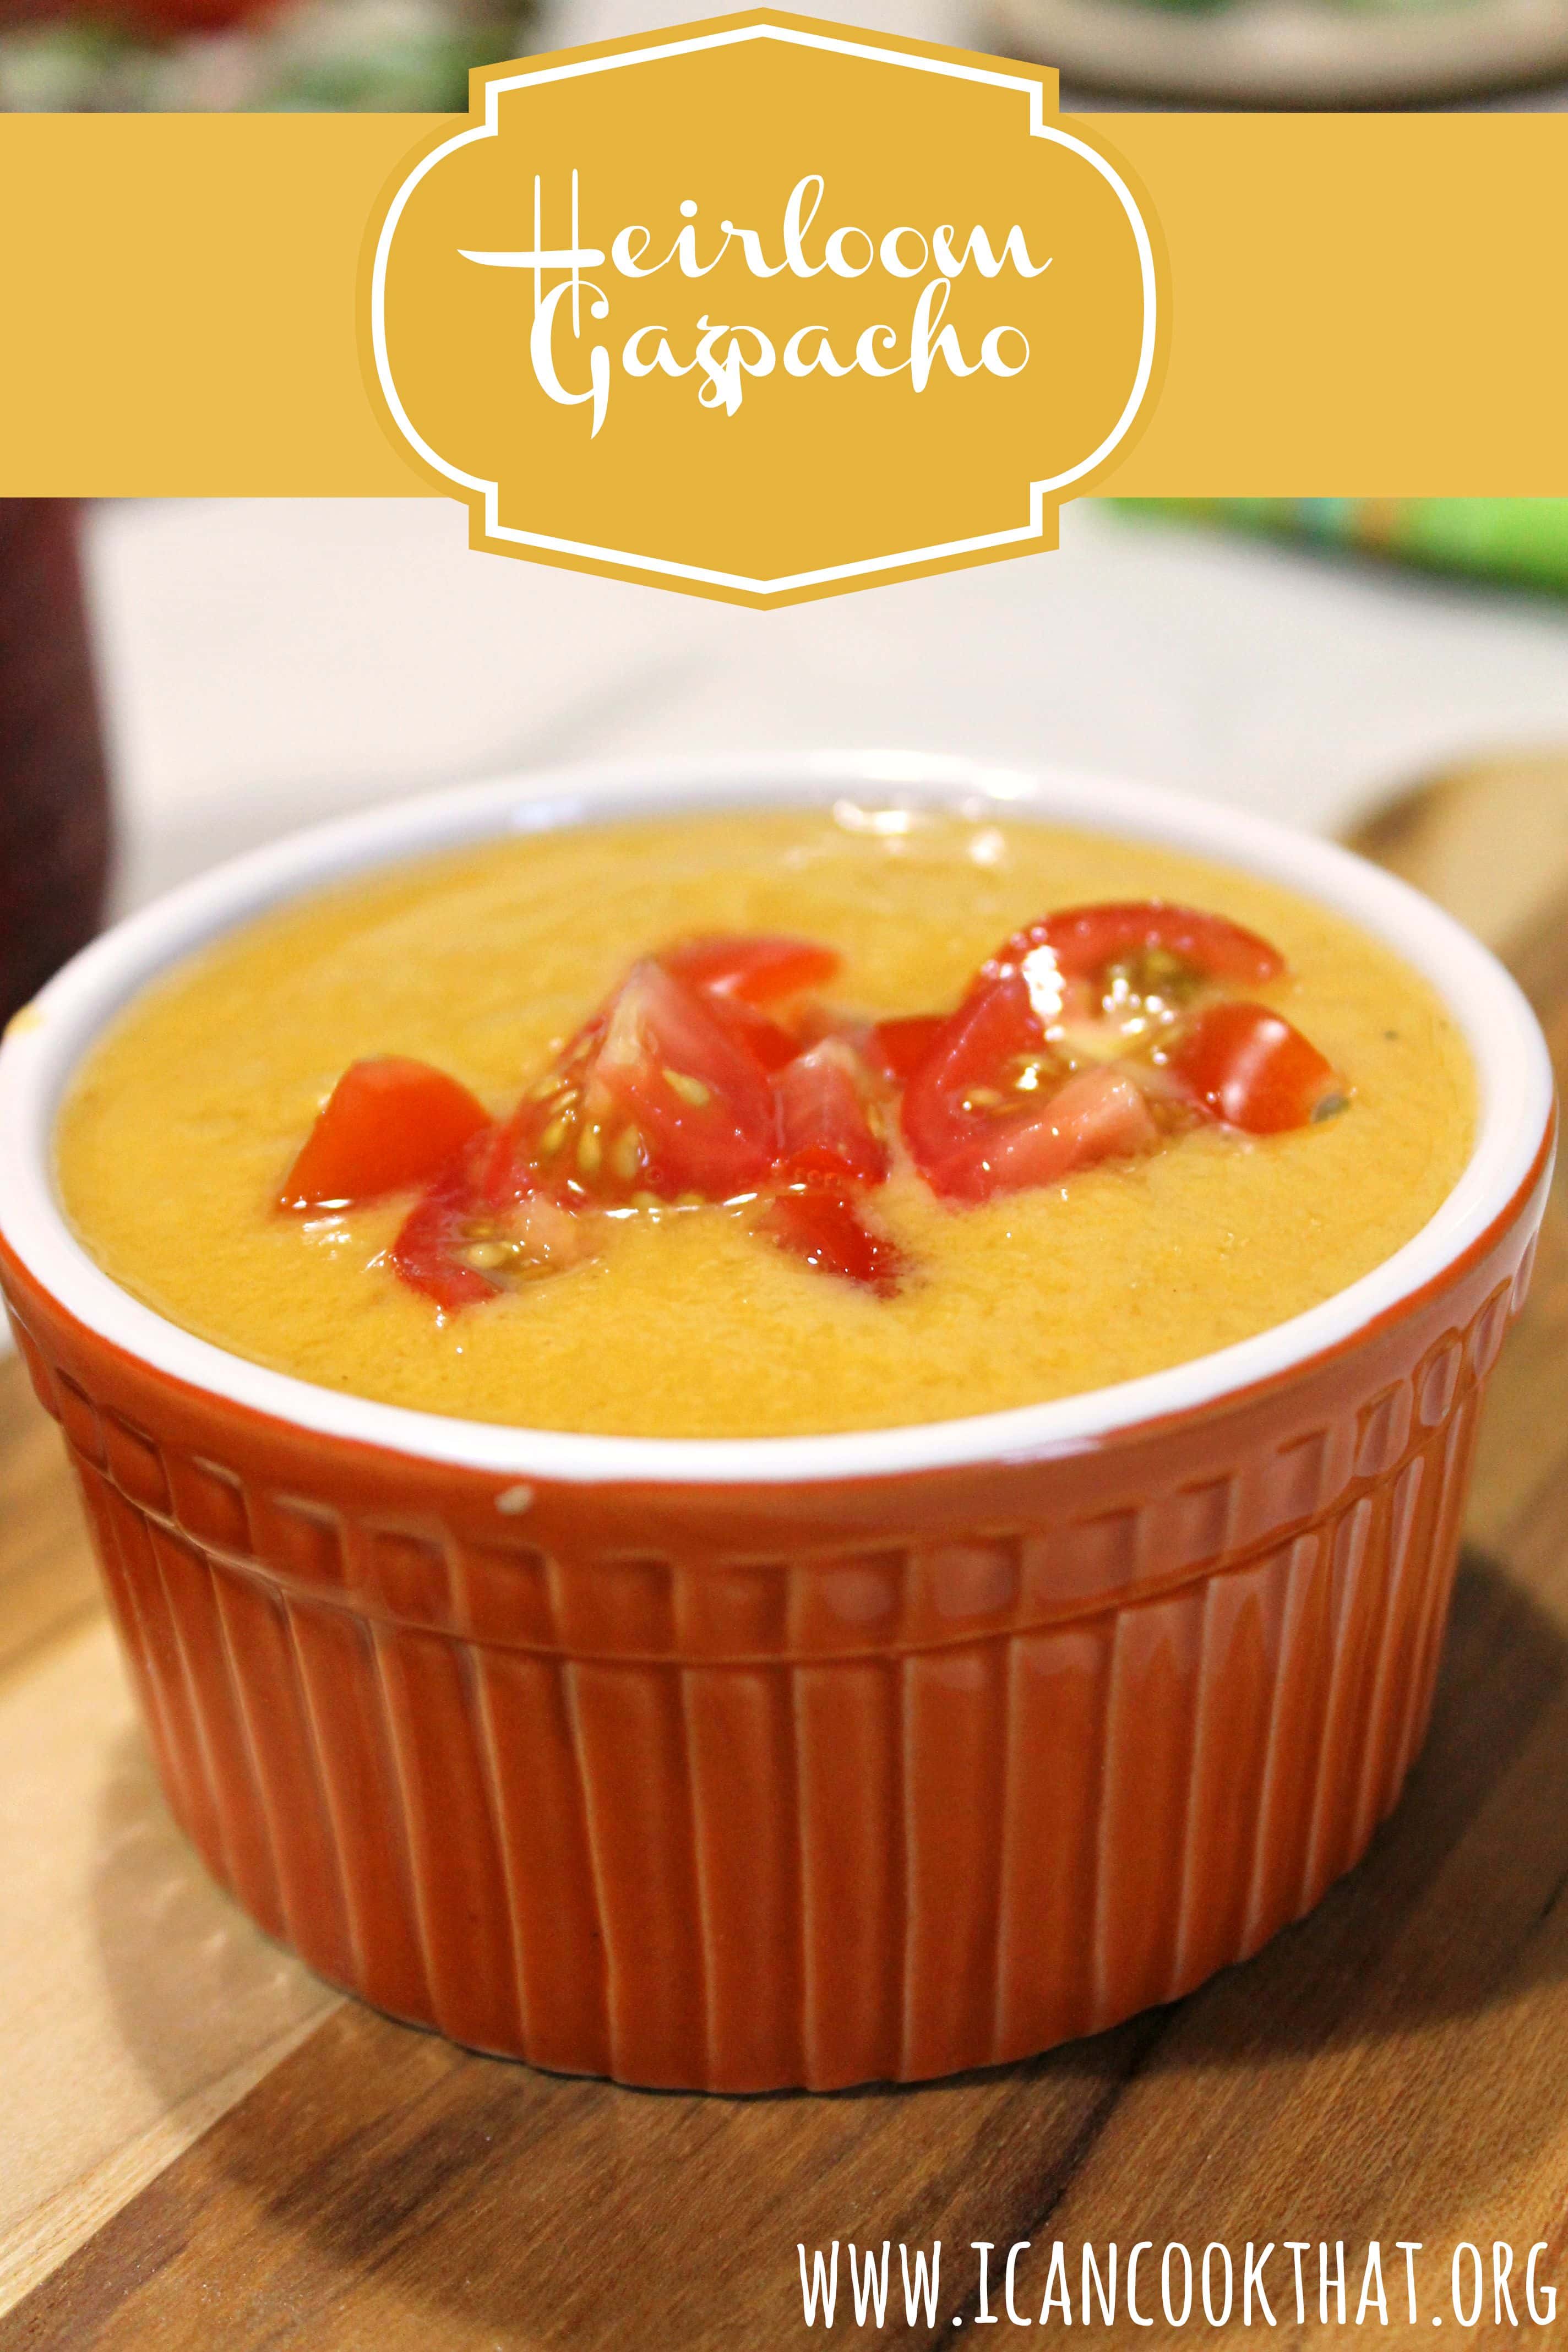
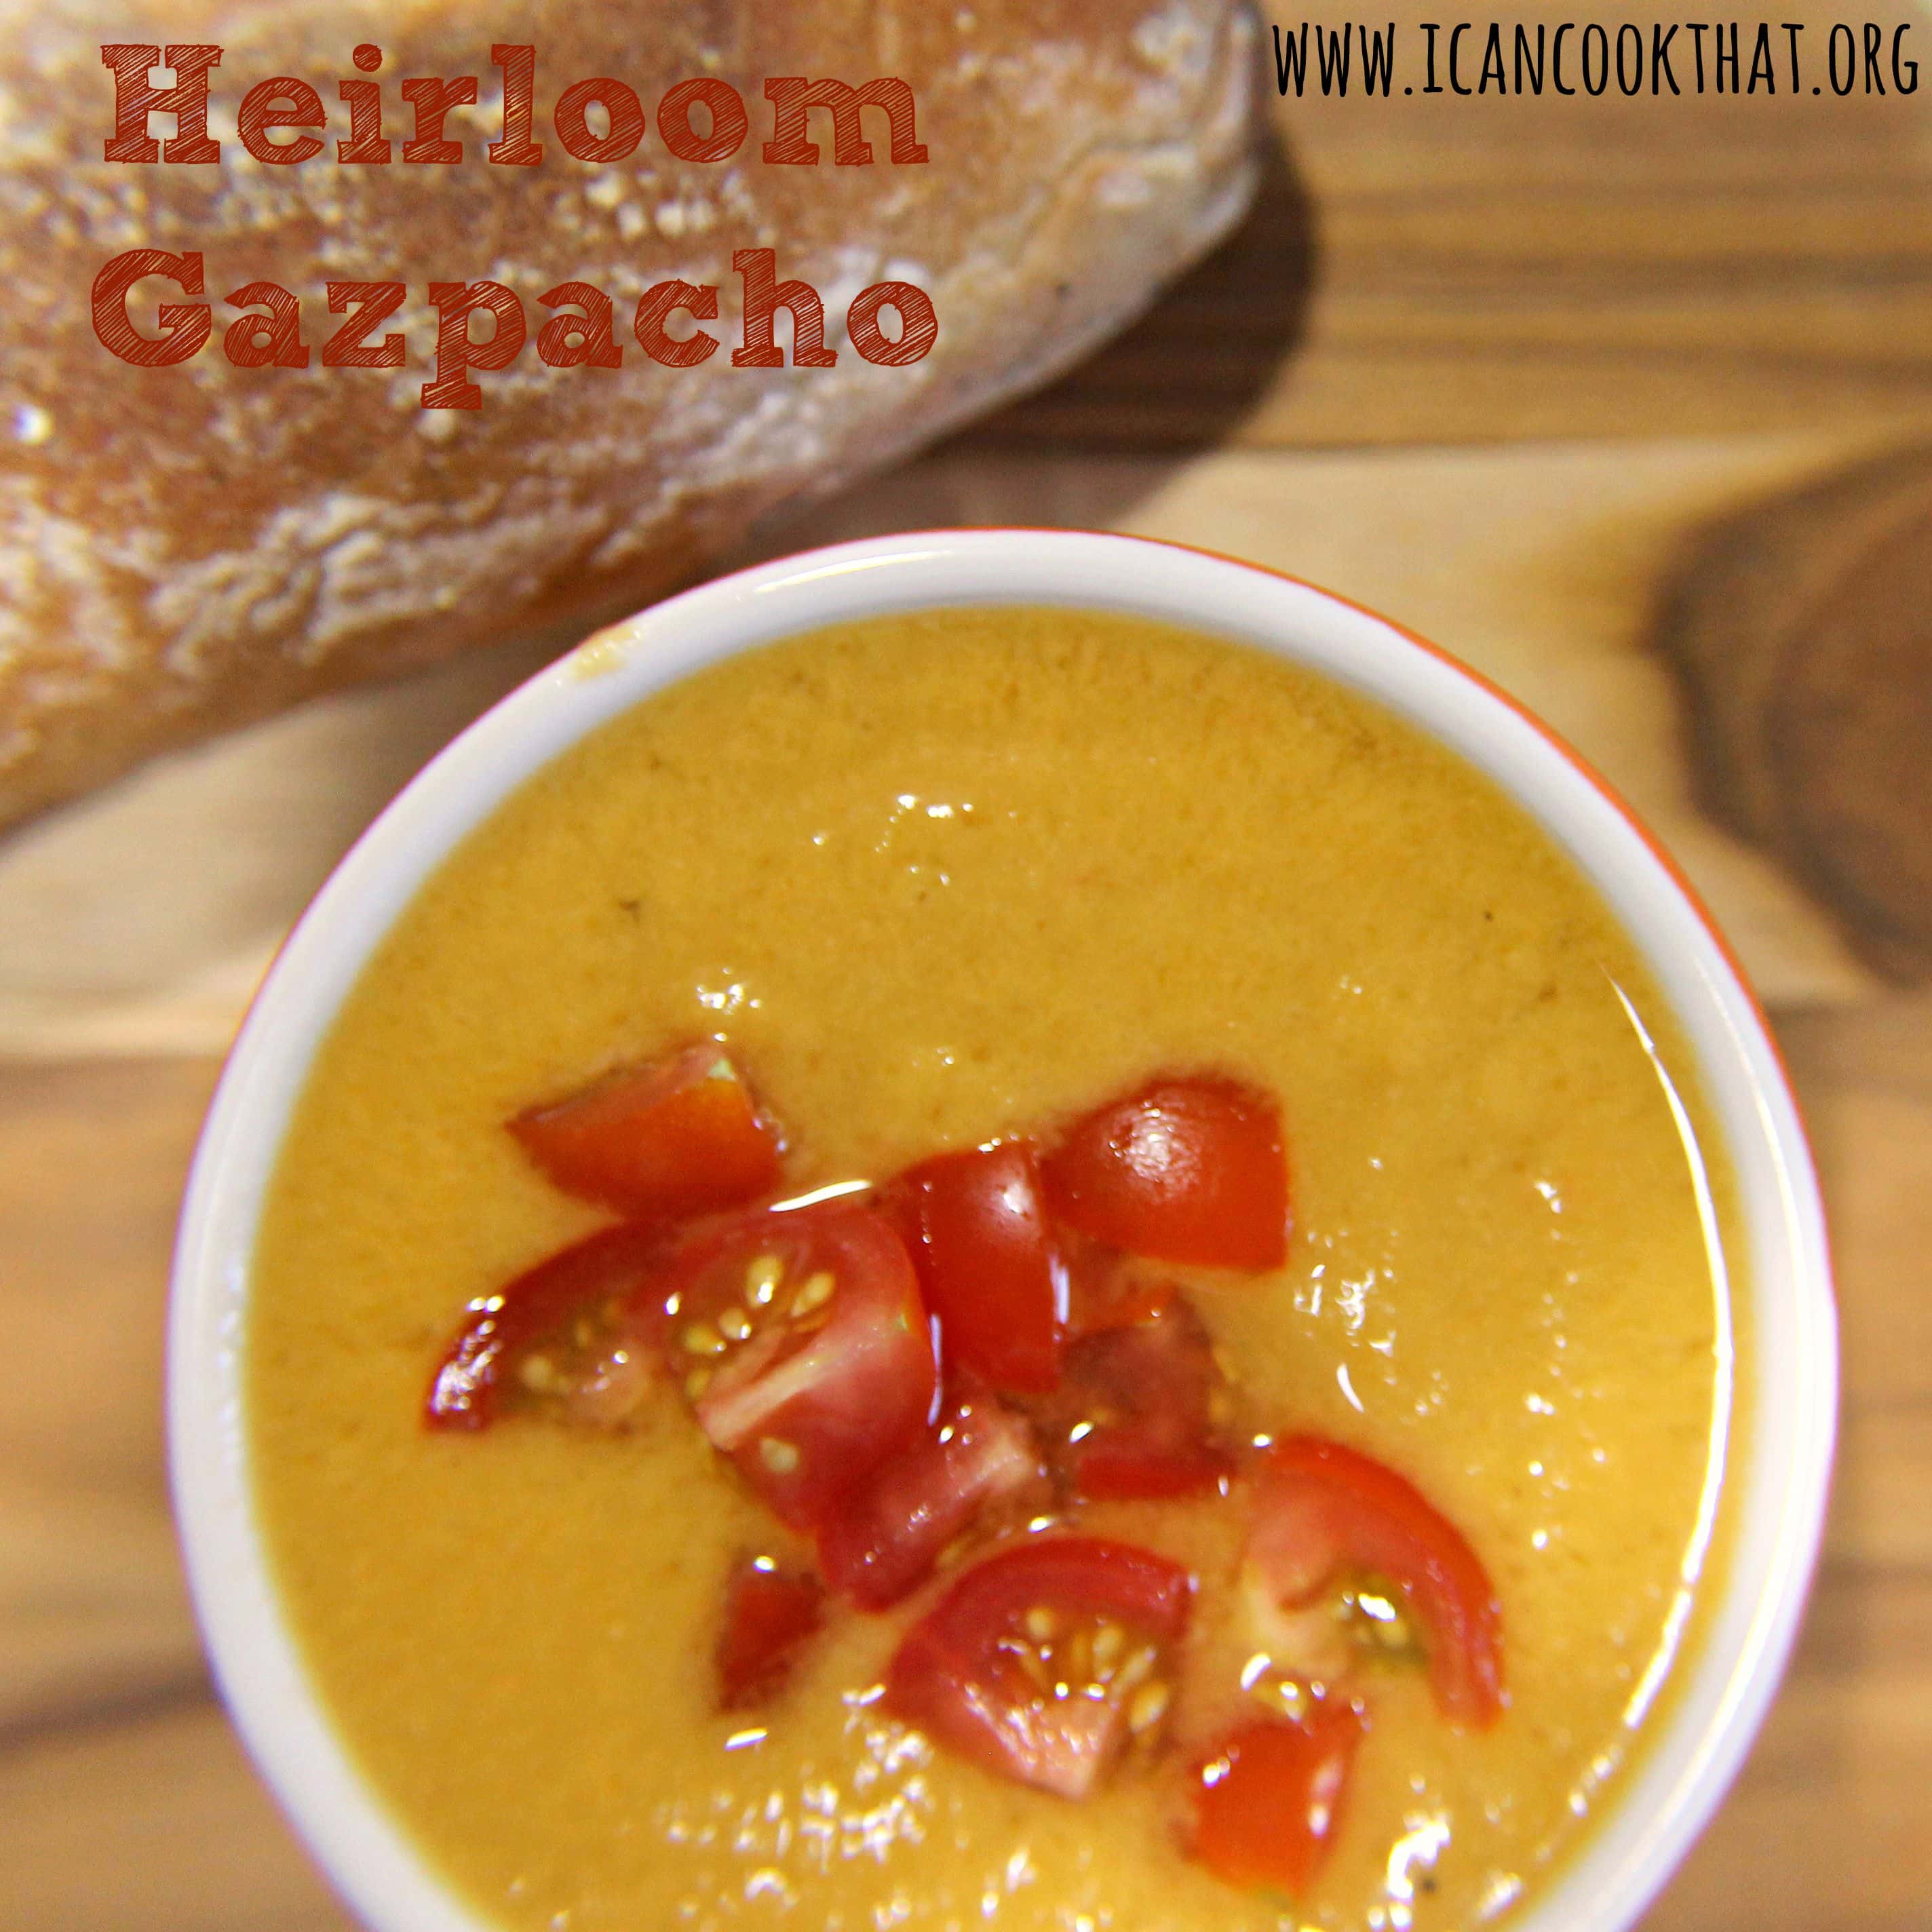
I was sent some beautiful Local Organic Heirloom Tomatoes from Door-to-Door Organics for my Farm-to-Table post. I love the colors of heirloom tomatoes, especially the lighter ones, so I wanted to use them in a way that highlighted their coloring. What better way to make heirloom tomatoes the star but in a Gazpacho recipe?
Now, the one typical setback of making gazpacho is going through the whole process of peeling and seeding tomatoes. So, for this recipe, I just eliminated it. I have a pretty awesome blender (a Blendtec) which blended the tomatoes well enough to basically eliminate the skins and seeds, so yours may come out a bit more chunky. But removing the skin of a tomato is just such a pain!
I served my silky smooth gazpacho topped with finely chopped cherry tomatoes and a Wild Flour Bakery Hearth Baked Mini Baguette that was also in my box from Door-to-Door Organics. The recipe also includes a green bell pepper and a jalapeno which were also a part of my box.
Ingredients:
3 cups heirloom tomatoes, chopped (I used some yellow and red)
This post is sponsored by Door-to-Door Organics. All opinions are my own. #MyFarm2Table
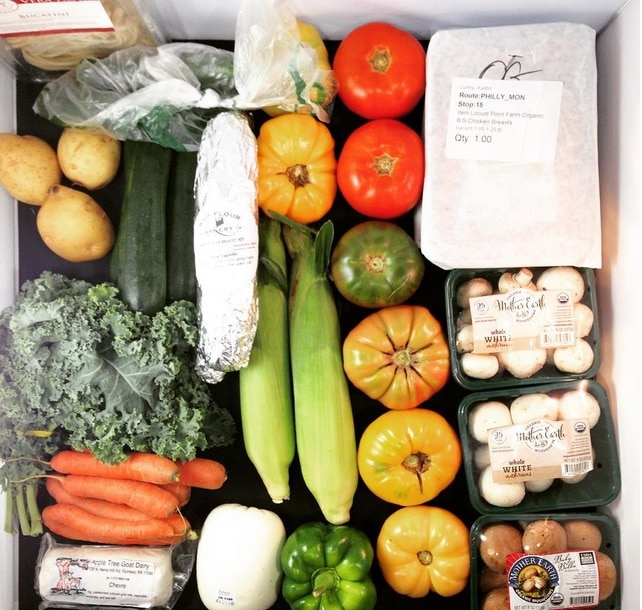
I have been using Door-to-Door Organics for a while now, receiving a Little Mixed Box every other week, and I absolutely love it. Each box is always filled with great quality produce that I can customize a few days prior to ensure I get exactly what I want each time.
This week, I will be sharing a bunch of recipes that I made for a Farm-to-Table Dinner using a Local Farm Box plus a curated selection of local foods, courtesy of Door-to-Door Organics. I had plenty of ingredient to choose from, look at all these goodies!
These products are sourced locally when possible and come from a number of different local farmers.
Interested in trying out a farm box for yourself? Enter code ICanFarm2Table to receive 40% your first delivery!
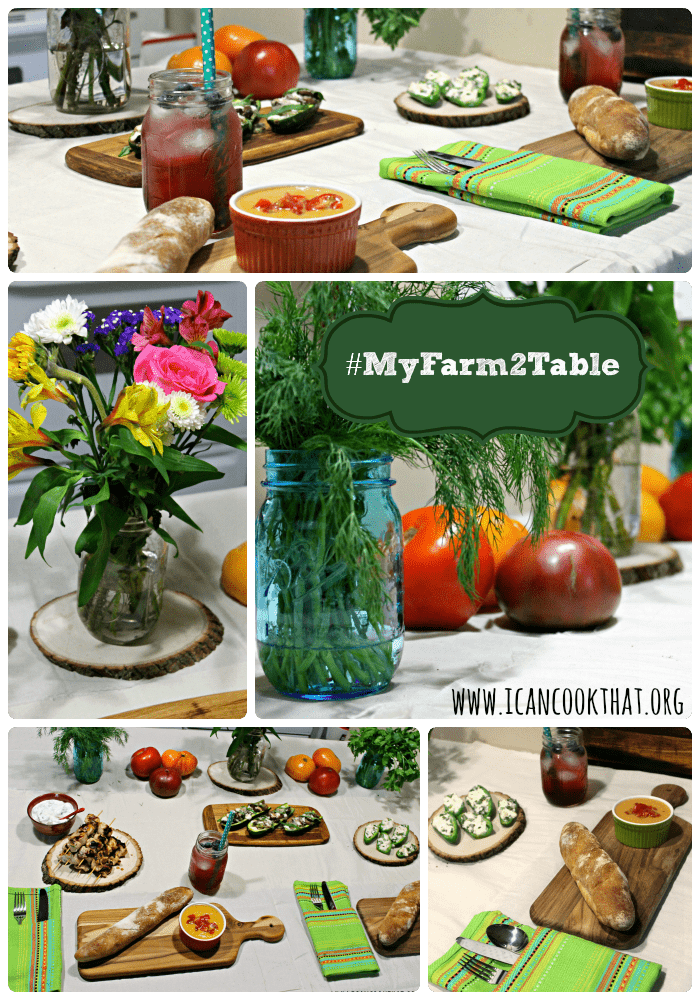
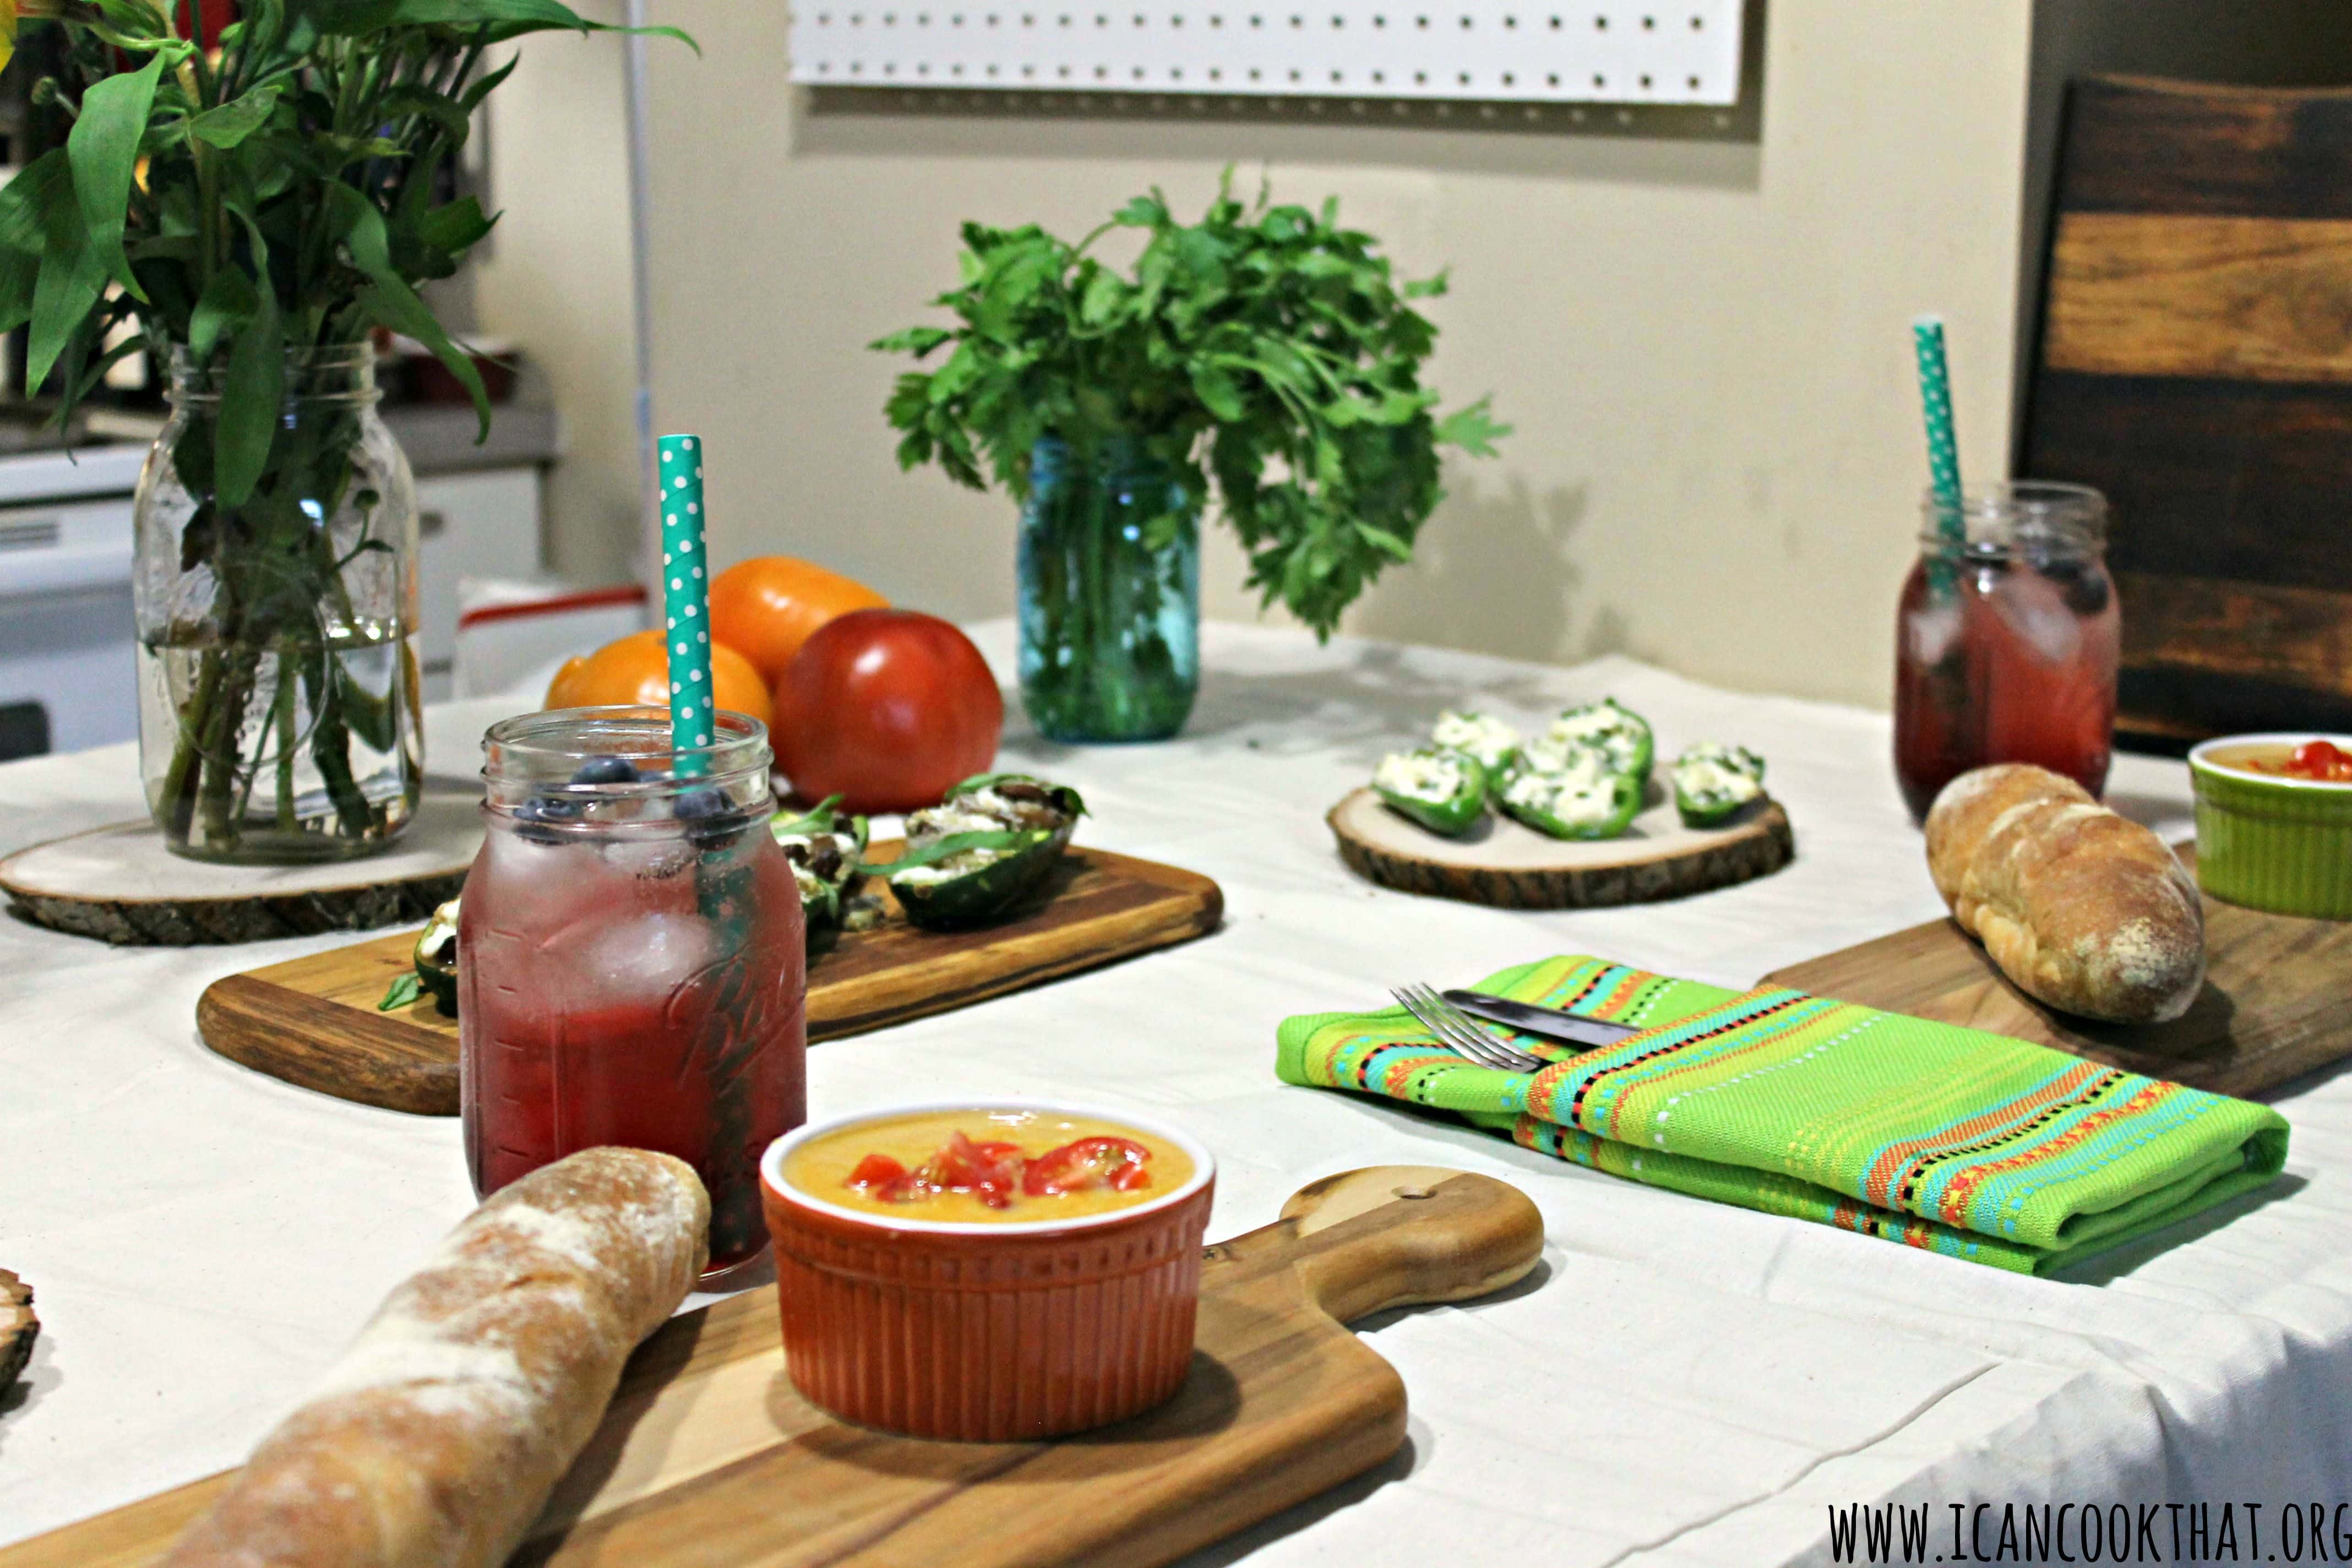
I used this as an opportunity to bring some of the “farm” into my little city condo. We typically eat dinner on the kitchen island, so I transformed our little space into a picnic! The tomatoes were so gorgeous, the ones not used for the meal became part of the tablescape, along with some of the fresh herbs I used in the recipes as well as a bouquet of flowers.
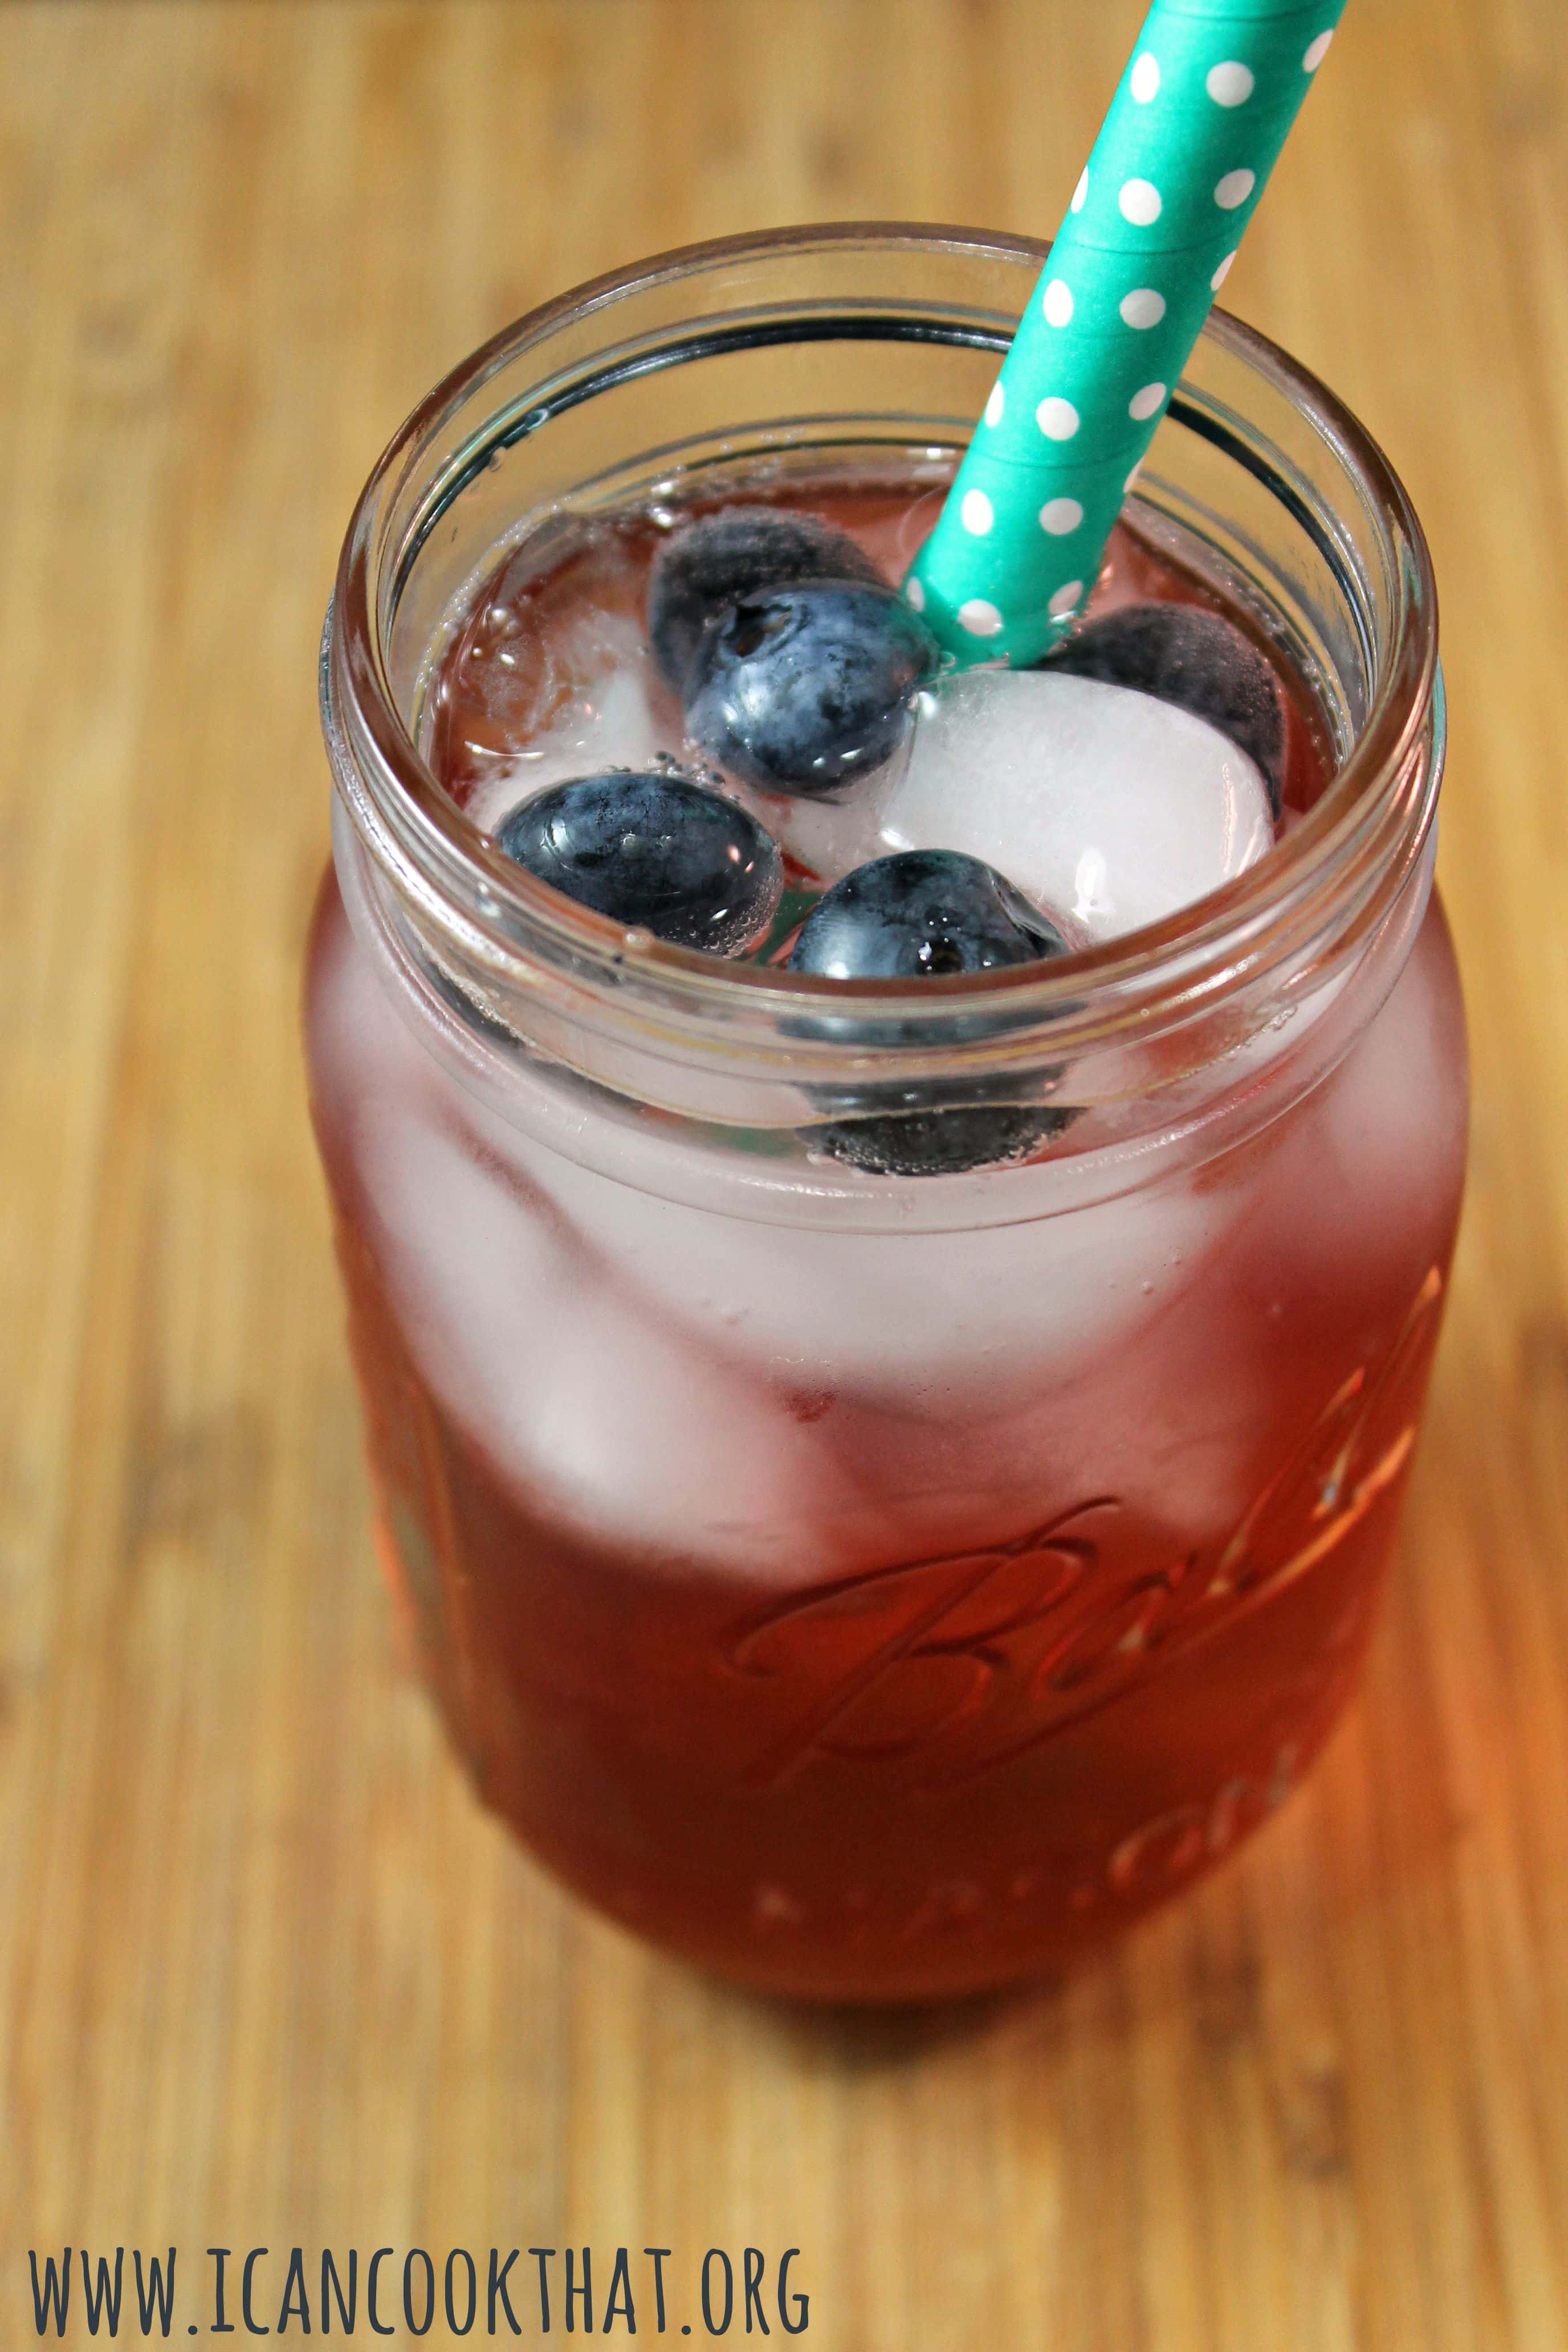
We had plenty of options to choose from, beginning with Gazpacho and then feasting on Zucchini Boats, Mediterranean Chicken Skewers, and Jalapeno Poppers. Our meal was complemented with a Sparkling Blueberry Pomegranate Cocktail, which was 1/2 oz St. Germain with Club Soda and a splash of Pomegranate Juice topped with Blueberries — so simple and really tasty!
I’m sharing the recipes all week (with the Sparkling Blueberry Pomegranate Cocktail below) so stop back to see what I’ve made!
I served the food on wooden boards to give it a more outdoorsy feel and we drank out of mason jars (which is actually the norm in my household anyways).
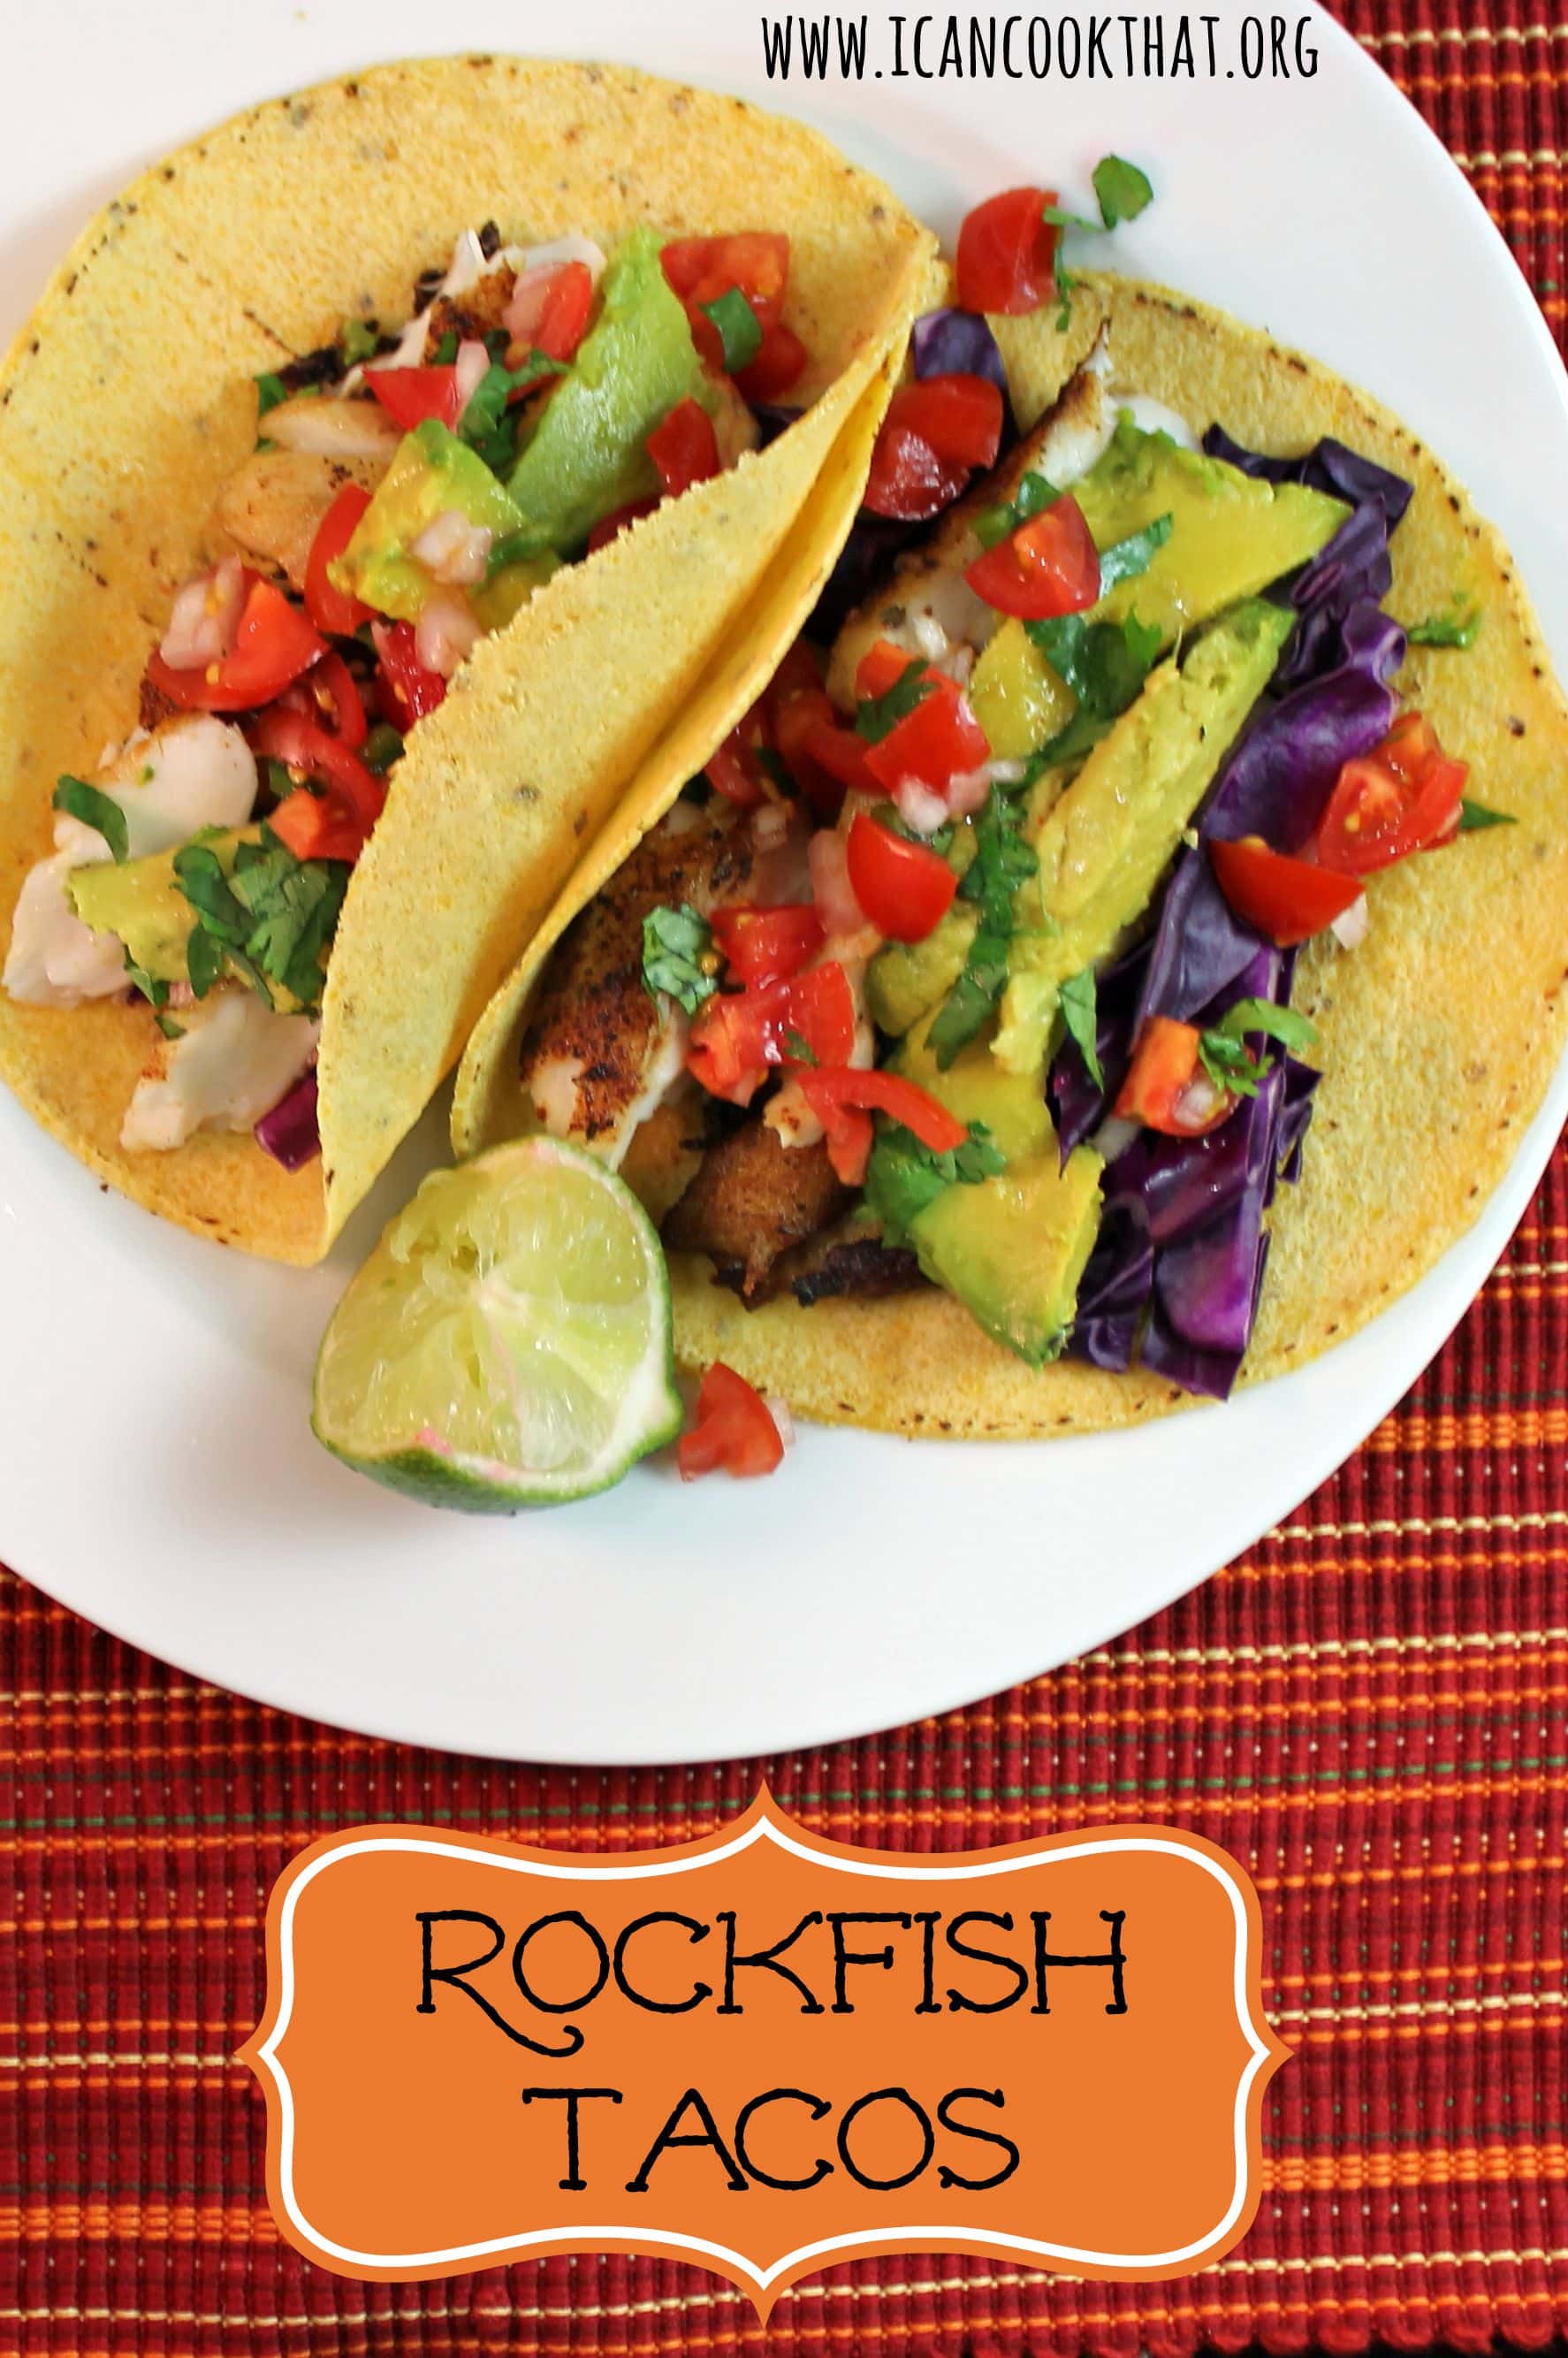
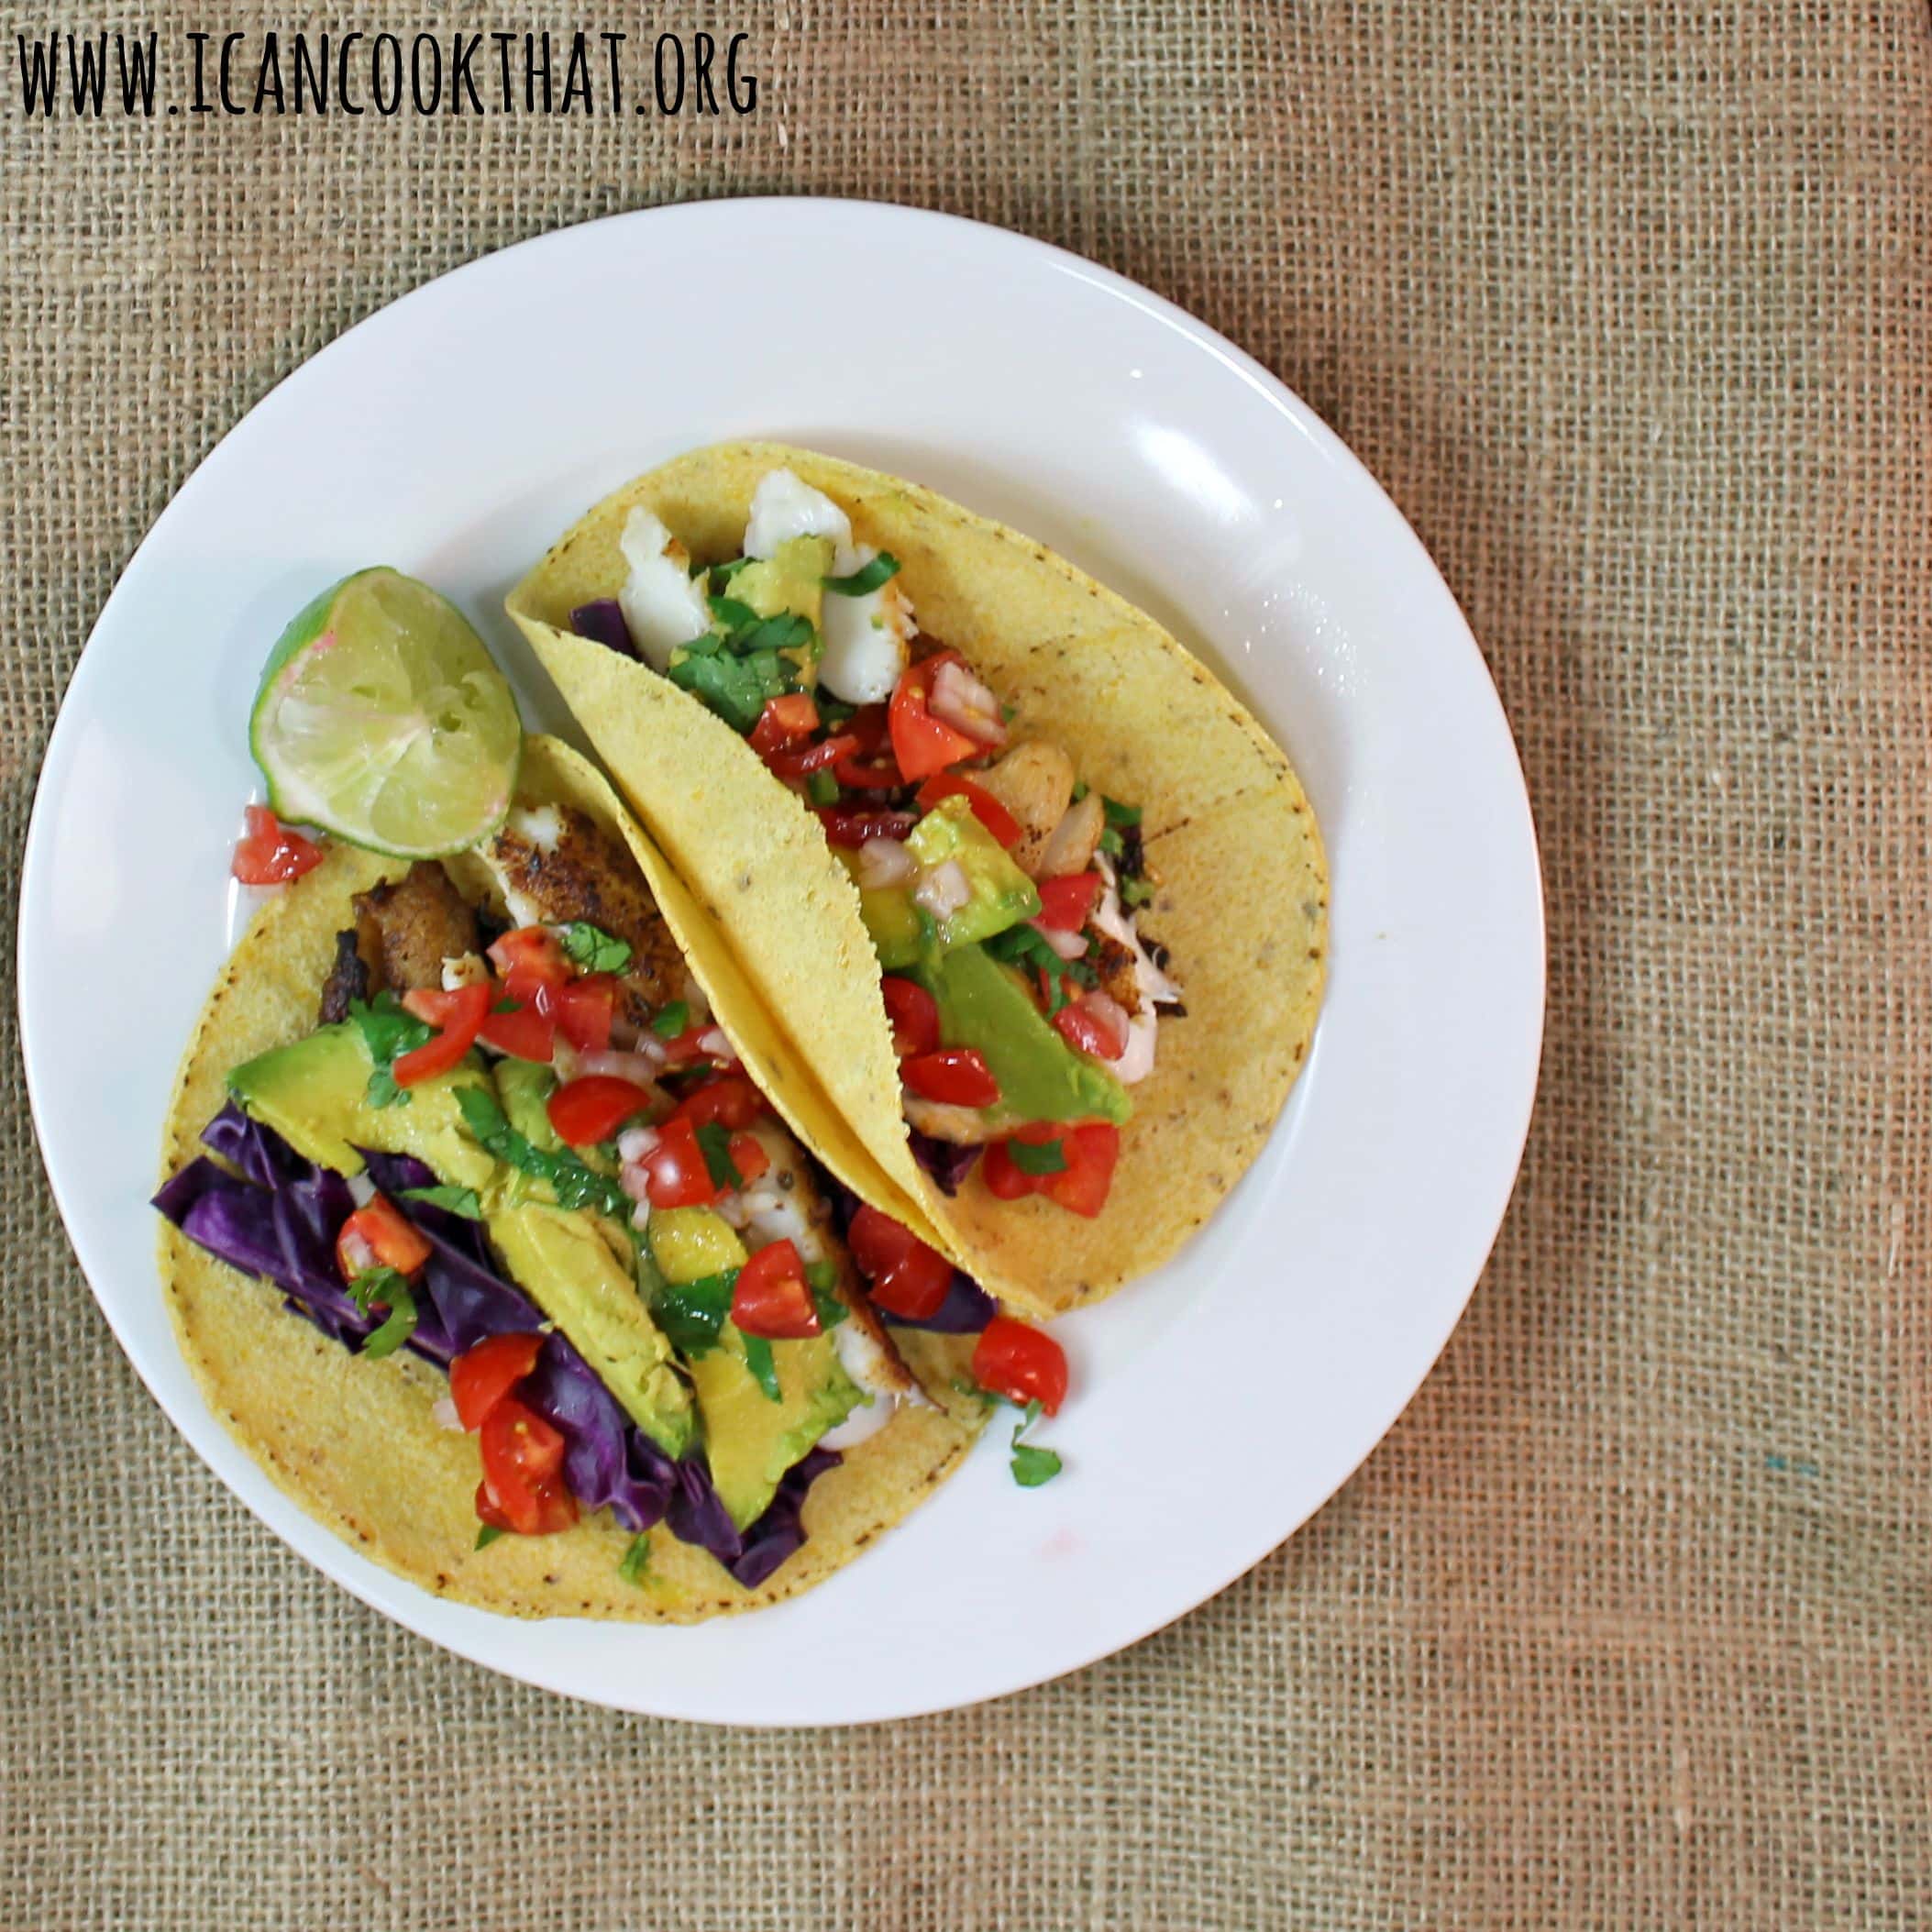
This weekend, my fiancé went fishing with a friend and his friend’s father. They had quite a successful trip, and came home with a ton of Rockfish! Rockfish, also known as striped bass, is a mild whitefish that can be prepared many different ways, so I was jazzed!
We had some that night on the grill (yum!), but there was plenty left over, and my fiance’s friend was nice enough to send us home with more fish. I had a hankering for fish tacos, so these Rockfish Tacos are the end result! Rockfish, or striped bass, is the perfect balance of flaky and meaty, so it works wonderfully in tacos.
Ingredients:
1 cup cherry tomatoes, diced
1 tablespoon minced jalapeno
1 tablespoon minced shallot
1 tablespoon cilantro chopped, plus more for garnish
the juice and zest of 1 lime
salt and pepper, to taste
1 tablespoon olive oil
1 large fillet rockfish (striped bass), skin removed (~1.5 lb)
This Saturday marks Jarden Home Brands fifth annual Can-It-Forward Day, which will be broadcast live online at FreshPreserving.com from 11AM – 4PM EST from the new state-of-the-art Jarden Home Brands headquarters in Fishers, Indiana.
An event celebrating the joys of fresh preserving, the -It-Forward Day webcast will have an integrated chat function where viewers can submit their home canning questions to be answered in real time. New this year, there will also be an exciting celebrity mason jar auction unveiled during the webcast!
My future sister-in-law is big into canning, and I’ve “helped” (a.k.a kept her company in the kitchen) once before, but the process of canning is really intimidating to me. I was told that if I can boil water, I can can, so I was both wary and excited to try this out!
I need to give a little shout out to my city, because the Mason jar was, in fact, invented and patented in Philadelphia in 1858 by local tinsmith John Landis Mason. So, this should be in my blood, right?
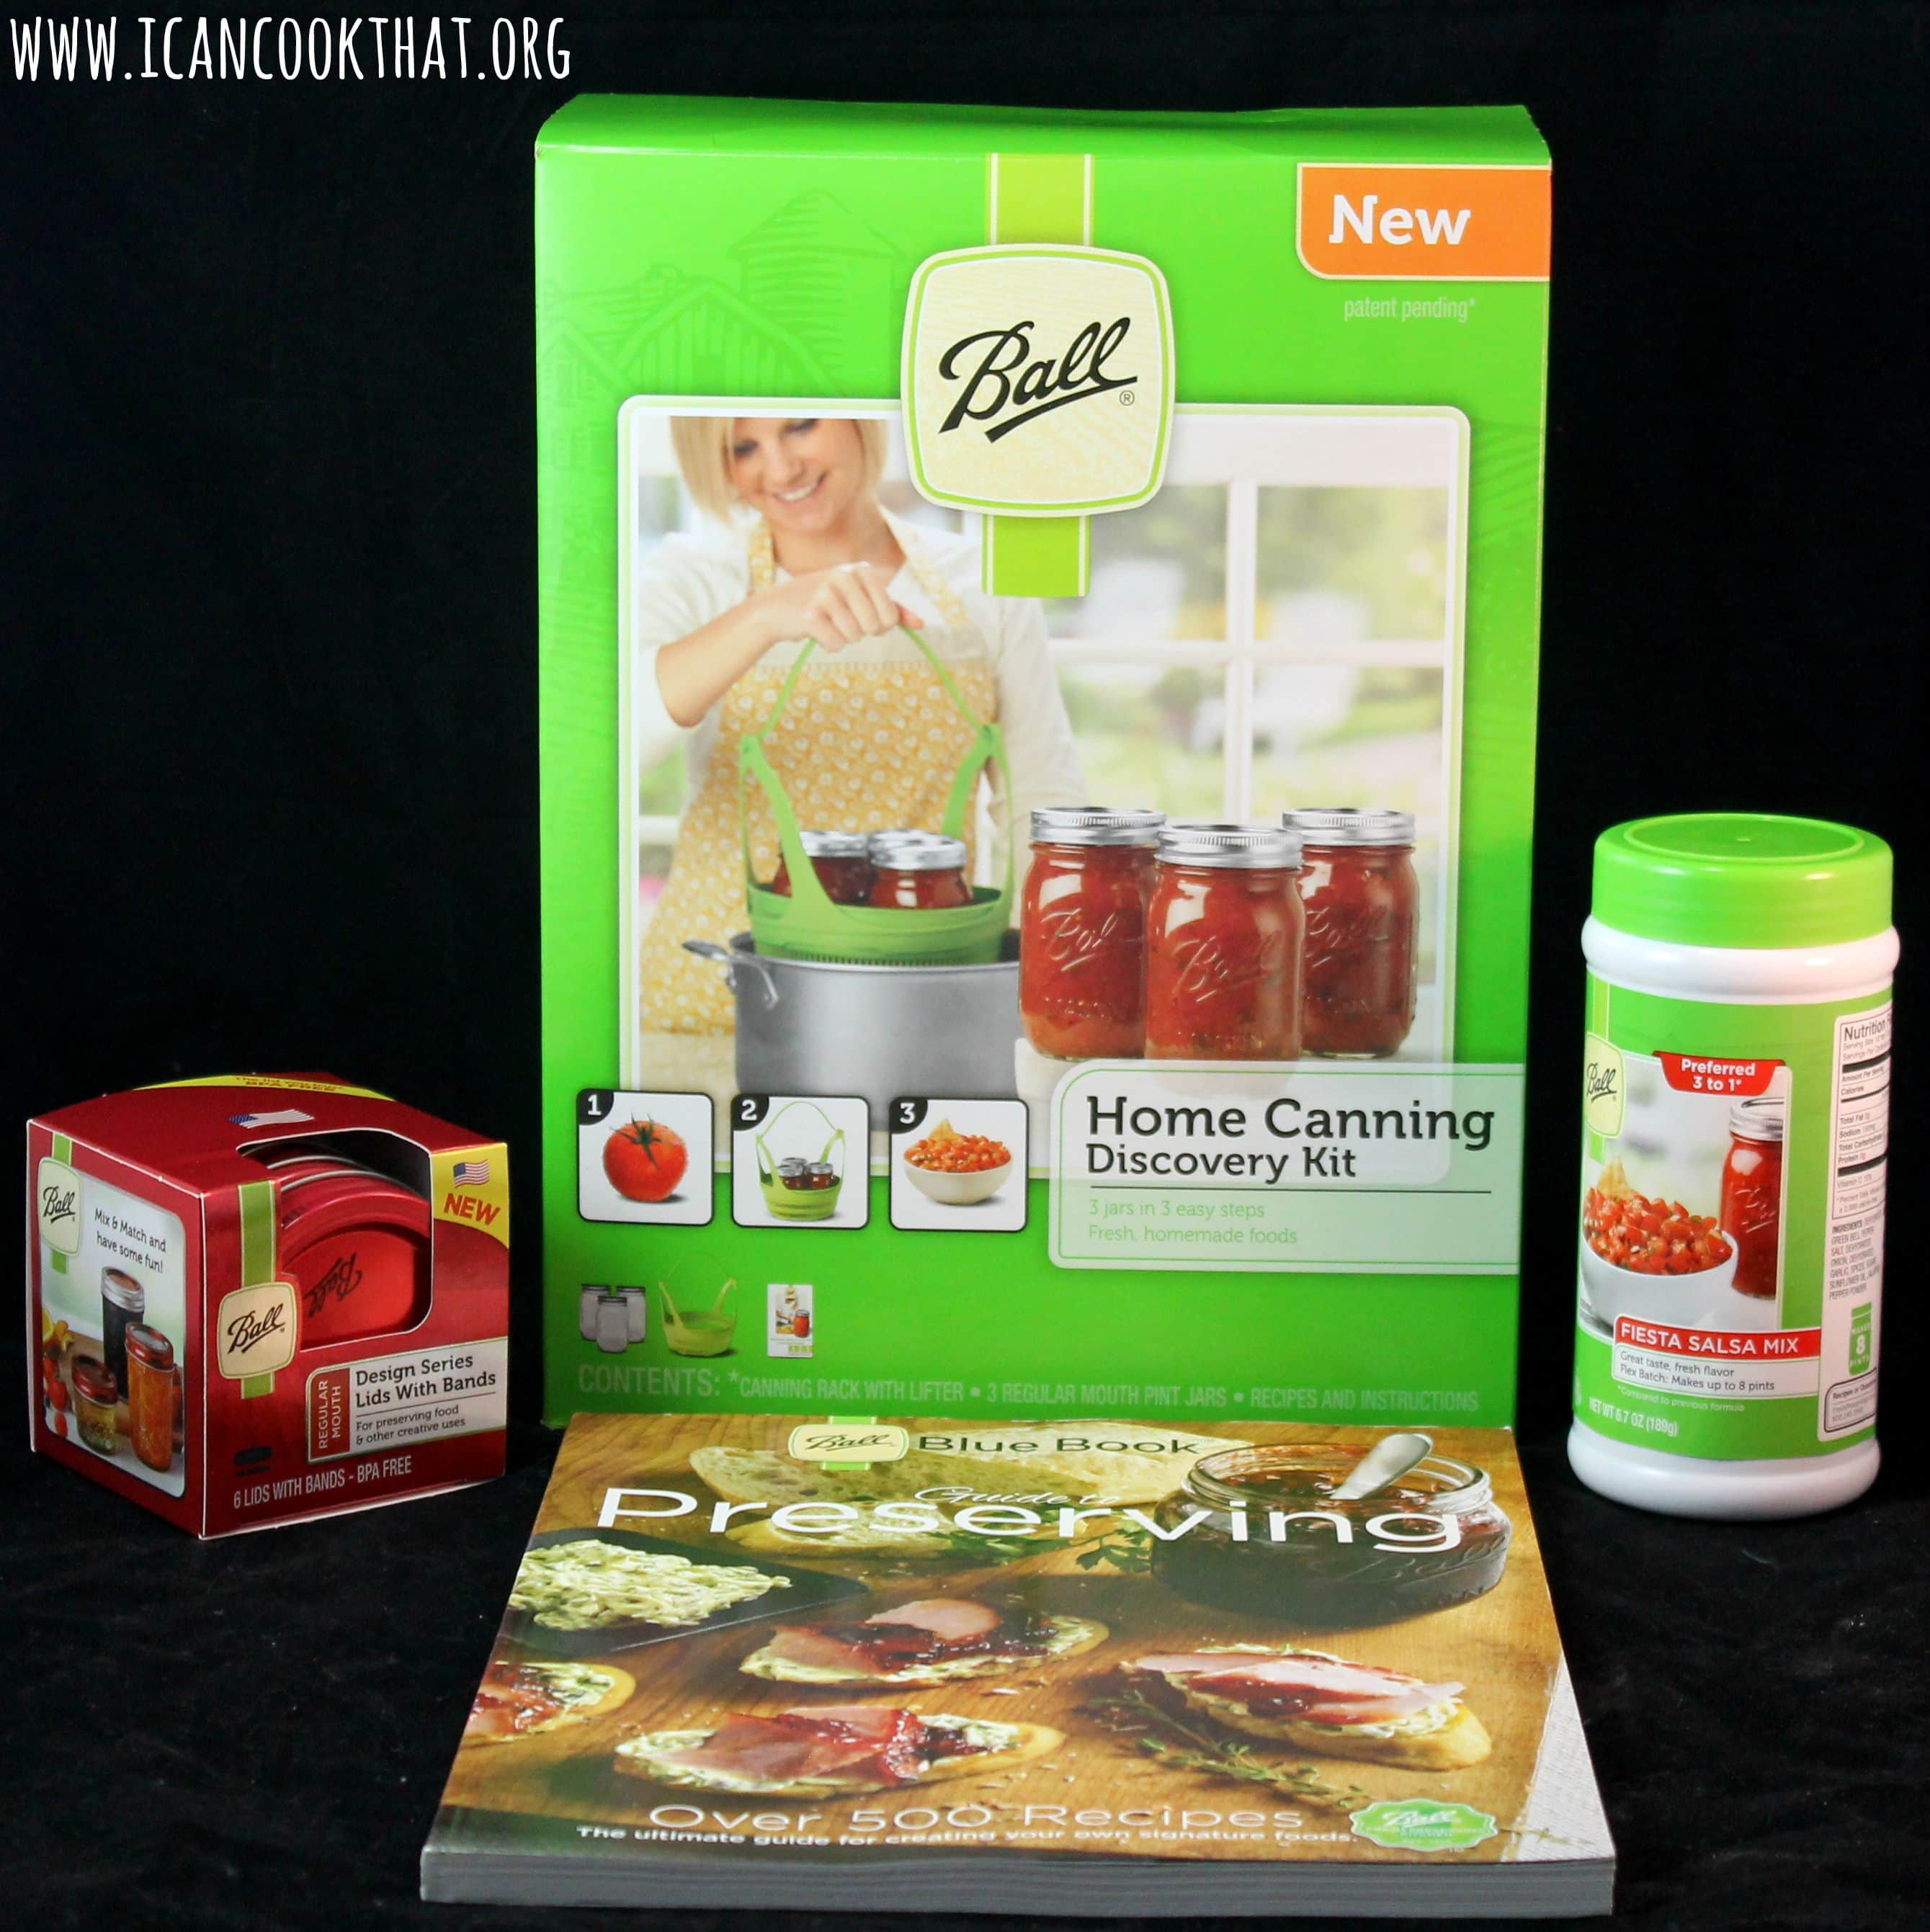
The Ball Canning Discovery Kit is a great beginners kit; it comes with a canning rack that fits into most pasta pots, a recipe guide, and three jars. The kit is really affordable ($11.99) and allows you to assess if canning is for you before investing fully into the process.
My sister-in-law assured me that if I had a Ball Blue Book Guide to Preserving, I’d be just fine canning. So. WHEW. This book lays out each step of the process (and even tells you why you are doing it this way) to ensure a successful canning process. The step-by-step guides are particularly helpful as a beginner.
The Red Design Series Lidsare normal lids and bands, just prettier. 🙂 The lids can only be used once during canning, so it’s helpful to have extras on hand. (You can reuse the jars and bands as many times as you want)
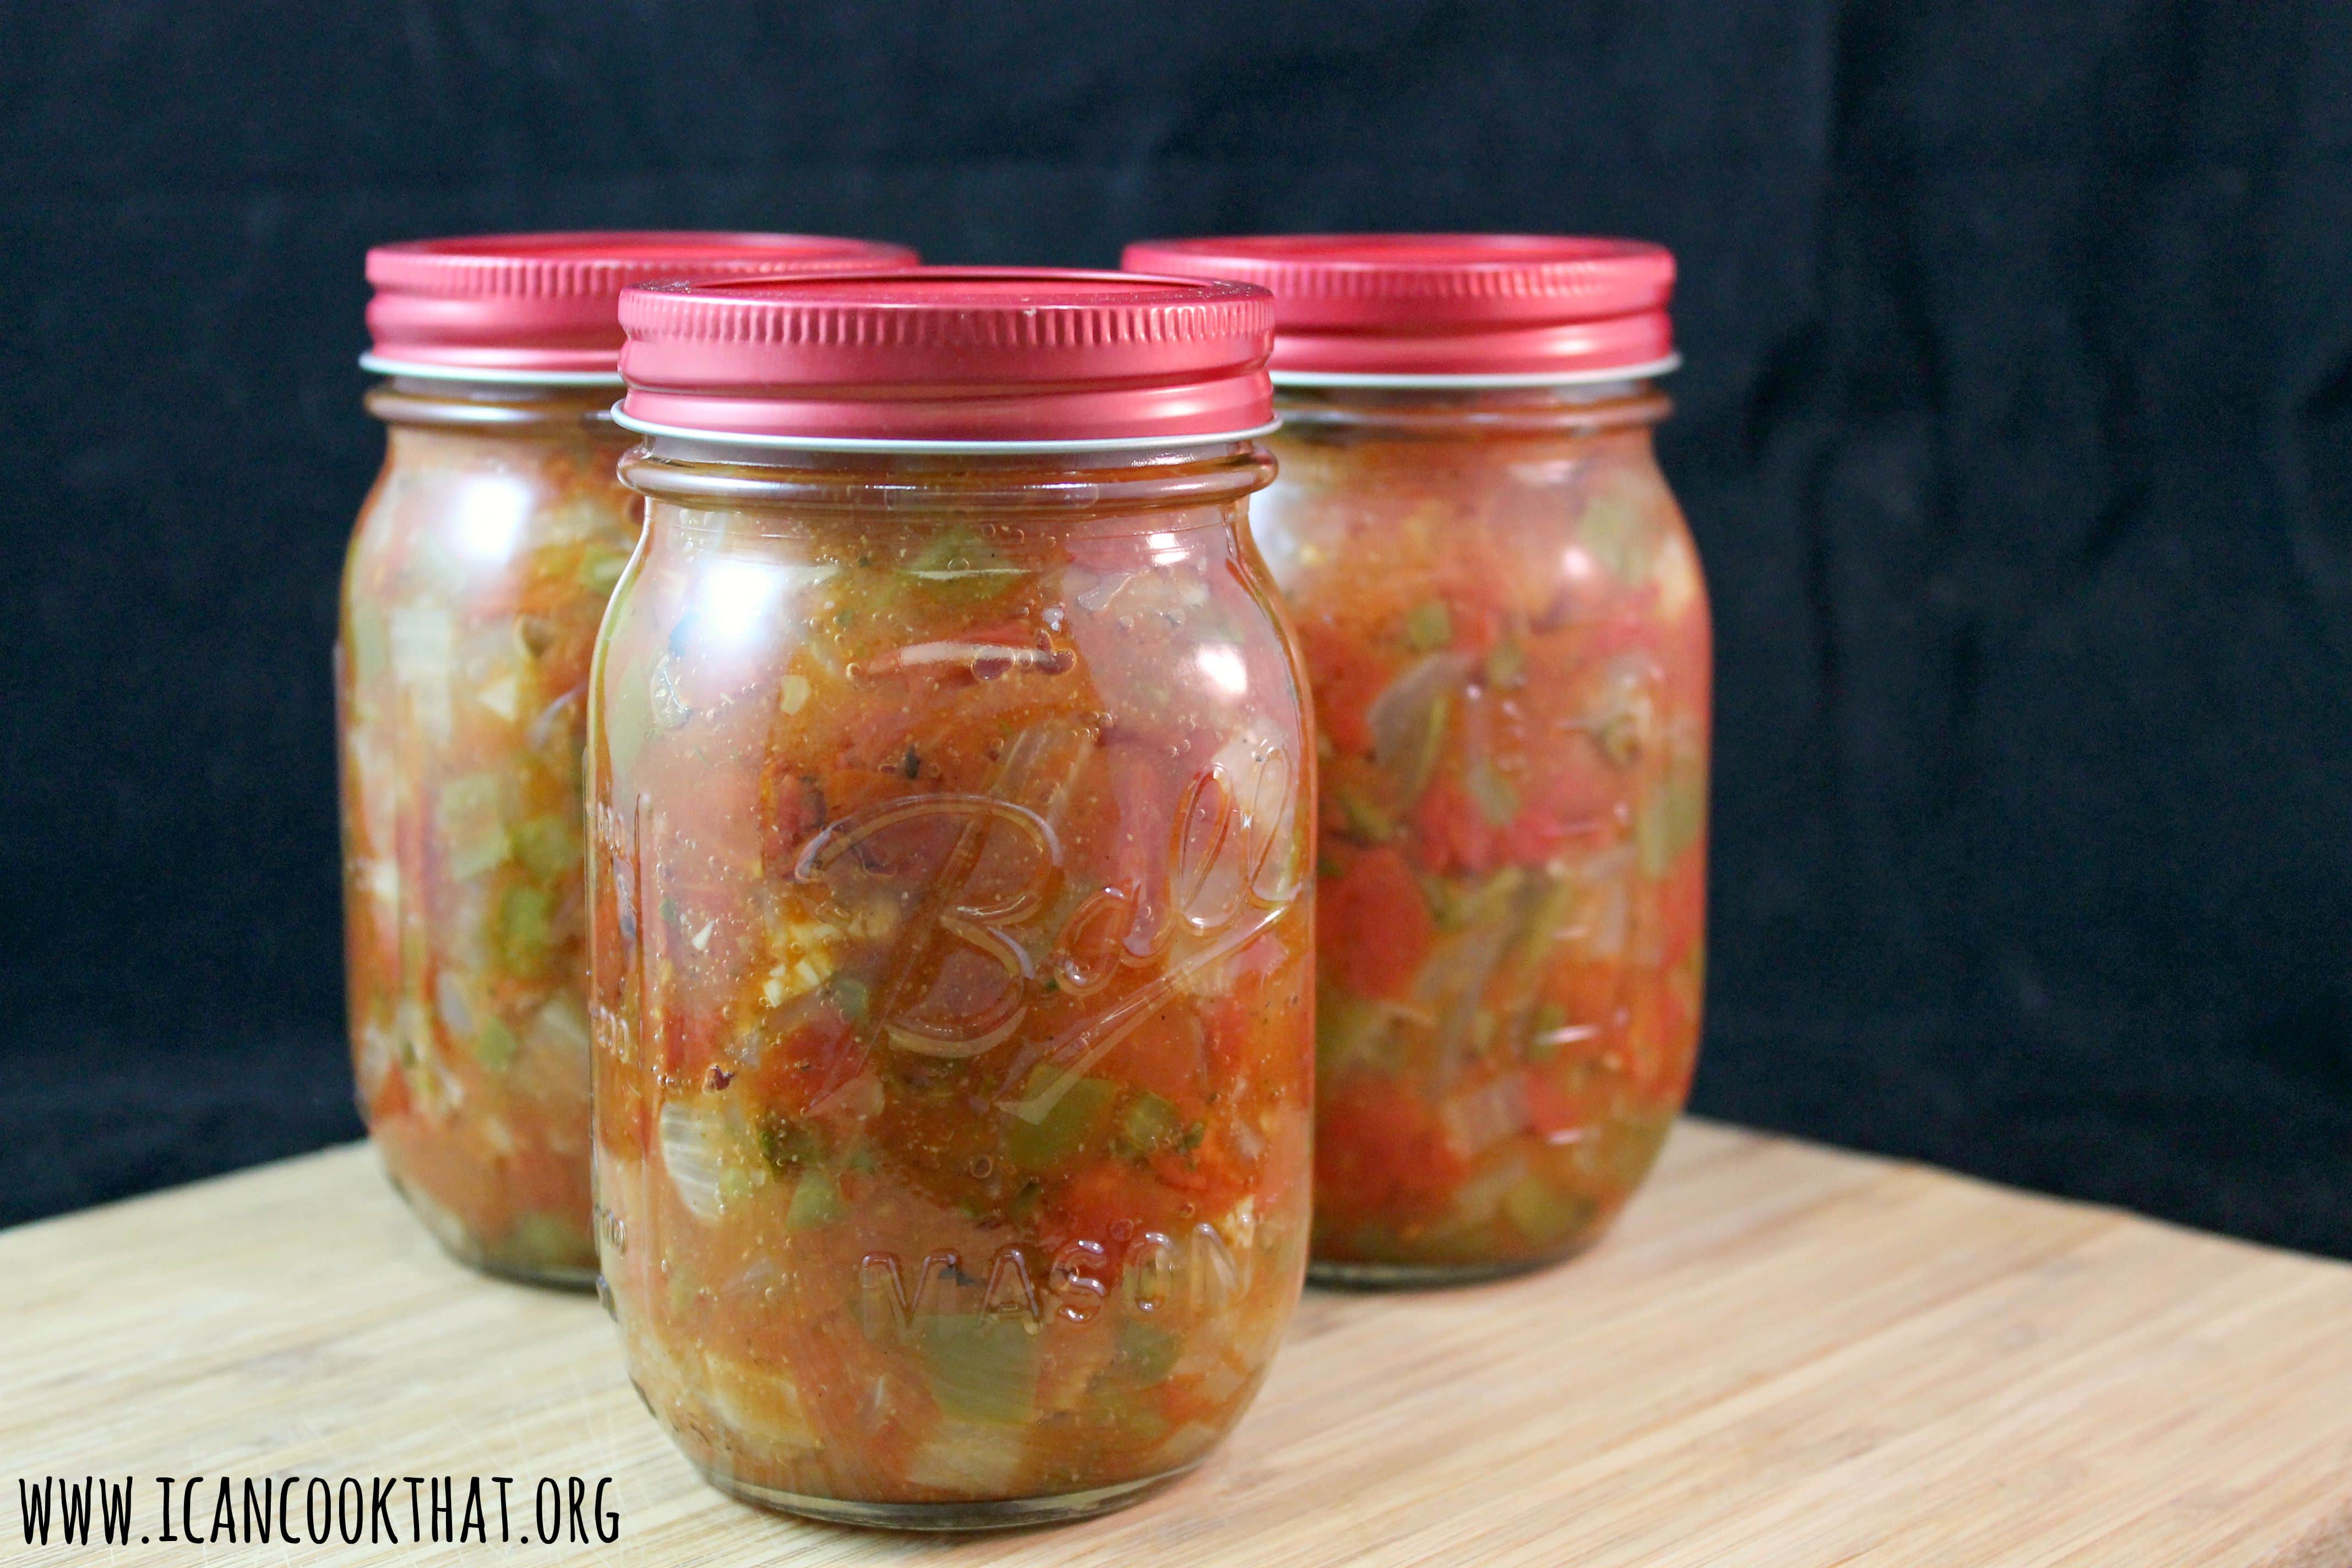
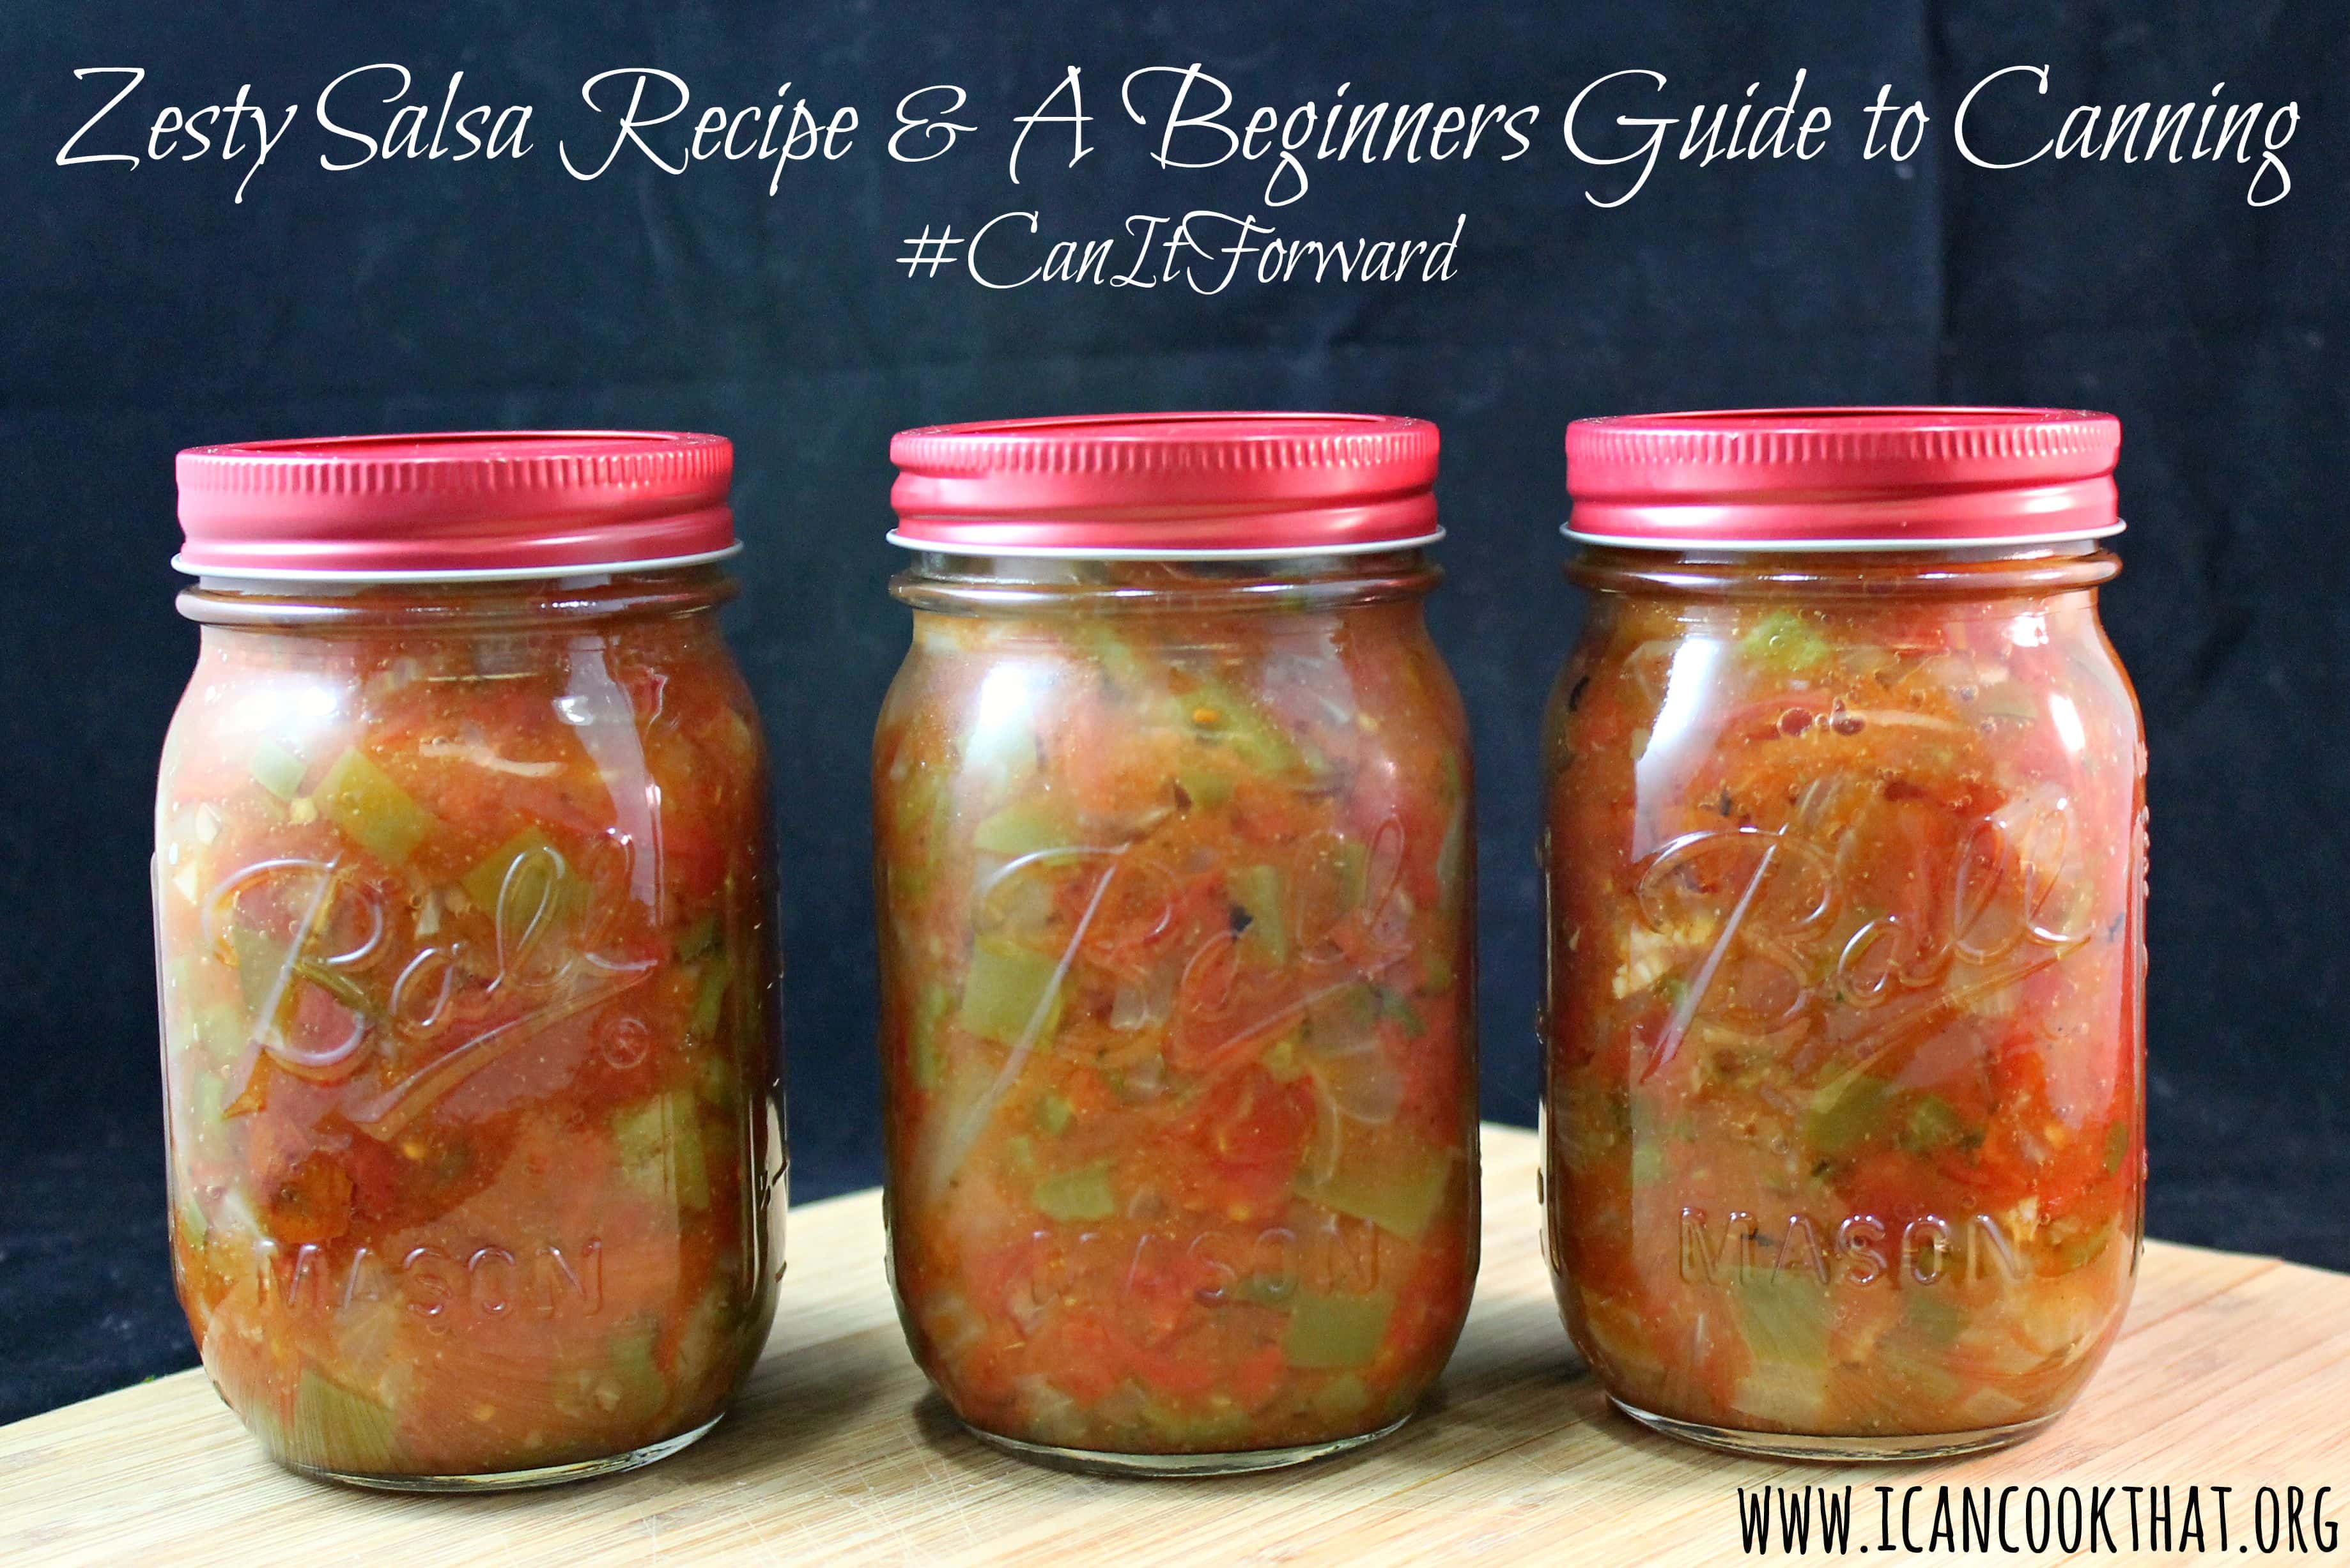
The Ball Fiesta Salsa Mix makes the process of seasoning salsa super easy. You just need fresh or canned tomatoes, a splash of vinegar, and the mix to make a yummy salsa!
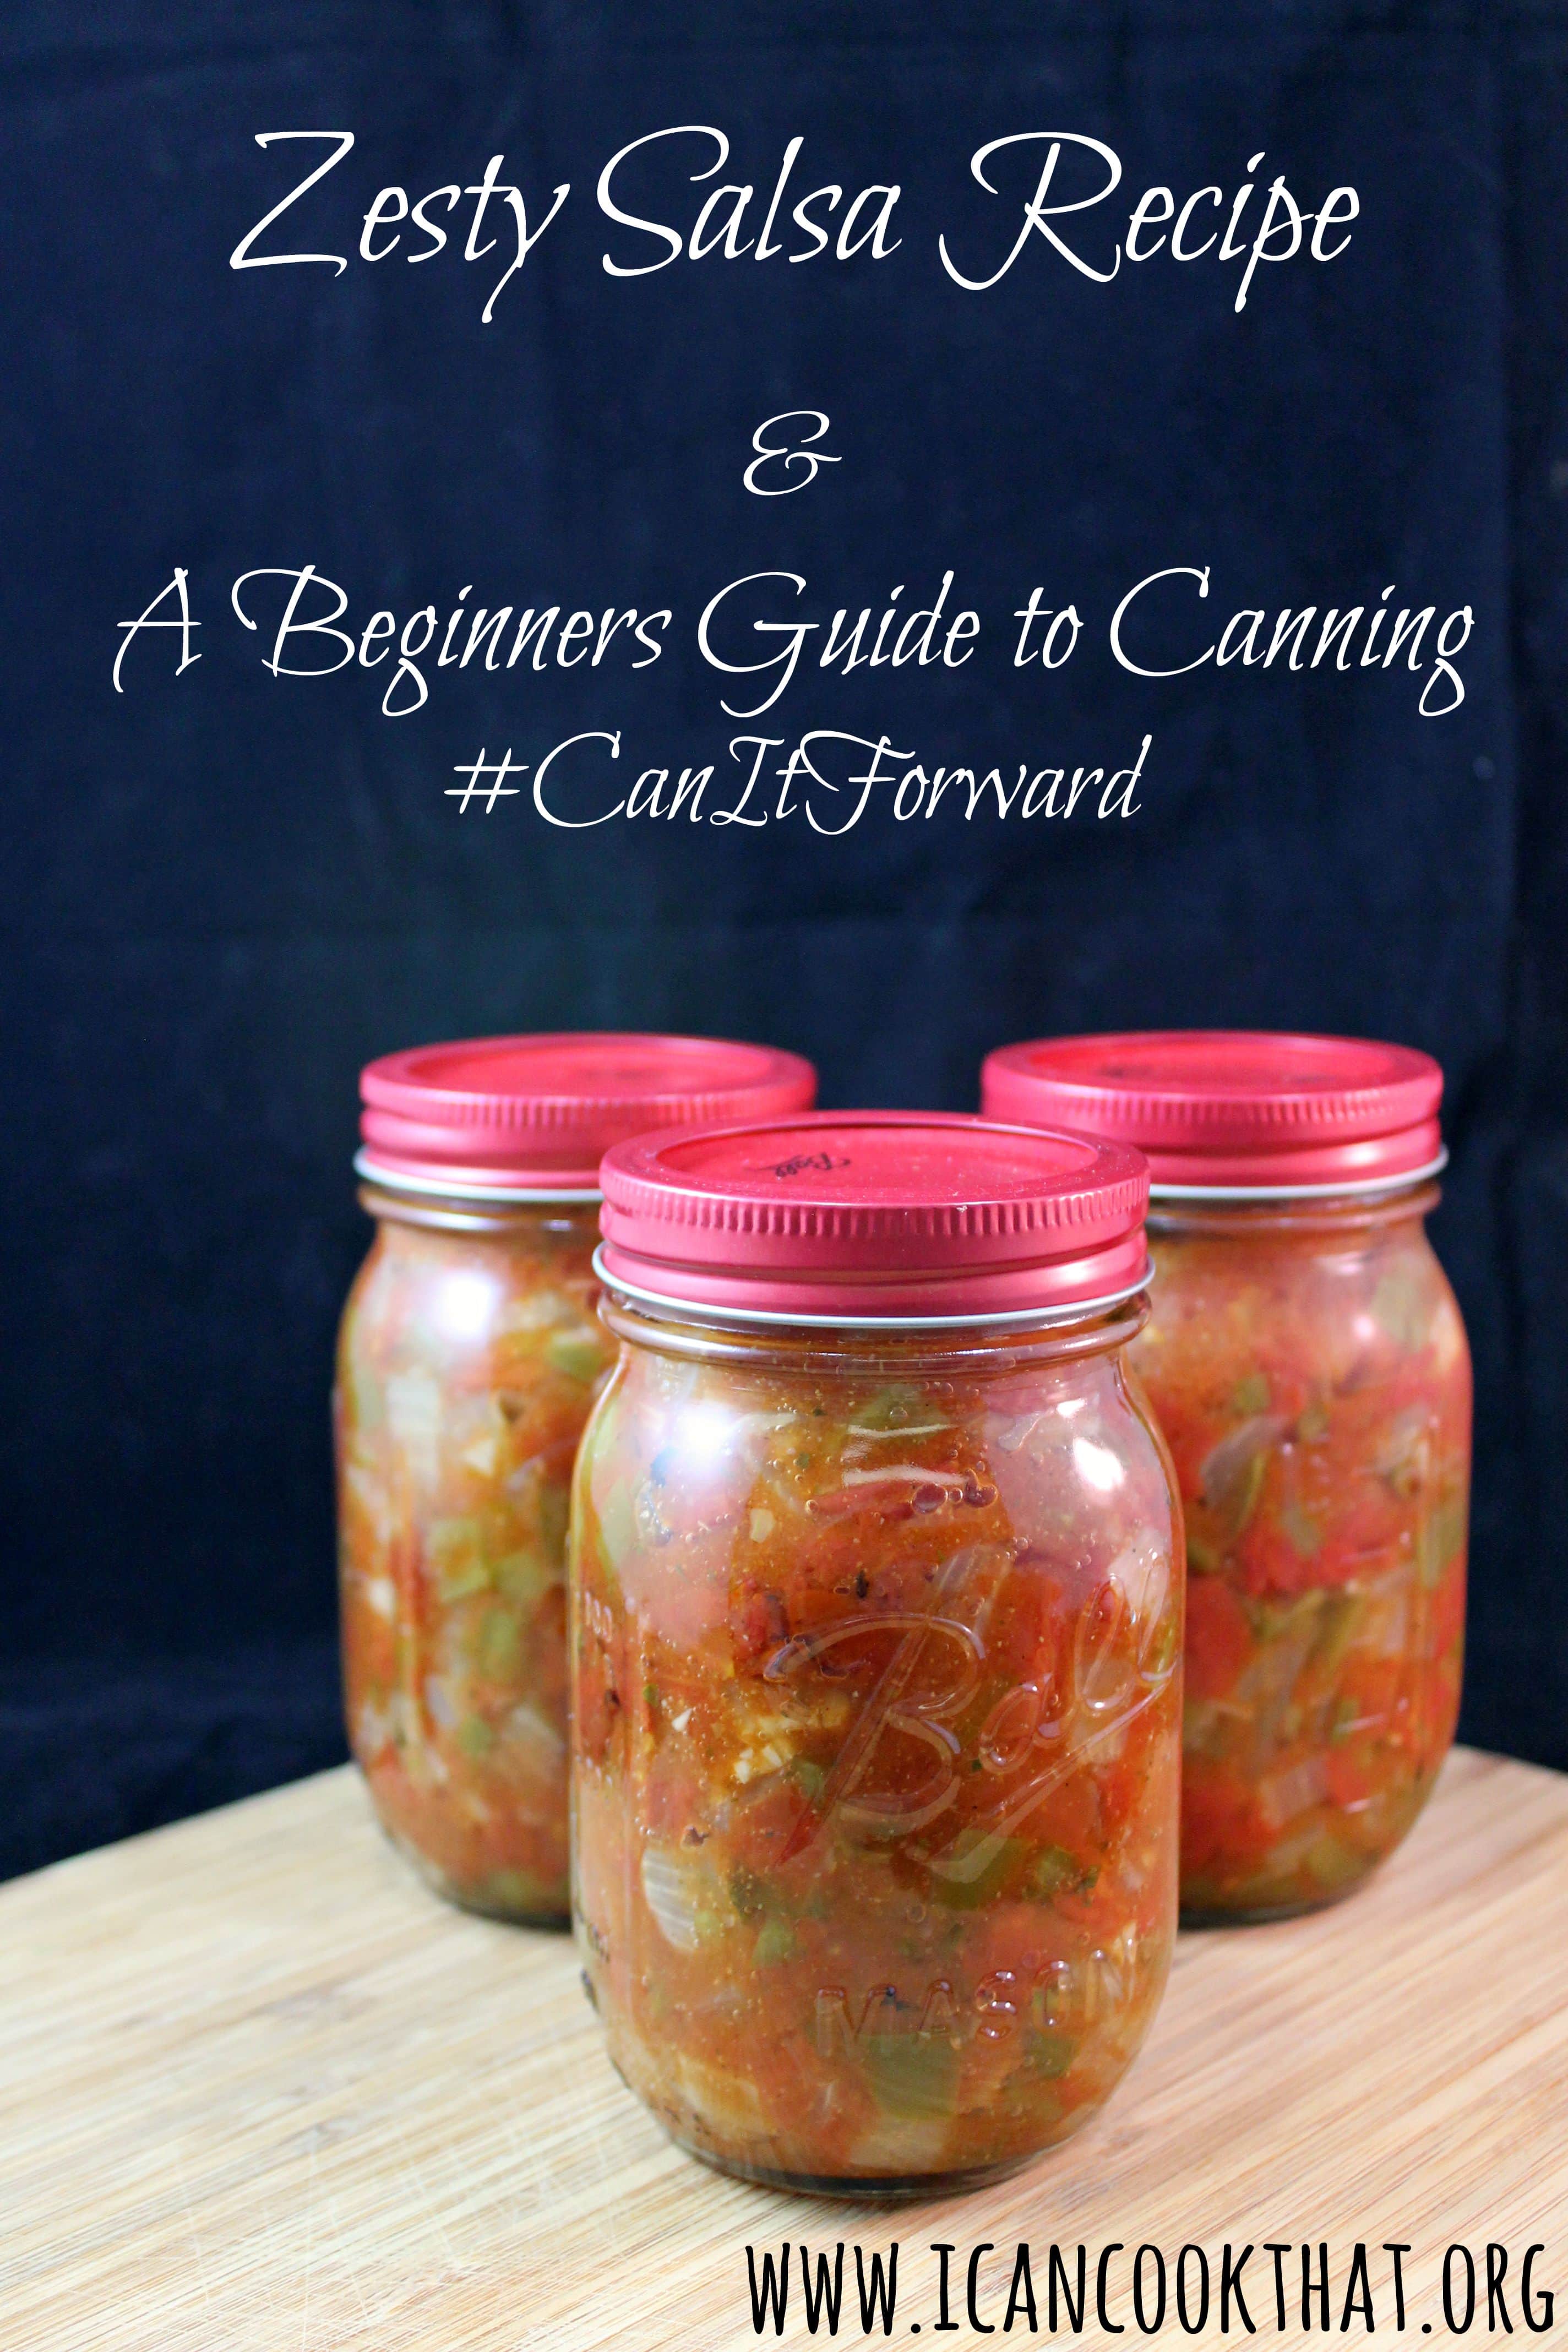
I decided to make a salsa from the Ball Blue Book, but adapted it slightly to include the Ball Fiesta Salsa Mix. The recipe is simple, and is basically just cutting up the ingredients, so this post is more about the canning process than the actual recipe.
I am absolutely a beginner with this, but luckily was able to glean some tips from my sister-in-law and the Ball Blue Book, which I will share as well.
I also am giving away a coupon for a free case of jars! Details at the end of the post.
Zesty Salsa (adapted fromBall Blue Book Guide to Preserving)
Yields ~3 pint jars
Ingredients:
5 cups chopped cored peeled tomatoes (fresh or canned)
4 green bell peppers, seeded and chopped (~2.5 cups)
1 large onion, chopped (~2.5 cups)
1 large jalapeno, seeded and finely chopped (~3 tablespoons)
2 garlic cloves minced
2/3 cup cider vinegar
1 tablespoon fresh cilantro, finely chopped
1/4 cup Ball Fiesta Salsa Mix
Gear:
Ball canning rack with lifter
3 Ball Pint Jars with lids and bands (I used the Red design series lids and bands)
Large stockpot (at least 7.5 inches tall and 9.5 inches in diameter)
a non-metallic spatula (I ended up using chopsticks. They worked just fine)
This post is sponsored by Equal. All opinions are my own.
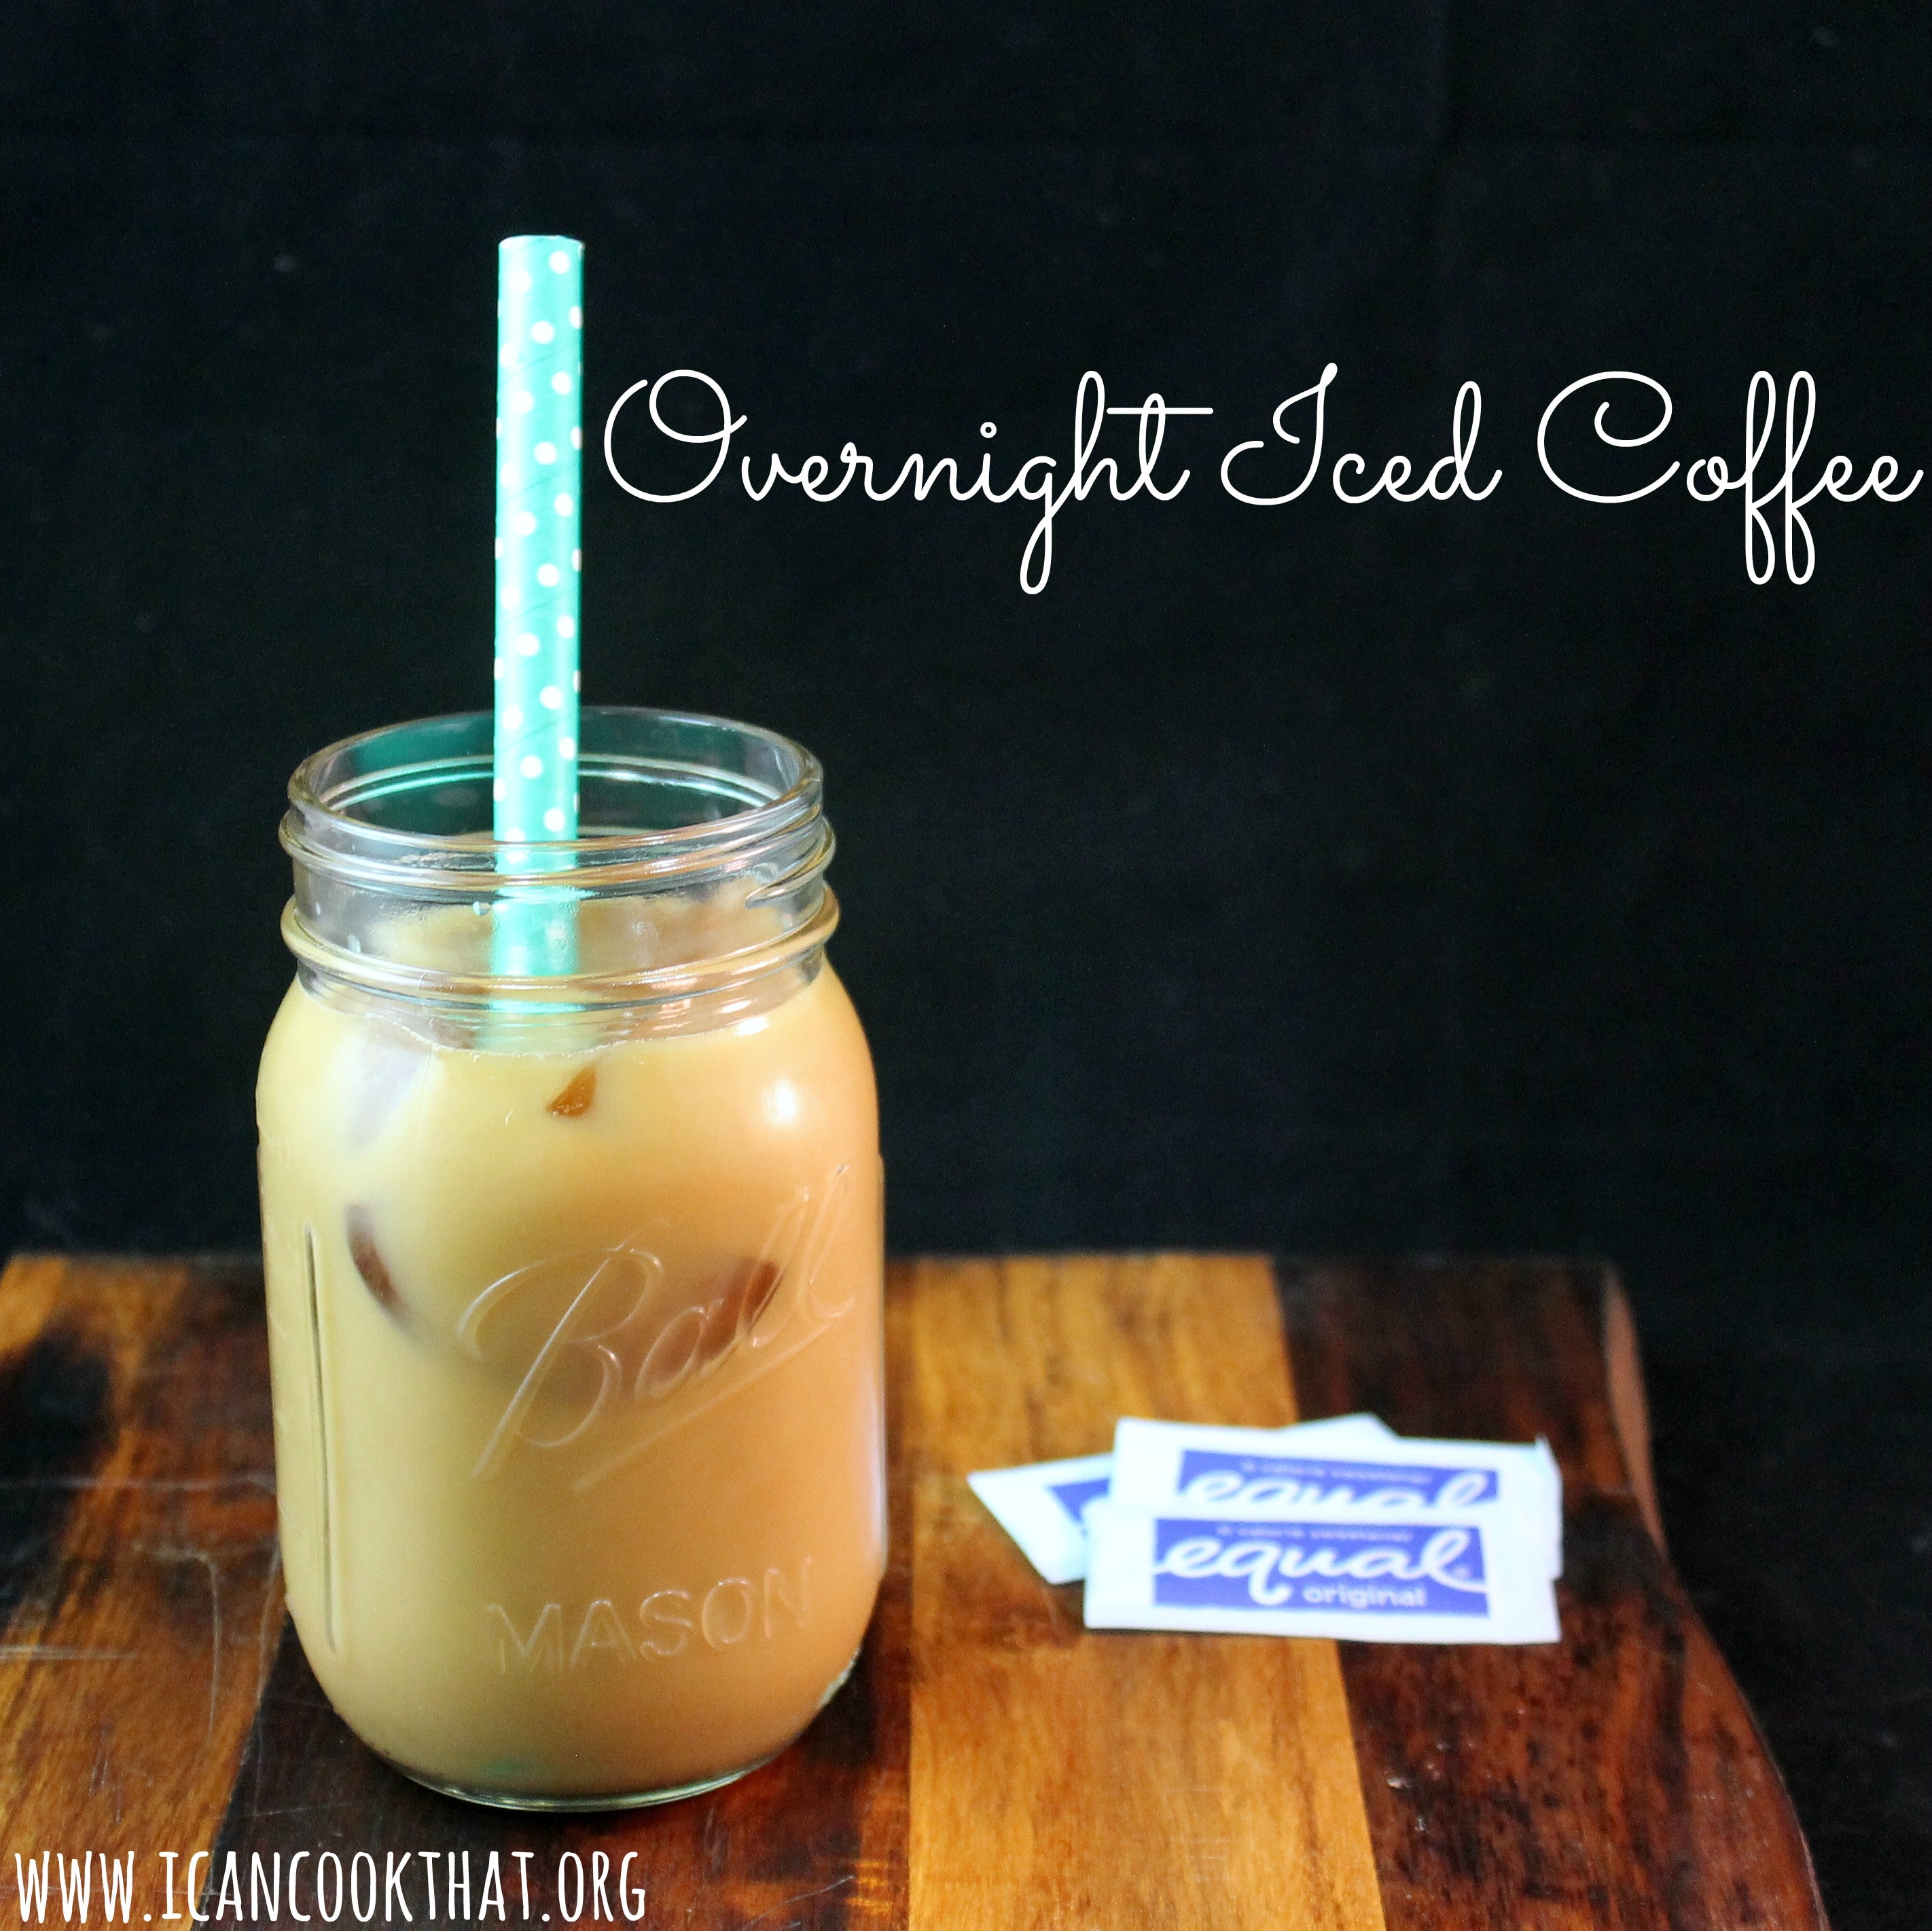
I love coffee. No, I need coffee. And in the summer, I crave iced coffee, but don’t want to have to go to a coffee shop every time I have a hankering (that can really add up!)
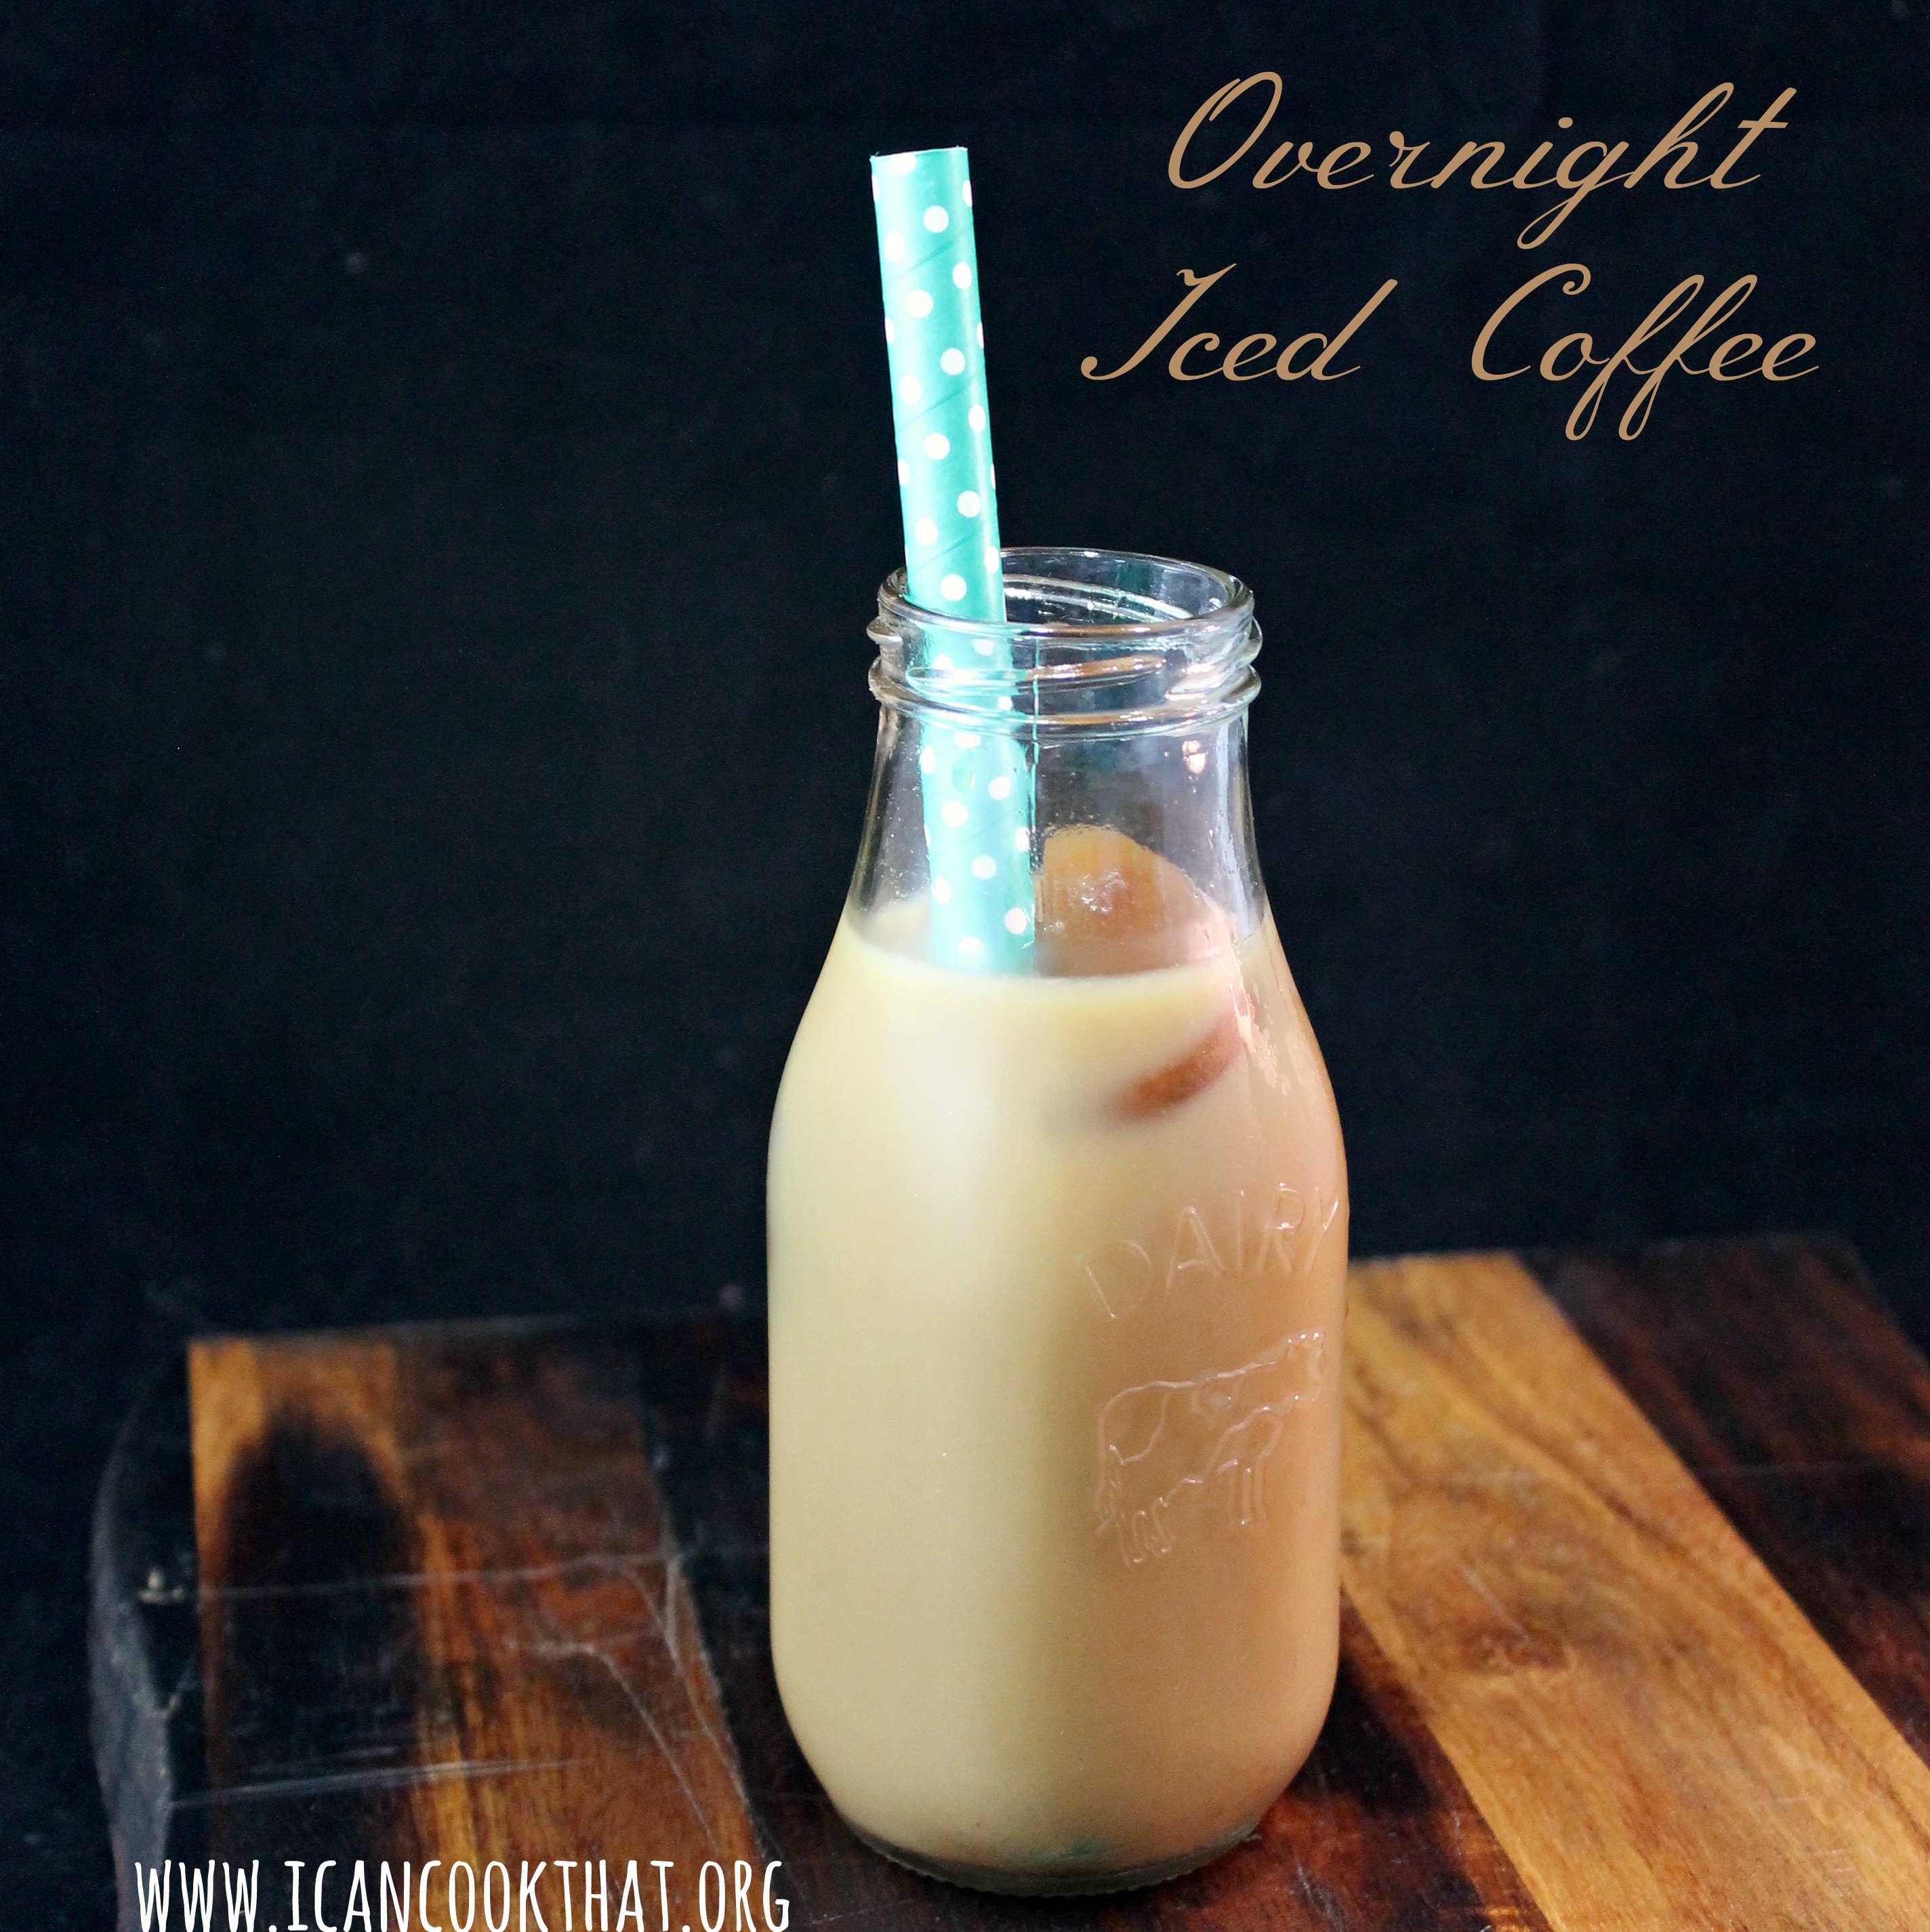
Really solid iced coffee is made strong enough to stand up to the ice as it melts. I also prefer a really strong brew so that I can add sweetener and half and half to make the perfect iced beverage. So overnight iced coffee is a simple and awesome option, plus it’s ready for you in the morning!
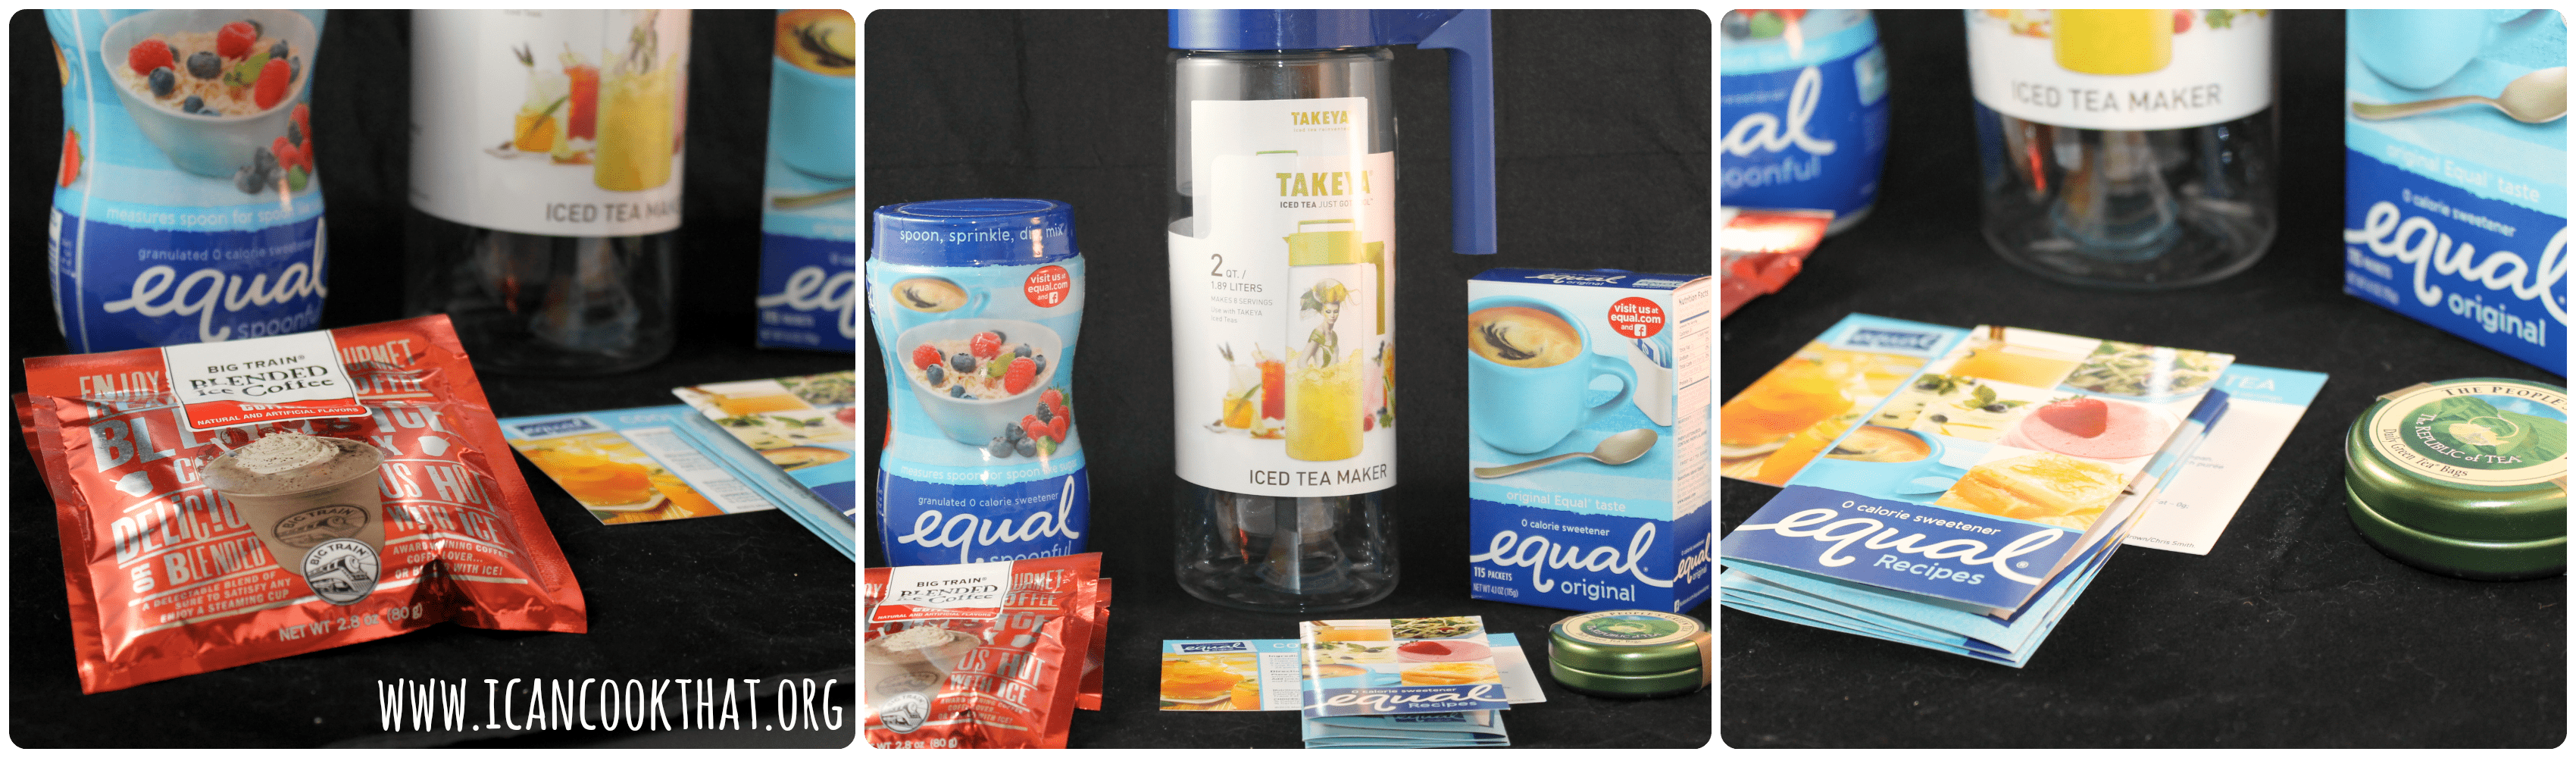
Overnight iced coffee is cold brewed; the ground coffee “brews” in the water overnight to give a rich deep flavor, and is really easy to make. I was sent a summer beverage kit from Equal to get ready for all the delicious drinks of summer and thought this would be the perfect time to try out an overnight coffee using the kit and Equal 0-calorie sweetener!
Equal 0-Calorie Sweetener pairs wonderfully with a strong brewed iced coffee. Equal packets are concentrated (1 packet = the sweetness of 2 teaspoons sugar) while Equal Spoonful measures cup for cup. Equal is a great option to sweeten recipes without adding calories! (For more recipes using Equal, check out their recipe page.)
Cool Peach Iced Tea Recipe Card from The Diabetic Chef® Chef Chris Smith
Equal® Recipe Guide Booklet
Equal® iPad holder
I decided to use the Takeya Flash Chill Tea Maker to make the overnight iced coffee and sweetened my coffee with Equal Spoonful. The Tea Maker has a built in Tea Infuser which also works great to hold the coffee grounds. (Equal is also providing one reader with a kit of their own! Details after the recipe…)