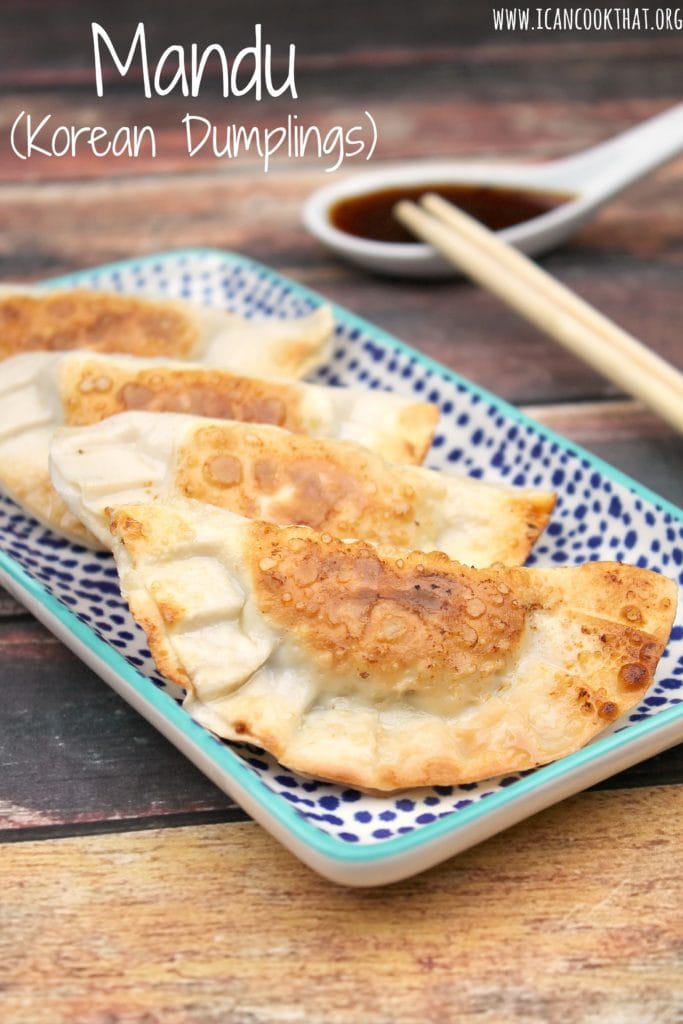
A few weeks ago, I became an aunt! My sister and brother-in-laws are new parents to a beautiful baby girl. My husband went up to visit them recently, so I sent him up with some frozen food options to stock their freezer, including some of these Mandu Korean Dumplings.
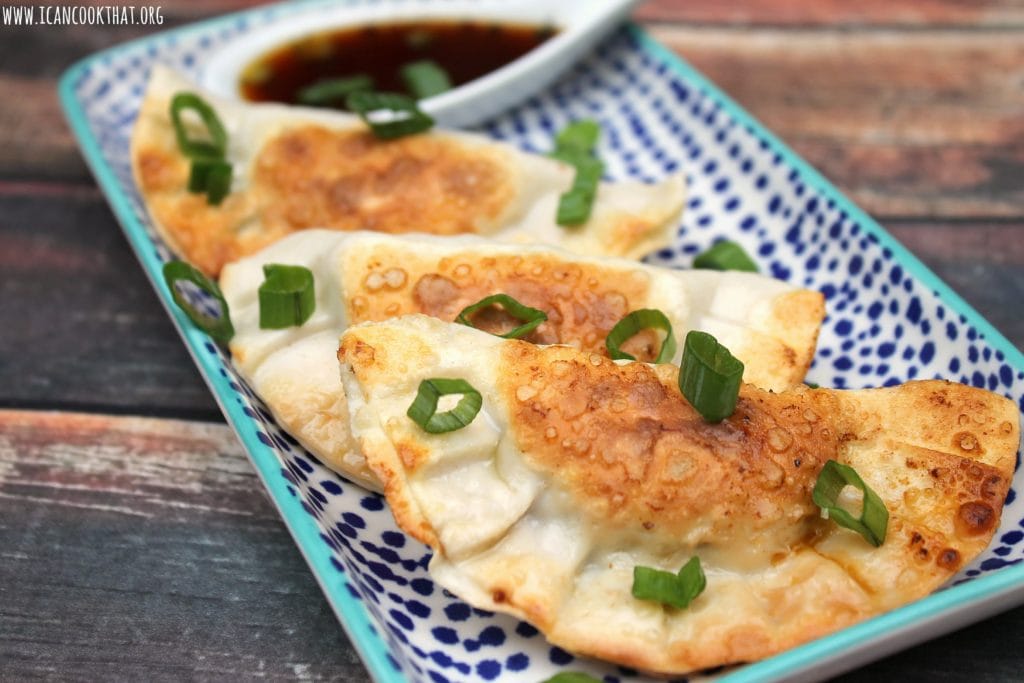
I thought dumplings would be a perfect freezer friendly meal that also doesn’t add much to the cook time. You can cook mandu straight from the freezer, no need to thaw!
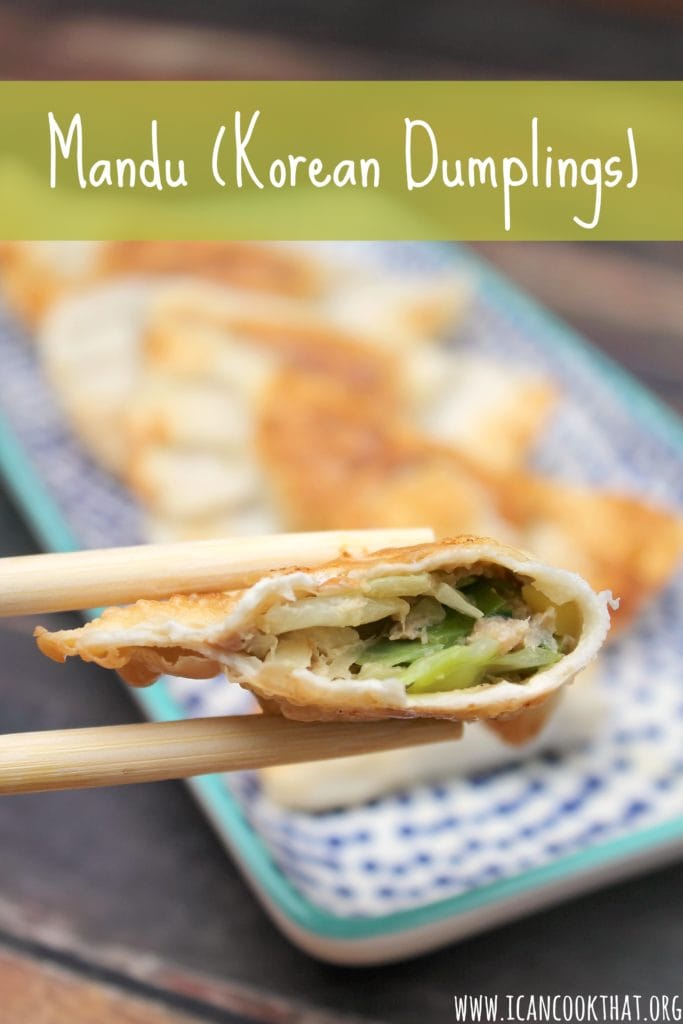
This version has a mixture of ground beef, pork, and vegetables, but the recipe can easily be adapted to fit whatever you have on hand, or have a craving for.
I’m seriously loving using my pressure cooker! My husband was out of town while I was experimenting with this recipe, so I enlisted the help of a couple of friends to be my taste testers. Luckily they were willing to oblige!
The unsuspecting friends showed up without knowing what exactly I was planning on preparing – they are very trusting! 🙂
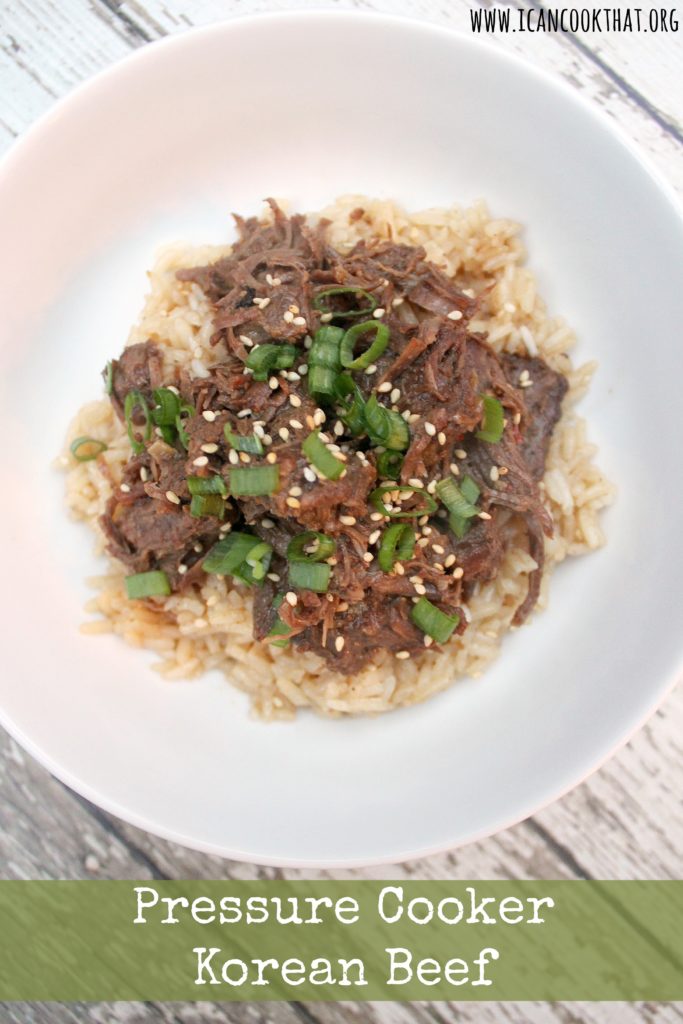
I had a craving for bulgogi recently, so I decided to make a pressure cooker Korean beef. Bulgogi is typically made with thin, marinated slices of beef that are then barbecued. The marinade is usually a mixture of soy sauce, sugar, sesame oil, ginger, and garlic with a touch of crushed red pepper.
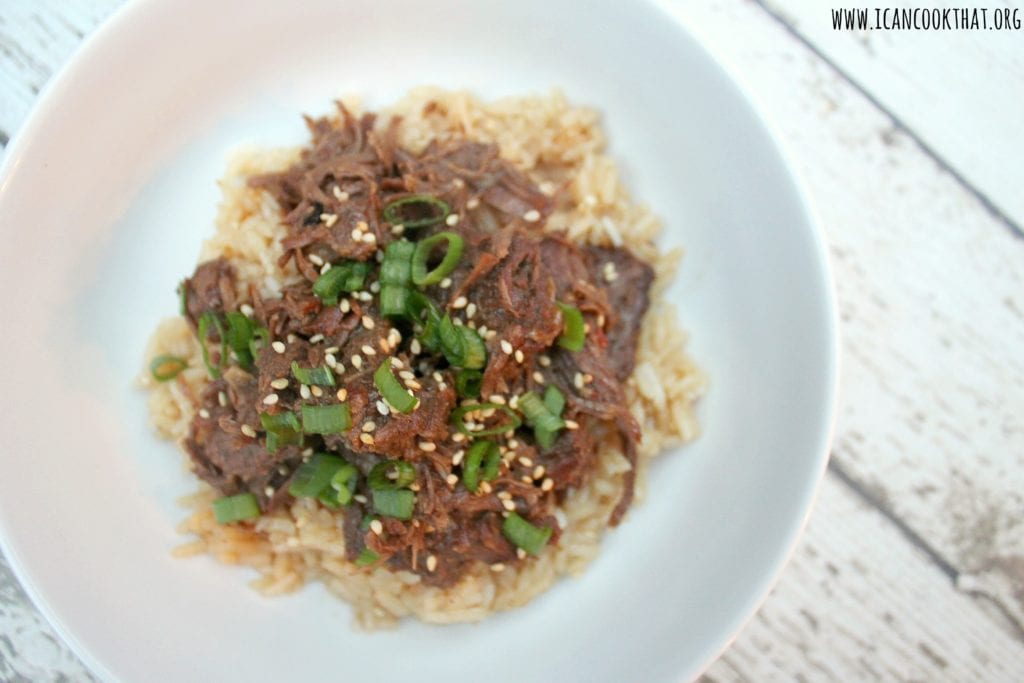
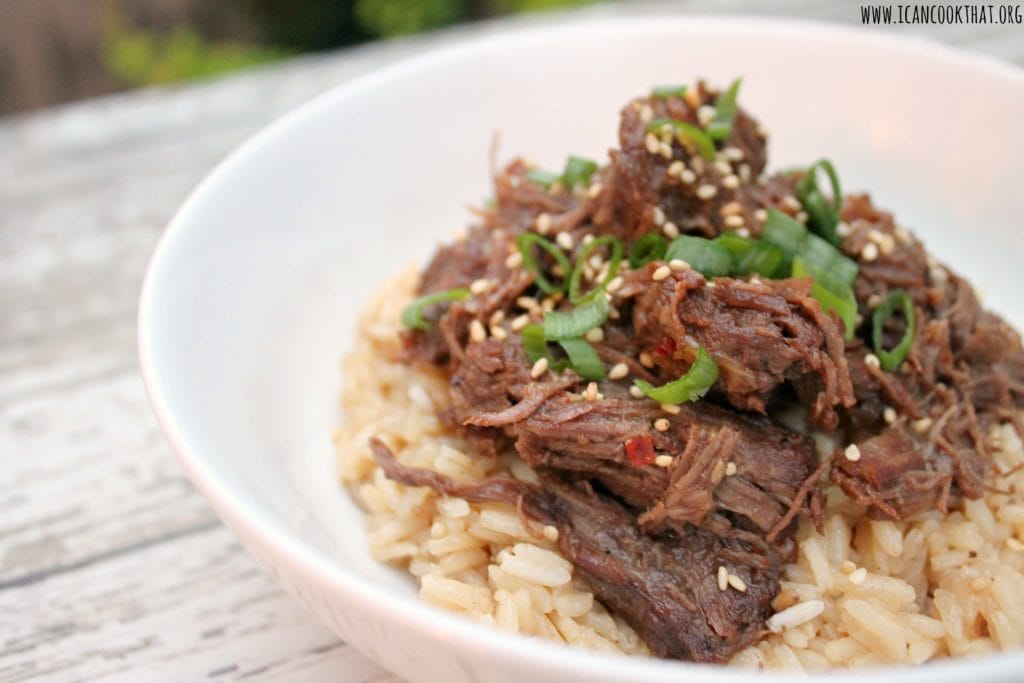
This recipe is inspired by the flavors of bulgogi, but instead of grilling thinly sliced beef, it instead uses chuck roast beef and a pressure cooker to make a super tender, shredded version.
Ingredients (serves 8):
1 tablespoon vegetable oil, plus more if needed
4 lbs chuck beef, cut into cubes, excess fat trimmed
1 small onion, chopped
6 garlic cloves, minced
1 to 2 tablespoons beef stock
1/2 cup brown sugar, lightly packed
1/2 cup reduced sodium soy sauce (or coconut aminos to make gluten free)
1 tablespoon sesame oil
1/2 teaspoon crushed red pepper flakes
1 teaspoon fresh ginger, minced
green onions, sliced, for garnish
white sesame seeds, for garnish
4 cups cooked rice
To make, cut the beef into large chunks. Season with salt and pepper. (Go light on the salt, the soy sauce will provide all the salt you need!)
Press the “saute” function on your pressure cooker. Press the “cook time” button and increase the time to 25 or 30 minutes (it took me about 25 minutes to brown up all of my meat.) Press the “adjust” button and choose “more/high.” Press “on/start.” The pressure cooker will beep five times when it is preheated.
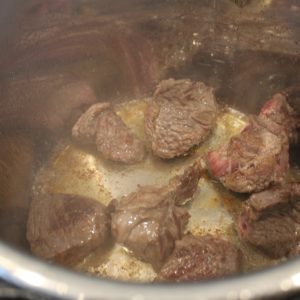
Carefully add the vegetable, oil and then add some meat to the pressure cooker (without crowding the beef).
Brown the meat on all sides. Remove from the pressure cooker and continue with the remaining beef.
When done browning the last batch, remove the final pieces and set aside. Press “stop/cancel” to turn off the saute function.
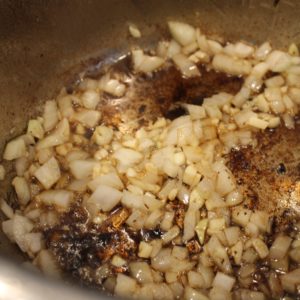
If needed, add a bit more vegetable oil. Add the onions and garlic to the pot and saute until fragrant, about 3 minutes.
Add a little bit of beef stock (1 or 2 tablespoons) to the pressure cooker and scrape the browned bits from the bottom of the pressure cooker using a wooden or plastic spoon.
In a small bowl, stir together the brown sugar, soy sauce (or coconut aminos), sesame oil, red pepper flakes, and ginger.
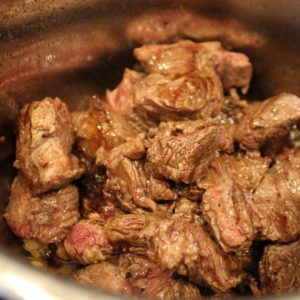
Add back in all of the beef to the pressure cooker, as well as any juices from the beef.
Pour in the soy sauce mixture, evenly covering the beef.
Close the lid, ensuring that the steam valve is closed. Select the meat/stew pressurized cooking function. Press the “adjust” button and choose “more/high” to set it for 45 minutes. Press “on/start” to begin cooking.
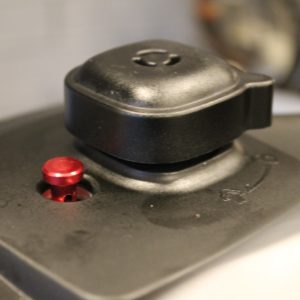
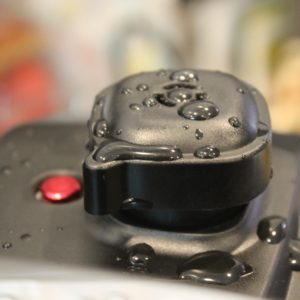
Once the unit has reached optimal cooking pressure (~15 minutes), the unit will beep once and start counting down from 45 minutes. You’ll notice that the pressure release valve (red) rises up during this time.
The pressure cooker will beep 3 times to alert you when cooking has finished. It will automatically go on to “keep warm” mode for up to 6 hours. Once cooking is complete, turn off the pressure cooker by pressing “stop/cancel” and unplugging the power cable.
Let the unit cool down for 15 to 20 minutes, or until the float valve drops down. Using an oven mitt, move the pressure release value to the “release” position to let out any remaining pressure in the unit. Wait again for the float value to drop down before opening the pressure cooker.
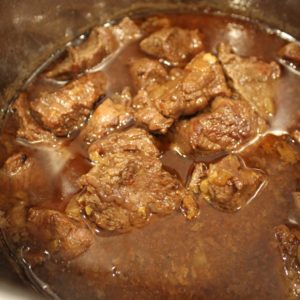
The meat should be really tender.
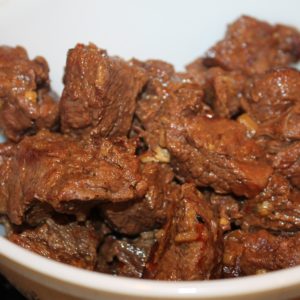
Remove the meat from the pot, keeping the liquid in the pot, and shred with two forks. Add to a large bowl.
Measure out about 1 cup of the cooking liquid and add to the bowl.
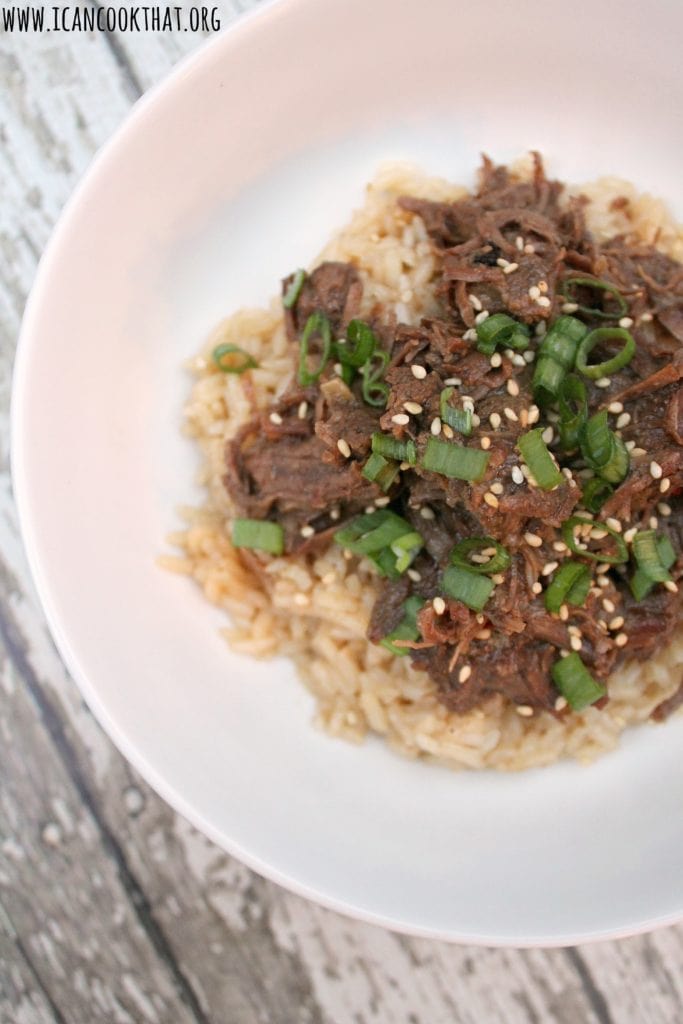
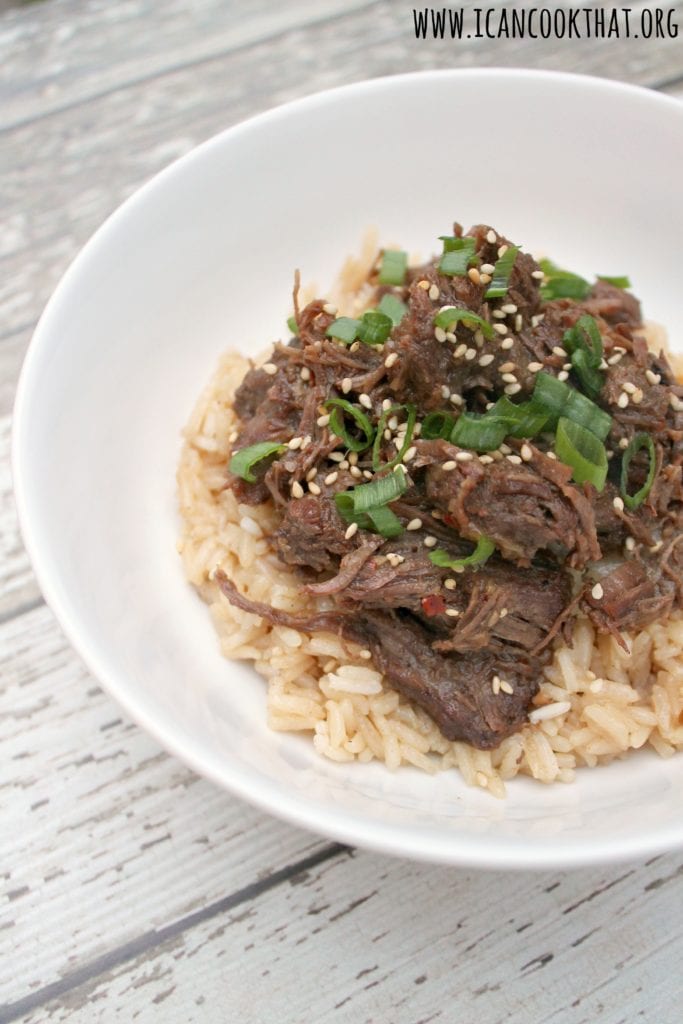
Fill bowls with rice and top with the shredded beef. Garnish with sesame seeds and green onions and serve.
The beef is wonderfully flavorful and juicy. My friends and I just gobbled this up! It’s most certainly not spicy so if you prefer some heat, add a bit more crushed red pepper.
This is a great make ahead dish as well. If doing so, add some more of the cooking liquid to the container before refrigerating, so that when you reheat it, there is still plenty of juicy liquid to drizzle over the top!
I also made the rice in the Cosori Multicooker and it came out great! (Tip: if you have extra cooking liquid, substitute some of that in for the water/broth in your rice.)
If you’re looking for more information about the Cosori Multicooker, check out my review post here (plus a recipe for Barbacoa Beef Tacos).
4 lbs chuck beef, cut into cubes, excess fat trimmed
1 small onion, chopped
6 garlic cloves, minced
1 to 2 tablespoons beef stock
1/2 cup brown sugar, lightly packed
1/2 cup reduced sodium soy sauce (or coconut aminos to make gluten free)
1 tablespoon sesame oil
1/2 teaspoon crushed red pepper flakes
1 teaspoon fresh ginger, minced
green onions, sliced, for garnish
white sesame seeds, for garnish
4 cups cooked rice
Instructions
To make, cut the beef into large chunks. Season with salt and pepper. (Go light on the salt, the soy sauce will provide all the salt you need!)
Press the “saute” function on your pressure cooker. Press the “cook time” button and increase the time to 25 or 30 minutes (it took me about 25 minutes to brown up all of my meat.) Press the “adjust” button and choose “more/high.” Press “on/start.” The pressure cooker will beep five times when it is preheated.
Carefully add the vegetable, oil and then add some meat to the pressure cooker (without crowding the beef).
Brown the meat on all sides. Remove from the pressure cooker and continue with the remaining beef.
When done browning the last batch, remove the final pieces and set aside. Press “stop/cancel” to turn off the saute function.
If needed, add a bit more vegetable oil. Add the onions and garlic to the pot and saute until fragrant, about 3 minutes.
Add a little bit of beef stock (1 or 2 tablespoons) to the pressure cooker and scrape the browned bits from the bottom of the pressure cooker using a wooden or plastic spoon.
In a small bowl, stir together the brown sugar, soy sauce (or coconut aminos), sesame oil, red pepper flakes, and ginger.
Add back in all of the beef to the pressure cooker, as well as any juices from the beef.
Pour in the soy sauce mixture, evenly covering the beef.
Close the lid, ensuring that the steam valve is closed. Select the meat/stew pressurized cooking function. Press the “adjust” button and choose “more/high” to set it for 45 minutes. Press “on/start” to begin cooking.
Once the unit has reached optimal cooking pressure (~15 minutes), the unit will beep once and start counting down from 45 minutes. You’ll notice that the pressure release valve (red) rises up during this time.
The pressure cooker will beep 3 times to alert you when cooking has finished. It will automatically go on to “keep warm” mode for up to 6 hours. Once cooking is complete, turn off the pressure cooker by pressing “stop/cancel” and unplugging the power cable.
Let the unit cool down for 15 to 20 minutes, or until the float valve drops down. Using an oven mitt, move the pressure release value to the “release” position to let out any remaining pressure in the unit. Wait again for the float value to drop down before opening the pressure cooker.
The meat should be really tender.
Remove the meat from the pot, keeping the liquid in the pot, and shred with two forks. Add to a large bowl.
Measure out about 1 cup of the cooking liquid and add to the bowl.
Fill bowls with rice and top with the shredded beef. Garnish with sesame seeds and green onions and serve.
I am always looking for a new and different slow cooker meal. I personally could eat a tomato-based sauce with meat over rice, pasta, polenta, you-name-it every day. My husband would prefer something new every now and then, which is fair.
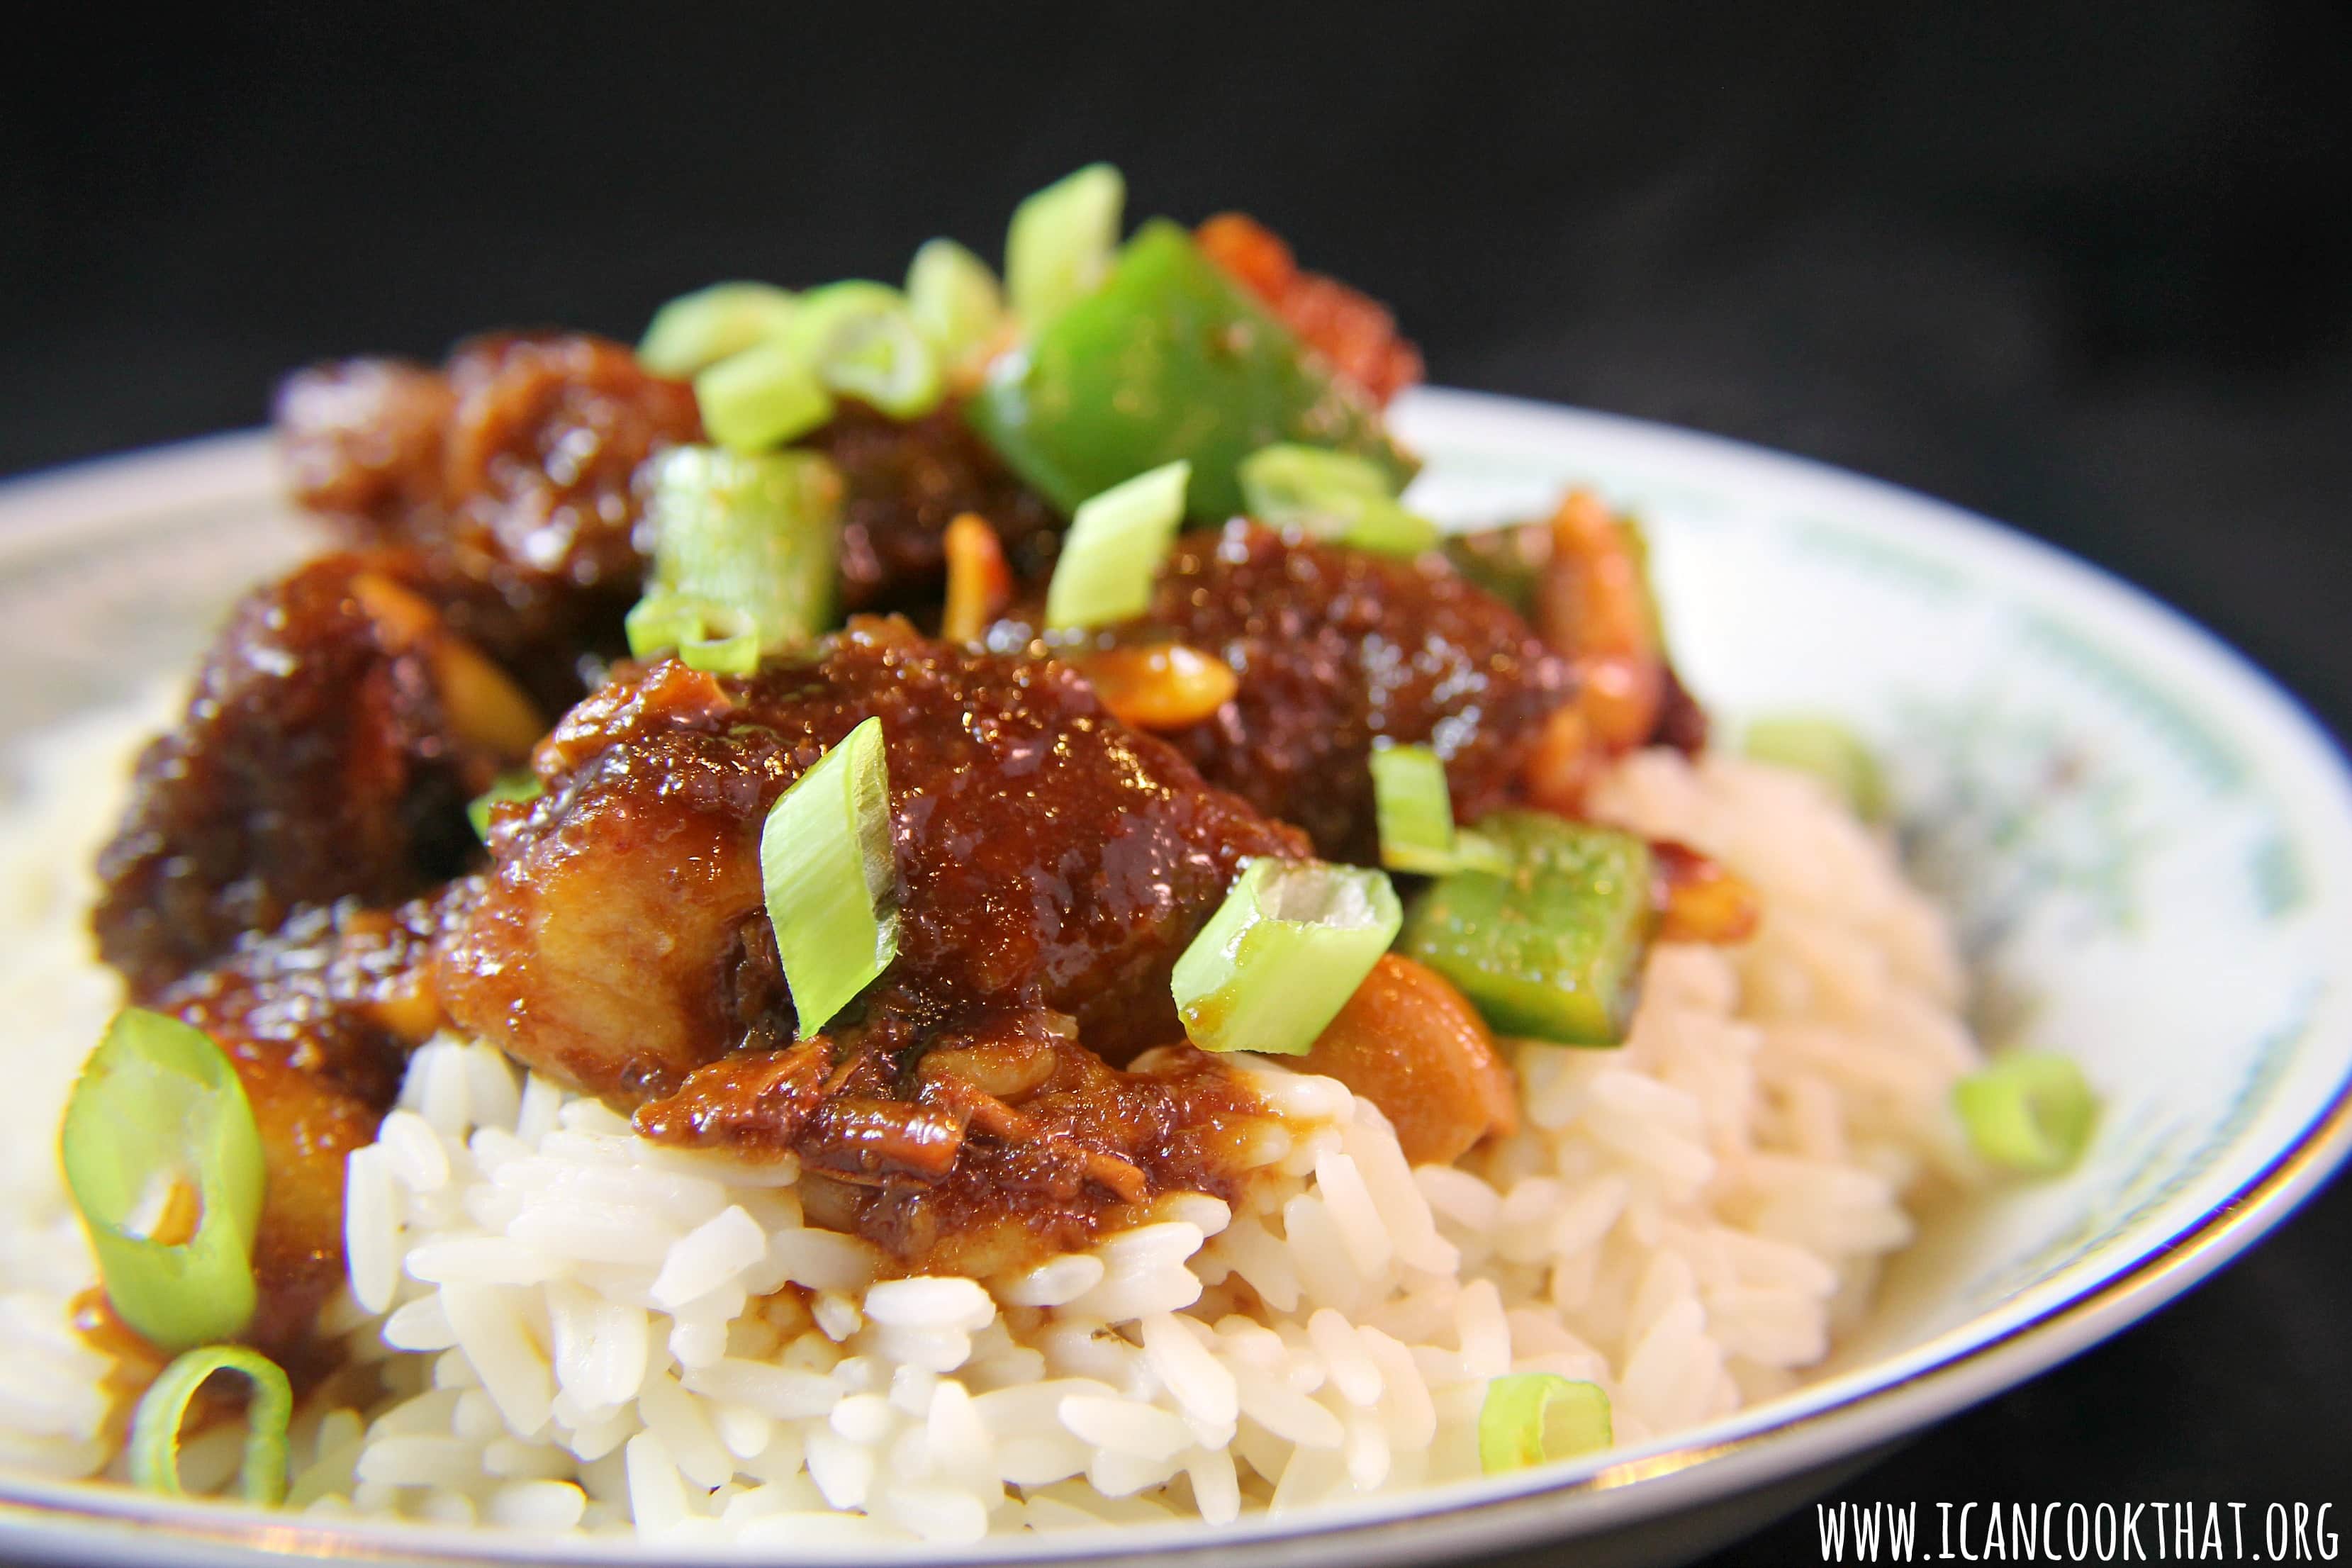
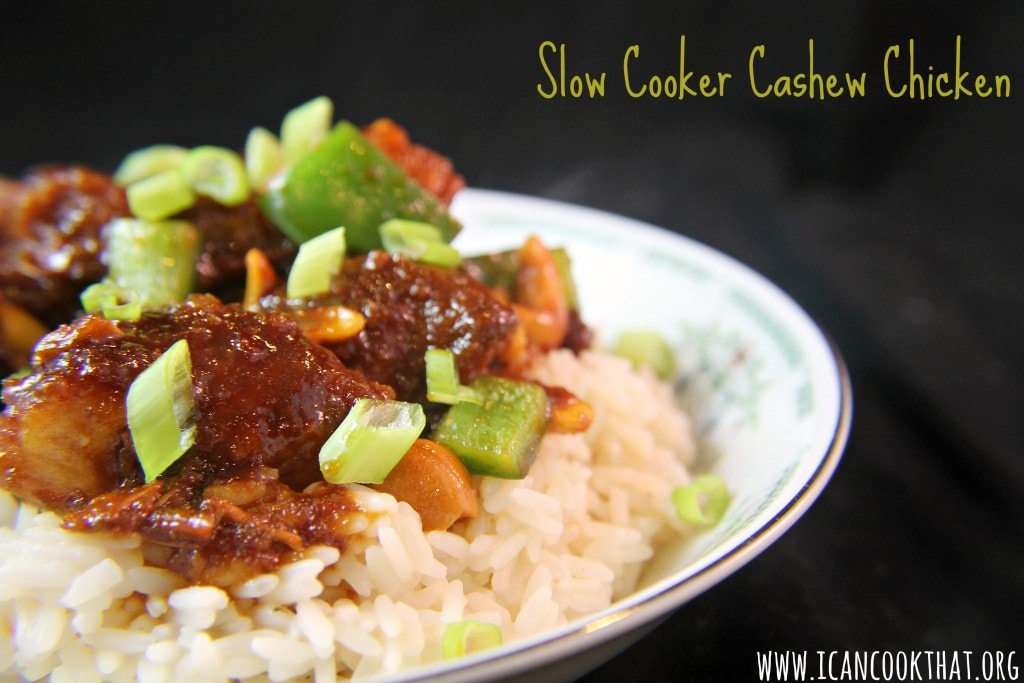
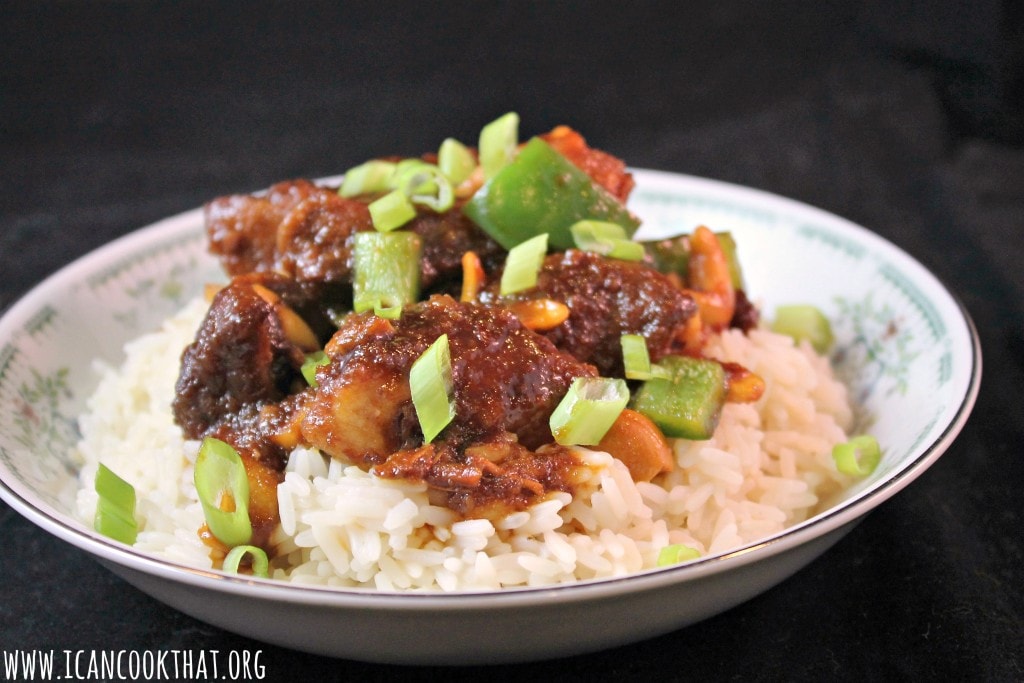
So this time, I attempted to make a takeout favorite — Slow Cooker Cashew Chicken!
This recipe is really simple, but it can become a legit salt lick if you aren’t careful about your ingredients. Be sure to use lower sodium soy sauce and unsalted cashews!
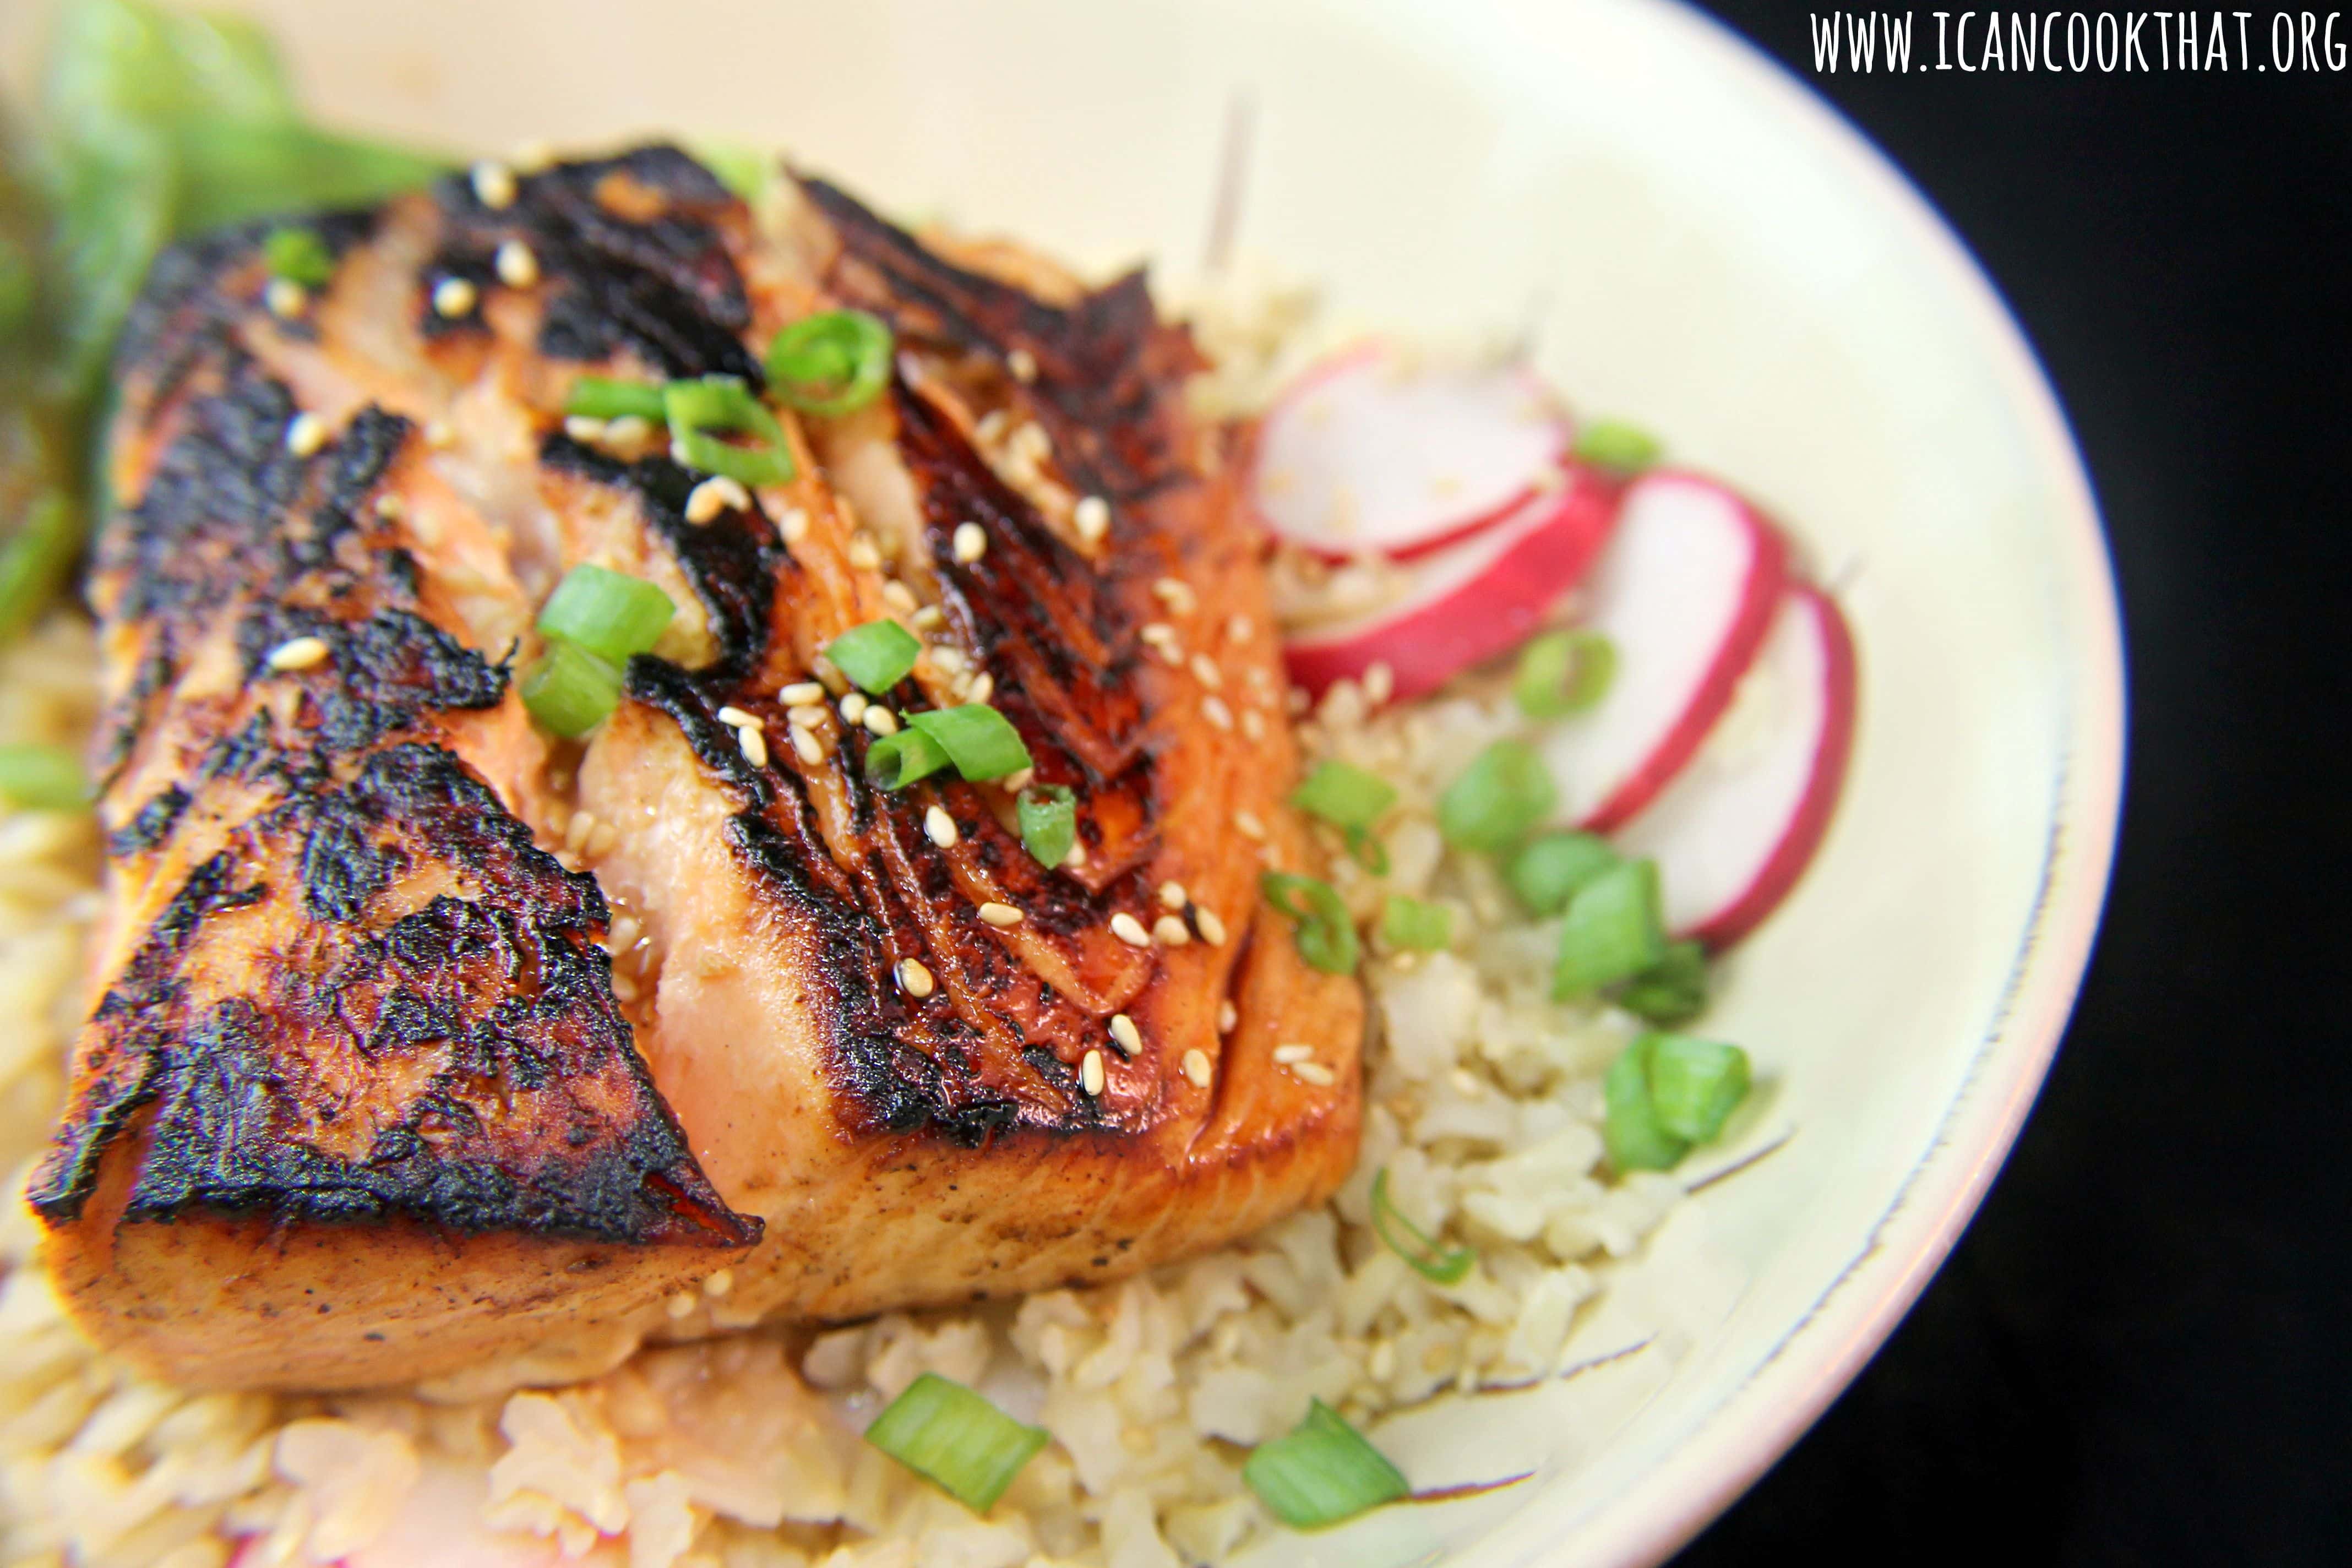
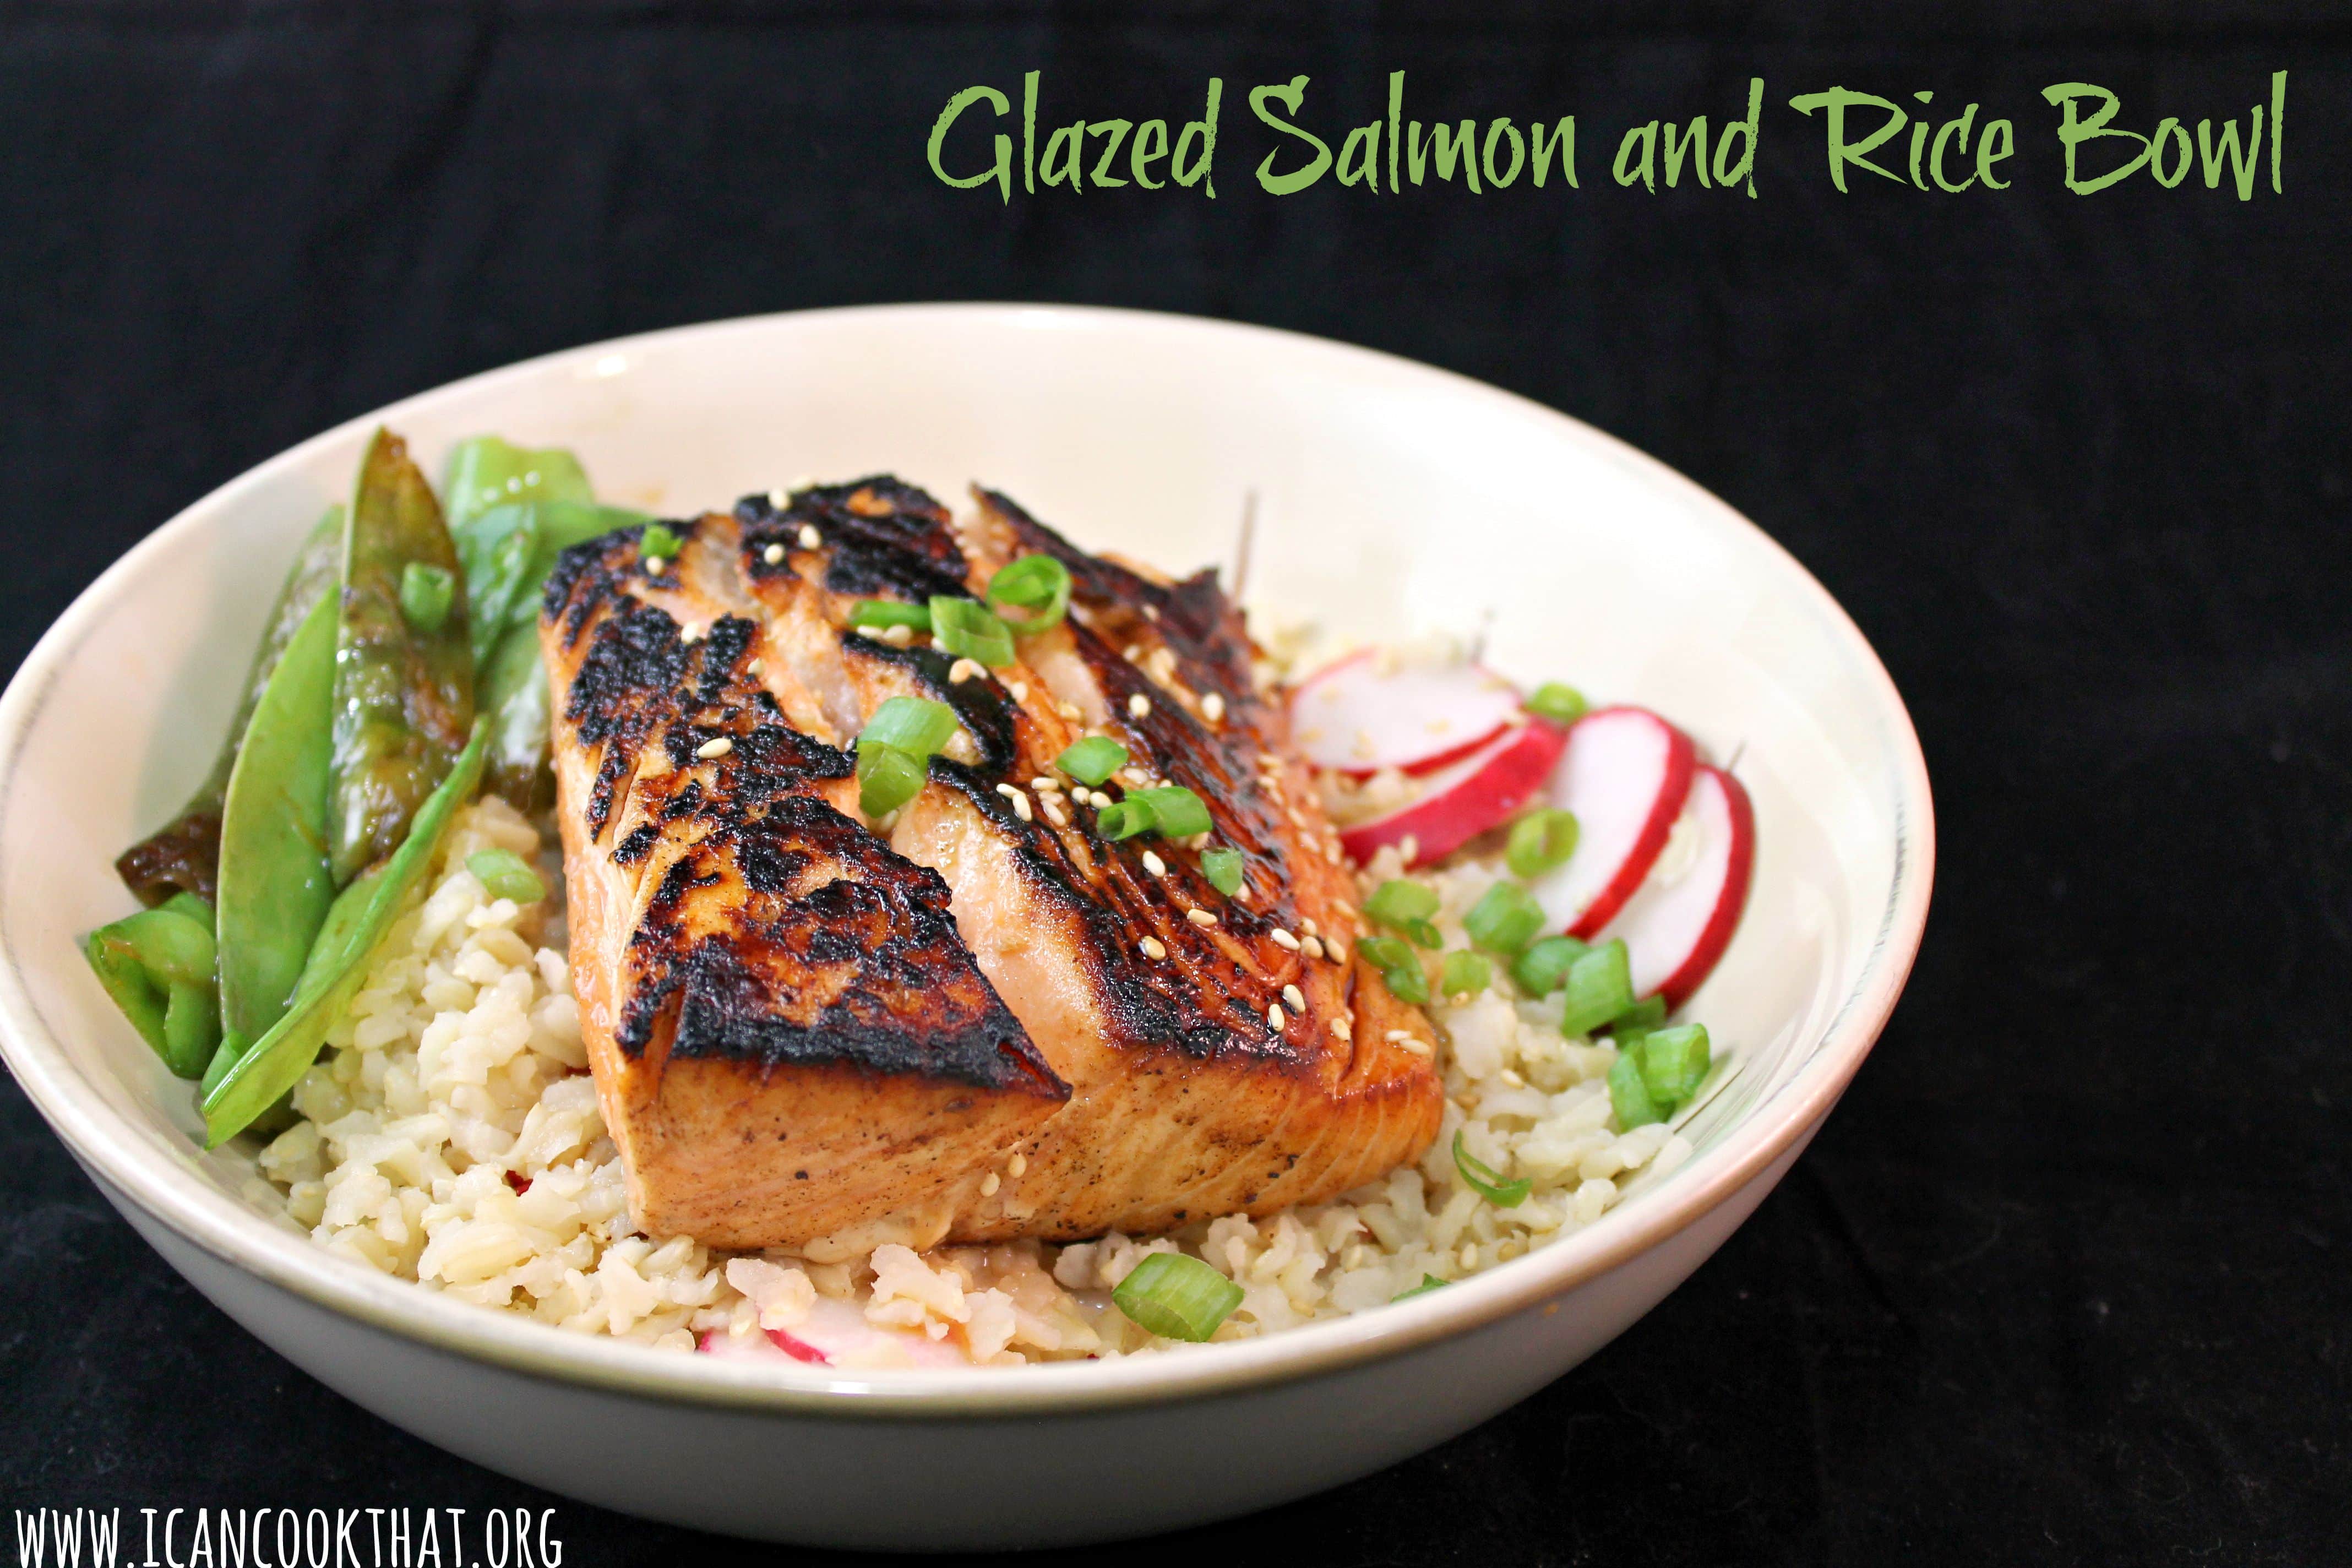
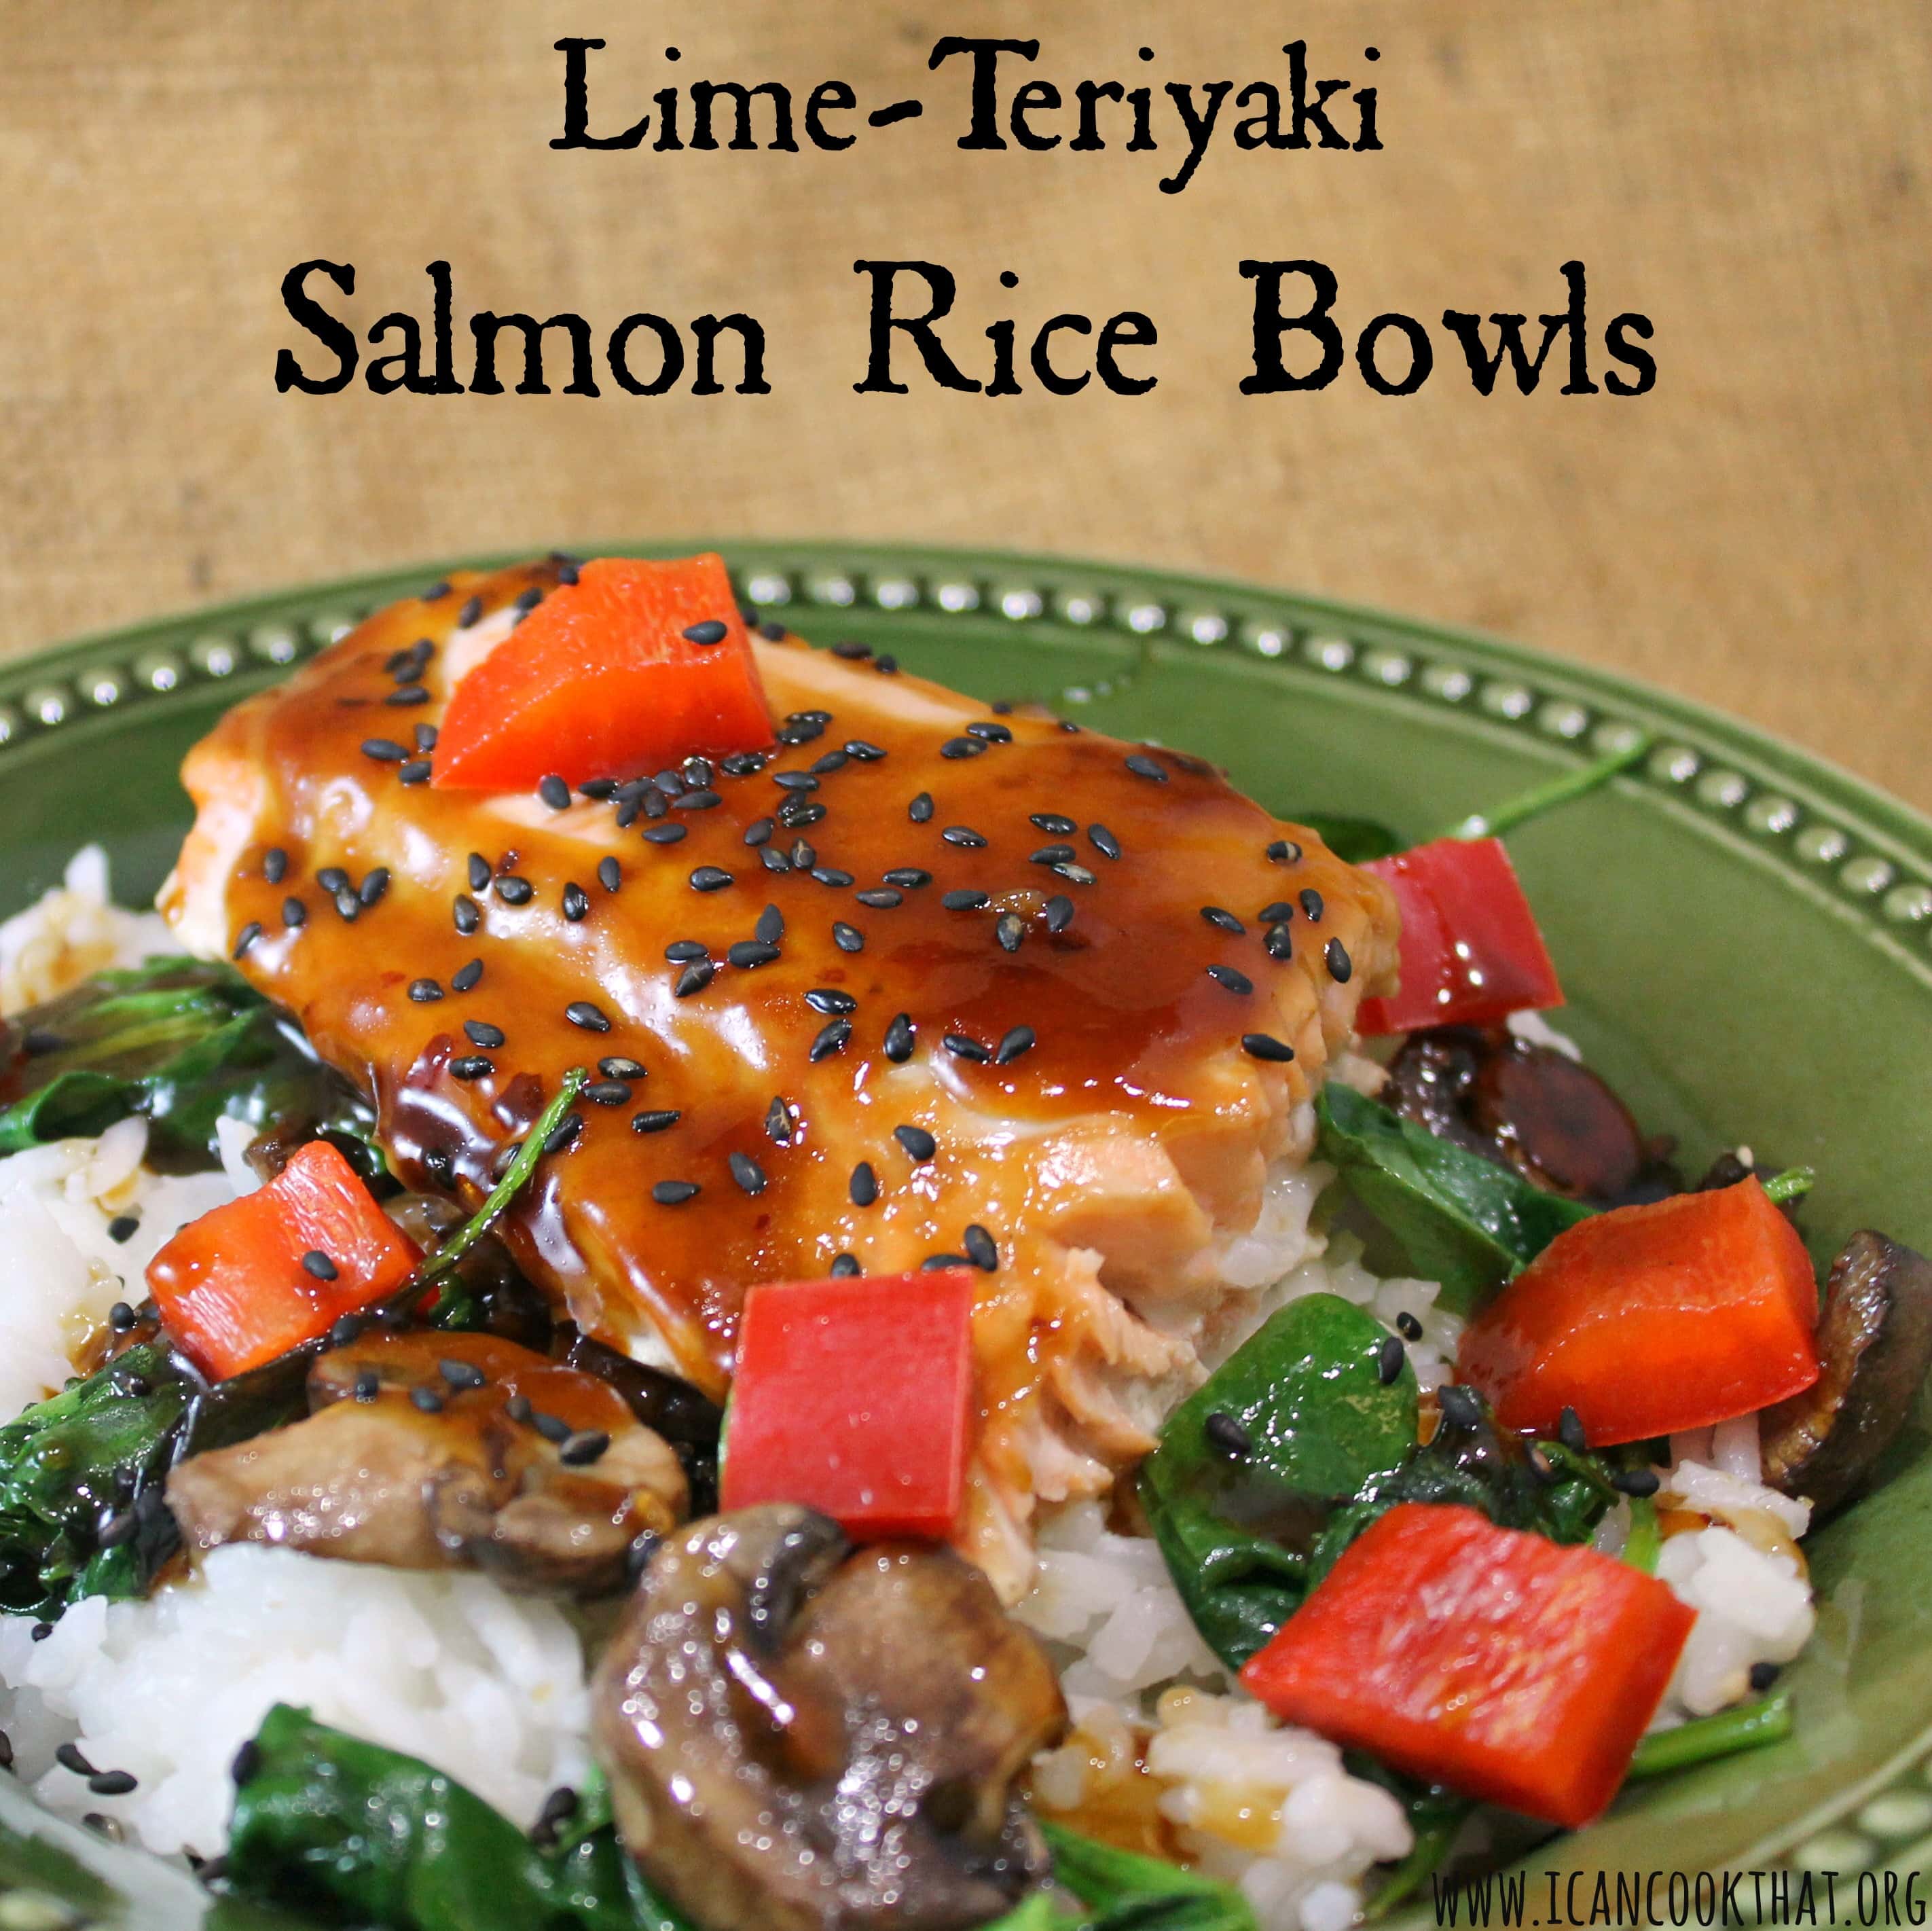
I don’t think I’ll ever have enough 30 minute weekday recipes, especially healthy ones! Here’s another one from Cooking Light, that includes salmon, brown rice, snow peas, and quick pickled radishes for a bunch of flavor, crunch, color, and a little tanginess.
These Lime Teriyaki Salmon Rice Bowls are super satisfying and comes together really quickly. Feel free to experiment with different mix ins and toppings!
Ingredients:
1 cup cooked rice, white or brown
2 teaspoons olive oil, divided
1 package (8 ounces) sliced baby bella mushrooms
1/4 teaspoon salt
1 tablespoon unsalted butter
2 large garlic cloves, minced
1/2 teaspoon red pepper flakes
1/3 cup pure maple syrup
1/3 cup fresh lime juice
1/3 cup reduced-sodium soy sauce (or coconut aminos to make gluten free)
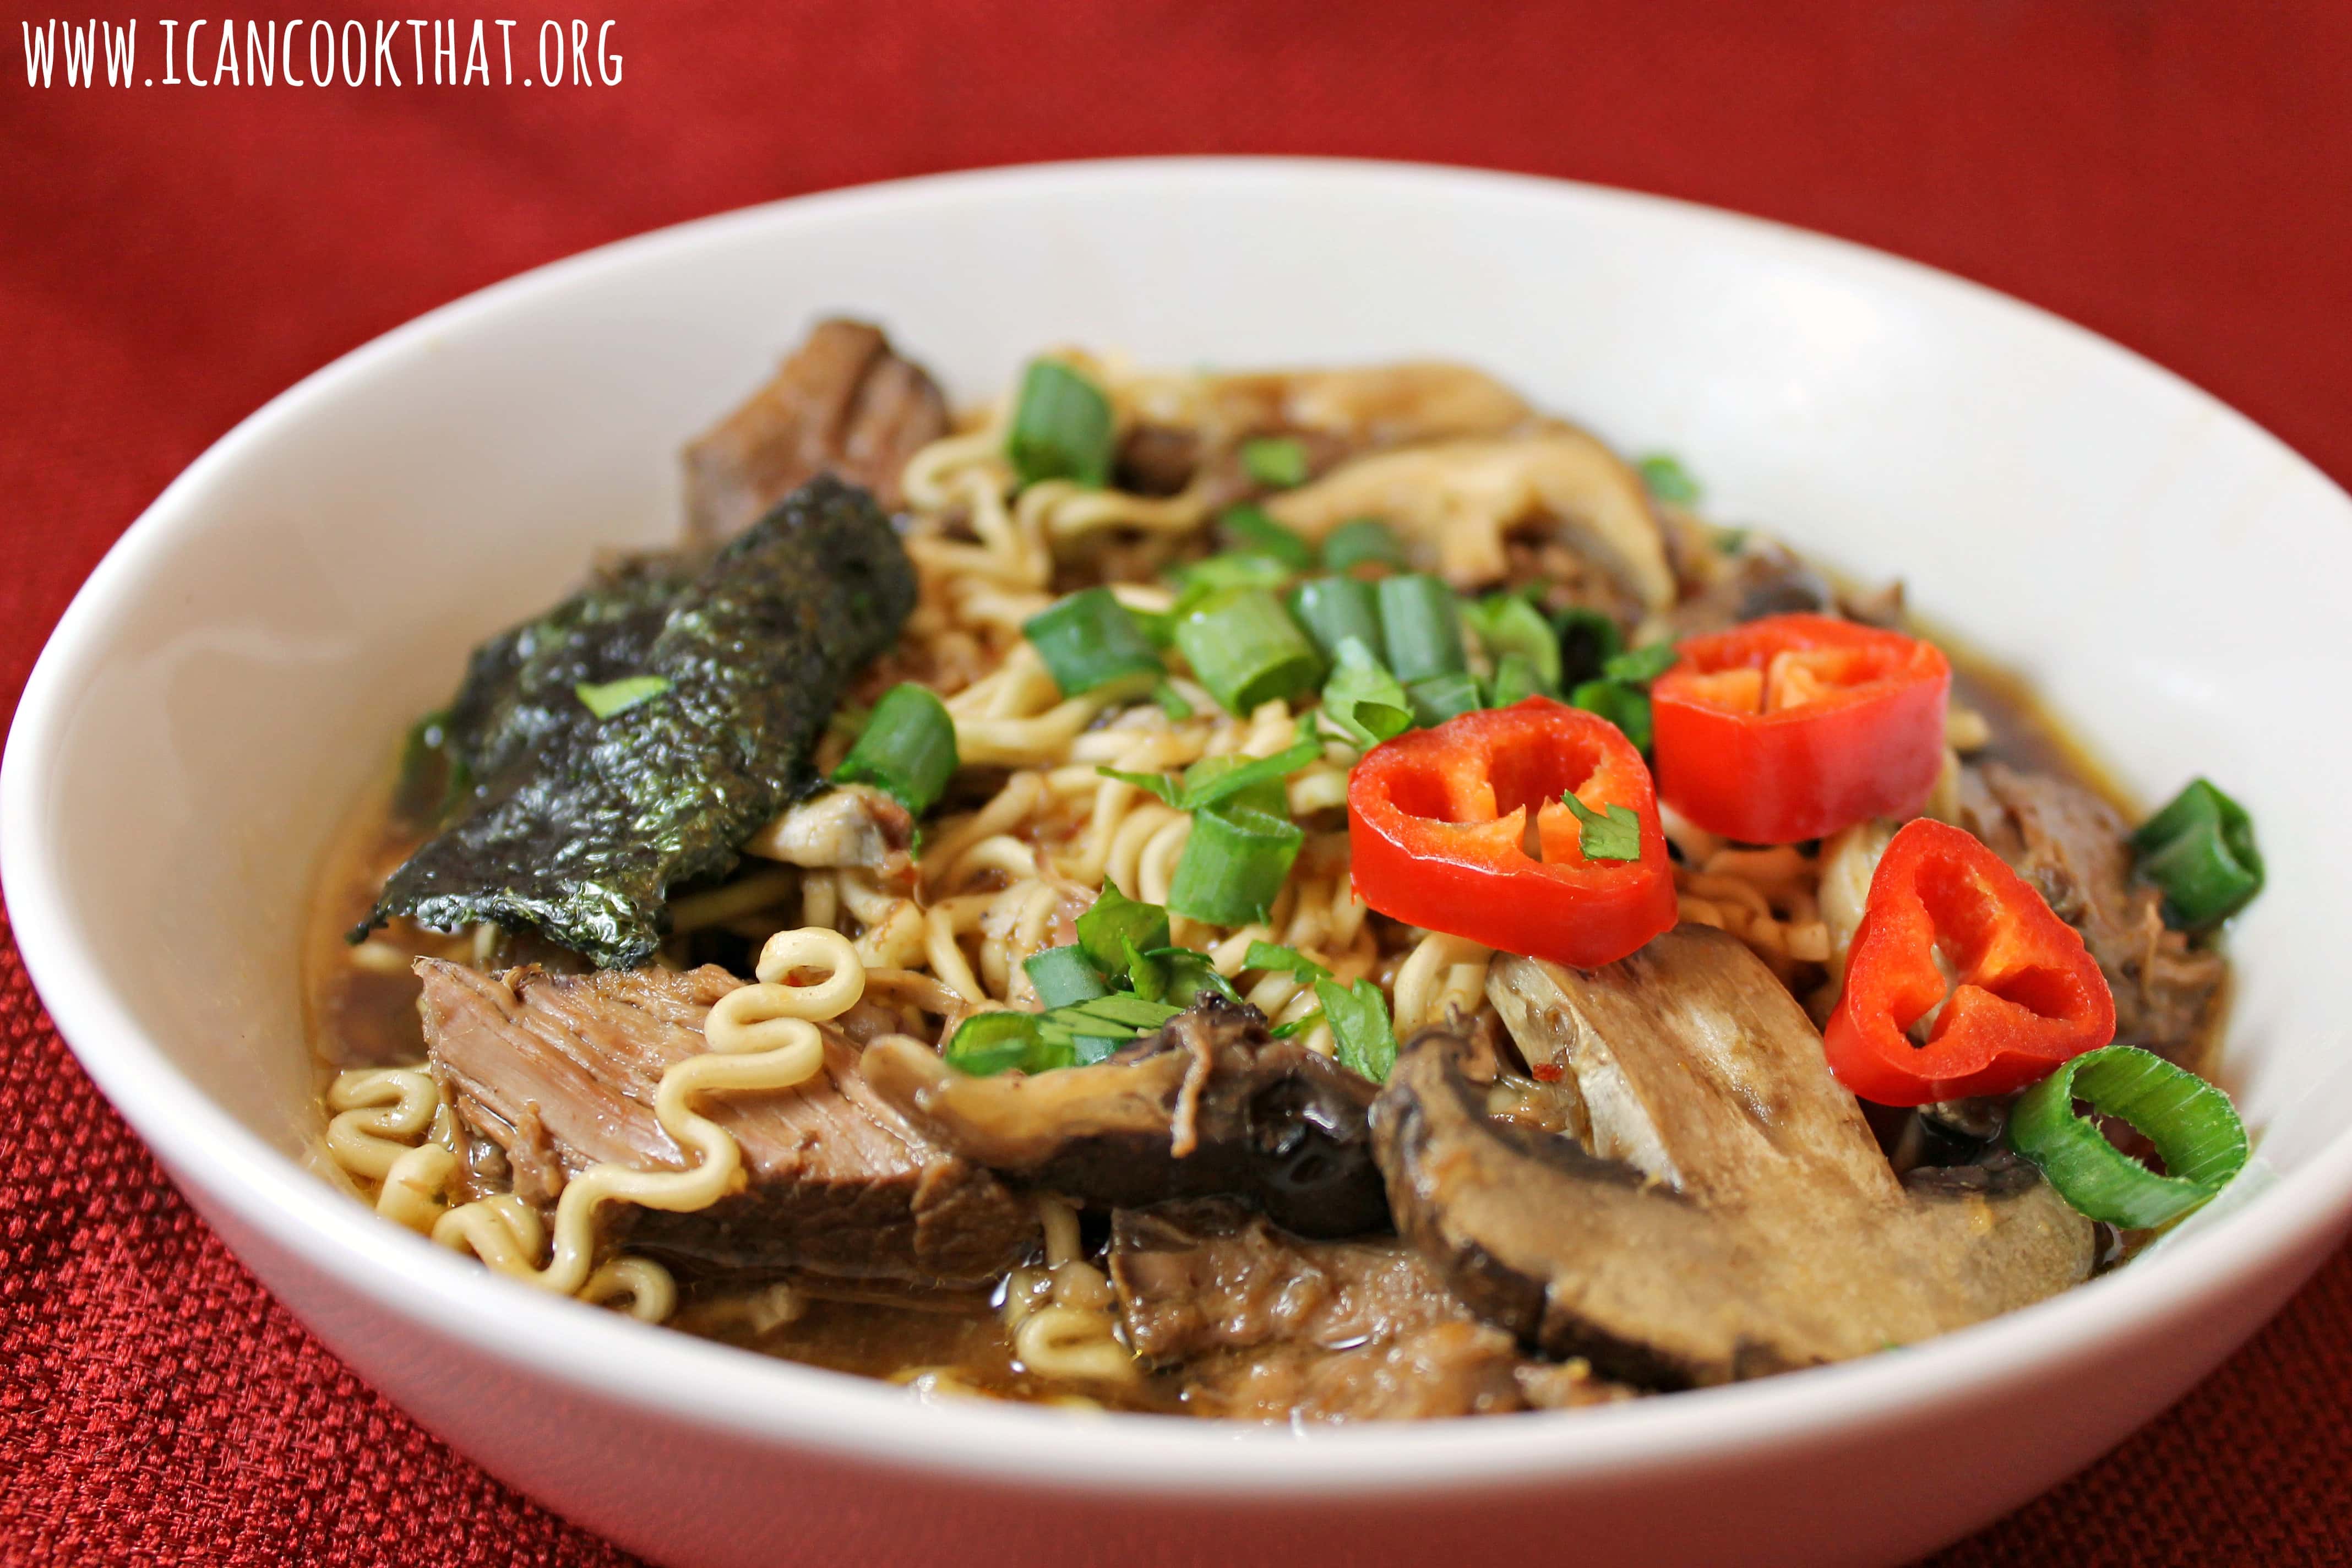
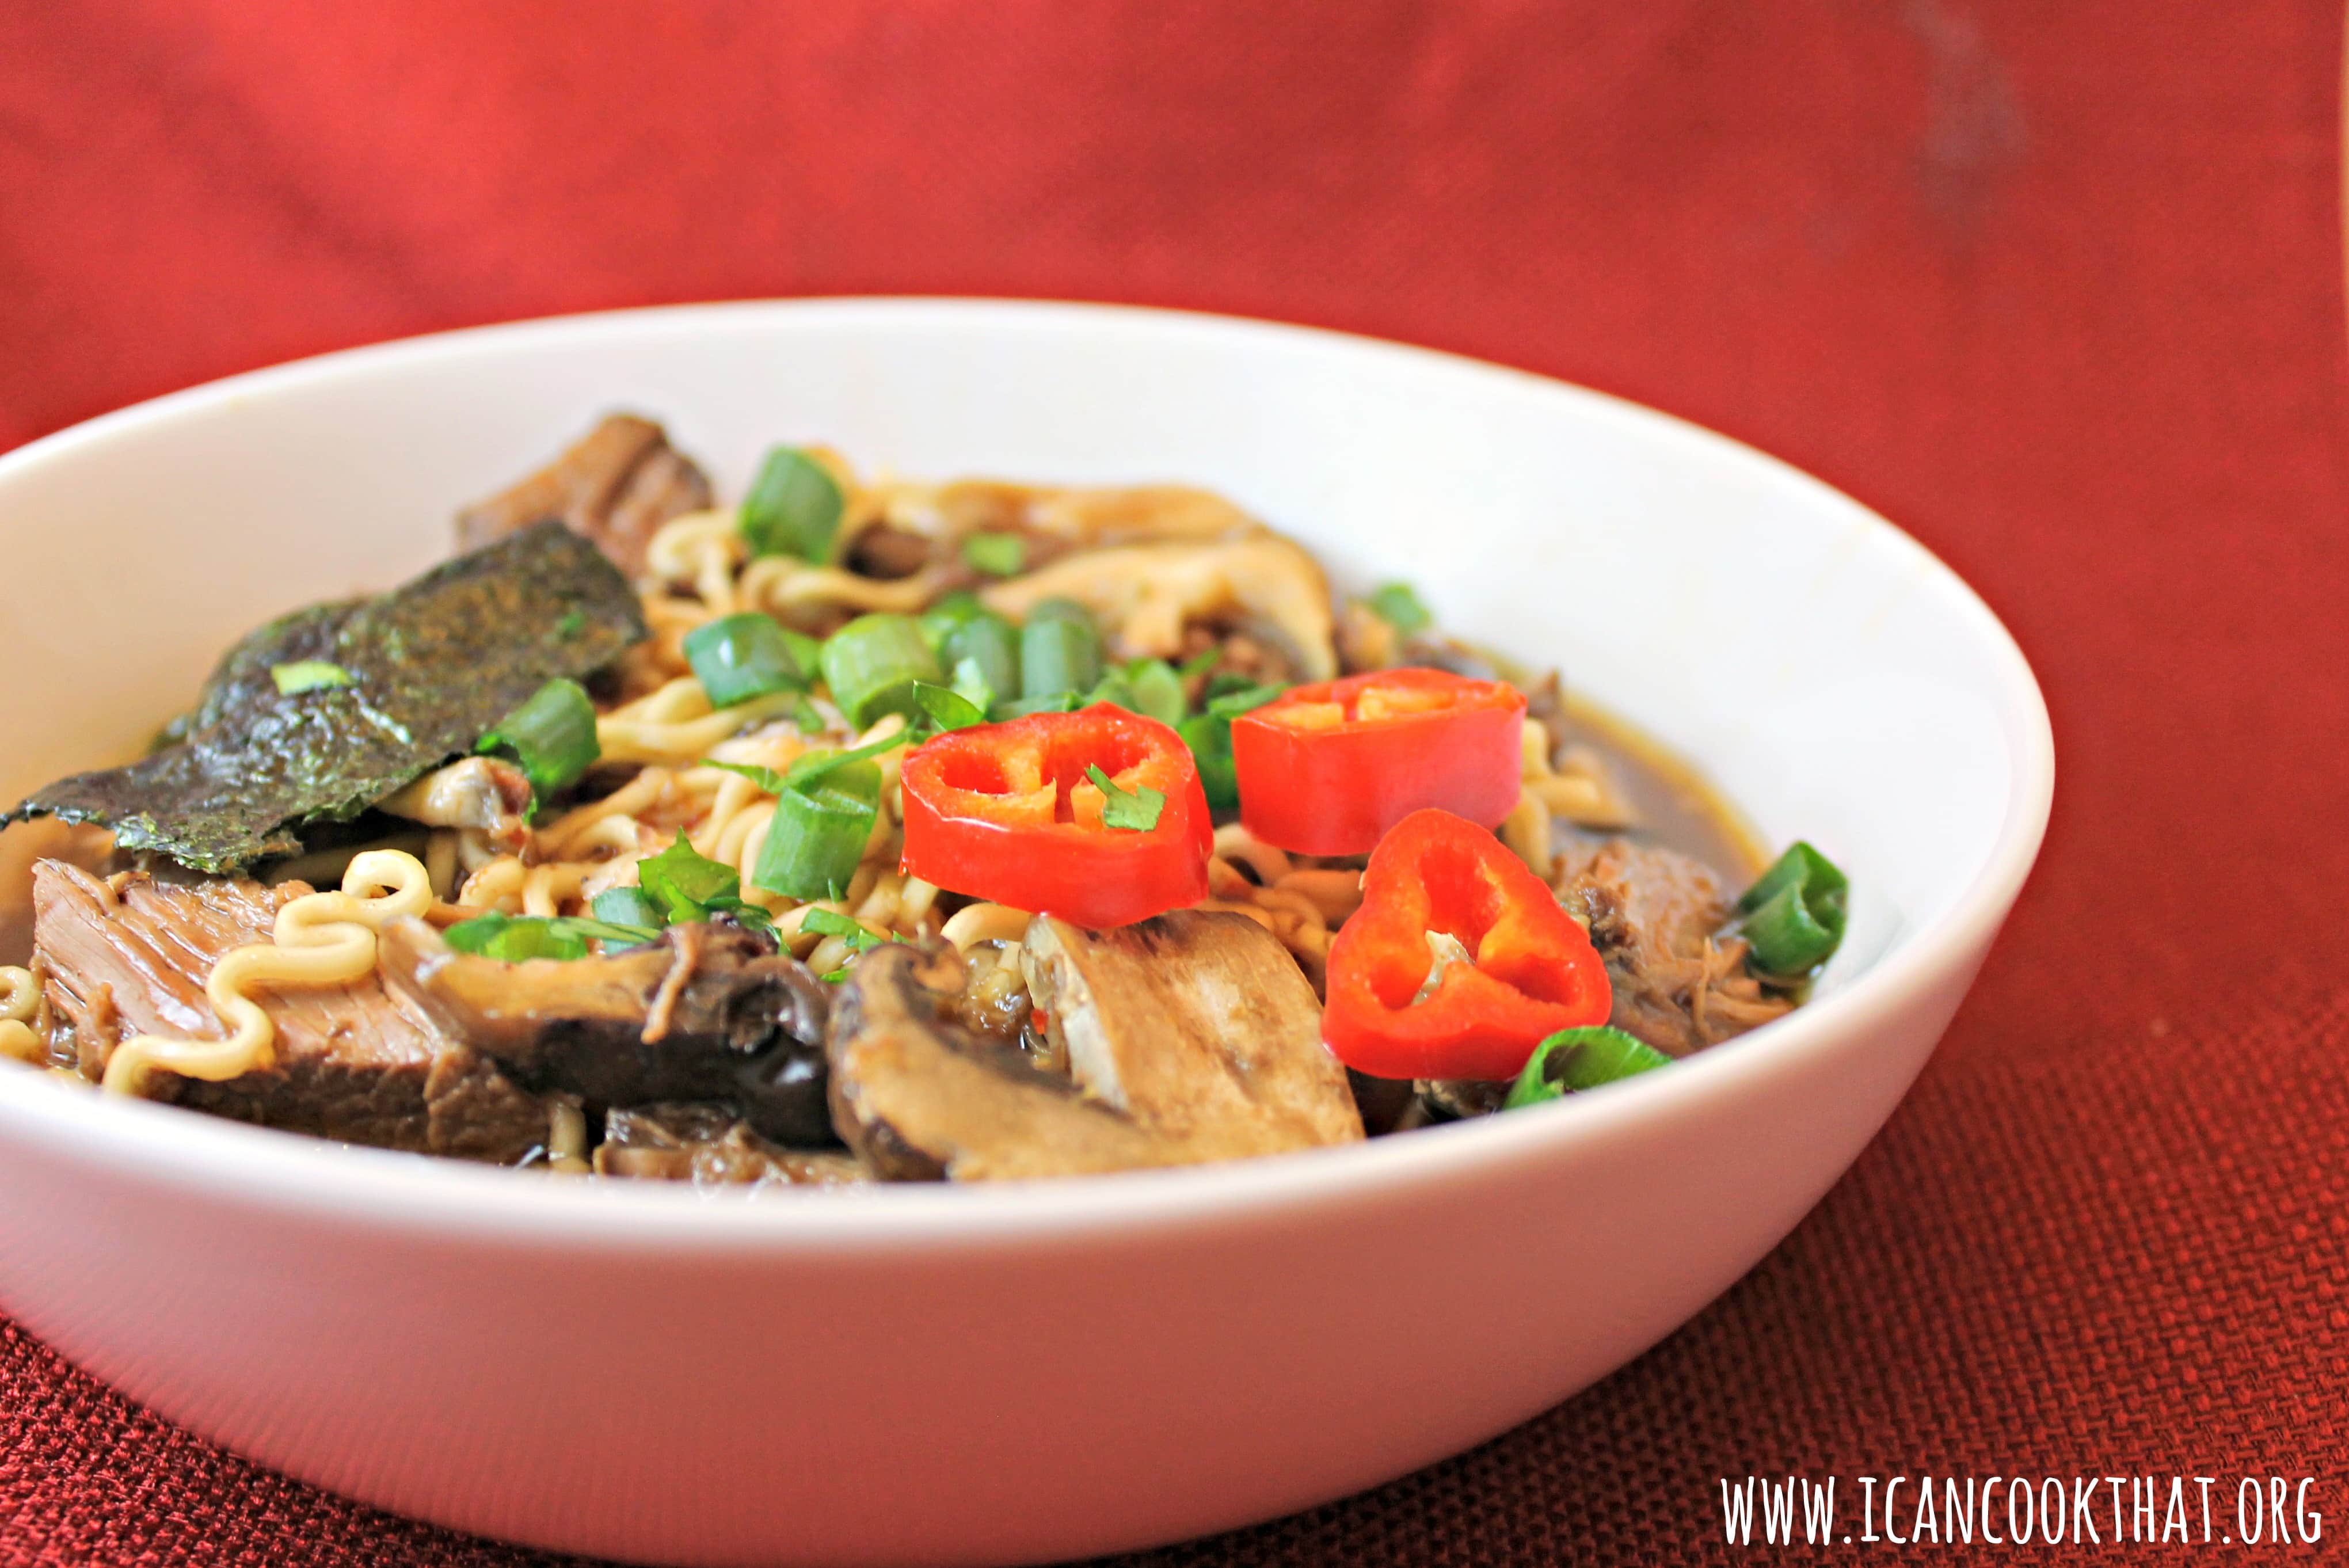
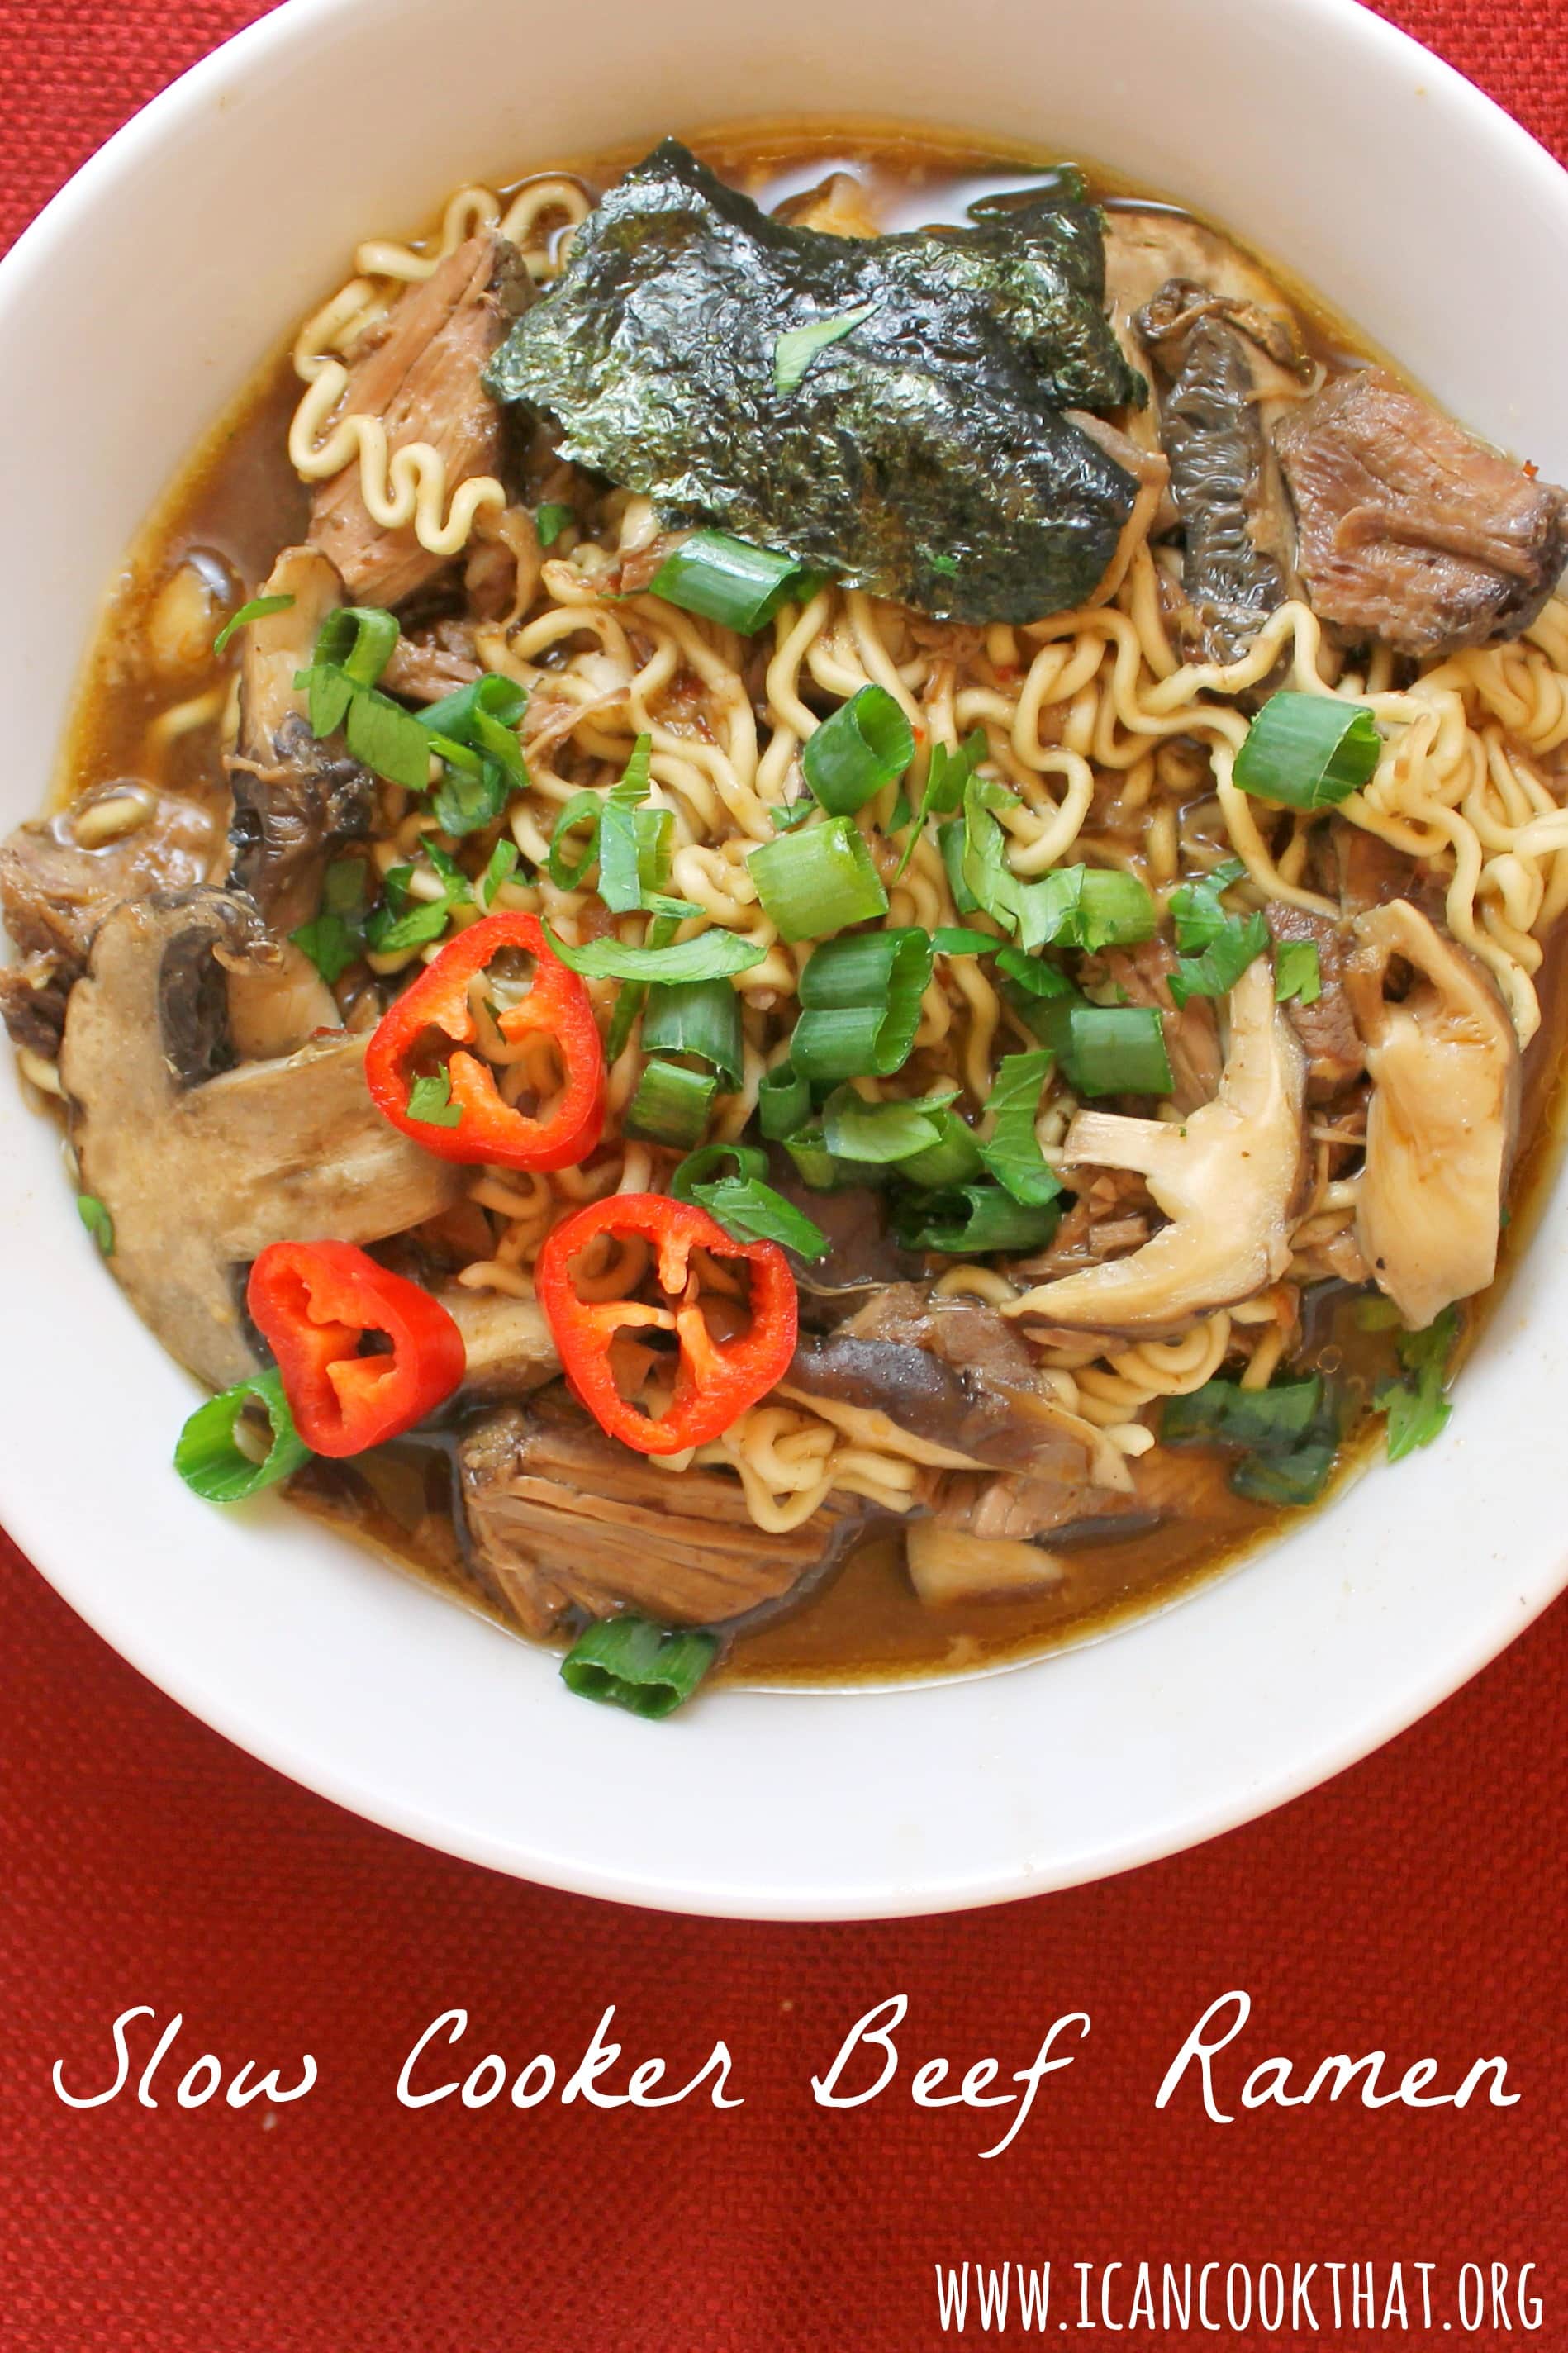
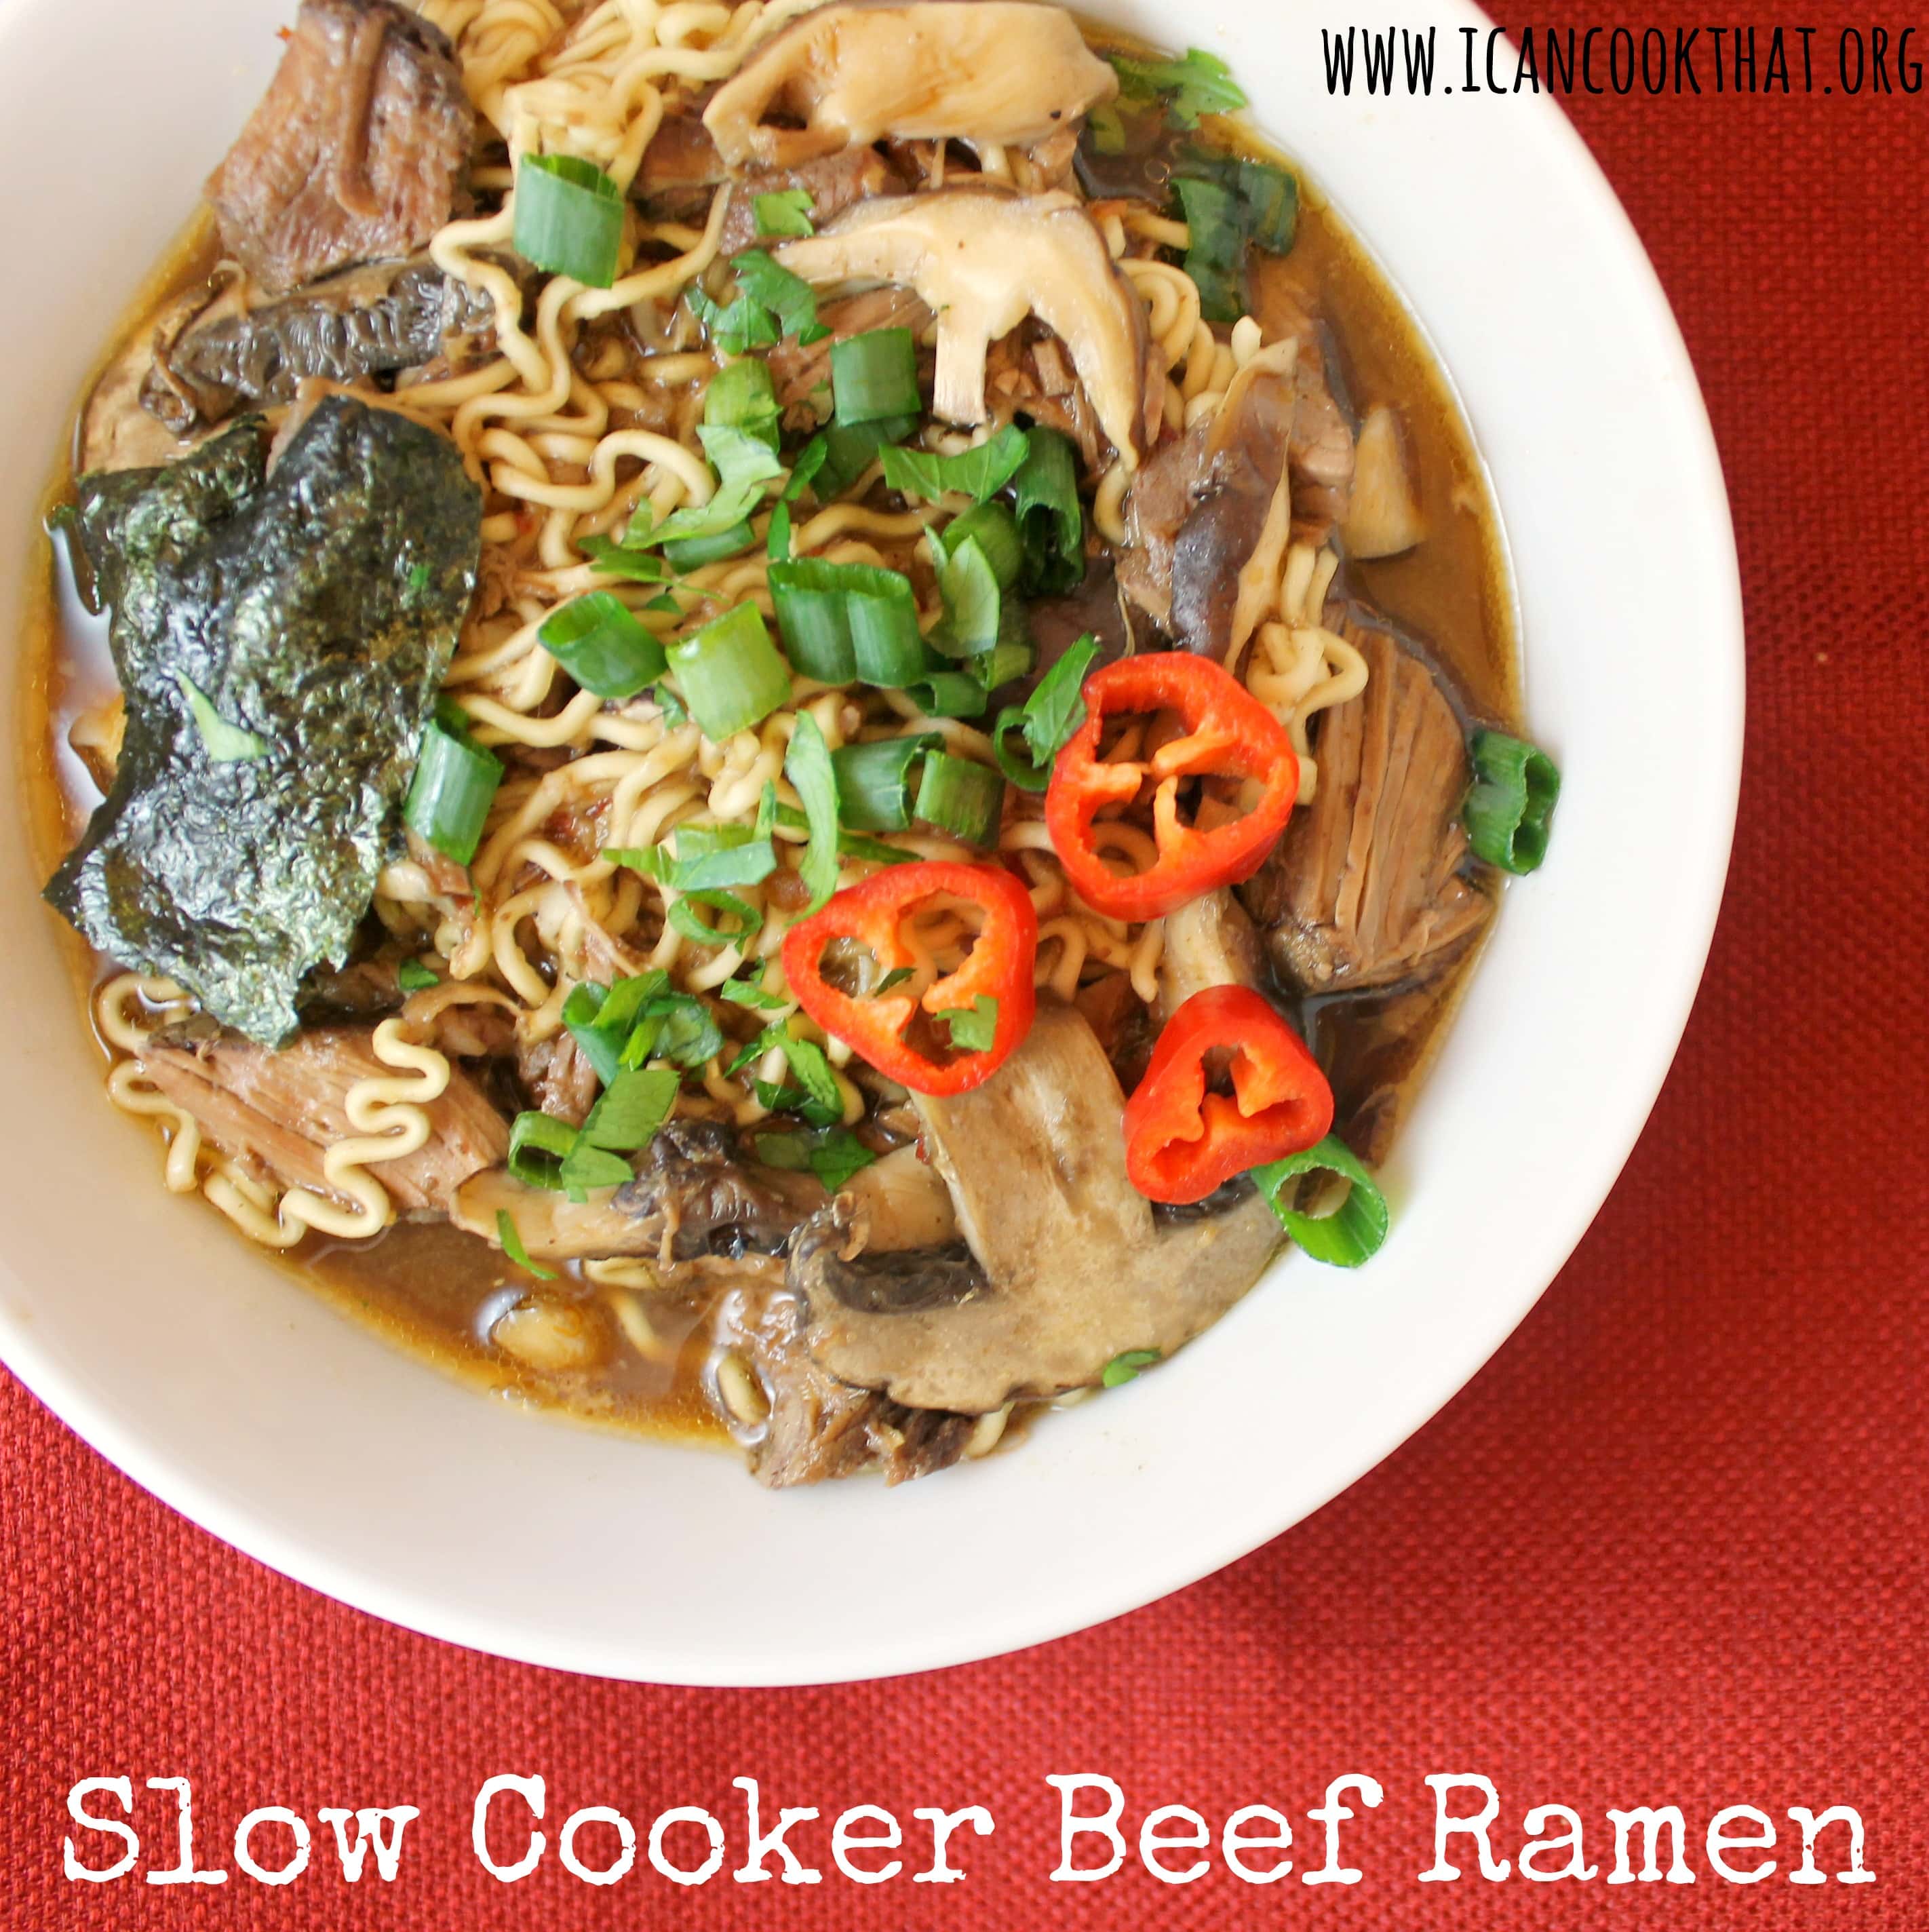
So I’ve been feeling pretty crummy for the past few days. And I’ve been craving soups like crazy. One of my favorite options when I want a comforting meal is ramen, specifically Shio-style from Nom Nom Ramen in center city Philadelphia.
When I saw Betsy Life did a version of Ramen in her slow cooker, I knew I wanted to try to make my own Slow Cooker Beef Ramen as well!
Ramen is typically made with pork belly, but I couldn’t find any in my supermarket so I went with beef. So this Slow Cooker Beef Ramen is definitely not a traditional style ramen.
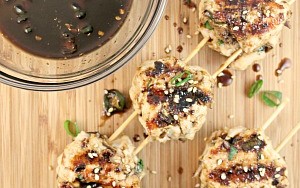
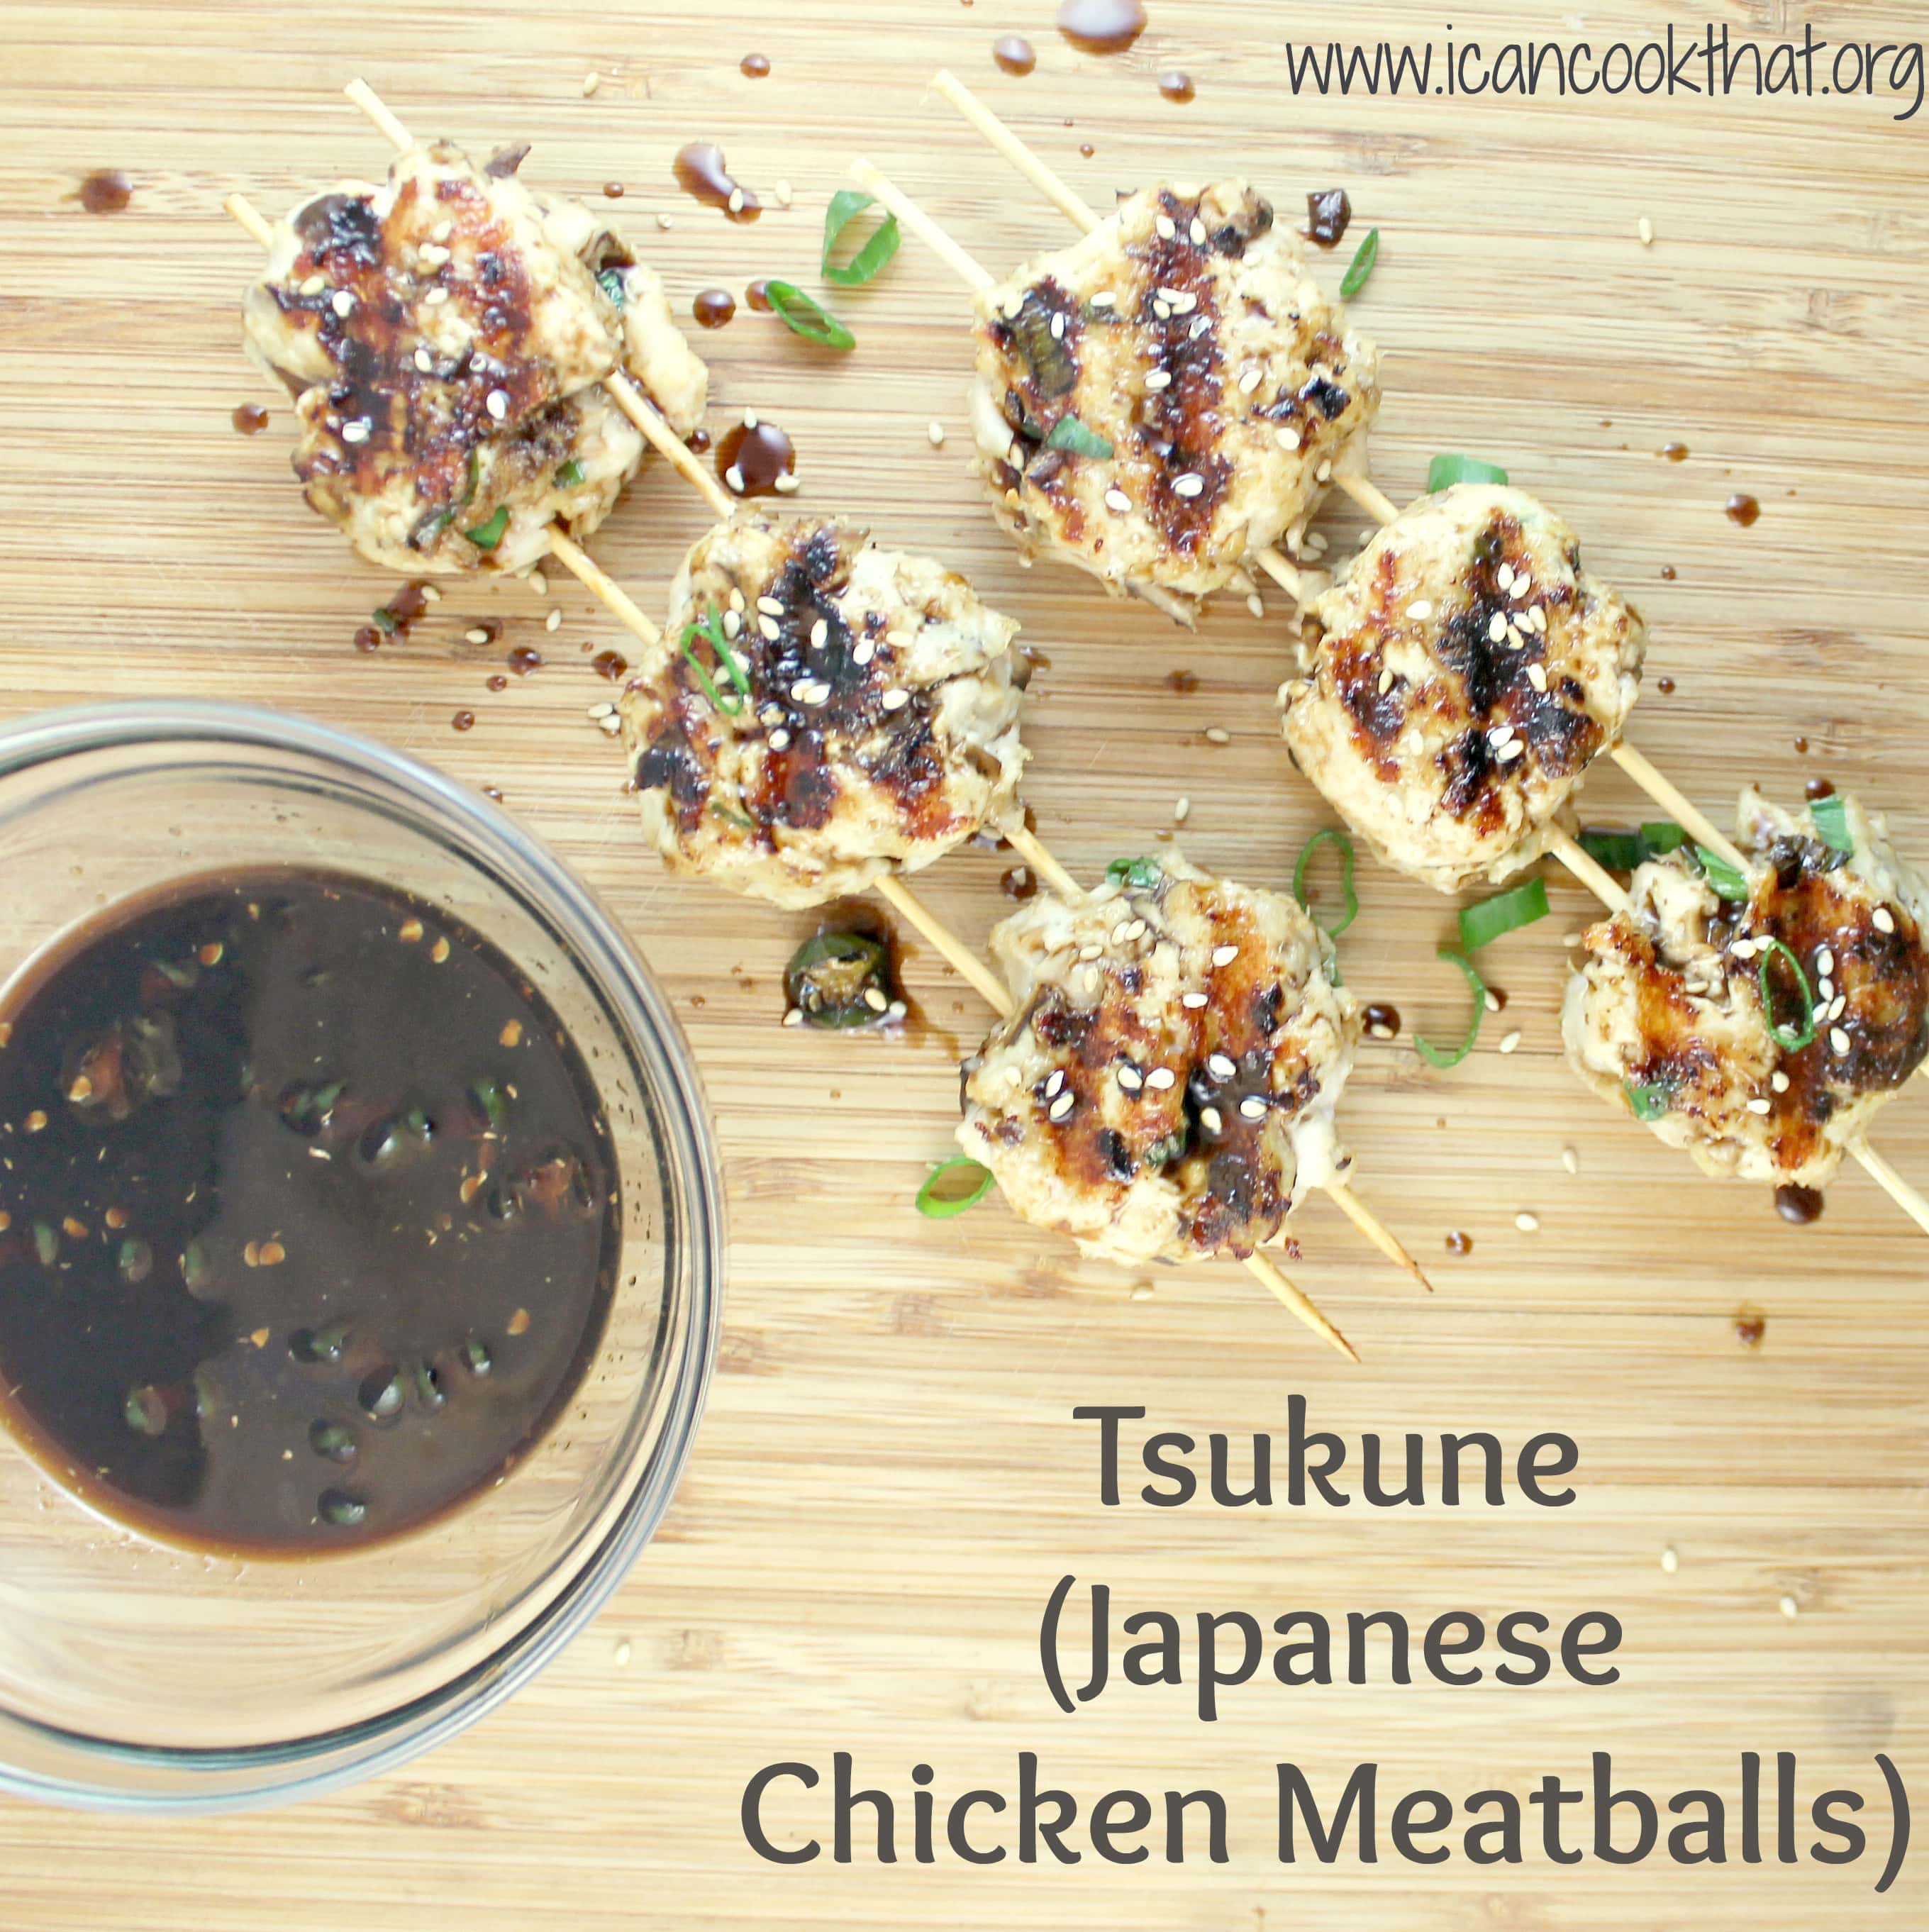
I am in a never ending search to find ways to make chicken into a new and different meal. Cooking Light’s September issue had this recipe for Japanese Chicken Meatballs, or Tsukune, that were mentioned as a great “party snack.” I decided to change the recipe size and pair it with grilled baby bok choy and some rice to make this traditional appetizer/snack into an entrée.
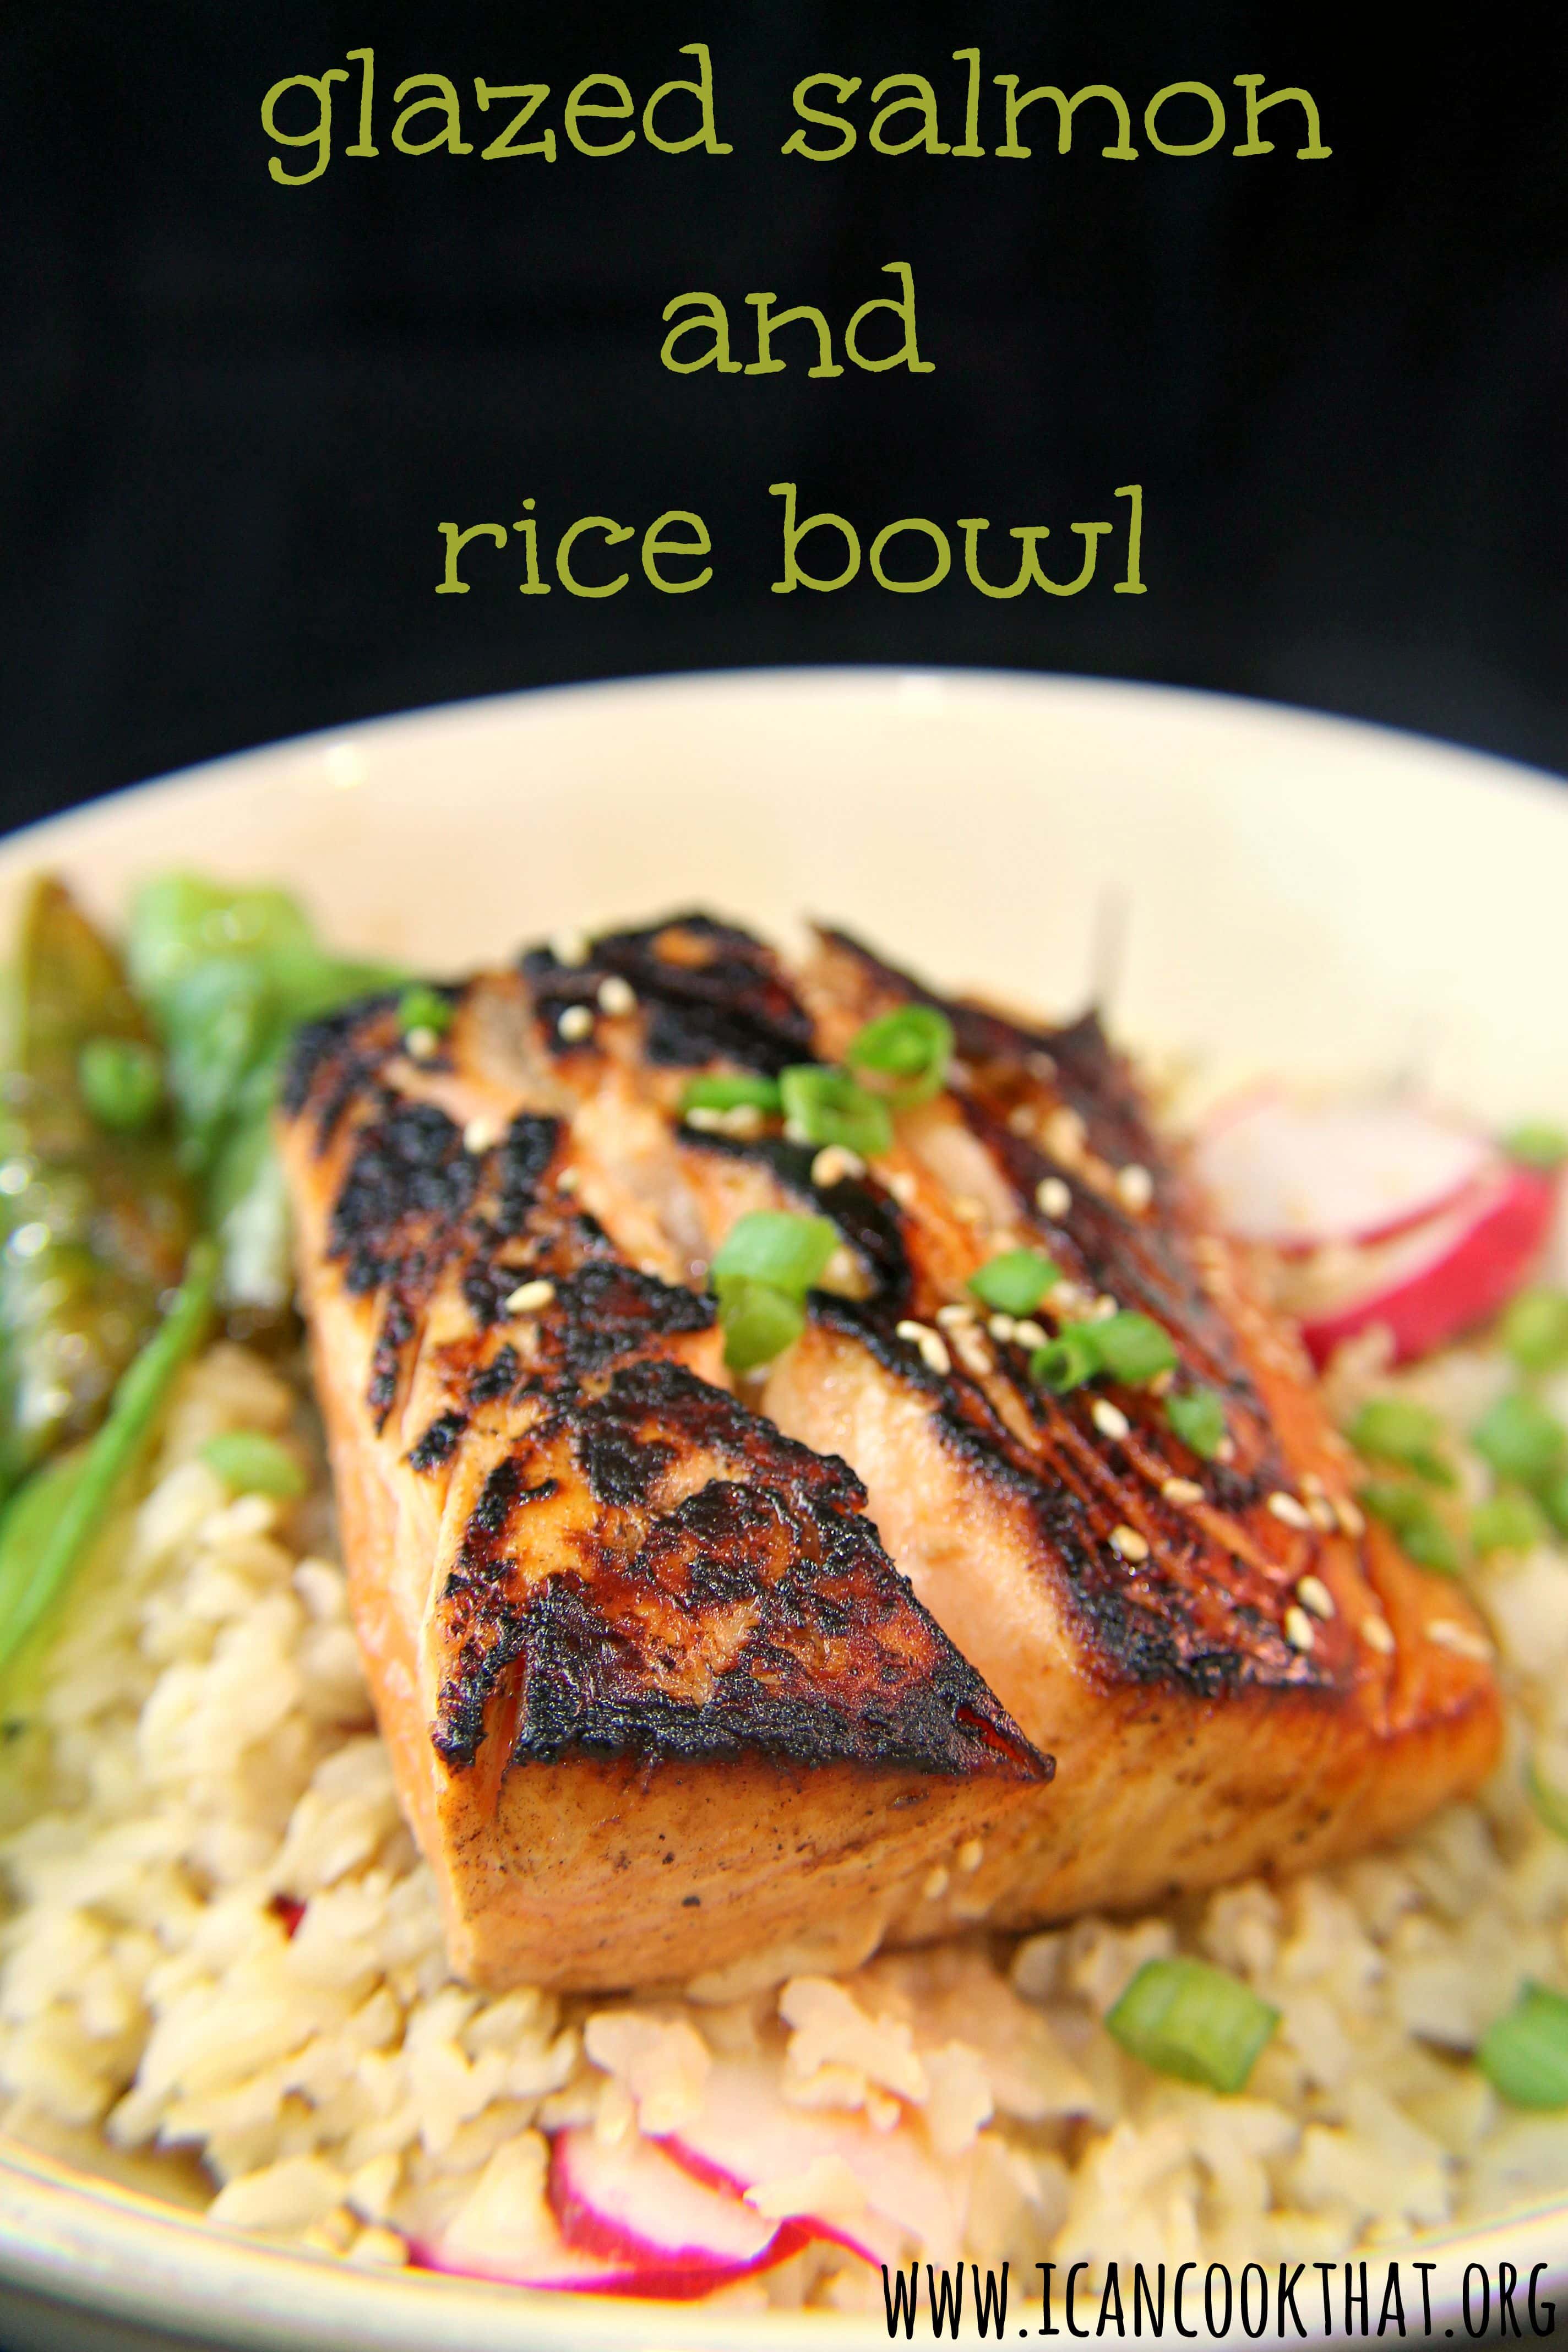
There is a good chance I have a rice problem, I love all things rice. My go-to meal in a pinch is always risotto. So when DailyBuzz Food had an opportunity to work with RiceSelect through their Tastemaker program, I jumped at the chance. RiceSelect is one of my favorite rice brands. You may notice their nifty containers popping out of a bunch of my posts so I was really excited to work with their rice. The catch was that they sent me one of RiceSelect’s rice randomly, I didn’t get to choose it. When I opened up the package, I discovered brown rice. Hum. I’ve never worked with brown rice before, but I was up for the challenge!
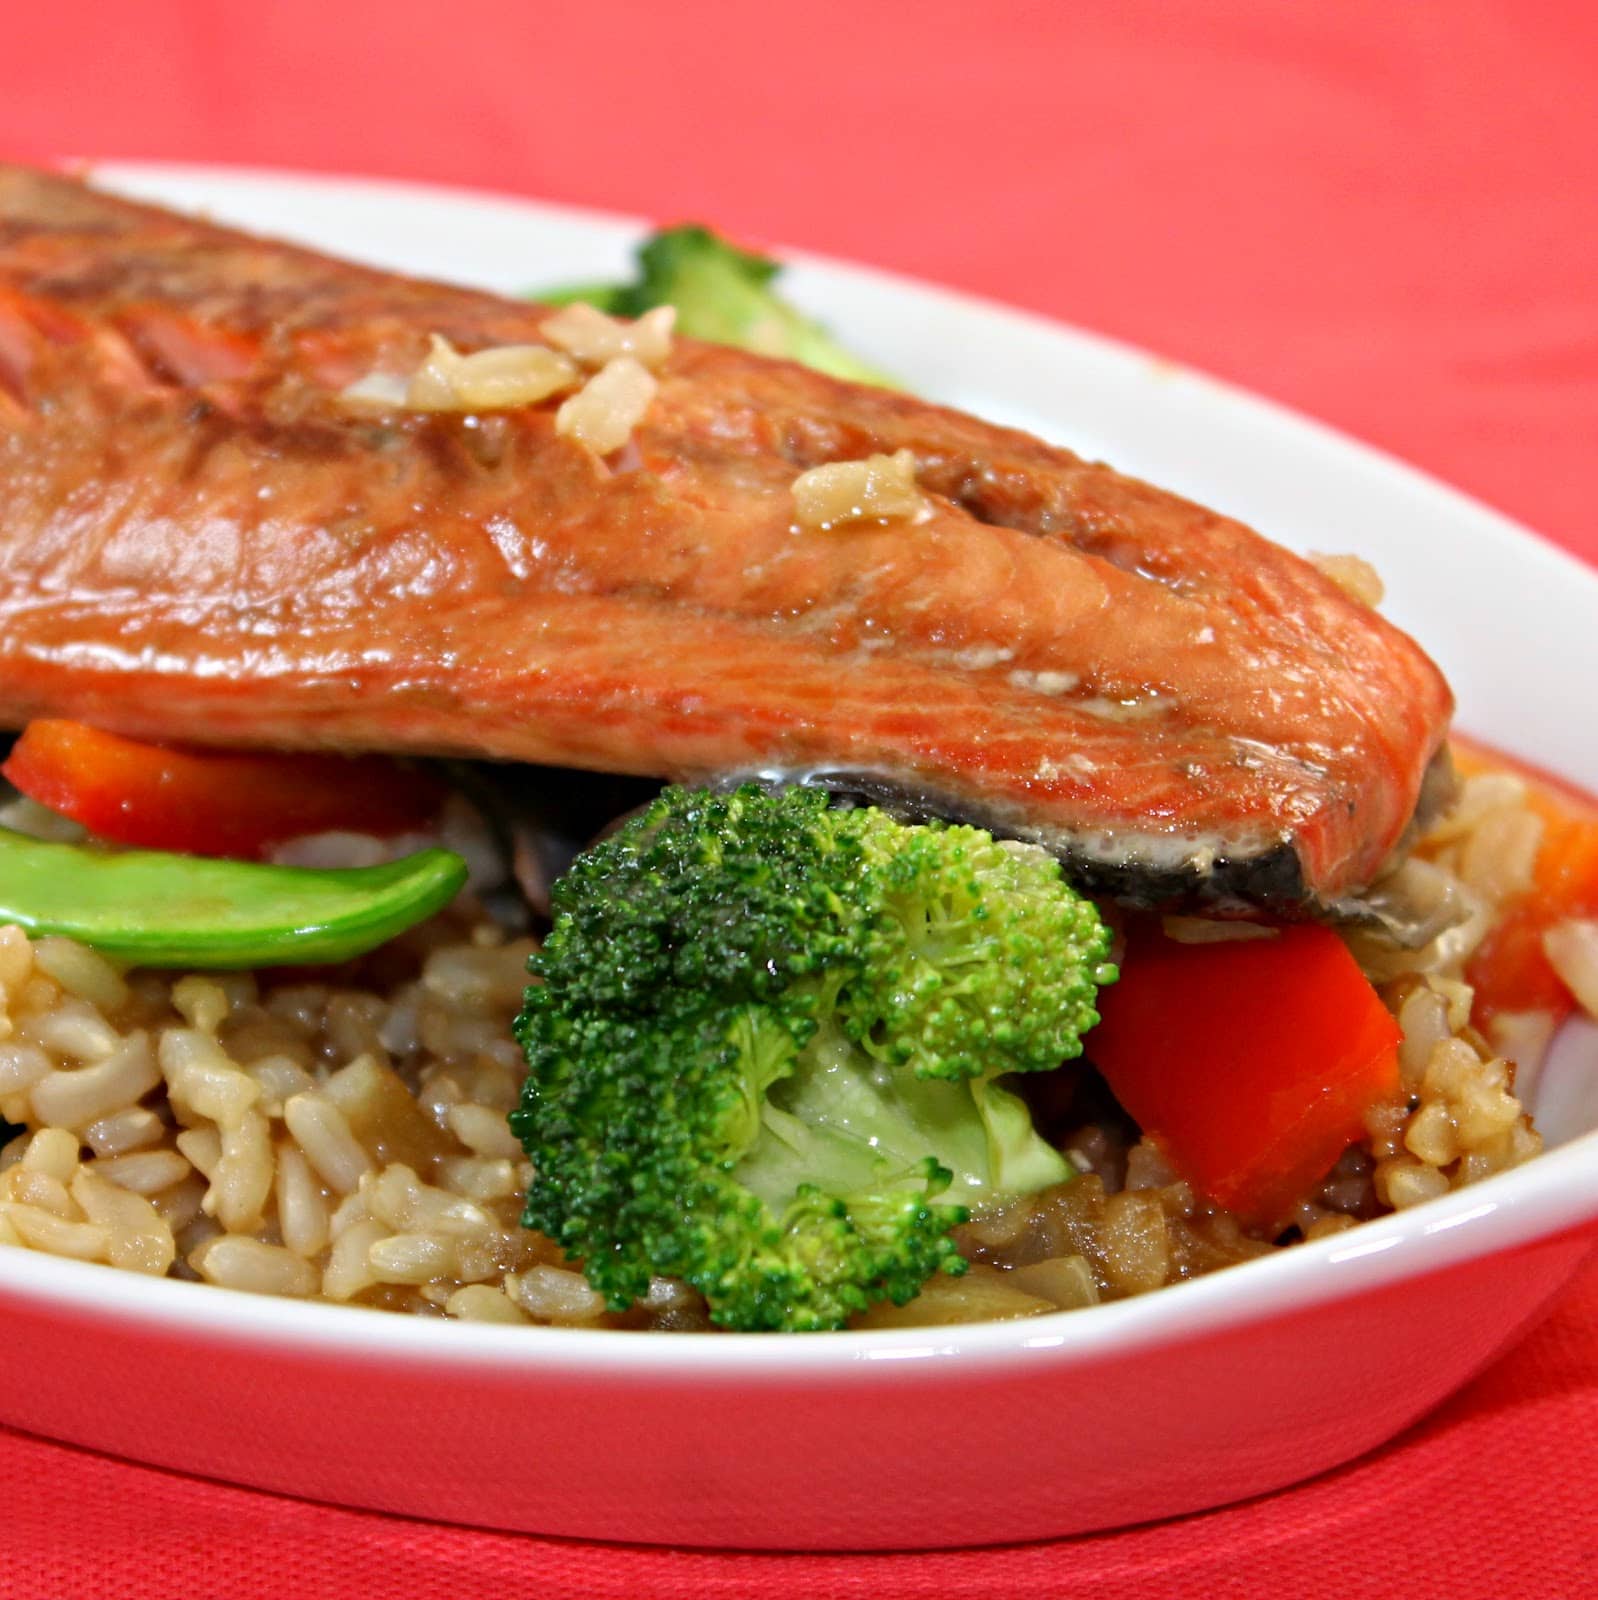
I decided to make a stir fry teriyaki dish using my favorite protein, salmon. Normally stir fry is a quick dinner choice but brown rice takes quite a bit of time to cook. But it gives you plenty of time to prep your veggies and hang out with your dinner guests!
Ingredients: (I cut this recipe for Salmon Teriyaki Stir Fry down to two servings to make it easier. Multiply as needed)
I have no idea who decided that different foods should get taco-fied, but I am all for this movement. I love tacos, and Cooking Light comes up with the best taco recipes. These Kung Pao Chicken Tacos are everything I want in a meal: quick and easy to make, colorful, a hint of spice, and full of many ingredients I already had on hand.
Kung Pao chicken is a spicy stir-fry Chinese dish that includes peanuts, vegetables, chili peppers, and chicken. It is usually served over rice, but Cooking Light took some inspiration from Korean taco trucks and added the Kung Pao chicken to corn tortillas.
Ingredients:
6 skinless, boneless chicken thighs, cut into bite-sized pieces
3 tablespoons lower-sodium soy sauce, divided (or coconut aminos to make gluten free)
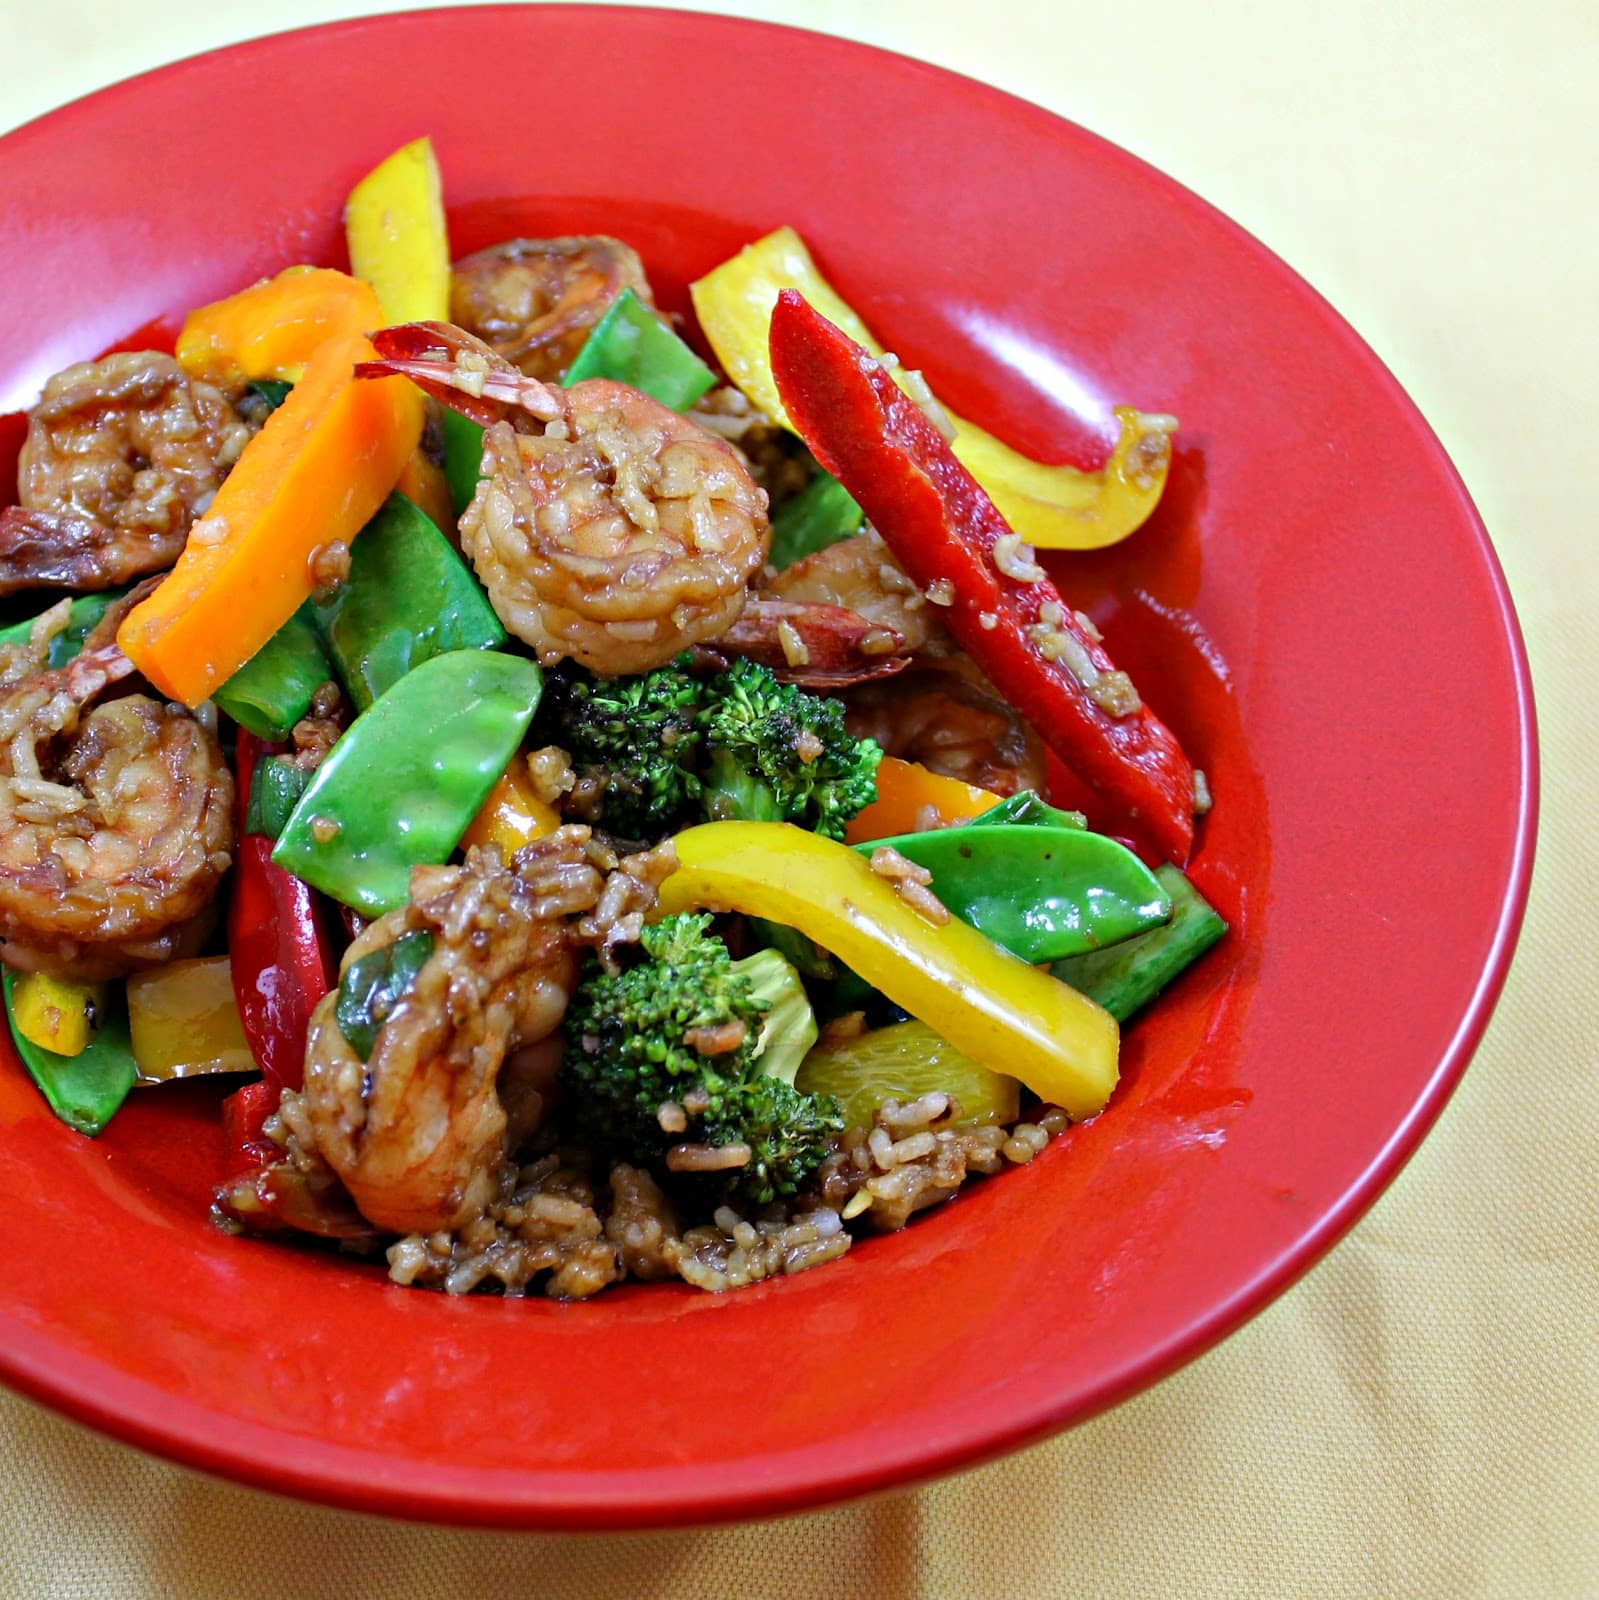
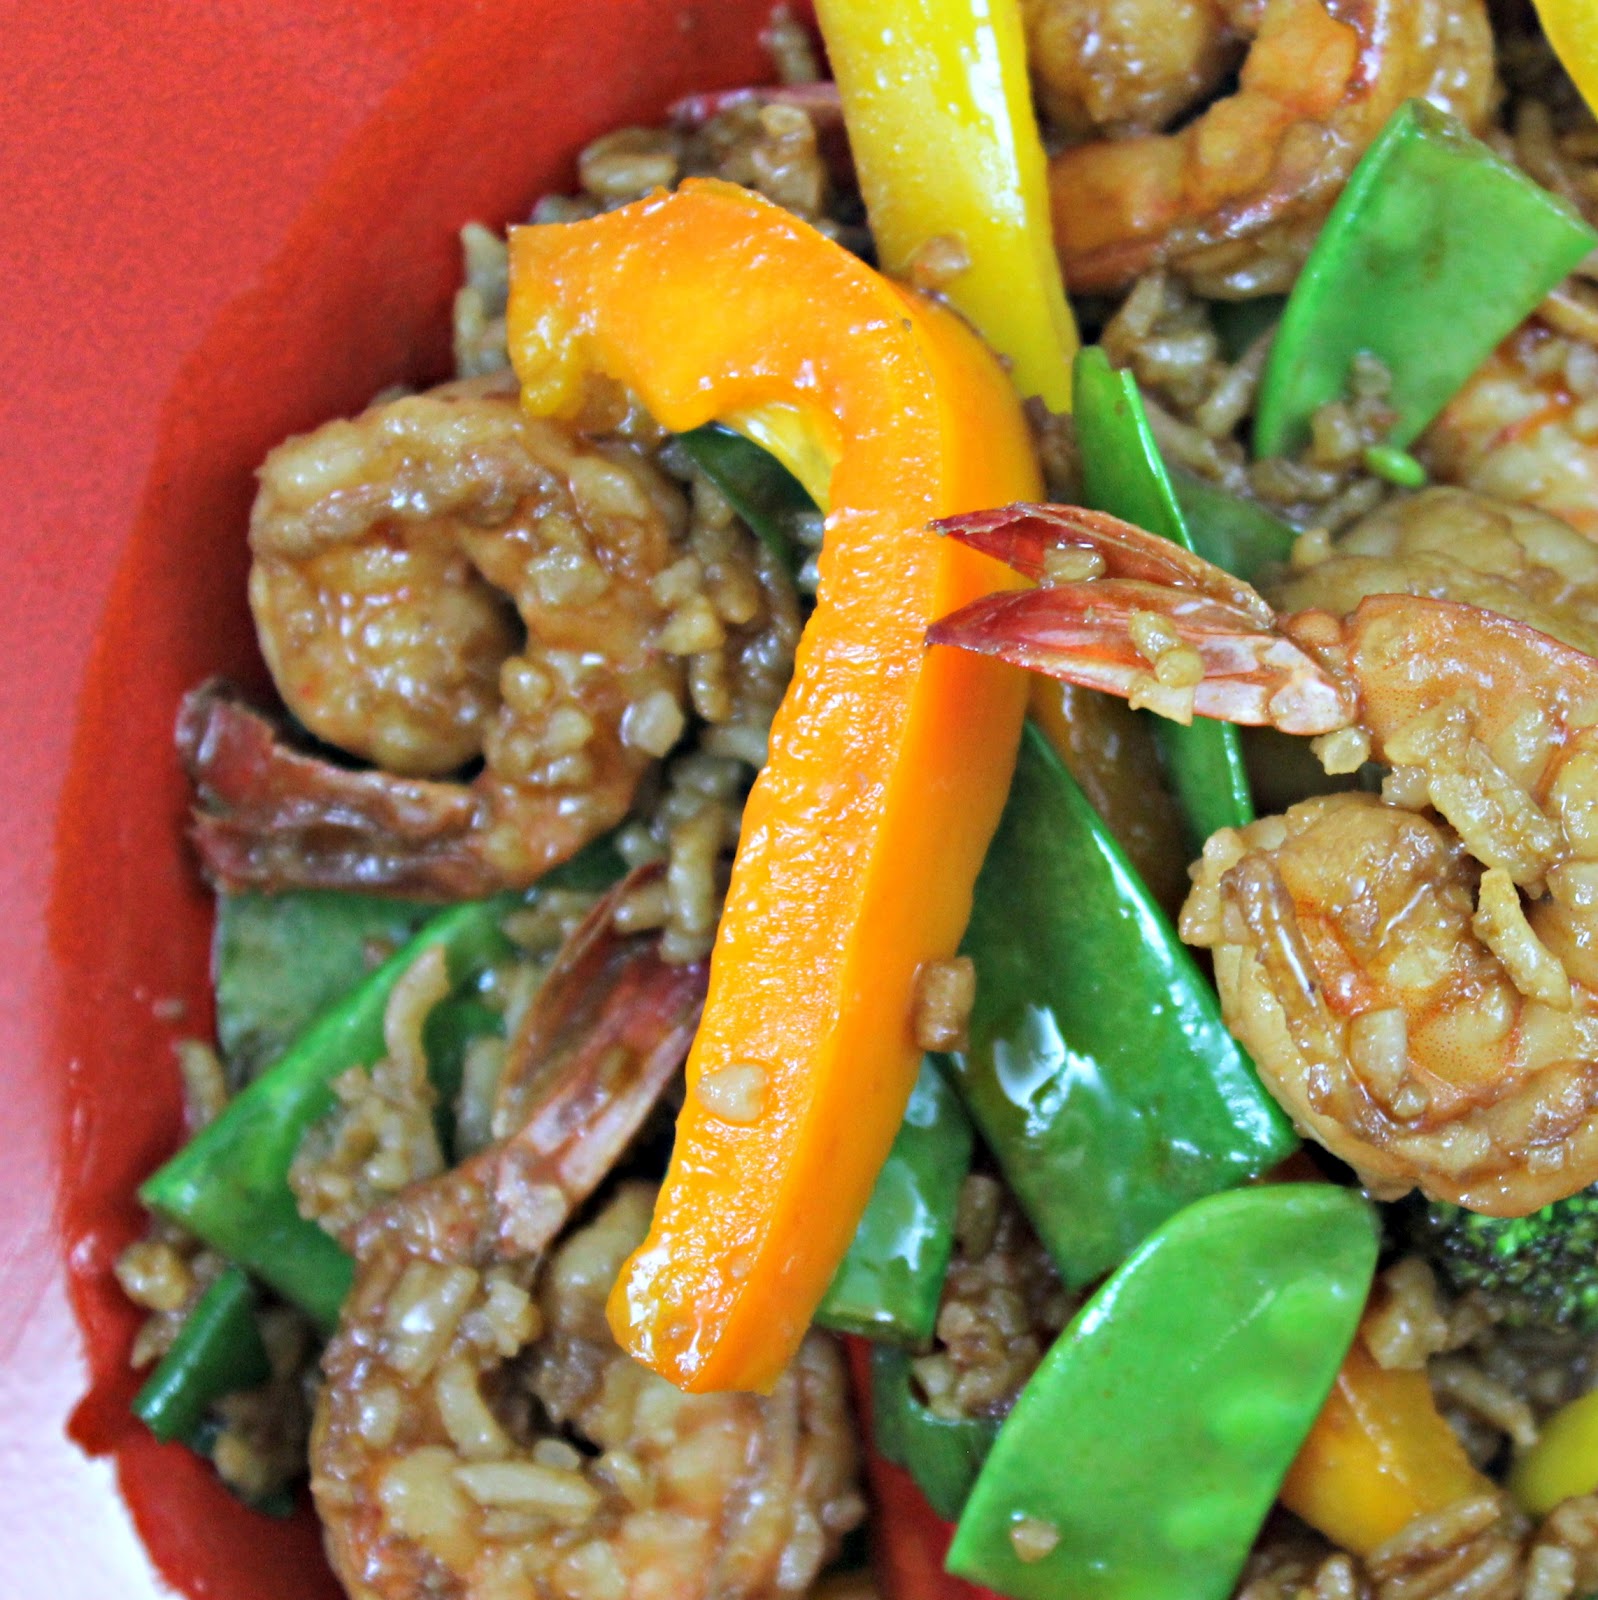
This dish for Shrimp Fried Rice is an attempt to make a takeout favorite a bit healthier. To do so, Cooking Light cut the amount of rice, added a bunch of veggies, and cut out some of the salt. So because of this, I think this recipe should more be called “Shrimp Fried Rice” (There’s a lot of shrimp, a little bit of fried, and an itty bit of rice. Have no fear, you won’t even miss it.)
Ingredients:
1 cup broccoli florets
7 teaspoons canola oil, divided
1 medium red bell pepper, cut into thin strips
1 medium yellow bell pepper, cut into thin strips
1 medium orange bell pepper, cut into thin strips
1 cup snow peas, trimmed and halved crosswise
1 tablespoon grated peeled fresh ginger
1 cup cooked long-grain white rice, chilled
1 tablespoon dark sesame oil
1 pound peeled and deveined medium shrimp
1/4 cup lower-sodium soy sauce (or coconut aminos to make gluten free)
1 1/2 tablespoons rice vinegar
1 teaspoon Sriracha
1/4 cup thinly diagonally sliced green onions
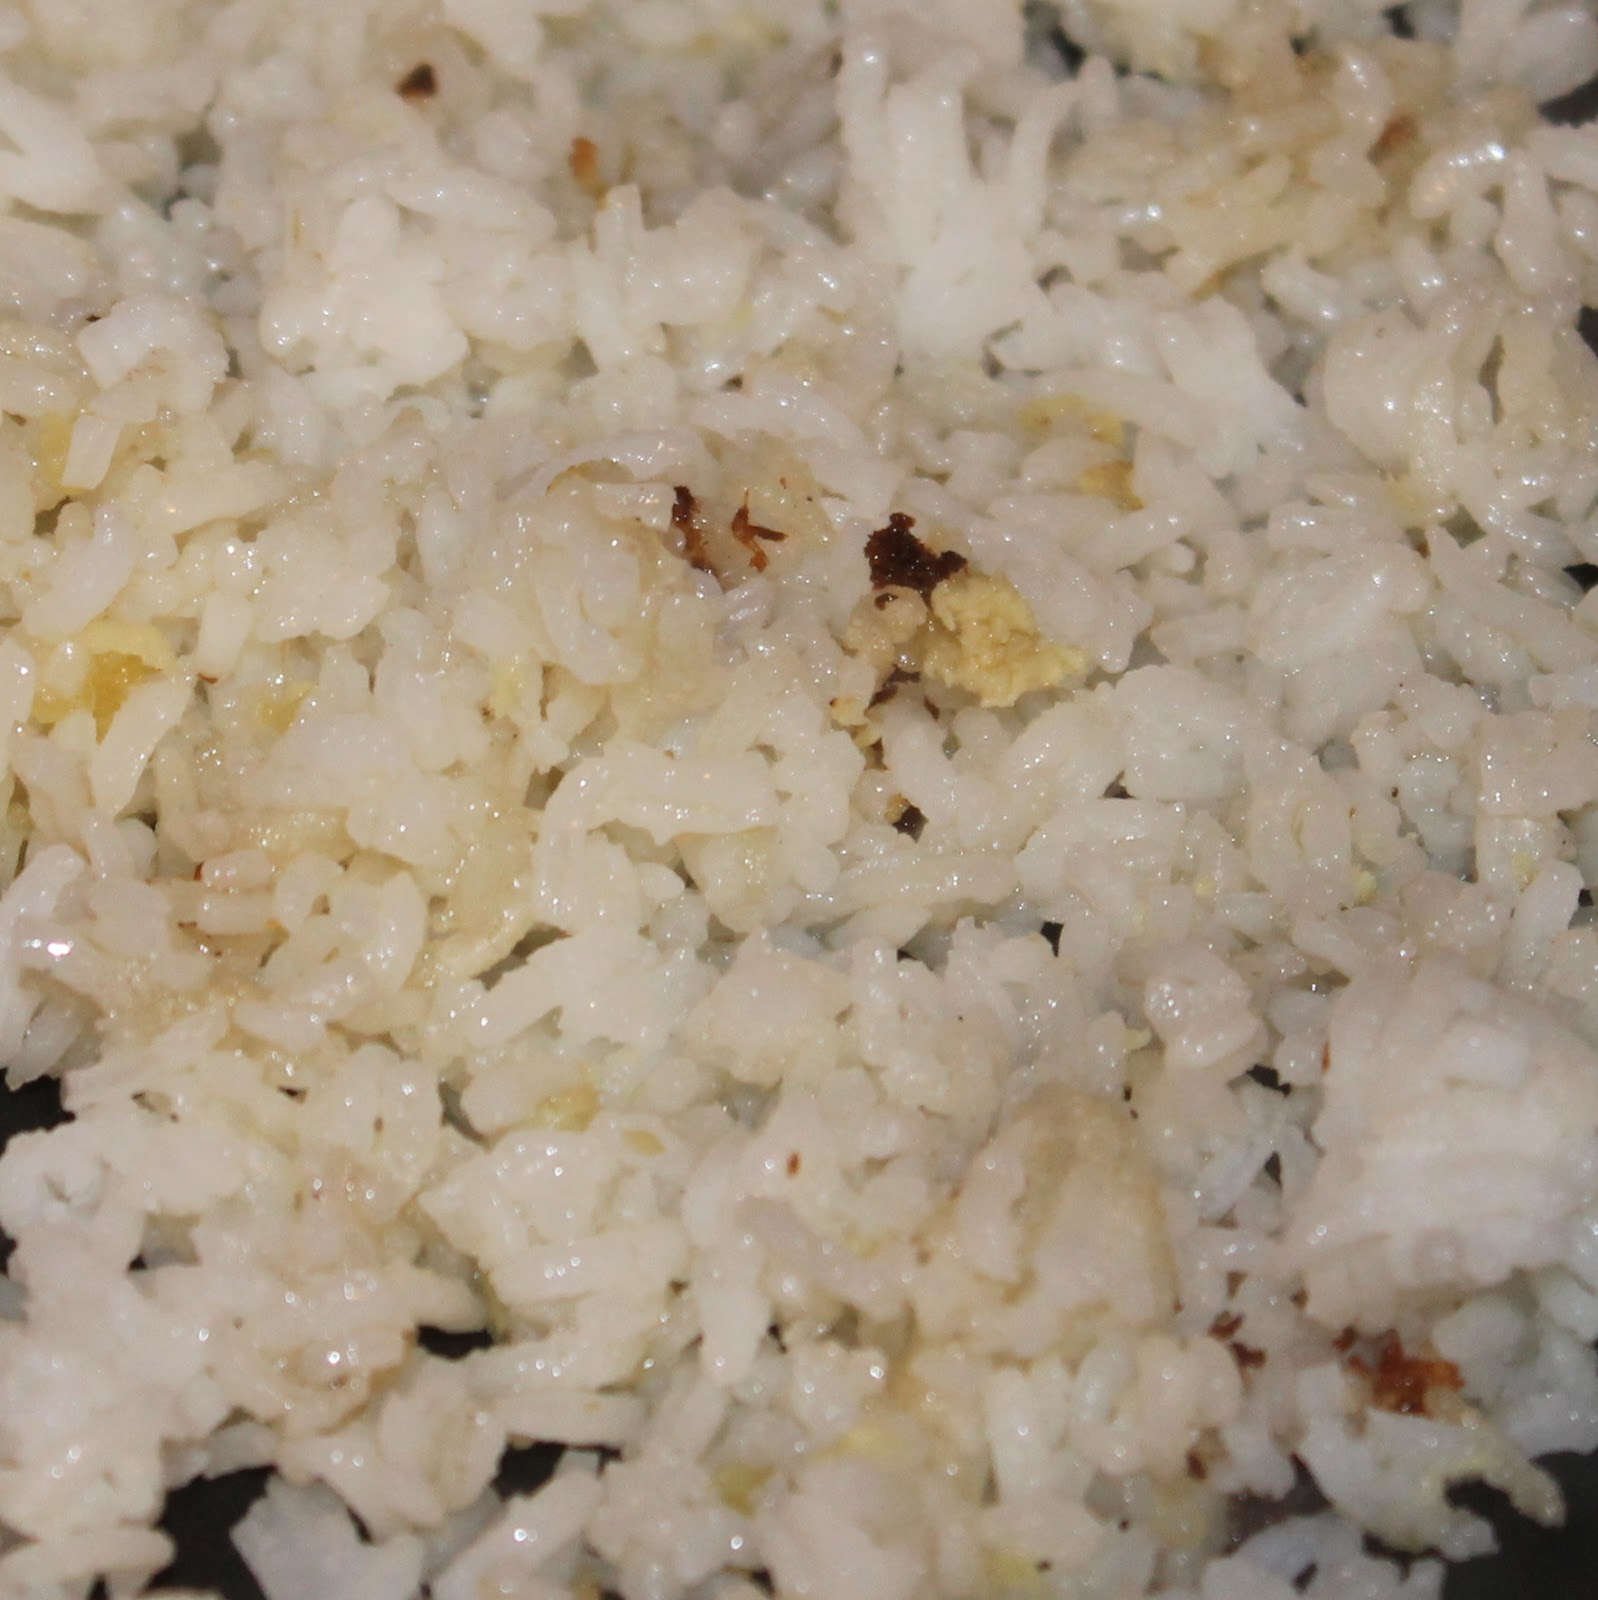
This recipe works best with day-old rice but I didn’t have the foresight to do that. So I made my rice in my rice cooker and popped it in the refrigerator.
To make, bring a pot of water to a boil. Add the broccoli to a steam basket and steam over the boiling water for 4 minutes or until crisp-tender. (I cheated and steamed my broccoli in my rice cooker after making the rice). Add to a large bowl.
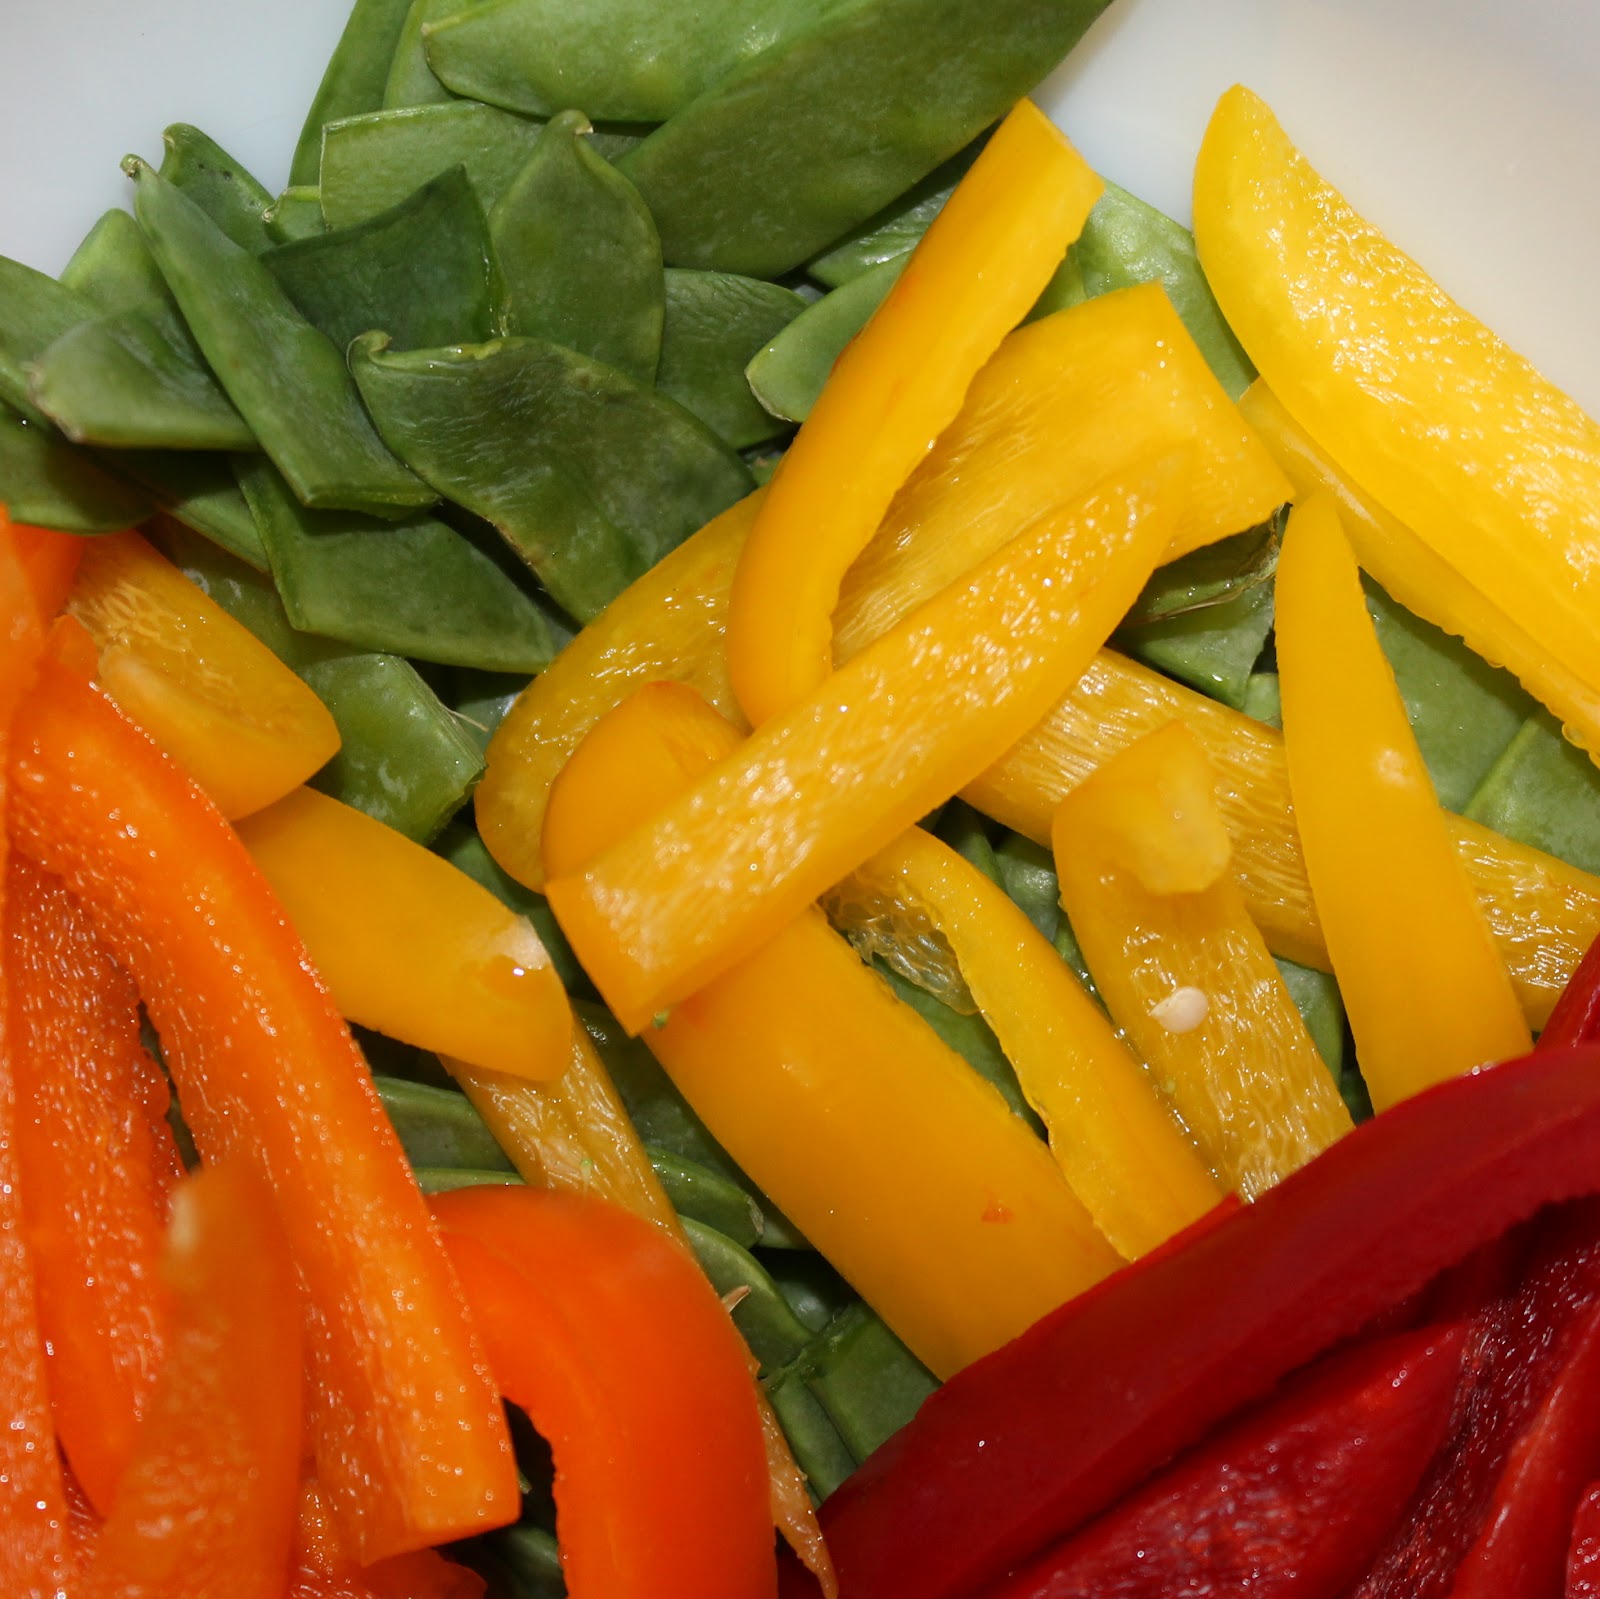
Prepare your vegetables.
Add 1 teaspoon canola oil to a saute pan over medium high heat. If you have a wok, use it here. If not (like me) just use your largest saute pan. Add the peppers and snow peas and stir fry for 2 minutes.
Remove the vegetables and place in a large bowl with the broccoli. Add 2 tablespoons canola oil to the pan and swirl to coat. Add the ginger, cooking for 10 seconds. Add the chilled rice and cook for 5 minutes or until the rice is lightly browned.
Remove the rice and add to the bowl with the vegetables.
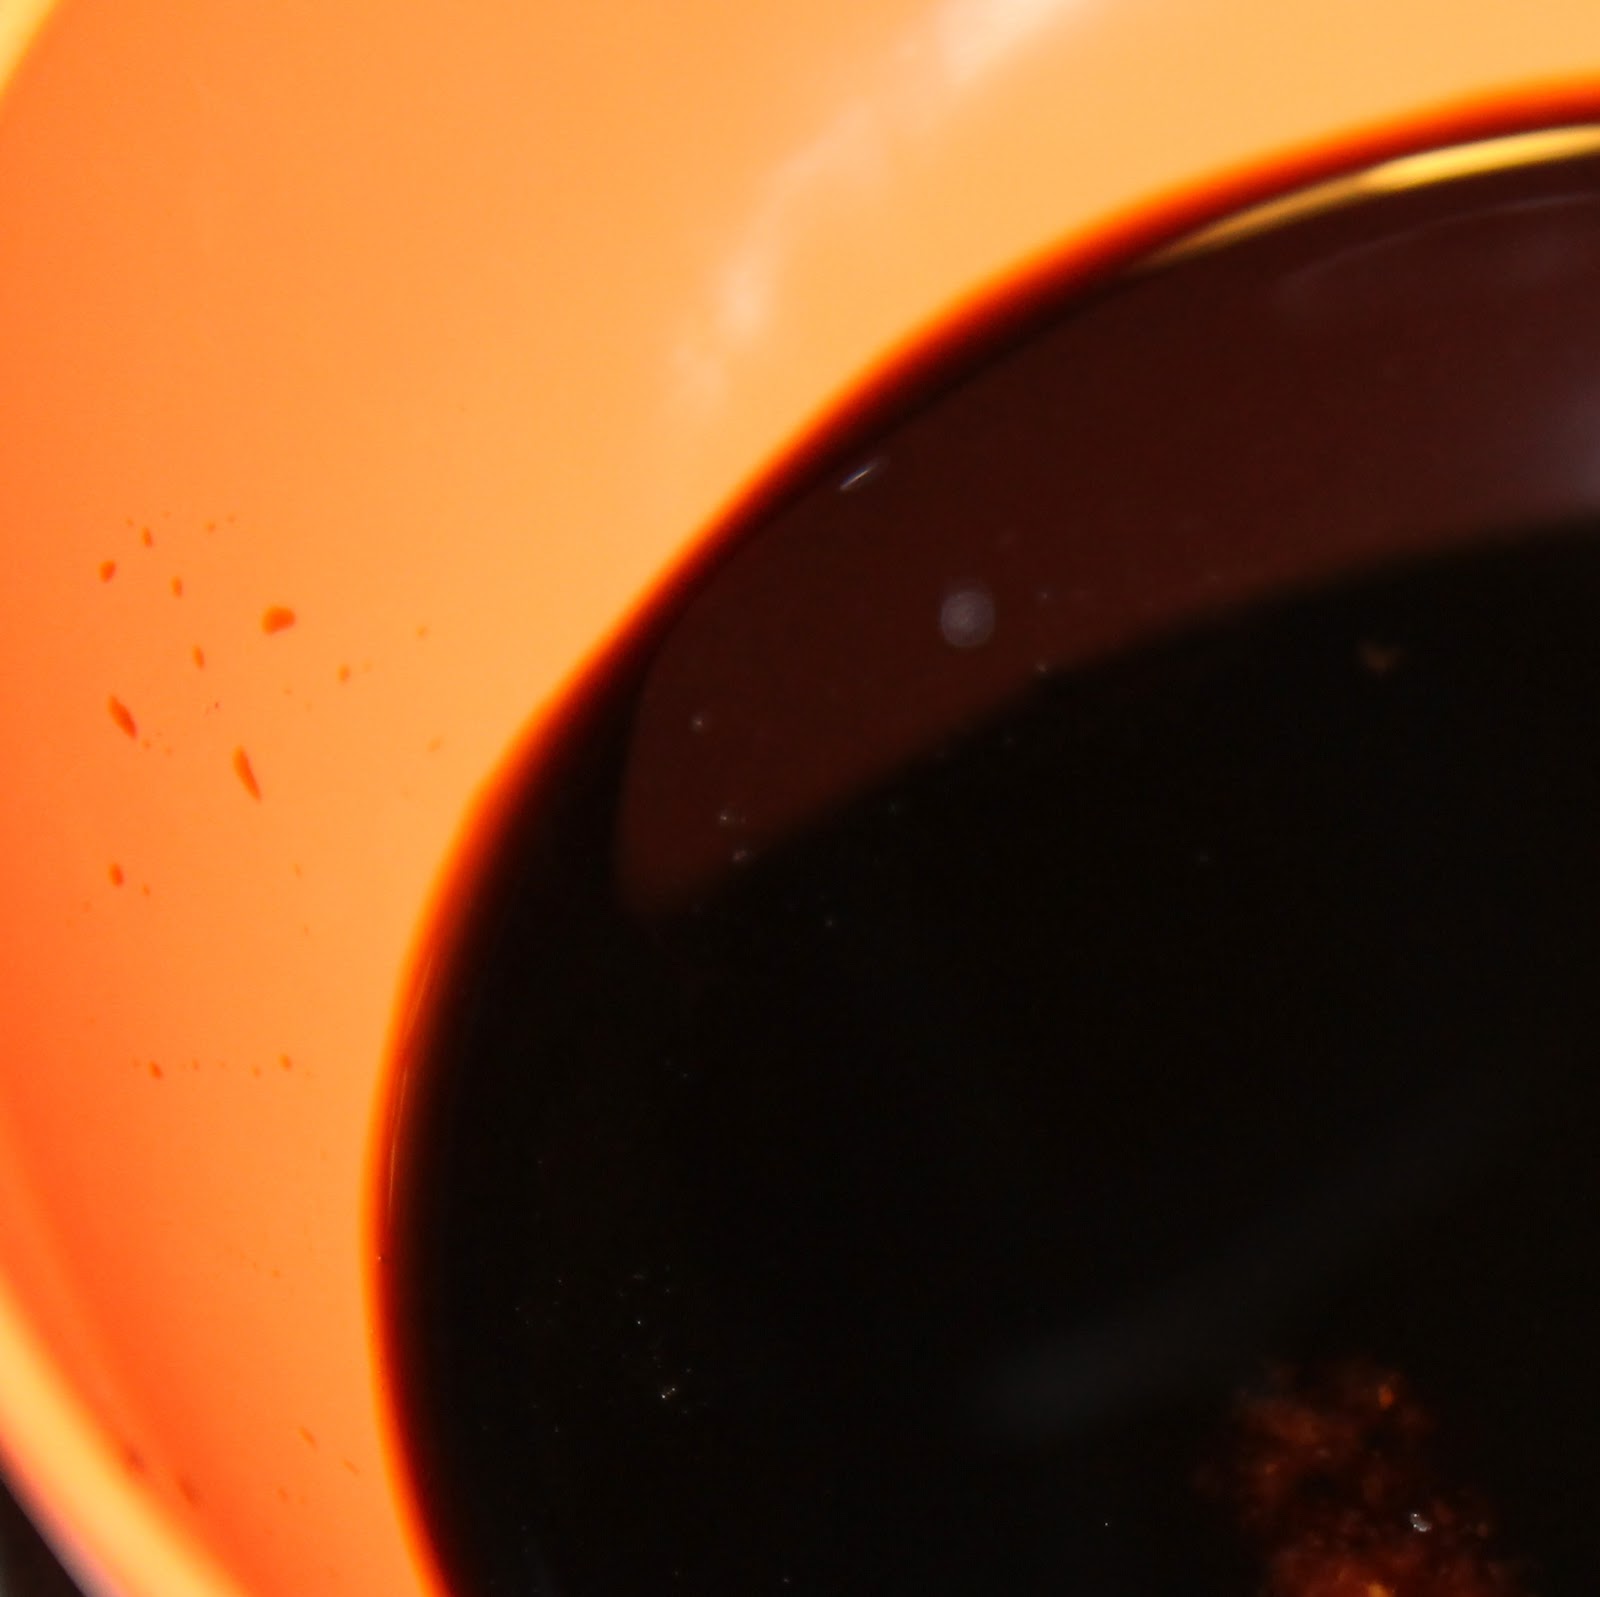
Mix the soy sauce, vinegar and Sriracha in a bowl. Set aside.
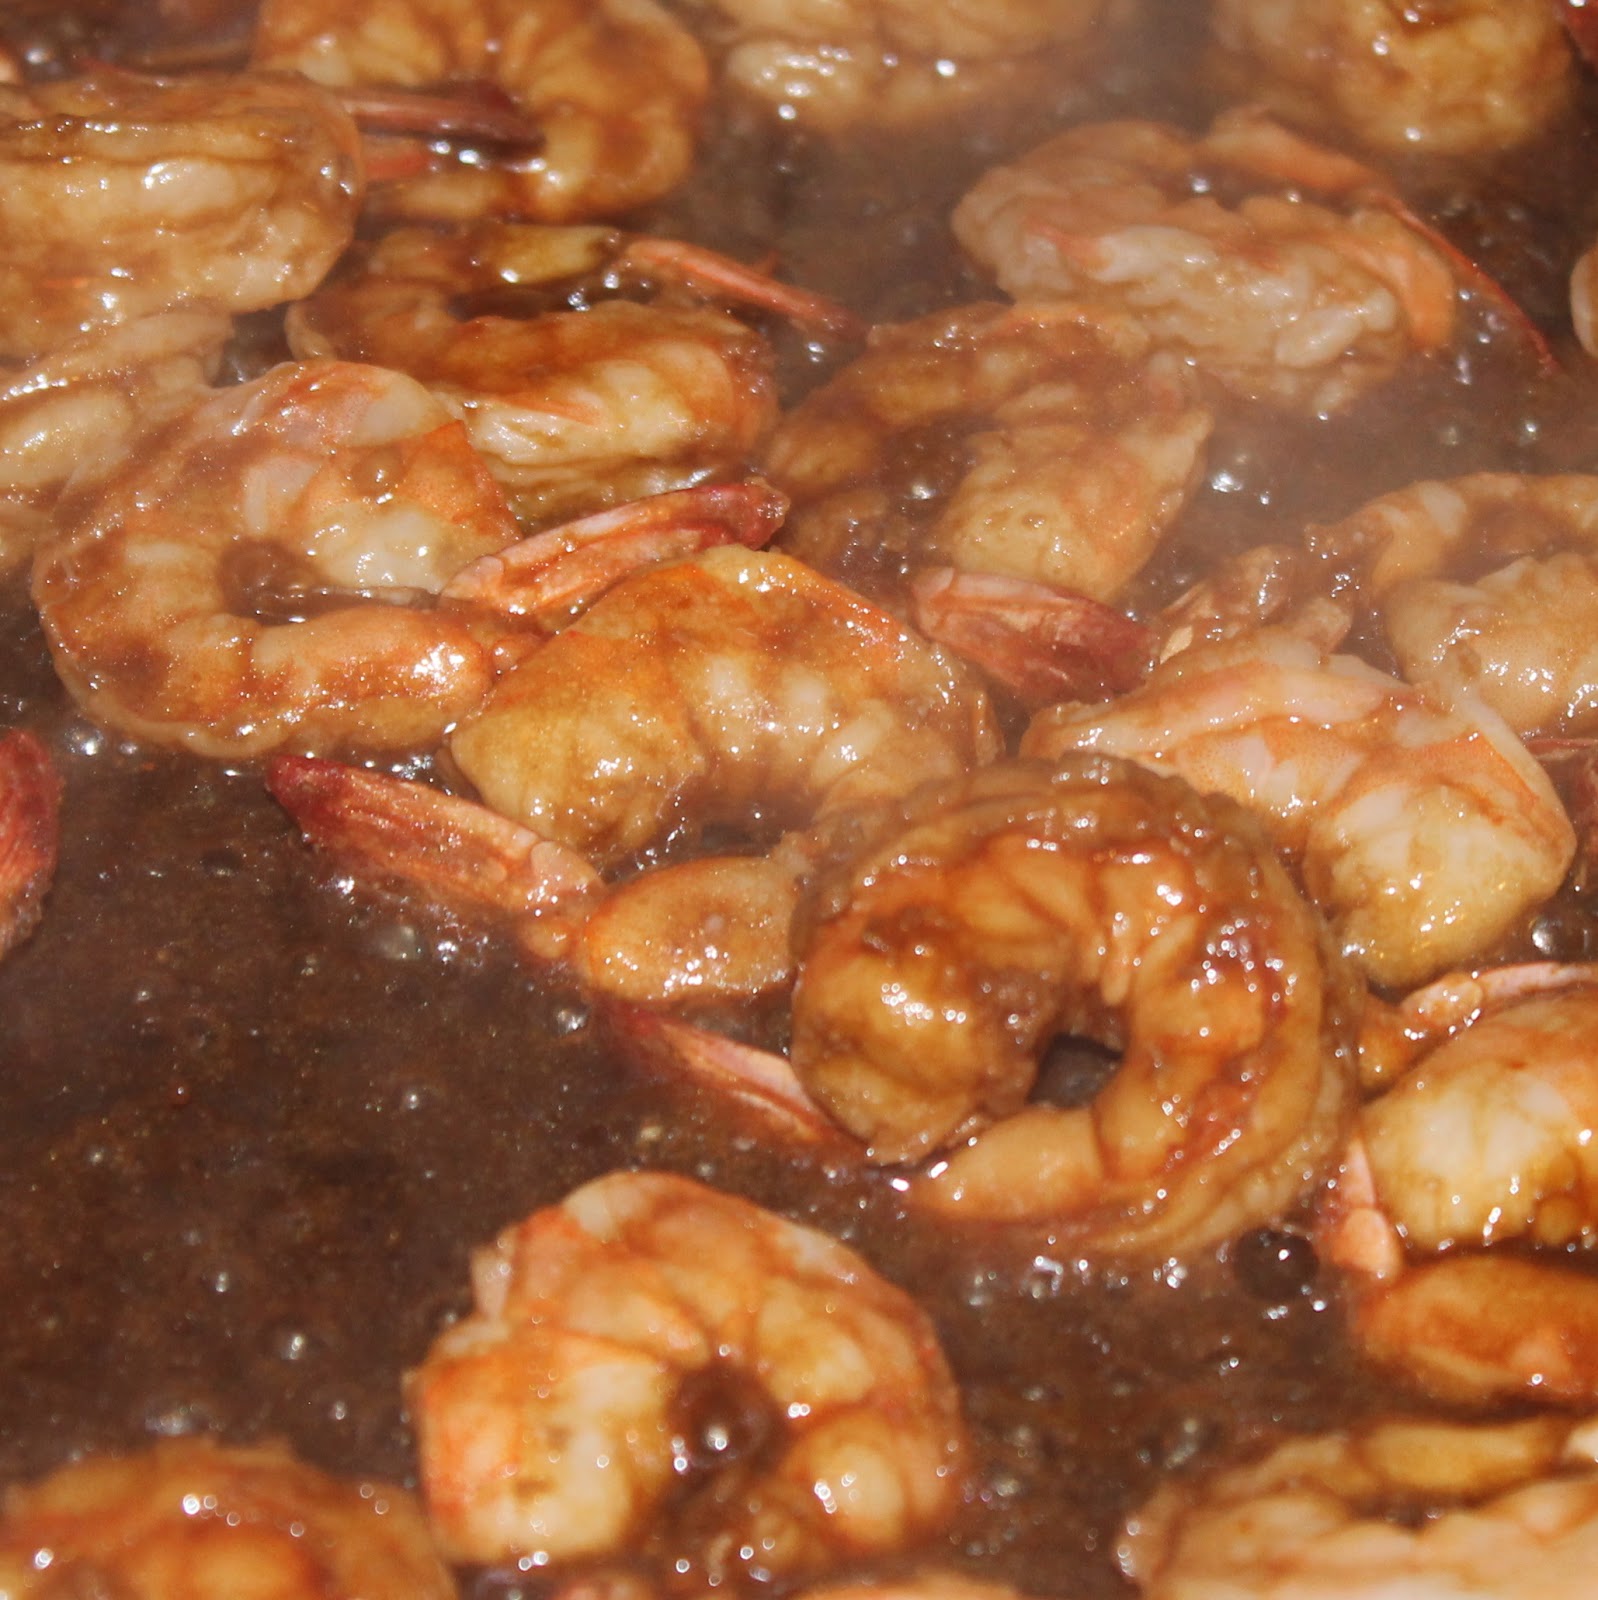
Wipe the pan with paper towels and return to medium-high heat. Add the sesame oil (I used toasted sesame oil, you can use regular as well), and swirl to coat. Add the shrimp and cook for 1-2 minutes, stirring constantly.
Stir in the soy sauce mixture and bring to a boil.
Cook for 3 minutes or until the liquid slightly thickens.
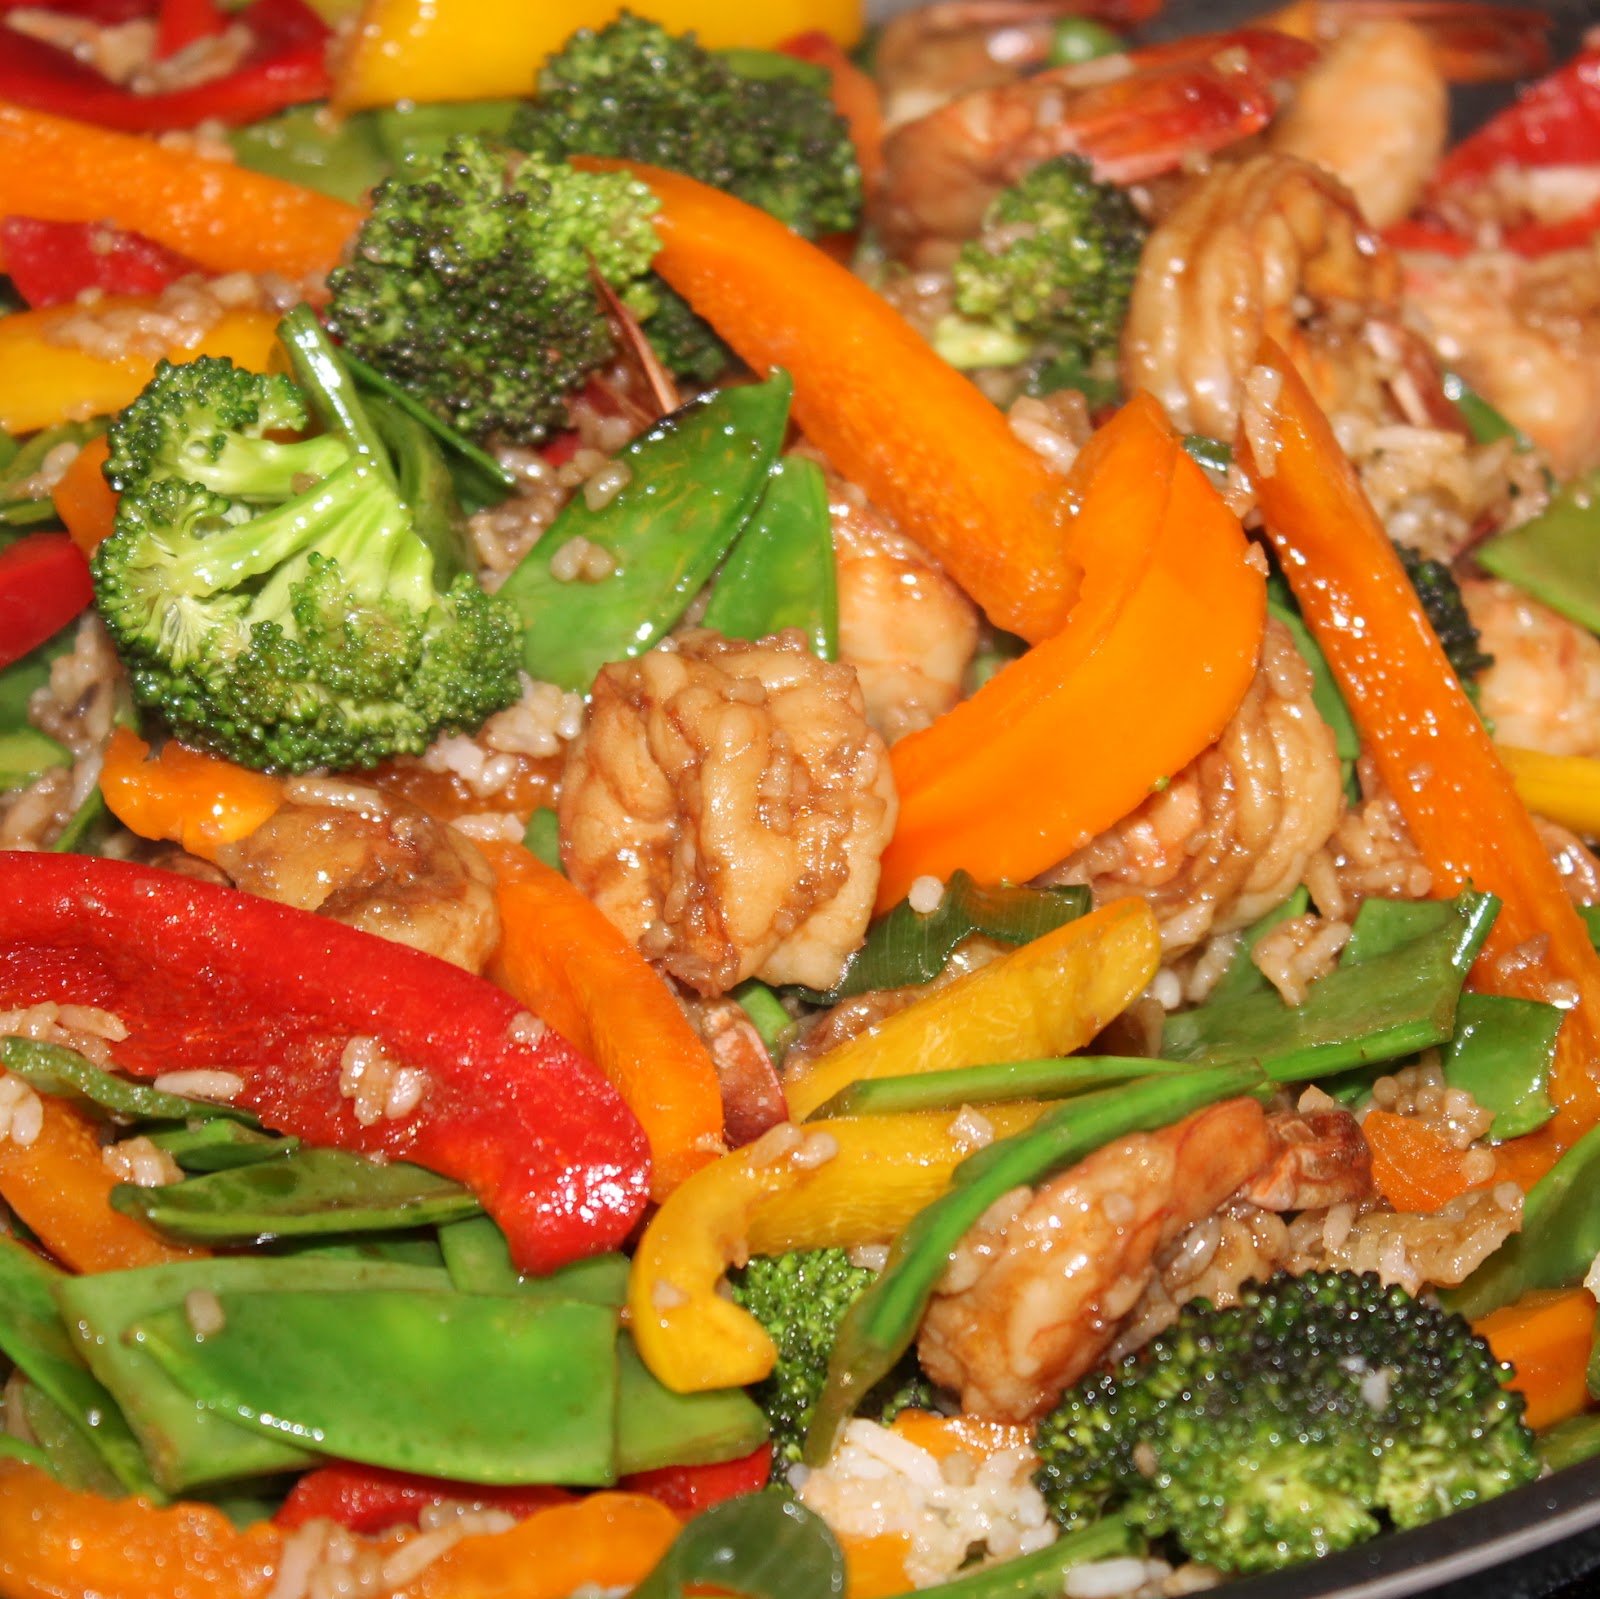
Add back in the vegetables plus the sliced green onions, stirring to combine. Cook for 1 minute and serve.
So easy right? And look at those beautiful colors!
There is a ton of flavor in this dish, and it ends with a slight spiciness. I would by no means call this a spicy dish though, it’s really great!
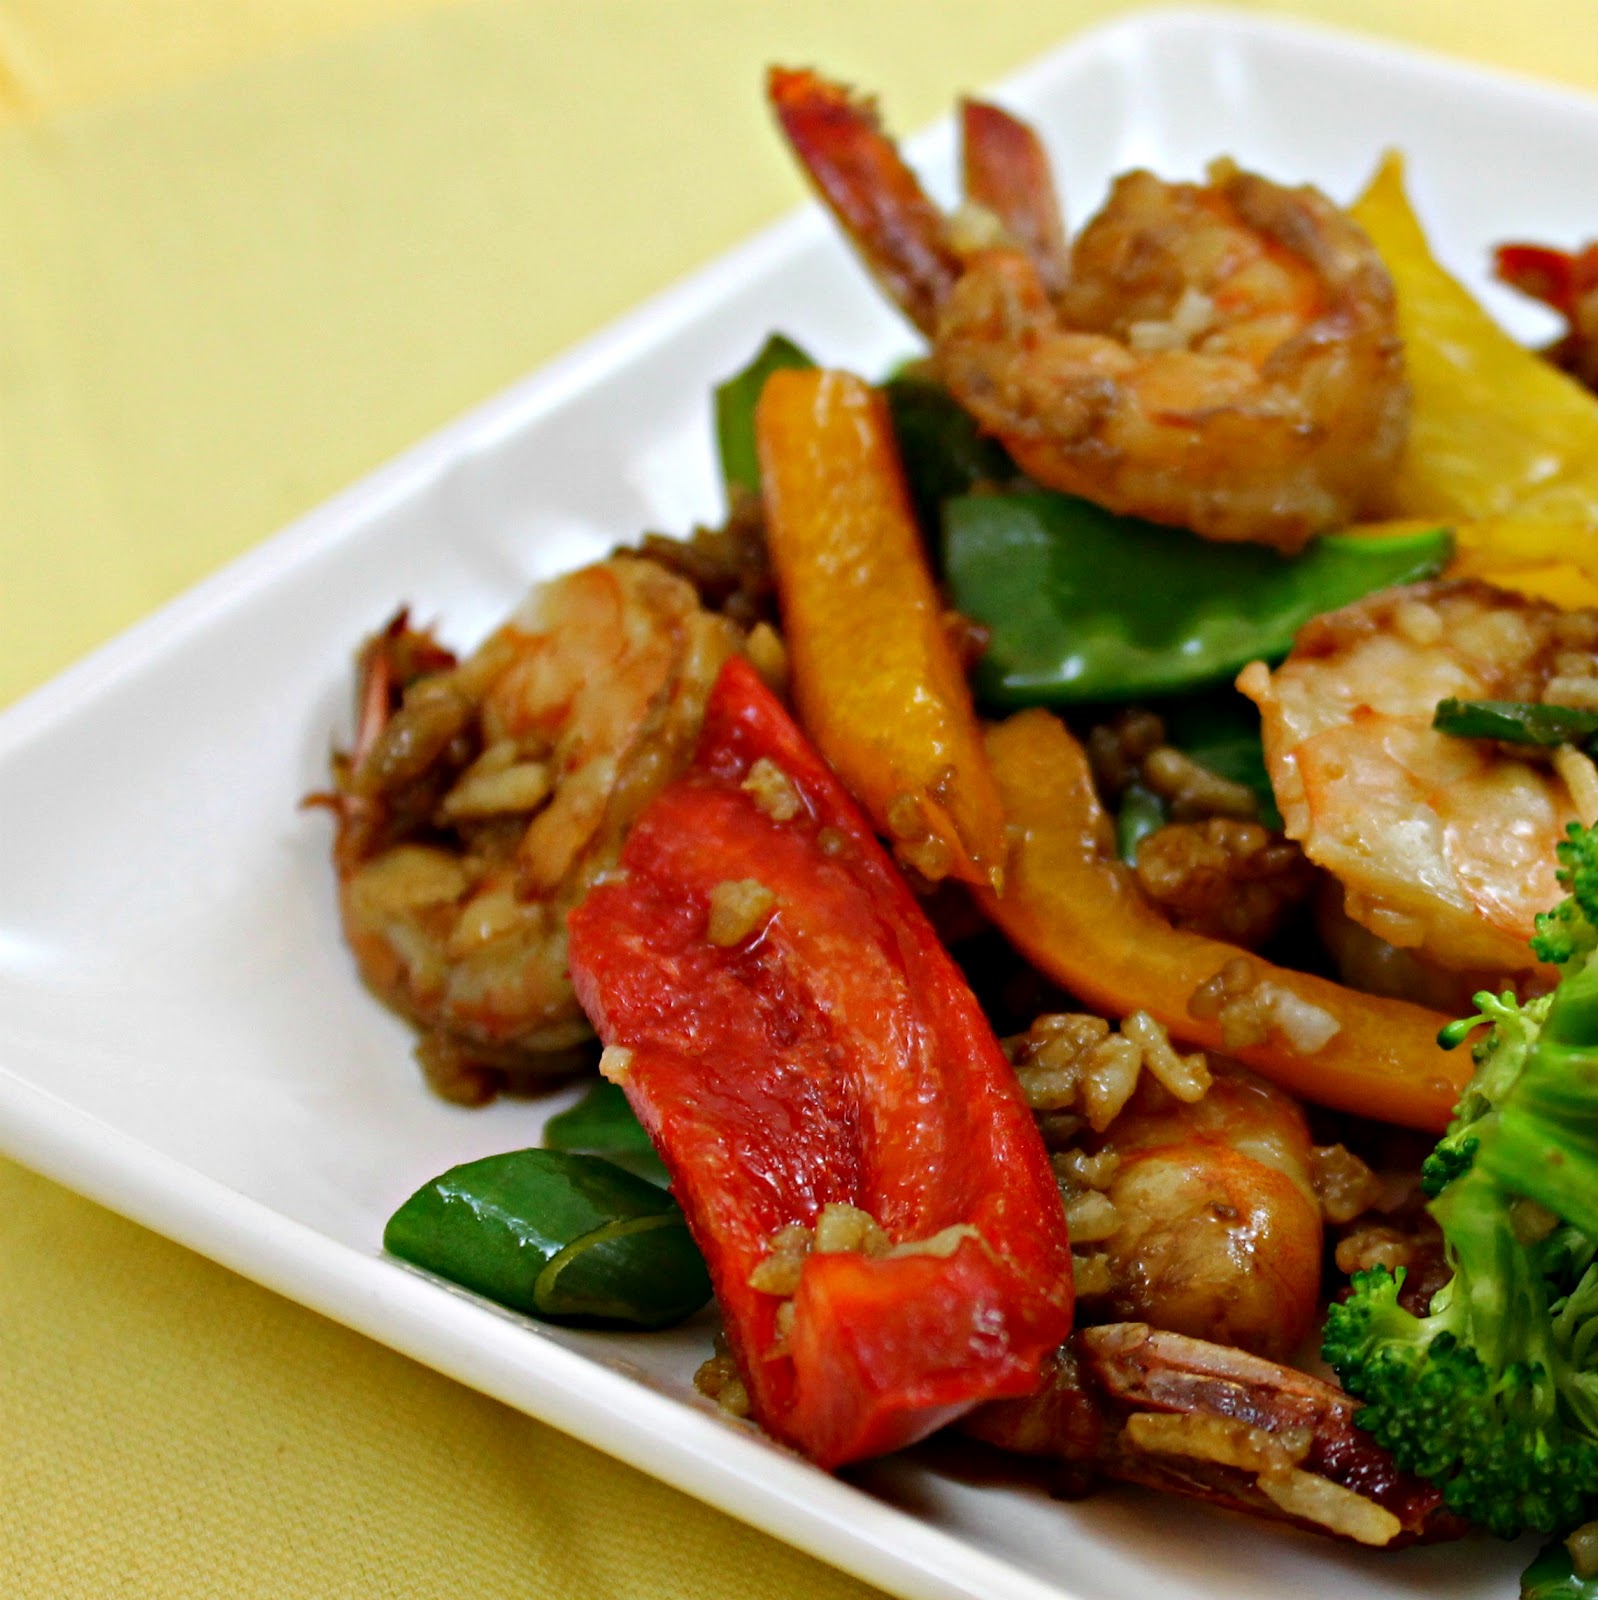
With so many vegetables in the dish, the rice became more a complement than the entire meal which was actually quite refreshing.
I wish I had taken the tails off the shrimp though, I wanted to just inhale this meal and the tails kept slowing me down!
I really try to make an effort to bring my lunch to work each day. My office is absolutely freezing, so I tend to gravitate towards warm lunches. Because of this, I am always looking for new pasta and rice recipes that sound like they would reheat well and still taste good. As usual, Cooking Light came to the rescue with the August issue’s Fried Rice with Sweet Soy Saucerecipe. I made all four servings so that I could have a batch for dinner, and get a few lunches out of it.
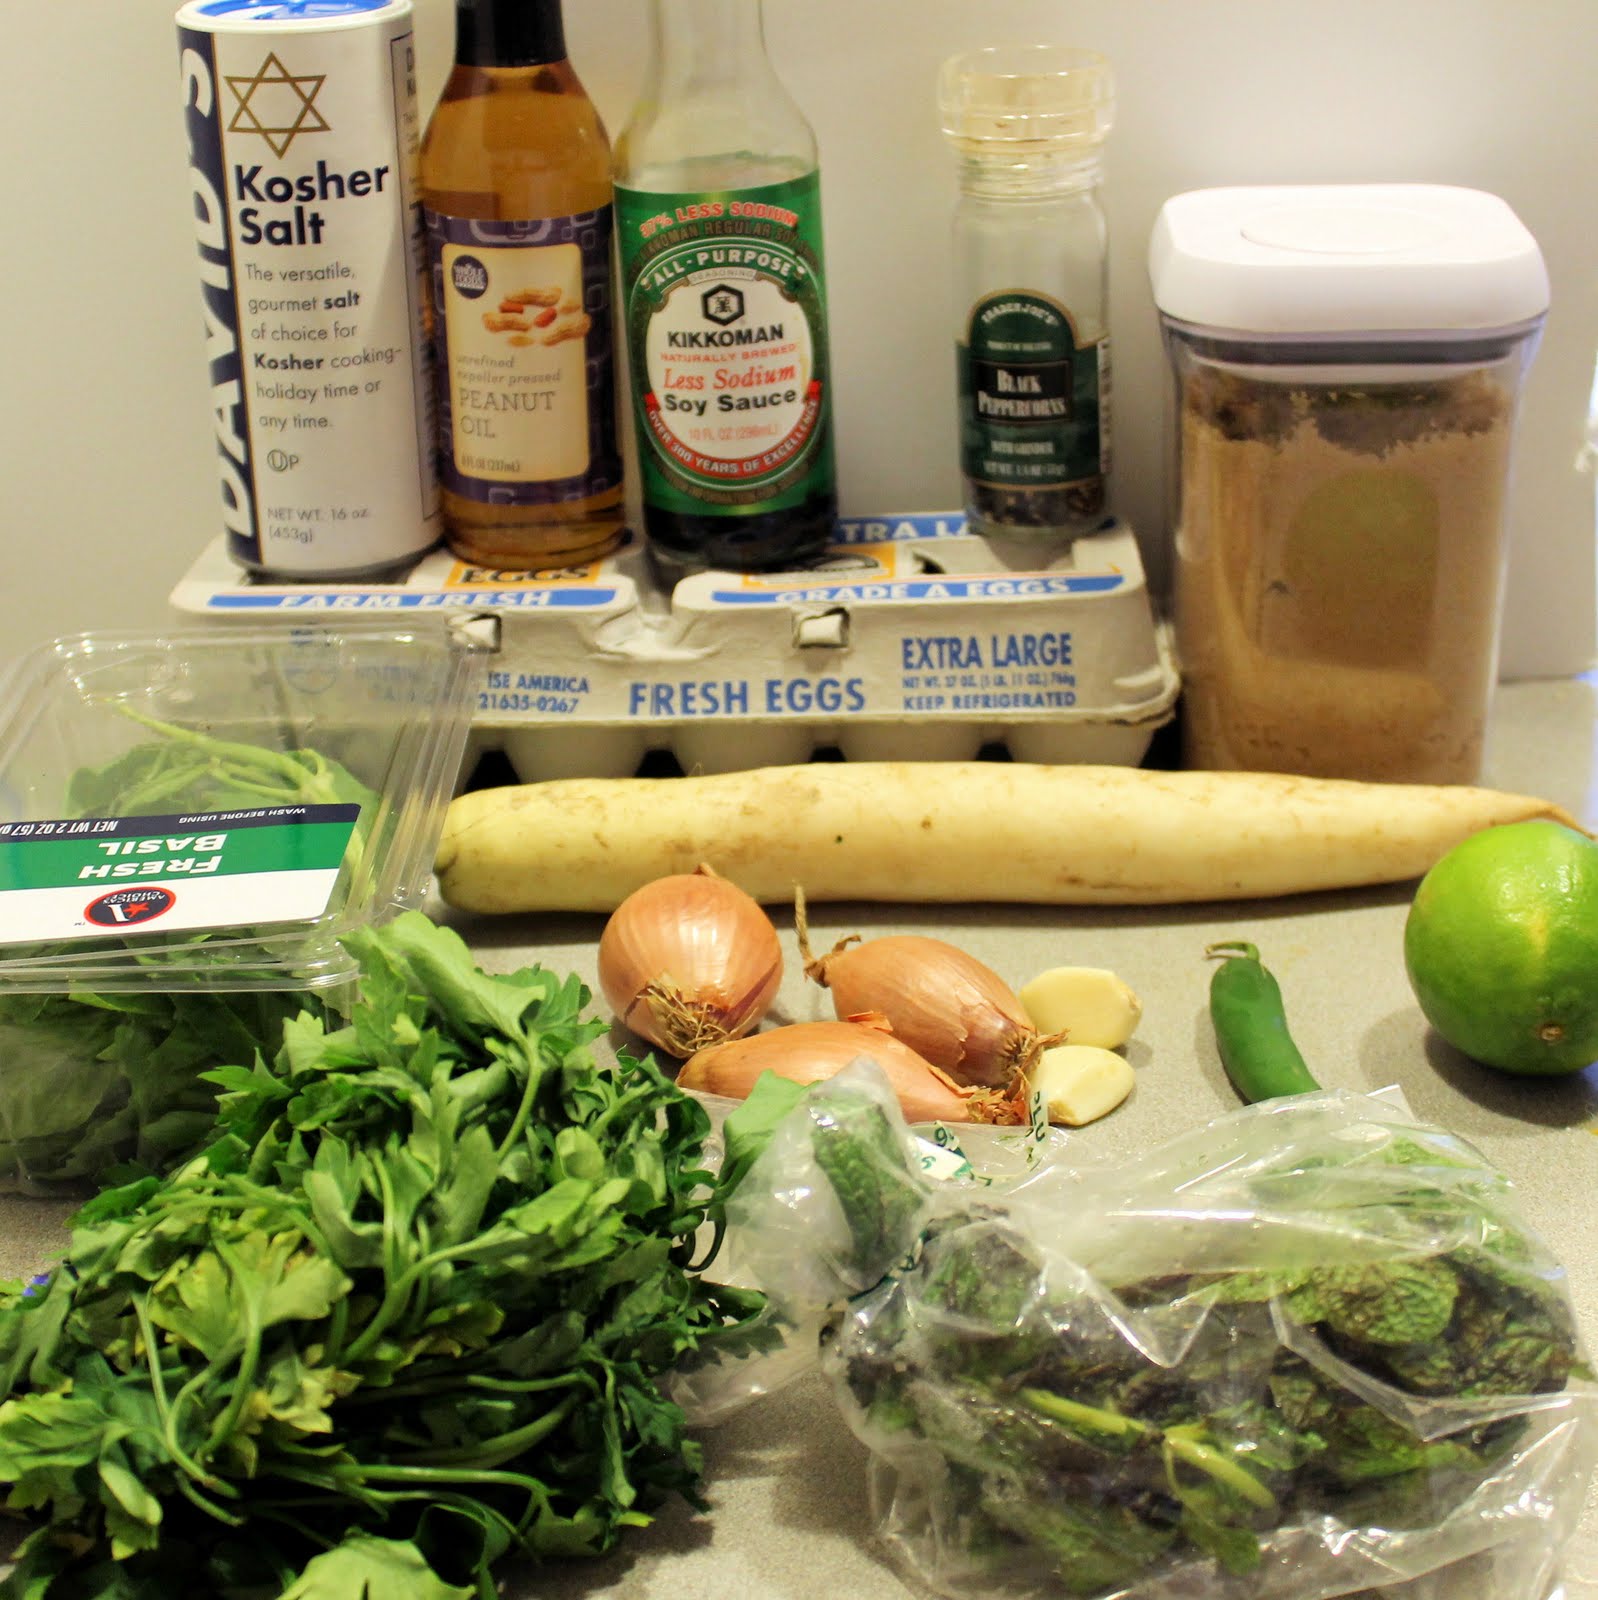
Ingredients for Fried Rice:
3 tablespoons peanut oil, divided
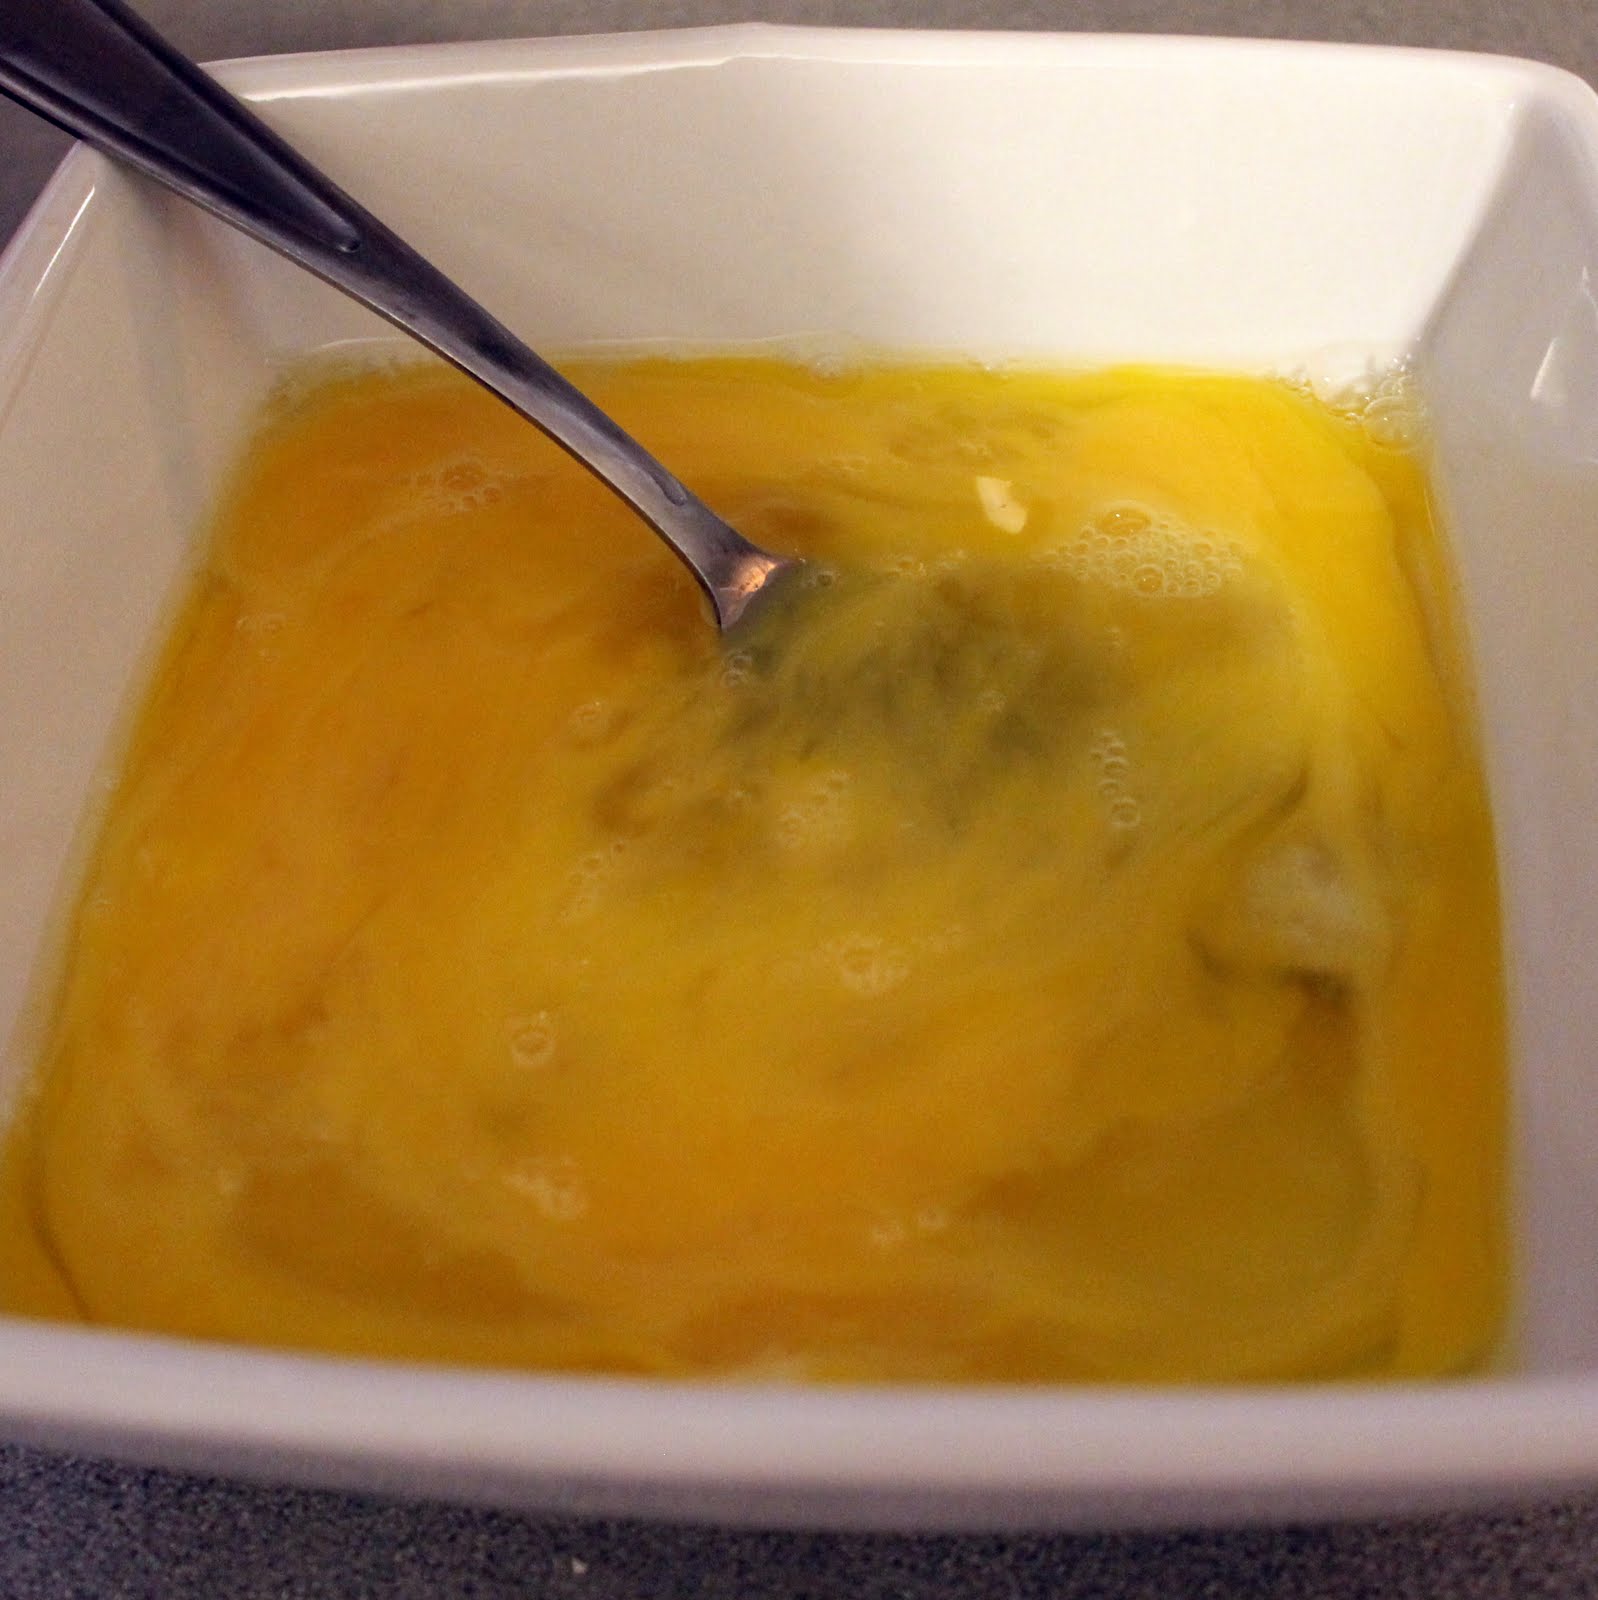
4 large eggs, lightly beaten
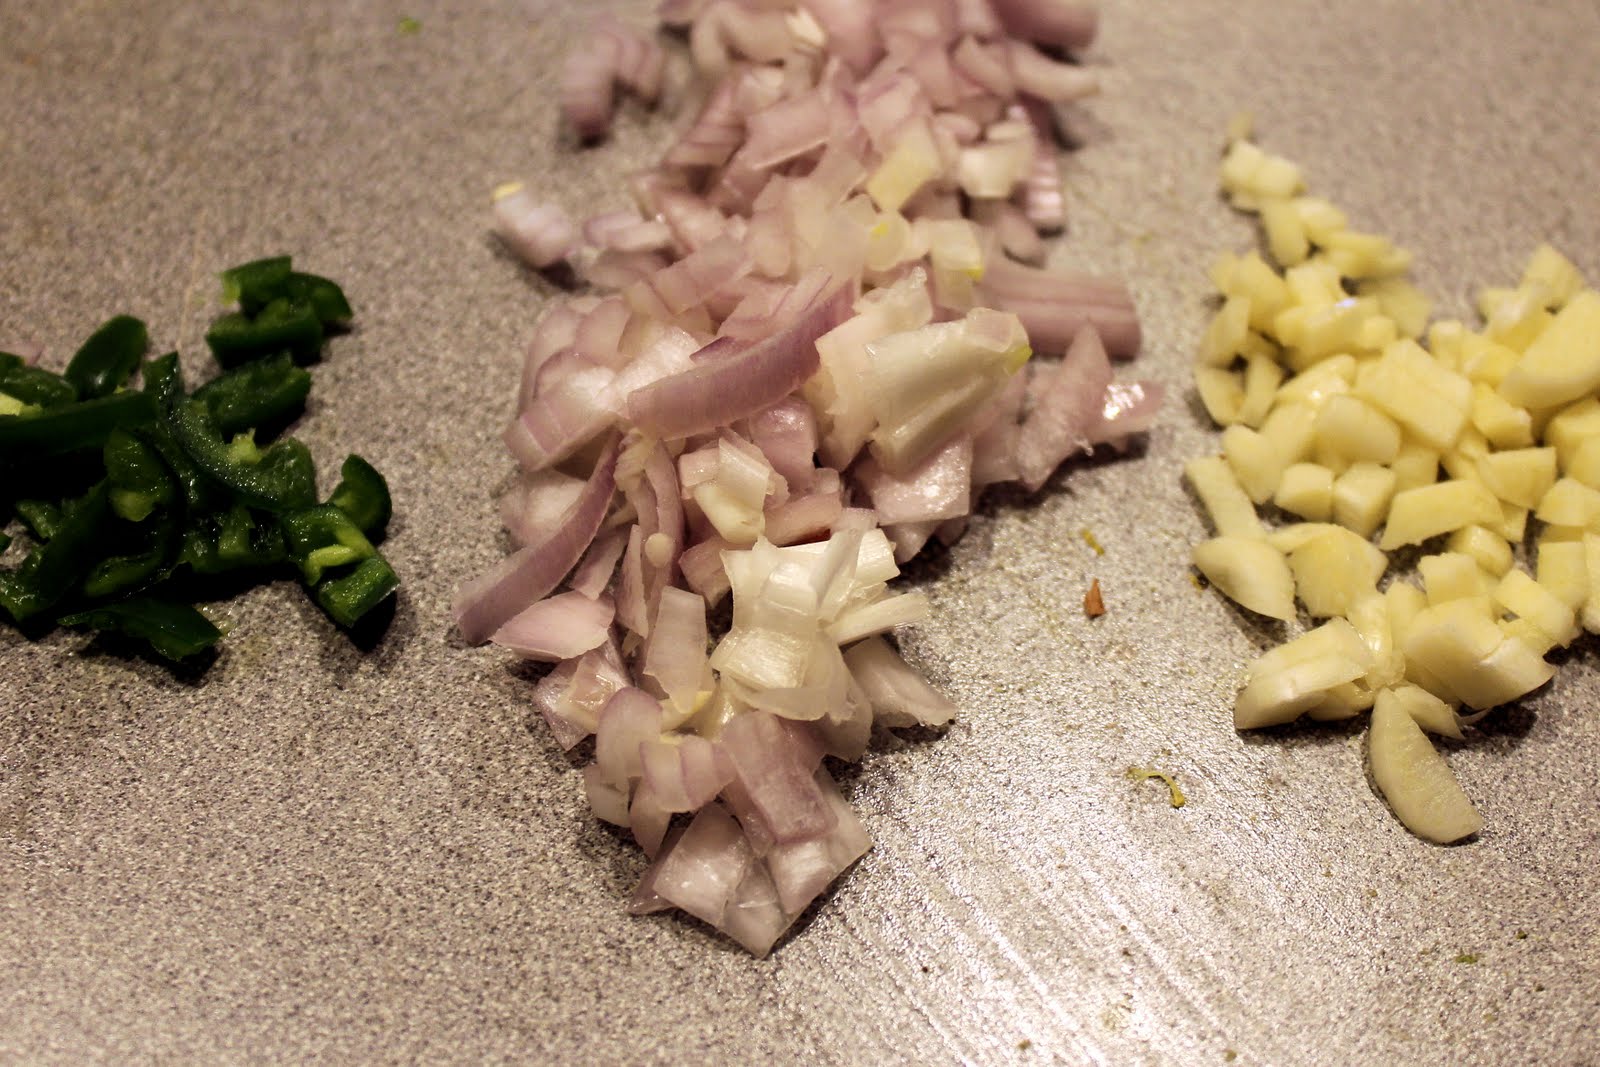
3 finely chopped shallots
2 garlic cloves, minced
1 serrano chile, seeded and chopped
4 cups cooked rice
Salt and pepper, to taste
1 thinly sliced daikon radish
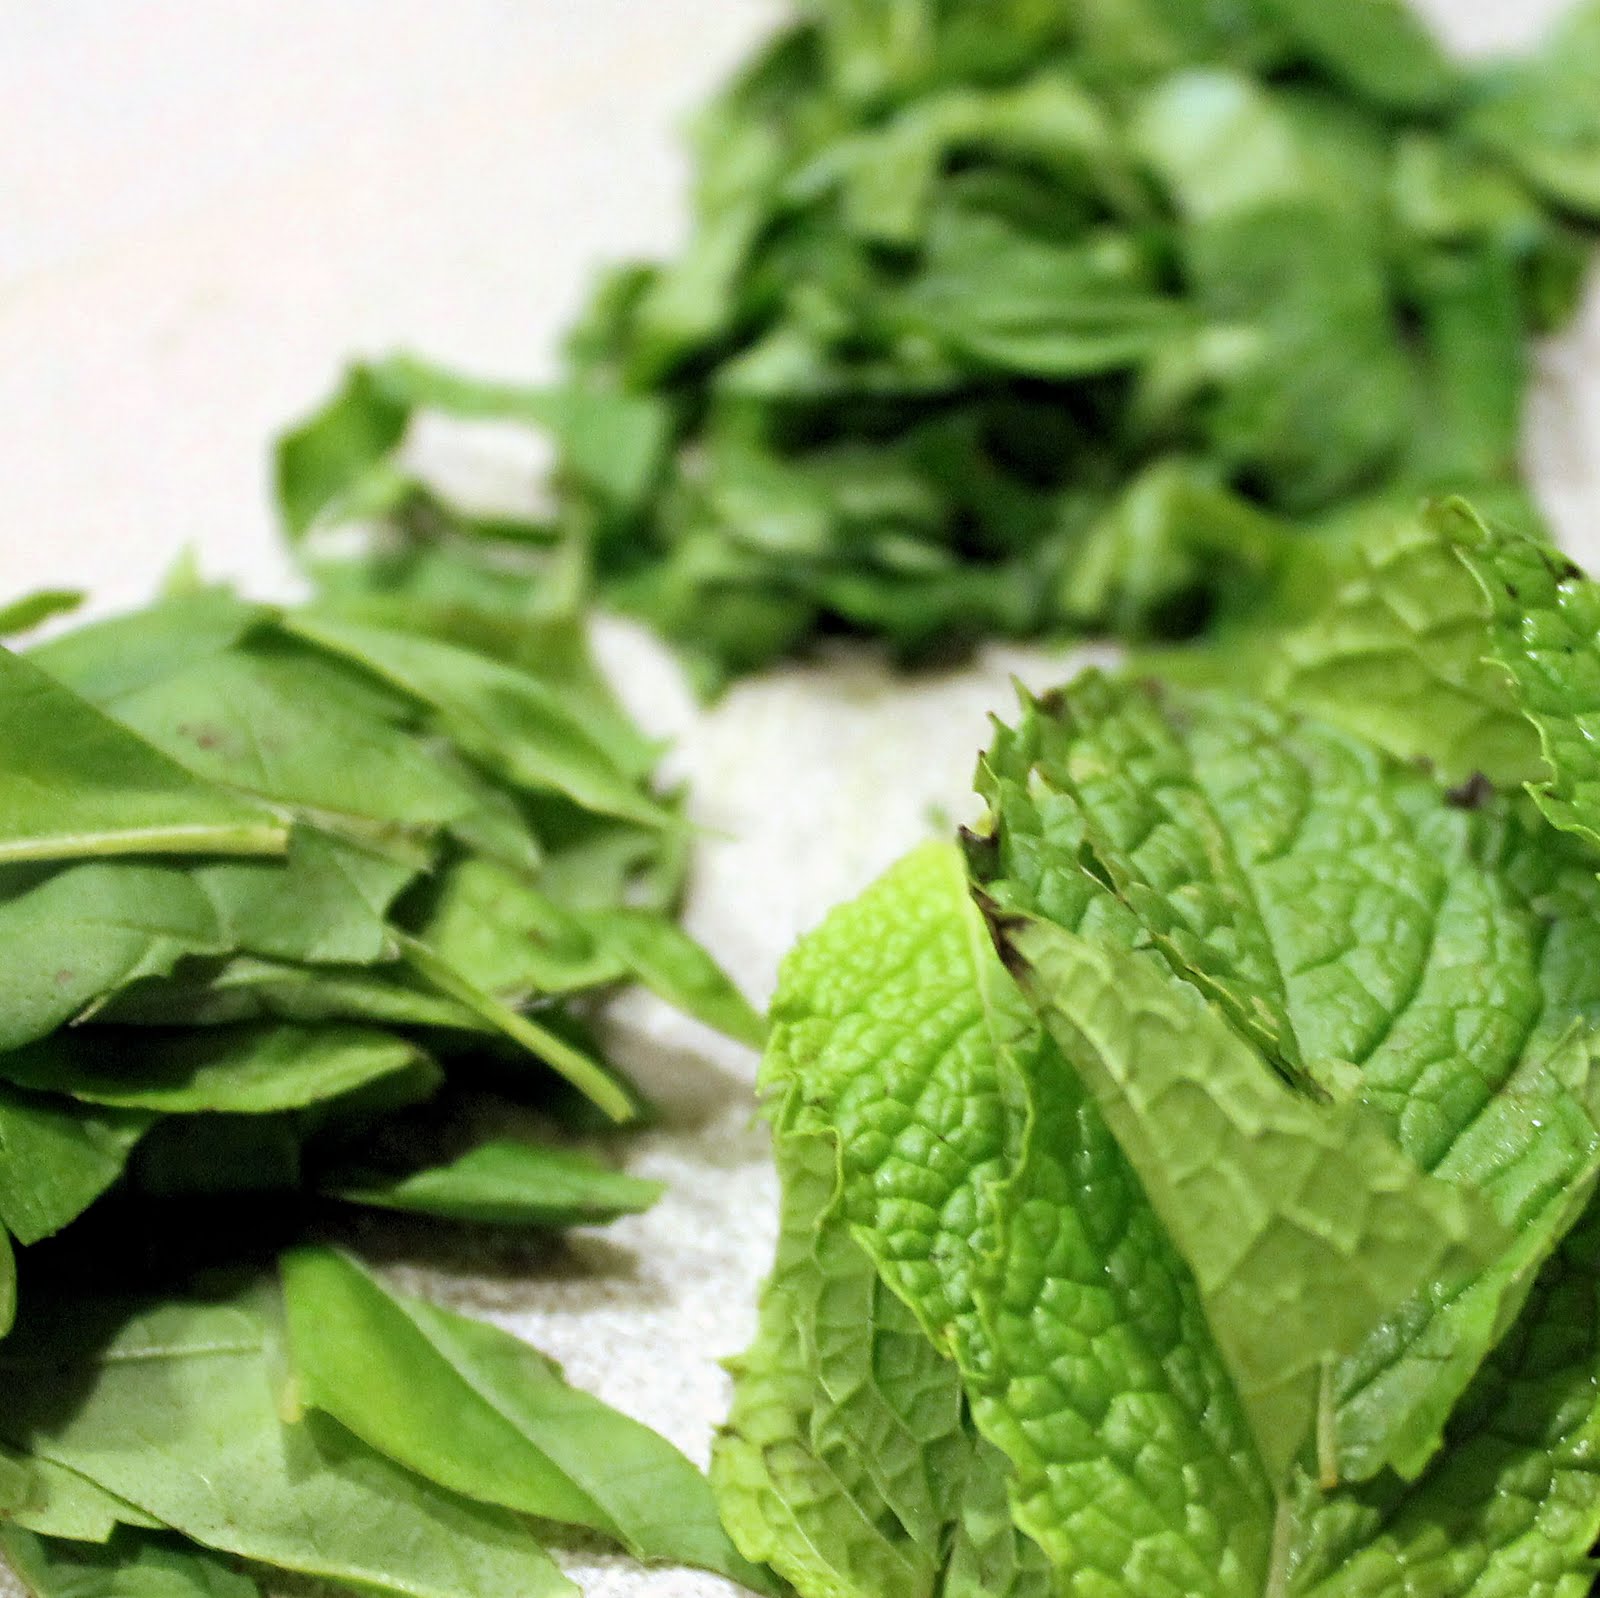
1/3 cup fresh basil leaves, thinly sliced
1/3 cup fresh mint leaves
1/3 cup chopped fresh cilantro
4 lime wedges
Ingredients for sweet soy sauce:
1/4 cup lower-sodium soy sauce (or coconut aminos to make gluten free)
1/4 cup packed light brown sugar (The original recipe used dark brown sugar. I didn’t have any. Oh well)
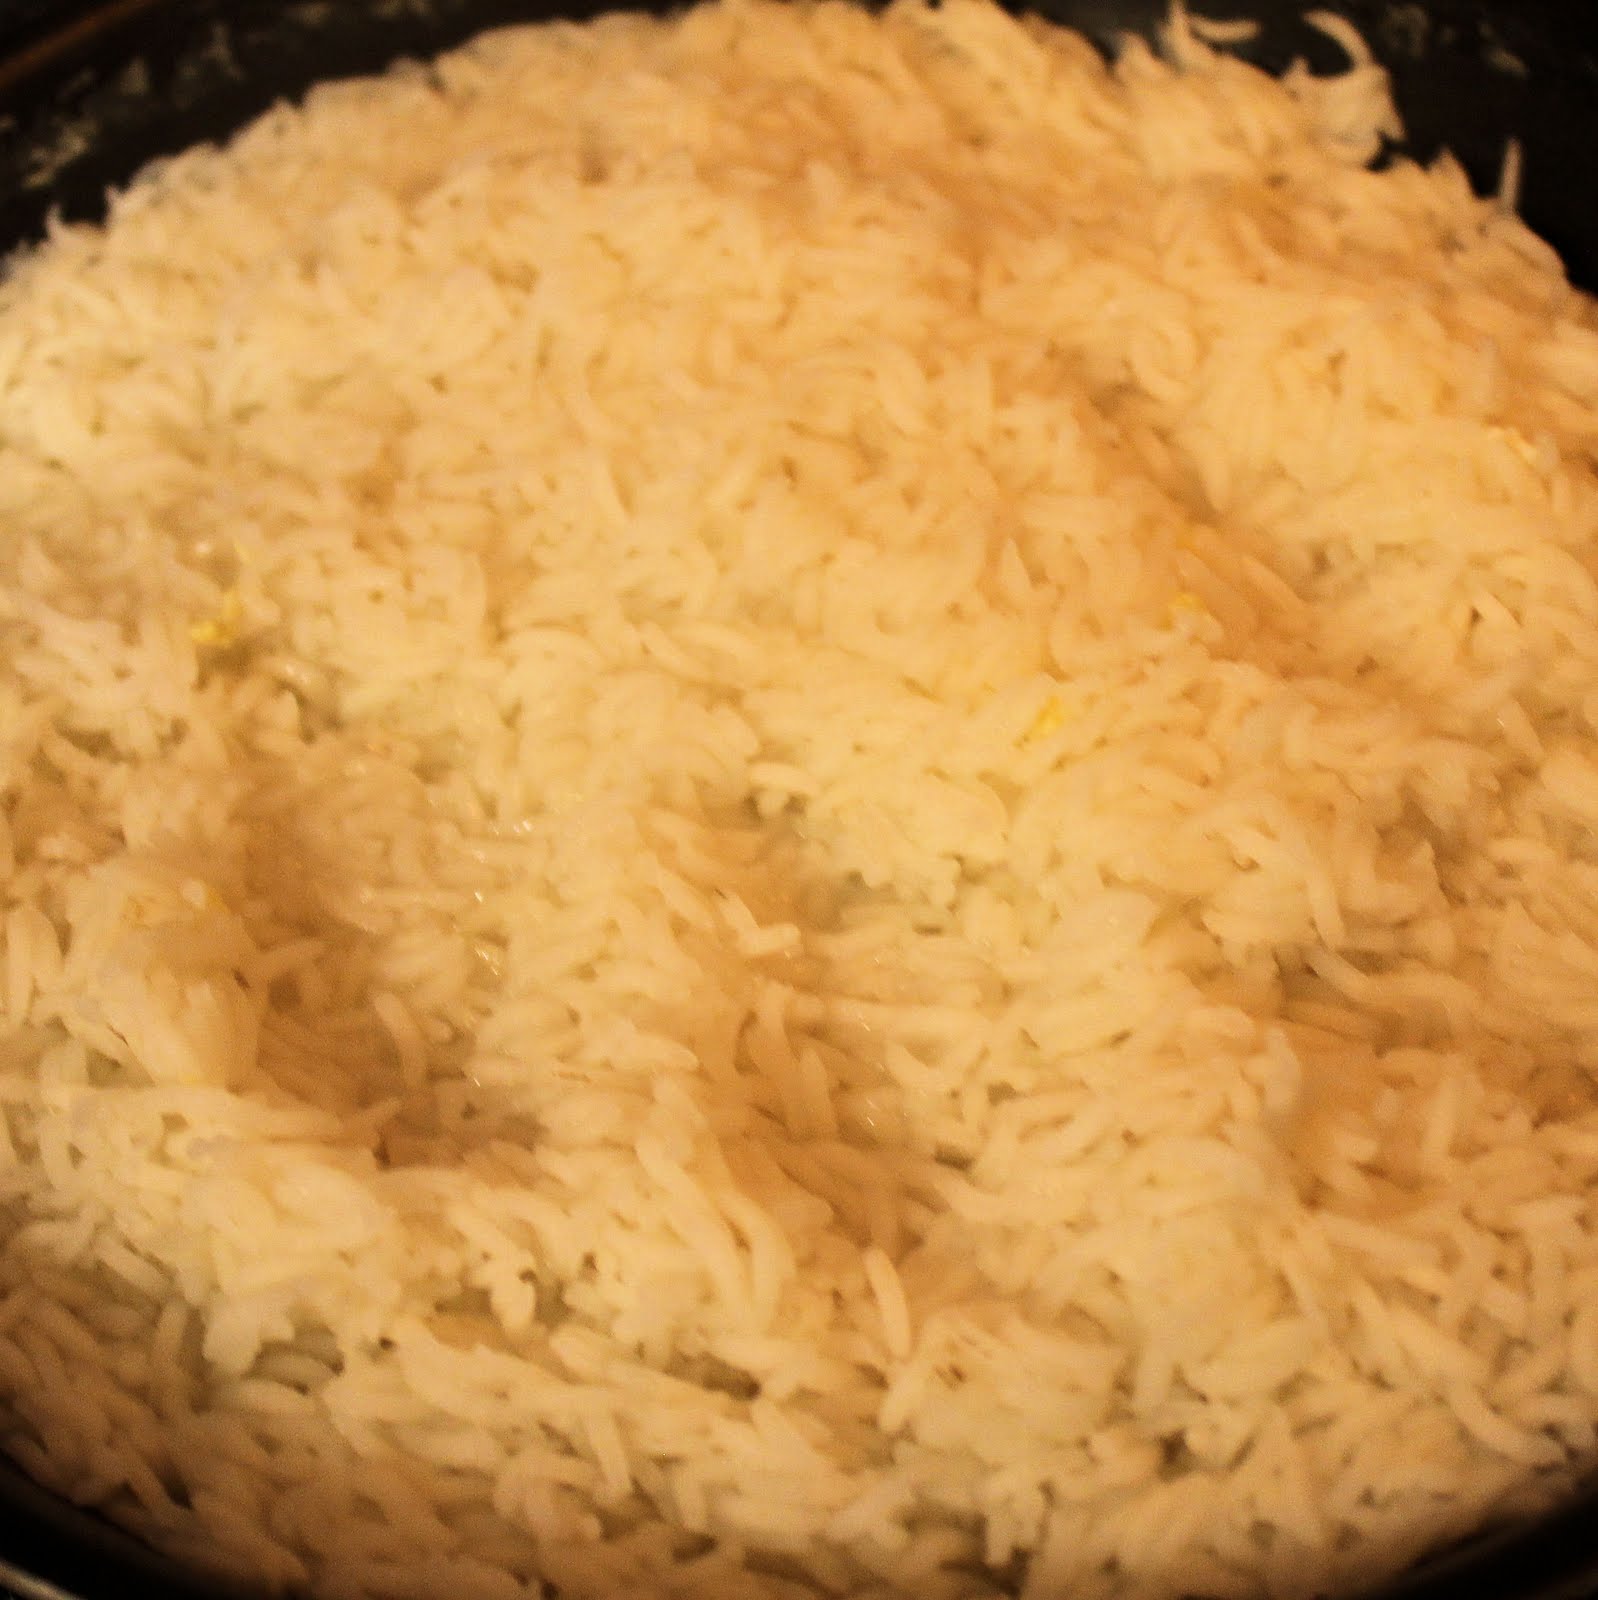
Begin by cooking your rice. You can just cook the rice in water because the soy sauce will add plenty of taste, no need to waste your chicken broth.
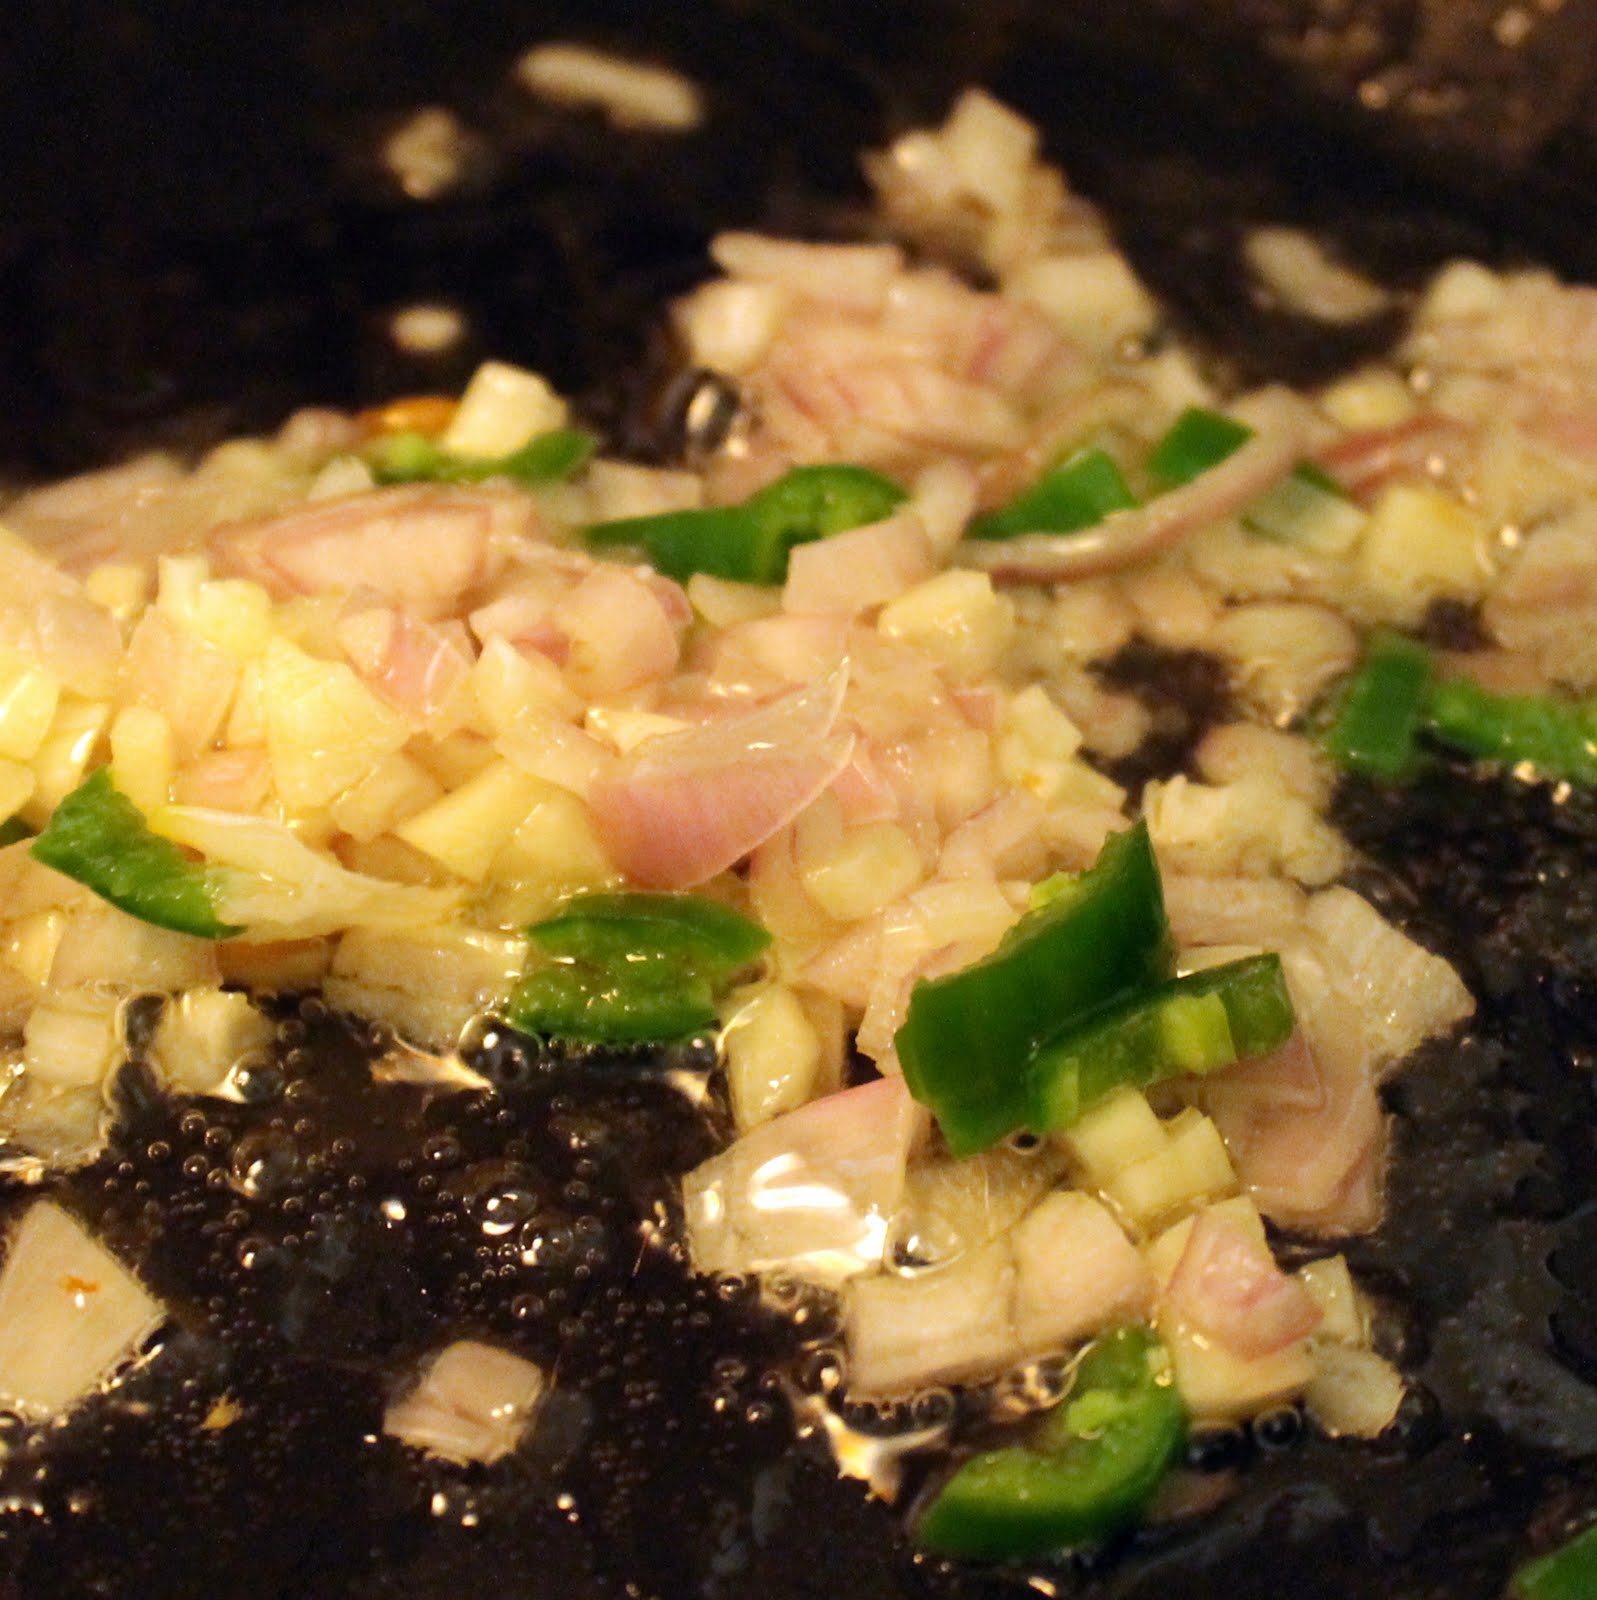
While your rice is cooking. prepare your shallots, garlic and chile. I am a wimp about heat and serraro chile can really be hot, so I removed all seeds before chopping. If you like spicy food, keep the seeds in.
Slice your daikon radish. I used a mandoline slicer.
Prepare your herbs.
To make the sweet soy sauce, combine the soy sauce and brown sugar in a saucepan. Heat over medium heat. Simmer for 2 minutes or until the brown sugar is incorporated into the soy sauce. Set aside.
Add 4 eggs to a bowl and lightly beat.
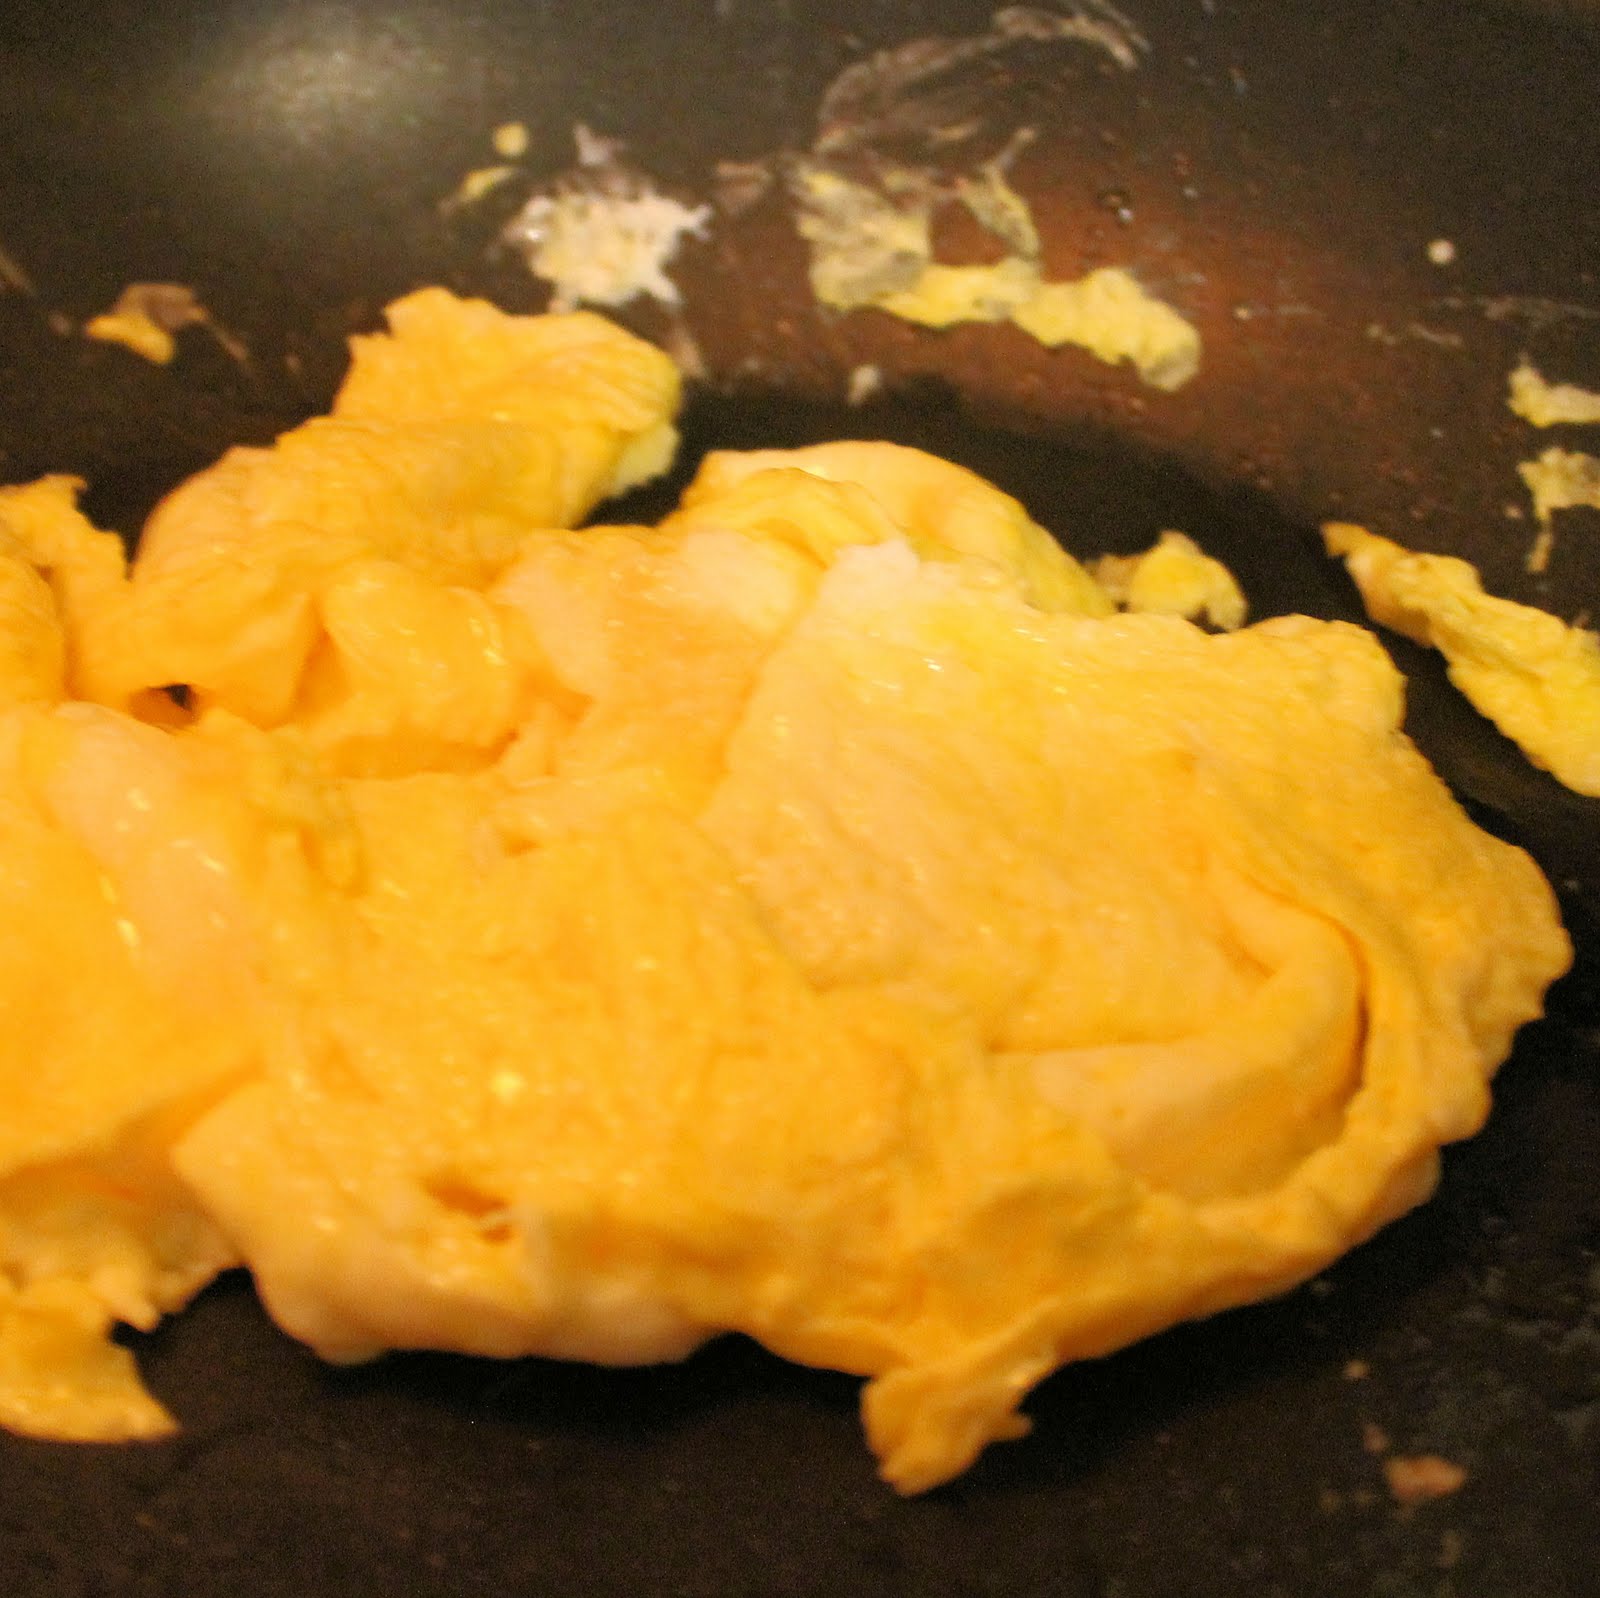
Add 1 tablespoon peanut oil to a large saute pan over medium-high heat, swirling to coat the bottom of the pan. Pour eggs into the pan and cook for 2 minutes or until they set. Remove and set aside.
Increase the heat to high and add 2 tablespoons peanut oil to the pan. Add your shallots, garlic and chile and saute for 1 minute.
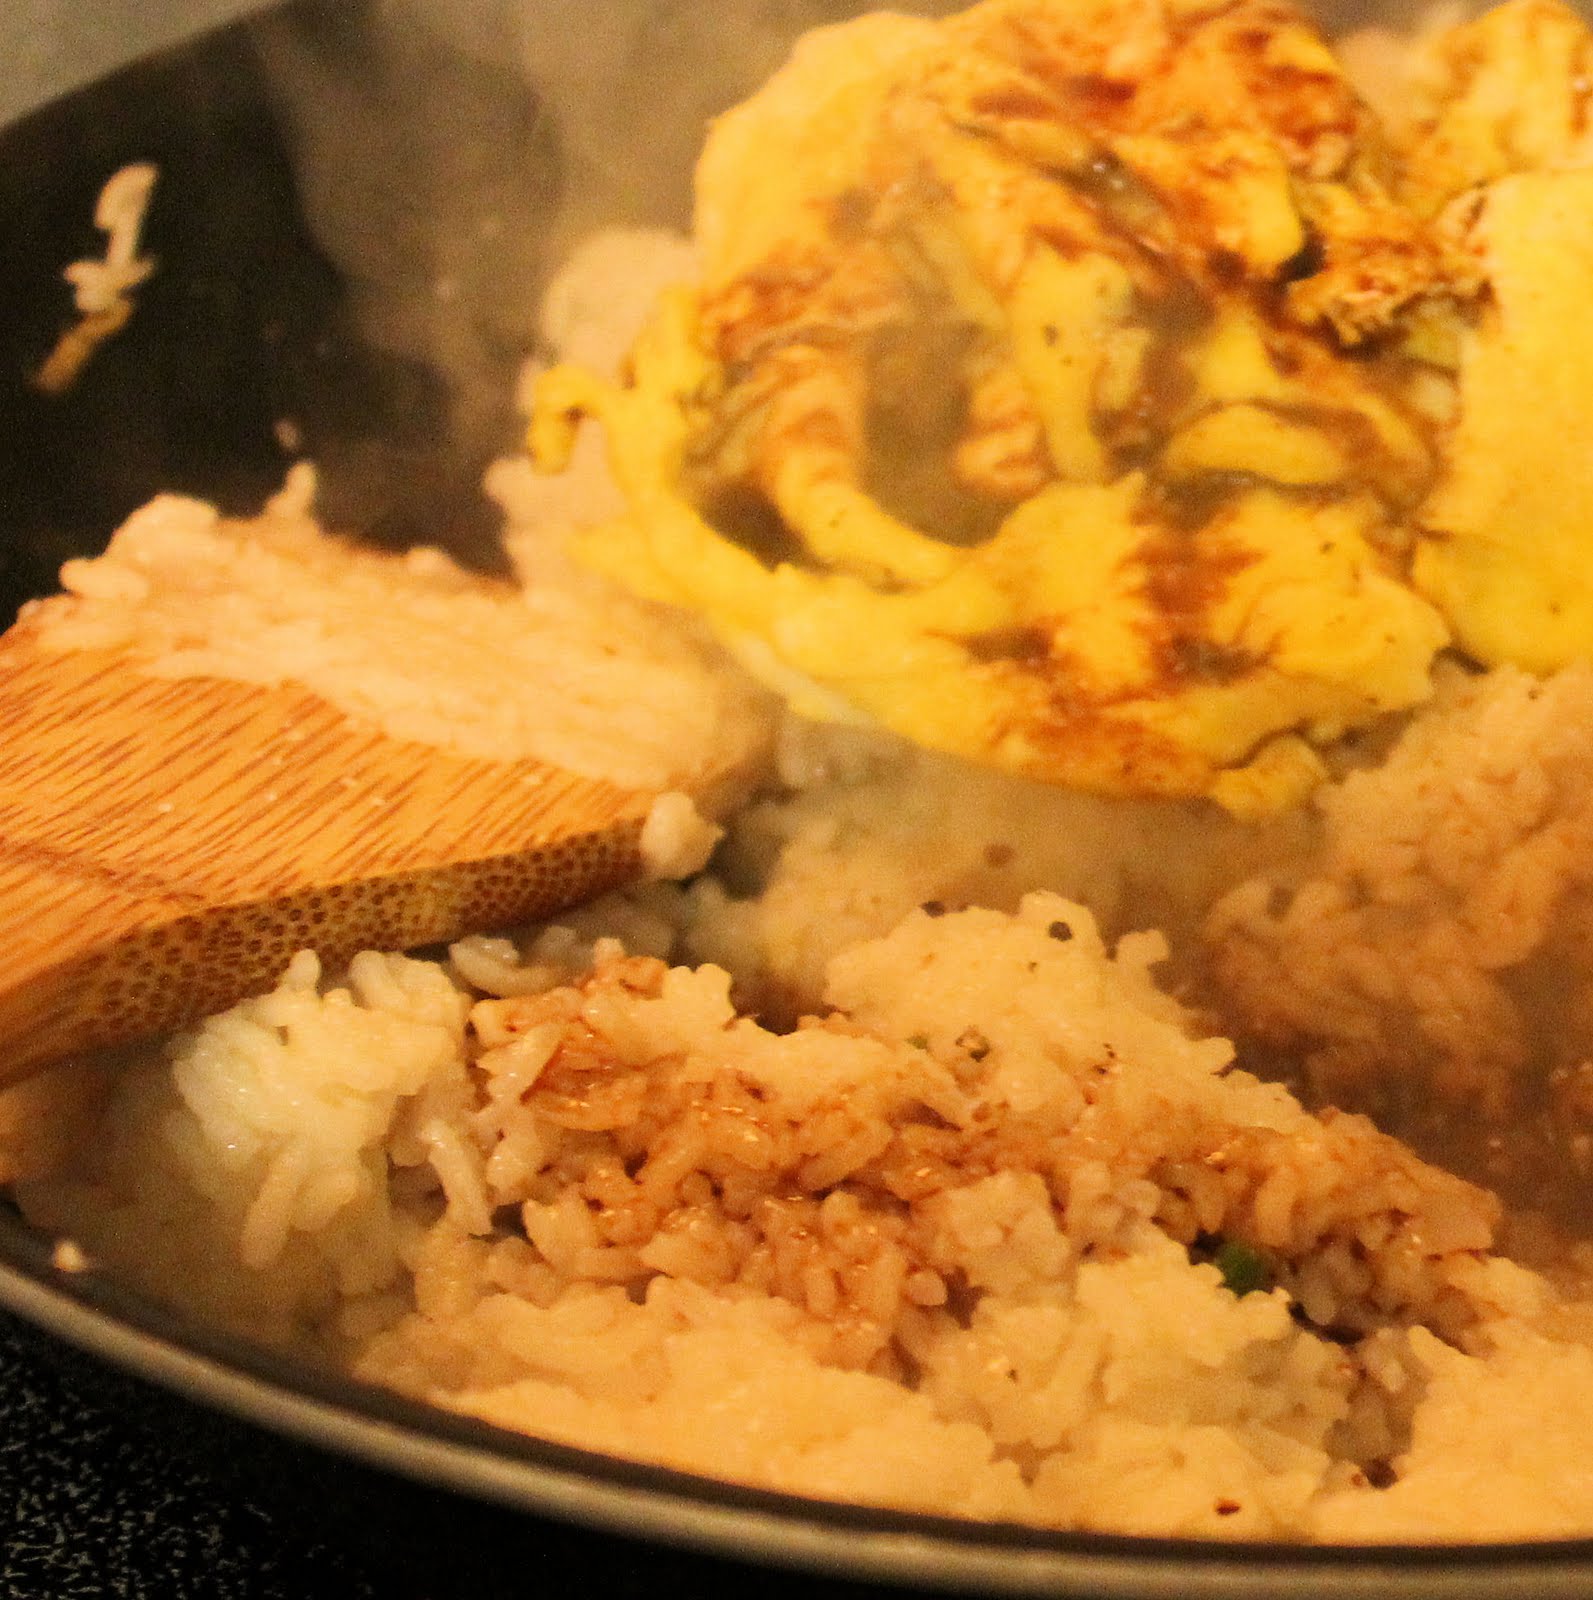
Add the cooked rice and cook for 3 minutes or until lightly browned.
Add cooked eggs and soy sauce mixture.
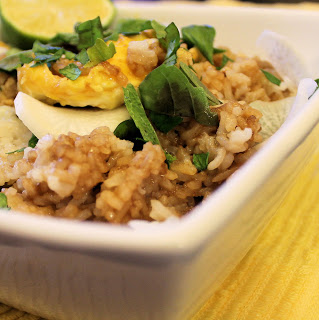
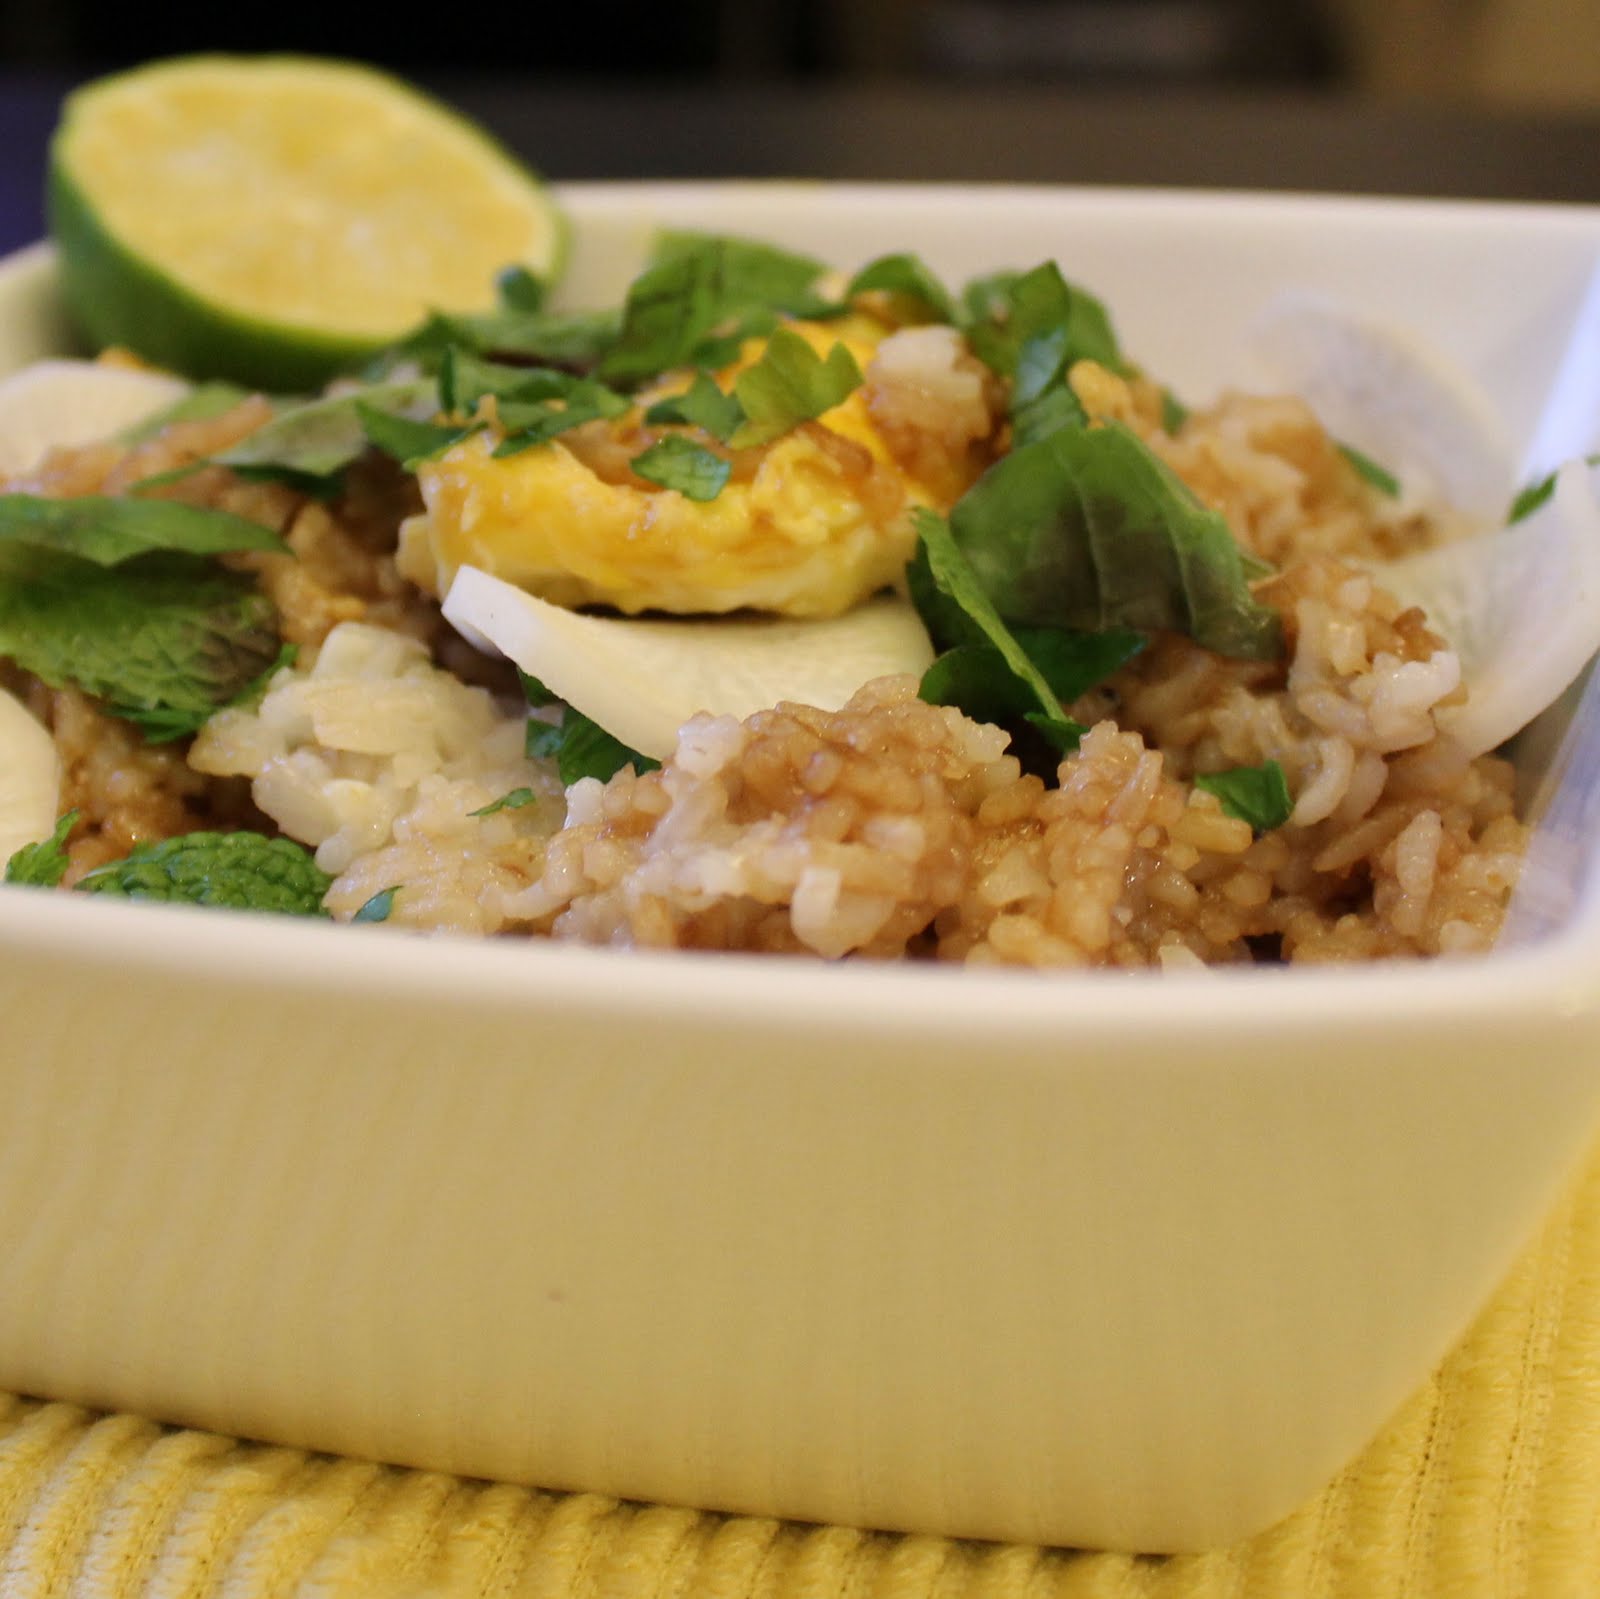
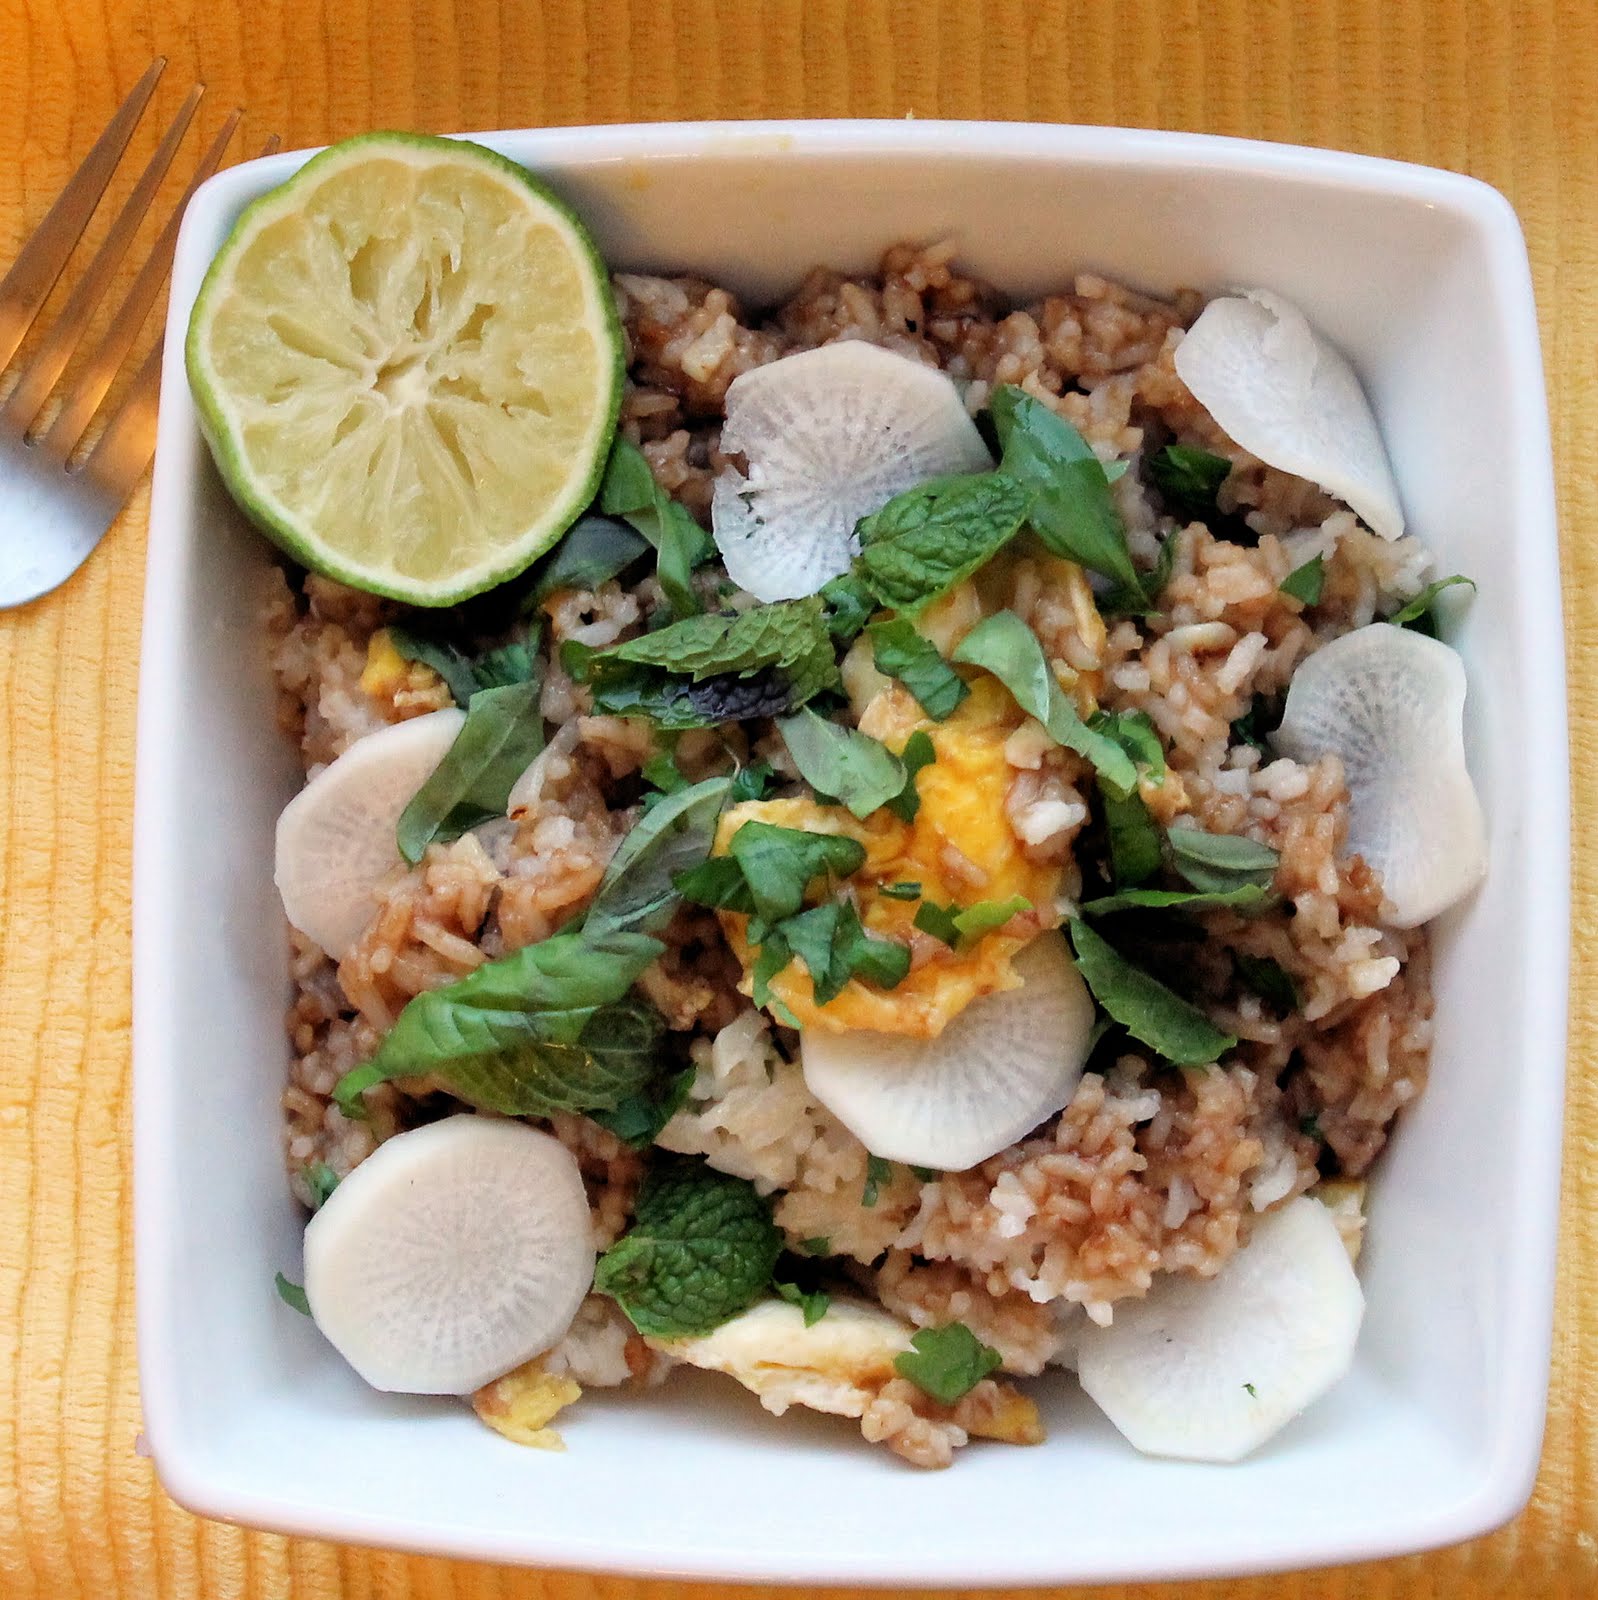
Season with salt and pepper and mix to coat. Add to bowls and top with radish and herbs. Serve with a lime wedge.
This meal was really tasty, not only the first time around but also when reheated. The serrano pepper gave a subtle heat to the whole dish which counteracted the sweetness of the soy sauce, great combination! When I packed it for lunch, I kept the rice mixture in one container and a few radish slices,herbs , and a lime wedge in another container. I heated the rice in the microwave and topped them with the radish slices and herbs, then squeezed the lime juice over the whole dish. Perfect!