I love a classic mac and cheese. But I also love a spin on a classic, like this recipe for Cajun Mac and Cheese!
This Cajun Mac and Cheese recipe is made of elbow pasta with onions, bell peppers, celery, and andouille sausage, baked in a creamy, spiced cheese sauce.
Ingredients:
1 tablespoon salt
1 (16 oz) box elbow pasta
1 tablespoon olive oil
1 small onion, finely chopped
1 green bell pepper, finely chopped
2 celery stalks, finely chopped
1 (12 oz – 16 oz) package Andouille sausage, chopped
Hooray for slow cooker season! I love a good slow cooker (paid link) recipe, and this Slow Cooker Venison Chili is no exception!
I decided it was about time to update my original recipe for Slow Cooker Venison Chili; I figured after 13 years it could use some sprucing up!
The ingredients haven’t changed much, but the method used to develop the flavors is updated. This hearty Slow Cooker Venison Chili will definitely be a family favorite!
Ingredients:
Chili Seasoning:
1 tablespoon chili powder
1/2 tablespoon dried parsley
1/2 tablespoon dried basil
1 teaspoon cumin
1 teaspoon garlic powder
1 teaspoon onion powder
1/2 teaspoon salt
1/4 teaspoon ground pepper
Venison Chili:
4 strips bacon, cooked
1 tablespoon olive oil
2 bell peppers, seeded and chopped
1 medium onion, chopped
6 garlic cloves, minced
2 tablespoons tomato paste
1 tablespoon reserved bacon fat, or 1 tablespoon unsalted butter
2 lbs ground venison
2 (15.5 oz) cans red kidney beans, drained and rinsed
1 (28 oz) can tomato sauce
1 (28 oz) can diced tomatoes
1 teaspoon hot sauce
2 tablespoons Worcestershire sauce
1 tablespoon honey
1 cup beef stock
1/2 cup coffee
Toppings:
Fresh cilantro, chopped, for garnish
Sour cream (omit for dairy free)
Cheddar or Pepper Jack cheese, shredded (omit for dairy free)
One of my favorite local restaurants is The House of William and Merry. The creativity and pure deliciousness coming out of that restaurant is impressive! A recent dinner there inspired me to use some of my CSA corn this week to make this Corn Bisque!
This silky corn bisque is delicious on its own, but I strongly suggest topping it with chopped bacon for extra saltiness and chives for brightness.
To make the corn bisque, you first make a corn stock. You’ll make more than you need for this particular recipe but don’t throw it away! You can use this lovely liquid like you would use vegetable or chicken broth.
Ingredients:
6 ears of corn, shucked
8 slices of bacon, cooked (I like to cook mine in the oven) note: reserve the bacon grease!)
Note: I was sent a copy of The Instant Pot Kosher Cookbook, 100 Recipes to Nourish Body and Soul in order to write this post. Opinions are mine alone.
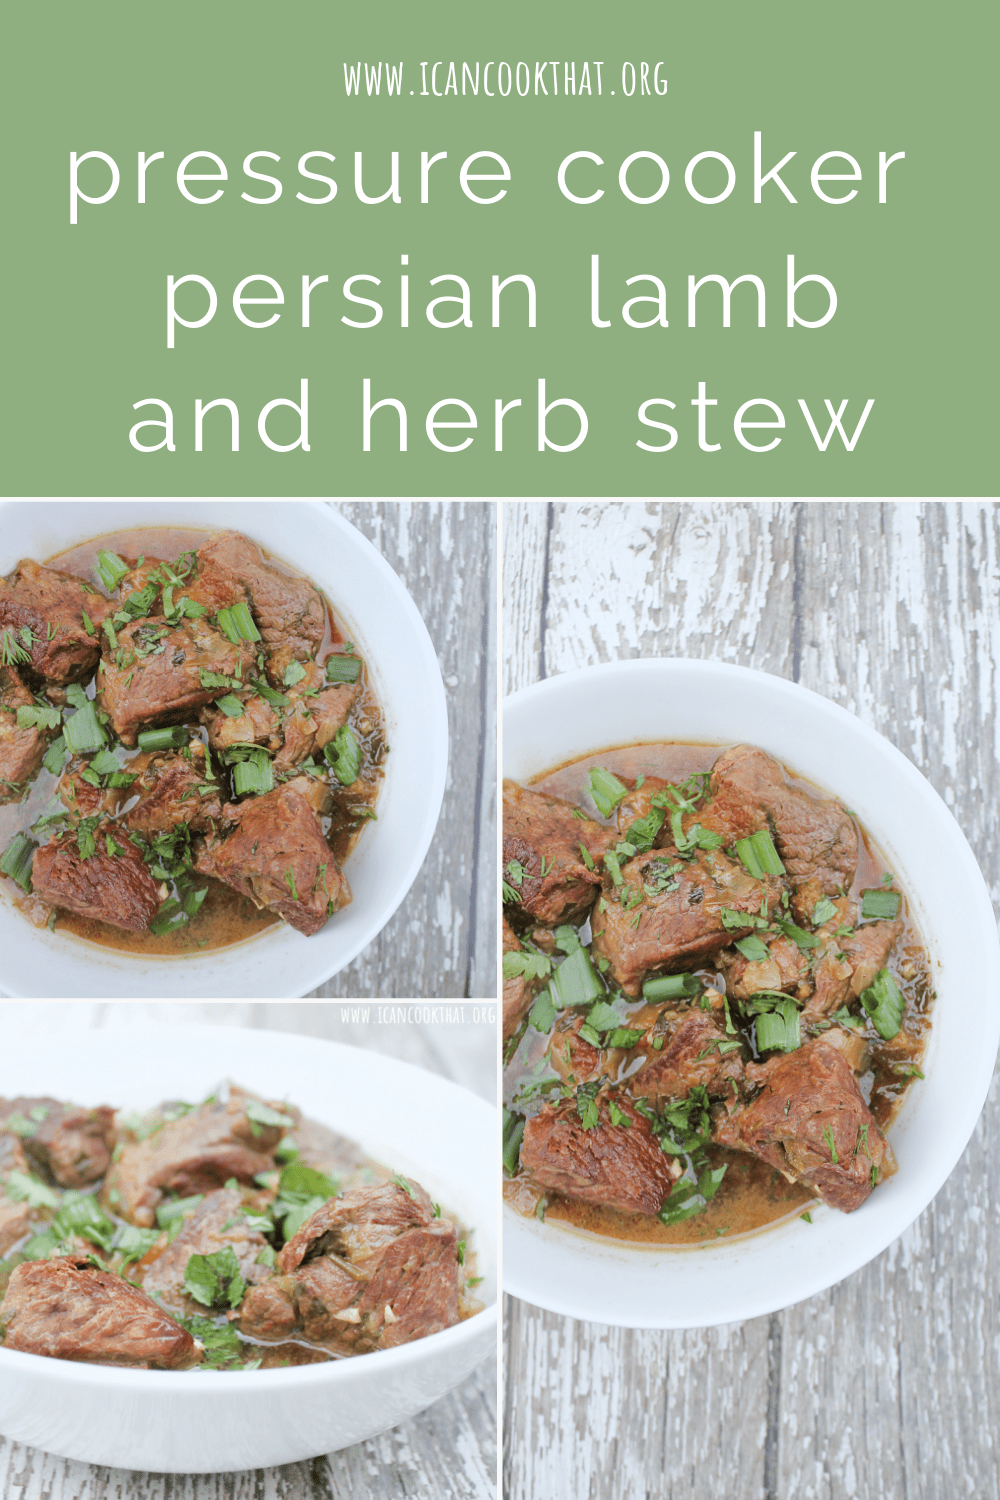
It is most certainly Instant Pot season! Work (at least for me) is busy this time of year, and yet, I crave meals that take a while to cook! Using an Instant Pot saves me a ton of time, so I tend to use it a lot this time of year.
I was recently sent a copy of The Instant Pot Kosher Cookbook by Paula Shoyer, which is filled with so many delicious sounding Kosher-friendly dishes! With The Instant Pot Kosher Cookbook (paid link) (paid link), Shoyer has curated 100 irresistible recipes for every table that even a novice cook can prepare in minutes. It is filled with modern takes on classic Jewish recipes, with all recipes offering options to adapt for special diets and allergies.
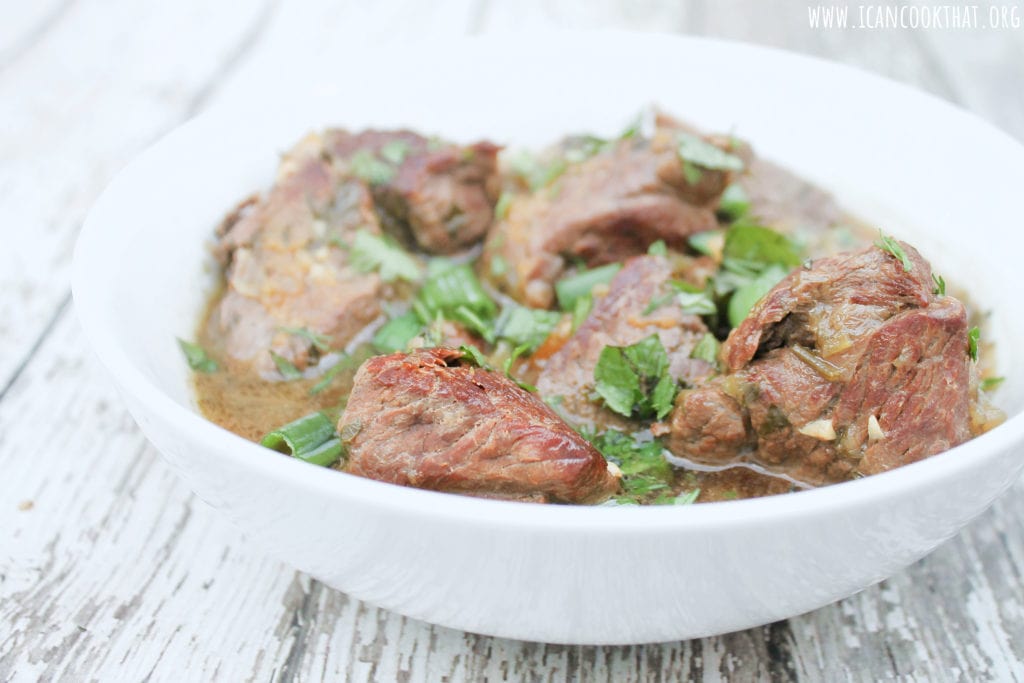
As I was paging through, I kept going back to a recipe for Persian Lamb and Herb Stew. I love a good lamb recipe, so I was excited to try this out! I adapted the below recipe ever so slightly from the original in the cookbook.
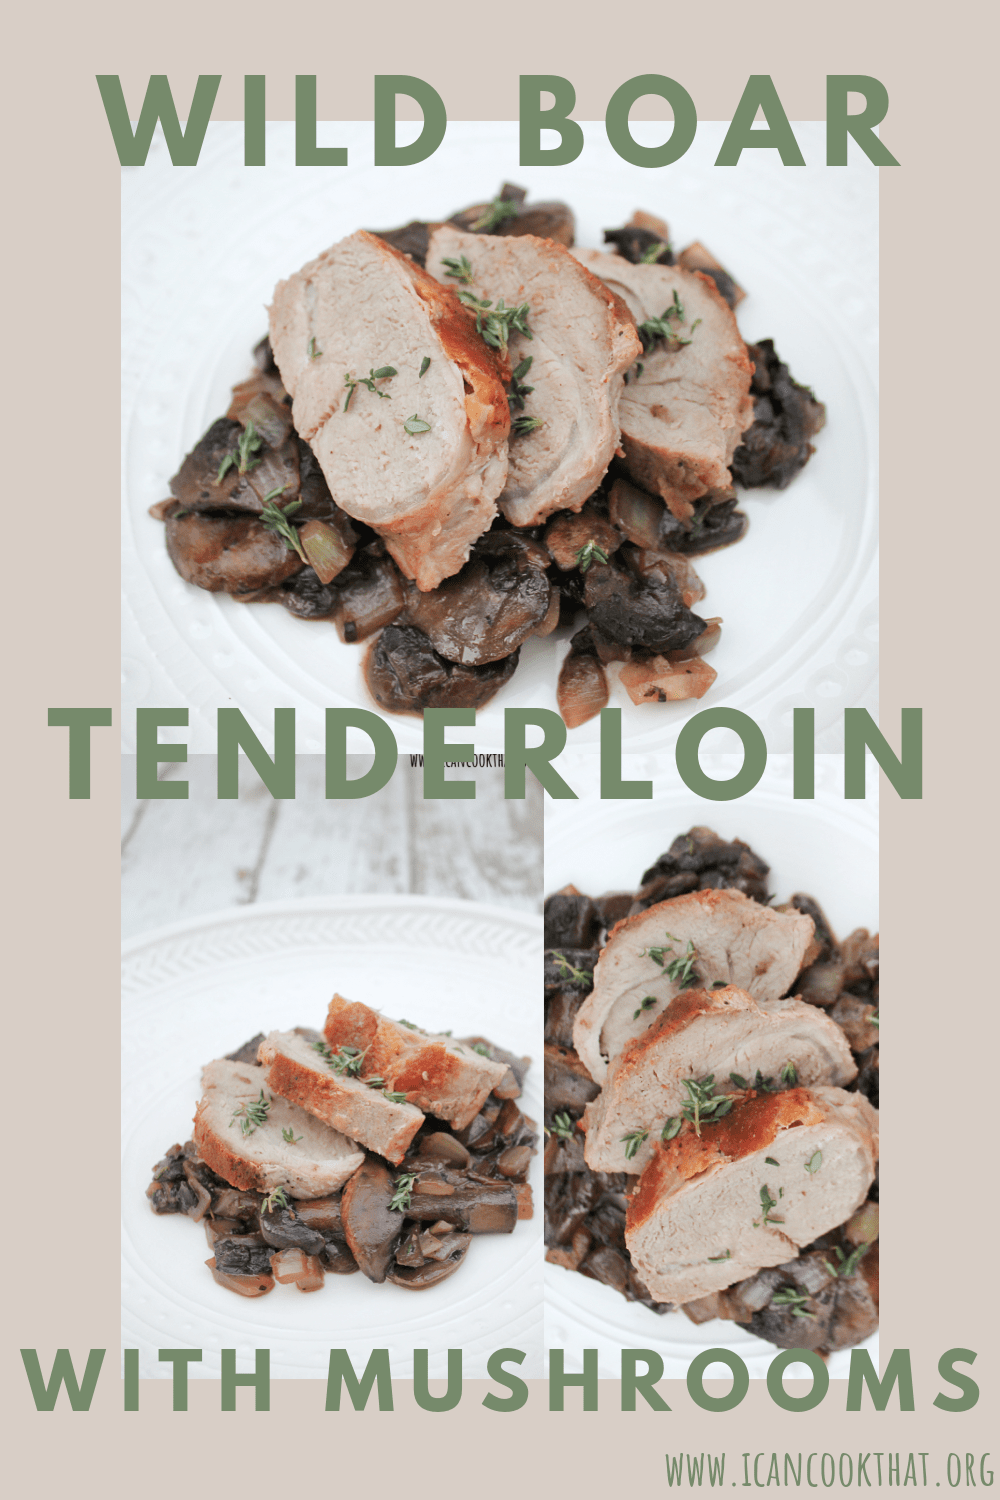
Note: I received free cow cash from Crowd Cow to try some of their products in order to write this post. Opinions are mine alone. This post contains affiliate links and I will be compensated if you make a purchase after clicking on my links.
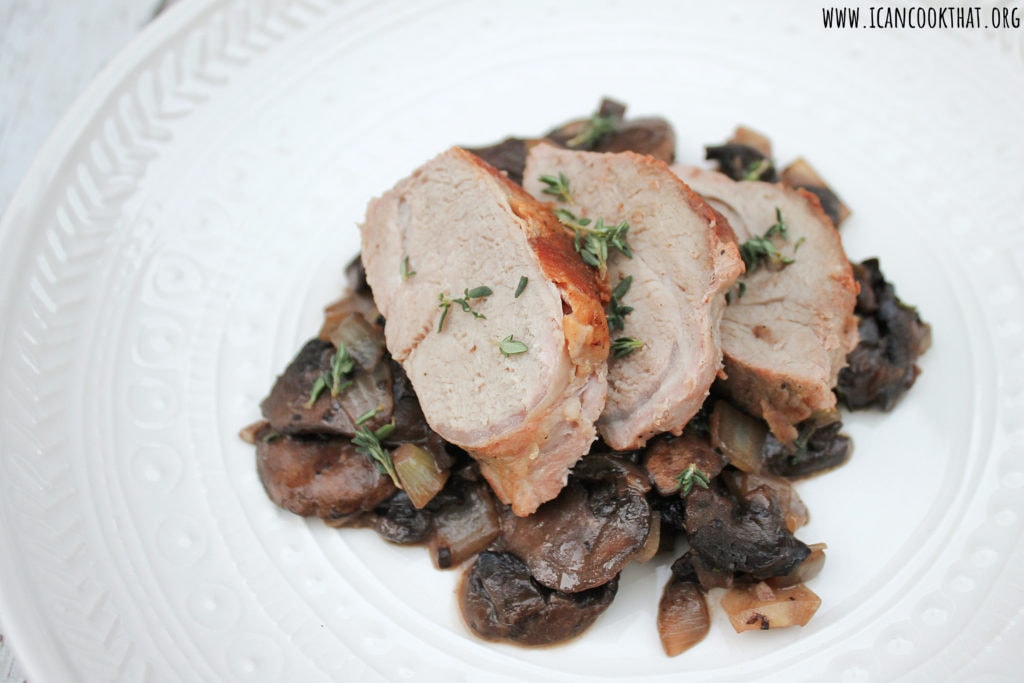
This recipe for Wild Boar Tenderloin with Mushrooms is my first time using wild boar! According to the Crowd Cow website, “Wild Boar meat is similar to domestic pork, but the flavor has a slightly sweet and nutty taste to it, derived from their wild foraging diet. Our Wild Boar Tenderloins are lean with low fat content. Searing, roasting and grilling work well, but be careful not to overcook and dry out these lean cuts of meat.”
To enhance the flavor of the wild boar, I sautéed mushrooms in the same pan that I cooked the meat in with some onions and garlic.
Ingredients:
2 tablespoons olive oil
1 (1 lb) wild boar tenderloin
salt and pepper, to taste
2 (8 oz) packages sliced mushrooms
1 teaspoon fresh thyme leaves, plus more for garnish
Note: I was sent samples of Bear Mountain BBQ Wood Pellets in order to write this post. Opinions are mine alone.
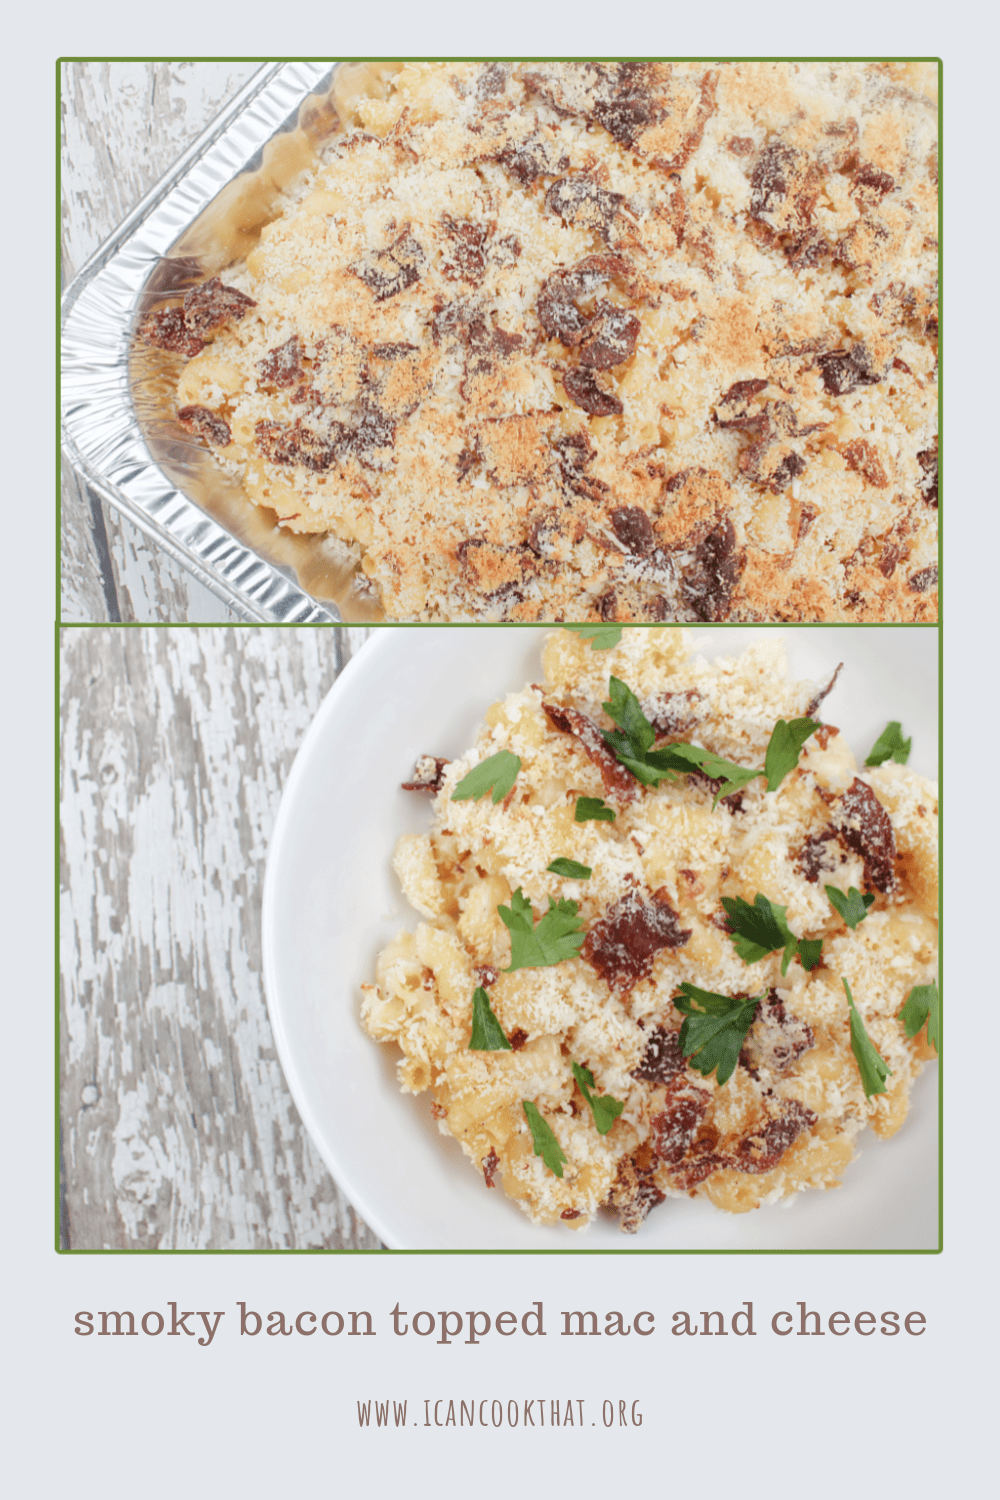
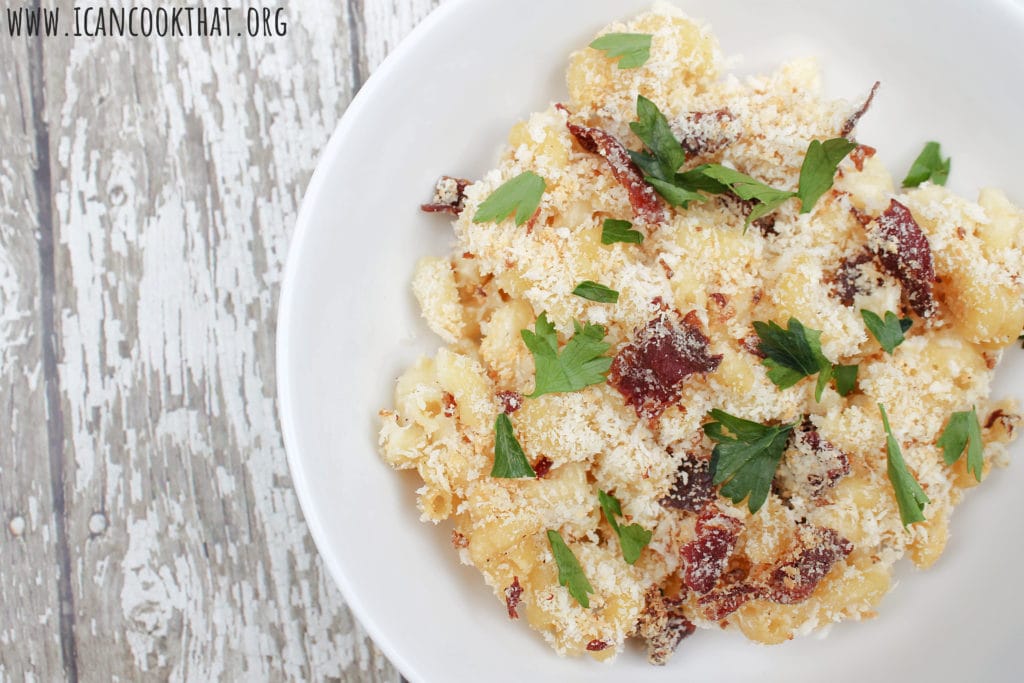
I’m going to keep the yummy smoked recipes going because, well, I can! This recipe for Smoky Bacon Topped Mac and Cheese would be a perfect make ahead dish to bring to your next barbecue.
The Bacon highlights the smoky flavor, but if you want to keep it vegetarian, just omit it!
This recipe is basically my Homemade Mac and Cheese recipe with a few adjustments to make it ready for some smoker action!
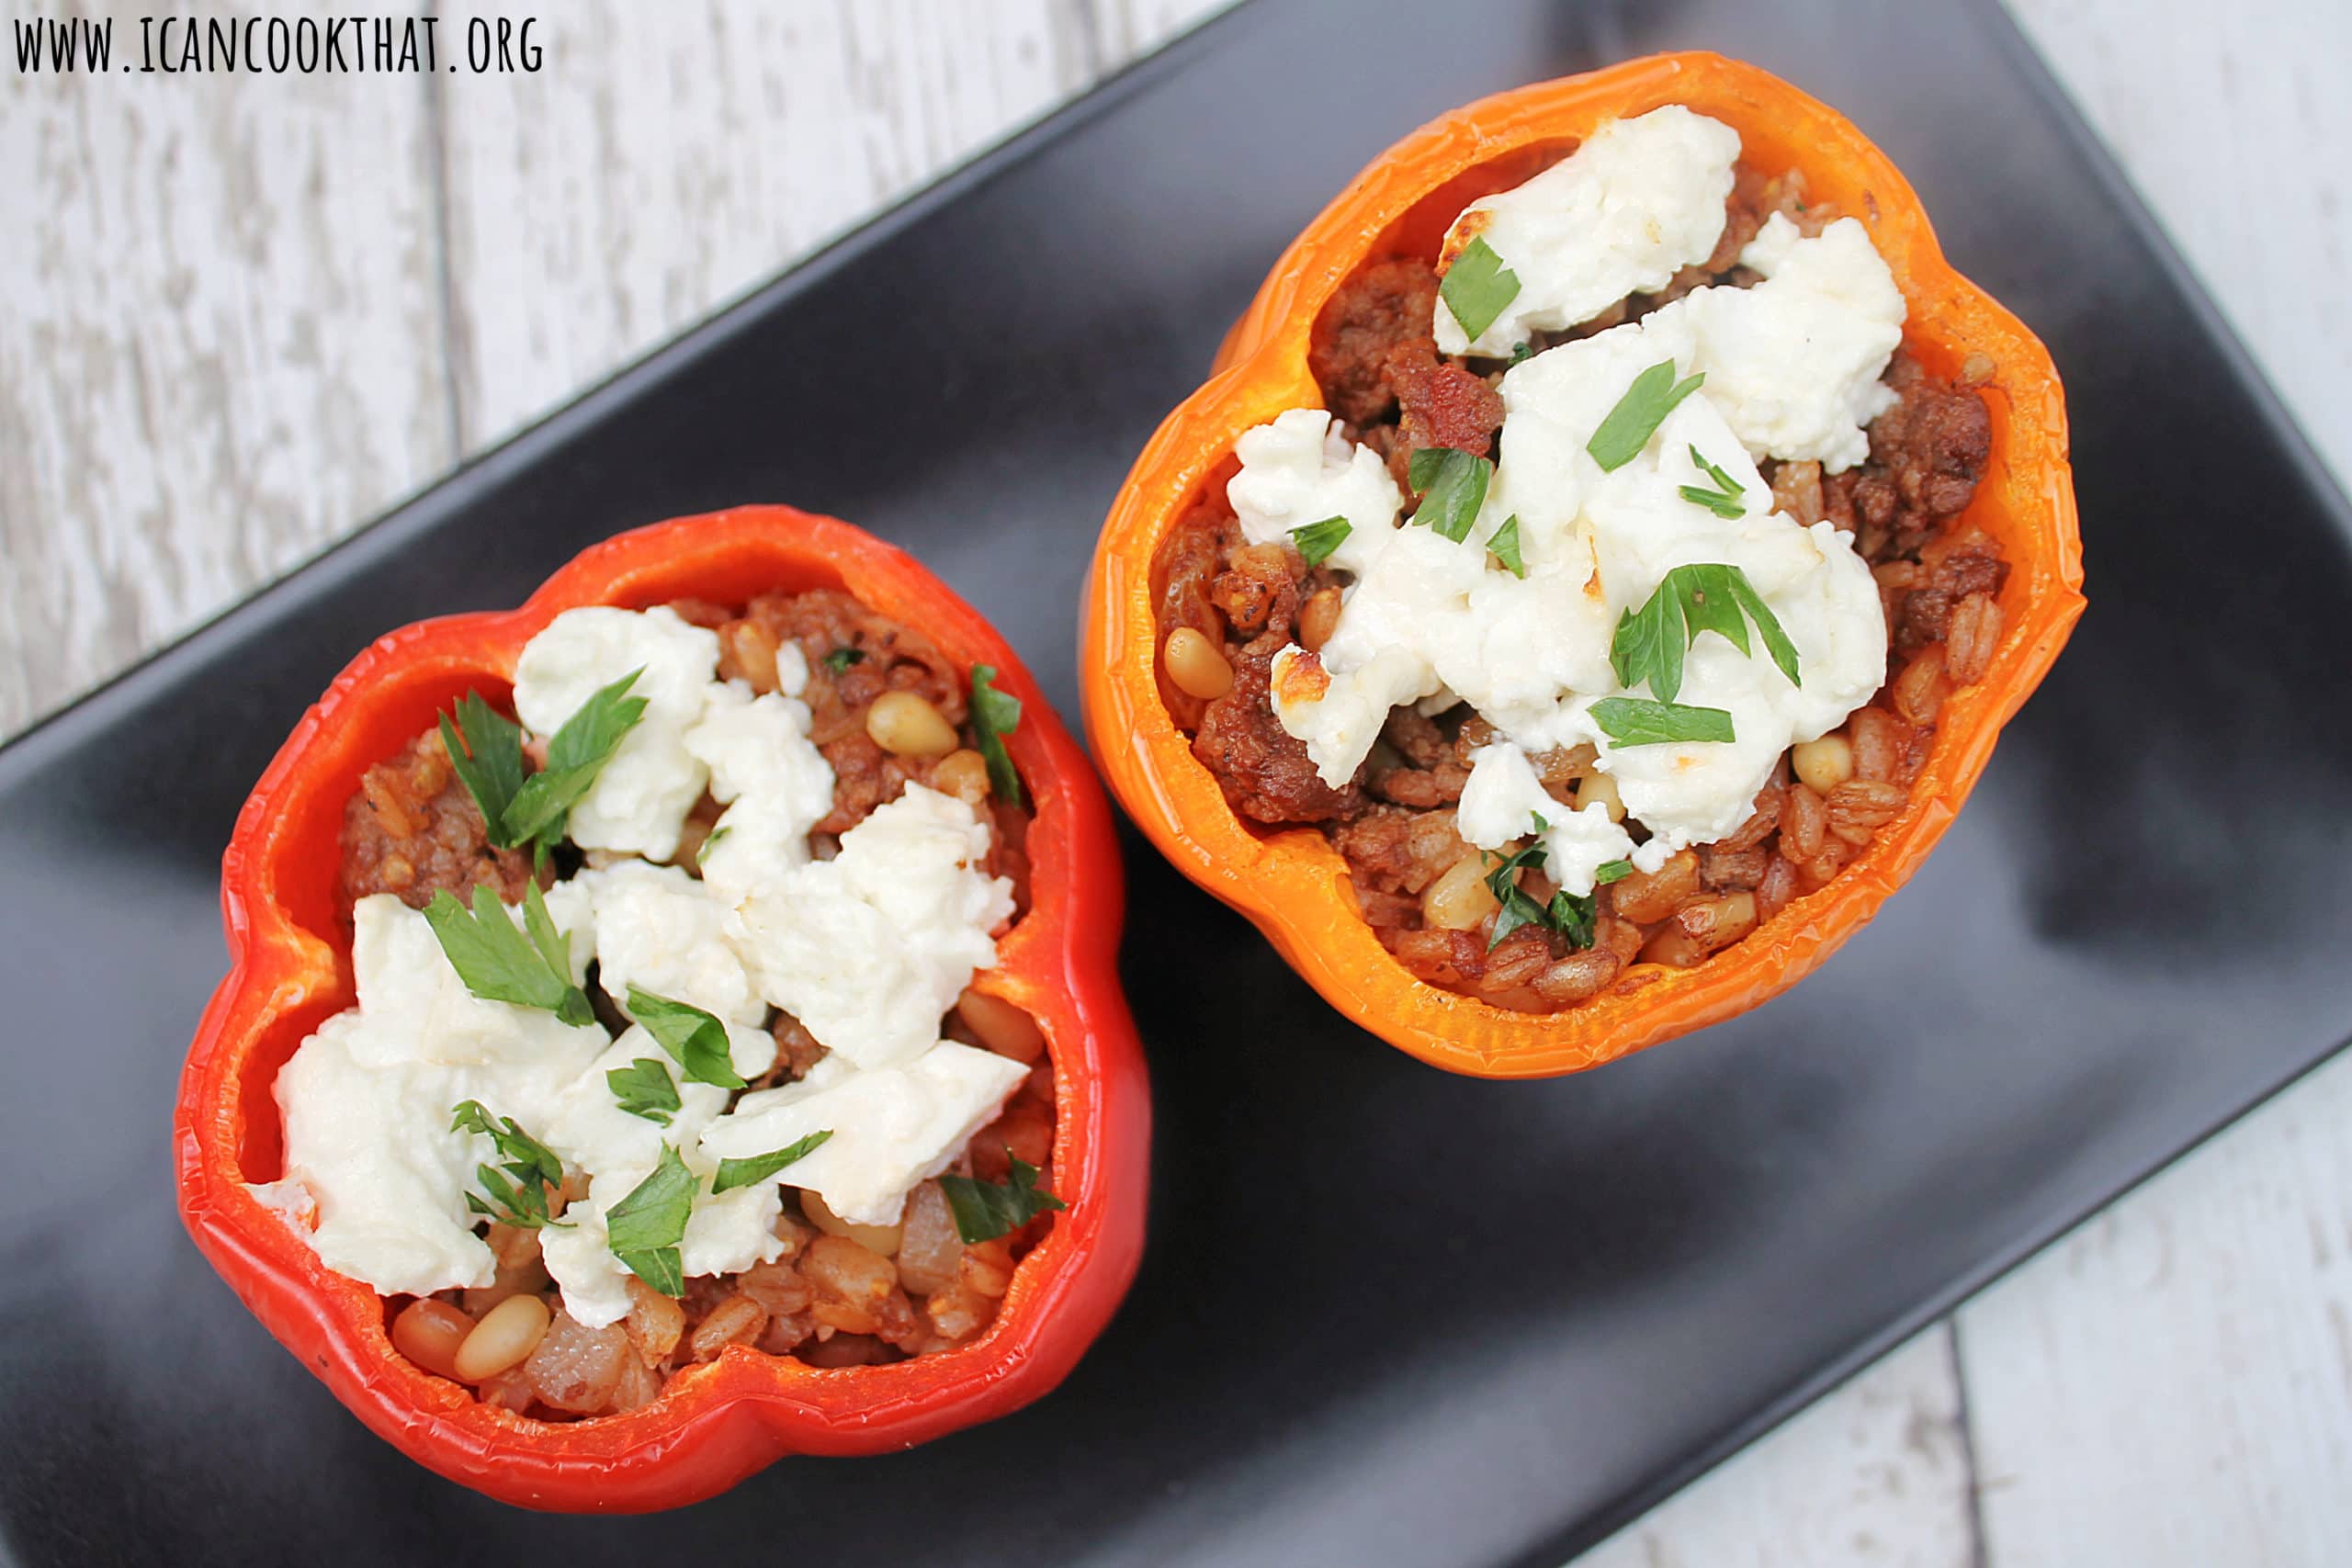
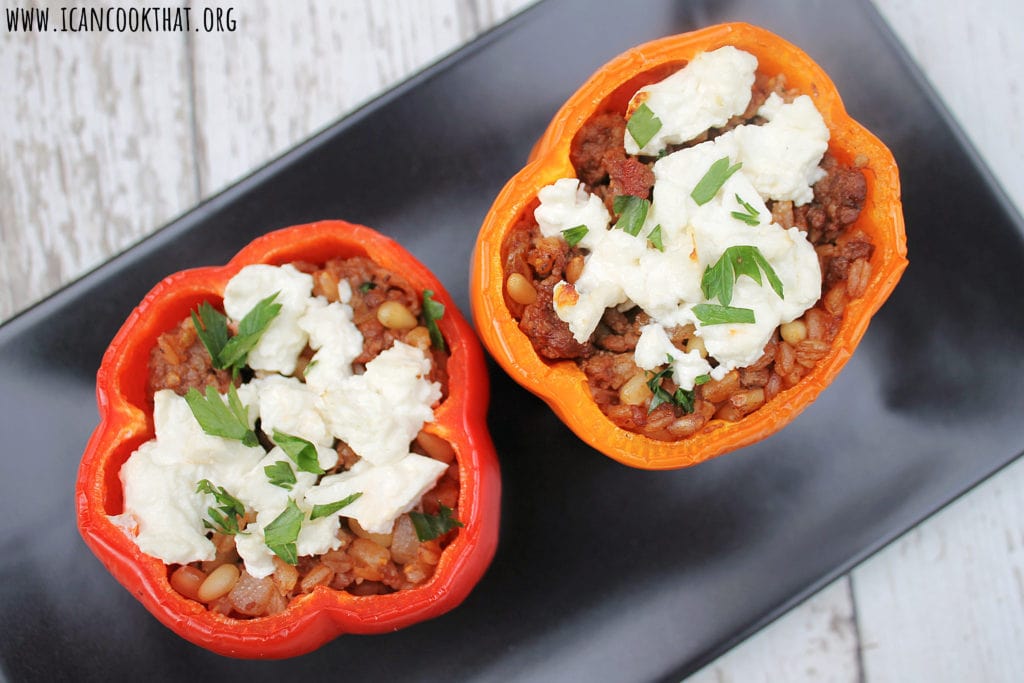
I’m not going to lie, I didn’t love stuffed peppers when I was younger. However, as I realize that there are multiple ways to make them, like these Tex-Mex Stuffed Peppers and this recipe for Lamb Stuffed Mediterranean Peppers I’m about to share, I’ve come around on how awesome they can really be!
This recipe for Lamb Stuffed Mediterranean Peppers is based off one a friend gave me years ago that I used to make Mediterranean Stuffed Mini Peppers. The recipe was so darn good, I figured it was about time I shared a main-meal version!
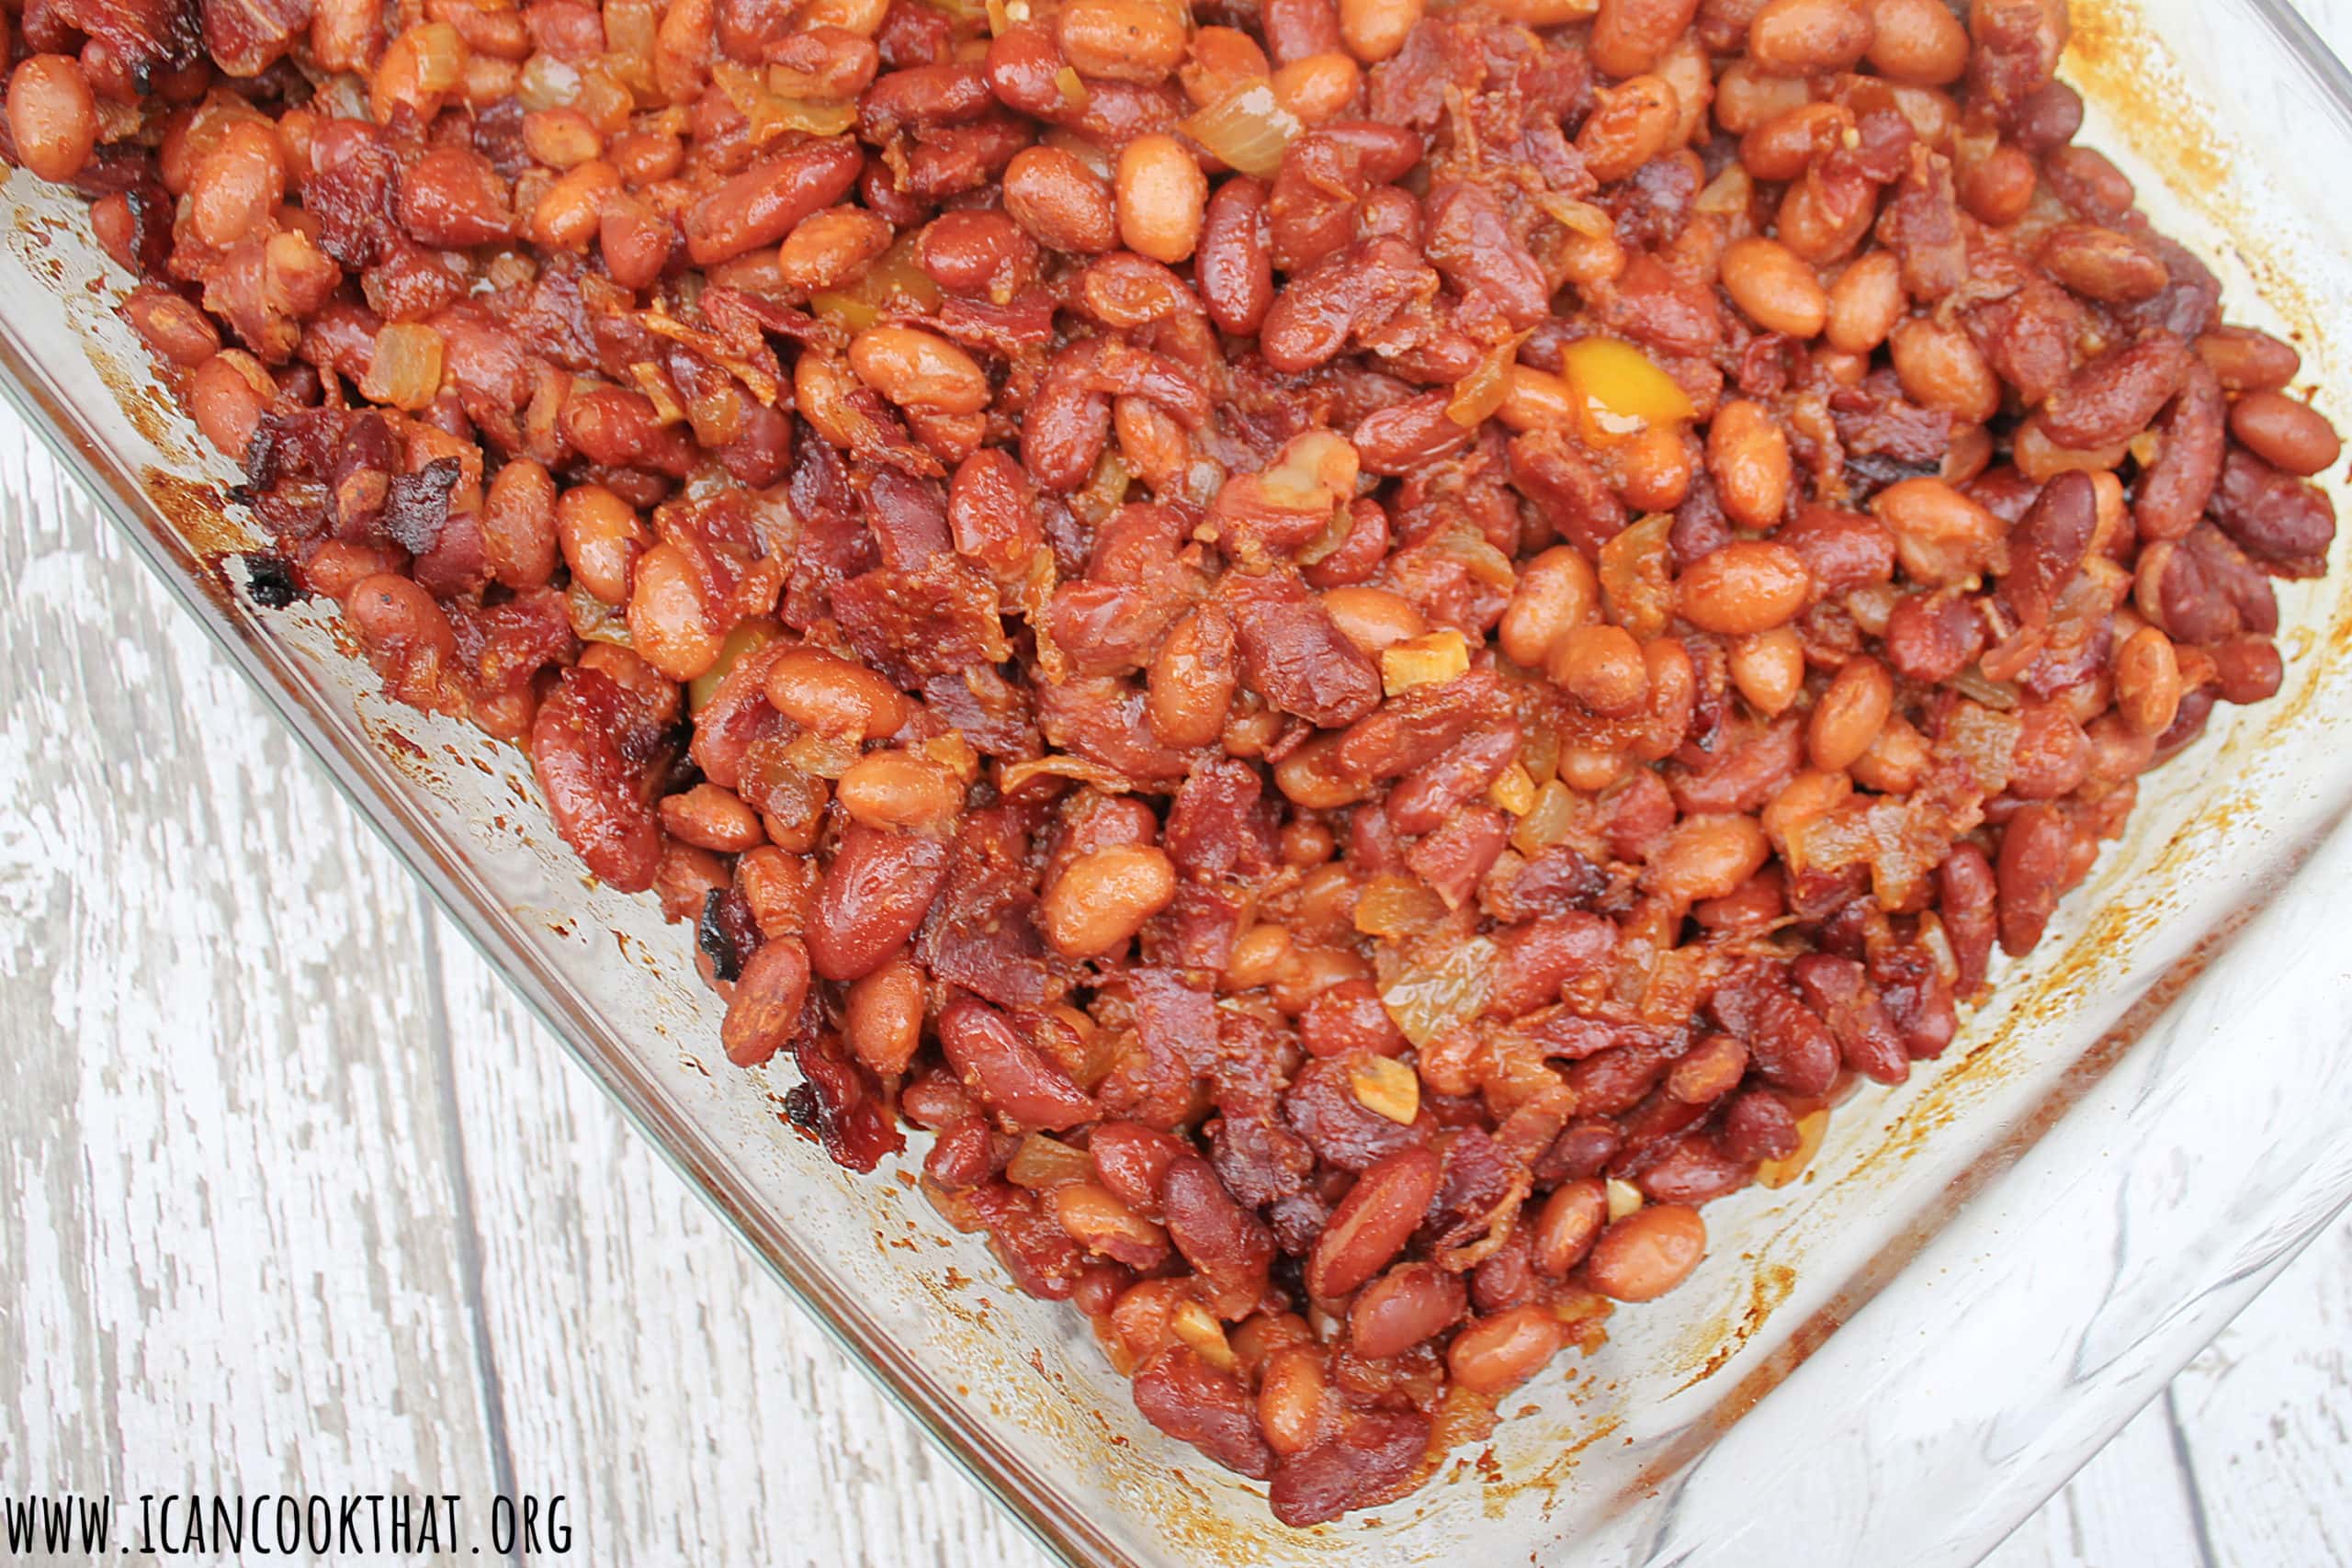
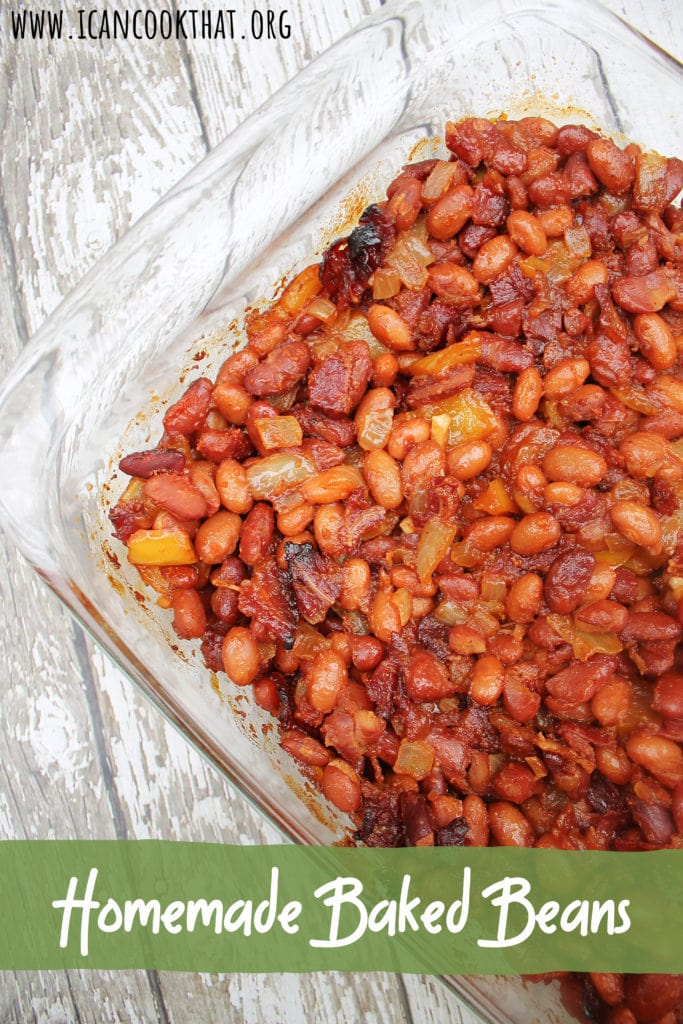
Barbecue season is upon us, and many of us are hoping to enjoy some socially distant outdoor time with friends and family. So I wanted to share the perfect recipe to bring along to a barbecue: homemade baked beans!
This recipe takes about an hour and a half to make but can be made ahead of time. The beans can be served warm or at room temperature.
Ingredients (makes 10 servings):
1 tablespoon olive oil
1/2 pound bacon, chopped
1 onion, chopped
3 garlic cloves, minced
1 bell pepper, chopped (I used a yellow pepper)
2 (15 oz) cans pinto beans, drained and rinsed
2 (15 oz) cans red kidney beans, drained and rinsed
3/4 cup ketchup
1/2 cup packed brown sugar
1/4 cup molasses
1/2 tablespoon hot sauce (I used Tobasco Chipotle)
1 tablespoon Worcestershire sauce
1 1/2 tablespoons stone ground mustard (or any mustard you prefer)
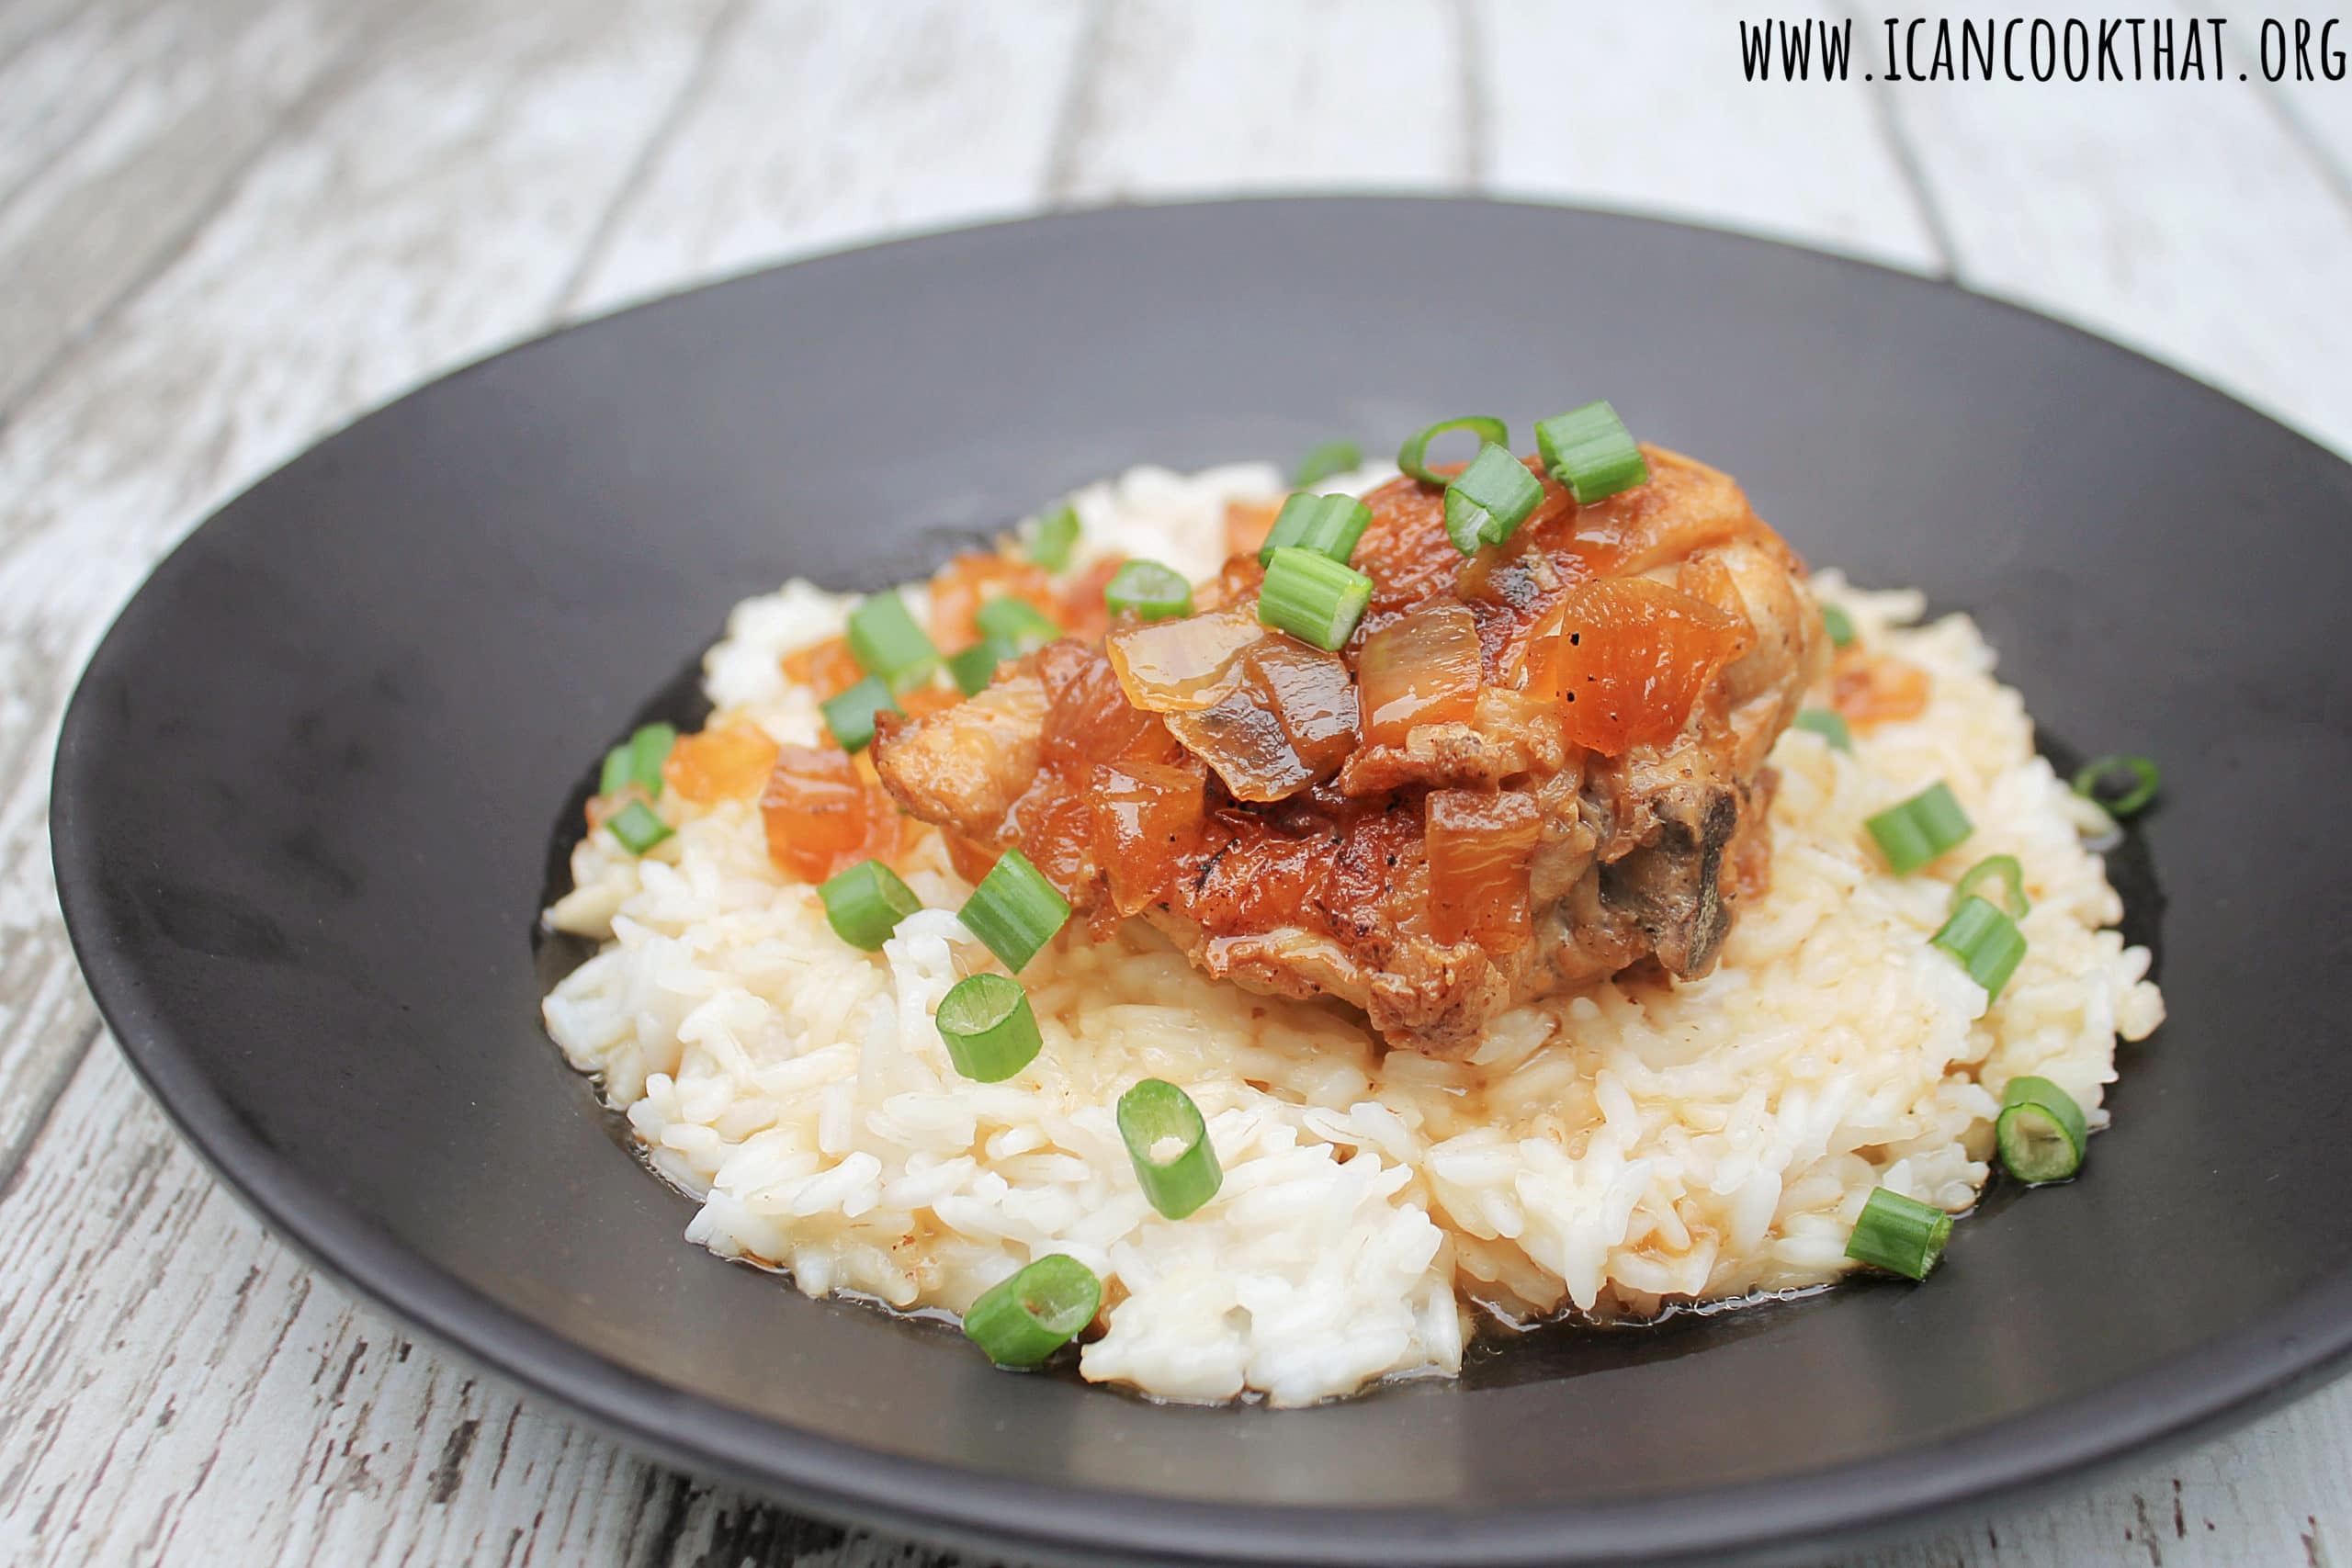
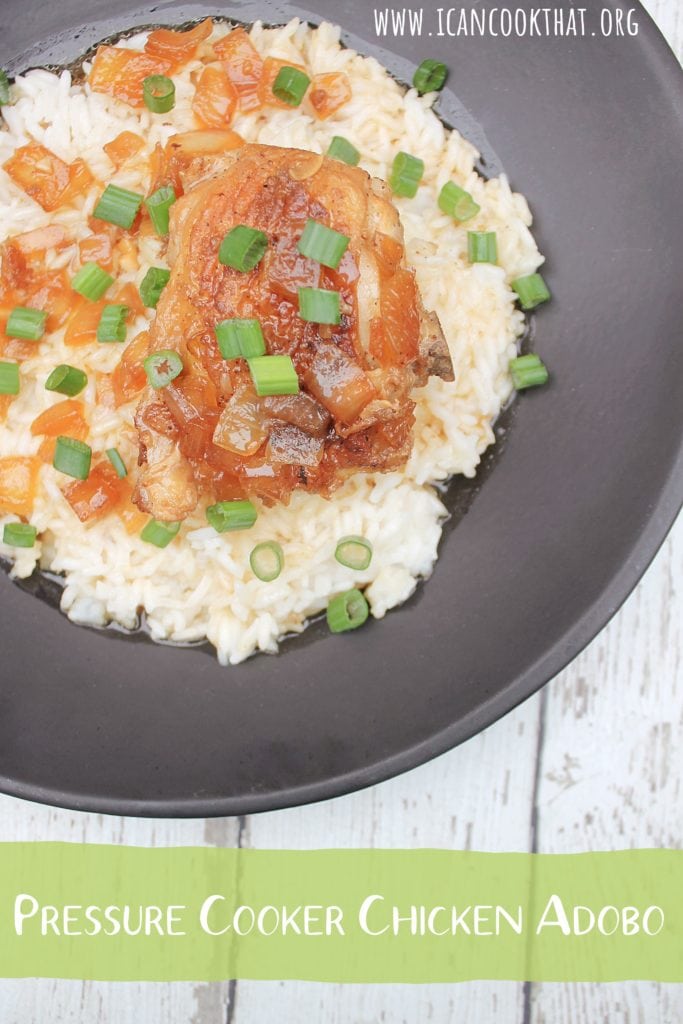
I can’t tell you how many times my InstantPot has saved me for dinner. All too often, I’ll look up from my computer at 7pm and realize I haven’t even thought about what we are going to eat! This recipe for Pressure Cooker Chicken Adobo is one of those time-saver meals – it takes about 45 minutes to make. (For comparison, my Pork Belly Adobo recipe takes about 2 hours to make, not including time to let the meat marinate!)
This recipe comes together quickly but tastes like it’s been cooking all day. Ah, the magic of the InstantPot!
Ingredients:
4 drumsticks
4 chicken thighs
ground pepper, to taste
2 tablespoons vegetable oil
6 garlic cloves, minced or pressed
1 large onion, chopped
2/3 cup low sodium soy sauce (or coconut aminos to make gluten free)
Note: I was sent a Flying Fish Can Variety Pack in order to write this post. Opinions are mine alone.
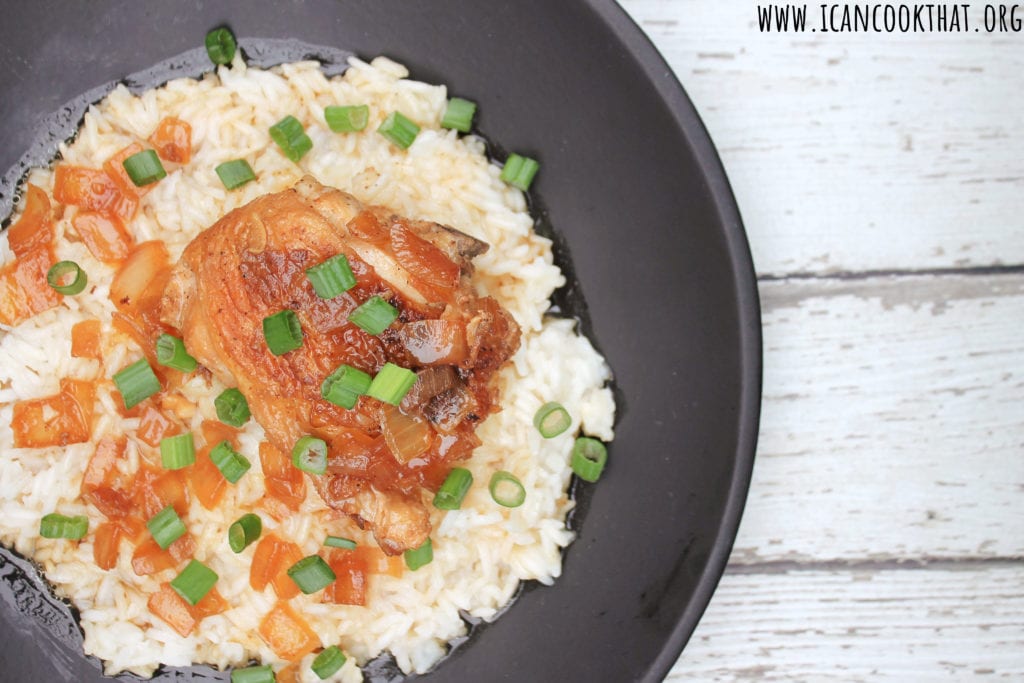
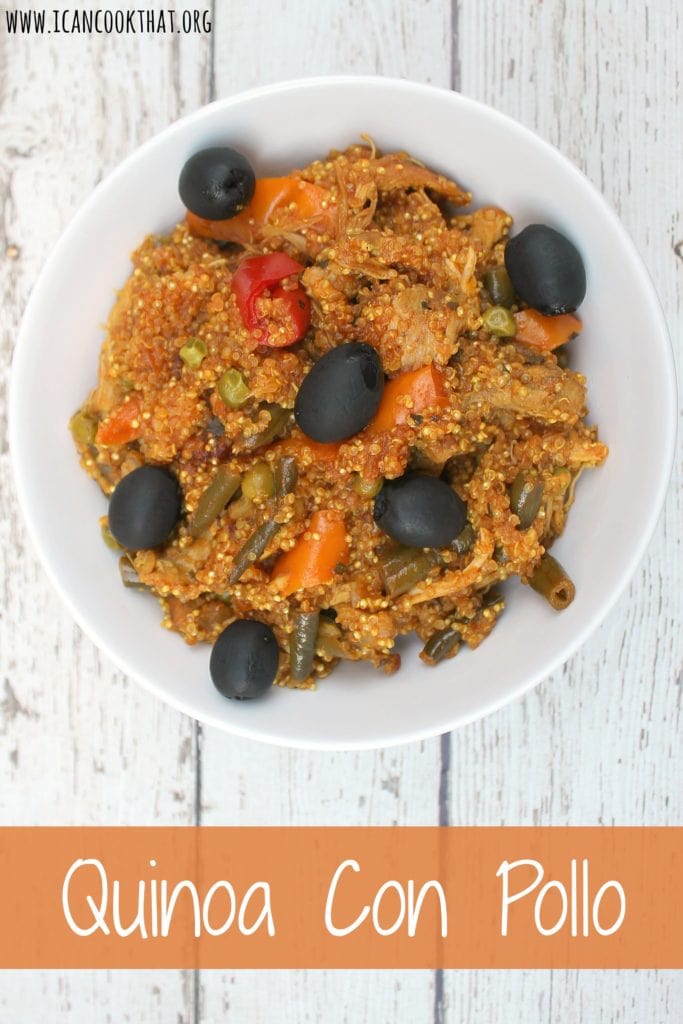
There are some recipes that almost instantly become a go-to comfort food. One of those recipes for me is arroz con pollo. It has a ton of flavor, an assortment of different vegetables, and is wonderfully filling. Plus, it can be made ahead of time and reheated. What more could you ask for?
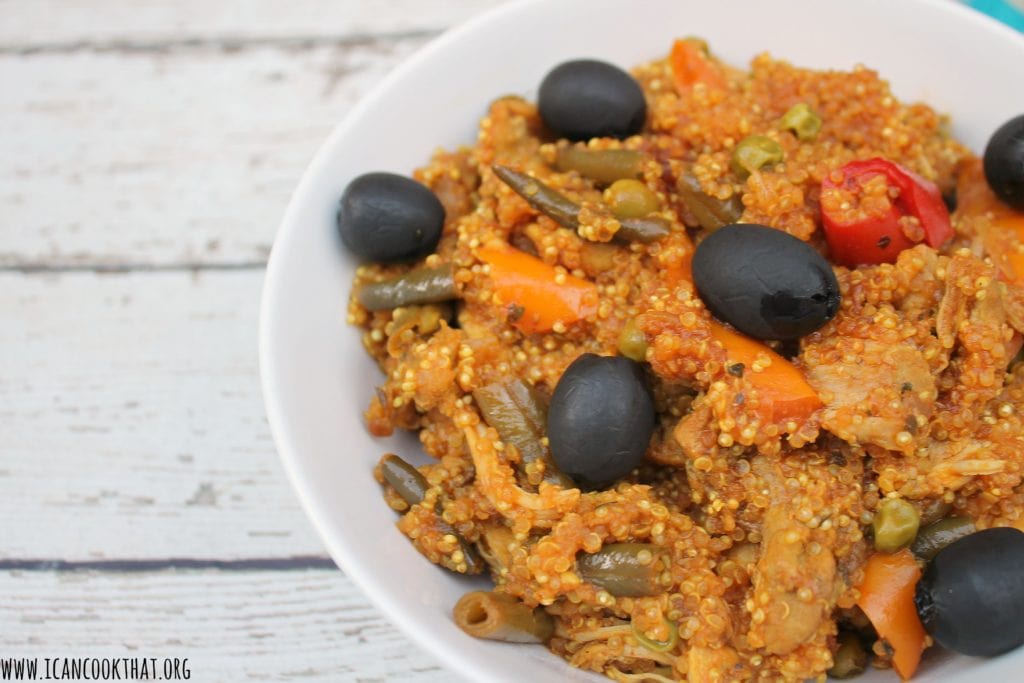
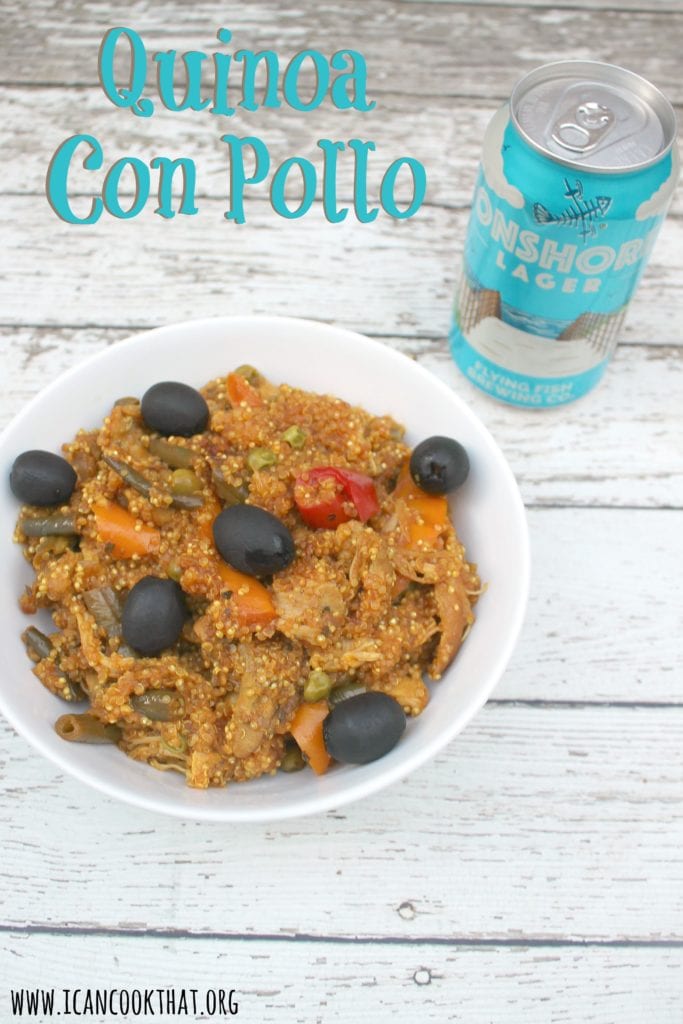
My husband has recently taken a liking to quinoa, so I thought making a quinoa version of arroz con pollo, or Quinoa con Pollo, would be an awesome spin. Flying Fish’s Can Variety Pack features five different beers including their OnShore Lager. One sip, and I knew it would be the perfect ingredient in (and accompaniment to) my quinoa spin!
If you follow me on Instagram, you have probably seen a couple of posts / stories about the variety pack. The outdoor themed variety pack truly has something for everyone, including two IPAs (Hopfish and Outside IPA), a Pale Ale (XPA), a Session Sour (Salt and Sea), and a Lager (Onshore Lager). The Hopfish is awesome with spicy food, and the outside IPA has been my go-to when I’m relaxing in my hammock, or hanging out with friends on my roof deck. The XPA is Flying Fish’s original beer, and continues to be a staple for a reason; it goes great with everything! The Salt and Sea was the perfect complement to our friend’s crab feast and barbecue. And the Onshore Lager has a crisp, clean finish making it perfect for both cooking with and drinking.
So let me show off that lager!
Ingredients:
2 tablespoons unsalted butter (or olive oil to make dairy free)
6 boneless skinless chicken thighs (about 2 lbs)
1 medium onion, chopped
6 garlic cloves, minced
2 bell peppers, sliced
2 teaspoons onion powder
2 teaspoons garlic powder
2 teaspoons dried oregano
2 teaspoons dried parsley
1 teaspoon sweet paprika
1 teaspoon ground turmeric
1 teaspoon ground cumin
2 1/2 cups chicken broth
1 (12 oz) can lager (I used Flying Fish Onshore Lager)
3 tablespoons Worcestershire sauce (omit to make gluten free)
I’m seriously loving using my pressure cooker! My husband was out of town while I was experimenting with this recipe, so I enlisted the help of a couple of friends to be my taste testers. Luckily they were willing to oblige!
The unsuspecting friends showed up without knowing what exactly I was planning on preparing – they are very trusting! 🙂
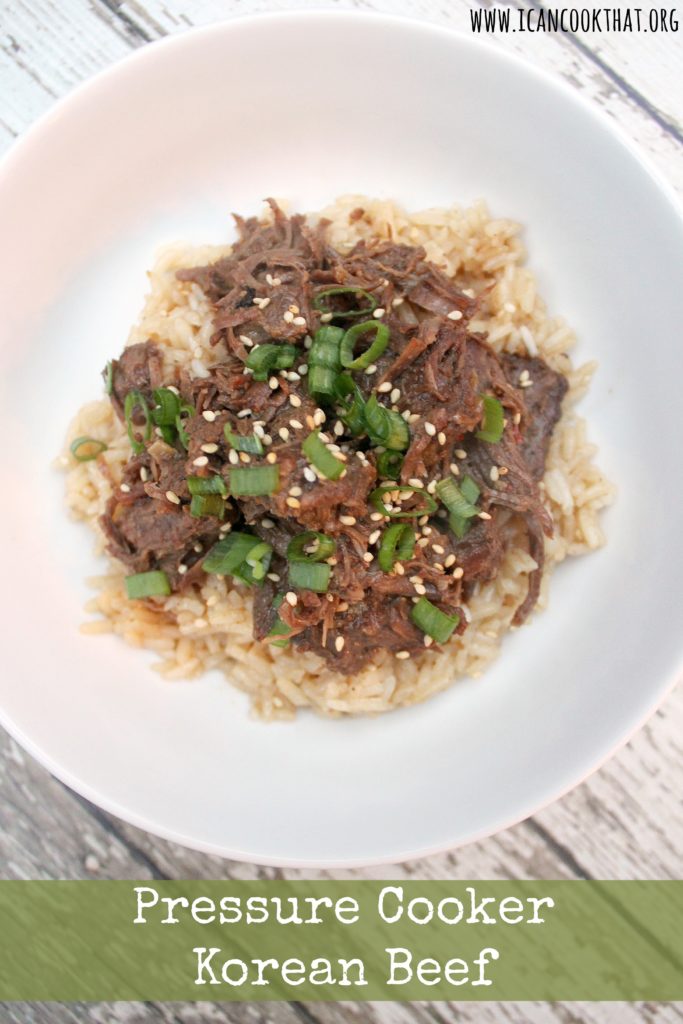
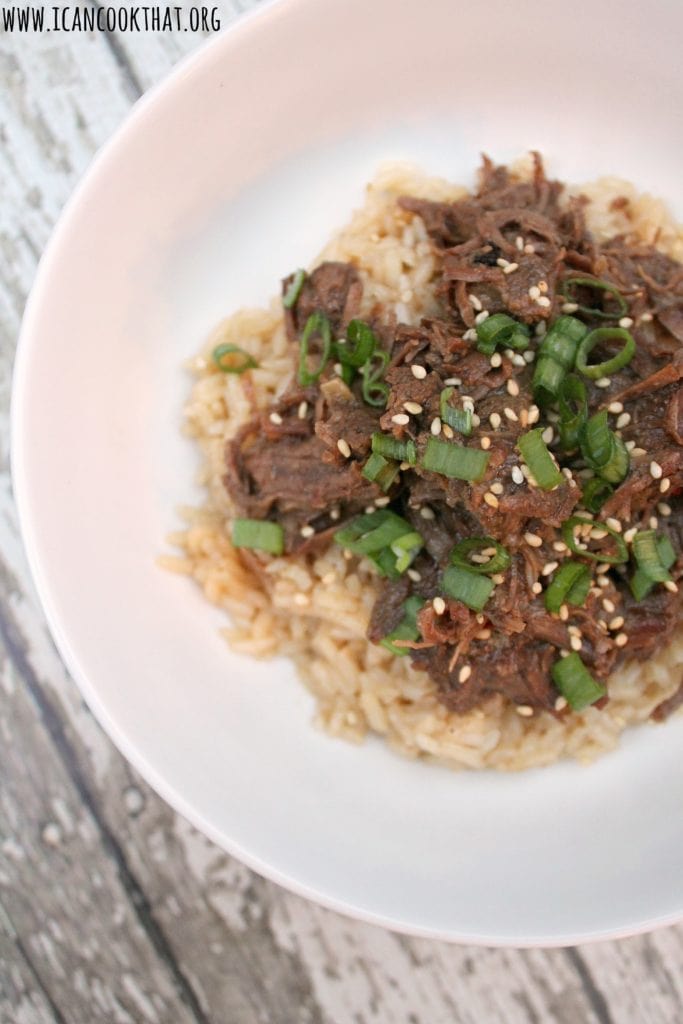
I had a craving for bulgogi recently, so I decided to make a pressure cooker Korean beef. Bulgogi is typically made with thin, marinated slices of beef that are then barbecued. The marinade is usually a mixture of soy sauce, sugar, sesame oil, ginger, and garlic with a touch of crushed red pepper.
This recipe is inspired by the flavors of bulgogi, but instead of grilling thinly sliced beef, it instead uses chuck roast beef and a pressure cooker to make a super tender, shredded version.
Ingredients (serves 8):
1 tablespoon vegetable oil, plus more if needed
4 lbs chuck beef, cut into cubes, excess fat trimmed
1 small onion, chopped
6 garlic cloves, minced
1 to 2 tablespoons beef stock
1/2 cup brown sugar, lightly packed
1/2 cup reduced sodium soy sauce (or coconut aminos to make gluten free)
1 tablespoon sesame oil
1/2 teaspoon crushed red pepper flakes
1 teaspoon fresh ginger, minced
green onions, sliced, for garnish
white sesame seeds, for garnish
4 cups cooked rice
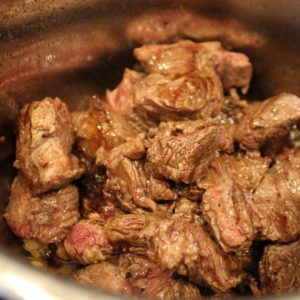
To make, cut the beef into large chunks. Season with salt and pepper. (Go light on the salt, the soy sauce will provide all the salt you need!)
Press the “saute” function on your pressure cooker. Press the “cook time” button and increase the time to 25 or 30 minutes (it took me about 25 minutes to brown up all of my meat.) Press the “adjust” button and choose “more/high.” Press “on/start.” The pressure cooker will beep five times when it is preheated.
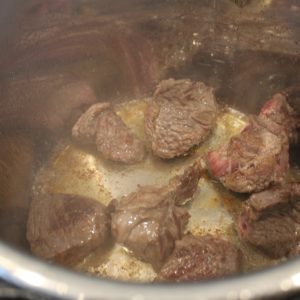
Carefully add the vegetable, oil and then add some meat to the pressure cooker (without crowding the beef).
Brown the meat on all sides. Remove from the pressure cooker and continue with the remaining beef.
When done browning the last batch, remove the final pieces and set aside. Press “stop/cancel” to turn off the saute function.
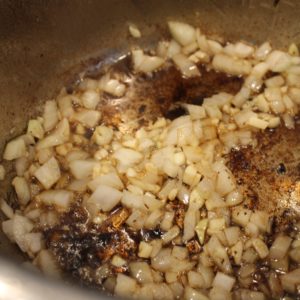
If needed, add a bit more vegetable oil. Add the onions and garlic to the pot and saute until fragrant, about 3 minutes.
Add a little bit of beef stock (1 or 2 tablespoons) to the pressure cooker and scrape the browned bits from the bottom of the pressure cooker using a wooden or plastic spoon.
In a small bowl, stir together the brown sugar, soy sauce (or coconut aminos), sesame oil, red pepper flakes, and ginger.
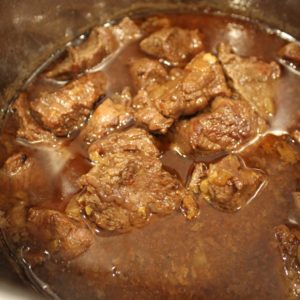
Add back in all of the beef to the pressure cooker, as well as any juices from the beef.
Pour in the soy sauce mixture, evenly covering the beef.
Close the lid, ensuring that the steam valve is closed. Select the meat/stew pressurized cooking function. Press the “adjust” button and choose “more/high” to set it for 45 minutes. Press “on/start” to begin cooking.
Once the unit has reached optimal cooking pressure (~15 minutes), the unit will beep once and start counting down from 45 minutes. You’ll notice that the pressure release valve (red) rises up during this time.
The pressure cooker will beep 3 times to alert you when cooking has finished. It will automatically go on to “keep warm” mode for up to 6 hours. Once cooking is complete, turn off the pressure cooker by pressing “stop/cancel” and unplugging the power cable.
Let the unit cool down for 15 to 20 minutes, or until the float valve drops down. Using an oven mitt, move the pressure release value to the “release” position to let out any remaining pressure in the unit. Wait again for the float value to drop down before opening the pressure cooker.
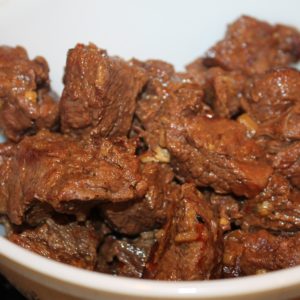
The meat should be really tender.
Remove the meat from the pot, keeping the liquid in the pot, and shred with two forks. Add to a large bowl.
Measure out about 1 cup of the cooking liquid and add to the bowl.
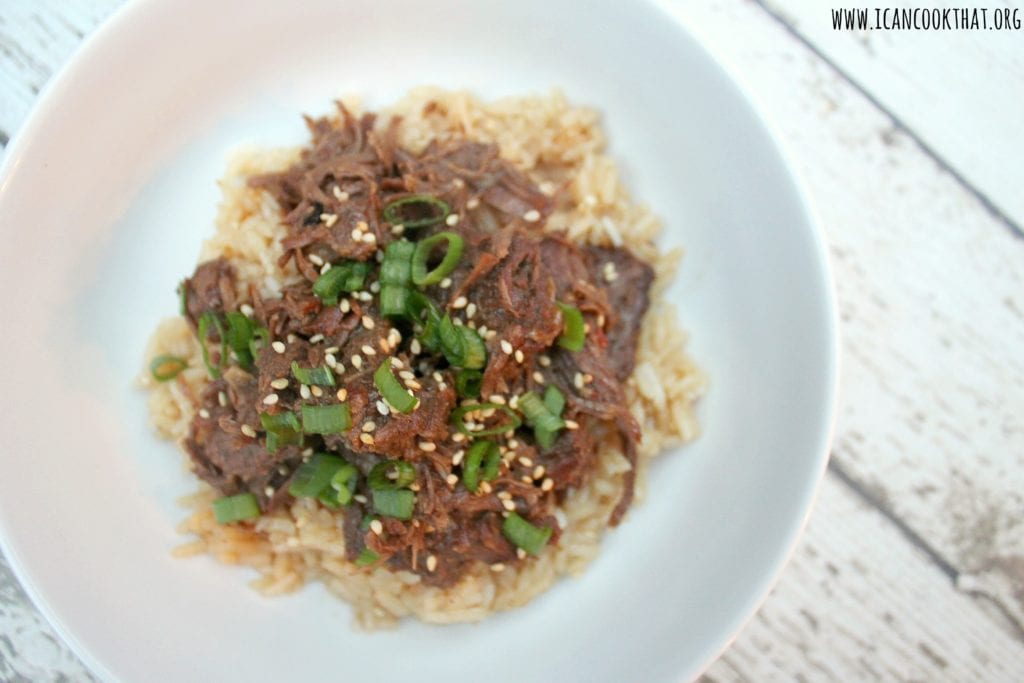
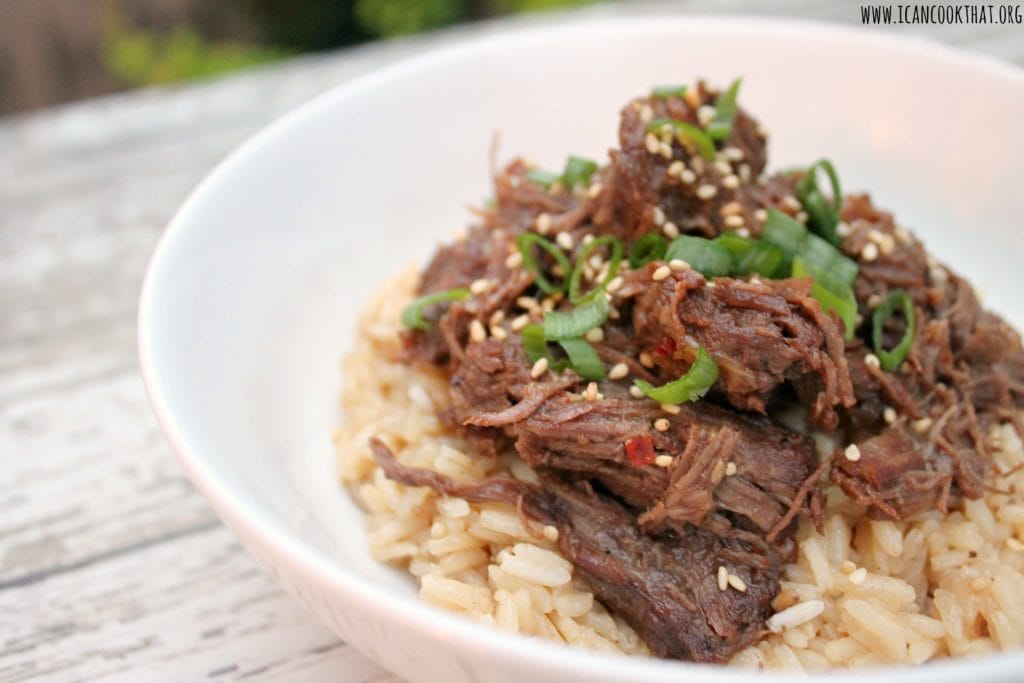
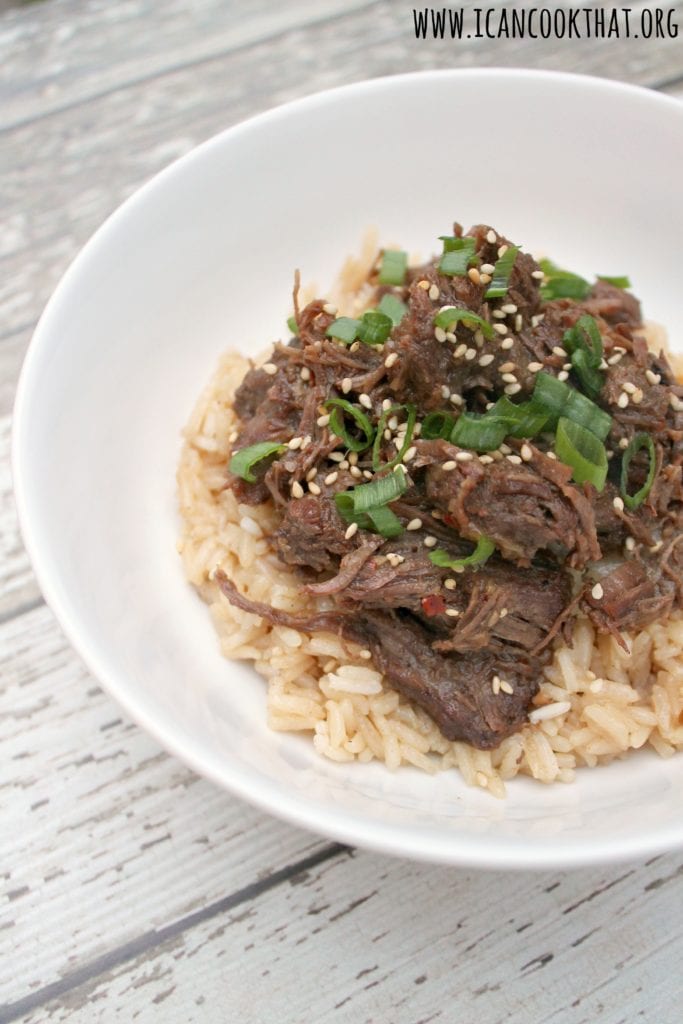
Fill bowls with rice and top with the shredded beef. Garnish with sesame seeds and green onions and serve.
The beef is wonderfully flavorful and juicy. My friends and I just gobbled this up! It’s most certainly not spicy so if you prefer some heat, add a bit more crushed red pepper.
This is a great make ahead dish as well. If doing so, add some more of the cooking liquid to the container before refrigerating, so that when you reheat it, there is still plenty of juicy liquid to drizzle over the top!
I also made the rice in the Cosori Multicooker and it came out great! (Tip: if you have extra cooking liquid, substitute some of that in for the water/broth in your rice.)
If you’re looking for more information about the Cosori Multicooker, check out my review post here (plus a recipe for Barbacoa Beef Tacos).
4 lbs chuck beef, cut into cubes, excess fat trimmed
1 small onion, chopped
6 garlic cloves, minced
1 to 2 tablespoons beef stock
1/2 cup brown sugar, lightly packed
1/2 cup reduced sodium soy sauce (or coconut aminos to make gluten free)
1 tablespoon sesame oil
1/2 teaspoon crushed red pepper flakes
1 teaspoon fresh ginger, minced
green onions, sliced, for garnish
white sesame seeds, for garnish
4 cups cooked rice
Instructions
To make, cut the beef into large chunks. Season with salt and pepper. (Go light on the salt, the soy sauce will provide all the salt you need!)
Press the “saute” function on your pressure cooker. Press the “cook time” button and increase the time to 25 or 30 minutes (it took me about 25 minutes to brown up all of my meat.) Press the “adjust” button and choose “more/high.” Press “on/start.” The pressure cooker will beep five times when it is preheated.
Carefully add the vegetable, oil and then add some meat to the pressure cooker (without crowding the beef).
Brown the meat on all sides. Remove from the pressure cooker and continue with the remaining beef.
When done browning the last batch, remove the final pieces and set aside. Press “stop/cancel” to turn off the saute function.
If needed, add a bit more vegetable oil. Add the onions and garlic to the pot and saute until fragrant, about 3 minutes.
Add a little bit of beef stock (1 or 2 tablespoons) to the pressure cooker and scrape the browned bits from the bottom of the pressure cooker using a wooden or plastic spoon.
In a small bowl, stir together the brown sugar, soy sauce (or coconut aminos), sesame oil, red pepper flakes, and ginger.
Add back in all of the beef to the pressure cooker, as well as any juices from the beef.
Pour in the soy sauce mixture, evenly covering the beef.
Close the lid, ensuring that the steam valve is closed. Select the meat/stew pressurized cooking function. Press the “adjust” button and choose “more/high” to set it for 45 minutes. Press “on/start” to begin cooking.
Once the unit has reached optimal cooking pressure (~15 minutes), the unit will beep once and start counting down from 45 minutes. You’ll notice that the pressure release valve (red) rises up during this time.
The pressure cooker will beep 3 times to alert you when cooking has finished. It will automatically go on to “keep warm” mode for up to 6 hours. Once cooking is complete, turn off the pressure cooker by pressing “stop/cancel” and unplugging the power cable.
Let the unit cool down for 15 to 20 minutes, or until the float valve drops down. Using an oven mitt, move the pressure release value to the “release” position to let out any remaining pressure in the unit. Wait again for the float value to drop down before opening the pressure cooker.
The meat should be really tender.
Remove the meat from the pot, keeping the liquid in the pot, and shred with two forks. Add to a large bowl.
Measure out about 1 cup of the cooking liquid and add to the bowl.
Fill bowls with rice and top with the shredded beef. Garnish with sesame seeds and green onions and serve.
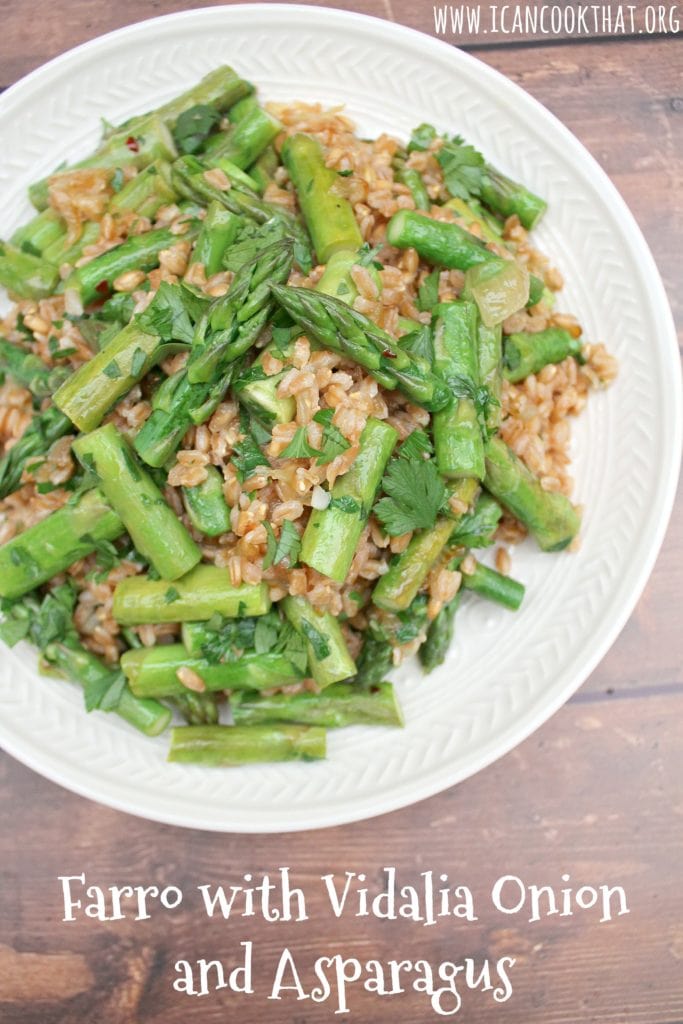
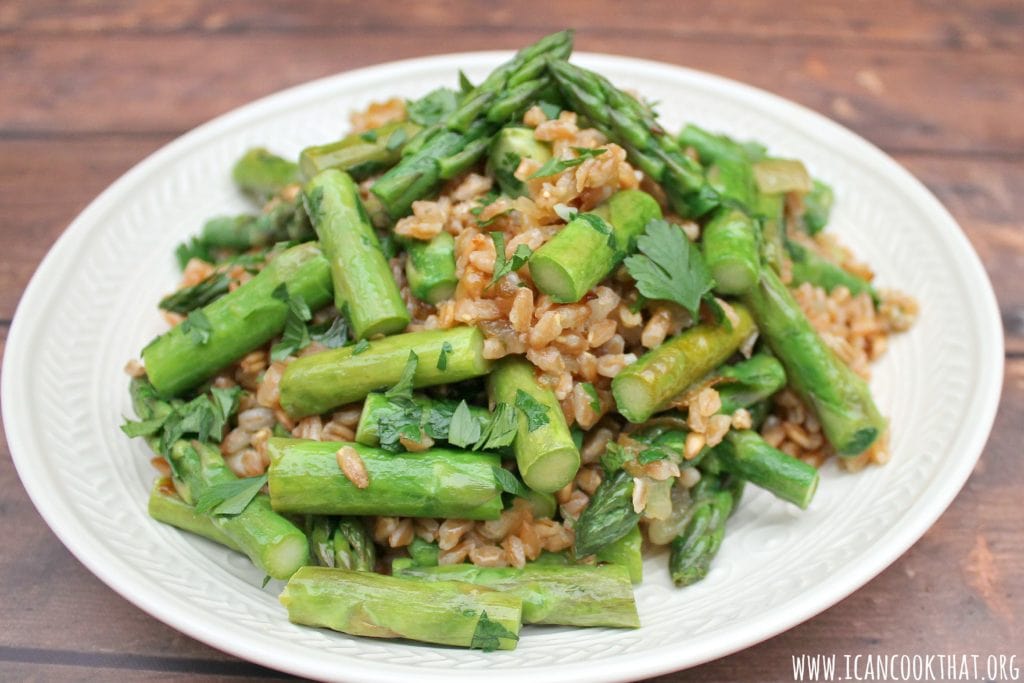
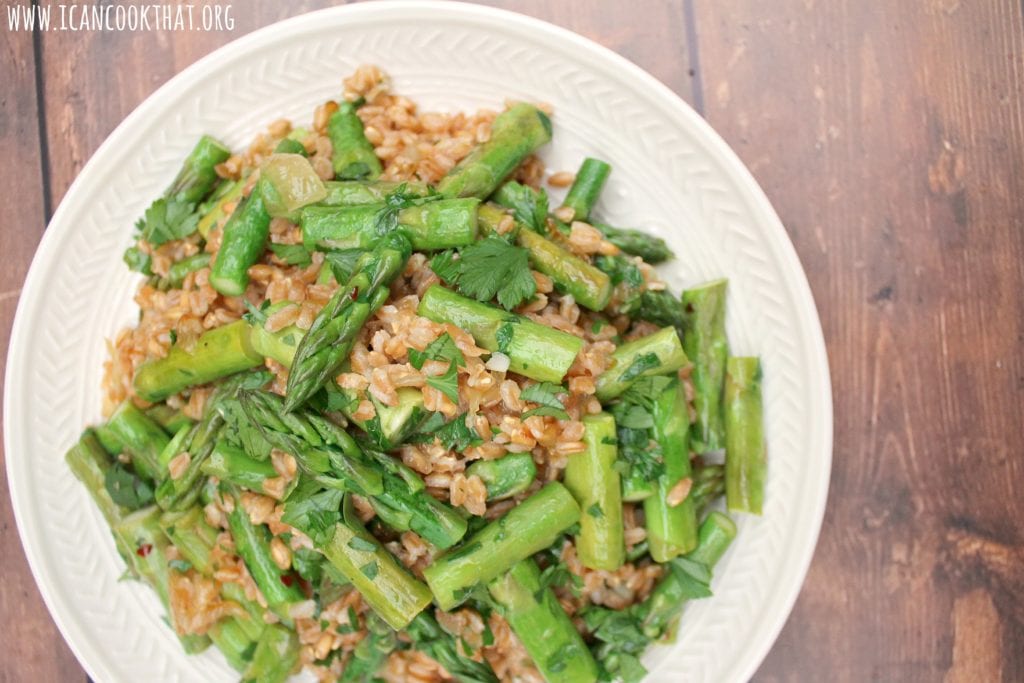
Note: I was sent a box of Vidalia onions to make this post for Farro with Vidalia Onion and Asparagus. Opinions are mine alone.
I’m still working through my box of Vidalia onions. No complaints here, they are incredibly versatile! These sweet onions are perfect for low and slow cooking that allow the sugars to caramelize and develop another layer of flavor.
I know it’s difficult to even see the Vidalia onions in the final photos of this Farro with Vidalia Onion and Asparagus, but I promise you, they are the star of this dish — their flavor is in each and every bite, and results in one of the best sides I’ve made in a long time!
This recipe for Farro with Vidalia Onion and Asparagus from Trisha Yearwood is definitely a keeper. Plus, it comes together pretty easily!
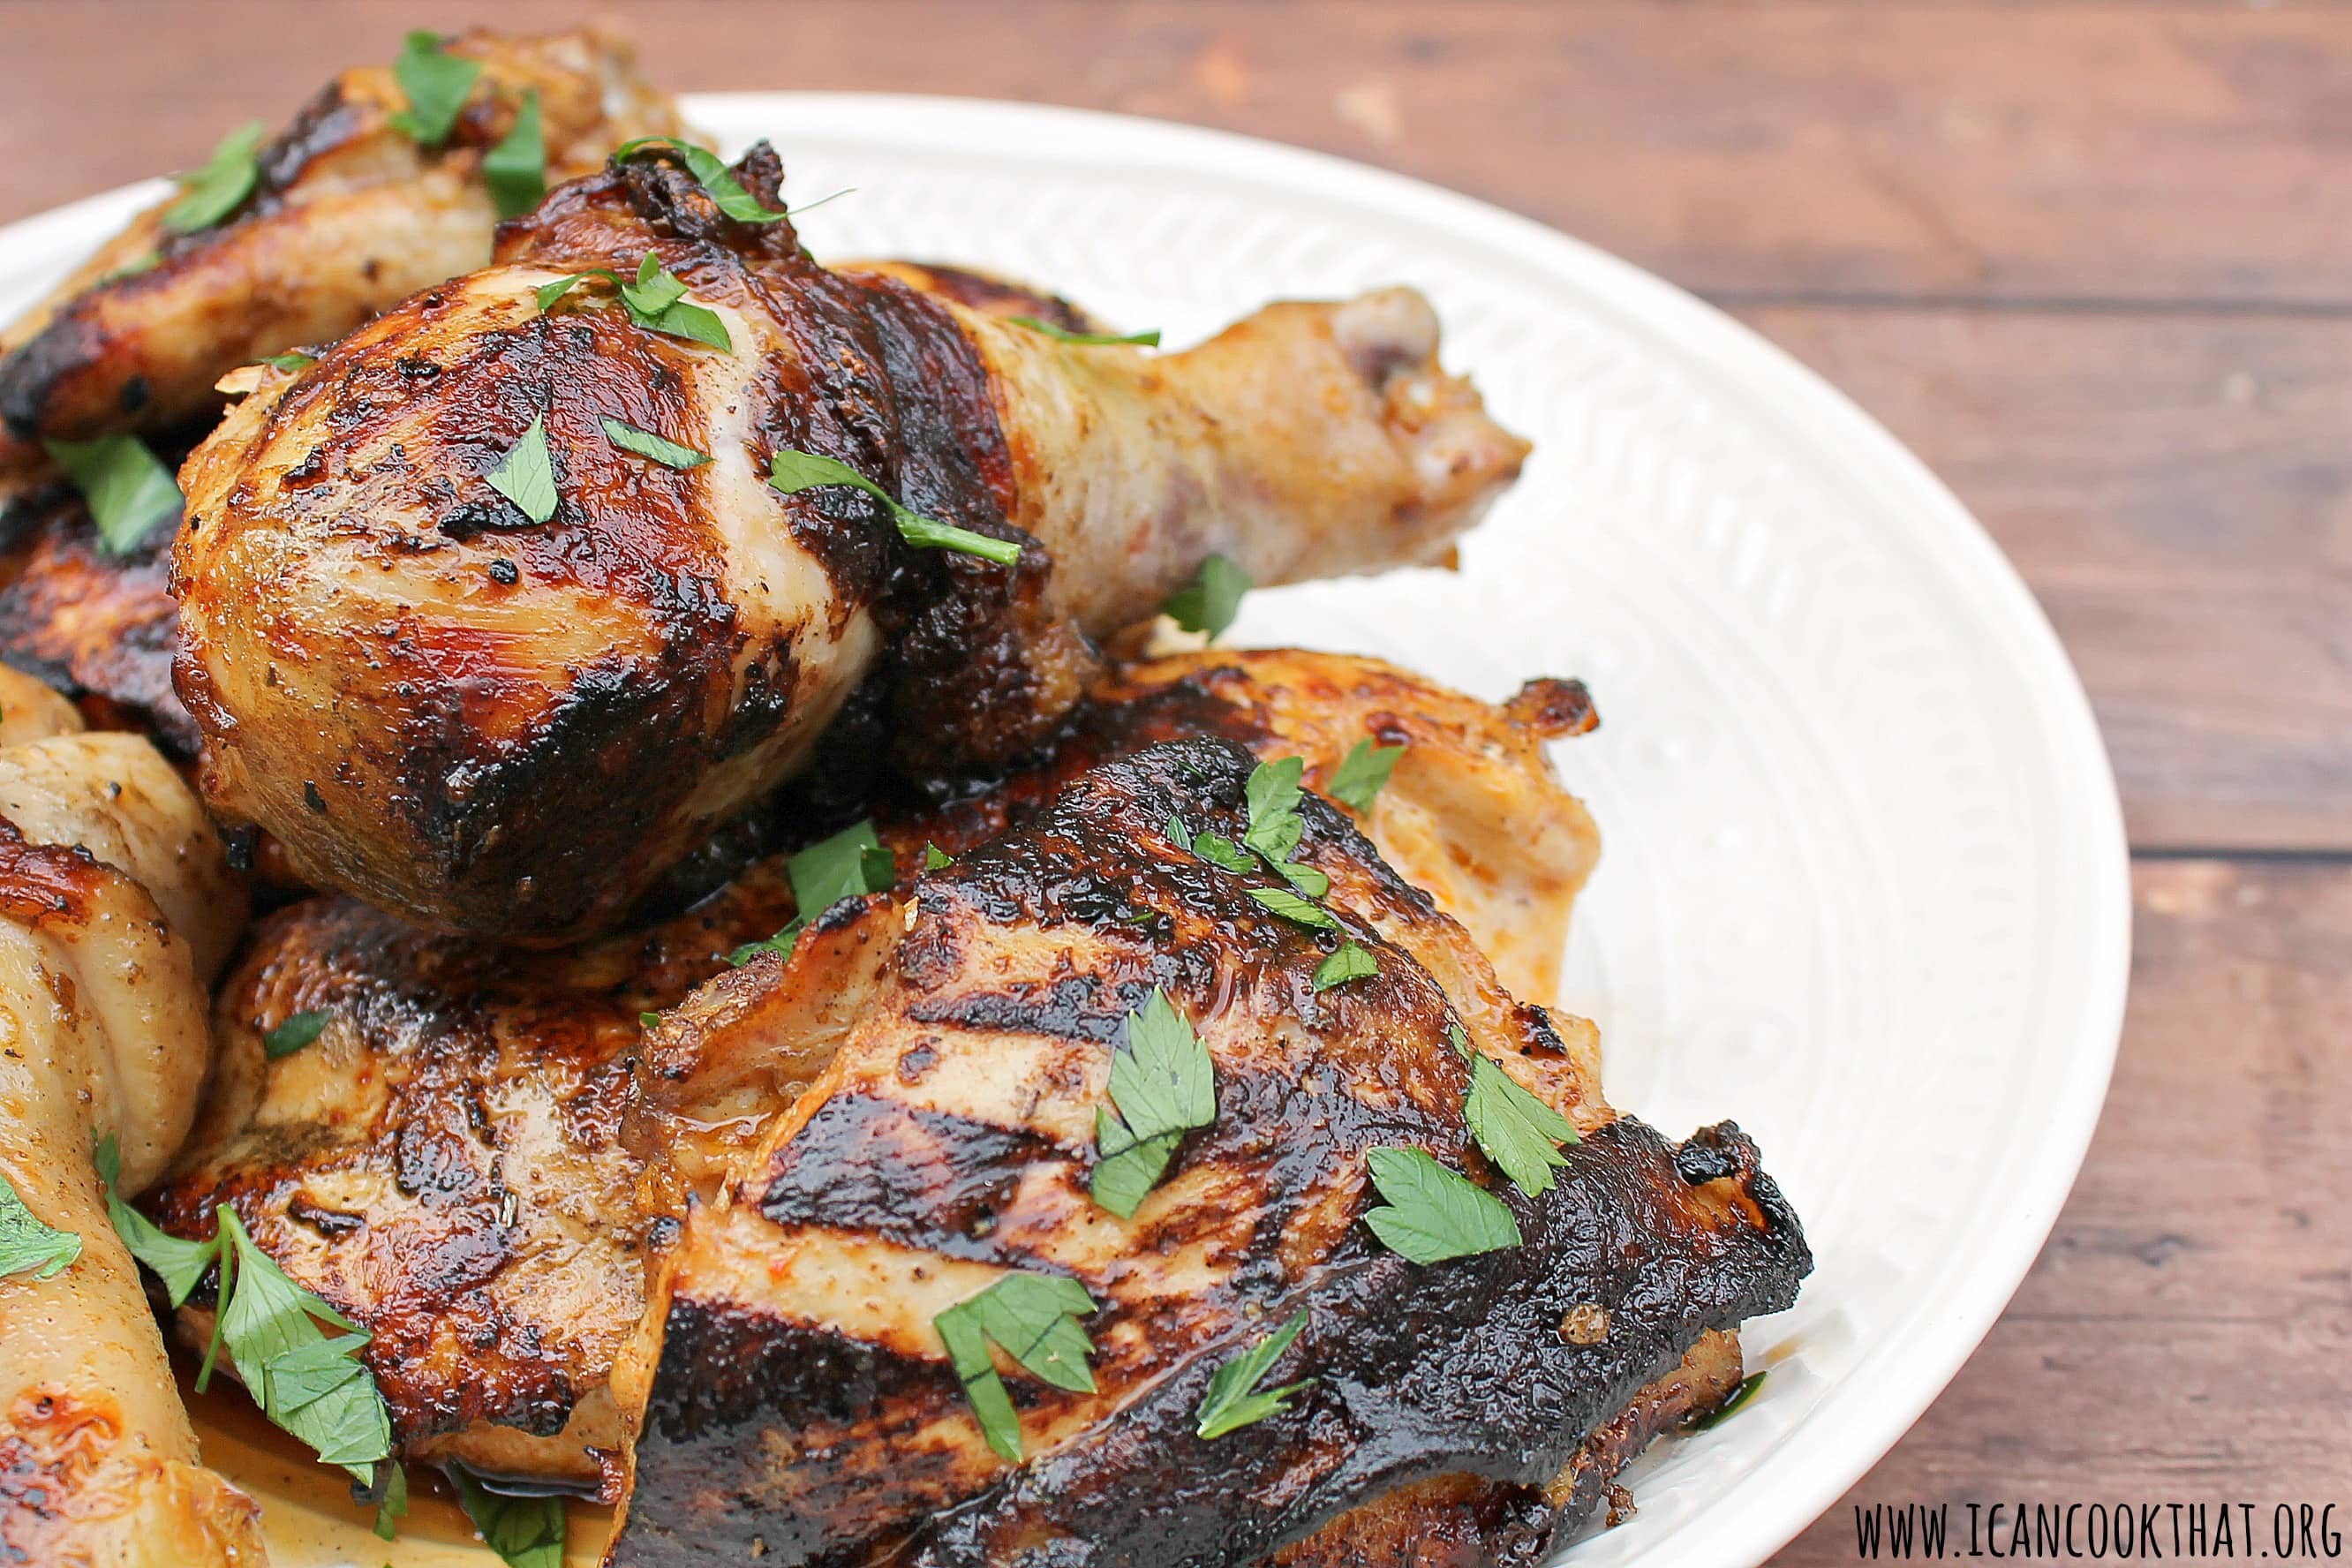
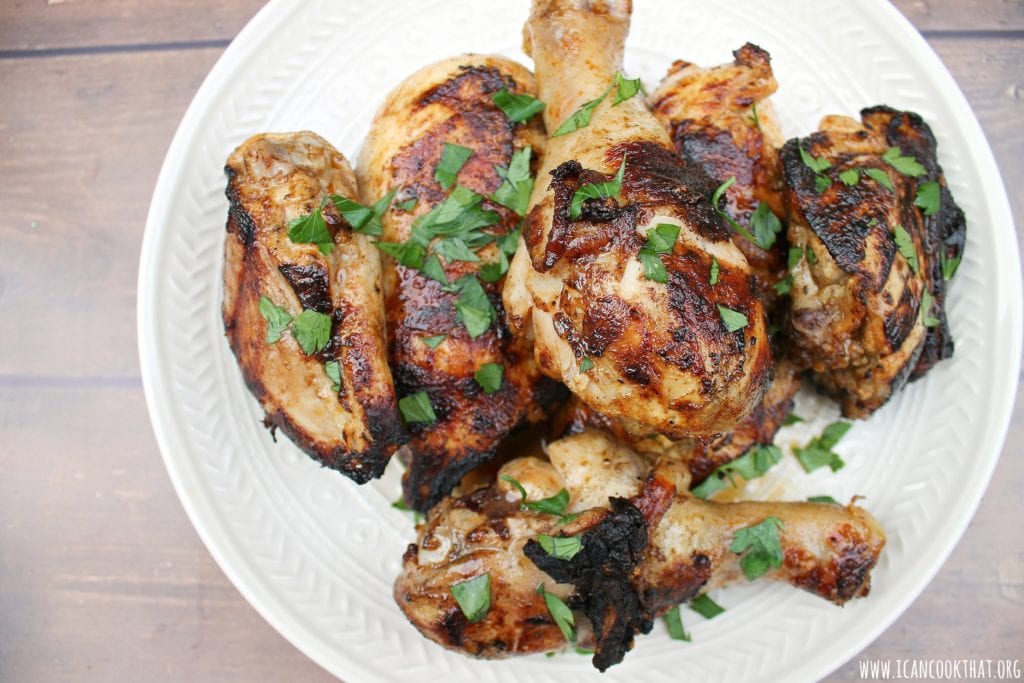
Psst. Save this recipe for Easy Grilled Marinated Chicken. It will definitely become a go to grilling recipe for you! If you’ve been following my blog for a while, you probably know how much I love my grill. I would grill absolutely everything if I could (and honestly, I’ve tried, including grilled guacamole, a grilled cocktail, and a grilled cheese plate.)
So, be prepared for plenty of grilling recipes this summer! I wanted to start off a bit simple – an easy grilled marinated chicken recipe.
This does involve some prep time, you want the chicken to sit in the marinade for a few hours at least. For the most flavor, add the chicken to the marinade the night before.
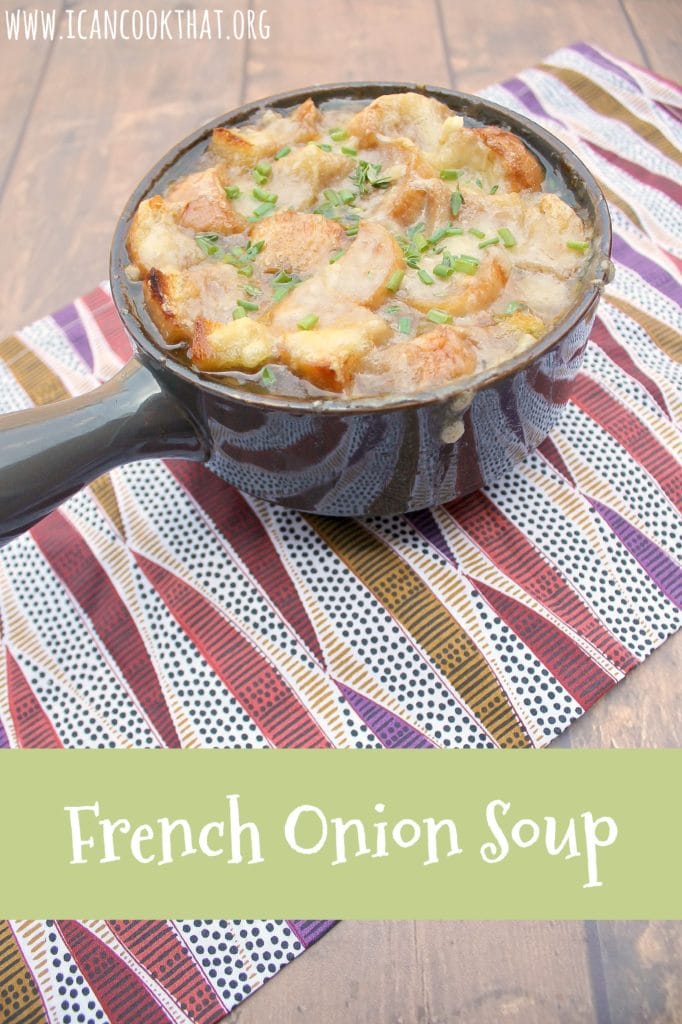
Note: I was sent a box of Vidalia onions to make this post. Opinions are mine alone.
When I first received a box of Vidalia onions, I knew I had to make French Onion Soup. The sweetness of the onions, especially after caramelizing, is perfect for this recipe.
French Onion Soup is a favorite of mine. Who doesn’t love comforting soup with a bunch of bread and cheese goodness on top?
My version below is adapted from a recipe I found on Food Network.
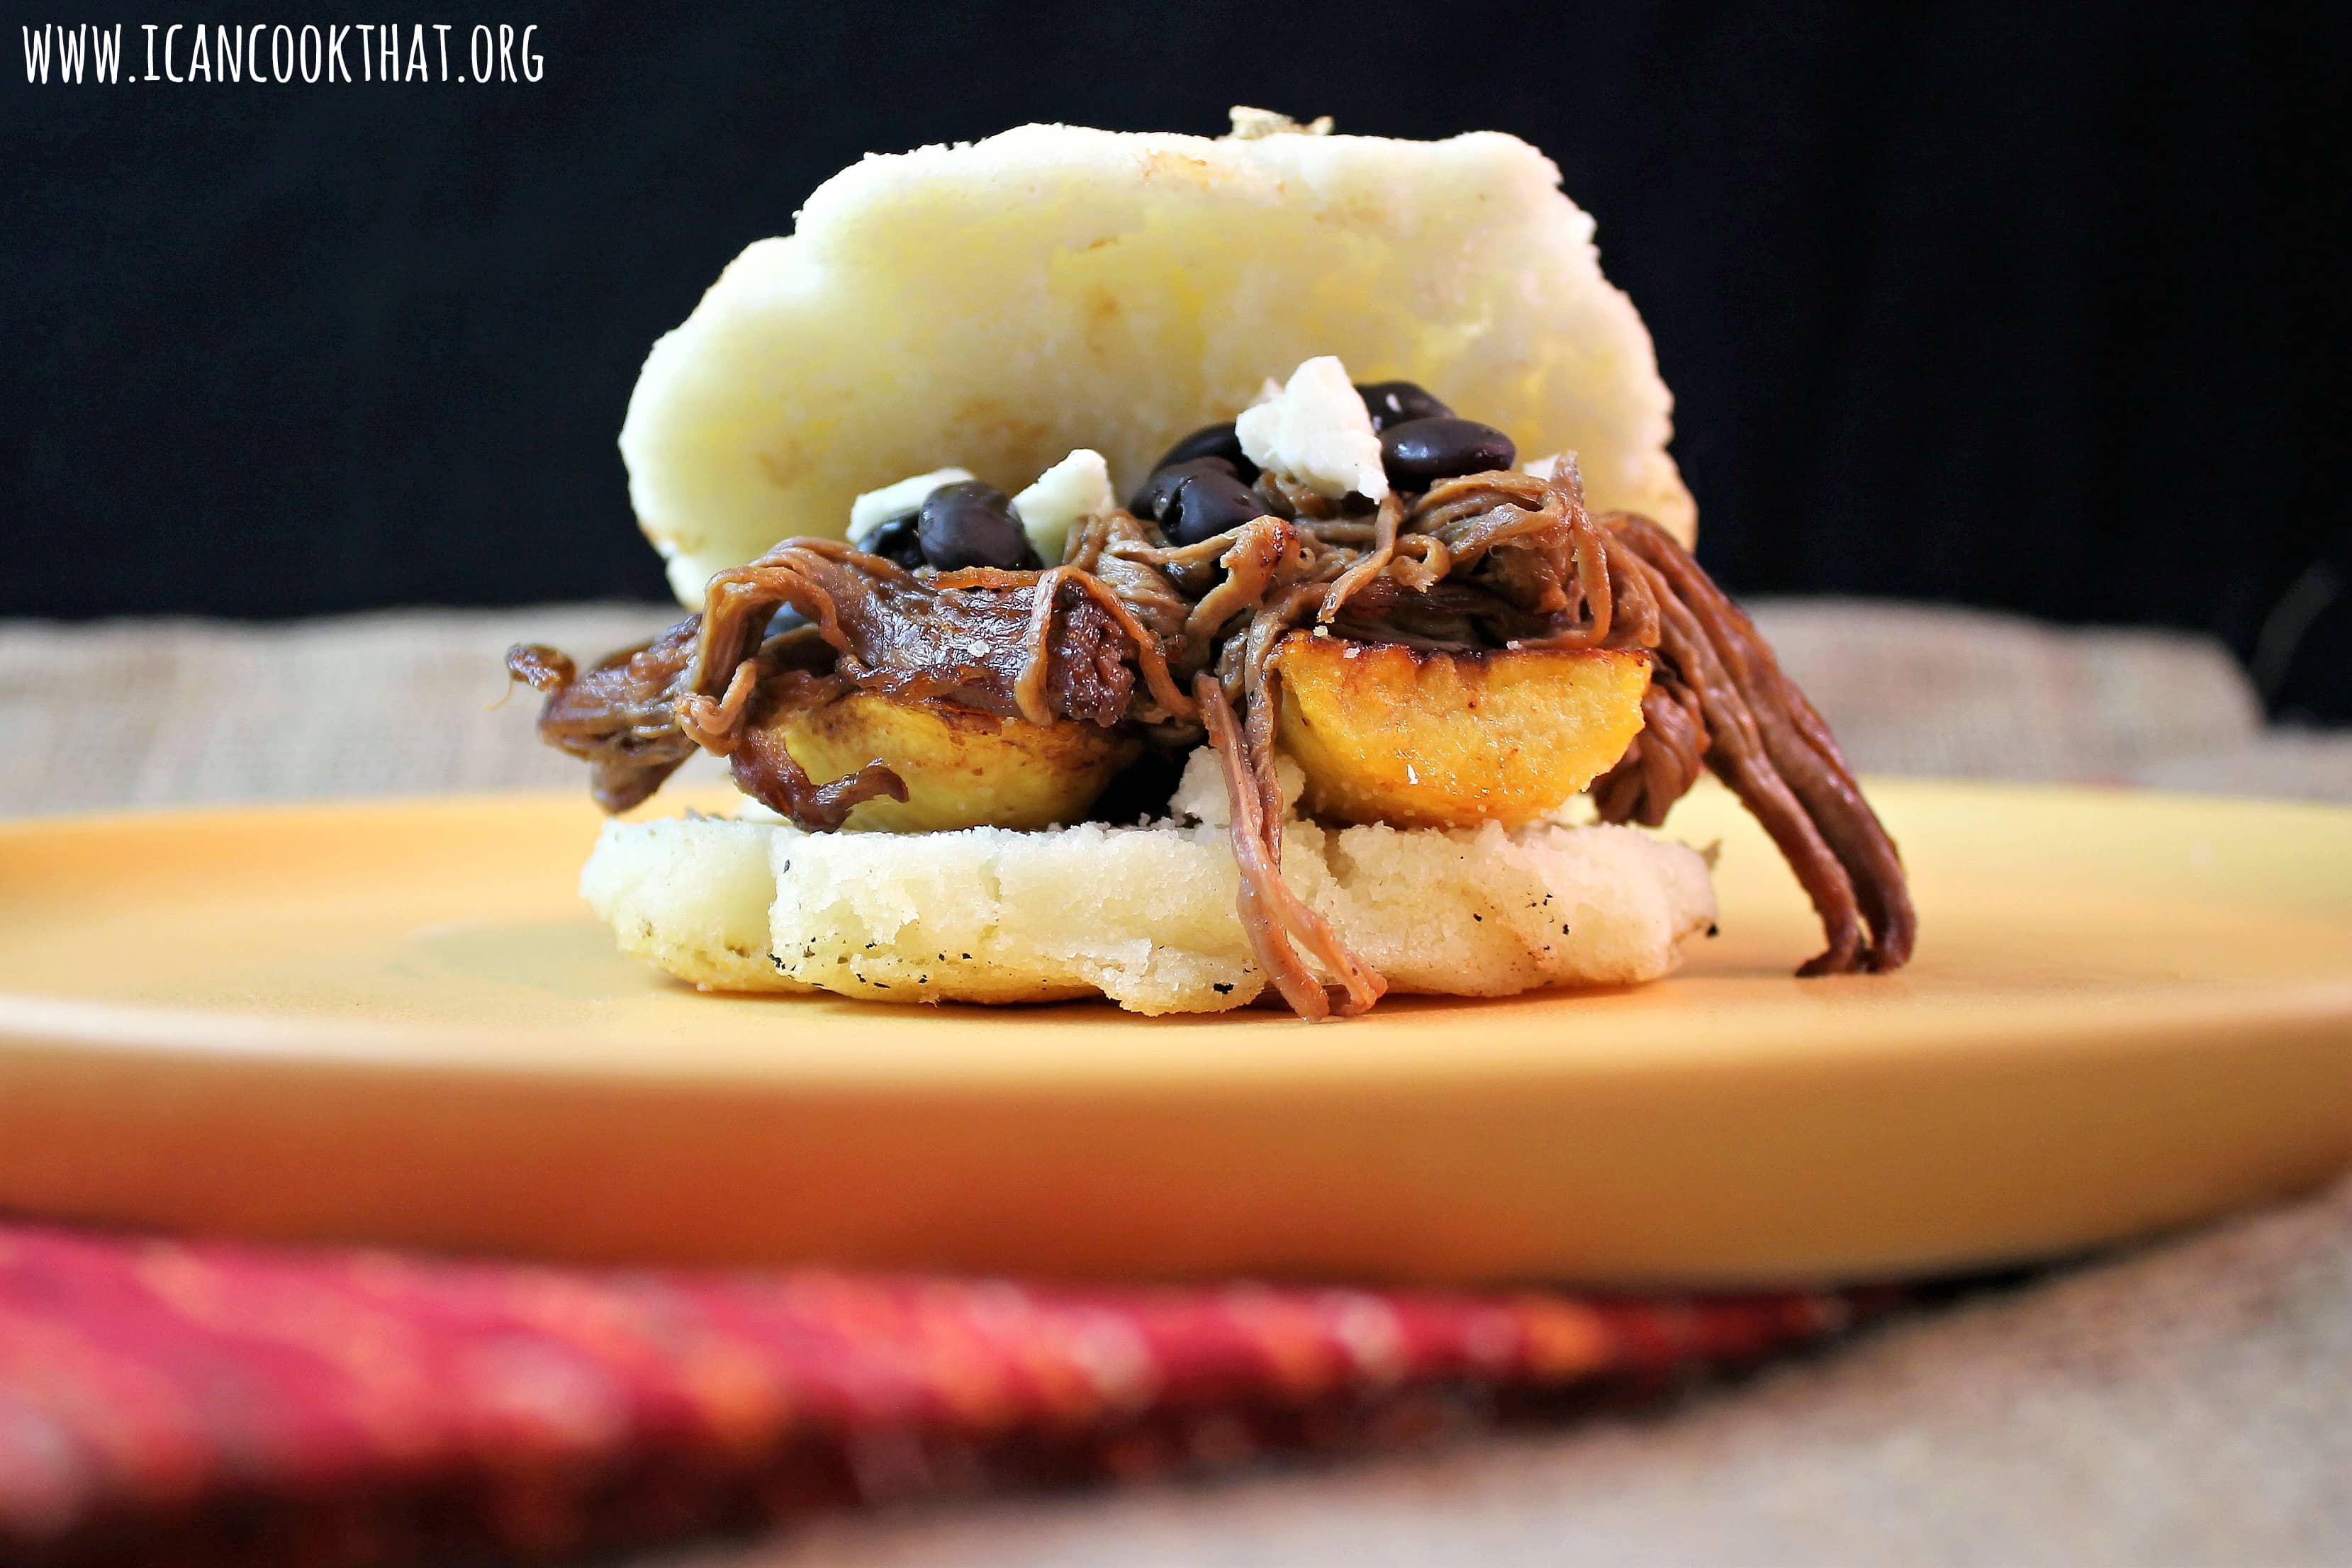
This recipe for Arepas Pabellón is inspired by a visit to an absolutely delicious Venezuelan restaurant. Last week, I checked out one of Philly’s newest restaurants: Puyero Venezuelan Flavor.
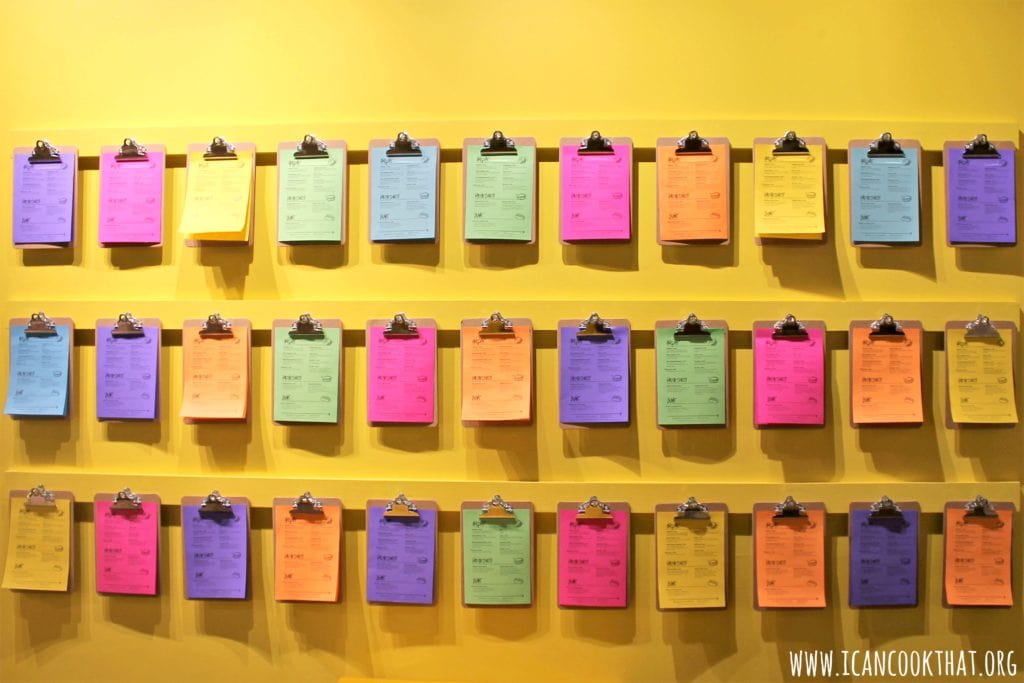
source: puyeroflavor.com
Located just off of South Street on S 4th, the restaurant serves Venezuelan street food including arepas, patacones and tequenos, plus yummy desserts like churros.
The 22-seat restaurant is vibrant and colorful, very welcoming. I enjoyed reading a selection of Venezuelan sayings that decorate one of the walls; my favorite: “Más hambre que piojo en peluche” or “I’m hungrier than a tick on a teddy bear.”
Owned by brothers Simon and Gil, and Gil’s wife Manuela, the restaurant has a very “homey” feel to it. The entire menu is available for lunch and dinner, with brunch options coming in the spring. You can also order delivery through Caviar (which I’ve totally already done. Hence the photos below, showing my delivery food).
While there, I tried quite a few menu items, but my favorites were the tequenos, white cheese wrapped in deep fried dough, and arepas pabellon, which is an arepa filled with shredded beef, black beans, fried sweet plantains, and white cheese.
I wanted to try to make Arepas Pabellón for myself at home. This recipe can be made ahead of time, reheated, and assembled when ready to eat.
Shredded Beef:
garlic cloves, minced
1 tablespoon dried oregano
2 tablespoons tomato paste
1 cup crushed tomatoes
4
1/4 tsp pepper
1 tablespoon hot sauce
Arepas:
1 1/2 cups masarepa (a type of cornmeal found in the international section of most supermarkets. white or yellow is fine)