Salsa Recipe & Beginners Guide to Canning #CanItForward

This Saturday marks Jarden Home Brands fifth annual Can-It-Forward Day, which will be broadcast live online at FreshPreserving.com from 11AM – 4PM EST from the new state-of-the-art Jarden Home Brands headquarters in Fishers, Indiana.


An event celebrating the joys of fresh preserving, the -It-Forward Day webcast will have an integrated chat function where viewers can submit their home canning questions to be answered in real time. New this year, there will also be an exciting celebrity mason jar auction unveiled during the webcast!


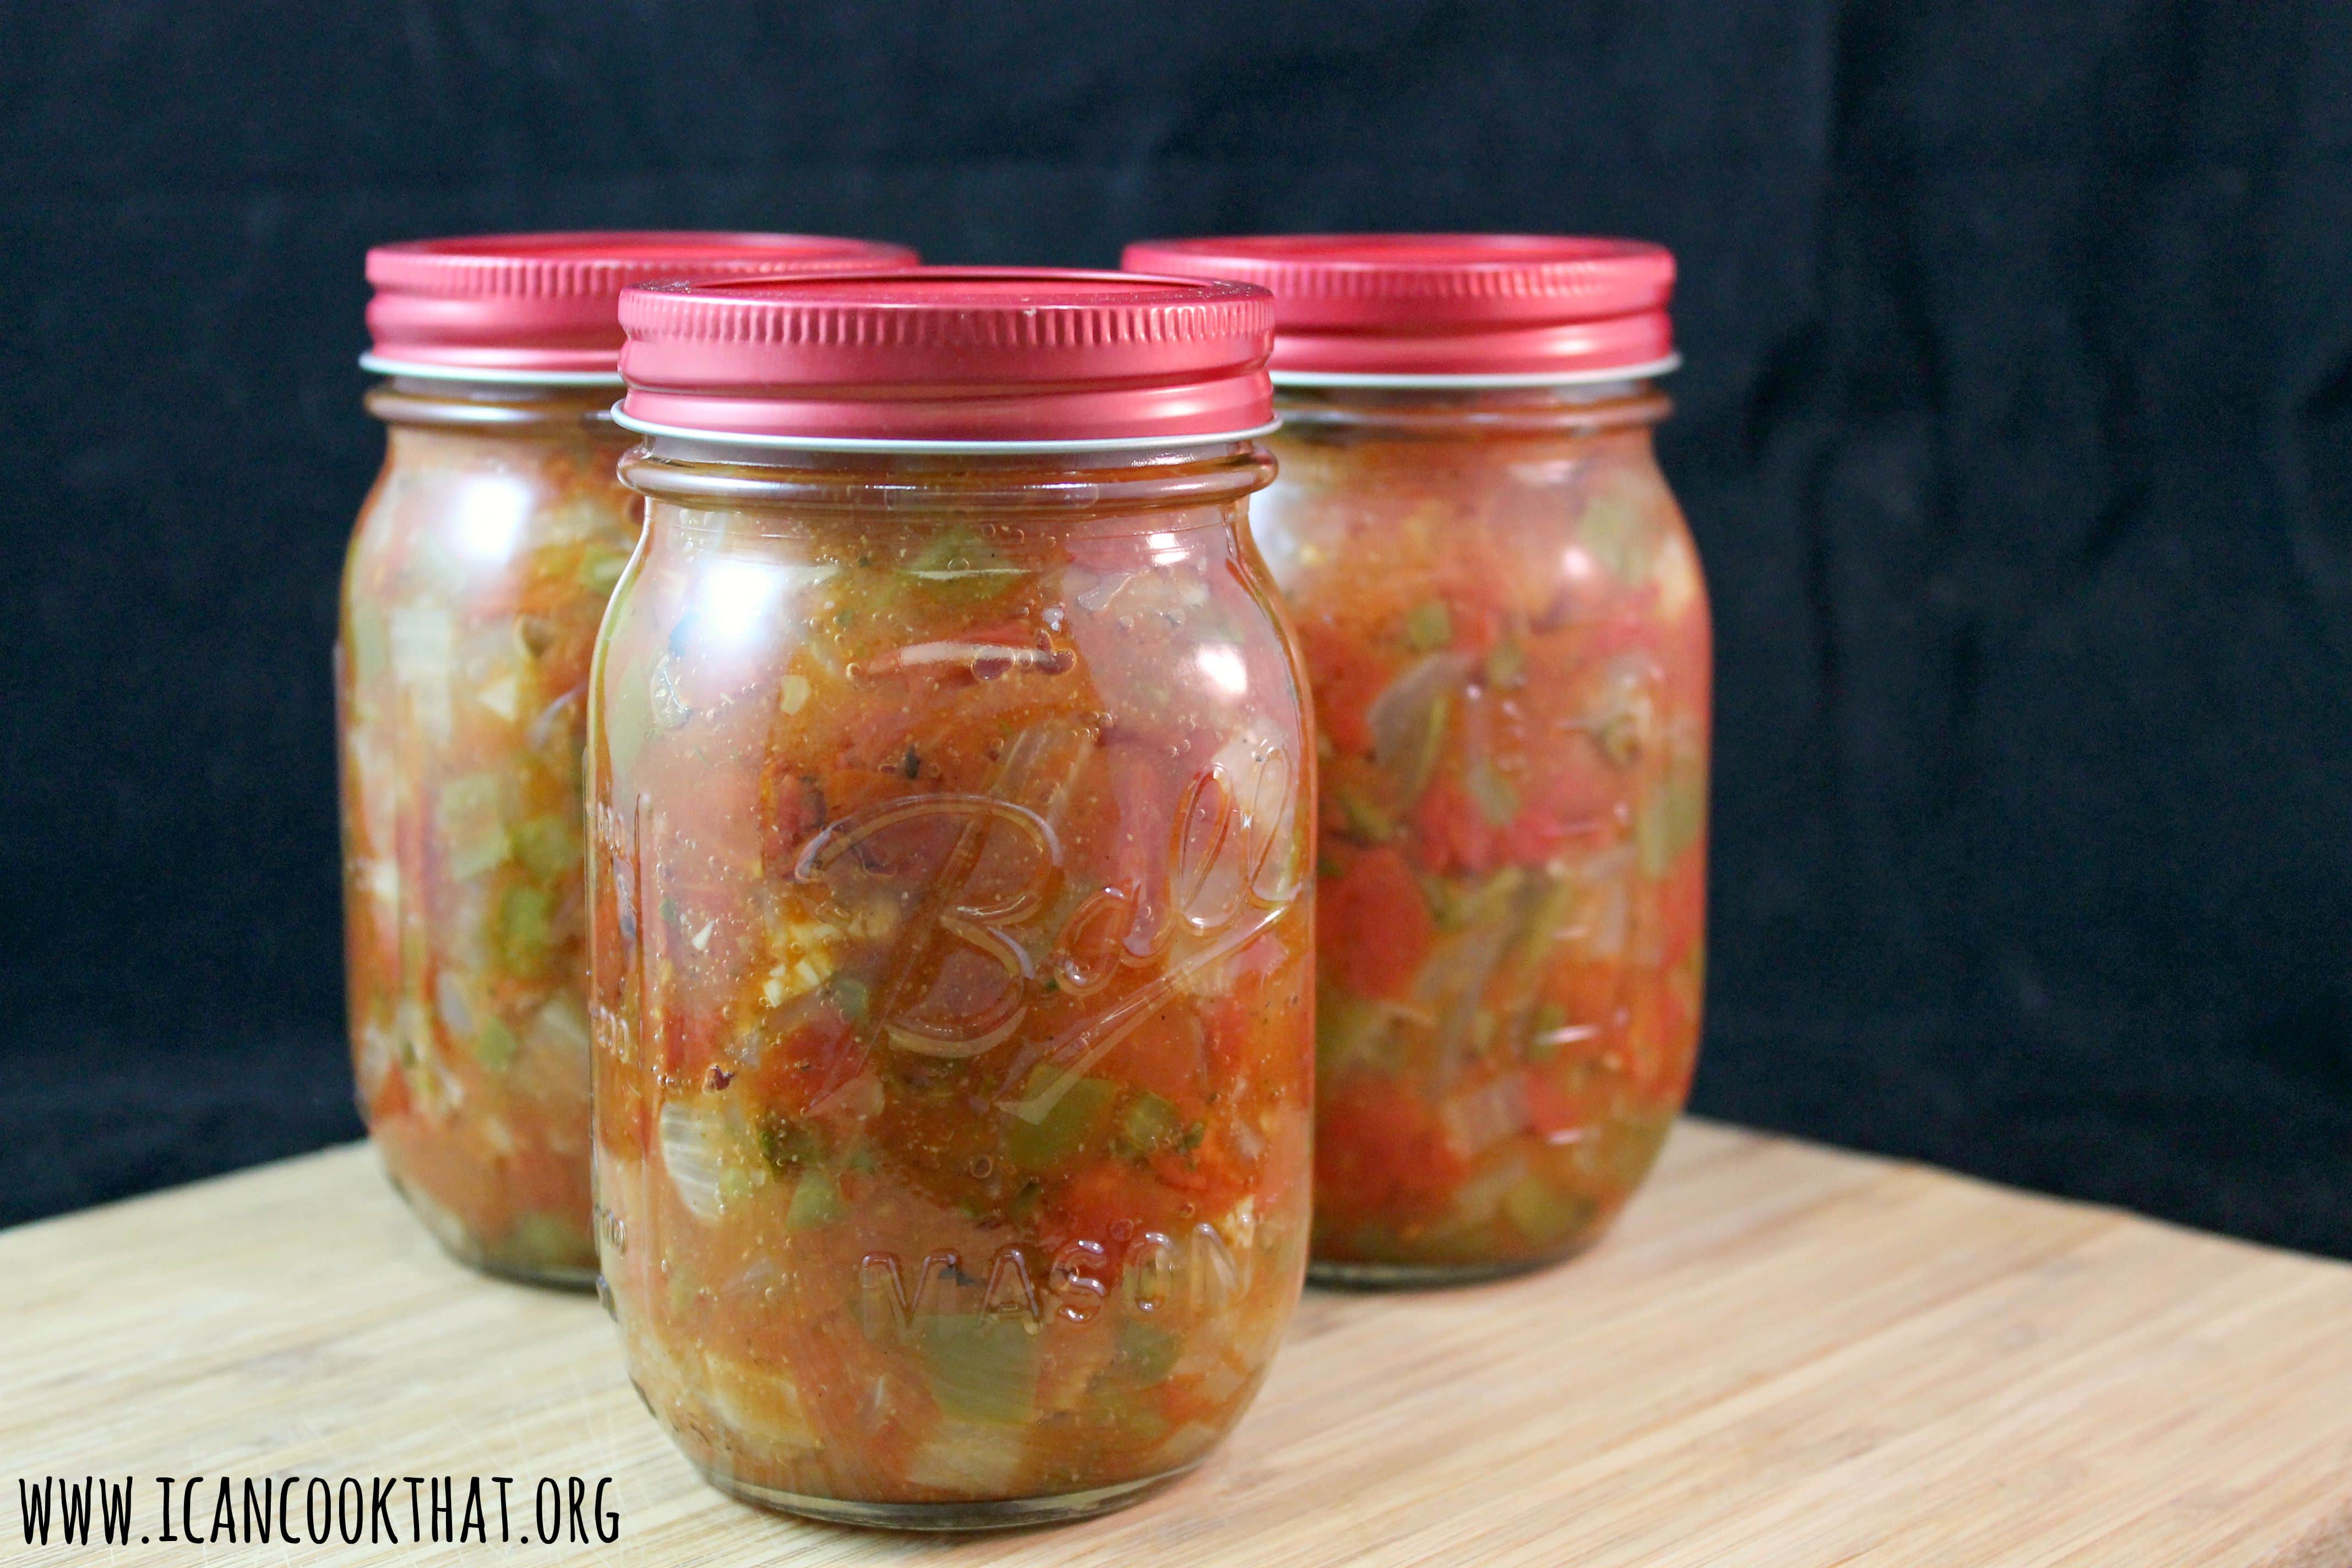
To celebrate, I was sent a Ball Canning Discovery Kit (paid link), Ball Blue Book Guide to Preserving (paid link), Red Design Series Lids, and Ball Fiesta Salsa Mix (paid link).


My future sister-in-law is big into canning, and I’ve “helped” (a.k.a kept her company in the kitchen) once before, but the process of canning is really intimidating to me. I was told that if I can boil water, I can can, so I was both wary and excited to try this out!

I need to give a little shout out to my city, because the Mason jar was, in fact, invented and patented in Philadelphia in 1858 by local tinsmith John Landis Mason. So, this should be in my blood, right?


  • The Ball Canning Discovery Kit  is a great beginners kit; it comes with a canning rack that fits into most pasta pots, a recipe guide, and three jars. The kit is really affordable ($11.99) and allows you to assess if canning is for you before investing fully into the process.
  • My sister-in-law assured me that if I had a Ball Blue Book Guide to Preserving, I’d be just fine canning. So. WHEW. This book lays out each step of the process (and even tells you why you are doing it this way) to ensure a successful canning process. The step-by-step guides are particularly helpful as a beginner.
  • The Red Design Series Lids are normal lids and bands, just prettier.  🙂 The lids can only be used once during canning, so it’s helpful to have extras on hand. (You can reuse the jars and bands as many times as you want)
  • The Ball Fiesta Salsa Mix makes the process of seasoning salsa super easy. You just need fresh or canned tomatoes, a splash of vinegar, and the mix to make a yummy salsa!


I decided to make a salsa from the Ball Blue Book, but adapted it slightly to include the Ball Fiesta Salsa Mix. The recipe is simple, and is basically just cutting up the ingredients, so this post is more about the canning process than the actual recipe.

I am absolutely a beginner with this, but luckily was able to glean some tips from my sister-in-law and the Ball Blue Book, which I will share as well.

I also am giving away a coupon for a free case of jars! Details at the end of the post. 


Zesty Salsa (adapted from Ball Blue Book Guide to Preserving)

Yields ~3 pint jars

Ingredients:

  • 5 cups chopped cored peeled tomatoes (fresh or canned)
  • 4 green bell peppers, seeded and chopped (~2.5 cups)
  • 1 large onion, chopped (~2.5 cups)
  • 1 large jalapeno, seeded and finely chopped (~3 tablespoons)
  • 2 garlic cloves minced
  • 2/3 cup cider vinegar
  • 1 tablespoon fresh cilantro, finely chopped
  • 1/4 cup Ball Fiesta Salsa Mix

Gear:

  • Ball canning rack with lifter
  • 3 Ball Pint Jars with lids and bands (I used the Red design series lids and bands)
  • Large stockpot (at least 7.5 inches tall and 9.5 inches in diameter)
  • a non-metallic spatula (I ended up using chopsticks. They worked just fine)
  • A clean, damp towel to wipe rims of jars

Continue reading Salsa Recipe & Beginners Guide to Canning #CanItForward
Essential Knife Skills from The Kitchen Professor

Today, I have a great guest post from Doug, at The Kitchen Professor! I have been trying to teach myself better knife skills, and this post is really helpful as I hone those skills. I hope you get as much out of it as I did! I’ll turn it over to Doug, but first, here’s his bio:


Doug blogs at The Kitchen Professor and while his degree is honorary (bestowed upon him by his wife), he has enjoyed cooking his whole life, and especially likes the science of cooking.  He loves to cook on cast iron, barbecuing, grilling (especially with a smoker), and loves adding the small, special touch to a recipe that takes it from just “okay” to “wow.”


————————————————————————————–


You wouldn’t decide you wanted to be a runner, and then head out to run a marathon without training, would you?  Of course not – you would research training schedules, buy the right running shoes and equipment, and maybe even join a running group so you had moral support.

Cooking is a skill that takes practice, just like anything else.  You certainly could try to make an elaborate four course dinner for your friends, and you probably would “finish” (just like limping over that marathon finish line without training), but it most likely wouldn’t be an overwhelming success.

Becoming a great cook takes practice and skills, and mastering certain skills will help increase your success when trying new recipes.

So where should you start?


A great place to start is by learning knife skills, because just about every recipe you encounter will probably involve some cutting during the “food prep” stage.  The prerequisite is to have a couple of sharp knives, like a paring and chef’s knife. If you are like me, then you probably need to make sure that your knives are sharp. (Learn more about knife sharpening and sharpeners here.)

 With that in mind, let’s review 8 of the standard knife cuts with which you should become familiar.  Remember, practice makes perfect, so grab your favorite snack food (I’m always partial to veggies that I can dip into hummus) and start practicing! I was inspired by the “Sharp Things” chapter in the Alton Brown book, Gear For Your Kitchen. Alton is an idol of mine since he gets into the science of cooking which I really enjoy.

Often recipes will call for you to cut your food into cubes.  The first four cuts below focus on the terms for cube-type of cuts, going from largest to smallest.


Chop – cut into rough chunks (no standard shape)

Think about the bite size pieces that you would want in a stew, or maybe even the size of watermelon pieces you would want in the summertime.  Sometimes if I am making a hearty stew, I allow my chunks to be quite large since they need to hold up to a long cooking time.

Dice – to cut into cubes – usually around 1/4 – 3/4 inch.  

If the recipe doesn’t say “large” dice or “small dice,” it would probably be a good idea to shoot for the middle range, around ½ inch.  You’ve probably seen “diced” a lot with reference to tomatoes. I dice things more than any of the other cuts since it cooks fast, and we are all shorter on time than we want.


Brunoise – a specific and smaller dice, usually around 1/8 of an inch.  

Do you know the julienne cut (see below)?  You can julienne the food first, and then finish the food into a bruinoise cut.  The bruinoise cut is often used for garnishes.

Mince – rough chunks, like the chop cut, but much finer (even smaller than a bruinoise).  

You will often read to “mince garlic” in recipes.  Also, the smaller the cut, the more “flavor” it will add to your dish, so you can take some license with recipes if you don’t want (for example) an especially strong garlic flavor.

These next four terms sound fancy, but once you know what they mean you will realize they aren’t intimidating at all. You will definitely run across these terms if you use any French cookbooks!

Lyonnaise – Vertically sliced slivers, usually onions.

The terms “lyonnaise” comes from the region of Lyons, France, and is usually used in reference to onions. It means to cut off the stem and to slice vertically into slivers. Most likely you will only see this in a French cookbook or used in conversation by a chef. Most normal folks will just say, “Vertically sliced onions.”


Julienne – Little skinny sticks.

Also called the “matchstick” cut, involves cutting the food into thin strips, 1 – 2 inches long and 1/8 inch square (think carrot sticks, or really any of those veggies like peppers that I might want to dip into my hummus). These look great when all the veggies are very uninformed and the same size and shape.

Chiffoande – Ribbons, strips of leafy veggies.

This type of cut is used for “leafy” types of food, like lettuce or herbs (especially basil).  Simply stack the leaves, roll them up, and slice perpendicular to the roll and you will be left with thin strips.  Like the brunoise cut, you can use this for garnishes – I do this most often with basil. You can put the basil on pizza, tomato soup, or fresh cut tomatoes.

Roll – Angular shaped chunks.

The purpose of a roll cut is to have non-parallel surfaces on the cut ends.  This may be Chinese in origin, and is used for long vegetables like eggplants, zucchini or carrots.  The roll cut adds a visually interesting appearance, but also exposes more of the vegetable’s surface area to heat (for faster cooking) by cutting at a 45 degree angle.

After you cut at the 45 degree angle, you “roll” the vegetable before cutting again. It is much easier to see in a video.


Conclusion and Helpful Links

When it comes to knife skills, practice makes perfect. Get some carrots, onions, tomatoes, potatoes, and anything else that strikes your fancy!

 Make sure you have a couple very sharp knives to work with so you don’t pick up any bad habits.

 You basically only need a chef’s knife and a paring knife 90% of the time. Start with a 1 or 2 of the cuts above and practice for about 10 minutes a day for a week.

 Then, move on to other cuts after you feel comfortable.


More on Knife Maintenance and Knife Sets


More Info on Knife Skills


————————————————————————————–

Thanks for breaking that down for us, Doug! There are a bunch of really helpful links in this post too, so definitely bookmark this for the future. Doug’s site is filled with awesome tips and tricks like this post as well as reviews of products, so head on over to check out what else he can teach you! 

Fish Tacos and How to Use a Fillet Knife

This month, Zwilling sent me a fun challenge: use a fillet knife.  June’s knives of the month are boning and fillet knives, so Zwilling sent me their ZWILLING Pro 7″ Fillet Knife to try out. I have never used one before so I was so excited to learn how to use one; gotta love learning a new technique!


Fillet and boning knives are exactly what they sound like: knives used to cut meat off of the bone (to fillet something is to remove it from the bone). The knife is long, thin, and super flexible to allow it to get as close to the bone as possible.


You can fillet anything with a bone — chicken, beef, etc. but most people immediately think of fish, so I decided to revisit an old recipe on my blog to try out this lovely new knife!


This recipe for fish tacos with lime cilantro crema is a Cooking Light recipe and a favorite of mine. I switched it up a touch this time, just to try something a bit new.


Ingredients:

Crema:

  • 1/4 cup thinly sliced green onions
  • 1/4 cup chopped fresh cilantro
  • 3 tablespoons fat-free mayonnaise
  • 3 tablespoons reduced-fat sour cream
  • the zest of one lime
  • the juice of one lime
  • 1/4 teaspoon salt
  • 1 garlic clove, minced

Tacos:

  • 1 teaspoon ground cumin
  • 1 teaspoon ground coriander
  • 1/2 teaspoon  paprika
  • 1/4 teaspoon cayenne pepper
  • 1/8 teaspoon salt
  • 1/8 teaspoon garlic powder
  • 1 1/2 pounds white fish (I used 3 branzino)
  • 1 teaspoon olive oil
  • 8 (6-inch) corn tortillas
  • 2 cups shredded cabbage (or romaine lettuce)
  • 1/2 cup chopped red onion

Continue reading Fish Tacos and How to Use a Fillet Knife

Exit mobile version