Iced Latte

Note: I was sent a DREO BaristaMaker Milk Frother in order to write this Iced Latte recipe. Opinions are mine alone.

We had a little bit of a respite from the heat, but those August temperatures are back! So it’s the perfect time to test out DREO‘s BaristaMaker Milk Frother’s Cold Foam option; Iced Latte time!

Iced Latte

This Iced Latte recipe includes a recipe for an espresso simple syrup to add some sweetness to the latte without taking away from the bold coffee flavor. You can make the espresso syrup ahead of time and store in your fridge until ready to use.

If you want to learn more about DREO’s BaristaMaker Milk Frother, check out my last post featuring this snazzy appliance: Ube Au Lait.

Ingredients:

Espresso Syrup:

  • 1 tablespoon espresso powder
  • 1 cup hot water
  • 1 cup sugar

Iced Latte (makes one serving, multiply as needed):

  • 8 oz milk of your choice (I used whole milk)
  • ice
  • 2 oz espresso
  • 2 teaspoons espresso syrup

Continue reading Iced Latte

Ube Au Lait

Note: I was sent a DREO BaristaMaker Milk Frother in order to write this Ube au Lait recipe. Opinions are mine alone.

I am fairly serious about my coffee. I genuinely cannot think of the last time I did not start my day with a home brewed coffee, or a coffee or espresso-based beverage from a local cafe. Despite my love of coffee, I have rarely tried to make fun coffee drinks at home. The frothers I have tried in the past just don’t really seem to cut it; the handheld frothers have trouble creating the microfoam desired for lattes or creating a thick enough foam for my favorite beverages. Not to mention, they don’t do anything to get that foam to the proper temperature!

I was recently contacted by DREO, a leader in smart home innovation, about their launch of the DREO BaristaMaker Milk Frother, and I couldn’t wait to try it out! The BaristaMaker is the most professional smart milk frother capable of creating latte art with all types of milk (dairy and non-dairy), delivering barista-quality microfoam at the touch of a button. BaristaMaker also offers multiple frothing settings, allowing you to choose from microfoam, thick foam, and cold foam, depending on your preference and the type of beverage you are making.

DREO is not messing around with this BaristaMaker. DREO BaristaMaker is the culmination of extensive research, patented impeller combo design, and tailored algorithms meticulously developed to replicate the technique of professional baristas. After thousands of simulations mimicking the frothing process of expert baristas in their Beverage R&D Lab, DREO has developed a milk frother capable of emulating the froth quality found in commercial coffee shops, surpassing the capabilities of most traditional, off-the-shelf home frothers with unmatched froth quality and texture.

DREO BaristaMaker Milk Frother will be available on Kickstarter from August 13th, with a Super Early Bird offer of up to 30% off the suggested retail price of $99. If you join the DREO community now, you could win a grand prize worth $3,200! Plus, if you sign up for the BaristaMaker launch on dreo.com, you can now enjoy a $15 storewide discount. On September 15th, the BaristaMaker Frother will be available to the wider public at full price on dreo.com  and more trusted retailers.

I am still trying to master my latte art making with the snazzy BaristaMaker (and am having a ton of fun trying!), but wanted to share a recipe that shows how easily you can make a cafe-quality cafe au lait with minimal effort.

I wanted to try out the BaristaMaker’s blending abilities as well as highlight the Hot Thick Foam option. I’m pretty sure an Ube au Lait isn’t a “thing,” but it’s too pretty and tasty to not share! (Plus, “ube au lait” is super fun to say.)

This Ube au Lait recipe is so simple to make and tastes as good as it looks! Ube is one of my favorite flavors to incorporate into, well, anything I can. If you’ve never had ube before, the flavor is similar to vanilla, with a bit more nuttiness, so it is a perfect complement to coffee.

Ingredients (makes 2 coffees)

  • 1 cup (8 oz) milk of your choice (I’ve used whole milk and oat milk)
  • 1 teaspoon ube powder (paid link)
  • 1 teaspoon vanilla extract or ube extract
  • 1 teaspoon sugar, optional
  • 1 cup (8 oz) freshly brewed coffee (preferably a chicory coffee)

Continue reading Ube Au Lait

Slow Cooker Beef and Bean Chili

Note: I was sent a Rubbermaid’s Easy Find Lids 20-Piece Storage Set to review. All opinions are mine alone.


We have had a pretty moderate fall so far, but the cold weather isn’t too far off. This time of year, I like to fill my freezer with different meals so I always have comfort food on hand for busy weeknights. One of my favorites, of course, is chili.


I was sent Rubbermaid’s Easy Find Lids 20-Piece Storage Set to try out, so it was the perfect time to make my annual batch of chili!


Rubbermaid Easy Find Lids are a life saver – I typically just keep the containers from take out and they are all just shoved into a cabinet net to my stove, with no organization to them whatsoever. So i spend a good 10 minutes finding the right top to go with whatever container I’ve chosen. Rubbermaid’s storage set takes the annoyance out of trying to find the right top — the Lids snap on to the bottom of their respective containers so you can find them in no time! The containers also nest inside each other so you can have a small stack of all of your containers and lids in one spot.


The 20-piece set comes with  3 (0.5 Cup), 3 (1.25 Cup), 1 (2 Cup), 2 (3 Cup), 1 (5 Cup), and 10  respective Easy Find Lids. The plastic is dishwasher, freezer, and microwave safe and is also BPA-free.


On to the recipe! This time around, I went for a classic – ground beef and beans with some bratwurst meat for additional flavor (I used beef bratwurst, but you can use any type you’d like).


Ingredients:

  • 1 tablespoon unsalted butter (omit for dairy free)
  • 1 tablespoon olive oil
  • 2 pounds ground beef
  • 1 pound bratwurst, removed from its casing
  • 5 garlic cloves, minced
  • 1  onion, chopped
  • 1 chipotle from can of chipotles in adobo sauce, finely chopped (seeds removed if preferred)
  • 1 tablespoon adobo sauce from can of chipotles in adobo
  • 2 red bell peppers, chopped (or whatever color you prefer)
  • 2 (15.5 oz) cans red kidney beans, drained
  • 1 (15.5 oz) can black beans, drained
  • 1 (28 oz) can crushed tomatoes
  • 1 (28 oz) can diced tomatoes, undrained
  • 2 tablespoons tomato paste
  • 2 tablespoons Worcestershire sauce
  • 1 tablespoon ground chili powder
  • 1 teaspoon cumin powder
  • 1/2 tablespoon dried parsley
  • 1/2 tablespoon dried basil
  • 1/2 teaspoon cayenne
  • 1 cup beef stock
  • 1 tablespoon espresso grounds
  • For garnish: 1 tablespoon fresh cilantro, chopped; 4 oz sour cream; 4 oz cheddar or pepper Jack cheese, shredded

Continue reading Slow Cooker Beef and Bean Chili

Flourless Chocolate Cake with Dark Chocolate Ganache

I can’t believe I’ve never tried to make a flourless chocolate cake before. This oversight will happily be corrected with the help of #Choctoberfest with Imperial Sugar!

This Flourless Chocolate Cake with Dark Chocolate Ganache is a dense, rich, chocolate cake. Because there is no flour in the recipe, it is also gluten free!

Because this is #Choctoberfest and you can never have too much chocolate, this cake is finished off with a yummy dark chocolate ganache topping.

If you haven’t entered the #Choctoberfest with Imperial Sugar Giveaway yet, be sure to head over to Monday’s post to do so! The prize is worth over $350!

Ingredients:

Flourless Chocolate Cake

  • 1 12 oz bag semi-sweet chocolate chips
  • 1 1/2 sticks (12 tablespoons) unsalted butter
  • 1/4 teaspoon salt
  • 6 large eggs, at room temperature
  • 1 1/2 cups Imperial Sugar

Ganache

  • 1/2 cup heavy cream
  • 10 oz dark chocolate chips
  • 1 teaspoon espresso granules

Other

  • powdered sugar, for dusting
  • raspberries or strawberries, for garnish
  • whipped cream, for serving

Continue reading Flourless Chocolate Cake with Dark Chocolate Ganache

Clover Cocktail

Happy St. Patrick’s Day! I have already shared an Irish-themed main meal, bread, baked good, and sweet treat so I thought this time around a drink was in order, this Clover Cocktail!

Fine Wine & Good Spirits sent me this really yummy spin on an Irish coffee called the Clover Cocktail, which is frozen instead of hot.

Ingredients (makes 1 serving; multiply as needed):

  • 1 oz. Irish whiskey
  • 1 oz. Baileys Irish Cream
  • 1 oz. Kahlúa
  • 1 oz. espresso
  • 1 cup ice (~6 ice cubes)
  • whipped cream
  • chocolate shavings

Continue reading Clover Cocktail

Black Cauldron – An Adult Root Beer Float

Do you remember the first time you had a root beer float? I remember thinking “soda and ice cream, why hadn’t someone mentioned this deliciousness to me before this very moment?!” Mind you, I was a kid and probably didn’t need any more sugar or desserts in my life. But root beer floats always have such a wonderful feeling of nostalgia. I was at Franklin Fountain in Philadelphia recently. I saw that they sell root beer floats, and I haven’t been able to stop thinking about them since. So when this month’s Cooking Light arrived with what I can only call an “Adult Root Beer Float” I was so excited to try it out.
The drink, referred to as a Black Cauldron (it’s the October issue), is just as simple as a traditional root beer float, but it uses a stout instead of root beer. To add a little bit more flavor, the drink also has a touch of vodka and brewed espresso. How can you not like this drink?

Ingredients: (makes 4)
1 pint vanilla ice cream
1/4 cup vanilla vodka
1/4 cup brewed espresso (or coffee)
24 ounces stout beer (oatmeal, chocolate, whatever your favorite is)

Brew your espresso or coffee. Allow to cool.

Add 1/2 cup vanilla ice cream to each of 4 glasses.

Top each with 1 tablespoon vodka and 1 tablespoon espresso. (Note: espresso can make this drink very bitter. Feel free to use brewed coffee instead.)
Fill with the stout (it will get very frothy).
That’s it! What a great upgrade!
If you don’t like stouts, you are obviously not going to like this drink.  But as a stout lover, I couldn’t get enough of this drink. The ice cream melts into the drink, making it really creamy. On a couple of mine, it actually floated to the top!

Individual Tiramisu

I love tiramisu. Honestly, what’s not to like? I’ve never tried to make a traditional tiramisu, but it might be a terrible idea. I’d probably eat the entire thing in one sitting. So to save me from that embarrassing end, I decided to try a recipe from the Walkers Shortbread website for Individual Tiramisu. The recipe makes two servings of tiramisu so that I can’t be a complete piggy. I came across it while trying to find a recipe to photograph (I made their raspberry creme brulee instead) and knew I’d have to make it. Luckily, I still had some Walkers Shortbread leftover!
1 tablespoon coffee flavored liqueur
1 tablespoon hazelnut flavored liqueur
2 ounces boiled water
1 heaping teaspoon espresso granules
8 shortbread cookies (I used Walkers Pure Butter Shortbread)
1/2 cup heavy cream
1/4 cup plus 2 tablespoons sugar
1 container (8 oz.) mascarpone cheese
1 tablespoon mini semi sweet chocolate chips
1/2 teaspoon unsweetened cocoa powder

So before I go into the recipe, I just wanted to talk about one of the small businesses near me, Wedge + Fig in Philadelphia. They are an amazing cheese shop, brunch location, and also serve some of the best and most creative paninis in the city. When I had a hankering for this tiramisu recipe, I was excited to find that I had all of the ingredients on hand. Except the mascarpone cheese. Blast.
I thought I’d take a gamble and went to two corner stores near me. No mascarpone. So I went over to Wedge + Fig, assuming they wouldn’t have it either, but thought they might know where to get some. I asked, expecting a no, and was ready to leave. They told me they did not sell it, but they had some on hand because they used it in some recipes and would be willing to sell me some. How awesome! So thank you SO much to Wedge + Fig for saving the day. My tummy thanks you!
On to the recipe: Begin by combining the espresso granules with the boiling water. Stir to combine.
Take 1 tablespoon of the espresso and combine it with the coffee and hazelnut liqueurs.
Take 6 of the shortbread cookies and brush them with the coffee mixture on both sides.
Cut each cookie in half. (Note: I decided later that I kind of preferred them crumbled so after allowing them to soak, I just chopped them up a bit. The halves didn’t fit in my glasses nicely.)
In a medium bowl, beat the heavy cream with 2 tablespoons sugar until stiff peaks form.
In another bowl, beat the mascarpone cheese and 1/4 cup sugar.
Fold in the whipped cream. (I could just eat this mixture allll day. Mmm.)
 Take two wine goblets or Irish coffee glasses and place three cookie halves in the bottom. (I just put two teaspoons of the crumbs in the bottom of mine.) Spoon 2 tablespoons of the cheese mixture over the cookies and repeat the layers.
Refrigerate for at least 2 hours so that the cookies/crumbs can soften.
Add the chocolate mini chips to a microwave safe bowl and microwave on high, stirring until melted. Use a fork to drizzle the melted chocolate over the 2 remaining cookies. (Place the cookies on wax paper before drizzling).
Just before serving, lightly sprinkle the tiramisu with cocoa using a fine sieve. Add a chocolate-drizzled cookie to each glass.
How easy was that?
I love how fancy this dessert seems to be with minimal effort.
The whipped cream and mascarpone is so fluffy and flavorful.
The shortbread really soaked up all that coffee-hazelnut flavor, but maintained just enough crunch to keep it satisfying.
 The presentation of this dessert is really nice too. The chocolate drizzled cookie is great to dip into the tiramisu to get some of the mascarpone mixture.
I’m aware I should share the second one of these. But um. I think I like it too much! We will see…

Review of Routin 1883 Gourmet Syrups & Cocktails

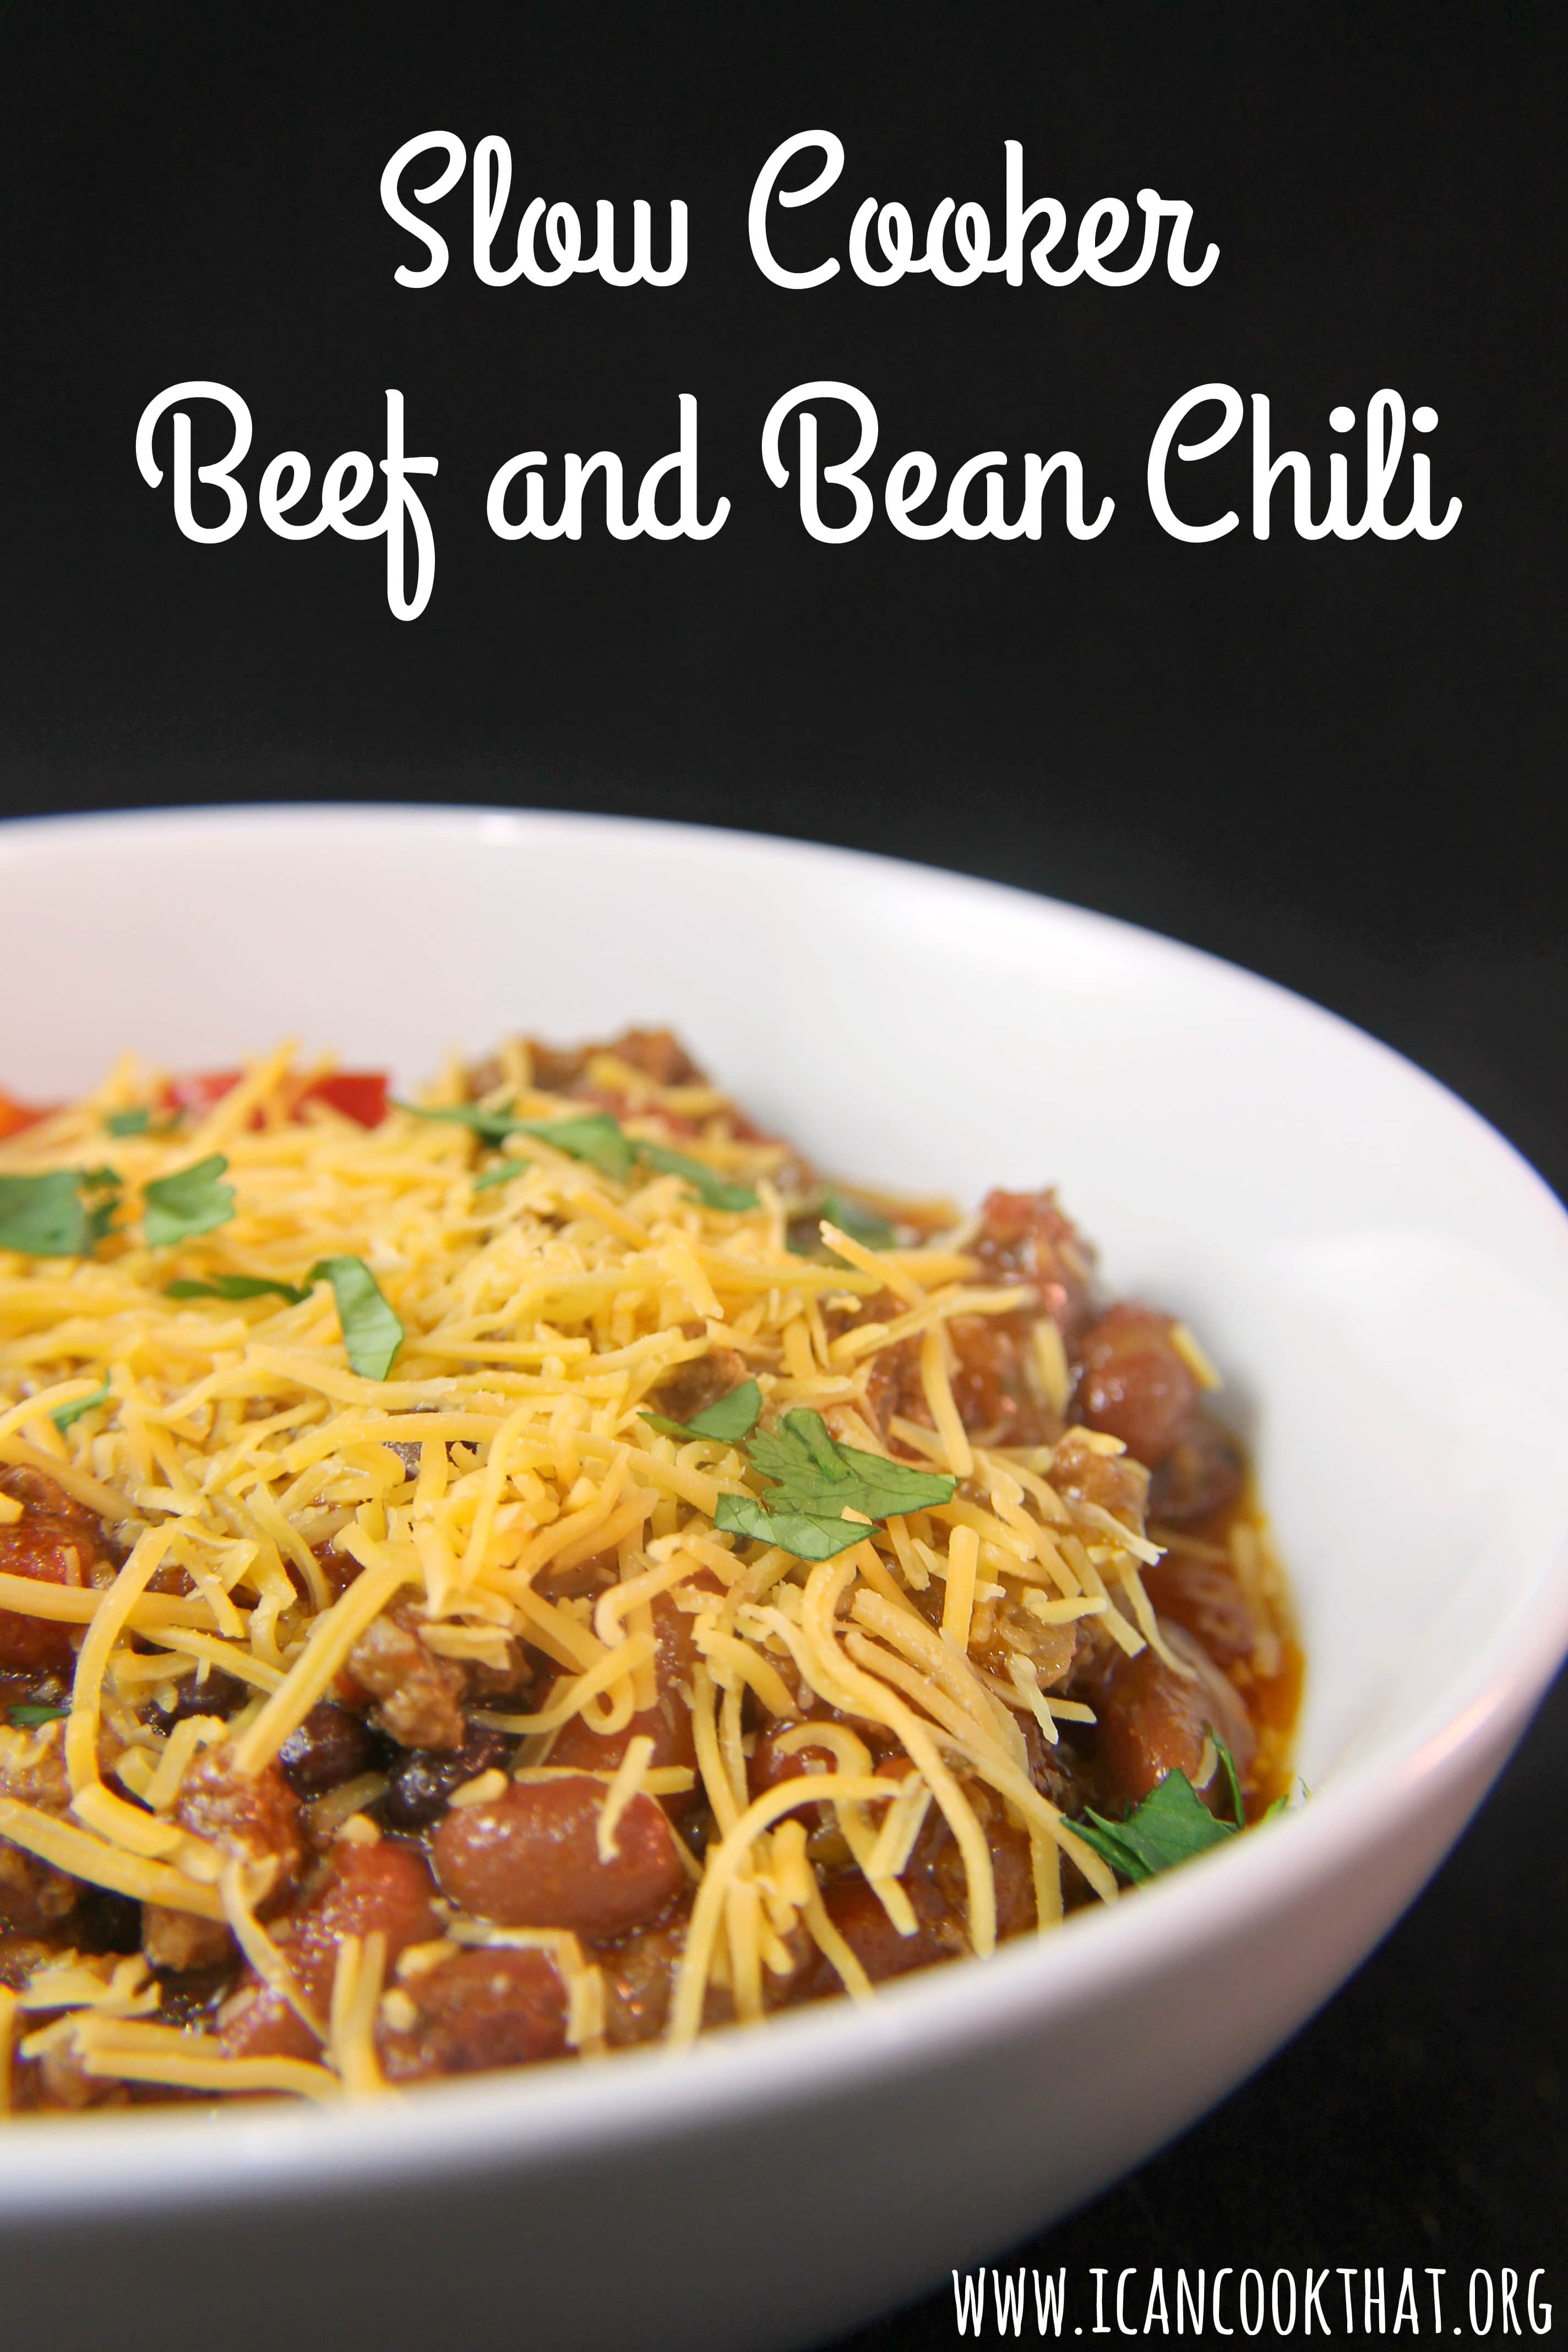
One of my favorite parts of blogging is when I’m given the opportunity to sample products and give my honest review of them. I love the chance to try something new and to incorporate it into recipes. So when 
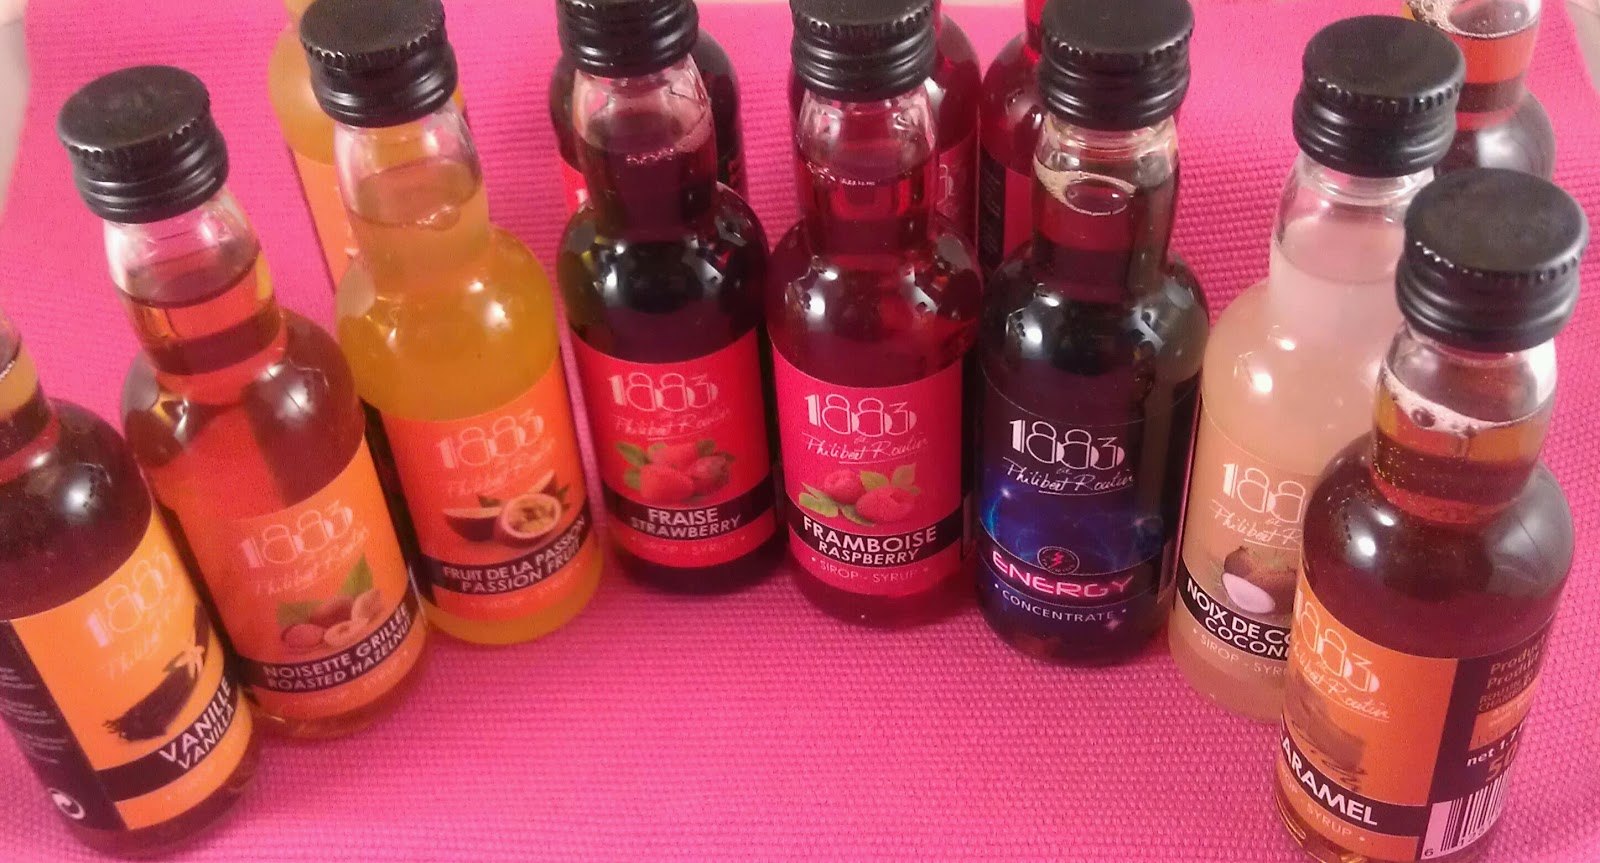
Routin 1883 contacted me to sample some of their gourmet syrups, I was excited to dust off my bartending kit and concoct some tasty beverages. The company produces gourmet flavors for use in cocktails, specialty coffees, Italian sodas, etc. The syrups, manufactured in the French Alps, have no preservatives, GMO’s, or high fructose corn syrup (they are even gluten free). Routin 1883 was kind enough to send me a bunch of different samples so I tried to highlight each of them to review.
 

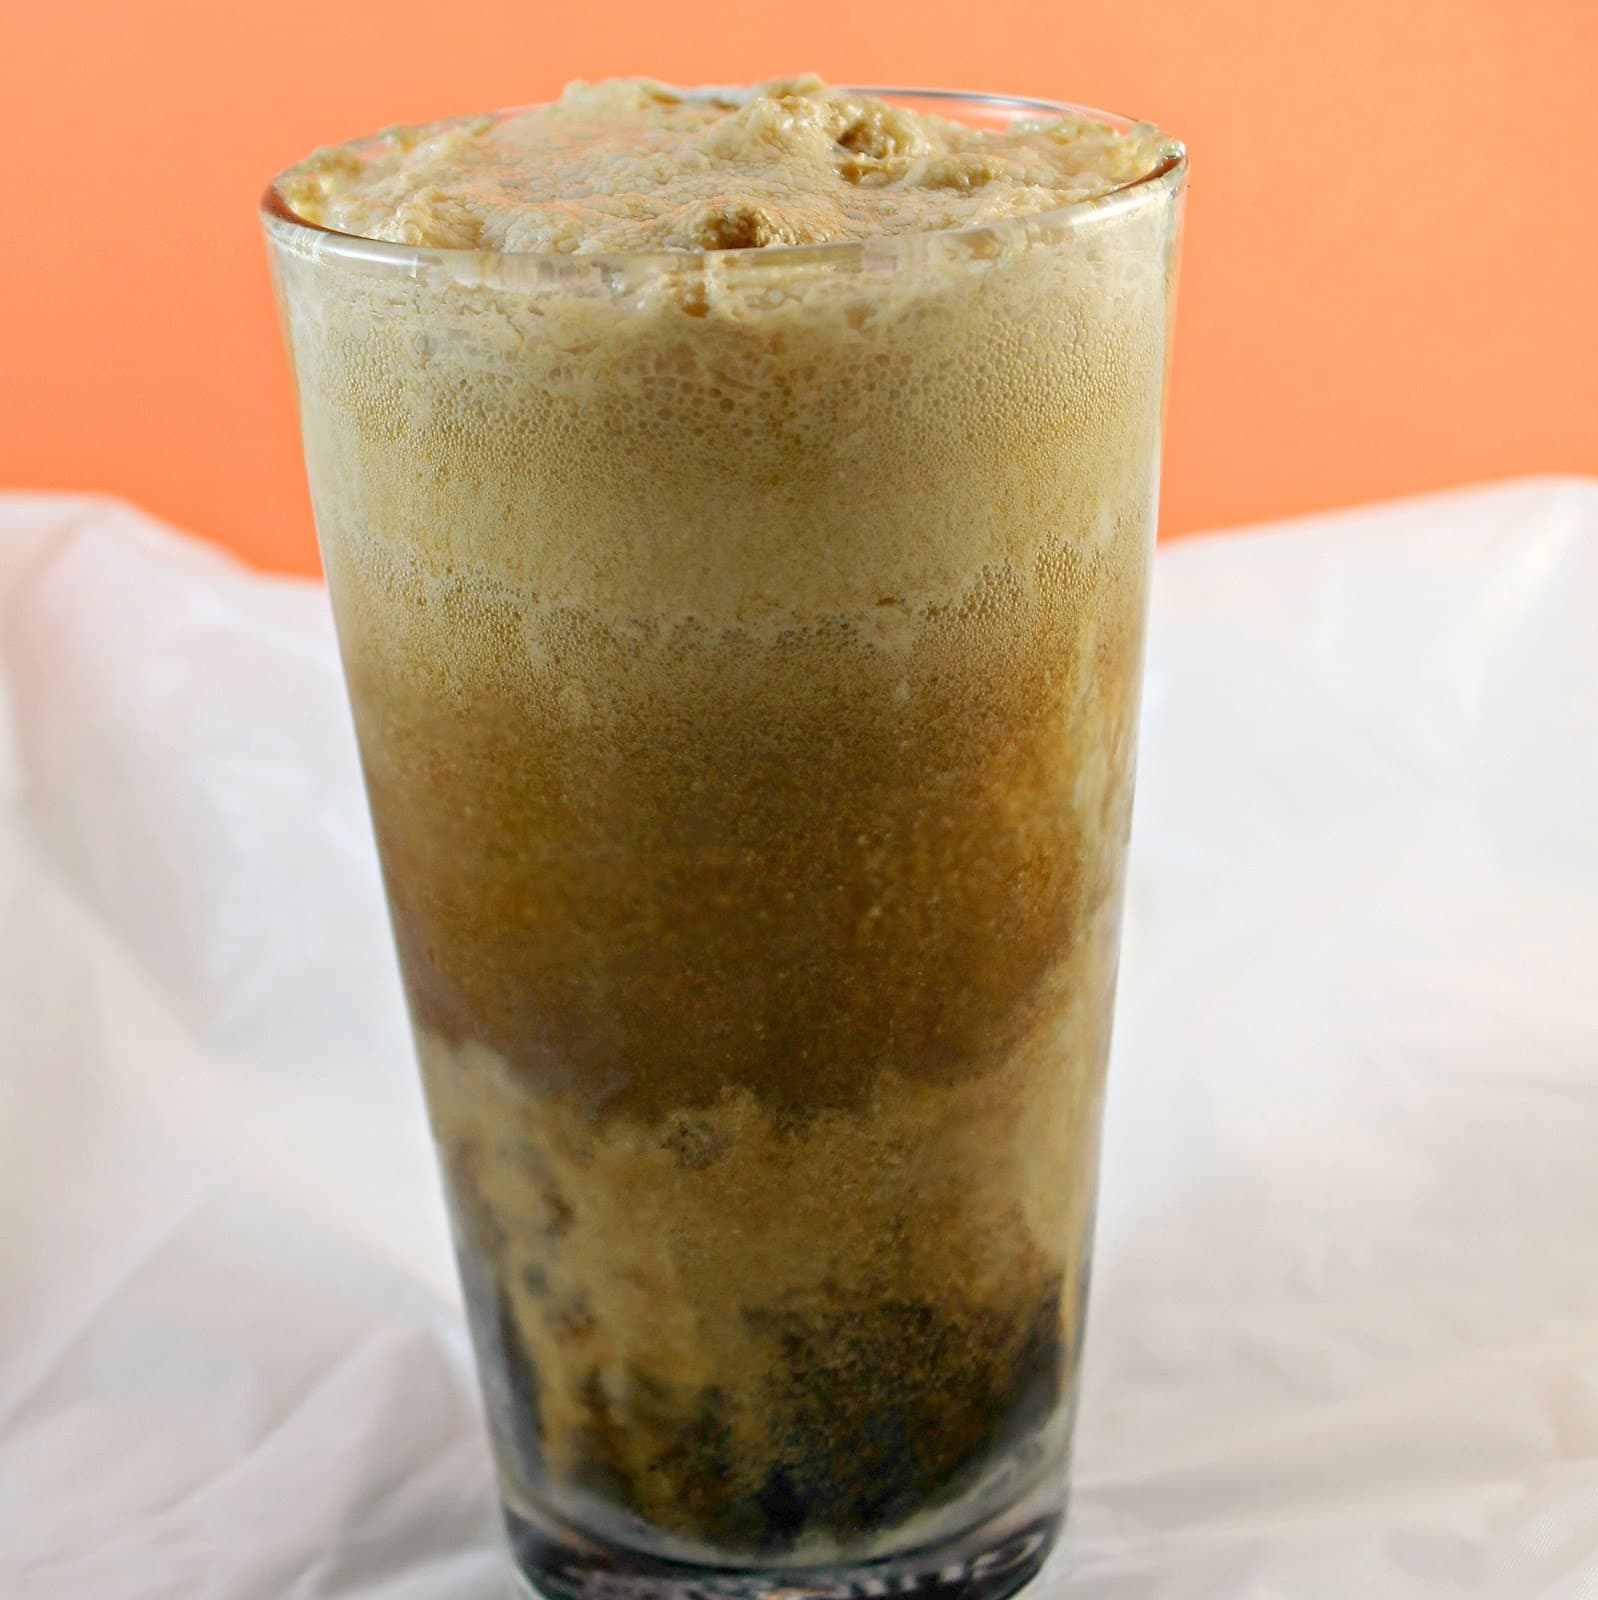
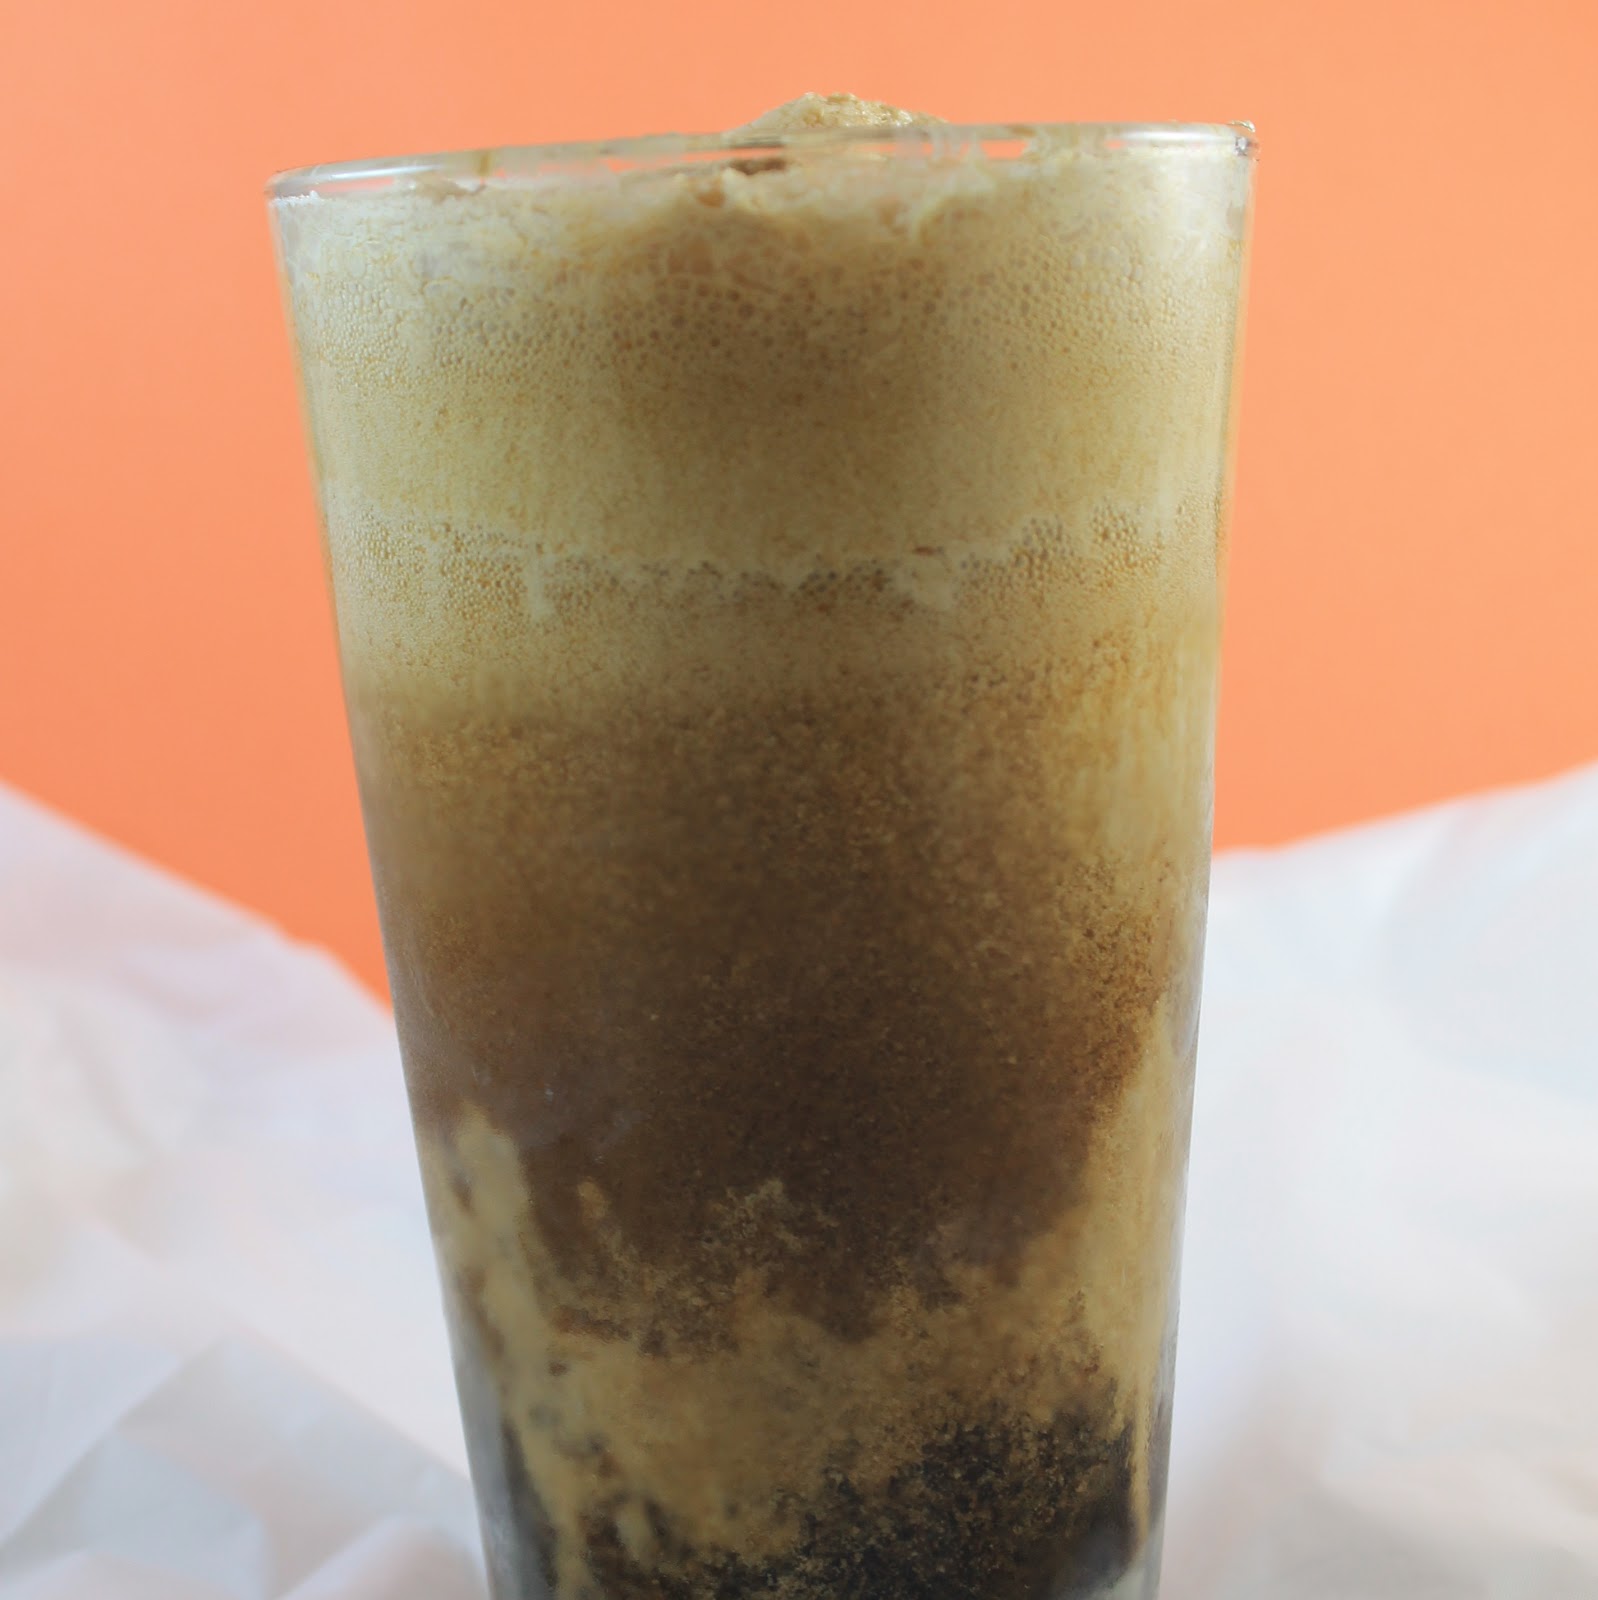
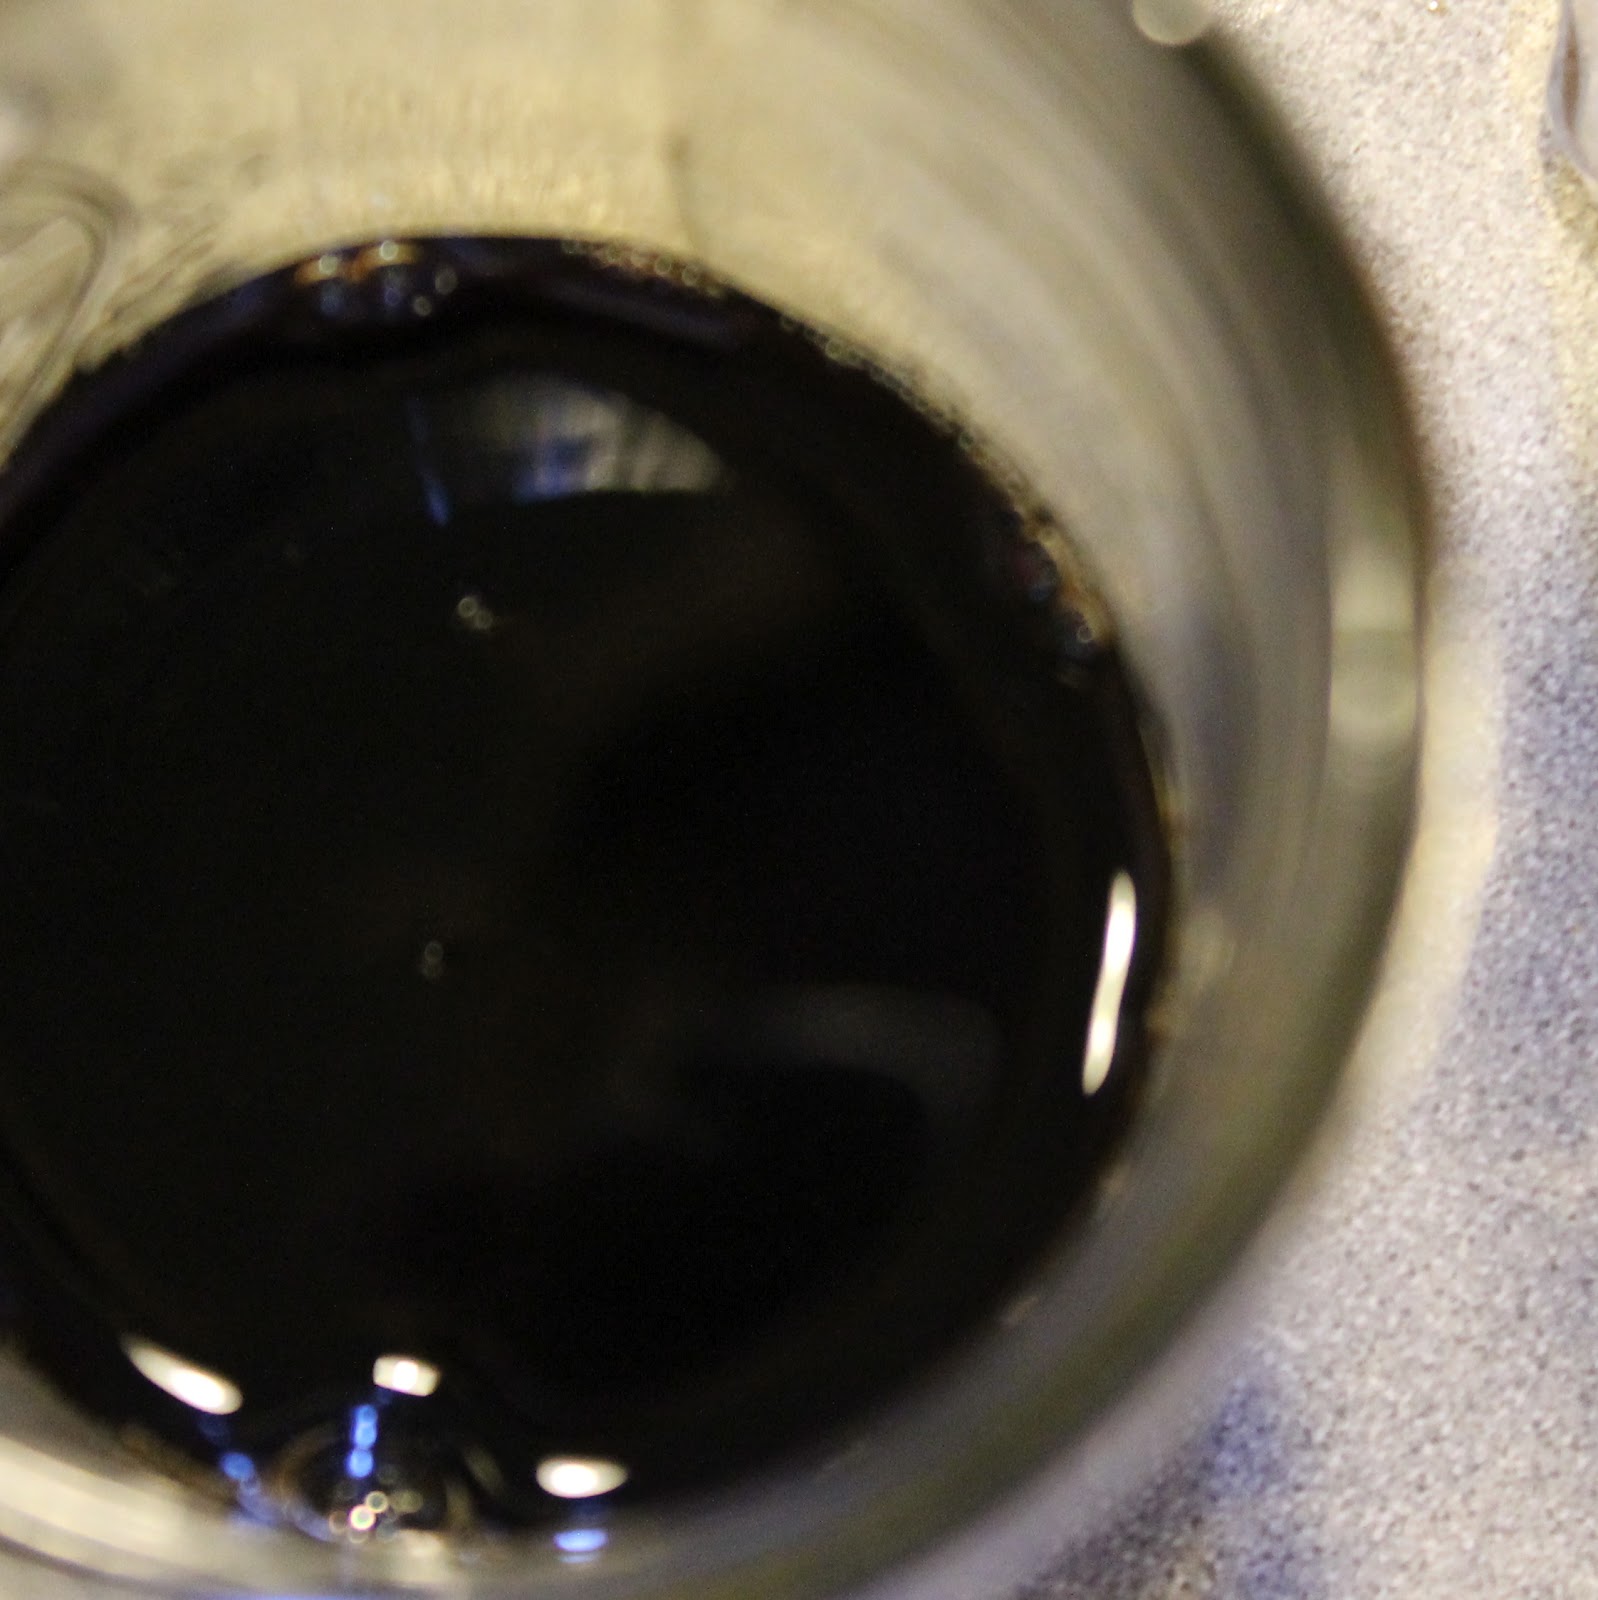
To try the vanilla, I added the syrup to a traditional White Russian (I thought it sounded like it would be delicious, I was right!)
Ingredients:
2 ounces vodka
1 ounce Kahlua
1/2 ounce vanilla syrup
Top with cream
To make, add ice cubes to a glass. Pour vodka and Kahlua over the ice. Add the vanilla syrup and stir. Fill with light cream and serve.
The vanilla syrup held up nicely to the strong coffee flavor of Kahlua and was an awesome complement to this already delicious drink. After a sniff of the syrup I decided to go with a 1/2 ounce instead of an ounce because it seems to be quite strong.
The coconut syrup meant I could pretend it is summer. I added it to rum and pineapple juice for a taste of the islands.
Ingredients:
2 ounces light rum
1 ounce coconut syrup
fresh pineapple juice
Add ice cubes to a tall glass. Pour rum and syrup over the ice. Fill with pineapple juice and serve.
This is so refreshing. It’s a perfect escape from the winter weather and would also be perfect as a pitcher in the summer months. Coconut and pineapple just go so well together.
I decided to use the raspberry syrup to make a raspberry rickey: a gin rickey with raspberry flavoring.
Ingredients:
1 1/2 ounce gin
the juice of 1/2 a lime
club soda
1 ounce raspberry syrup
Add ice to a short glass. Add gin, lime juice , and raspberry syrup and top with club soda.
This was another really refreshing drink. The syrup wasn’t sugary so it didn’t take away from the bite you’d normally get in the original version of this drink. You could also serve it straight up (no ice) if you’d like. Just mix it in a shaker and pour into a glass.
For the caramel syrup, I thought it might be fun to try a flavored martini. I happened to have sour apple liqueur in my apartment (I have no idea why) so a Caramel Apple Martini immediately popped into my mind.
Ingredients:
2 ounces sour apple liqueur
1 ounce vodka
1 ounce caramel syrup
Add ice to a shaker. Pour in apple liqueur, vodka, and caramel syrup and shake. Strain into a martini glass rimmed with a cinnamon-sugar mixture.
This tasted exactly like a candied apple. The caramel’s sweetness really helped tone down the sour apple flavor of the liqueur.
Next up, a frozen strawberry-champagne daiquiri. I had some champagne left over from New Years Eve that I just put into an ice cube tray. I thought this would be a perfect use of those champagne ice cubes.
Ingredients:
2 ounces light rum
1/2 ounce triple sec
1 ounce strawberry syrup
6 strawberries
juice of one lime
1/2 teaspoon sugar
5 champagne ice cubes
5 normal ice cubes
You’ll need normal ice in there too because champagne doesn’t freeze entirely. Add all of the ingredients to a blender and blend until frothy. The champagne might bubble a bit. Pour into a glass and serve.
I think champagne should be the base of every strawberry daiquiri from now on. The strawberry syrup added a much bolder flavor to the daiquiri than strawberries alone would without adding a typically syrupy, sugary taste to it. It really enhanced the daiquiri!
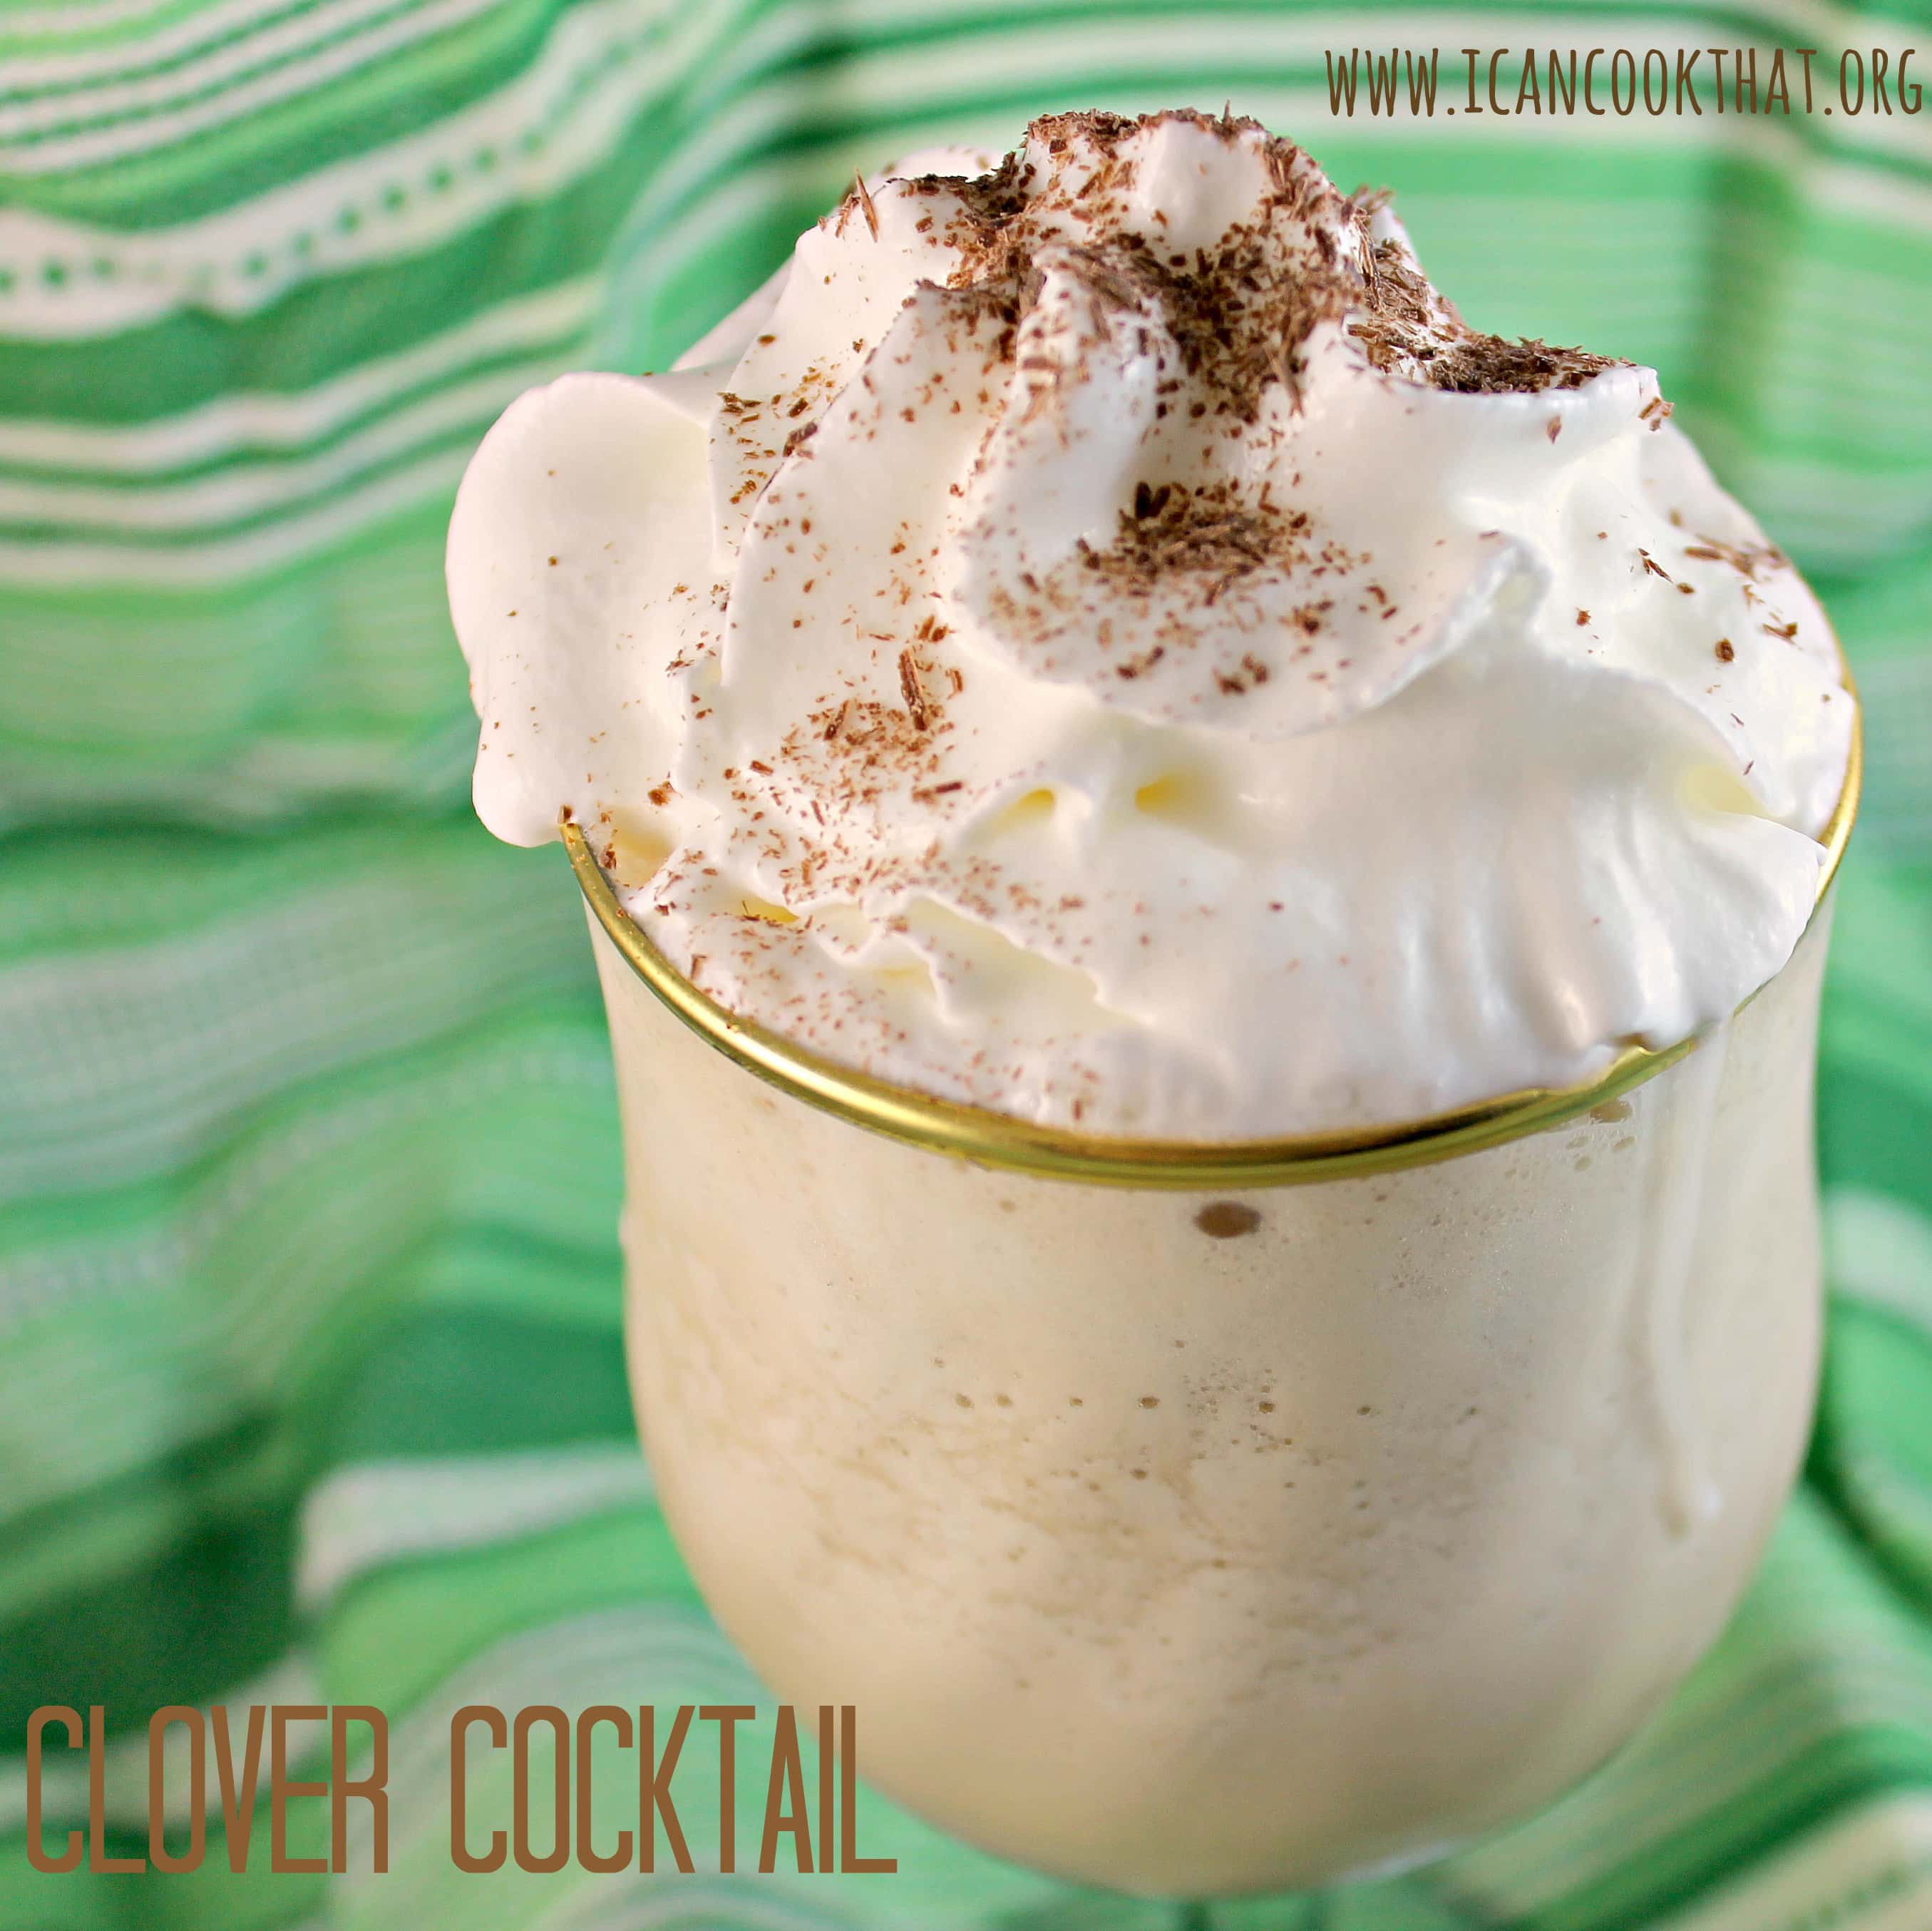
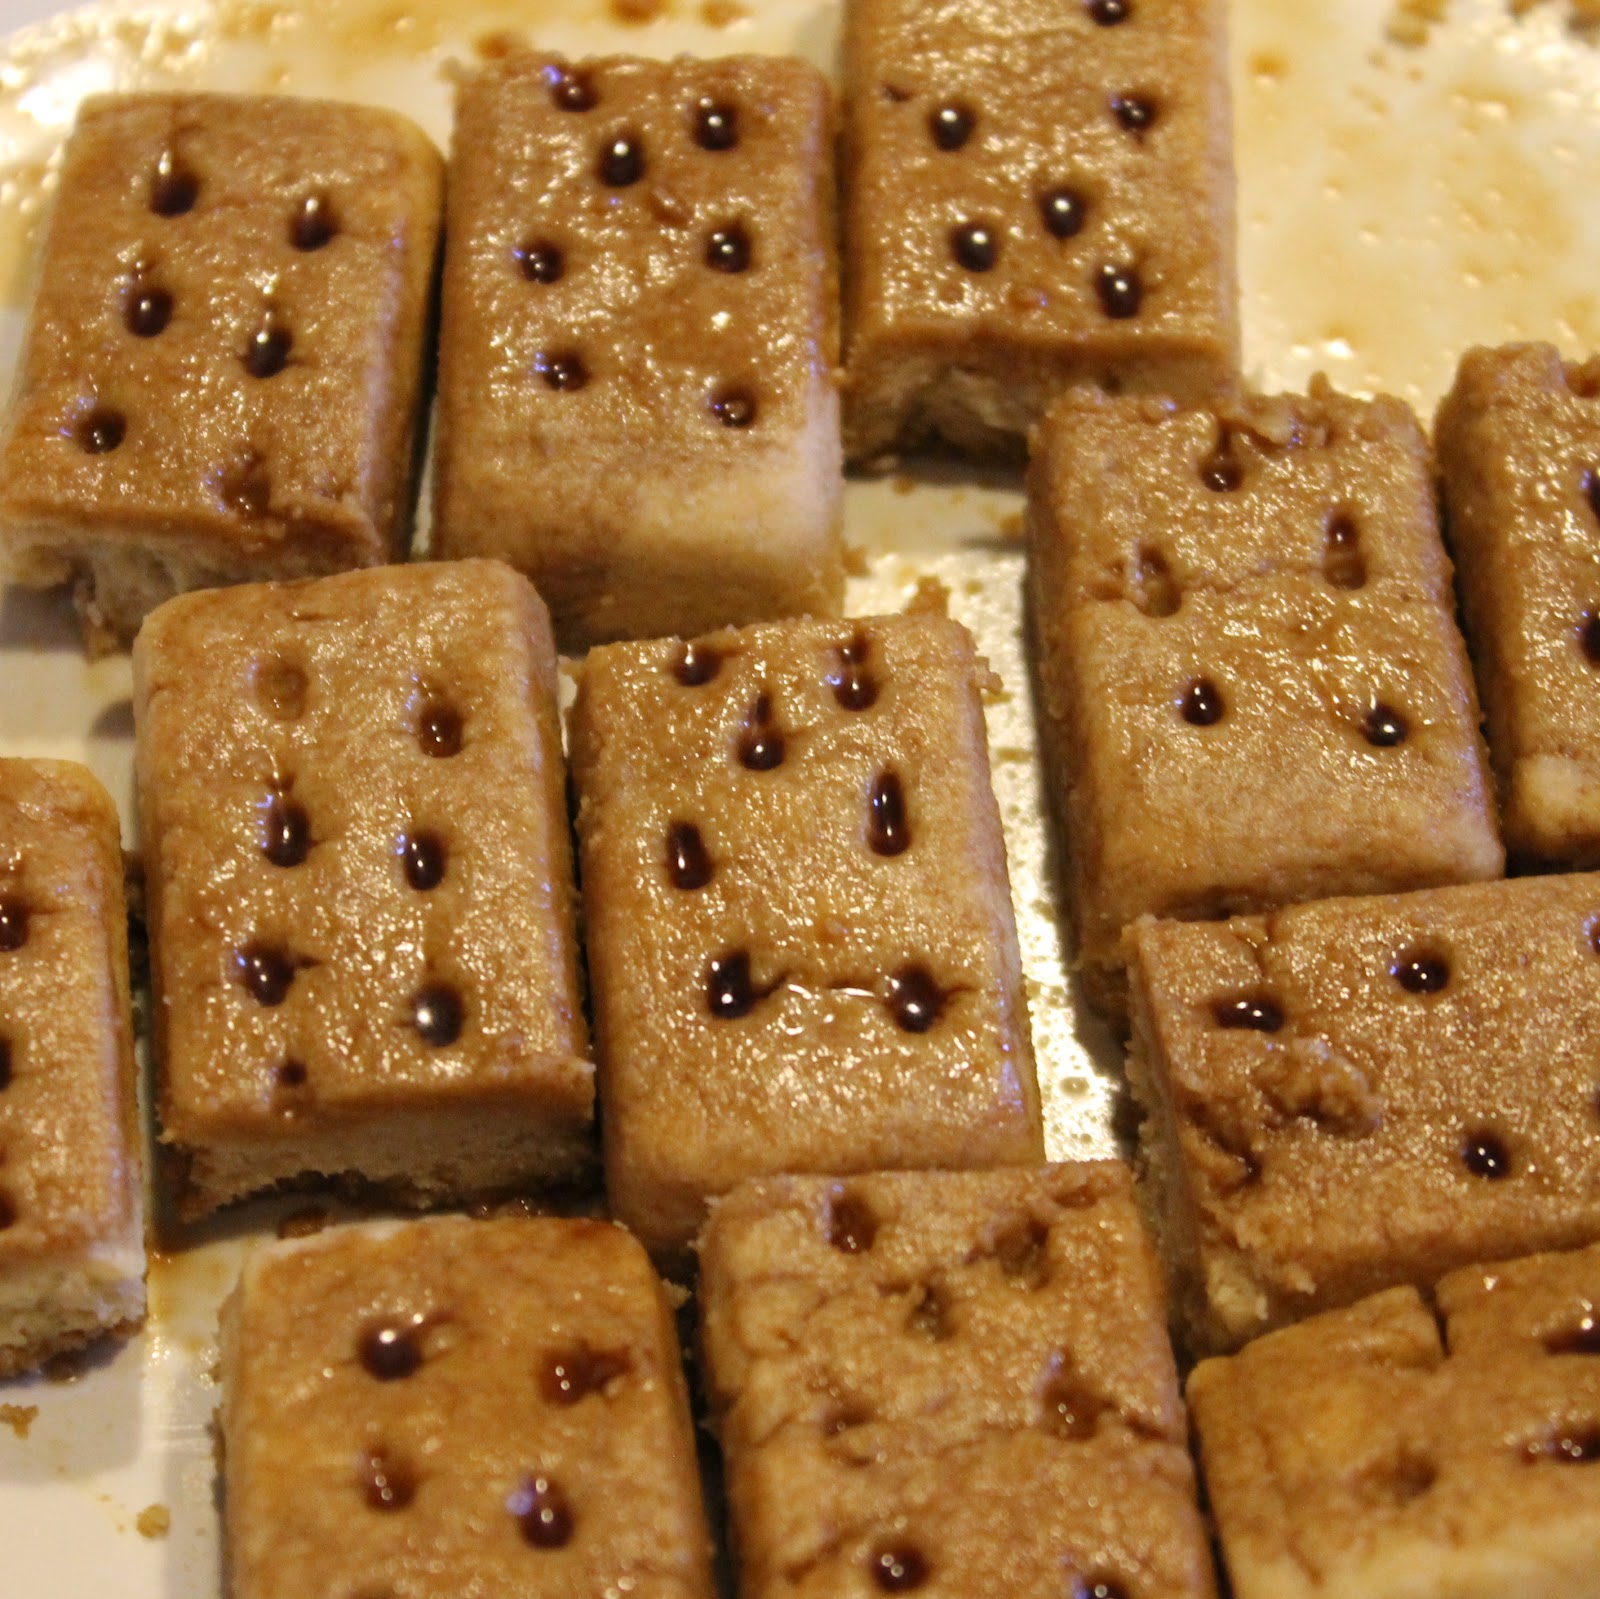
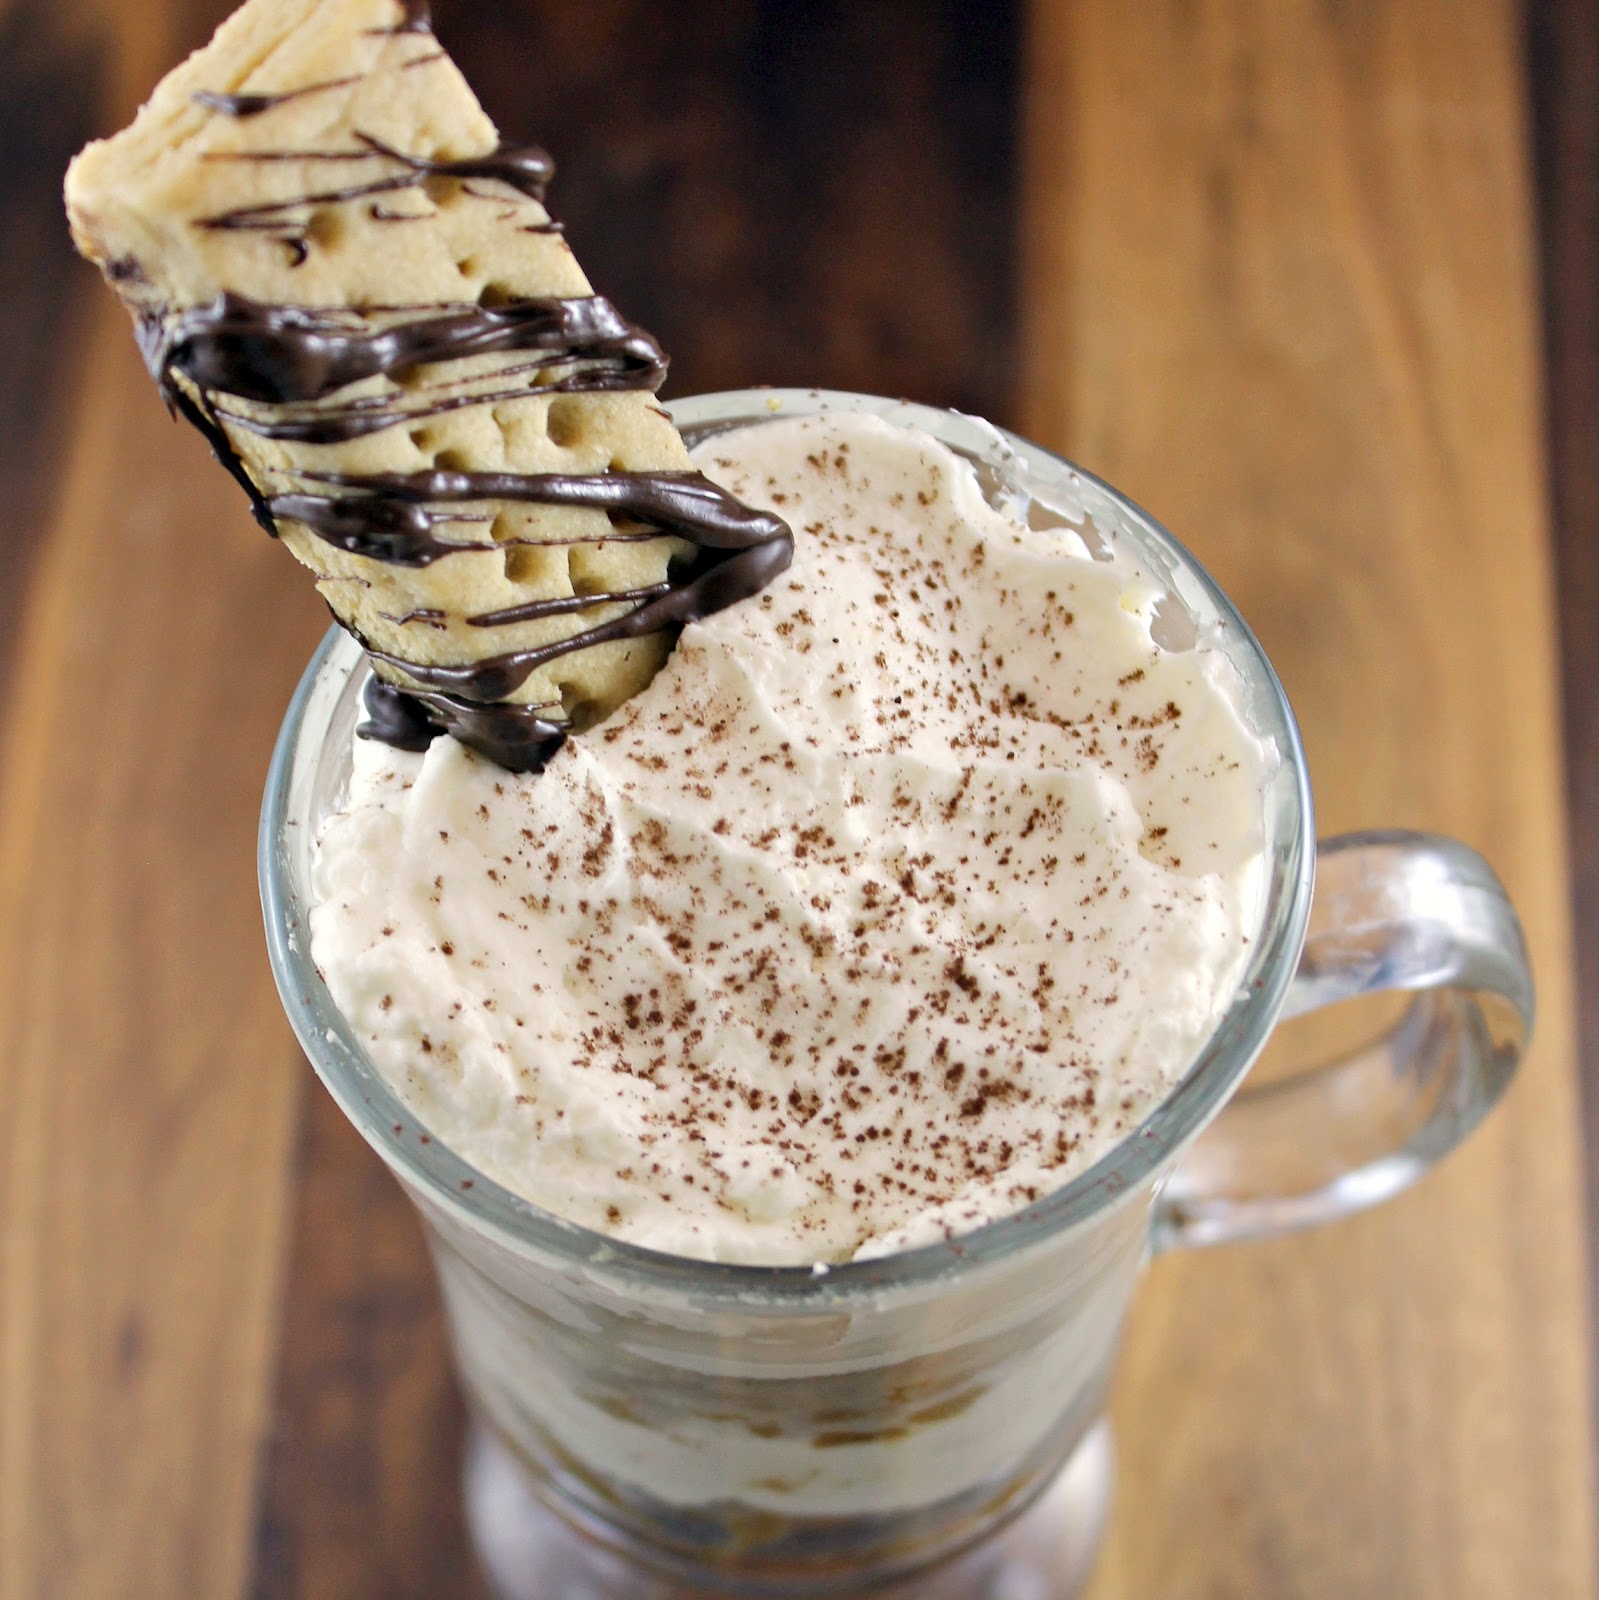
Last but not least, I made what I’ve dubbed a Toasted Martini.
Ingredients:
2 ounces chocolate liqueur
1 ounce espresso (cooled)
1 ounce roasted hazelnut syrup
Add ice to a shaker. Add the chocolate liqueur, espresso, and syrup and shake. Strain into a martini glass rimmed with cocoa powder.
Do I even have to mention how amazing this was? I could drink this all day. It was like a grown up chocolate milk, definitely my favorite. The hazelnut flavor was amazing!
Overall I think I gravitated more to the syrups that would go nicely in coffees (which is next on my list to try): Roasted Hazelnut, Vanilla, Caramel, and Coconut. But the fruit flavors were really nice as well! They are actually flavored with real fruit juice which is very noticeable. They don’t have that normal “syrupy” taste at all. Routin 1883 has tons of different flavors on their site so be sure to check them all out. They also have plenty of recipes if you’re looking for inspiration!
Exit mobile version