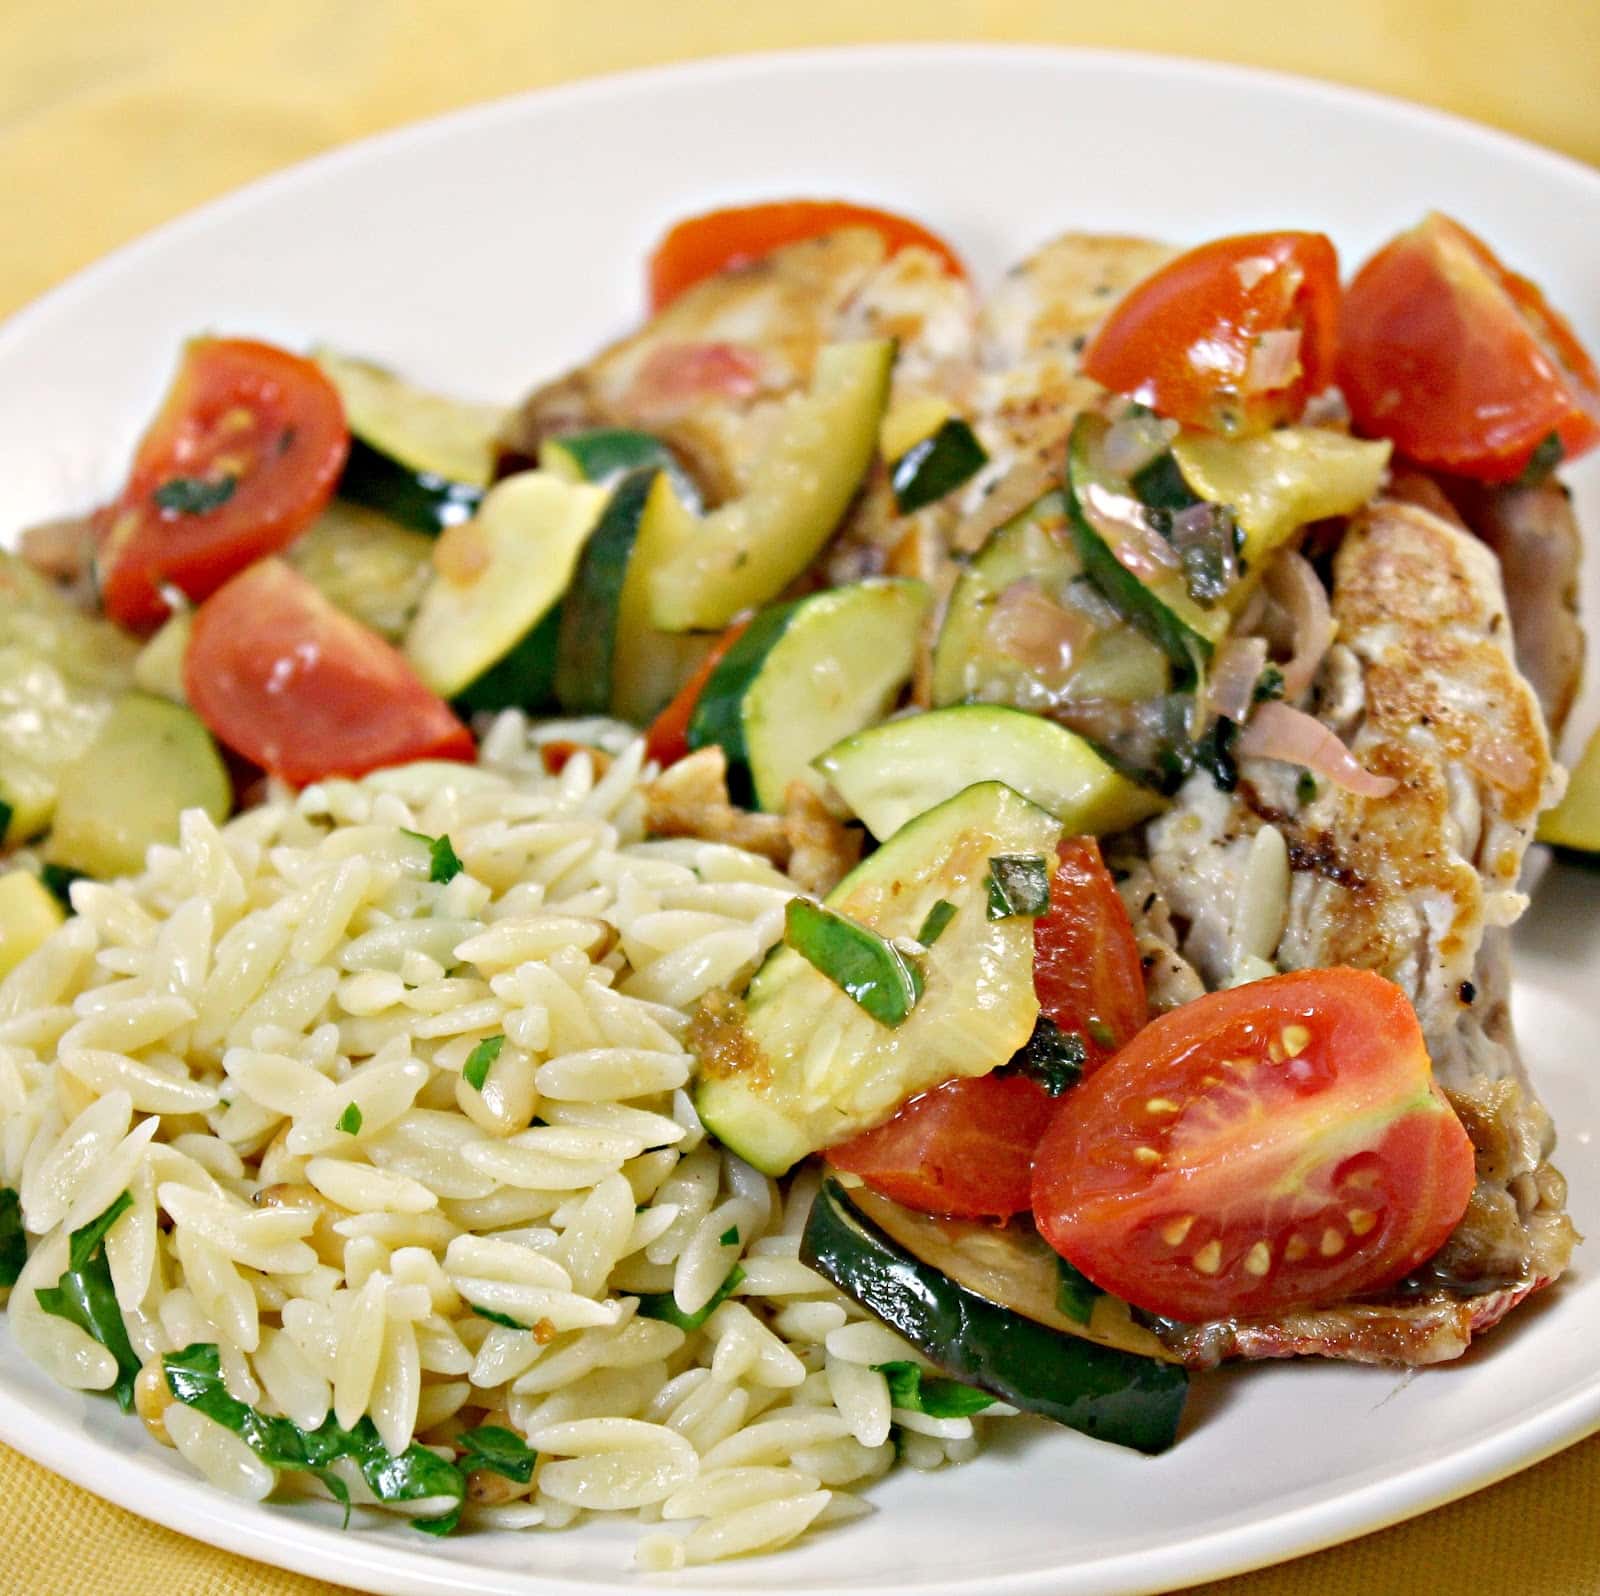
My CSA this year allows me to choose 6 items each week to be in my share. Every single time so far, I’ve chosen zucchini as one of the six. I just love it. But with 3-4 pieces of zucchini a week, I am absolutely in search of as many different recipes as I can find. Cooking Light’s latest issue had this wonderful recipe for Snapper with Zucchini and Tomato that I just had to try. They also suggest pairing it with some Parsley Orzo. Note: this recipe makes 2 servings. Multiply as needed.
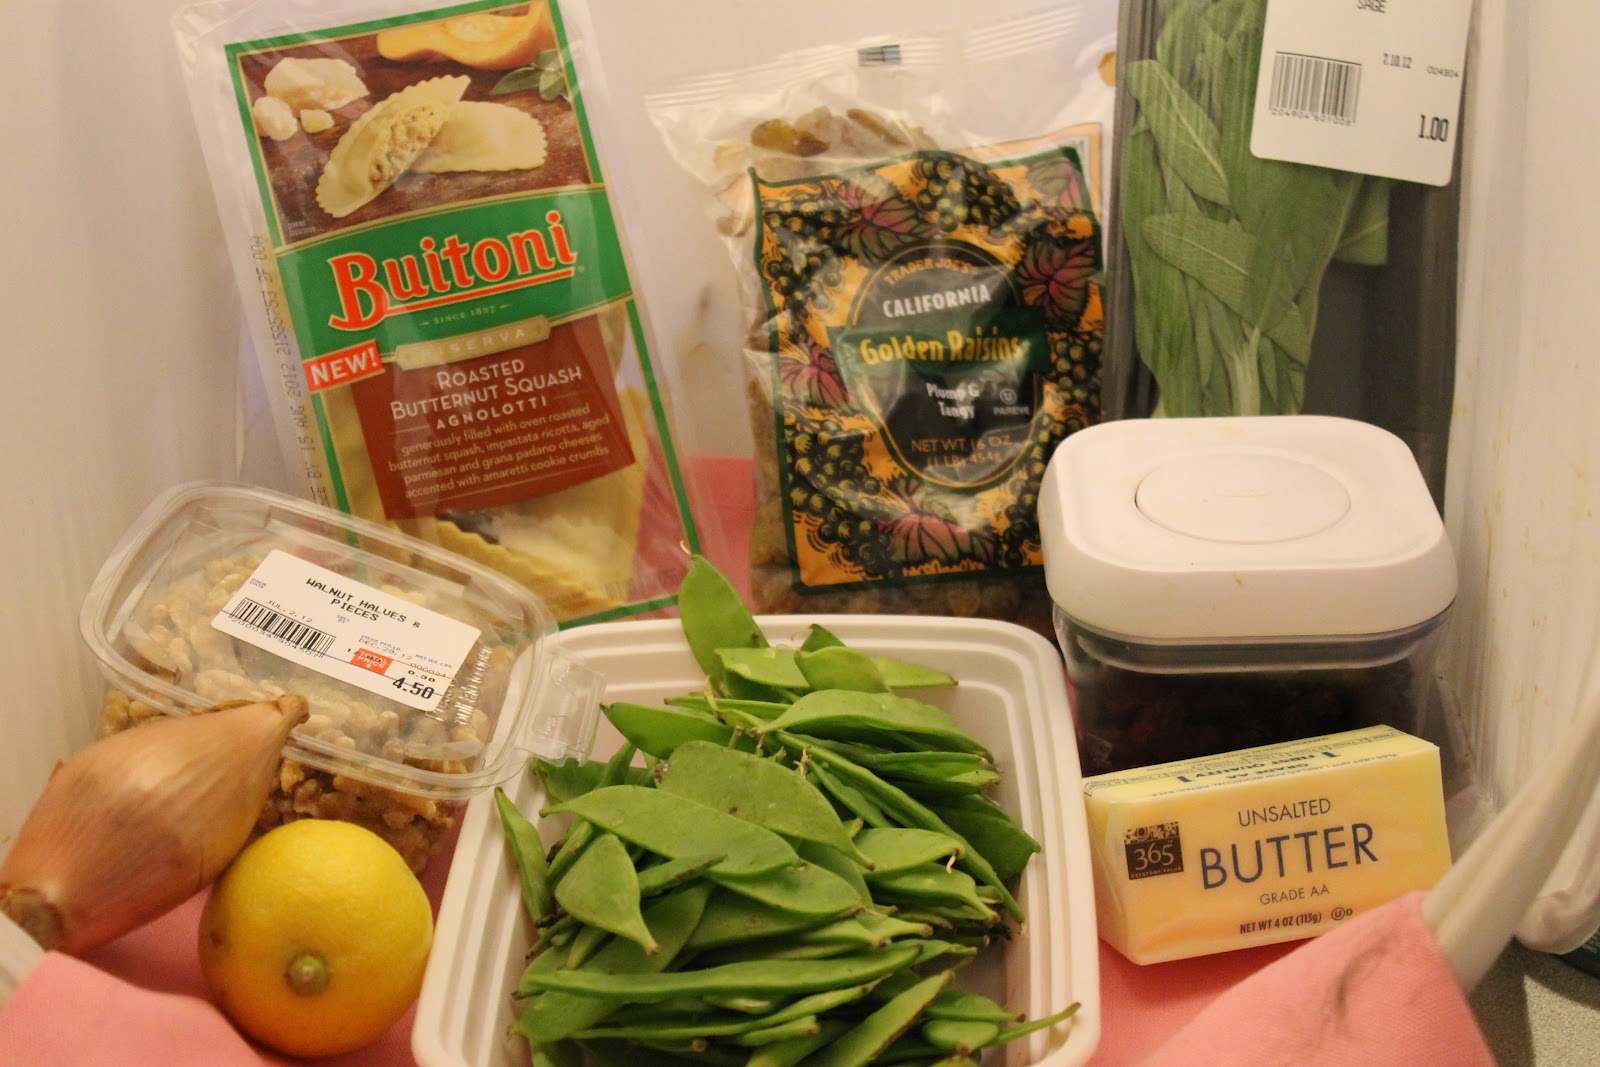
If you’ve been following my blog for a while, you might have picked up on my obsession with pumpkin and butternut squash. I attempt to limit my gourd intake to the September and October months, but every now and then I still need my fix outside of those months. Butternut squash seems to be more socially acceptable, especially in pasta form. Buitoni’s Butternut Squash Agnolotti is the perfect way for me to have this delicious ingredient year-round.
Agnolotti is just a type of ravioli. This specific agnolotti is a “half-moon pasta filled with oven-roasted butternut squash, Impastata Ricotta, aged Parmesan and Grana Padano cheeses, accented with amoretti cookie crumbs. I traditionally use a brown butter sage sauce with butternut squash ravioli because they are a perfect pair. I wanted to try something a little different with this agnolotti, so I instead made a cold pasta salad. It has been so unbearably hot in Philadelphia that I thought this would be a perfect (and timely) twist.Also, don’t forget to enter my giveaway to win a bunch of Buitoni goodies and free Buitoni pasta!
Ingredients:
1 package of Buitoni’s Butternut Squash Agnolotti
½ cup butter
1 shallot, chopped
1 tablespoon fresh sage leaves, roughly chopped
½ cup walnuts, toasted and roughly chopped
A handful of golden raisins, or to taste
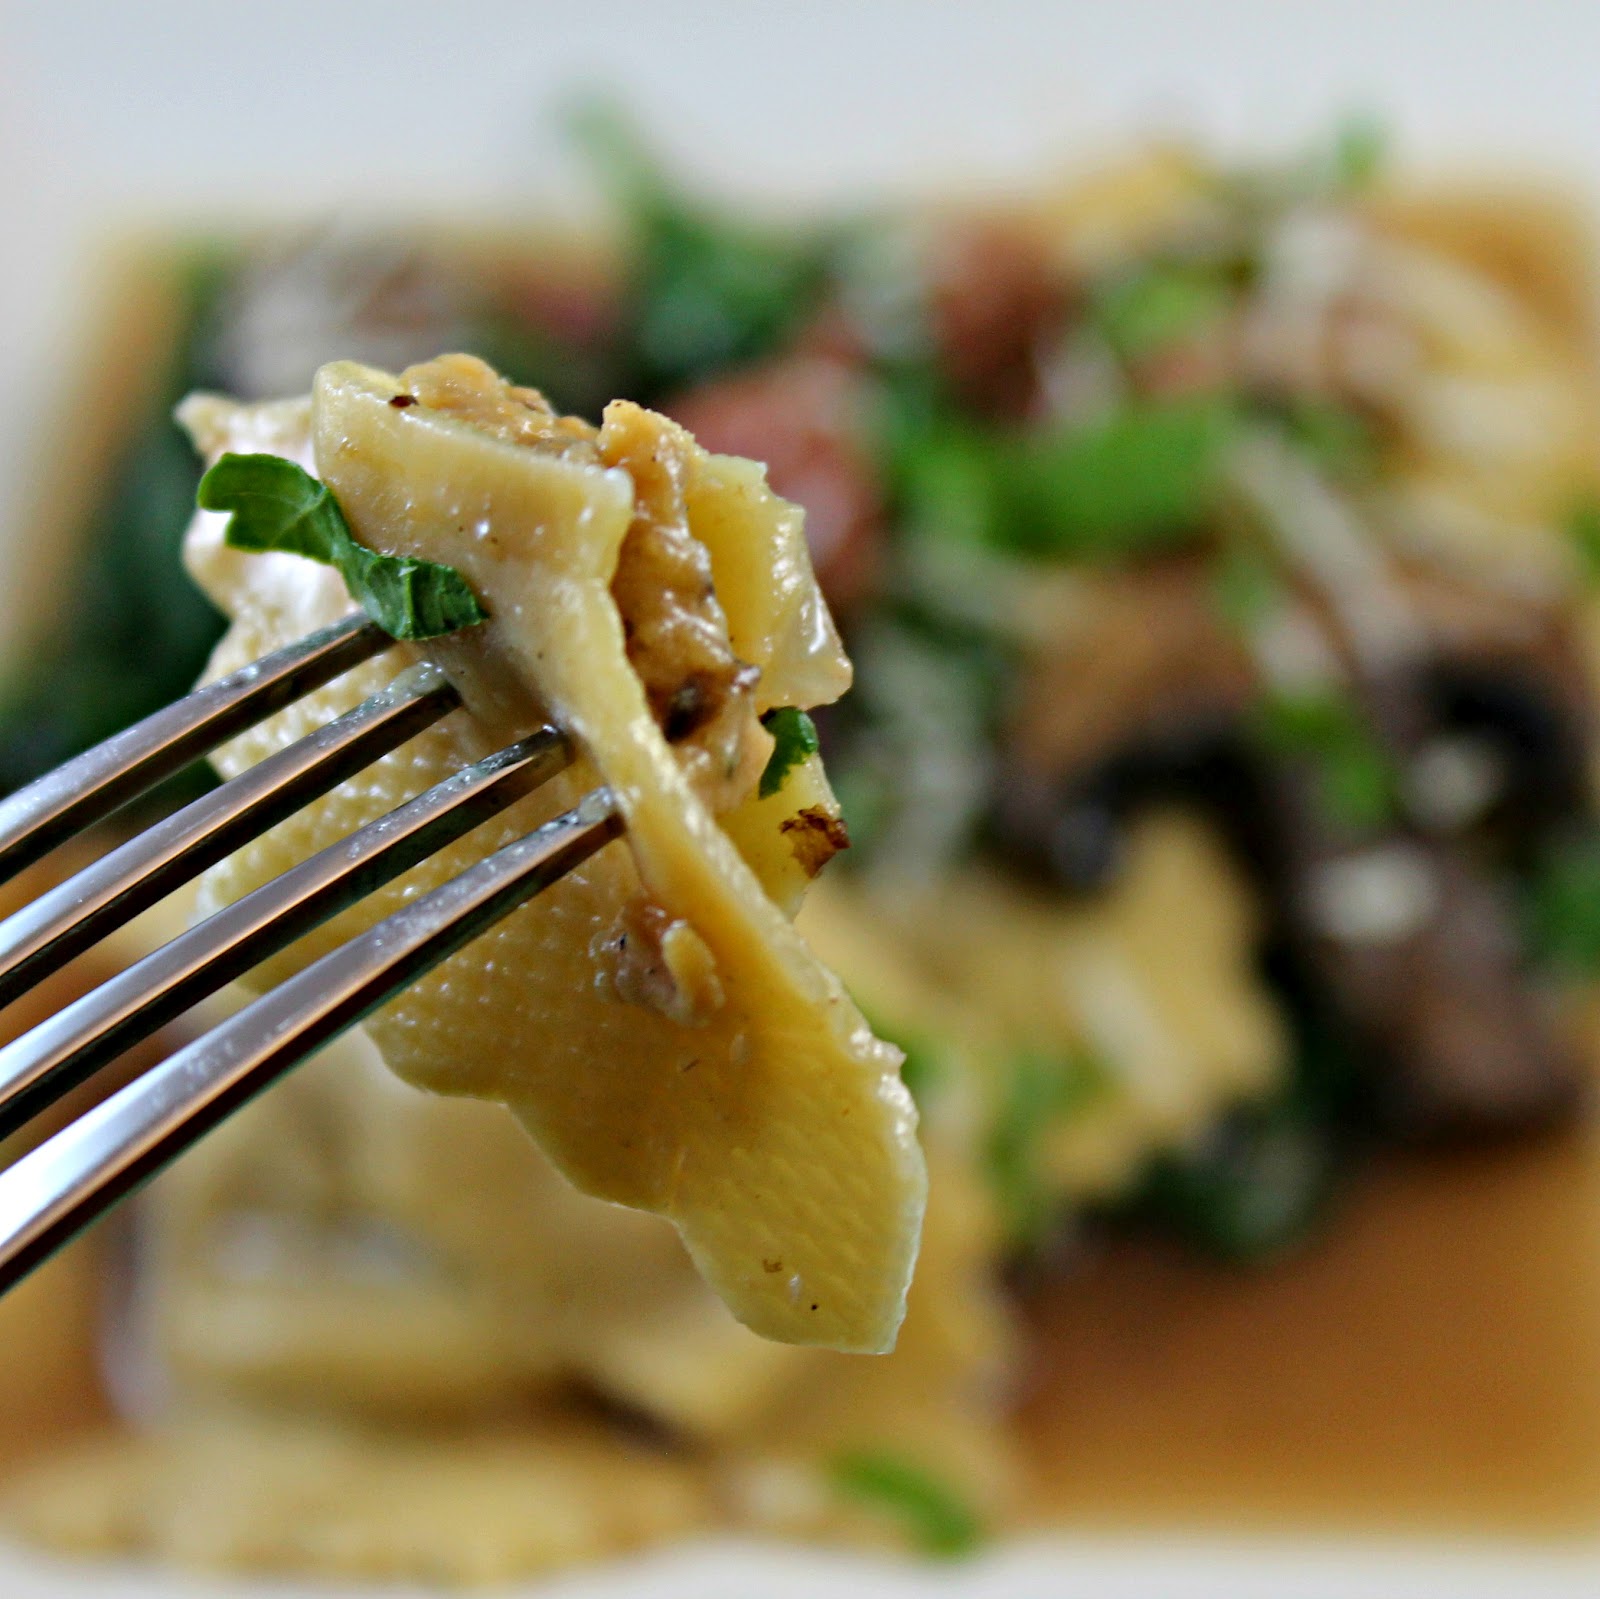
I am a pasta addict. I love it. I will never ever be carb free because I don’t want to know what life is like without pasta. I am a huge fan of fresh pasta because 1. I personally think it tastes better and 2. takes about half the time to cook. When Buitoni contacted me about a new ravioli they were introducing (it should be available in early July), I was already sold. But then they told me what kind of ravioli it is: Chicken Marsala Ravioli. Chicken Marsala is one of my ultimate favorite recipes so I was beyond excited to work with this ravioli!
The Ravioli, “generously filled with all natural white meat chicken, roasted portobello mushrooms and caramelized onions with impastata ricotto, aged parmesan, and asiago cheeses accented with marsala wine”, is one of Buitoni’s new Riserva line of pastas. Other pastas include: Butternut Squash Agnolotti (which I will have a post on soon!), Chicken and Four Cheese Ravioli, Spicy Beef and Sausage Ravioli, Quattro Formaggi Agnolotti, and Wild Mushroom Agnolotti. How fantastic do they all sound?? The Butternut Squash Agnolotti and the Chicken Marsala Ravioli are only available in the Northeast, but the rest are available in grocery stores nationwide. Look for them in the refrigeration section, you can see if your store carries Buitoni products here.
This pasta would probably be fantastic just with a light butter sauce, but I decided to highlight the flavors of the ravioli that were already present in the pasta through a marsala sauce with mushrooms. Caramelized onions and marsala can both be pretty sweet, so I added some spinach to the mix to counteract that. Buitoni was also generous enough to send me a Buitoni apron, a Buitoni cutting board, and a few free coupons so one lucky winner can try these new pastas themselves! More information is below…
Ingredients:
1 package of Buitoni Chicken Marsala Ravioli
1 tablespoon plus 1 teaspoon olive oil, divided
1 shallot, minced
2 garlic cloves (or 1 garlic scape), minced
1 package of baby bella mushrooms, sliced
1 package of shiitake mushrooms, stems removed and sliced
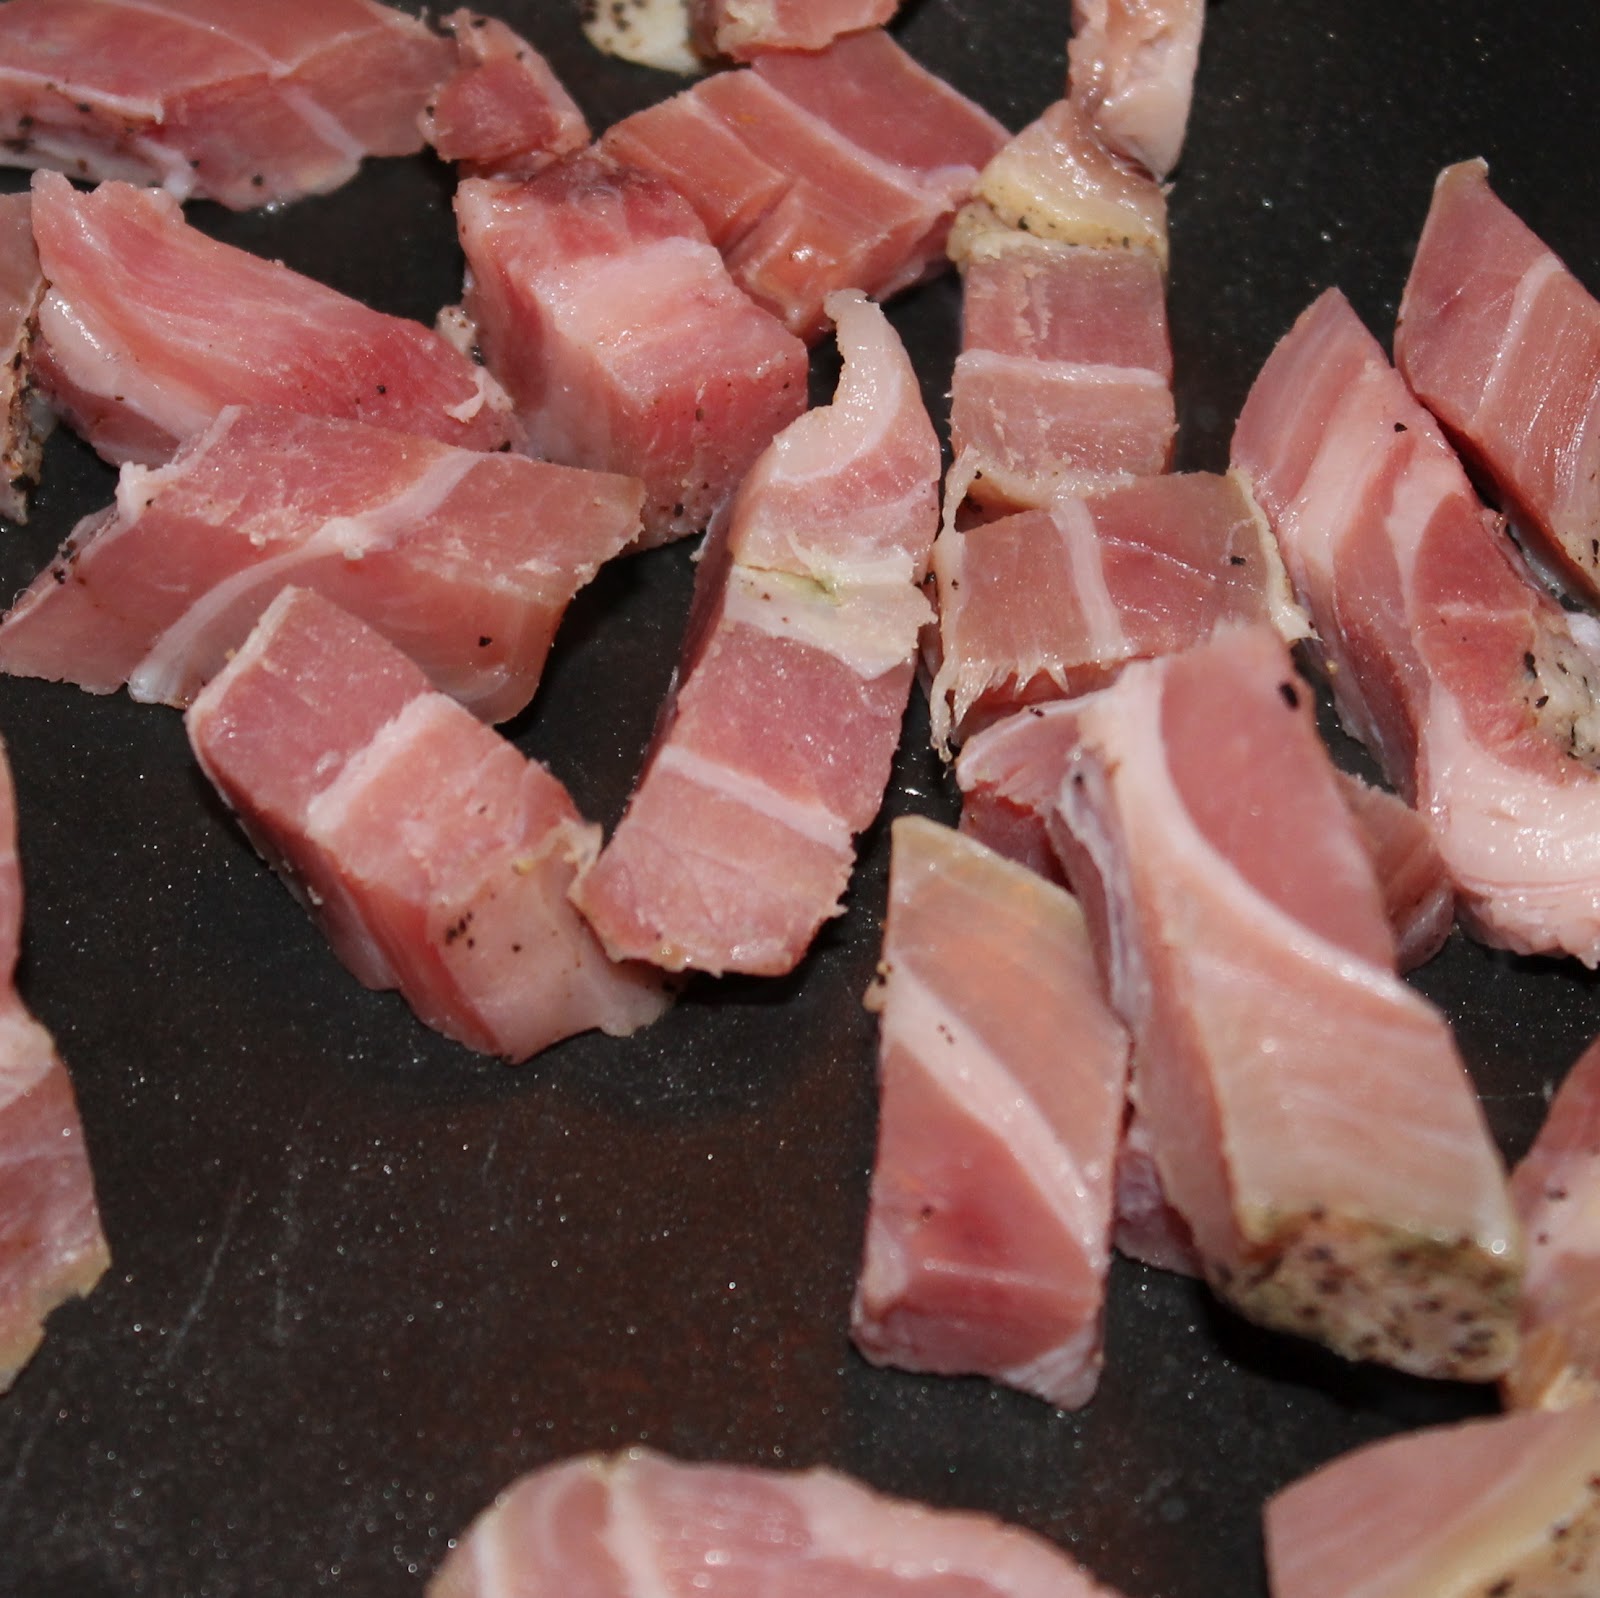
1/4 lb pancetta, cubed (or prosciutto, that was actually my original plan!)
Salt and pepper, to taste
1 cup baby spinach leaves
1 cup Marsala wine
1/2 cup vegetable or chicken broth
1/4 tsp or less of truffle oil (optional)
Parmesan cheese, grated, as garnish
Parsley, chopped, as garnish
Begin by bringing a large pot of water to a boil.
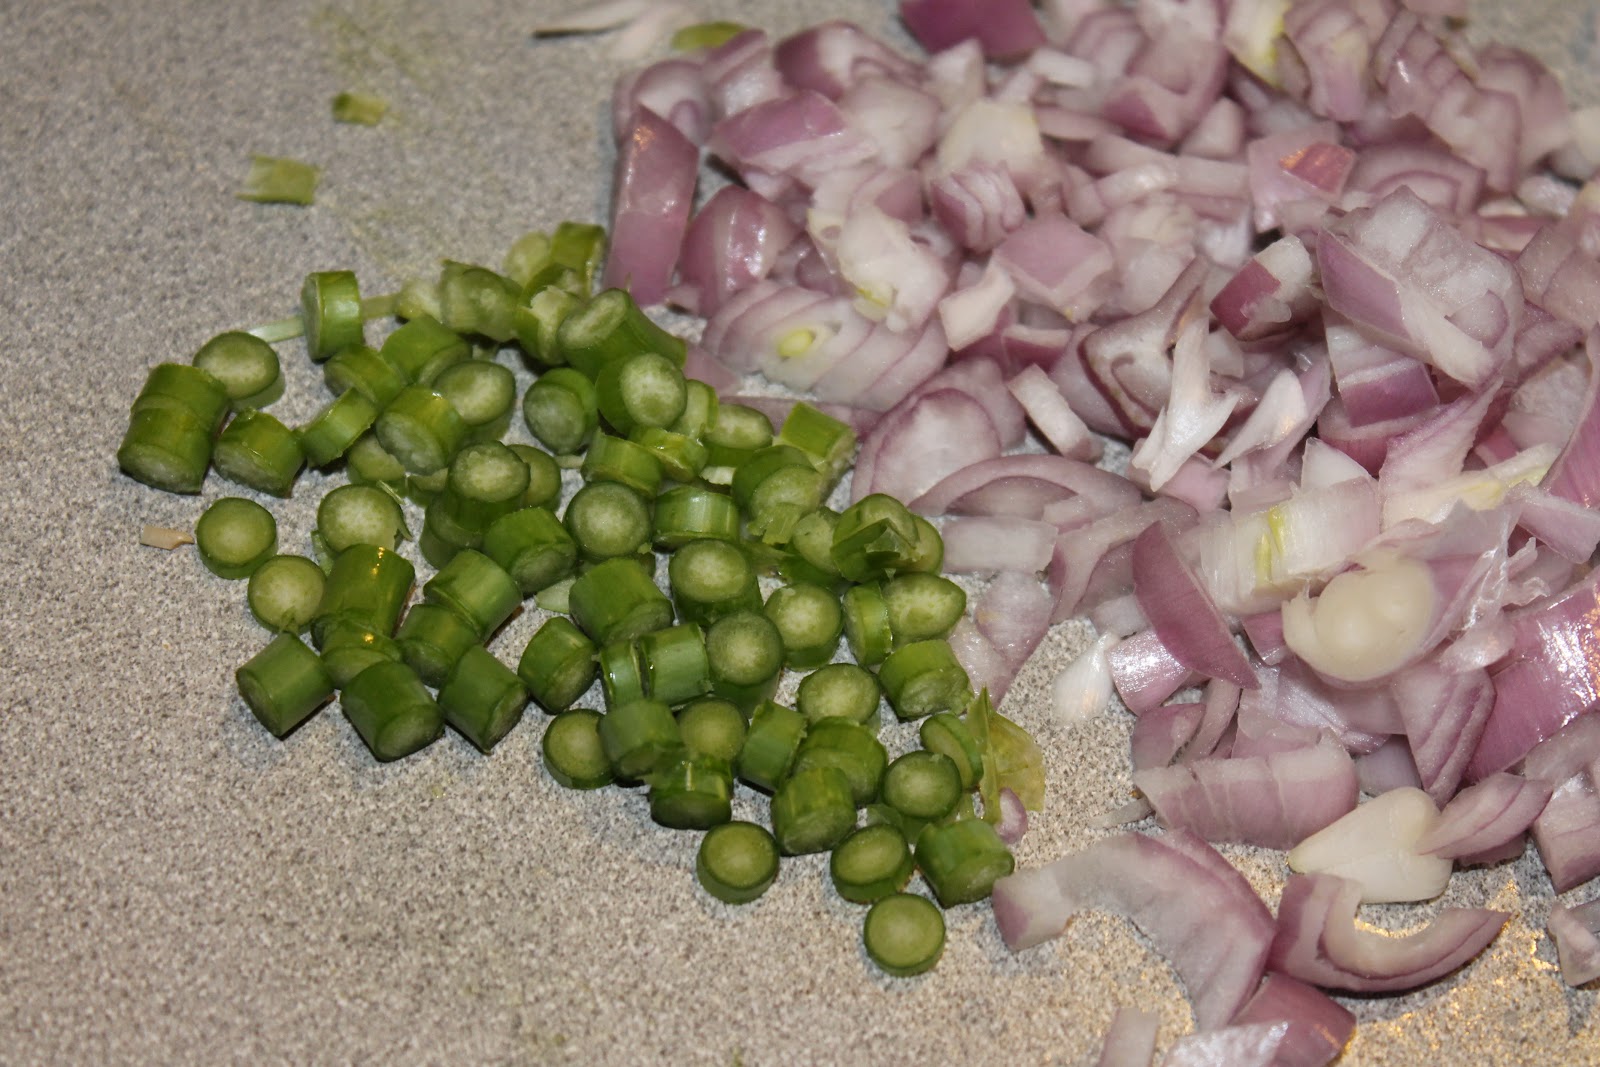
While waiting for the pot of water to boil, mince your shallot and garlic. I used a garlic scape from my CSA share, it’s perfectly fine to use garlic cloves. Slice your mushrooms. Be sure to remove the stems of the shiitake mushrooms, they can be really woody tasting.
In a large saute pan, add 1 tablespoon olive oil over medium heat. Add the shallot and garlic and cook for 1-2 minutes.
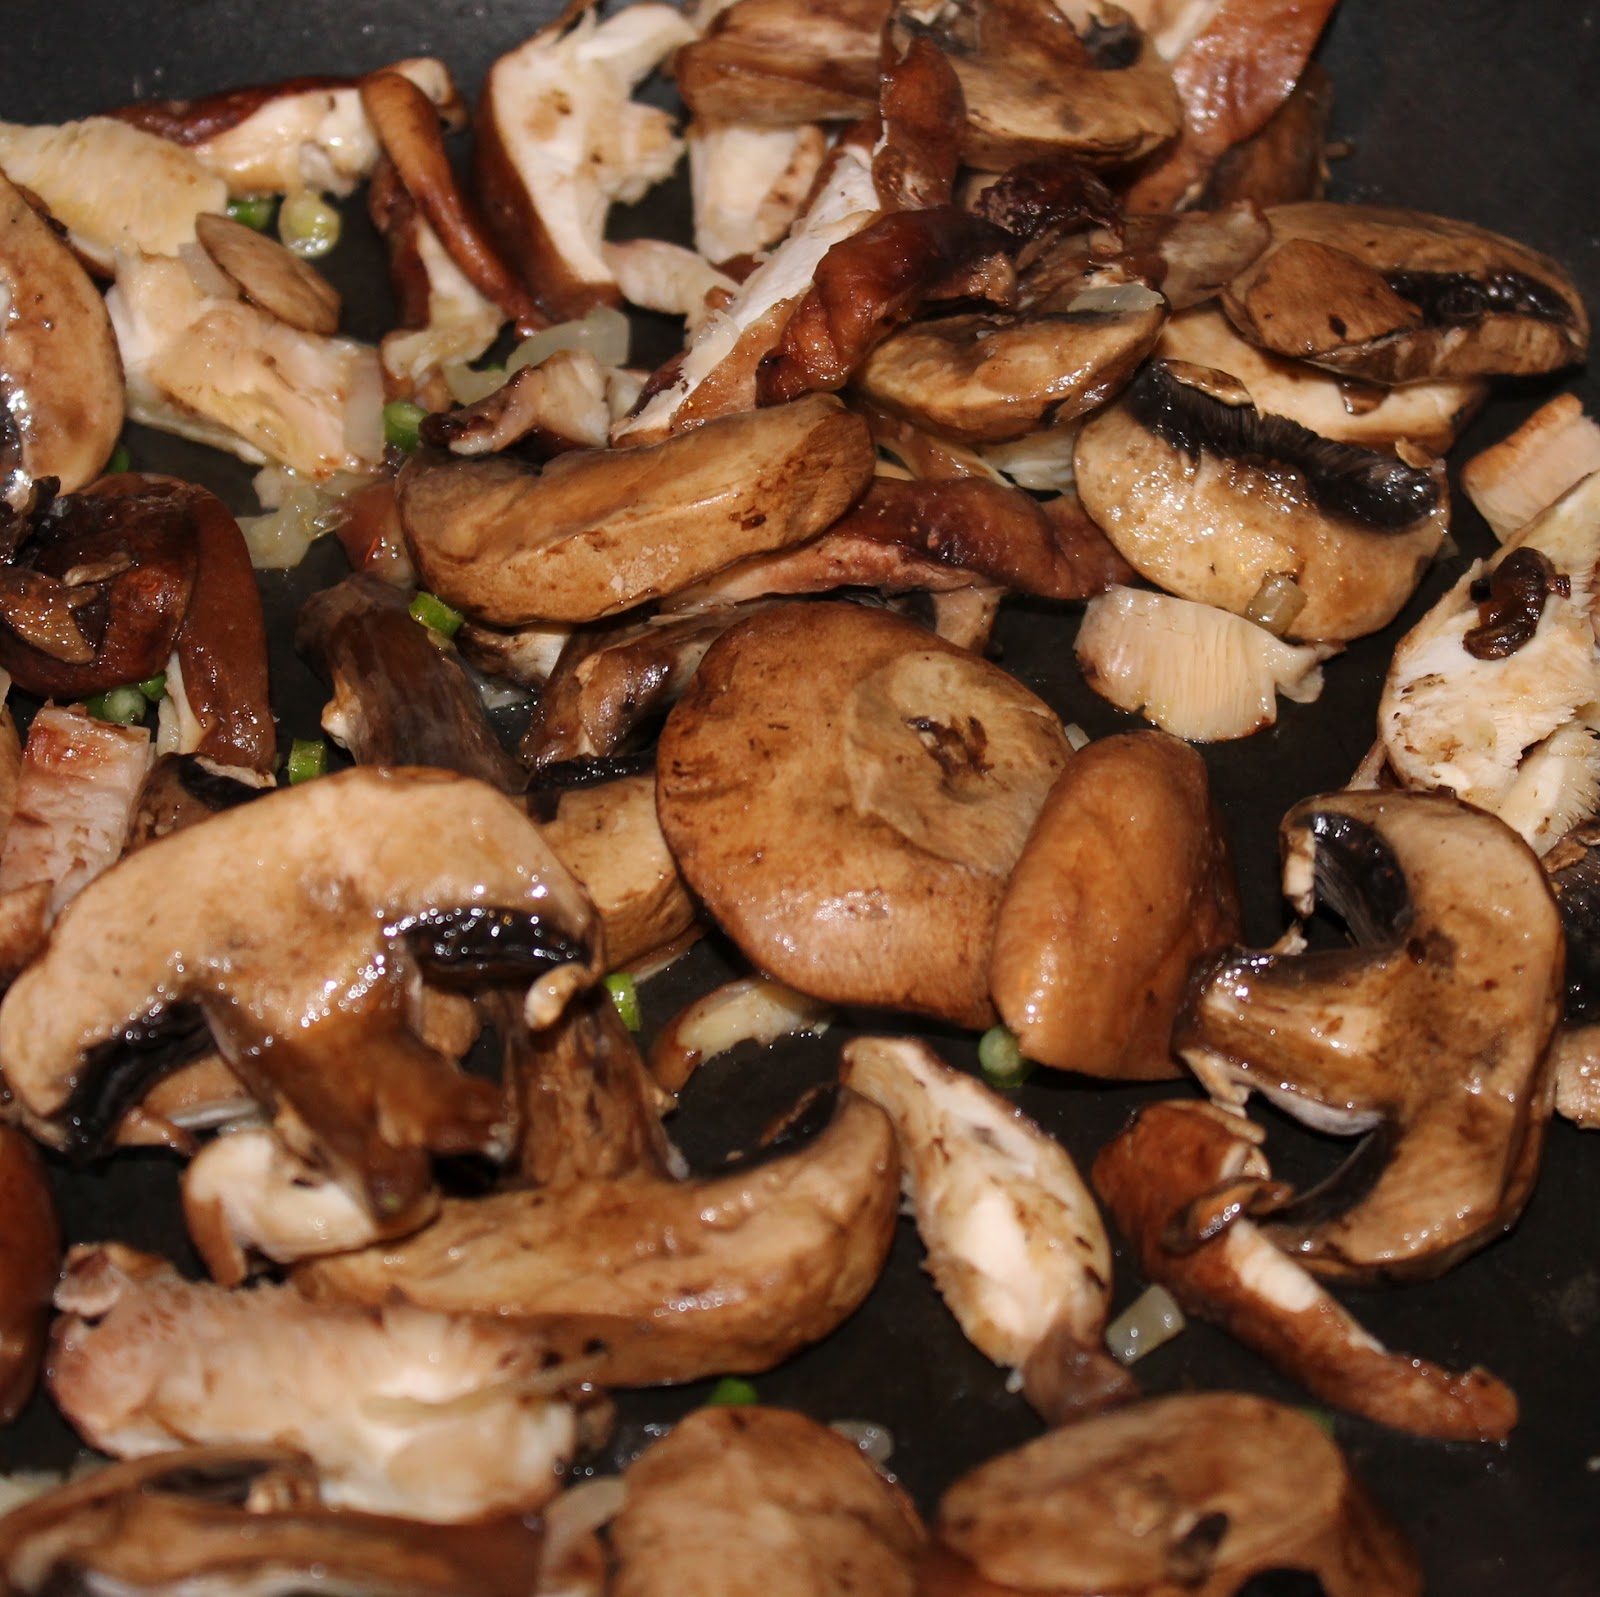
Add the mushrooms and season with salt and pepper. (You’re adding pancetta or prosciutto to this dish so have a light hand with the salt. You just need some to draw the water out of the mushrooms).
Cook, stirring occasionally, until the mushrooms cook down and the liquid has evaporated.
While waiting for the mushrooms to cook down, cube the pancetta and add to a small saute pan over medium high heat. Cook for 4 minutes.
Your pot of water should hopefully be boiling. Add 1 teaspoon olive oil to the pot of boiling water and add the ravioli. Cook for 6 minutes and drain.
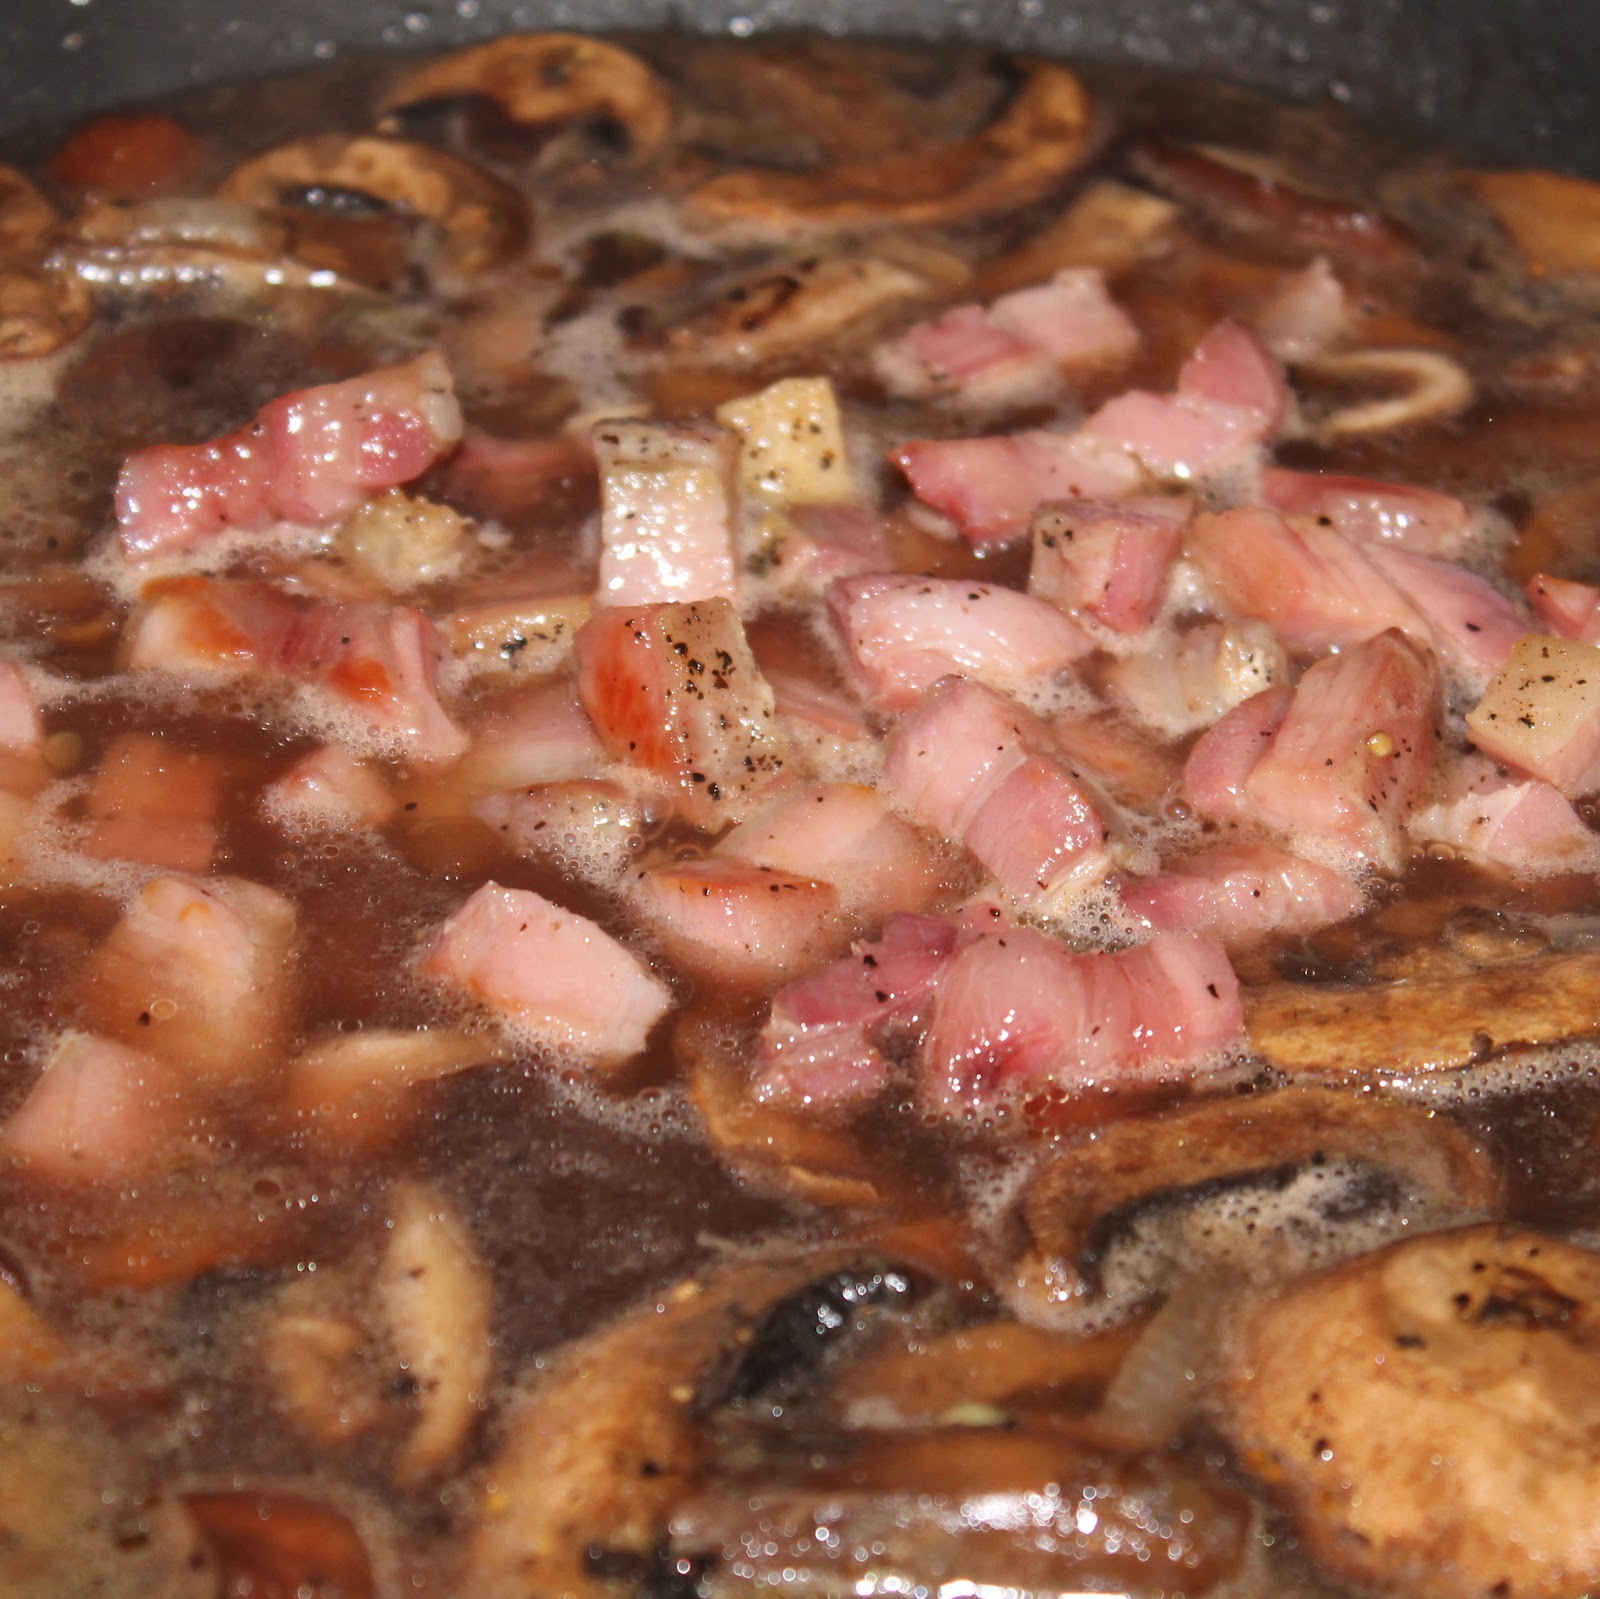
Add the Marsala and the broth to the mushrooms. Bring to a simmer and cook for 5 minutes. Add the pancetta to the mixture when it is finished cooking.
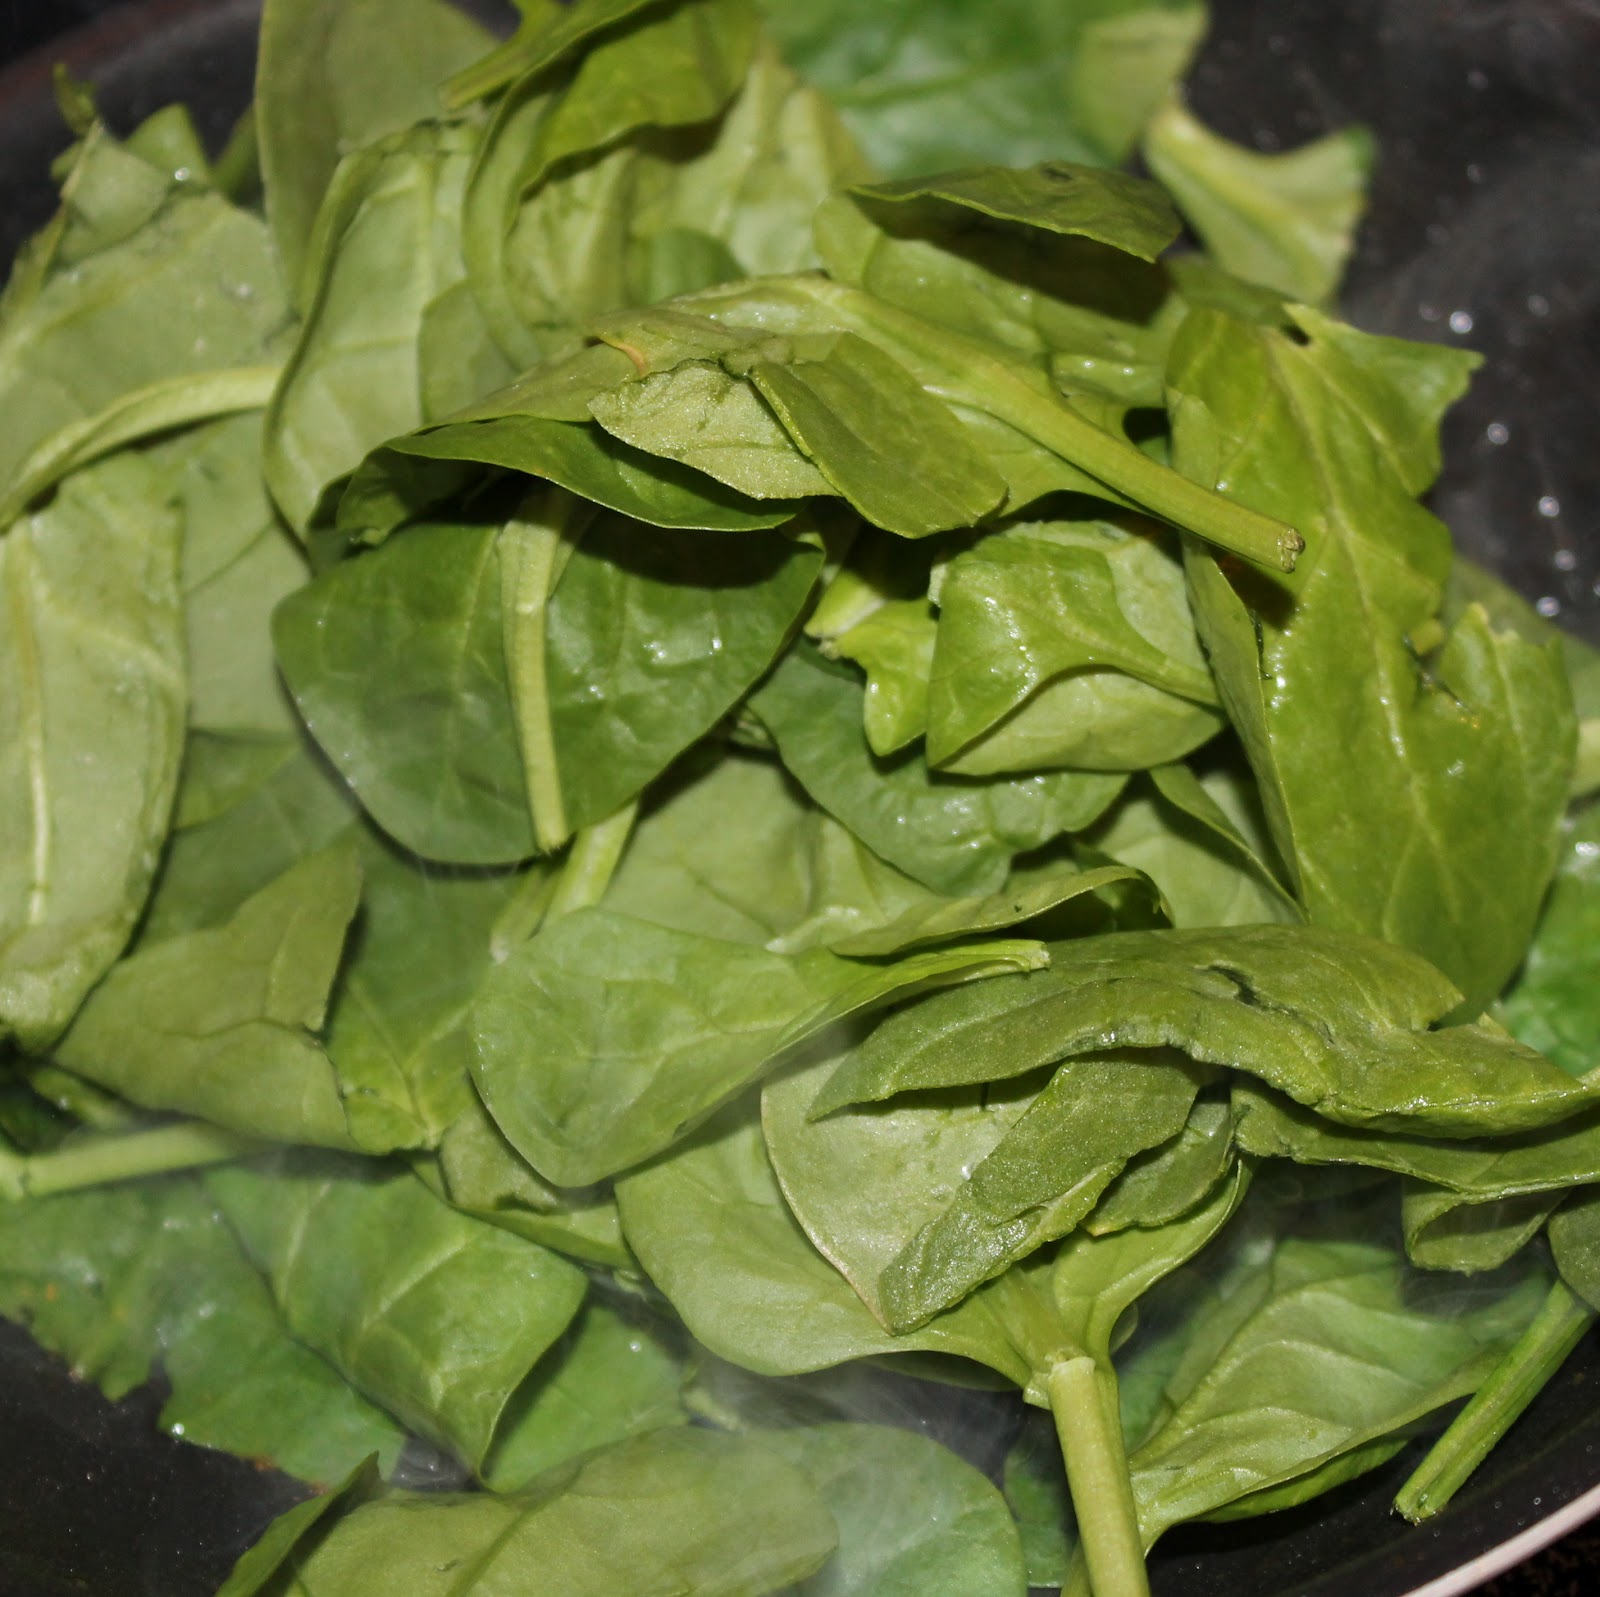
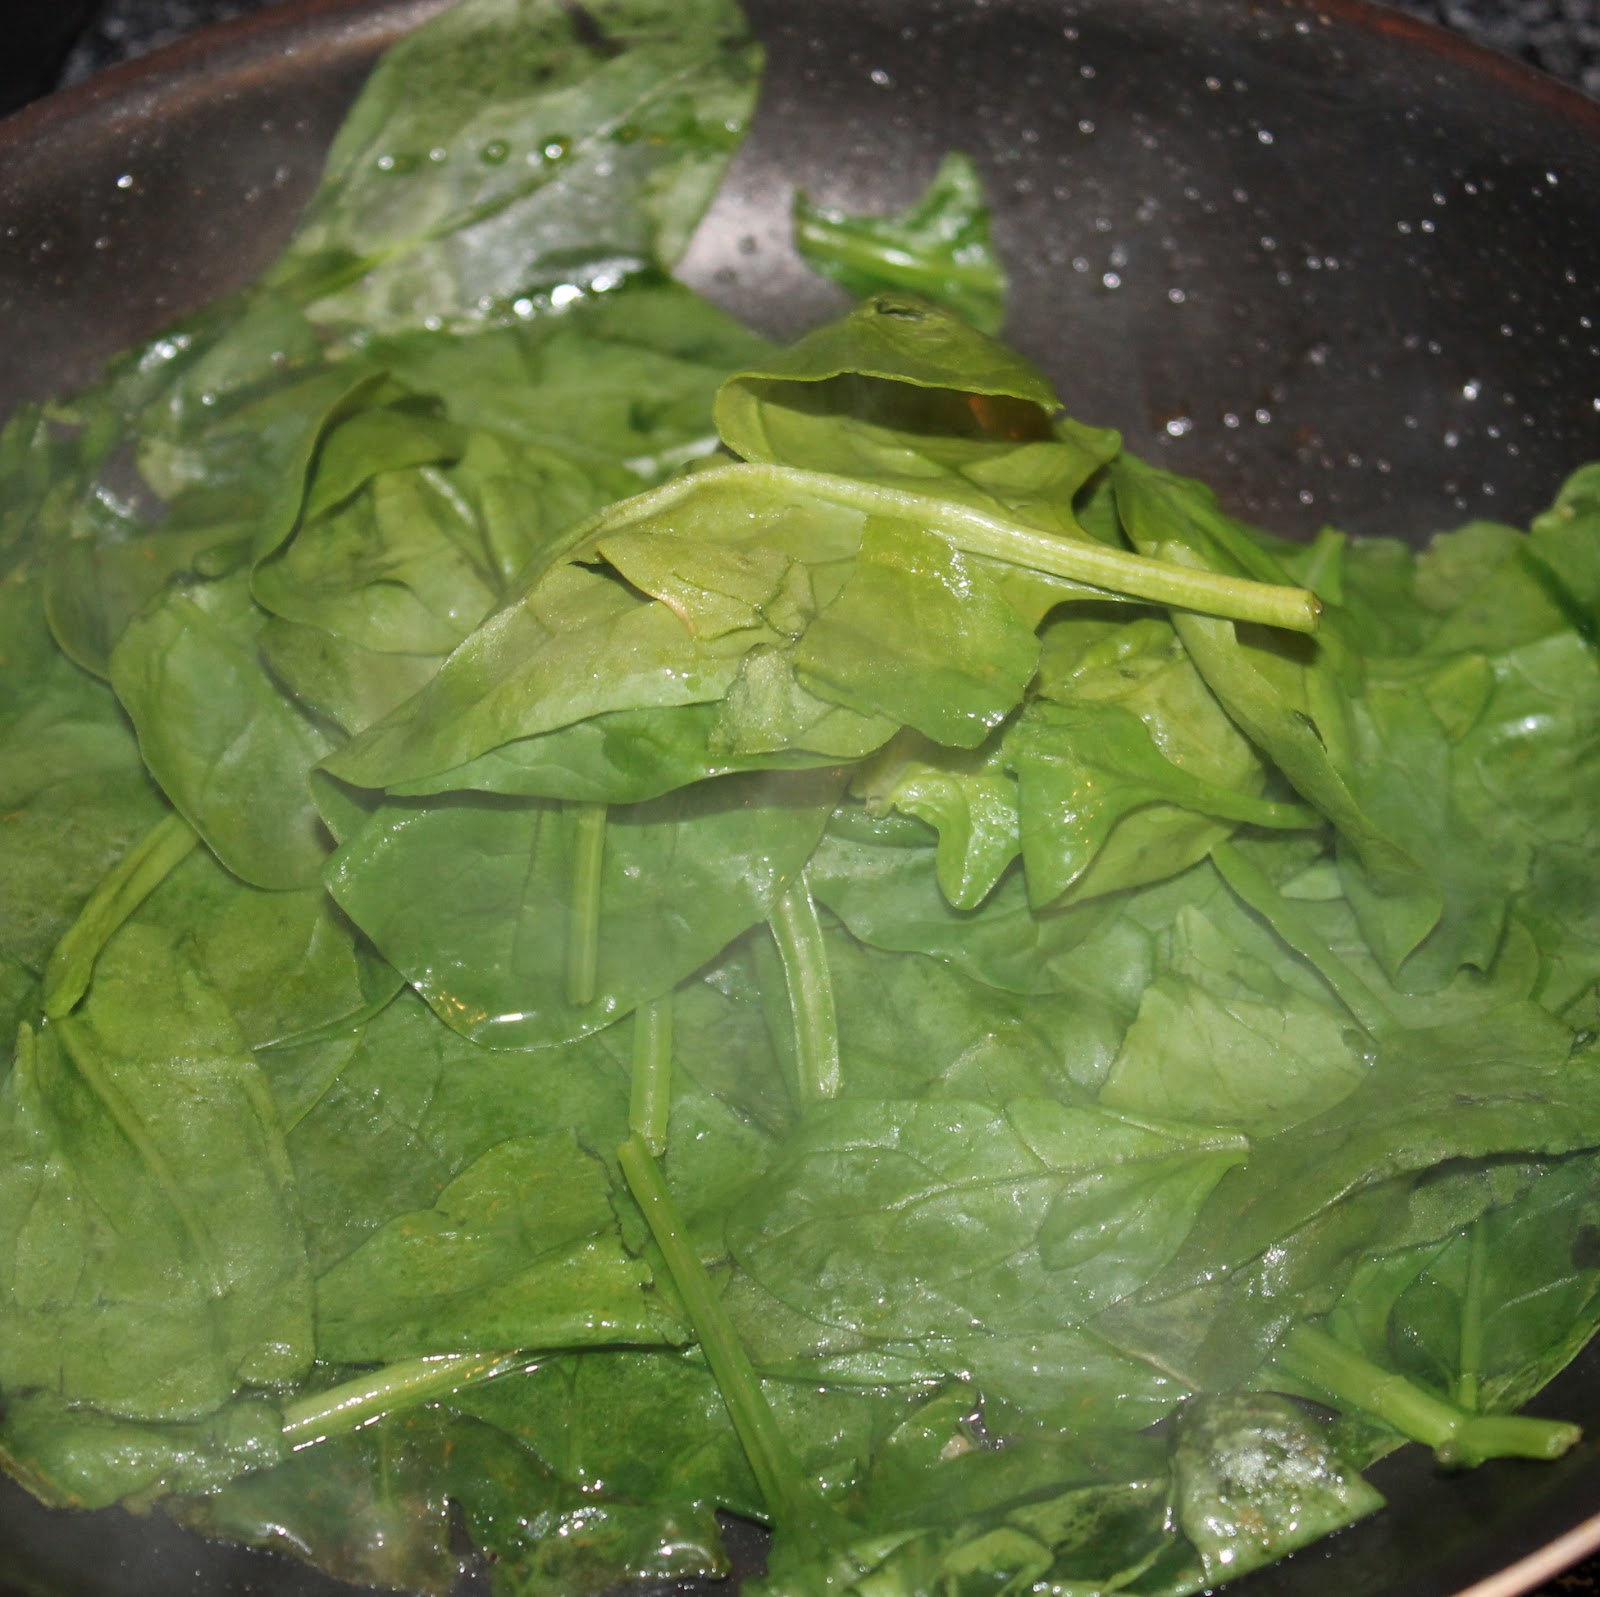
Don’t wipe down the saute pan that had the pancetta. Just add the 1 cup of spinach leaves and cover. Cook until wilted, about 1 minute.
Add the ravioli to the mushroom mixture and toss. Remove from heat, add a very slight amount of truffle oil if using, and mix in the wilted spinach.
To serve, add the ravioli to a plate. Spoon the sauce, mushrooms, spinach and pancetta over the pasta. Top with parsley and Parmesan cheese.
The pancetta adds the perfect amount of saltiness to the dish to bring out the other flavors. The spinach works to counteract the sweetness of the Marsala. Mushrooms add an earthy flavor to the whole dish.
I loved the ravioli by the way. It has a ton of flavor and really did a great job of capturing the flavor of chicken marsala into a pasta! My boyfriend absolutely loved this recipe. In fact, he ate a good three servings of this in one sitting!
What kind of sauce would you serve with your Chicken Marsala Ravioli?
Now on to the giveaway. Please be sure to use the widget below to enter. Each person can enter up to 7 times, but only the first entry (writing in the comment section what Buitoni pasta you want to try and how you’d prepare it) is mandatory. Good luck!!
Chicken Marsala Ravioli with Spinach and Mushrooms
Total Time: 30 minutes
Yield: 4 servings
Ingredients
1 package of Buitoni Chicken Marsala Ravioli
1 tablespoon plus 1 teaspoon olive oil, divided
1 shallot, minced
2 garlic cloves (or 1 garlic scape), minced
1 package of baby bella mushrooms, sliced
1 package of shiitake mushrooms, stems removed and sliced
1/4 lb pancetta, cubed (or used prosciutto, that was actually my original plan!)
Salt and pepper, to taste
1 cup baby spinach leaves
1 cup Marsala wine
1/2 cup vegetable or chicken broth
1/4 tsp or less of truffle oil (optional)
Parmesan cheese, grated, as garnish
Parsley, chopped, as garnish
Instructions
Begin by bringing a large pot of water to a boil.
While waiting for the pot of water to boil, mince your shallot and garlic. I used a garlic scape from my CSA share, it’s perfectly fine to use garlic cloves. Slice your mushrooms. Be sure to remove the stems of the shiitake mushrooms, they can be really woody tasting.
In a large saute pan, add 1 tablespoon olive oil over medium heat. Add the shallot and garlic and cook for 1-2 minutes.
Add the mushrooms and season with salt and pepper. (You’re adding pancetta or prosciutto to this dish so have a light hand with the salt. You just need some to draw the water out of the mushrooms).
Cook, stirring occasionally, until the mushrooms cook down and the liquid has evaporated.
While waiting for the mushrooms to cook down, cube the pancetta and add to a small saute pan over medium high heat. Cook for 4 minutes.
Your pot of water should hopefully be boiling. Add 1 teaspoon olive oil to the pot of boiling water and add the ravioli. Cook for 6 minutes and drain.
Add the Marsala and the broth to the mushrooms. Bring to a simmer and cook for 5 minutes. Add the pancetta to the mixture when it is finished cooking.
Don’t wipe down the saute pan that had the pancetta. Just add the 1 cup of spinach leaves and cover. Cook until wilted, about 1 minute.
Add the ravioli to the mushroom mixture and toss. Remove from heat, add a very slight amount of truffle oil if using, and mix in the wilted spinach.
To serve, add the ravioli to a plate. Spoon the sauce, mushrooms, spinach and pancetta over the pasta. Top with parsley and Parmesan cheese.
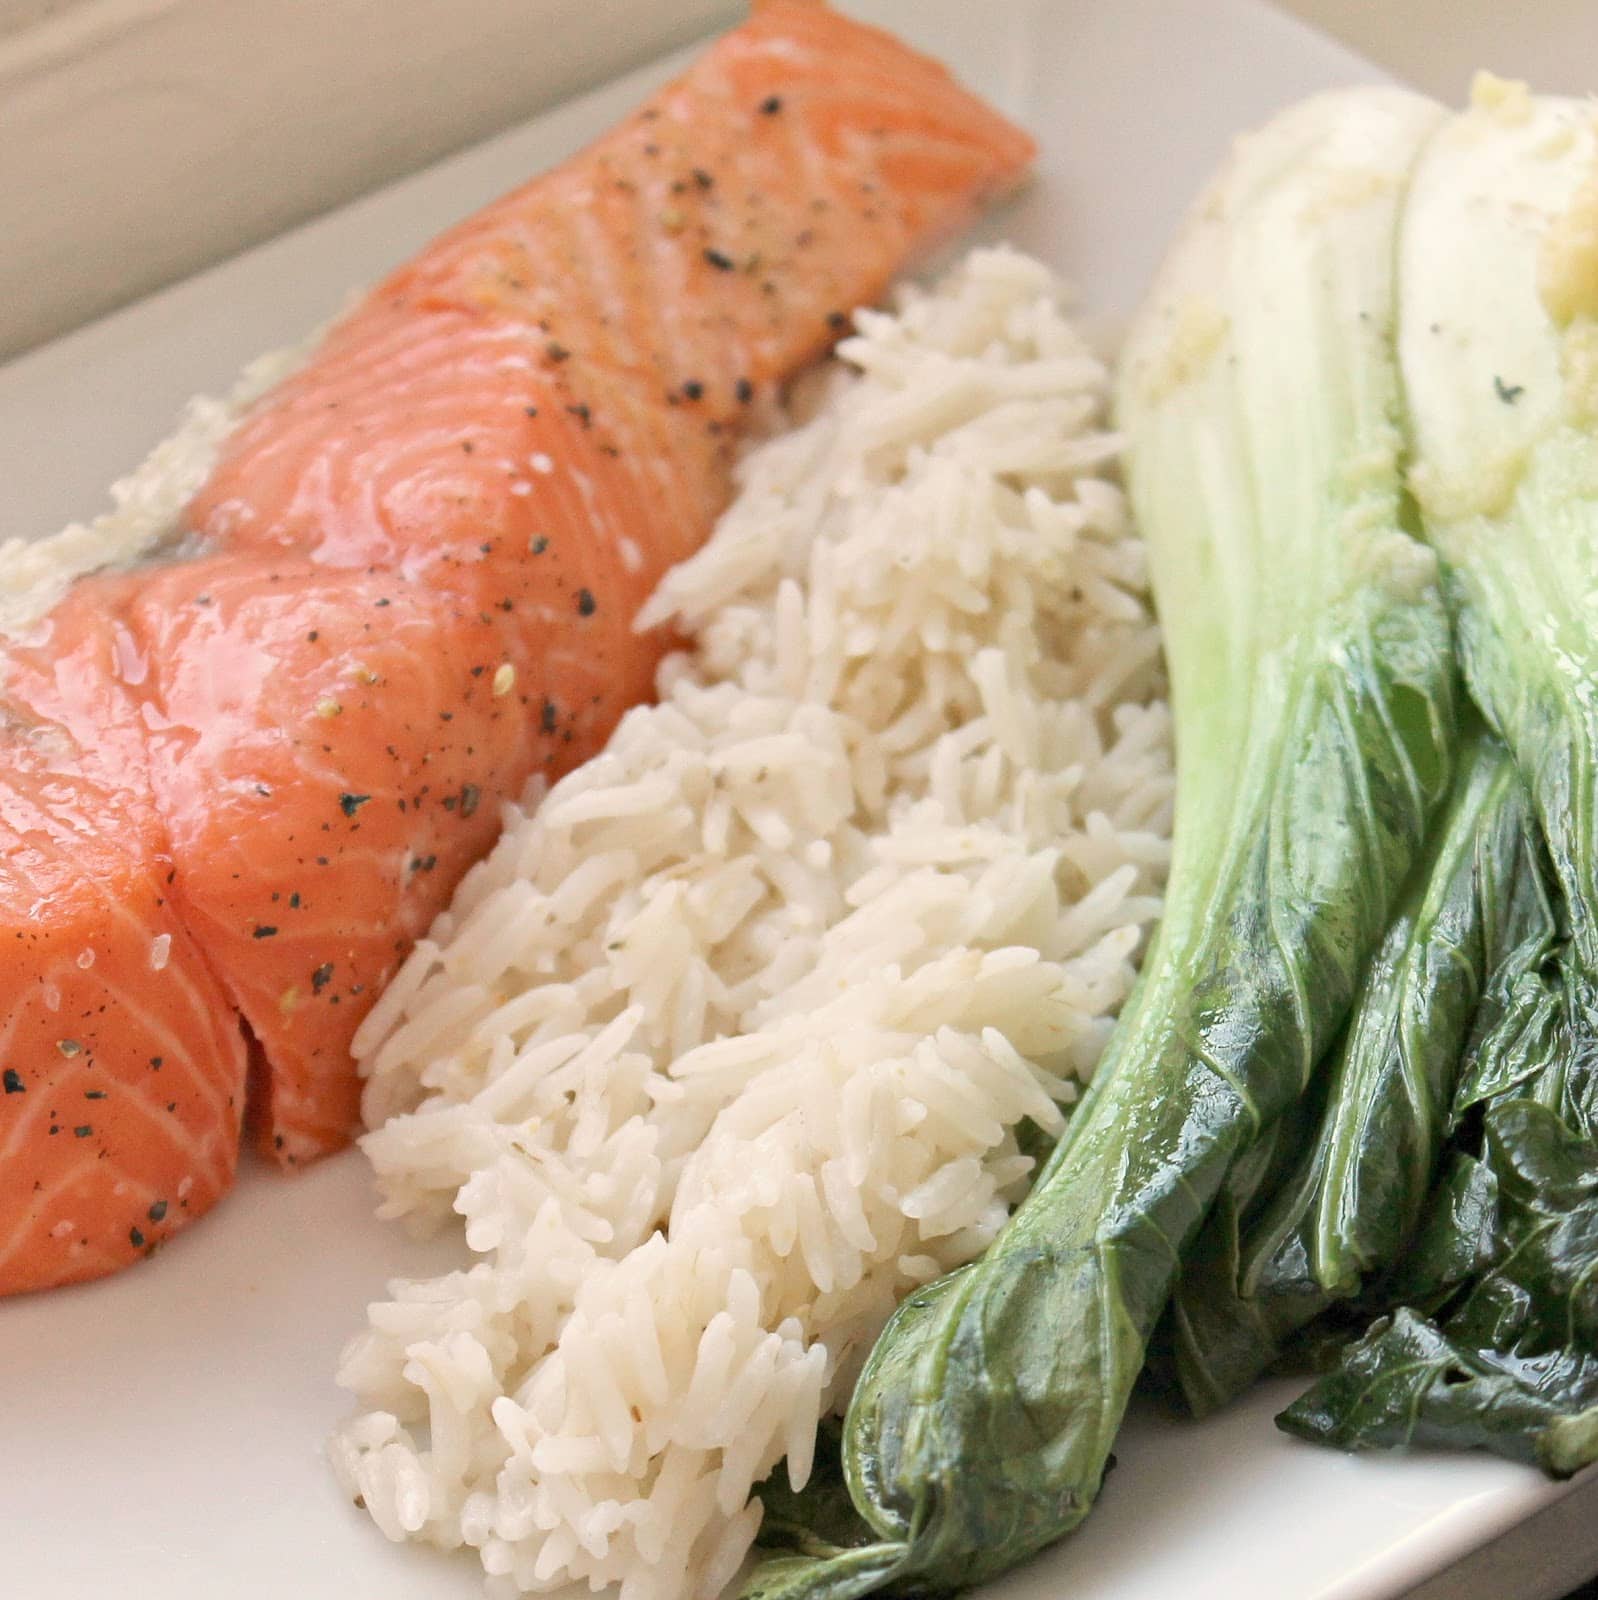
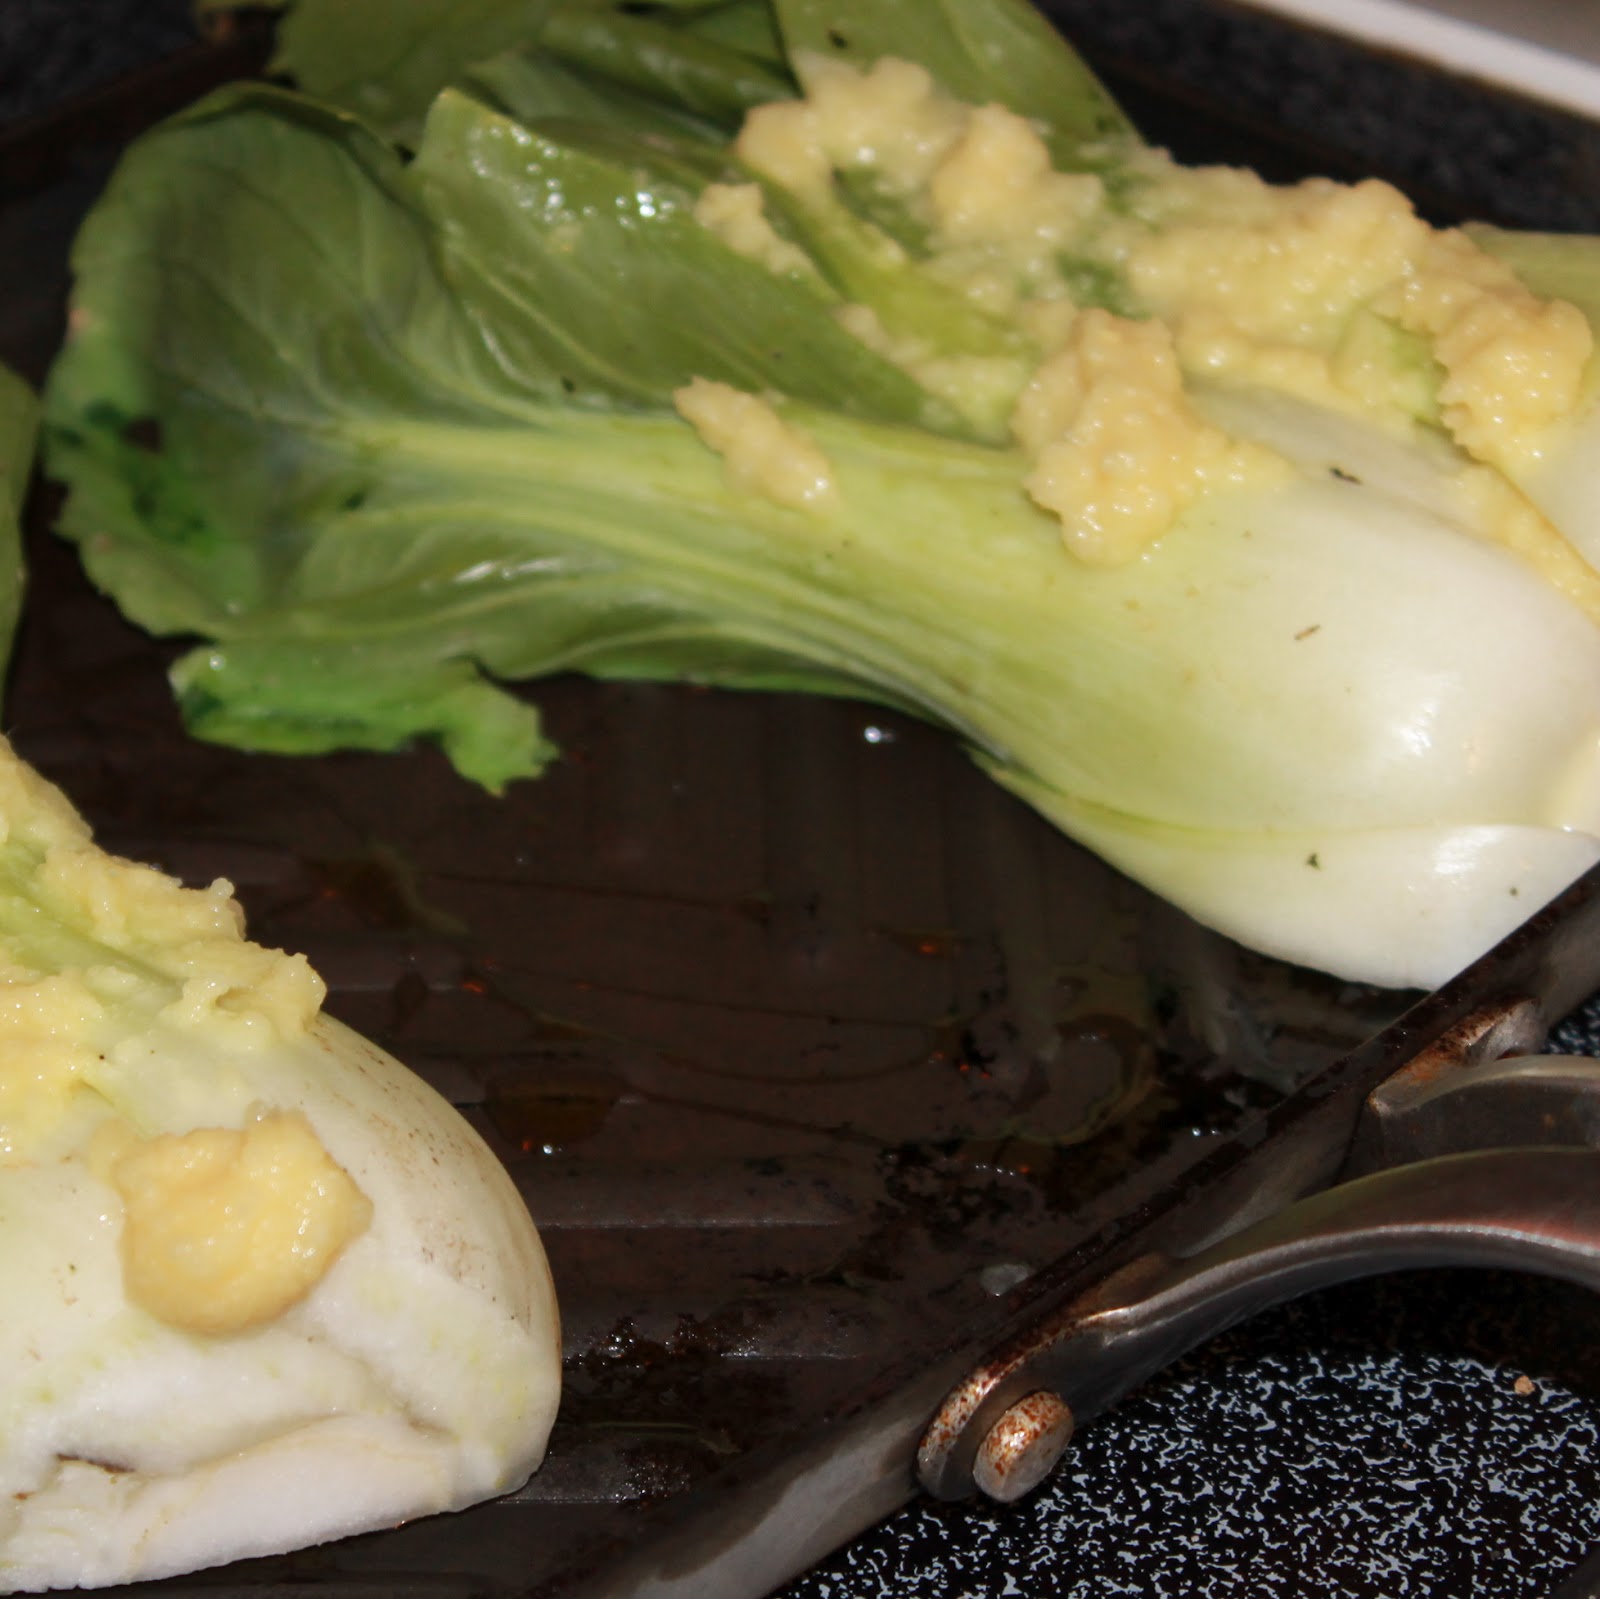
Tuesday I received one of my most anticipated ingredients (aside from tomatoes, can’t wait!!) from my CSA share: Fuyo Shumi, or Baby Bok Choy. I am absolutely in love with this vegetable. It’s just a mini version of bok choy which has a cabbage flavor and is very popular in Asian cooking. I personally am not a fan of cabbage (sorry to my Irish roots), but love the subtle taste and crunchy texture of these little guys. I’m always looking for new methods to cook salmon so this recipe from Cooking Light was the perfect opportunity. This recipe slow cooks the salmon to keep it really moist. Keep in mind you’ll need a good 30-40 minutes to make this dish.
Ingredients:
Salmon:
8 (6-ounce) salmon fillets
1/2 teaspoon salt
1/2 teaspoon freshly ground black pepper
Cooking spray
Rice:
2 cups uncooked basmati rice
1 1/2 cups light coconut milk
1 1/2 cups water
1/4 teaspoon salt
Bok choy:
2 teaspoons canola oil
16 cups bok choy, trimmed and cut into 1 1/2-inch pieces (about 4 pounds)
1 tablespoon minced peeled fresh ginger
1/2 cup sake (rice wine)
1/4 teaspoon salt
Sauce:
1/3 cup fresh lime juice
1/4 cup seasoned rice vinegar
3 tablespoons brown sugar
2 tablespoons Thai fish sauce
1/2 teaspoon red curry paste (such as Thai Kitchen)
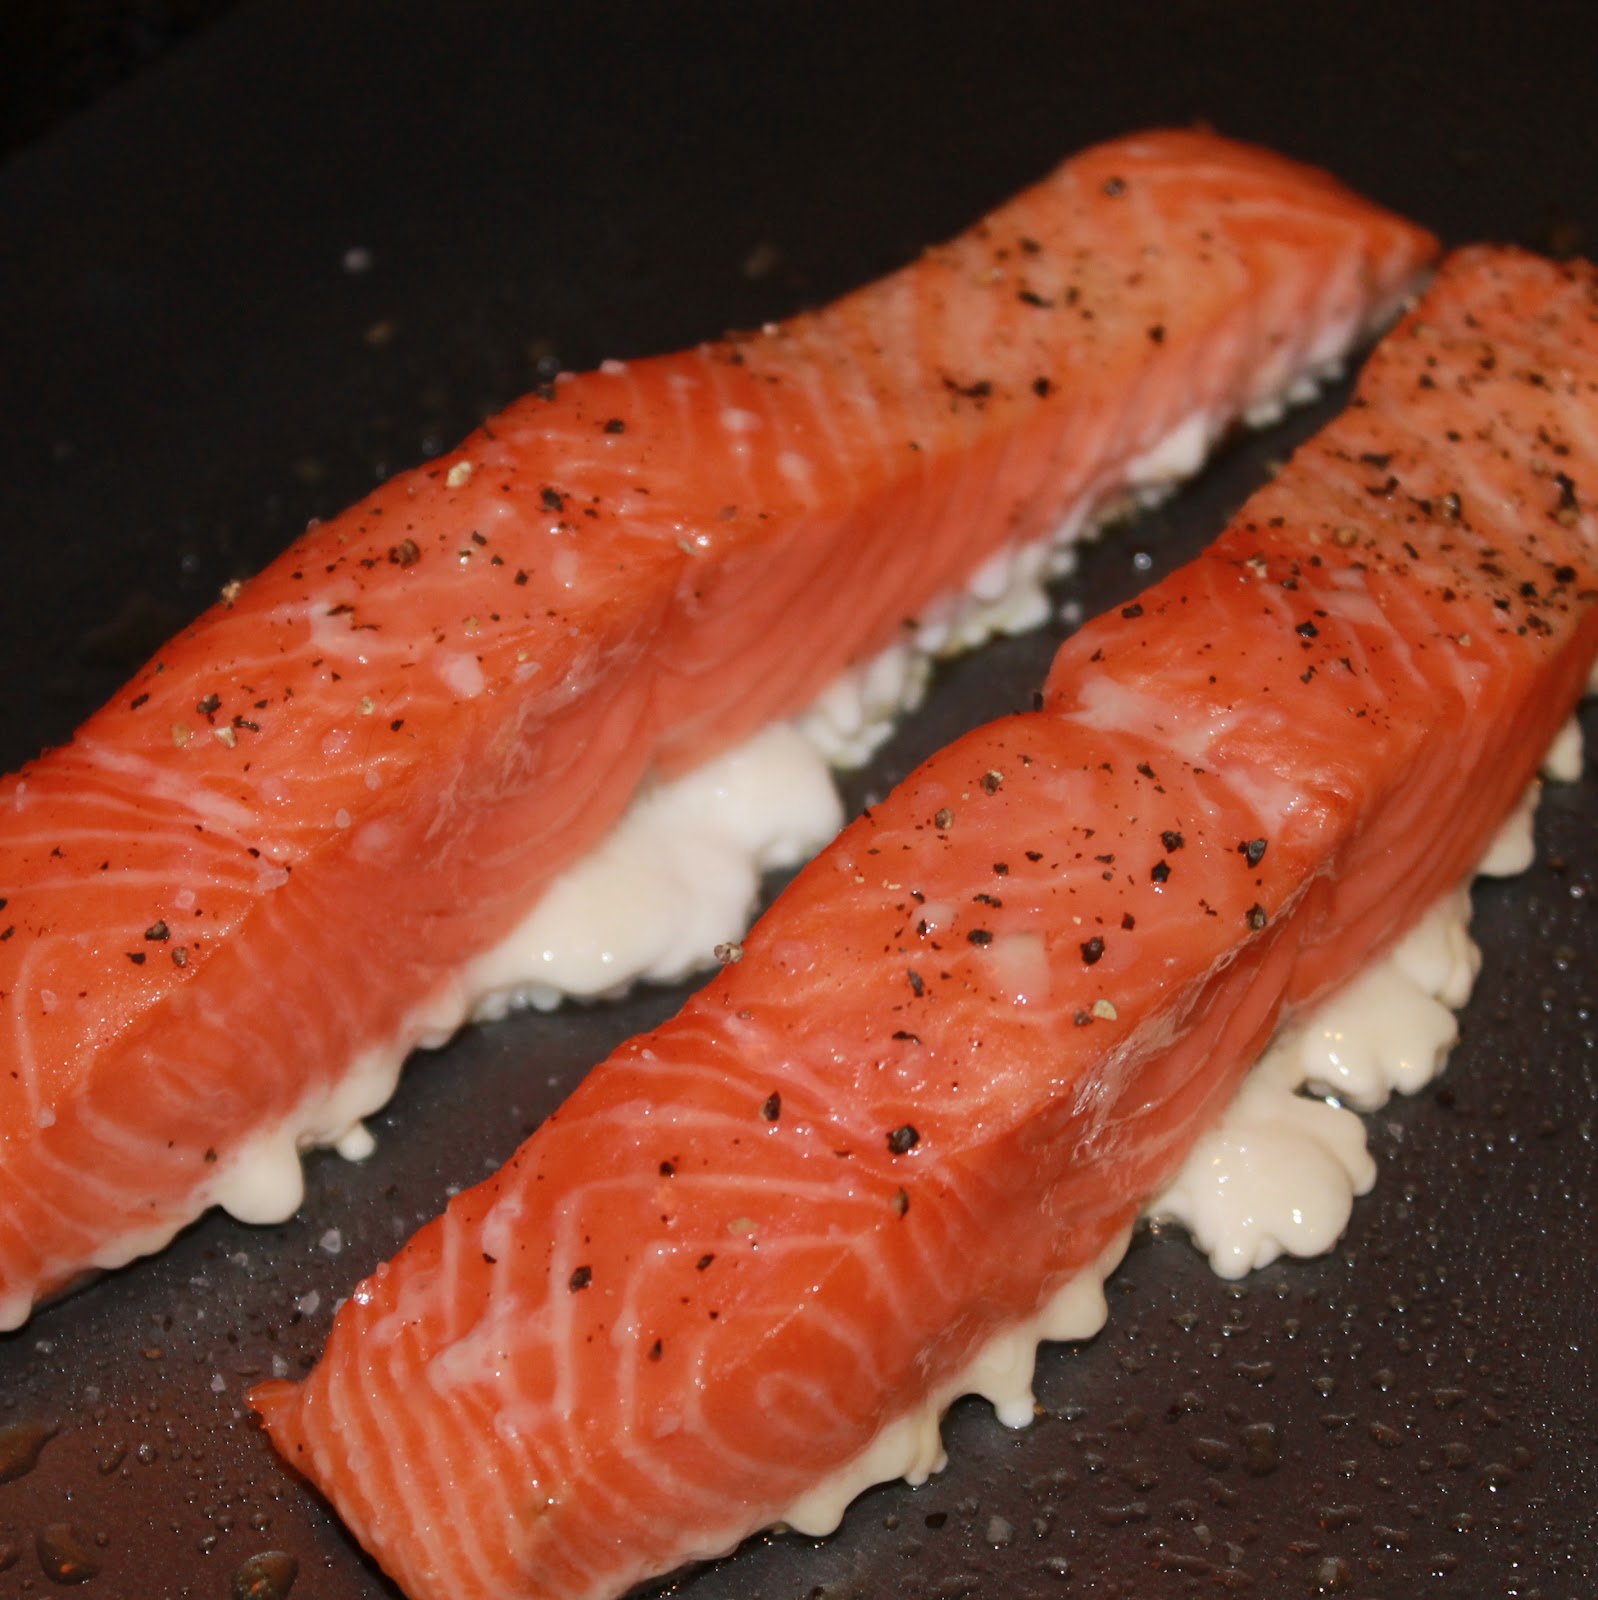
Preheat the oven to 250 degrees. Season the salmon with salt and pepper. Place the salmon on a baking sheet coated with cooking spray, skin side down.
Bake for 30 minutes or until the fish flakes easily. Cut off all the drippings.
While the salmon is cooking, rinse the rice in cold water and drain. Combine the rice, coconut milk, 1.5 cups water and ¼ teaspoon salt in a sauté pan. Bring to a boil over high heat and stir. Cover, reduce heat, and simmer for 20 minutes or until liquid is absorbed. Remove from heat and let stand for 10 minutes.
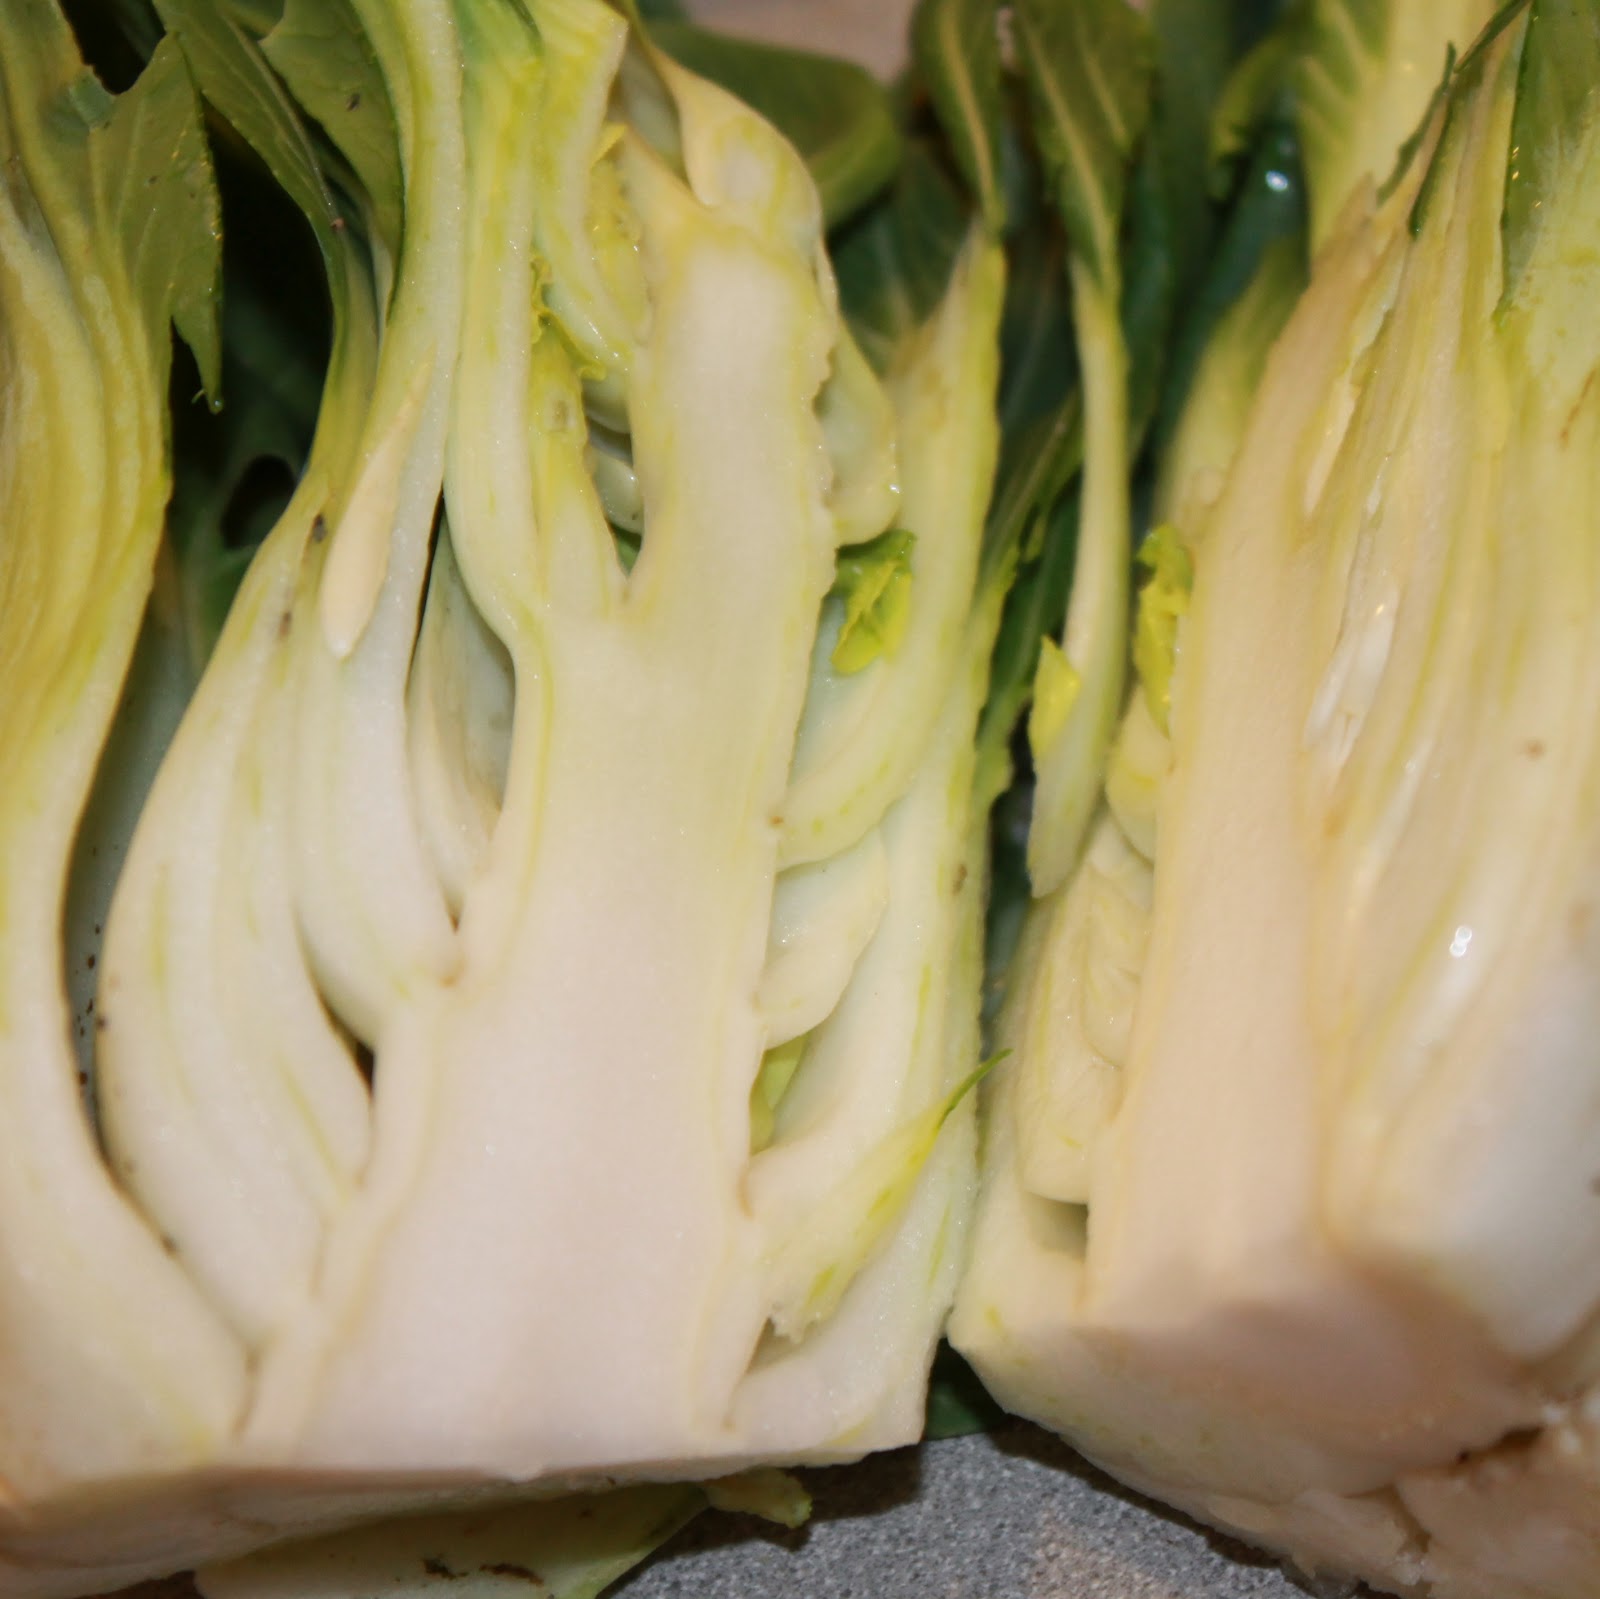
Cut the baby bok choy pieces in half
While the rice is standing, heat the canola oil in a large sauté pan over medium-high heat. Add the bok choy and ginger and sauté for 1 minute.
Add the sake and ¼ teaspoon salt, cover, and cook for 2 minutes until the bok choy wilts. Remove from heat and keep warm.
Add the lime juice, rice vinegar, cilantro, brown sugar, fish sauce, and red curry paste to a bowl. Whisk to combine.
Serve over the salmon, rice, and bok choy.
Um. Yum. What an awesome dinner! The flavors go so well together. The sauce has a little tanginess that I really liked with all of the parts of this dish, but especially the rice. The salmon, because it was cooked at a low temperature, came out really moist. And the baby bok choy was crunchy, wilty, and flavorful all at the same time.
One of my favorite parts of the CSA share is having a plethora of zucchini and summer squash at my disposal. I love these ingredients with a simple pasta, so I was happy to come across a Martha Stewart recipe fthat incorporated these ingredients. I thought I still had some snap peas left over and was going to throw those in, but I unfortunately was all out. Plus, I didn’t have any frozen peas in my freezer. If you have those, be sure to include them. I threw in a zucchini also because I had one on hand.
Ingredients:
Coarse salt and ground pepper
8 ounces gemelli or other short pasta
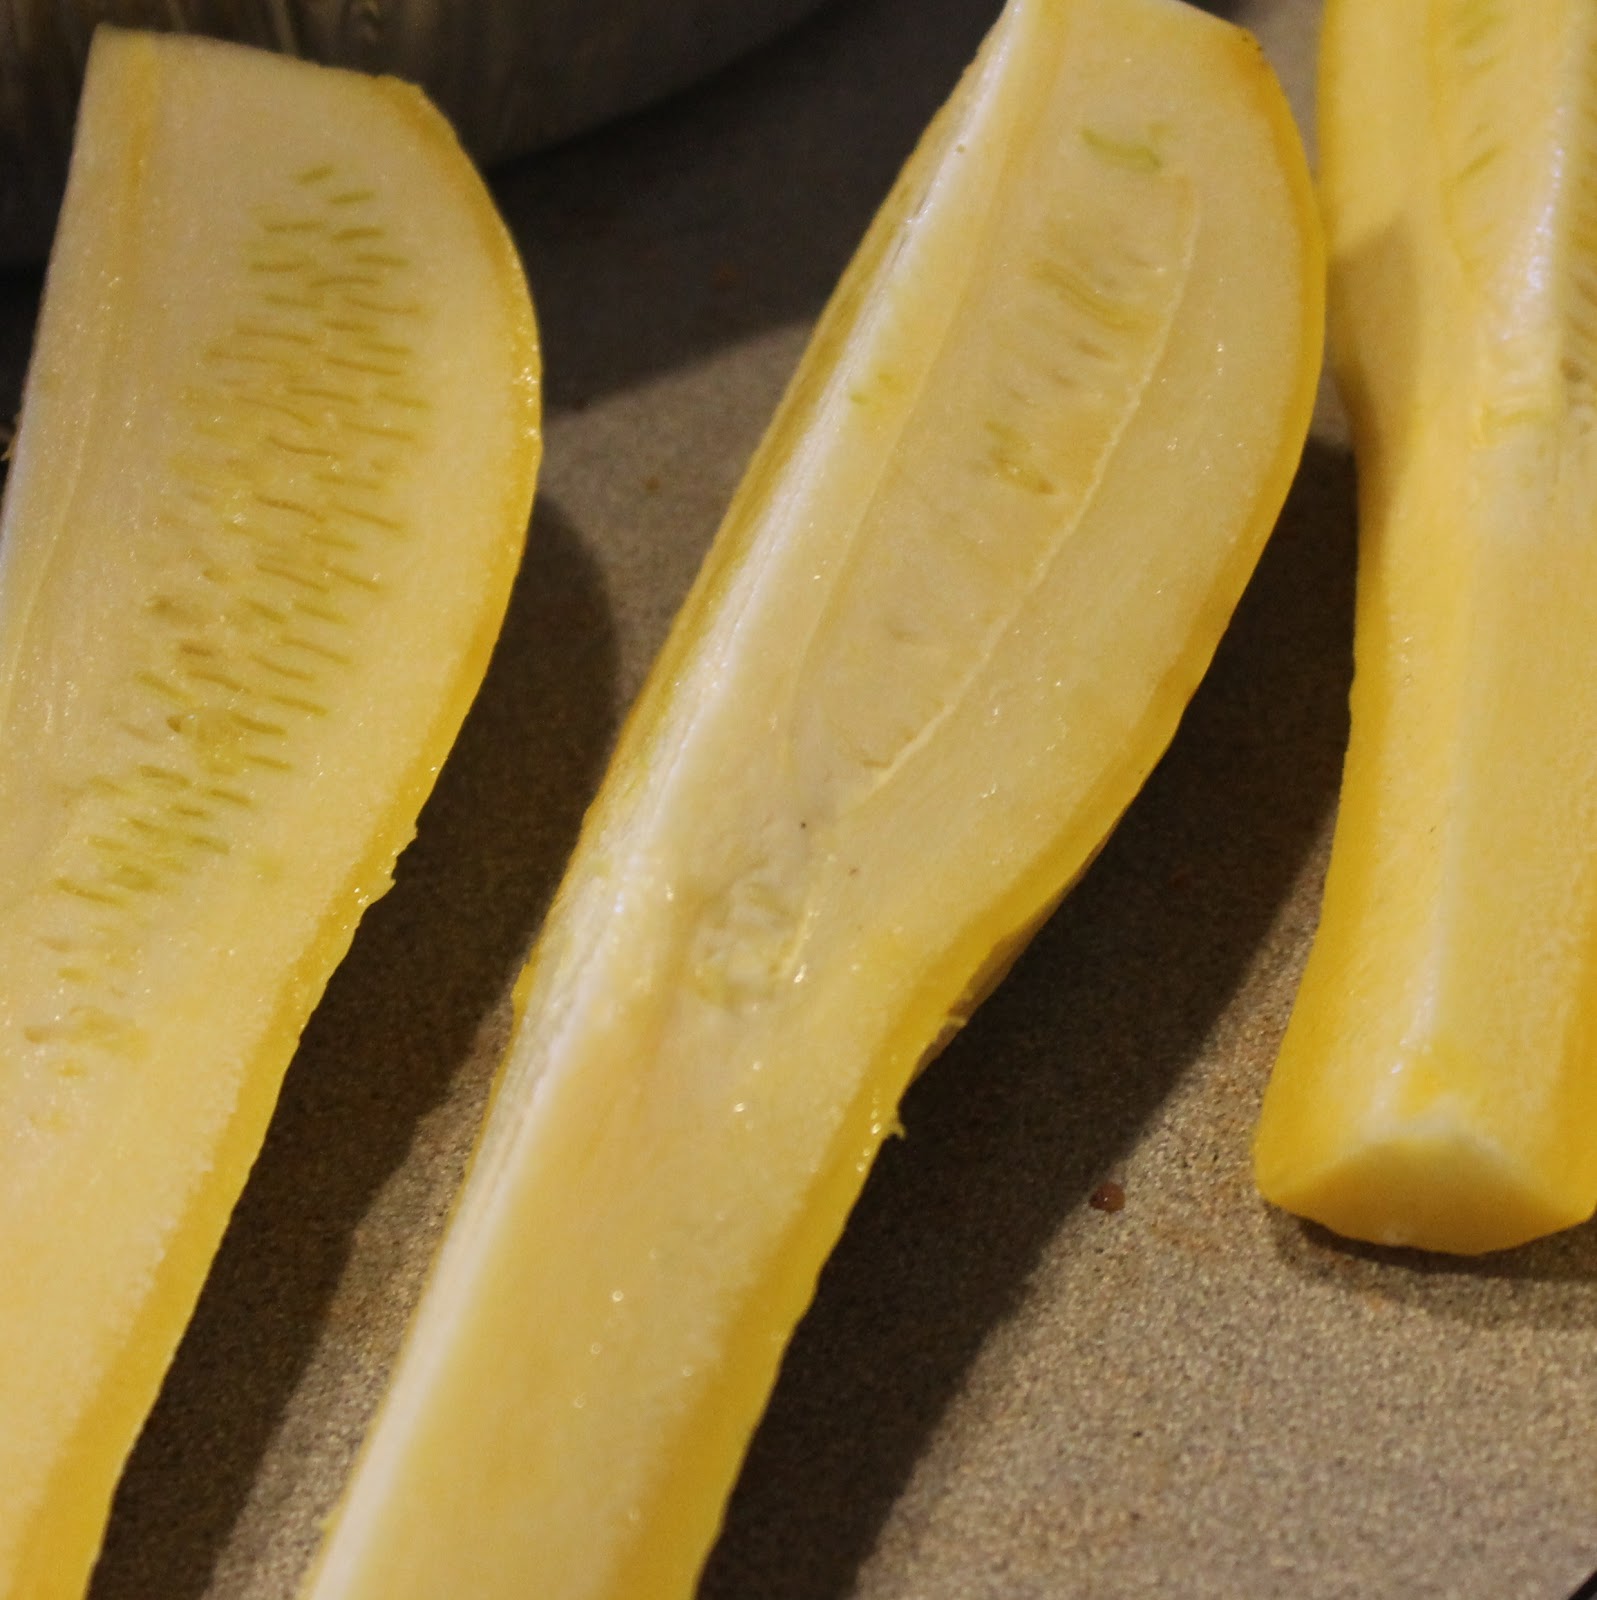
3 medium yellow squash, quartered lengthwise and thinly sliced
1 medium zucchini, quartered lengthwise and thinly sliced
4 tablespoons butter, cut into small pieces
1 tablespoon fresh lemon juice
1/2 cup shredded Parmesan
Torn fresh basil leaves, as garnish
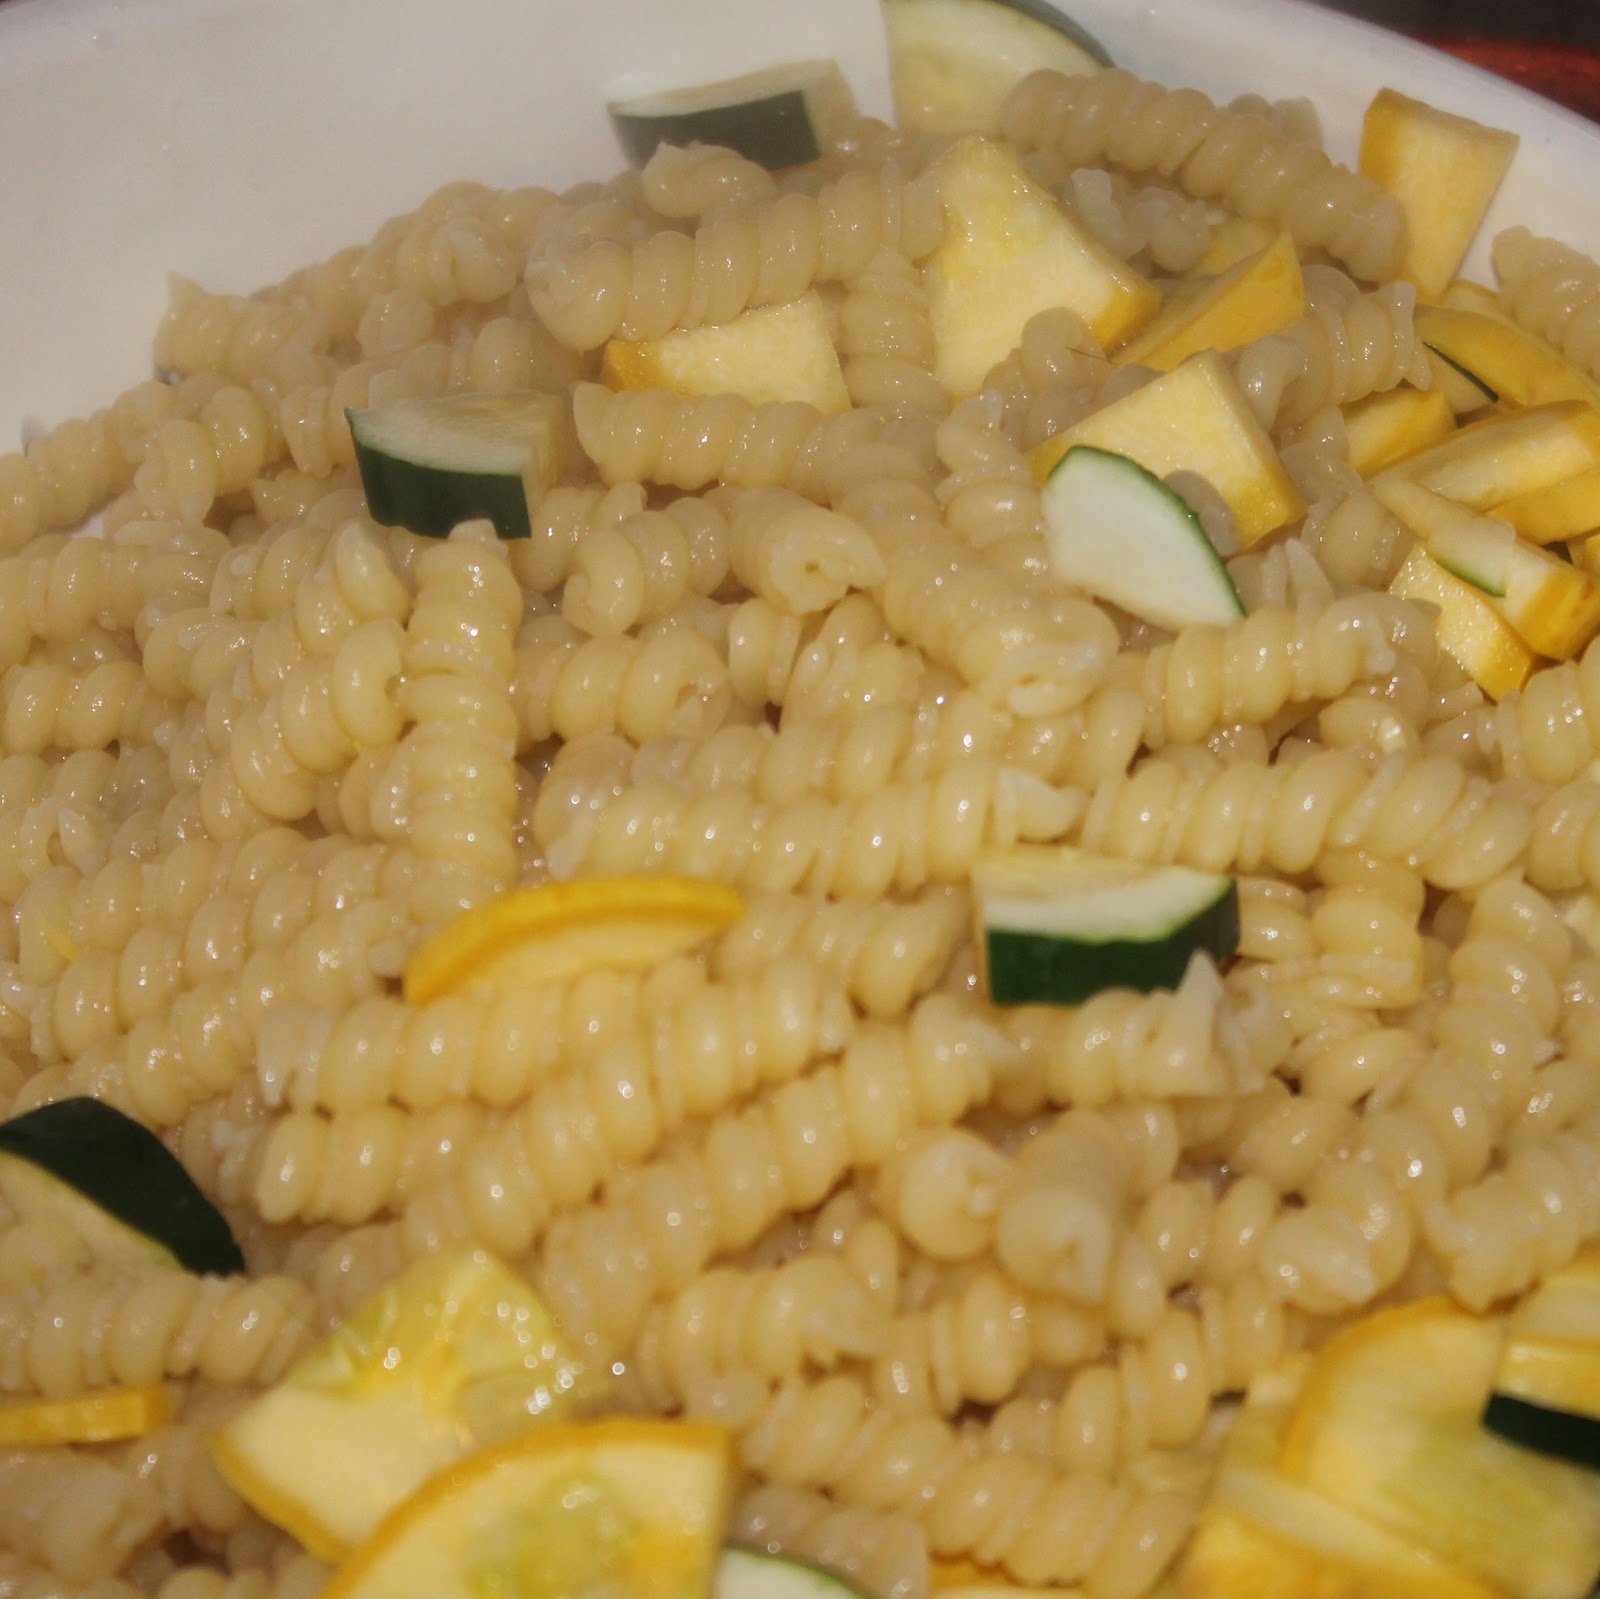
Cook pasta in a pot of boiling salted water. Cook 2 minutes less than required for al dente (my pasta had to cook for 6 minutes).
While waiting for the pasta to cook, slice your squash and zucchini.
Add the squash and zucchini to the pasta and water, and cook for 2 minutes.
Drain the pasta, reserving 1/2 cup of pasta water. Return the pasta to the pot.
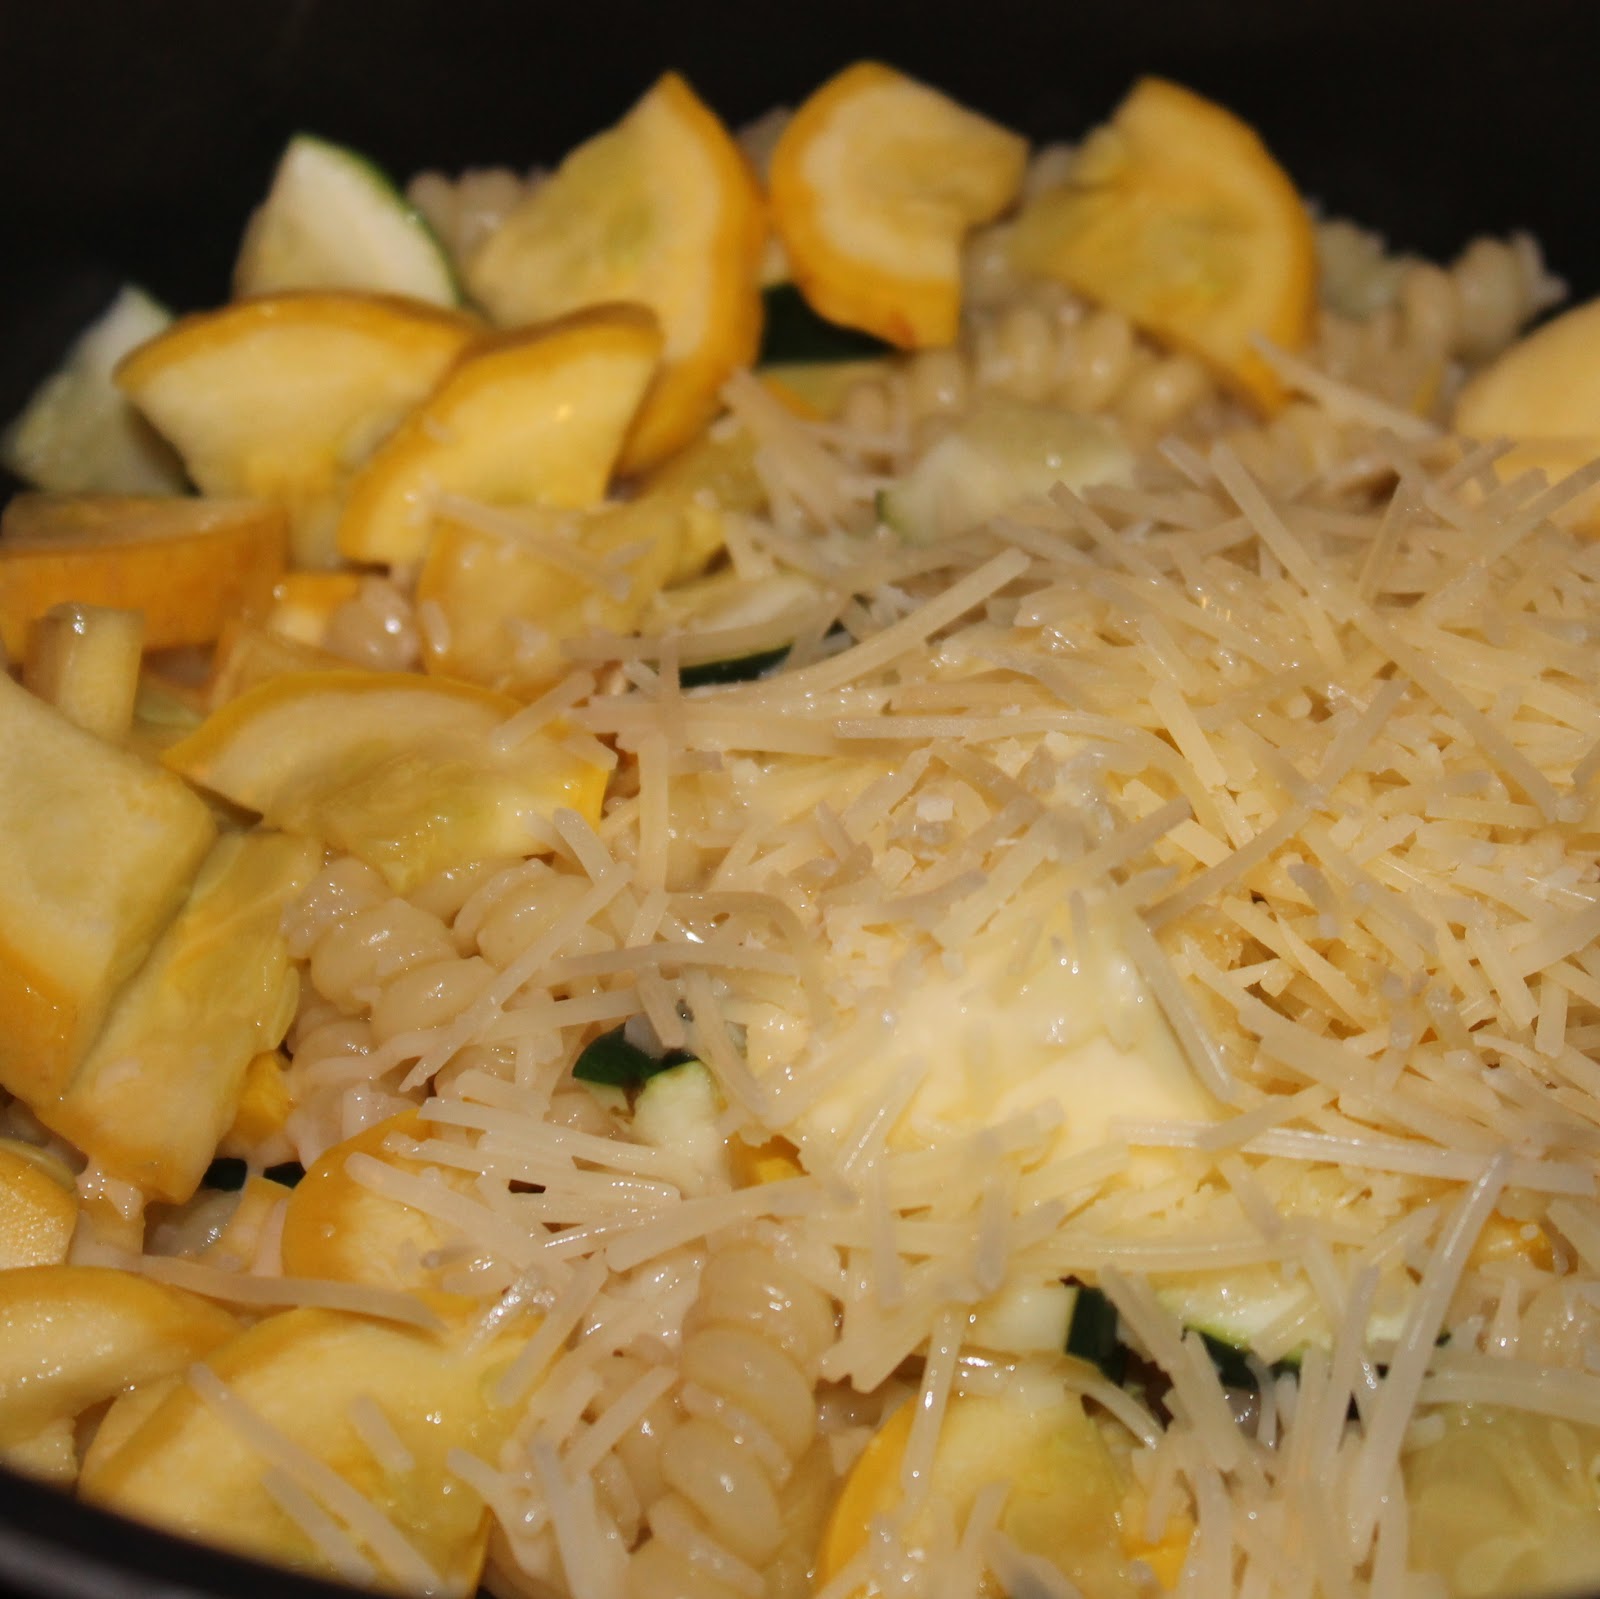
Add the butter, lemon juice, 1/4 cup Parmesan, and 1/2 cup pasta water. Season with salt and pepper and toss to combine.
Spoon into individual bowls and top with basil and sprinkle with Parmesan.
At first bite, I thought this might be missing something. But all it really needed was another seasoning of pepper and an extra squeeze of lemon. After that, it was quite yummy.
To really up the flavor, a few red pepper flakes would go a long way.
The flavor of this was nice and fresh. It was a solid vegetarian dish, but I think it works best as a base. I feel like you could really turn this into something special with some additional flavors included.
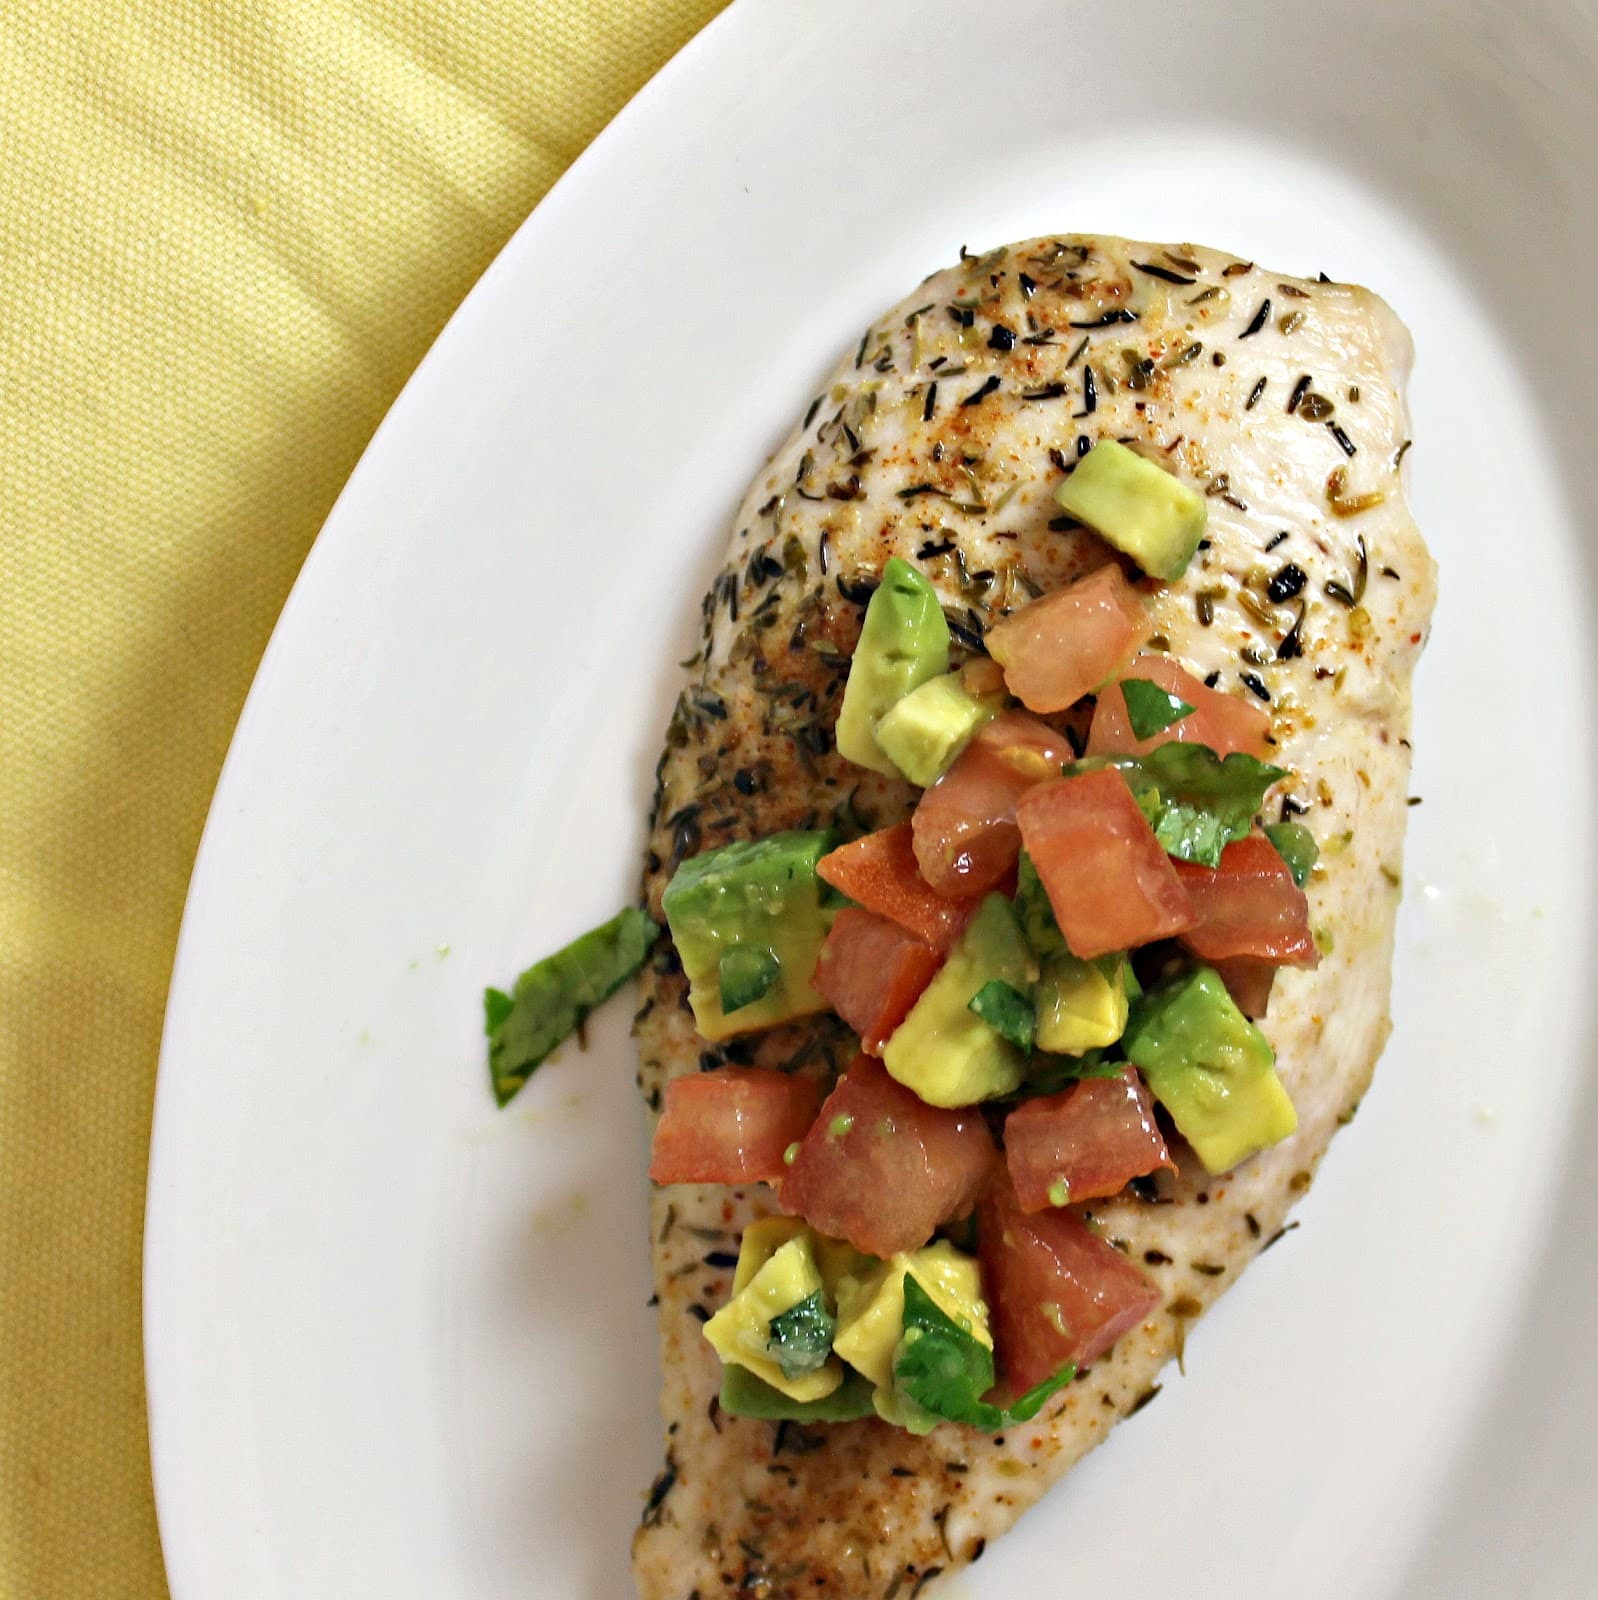
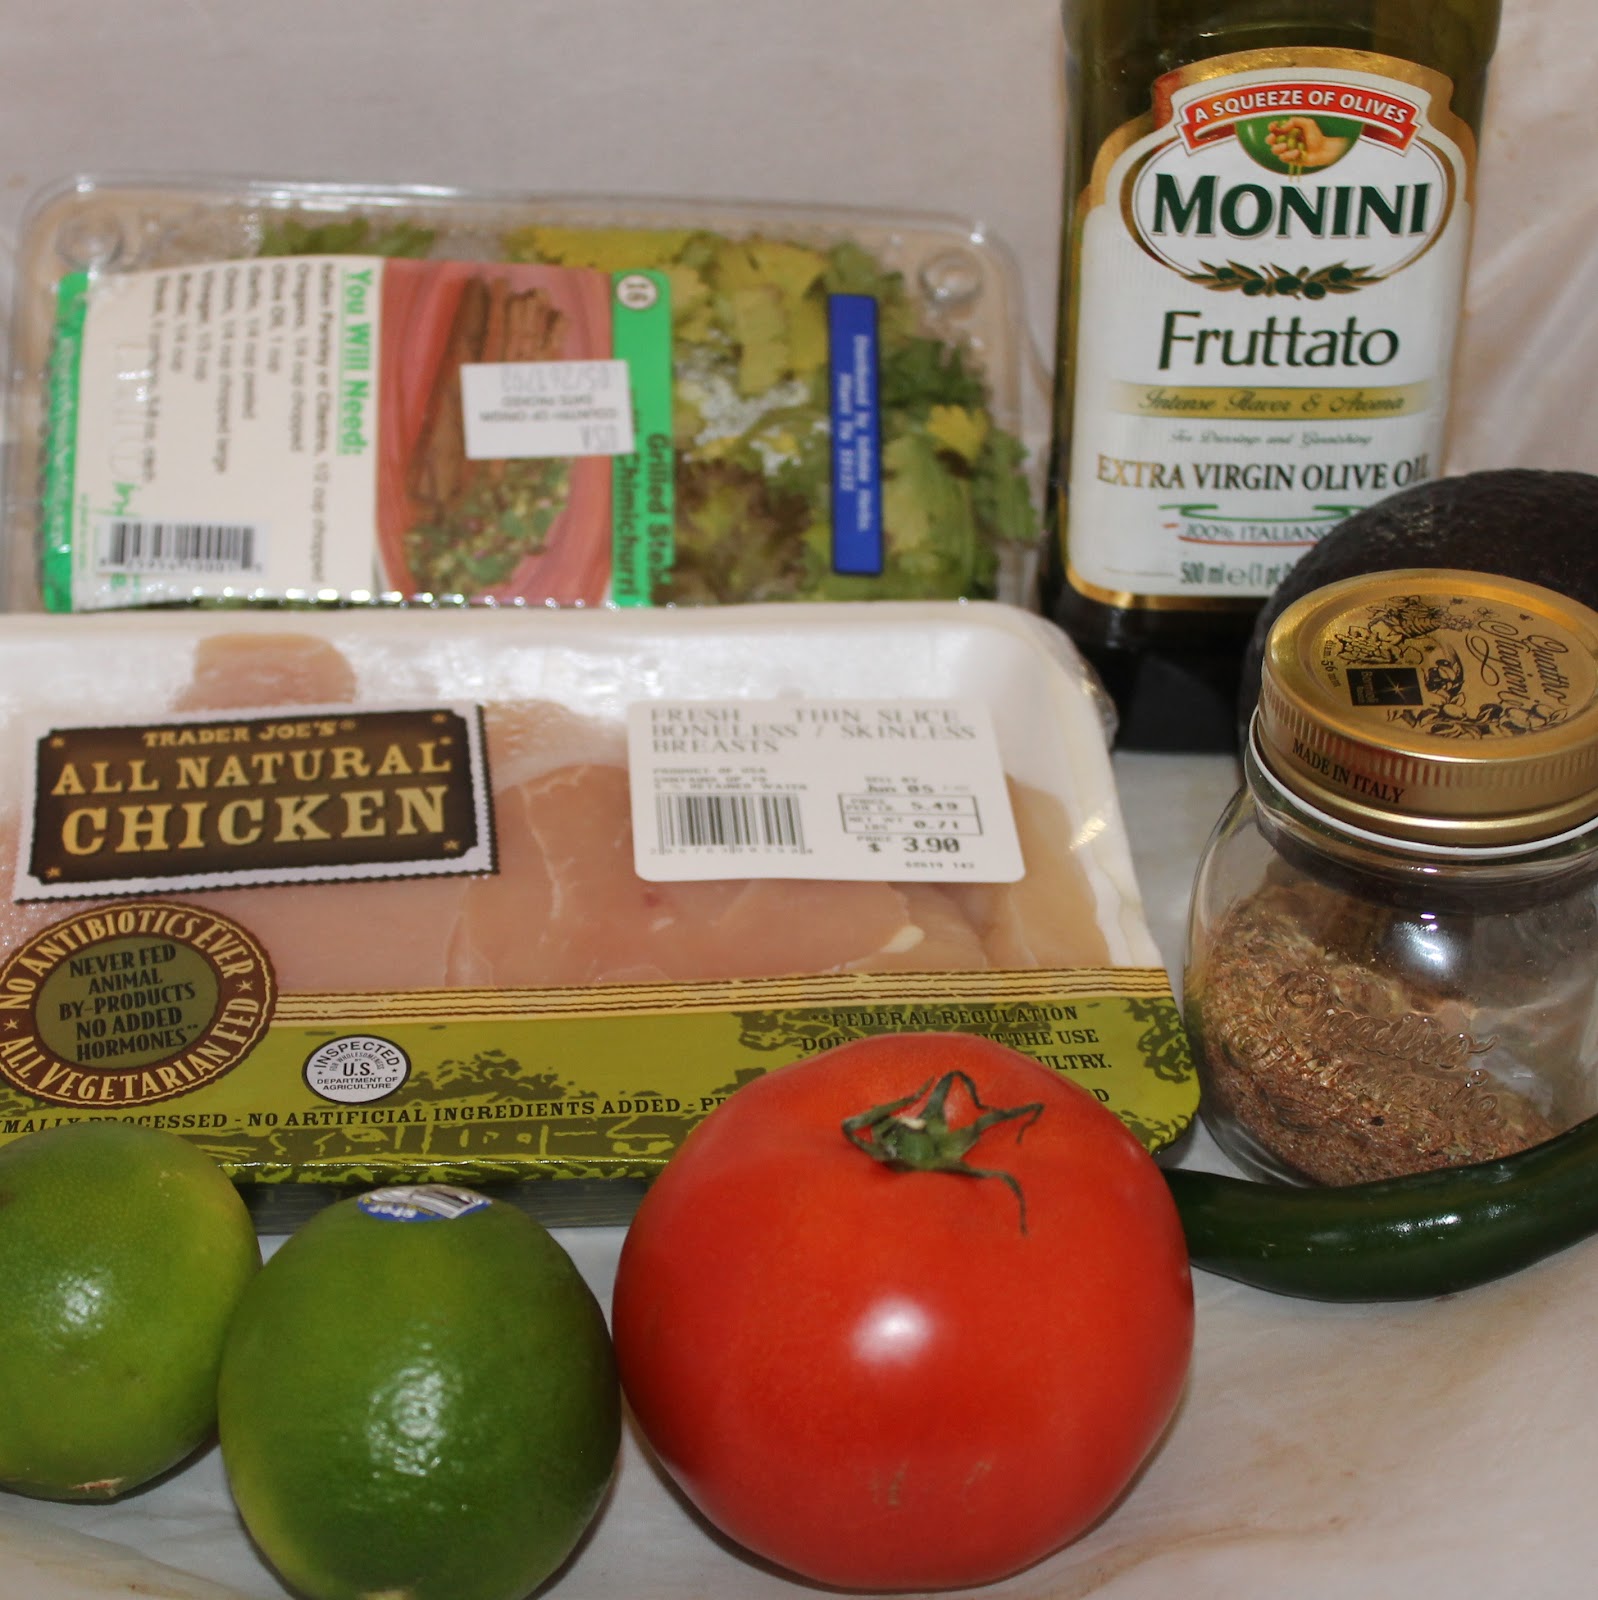
I have inexplicably been picking up an avocado each and every time I buy groceries. I didn’t have a recipe for the avocados, I just kept buying them. I guess my subconscious really wanted one. So I finally sat down and found a recipe highlighting them: Seared Chicken with Avocado. I added some tomato to give it a bit more freshness but the rest of the recipe is pretty intact.
Ingredients:
1 1/2 teaspoons blackened seasoning
4 skinless, boneless chicken breast halves
1 teaspoon coconut oil
1 diced peeled avocado
2 tablespoons chopped fresh cilantro
1 jalapeño pepper, seeded and finely chopped
2 tablespoons fresh lime juice (about 1 lime), plus the zest of the lime
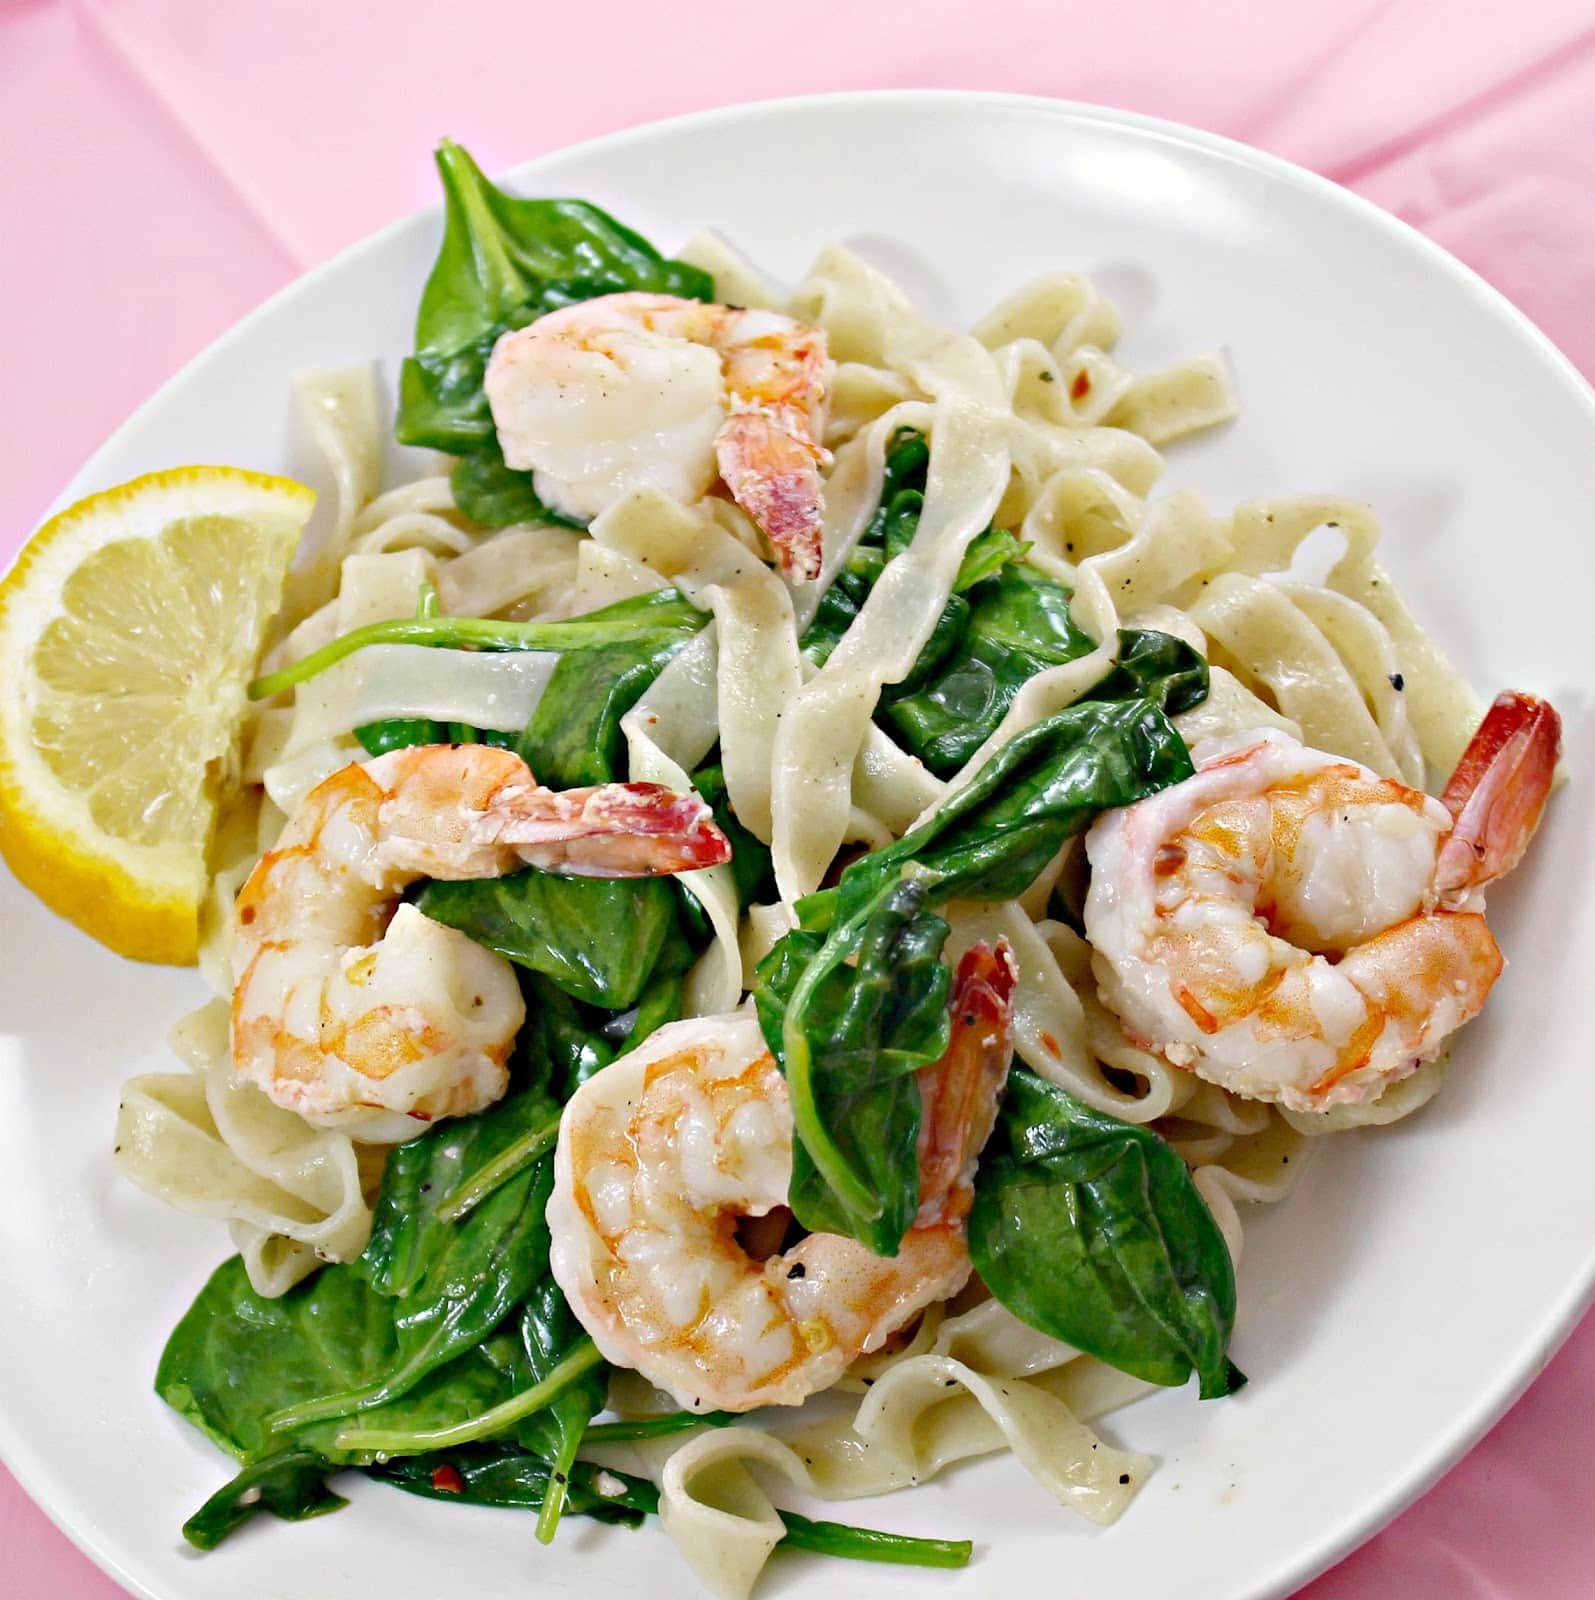
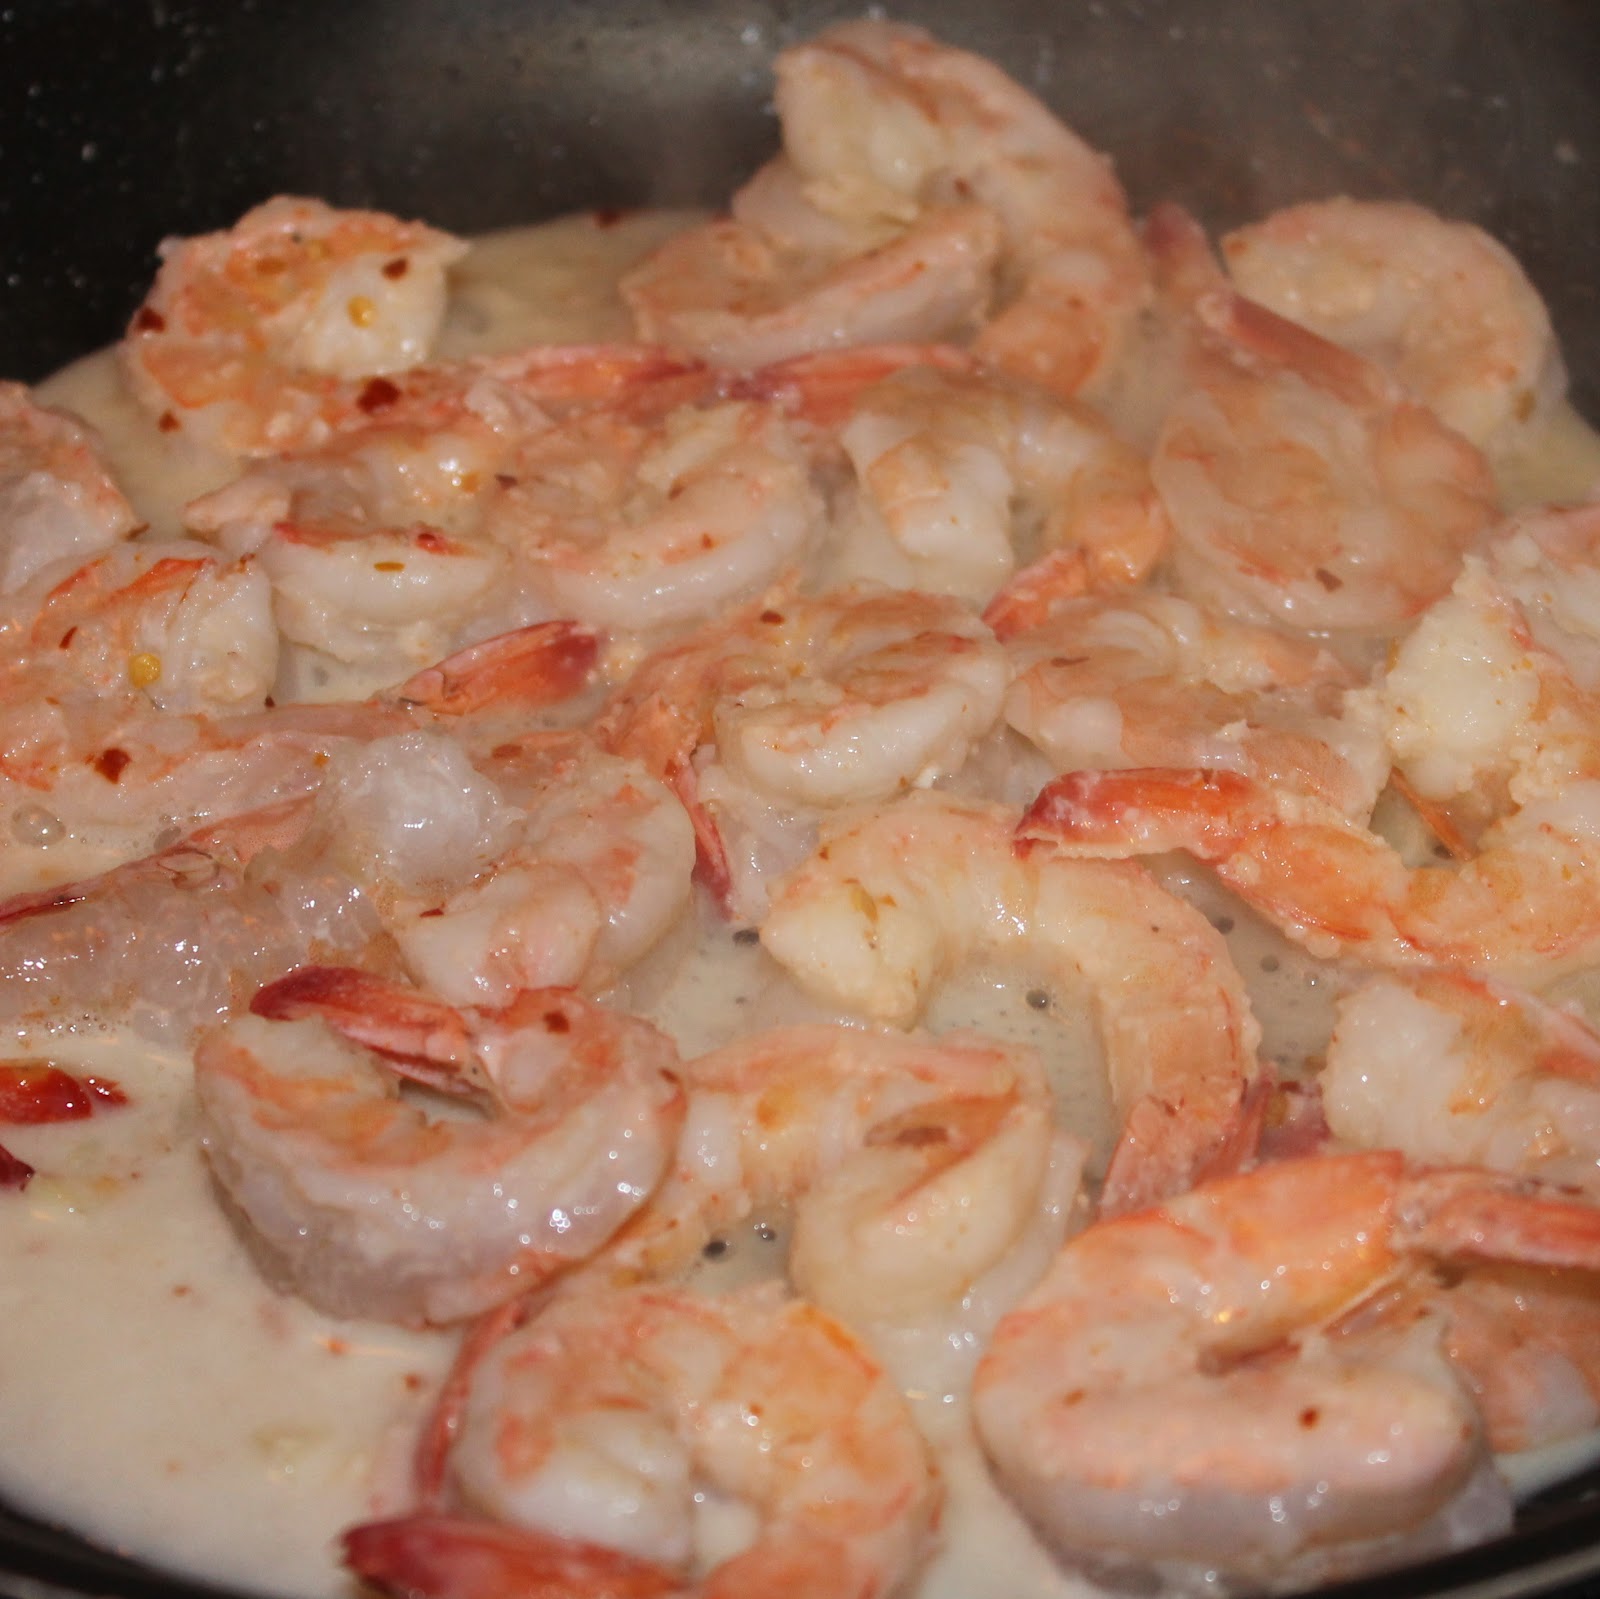
My boyfriend is allergic to shrimp. And I swear knowledge of this allergy makes me inexplicably crave shrimp. All. The. Time. So I wait for weekdays to make shrimp as much as my little heart desires. Another plus is that shrimp is a super quick meal. This Cooking Light recipe took a whopping 30 minutes from start to finish. And who doesn’t like shrimp, pasta, lemon, and spinach?
Ingredients:
8 ounces uncooked fettuccine (I used fresh pasta so it would cook faster)
2 tablespoons Melt buttery spread (or other margarine)
1 pound large shrimp, peeled and deveined
2 large garlic cloves, minced
1 teaspoon crushed red pepper
the juice and zest of 2 lemons
1/2 teaspoon kosher salt
1/2 teaspoon freshly ground black pepper
1 (6-ounce) package fresh baby spinach
Cook pasta according to package directions. If using fresh pasta, it will be done in 2-3 minutes. Drain and set aside.
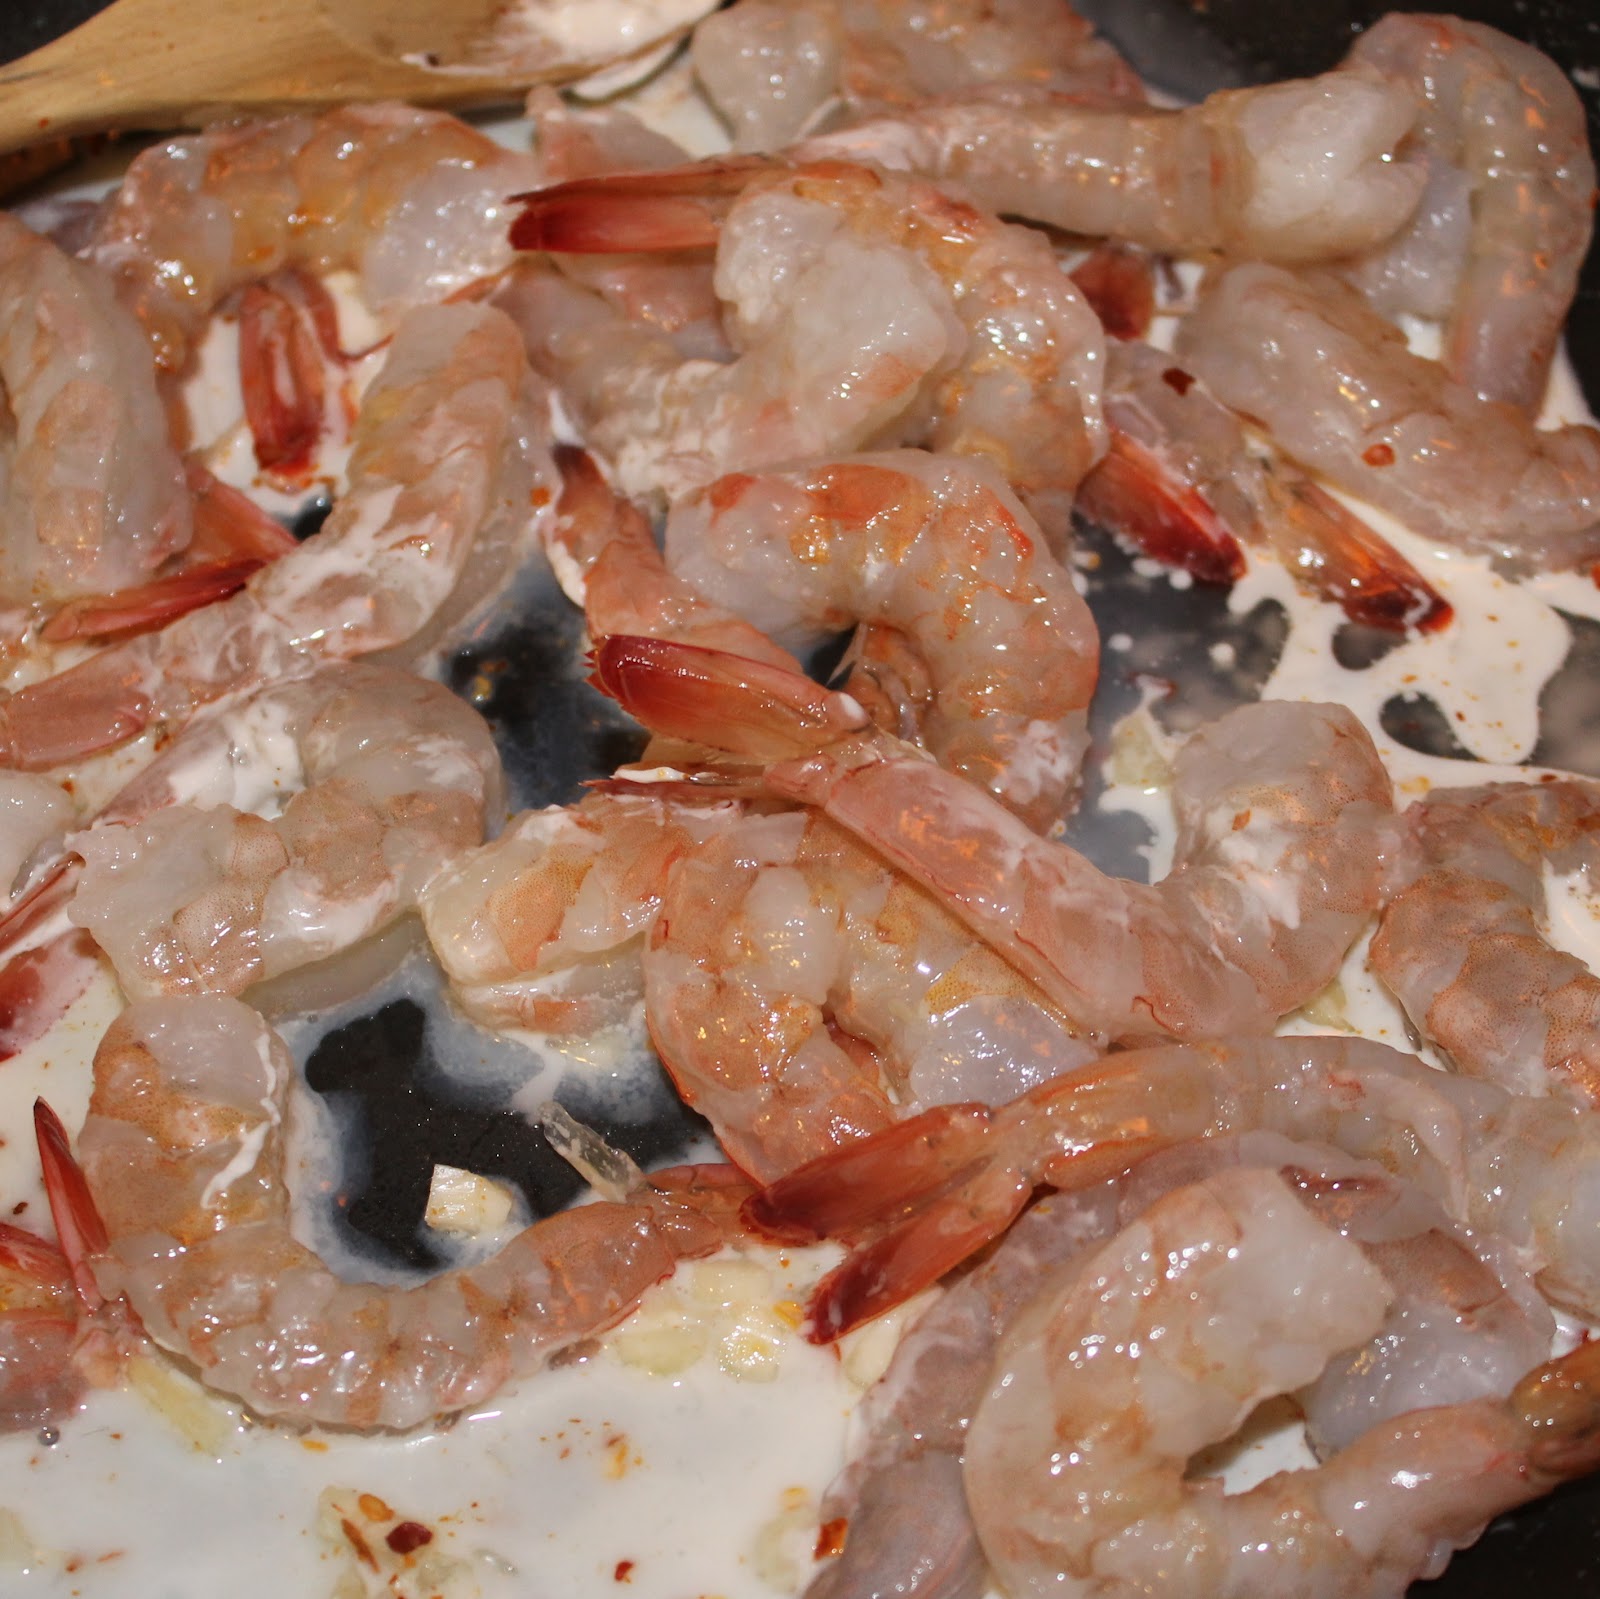
Add Melt to a saute pan over medium heat. When melted, add the shrimp, garlic, and red pepper flakes to the pan. Cook for 4 minutes, or until shrimp are cooked. (It’s easiest to use tongs so that you can flip the shrimp after 2 minutes).
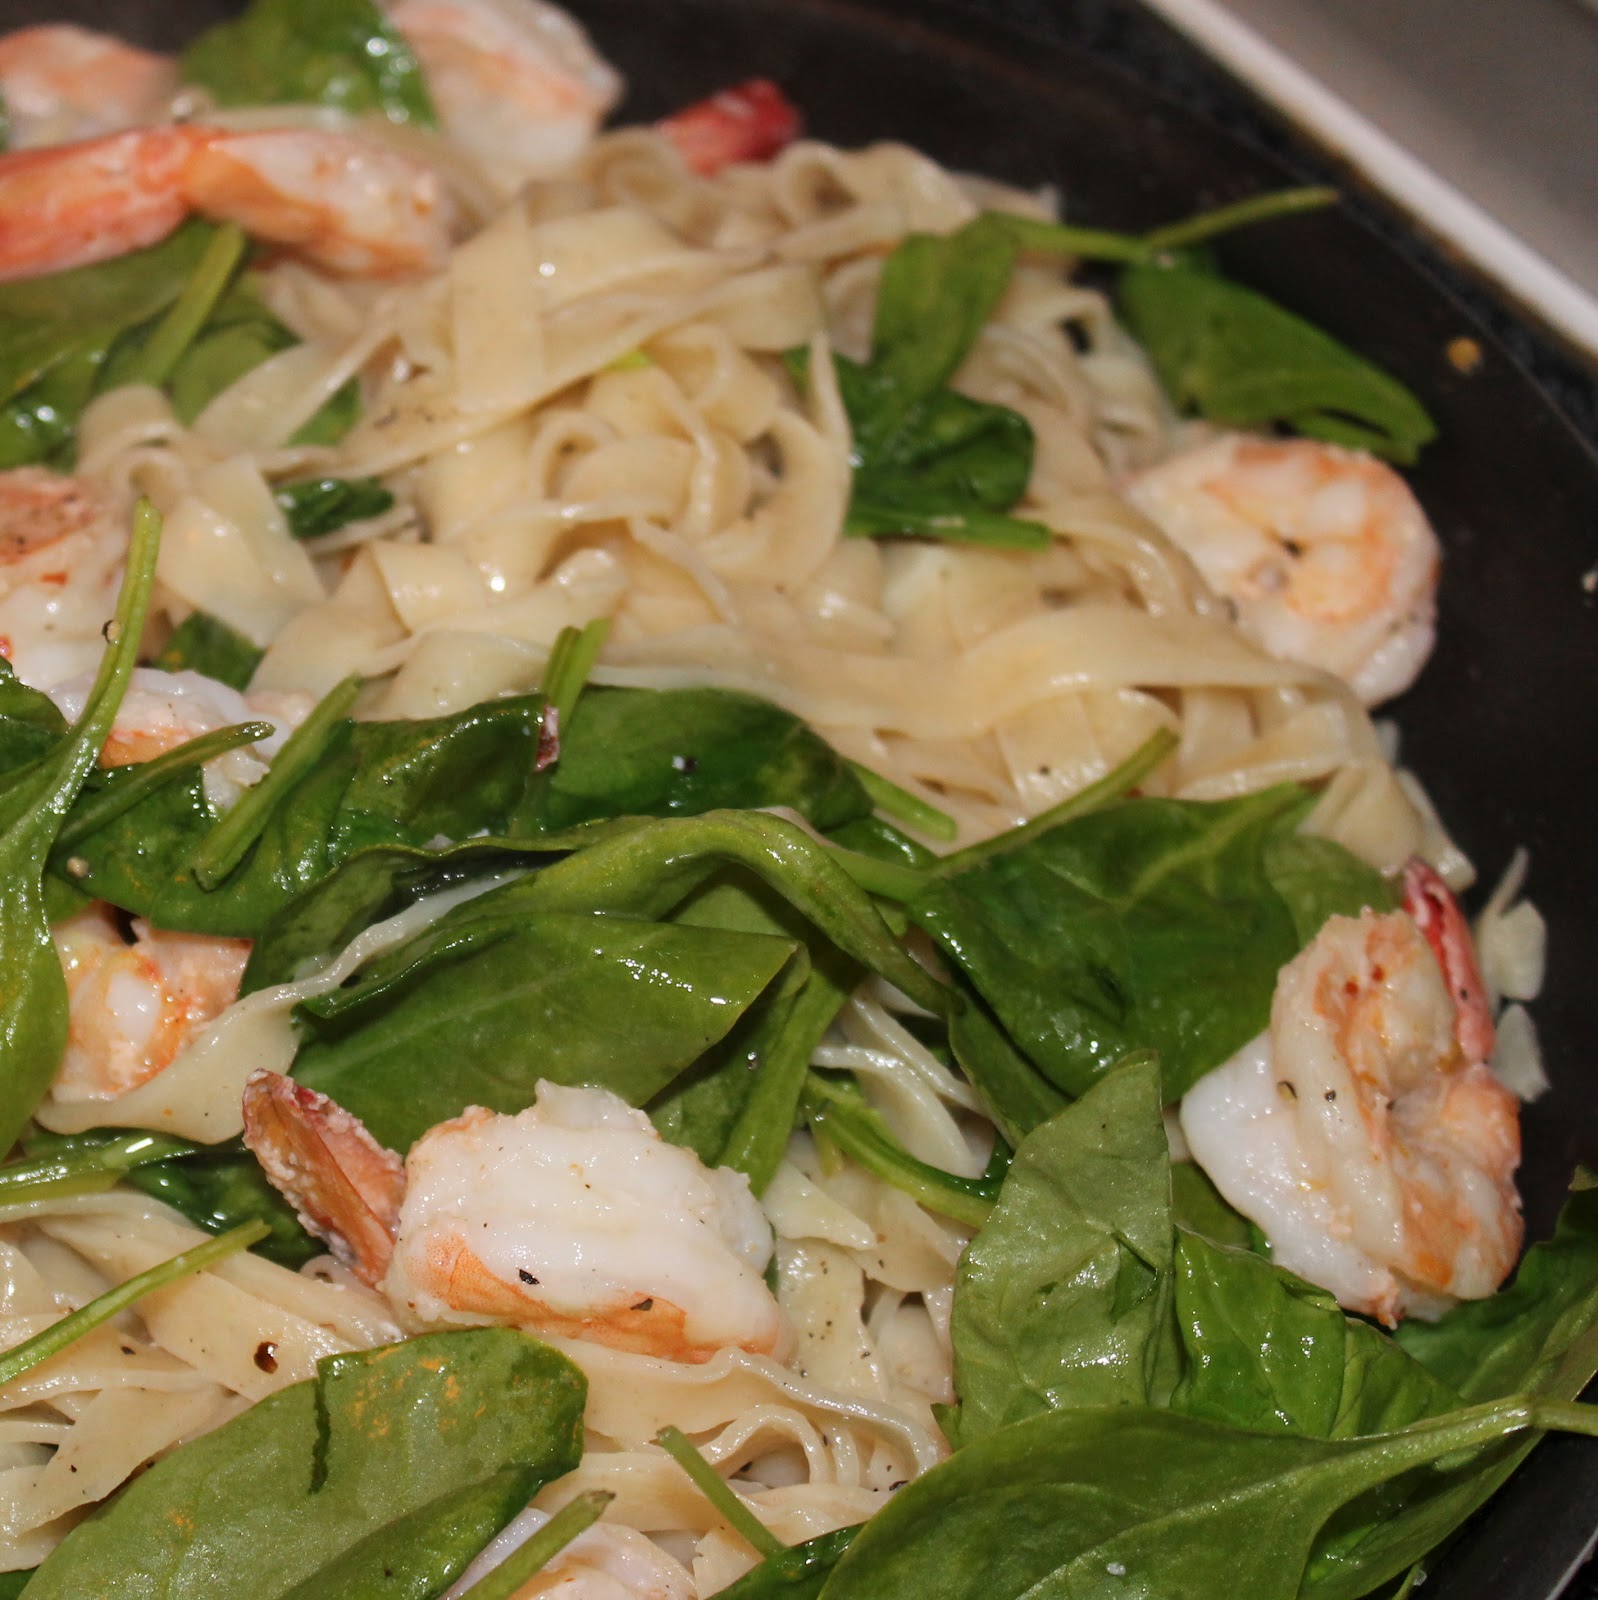
Add the cooked pasta, lemon juice and zest, black pepper, and spinach. The spinach will wilt significantly, so don’t worry if it seems like there is too much.
Cook for 3 minutes, or until the spinach begins to wilt. Serve immediately with a lemon wedge on the side.
I was not prepared for how strong the red pepper would be. If I made this again, I’d cut the red pepper in half. I actually ended up adding a tablespoon of whipped cream just to cut some of the heat.
I also wanted a bit more of lemon. I ended up adding lemon to the pasta throughout eating the dish. But the base flavors here were good! I just need to adjust the amount of ingredients and it would be a keeper! So, to recap: more lemon, less red pepper = perfect.
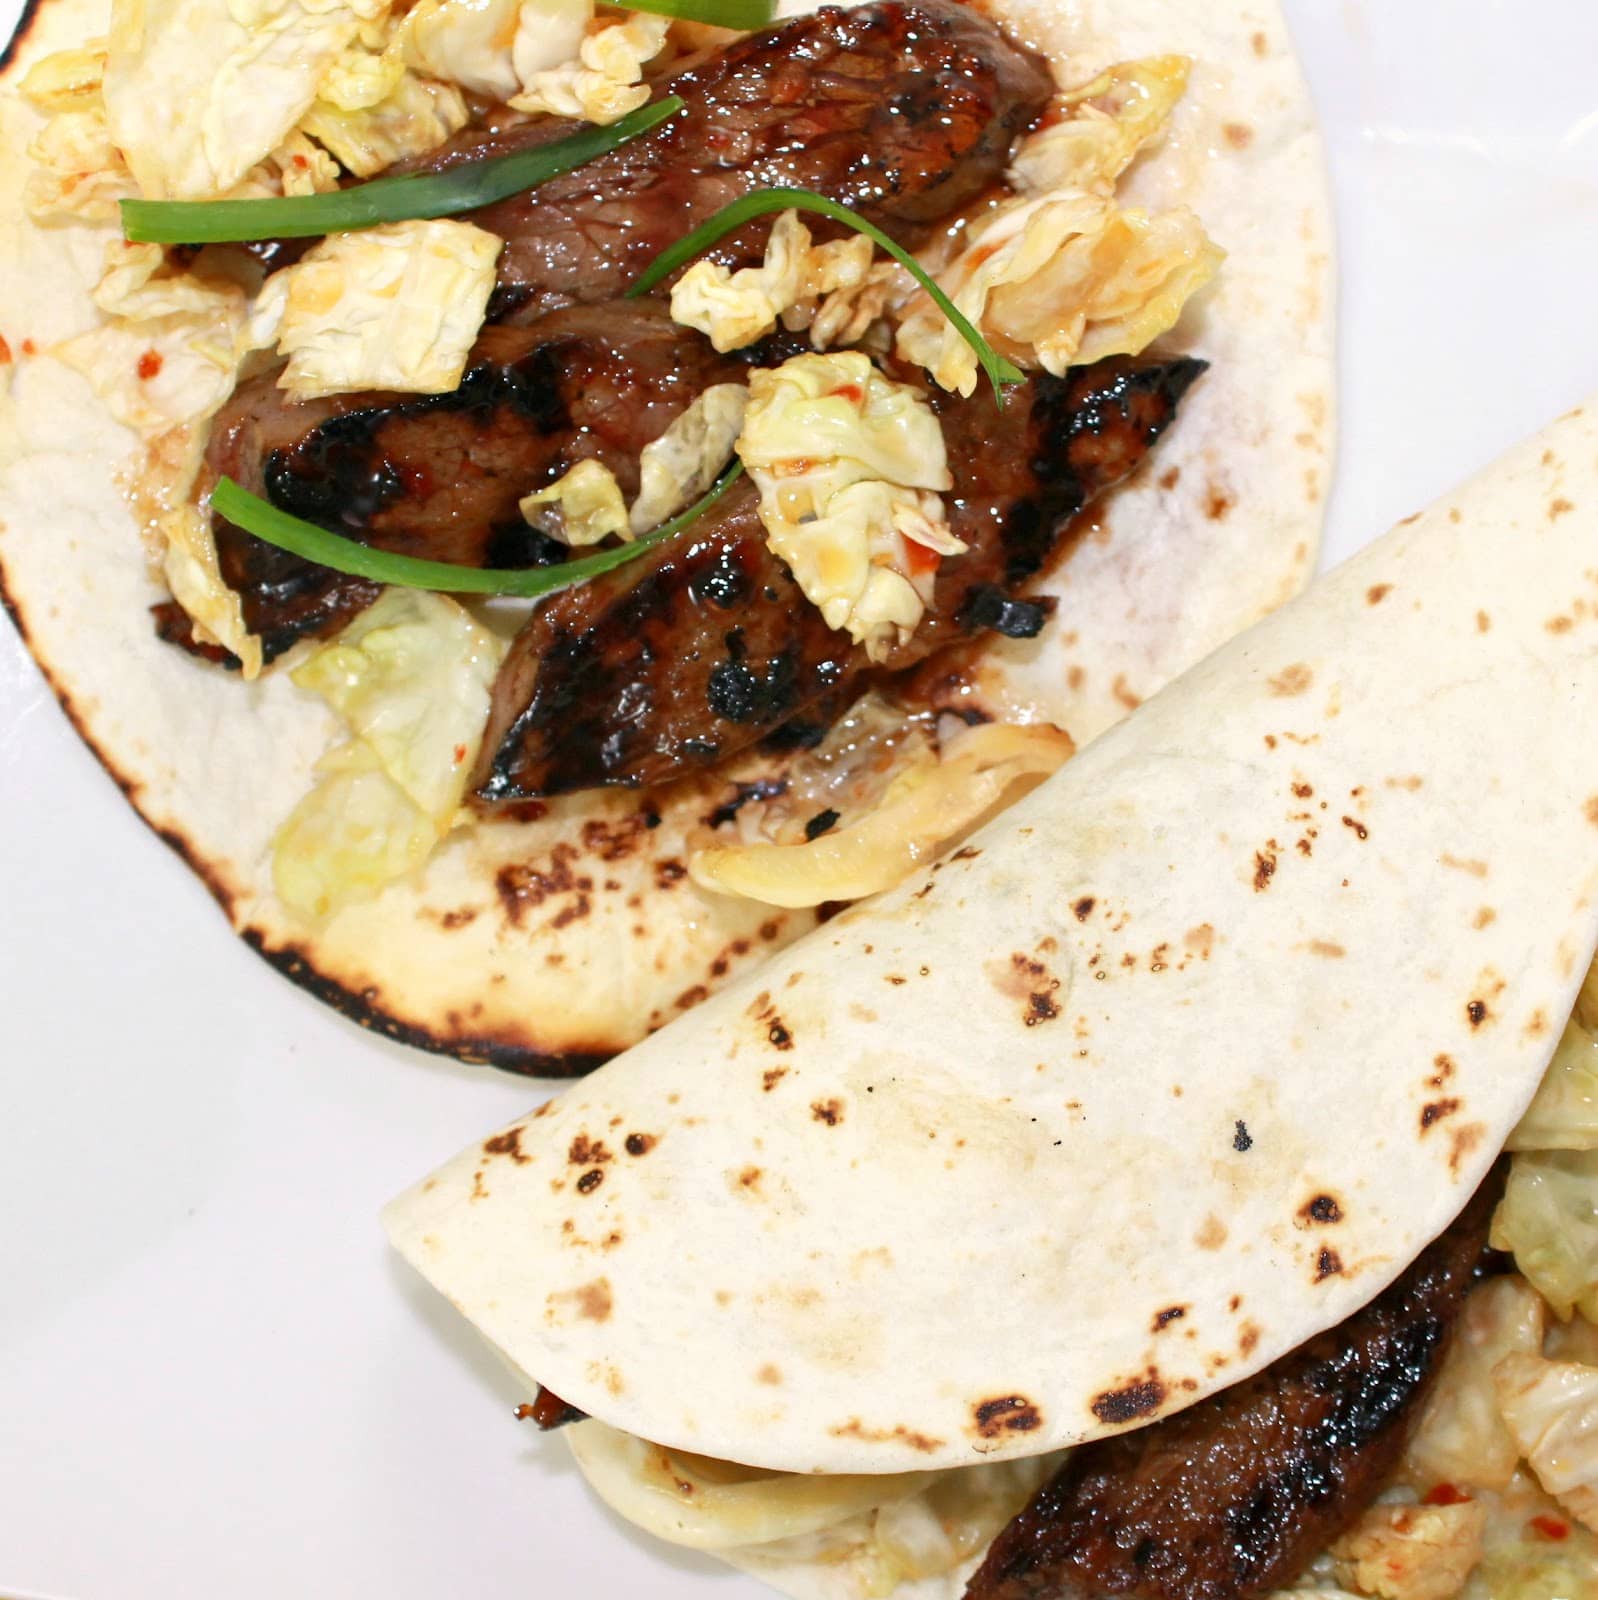
Tacos are one of my go-to’s for a quick weeknight meal. However, there’s only so many nights you can make traditional tacos before you start craving some new flavors. Cooking Light’s Korean-Style Beef Tacos sounded like the best of both worlds: a quick meal with new spices. I ended up changing the method of cooking, but the ingredients remained the same. Cooking Light suggested topping the tacos with a Quick Pickled Cabbage as well, so I’ve included that below. This recipe does require you to marinate the beef for an hour, so plan accordingly. To make it a quick meal, you could also just marinate the meat overnight.
Ingredients for the tacos:
1/3 cup sugar
5 tablespoons lower-sodium soy sauce
1 1/2 tablespoons chile paste (such as sambal oelek)
the juice of 2 limes
1 tablespoon dark sesame oil
4 garlic cloves, minced
12 ounces flank steak, sliced against the grain into thin strips
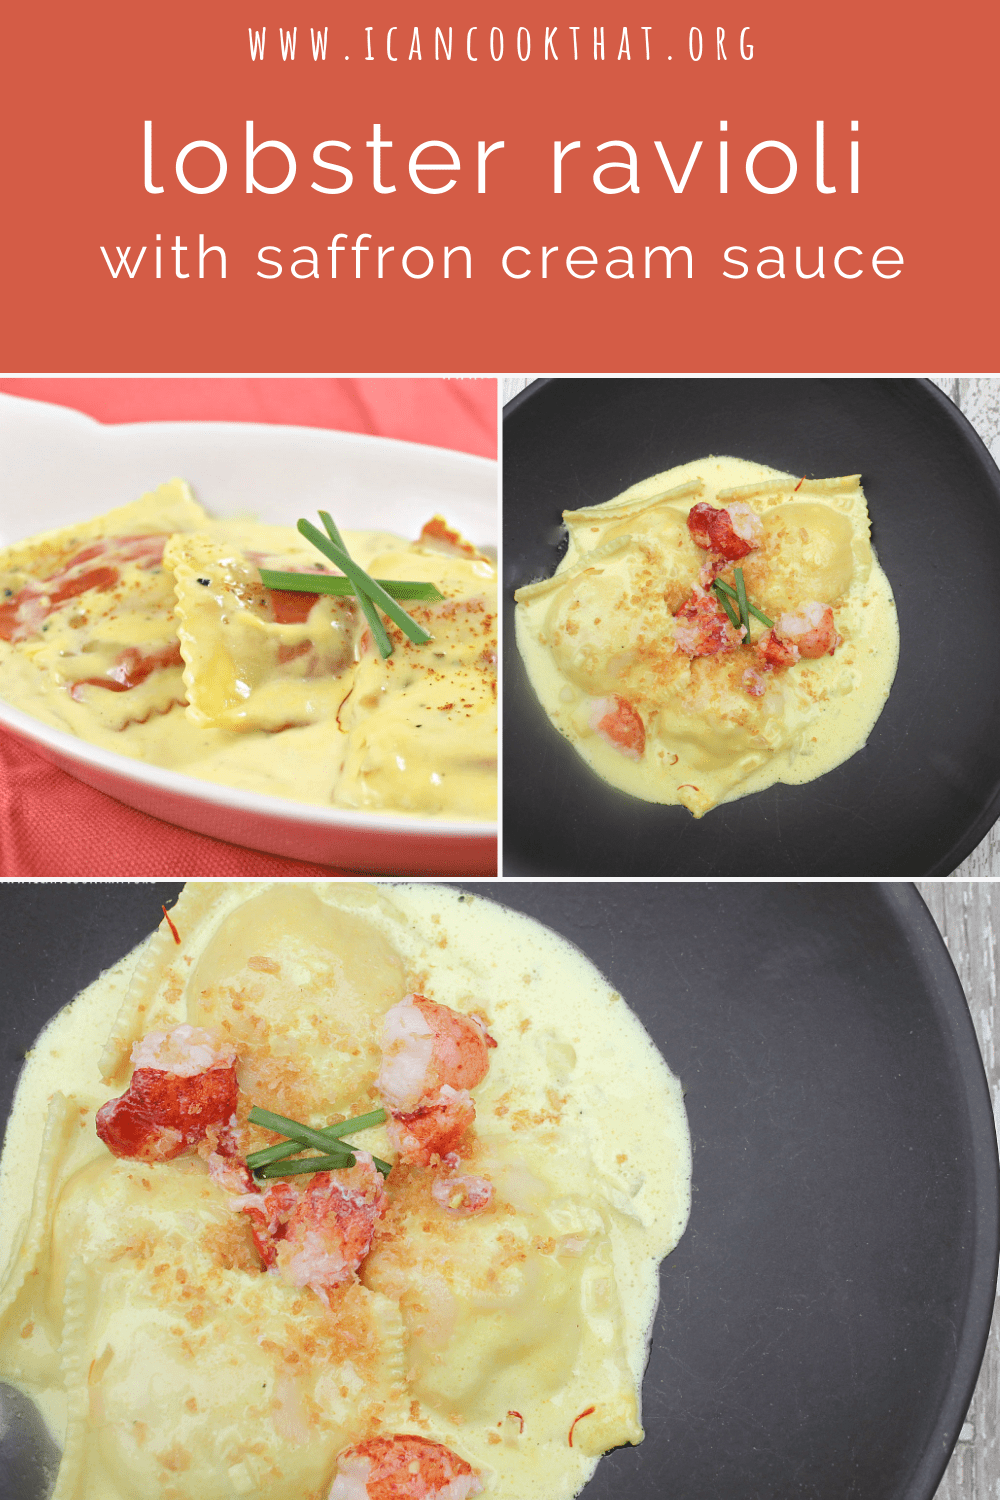
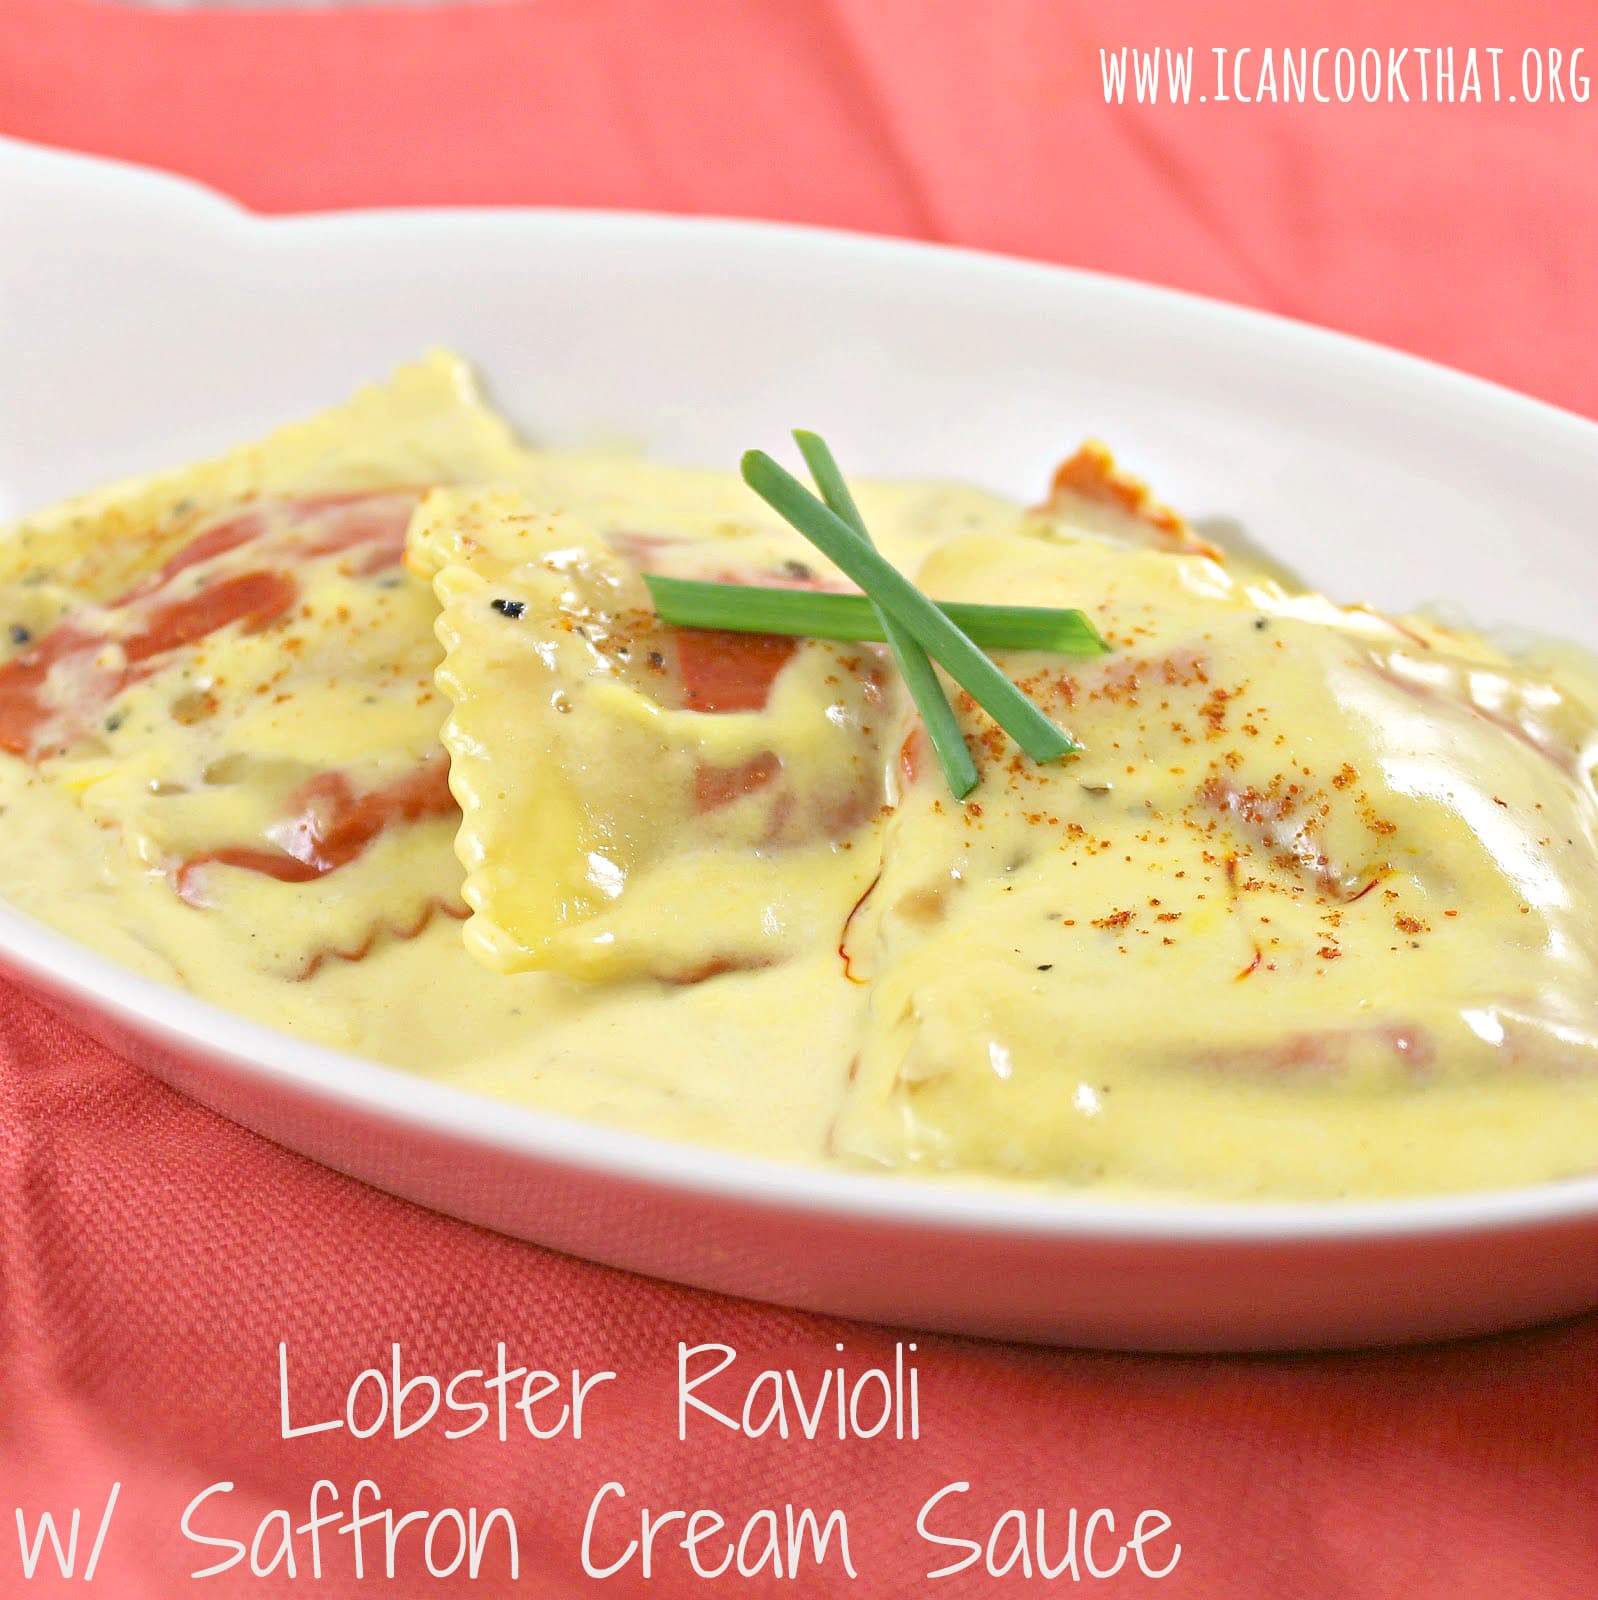
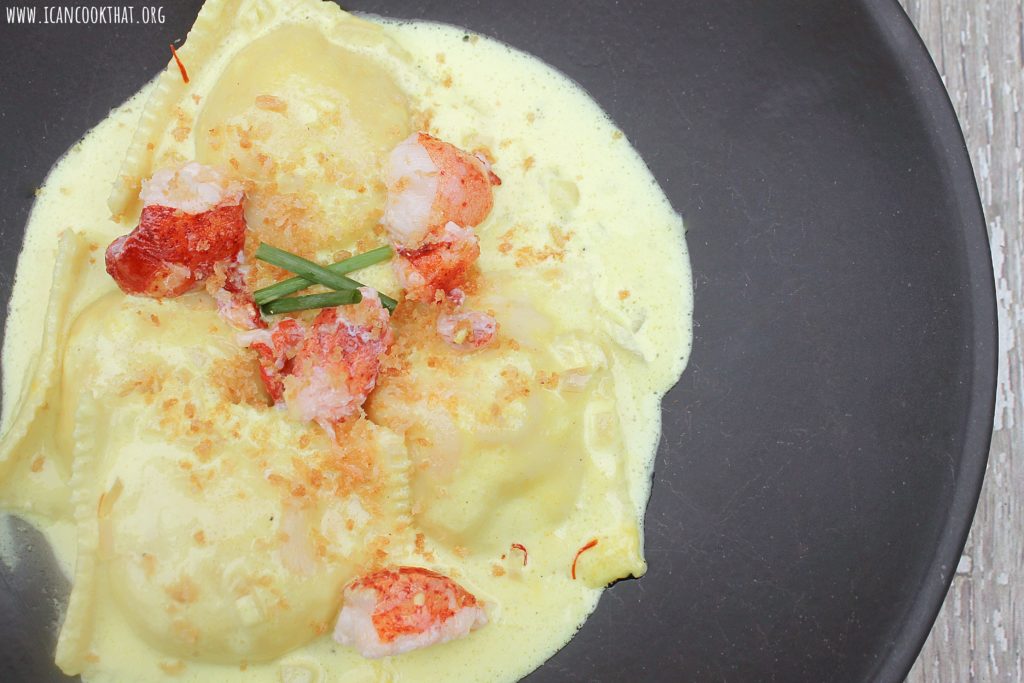
Everyone needs a quick but really impressive meal in their cooking arsenal. My go-to is usually ravioli; it cooks in a few minutes and all you really have to do is make an awesome sauce.
You can make the meal in a half hour, and most of the ingredients are relatively easy to have on hand. (I know it’s a bit odd to have saffron threads in my spice collection but Trader Joe’s sells some that isn’t terribly expensive.) You can buy lobster ravioli if/when it goes on sale and store it in your fridge until needed which means this seemingly fancy recipe for Lobster Ravioli with Saffron Cream Sauce is actually a quick and easy dinner option!
I was pretty excited when I came across this recipe because it sounded amazing. Um, it was beyond amazing. Seriously. This is one of my favorite sauces I’ve ever made. Mmm. Ok, sorry. I should probably share it with you now.
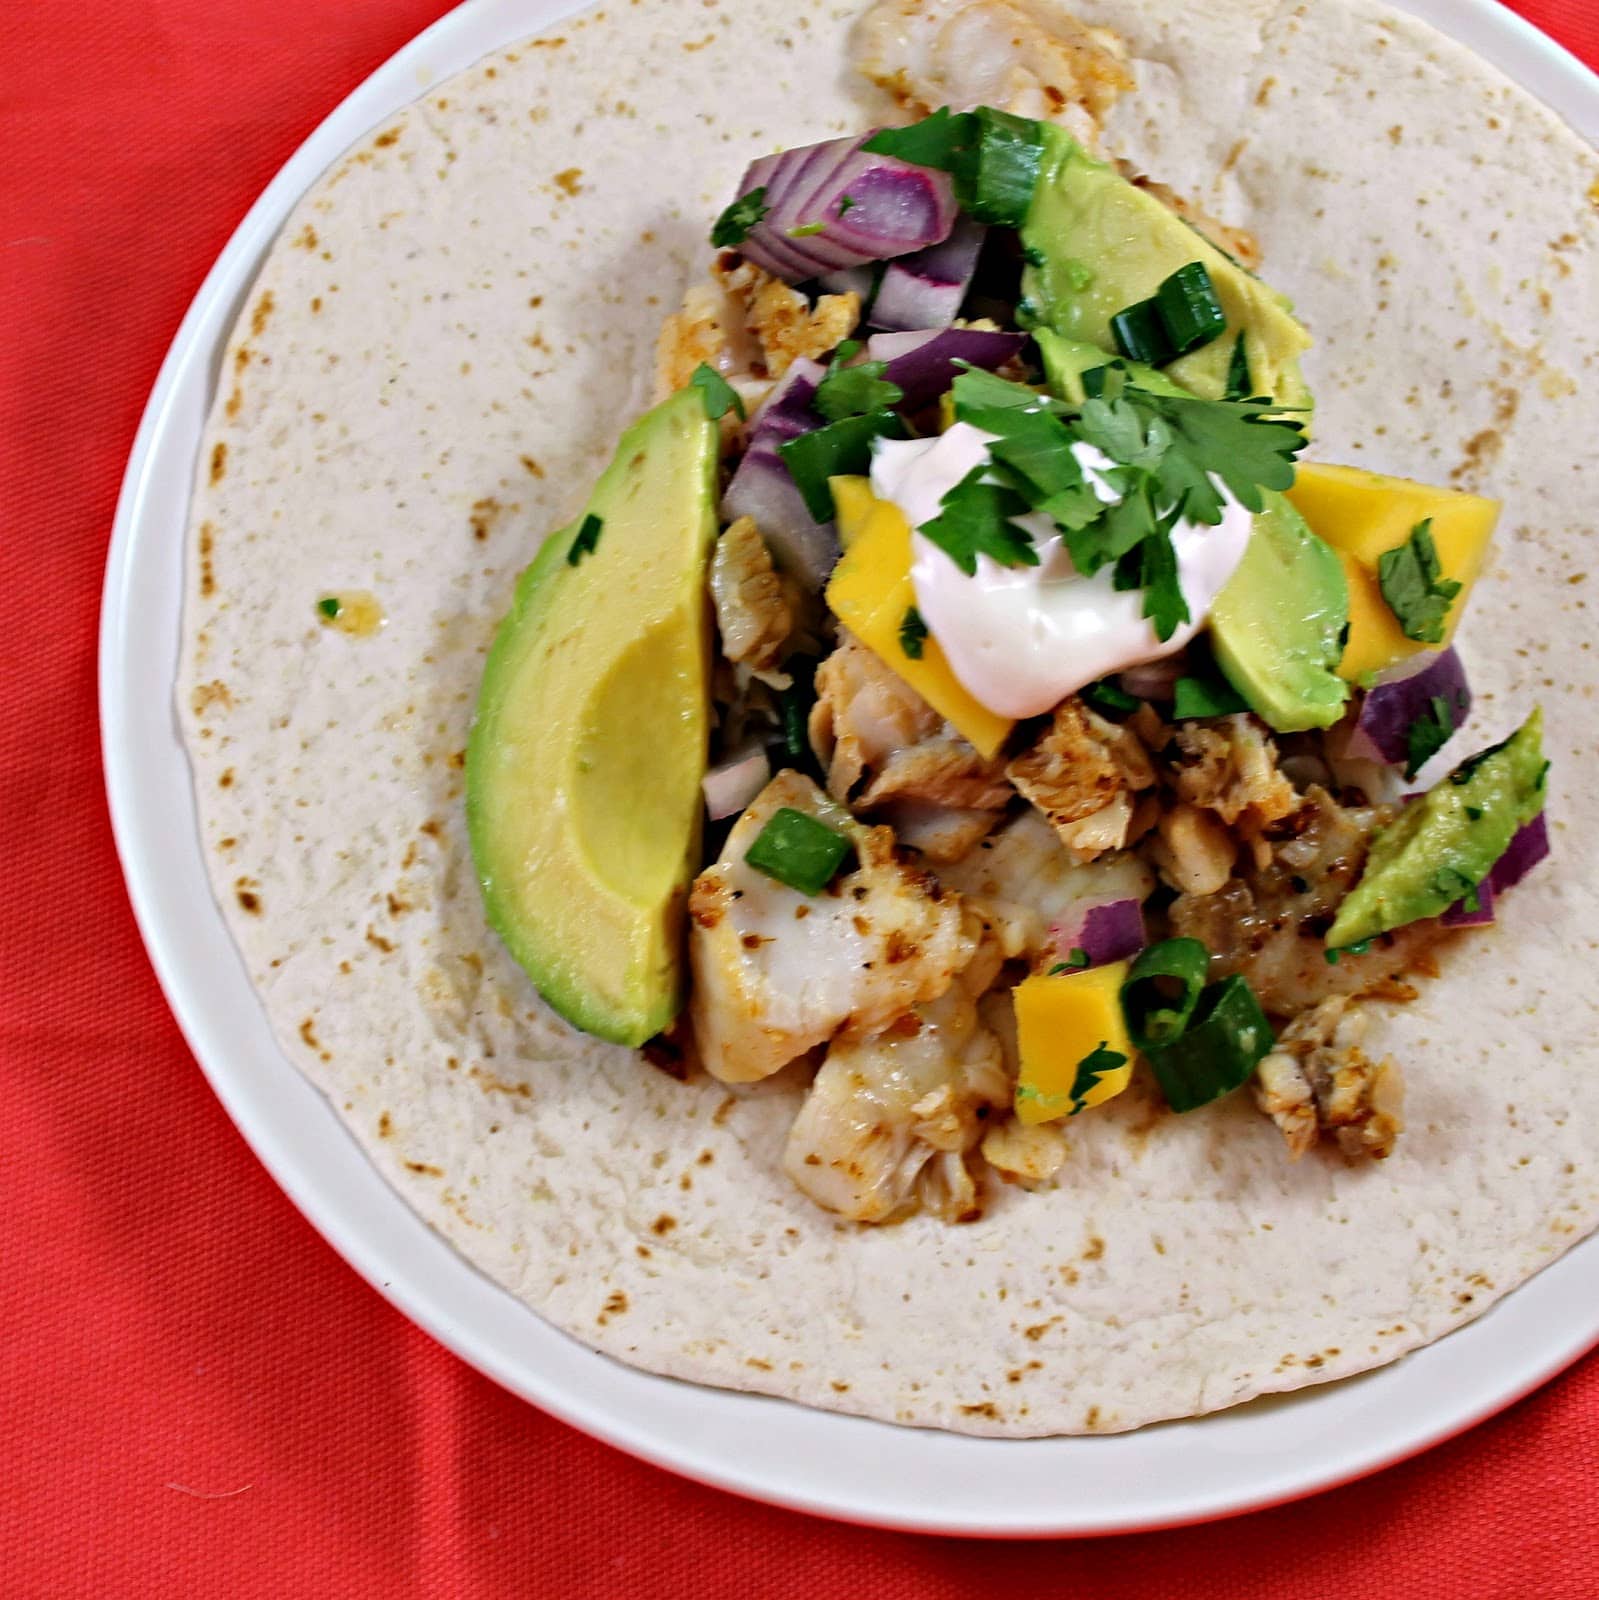
With Cinco de Mayo this past weekend, I couldn’t stop thinking about making some kind of Mexican-themed meal this weekend. So I was pretty excited when my boyfriend suggested Fish Tacos on Sunday. My trusty Cooking Light obviously had the perfect recipe to fulfill our craving. These Cumin Spiced Fish Tacos with Avocado Mango Salsa get an extra boost of flavor from toasting the cumin seeds before grinding. If you can’t find cumin seeds, ground cumin will work for the recipe as well, just skip the toasting part.
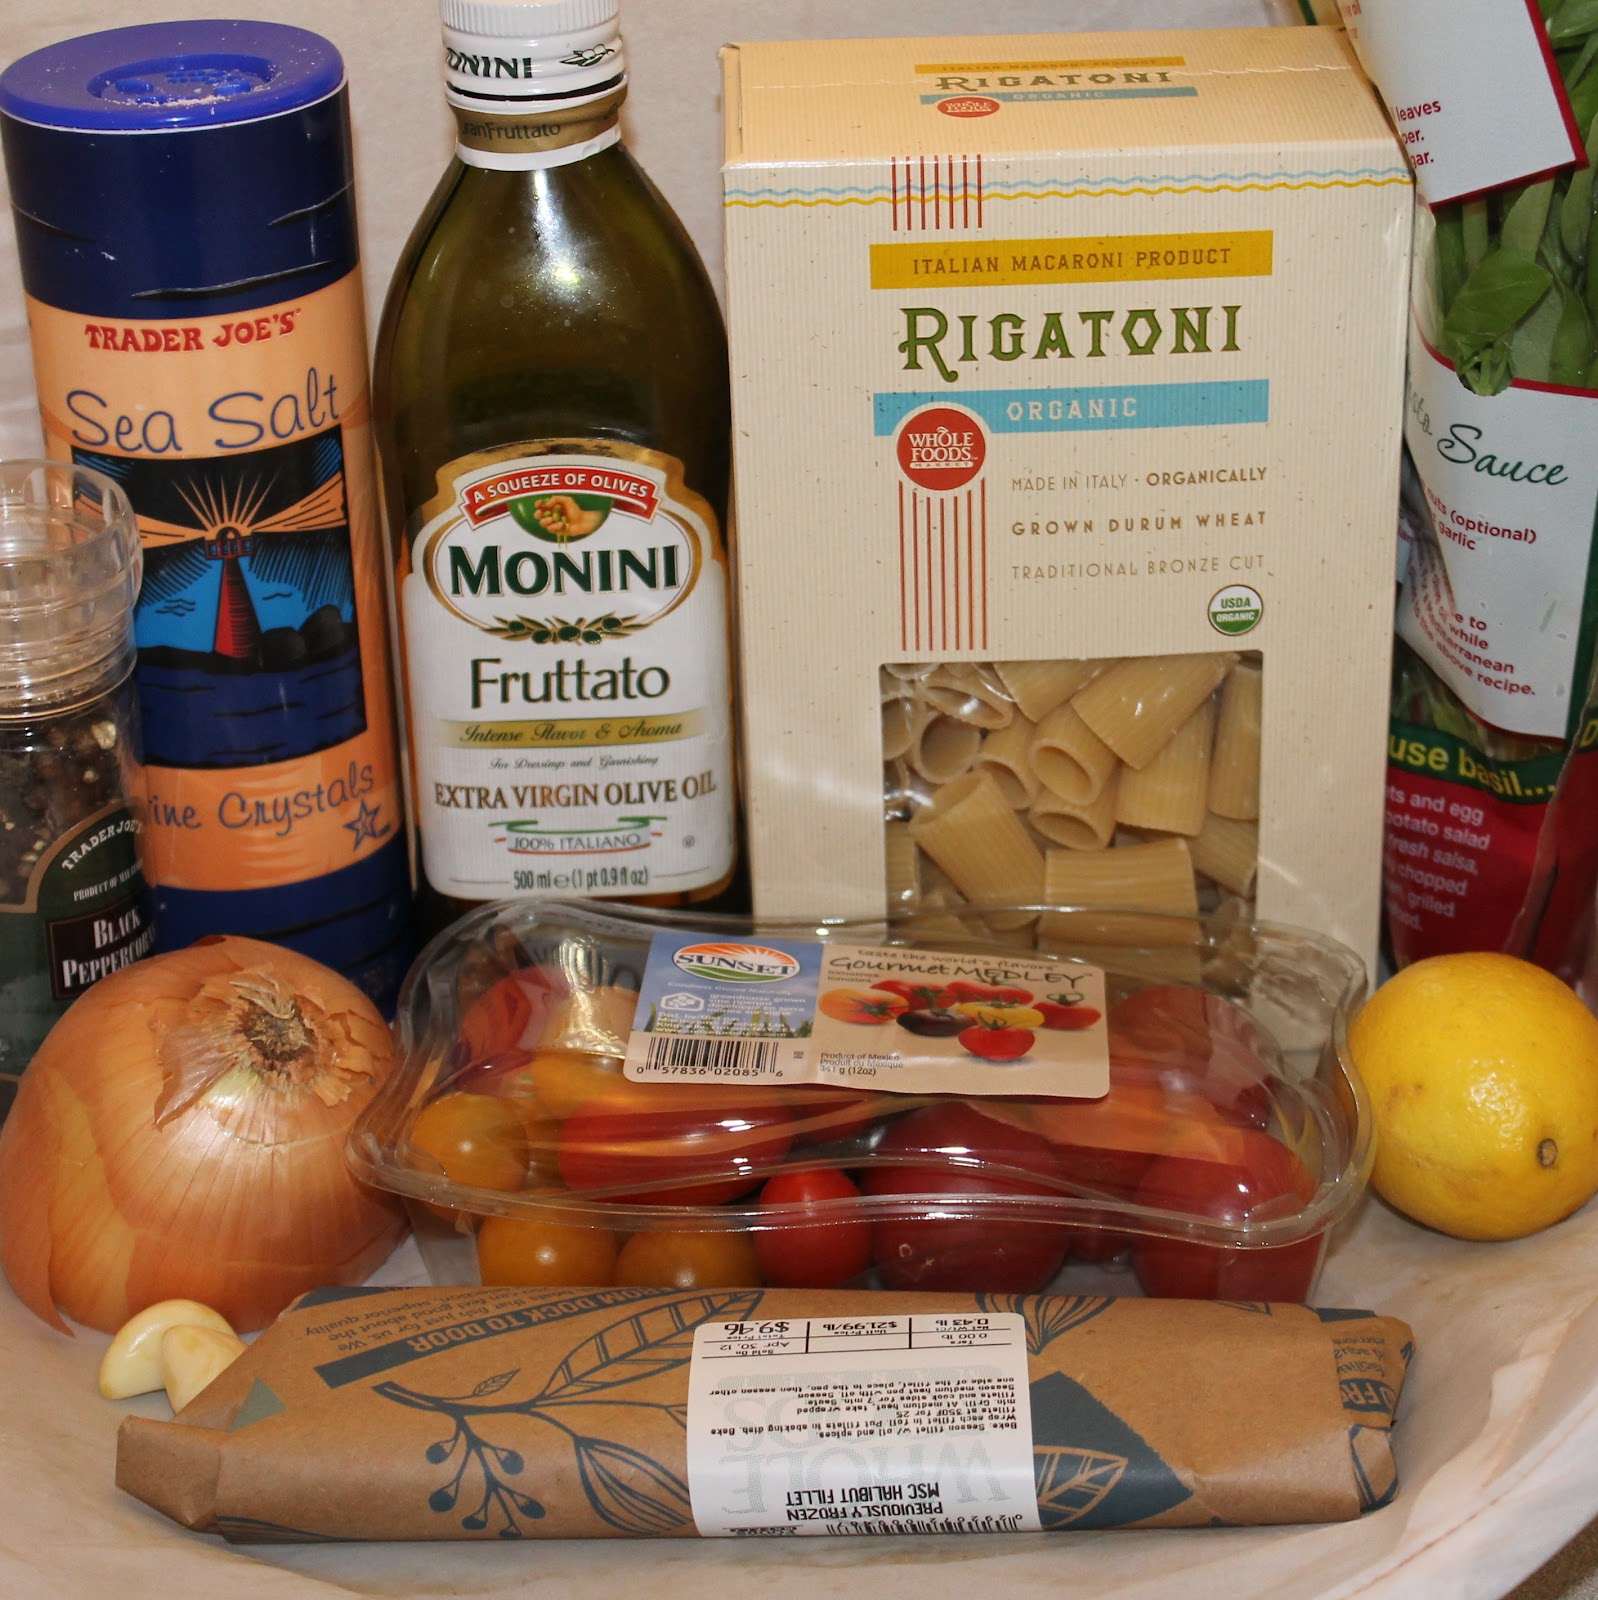
This recipe for Rigatoni with Halibut Tomato and Basil is loosely adapted from Marc Vetri’s cookbook, Rustic Italian Food. Last Friday, I went to Vetri for the first time. And it was hands down the best meal I’ve ever had, both food and service. I was also so terribly awkward that I’m not quite over it. Marc Vetri is one stellar chef. He opened Vetri in 1998 and 14 years later continues to wow people with the food he turns out. I was swooning over each and every plate that came out. I brought my parents for their 30th anniversary and honestly, I feel like it ended up being as much a present to myself as it was for them (sorry mom and dad!).
Vetri even came over to our table, wished my parents a happy anniversary, and signed his cookbook for me! (This is the stage where I got truly embarrassing. I absolutely turned red during this encounter. Eep). So naturally, I can’t think of anything but those delicious meals. I decided to use a recipe from his cookbook, Rustic Italian Food. I ended up using Halibut because the store I was at was out of swordfish (boo).
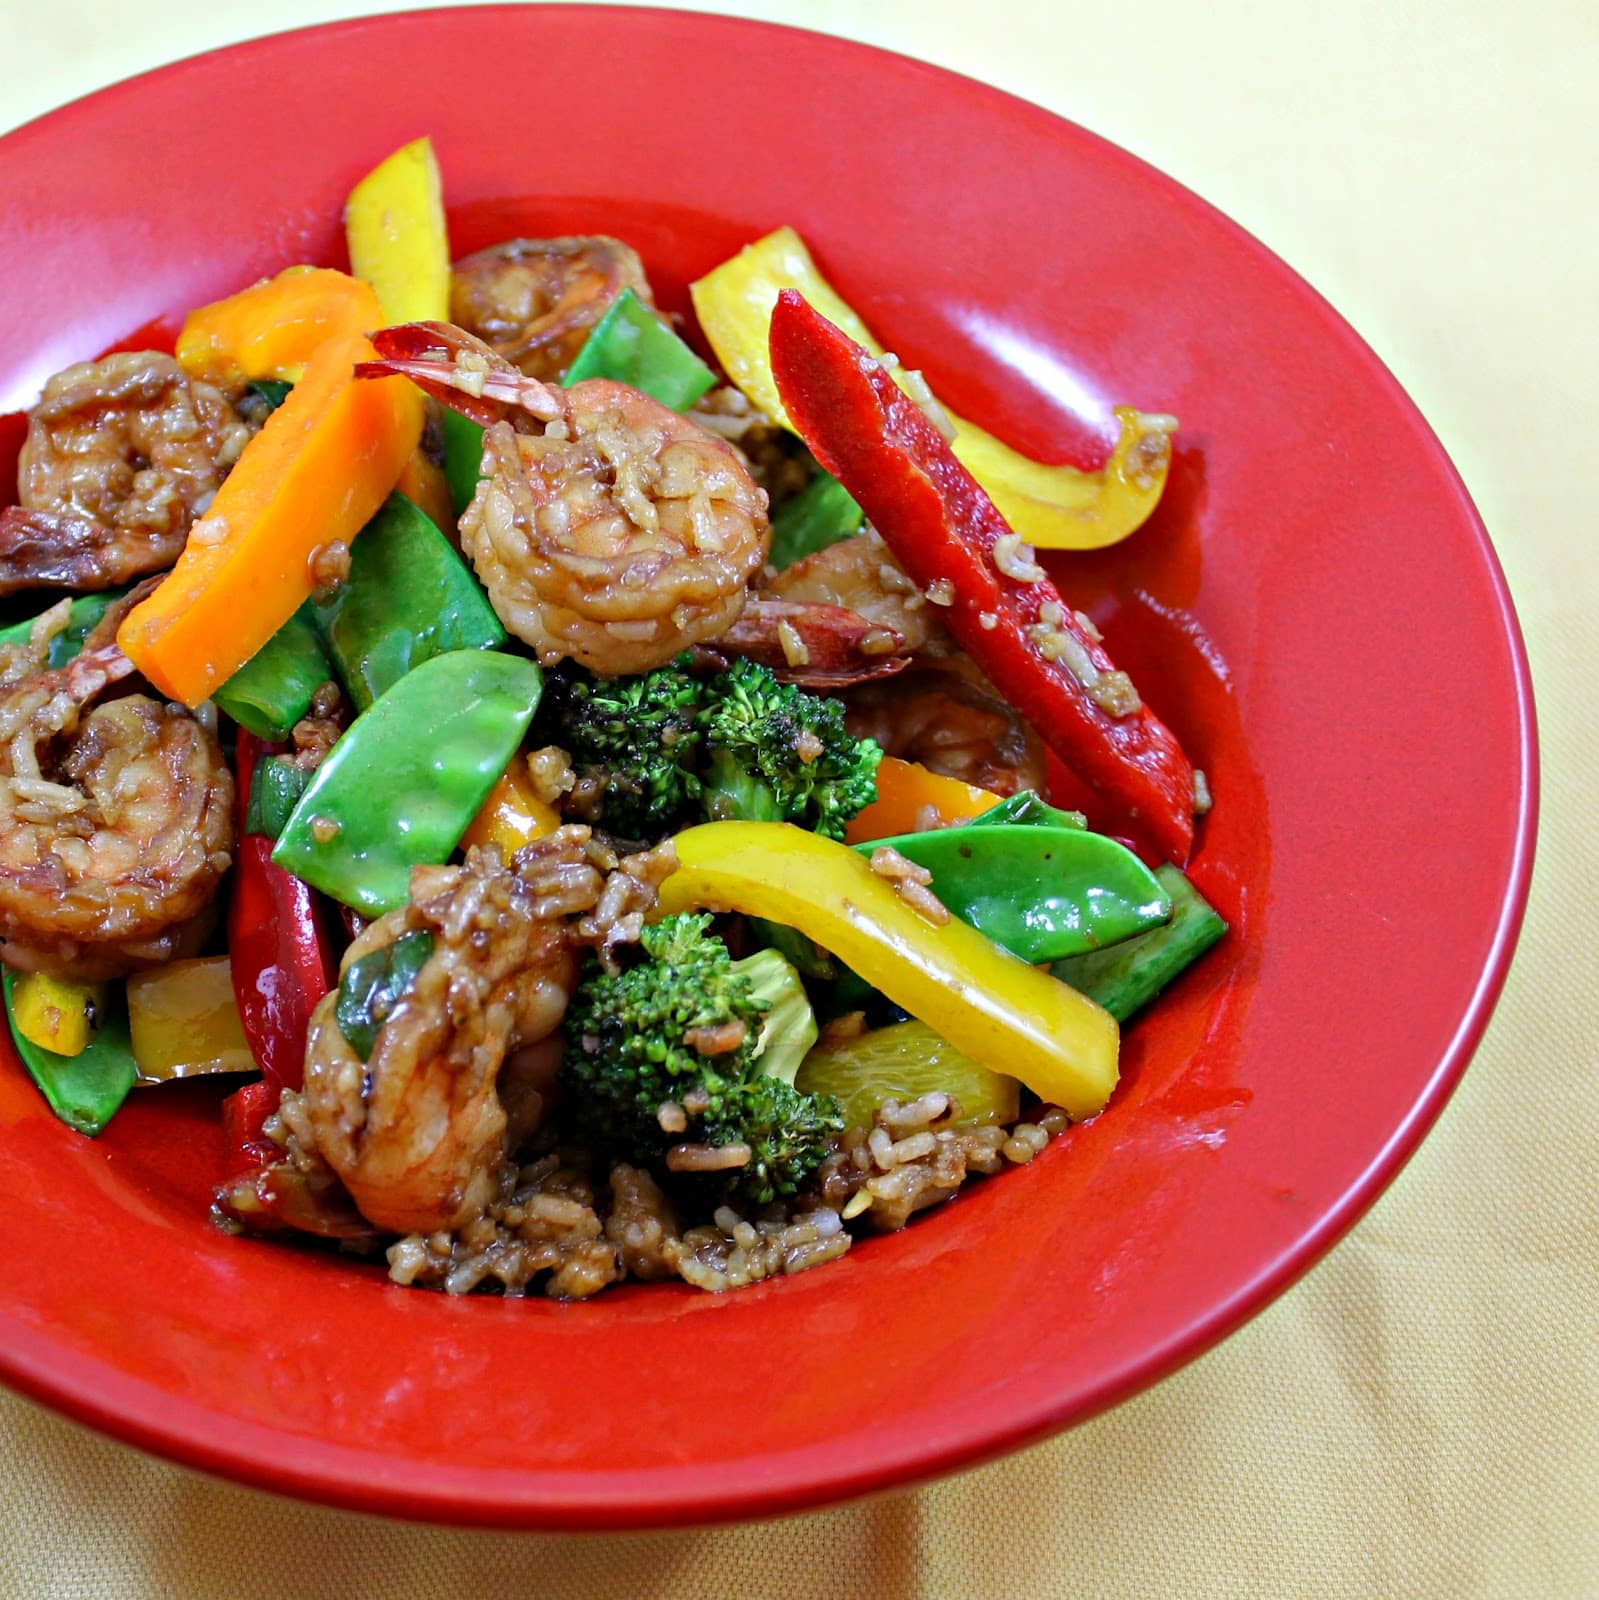
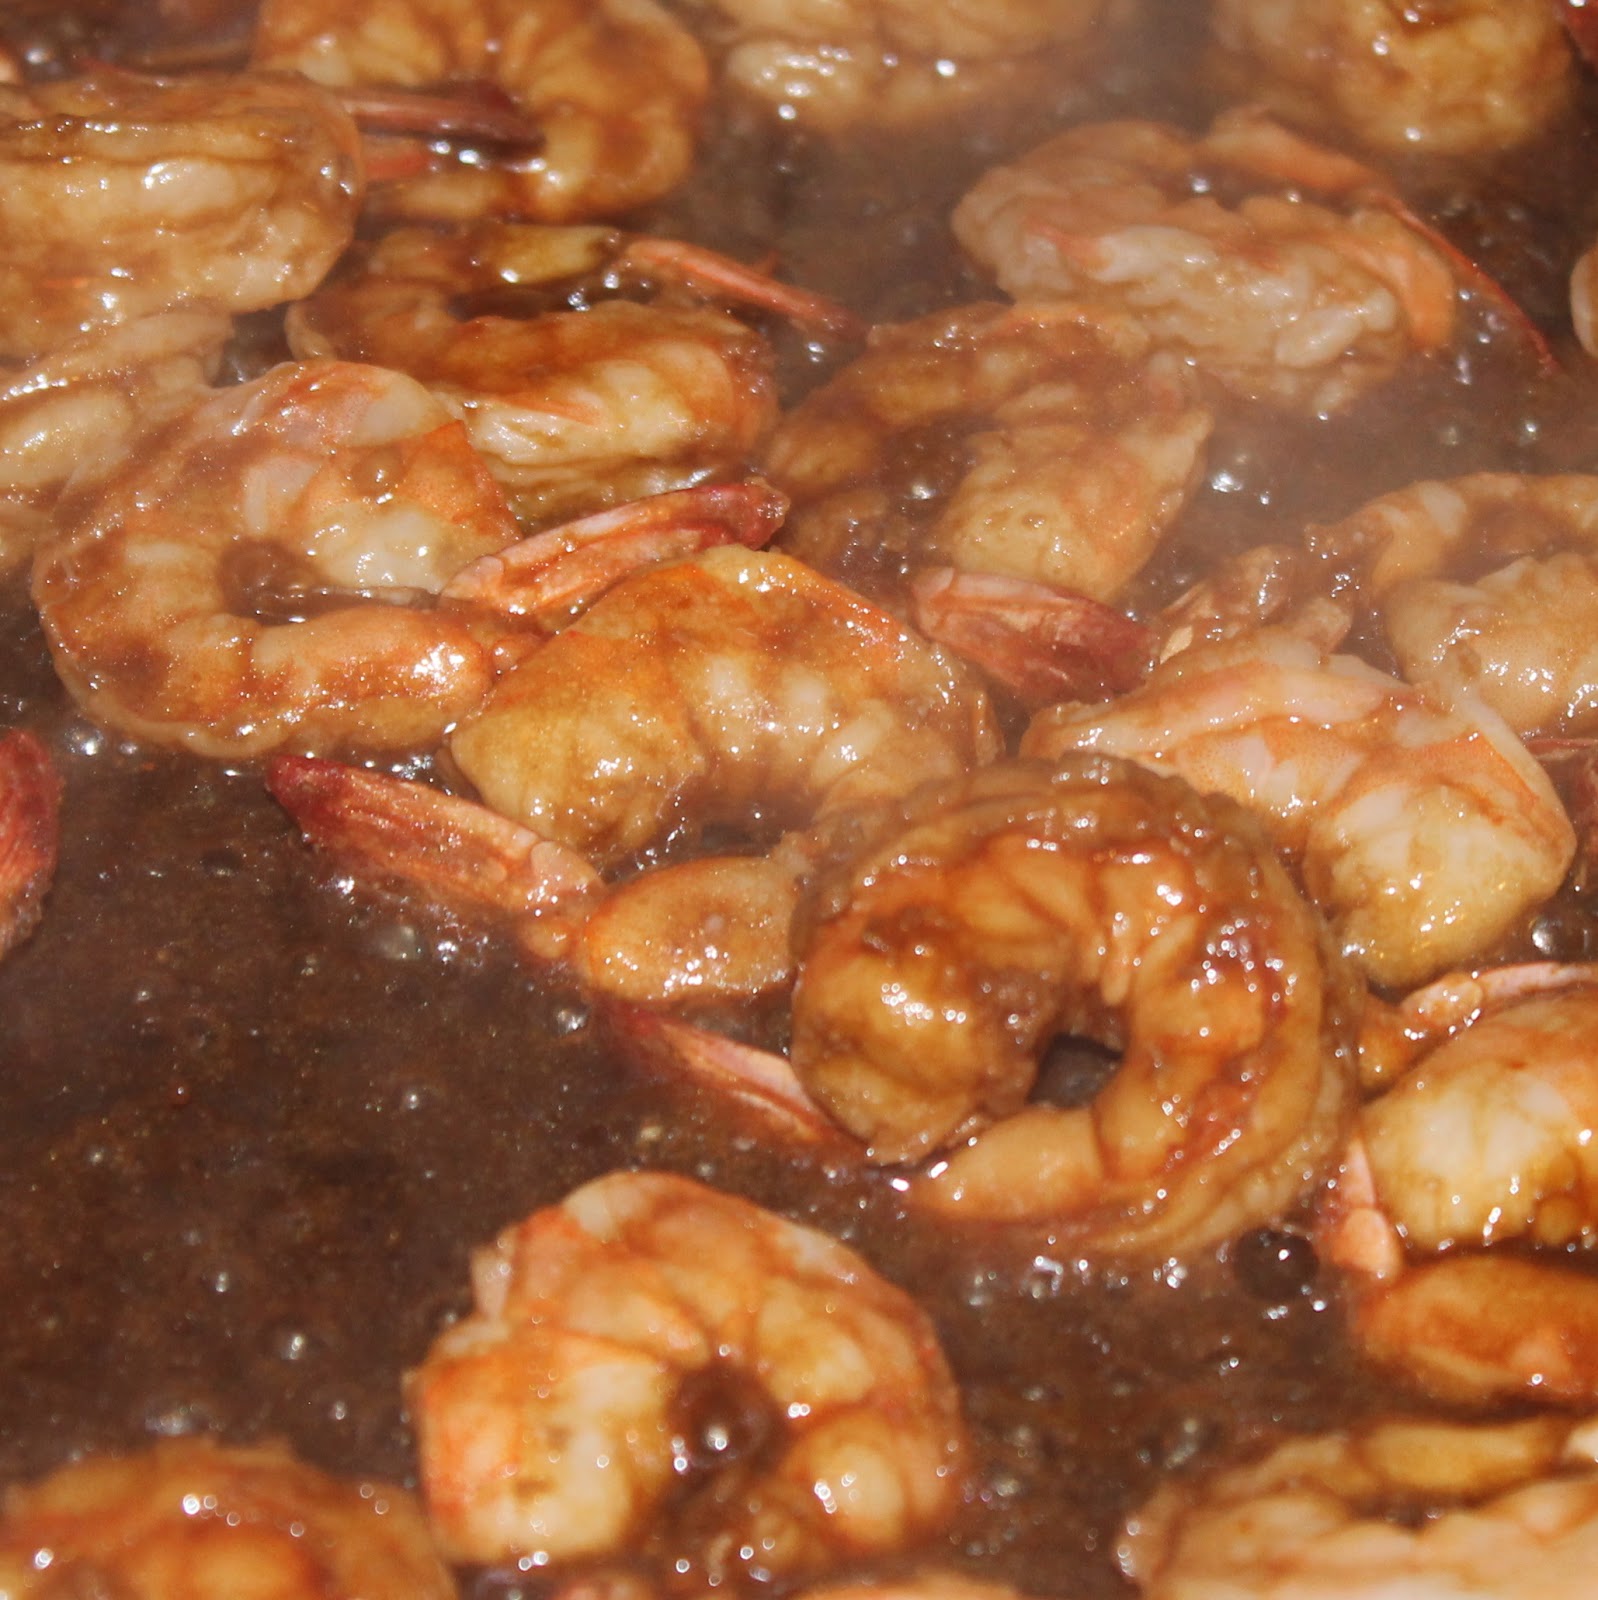
This dish for Shrimp Fried Rice is an attempt to make a takeout favorite a bit healthier. To do so, Cooking Light cut the amount of rice, added a bunch of veggies, and cut out some of the salt. So because of this, I think this recipe should more be called “Shrimp Fried Rice” (There’s a lot of shrimp, a little bit of fried, and an itty bit of rice. Have no fear, you won’t even miss it.)
Ingredients:
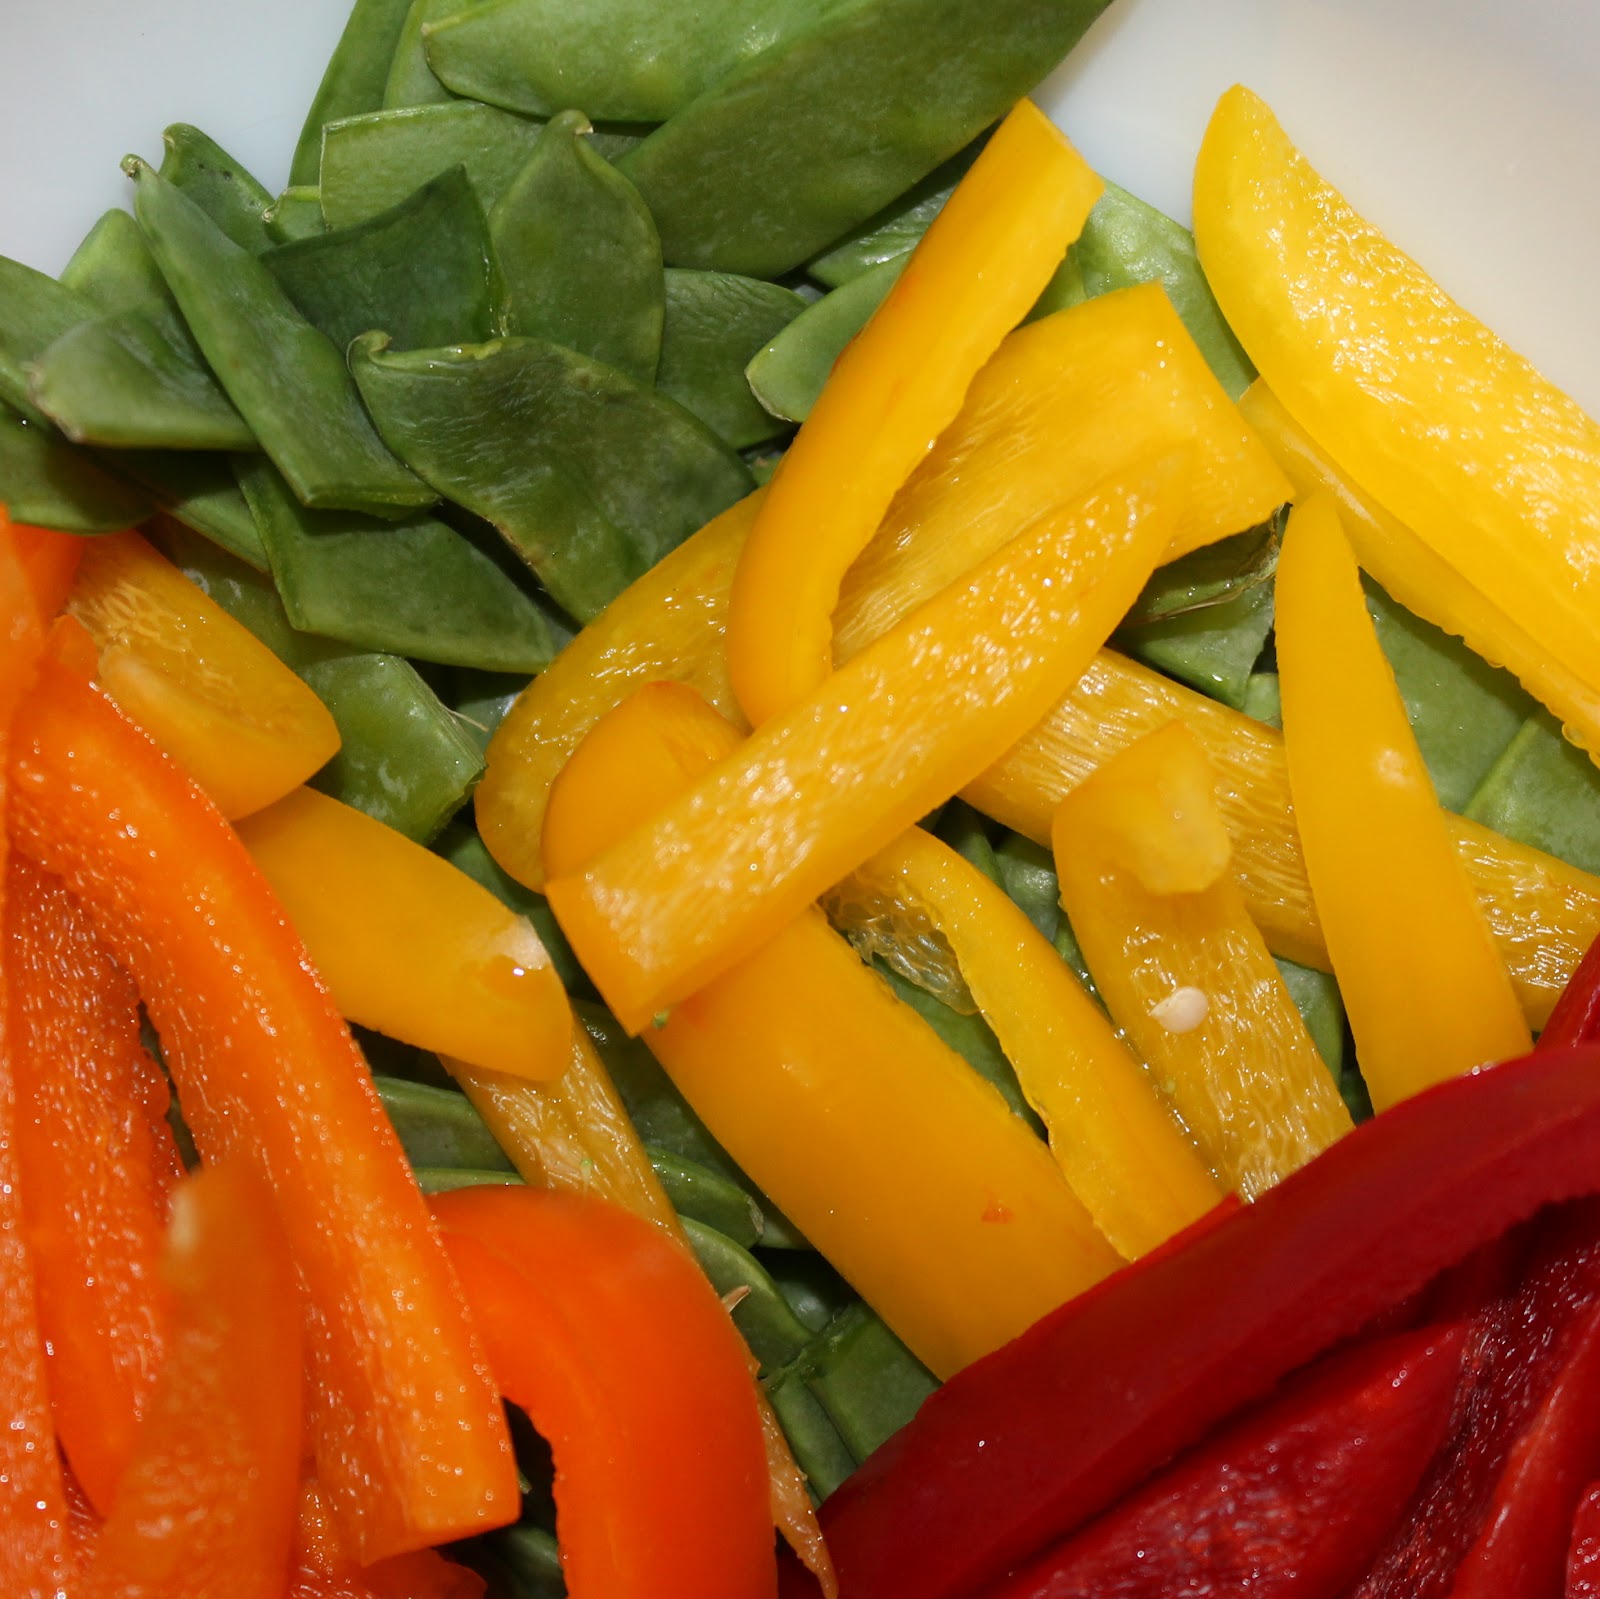
1 cup broccoli florets
7 teaspoons canola oil, divided
1 medium red bell pepper, cut into thin strips
1 medium yellow bell pepper, cut into thin strips
1 medium orange bell pepper, cut into thin strips
1 cup snow peas, trimmed and halved crosswise
1 tablespoon grated peeled fresh ginger
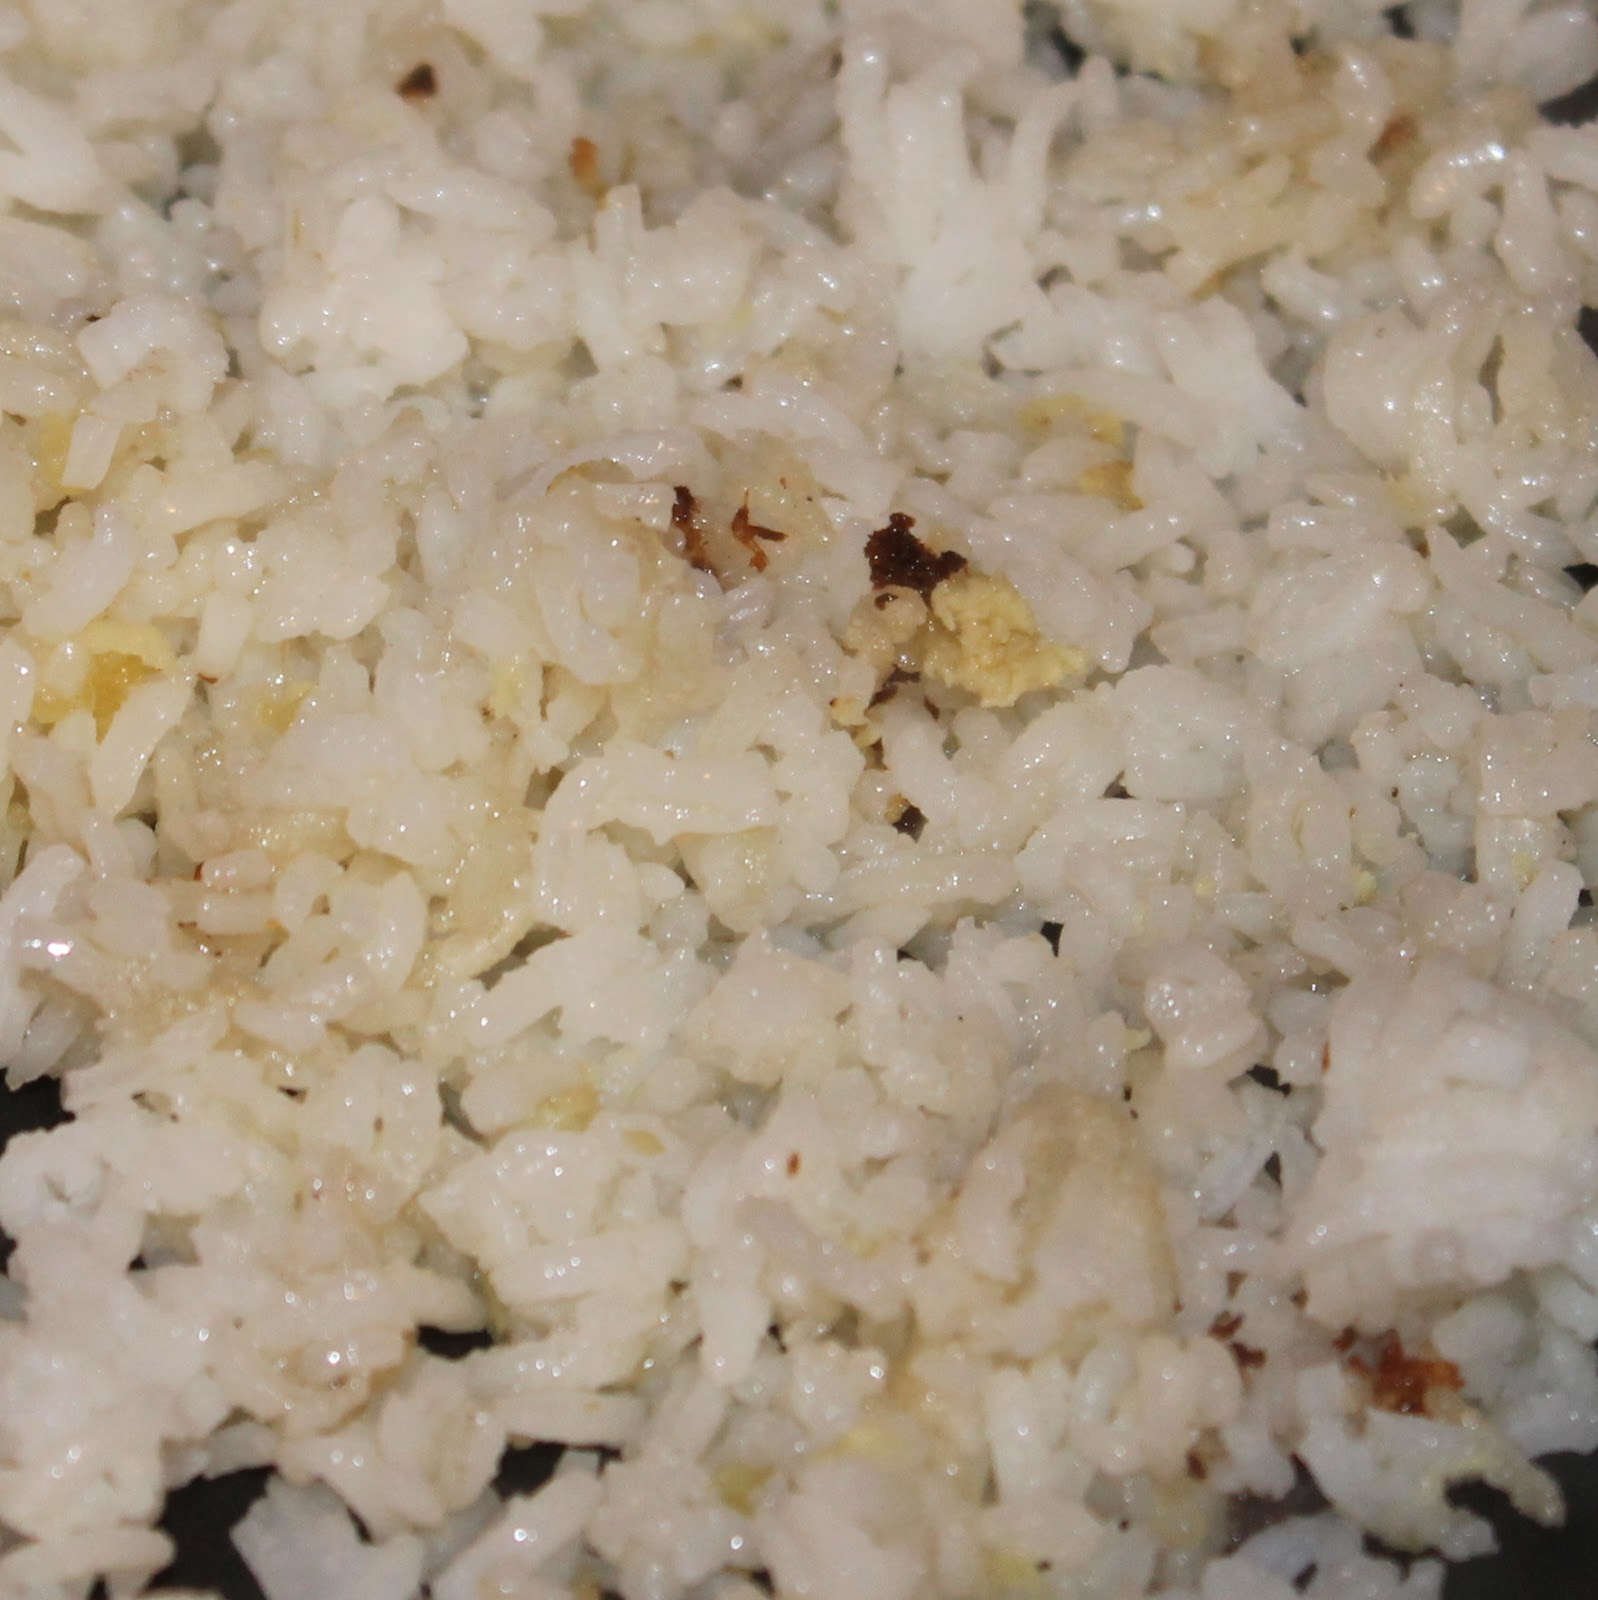
1 cup cooked long-grain white rice, chilled
1 tablespoon dark sesame oil
1 pound peeled and deveined medium shrimp
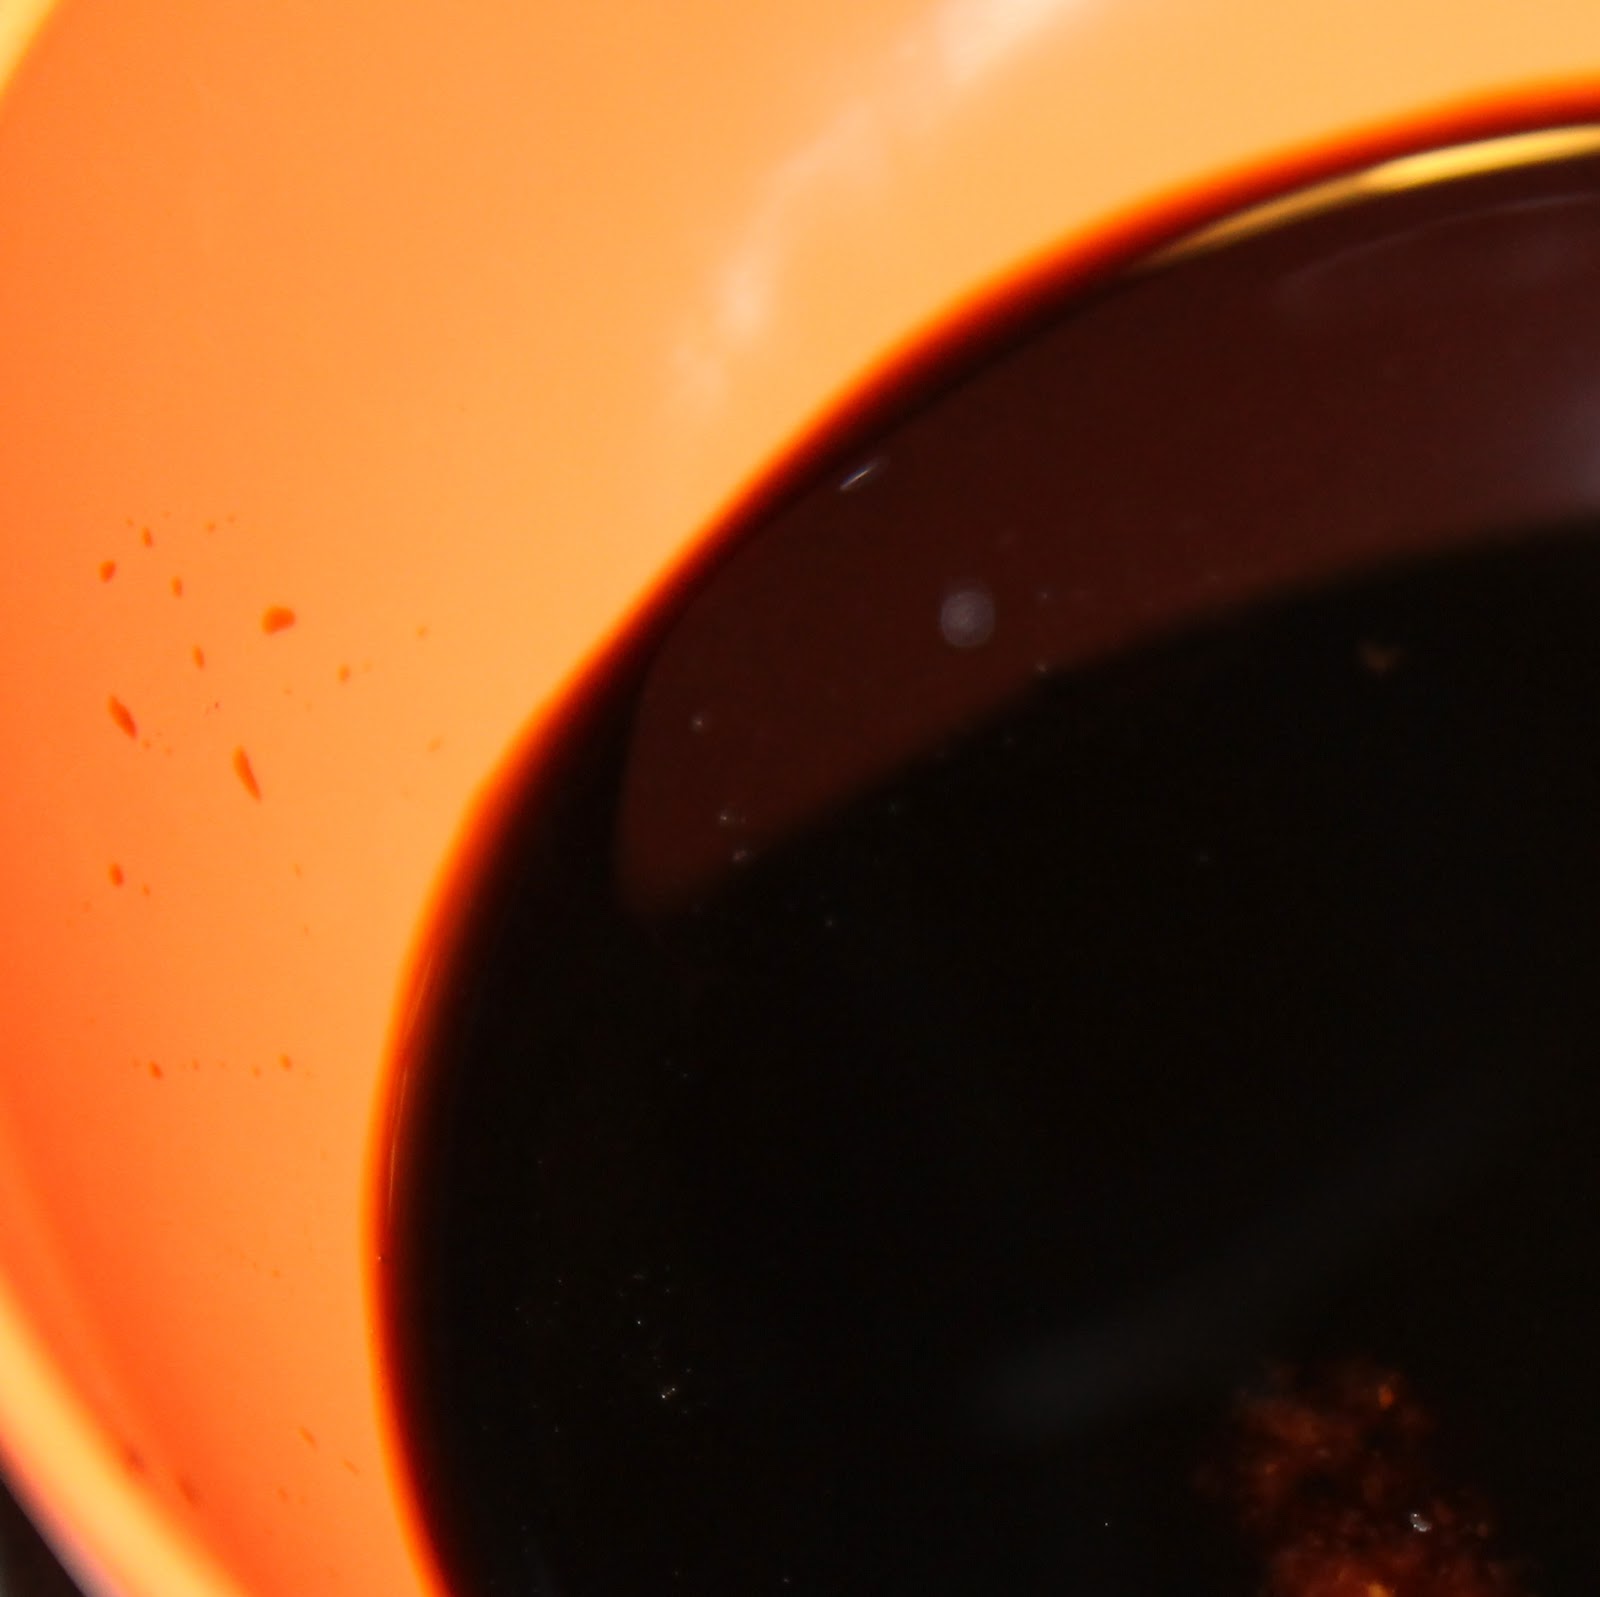
1/4 cup lower-sodium soy sauce (or coconut aminos to make gluten free)
1 1/2 tablespoons rice vinegar
1 teaspoon Sriracha
1/4 cup thinly diagonally sliced green onions
This recipe works best with day-old rice but I didn’t have the foresight to do that. So I made my rice in my rice cooker and popped it in the refrigerator.
To make, bring a pot of water to a boil. Add the broccoli to a steam basket and steam over the boiling water for 4 minutes or until crisp-tender. (I cheated and steamed my broccoli in my rice cooker after making the rice). Add to a large bowl.
Prepare your vegetables.
Add 1 teaspoon canola oil to a saute pan over medium high heat. If you have a wok, use it here. If not (like me) just use your largest saute pan. Add the peppers and snow peas and stir fry for 2 minutes.
Remove the vegetables and place in a large bowl with the broccoli. Add 2 tablespoons canola oil to the pan and swirl to coat. Add the ginger, cooking for 10 seconds. Add the chilled rice and cook for 5 minutes or until the rice is lightly browned.
Remove the rice and add to the bowl with the vegetables.
Mix the soy sauce, vinegar and Sriracha in a bowl. Set aside.
Wipe the pan with paper towels and return to medium-high heat. Add the sesame oil (I used toasted sesame oil, you can use regular as well), and swirl to coat. Add the shrimp and cook for 1-2 minutes, stirring constantly.
Stir in the soy sauce mixture and bring to a boil.
Cook for 3 minutes or until the liquid slightly thickens.
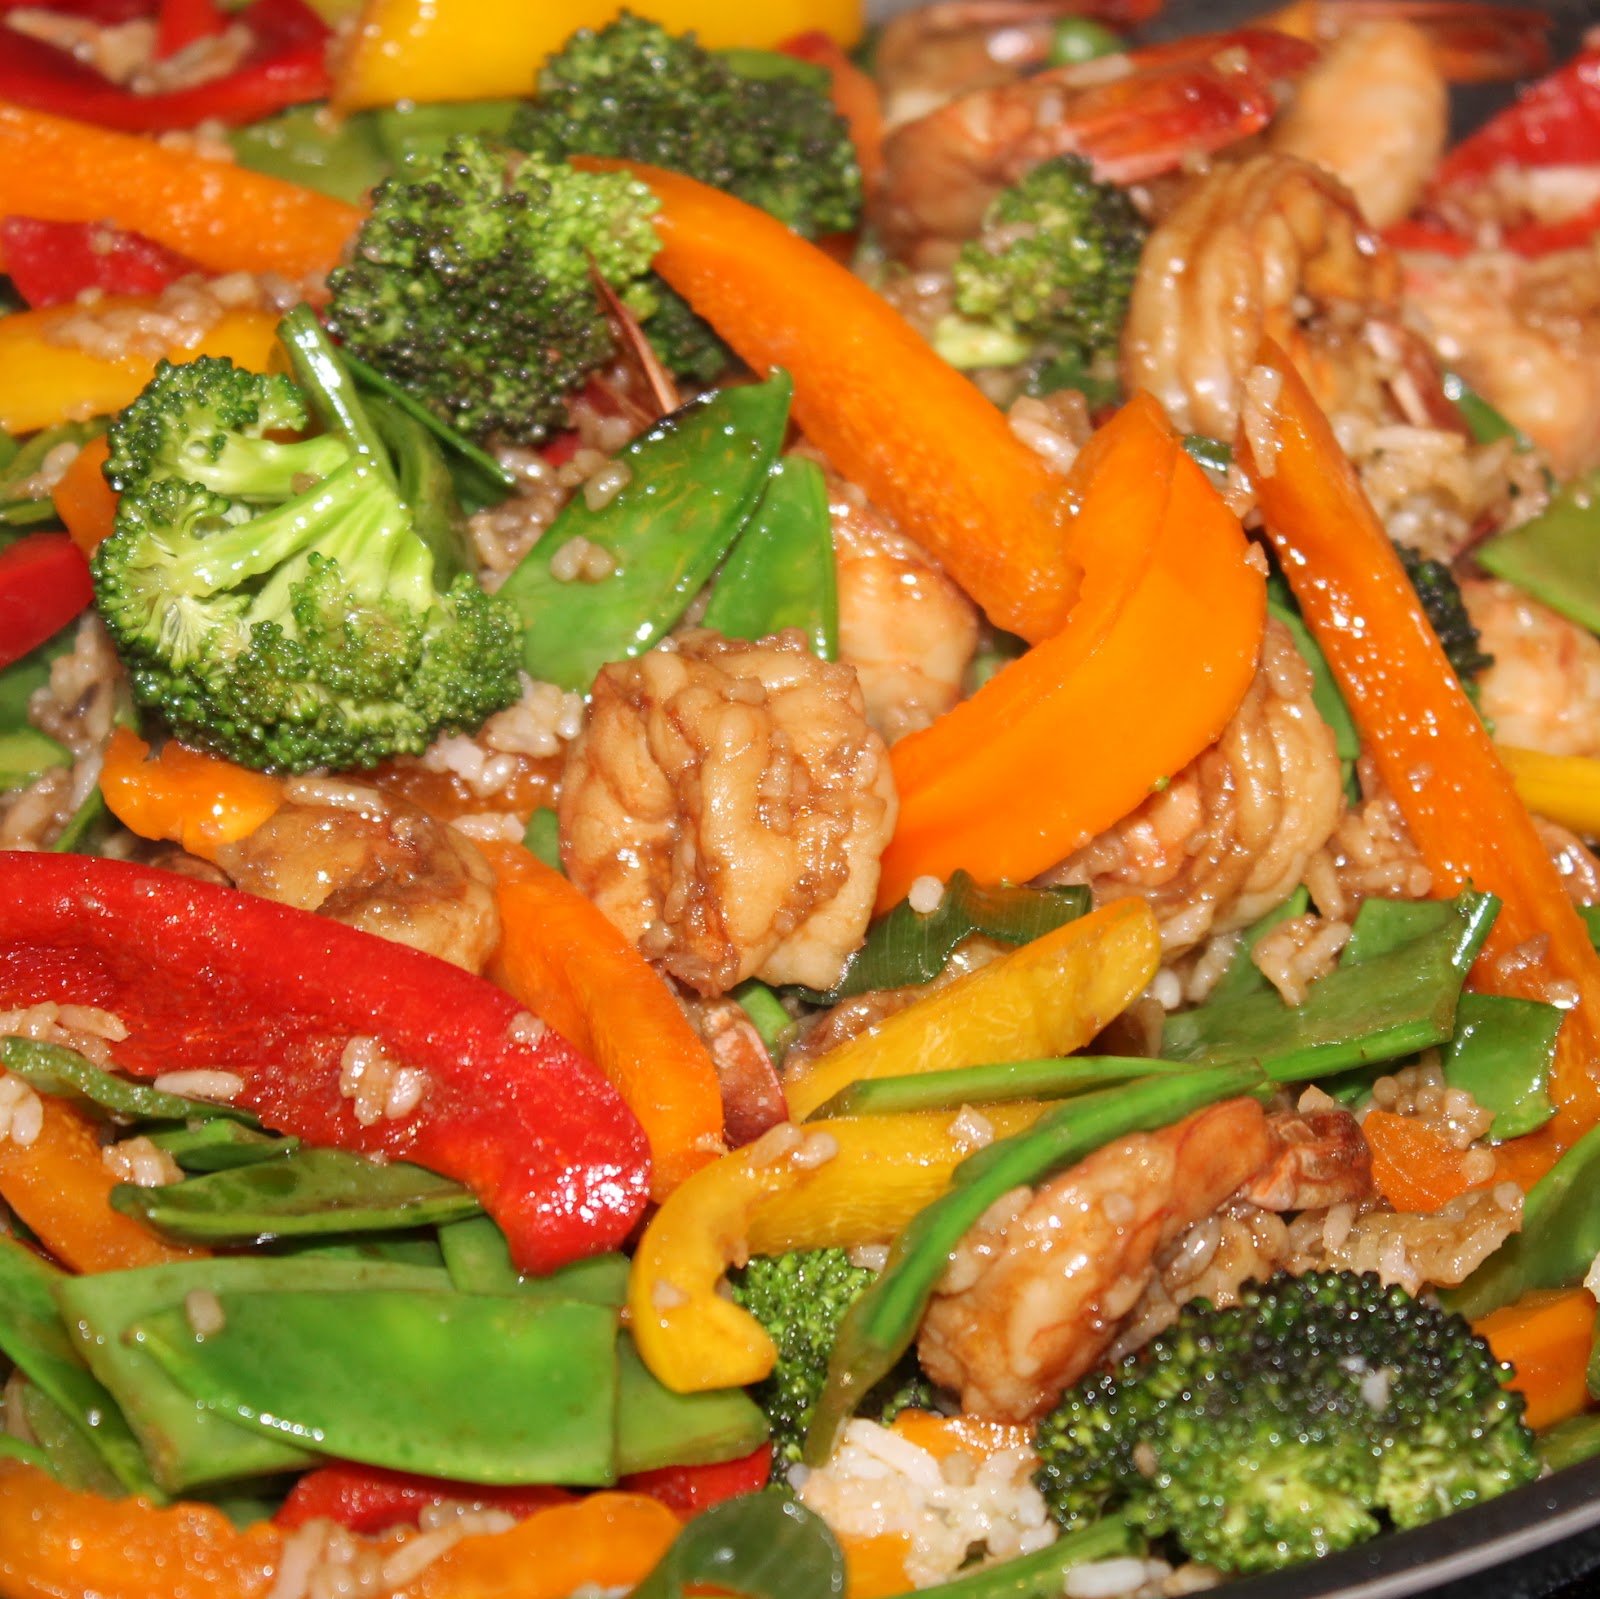
Add back in the vegetables plus the sliced green onions, stirring to combine. Cook for 1 minute and serve.
So easy right? And look at those beautiful colors!
There is a ton of flavor in this dish, and it ends with a slight spiciness. I would by no means call this a spicy dish though, it’s really great!
With so many vegetables in the dish, the rice became more a complement than the entire meal which was actually quite refreshing.
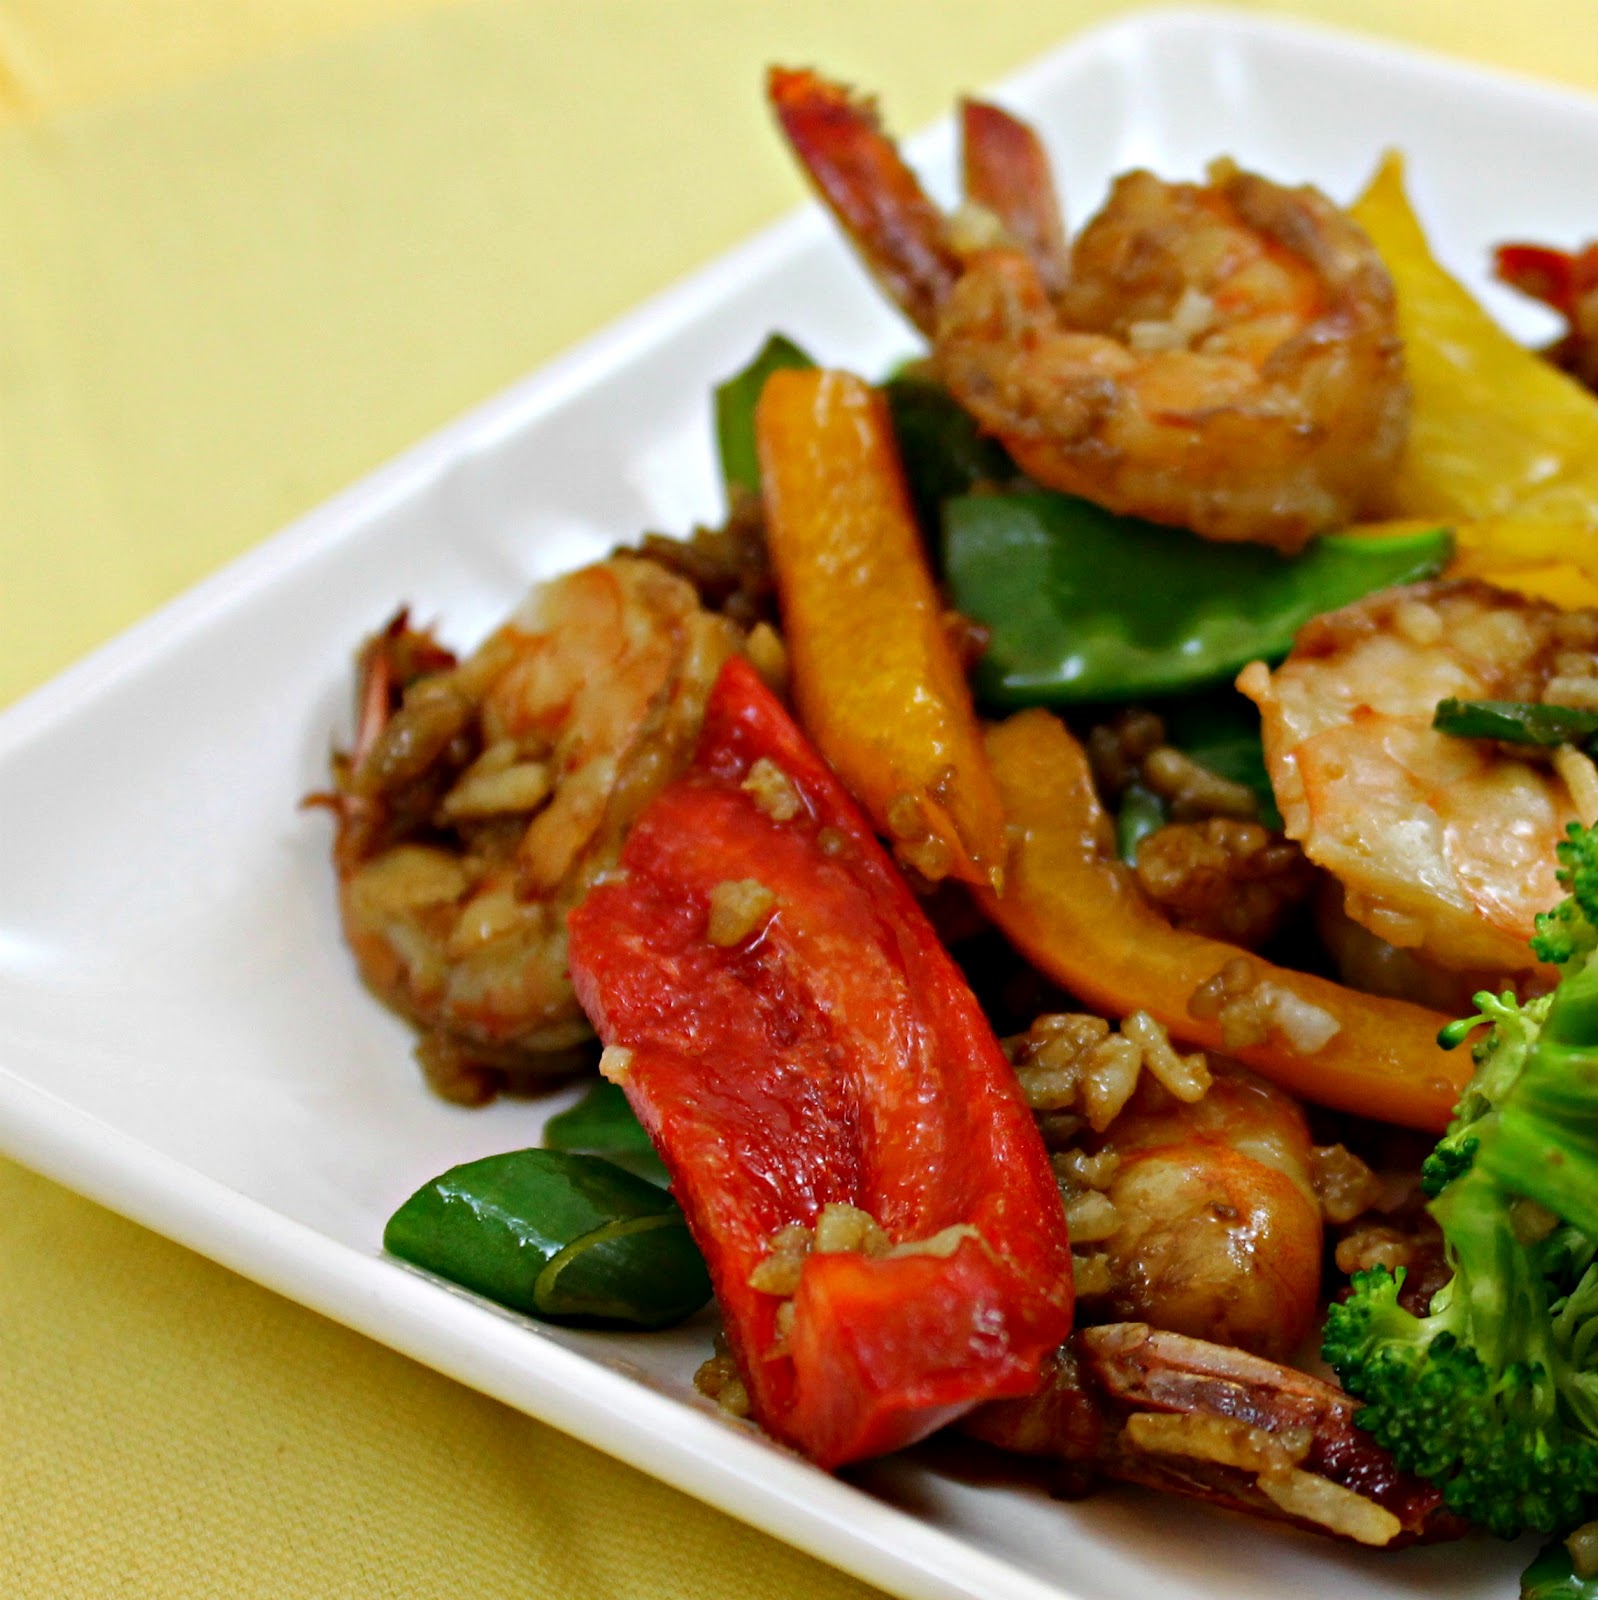
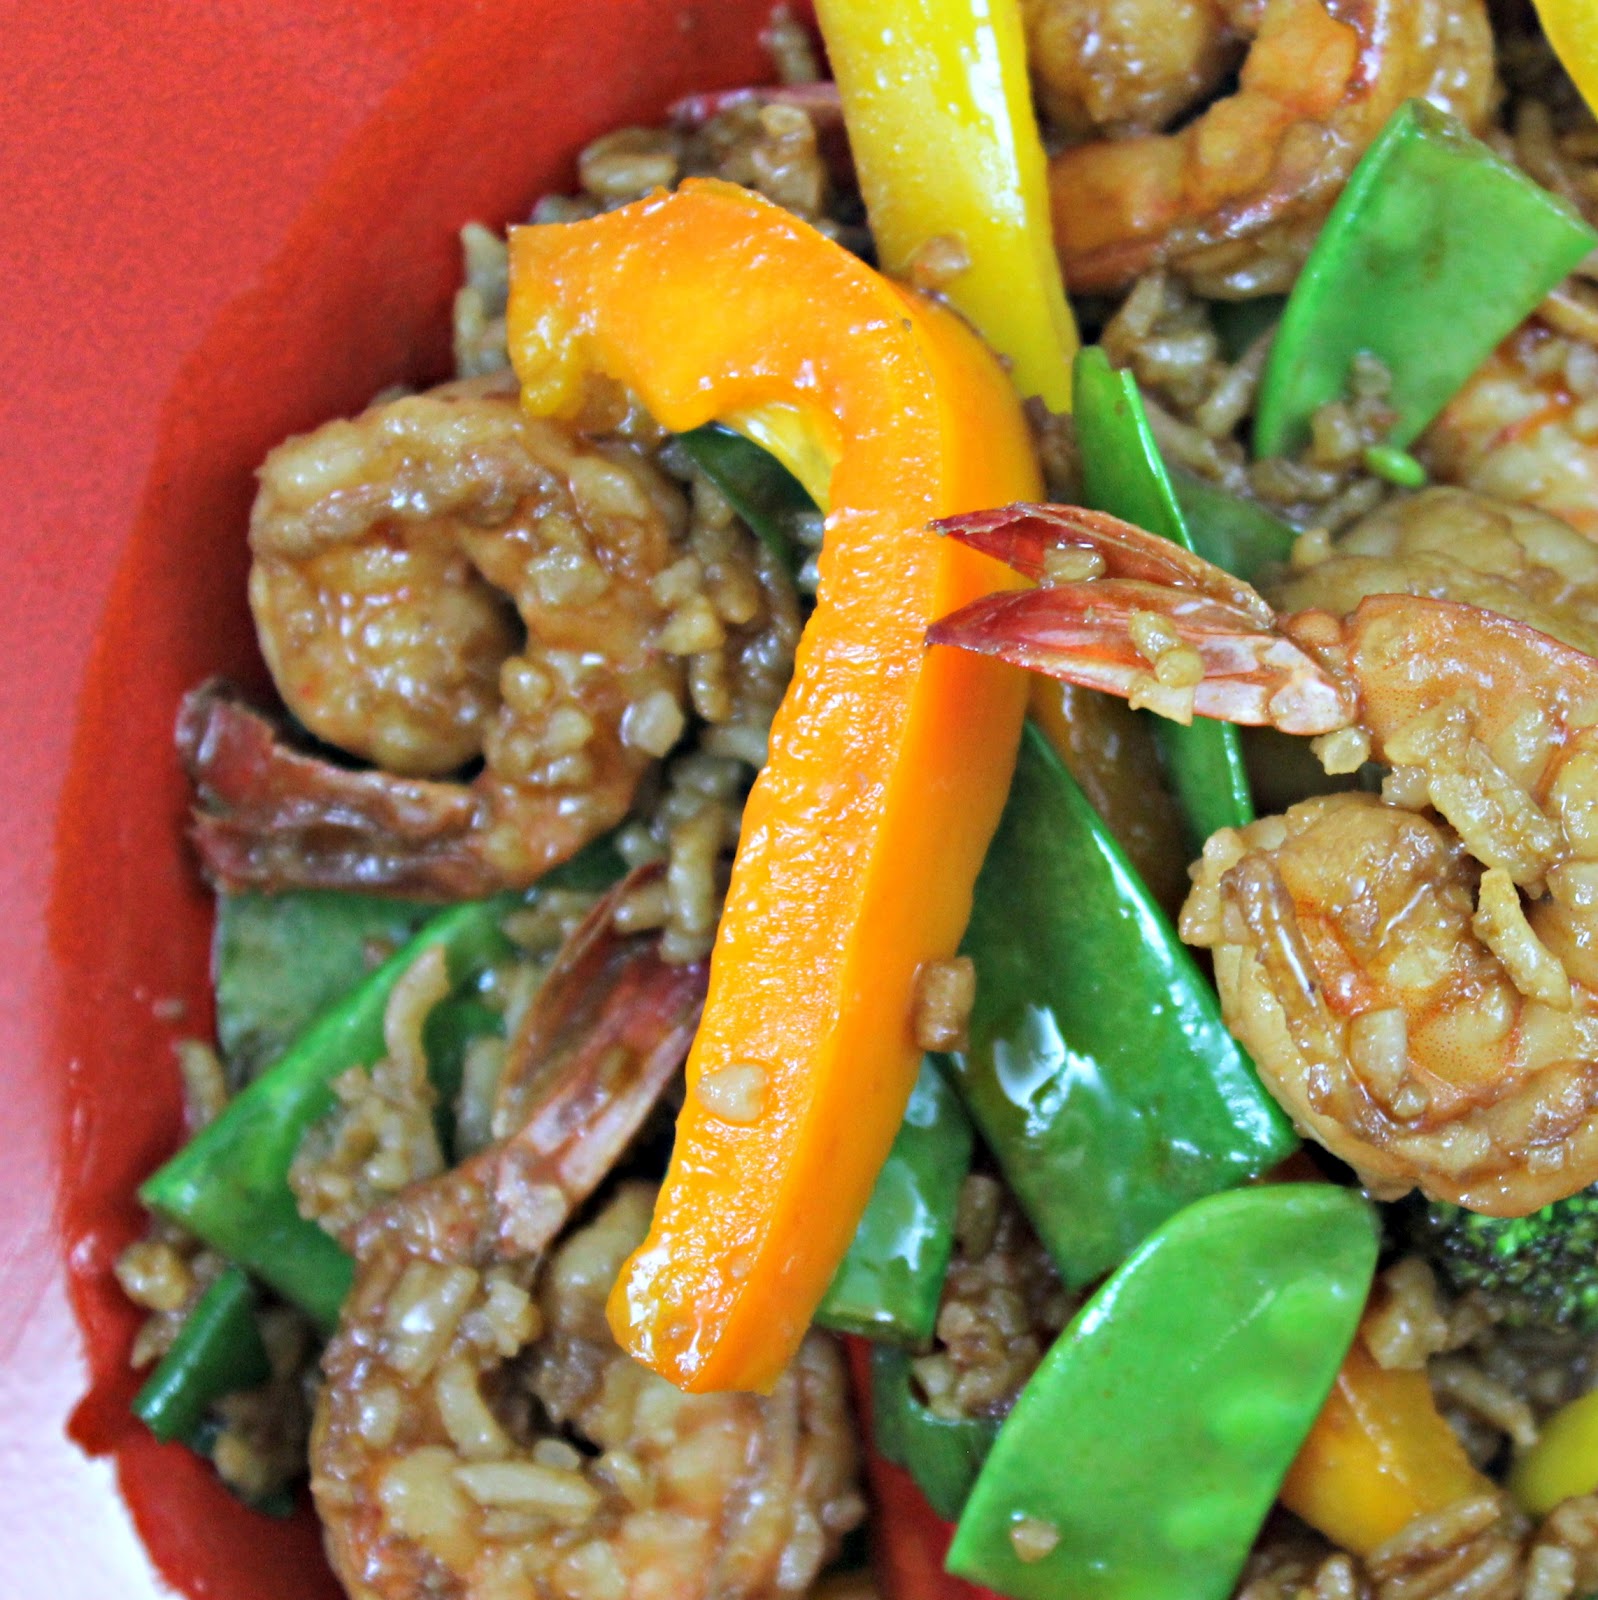
I wish I had taken the tails off the shrimp though, I wanted to just inhale this meal and the tails kept slowing me down!
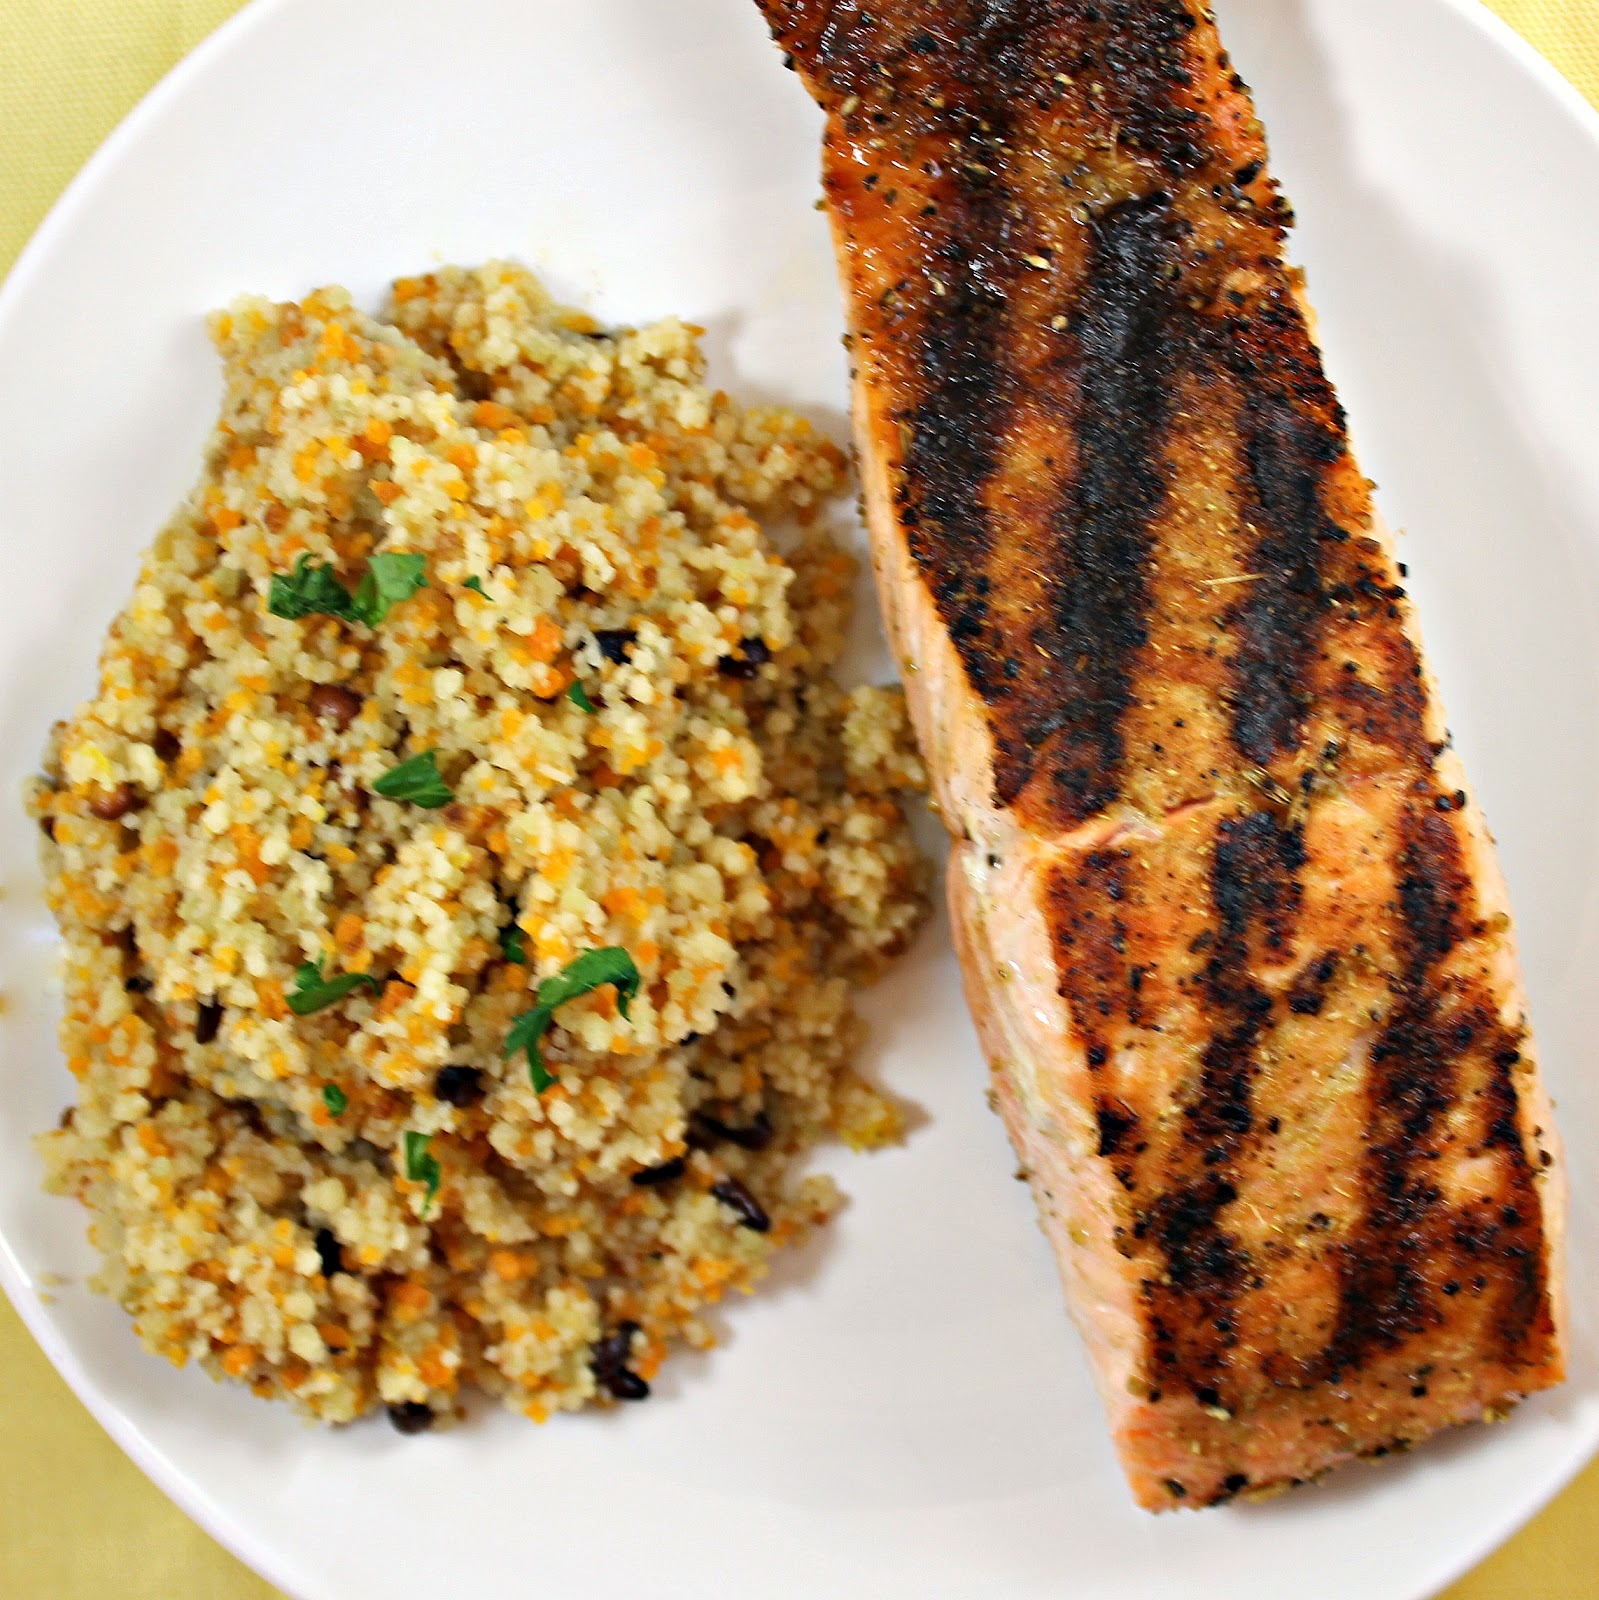
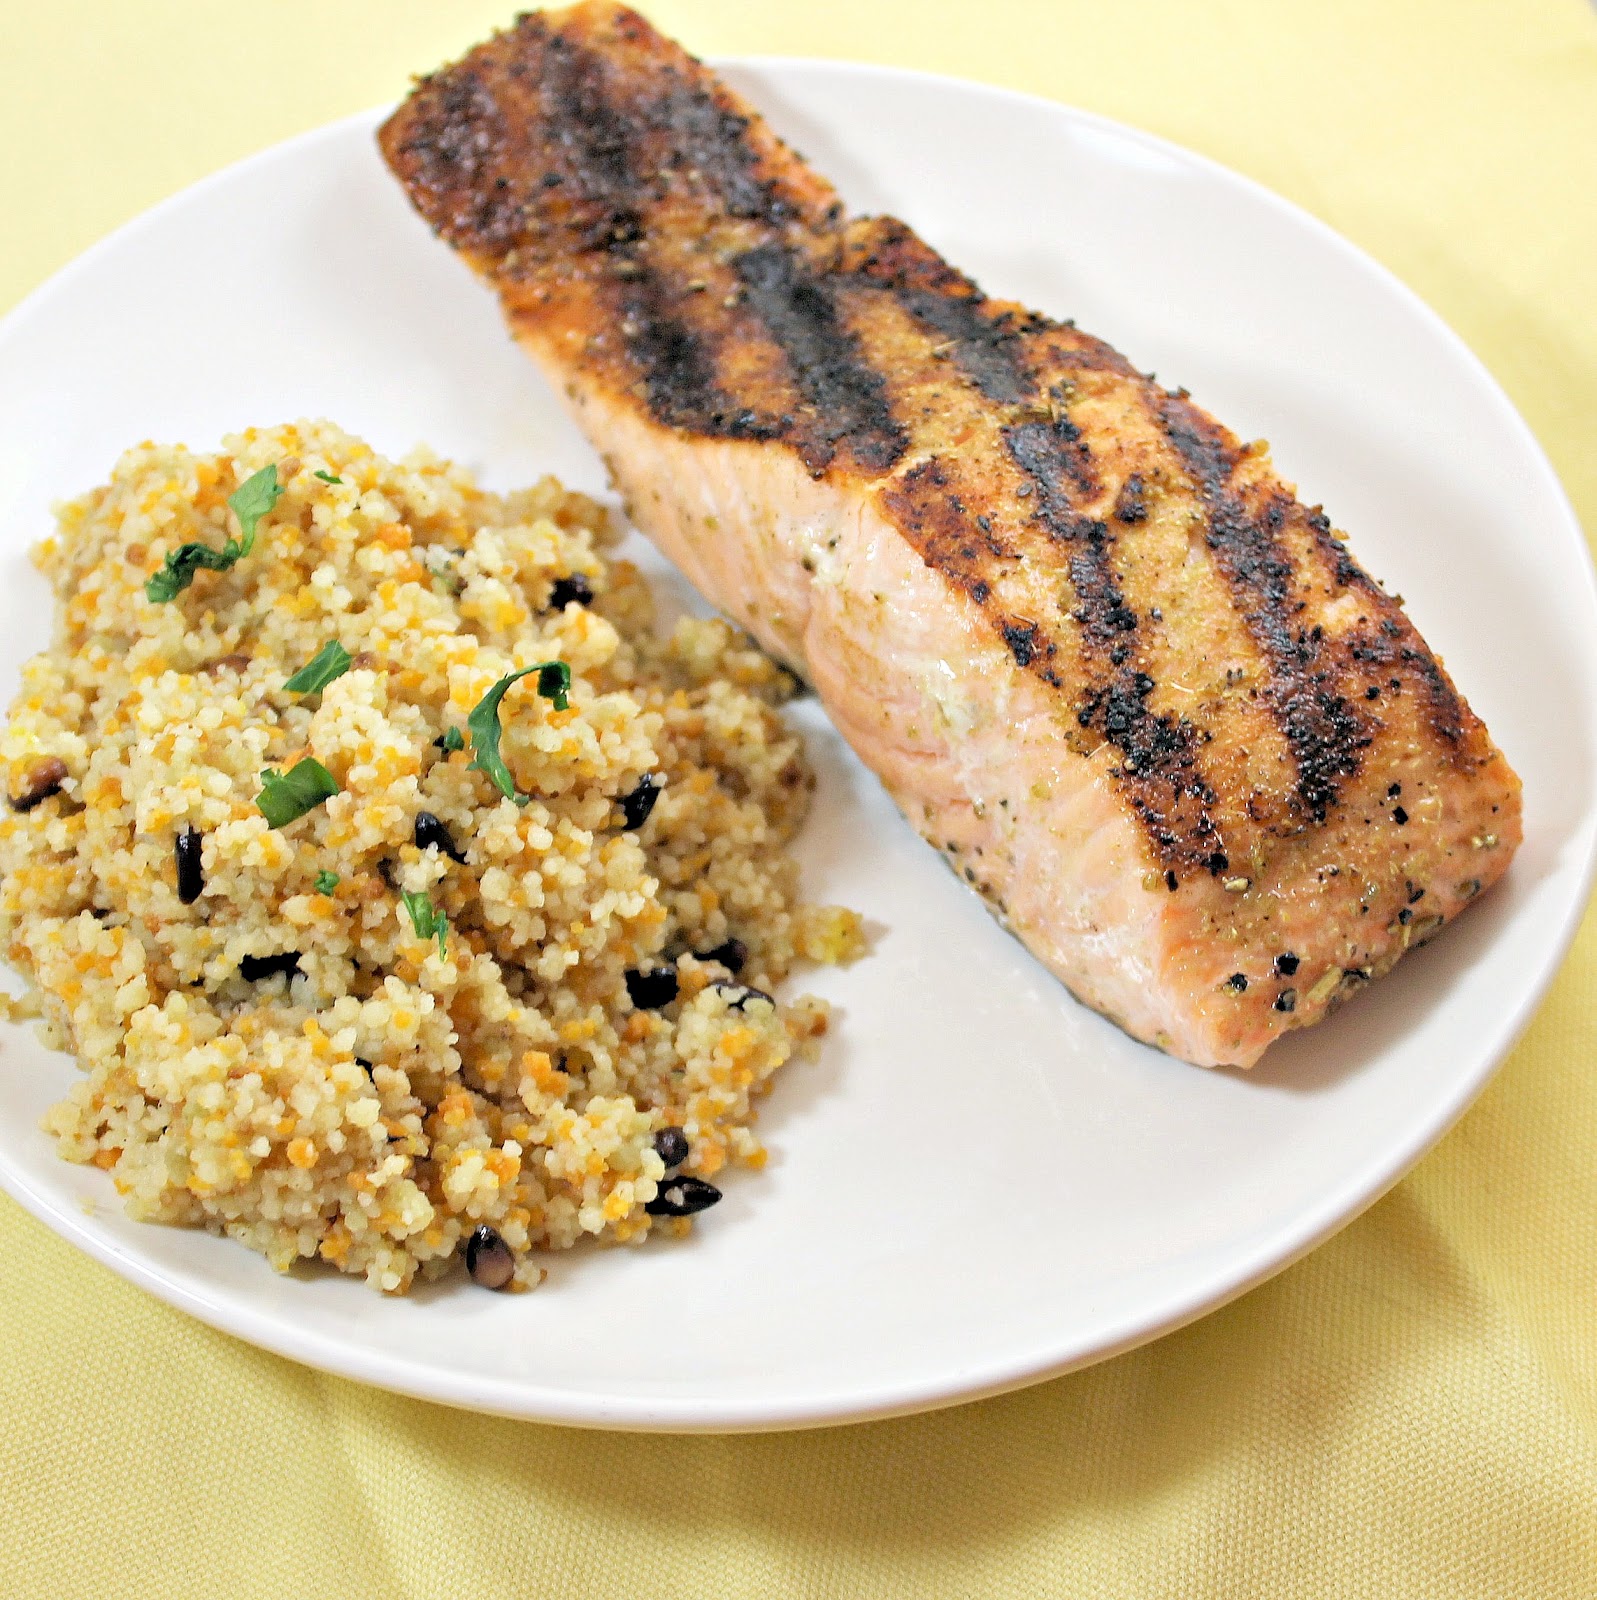
Salmon and couscous were just made for each other, don’t you think? They are also the perfect choices for a weeknight meal, you’re sure to get food on the table in no time. Cooking Light’s latest issue has a recipe for Grilled Salmon and Brown Butter Couscous that sounded just wonderful. The magazine suggested making this with grilled summer squash. But I stink. And forgot to pick up the squash. Sigh. If you try the squash out with this recipe, let me know how it goes!
Ingredients:
2 tablespoons butter
2 tablespoons pine nuts
1 cup uncooked couscous
2 tablespoons dry white wine
1 (14.5-ounce) can fat-free, lower-sodium chicken broth
1 tablespoon grated lemon rind
1 tablespoon lemon juice
Salt and pepper, to taste
1/2 teaspoon pepper
1/2 teaspoon ground fennel seeds
1/2 teaspoon ground coriander
1/4 teaspoon sugar
1/4 teaspoon kosher salt $
4 (6-ounce) skinless salmon fillets
Cooking spray
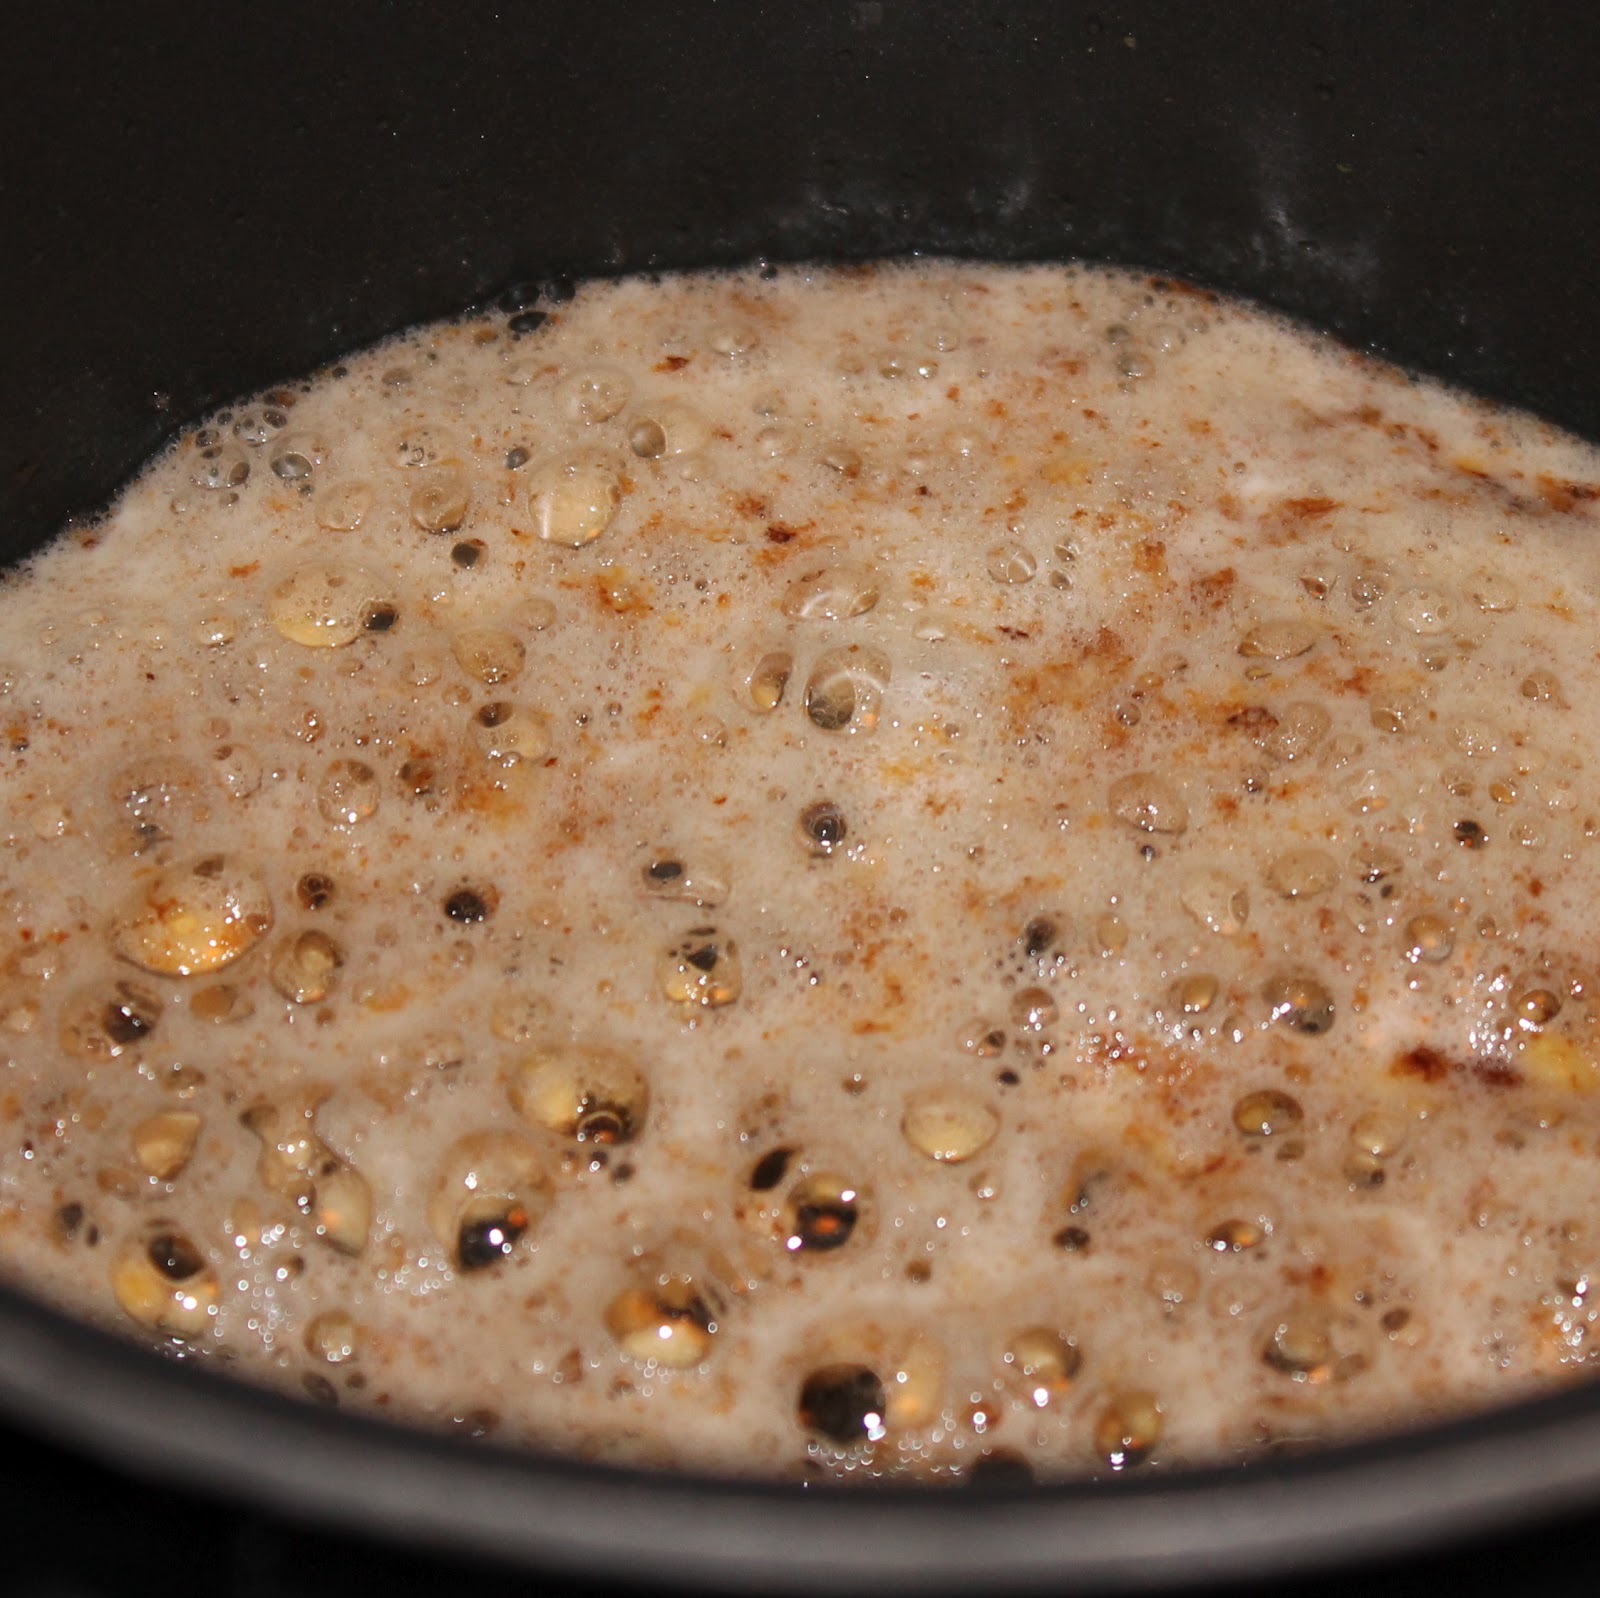
To make, first preheat your grill to medium-high heat. I live in the city, so I use a grill pan and it works just fine. Add the butter to a small pot over medium heat. Cook for 3 minutes or until browned. Add the pine nuts. Cook for 1 minute stirring occasionally.
So at this stage, I was pretty sure I burnt the pine nuts. Maybe it’ll add a smokiness to the couscous?
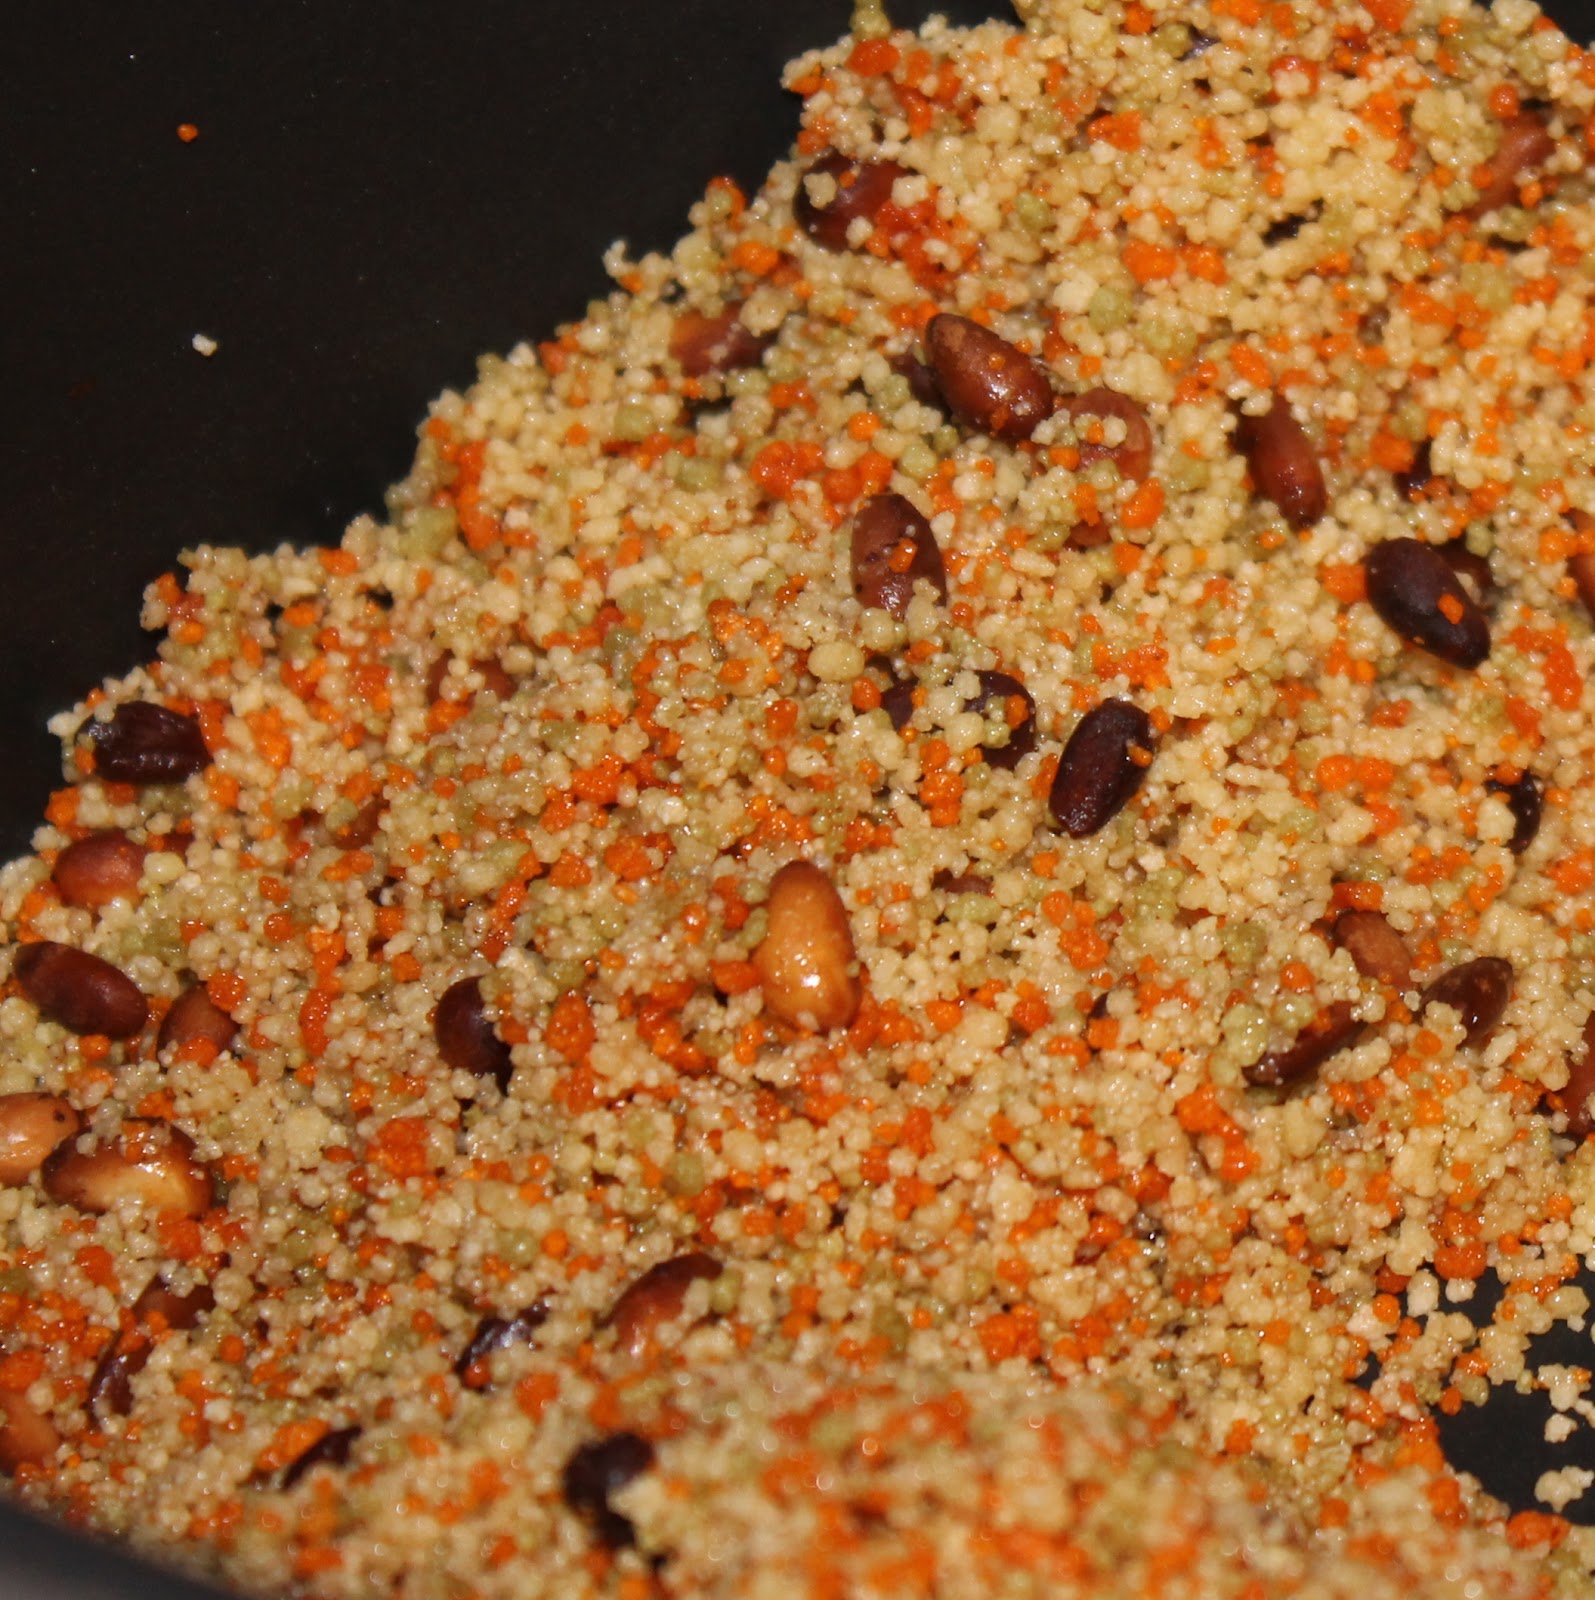
Add the couscous and cook for 1 minute, stirring occasionally.
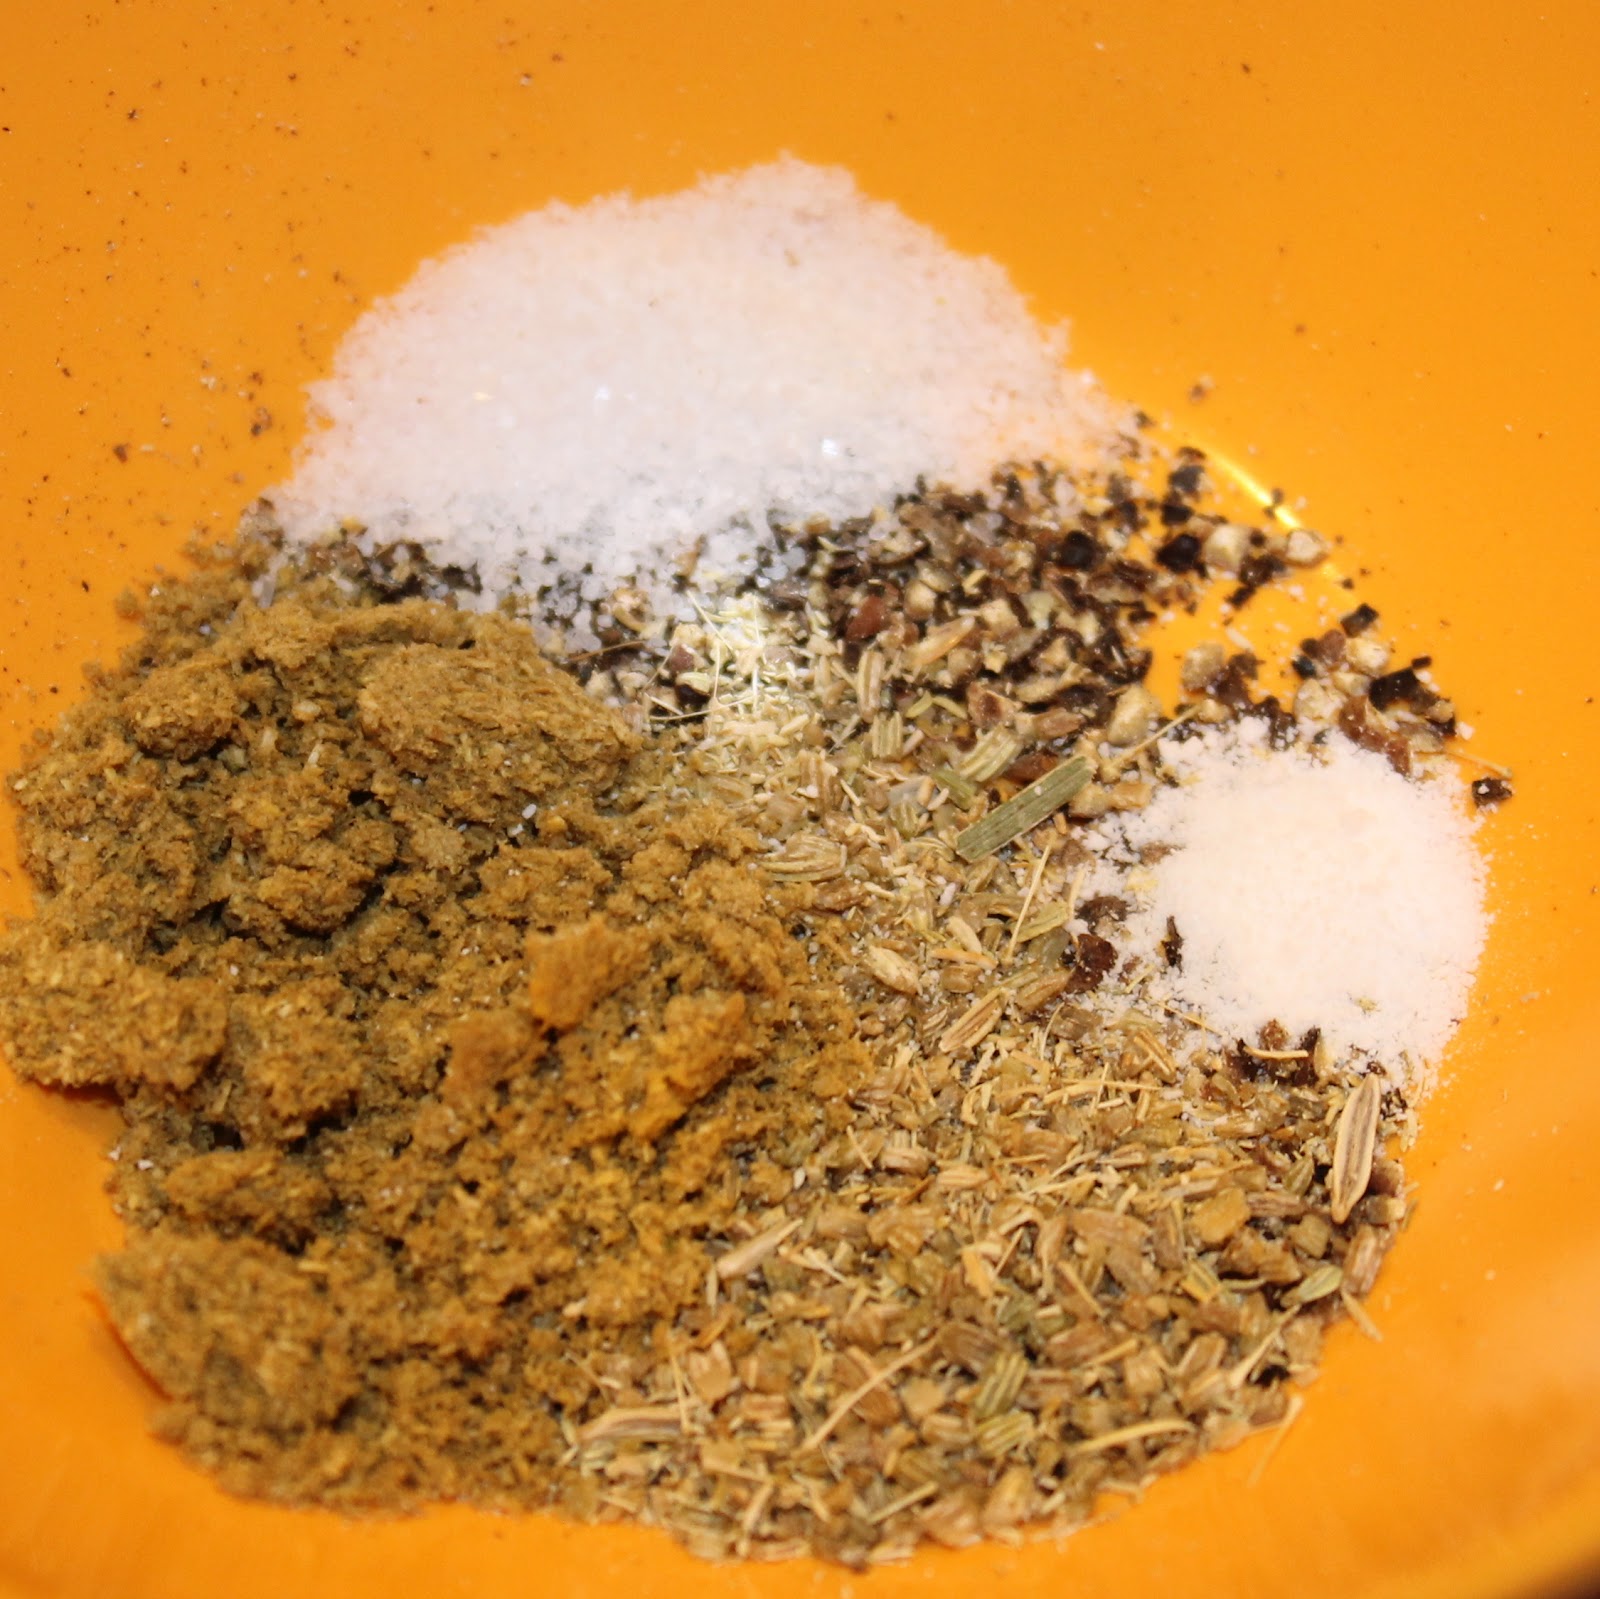
While waiting for the couscous to cook, combine the pepper, ground fennel seeds, ground coriander, sugar, and salt in a bowl. As a note, the original recipe called for white pepper, which I do not have. Also, I have fennel seeds that I stuck in my Magic Bullet and blend until powdery.
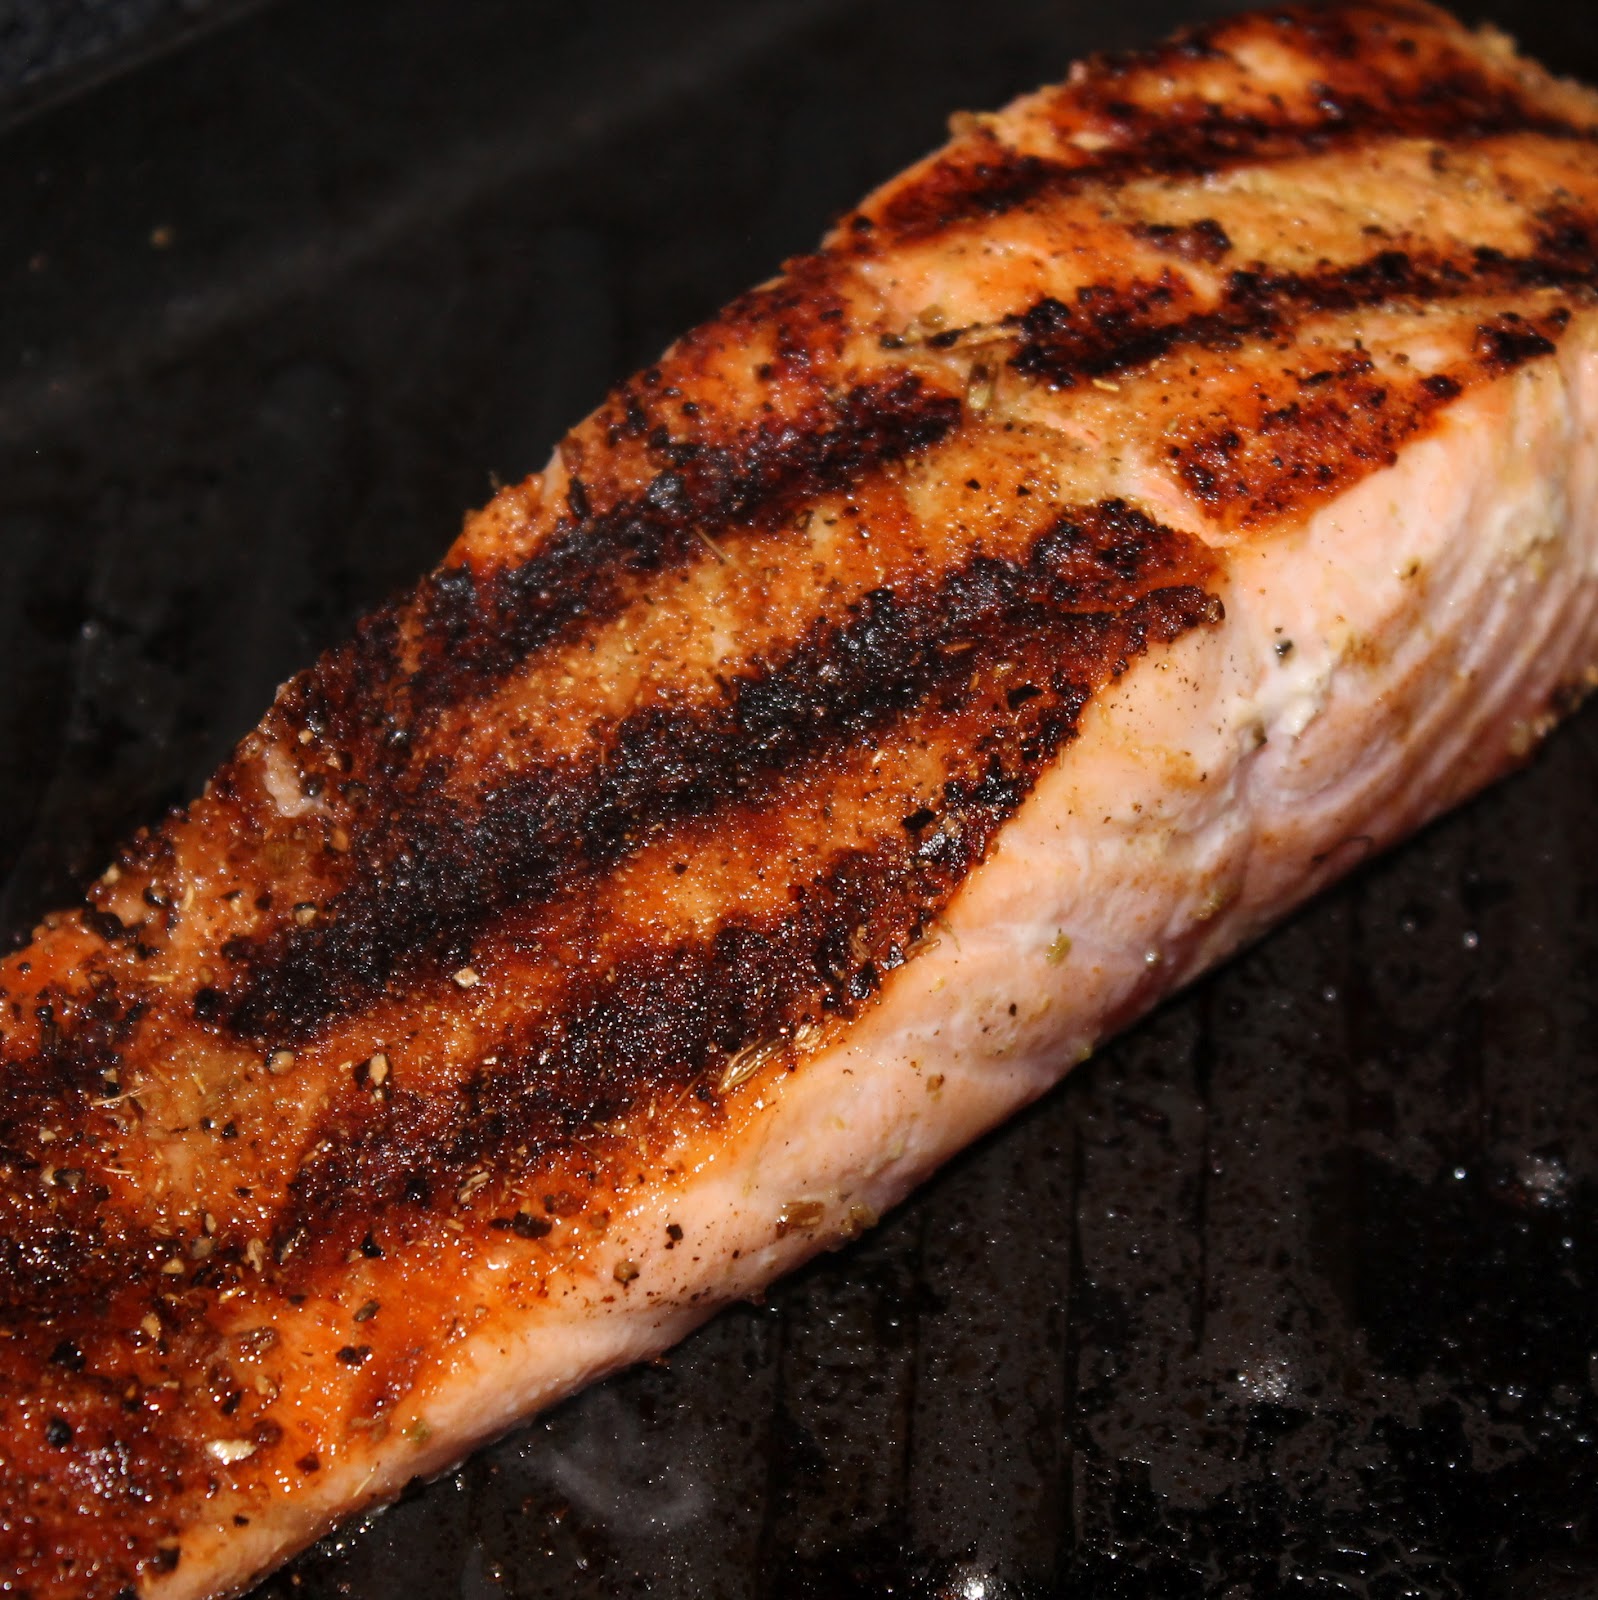
Sprinkle fillets with the spice mixture and place on grill, skin side up. Grilled for 4 minutes on each side.
Add the wine and broth and bring to a boil. Cover the pot, remove from heat, and let stand for 5 minutes. After the 5 minutes have passed, fluff with a fork and stir in the lemon rind, lemon juice, salt and pepper.
Yep. Totally burned the pine nuts.
The salmon should be finished slightly after the couscous.
The summer squash would have been a wonderful complement. What was I thinking, making a meal without a vegetable? Oh well.
The flavors were absolutely delicious. The spices on the salmon gave so much flavor, but what I really loved was how great of a sear I got on my salmon. It looks so snazzy!
The couscous was really flavorful, the brown butter and even the pine nuts (which weren’t too burnt to eat, yay!) I love love the hit of citrus with the couscous as well.
To not burn the pine nuts, maybe cook them for about 30 seconds. I also think there’s a chance I never stirred them.. I honestly don’t remember!
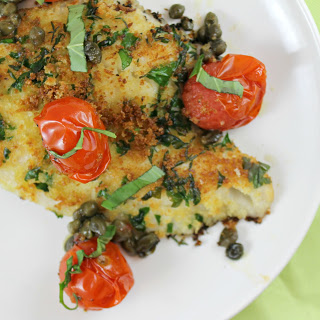
These Lipman Tomatoes just keep on giving! This time around, I used their gorgeous cherry tomatoes. Cooking Light had a wonderful recipe in their most recent issue for Crispy Flounder and Roasted Tomatoes. Fish is a favorite of mine for weeknights because it cooks so quickly; this meal took me 25 minutes from start to finish.
Ingredients: (this serves 2)
2 tablespoons capers
1 tablespoon olive oil
1 pint cherry tomatoes
Salt and pepper, to taste
A few basil leaves, thinly sliced
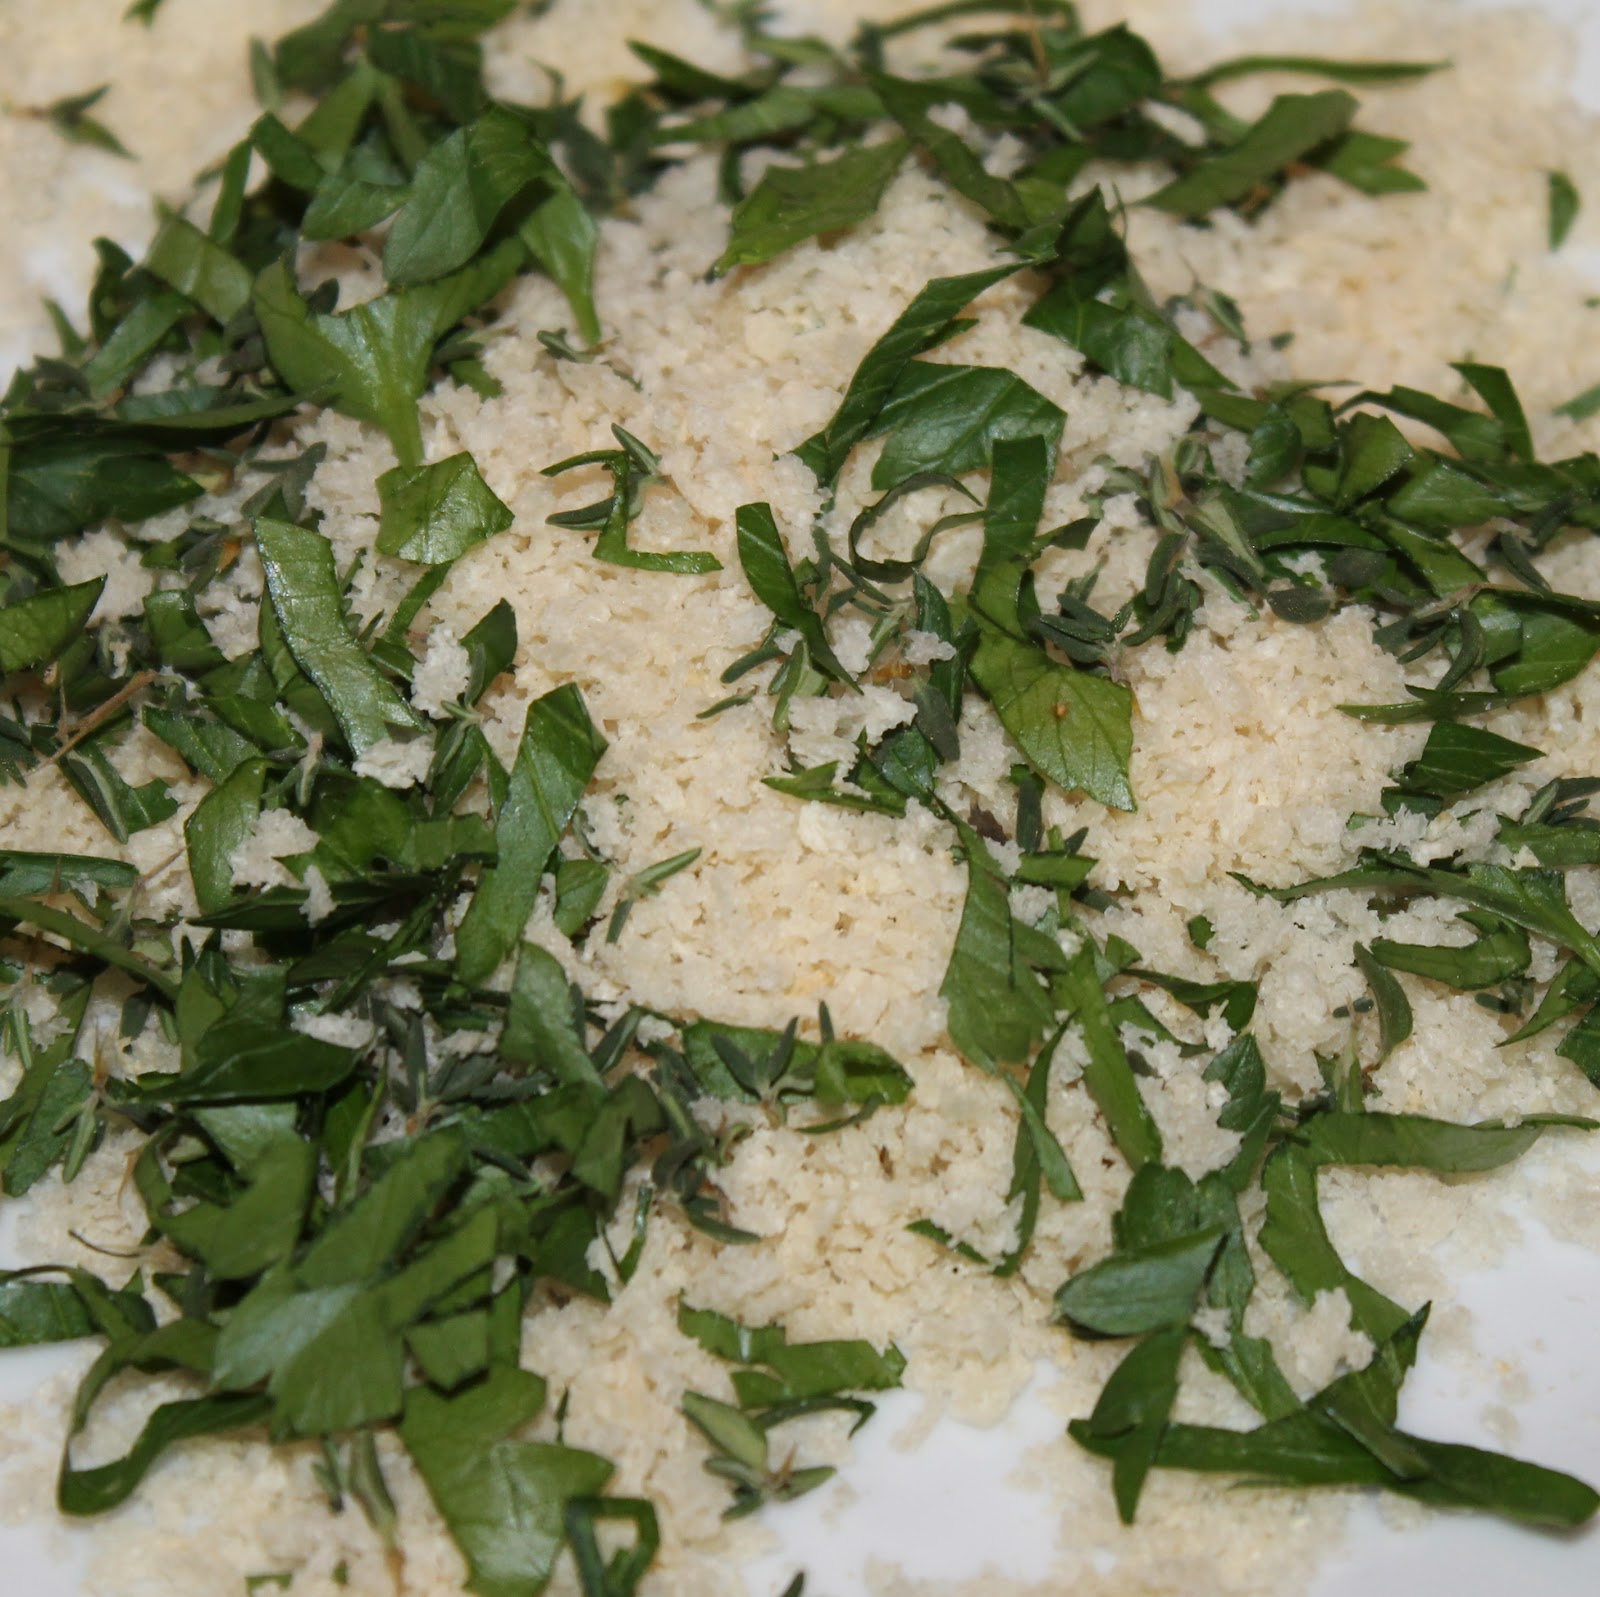
1/2 cup panko (Japanese breadcrumbs)
1 tablespoon chopped fresh parsley
2 teaspoons chopped fresh thyme
2 (6-ounce) skinless flounder fillets
Cooking spray
1 tablespoon olive oil
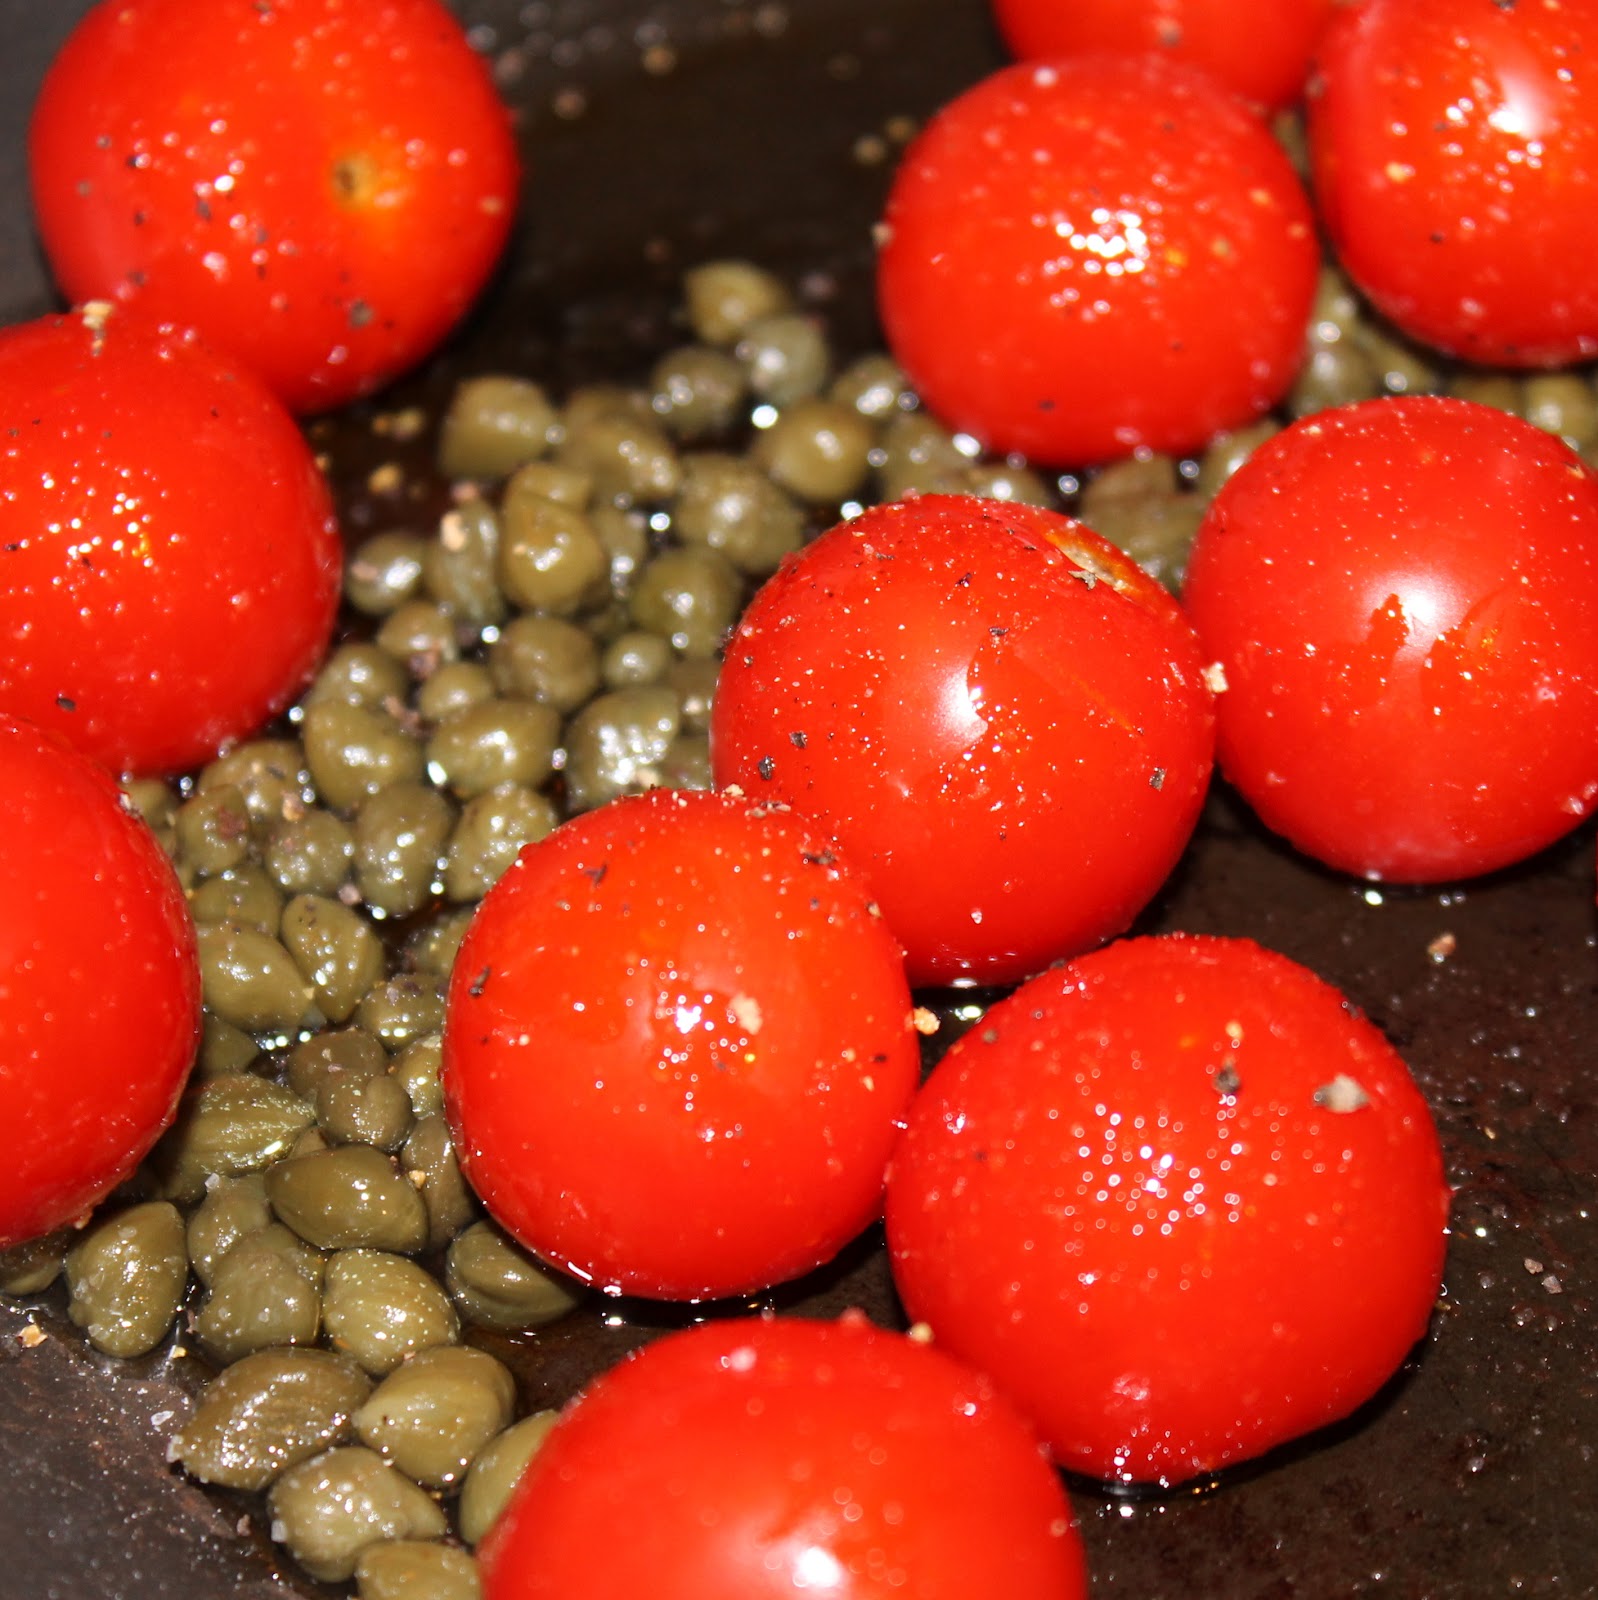
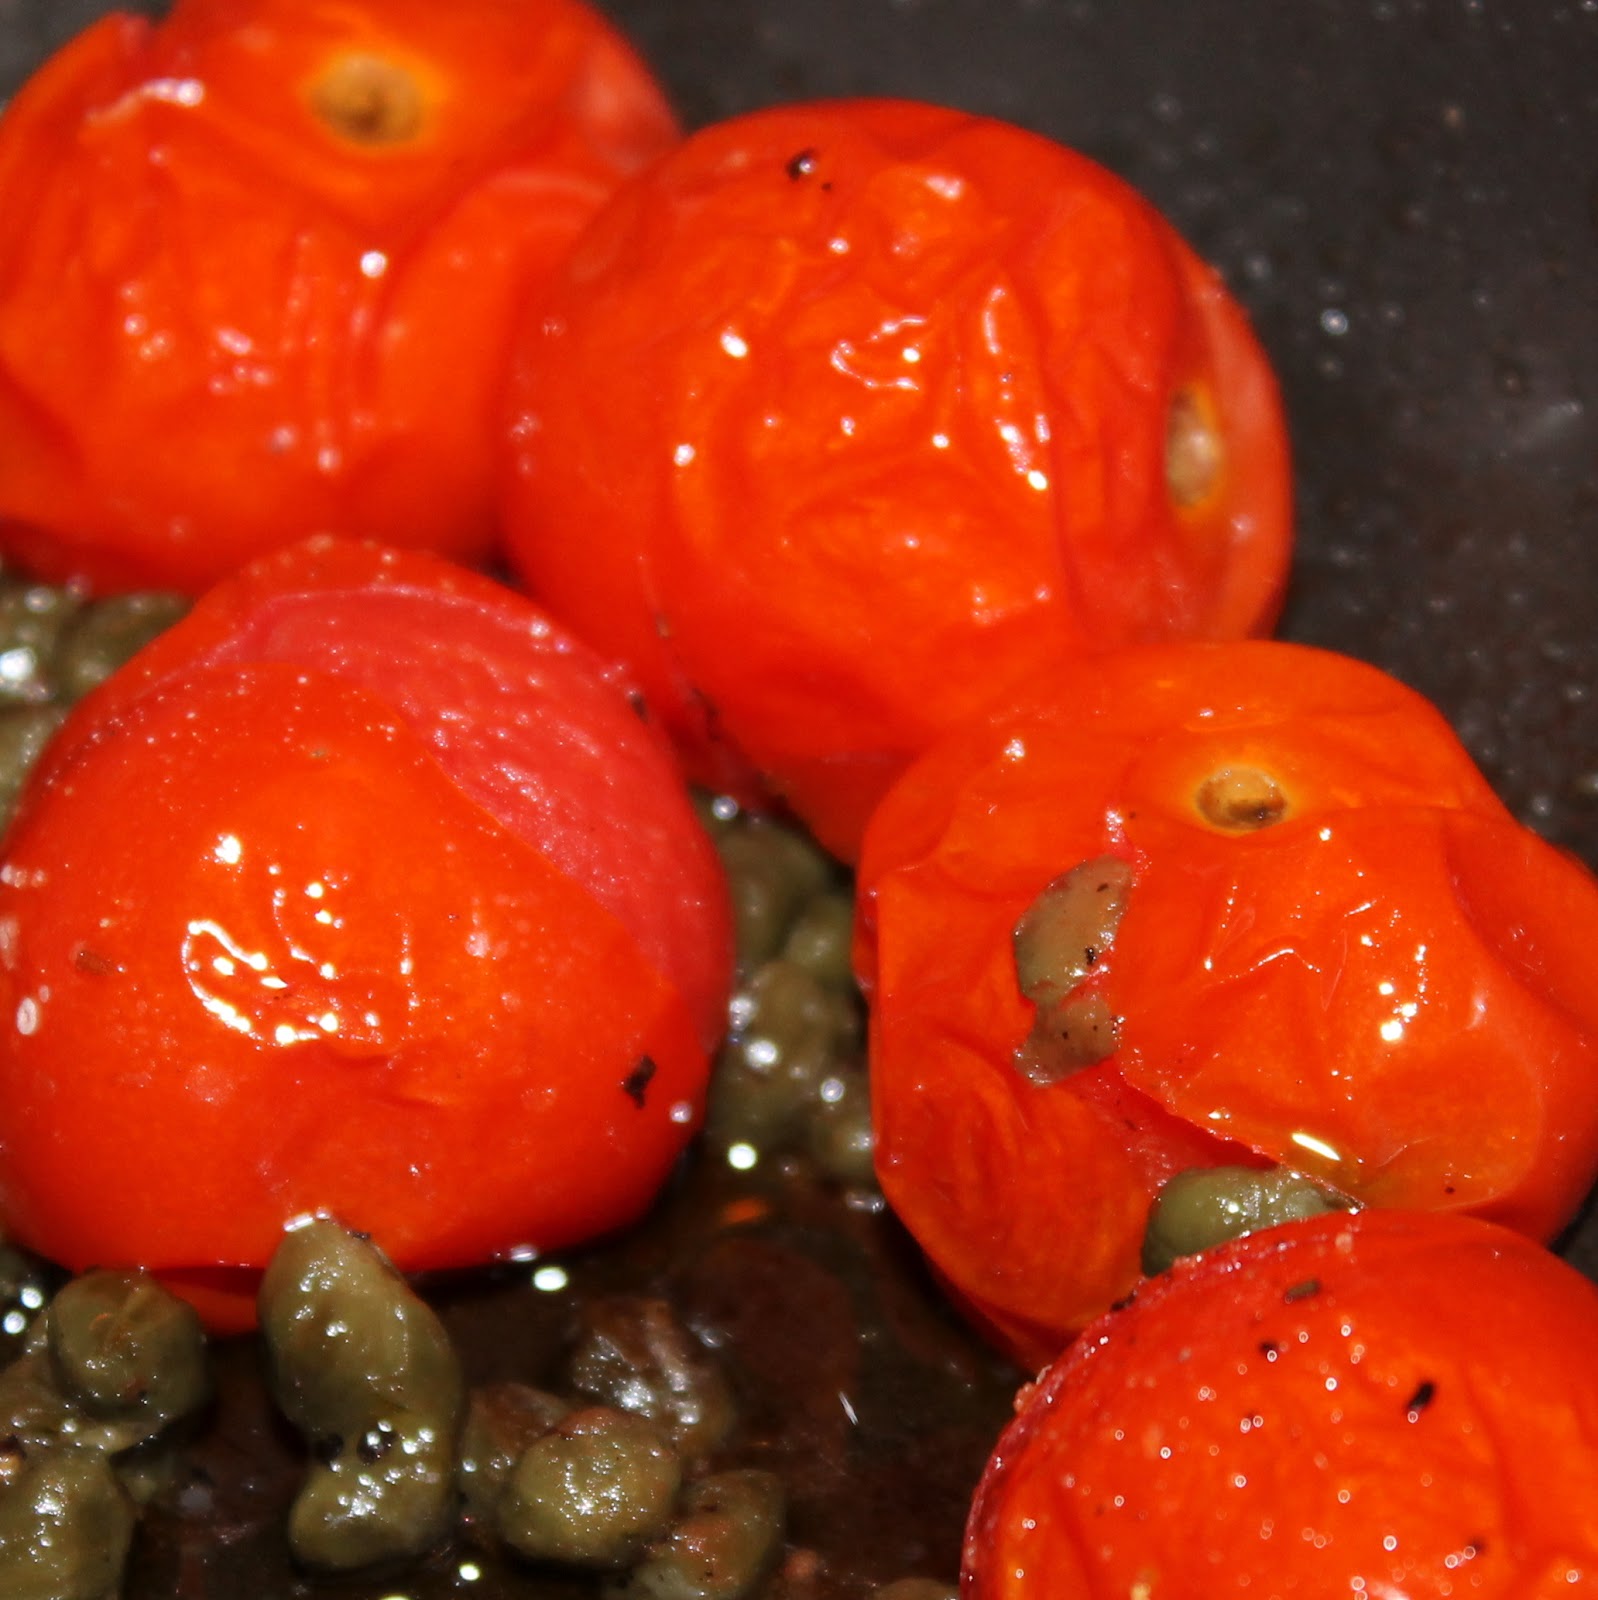
Preheat your oven to 400 degrees. While waiting for the oven to heat up, combine the capers, 1 tablespoon olive oil, and the cherry tomatoes in an oven safe dish. Toss to coat. Sprinkle with salt and pepper and bake for 20 minutes.
When there is about 10 minutes left on the tomatoes, combine the panko, parsley, and thyme in a shallow dish.
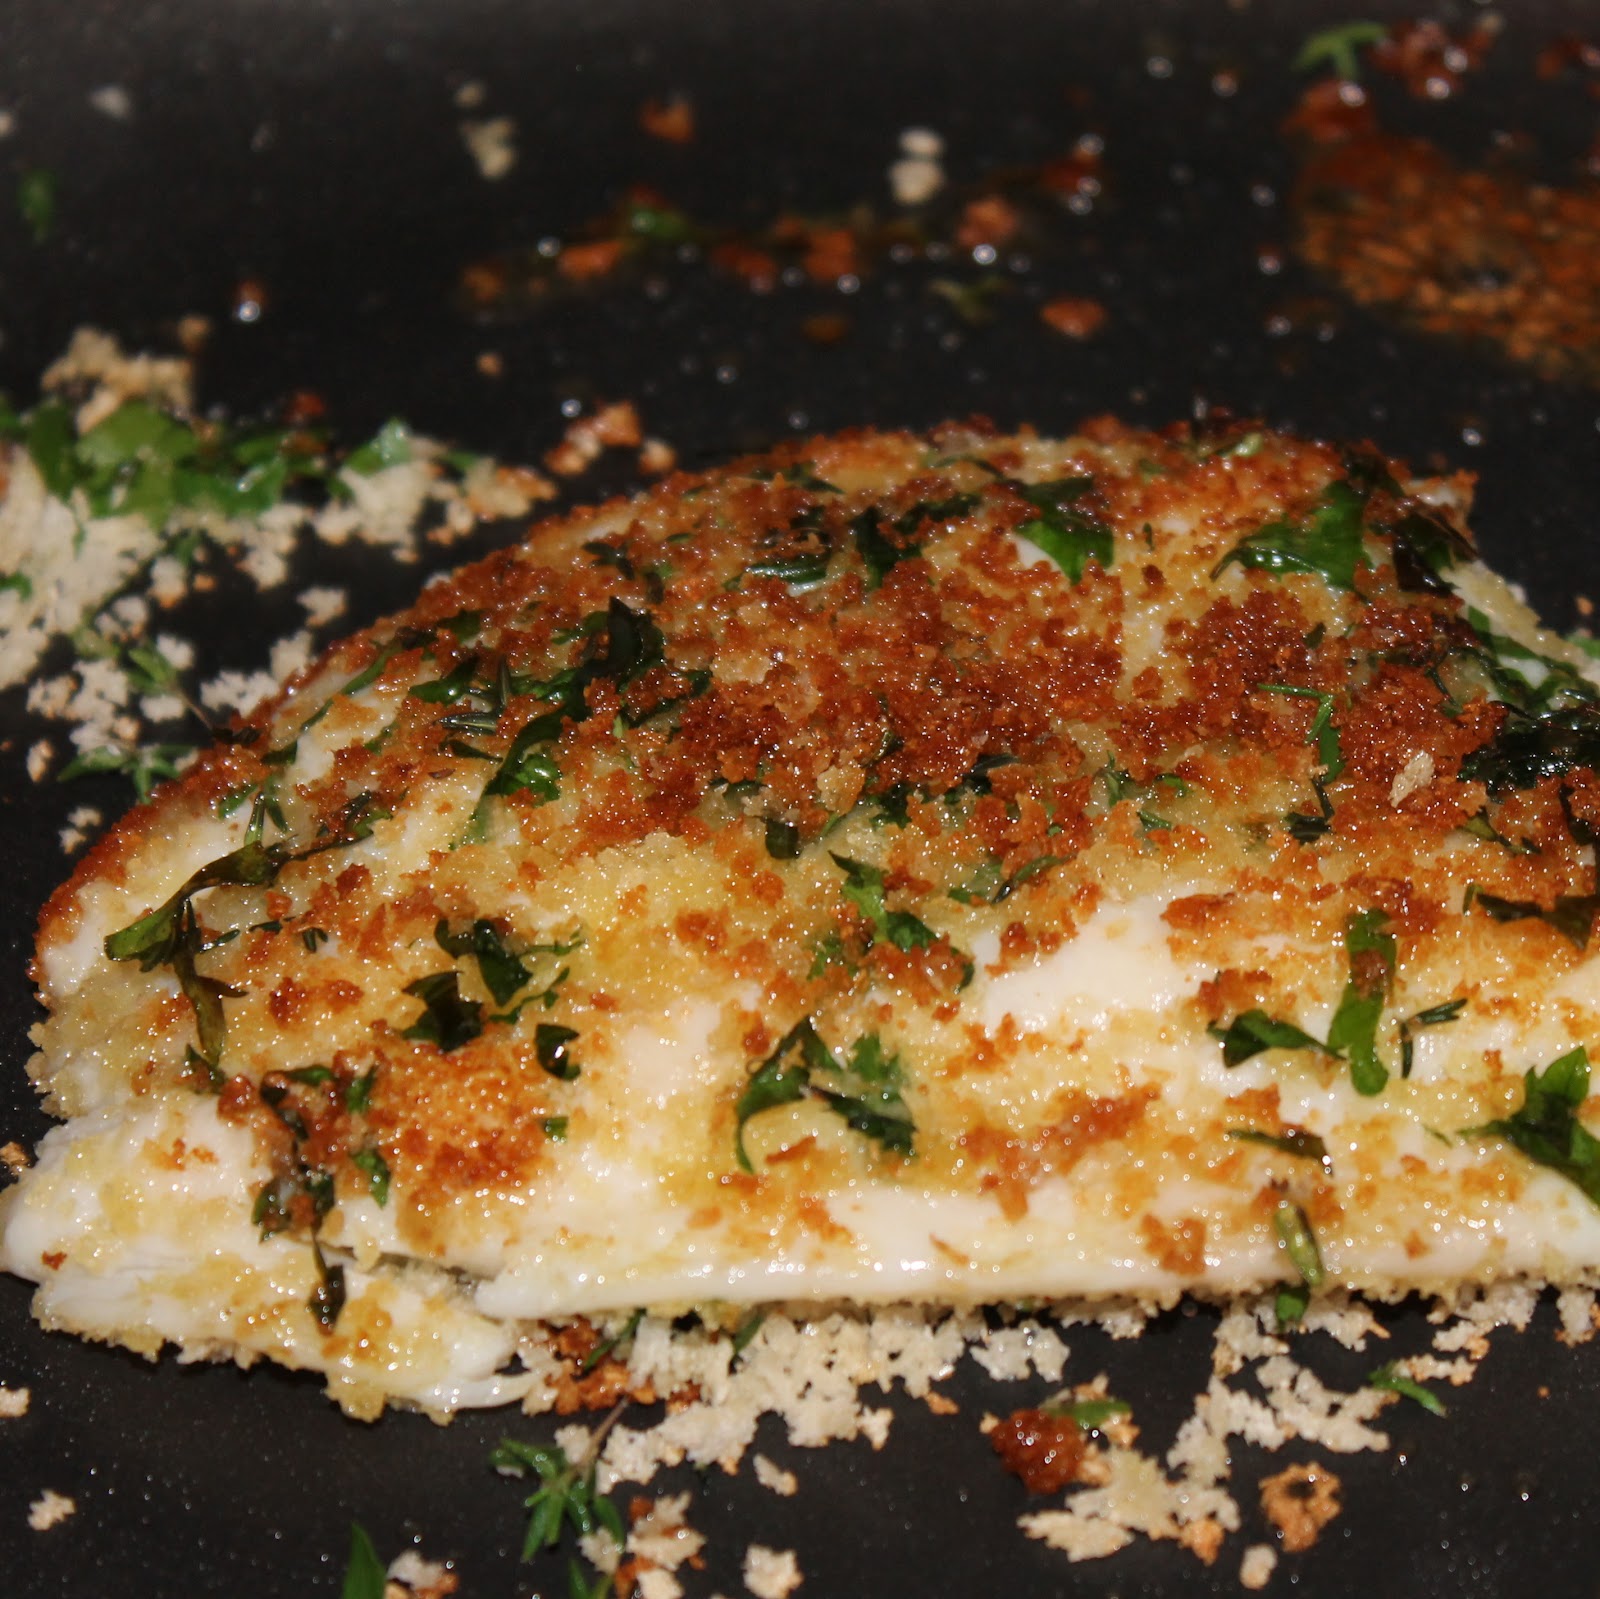
Coat the fillets with the cooking spray and dredge the fillets in the panko mixture. Heat 1 tablespoon olive oil in a nonstick saute pan over medium-high heat and add the fillets to the pan.
Cook for 3 minutes on each side.
The tomatoes should finish almost the same time as the fish.
To serve, add the flounder to a plate. Top with the tomato mixture. Add some fresh sliced basil.
I love how the cherry tomatoes burst in the oven while roasting.
The capers add a little saltiness to the whole dish which is nice. I think you only need 1 tablespoon of capers though, instead of 2.
I couldn’t really tell that there was thyme with the flounder but I loved the parsley flavor. If you’re a thyme fan, try upping the amount to get more flavor.
This was one delicious meal! With the exception of the flounder, the ingredients are things I usually have on hand anyways so this is a great last minute dinner.
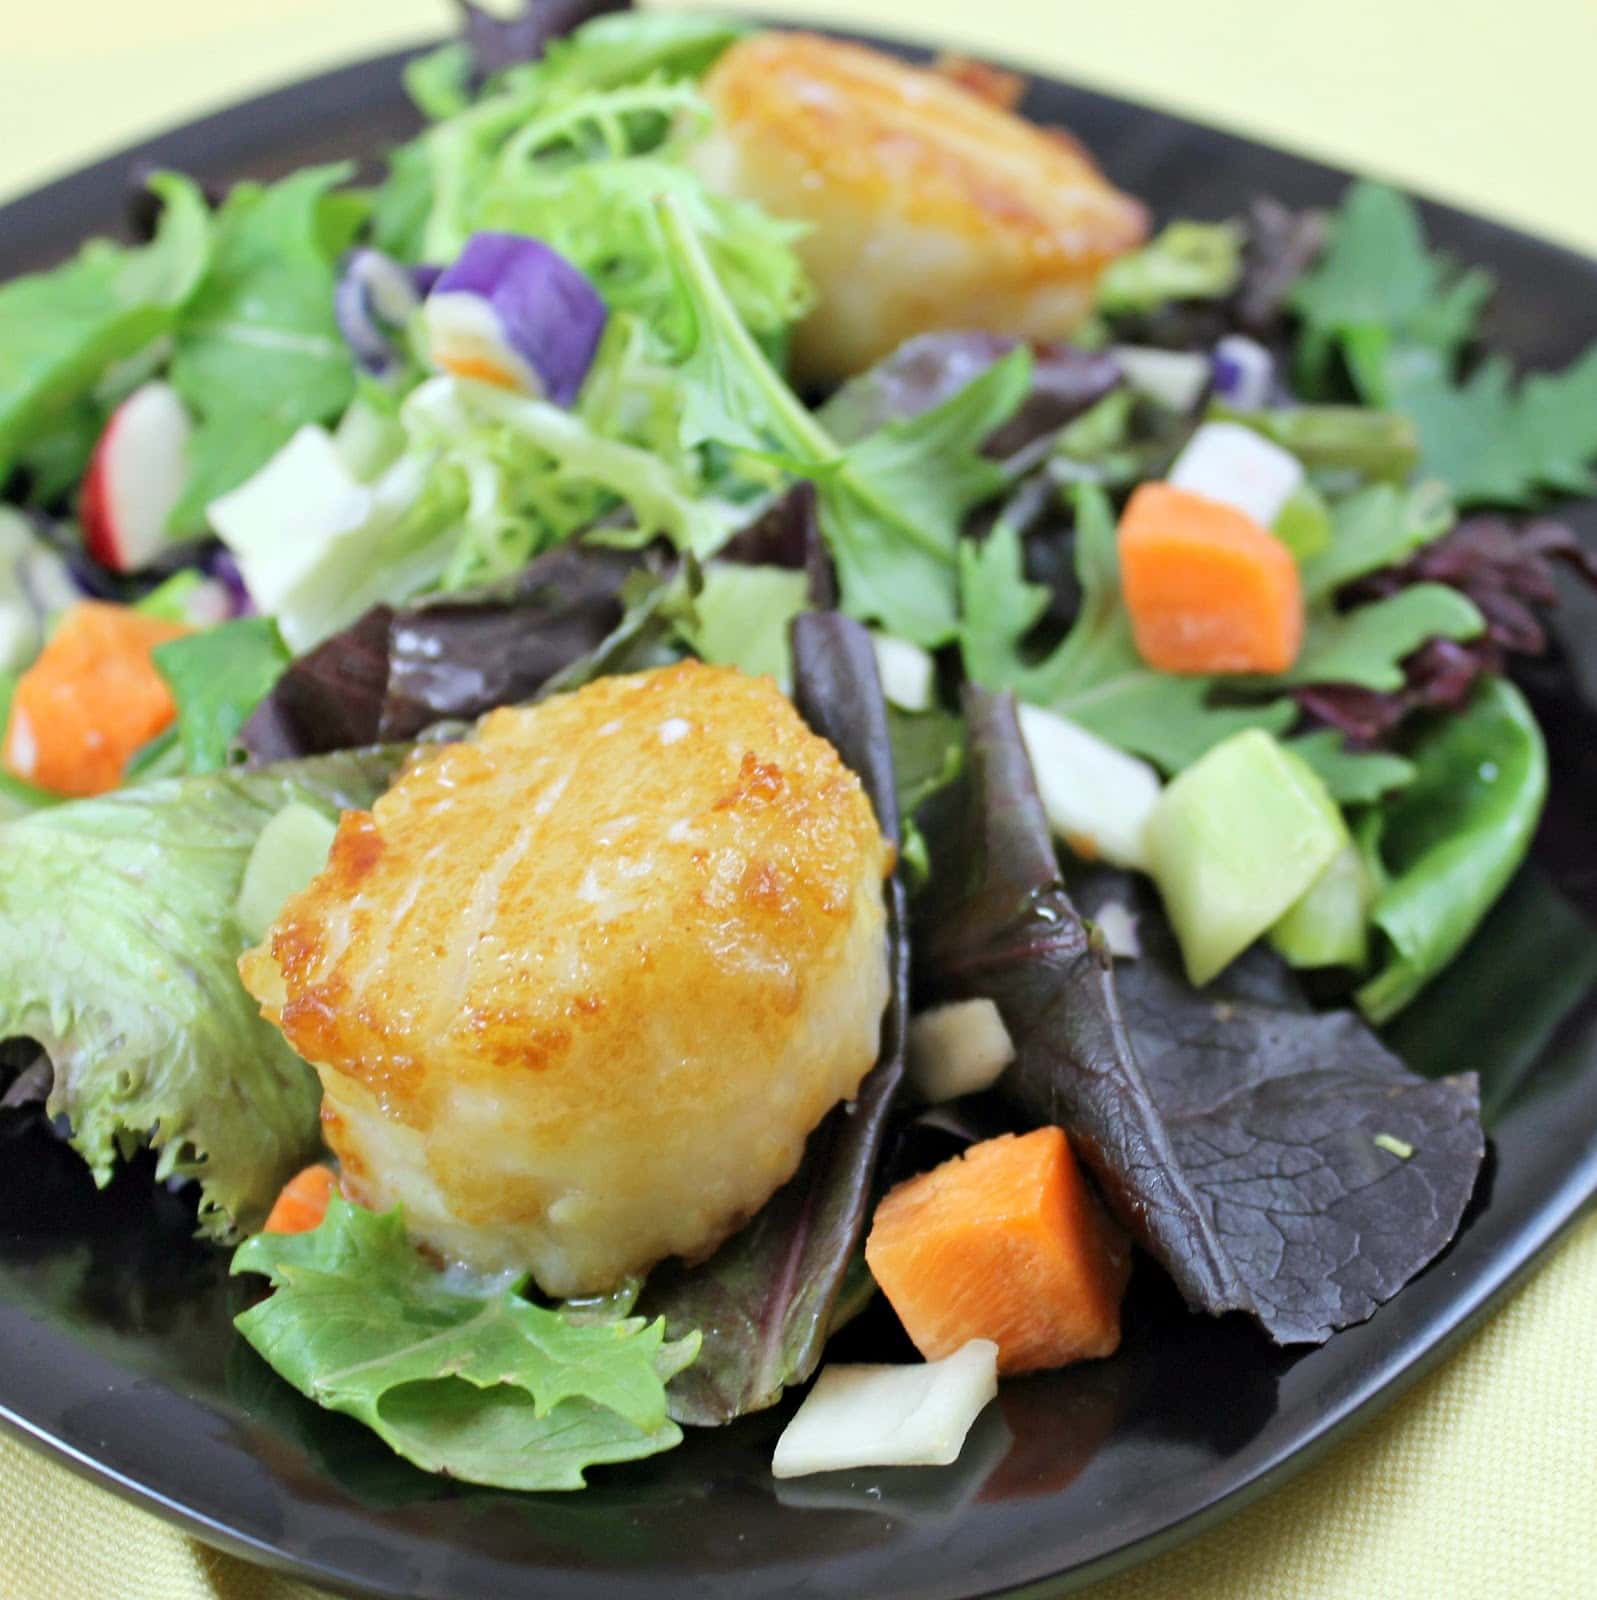
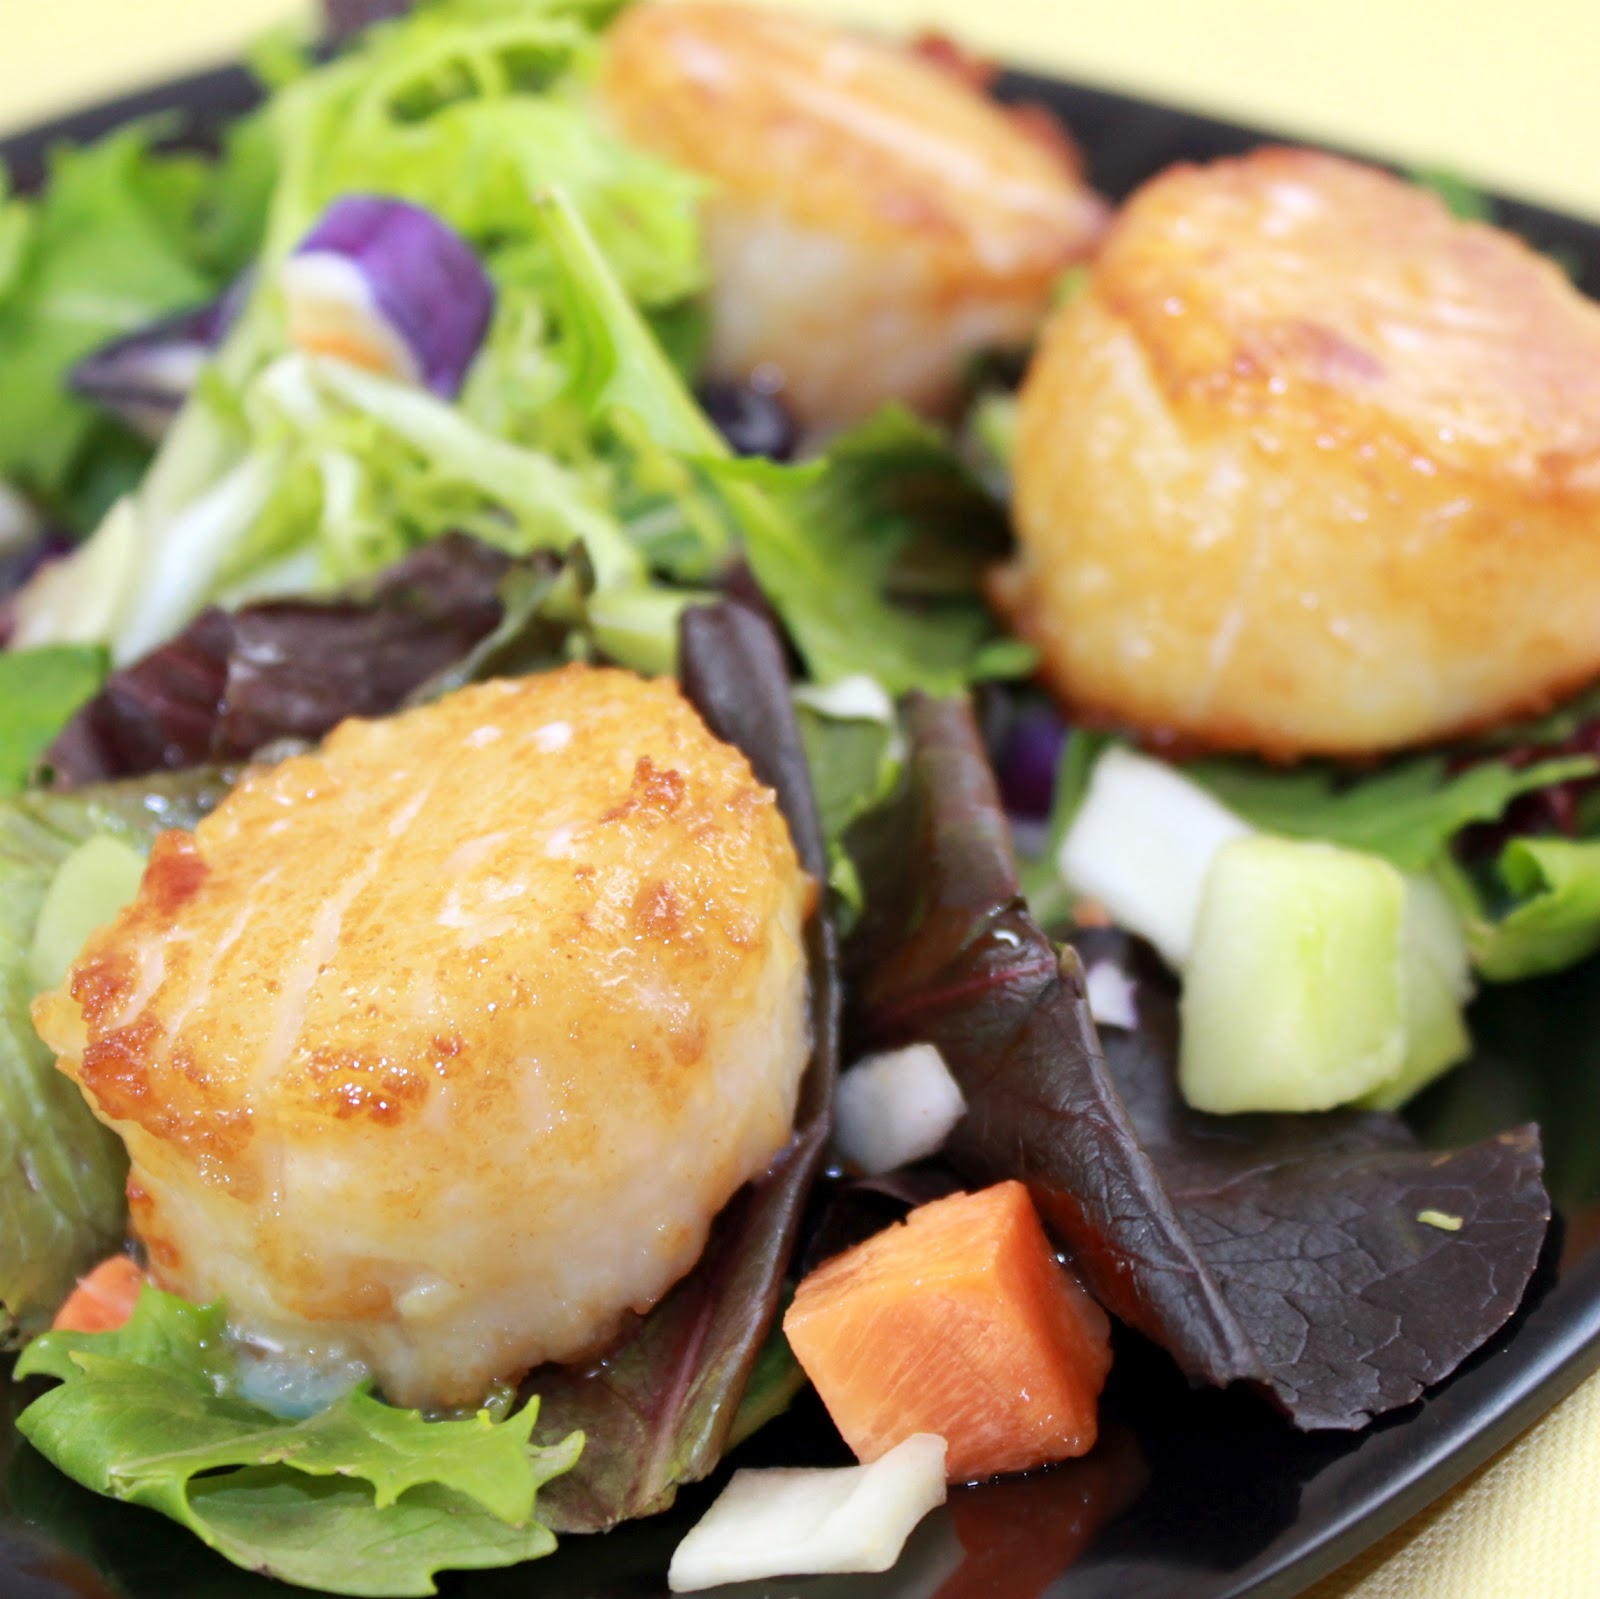
A while back, I received a box of Kikkoman Kara-Age Soy-Ginger Seasoned Coating Mix and make these wonderful Kara-Age Popcorn Shrimp. The box came with two bags of Kara-Age seasoning and I’ve been holding on to it waiting for the perfect recipe to use it. I found a recipe for a Seared Scallop Salad that sounded wonderful by itself, but I thought the Kara-Age would be an awesome addition, so here is my recipe for Kara Age Scallop Salad with Honey Lime Dressing!
Ingredients for the Honey-Lime Dressing:
The juice of 3 limes
5 teaspoons honey
1 tablespoon rice vinegar
Salt, to taste
Ingredients for the Scallop Salad:
2 tablespoons peanut oil
2 lbs dry sea scallops
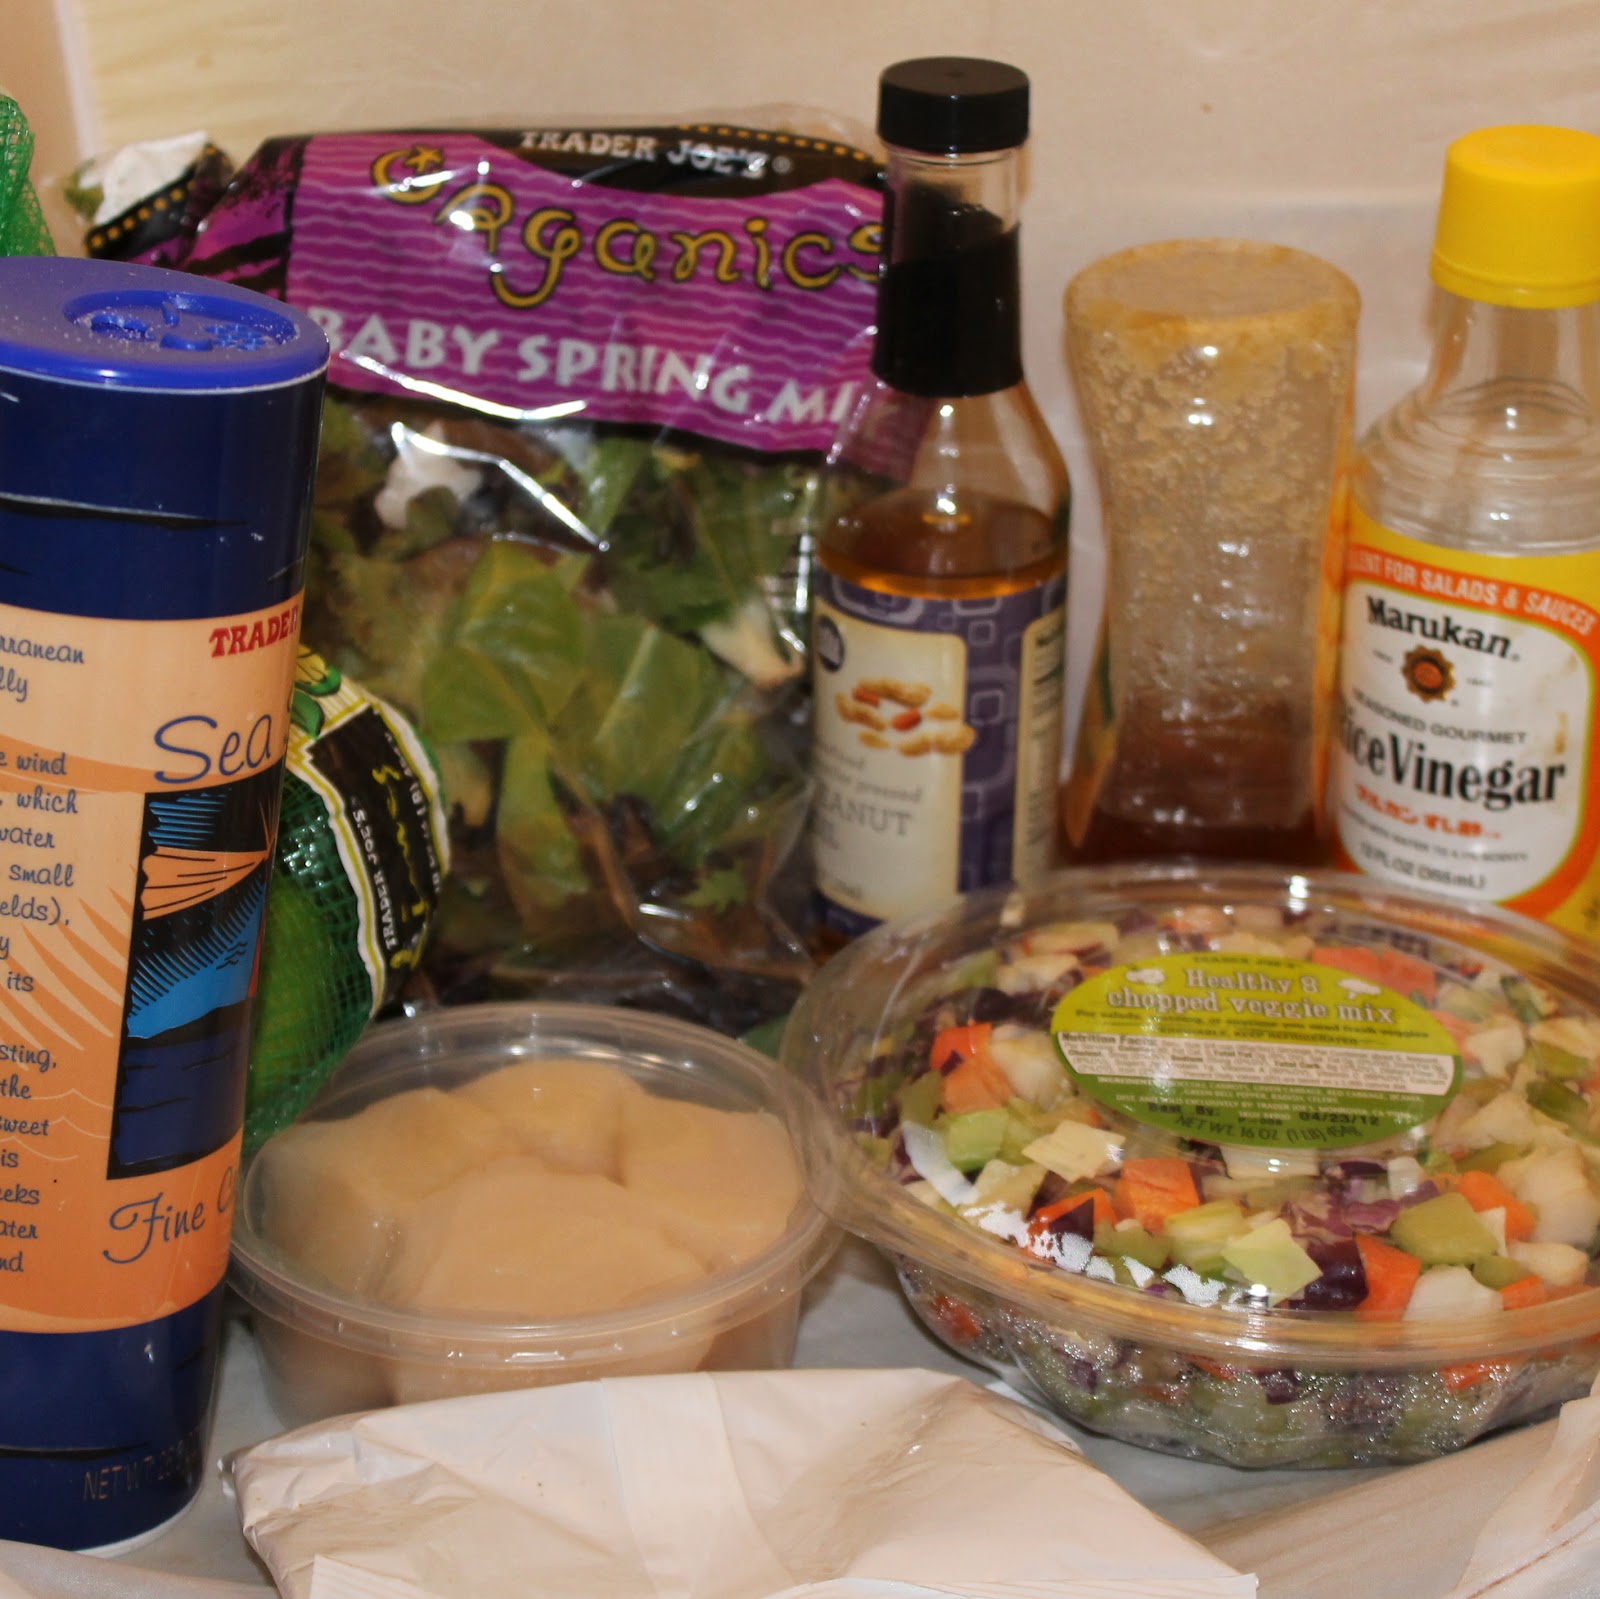
1 packet of Kikkoman Kara-Age Soy-Ginger Seasoned Coating Mix
1 bag of mixed greens (I used a baby spring mix)
2 cups chopped vegetables of your choice
So, I’m having a busy week, which means I wanted the quickest recipe possible. Pre-washed bag of mixed greens? Check. Seafood so it cooks quickly? You bet. Pre-chopped assorted vegetables? Oh my.
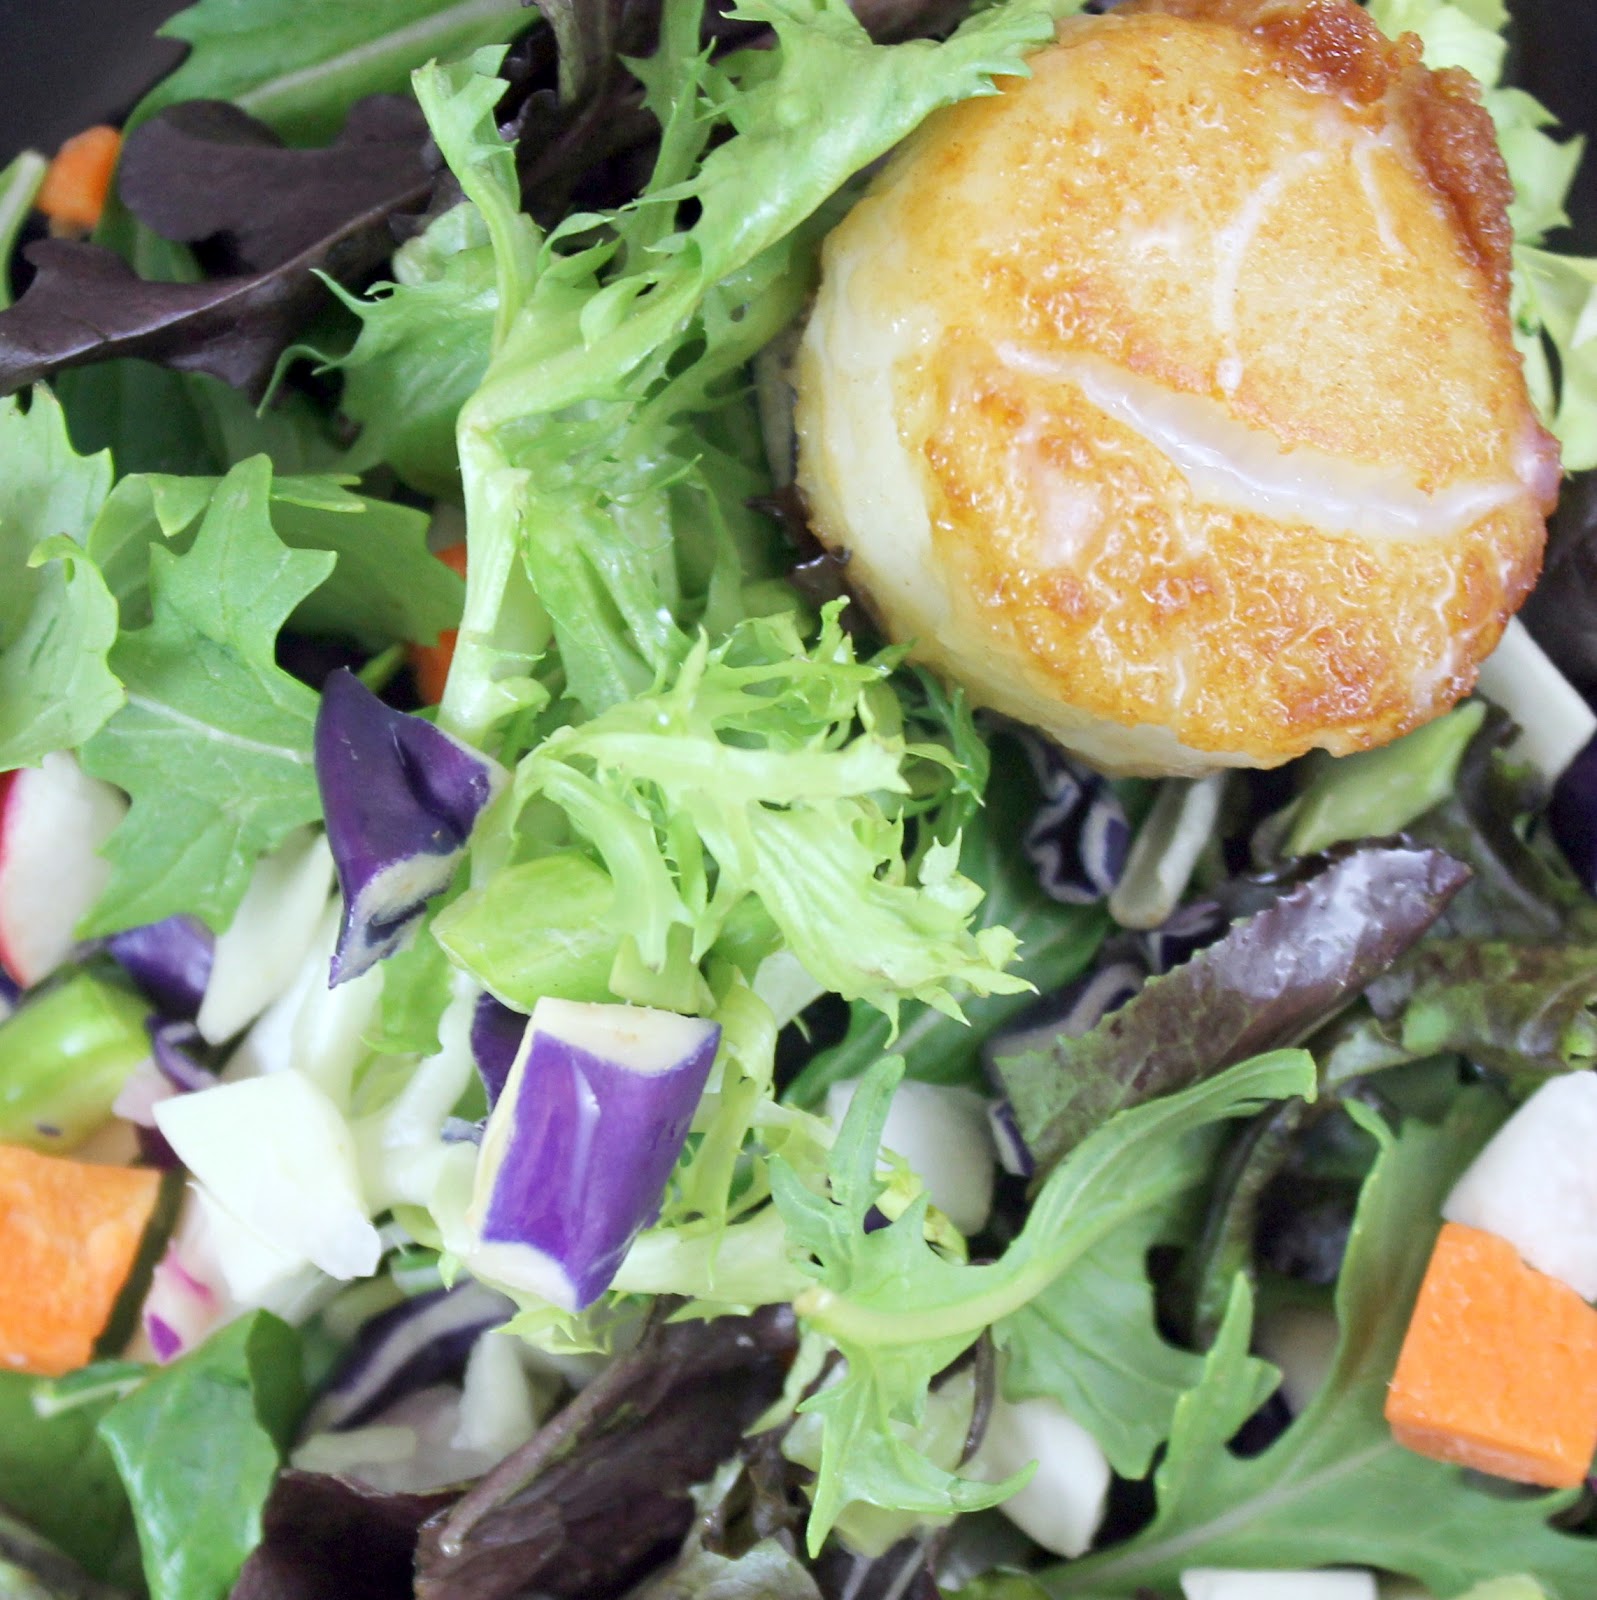
Trader Joe’s has containers of a “healthy 8 chopped veggie mix” that includes broccoli, carrots, green cabbage, red cabbage, jicama, green bell pepper, radishes and celery. Sounds good for a salad to me! (If you want, chop up whatever makes you happy and put it in this salad. I was just being super lazy).
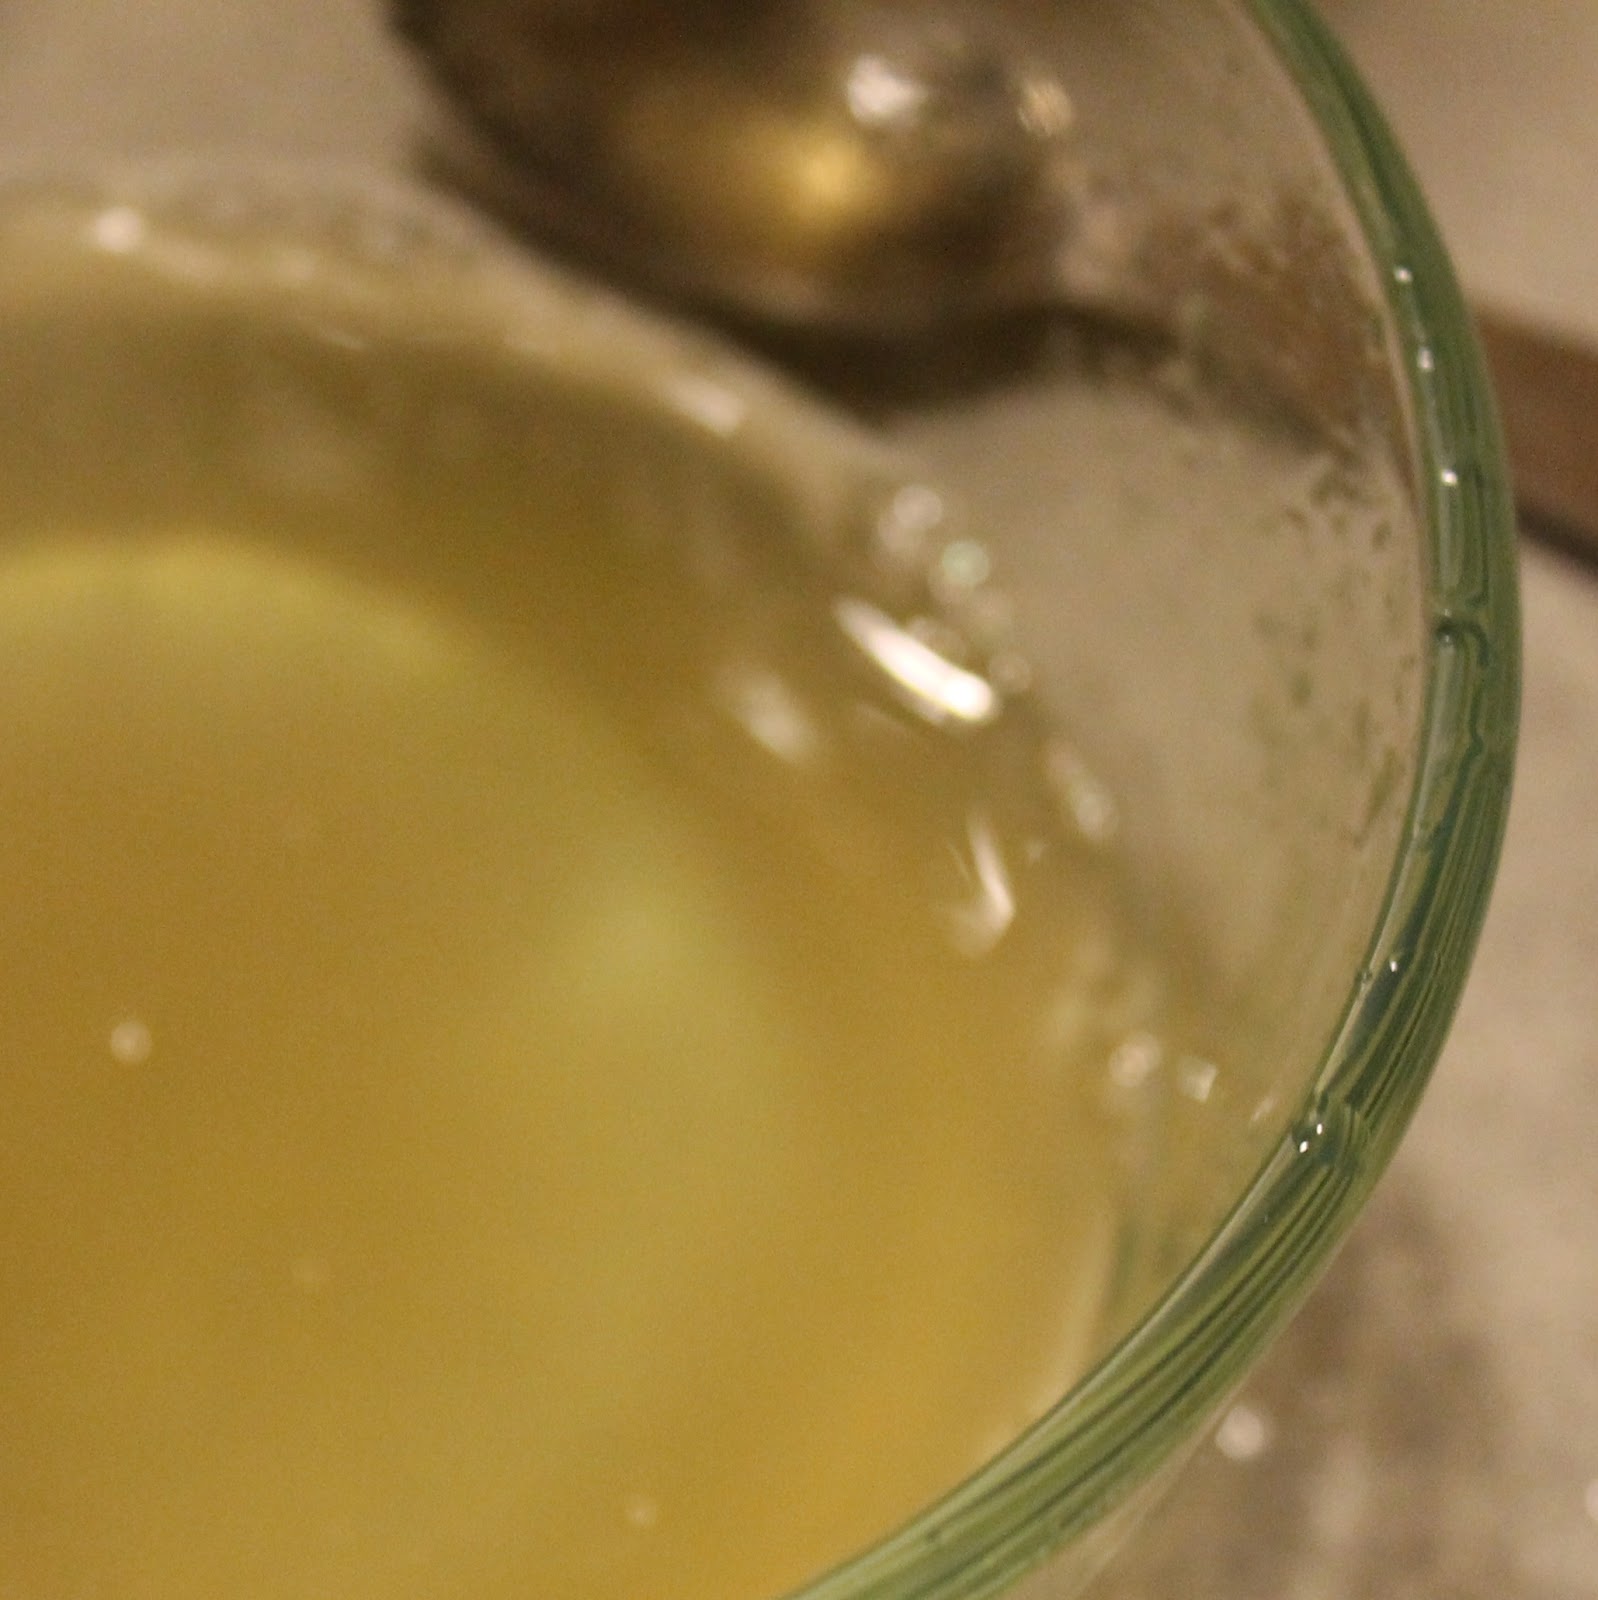
First make your dressing. Whisk together the lime juice, honey, vinegar and salt until the honey is incorporated (I find this to be easier if the honey has been microwaved for a few seconds). Set aside.
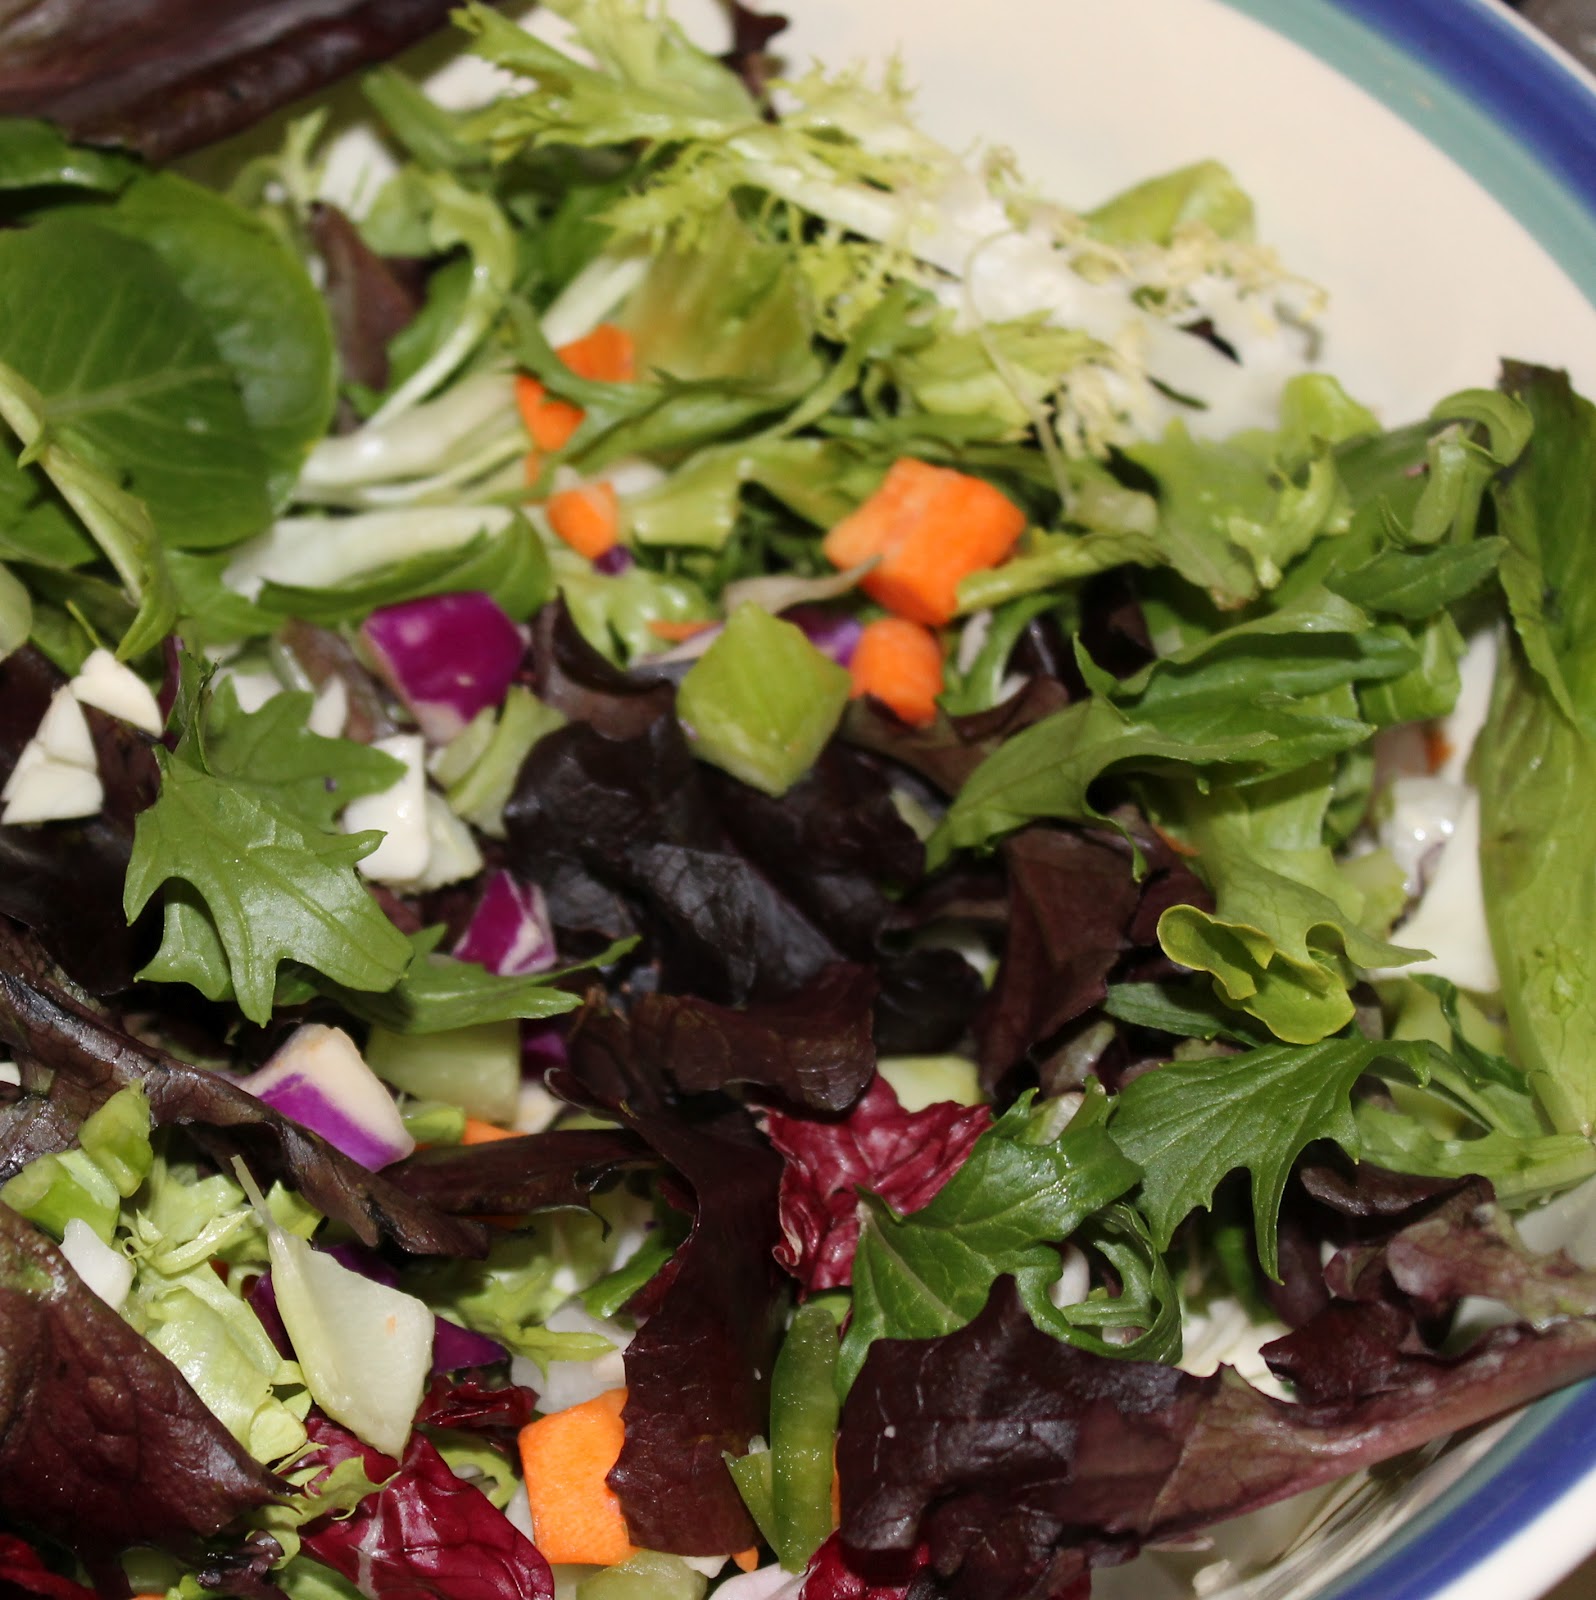
Add the salad greens and vegetables to a large bowl. Toss to combine.
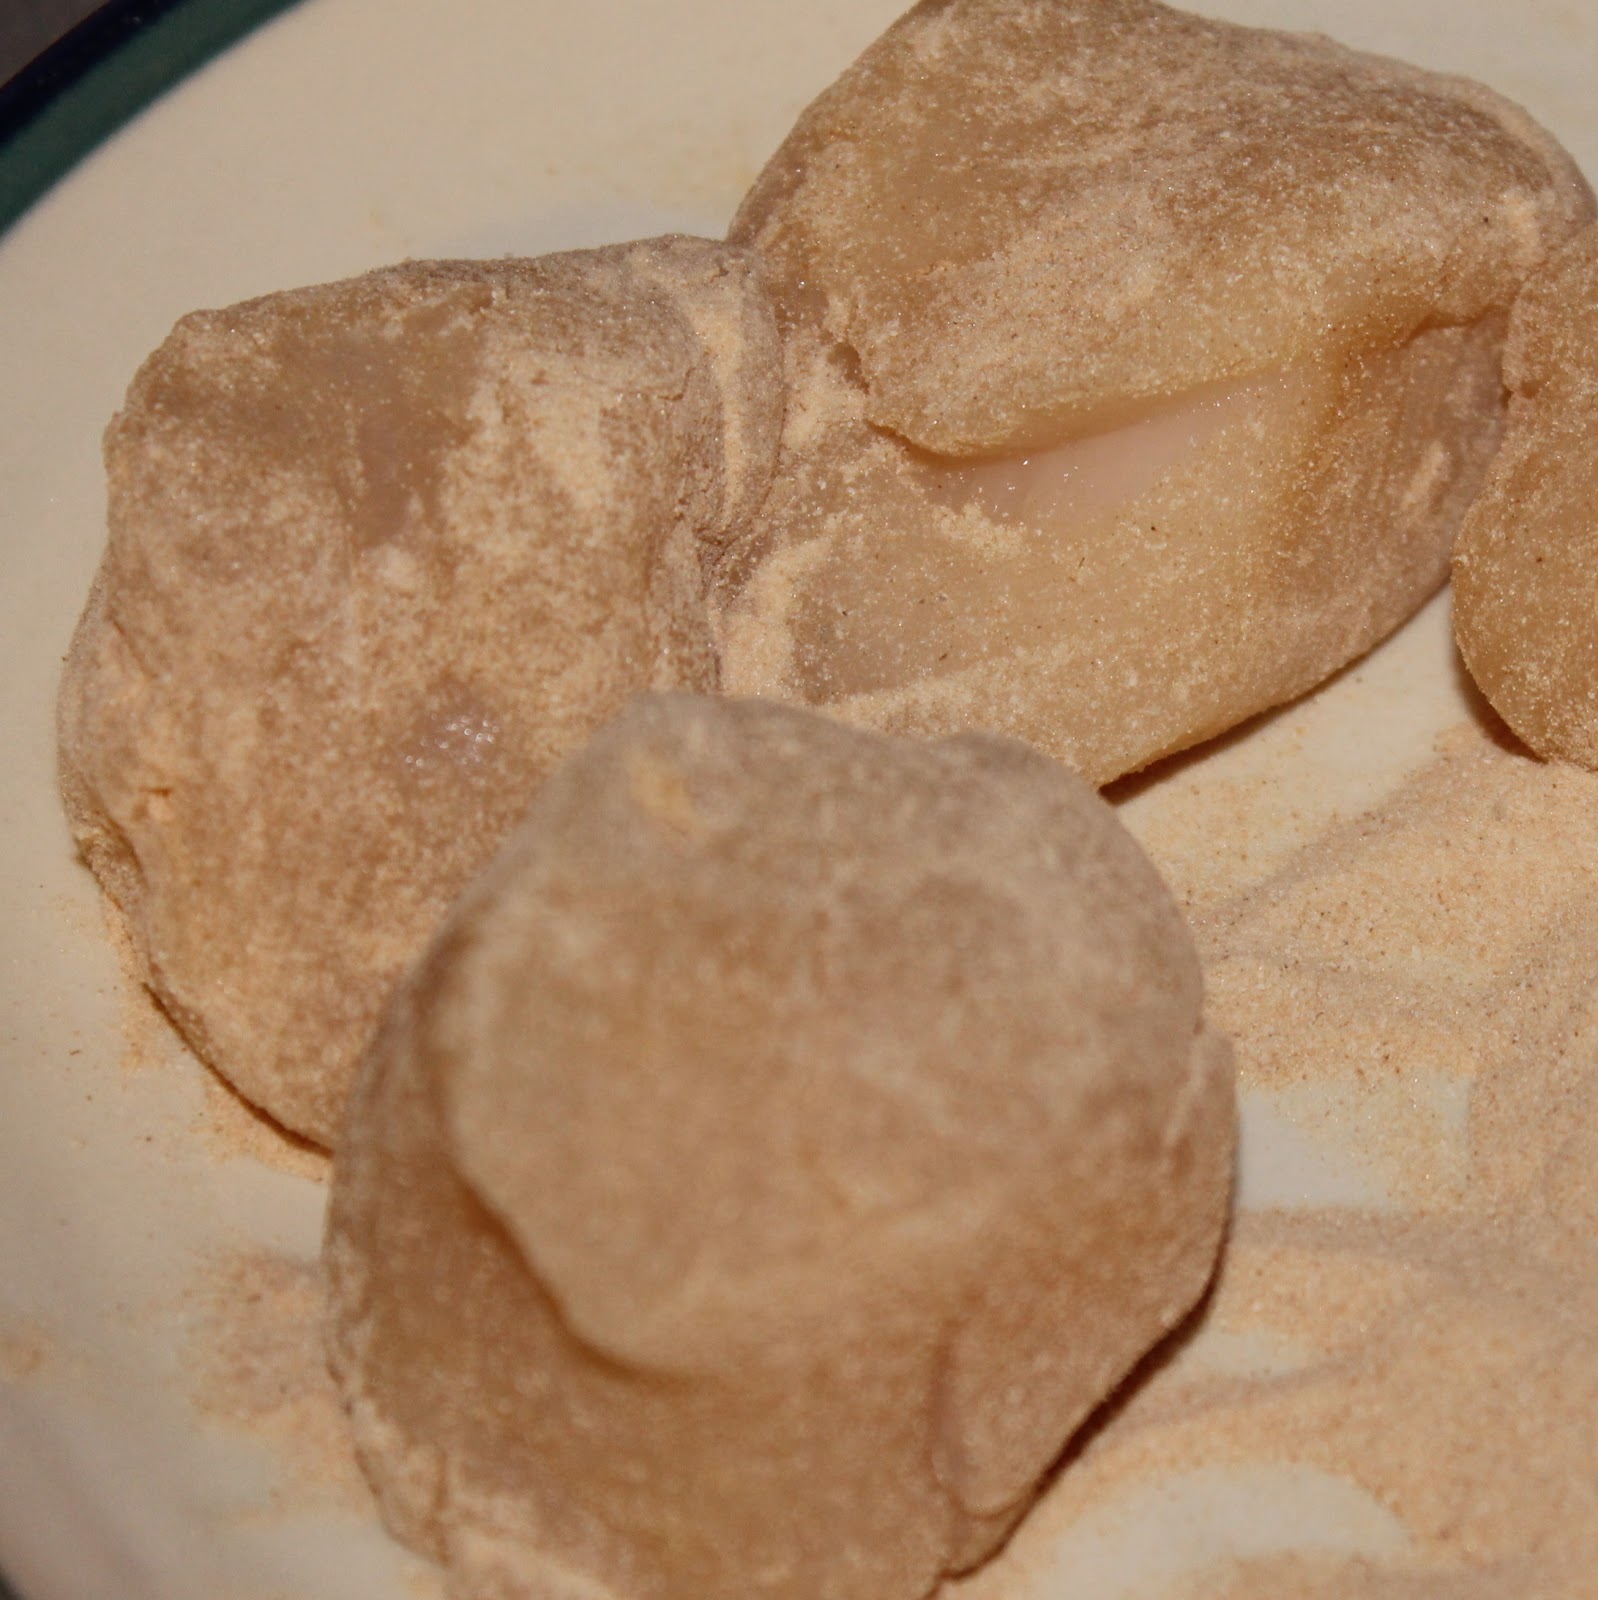
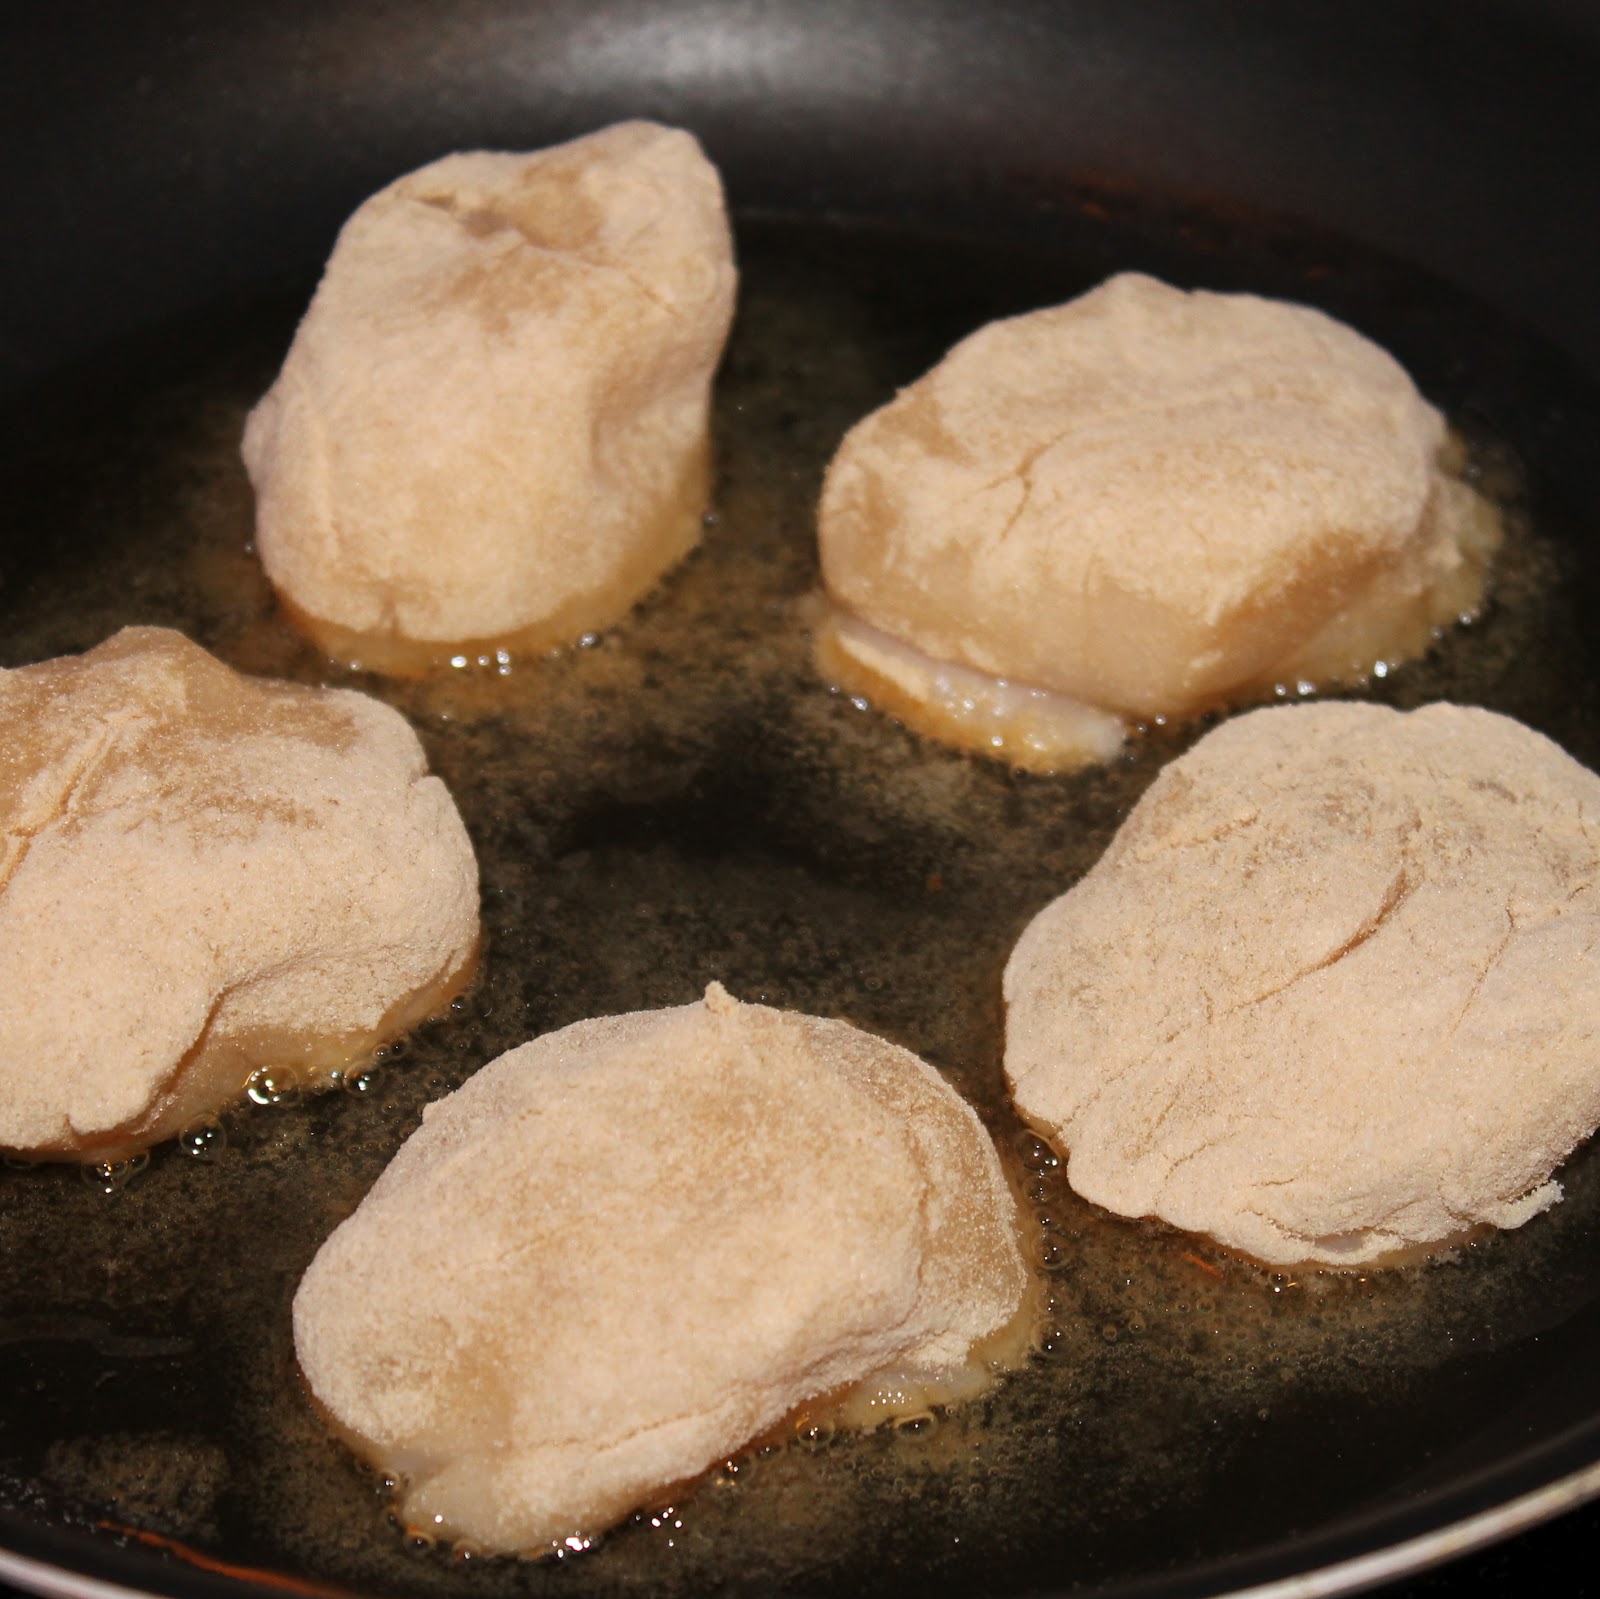
Add the kara-age mix to a large ziplock bag. Add the scallops, close the bag, and shake until the scallops are fully coated.
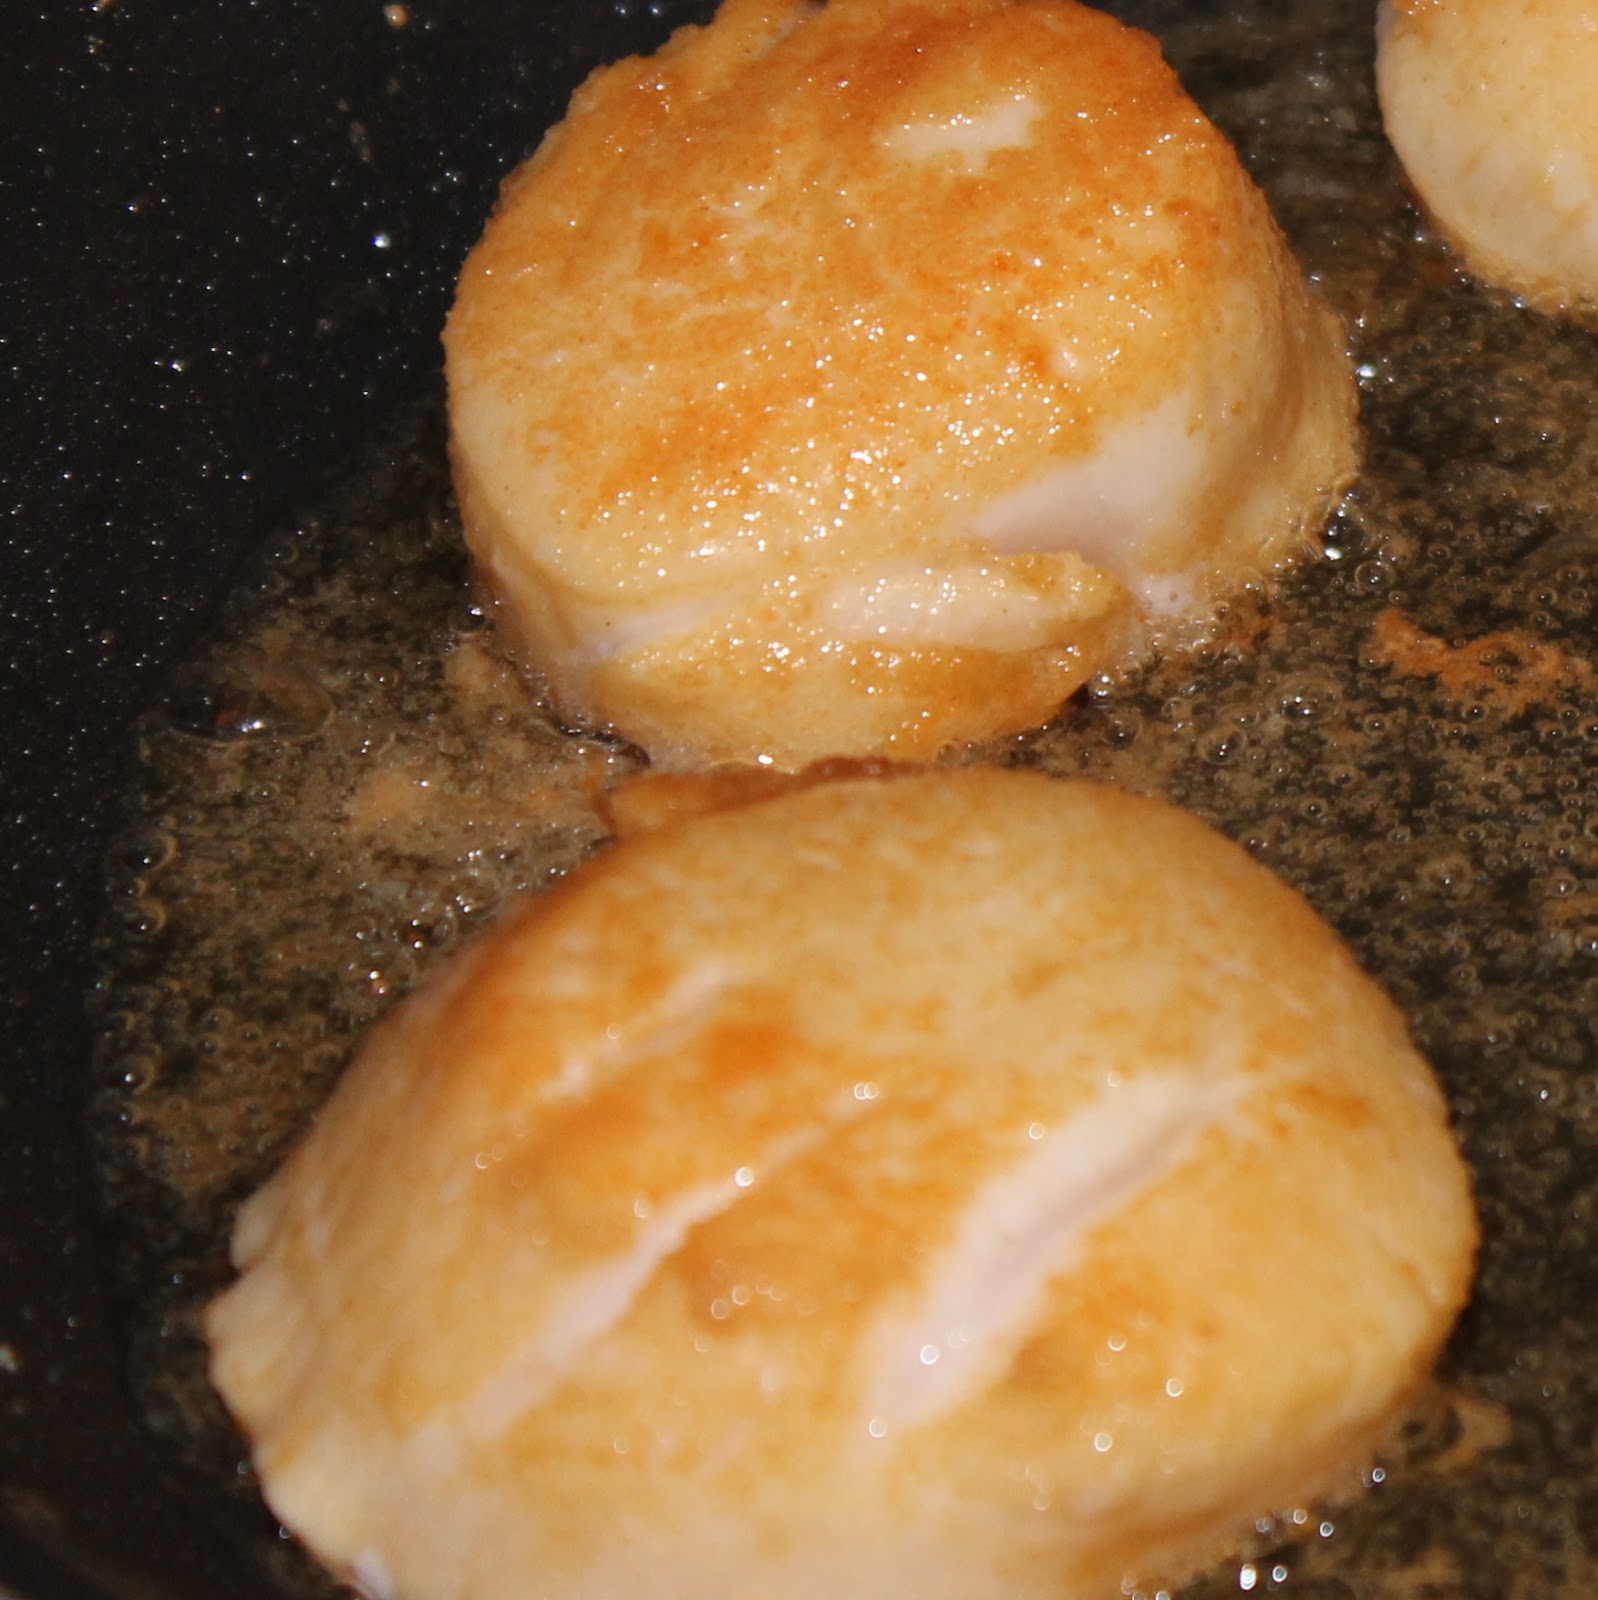
Heat the peanut oil in a large saute pan over medium-high heat. Add some of the scallops to the skillet (no more than 5-6, you don’t want them to crowd). Cook the scallops for 4 minutes until golden brown.
Flip and cook for another 4 minutes. The scallops should be opaque throughout. (Cut one open to check).
Transfer to a plate and repeat with remaining scallops.
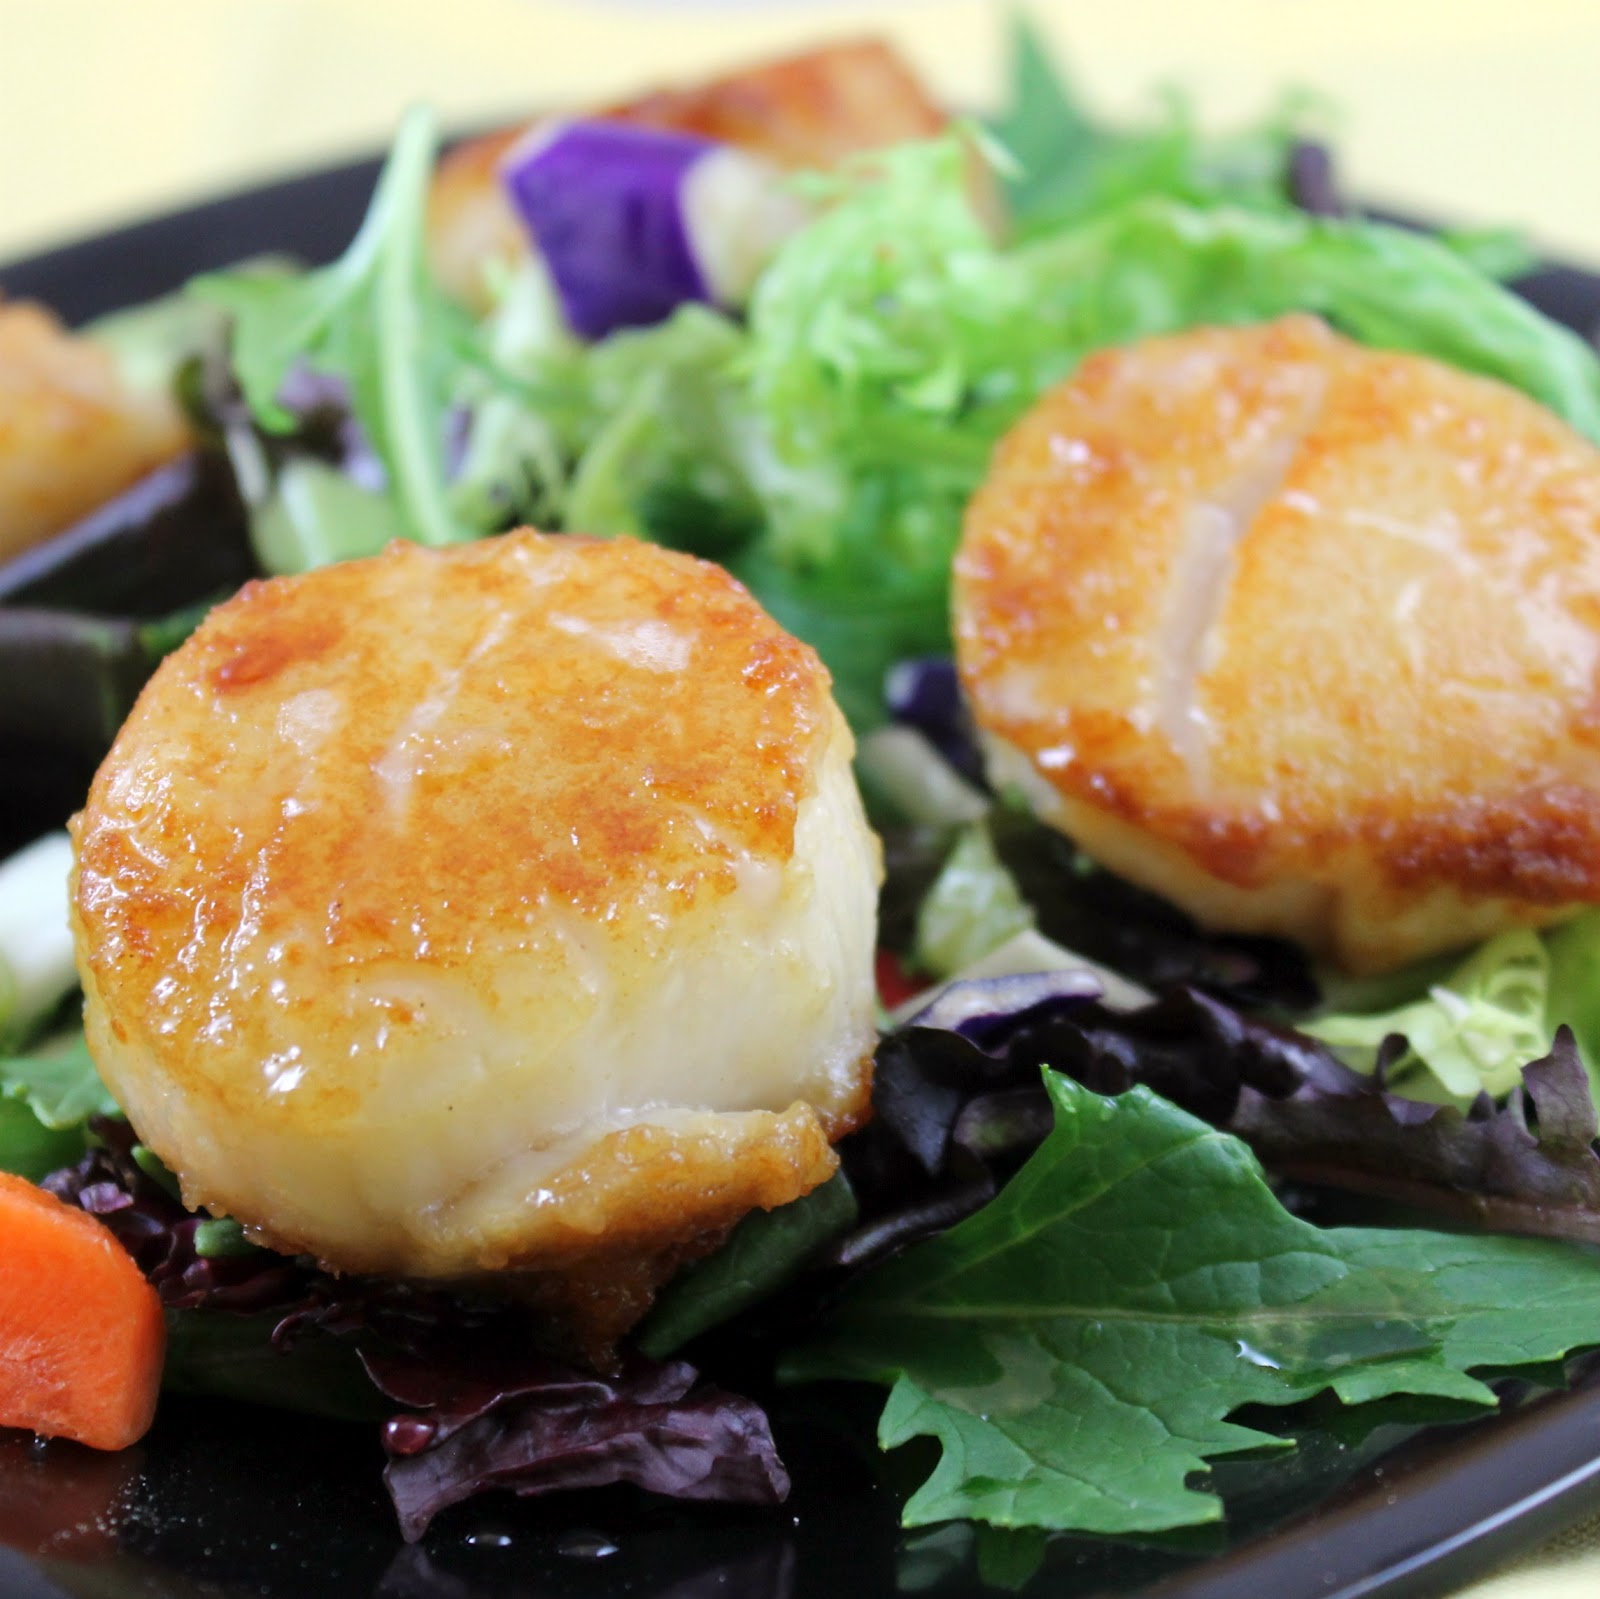
To serve, add the greens and vegetables to individual plates and place the scallops on top. Mix to dressing and drizzle on top.
This recipe should make 4 salads.
Easy, right?
For so little effort, a dish should not taste this good!
The honey lime dressing was perfect with the slightly bitter salad and the kara-age.
The kara-age added hints of ginger, soy, and garlic which really complemented the dish. It also added a nice sear to the scallops.
Depending on how few/many scallops you add to the plate, this could be an appetizer or the full meal. After taking the photos I added 1-2 more to make it my dinner for the night.