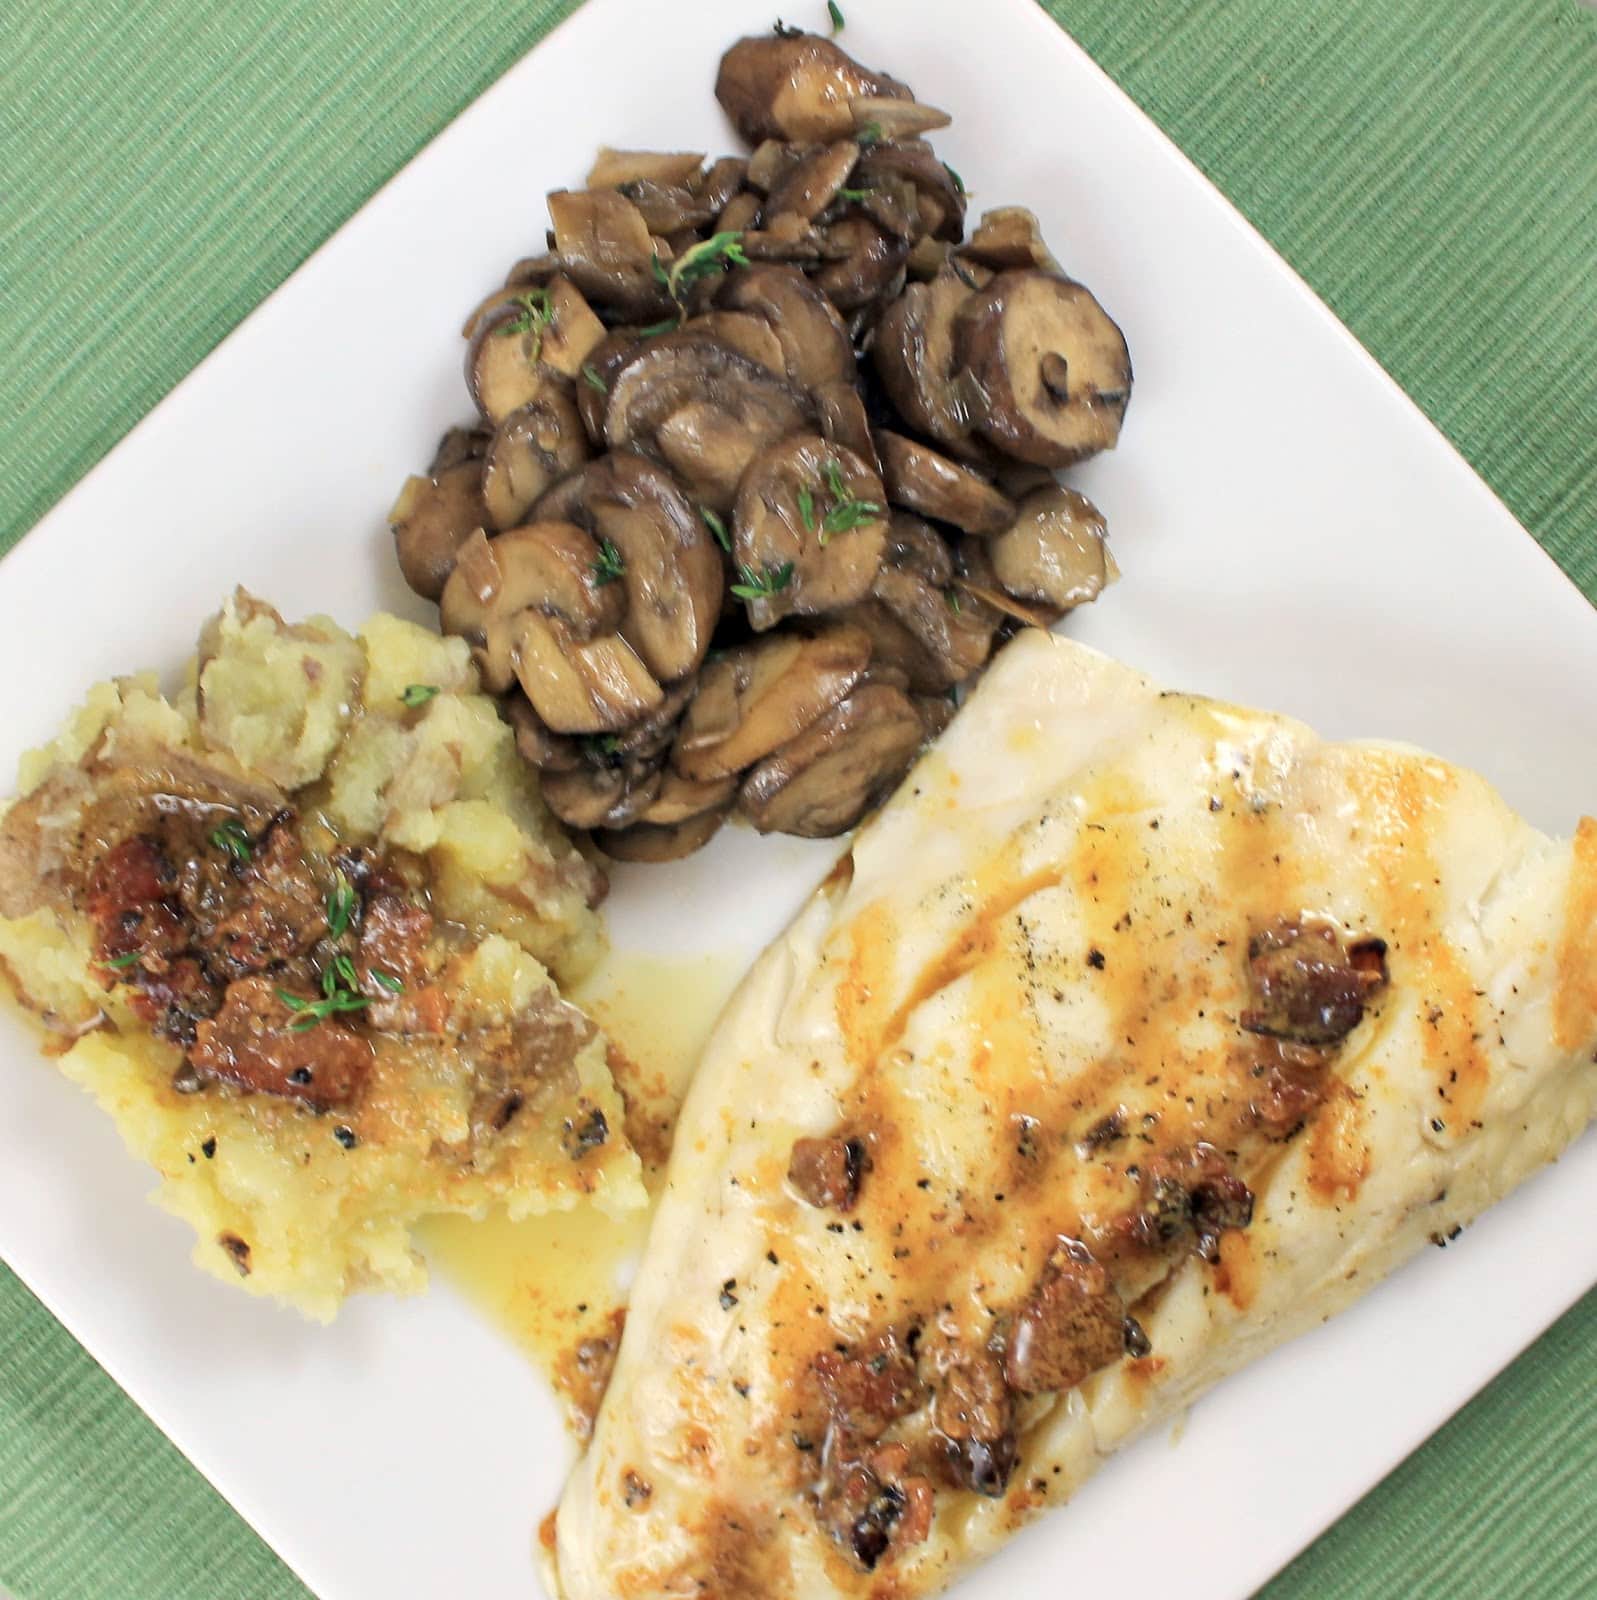
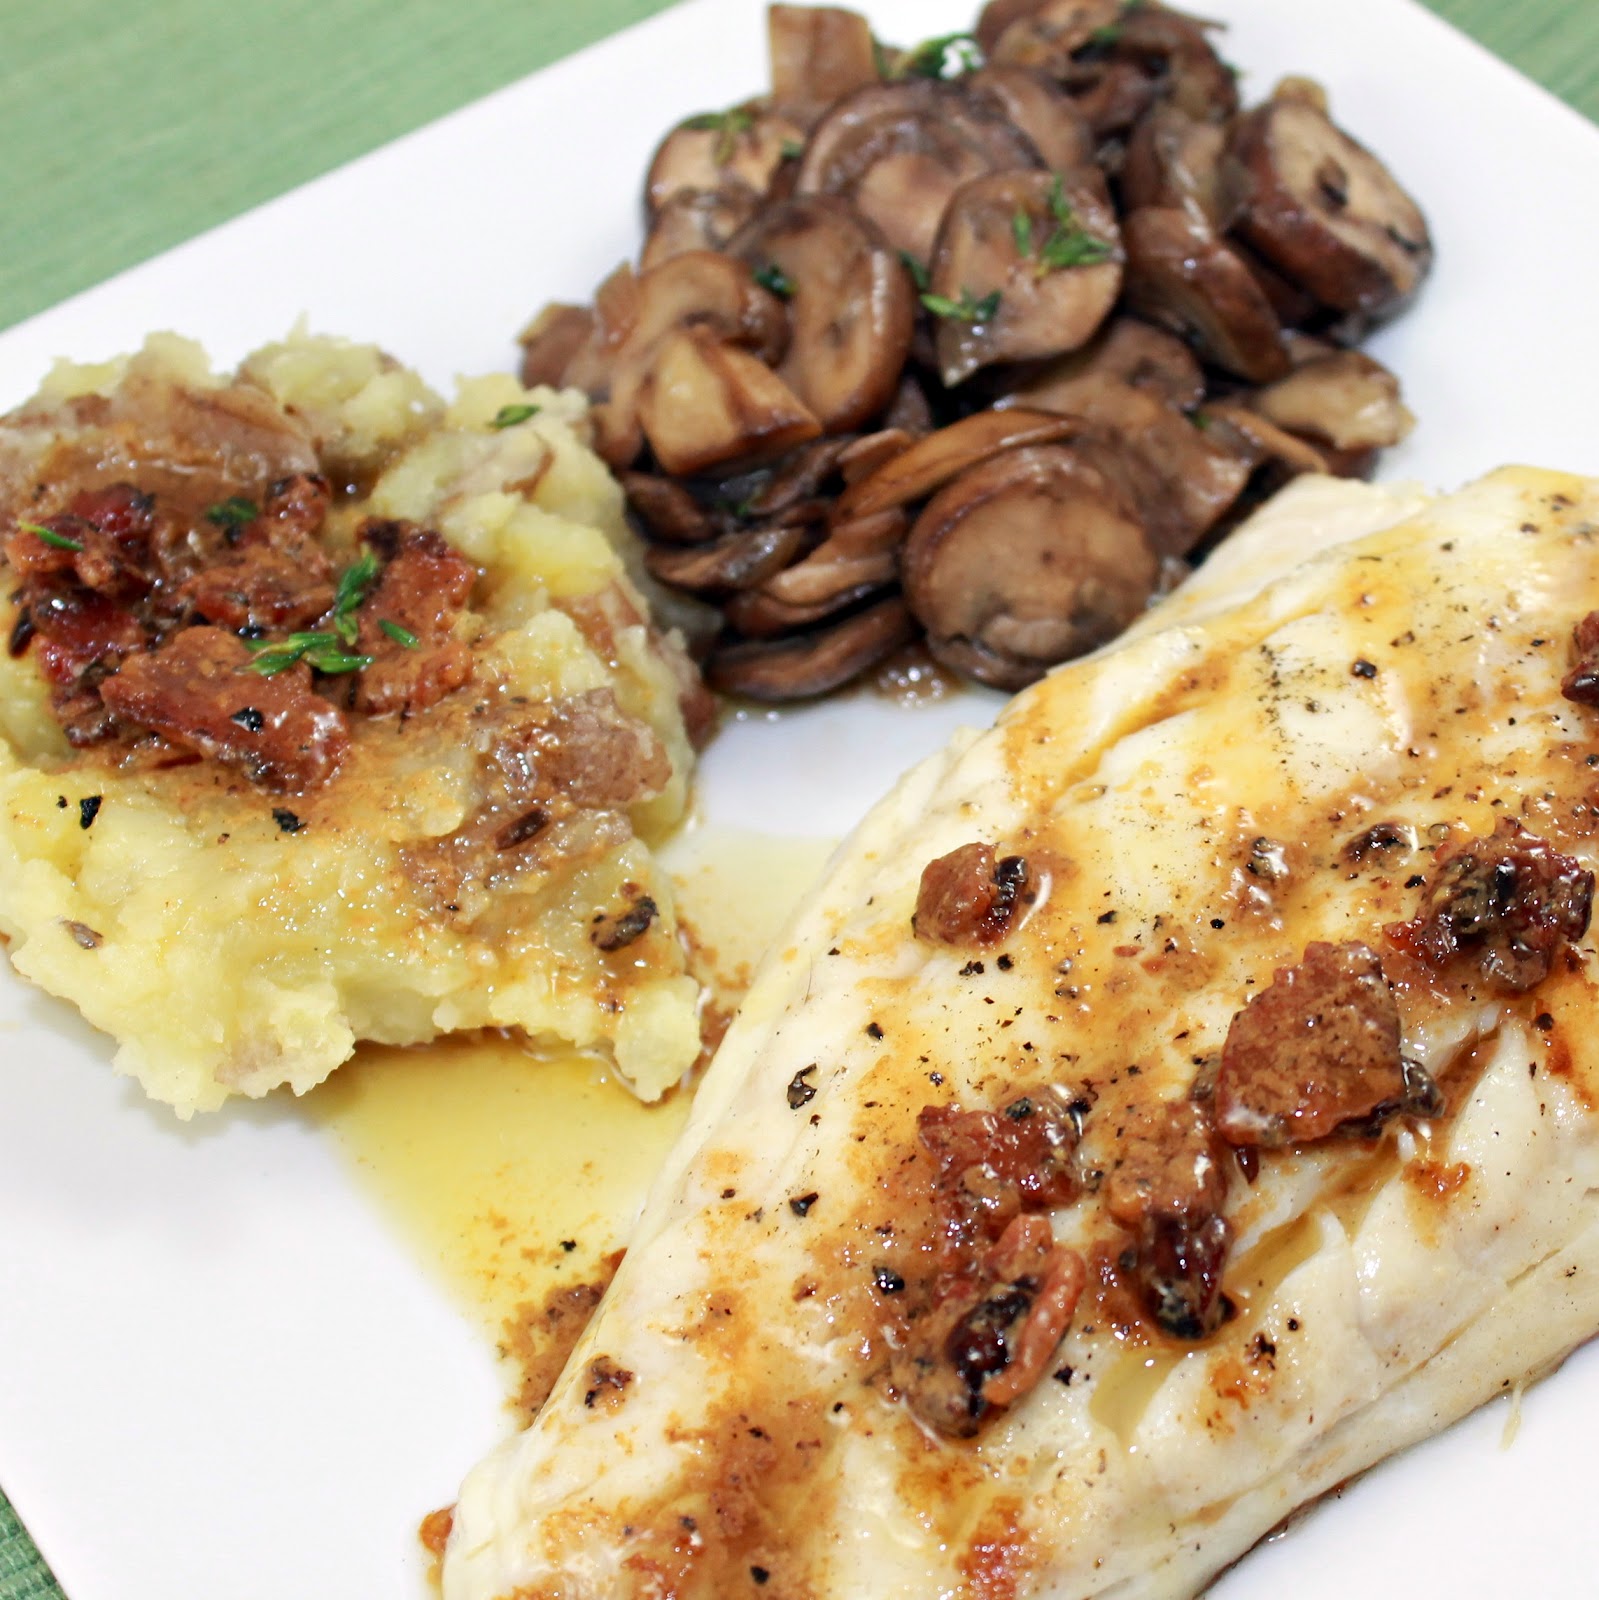
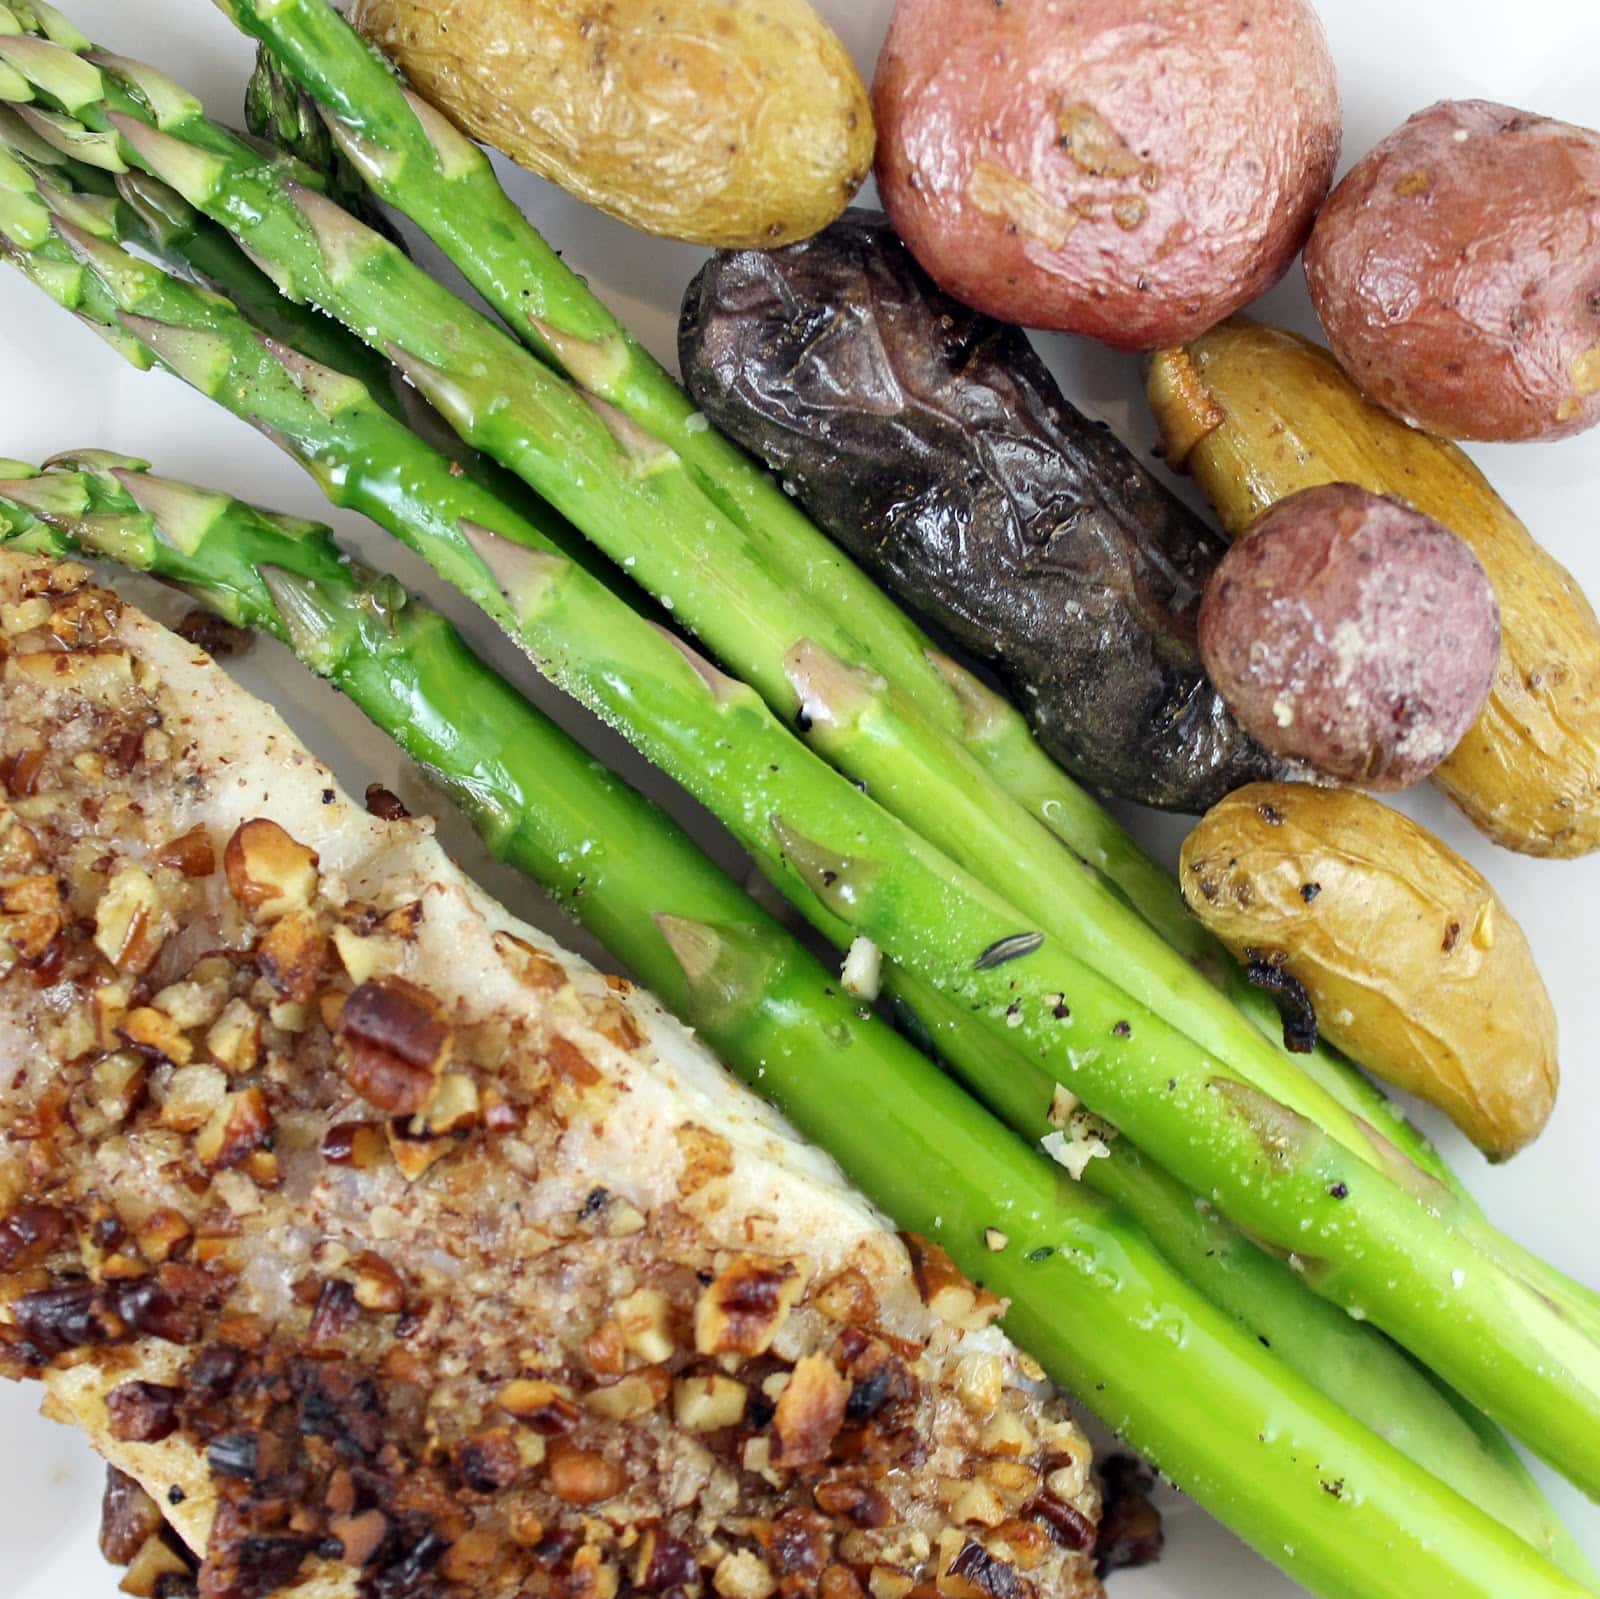
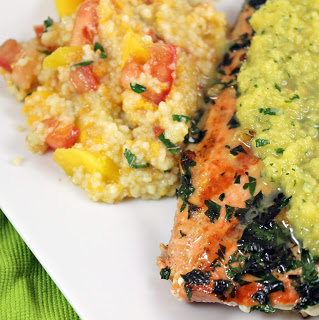
Grilled Striped Bass with Bacon Vinaigrette Red Smashed Potatoes and Sauteed Butter Thyme Mushrooms. Whew. By the time you say the title of this post you could have cooked most of this meal. Fish is a perfect weekday choice because it is so darn quick to cook up. I managed to make all parts of this meal in 40 minutes which was awesome! If you wanted to cut the time for this meal even more, you could doctor up some of those refrigerator mashed potatoes from the supermarket, but I really like home made mashed potatoes so I went for it. No one is surprised to hear that this menu comes from my trusty
Cooking Light.
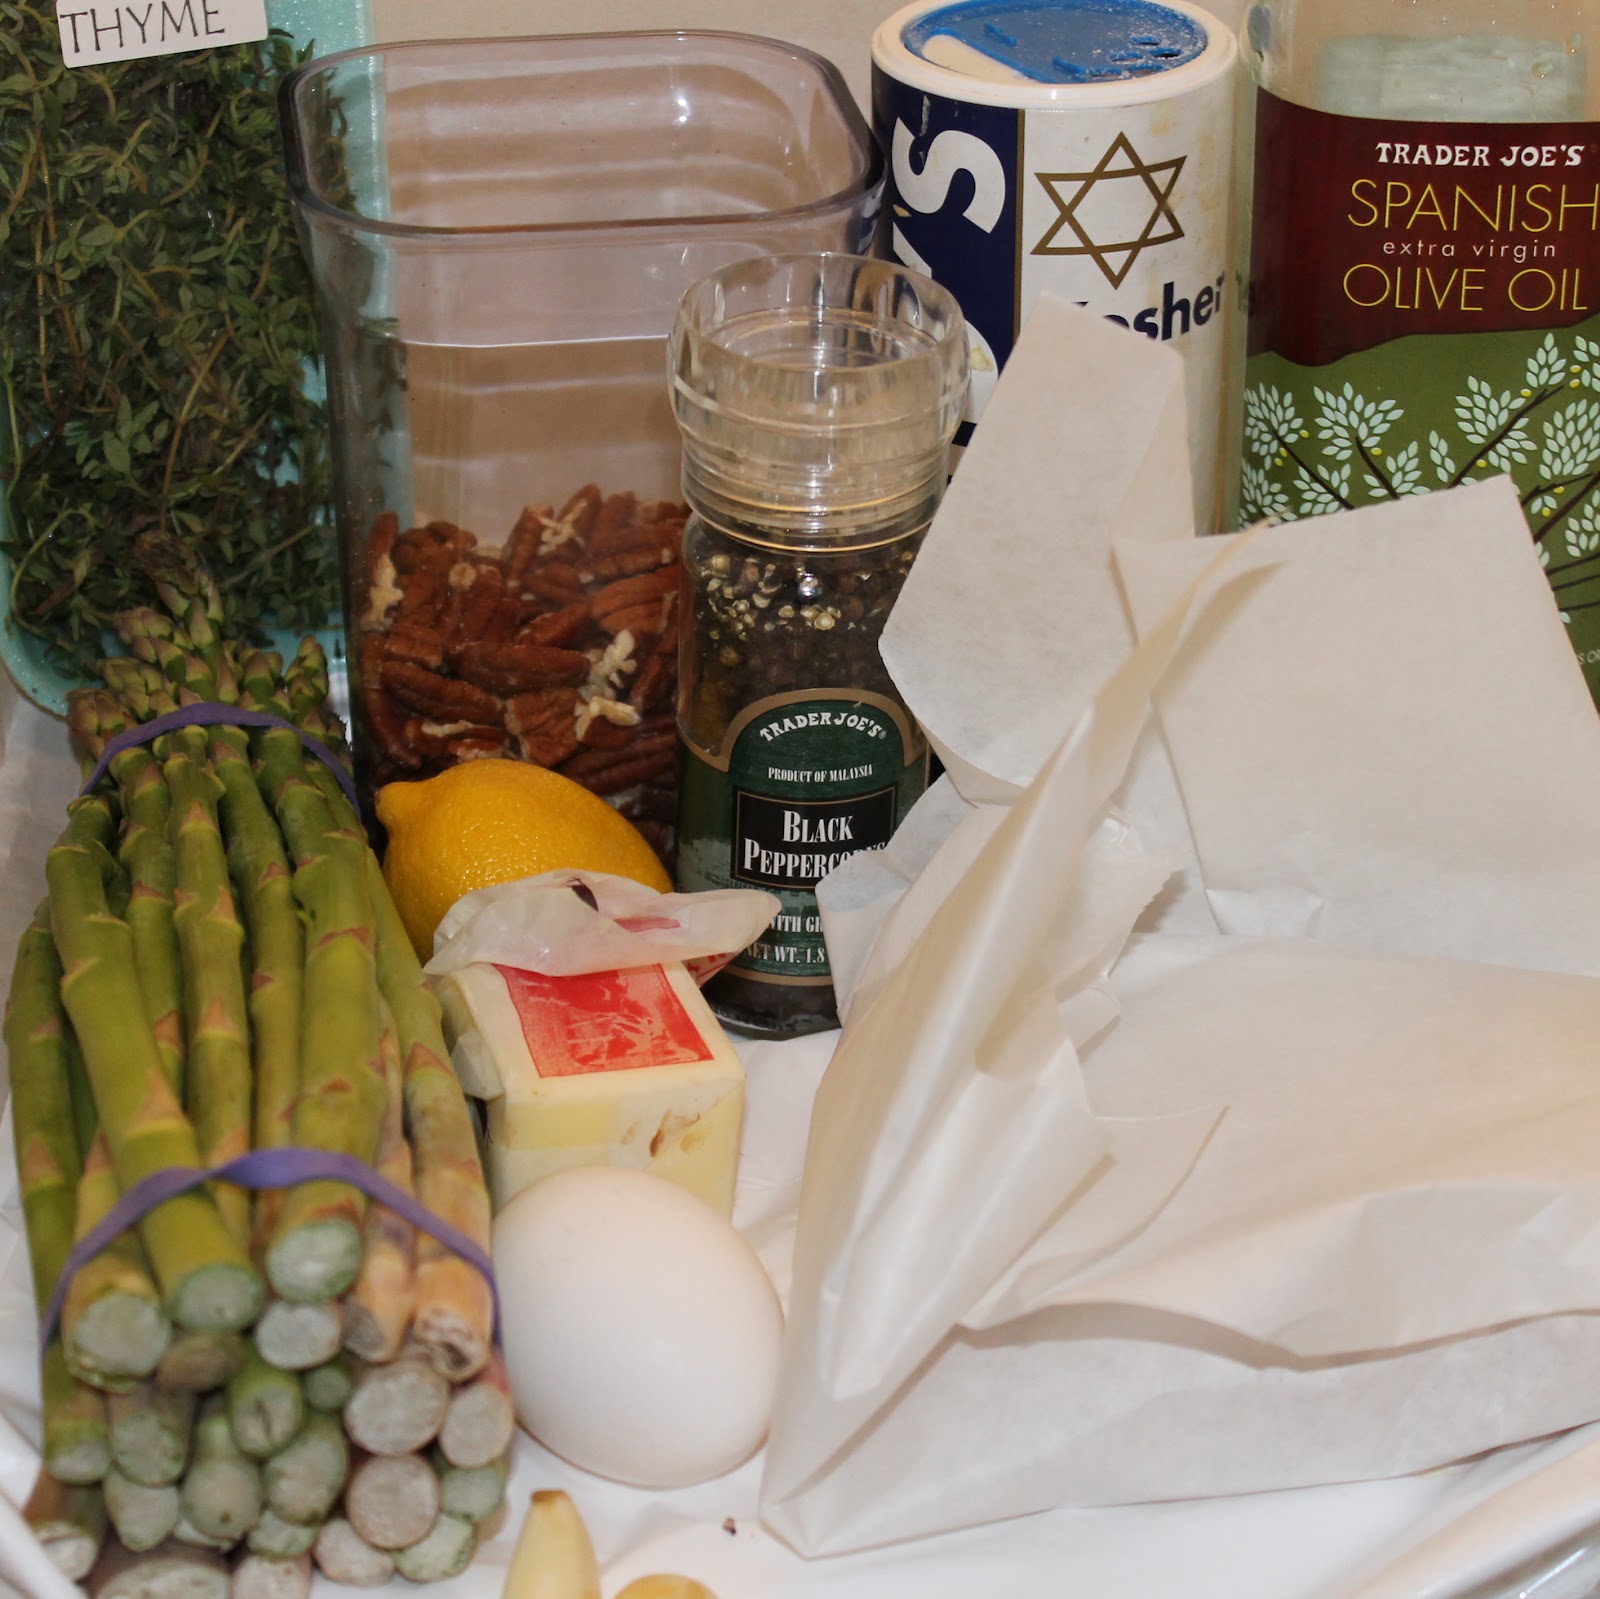
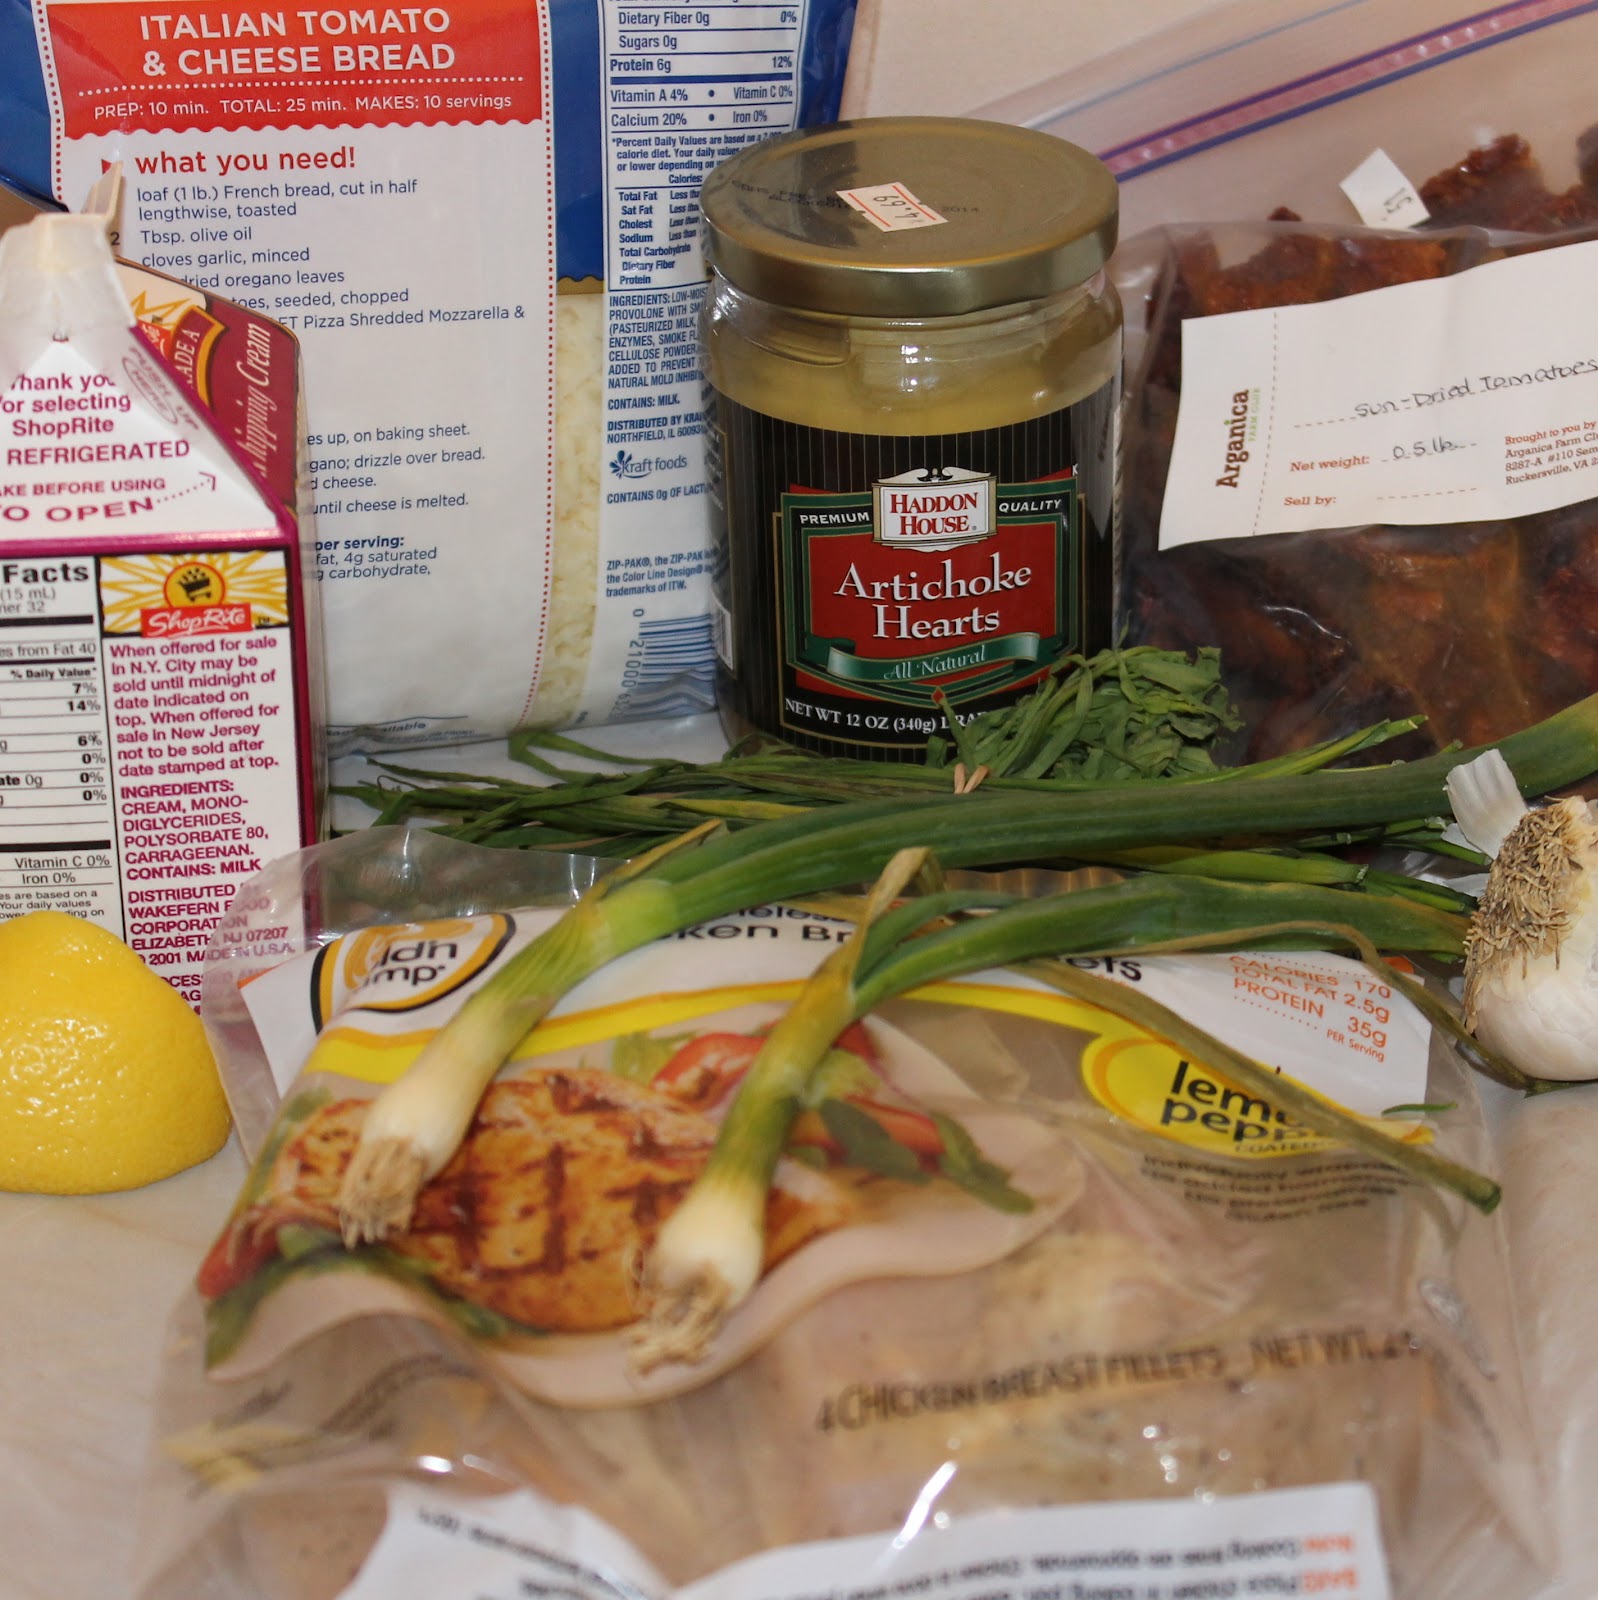
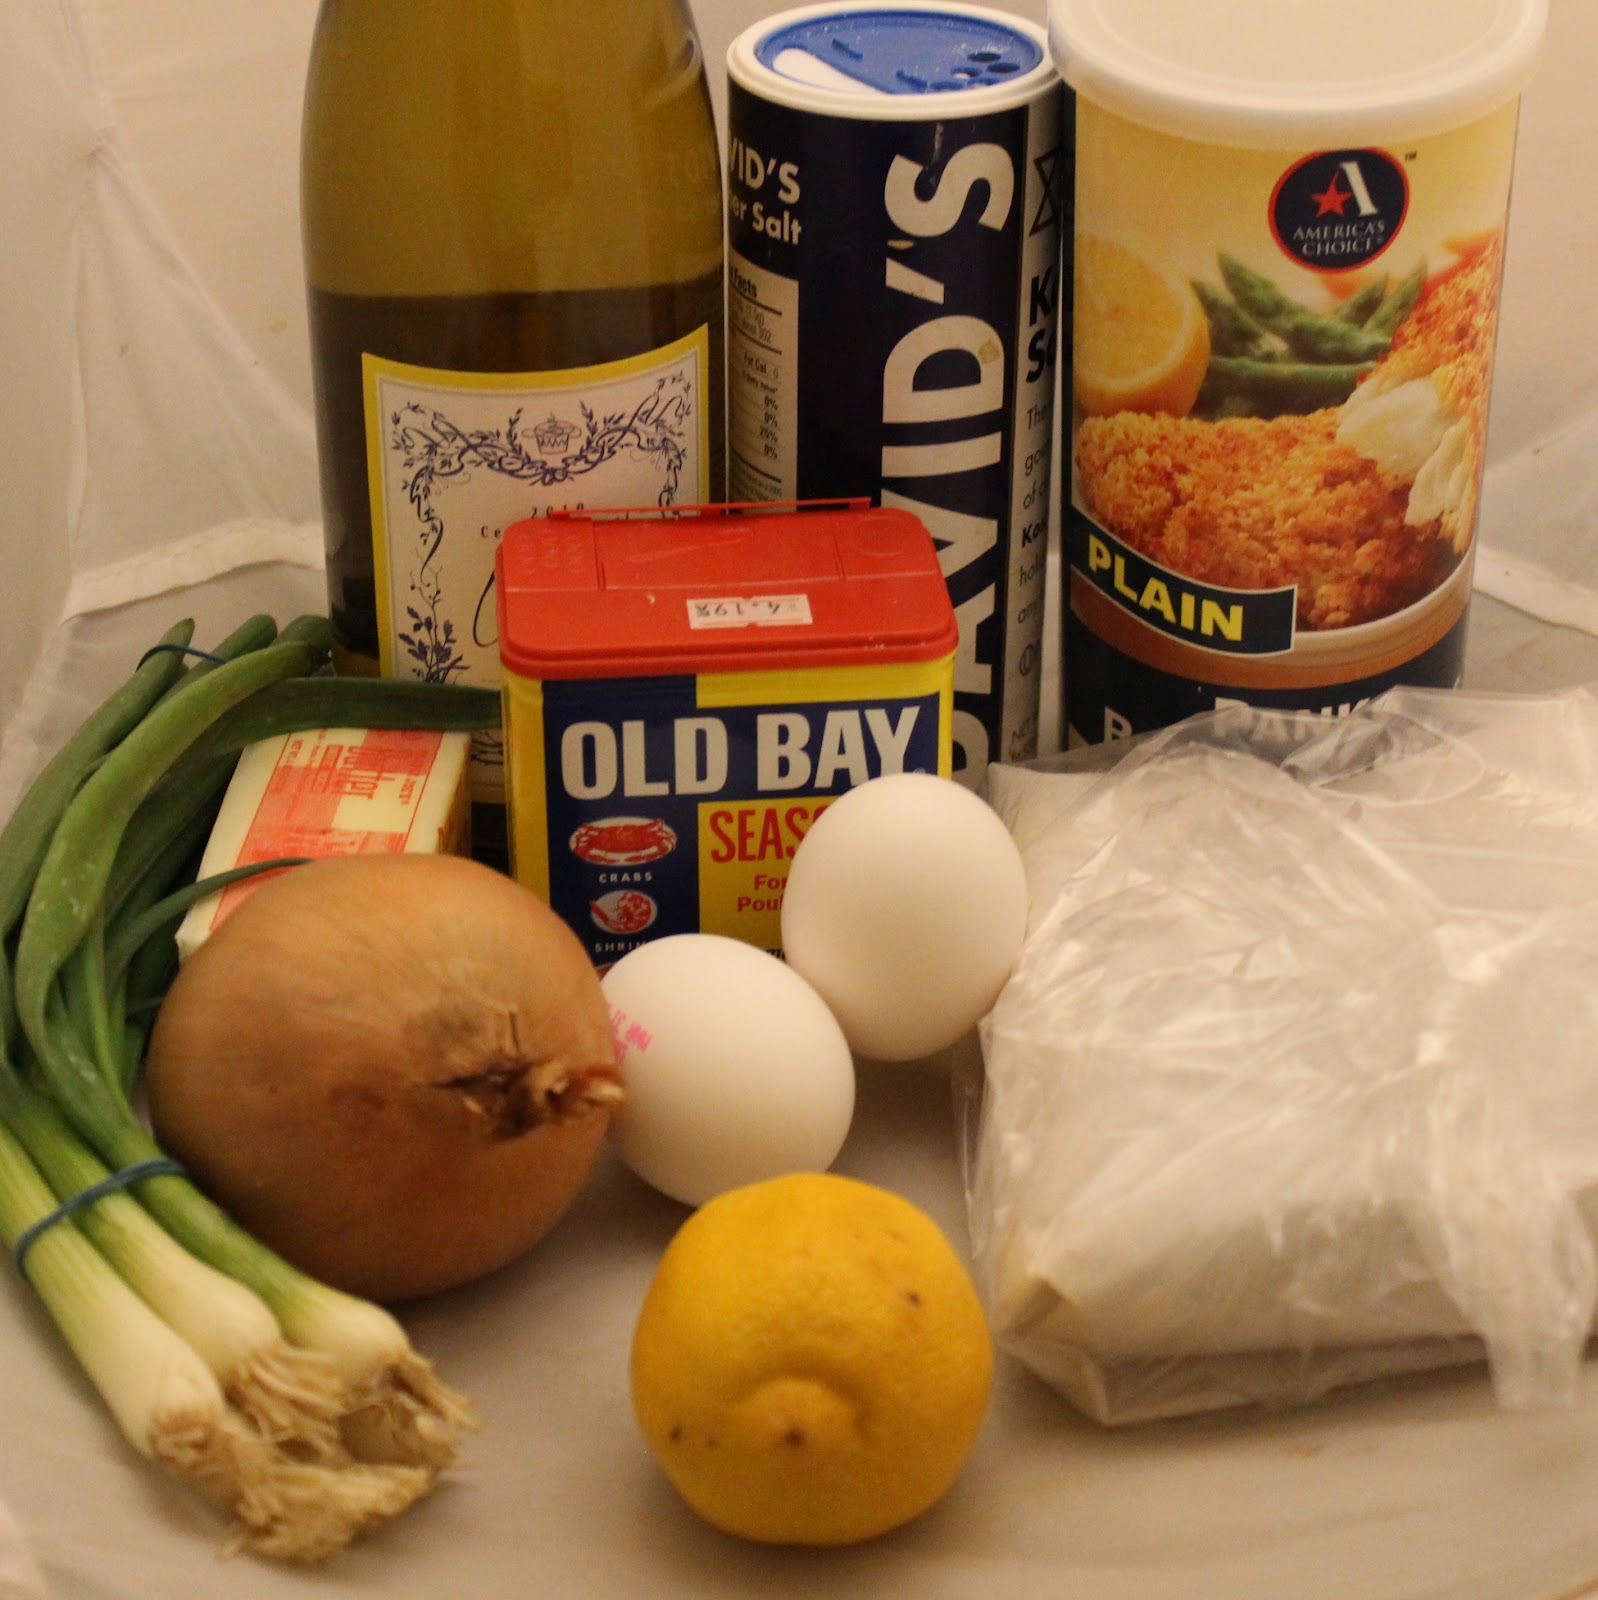
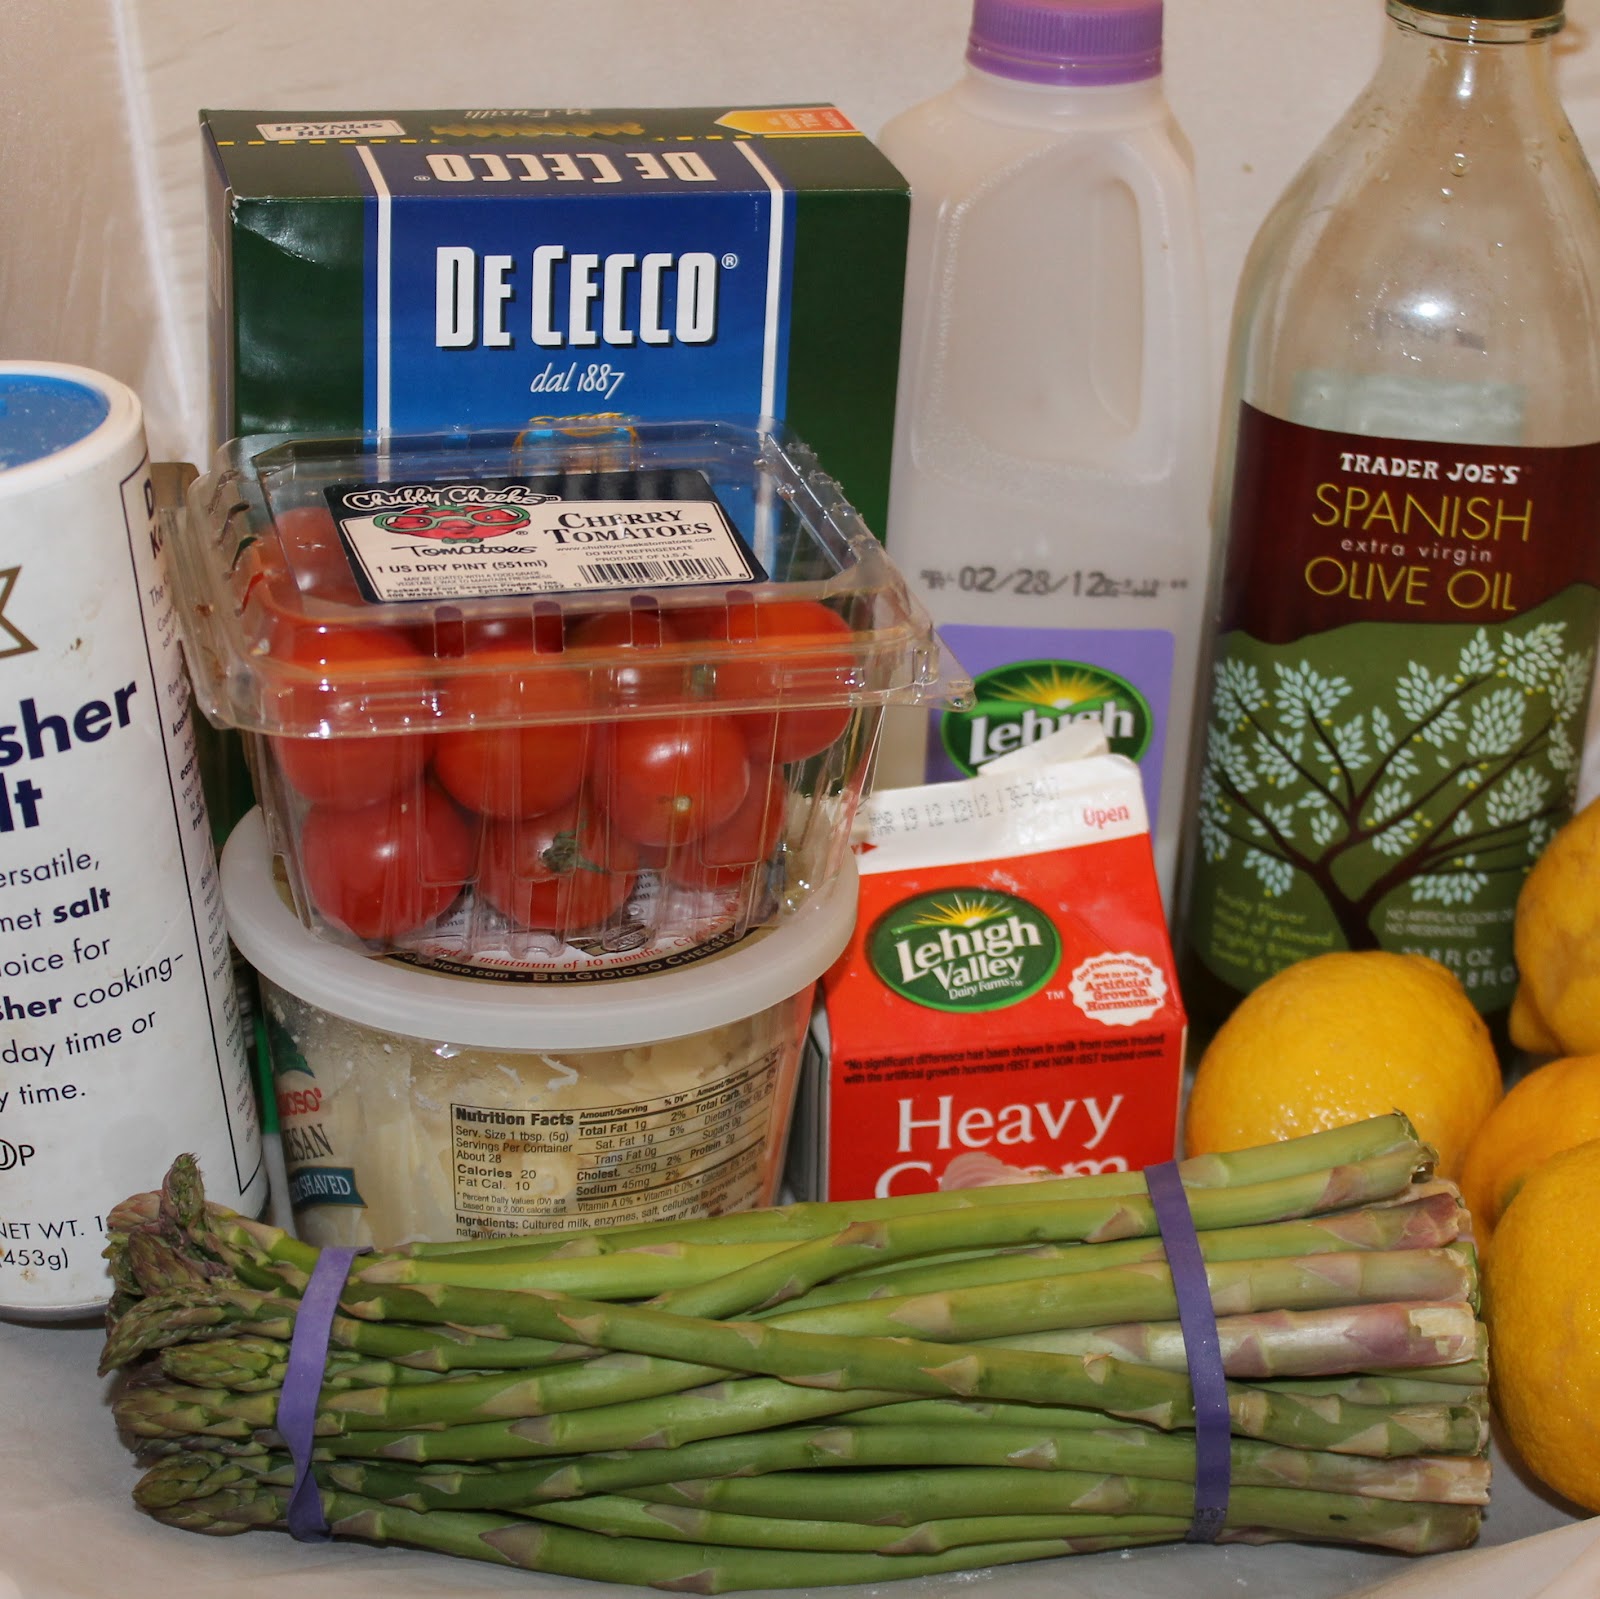
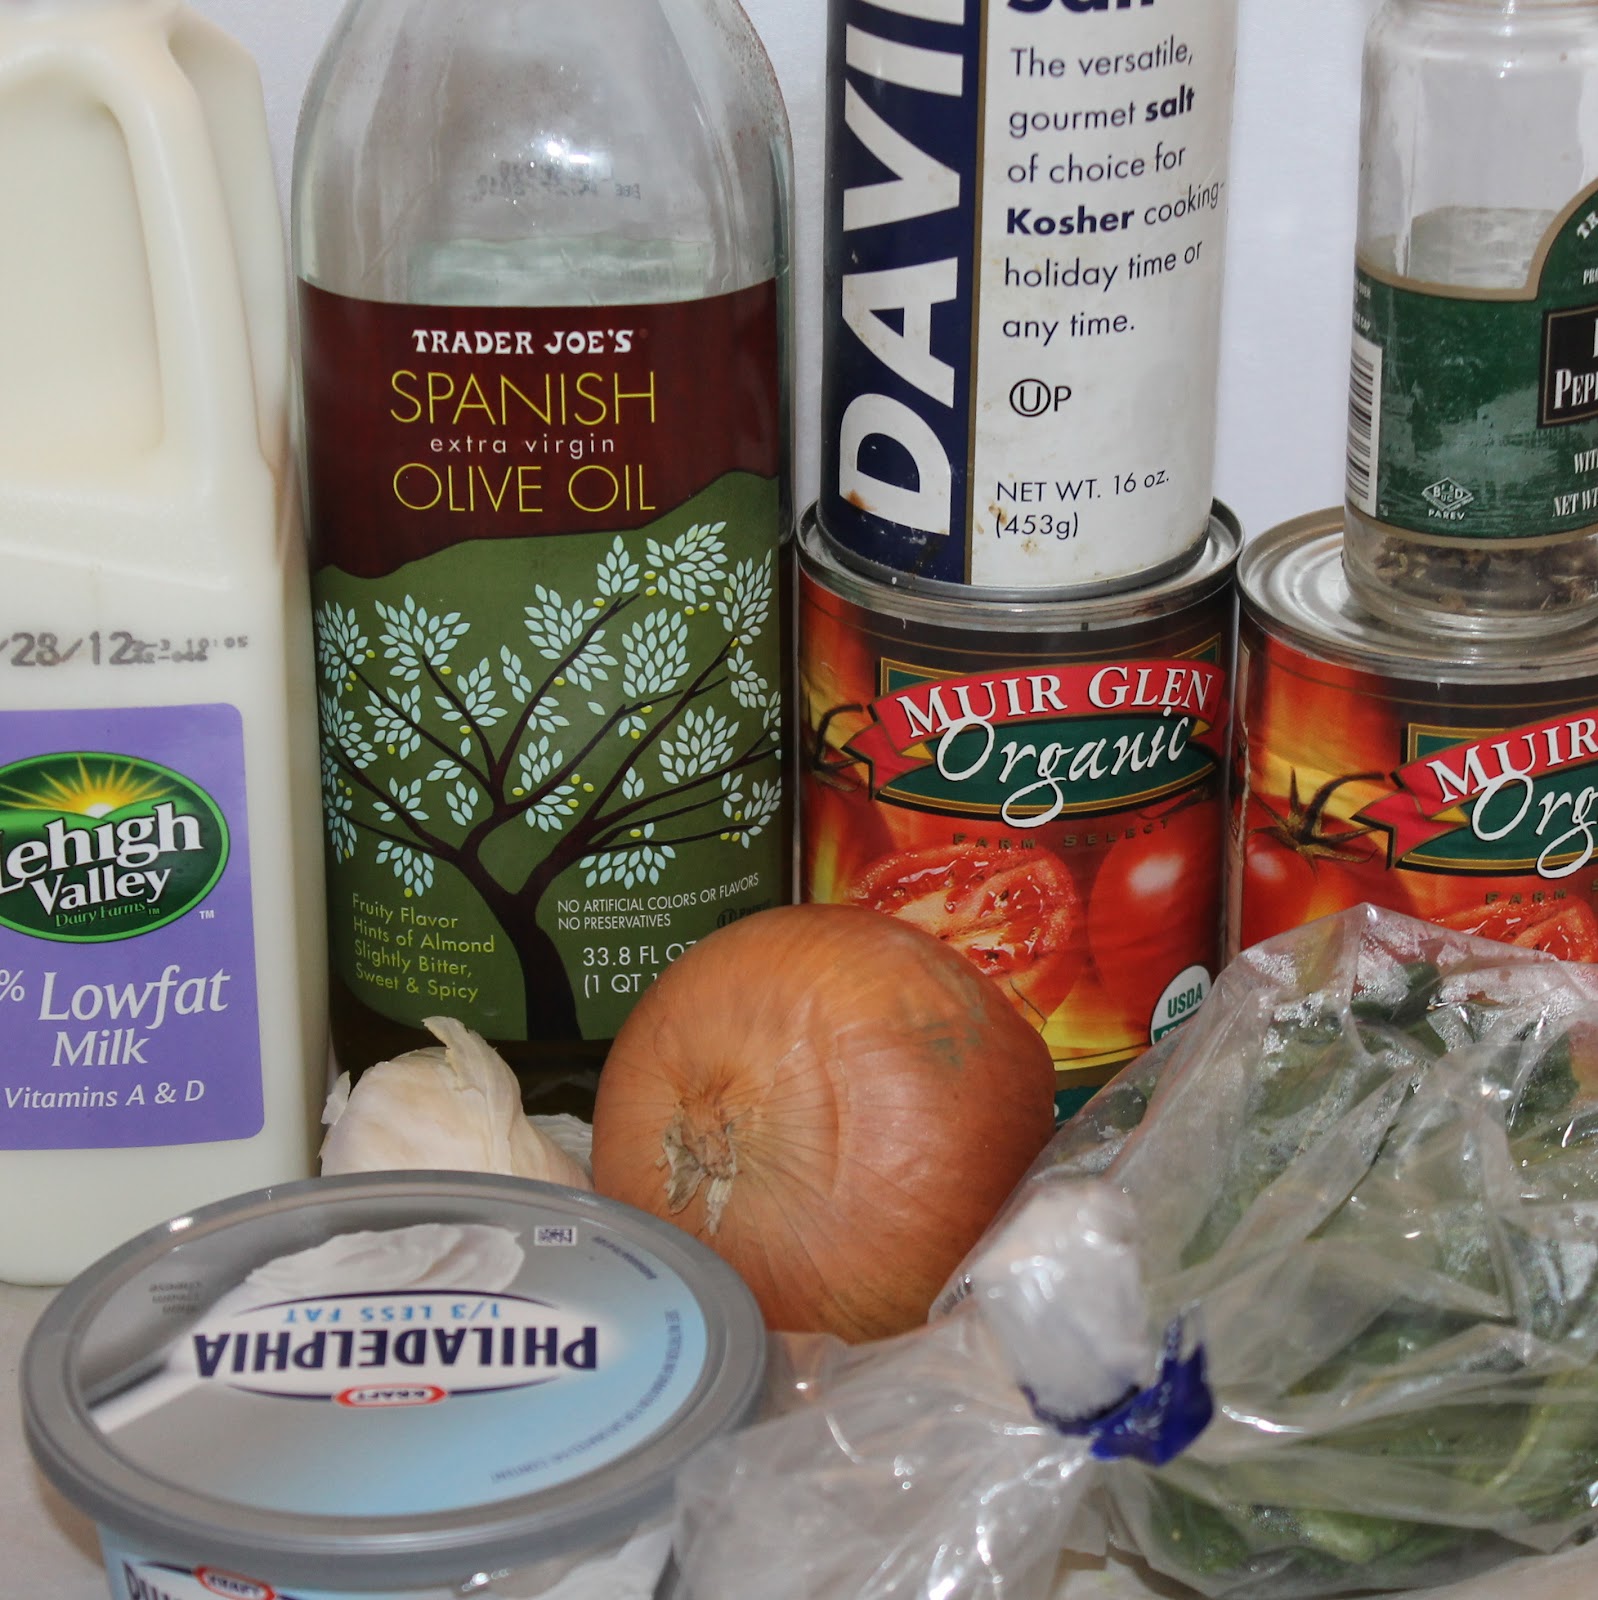
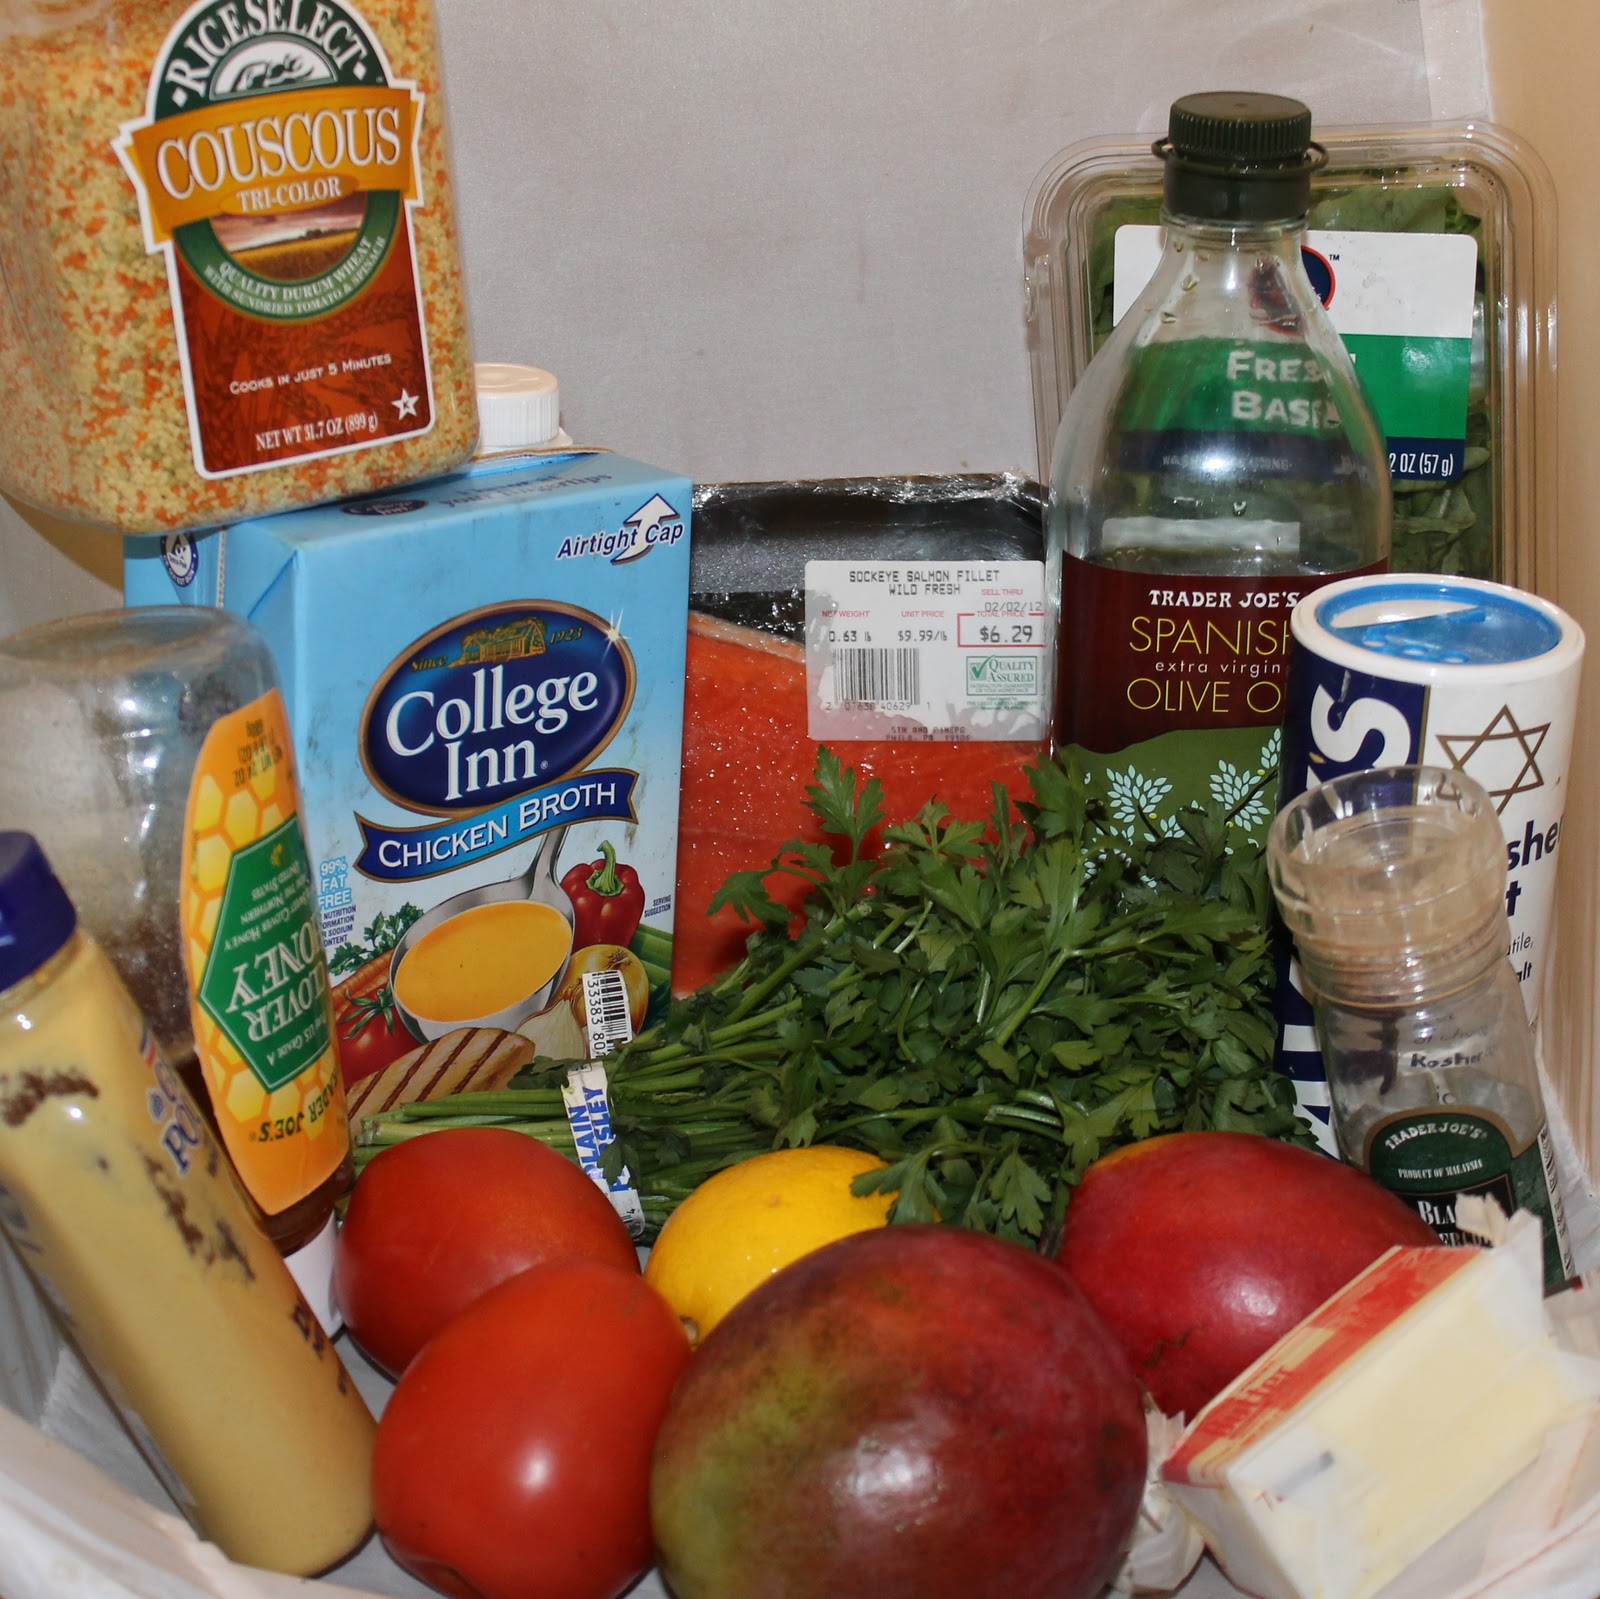
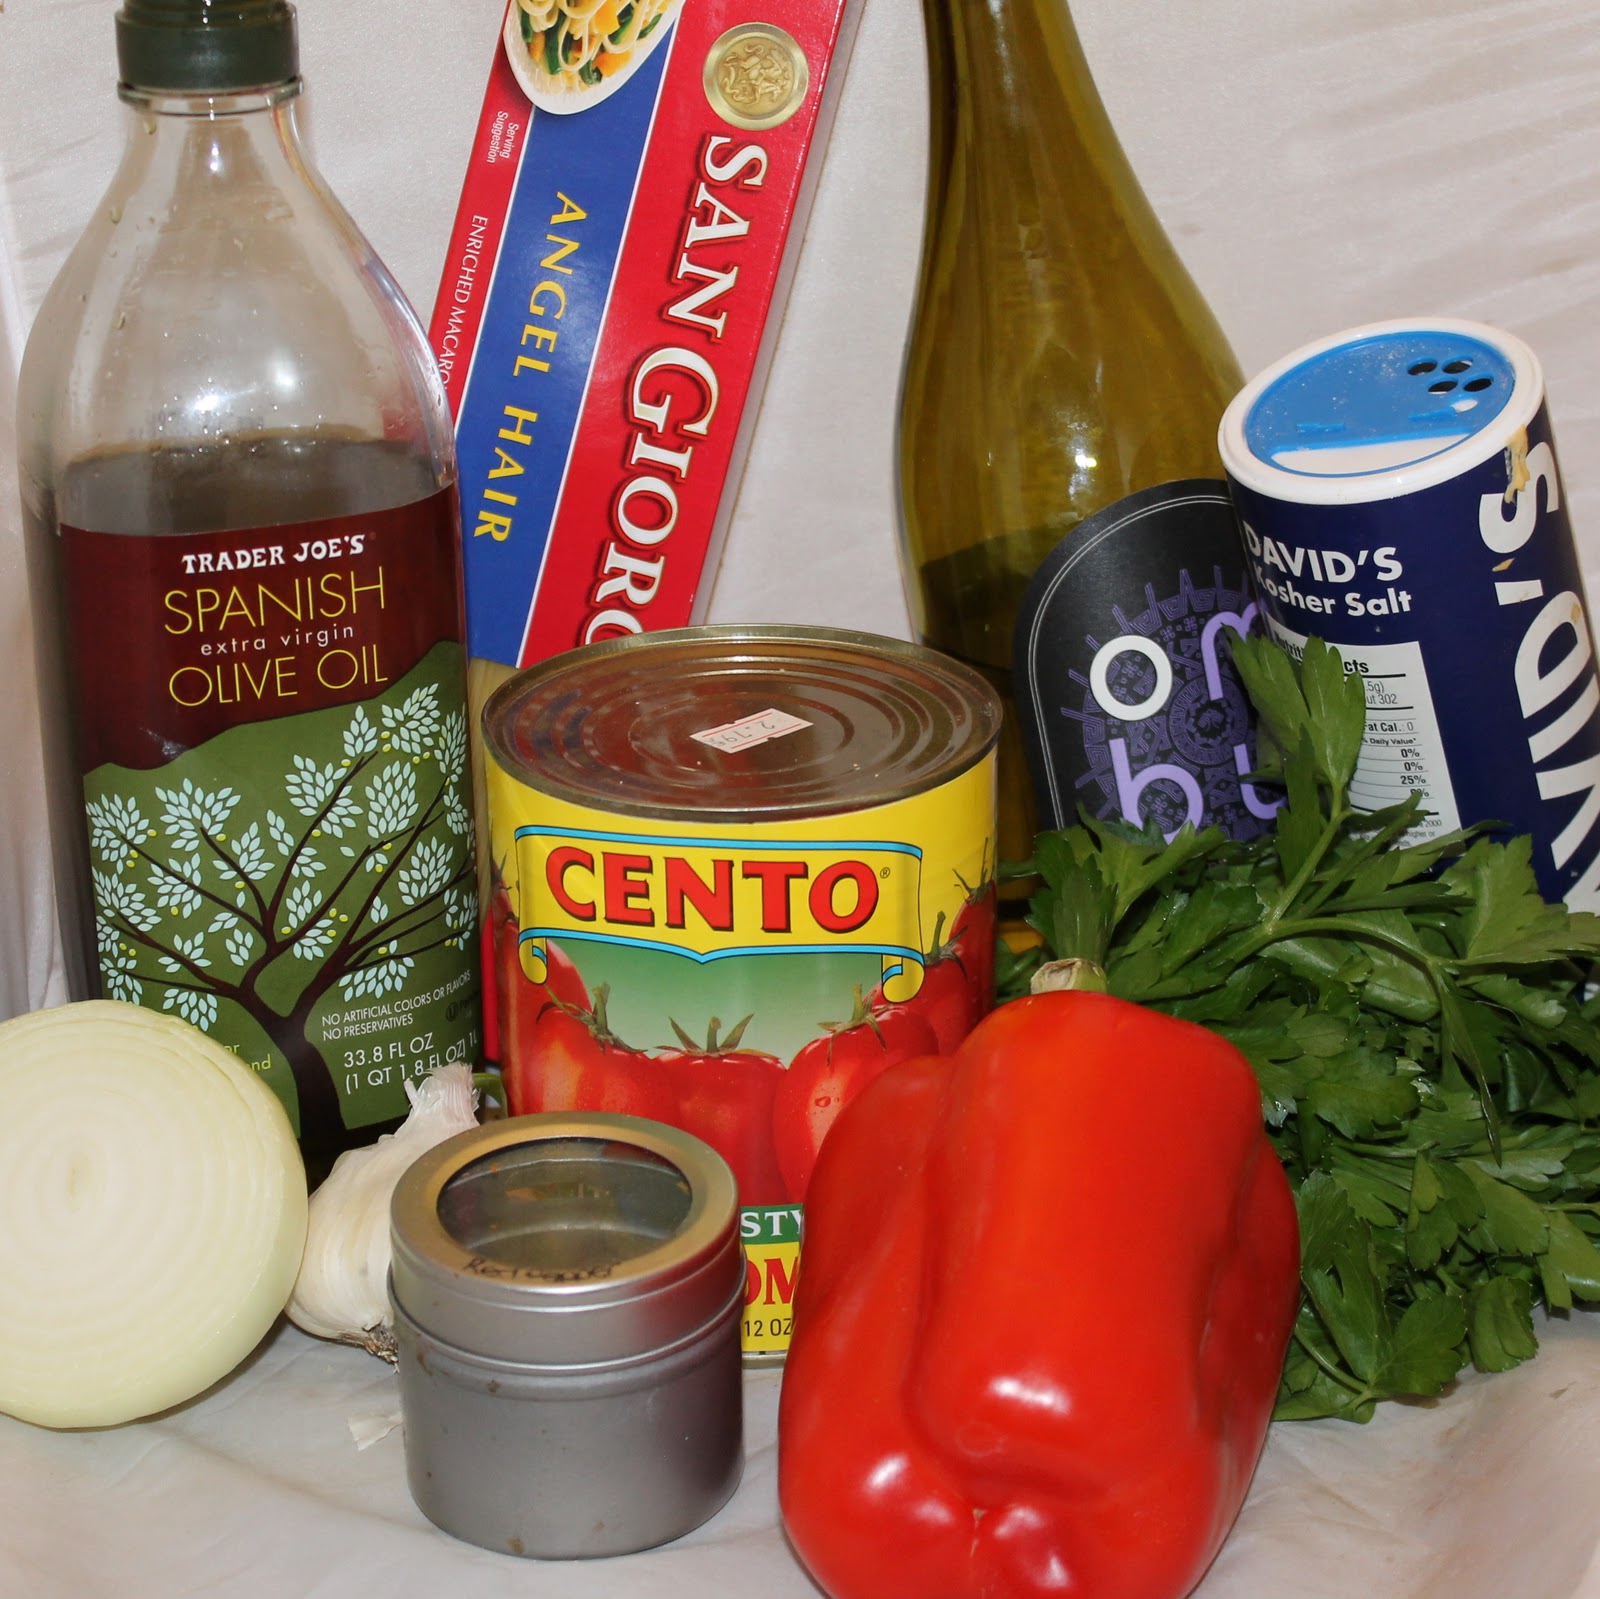
Ingredients:
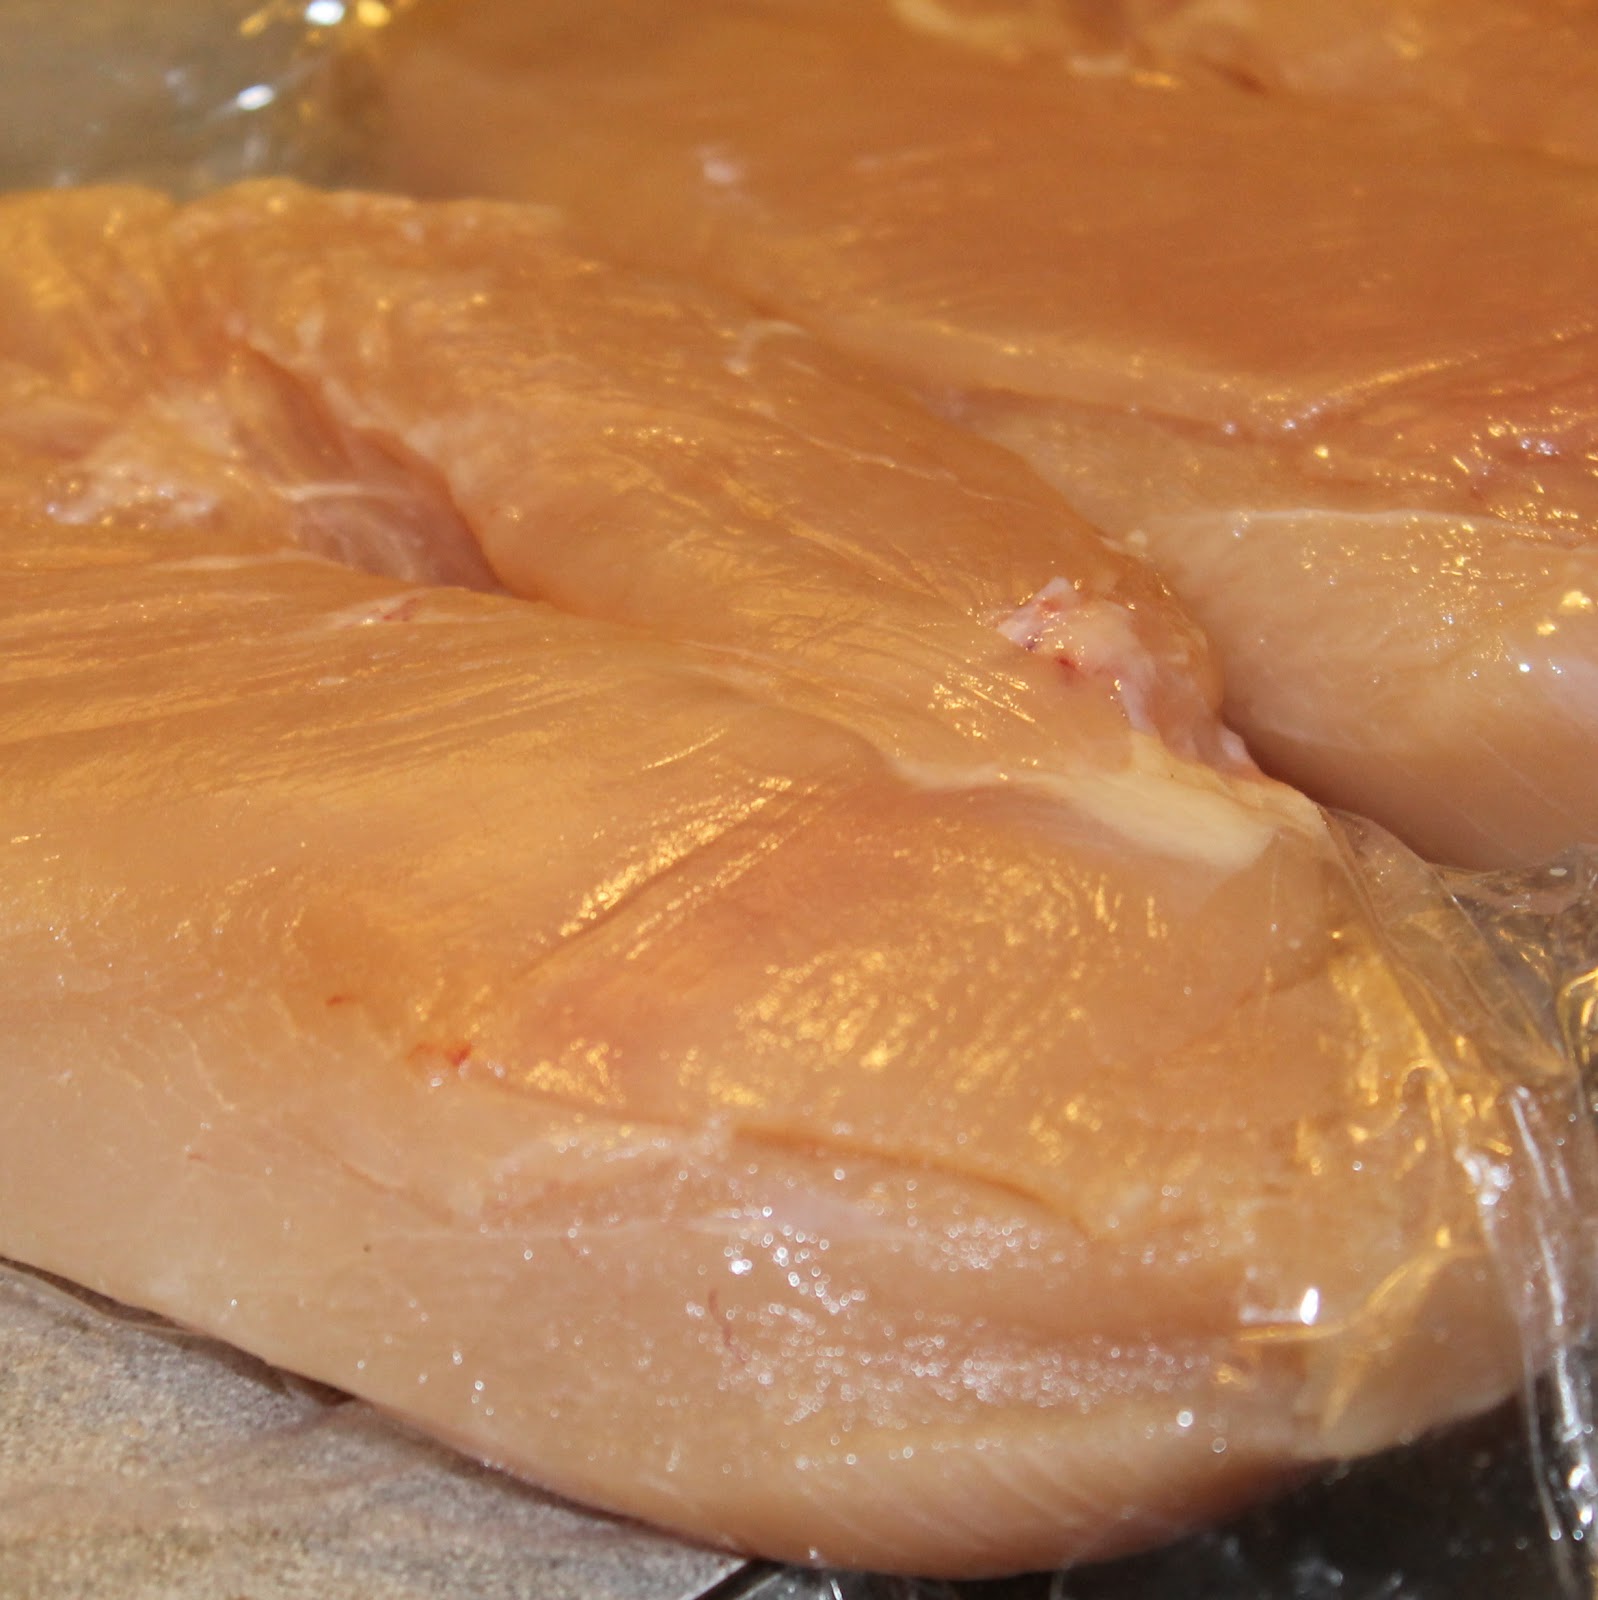
2 (8-ounce) striped bass fillets
salt, divided
freshly ground black pepper, divided
4 slices center-cut bacon
2 large shallots, finely chopped and divided
3 tablespoons red wine vinegar
1 teaspoon Dijon mustard
1/8 teaspoon sugar
4 tablespoons olive oil, divided
1 pound red potatoes
2 garlic cloves, halved
1/4 cup 2% reduced-fat milk
2 tablespoons butter, divided
2 (8-ounce) packages presliced baby bella mushrooms
1/3 cup dry white wine
4 teaspoons chopped fresh thyme
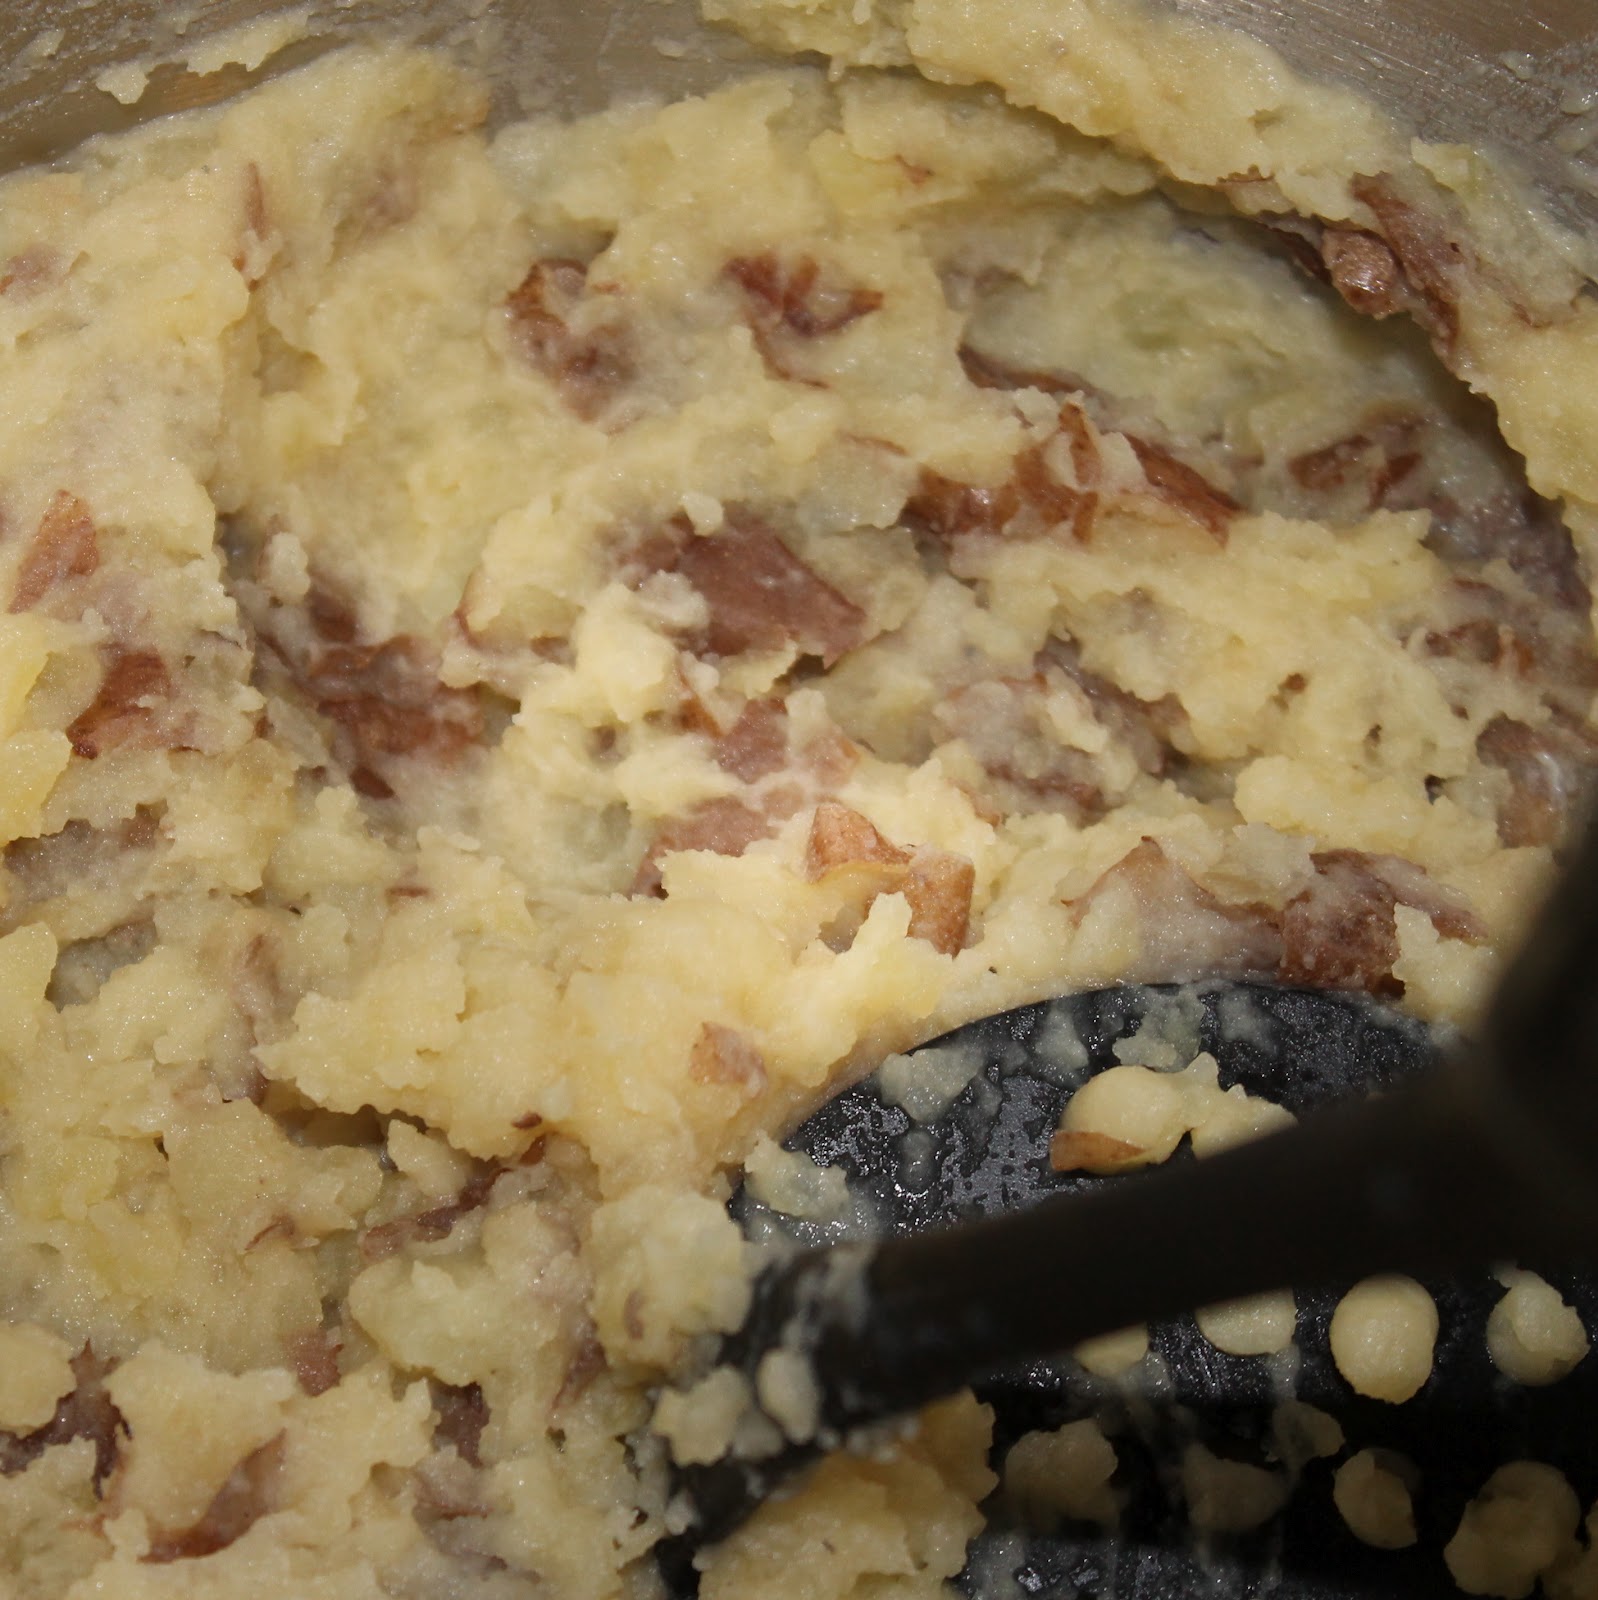
Begin with making the mashed potatoes. The original recipe has you peel and cube the potatoes. I really like the skins of potatoes so I altered the recipe to be smashed instead of mashed. Feel free to check out the original recipe
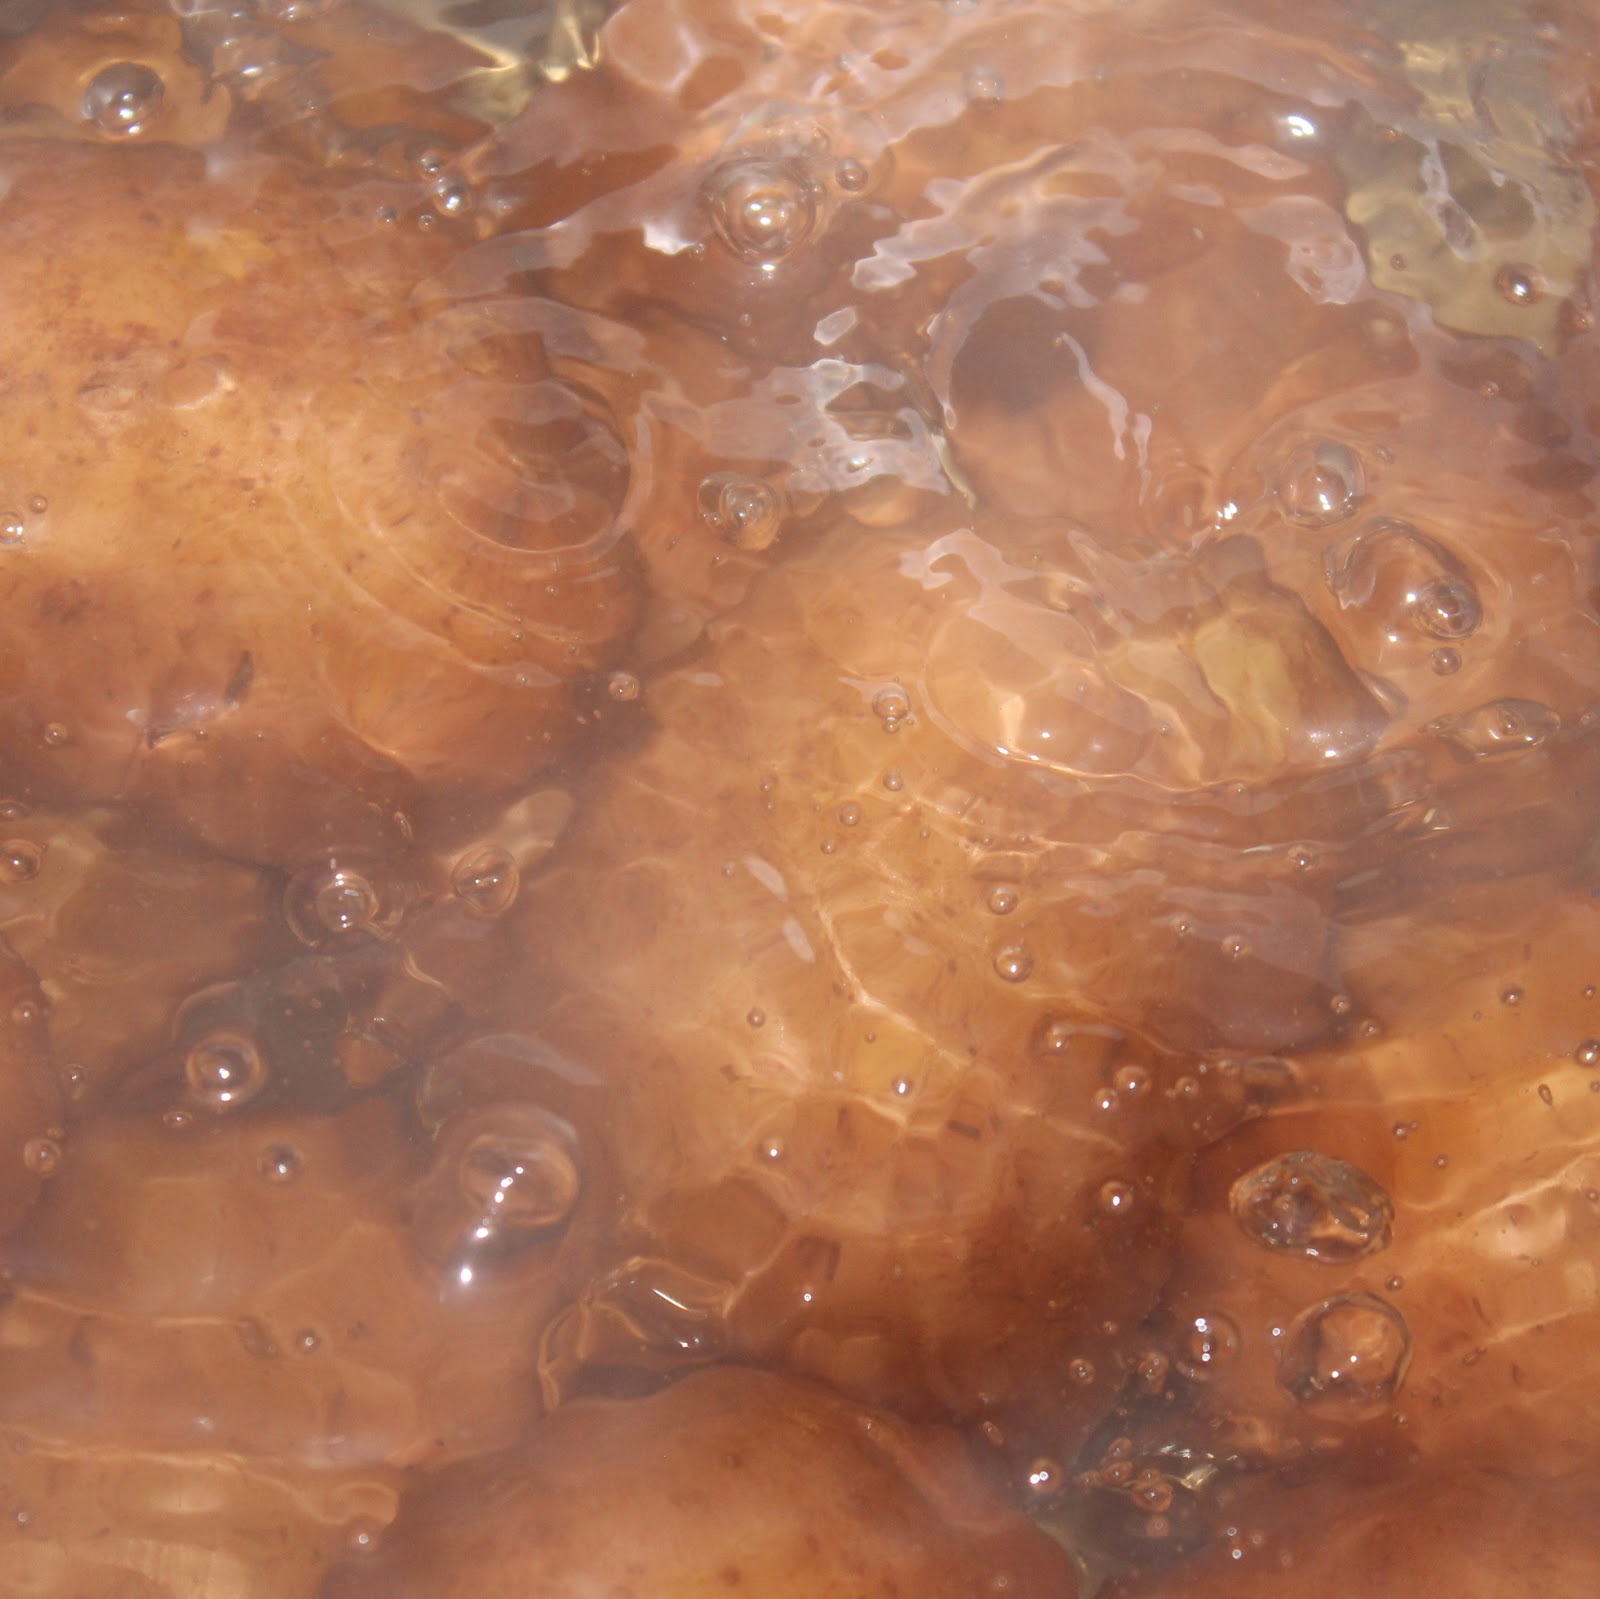
here if you’re not into the skins. Add the potatoes and the halved garlic cloves to a large pasta pot and cover with cold water. Bring to a boil.
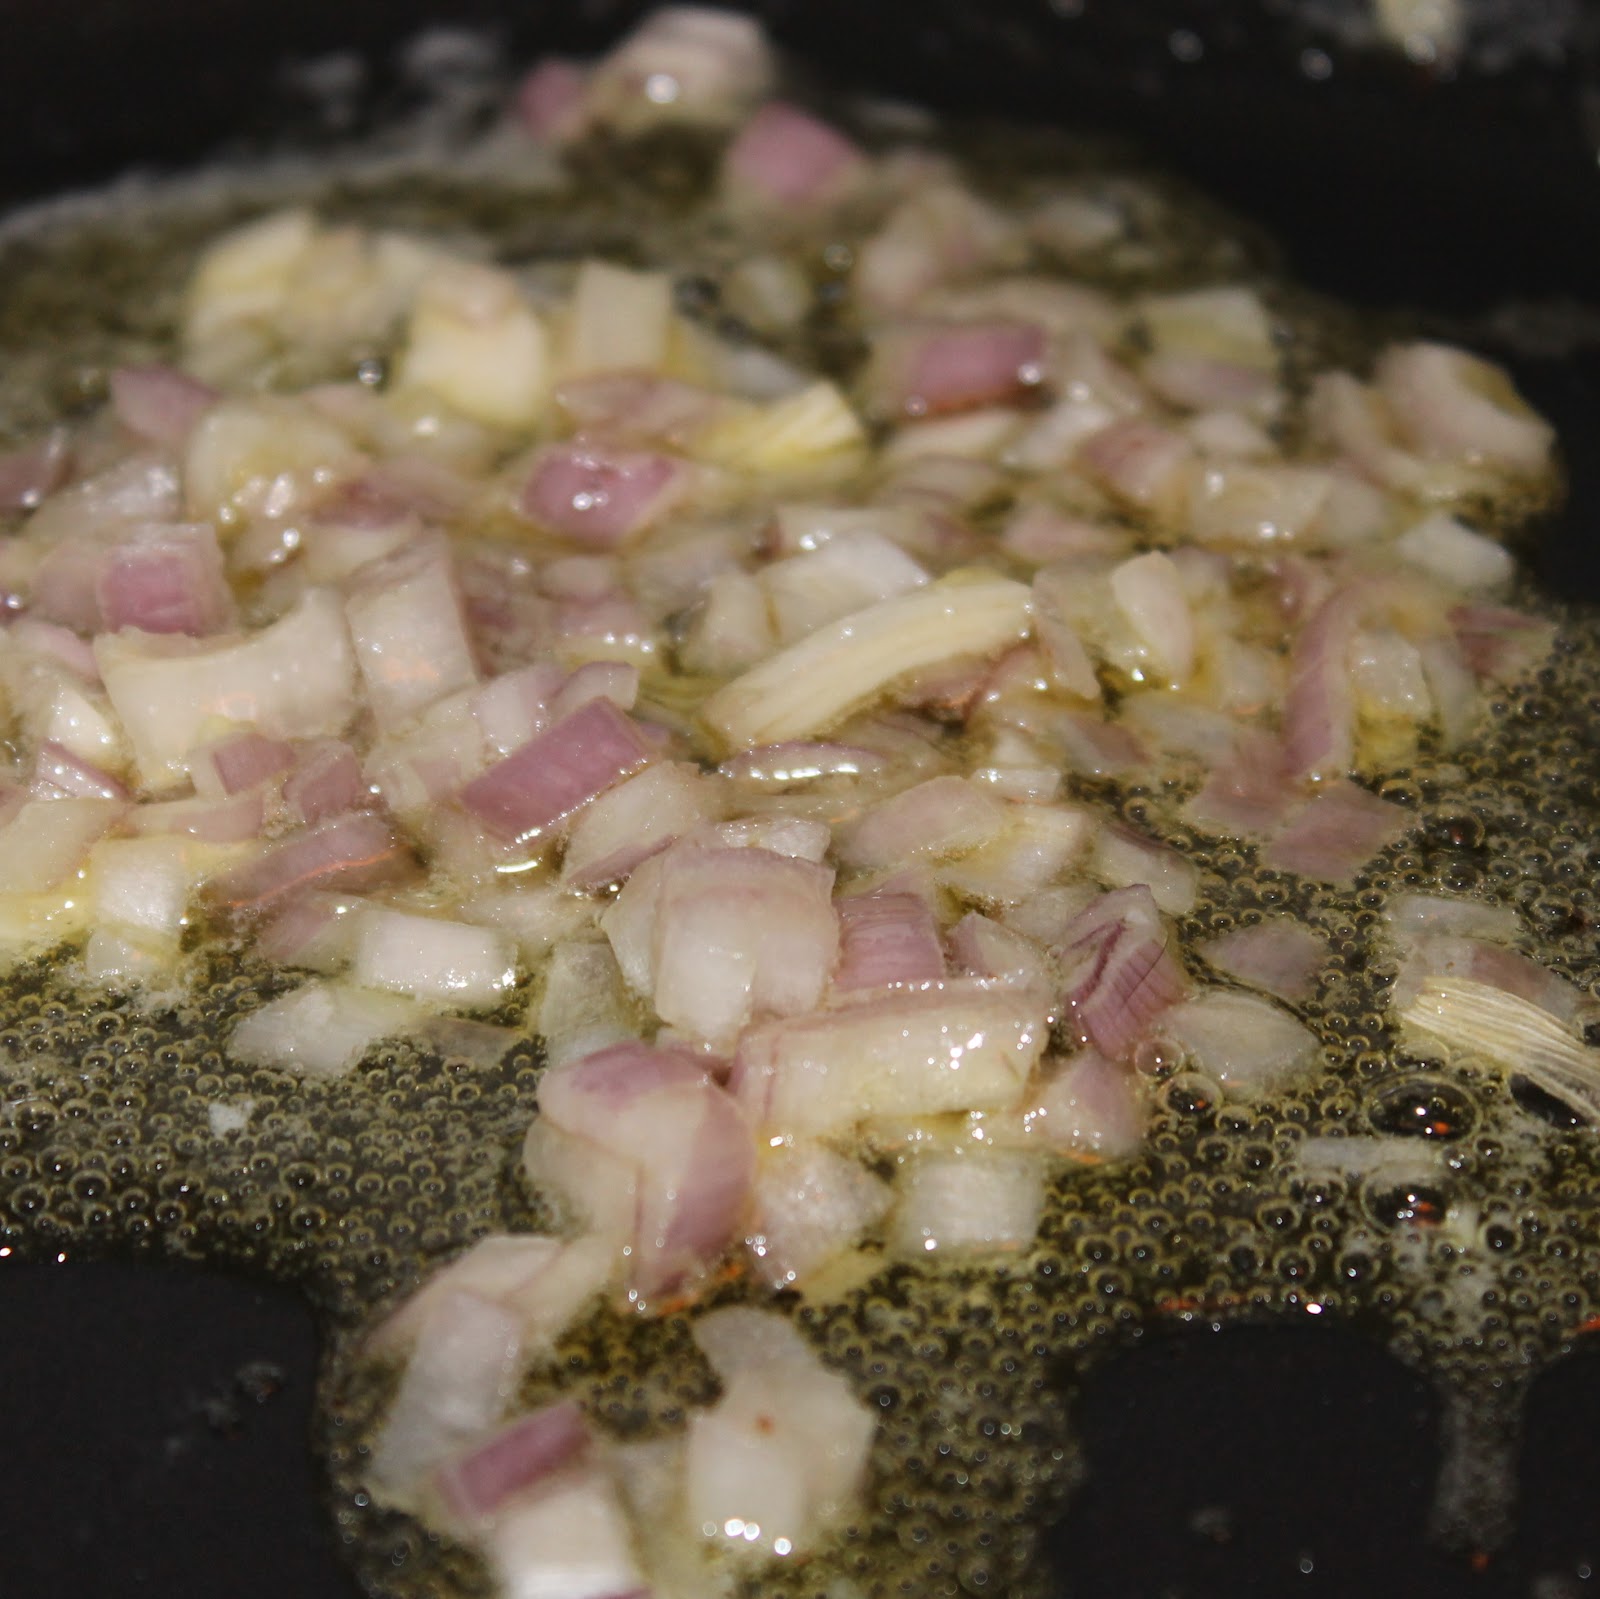
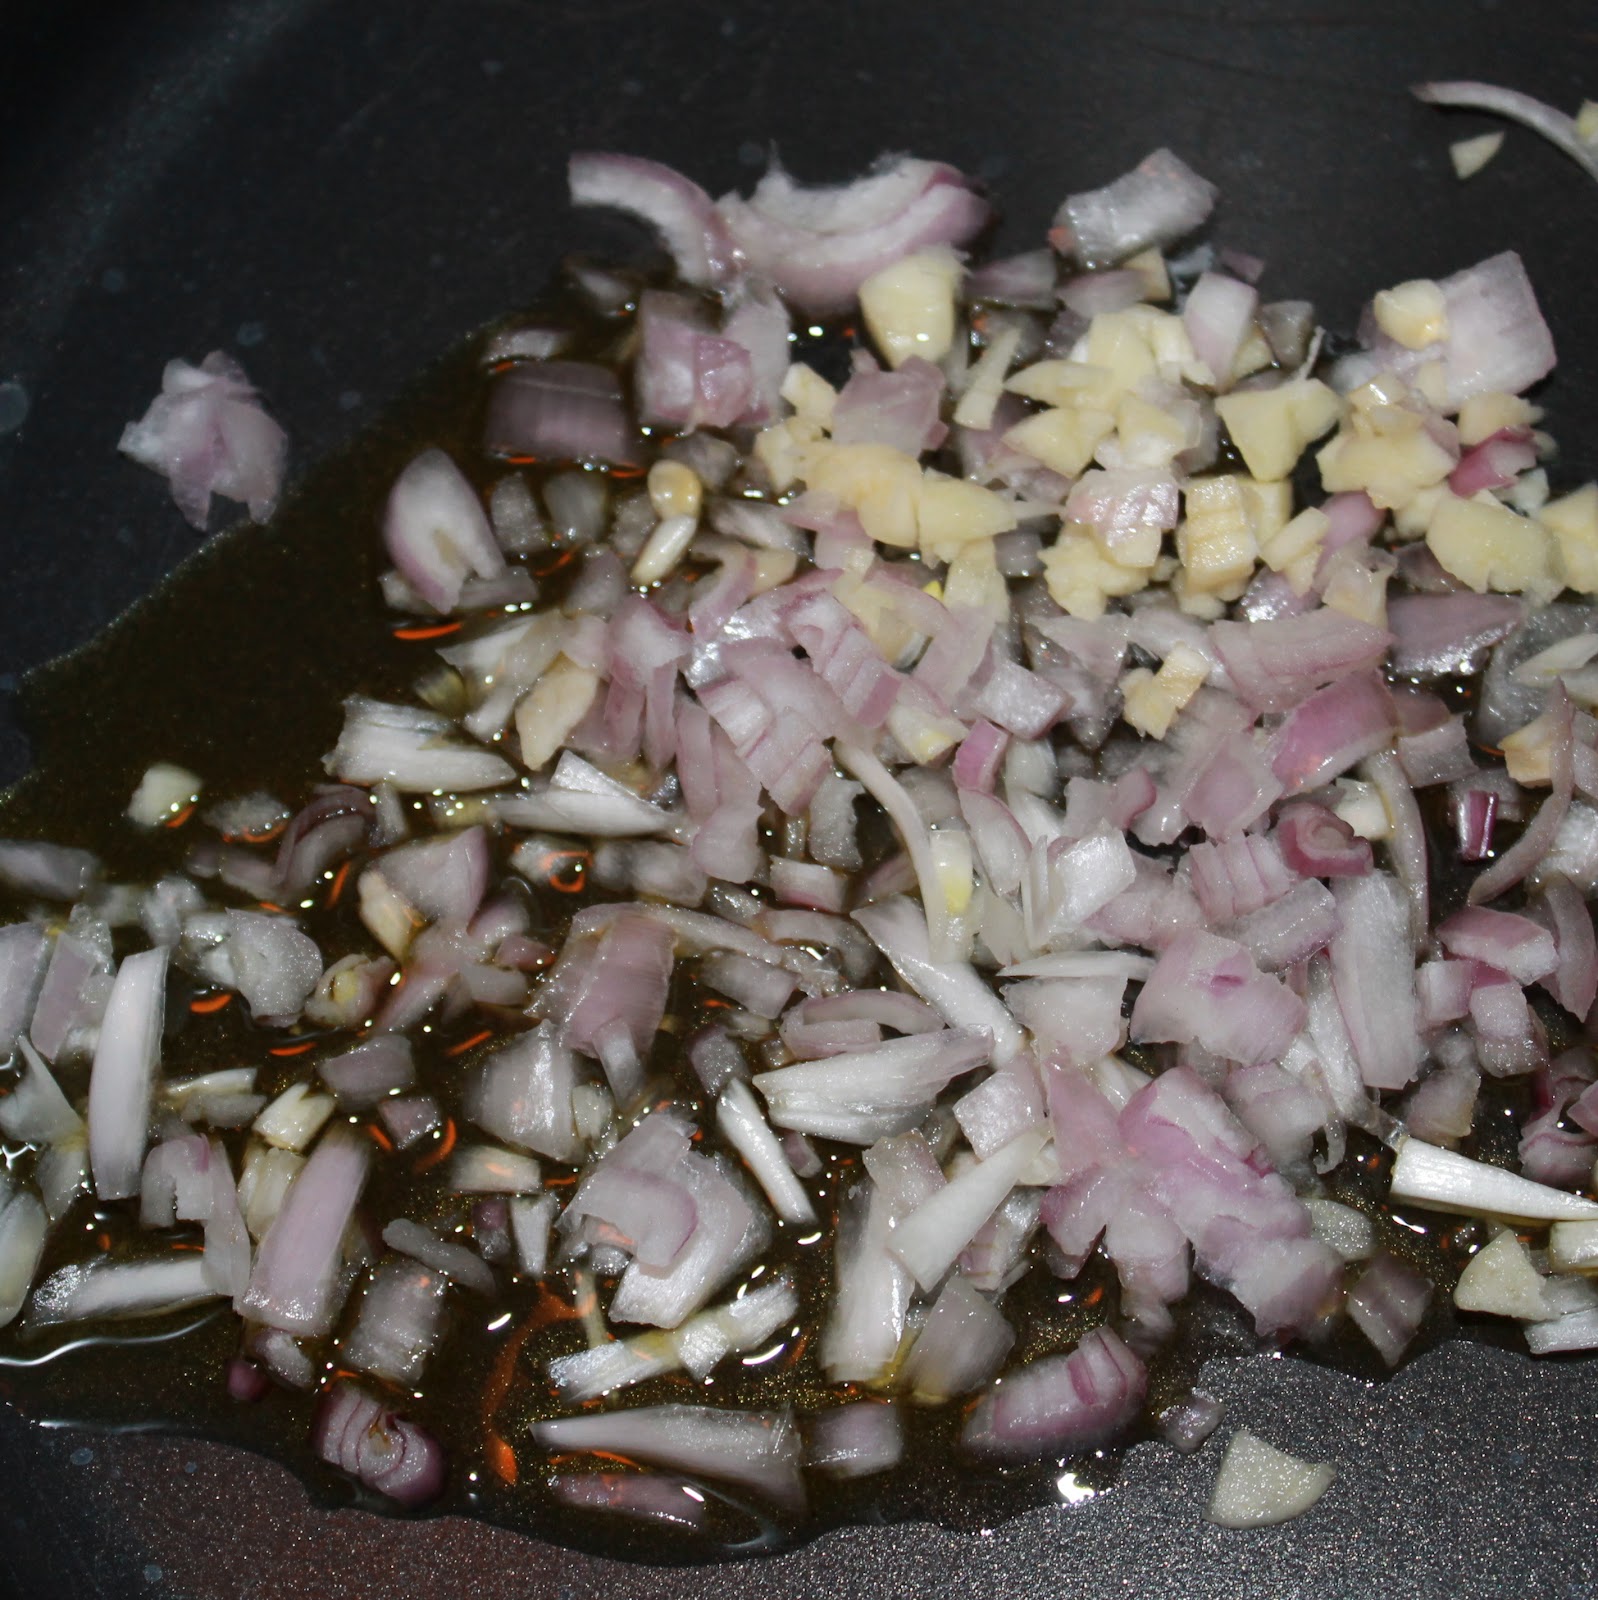
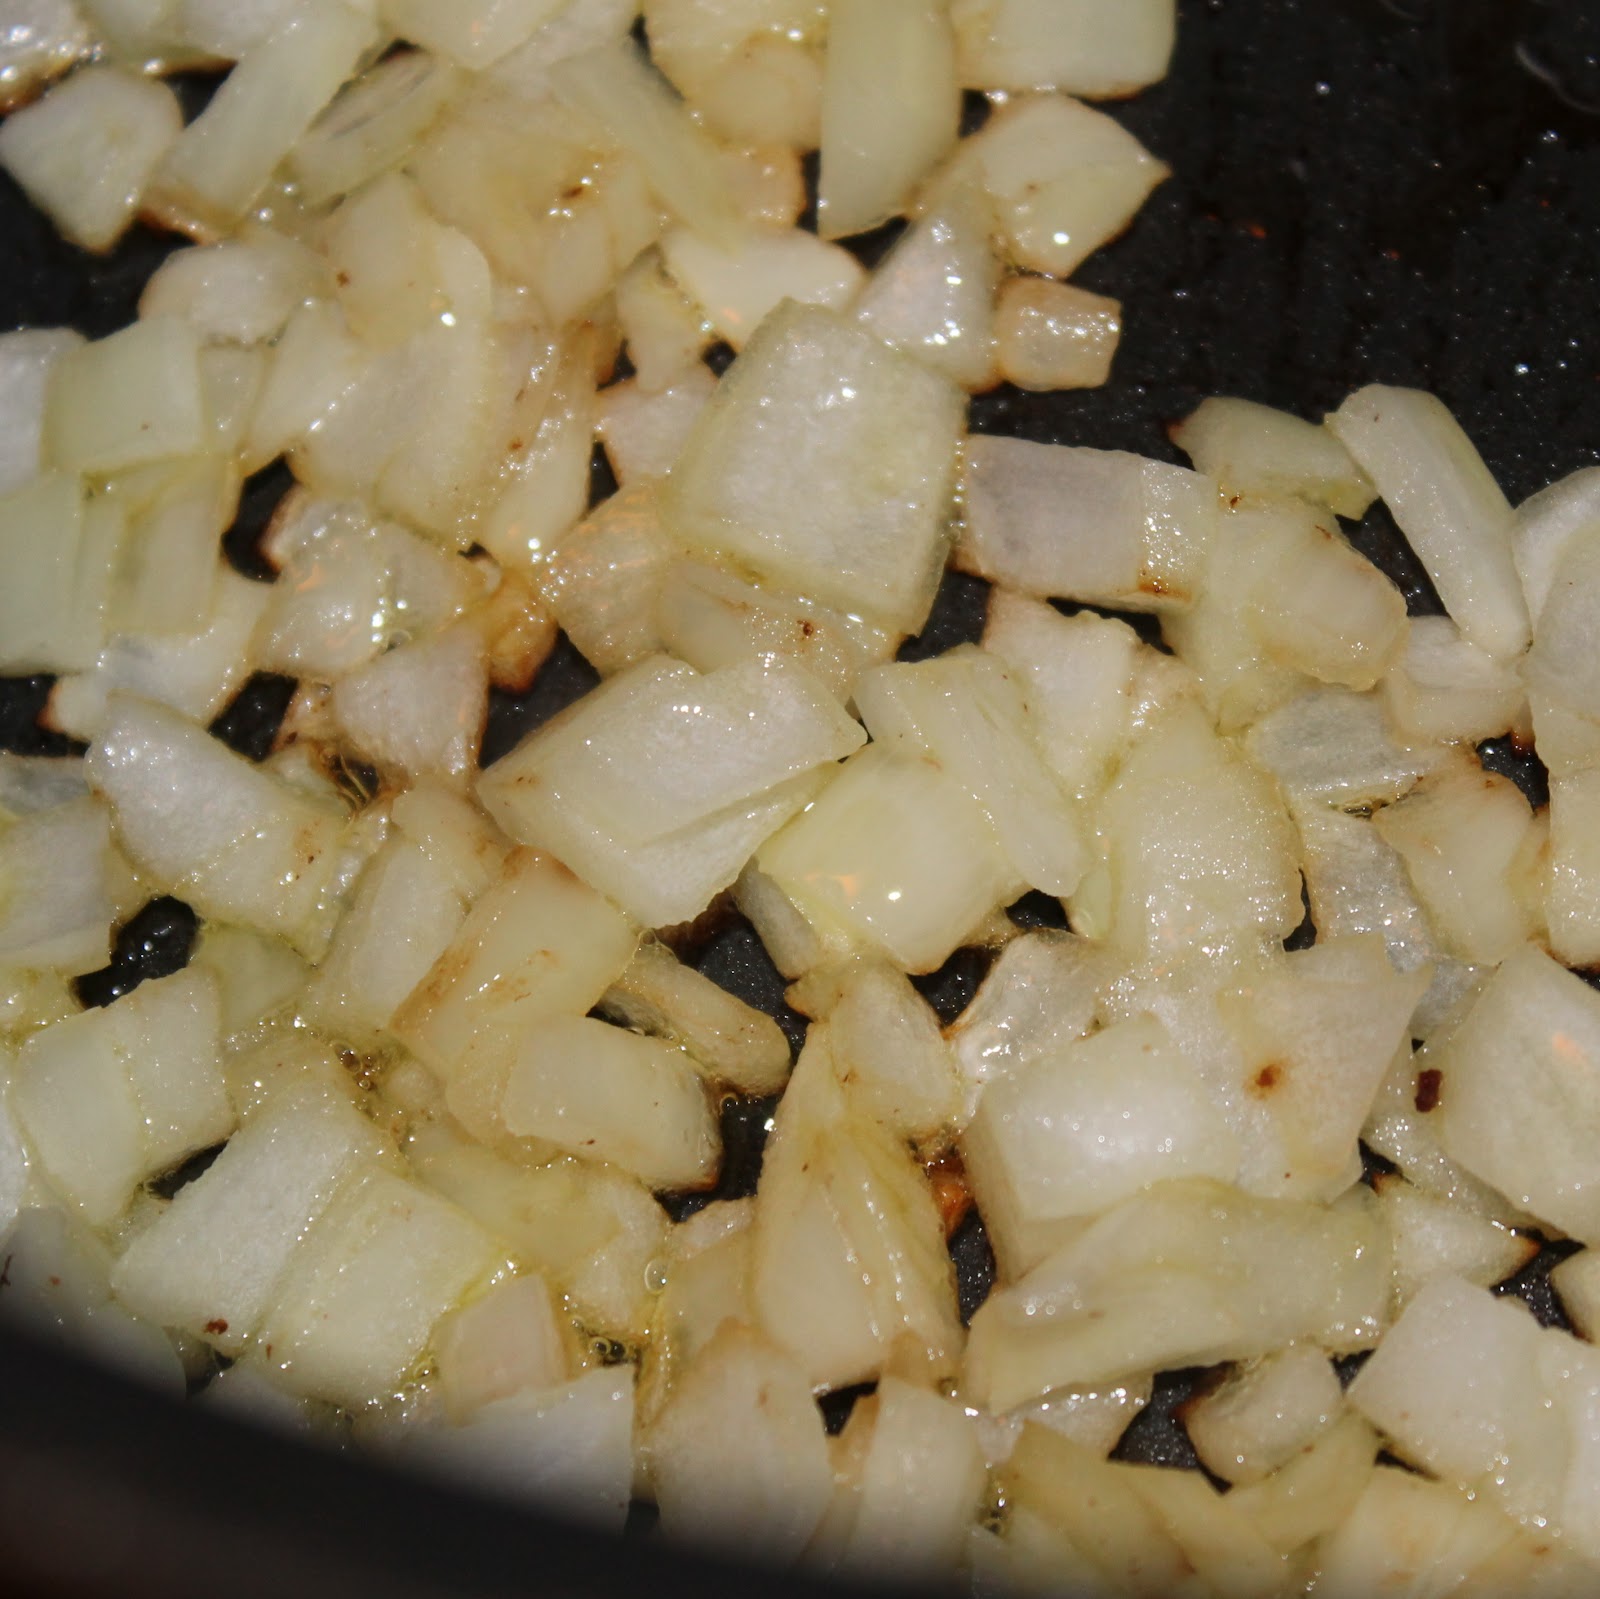
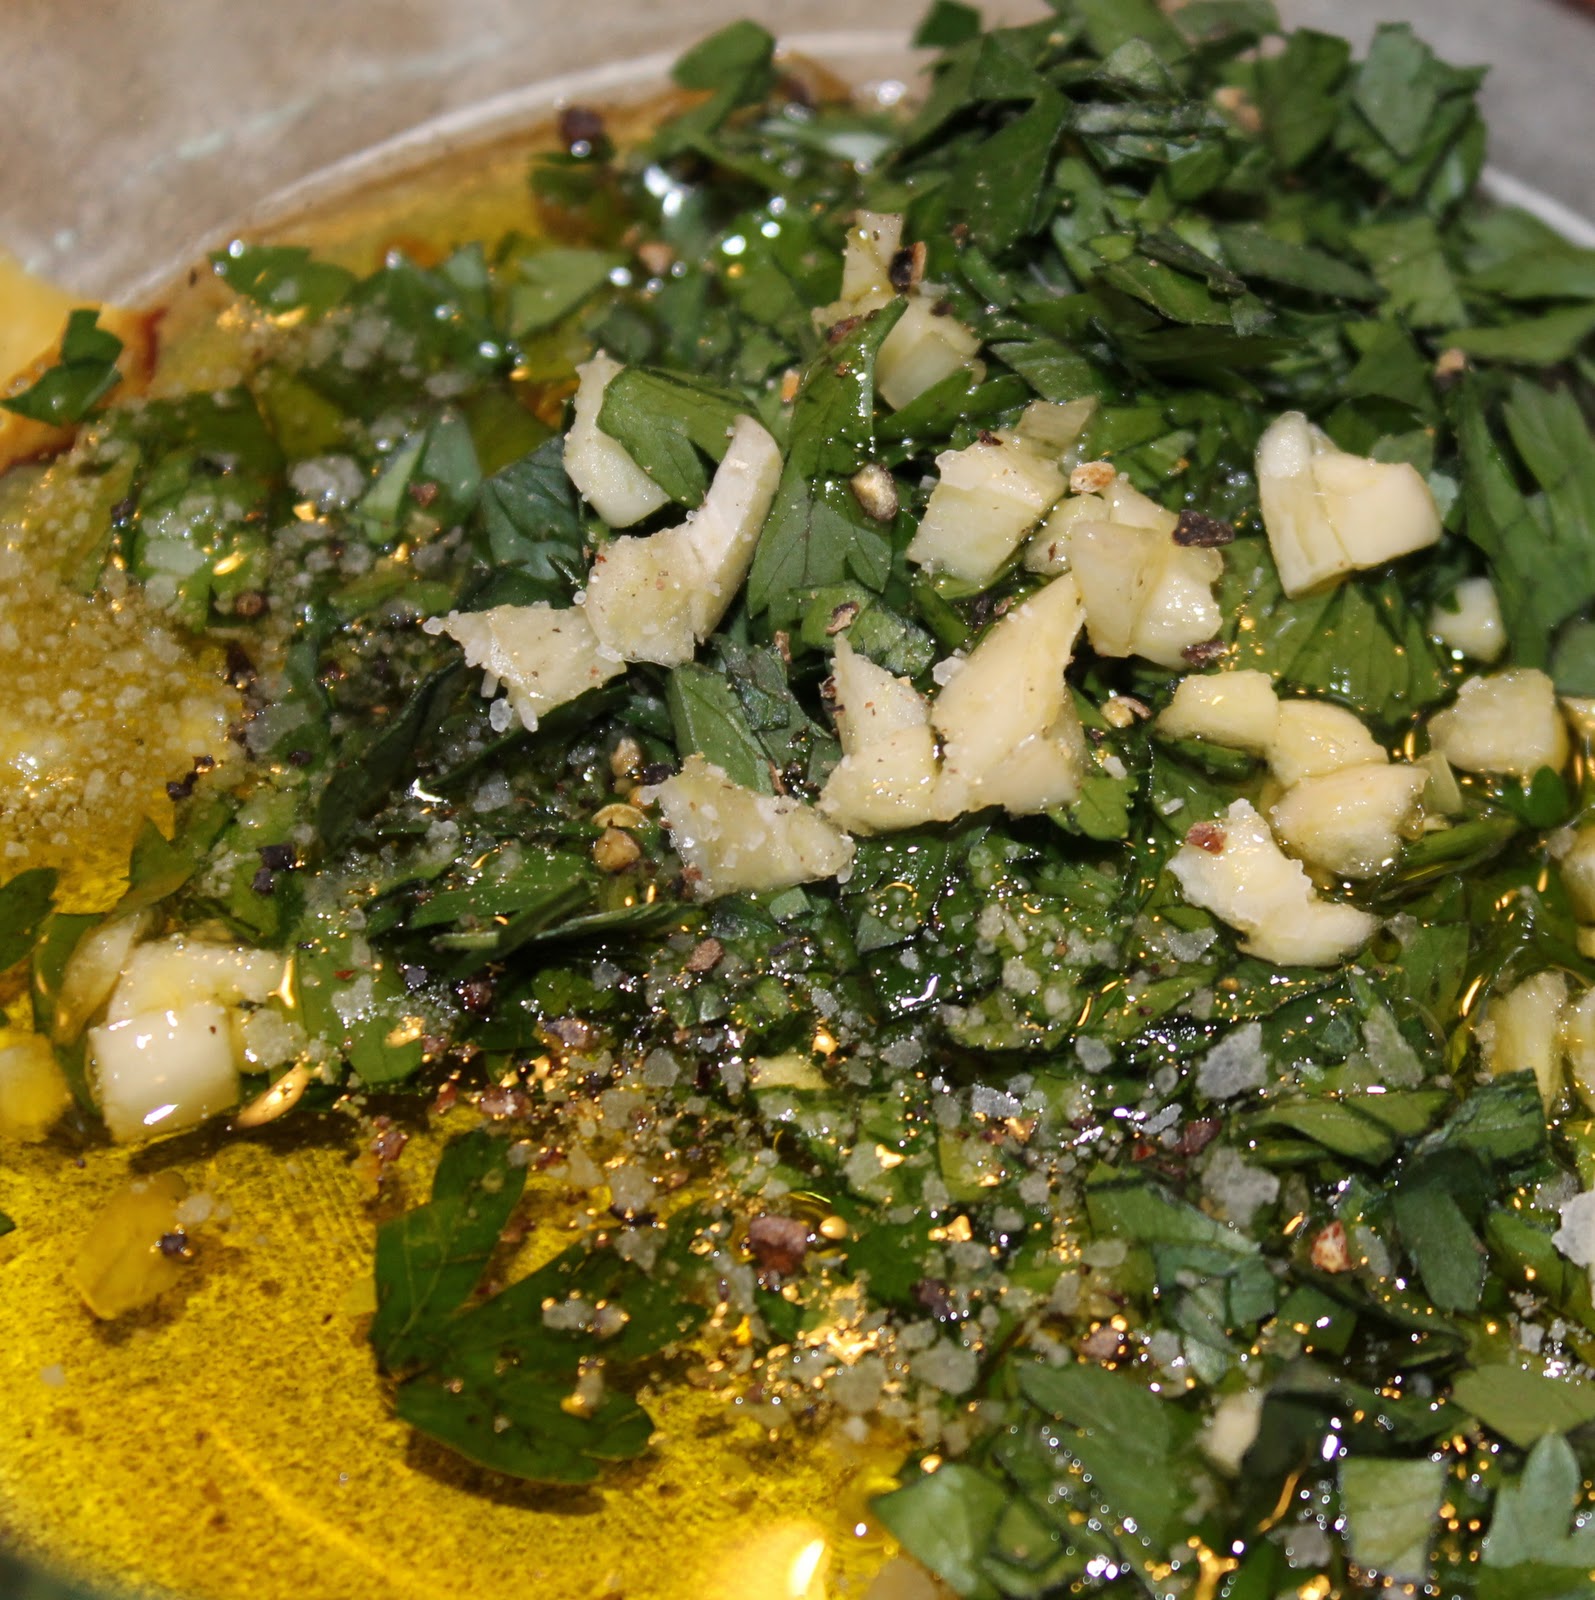
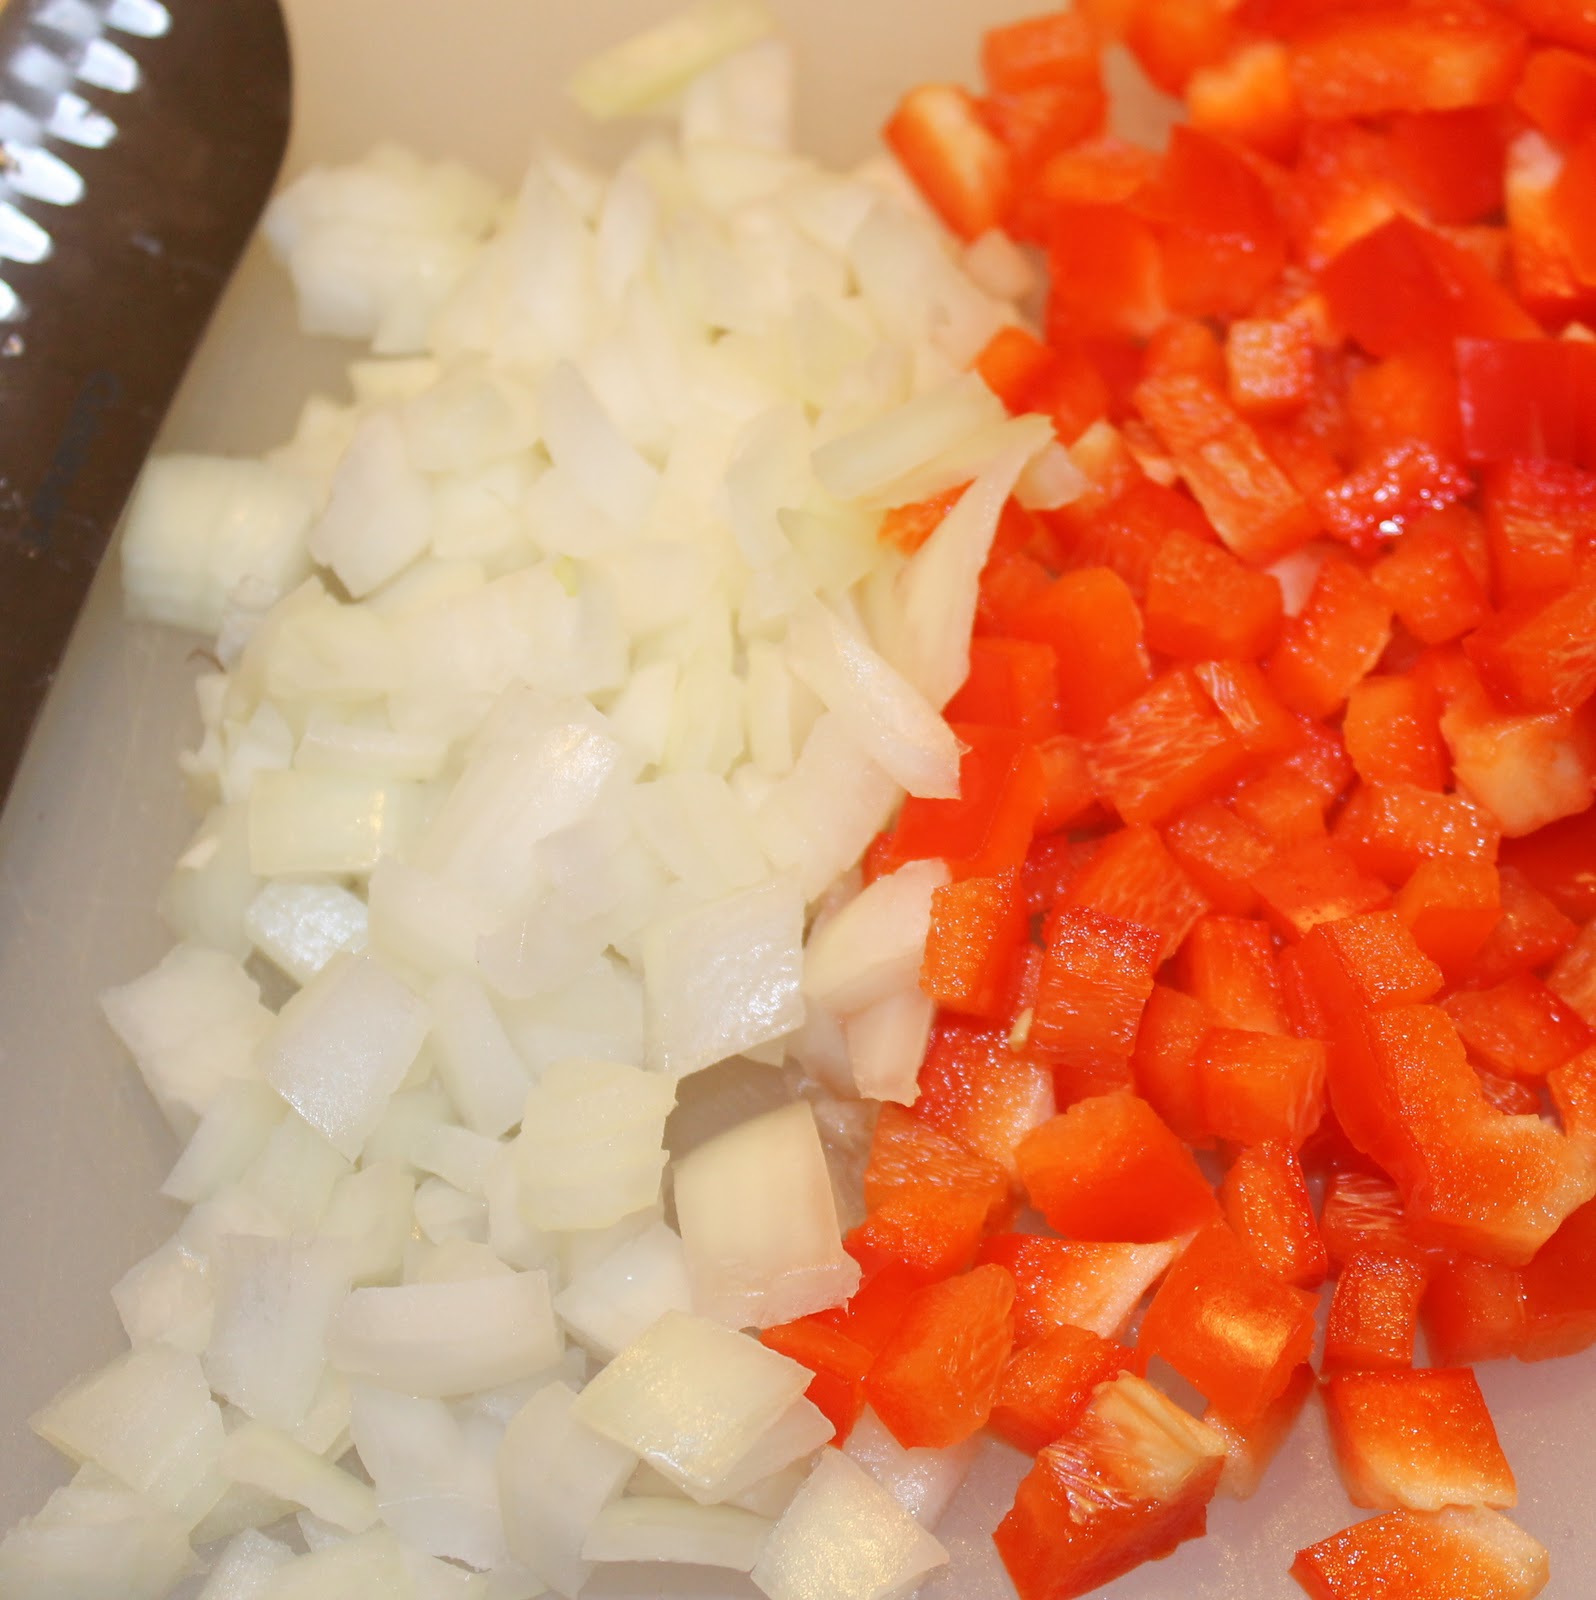
While waiting for the water to come to a boil, prepare your other ingredients. Chop the shallots and fresh thyme. Melt 1 tablespoon butter in a large saute pan over medium heat. Add 1 tablespoon olive oil and 1/4 cup of the chopped shallots to the pan. Cook for about 1 minute.
By now your water will hopefully be boiling. Reduce heat for the pasta pot and simmer for 15 minutes or until the potatoes are fork tender.
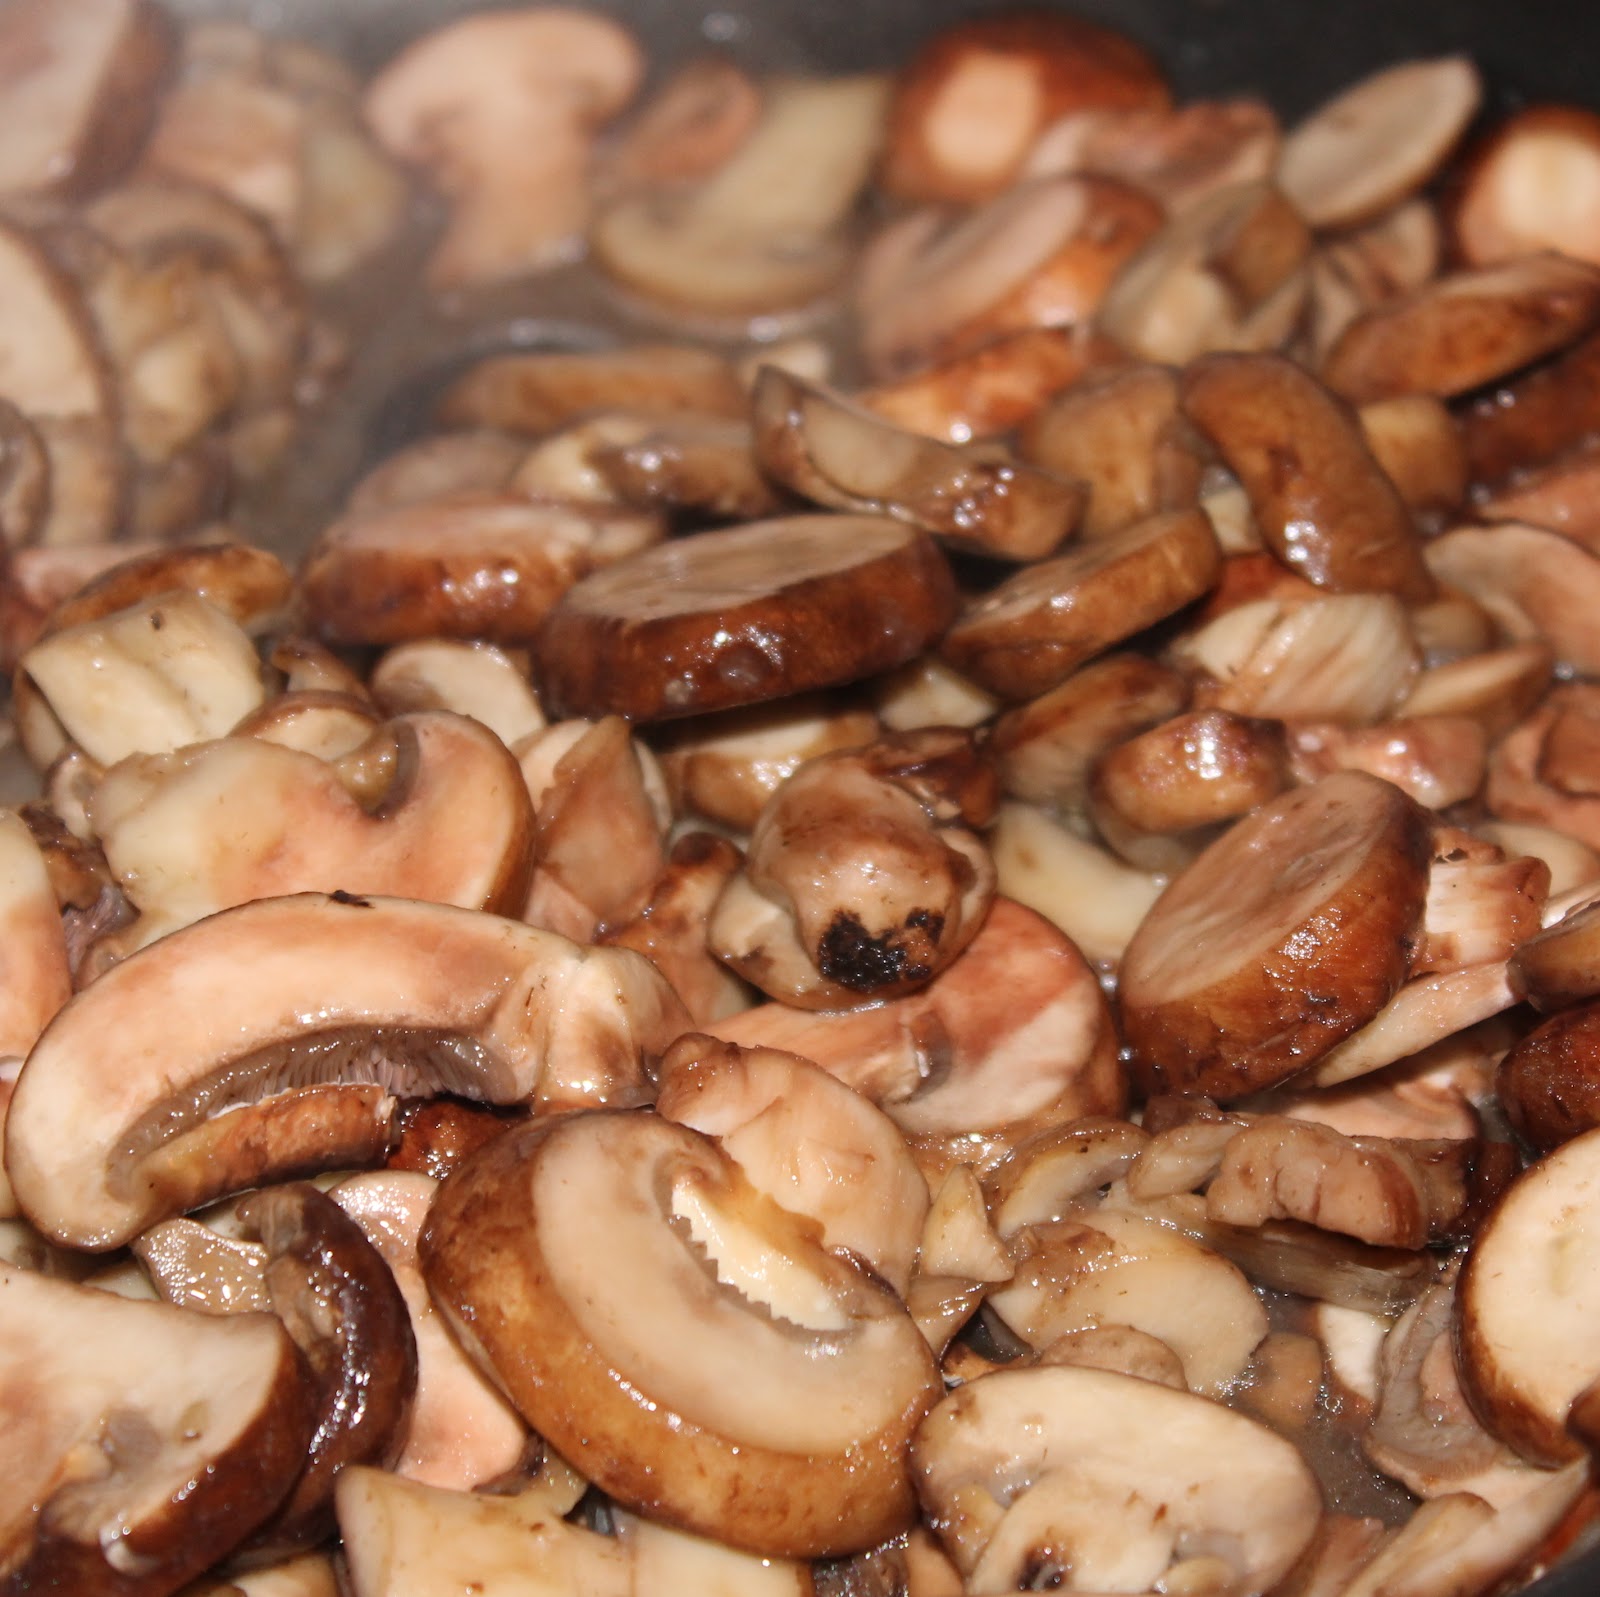
Go back to the saute pan. Add a 1/2 teaspoon salt and the mushrooms to the pan, stirring occasionally. Cook for 13 minutes or until the mushrooms are brown and the liquid has evaporated.
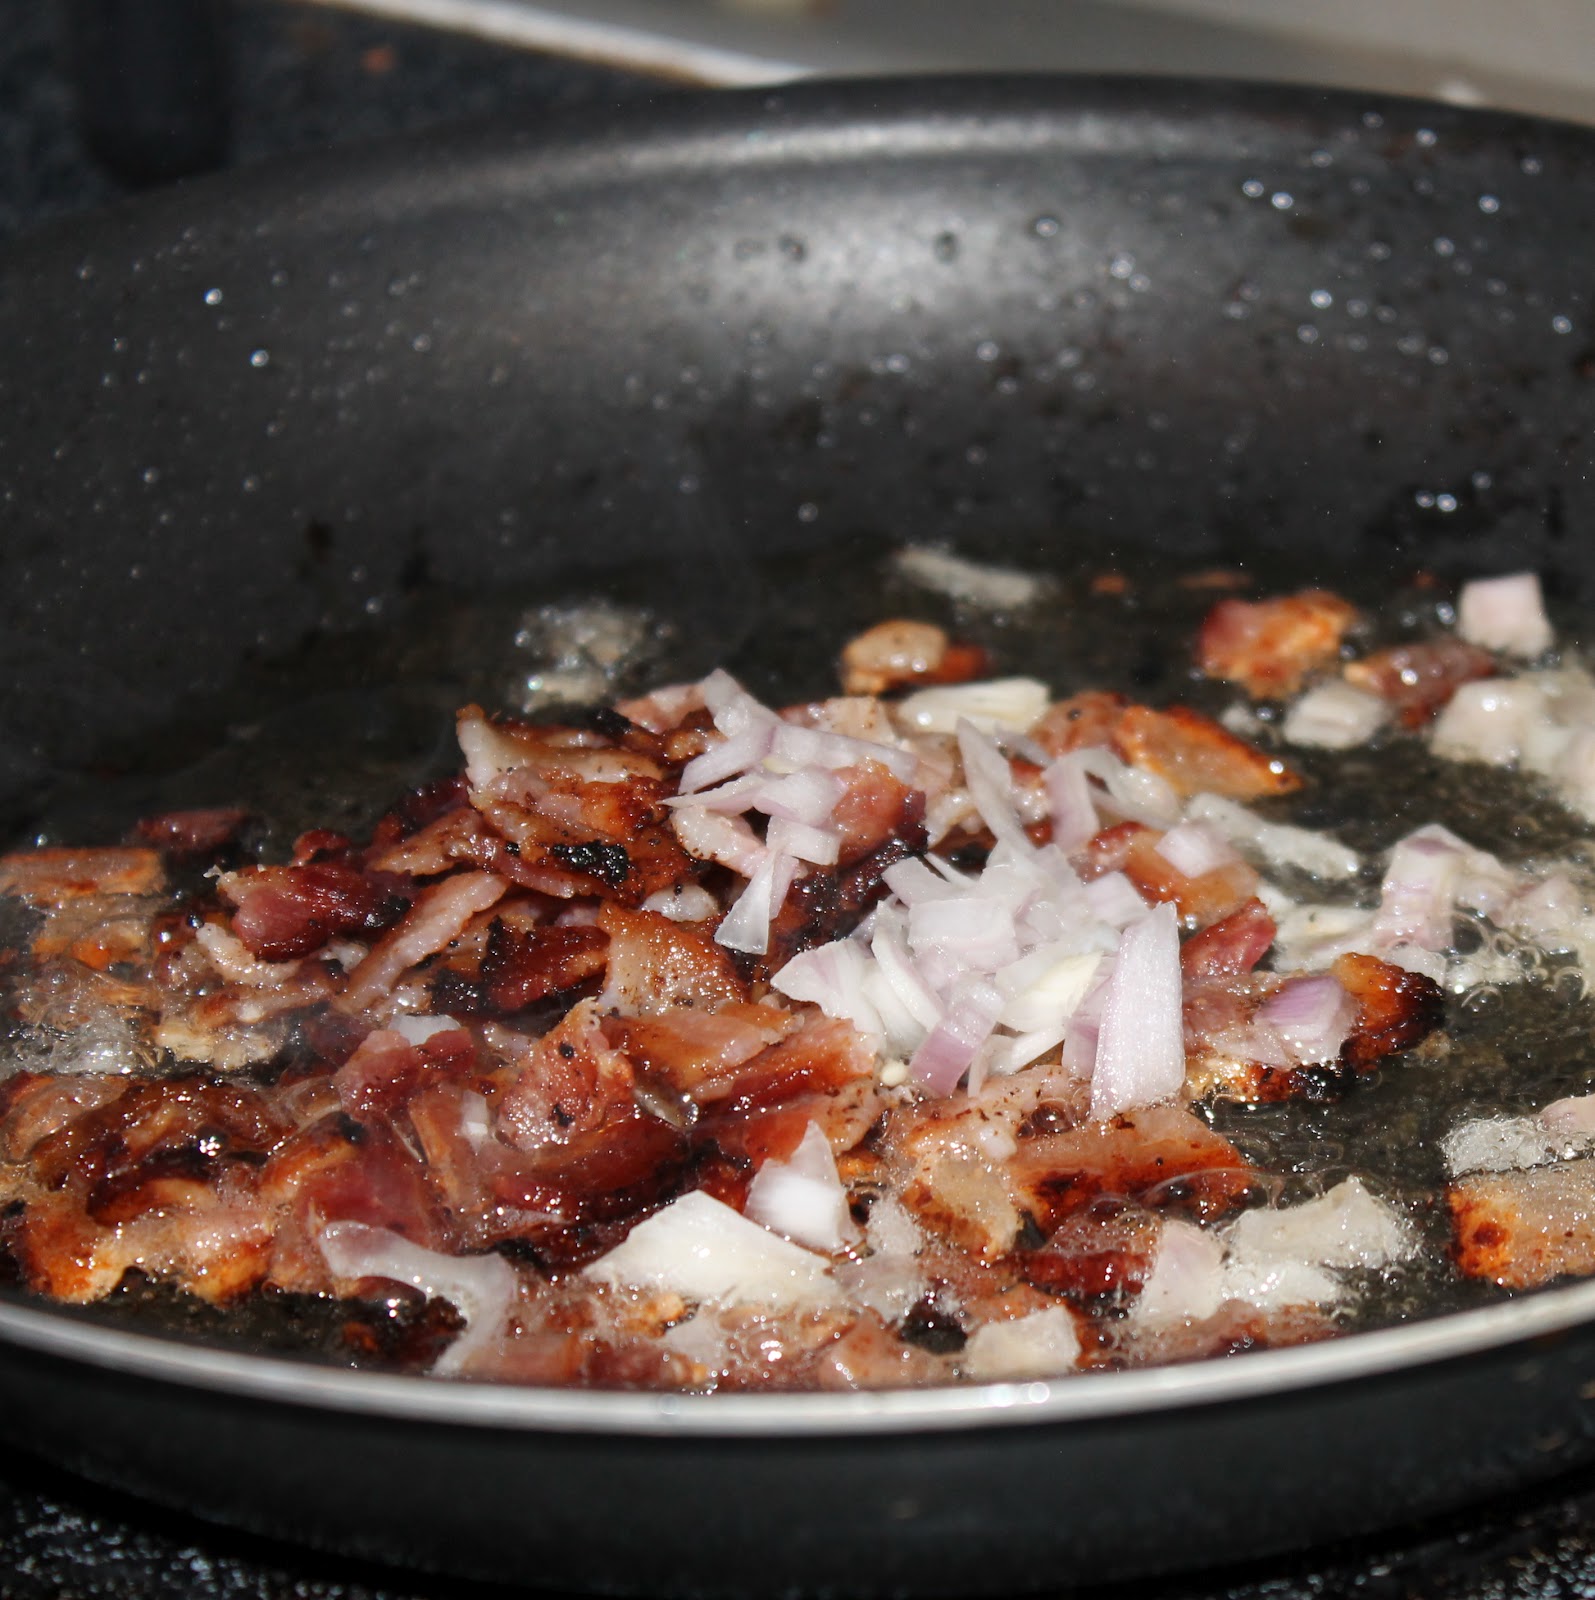
While waiting for the two to cook (and if you have room on your stove), add another saute pan over medium high heat. Add the bacon and cook until crisp. Remove from heat and add to a paper towel. Reserve 1.5 tablespoons of the drippings in the pan. Crumble the bacon.
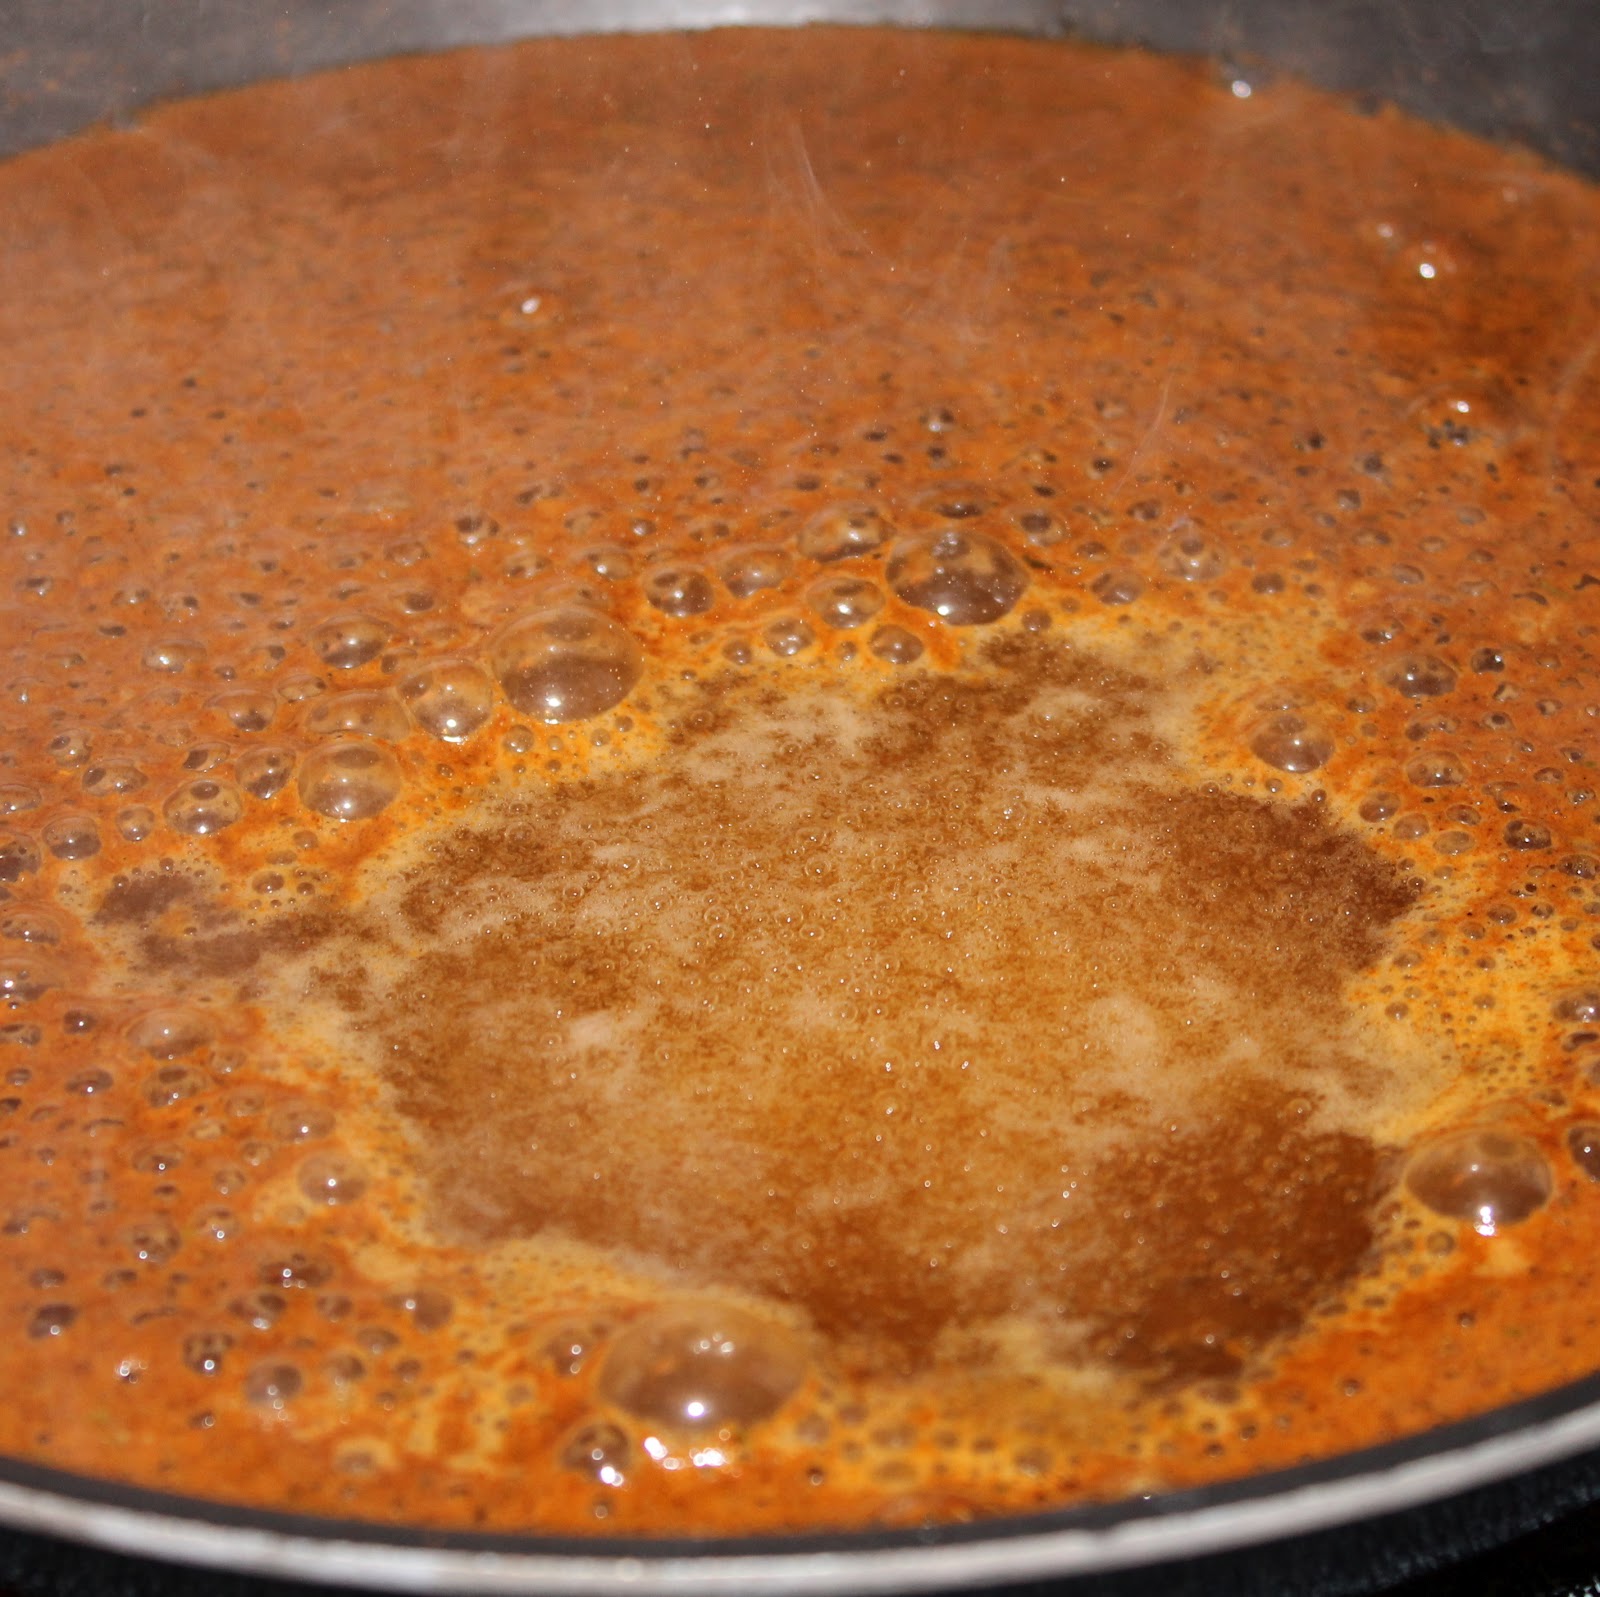
Add the crumbled bacon and 2 tablespoons shallots back to the pan, cooking over medium heat for 1 minute stirring frequently.
Remove from heat and stir in the vinegar, Dijon mustard, 1/4 teaspoon pepper, and 1/8 teaspoon sugar.
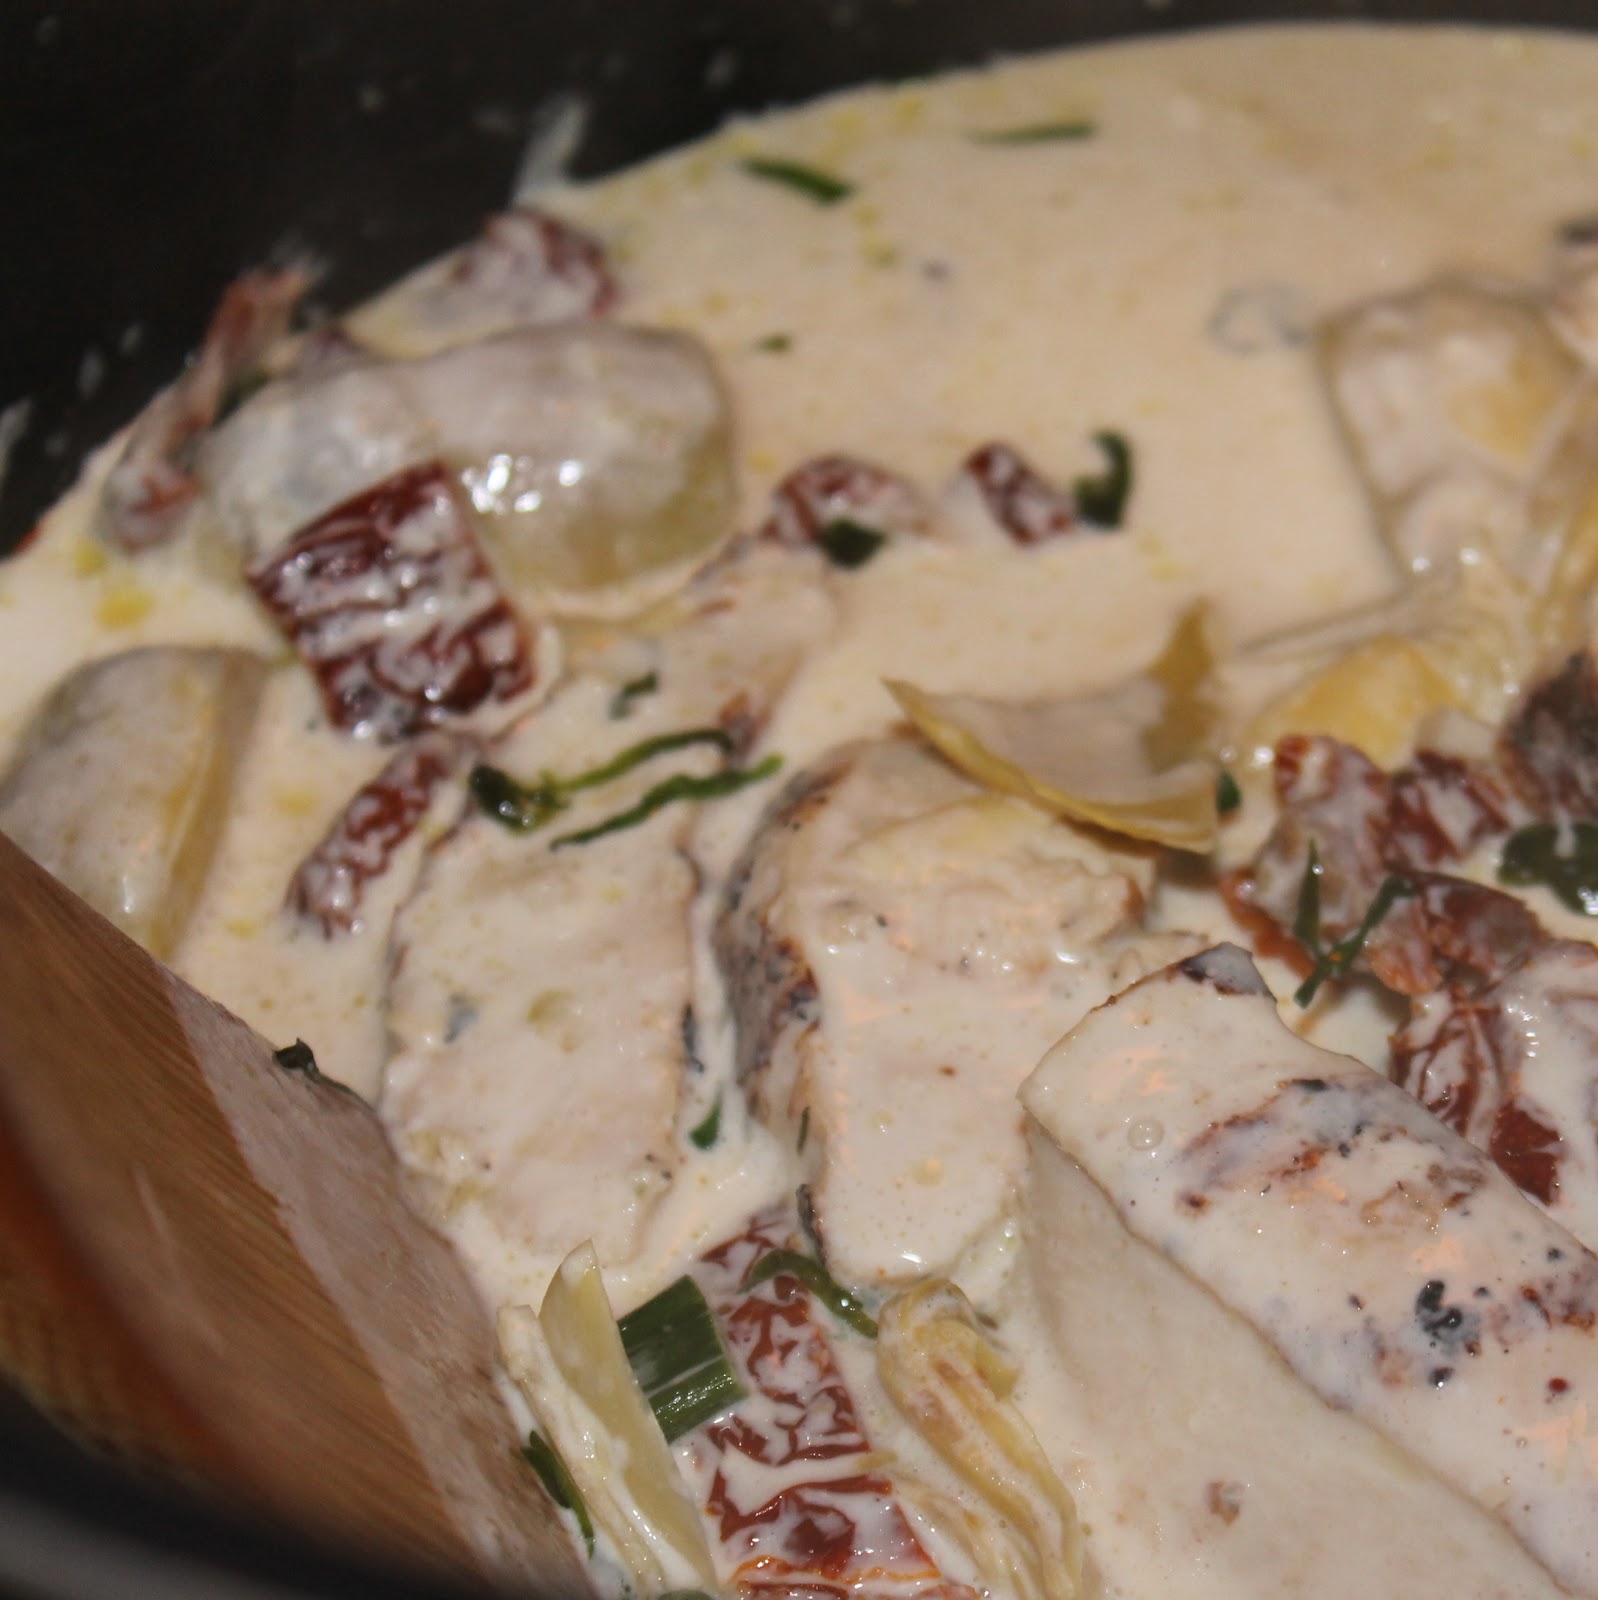
Back to the mushrooms. Add the wine to the pan and cook for 2 minutes or until the liquid almost evaporates.
Stir in the thyme and cook for 30 seconds and remove from heat.
Drain the pasta pot and return the potatoes and garlic to the pot. Mash using a potato masher or a large fork. Add the milk, 1 tablespoon butter, 1/4 teaspoon salt, and 1/4 teaspoon pepper and mix to combine.
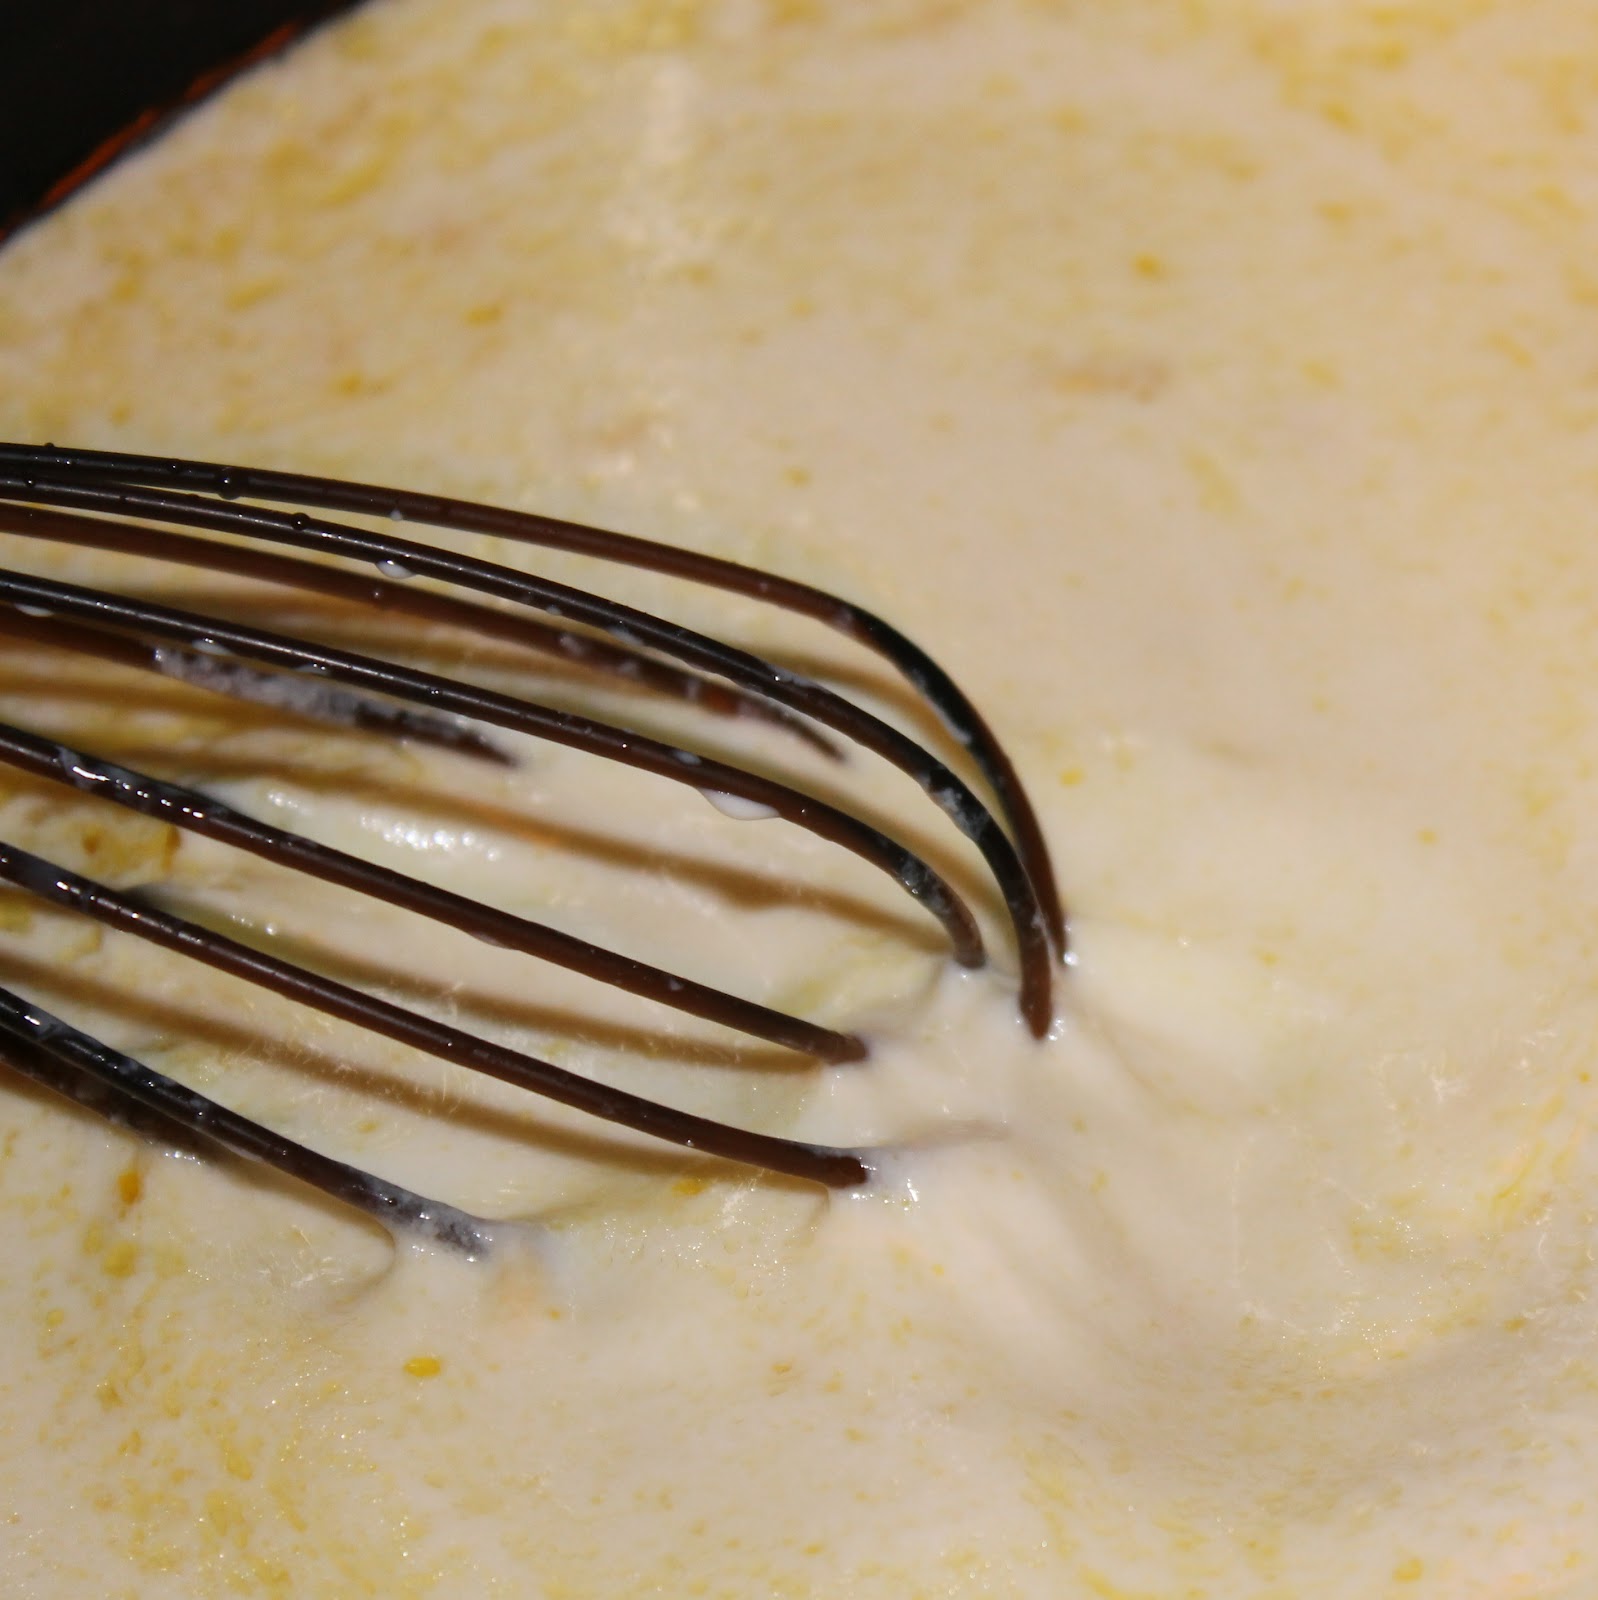
We haven’t abandoned the Vinaigrette! Take the mixture and slowly add the olive oil to the vinegar mixture, stirring constantly to get an emulsion.
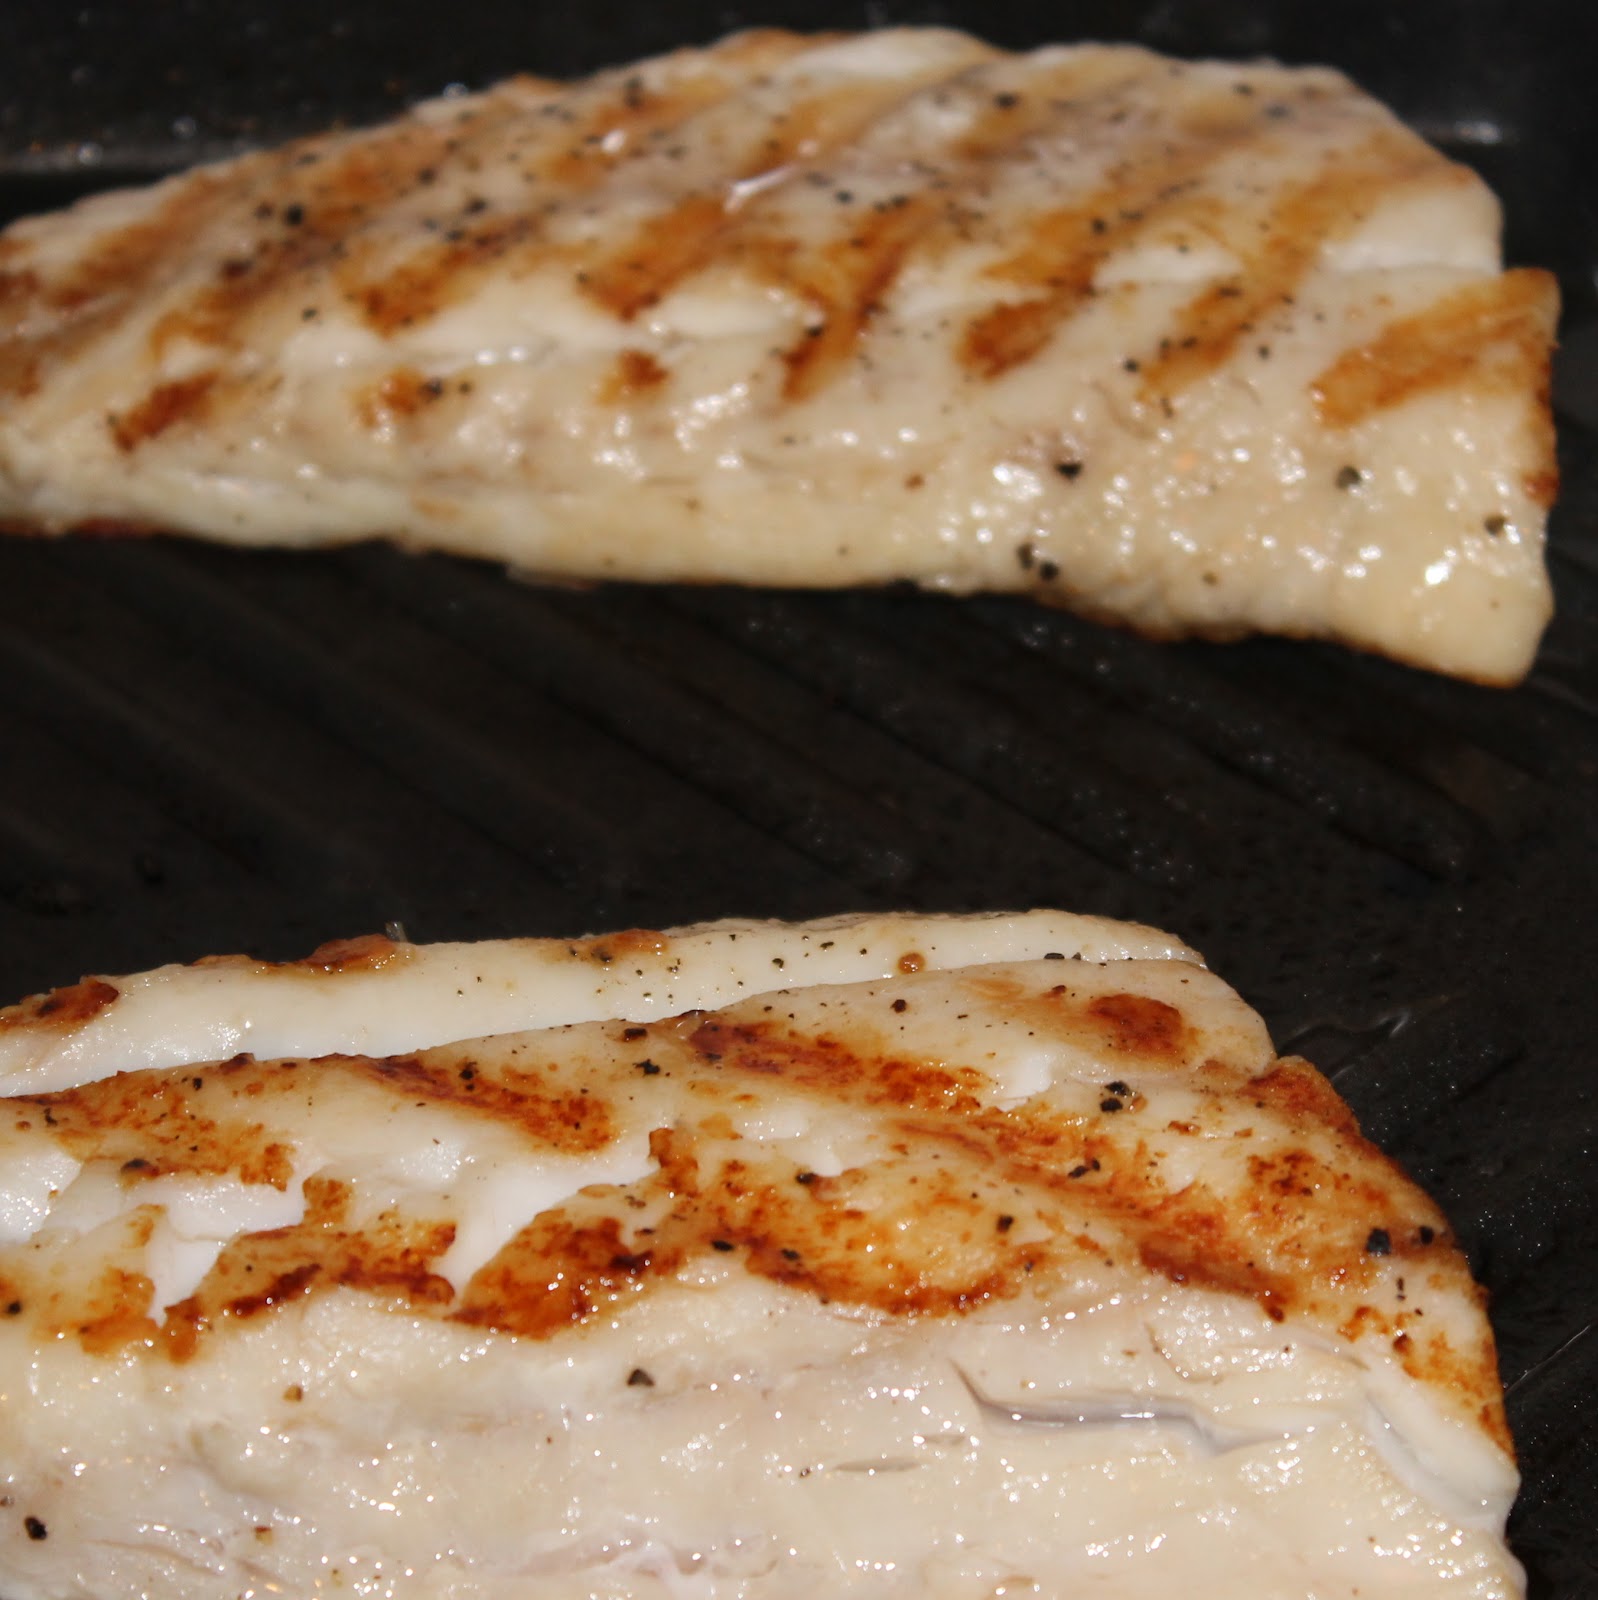
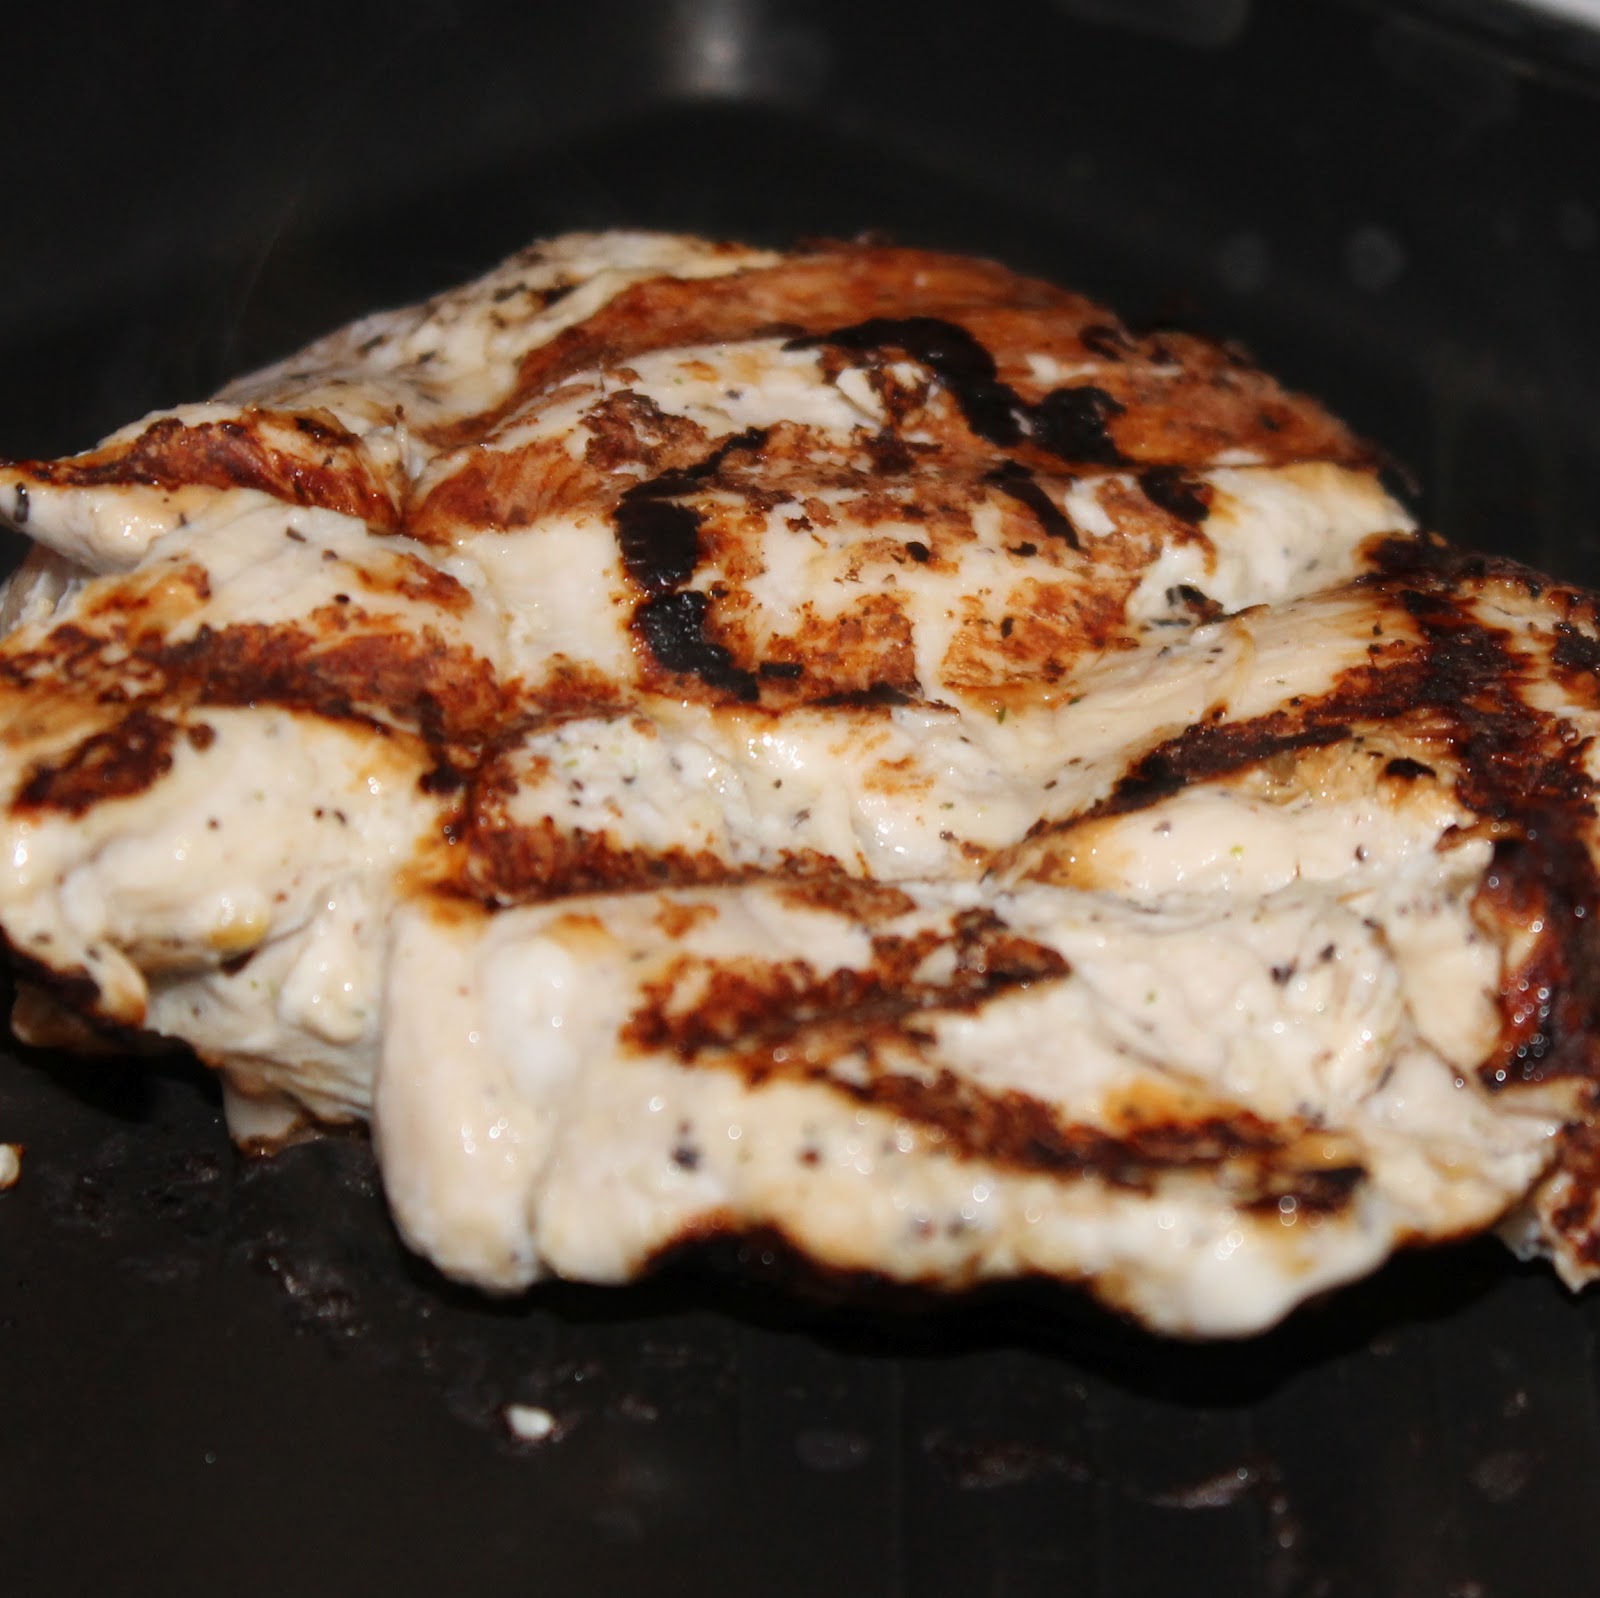
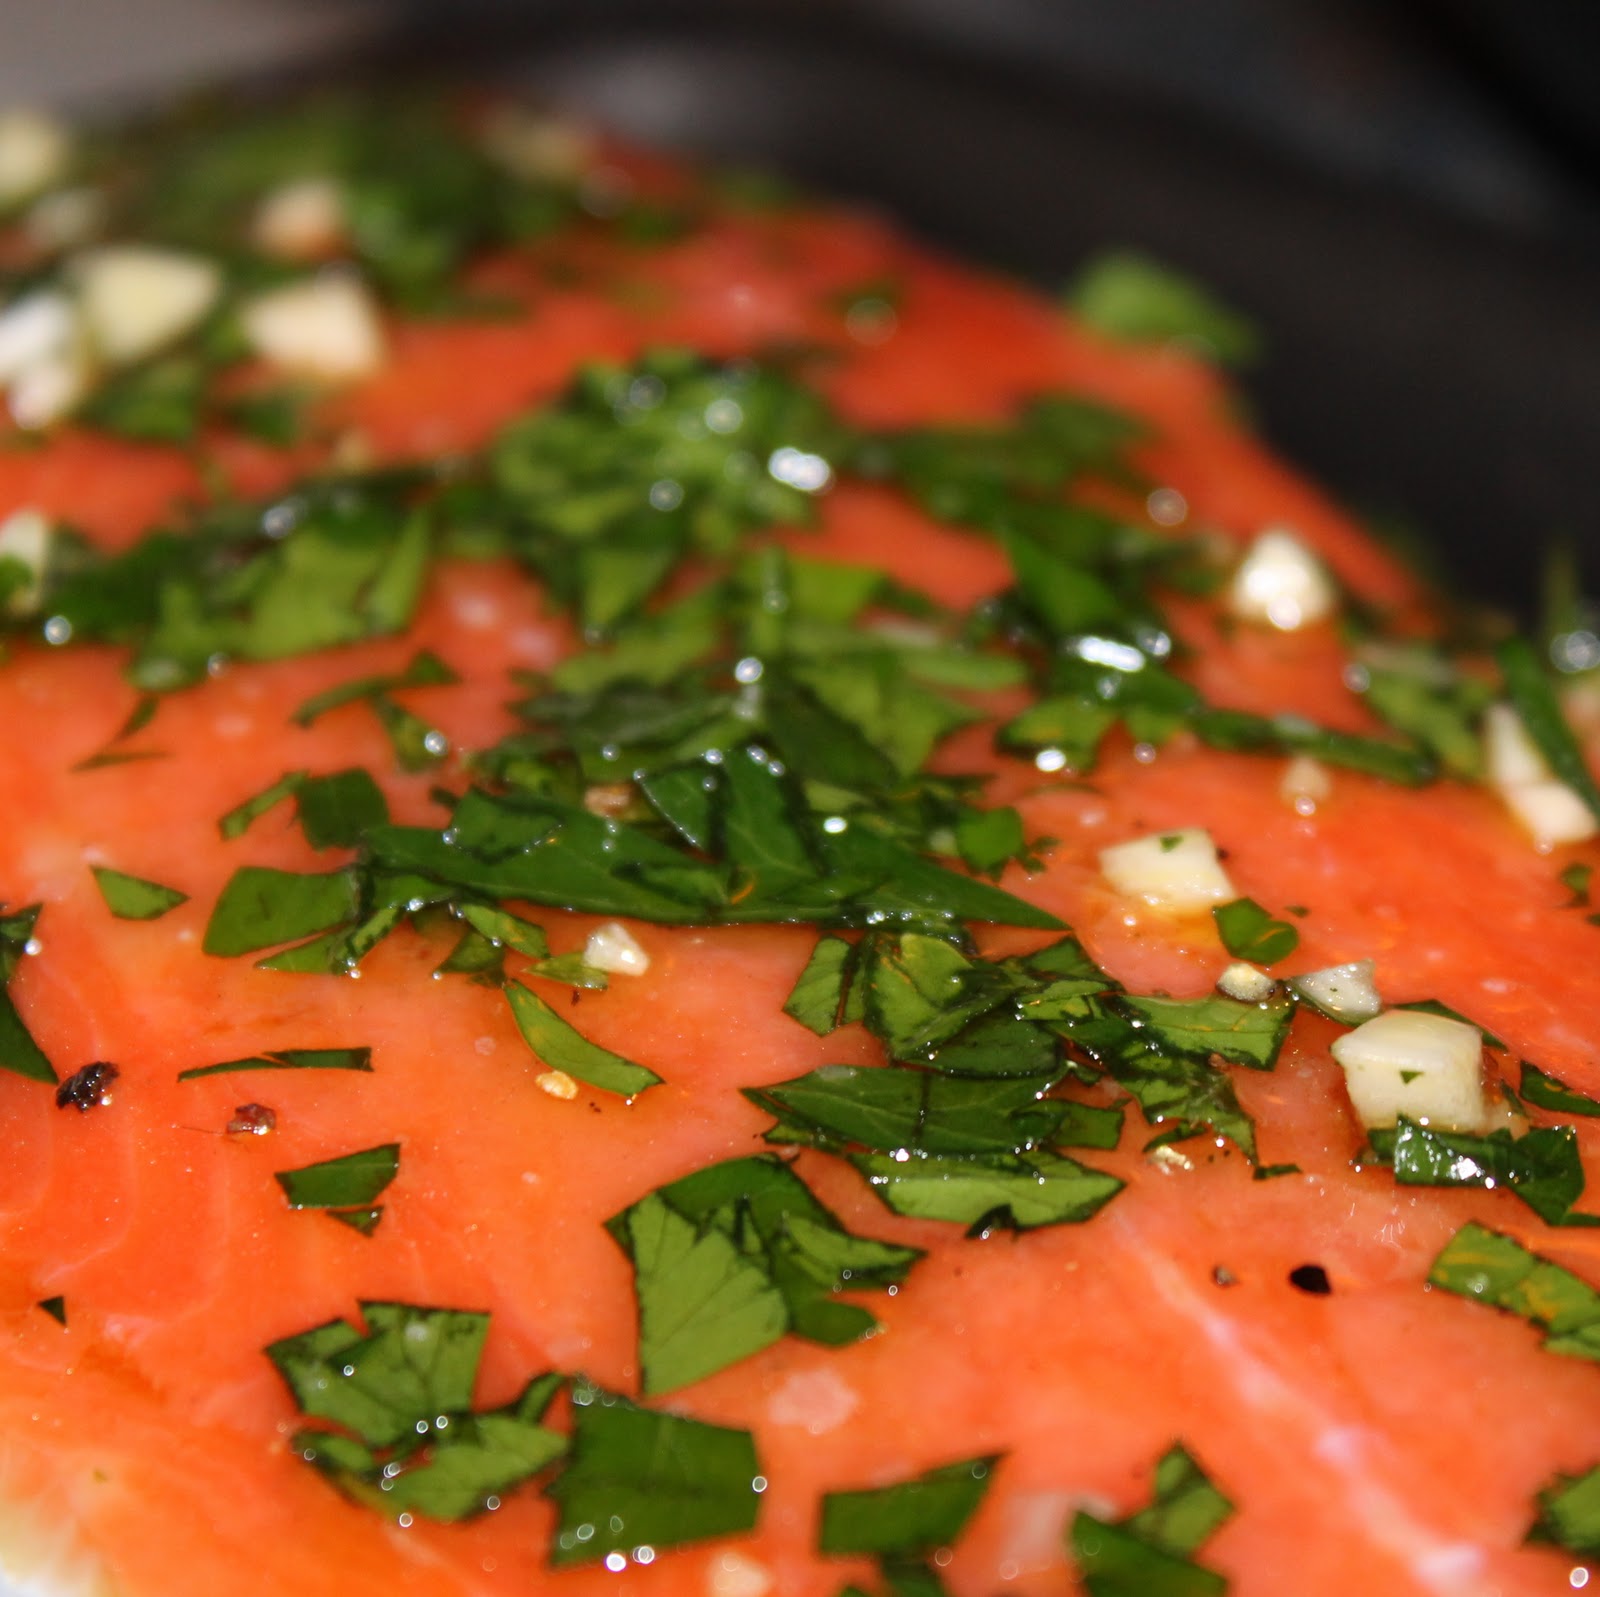
Last but not least, we have the bass. Heat a grill pan over medium high heat and spray with cooking spray. Sprinkle the fish with salt and pepper and add to the grill pan skin side up. Cook for 4 minutes. (You can set your table during this time).
Flip the fish and cook for another 4 minutes.
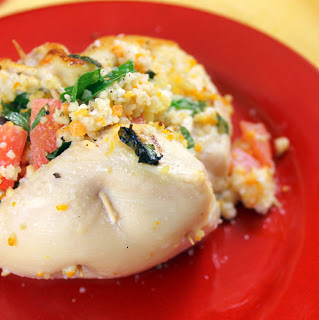
Serve drizzled with the bacon vinaigrette.
Multi tasking at its finest! I hope my directions made sense. It’s not nearly as confusing as it sounds. You kind of bounce around between things based on when you have the opportunity to do so.
So whoever thought of the idea of bacon vinaigrette is one awesome person. It was smoky and slightly tangy. I actually put some on my mashed potatoes as well (which I highly suggest).
This was my first time having bass and I really enjoyed it. Despite doing a whole lot of nothing to cook it, the fish was flavorful and had almost a buttery taste to it.
The mushrooms were awesome as well! I added a bit more fresh thyme once it was on my plate for a little more flavor and some color.
Sorry my photos are so crummy. First, it’s not exactly the most colorful meal I’ve ever made. Second, the smell of bacon made my antsy. I needed to eat this ASAP 🙂
I hope you’ll forgive my lack of photography skills due to the calling of bacon.