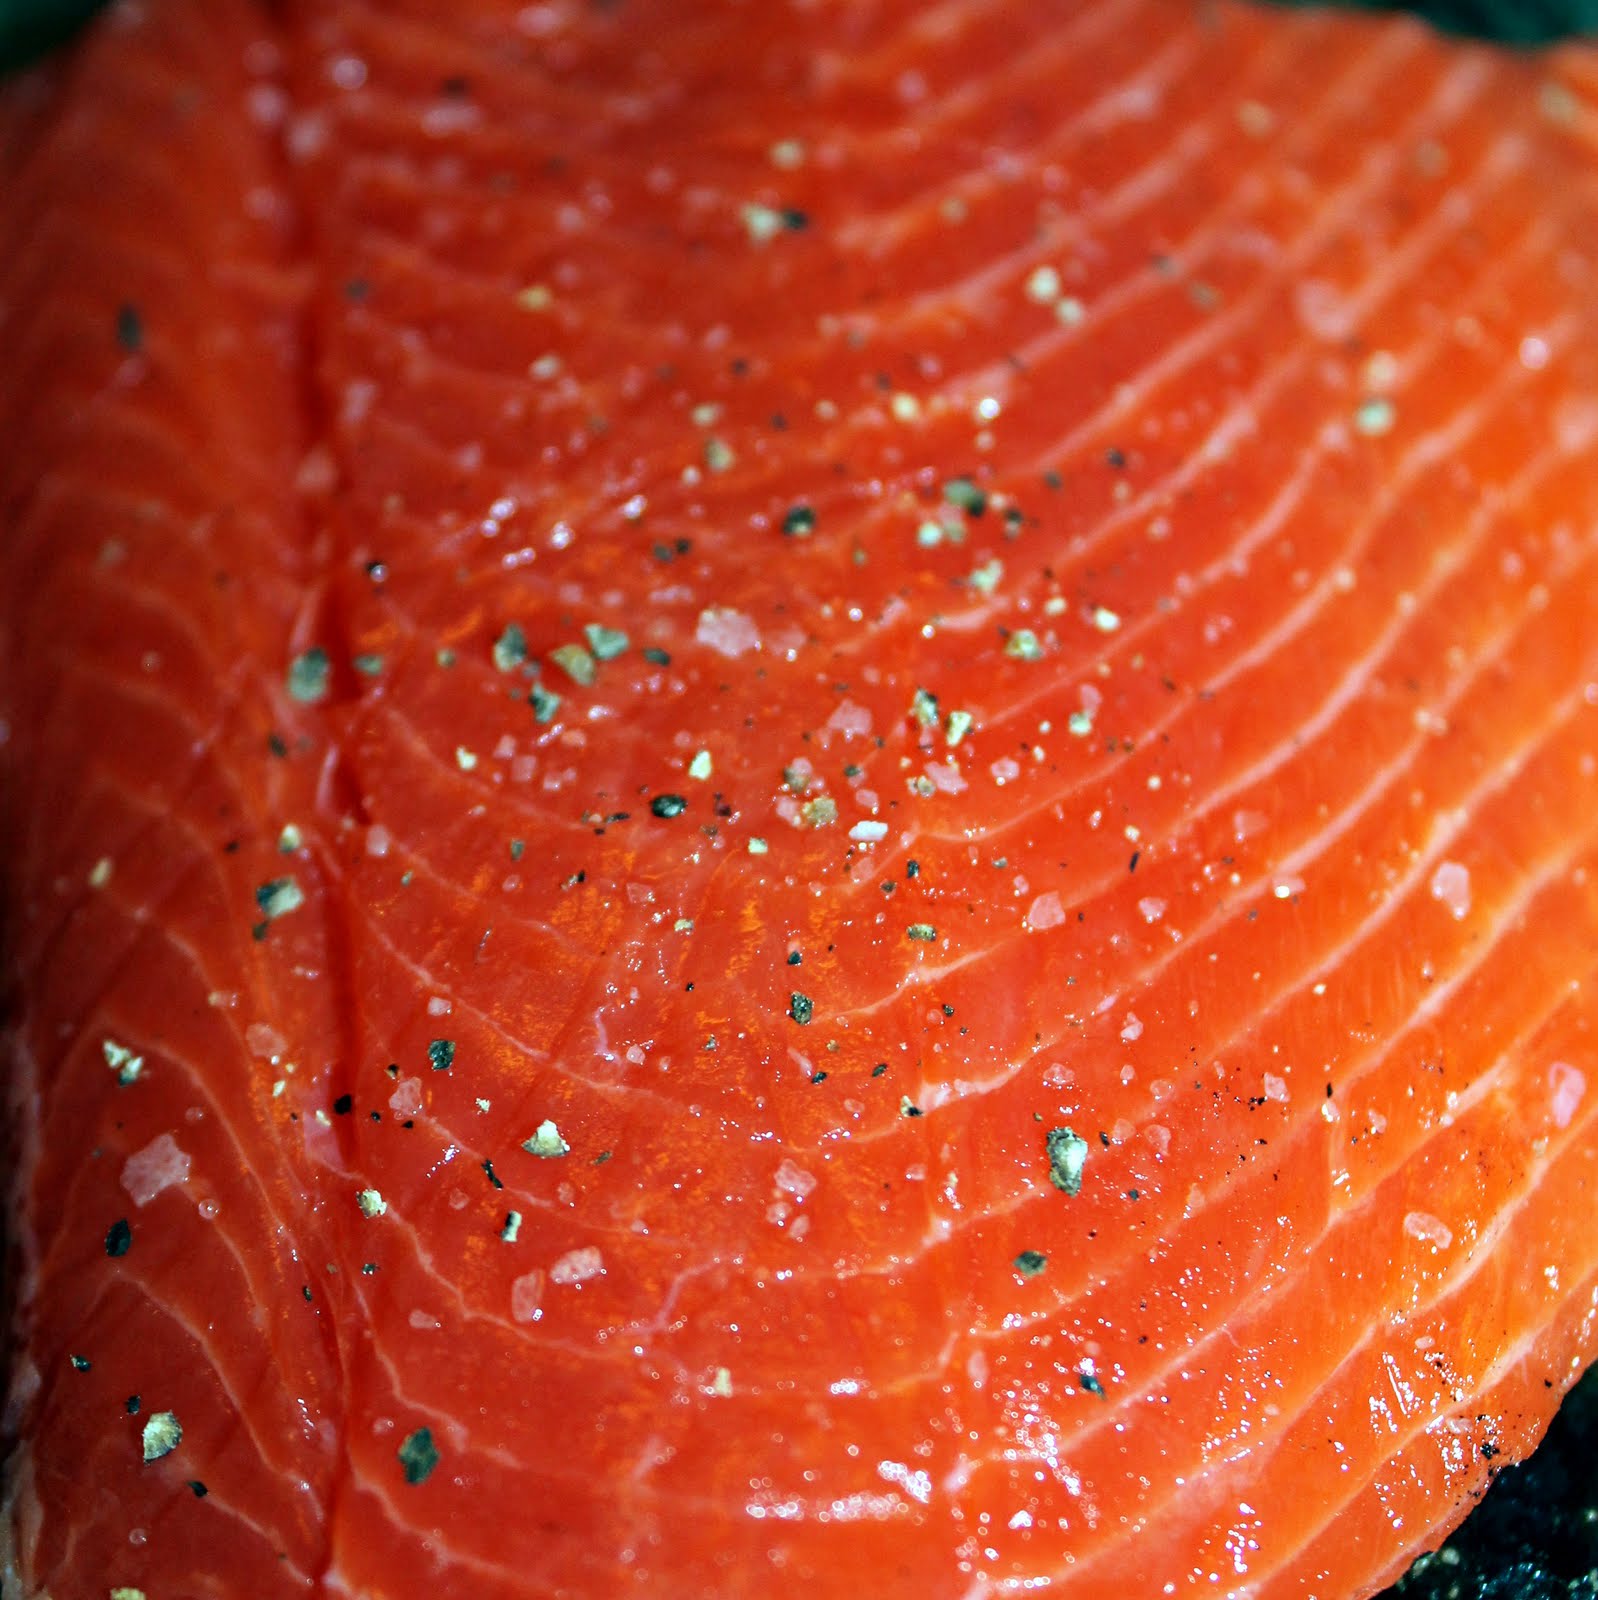
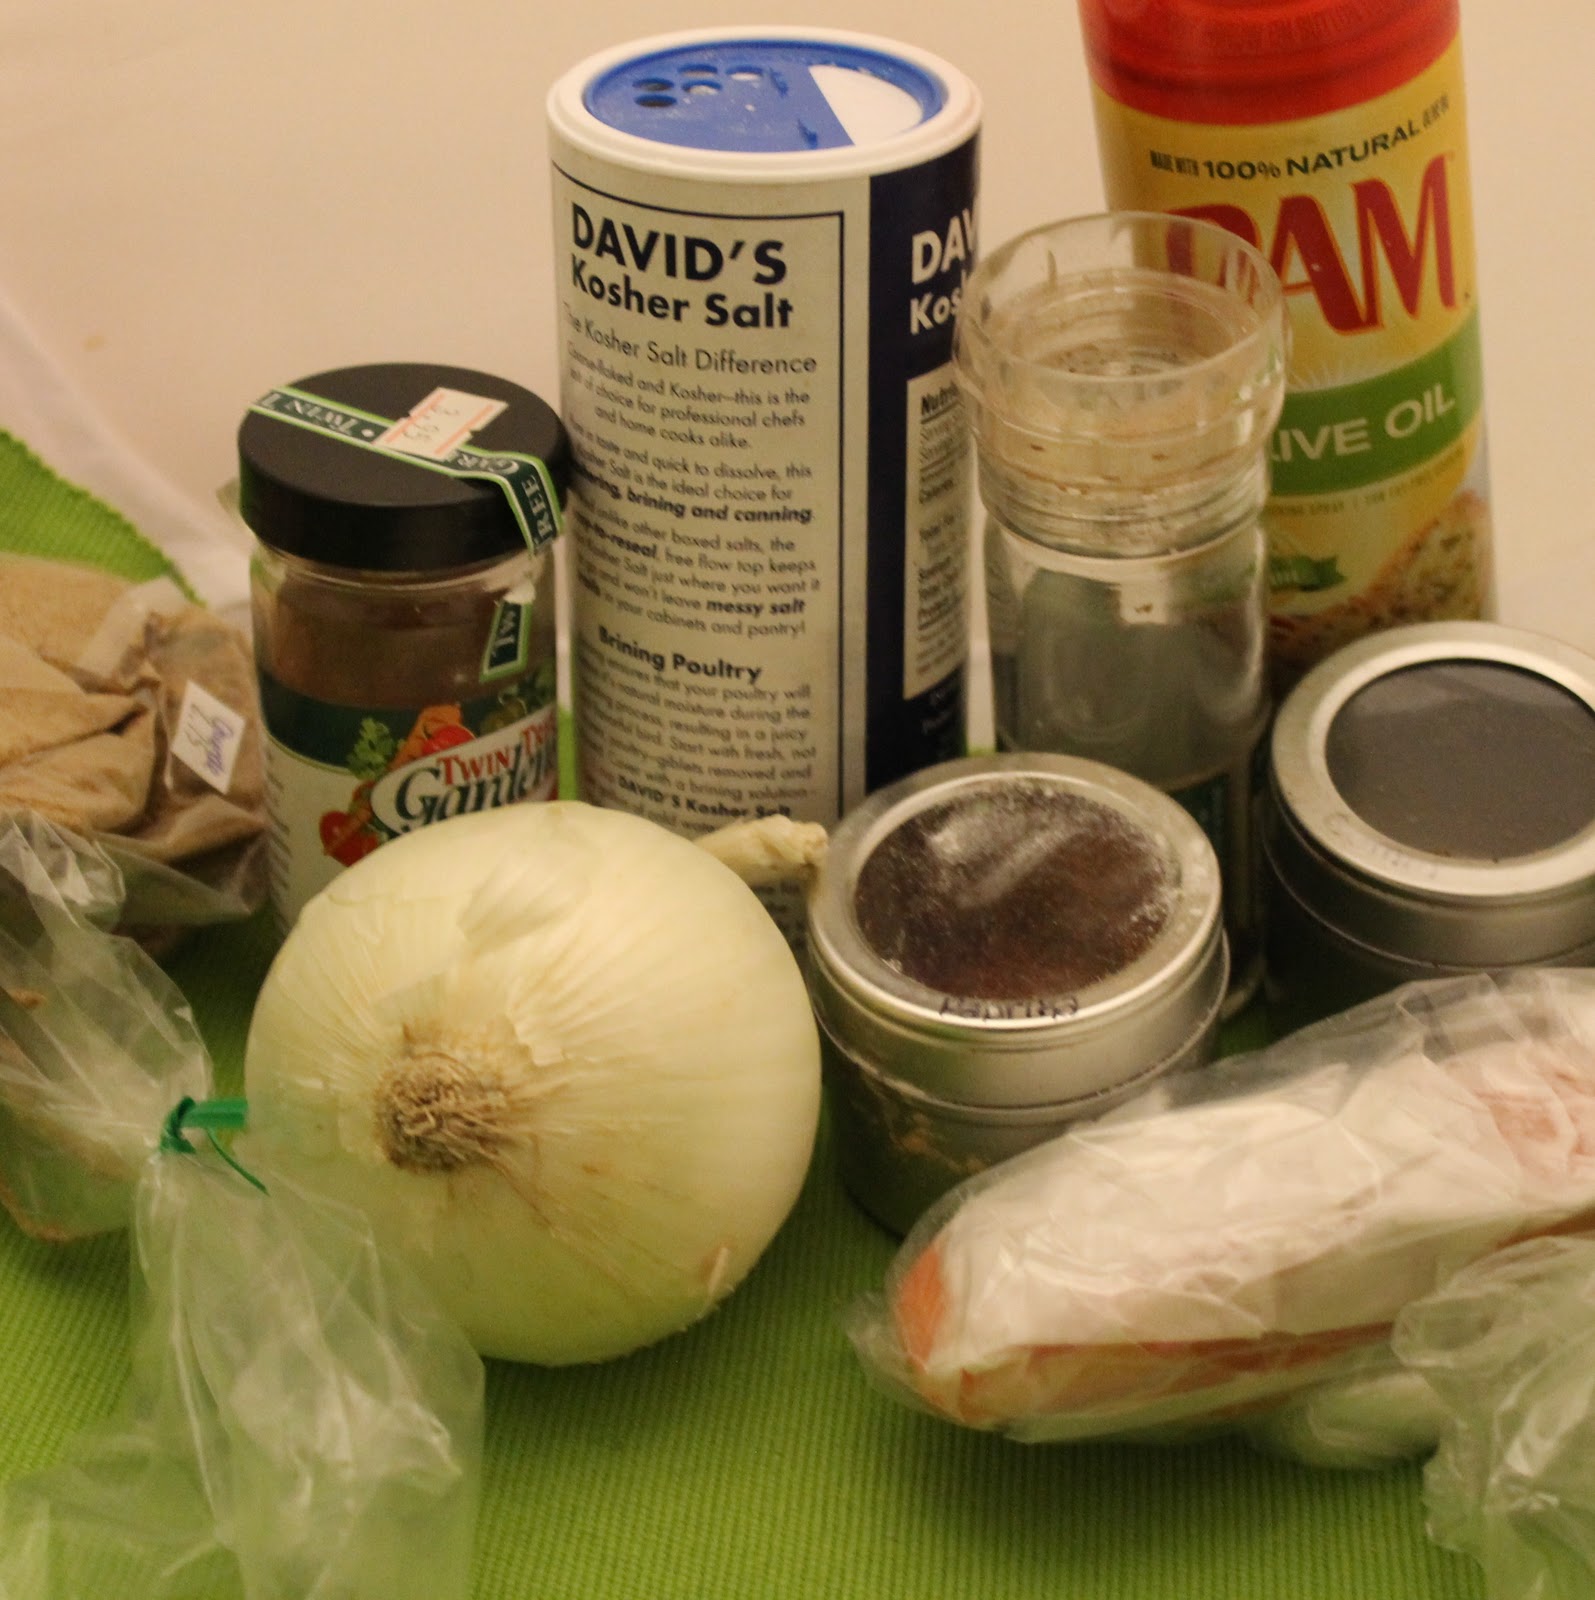
If you’re like me, you can never have too many salmon recipes. If I could, I’d eat salmon every day, so I prefer some variety with how it’s prepared. Cooking Light had a recipe that incorporated some really interesting spices: coriander, cinnamon, cumin and paprika. I was excited to see how this would turn out. The recipe also pairs the salmon with a wilted spinach, one of my favorite sides.

Ingredients (this makes one serving)
Salmon:
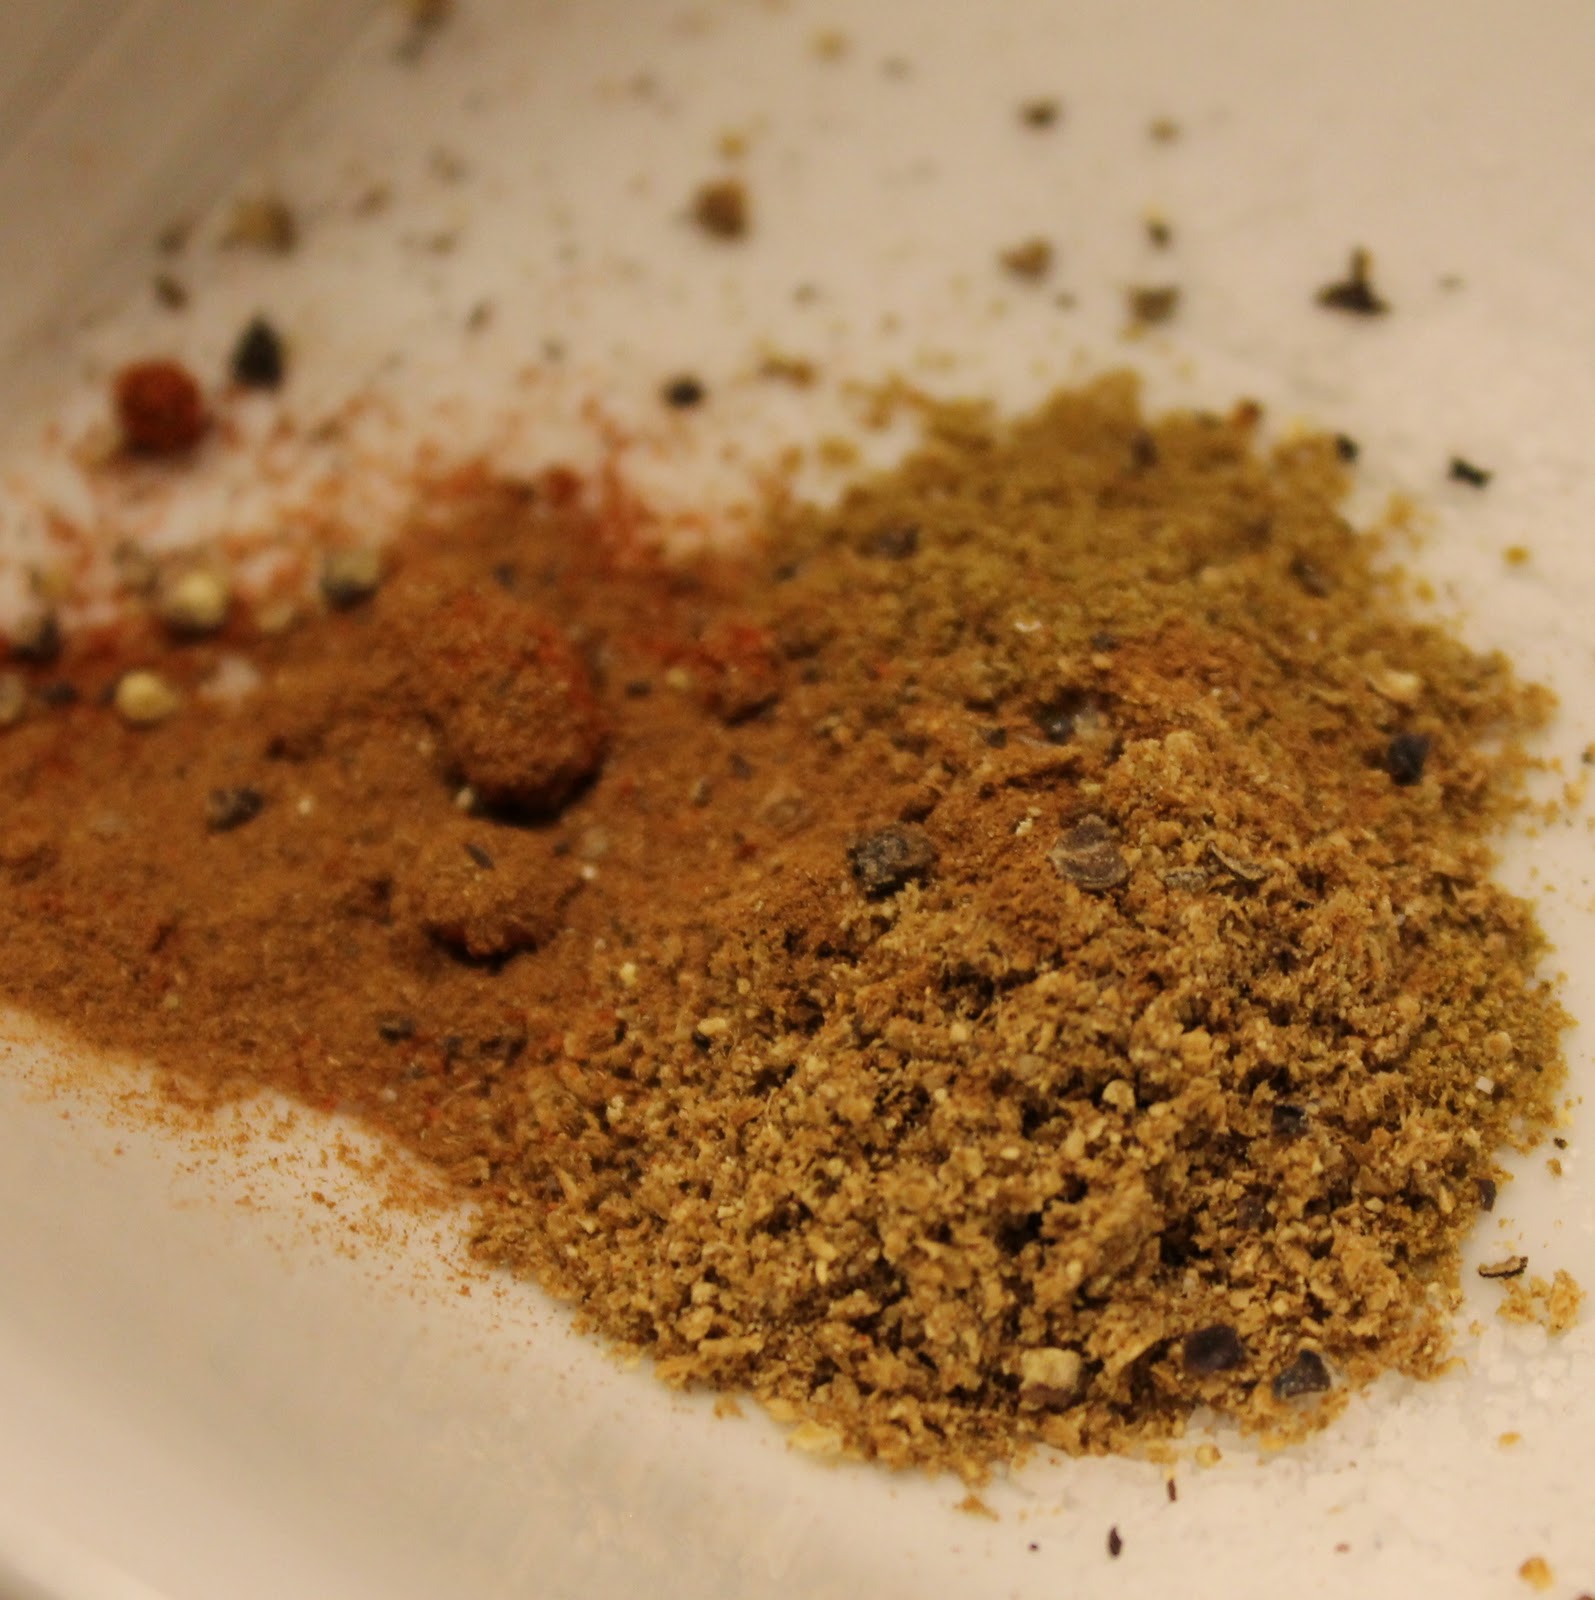
1/4 teaspoon salt
1/4 teaspoon ground cumin
1/4 teaspoon ground coriander
1/8 teaspoon paprika
a pinch of ground cinnamon
a pinch of freshly ground black pepper
1/4 teaspoon salt
1/4 teaspoon ground cumin
1/4 teaspoon ground coriander
1/8 teaspoon paprika
a pinch of ground cinnamon
a pinch of freshly ground black pepper
1 5 oz salmon fillet
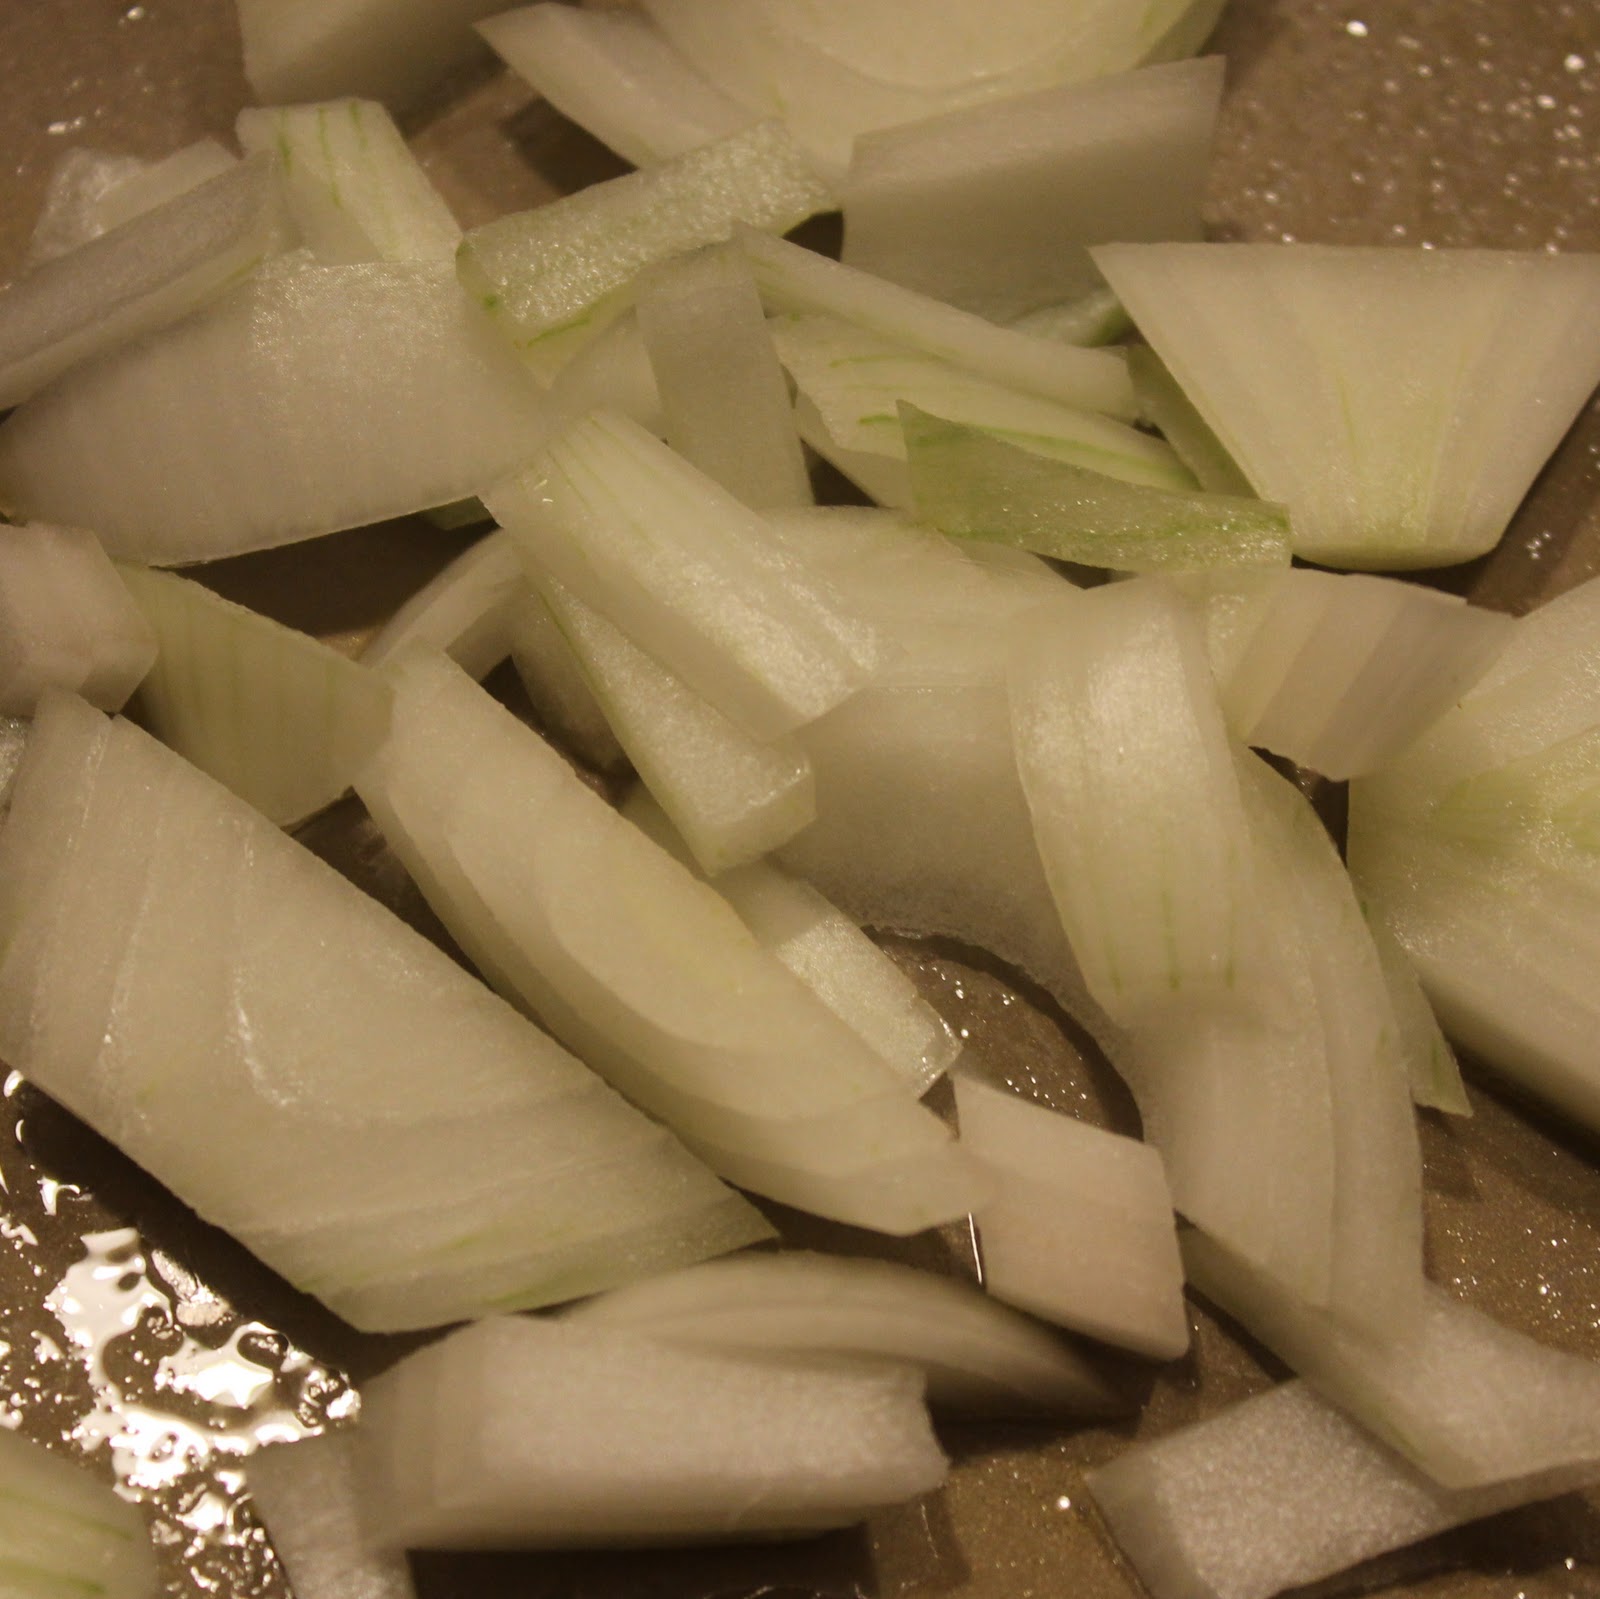
1/2 white onion, thinly sliced
Cooking spray
1/2 white onion, thinly sliced
Cooking spray
chopped cilantro, for garnish
lemon wedges
Spinach:
1 teaspoon olive oil
1 garlic clove, minced
2 large handfuls uncooked baby spinach
zest from one lemon
1/4 teaspoon salt
the juice of half a lemon
Spinach:
1 teaspoon olive oil
1 garlic clove, minced
2 large handfuls uncooked baby spinach
zest from one lemon
1/4 teaspoon salt
the juice of half a lemon

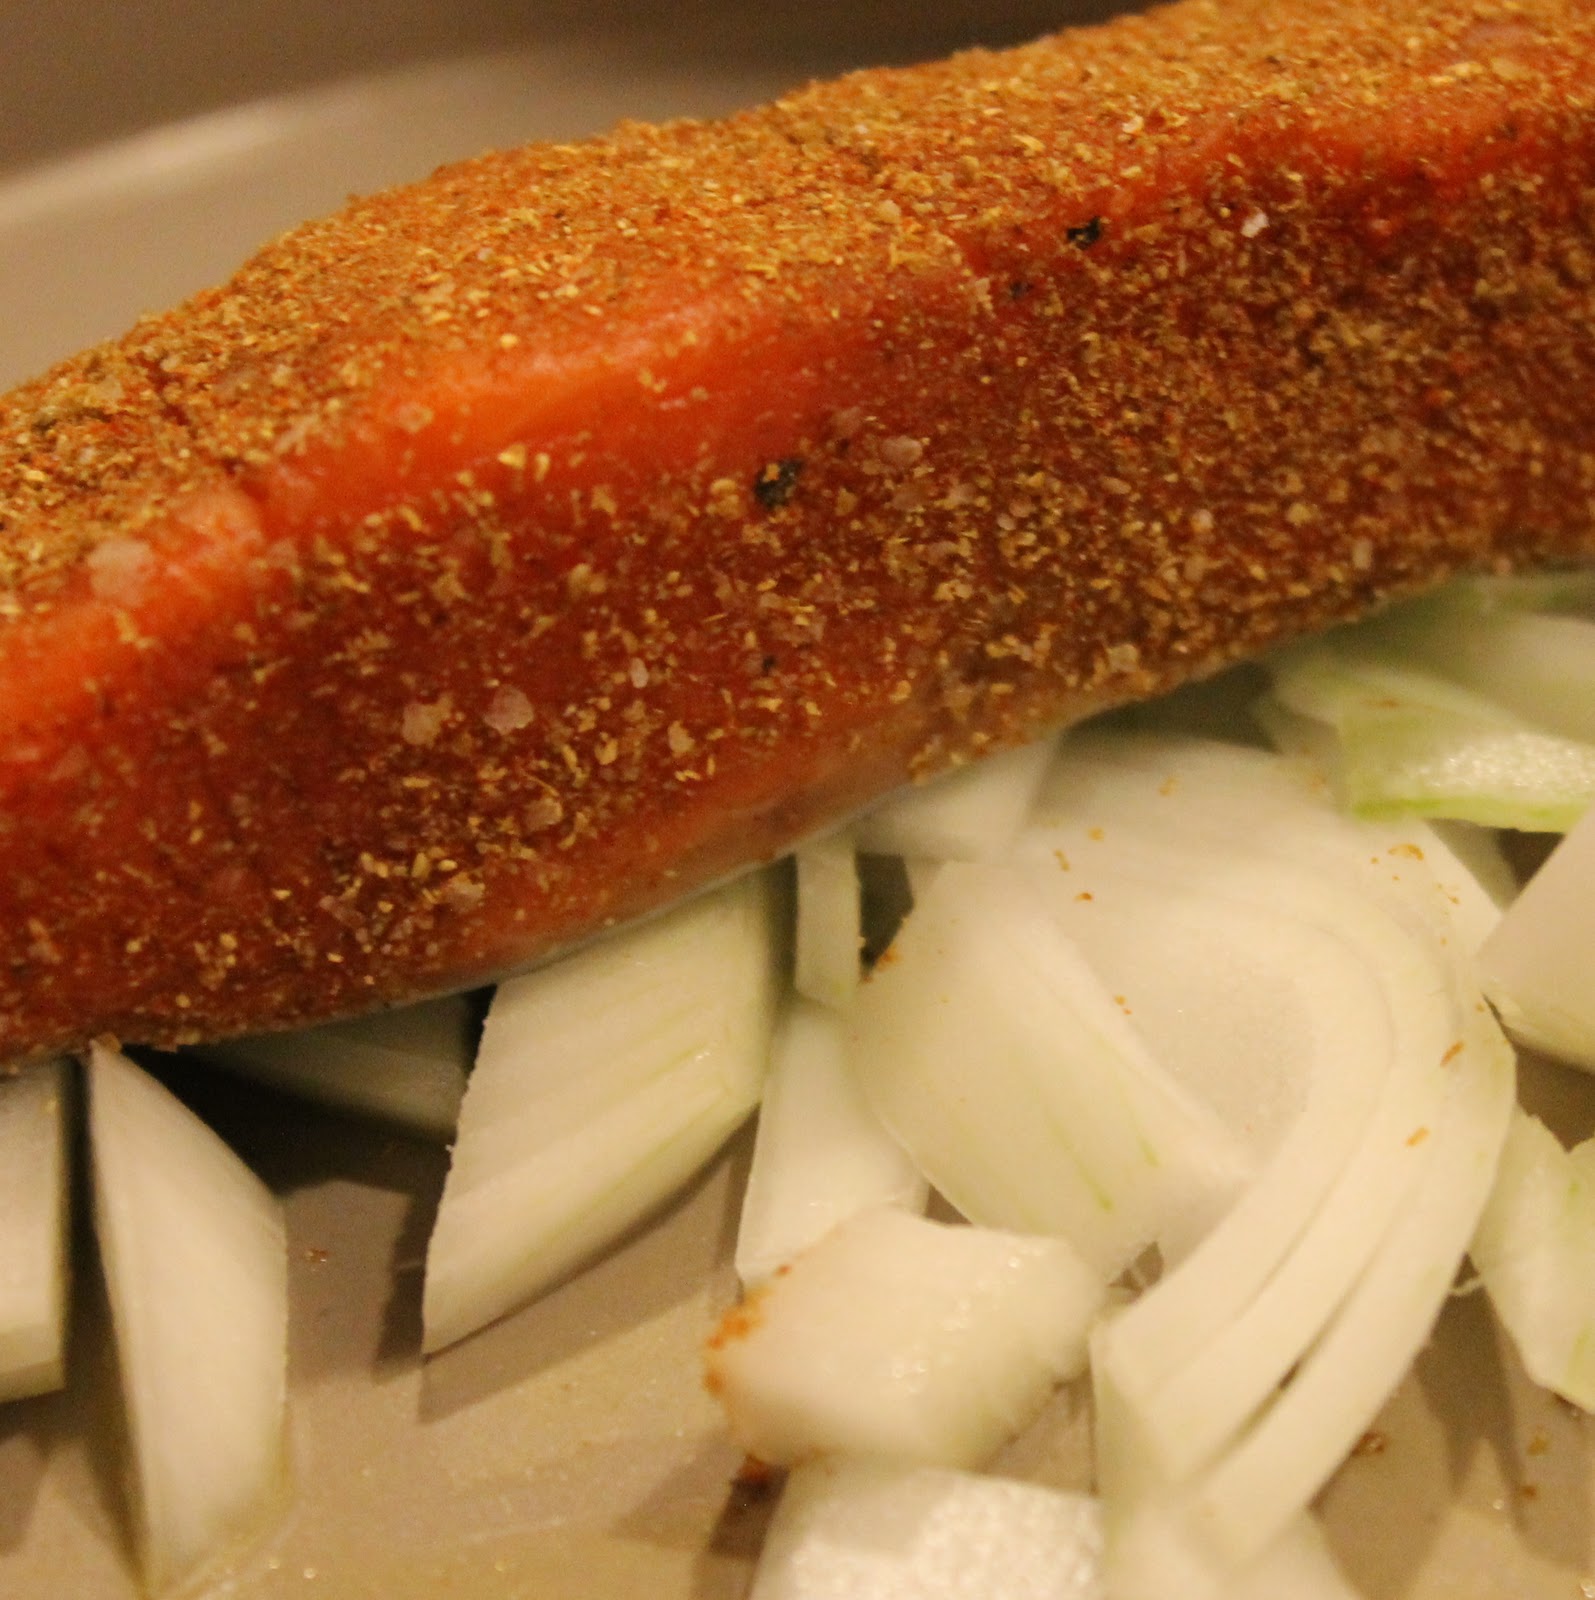
Preheat your oven to 400 degrees. To prepare the spice rub, combine the salt, cumin, coriander, paprika, cinnamon, and pepper in a bowl.
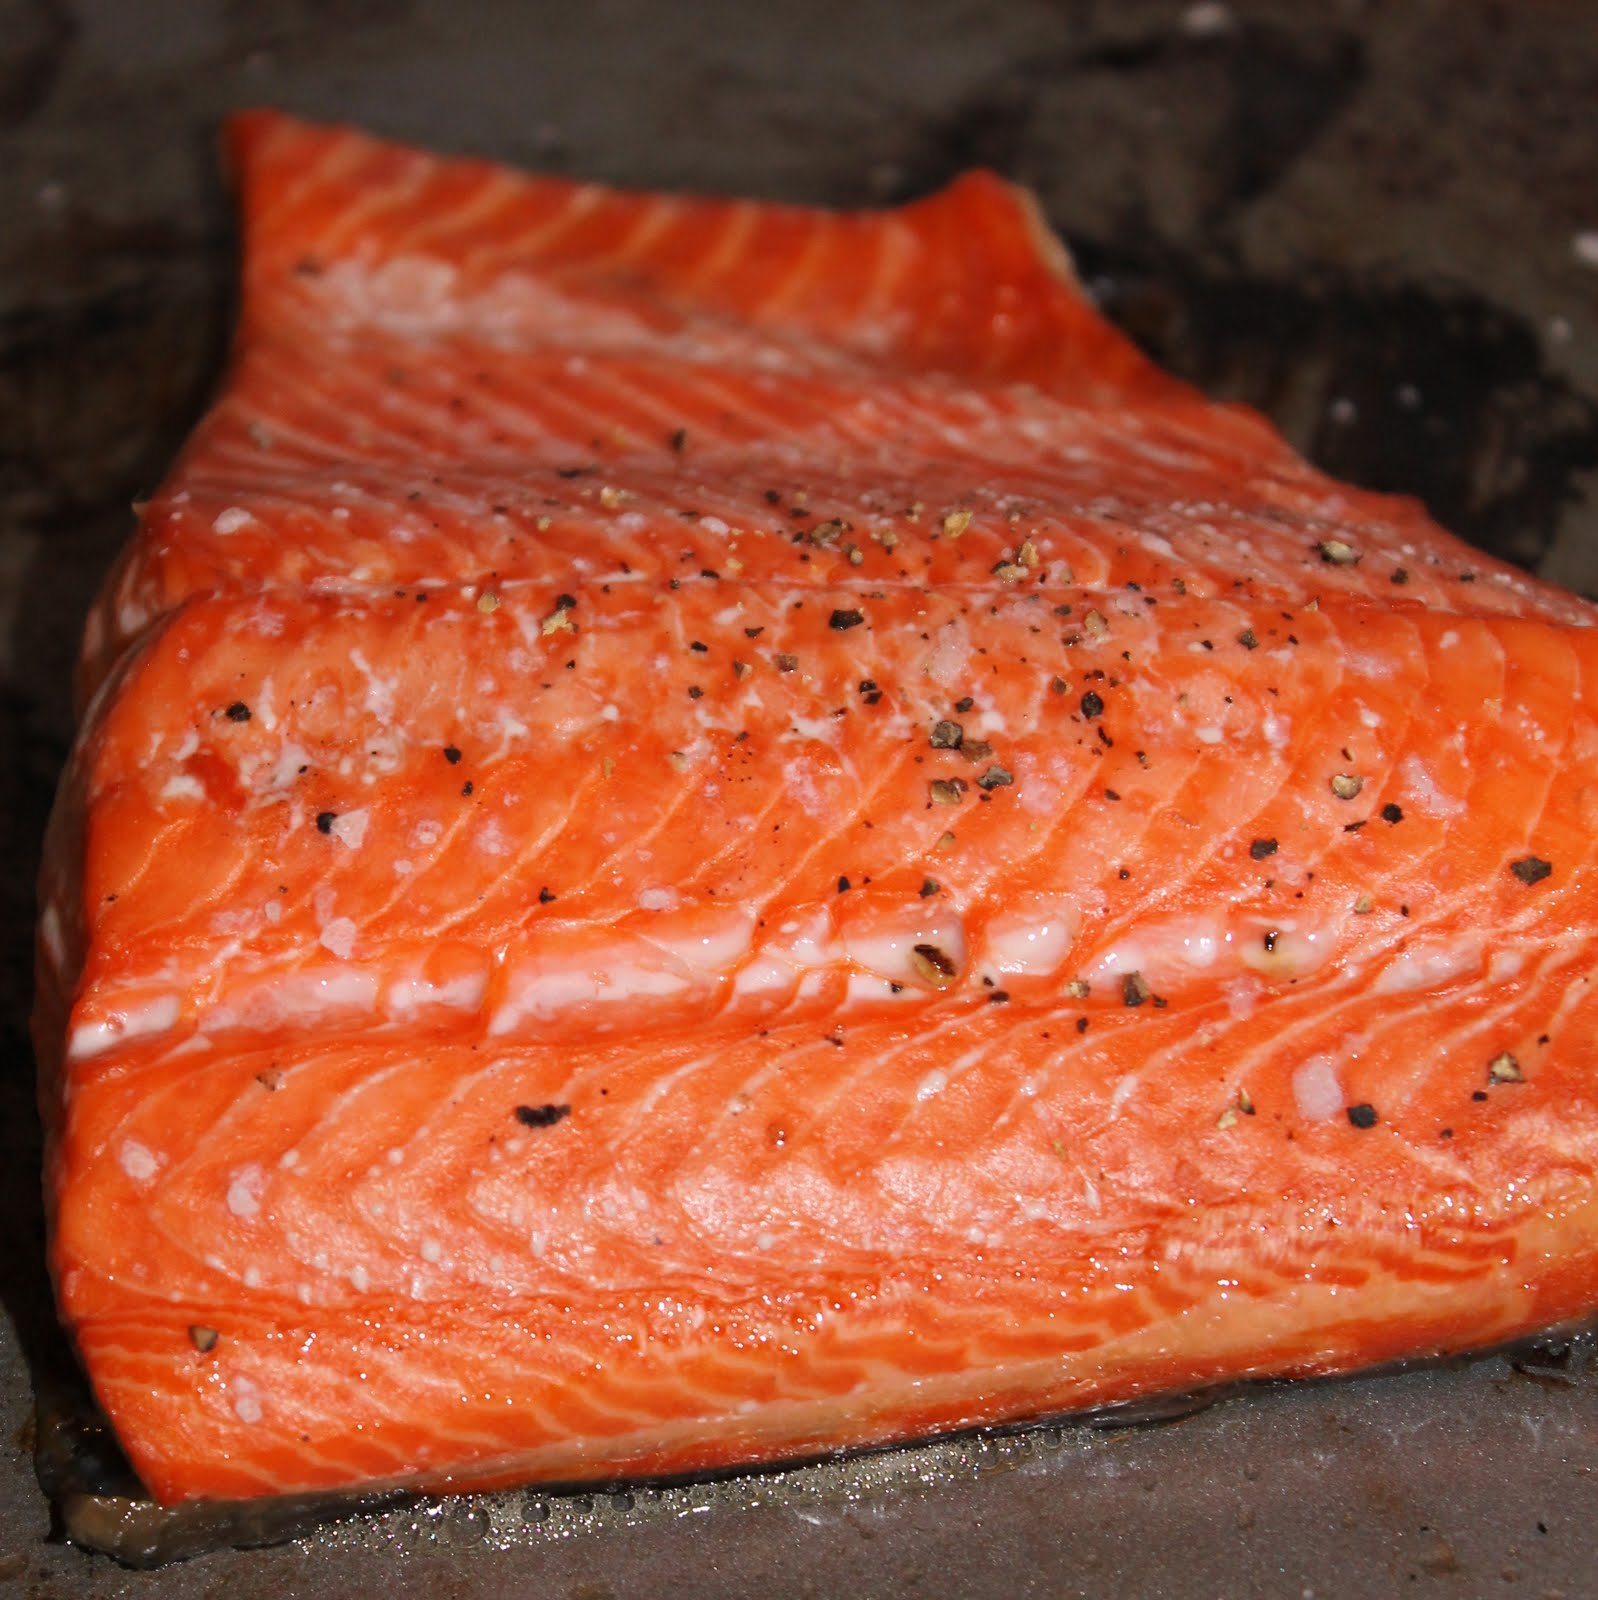
Rub the mixture evenly over the salmon.

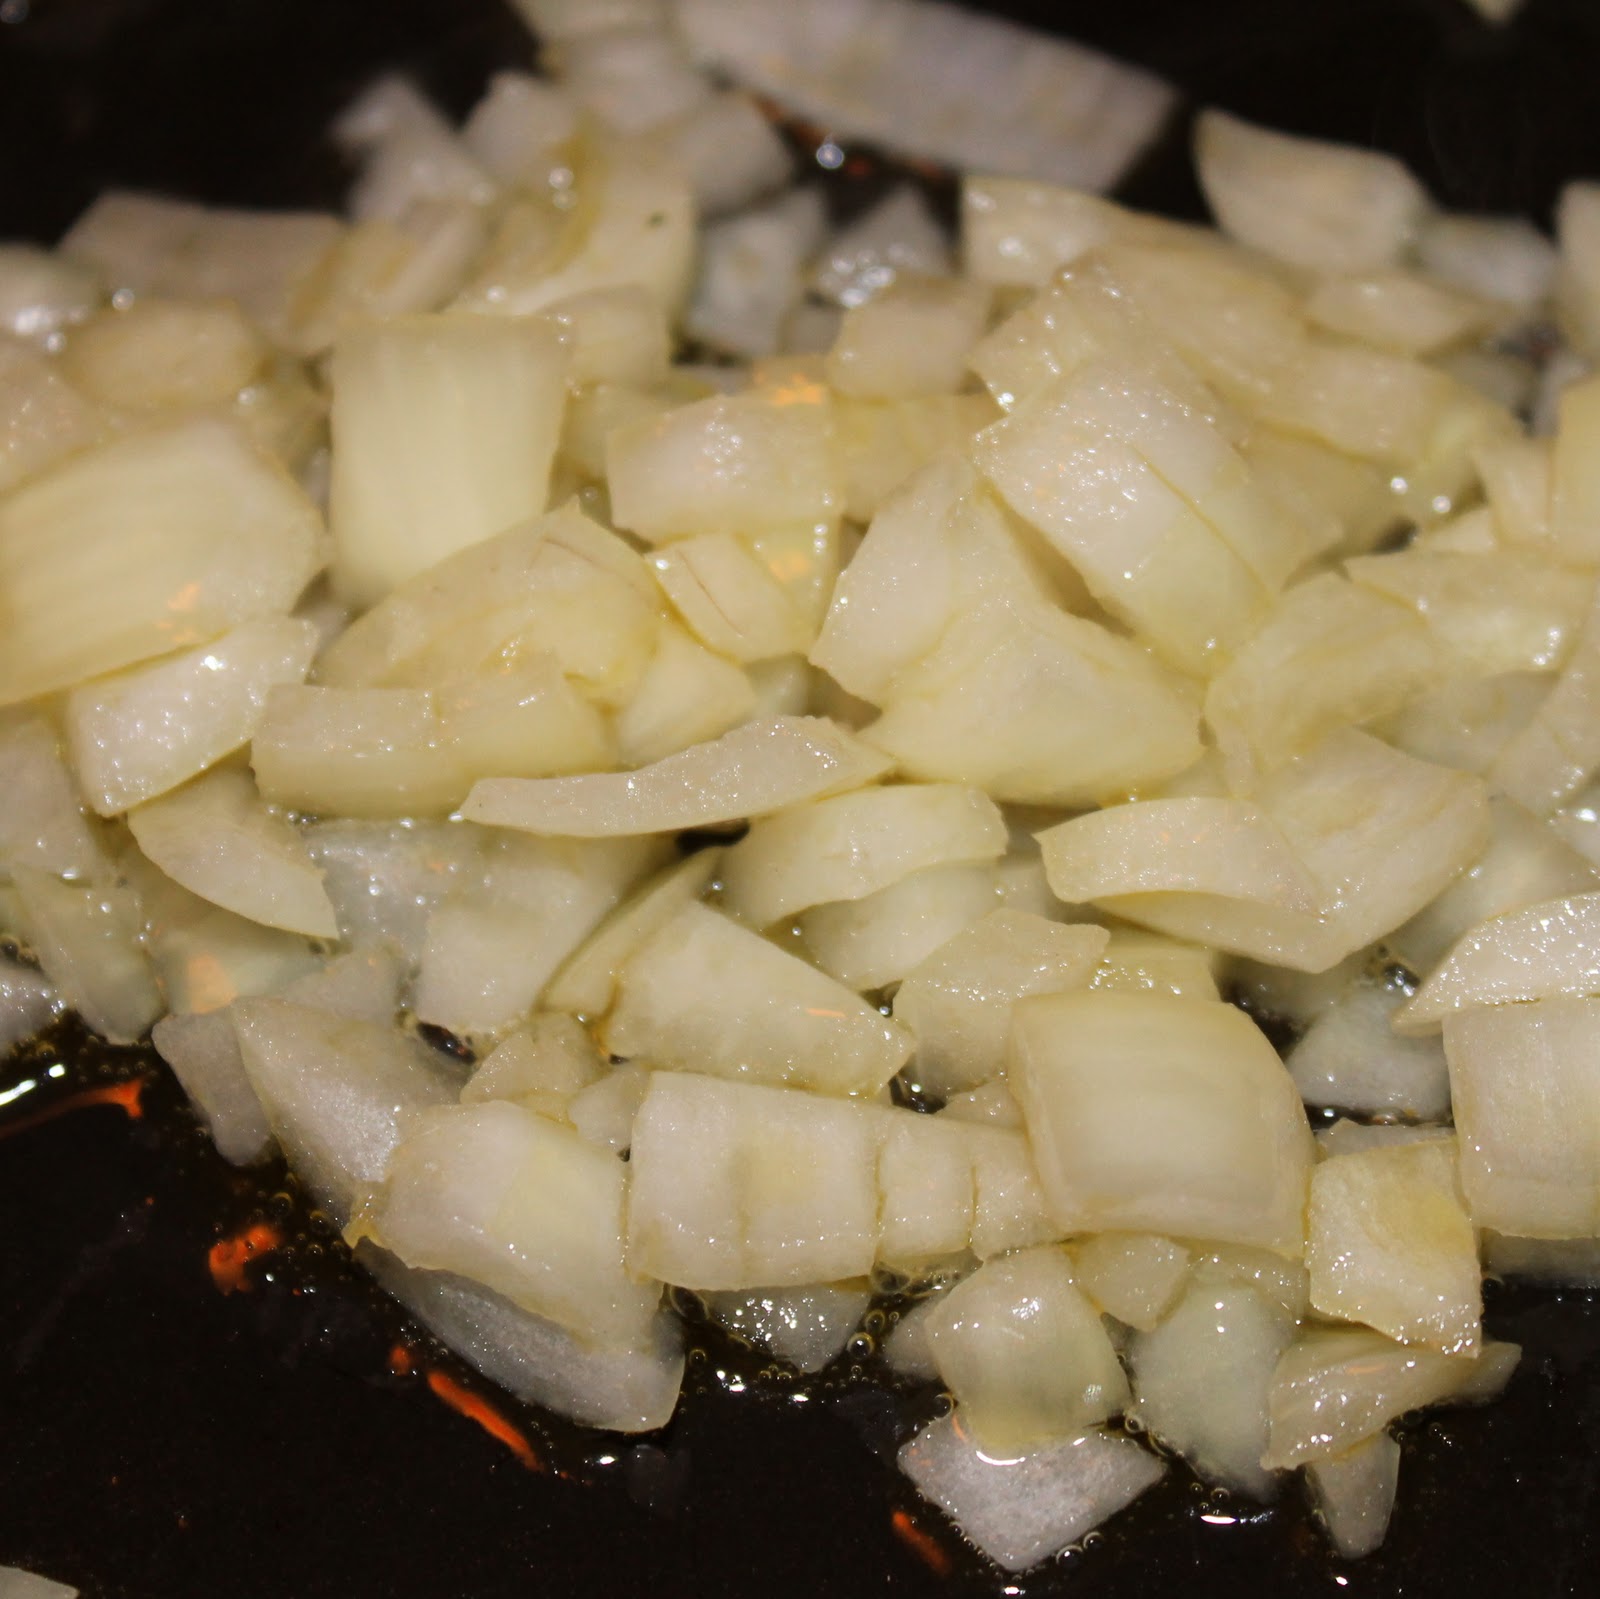
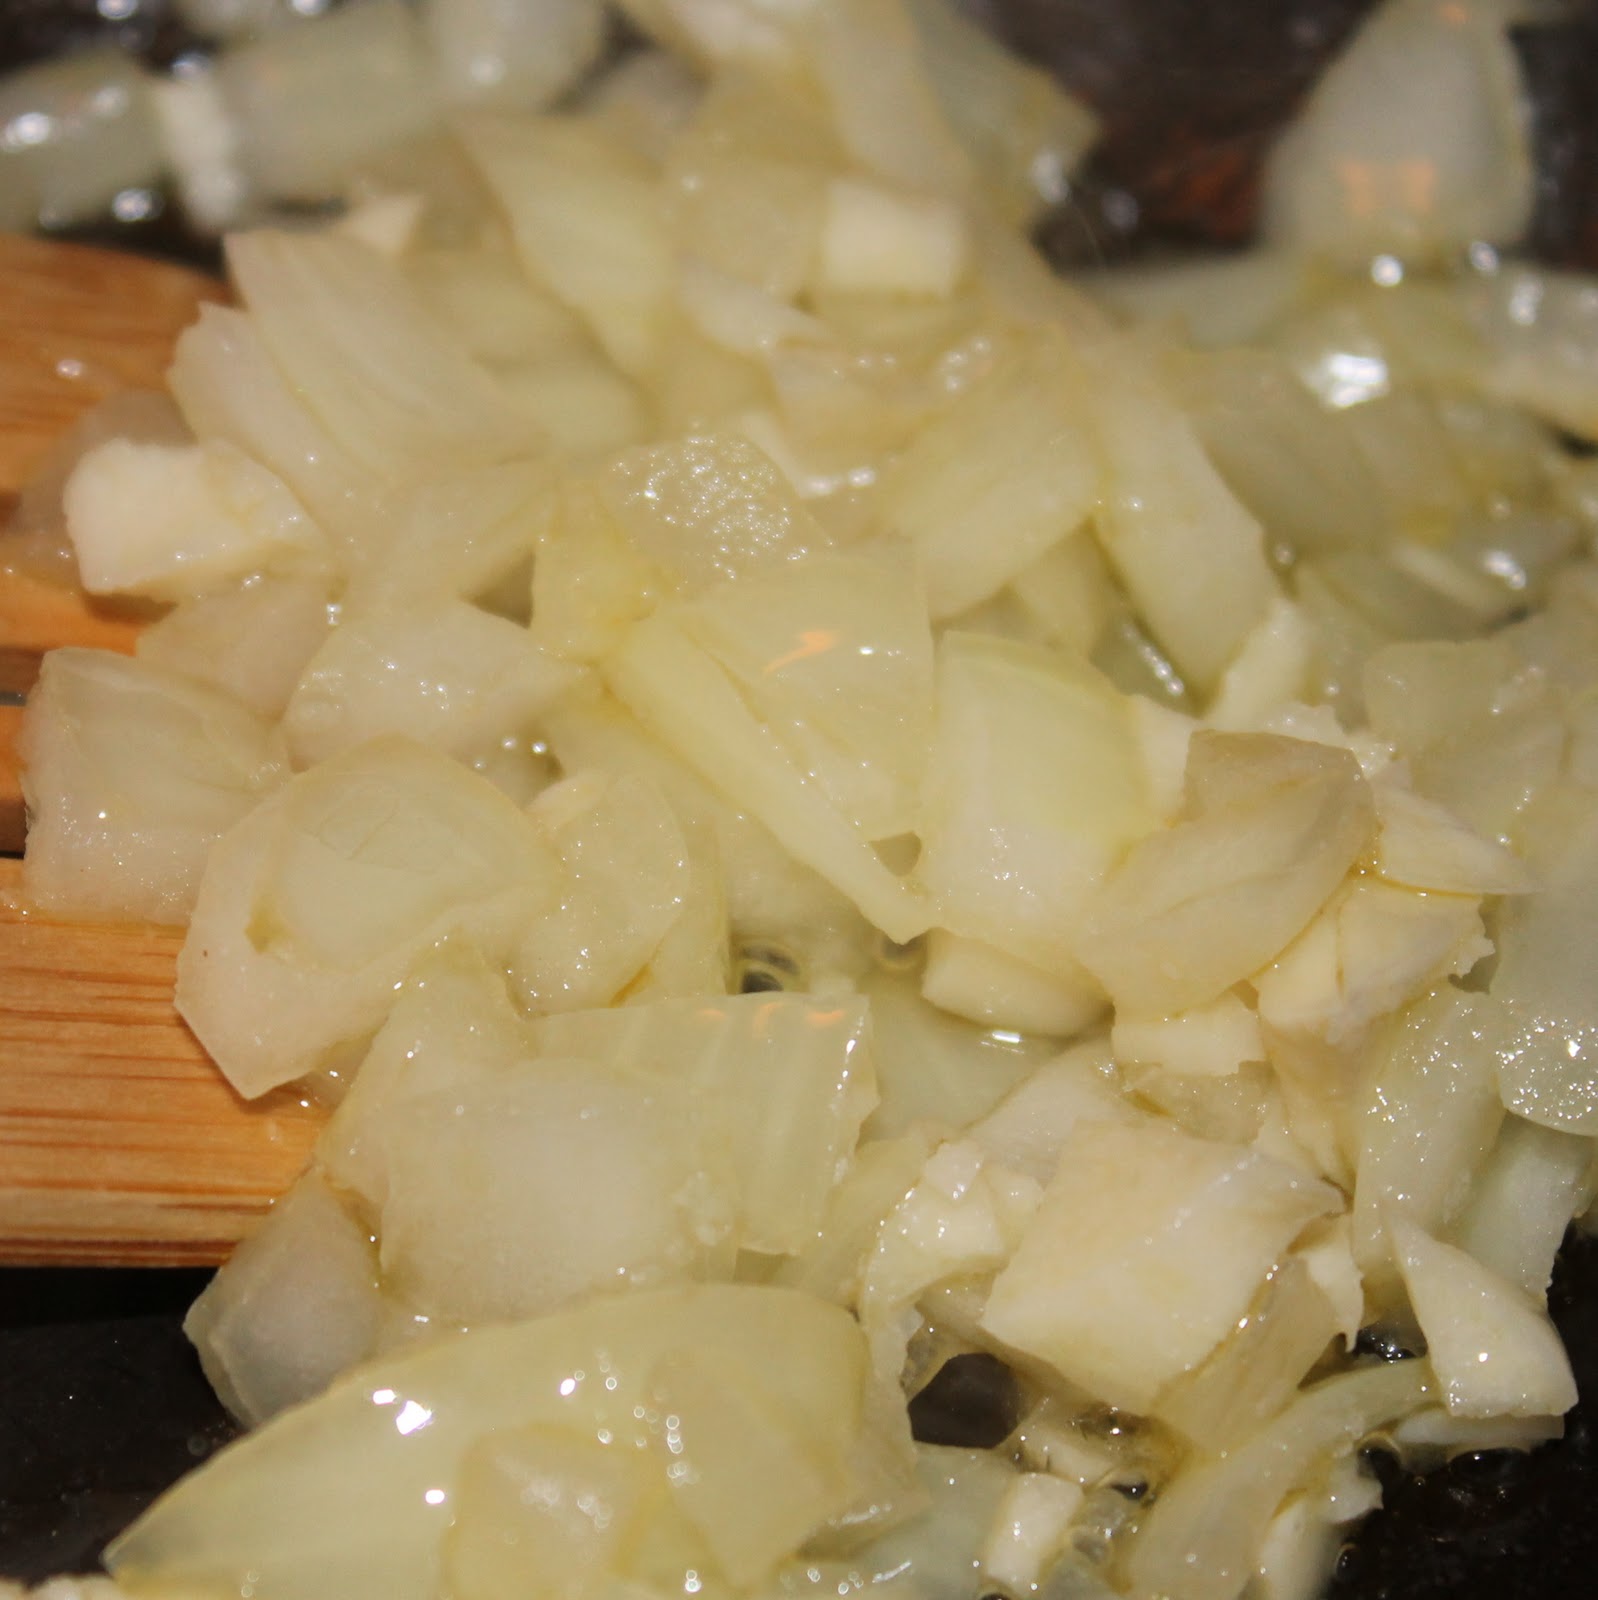
Thinly slice your onion. Add the onion to a baking dish coated with cooking spray.
Add the salmon on top of the onions. Bake at 400 degrees for 20 minutes or until flaky.
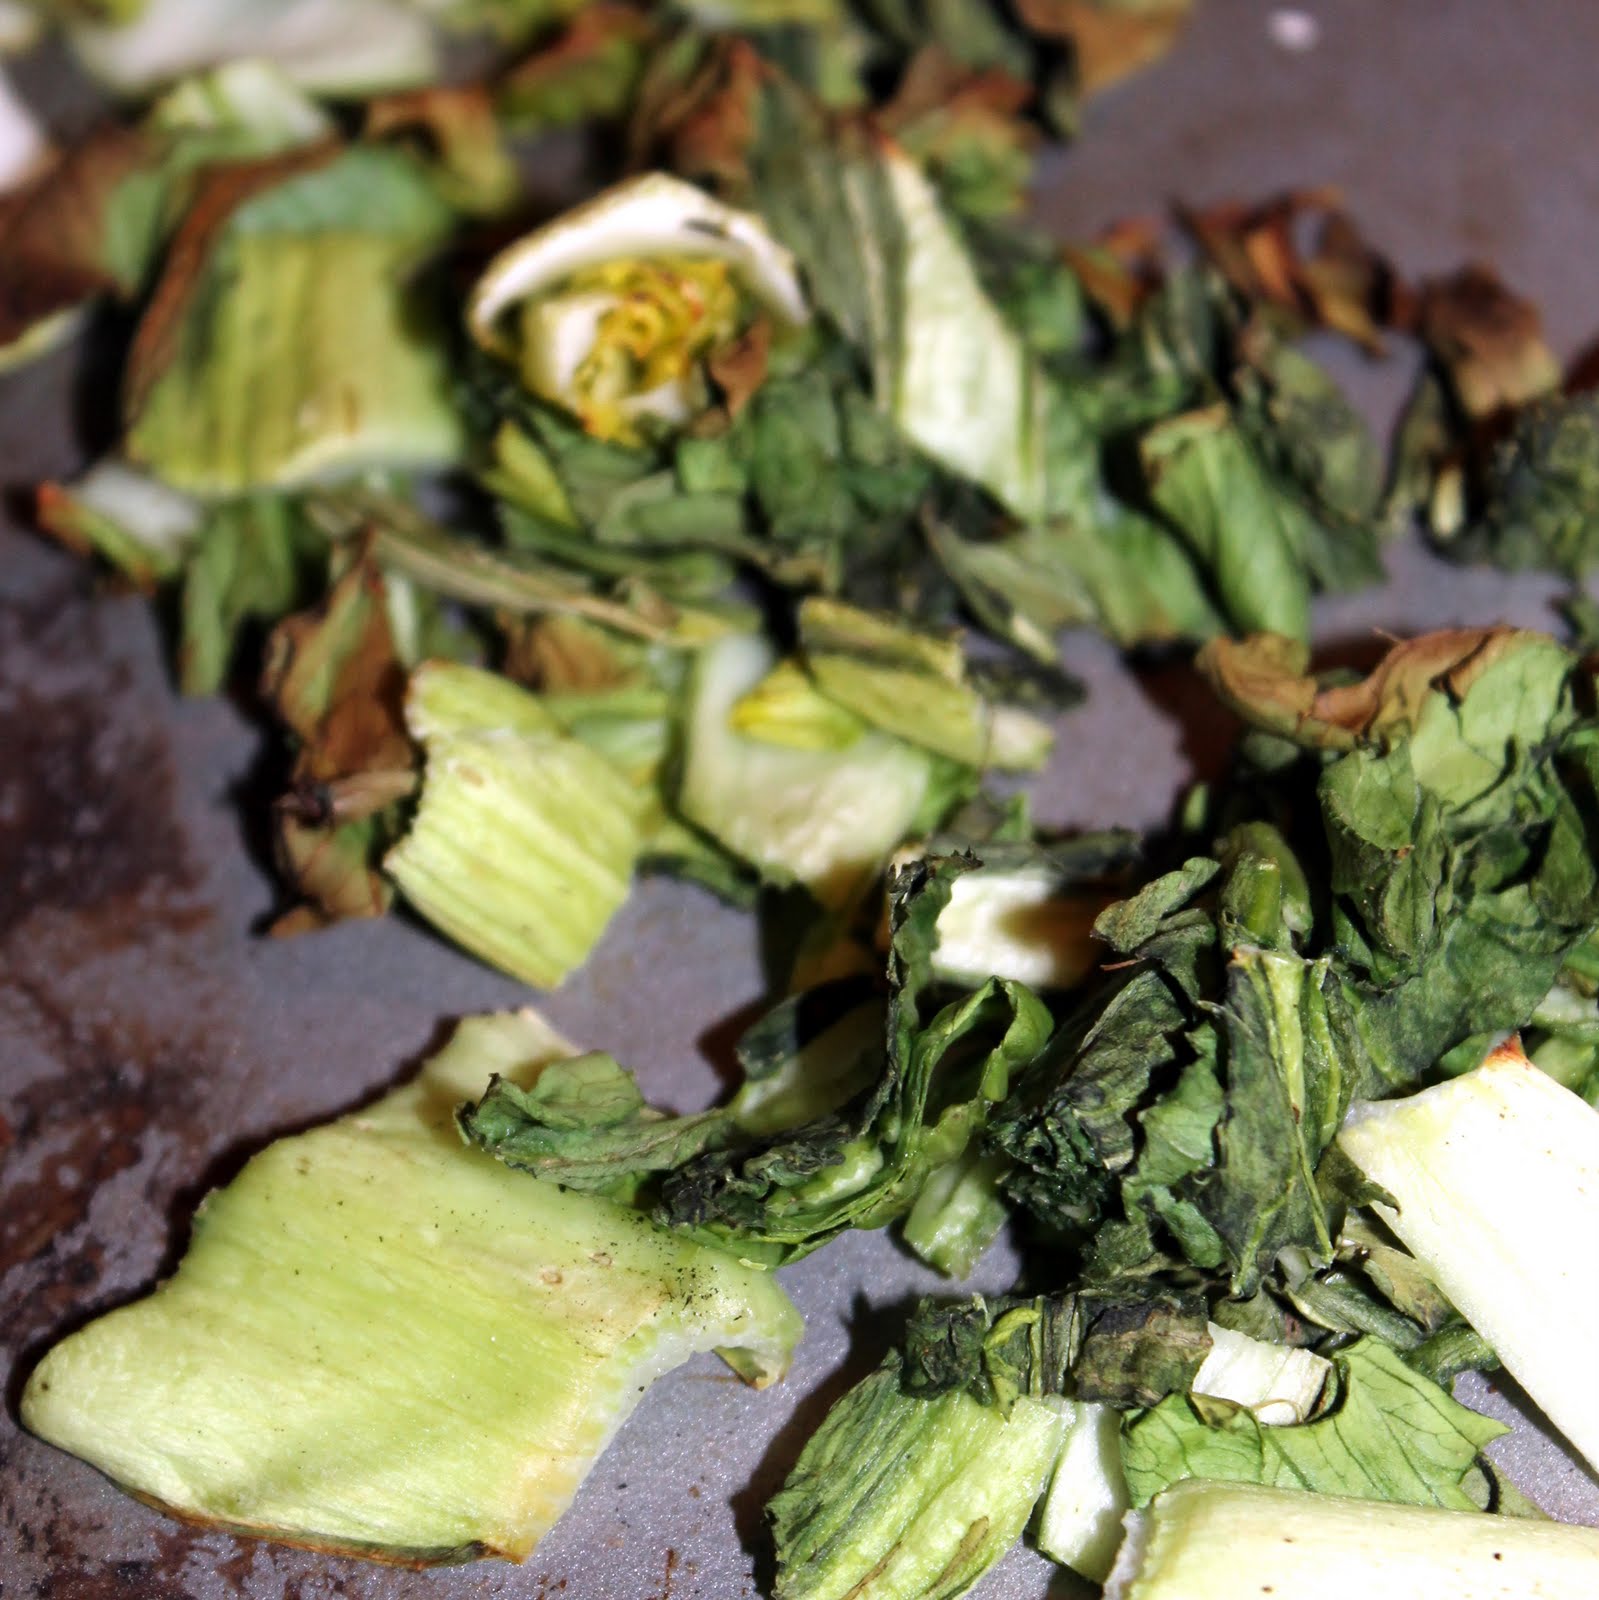
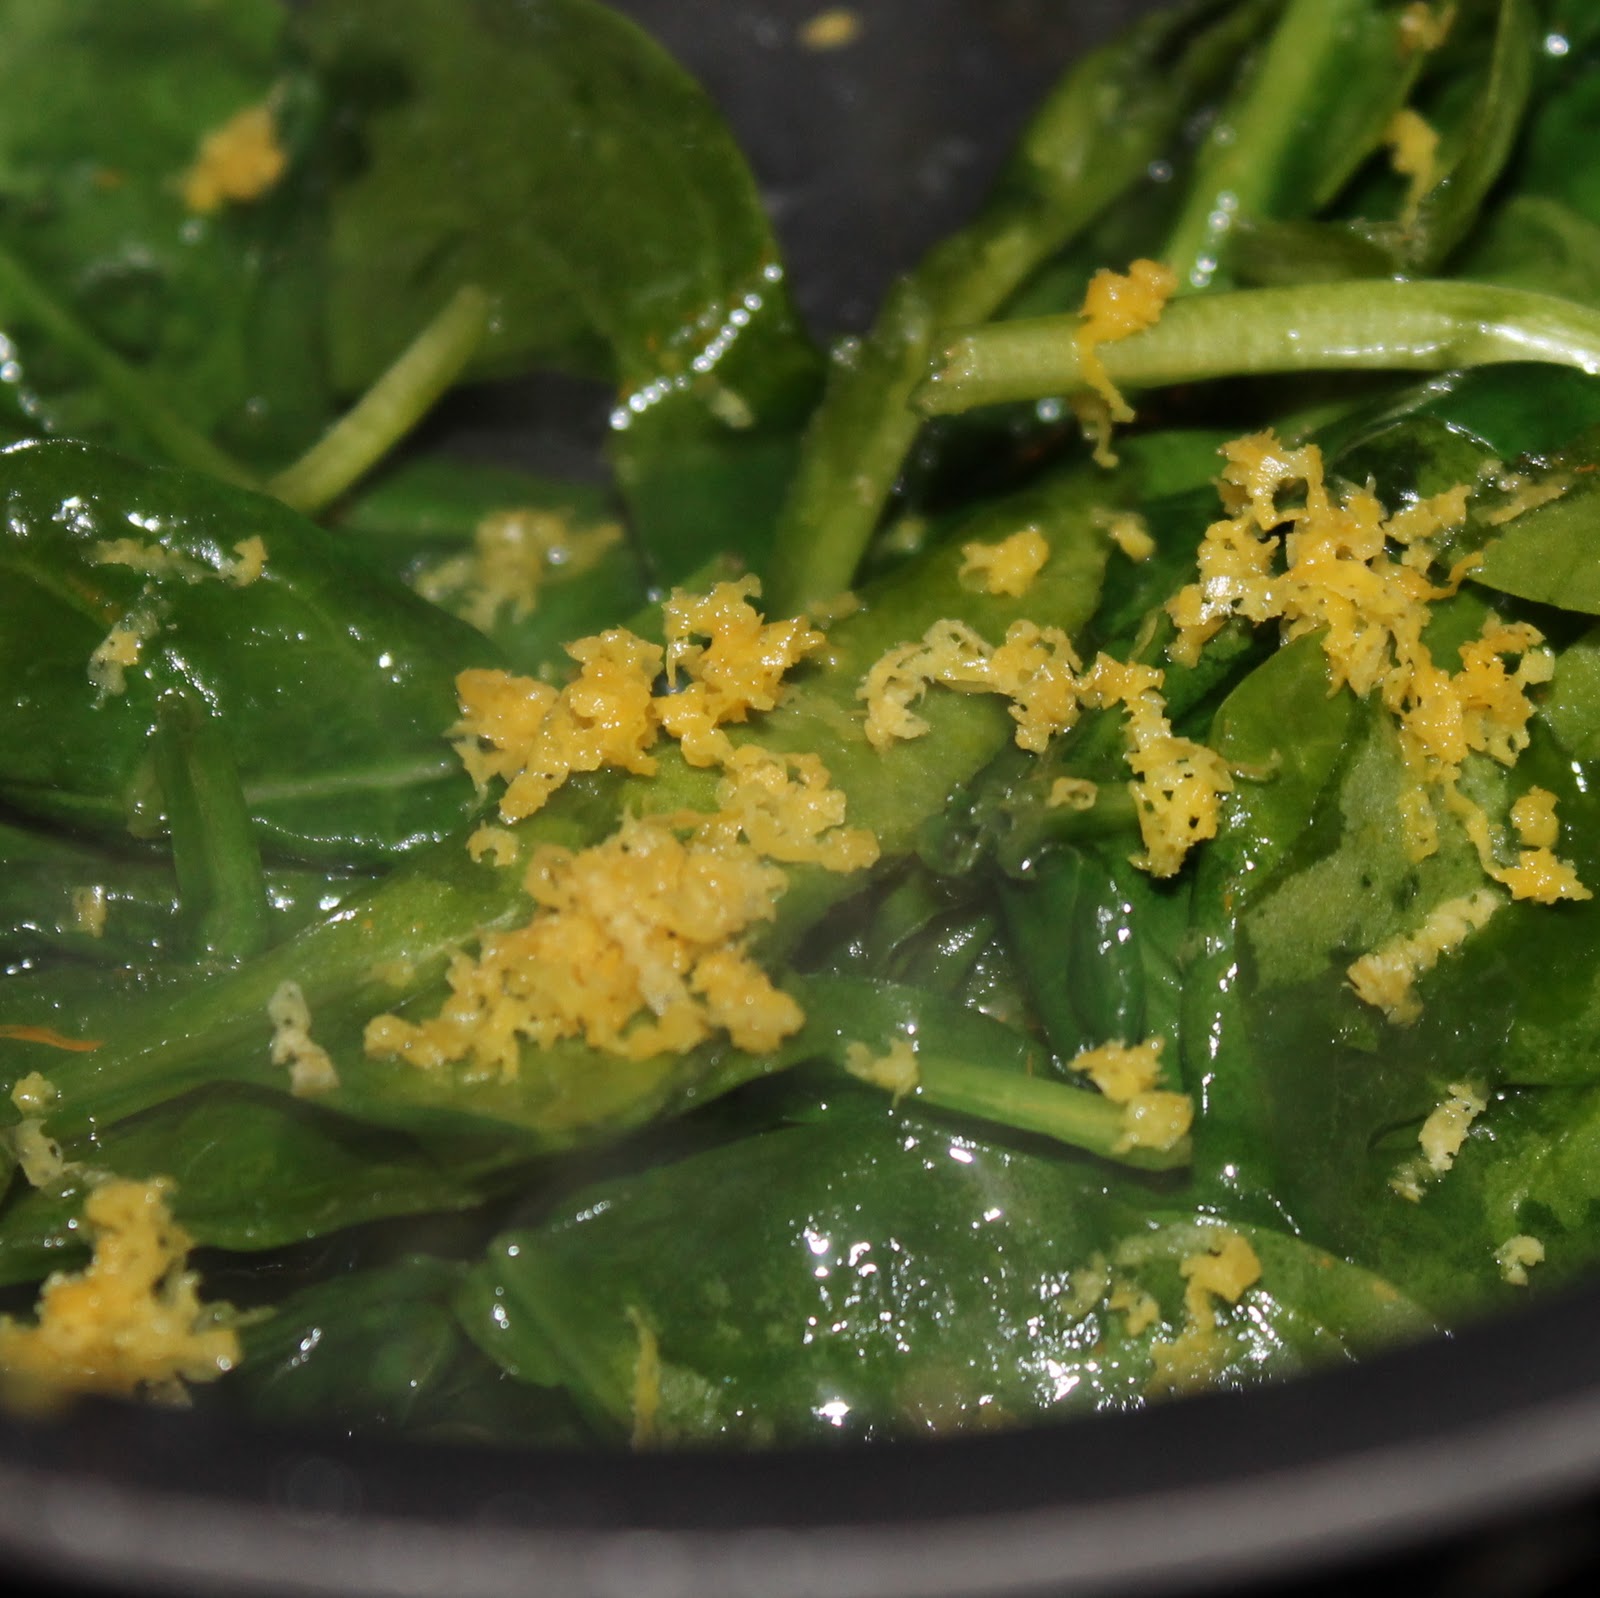
When there is about 5-10 minutes left on the salmon, prepare the spinach. Heat the olive oil over medium heat. Add the garlic and saute for 1 minute.

Add one handful of spinach.

Cook for one minute, stirring. Add the remaining handful of spinach and cook for 4 minutes or until wilted, stirring frequently.

Add lemon zest and salt. Stir in juice and remove from heat.
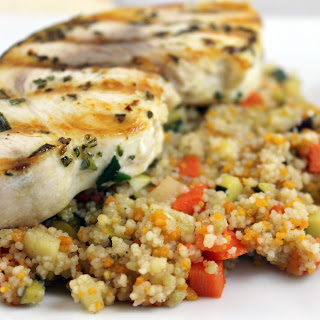
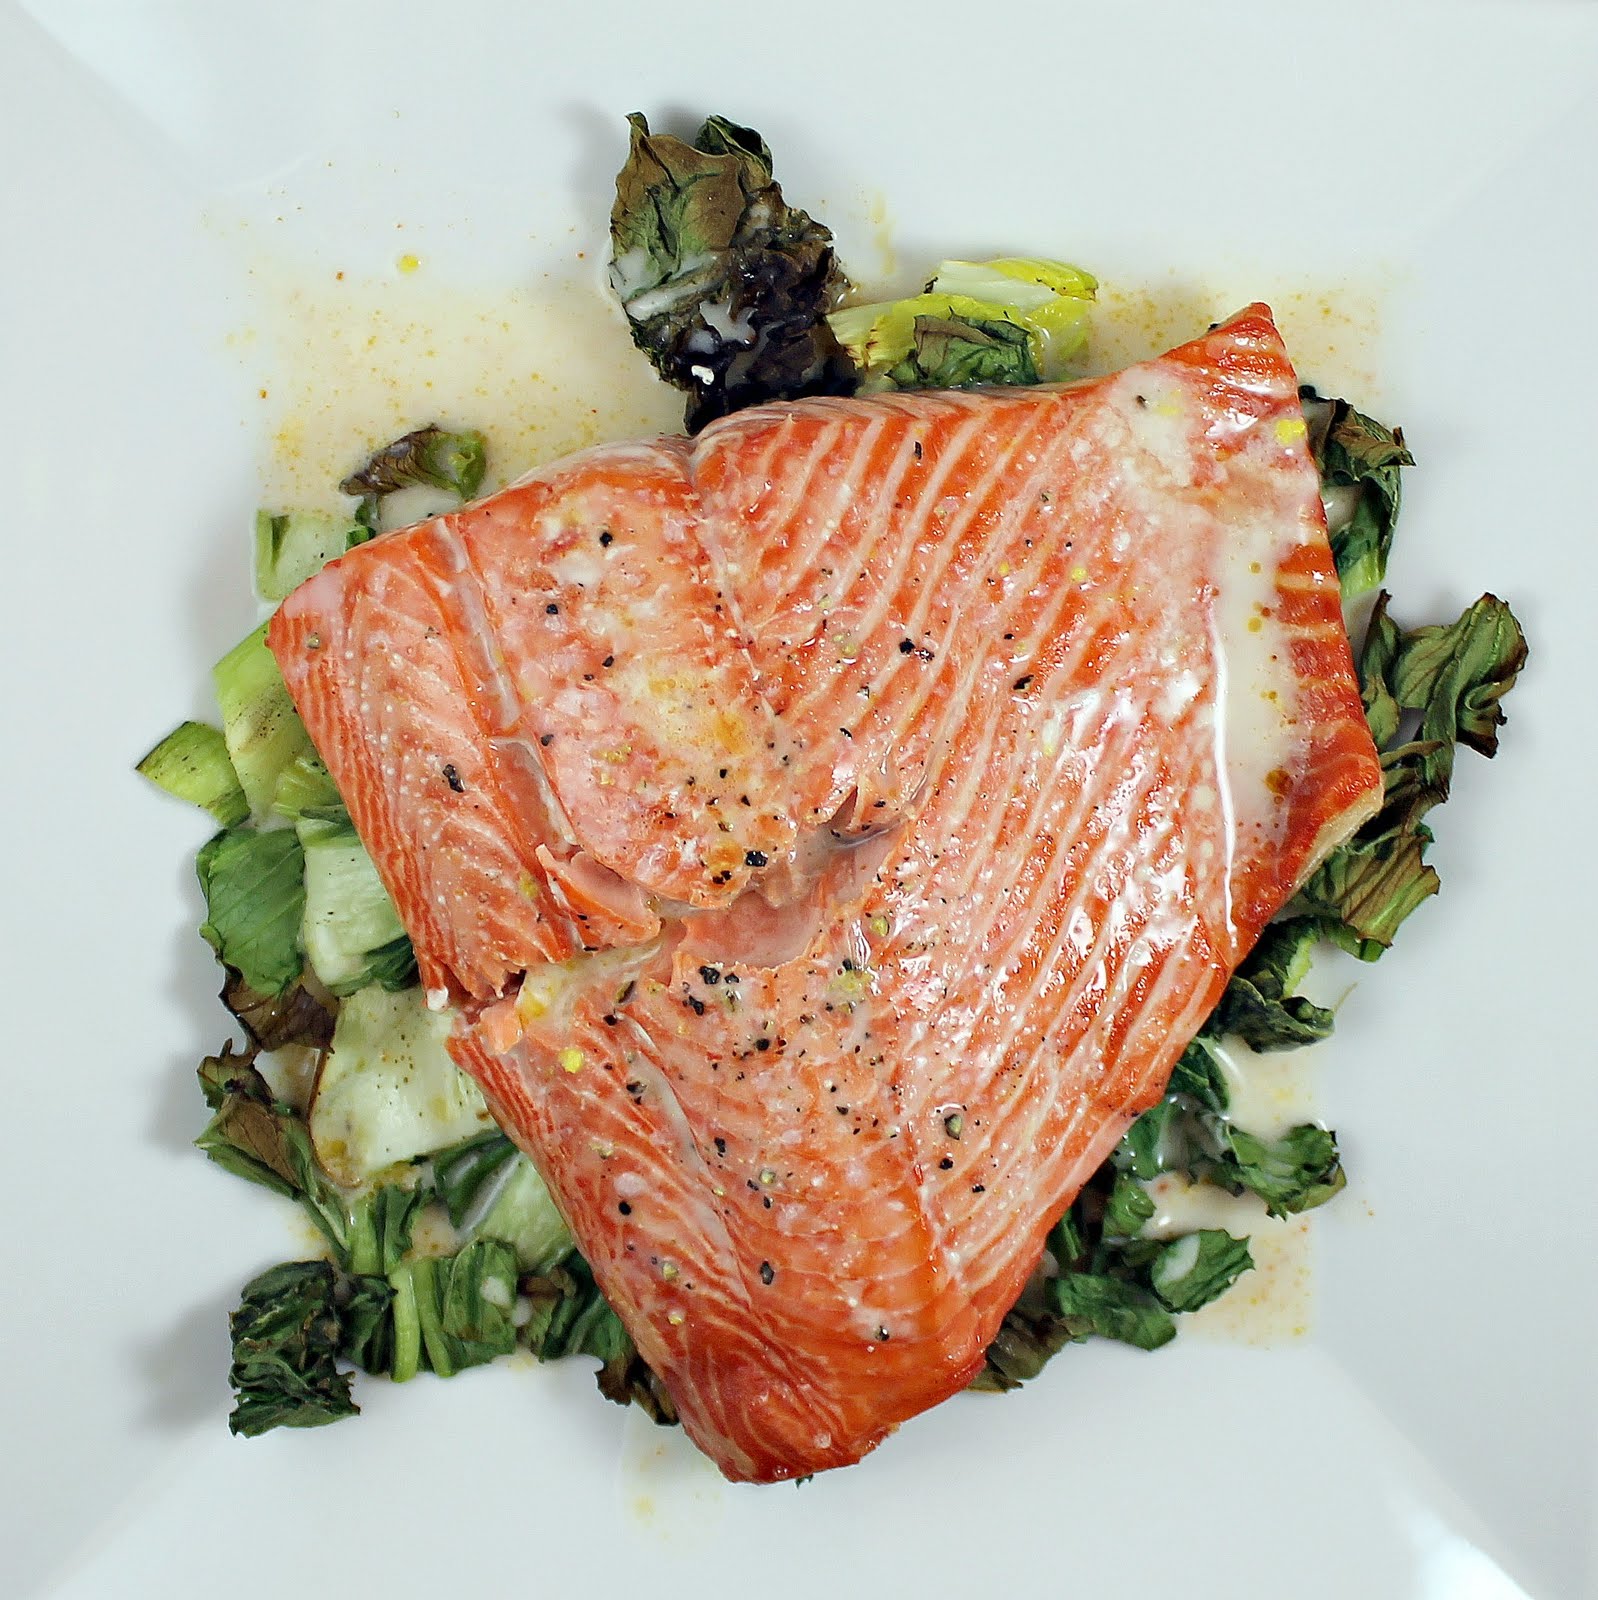
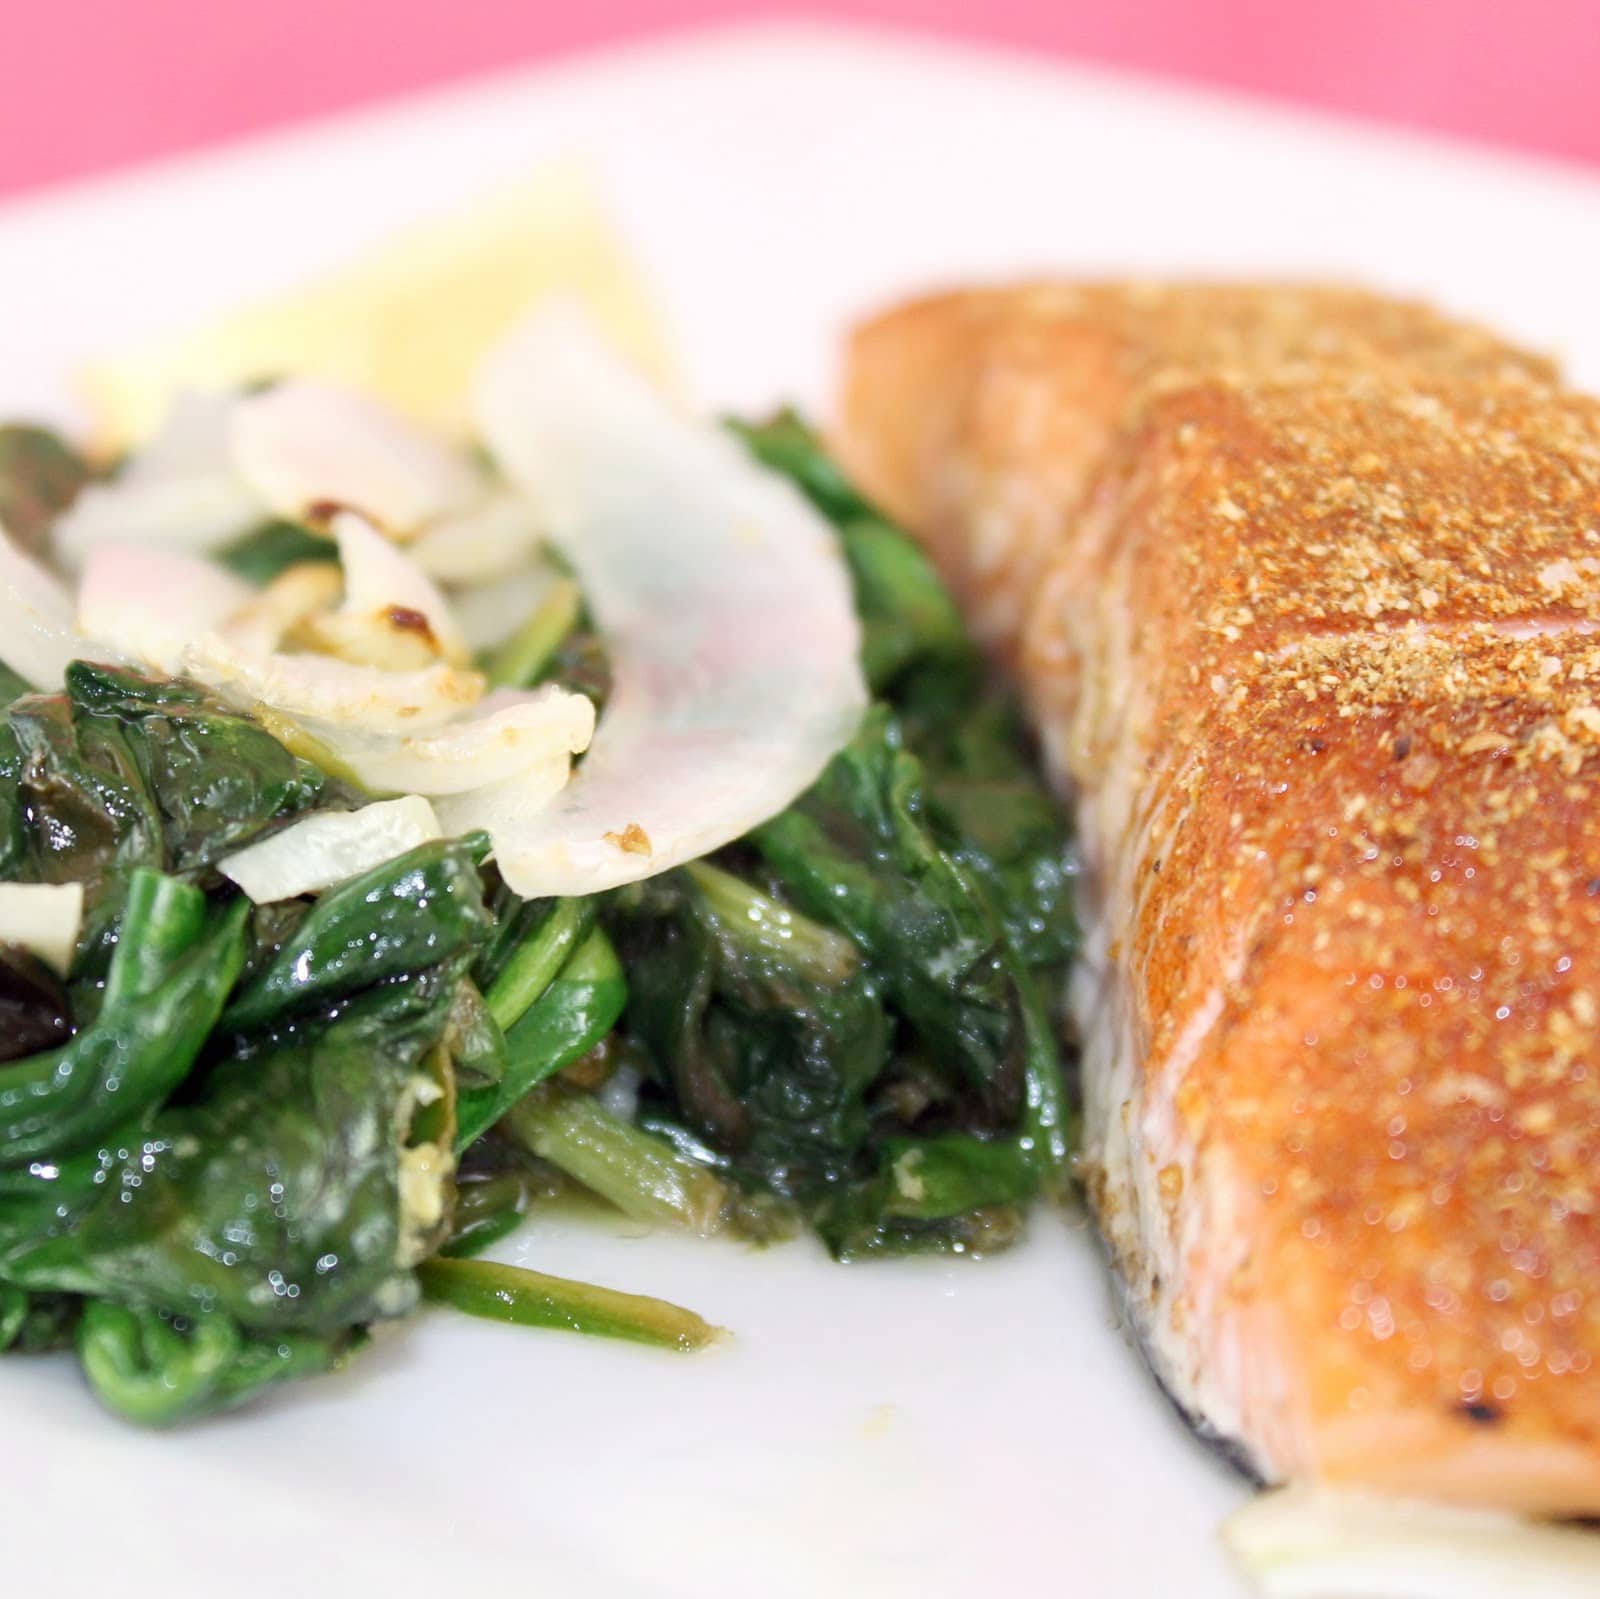
Serve the salmon with the onions and spinach.

Sprinkle salmon with cilantro. Serve with lemon wedges.

You’d think all of those powerful spices would overwhelm the salmon. Not at all. The flavor was fantastic!

I can’t even describe it. But my taste buds did a little dance.

The lemon added a nice tanginess to the spinach, which was a great contrast to the sweet caramelized onions.
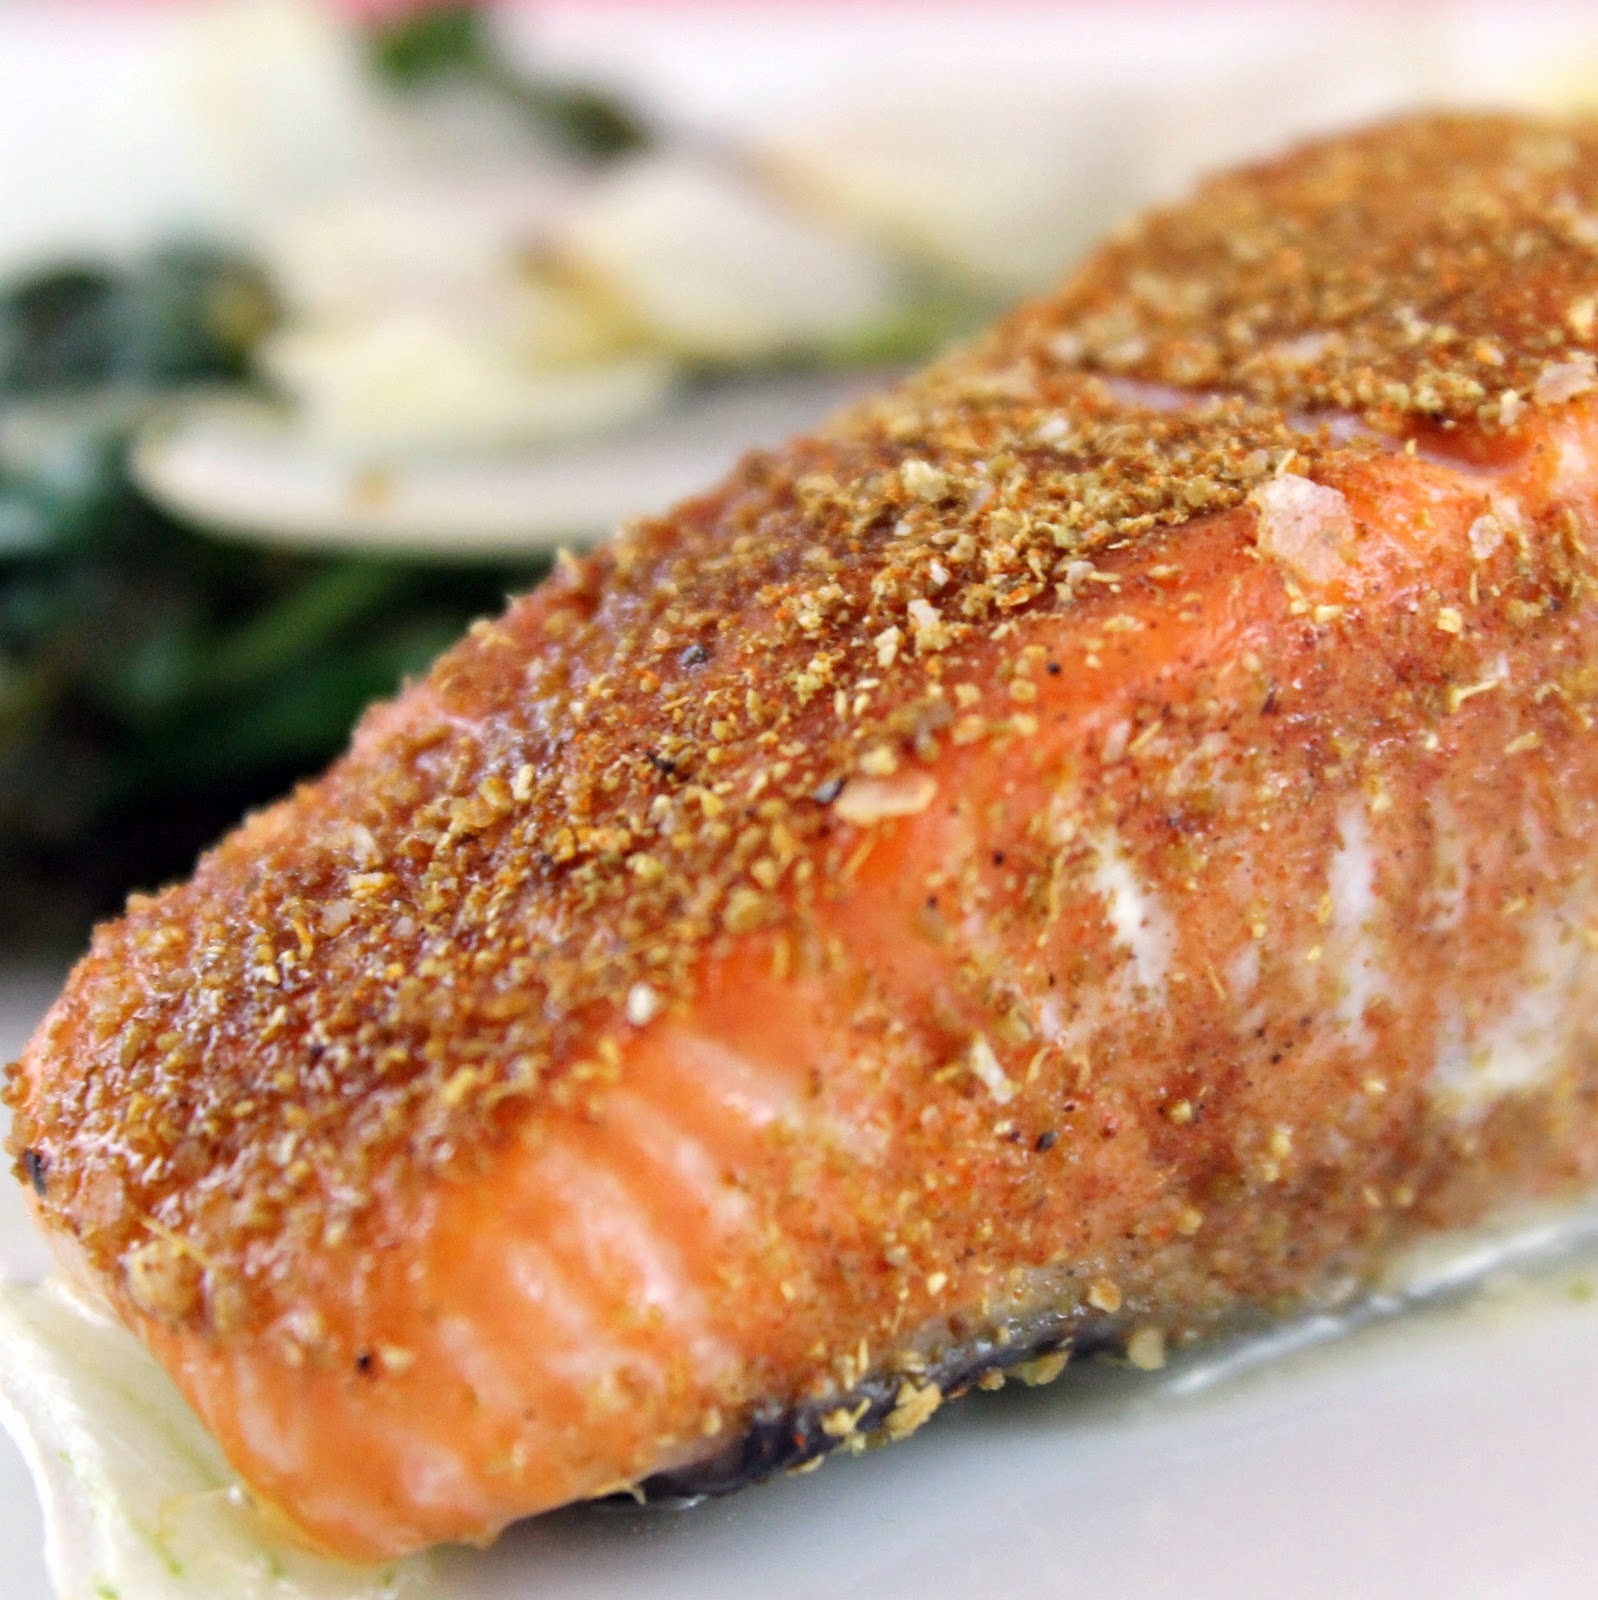
I think the next time I make this, I will check the salmon after 15 minutes of cooking. The salmon was slightly overcooked for my liking. Past that, this recipe is a definite keeper!