Pulled Chicken Sandwiches

It’s difficult to not associate barbecues with Labor Day weekend. The unofficial end of summer is usually spent the same way summer began on Memorial Day: relaxing (preferably at a beach) and enjoying the company of friends and family while eating burgers, hot dogs, and grilled chicken. Well, there was no beach for me this weekend, but I was still able to “grill” despite the kind of crummy weather so that I still got my barbecue fix. Cooking Light has a surprisingly simple looking recipe for Pulled Chicken Sandwiches that I just had to try.
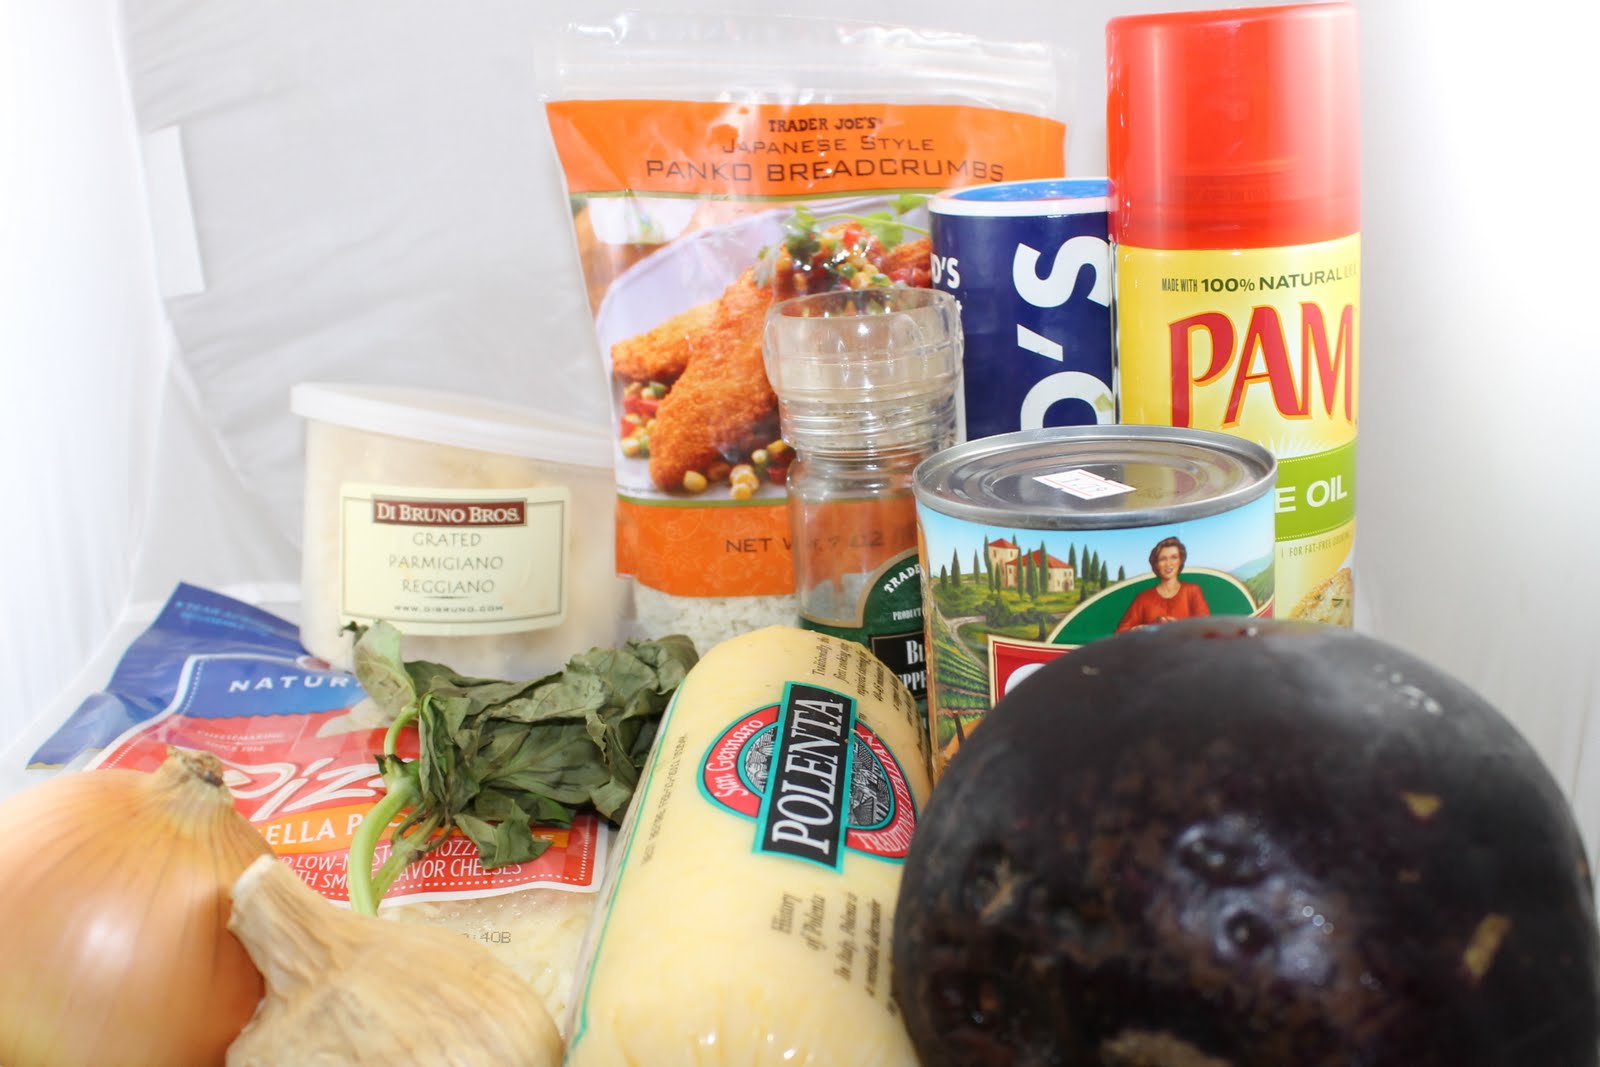
Ingredients:

For the chicken:
2 tablespoons light brown sugar
1 teaspoon paprika
1 teaspoon chili powder
3/4 teaspoon ground cumin
1/2 teaspoon ground chipotle chile pepper
1/2 teaspoon salt
1/4 teaspoon ground ginger
2 pounds skinless, boneless chicken thighs
Cooking spray

For the sauce:
2 teaspoons canola oil
1 onion, finely chopped
2 tablespoons light brown sugar
1 teaspoon chili powder
1/2 teaspoon garlic powder
1/2 teaspoon dry mustard
1/4 teaspoon ground allspice
1/8 teaspoon ground red pepper
1 cup ketchup
2 tablespoons cider vinegar
1 tablespoon molasses

Remaining ingredients:
8 sandwich rolls, toasted
Pickles, your choice

Don’t let the number of ingredients deter you from making this. It really is simple! The original recipe actually used dark brown sugar, but I had light brown sugar on hand. Feel free to use whichever one you happen to have. You can substitute chicken breasts for this, but thigh meat adds extra juiciness to the sandwich that you really don’t want to miss out tasting.
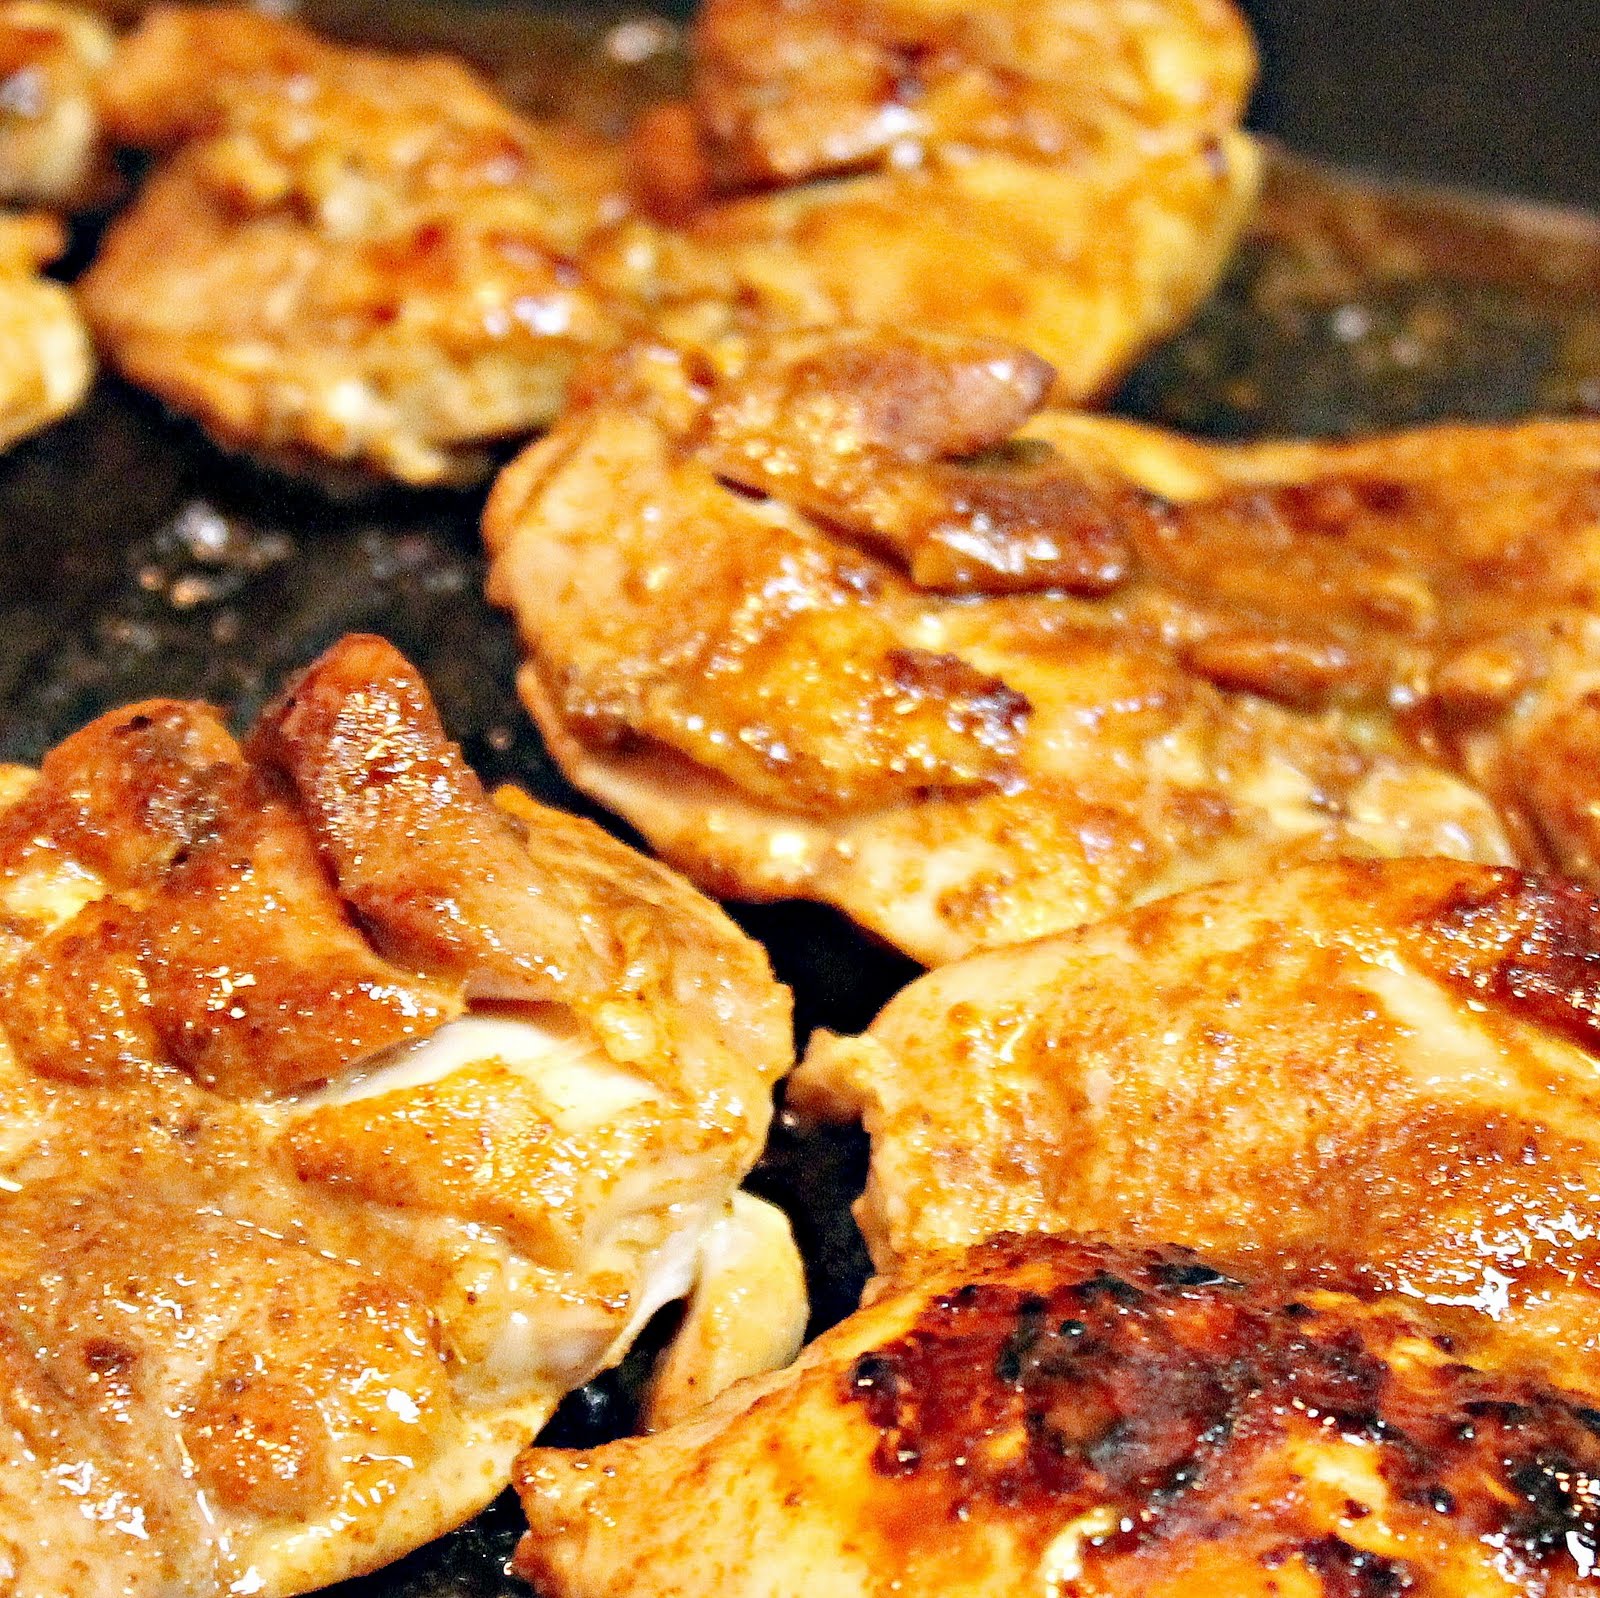
Begin by preheating your grill. I was stuck indoors, so I just used a grill pan.
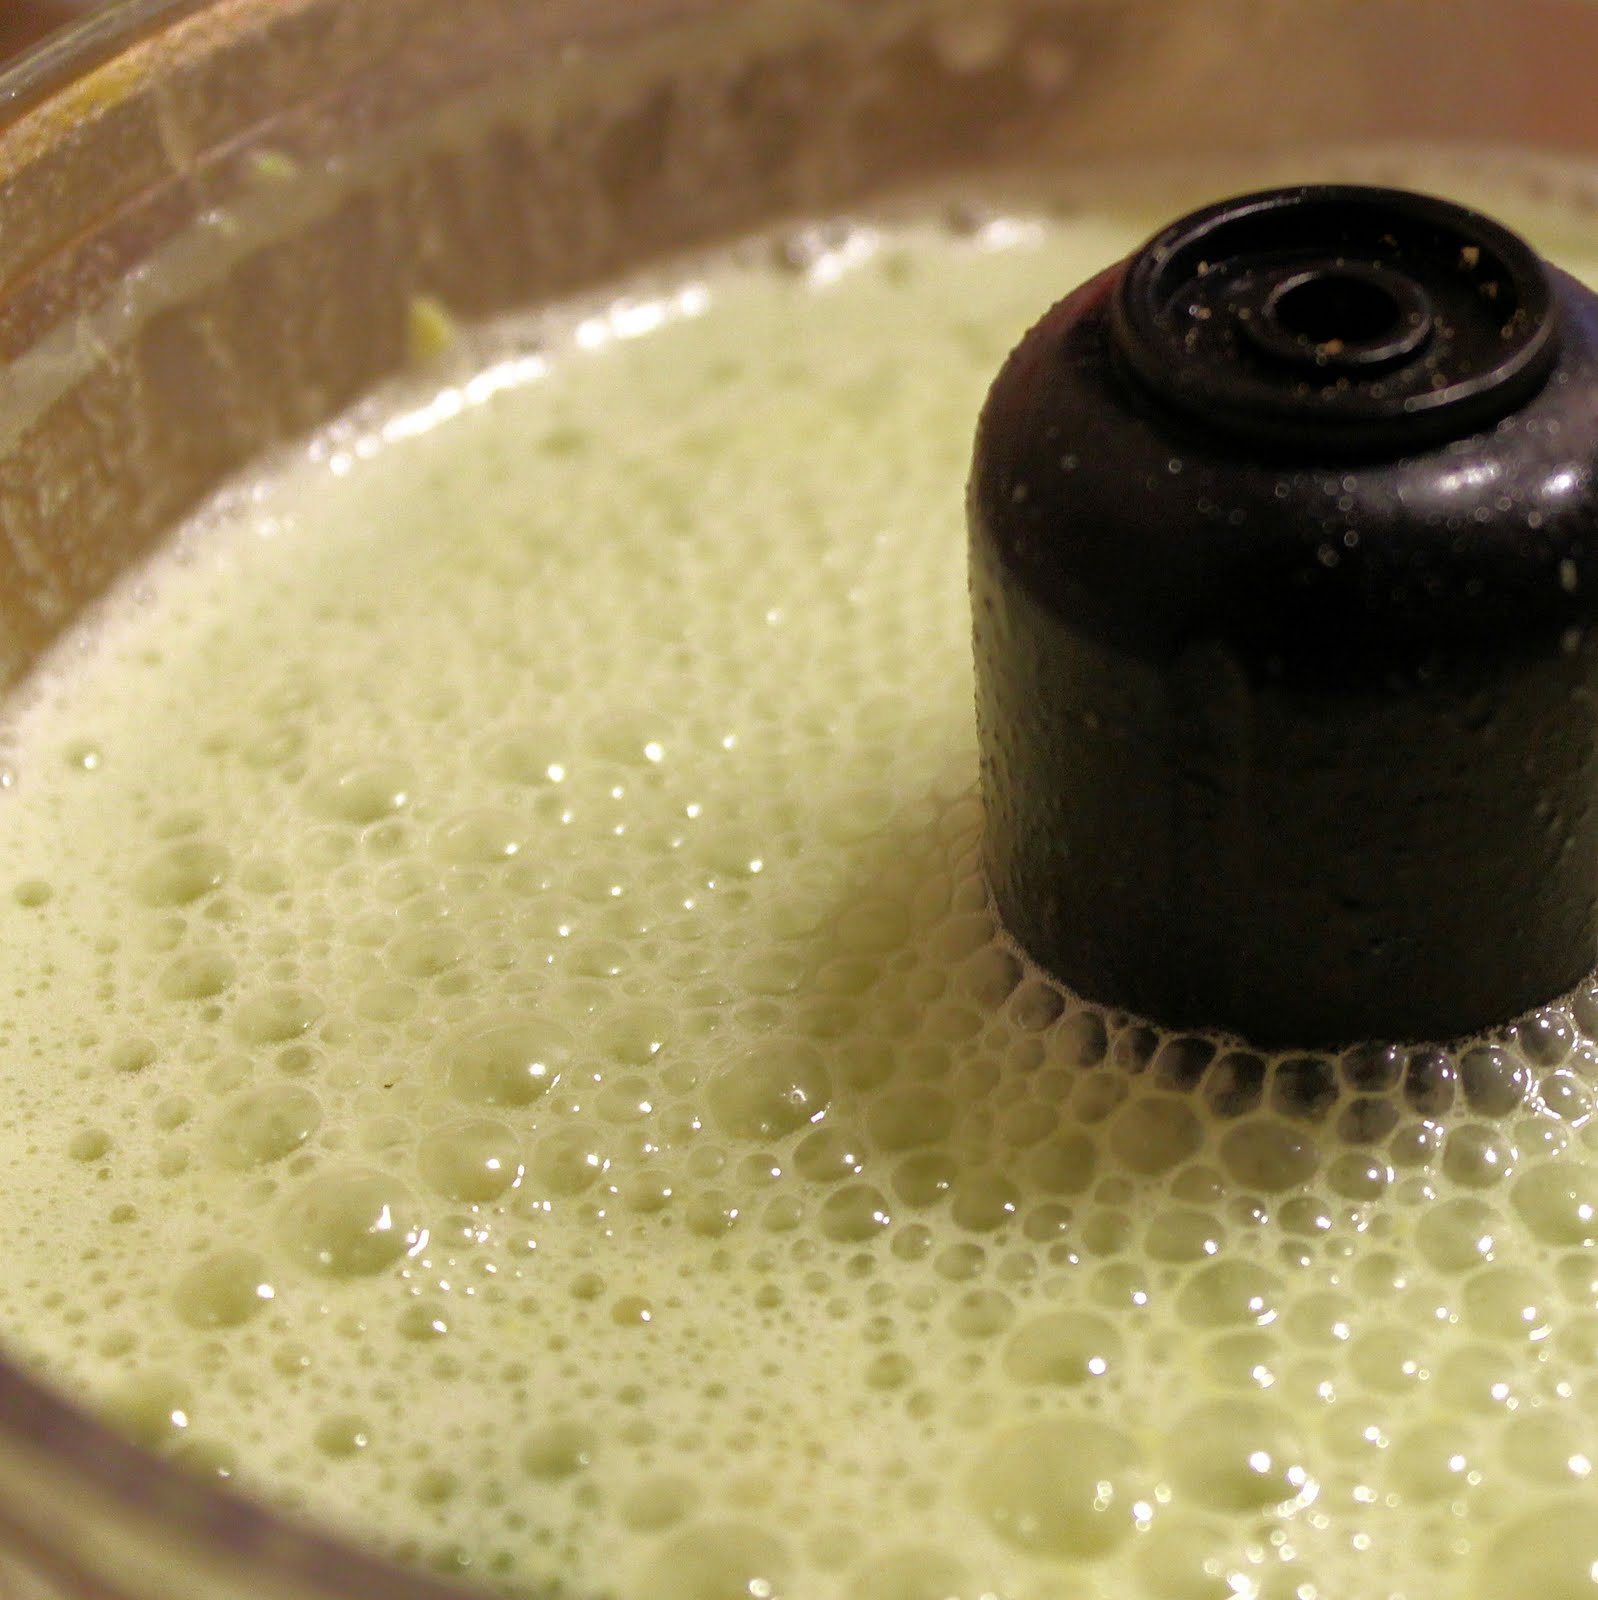
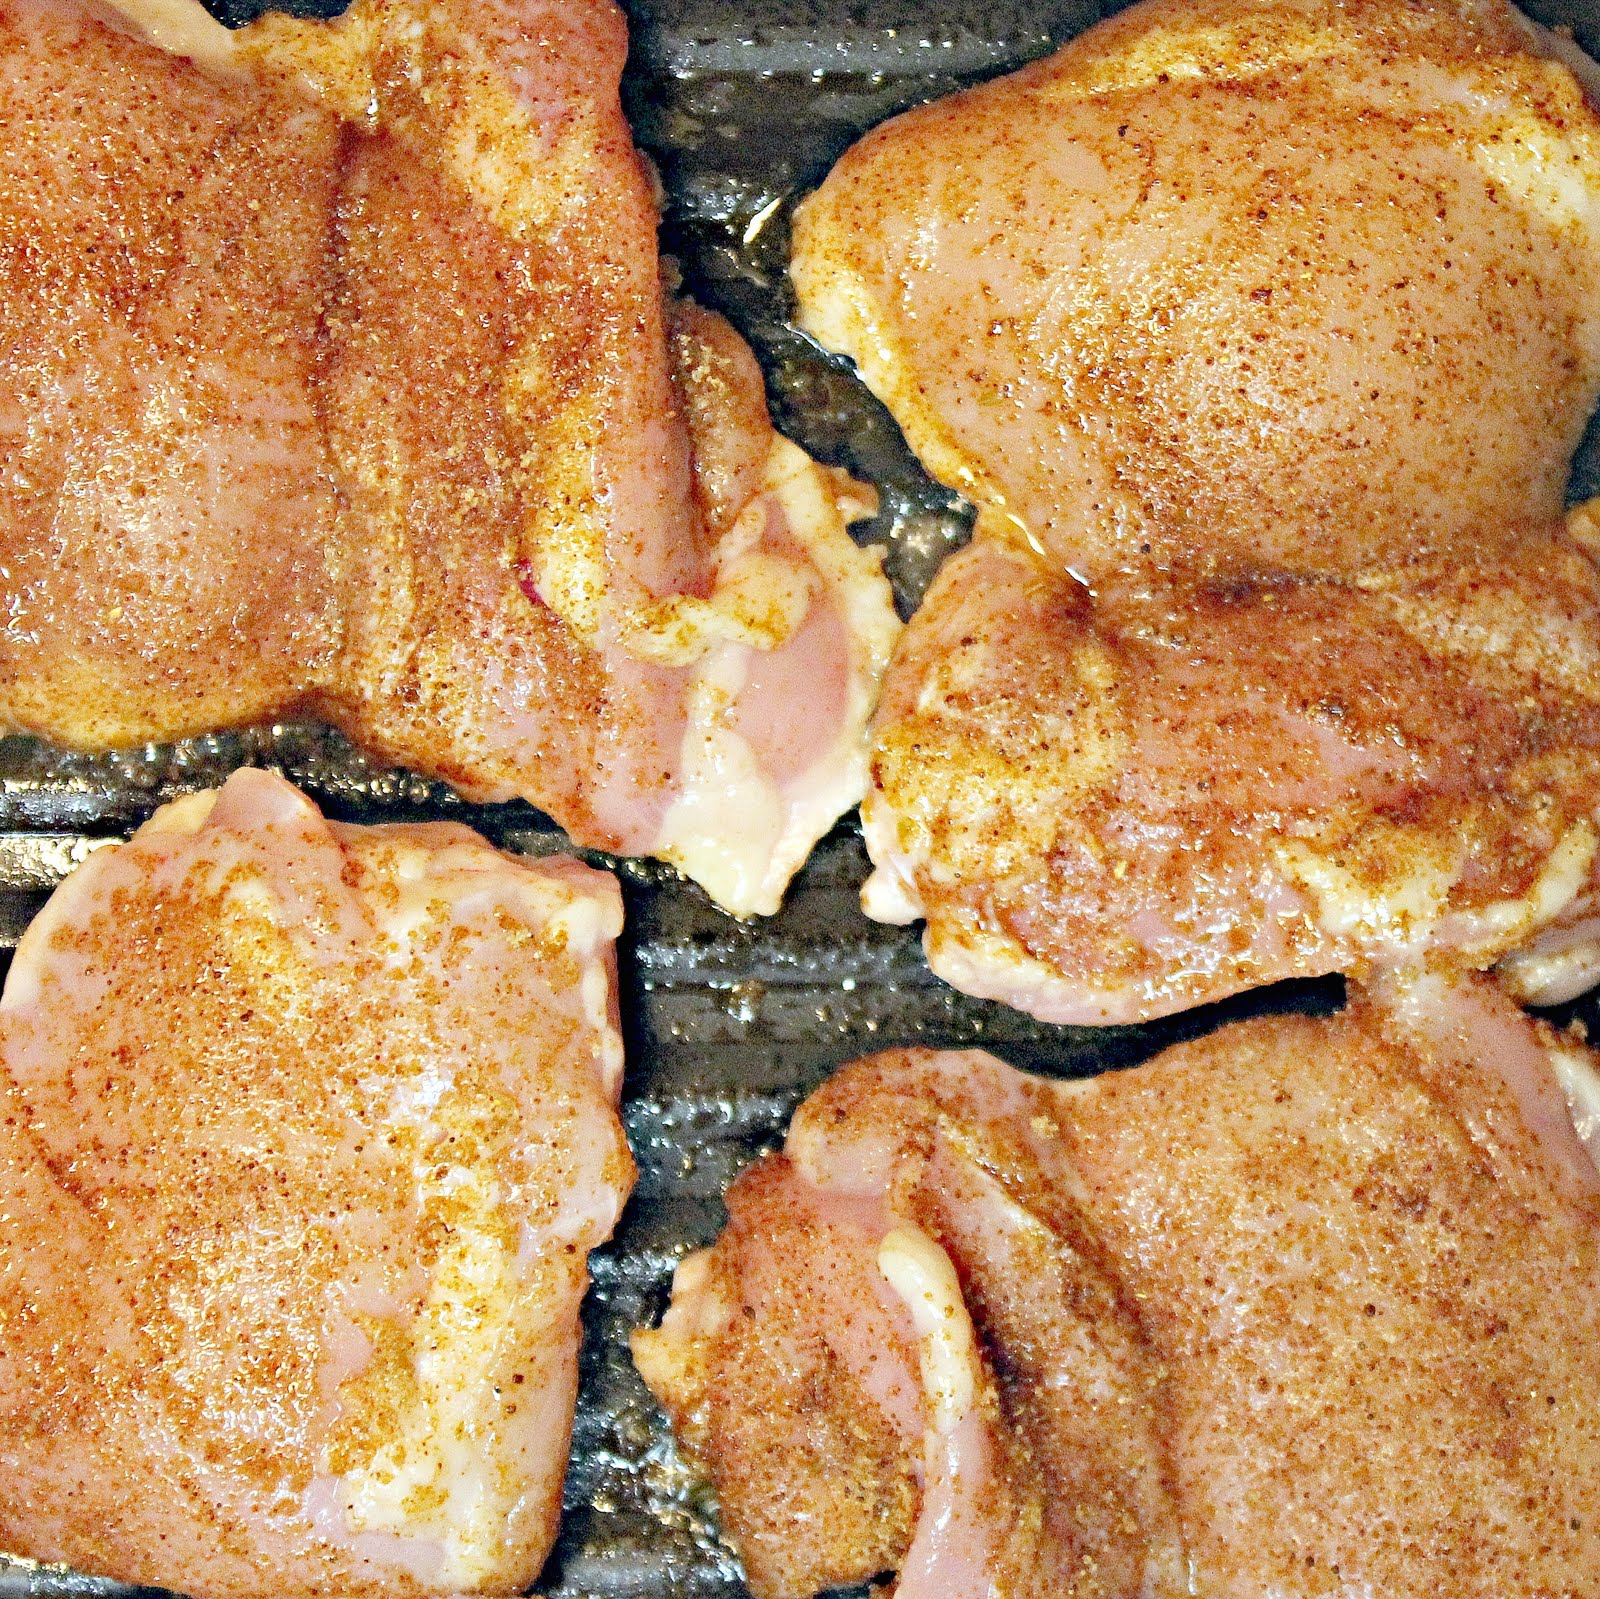
Combine first 7 ingredients (light brown sugar through ginger) in a small bowl. I somehow misplaced my measuring spoons so I kind of eyeballed all of these ingredients. Don’t worry about getting the perfect amounts, it’s more about the proportion to the other spices.
Rub the mixture evenly over the chicken.
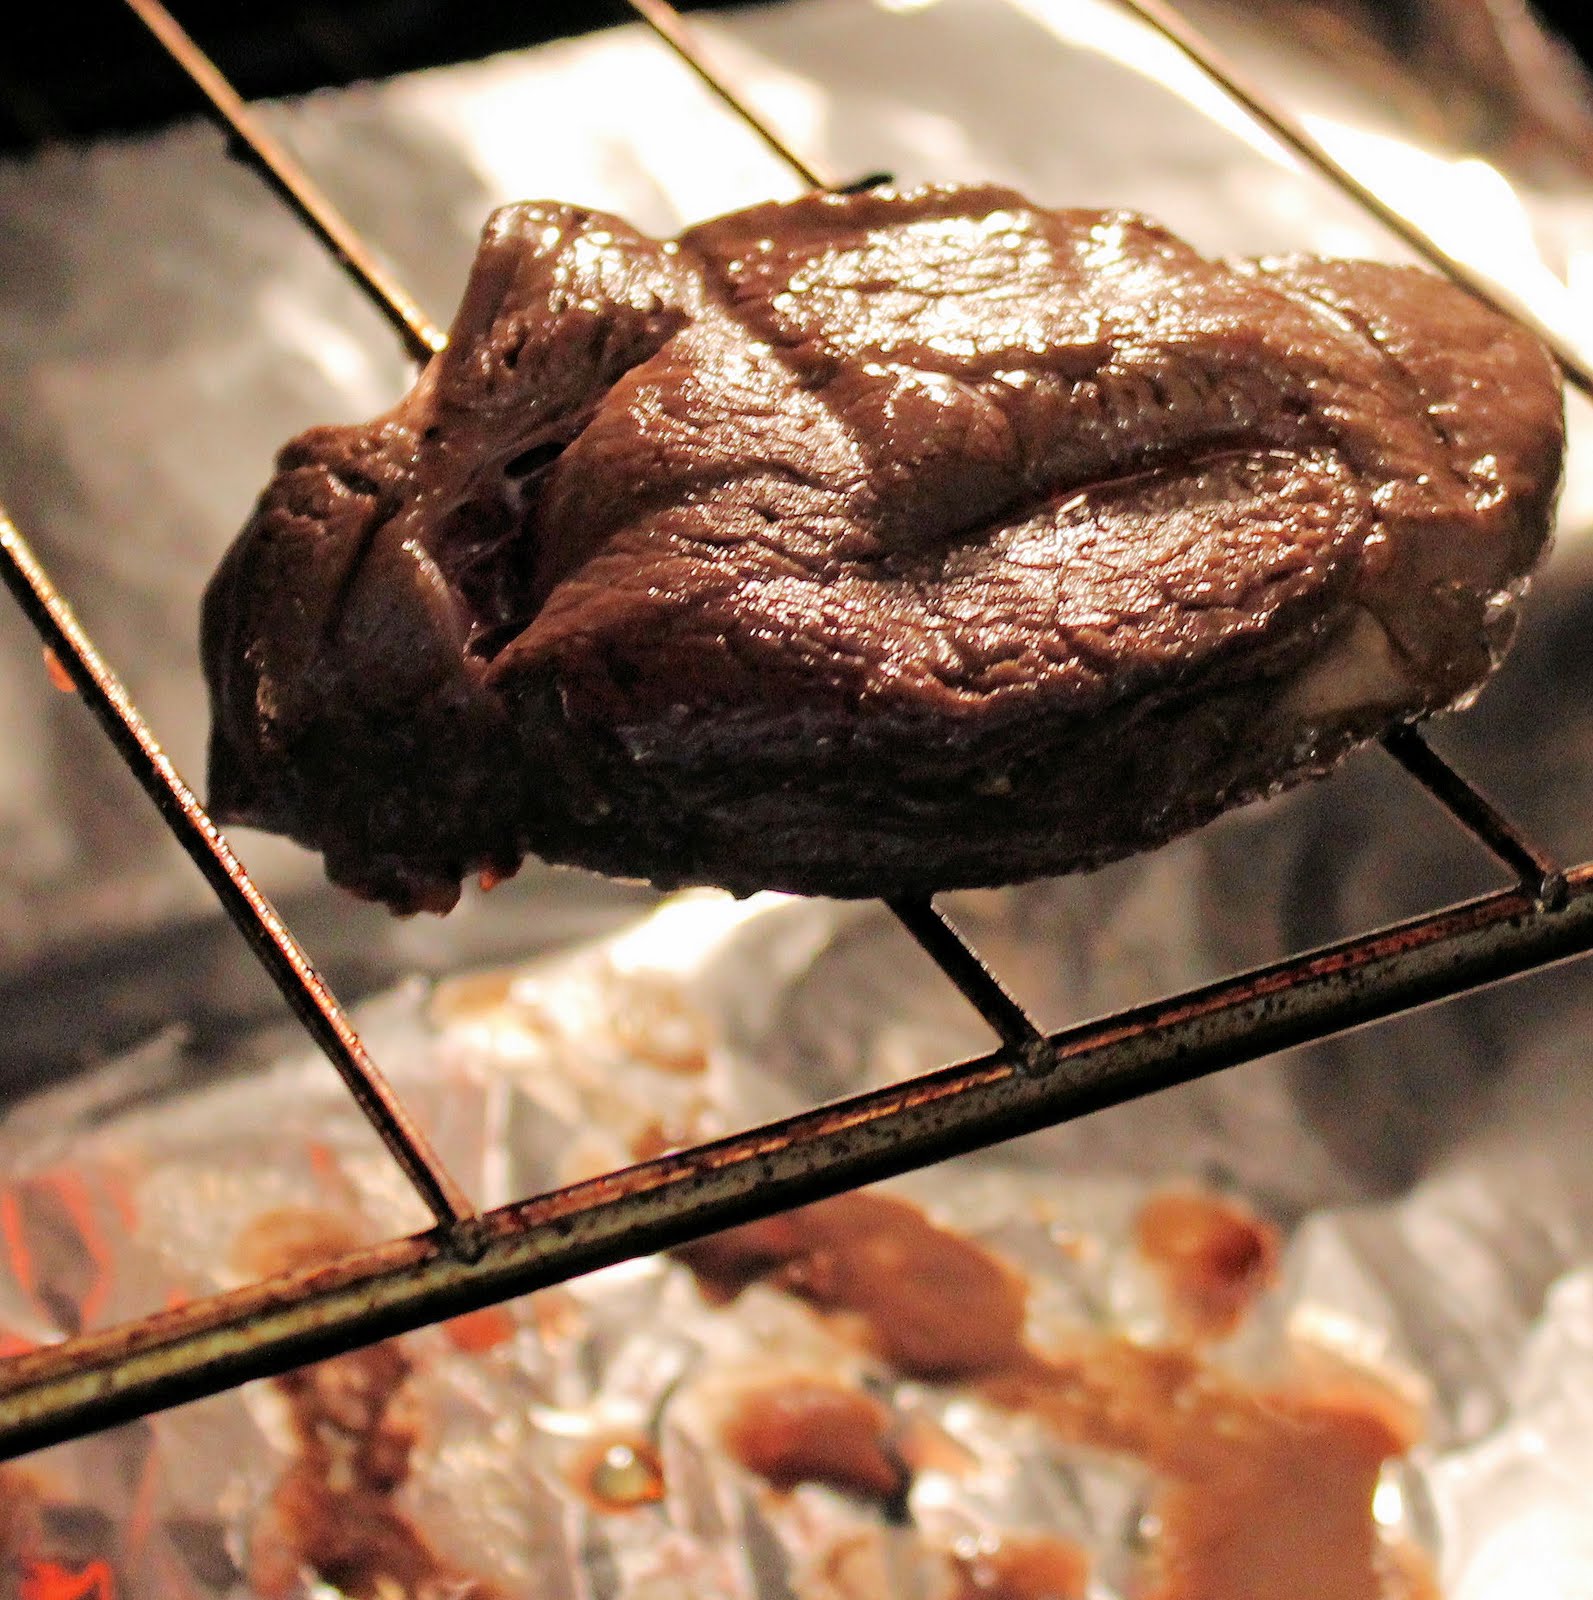
Place chicken on a grill rack coated with cooking spray.
Cover and cook for 20 minutes, or until a thermometer registers 180 degrees, turning occasionally.
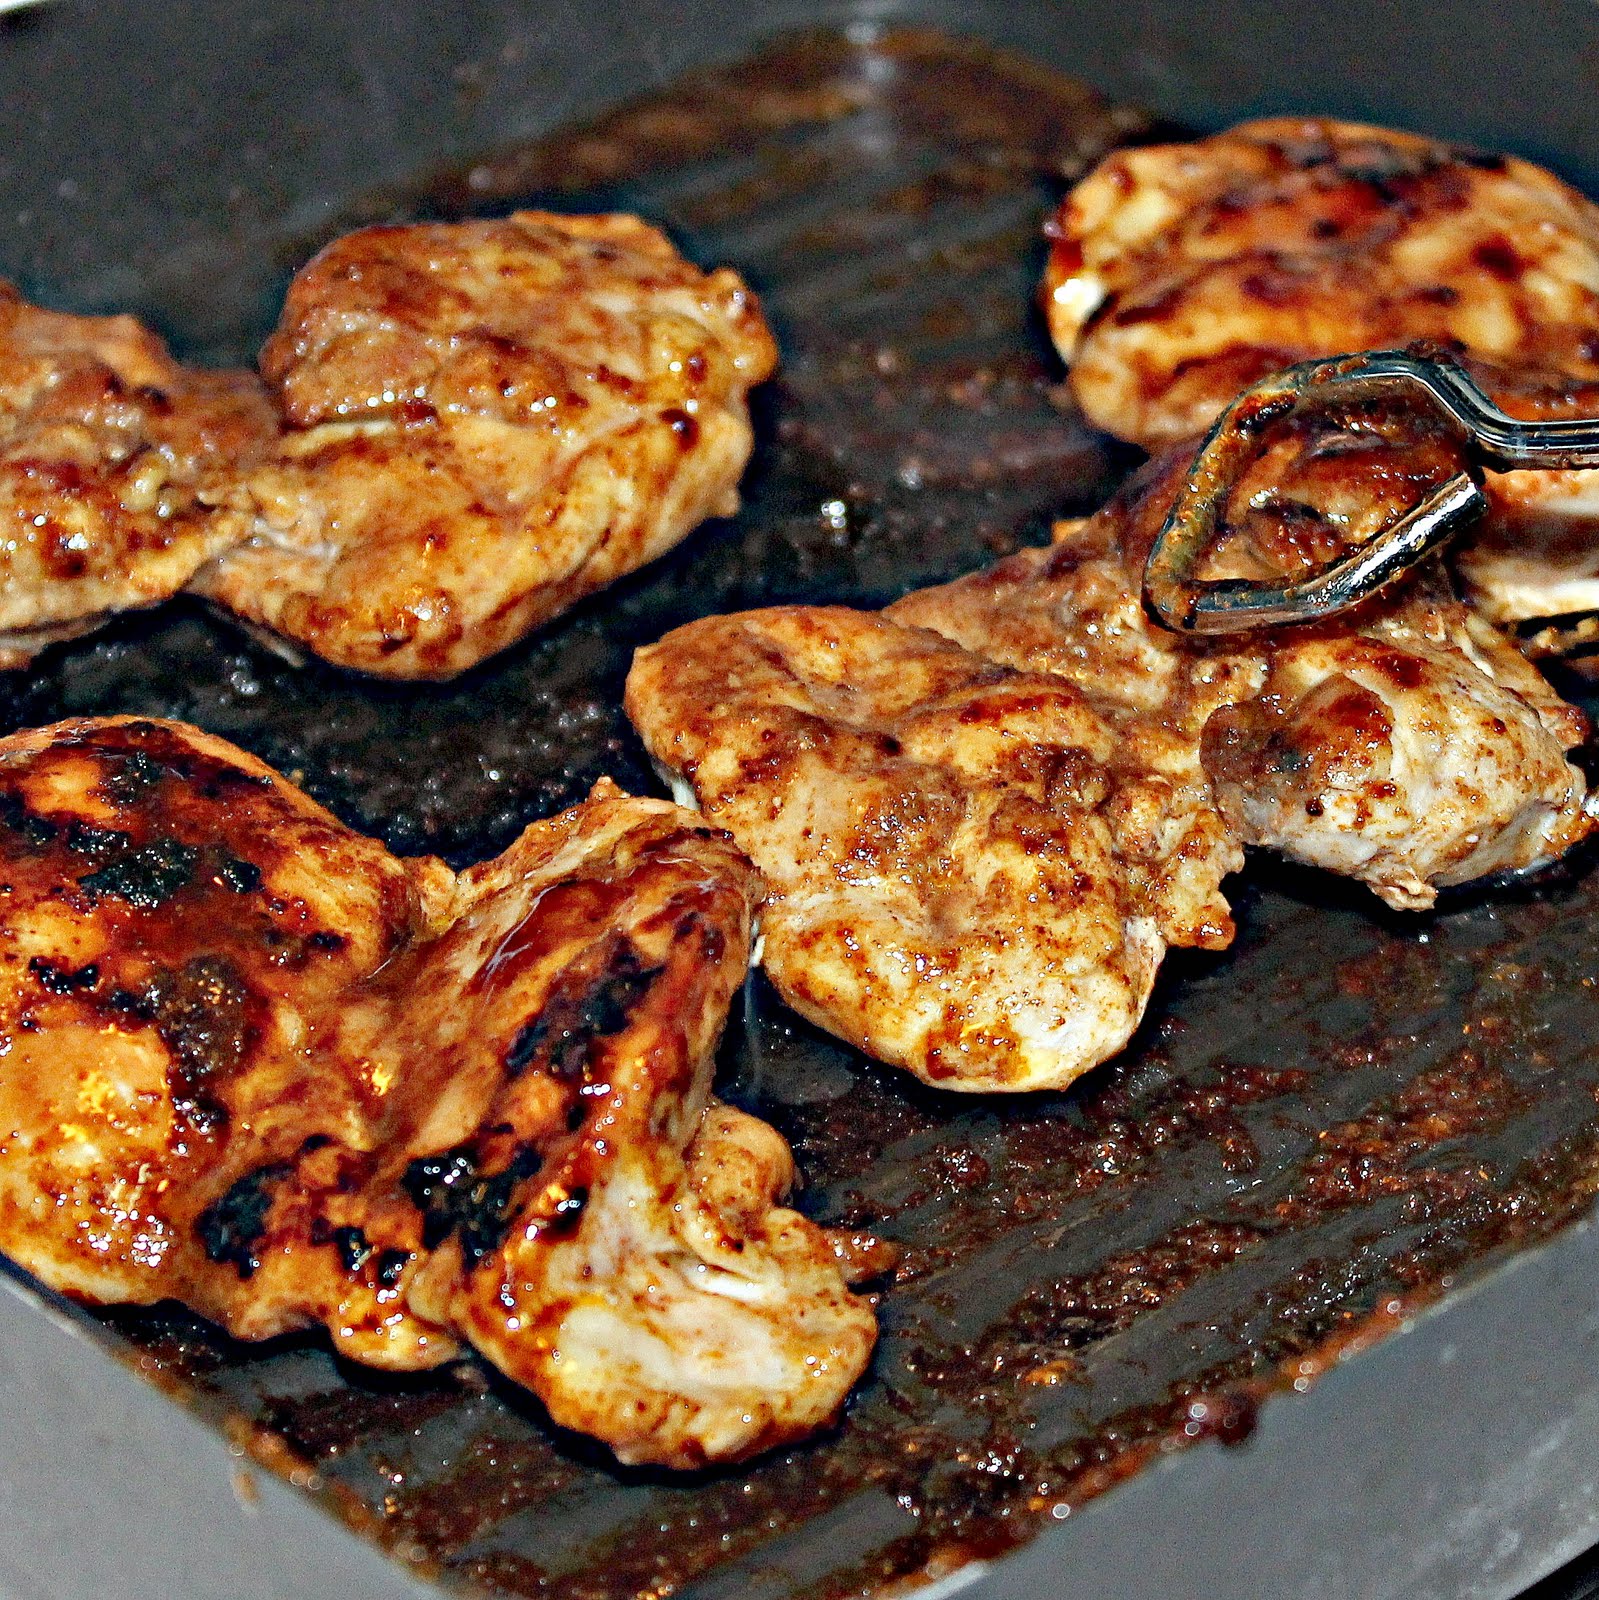
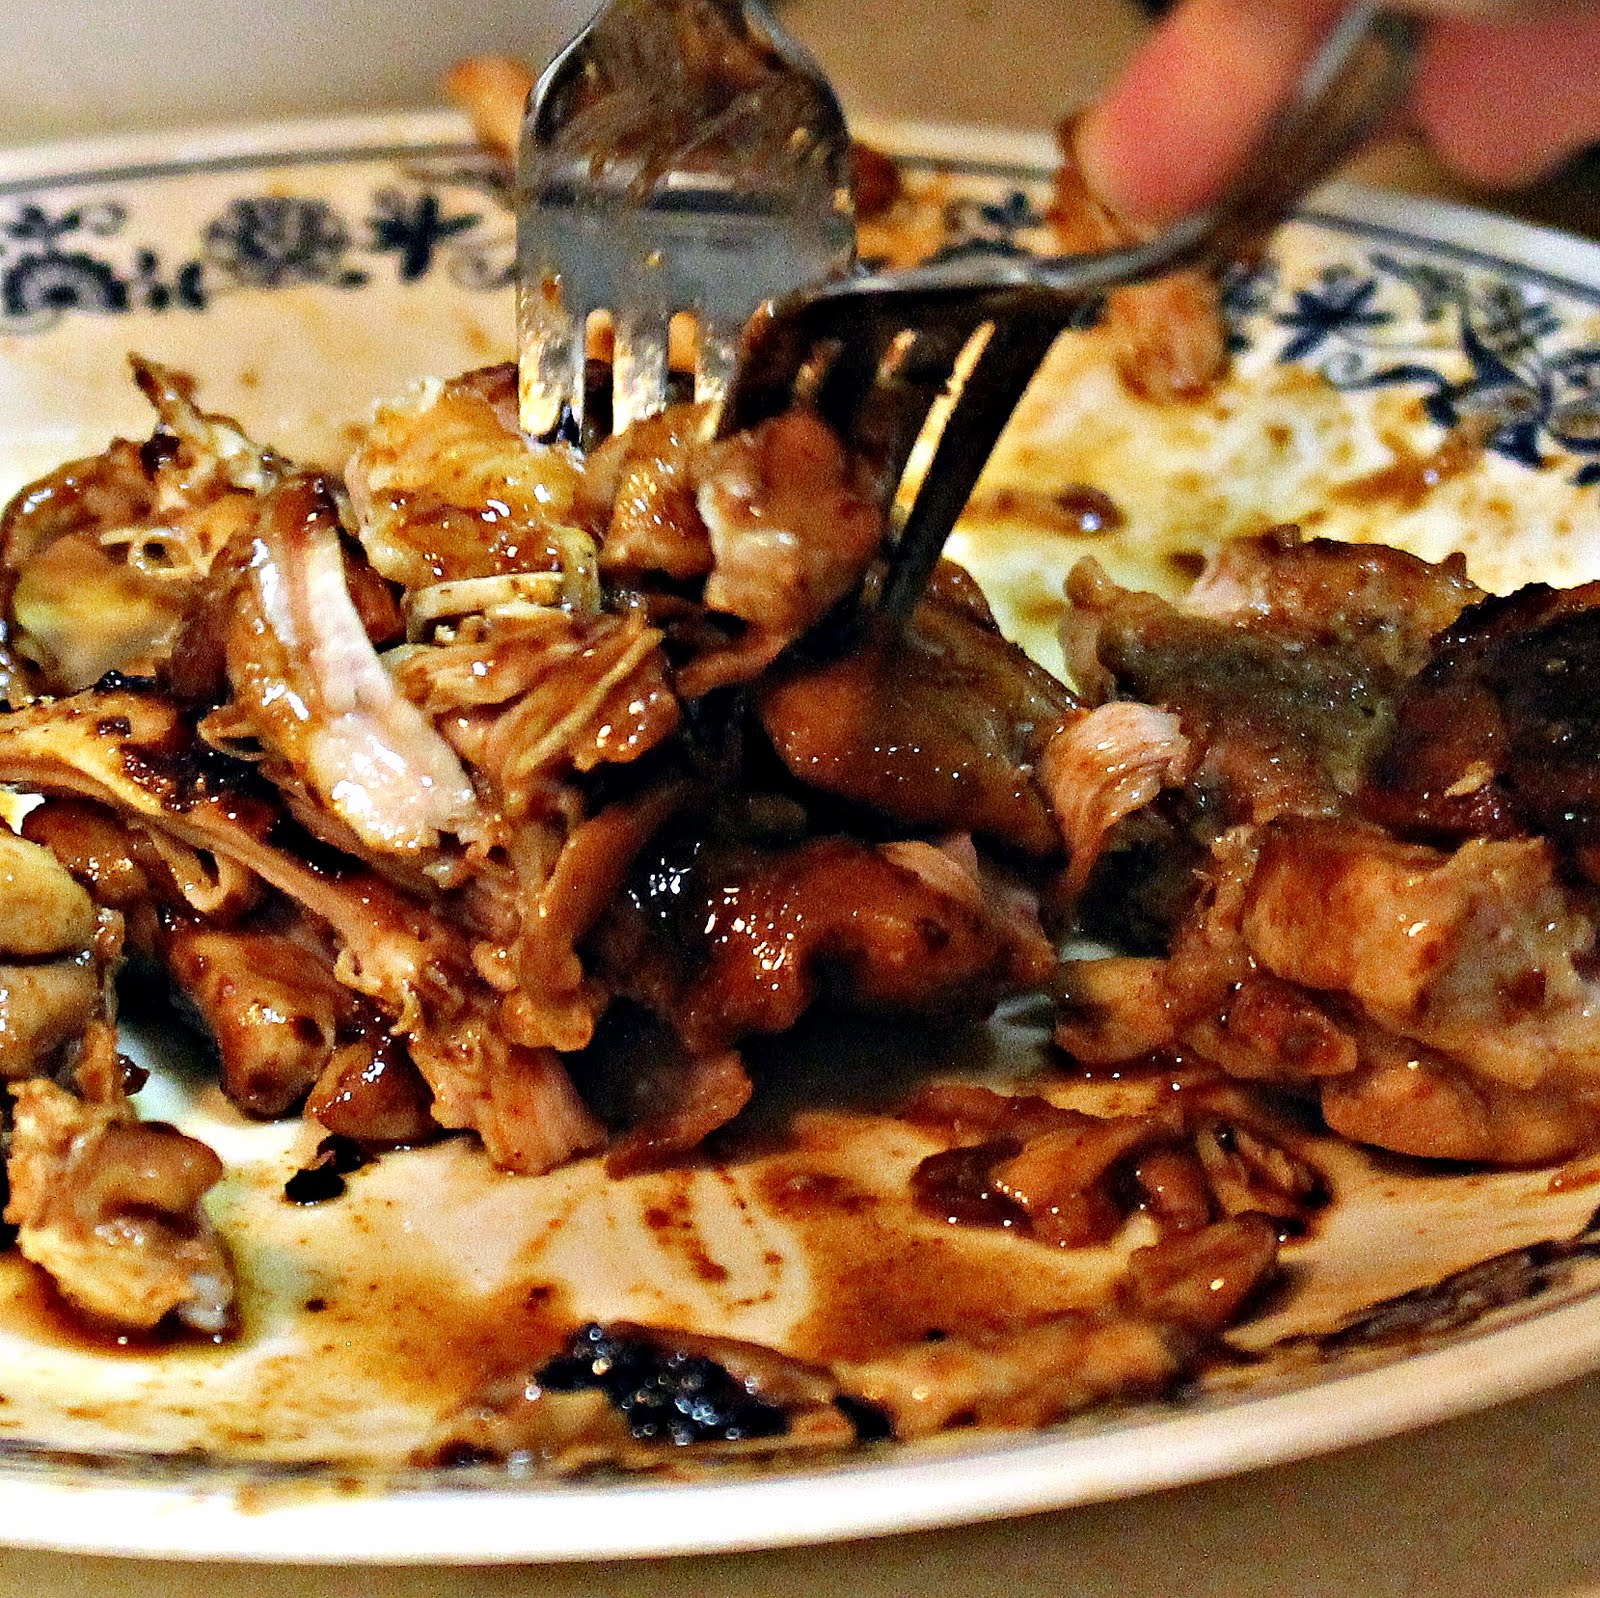
Let stand for 5 minutes.
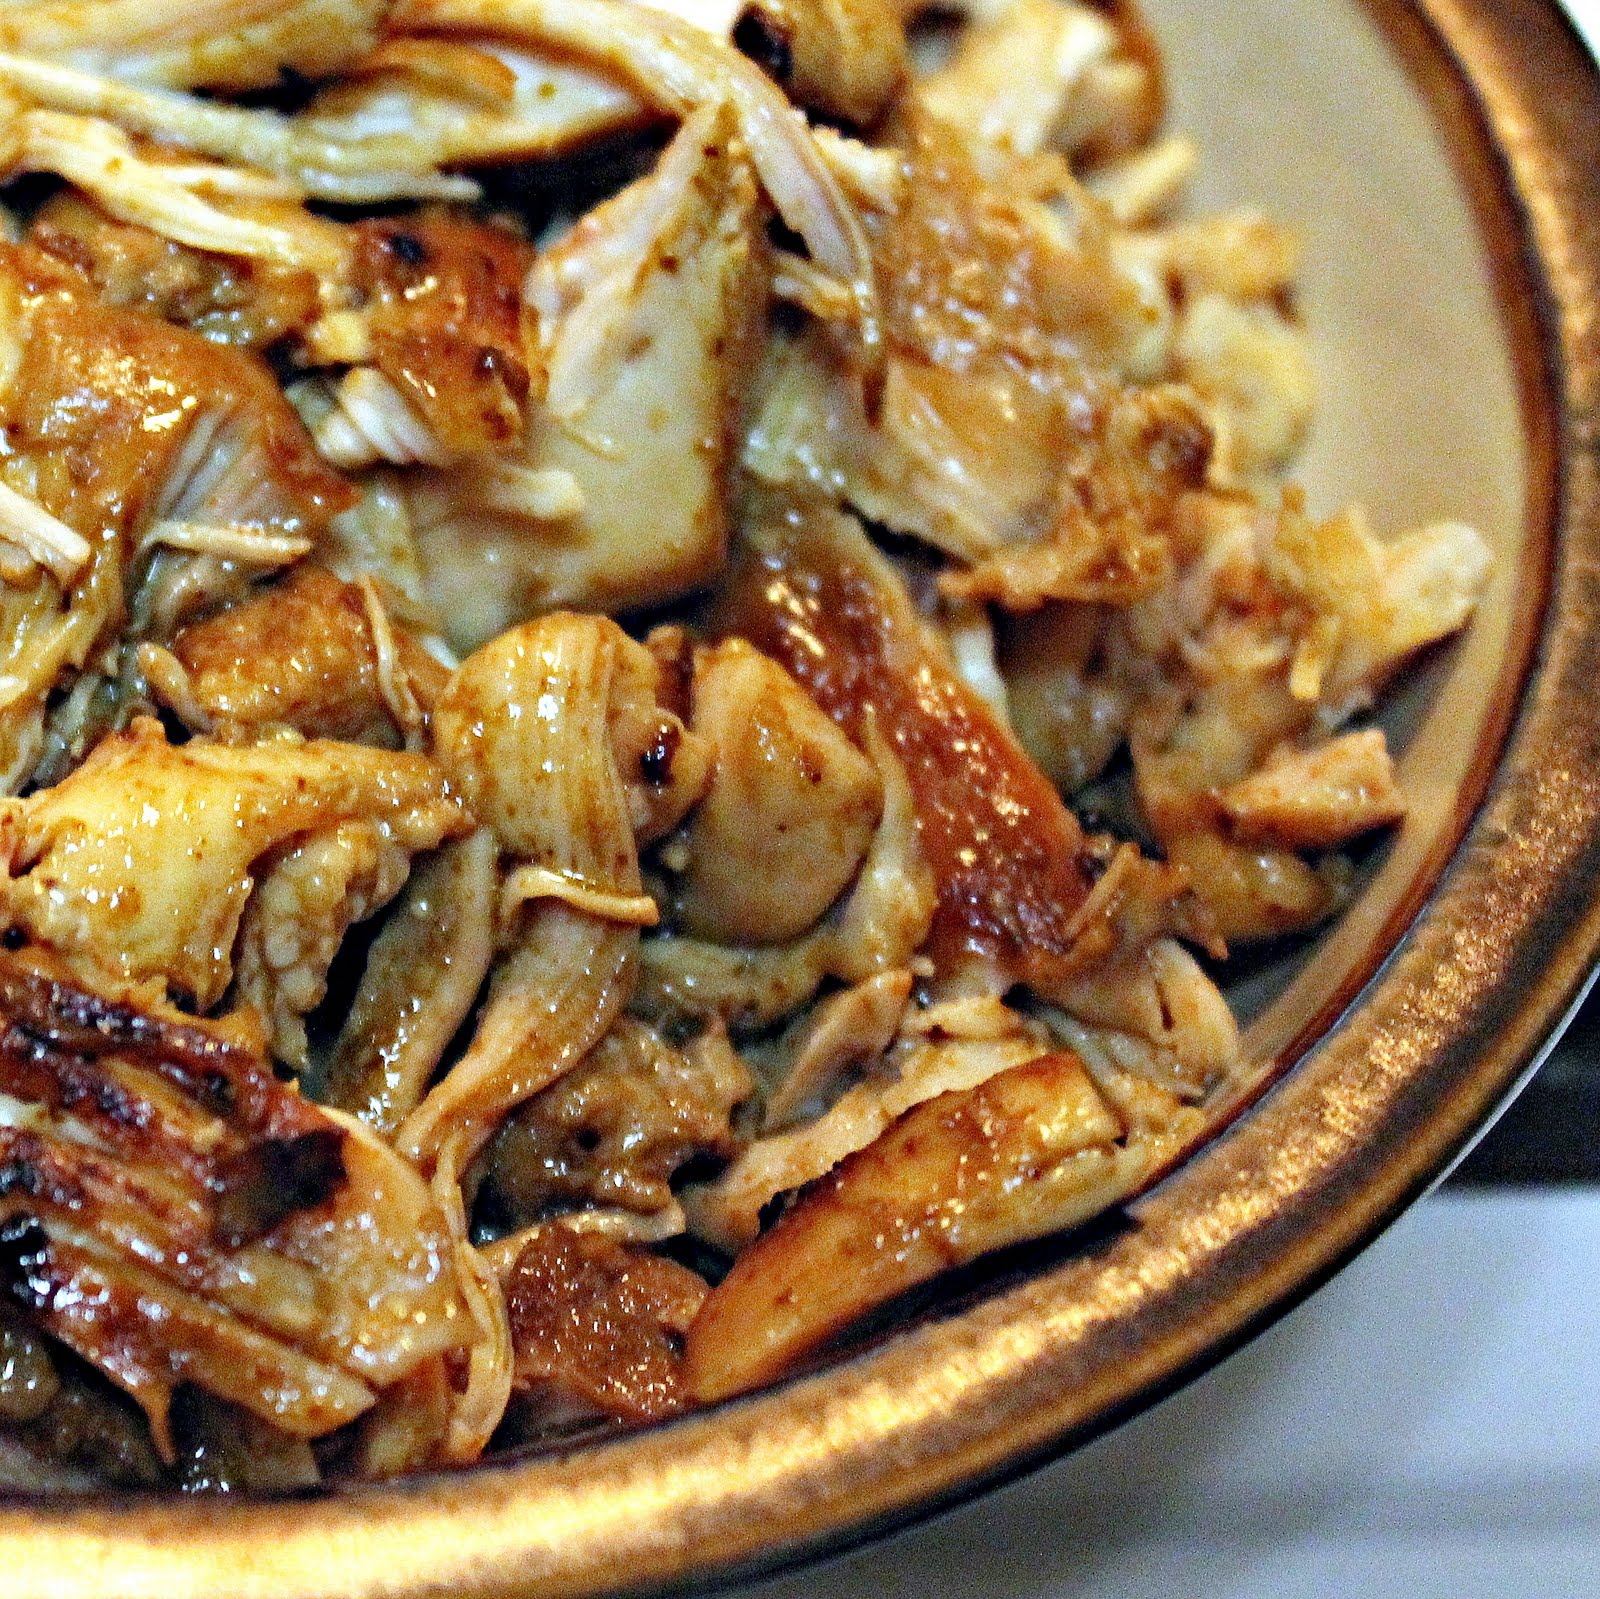
Shred with 2 forks.
Set to the side for now.
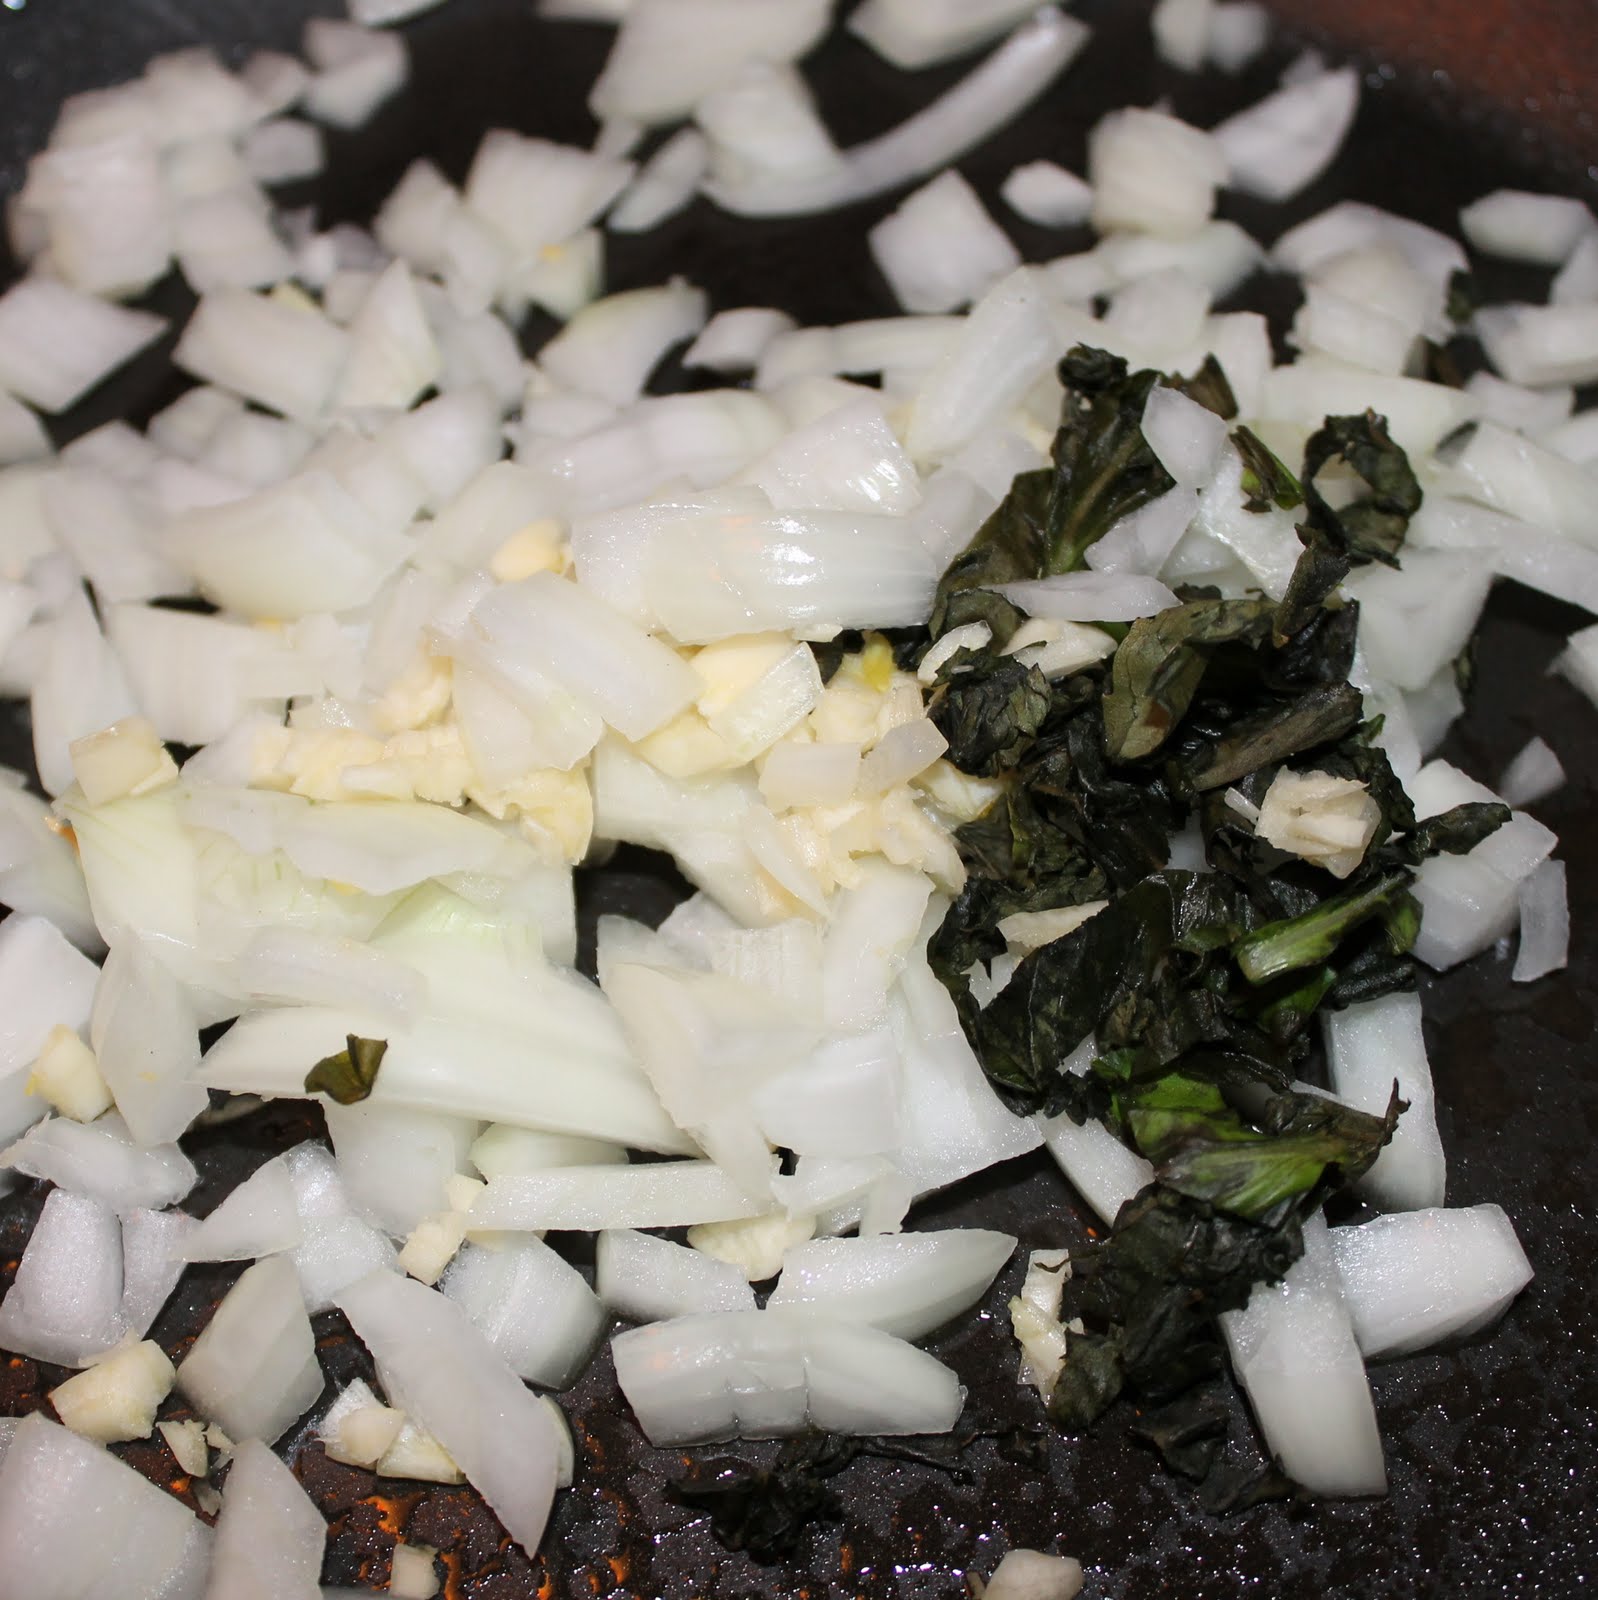
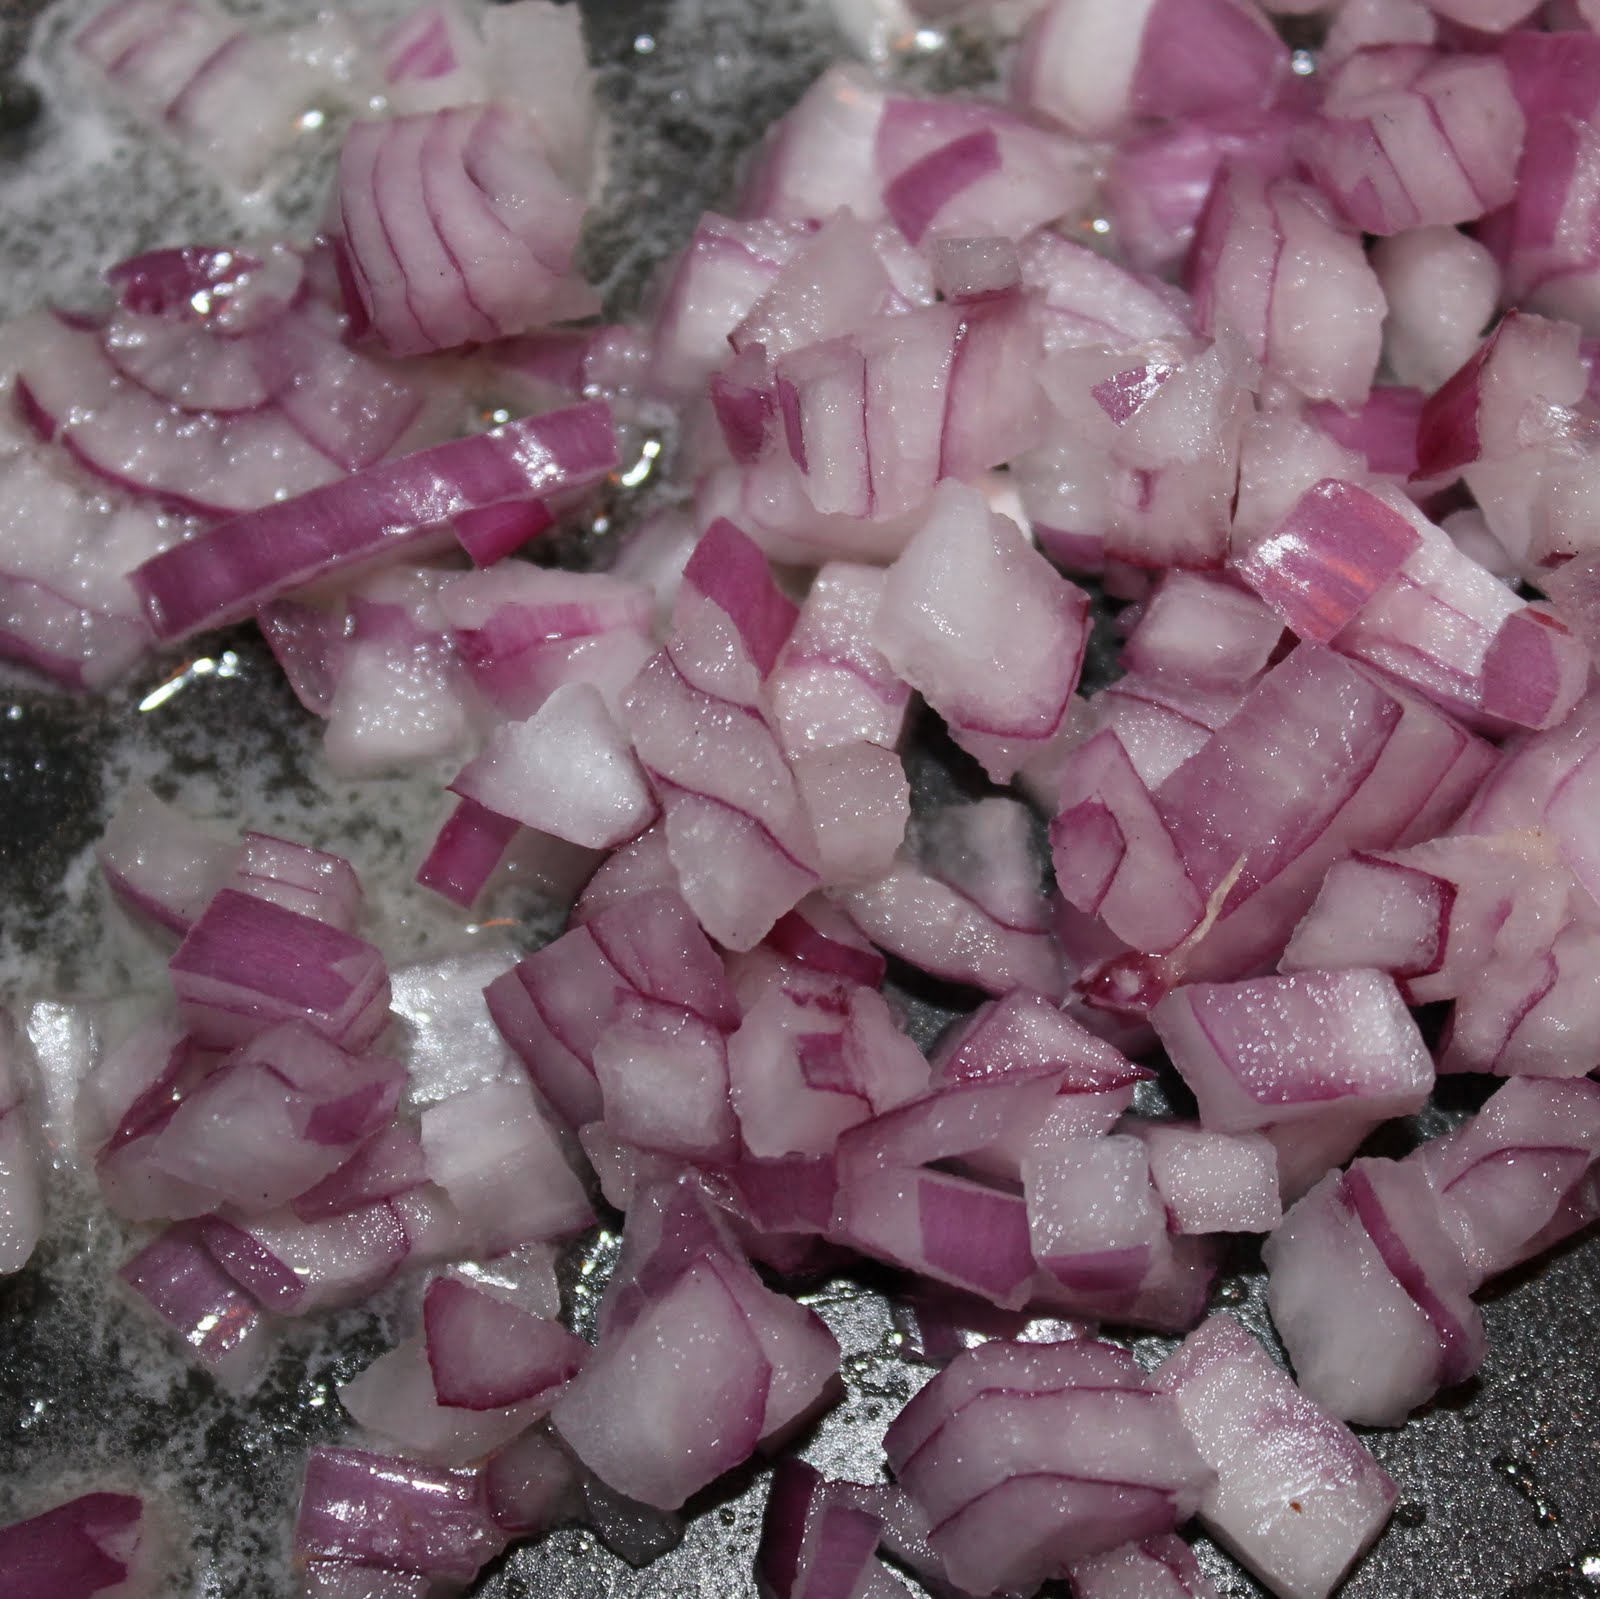
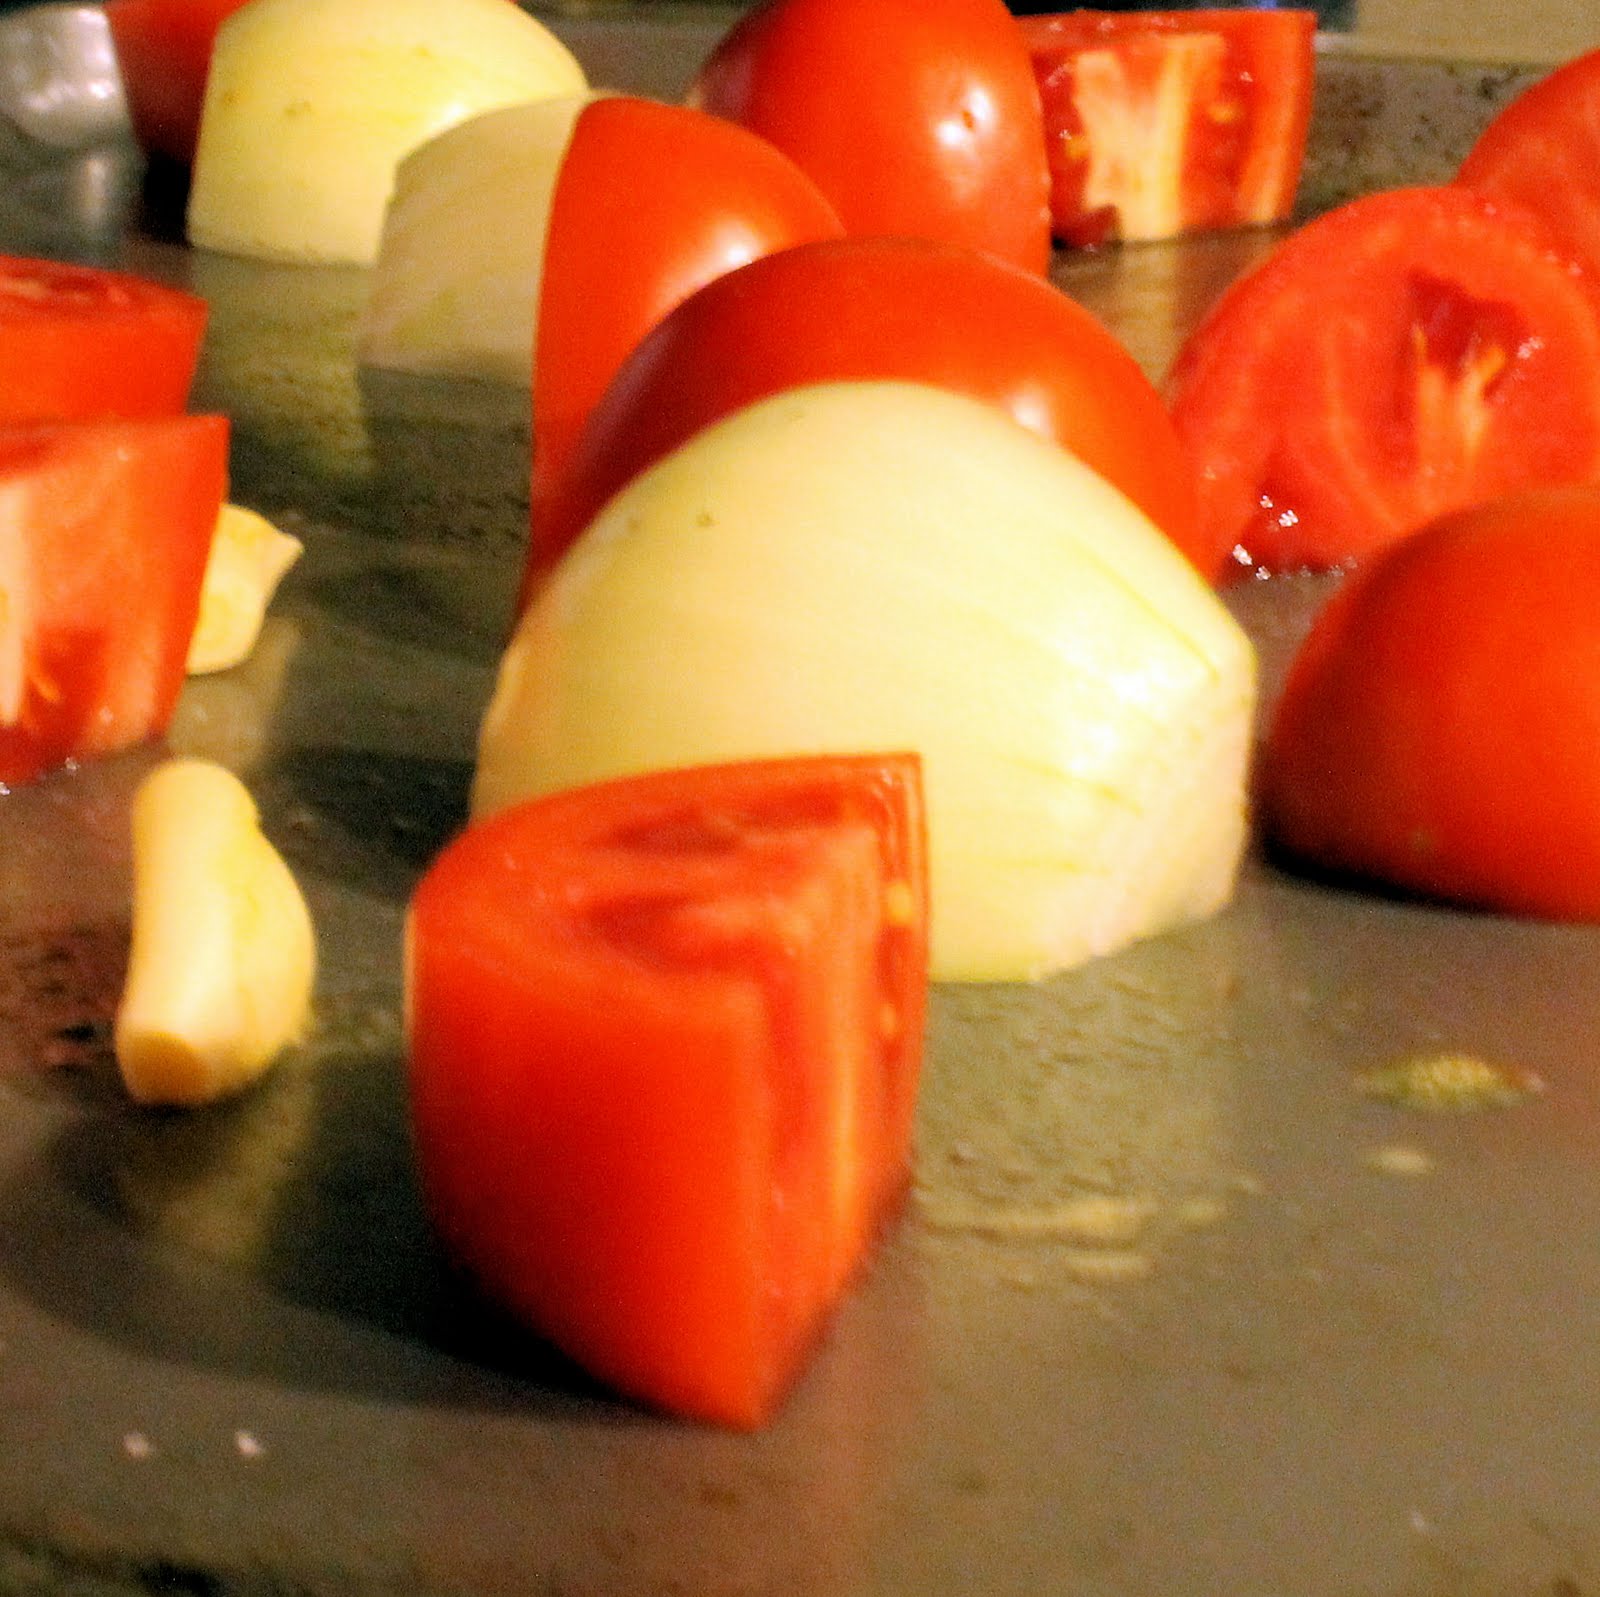
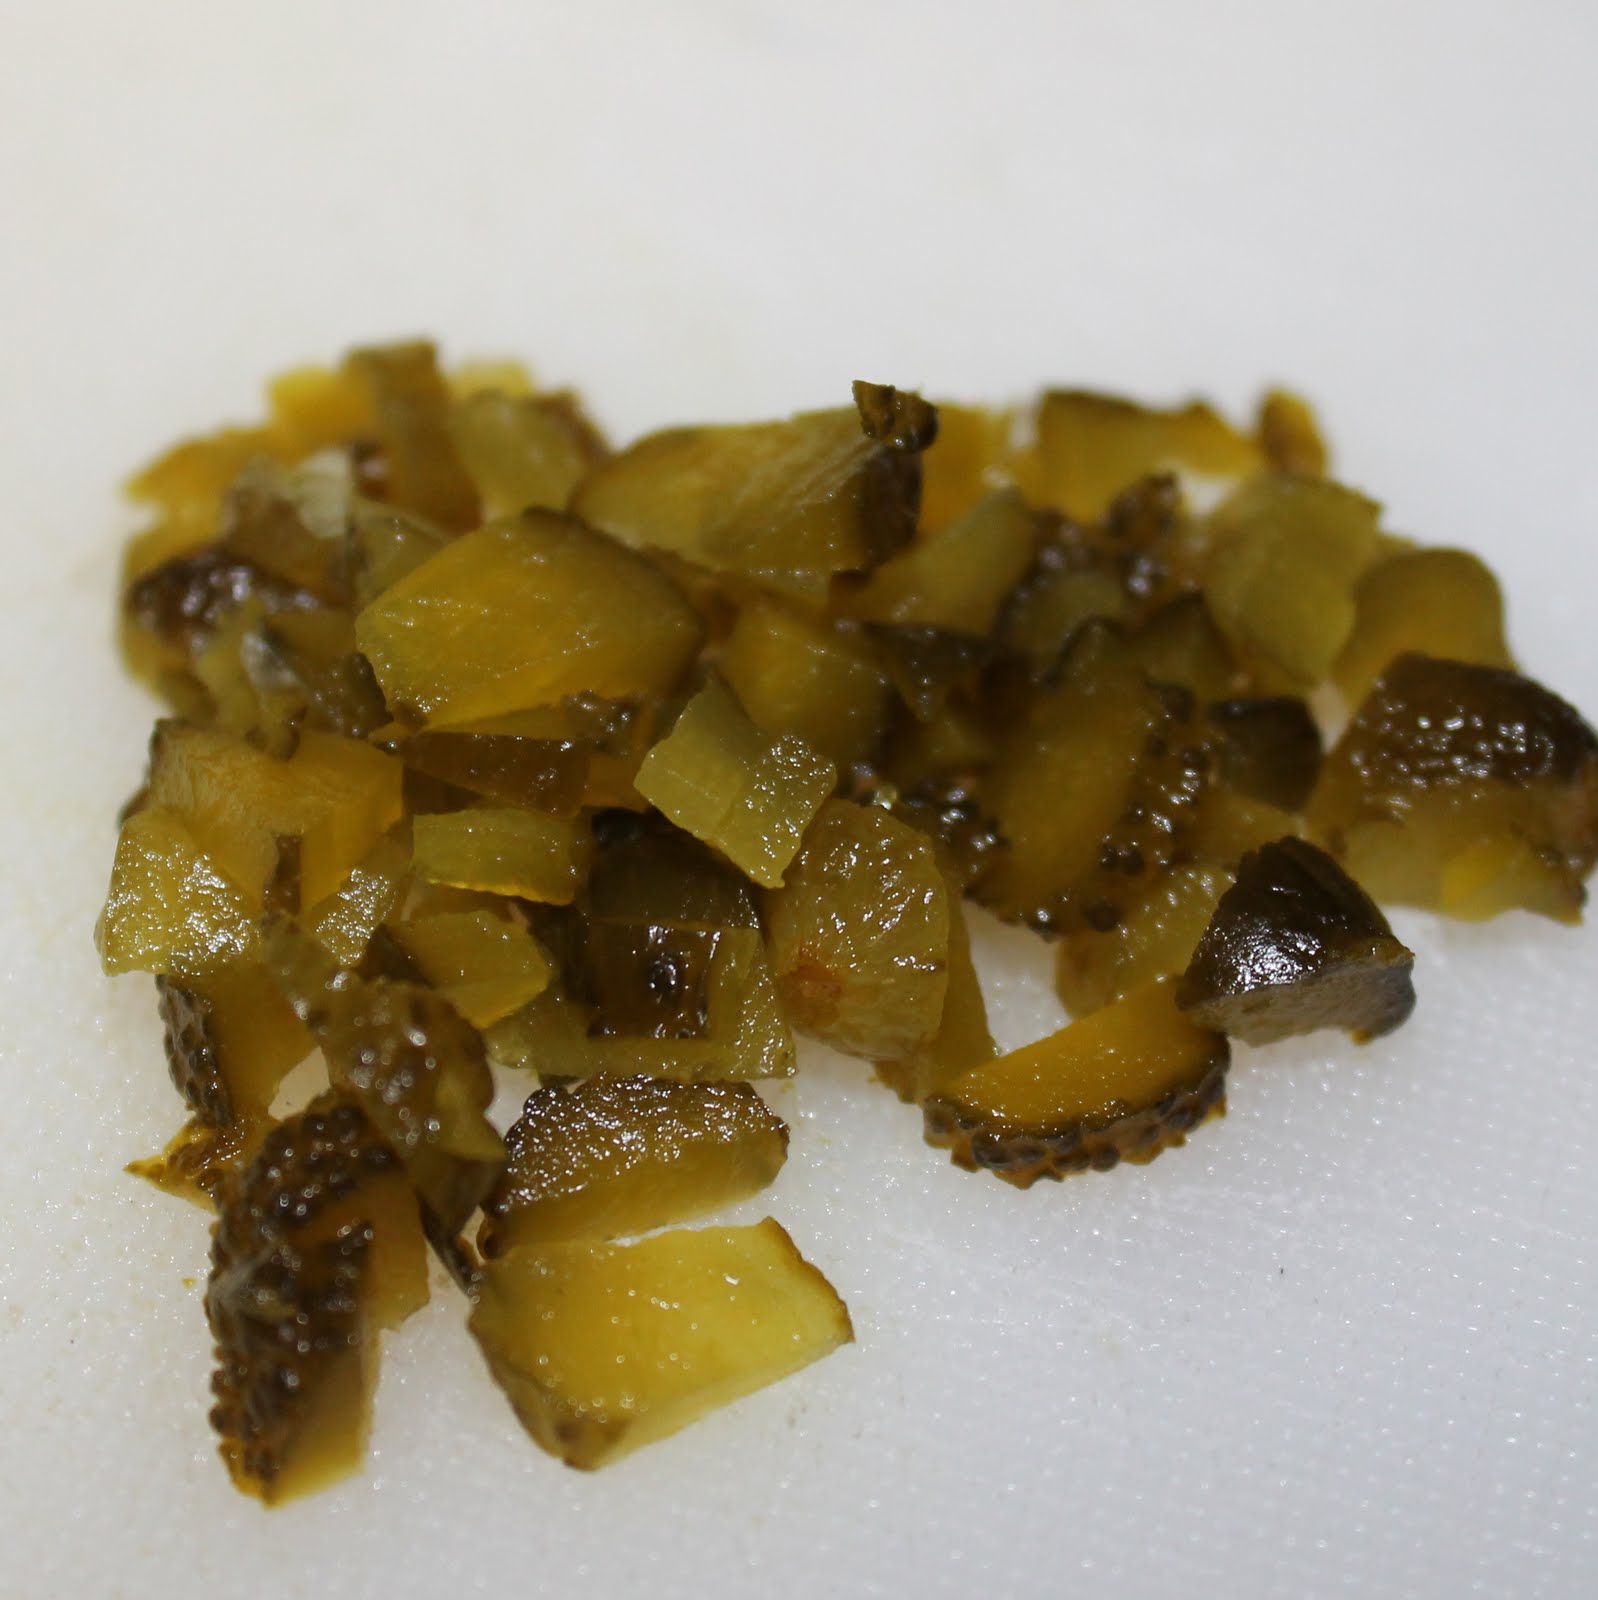
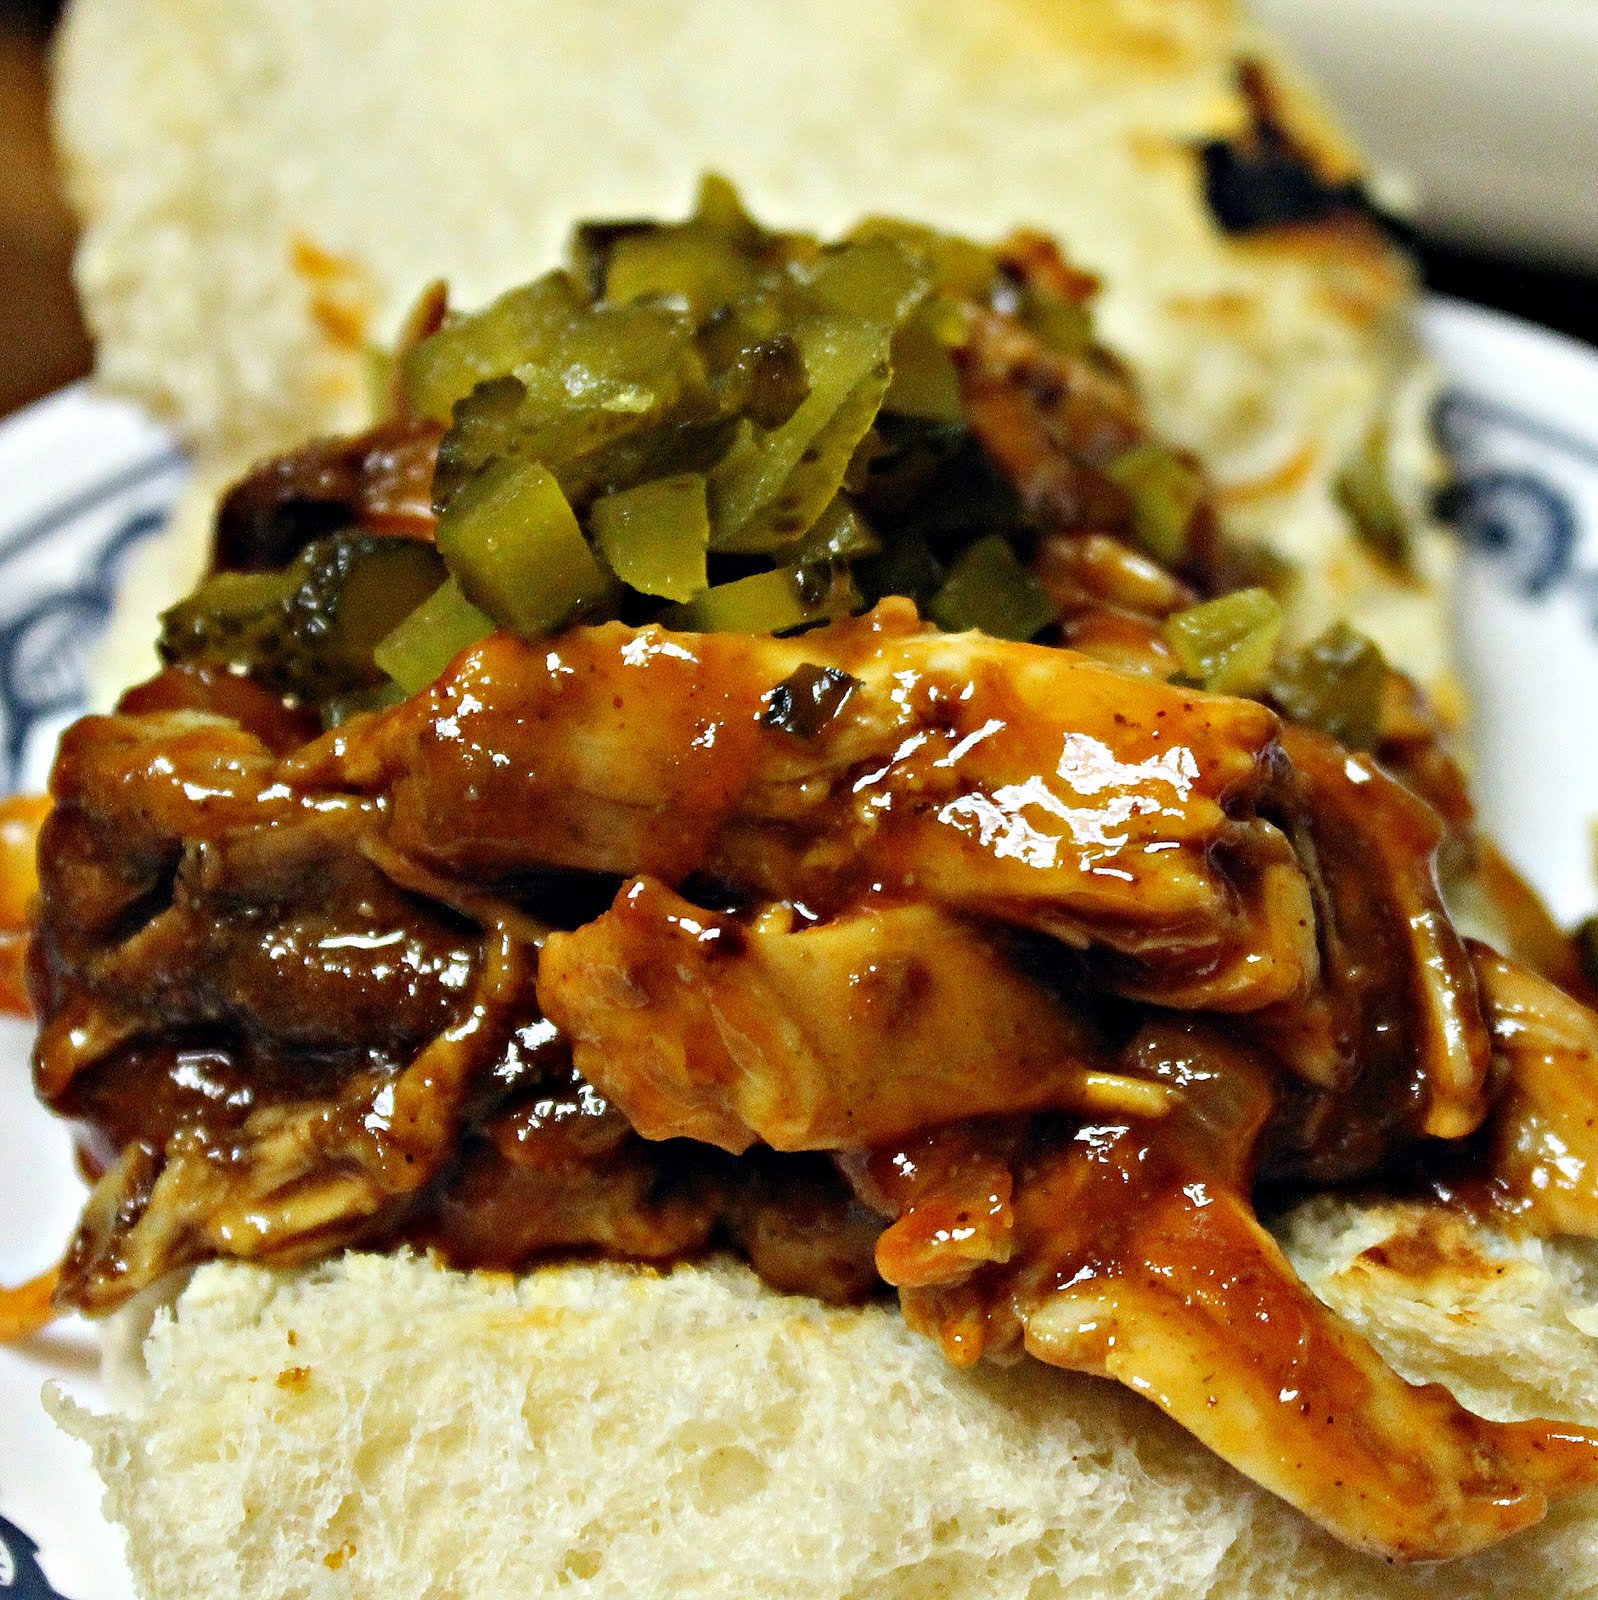
Prepare your onions. If needed, slice your pickles. My boyfriend prefers sweet pickles so we bought the mini ones and minced them for an easy topping.
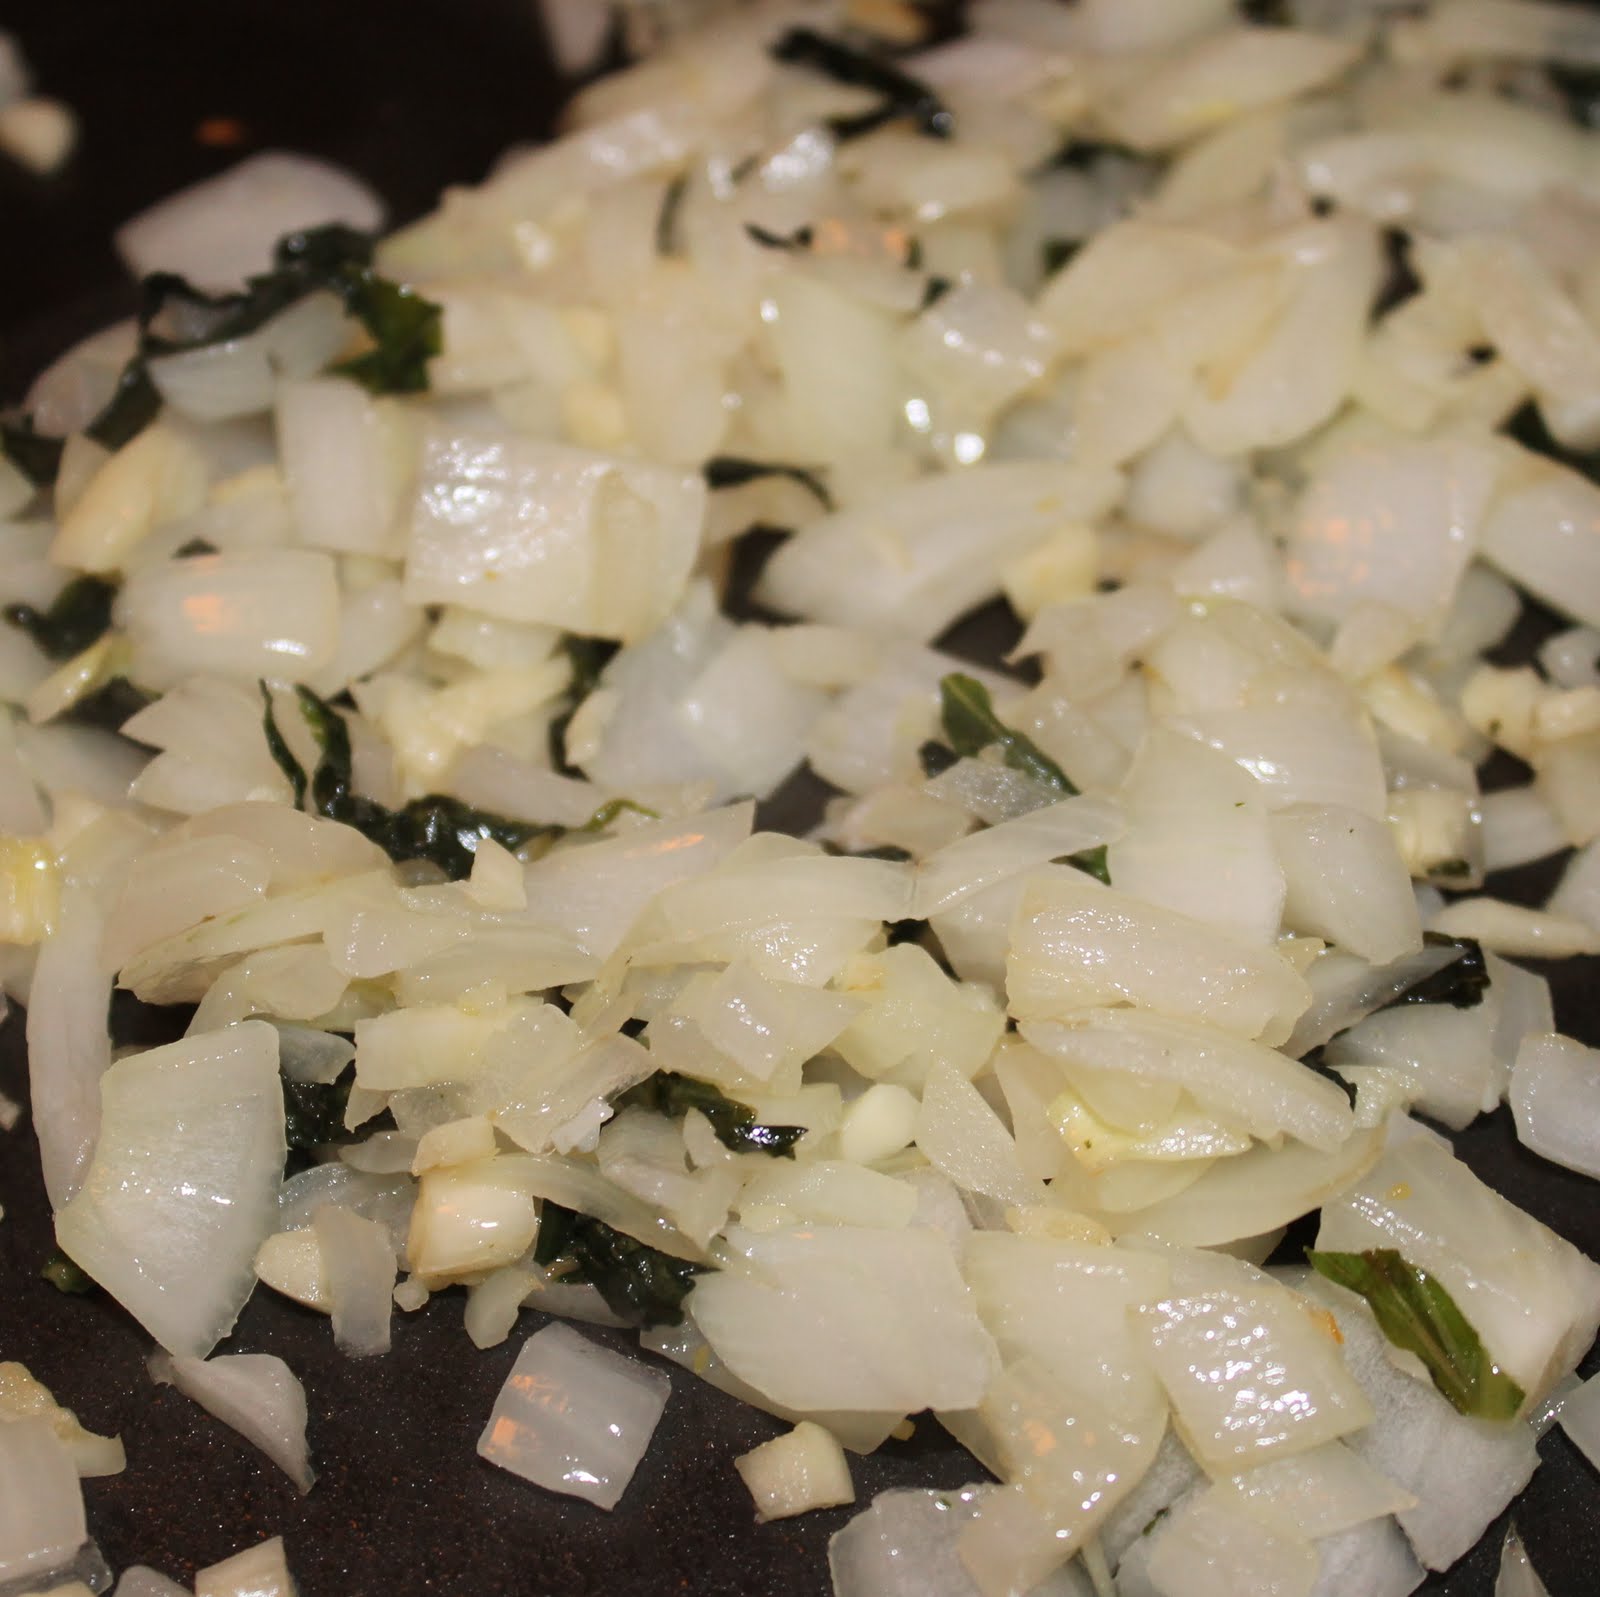
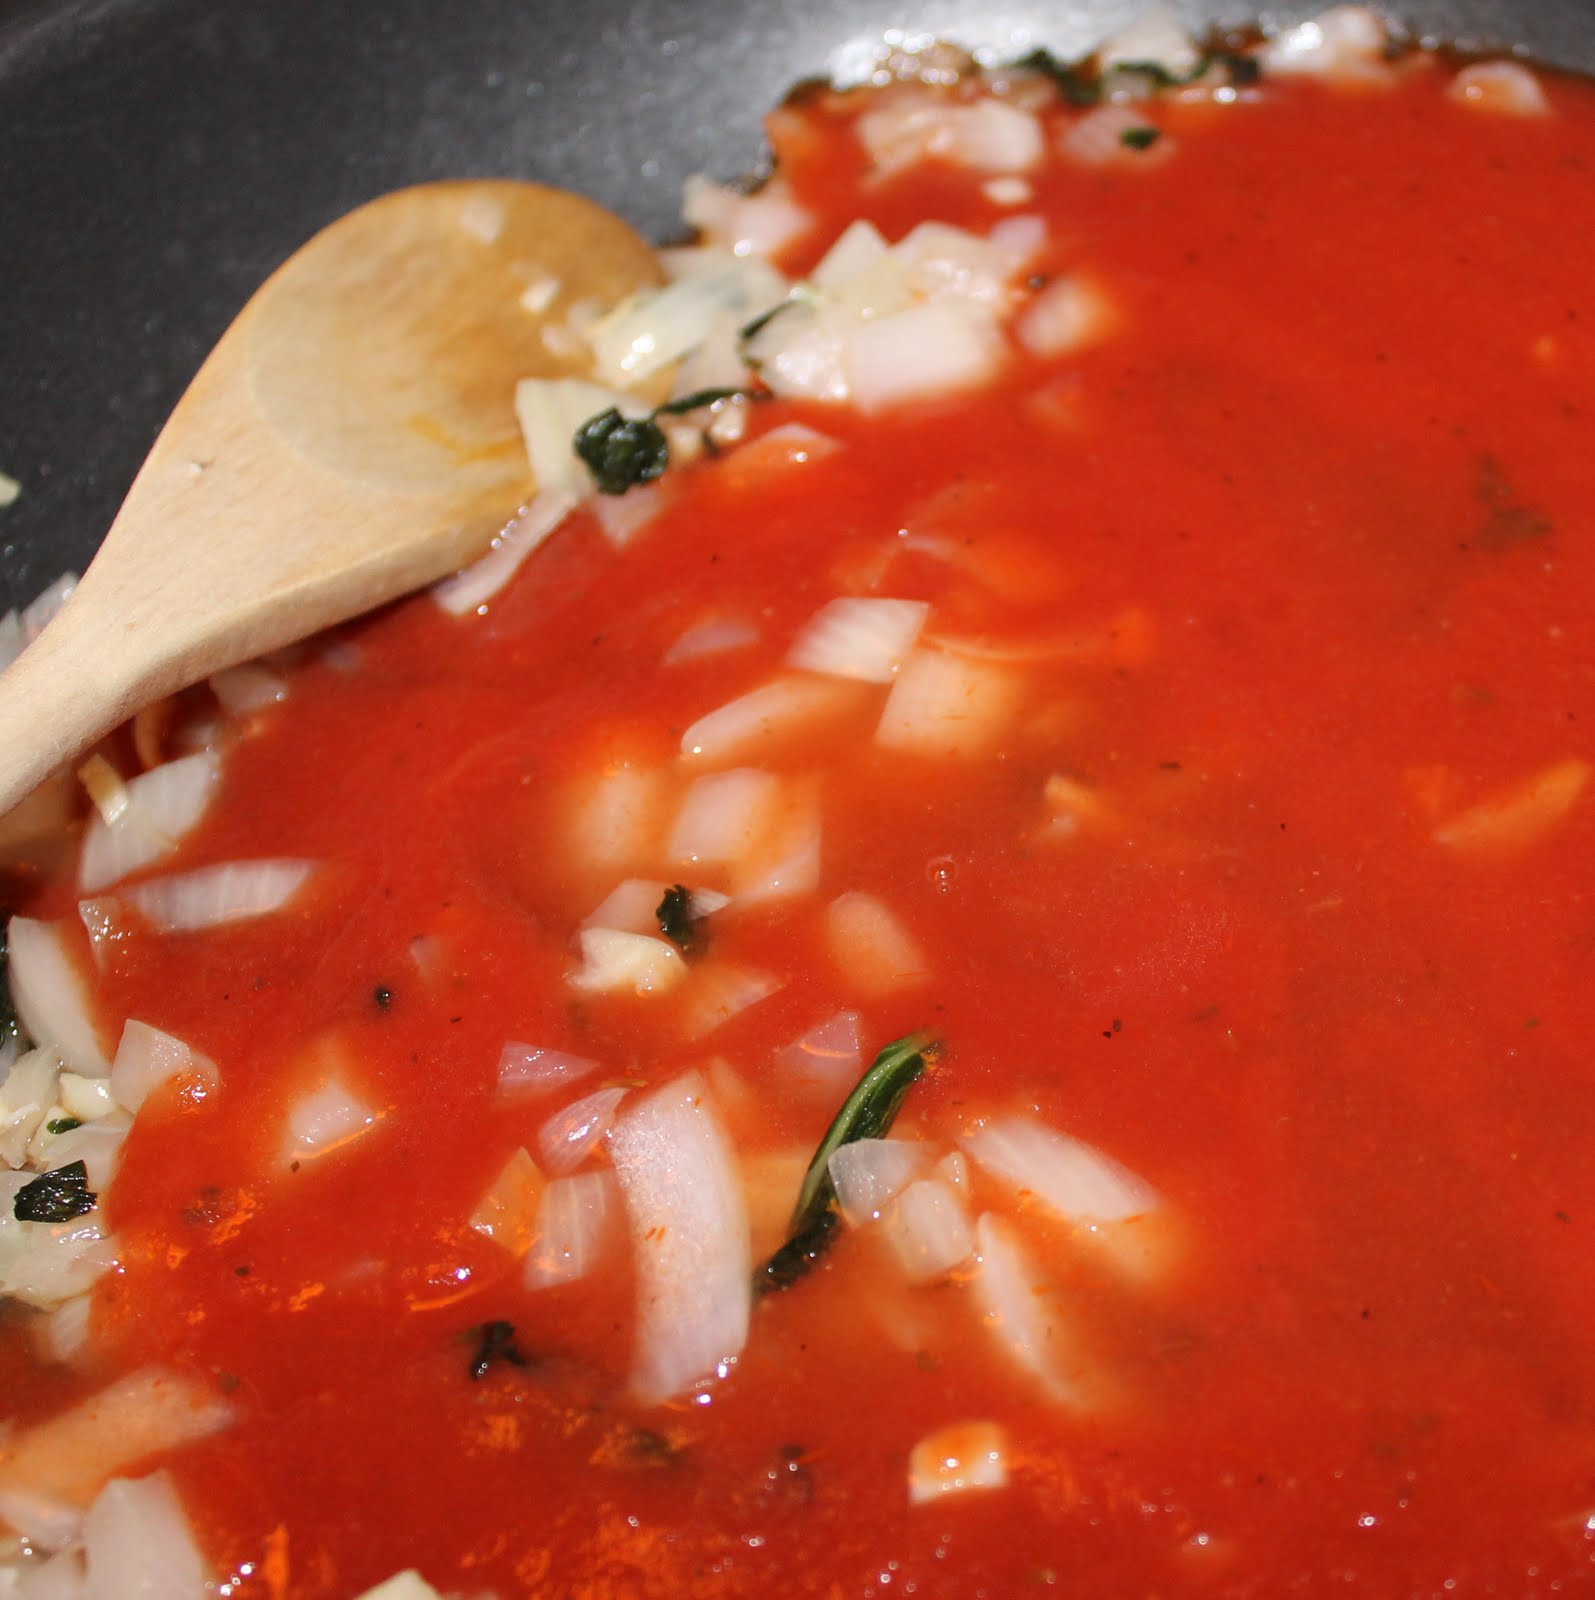
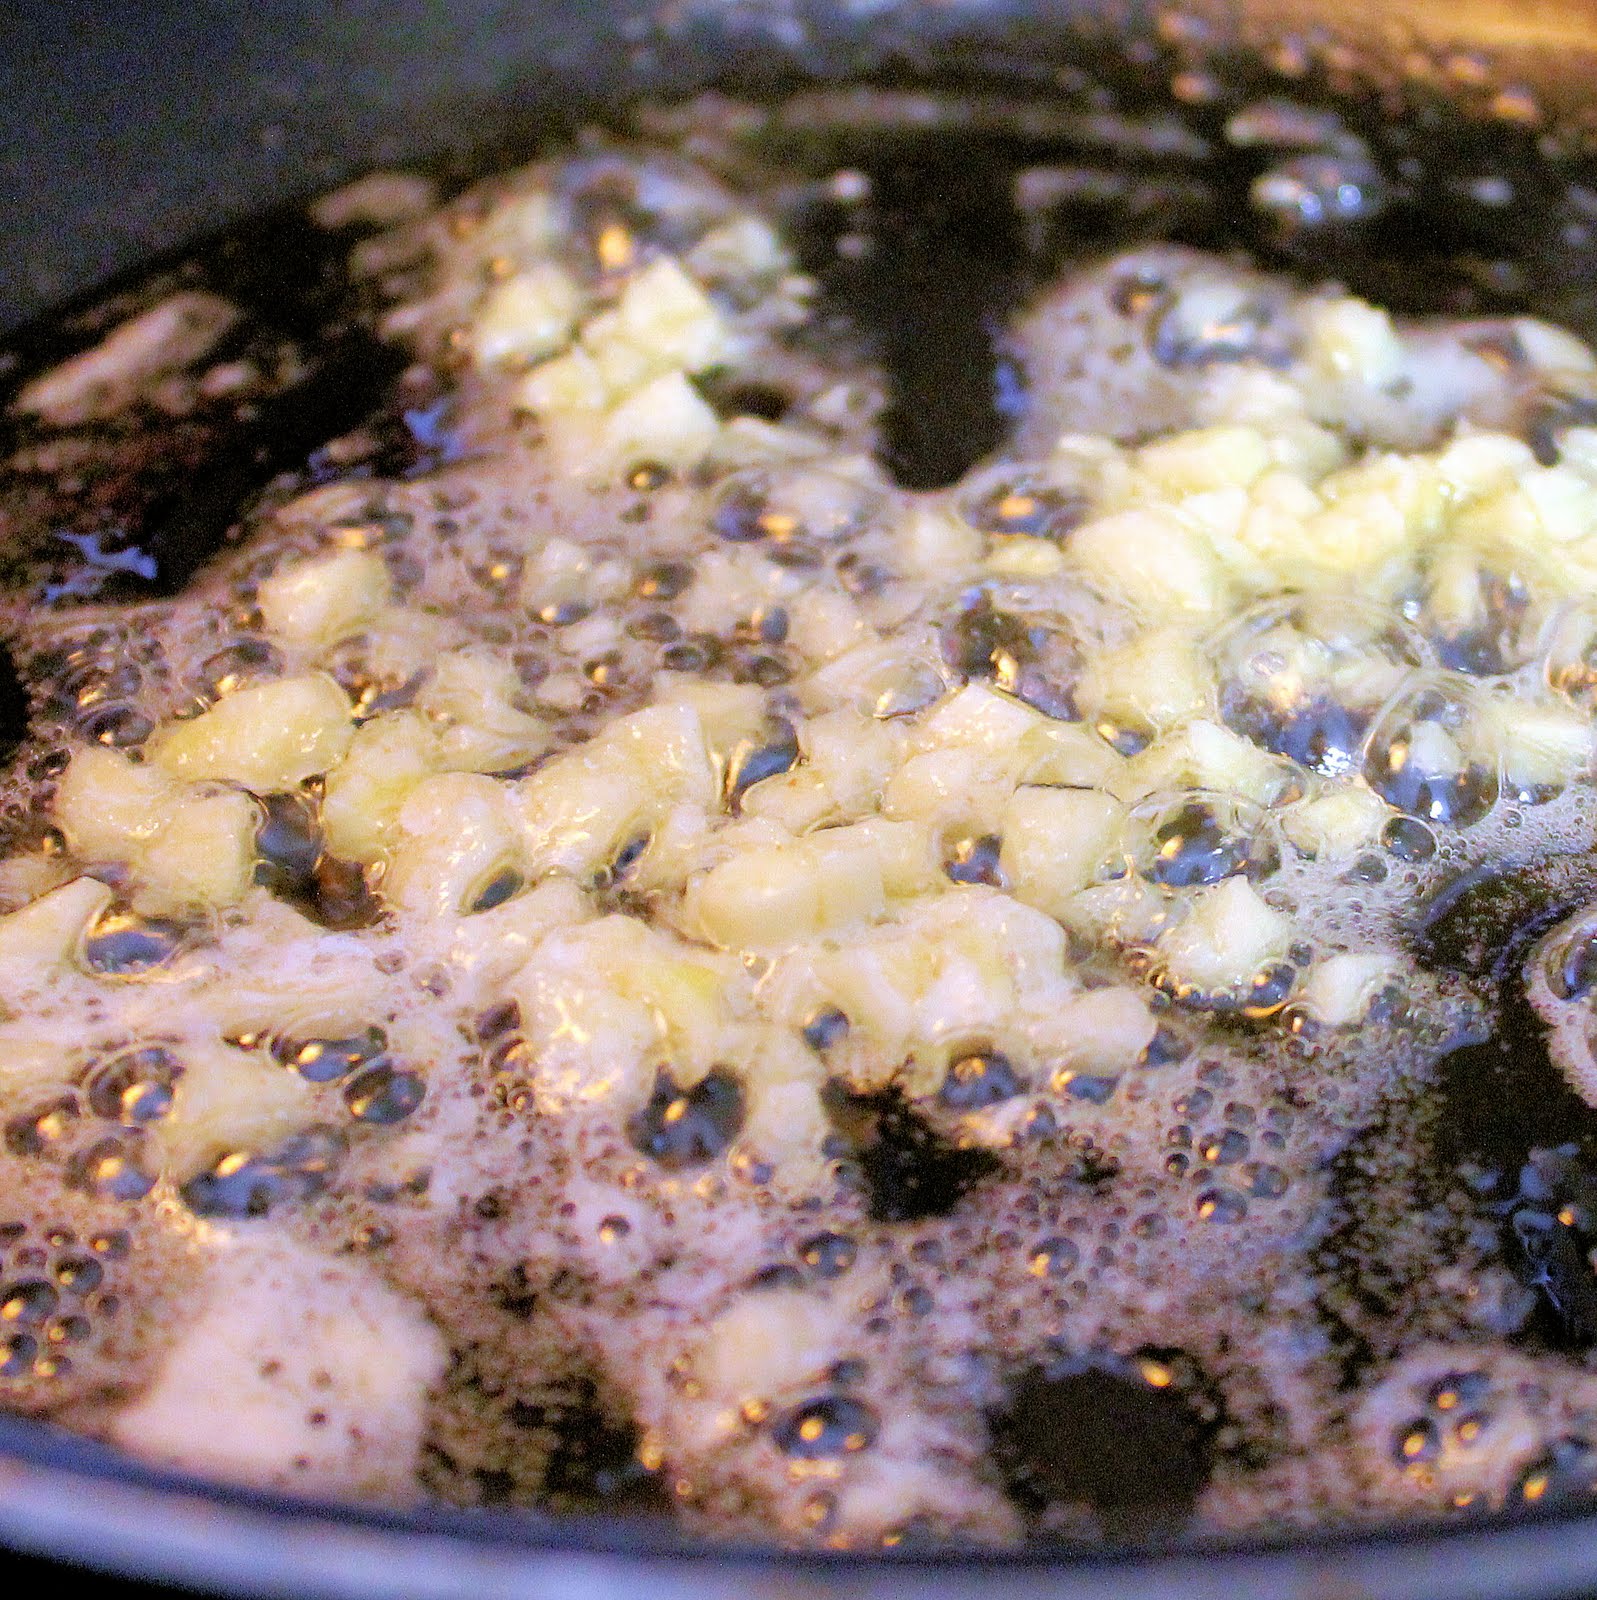
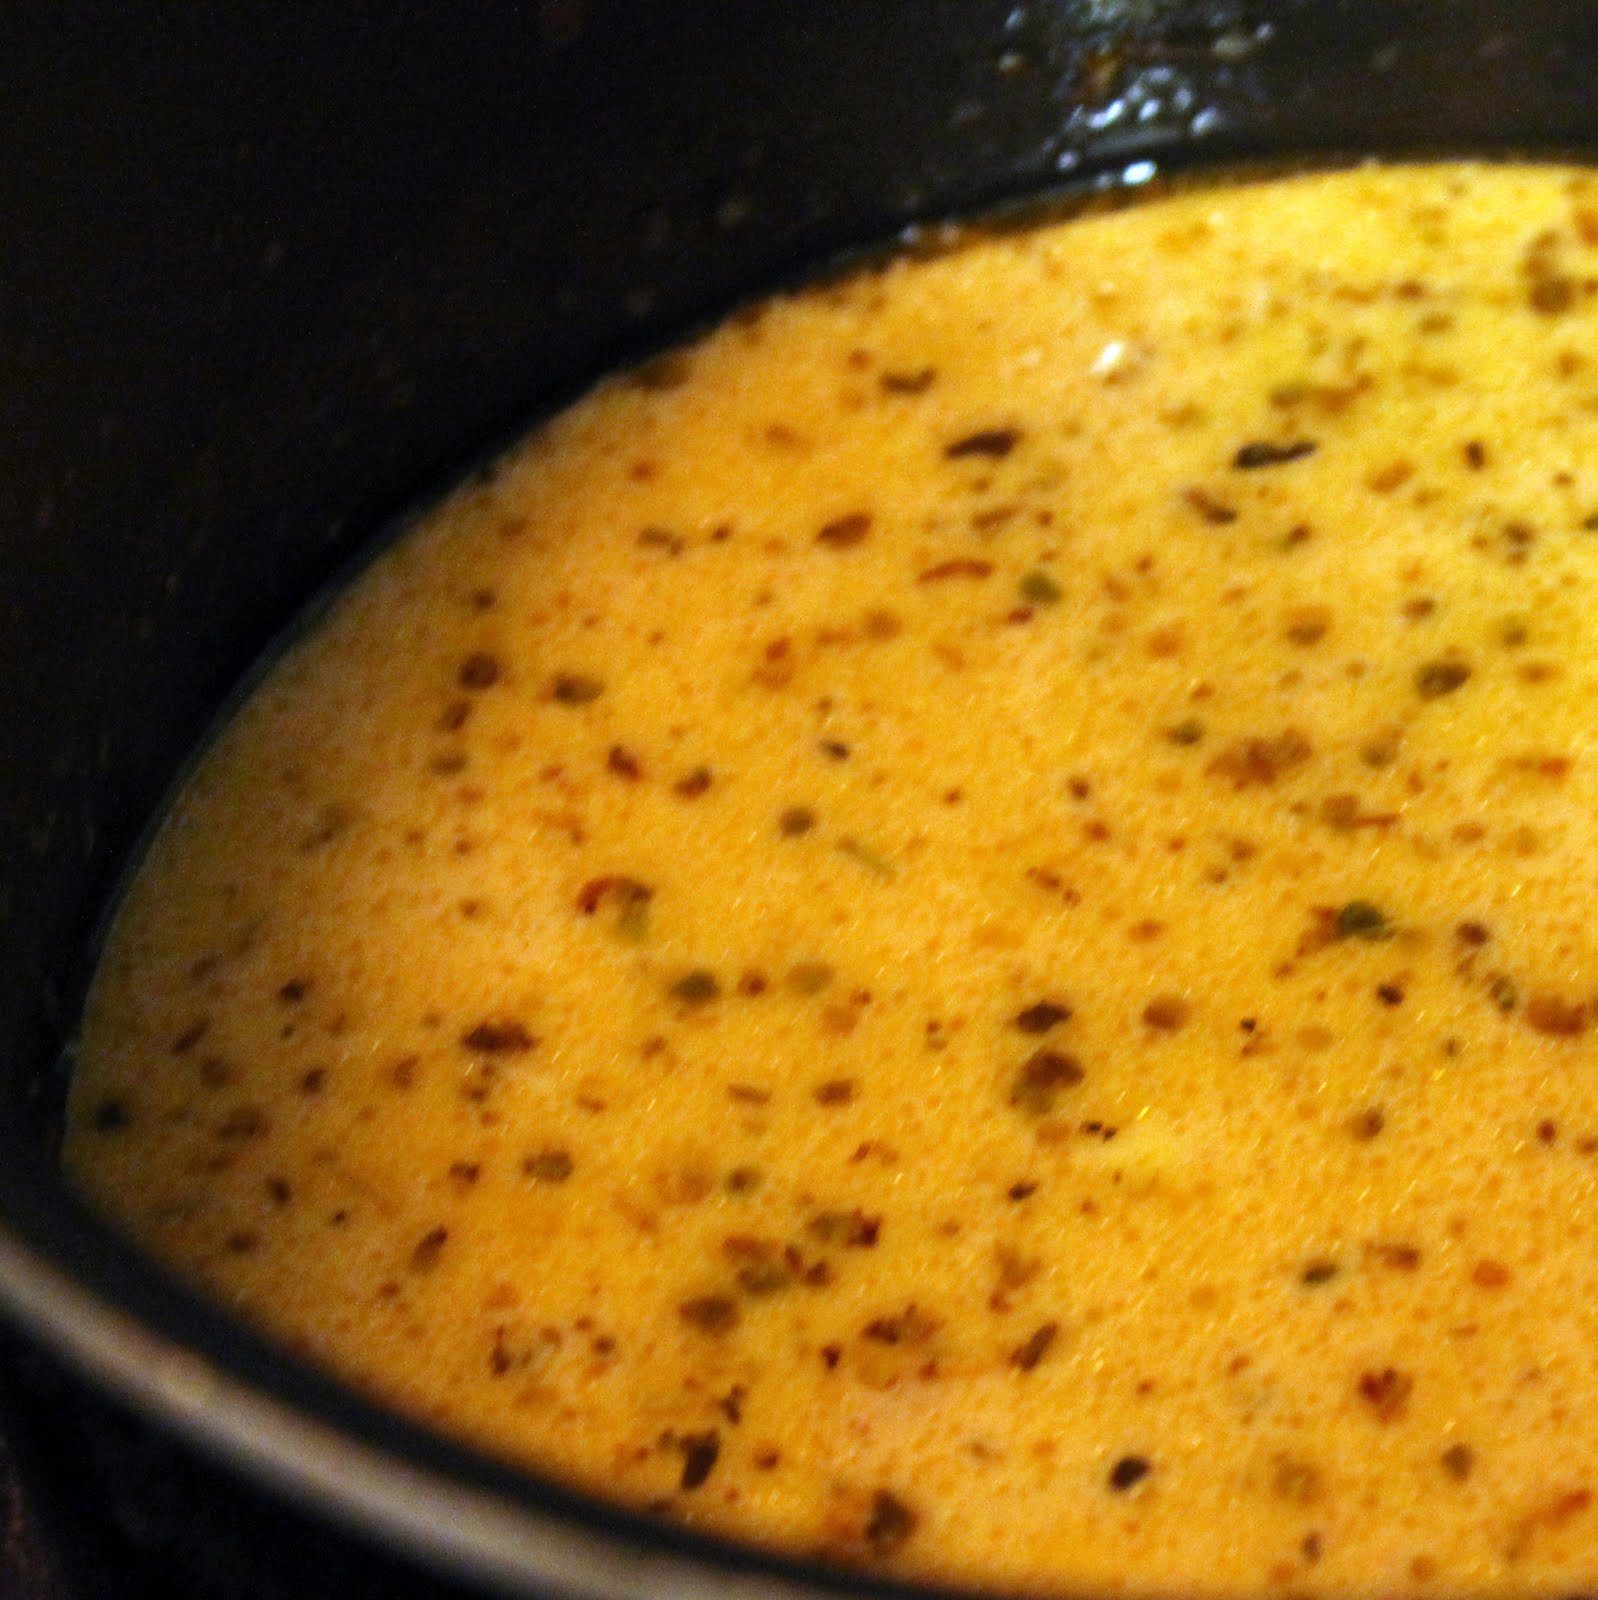
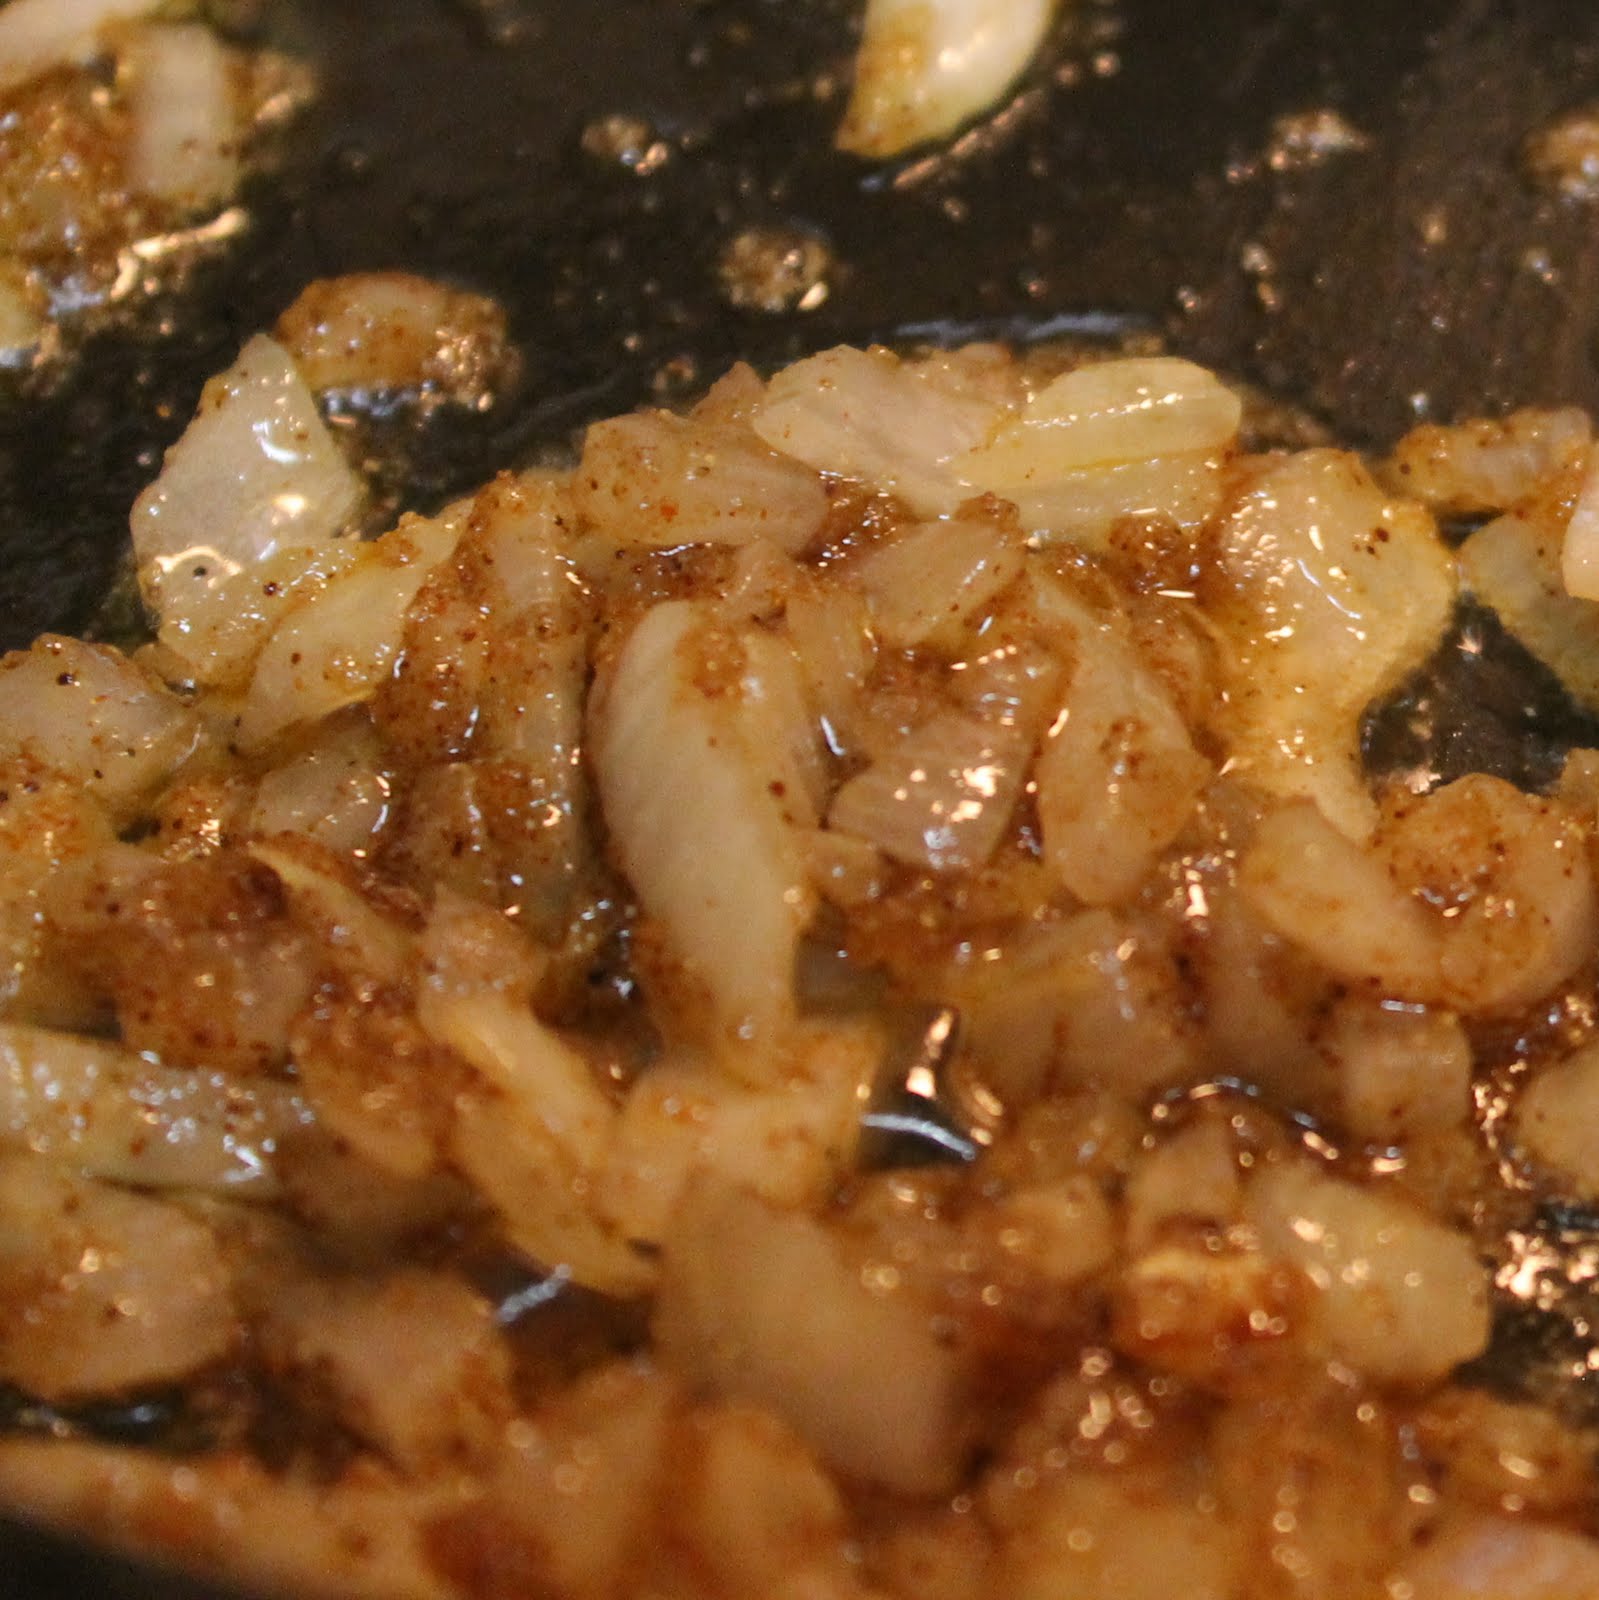
To prepare sauce, heat oil in a medium saute pan over medium heat. Add onion and cook for 5 minutes or until soft. Stir in 2 tablespoons brown sugar, and the next 5 ingredients (chili powder through ground red pepper) and cook for 30 seconds.
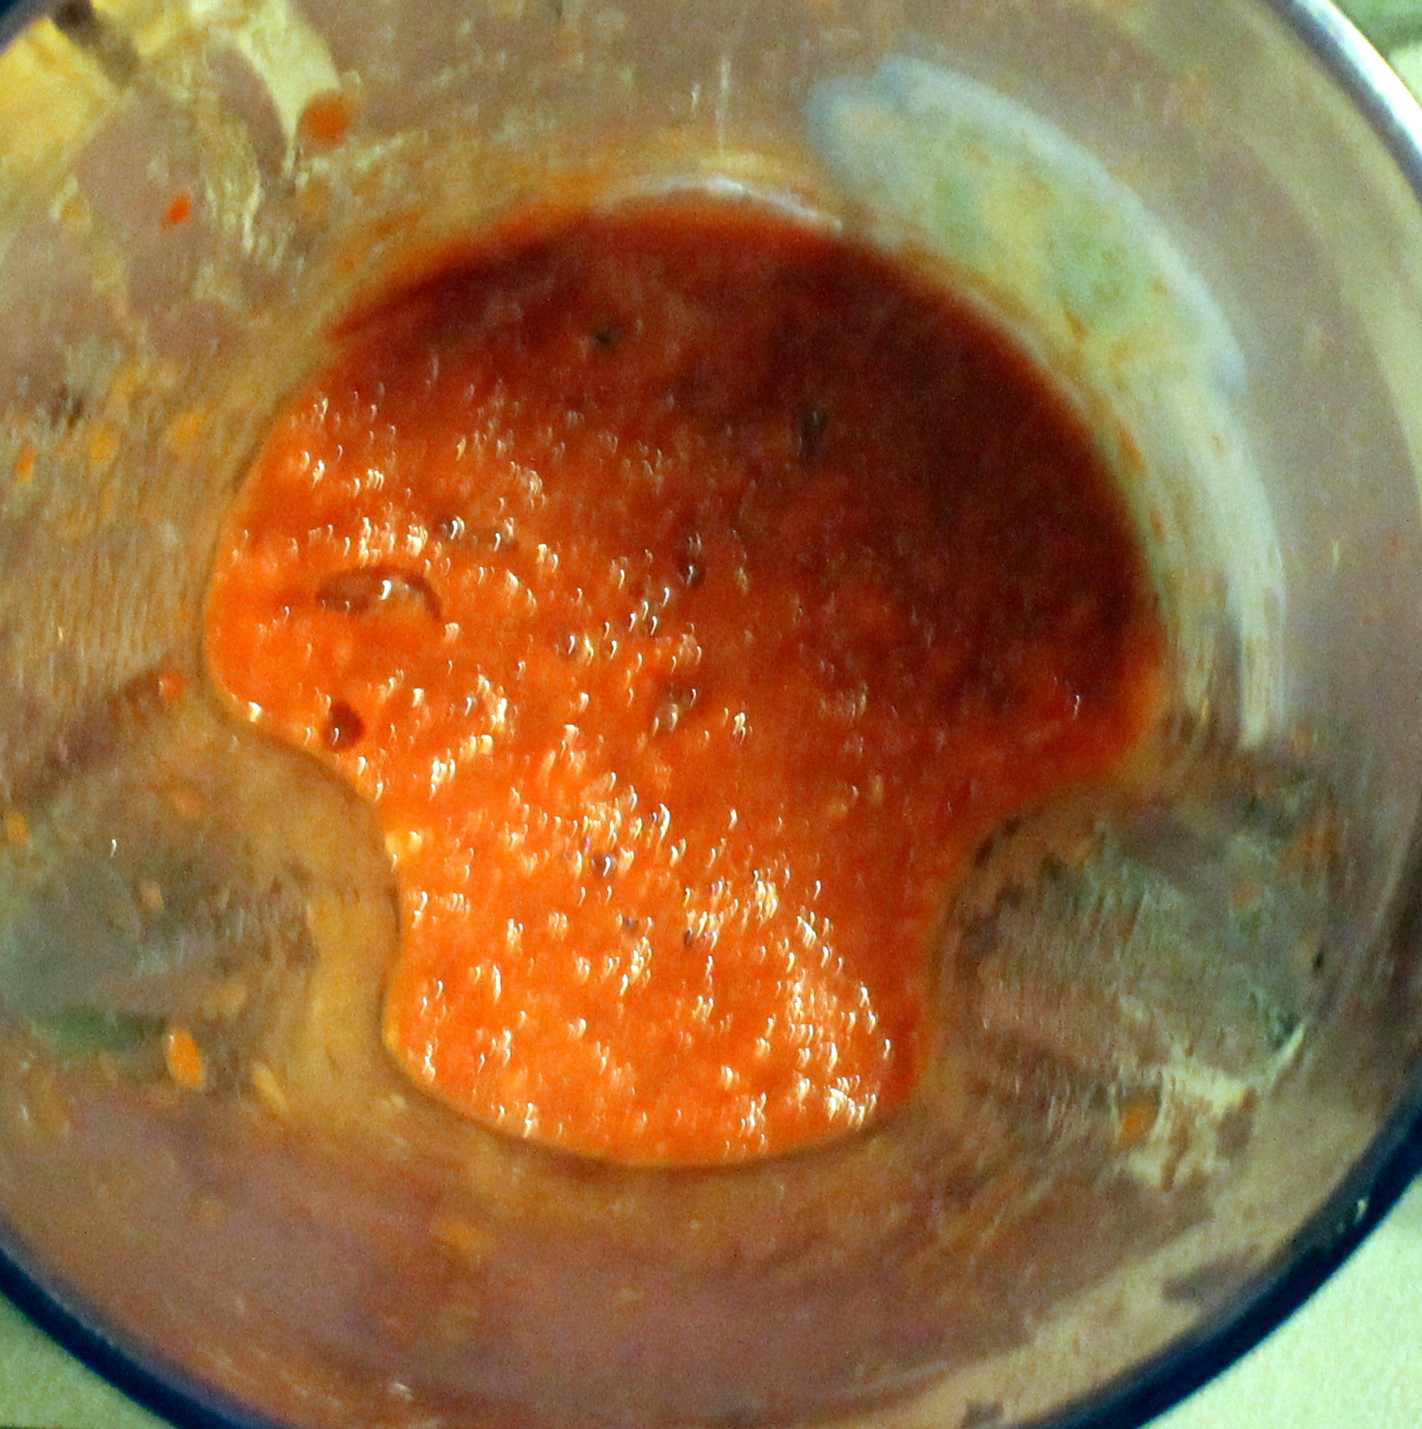
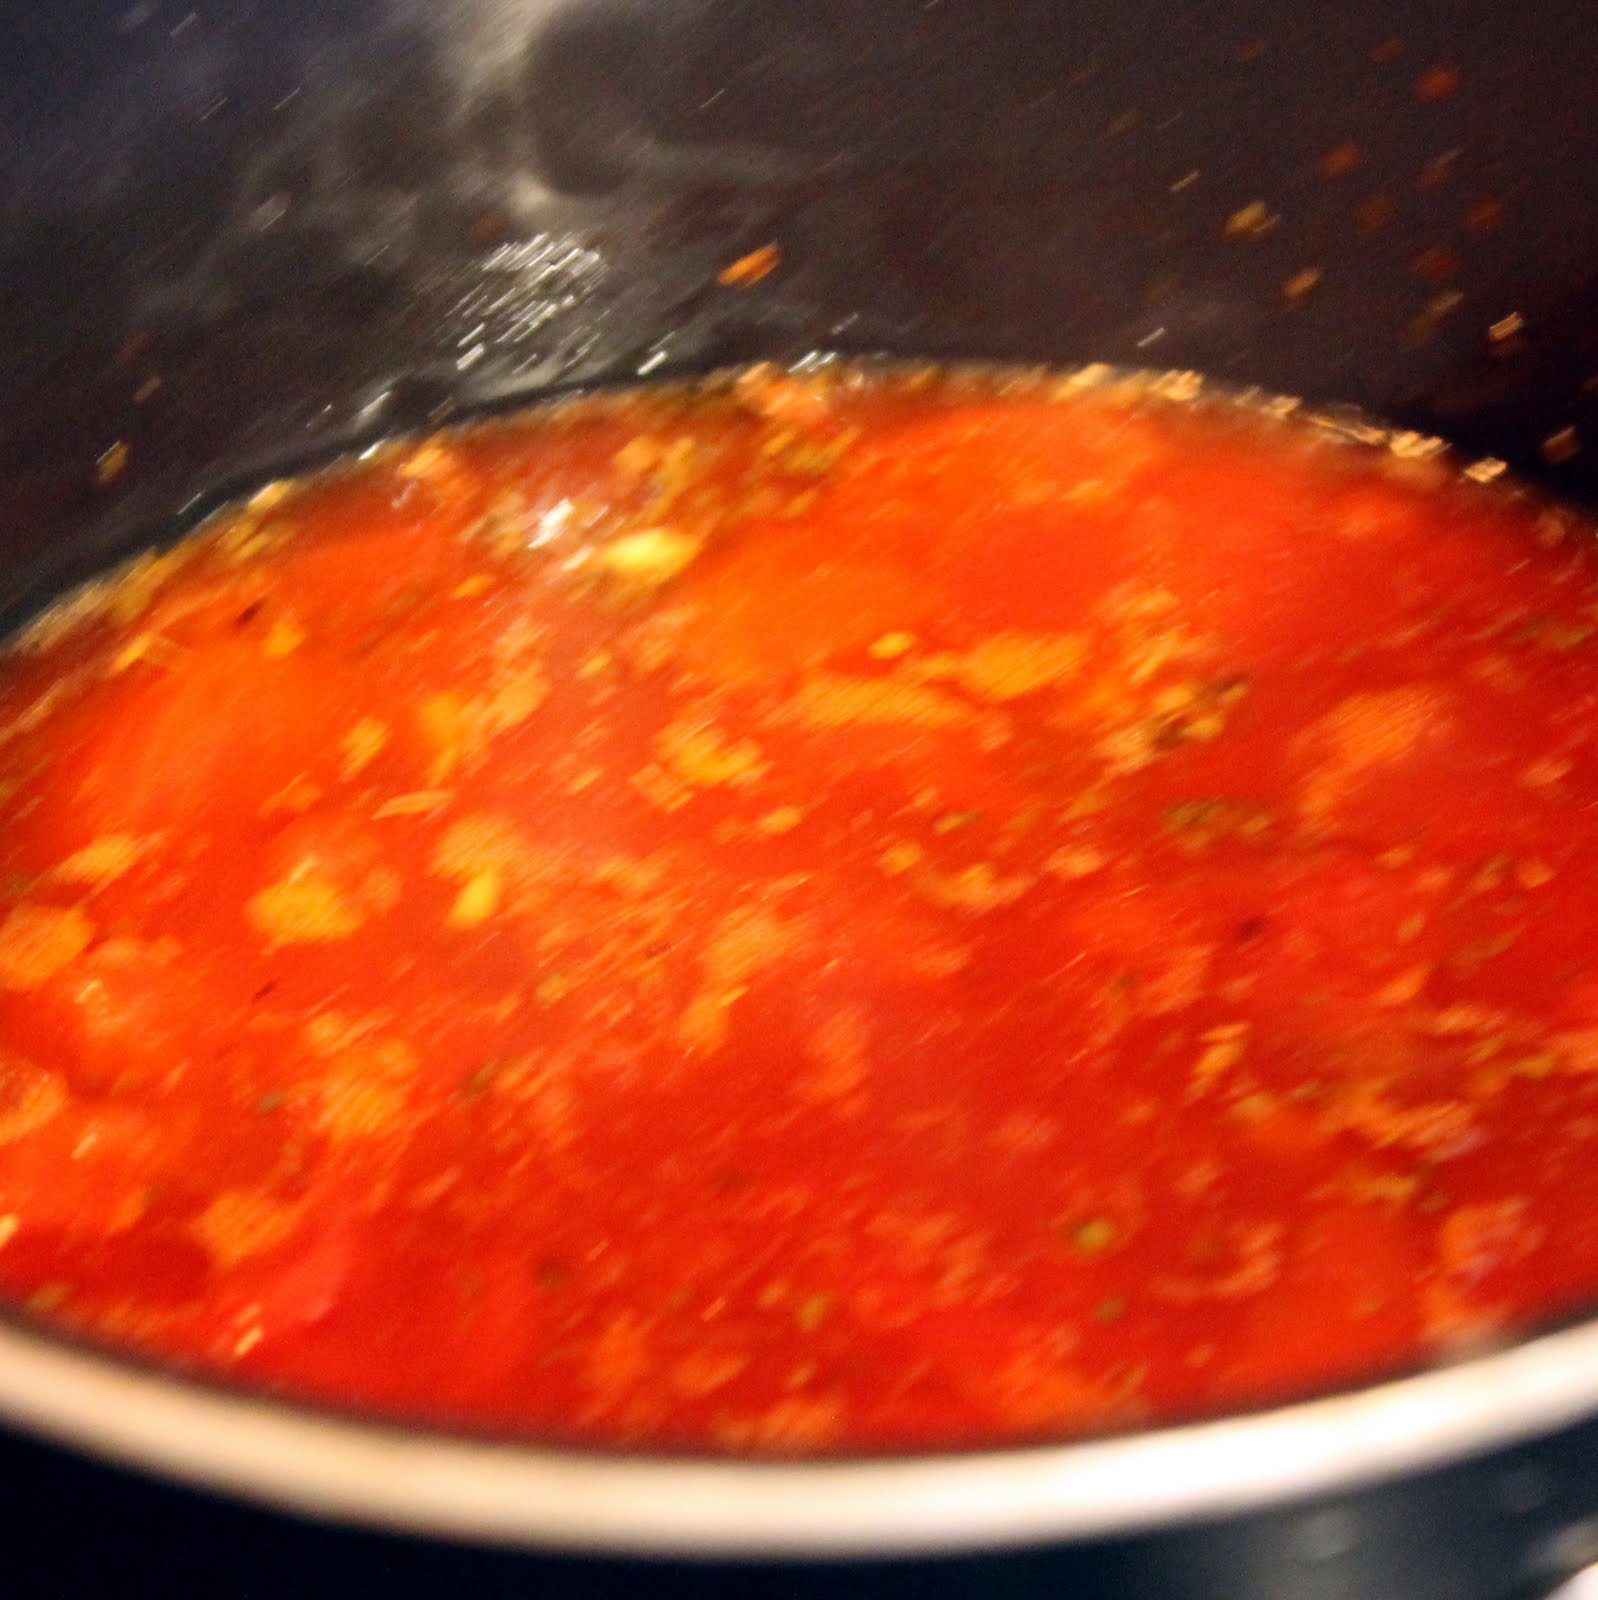
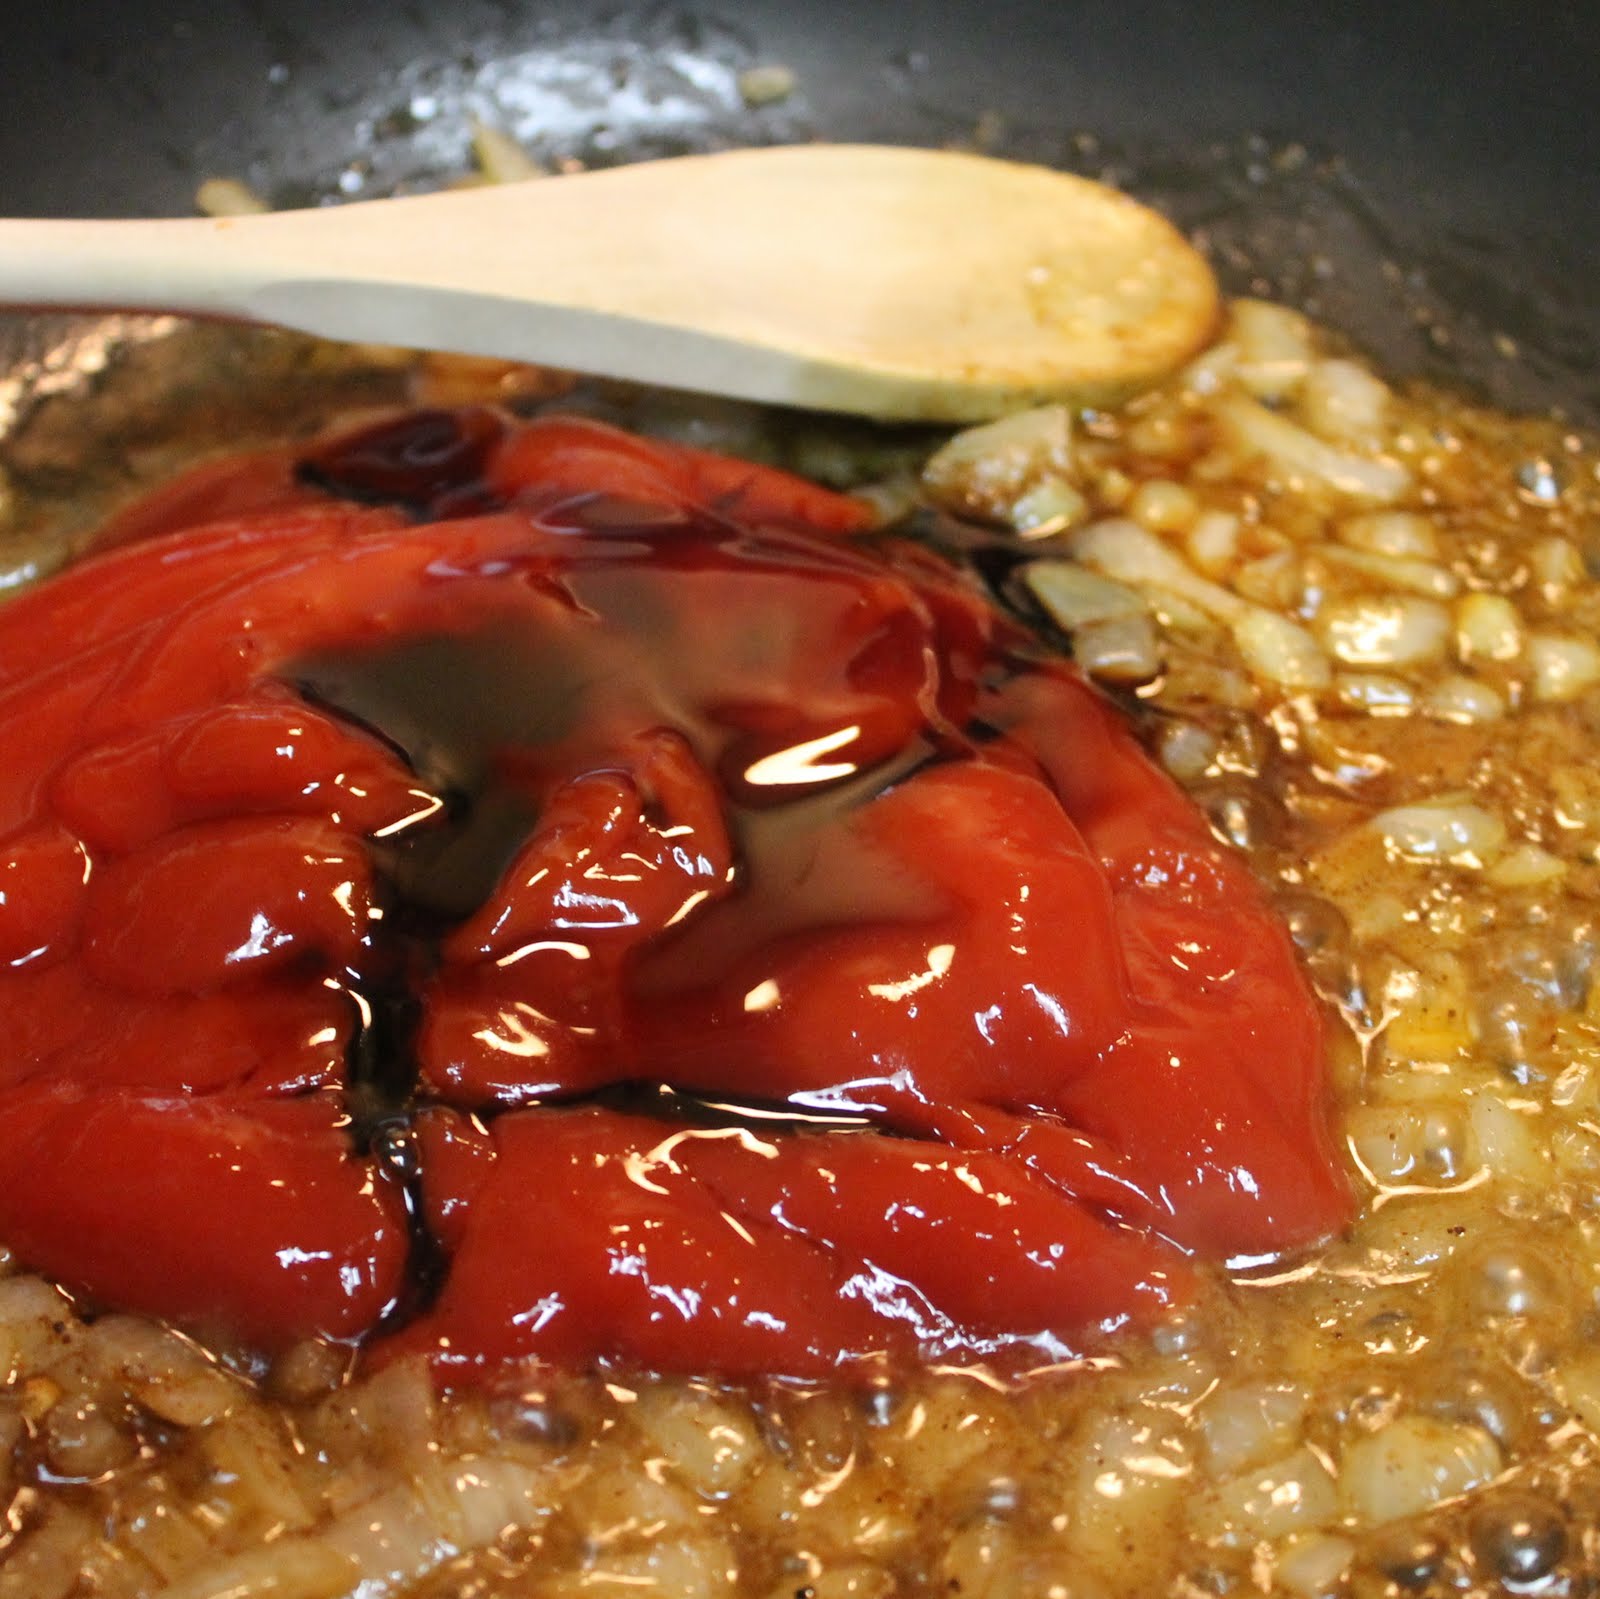
Add ketchup, vinegar and molasses.
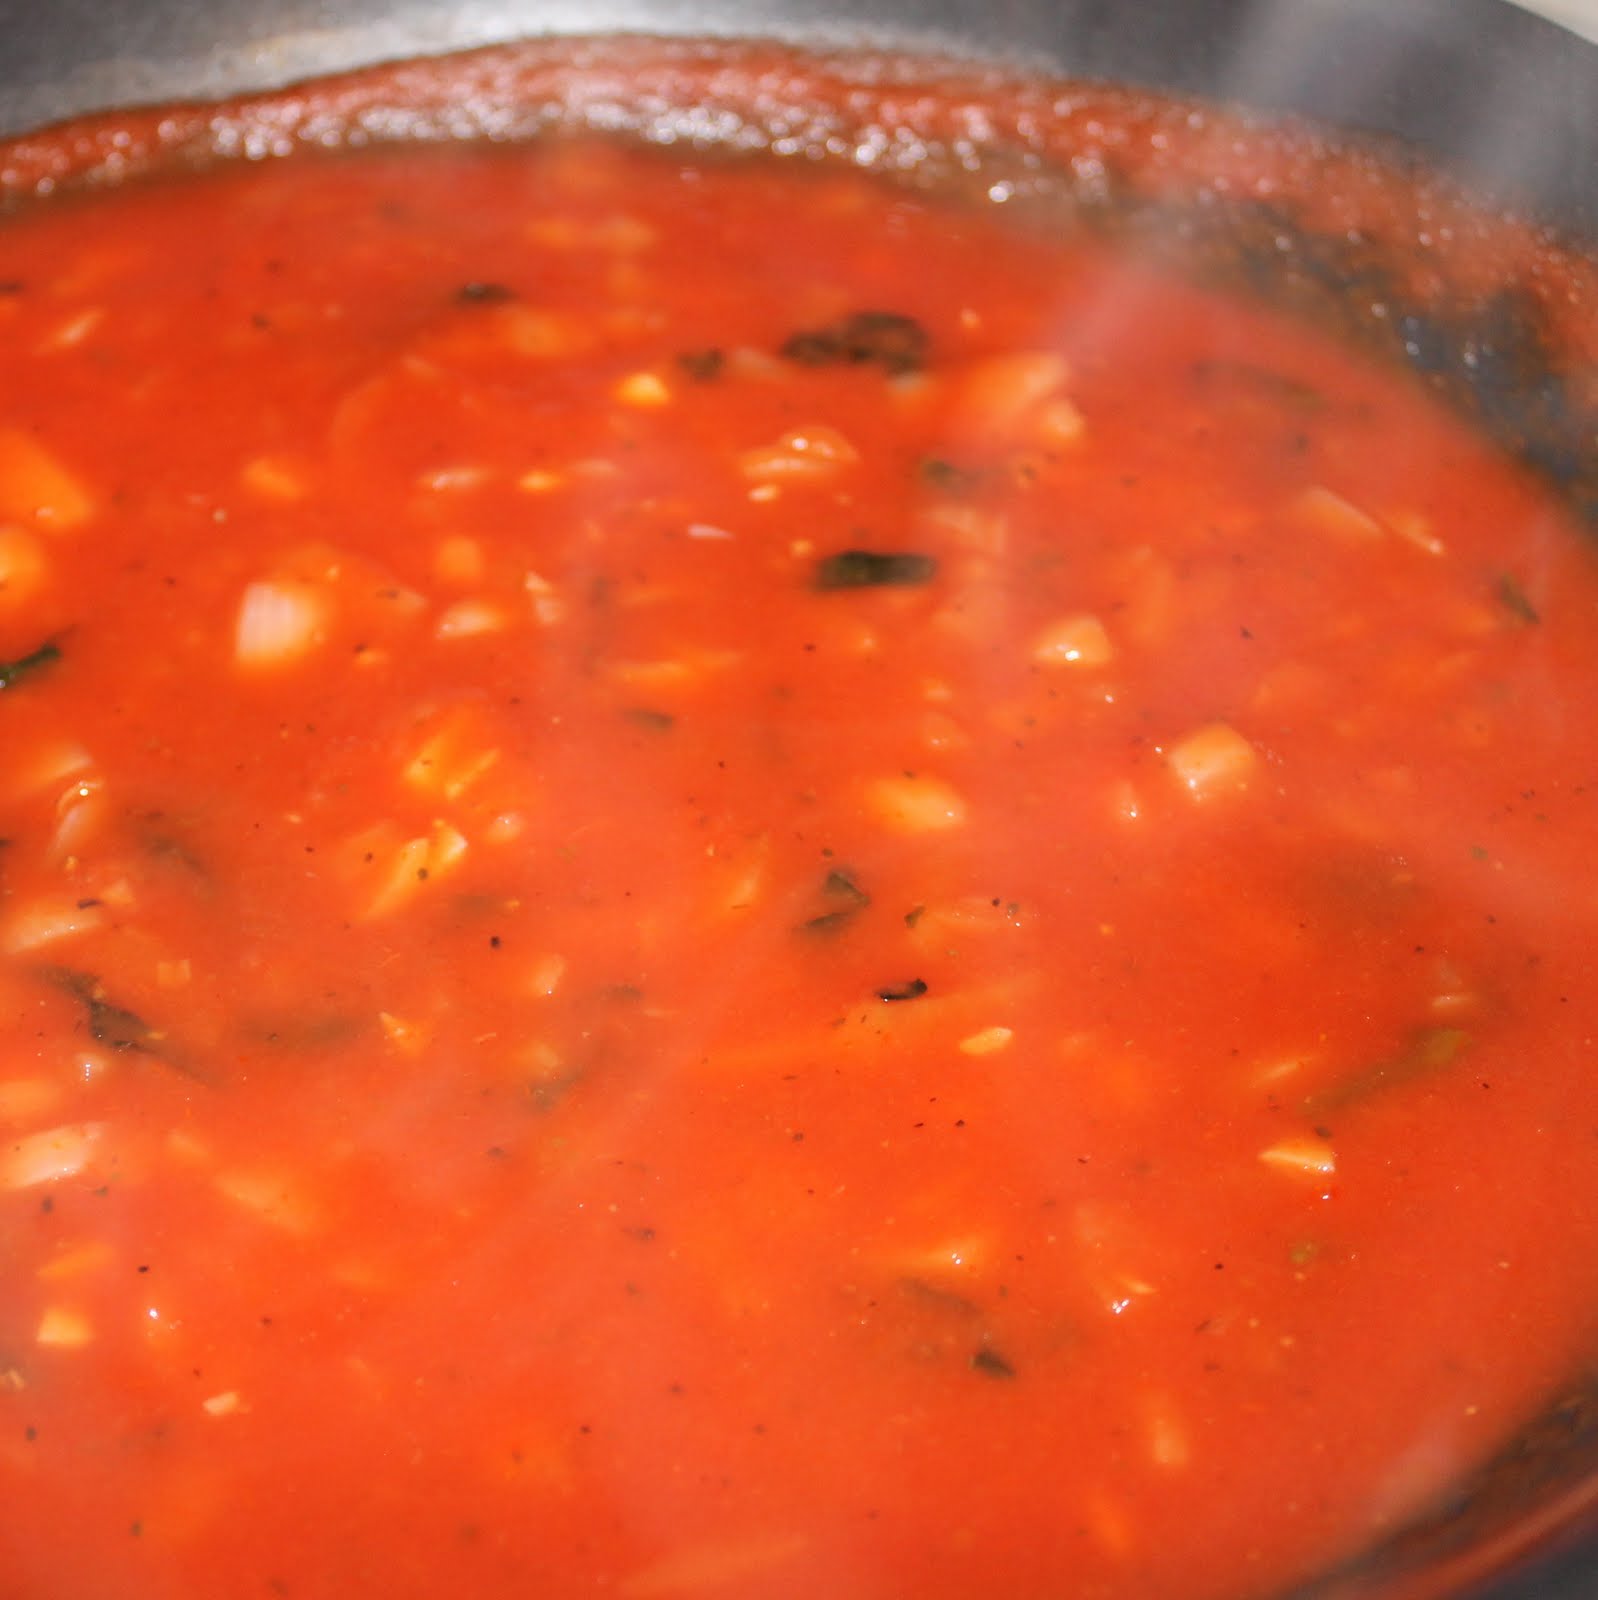
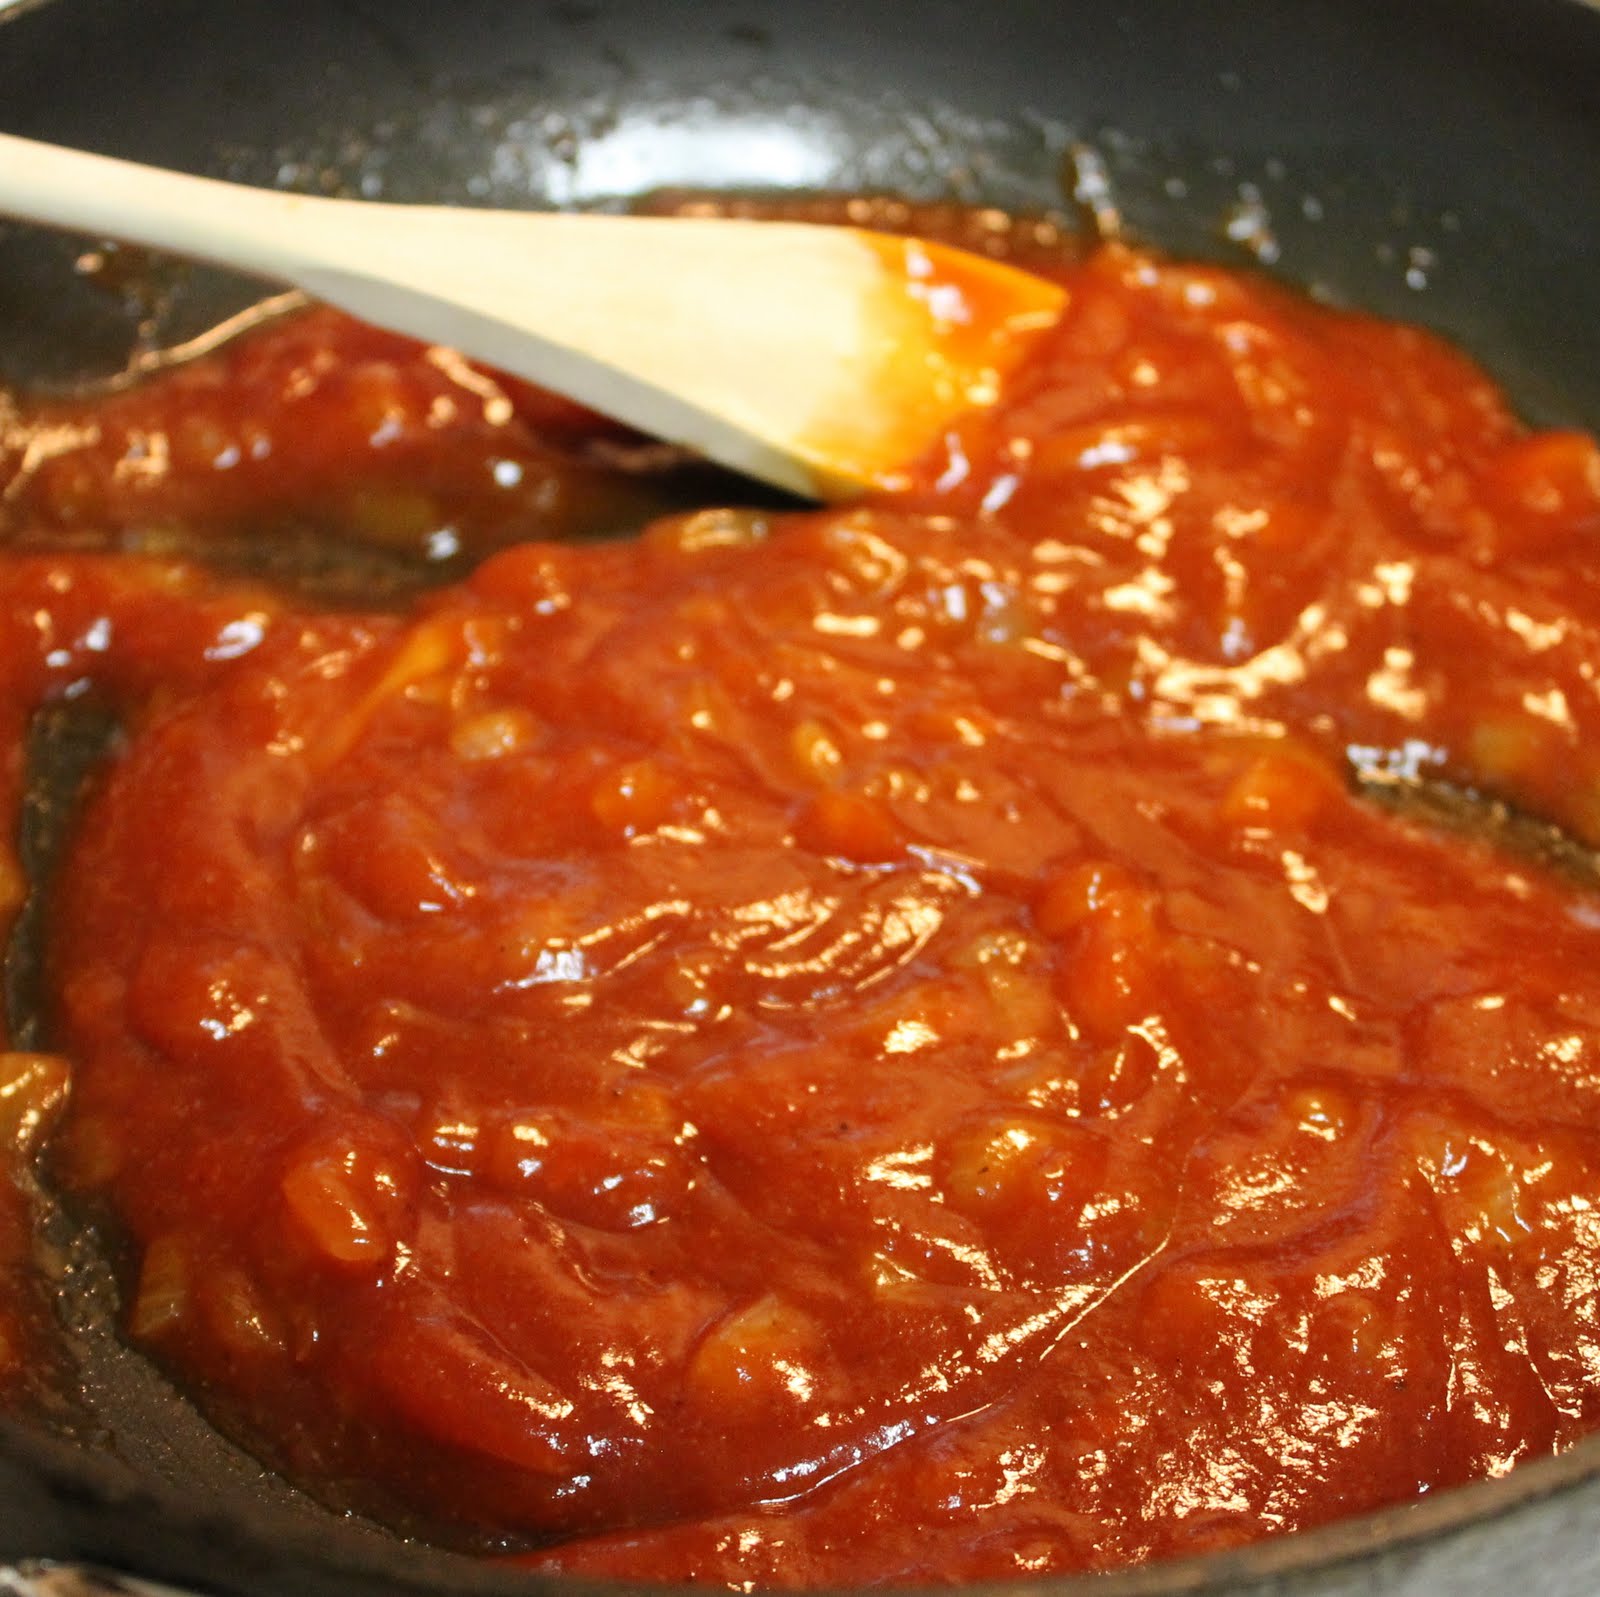
Bring to a boil, reduce heat, and simmer for 10 minutes or until slightly thickened, stirring occasionally.
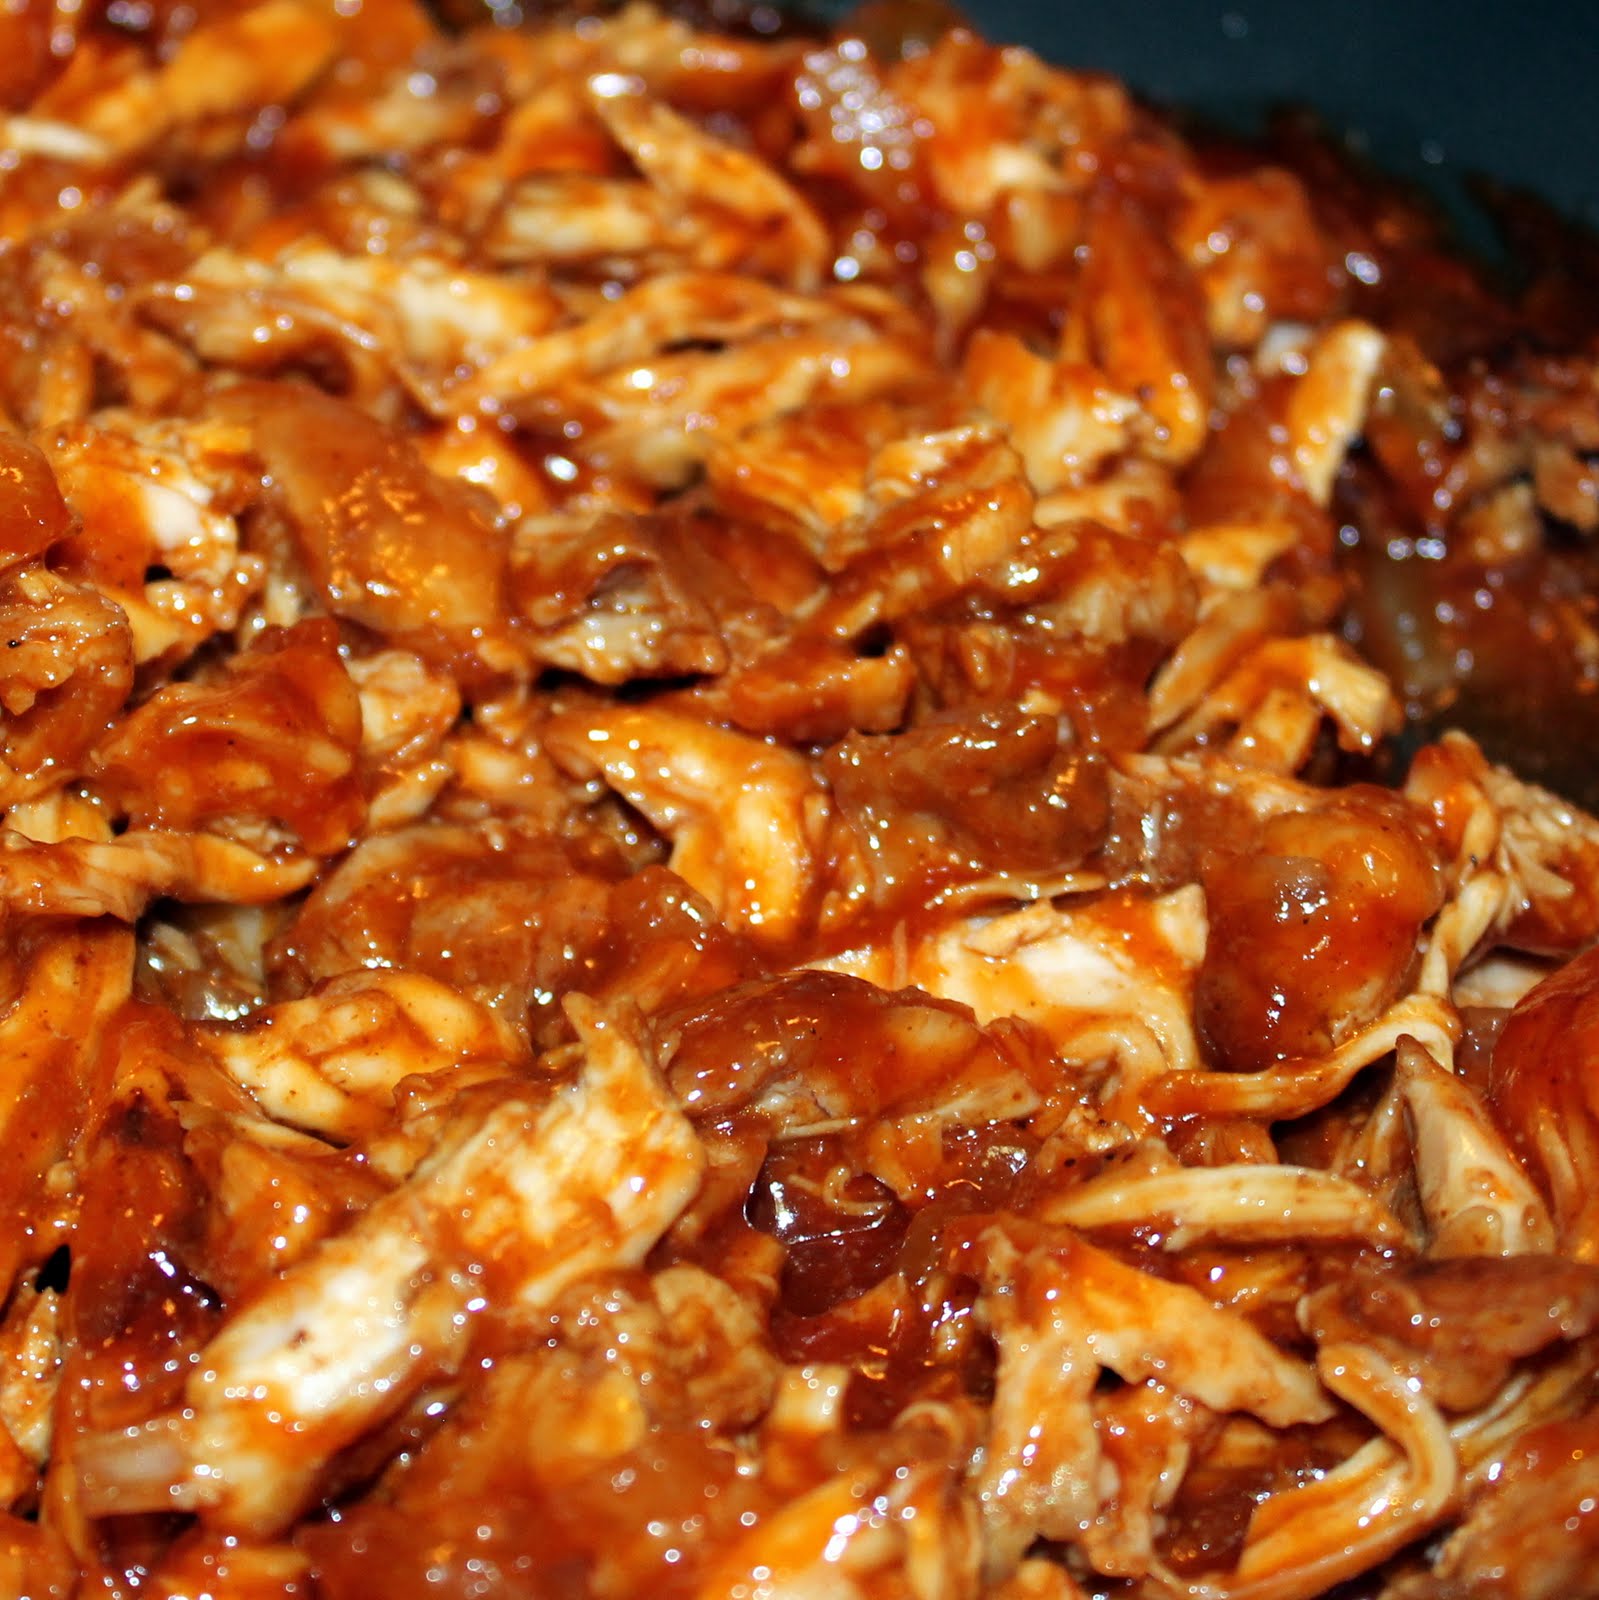
Stir in chicken and cook for 2 minutes, making sure the chicken is thoroughly coated in the sauce.
Toast the buns.
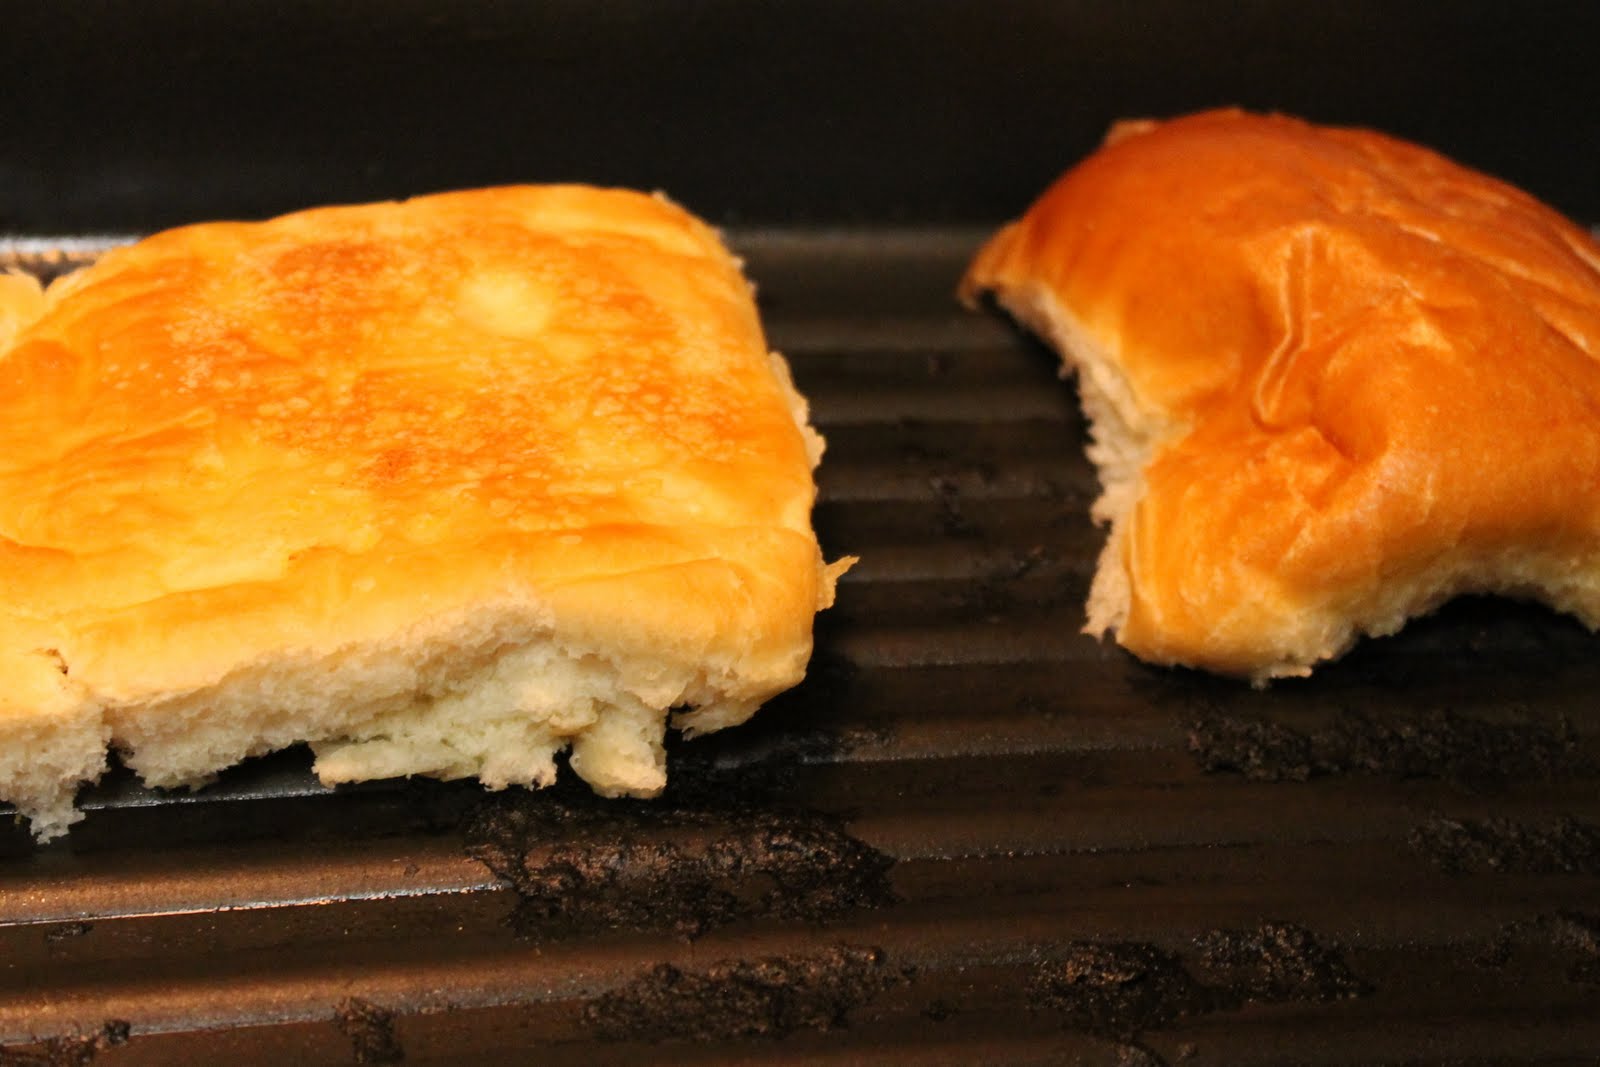
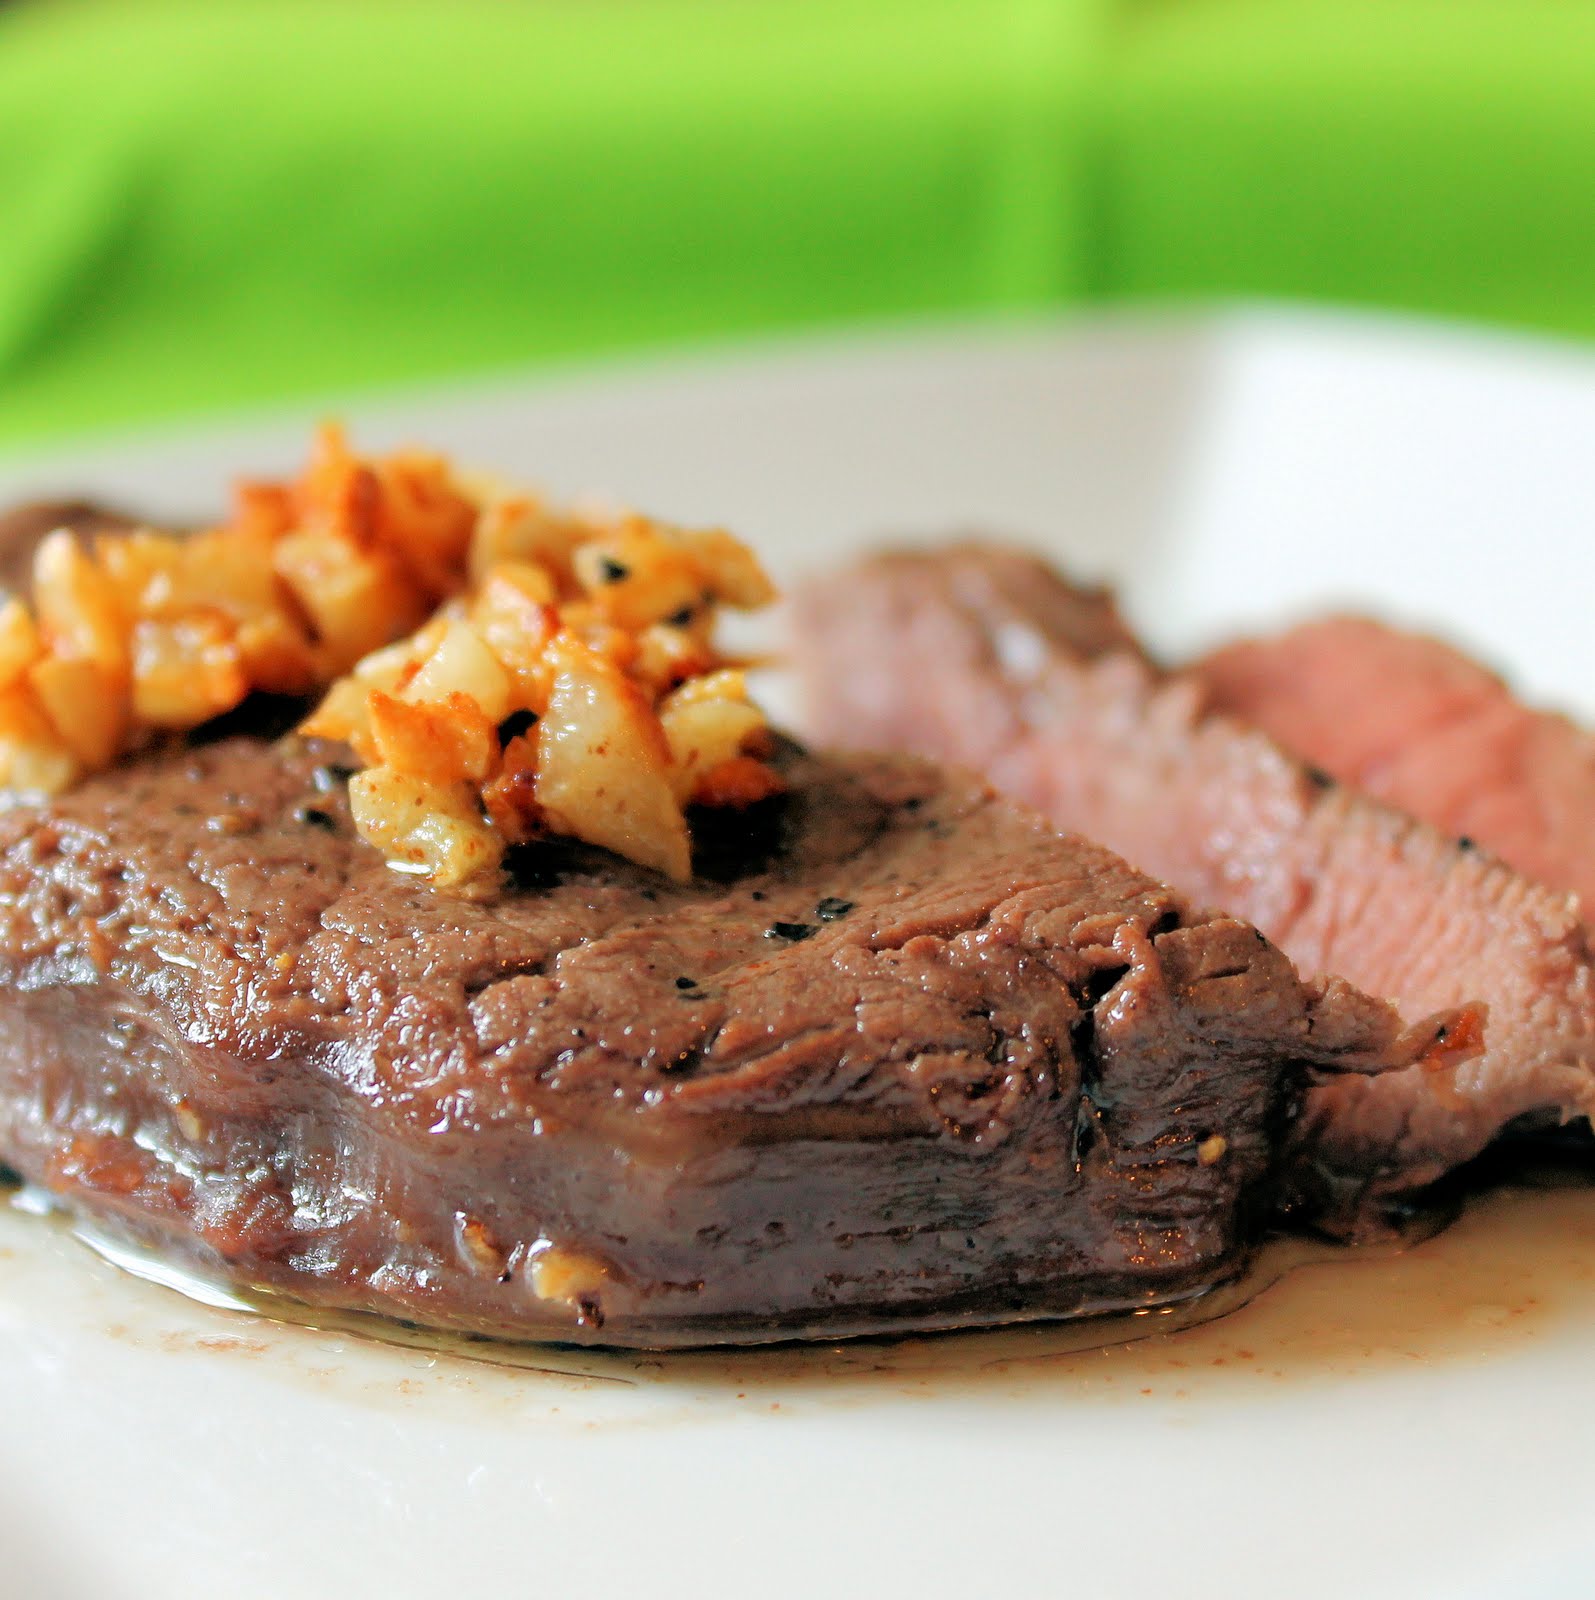
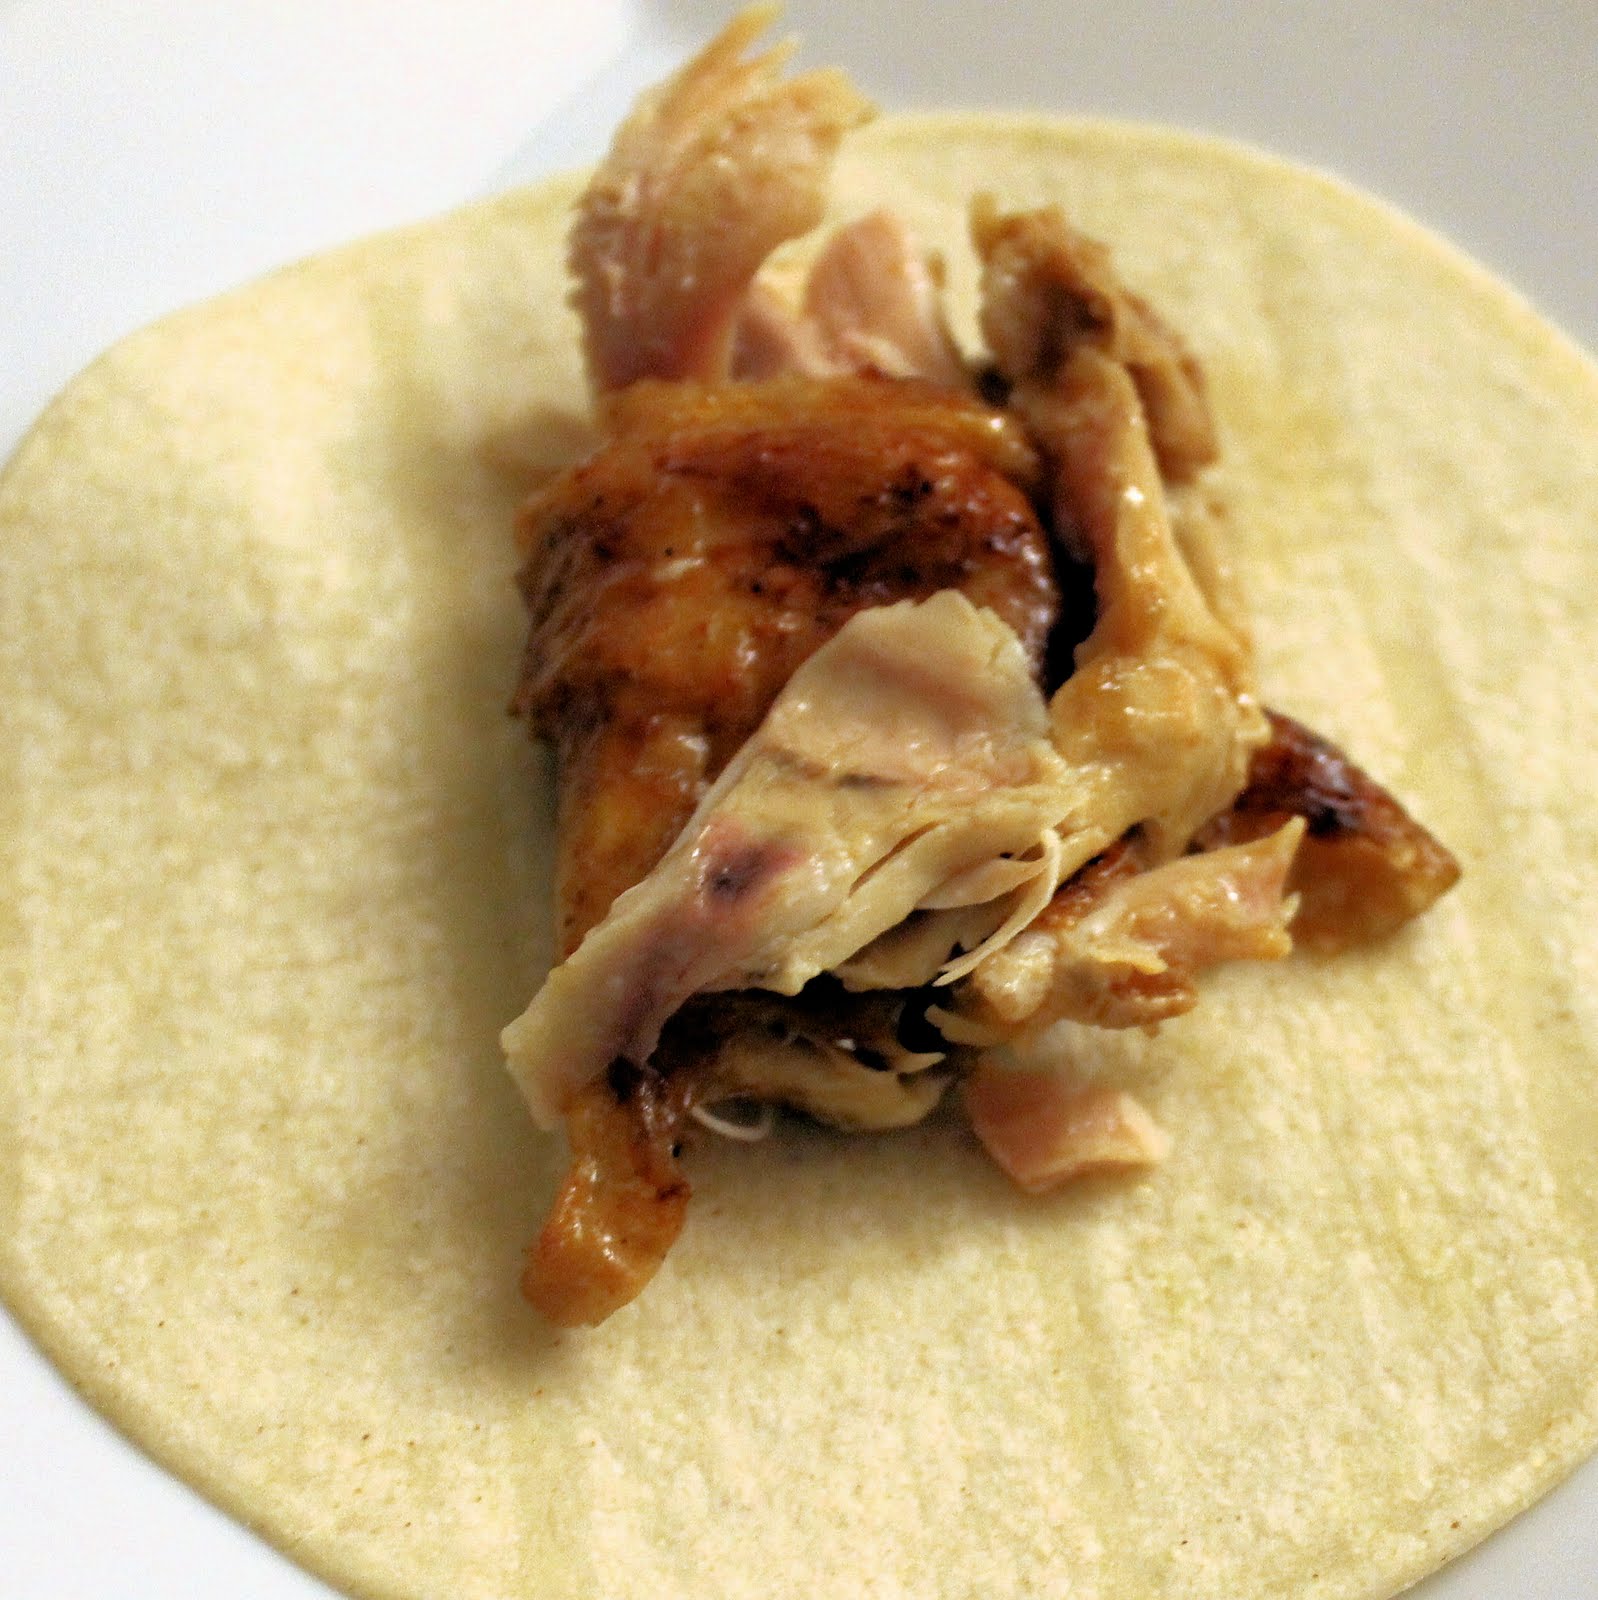
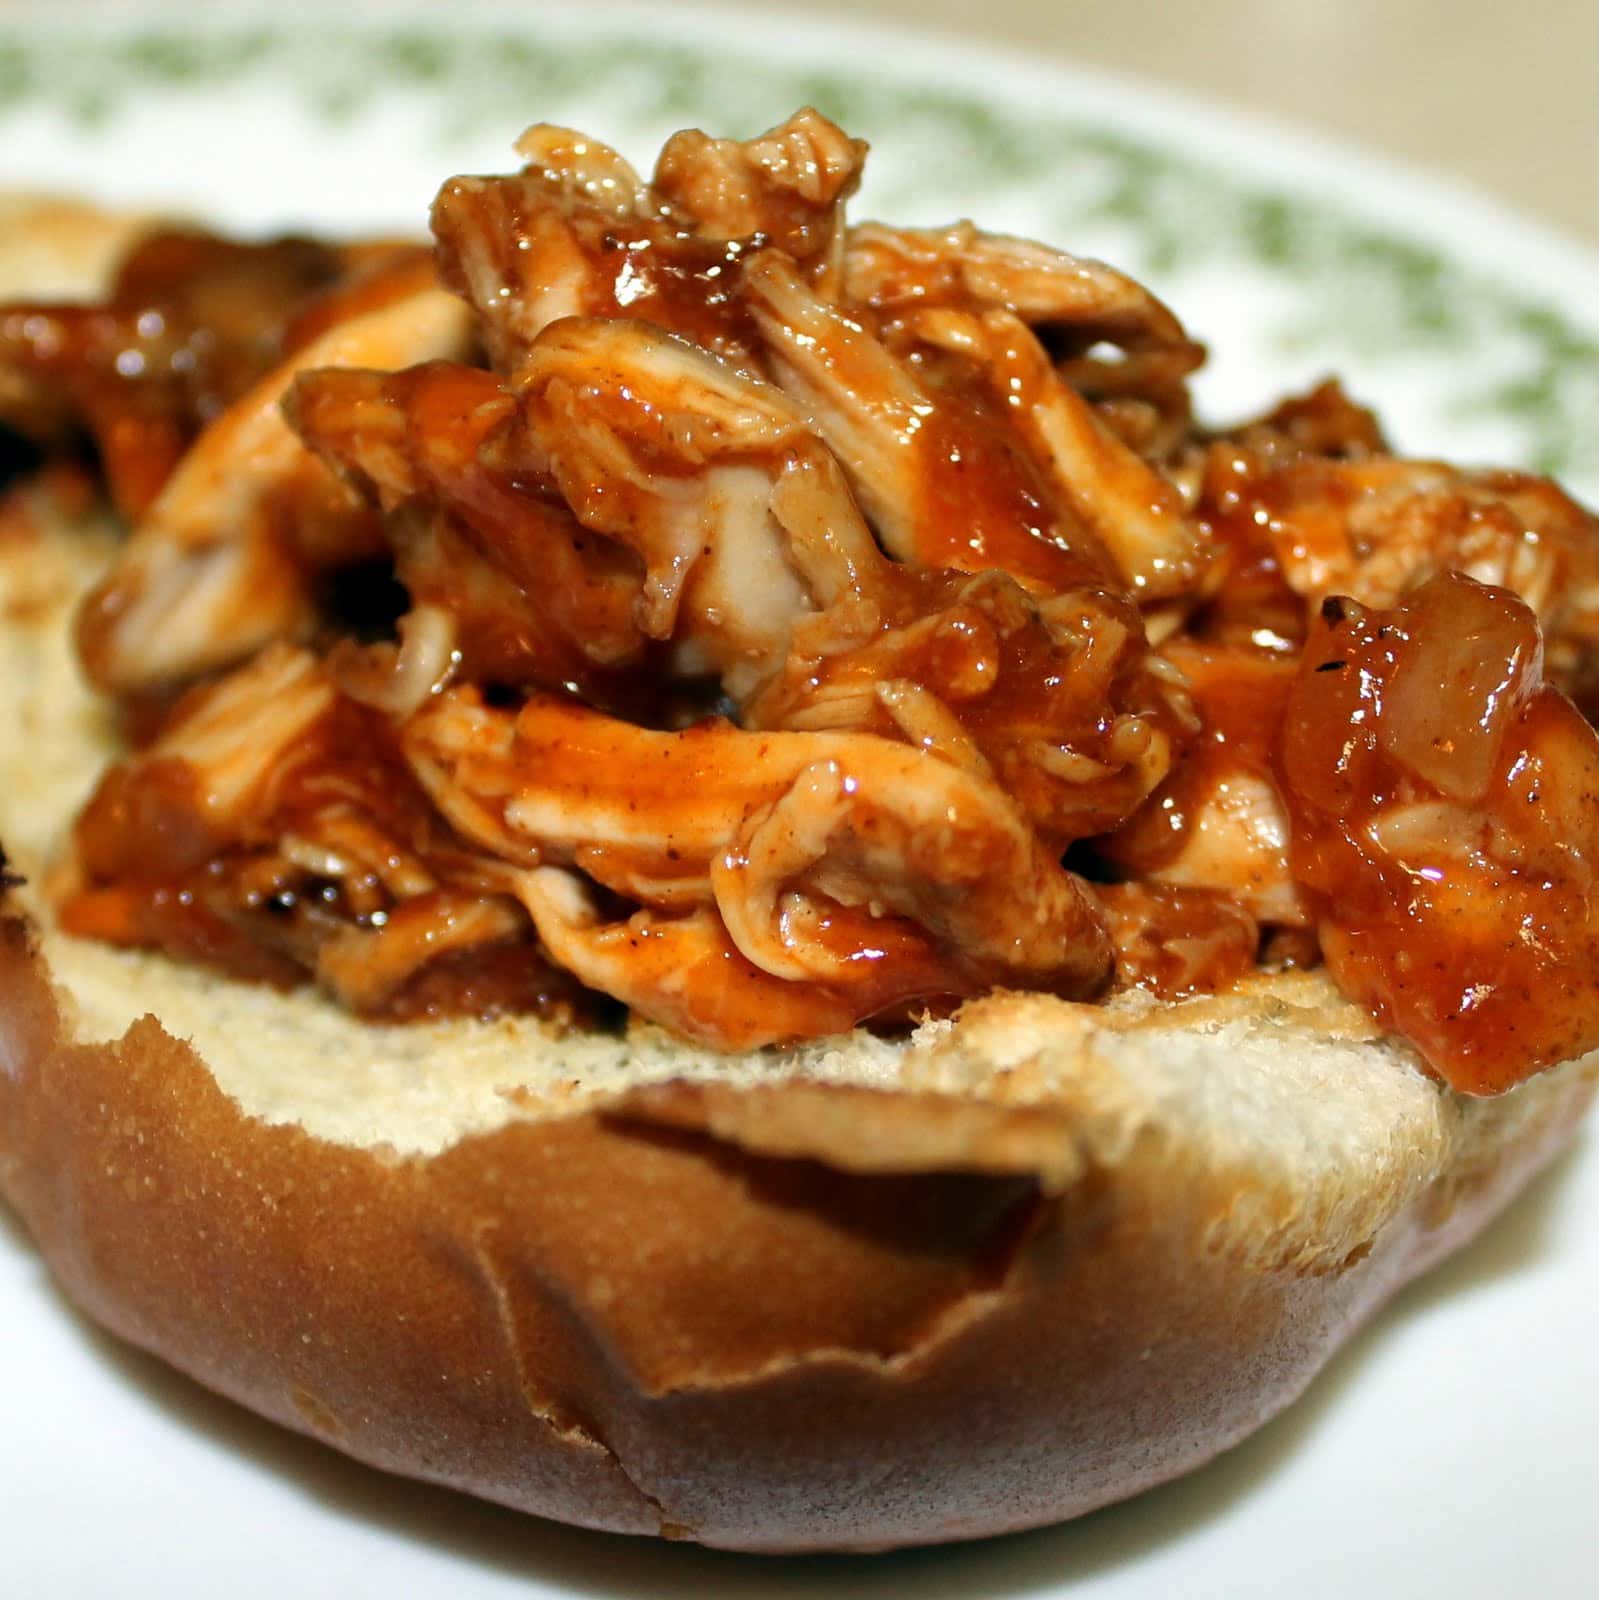
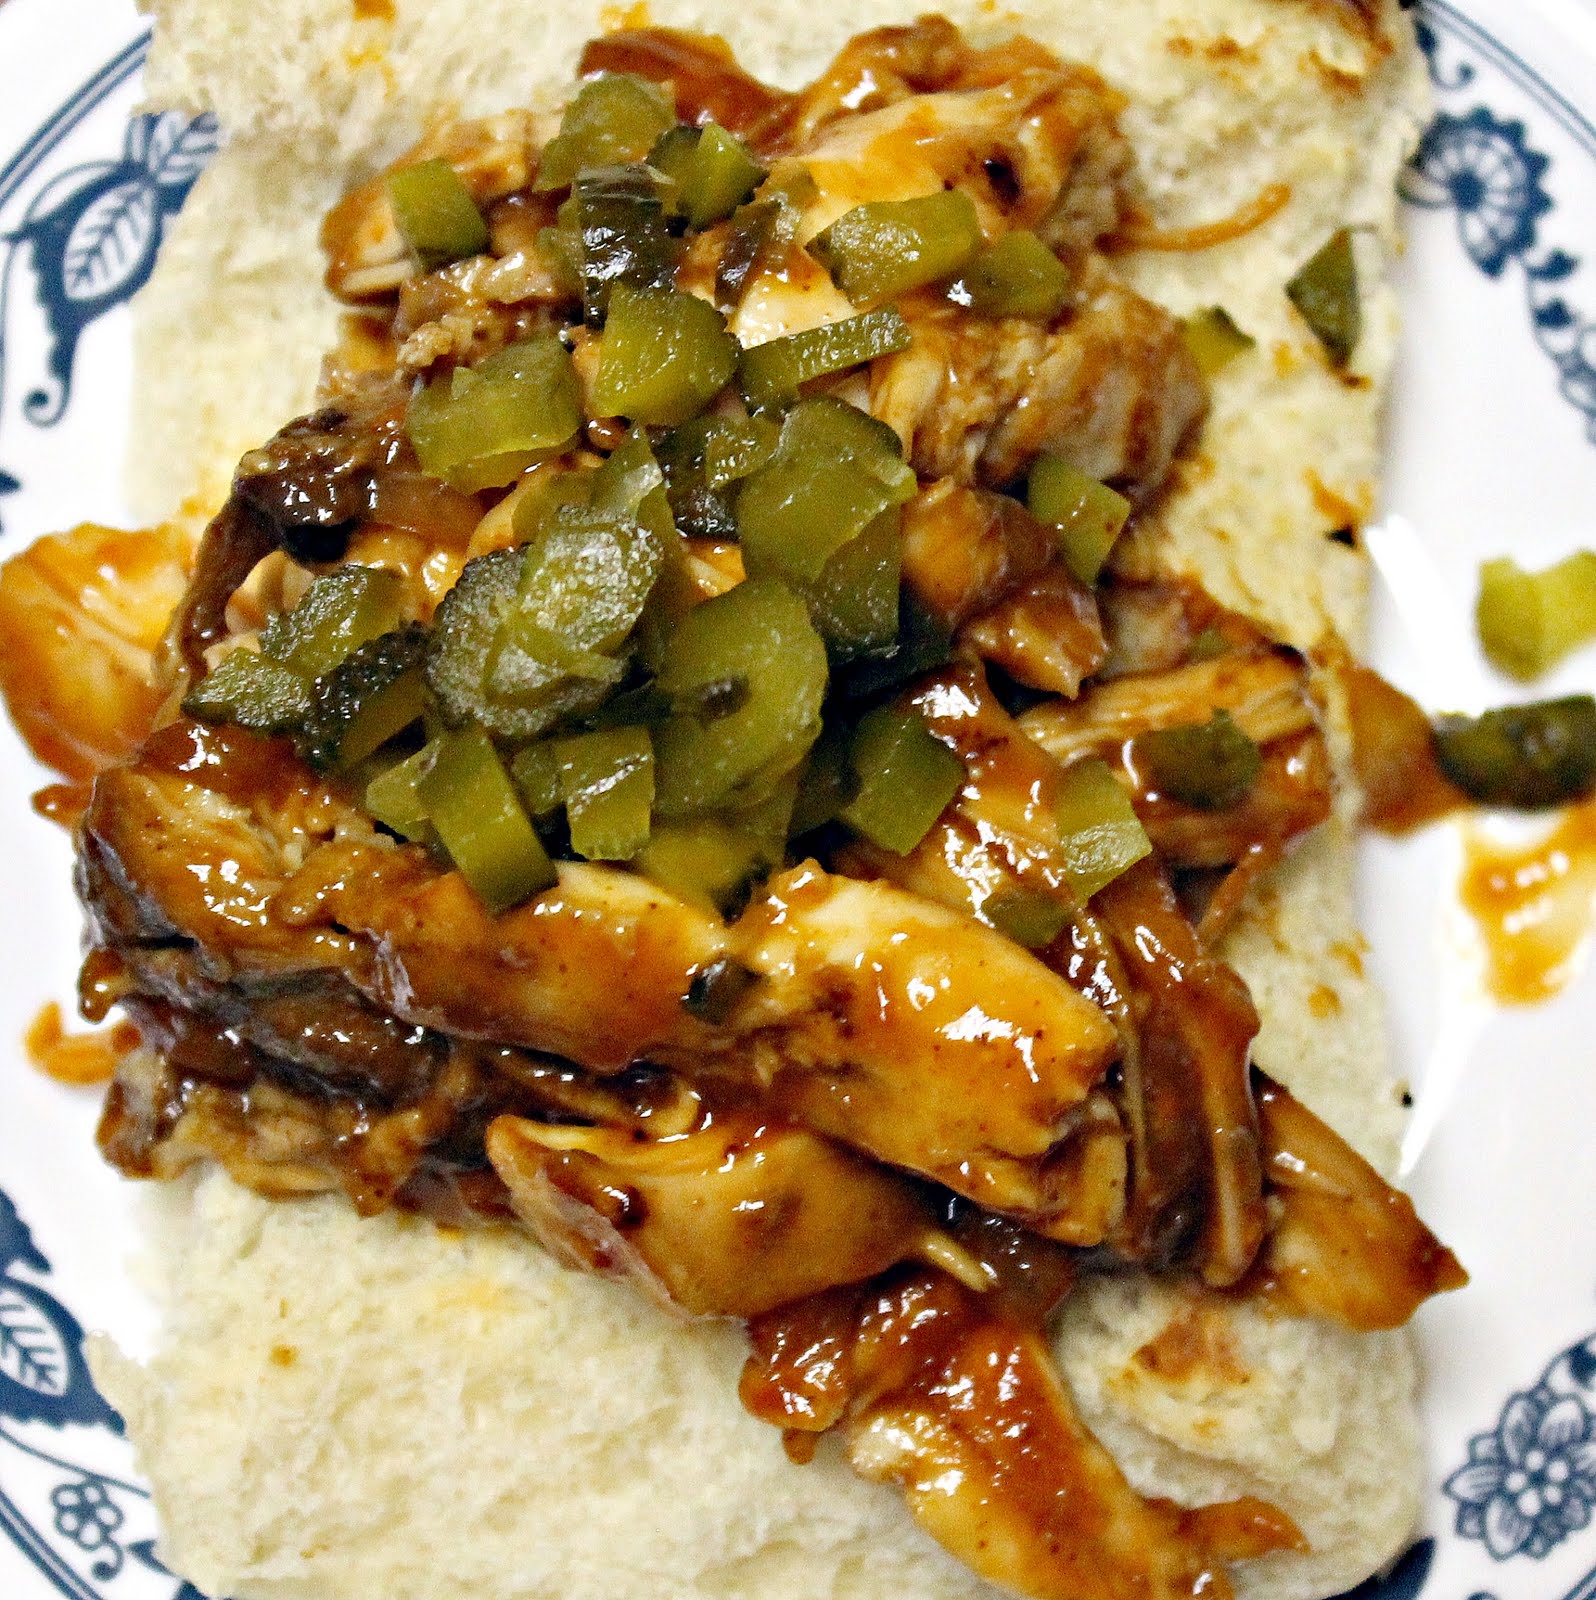
Place about 1/3 cup chicken mixture on bottom halves of the toasted roll.
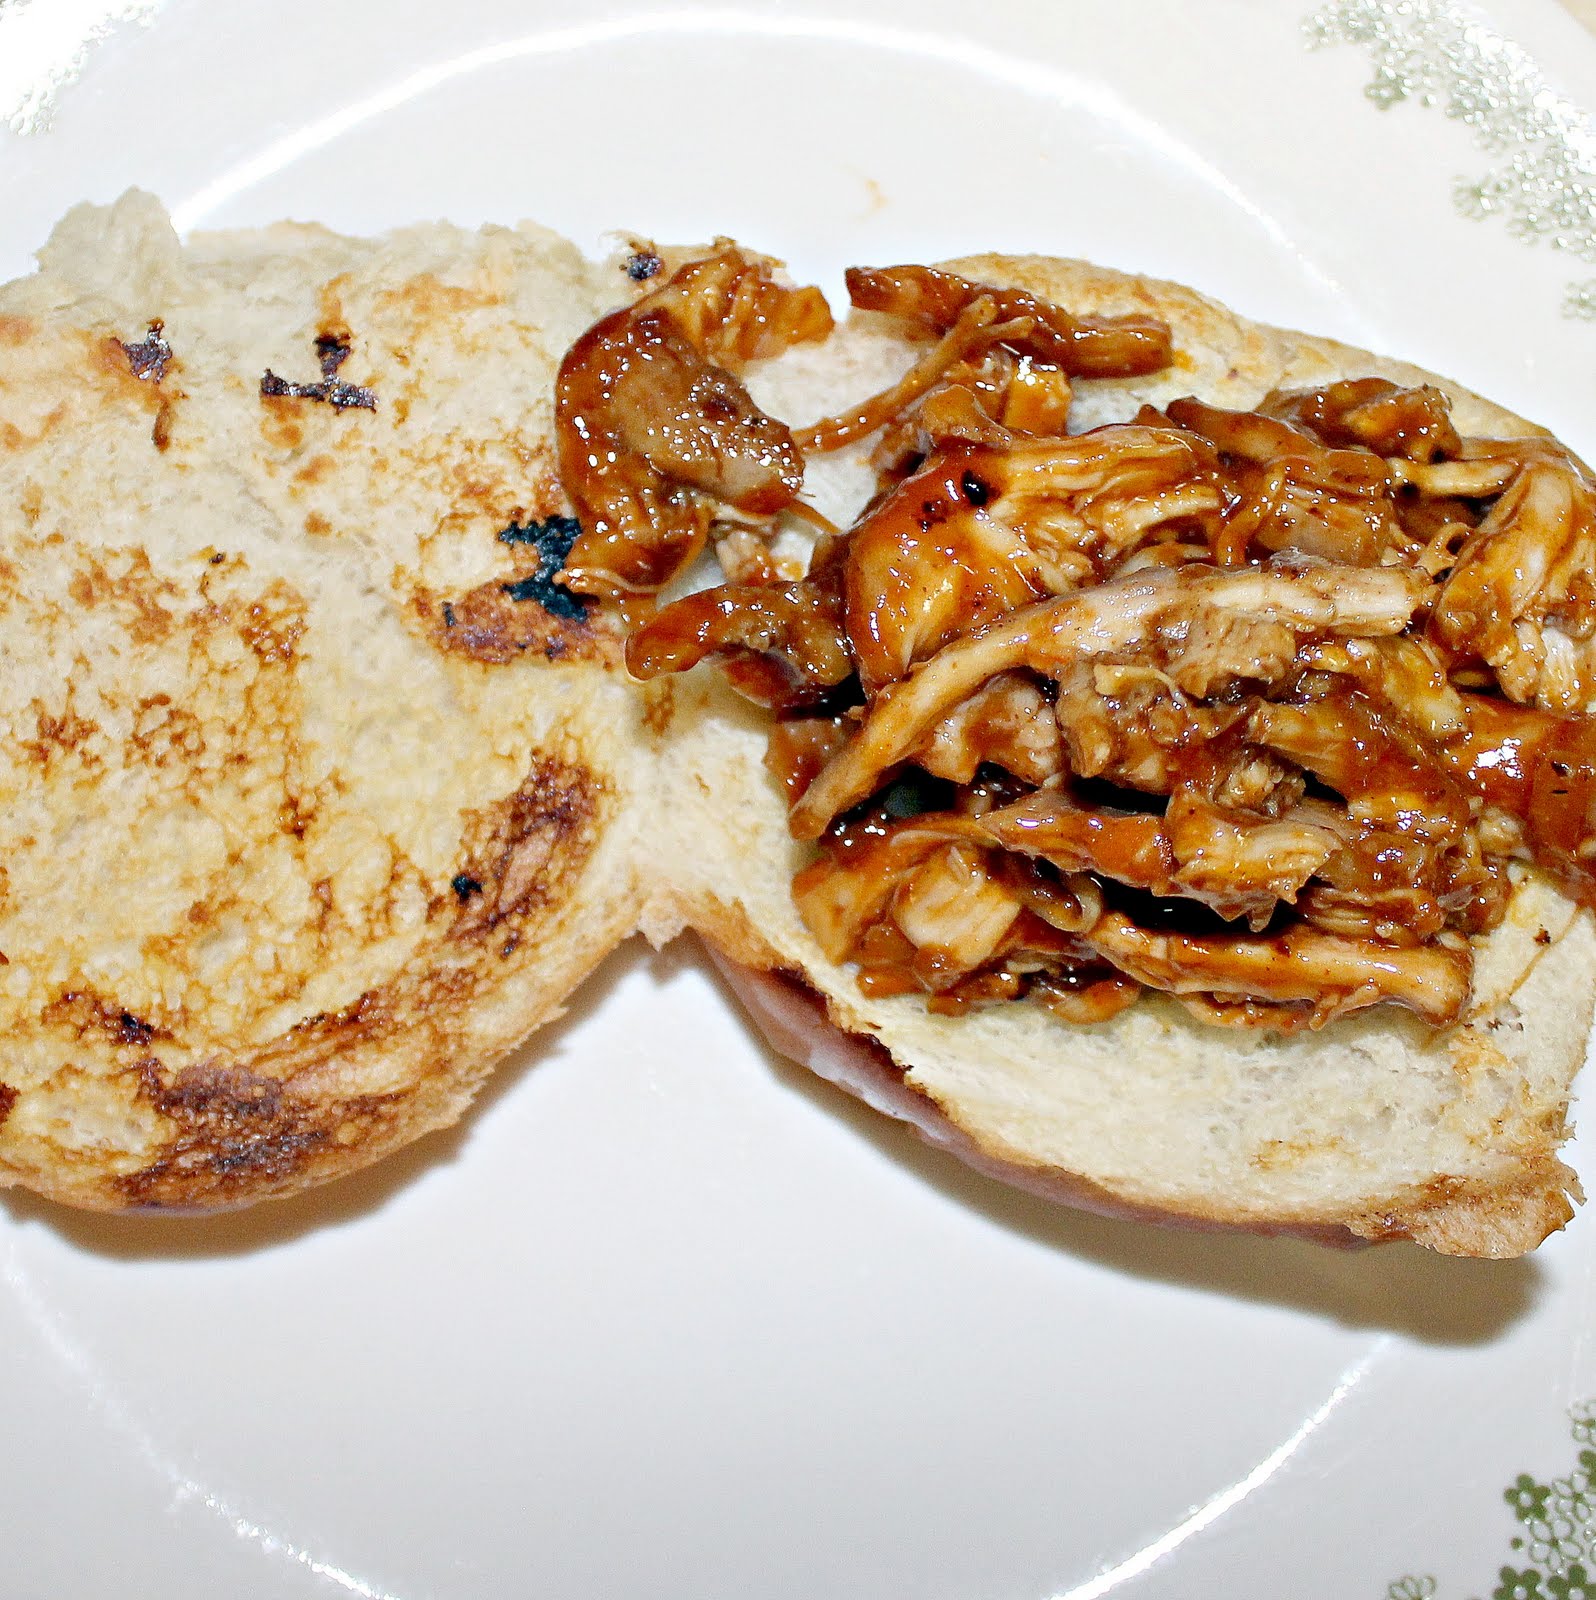
Top with pickles if desired.
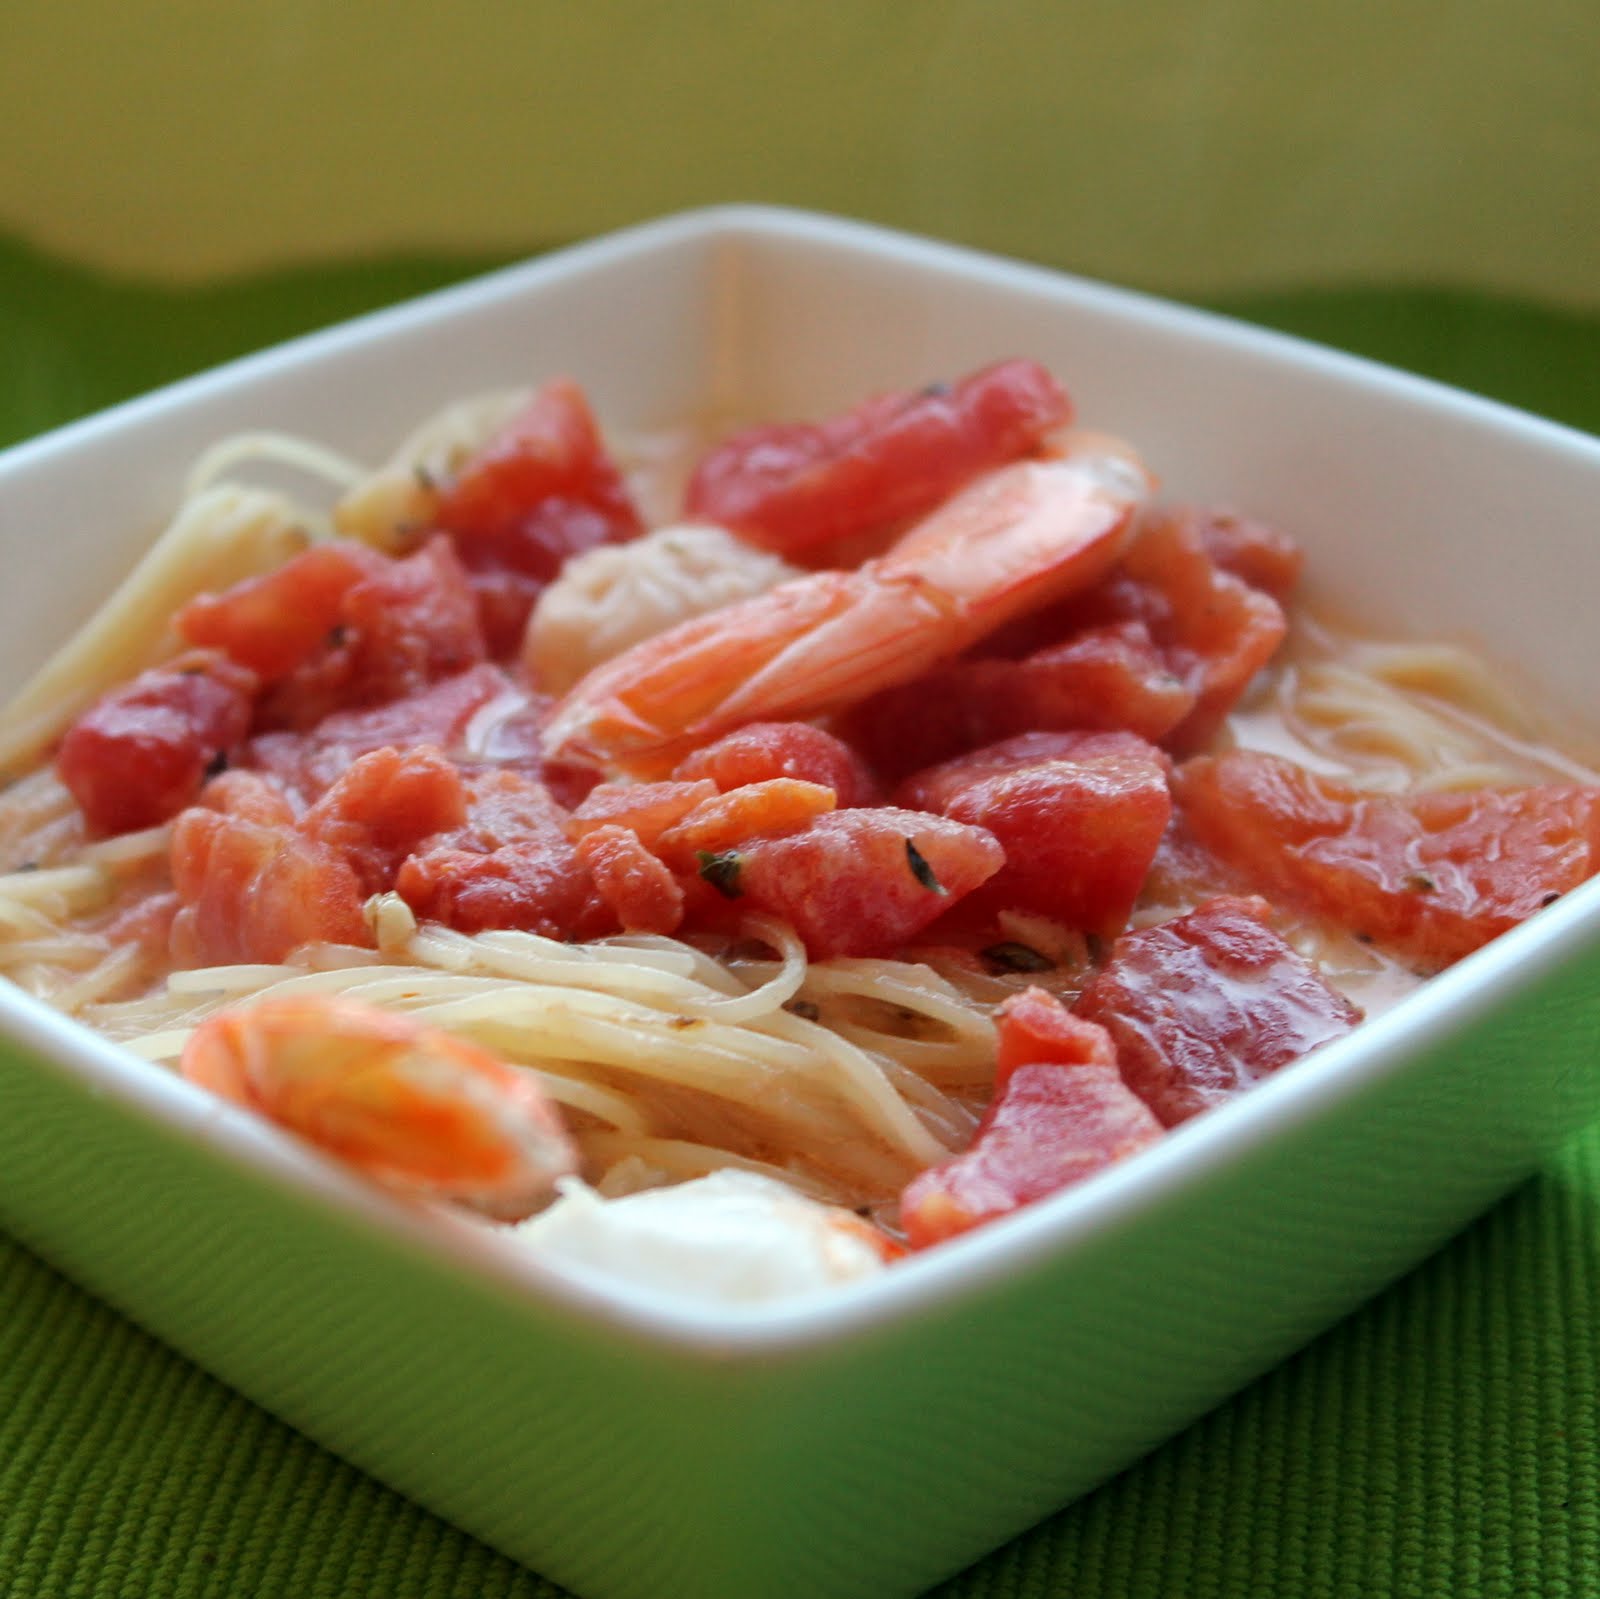
This recipe was promising from the start. I haven’t seen my boyfriend so excited for a meal I’m cooking in a long time; he even offered to help out! (He worked on grilling and shredding the chicken while I prepped and worked on the sauce, it really sped up the cook time). And this recipe really delivered. It tasted like it had slow cooked for hours, subtly sweet and spicy at the same time. I really don’t like pickles, but my boyfriend had his topped with pickles and said it really made the sandwich that much better.
This meal could easily be used in the winter months to remind you of the warmer weather. You could make this as I did on a grill pan, or to really enhance the flavor, you could cook the chicken in a slow cooker for 5 hours on low.

Eggplant Parmesan Stacks

I received another eggplant in my CSA share this week so I thought I’d attempt Eggplant Parmesan. I saw this slightly different version of the recipe on MyRecipes.com, originally from Sunset Magazine and thought I’d give it a try.

Ingredients: (makes 2 servings)
1 eggplant
1/2 tube cooked polenta
Olive oil cooking spray
1 onion, peeled and chopped
3 cloves garlic, minced
2 tablespoons chopped fresh basil leaves or 2 teaspoons dried basil
1 can (14 oz.) tomato purée
1/4 cup water
Salt and pepper, to taste
3/4 cups shredded part-skim mozzarella cheese (6 oz.)
1/4 cup grated parmesan cheese
2 tablespoons panko breadcrumbs

Preheat your oven to 425 degrees. Begin by preparing your eggplant. Rinse the eggplant and cut off both ends. Cut the eggplant crosswise into 4 equally thick slices.
Using only half of the tube of polenta, cut the polenta crosswise into 4 equal slices.
Lightly spray a cookie sheet with the cooking spray and add the polenta and eggplant to the sheet. Spray another layer of the cooking spray on the slices.
Cook for 20 minutes, or until the eggplant is soft and the polenta is heated through.
While the eggplant and polenta are cooking, prepare your onion, basil and garlic.
 Heat a saute pan over medium-high heat and add the onion, garlic and basil.
Cook until the onion is lightly browned, about 5 minutes.
Add the tomato puree and 1/4 cup water.
Stir to combine. Simmer uncovered for about 10 minutes, stirring occasionally. Add salt and pepper to taste. Reduce heat and cover to keep warm until the eggplant and polenta are finished cooking.
When the rounds are heated, sprinkle mozzarella and Parmesan cheeses over the slices. Return to the oven and bake until the cheese is melted, about 2 minutes.
To assemble, add one of the larger slices of eggplant to a plate.
Top with 1 tablespoon tomato sauce.
Add one polenta slice.
Top with another tablespoon of sauce.
Repeat with another eggplant slice, tomato sauce, polenta slice & more tomato sauce. Top with 1 tablespoon panko. Repeat this process to plate the other eggplant Parmesan stack.
If desired, spoon the remaining tomato sauce around the stacks.
What an inventive “eggplant Parmesan” dish! It was really simple too, the whole meal was ready in just over 30 minutes.
I think I honestly prefer this version to the traditional eggplant Parmesan. I always find the breading to be a bit too heavy for the eggplant so the polenta was a happy alternative. Not to mention, I was able to make only two servings so nothing went to waste! Now to find a recipe to use the rest of my polenta…

Corn, Tomato & Basil Risotto

After a weekend of brownie and brie baking, I’m back on track making normal meals. Keeping with my tomato-corn themes, I was happy to find a recipe from Fine Cooking that included both of these ingredients. Even better, it is also a risotto!
Ingredients:
4 cups chicken broth
2 cups of frozen corn kernels
2 Tbs. unsalted butter
1 shallot, minced
1 cup arborio rice
1/3 cup dry white wine
1 cup halved cherry tomatoes
2 tsp. extra-virgin olive oil
3 Tbs. torn fresh basil leaves
Kosher salt and freshly ground black pepper
1/3 cup freshly grated Parmigiano-Reggiano

So I chickened out this time on the corn. Out of my last batch of a half dozen corn cobs, 5 (FIVE!) of them had worms. Goo. I understand it is very difficult to grown corn organically, but I needed to just take a step back from the whole surprise-in-my-corn.If you are using fresh corn, click on the link above to see the original recipe, I used frozen kernels for mine so I had to adapt the recipe accordingly. You will need three corn cobs.

Add the chicken broth to a pot and heat over medium-low heat. In another saute pan melt the butter over medium heat. Add the shallot and cook for 2 minutes.

Add the rice and stir to coat.
Add the wine and cook until absorbed, about 1 minute.
Ladle in 1 1/2 cups of the warm broth into the saute pan and cook, stirring occasionally, until the broth is absorbed (about 3 to 5 minutes). Add a 1/2 cup of broth at a time, waiting until the broth is absorbed before adding the next 1/2 cup.
Combine the tomatoes,olive oil, and 2 tablespoons of the basil in a bowl. Season with salt and pepper and set aside.
I’d be happy just eating this!
About 16 minutes into the cooking of the rice (you’ll still have broth left), stir in the corn. Continue to add the broth in 1/2 cup increments until the rice is creamy, about 20 to 25 minutes in total.
Remove from heat and add the Parmigiano cheese and tomato-basil mixture. Top with the remaining basil and serve.
Somehow, this risotto was light and refreshing. I loved the sweetness from both the tomatoes and corn, it tasted like summer! I ate the leftovers from this the next day for lunch and it held up really well, which is always a plus.


Oven-Roasted Halibut with Quinoa and Warm Tomato Vinaigrette

I’m still working through my tomatoes (no complaints here), and I am trying to experiment with different ways to use the tomatoes. I found this recipe for Oven-Roasted Sea Bass with Couscous and Warm Tomato Vinaigrette and used it as a base. I substituted halibut for the sea bass (Chilean sea bass is severely overfished, often illegally, and also has a high content of mercury. Try to buy Pacific halibut because Atlantic halibut is also overfished). I also used quinoa, which was already in my pantry, instead of couscous.

Ingredients:
1 scallion (green onion)
2 tablespoons olive oil
2 garlic cloves, minced
1 cup halved  cherry tomatoes
3 tablespoons fresh lemon juice, divided
1 tablespoon rice vinegar
1 teaspoon kosher salt, divided
1 cup chicken broth
1/2 cup uncooked quinoa
1/4 cup chopped fresh chives
2 (6-ounce) halibut fillets
1/4 teaspoon freshly ground black pepper
Cooking spray
4 (1/4-inch-thick) slices lemon, halved

Preheat oven to 350°.
Cut scallion into 3-inch pieces, and those pieces into thin strips (see photo below).
Prepare your garlic, tomatoes, and lemons.
Heat oil in a saute pan over medium-high heat. Add garlic and cook for 30 seconds or until garlic begins to brown.
Add the tomato and scallions and reduce heat to medium, cooking for 1 minute.
Remove from heat; stir in 2 tablespoons lemon juice, vinegar, and 1/2 teaspoon salt. Keep warm.
Combine 1 tablespoon lemon juice, 1/4 teaspoon salt, and chicken broth in a medium saute pan and bring to a boil. Gradually stir in quinoa and chopped chives and cook for 15 minutes on low. heat Remove from heat; cover and let stand 5 minutes.
Fluff with a fork. Cover and keep warm.
Season fish with salt and pepper. Place fillets on a baking dish coated with cooking spray. Place 4 halved lemon slices on each fillet.
Bake at 350° for 20 minutes or until fish flakes easily when tested with a fork. Serve over quinoa, and top with vinaigrette. Garnish with more chives, if desired.
These ingredients worked SO well together. The tomatoes added a slight sweetness to the vinaigrette, which brightened up the entire dish. The quinoa added a nice earthy flavor.
Be sure to top the halibut with a lot of the tomato vinaigrette. I actually went back for more for my serving.

Broiled Salmon with Roasted Tomato Sauce

How I love August. Not for the heat or the never ending rain (not-so-fun fact: August is already the wettest August ever recorded in Philadelphia, what joy) but because it is tomato season! Fresh tomatoes are one of my favorite ingredients and I wait all year to enjoy about 6 weeks of perfectly ripe tomatoes. I realized I hadn’t posted a recipe using salmon recently so I went in search of a recipe that would combine both salmon and tomatoes (I honestly wasn’t even sure if that was a possibility). Naturally, Cooking Light once again saved the day with their recipe for Broiled Salmon with Roasted Tomato Sauce.

Ingredients (serves 2):
4 plum tomatoes, quartered
1 small onion, peeled and quartered
2 garlic cloves, peeled
Cooking spray
1/4 teaspoon salt
1/4 teaspoon freshly ground black pepper
2 tablespoons tomato paste
1 cup chicken broth
2 tablespoons water
1 teaspoon cornstarch
2 (6-ounce) salmon fillets, skinned
Salt and pepper, to taste
1/4 cup thinly sliced fresh basil


Preheat your broiler. Prepare your tomatoes, onion and garlic and spread on a cookie sheet coated with cooking spray.

Sprinkle with 1/4 teaspoon salt and pepper. Broil for 8 minutes.

Stir gently and broil for another 5 minutes, or until vegetables begin to blacken.

Remove from the broiler, but keep the broiler on. Add tomatoes, onions, garlic, and tomato paste in a blender and process until smooth.

Place the mixture in a saute pan over medium heat. Stir in the broth. The original recipe had vegetable broth, but I only had chicken broth on hand. Bring to a simmer and cook for 10 minutes, stirring frequently. While the mixture is simmering, combine 2 tablespoons water and 1 teaspoon corn starch in a small bowl. Stir cornstarch mixture into the tomato mixture after it has simmered for 10 minutes. Bring to a boil. Cook for 1 minute, stirring constantly.

Remove from heat and strain to remove any solids.

Place salmon on a cookie sheet lightly coated with cooking spray. Season with salt and pepper and broil for 5 minutes or until fish flakes easily when tested with a fork.

To serve, add 1/2 of the tomato mixture to each plate and top with a salmon fillet. Top with 1 tablespoon basil each.

I am happy to say that salmon and tomato do work well together. However, I think the recipe was missing something… maybe a bit of red pepper flakes to add some heat? Even without the unknown missing ingredient, I really liked this recipe. Definitely worth a try!

Fettuccine with Fresh Tomato Sauce

Ever since the first week of my CSA share, I have anxiously awaited the arrival of fresh tomatoes.  This week, I received my first batch! The share came with a bag of Roma tomatoes, a bag of Red tomatoes, and a pint of Sungold cherry tomatoes so expect quite a few tomato recipes to be posted in the coming days. Because this is my first real batch of in season tomatoes, I wanted to begin with a meal that would highlight how fresh these little guys are. Food & Wine’s Fusilli with Summer Tomato Sauce seemed like the perfect choice.
Ingredients:
2 pounds ripe tomatoes (about 4), chopped
1 large clove garlic, minced
3 tablespoons olive oil
1 1/4 teaspoons salt
1/4 teaspoon fresh-ground black pepper
2/3 cup lightly packed fresh basil
1 pound fresh fettuccine pasta
1/3 cup grated Parmesan cheese, plus more for serving

Heat a pasta pot of water over high heat and bring to a boil.
Roughly chop your tomatoes and mince the garlic.
Add the tomatoes, garlic, olive oil, salt & pepper to a food processor and puree.
Add the basil and pulse to mix.
Add salt to the pasta pot so that the pasta doesn’t stick together while cooking. Add the pasta. The original recipe used fusilli. If you use this, cook according to the directions on the box. I used a fresh fettuccine pasta I picked up at By George! in Reading Terminal because I thought it might soak up the sauce better.
Drain the pasta and toss with the tomato sauce and Parmesan cheese.
Set aside for one minute so the pasta can absorb the liquid.
Top with additional Parmesan and serve.
Wow. I wish a quick batch of pasta always tasted this good. I was stunned with how delicious this was for so little work. (Honestly, the longest part of the process was waiting for the water to come to a boil). I really do believe that the fresh pasta is a way to go for this dish.
The tomato sauce is super thin, so if you prefer a chunky sauce, you might want to finely chop another tomato and put it to the side. Add the chopped tomato to the puree when you are mixing it with the pasta.

Zucchini Fusilli

Zucchini is another one of my favorite summer vegetables. It always taste so fresh and light, and really brightens up a meal. I usually just saute zucchini and summer squash or grill it, so I was in search of a recipe that actually incorporated zucchini into the main meal versus it just being a side. Sunset magazine had this delicious sounding recipe for Zucchini Fusilli.

Ingredients:

  • 4 medium sized zucchini
  • 2 garlic cloves, minced
  • 1/2 cup pesto
  • 1/3 cup pine nuts
  • 2 tablespoons butter
  • 2 tablespoons olive oil, divided
  • 1/2 teaspoon plus 1 tbsp. salt, divided
  • Zest and juice of 1 lemon
  • 1 box fusilli
  • 1 cup fresh finely shredded Parmesan cheese (about 2 oz.), divided

Cheesy Corn and Black Bean Quesadillas

I love corn, but after three weeks of having 6 ears of corn in my CSA share, I’m running out of ways to use all of it. I adapted this recipe from All You to use fresh corn kernels.

Ingredients:
1 can black beans, rinsed and drained
2 ears of corn
1 tablespoon canola oil
1 small onion, chopped
1 jalapeño, seeded and finely chopped
2 cloves garlic, minced
3 ounces pepper Jack, shredded
3 ounces cheddar cheese, shredded
Salt and pepper, to taste
4 10-inch flour tortillas

Begin by cutting the kernels from the cob.

Prepare your garlic, onion, and jalapeño pepper.

Rinse and drain the black beans and add to a bowl.


Using a potato masher (or a fork), coarsely mash the beans.

Heat the corn over medium-high heat for about 4 minutes stirring occasionally until the corn begins to brown.

Add corn to the bowl with the black beans. Heat the oil in a saute pan. Add the onion and jalapeño and cook for 2 minutes.

Add garlic and cook for 1 more minute.

Add to the beans and corn. Allow to cool, about 10 minutes.

While the mixture is cooling, shred your cheese. If you can find it, grab pre-shredded cheese from the supermarket to speed up the process.

Add the cheese to the mixture and season with salt and pepper.

Heat up a griddle or a saute pan if you don’t have a griddle. Place a 1/2-cup portion of the bean mixture on half of a side of a tortilla.

Fold the tortilla in half and place on the griddle or in the saute pan over medium-high heat.

Cook for 6 minutes (3 minutes on each side if using a saute pan) or until golden brown and crispy. Cut into wedges and serve. Repeat with remaining tortillas.

Despite the jalapeno and the pepper Jack cheese, there really wasn’t much heat at all. If you want to turn it up a notch, either use another chopped jalapeno or use 1 serrano pepper instead.

This would be quite good with some fresh salsa if you have time, but this dish works well on its own as well.

Crab Corn and Tomato Salad with Lemon-Basil Dressing

With a fridge full of beautiful ears of bi-sweet corn, I am on a bit of a corn kick. I am always in search of meals that I think can be made the night ahead and eaten for lunch the next day, and this one fit the bill. I modified the original recipe for this Crab Corn and Tomato Salad (from Cooking Light of course) to work as a lunch meal.


Ingredients:
Grated lemon rind from 2 lemons
Lemon juice from 2 lemons
1 teaspoon extra virgin olive oil
1/4 teaspoon honey
1/4 teaspoon Dijon mustard
Salt and pepper, to taste
1/2 cup fresh corn kernels (about 1 ears)
2 tablespoons thinly sliced basil leaves
1 red bell pepper, chopped
1 tablespoon finely chopped red onion
1/2 pound lump crab meat, shell pieces removed
1 cup grape tomatoes, halved

To make the dressing, combine the zest, lemon juice, olive oil, honey, and Dijon mustard. Season with salt and pepper. Stir well with a whisk until the olive oil is incorporated. To make the Crab Corn and Tomato Salad, add the corn, basil, bell pepper, red onion, crab meat, and tomatoes to the dressing. Toss gently to coat.


I love citrus with any kind of seafood. Lemon brightens the dish overall and works so well with the crab and tomatoes. Because I let it sit overnight, the citrus flavor really had time to soak in. This is really a great make-ahead meal!

Avocado-Corn Chowder with Rotisserie Chicken

I swear, every single recipe I’ve come across in the past week has included avocado. I am somewhat blaming one of my coworkers, who manages to consume at least 1/2 an avocado a day, every day. So this recipe choice is very much influenced by her avocado obsession. My CSA share’s inclusion of corn this week made this a must try. I adapted this from Cooking Light‘s August Issue.


Ingredients:
2 ripe avocados, divided
1 1/2 cups water
The juice of 1 lemon
The juice of 2 limes
1 teaspoon honey
1 teaspoon kosher salt, divided
1/2 teaspoon freshly ground black pepper, divided
A pinch of ground red pepper
1/4 rotisserie chicken, shredded
Corn kernels from 3 ears of corn (or 1.5 cups of defrosted corn kernels)
1 red bell pepper, chopped
1/3 cup chopped scallions
1/4 cup chopped fresh cilantro

Peel and chop 1 avocado and put into a blender.


Add the water, lemon and lime juice, honey, 3/4 teaspoon salt, 1/4 teaspoon black pepper, and pinch of red pepper. (Add more red pepper if desired) Blend until smooth.


Place in the freezer for 15 minutes. During this time, chop your red bell pepper, scallions, and cilantro, and peel and dice your remaining avocado. Shred the chicken as finely as you choose.


Combine the diced avocado, bell pepper, corn and scallions and pour the avocado puree over the mixture. Mix to combine. Spoon into four bowls and top with chicken and cilantro.


This meal is too easy to not try. Using frozen corn kernels and rotisserie chicken makes this a 20 minute meal. I made this the night before in the hopes of having it for lunch the next day. I was a bit worried that it might oxidize overnight and turn an unappealing color, but the citrus from the lemon and lime kept that from happening. The original recipe uses orange juice instead, but that didn’t sound all that appealing to me. I also substituted rotisserie chicken for grilling my own chicken because I had bought 1/2 a rotisserie chicken to make another dish from Cooking Light also.


I loved that the citrus came through in the dish, but could have used a bit more red pepper flakes. This is a very chunky chowder, which makes it feel like a real meal versus a too smooth soup. My coworker even tried a bite, and she approved. I will be making this for lunch again in the near future!

Top Sirloin Steak with Crispy Buttered Garlic

I think my parents worry about my somewhat limited meat intake. It’s not that I don’t like meat, I just tend to grab seafood or cook with the veggies in my CSA share instead. Last time I saw them, they gave me two top sirloin steaks from Omaha steaks, woo hoo! I thought I’d try broiling them, but straight on the rack in the hopes of getting “grill” marks on the steak. I found this method on Food Network’s site, an Alton Brown recipe, and decided to add a little garlic on top to make it my own.

Ingredients: (I just made one serving)
1 top sirloin steak
2 garlic cloves, minced
1 teaspoon olive oil
1 tablespoon butter
Salt and pepper, to taste

Begin by setting your oven to broil. Brush the steak with the olive oil and season with salt and pepper. Place a piece of aluminum foil on the bottom rack in the oven to catch drippings. Place the steak straight on to the middle rack.

Broil for 6 minutes. Turn the steak over and broil for another 6 minutes.

While the steak is cooking, melt the butter over medium heat in a saute pan. Add the garlic.

Cook until it begins to brown and remove from heat.

Remove the steak from the oven and top with the crispy garlic.

So, I didn’t get any “grill” marks. Boo.  But the steak was cooked wonderfully! It was really juicy and tender. The garlic added a little crunch to the dish and of course a little extra flavor.

Shredded Chicken Tacos with Tomatoes and Grilled Corn

Tacos are one of my favorite “quick dinners.” For the most part, it all comes down to assembly. I tend to make tacos more as a way to clean my fridge of various vegetables (lettuce, tomatoes, corn, avocados, etc.) but this recipe from the August issue of Cooking Light sounded so tasty I couldn’t wait for a fridge-cleaning day, went out, and bought these ingredients.


Ingredients:
2 ears shucked corn (or 1 cup frozen corn kernels, thawed)
1 package baby heirloom tomatoes
Salt and pepper, to taste
8 (6-inch) corn tortillas
1/4 rotisserie chicken
1 peeled avocado, cut into 16 slices
8 lime wedges

Preheat your broiler. Place the corn on a pan and broil the corn for 18 minutes, rotating every 6 minutes to allow for an even char. If you are using frozen corn kernels, allow them to thaw. No cooking/broiling needed — you can skip down to combining the kernels with the tomatoes.


While the corn is cooking, quarter the tomatoes. Shred your chicken.
Cut the kernels from the corn.


Place the kernels in a bowl and mix in the tomatoes. Sprinkle with salt and pepper.


Heat the tortillas.  Divide the chicken evenly among the tortillas.

Top each with 1/4 cup of the corn mixture and 2 avocado slices. Serve with lime wedges.

I loved the flavors in this dish. However, I don’t feel like the flavor of the corn had the chance to shine through, so I’d suggest using defrosted corn kernels to speed up the process. The colors of this are so pretty too! Heirloom tomatoes add extra pizazz, but using plain old cherry or grape tomatoes would get the job done.

Mango Shrimp Kebabs

Earlier this week, I wrote a post reviewing Cooking Light’s new App. I have been playing around with the app for about a week and kept coming back to this Mango Shrimp Kebab recipe. The colors are amazing, and it sounded so delicious! I cut the recipe in half (makes 2 servings) but kept the original recipe mostly intact.


Ingredients:
3/4 pounds large peeled and deveined shrimp
Salt and pepper, to taste
1 large red bell pepper, cut into 1-inch pieces
1 mango, peeled and cut into 1-inch cubes
1/2 small red onion, cut into 1-inch pieces
Juice and zest of 1 lime, cut into wedges
Cooking spray

Preheat your grill to medium-high heat. Prepare your mango, pepper, and onion.


Thread shrimp, bell pepper, mango, and onion alternately onto 4 skewers. Sprinkle with salt, pepper, and lime zest. Note: the original recipe did not include zest. But I thought it might be an easy addition to the flavors, you’re using a lime anyways!

Coat the grill with cooking spray. Place the skewers on the grill rack and cook for 2 minutes on each side, or until shrimp are cooked (Mine took closer to 3-4 minutes per side, I blame my little indoor grill. If using a normal grill, 2 minutes on each side should be plenty.)

Serve with  lime wedges. Squeeze the wedges over kebabs before eating.


Before I go on, I want to give special thanks to my “Sous Chef” and friend Ericka for helping me out. I am pretty darn scared of knives and cutting slippery fruit stresses me out quite a bit, so I am forever grateful to Ericka for her amazing mango-chopping skills.

We made this along with the Corn with Lime and Chipotle, also suggested by the app. And I couldn’t be happier with the results. The pairing was perfect! We actually ended up using some of the leftover chipotle butter mix on some of the shrimp, just to try it out.

shrimp with chipotle butter

Ericka thought maybe marinating the shrimp in a jerk marinade before adding to the skewers would really bump this recipe up a notch and I agree. However, the original recipe is delicious on its own, and quite simple and fast to make. Look out for my post on the Corn, these two really should be eaten together!

The ingredients were wonderful together, sweet, tangy and fresh. Ericka kept referring to getting a piece of each ingredient in one bite “the perfect bite” and I have to agree with her.

Do not forget to squeeze the lime over the skewers before enjoying. The citrus adds a whole new dimension to this already delicious dish.


Sauteed Chicken Breasts with Fennel and Rosemary

Wow. I haven’t used chicken in a recipe in over a month. I think it is time to finally give poultry it’s time in the limelight. I received fennel in my CSA share and thought this recipe for Sauteed Chicken Breasts with Fennel and Rosemary from Food & Wine sounded like a perfect use of the ingredient.

As a plus, I had all of the ingredients already in my kitchen, with the exception of the chicken.


Ingredients:
  • 2 tablespoons olive oil
  • 2 large fennel bulbs, thinly sliced
  • 2 tablespoons fresh rosemary, plus more for garnish
  • 1/2 teaspoon salt
  • 1 cup canned low-sodium chicken broth or homemade stock. divided
  • 4 boneless, skinless chicken breasts
  • 1/4 teaspoon fresh-ground black pepper
  • 4 cloves garlic, minced

Continue reading Sauteed Chicken Breasts with Fennel and Rosemary

Capellini with Shrimp and Creamy Tomato Sauce

Follow my blog with Bloglovin

This weekend, I realized I was running low on tomato sauce in my freezer, so I whipped up a new batch to hopefully last me a couple months. I was left with an extra can of diced tomatoes and I also had some leftover capellini pasta from my Capellini with Clams and Saffron dish. Gourmet had a really delicious sounding recipe that incorporated both of these ingredients. The recipe is so quick, it is perfect for a week night dinner.
Ingredients:
1tablespoon olive oil
8 already cooked shrimp, deveined with the tails still attached, thawed
3 garlic cloves, minced
1/4 teaspoon dried oregano
1/2 cup sweet (red) vermouth
1 (14- to 15-oz) can diced tomatoes
1/4 cup heavy cream
Juice from 1/2 a lemon
1/2 a box of capellini
Salt and pepper, to taste
1/2 teaspoon fresh chopped parsley, optional
The original recipe is linked above. I had already-cooked shrimp in my freezer (I meant to buy raw shrimp and misread the label, sigh) so I had to alter the recipe to make up for the precooked shrimp. My shrimp still had the tails attached because I think those are more attractive. Feel free to use whatever form of shrimp you’d like.
Start by thawing your shrimp. I just ran them under cold water for 3 minutes and allowed to dry in a colander.
Cook pasta according to directions. Drain and set aside. Heat the olive oil over medium-high heat. Add the minced garlic and cook for 1-2 minutes.
Add the tomatoes and vermouth. and stir to combine. I left in the tomato juice from the diced tomatoes. You can drain the tomatoes before adding for a more chunky sauce. Heat until simmering.
Add cream and season with salt and pepper. Simmer for about 1 minute. Add in lemon juice.
Top the pasta with 2 shrimp per serving and spoon the broth over the pasta. Add the chopped parsley on top.
The sauce had a nice sweetness to it, but I think it could be further enhanced with a pinch of crushed red pepper to add a bit of heat. I regret not having fresh shrimp for this dish because the shrimp were relatively forgettable in my version. I like that my sauce was a little thinner than the original. I think this would be great (without the shrimp) as a reheated lunch after the pasta has had time to sit in the sauce.
Exit mobile version