My parents graciously gifted me with an order of Omaha Steaks. My only issue is that I rarely make steak (chicken and veggies are my staples) so I went in search of something other than just grilled steak and potatoes. Food and Wine had a recipe that not only sounded delicious, but also included steak and one of my CSA ingredients of the week: arugula. Double win.
 |
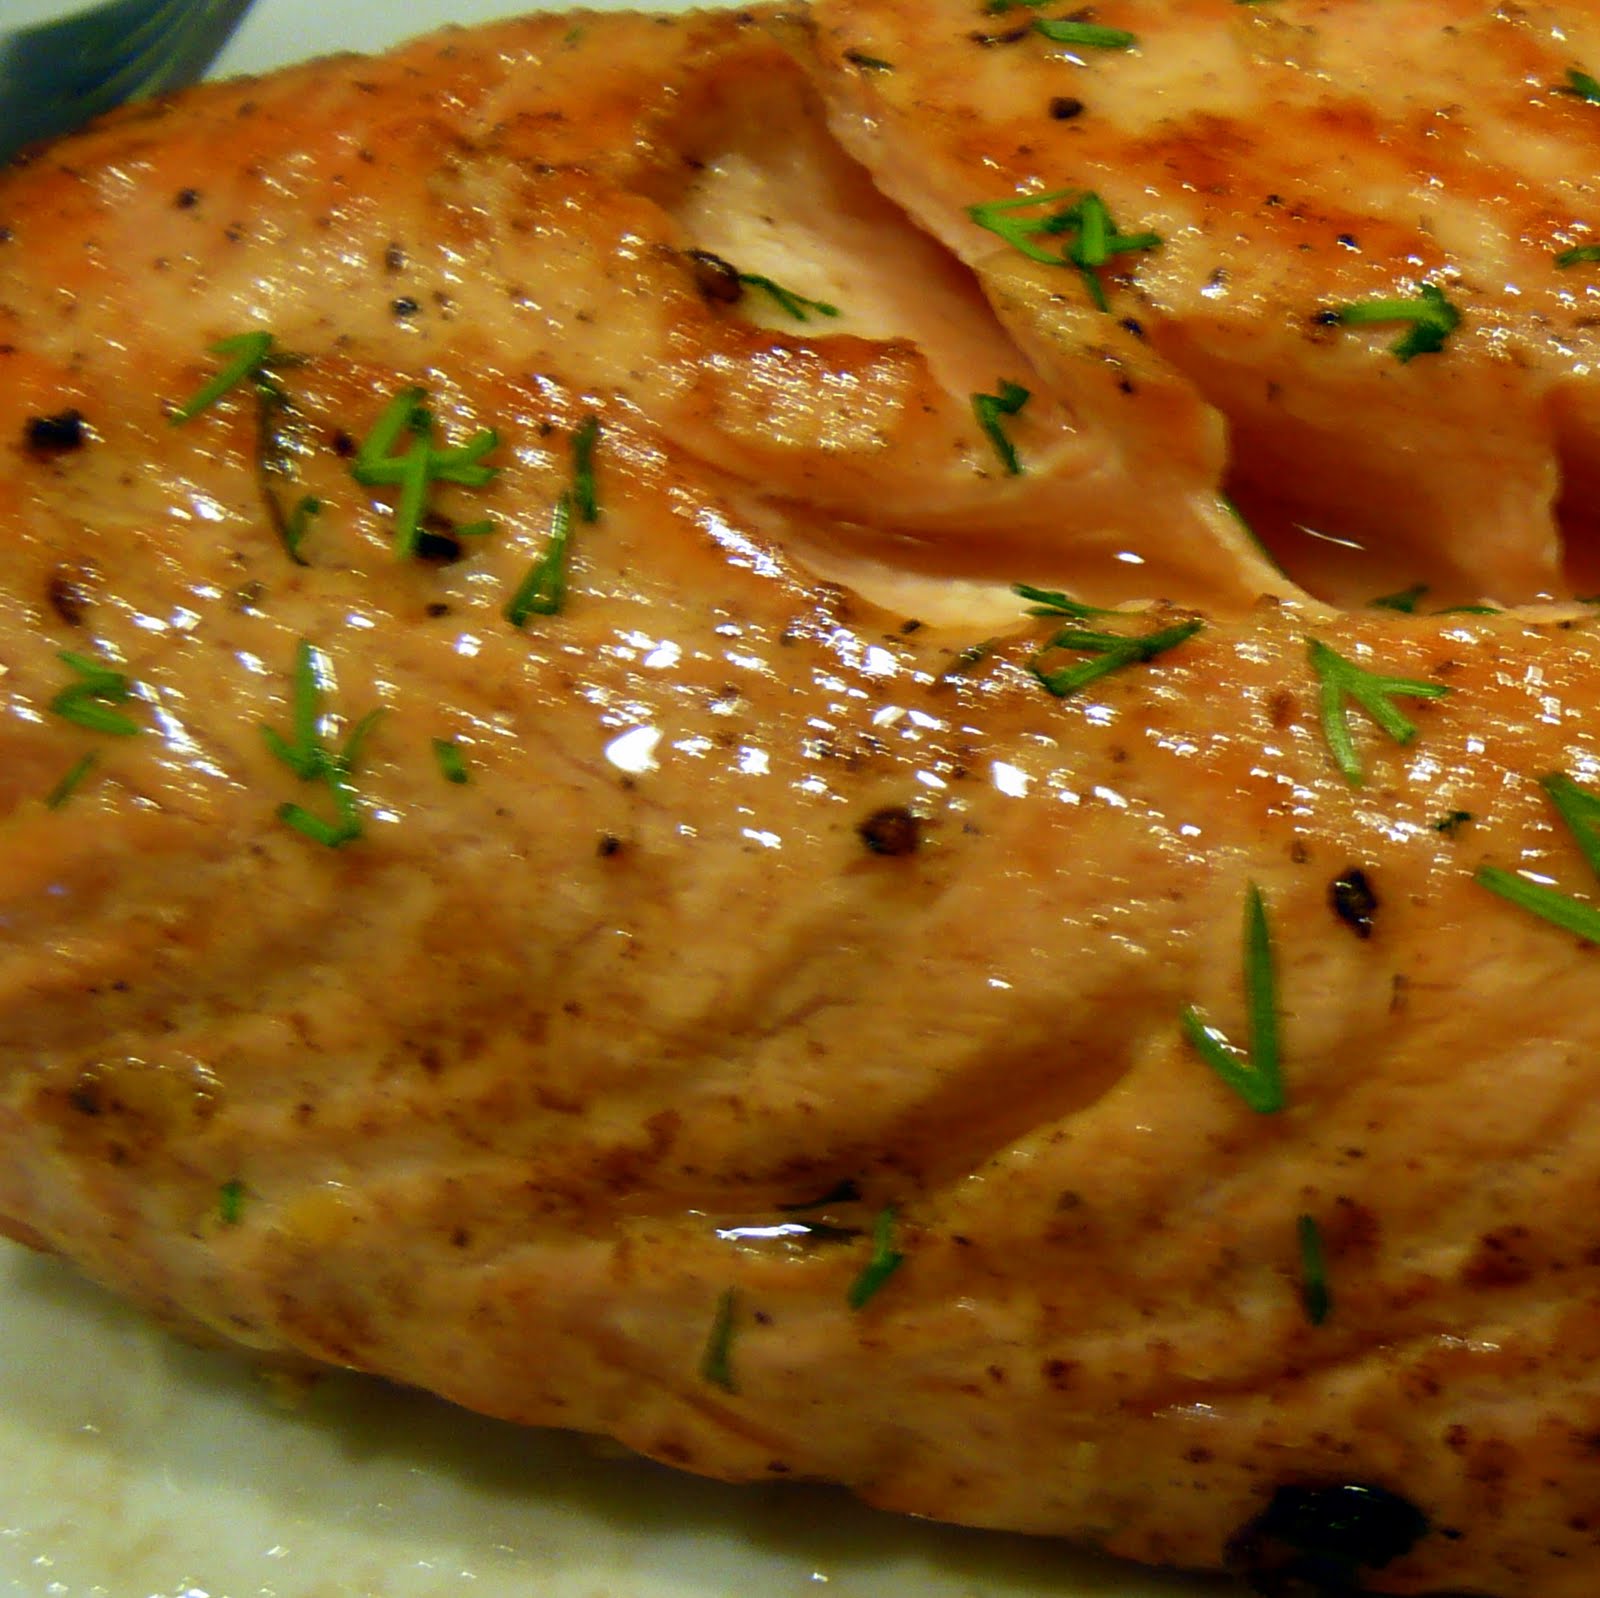
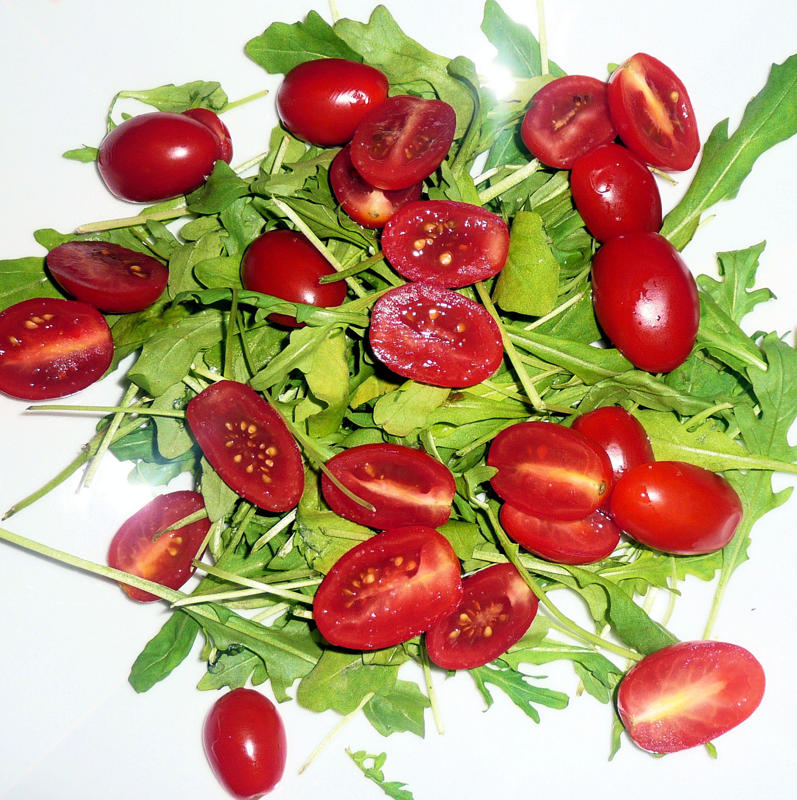
| Tell me you don’t want to eat that. |
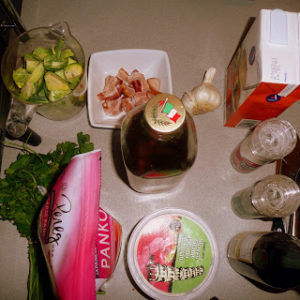
Ingredients:
1 1/2 pounds sirloin steak, about 1 inch thick
6 tablespoons olive oil
Salt
Fresh-ground black pepper
2 generous handfuls of arugula, leaves washed and torn in half
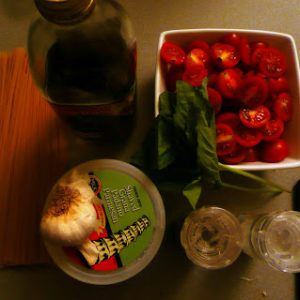
1 container of grape or cherry tomatoes, halved
1 1/2 teaspoons Dijon mustard
1 tablespoon red- or white-wine vinegar (I used red)
2 tablespoons drained capers
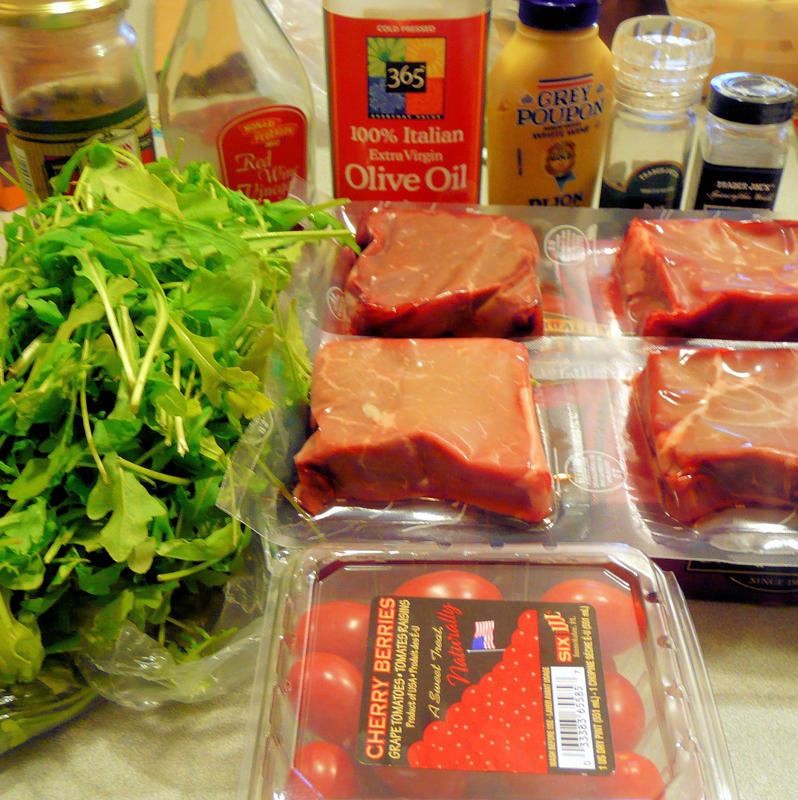
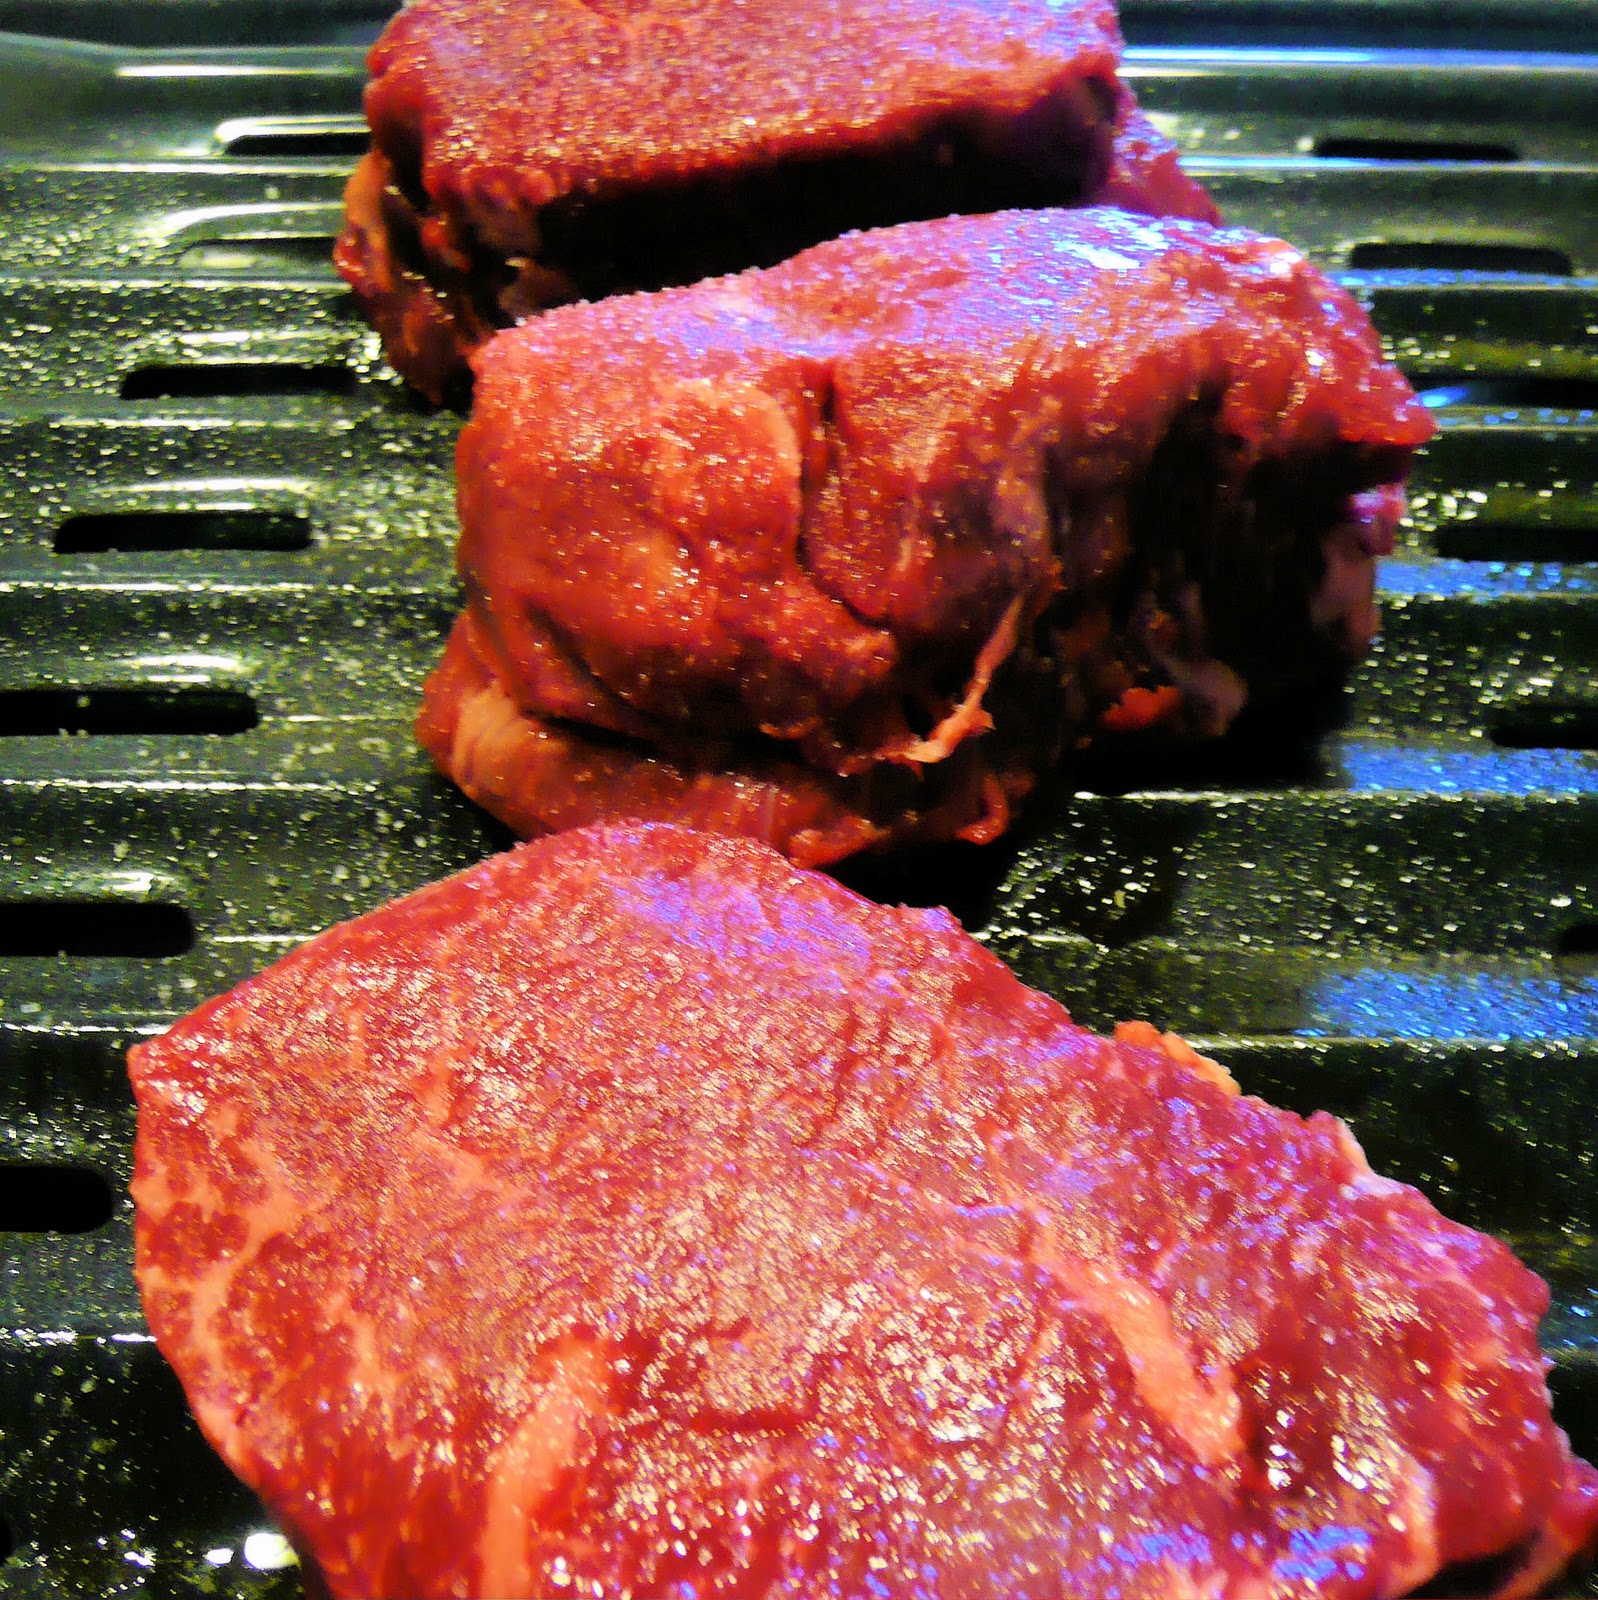
If you have an outdoor grill, light the grill before prepping your ingredients to allow it time to heat up. I used my nifty little indoor grill. You could also use the broiler in your oven. Coat the steak with 1 tablespoon of the olive oil. Season the steak with salt and pepper.

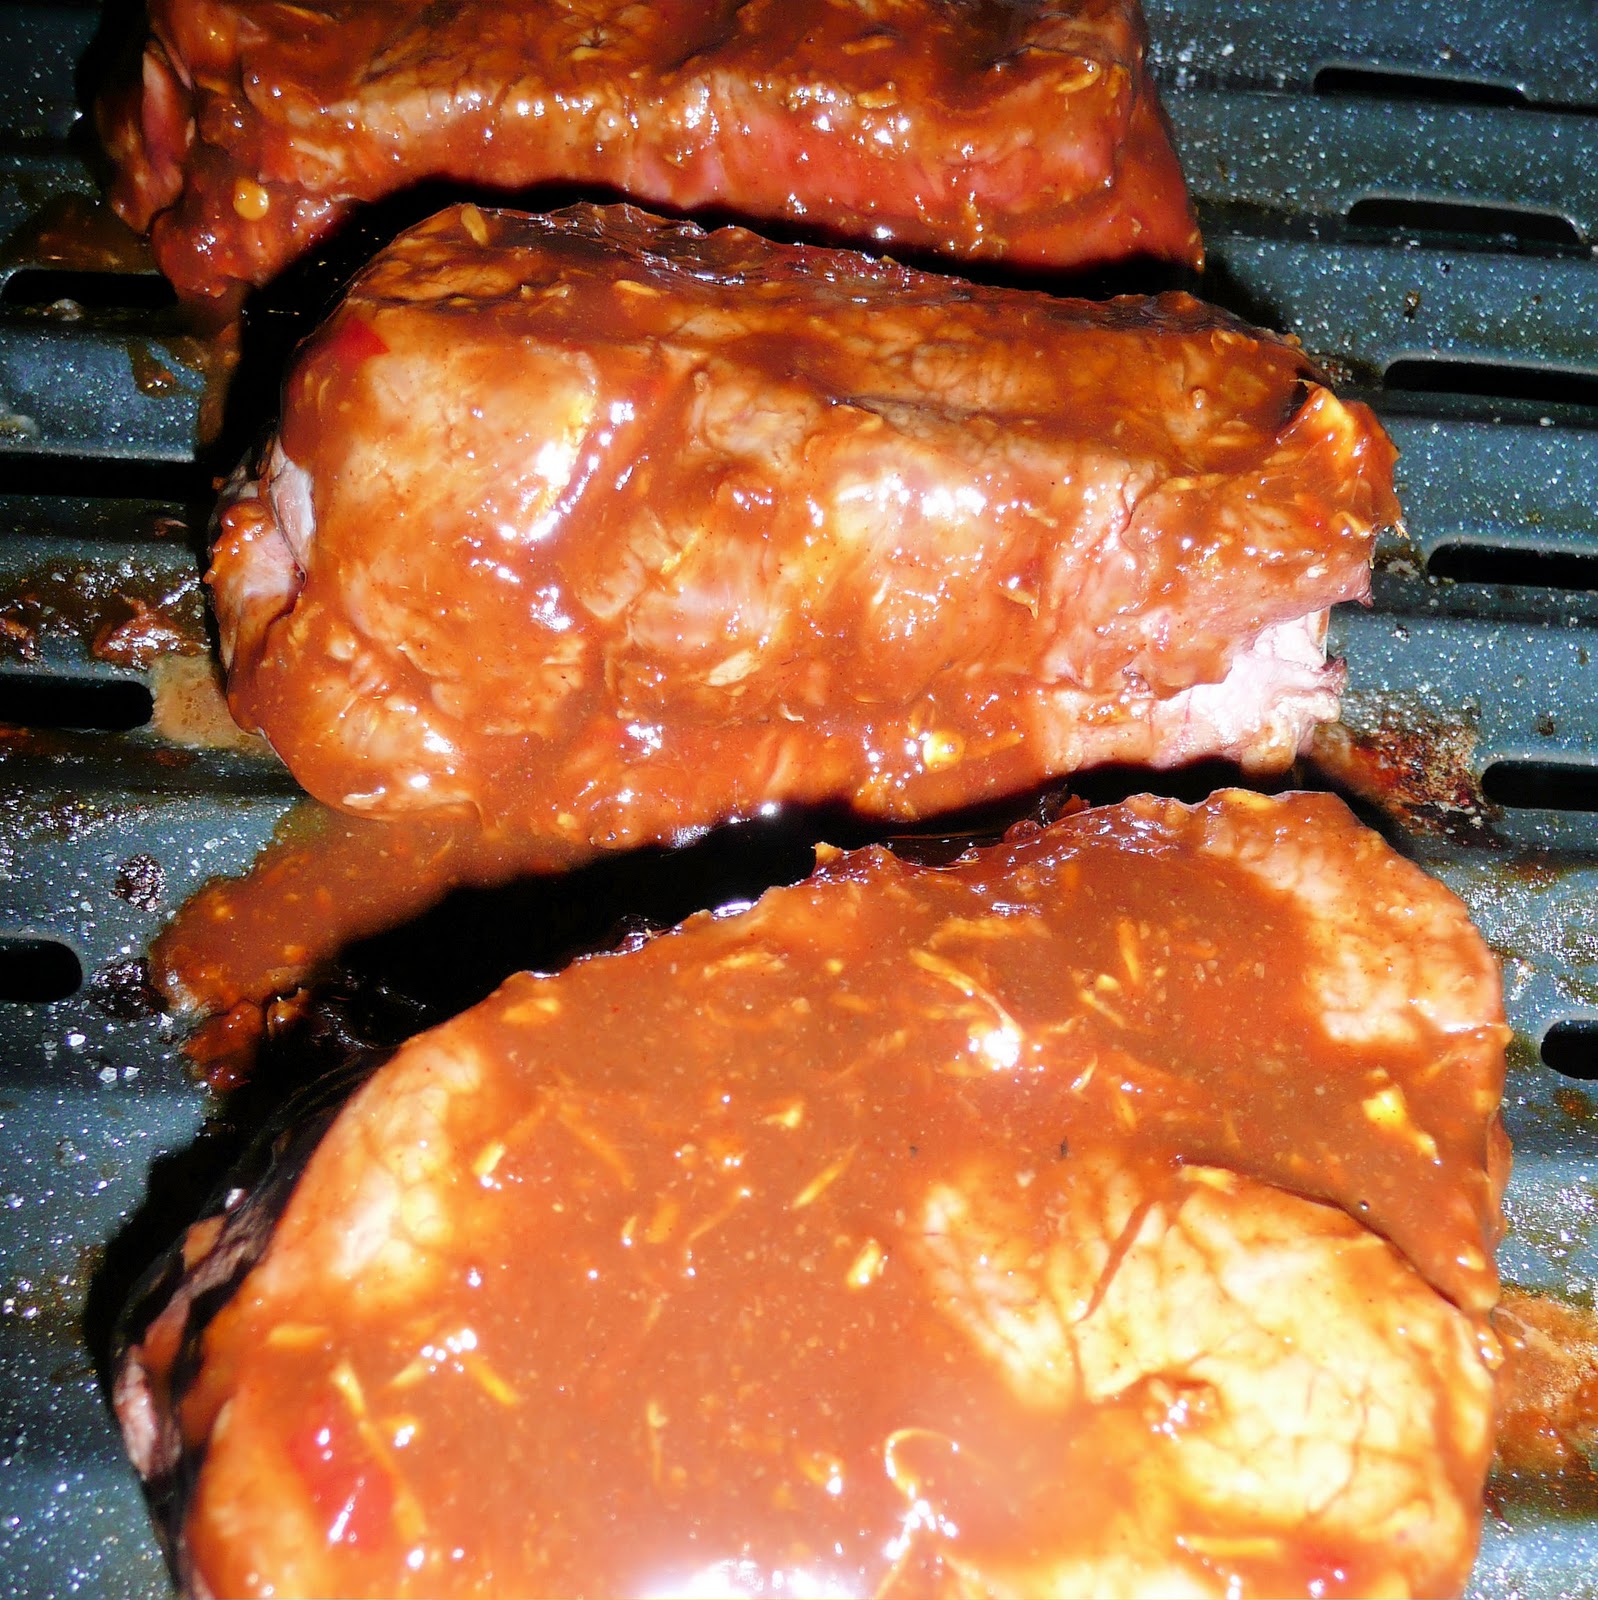
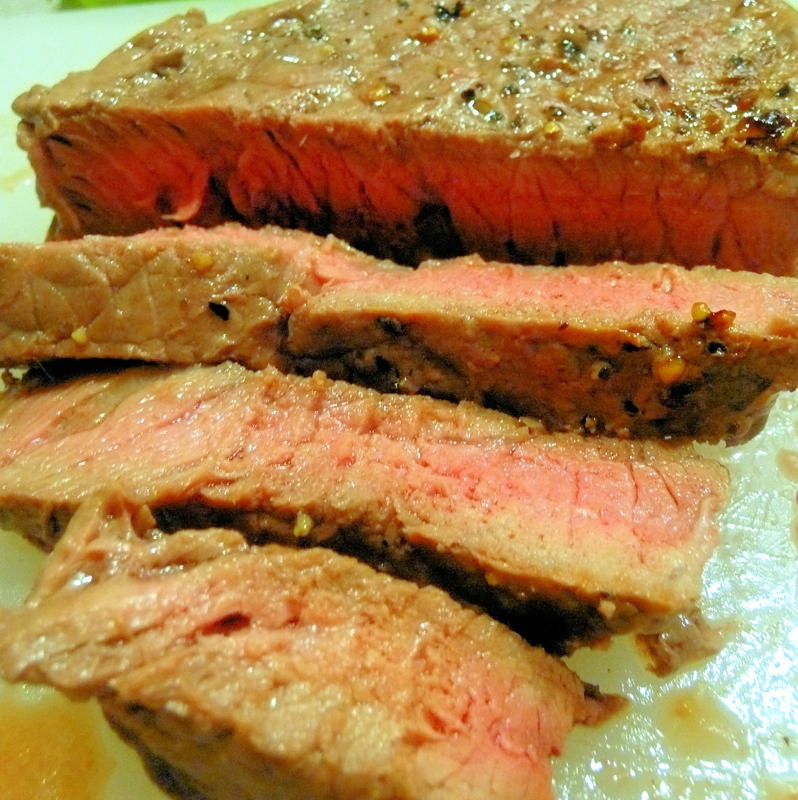
Add the steak to the grill or to the broiler and cook for 5 minutes.
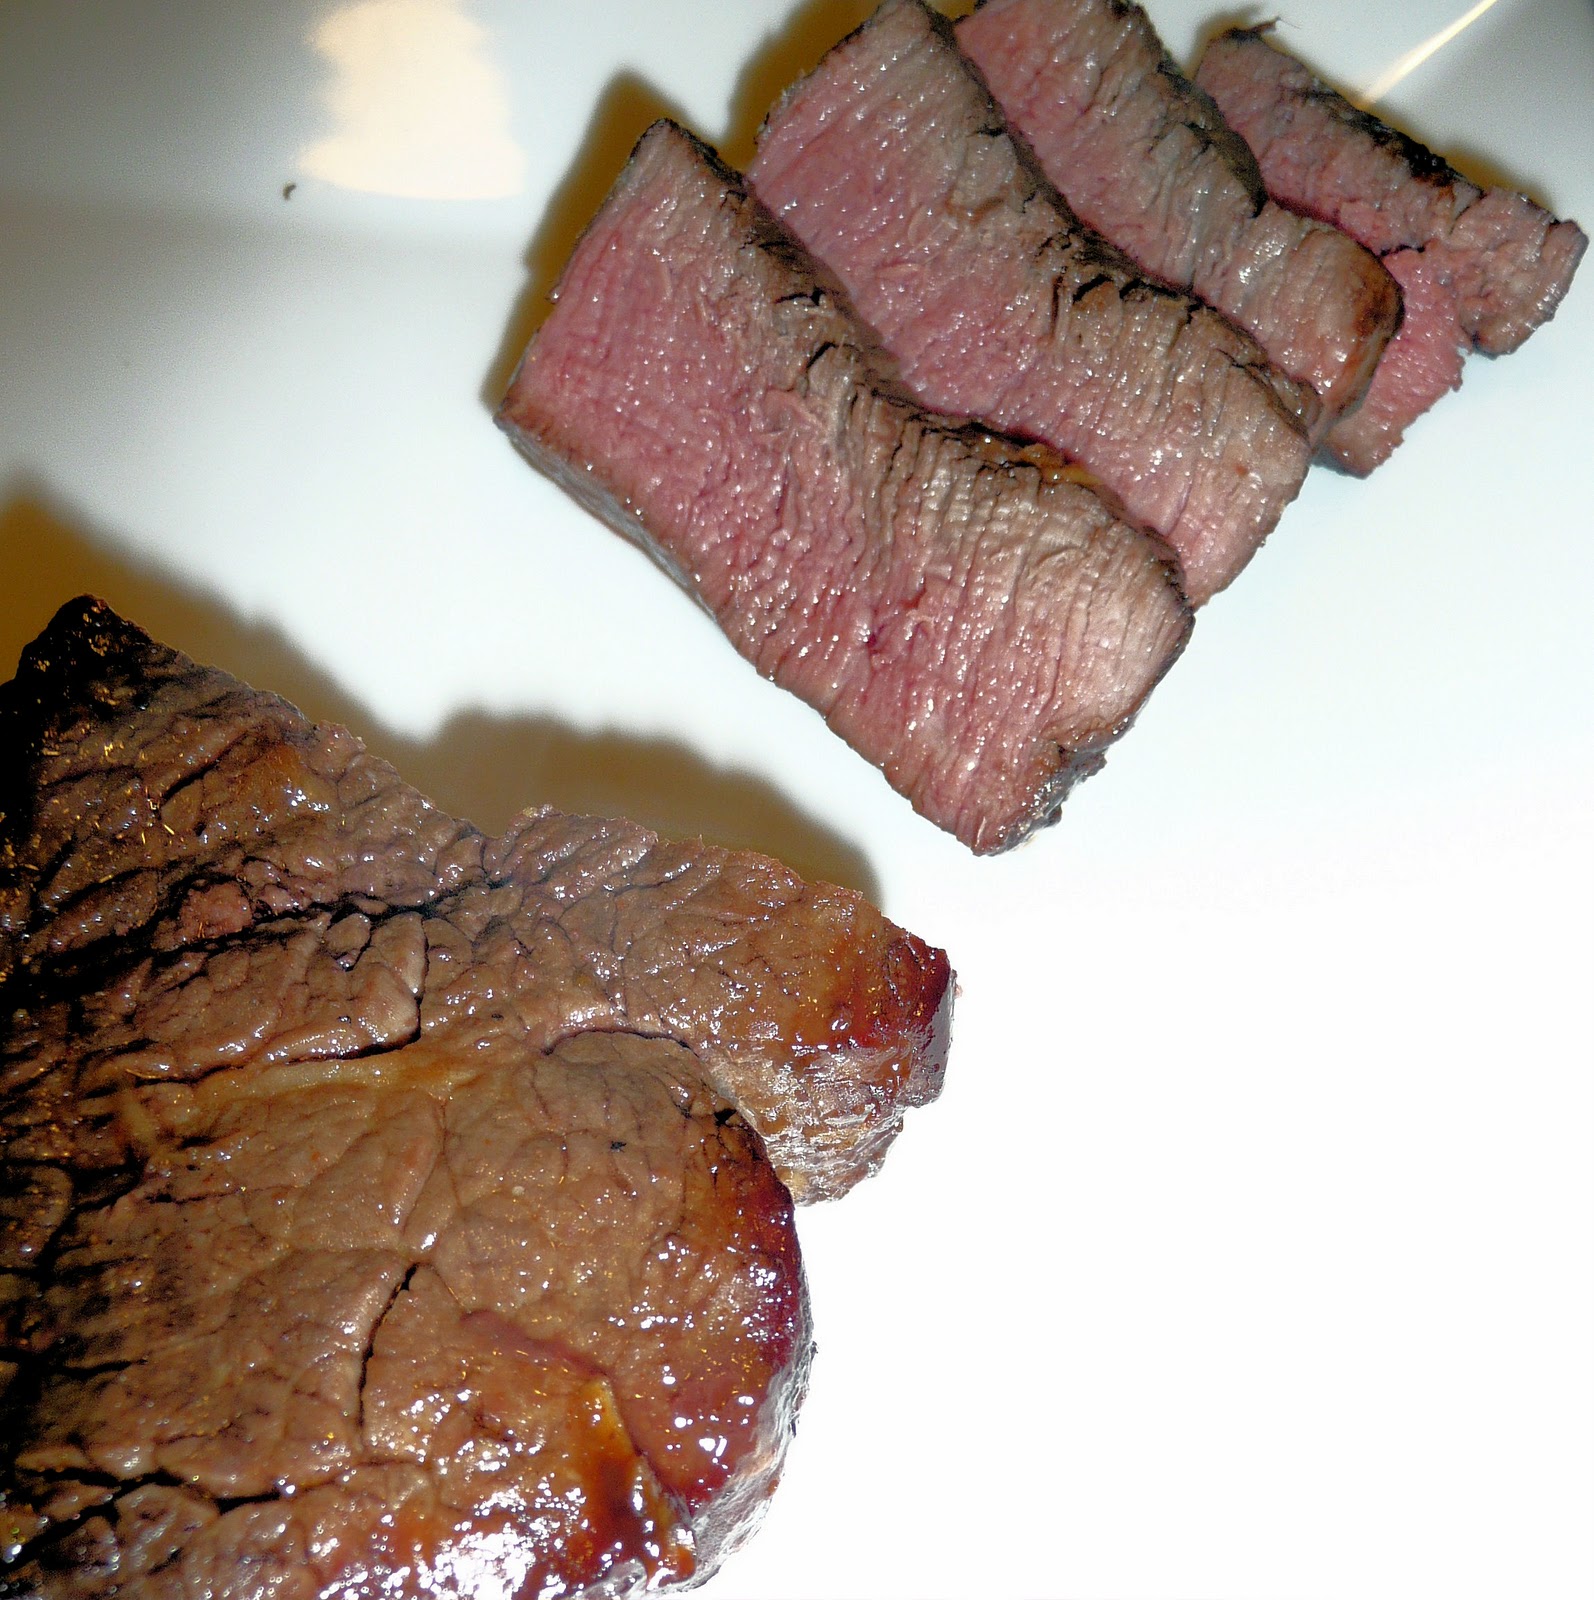
Flip the steak and cook for another 5 minutes for medium rare (adjust to your taste). Transfer the steak to a carving board and let rest for 5 minutes.

Cut the tomatoes in half. I ended up using the whole plastic container (I really like tomatoes).

Place the arugula on two individual plates. Top the arugula with the cherry tomatoes and sprinkle with some salt.
In a medium-sized bowl, whisk together the mustard, vinegar, capers and season with salt and pepper.
 |
| This looks disgusting. I swear it tastes good! |
Add the remaining 5 tablespoons of oil slowly, whisking to combine.
 |
| Still a horrific photo. I apologize. |
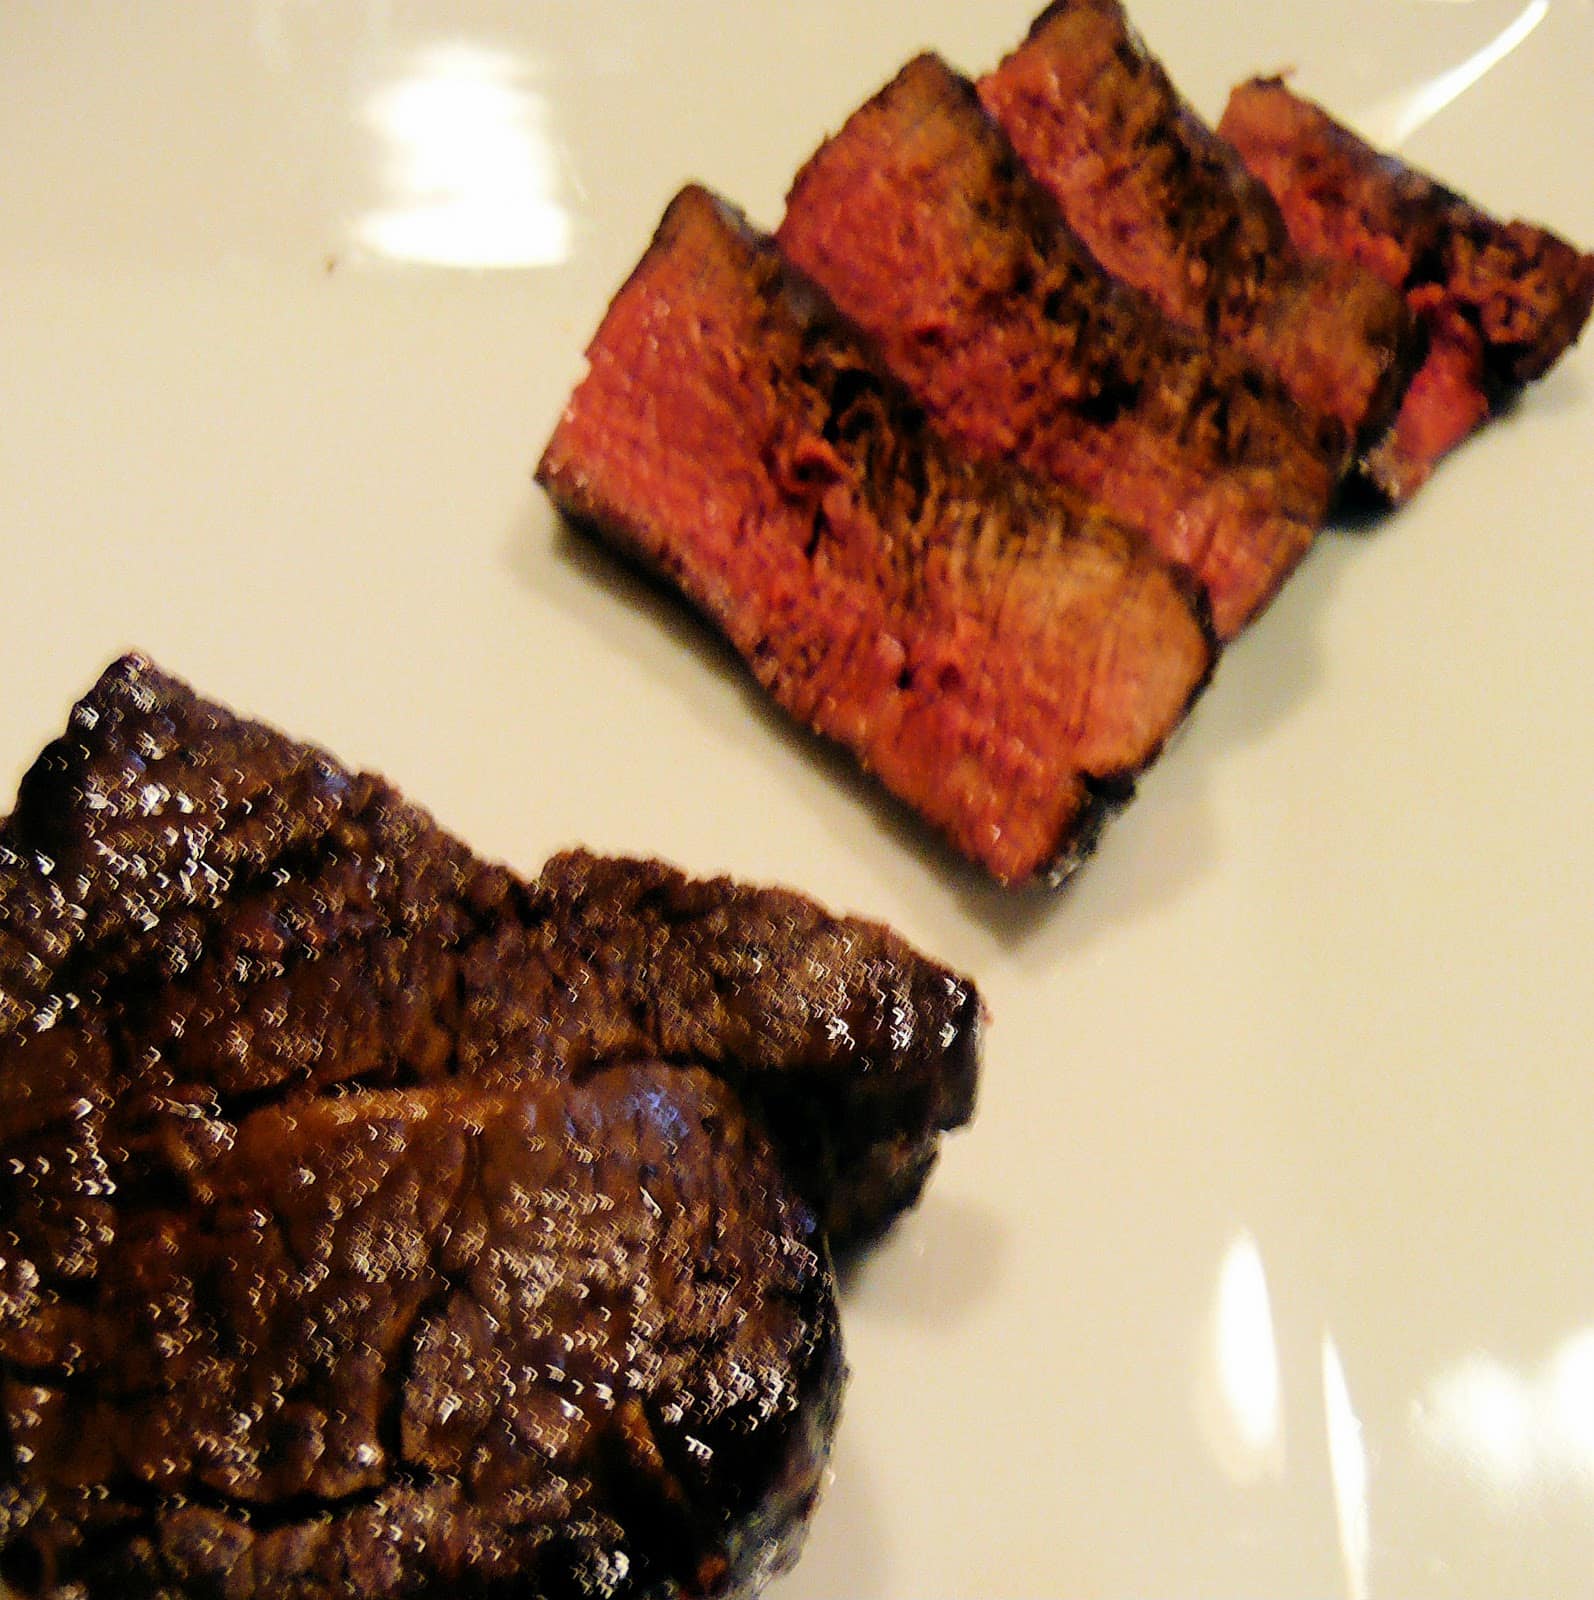
After the steak has had time to rest, slice the steak on the diagonal.
Place the steak on top of the salad.
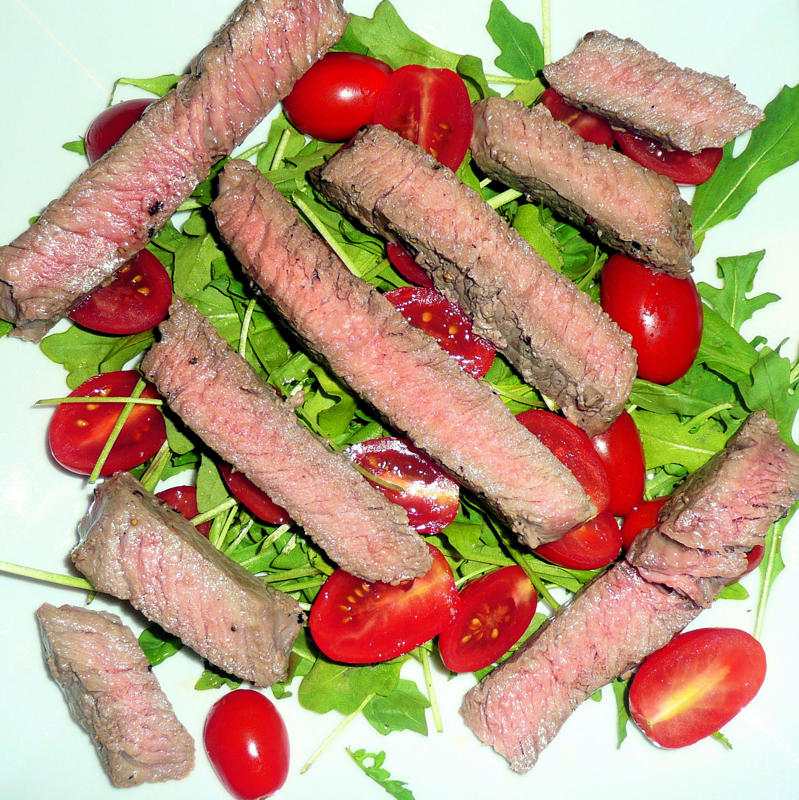 |
| Fancy. |
Drizzle with vinaigrette.

What a tasty dish. The original recipe called for anchovy paste for the vinaigrette but I didn’t have any so I omitted it. I honestly don’t think it’s necessary; there was enough salt and tangy-ness from the capers. Spinach can be used instead of arugula, but I think the spiciness of arugula goes really well with this dish. The steak on its own was simple and tasty, and with the vinaigrette it was absolutely fantastic. I will most certainly make this recipe again!