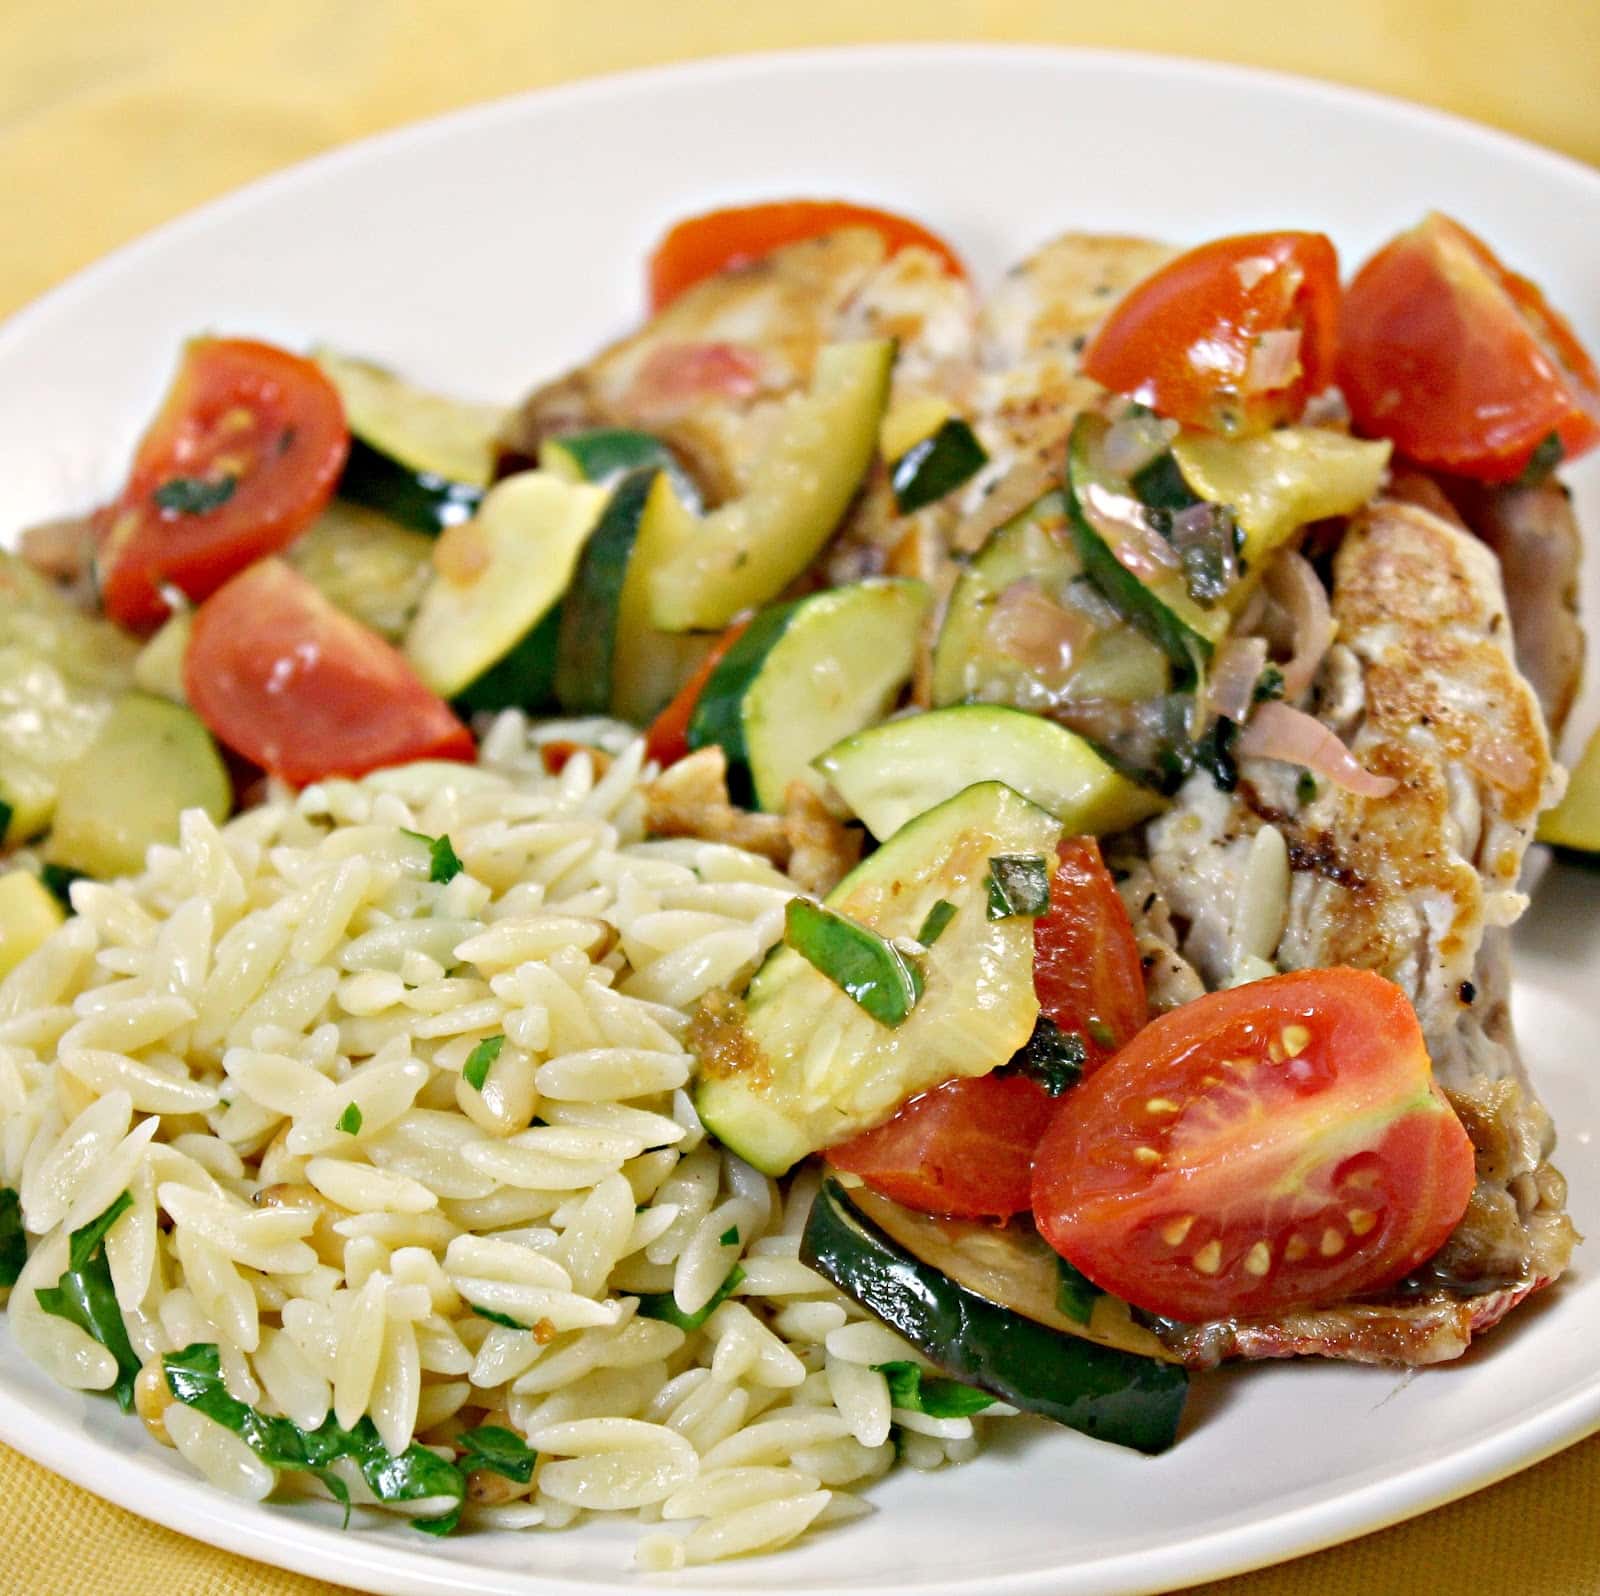
My CSA this year allows me to choose 6 items each week to be in my share. Every single time so far, I’ve chosen zucchini as one of the six. I just love it. But with 3-4 pieces of zucchini a week, I am absolutely in search of as many different recipes as I can find. Cooking Light’s latest issue had this wonderful recipe for Snapper with Zucchini and Tomato that I just had to try. They also suggest pairing it with some Parsley Orzo. Note: this recipe makes 2 servings. Multiply as needed.
I was recently sent a clay pot from Romertopf to try out and review. Cooking in a clay pot is something I never really thought about, or even considered. You just cook your meal in a clay pot which has been soaking in water. This releases steam while it cooks and keeps the food moist. Clay pots have been used for cooking dating back to Roman times and are still used around the world. The clay pots are perfect for making roast chicken, paella, ratatouille, or even dessert!
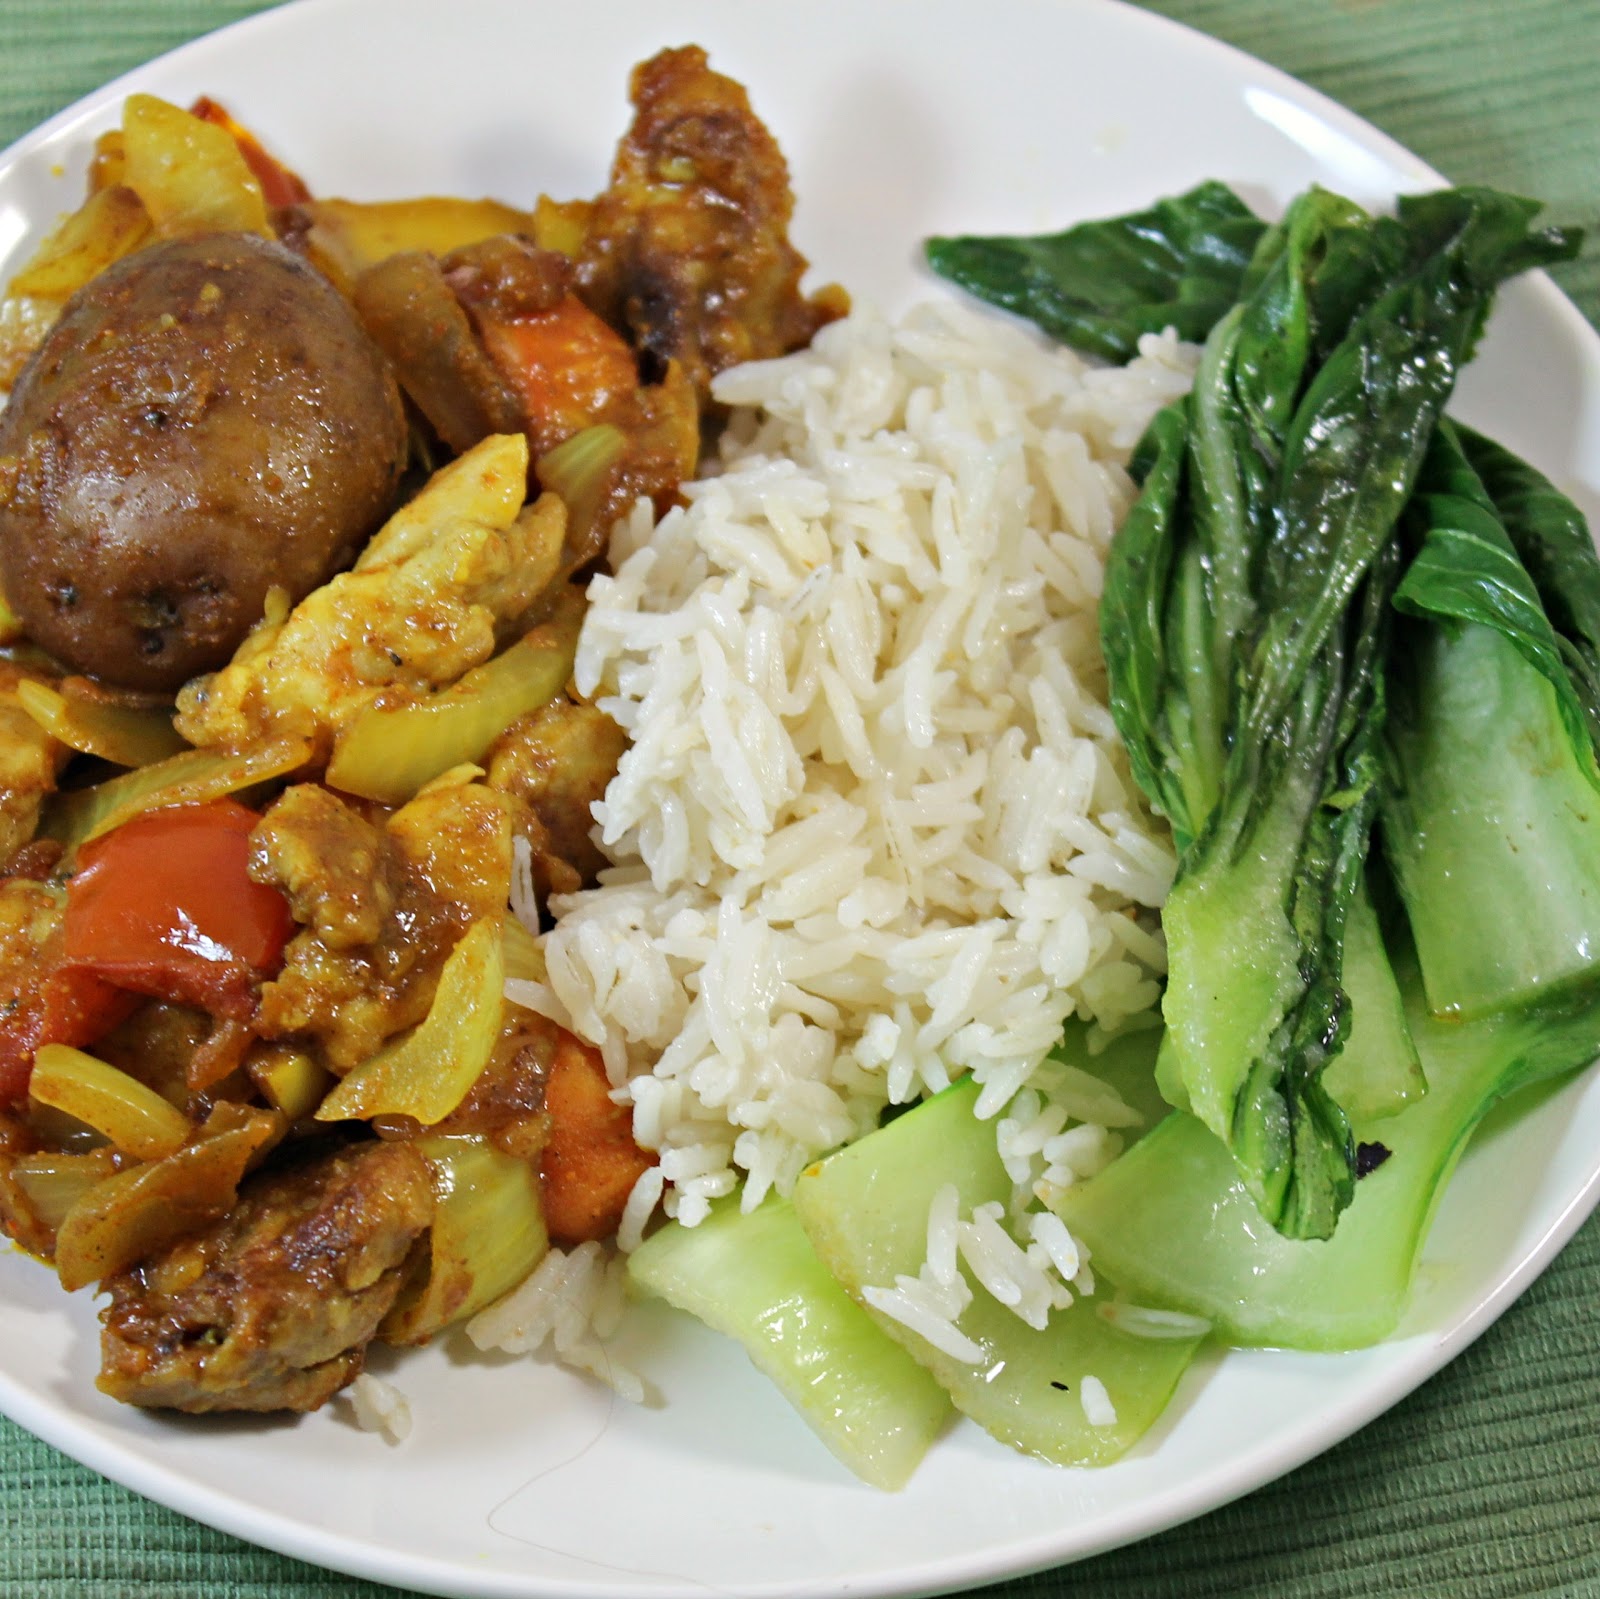
I honestly had no idea how to go about finding a recipe to try out my new spiffy clay pot. So I just used a recipe from the Romertopf website as my first attempt. The Curry Clay Pot Chicken sounded right up my alley. (https://www.romertopfonline.com/chicken-recipes.htm)
Ingredients:
1 pound skinless, boneless chicken thighs
1/4 teaspoon salt
1/8 teaspoon pepper
1 teaspoon finely chopped fresh ginger
1 tablespoon cornstarch
6 small new red potatoes, cut into 1/2-inch slices (I forgot to cut mine! Make sure you do though!)
6 baby carrots
2 tablespoons vegetable oil
2 teaspoons minced garlic
1 medium onion, roughly chopped
2 tablespoons curry powder
1 medium tomato, cut into 1/2-inch wedges
1 tablespoon soy sauce (or coconut aminos to make gluten free)
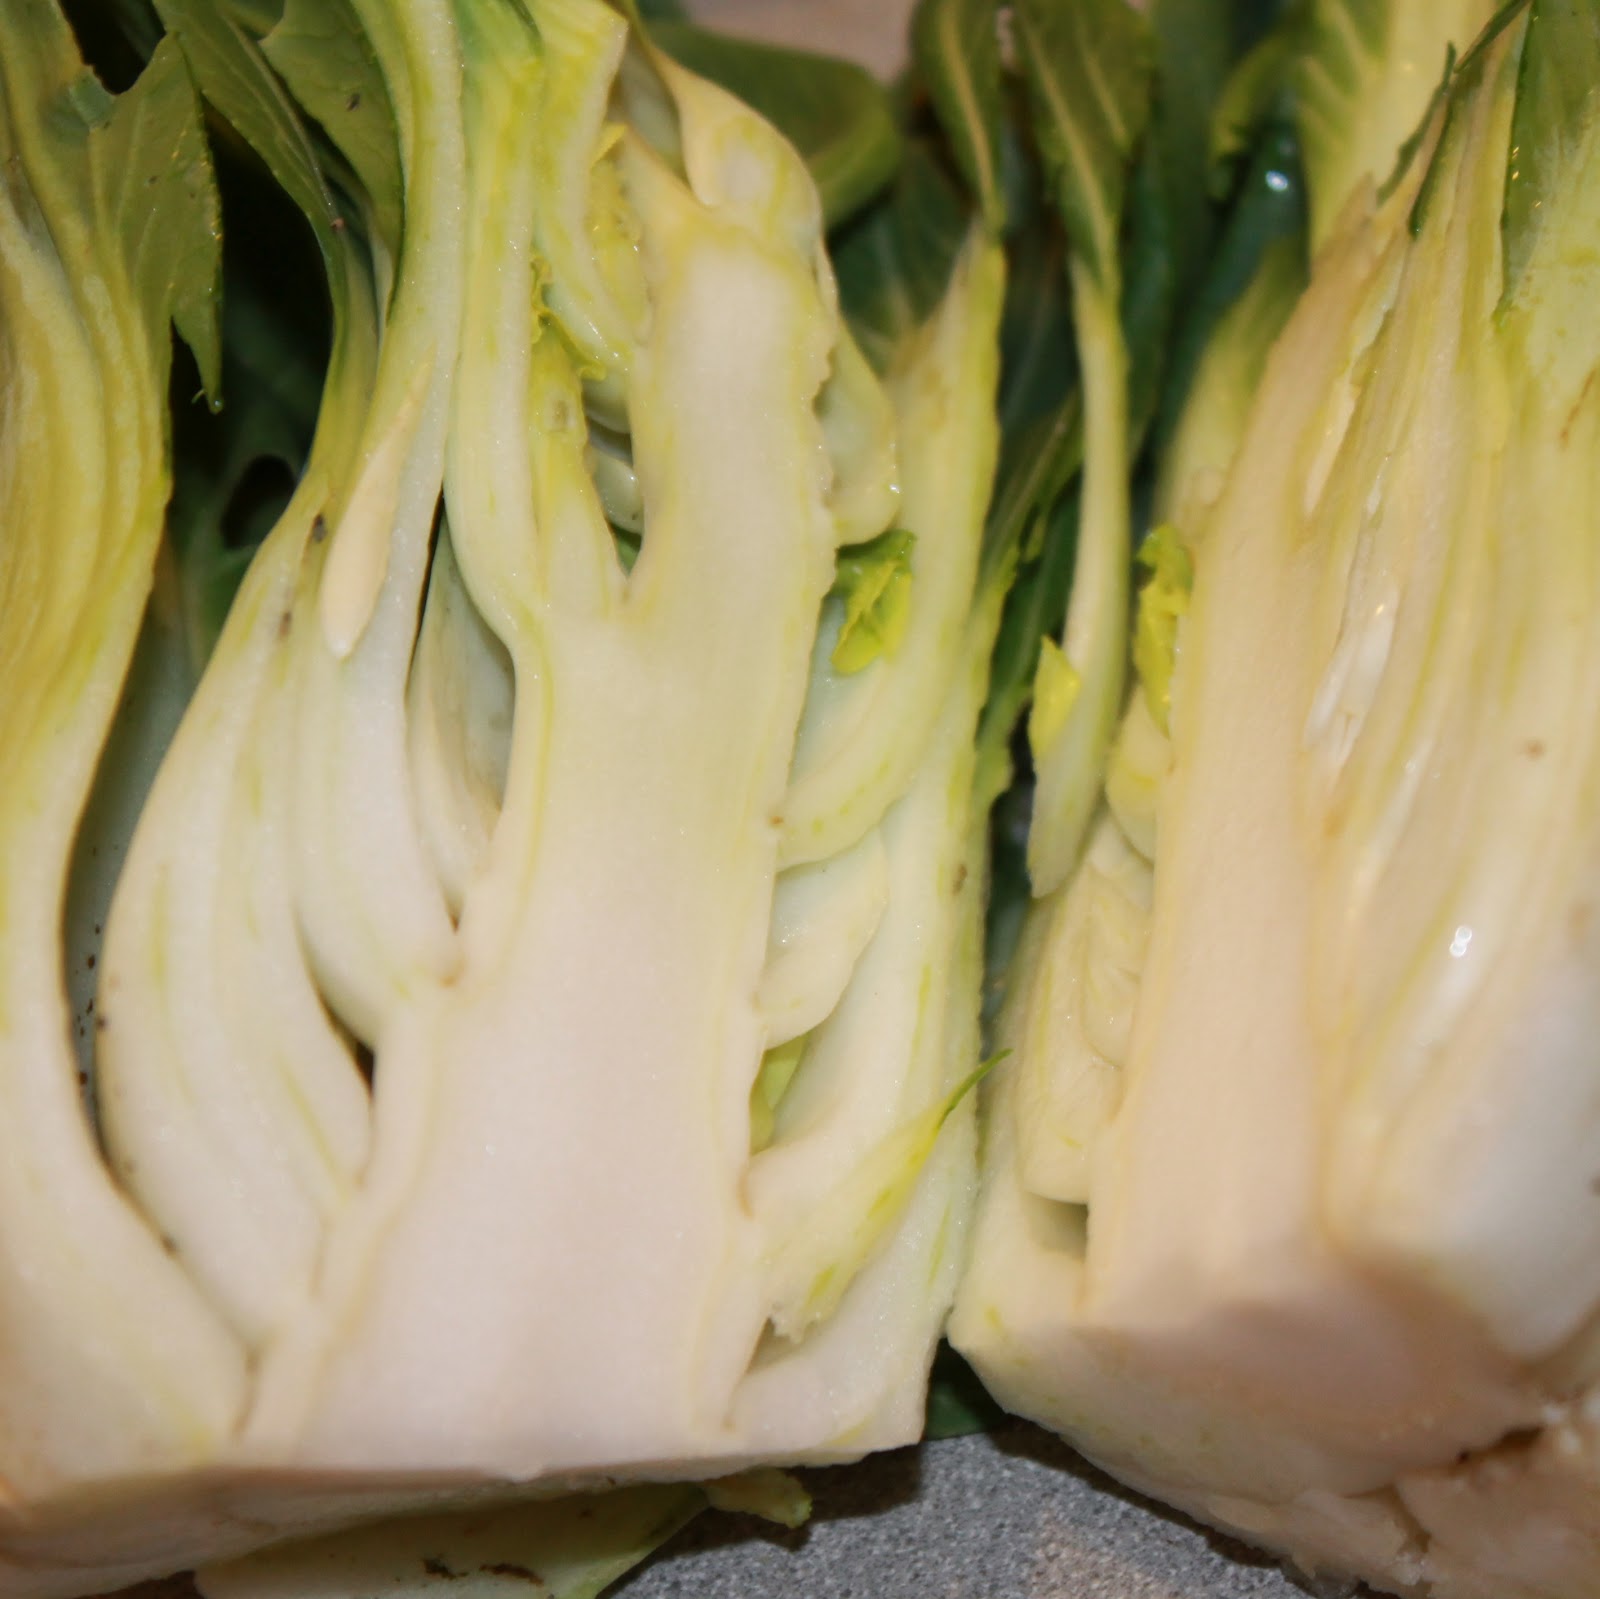
Tuesday I received one of my most anticipated ingredients (aside from tomatoes, can’t wait!!) from my CSA share: Fuyo Shumi, or Baby Bok Choy. I am absolutely in love with this vegetable. It’s just a mini version of bok choy which has a cabbage flavor and is very popular in Asian cooking. I personally am not a fan of cabbage (sorry to my Irish roots), but love the subtle taste and crunchy texture of these little guys. I’m always looking for new methods to cook salmon so this recipe from Cooking Light was the perfect opportunity. This recipe slow cooks the salmon to keep it really moist. Keep in mind you’ll need a good 30-40 minutes to make this dish.
Ingredients:
Salmon:
8 (6-ounce) salmon fillets
1/2 teaspoon salt
1/2 teaspoon freshly ground black pepper
Cooking spray
Rice:
2 cups uncooked basmati rice
1 1/2 cups light coconut milk
1 1/2 cups water
1/4 teaspoon salt
Bok choy:
2 teaspoons canola oil
16 cups bok choy, trimmed and cut into 1 1/2-inch pieces (about 4 pounds)
1 tablespoon minced peeled fresh ginger
1/2 cup sake (rice wine)
1/4 teaspoon salt
Sauce:
1/3 cup fresh lime juice
1/4 cup seasoned rice vinegar
3 tablespoons brown sugar
2 tablespoons Thai fish sauce
1/2 teaspoon red curry paste (such as Thai Kitchen)
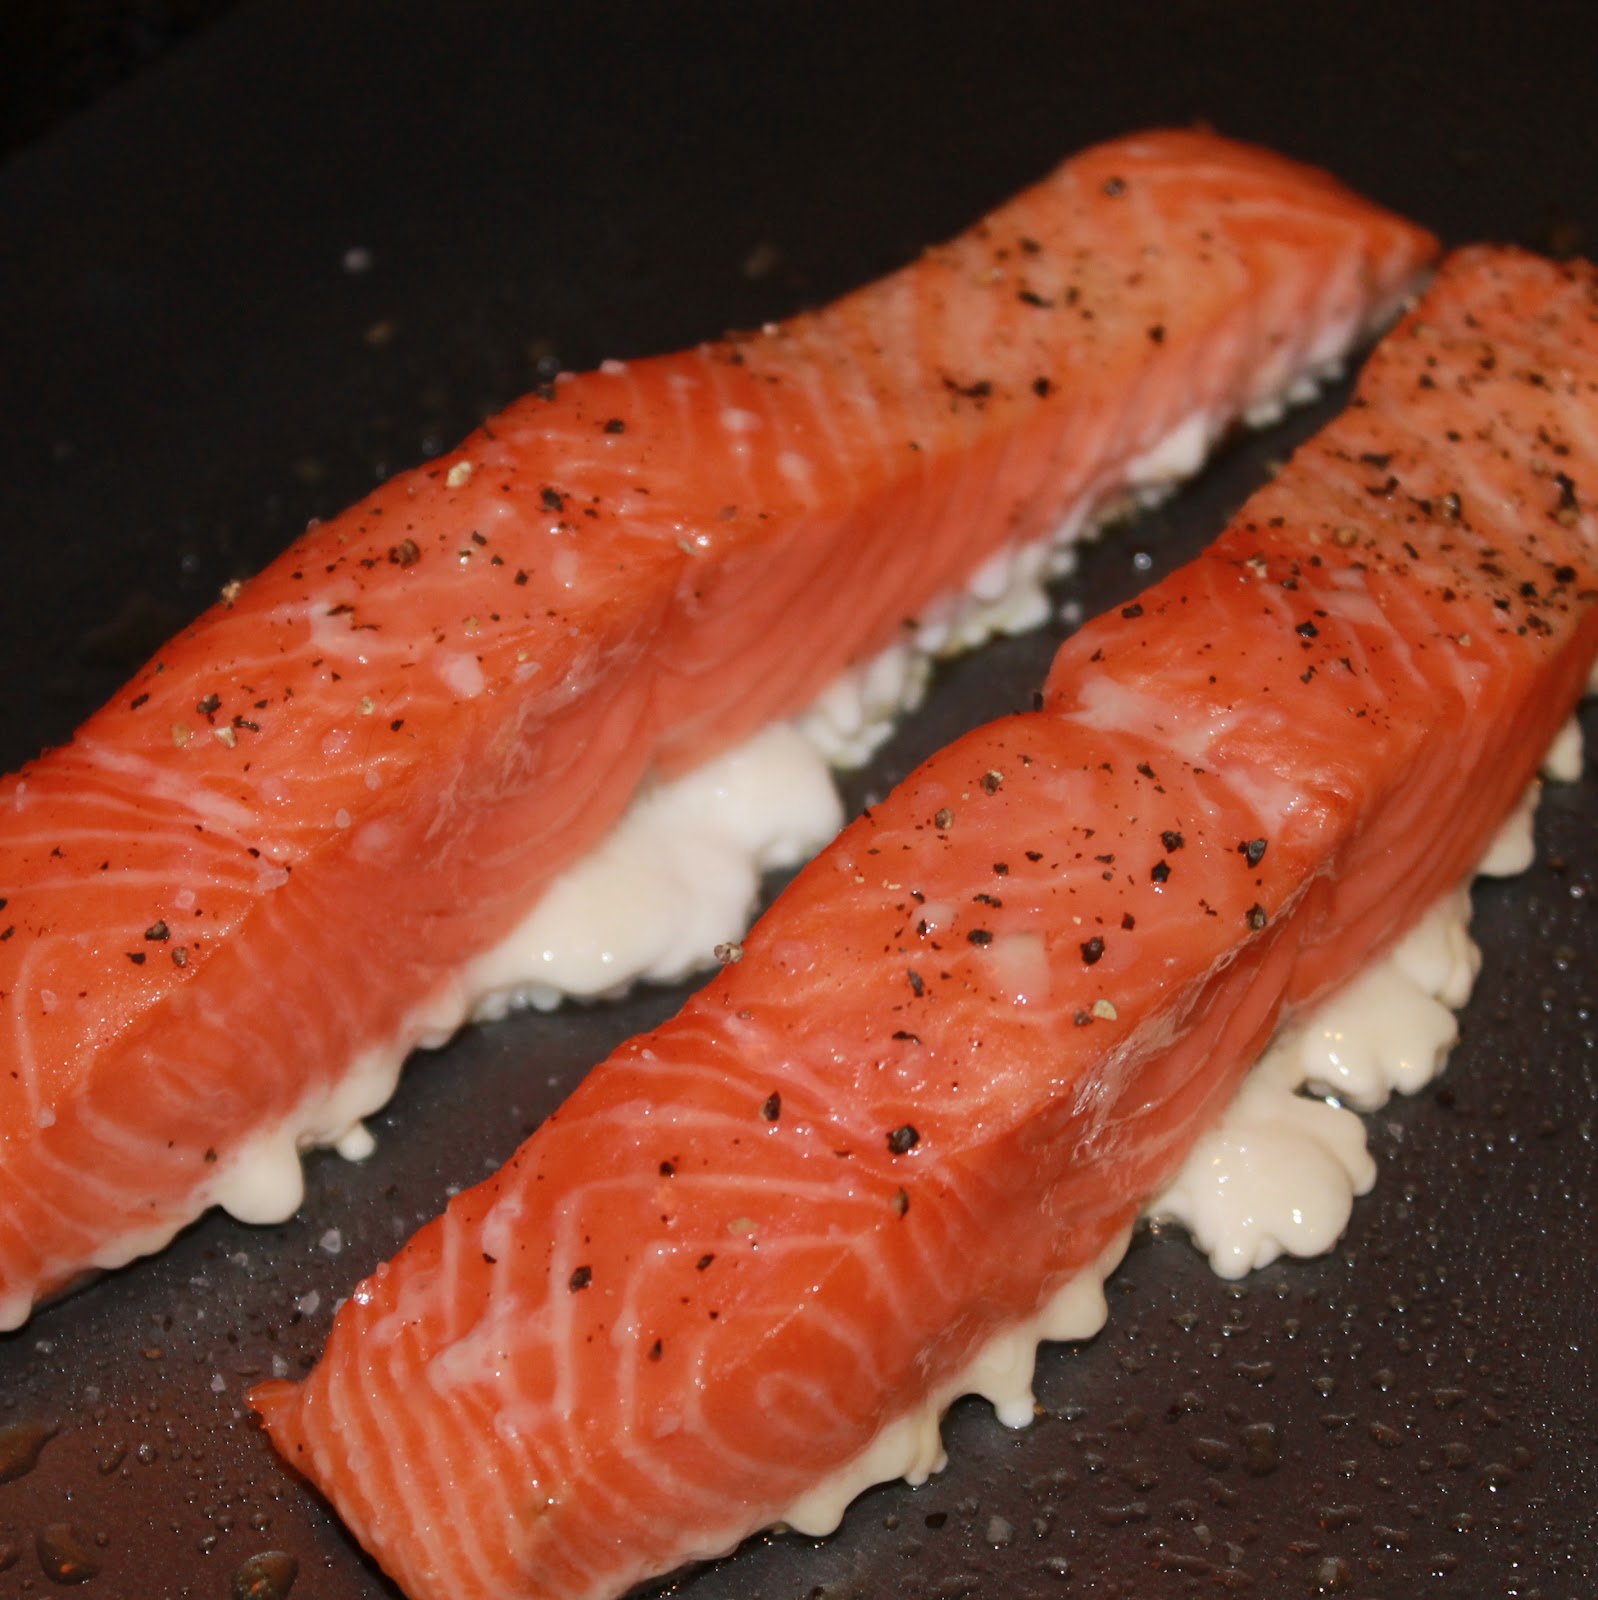
Preheat the oven to 250 degrees. Season the salmon with salt and pepper. Place the salmon on a baking sheet coated with cooking spray, skin side down.
Bake for 30 minutes or until the fish flakes easily. Cut off all the drippings.
While the salmon is cooking, rinse the rice in cold water and drain. Combine the rice, coconut milk, 1.5 cups water and ¼ teaspoon salt in a sauté pan. Bring to a boil over high heat and stir. Cover, reduce heat, and simmer for 20 minutes or until liquid is absorbed. Remove from heat and let stand for 10 minutes.
Cut the baby bok choy pieces in half
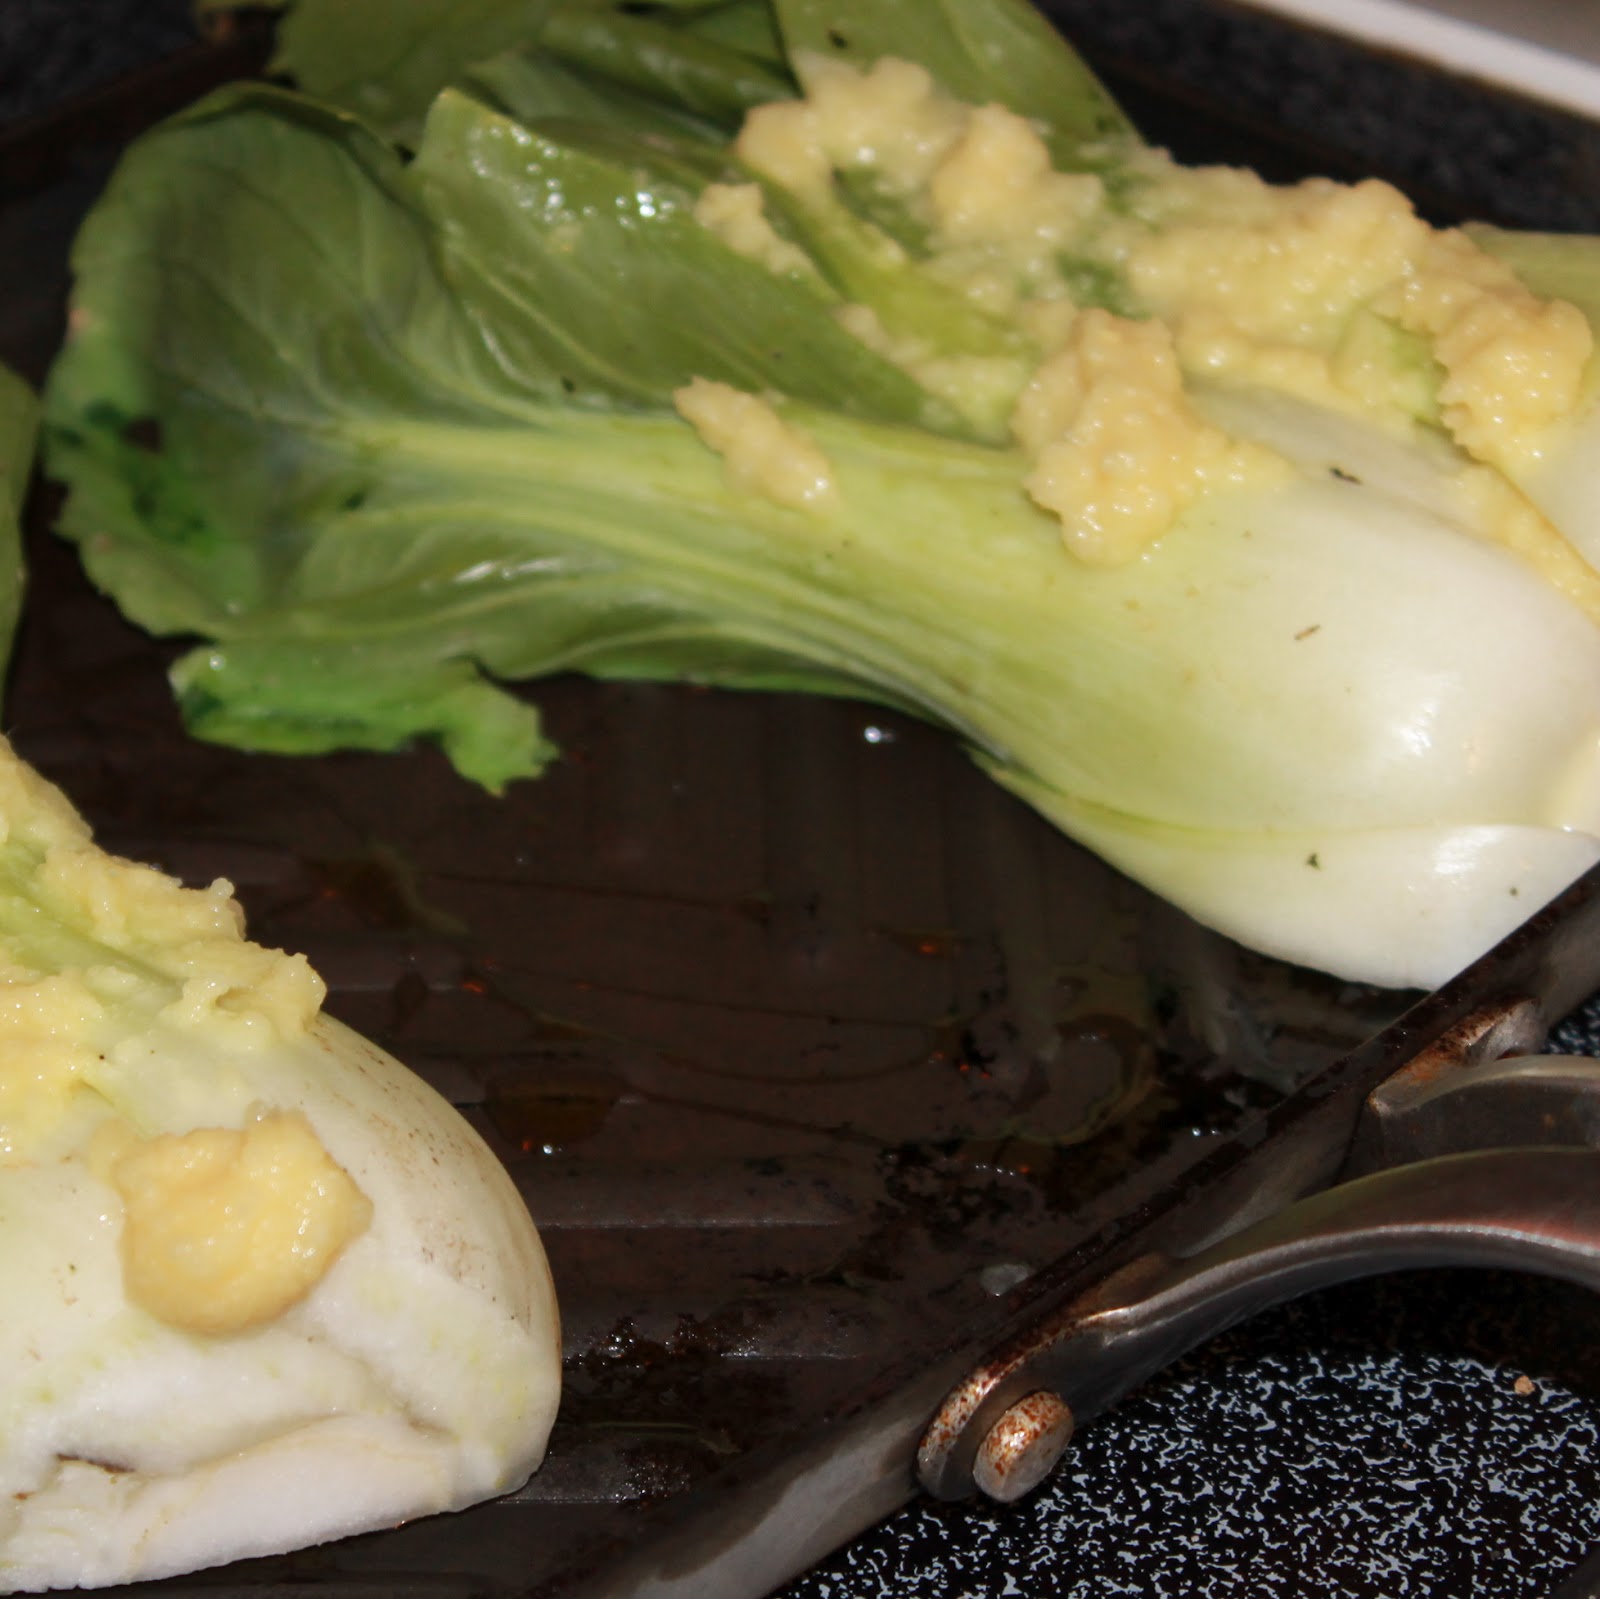
While the rice is standing, heat the canola oil in a large sauté pan over medium-high heat. Add the bok choy and ginger and sauté for 1 minute.
Add the sake and ¼ teaspoon salt, cover, and cook for 2 minutes until the bok choy wilts. Remove from heat and keep warm.
Add the lime juice, rice vinegar, cilantro, brown sugar, fish sauce, and red curry paste to a bowl. Whisk to combine.
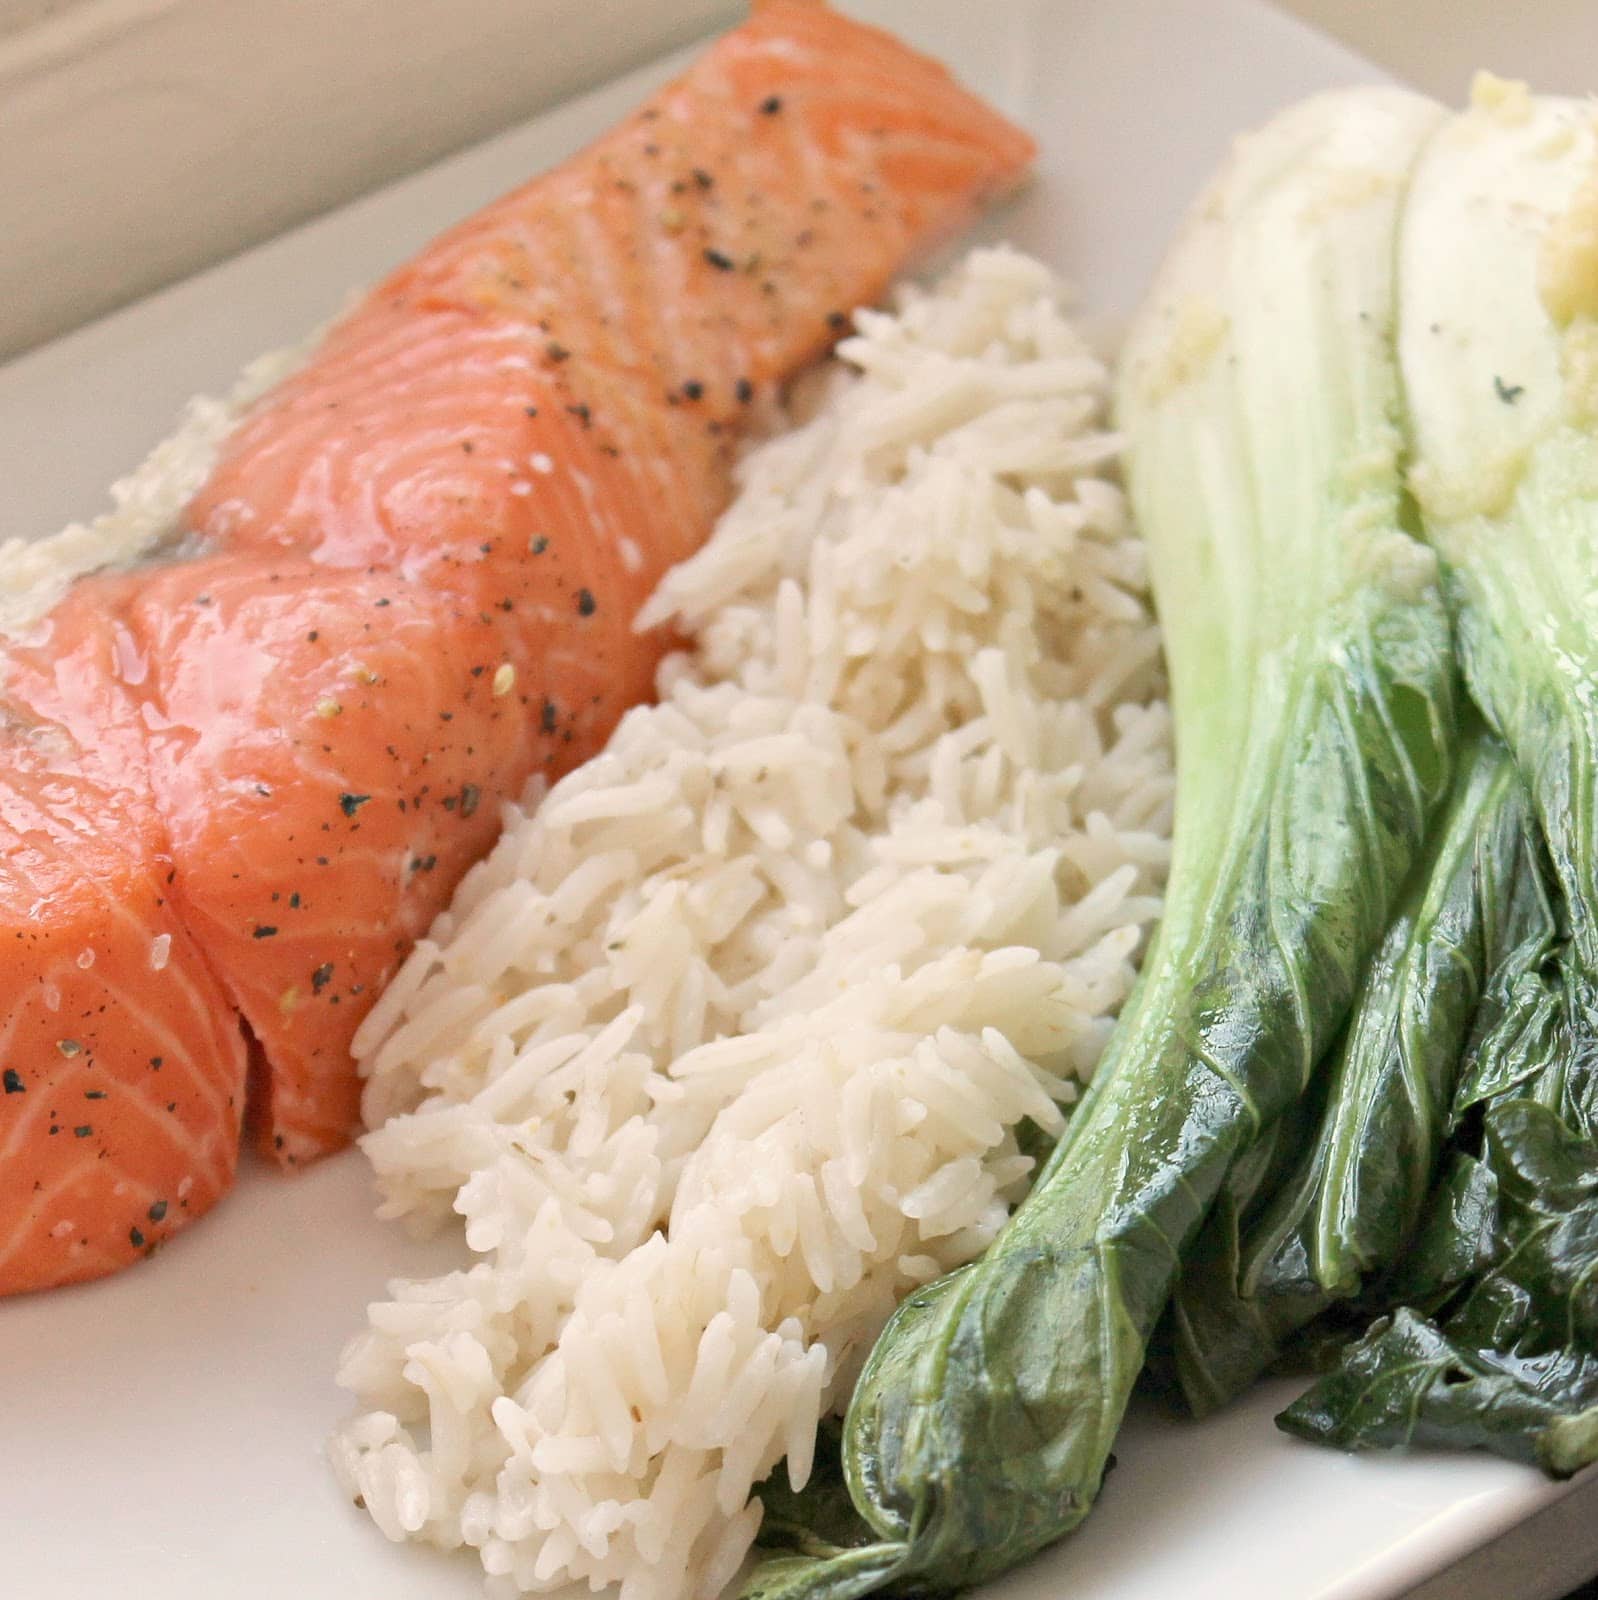
Serve over the salmon, rice, and bok choy.
Um. Yum. What an awesome dinner! The flavors go so well together. The sauce has a little tanginess that I really liked with all of the parts of this dish, but especially the rice. The salmon, because it was cooked at a low temperature, came out really moist. And the baby bok choy was crunchy, wilty, and flavorful all at the same time.
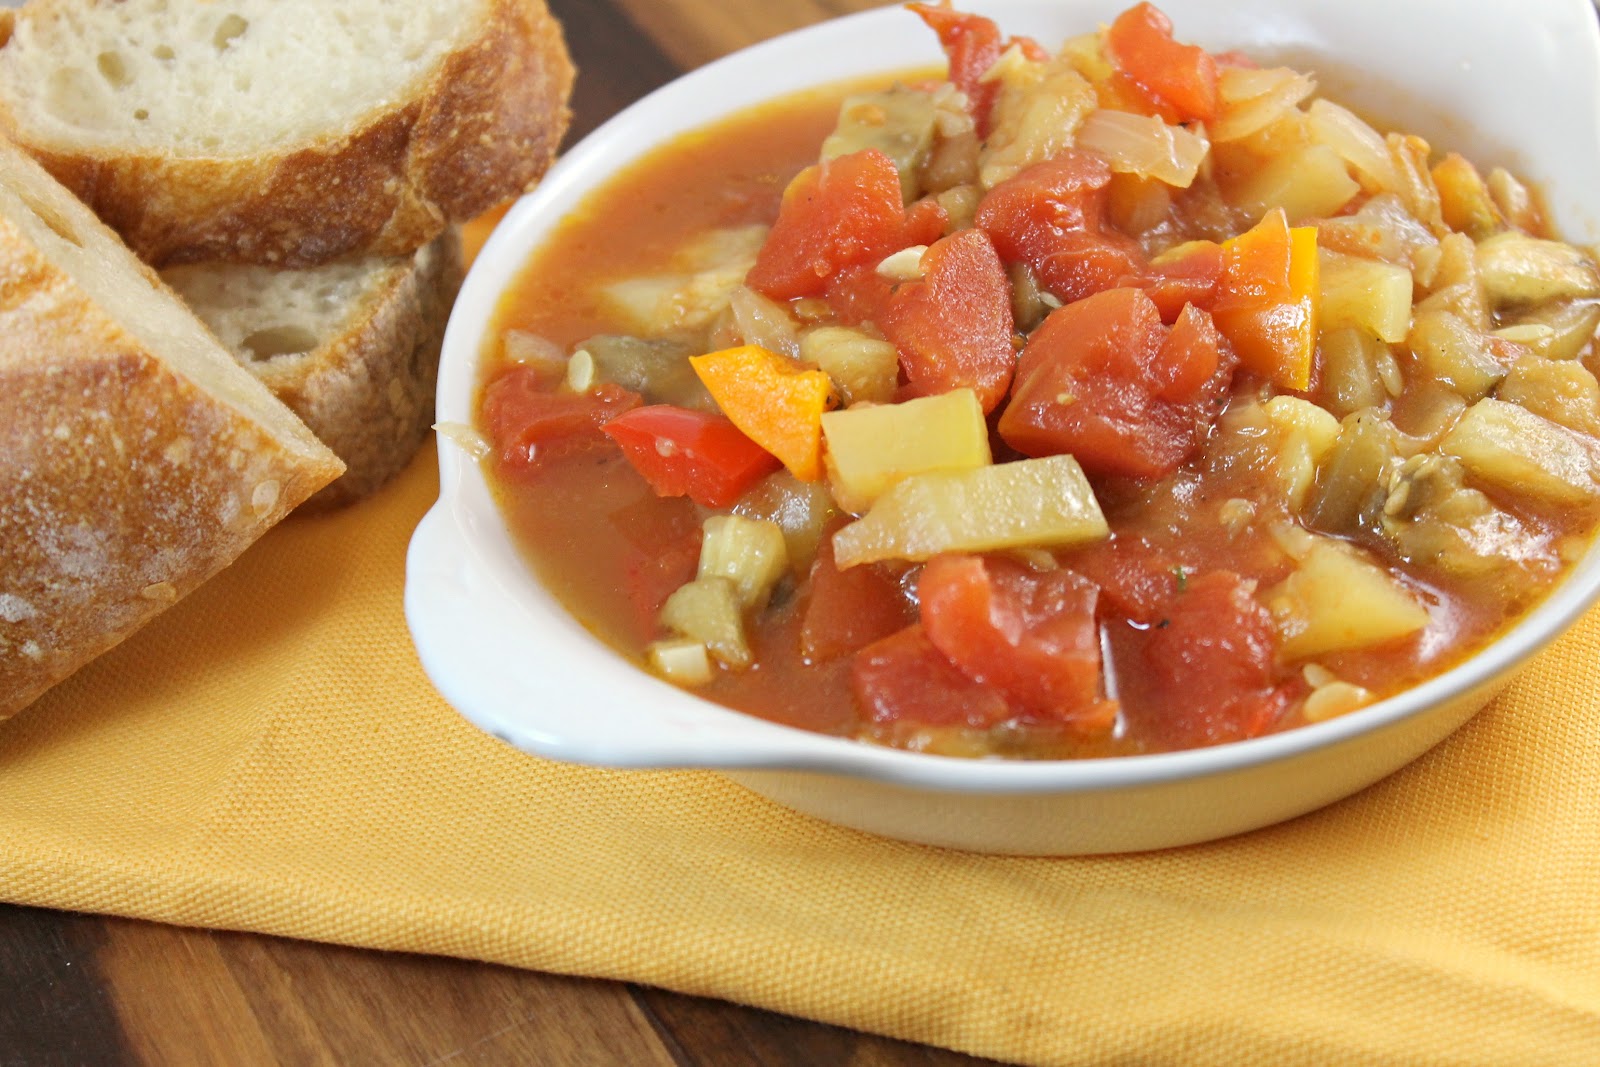
With the influx of vegetables in my life from my CSA, I am swimming in quite a large amount of highly perishable produce. So to preserve (and use) a bunch of my CSA veggies, I decided to try my first hand at Ratatouille. I looked at a bunch of recipes online and they can get really quite complex! There are some that cook each vegetable separately to bring out the flavor of each, some that layer the ingredients into a beautiful casserole. Well, I’m making this on a weeknight after work. So this is one of the easier versions, a one pot wonder if you will. One day, I will make the other version, but tonight, I just want a delicious meal that I can freeze for later.
So what is ratatouille, besides a really cute kids movie? It’s basically a stewed vegetable dish, usually served with bread, or maybe egg noodles or polenta (something to sop up all the deliciousness). There are many different recipes for the dish, but most include eggplant, zucchini, peppers, and onions. The spices can range from thyme or marjoram to herbes de Provence.
I found this recipe on MarthaStewart.com and kind of messed with the ratio of ingredients, so be sure to check out the original recipe to see if that is more to your liking.
Ingredients:
1/4 cup olive oil (or enough to cover the bottom of your pot)
1 medium onion, chopped (I used a sweet onion)
4 cloves garlic, minced
3 small eggplants, cubed
2 large zucchini, cubed
Salt and ground pepper, to taste
2 yellow or bell peppers, ribs and seeds removed, cubed (use any color pepper you want)
1 can (28 ounces) diced tomatoes
2 teaspoons fresh thyme
Chopped fresh basil, for garnish
To make, add the olive oil to a Dutch oven or other large pot that has a lid. Heat over medium heat. While waiting to heat, chop your onions, garlic, eggplant, and zucchini.
I want to take a minute to discuss a method of cutting eggplant. I googled this just as I was about to make the recipe so it was new to me too and it worked quite well. I found the method on recipetips.com.
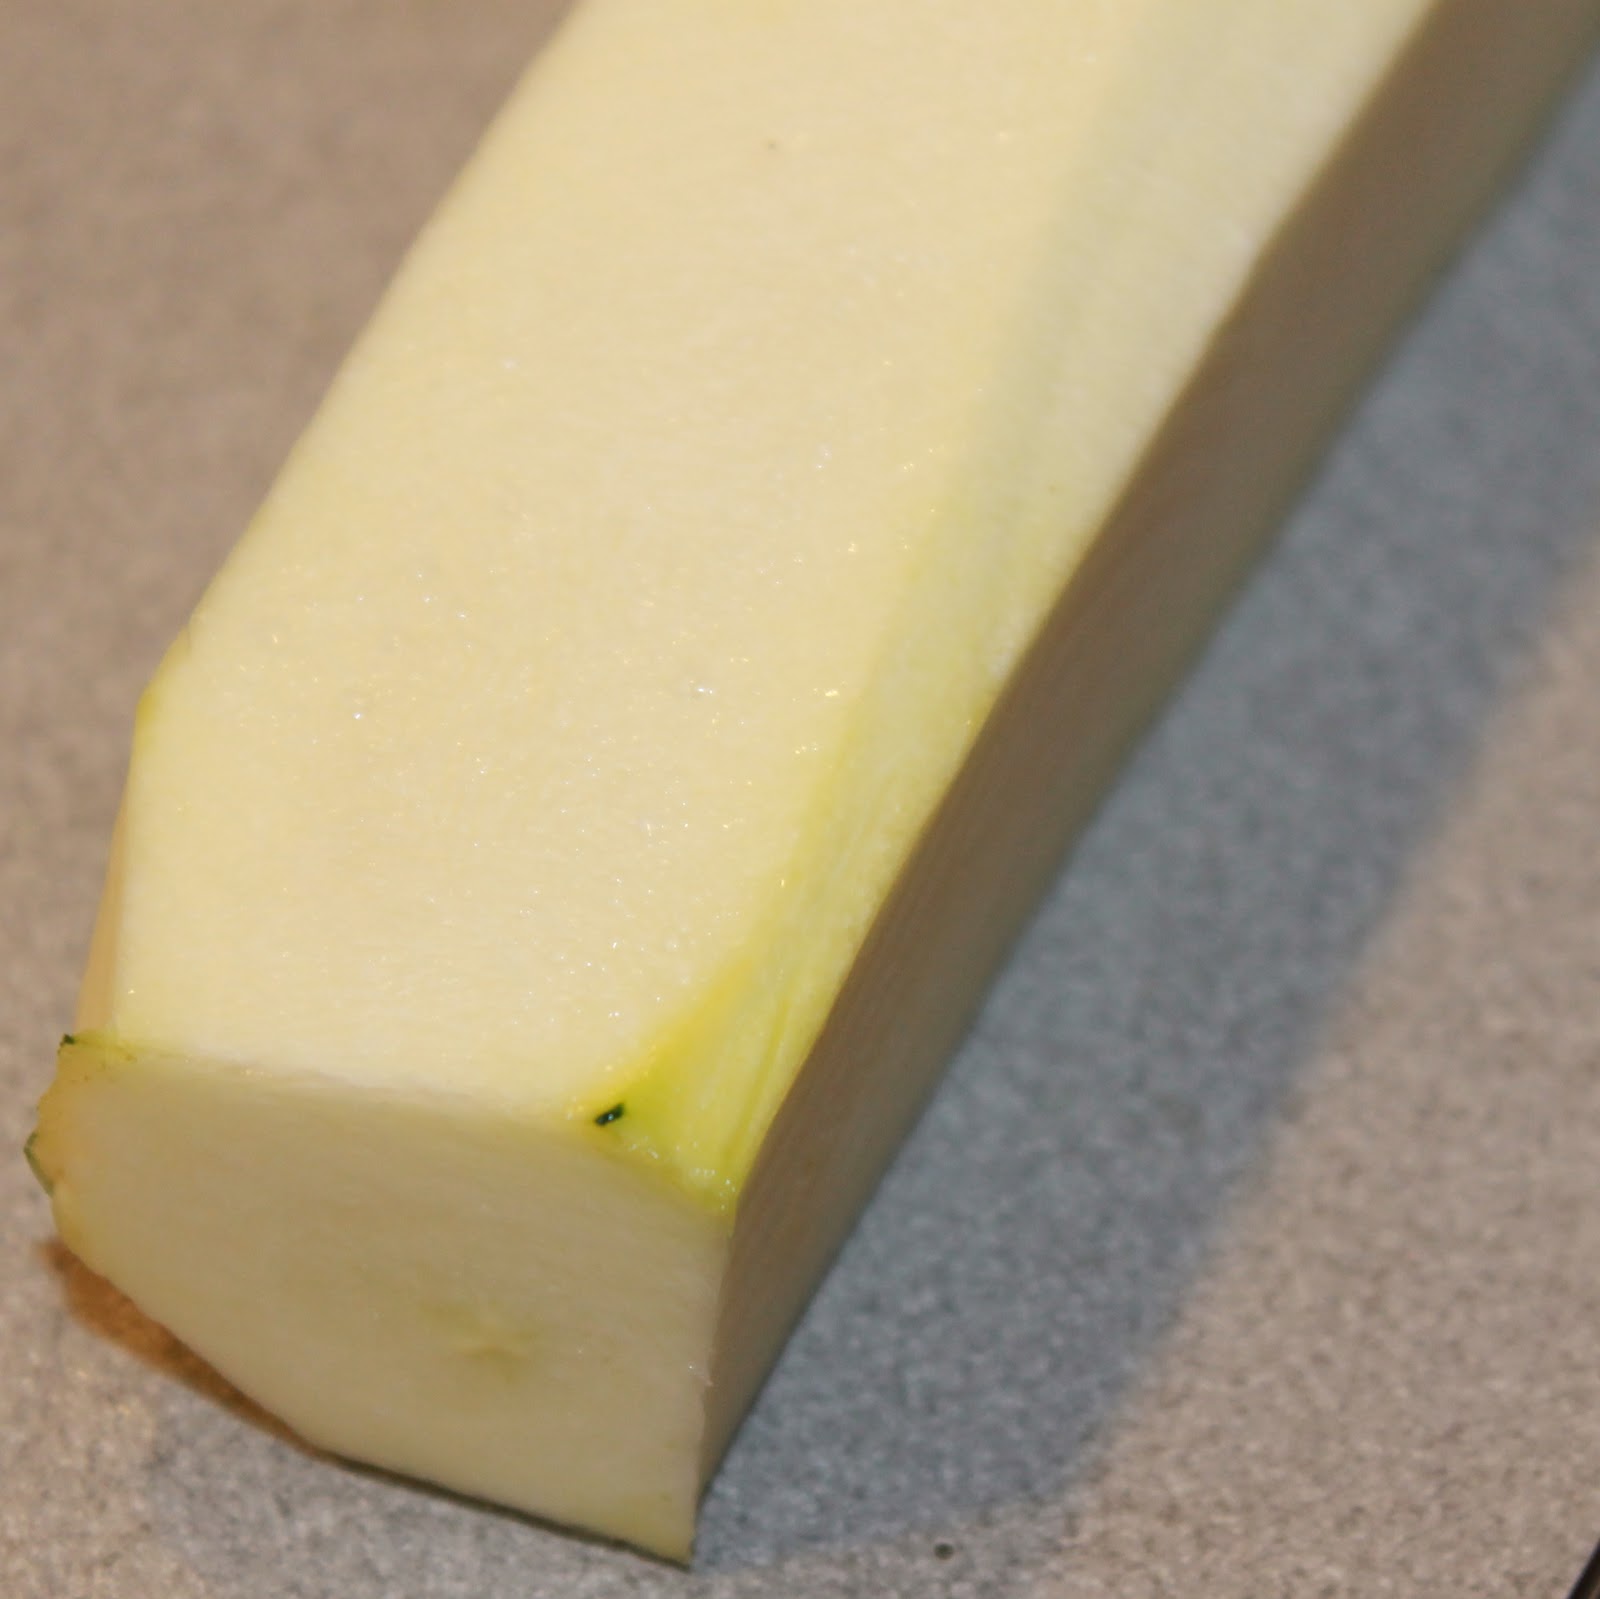
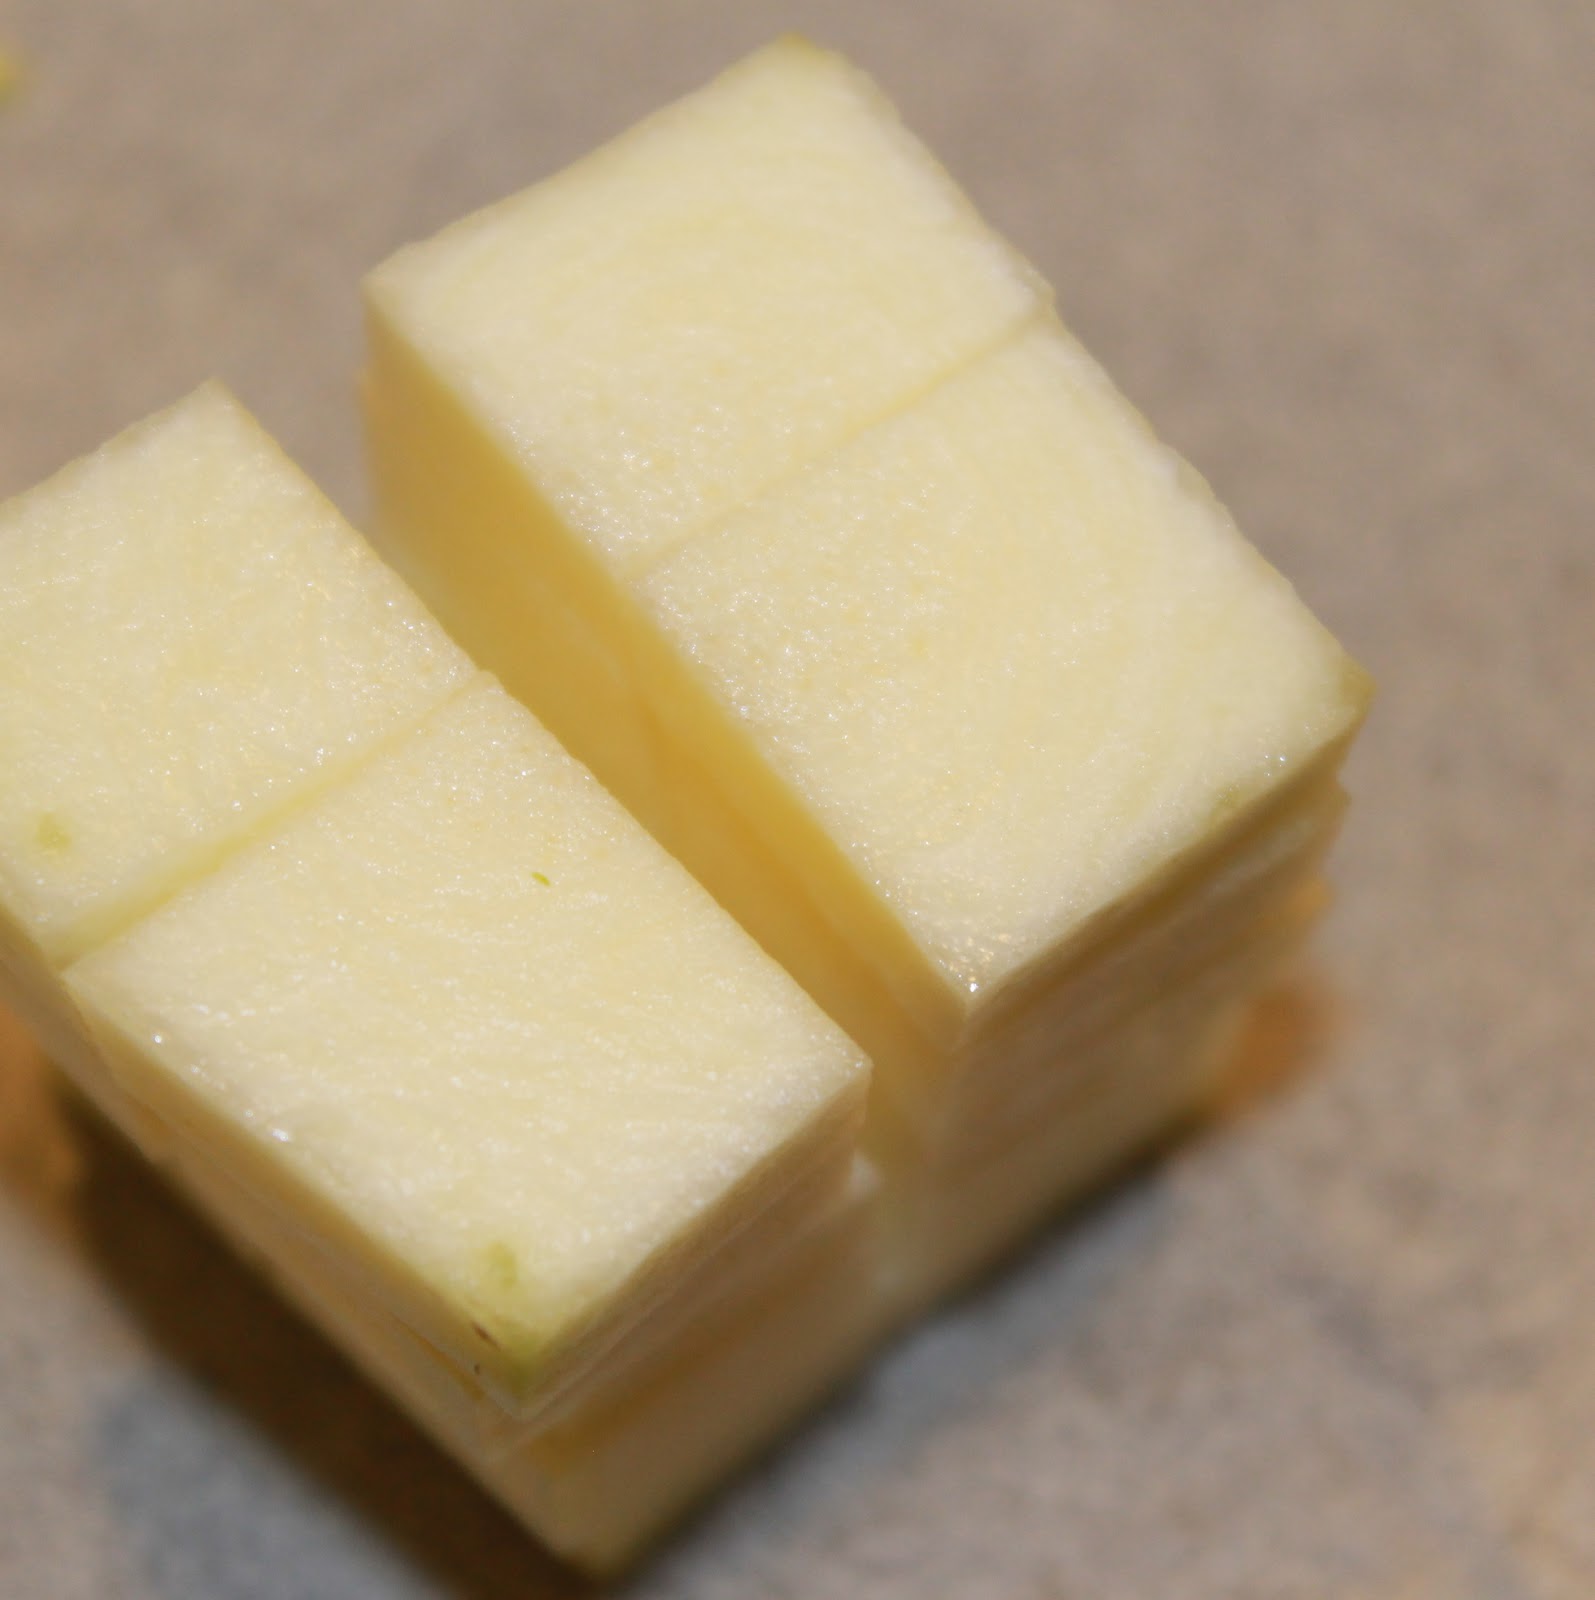
To cut the zucchini, remove the skin using a knife by cutting the zucchini into a square shape (or close to a square.)
Slice the zucchini into smaller square disks.
Stack a few of them, and cut into fours to make smaller squares. This doesn’t have to be uniform, you just want them to be the same general shape so they cook evenly.
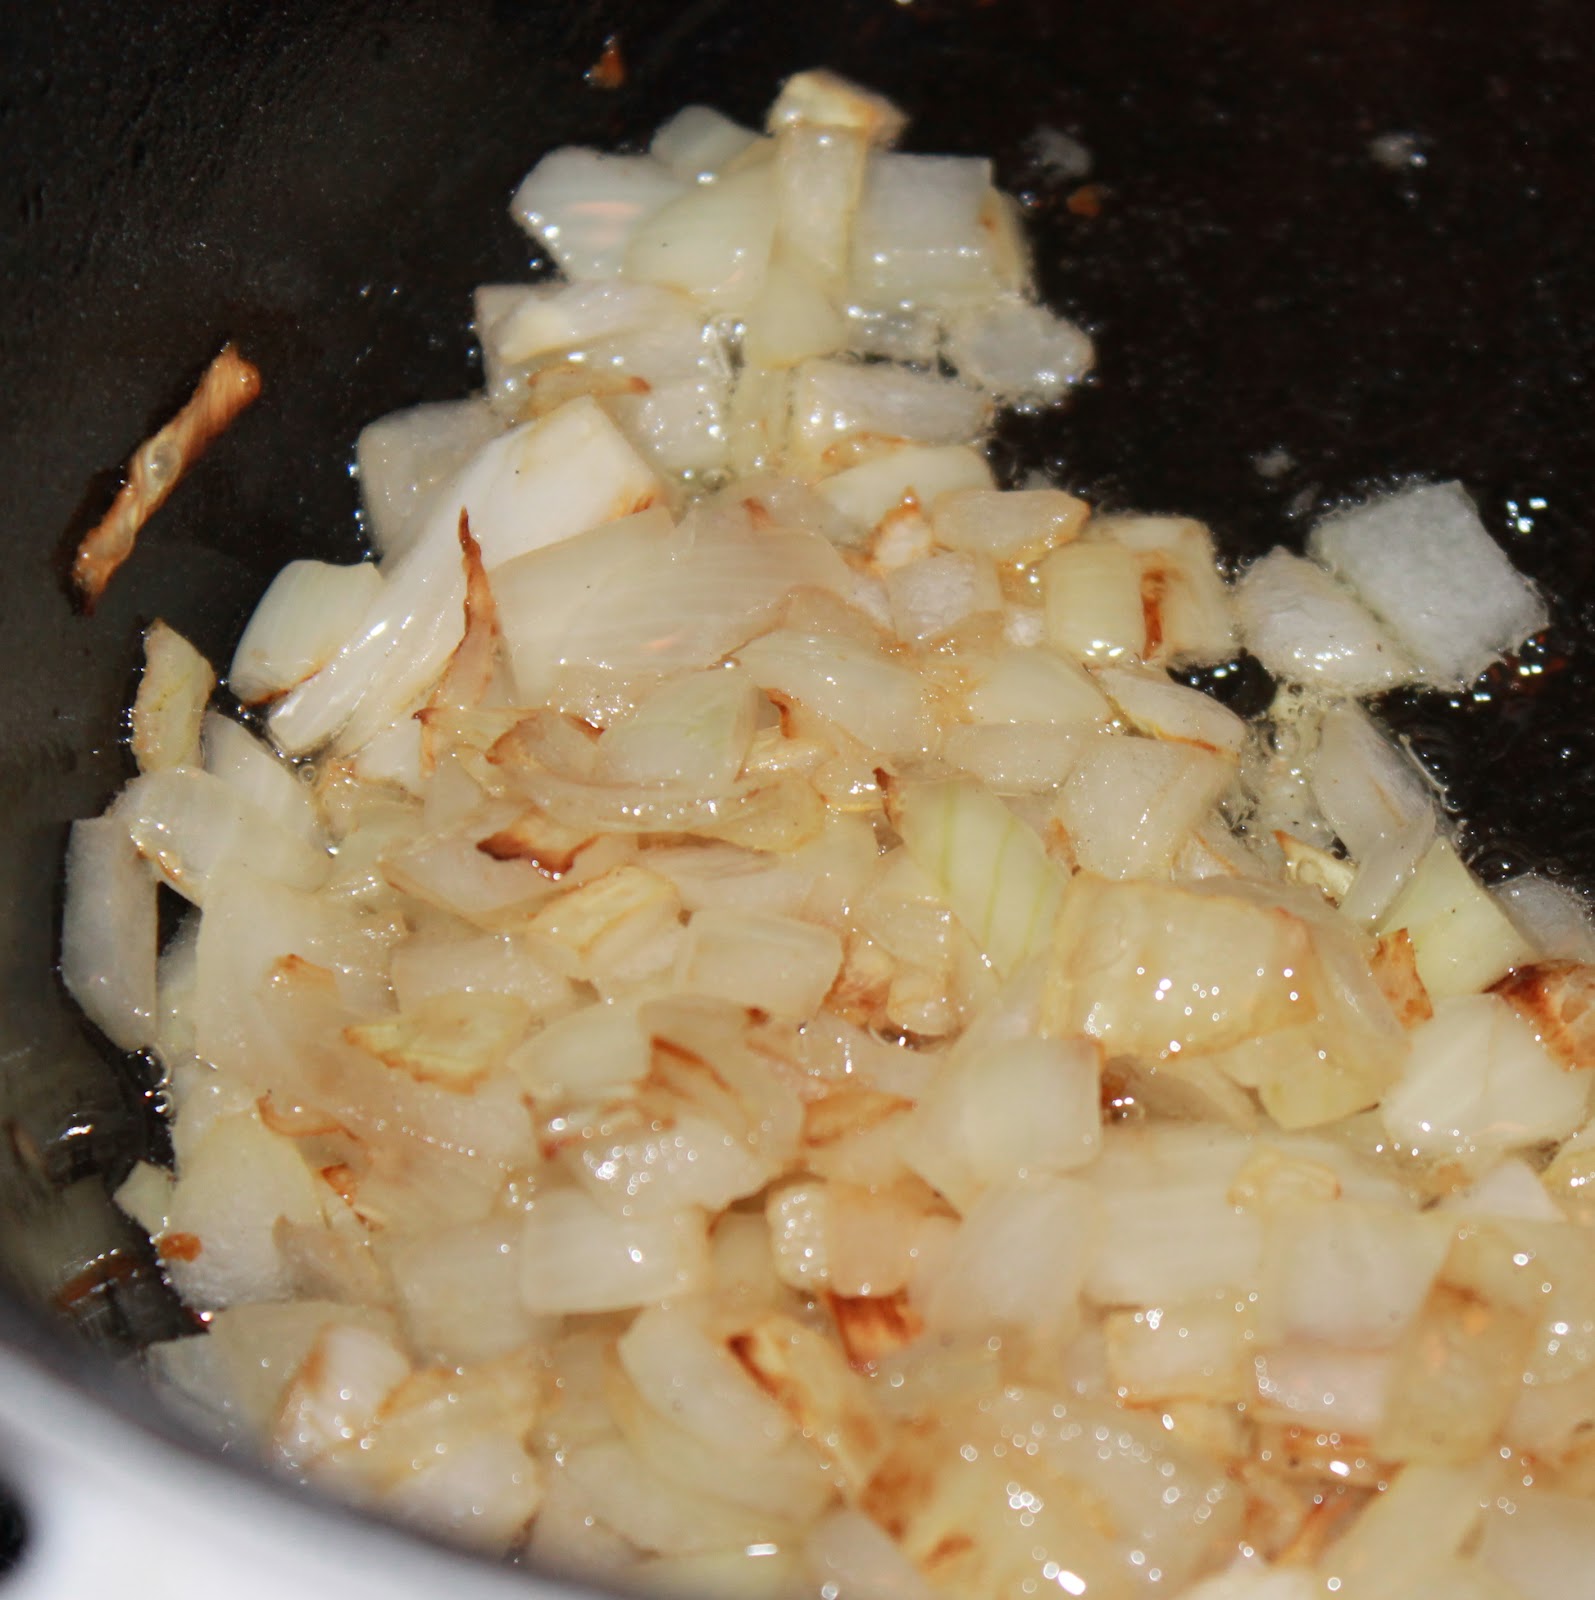
Add the onions to the pot and stir occasionally. Cook for 5 minutes.
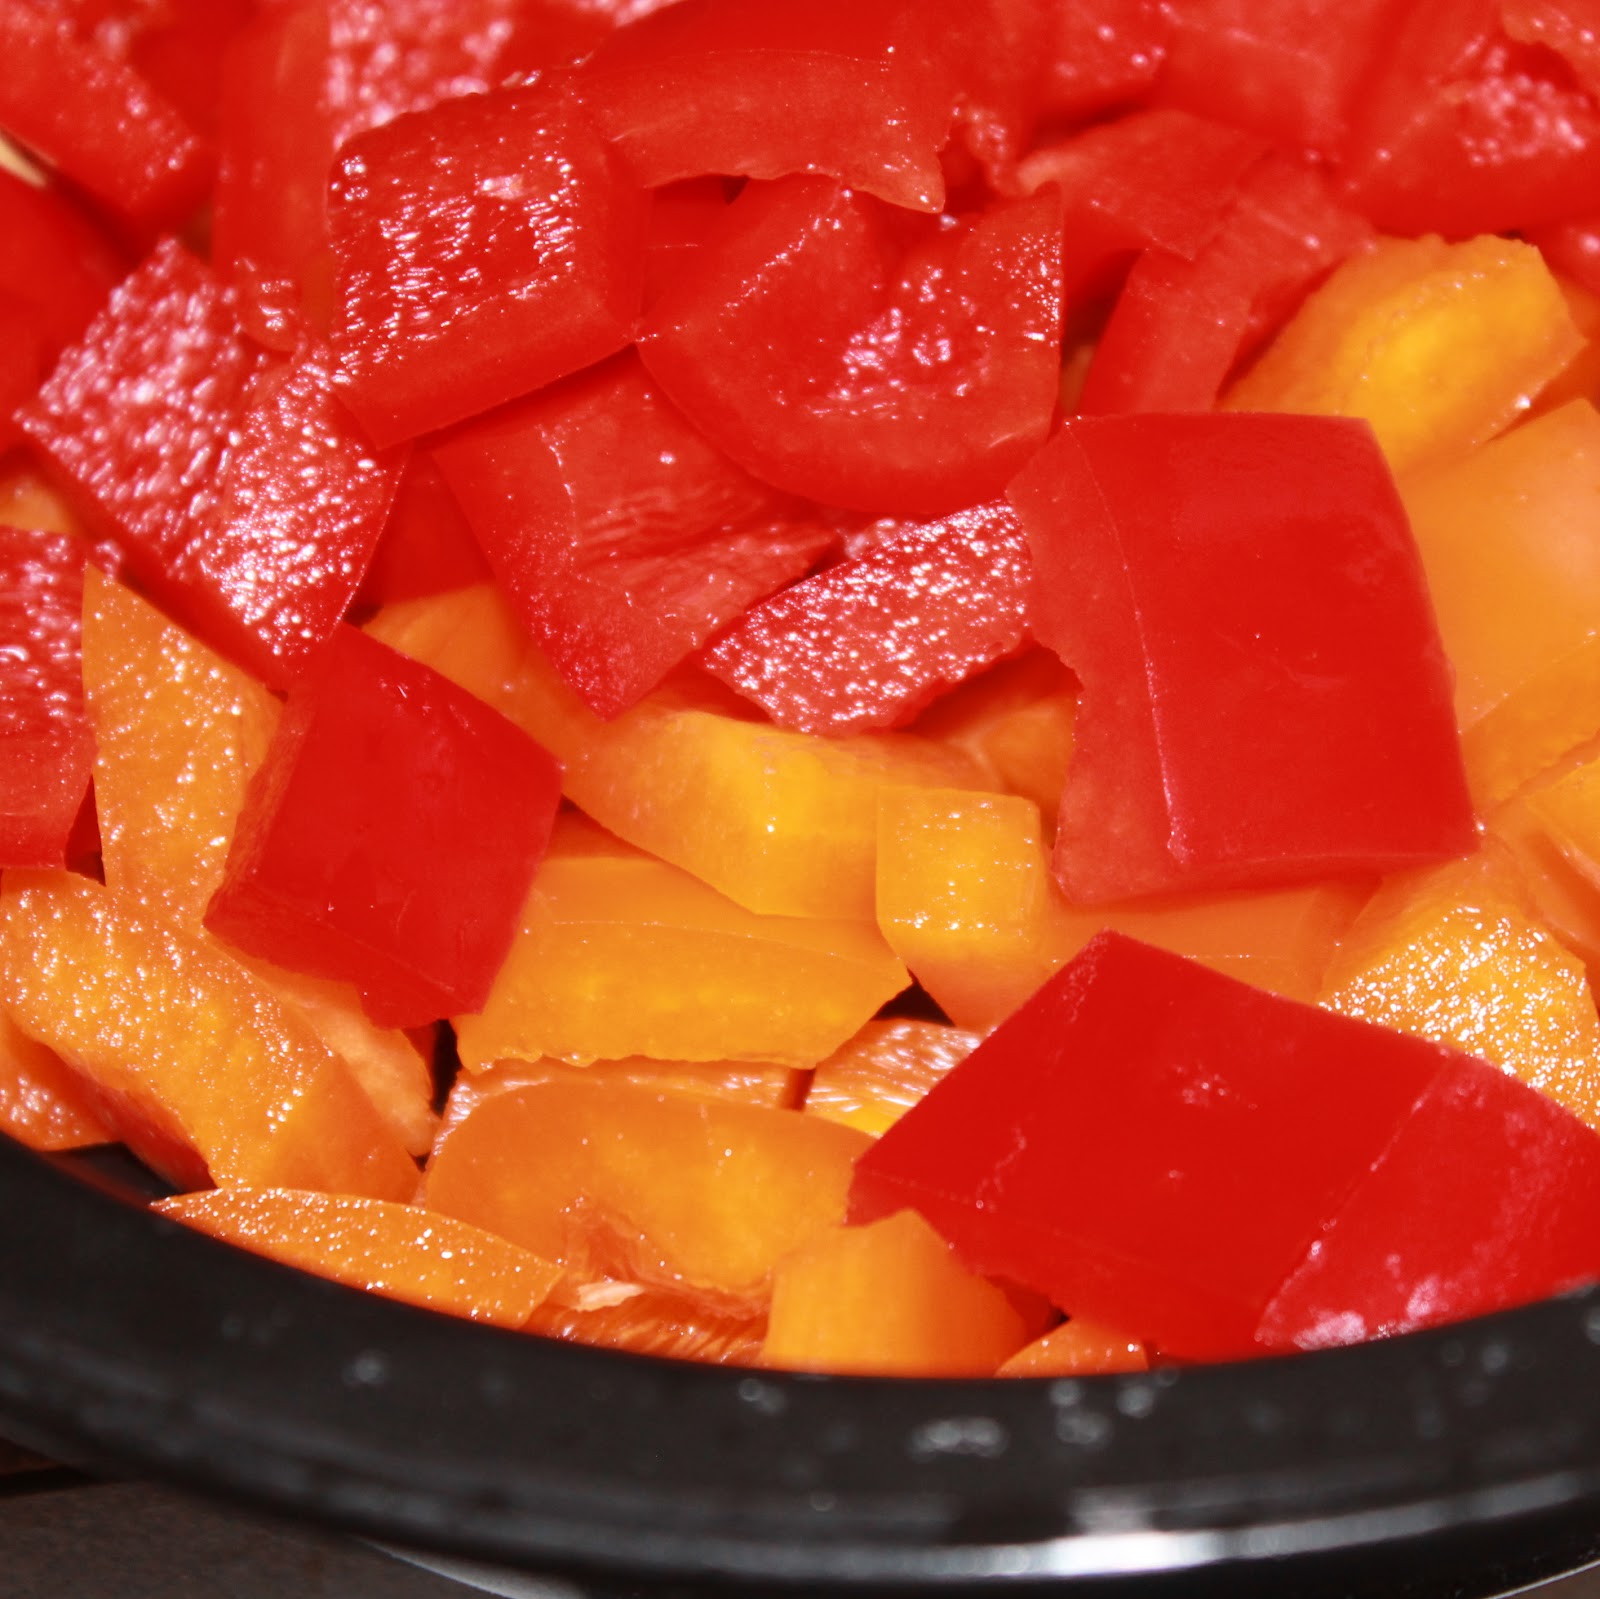
Add the garlic and cook for another minute. Stir in the eggplant and zucchini and season with salt and pepper. Add 3/4 cup of water, cover, and simmer for about 5 minutes, stirring once half way through. While waiting for the 5 minutes to pass, chop your peppers.
Add the peppers to the pot and simmer, covered, for another 5 minutes.
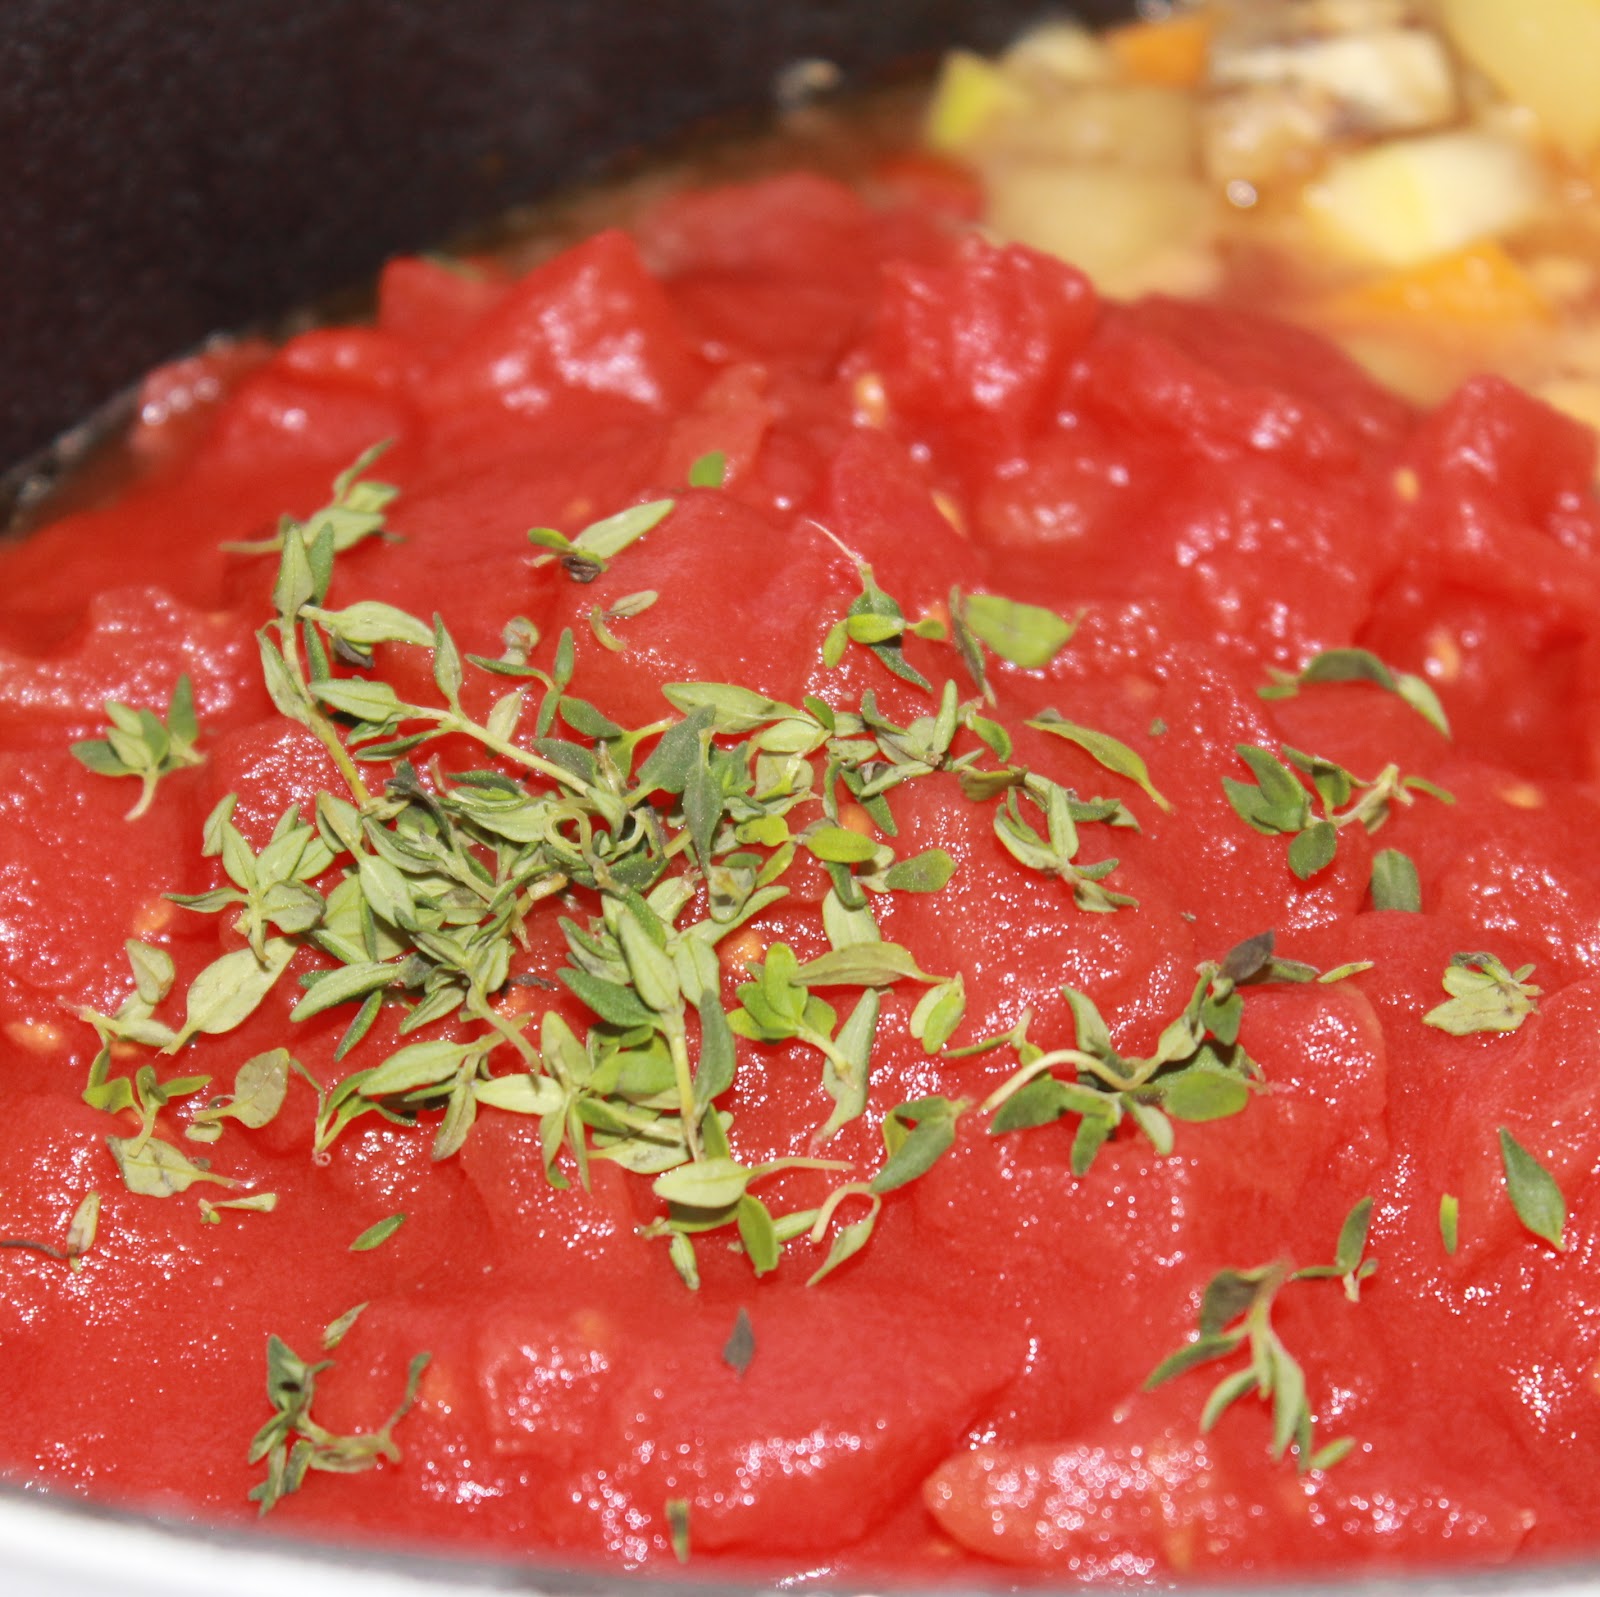
Add the tomatoes and thyme and bring to a boil.
Reduce heat to medium-low, partially cover, and simmer for 15 to 20 minutes. The recipe said to stir often. I didn’t. I got distracted and walked away. Oh well.
Remove from heat and serve. Top with a few slices of basil.
If freezing, leave the basil out and freeze.
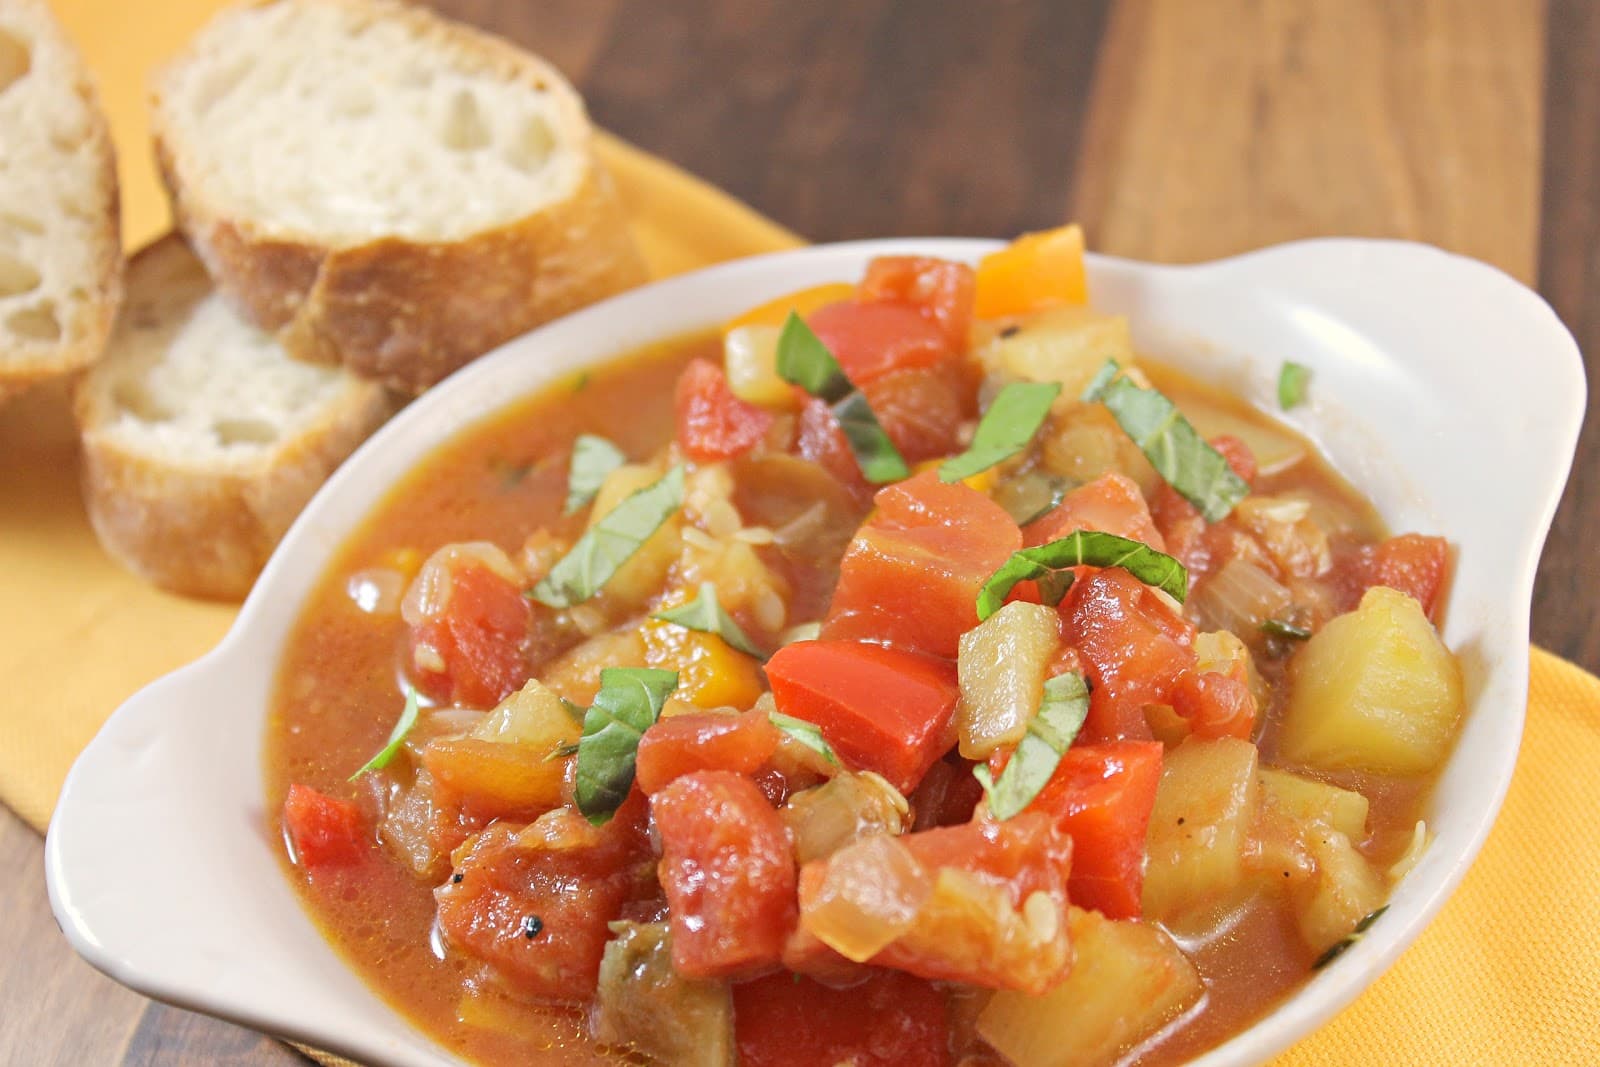
For being vegetarian, doesn’t this look fabulously hearty?
I paired mine with day old bread which was a perfect amount of crispiness to go with the veggies. It may not be terribly pretty, but it was comforting and really flavorful.
I ate one serving and froze the rest for nights when I don’t have time to cook. I’m glad I did or I’d still be sitting here eating it!
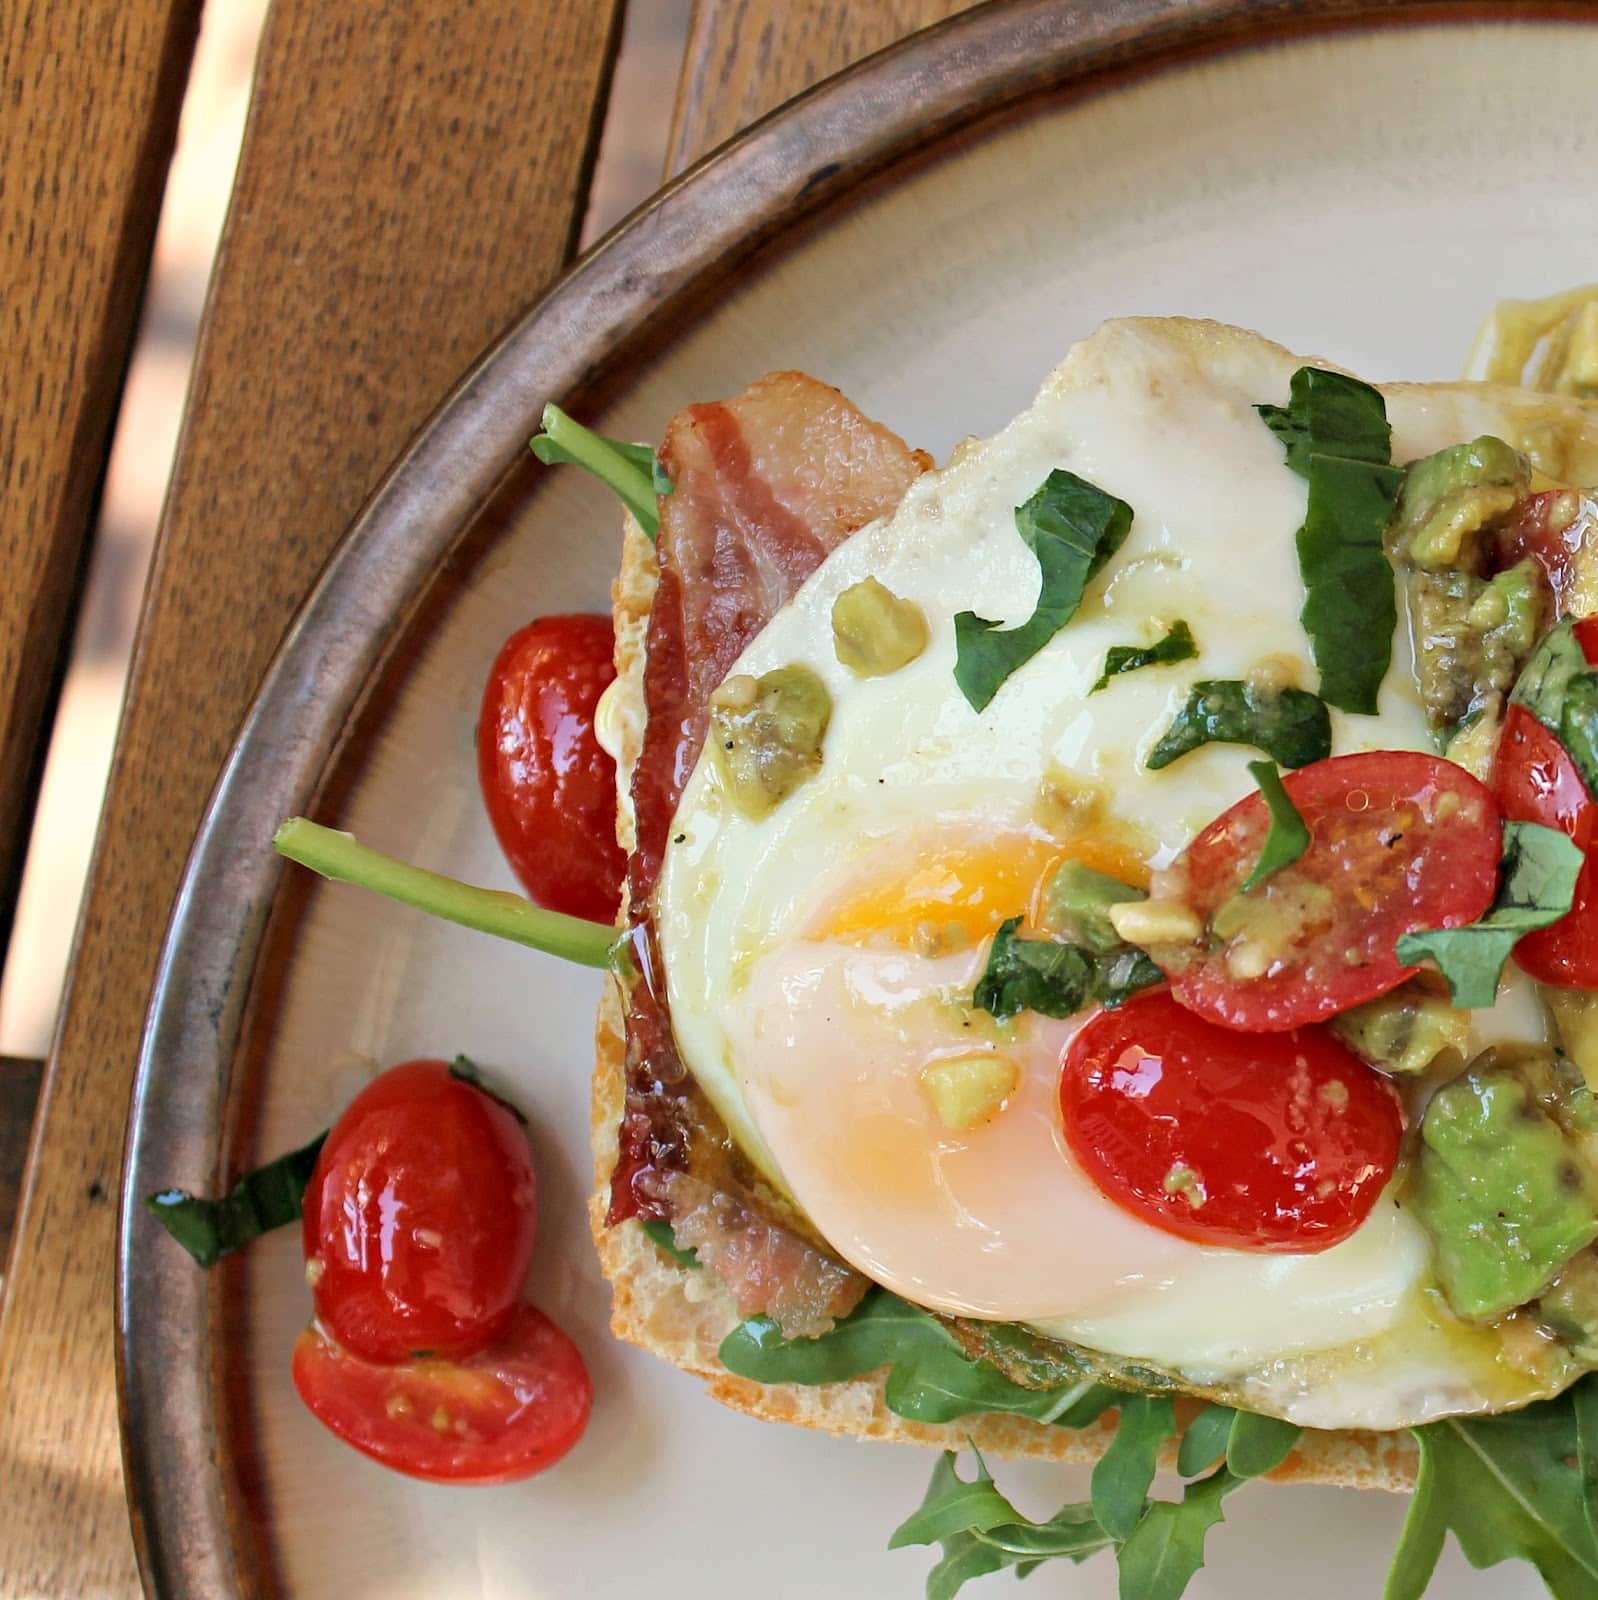
When I came across this recipe, my first thought was “why don’t people make Egg BLTs more often”? Why is this not a common brunch menu choice? Egg sounds like a logical upgrade to a traditional BLT. The addition of avocado to this just takes it over the top. I found this recipe on myrecipes.com and switched it around a bit, but the general idea is the same.
Ingredients (makes two servings):
1/2 cup halved grape tomatoes
1/2 avocado, diced
1 tablespoon chopped fresh basil
1 garlic clove, minced
1 tablespoon extra virgin olive oil
Salt and pepper to taste
1 teaspoon red wine vinegar, divided
2 large eggs
2 teaspoons mayonnaise
2 pieces of ciabatta bread (or 2 ciabatta rolls)
1 cup firmly packed arugula
4 thick bacon slices, cooked
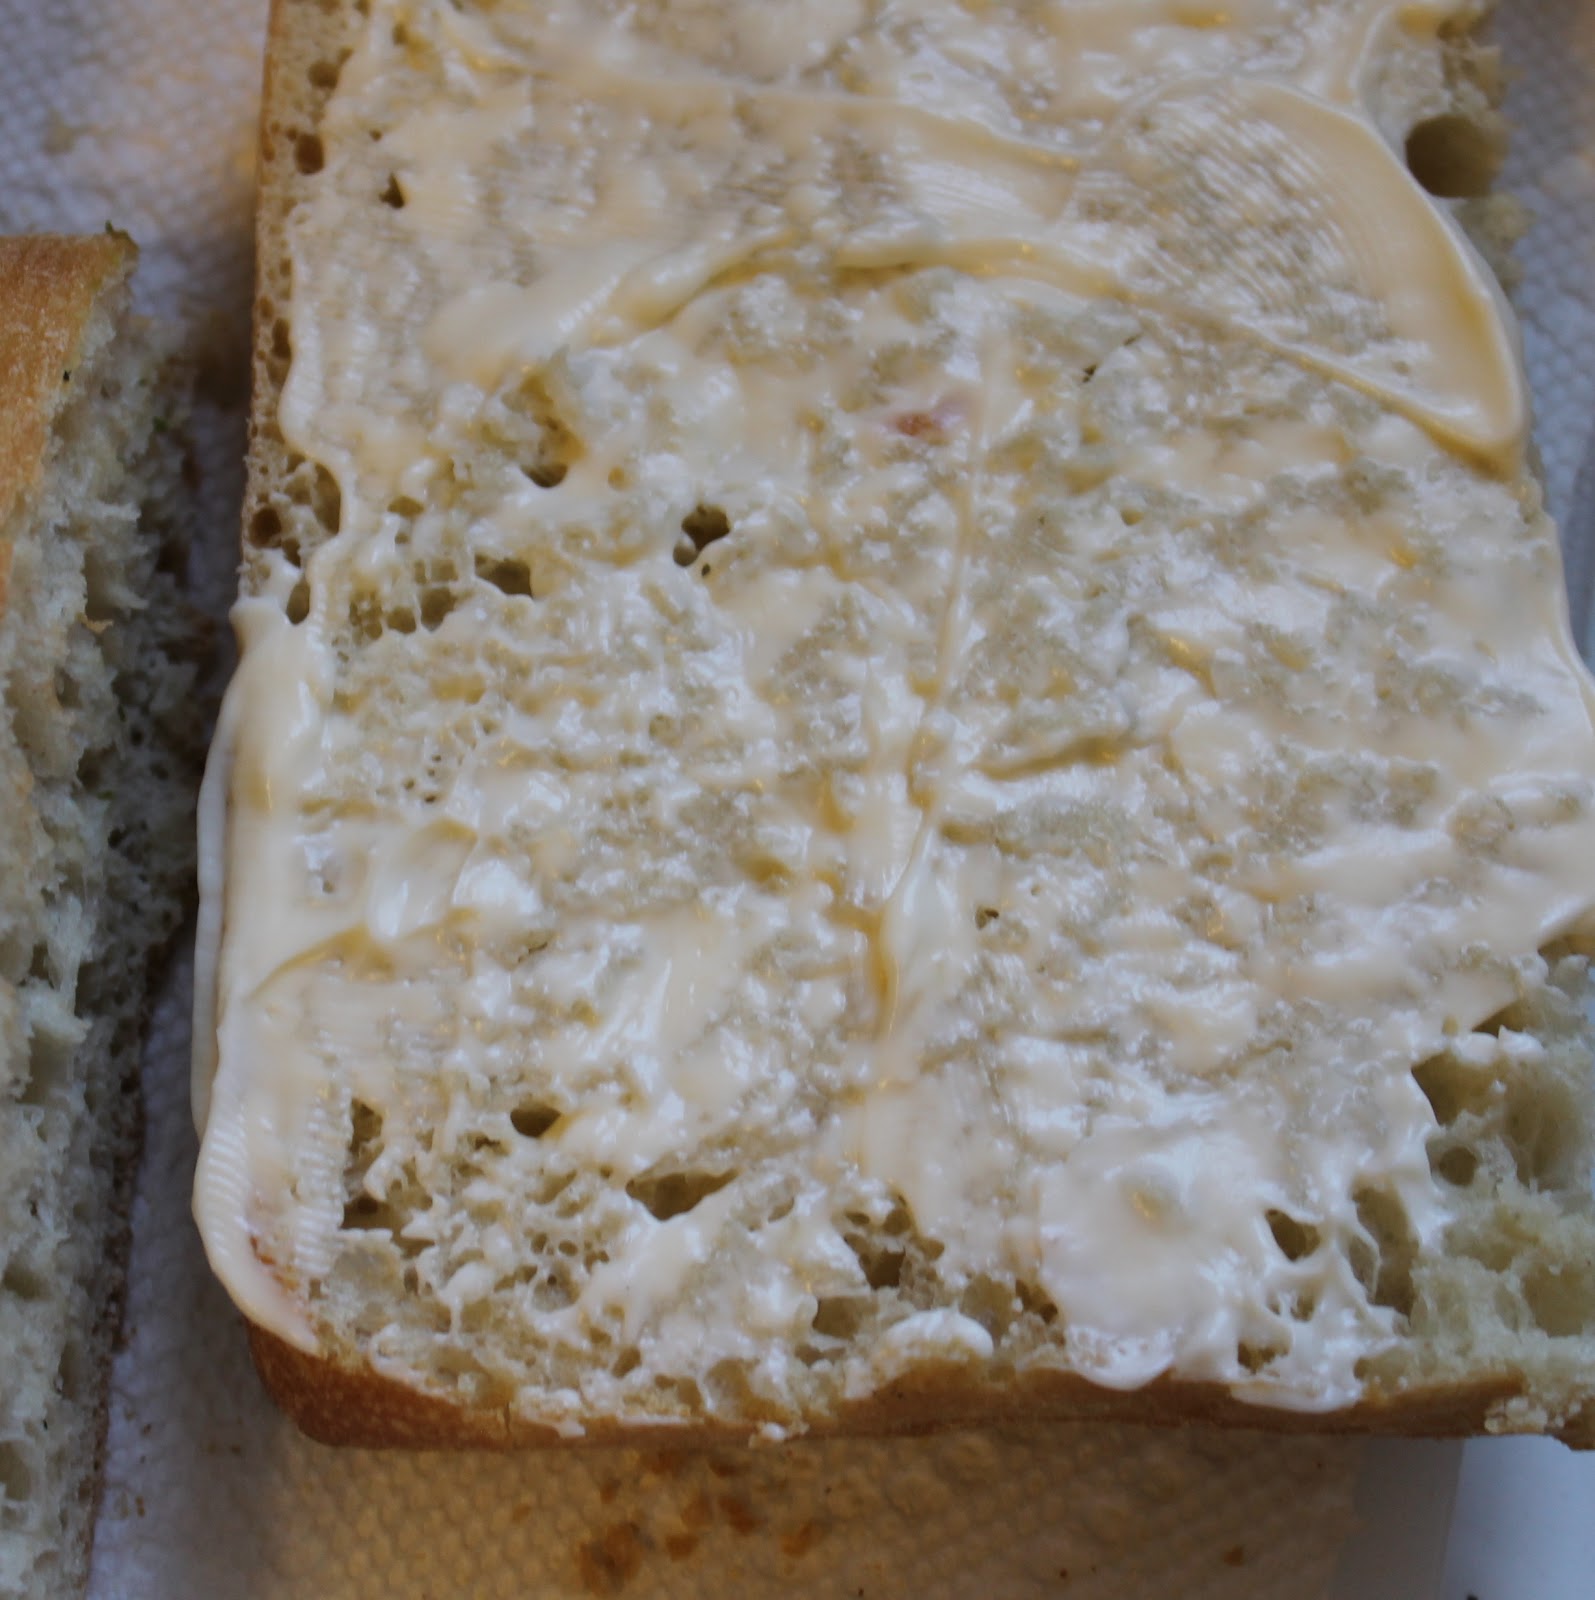
I bought one of those “bake at home” ciabatta breads that you pop in the oven for about 10 minutes. I thought some “freshly baked” bread would be nice with this dish. You can use whatever bread you happen to find if ciabatta is not available.
Cook the bacon according to package directions. Transfer to a paper towel to drain excess fat.
Combine the tomatoes, avocado, basil, garlic, olive oil, red wine vinegar, salt and pepper in a bowl.
Cook eggs over easy (or whatever style you prefer). To cook them over easy, heat a saute pan over low heat and spray with cooking spray. Crack one egg into the pan. Season with salt and pepper if desired (I honestly don’t think you need it ) and cook until the whites become opaque. To make sure the yolk cooks slightly, I add a top to the saute pan. Repeat with the second egg.
Now it’s all assembly. Spread 1 teaspoon mayonnaise on a slice of bread.
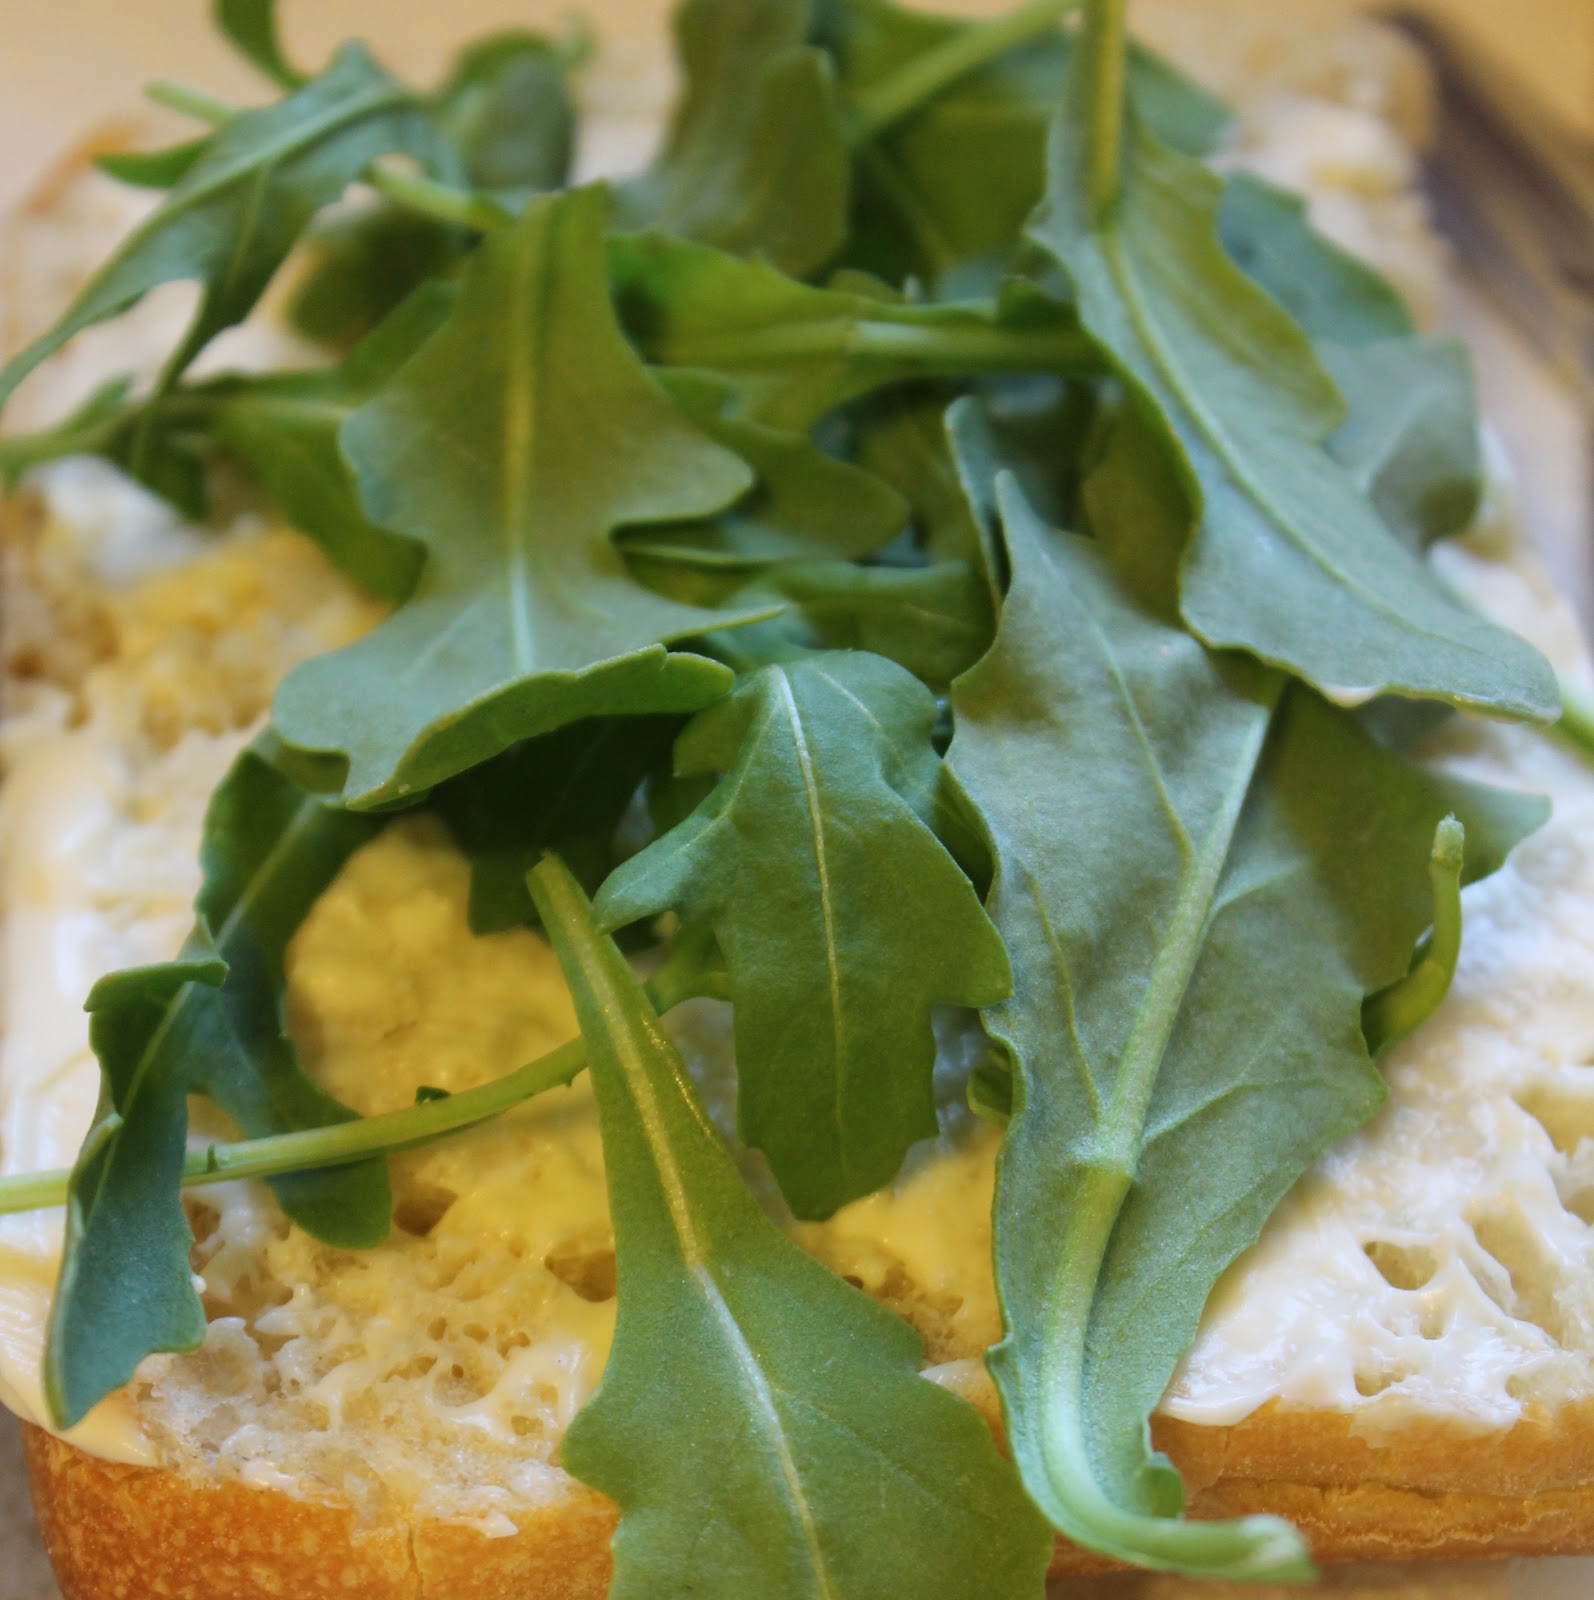
Add 1/2 cup arugula.
2 bacon slices (I tore them in half to fit nicely)
and the egg.
Top with the tomato avocado mixture.
This is the fanciest BLT I’ve ever seen.
It was fantastic too. I kept saying over and over again how yummy each bite was!
This recipe is so great because you can substitute whatever you want. Mess up the egg? Stick a scrambled egg on there instead. Hate arugula? Substitute baby spinach leaves. I suggest adding some extra sliced basil on top of the whole dish to add some extra freshness!
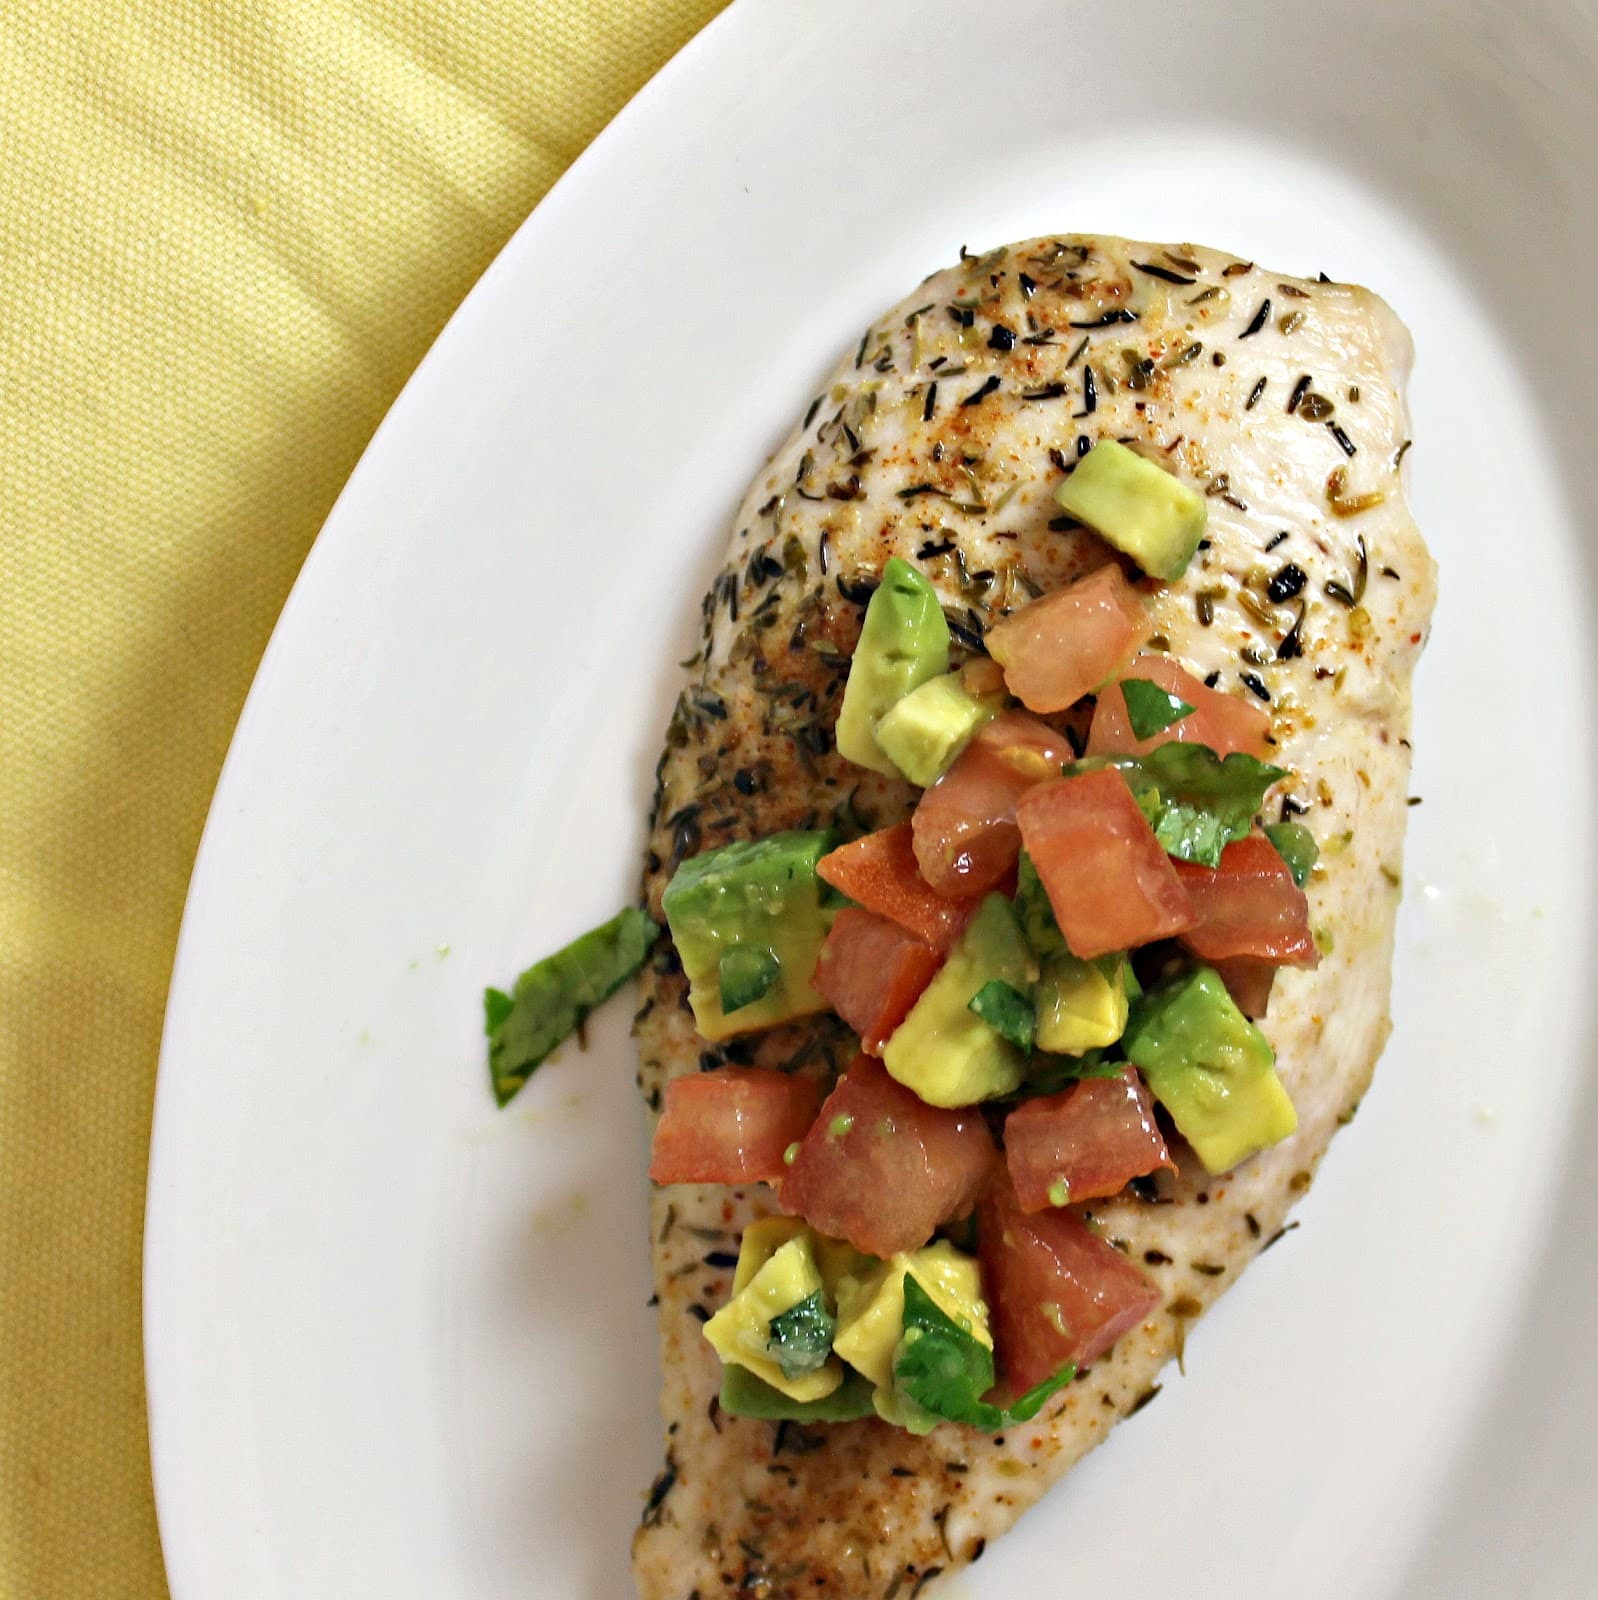
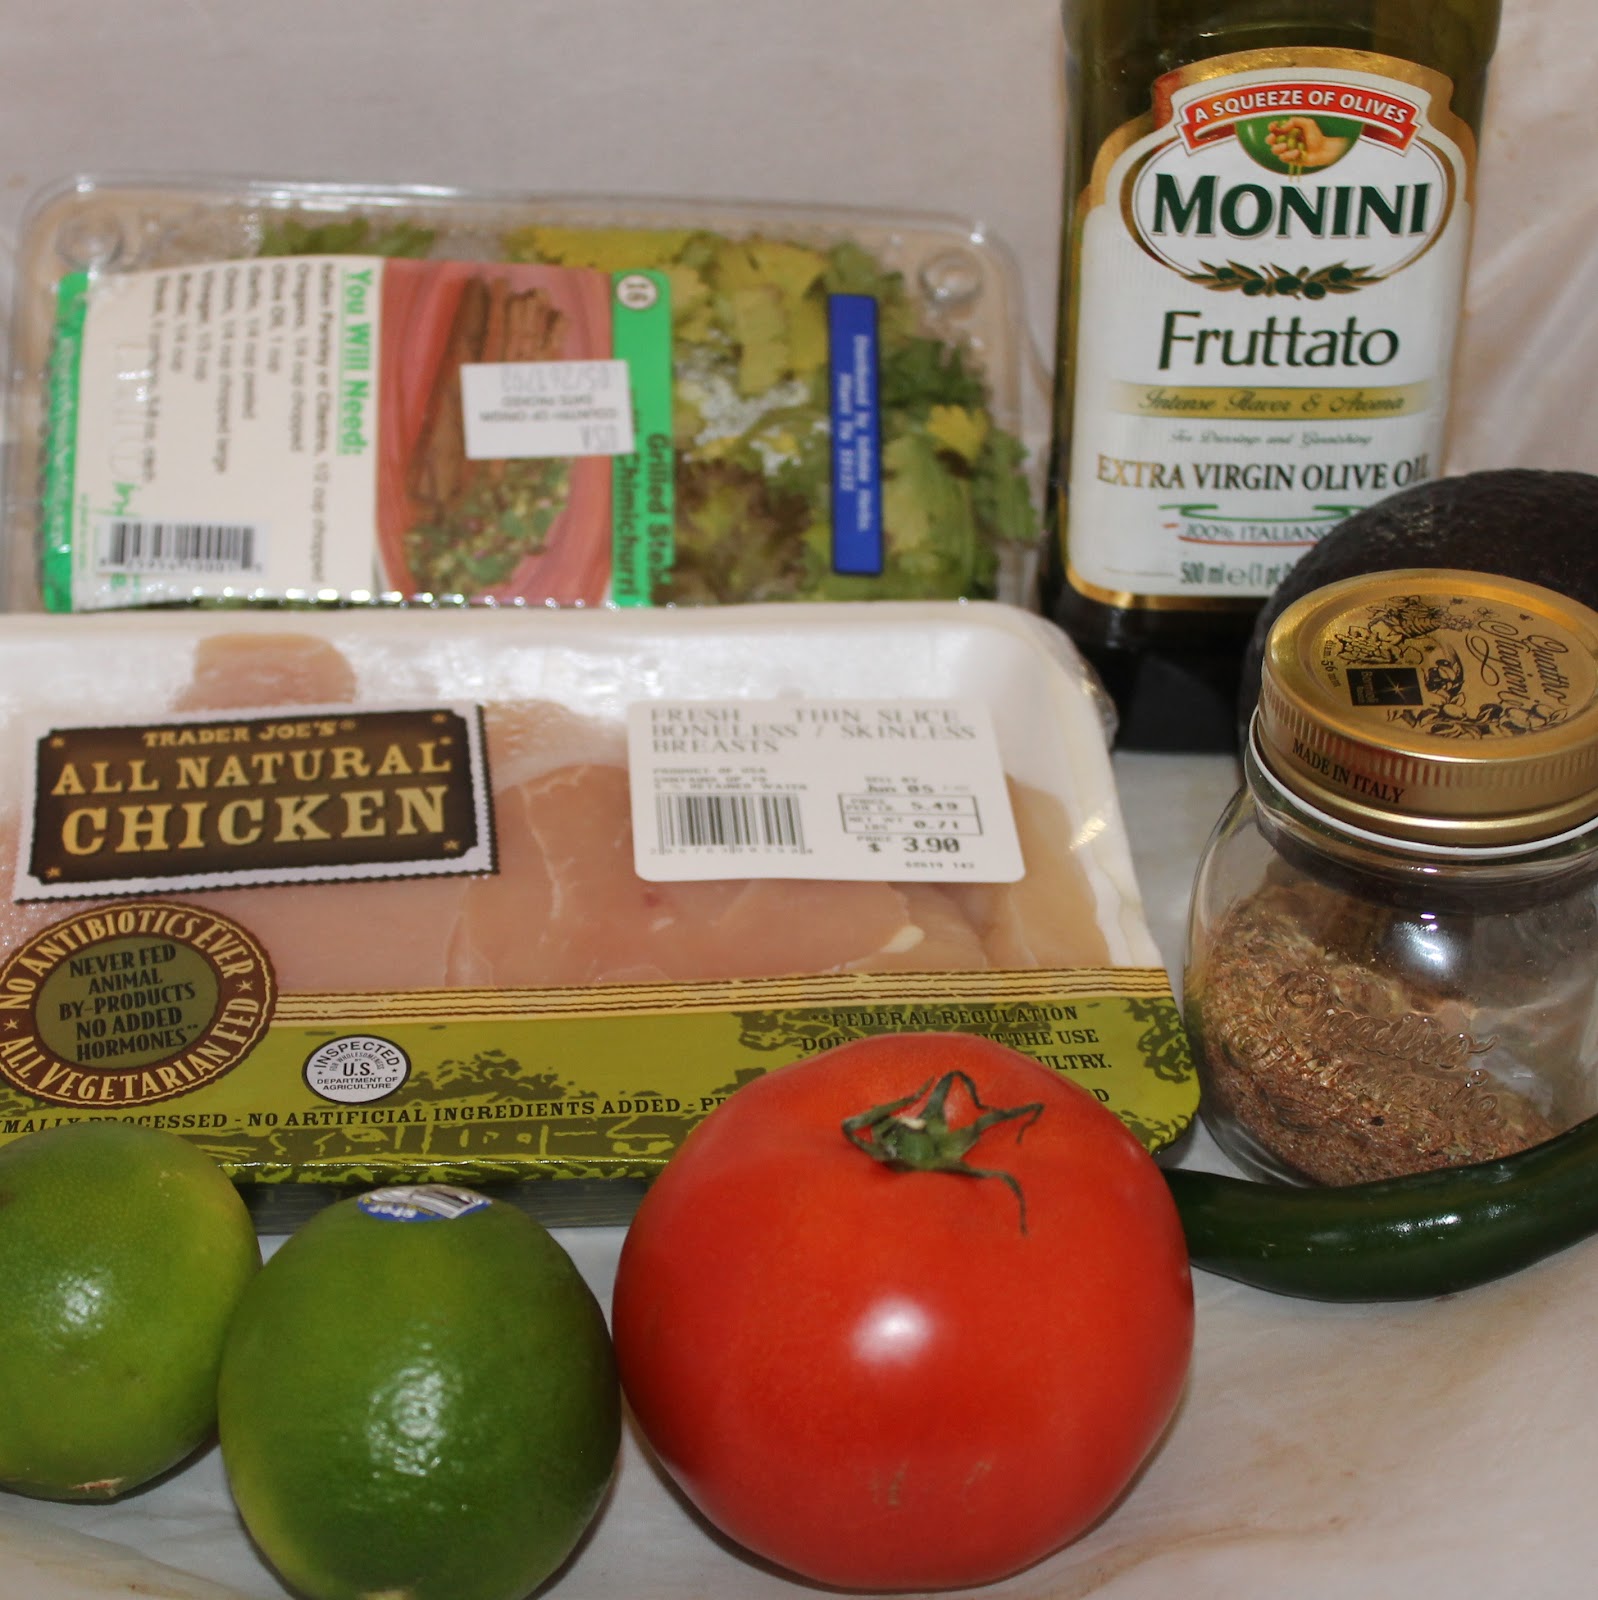
I have inexplicably been picking up an avocado each and every time I buy groceries. I didn’t have a recipe for the avocados, I just kept buying them. I guess my subconscious really wanted one. So I finally sat down and found a recipe highlighting them: Seared Chicken with Avocado. I added some tomato to give it a bit more freshness but the rest of the recipe is pretty intact.
Ingredients:
1 1/2 teaspoons blackened seasoning
4 skinless, boneless chicken breast halves
1 teaspoon coconut oil
1 diced peeled avocado
2 tablespoons chopped fresh cilantro
1 jalapeño pepper, seeded and finely chopped
2 tablespoons fresh lime juice (about 1 lime), plus the zest of the lime
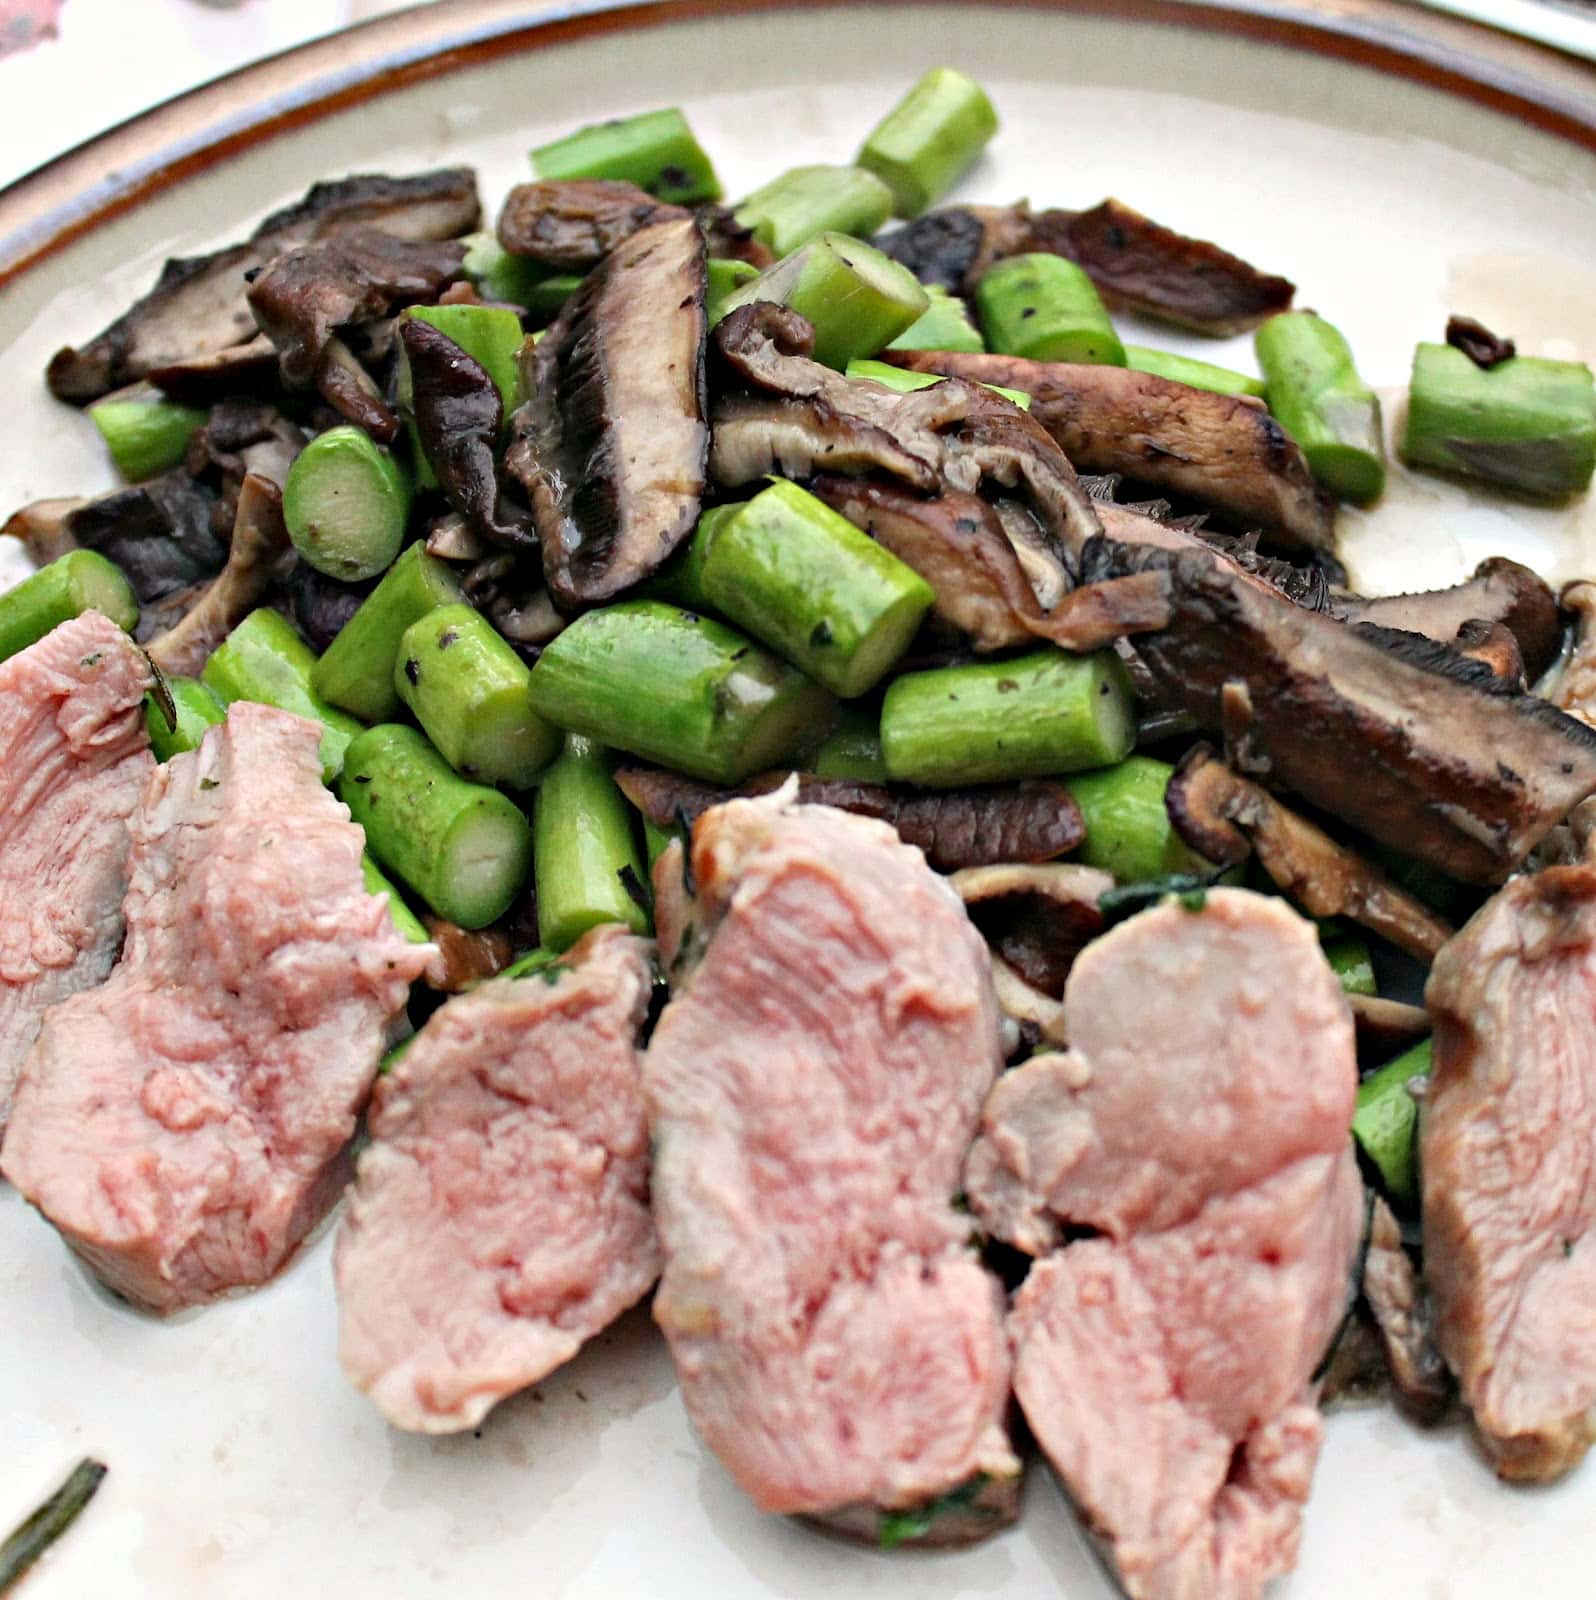
Happy Memorial Day weekend! Grilling is synonymous with Memorial Day in my mind, so I was so happy to receive a Grilling Cookbook from Cooking Light a few days ago. The cookbook: Cooking Light Way to Cook Grilling: The Complete Visual Guide to Healthy Grilling is pretty darn snazzy. The photos are gorgeous, so um, please don’t compare my crummy photos for this recipe to the ones in the book, that will make me sad. Anyways, when I saw a recipe for grilled duck, I wanted to try it. I love duck, it’s a go-to for me at restaurants. But, I’m beyond terrified to cook it myself. It’s a tough meat to cook, and if overcooked, can be super crummy. Plus, it’s not exactly cheap! But grilling? I think I can handle that…
This recipe sounded like it was written just for me and my boyfriend. Before even opening the cookbook this was our conversation:
“We should try grilling a meat we’ve never made before, I’m not in the mood for a normal burger”
“Yeah, and maybe we can grill up some asparagus and mushrooms as well. I do want a meat as part of the meal though.”
We turn to this recipe, which managed to incorporate all of our requirements, and we were sold. The only thing we weren’t sold on? The marinating time. The original recipe suggested marinating the duck overnight, up to two days. We wanted duck, and we wanted it well before tomorrow, so our marinating was closer to 3 hours instead. There are also some pretty pricey ingredients in this dish, so this would definitely be a special occasion type of meal.
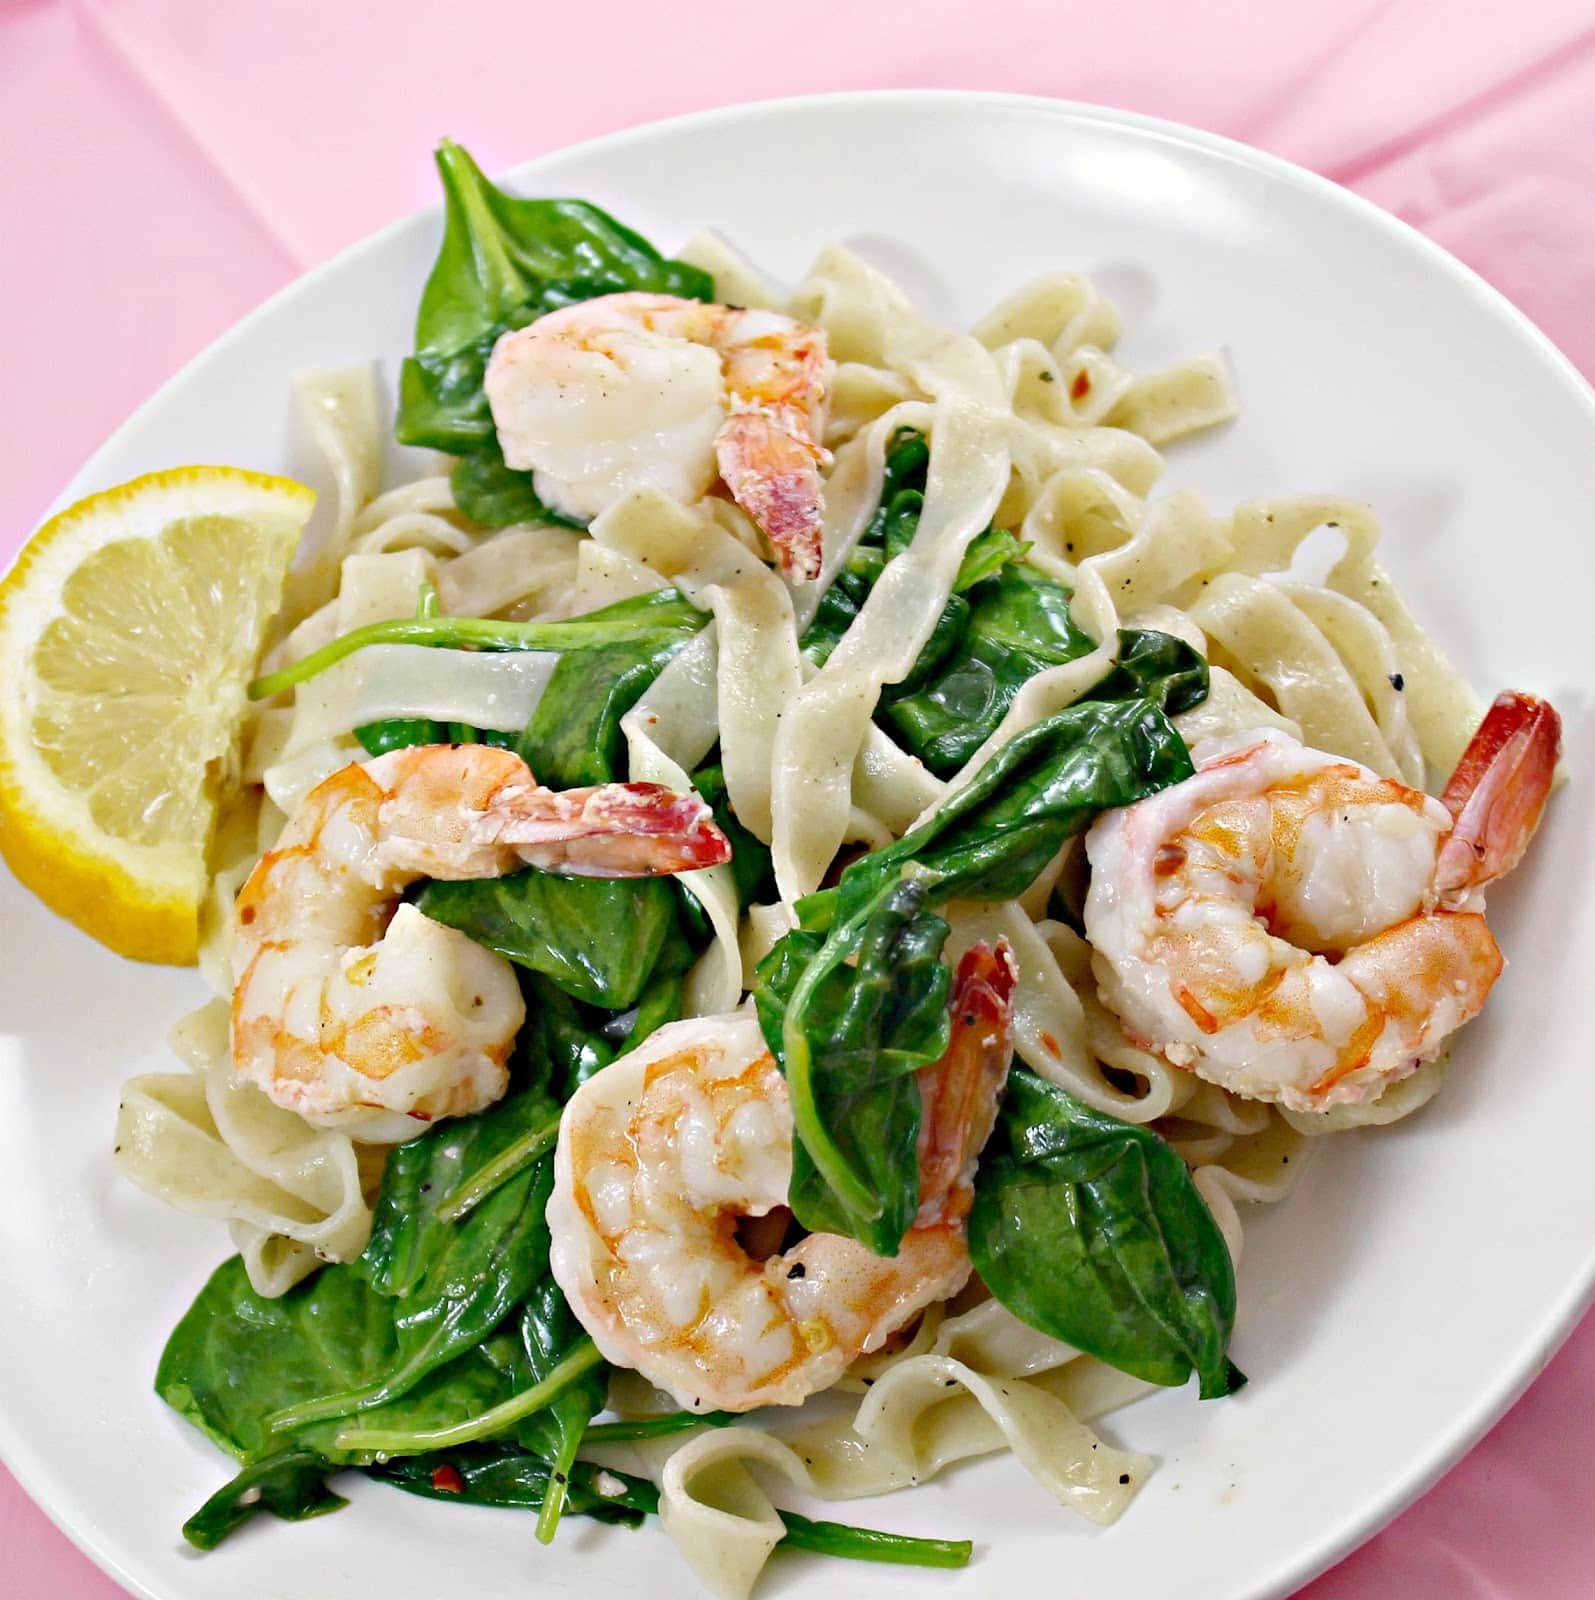
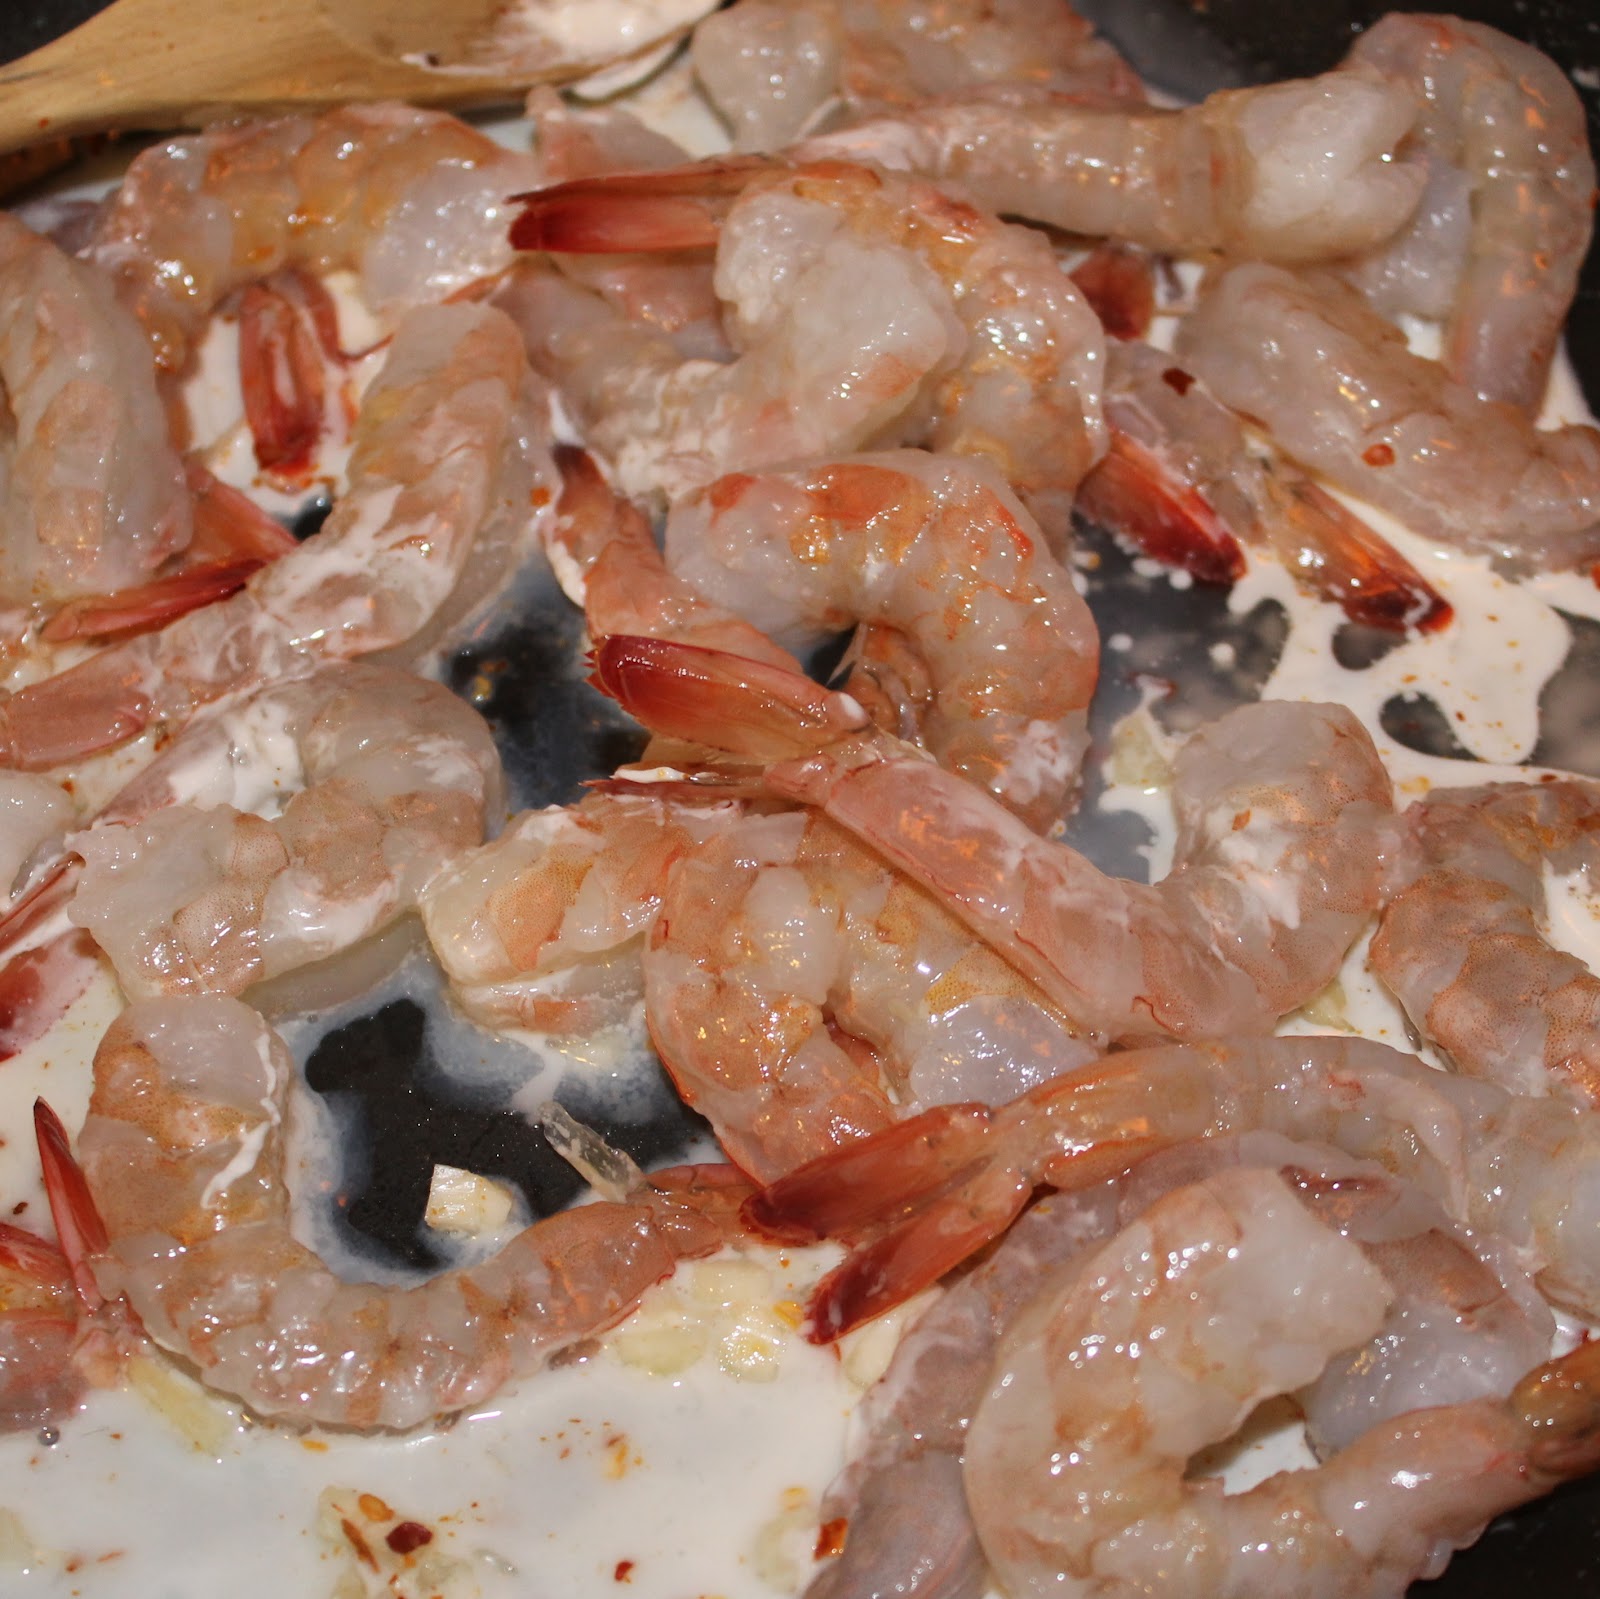
My boyfriend is allergic to shrimp. And I swear knowledge of this allergy makes me inexplicably crave shrimp. All. The. Time. So I wait for weekdays to make shrimp as much as my little heart desires. Another plus is that shrimp is a super quick meal. This Cooking Light recipe took a whopping 30 minutes from start to finish. And who doesn’t like shrimp, pasta, lemon, and spinach?
Ingredients:
8 ounces uncooked fettuccine (I used fresh pasta so it would cook faster)
2 tablespoons Melt buttery spread (or other margarine)
1 pound large shrimp, peeled and deveined
2 large garlic cloves, minced
1 teaspoon crushed red pepper
the juice and zest of 2 lemons
1/2 teaspoon kosher salt
1/2 teaspoon freshly ground black pepper
1 (6-ounce) package fresh baby spinach
Cook pasta according to package directions. If using fresh pasta, it will be done in 2-3 minutes. Drain and set aside.
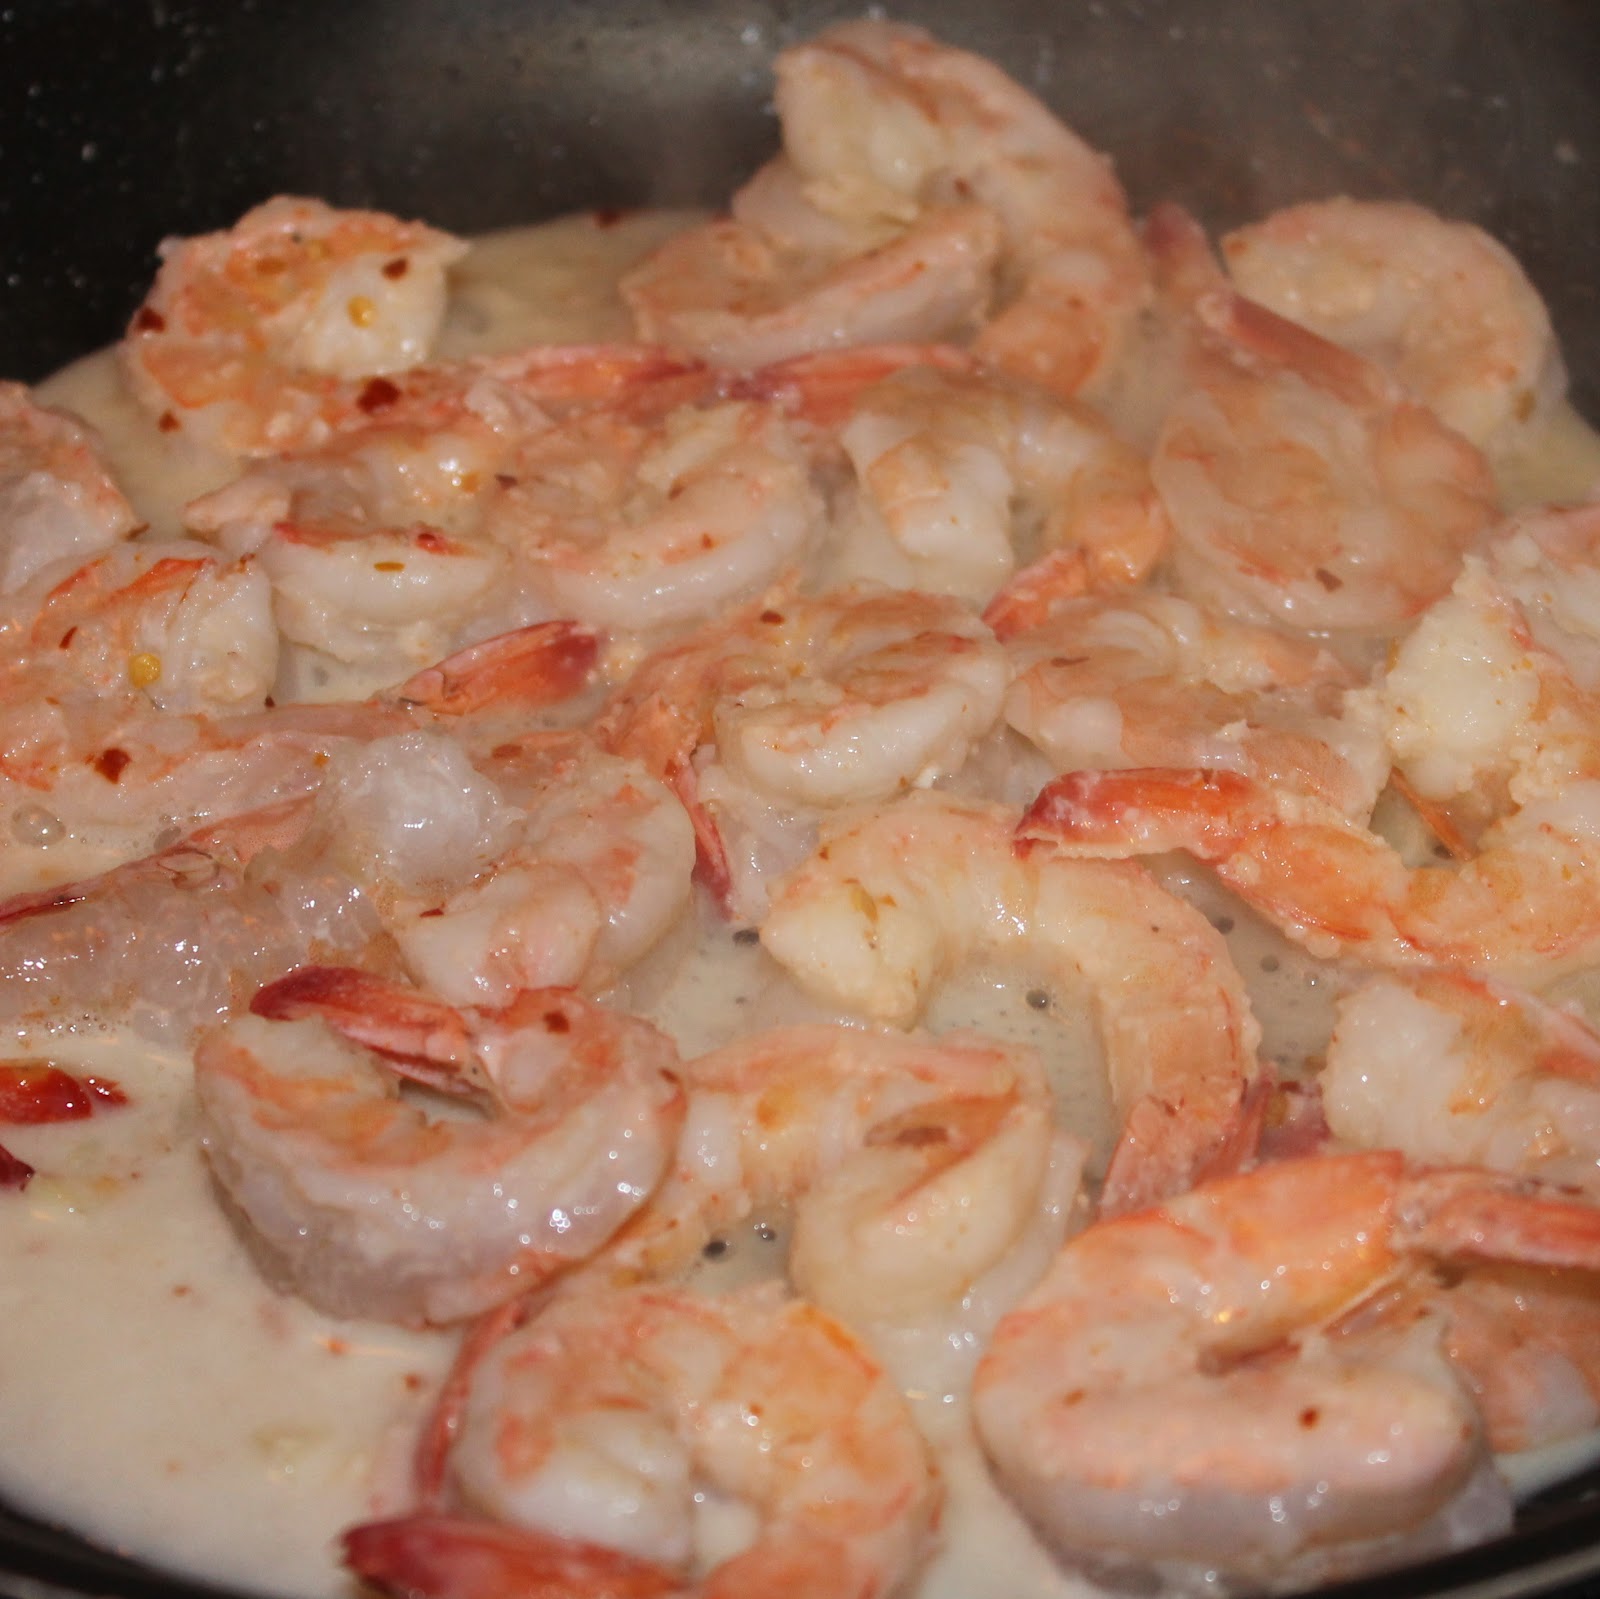
Add Melt to a saute pan over medium heat. When melted, add the shrimp, garlic, and red pepper flakes to the pan. Cook for 4 minutes, or until shrimp are cooked. (It’s easiest to use tongs so that you can flip the shrimp after 2 minutes).
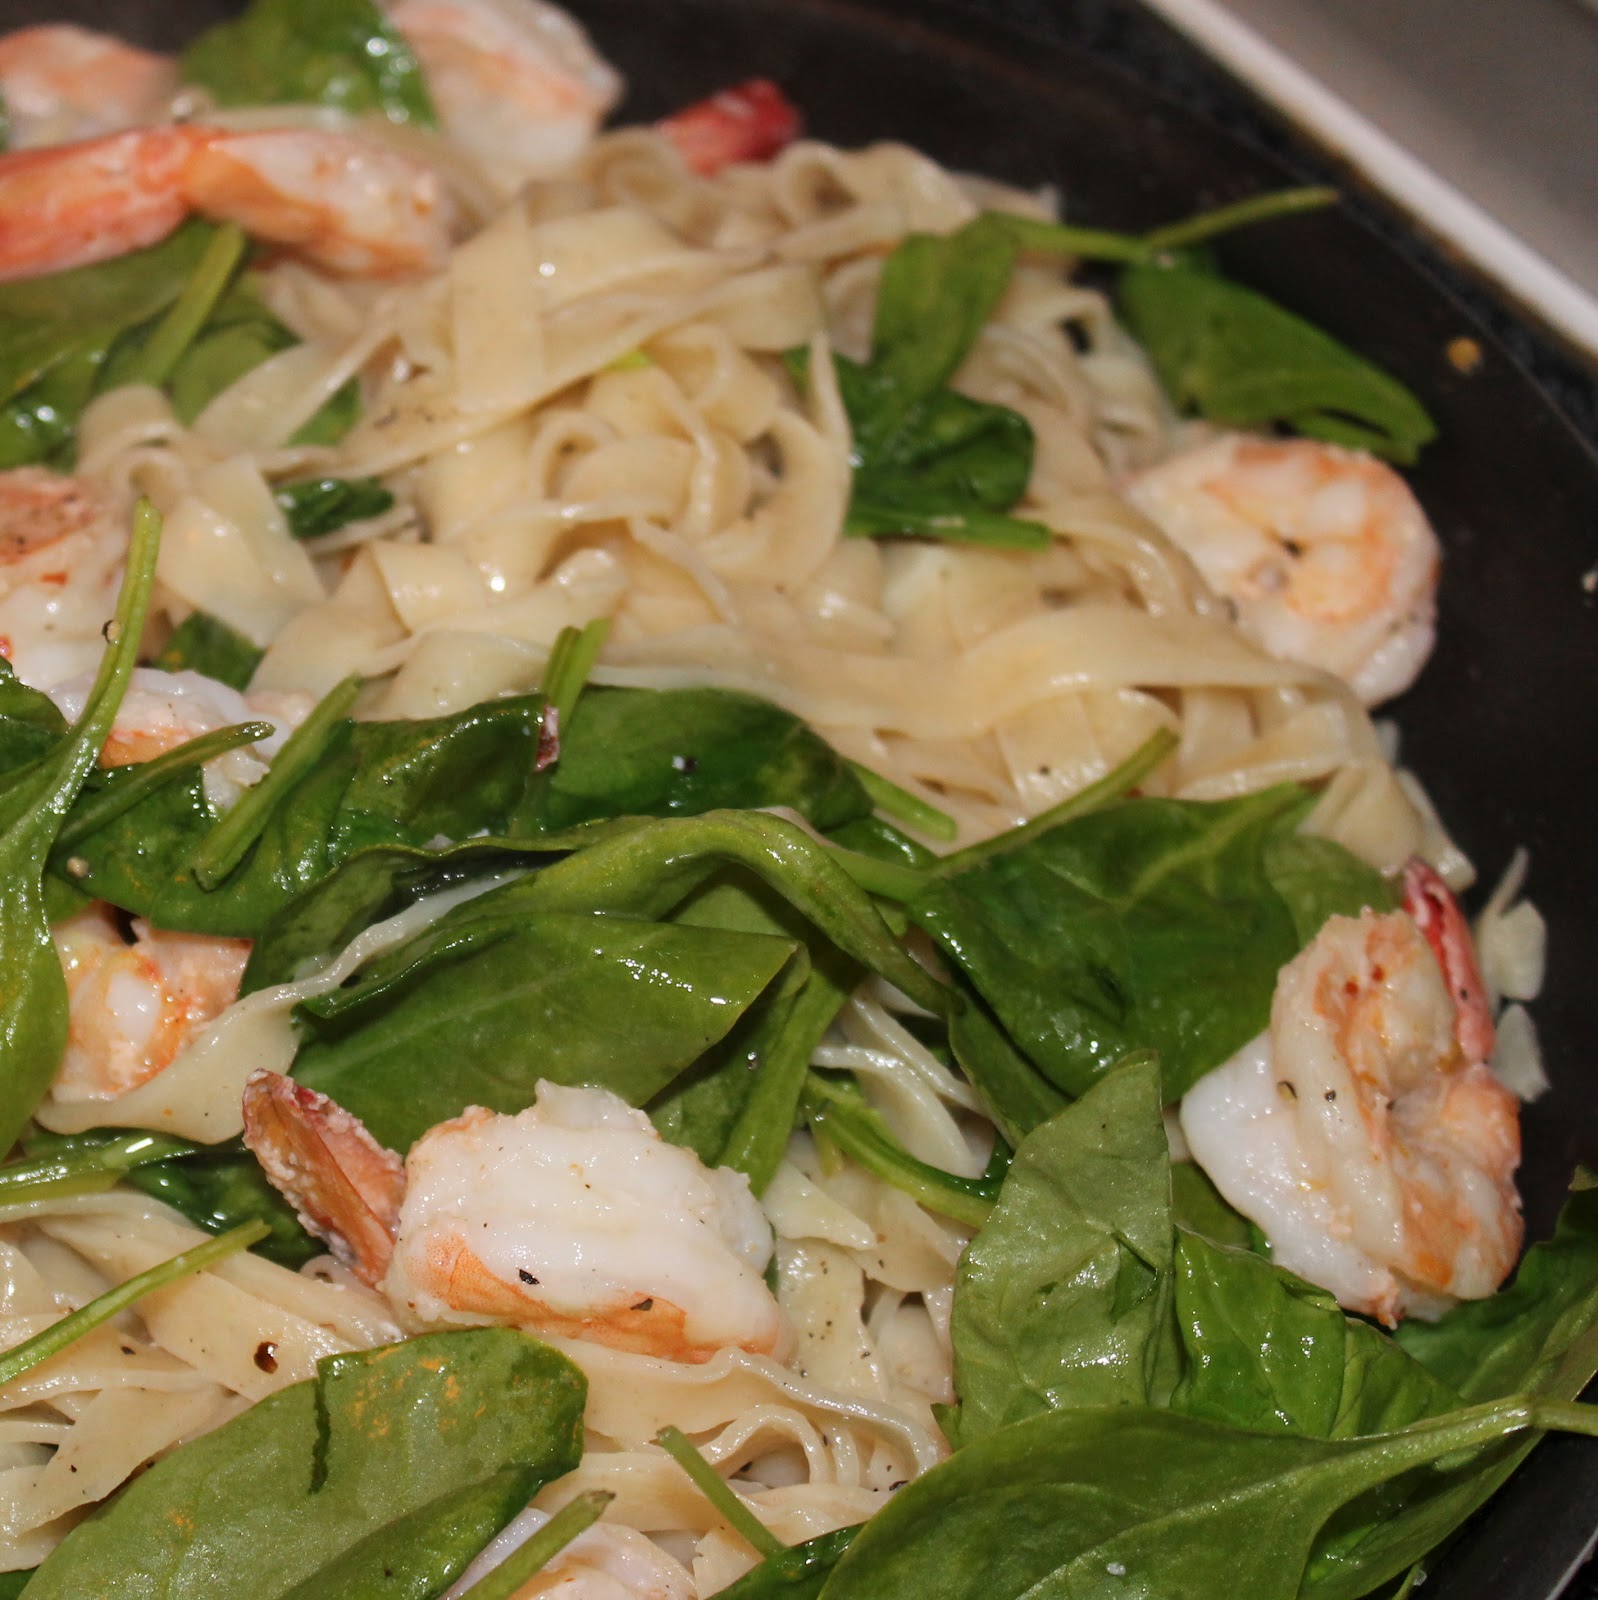
Add the cooked pasta, lemon juice and zest, black pepper, and spinach. The spinach will wilt significantly, so don’t worry if it seems like there is too much.
Cook for 3 minutes, or until the spinach begins to wilt. Serve immediately with a lemon wedge on the side.
I was not prepared for how strong the red pepper would be. If I made this again, I’d cut the red pepper in half. I actually ended up adding a tablespoon of whipped cream just to cut some of the heat.
I also wanted a bit more of lemon. I ended up adding lemon to the pasta throughout eating the dish. But the base flavors here were good! I just need to adjust the amount of ingredients and it would be a keeper! So, to recap: more lemon, less red pepper = perfect.
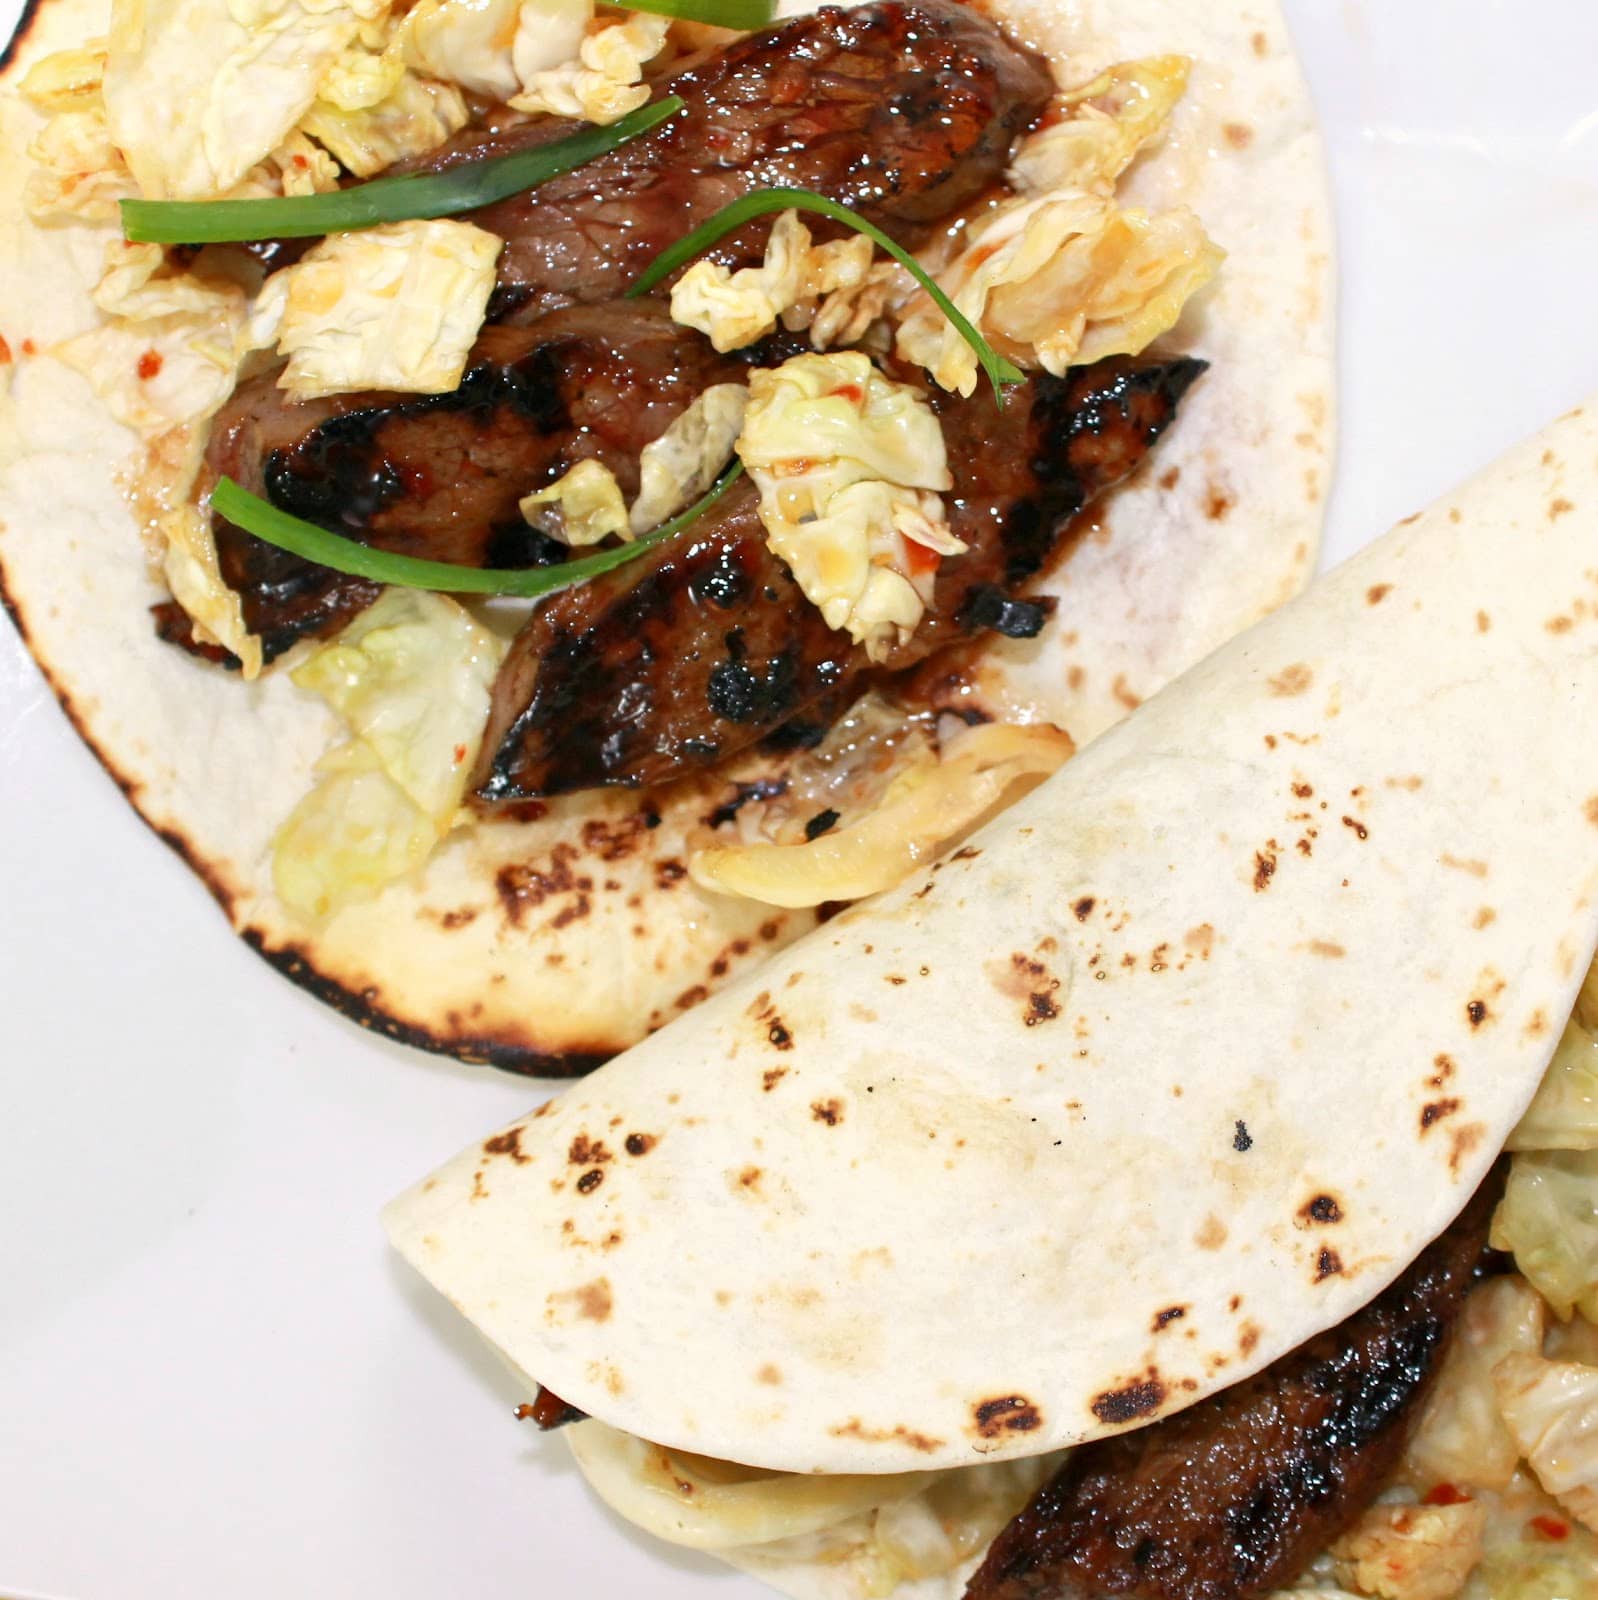
Tacos are one of my go-to’s for a quick weeknight meal. However, there’s only so many nights you can make traditional tacos before you start craving some new flavors. Cooking Light’s Korean-Style Beef Tacos sounded like the best of both worlds: a quick meal with new spices. I ended up changing the method of cooking, but the ingredients remained the same. Cooking Light suggested topping the tacos with a Quick Pickled Cabbage as well, so I’ve included that below. This recipe does require you to marinate the beef for an hour, so plan accordingly. To make it a quick meal, you could also just marinate the meat overnight.
Ingredients for the tacos:
1/3 cup sugar
5 tablespoons lower-sodium soy sauce
1 1/2 tablespoons chile paste (such as sambal oelek)
the juice of 2 limes
1 tablespoon dark sesame oil
4 garlic cloves, minced
12 ounces flank steak, sliced against the grain into thin strips
I have a confession. I honestly don’t get the brunch obsession with mimosas. Every time I order one, I end up drinking maybe half of it. It just doesn’t do it for me. I love the general idea of them though: sparkling wine with fruit juice. So I was really excited to find this drink recipe in Cooking Light. It sounds right up my alley!
Ingredients (makes 6 servings):
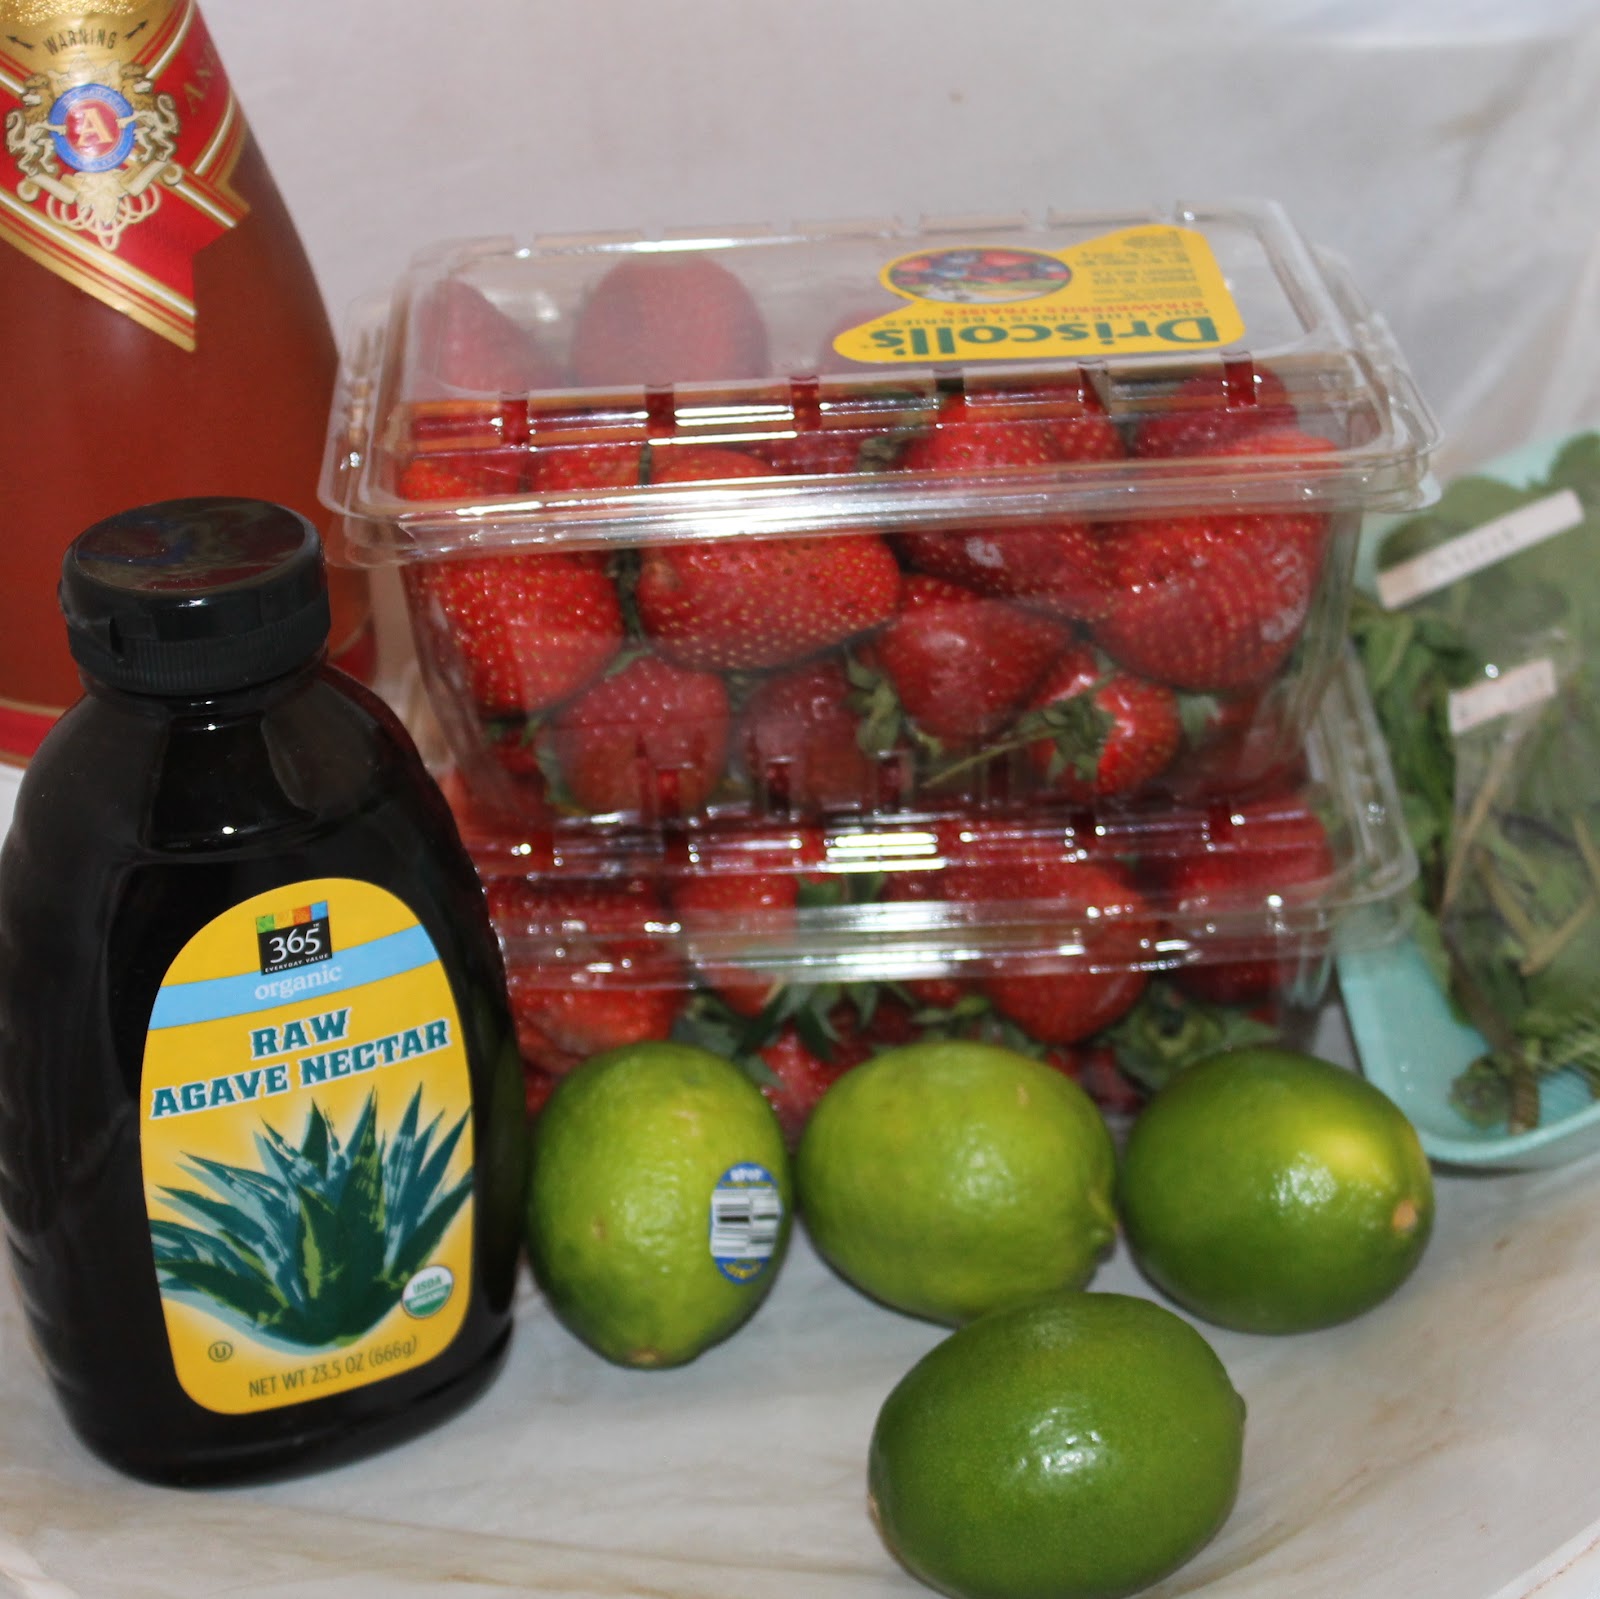
1 container of strawberries, sliced
1/2 cup loosely packed fresh mint leaves
the juice of 4 limes
1/4 cup water
1/4 cup agave nectar
1 (750-milliliter) bottle sparkling wine, chilled
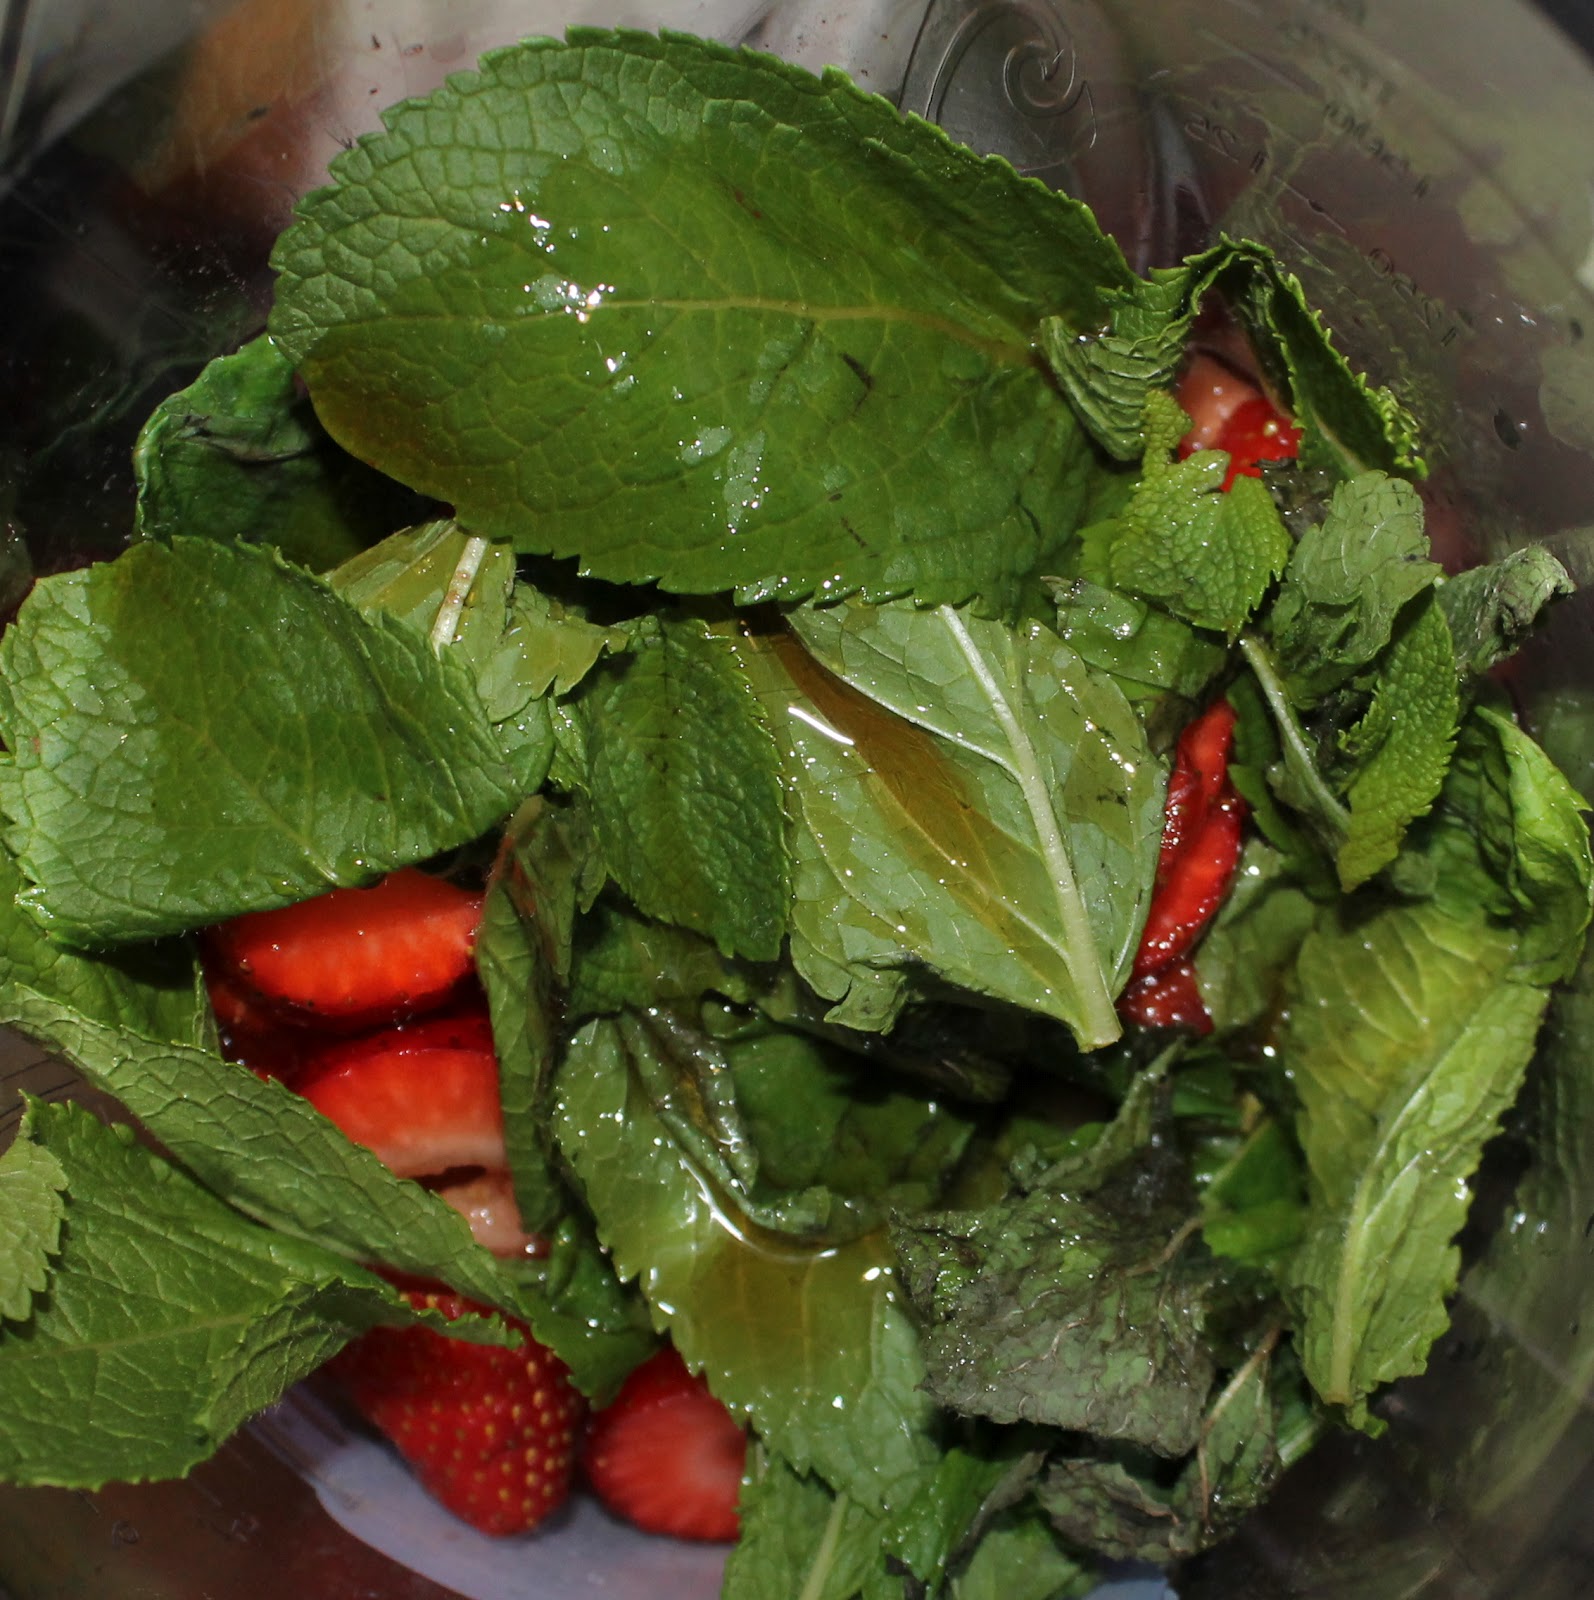
To make, place the strawberries, mint leaves, limes, water, and agave nectar in a blender.
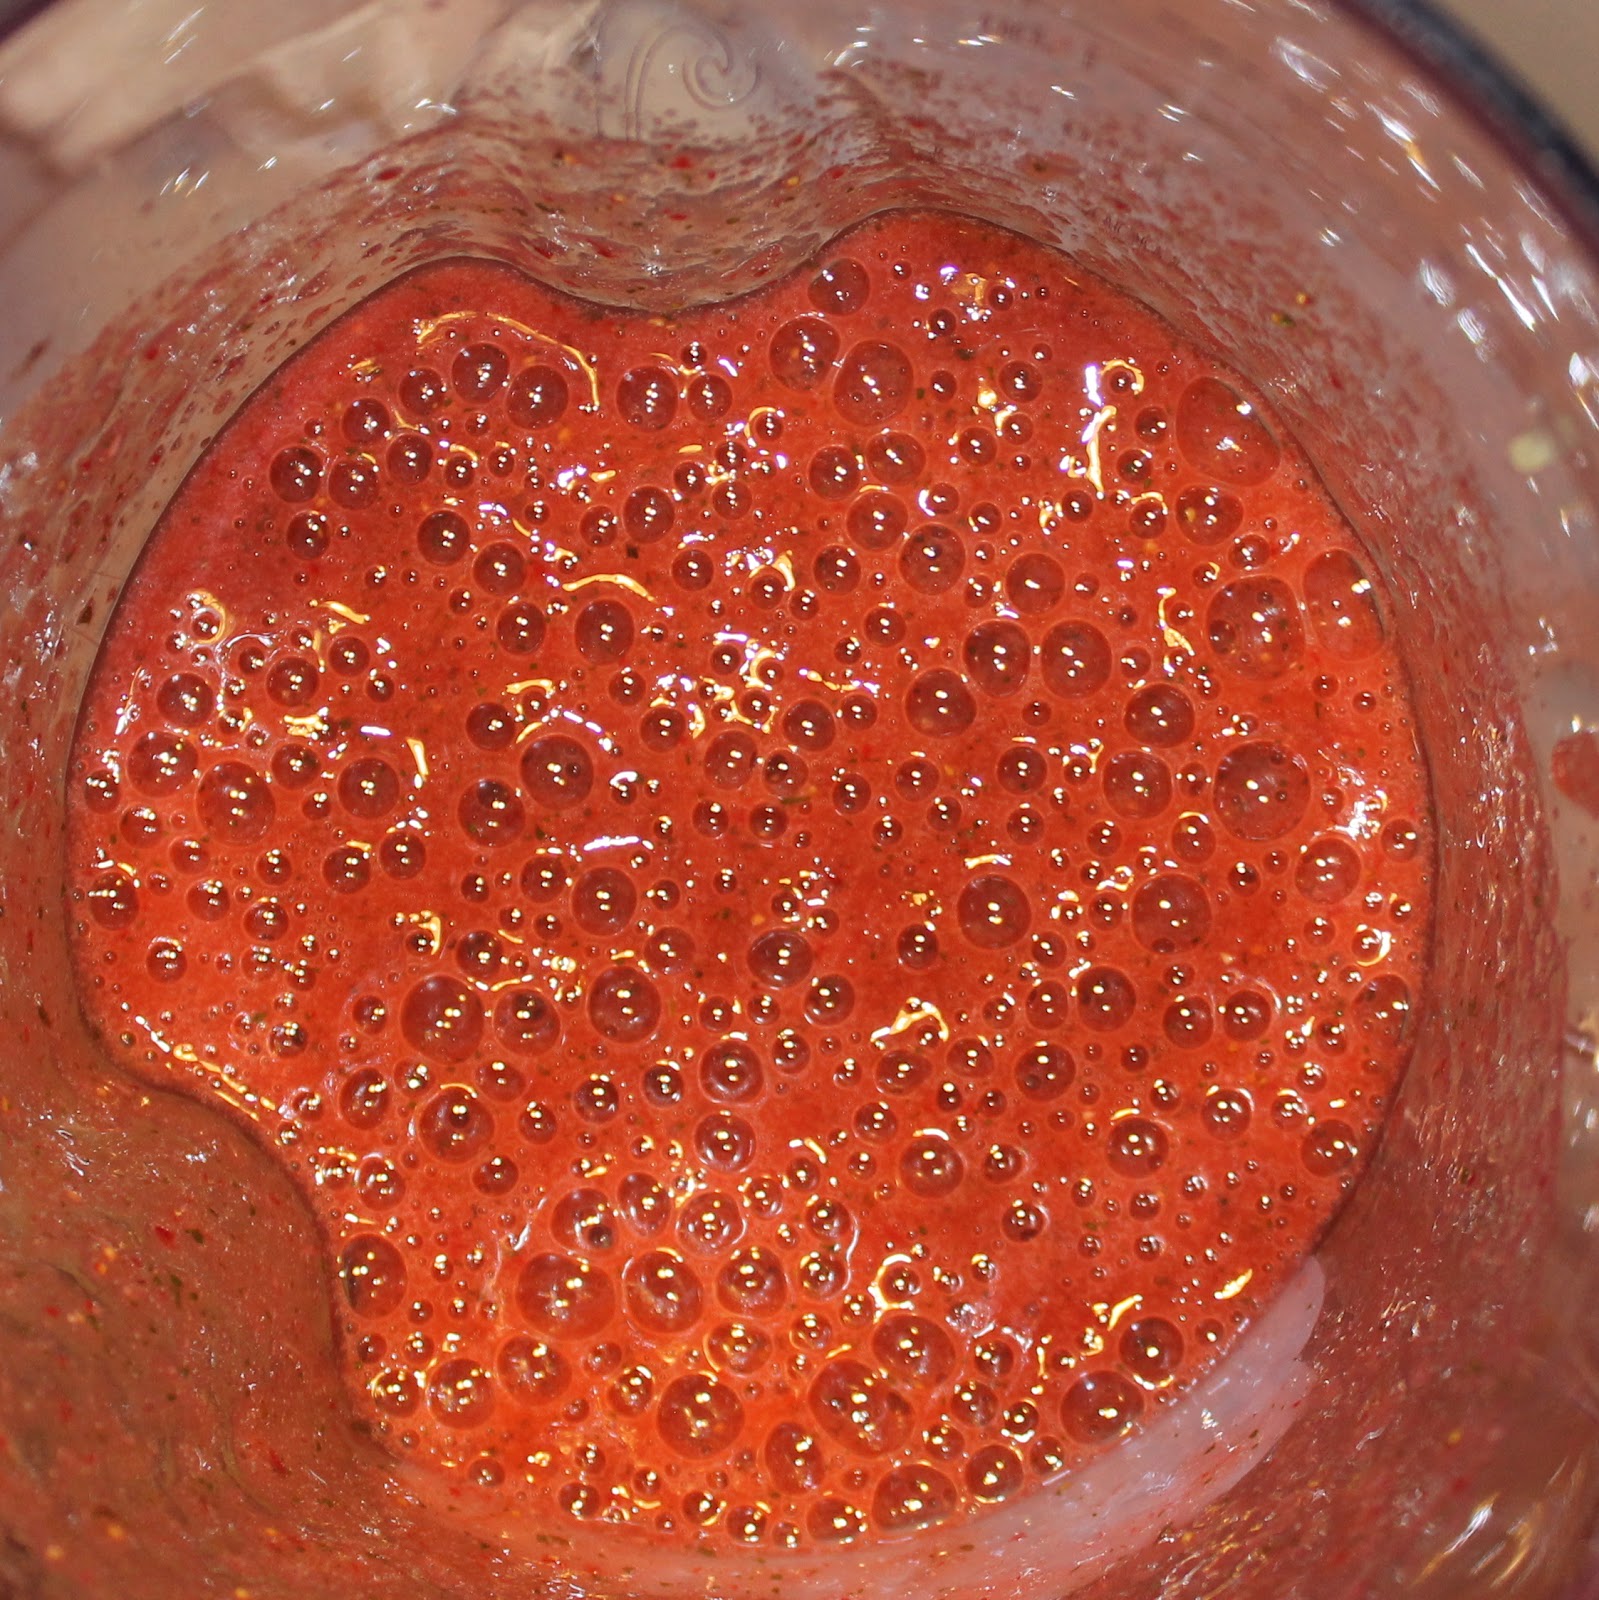
Blend until smooth, about 1 minute.
Pour enough of the mixture into a glass to fill the glass half way.
Carefully fill with the sparkling wine and gently mix to combine.
Serve garnished with mint leaves and a whole strawberry, if desired.
So as you can see from my ingredients photo, you do not need to buy an expensive sparkling wine for this. I used a rose to give it a little extra flavor, but a normal white sparkling wine will do just fine.
This is one of the most refreshing drinks I’ve ever had! The lime and agave completely balance each other out, so it’s not to sweet or too sour.
The mint-strawberry-lime flavor can be tasted in every sip, it’s just perfect!
Note: you can substitute in 3 cups club soda for the wine if you’d like an alcohol-free version. I personally would add another maybe teaspoon of agave to account for the lack of sweetness in the club soda.
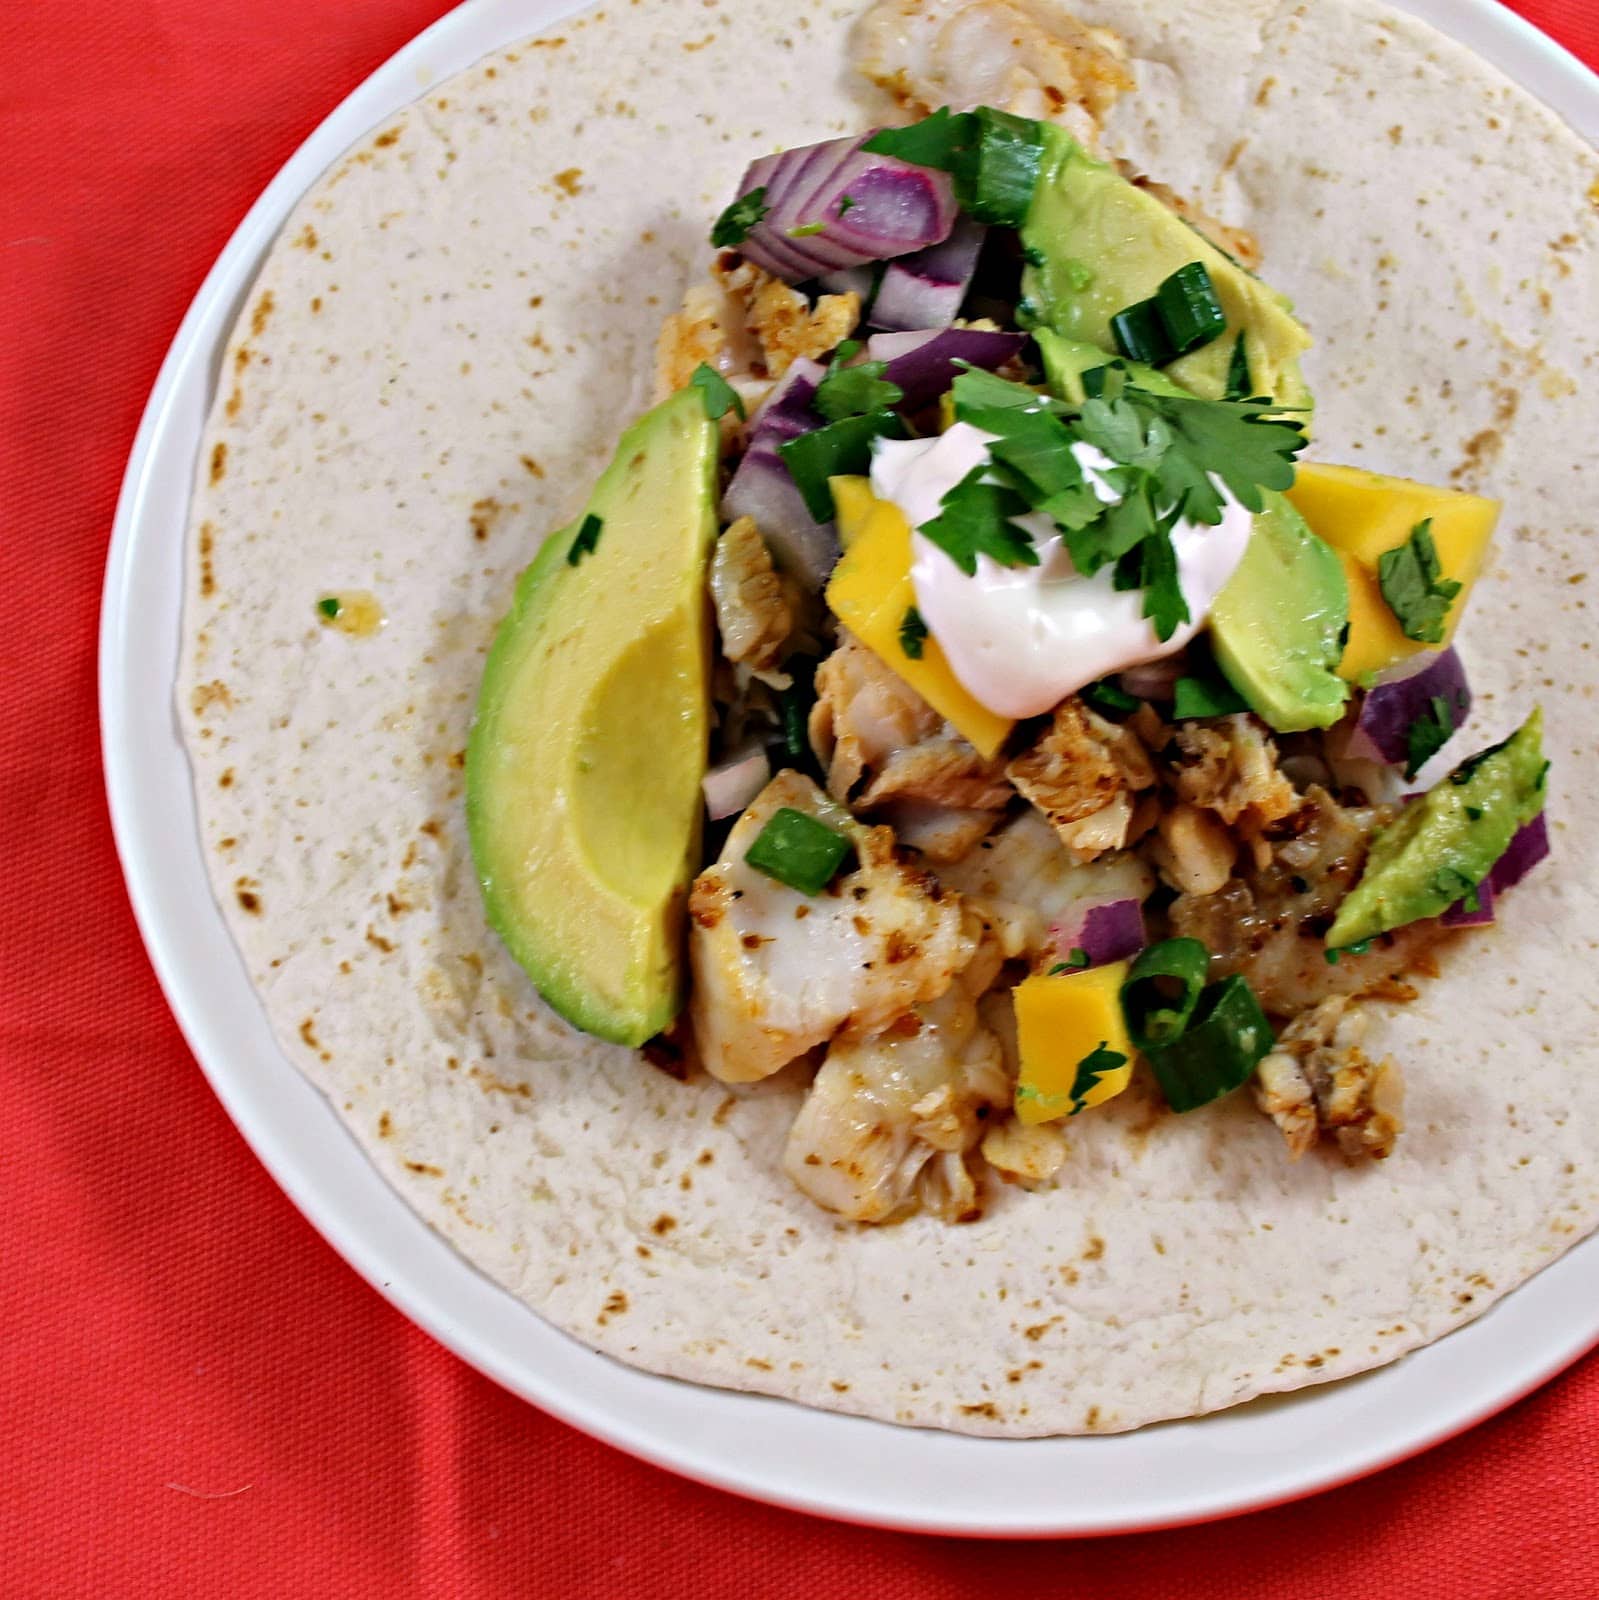
With Cinco de Mayo this past weekend, I couldn’t stop thinking about making some kind of Mexican-themed meal this weekend. So I was pretty excited when my boyfriend suggested Fish Tacos on Sunday. My trusty Cooking Light obviously had the perfect recipe to fulfill our craving. These Cumin Spiced Fish Tacos with Avocado Mango Salsa get an extra boost of flavor from toasting the cumin seeds before grinding. If you can’t find cumin seeds, ground cumin will work for the recipe as well, just skip the toasting part.
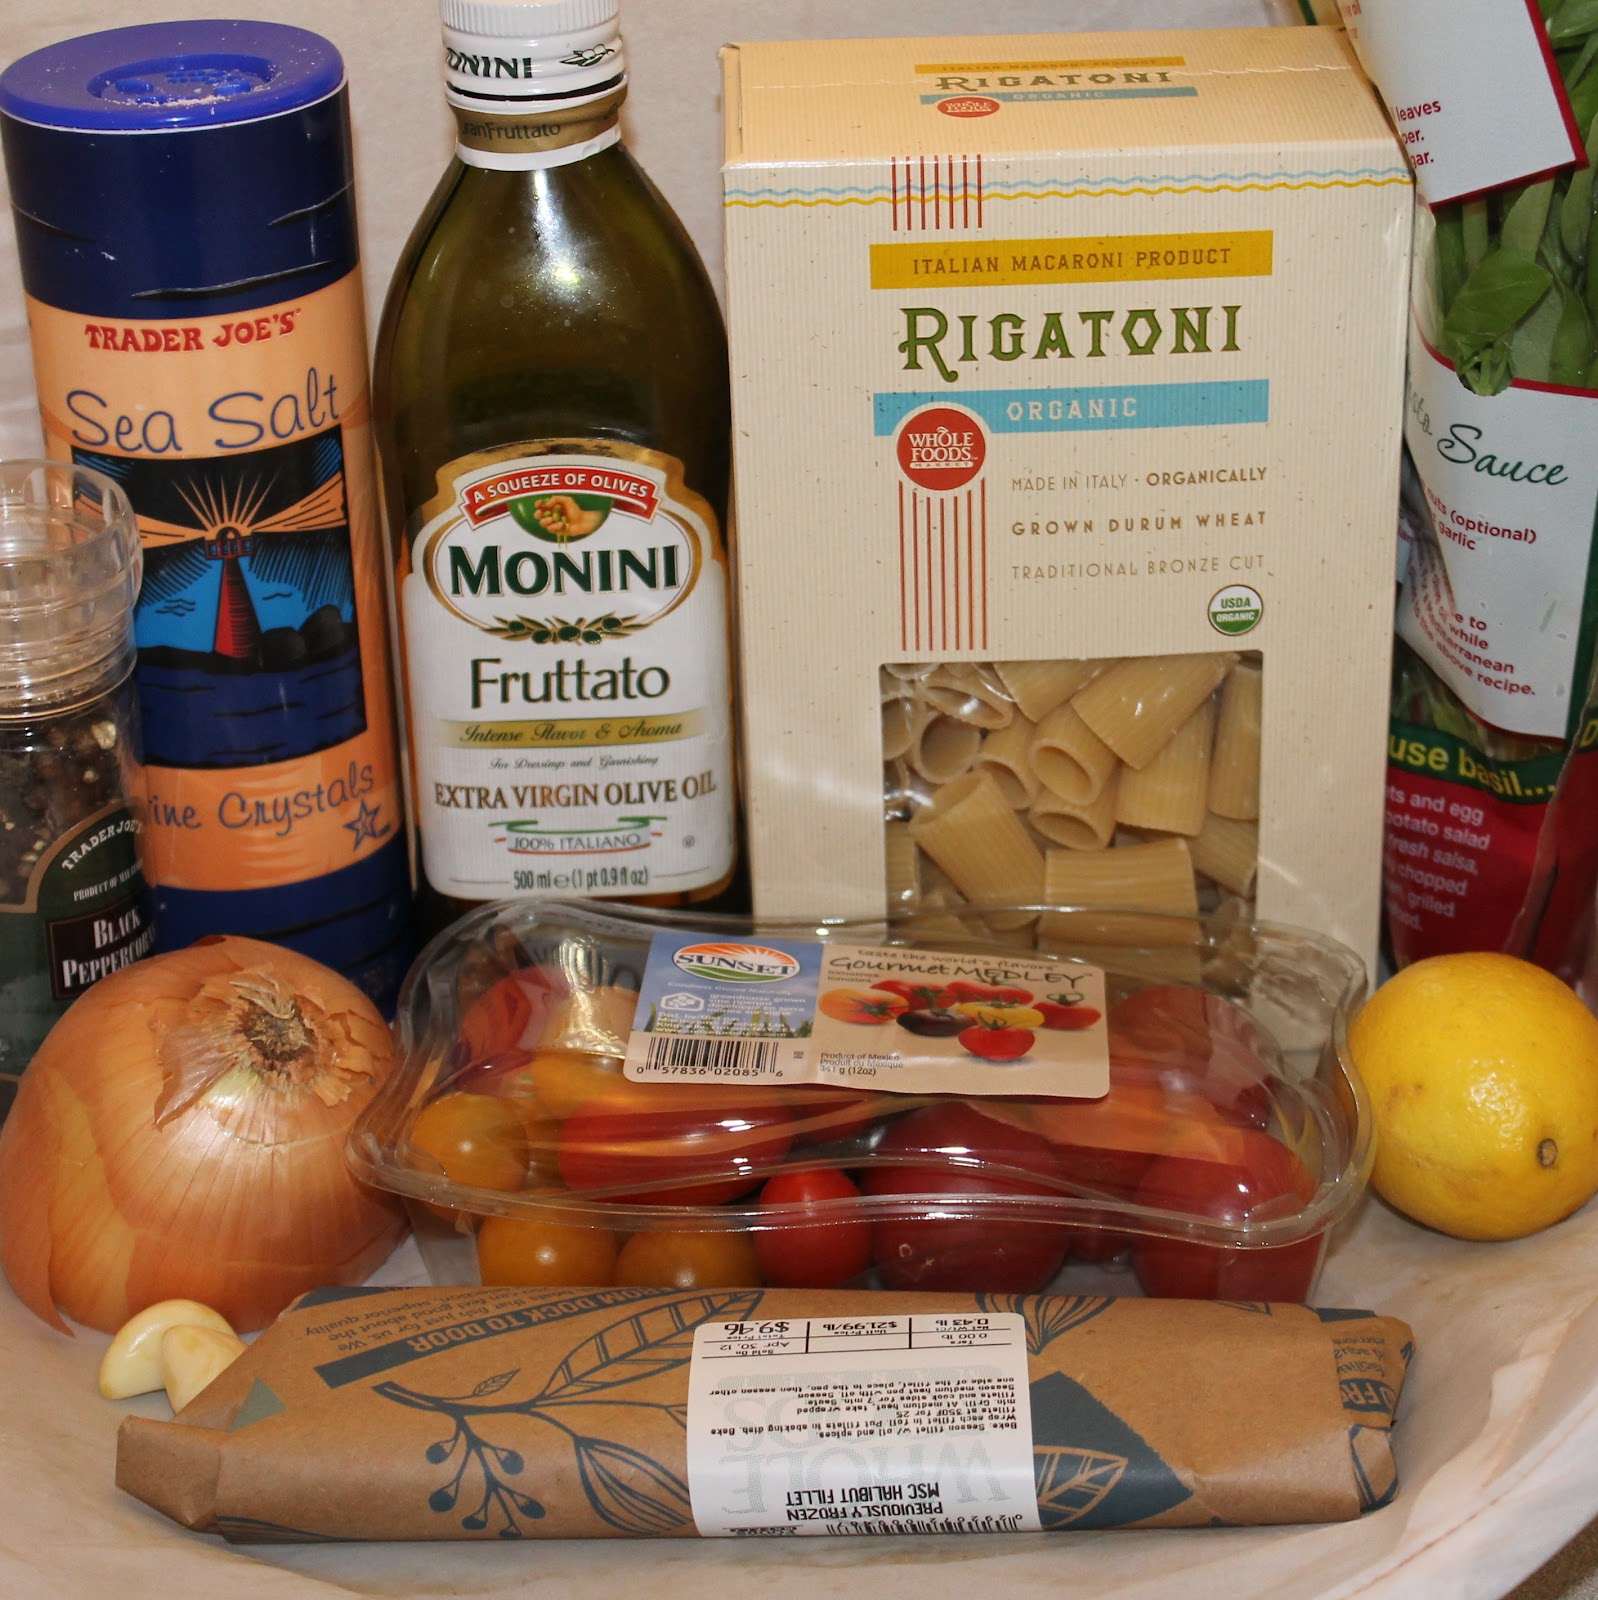
This recipe for Rigatoni with Halibut Tomato and Basil is loosely adapted from Marc Vetri’s cookbook, Rustic Italian Food. Last Friday, I went to Vetri for the first time. And it was hands down the best meal I’ve ever had, both food and service. I was also so terribly awkward that I’m not quite over it. Marc Vetri is one stellar chef. He opened Vetri in 1998 and 14 years later continues to wow people with the food he turns out. I was swooning over each and every plate that came out. I brought my parents for their 30th anniversary and honestly, I feel like it ended up being as much a present to myself as it was for them (sorry mom and dad!).
Vetri even came over to our table, wished my parents a happy anniversary, and signed his cookbook for me! (This is the stage where I got truly embarrassing. I absolutely turned red during this encounter. Eep). So naturally, I can’t think of anything but those delicious meals. I decided to use a recipe from his cookbook, Rustic Italian Food. I ended up using Halibut because the store I was at was out of swordfish (boo).
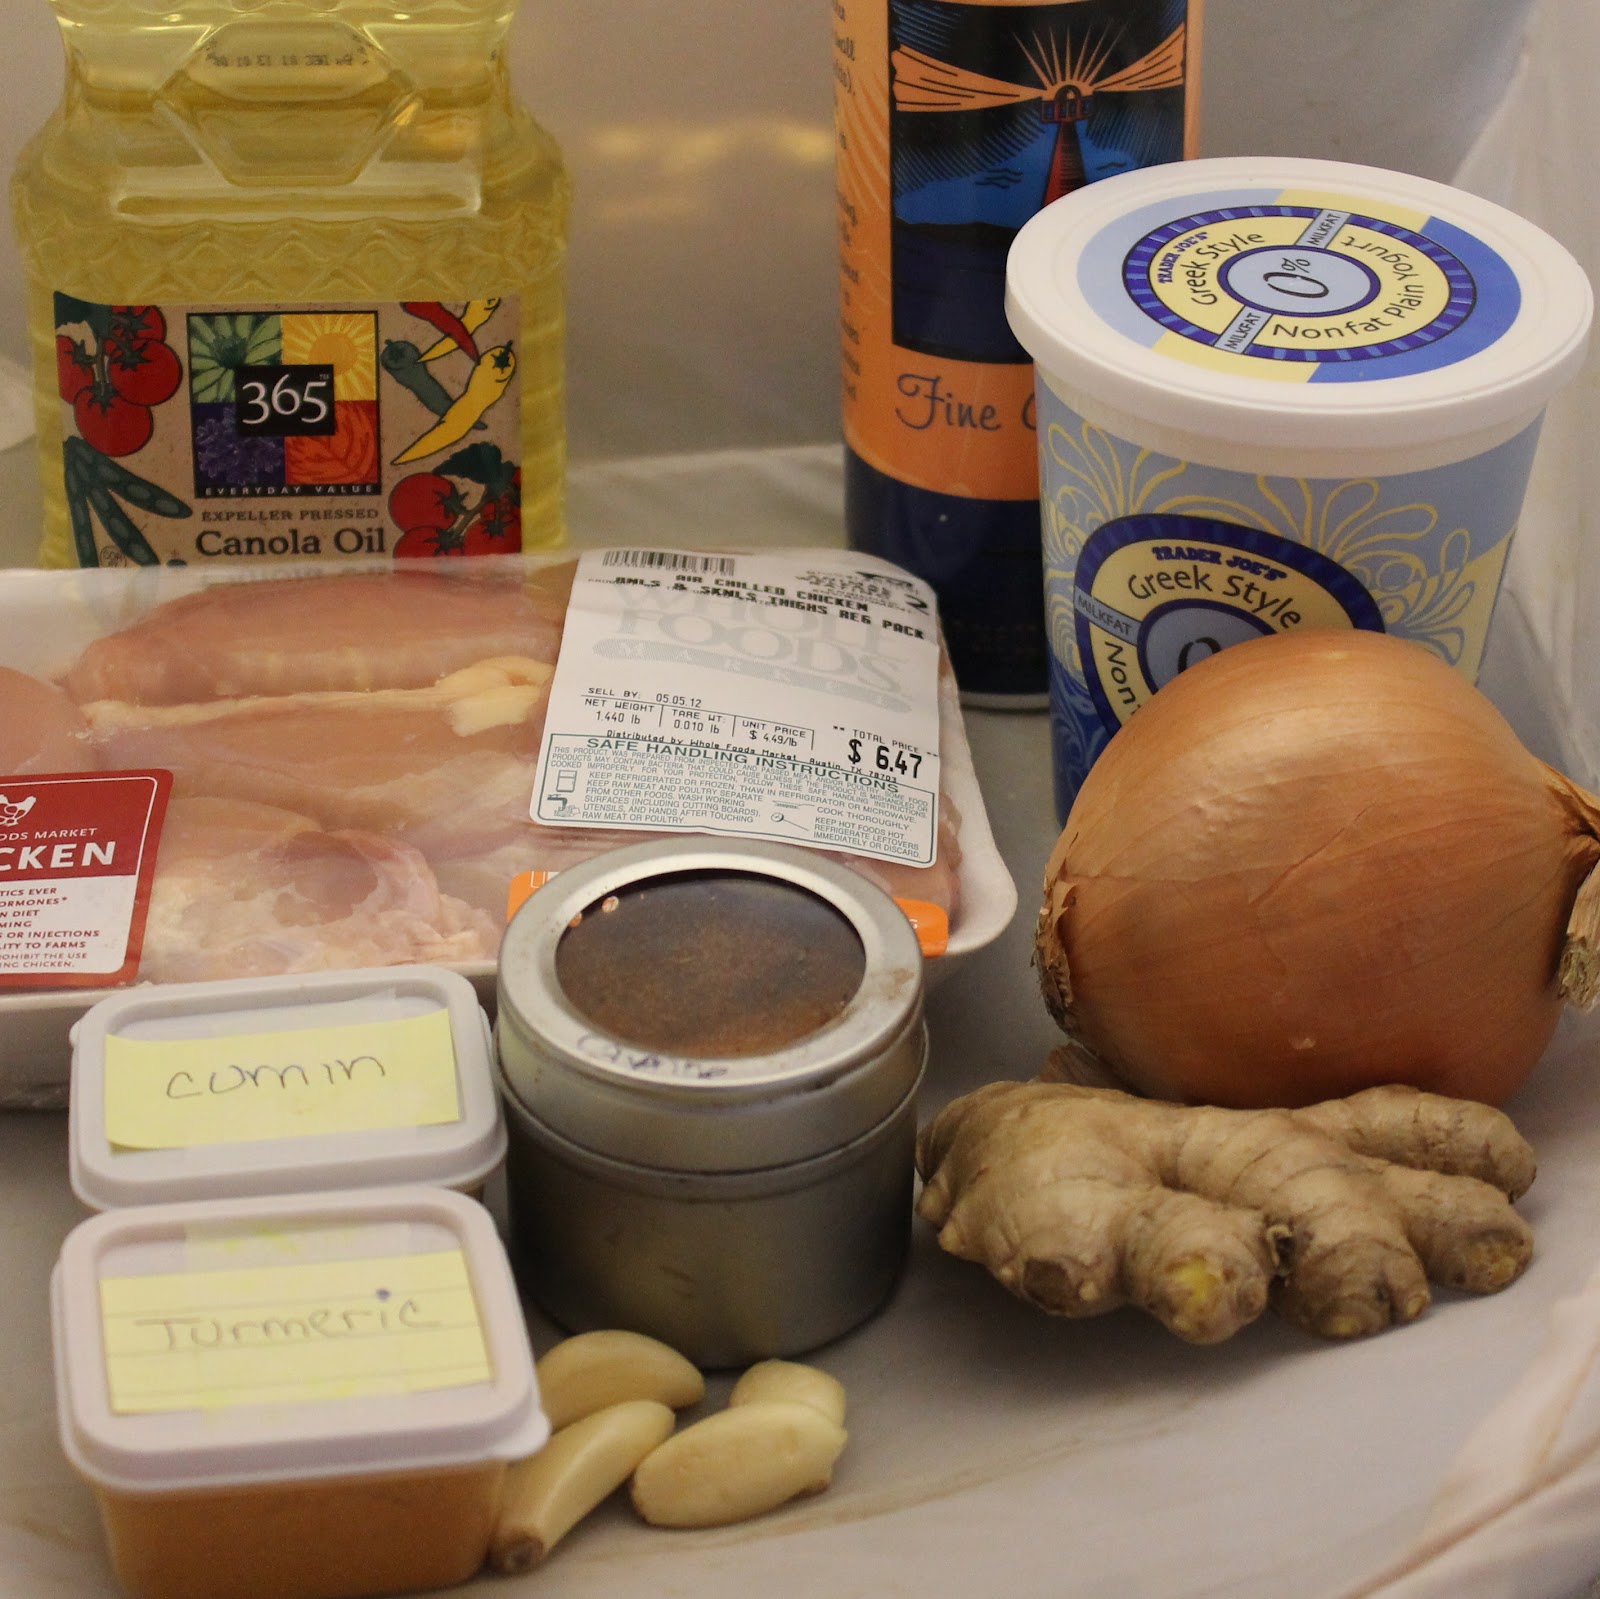
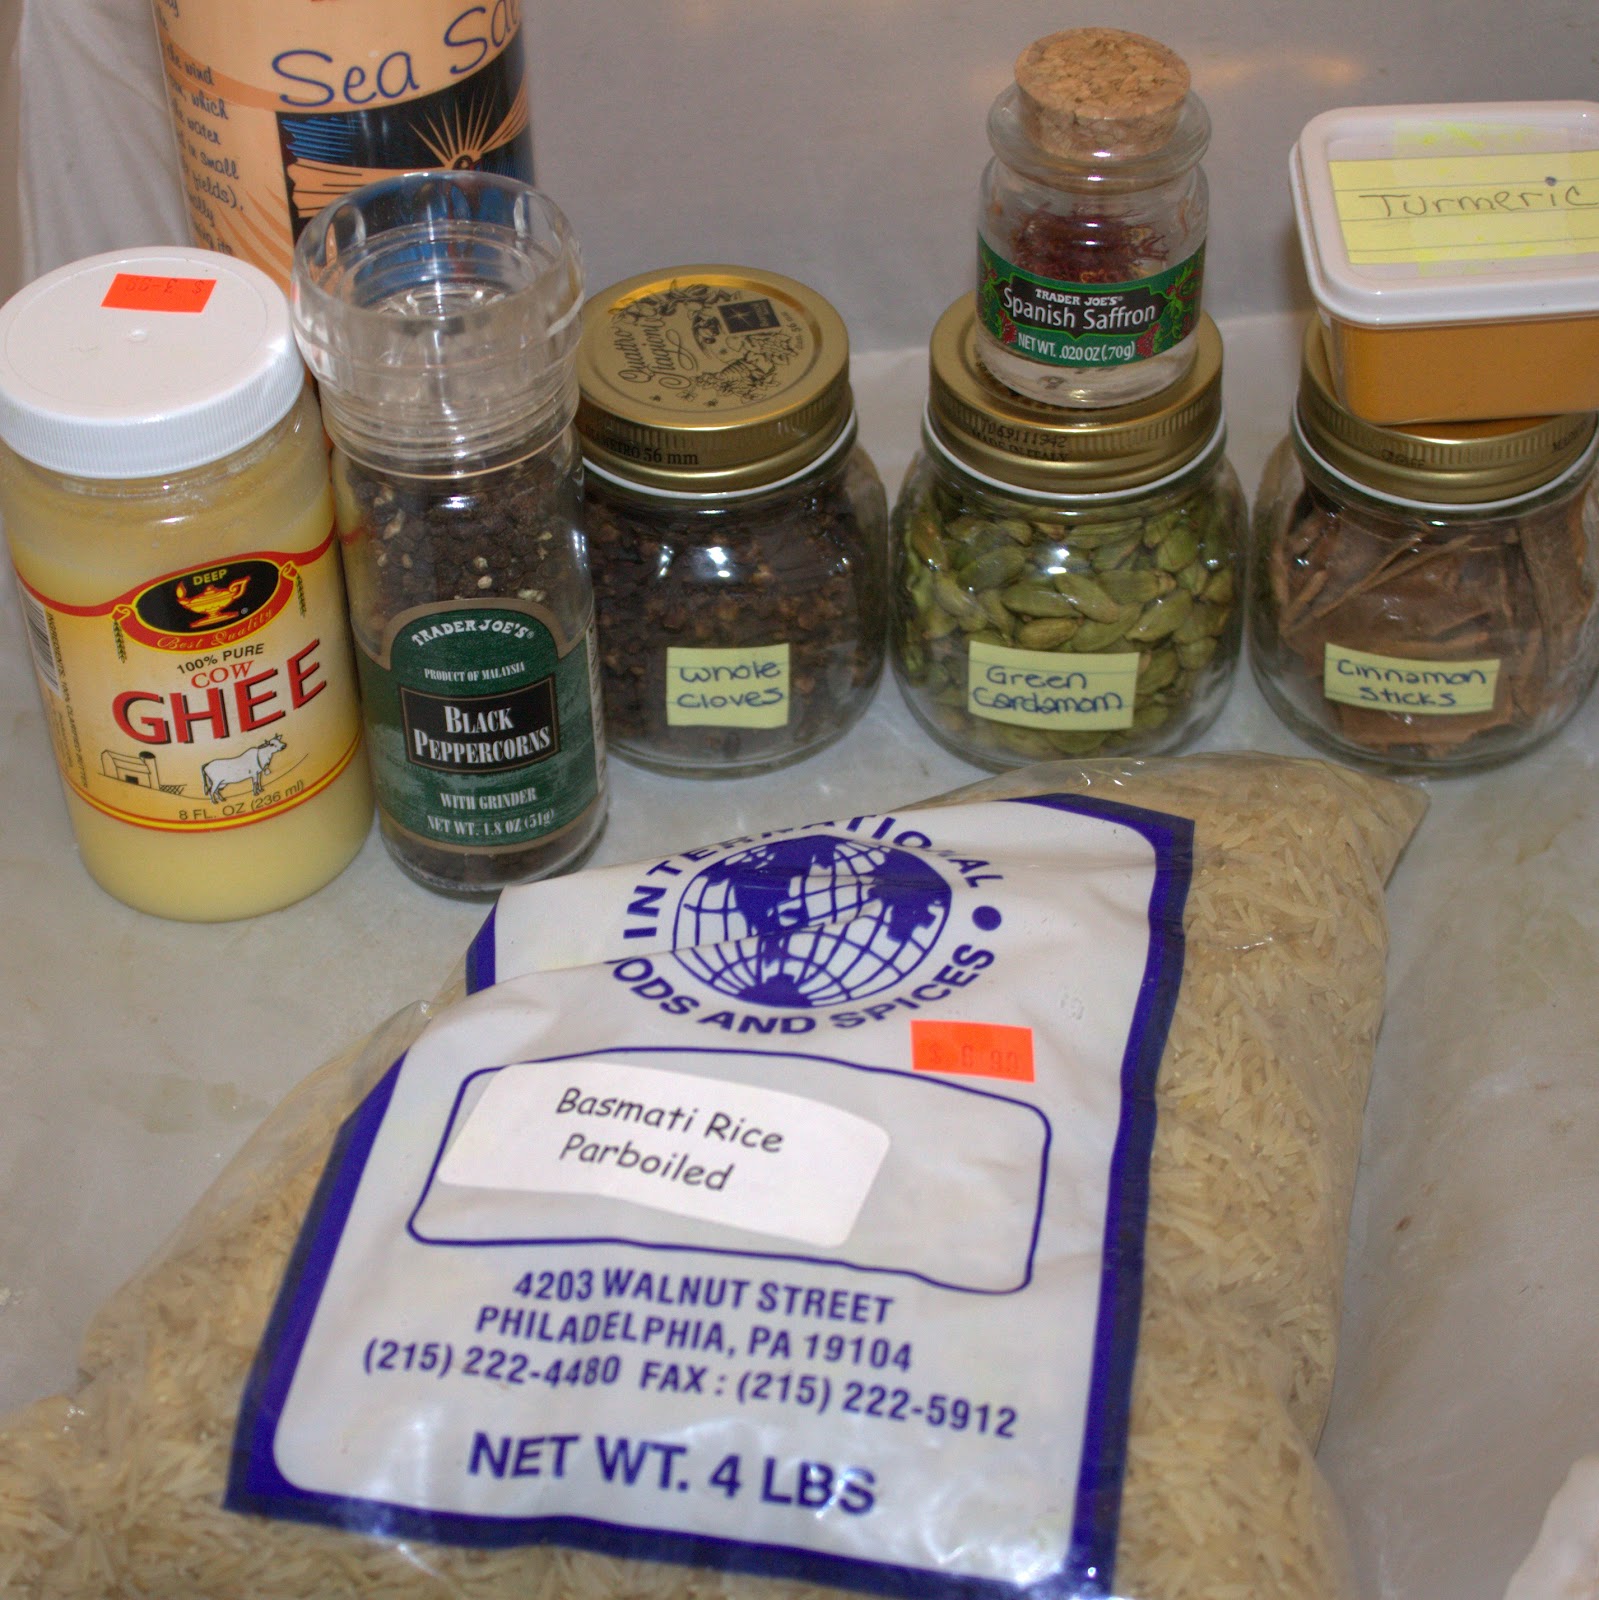
Adding spices to your meal is a great way to add tons of flavor to a dish without adding calories. Because you need so little of the spice to enhance a dish, it’s a pretty cost-effective way to add flavor as well. (I try to buy my spices outside of supermarkets where they are really marked up. Spice Terminal in Reading Terminal was my favorite spot — I hope it’s coming back soon! update: The Head Nut is now open!) This dish in the latest Cooking Light for Tandoori Chicken Thighs incorporates traditional Indian spices which I absolutely love. I also made a quick saffron rice to go with the chicken.
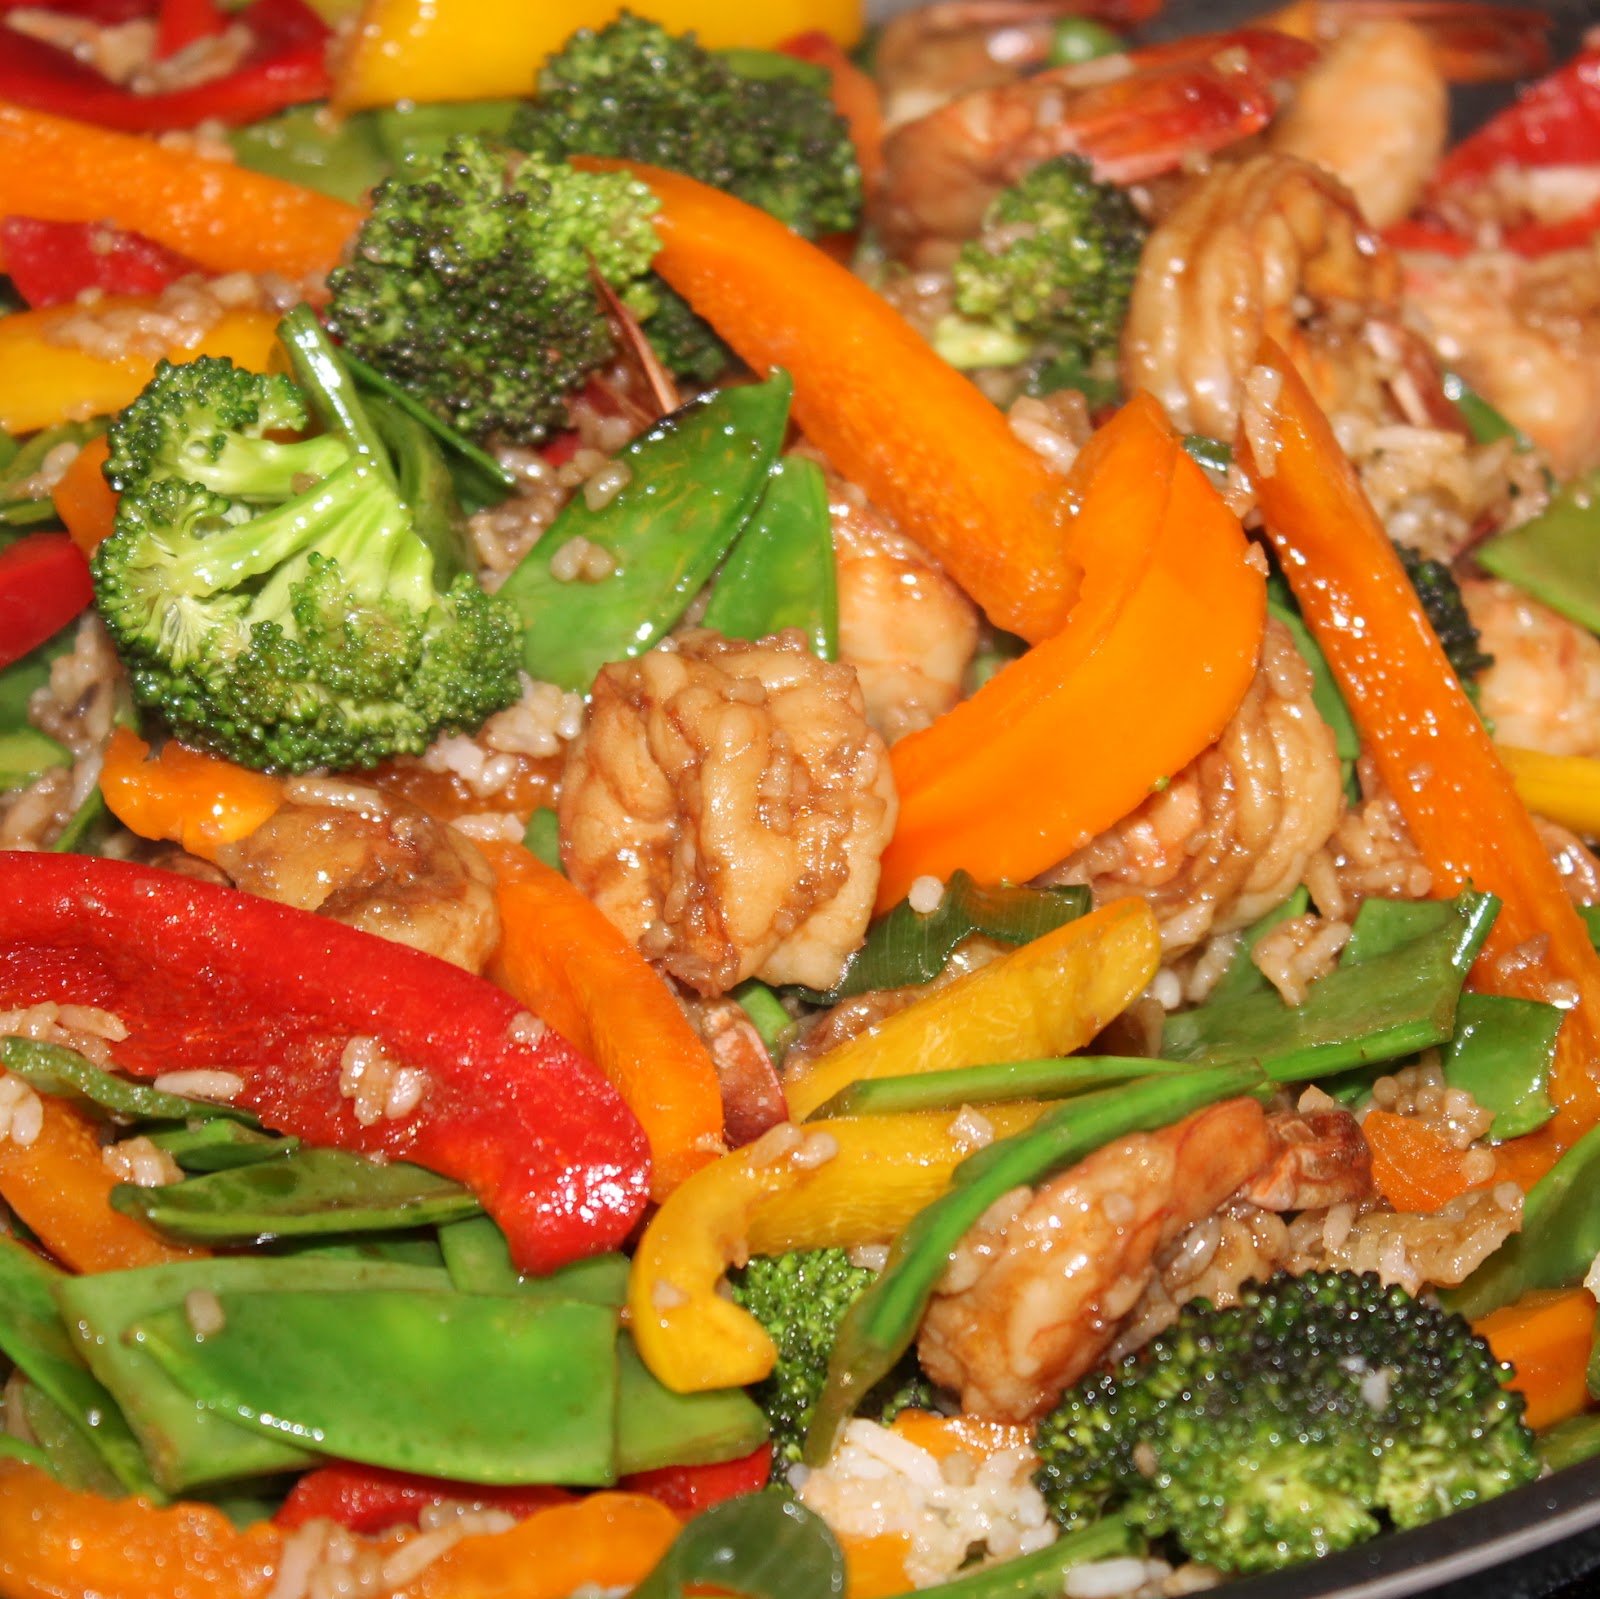
This dish for Shrimp Fried Rice is an attempt to make a takeout favorite a bit healthier. To do so, Cooking Light cut the amount of rice, added a bunch of veggies, and cut out some of the salt. So because of this, I think this recipe should more be called “Shrimp Fried Rice” (There’s a lot of shrimp, a little bit of fried, and an itty bit of rice. Have no fear, you won’t even miss it.)
Ingredients:
1 cup broccoli florets
7 teaspoons canola oil, divided
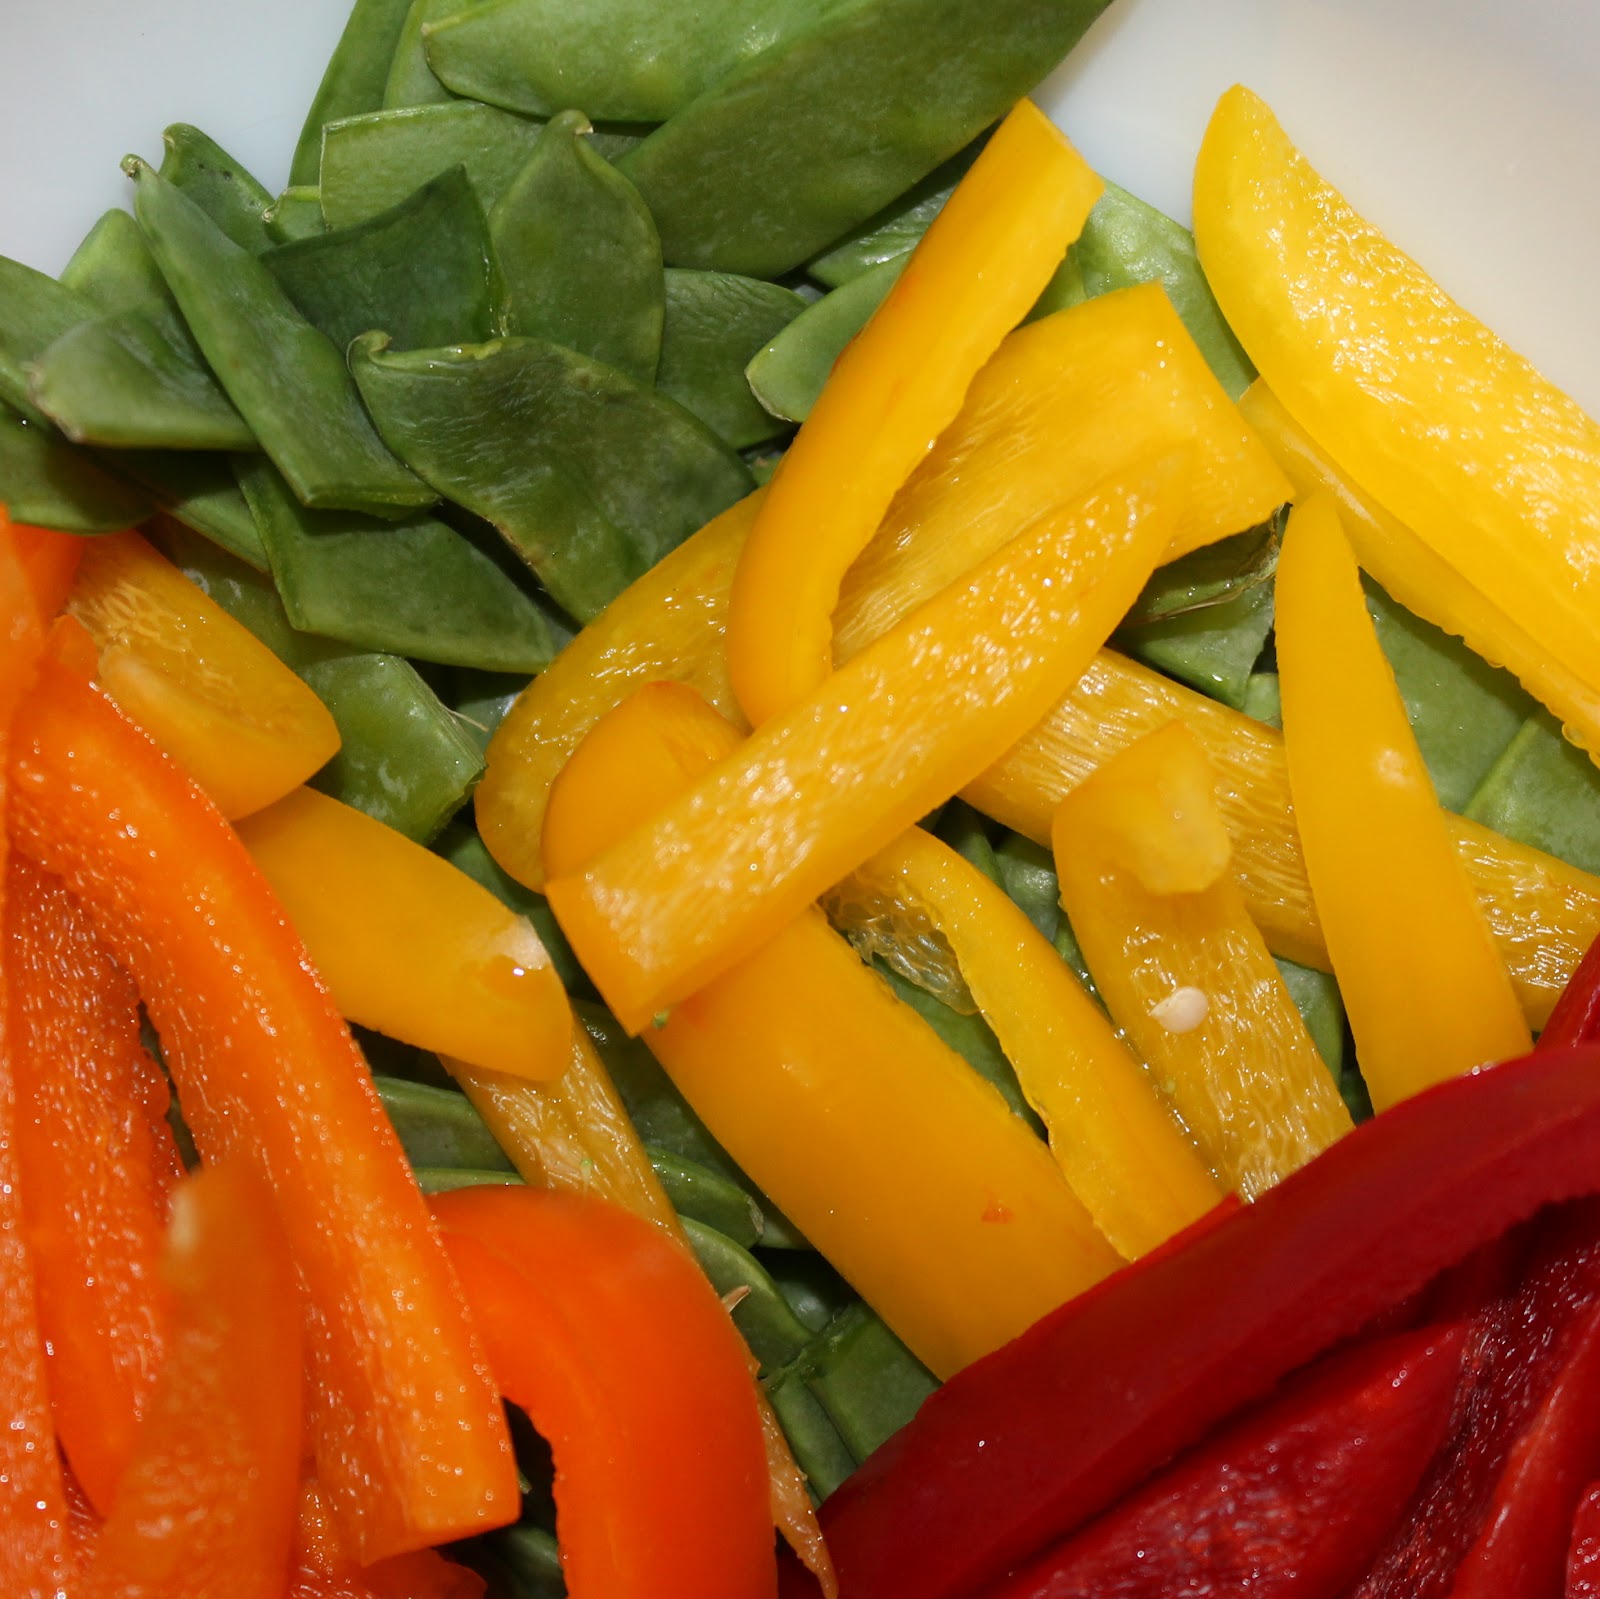
1 medium red bell pepper, cut into thin strips
1 medium yellow bell pepper, cut into thin strips
1 medium orange bell pepper, cut into thin strips
1 cup snow peas, trimmed and halved crosswise
1 tablespoon grated peeled fresh ginger
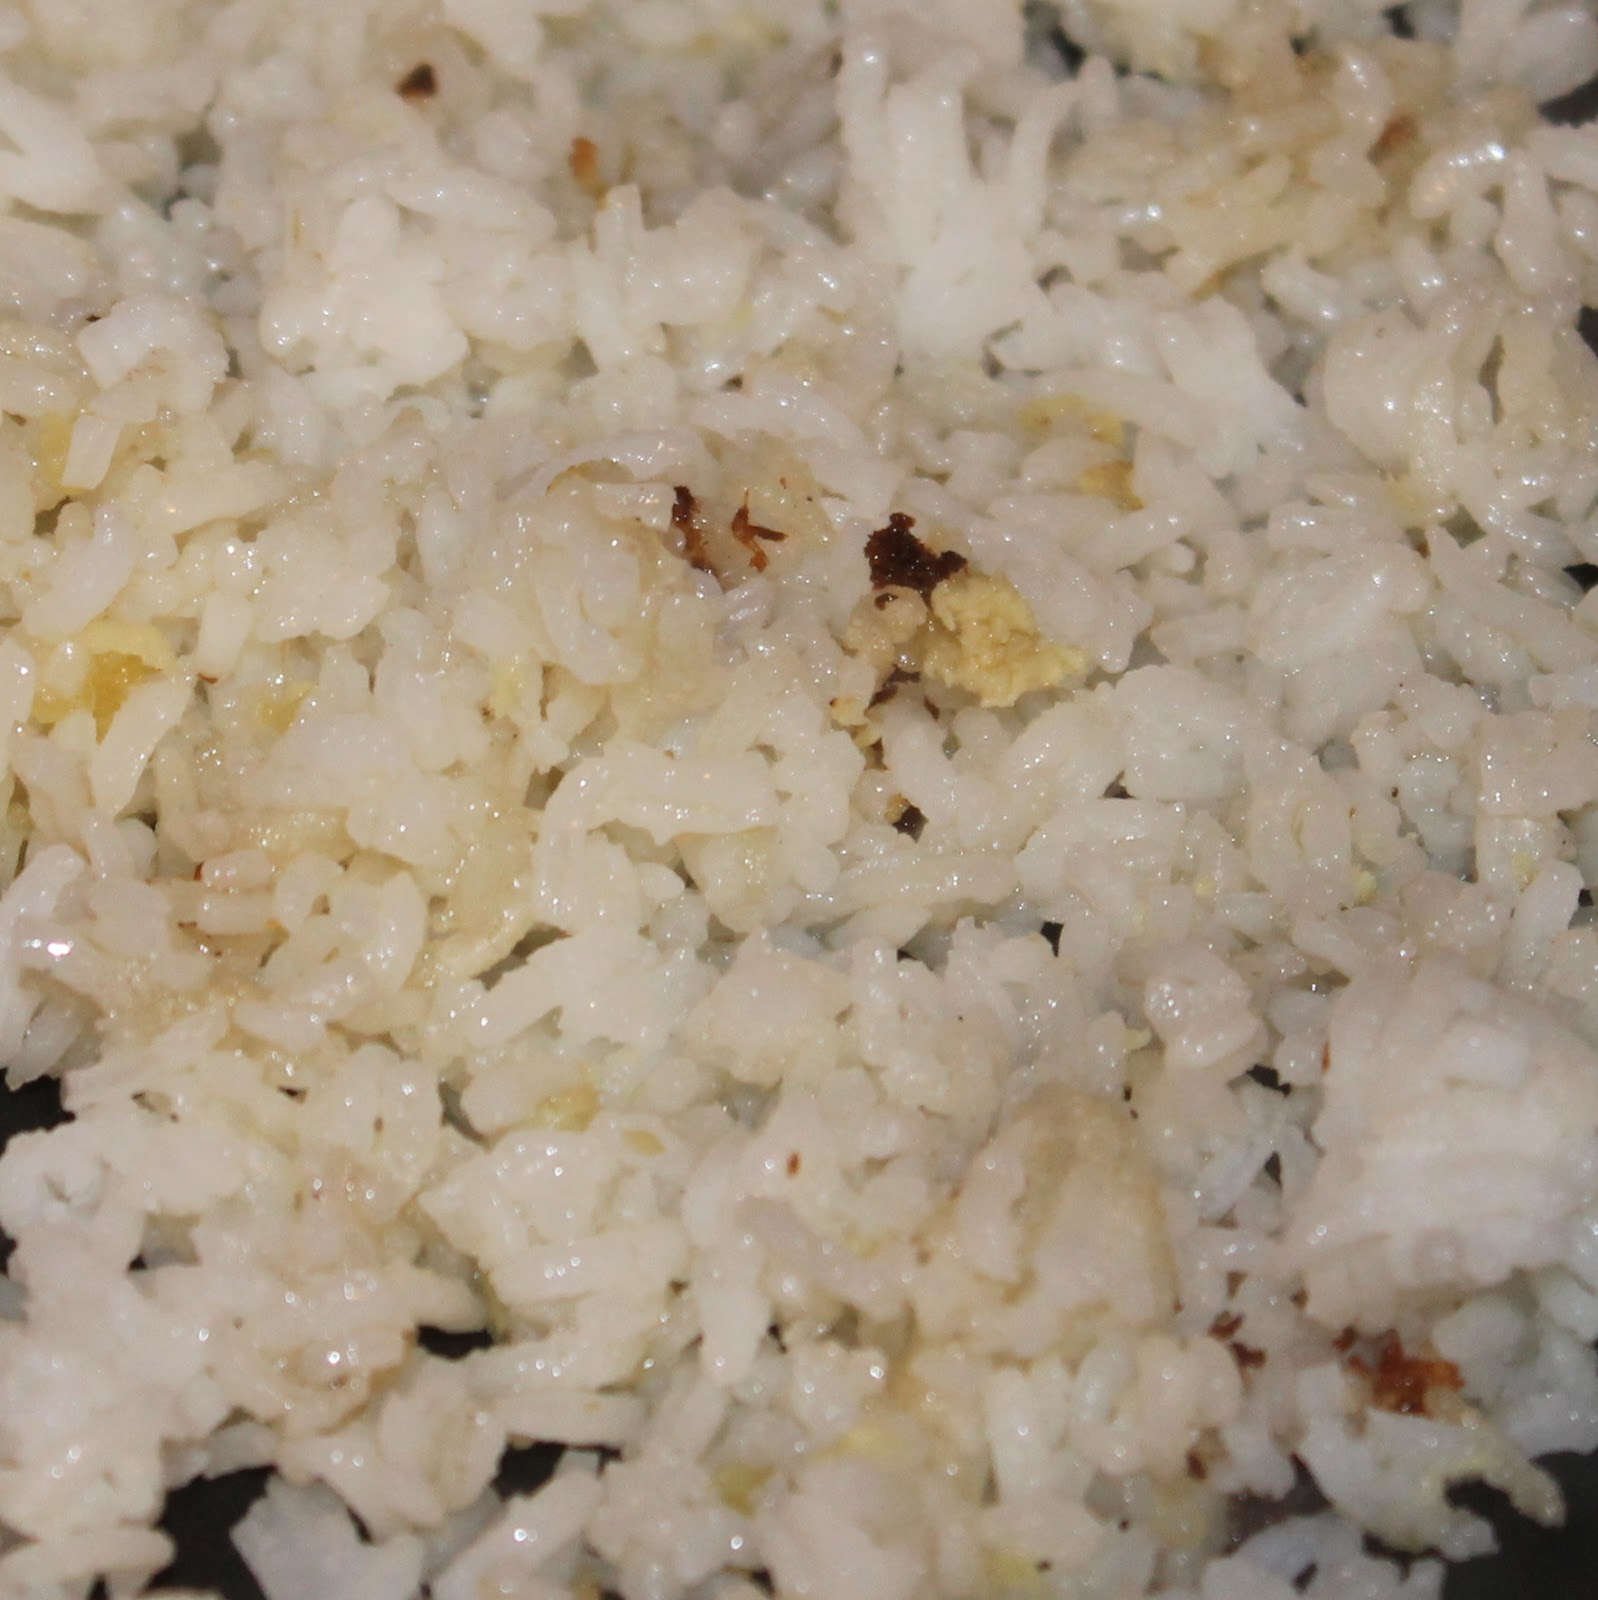
1 cup cooked long-grain white rice, chilled
1 tablespoon dark sesame oil
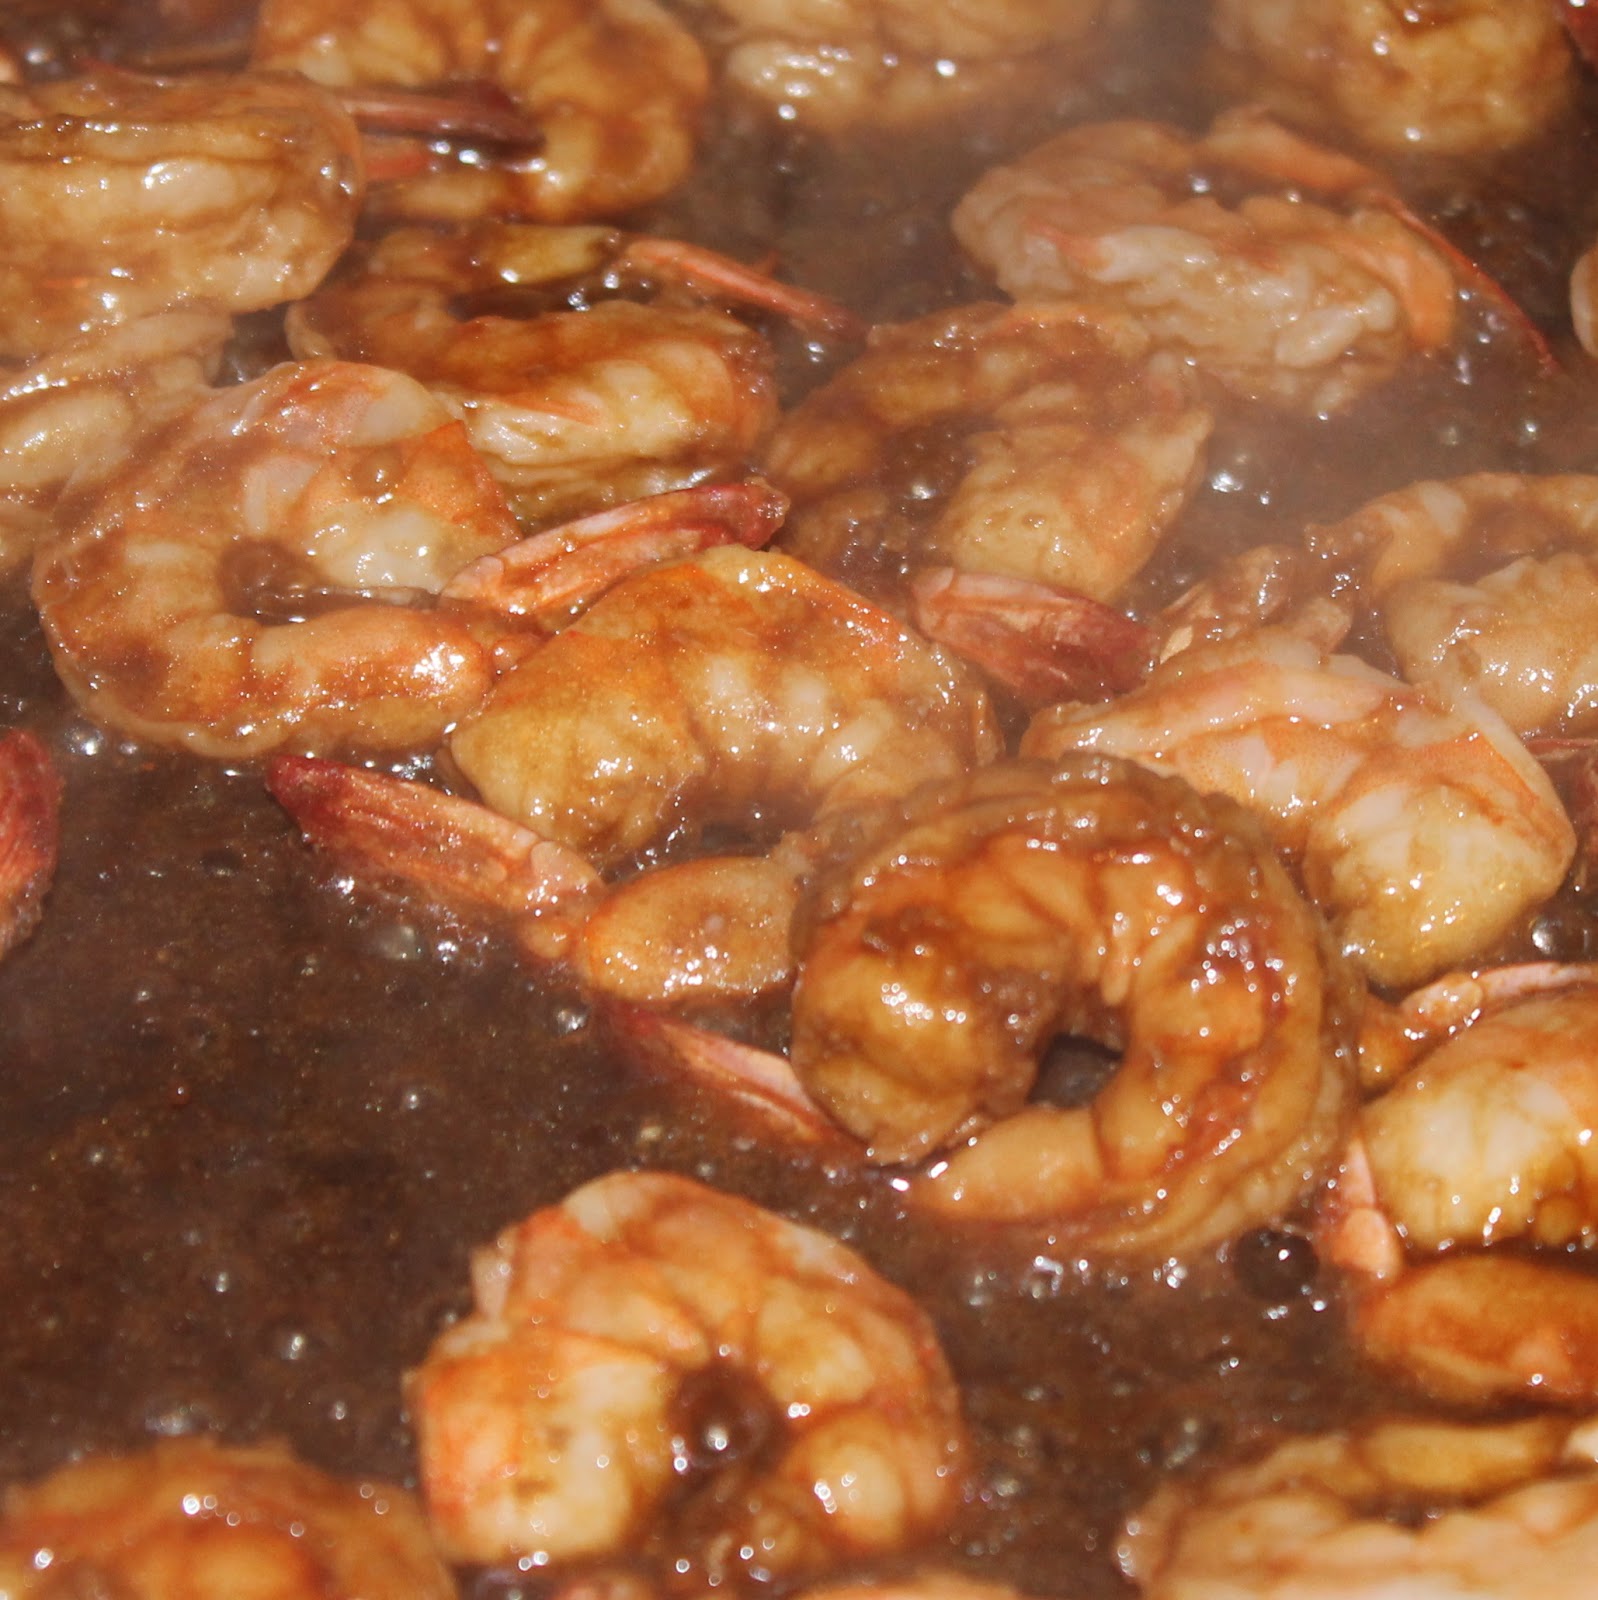
1 pound peeled and deveined medium shrimp
1/4 cup lower-sodium soy sauce (or coconut aminos to make gluten free)
1 1/2 tablespoons rice vinegar
1 teaspoon Sriracha
1/4 cup thinly diagonally sliced green onions
This recipe works best with day-old rice but I didn’t have the foresight to do that. So I made my rice in my rice cooker and popped it in the refrigerator.
To make, bring a pot of water to a boil. Add the broccoli to a steam basket and steam over the boiling water for 4 minutes or until crisp-tender. (I cheated and steamed my broccoli in my rice cooker after making the rice). Add to a large bowl.
Prepare your vegetables.
Add 1 teaspoon canola oil to a saute pan over medium high heat. If you have a wok, use it here. If not (like me) just use your largest saute pan. Add the peppers and snow peas and stir fry for 2 minutes.
Remove the vegetables and place in a large bowl with the broccoli. Add 2 tablespoons canola oil to the pan and swirl to coat. Add the ginger, cooking for 10 seconds. Add the chilled rice and cook for 5 minutes or until the rice is lightly browned.
Remove the rice and add to the bowl with the vegetables.
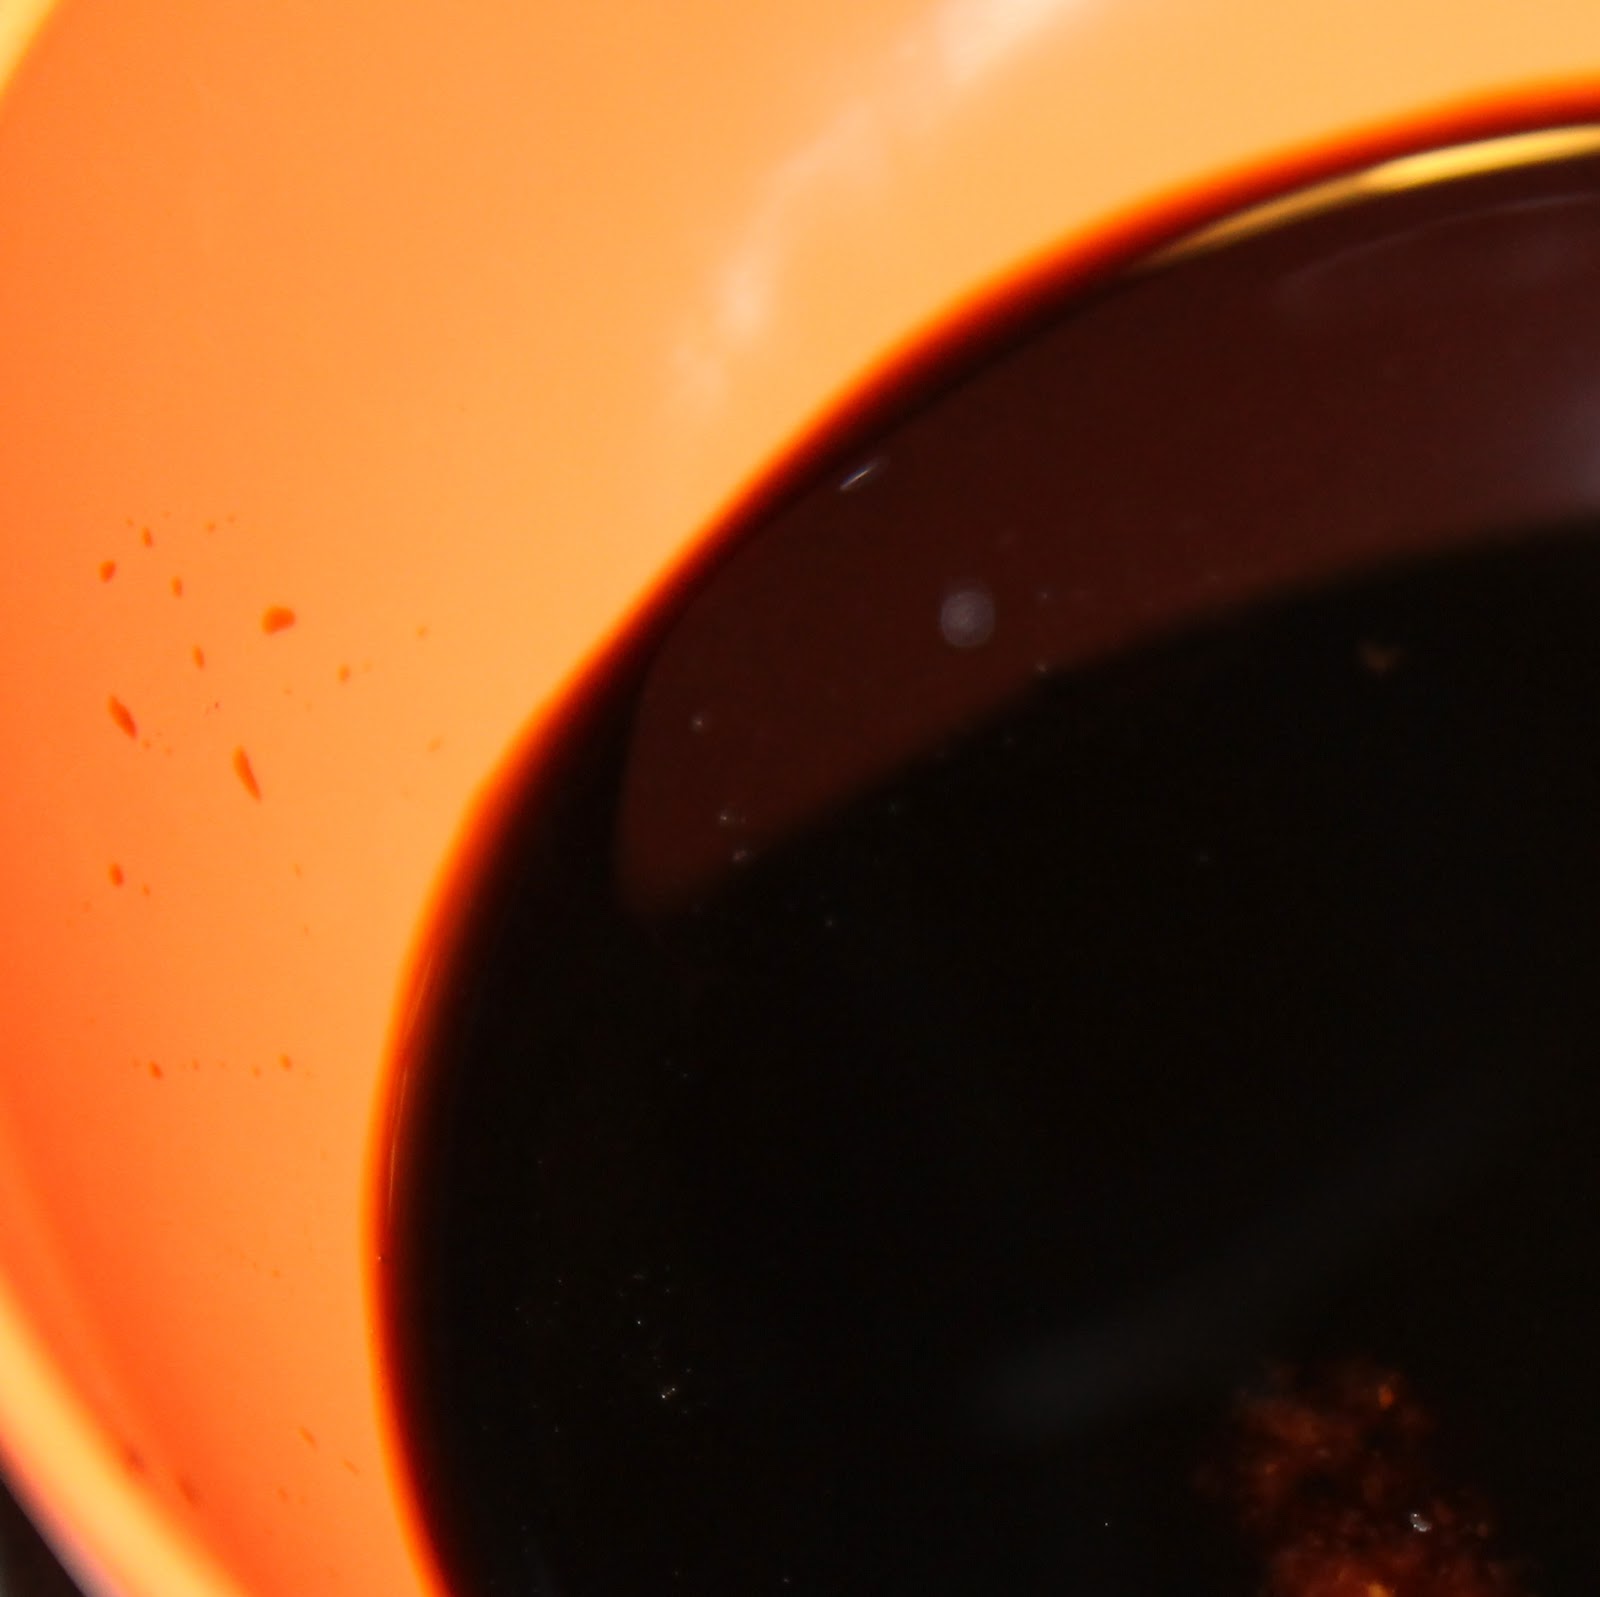
Mix the soy sauce, vinegar and Sriracha in a bowl. Set aside.
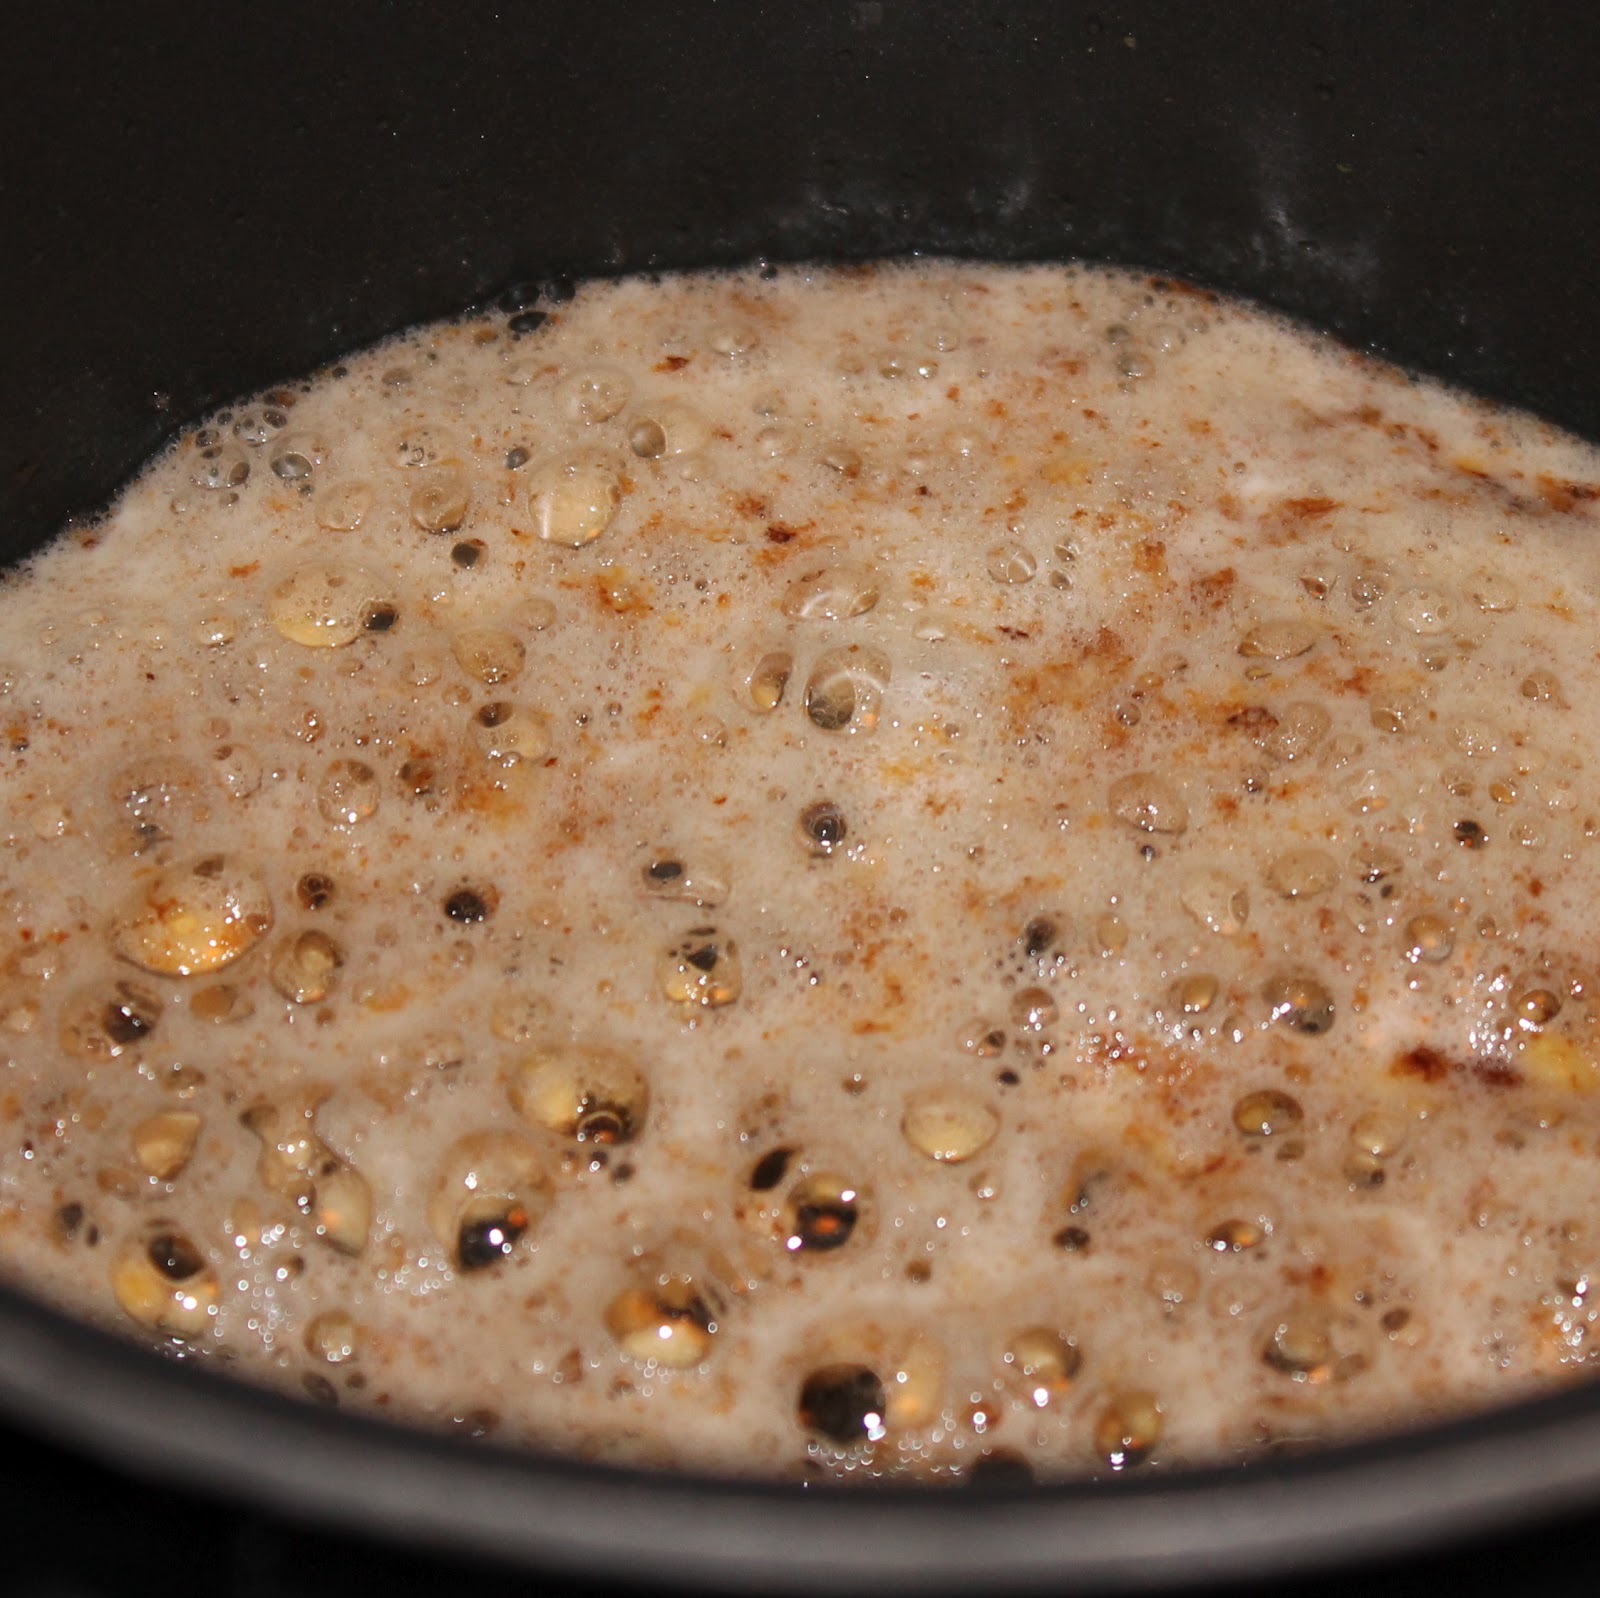
Wipe the pan with paper towels and return to medium-high heat. Add the sesame oil (I used toasted sesame oil, you can use regular as well), and swirl to coat. Add the shrimp and cook for 1-2 minutes, stirring constantly.
Stir in the soy sauce mixture and bring to a boil.
Cook for 3 minutes or until the liquid slightly thickens.
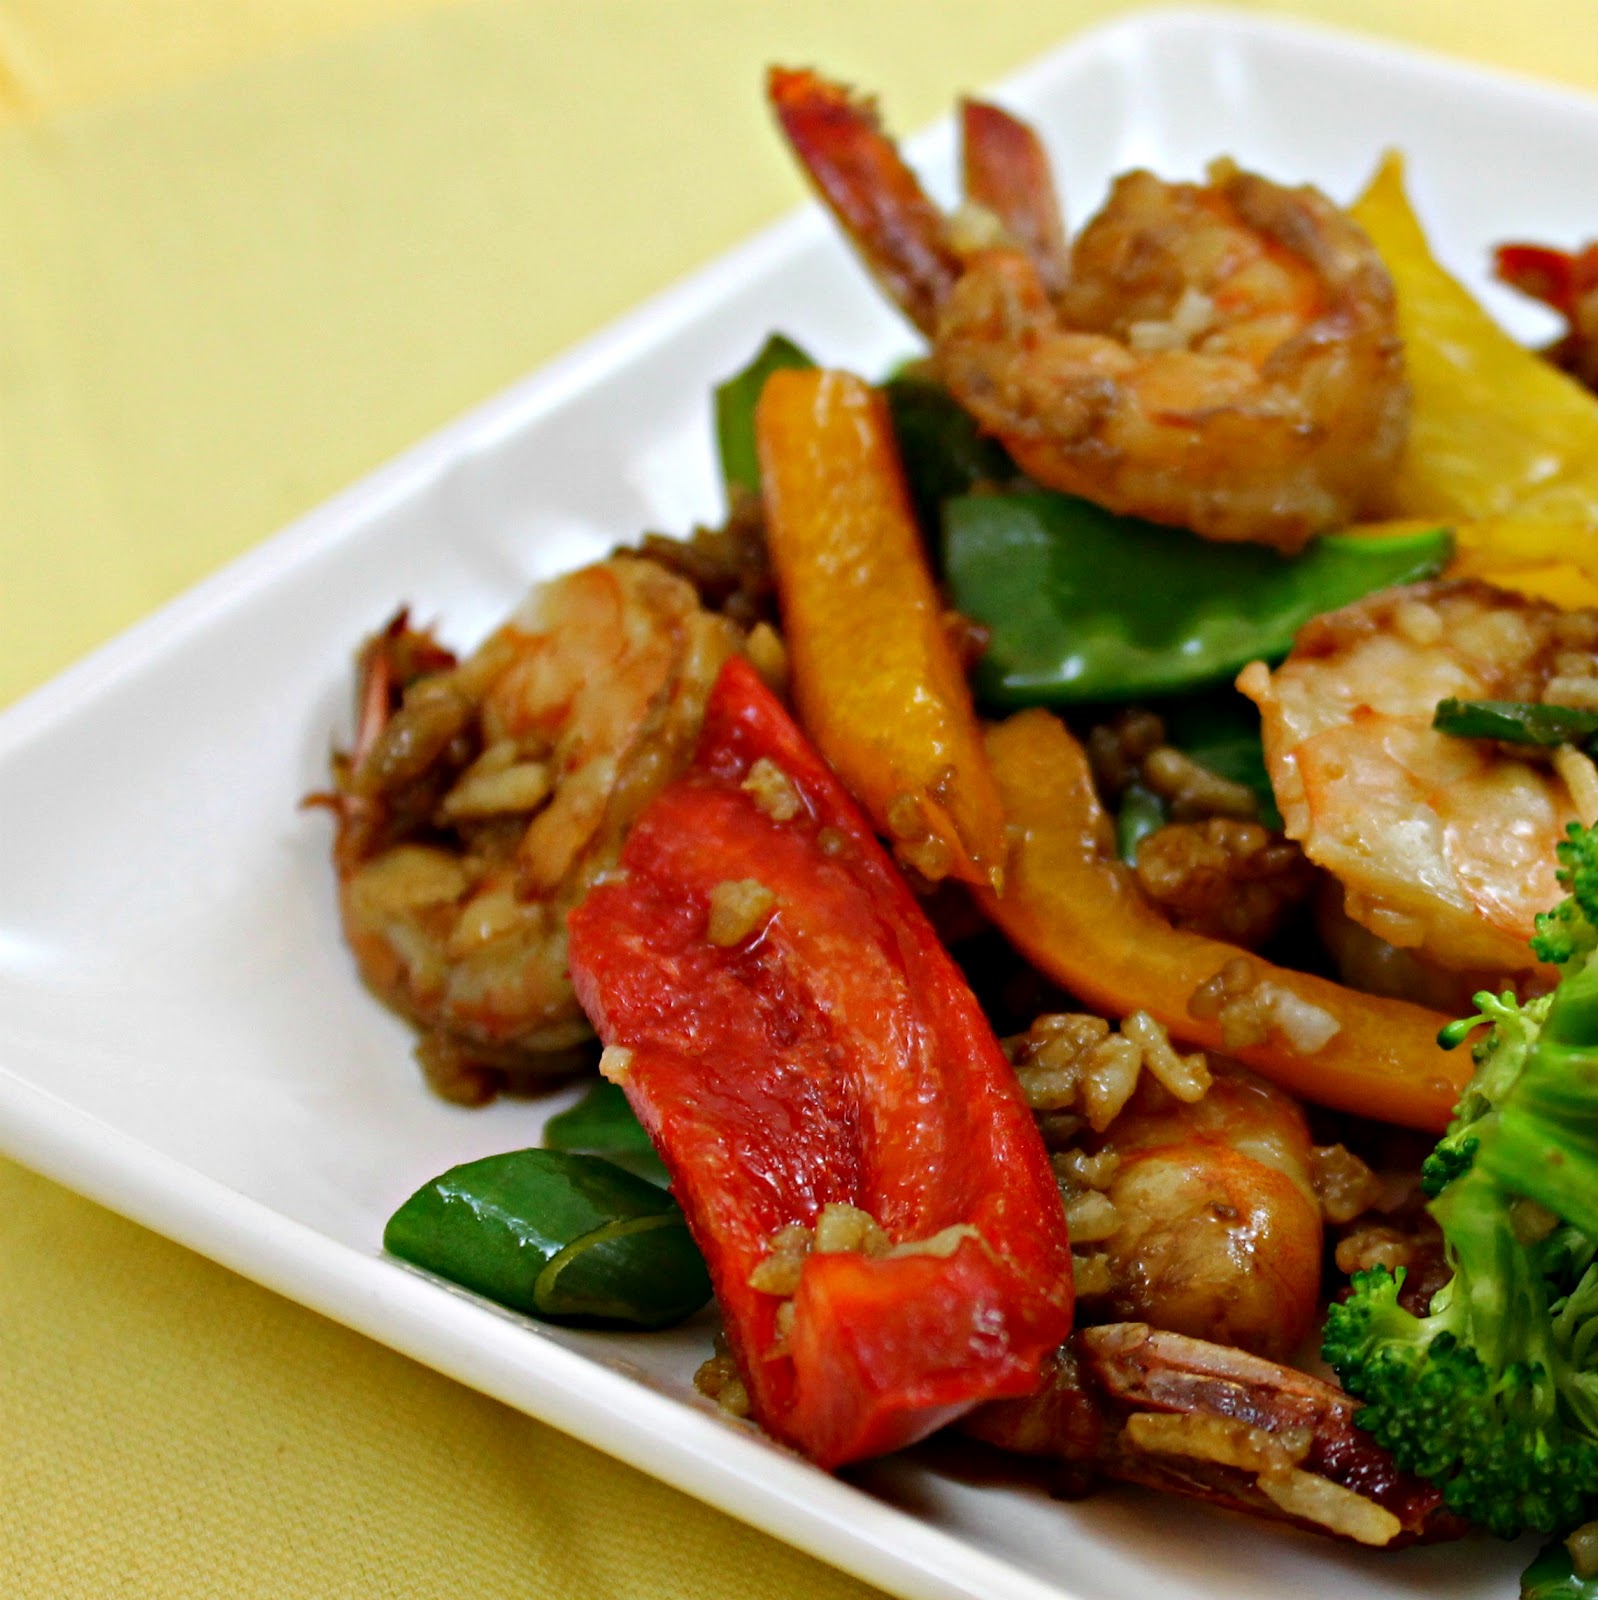
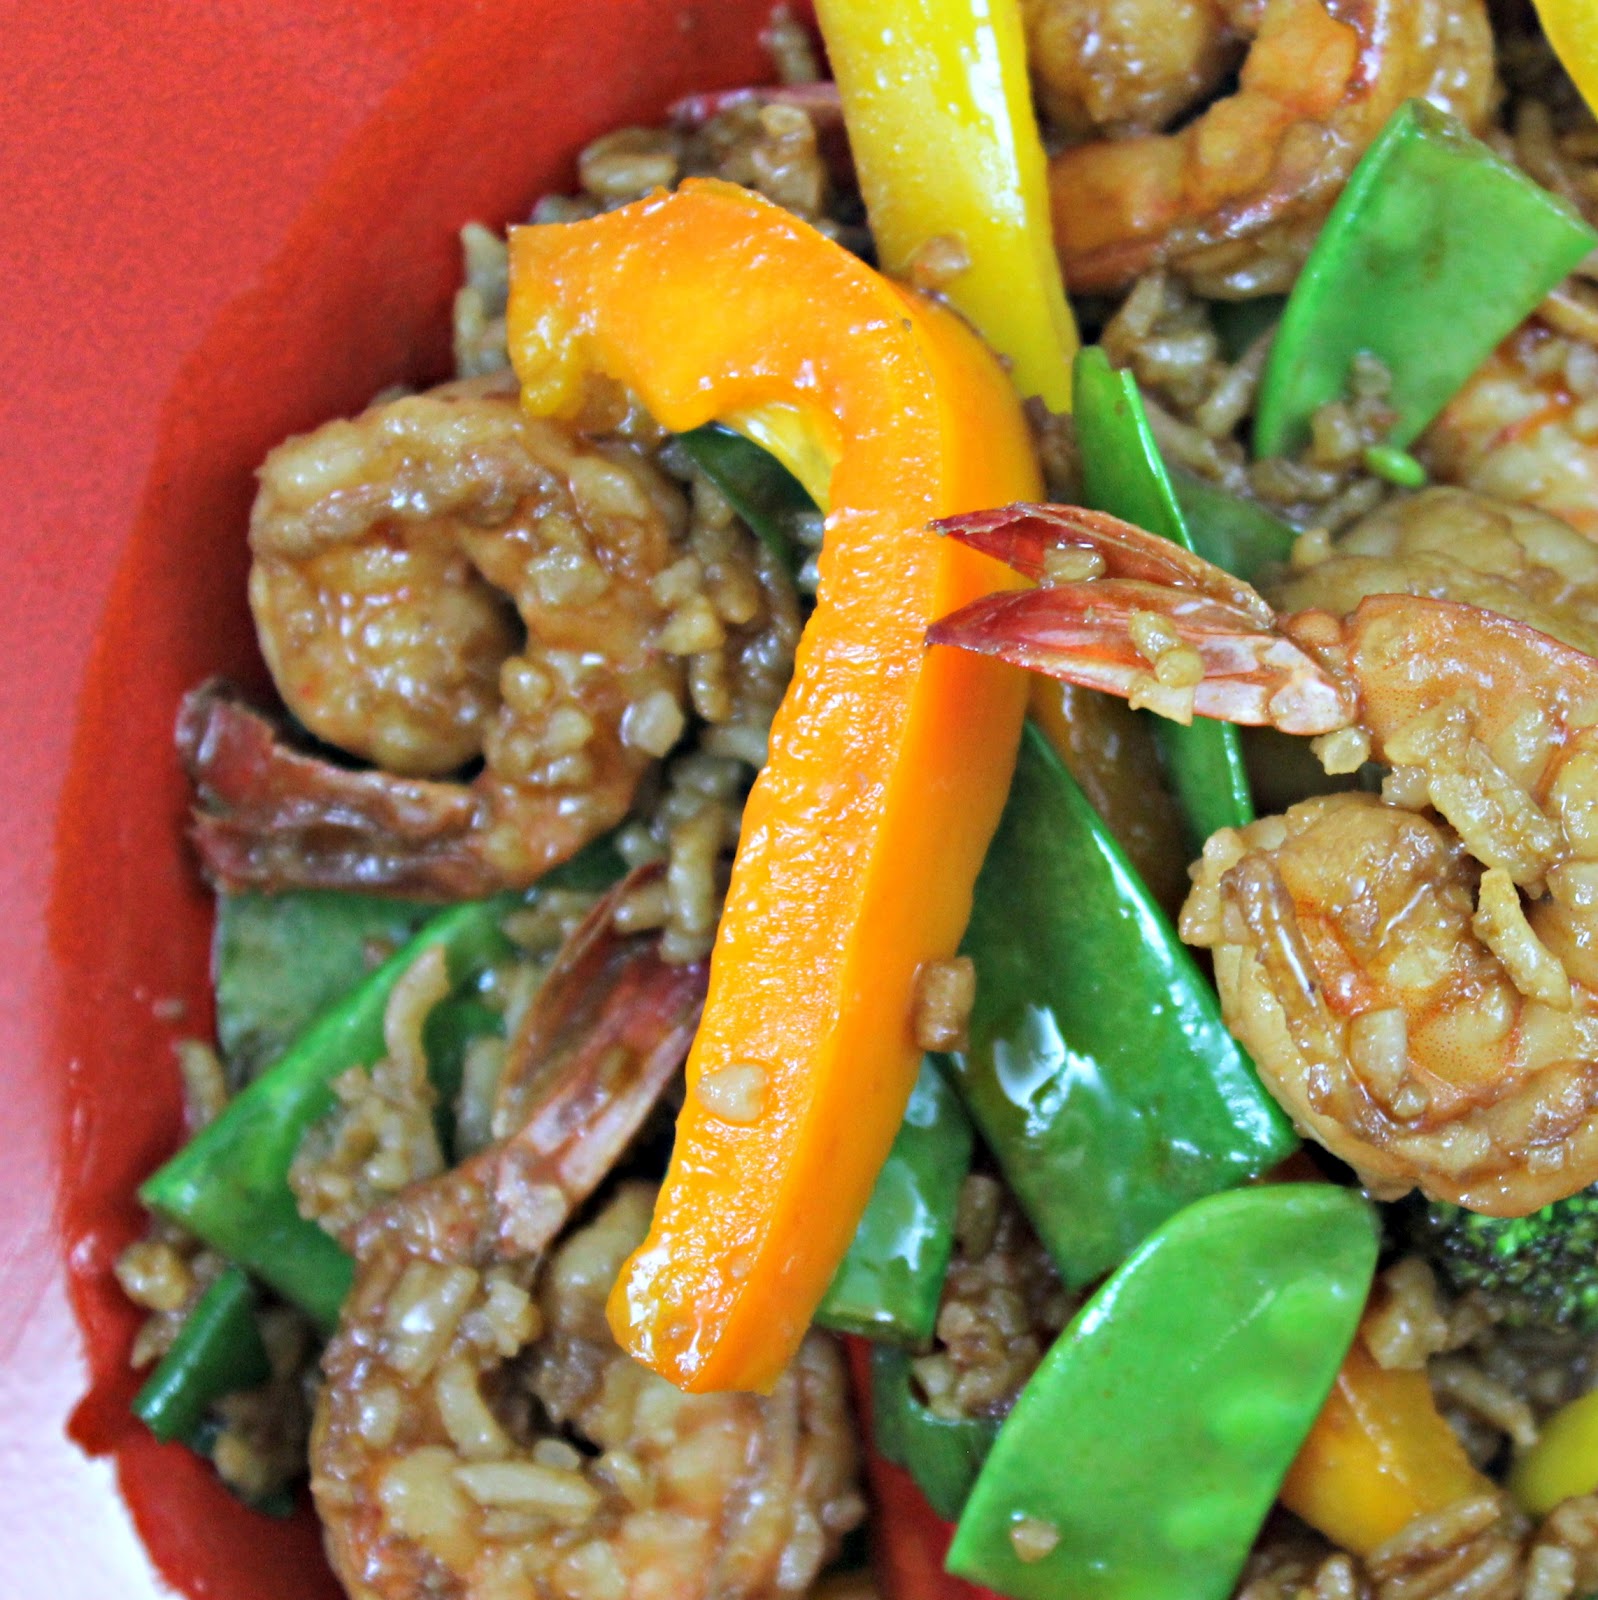
Add back in the vegetables plus the sliced green onions, stirring to combine. Cook for 1 minute and serve.
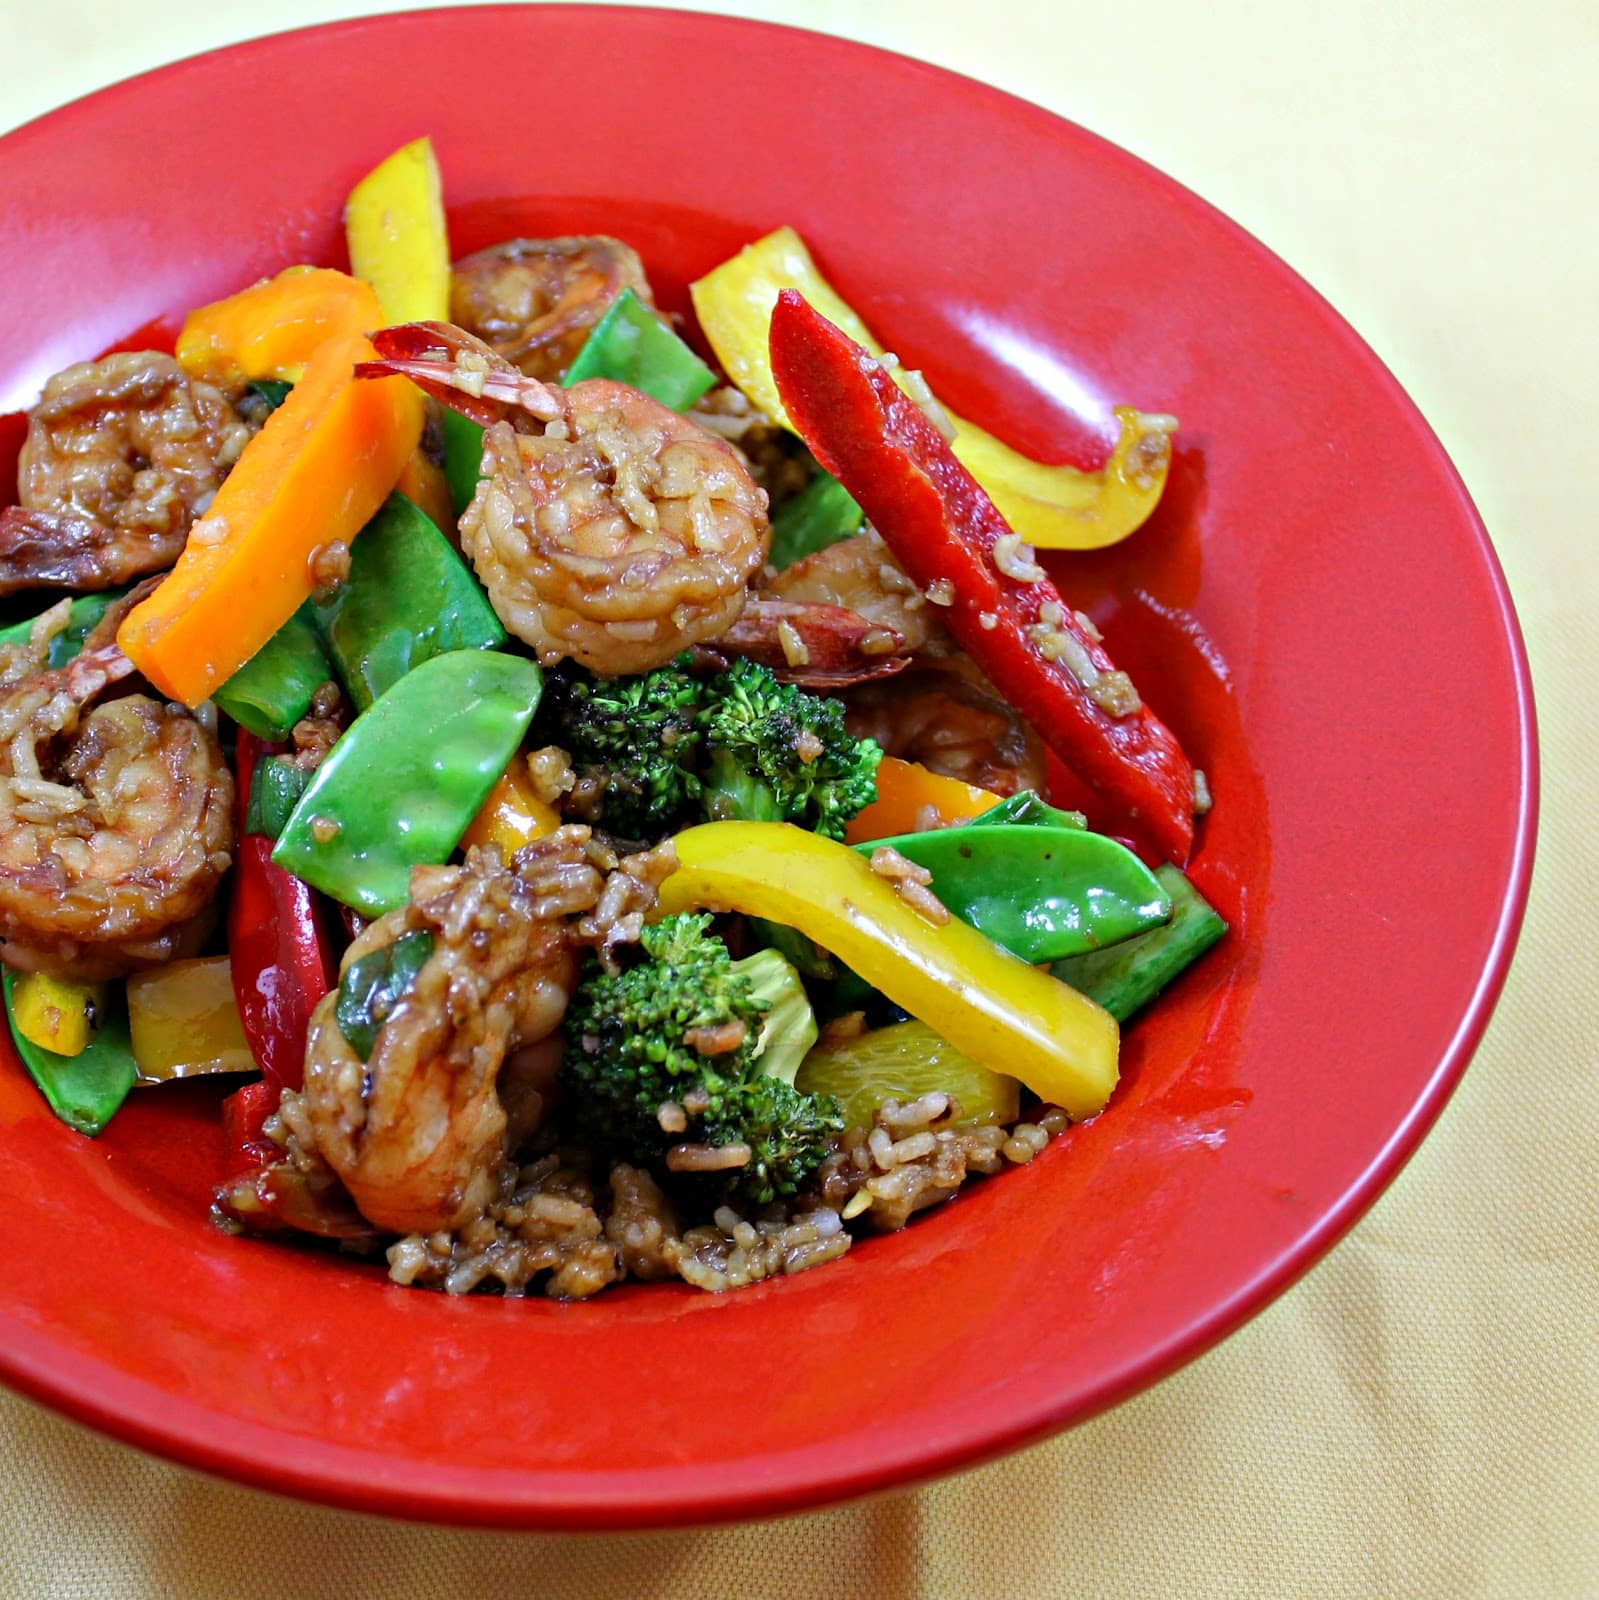
So easy right? And look at those beautiful colors!
There is a ton of flavor in this dish, and it ends with a slight spiciness. I would by no means call this a spicy dish though, it’s really great!
With so many vegetables in the dish, the rice became more a complement than the entire meal which was actually quite refreshing.
I wish I had taken the tails off the shrimp though, I wanted to just inhale this meal and the tails kept slowing me down!
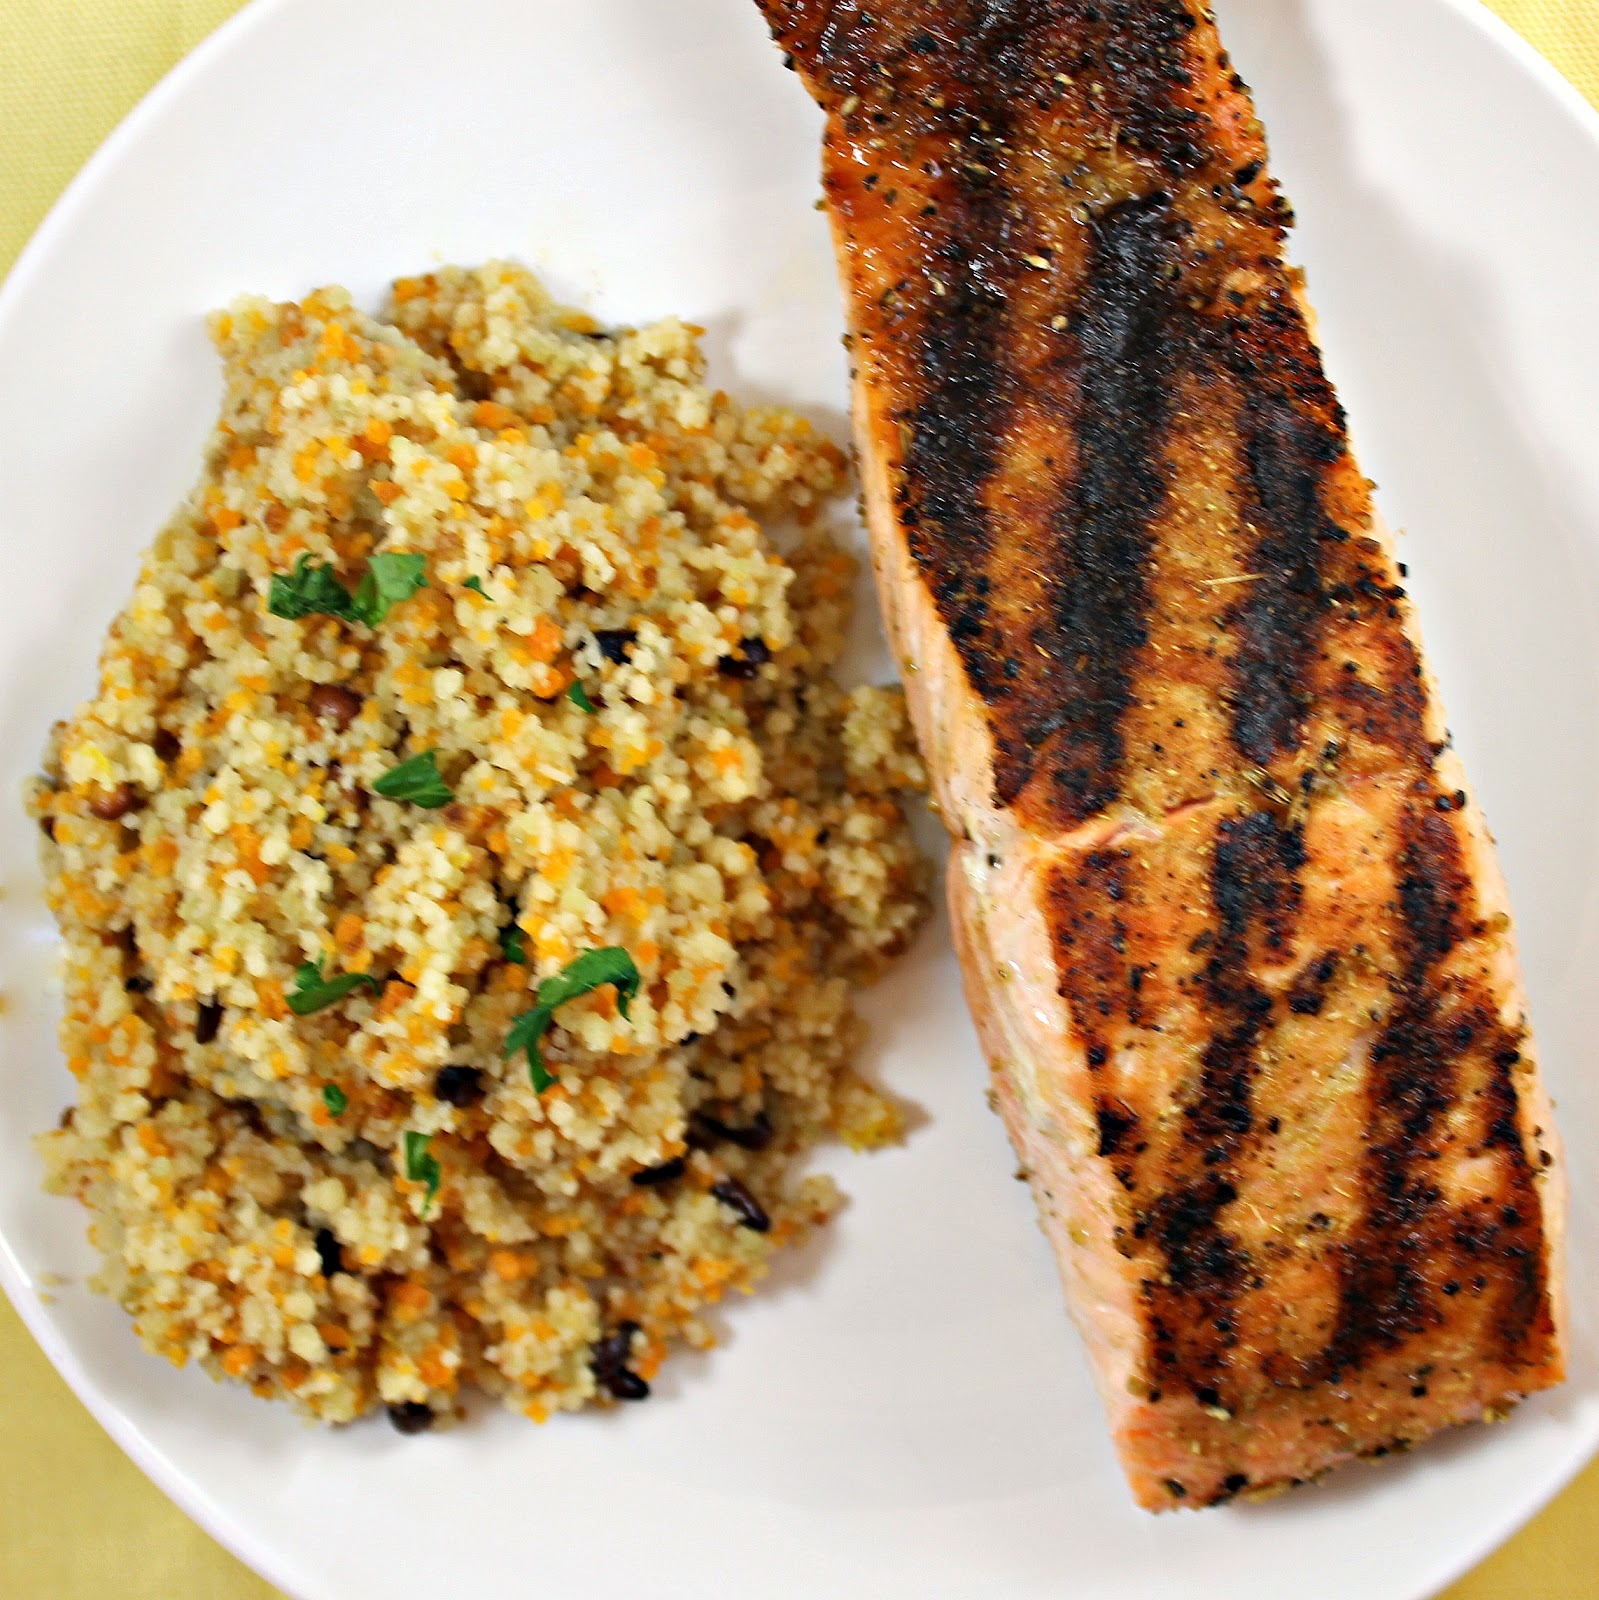
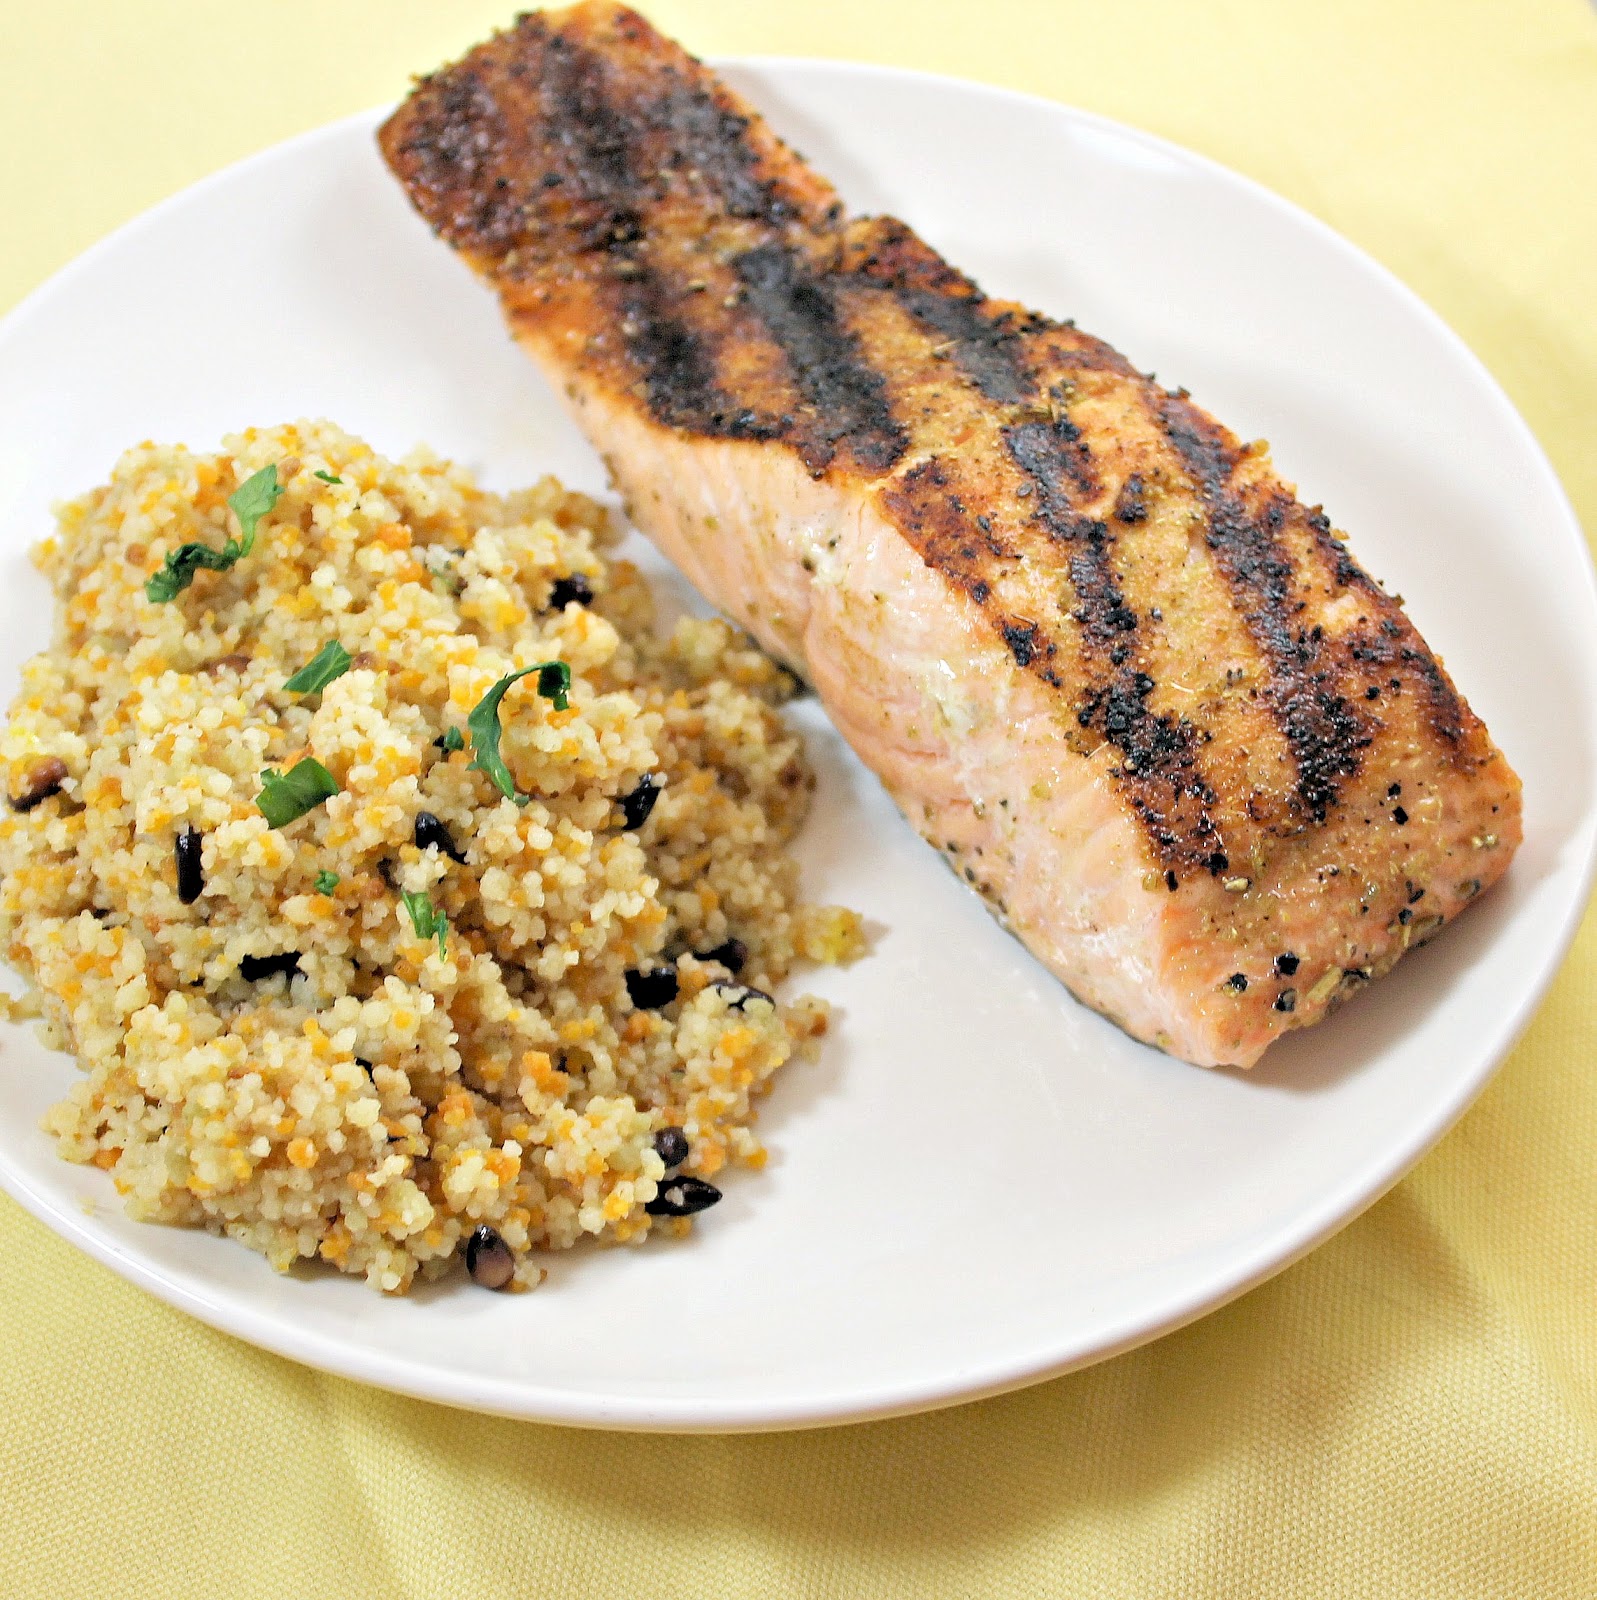
Salmon and couscous were just made for each other, don’t you think? They are also the perfect choices for a weeknight meal, you’re sure to get food on the table in no time. Cooking Light’s latest issue has a recipe for Grilled Salmon and Brown Butter Couscous that sounded just wonderful. The magazine suggested making this with grilled summer squash. But I stink. And forgot to pick up the squash. Sigh. If you try the squash out with this recipe, let me know how it goes!
Ingredients:
2 tablespoons butter
2 tablespoons pine nuts
1 cup uncooked couscous
2 tablespoons dry white wine
1 (14.5-ounce) can fat-free, lower-sodium chicken broth
1 tablespoon grated lemon rind
1 tablespoon lemon juice
Salt and pepper, to taste
1/2 teaspoon pepper
1/2 teaspoon ground fennel seeds
1/2 teaspoon ground coriander
1/4 teaspoon sugar
1/4 teaspoon kosher salt $
4 (6-ounce) skinless salmon fillets
Cooking spray
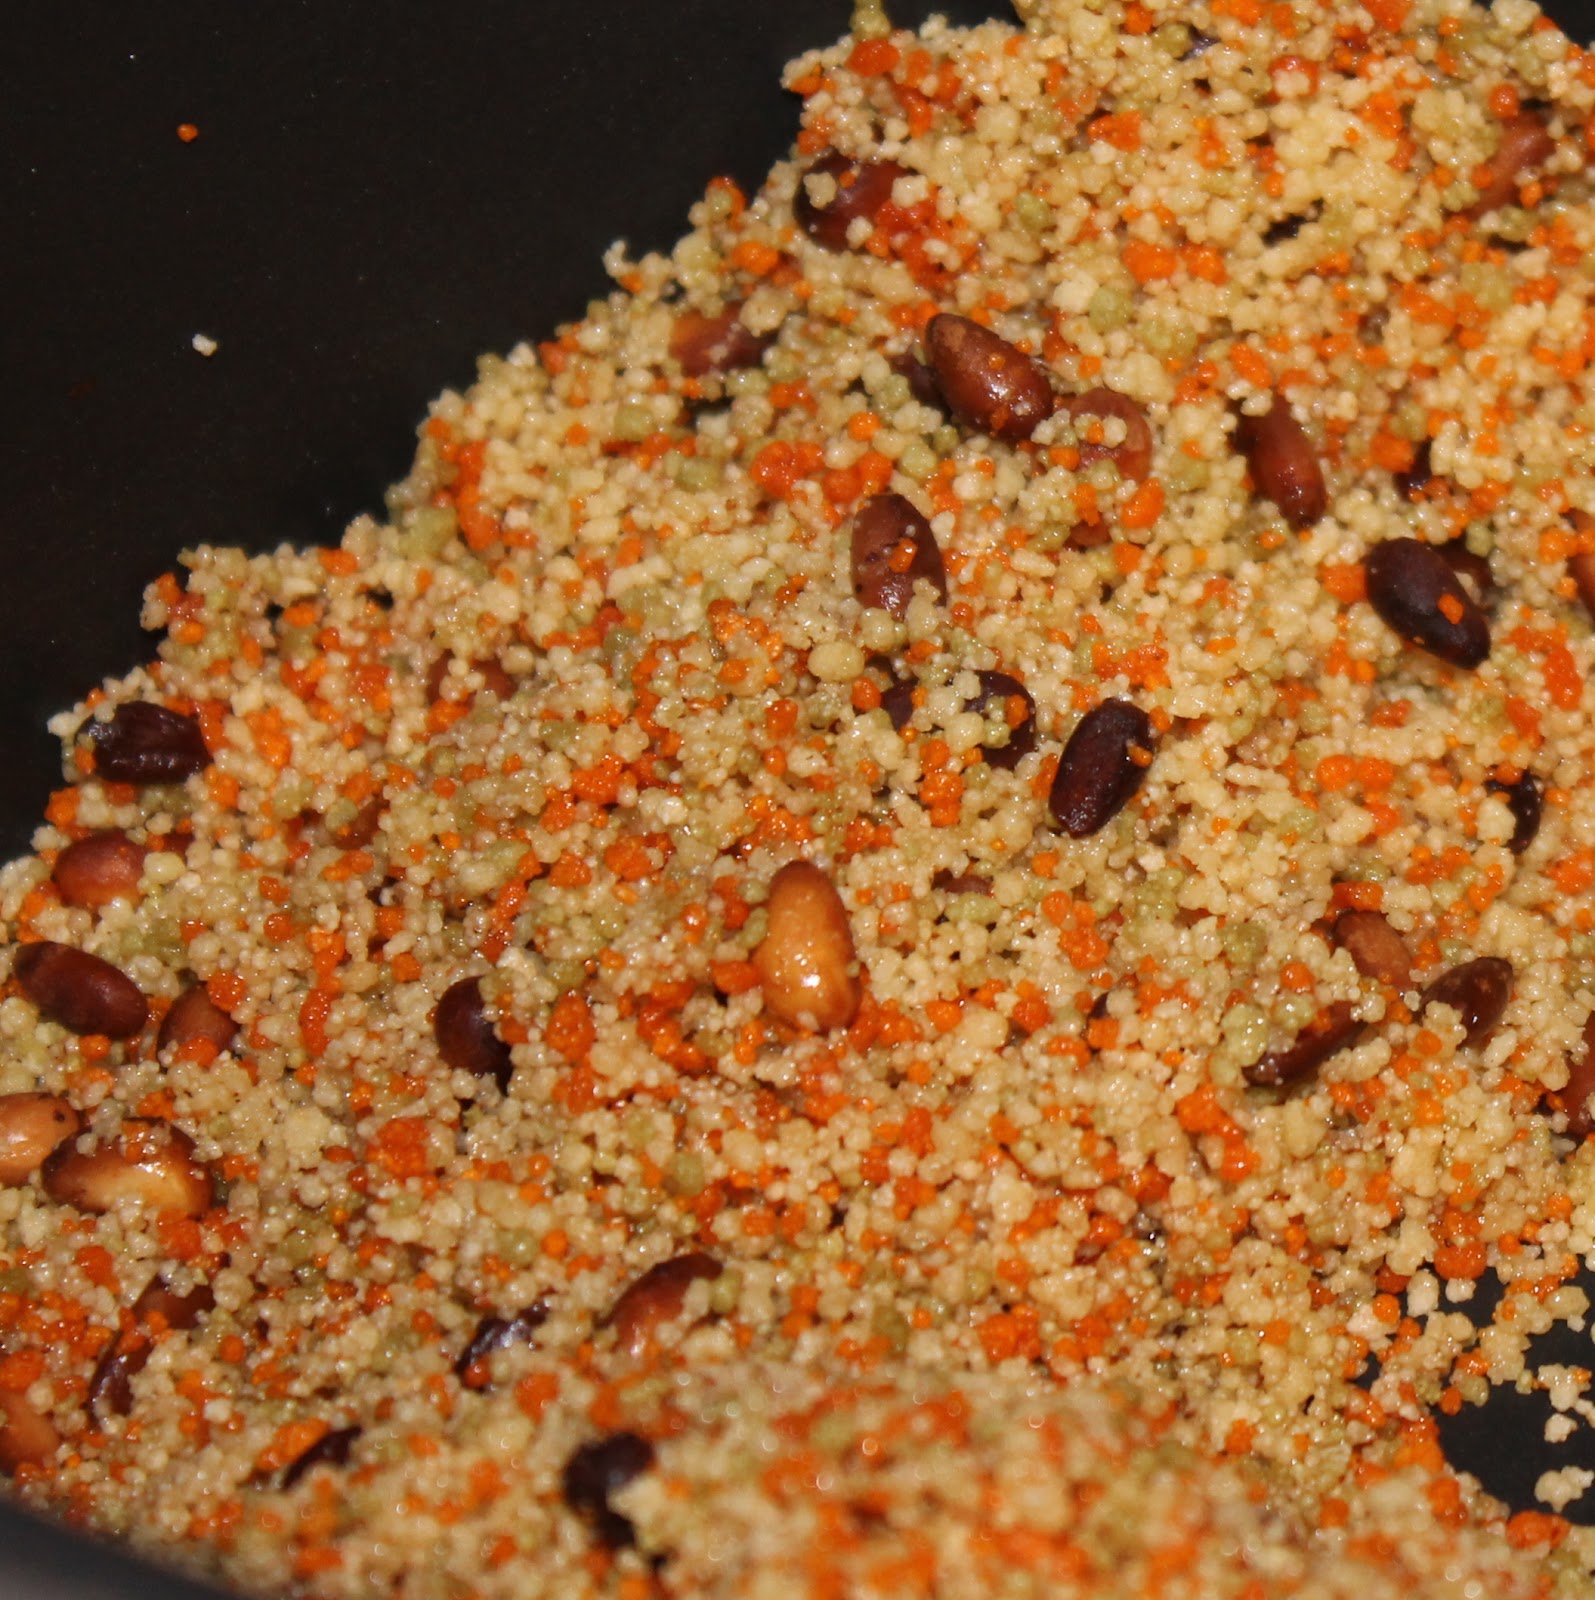
To make, first preheat your grill to medium-high heat. I live in the city, so I use a grill pan and it works just fine. Add the butter to a small pot over medium heat. Cook for 3 minutes or until browned. Add the pine nuts. Cook for 1 minute stirring occasionally.
So at this stage, I was pretty sure I burnt the pine nuts. Maybe it’ll add a smokiness to the couscous?
Add the couscous and cook for 1 minute, stirring occasionally.
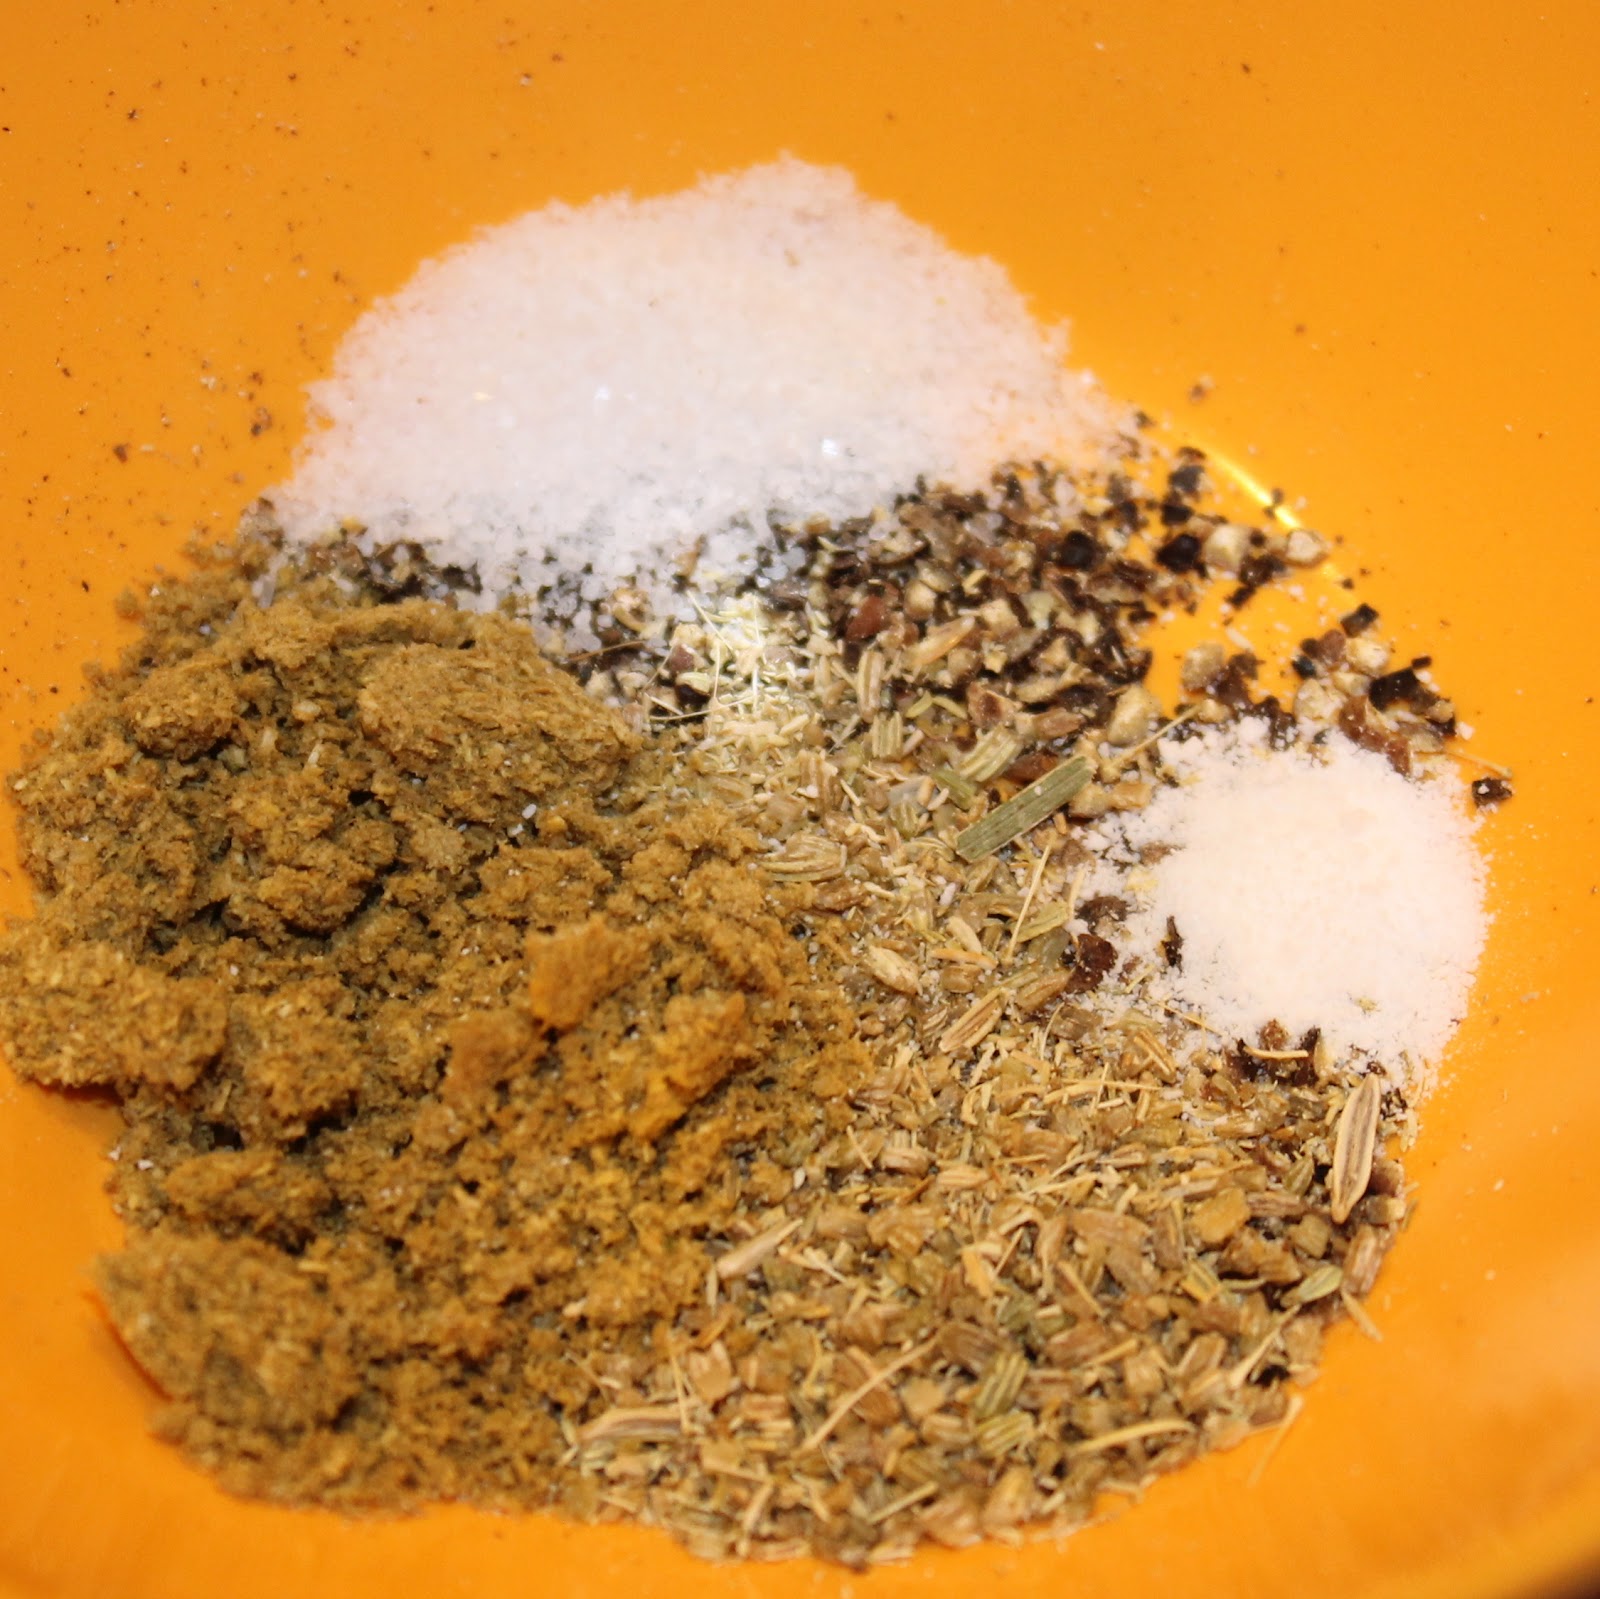
While waiting for the couscous to cook, combine the pepper, ground fennel seeds, ground coriander, sugar, and salt in a bowl. As a note, the original recipe called for white pepper, which I do not have. Also, I have fennel seeds that I stuck in my Magic Bullet and blend until powdery.
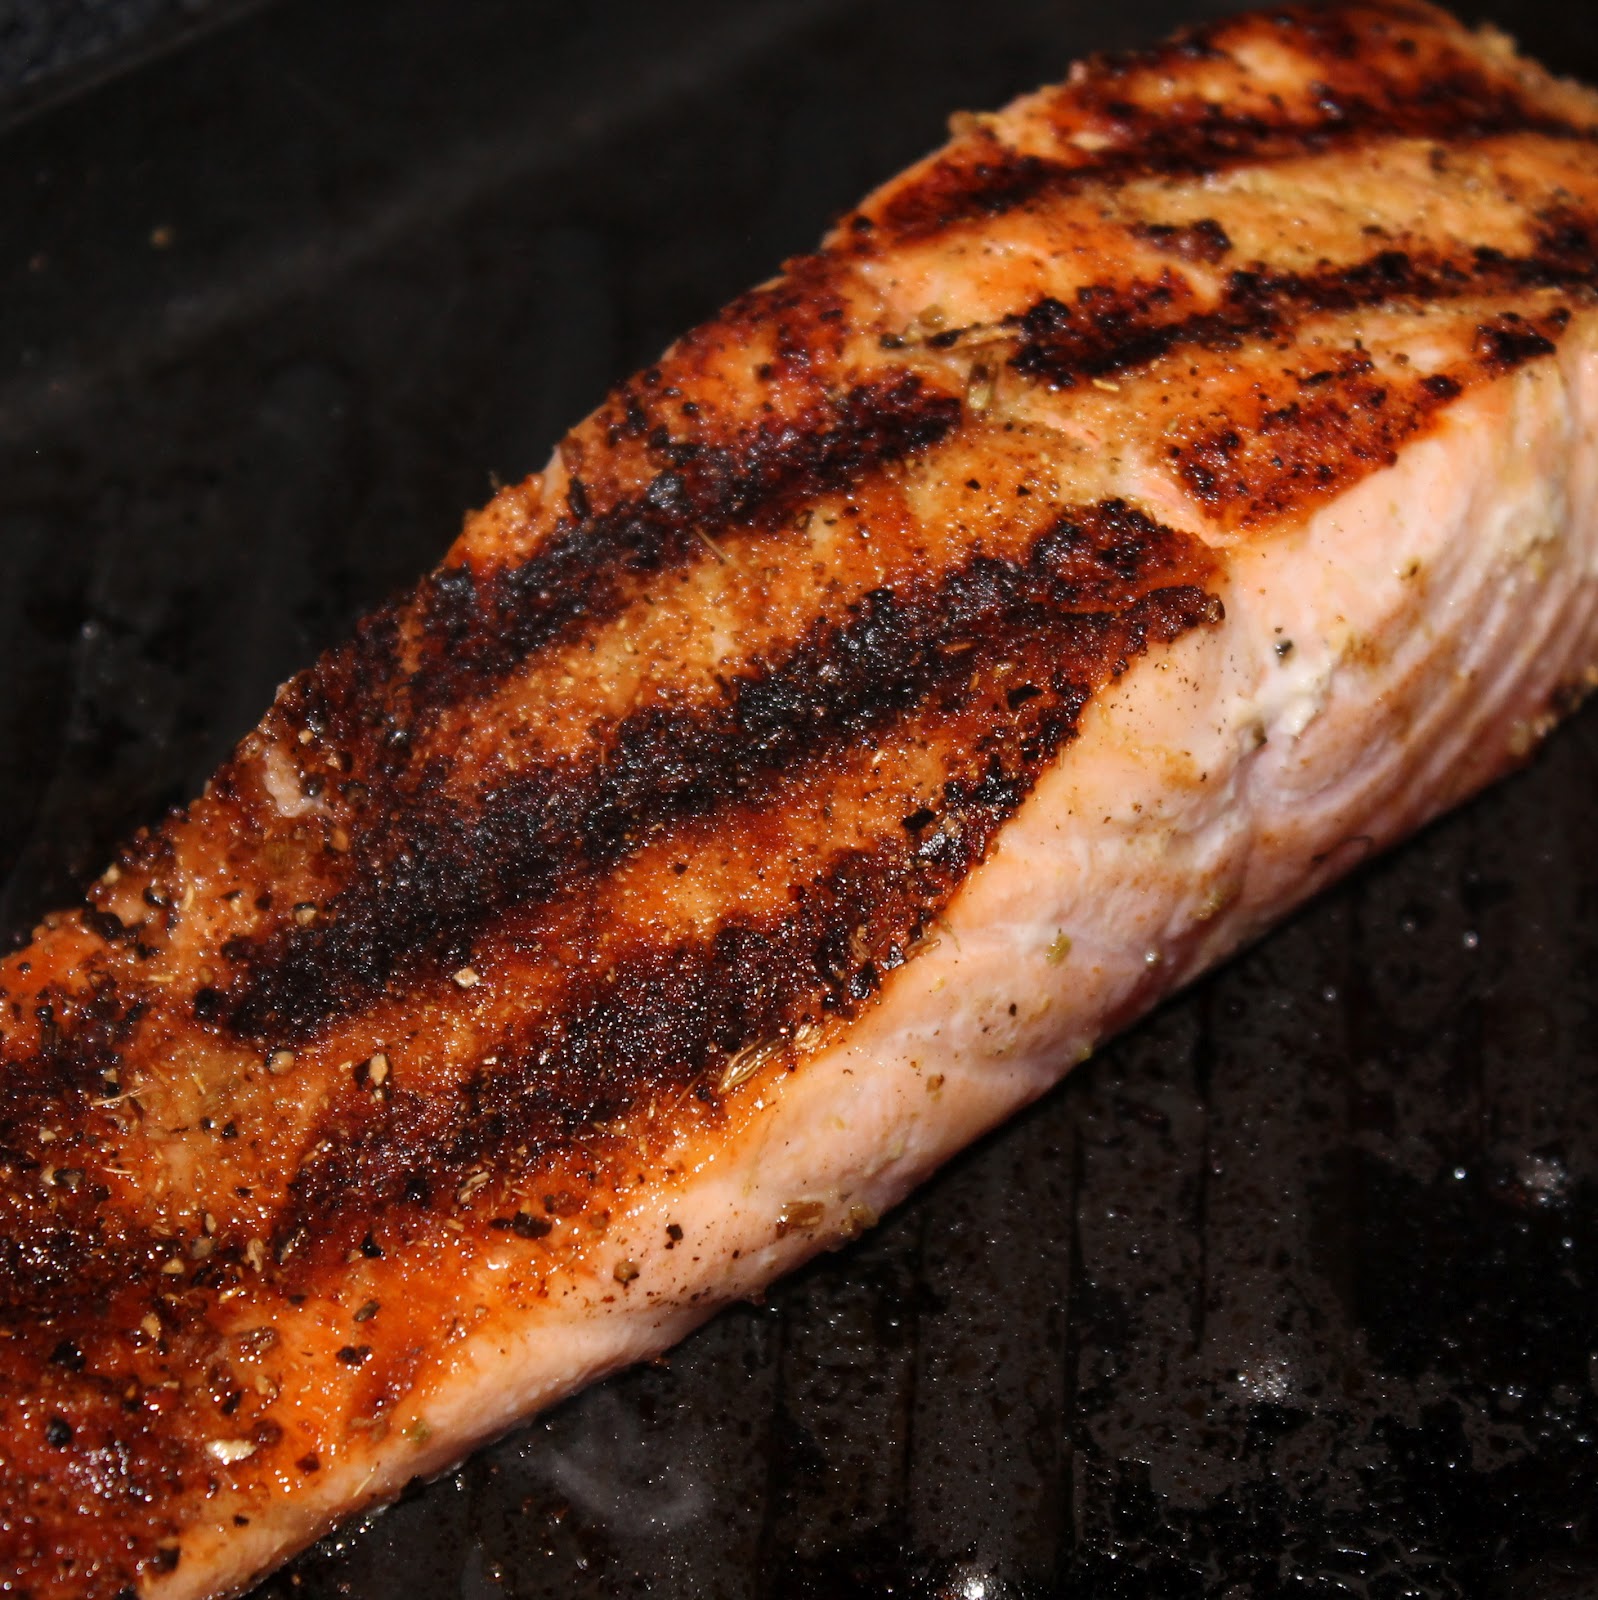
Sprinkle fillets with the spice mixture and place on grill, skin side up. Grilled for 4 minutes on each side.
Add the wine and broth and bring to a boil. Cover the pot, remove from heat, and let stand for 5 minutes. After the 5 minutes have passed, fluff with a fork and stir in the lemon rind, lemon juice, salt and pepper.
Yep. Totally burned the pine nuts.
The salmon should be finished slightly after the couscous.
The summer squash would have been a wonderful complement. What was I thinking, making a meal without a vegetable? Oh well.
The flavors were absolutely delicious. The spices on the salmon gave so much flavor, but what I really loved was how great of a sear I got on my salmon. It looks so snazzy!
The couscous was really flavorful, the brown butter and even the pine nuts (which weren’t too burnt to eat, yay!) I love love the hit of citrus with the couscous as well.
To not burn the pine nuts, maybe cook them for about 30 seconds. I also think there’s a chance I never stirred them.. I honestly don’t remember!