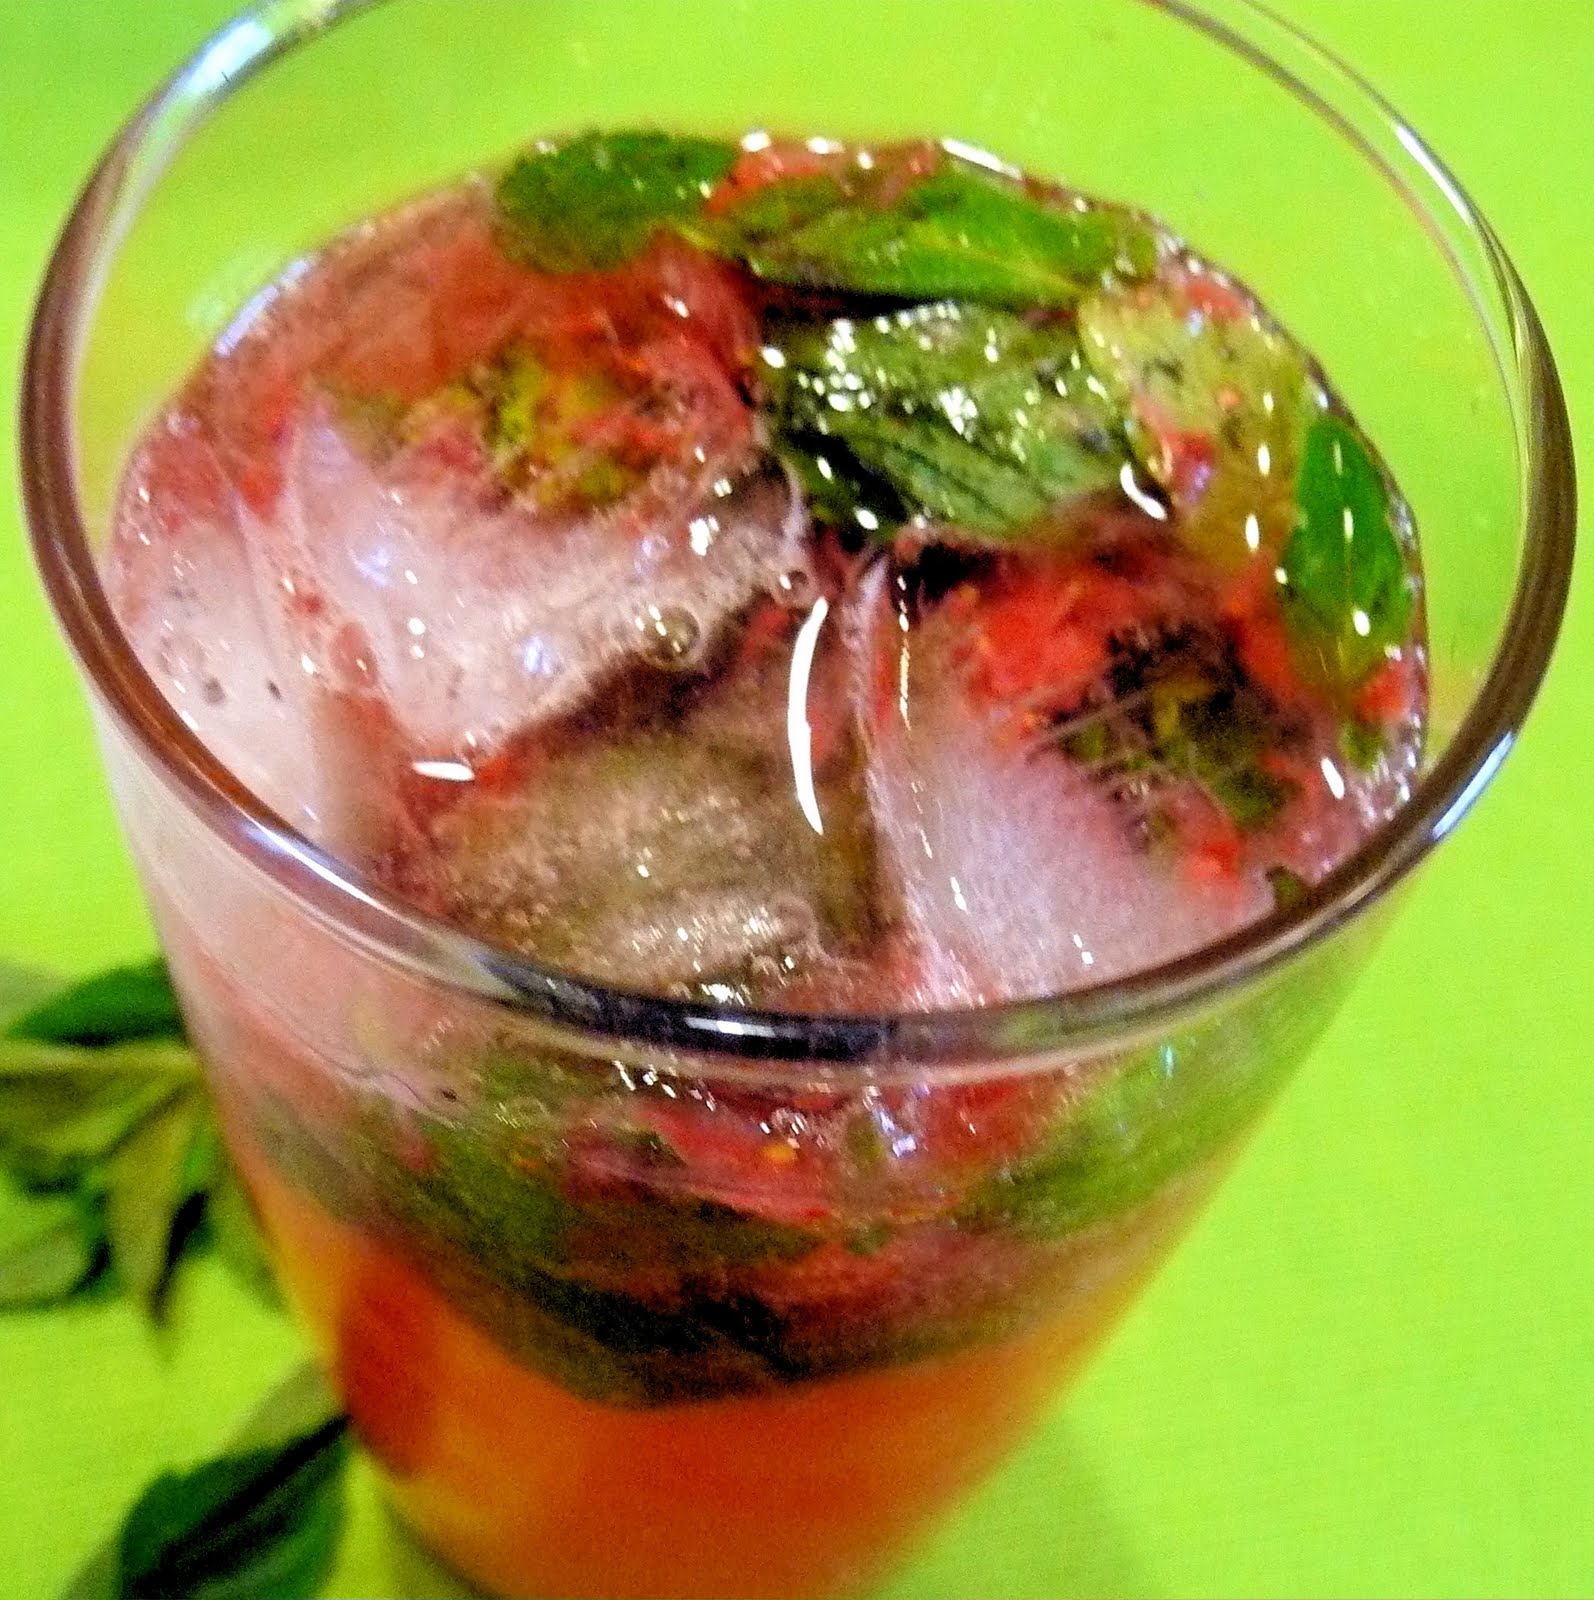
There are few things more refreshing on a hot summer day than a mojito. My CSA share came with mint this week as well, so mojitos sounded like a perfect drink for this little heat wave we are experiencing in Philadelphia. I didn’t want to just make a classic mojito so I was happy that the CSA share came with strawberries as well so I could make Strawberry Mint Mojitos!
Ingredients (per serving):
1 teaspoon simple syrup
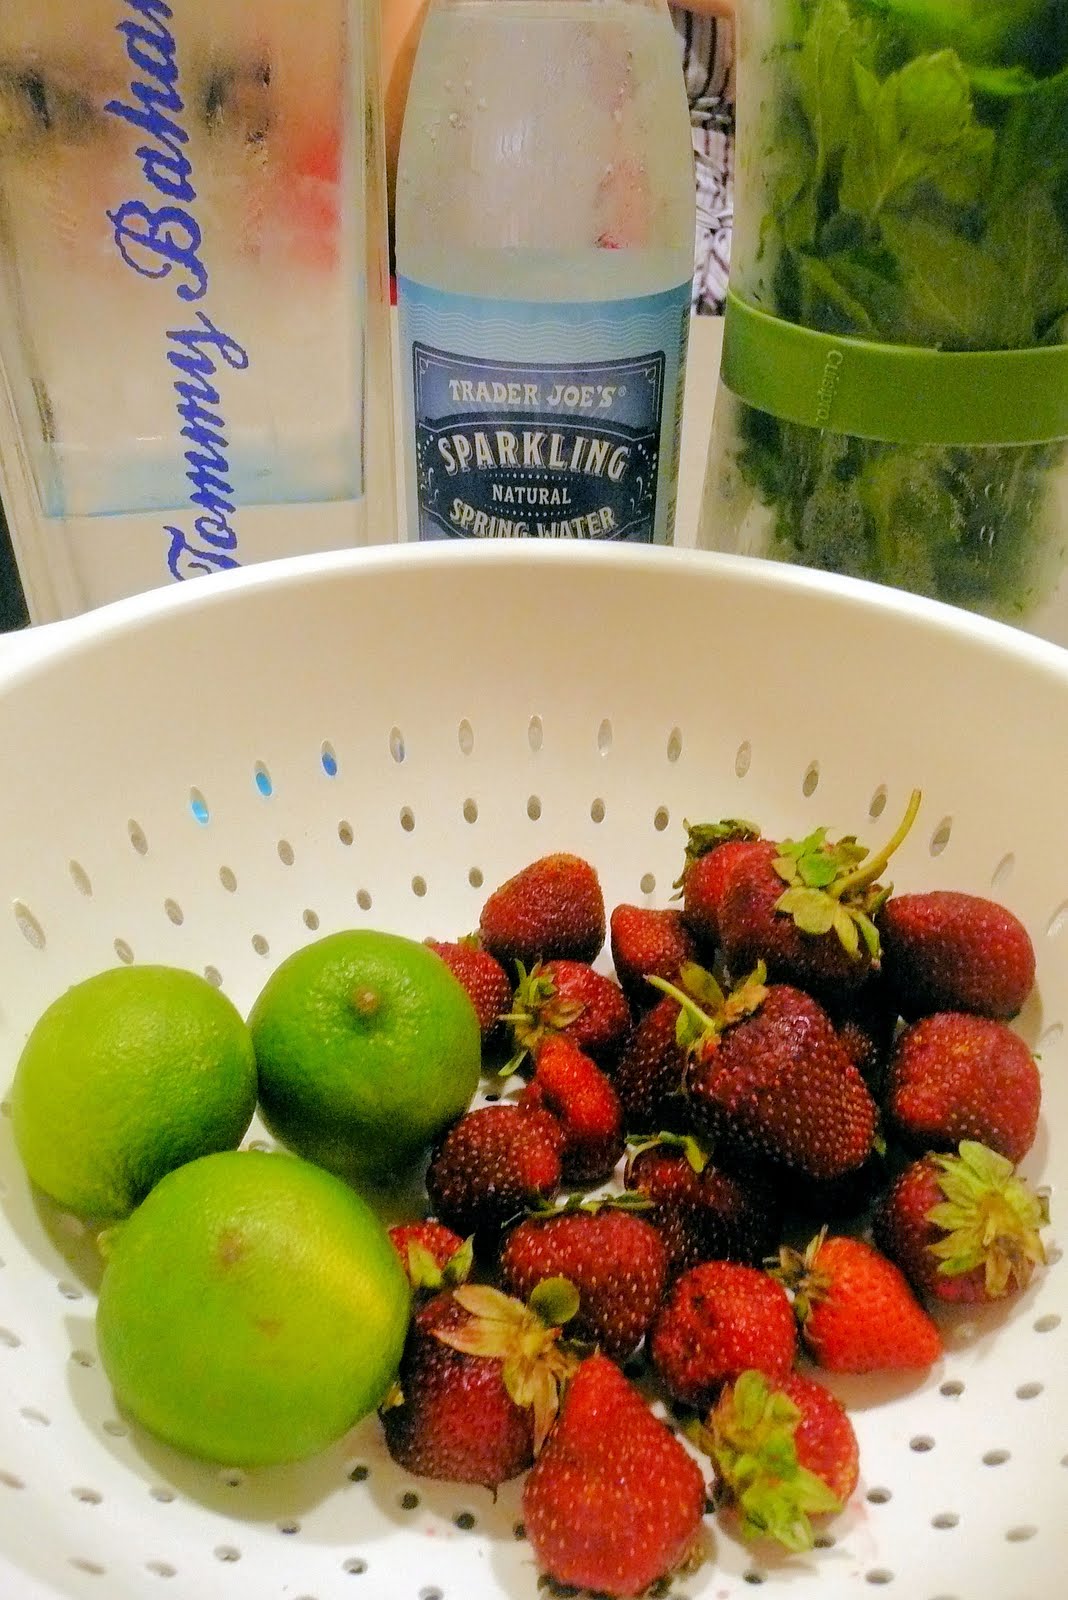
2 fresh strawberries, halved
Mint leaves from 1-2 sprigs
Sparkling water (club soda)
1/2 lime
2 ounces light rum
Ice
To make simple syrup, combine 1 cup sugar with 1 cup water in a saute pan. Bring to a boil, stirring occasionally, until the sugar dissolves. Cool.
Prepare your strawberries. Remove the stem from the strawberries and cut in half.
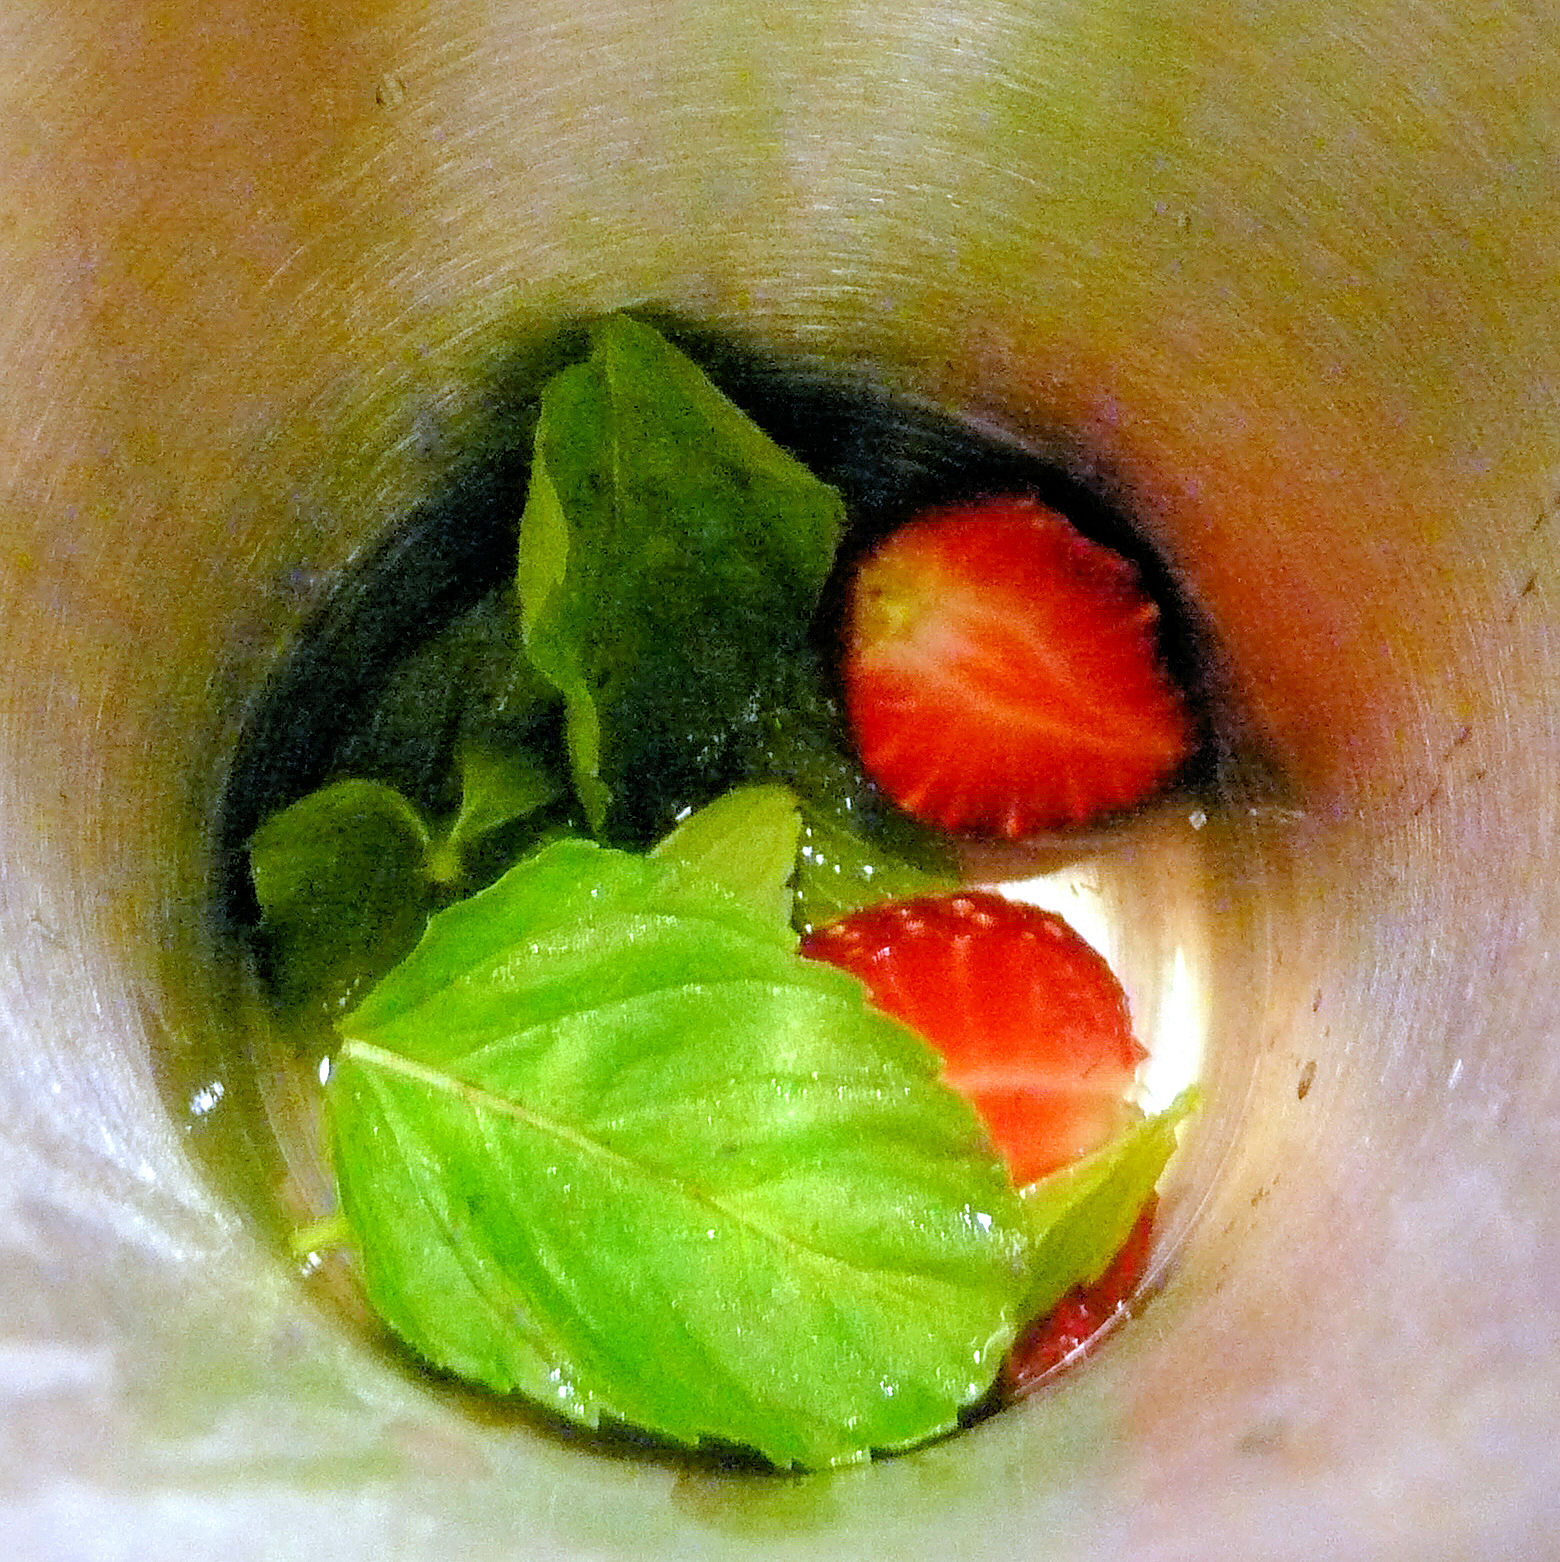
Add the juice from 1/2 a lime, two strawberries (4 halves), 1 teaspoon simple syrup, and the mint leaves to a glass.
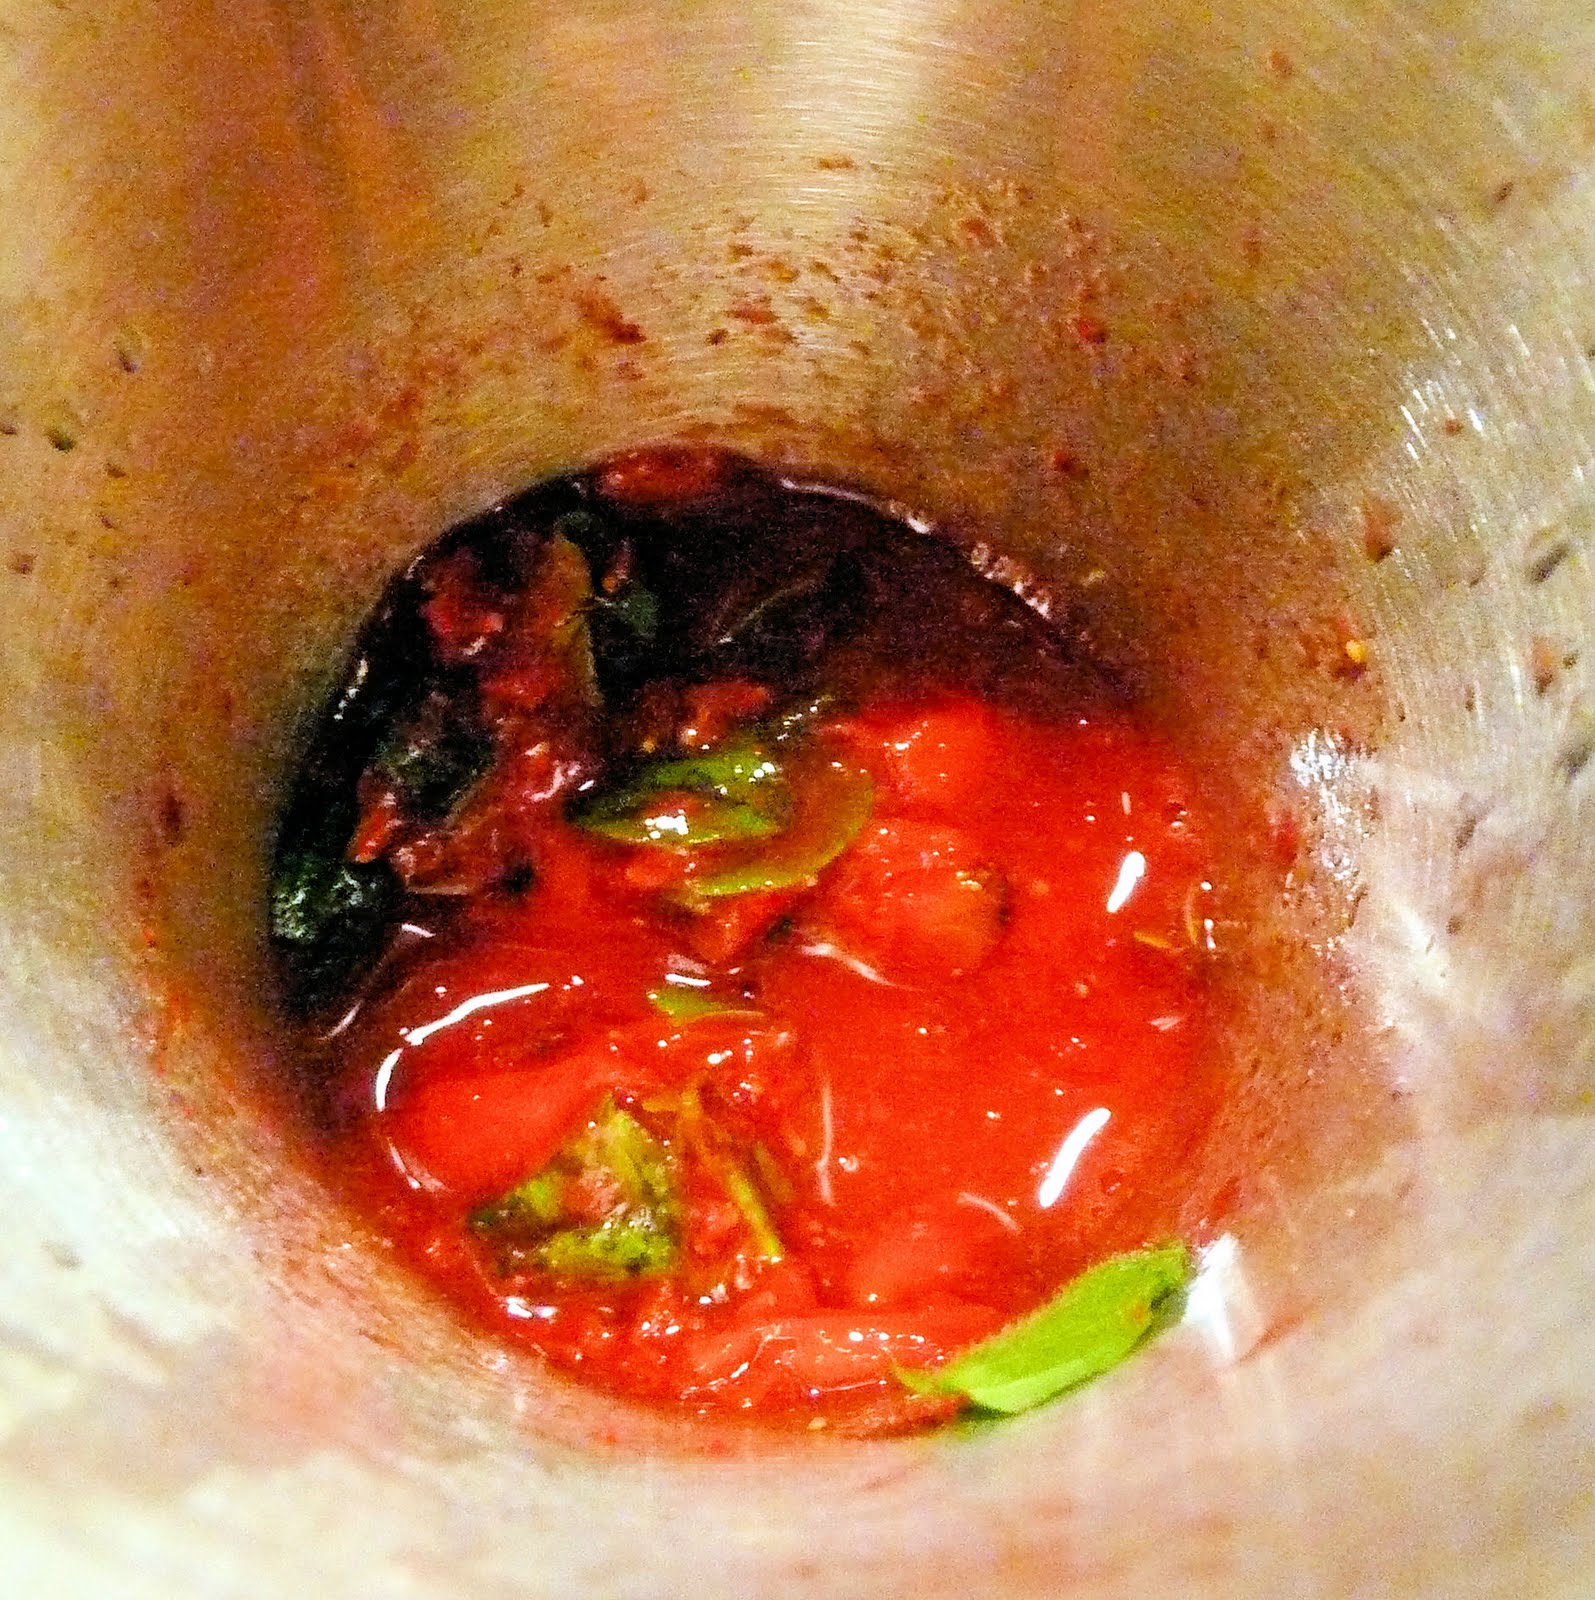
Using a muddler or the back of a spoon, muddle the ingredients together. Muddling is crushing ingredients to allow the flavors and oils to be released and combine.
Add two ounces rum and ice, and shake to combine. Fill with sparkling water.
This is so refreshing. I made mine with very little simple syrup; I prefer my mojito to be more minty than sweet. Feel free to adapt the amount of each ingredient to your tastes. This recipe can also be changed to use watermelon, raspberries, or whatever else sounds good to you.
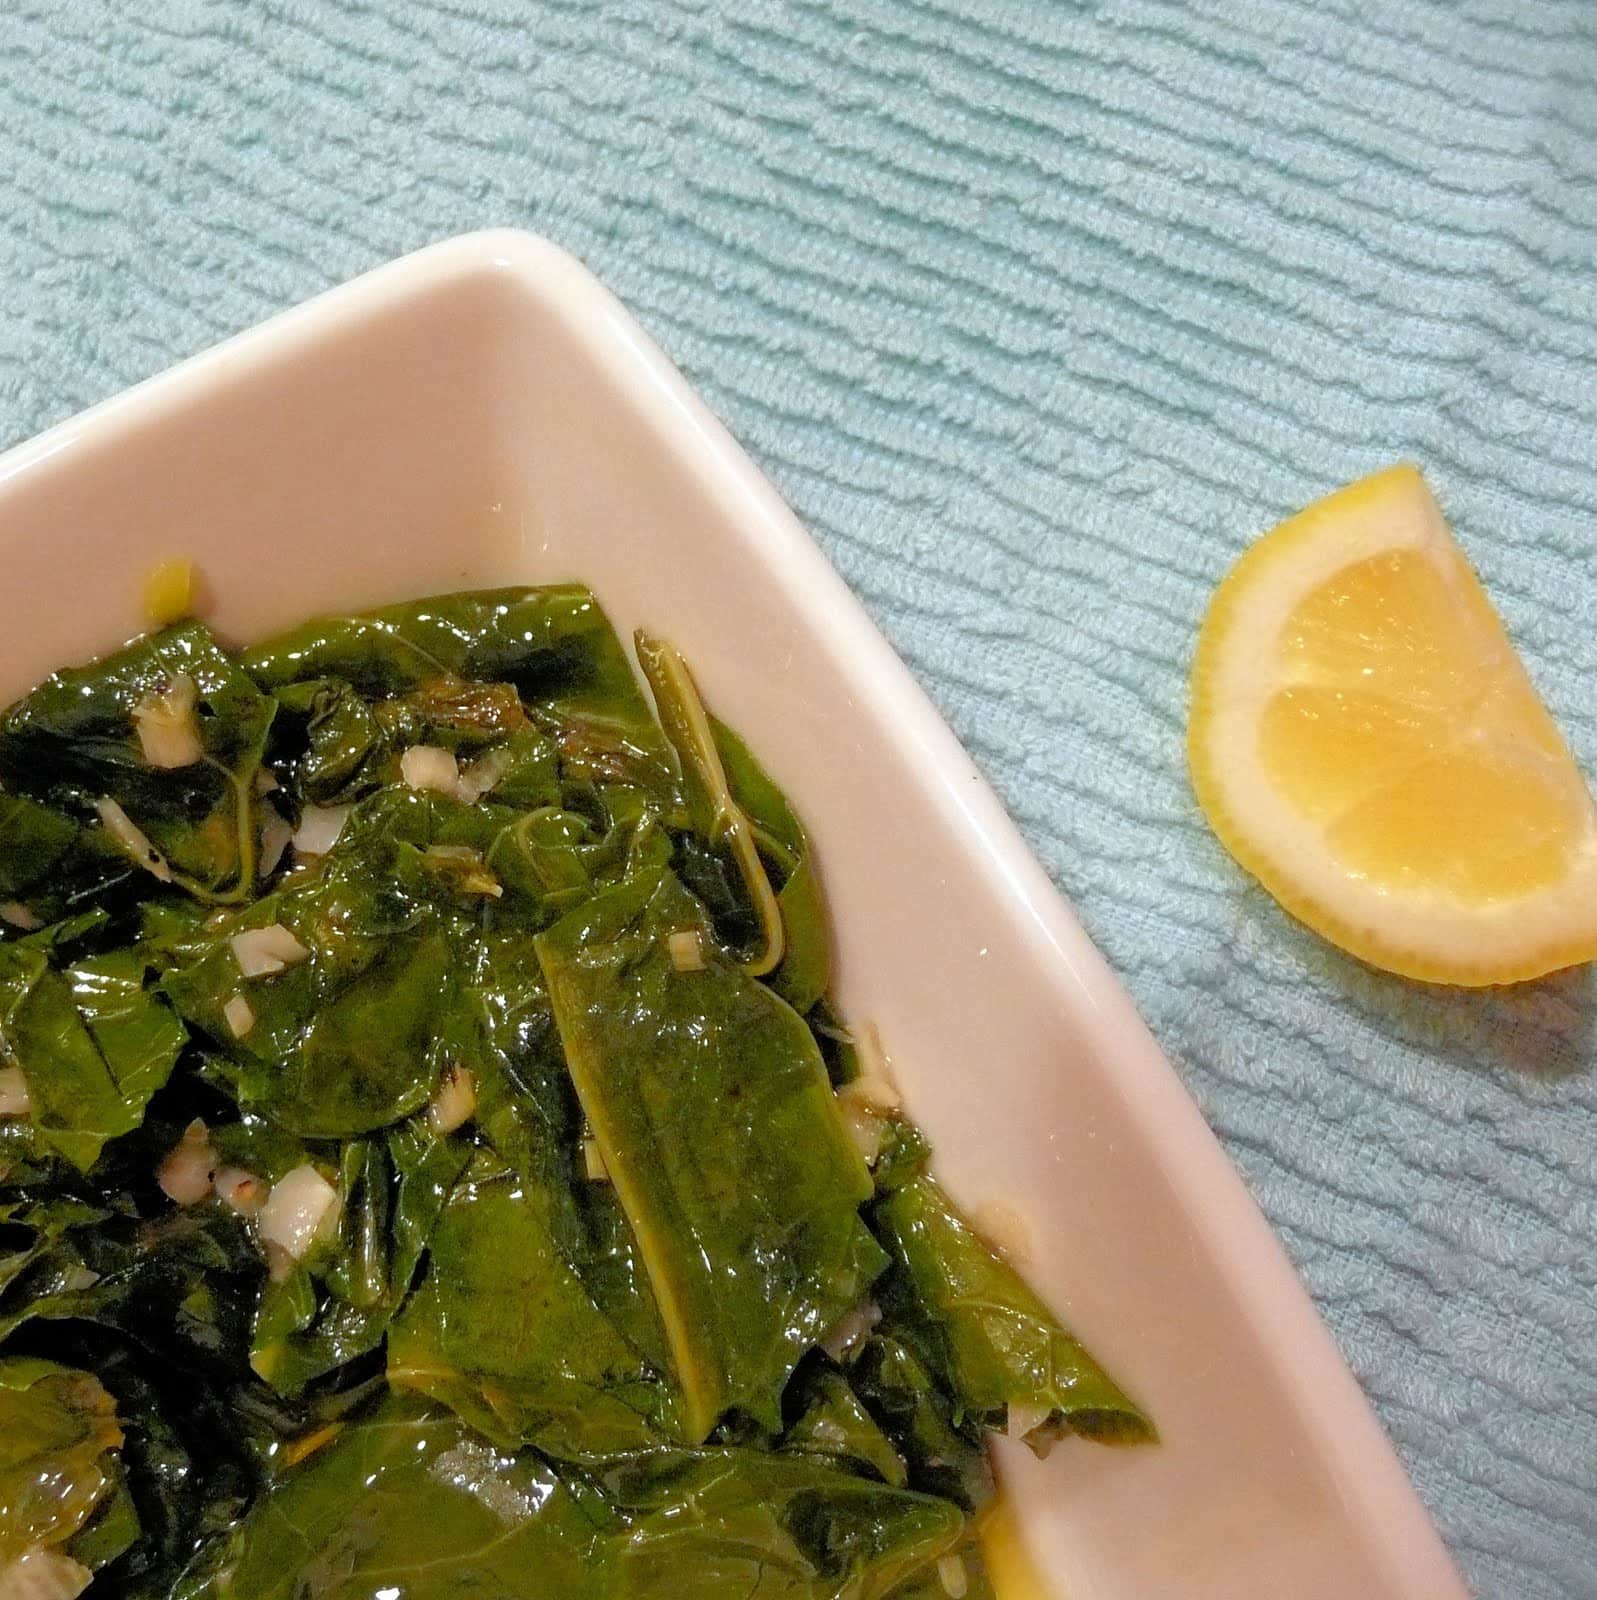
This week, I received collard greens as part of my CSA. Although traditionally made with smoked meats and such, I wanted to ease my way into this new veggie. (I’ll try a somewhat more traditional version later this week)
Ingredients:
1 bunch of collard greens, stems removed and roughly chopped
3 tablespoons olive oil
1 spring garlic
Salt and pepper to taste
Lemon, optional
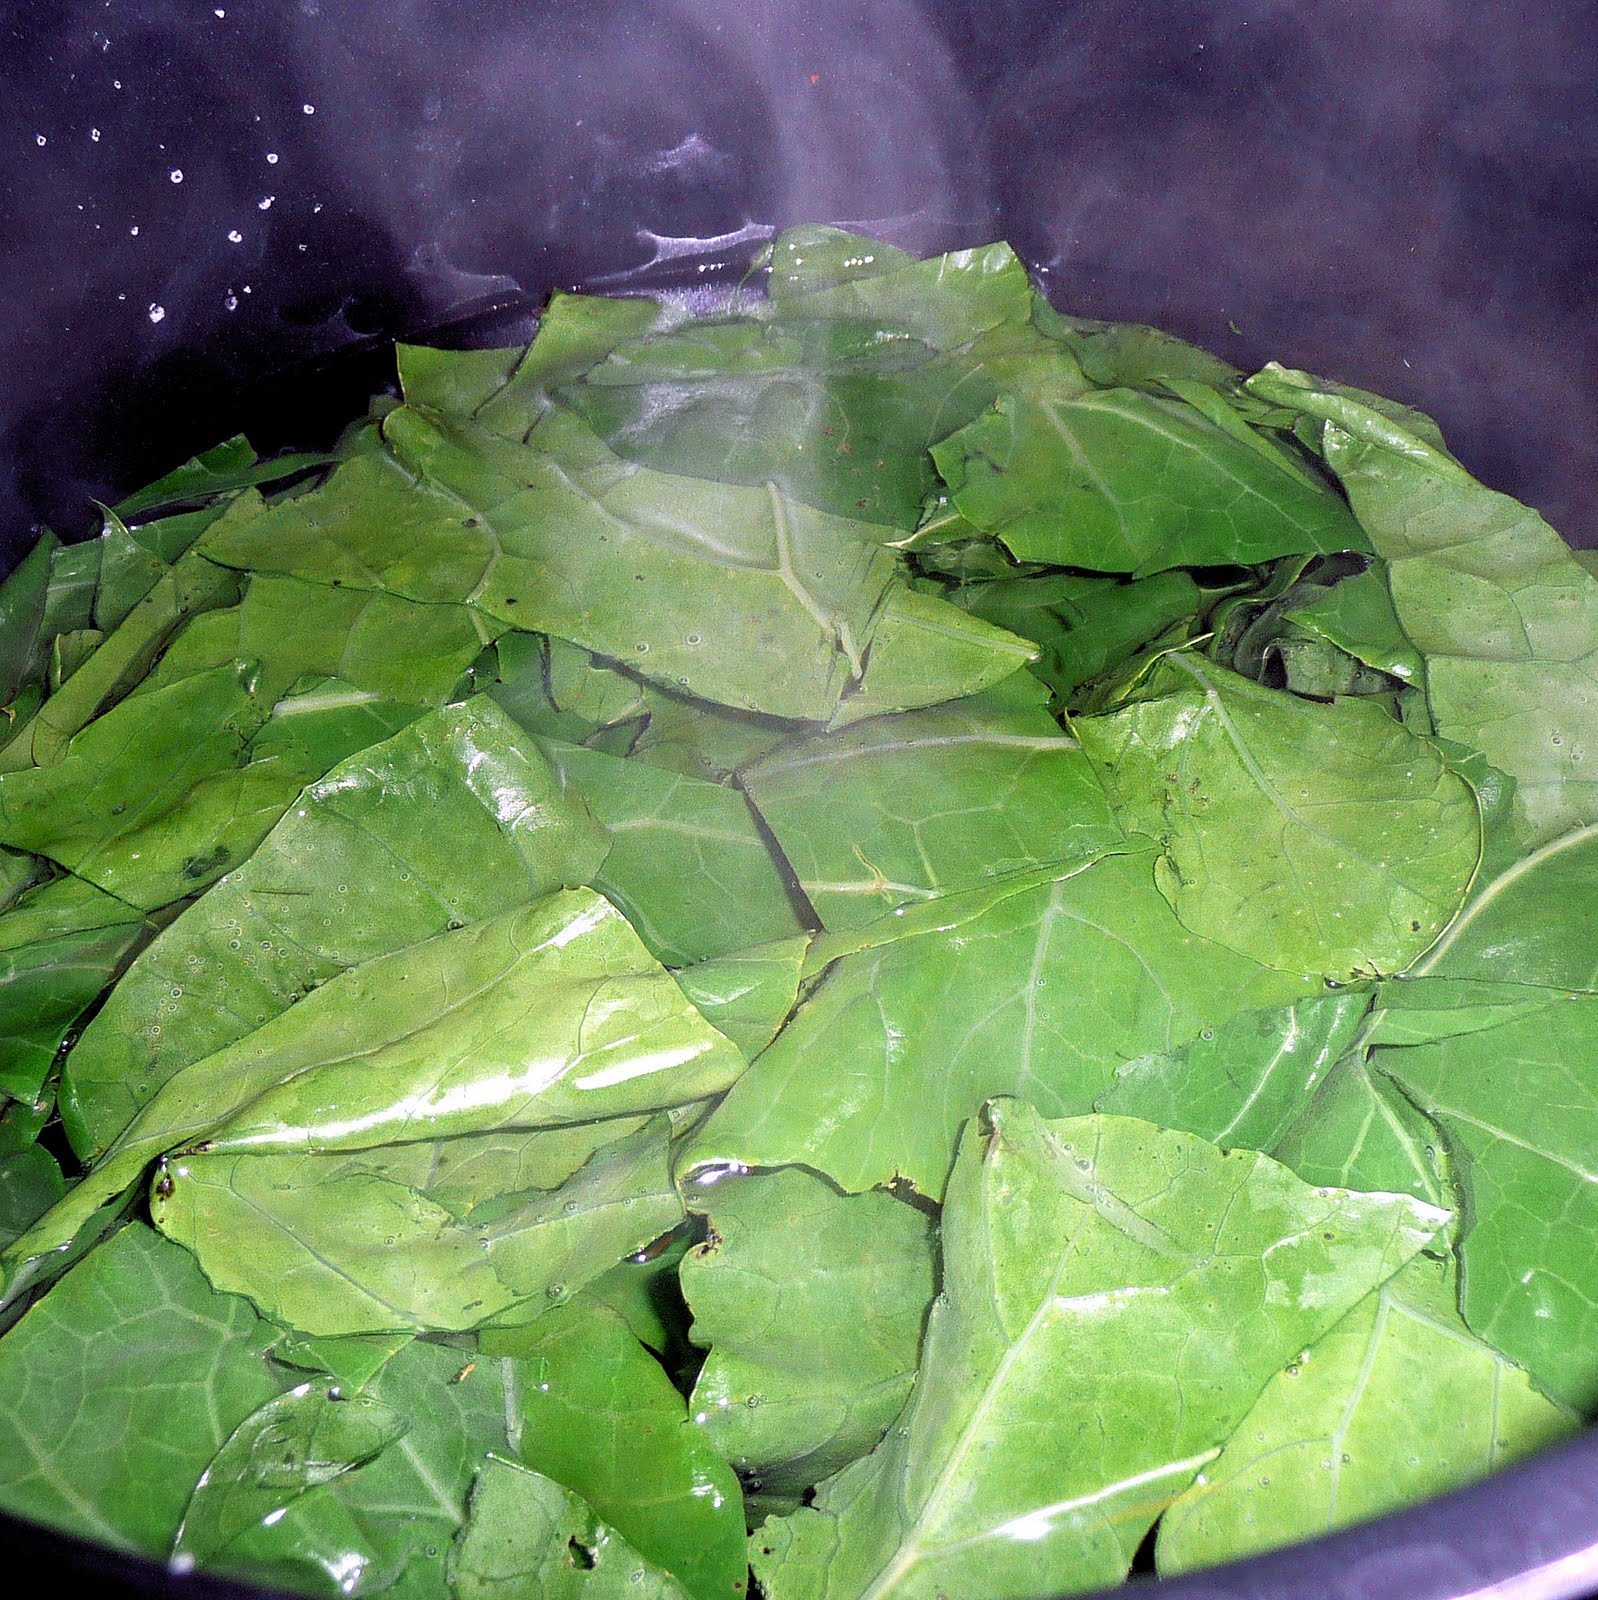
Bring a large pot of water to a boil. Add a teaspoon of salt. Prepare your collard greens while waiting for the water to boil.
remove large stem in center of leaf
roughly chop
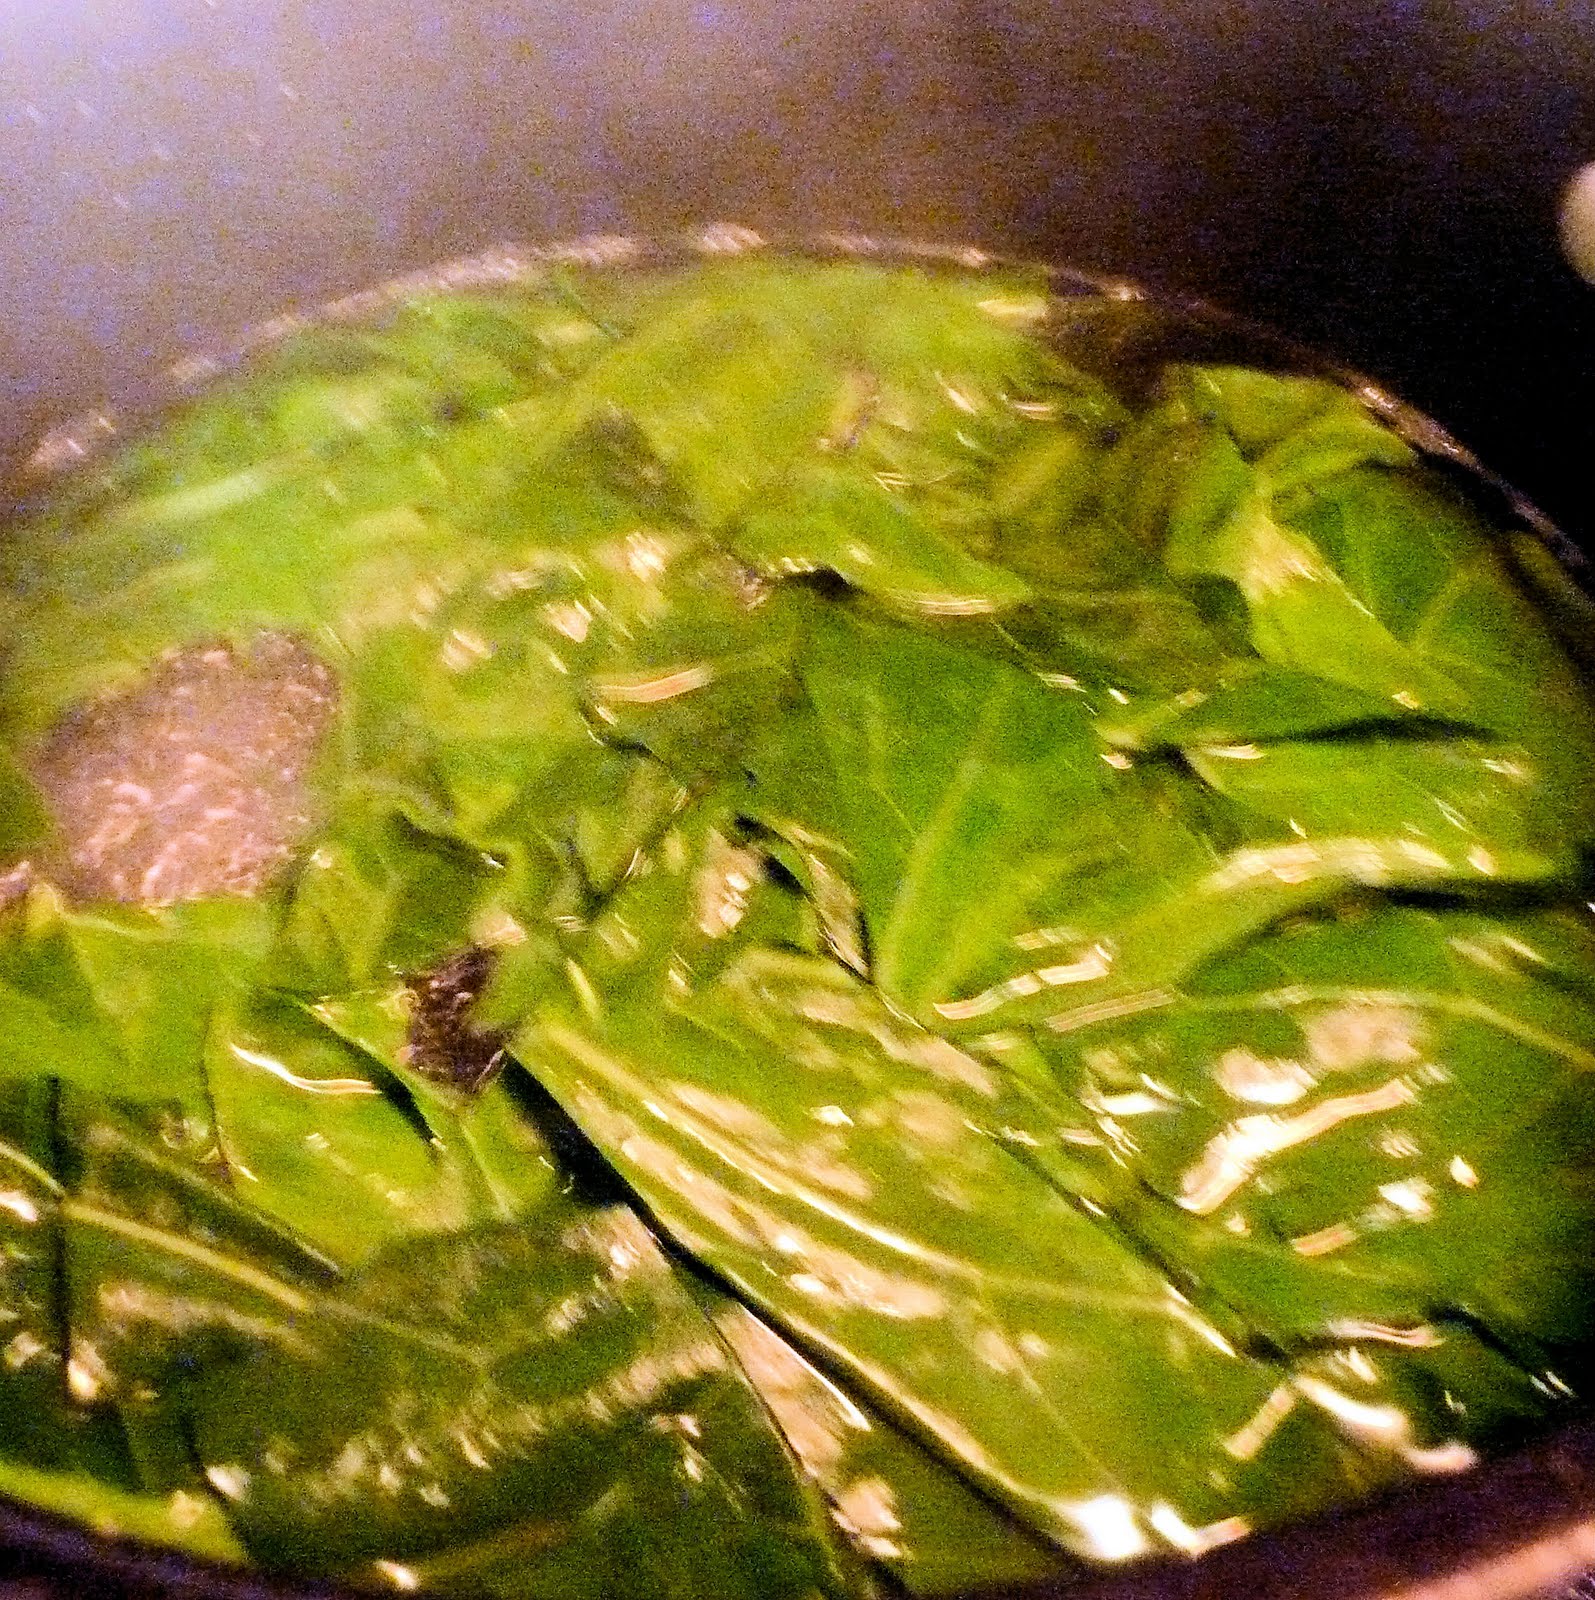
When the water is boiling, add the collard greens and cook for ten minutes.
when initially added
ten minutes in
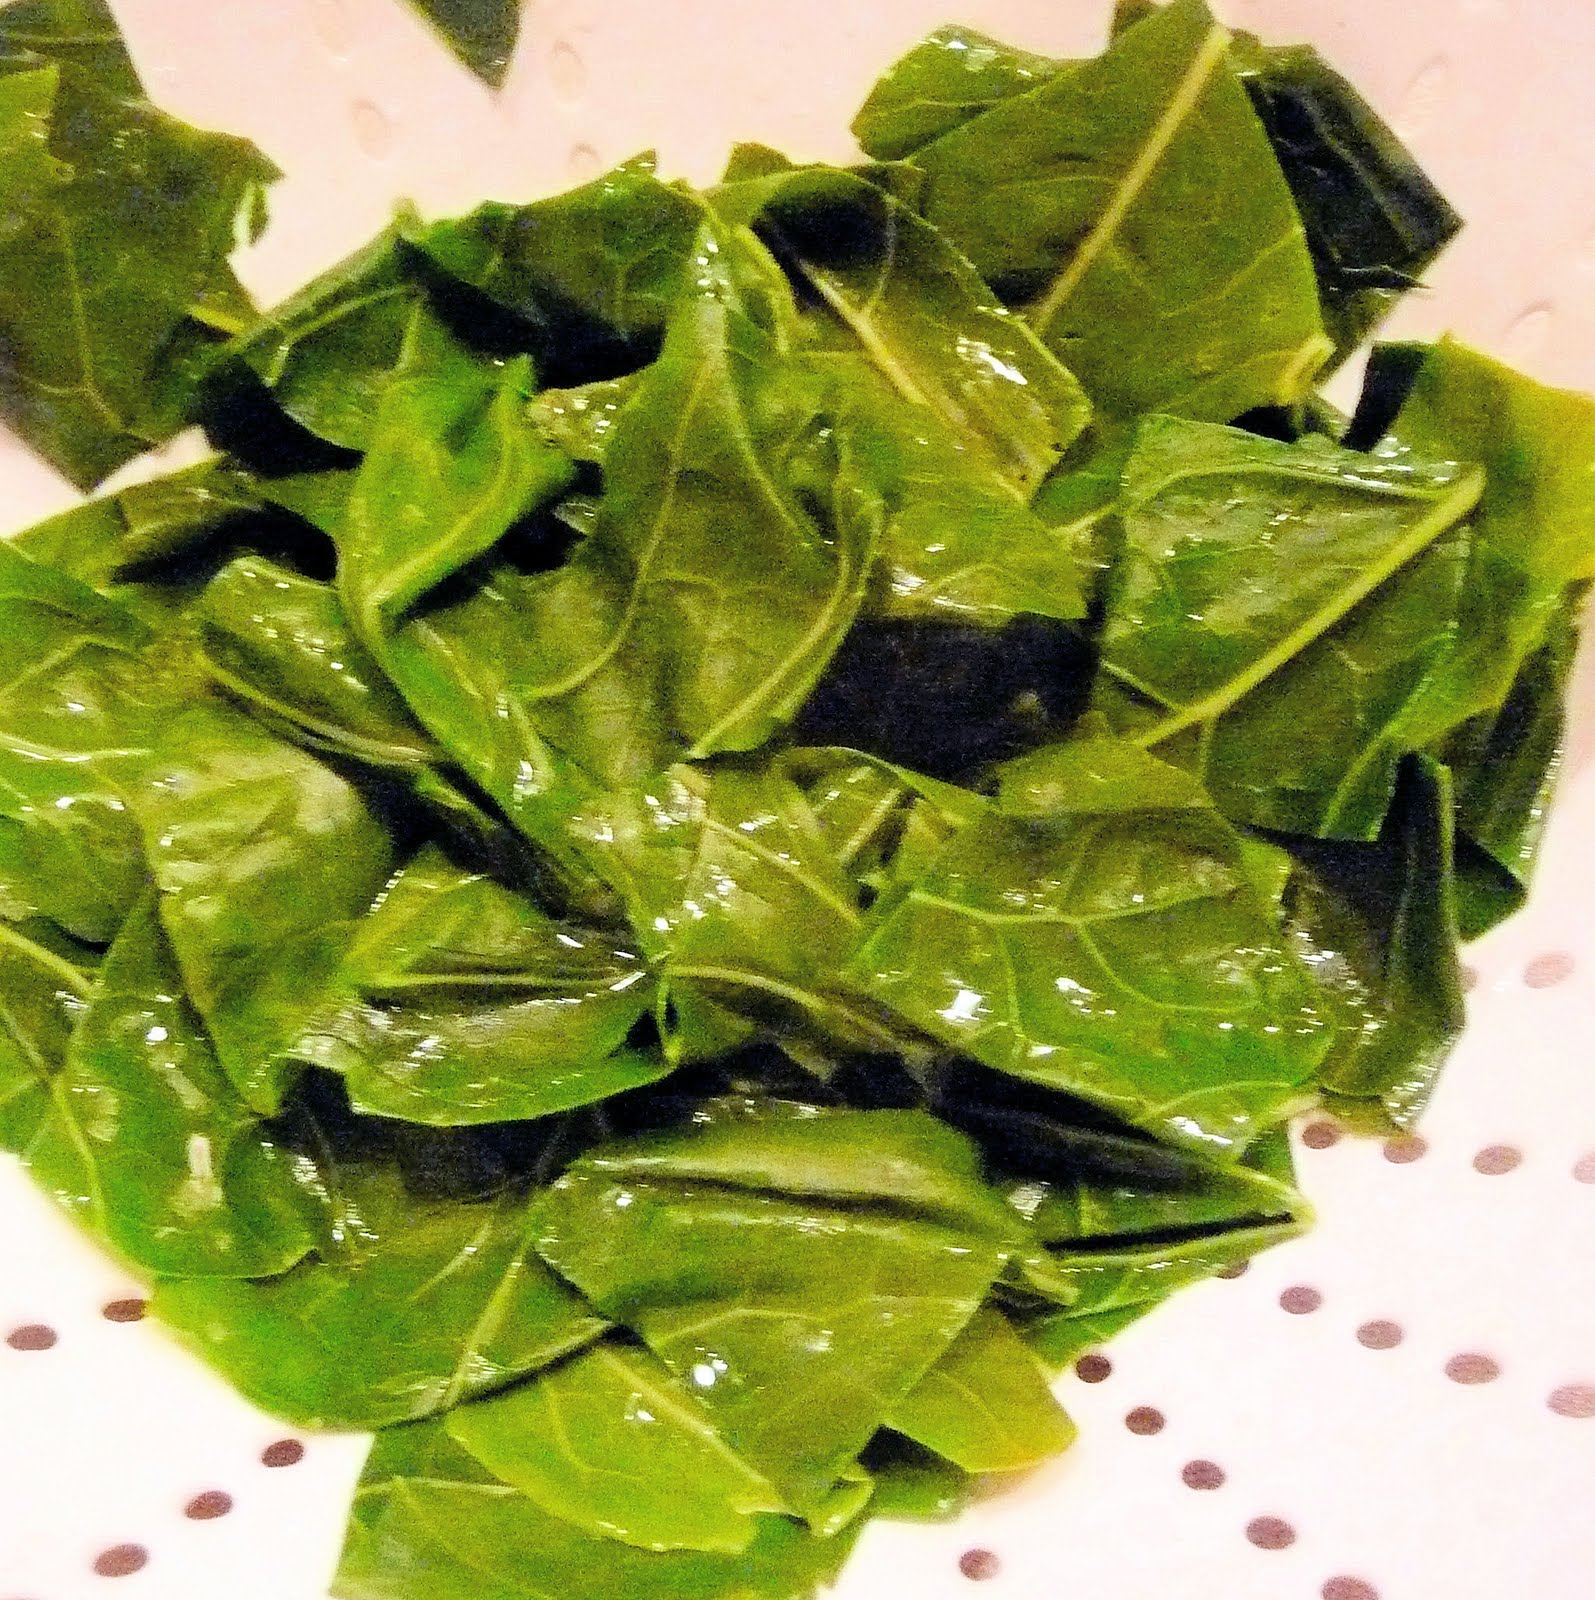
Drain the collard greens in a colander and rinse under cold water. Squeeze against the colander to remove excess water.
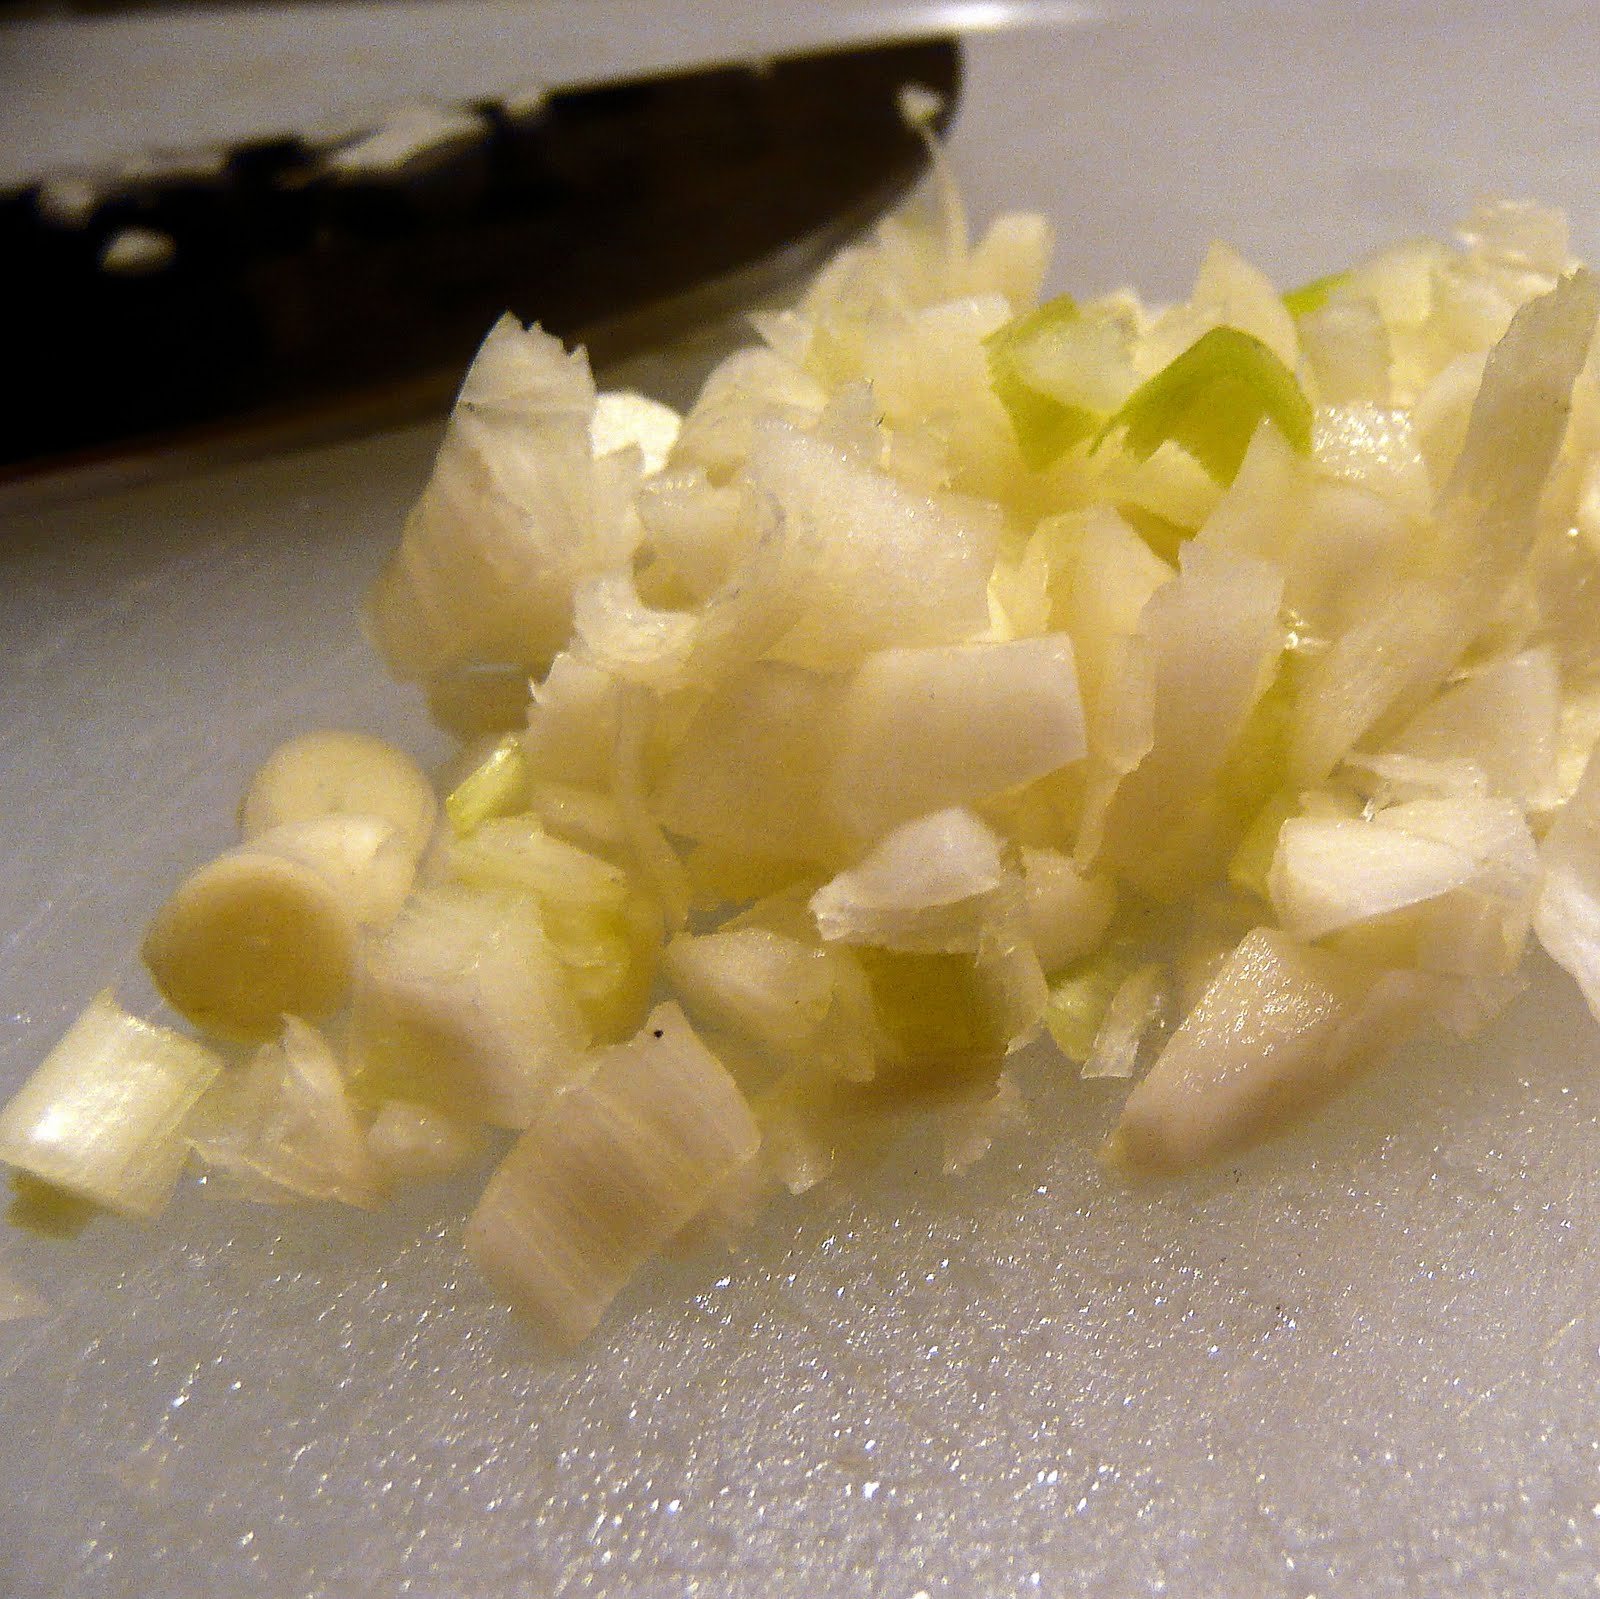
Chop the spring garlic.
Heat the olive oil in a saute pan over medium heat. Add the garlic and cook for one minute.
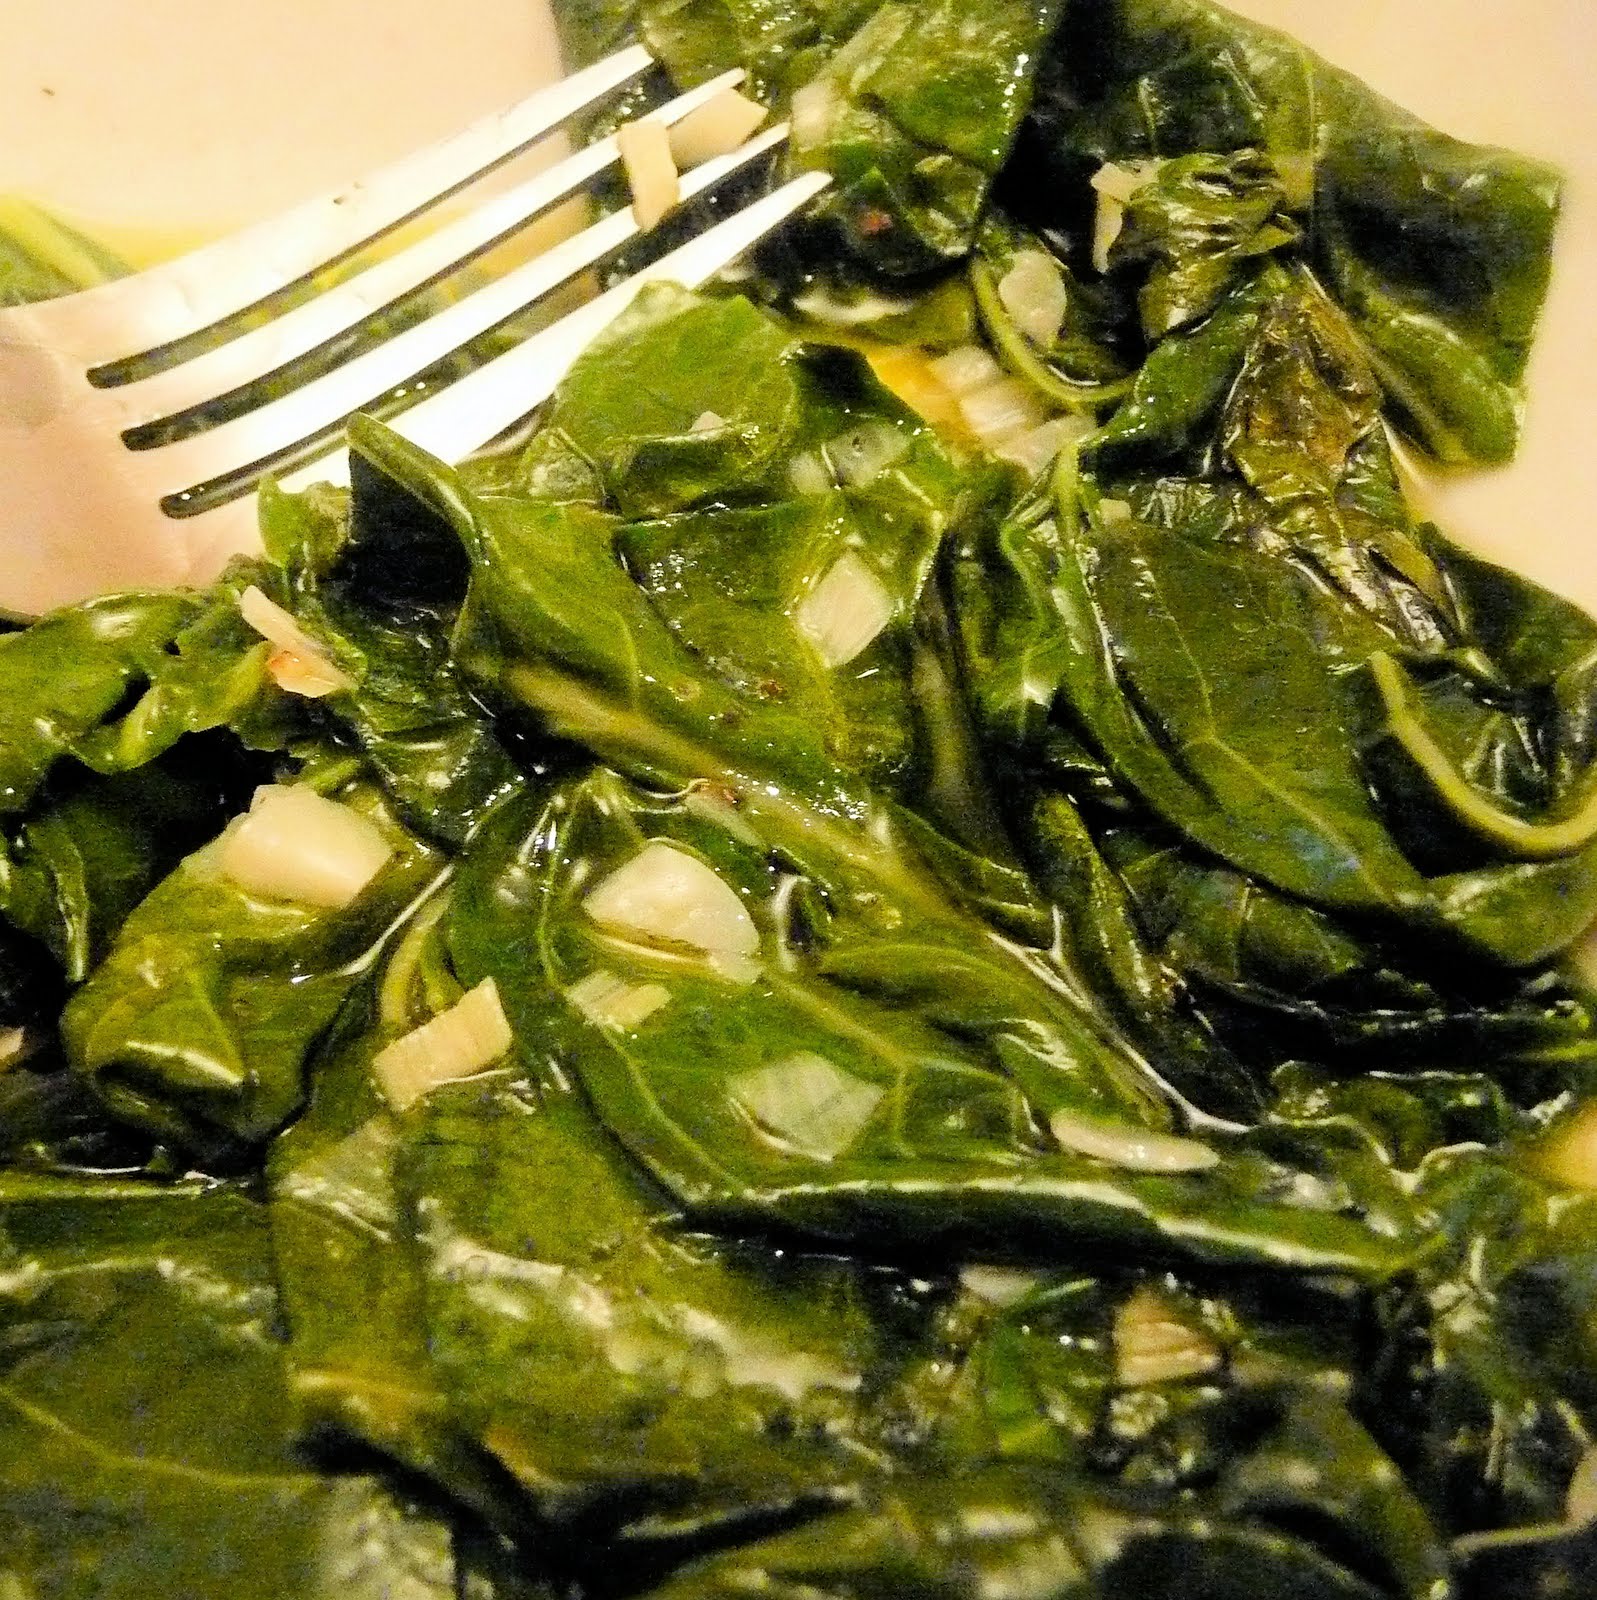
Add the collard greens and season with salt and pepper.
Cook until wilted, about three to four minutes.
Collard greens have a slight bitterness to them that works well with the subtle garlic taste of spring garlic (versus normal garlic). I added a squeeze of lemon which helped brighten the dish a bit. It’s a nice alternative to spinach, my default leafy green. As with most darker green vegetables, collard greens are high in Vitamins A, C, and K and are high in fiber, so the more leafy greens in my diet, the better.
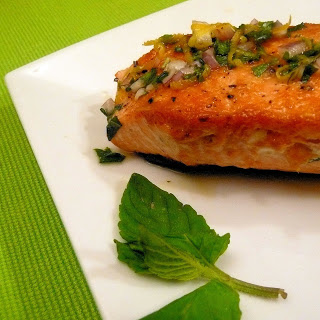
I’m still working through my mint and came across this recipe on My Recipes. Chimichurri is normally made with parsley and oregano and is used as a marinade on meat. However, this recipe incorporates mint, making the chimichurri seafood-friendly.
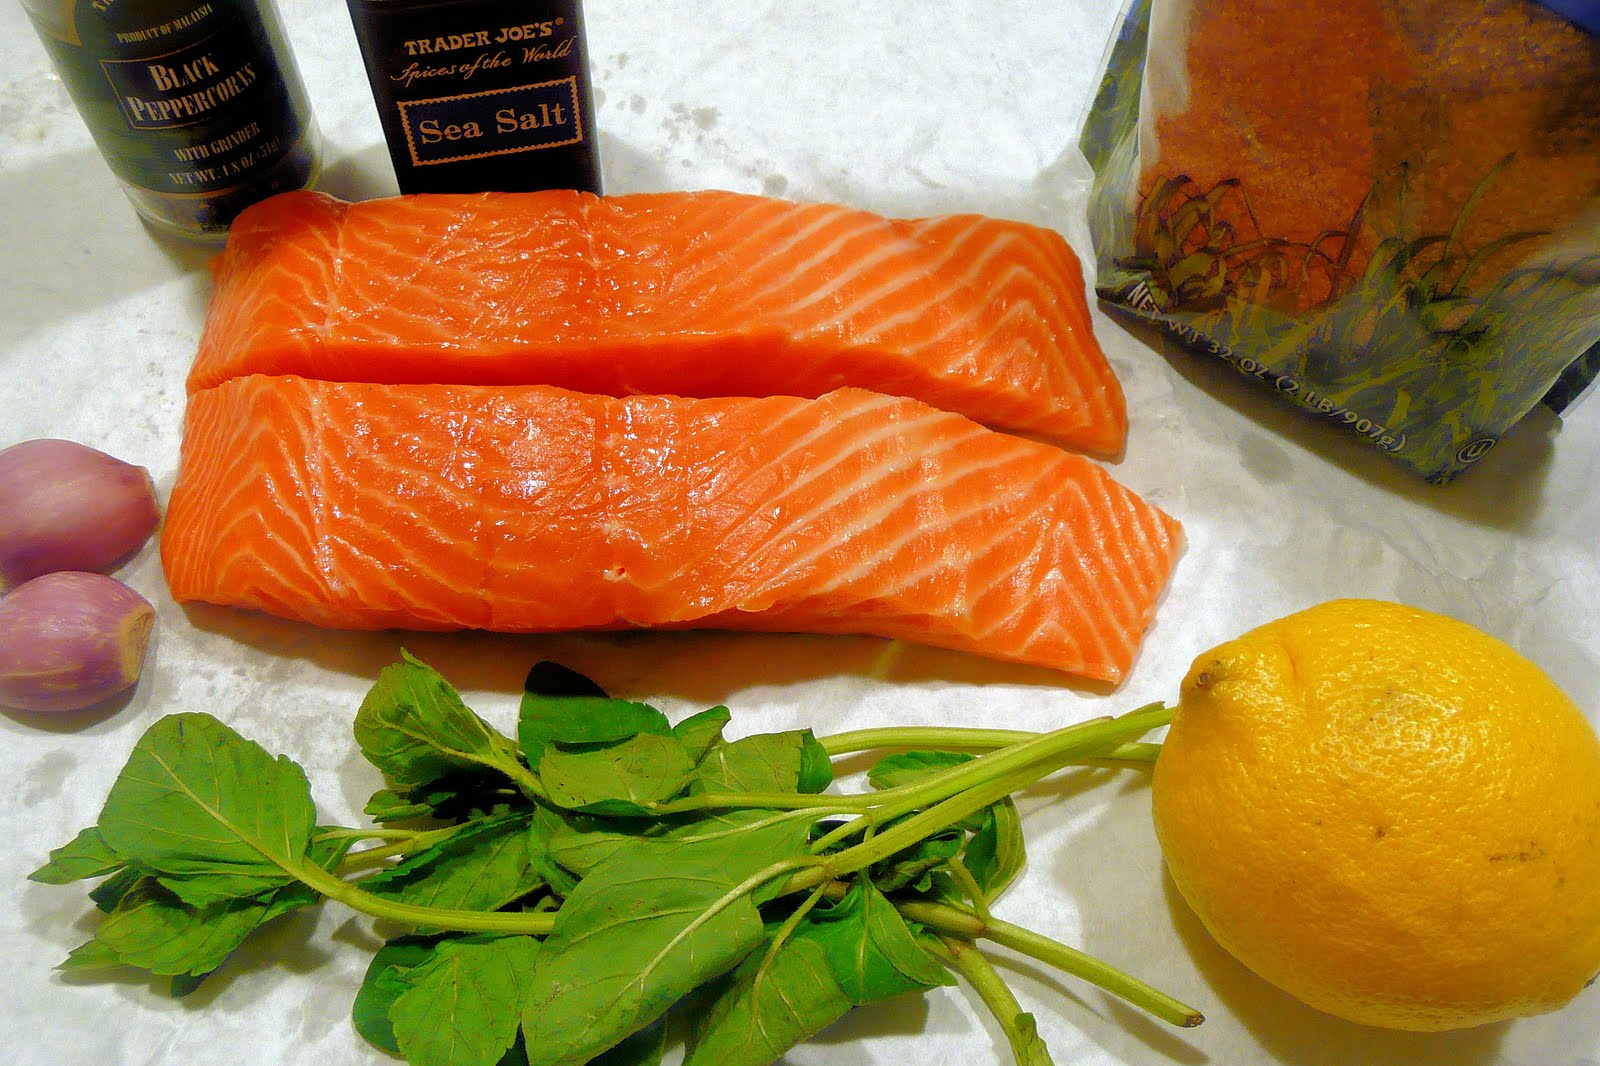
I was so excited to receive mint in my CSA this week. That emotion was quickly replaced by panic, what the heck can I make to actually use up all of this mint? I do have a dessert or two in the mix, but I wanted to include it in some dinners that were a little more rare than lamb with a mint sauce. Naturally, my love of salmon made choosing this recipe for Salmon with Lemon Mint Dressing a no brainer.
Ingredients:
Lemon zest from one lemon
Fresh lemon juice from 1/2 a lemon
1/4 teaspoon sugar
3/4 teaspoon salt, divided
1/8 teaspoon plus 1/4 teaspoon freshly ground black pepper, divided
1/4 cup plus 1 tablespoon olive oil, divided
1 tablespoon finely minced shallot (about one shallot)
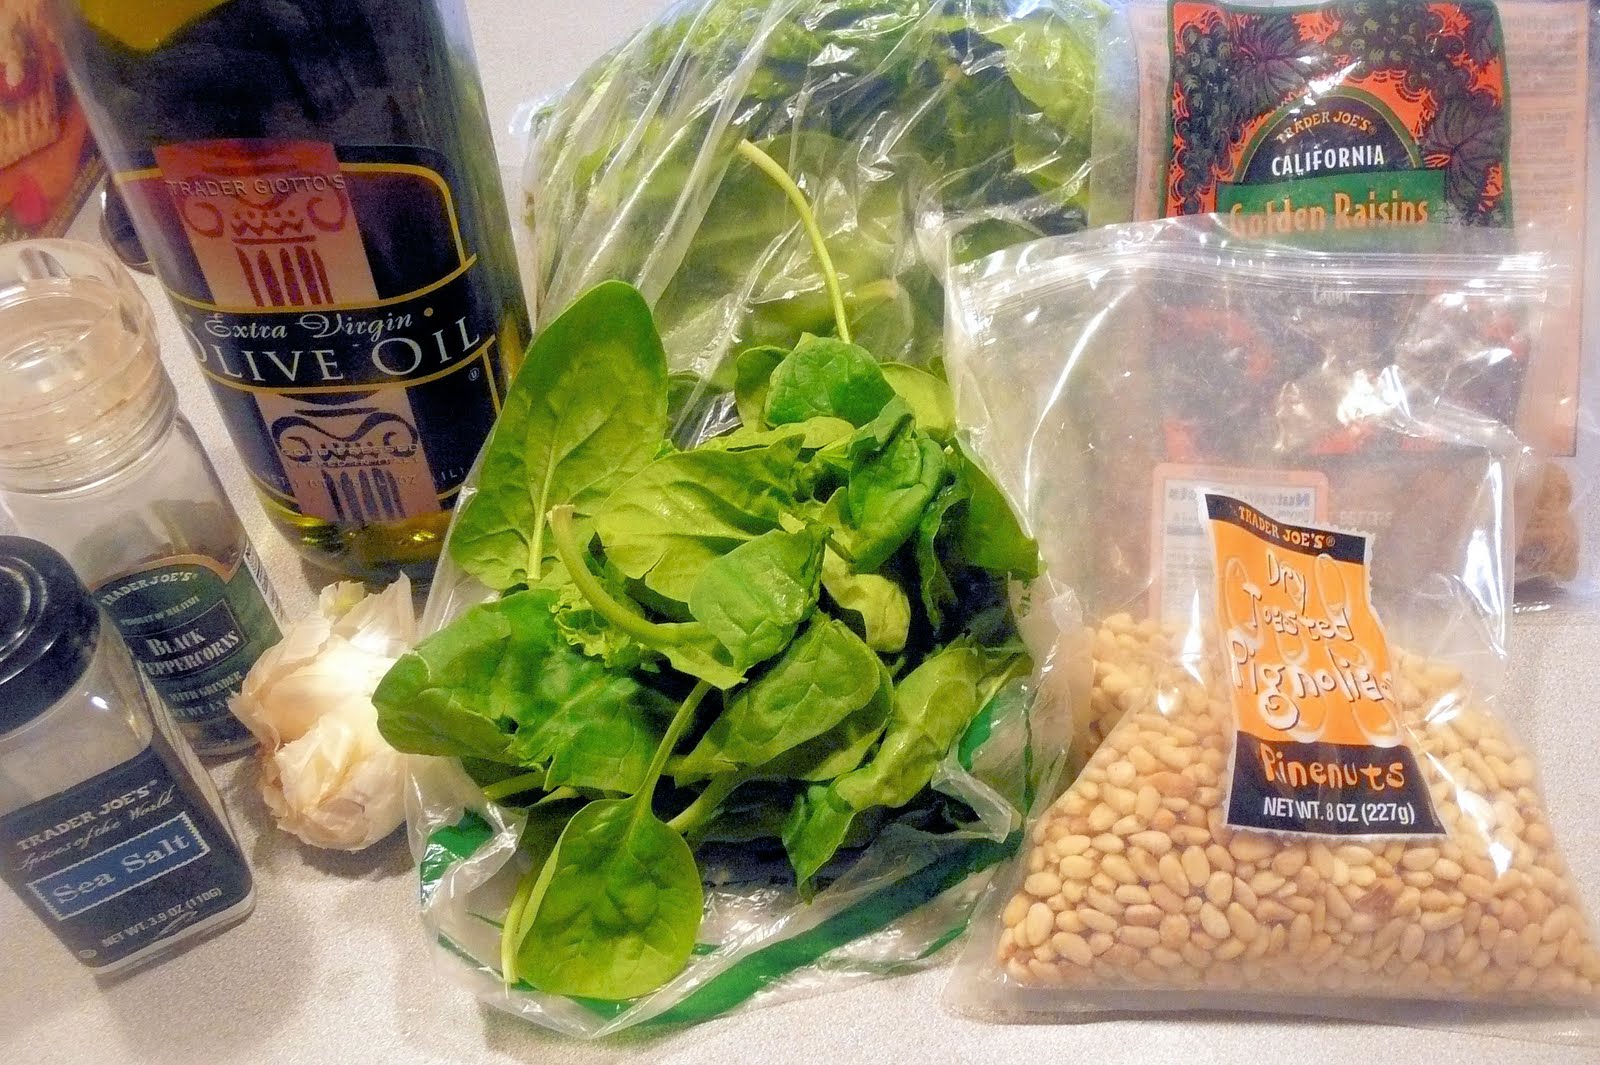
I am still on a Wilted Spinach with Garlic Vinaigrette kick, but my CSA gave me a bag of spinach about the size of my torso, so I thought I’d take this opportunity to branch out and try other spinach side recipes. I had all of these ingredients on hand, so this recipe from Cooking Light (August 2006) seemed like a good choice.
Ingredients:
1/2 cup boiling water
1/3 cup golden raisins
4 cups spinach
2 tablespoons water
1 teaspoon olive oil
2 large garlic cloves, minced
Salt and pepper, to taste
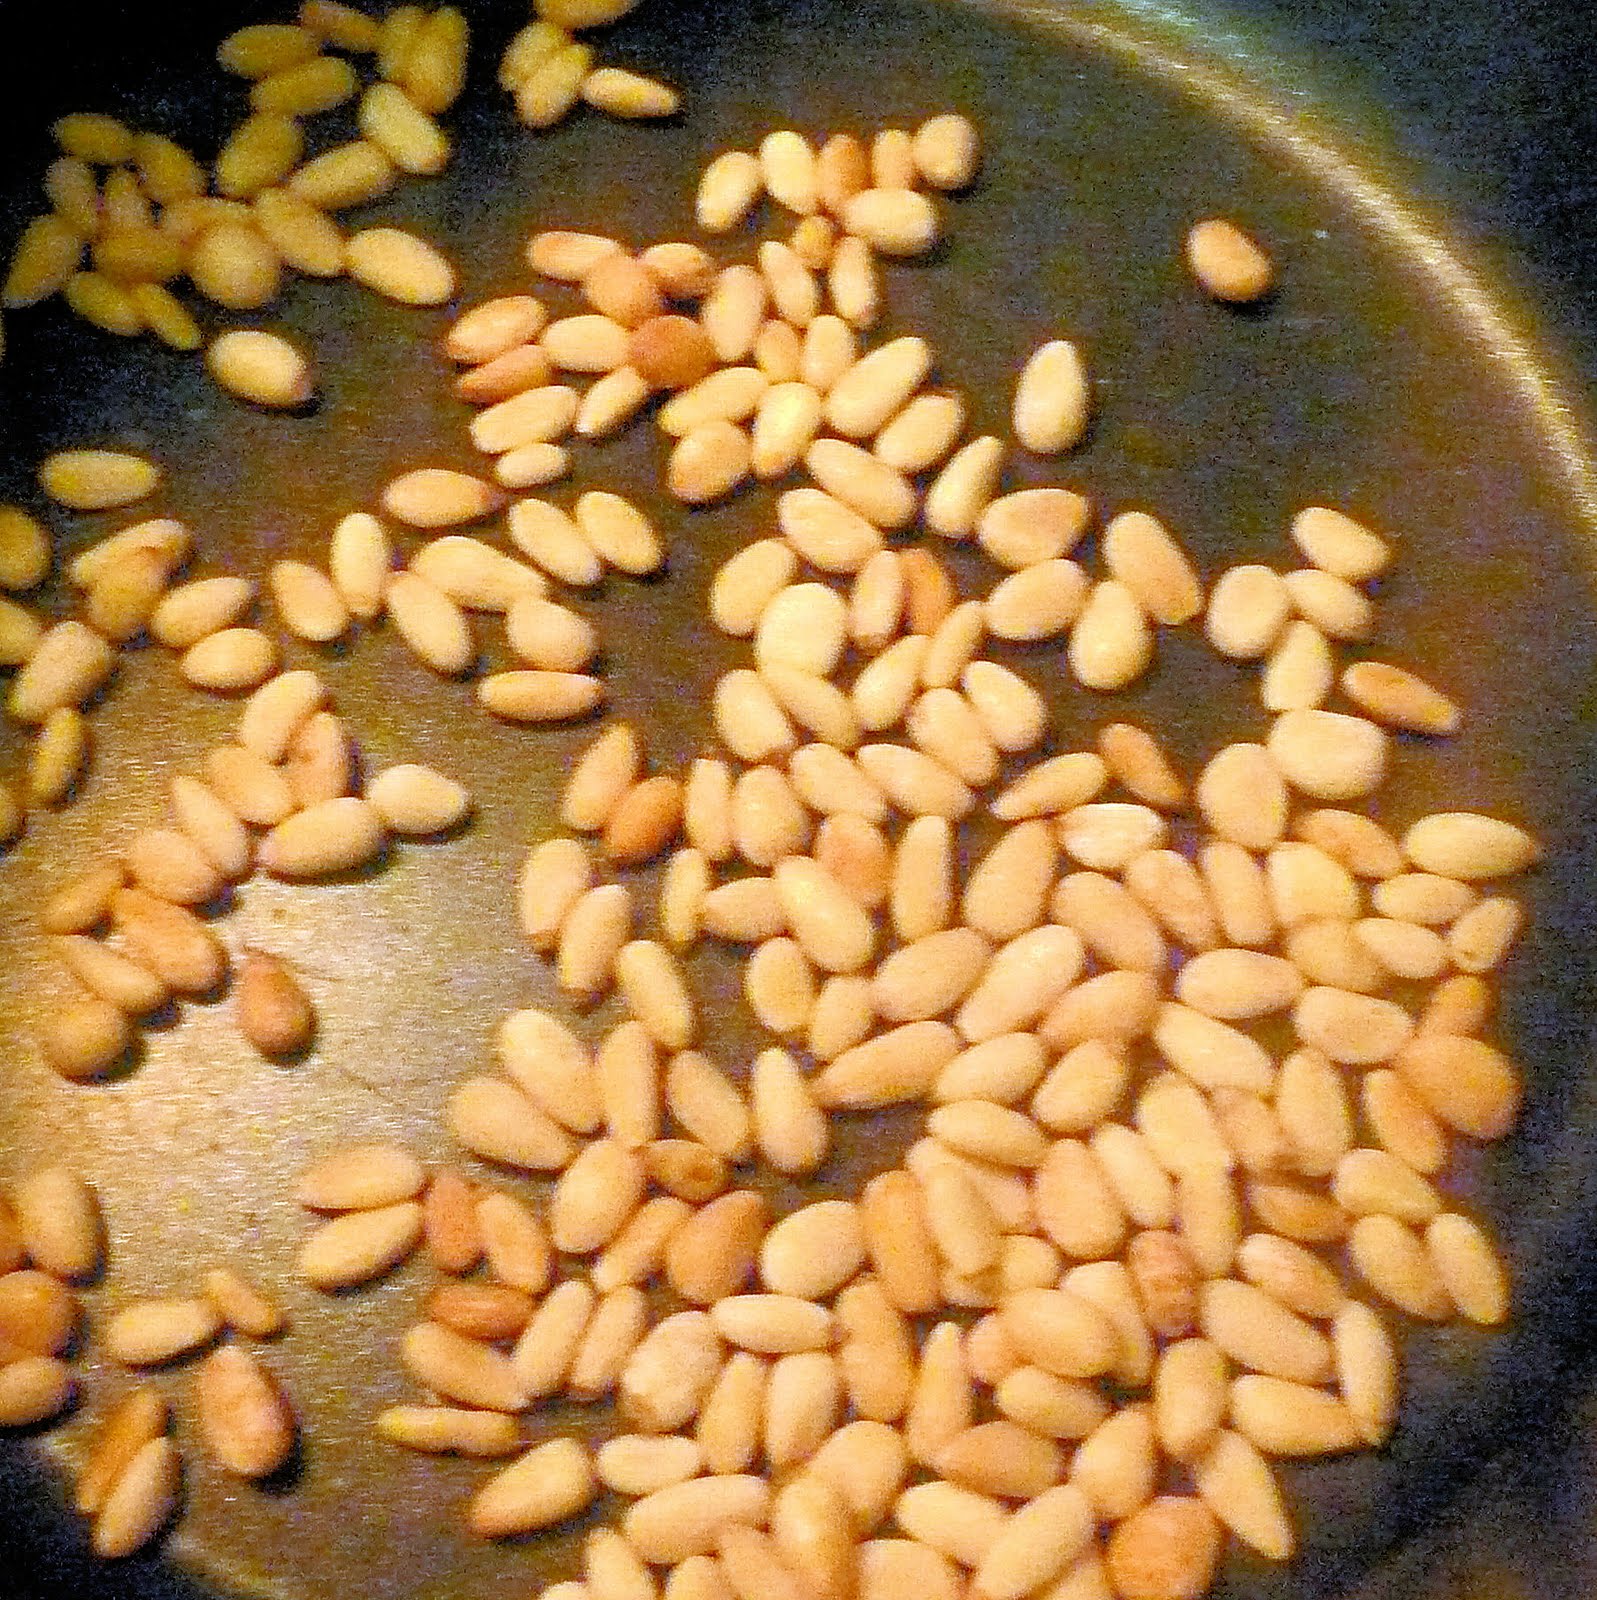
4 teaspoons pine nuts, toasted
First place golden raisins in a bowl. Add 1/2 cup boiling water and let stand for 15 minutes or until raisins expand. Drain and set aside.
Place the pine nuts in a saute pan over medium heat. Shake the pan frequently to keep them from burning. When fragrant and browned, remove from heat.
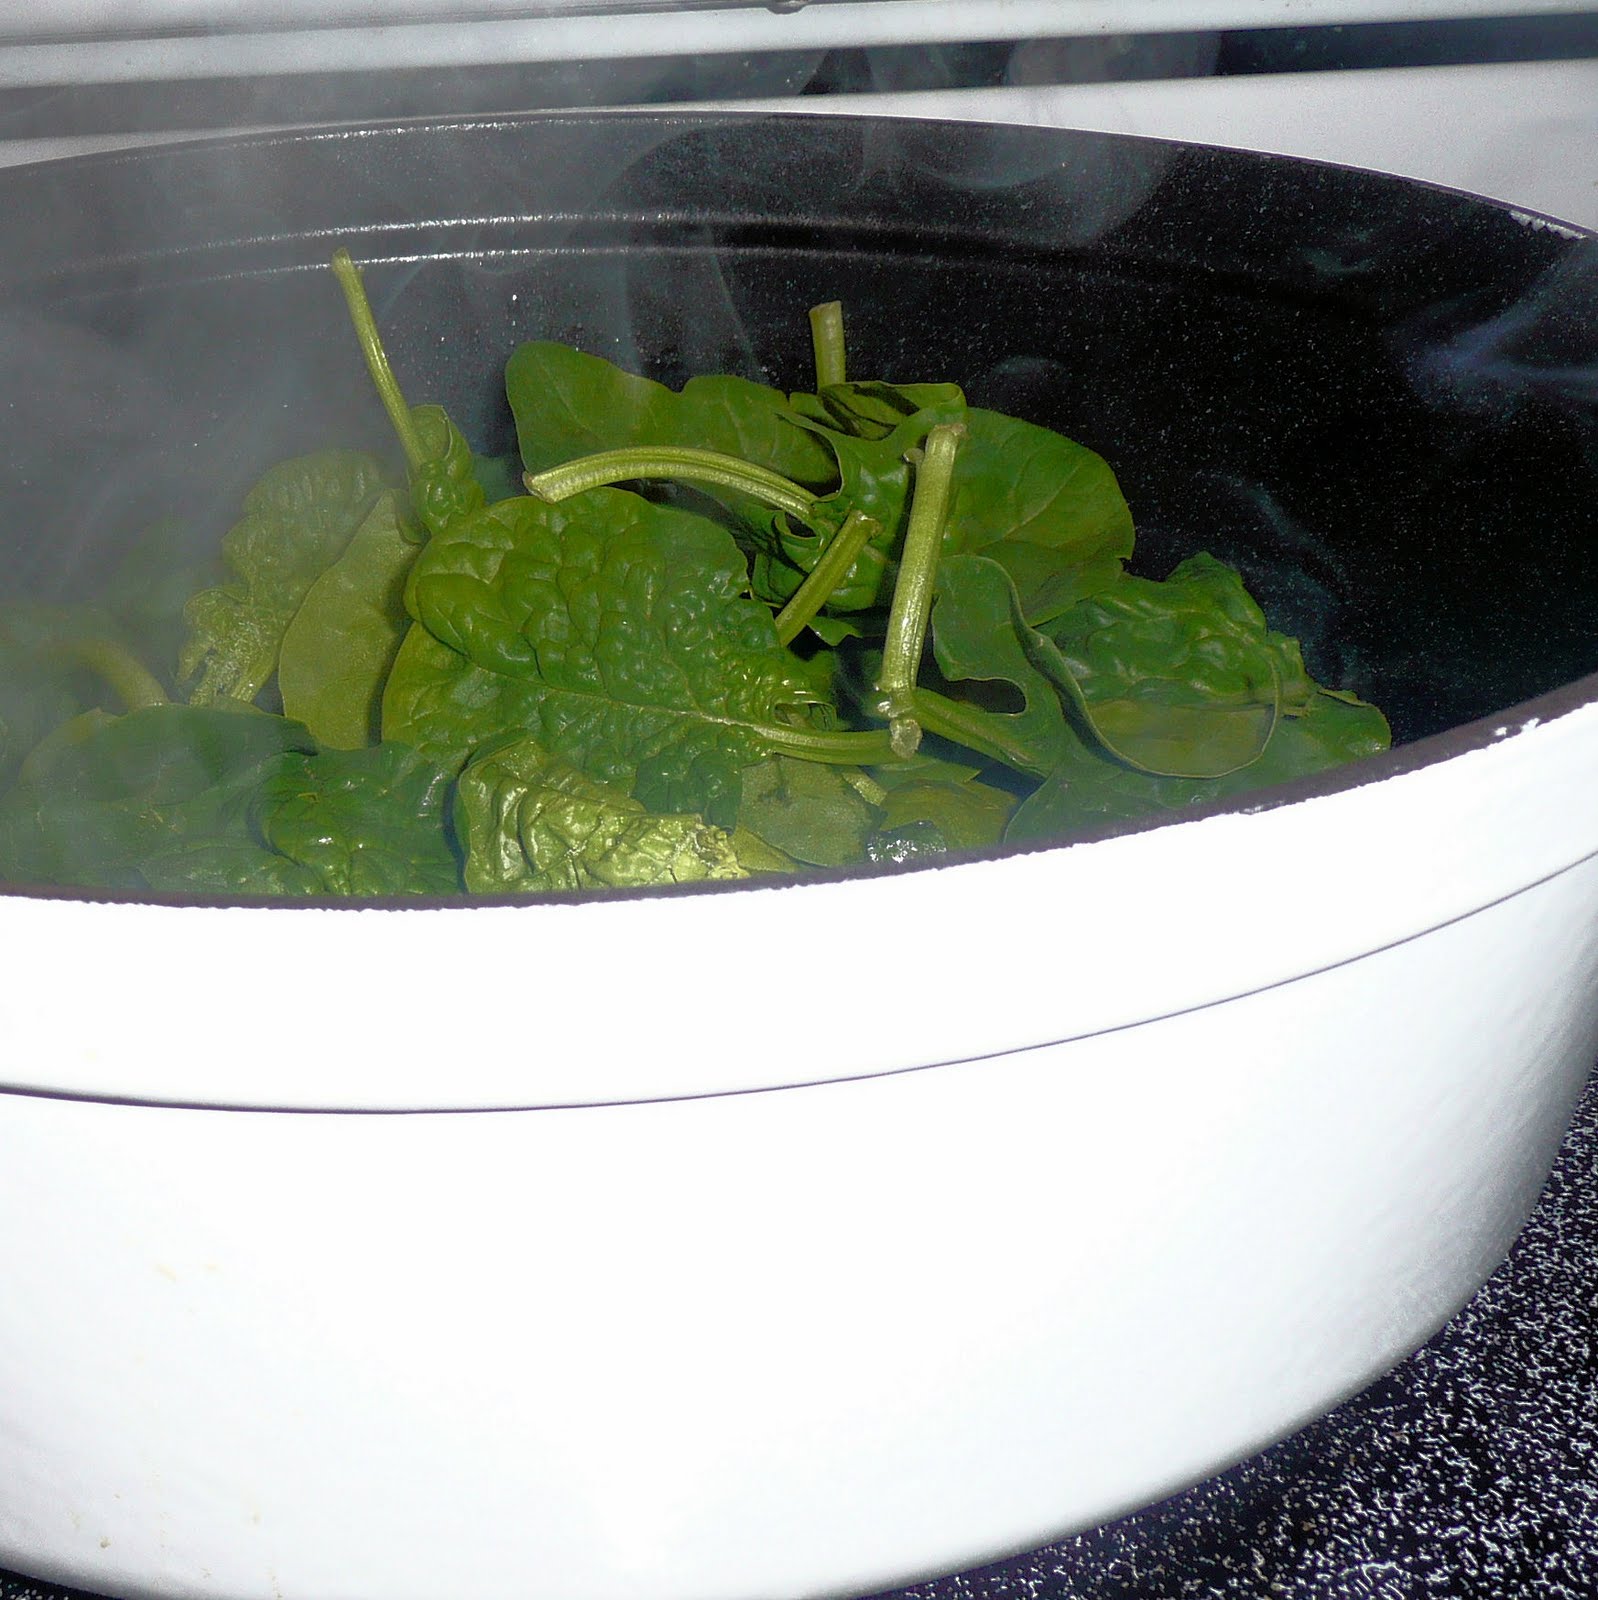
Heat a large pot or Dutch oven over medium-high heat. Add the spinach and 2 tablespoons water.
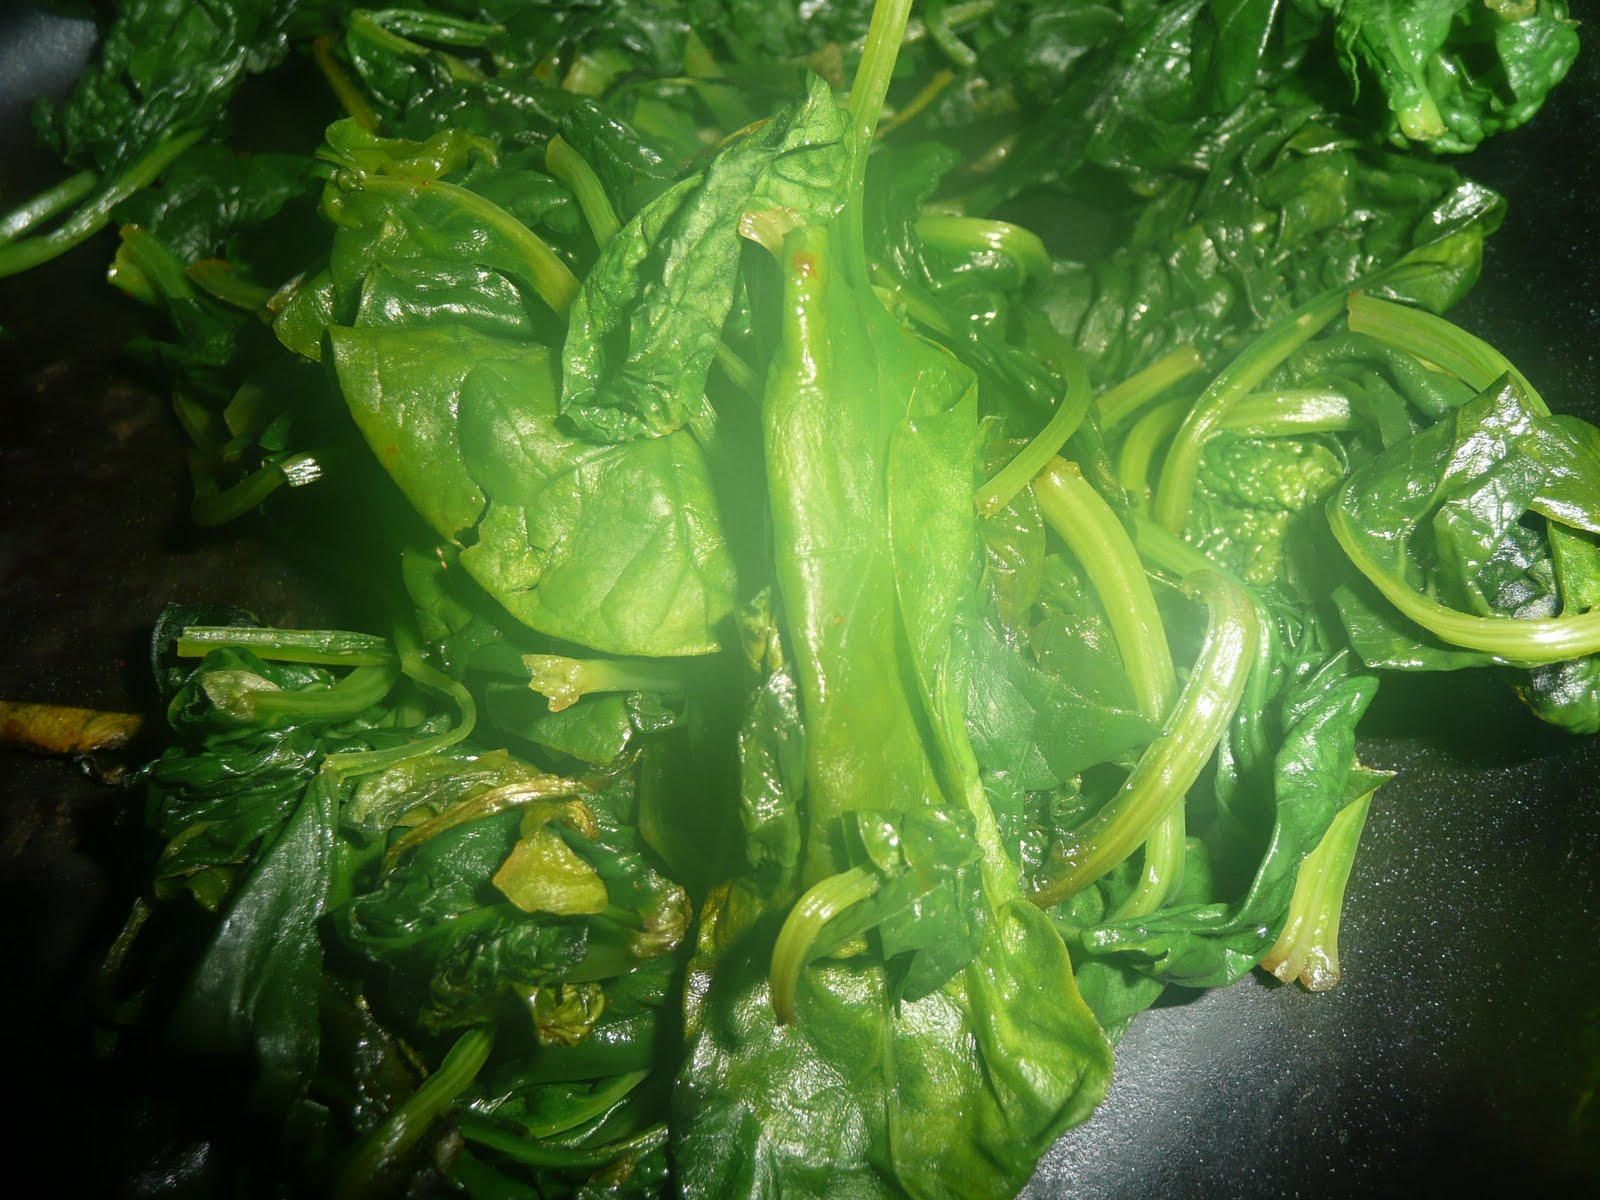
Cook for 3 minutes or until the spinach wilts.
Remove from pot and wipe the pot dry. Add 1 teaspoon olive oil to the pan and add garlic. Cook for 30 seconds, stirring frequently. Add the spinach and raisins. Add salt and pepper to taste.
Cook for 1 minute or until heated. Stir in pine nuts and serve.
I would have never thought to put something sweet like raisins with spinach, but they really worked well together. The pine nuts added a bit of crunch, as well as some flavor from toasting the pine nuts. Although I’m not willing to shelve my go-to spinach recipe, this one will definitely be added to my recipe arsenal!
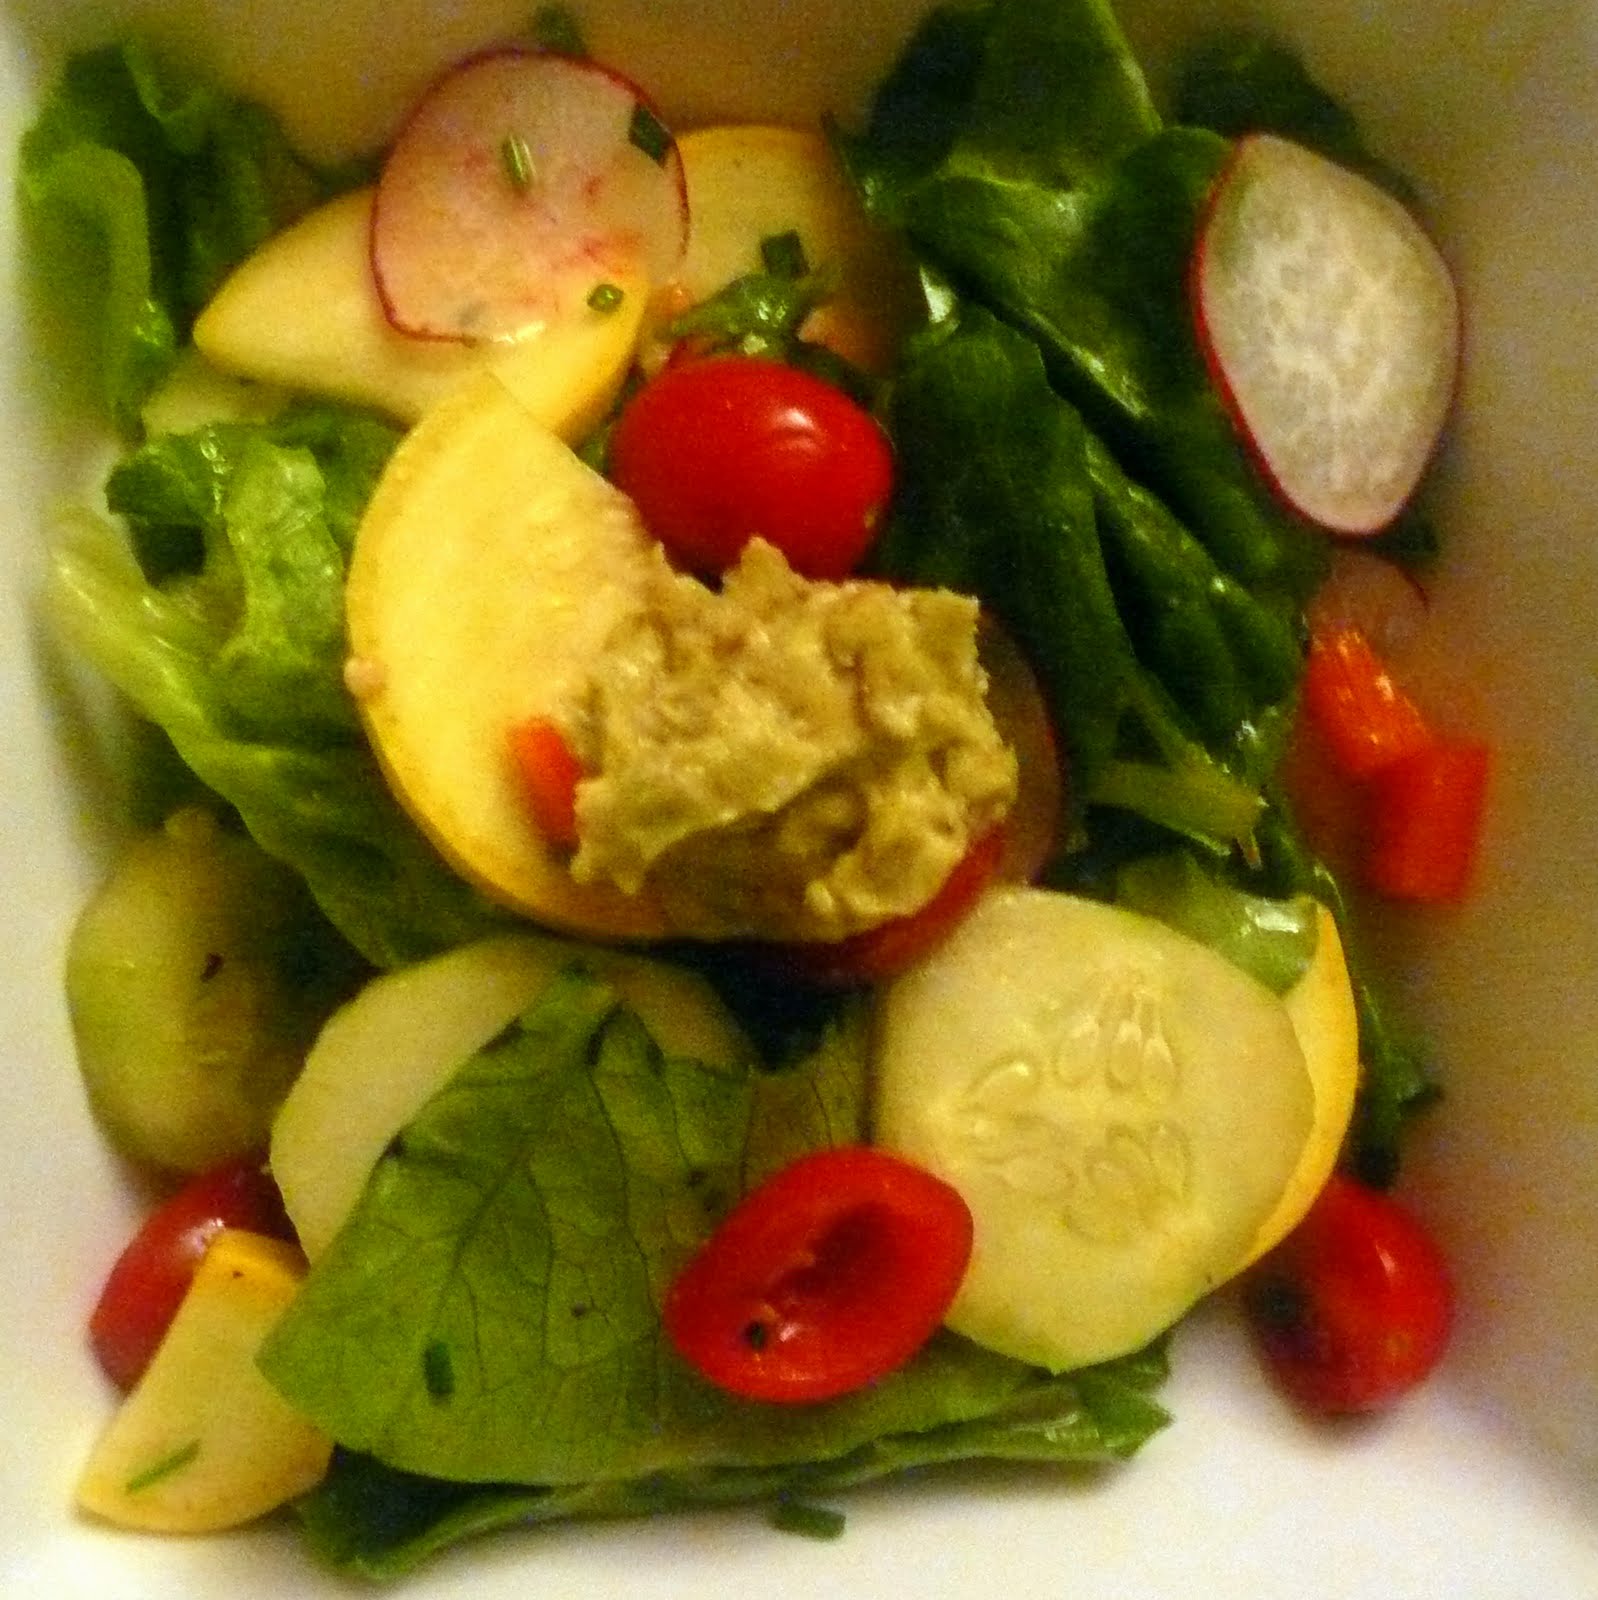
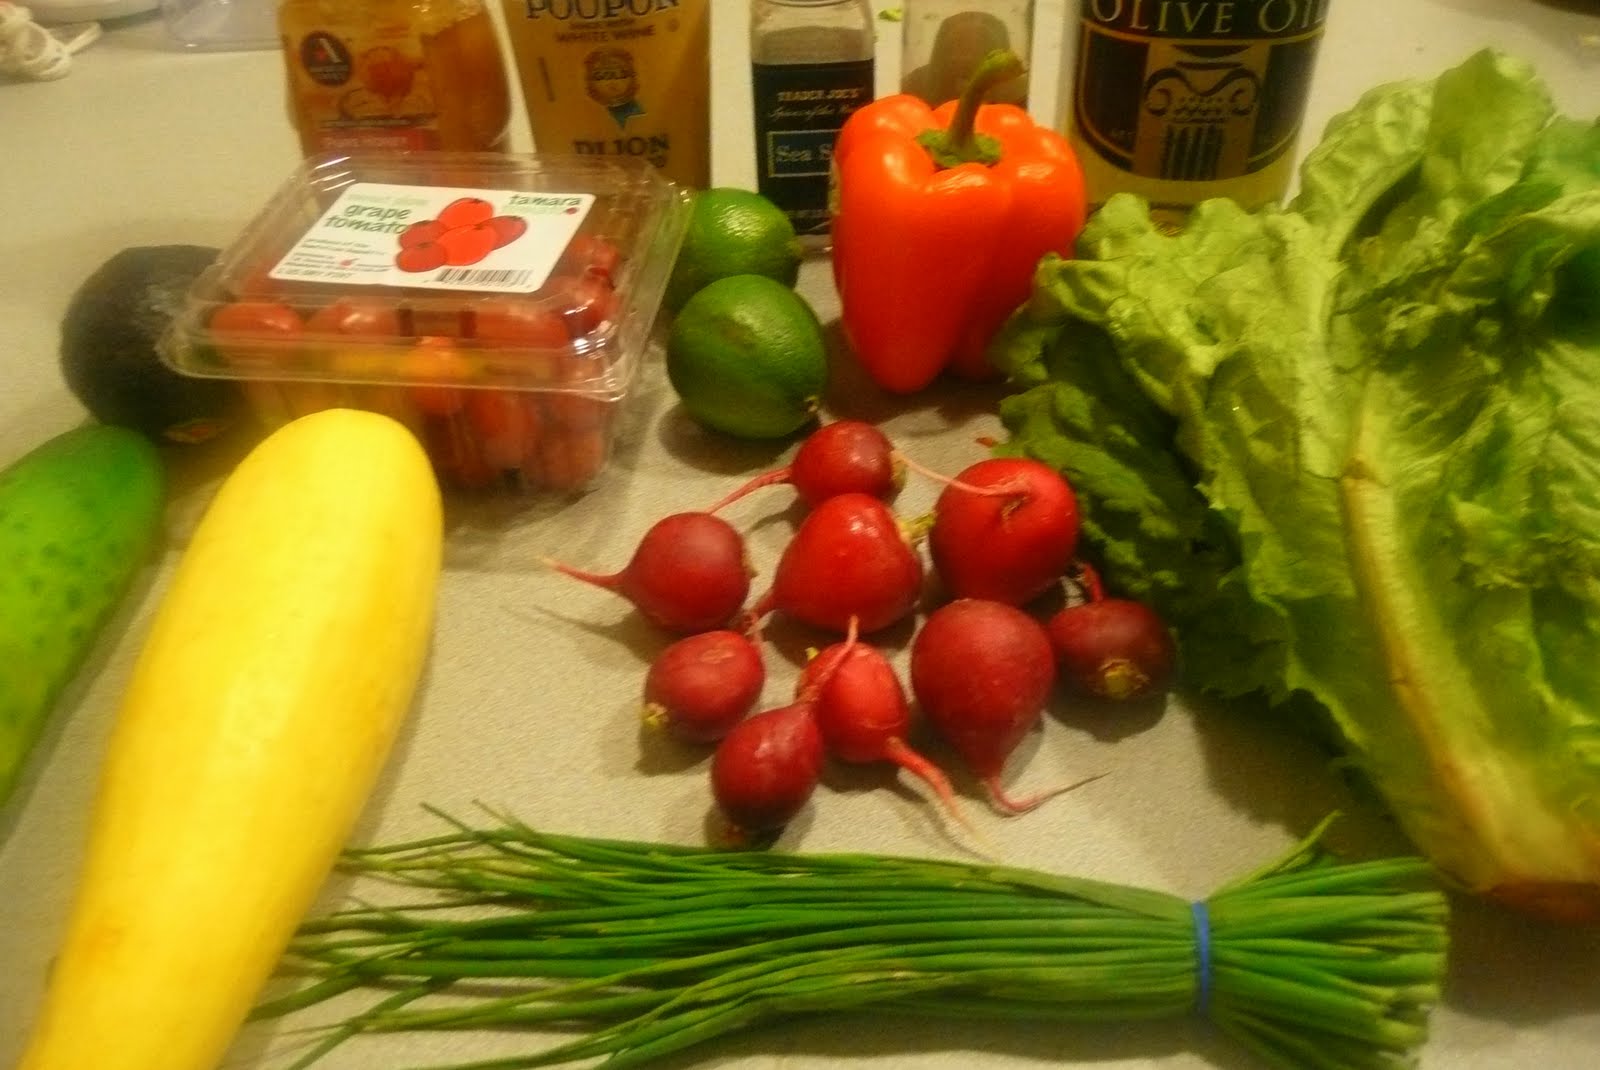
When I usually make salads, I tend to just throw in there whatever I happen to have in my fridge. I received romaine lettuce and radishes as part of my CSA this week, so I thought it was time to explore new salad recipes. I found one on myrecipes.com, originally from the May 2008 Cooking Light magazine. This one caught my eye immediately; look at those colors!
Ingredients:
3 tablespoons fresh lime juice
2 teaspoons honey
½ teaspoon Dijon mustard
¼ teaspoon salt
¼ teaspoon pepper
2 teaspoons olive oil
4 cups shredded romaine lettuce
1 container grape tomatoes, halved
1 sliced peeled cucumber
1 chopped orange bell pepper
2-3 larger, thinly sliced radishes
2 tablespoons chopped fresh chives
1 small yellow squash, halved lengthwise and thinly sliced
1 avocado, mashed
Combine the first five ingredients (lime juice through black pepper) in a bowl. Gradually add the oil, mixing with a whisk.
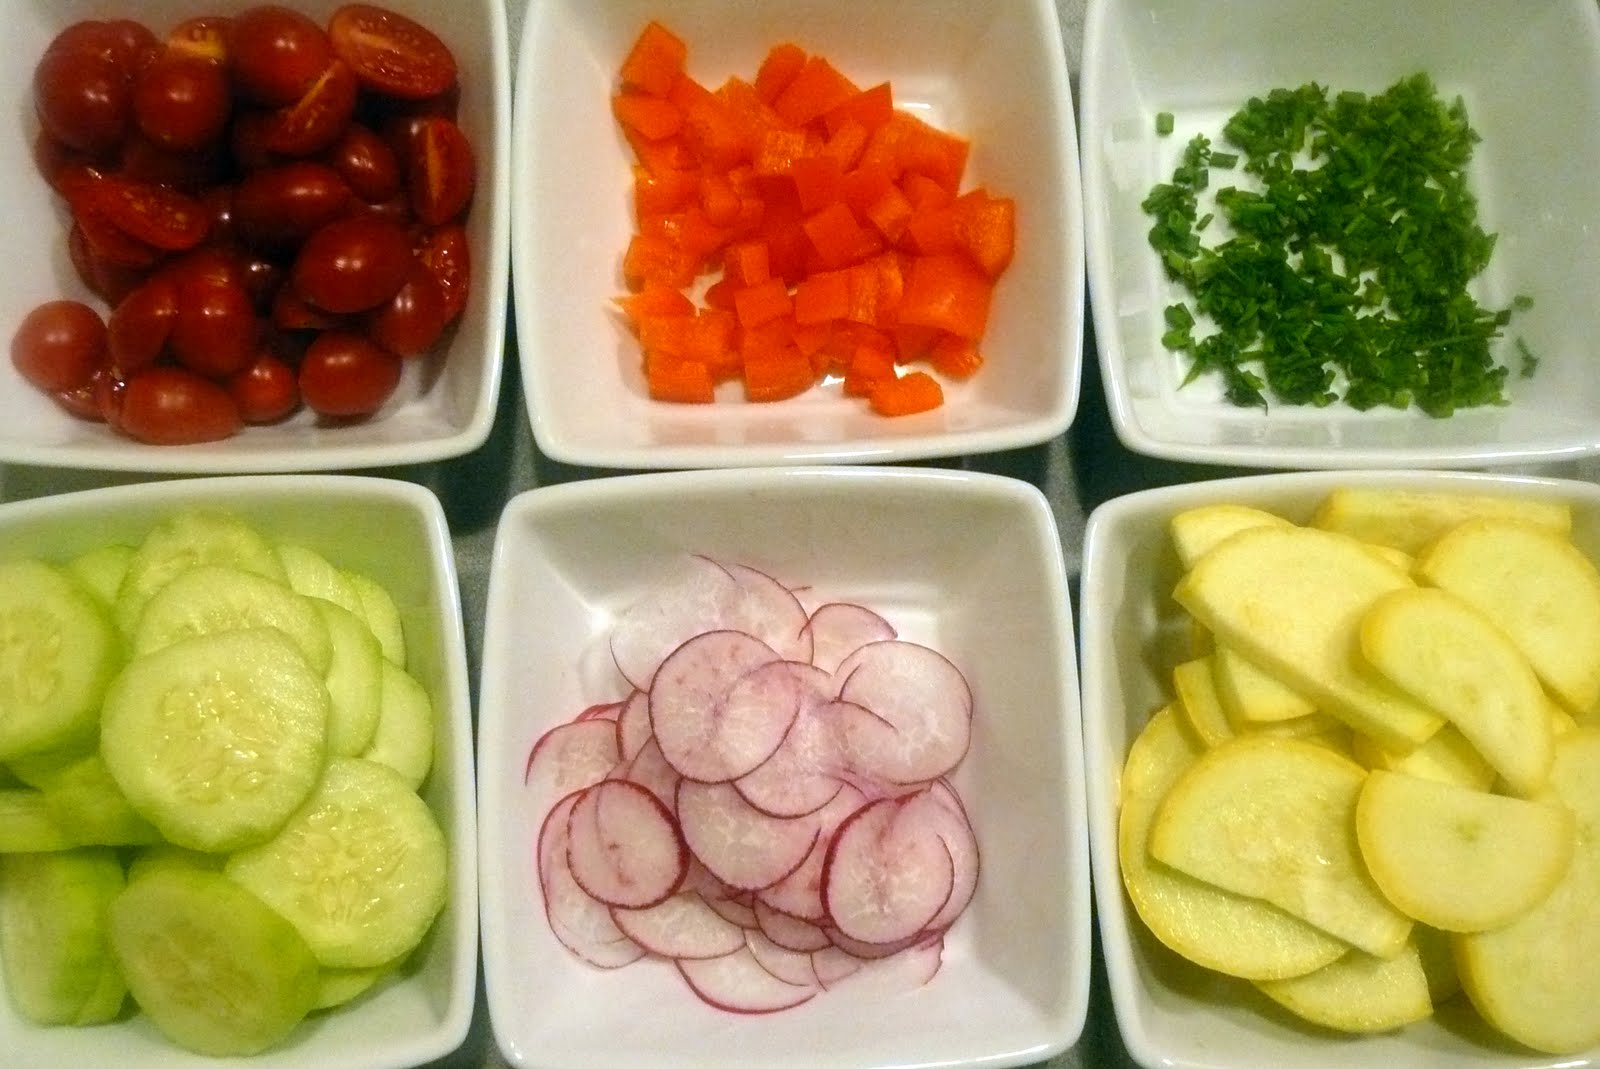
Prepare all your veggies.
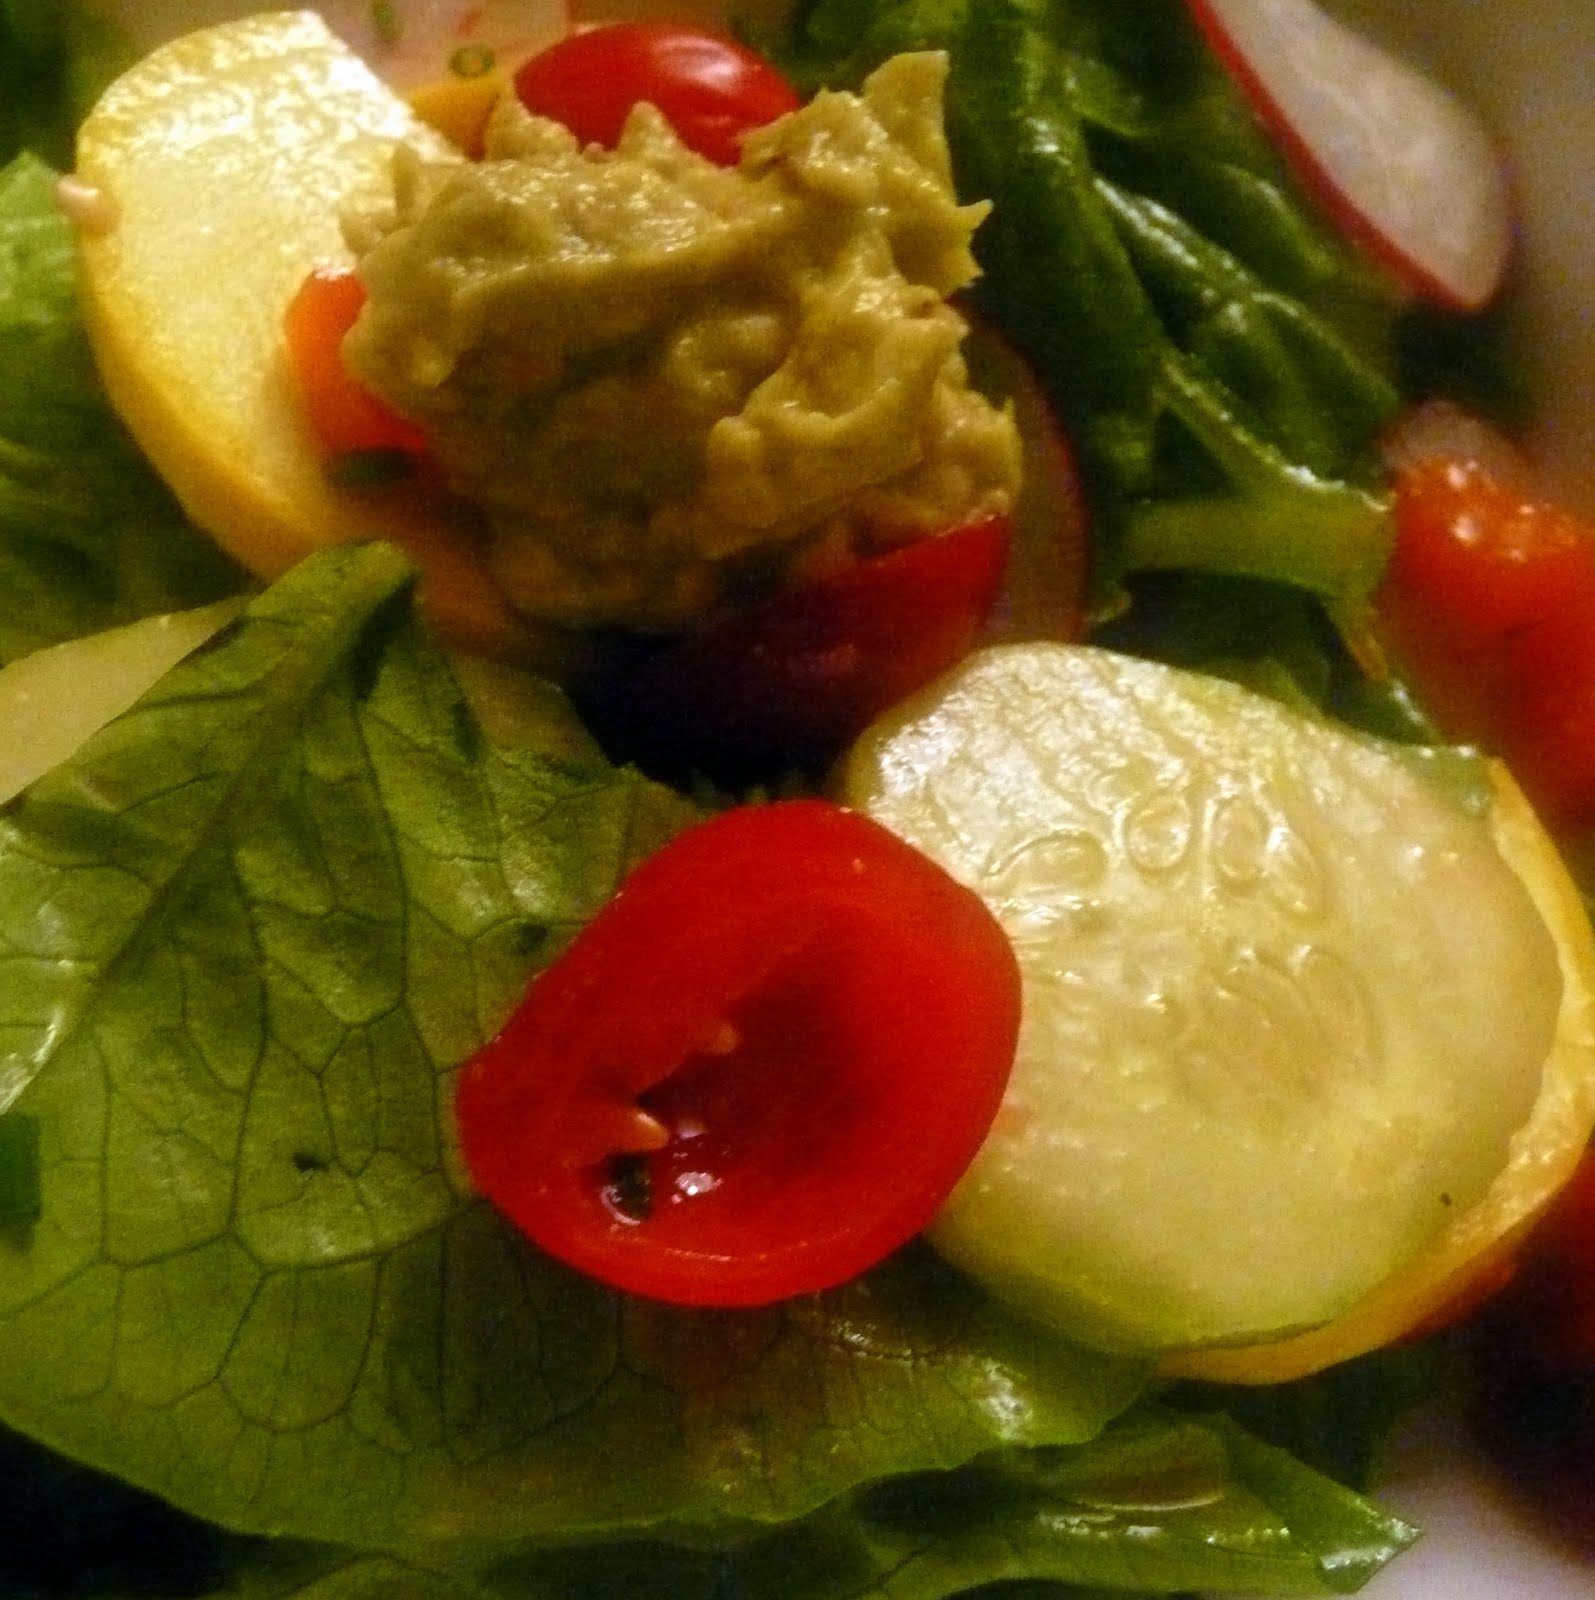
Combine the lettuce and the next 6 ingredients (all but the avocado) in a large bowl. Drizzle dressing over the mixture and toss to coat. Top with avocado.
I somewhat unjustifiably feel like I’m eating healthier when there are a bunch of colors in my food, so this dish made me super happy. The key to this salad is to use the freshest ingredients possible. The dressing was very flavorful and the Dijon mustard gave a good amount of acidity to the salad so no vinegar is really needed in the dressing. The original recipe called for chopped avocado, but I failed miserably in my attempt so I mashed it up to save it. Feel free to use chopped avocado instead; it probably looks more aesthetically pleasing. The recipe also called for yellow pear tomatoes, but I wanted a pop of red in the dish so I substituted in grape tomatoes.
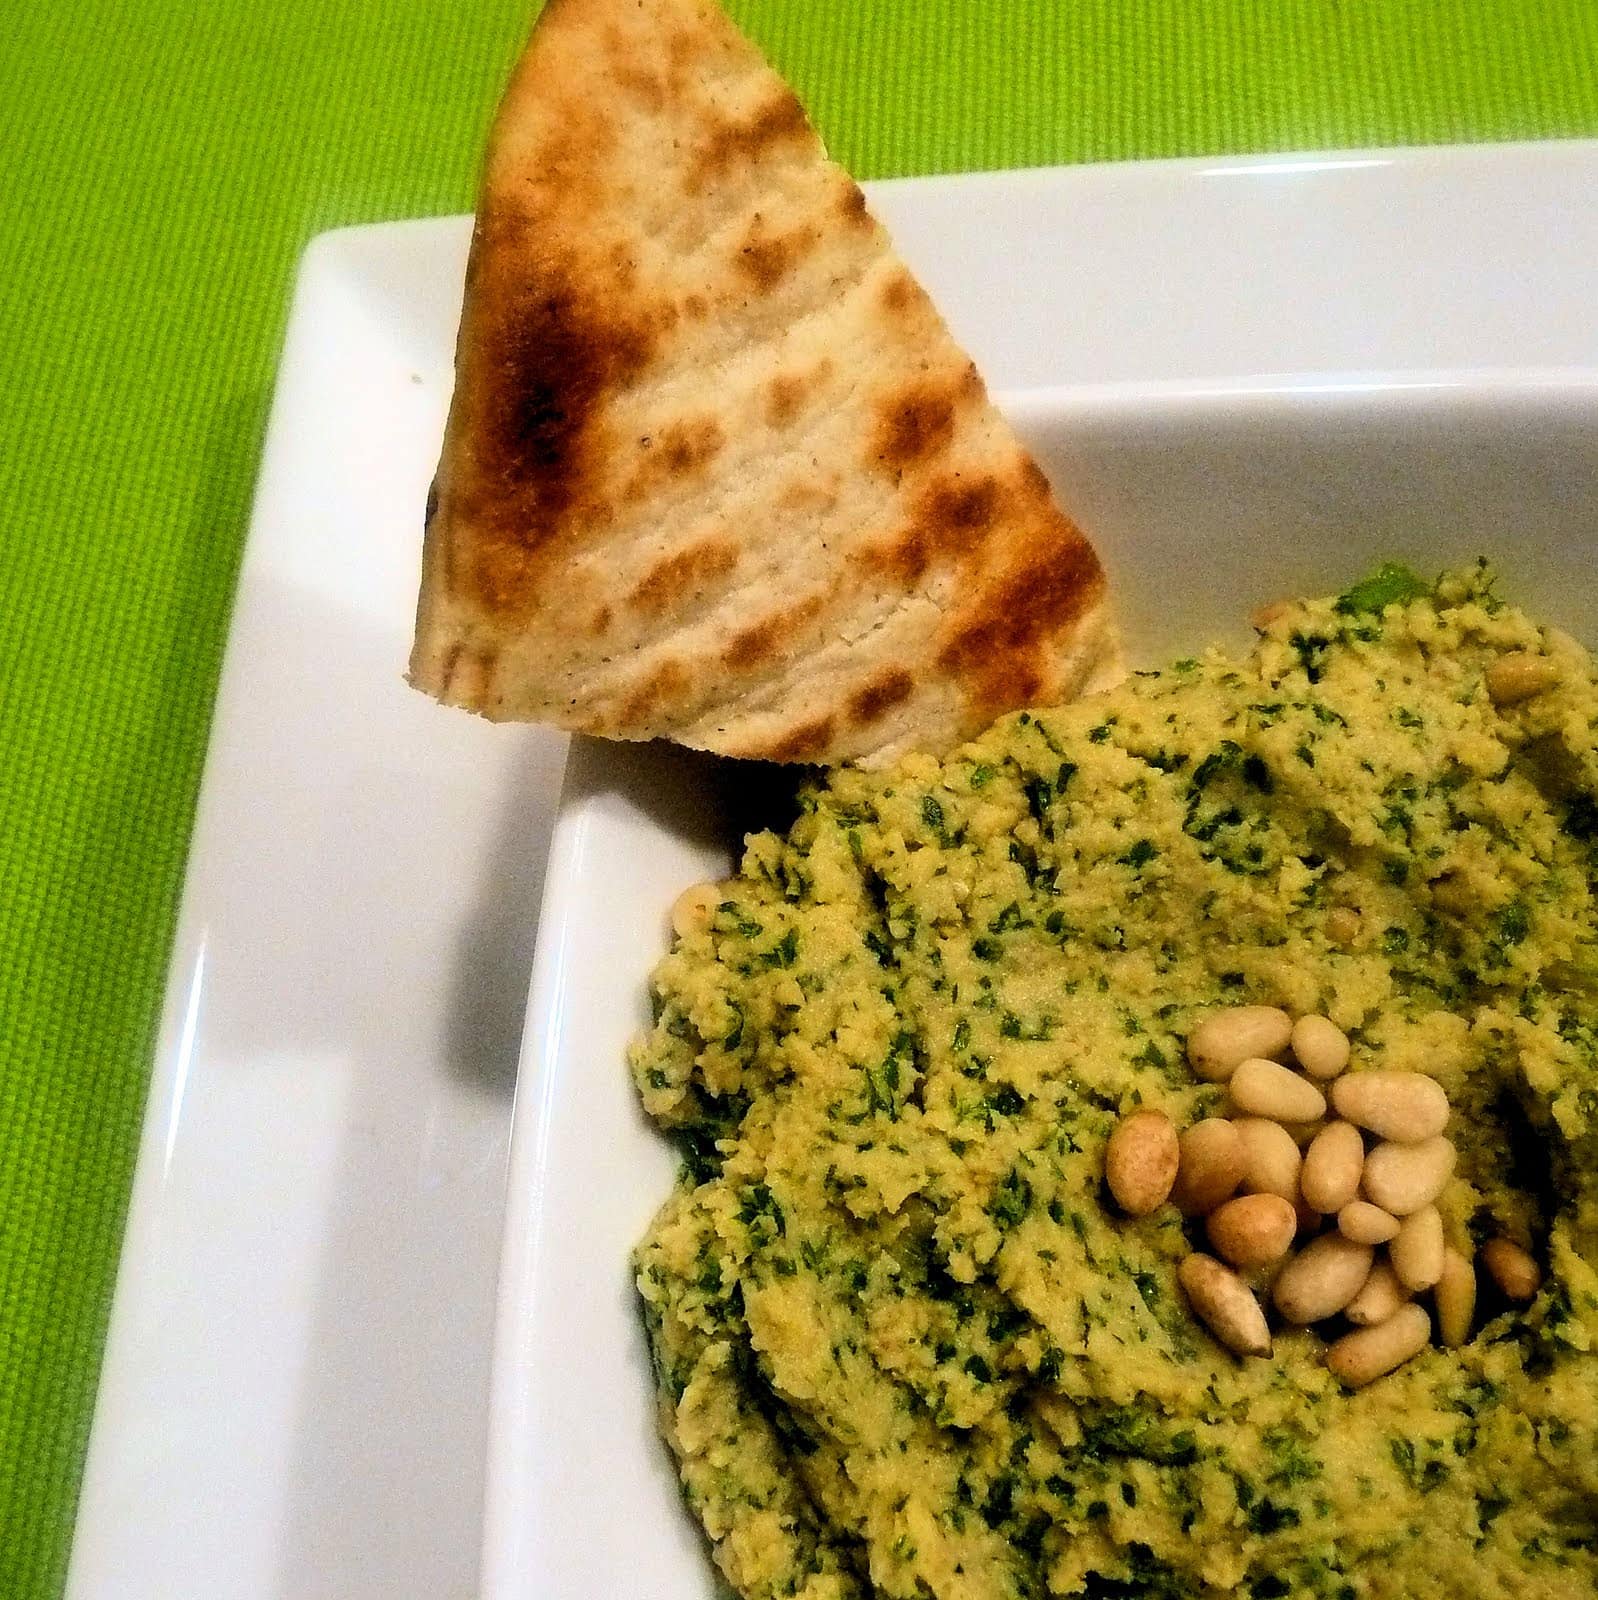
Hummus is really easy to make and can be customized to whatever suits your tastes. I am still working through my parsley, so I decided to try a parsley hummus on Epicurious with a few adjustments.
Ingredients:
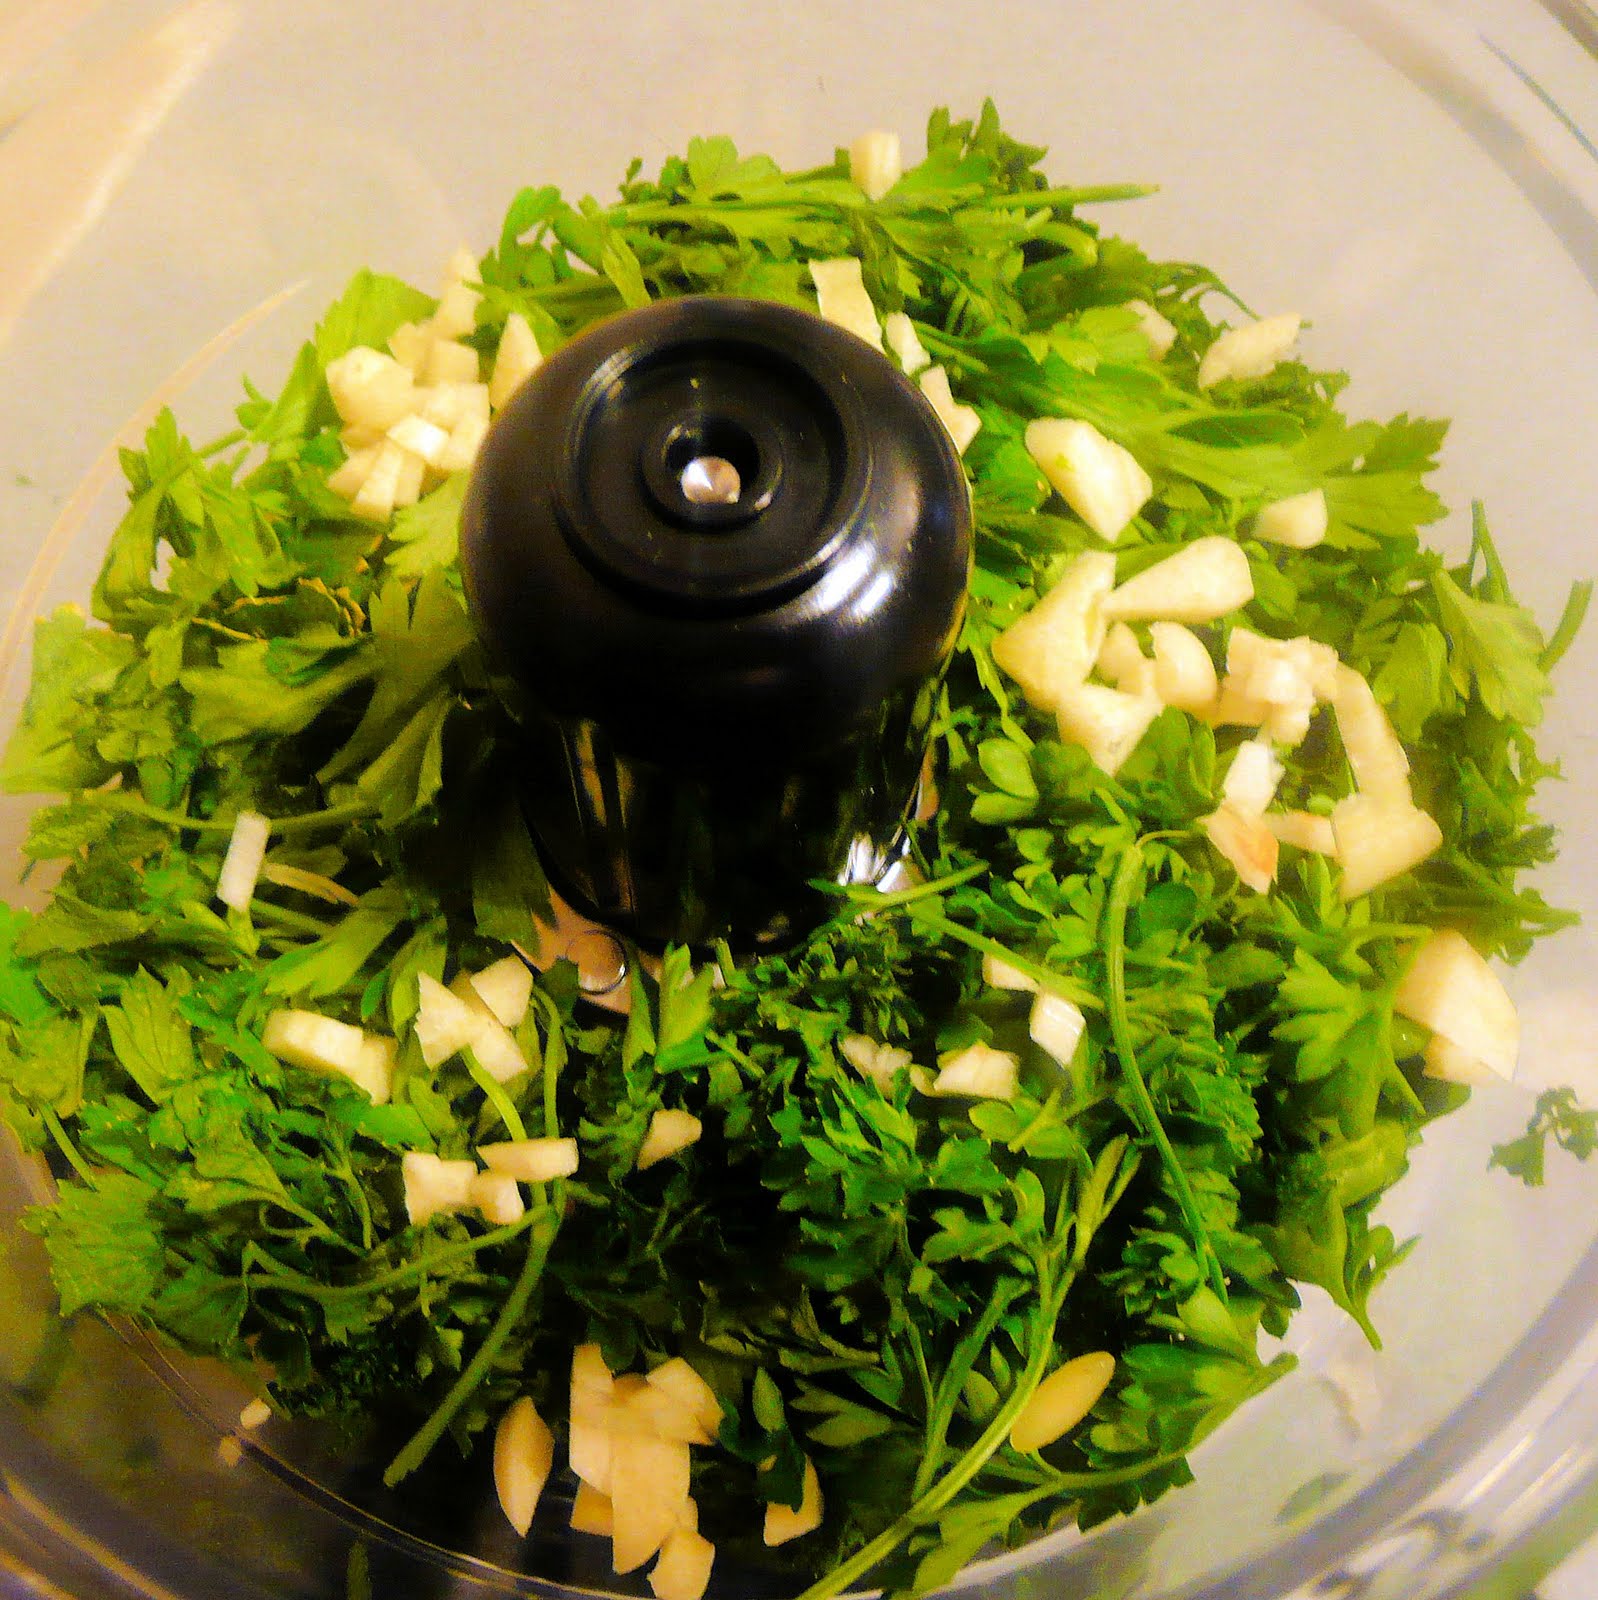
1 bunch of parsley leaves
1/4 cup of olive oil
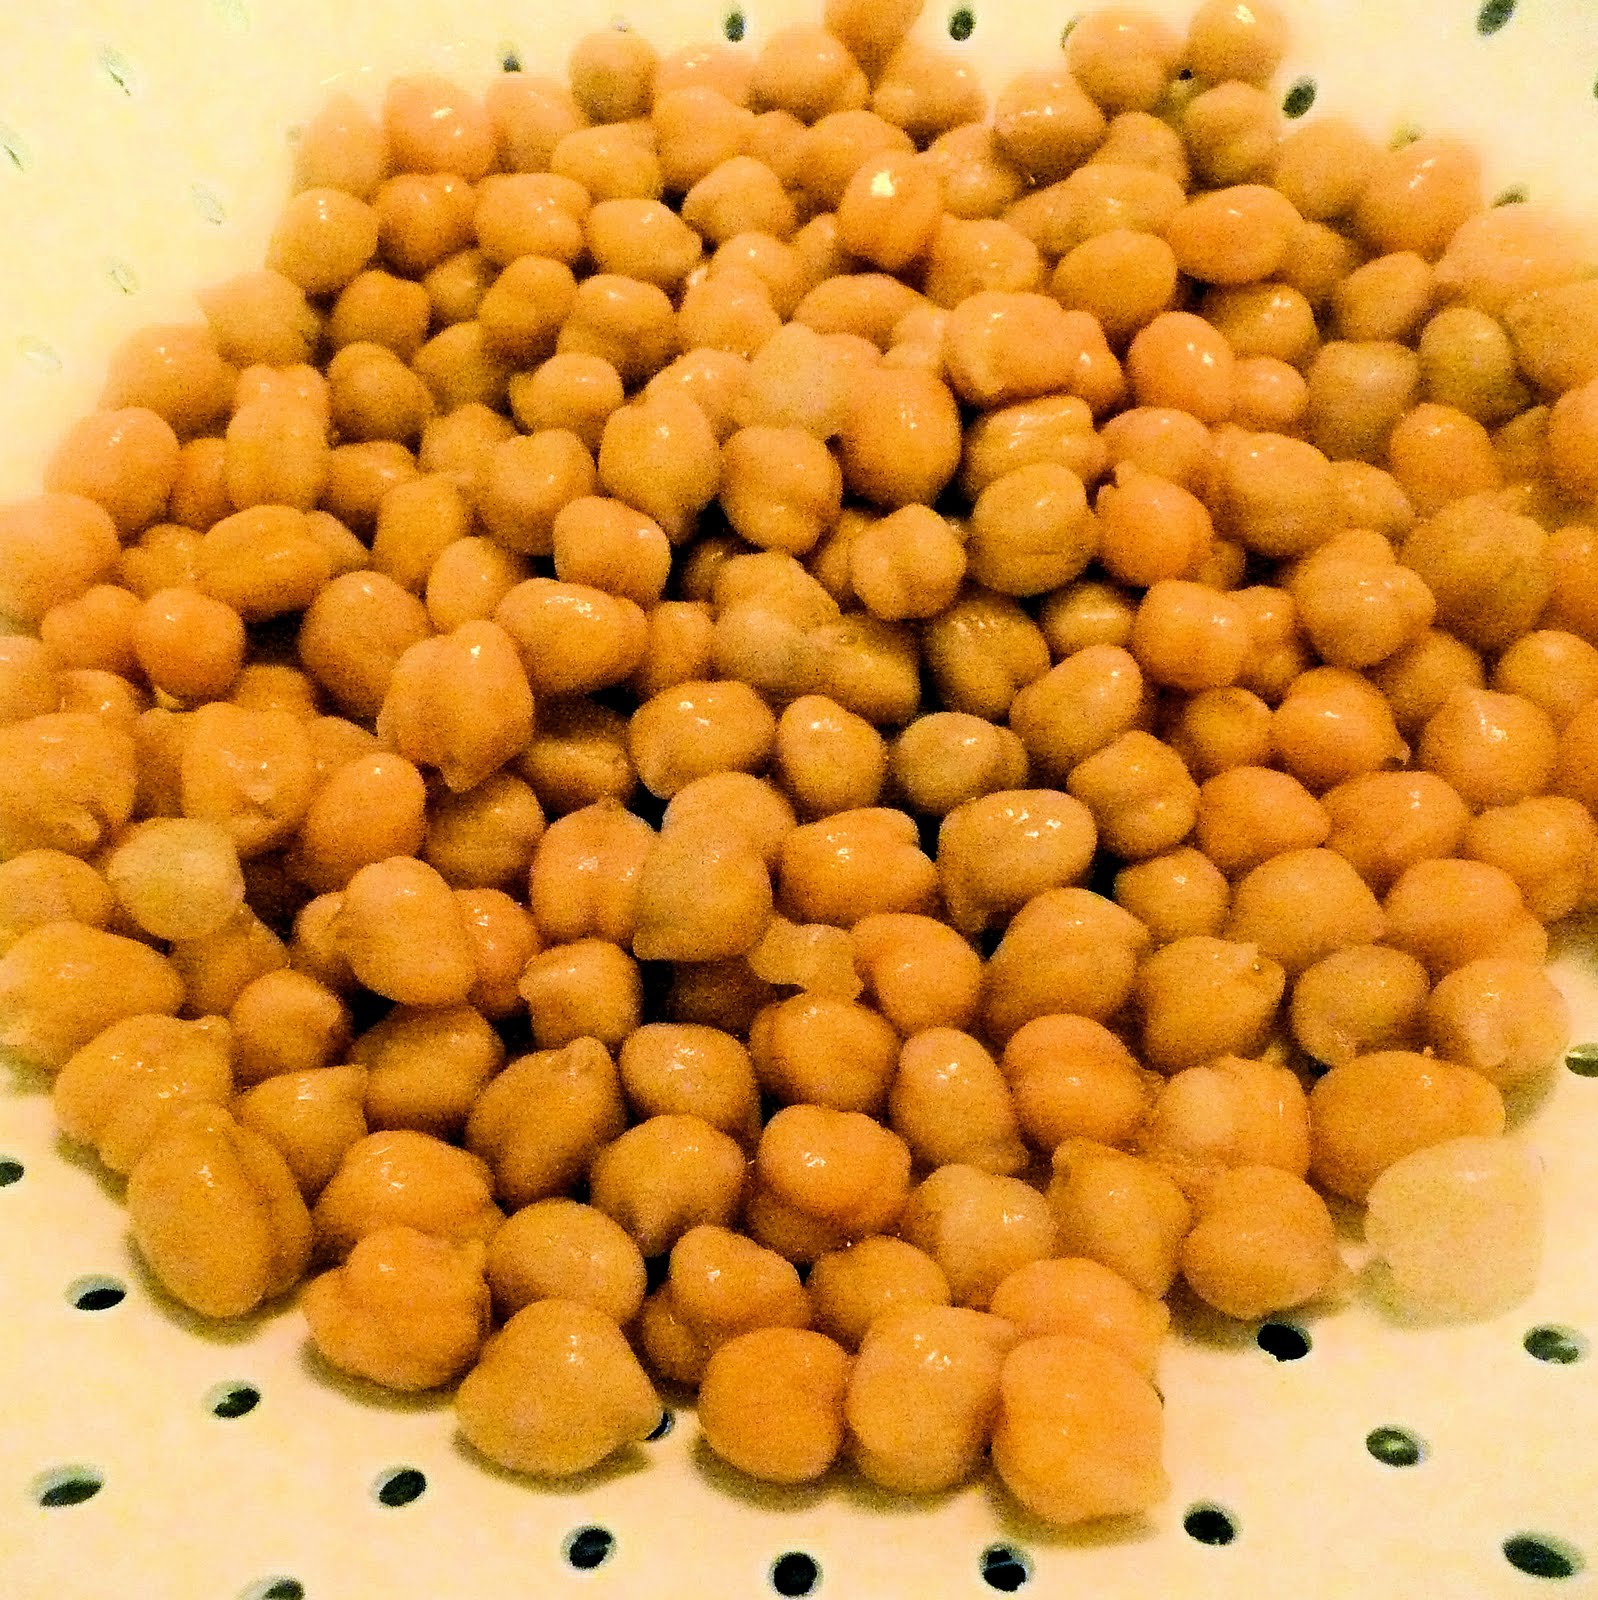
1 can of chickpeas, rinsed
the juice and zest of 1 lemon
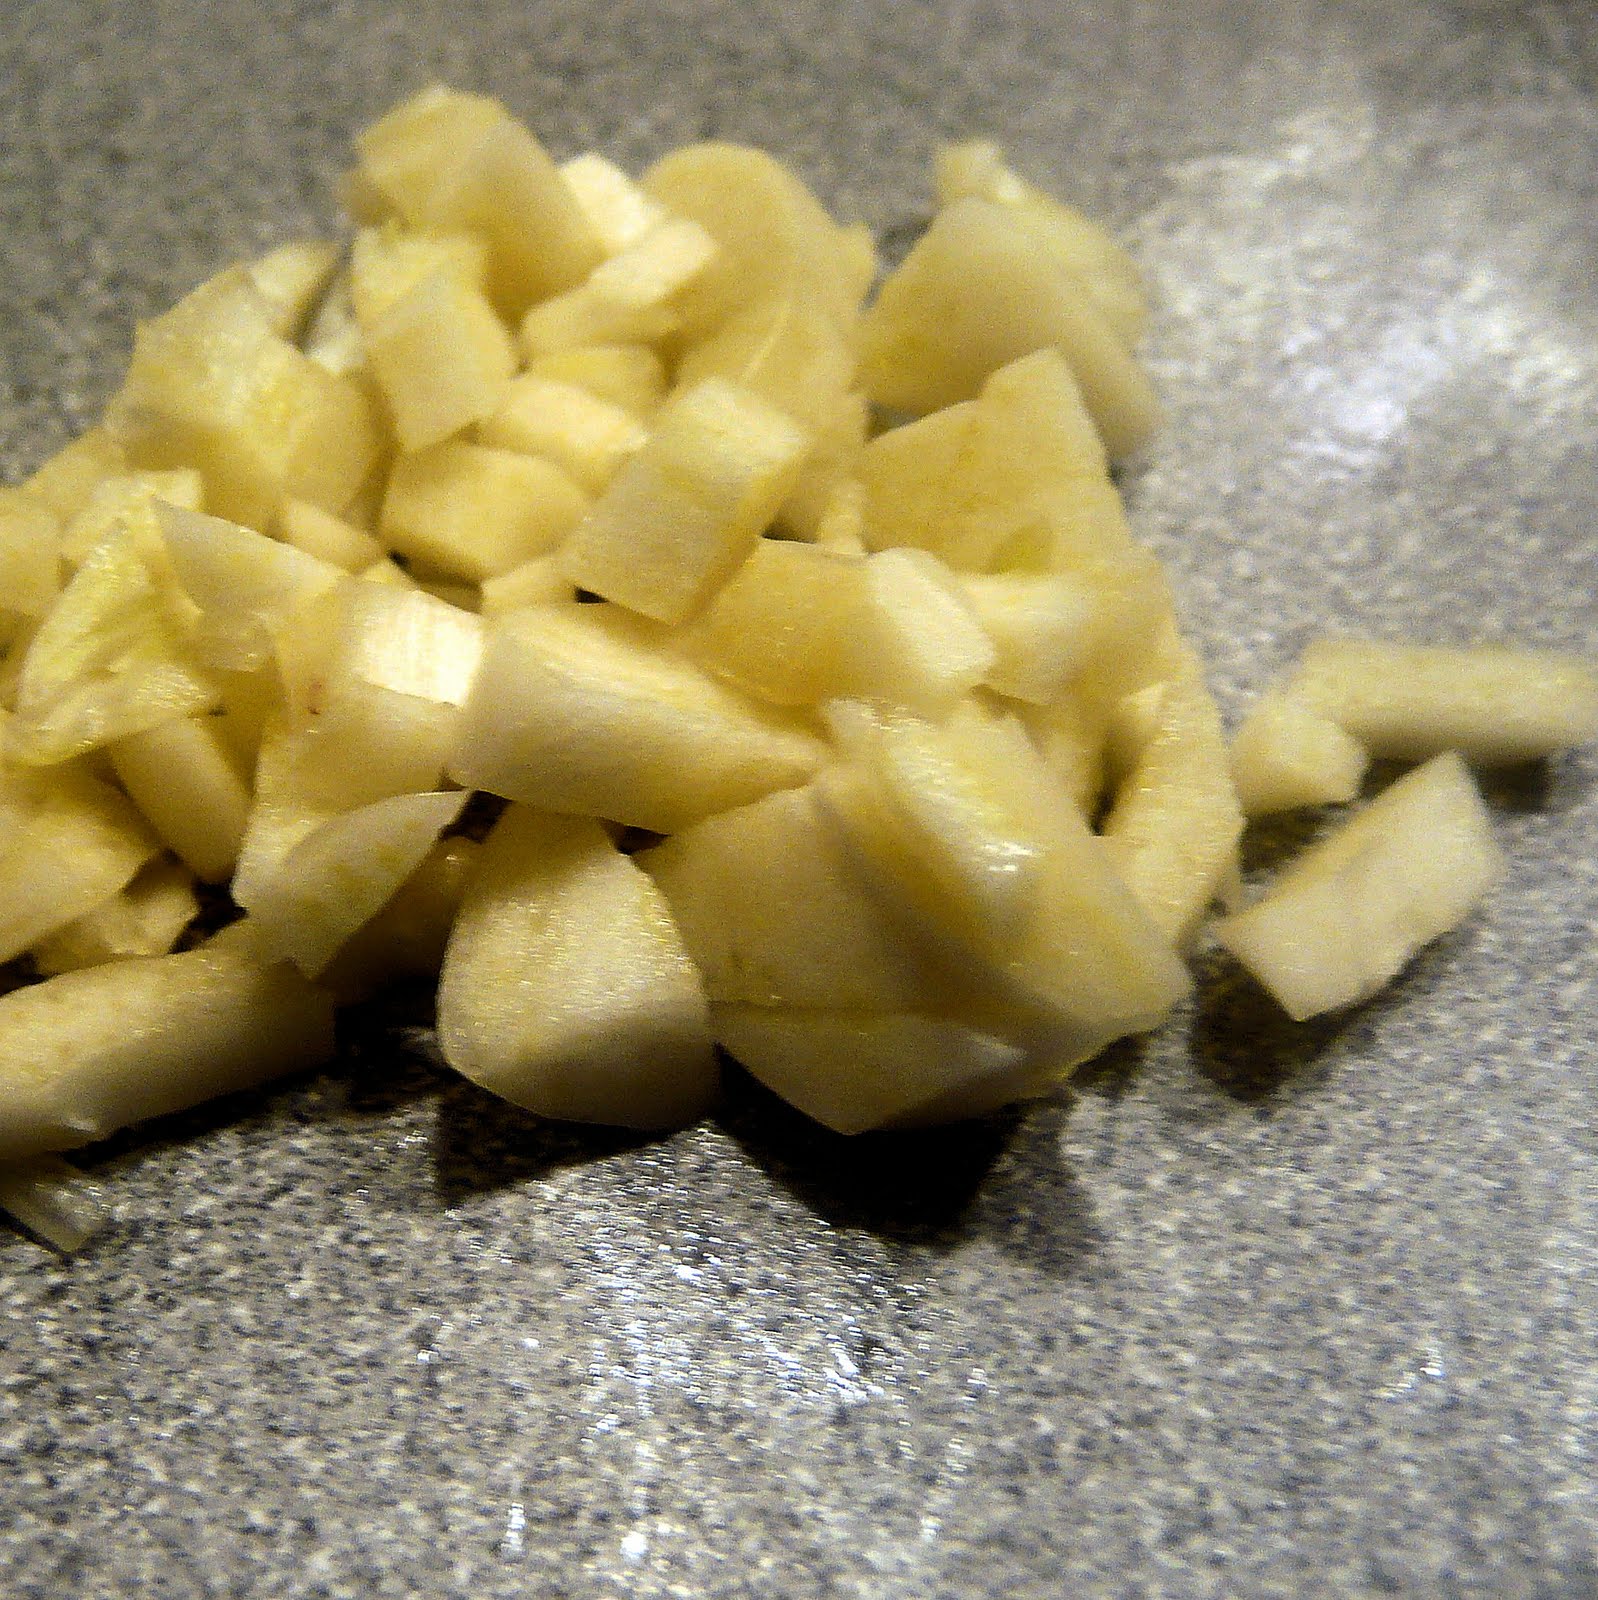
2 garlic cloves
2 tablespoons tahini
1/3 cup toasted pine nuts
1 teaspoon cumin
1/4 teaspoon cayenne pepper
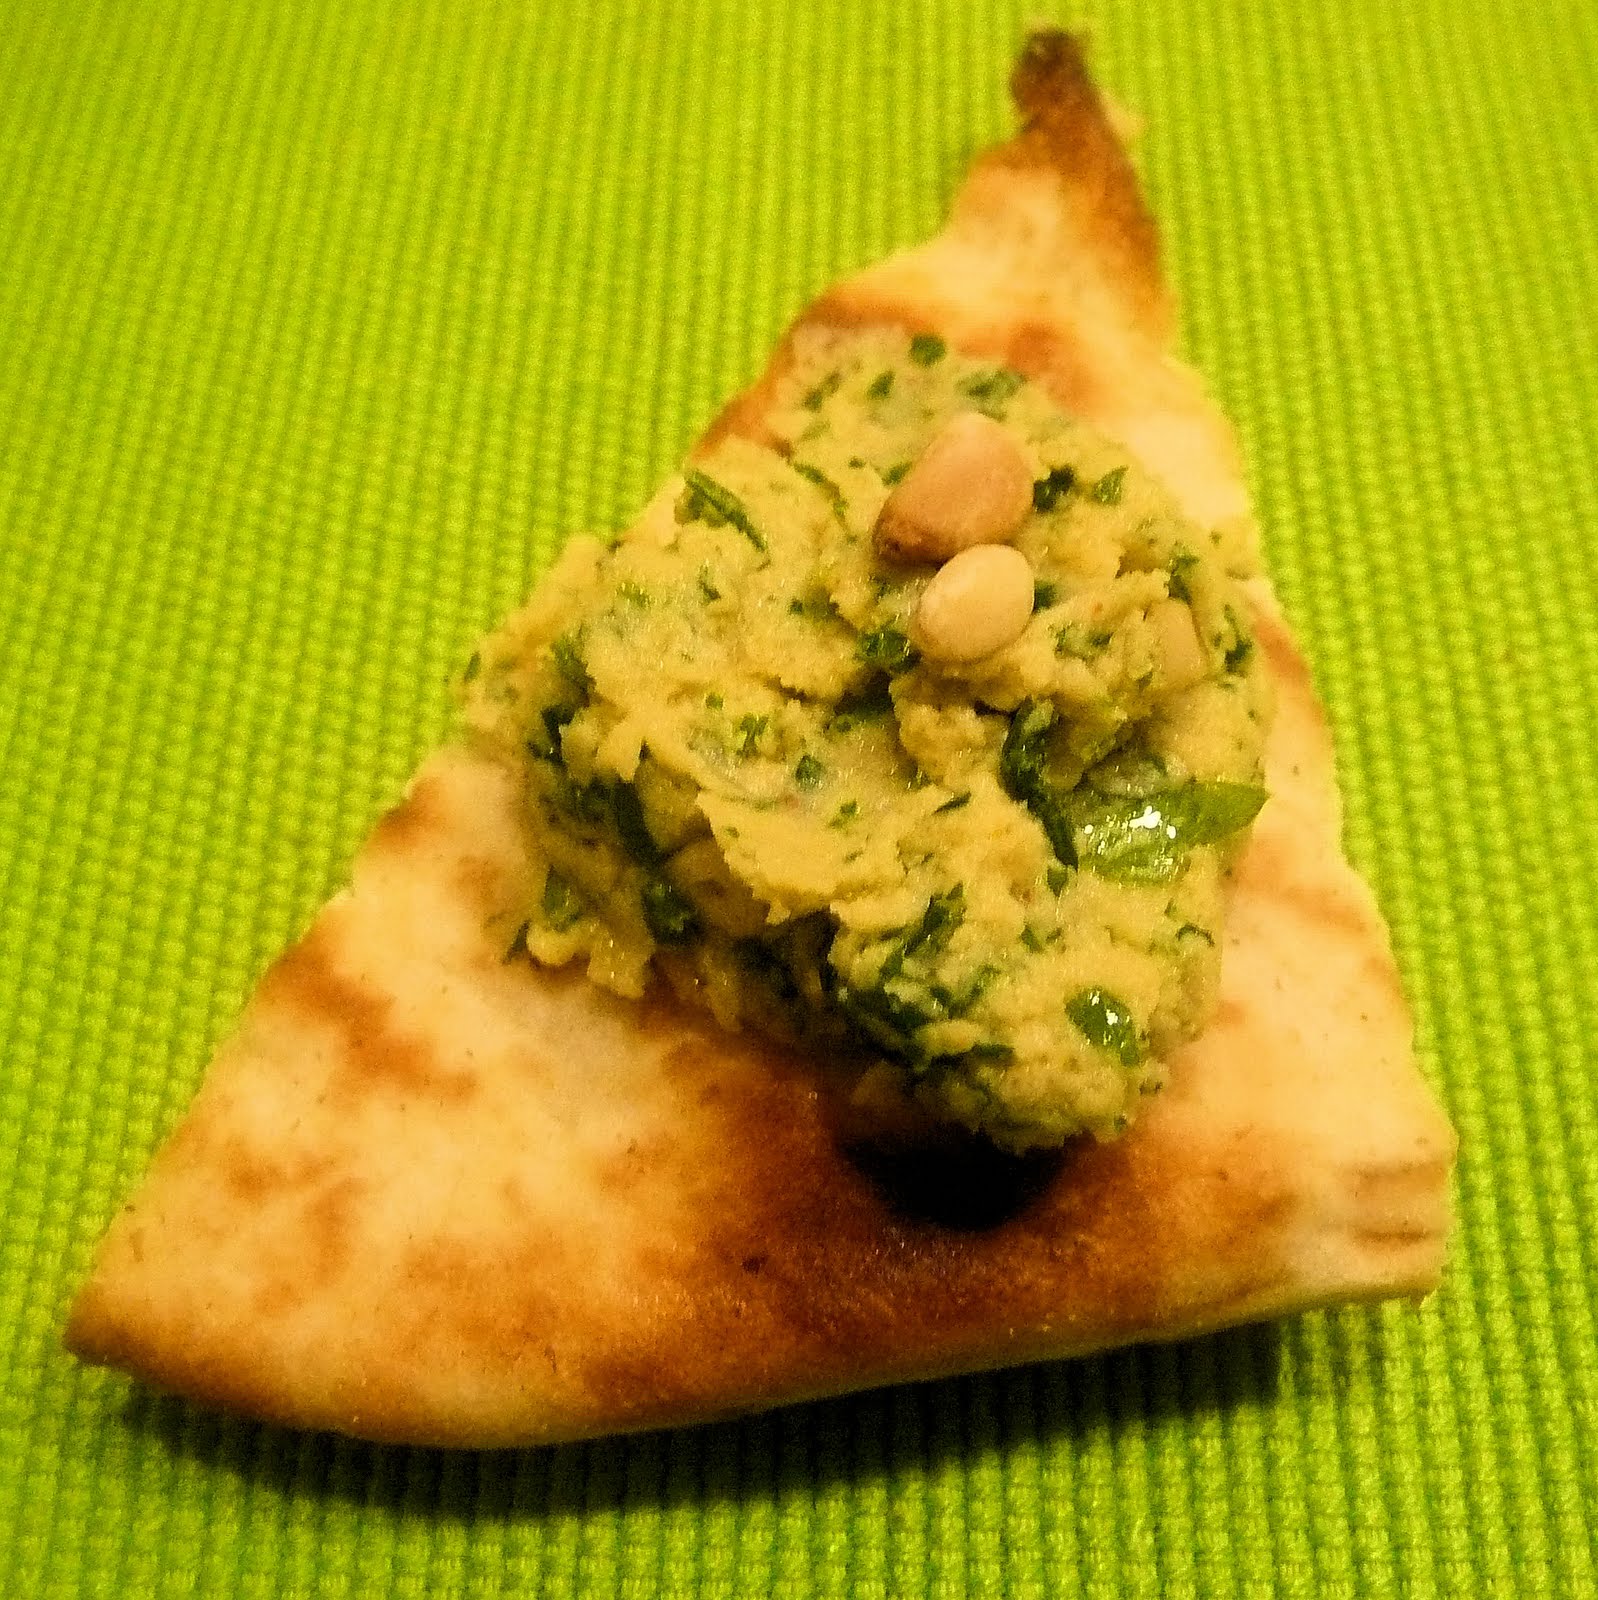
pita bread
cooking spray
salt, to taste
Preheat the over to 450 degrees. Cut the pita into triangles and arrange on a cookie sheet coated with cooking spray.
Cook for 4-5 minutes and set aside. Place the chickpeas in a colander and rinse with water.
Roughly chop the garlic.
Put the parsley and the garlic in a food processor and process until thoroughly mixed, about 1 minute.
Add the chickpeas and process for another minute.
Add in the lemon juice, lemon zest, tahini, olive oil, cumin, cayenne pepper, and salt (to taste). Process until smooth.
Place the pine nuts in a saute pan over medium heat. Shake the pan frequently to keep them from burning. When fragrant and browned, remove from heat.
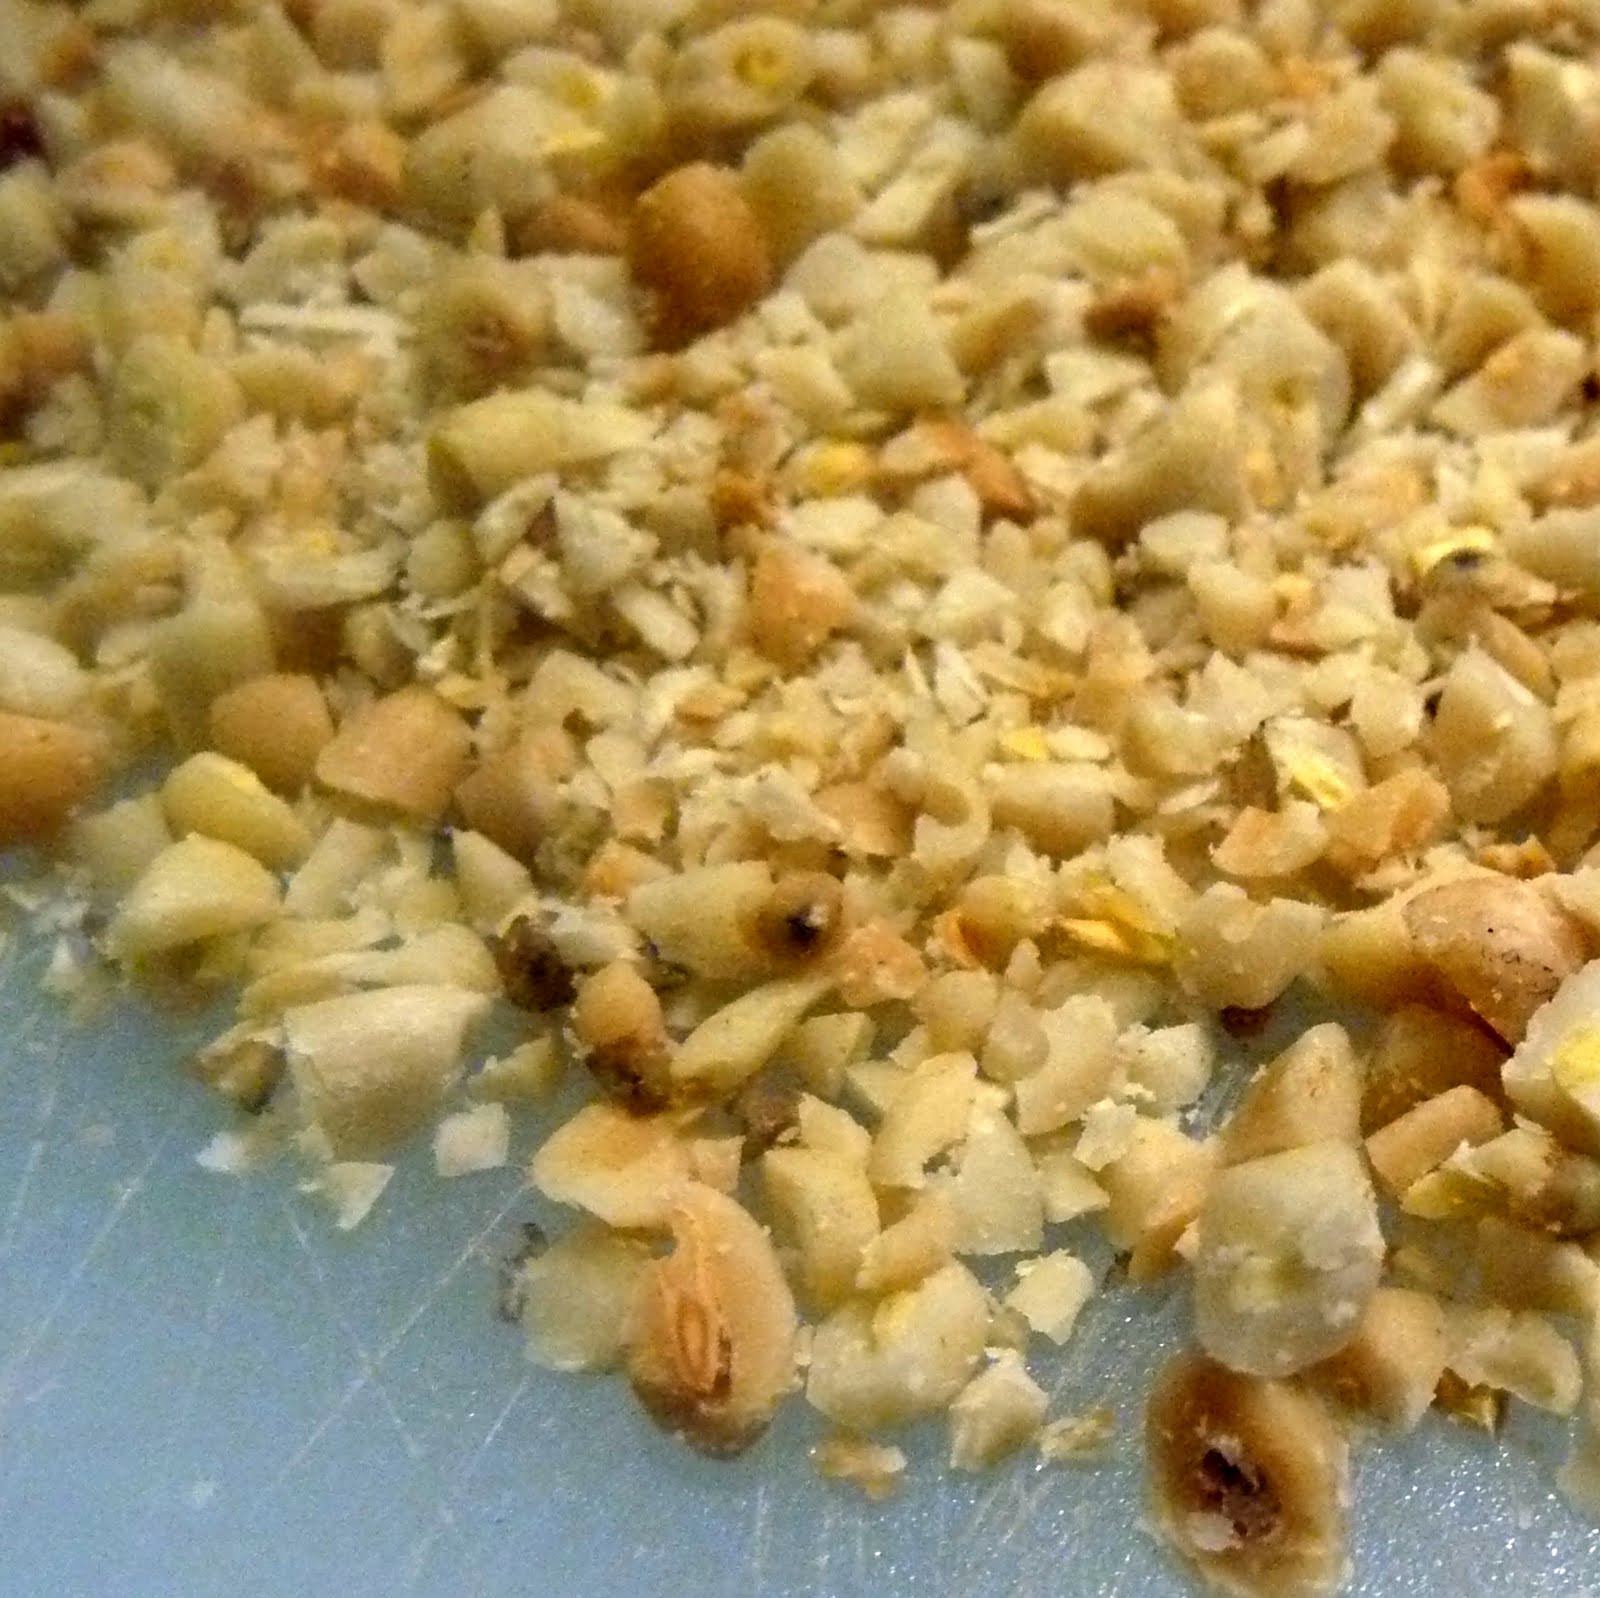
Take 3/4 of the pine nuts and finely chop.
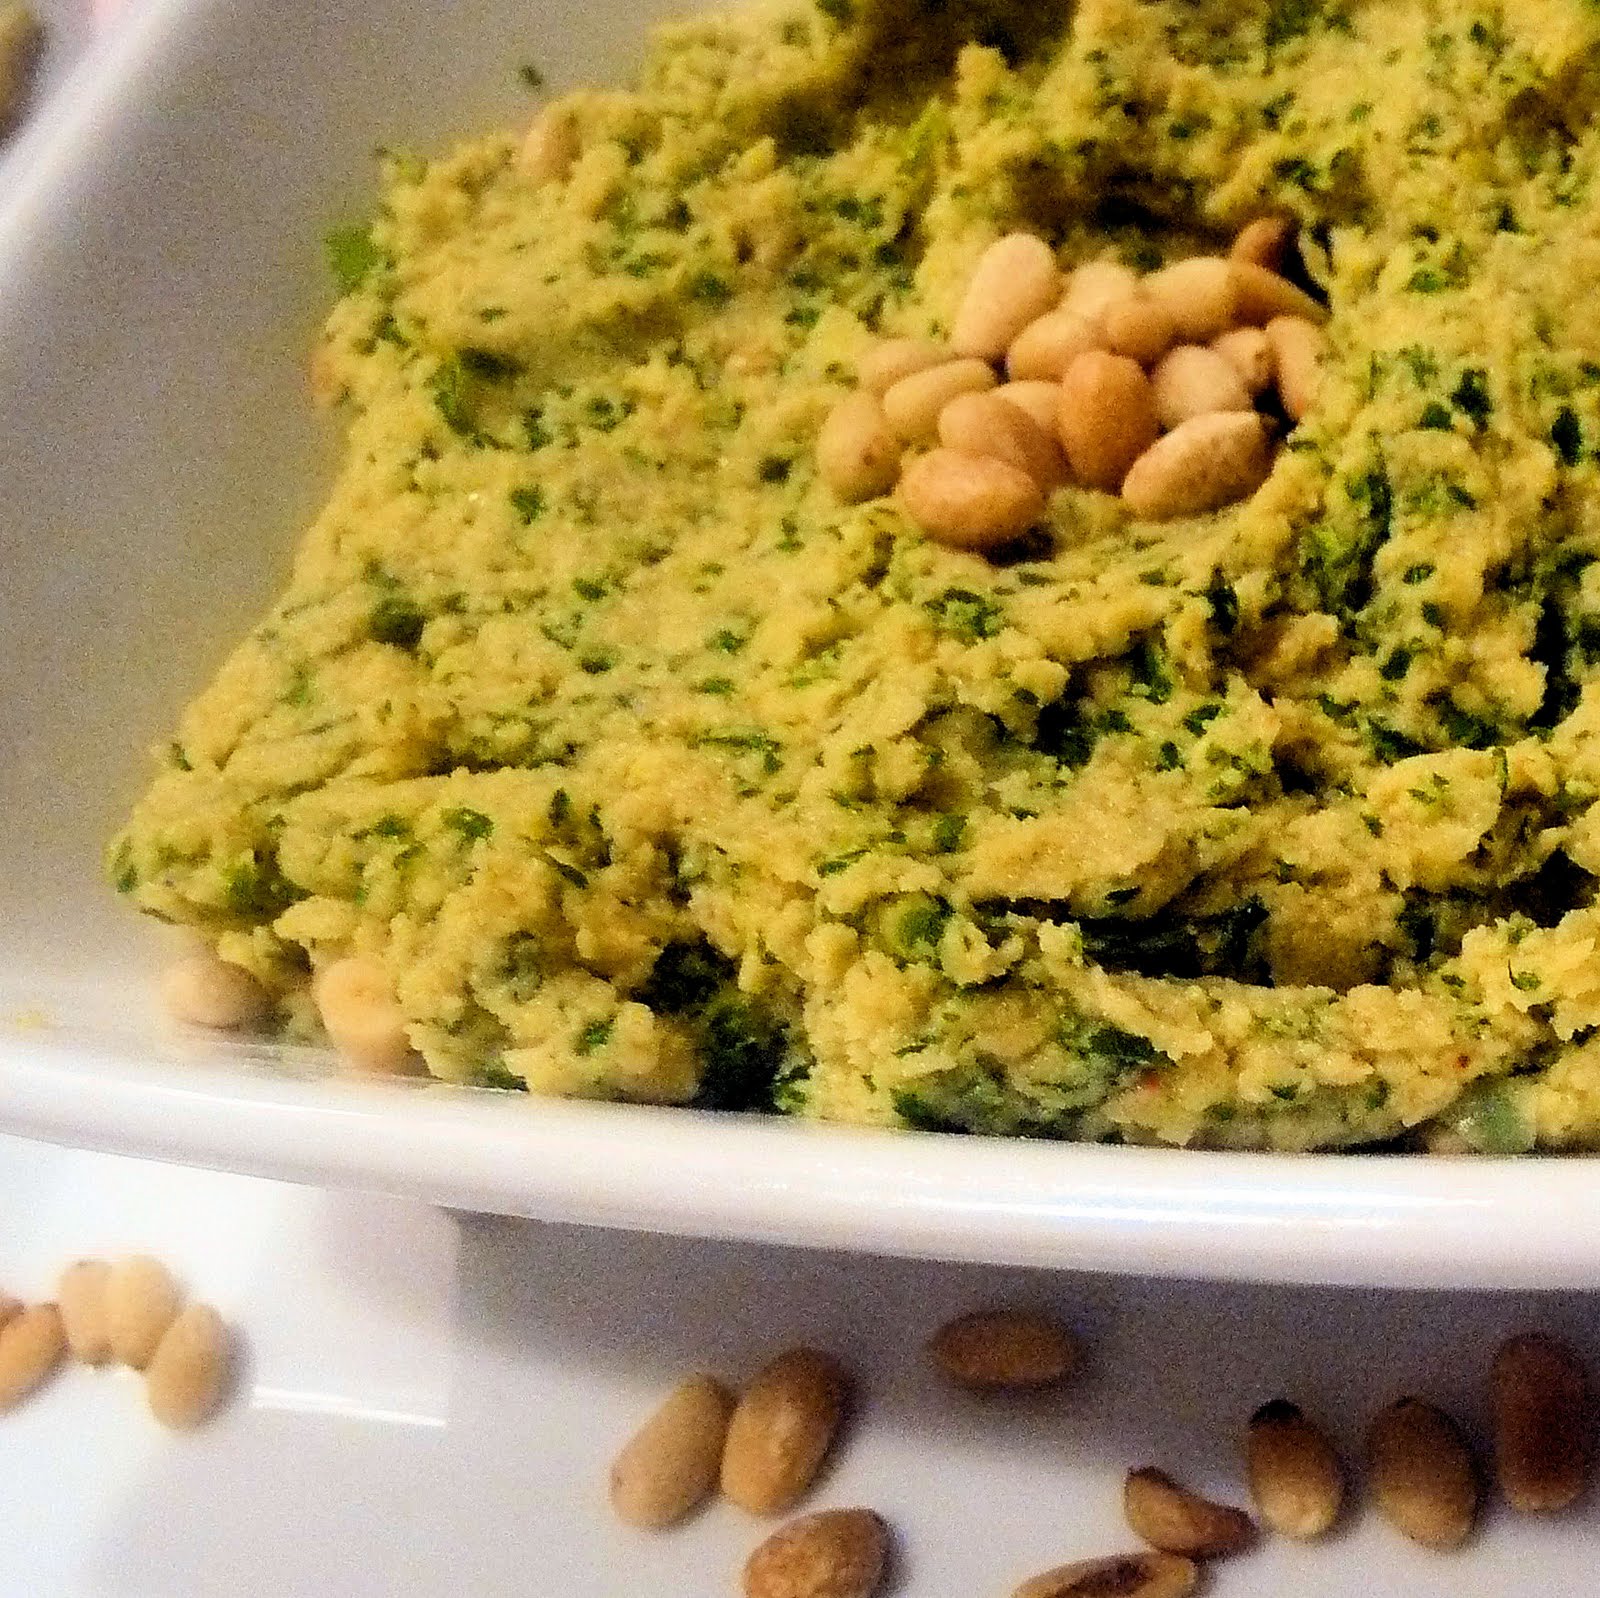
Add the chopped pine nuts to the hummus and mix in with a spoon. Top the hummus with the remaining whole pine nuts.
The spices add great flavor but there isn’t enough in it to give heat. The pine nuts give the hummus some crunch. And for some reason, it makes me super happy that this hummus is such a pretty green color. If you’re not in the mood for toasted pita, tomatoes or sliced cucumber would be quite tasty with this.
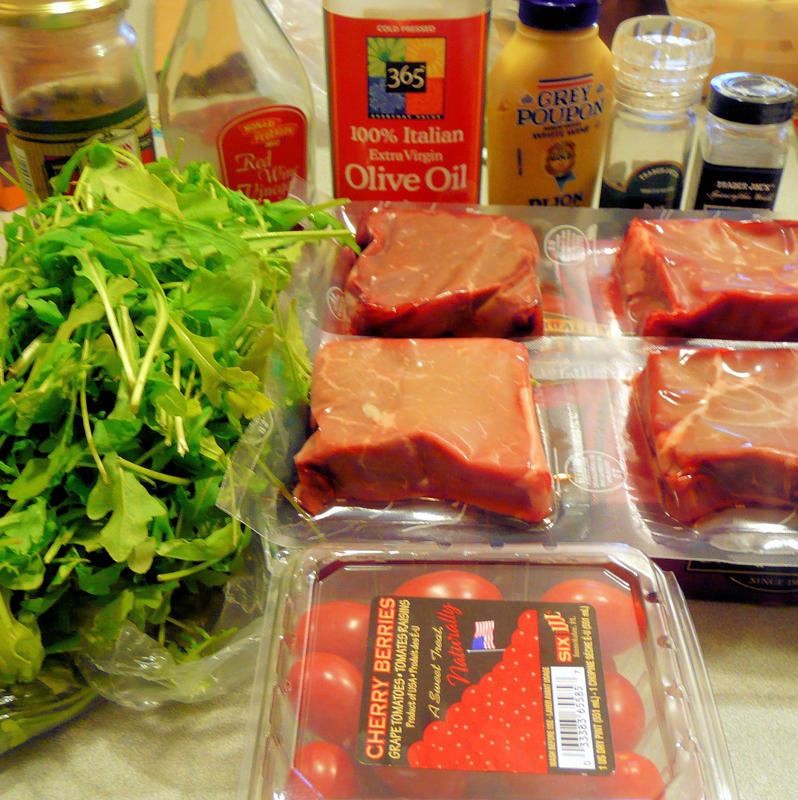
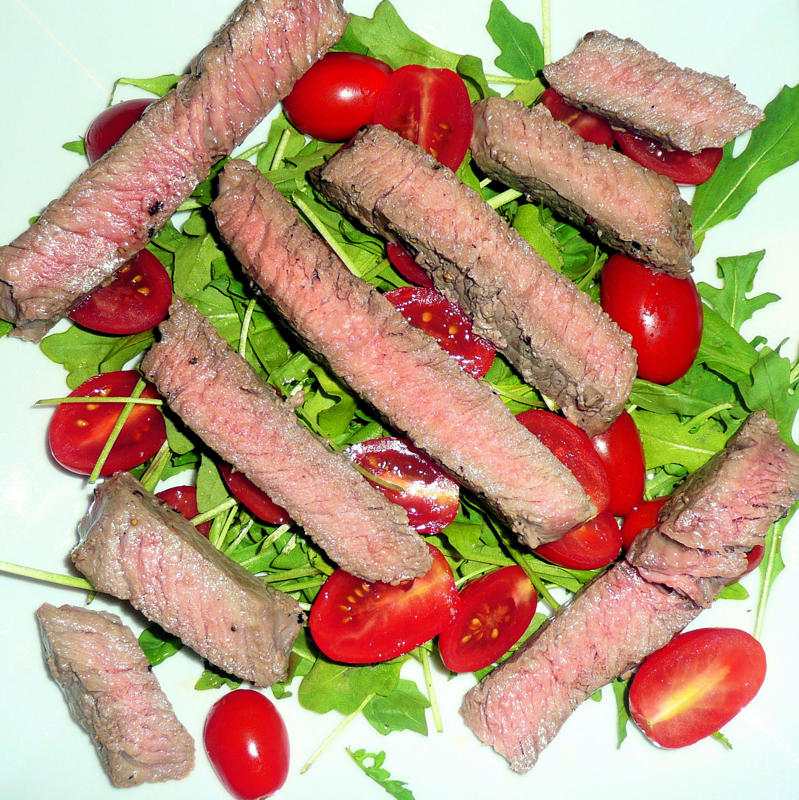
My parents graciously gifted me with an order of Omaha Steaks. My only issue is that I rarely make steak (chicken and veggies are my staples) so I went in search of something other than just grilled steak and potatoes. Food and Wine had a recipe that not only sounded delicious, but also included steak and one of my CSA ingredients of the week: arugula. Double win.
Tell me you don’t want to eat that.
Ingredients:
1 1/2 pounds sirloin steak, about 1 inch thick
6 tablespoons olive oil
Salt
Fresh-ground black pepper
2 generous handfuls of arugula, leaves washed and torn in half
1 container of grape or cherry tomatoes, halved
1 1/2 teaspoons Dijon mustard
1 tablespoon red- or white-wine vinegar (I used red)
2 tablespoons drained capers
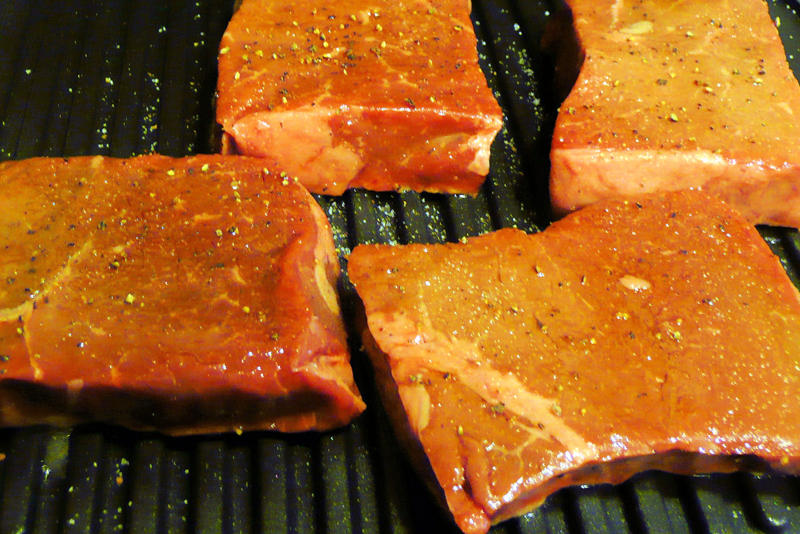
If you have an outdoor grill, light the grill before prepping your ingredients to allow it time to heat up. I used my nifty little indoor grill. You could also use the broiler in your oven. Coat the steak with 1 tablespoon of the olive oil. Season the steak with salt and pepper.
Add the steak to the grill or to the broiler and cook for 5 minutes.
Flip the steak and cook for another 5 minutes for medium rare (adjust to your taste). Transfer the steak to a carving board and let rest for 5 minutes.
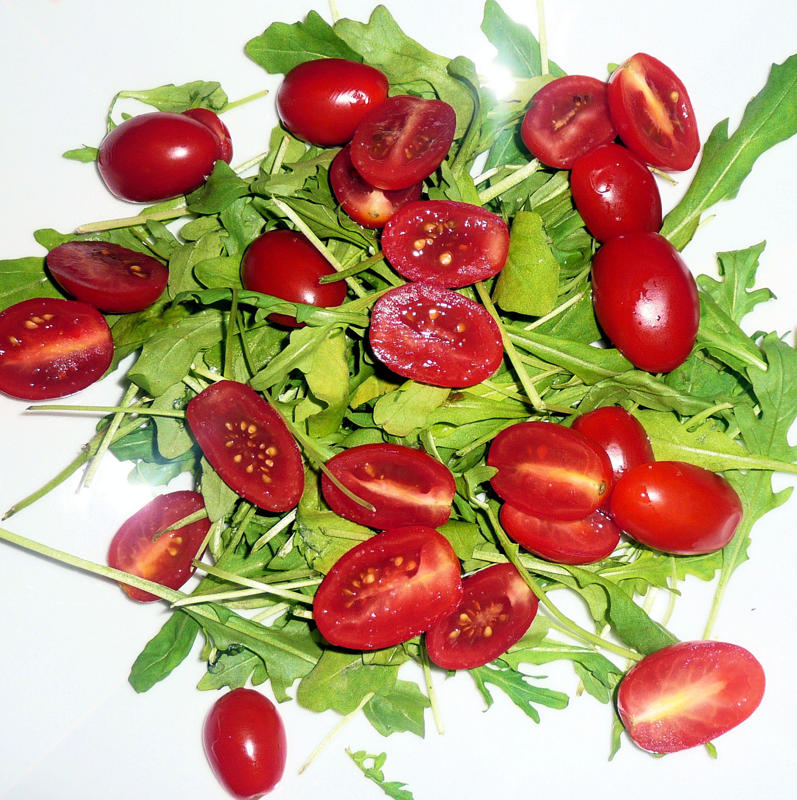
Cut the tomatoes in half. I ended up using the whole plastic container (I really like tomatoes).
Place the arugula on two individual plates. Top the arugula with the cherry tomatoes and sprinkle with some salt.
In a medium-sized bowl, whisk together the mustard, vinegar, capers and season with salt and pepper.
This looks disgusting. I swear it tastes good!
Add the remaining 5 tablespoons of oil slowly, whisking to combine.
Still a horrific photo. I apologize.
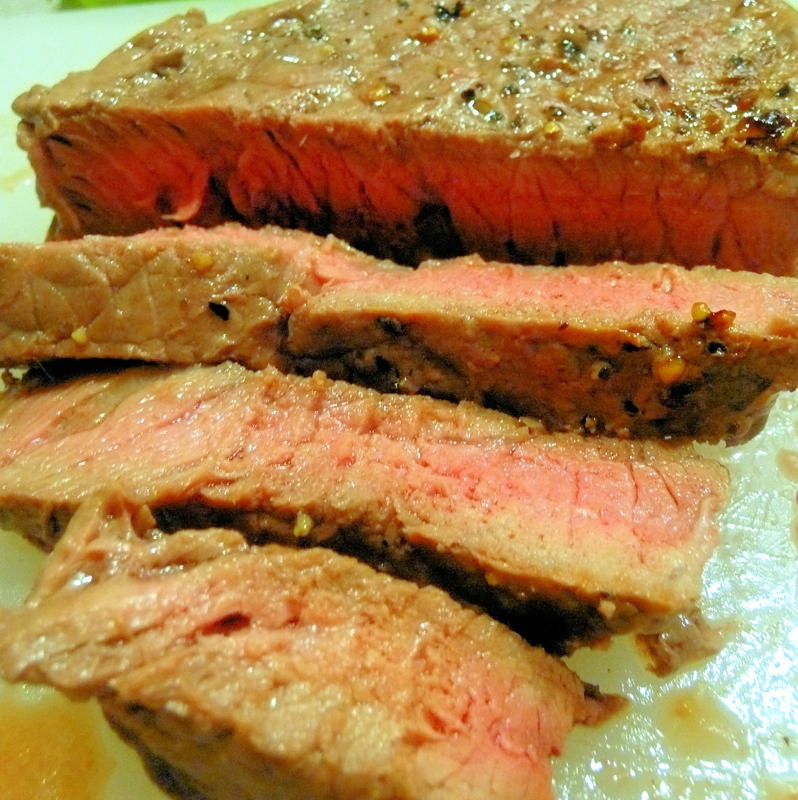
After the steak has had time to rest, slice the steak on the diagonal.
Place the steak on top of the salad.
Fancy.
Drizzle with vinaigrette.
What a tasty dish. The original recipe called for anchovy paste for the vinaigrette but I didn’t have any so I omitted it. I honestly don’t think it’s necessary; there was enough salt and tangy-ness from the capers. Spinach can be used instead of arugula, but I think the spiciness of arugula goes really well with this dish. The steak on its own was simple and tasty, and with the vinaigrette it was absolutely fantastic. I will most certainly make this recipe again!
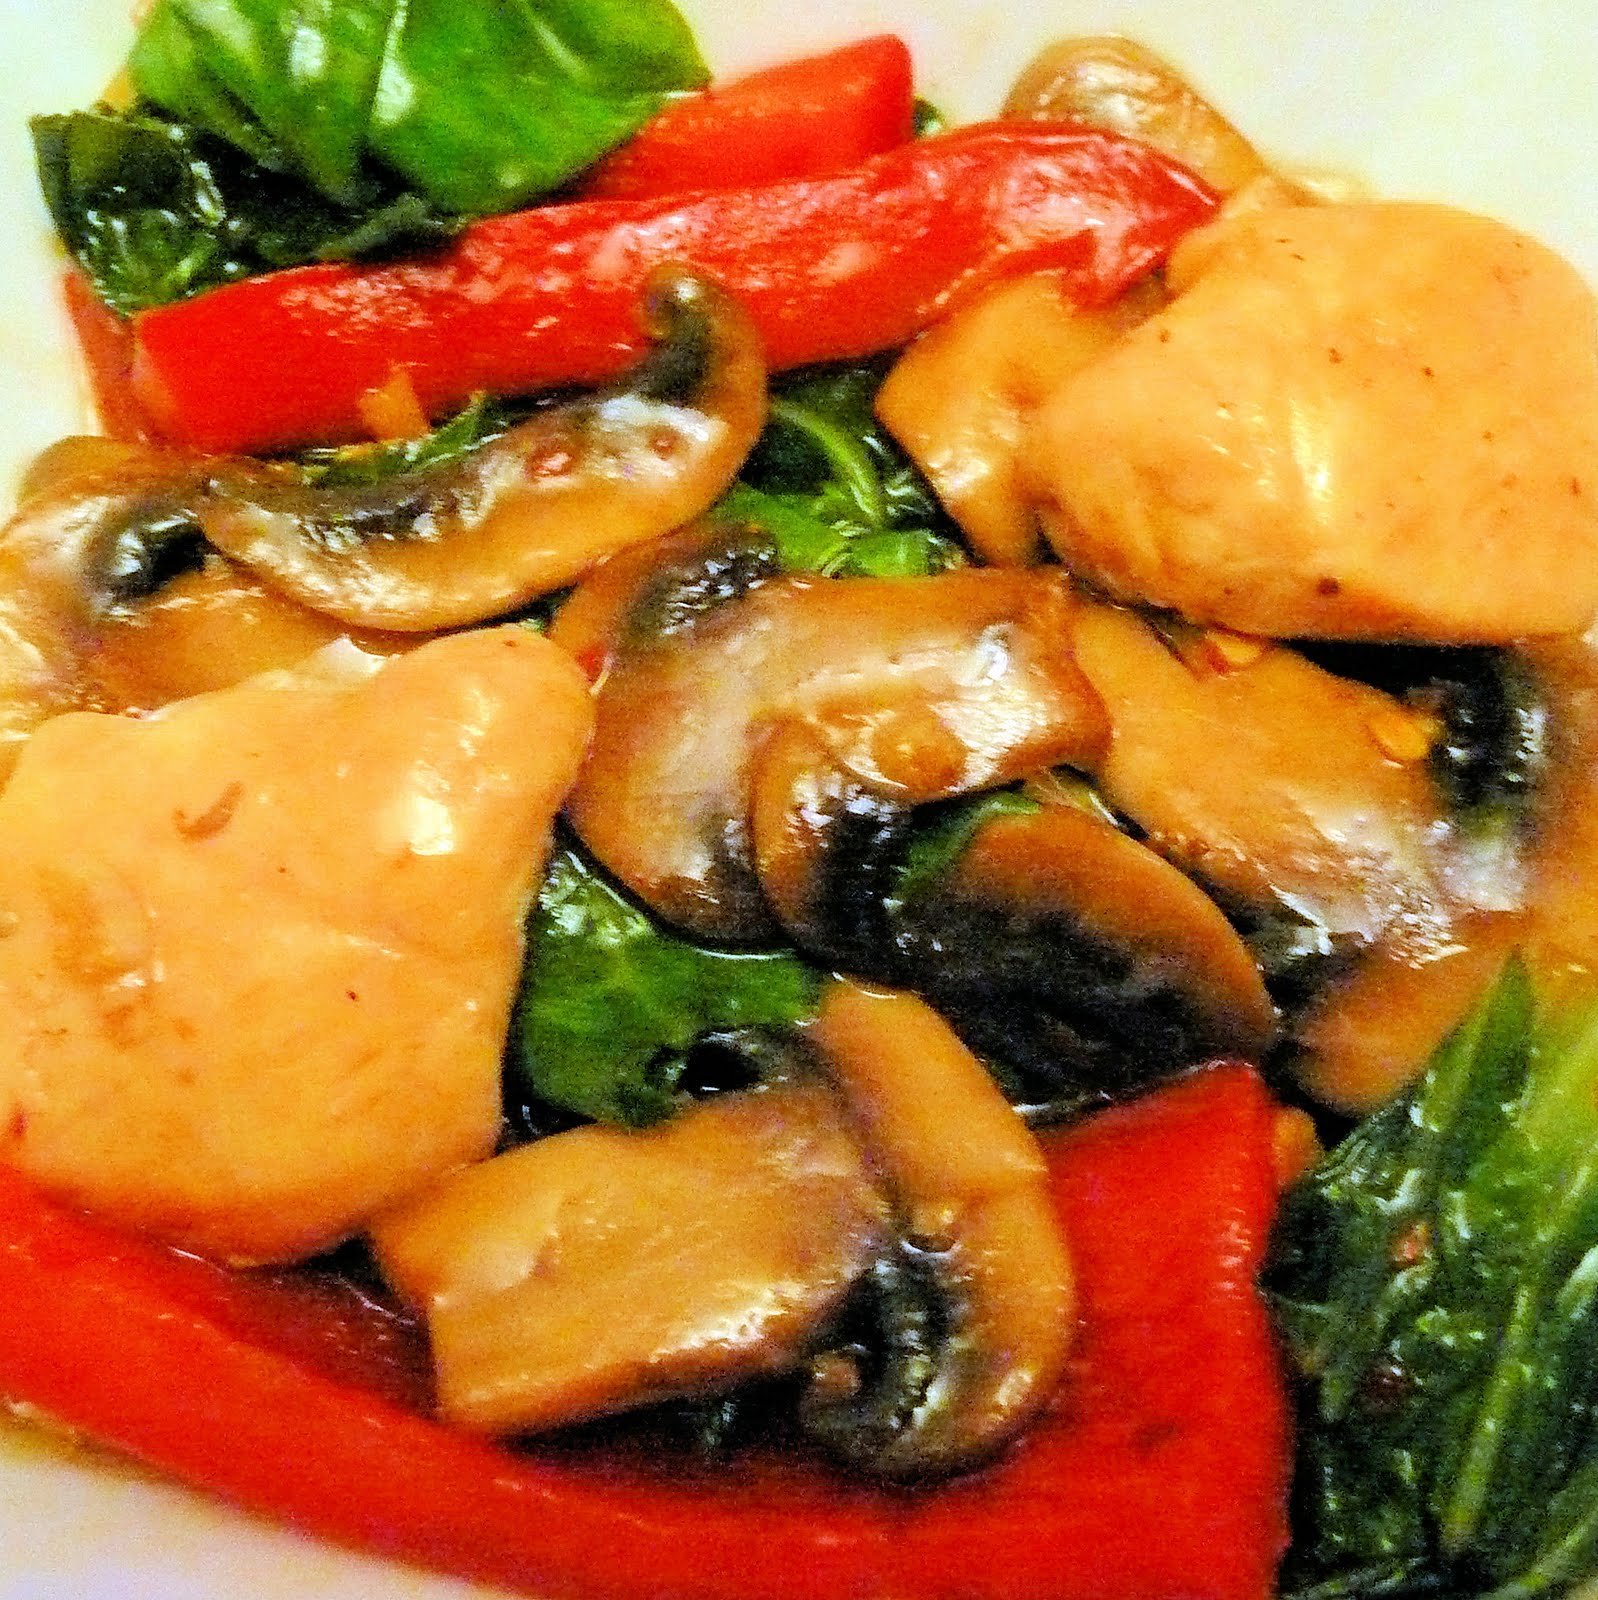
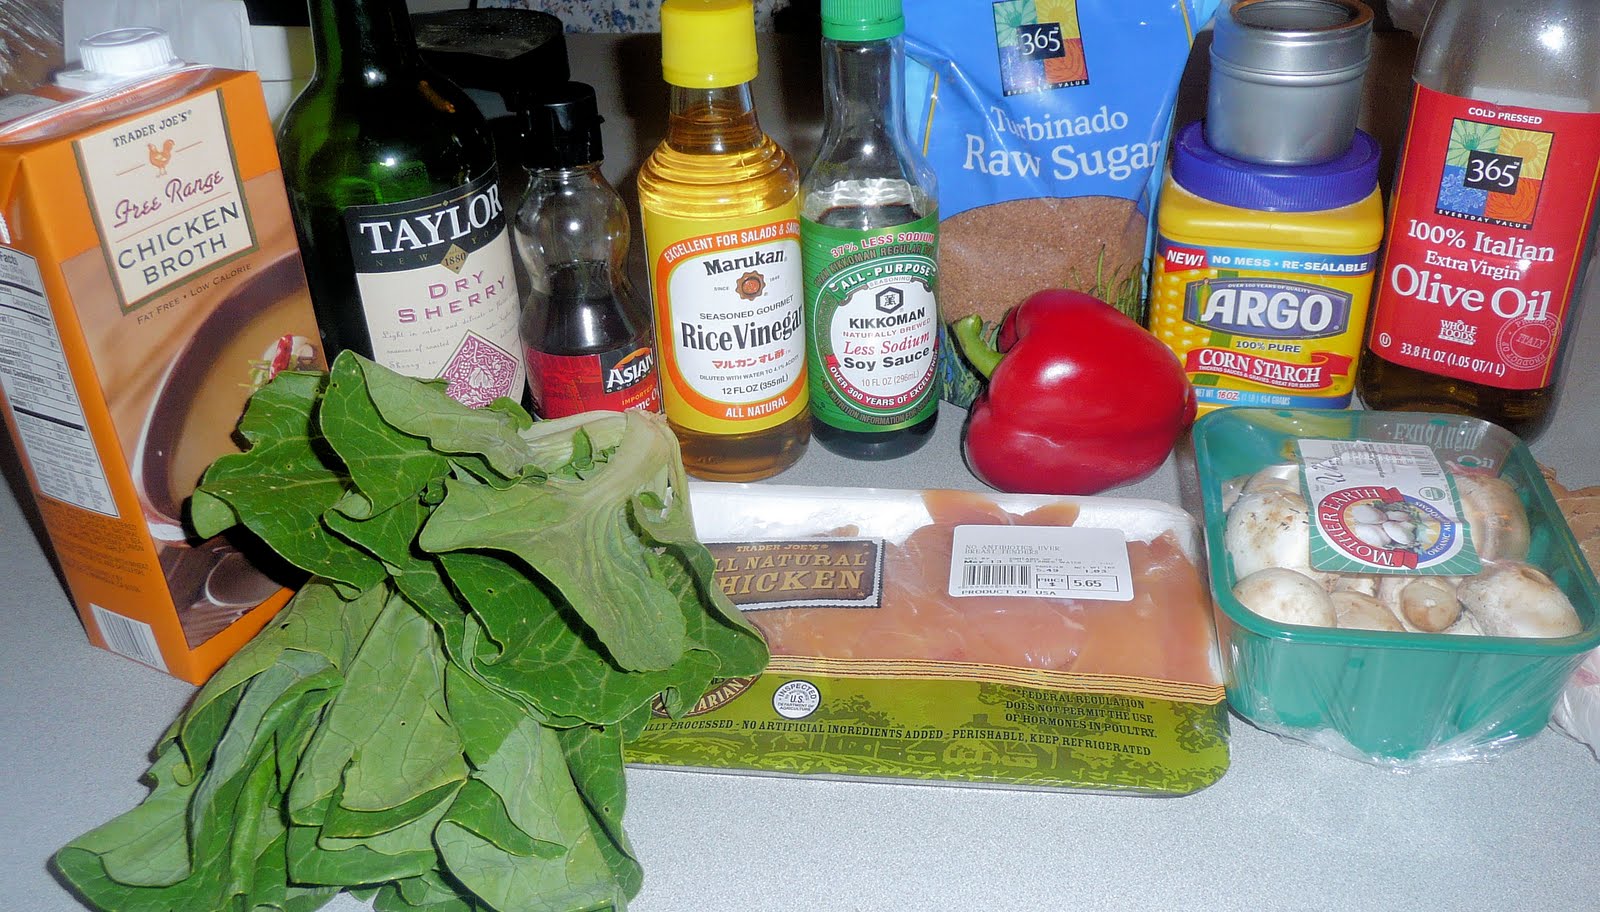
Finishing out my CSA bundle for the week, I decided to make a stir fry that had both bok choy and mushrooms as ingredients. (The recipe for Ginger Sesame Chicken with Bok Choy and Mushrooms originally called for oyster mushrooms, but I went with the button mushrooms I had from the vegetable share. Food & Wine had a recipe that sounded right up my alley so I tried it out.
Ingredients:
1/2 cup chicken broth
3 tablespoons low-sodium soy sauce (or coconut aminos to make gluten free)
1 tablespoon sherry
1 tablespoon sugar
1 teaspoon cornstarch dissolved in 1 tablespoon water
1/2 teaspoon unseasoned rice vinegar (I only had seasoned, so I used that)
1/2 teaspoon Asian sesame oil
1/2 teaspoon crushed red pepper
3 tablespoons olive oil, divided
1 pack of button mushrooms, sliced (feel free to use the pre-sliced kind)
1 pack of chicken tenders, cut into 1 inch pieces
Salt and freshly ground pepper
2 bunches of bok choy, thickly cut crosswise
1 small red bell pepper, sliced with seeds removed
2 tablespoons finely chopped fresh ginger
1 garlic clove, minced
To make the sauce, combine the chicken broth, soy sauce, sherry, sugar, dissolved cornstarch mixture, rice vinegar, sesame oil, and crushed red pepper in a medium-sized jar.
Shake well and set aside. Prepare all your vegetables, ginger, and garlic.
In a large saute pan, heat 2 teaspoons of olive oil over medium-high heat. Add the mushrooms and cook, stirring occasionally, until browned and tender, about 6 minutes.
Transfer the mushrooms to a large plate or bowl. Season the chicken with salt and pepper. Add another 2 teaspoons of oil to the pan. Once heated, add the chicken and cook until just barely cooked through, about 4 minutes.
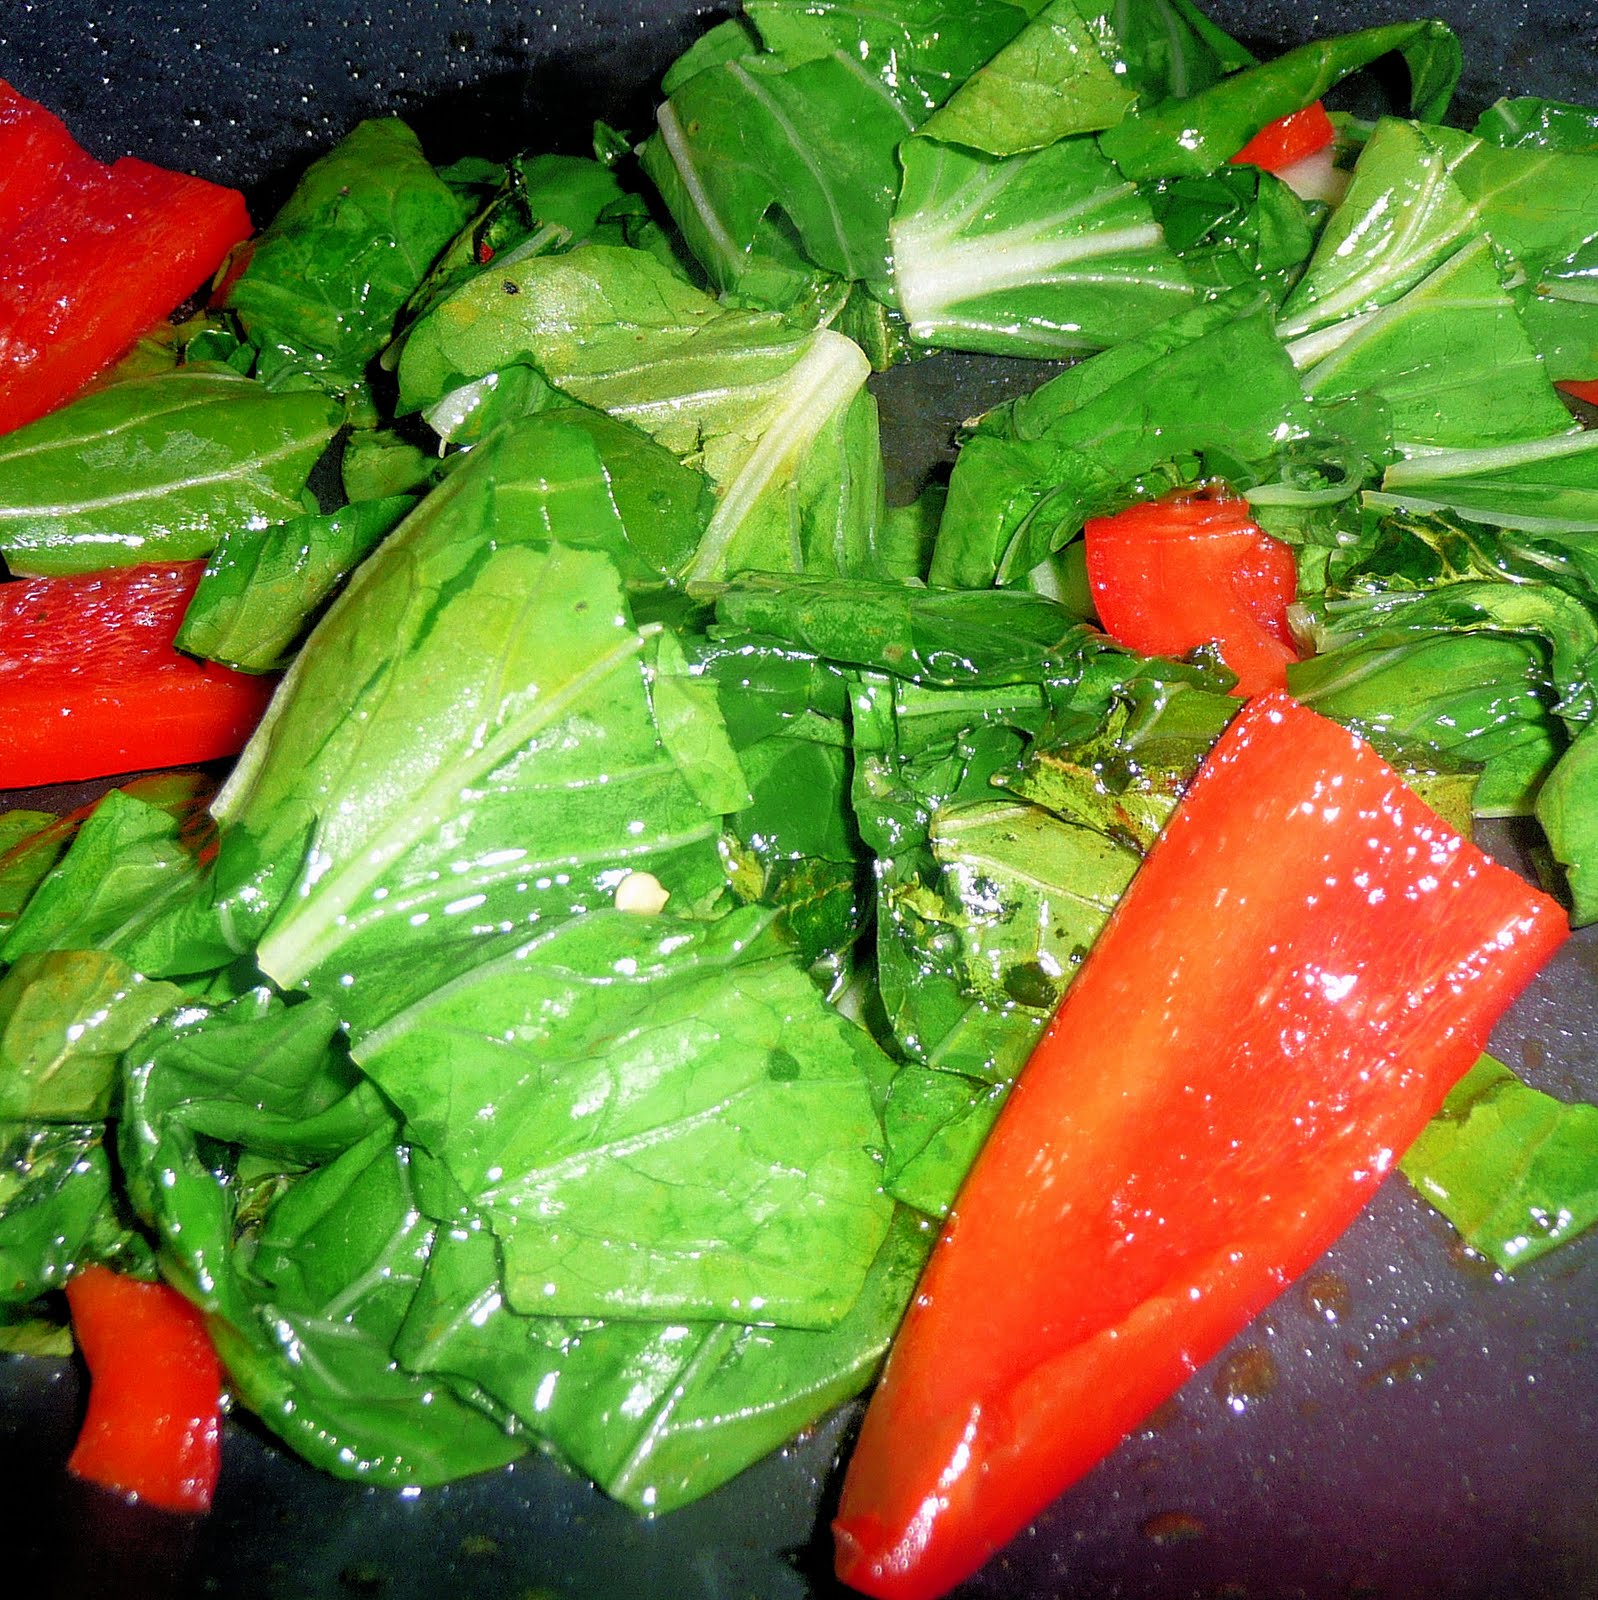
Transfer to the same dish as the mushrooms. Add 1 tablespoon oil to the pan and add the bok choy and red pepper. Cook for about 3 minutes.
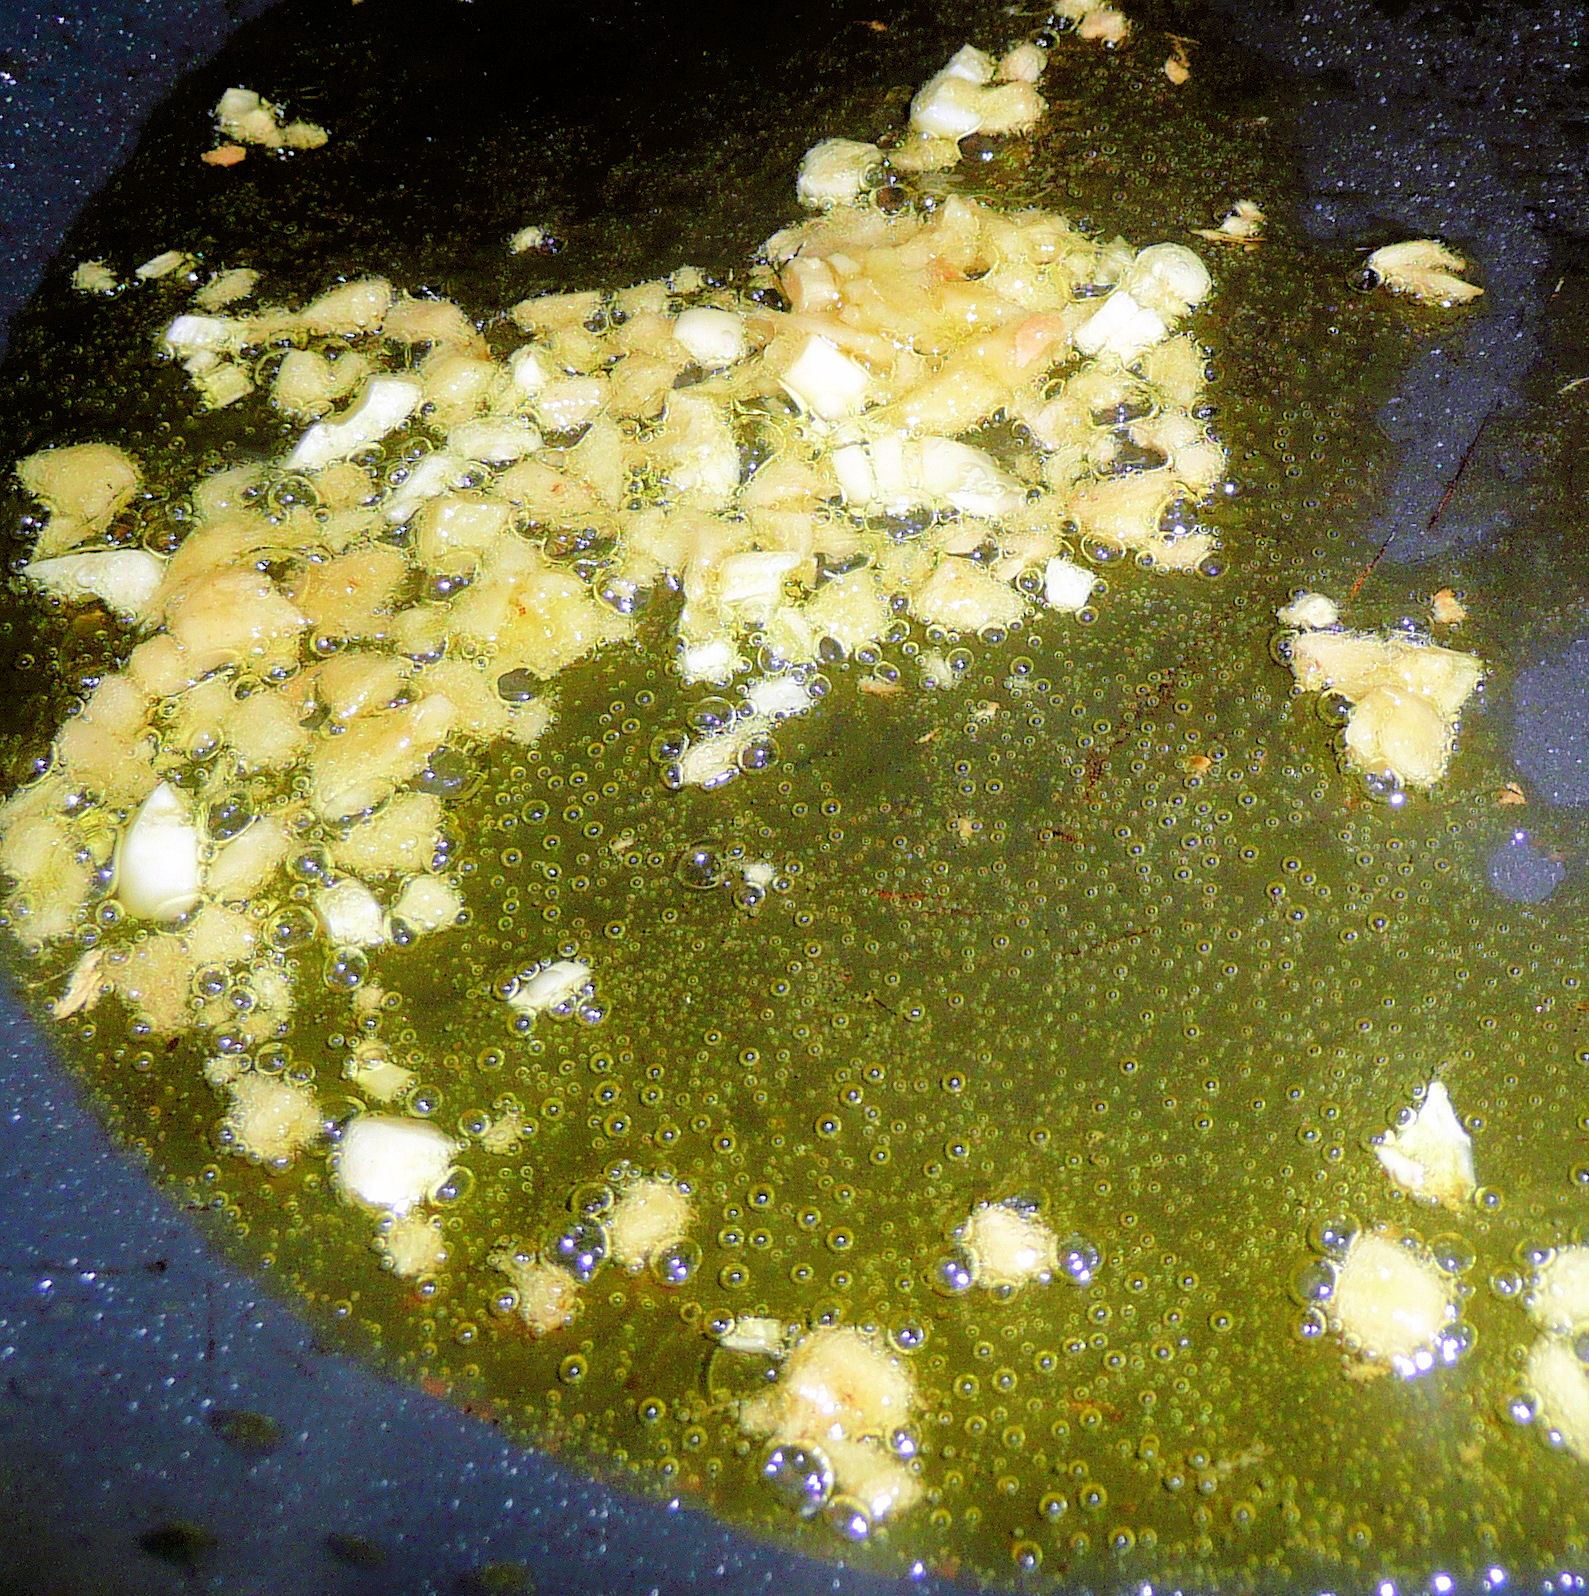
Transfer to the dish. Add the remaining 2 teaspoons to the saute pan. Add the ginger and garlic and cook for 1 minute, or until fragrant.
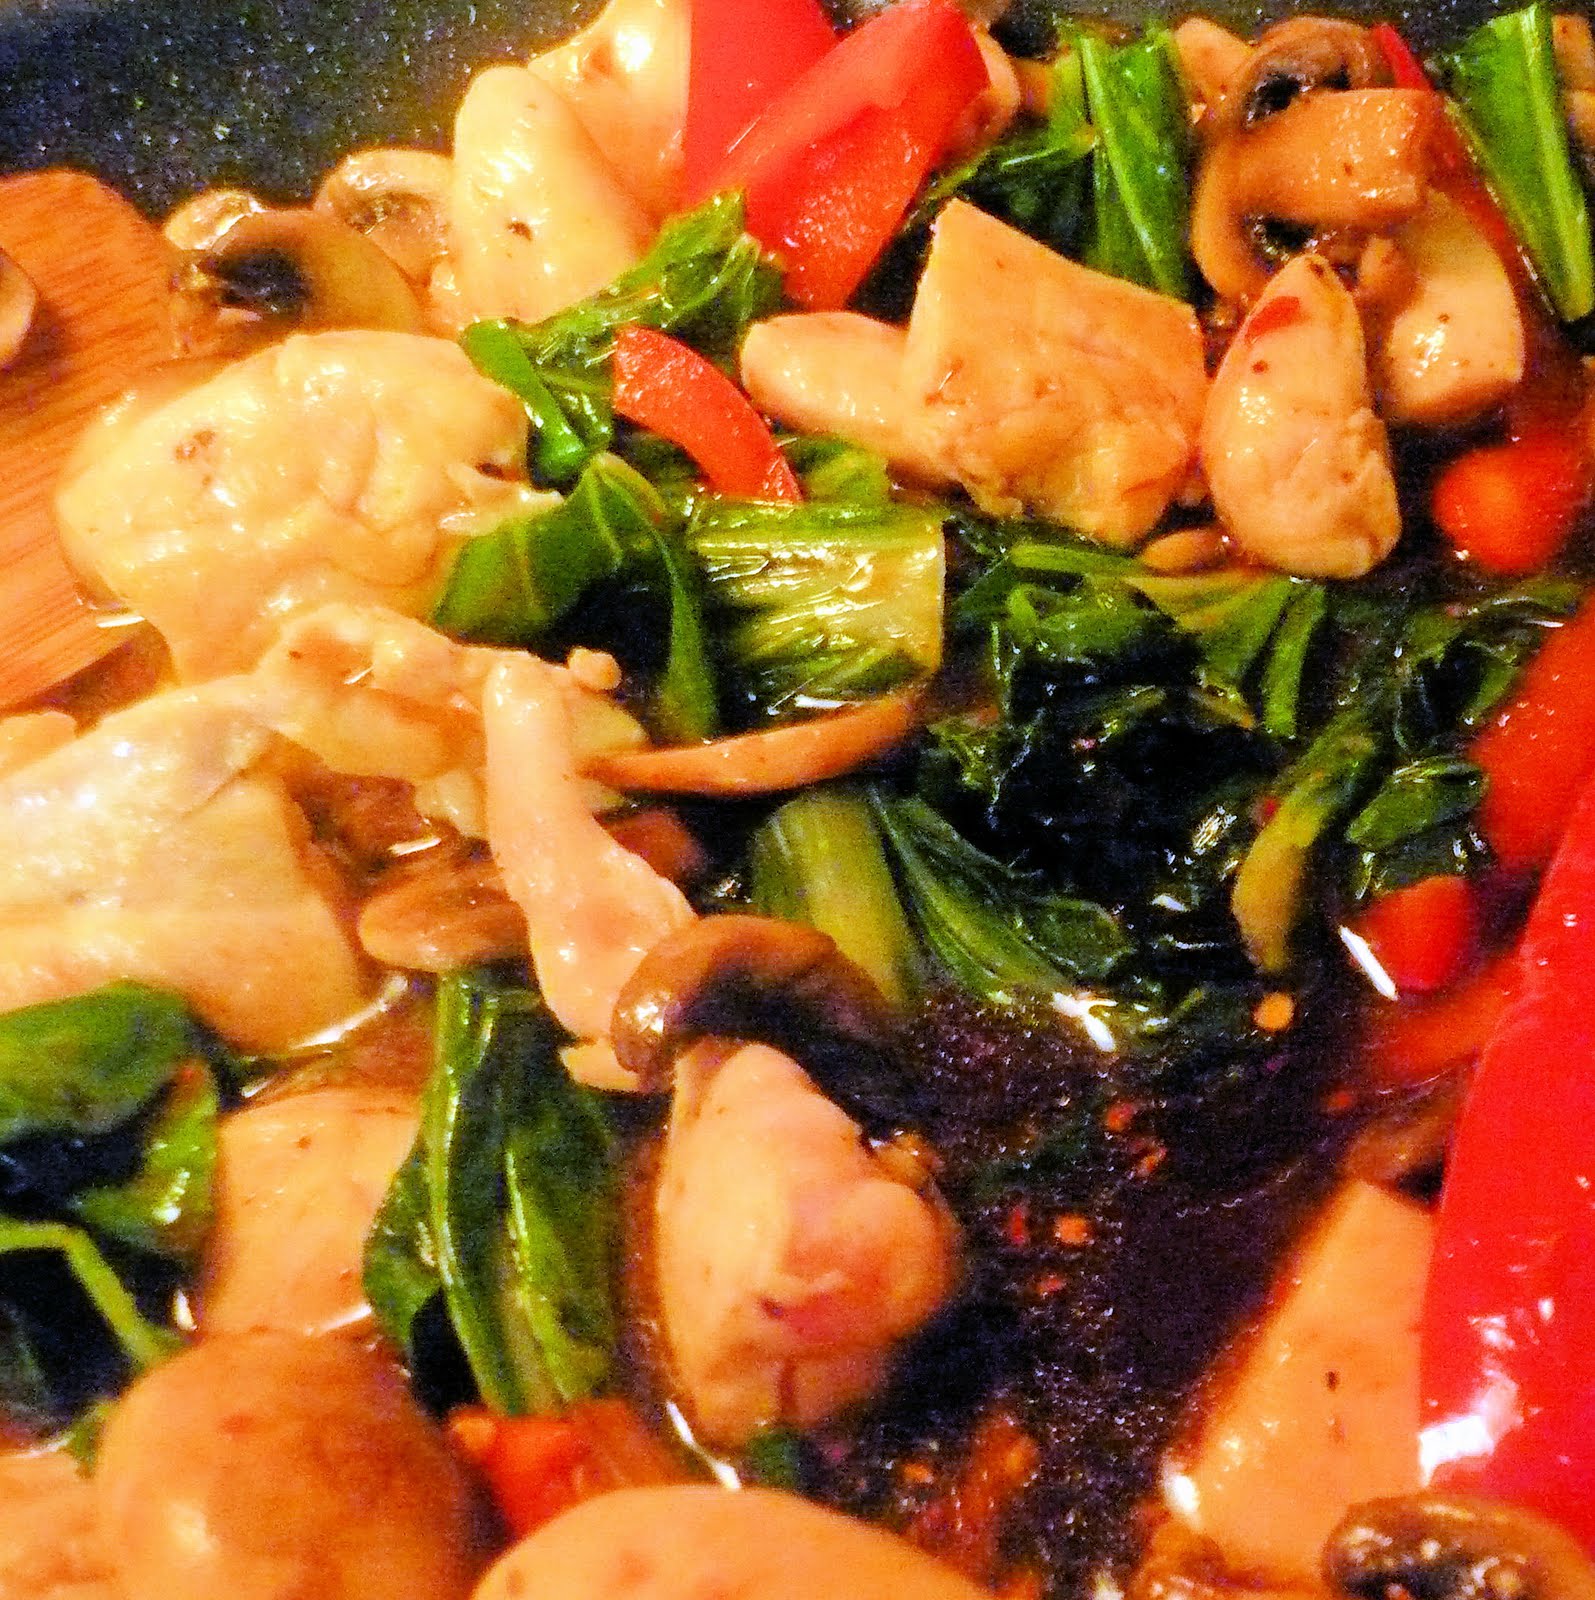
Return the chicken and vegetables to the pan. Shake the sauce in the jar and add to the pan.
Bring to a boil and simmer until slightly thickened, about 1 minute.
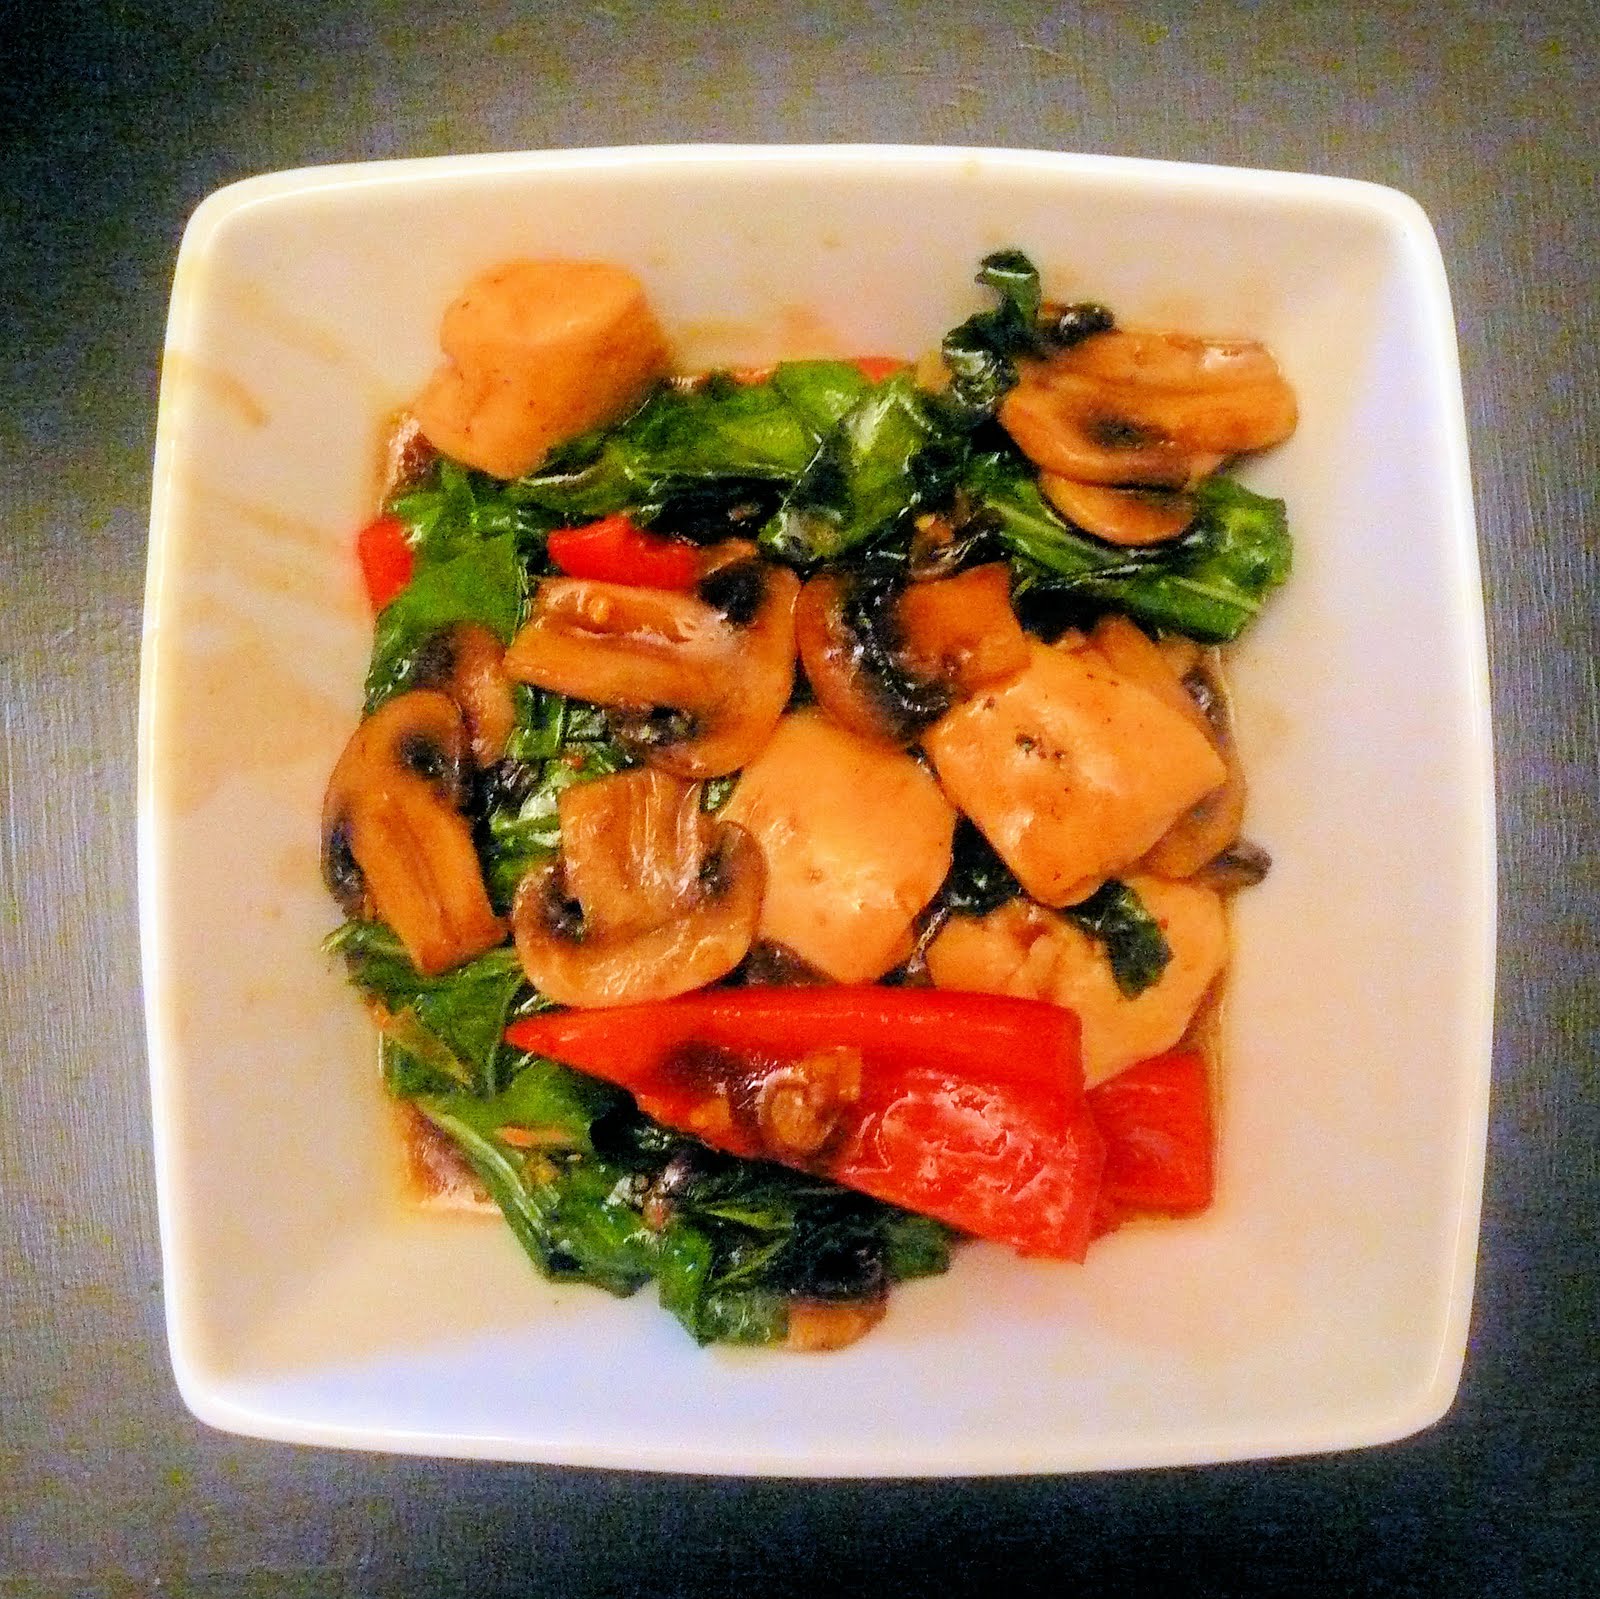
Transfer to a bowl and serve.
I really liked this dish, but I was hoping for more vegetables overall, especially more bok choy. I don’t honestly think that this would be much better with oyster mushrooms, so don’t go crazy looking for them if you can’t find them; button mushrooms were good enough. The sauce had some nice heat without being too spicy, so I will definitely try this recipe again with more veggies.
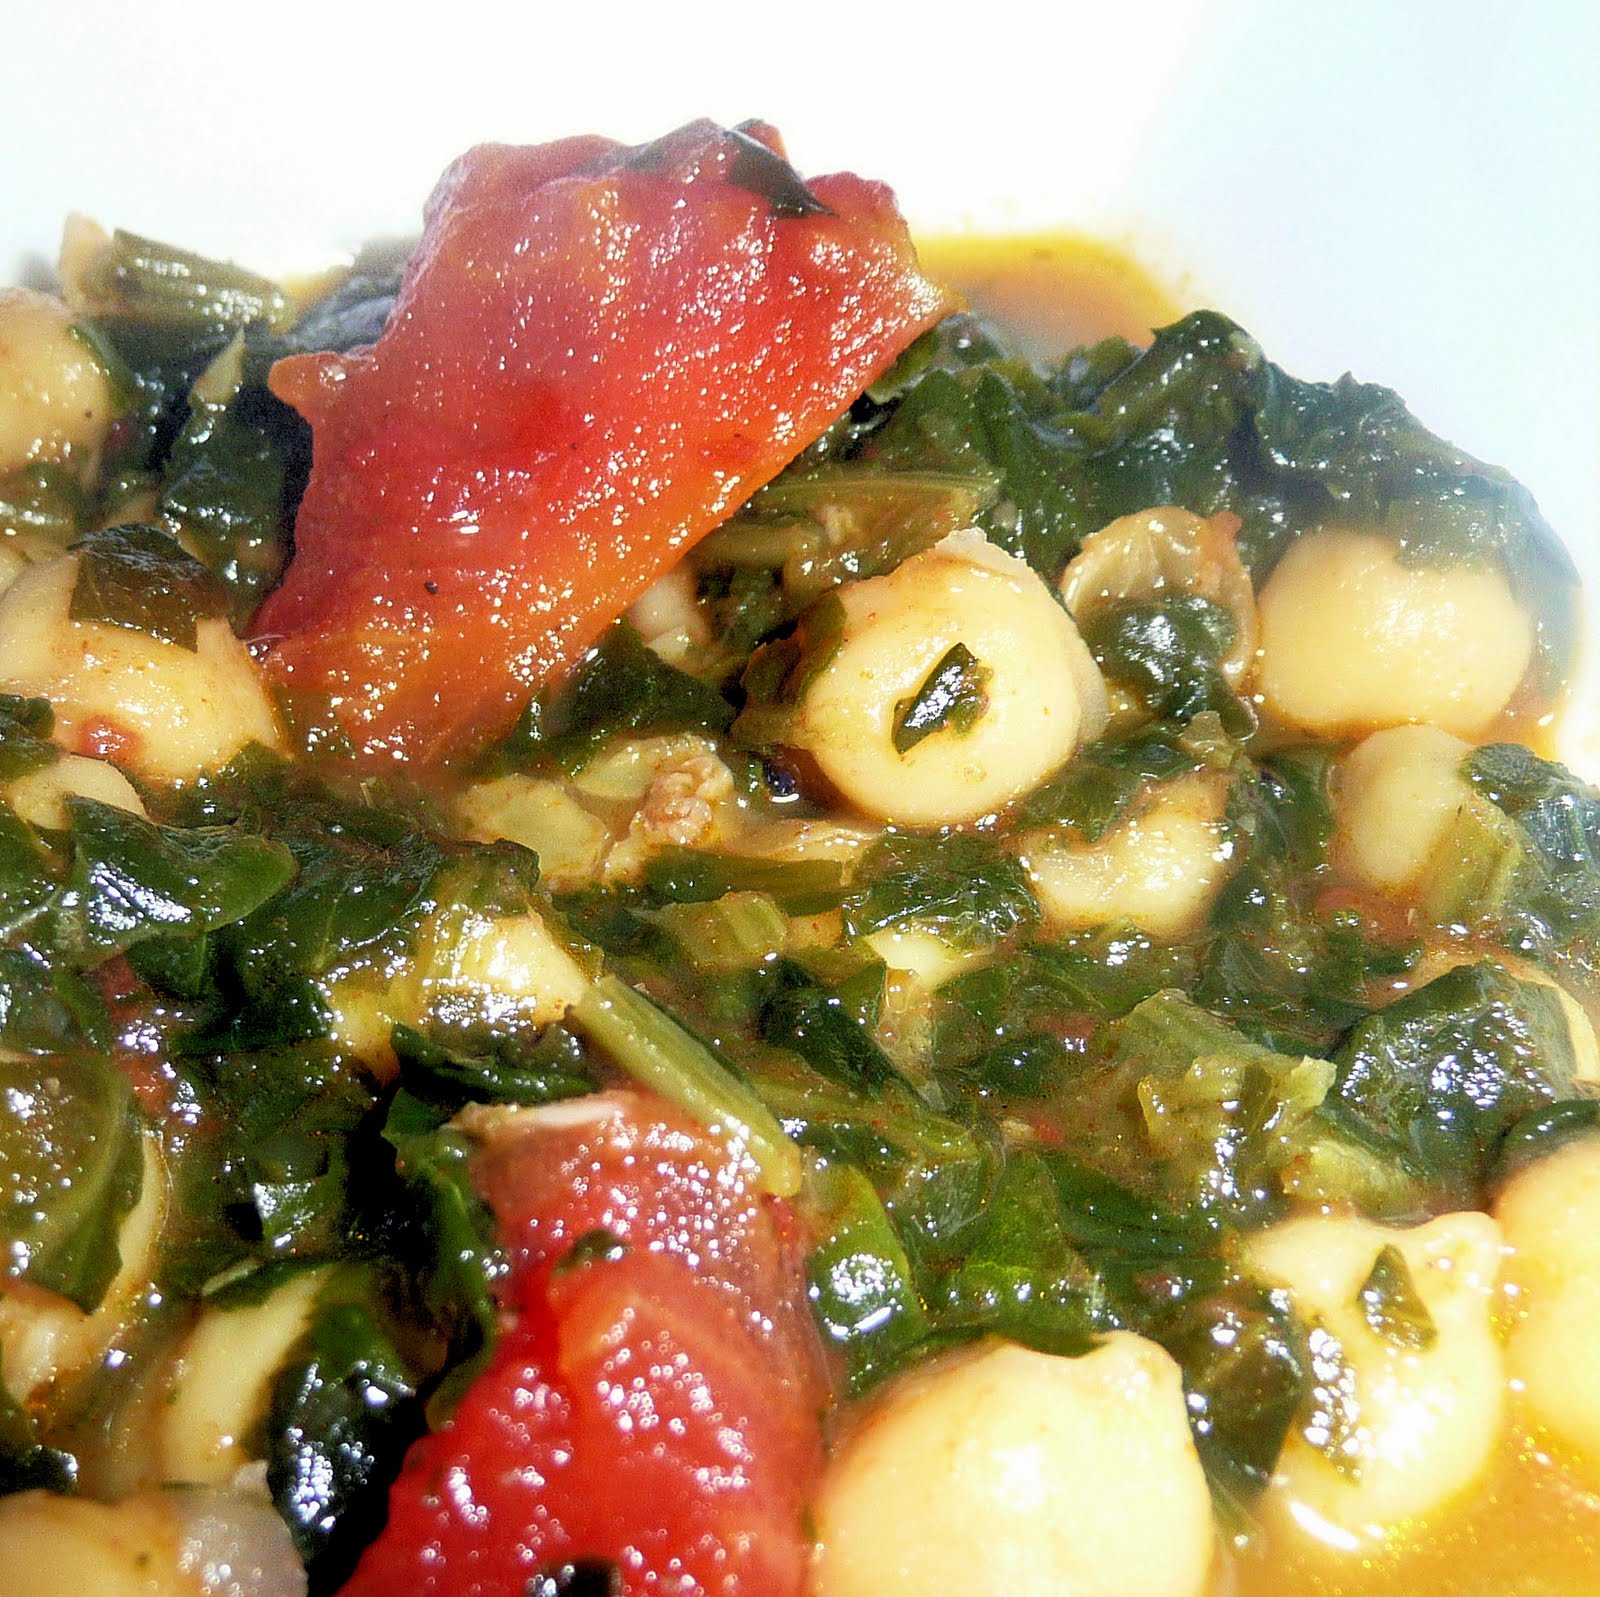
A friend sent me this recipe from Food & Wine, and I somehow had all of these ingredients on hand (yes, including the saffron and golden raisins… don’t judge me). This recipe said it would take 30 minutes, so I thought it would be a great weeknight meal, plus any time I can make something somewhat healthy, it’s a win.
Ingredients:
1 cup water
10 ounces baby spinach
2 large garlic cloves, crushed
Kosher salt
Pinch of saffron threads
2 teaspoons sweet paprika
1/4 teaspoon ground cumin
Pinch of ground cloves
Pinch of freshly ground pepper
Two 15-ounce cans chickpeas with their liquid
1/4 cup extra-virgin olive oil
1 small onion, finely chopped
1 large tomato—peeled, seeded and coarsely chopped
1/4 cup golden raisins
Crusty bread, for serving
To cook the spinach, boil the water in a pot and add the leaves. Stir frequently until wilted (about 2 minutes). Drain the spinach in a strainer, pressing the leaves against the sides to squeeze out as much liquid as possible. Coarsely chop the spinach and set aside.
In retrospect, I feel like using frozen chopped spinach that has been defrosted would work just as well, and save some time.
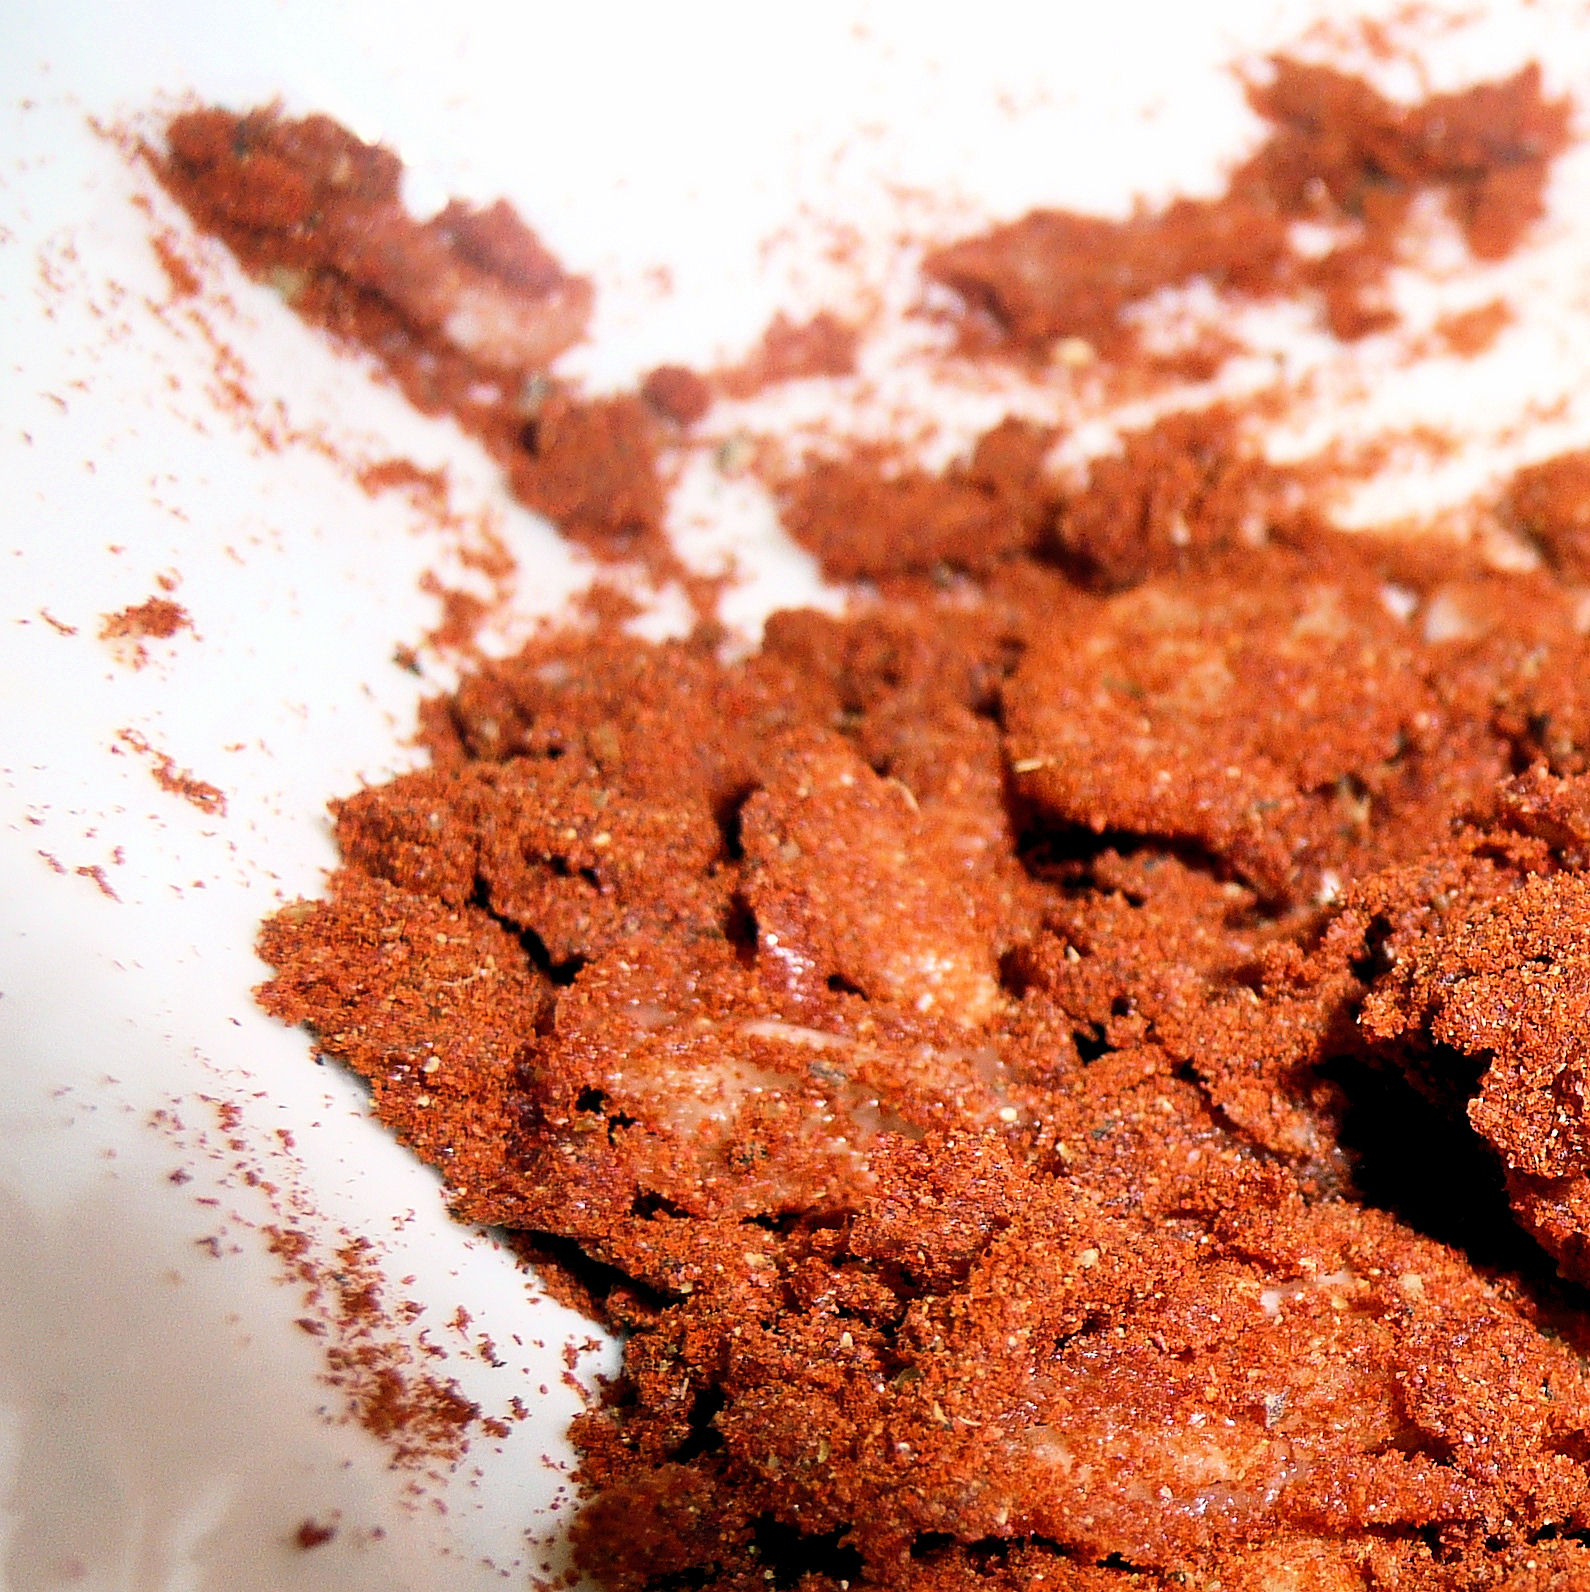
Using the flat side of a knife, mash the garlic into a paste with 1/2 teaspoon salt and the saffron.
kind of coarse, but oh well
In a small bowl, mix the garlic paste, paprika, cumin, cloves, and black pepper and mash until combined.
Stir in 1/4 cup of the chickpea liquid.
To seed the tomatoes, cut the tomato in half and use a spoon to remove the seeds.
I decided not to peel the tomato because I wanted the pieces to retain their shape. Feel free to peel them, it will make for a more soft and more incorporated into the dish.
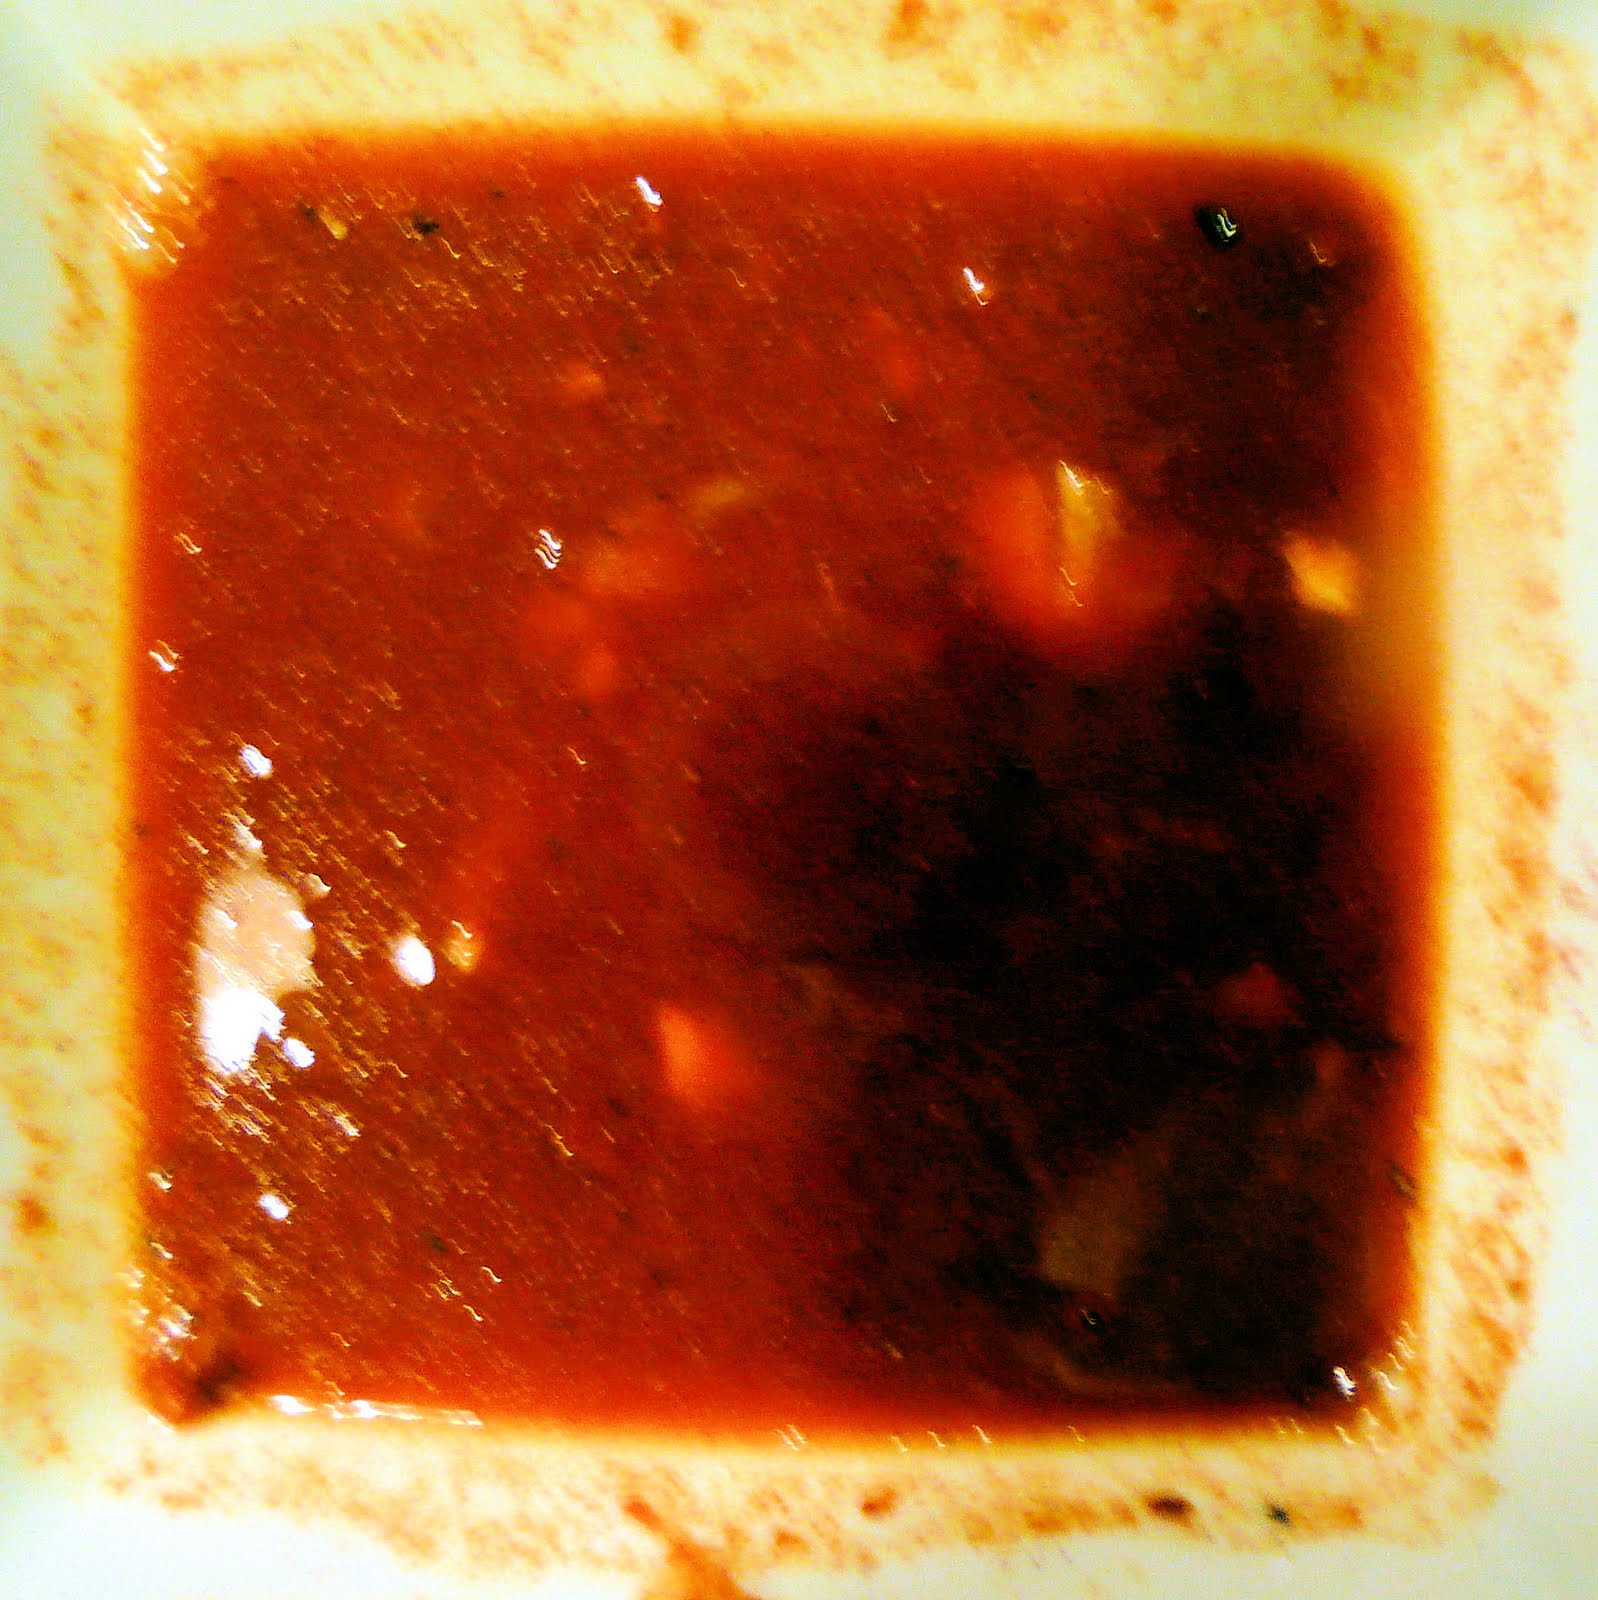
Add 2 tablespoons of olive oil to a dutch oven or pot. Heat over high heat and add in the onion and tomato, (I forgot about the onion, oops) and stir occasionally until soft, about 3 minutes.
Add the spiced garlic sauce to the pot and cook for 1 minute.
Add the chickpeas and the liquid they came in to the pot. Add the raisins and bring to a boil over medium-high heat.
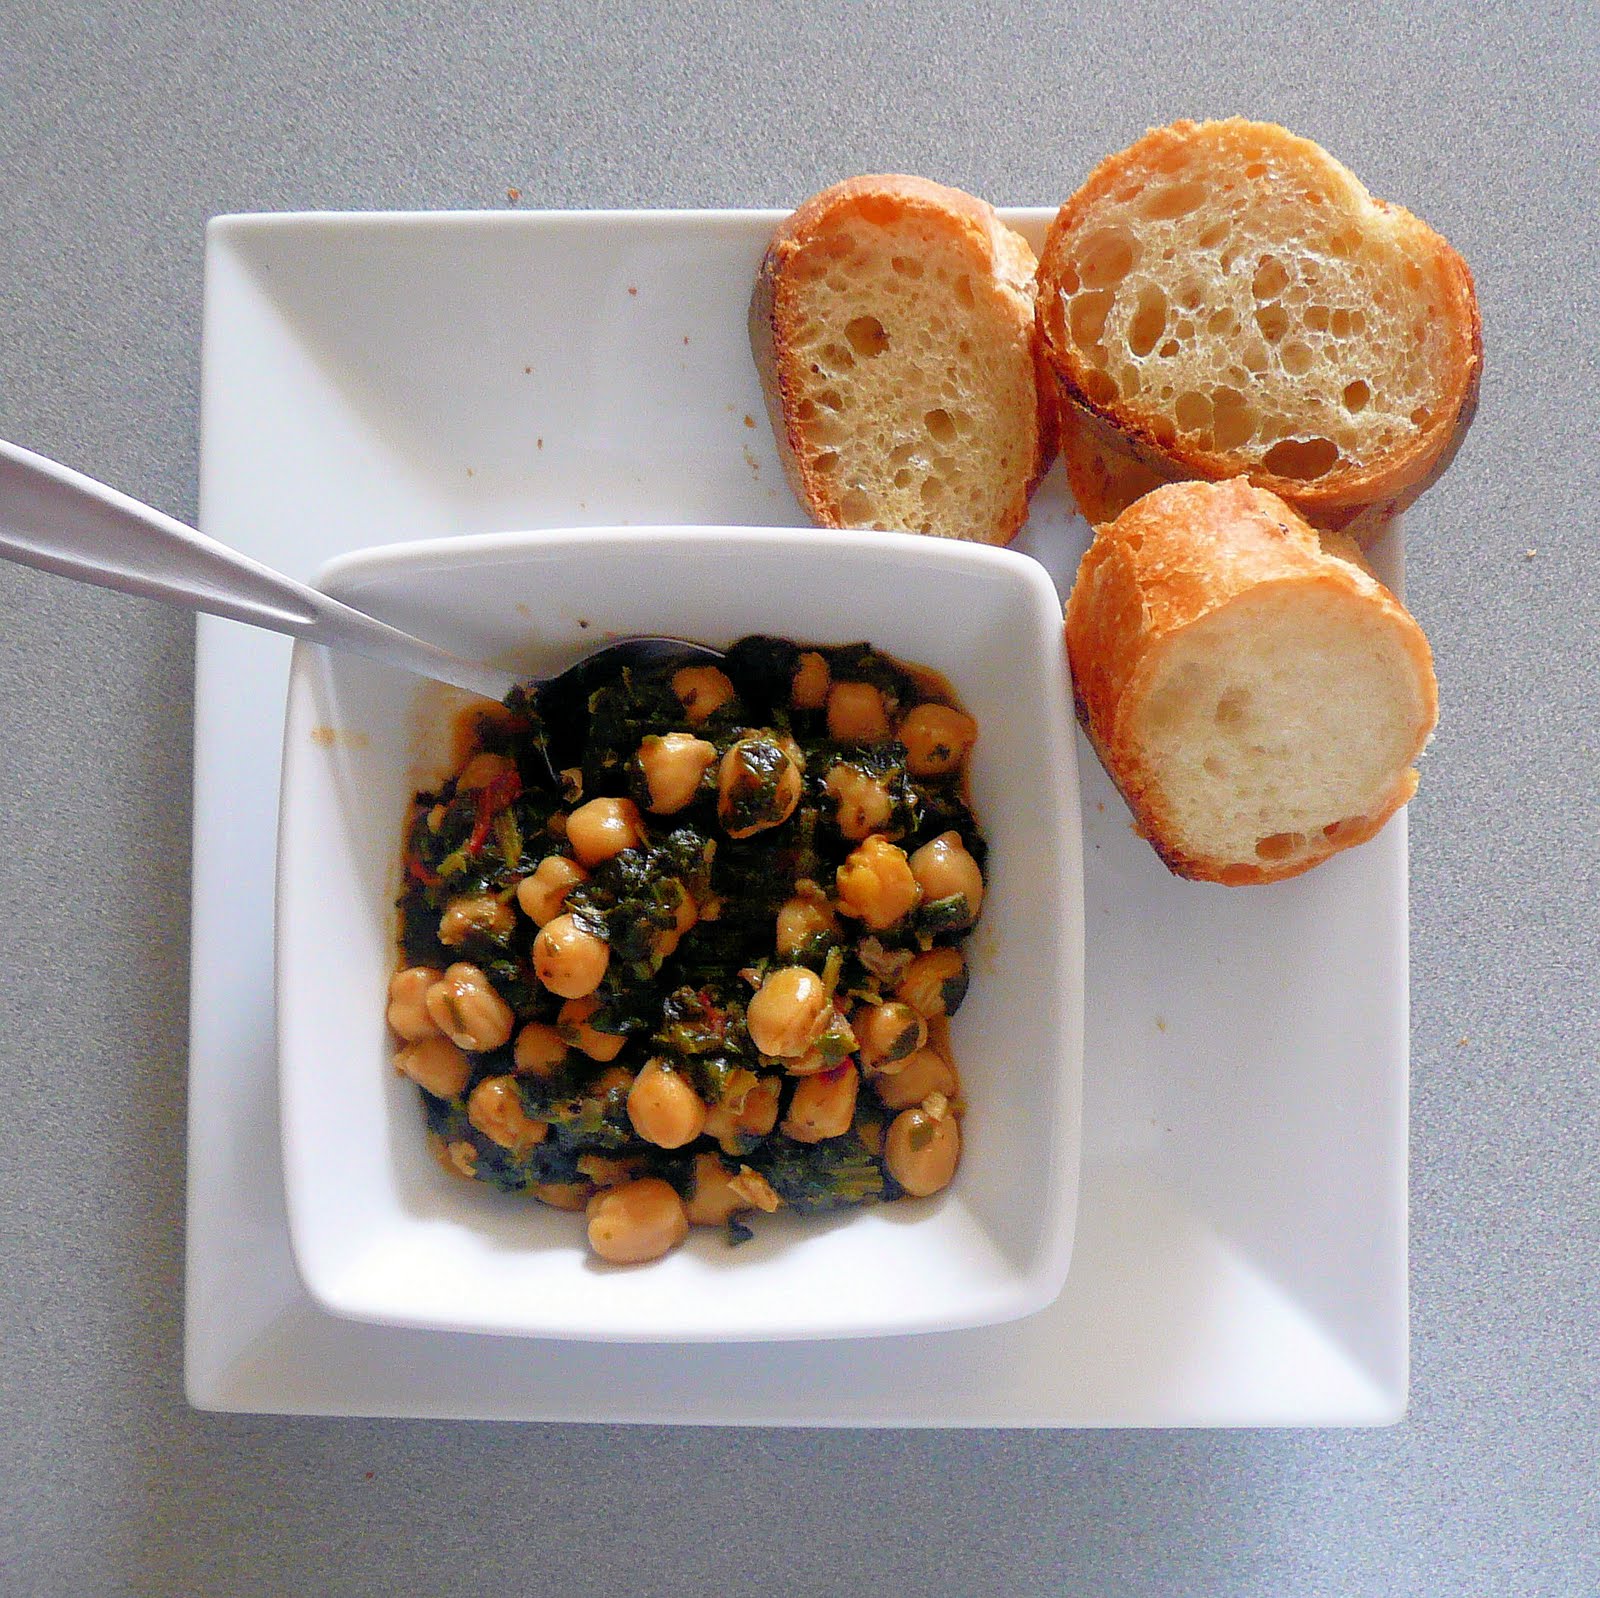
Add the spinach, reduce heat, and simmer for 15 minutes.
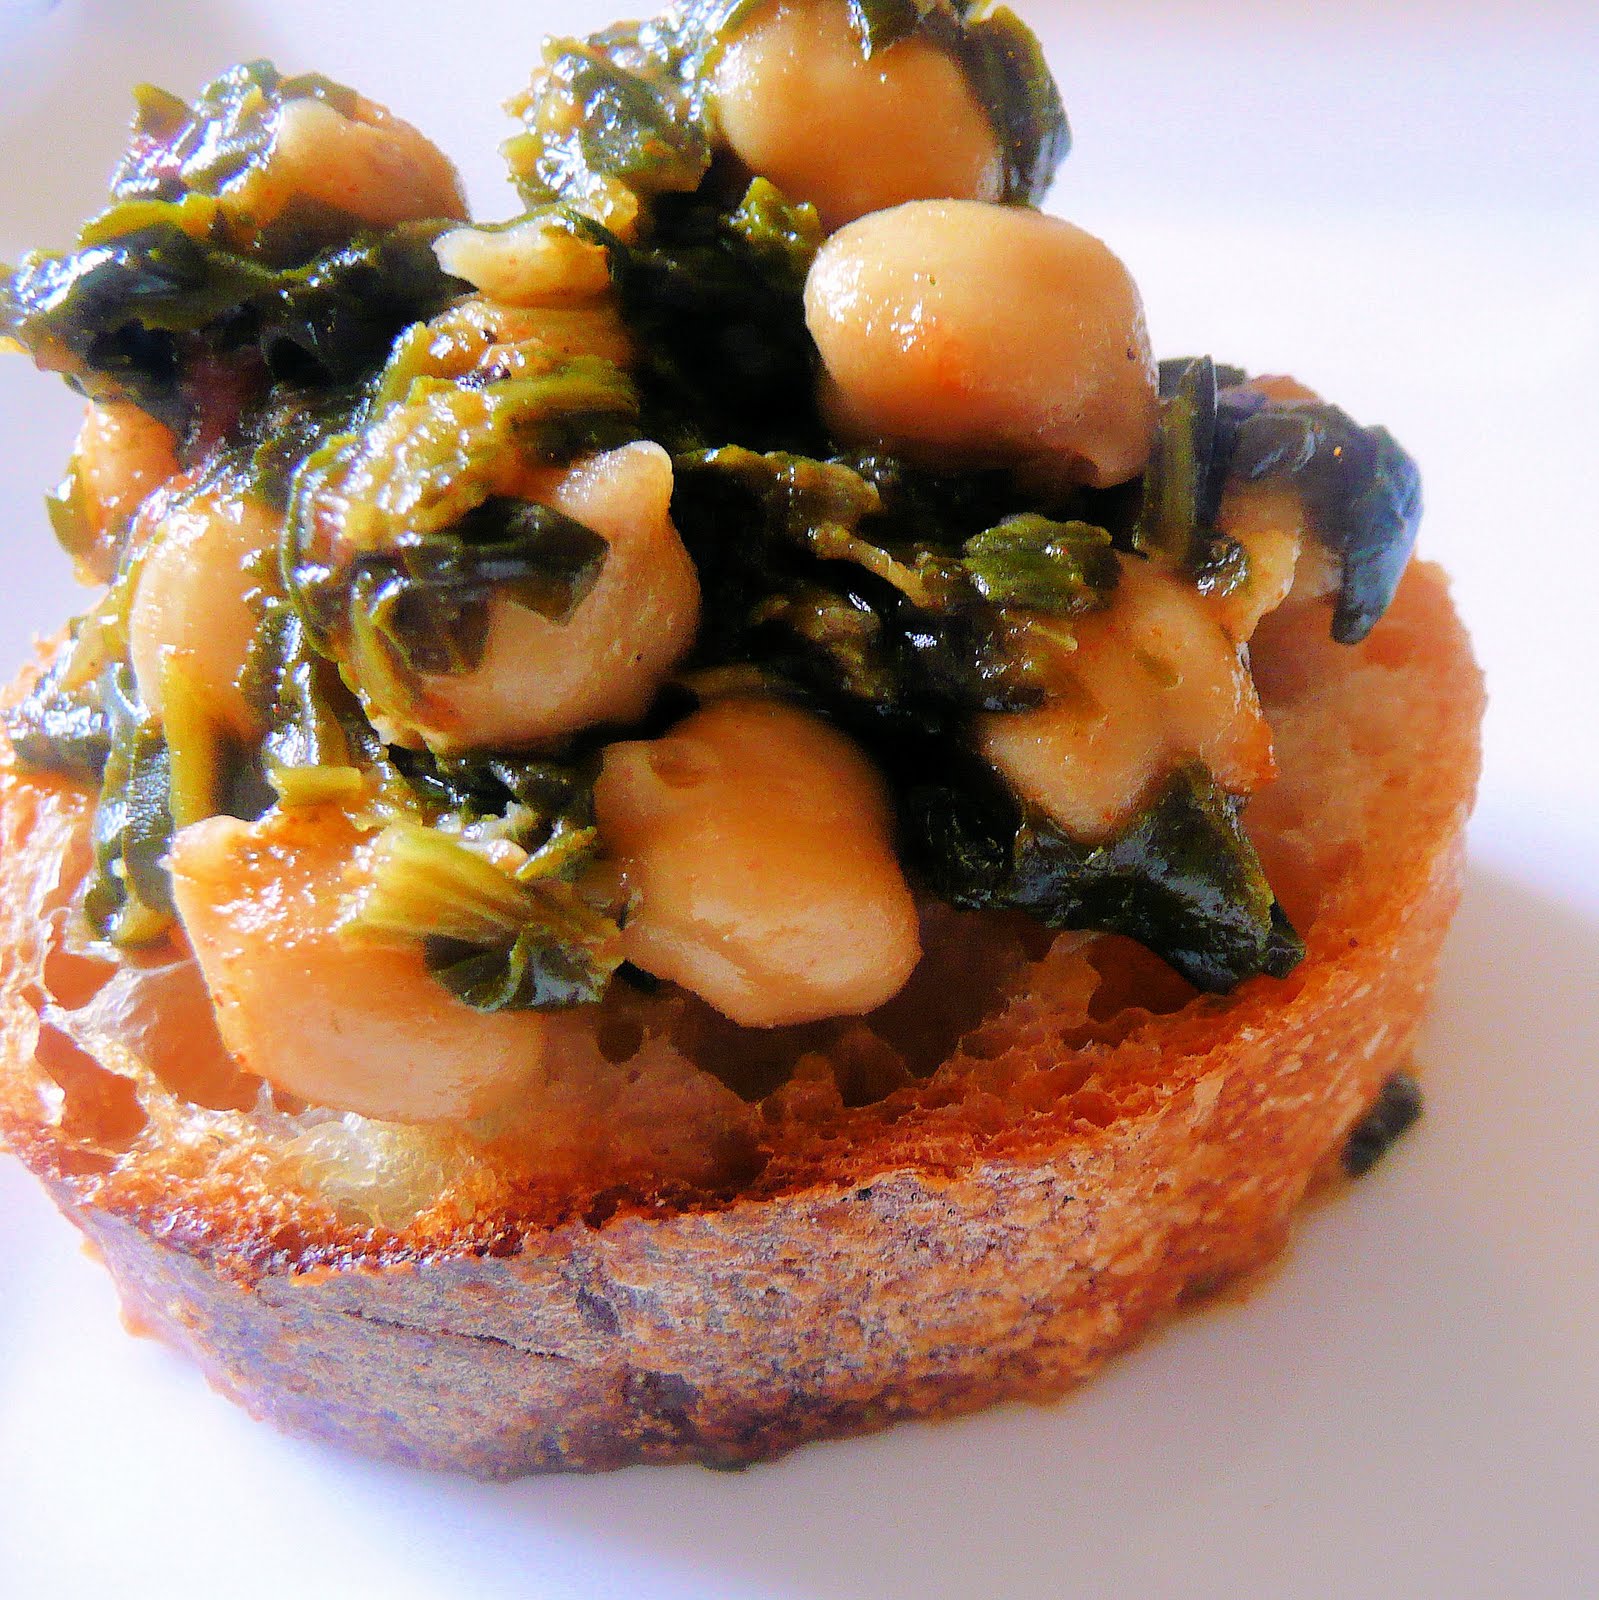
Drizzle the remaining 2 tablespoons of olive oil on top and serve with some crusty bread.
This didn’t have as much hit-you-over-the-head flavor as I was expecting (when cumin is in a recipe, I tend to prepare for some kick). But, the more I ate, the more I really enjoyed it. If I make this in the future, I will probably use more tomato, I was really craving more. Also, I hope to remember to use onion next time! Darn me. This is one of those dishes that will probably taste better the next day, when all the flavors have time to meld. (Update: it was delicious the next day!)
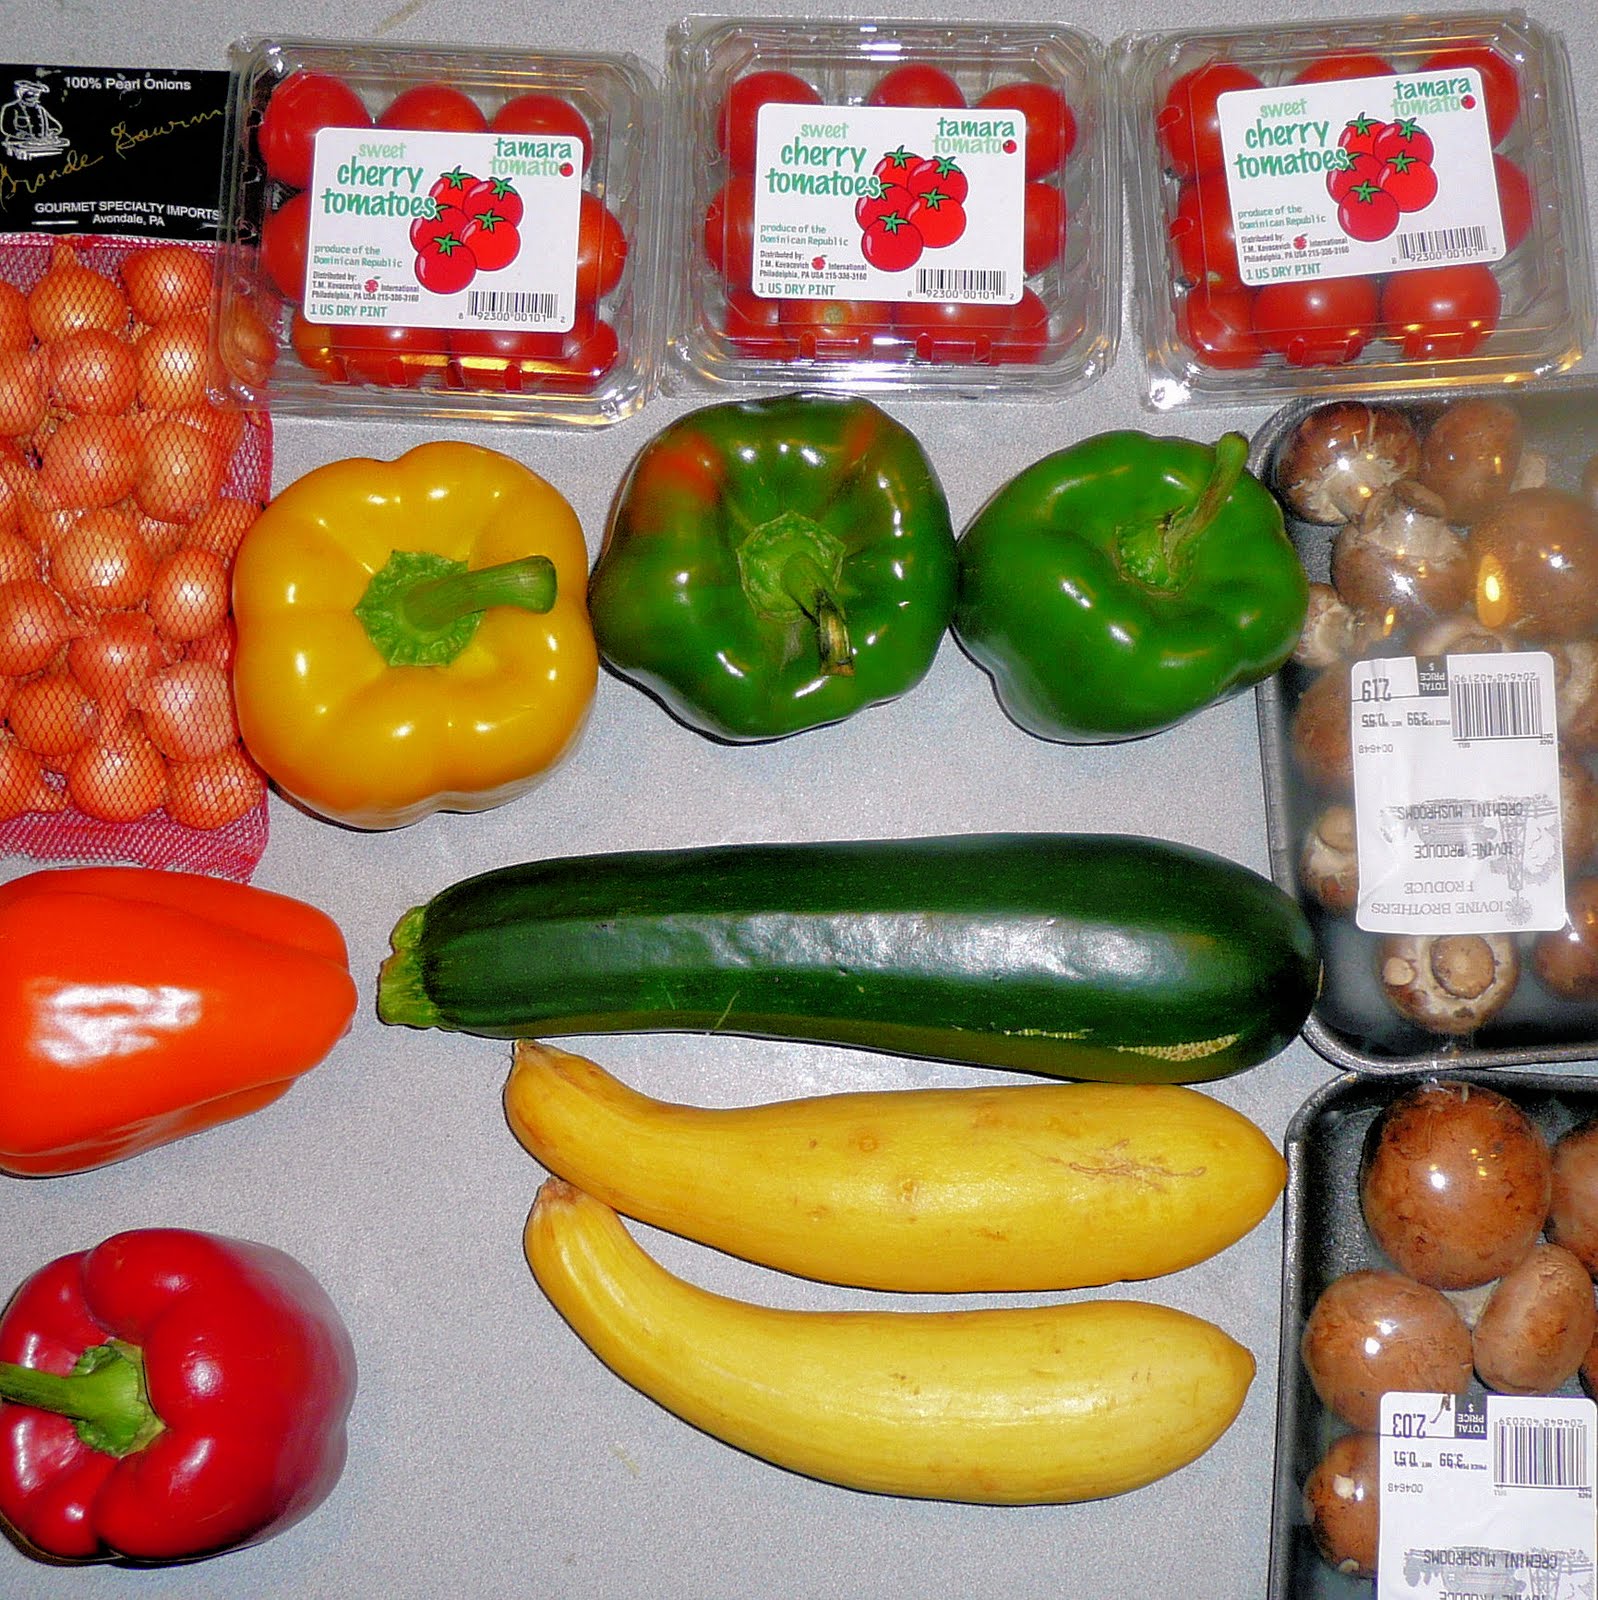
This weekend I was given quite the culinary challenge: make a meal for ten people without breaking the bank. I would be feeding everyone at the beach, so my mind immediately went to Shish Kabobs with Rice (I want summer and barbecues to be here so badly!). This is a great option for vegetarians as well, always a plus.
Living in the city does not mean you can’t enjoy this recipe. If you have a little indoor grill, that will work just fine. Due to the poor weather we had this weekend, we actually ended up broiling the shish kabobs in the oven, which worked just fine.
Ingredients (serves 10):
3 pints cherry tomatoes
1 bag of pearl onions, peeled (quick tip below)
2 green bell peppers
1 yellow pepper
1 red pepper
1 orange pepper
2 8 oz packages of whole mushrooms (I used cremini)
1 large zucchini
2 large summer squash
5 lbs top sirloin steak, cut into cubes
10 cups chicken stock (ideally, use vegetable stock to keep veggies truly vegetarian)
5 cups rice
Ingredients for marinade:
1 tablespoon salt
5 cloves garlic, minced
1 1/4 teaspoon pepper
1 heaping tablespoon of the following dried spices: thyme, basil, oregano, marjoram
2/3 cup Worcestershire sauce
3/4 cup oil
3/4 cup red wine vinegar
1 2/3 cup red wine (an inexpensive table wine is fine)
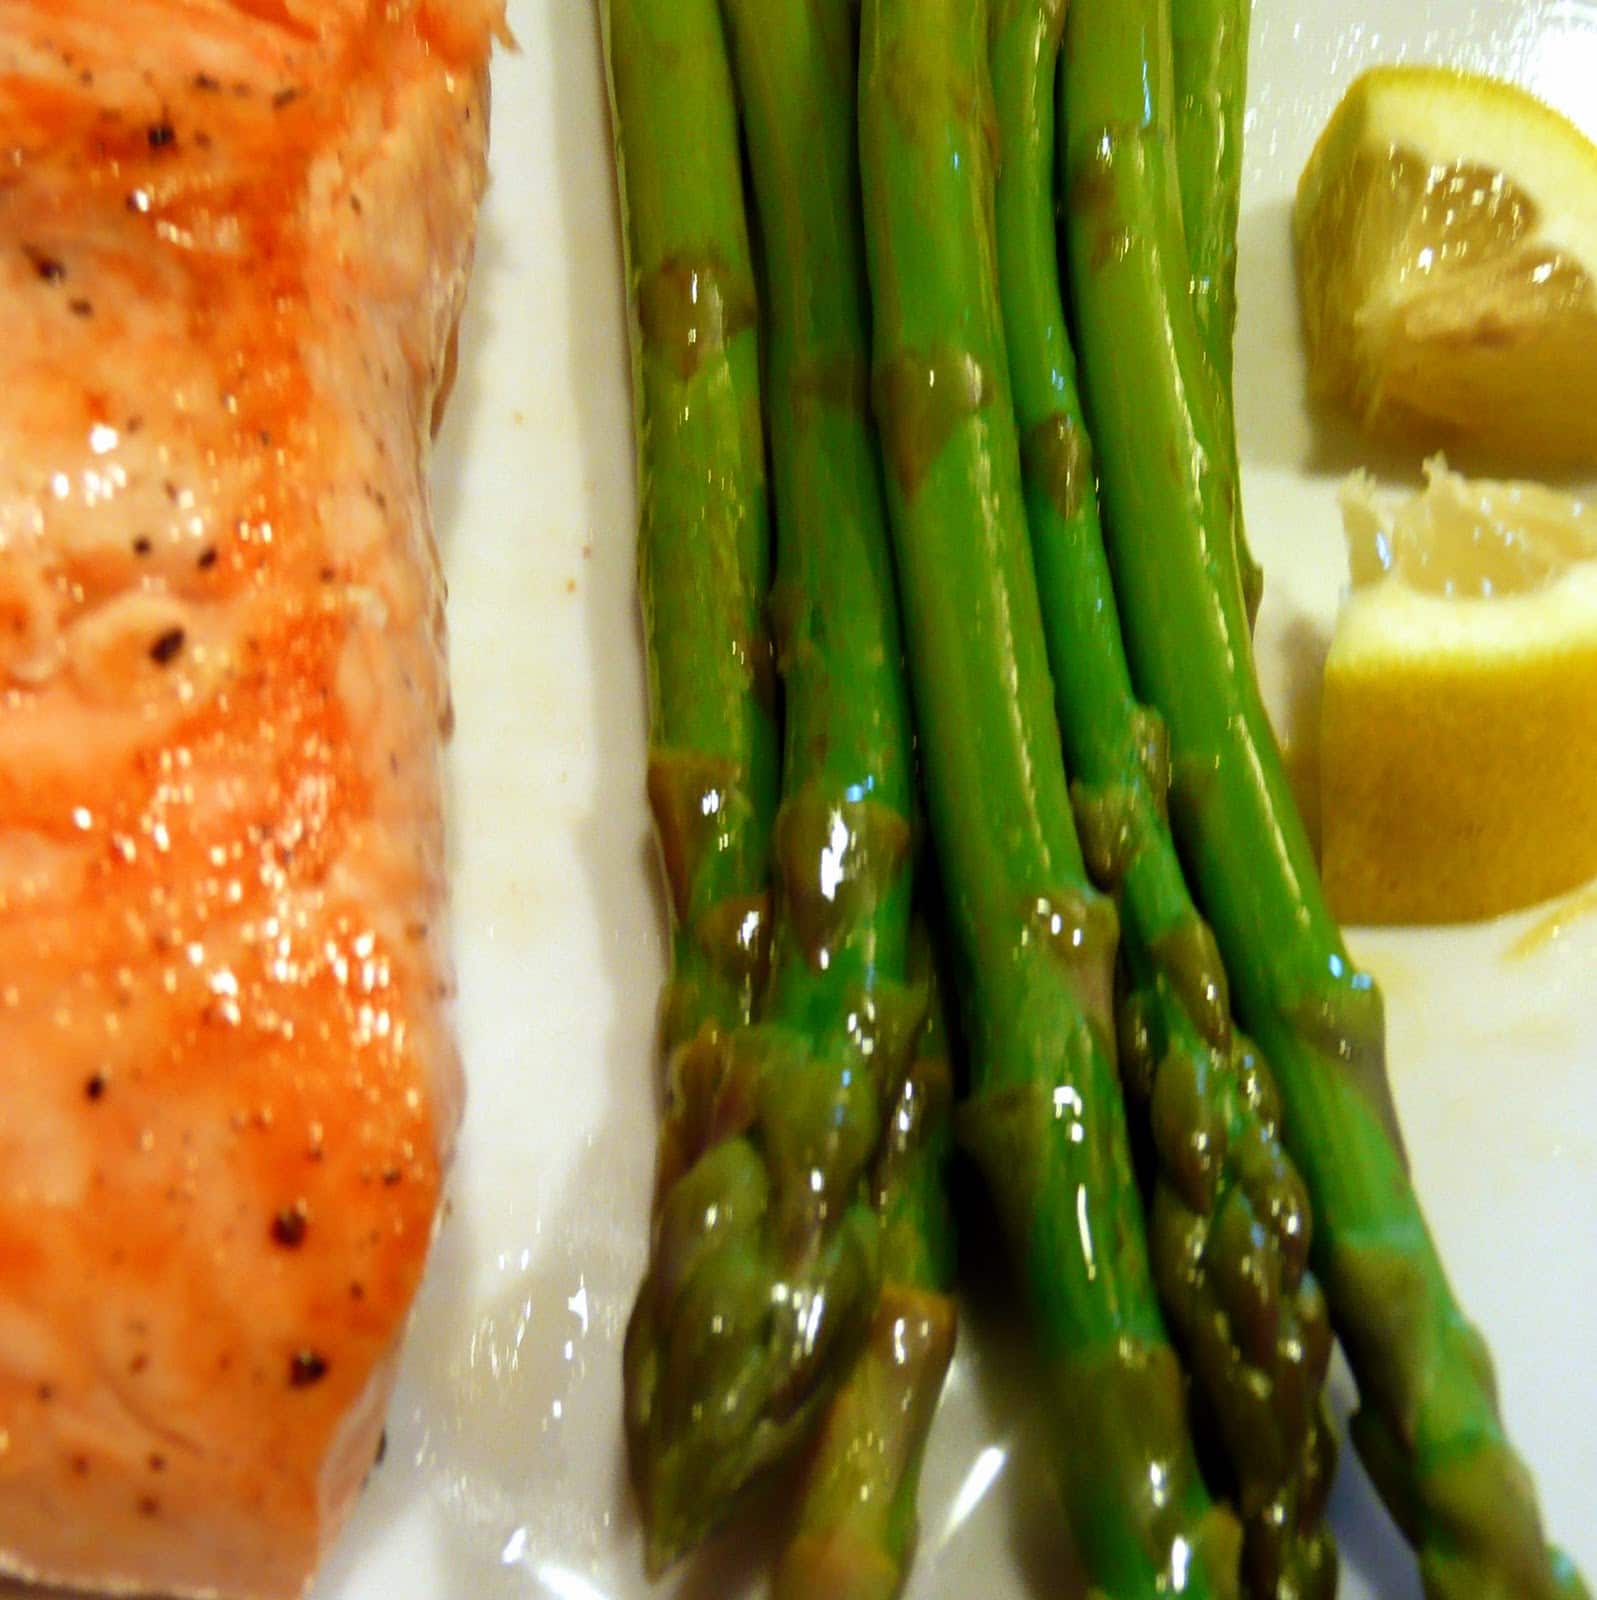
If you haven’t picked up on this yet, I’m quite the fan of salmon. It’s easy to make, tastes great, and is good for you. To add to my lovely salmon repertoire, I thought I’d give Food & Wine’s Pan-Fried Salmon with Citrus Vinaigrette (and Asparagus) a try.
Ingredients:
1 pound asparagus, stalks trimmed
1/4 cup extra-virgin olive oil, plus more for drizzling
1/4 cup fresh orange juice
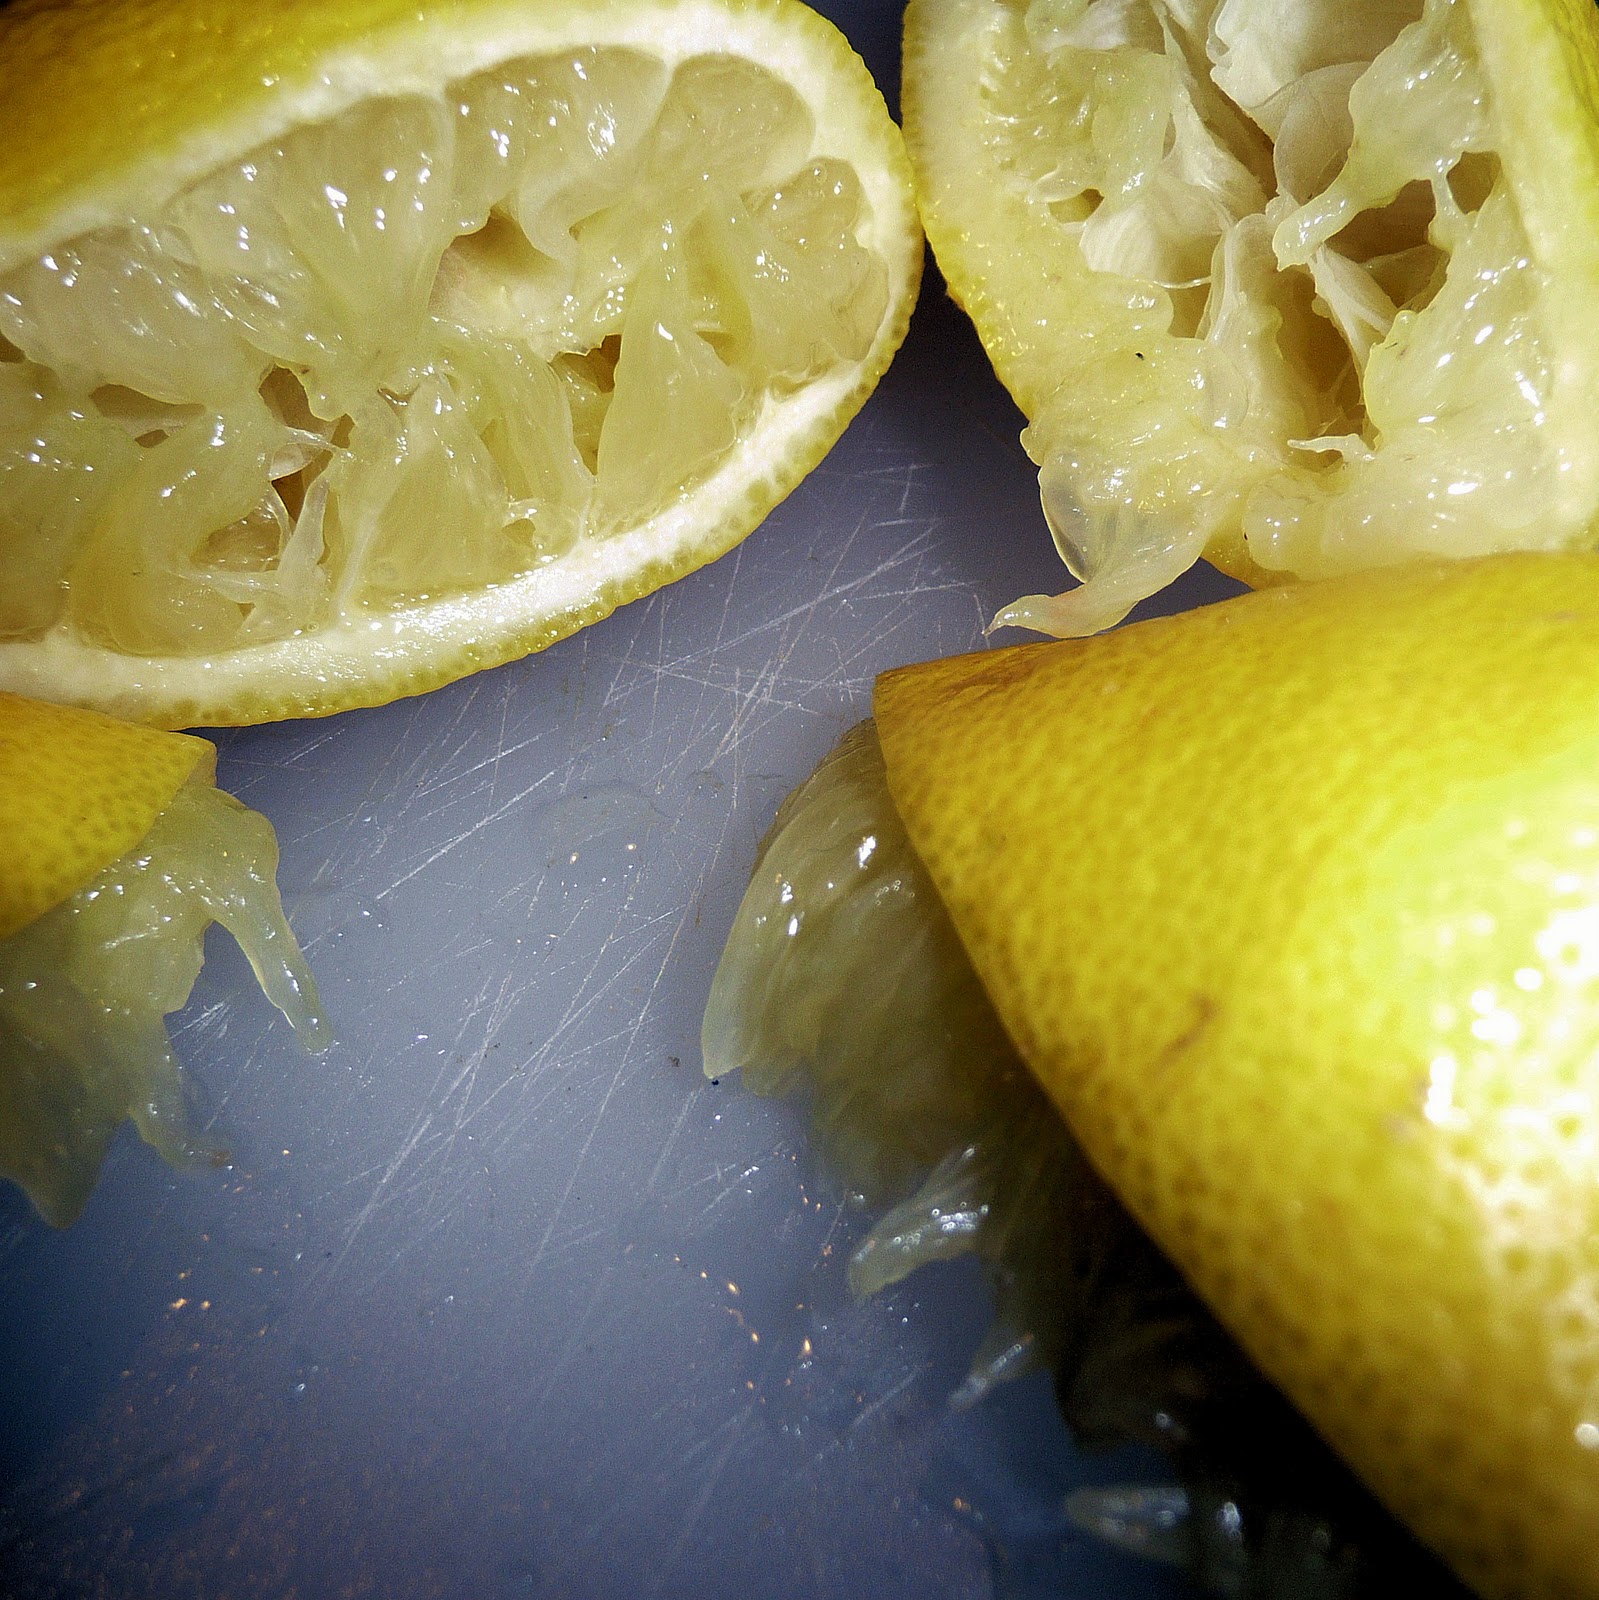
1/4 cup fresh lemon juice
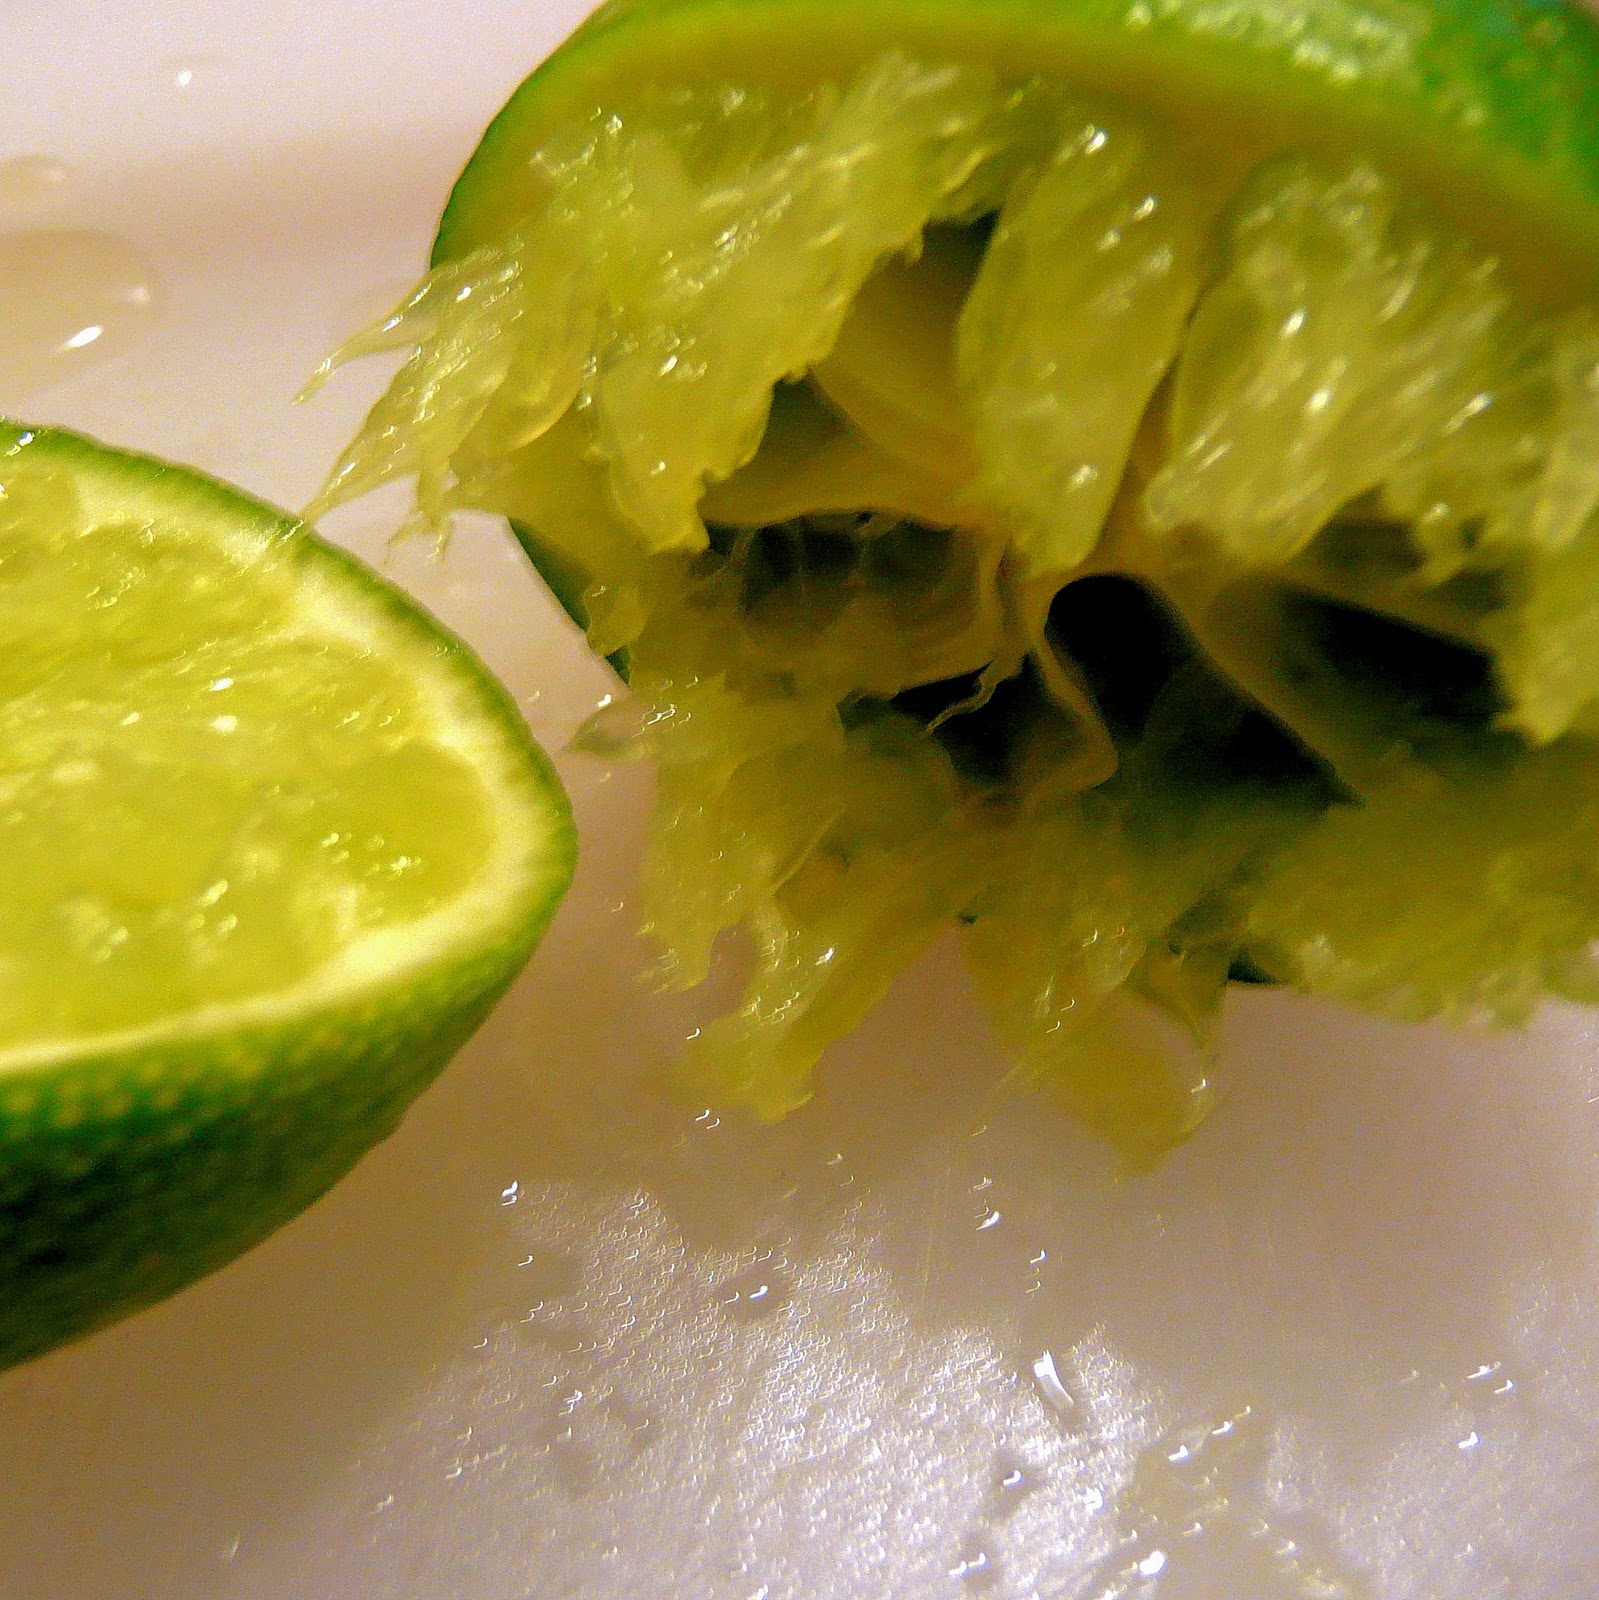
2 tablespoons fresh lime juice
1 medium shallot, minced
2 tablespoons snipped chives
Salt and freshly ground pepper
2 6-oz skinless salmon fillets
Ok. So I cut corners & bought OJ. shh
1/4 cup lemon juice ends up being about 2 lemons
2 tablespoons fresh lime juice is equal to about one lime.
Heat a large pot of salted water over high heat. When the water is boiling, drop the asparagus in, and cook until bright green and crisp-tender, about 3 minutes. Drain and rinse with cold water to stop the cooking process. Pat dry and transfer to a plate. Drizzle some olive oil over the asparagus and toss.
In a small saute pan, mix the orange, lemon, and lime juices and simmer over medium heat until reduced by half, about 10 minutes.
Pour into a bowl and let cool to room temperature. Whisk in the shallot, chives, and 1/4 cup olive oil. Season with salt and pepper.
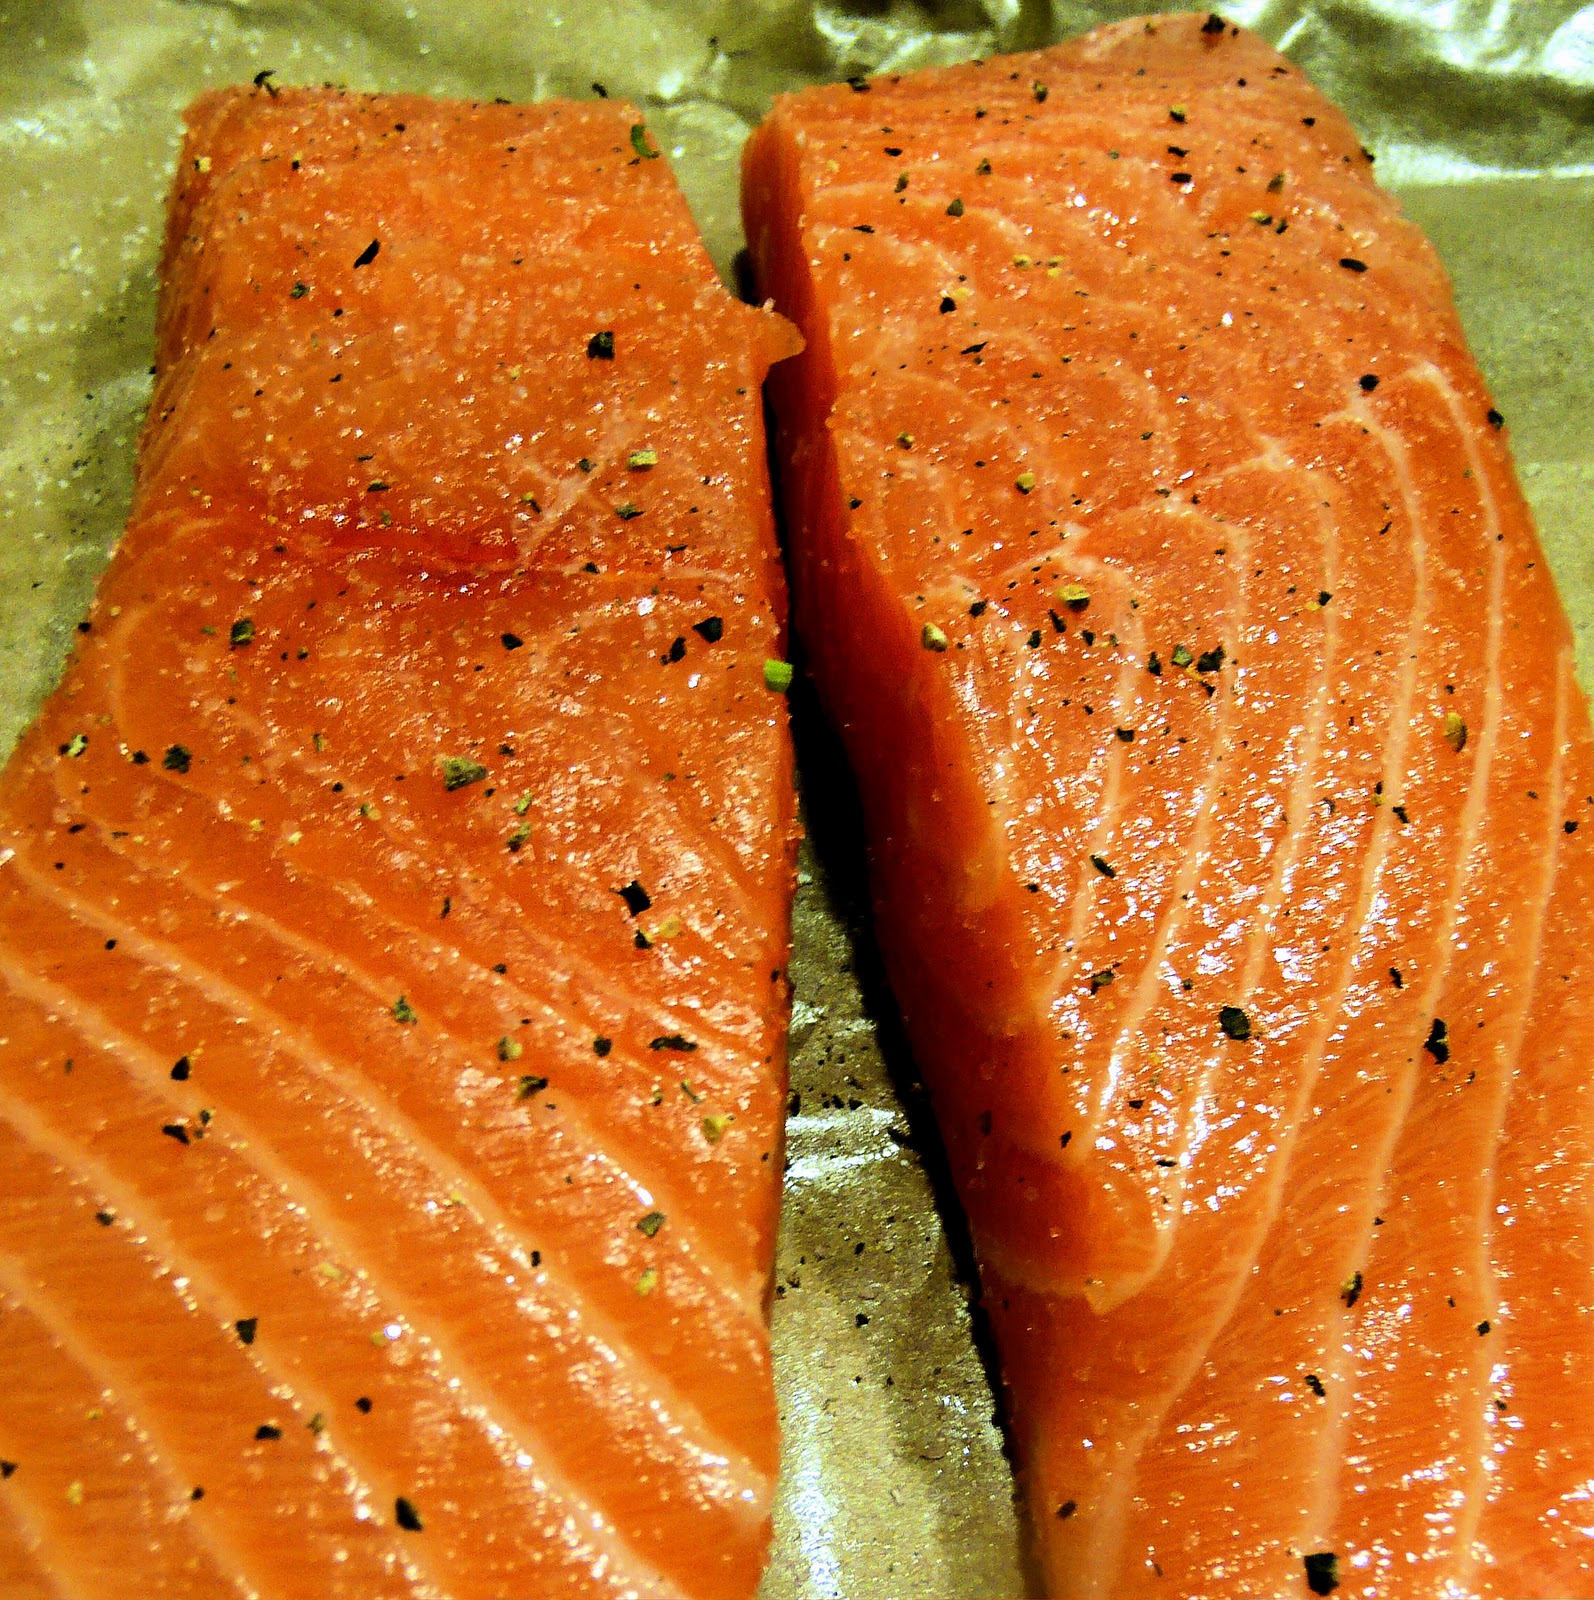
Heat 1 1/2 tablespoons of olive oil over medium high heat. Season the salmon with salt and pepper
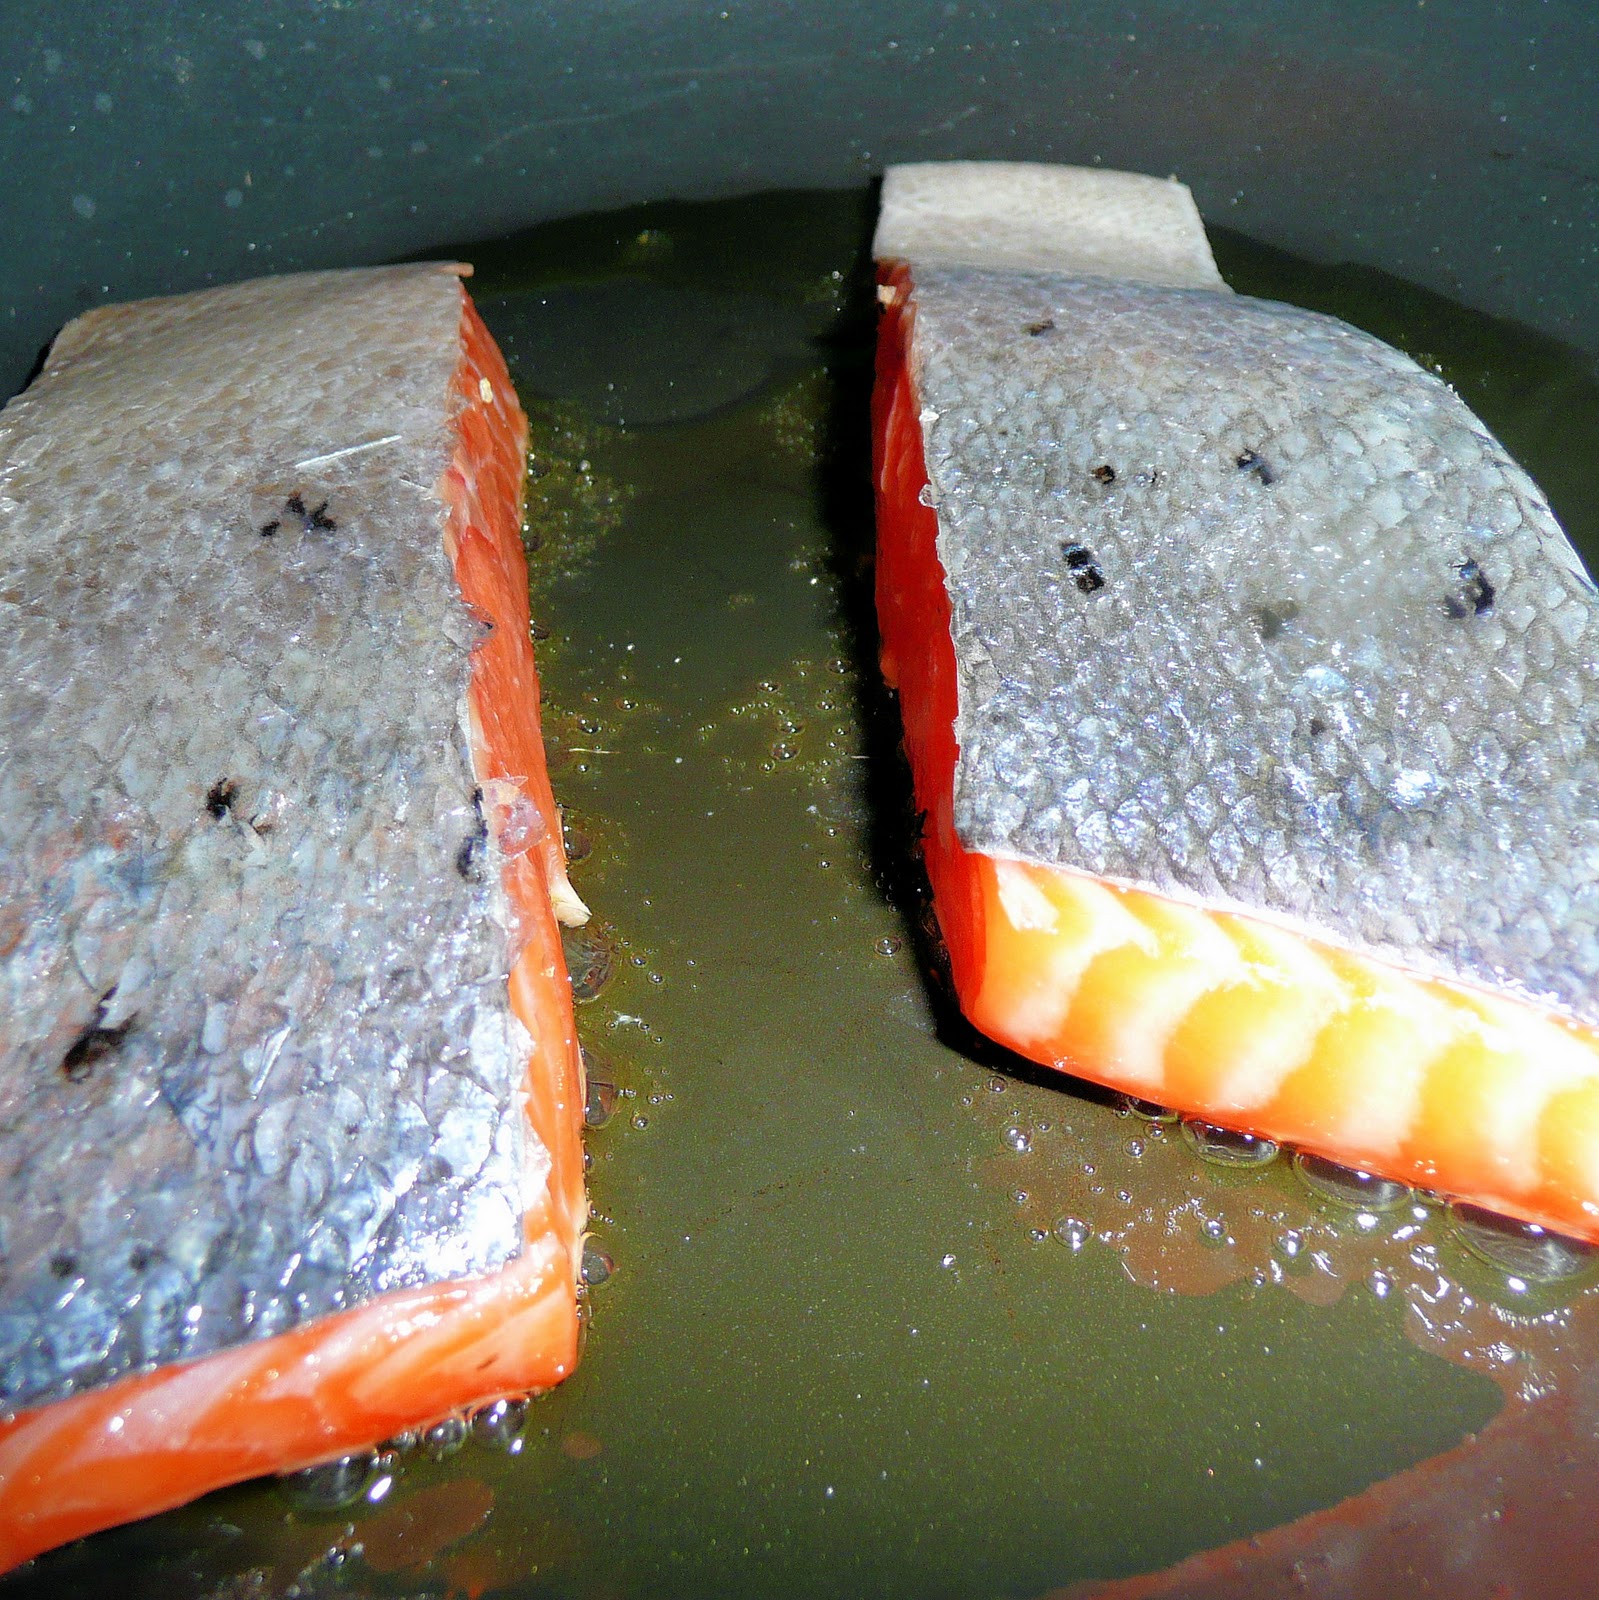
Add to the saute pan, skin side up.
Cook for 3 minutes and flip. The salmon should have a nice browned sear.
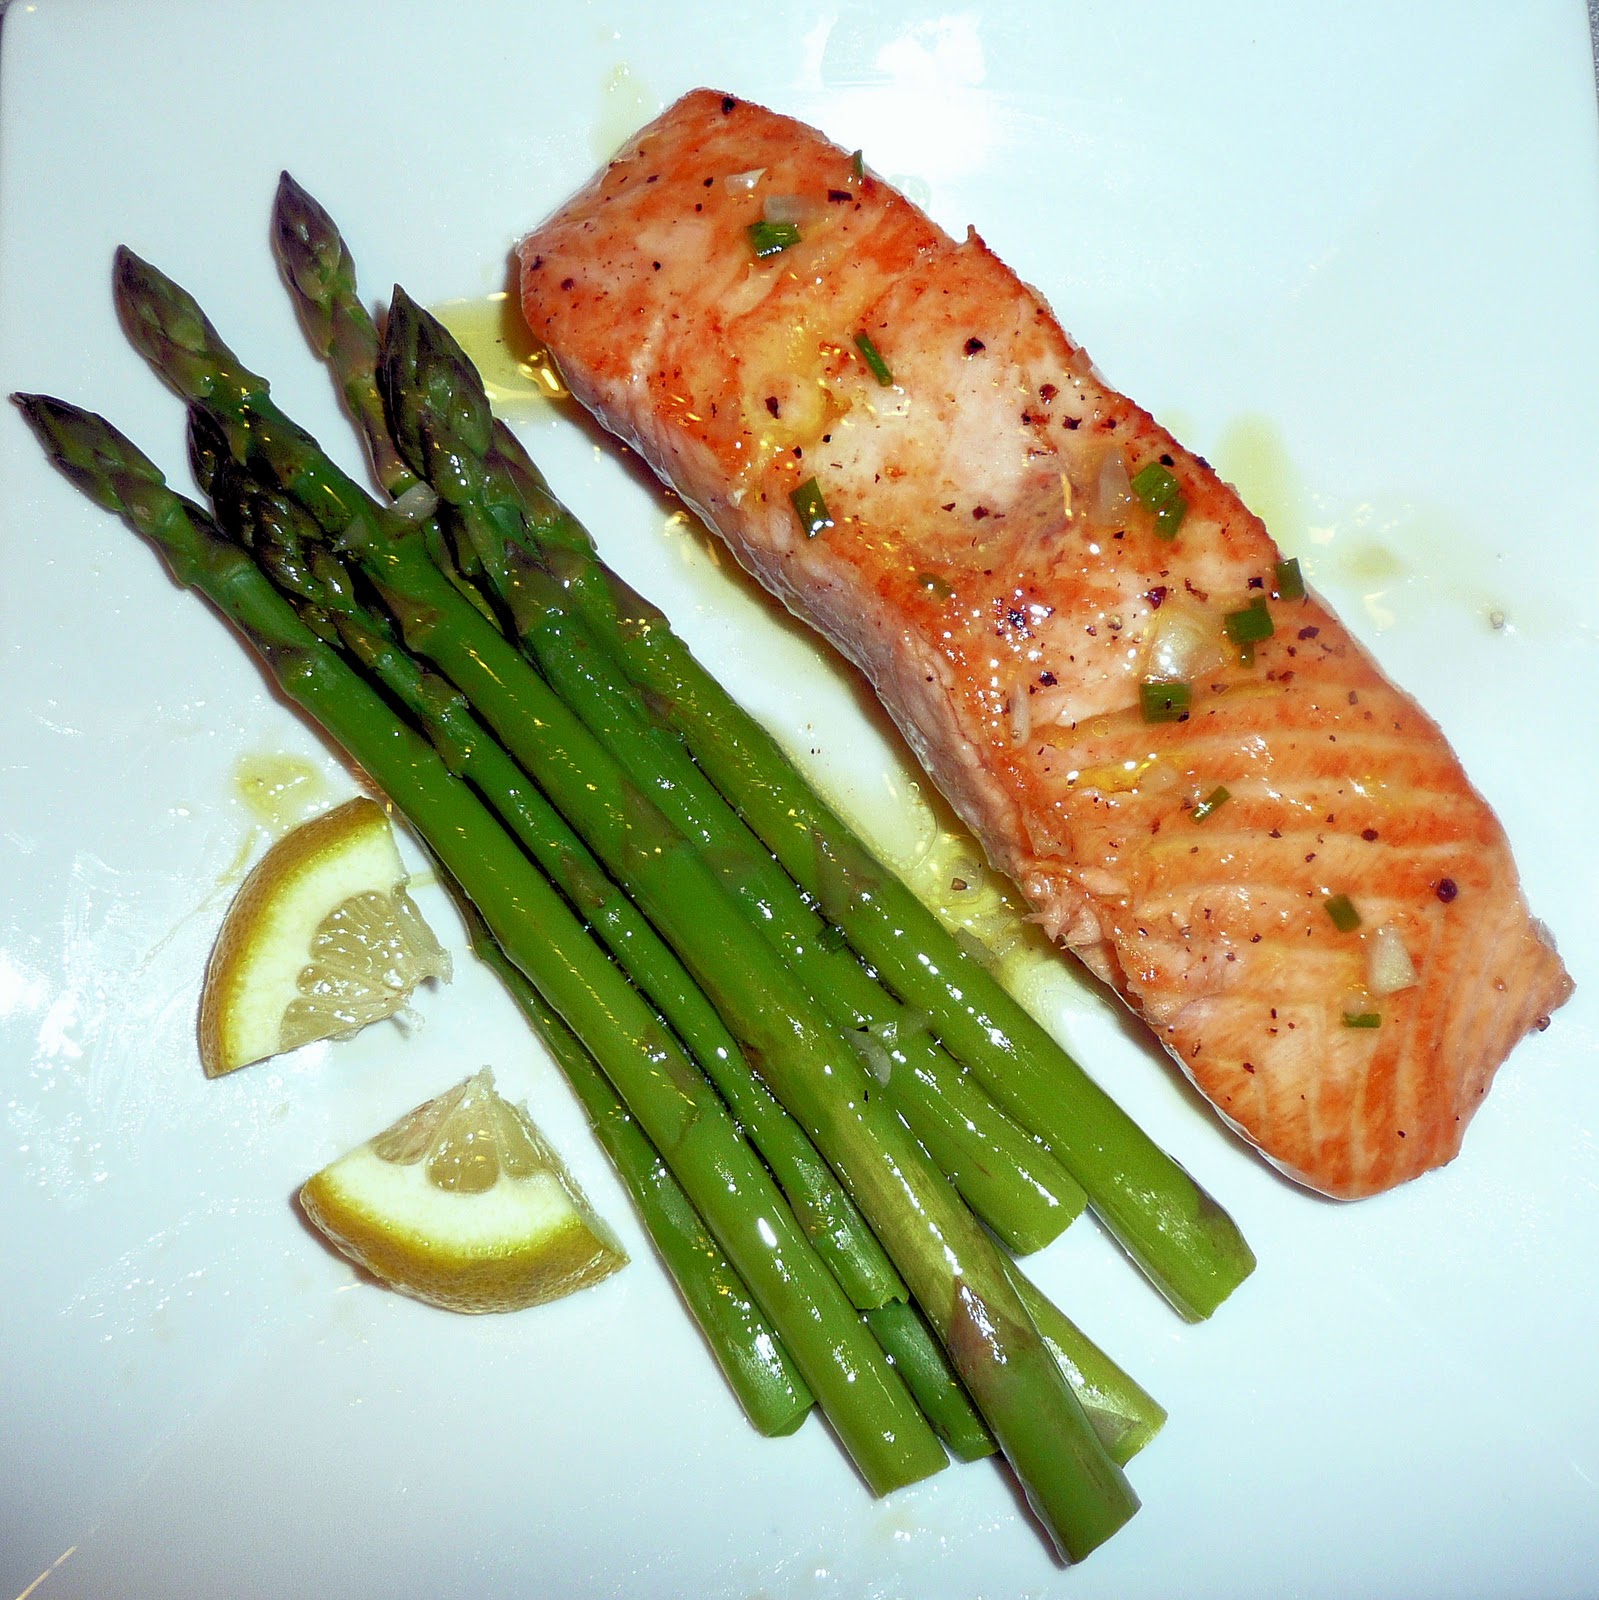
Cook for another three minutes until cooked through in the center. Transfer the salmon to plates and spoon some of the citrus vinaigrette on top. Serve the salmon with the asparagus.
Ah. I love any kind of citrus with asparagus and salmon, and this was no exception. It was a quick and easy recipe too, easily made on week days. The citrus vinaigrette would be great on raw spinach as well.
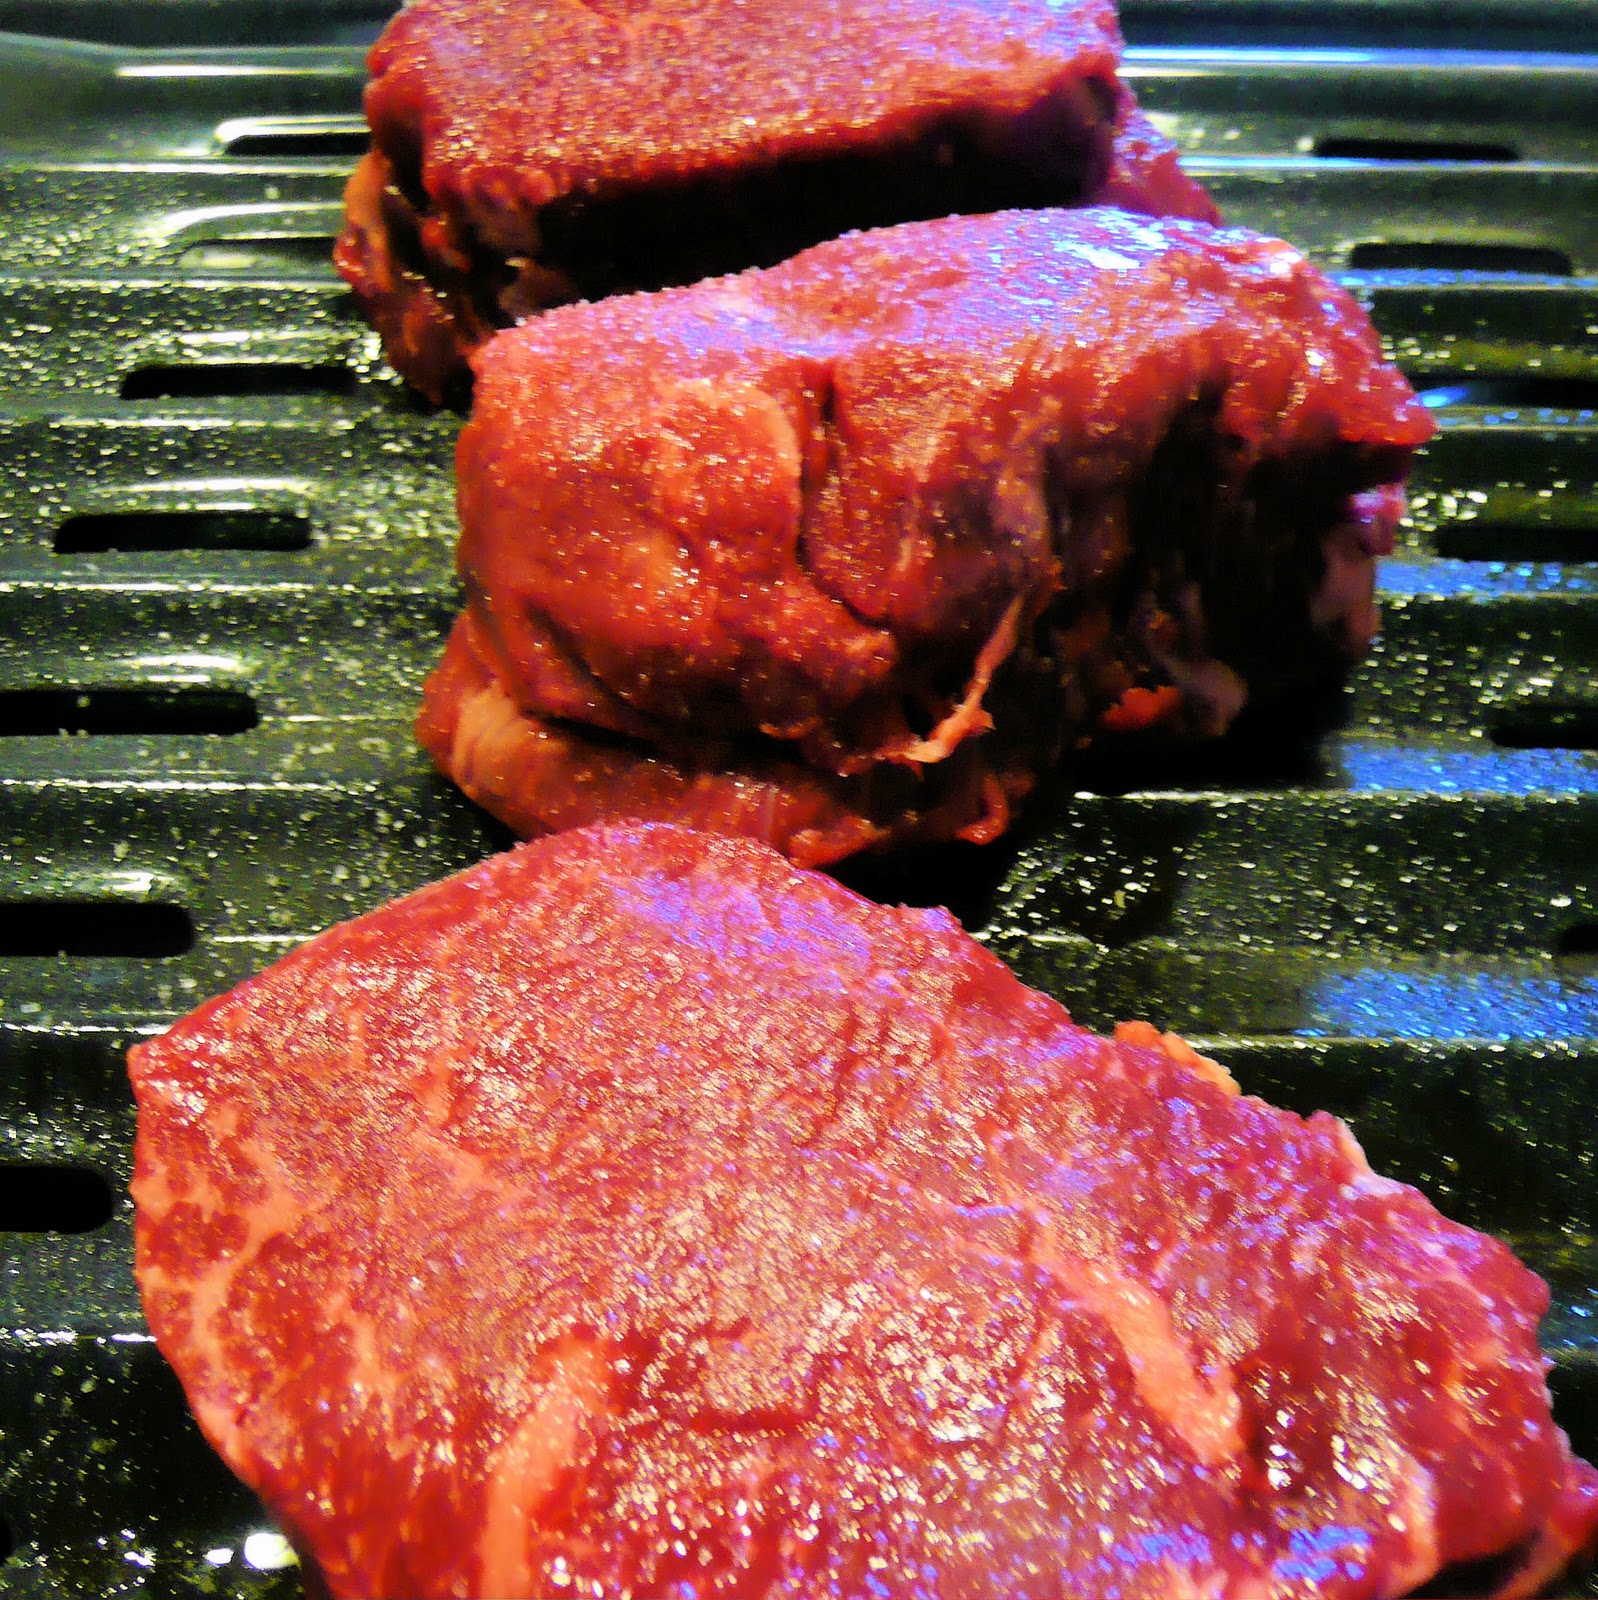
There were a couple of parts to this recipe that made me nervous to try it out: working with fresh ginger and using the broiler. The latter ended up being the more difficult part, but that was due to my all-encompassing fear of burning the beef tenderloin steaks. Overall though, this dish was a lot easier than I made it out to be. I followed this recipe almost exactly, but the original is linked here.
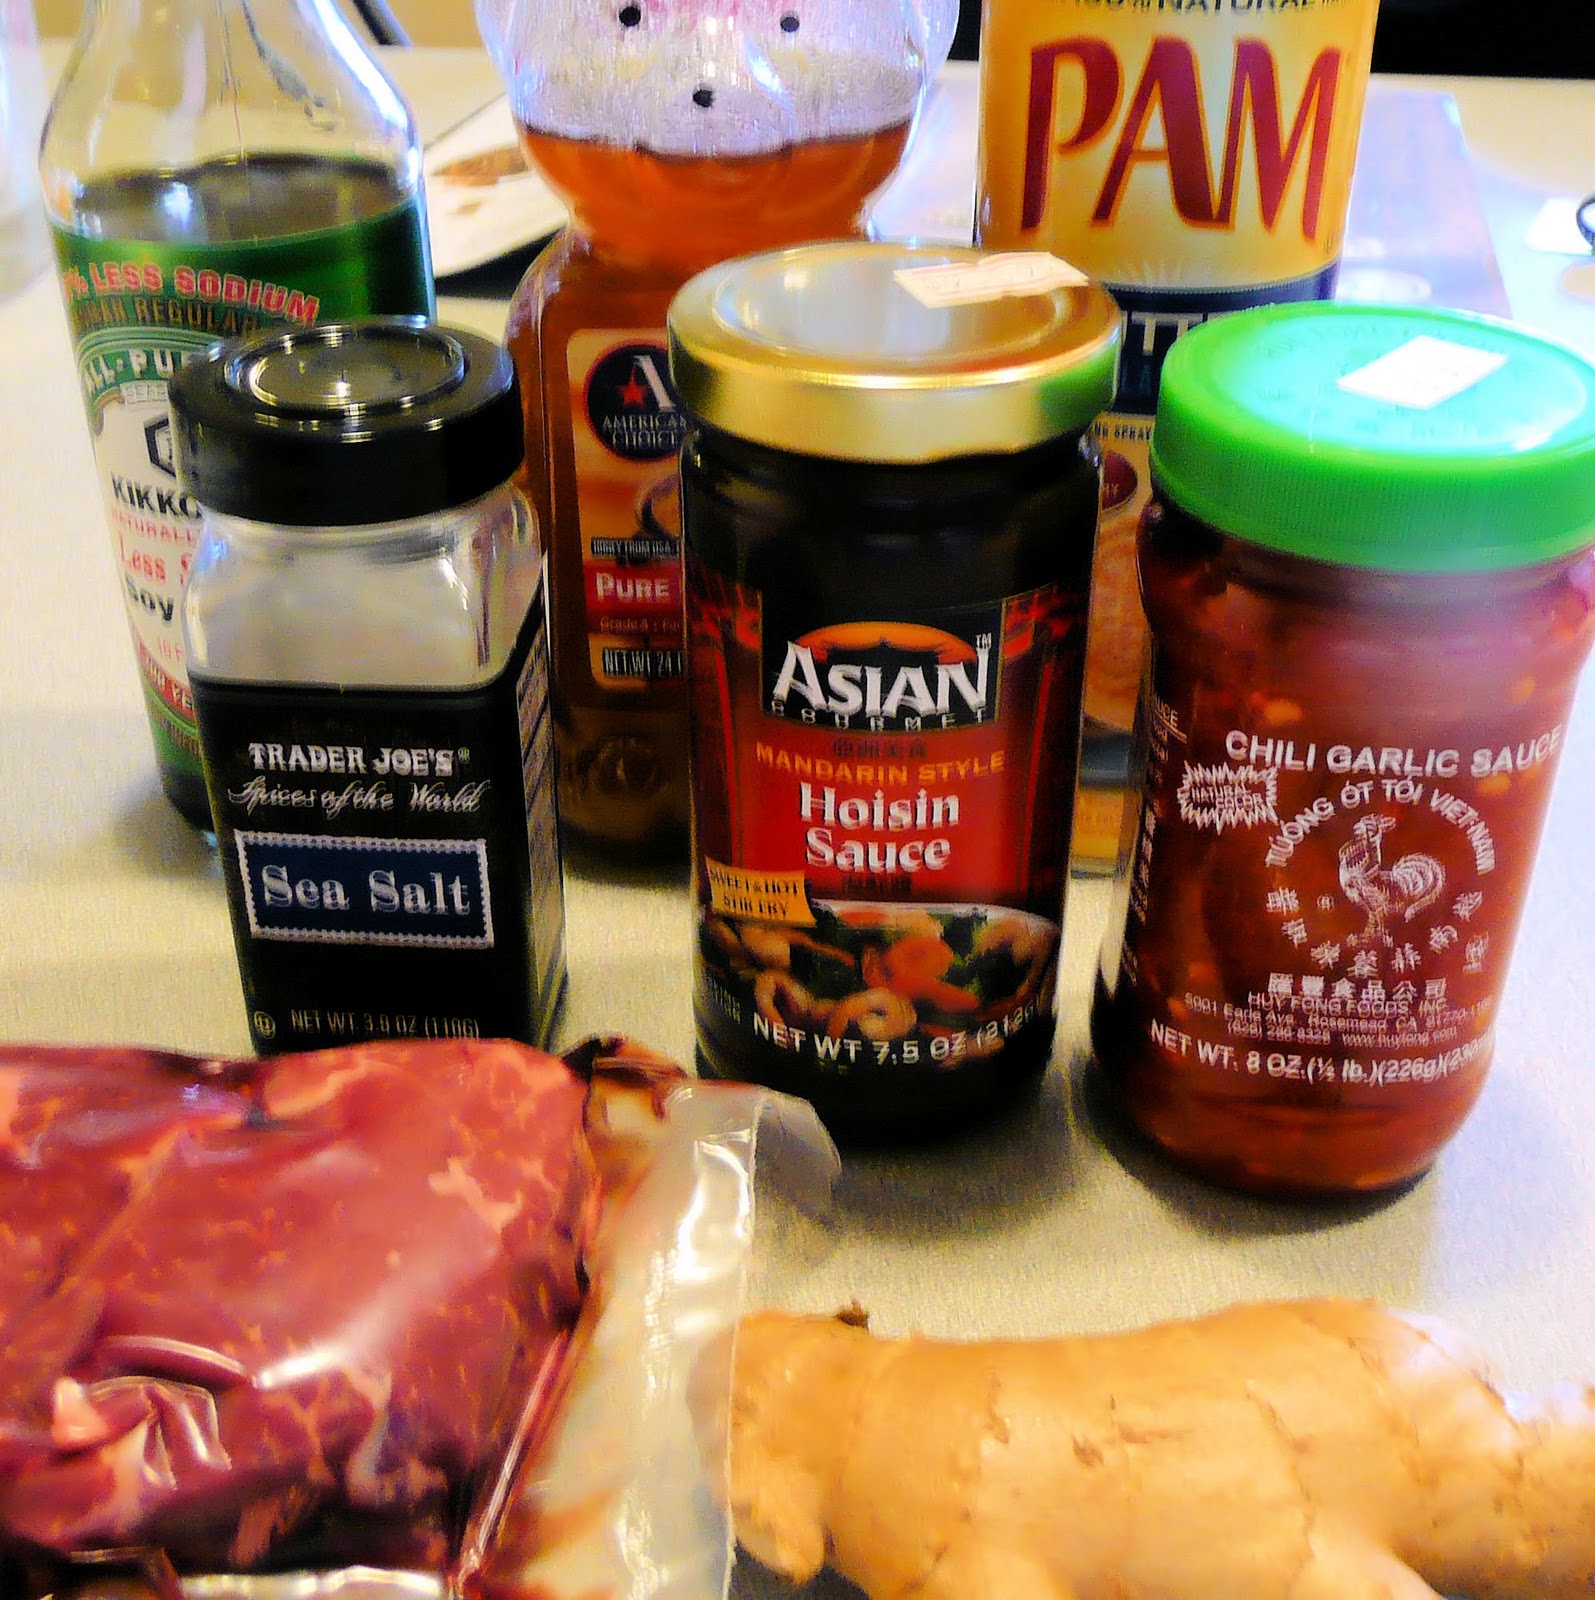
Ingredients:
1 1/2 tablespoons hoisin sauce
1 1/2 teaspoons grated peeled fresh ginger
1 1/2 teaspoons honey
1 1/2 teaspoons lower-sodium soy sauce (or coconut aminos to make gluten free
1/4 teaspoon chili garlic sauce (such as Lee Kum Kee or Huey Fong)
3 (4-ounce) beef tenderloin steaks, trimmed (1 inch thick)
Cooking spray
1/8 teaspoon salt
Hoisin sauce and the chili garlic sauce can be found in the Asian section of your grocery store. Getting to a supermarket for me is kind of a pain but I was able to find the sauce in my corner store.
Before doing anything, preheat your broiler to high. If you’re like me and have zero clue what the broiler even is, chances are it’s within your oven and you just need to press the “broil” setting. Be sure to remove everything from the oven before turning it on.
Broiling is basically the opposite of grilling—the heat source is coming from above instead of below. Because the heat is so high, really keep an eye on anything you are broiling; it can burn very very quickly. Also be sure to have an oven mitt that can withstand high temperatures. The broiler may cause some smoke so be sure to turn your exhaust fan on during cooking. Ok, time to actually start cooking…
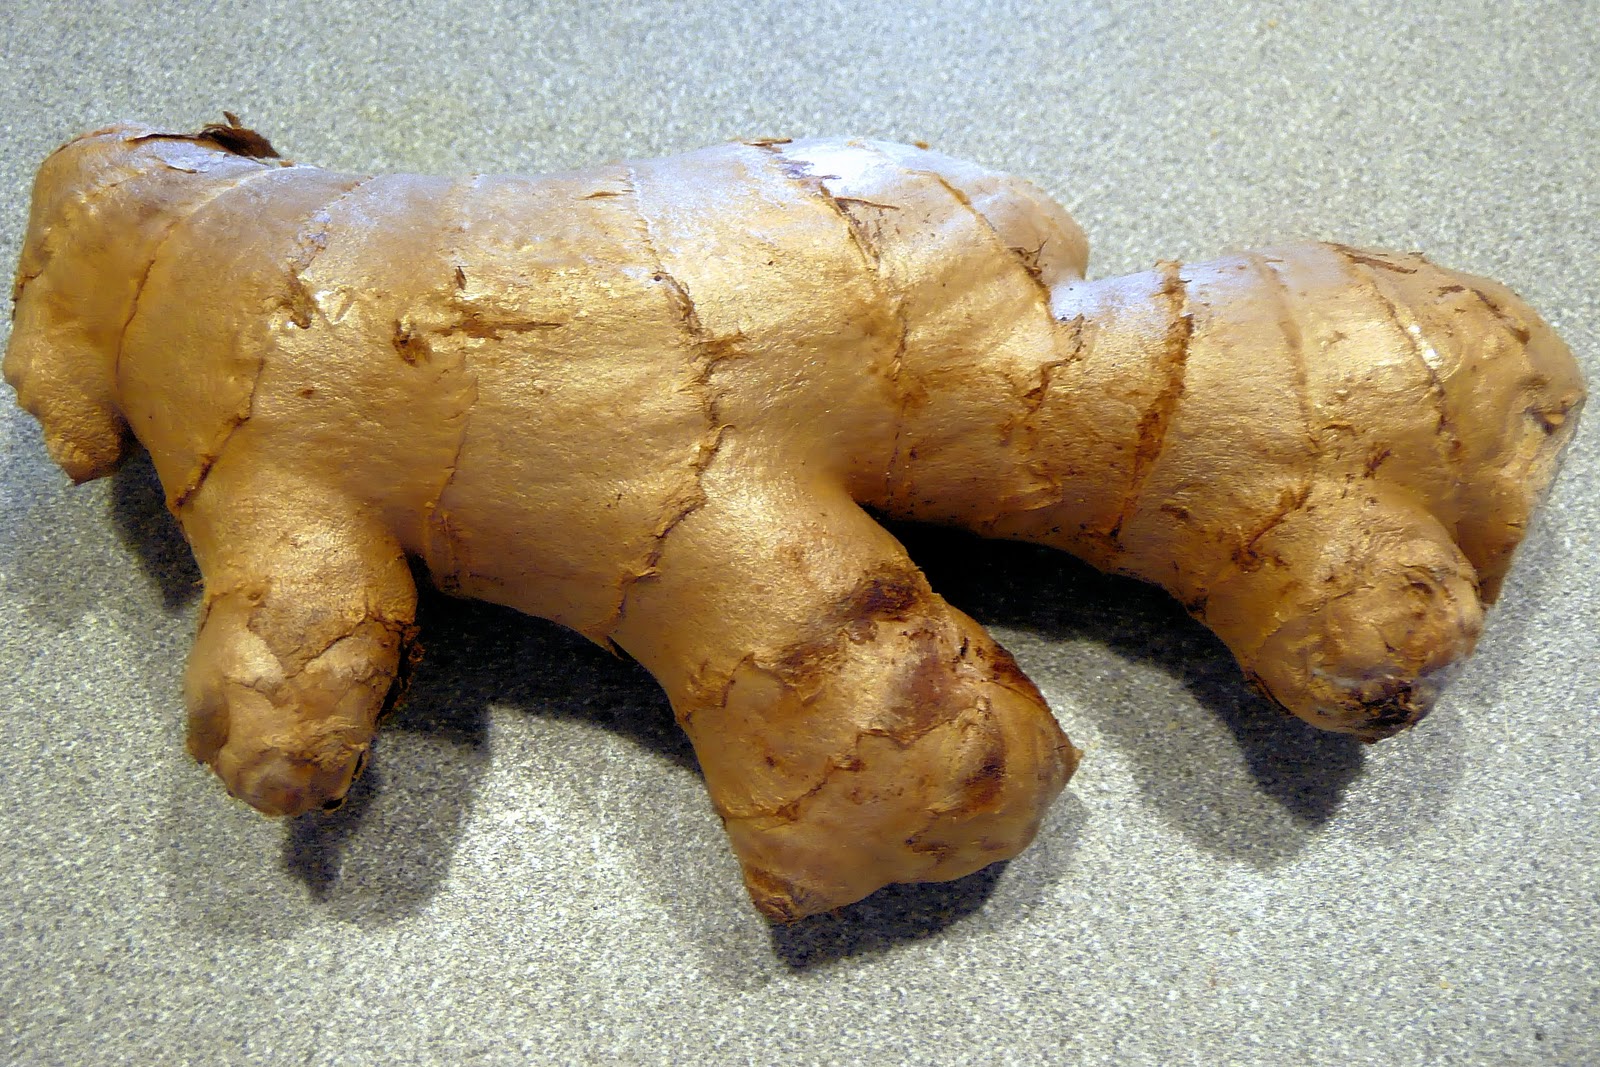
Ginger root is much easier to work with than I imagined. It looks so intimidating but I’m glad to have this ingredient on hand—it can be used to treat nausea and is also known to have anti-inflammatory properties. The root can be wrapped in plastic and refrigerated or frozen for long term use.
Boo! …See? Very intimidating
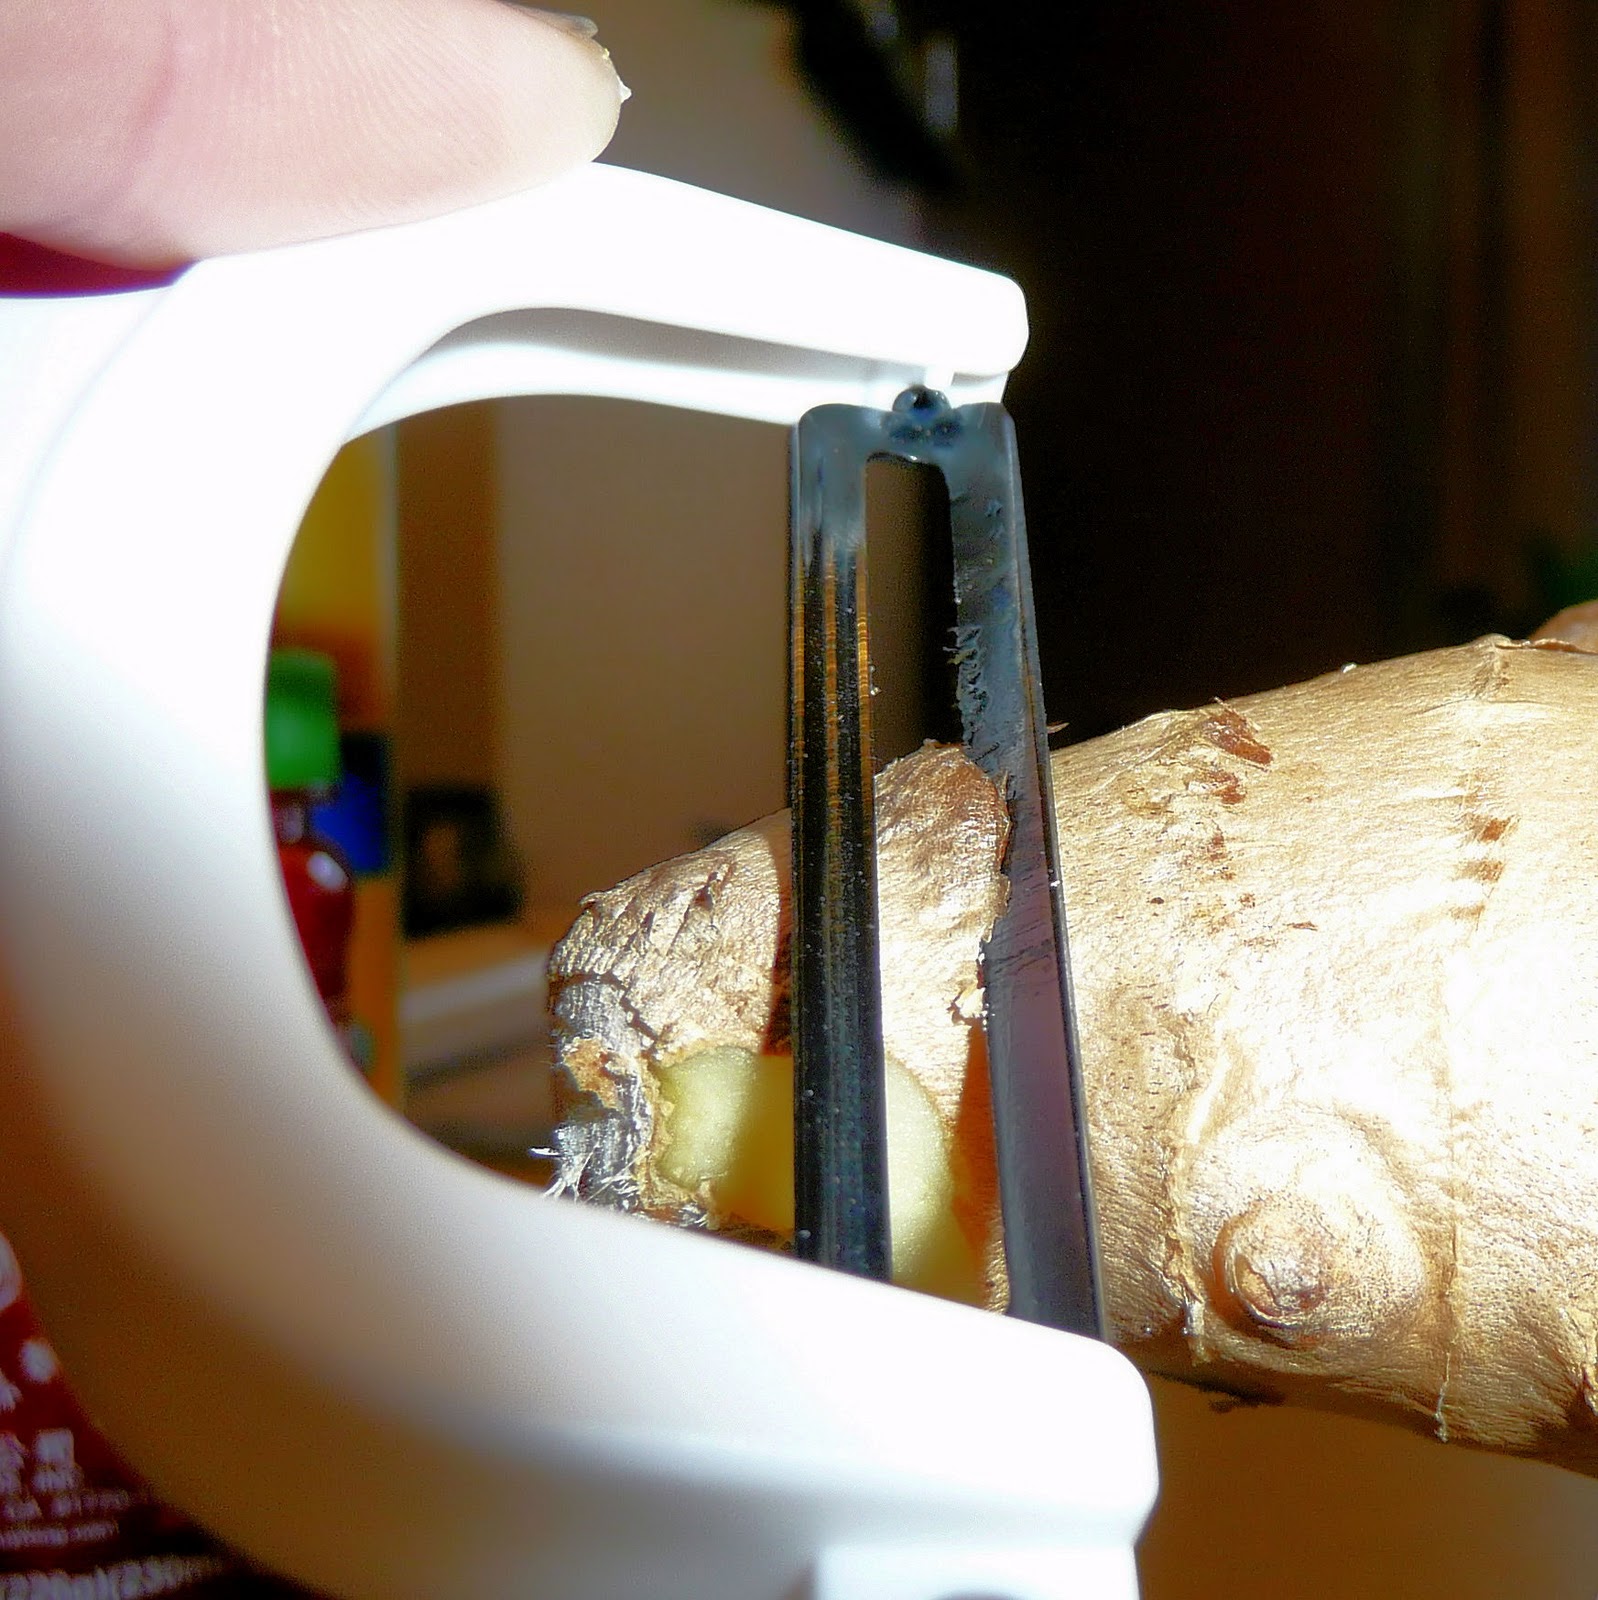
To work with ginger root, use a peeler to peel off the bark-like outer layer for the area you’ll be using. You will begin to smell ginger almost immediately. Yum.
Cut the peeled area off. You can either mince the ginger root with a knife or use a grater. As a warning, the root has a lot of juice to it and can get a bit slippery so be careful of your fingers. I may or may not have lost a piece of ginger when it slipped out of my hands and few across my kitchen. Whoops.
Fresh Grated Ginger
To prepare the hoisin glaze, combine the hoisin sauce, ginger, honey, soy sauce and chili garlic sauce in a small bowl using a whisk to combine. Set this aside.
Hoisin Glaze
The original recipe suggested putting the steaks on a foil-lined broiler pan. I somehow ran out of foil, so I just put them on a broiler pan coated with cooking spray but for cleaning purposes, I’d suggest using the foil. Sprinkle the steaks with salt.
Place the pan into the oven 5 inches from the heat (so 5 inches from the top of the oven… probably around the middle rack). Cook for 2 minutes and turn over. Broil for another 2 minutes and turn steaks over again.
Not that appetizing yet. Just wait…
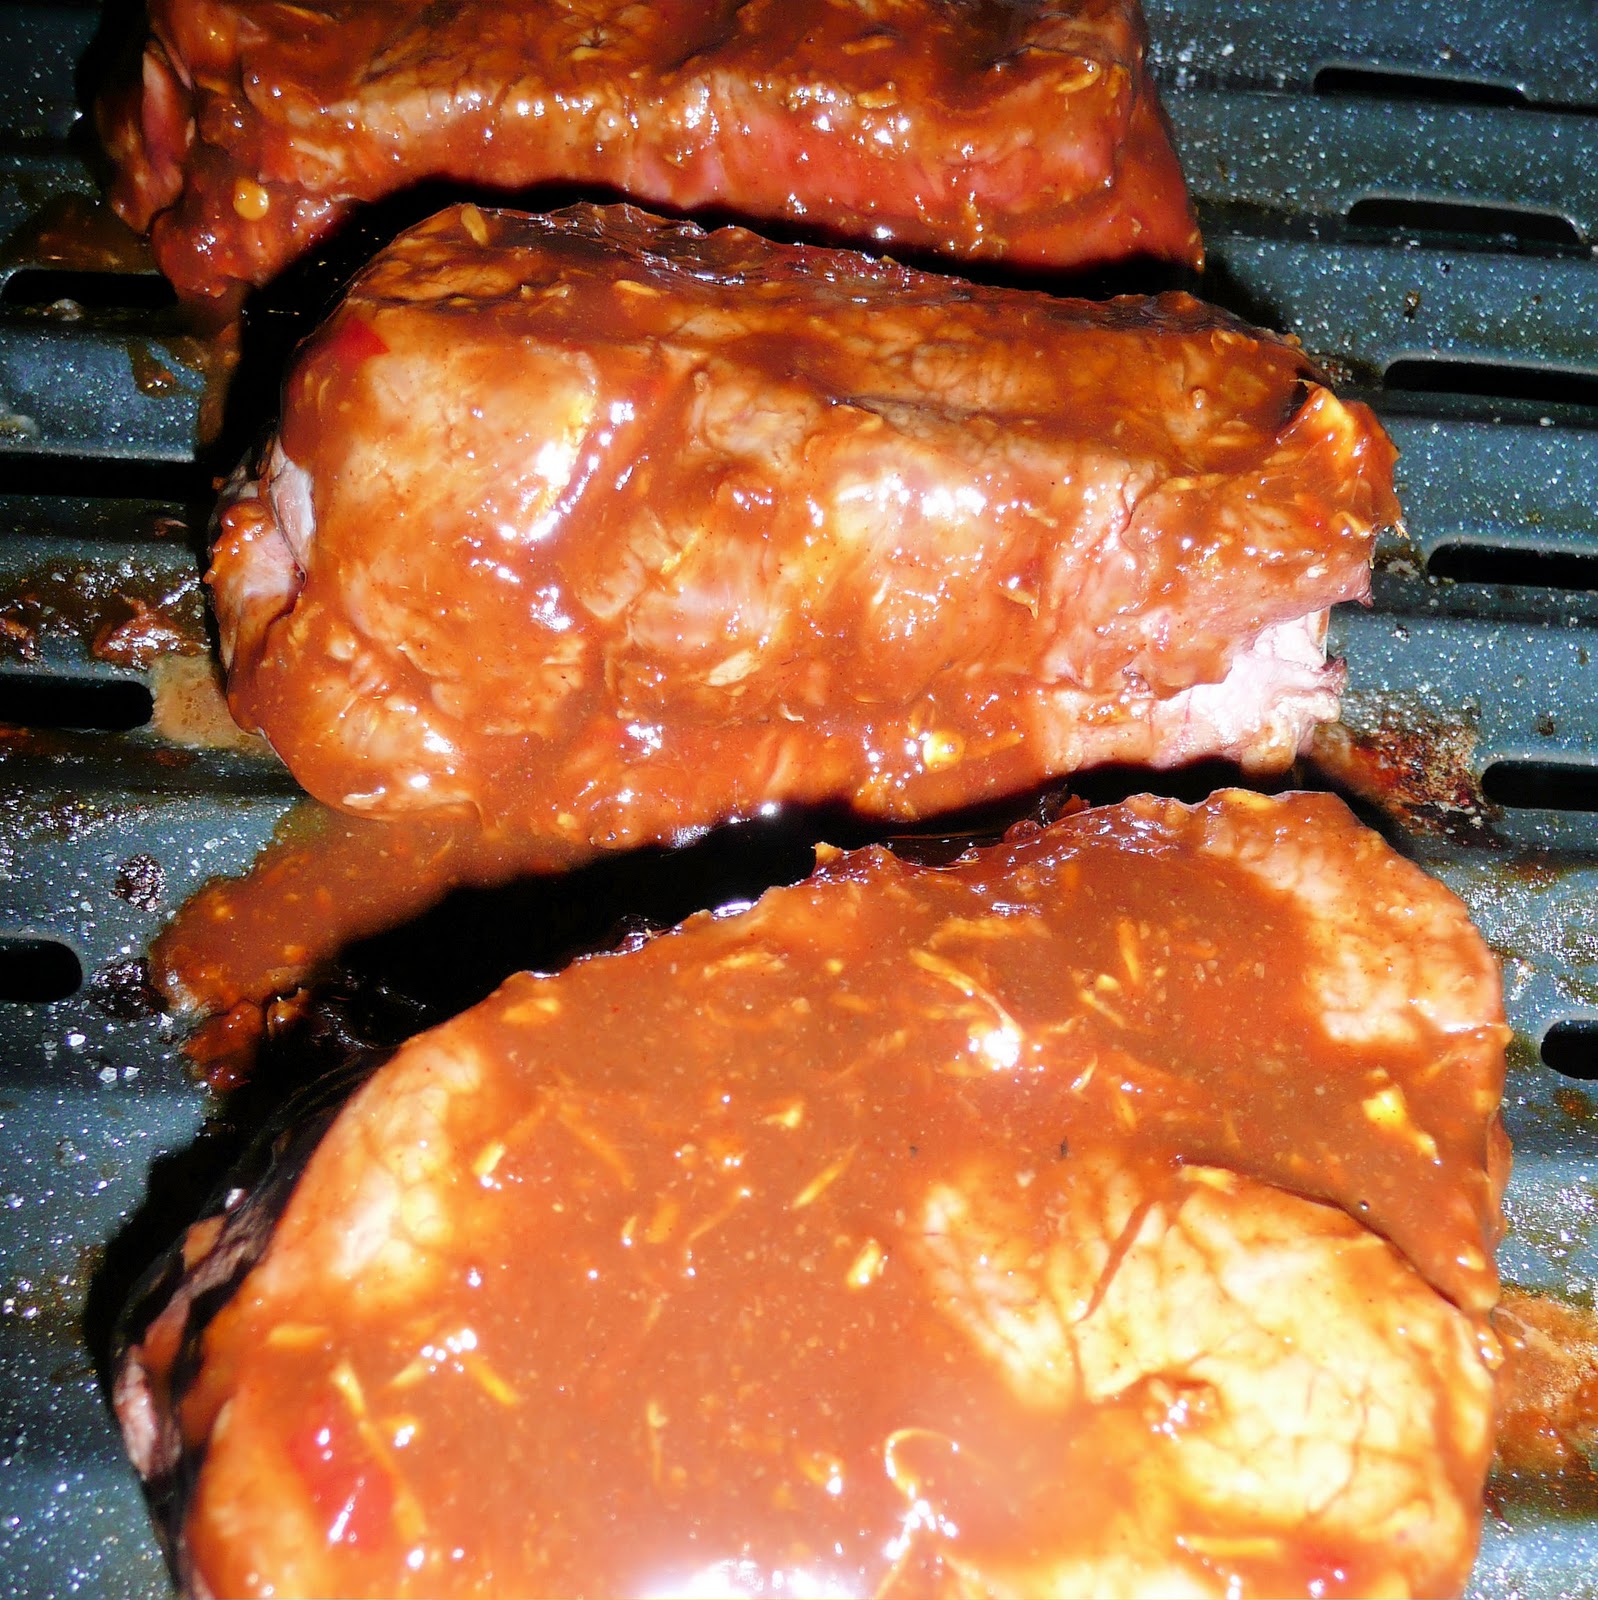
Brush steaks with half of the glaze and broil for one minute.
Looking better…
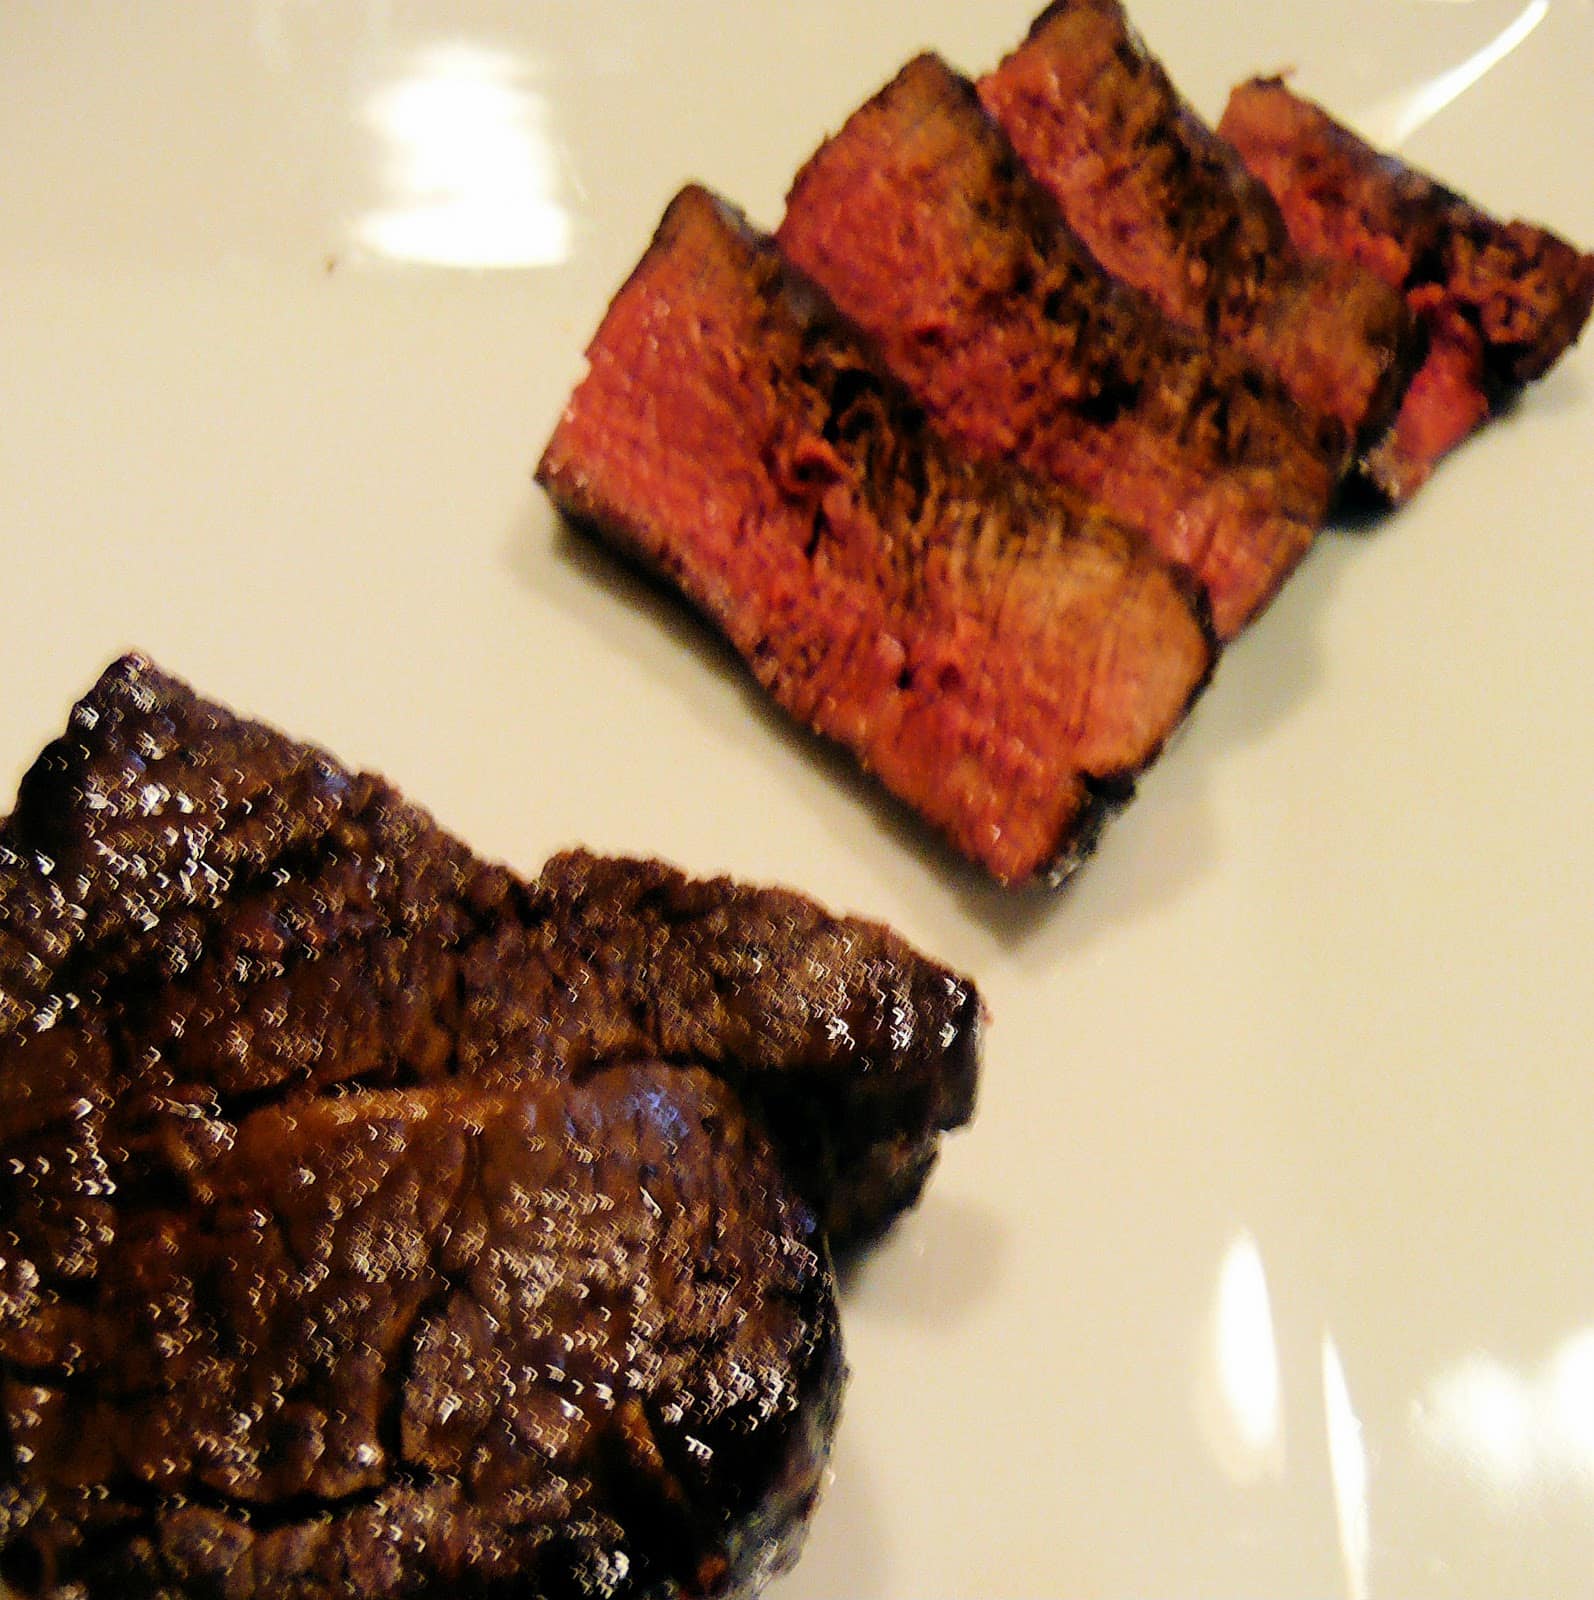
Turn the steaks over and brush with the remaining glaze and broil for 2 minutes or until desired degree of doneness.
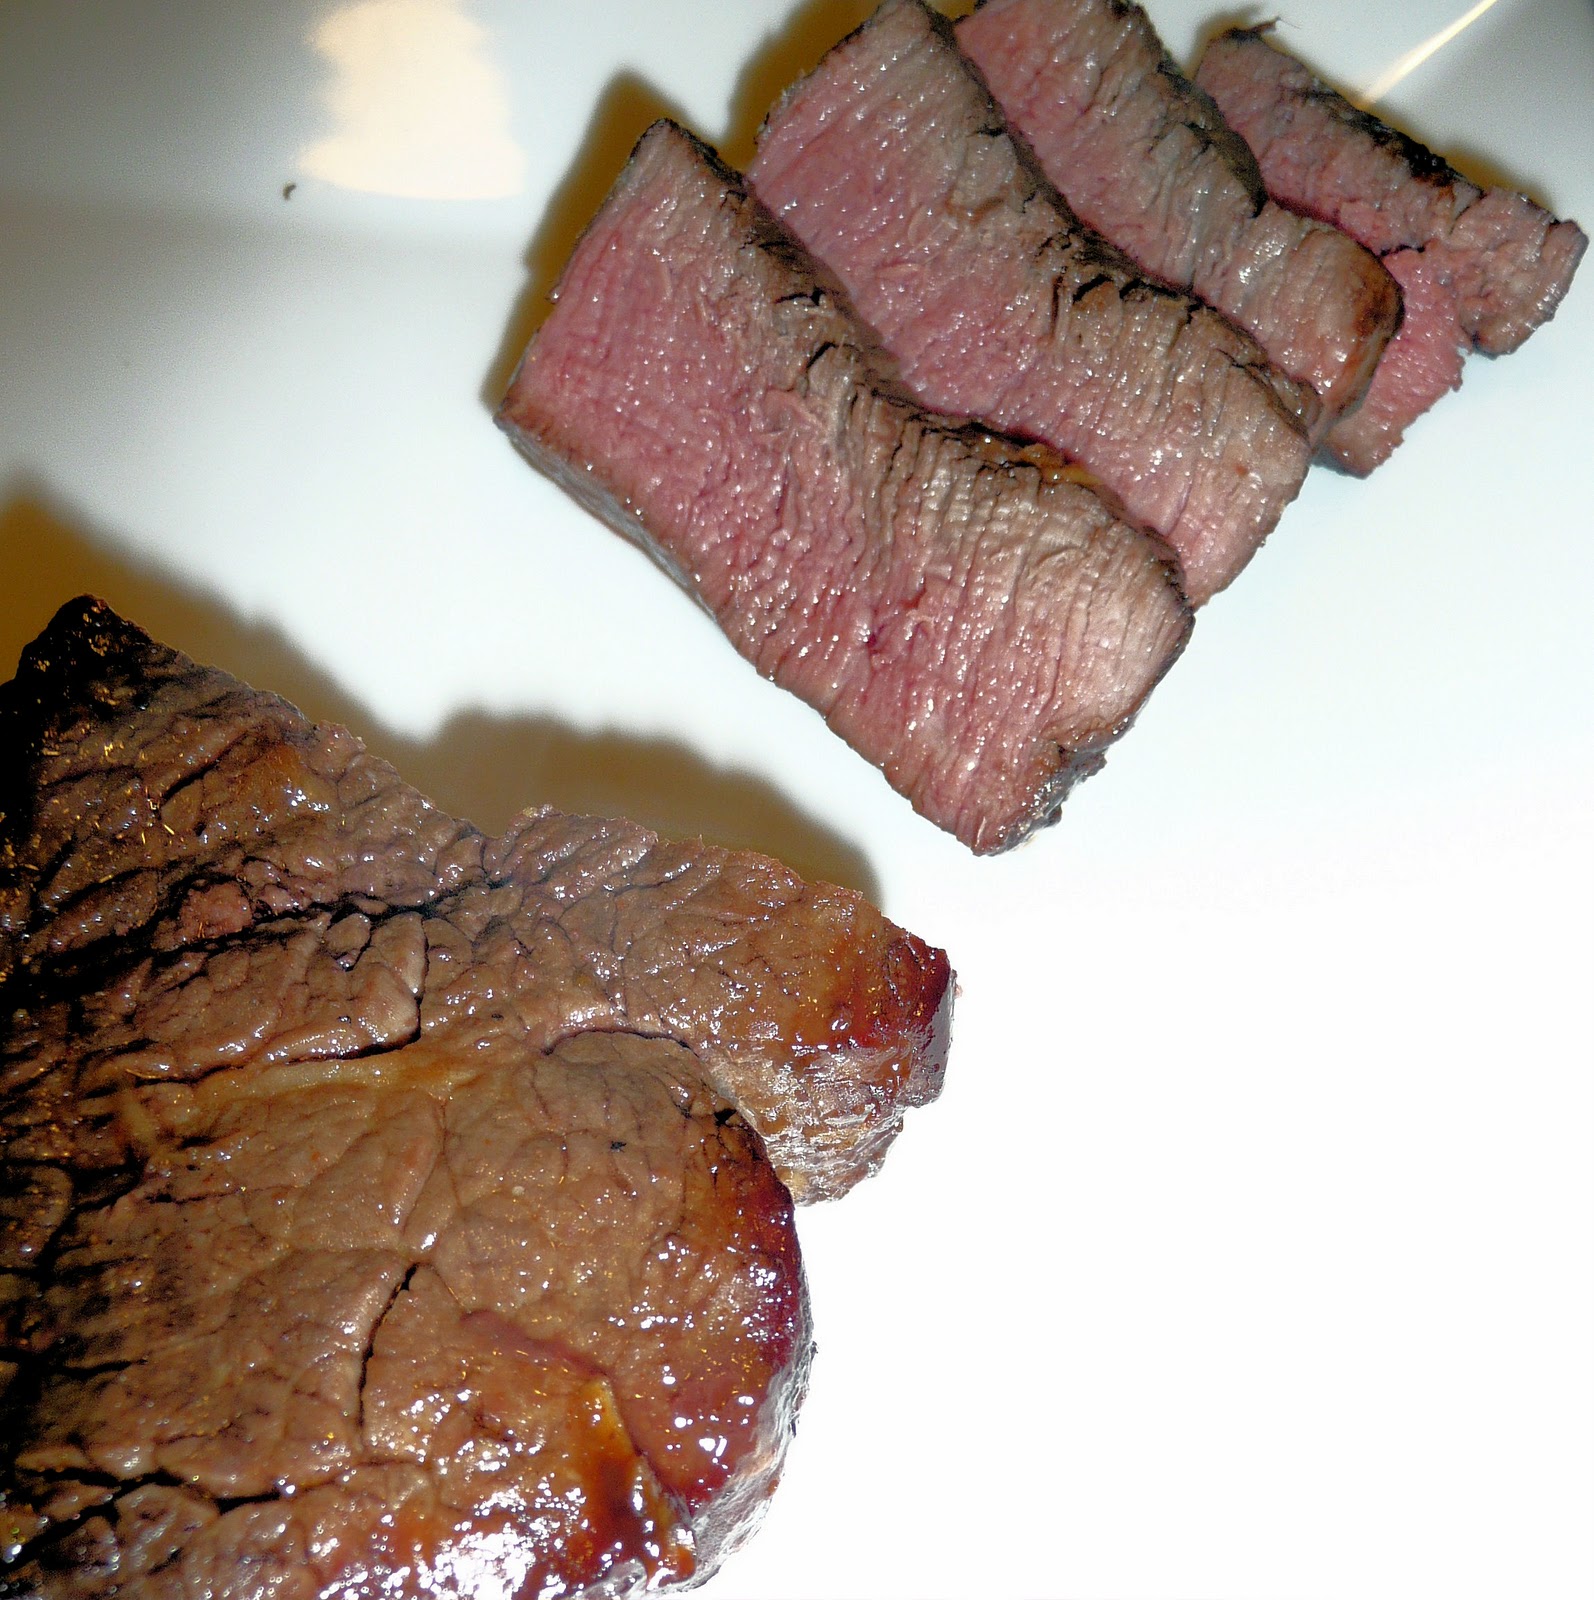
So, I ended up putting mine in for a good 5ish more minutes, turning the steaks half way through. They came out a bit too rare for me with the original time suggested, but I think this is really up to the person cooking it. I was so fearful that it was going to burn that every 2 minutes I was checking on the steaks, which probably wasn’t helping the whole cooking process.
When it was finally cooked to my liking though, this was one tasty dinner. When making the glaze, I was afraid it might be a bit on the spicy side but it actually ended up having an almost caramelized taste to it, which was a pleasant surprise.
The hoisin glaze would be great on a number of different proteins: chicken, salmon, perhaps even scallops. Using the broiler still makes me a bit nervous though, so I may consider whipping up a batch of this glaze for use on the grill, if it ever warms up in Philadelphia (today is March 28—almost April—and the high is 45. Super.) I hope you enjoy this meal with less stress about broiling than me!
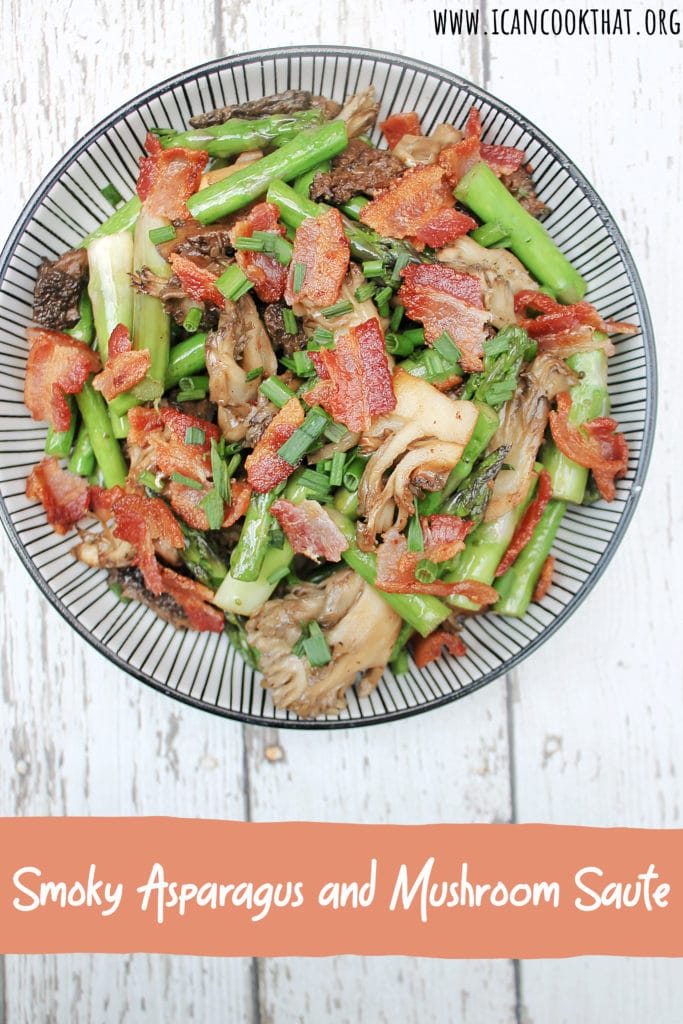
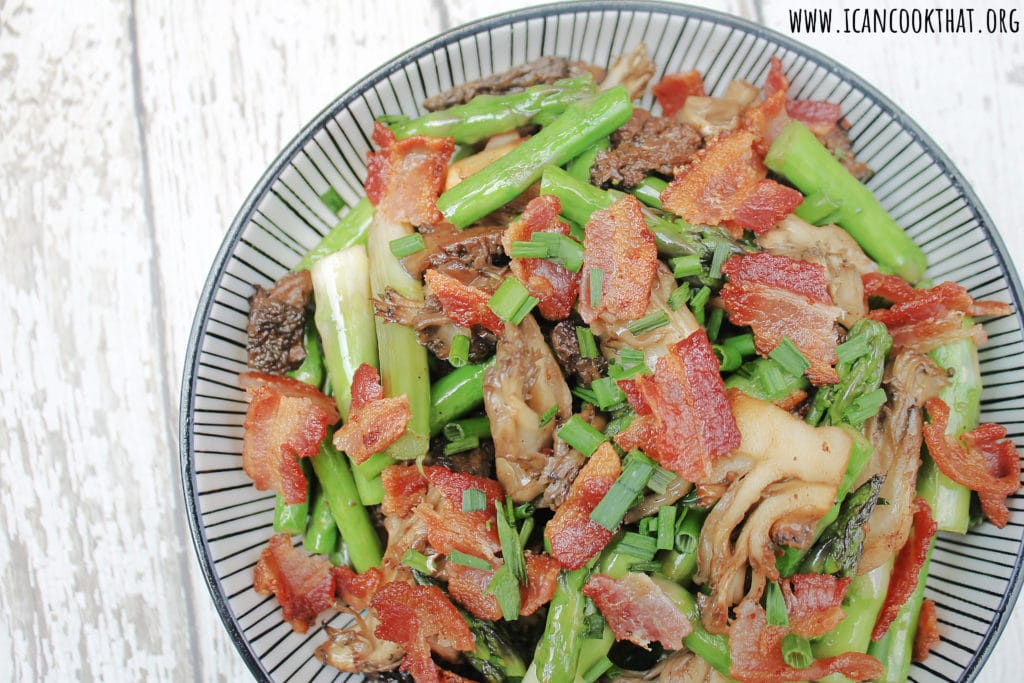
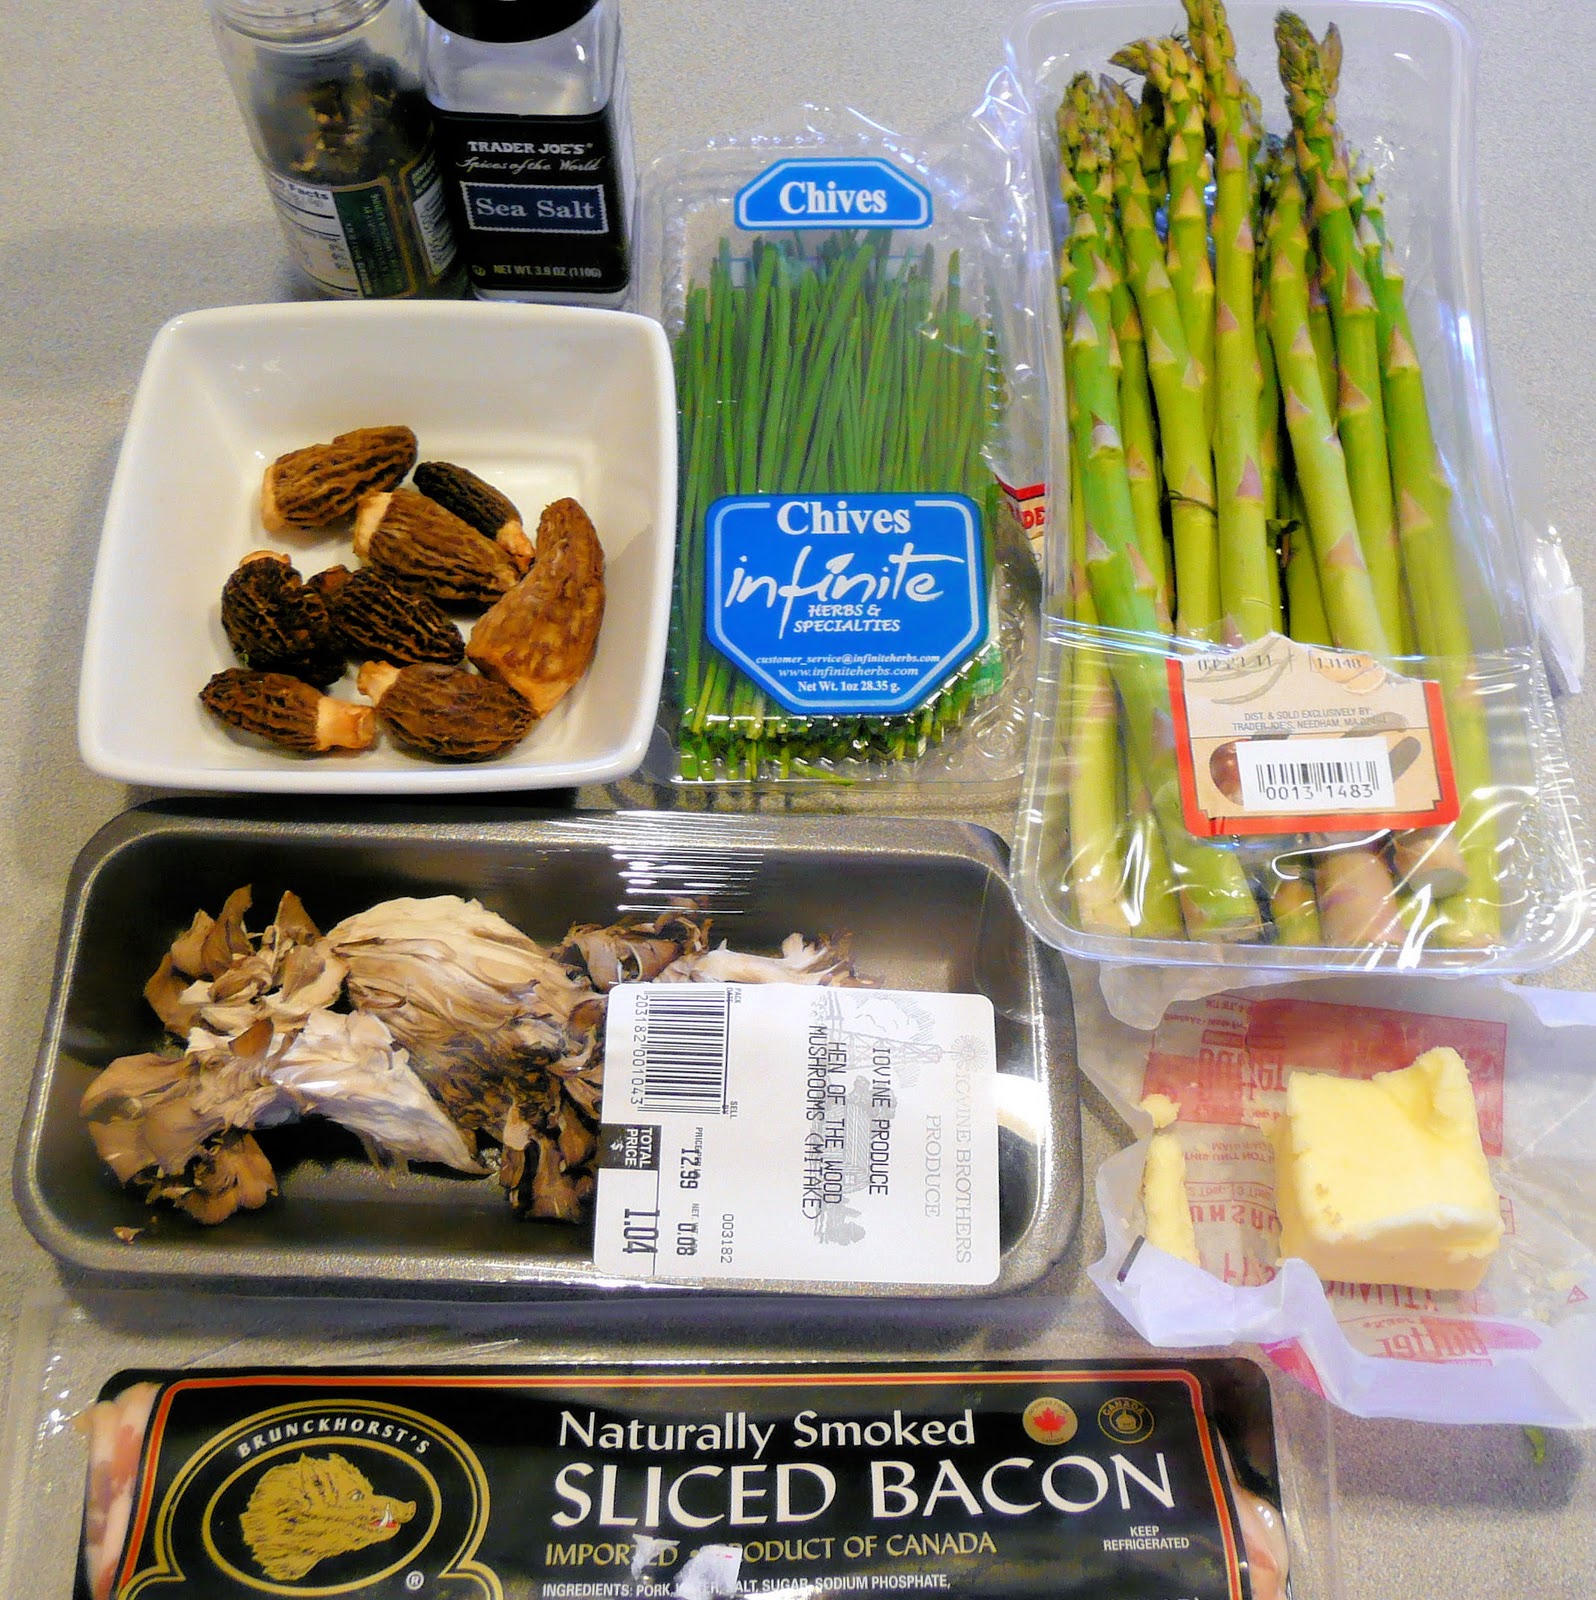
The April 2011 Issue of Cooking Light included a seemingly simple side dish using a type of mushroom I have yet to work with: Smoky Asparagus and Mushroom Saute. Morels are a wild mushroom; efforts to cultivate this mushroom have been mostly unsuccessful. Because they need to be “hunted” (those that collect morels are called mushroom hunters, I kid you not), they are super expensive– the market I went to was selling them for $69.99/lb., ouch. So this recipe can get pricey fast. I substituted in some hen of the woods (“Maitake”) mushrooms to save my wallet a bit. I ended up spending about $4 on the morels and a $1 and some change on the hen of the woods.
I had some left over asparagus from making the Orzo Risotto with Buttery Shrimp dish a few days ago so this dish was perfect to use ingredients I mostly had on hand.
New York Times recently had an article with a recipe from Carmen Quagliata, the executive chef at Union Square Café. The recipe was for a perfect winter dish: Vegan Roasted Brussels Sprouts, Butternut Squash and Apple with Candied Walnuts. Usually when searching for Brussels sprouts recipes, bacon is almost always included, so I was happy to find a somewhat healthy alternative. I thought Ash Wednesday would a great to try out this recipe for dinner.
Ingredients for Brussels sprouts:
1 ½ cups Brussels sprouts, trimmed, halved
2 cups butternut squash, peeled and cut into 1-inch asymmetrical chunks
2 cups (about 1 large) Honeycrisp, Cortland, or Granny Smith apple, cored and cut into 1-inch asymmetrical chunks (my local market was out of these options so I used two Pink Lady apples)
1 shallot, cut crosswise into 1/4-inch slices
2 tablespoons olive oil
5 fresh sage leaves
Salt and freshly ground pepper
½ tablespoon maple syrup
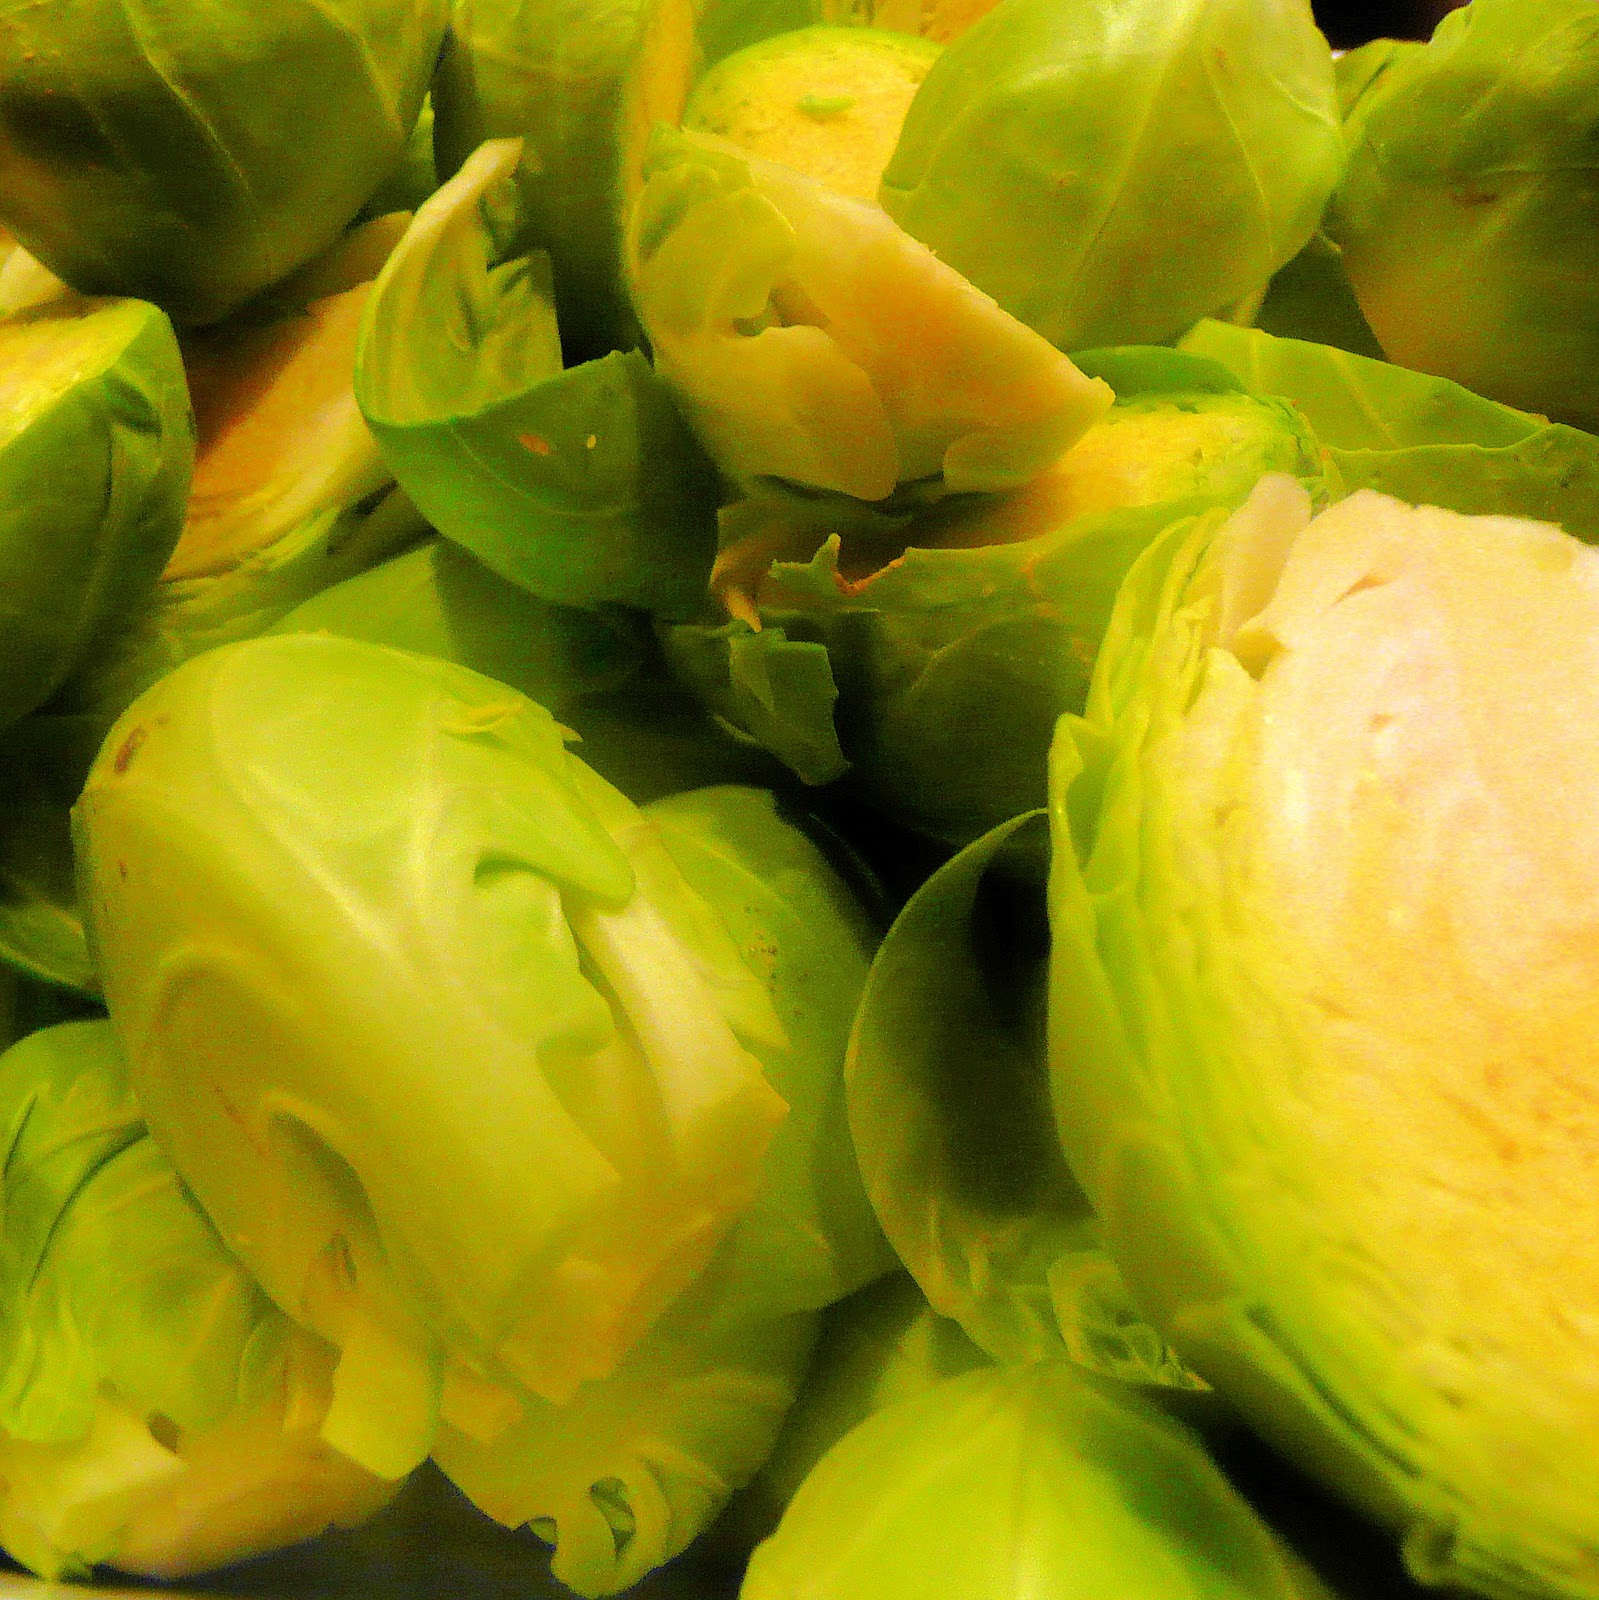
Preheat the oven to 375 degrees. While it is heating up, prep your Brussels sprouts, butternut squash, apples, and shallot. To trim the Brussels sprouts, cut off the rough white stem and then cut the sprout in half. If any outer leaves fall off discard them as well.
This was my first attempt at cutting and peeling a butternut squash, and I found the blog A Veggie Venture to be super helpful. The blog has a lot of great tips about veggies in general, so I suggest checking it out. If you’re not up for cutting your own butternut squash, Trader Joe’s sells already cubed pieces. However, they are a bit more dried out than freshly cut squash so keep that in mind.
I only needed the top half of the butternut squash
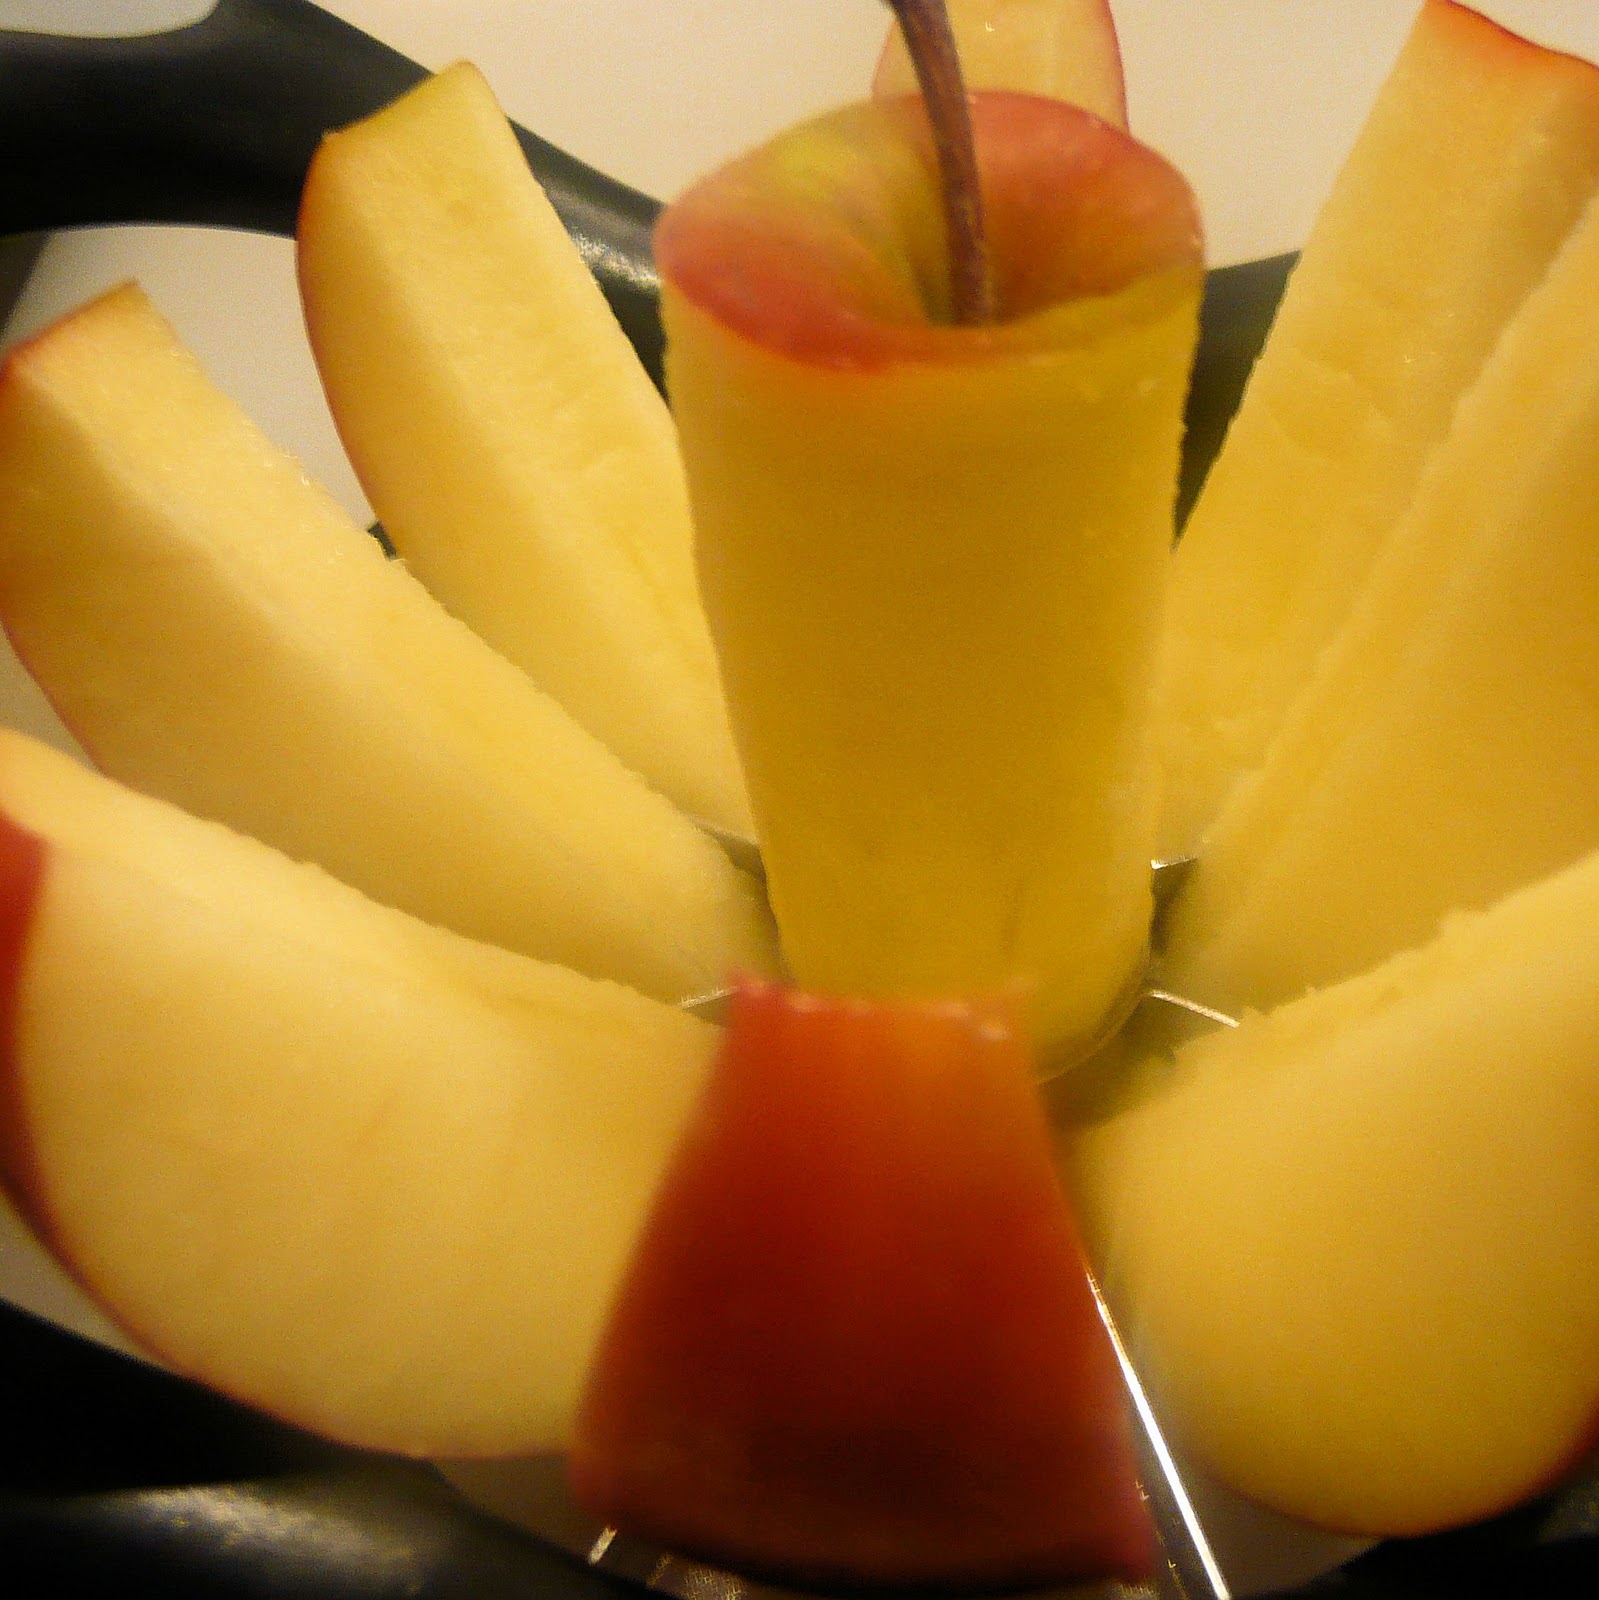
I used an apple corer to prepare the apples, and then cut the slices in half.
Keep the skins on the apple
Toss the Brussels sprouts, butternut squash, apple, and shallot with the olive oil and sage leaves in a shallow baking dish.
So many colors!
Season with salt and pepper.
Bake at 375 until vegetables and apple are wrinkled and slightly brown, about 45 minutes to an hour. Do not disturb or mix the dish while it’s cooking.
If you don’t have time or are just apprehensive about making the candied walnuts, you can purchase them already made.
However, the recipe is below in case you’re feeling adventurous. (Honestly, it wasn’t that difficult!)
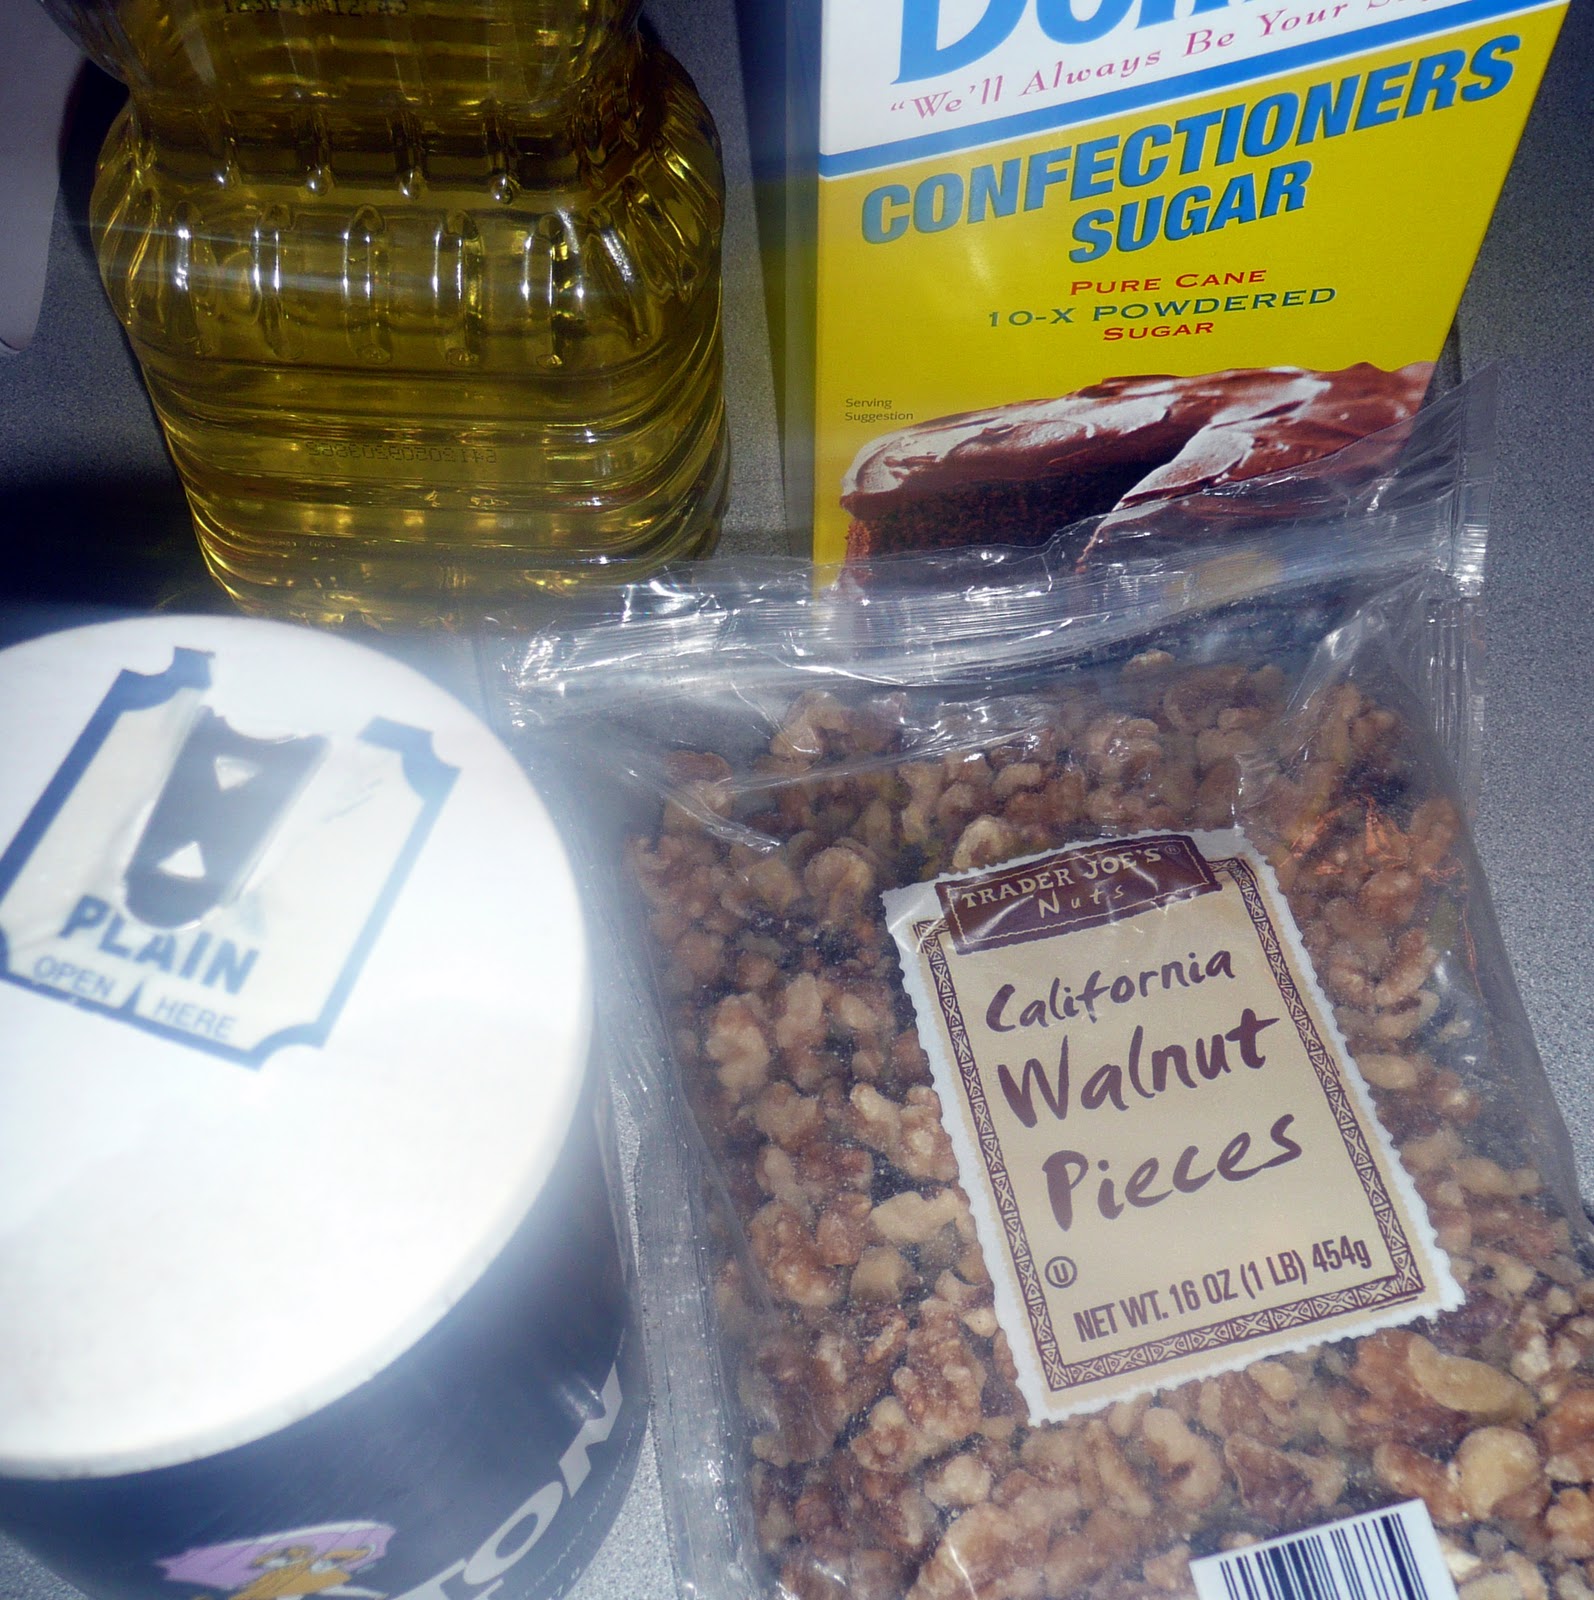
Ingredients for walnuts:
6 cups vegetable oil
6 ounces walnut halves
2 cups confectioners’ sugar (I ended up using less than a cup and they were fine)
kosher salt
To make, place a deep fryer or high-sided saucepan over high heat (I ended up using my pasta pot; my saucepans were all dirty from previous cooking adventures). Add the oil making sure there is at least 3 inches from the top of the pot. (When the walnuts are added, the oil bubbles and rises so you need room for this to happen) Heat to 375 degrees.
Bring 4 cups of water to a boil in another pot. Add the walnuts and boil for 10 seconds. Drain well and immediately toss with confectioners’ sugar. Spread flat on a baking sheet to allow to dry.
Walnuts after tossed in powdered sugar
The original directions suggest having a baking sheet lined with paper towels nearby. Mine stuck to the paper towels (boo) so I’d suggest maybe using parchment paper. Working in batches if necessary, add the walnuts to oil and stir once or twice. Fry until amber-brown or about 30 seconds. Using a wire skimmer or a heatproof slotted spoon, remove walnuts and move to baking sheets. Sprinkle with salt and allow to cool for about 5 minutes.
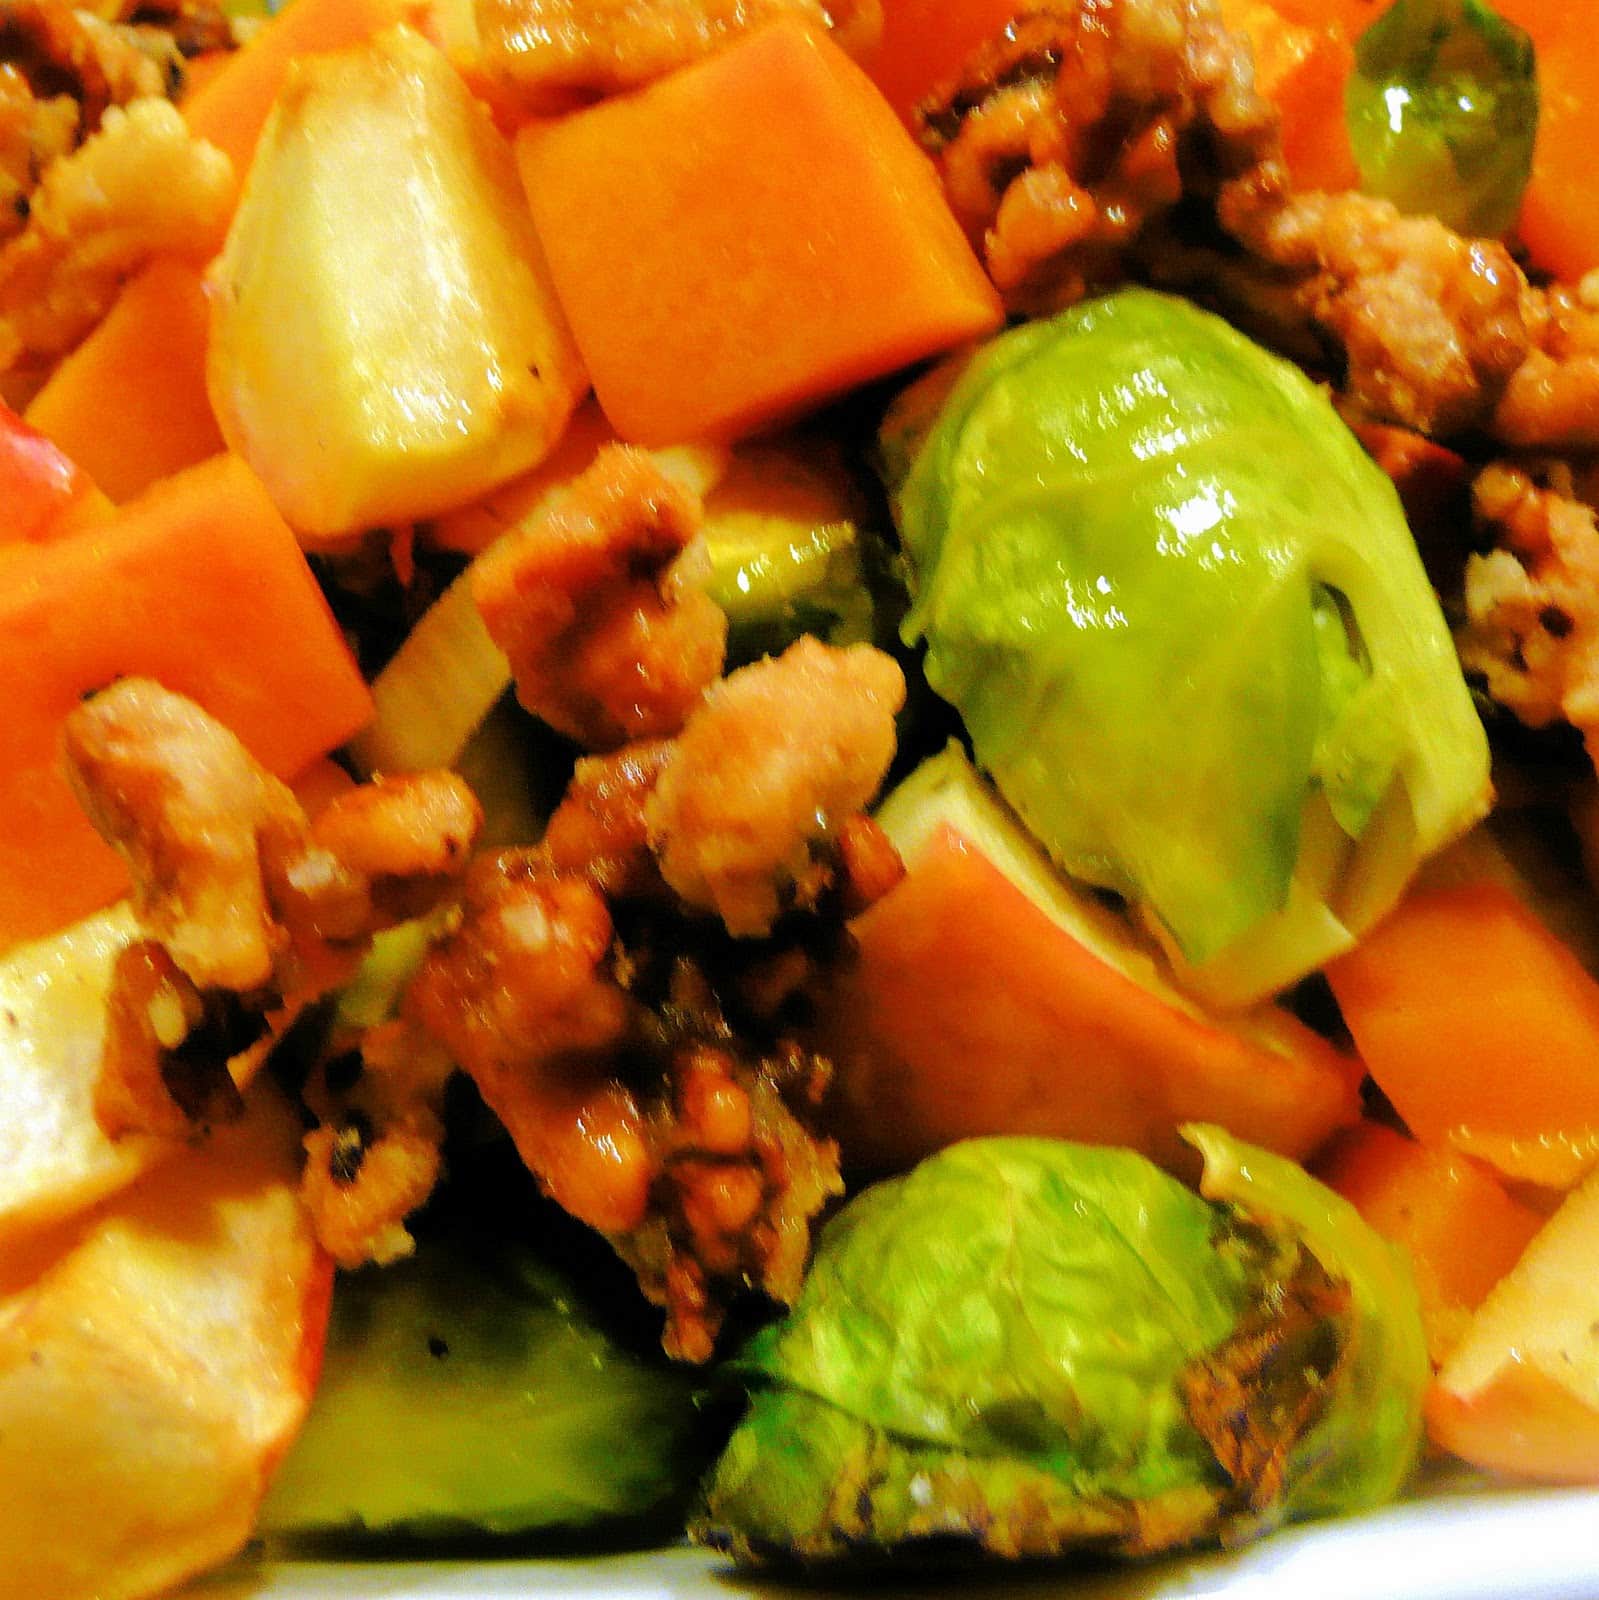
To serve, drizzle maple syrup over roasted vegetables and sprinkle with walnut pieces.
How good does that look??
This dish was really great. It had the feel of a comfort food dish without the leftover heaviness.
I was sort of hoping the Brussels sprouts would play a bigger role in the dish, but the butternut squash was what I kept going back for (nothing wrong with that). The walnuts add a lot of sweetness to the dish so don’t go overboard on topping the dish with them. The best part though, was that with so much flavor, I didn’t even miss not having meat for dinner!
Note: If you want something to pair with this to make a more hearty meal, the recipe suggests serving it with walnut bread.