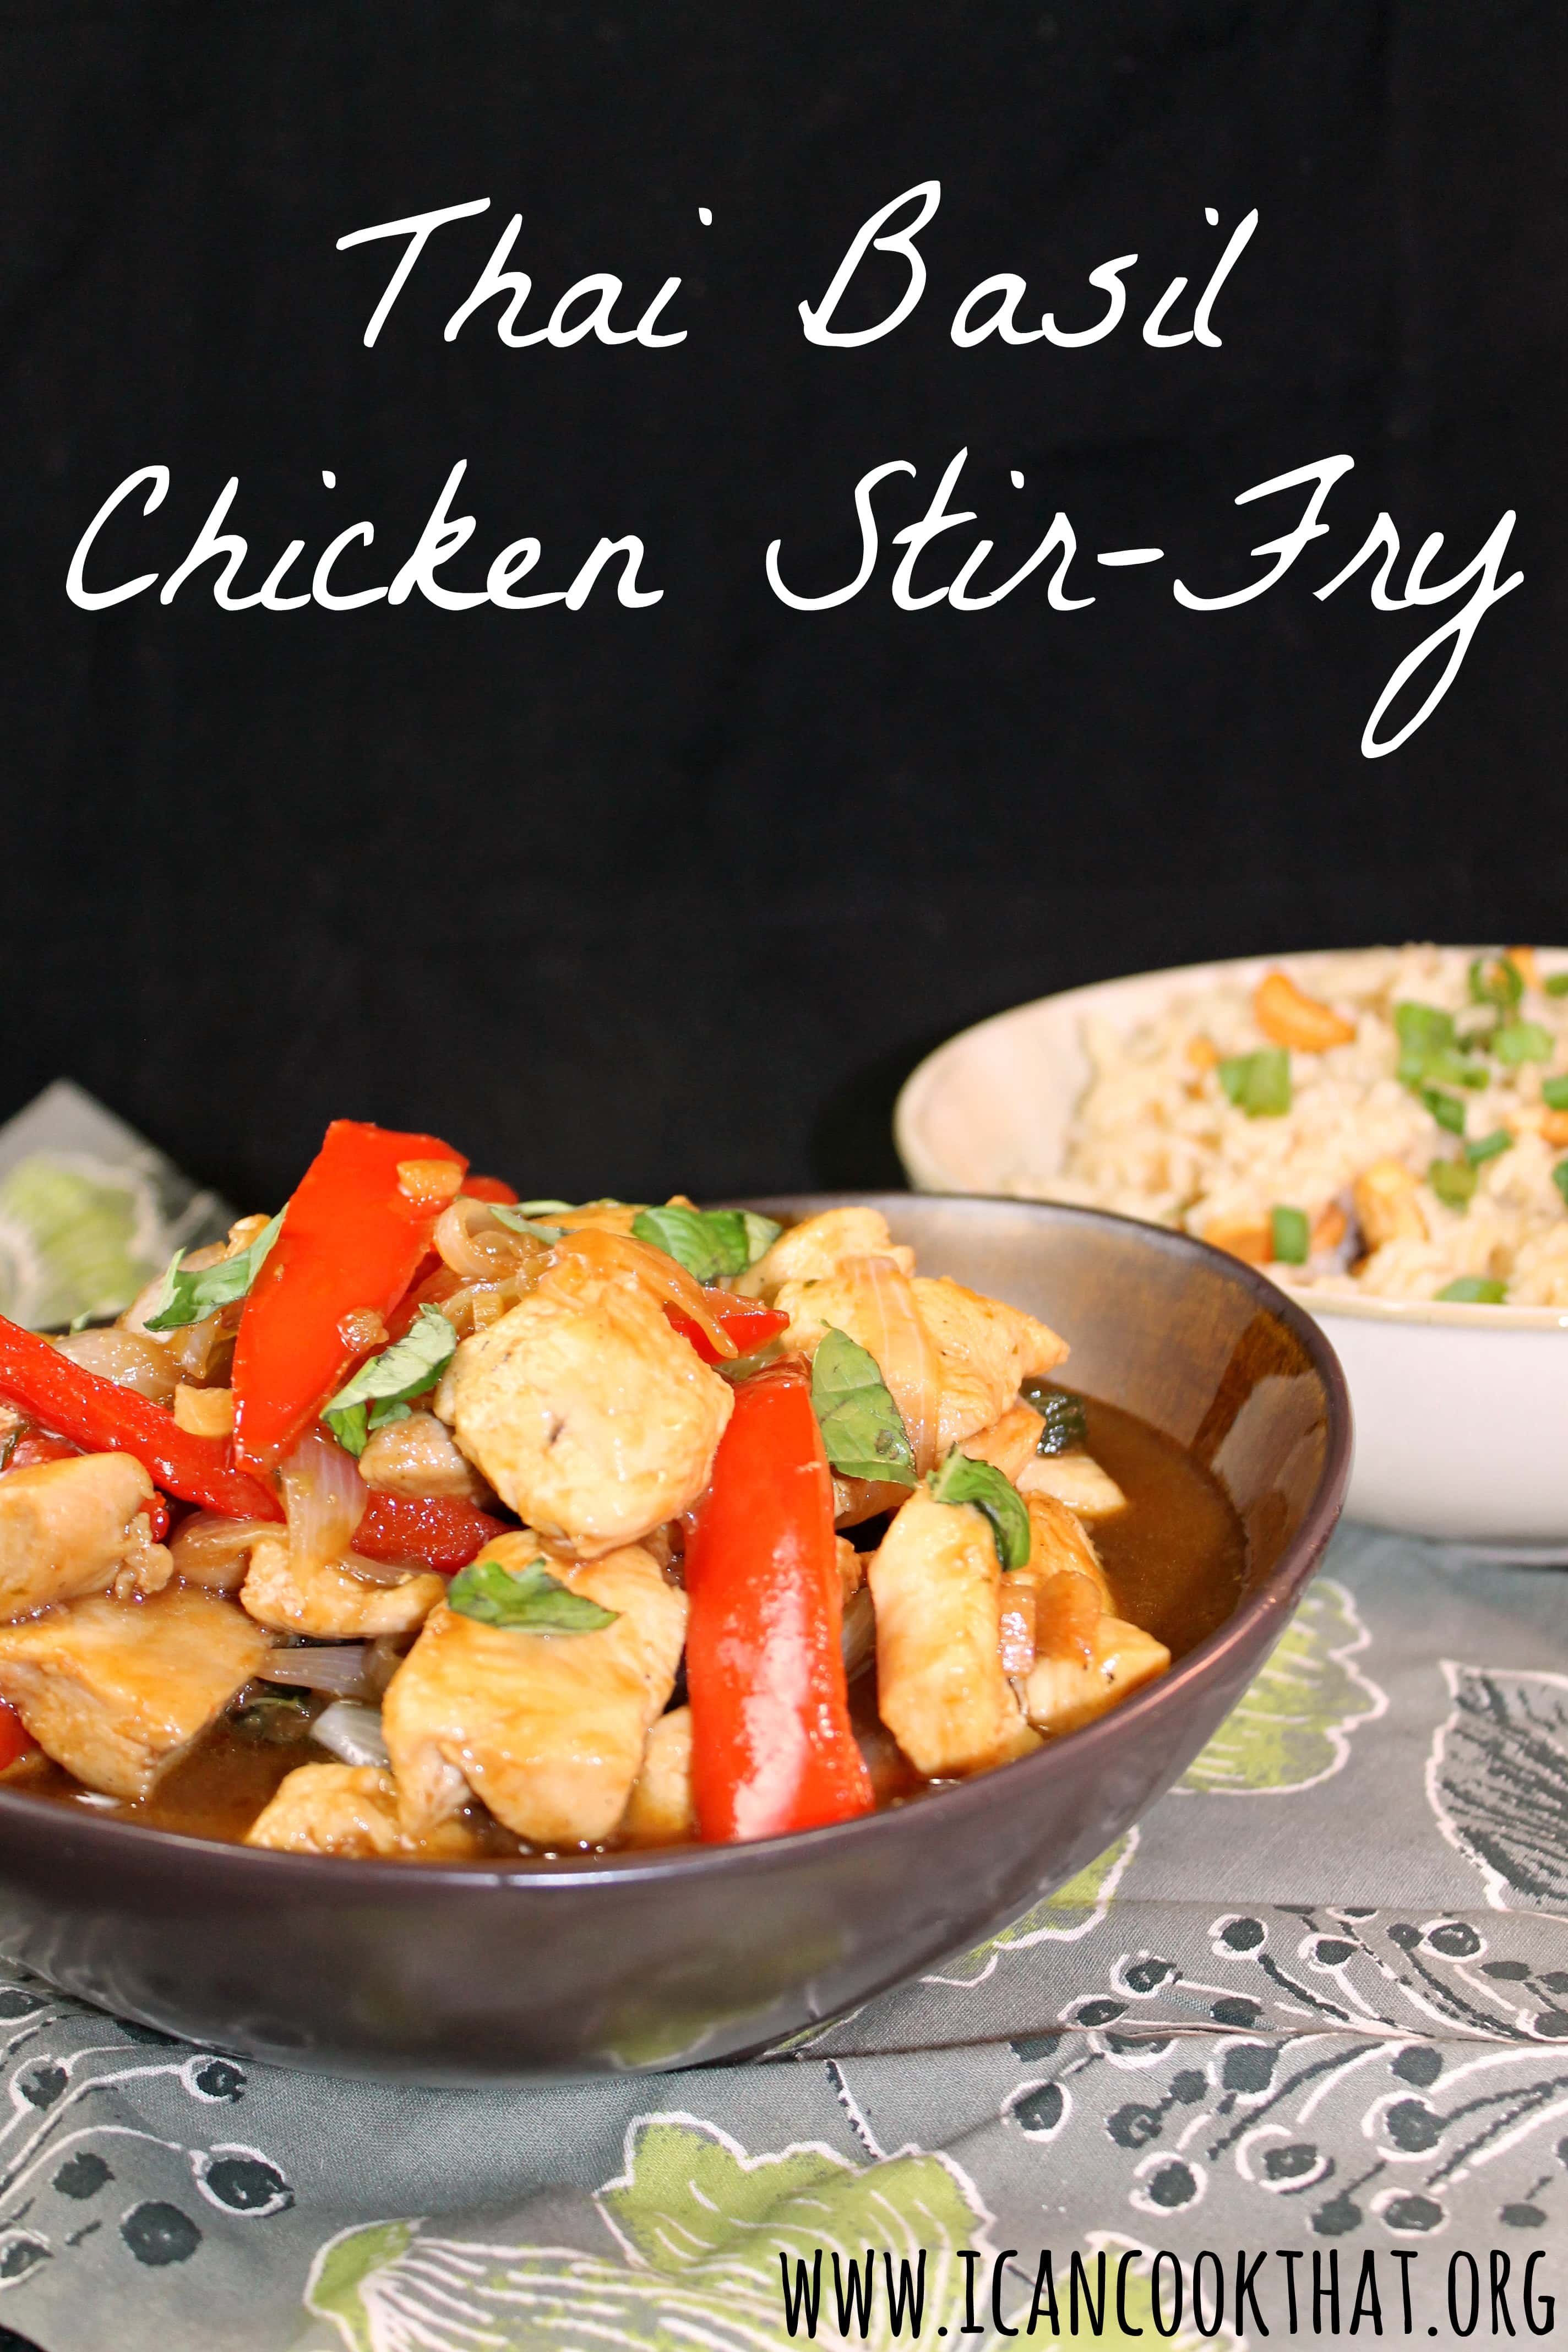
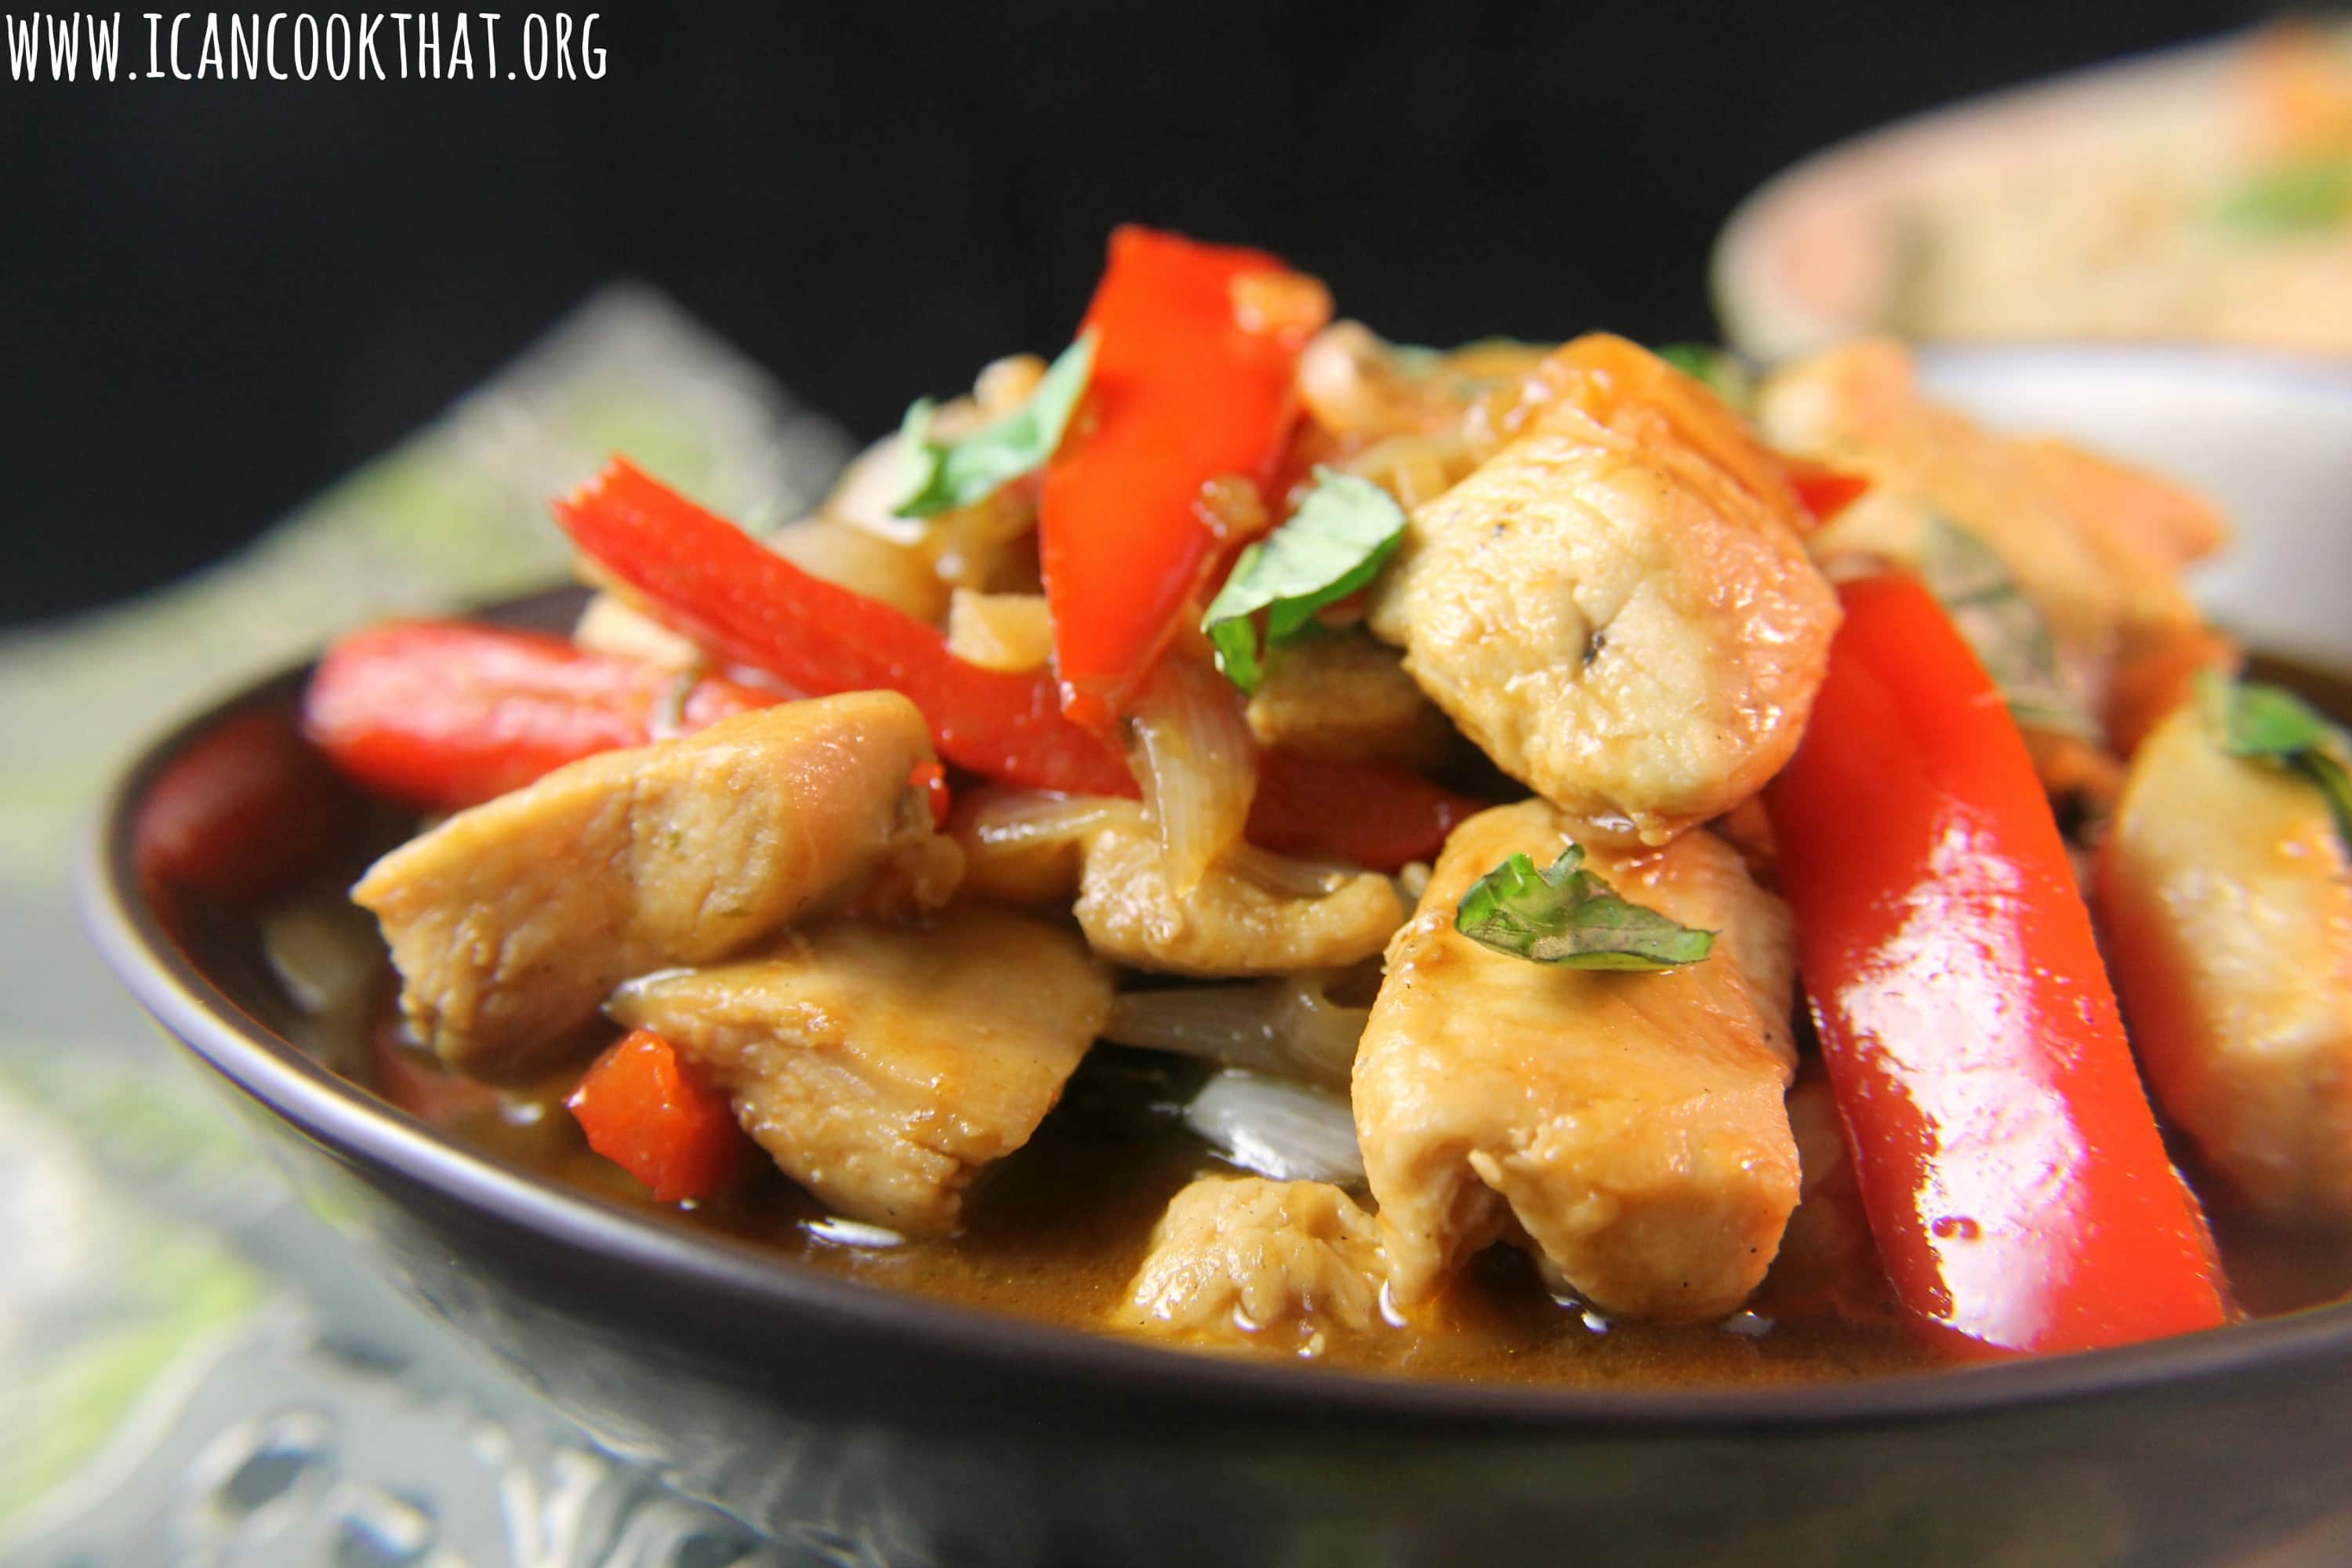
I have been having a crazy couple of weeks, so despite cooking a bunch of weeknight-friendly meals, I haven’t had much of a chance to write any posts to share those recipes! This one is too tasty to not share right away though.
This Thai Basil Chicken Stir Fry from Cooking Light’s latest issue is super simple and really flavorful. I served it with Cashew and Green Onion Rice (because I didn’t have any bulgar on hand) and it was an awesome complement!
The whole recipe took about 20 minutes to make (including the rice) so it’s a nice option for busy weeknights. I made a couple of substitutes to the original recipe, so be sure to check out the original to see if it’s more your style.
Ingredients:
1/4 cup hoisin sauce
2 tablespoons sugar
2 tablespoons water
2 tablespoons fish sauce
2 tablespoons canola oil
3 garlic cloves, minced
1 poblano chile, thinly sliced
1 lb skinless, boneless chicken breast halves, cut into bite sized pieces
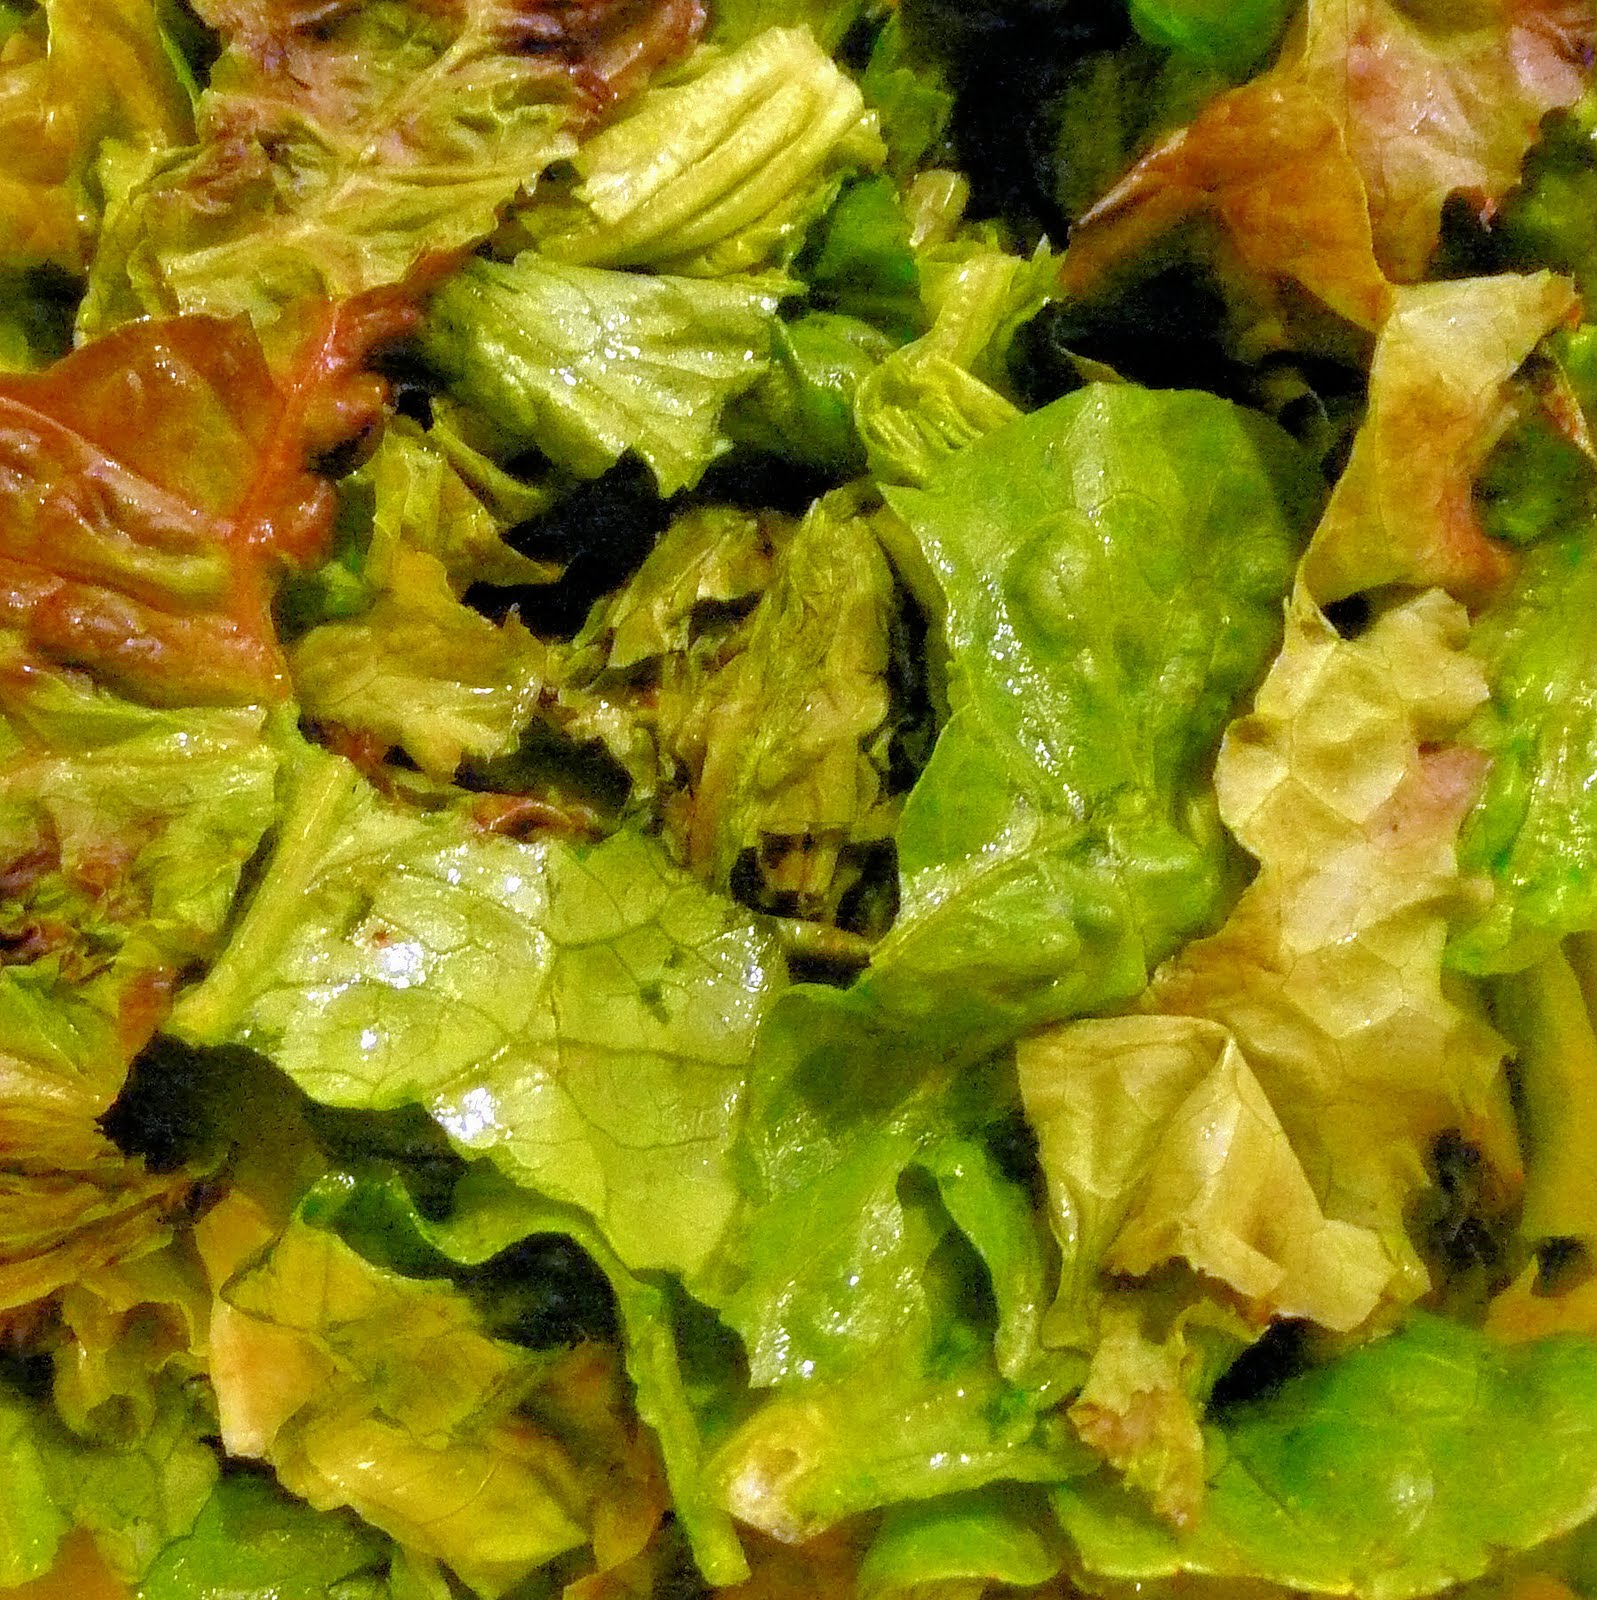
My fridge looks like a forest. I kid you not. I have two of my three shelves of my refrigerator filled with leafy greens. I didn’t want to have just a plain old boring salad, so I decided to try this recipe from Cooking Light (April 2006).
Ingredients for chicken:
1/2 cup panko
1/2 teaspoon salt
1/4 teaspoon chili powder
1/4 teaspoon freshly ground black pepper
1 pound chicken breast tenders
Cooking spray
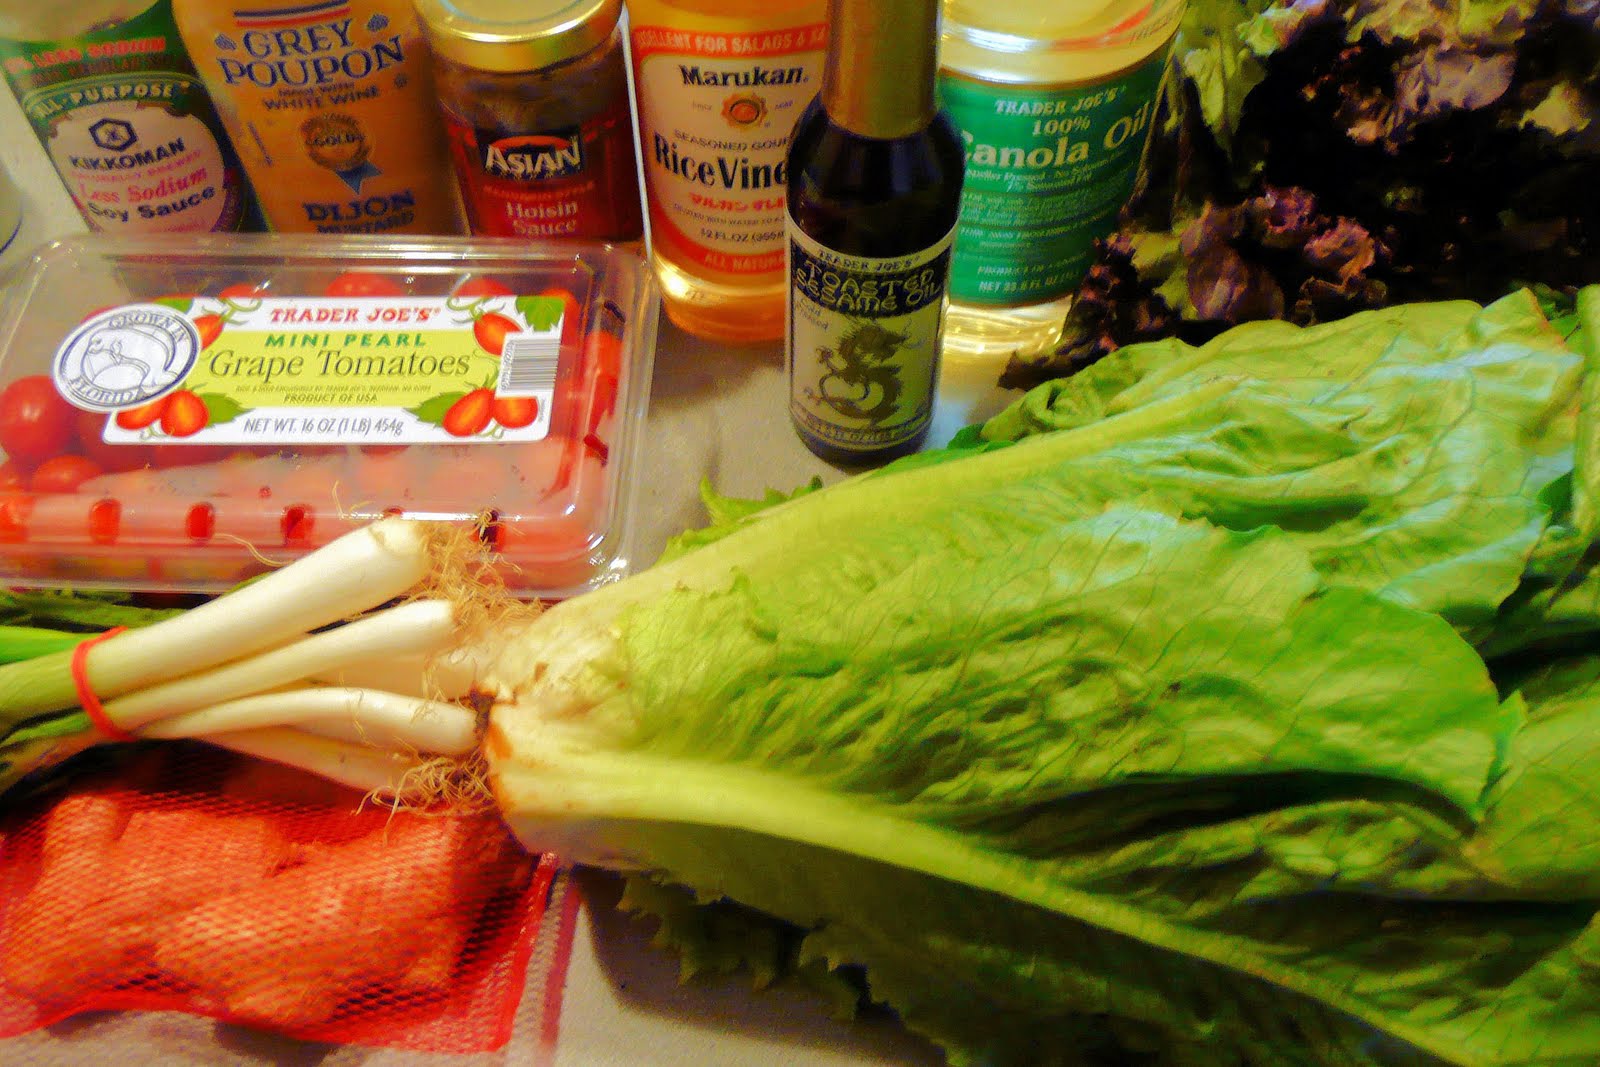
Ingredients for salad:
2 tablespoons rice vinegar
1 tablespoon finely chopped peeled fresh ginger
1 tablespoon Dijon mustard
1 1/2 tablespoons hoisin sauce
2 teaspoons canola oil
1 1/2 teaspoons low-sodium soy sauce
1 teaspoon toasted sesame oil
1 spring garlic, minced
1 cup cherry tomatoes, halved
1/2 cup chopped green onions (scallions)
1/4 bunch of romaine lettuce
1/4 bunch of red leafy lettuce
Preheat oven to 375 degrees. To cook chicken, add first 4 ingredients (panko through pepper) to a bowl.
Mix to combine. Add chicken one at a time, tossing to coat. Transfer the chicken to a baking sheet coated with cooking spray.
Bake for 15 minutes or until chicken is done and lightly browned.
To prepare salad, combine vinegar and next 7 ingredients (through minced garlic) in a bowl.
Prepare your lettuce by washing and rinsing the Romaine and red leafy lettuce. Tear with your hands and add to a bowl.
Add halved tomatoes and green onions.
Add vinegar mixture, tossing to coat. Transfer to individual plates and top with the chicken.
Wow. This dressing was fantastic. It has a bit of spice to it without any heat. The chicken was crispy on the outside but really tender on the inside. The original recipe used a clove of garlic instead of spring garlic, but I think the raw mature garlic would be too overpowering. It also called for white wine vinegar, but for some reason I had rice vinegar on hand instead. I will most certainly use this recipe in the future!
There were a couple of parts to this recipe that made me nervous to try it out: working with fresh ginger and using the broiler. The latter ended up being the more difficult part, but that was due to my all-encompassing fear of burning the beef tenderloin steaks. Overall though, this dish was a lot easier than I made it out to be. I followed this recipe almost exactly, but the original is linked here.
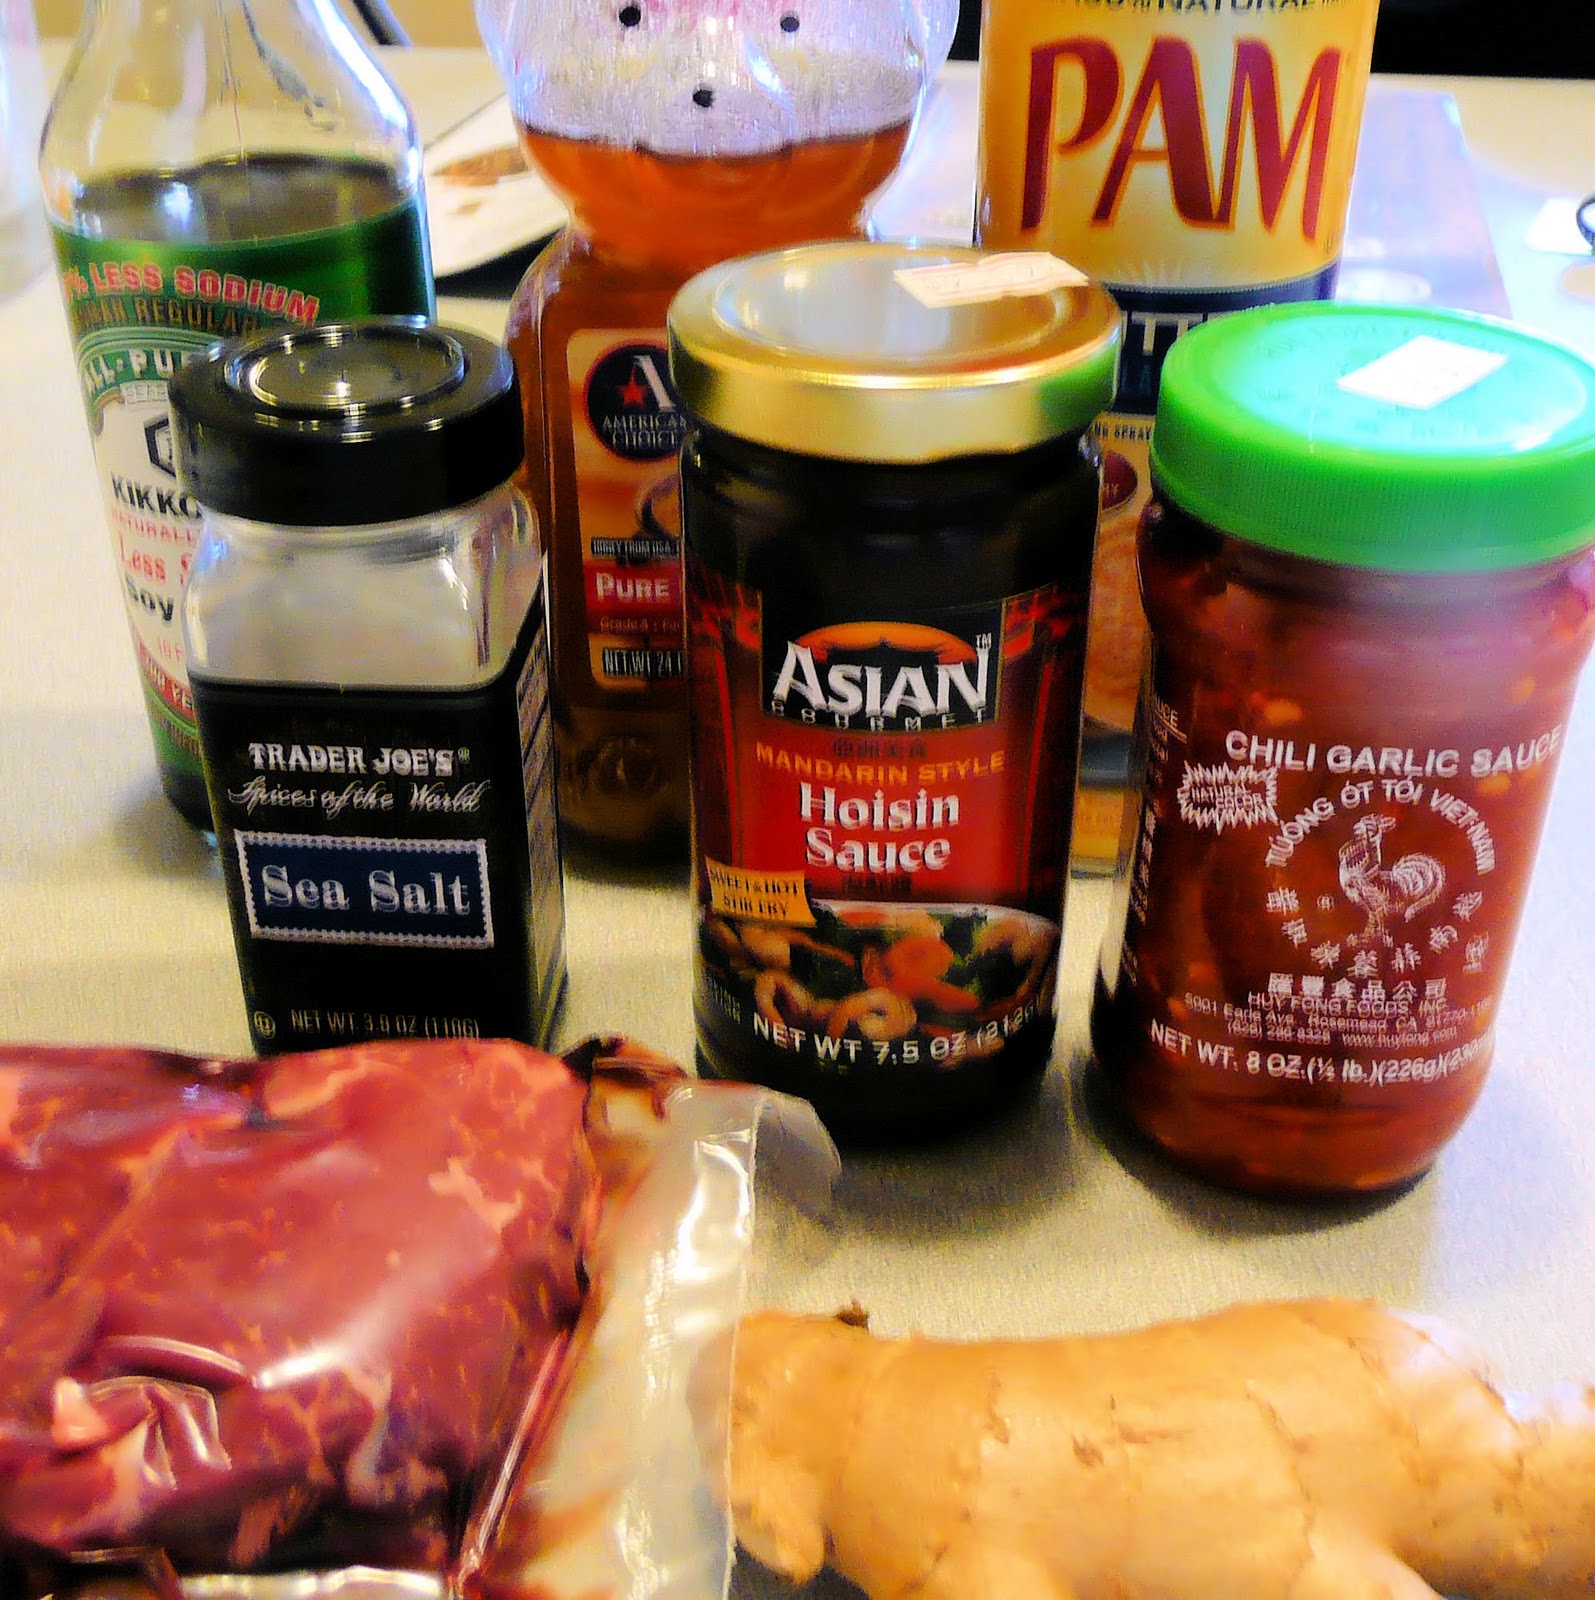
Ingredients:
1 1/2 tablespoons hoisin sauce
1 1/2 teaspoons grated peeled fresh ginger
1 1/2 teaspoons honey
1 1/2 teaspoons lower-sodium soy sauce (or coconut aminos to make gluten free
1/4 teaspoon chili garlic sauce (such as Lee Kum Kee or Huey Fong)
3 (4-ounce) beef tenderloin steaks, trimmed (1 inch thick)
Cooking spray
1/8 teaspoon salt
Hoisin sauce and the chili garlic sauce can be found in the Asian section of your grocery store. Getting to a supermarket for me is kind of a pain but I was able to find the sauce in my corner store.
Before doing anything, preheat your broiler to high. If you’re like me and have zero clue what the broiler even is, chances are it’s within your oven and you just need to press the “broil” setting. Be sure to remove everything from the oven before turning it on.
Broiling is basically the opposite of grilling—the heat source is coming from above instead of below. Because the heat is so high, really keep an eye on anything you are broiling; it can burn very very quickly. Also be sure to have an oven mitt that can withstand high temperatures. The broiler may cause some smoke so be sure to turn your exhaust fan on during cooking. Ok, time to actually start cooking…
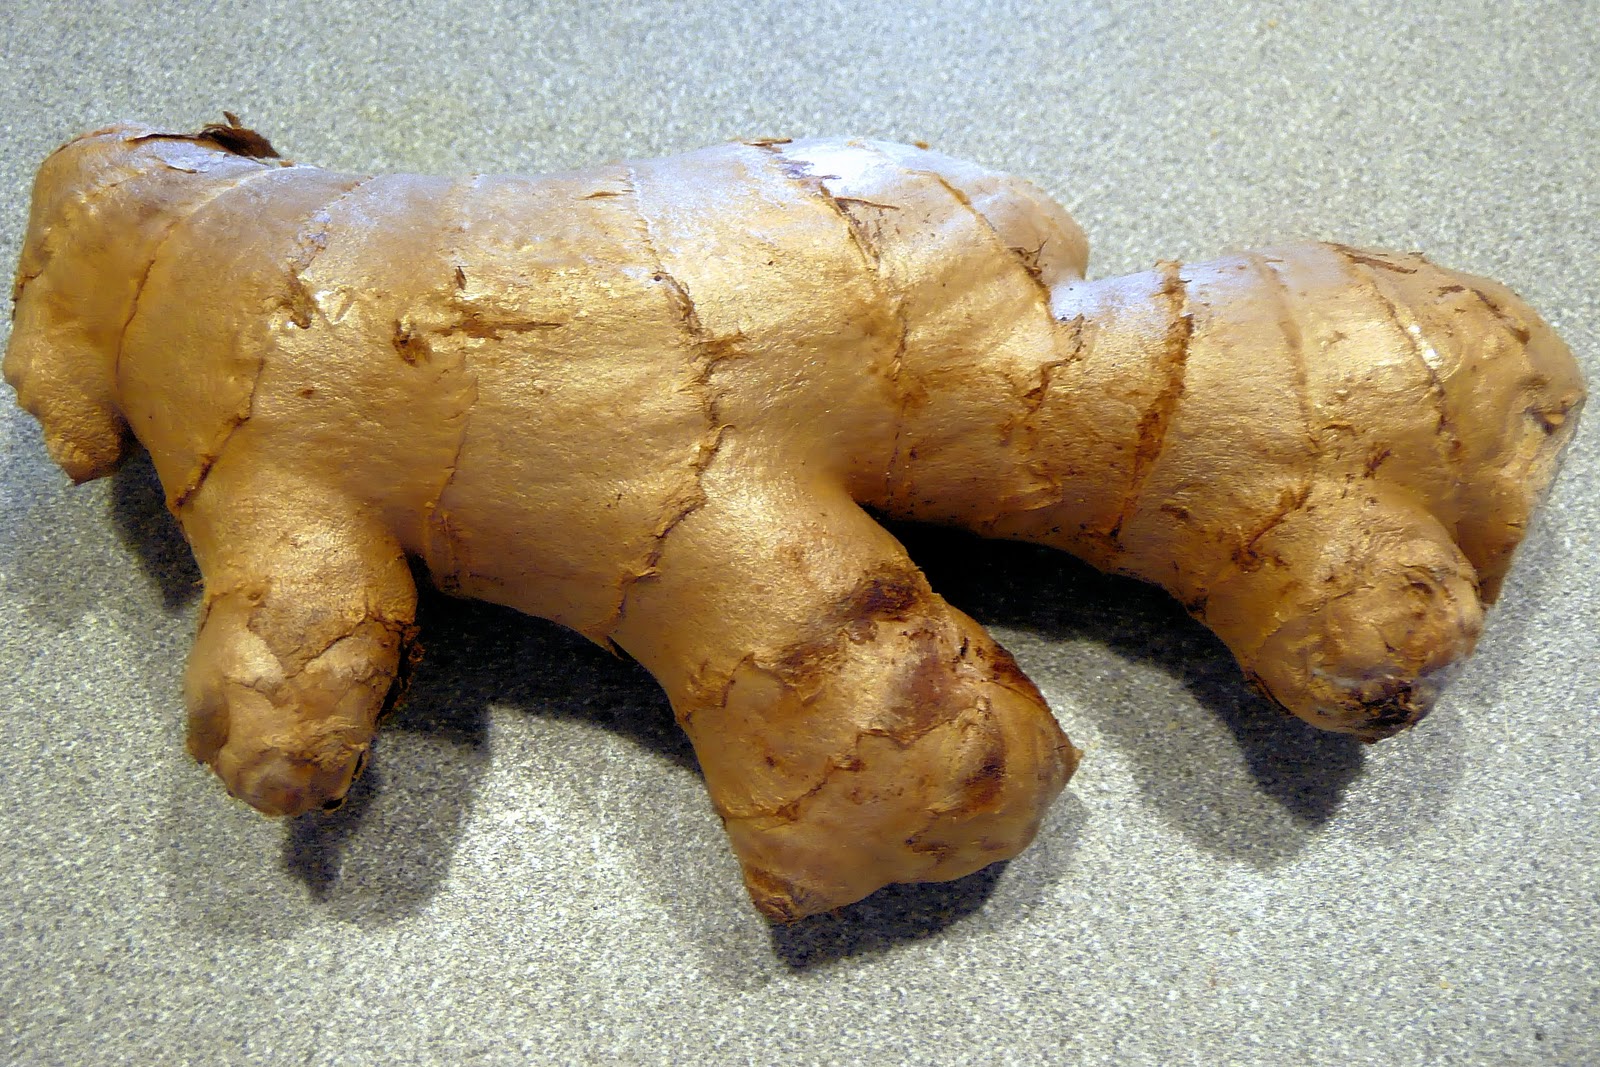
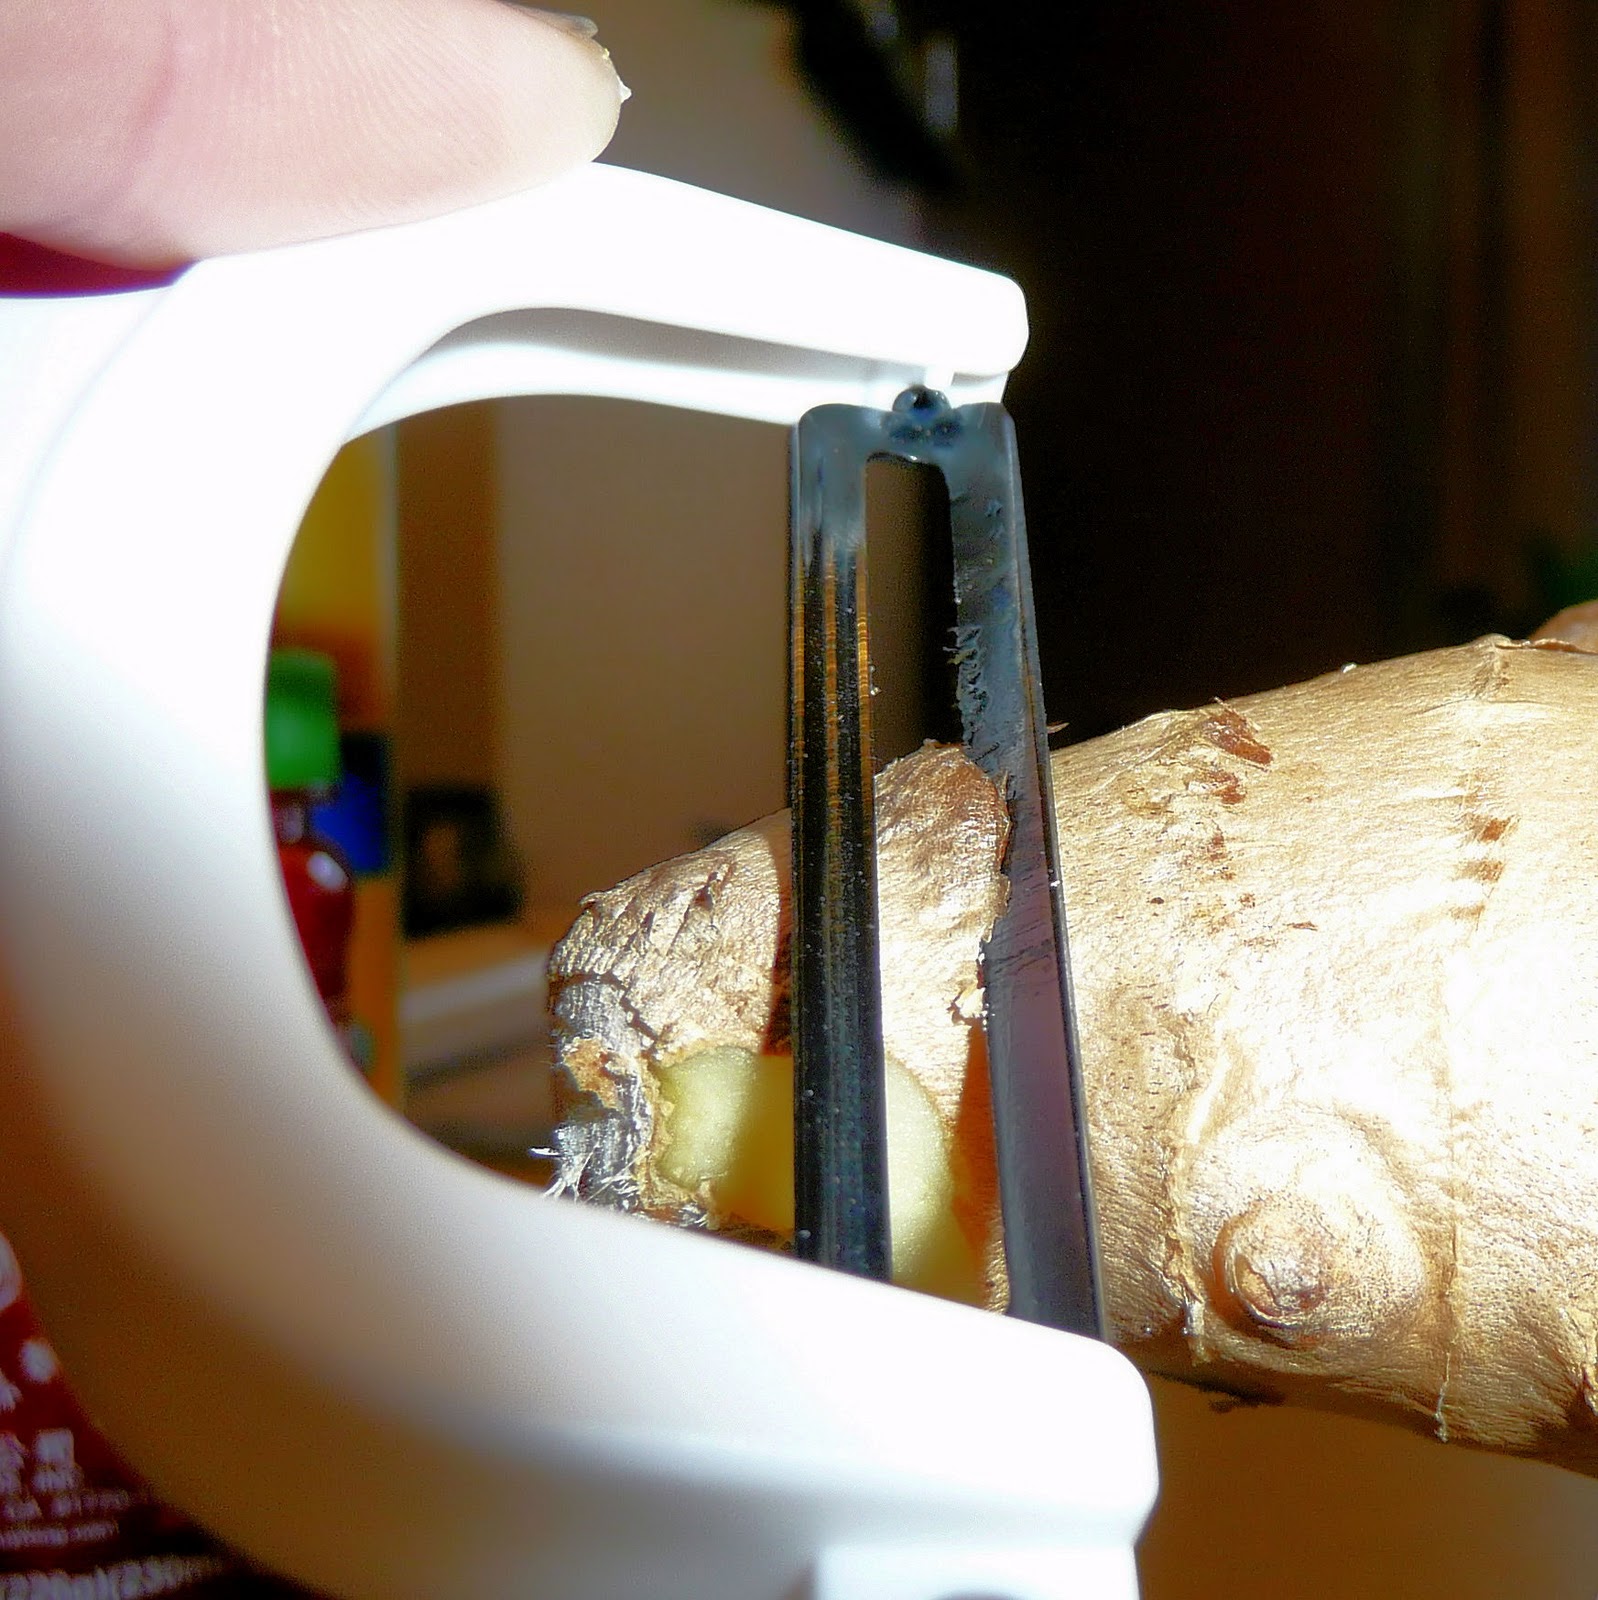
Ginger root is much easier to work with than I imagined. It looks so intimidating but I’m glad to have this ingredient on hand—it can be used to treat nausea and is also known to have anti-inflammatory properties. The root can be wrapped in plastic and refrigerated or frozen for long term use.
Boo! …See? Very intimidating
To work with ginger root, use a peeler to peel off the bark-like outer layer for the area you’ll be using. You will begin to smell ginger almost immediately. Yum.
Cut the peeled area off. You can either mince the ginger root with a knife or use a grater. As a warning, the root has a lot of juice to it and can get a bit slippery so be careful of your fingers. I may or may not have lost a piece of ginger when it slipped out of my hands and few across my kitchen. Whoops.
Fresh Grated Ginger
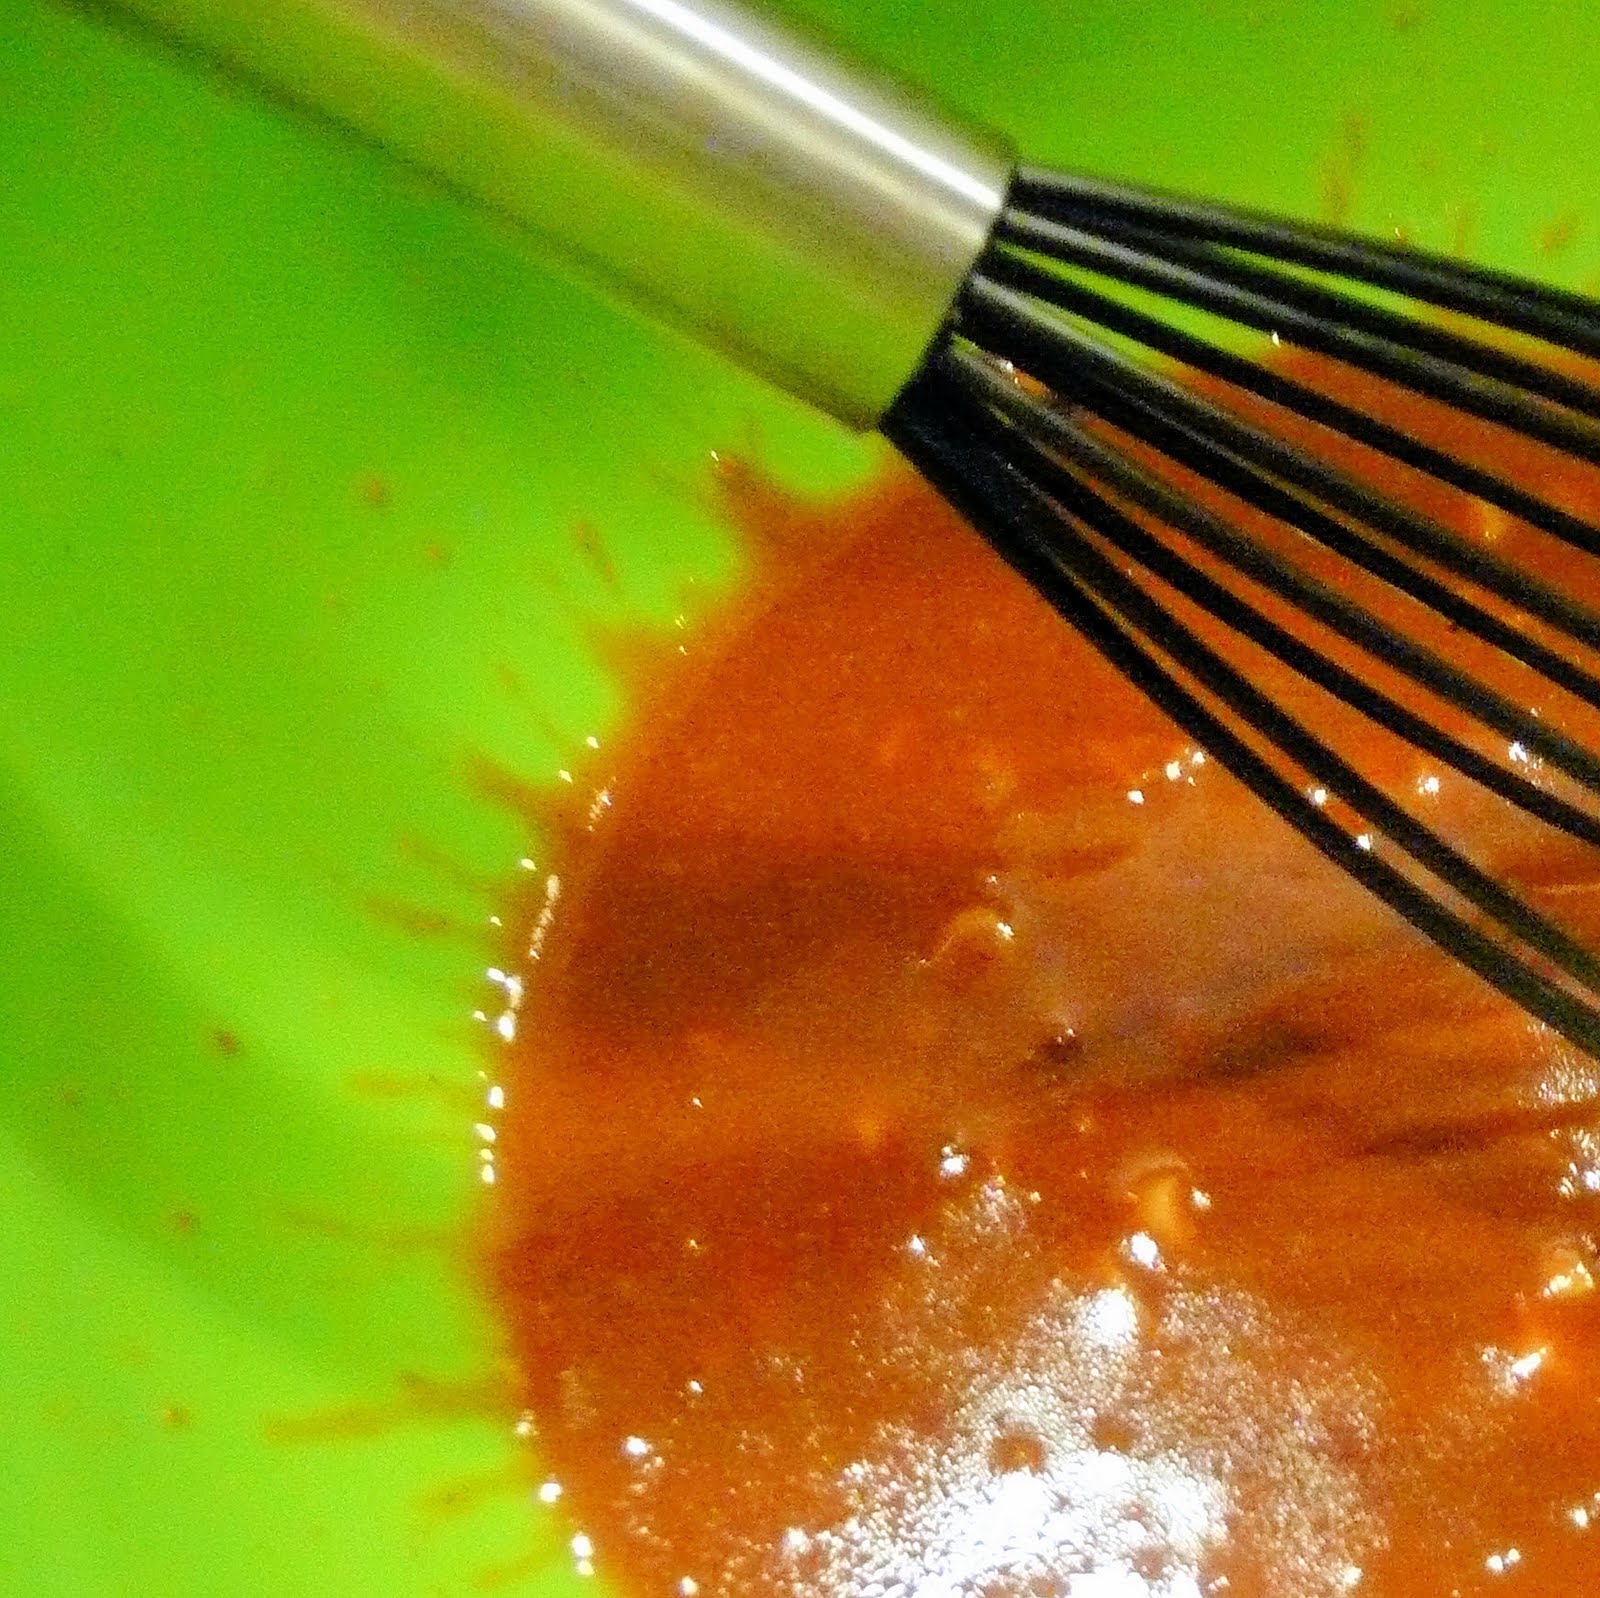
To prepare the hoisin glaze, combine the hoisin sauce, ginger, honey, soy sauce and chili garlic sauce in a small bowl using a whisk to combine. Set this aside.
Hoisin Glaze
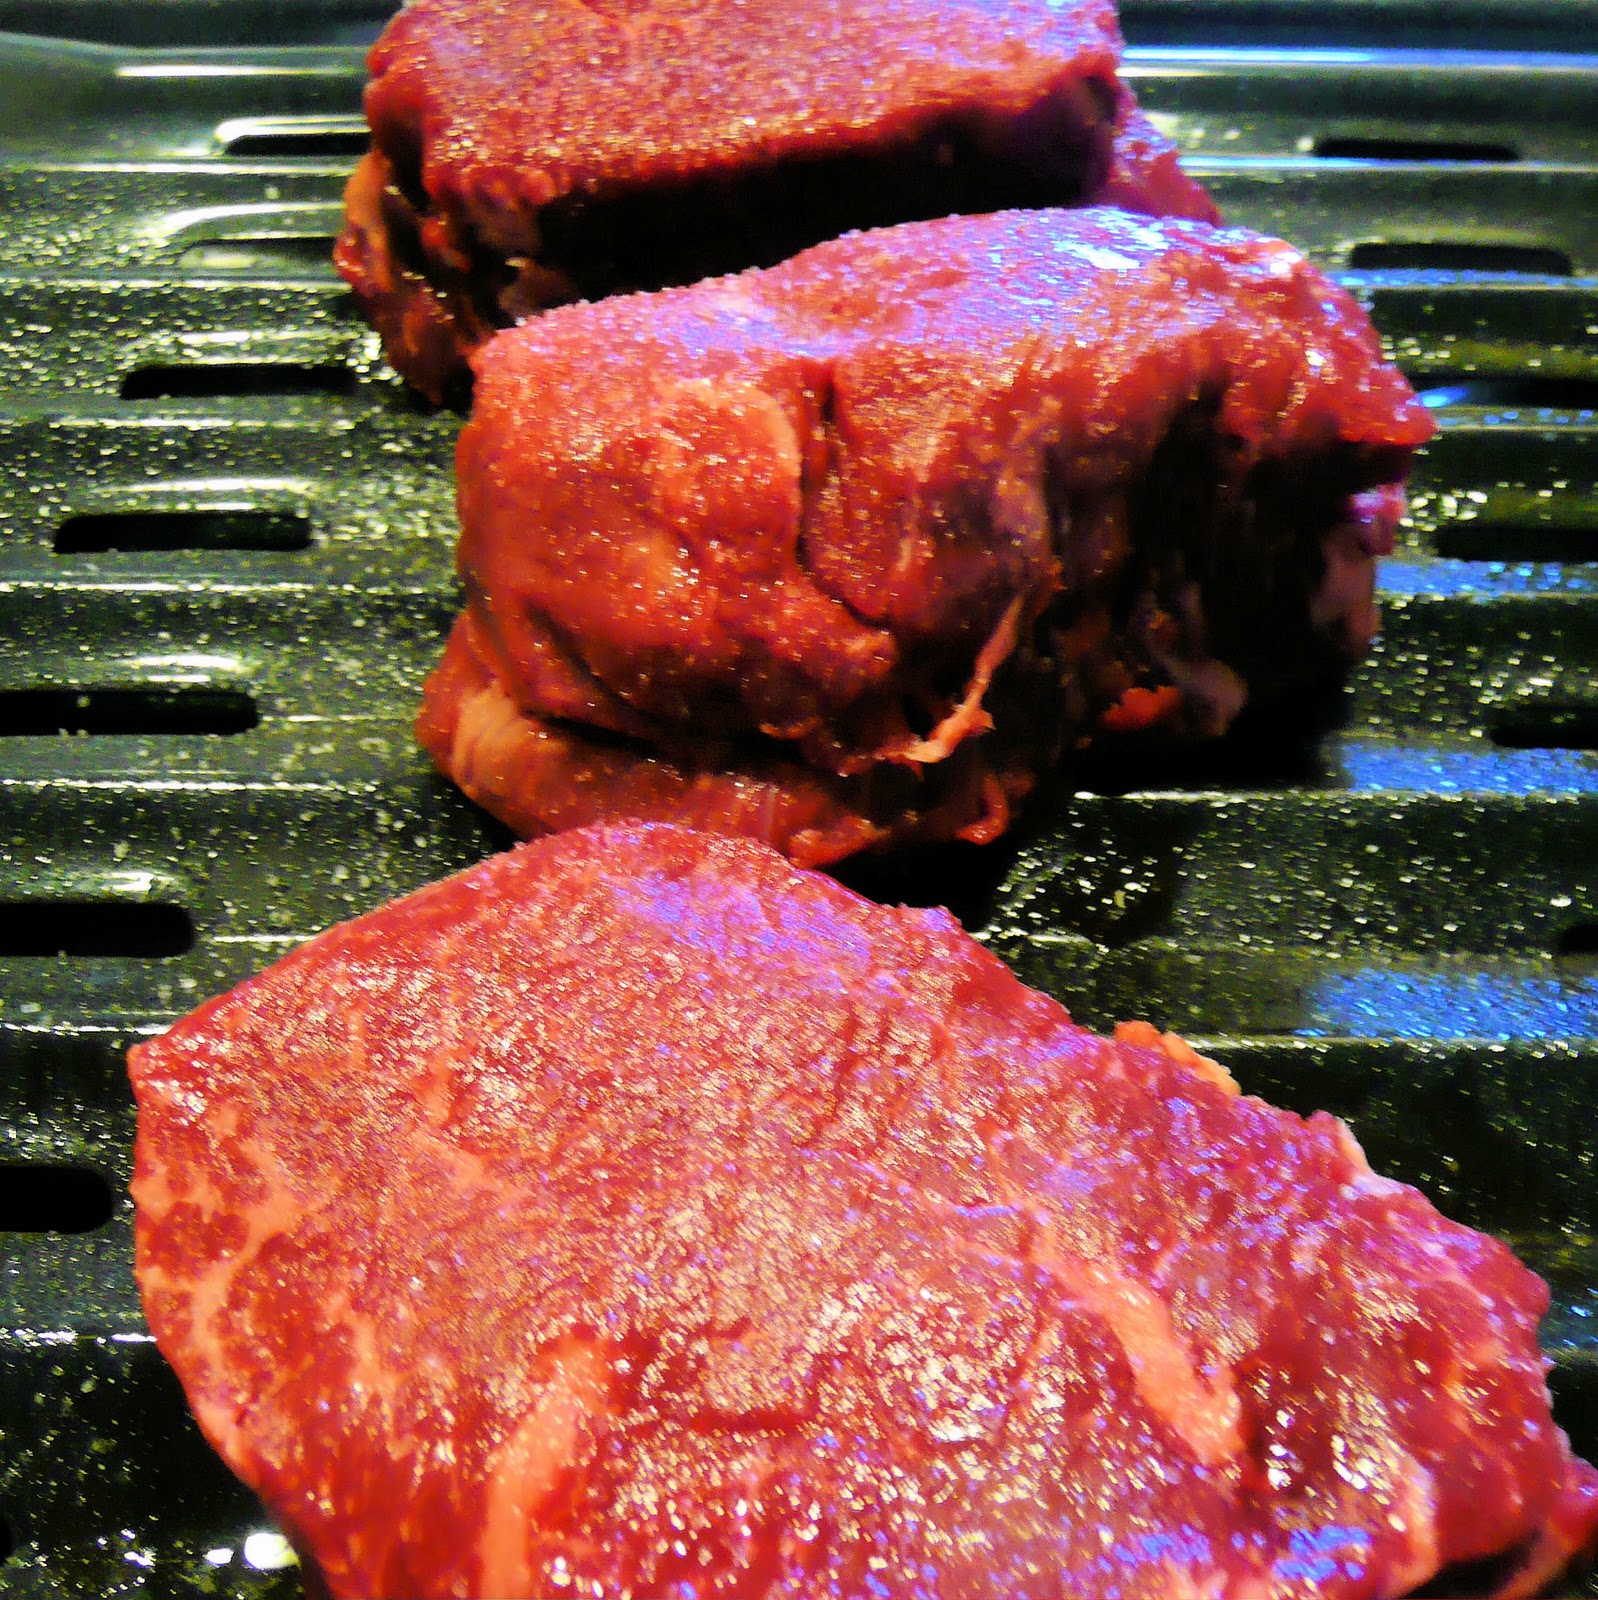
The original recipe suggested putting the steaks on a foil-lined broiler pan. I somehow ran out of foil, so I just put them on a broiler pan coated with cooking spray but for cleaning purposes, I’d suggest using the foil. Sprinkle the steaks with salt.
Place the pan into the oven 5 inches from the heat (so 5 inches from the top of the oven… probably around the middle rack). Cook for 2 minutes and turn over. Broil for another 2 minutes and turn steaks over again.
Not that appetizing yet. Just wait…
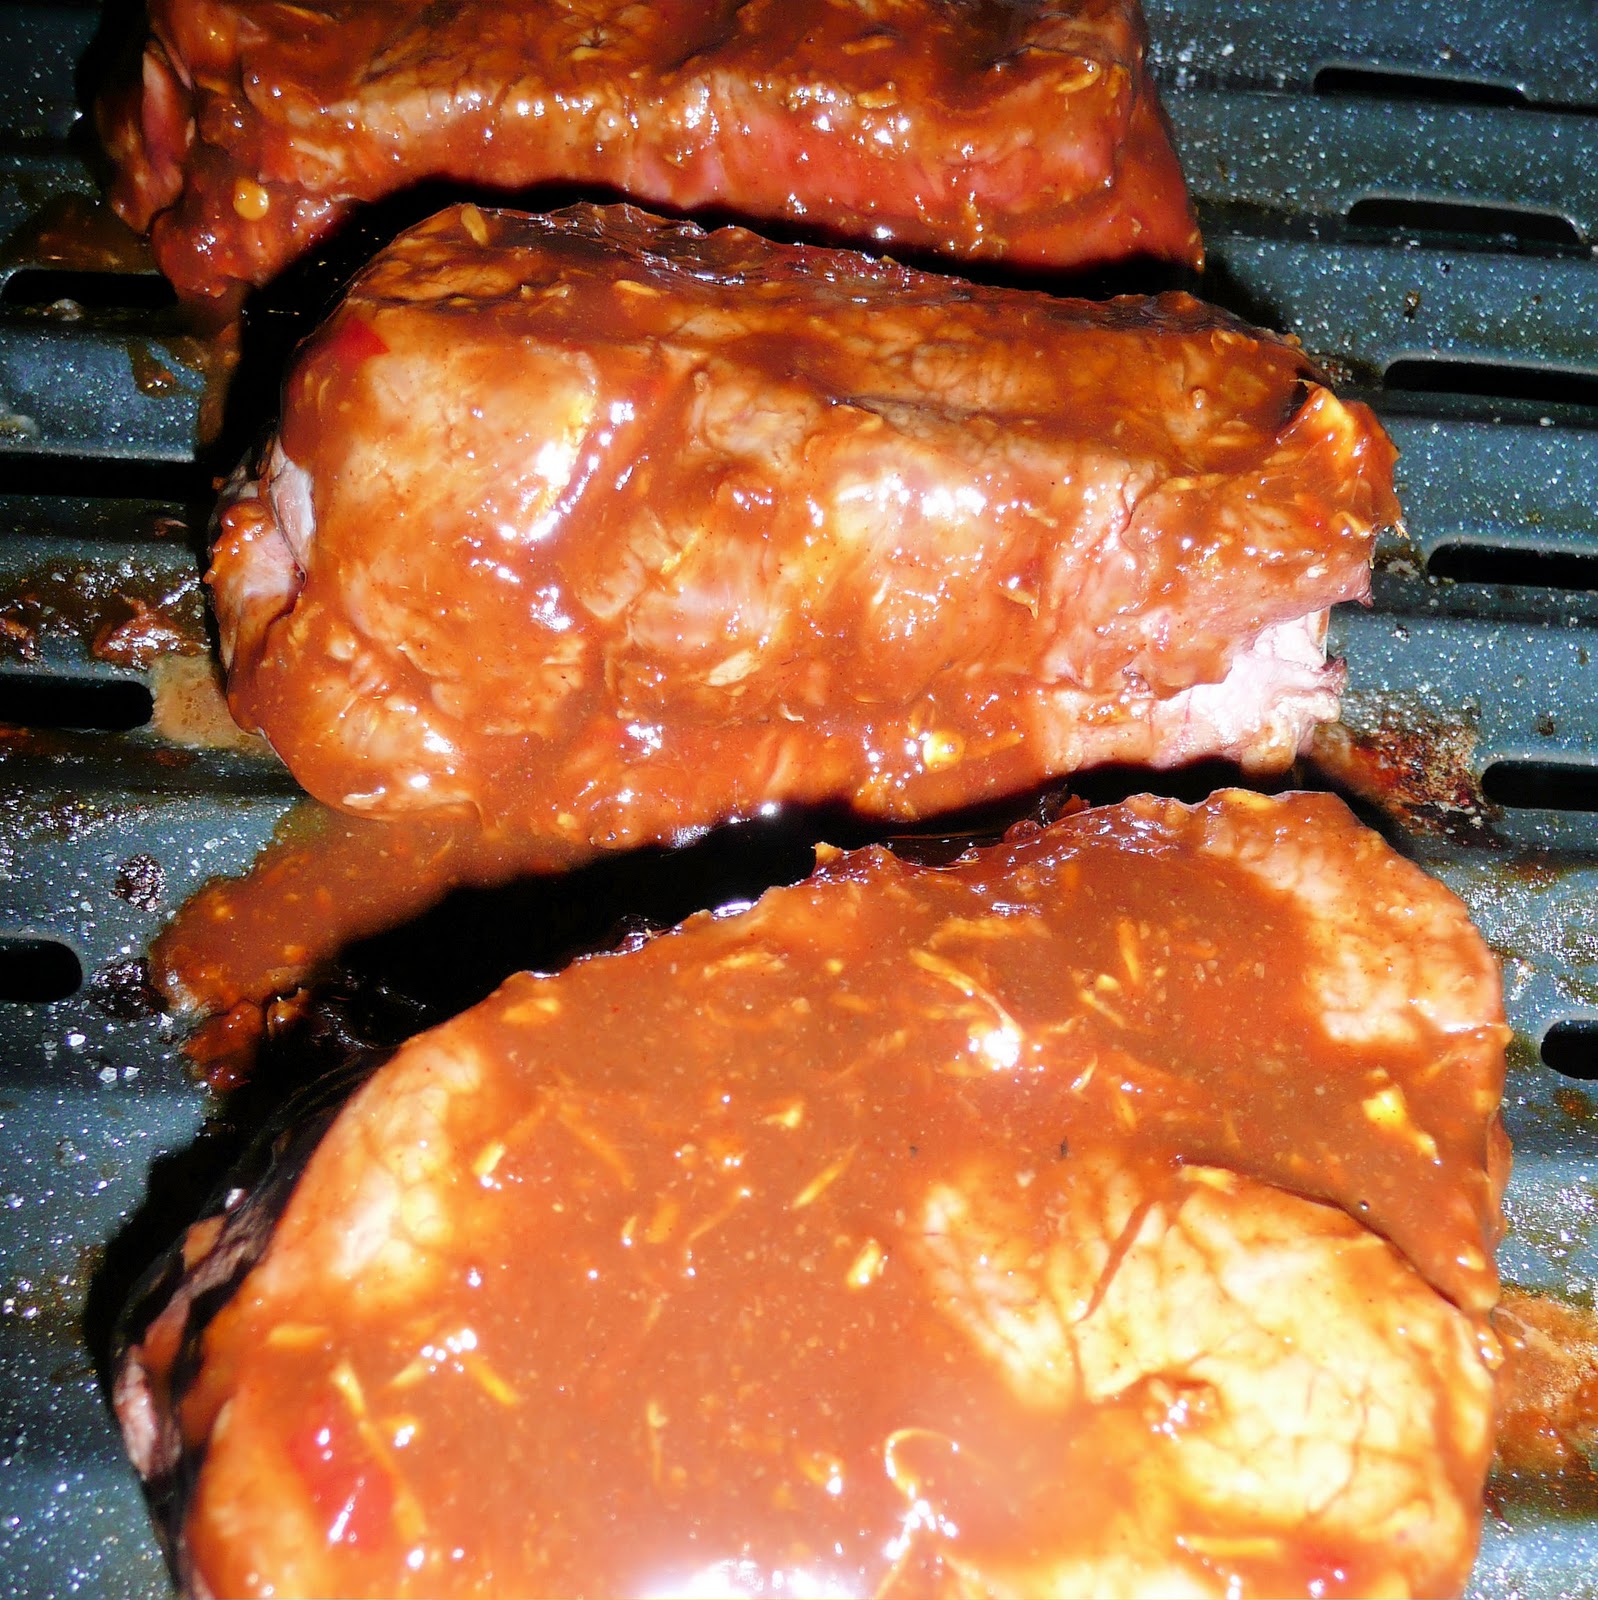
Brush steaks with half of the glaze and broil for one minute.
Looking better…
Turn the steaks over and brush with the remaining glaze and broil for 2 minutes or until desired degree of doneness.
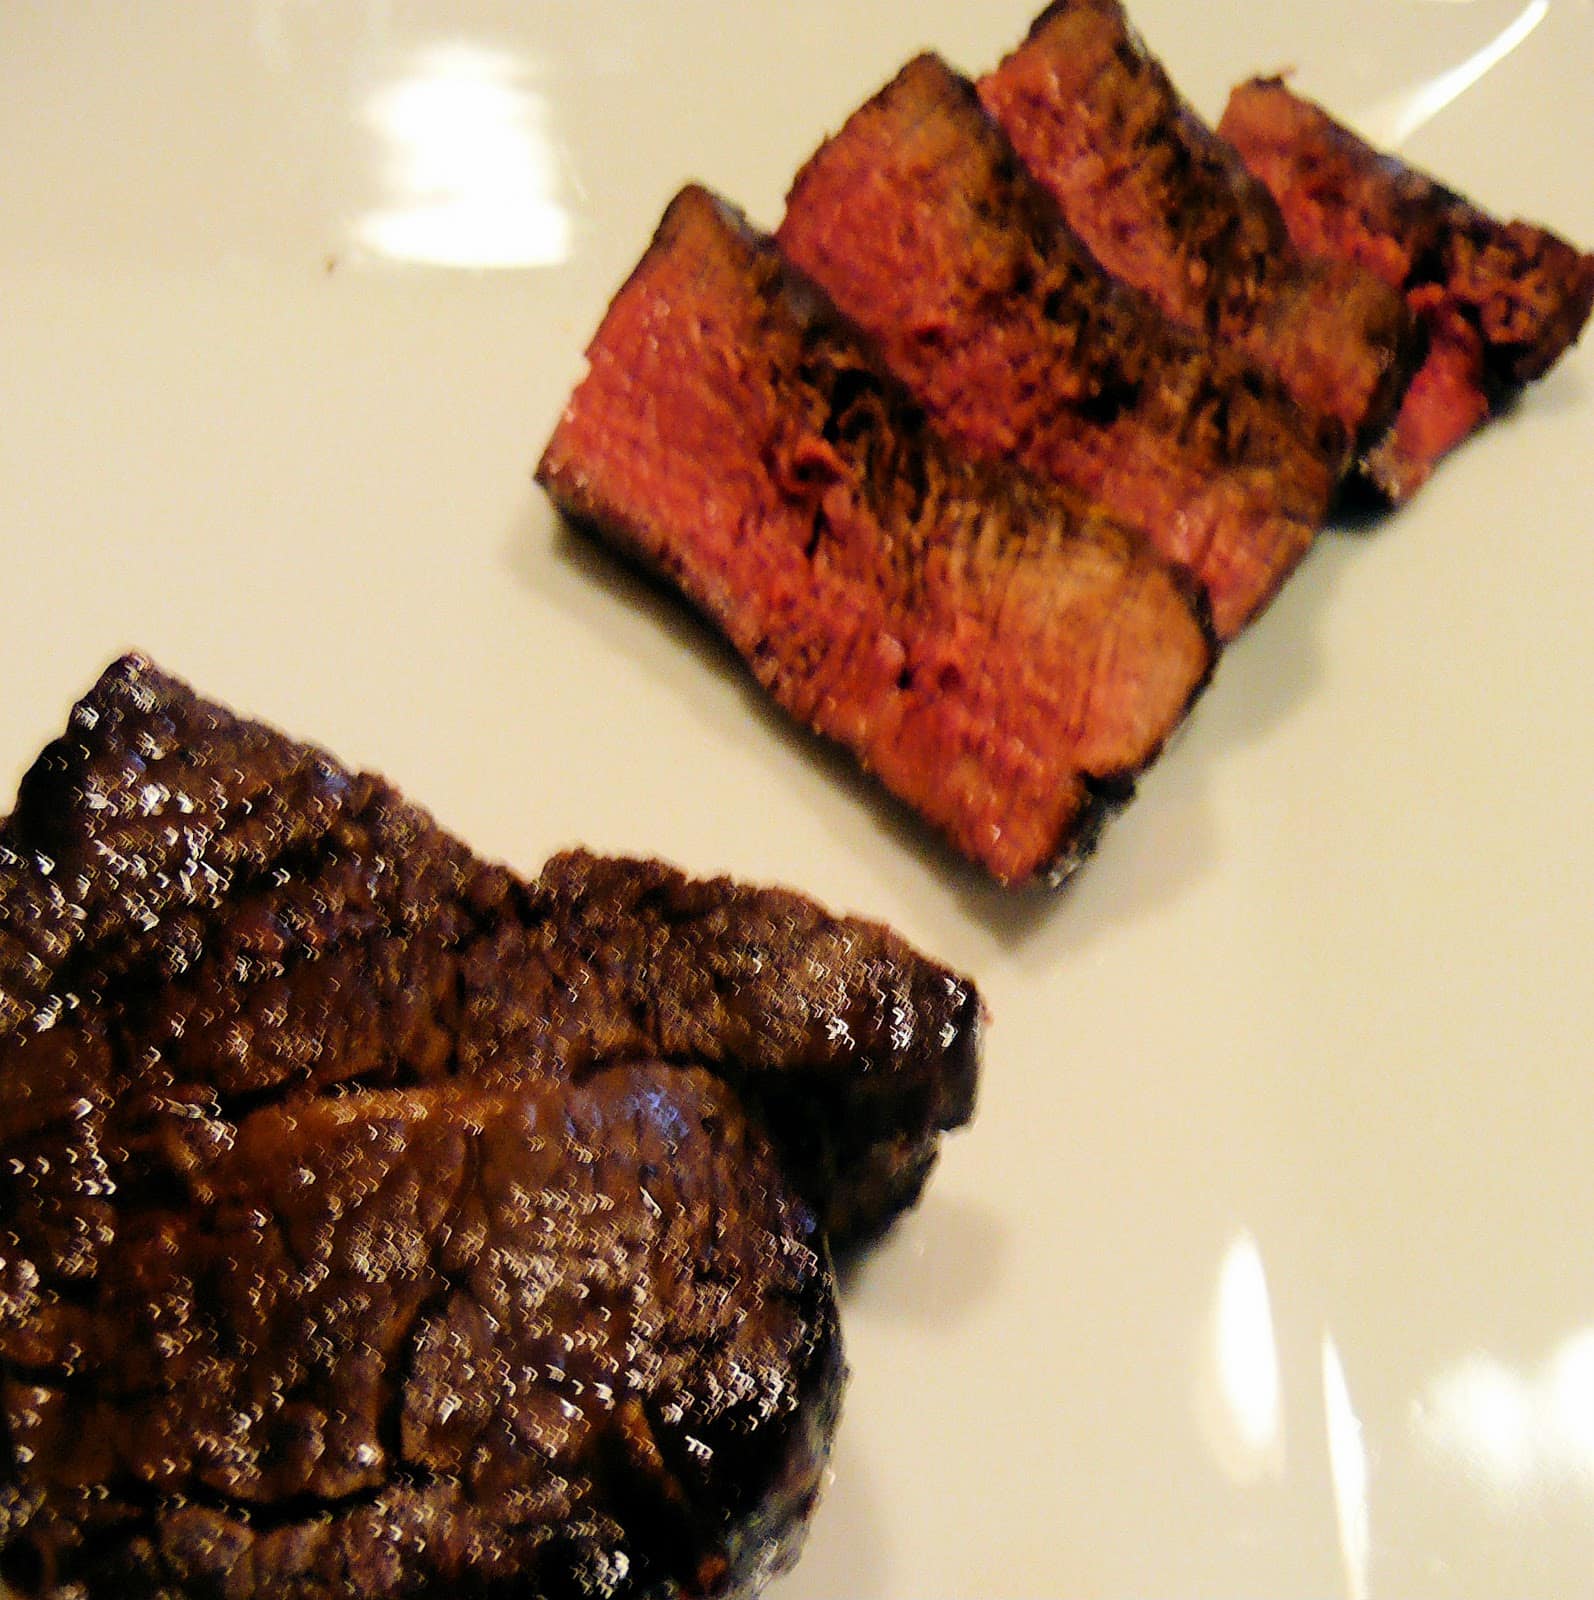
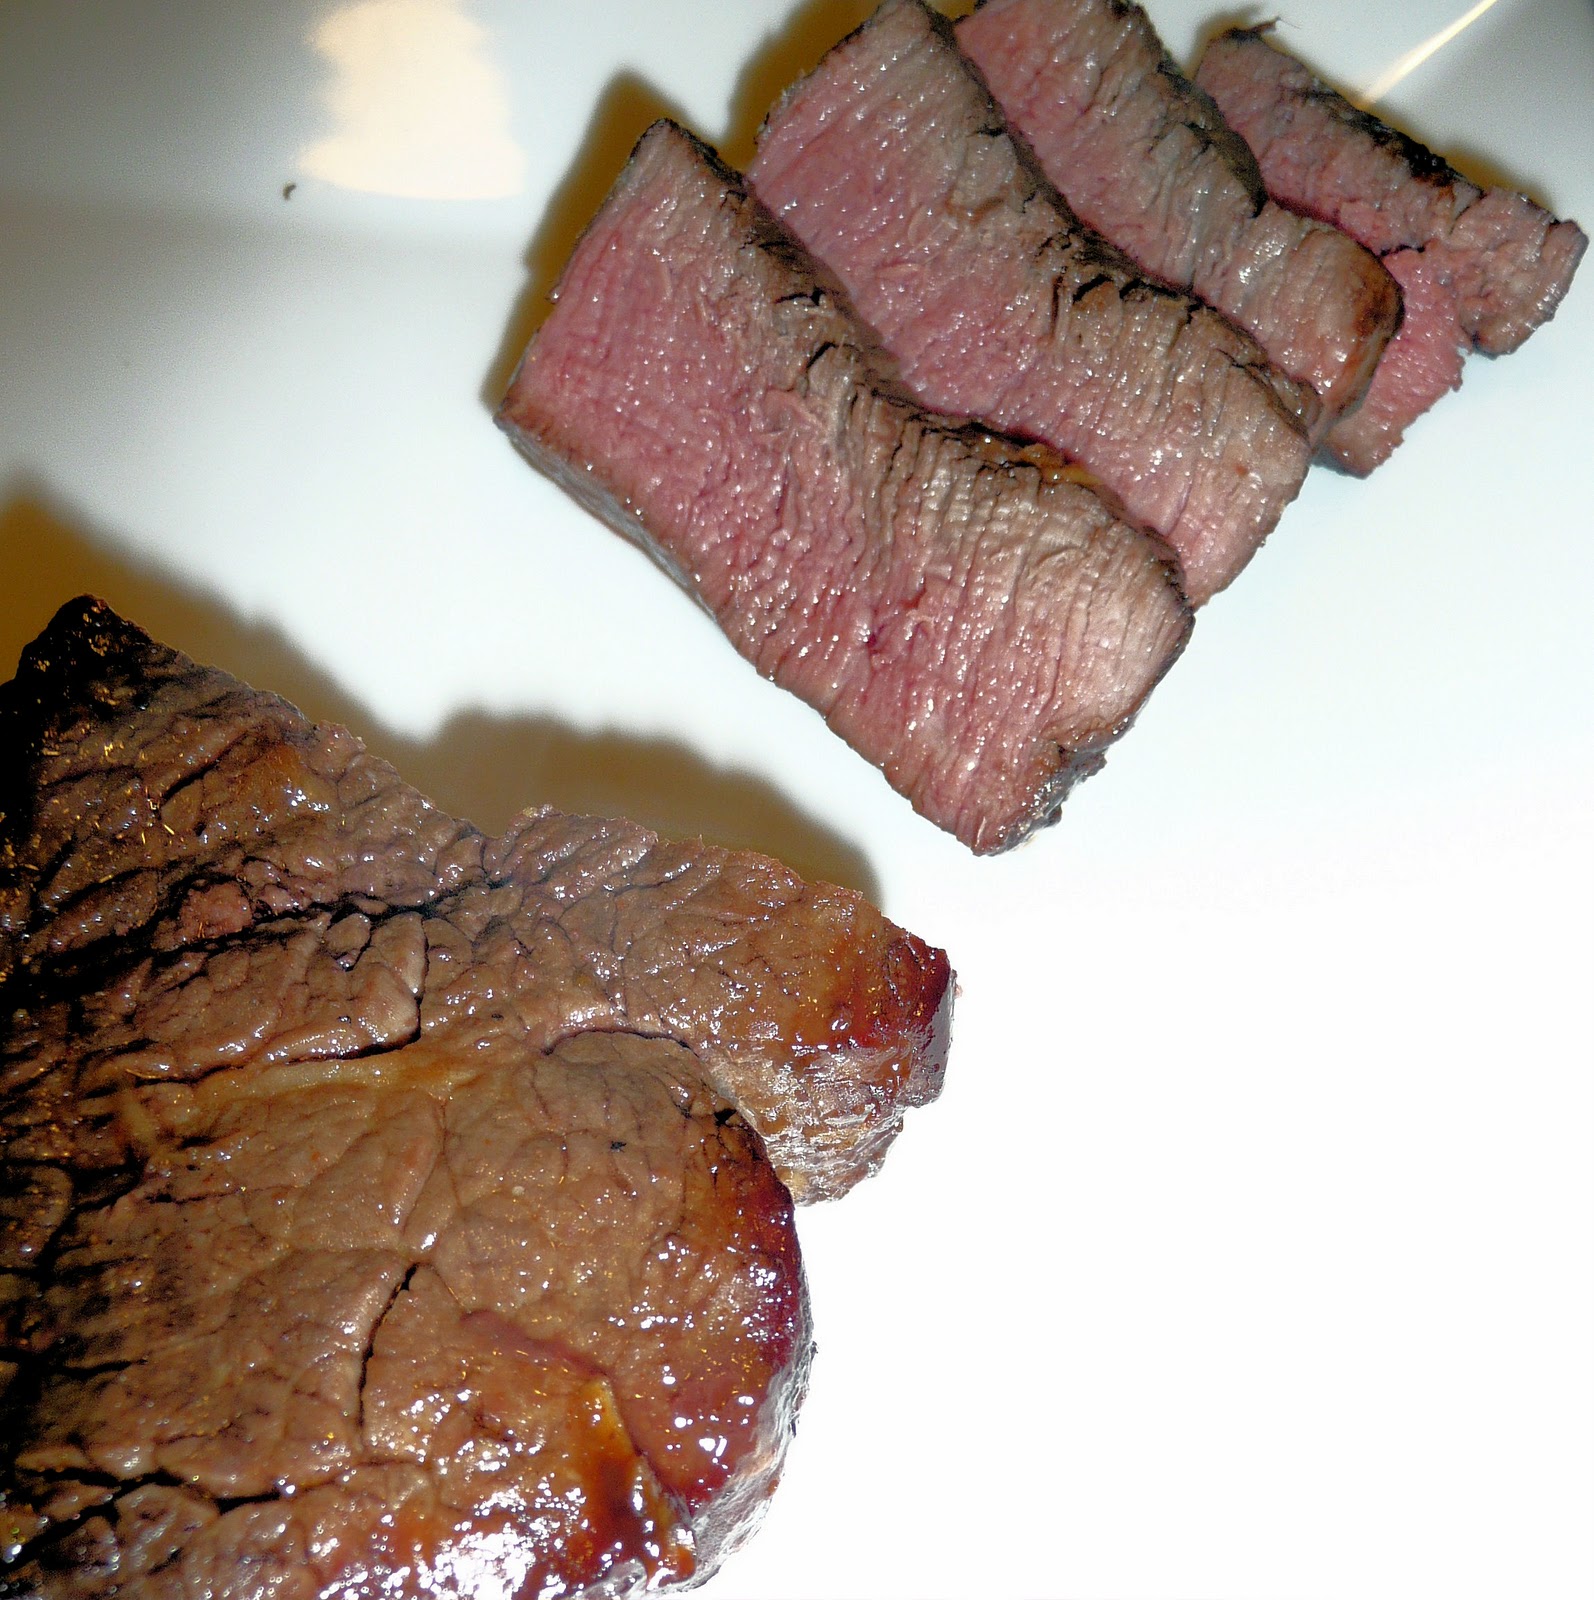
So, I ended up putting mine in for a good 5ish more minutes, turning the steaks half way through. They came out a bit too rare for me with the original time suggested, but I think this is really up to the person cooking it. I was so fearful that it was going to burn that every 2 minutes I was checking on the steaks, which probably wasn’t helping the whole cooking process.
When it was finally cooked to my liking though, this was one tasty dinner. When making the glaze, I was afraid it might be a bit on the spicy side but it actually ended up having an almost caramelized taste to it, which was a pleasant surprise.
The hoisin glaze would be great on a number of different proteins: chicken, salmon, perhaps even scallops. Using the broiler still makes me a bit nervous though, so I may consider whipping up a batch of this glaze for use on the grill, if it ever warms up in Philadelphia (today is March 28—almost April—and the high is 45. Super.) I hope you enjoy this meal with less stress about broiling than me!