I came across a recipe for Sri Lankan Coconut and Turmeric Chicken Curry a while back, but was unable to find all of the ingredients to actually make it. (Curry leaves are difficult to come by near me!)
Recently, I just gave up and decided to make it with some substitutions.
This recipe from Delicious.com, even with my adjustments, is so fantastic that I can only imagine how good the original is!
Ingredients:
1 medium white onion, roughly chopped
~1 1/2 inch piece ginger
3 garlic cloves, crushed
1 small jalapeno, seeds and membranes removed
8 boneless skinless chicken thighs
4 tablespoons coconut oil, divided
1 tablespoon ground turmeric
1 tablespoon ground cumin
2 teaspoons ground coriander
2 teaspoons smoked paprika
3 cardamom pods, smashed
1 piece of cinnamon
2 whole cloves
3 bay leaves
1 (13.5 oz) can coconut milk, well shaken
1 cup chicken stock
2 tablespoons cashews, finely chopped, plus extra to serve
I’m seriously loving using my pressure cooker! My husband was out of town while I was experimenting with this recipe, so I enlisted the help of a couple of friends to be my taste testers. Luckily they were willing to oblige!
The unsuspecting friends showed up without knowing what exactly I was planning on preparing – they are very trusting! 🙂
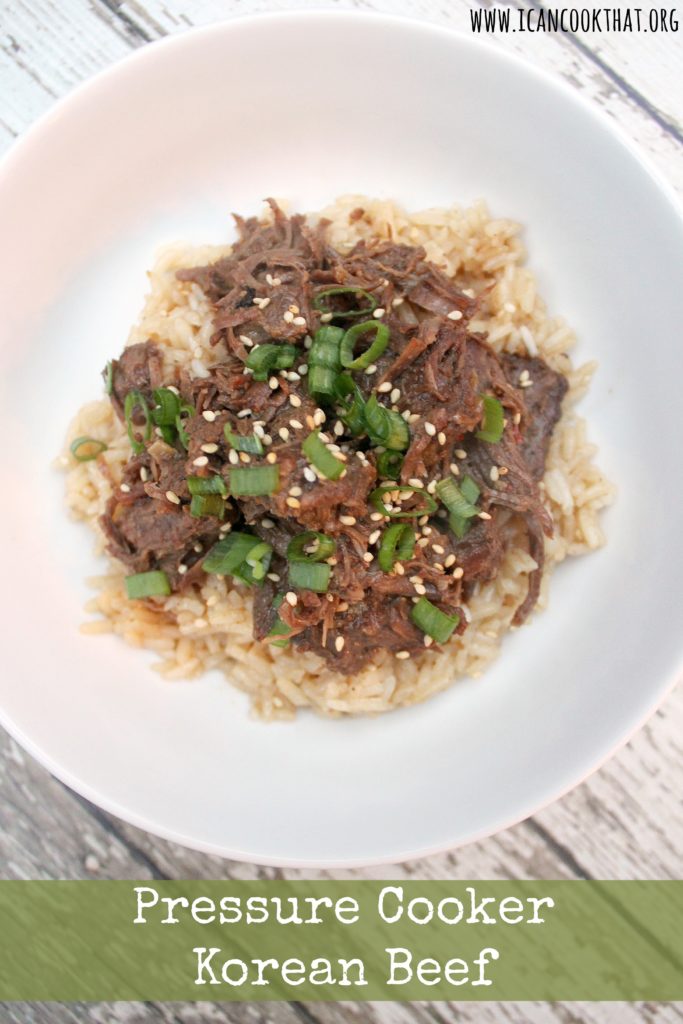
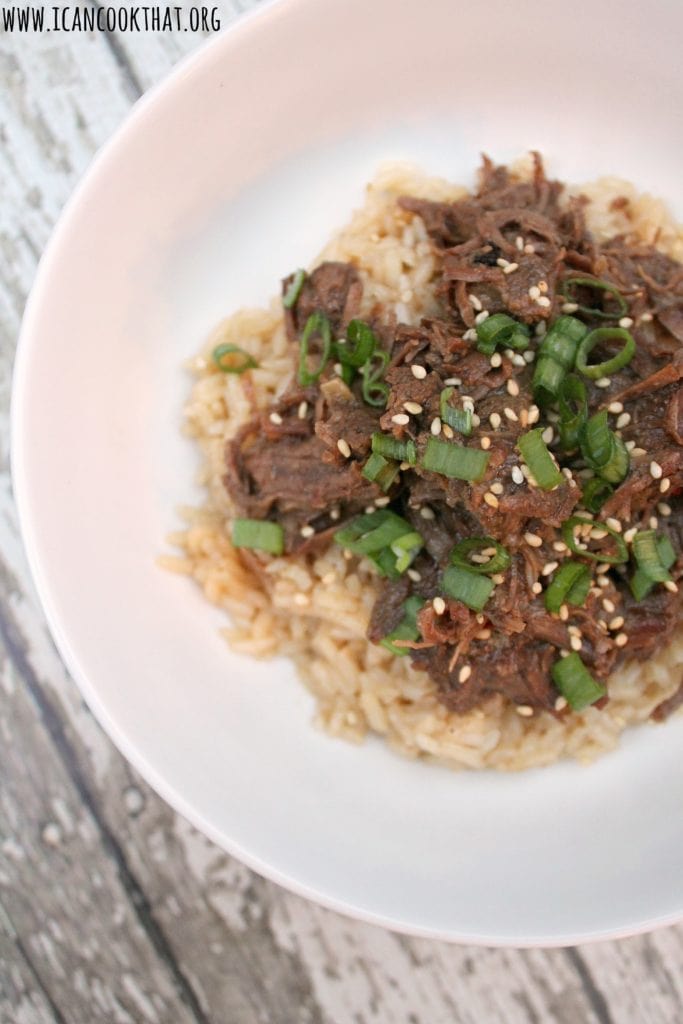
I had a craving for bulgogi recently, so I decided to make a pressure cooker Korean beef. Bulgogi is typically made with thin, marinated slices of beef that are then barbecued. The marinade is usually a mixture of soy sauce, sugar, sesame oil, ginger, and garlic with a touch of crushed red pepper.
This recipe is inspired by the flavors of bulgogi, but instead of grilling thinly sliced beef, it instead uses chuck roast beef and a pressure cooker to make a super tender, shredded version.
Ingredients (serves 8):
1 tablespoon vegetable oil, plus more if needed
4 lbs chuck beef, cut into cubes, excess fat trimmed
1 small onion, chopped
6 garlic cloves, minced
1 to 2 tablespoons beef stock
1/2 cup brown sugar, lightly packed
1/2 cup reduced sodium soy sauce (or coconut aminos to make gluten free)
1 tablespoon sesame oil
1/2 teaspoon crushed red pepper flakes
1 teaspoon fresh ginger, minced
green onions, sliced, for garnish
white sesame seeds, for garnish
4 cups cooked rice
To make, cut the beef into large chunks. Season with salt and pepper. (Go light on the salt, the soy sauce will provide all the salt you need!)
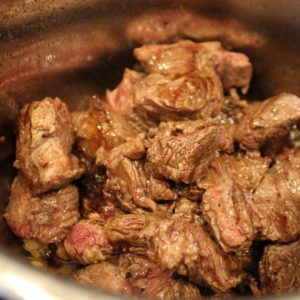
Press the “saute” function on your pressure cooker. Press the “cook time” button and increase the time to 25 or 30 minutes (it took me about 25 minutes to brown up all of my meat.) Press the “adjust” button and choose “more/high.” Press “on/start.” The pressure cooker will beep five times when it is preheated.
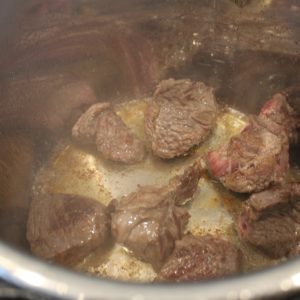
Carefully add the vegetable, oil and then add some meat to the pressure cooker (without crowding the beef).
Brown the meat on all sides. Remove from the pressure cooker and continue with the remaining beef.
When done browning the last batch, remove the final pieces and set aside. Press “stop/cancel” to turn off the saute function.
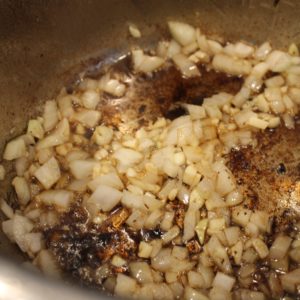
If needed, add a bit more vegetable oil. Add the onions and garlic to the pot and saute until fragrant, about 3 minutes.
Add a little bit of beef stock (1 or 2 tablespoons) to the pressure cooker and scrape the browned bits from the bottom of the pressure cooker using a wooden or plastic spoon.
In a small bowl, stir together the brown sugar, soy sauce (or coconut aminos), sesame oil, red pepper flakes, and ginger.
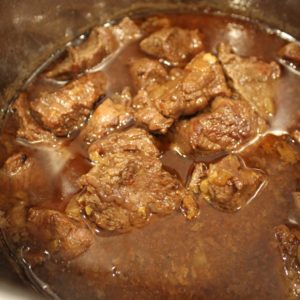
Add back in all of the beef to the pressure cooker, as well as any juices from the beef.
Pour in the soy sauce mixture, evenly covering the beef.
Close the lid, ensuring that the steam valve is closed. Select the meat/stew pressurized cooking function. Press the “adjust” button and choose “more/high” to set it for 45 minutes. Press “on/start” to begin cooking.
Once the unit has reached optimal cooking pressure (~15 minutes), the unit will beep once and start counting down from 45 minutes. You’ll notice that the pressure release valve (red) rises up during this time.
The pressure cooker will beep 3 times to alert you when cooking has finished. It will automatically go on to “keep warm” mode for up to 6 hours. Once cooking is complete, turn off the pressure cooker by pressing “stop/cancel” and unplugging the power cable.
Let the unit cool down for 15 to 20 minutes, or until the float valve drops down. Using an oven mitt, move the pressure release value to the “release” position to let out any remaining pressure in the unit. Wait again for the float value to drop down before opening the pressure cooker.
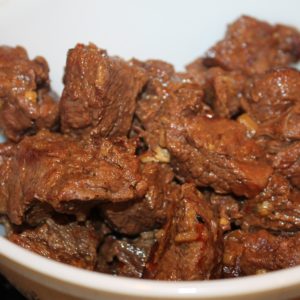
The meat should be really tender.
Remove the meat from the pot, keeping the liquid in the pot, and shred with two forks. Add to a large bowl.
Measure out about 1 cup of the cooking liquid and add to the bowl.
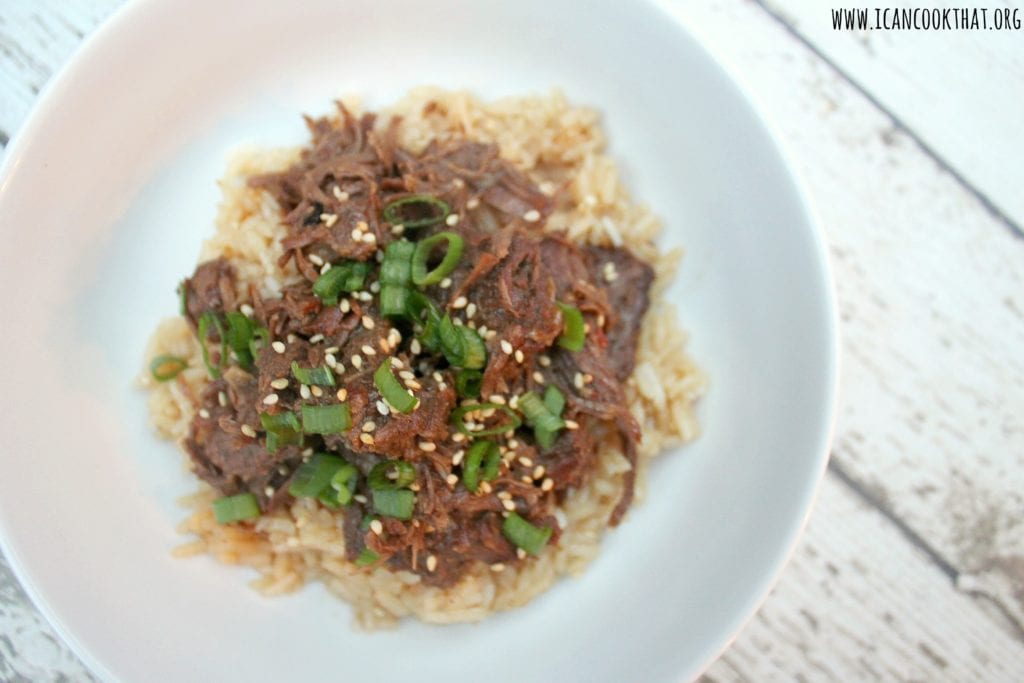
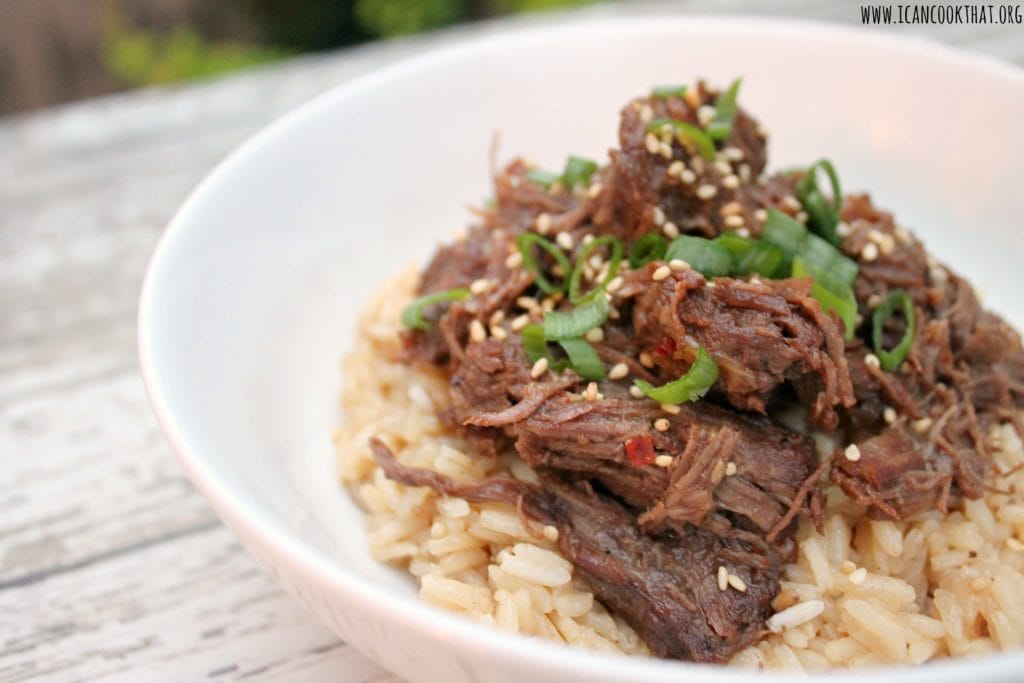
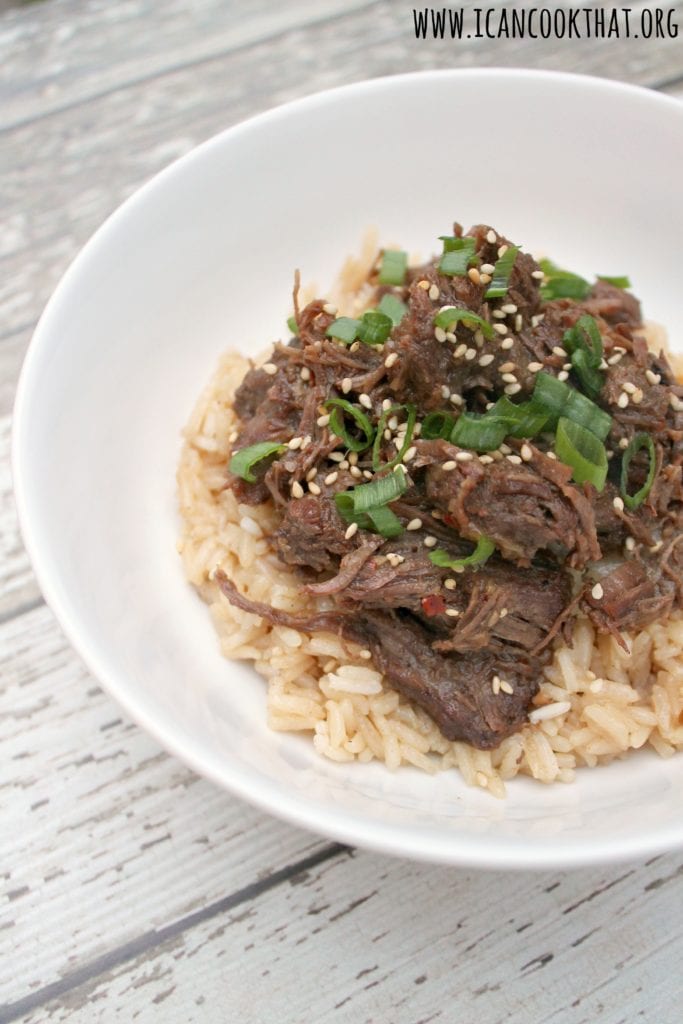
Fill bowls with rice and top with the shredded beef. Garnish with sesame seeds and green onions and serve.
The beef is wonderfully flavorful and juicy. My friends and I just gobbled this up! It’s most certainly not spicy so if you prefer some heat, add a bit more crushed red pepper.
This is a great make ahead dish as well. If doing so, add some more of the cooking liquid to the container before refrigerating, so that when you reheat it, there is still plenty of juicy liquid to drizzle over the top!
I also made the rice in the Cosori Multicooker and it came out great! (Tip: if you have extra cooking liquid, substitute some of that in for the water/broth in your rice.)
If you’re looking for more information about the Cosori Multicooker, check out my review post here (plus a recipe for Barbacoa Beef Tacos).
4 lbs chuck beef, cut into cubes, excess fat trimmed
1 small onion, chopped
6 garlic cloves, minced
1 to 2 tablespoons beef stock
1/2 cup brown sugar, lightly packed
1/2 cup reduced sodium soy sauce (or coconut aminos to make gluten free)
1 tablespoon sesame oil
1/2 teaspoon crushed red pepper flakes
1 teaspoon fresh ginger, minced
green onions, sliced, for garnish
white sesame seeds, for garnish
4 cups cooked rice
Instructions
To make, cut the beef into large chunks. Season with salt and pepper. (Go light on the salt, the soy sauce will provide all the salt you need!)
Press the “saute” function on your pressure cooker. Press the “cook time” button and increase the time to 25 or 30 minutes (it took me about 25 minutes to brown up all of my meat.) Press the “adjust” button and choose “more/high.” Press “on/start.” The pressure cooker will beep five times when it is preheated.
Carefully add the vegetable, oil and then add some meat to the pressure cooker (without crowding the beef).
Brown the meat on all sides. Remove from the pressure cooker and continue with the remaining beef.
When done browning the last batch, remove the final pieces and set aside. Press “stop/cancel” to turn off the saute function.
If needed, add a bit more vegetable oil. Add the onions and garlic to the pot and saute until fragrant, about 3 minutes.
Add a little bit of beef stock (1 or 2 tablespoons) to the pressure cooker and scrape the browned bits from the bottom of the pressure cooker using a wooden or plastic spoon.
In a small bowl, stir together the brown sugar, soy sauce (or coconut aminos), sesame oil, red pepper flakes, and ginger.
Add back in all of the beef to the pressure cooker, as well as any juices from the beef.
Pour in the soy sauce mixture, evenly covering the beef.
Close the lid, ensuring that the steam valve is closed. Select the meat/stew pressurized cooking function. Press the “adjust” button and choose “more/high” to set it for 45 minutes. Press “on/start” to begin cooking.
Once the unit has reached optimal cooking pressure (~15 minutes), the unit will beep once and start counting down from 45 minutes. You’ll notice that the pressure release valve (red) rises up during this time.
The pressure cooker will beep 3 times to alert you when cooking has finished. It will automatically go on to “keep warm” mode for up to 6 hours. Once cooking is complete, turn off the pressure cooker by pressing “stop/cancel” and unplugging the power cable.
Let the unit cool down for 15 to 20 minutes, or until the float valve drops down. Using an oven mitt, move the pressure release value to the “release” position to let out any remaining pressure in the unit. Wait again for the float value to drop down before opening the pressure cooker.
The meat should be really tender.
Remove the meat from the pot, keeping the liquid in the pot, and shred with two forks. Add to a large bowl.
Measure out about 1 cup of the cooking liquid and add to the bowl.
Fill bowls with rice and top with the shredded beef. Garnish with sesame seeds and green onions and serve.
Note: I was sent a Cosori Premium 6qt multicooker in order to write this post. Opinions are mine alone.
I’m not going to lie, pressure cookers have always kind of intimidated me. I was under the impression that they were difficult to use, and easy to mess up.
Well, after trying out the Cosori Premium 6qt pressure cooker over the past couple of weeks, I’m here to tell you they are actually quite easy to use!
source: cosori.com
Pressure cookers are definitely having a moment right now, but they’ve actually been around since the 1600’s in some form or another. Pressure cookers use steam pressure to help cook food faster. When cooking tough meat, pressure cookers help tenderize the meat and cook it surprisingly quickly in the process.
source: cosori.com
The Cosori Premium 6qt pressure cooker is actually a multicooker – it’s a pressure cooker, hot pot, steamer, slow cooker, food warmer, sauté pan, yogurt maker, and rice cooker – all in one! The unit has 17 smart cooking programs, but you can also adjust the cooking time, temperature, and pressure cooking levels to customize your cooking.
source: cosori.com
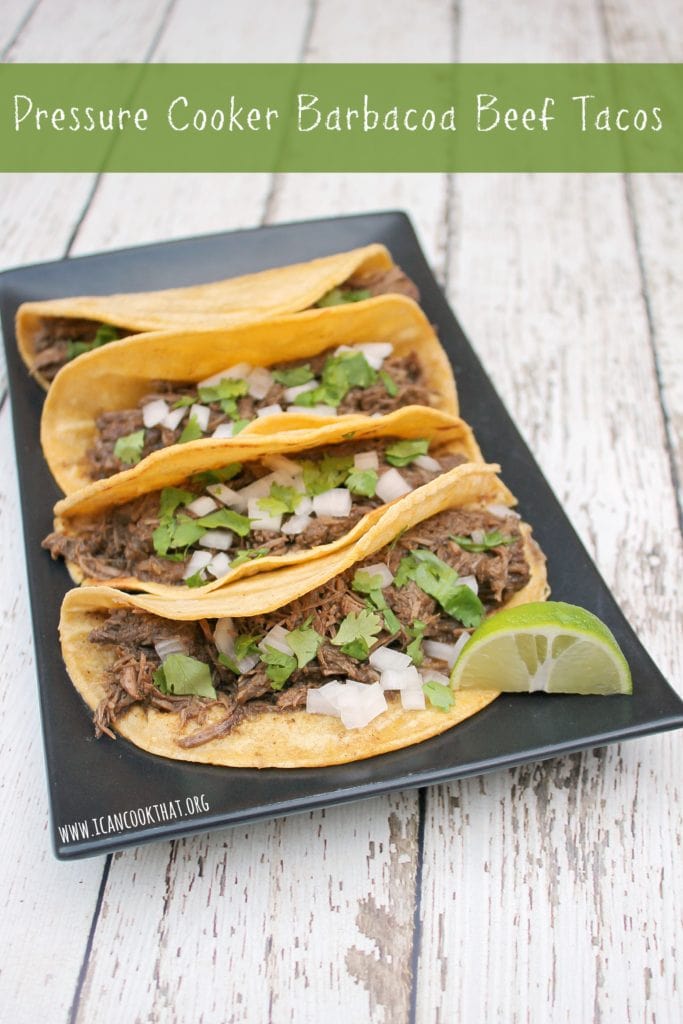
I couldn’t wait to test the pressure cooker out! I immediately thought of barbacoa – super tender and shredded meat (typically lamb or beef) with seasonings, so it’s time to try making Pressure Cooker Barbacoa Beef Tacos!
We eat a lot of tacos in my house, so I knew this would be a perfect test of the pressure cooker’s ability. This recipe actually uses two of the features available -” sauté/brown” and “meat/stew” pressure cooking. The Cosori premium pressure cooker is quite large (6 quarts!), so I decided to make a huge batch for future dinners. (It’s always helpful to have a full freezer for busy fall weeknights.)
Note: If you’ve been considering purchasing the Cosori Premium 6qt pressure cooker, click on this link and use code UCS9PK3K to receive 10% off! (The code is only good through October 31, 2018, so be sure to purchase before then!)
Ingredients: (makes 12 servings)
6 garlic cloves
1 medium onion, peeled and quartered
1 chipotle in adobo, plus 3 tablespoons chipotle in adobo sauce
2 tablespoons ground cumin
2 tablespoons ground oregano
1 teaspoon ground cinnamon
½ teaspoon ground cloves
zest and juice of 1 lime
2 tablespoons apple cider vinegar
2 cups beef broth, plus a tablespoon or two, divided
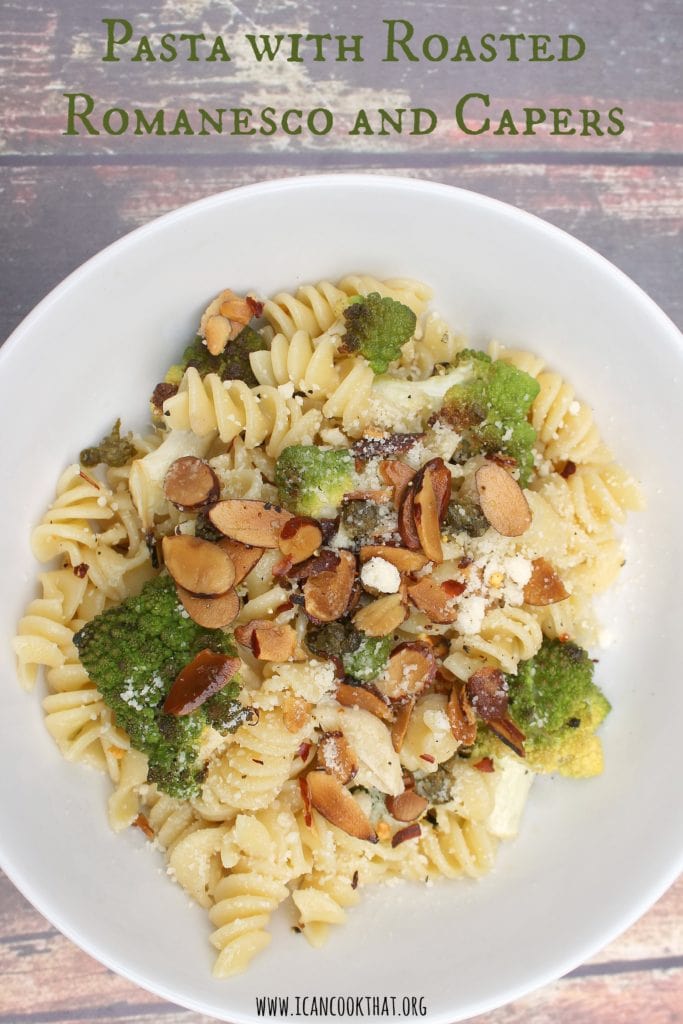
Romanesco is an intriguing little veggie. I don’t come across it terribly often, but when I do, I love using it in recipes like this recipe for Pasta with Roasted Romanesco and Capers.
Romanesco is similar to normal broccoli and cauliflower, and can be prepared the same ways. However, the flavor of Romanesco is much more muted. I personally love it roasted and tossed with pasta. The below recipe is heavily inspired by Bon Appetit’s Pasta with Roasted Romanesco and Capers recipe.
I received Romanesco in my latest Hungry Harvest (note: this is a referral link) and couldn’t wait to make this recipe!
Ingredients:
¼ cup sliced almonds
¼ cup plus 3 tablespoons olive oil; plus more for drizzling
2 tablespoons drained capers, divided
Salt, to taste
1 medium Romanesco, cored, cut into small florets
8 garlic cloves, thinly sliced
½ teaspoon crushed red pepper flakes, plus more for serving
½ cup dry white wine (or chicken/vegetable broth, if preferred)
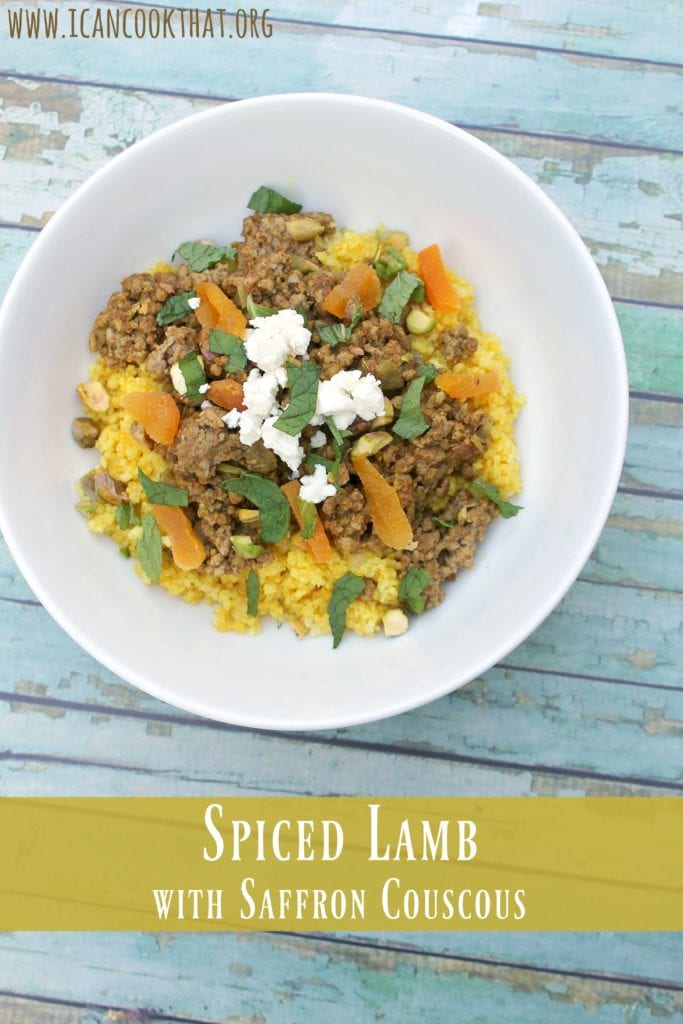
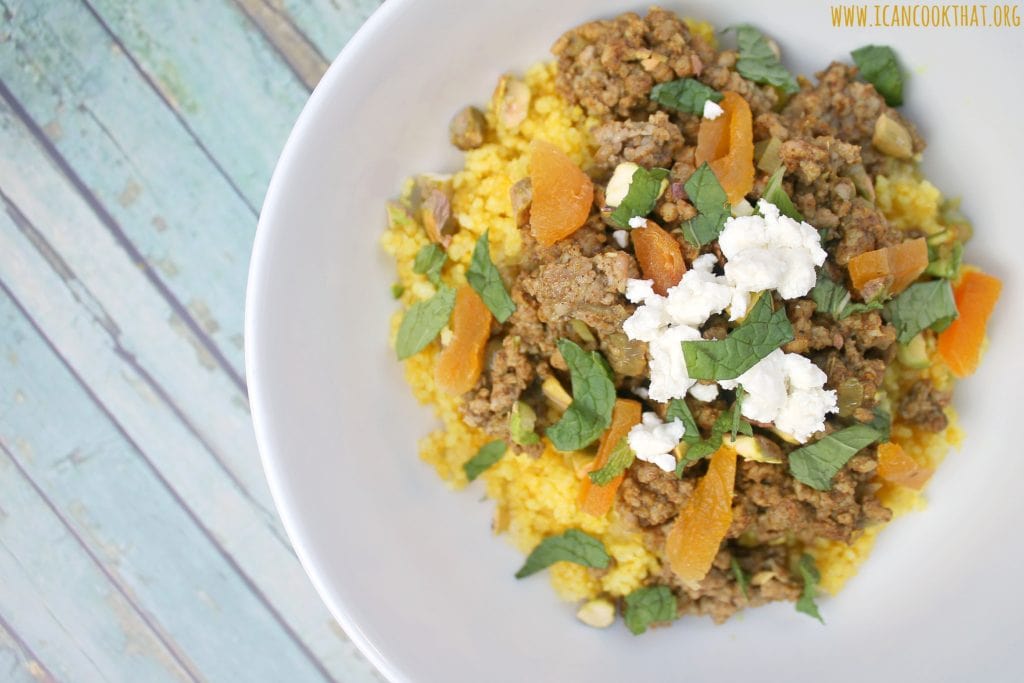
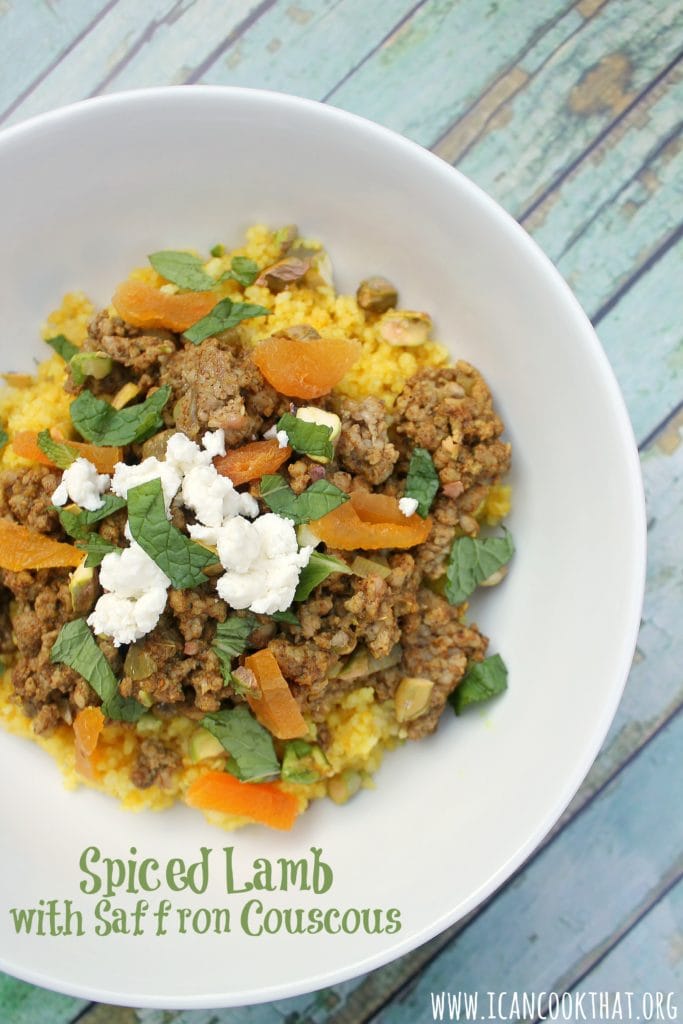
Because I usually have a recipe in mind when I go food shopping, it’s pretty rare that I come home with a rogue ingredient. But recently, while picking up ground beef and sausage for my Meatballs and Tomato Sauce at Primal Supply, I noticed that they had ground lamb, and felt compelled to buy it.
I didn’t exactly have a goal for the ground lamb, but decided to work with ingredients that I know work well with the flavors of lamb: cumin, saffron, mint, and cinnamon.
The result was Spiced Lamb with Saffron Couscous: saffron couscous, topped with flavorful ground lamb, pistachios, feta, dried apricots, and fresh mint!
Ingredients:
Couscous:
1 1/4 cups chicken broth
1/4 teaspoon saffron threads, crushed between your fingers
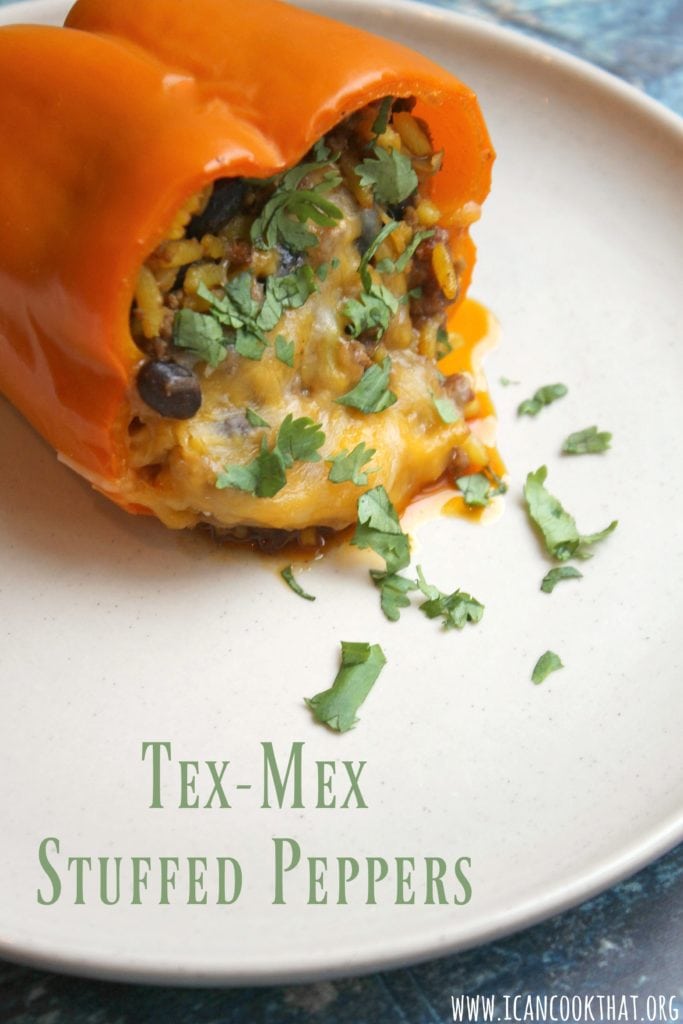
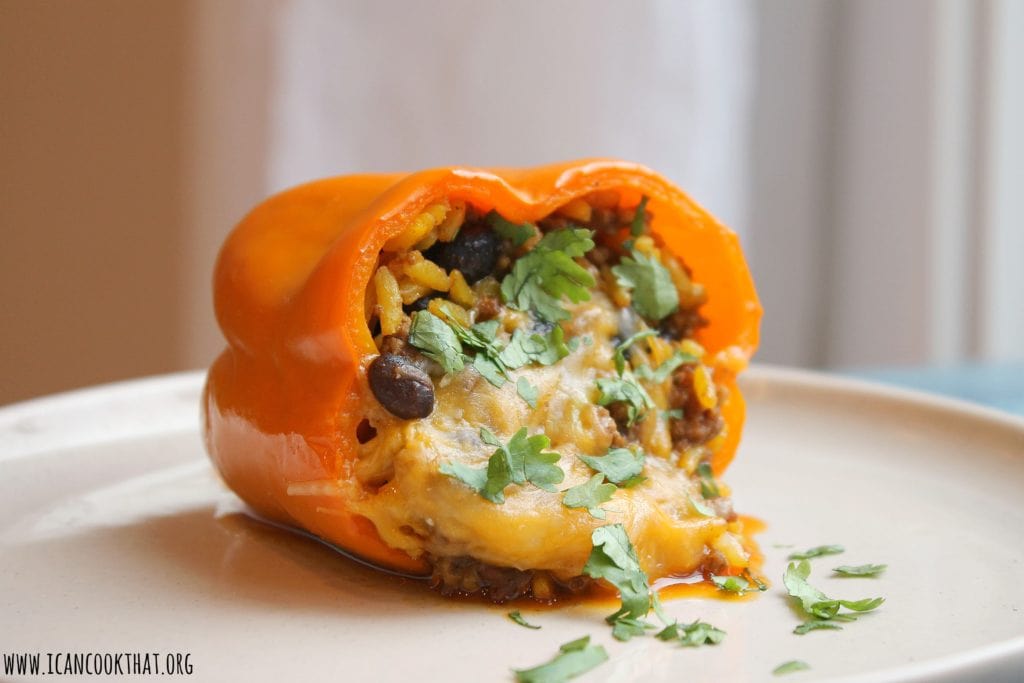
The school year has begun. I don’t have kids, but I am married to a teacher, so this time of year gets pretty hectic. Which means it’s about time I started stocking my fridge and freezer on weekends so weeknight dinners are a bit more manageable.
These Tex Mex Stuffed Peppers are a super tasty (and easy) make-ahead meal. You can cook these over the weekend and reheat during the week, or freeze before cooking, thaw, and cook when ready to eat!
Ingredients:
1 pound ground beef
4 tablespoons taco seasoning
1 cup jarred salsa (mild or medium)
1 (15 oz) can black beans, rinsed and drained
1 (8 oz) box of yellow rice, cooked according to package directions
One of my favorite new-ish shows is PBS’s No Passport Required with Marcus Samuelsson. Each episode explores the immigrant communities and food within different U.S. cities. There have only been 6 shows, but I’m hooked. Each episode includes Chef Samuelsson meeting, hanging out, and eating with members of the different immigrant communities in Detroit, New Orleans, Chicago, Queens, Miami, and Washington, D.C.
Not only is the show really interesting and informative, it’s difficult to not get hungry while watching,! PBS luckily includes some recipes on their website. But there was one I was hoping they’d post and at least as of this post, it’s not there: Ful Medames from the Washington, D.C. episode which highlighted the Ethiopian community in our nation’s capital.
Ful Medames is a breakfast dish of mashed fava beans, topped with hard boiled eggs, feta cheese, tomato, and jalapeno. I’ve had a bag of dried fava beans sent to me from Bob’s Red Mill in my pantry for a while now, and I knew they were destined for this recipe. Not only does Ful Medames sound fantastic, but my husband is currently training for a marathon, and this sounded like the perfect fuel after a long training run.
Ful Medames gets a lot of its flavor from a spice blend called berbere. Berbere is an Ethiopian spice mixture that usually includes chilies, garlic, ginger, basil, fenugreek, coriander, and cardamom. It is spicy, but I adjusted so this version doesn’t have too much heat. Feel free to add more for spiciness. For my local Philadelphians, I found berbere in The Head Nut in Reading Terminal, but there are recipes online to make your own at home if you don’t live near a spice shop. Penzey’s also has a version of berbere.
My version isn’t terribly authentic, but the general idea is there. I used soft boiled eggs instead, solely because I don’t love hard boiled eggs. Feel free to substitute in hard-boiled.
Note: Before cooking with the fava beans, be sure to soak them overnight.
Ingredients:
1 1/2 cups dried fava beans, soaked overnight
5 cups water, plus more as needed
4 tablespoons olive oil, divided, plus more for serving
1 medium sized onion, finely chopped
4 garlic cloves, minced
1 1/2 teaspoons berbere, divided
3/4 teaspoon cumin, divided
Salt and pepper, to taste
4 eggs (omit for vegan)
1 tomato (or ~4 oz cherry tomatoes), finely chopped
1 jalapeno, seeds and membranes removed, finely chopped
Have you ever purchased an ingredient at the supermarket that you have no clue how you’re going to end up using it? Months ago, I purchased a tube of prepared polenta and honestly just forgot I even had it. During a recent cleaning of my “pantry” (also known as a cabinet that holds dry goods), I came across it again and decided it was time to find a use for it! So now, I present you Grilled Caprese Polenta Rounds!
Prepared, or tubed, polenta is firm and can be sliced into rounds which makes it perfect for grilling. I figured it would make a great summery appetizer, topped with melted mozzarella, fresh tomatoes, and a balsamic reduction!
Ingredients:
1/2 cup balsamic vinegar
1 (16 oz) tube prepared polenta, sliced into 16 rounds
1 tablespoon olive oil, plus more for drizzling
1 (8 oz) container cherry tomatoes
1/4 cup fresh basil leaves, cut into chiffonade (directions below)
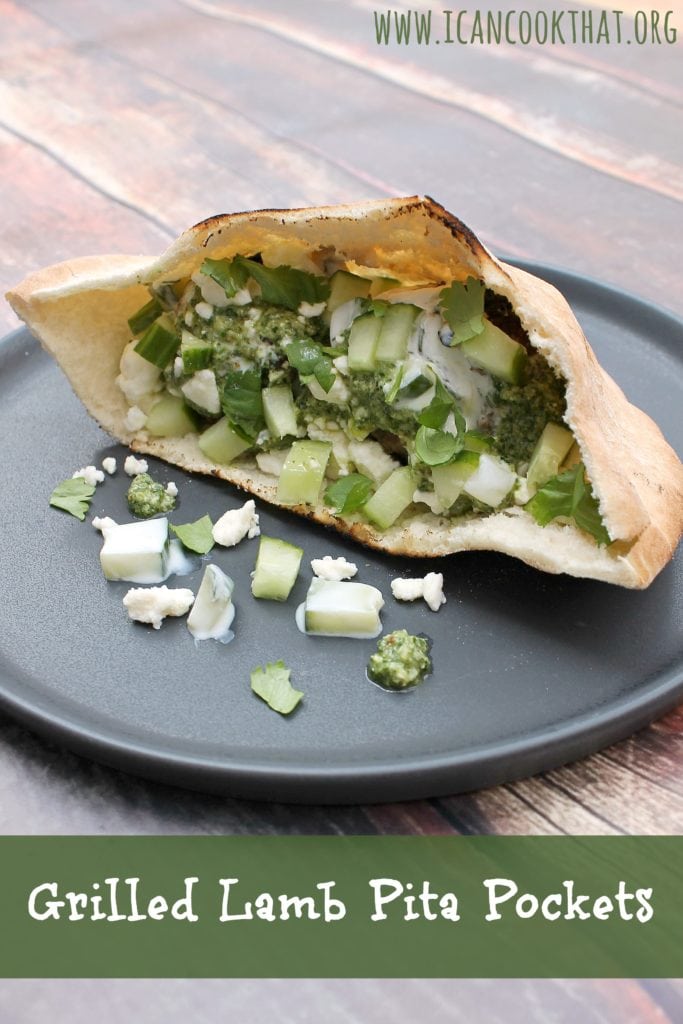
I’ve mentioned before that once warmer weather is here, I make it a priority to use my grill instead of my oven/stovetop whenever I can, like with this recipe for Grilled Lamb Pita Pockets. It keeps the temperature down in my house, and it’s super easy to grill! Plus, who doesn’t love the flavor that grilling adds to food?
I had a craving for lamb this week, so I decided to make grilled lamb pita pockets for dinner one night. I grilled lamb meatballs on skewers and then topped the meatballs with a drizzle of tzatziki and a Greek-inspired pesto sauce with some extra feta and cucumbers for good measure. I unfortunately didn’t have any tomatoes on hand, but would strongly suggest adding chopped tomatoes as well!
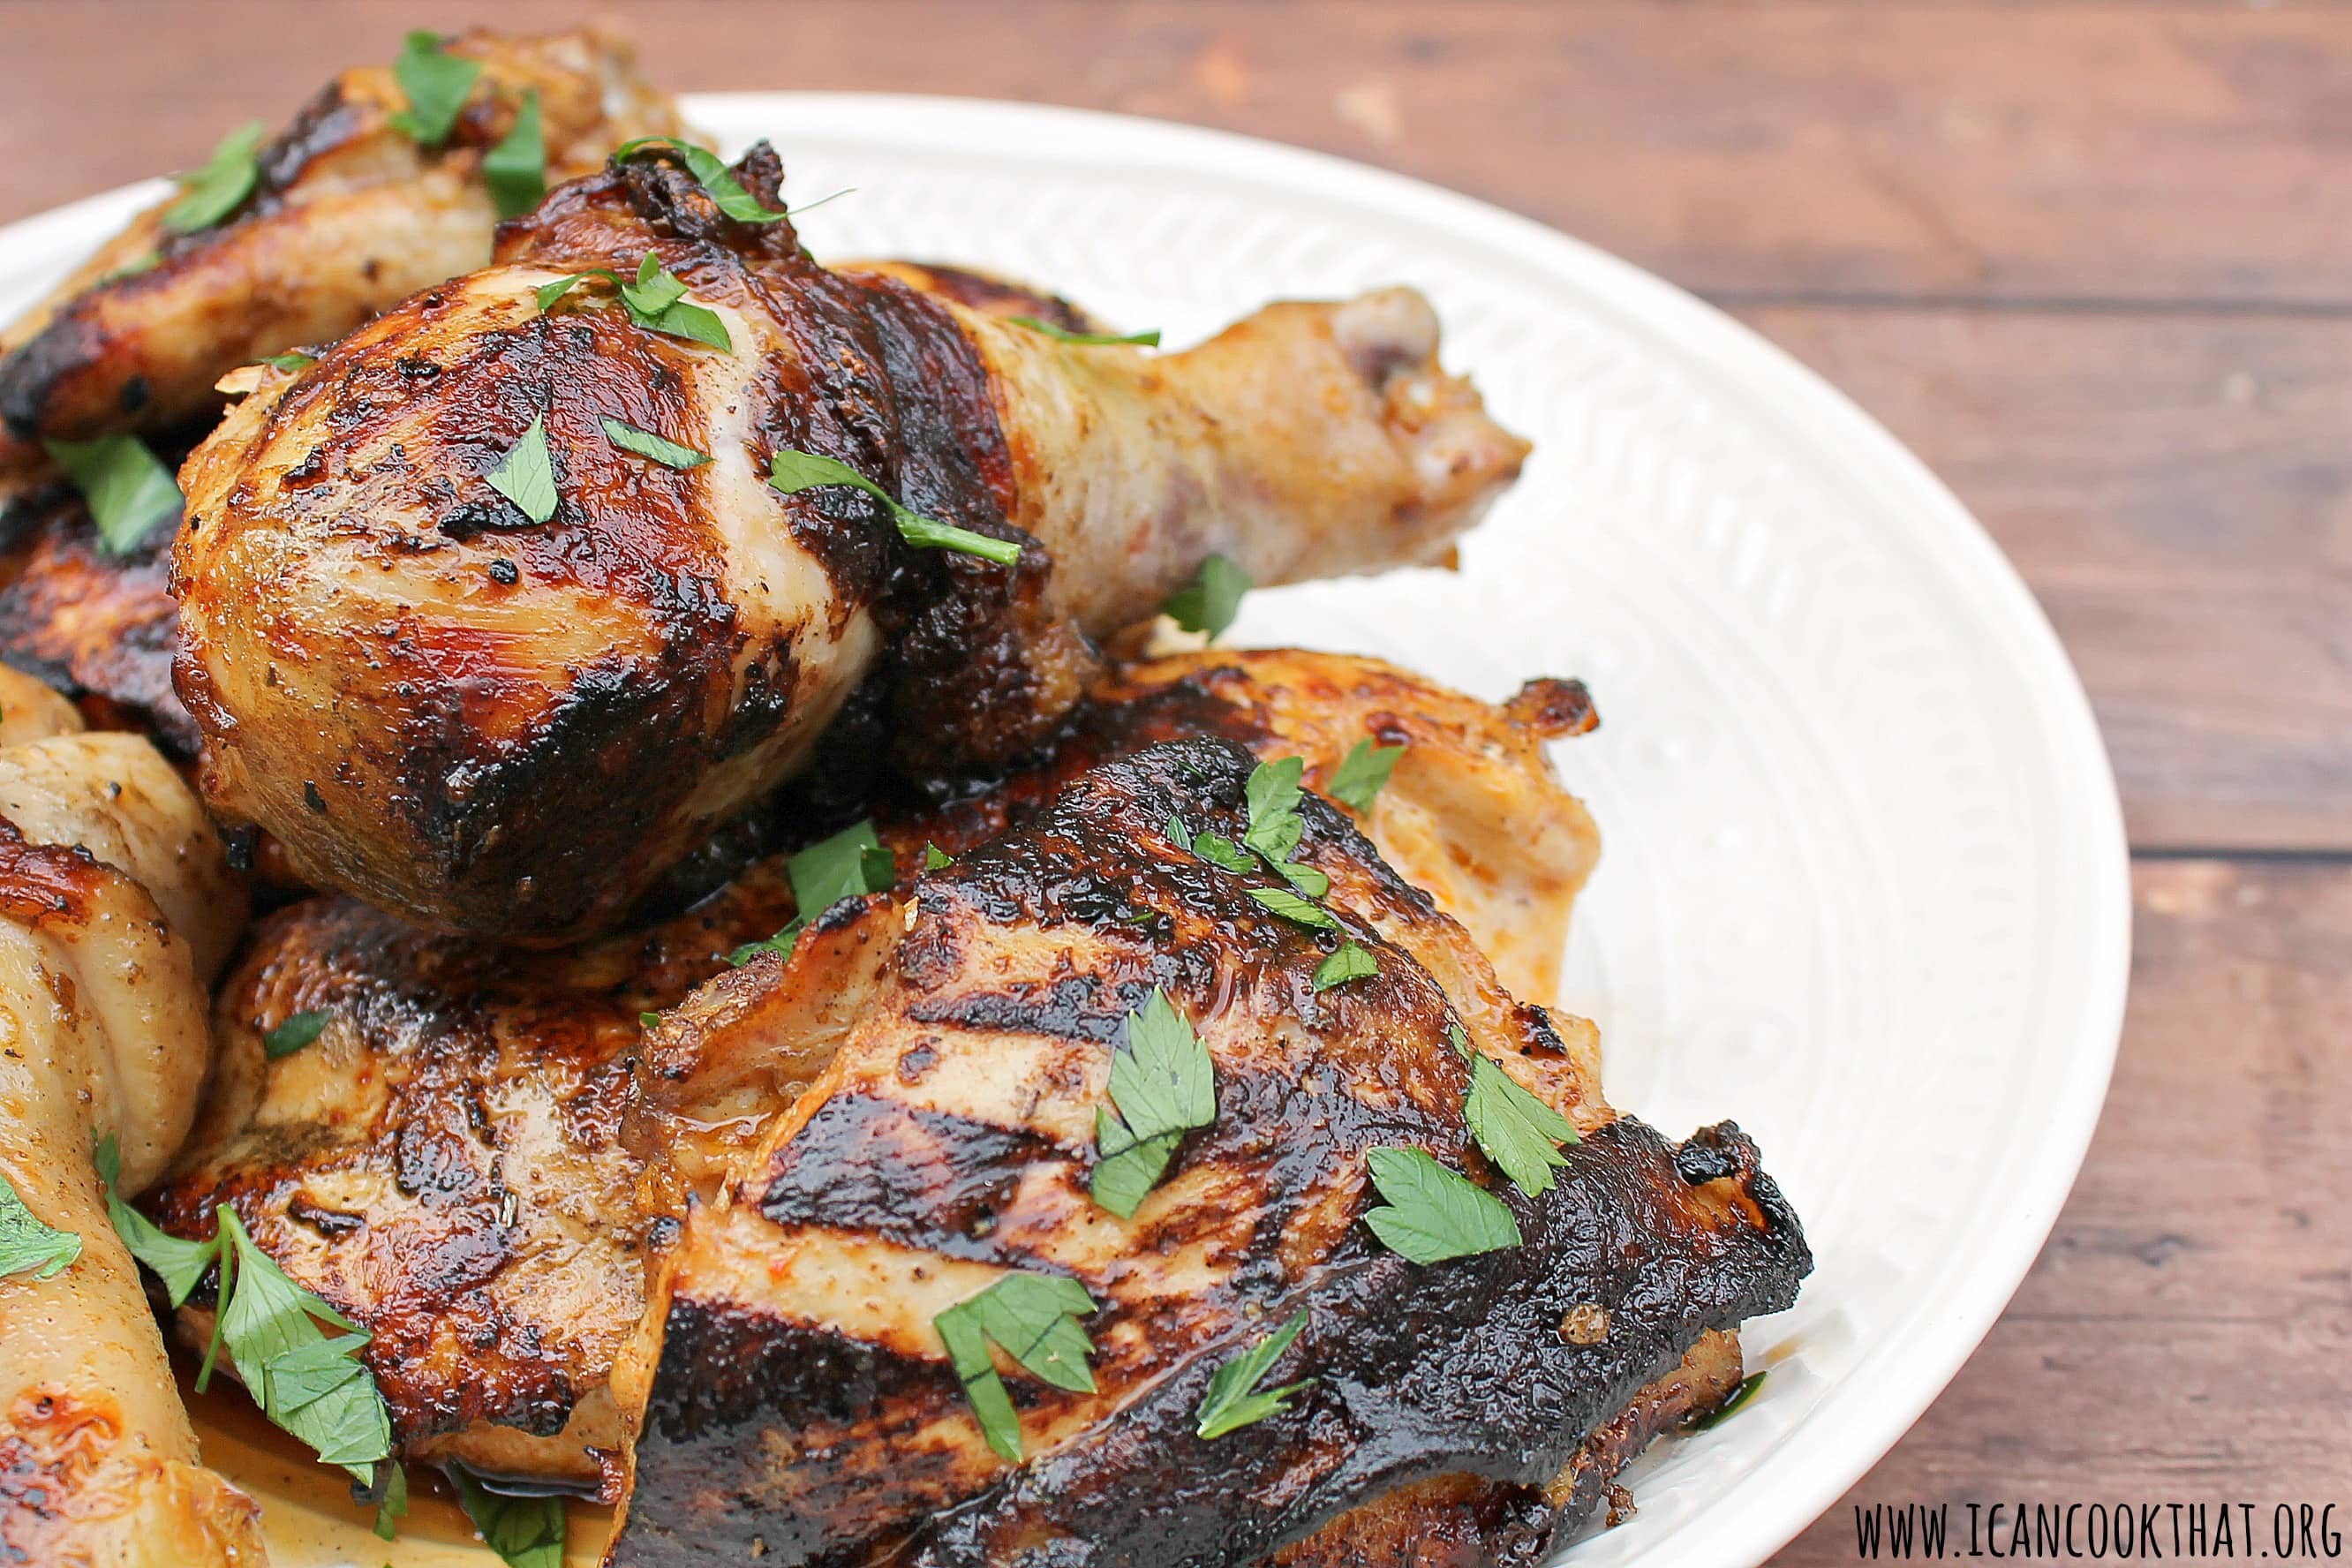
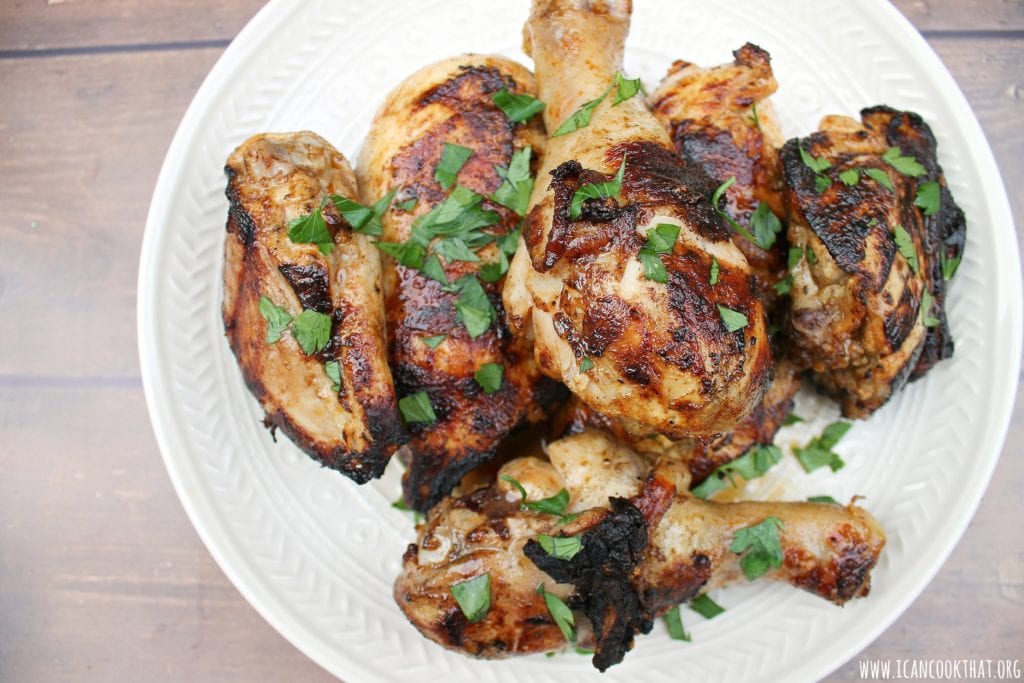
Psst. Save this recipe for Easy Grilled Marinated Chicken. It will definitely become a go to grilling recipe for you! If you’ve been following my blog for a while, you probably know how much I love my grill. I would grill absolutely everything if I could (and honestly, I’ve tried, including grilled guacamole, a grilled cocktail, and a grilled cheese plate.)
So, be prepared for plenty of grilling recipes this summer! I wanted to start off a bit simple – an easy grilled marinated chicken recipe.
This does involve some prep time, you want the chicken to sit in the marinade for a few hours at least. For the most flavor, add the chicken to the marinade the night before.
Note: I was sent a copy of Eating With Peter for review. Opinions are mine alone.
It comes as no surprise that I gravitate toward books that use food to tell a story. Eating with Peter: A Gastronomic Journey written by Susan Buckley tells the story of her adventures travelling the world with her husband Peter— a well known writer, food critic, and gourmand—exploring foreign cuisine and cultures, from the Michelin-starred restaurants to the sprawling souks of Morocco. Eating with Peter chronicles a life-changing journey of gastronomy and love across Europe, North Africa, and various less-known culinary corners. The book also features 28 recipes that will appeal to lovers of North African, Caribbean, and French cuisines.
Susan’s life would never be the same after she meets Peter Buckley. A man who was larger than life, Peter pulls Susan out of her comfort zone to taste the fine life, literally. Together they embark on a rollicking adventure through Michelin-starred restaurants in France to the souks of Morocco and the waters of the Red Sea and the Caribbean. They explore the world, and along the way discover the most desired tables (sometimes in a tent) and the best markets, moving from Peter’s adventures with Hemingway to sampling delectable treasures in an Alpine meadow. When they return to New York, Susan and Peter—a writer, photographer, gourmand, as well as an inventive chef—incorporate their adventures into their daily American life. As they explore three-star restaurants, French farms, and Italian cheesemakers, the reader gets a taste of famous gastronomic dishes and their chefs, in addition to learning about mouth-watering recipes, culinary moments around the Buckley’s kitchen and table with family and friends, and many of their New York food secrets.
Inspired by the chapter about their travels through Morocco, I adapted the recipe provided within the book to make this One Pot Moroccan Chicken with Couscous.
It’s a fairly simple recipe made with ras el hanout, a North African spice blend that makes this such a tasty dish. The name, which means “head of the shop” (which is similar to the English expression “top-shelf” is a mixture of the best spices the seller has to offer. As such, there is no definitive ras el hanout recipe. Common ingredients include cardamom, cumin, clove, cinnamon, nutmeg, allspice, ginger, coriander, paprika, and turmeric. For those near Philadelphia, I picked mine up from The Head Nut in Reading Terminal, but it can be found in many supermarkets as well.
Note: I was sent a box of Vidalia onions to make this post. Opinions are mine alone.
Spring is one of my favorite times of year for cooking. As the weather warms, all sorts of fun produce hits the shelves, bringing so many more options for creative meals! One of the most versatile spring produce options are Vidalia onions.
Vidalia onions are known as America’s favorite sweet onion.
Grown in 20 counties in Southern Georgia, their distinctive taste is a result of the combination of weather, water and soil in that specific region.
Vidalia onions are in season from April to August, so this is the perfect time to show them off in some recipes! This recipe for Peach, Vidalia Onion, and Pancetta Flatbread plays off the sweetness of Vidalia onions with grilled peaches, while balancing out the flavor with some pancetta and a touch of chili powder. The rosemary and chives add some freshness to the flatbread, brightening up the other flavors.
Ingredients:
4 oz Pancetta, cubed
2 Vidalia onions, cut into thin slices, then halved into half moons
1 tablespoon olive oil
Salt and pepper, to taste
Pinch chili powder
Store bought pizza dough (use gluten free dough to make recipe gluten free)
2 large ripe peaches, cut into wedges (or, if not in season, frozen peach slices that have been thawed work too)
My husband and I have had some fairly heavy (but delicious) food recently. So this weekend, I was in search of something a bit lighter for lunch that would still fill us up, like this creamy avocado soup.
I’m so impatient weather-wise in the spring. I want it to warm up immediately, but that’s not exactly how this season goes.
Although today is supposed to be quite nice, some spring nights can be rainy and down right chilly. So it’s nice to have a comforting meal available for colder nights that still makes use of ingredients readily available in the spring.
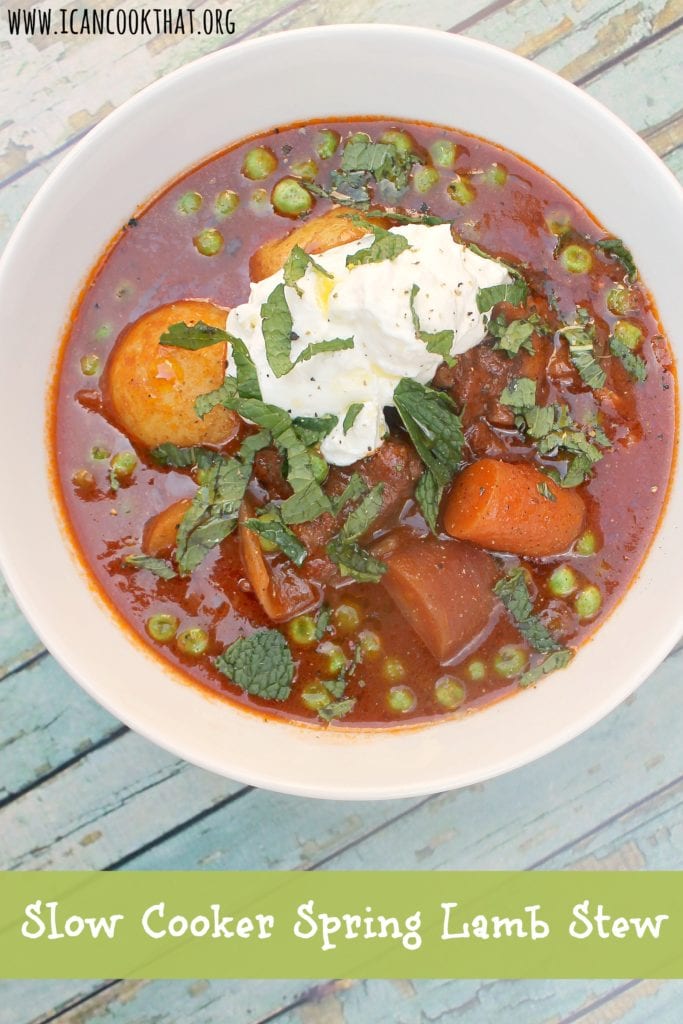
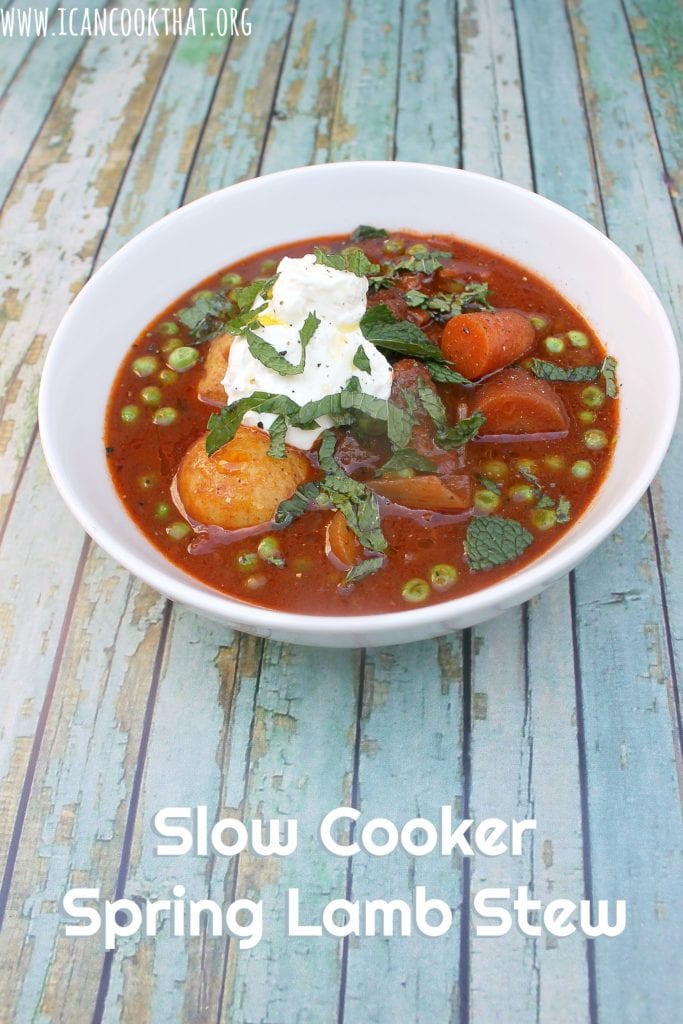
This Slow Cooker Spring Lamb Stew is a Greek-inspired dish is made in a slow cooker, so dinner will be ready for you when you return from work. It also freezes well, so you can enjoy it whenever the weather calls for a yummy stew.
Ingredients:
2 tablespoons olive oil
1/2 cup all-purpose flour
1 and 1/2 pound lamb shoulder, cut into bite-sized pieces
1/2 teaspoon ground allspice (I used 6 allspice berries; I was out of ground allspice)
1/2 teaspoon ground nutmeg
1 tablespoon tomato paste
2 garlic cloves, peeled and minced
1/2 pound shallots, peeled and quartered
1 pound baby new potatoes
1/2 pound carrots, peeled and cut into bite-sized pieces
But I’m sick of waiting for spring to arrive to make delicious spring food!
So this recipe for Spinach Lemon Ricotta Pasta has spring ingredients that are still comforting in chilly weather – spinach with a lemony ricotta sauce over fettuccine.