Tim Tam Tarts with Raspberries and Rose Water Whipped Cream

Tim Tam Tarts. Isn’t that oh so fun to say? A Tim Tam is a chocolate cookie from Arnott’s in Australia. You might see them every now and then in America, but don’t be fooled, those are made by Pepperidge Farm and I’m sorry, they just don’t live up to the originals. These happy little biscuits covered in chocolate are absolutely delicious. Their motto is “The Most Irresistible Chocolate Biscuit” but I think it’s more appropriately “Visitors to Australia’s Biggest Australian Obsession”. Seriously. They are the best.

So when one of my friends traveled to Australia recently and asked what I’d like, I basically yelled in her face “TIM TAMS!” which can be quite alarming to someone who has zero idea what a Tim Tam is. I clearly made an impression, because she returned with two boxes! Now, Tim Tams are perfectly delicious on their own, maybe with some milk. But I’m a food blogger, so I had to try to turn the cookies into something even better. A Dark Chocolate Tart with Tim Tam Crust, Raspberries, and Rose Water Whipped Cream? YES! (I adapted this recipe for Tim Tam Tarts with Raspberries and Rose Water Whipped Cream from taste.com.au)

Note: I am currently taking the Melt Buttery Spread Challenge and am substituting any and all butter/oils with Melt. I wrote a review of Melt a while back, which you can read here. If you can’t find Melt in your supermarket, use other coconut oil spreads, or just butter in this recipe)

Ingredients:

For the tart:

  • 1 box of original Tim Tams
  • 2 ounces Melt , melted (about 1 tablespoon in its original form)
  • 1 cup heavy whipping cream
  • ~7 oz dark chocolate (200g if you’re using a scale), roughly chopped (I used almost 5 dark chocolate candy bars!)
  • 1 teaspoon vanilla extract
  • 2 egg yolks
  • Raspberries and Rose Water Whipped Cream, to serve

For the Rose Water Whipped Cream:

  • 1/2 cup heavy whipping cream
  • 1 tablespoon sugar
  • 1/2 teaspoon vanilla
  • 1/4 teaspoon rose water

Continue reading Tim Tam Tarts with Raspberries and Rose Water Whipped Cream

Cumin Spiced Fish Tacos with Avocado Mango Salsa

With Cinco de Mayo this past weekend, I couldn’t stop thinking about making some kind of Mexican-themed meal this weekend. So I was pretty excited when my boyfriend suggested Fish Tacos on Sunday. My trusty Cooking Light obviously had the perfect recipe to fulfill our craving. These Cumin Spiced Fish Tacos with Avocado Mango Salsa get an extra boost of flavor from toasting the cumin seeds before grinding. If you can’t find cumin seeds, ground cumin will work for the recipe as well, just skip the toasting part.
Ingredients:
  • 1 tablespoon cumin seeds
  • 3/4 teaspoon salt, divided
  • 1/2 teaspoon paprika
  • 1/4 teaspoon freshly ground black pepper
  • 2 garlic cloves, minced
  • 1 pound tilapia fillets
  • 1 tablespoon coconut oil
  • 1 cup sliced peeled avocado
  • 2/3 cup finely chopped peeled ripe mango
  • 1/4 cup chopped green onions
  • 1/4 cup finely chopped red onion
  • 2 tablespoons finely chopped fresh cilantro
  • the juice of one lime
  • 1/4 teaspoon ground red pepper
  • 1/2 can black beans, rinsed
  • 8 oz sour cream
  • 2 tablespoons chopped cilantro
  • the juice and zest of 1/2 a lime
  • 8 (6-inch) corn tortillas

Continue reading Cumin Spiced Fish Tacos with Avocado Mango Salsa

Coconut Lemon Poppy Seed Muffins

Muffins are the perfect Sunday baking activity to set yourself up for breakfasts throughout the week. I haven’t made a batch in so long so I’m happy I finally had time to do so! I was given the opportunity to try Tropical Traditions Coconut Oil and I thought the best way to try the oil out would be in baking. (I adapted this recipe for Coconut Lemon Poppy Seed Muffins from the 1 Mix, 100 Muffins cookbook.)


Coconut oil can be used like butter in its solid state and like oil in its liquid state. It does have a slight coconut flavor to it so it’s a great way to enhance the flavor of many dishes. These Coconut-Lemon Poppy Seed Muffins have just a hint of coconut that is really complementary to the Lemon flavor.


Tropical Traditions is also sponsoring a giveaway! One lucky reader will win their very own jar of coconut oil! Details below.


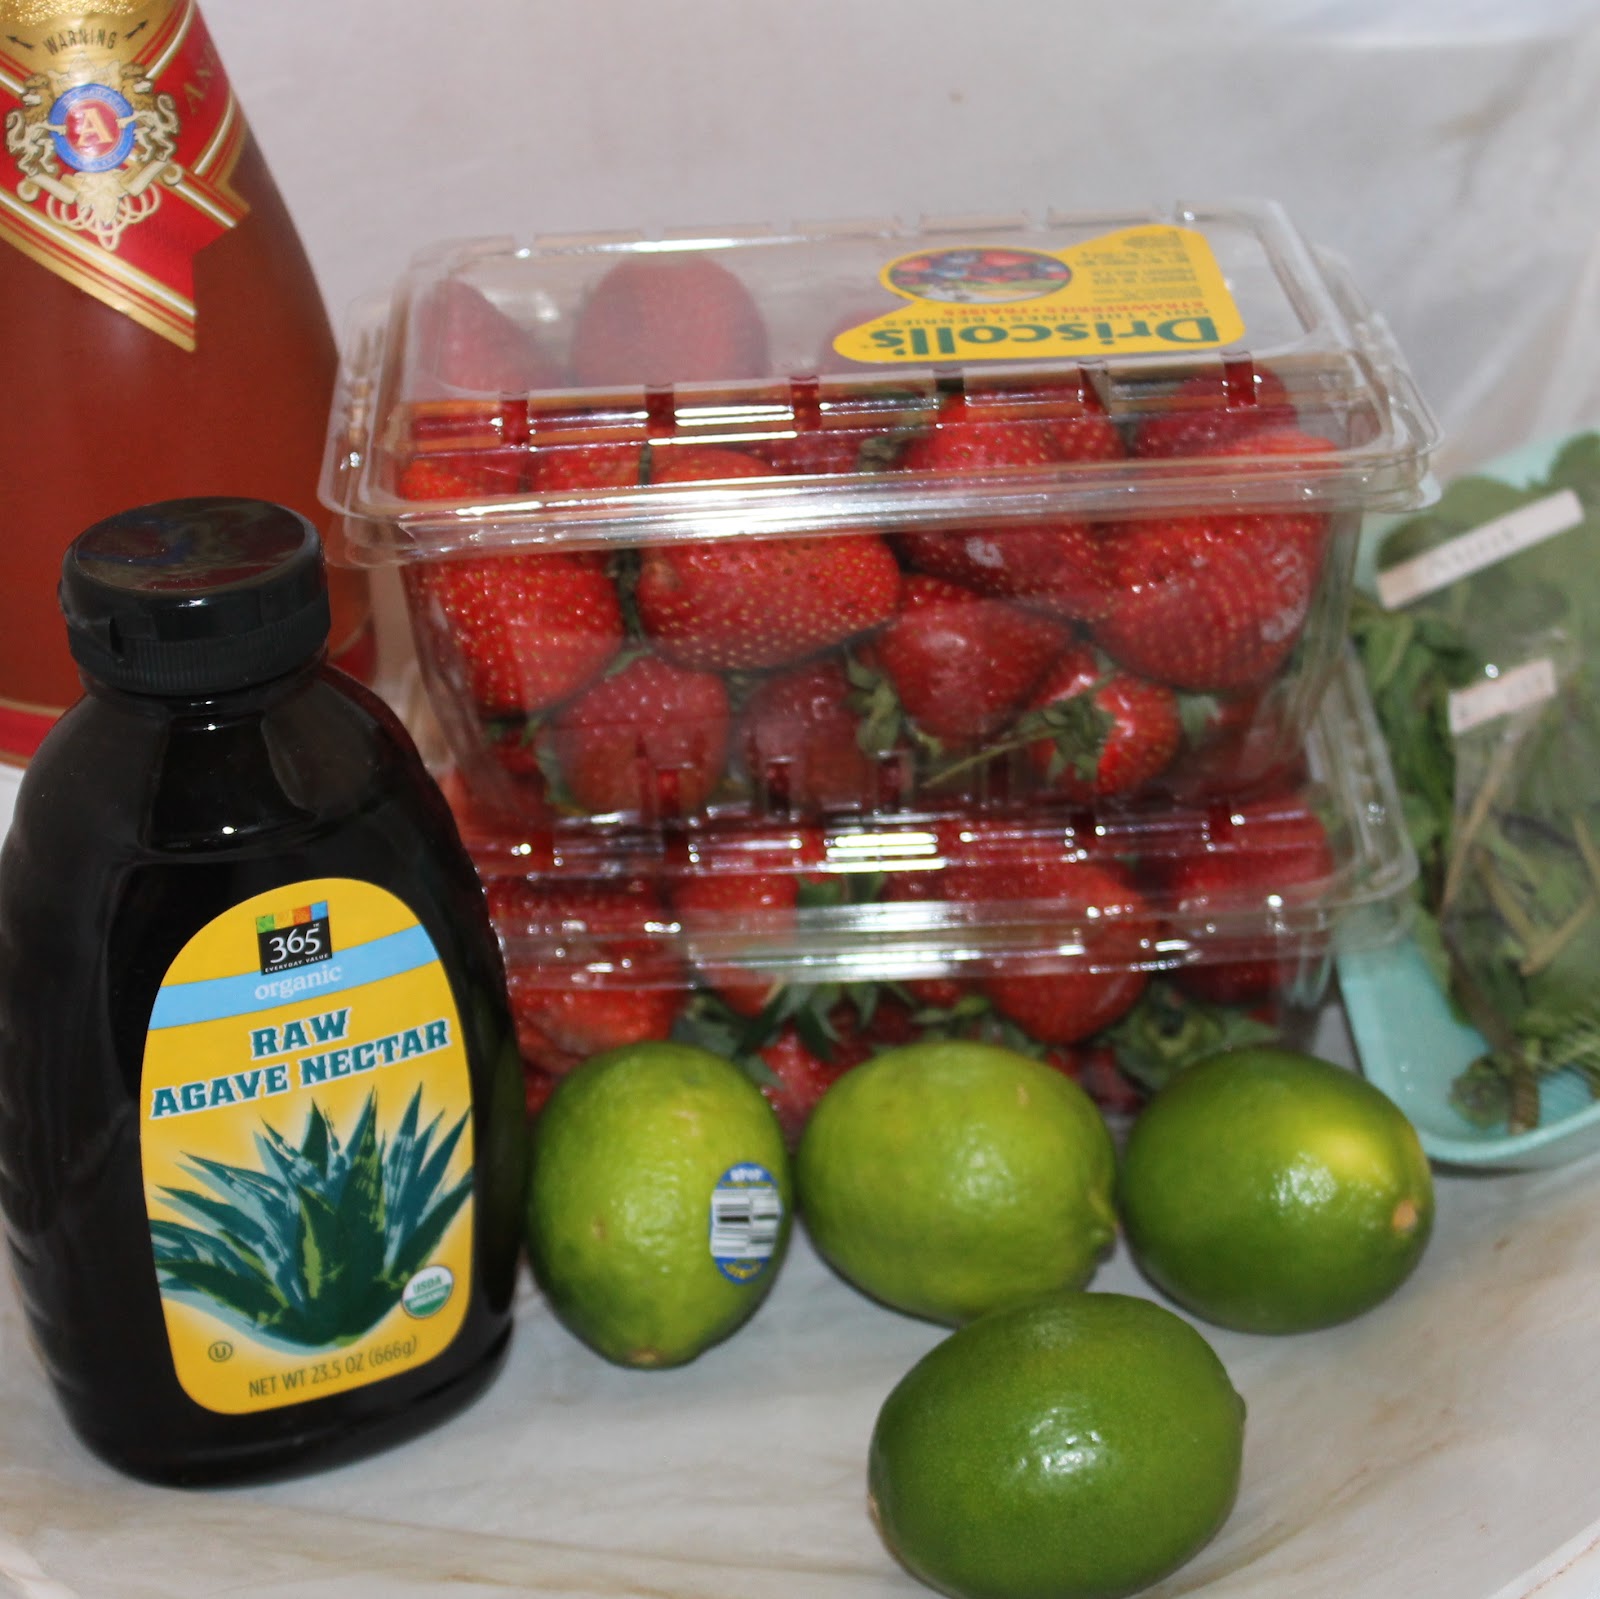
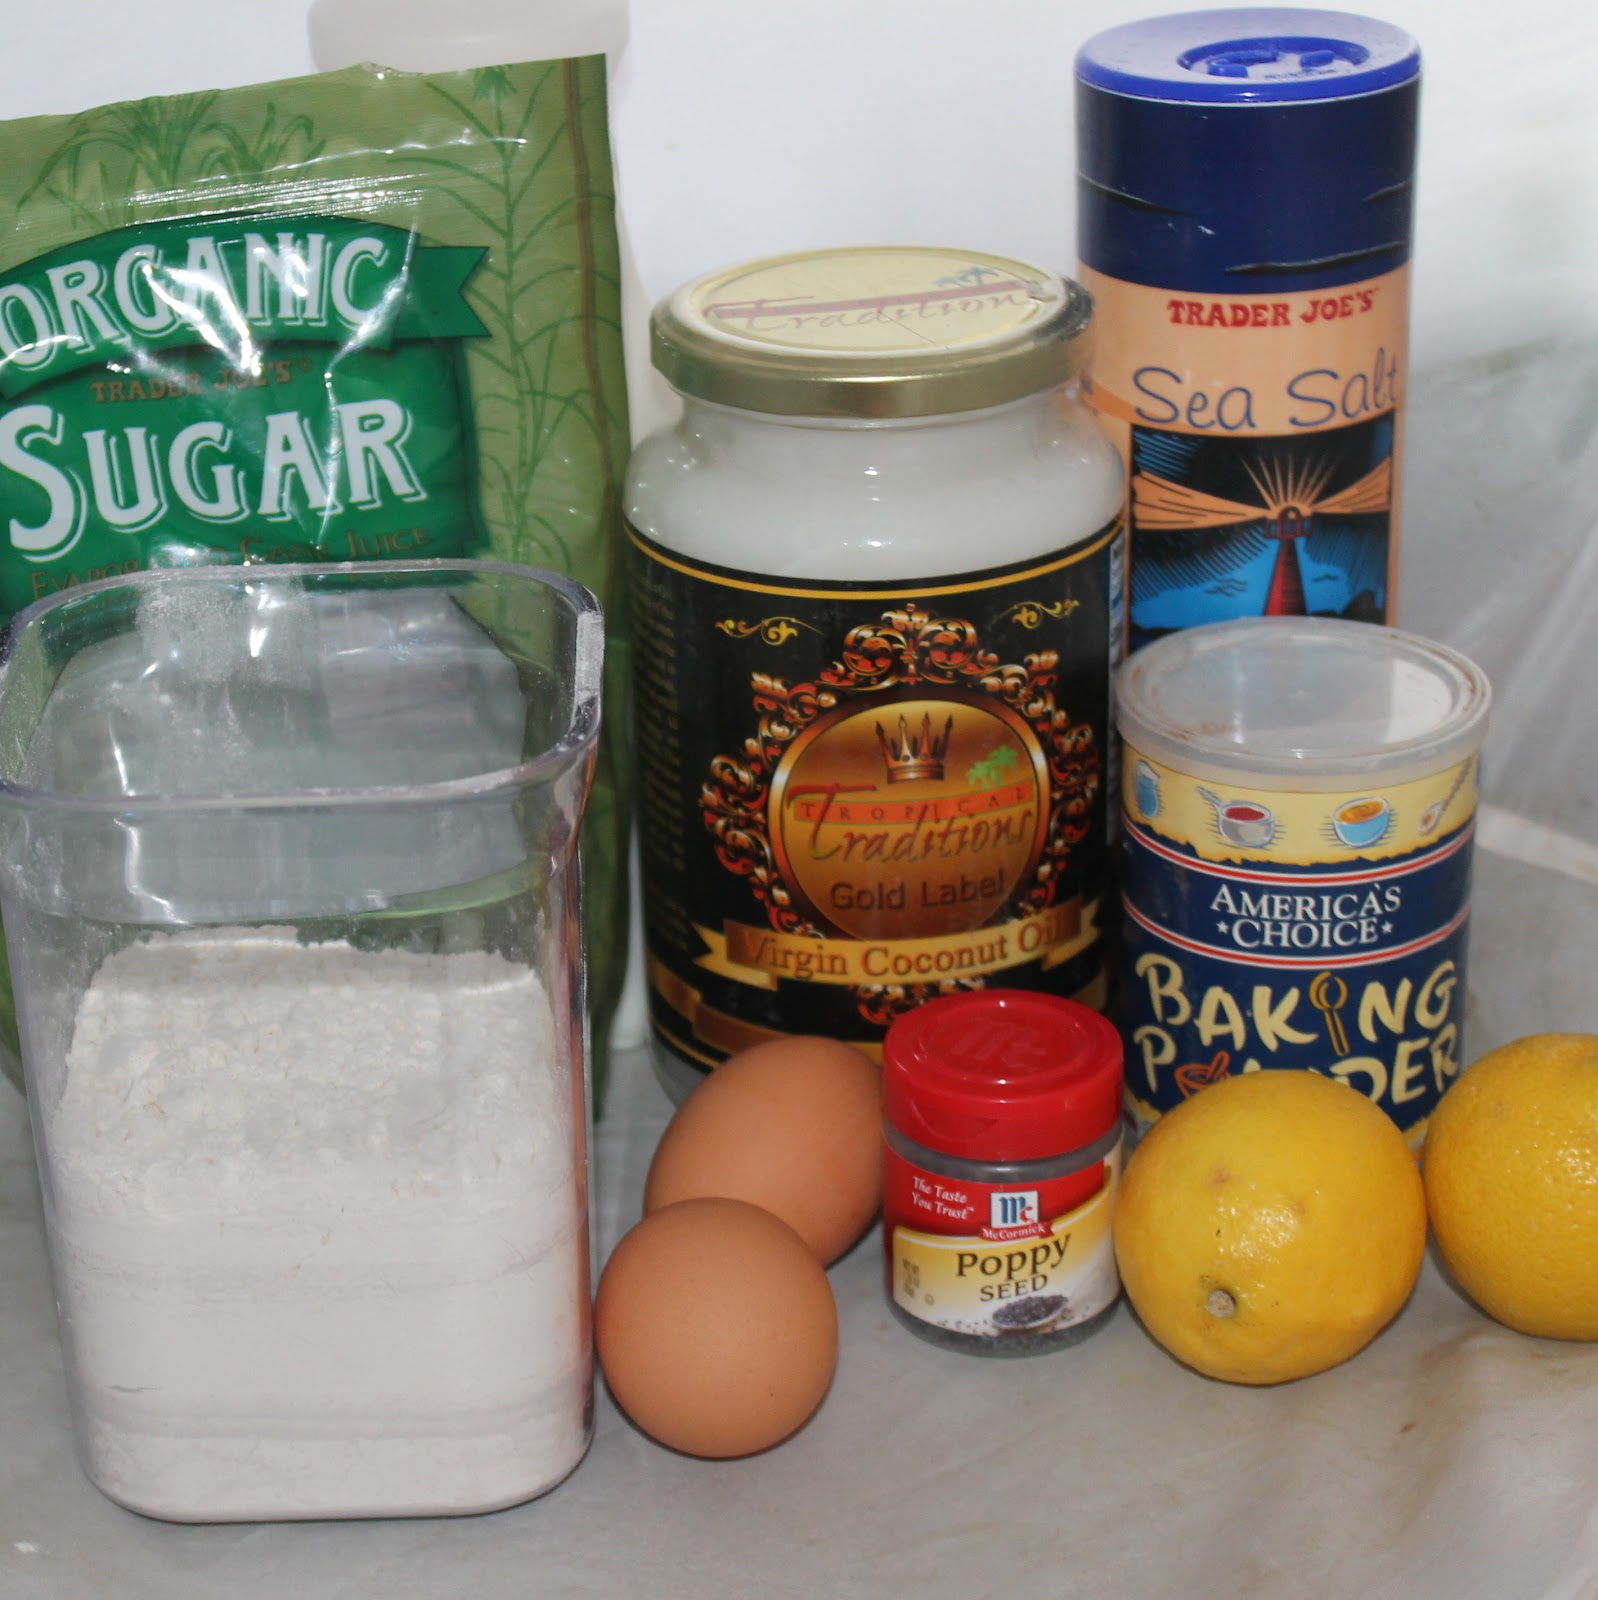
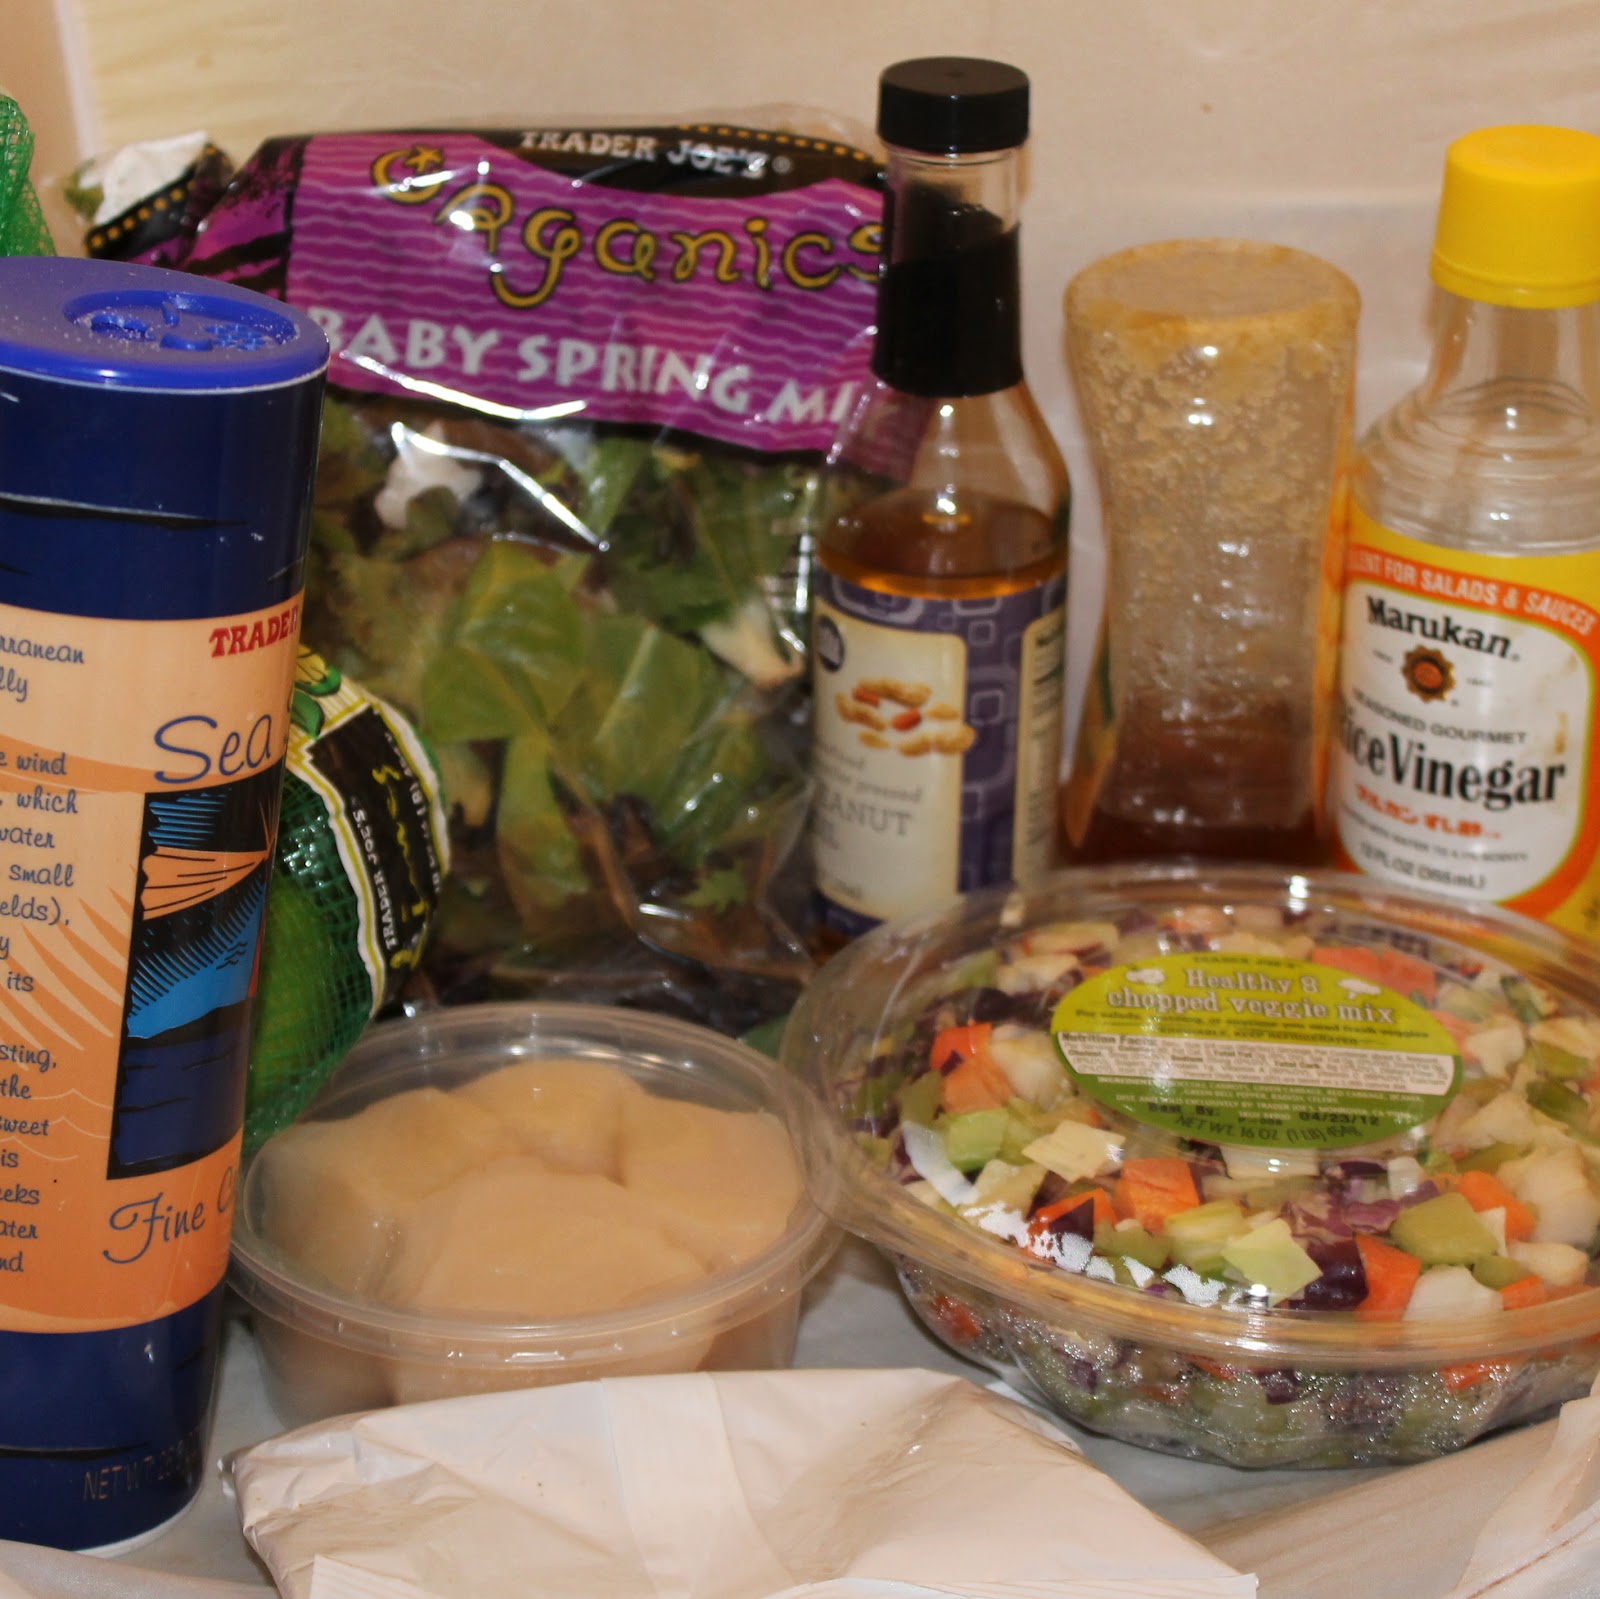
Ingredients (this recipe makes a dozen muffins):
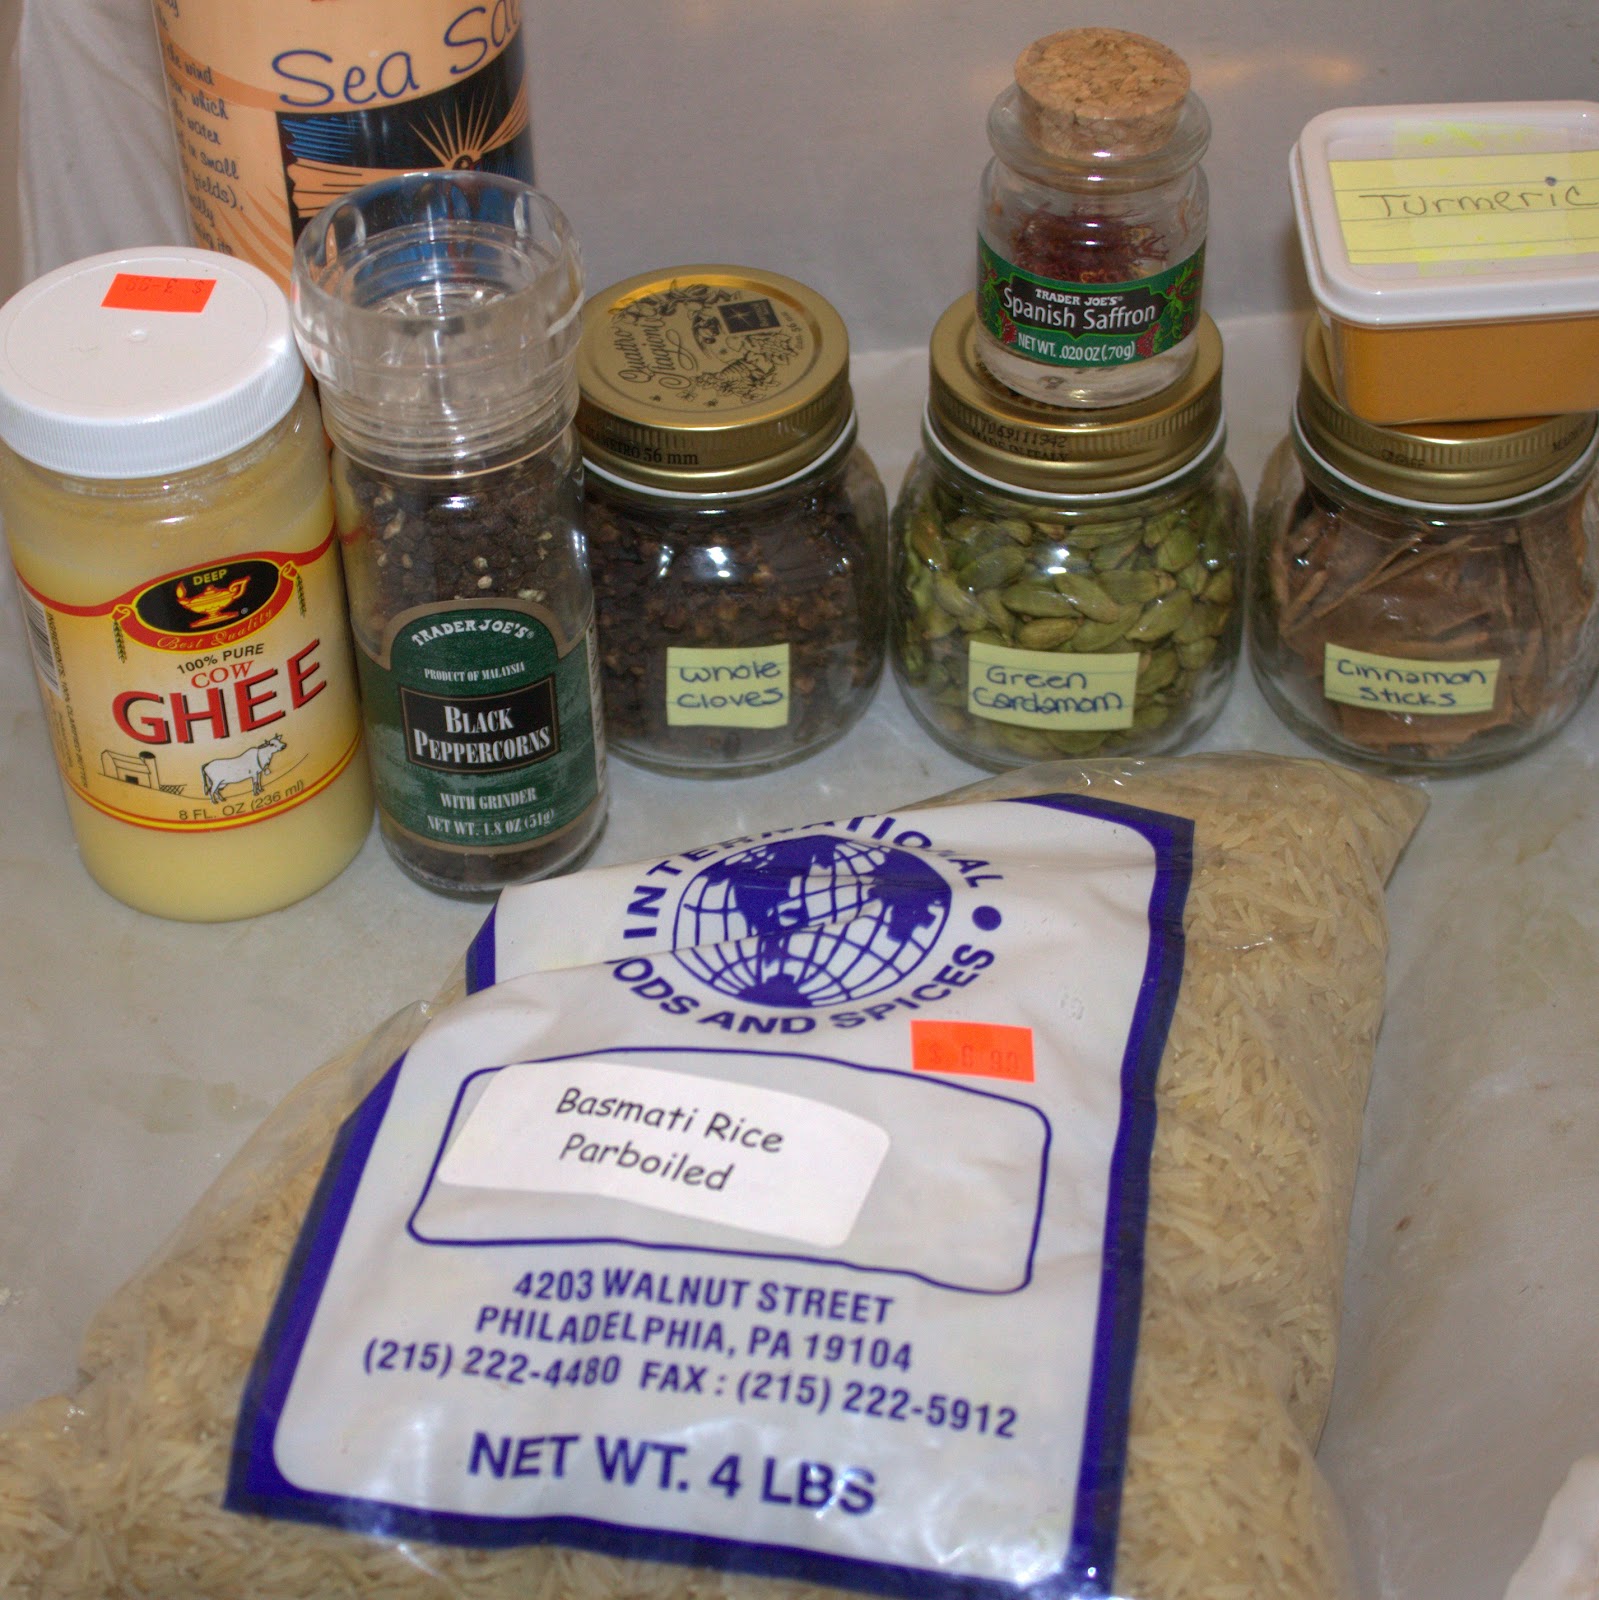
2 cups all-purpose flour, leveled with a knife
1 tablespoon baking powder
1/8 teaspoon salt
2 eggs
1 cup milk
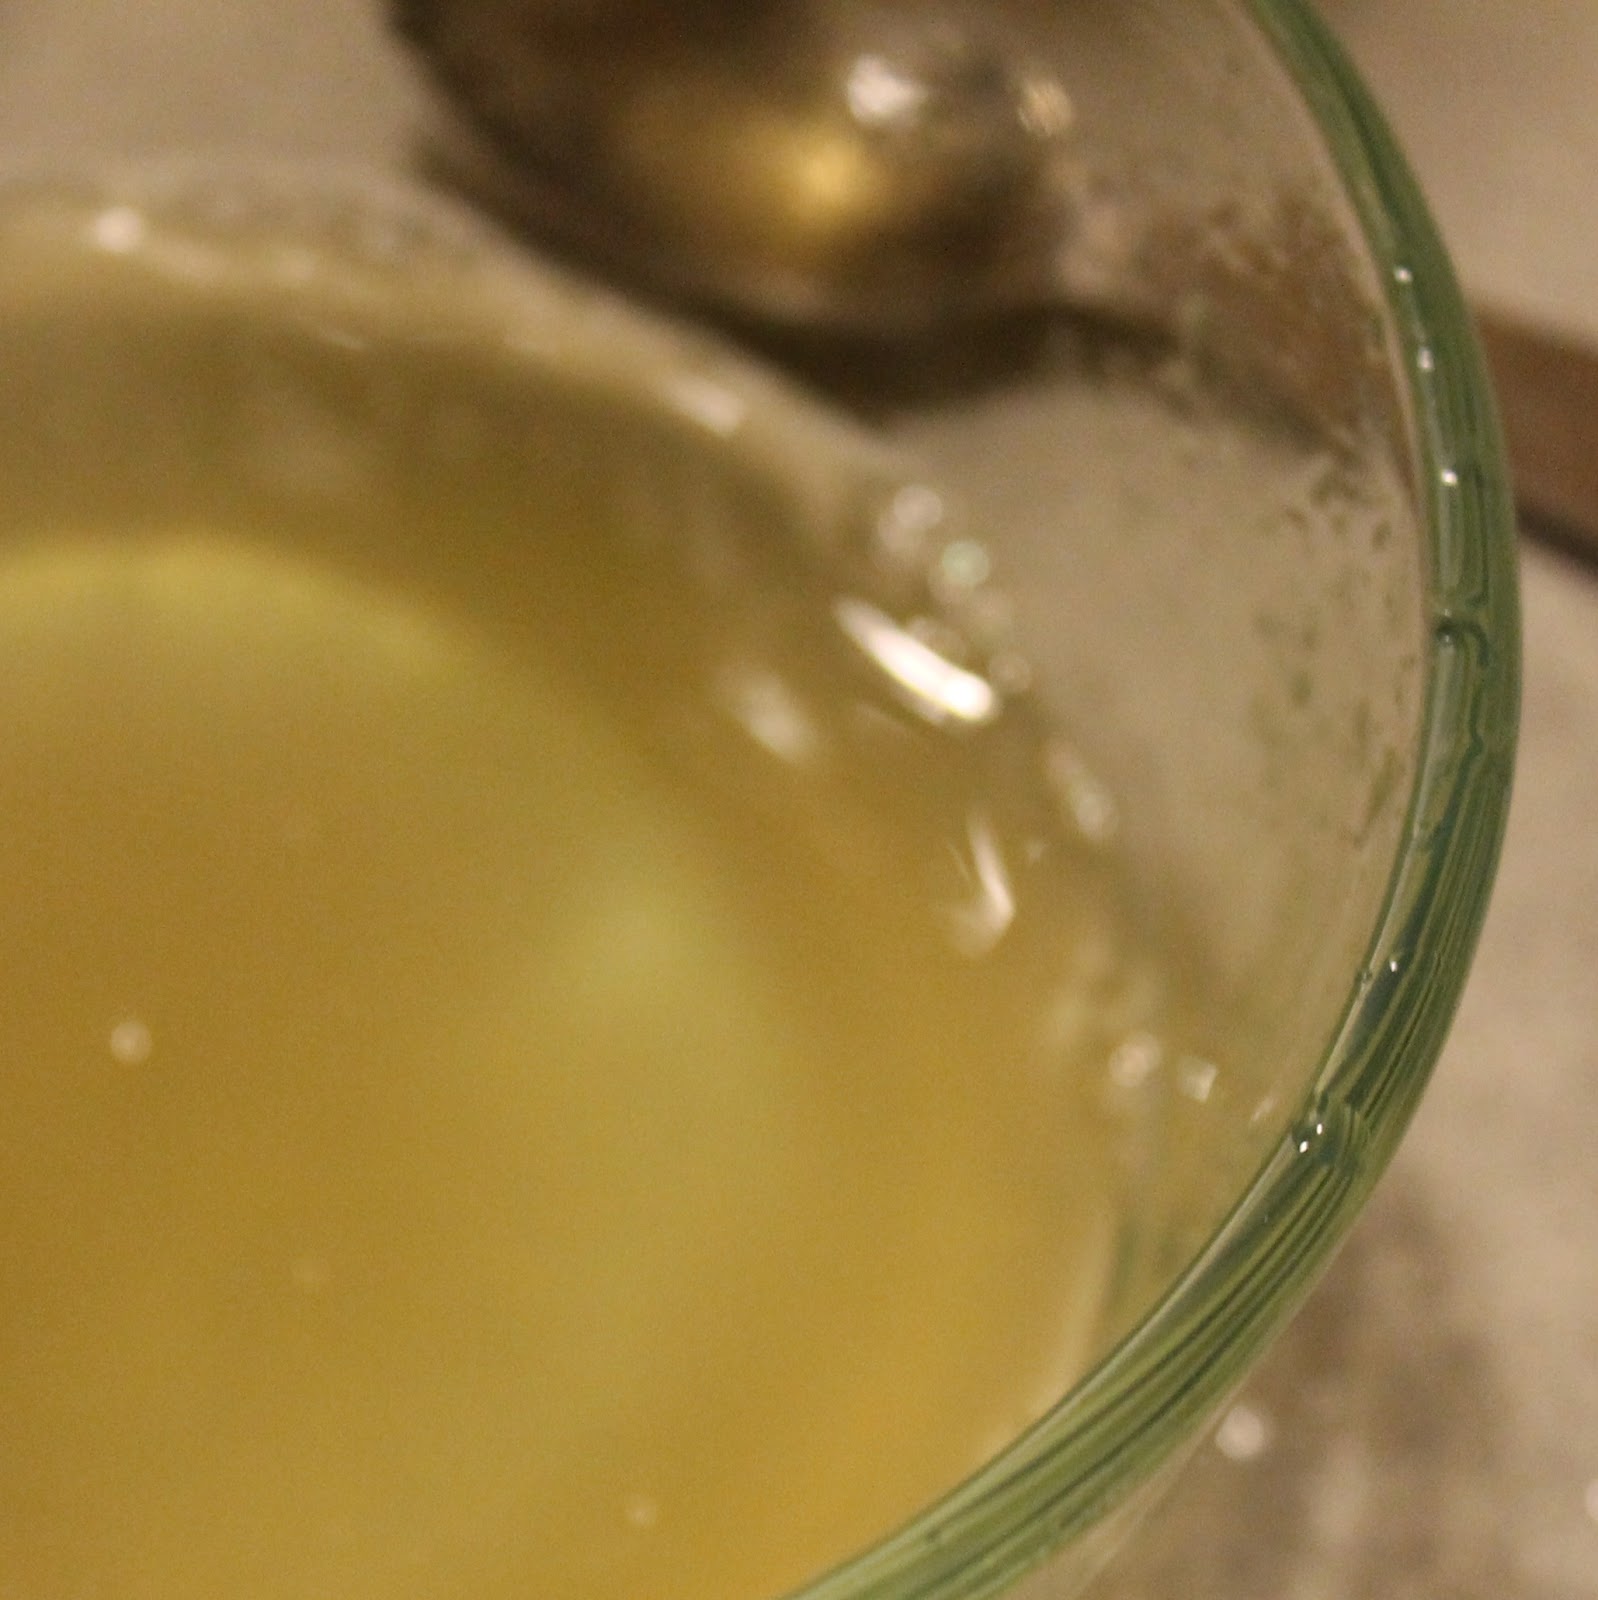
6 tablespoons Coconut Oil, melted and allowed to cool slightly
the zest of 2 lemons
1/2 cup sugar, plus 1 tablespoon sugar
2 tablespoons poppy seeds

Note: The method I will list below is the one I ended up using for this recipe. And the reason I used this method was because I completely forgot to add in the sugar and poppy seeds at the correct time! Anyways, the muffins turned out fine. Whew.
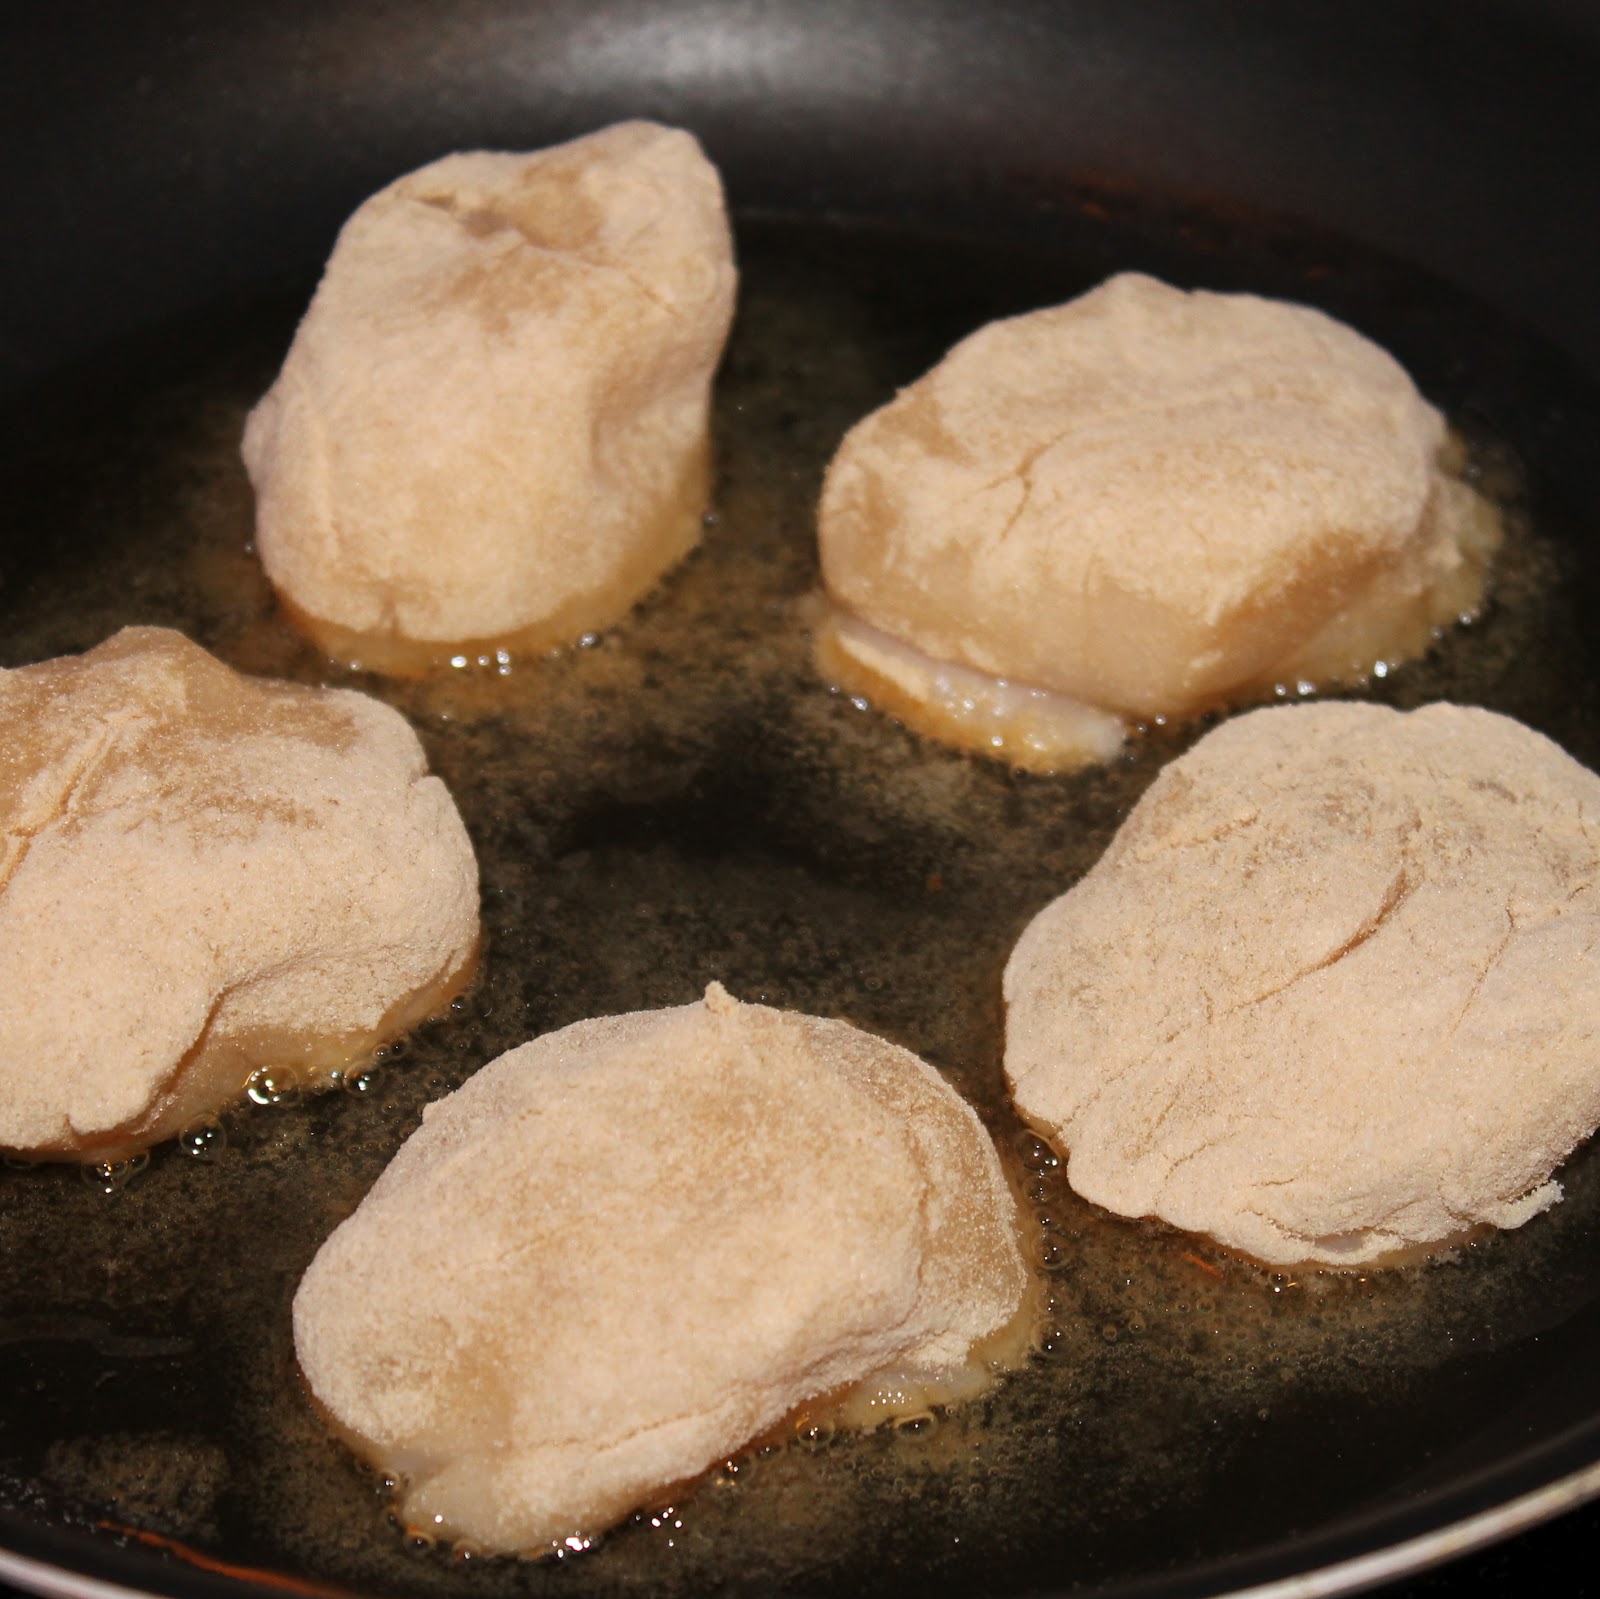
Preheat your oven to 400 degrees. Line a cupcake/muffin pan with 12 paper liners. Add 6 tablespoons coconut oil to a small saute pan over medium heat until completely melted. Remove from heat and reserve.
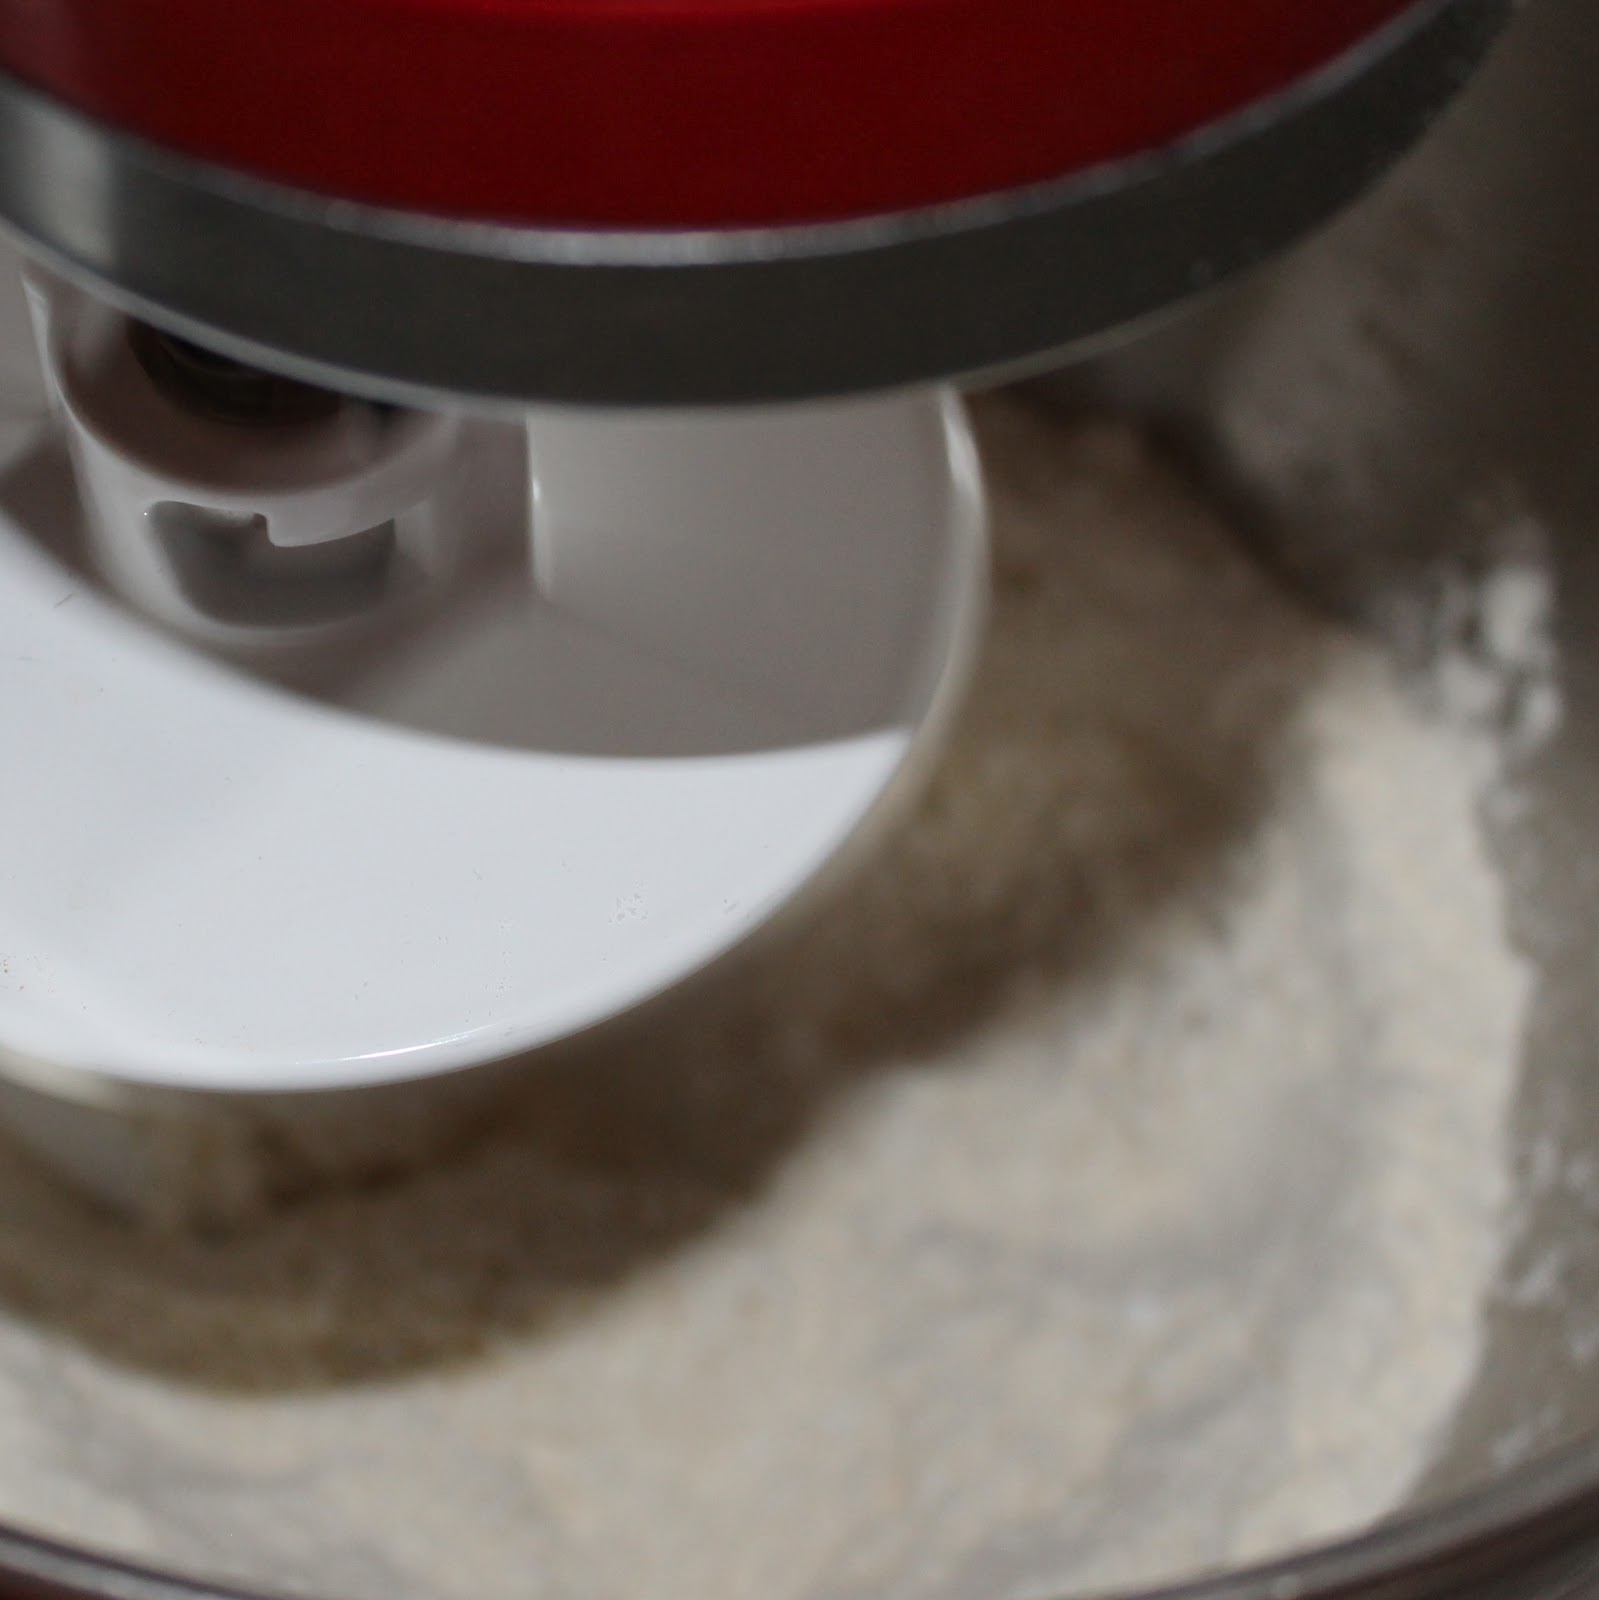
Sift the flour, baking powder, and salt. (If you have a stand mixer, add the dough hook and turn it on low for a minute or two. It will break up all the chunks, just as good as sifting!)


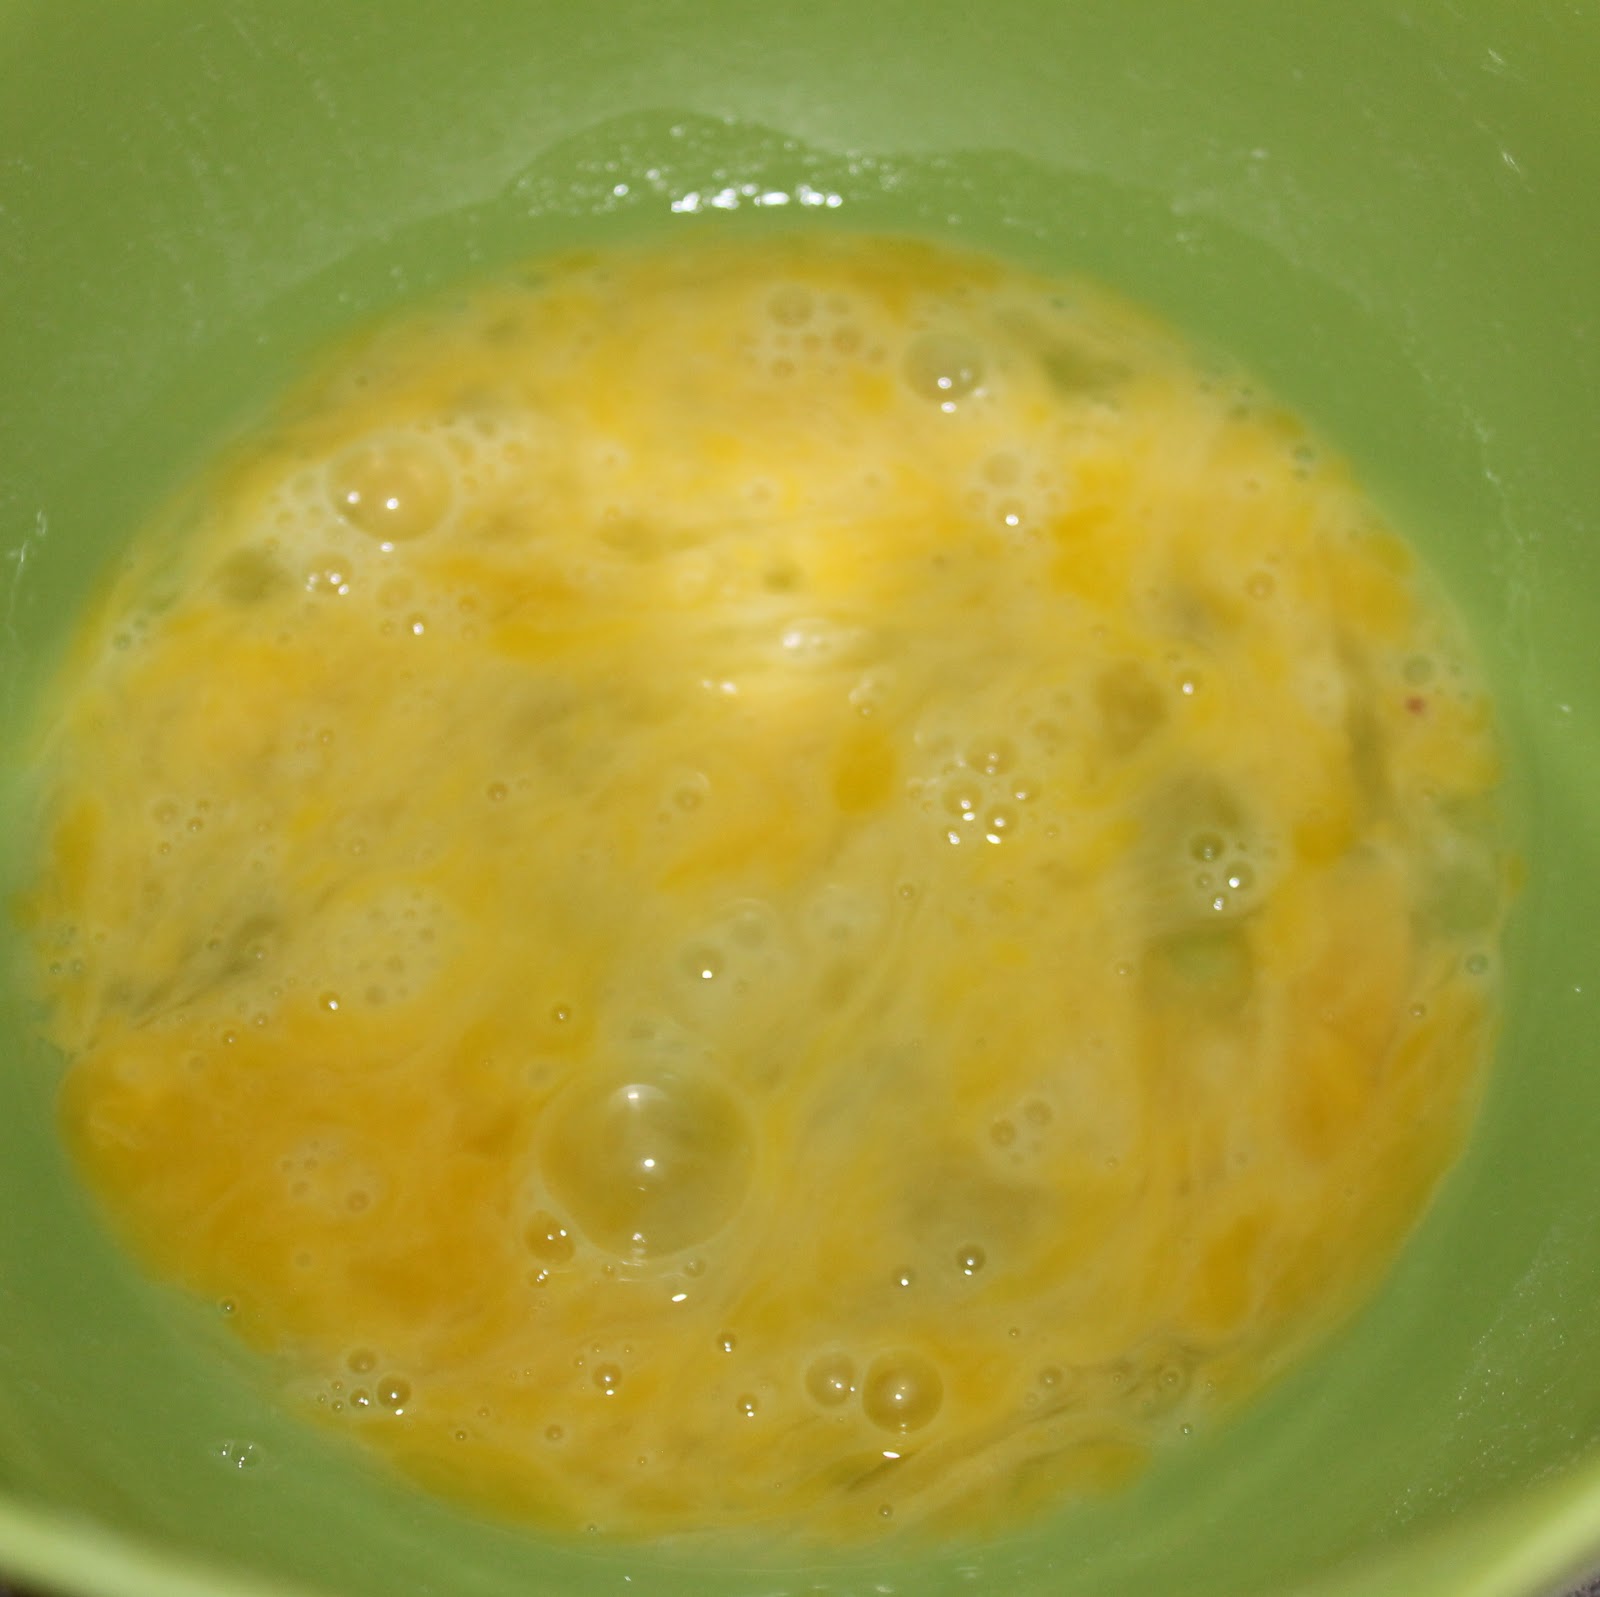
In a separate bowl, lightly beat the eggs.


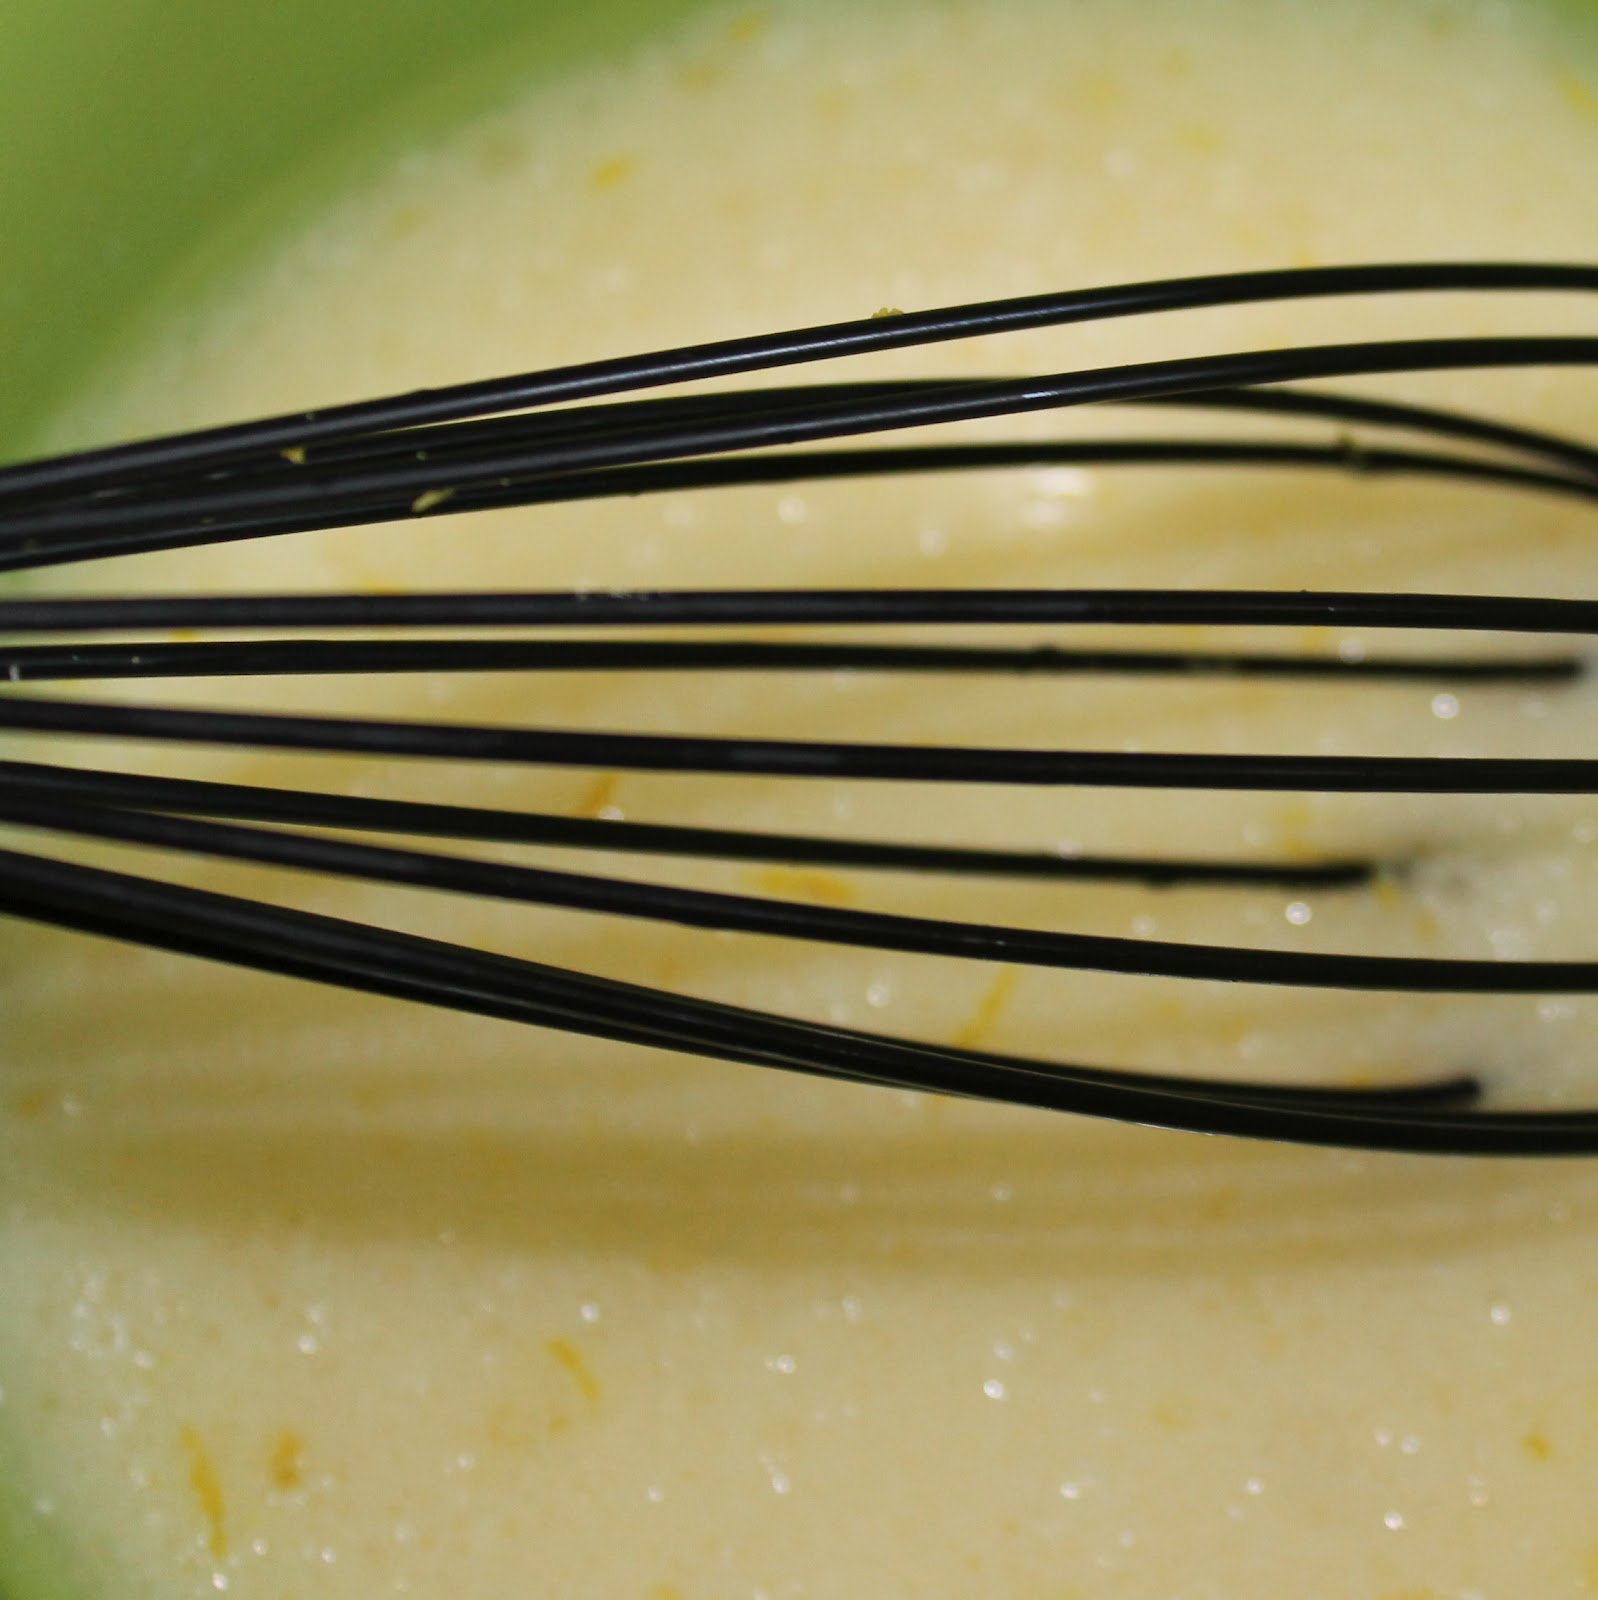
Add the milk, melted coconut oil, and lemon rind. And mix with a whisk to combine.


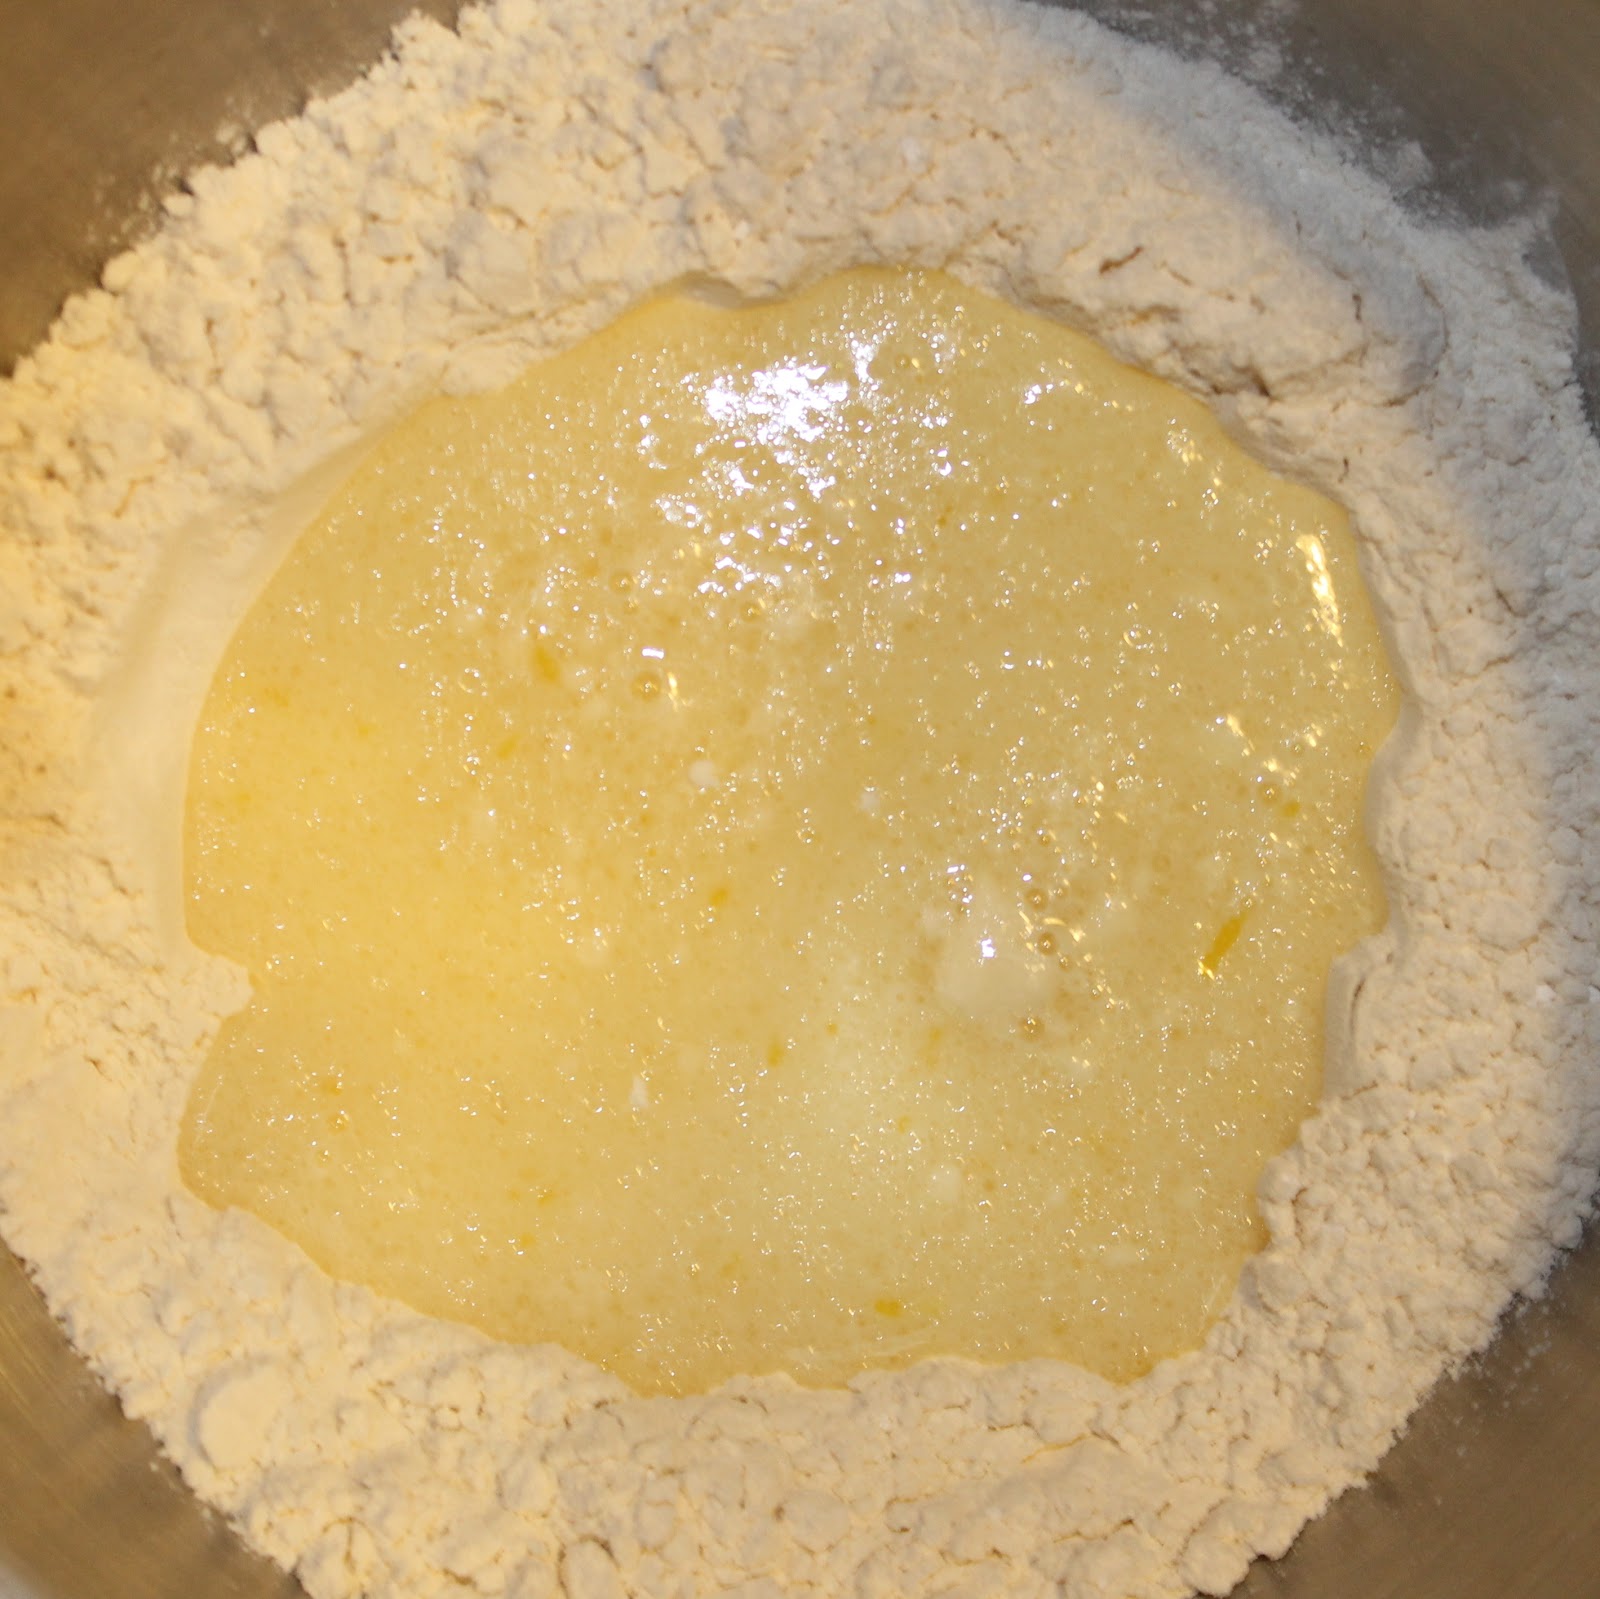
Make a well in the flour mixture and add the wet mixture to the bowl.


Stir until just combined (I used the lowest setting on my stand mixer. You can just use a spatula.)


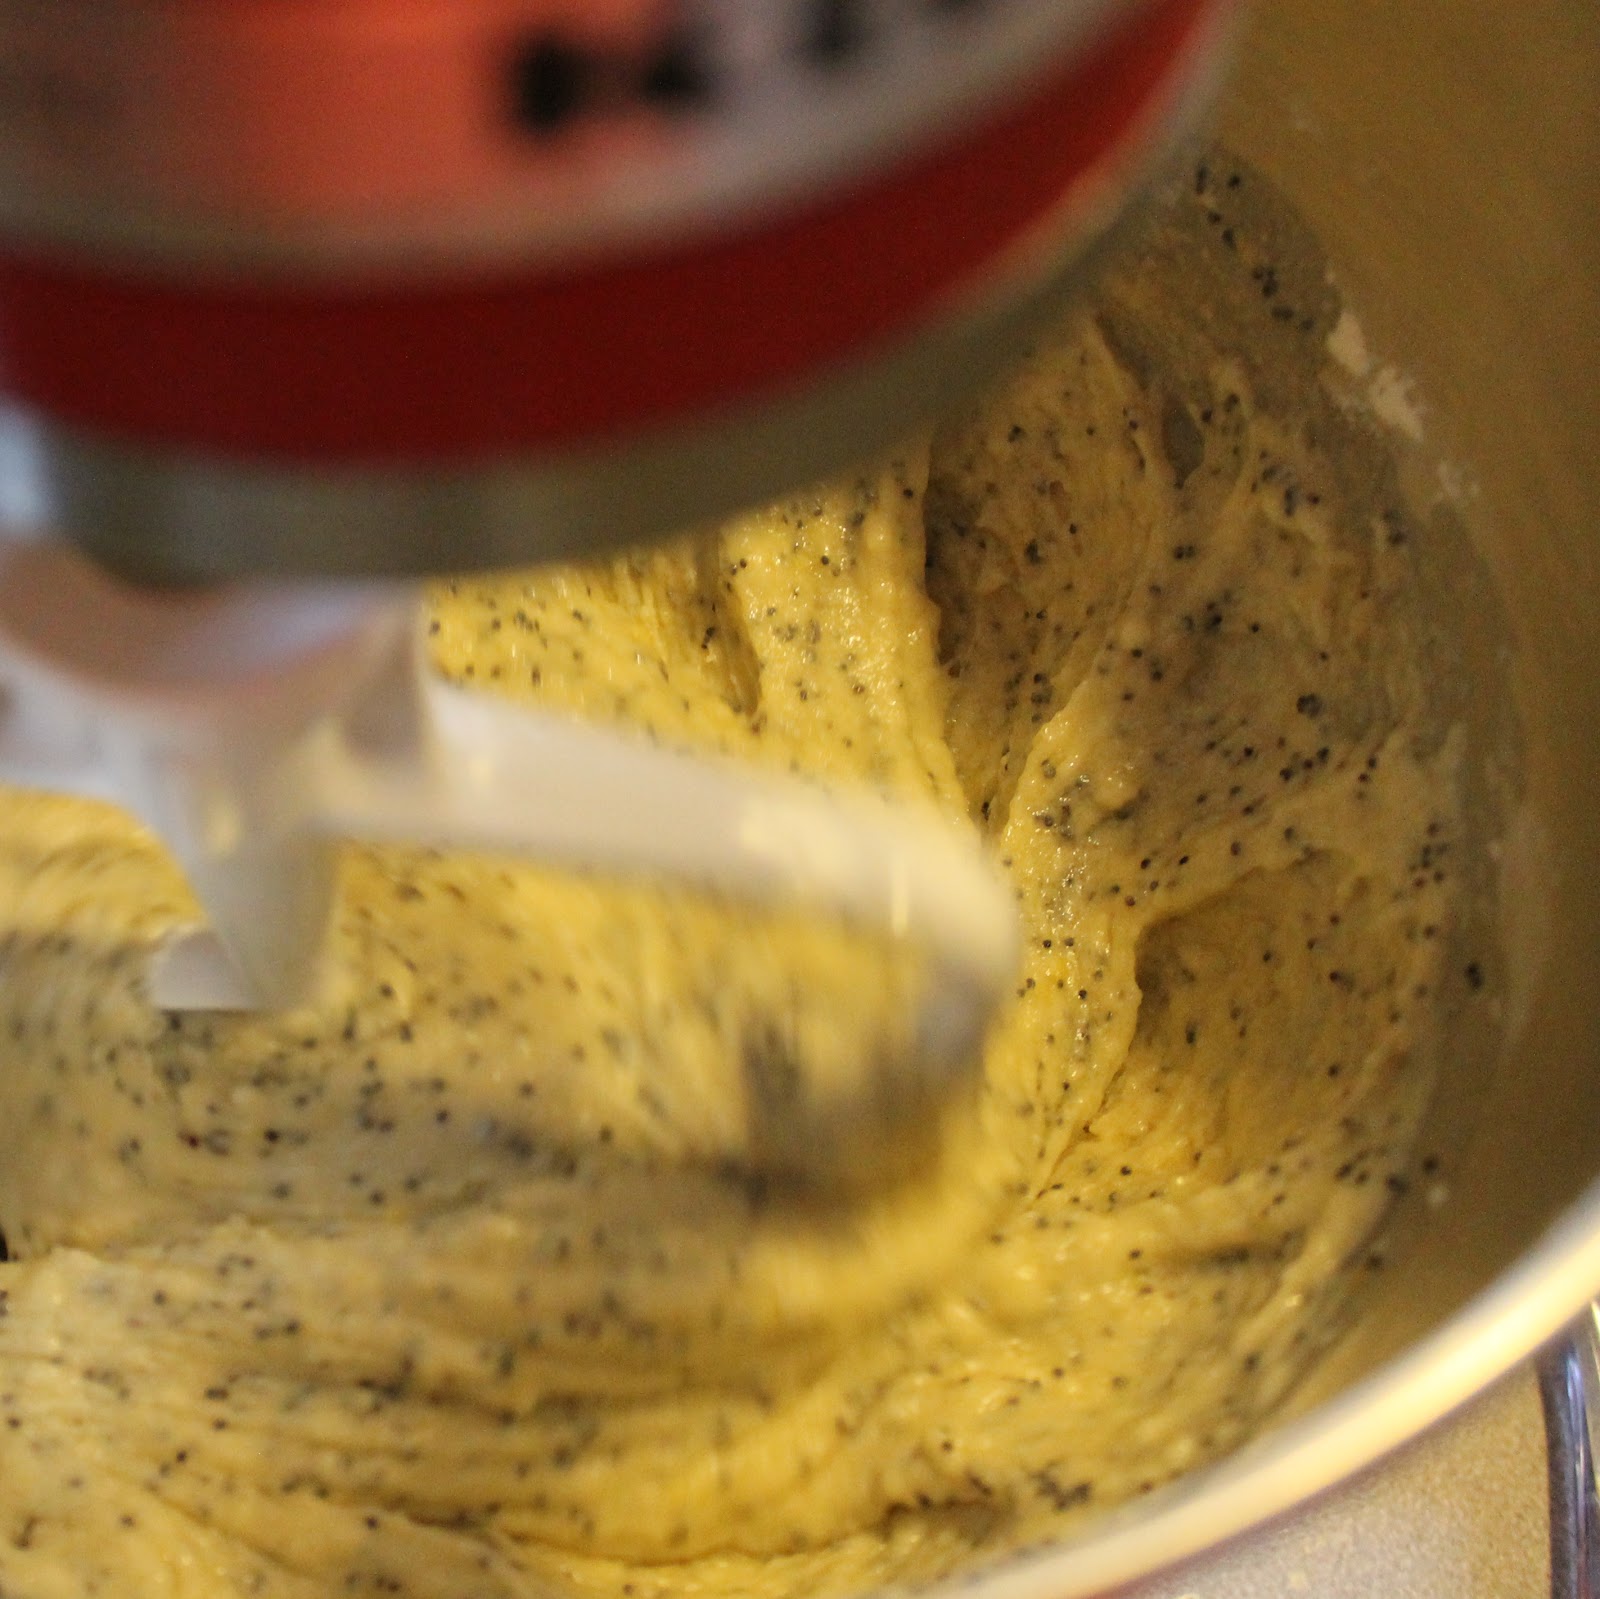
Add the sugar and poppy seeds, stirring until just combined.


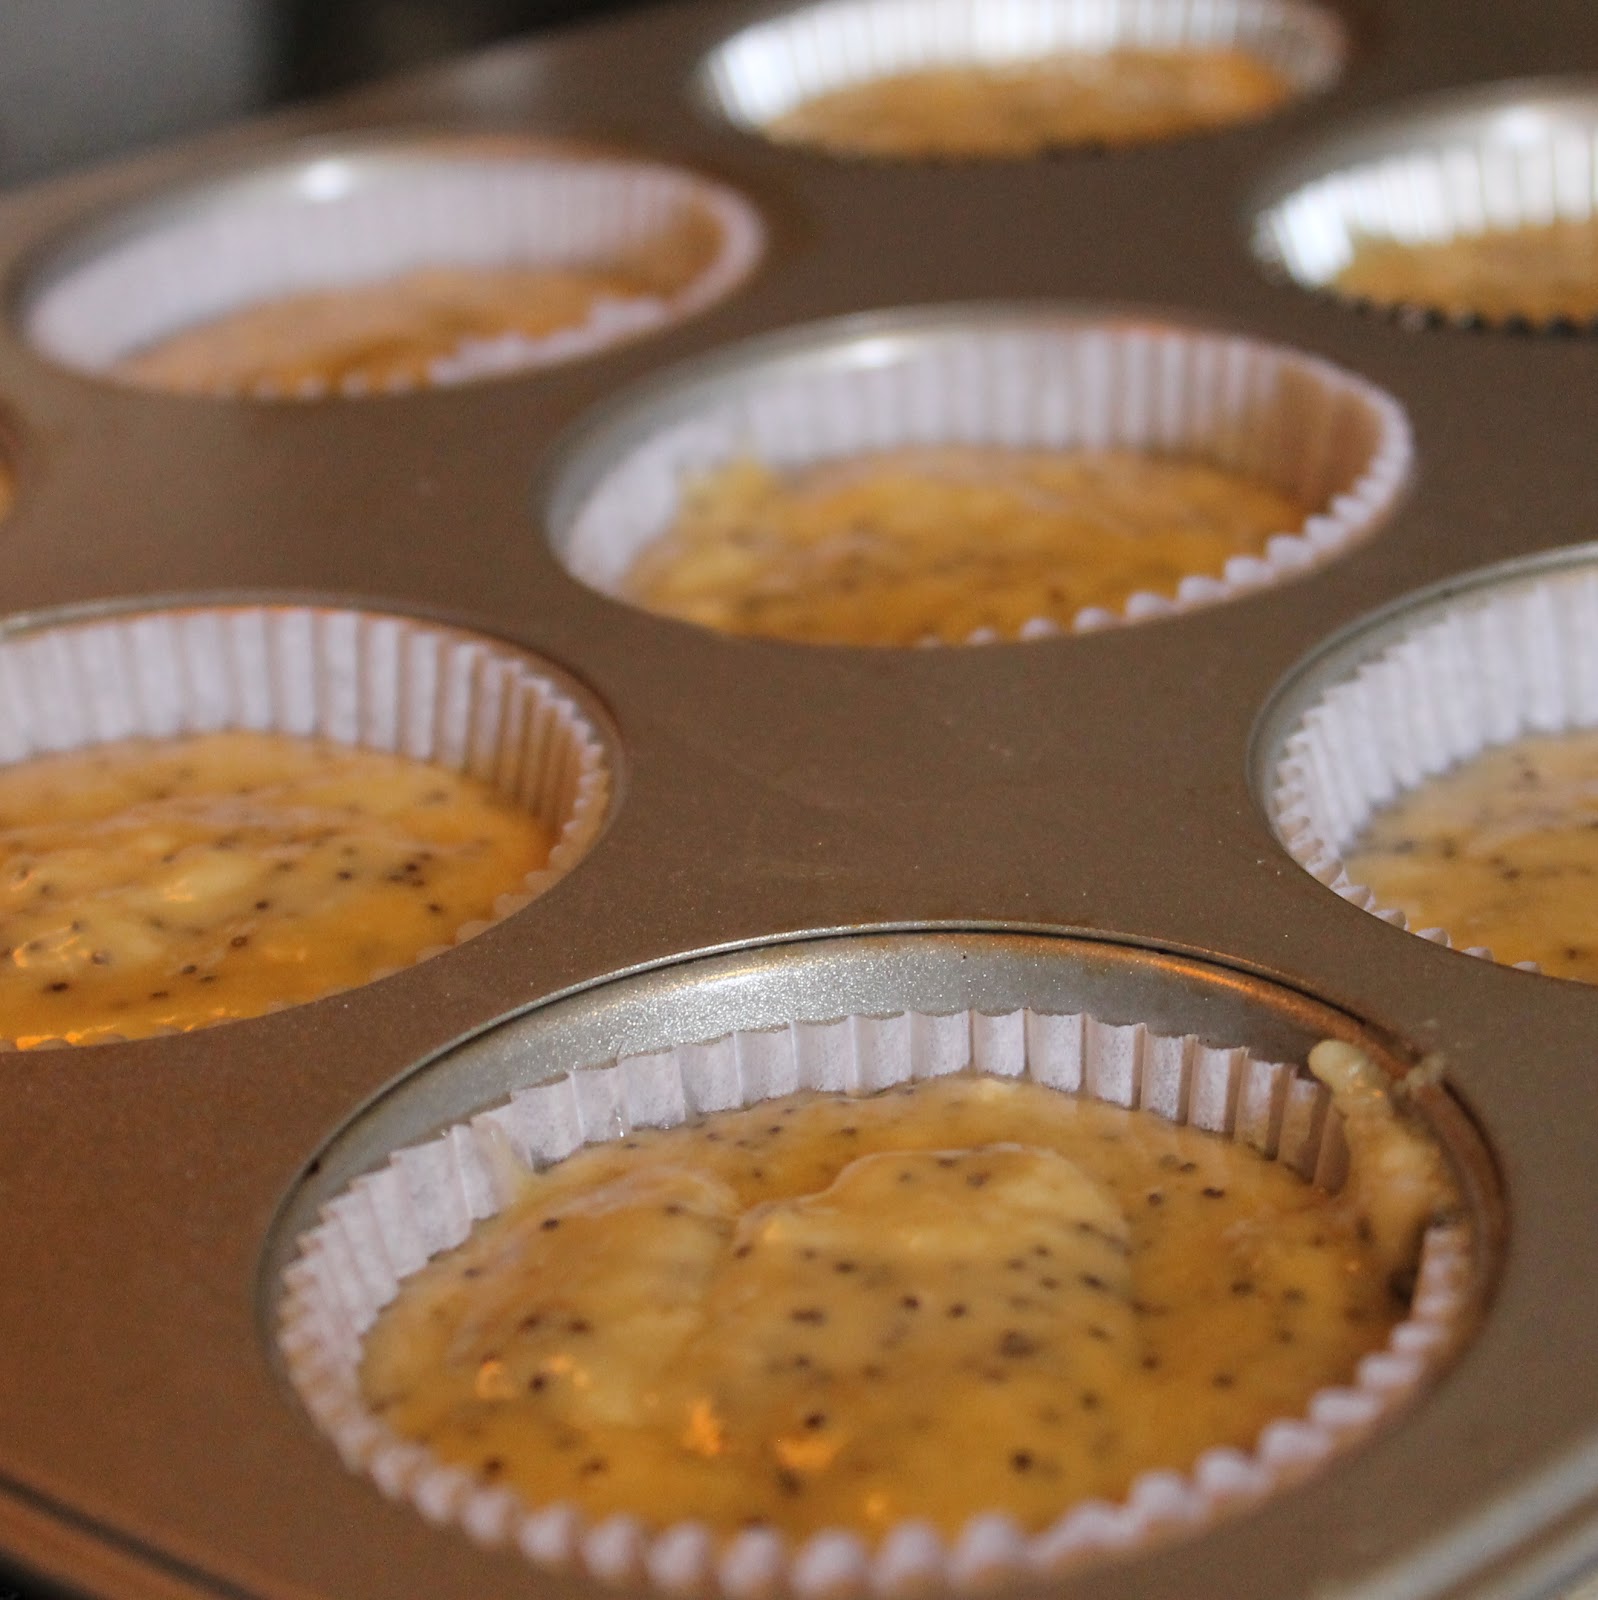
Add the batter to the muffin pan. To get equal sized muffins, use a small ladle or an ice cream scoop to portion out the batter.


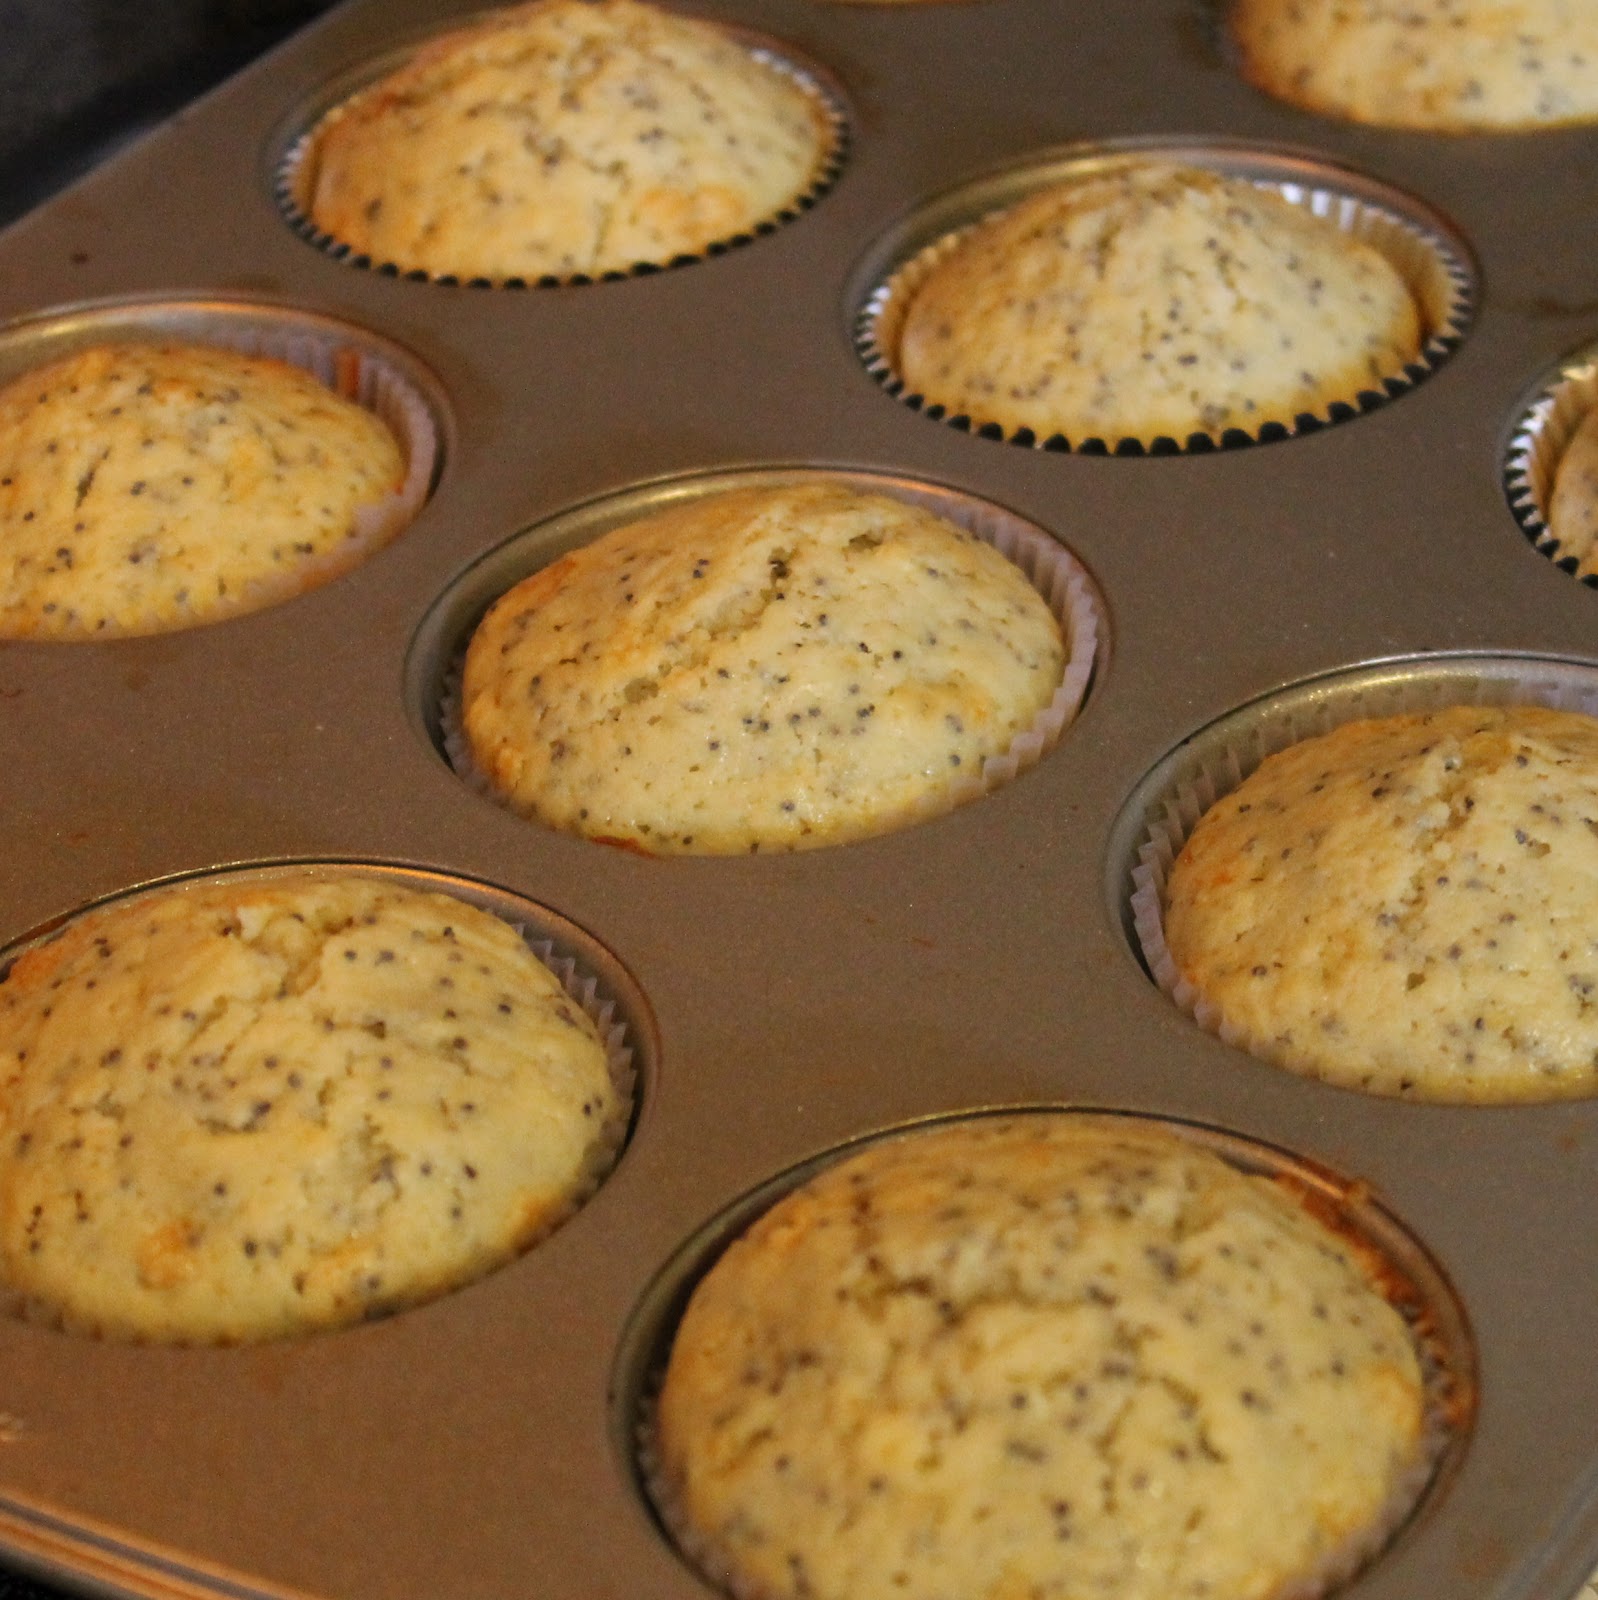
Bake the muffins for 20-22 minutes; you want the muffins to have risen and be slightly golden brown on top, or when a toothpick inserted into the center of the cupcake comes out clean.


Allow to cool for 5 minutes in the pan and then remove.


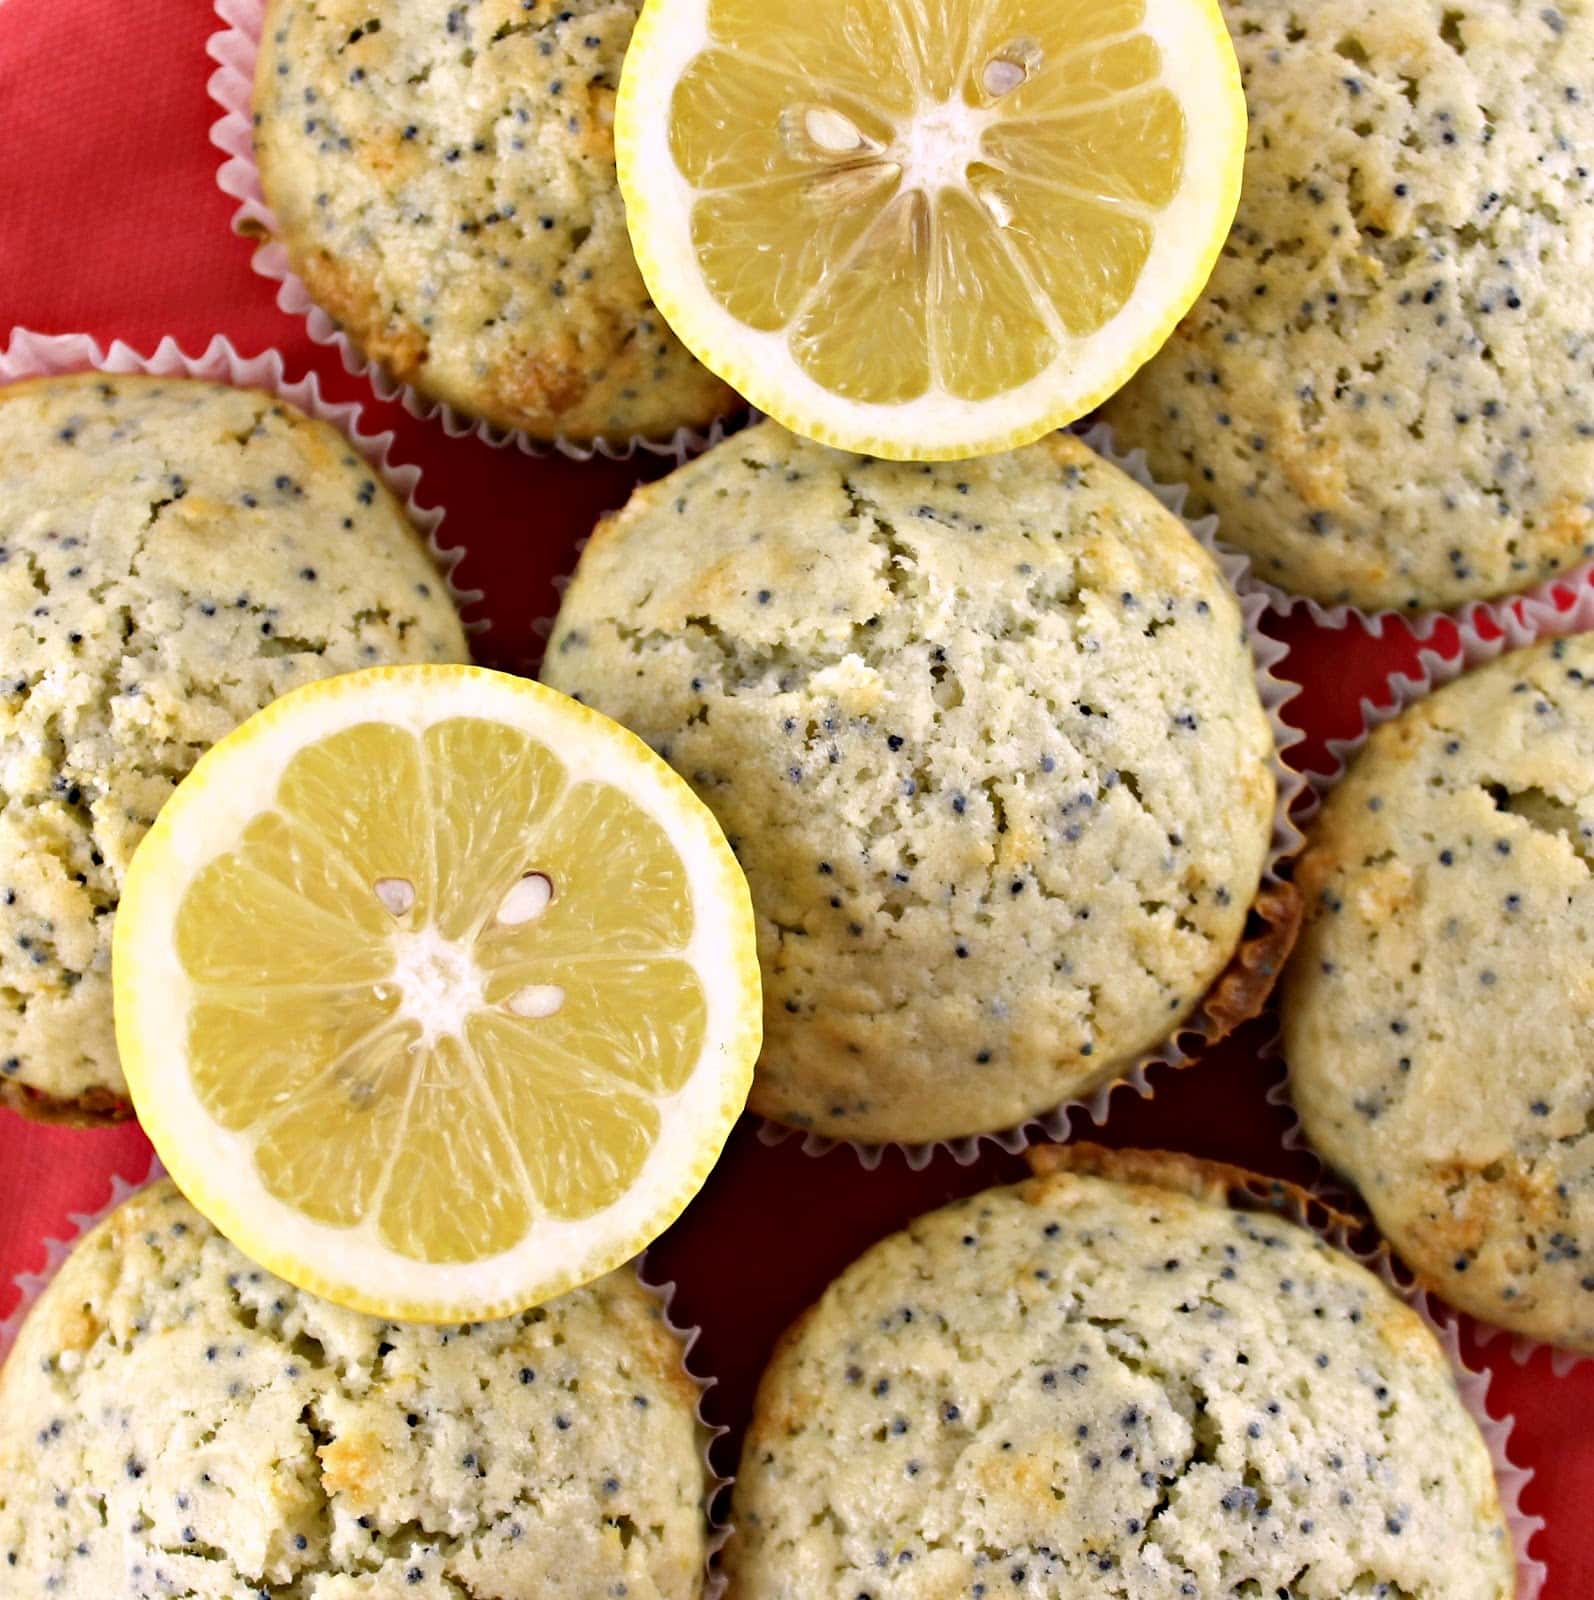
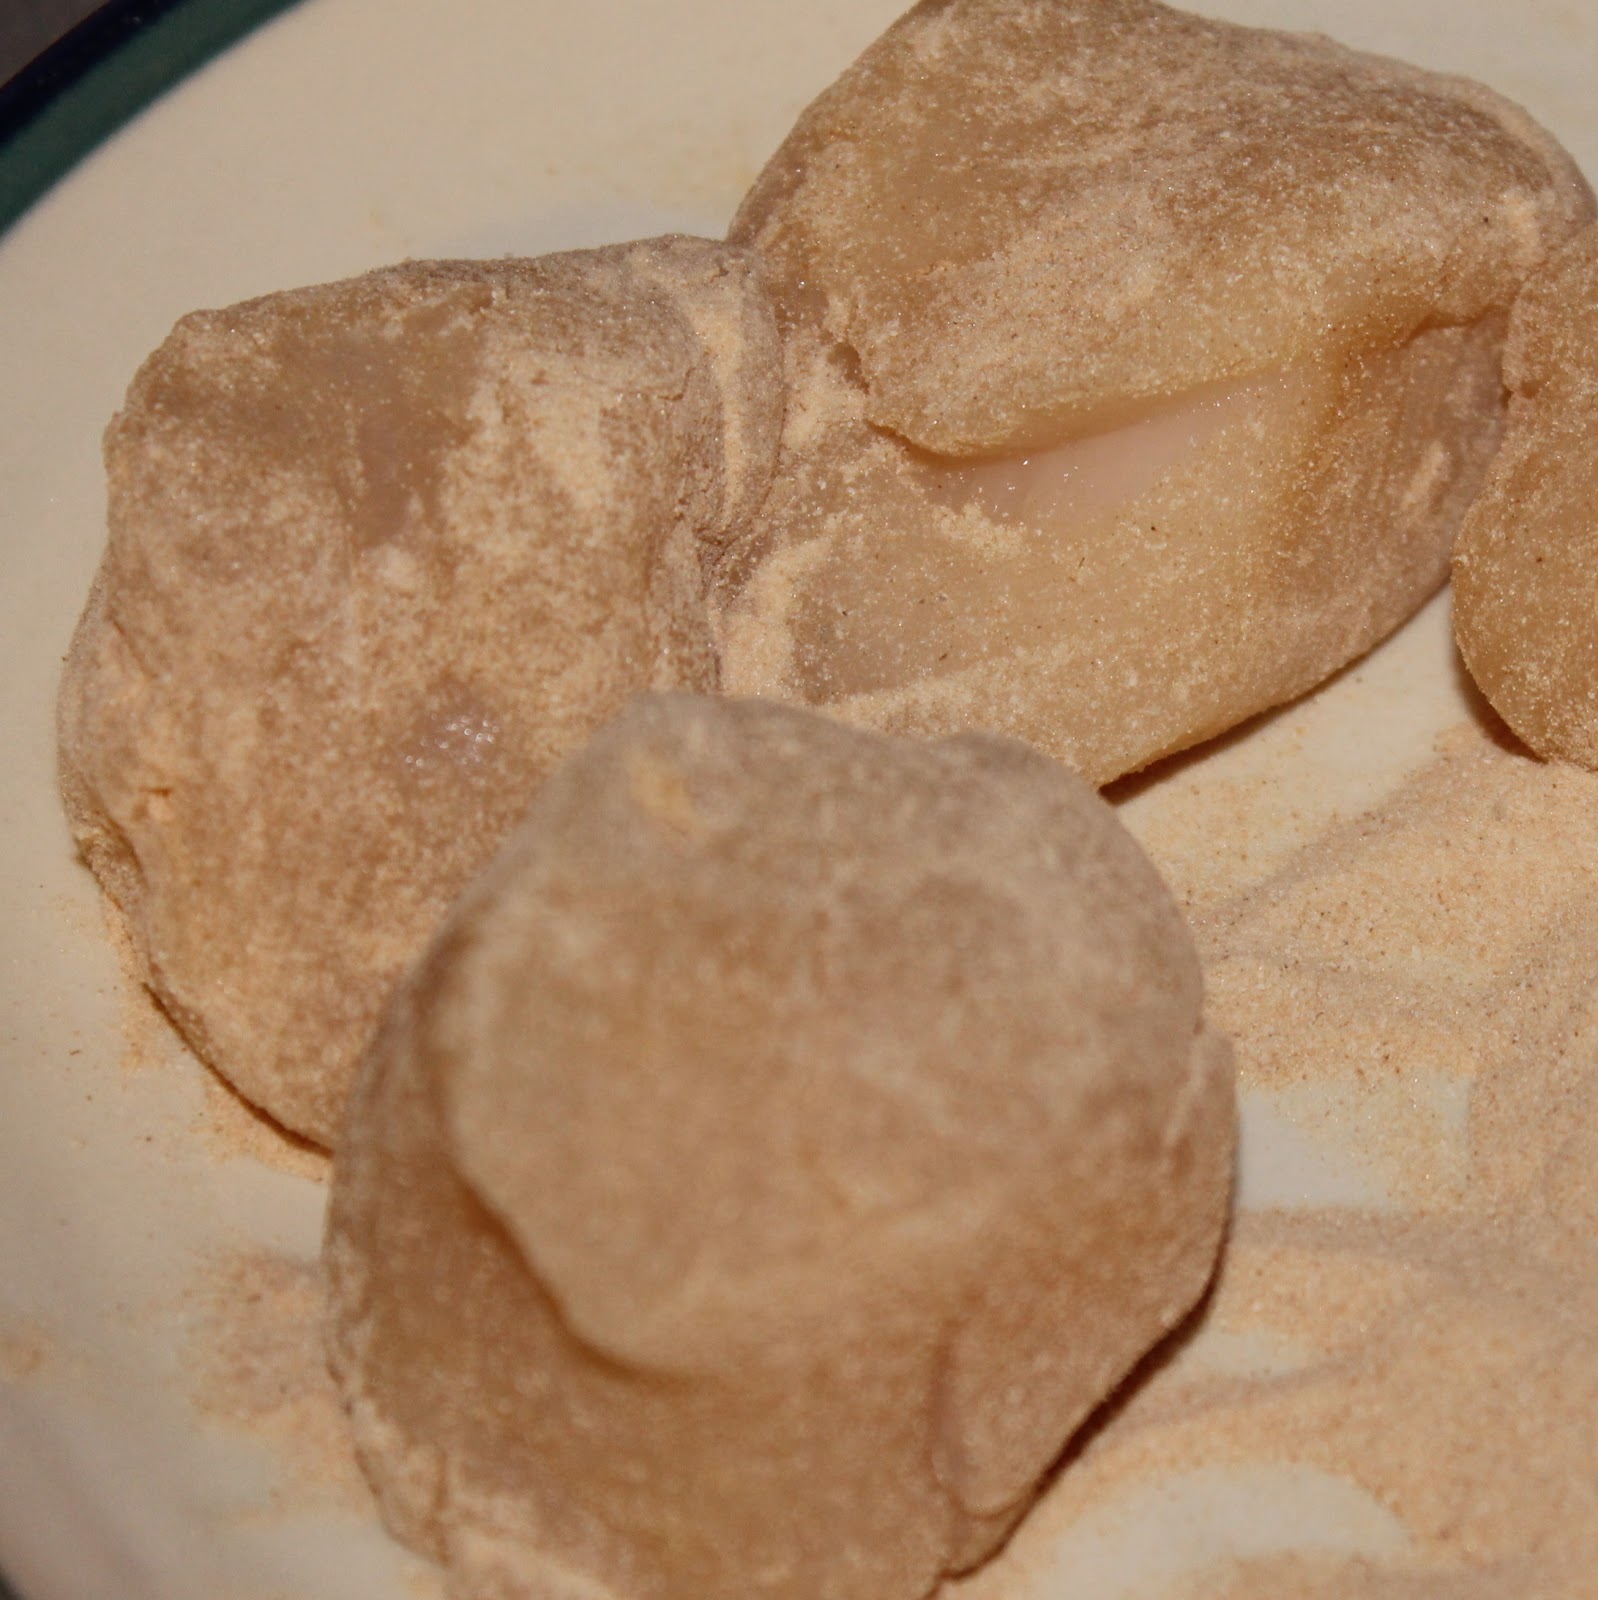
So everyone knows how delicious normal Lemon Poppy Seed Muffins are.  The coconut oil brings the muffins from good to great!


They are so fragrant. I was having trouble photographing them because I kept trying to eat them!


There is definitely a taste of coconut present without it being overwhelming; I find that coconut can really overtake a dish sometimes.


The lemon still shines through and is wonderfully sweet (due to all that sugar!)


Disclaimer: Tropical Traditions provided me with a free sample of this product to review, and I was under no obligation to review it if I so chose.  Nor was I under any obligation to write a positive review or sponsor a product giveaway in return for the free product.
So on to the giveaway!

Win 1 quart of  Gold Label Virgin Coconut Oil!
Tropical Traditions is America’s source for coconut oil. Their Gold Label Virgin Coconut Oil is hand crafted in small batches by family producers, and it is the highest quality coconut oil they offer. You can read more about how virgin coconut oil is different from other coconut oils on their website: What is Virgin Coconut Oil? You can also watch the video they produced about Gold Label Virgin Coconut Oil:
Tropical Traditions also carries other varieties of affordable high quality coconut oil. Visit their website to check on current sales, to learn about the many uses of coconut oil, and to read about all the  advantages of buying coconut oil online. Since the FDA does not want us to discuss the health benefits of coconut oil on a page where it is being sold or given away, here is the best website to read about the health benefits of coconut oil.
To enter, use the widget below. You have 8 chances to win (Writing a comment is mandatory, the rest are optional)! Giveaway ends this Friday, May 11 at 11:59PM EST. Good luck!

a Rafflecopter giveaway

<a href=”https://rafl.es/enable-js”>You need javascript enabled to see this giveaway</a>.

Rigatoni with Halibut Tomato and Basil

This recipe for Rigatoni with Halibut Tomato and Basil is loosely adapted from Marc Vetri’s cookbook, Rustic Italian Food. Last Friday, I went to Vetri for the first time. And it was hands down the best meal I’ve ever had, both food and service. I was also so terribly awkward that I’m not quite over it. Marc Vetri is one stellar chef. He opened Vetri in 1998 and 14 years later continues to wow people with the food he turns out. I was swooning over each and every plate that came out. I brought my parents for their 30th anniversary and honestly, I feel like it ended up being as much a present to myself as it was for them (sorry mom and dad!).
Vetri even came over to our table, wished my parents a happy anniversary, and signed his cookbook for me! (This is the stage where I got truly embarrassing. I absolutely turned red during this encounter. Eep). So naturally, I can’t think of anything but those delicious meals. I decided to use a recipe from his cookbook, Rustic Italian Food. I ended up using Halibut because the store I was at was out of swordfish (boo).
Ingredients:
  • 1 (16 oz) box dried rigatoni
  • 2 tablespoons olive oil
  • 1/2 cup finely chopped onion
  • 4 cloves garlic, smashed
  • 2 (12 oz) containers heirloom tomatoes, halved lengthwise
  • Salt and freshly ground pepper, to taste
  • 2 pound halibut, cut into large chunks
  • Juice of 1 lemon
  • 1/2 cup basil leaves, hand torn, plus additional basil leaves for garnish

Continue reading Rigatoni with Halibut Tomato and Basil

Tandoori Chicken Thighs with Saffron Rice

Adding spices to your meal is a great way to add tons of flavor to a dish without adding calories. Because you need so little of the spice to enhance a dish, it’s a pretty cost-effective way to add flavor as well. (I try to buy my spices outside of supermarkets where they are really marked up. Spice Terminal in Reading Terminal was my favorite spot — I hope it’s coming back soon! update: The Head Nut is now open!) This dish in the latest Cooking Light for Tandoori Chicken Thighs incorporates traditional Indian spices which I absolutely love. I also made a quick saffron rice to go with the chicken.
Ingredients (this recipe makes 2 servings):
For the chicken:
  • 1 cup plain 2% reduced-fat Greek yogurt
  • 1/4 cup finely chopped onion
  • 1 1/2 tablespoons grated peeled fresh ginger
  • 1 tablespoon ground cumin
  • 1 teaspoon cayenne
  • 1/2 teaspoon ground turmeric
  • 5 garlic cloves, minced
  • 4 skinless, boneless chicken thighs
  • 1/2 teaspoon kosher salt
  • 1 tablespoon canola oil
For the rice:
  • 1 cup uncooked basmati or similar rice
  • 1 1/2 cup boiling water
  • 1/2 tsp saffron, crushed
  • 1 tablespoon ghee, or butter
  • 6 cardamom pods
  • 1 cinnamon stick
  • 4 whole cloves
  • 1/4 teaspoon tumeric
  • Salt, to taste

Continue reading Tandoori Chicken Thighs with Saffron Rice

Shrimp Fried Rice

This dish for Shrimp Fried Rice is an attempt to make a takeout favorite a bit healthier. To do so, Cooking Light cut the amount of rice, added a bunch of veggies, and cut out some of the salt. So because of this, I think this recipe should more be called “Shrimp Fried Rice” (There’s a lot of shrimp, a little bit of fried, and an itty bit of rice. Have no fear, you won’t even miss it.)

Ingredients:
1 cup broccoli florets
7 teaspoons canola oil, divided
1 medium red bell pepper, cut into thin strips
1 medium yellow bell pepper, cut into thin strips
1 medium orange bell pepper, cut into thin strips
1 cup snow  peas, trimmed and halved crosswise
1 tablespoon grated peeled fresh ginger
1 cup cooked long-grain white rice, chilled
1 tablespoon dark sesame oil
1 pound peeled and deveined medium shrimp
1/4 cup lower-sodium soy sauce (or coconut aminos to make gluten free)
1 1/2 tablespoons rice vinegar
1 teaspoon Sriracha
1/4 cup thinly diagonally sliced green onions

This recipe works best with day-old rice but I didn’t have the foresight to do that. So I made my rice in my rice cooker and popped it in the refrigerator.
To make, bring a pot of water to a boil. Add the broccoli to a steam basket and steam over the boiling water for 4 minutes or until crisp-tender. (I cheated and steamed my broccoli in my rice cooker after making the rice).  Add to a large bowl.

Prepare your vegetables.


Add 1 teaspoon canola oil to  a saute pan over medium high heat. If you have a wok, use it here. If not (like me) just use your largest saute pan. Add the peppers and snow peas and stir fry for 2 minutes.


Remove the vegetables and place in a large bowl with the broccoli. Add 2 tablespoons canola oil to the pan and swirl to coat. Add the ginger, cooking for 10 seconds. Add the chilled rice and cook for 5 minutes or until the rice is lightly browned.
Remove the rice and add to the bowl with the vegetables.
Mix the soy sauce, vinegar and Sriracha in a bowl. Set aside.
Wipe the pan with paper towels and return to medium-high heat. Add the sesame oil (I used toasted sesame oil, you can use regular as well), and swirl to coat.  Add the shrimp and cook for 1-2 minutes, stirring constantly.
Stir in the soy sauce mixture and bring to a boil.
Cook for 3 minutes or until the liquid slightly thickens.
Add back in the vegetables plus the sliced green onions, stirring to combine. Cook for 1 minute and serve.
So easy right? And look at those beautiful colors!
There is a ton of flavor in this dish, and it ends with a slight spiciness. I would by no means call this a spicy dish though, it’s really great!
With so many vegetables in the dish, the rice became more a complement than the entire meal which was actually quite refreshing.
I wish I had taken the tails off the shrimp though, I wanted to just inhale this meal and the tails kept slowing me down!

Berries and Cream in Vanilla Dessert Cups

Berries and Cream in Vanilla Dessert Cups is the perfect quick dessert for guests, or just to fulfill a sweet tooth in a pinch. I found the vanilla dessert cups in Whole Foods and immediately knew I was going to fill them with fresh berries and homemade whipped cream. This recipe for Berries and Cream in Vanilla Dessert Cups is easily adaptable to account for what is on sale or what looks freshest, any berry or fruit will do.
Ingredients:
  • 4 vanilla dessert cups
  • 1/2 pint blackberries
  • 1/2 pint raspberries
  • 2 strawberries, halved
  • 1/2 cup whipping cream/heavy cream
  • The juice and zest of 1 lemon
  • 1 tablespoon sugar

Continue reading Berries and Cream in Vanilla Dessert Cups

Grilled Salmon and Brown Butter Couscous

Salmon and couscous were just made for each other, don’t you think? They are also the perfect choices for a weeknight meal, you’re sure to get food on the table in no time. Cooking Light’s latest issue has a recipe for Grilled Salmon and Brown Butter Couscous that sounded just wonderful. The magazine suggested making this with grilled summer squash. But I stink. And forgot to pick up the squash. Sigh. If you try the squash out with this recipe, let me know how it goes!
Ingredients:
2 tablespoons butter
2 tablespoons pine nuts
1 cup uncooked couscous
2 tablespoons dry white wine
1 (14.5-ounce) can fat-free, lower-sodium chicken broth
1 tablespoon grated lemon rind
1 tablespoon lemon juice
Salt and pepper, to taste
1/2 teaspoon pepper
1/2 teaspoon ground fennel seeds
1/2 teaspoon ground coriander
1/4 teaspoon sugar
1/4 teaspoon kosher salt $
4 (6-ounce) skinless salmon fillets
Cooking spray

To make, first preheat your grill to medium-high heat. I live in the city, so I use a grill pan and it works just fine. Add the butter to a small pot over medium heat. Cook for 3 minutes or until browned. Add the pine nuts. Cook for 1 minute stirring occasionally.
So at this stage, I was pretty sure I burnt the pine nuts. Maybe it’ll add a smokiness to the couscous?
Add the couscous and cook for 1 minute, stirring occasionally.
While waiting for the couscous to cook, combine the pepper, ground fennel seeds, ground coriander, sugar, and salt in a bowl. As a note, the original recipe called for white pepper, which I do not have. Also, I have fennel seeds that I stuck in my Magic Bullet and blend until powdery.
Sprinkle fillets with the spice mixture and place on grill, skin side up. Grilled for 4 minutes on each side.
Add the wine and broth and bring to a boil. Cover the pot, remove from heat, and let stand for 5 minutes. After the 5 minutes have passed, fluff with a fork and stir in the lemon rind, lemon juice, salt and pepper.
Yep. Totally burned the pine nuts.
The salmon should be finished slightly after the couscous.
The summer squash would have been a wonderful complement. What was I thinking, making a meal without a vegetable? Oh well.
The flavors were absolutely delicious. The spices on the salmon gave so much flavor, but what I really loved was how great of a sear I got on my salmon. It looks so snazzy!
The couscous was really flavorful, the brown butter and even the pine nuts (which weren’t too burnt to eat, yay!) I love love the hit of citrus with the couscous as well.
To not burn the pine nuts, maybe cook them for about 30 seconds. I also think there’s a chance I never stirred them.. I honestly don’t remember!

Crispy Flounder and Roasted Tomatoes

These Lipman Tomatoes just keep on giving! This time around, I used their gorgeous cherry tomatoes. Cooking Light had a wonderful recipe in their most recent issue for Crispy Flounder and Roasted Tomatoes. Fish is a favorite of mine for weeknights because it cooks so quickly; this meal took me 25 minutes from start to finish.
Ingredients: (this serves 2)
2 tablespoons capers
1 tablespoon olive oil
1 pint cherry tomatoes
Salt and pepper, to taste
A few basil leaves, thinly sliced
1/2 cup panko (Japanese breadcrumbs)
1 tablespoon chopped fresh parsley
2 teaspoons chopped fresh thyme
2 (6-ounce) skinless flounder fillets
Cooking spray
1 tablespoon olive oil

Preheat your oven to 400 degrees. While waiting for the oven to heat up, combine  the capers, 1 tablespoon olive oil, and the cherry tomatoes in an oven safe dish. Toss to coat. Sprinkle with salt and pepper and bake for 20 minutes.
When there is about 10 minutes left on the tomatoes, combine the panko, parsley, and thyme in a shallow dish.
Coat the fillets with the cooking spray and dredge the fillets in the panko mixture. Heat 1 tablespoon olive oil in a nonstick saute pan over medium-high heat and add the fillets to the pan.
Cook for 3 minutes on each side.
The tomatoes should finish almost the same time as the fish.
To serve, add the flounder to a plate. Top with the tomato mixture. Add some fresh sliced basil.
I love how the cherry tomatoes burst in the oven while roasting.
The capers add a little saltiness to the whole dish which is nice. I think you only need 1 tablespoon of capers though, instead of 2.
I couldn’t really tell that there was thyme with the flounder but I loved the parsley flavor. If you’re a thyme fan, try upping the amount to get more flavor.
This was one delicious meal! With the exception of the flounder, the ingredients are things I usually have on hand anyways so this is a great last minute dinner.

Creamy Fresh Tomato Soup

Naturally, the day after I made my Grilled Tomato Orzo Salad in a Tomato Bowl pretending it was summer, the weather decided to do a 180 and veer into rainy cold sadness. Sigh. So what better way to use some of my Lipman Tomatoes than to make Creamy Tomato Soup? I found this recipe on Food Network and I had most of the ingredients already, win! I changed the recipe slightly for my tastes.
Ingredients:
3 tablespoons olive oil
1 red onion, chopped
1 carrot, unpeeled and chopped
3 cloves minced garlic
12 plum tomatoes, roughly chopped
1 teaspoon sugar
1 tablespoon tomato paste
1/4 cup packed chopped fresh basil leaves, plus julienned basil leaves, for garnish
3 cups chicken stock
1 teaspoon kosher salt
1 teaspoons freshly ground black pepper
1/2 cup heavy cream
Croutons, for garnish

Heat a large pot or a Dutch oven over medium-low heat. Add the olive oil. Chop the onion and carrot.
Saute for 10 minutes.
While waiting for the onion and carrot to soften, mince the garlic and set it aside. Roughly chop the tomatoes. Chop the basil.
Add the garlic to the pot and cook for 1 minute.
Add the tomatoes, sugar, tomato paste, basil, chicken stock, salt and pepper to the pot.
Stir well and bring to a boil.
Lower the heat and simmer, uncovered, for 30 minutes.
If you have an immersion blender, at this stage, use to puree the soup. If you don’t, remove half the mixture and add it to a blender. Blend until smooth; be sure to keep the center of the top off of the blender and cover with a paper towel. Repeat with remaining mixture. Return to the pot over medium-low heat.
The soup is honestly good to go at this point. Feel free to just stop here.
To make a creamy soup, add the cream to the soup and mix.
Serve with basil and croutons.

Oh my goodness. Not only is this super easy, but it is absolutely delicious.

Because the soup is made with so many fresh tomatoes, it’s important to use tomatoes at their peak.

This is a wonderfully thick soup so it’s a meal in itself, but rainy, cold days always make me want a favorite childhood staple:

Note: The original recipe used a food mill but I don’t have one. And I was not willing to peel the tomatoes so I blended them, and it worked out great. The soup ended up completely creamy.

Grilled Tomato Orzo Salad in a Tomato Bowl

We have been having such a warm spring in Philadelphia. So if the weather is going to pretend it is summer, I will as well! To me, summer means tomatoes, corn, pesto, pasta salad, and of course, grilling.
Before I go into this recipe for Grilled Tomato Orzo Salad in a Tomato Bowl, first I want to tell you about Lipman Tomatoes. Lipman Tomatoes, a business-to-business company that has been supplying tomatoes and other vegetables to grocery stores and restaurants for 70 years, is about to launch a consumer-focused brand and website. Lipman contacted me about developing a recipe to celebrate their launch, which is the perfect opportunity for me to give into my “summer fever”.  I decided to make a Grilled Tomato Orzo Salad served in a Tomato Bowl. (Update: the site is now live! Check out my recipe here!)
Lipman sent me an awesome assortment of their tomatoes. I decided to use the grape tomatoes for grilling, and the Vintage Ripe (a beautiful heirloom tomato) as my tomato bowls. The assortment also came with some cherry tomatoes and plum tomatoes so expect me to be on quite the tomato kick in the coming days!
Ingredients:
4 large Vintage Ripe tomatoes
1 cup orzo
4 cups vegetable broth
1 pint grape tomatoes
1 tablespoon olive oil
1 corn on the cob (or 1/3 cup frozen corn kernels, thawed)
8 oz mozzarella balls (if you cant get marinated mozzarella balls, even better!)
1 cucumber, seeded and chopped
Mint, for garnish
For the pesto:
 2 bunches fresh basil leaves (about 2 cups packed)
 1/3 cup walnuts
 3 garlic cloves, minced
 the juice and zest of 1 lemon
 Salt and pepper, to taste
 1/4 cup grated Parmiginao-Reggiano  cheese
 1/3 cup extra virgin olive oil

Kara Age Scallop Salad with Honey Lime Dressing

A while back, I received a box of Kikkoman Kara-Age Soy-Ginger Seasoned Coating Mix and make these wonderful Kara-Age Popcorn Shrimp. The box came with two bags of Kara-Age seasoning and I’ve been holding on to it waiting for the perfect recipe to use it. I found a recipe for a Seared Scallop Salad that sounded wonderful by itself, but I thought the Kara-Age would be an awesome addition, so here is my recipe for Kara Age Scallop Salad with Honey Lime Dressing!
Ingredients for the Honey-Lime Dressing:
The juice of 3 limes
5 teaspoons honey
1 tablespoon rice vinegar
Salt, to taste
Ingredients for the Scallop Salad:
2 tablespoons peanut oil
2 lbs dry sea scallops
1 packet of Kikkoman Kara-Age Soy-Ginger Seasoned Coating Mix
1 bag of mixed greens (I used a baby spring mix)
2 cups chopped vegetables of your choice

So,  I’m having a busy week, which means I wanted the quickest recipe possible. Pre-washed bag of mixed greens? Check.  Seafood so it cooks quickly? You bet. Pre-chopped assorted vegetables? Oh my.
Trader Joe’s has containers of a “healthy 8 chopped veggie mix” that includes broccoli, carrots, green cabbage, red cabbage, jicama, green bell pepper, radishes and celery. Sounds good for a salad to me! (If you want, chop up whatever makes you happy and put it in this salad. I was just being super lazy).
First make your dressing. Whisk together the lime juice, honey, vinegar and salt until the honey is incorporated (I find this to be easier if the honey has been microwaved for a few seconds).  Set aside.
Add the salad greens and vegetables to a large bowl. Toss to combine.
Add the kara-age mix to a large ziplock bag. Add the scallops, close the bag, and shake until the scallops are fully coated.
Heat the peanut oil in a large saute pan over medium-high heat. Add some of the scallops to the skillet (no more than 5-6, you don’t want them to crowd). Cook the scallops for 4 minutes until golden brown.
Flip and cook for another 4 minutes. The scallops should be opaque throughout. (Cut one open to check).
Transfer to a plate and repeat with remaining scallops.
To serve, add the greens and vegetables to individual plates and place the scallops on top. Mix to dressing and drizzle on top.
This recipe should make 4 salads.
Easy, right?
For so little effort, a dish should not taste this good!
The honey lime dressing was perfect with the slightly bitter salad and the kara-age.
The kara-age added hints of ginger, soy, and garlic which really complemented the dish. It also added a nice sear to the scallops.
Depending on how few/many scallops you add to the plate, this could be an appetizer or the full meal. After taking the photos I added 1-2 more to make it my dinner for the night.

Smoked Salmon Crisps

Can you tell I really like the Kitchen Table Bakers Parmesan Crisps? When I first heard of the crisps, I wanted to make an appetizer with smoked salmon, creme fraiche, and dill. The rosemary crisps are perfect for me to make Smoked Salmon Crisps!
Ingredients:
1 package Kitchen Table Bakers Rosemary Parmesan Crisps
3 tablespoons creme fraiche
1 tablespoon chopped dill, plus more for garnish
1 teaspoon capers
Smoked salmon
Lemon zest

Mix the creme fraiche, chopped dill,and capers.
Add a teaspoon of the mixture to each crisp.
Top with a rolled piece of the smoked salmon.
Add a sprig of dill for garnish.
Zest a lemon over each piece.
That’s it!
Dill, salmon and lemon are just made for each other.
The capers add a slight tanginess to this which is a happy surprise.
If you can’t find creme fraiche, use sour cream. However, the lightness of the creme fraiche is really worth seeking out for this appetizer.

Strawberry Banana Stuffed French Toast

It’s spring! And spring means (among other things) that strawberries are back in season. So what better way to use them than for a delicious weekend brunch? This Strawberry Banana Stuffed French Toast uses strawberries three ways: fresh, in a strawberry sauce, and for an extra touch of strawberry goodness, in a strawberry jam. And because I love bananas, I threw in a couple slices of that as well. I found the strawberry sauce recipe here and my French toast recipe is based off of this post.
Ingredients:
4 challah rolls
2 eggs, beaten
1/2 cup vanilla almond milk (unsweeted)
2 tablespoons sugar
1 1/4 cup sliced strawberries, divided
3 tablespoons honey
the juice and zest of one lemon
4 ounces low fat cream cheese
1 tablespoon strawberry jam
1/4 teaspoon vanilla extract
1 banana, sliced
1 tablespoon butter

Begin by slicing the challah rolls in half. In a large bowl, add the eggs, almond milk and 2 tablespoons sugar.
Add the roll halves and mix to coat.
Cover and refrigerate for one hour.
one hour later
Add 1 cup sliced strawberries, 3 tablespoons honey, and the lemon juice and zest to a bowl and mix to combine.
Allow to stand for 1 hour. (I actually ended up leaving both for over an hour. Whoops.)
one hour later
Combine the cream cheese, vanilla extract and strawberry jam.
Slice the rest of your strawberries and your banana.
Heat a saute pan over medium high heat and add 1 teaspoon butter. Add  1 set of challah rolls to the saute pan and cook for three minutes.
Flip and cook for three more minutes.
While waiting for the side to cook, add 1 tablespoon of the cream cheese mixture to one piece of roll.
Add slices of strawberry and banana.
When the bread is done cooking, assemble the pieces of bread. Add one to two tablespoons of the strawberry sauce and a few more slices of banana.
Repeat with remaining rolls. How good does that look?
The challah rolls were crispy while the cream cheese mixture was nice and creamy.
The strawberry sauce was tangy, just enough to complement the sweetness of the rest of the French toast.
And as usual, I am a big fan of the already portioned serving. It gives me a better chance of not being a piggy. 🙂
I loved this! I wish I could eat this every spring day. Except I think people would begin to judge me…

Grilled Striped Bass with Bacon Vinaigrette Red Smashed Potatoes and Sauteed Butter Thyme Mushrooms

Grilled Striped Bass with Bacon Vinaigrette Red Smashed Potatoes and Sauteed Butter Thyme Mushrooms. Whew. By the time you say the title of this post you could have cooked most of this meal. Fish is a perfect weekday choice because it is so darn quick to cook up. I managed to make all parts of this meal in 40 minutes which was awesome! If you wanted to cut the time for this meal even more, you could doctor up some of those refrigerator mashed potatoes from the supermarket, but I really like home made mashed potatoes so I went for it.  No one is surprised to hear that this menu comes from my trusty Cooking Light.
Ingredients:

2 (8-ounce) striped bass fillets
salt, divided
freshly ground black pepper, divided
4 slices center-cut bacon
2 large shallots, finely chopped and divided
3 tablespoons red wine vinegar
1 teaspoon Dijon mustard
1/8 teaspoon sugar
4 tablespoons olive oil, divided
1 pound red potatoes
2 garlic cloves, halved
1/4 cup 2% reduced-fat milk
2 tablespoons butter, divided
2 (8-ounce) packages presliced baby bella mushrooms
1/3 cup dry white wine
4 teaspoons chopped fresh thyme

Begin with making the mashed potatoes. The original recipe has you peel and cube the potatoes. I really like the skins of potatoes so I altered the recipe to be smashed instead of mashed. Feel free to check out the original recipe here if you’re not into the skins. Add the potatoes and the halved garlic cloves to a large pasta pot and cover with cold water. Bring to a boil.
While waiting for the water to come to a boil, prepare your other ingredients. Chop the shallots and fresh thyme. Melt 1 tablespoon butter in a large saute pan over medium heat. Add 1 tablespoon olive oil and 1/4 cup of the chopped shallots to the pan. Cook for about 1 minute.


By now your water will hopefully be boiling. Reduce heat for the pasta pot and simmer for 15 minutes or until the potatoes are fork tender.

Go back to the saute pan. Add a 1/2 teaspoon salt and the mushrooms to the pan, stirring occasionally. Cook for 13 minutes or until the mushrooms are brown and the liquid has evaporated.

While waiting for the two to cook (and if you have room on your stove), add another saute pan over medium high heat. Add the bacon and cook until crisp. Remove from heat and add to a paper towel. Reserve 1.5 tablespoons of the drippings in the pan. Crumble the bacon.

Add the crumbled bacon and 2 tablespoons shallots back to the pan, cooking over medium heat for 1 minute stirring frequently.

Remove from heat and stir in the vinegar, Dijon mustard, 1/4 teaspoon pepper, and 1/8 teaspoon sugar.

Back to the mushrooms. Add the wine to the pan and cook for 2 minutes or until the liquid almost evaporates.

Stir in the thyme and cook for 30 seconds and remove from heat.


Drain  the pasta pot and return the potatoes and garlic to the pot. Mash using a potato masher or a large fork. Add the milk, 1 tablespoon butter, 1/4 teaspoon salt, and 1/4 teaspoon pepper and mix to combine.
We haven’t abandoned the Vinaigrette! Take the mixture and slowly add the olive oil to the vinegar mixture, stirring constantly to get an emulsion.


Last but not least, we have the bass. Heat a grill pan over medium high heat and spray with cooking spray. Sprinkle the fish with salt and pepper and add to the grill pan skin side up. Cook for 4 minutes. (You can set your table during this time).


Flip the fish and cook for another 4 minutes.

Serve drizzled with the bacon vinaigrette.


Multi tasking at its finest! I hope my directions made sense. It’s not nearly as confusing as it sounds. You kind of bounce around between things based on when you have the opportunity to do so.
So whoever thought of the idea of bacon vinaigrette is one awesome person.  It was smoky and slightly tangy. I actually put some on my mashed potatoes as well (which I highly suggest).
This was my first time having bass and I really enjoyed it. Despite doing a whole lot of nothing to cook it, the fish was flavorful and had almost a buttery taste to it.
The mushrooms were awesome as well! I added a bit more fresh thyme once it was on my plate for a little more flavor and some color.
Sorry my photos are so crummy. First, it’s not exactly the most colorful meal I’ve ever made. Second, the smell of bacon made my antsy. I needed to eat this ASAP 🙂
I hope you’ll forgive my lack of photography skills due to the calling of bacon.


Exit mobile version