I’ve mentioned before how awesome the Philadelphia food scene is, and it seems to only be getting better! One of the latest additions to the Philadelphia restaurant scene is Makhani, which just opened in Old City. Owned by restaurateur Shafi Gaffar, the restaurant includes a 34 seat dining room as well as a private space on the second floor for up to 50 for special events. The restaurant also provides delivery throughout Philadelphia.


Makhani, which means “with butter”, specializes in North Indian curries that usually have thick, moderately spiced and creamy gravies. The use of dried fruits and nuts , as well as the incorporation of dairy products like milk, cream, home-made cottage cheese, ghee (clarified butter) and yogurt, play an important role in the cooking of both savory and sweet dishes. Everything in the kitchen, from the breads, to the sauces, to the desserts, are made in-house and from scratch using high quality, fresh ingredients from Chef and his culinary team. Makhani will also offer authentic Indian dishes in a specially designed Tandoori clay oven brought over direct from India. On the menu, look for an extensive list of notable vegan options, as 50% of the menu is vegan.


The made-to-order, farm-to-table menu from executive chef Sanjoy Banik is a relatively uncommon approach to Indian restaurants in the region. The flavors of Indian food can take up to ten hours to develop, so many restaurants pre-batch their preparations. The menu includes modern spins on traditional North Indian cuisine, and also features some unexpected ingredients, such as lobster, scallops, and lamb shanks.

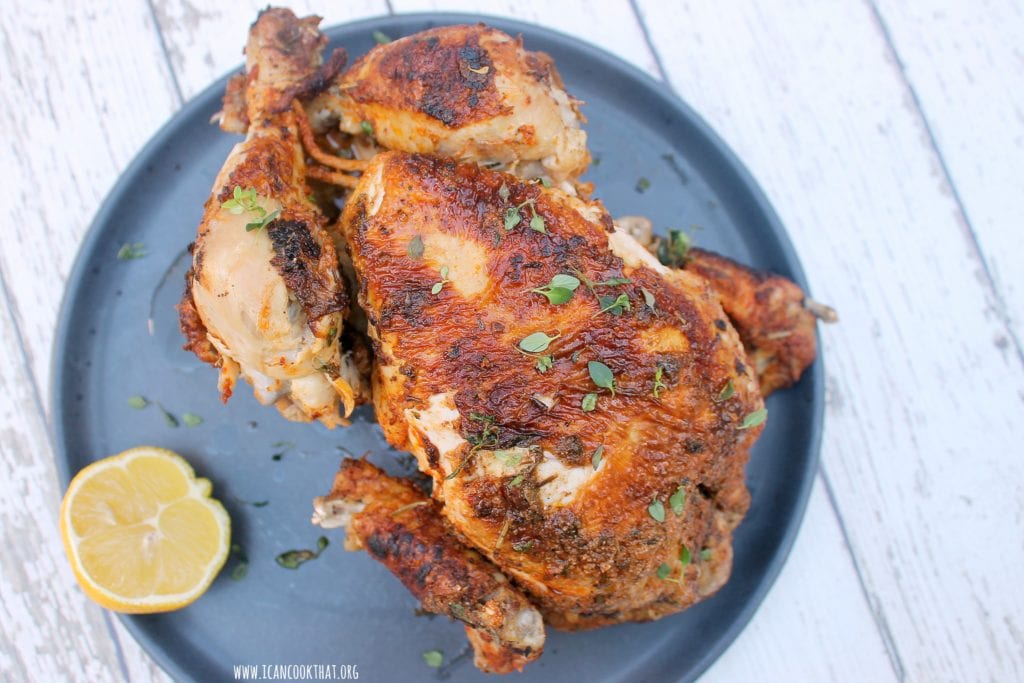
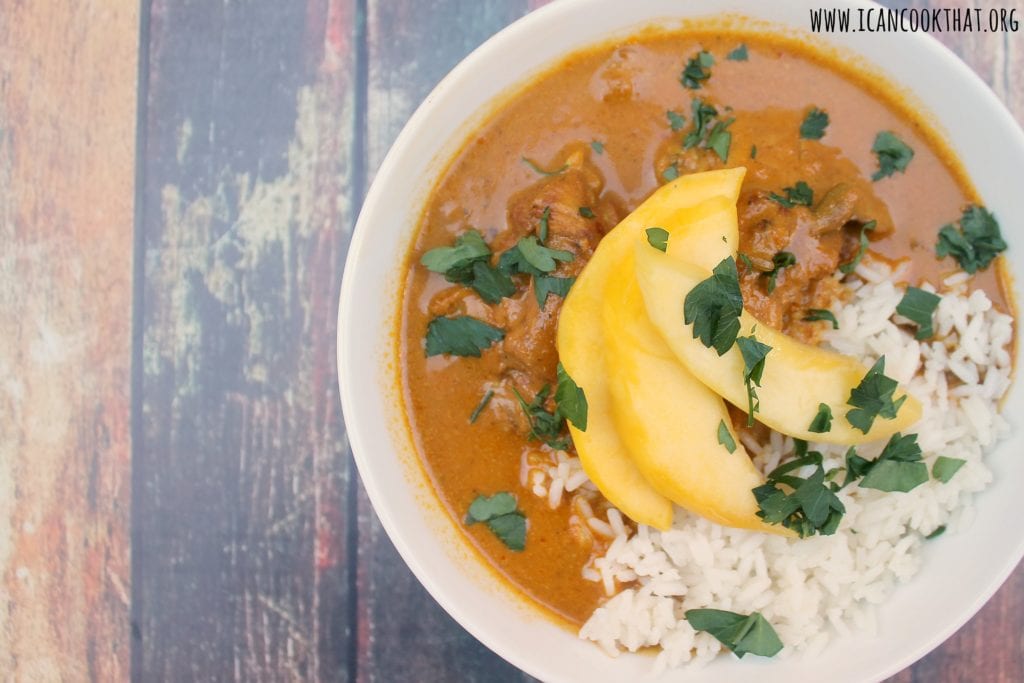
Gaffar is originally from Bangladesh, where is family owns a mango garden/farm and works as inspiration for many dishes on the menu, including Indian Mango Chicken (shown above)- a dish made of “spiced chicken breast cooked in our homemade mango sauce with fresh mangoes.” I decided to try to make my own version at home using my multi-pot to mimic the flavors of a dish that requires cooking for a long period of time to fully develop its flavors.
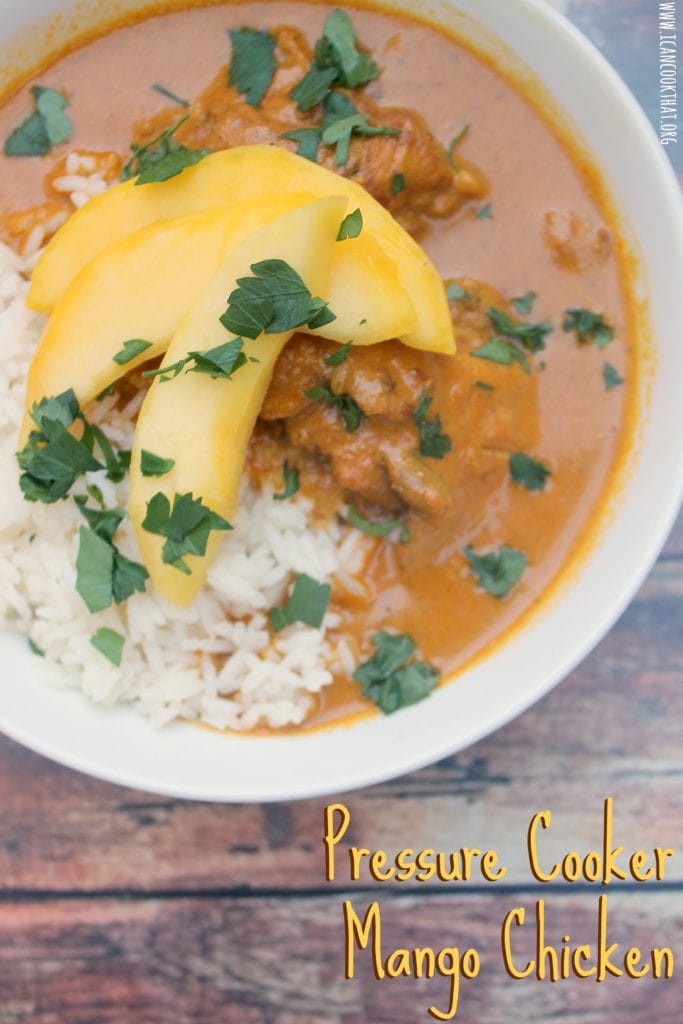

My version uses chicken thighs and differs in overall flavor to the version at Makhani, so I strongly suggest trying out their version as well!
Ingredients:
- 1 teaspoon ground coriander
- 1 teaspoon ground turmeric
- 1 teaspoon ground sweet paprika
- 1 teaspoon garam masala
- 1/2 teaspoon ground pepper
- 1/2 teaspoon salt
- 1.5 lbs boneless skinless chicken thighs
- 8 oz frozen mango chunks
- 1 (14 oz) can light coconut milk, thoroughly shaken
- 1 medium onion, chopped
- 3 garlic cloves
- 1 teaspoon chopped ginger
- 0-2 dried red chili peppers, depending on your spice tolerance
- 1 teaspoon fennel seeds
- 2 tablespoons oil (to make dairy free) or ghee
- 6 cardamom pods, smashed
- 2 cinnamon sticks
- 4 tablespoons tomato paste
- 1 cup chicken broth or water
- 2 cups cooked rice
- fresh cilantro, chopped, for garnish
- fresh mango slices, for garnish