Tomorrow, March 19th, is the Feast of St. Joseph, an important feast day in Italy or more specifically, Sicily. St. Joseph is particularly important to Sicilians, because he is credited with preventing a famine in Sicily during the Middle Ages through prayer. Each year, a large feast is prepared in his honor. Desserts typically include Zeppoli and Italian Fig Cookies.
Italian Fig Cookies, or Cuccidati, also tend to show up around Christmastime, so they are more of a “celebratory” cookie than linked to any specific holiday.
I wasn’t ready to conquer Zeppoli just yet, so I thought I’d try Italian Fig Cookies! This recipe is based off a recipe from Epicurious.
I thoroughly dislike rainy, cold weather. The only perk of this crummy weather is the awesome comfort food that typically emerges from it! Dublin Coddle is one of those dishes.
This slowly simmered dish uses all of the traditional Irish fixin’s — bacon, sausage, and potatoes. Dating back to the 1700’s Dublin Coddle makes use of leftover rashers (bacon), bangers (sausage) and potatoes and turns them into a wonderful winter comfort food dinner.
This dish is a great Saturday dish… it takes while to cook but is well worth the wait!
I don’t eat many peanut butter and jelly sandwiches these days. But on the rare occasion that I make myself one, I’m in heaven. There are few combinations as good as sweet jelly and salty peanut butter! Which is why I’m so excited to share this recipe for Peanut Butter and Jelly Sandwich Cookies!
I have a recipe for peanut butter cookies passed down from my great grandmother that I make every Christmas. So when I had a recent craving for PBJ, I figured a cookie version of it would be a fantastic adaptation! The cookie recipe below is based off of my great grandmother’s original recipe but is adapted slightly (I’m pretty sure peanut butter chips didn’t exist when she made this recipe!) And if you’re looking for other yummy cookie recipes, you can find plenty here!
Ingredients:
1 cup shortening
1 cup granulated sugar
1 cup brown sugar, firmly packed
2 cups all purpose flour
1 teaspoon baking soda
1/2 teaspoon salt
1 cup crunchy peanut butter
2 eggs
1 cup peanut butter chips
2 (12 oz) jars jelly of your choice (I went with blackberry jelly. Feel free to use your favorite flavor)
I’ve been trying to use my Sundays to prepare better for the week ahead. I’m not exactly a master of food prep, but I am getting a handle on preparing a few meals (or parts of meals in some cases) ahead of time for quick reheating or assembly on weeknights.
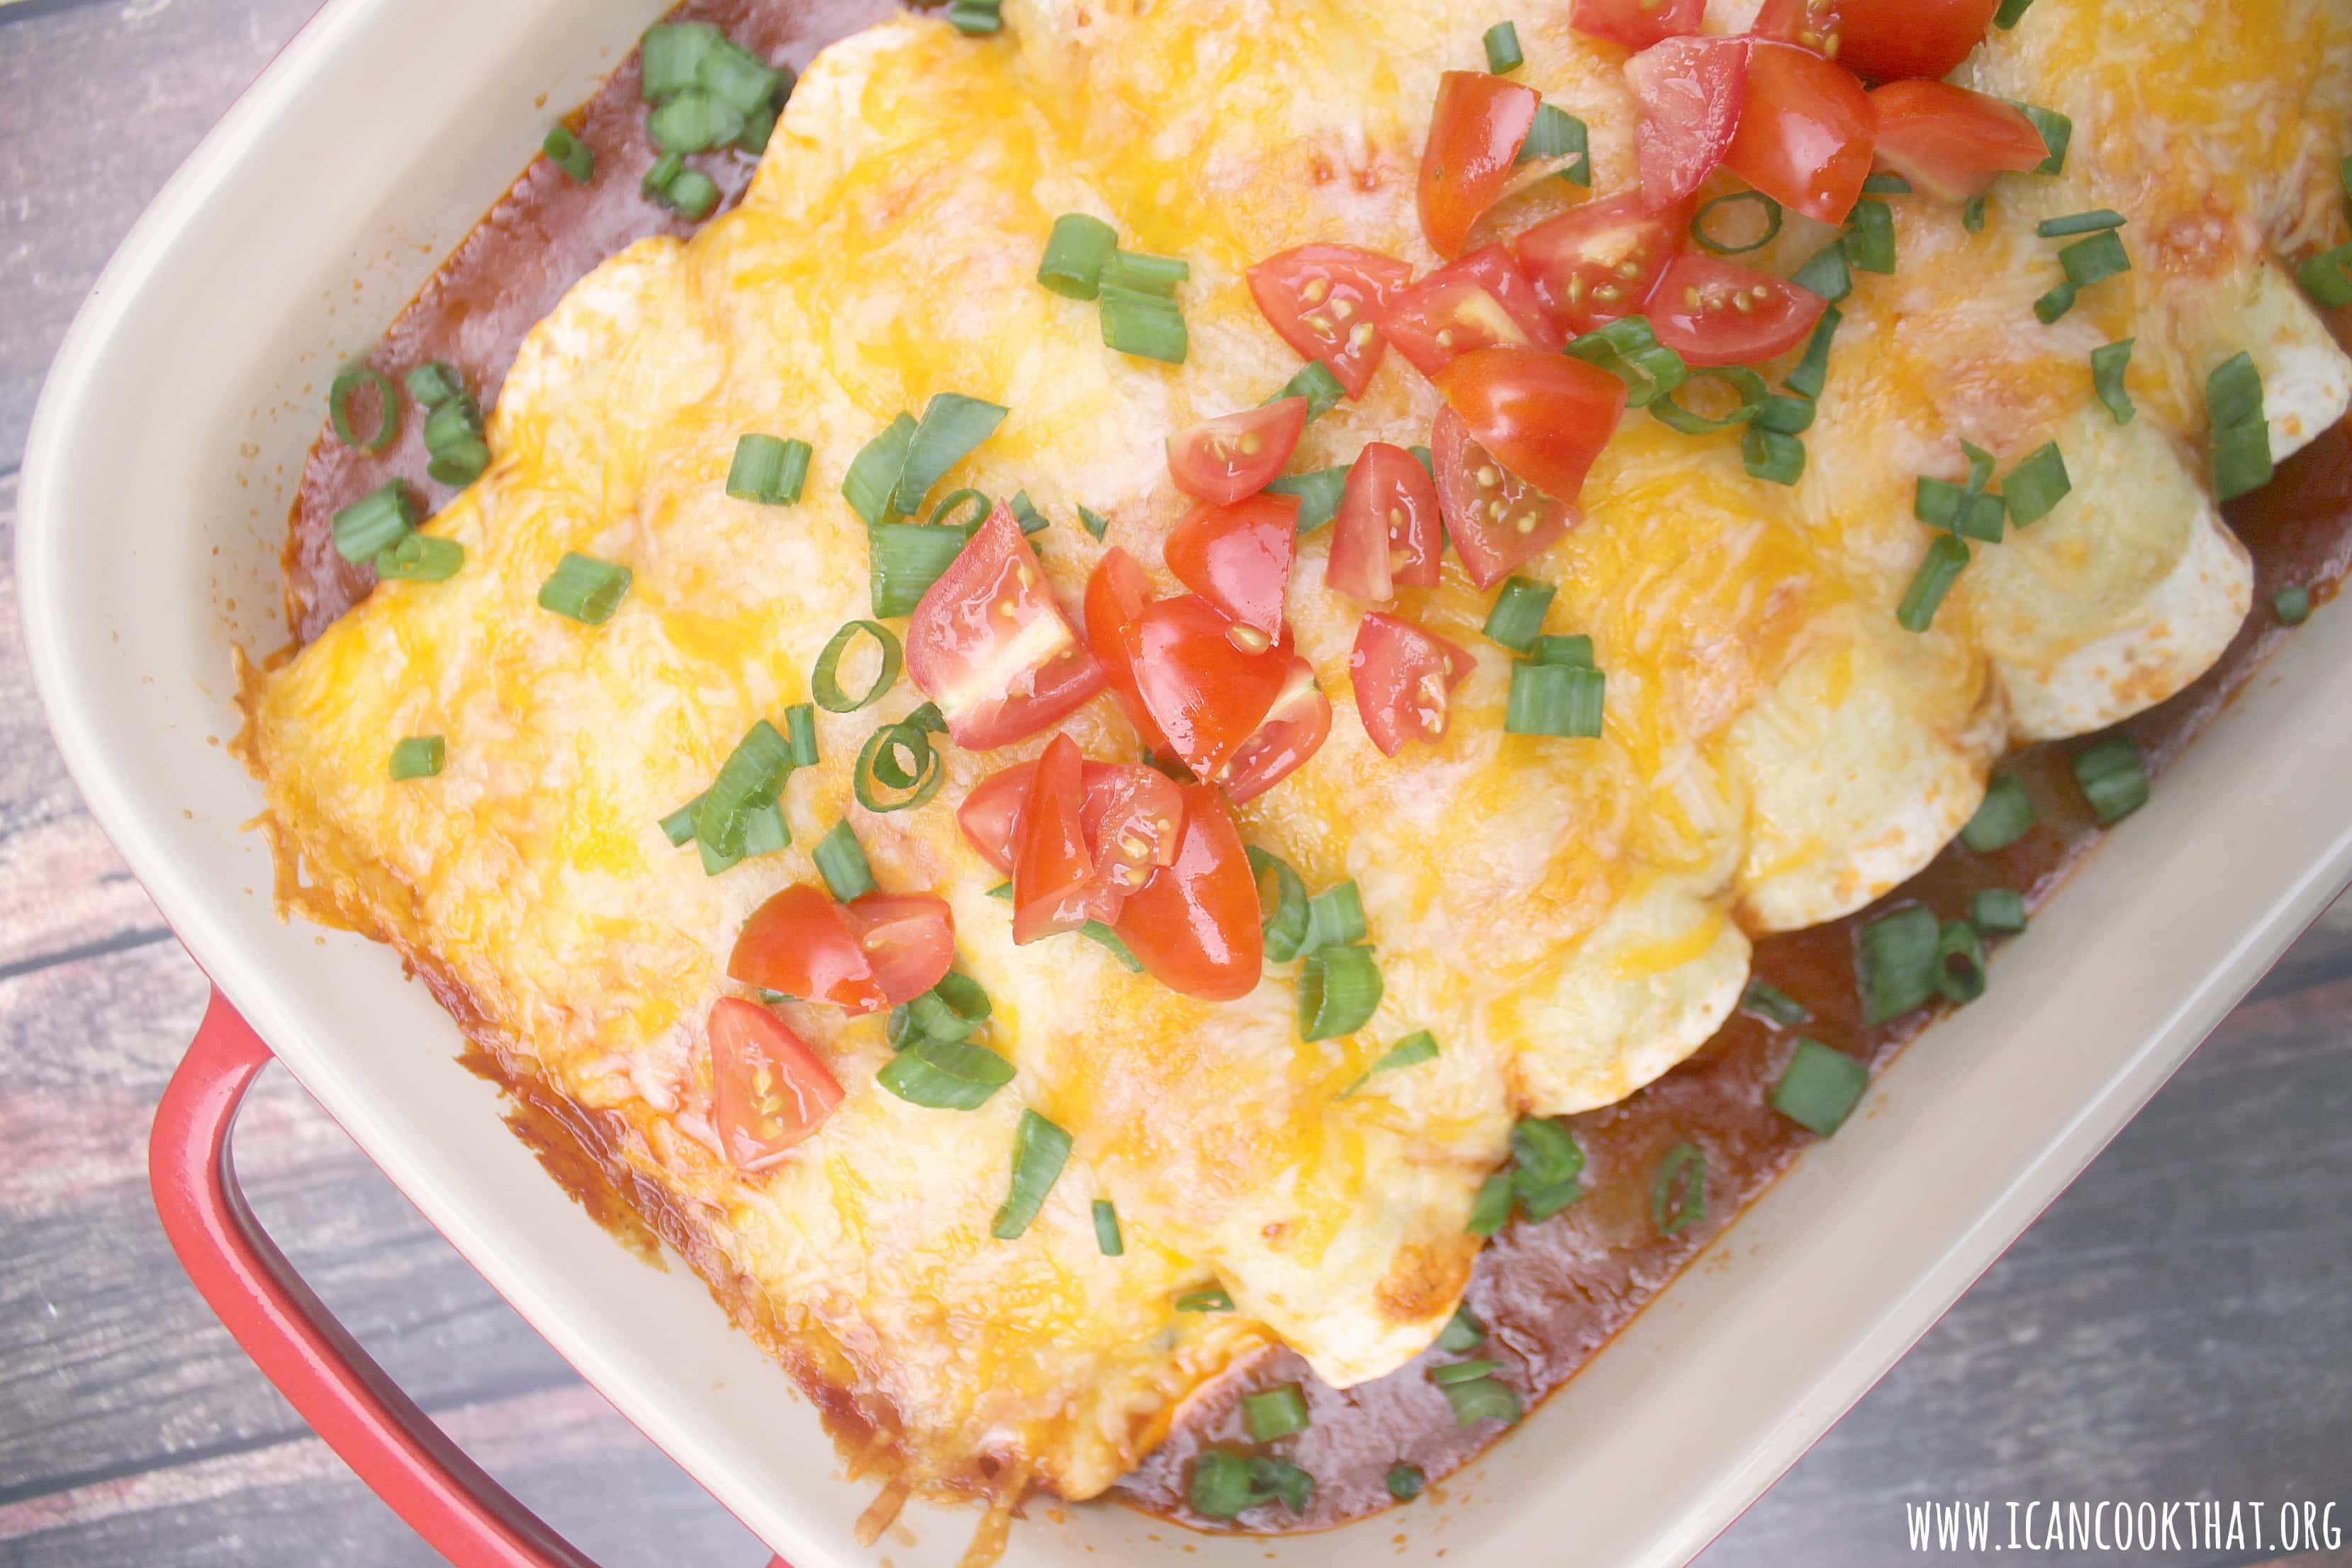
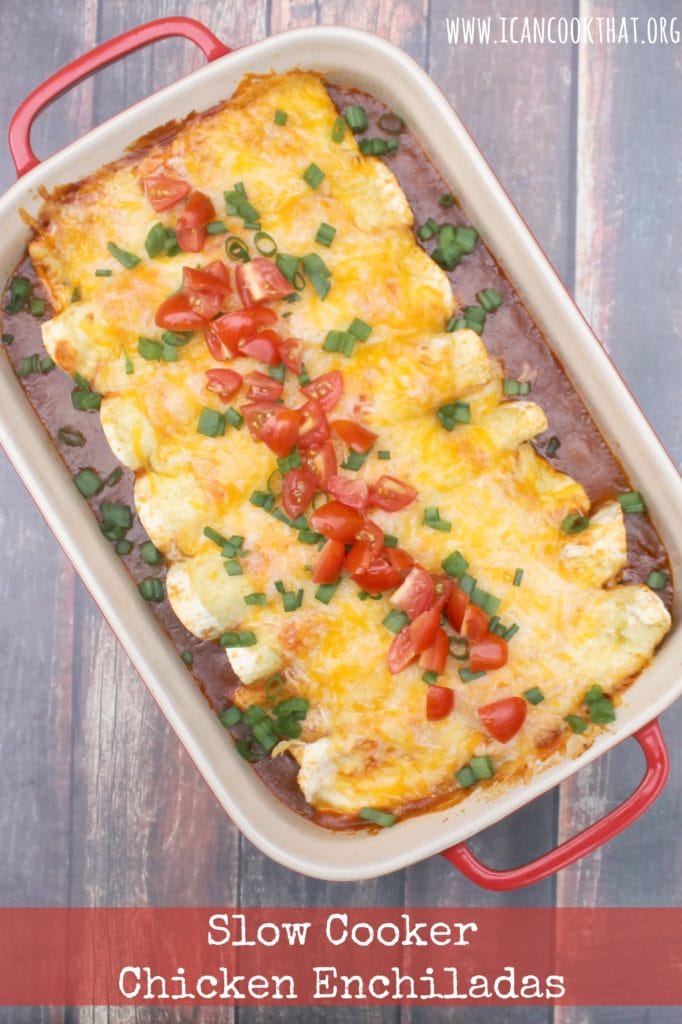
One of the easiest ways to prepare an awesome make ahead meal is to use your slow cooker, like in this recipe for Slow Cooker Chicken Enchiladas. You just throw the ingredients for the chicken into the slow cooker and wait. Later that day, assemble the enchiladas and either cover and store for a weeknight, or cook for that evening’s dinner!
Ingredients:
1 lb boneless skinless chicken breasts
1 lb boneless skinless chicken thighs
4 tablespoons taco seasoning mix
1 medium red onion, chopped
1 (14.5 oz) can diced tomatoes with green chilies
1 (14.5 oz) can black beans, rinsed and drained
8 flour tortillas (I used the “fajita” size); can substitute corn enchiladas to make gluten free
2 (10 oz) cans enchilada sauce (I used one red, one green)
3 cups shredded Mexican cheese blend, divided
1/4 cup sliced green onions
1/4 cup chopped cherry tomatoes
optional toppings: sliced black olives, sour cream, cilantro
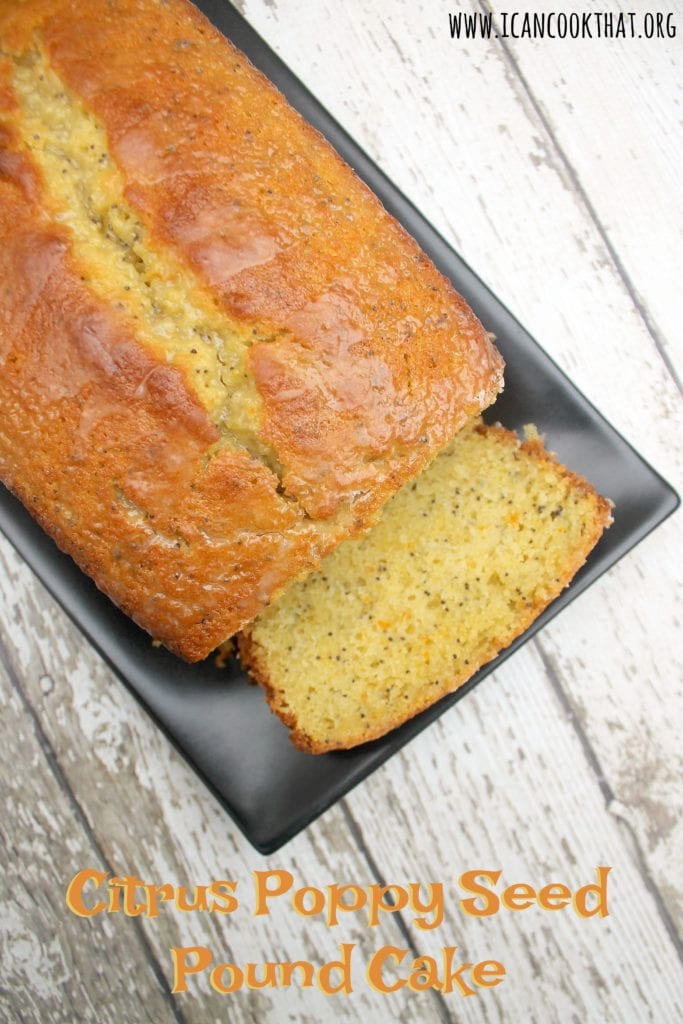
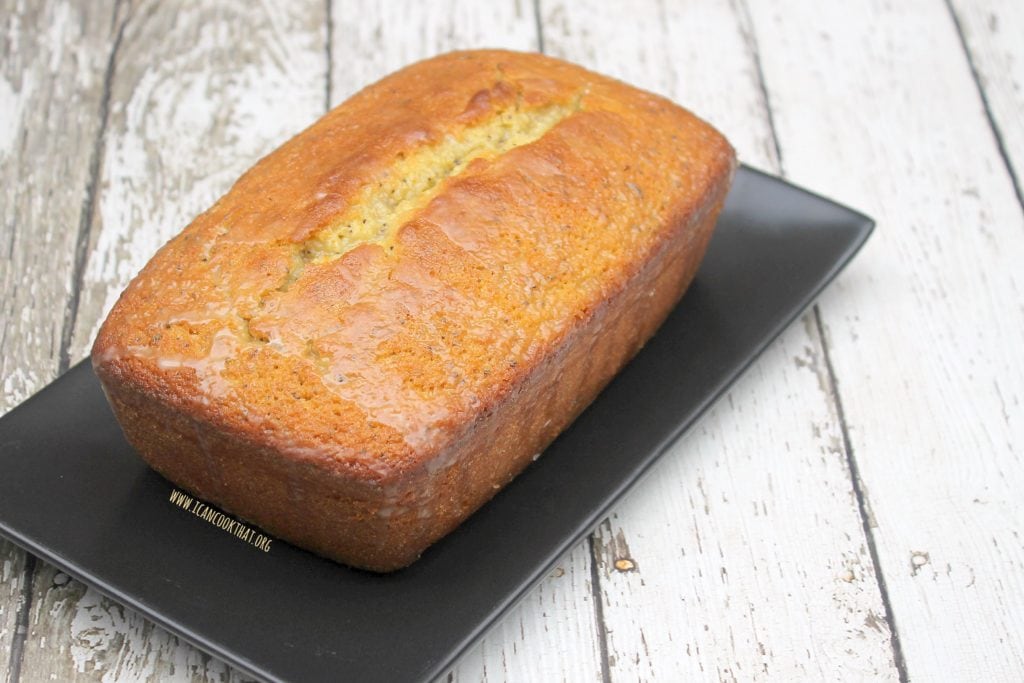
My mom’s birthday was earlier this week and I wanted to make her a treat to celebrate. She might be citrus’ biggest fan, so I knew I had to incorporate a couple of citrus components into it. This Citrus Poppy Seed Pound Cake was the result!
I’ve mentioned before how awesome the Philadelphia food scene is, and it seems to only be getting better! One of the latest additions to the Philadelphia restaurant scene is Makhani, which just opened in Old City. Owned by restaurateur Shafi Gaffar, the restaurant includes a 34 seat dining room as well as a private space on the second floor for up to 50 for special events. The restaurant also provides delivery throughout Philadelphia.
Makhani, which means “with butter”, specializes in North Indian curries that usually have thick, moderately spiced and creamy gravies. The use of dried fruits and nuts , as well as the incorporation of dairy products like milk, cream, home-made cottage cheese, ghee (clarified butter) and yogurt, play an important role in the cooking of both savory and sweet dishes. Everything in the kitchen, from the breads, to the sauces, to the desserts, are made in-house and from scratch using high quality, fresh ingredients from Chef and his culinary team. Makhani will also offer authentic Indian dishes in a specially designed Tandoori clay oven brought over direct from India. On the menu, look for an extensive list of notable vegan options, as 50% of the menu is vegan.
Source: Society Hill Films
The made-to-order, farm-to-table menu from executive chef Sanjoy Banik is a relatively uncommon approach to Indian restaurants in the region. The flavors of Indian food can take up to ten hours to develop, so many restaurants pre-batch their preparations. The menu includes modern spins on traditional North Indian cuisine, and also features some unexpected ingredients, such as lobster, scallops, and lamb shanks.
Source: Society Hill Films
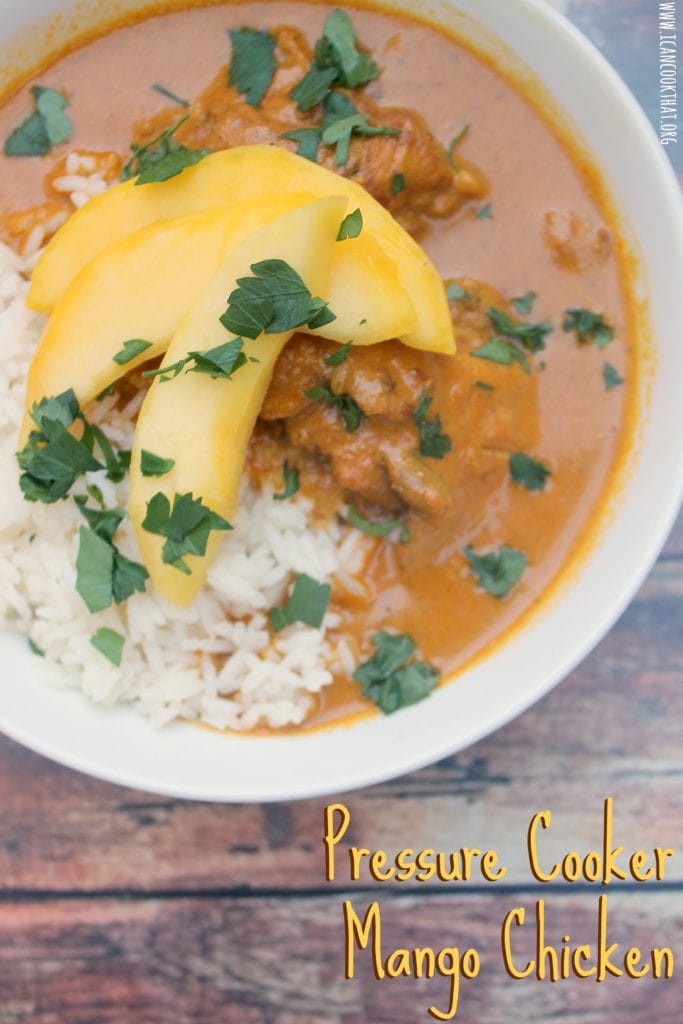
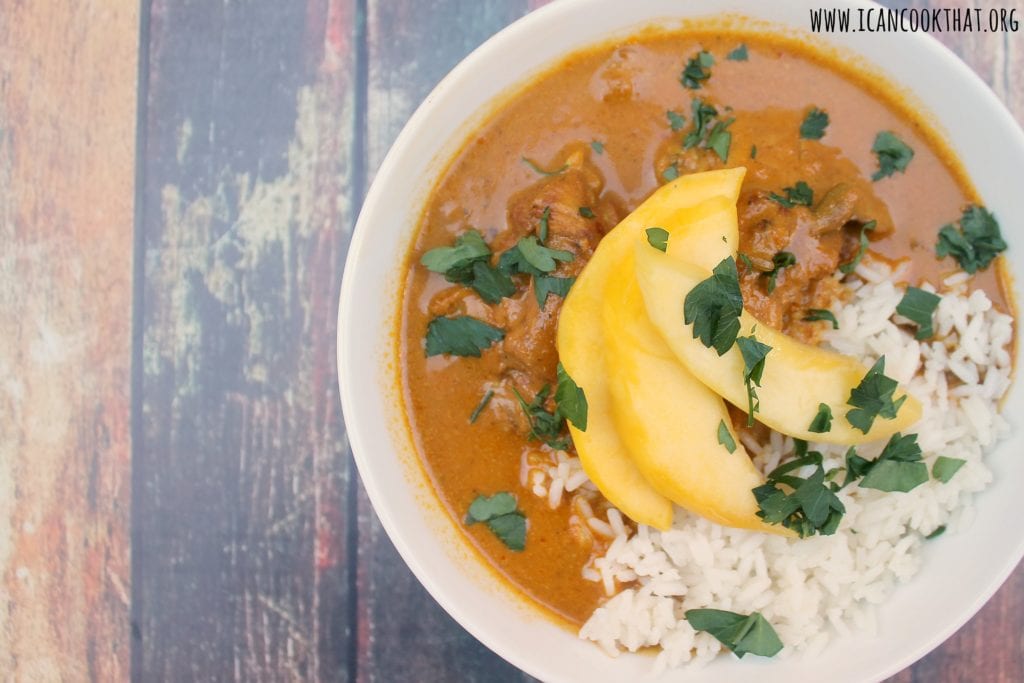
Gaffar is originally from Bangladesh, where is family owns a mango garden/farm and works as inspiration for many dishes on the menu, including Indian Mango Chicken (shown above)- a dish made of “spiced chicken breast cooked in our homemade mango sauce with fresh mangoes.” I decided to try to make my own version at home using my multi-pot to mimic the flavors of a dish that requires cooking for a long period of time to fully develop its flavors.
My version uses chicken thighs and differs in overall flavor to the version at Makhani, so I strongly suggest trying out their version as well!
Ingredients:
1 teaspoon ground coriander
1 teaspoon ground turmeric
1 teaspoon ground sweet paprika
1 teaspoon garam masala
1/2 teaspoon ground pepper
1/2 teaspoon salt
1.5 lbs boneless skinless chicken thighs
8 oz frozen mango chunks
1 (14 oz) can light coconut milk, thoroughly shaken
1 medium onion, chopped
3 garlic cloves
1 teaspoon chopped ginger
0-2 dried red chili peppers, depending on your spice tolerance
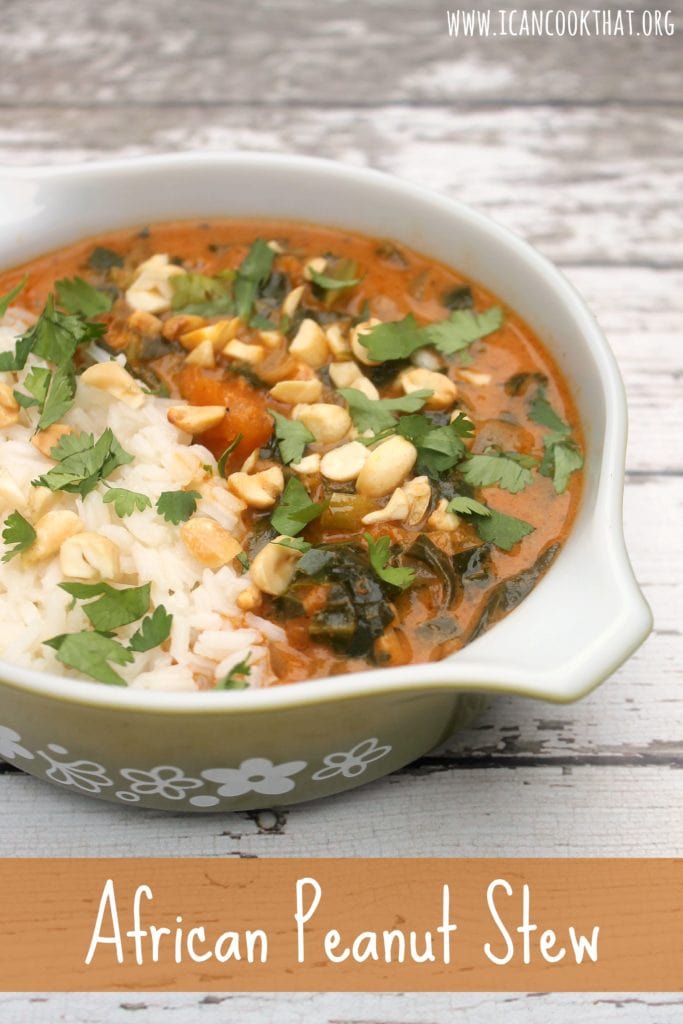
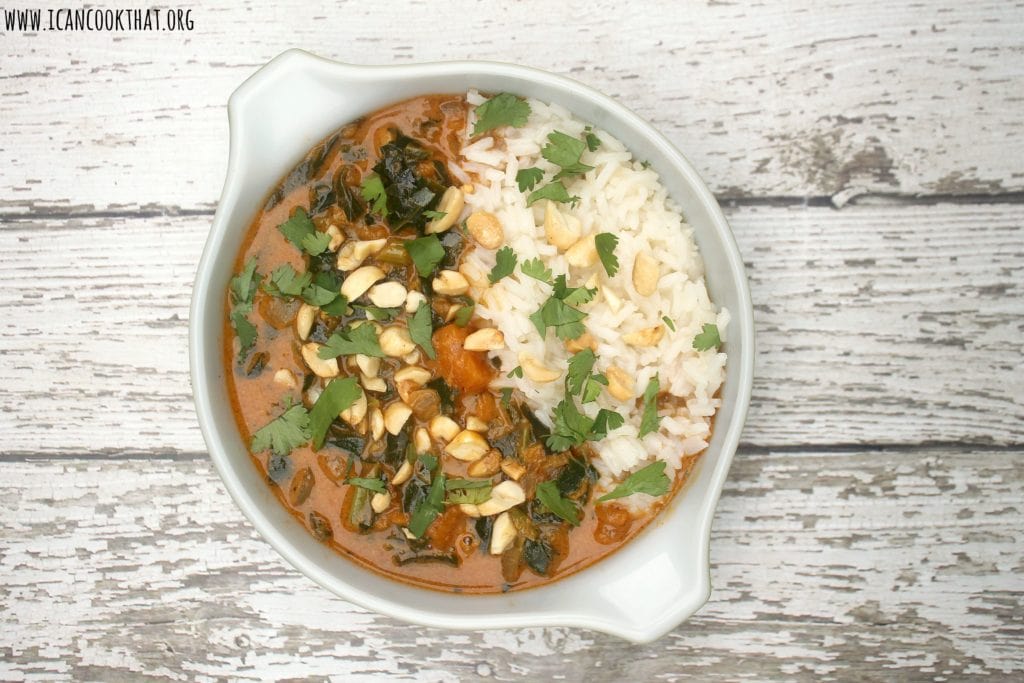
African Peanut Stew (or Groundnut Stew) is a wonderfully hearty dish that originates in West Africa. Ingredients vary widely, but generally include a broth of ground peanuts and tomatoes with other vegetables served over rice. The dish can be made with chicken, but when omitted, this stew is a protein-rich vegan dish on its own.
My version below includes a little bit of heat from jalapenos and hot sauce, and some warmth from ground cumin, which is somewhat muted by the addition of creamy coconut milk.
Ingredients:
1 tablespoon peanut oil
1 medium onion, finely chopped
4 garlic cloves, minced
2 tablespoons minced fresh ginger
1 jalapeno, membranes and seeds removed, finely chopped
1 teaspoon ground cumin
4 tablespoons tomato paste
1 medium sweet potato, peeled and cut into cubes
1/2 cup creamy or chunky peanut butter (whatever you have on hand)
4 cups vegetable broth
1 (13.5 oz can) light coconut milk
1 teaspoon hot sauce, or to taste (I used sriracha)
1 bunch collard greens or kale, chopped (I used 1/2 bag of frozen collard greens)
I know that most of us are probably partied out. But it can never hurt to have some really great (and easy) party appetizer recipes on hand, like these Baked Cranberry Almond Brie Bites, right?
This recipe for Baked Cranberry Almond Brie Bites is a bite-sized version of baked brie wrapped in puff pastry; some versions of baked brie are stuffed with jam and nuts. This mini version uses mini phyllo cups stuffed with brie and cranberry sauce, then is topped with toasted almonds and fresh thyme. Mini phyllo cups (paid link) are typically available in the dessert frozen section of the supermarket.
I’m hoping you’ll allow me to post one more cookie recipe this season. These Chewy Gingerbread Cookies are too good to not post!
Every year, my mom and I bake multiple cookie recipes to give to friends and family. While there are some that we bake every year, (like these Hot Cocoa Cookies), we try to make a new cookie each time. After many years of trying to make gingerbread cookies and failing at the decorating part, we decided to try making gingerbread cookies instead.
This recipe makes a wonderfully soft and chewy cookie all with the yummy flavors of gingerbread.
Ingredients:
1/2 cup (1 stick) unsalted butter, at room temperature
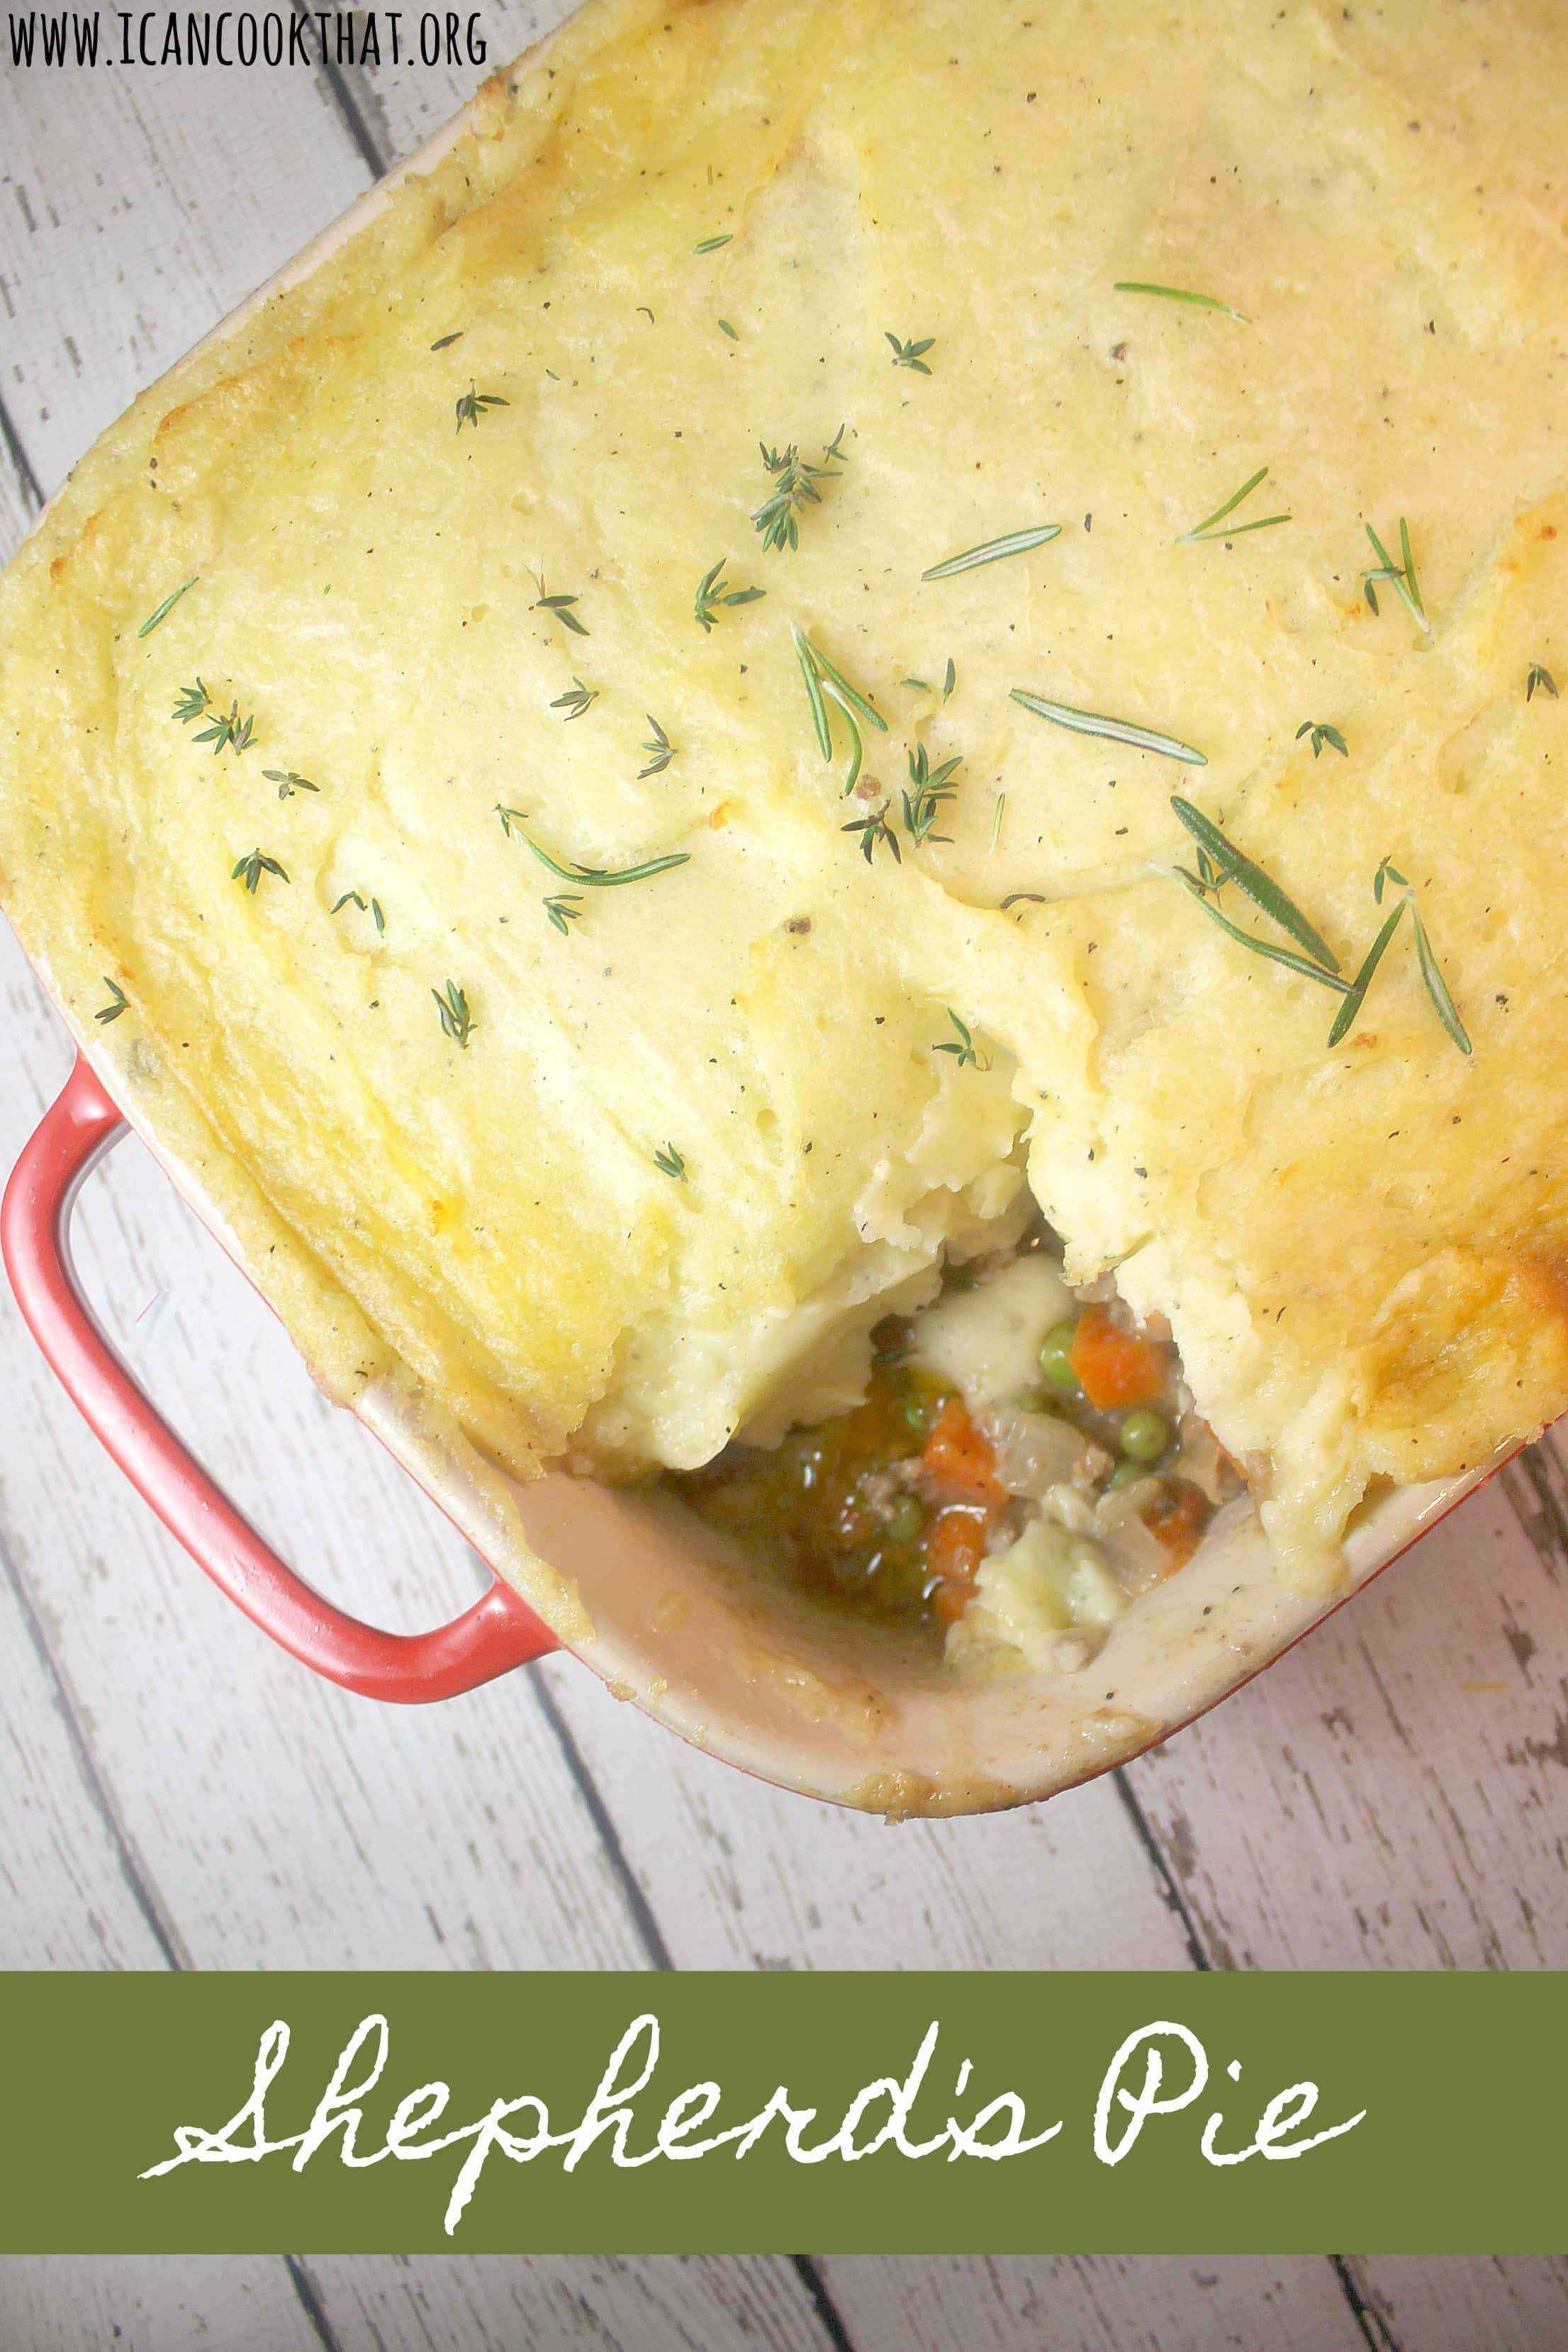
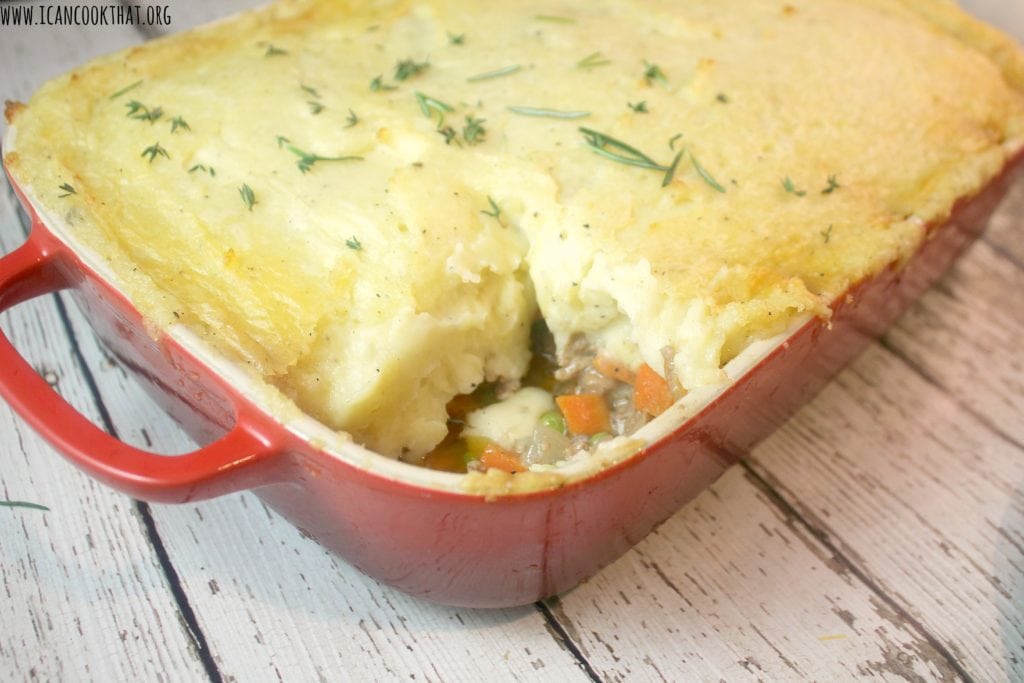
Shepherd’s Pie is one of my absolute favorite cold weather meals. It’s really simple to make and has all the components of a solid meal, just stacked into a layered pie form!
I like to make shepherd’s pie on weekends, assemble, refrigerate, and then cook later in the week on a busy weeknight. This recipe is based off a shepherd’s pie recipe from the Food Network.
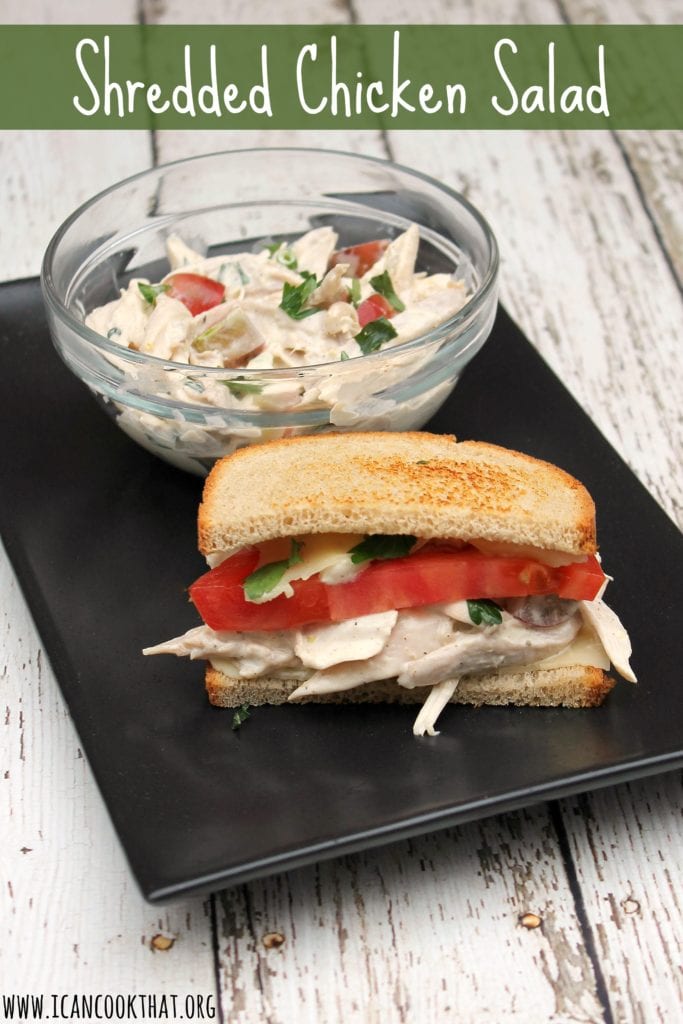
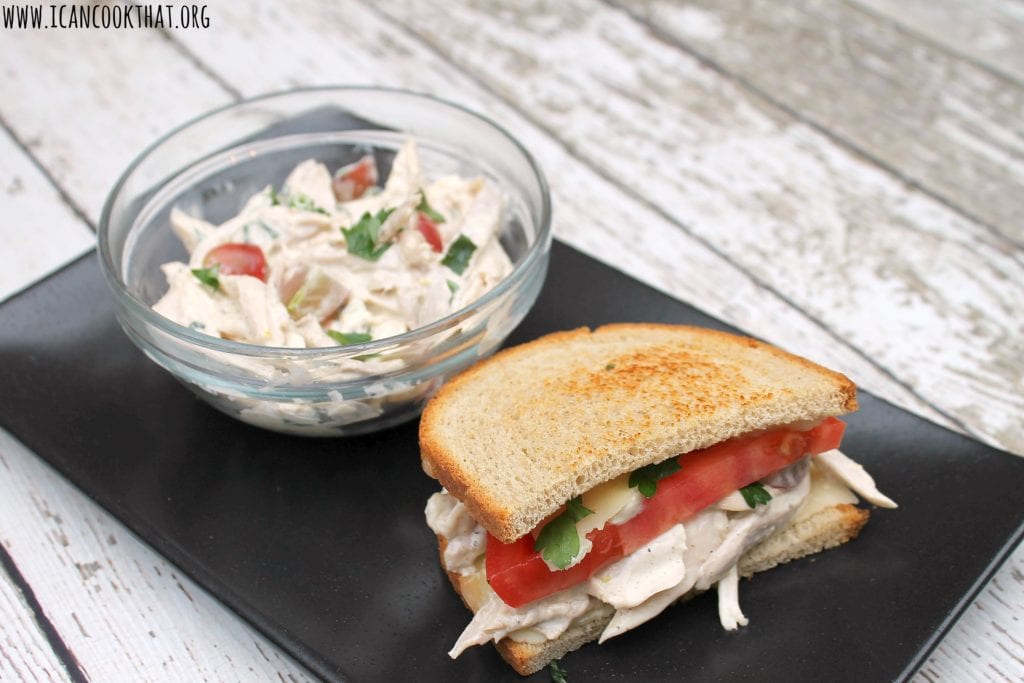
I’m trying to do more food prep on weekends for busy weekdays. Breakfasts are relatively easy; I make a batch of muffins and freeze the extras for future weeks, or make overnight oats or chia seed pudding in individual jars. For dinner, I tend to make something in my slow cooker and/or pressure cooker and then buy ingredients for short weeknight-friendly meals for the rest of the week. But lunch can be a bit of a challenge. We make salads from time to time, but I wanted to branch out a bit and make something we could add to a sandwich – shredded chicken salad.
I made this from scratch using my Pressure Cooker, but you could also use shredded rotisserie chicken.
Ingredients (makes 4 servings):
Chicken:
3 pound whole chicken
1 teaspoon salt
1/2 teaspoon black pepper
1/2 cup chicken broth
Chicken Salad:
if not making your own chicken: 1 (3 lb) rotisserie chicken
This recipe actually builds from the two previous, with some minor changes. For simplicity, the entire recipe from start to finish is below so you don’t have to go to multiple posts to make it. The multi-pot shortens the time of making a solid chicken soup, but it is still a labor of love. Total time to cook is roughly 3 hours.
It freezes well, so it’s a great recipe to make now to have on hand for sick days!
Ingredients: (serves 8)
Chicken:
1(3 to 4 pound)whole chicken – I used a 3 pound chicken
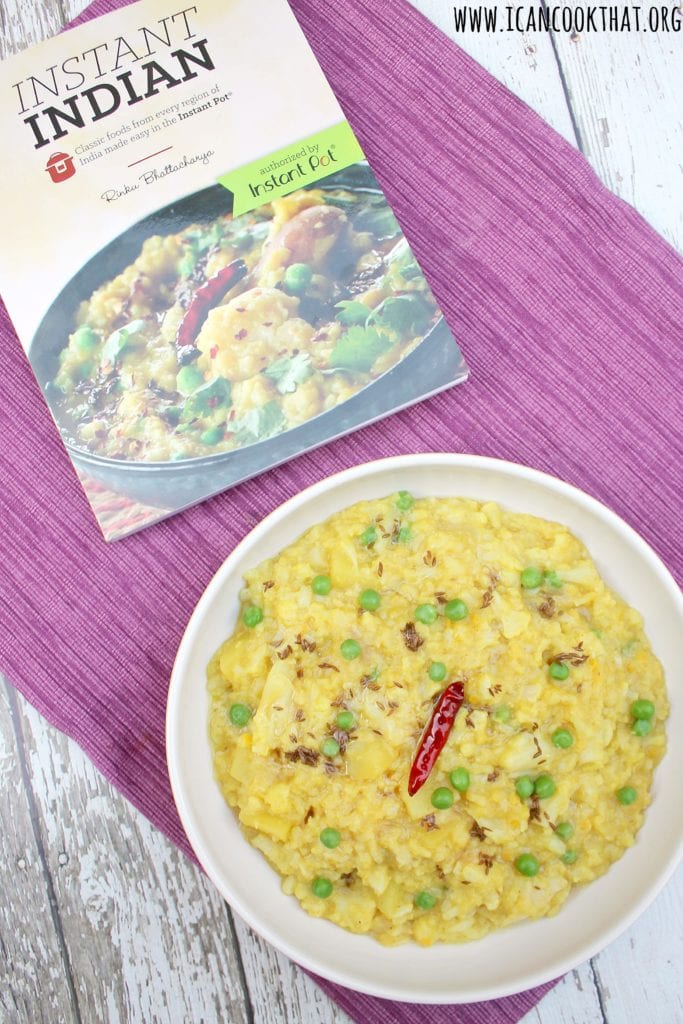
Note: I was sent a copy of Instant Indian: Classic foods from every region of India made easy in the Instant Pot for review. All opinions are mine alone.
I really enjoy Indian recipes. I’ve dabbled a bit in Indian cooking on my blog so far, although most of my recipes aren’t terribly authentic. I’ve even taken a class with Haneeda’s Kitchen to learn more about the cuisine. But a lot of the recipes can be pretty involved, and take quite a bit of time to make, so knowing ways to speed up the cooking process without sacrificing flavor are always welcome!
Cookbook author, blogger and cooking teacher Rinku Bhattacharya has put together a collection of 100 authentic Indian recipes all made in a multi-cooker, cutting down the time to make these recipes without sacrificing flavor. Instant Indian: Classic Foods from Every Region of India Made Easy in the Instant Pot showcases the diversity and range of the foods of India, where every state and region boasts its own unique dishes. Rinku Bhattacharya provides techniques and recipes that showcase the rich culinary diversity of Indian food. Her recipes are culled from the culinary regions of North India, Western India, Eastern India and South India.
The cookbook features recipes covering everything from spice blends to meat dishes to desserts. Nearly all the recipes are gluten free, and there are plenty of vegetarian and vegan options throughout the cookbook too!
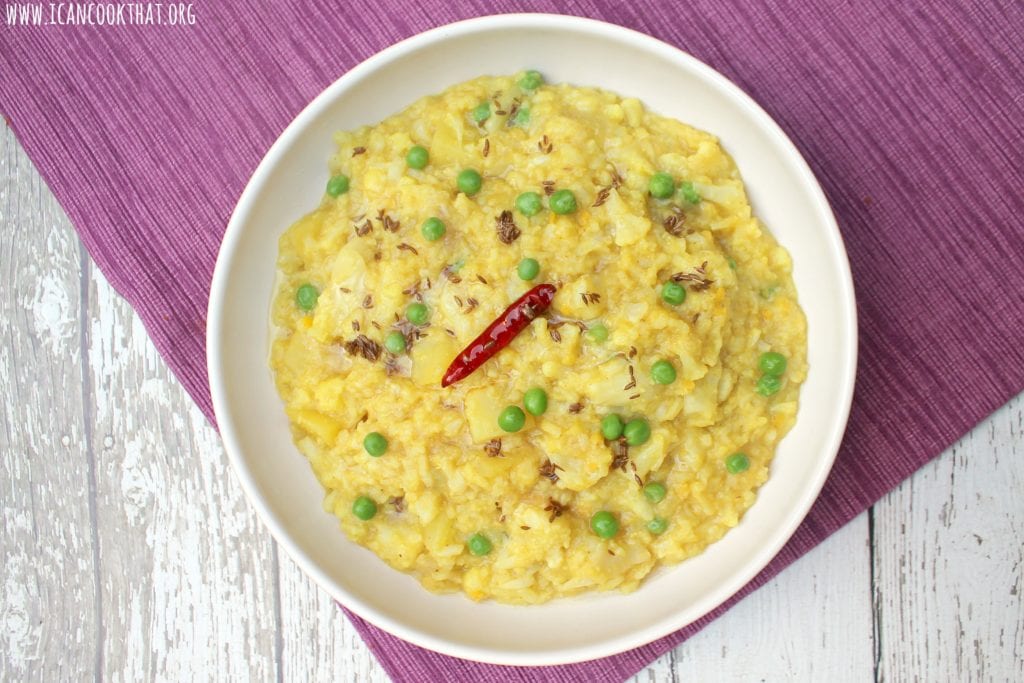
Khichuri (or khichdi) is a classic rice and lentil mixture that can be found throughout India, with different regions having their own spin on it. This version is from Bengal and uses sautéed red onions, red lentils, cauliflower, potatoes and peas. The version below for Pressure Cooker Khichuri is gluten-free, vegetarian, and vegan.
I love the combination of chocolate and pumpkin together. So when I was trying to think of an update to a traditional cookie, my mind went right to these flavors, which brings me to this recipe for Chocolate Pumpkin Rugelach.
Rugelach are the perfect cookies for this combo. Traditional rugelach uses an apricot spread that is sprinkled with cinnamon sugar, walnuts, and raisins, and then rolled into a spiral. The pumpkin butter takes the place of the apricot spread, and mini chocolate chips are substituted in for the walnuts and raisins.
Note: I was sent samples of PBfit in order to write this post. All opinions are mine alone.
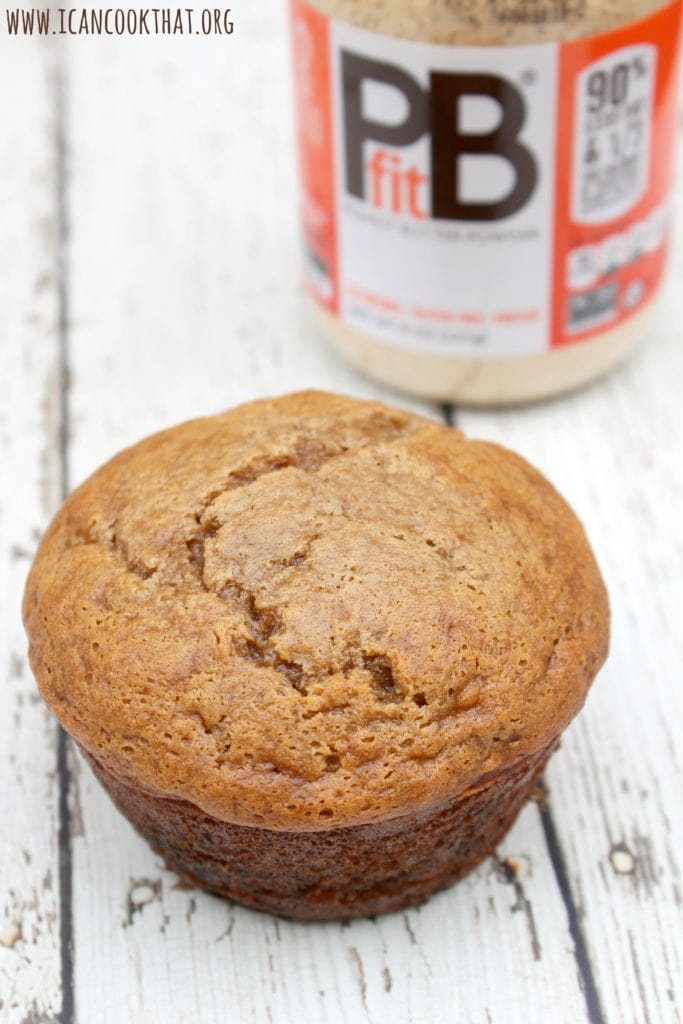
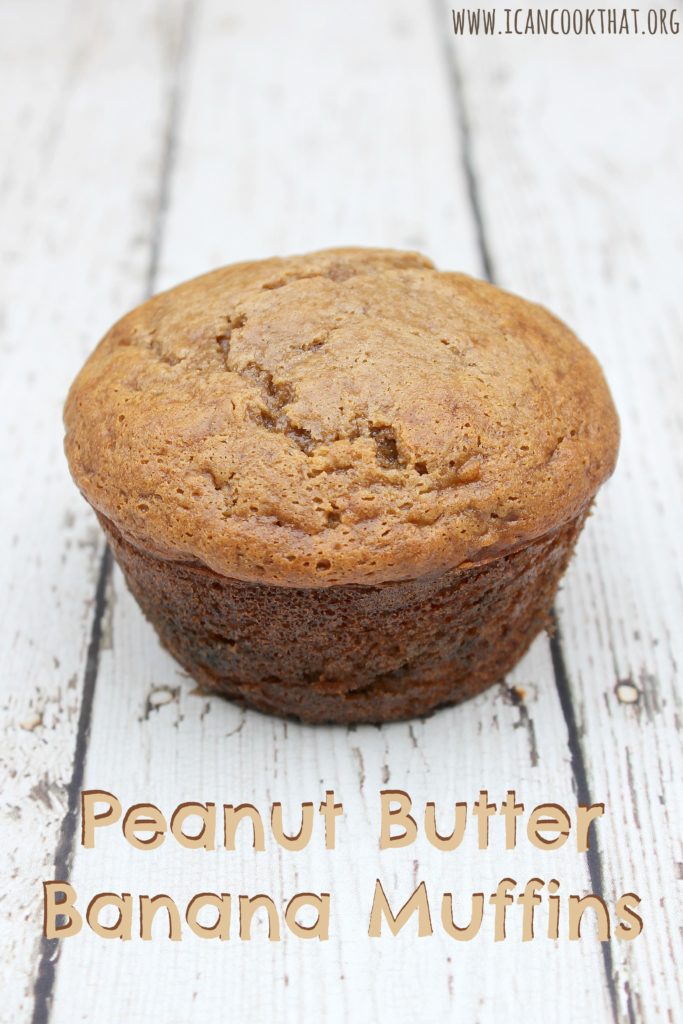
I try to do a few make ahead recipes when I have the time on my weekends to make weekdays a bit easier. I tend to focus on dinners for busy weeknights, but from time to time I’m able to whip up some make ahead breakfasts as well. My favorite make ahead breakfasts? Muffins, of course! So I decided to make Peanut Butter Banana Muffins!
Not only are muffins an easy way to make a huge batch of future breakfasts, but they also freeze well! We always have bananas around the house, so when we end up with some overripe bananas, I love to use them in muffins. This recipe adds in some PBfit powder for peanut butter-y goodness!
PBfit is peanut butter powder made by pressing roasted peanuts, grinding those peanuts and mixing in some coconut palm sugar, and a pinch of salt. The result is a delicious peanut butter powder that has 87% less fat and 1/3 the calories of traditional peanut butter. Because it’s in powder form, it works great in baked goods!