Bob’s Red Mill has been providing gluten-free flours, cereals, baking mixes, and grains for over 30 years. The company is so committed to it’s gluten-free promise that they even have a separate gluten-free packaging division to ensure their products are purely gluten-free.

Camilla V. Saulsbury’s new cookbook showcases the breadth, depth and versatility of Bob’s Red Mill’s gluten-free grains. As more and more people move towards a gluten-free lifestyle (either due to allergies or other health reasons), one of the easiest ways to transition to a gluten-free diet is to embrace the many grains available that are naturally gluten-free.
The cookbook, Bob’s Red Mill Everyday Gluten-Free Cookbook, includes 281 whole-grain recipes for entrees, side dishes, baked goods, desserts, etc. that include grains such as amaranth, quinoa, millet, and teff. The book also includes a section describing the grains, their uses, and how to store them.

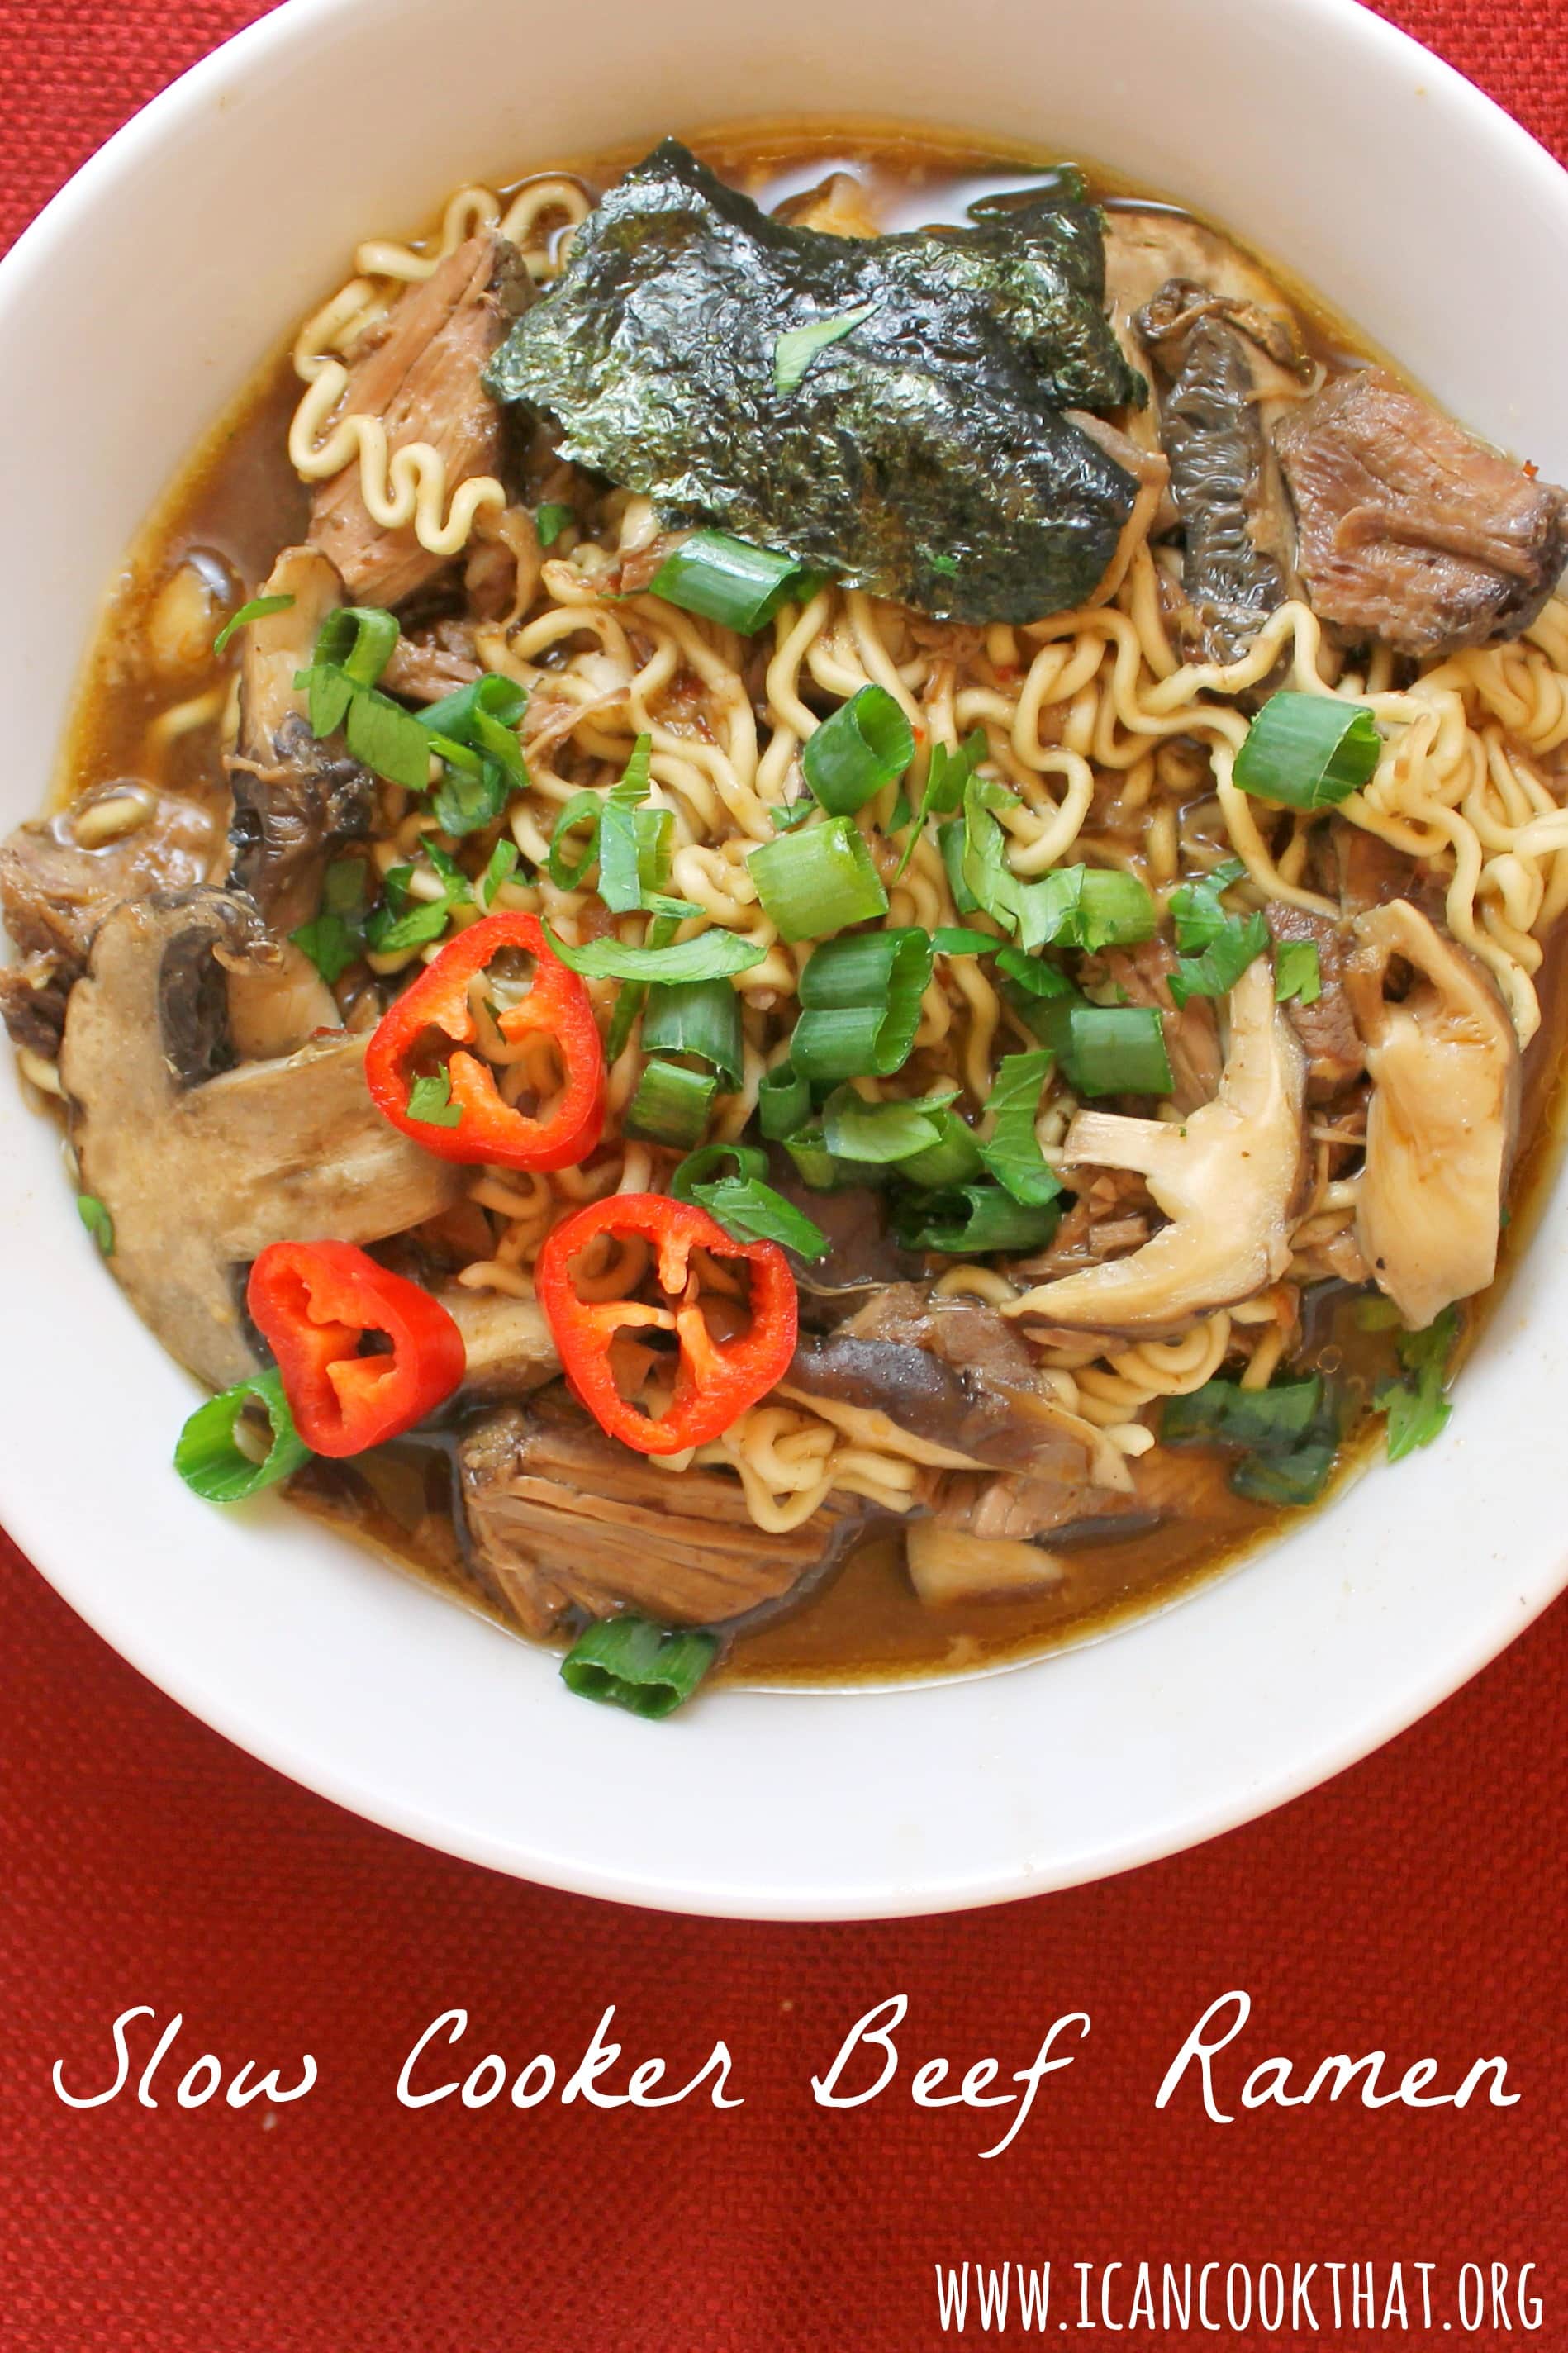
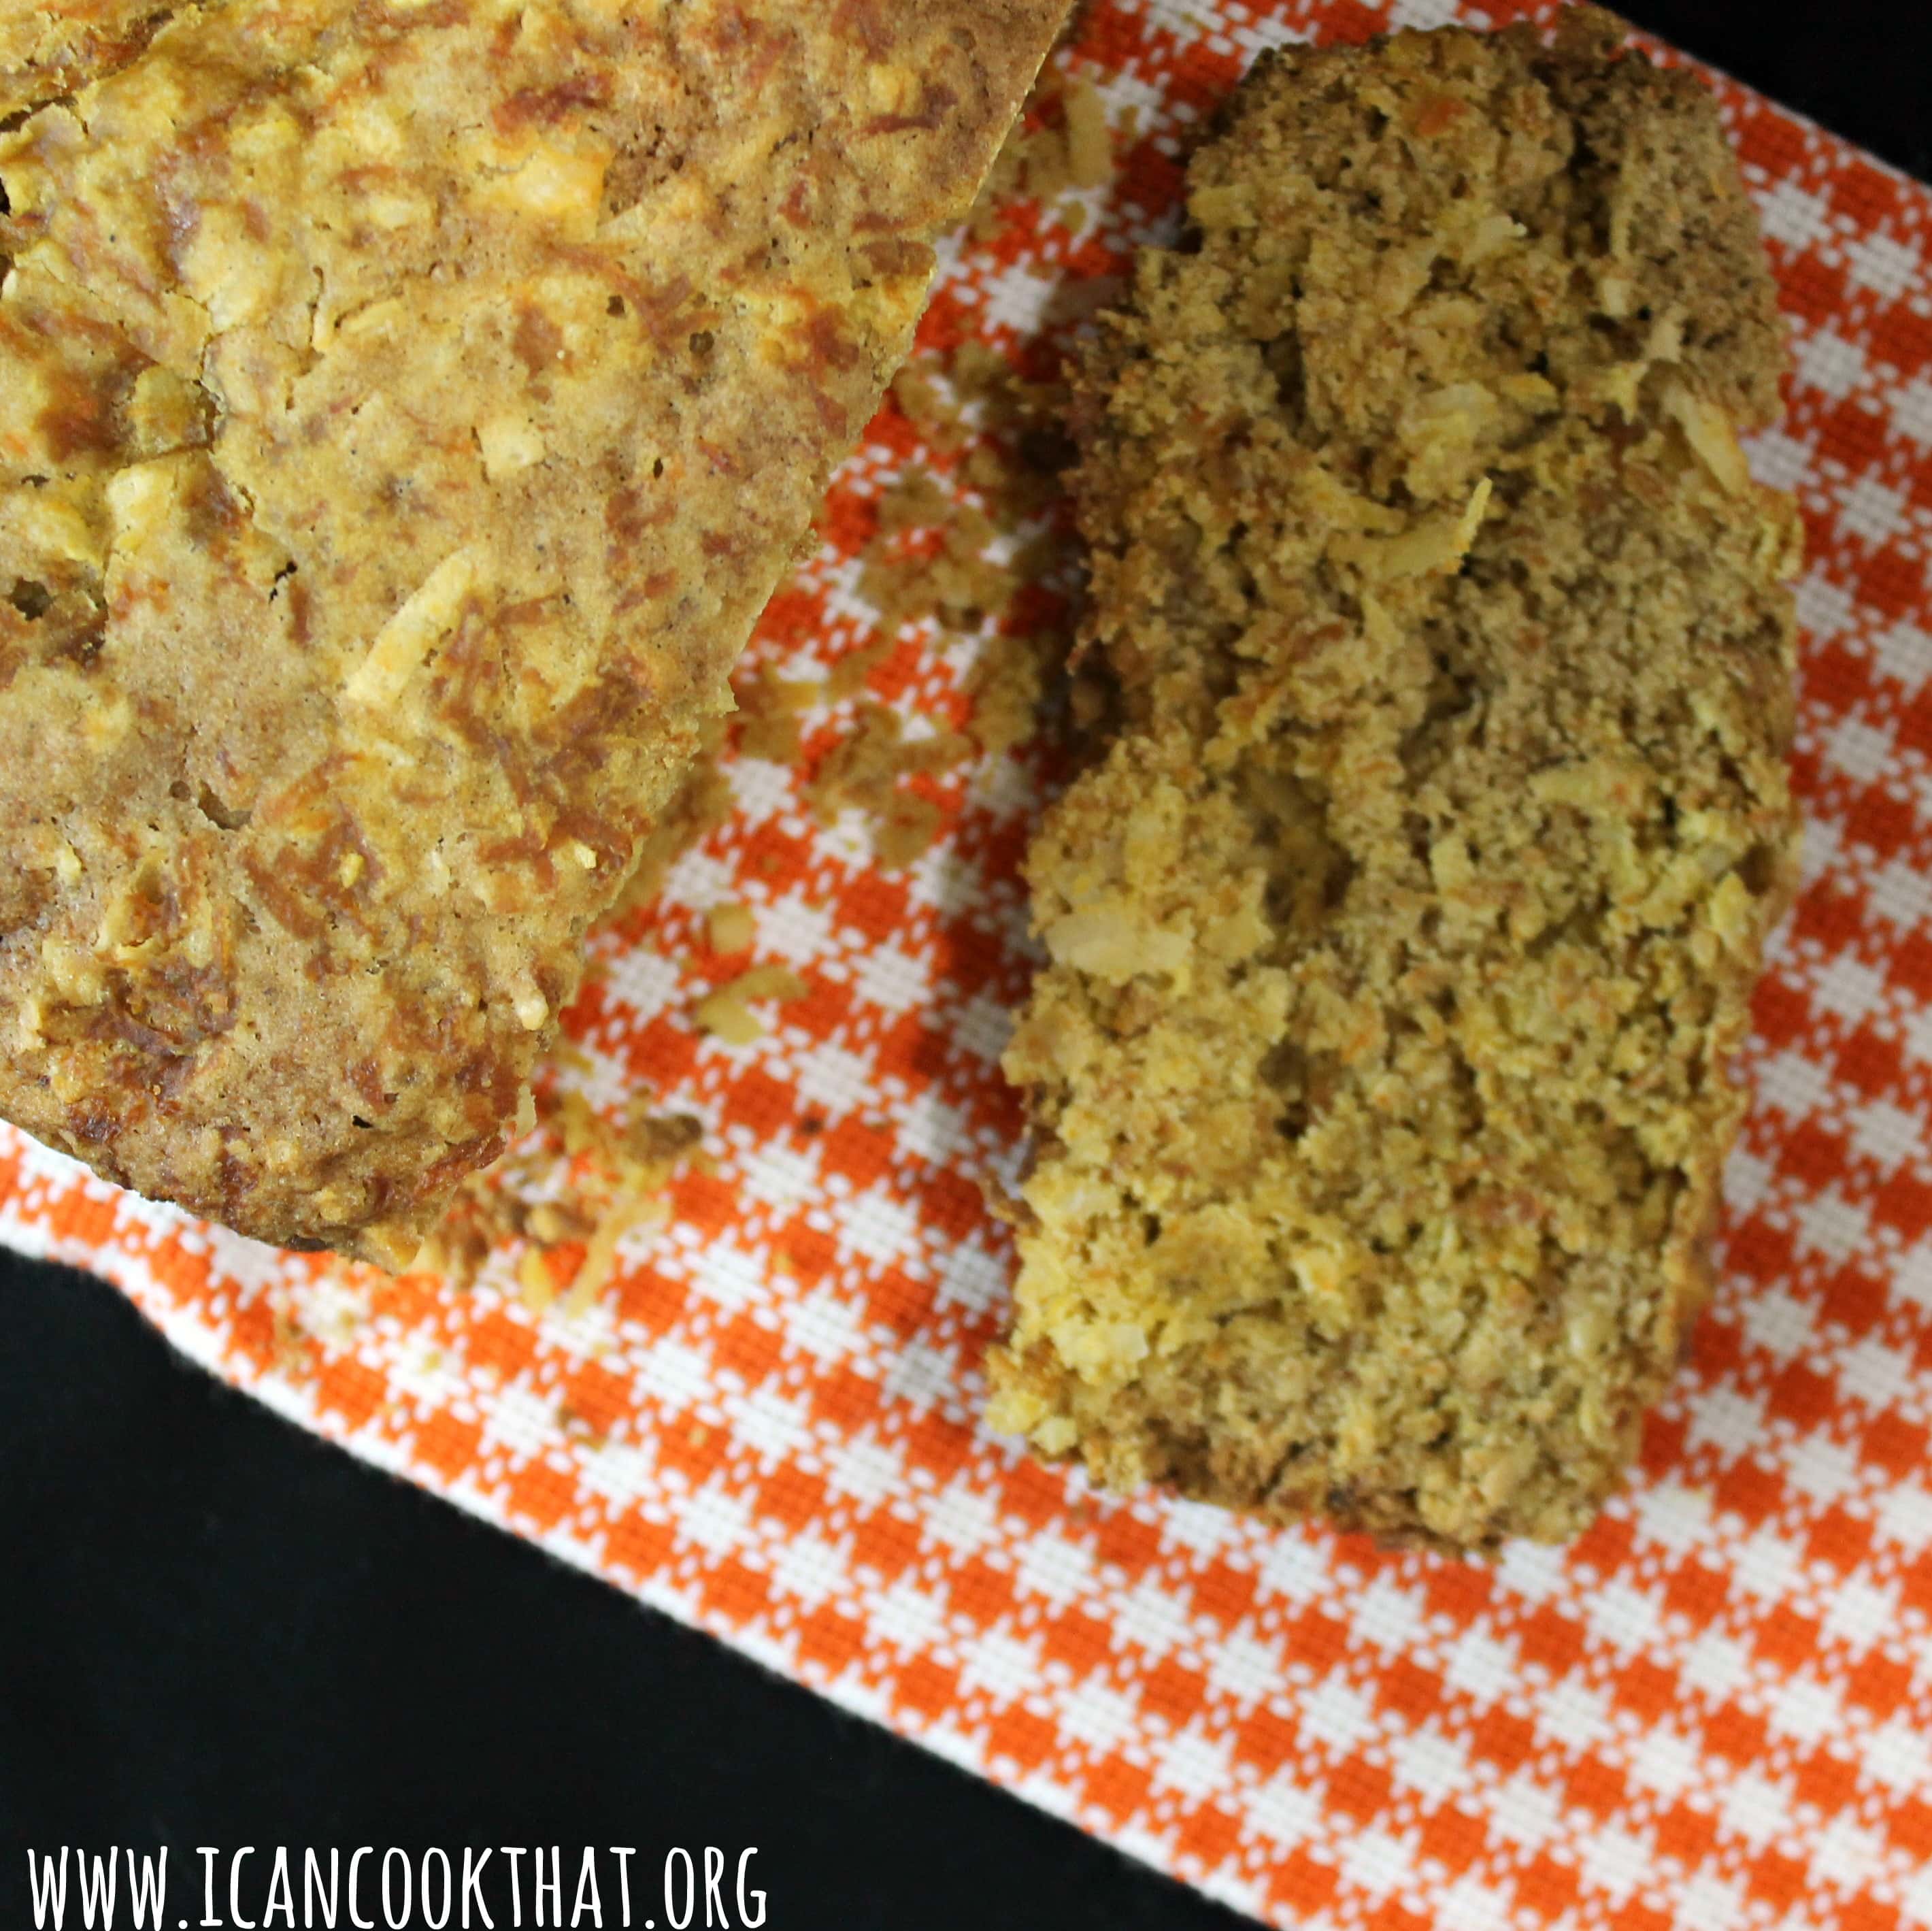
There are a bunch of really delicious sounding recipes in the cookbook, but I wanted to try a baked recipe because that seems to be the toughest type of recipe to make gluten-free and still maintain the same texture and taste.
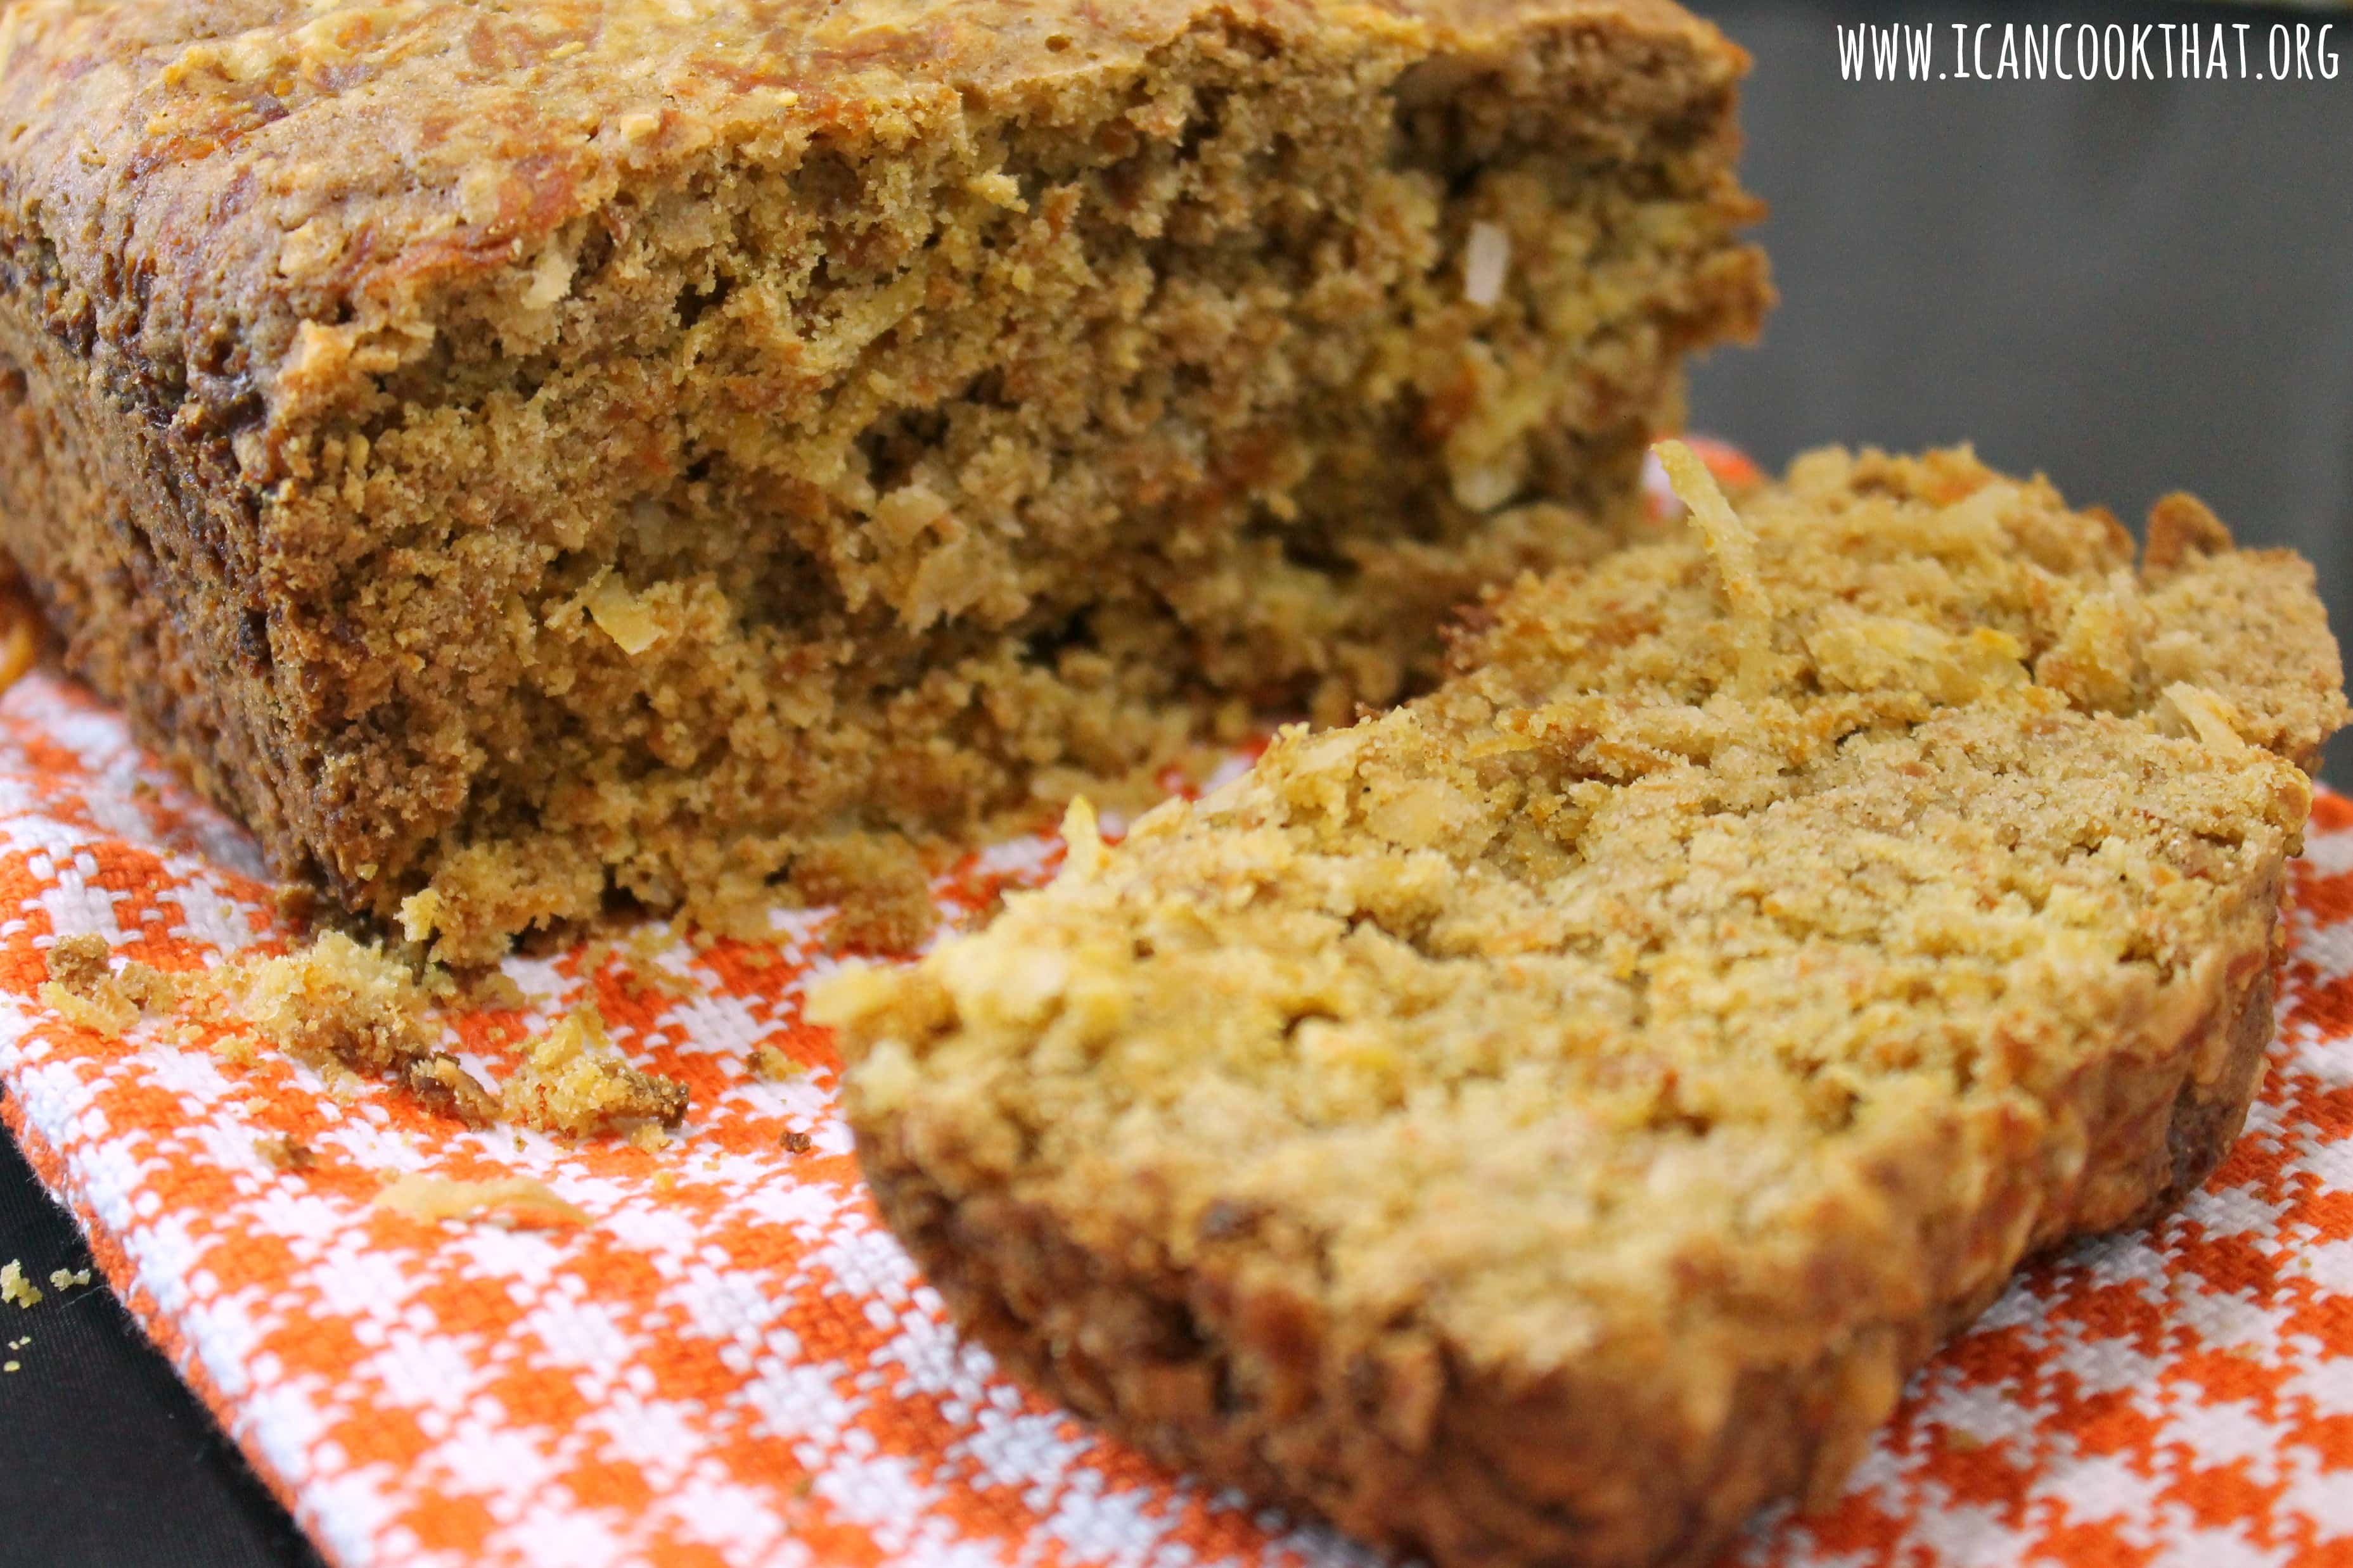
This recipe for Gluten Free Coconut Cardamom Carrot Bread uses a mixture of sorghum flour, millet flour, and potato starch to make a gluten-free bread. The bread is flavored with grated carrots, coconut flakes, and cardamom.
Before sharing the recipe, I thought it might be helpful to give some information about the different ingredients used in this recipe that may be a bit unfamiliar.
Sorghum Flour is a good source of protein, iron, dietary fiber and antioxidants. Sorghum promotes a healthy metabolism due to its high magnesium and copper levels. The starch and protein in sorghum flour take longer than other similar products to digest, making it particularly helpful for those with diabetes. Sorghum flour adds slight sweetness to baked goods and can be added or substituted in any recipe that calls for flour. Store in an airtight container in the refrigerator for up to 2 months or in the freezer for up to 4 months.
Millet Flour is a good source of protein, essential amino acids, and dietary fiber, as well as manganese, phosphorus, and magnesium. Millet flour helps keep the digestive tract operating smoothly and lowers the risk of diabetes and heart disease. It has a light, mild flavor and works well in sweet or savory baking. Millet flour delivers a cake-like crumb to baked goods. Store in an airtight container in the refrigerator for up to 3 months or in the freezer for up to 12 months.
Potato Starch is used as a thickener for sauces, soups, and stews, or is used in baking with a combination of other flours (rarely by itself) and is a natural way to add moistness to many baked goods. Store potato starch in an airtight container in the refrigerator for up to 6 months or in the freezer for up to 1 year.
Virgin Coconut Oil can be stored at room temperature or in the refrigerator. When kept at room temperature, coconut oil will go in between being a liquid and a solid, which doesn’t affect the oil’s quality. It’s easier to measure out larger amounts of coconut oil when it is a liquid, so run the jar under warm running water before opening to liquify when measuring for this recipe.
Ingredients:
- 2/3 cup sorghum flour
- 2/3 cup millet flour
- 2/3 cup potato starch
- 2 teaspoons gluten-free baking powder (like Clabber Girl)
- 1 teaspoon ground cardamom
- 1/2 teaspoon baking soda
- 1/2 teaspoon sea salt
- 1 cup packed dark brown sugar
- 2 large eggs
- 1/2 cup melted virgin coconut oil (you can also use melted unsalted butter or olive oil if you prefer)
- 2 cups shredded carrots
- 1 1/4 cups unsweetened flaked coconut