It’s that time of year again! I signed up for the Great Food Blogger Cookie Swap again this year and got some great ideas for what to bake for Christmas!
In its third year, the Great Food Blogger Cookie Swap helps raise money for Cookies for Kids’ Cancer, a national non-profit organization committed to funding new therapies used in the fight against pediatric cancer, which claims the lives of more children in the US than any other disease. The swap raised $13,778.40 this year, raised through blogger participants donations and matching donations from OXO, Dixie Crystals, Gold Medal, and Grandma’s Molasses. The goal was $10,000, so to get nearly $4,000 more in donations is amazing!
So here’s how the actual swapping part of this works: I was assigned three food bloggers and made one dozen cookies for each of them. In return, I received three different boxes of cookies from other bloggers.
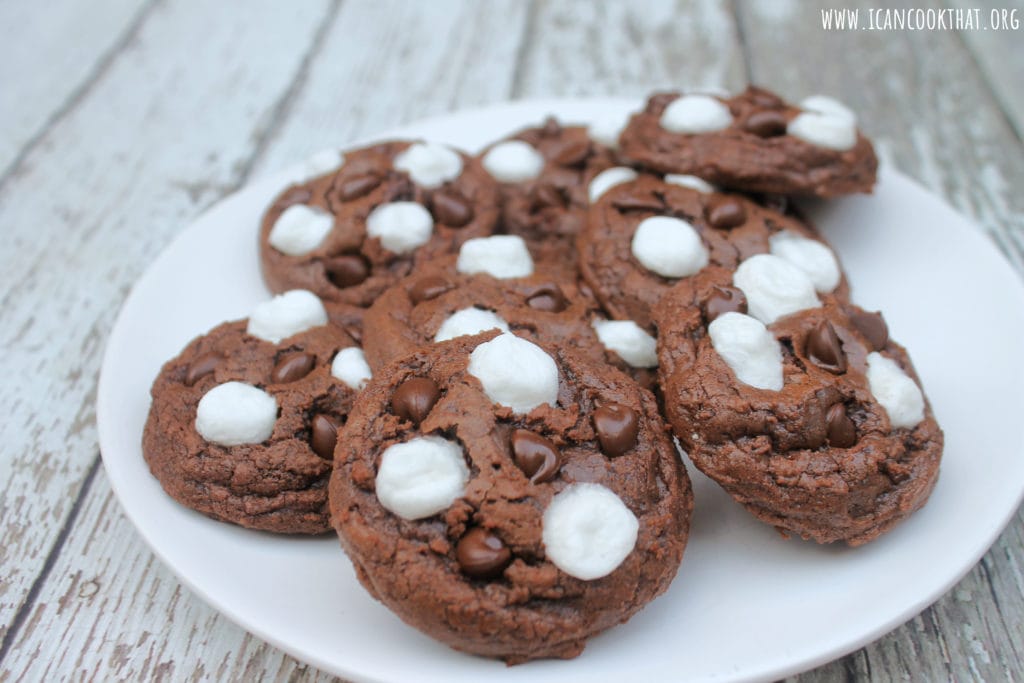
Last year, I received a batch of hot cocoa cookies that were SO good I was craving them again this year. So I decided to make some myself! The chocolate cookies are topped with mini marshmallows, chocolate chips, and a touch of grated chocolate. I based my recipe off of Rachel Ray’s Hot Cocoa Cookies recipe.
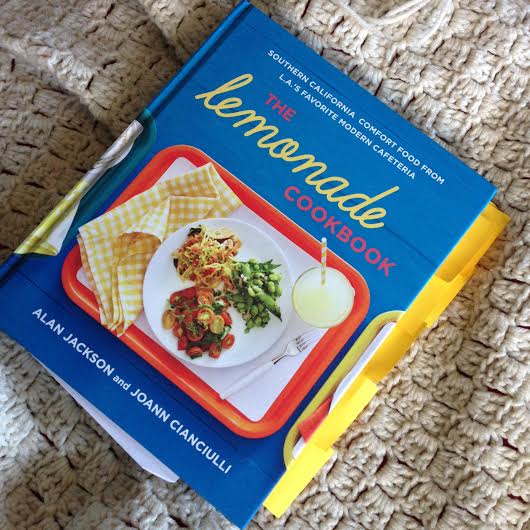
There are some really fantastic sounding recipes in this cookbook. Just look at how I tabbed this book trying to decide which to make for this post!
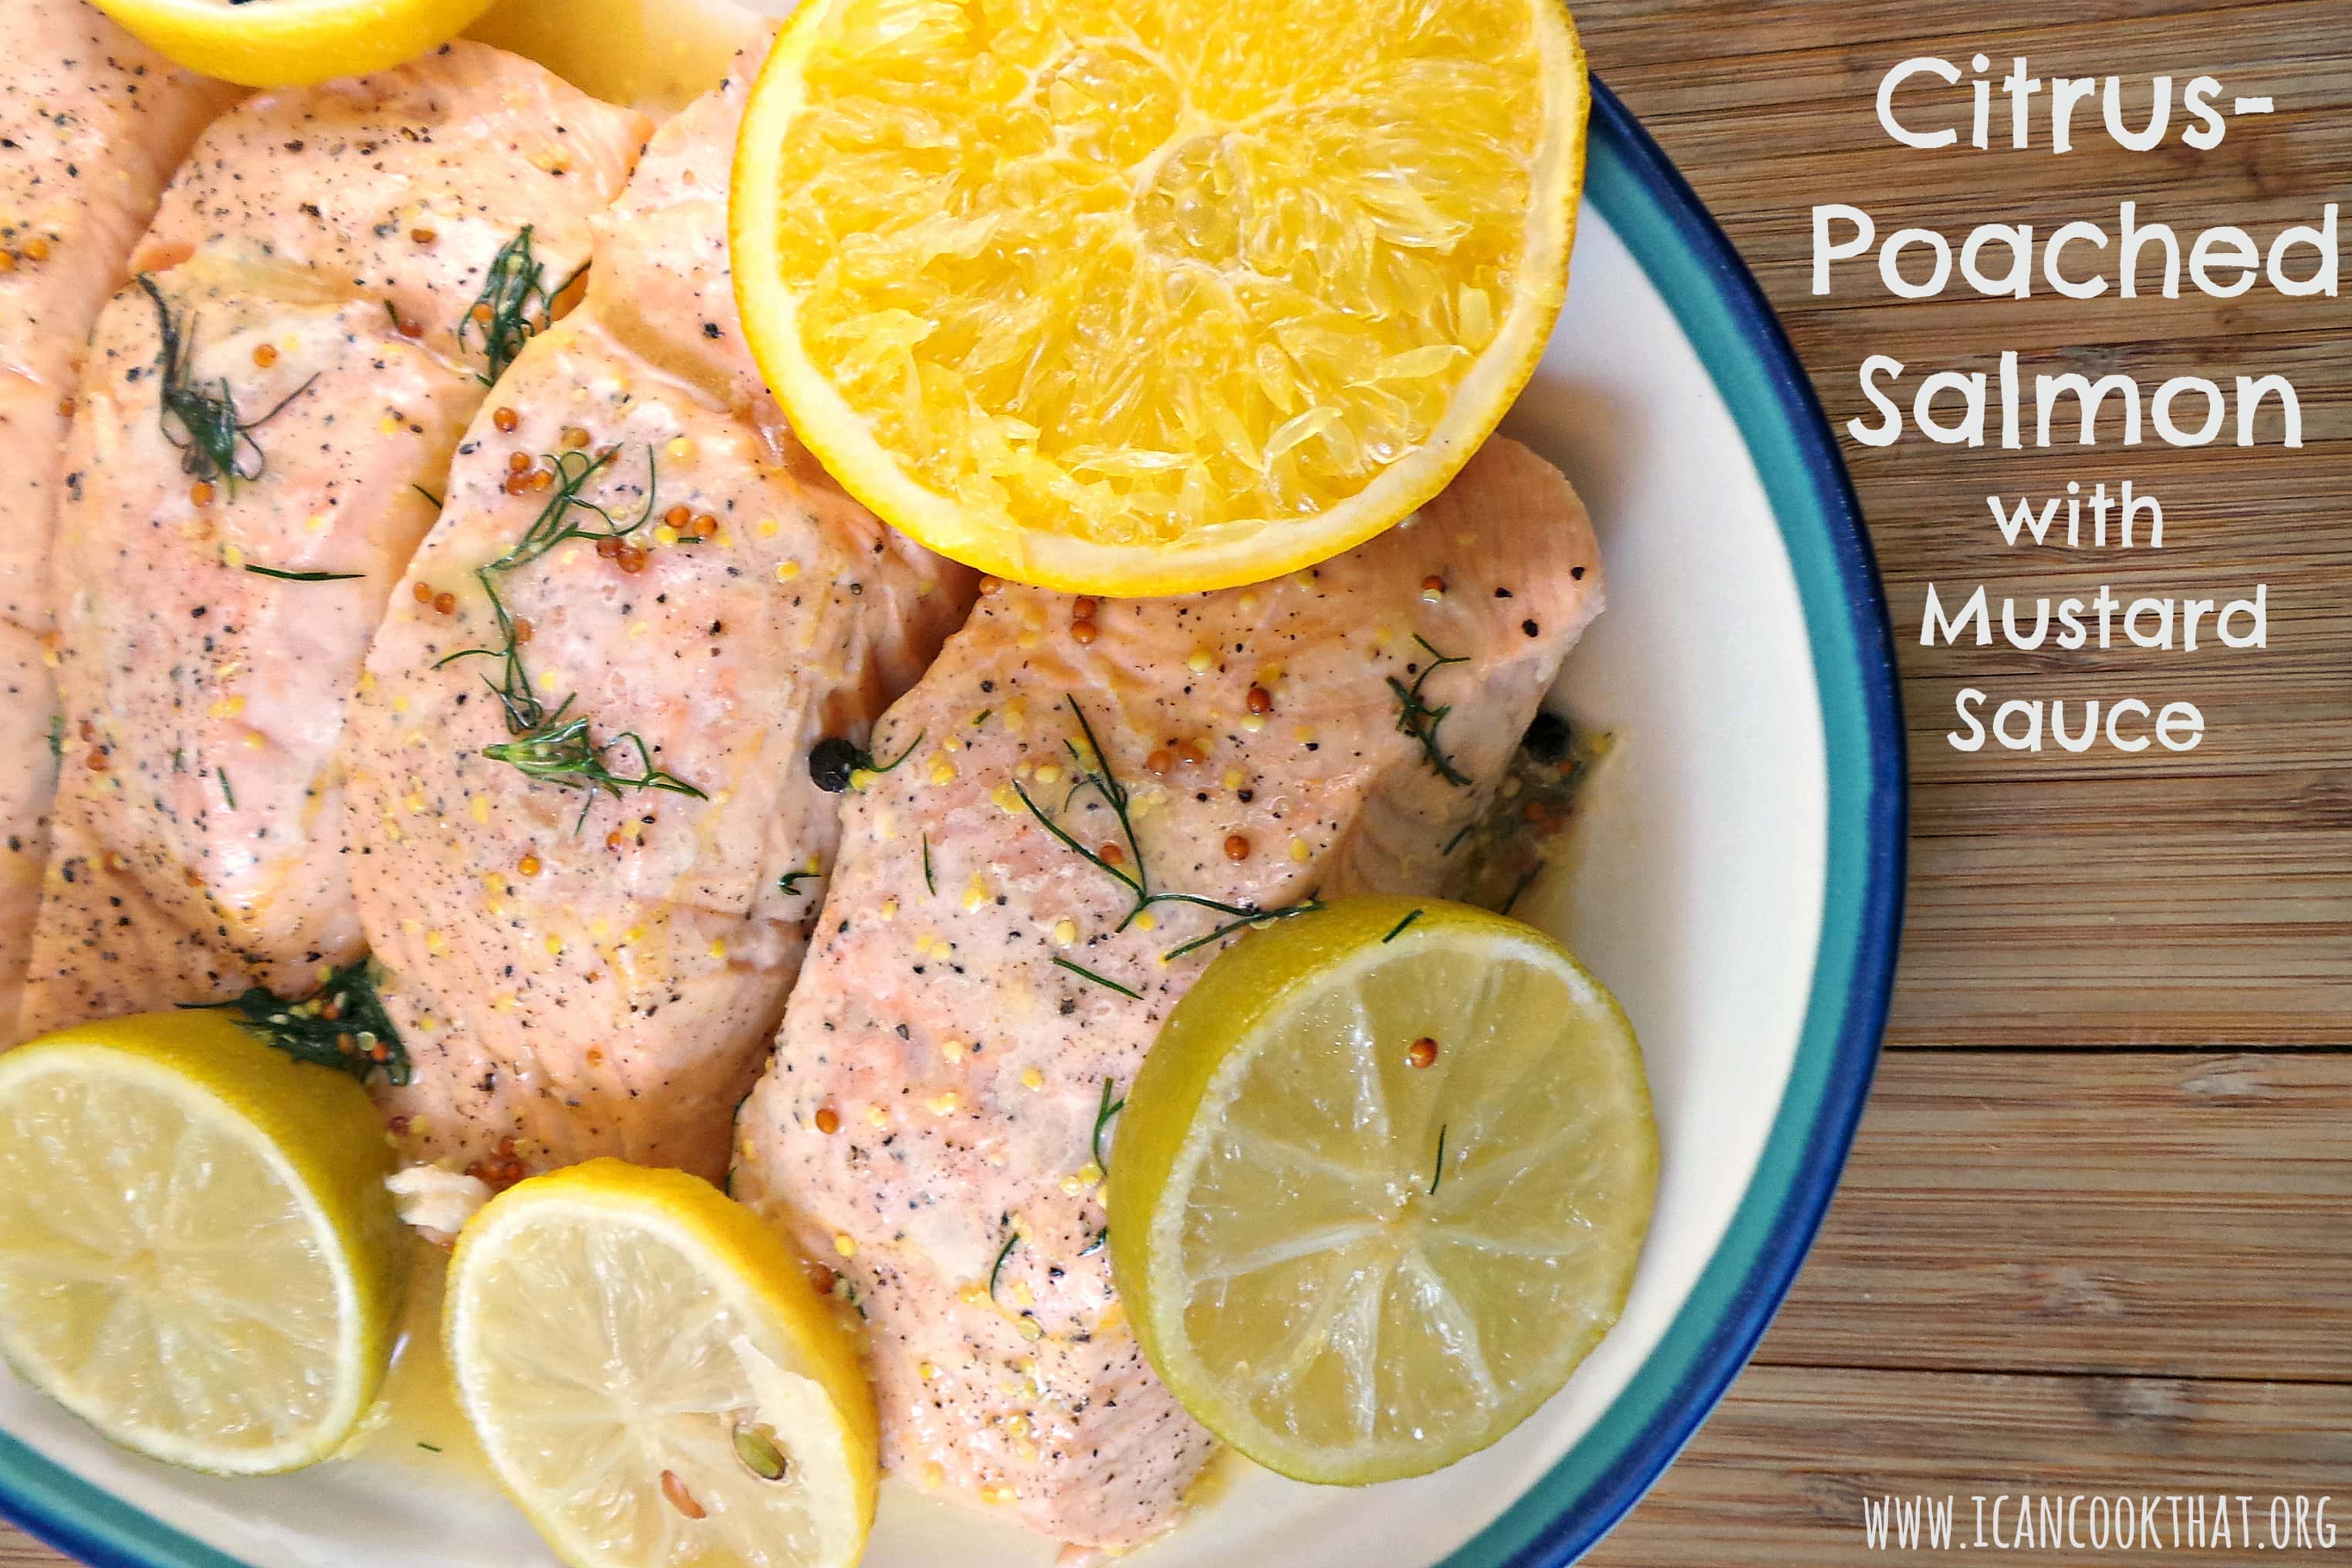
Included in the cookbook, which features 120 recipe, are:
Forbidden Rice with Hearts of Palms, Mushrooms and a Jalapeno Vinaigrette
Bay Shrimp with Cannellini Beans dressed in Shallots and Cayenne Pepper
Red Miso Short Rib Braise
Lemon Poppy Seed Bundt Cake
Unique Lemonade concoctions like Peach Ginger, Pear Basil, and Cantaloupe Sage
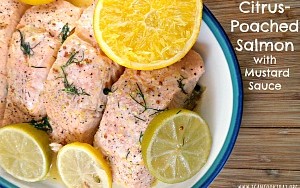
With descriptions like that, I have to point out that these recipes are surprisingly unfussy and manageable to make at home. I decided to make the salmon because 1. it sounds delicious and 2. I have never poached fish before and I love trying out new techniques.
This recipe takes about 40 minutes from start to finish so it is great for a special weeknight dinner (or as a mid-week pick me up!) I changed the ingredients ever so slightly so to see the original, check out the cookbook, available in stores now!
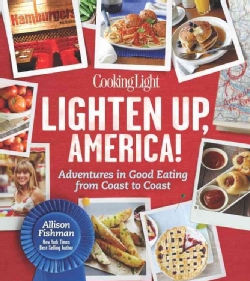
It is fitting that I am able to host this giveaway so close to my blog anniversary! One of my biggest inspirations for learning how to cook and starting a blog to document it was Cooking Light Magazine. My mom on a whim picked up a copy of the magazine while at the supermarket. As I paged through, I was surprised with how simple the recipes seemed to be and how absolutely delicious they all sounded. After cooking a couple of the recipes, I was hooked. Three years later, Cooking Light remains a huge inspiration as I continue to learn how to cook.
One of the best parts of learning to cook is being able to experience different cultures in your very own kitchen. America alone has a ton of different cooking styles with different areas and cities having signature dishes. Allison Fishman Task, a contributing editor of Cooking Light, traveled across America to discover native dishes across the nation. The lightened up versions can be found in Lighten Up. America! Favorite American Foods Made Guilt-Free. The cookbook tackles everything from fried green tomatoes to Philly cheesesteaks.
You can win a copy of this cookbook for your very own! Details after the recipe…
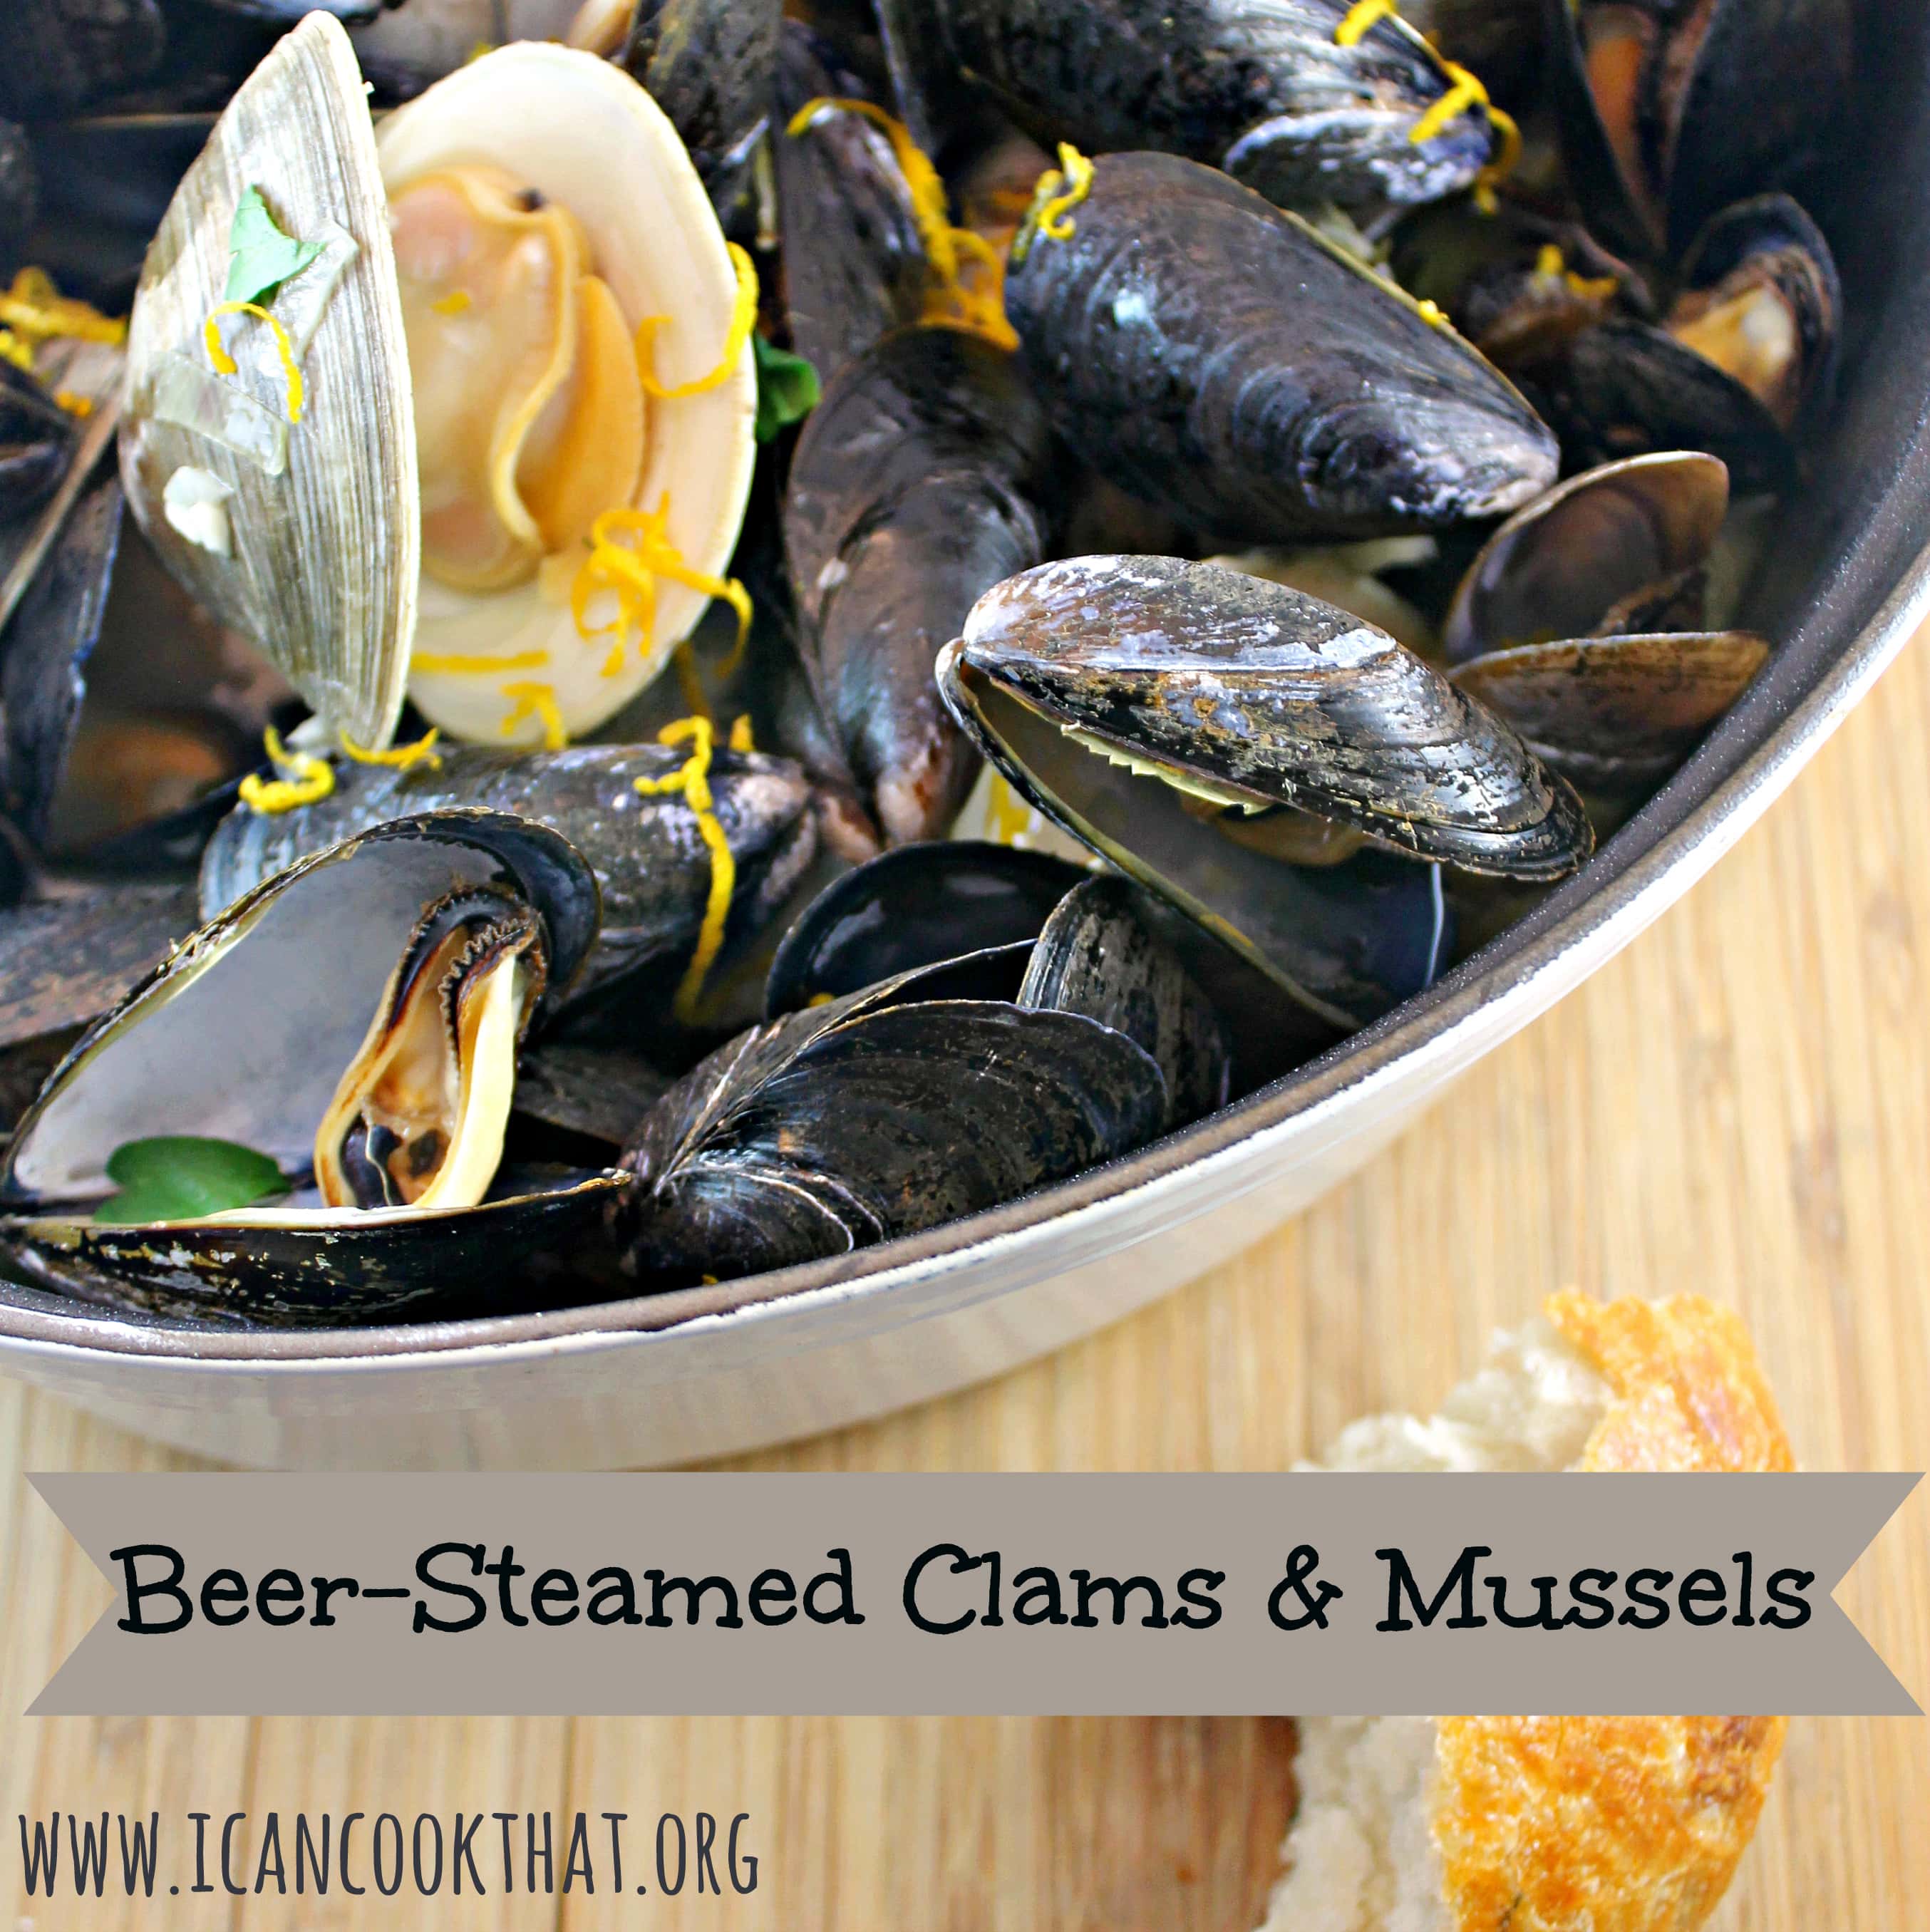
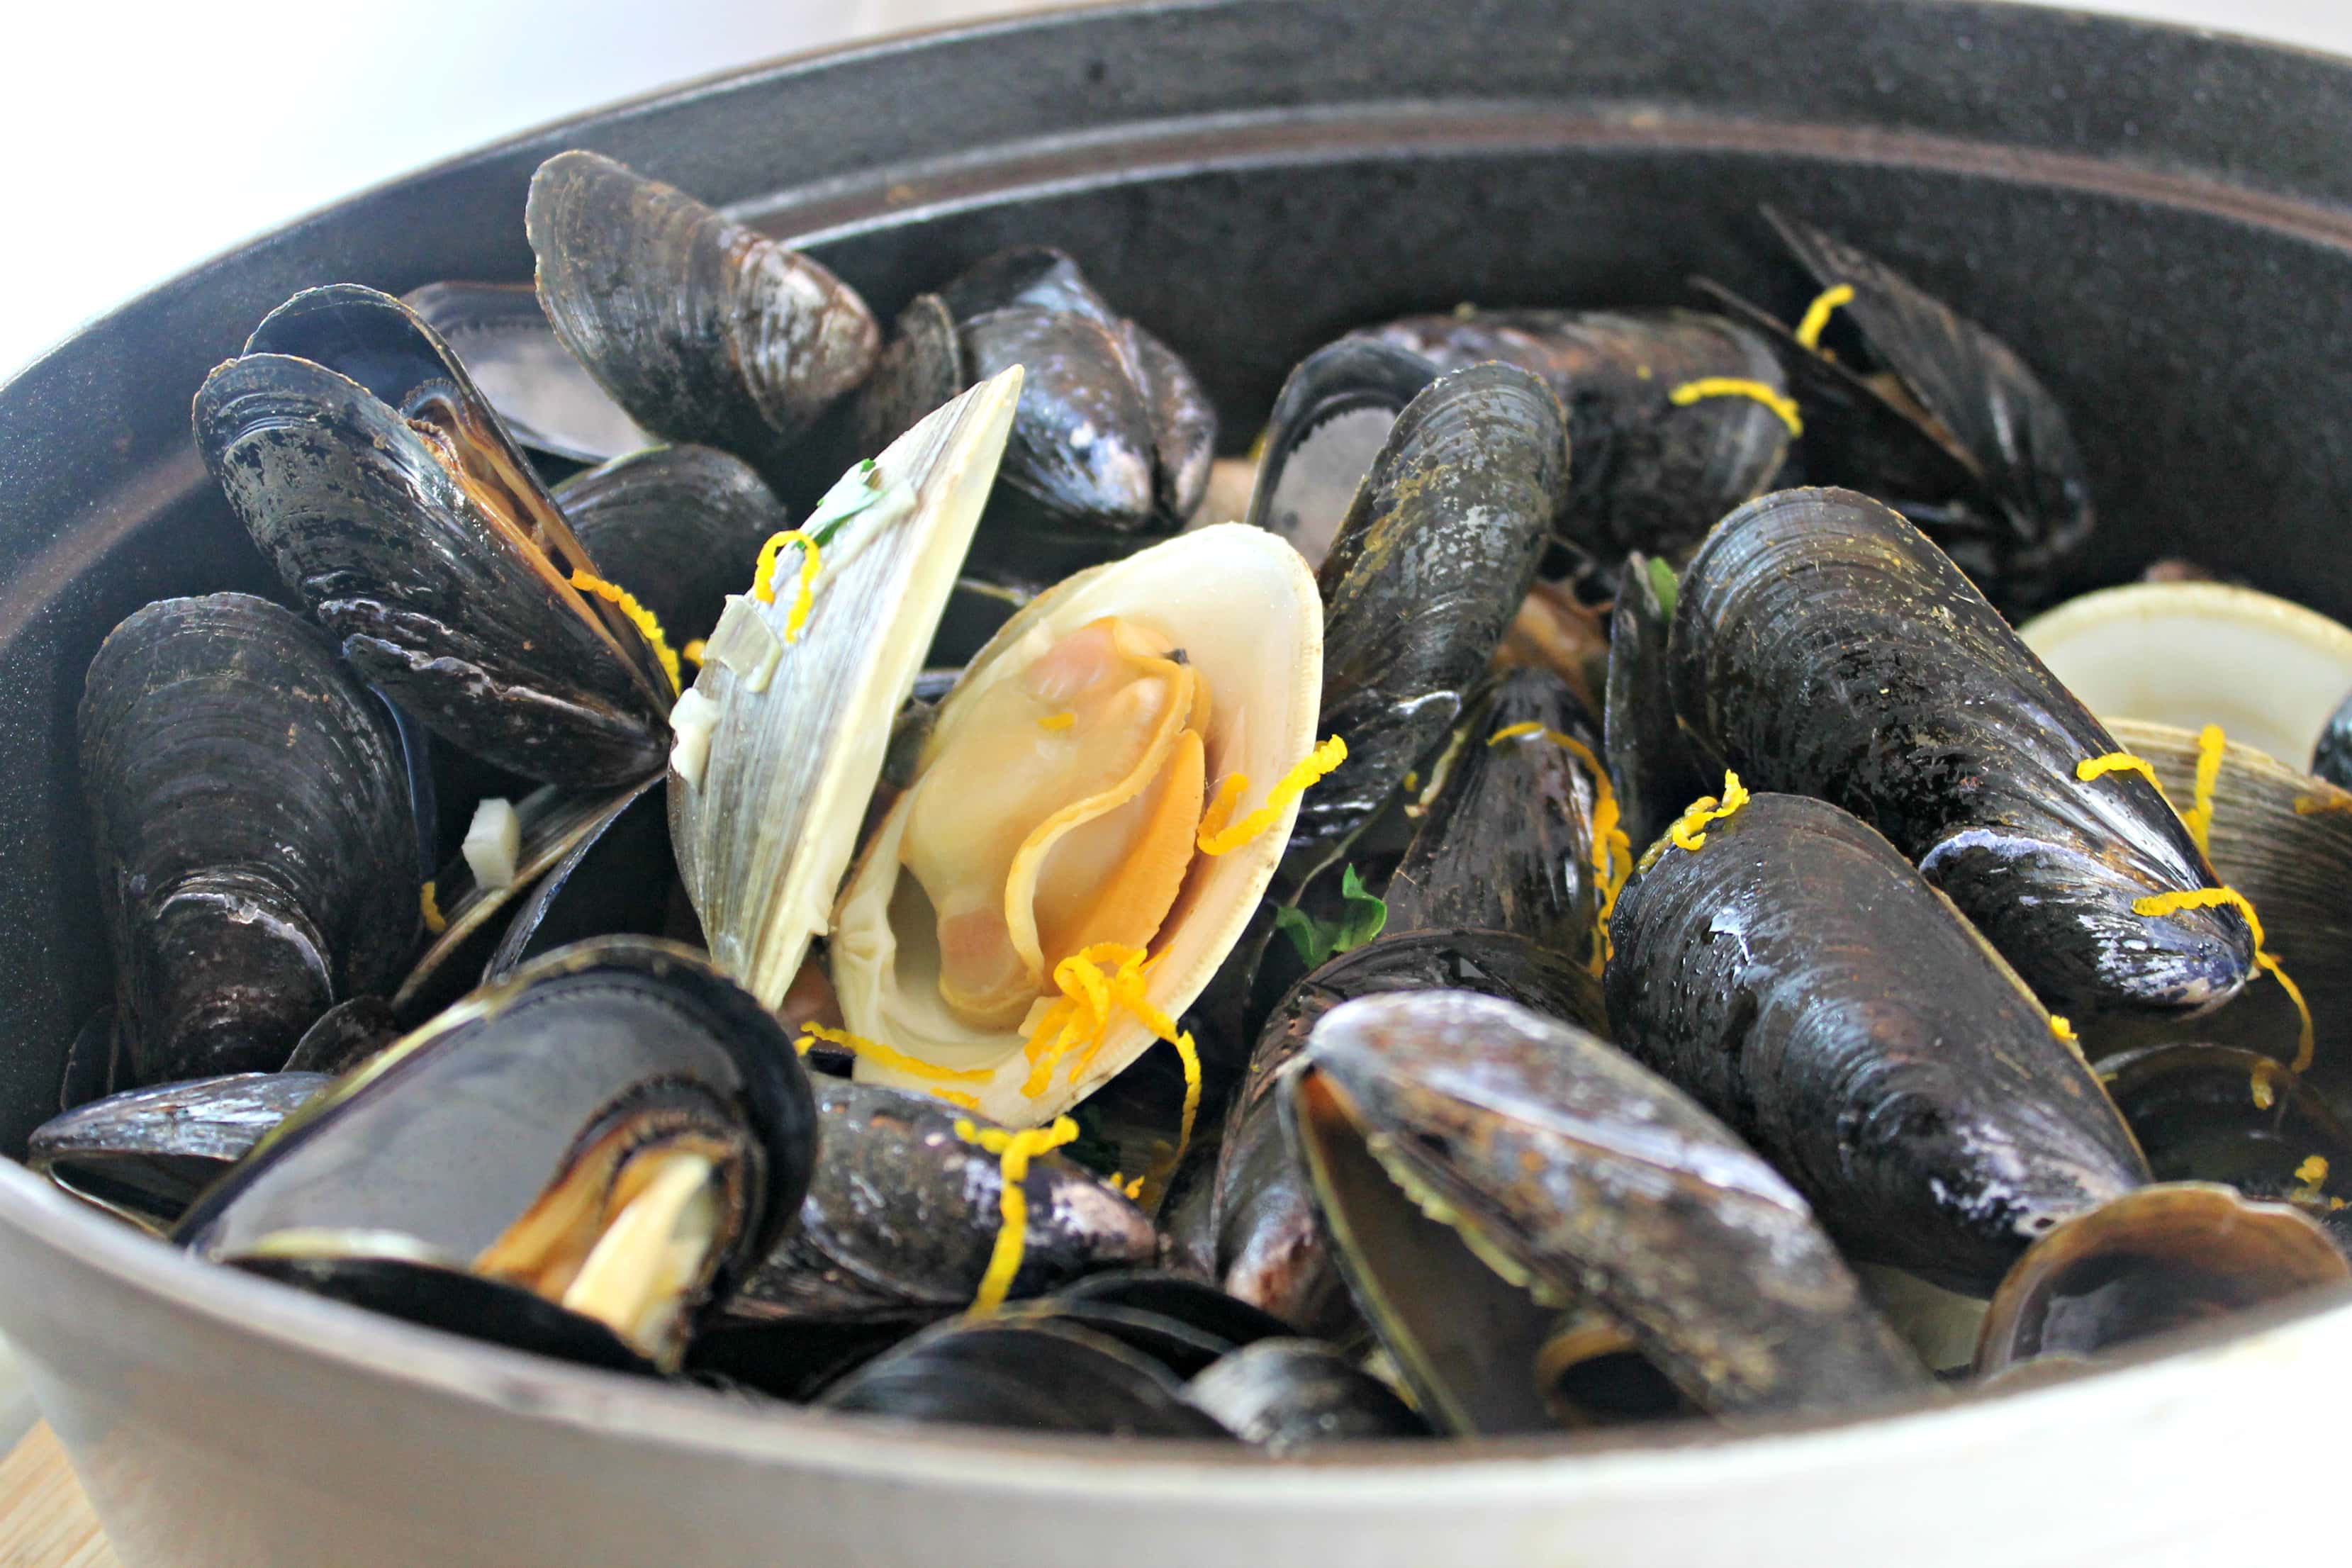
I am always in search of new seafood recipes so I gravitated towards the recipe for Beer Steamed Clams and Mussels. To Philadelphia-ize it, I used a local beer from Philly Brewing Company called Walt Wit.
Ingredients:
1 tablespoon butter
1 tablespoon olive oil
4 shallots, chopped
5 sprigs marjoram
3 garlic cloves, minced
1 bottle Walt Wit (or another Belgian White)
the juice and zest of one orange, divided
10 clams (I used larger clams but I’d suggest using Littlenek)
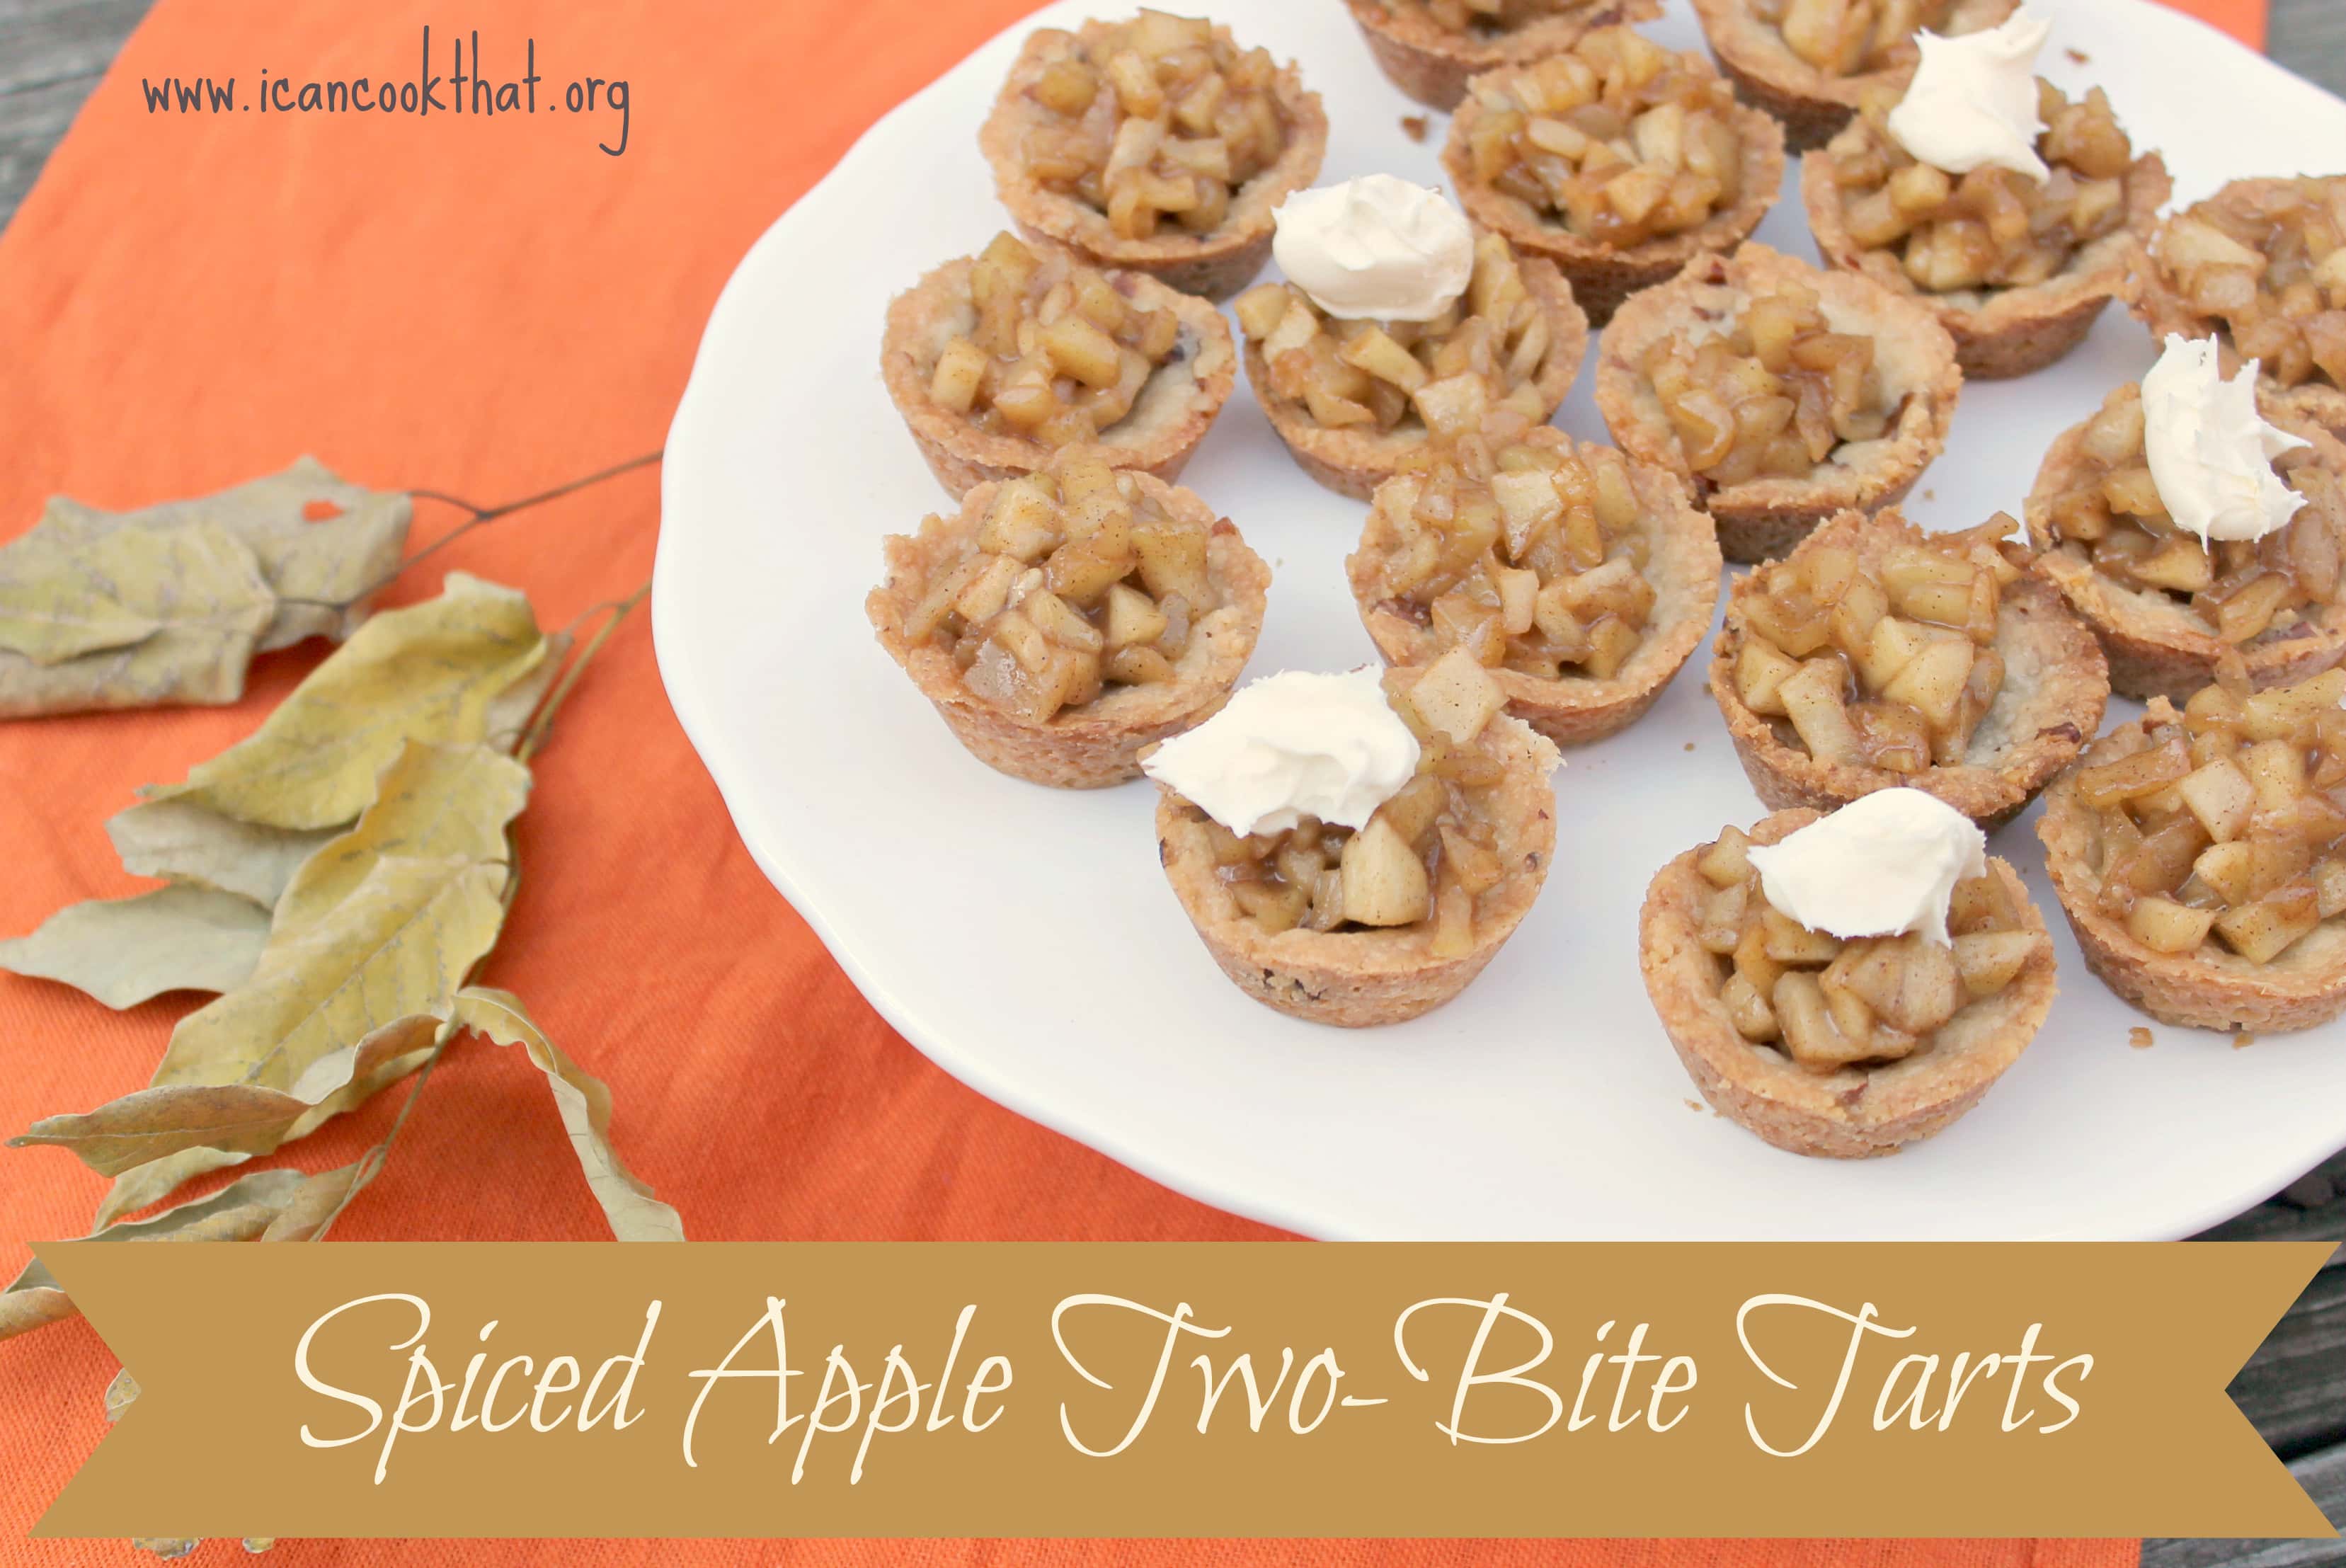
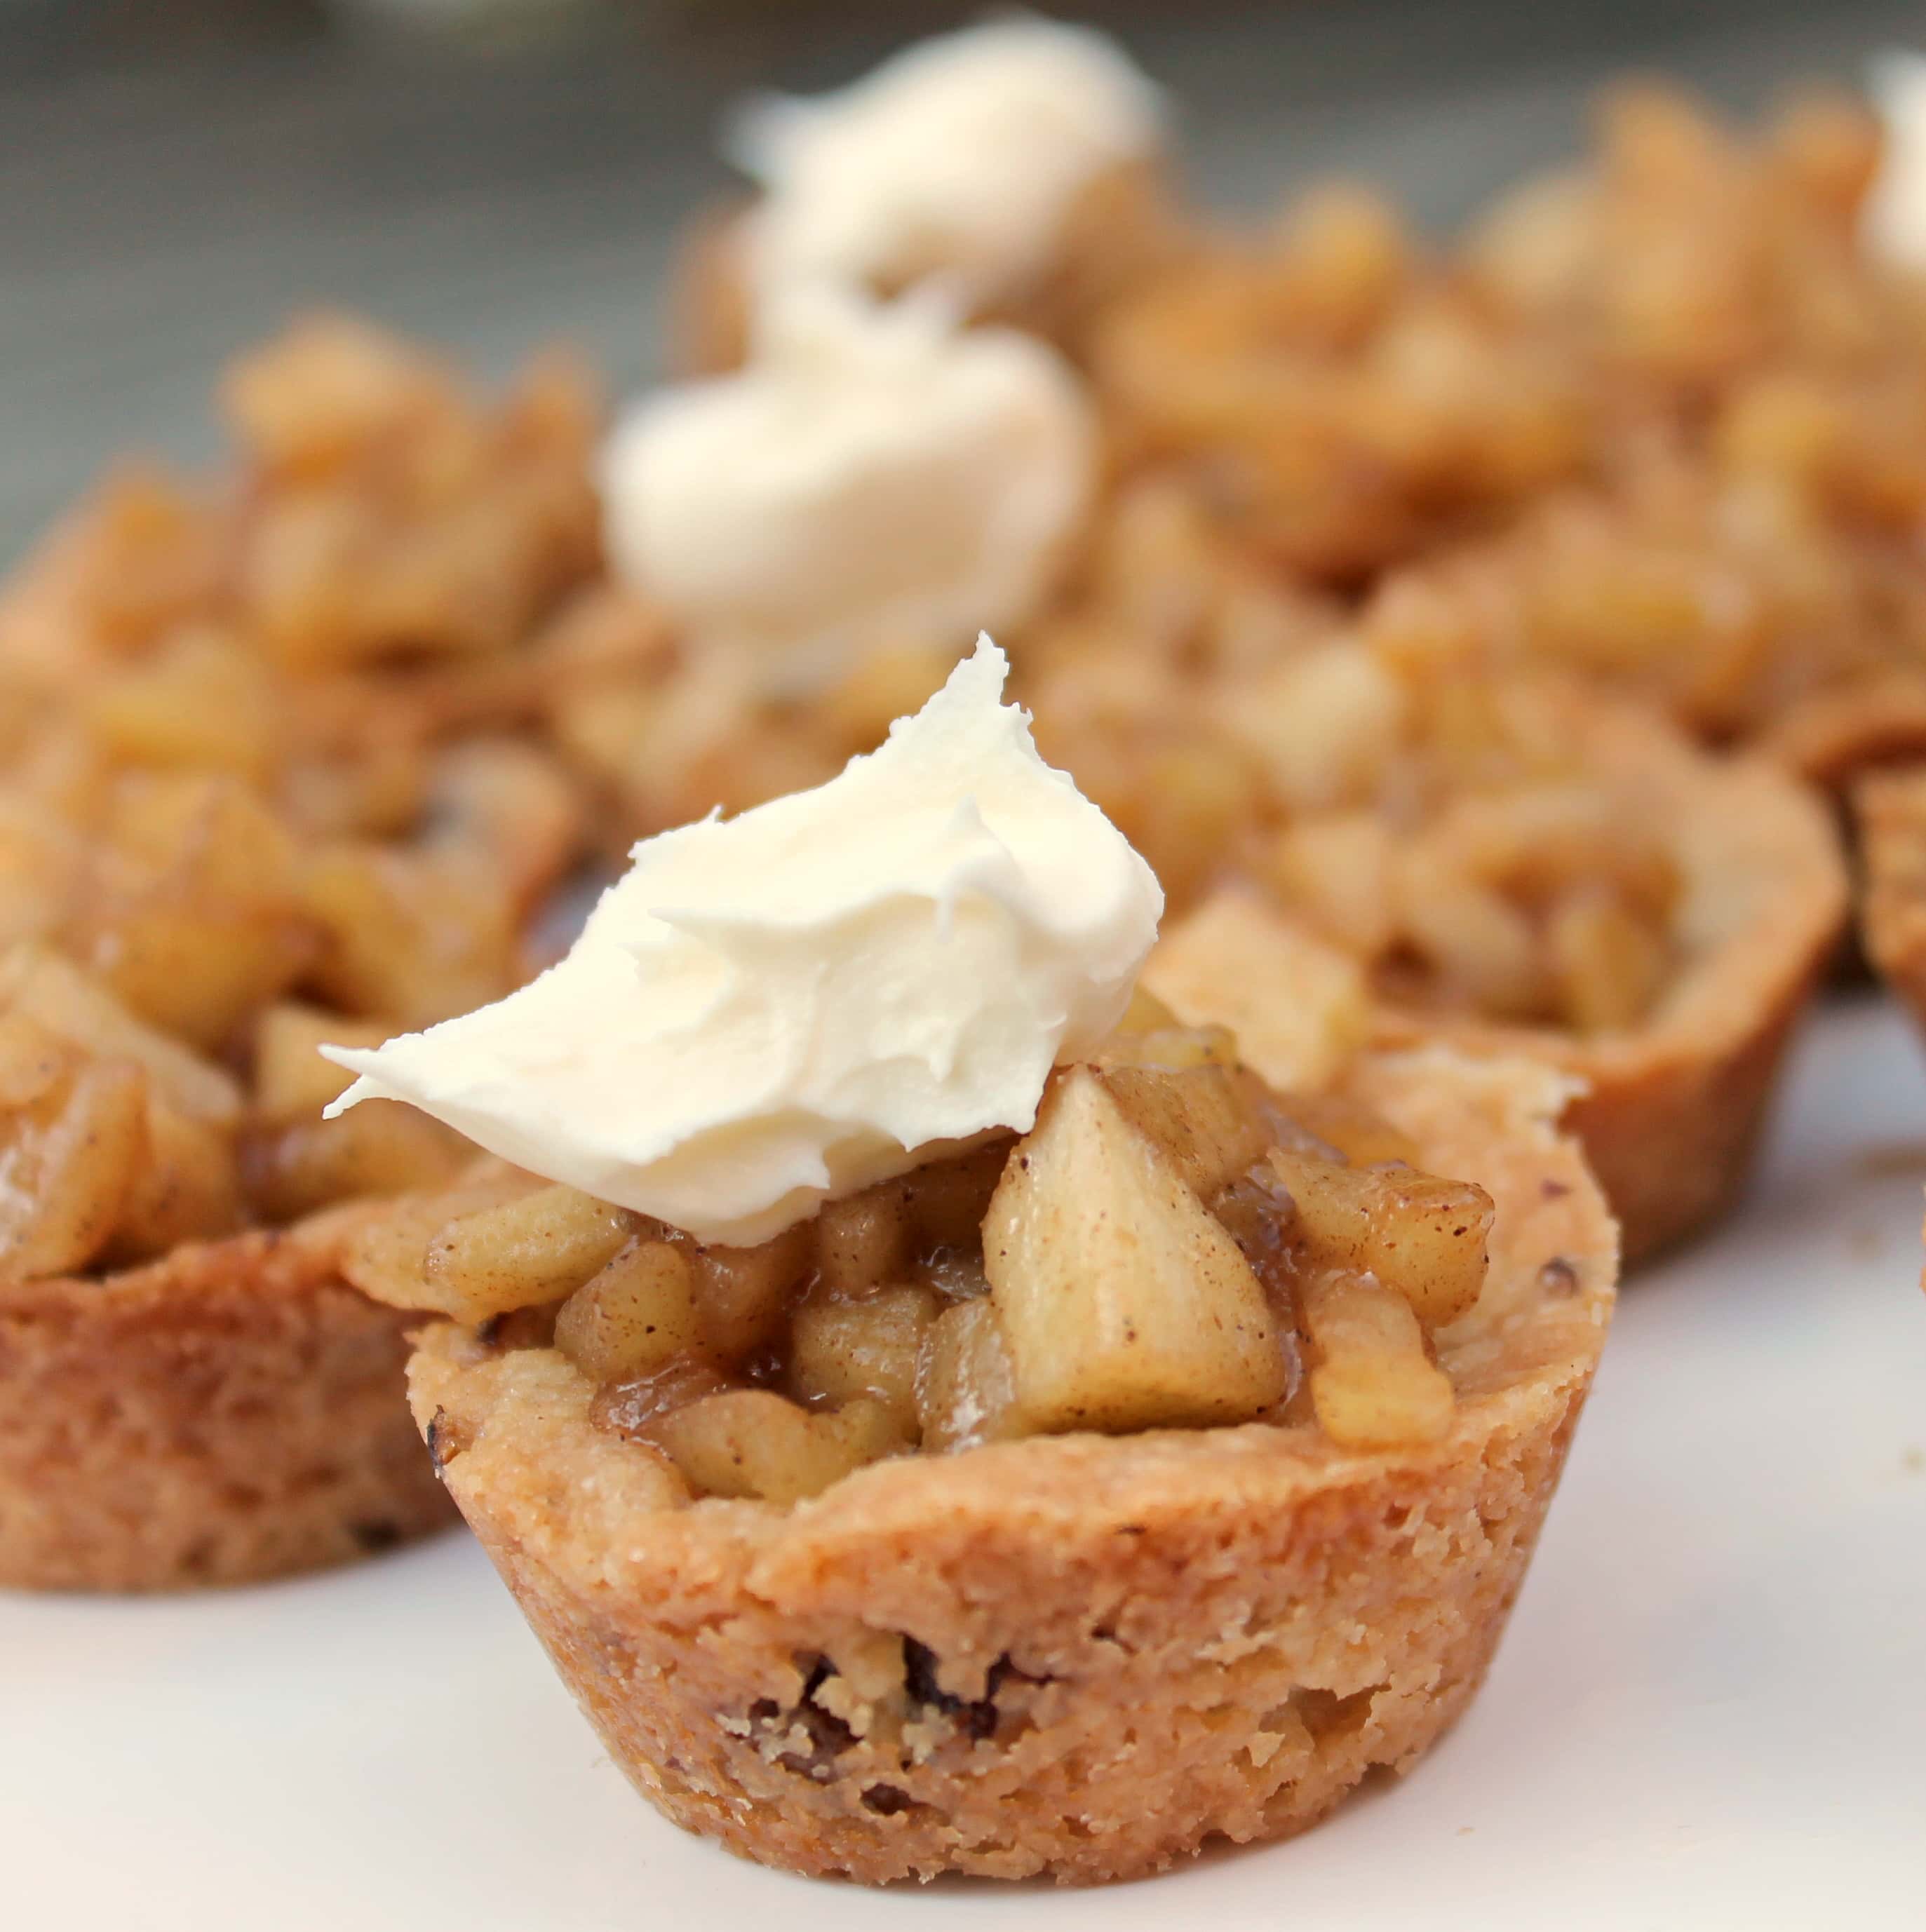
I love fall treats, but I can’t really justify making a whole apple pie for just my boyfriend and I; we would be eating it for days! So I love that this month’s Cooking Light had a recipe for mini spiced apple two bite tarts that I can also share with friends. I adapted the recipe slightly, adding some more fall spices. I also didn’t have any 1% milk on hand so I substituted heavy cream. I also topped mine with mascarpone instead of crème fraîche because I thought it would taste great with these tarts.
These are really easy to make; the most difficult part (a.k.a. most time consuming) is dicing the apples. But you definitely want to cut them nice and small so that they fit in the tarts. You also need a mini cupcake tin for this, but you can adapt it to make normal cupcake sized ones if you wanted, just increase the baking time.
Ingredients:
CRUST
1/3 cup sugar
1/4 cup unsalted butter
2 tablespoons canola oil
1 tablespoon heavy cream
1/2 teaspoon vanilla extract
1/4 teaspoon salt
4.5 ounces all-purpose flour (about 1 cup)
1/3 cup very finely chopped toasted pecans
Baking spray with flour
FILLING
2 cups finely diced peeled Granny Smith apple (~4 apples)
As the weather cools down, I want more and more comfort food. I gravitate towards pastas, all forms of a warm meal, and food with a little spice to it to keep me feeling toasty, like this Cedar Plant Fired Salmon.
Carrabba’s must know I’m not alone. They have recently launched a new Fire Finished menu and I was lucky enough to do a tasting of it! Last week, I headed over to a local Carrabba’s and tried the following:
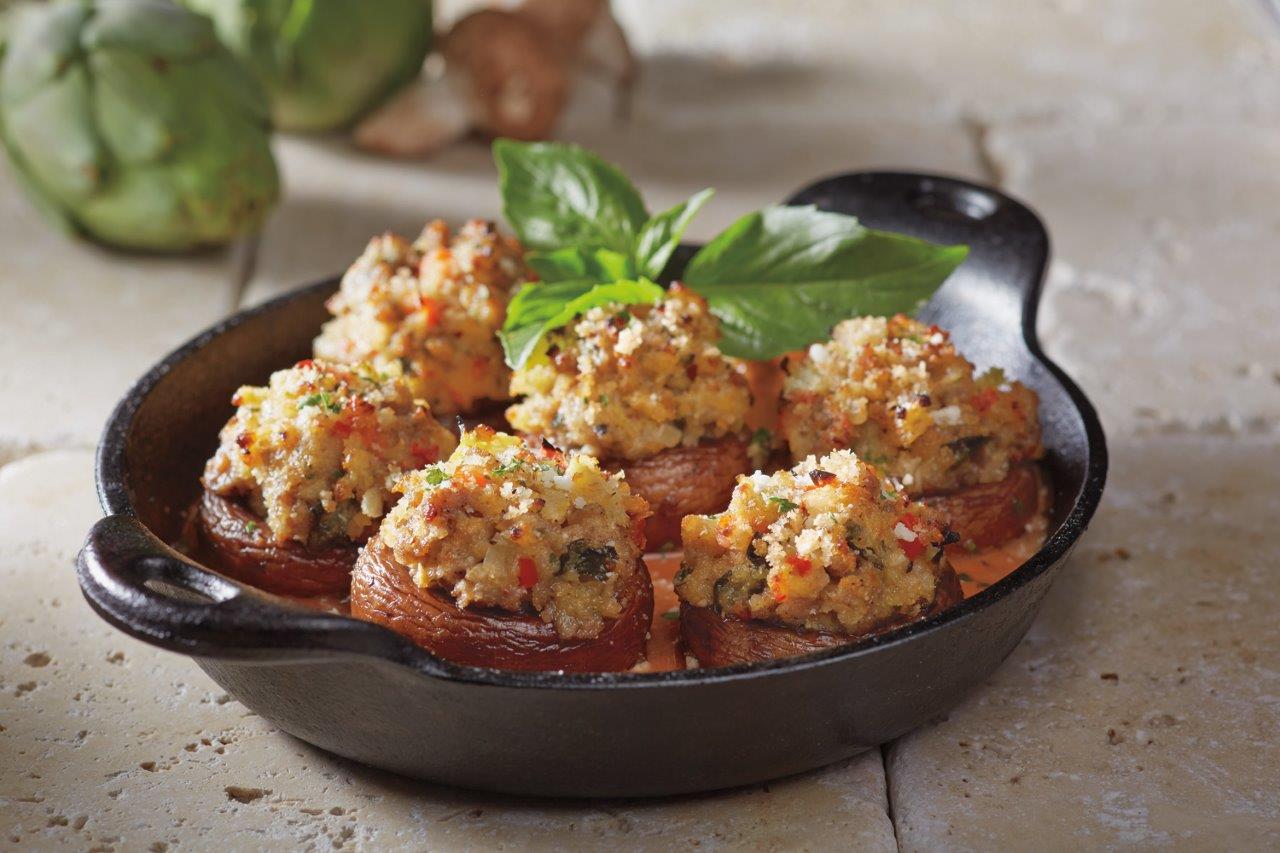
Fire Roasted Mushrooms stuffed with sausage, red bell peppers, fennel, sauteed onions, brioche breadcrumbs, artichoke hearts, and romano cheese.
Photo courtesy of Carrabba’s Italian Grill
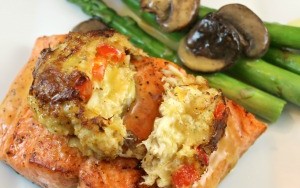
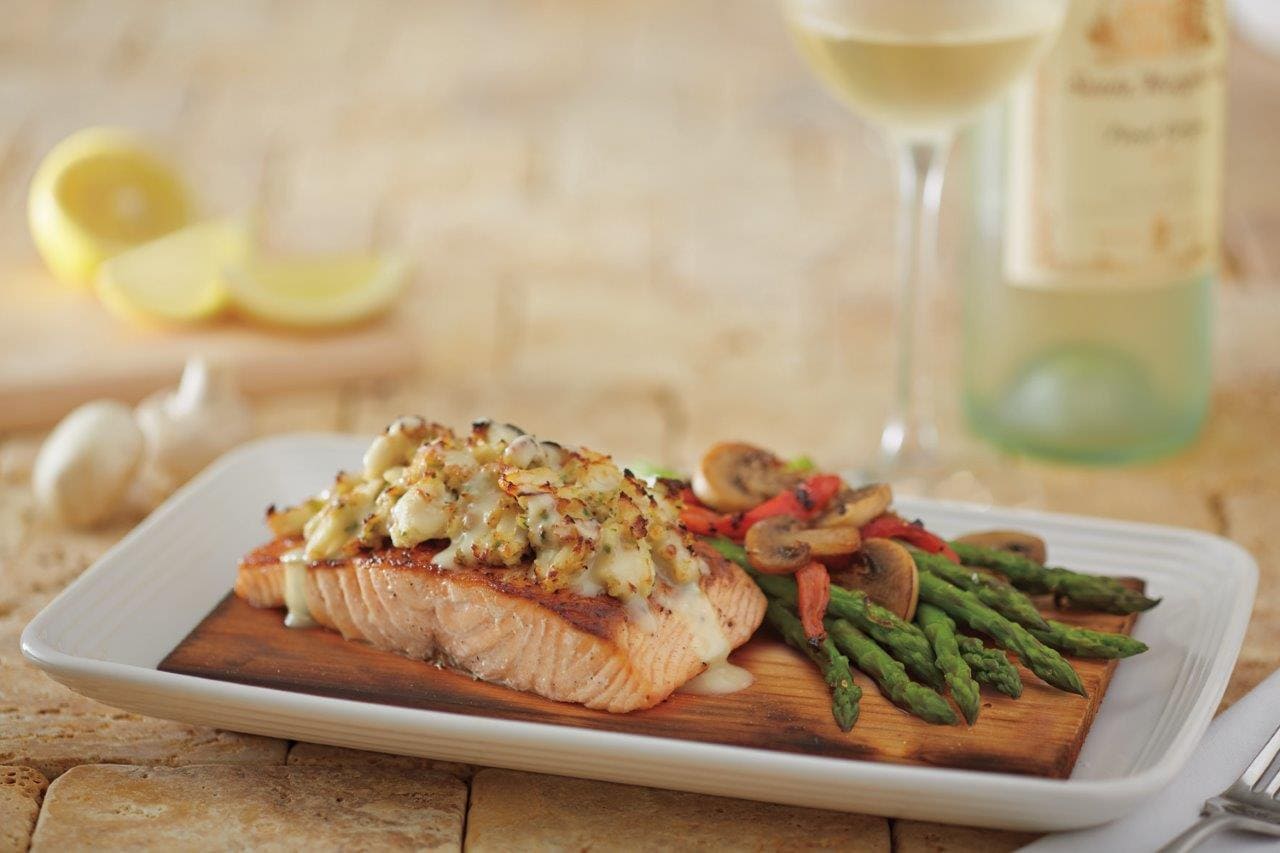
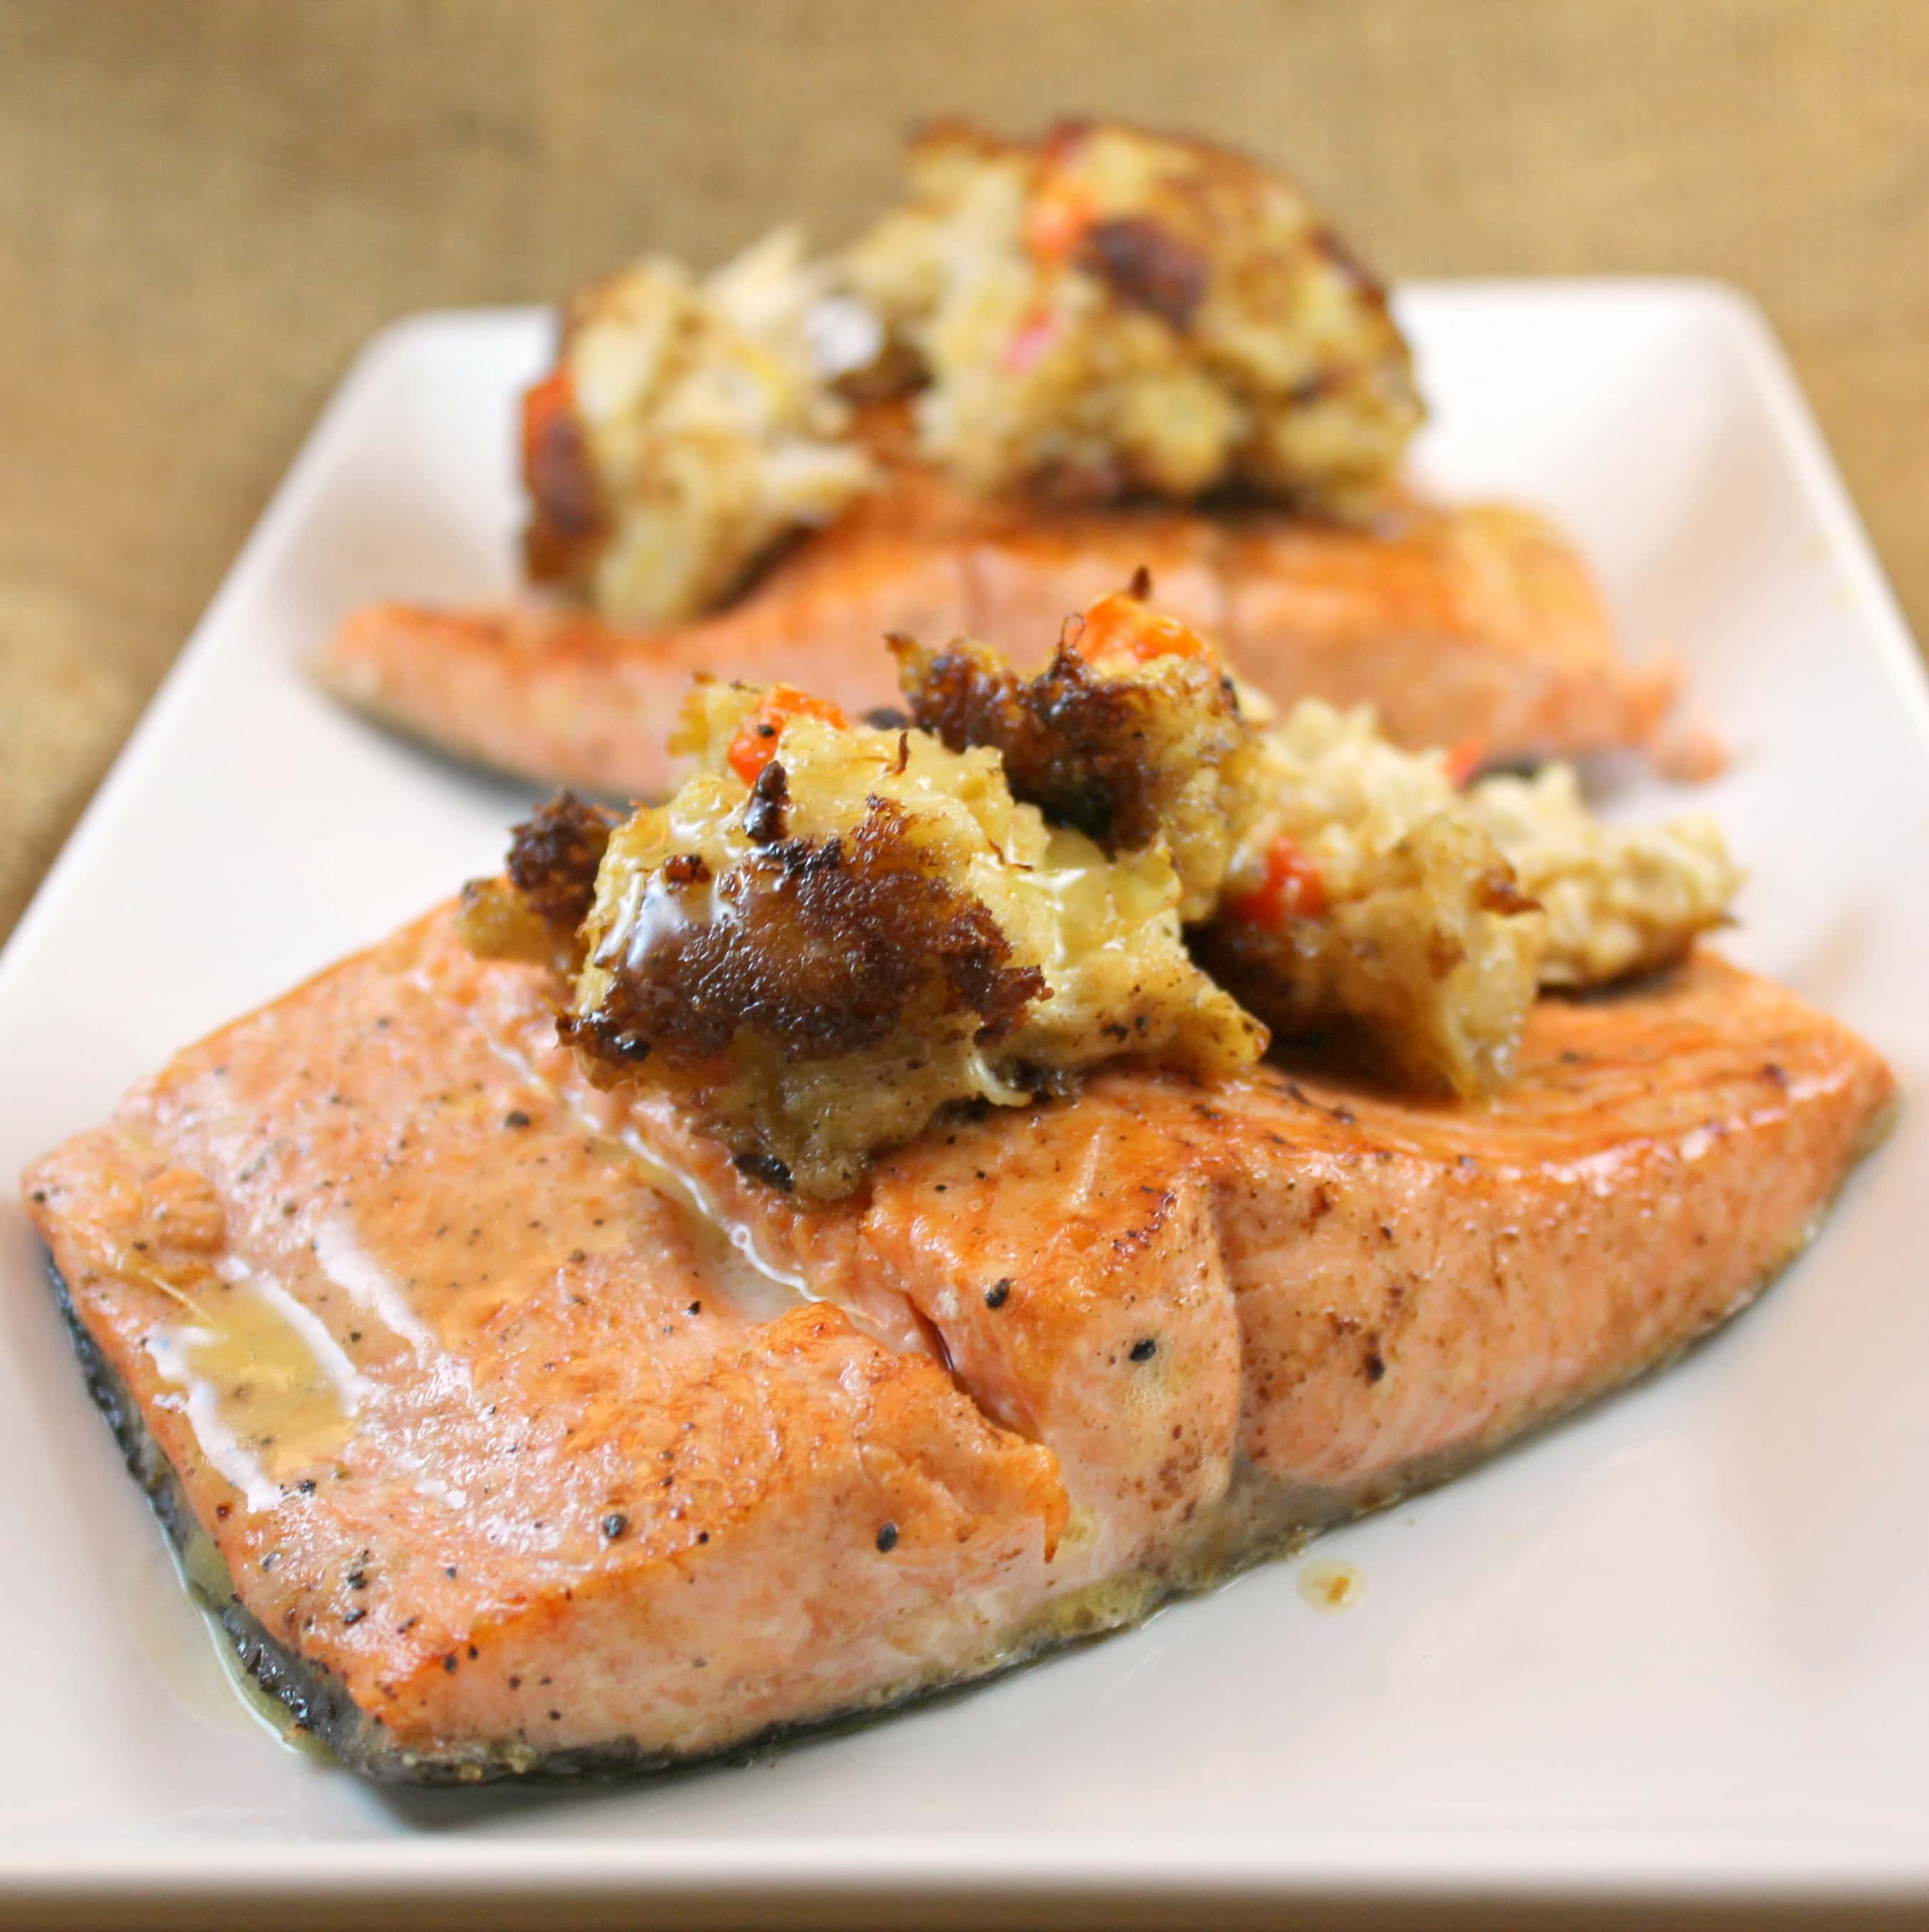
Cedar Plank Fired Salmon first pan-seared then topped with a crab cake and fire-roasted on a cedar plank then finished off with a lemon butter sauce. Served with roasted asparagus mushrooms and red bell peppers.
Photo courtesy of Carrabba’s Italian Grill
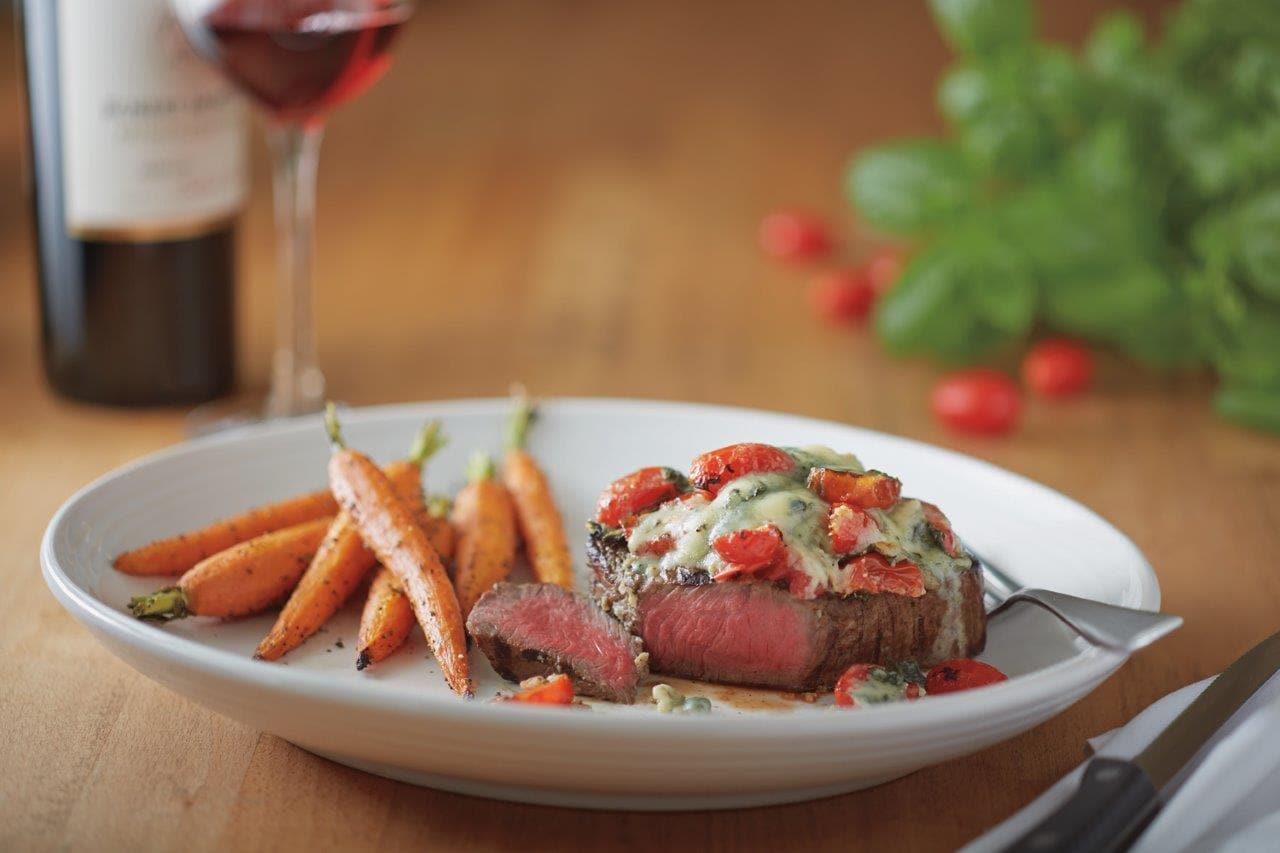
Bistecca Ardente: Center-cut sirloin wood-grilled then topped with blue cheese, roasted tomatoes, and basil.
Photo courtesy of Carrabba’s Italian Grill
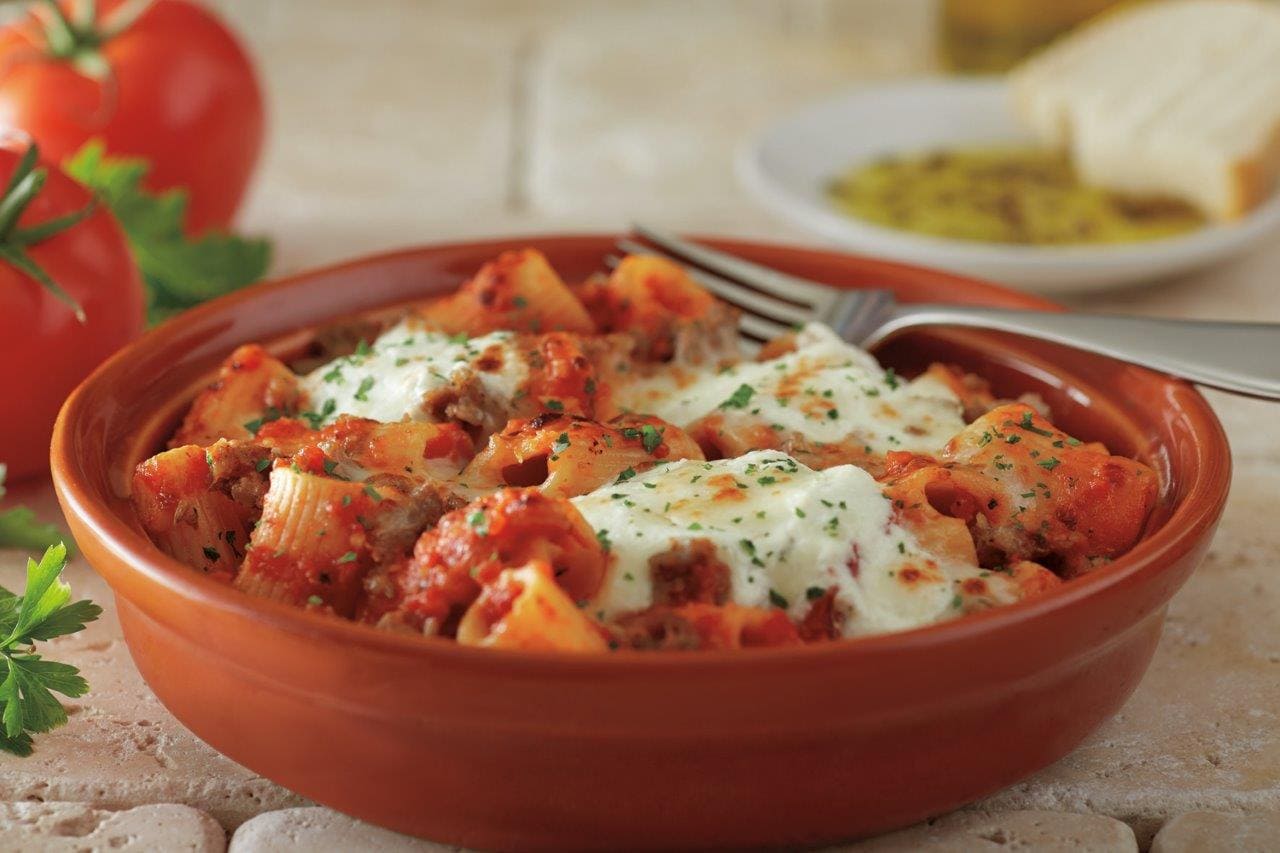
Rigatoni al Forno: Rigatoni tossed in housemade marinara sauce, romano and mozzarella cheese and topped with Italian fennel sausage, mozzarella and fresh ricotta cheese finished off in a wood-burning oven.
Photo courtesy of Carrabba’s Italian Grill
Nonna Testa: Penne pasta with wood-grilled chicken in a housemade pesto cream (basil, pine nuts, walnuts) with spinach and zucchini, topped with mozzarella and baked in a wood-burning oven.
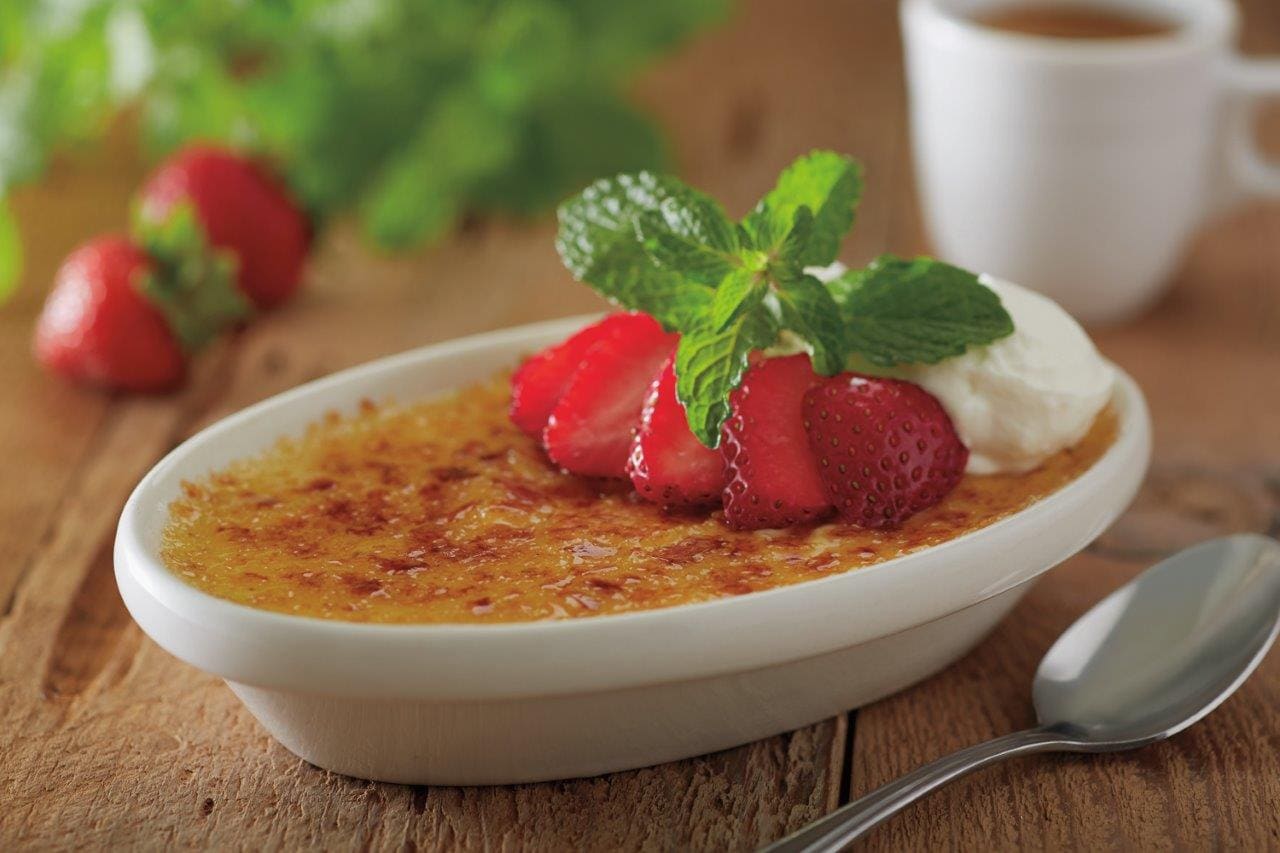
Creme Brulee prepared with Madagascar vanilla bean topped with torched turbinado sugar, whipped cream, and strawberries.
Photo courtesy of Carrabba’s Italian Grill
The fire-roasted mushrooms were a great start to the meal. I love fennel so I was happy this flavor came through. The mixture is lightly stuffed in the mushrooms so they remain nice and light. Really tasty!
The cedar plank-fired salmon was one of my favorite dishes. I loved it so much, I tried to recreate it! The salmon was perfectly cooked and the crab cake was a great addition. The cedar flavor shown through without being overpowering. Check out my recipe below to make at home.
The Bistecco Ardente was so juicy, especially for being cooked to medium-well. The blue cheese can be a tad overpowering though so I scooped a bit off so that I could get the taste of the steak, tomatoes, and basil as well.
The Rigatoni al Forno gave me more of my beloved fennel flavor. I liked that the pasta on top got crispy from the wood-burning oven, but would’ve liked more sauce to complement the pasta.
Nonna Testa was another of my favorites. Man this was good. The wood-grilled chicken was really juicy and flavorful and there was the perfect amount of pesto cream on the pasta (lightly dressed so it’s not overly heavy). I love spinach and zucchini so I couldn’t have been happier with this dish!
Now I’m pretty sure I’ve never met a creme brulee I didn’t like but this version was really really tasty. The vanilla flavored custard was so creamy and I loved the light touch of torched sugar to give a very thin crust to the dish without overpowering the custard with too much sugar.
Needless to say, I left super full and really happy with the tasting. The staff at the Springfield Carrabba’s were so attentive and helpful too! Thanks for a great meal!
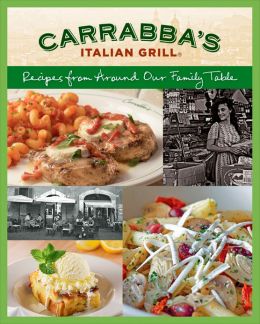
The managing partner, Ernie, even took the time to explain all of the dishes and answer any questions we had. When I told him I was planning on doing a giveaway so that my readers could try this tasty menu, he gave me a copy of the Carrabba’s Italian Grill Cookbook (paid link) for myself and one to give away! The cookbook does not include recipes for the fire finished menu (because it’s so new) but many of Carrabba’s signature dishes, including Chicken Bryan, Mama Mandola’s Sicilian Chicken Soup, and Margherita Pizza are included within its pages. So special thanks to Ernie for the cookbooks!
In addition to the cookbook, I am also giving away a $25 gift certificate to Carrabba’s so that one reader can try out some of the menu for themselves. Details after the recipe!
Note: It is very difficult to make smaller portions of crab cakes because crab meat is usually sold in 1 pound containers. I made about 9 crab cakes and saved the leftovers for dinner the next night. If you are unable to do that, you can purchase pre-made crab cakes from your local supermarket.
Ingredients (serves 2):
CRABCAKES (makes 9, only use 2 and save the rest for up to one day):
1 tablespoon butter
1 red bell pepper, finely diced
1/2 small onion, diced
1 lb jumbo lumb crab meat
1/3 cup panko
1/2 cup mayo
1 tablespoon Old Bay seasoning
1/4 teaspoon ground pepper
the zest of one lemon
CEDAR PLAN FIRED SALMON
1 tablespoon butter
2 8-oz salmon fillets
salt and pepper, to taste
1 cedar plank board
LEMON BUTTER SAUCE
1 stick (8 tablespoons) butter, divided (I used ghee, a clarified butter)
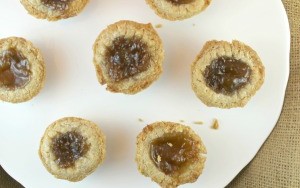
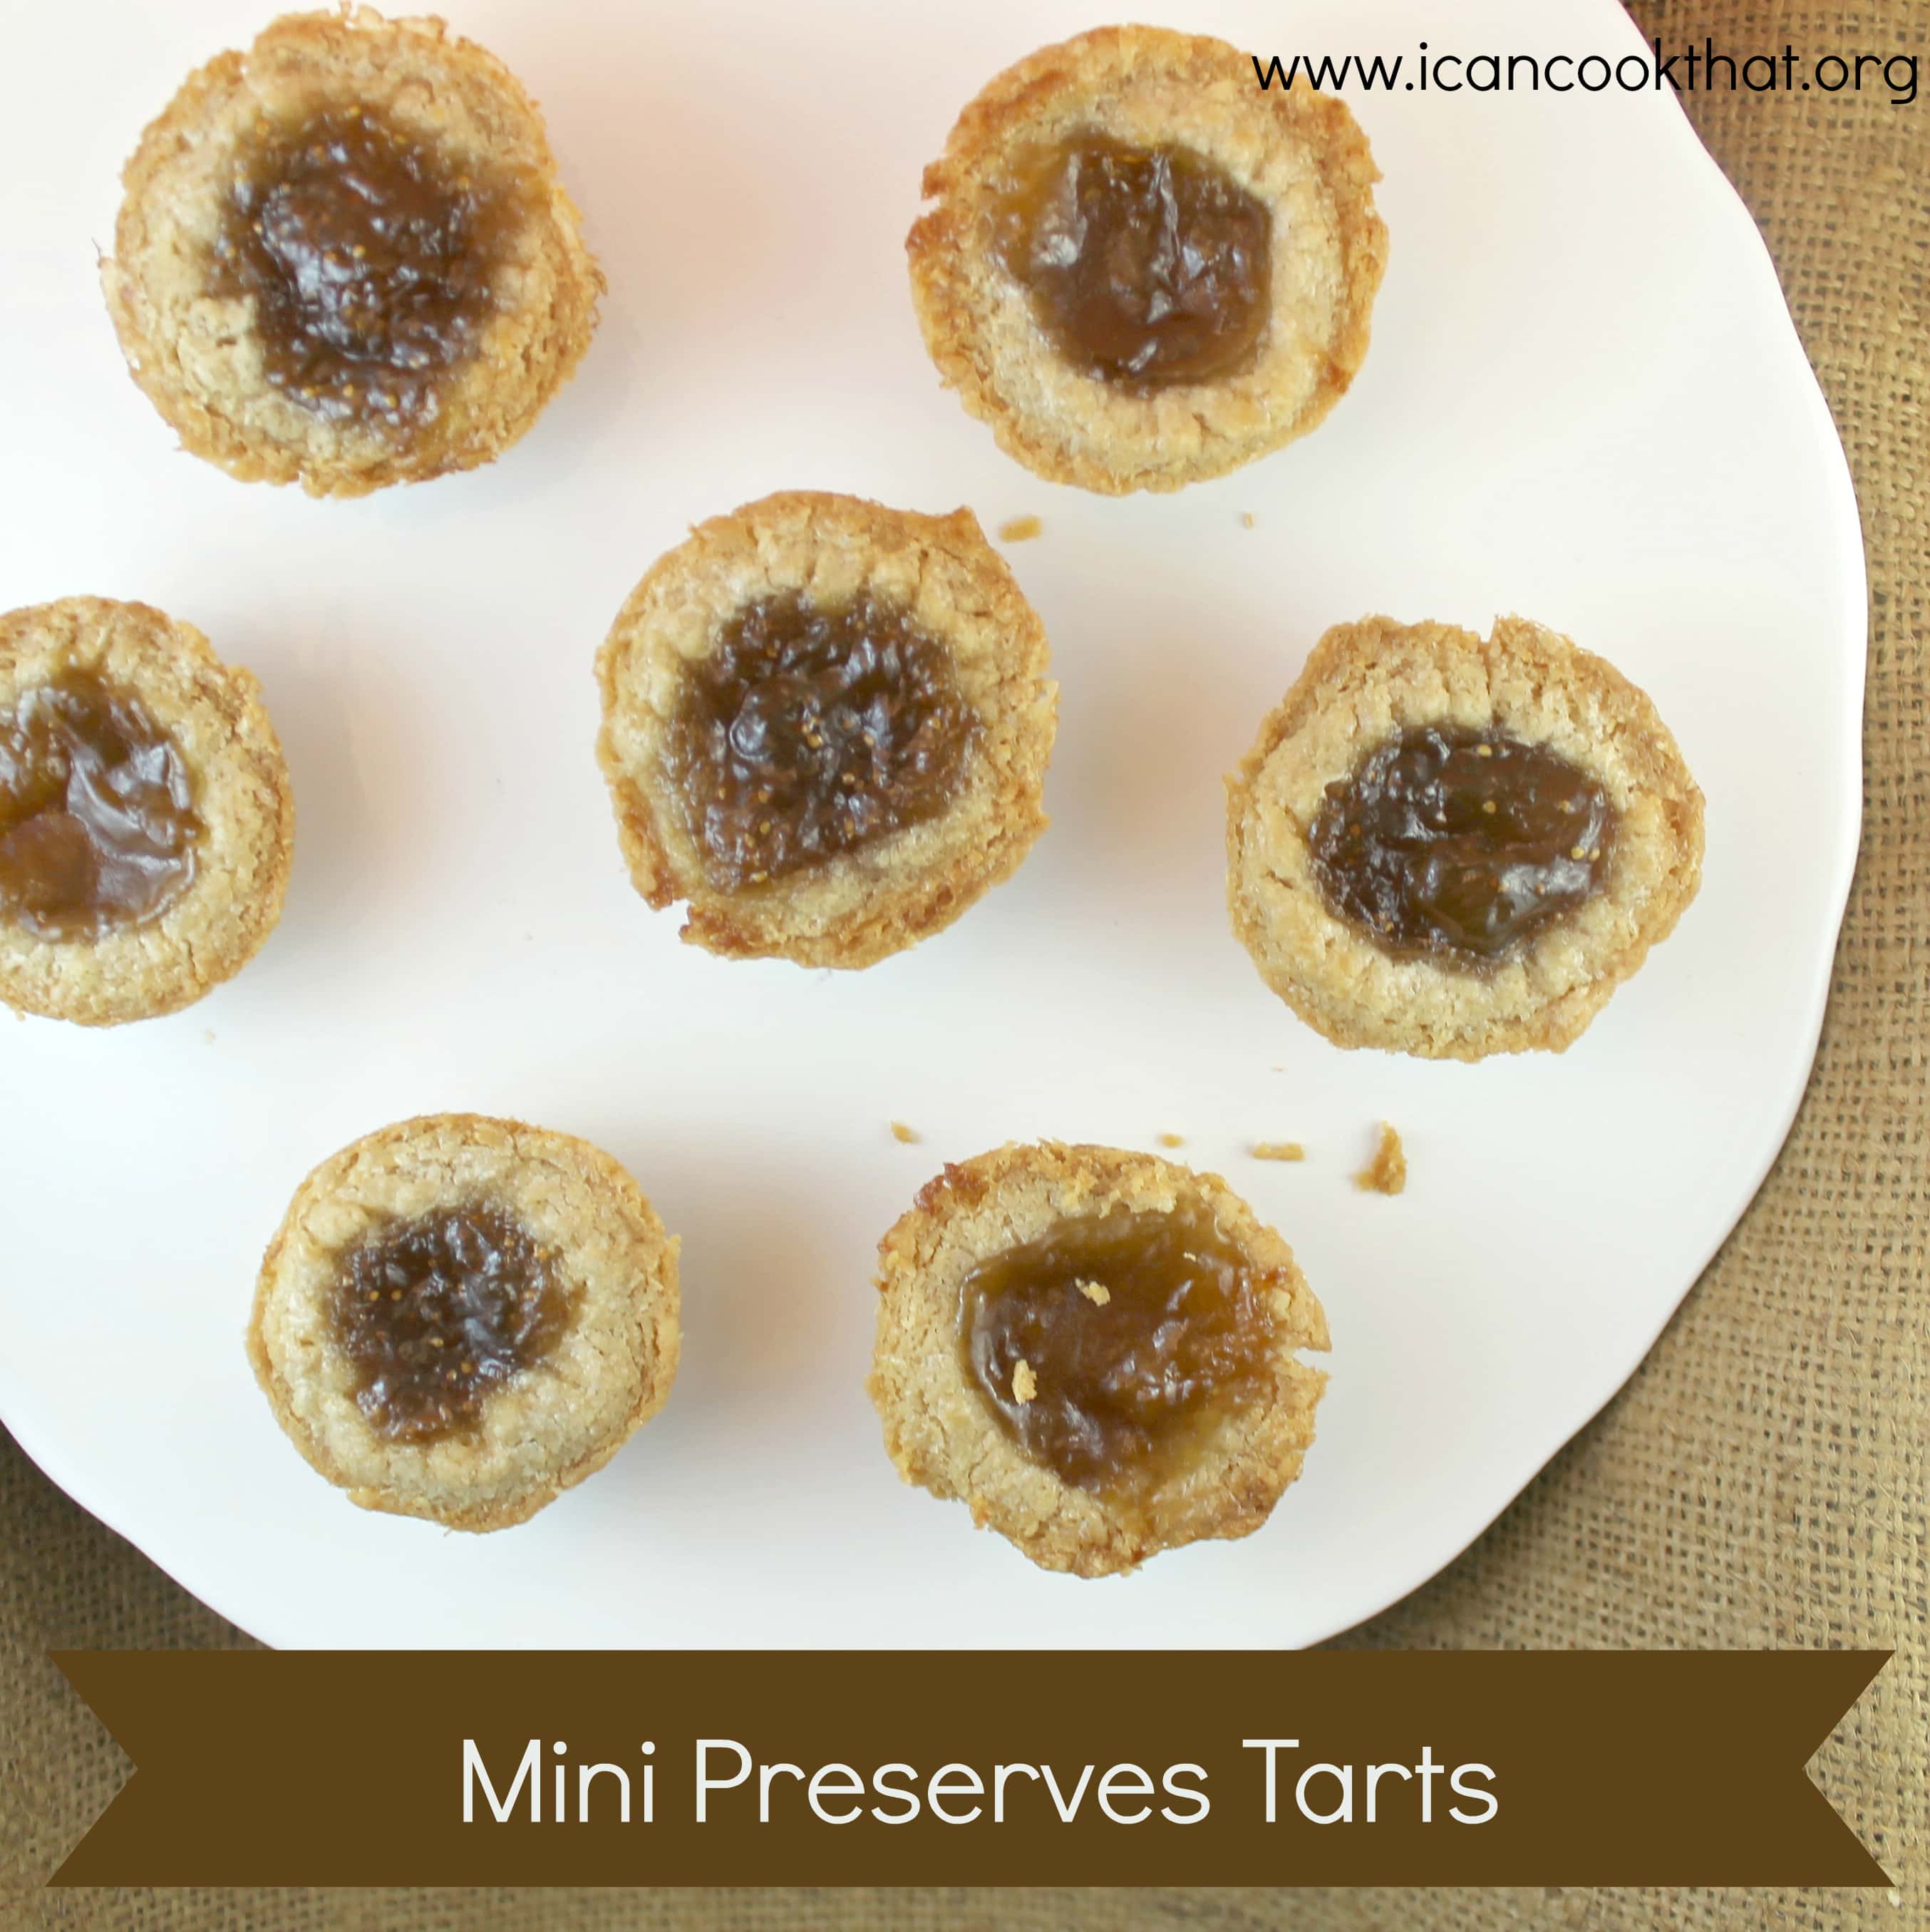
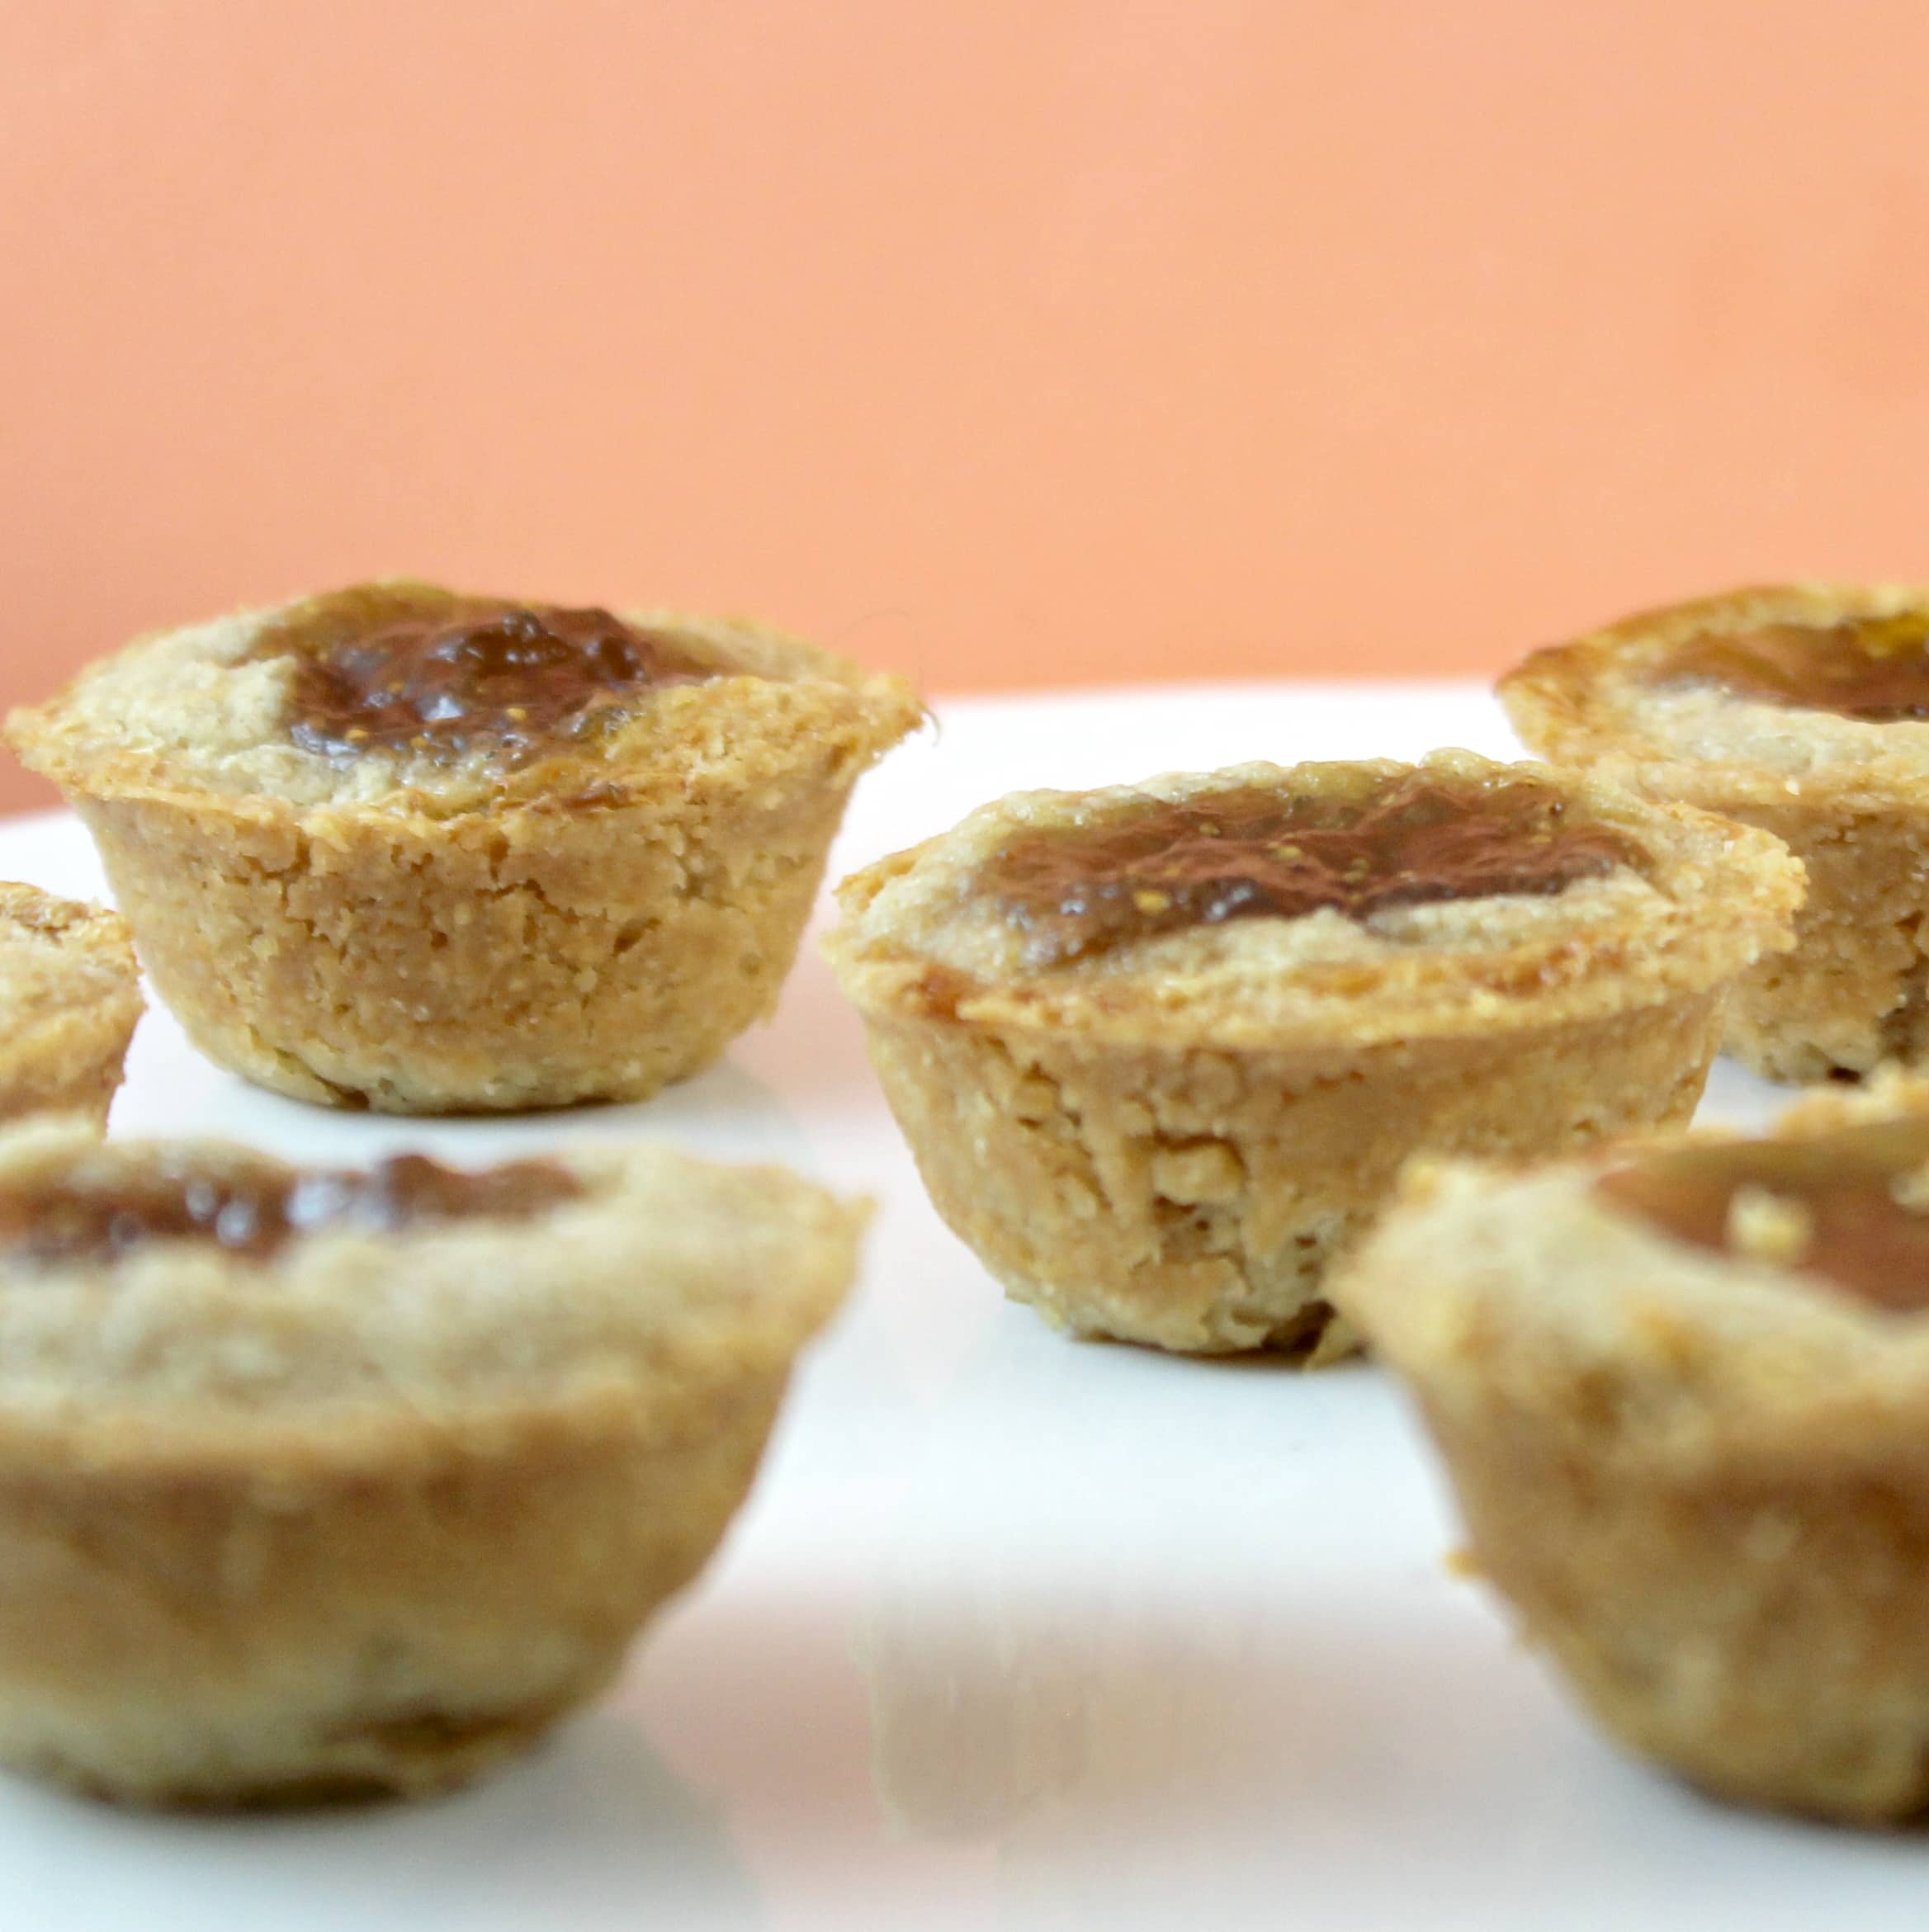
This month, Walkers Shortbread sent us a little surprise with our monthly shipment for the Walkers Ambassador Program: Fig and Golden Plum Mirabelle preserves from Bonne Maman! I was so excited to use them in a recipe and immediately wanted to make mini preserves tarts. I incorporated some of the shortbread into the crust for a boost of flavor. (I used Martha Stewart’s recipe as a base and made some changes)
These mini preserves tarts would be great to set out as little bites for guests while waiting for Thanksgiving dinner to be prepared, or would be a wonderful addition to the dessert table! You could make it with any type of preserves or jams you wanted: Bonne Maman has almost 20 different options that would all make for a yummy dessert.
In addition to these yummy tarts, I have two other recipes that would be great Thanksgiving desserts that use Walkers Shortbread:
Walkers Shortbread is offering I Can Cook That readers an exclusive promotion, running from Monday, October 28 through Monday, November 4: 20% off your entire purchase at www.walkersus.com (excluding sales items) with the code ICCTFALL. So stock up for all your Thanksgiving needs!
12 tablespoons (1 1/2 sticks) unsalted butter, cut into small pieces
1 large egg yolk
1 teaspoon almond extract
2 tablespoons Bonne Maman preserves (I used 1 tablespoon fig and 1 tablespoon golden plum)
1 tablespoon heavy cream
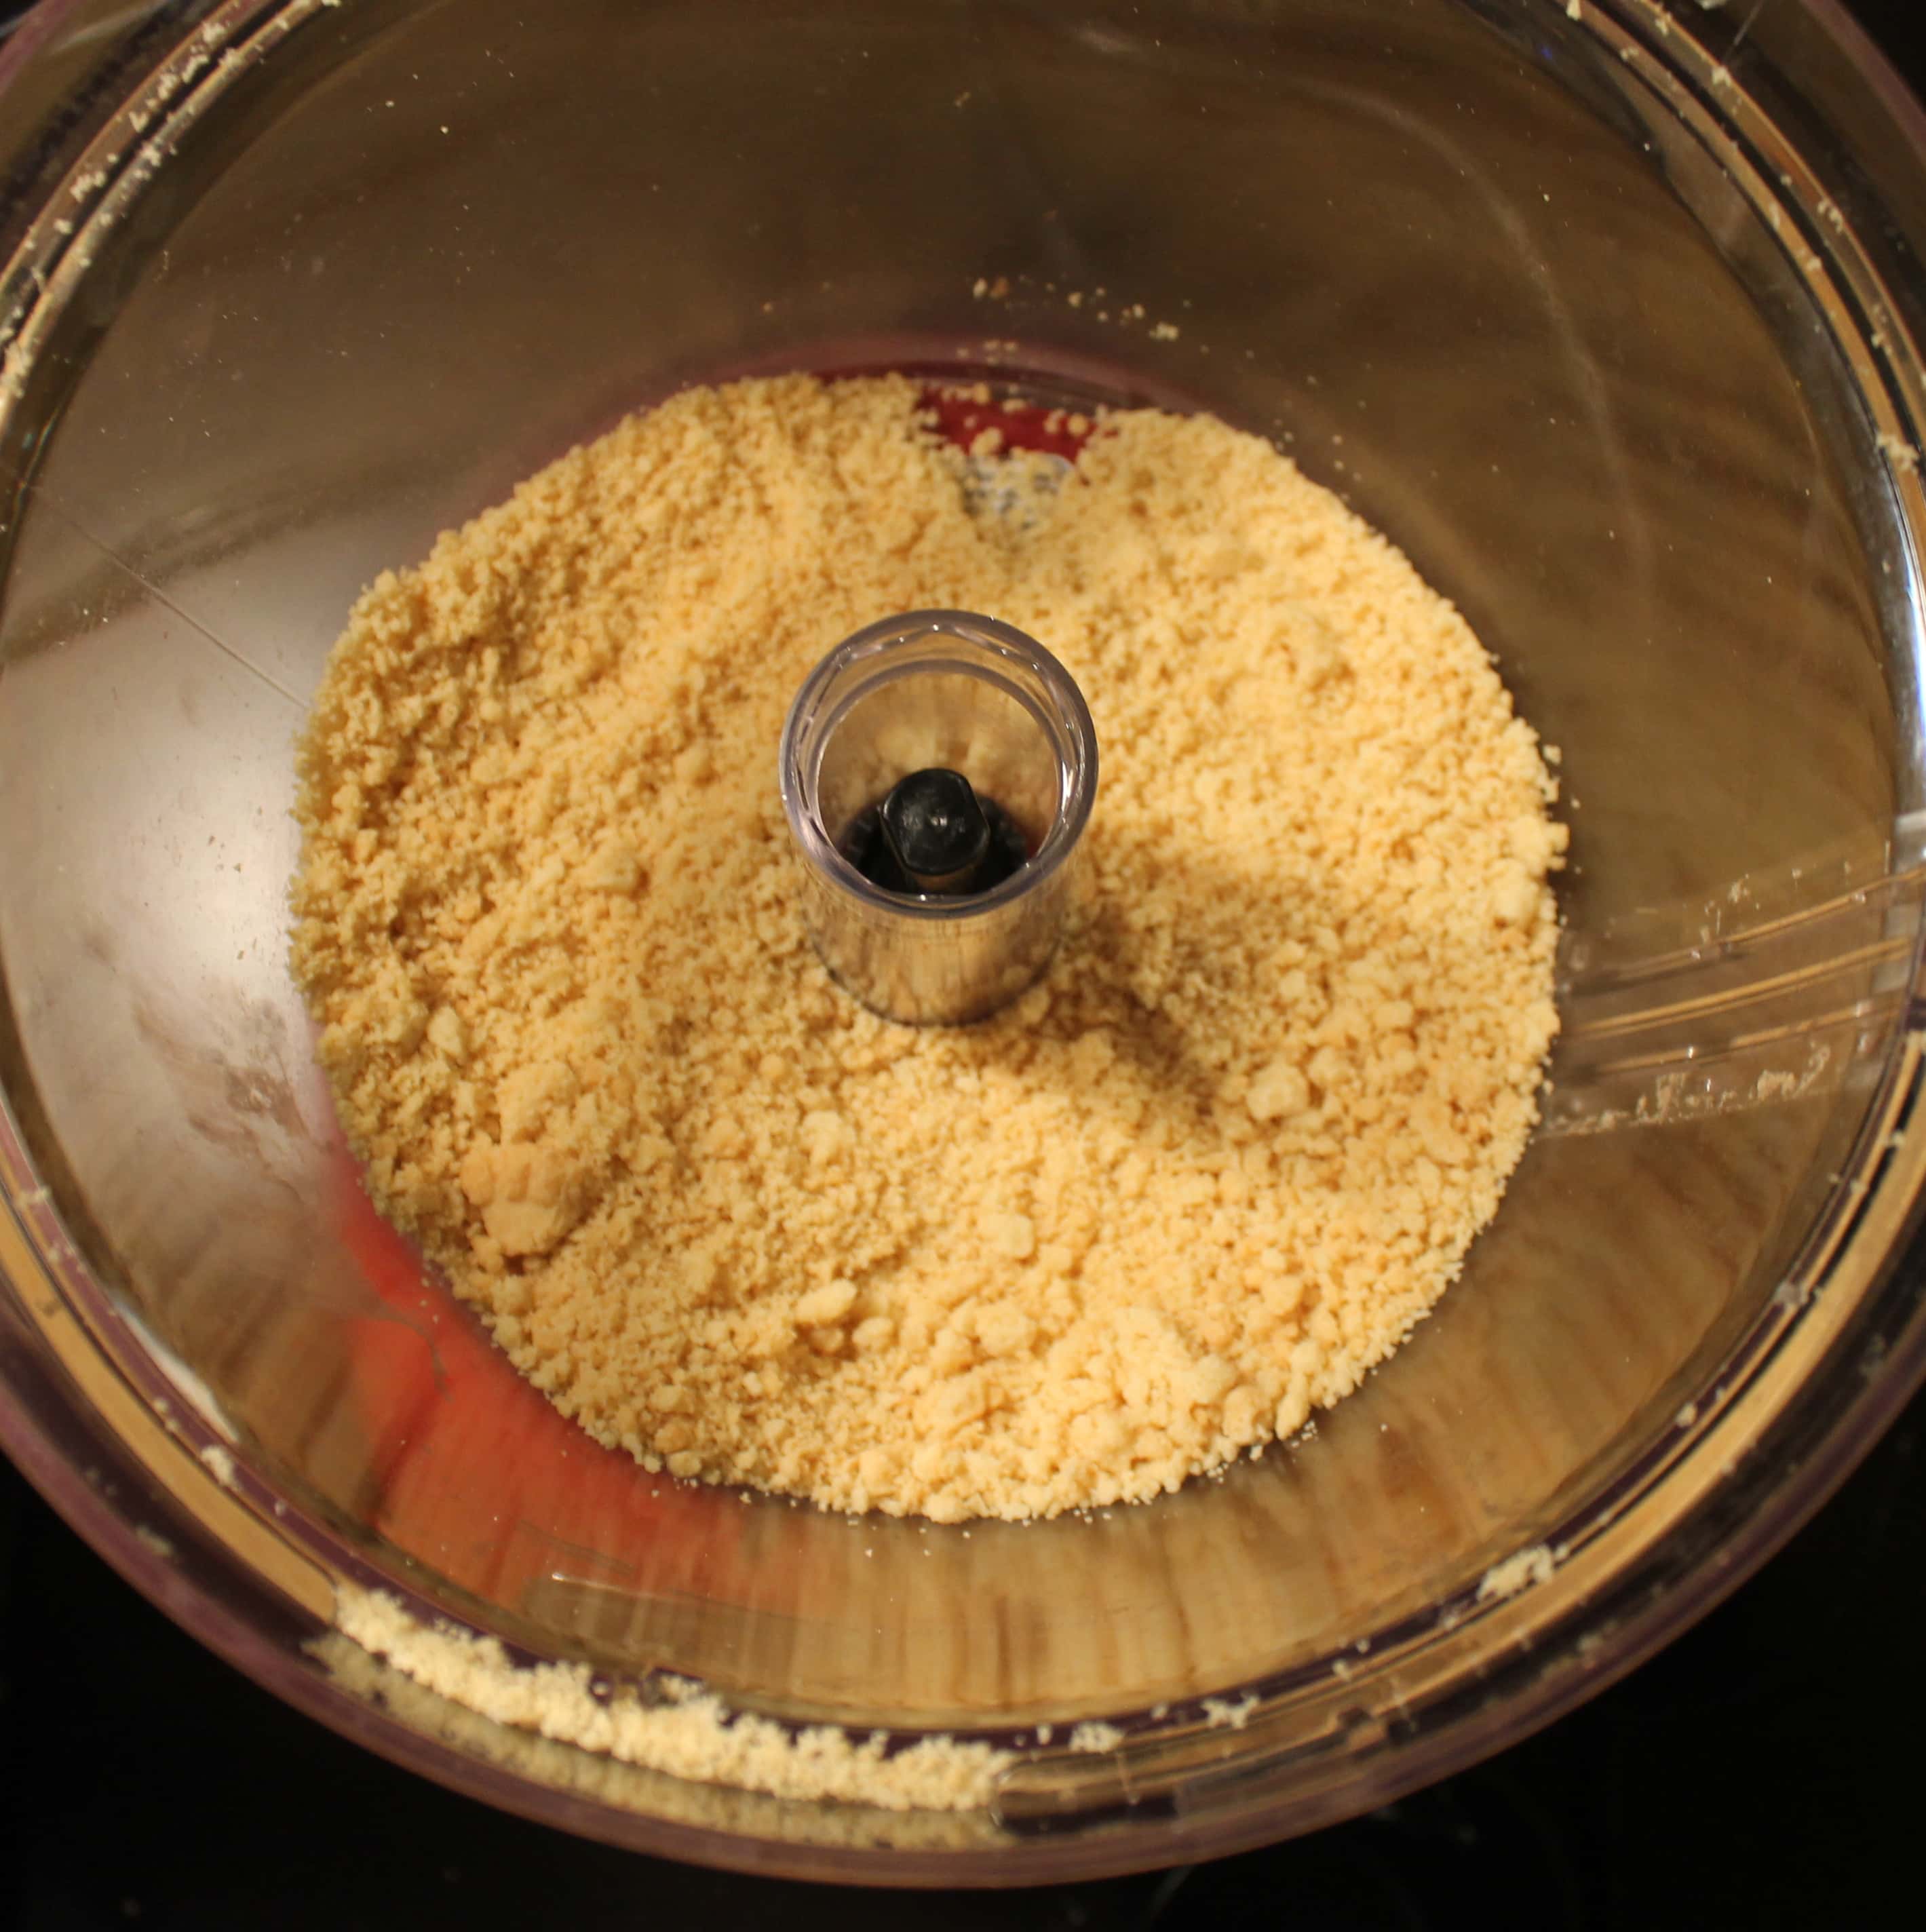
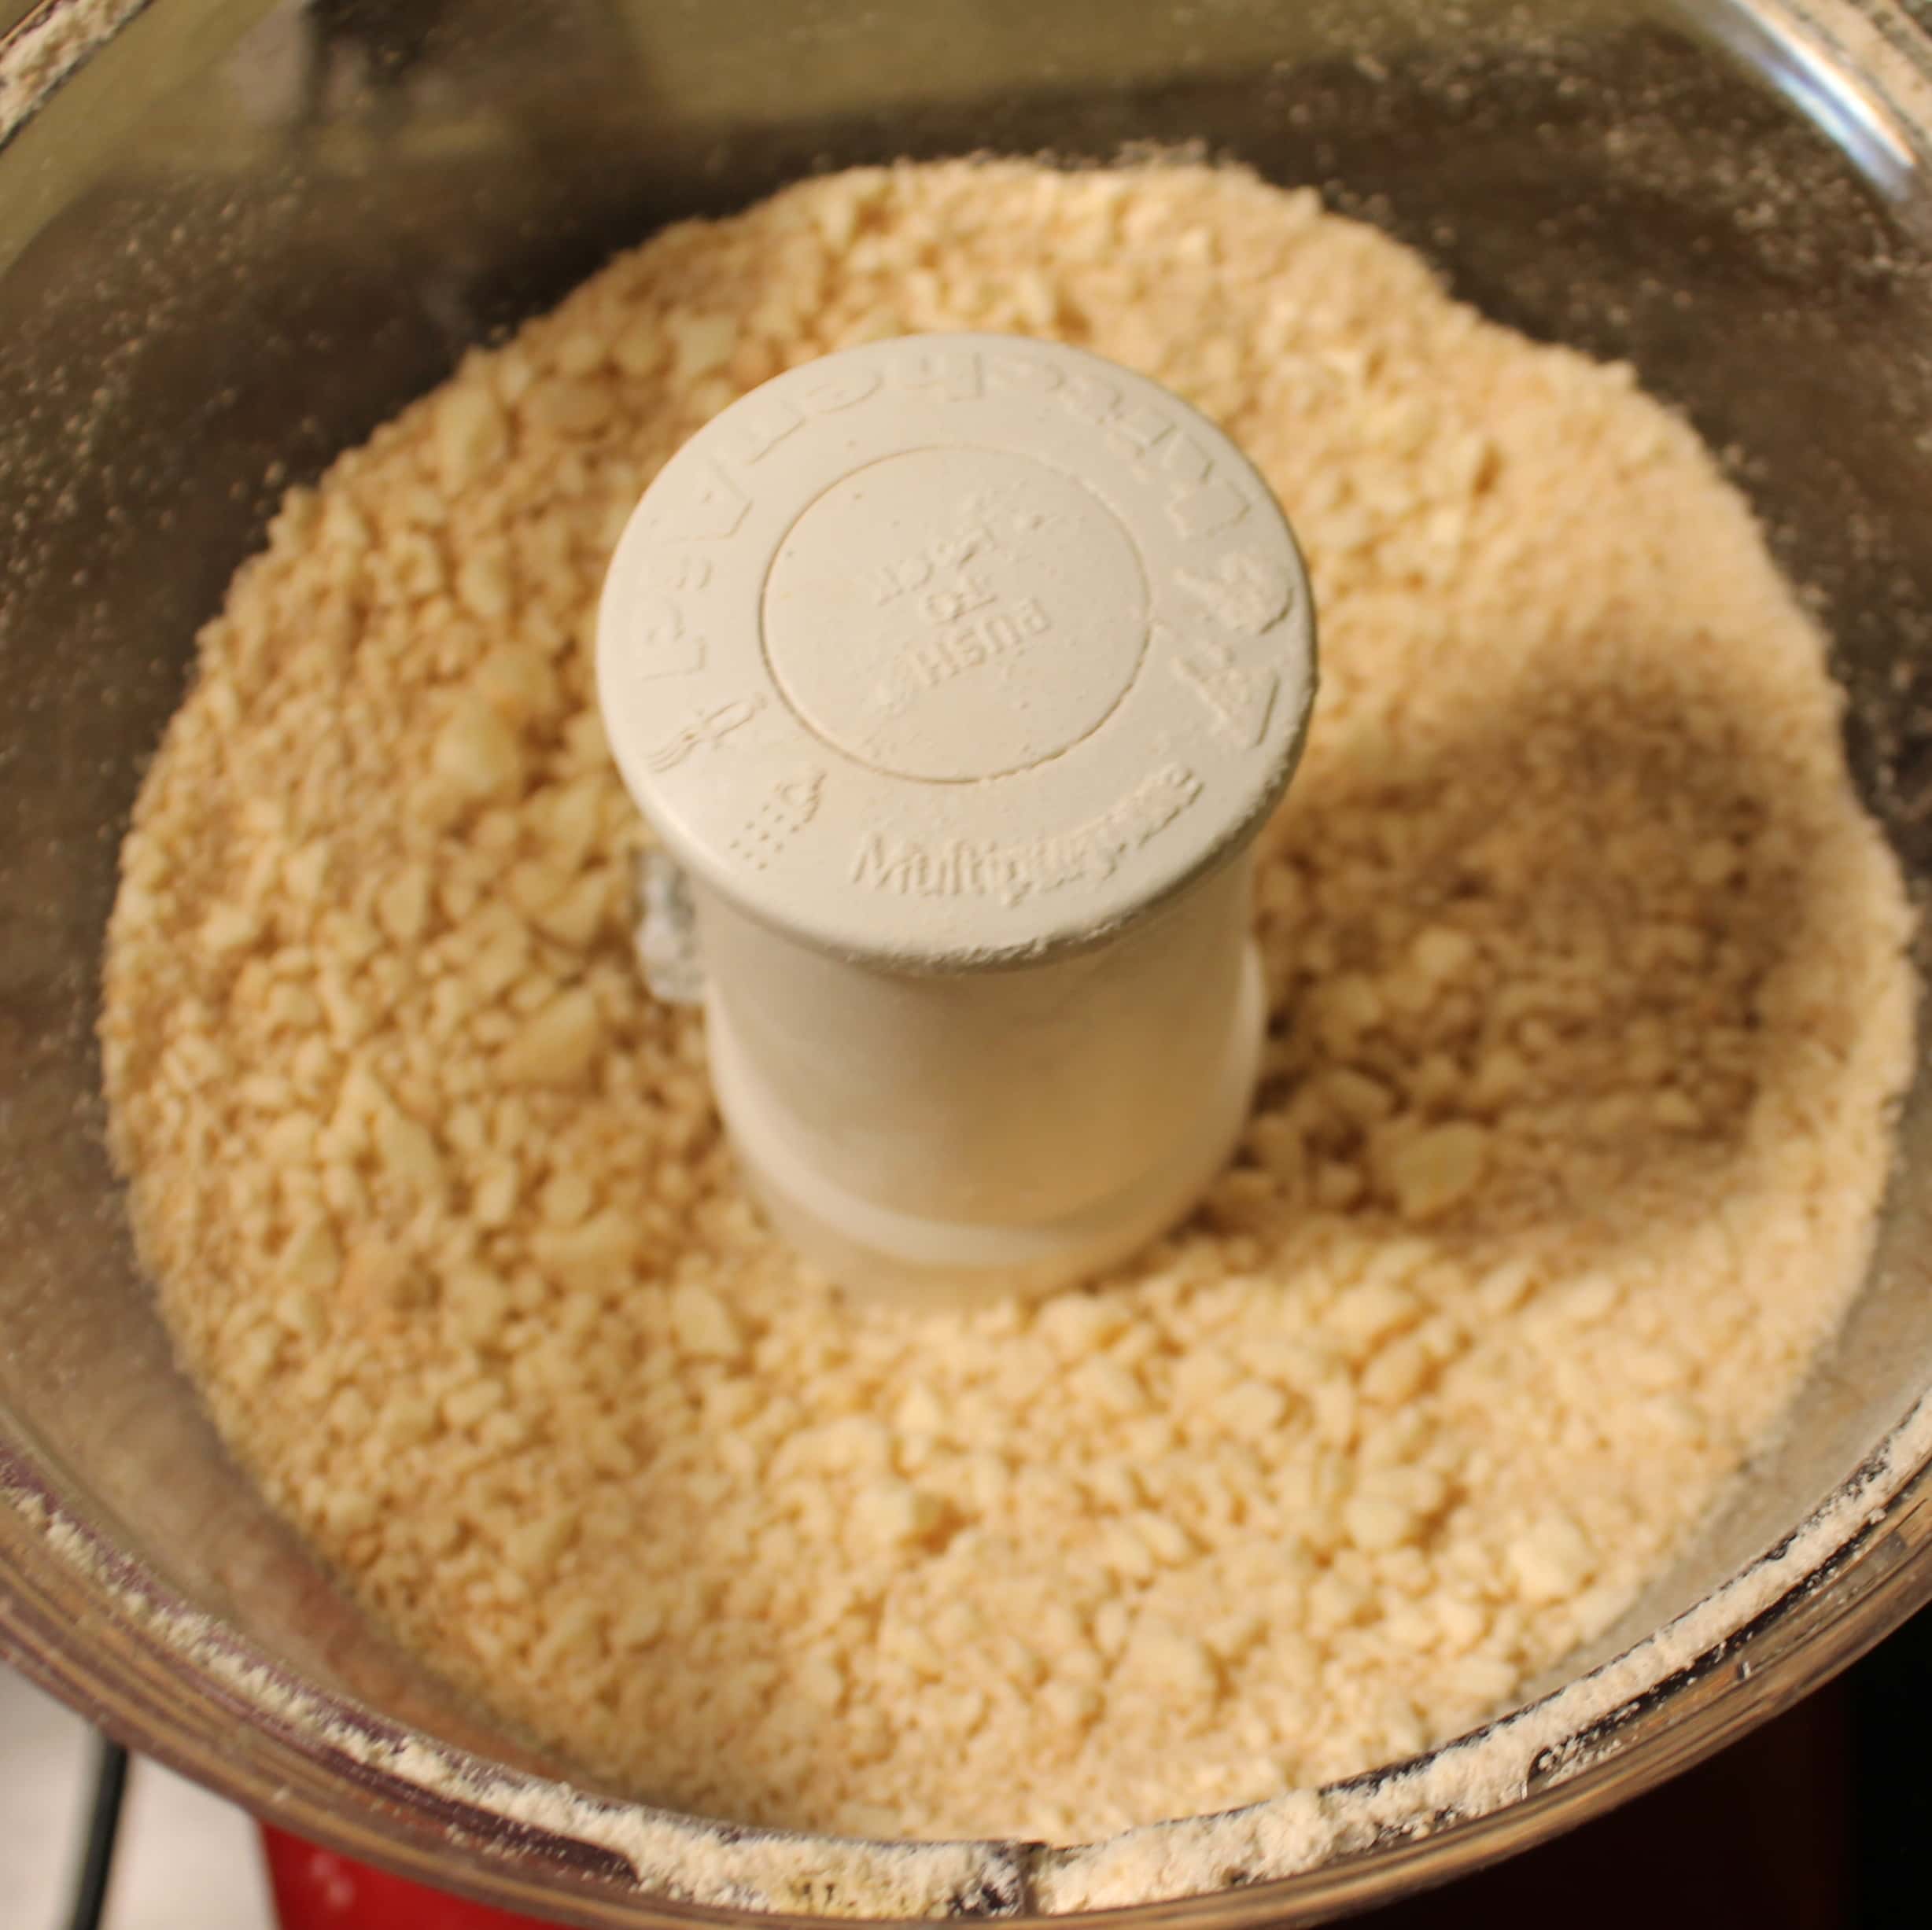
To make the mini preserves tarts, preheat your oven to 350 degrees. Using a food processor, blend the shortbreads until they resemble a fine crumb.
Add the flour, sugar, salt and cinnamon and process for 10 seconds.
Add butter and process until mixture resembles coarse meal, 15 to 20 seconds.
Combine 1 egg yolk with 3 tablespoons ice water and 1 teaspoon almond extract.
Add to flour mixture and process until the dough comes together, about 10 seconds. Wrap in plastic wrap and chill for 30 minutes.
Lightly dust a work surface with flour; roll out dough to just thinner than 1/4 inch (6 mm). Using a round cookie cutter, cut out shapes and press into a mini cupcake tin. (I used a 2 1/2″ round biscuit cutter)
Use a fork to press down the dough around the edges of each mini cupcake tin. Fill each with 1 teaspoon preserves.
Lightly brush exposed dough with heavy cream. Bake until golden brown, 20 to 25 minutes. Transfer tarts from tins to a wire rack to cool. Let cool completely before serving.
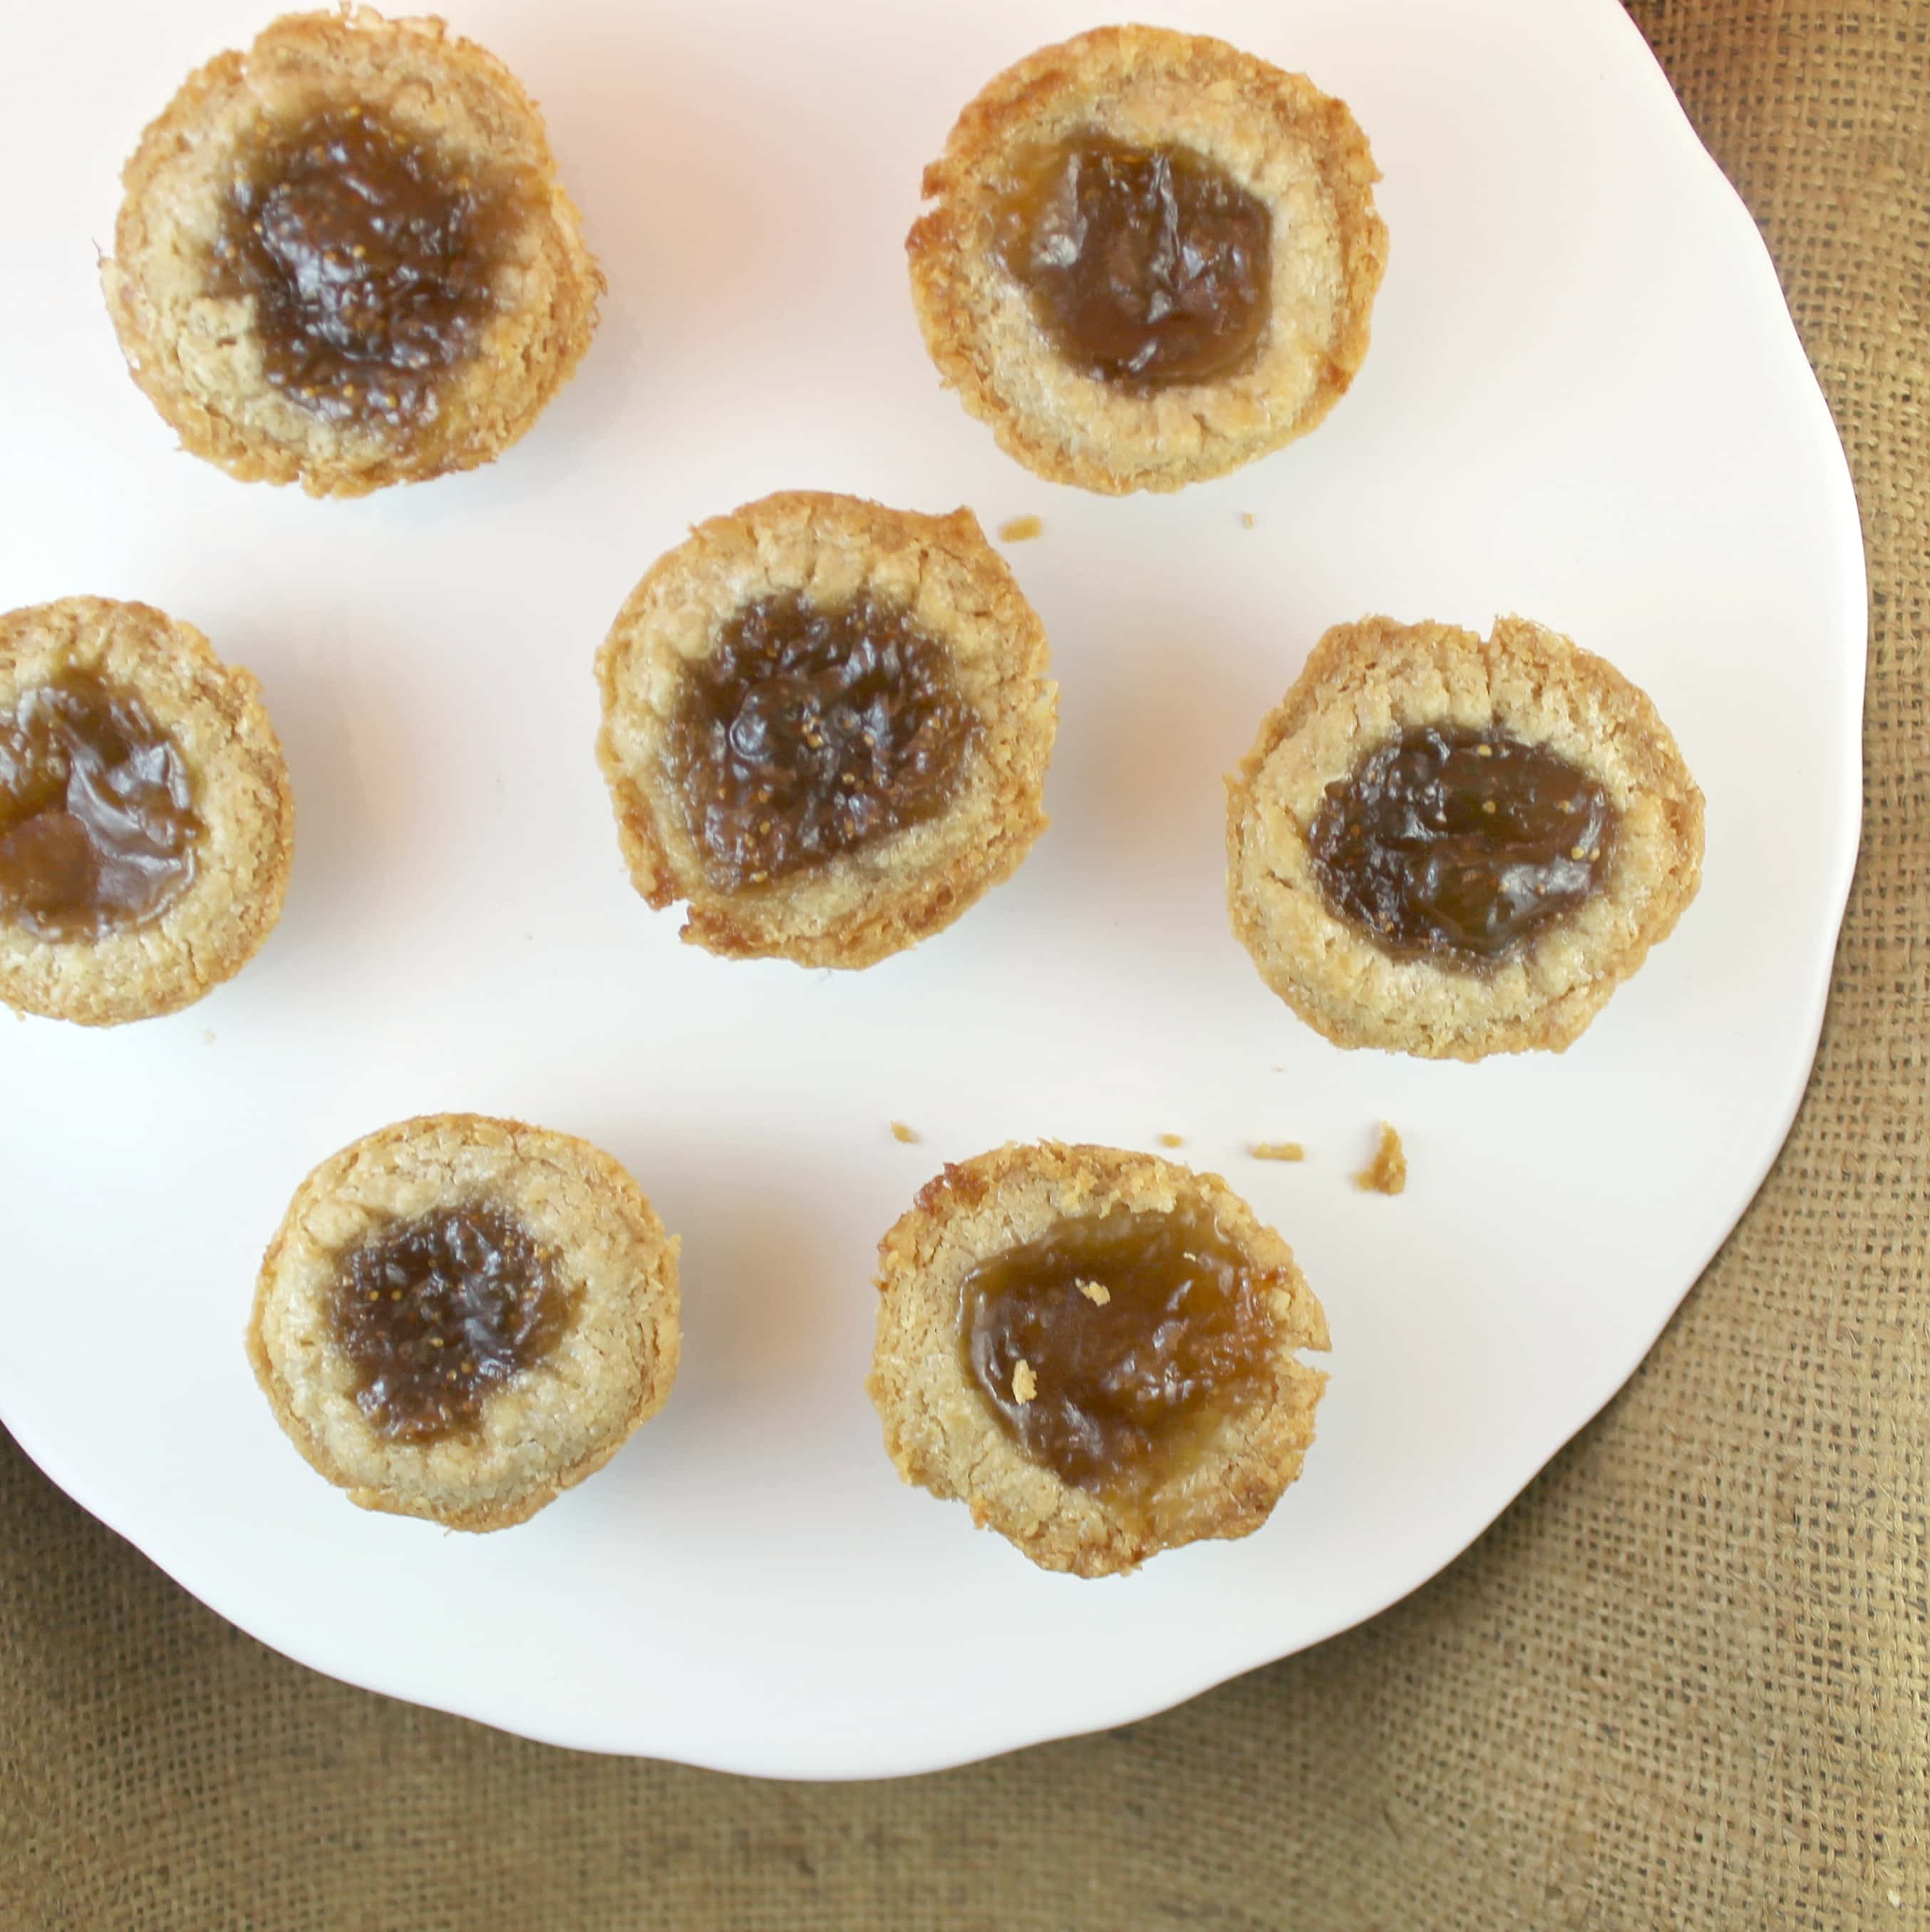
These are perfect little bites! The crust is light and fluffy and help highlight the delicious sweetness of the preserves.
You get a hint of the almond extract which is a great complement to fig and plum. If you don’t have almond extract you can sub in some vanilla extract.
Mini Preserves Tarts
Recipe Type: Dessert, Make Ahead
Author: I Can Cook That
Prep time:
Cook time:
Total time:
Serves: 12
Ingredients
1 cup all-purpose flour
3/4 cup Walkers Shortbread Rounds crumbs (~7 cookies)
2 tablespoons sugar
1/4 teaspoon salt
3/4 teaspoon cinnamon
12 tablespoons (1 1/2 sticks) unsalted butter, cut into small pieces
1 large egg yolk
1 teaspoon almond extract
2 tablespoons Bonne Maman preserves (I used 1 tablespoon fig and 1 tablespoon golden plum)
1 tablespoon heavy cream
Instructions
Preheat your oven to 350 degrees.
Using a food processor, blend the shortbreads until they resemble a fine crumb.
Add the flour, sugar, salt and cinnamon and process for 10 seconds.
Add butter and process until mixture resembles coarse meal, 15 to 20 seconds.
Combine 1 egg yolk with 3 tablespoons ice water and 1 teaspoon almond extract.
Add to flour mixture and process until the dough comes together, about 10 seconds. Wrap in plastic wrap and chill for 30 minutes.
Lightly dust a work surface with flour; roll out dough to just thinner than 1/4 inch (6 mm). Using a round cookie cutter, cut out shapes and press into a mini cupcake tin. (I used a 2 1/2″ round biscuit cutter)
Use a fork to press down the dough around the edges of each mini cupcake tin. Fill each with 1 teaspoon preserves.
Lightly brush exposed dough with heavy cream. Bake until golden brown, 20 to 25 minutes. Transfer tarts from tins to a wire rack to cool. Let cool completely before serving.
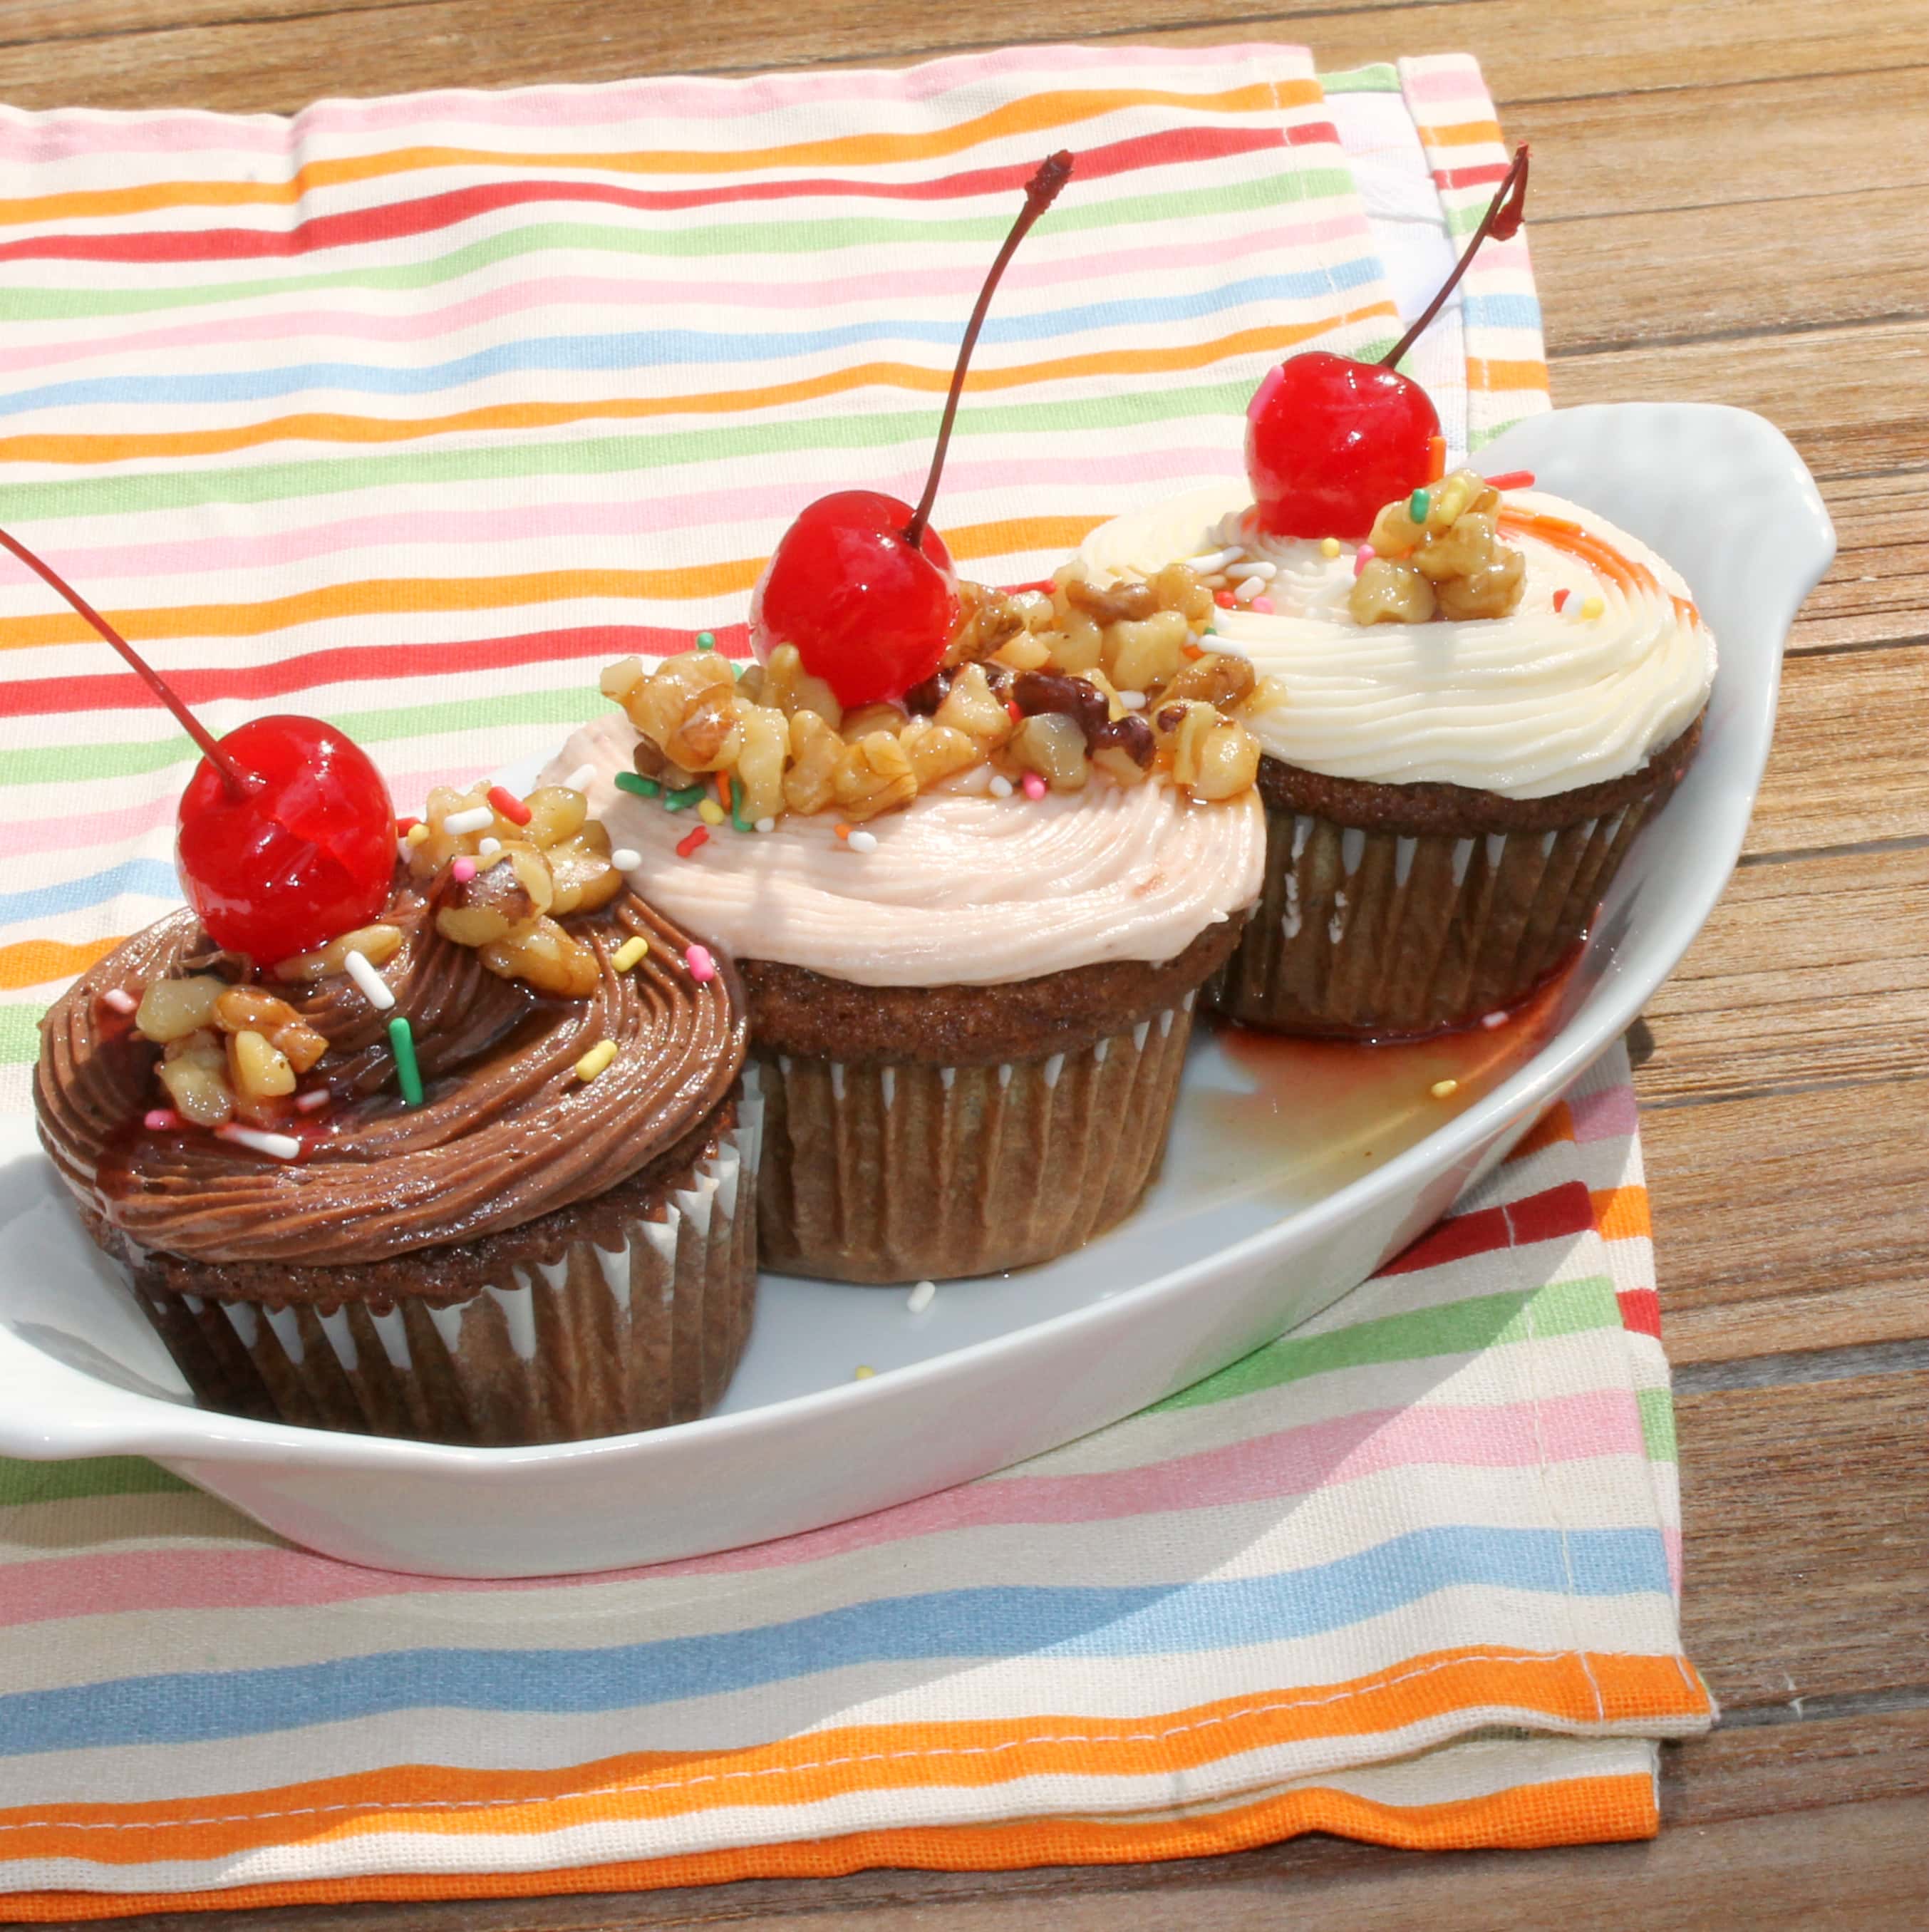
The inspiration for this recipe for Banana Split Cupcakes is a bit convoluted. I was originally looking for some way to incorporate wet walnuts into a recipe for my dad. My dad is a huge fan of wet walnuts and he just had surgery so I wanted to make him a little pick-me-up treat. Wet walnuts are usually a topping on ice cream so I thought it would be fun to make a spin on a banana split in cupcake form. Later, I found out that Banana Splits do not traditionally even have wet walnuts as a topping. Oh well!
I used a banana cupcake recipe from Martha Stewart and filled each cupcake with homemade whipped cream. I then topped 1/3 of the cupcakes with vanilla frosting, 1/3 with strawberry frosting, and 1/3 with chocolate frosting. I topped them all off with sprinkles, wet walnuts, and maraschino cherries!
These Banana Split Cupcakes are sugar overload so despite the photos showing all 3 types, stick to one cupcake at a time 🙂
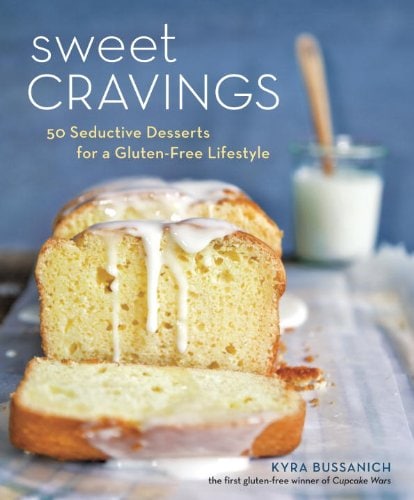
Gluten free baking. Does it terrify anyone else? Just me? Hm. Whelp. I finally decided it was time to conquer my fear and try my hand at it.
I was sent a copy of Kyra Bussanich’s new cookbook Sweet Cravings: 50 Seductive Desserts for a Gluten-Free Lifestylewhich makes gluten-free baking seem not-so-scary. Kyra was the first gluten free baker to win Food Network’s Cupcake Wars and has actually won twice overall so she knows her stuff! The cookbook is filled with really amazing sounding cupcakes but has a bunch of other mouthwatering baking recipes, including gluten free muffins, scones, cookies, brownies, and much more!
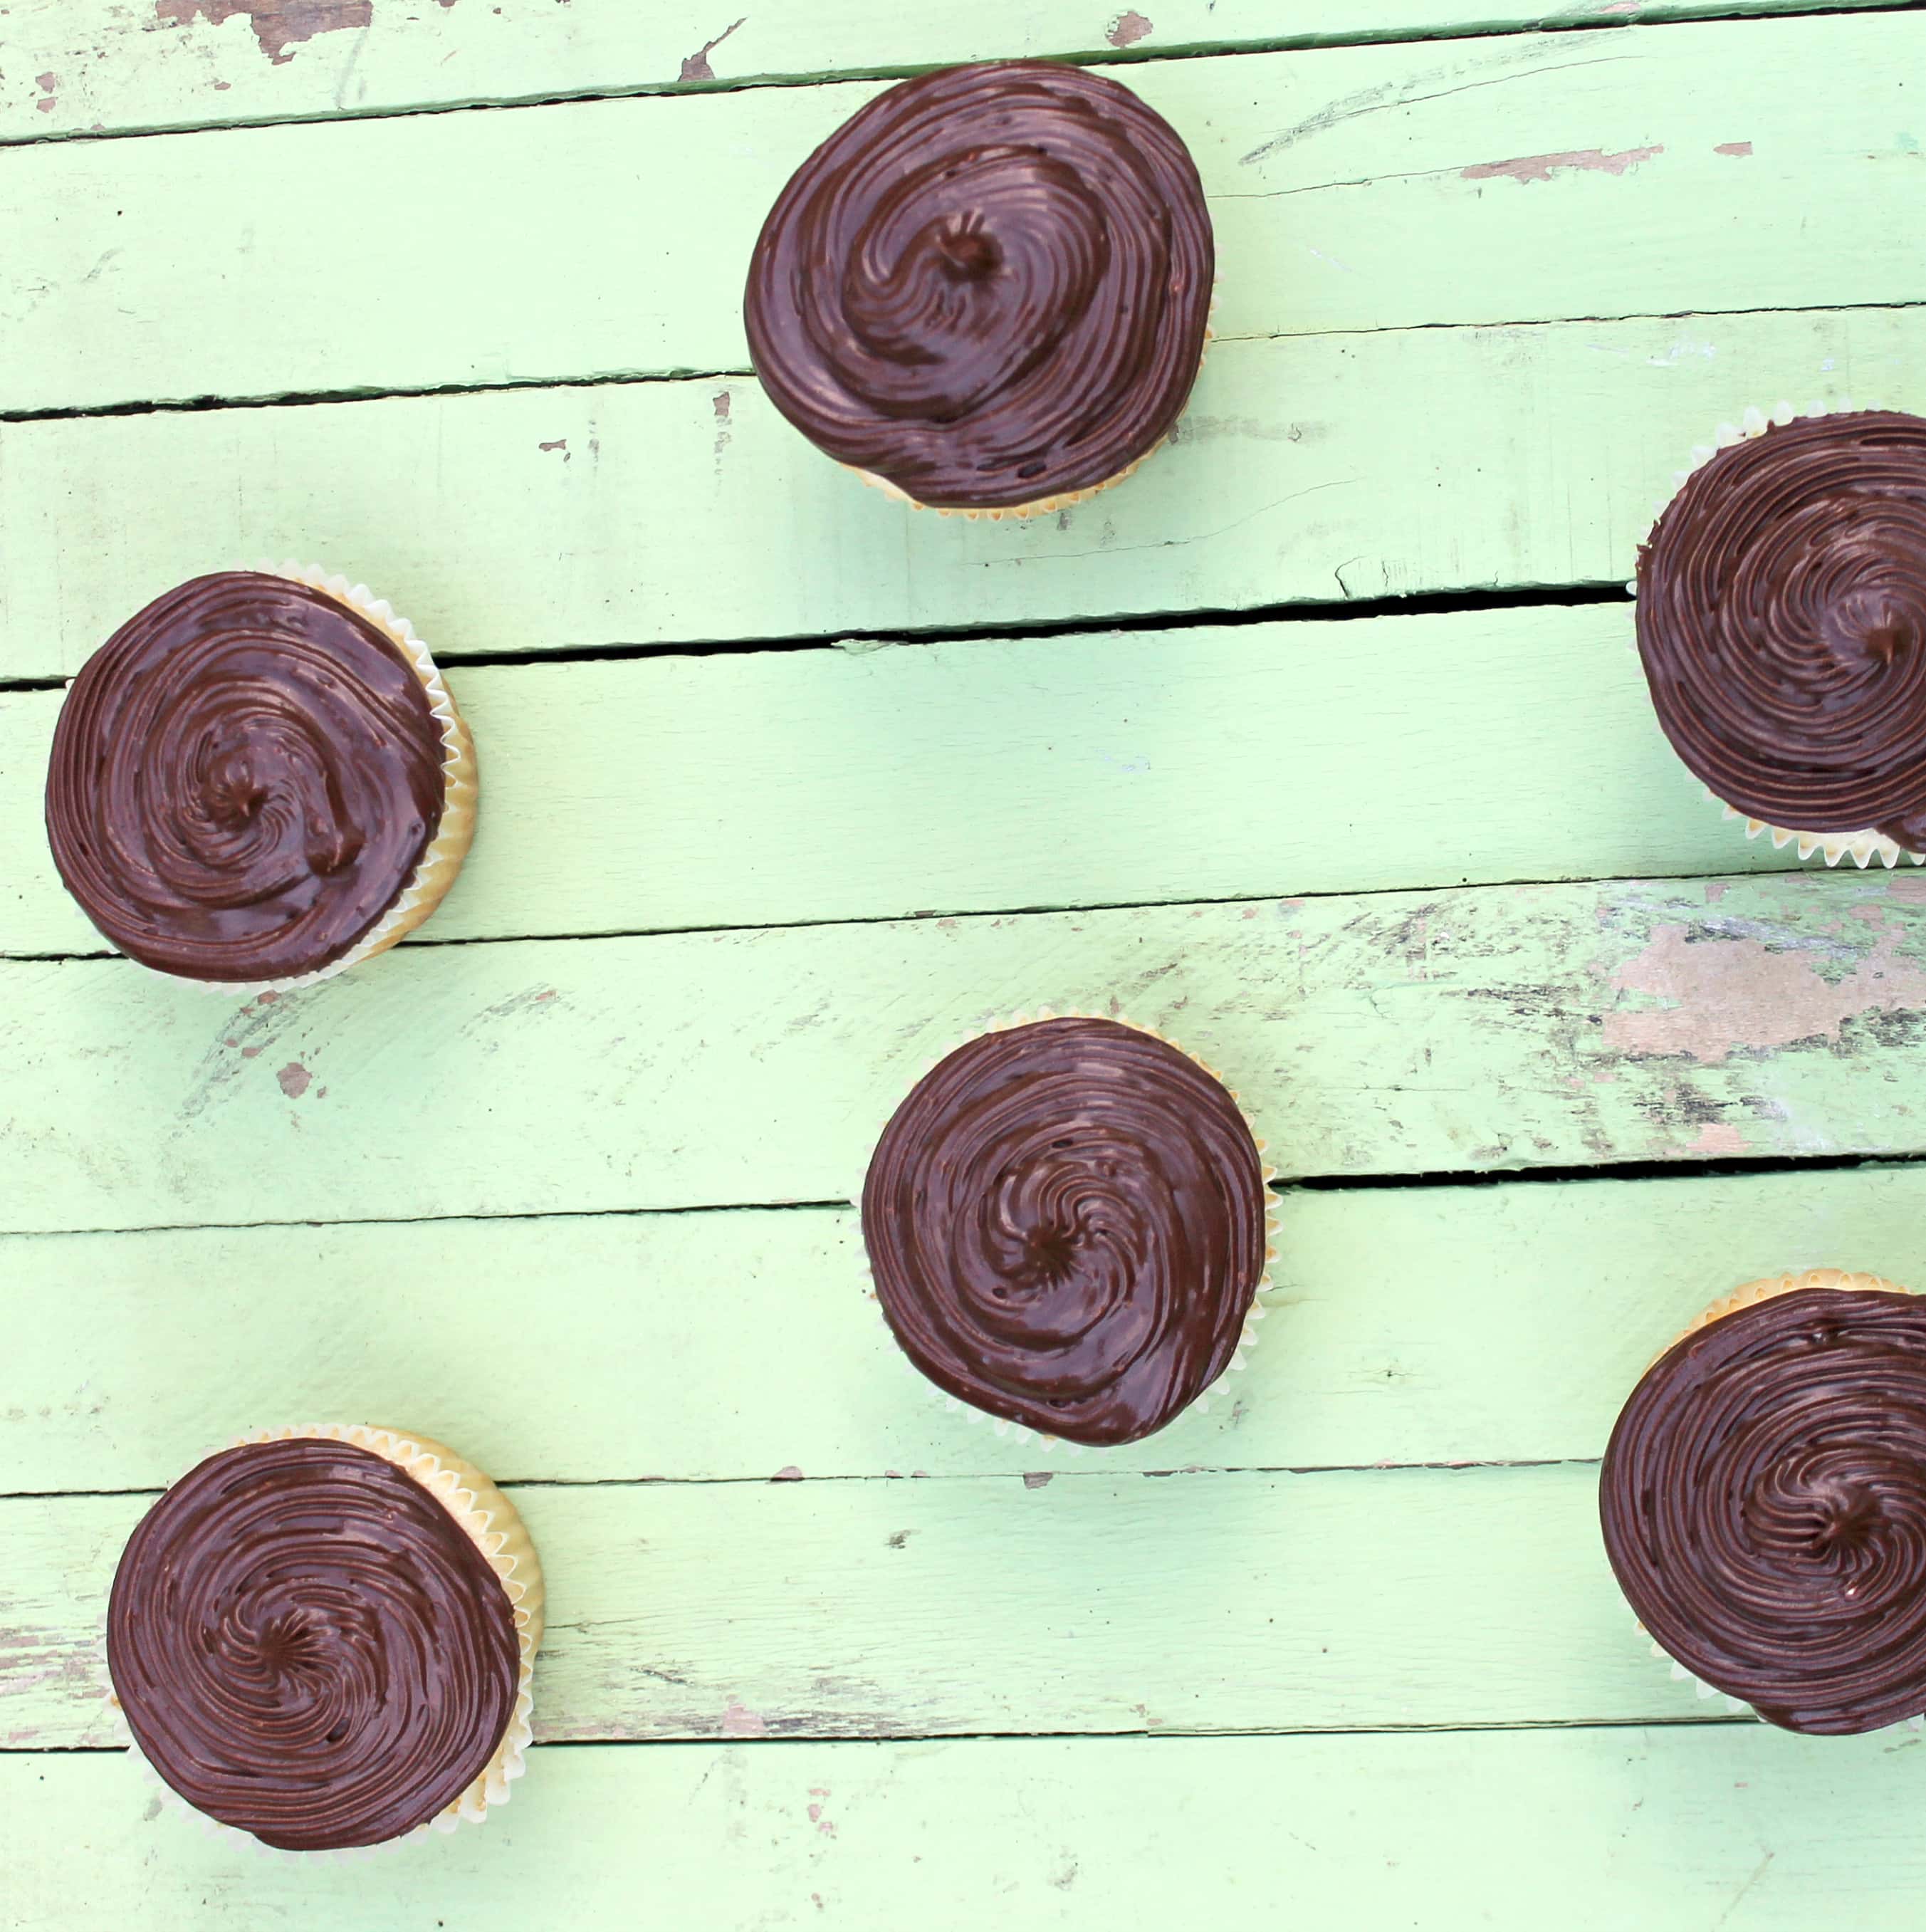
As I was paging through the cookbook, I came across her recipe for Boston Cream Pie Cupcakes. I just had to make them!
For every specially marked item sold, OXO is donating 25 cents in support of pediatric cancer research as a part of its $100,000 pledge to Cookies for Kids’ Cancer. Keep an eye out for the green sticker when buying your baking tools, every little bit helps!
Now, on to the recipe. I changed the frosting but kept the rest of the recipe intact.
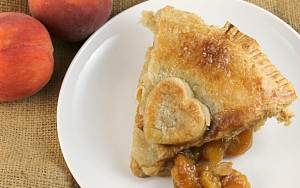
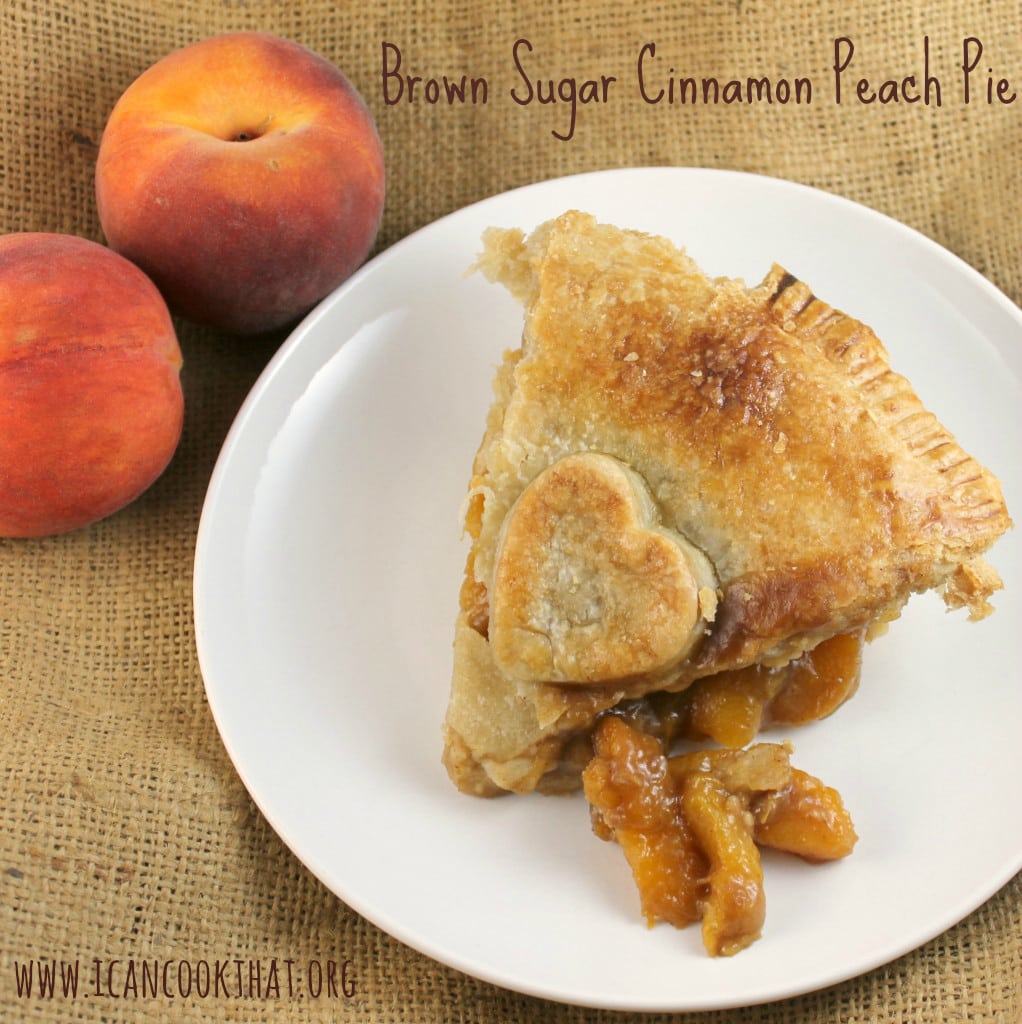
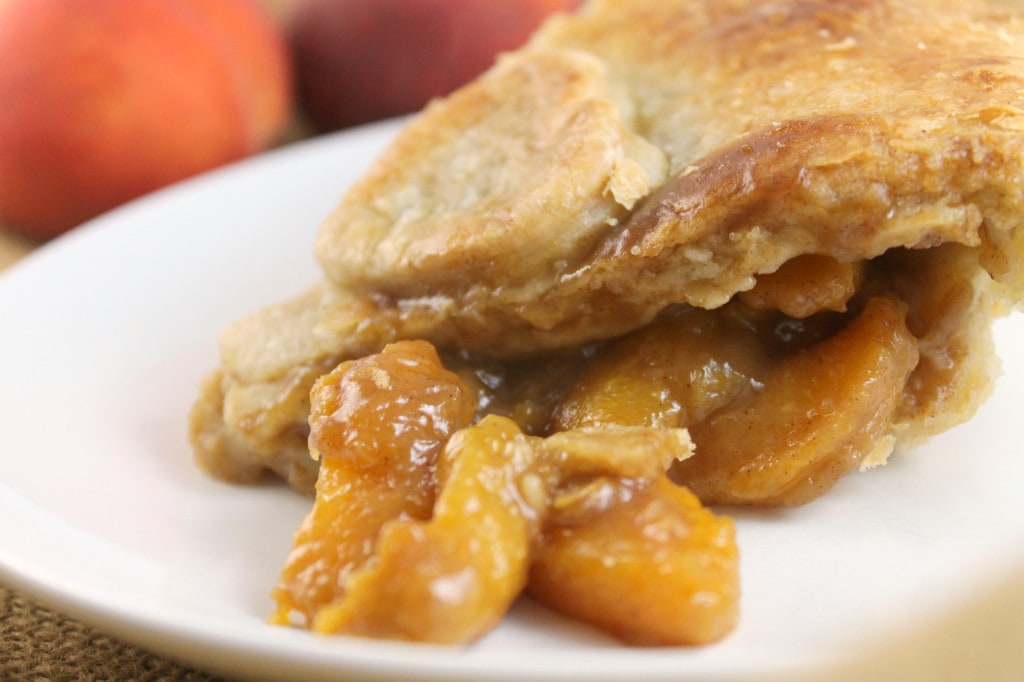
August is National Peach month! My boyfriend is a big fan of peaches so I’ve been buying them a lot lately. We were going to visit friends this weekend and I wanted to bring something down so I decided to try to make a peach pie.
This recipe is from Southern Living and sounded oh so good; I had all of the ingredients on hand so I figured I could at least try! My pie experience is a bit limited but this one turned out great. I even made the pie crust from scratch which was a lot more simple than I expected.
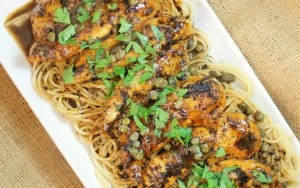
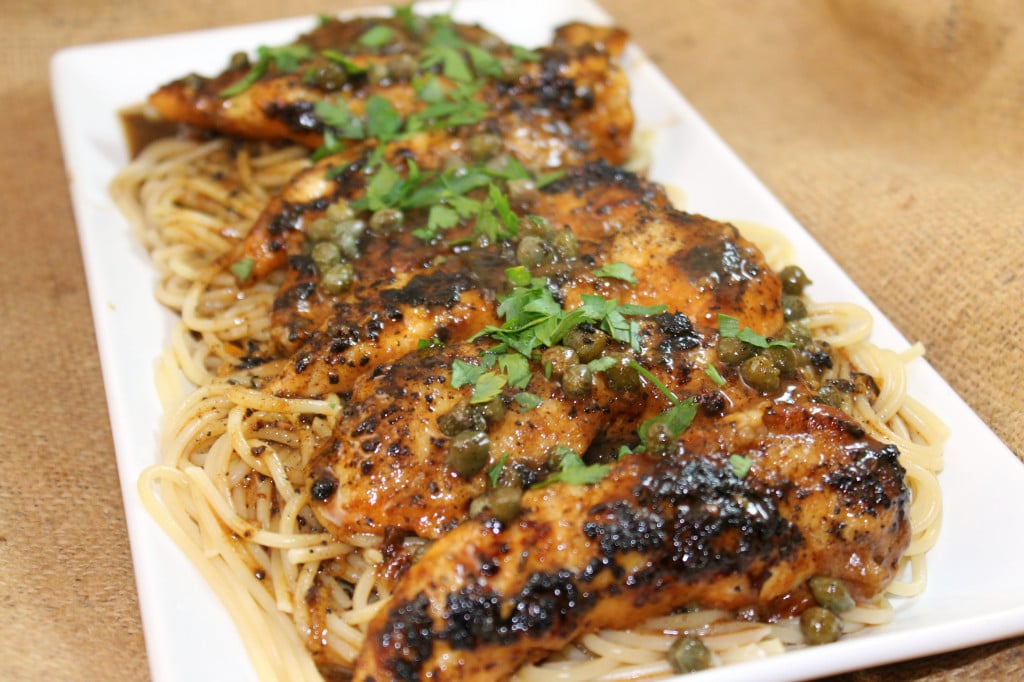
One of my earlier posts on this blog was a chicken piccata recipe. I used to make chicken piccata probably once a week, because it was one of the only recipes I knew! But since I’ve committed to learning how to cook, I haven’t made it in probably 2 years (there are so many recipes I have to try, I rarely go back to my previous go-to recipes). So I decided to revisit the recipe with a few tweaks.
I’ve seen commercials for Land O Lakes Sauté Express products and just loved the idea. The Sauté Starters, made with butter, olive oil, and spices, are an easy way to cook up chicken or fish effortlessly. The Sauté Express Sauté Starters are specifically made for cooking on a stovetop and are portioned out in one ounce servings, enough to cook two chicken breast or fish fillets. So I thought the Garlic & Herb Sauté Express would be great in chicken piccata.
Because I use the same pan to both make the sauce and cook my chicken, my piccata is browner than most you’ll find in restaurants. So I apologize for the presentation. But trust me, the flavor makes it worth it!
Ingredients (serves 4):
¼ cup all-purpose flour
1 tablespoon onion powder
¼ teaspoon ground pepper
1 lb chicken tenderloins (about 8 pieces)
2 squares Garlic & Herb Sauté Express, divided
1 tablespoon olive oil, divided
1/3 cup white wine (whatever you have around the house)
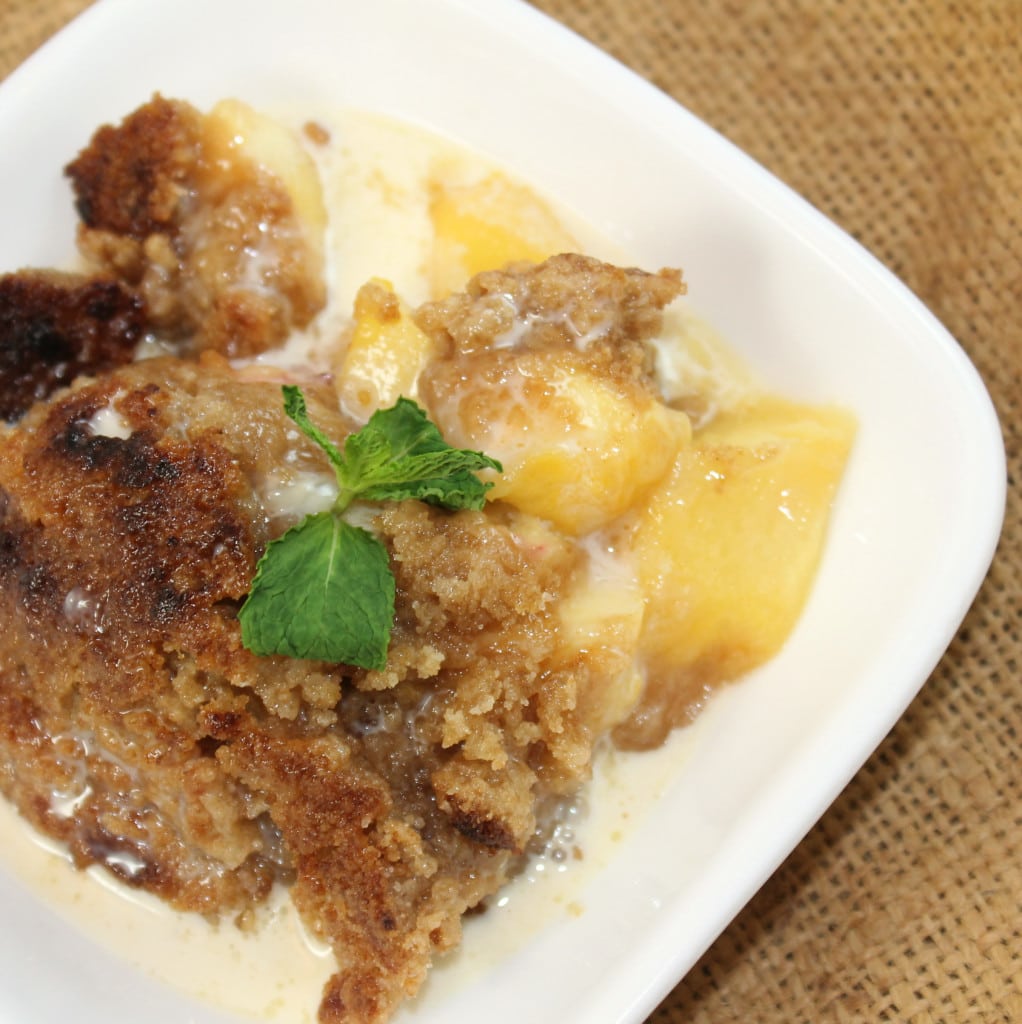
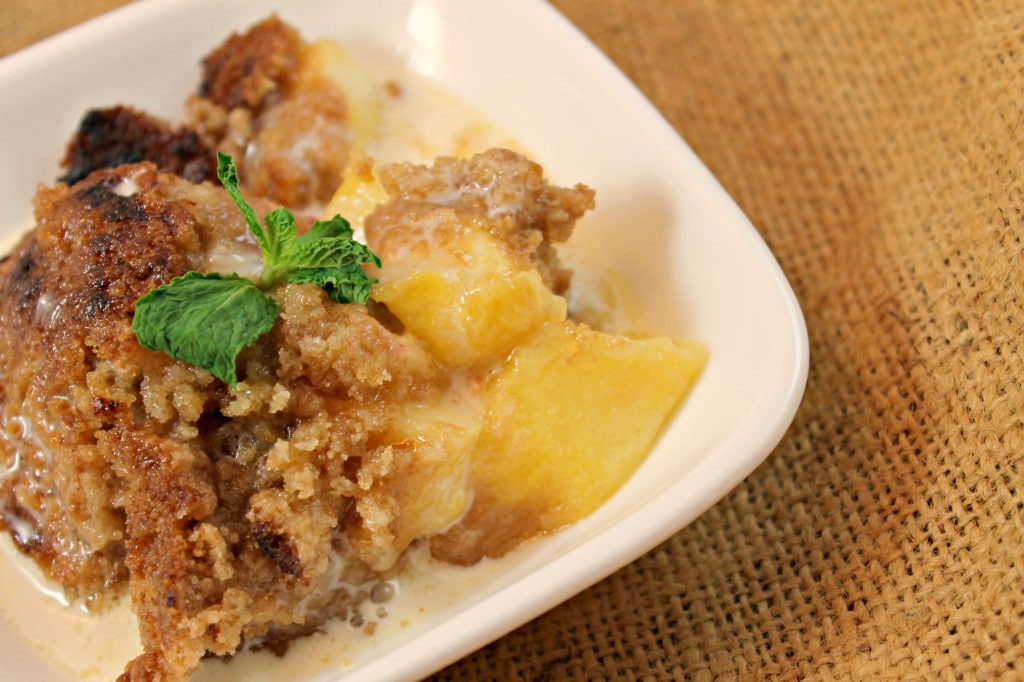
My boyfriend really likes peaches. But, strangely enough, he’s allergic to the skin of peaches so he really only eats them in desserts. I owe him a peach cobbler at some point, but when I saw this recipe from The Pioneer Woman I thought he’d love it. (Plus, it’s a bit easier than a cobbler… baby steps.)
I didn’t have real maple syrup, so I had to use the stuff you use on pancakes. Because of that, the recipe is slightly altered from the original to account for the sweetness.
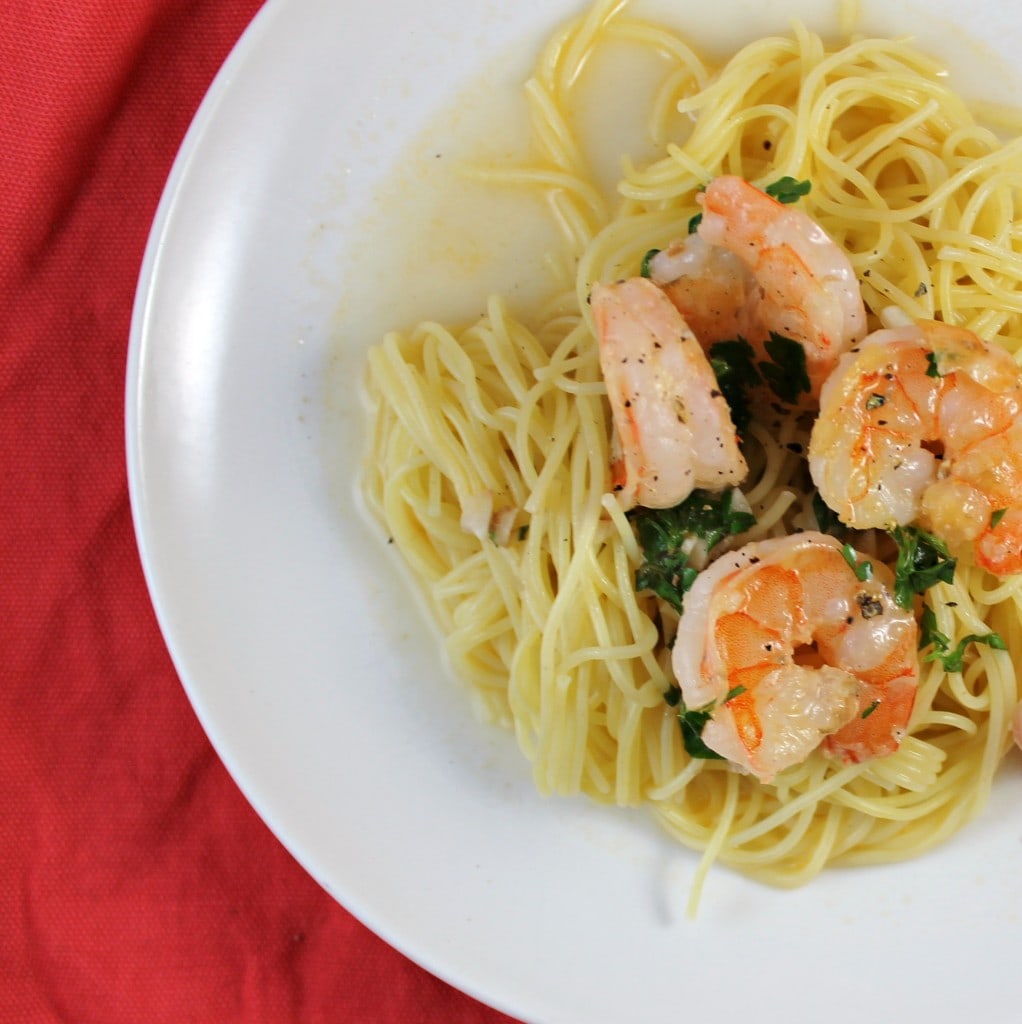
Seafood is a great weeknight meal because it cooks up so quickly. The only problem is getting to the supermarket to get it because you don’t really want seafood sitting in your fridge for more than a few days. A few weeks ago, my supermarket was having a sale on uncooked frozen shrimp so I grabbed two bags to use for a quick meal.
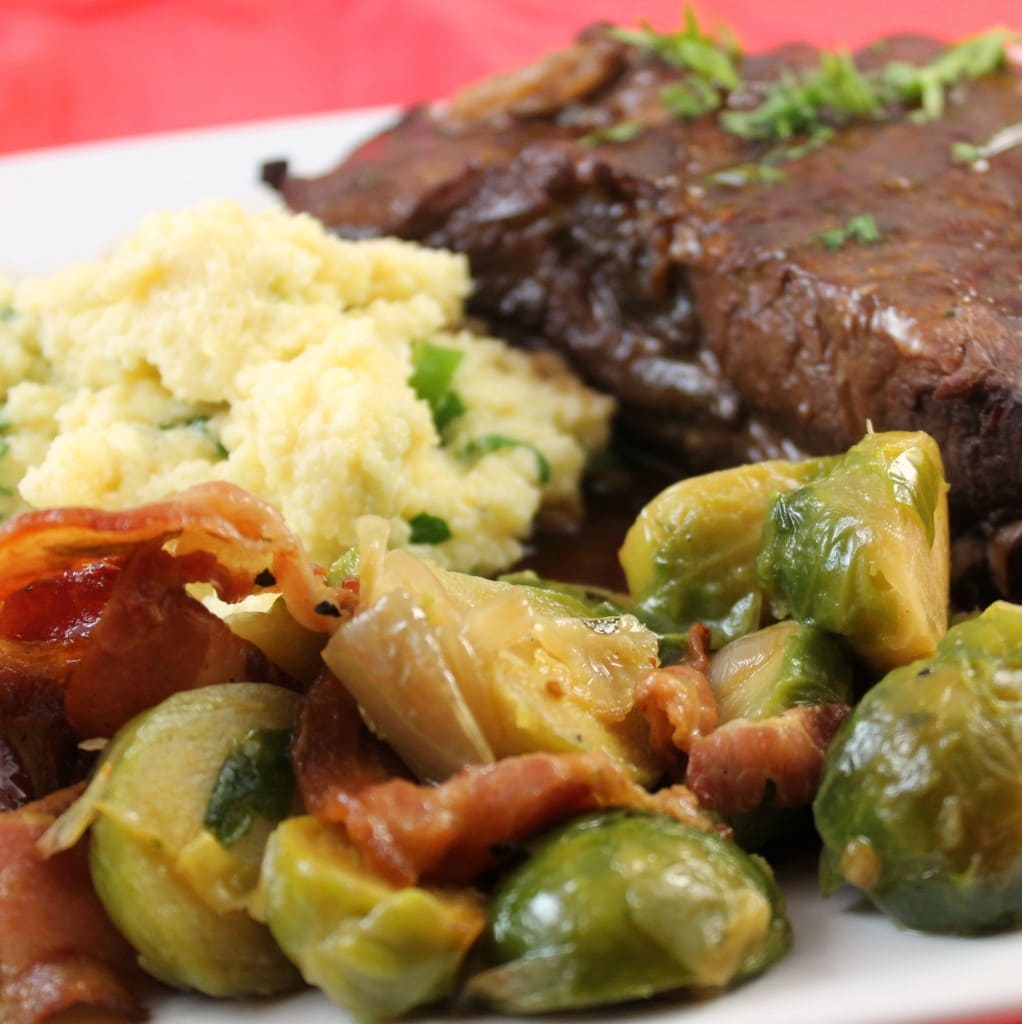
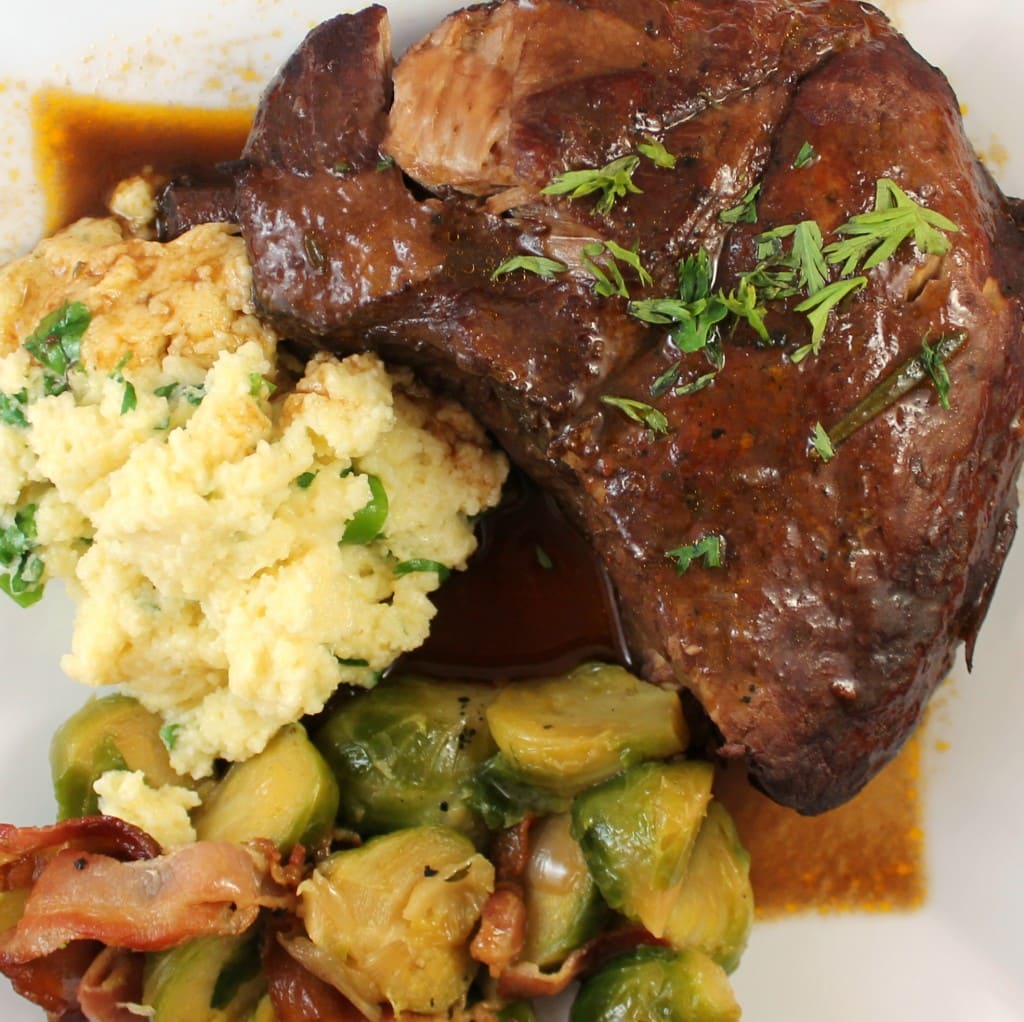
I somehow have never made Shrimp Scampi, so when I saw a version on Cooking Planit, I decided it was about time! This recipe for a classic Shrimp Scampi takes about 30 minutes if you buy the shrimp already peeled, deveined, and with the tails removed. (I have a review of Cooking Planit within my Braised Baby Back Ribs and Creamy Polenta with Brussels Sprouts and Pancetta post if you’d like to read more about this app.)
Whenever I visit my friends who live on the Chesapeake, I try to bring some food. This time around, I am going with a dessert recipe! I found a recipe for a Tart with Grilled Fruit in a cookbook called Crazy About Pies that I bookmarked for my next trip to Maryland because we always end up grilling and I thought it would make a great complement to a barbecued dinner. I decided to instead make dark chocolate brownies to go with the grilled fruit instead of the tart. (I will have a post about Crazy About Pies in the near future, there are some amazing sounding recipes in this cookbook!) The recipe for dark chocolate brownies is adapted from an Alton Brown recipe.
Ingredients (makes 16 servings):
2 pints of ice cream, preferably fruit based (I used a strawberry almond milk ice cream)
Dark Chocolate Brownies
4 large eggs
1 cup sugar
1 cup firmly packed brown sugar
8 ounces melted butter (2 sticks) plus more for greasing
1 cup dark chocolate cocoa
2 teaspoons vanilla extract
1/2 cup flour
1/2 teaspoon kosher salt
Fruit
Fruit of your choice (about 1 cup): I used pineapple, kiwi, and watermelon
I’ve mentioned on here many times, I really stink at getting an entire meal on the table. I can usually handle making the main dish and then I just scramble to throw a salad together and call it a meal. So when Cooking Planit told me about their app, it was like they had made it with me in mind!
The app, available for the iPhone and iPad (android coming soon) can also be accessed online. Your usage is synced up through your login, so you can browse on your computer, iPhone, and iPad seamlessly. (The app is currently on sale for $0.99 for iPhone and $1.99 for iPad)
The overall goal of Cooking Planit is to get a meal, sides included, on the table at the same time. The app includes tons of recipes that come already packaged as meals, but you can also mix and match to suit your tastes.
Once you choose your recipes/meal, you can add it to “My Cookbook” to store for future use. When you’re ready to go food shopping, just add the meal to your grocery list. The app gives you the option of planning for 2, 4, or 6 servings which I absolutely love! The grocery list can be viewed as a list by aisle (produce, dairy & eggs, canned goods, etc.), images (in case you have no idea what a leek looks like), or by recipe so you can see what you need for which recipe. Once you find and purchase your ingredients, just check them off and remove them from the list.
When you’re ready to get cooking, just bring up the recipe and click get started. The app will walk you through the meal, step by step, so that all parts of the recipe will finish at or around the same time. The app even shows you which cooking equipment, kitchen supplies, and appliances you need to make your meal, almost foolproof! It also lets you know how long it will take to make from start to finish. I liked being able to browse the recipes online at work, get the grocery list up on my phone at the supermarket, and then use my laptop at home to view the directions while I cooked. Super easy! The iPhone/iPad app also has voice control, so if you’re elbow deep in cooking, you can give voice commands like “Move On” or “Go Back.” When parts of the recipe need a timer, automatic timers show up at the top of the screen for you. The app will also tell you when to slow down so that all parts of the recipe finish at the same time.
So I decided to try it out and give the results below! I (of course) messed with the recipe slightly so my version is below. I chose “Sunday Supper” but changed it to Baby Back Ribs instead of Short Ribs and used my slow cooker instead of the oven.