My goodness, 2018 was a quick year. I cannot believe it’s the end of December! I wanted to post a recipe that would be welcome at any New Year’s Eve party, and with the help of a pressure cooker, can be made in no time with little effort!


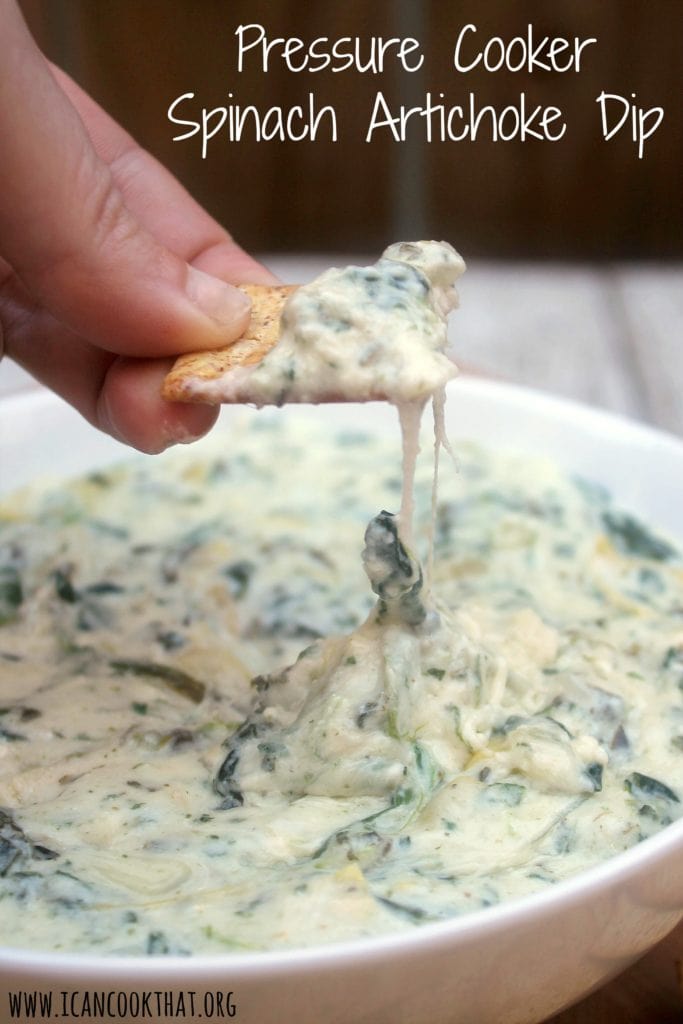
This recipe for Pressure Cooker Spinach Artichoke Dip takes just 20 minutes to make – you dump most of the ingredients in (including the frozen spinach, no need to defrost!) and let it do its thing.


It can also easily be doubled to serve a large crowd; just make sure your multi-cooker is large enough to hold it all!
Ingredients (serves 8):
- 1 (10 oz) box frozen chopped spinach
- 1 (14 oz) can artichoke hearts, drained and chopped
- 1 small yellow onion, finely chopped
- 4 garlic cloves, minced
- 1 (8 oz) block cream cheese
- 1/2 cup sour cream
- 1/2 cup mayonnaise
- 1/2 cup chicken or vegetable broth
- 1 (8 oz) container parmesan cheese
- 1 (8 oz) bag shredded low moisture mozzarella cheese
- salt and pepper, to taste
- crackers or toasted baguette rounds, for serving