Have you ever had a craving for something that you just can’t shake? Even after eating? I desperately wanted hummus. And even after filling up on delicious pizza I still wanted that hummus. But I don’t have any chickpeas in my place right now. (Note to self: stock up on cans of chickpeas so that I am never in this terrible situation again) So I went in search of a recipe for hummus that I could use something, anything else I happened to have on hand. White bean hummus to the rescue! (I found this recipe in Southern Living)

Ingredients:
2 garlic cloves, minced
1 teaspoon chopped fresh rosemary
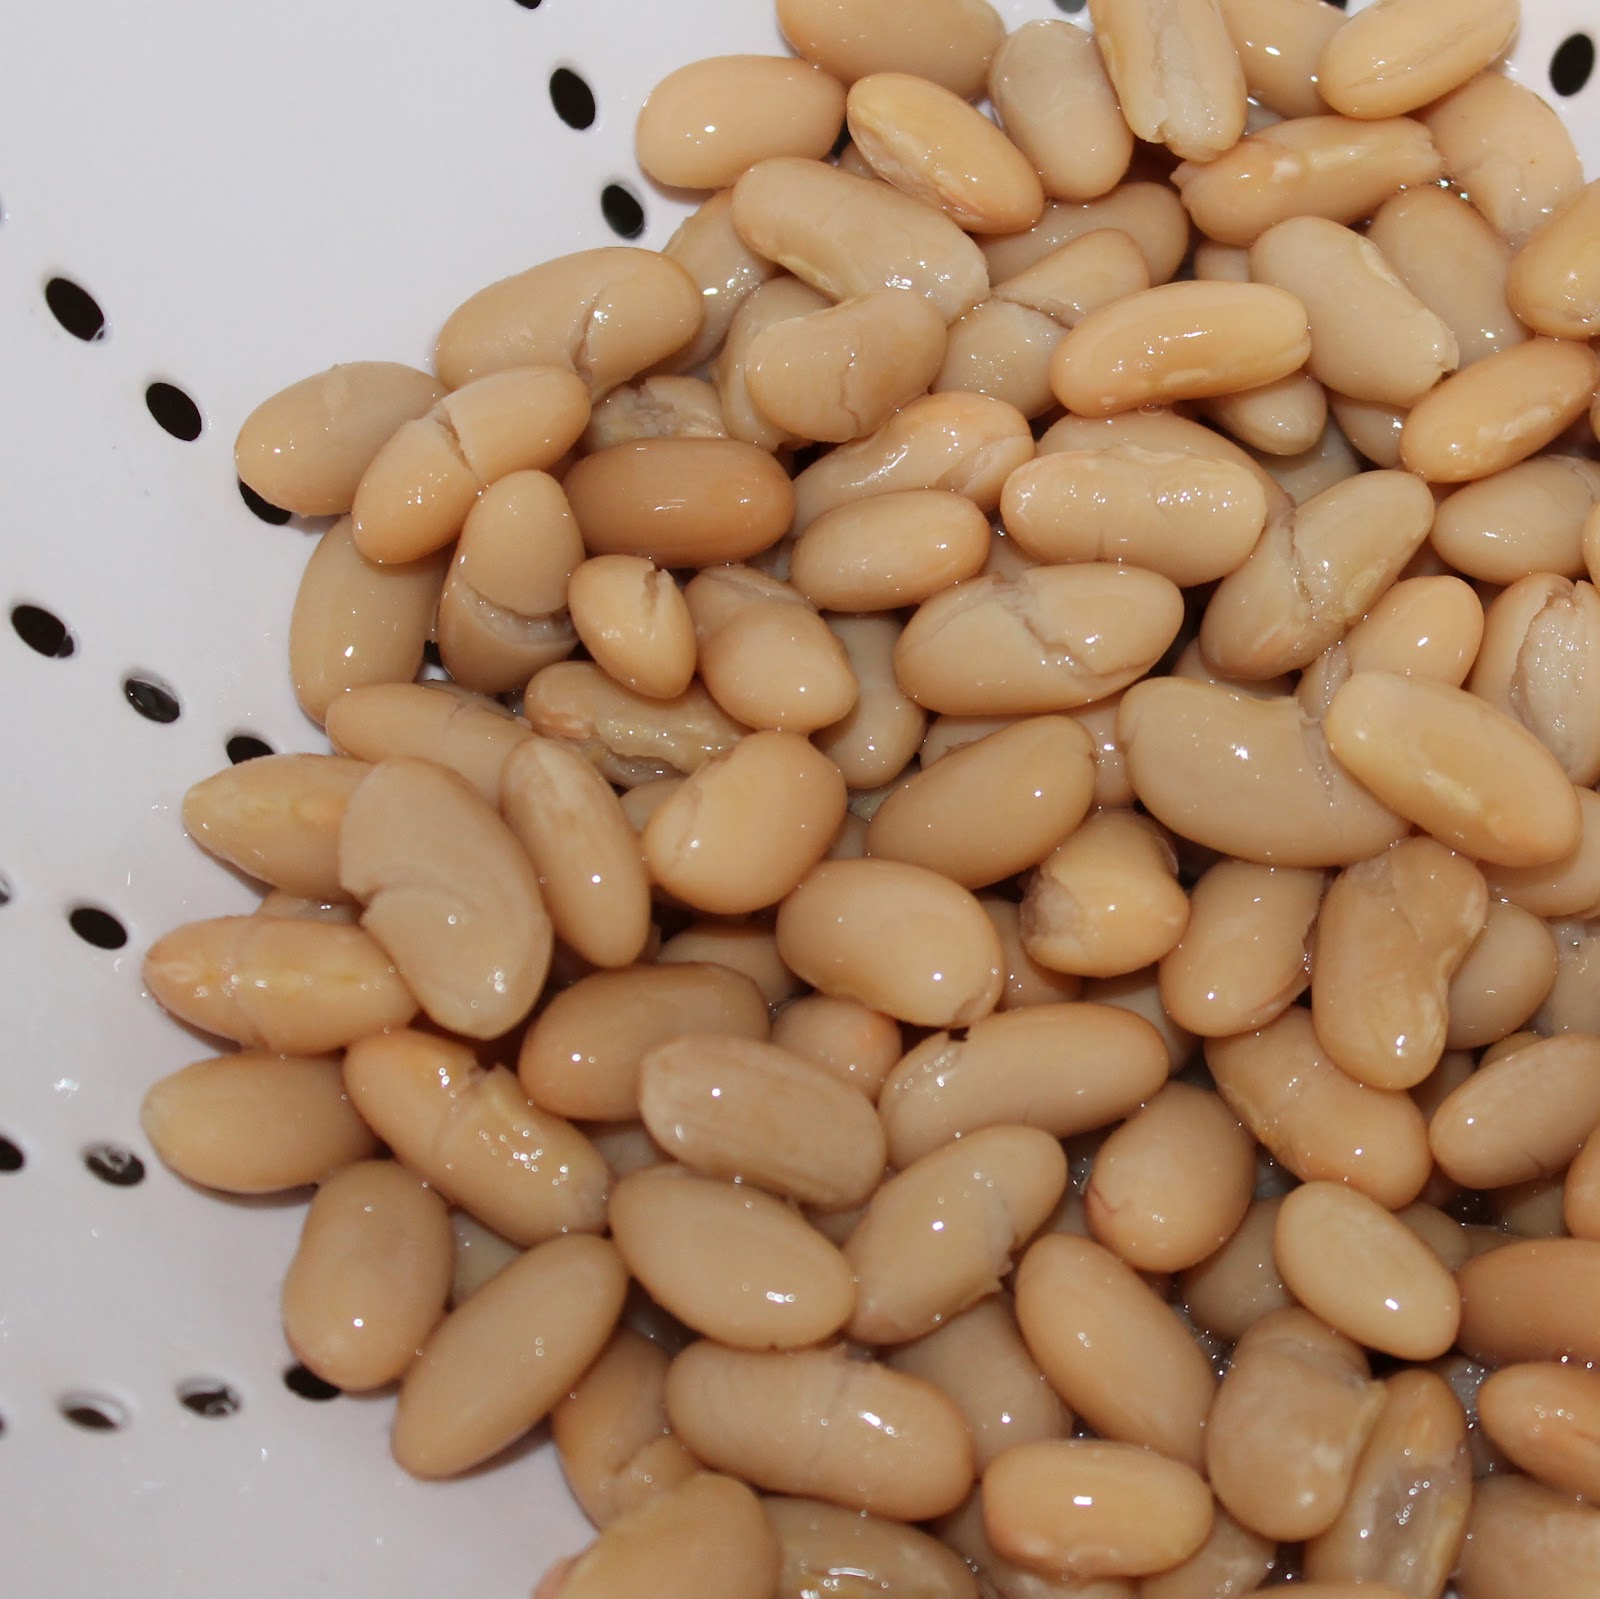
1 (15.5-ounce) can cannellini beans, rinsed and drained
the juice and zest of 1 lemon
2 tablespoons tahini
1/2 teaspoon salt
1/4 teaspoonpaprika, plus more for garnish
1/4 cup olive oil
1 teaspoon chopped fresh rosemary
1 (15.5-ounce) can cannellini beans, rinsed and drained
the juice and zest of 1 lemon
2 tablespoons tahini
1/2 teaspoon salt
1/4 teaspoonpaprika, plus more for garnish
1/4 cup olive oil
Rinse and drain your cannellini beans.
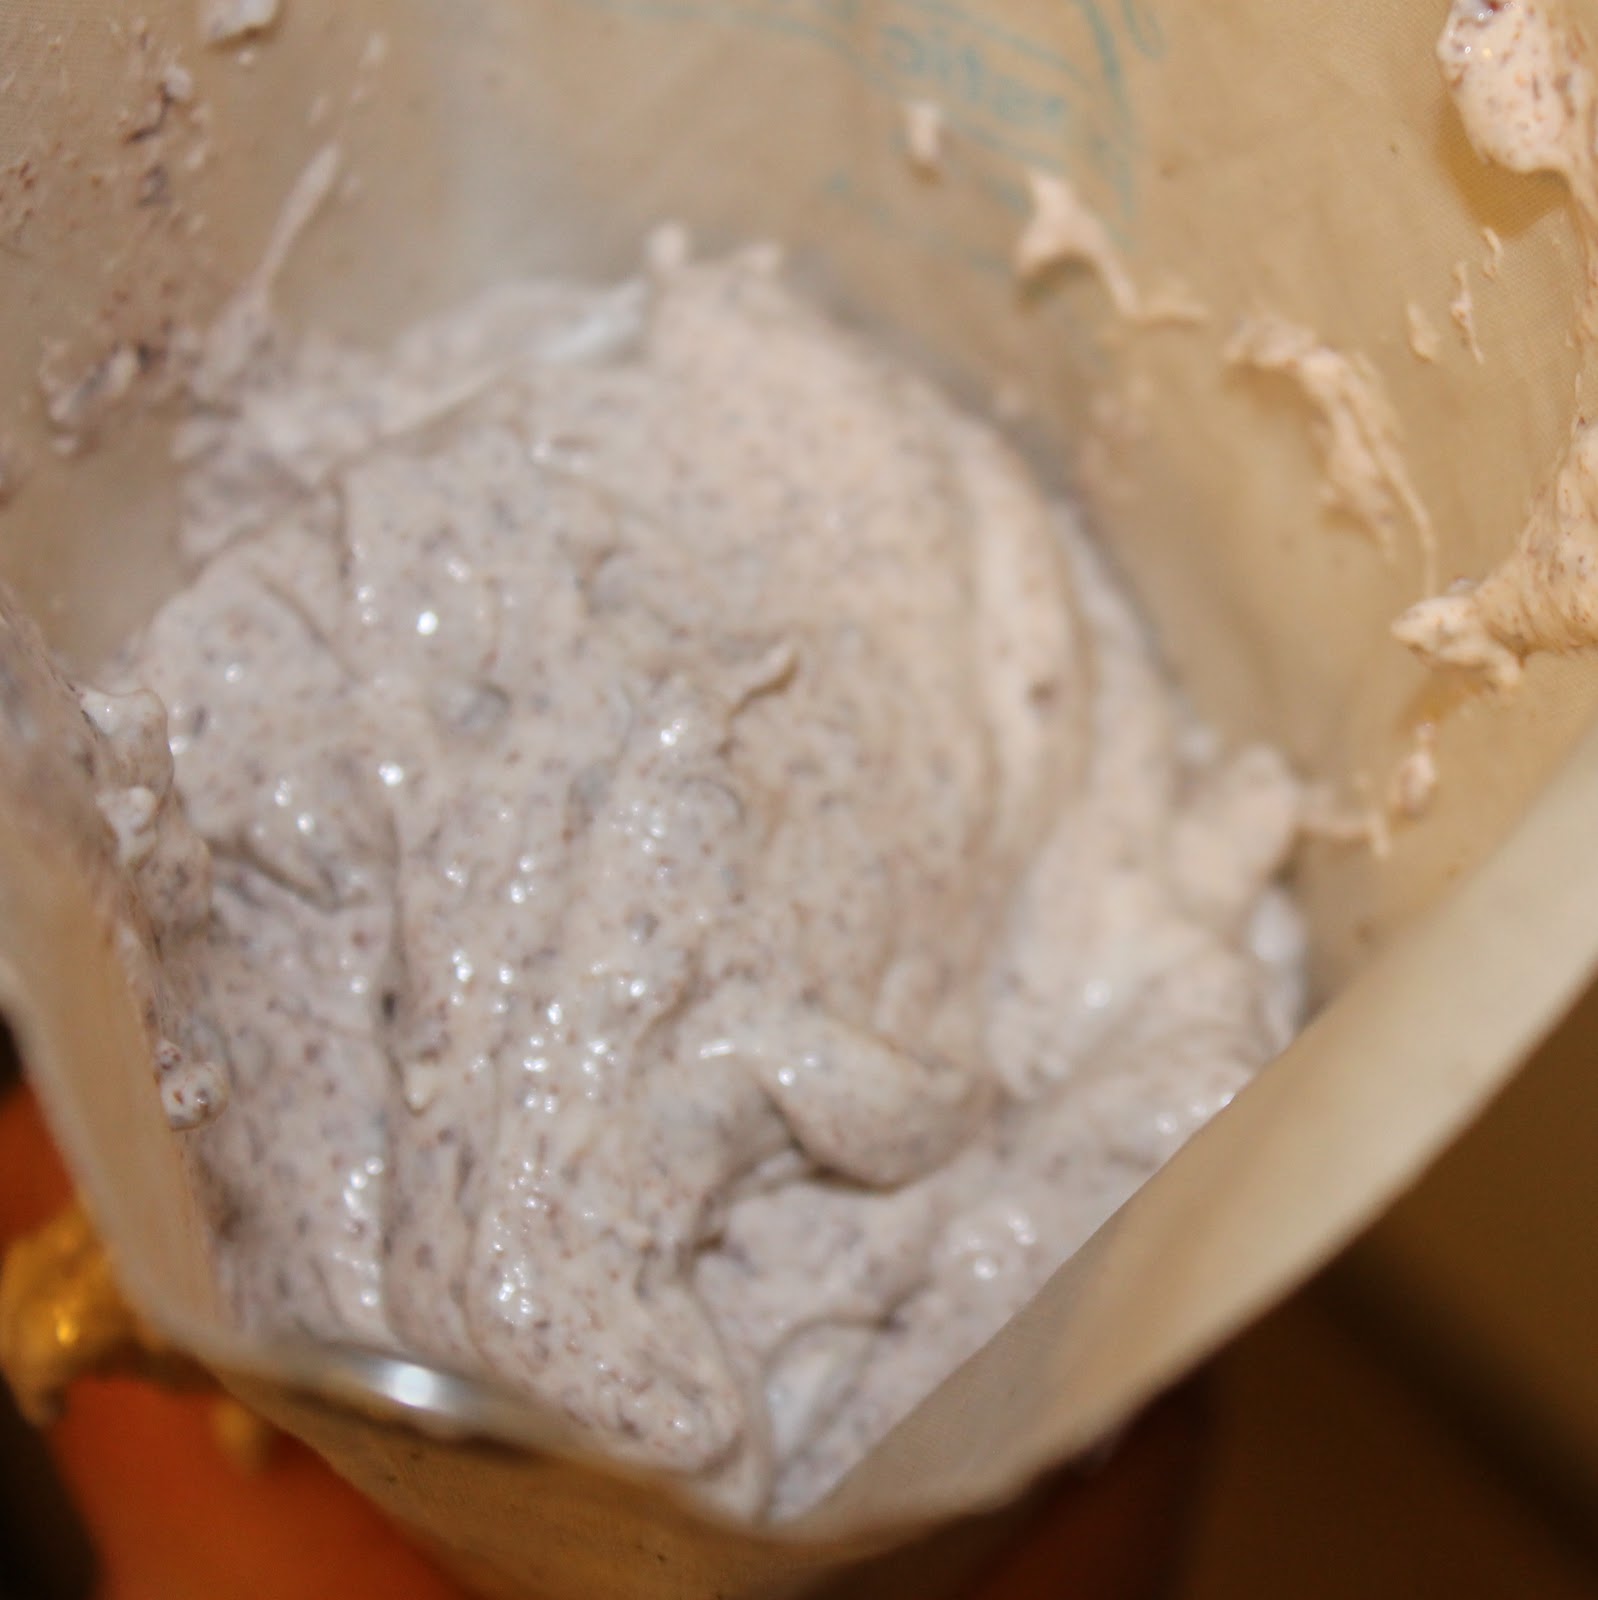
Add all the ingredients except for the olive oil to a food processor and blend. You may need to stop the food processor one or two times to scrape the sides to make sure everything is evenly blended.

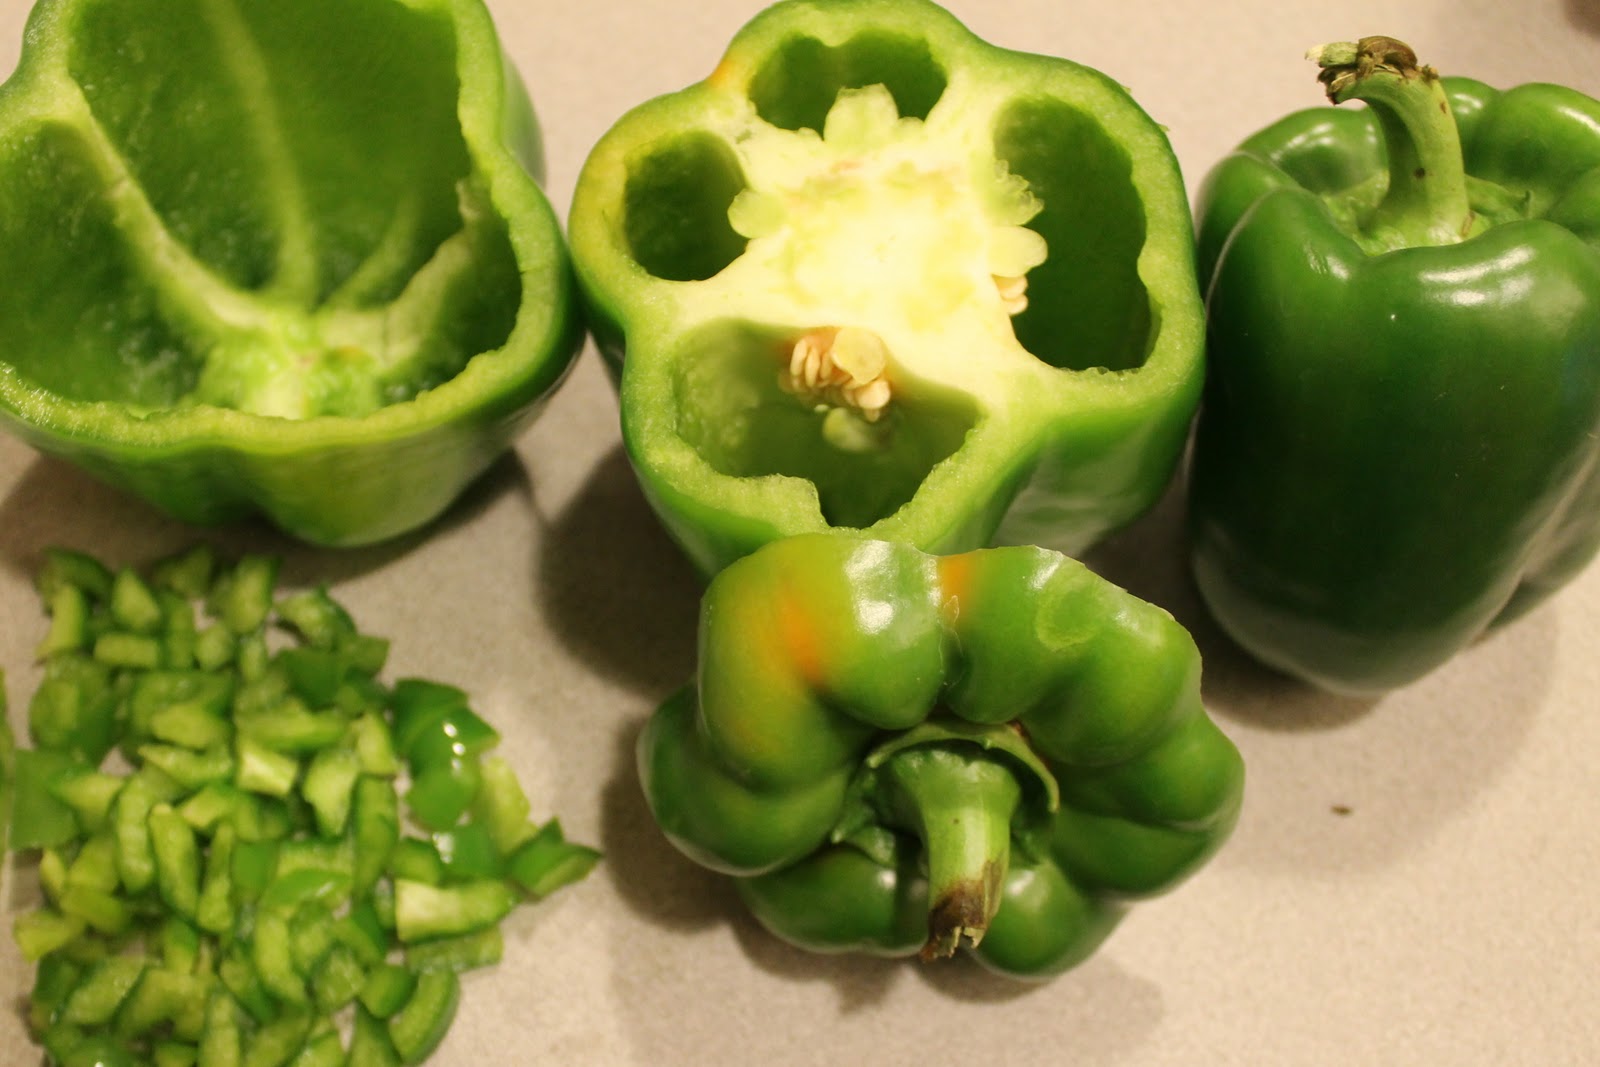
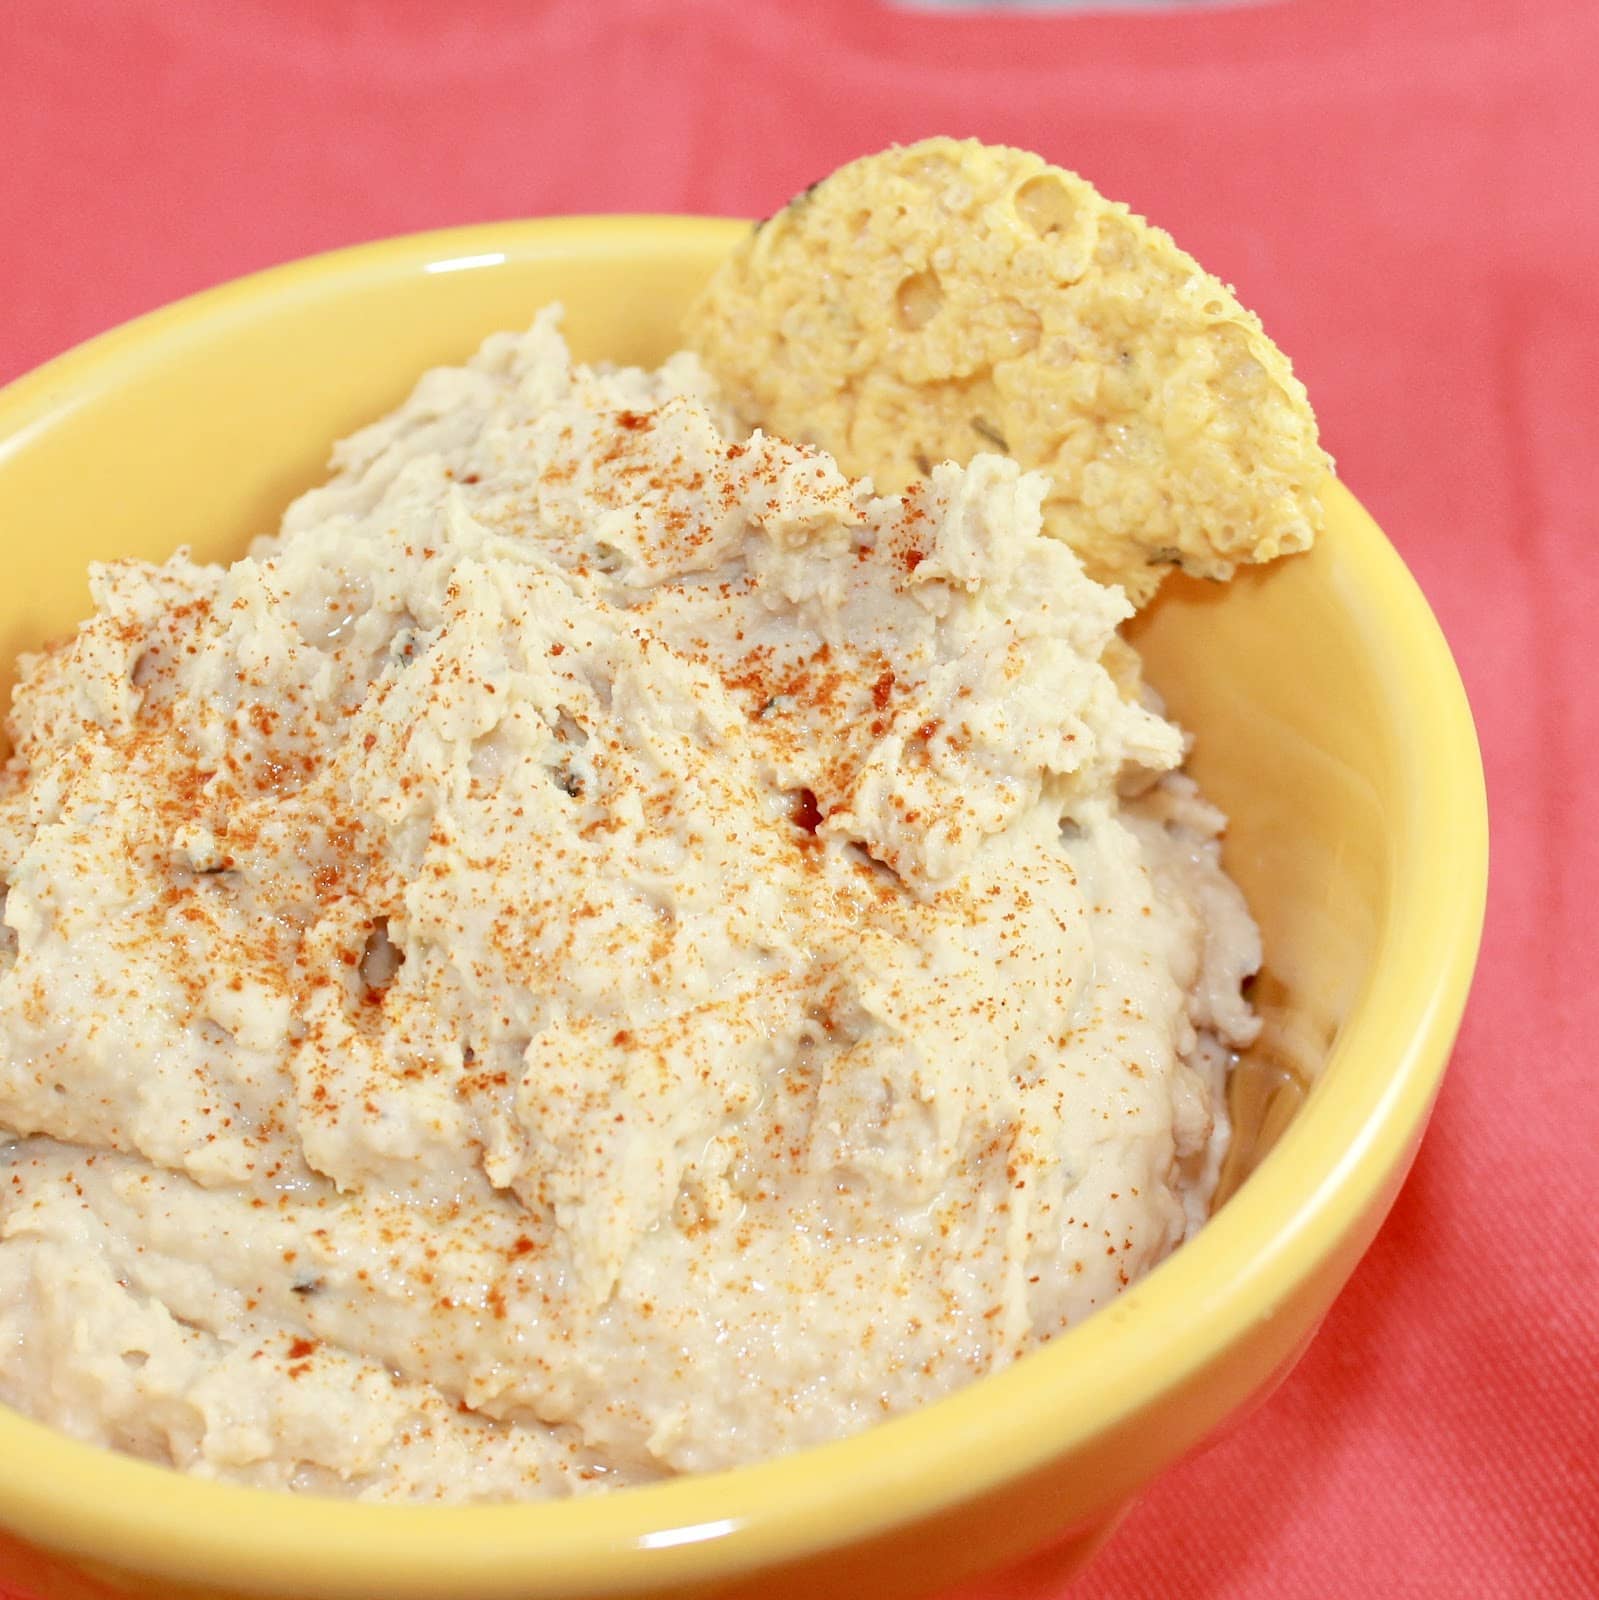
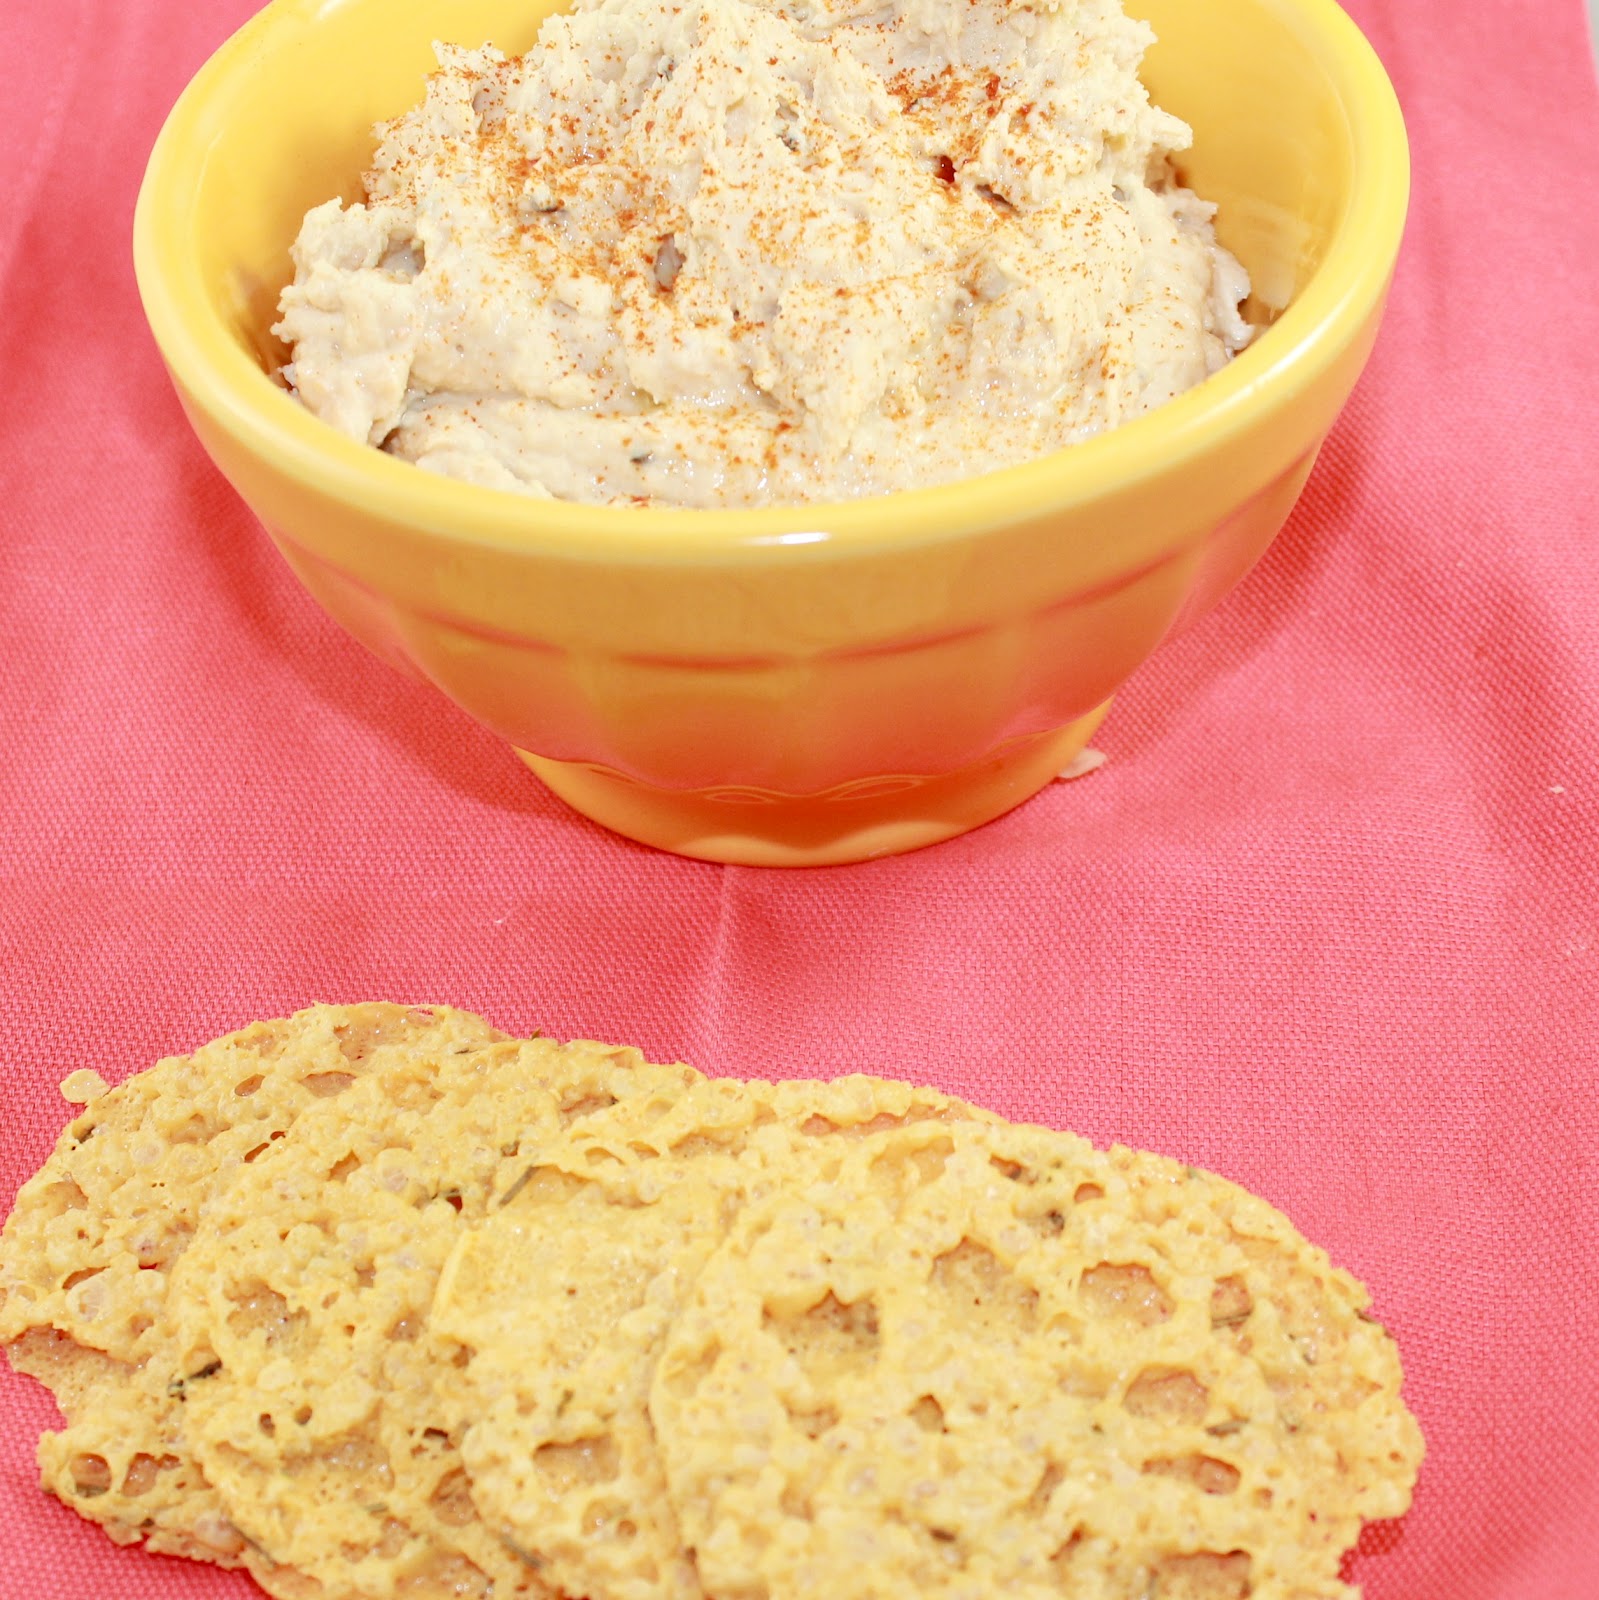
While the food processor is running, add an even stream of the olive oil until well blended. Add to a bowl and sprinkle with some paprika. Serve with pita chips, cucumber, or green peppers.

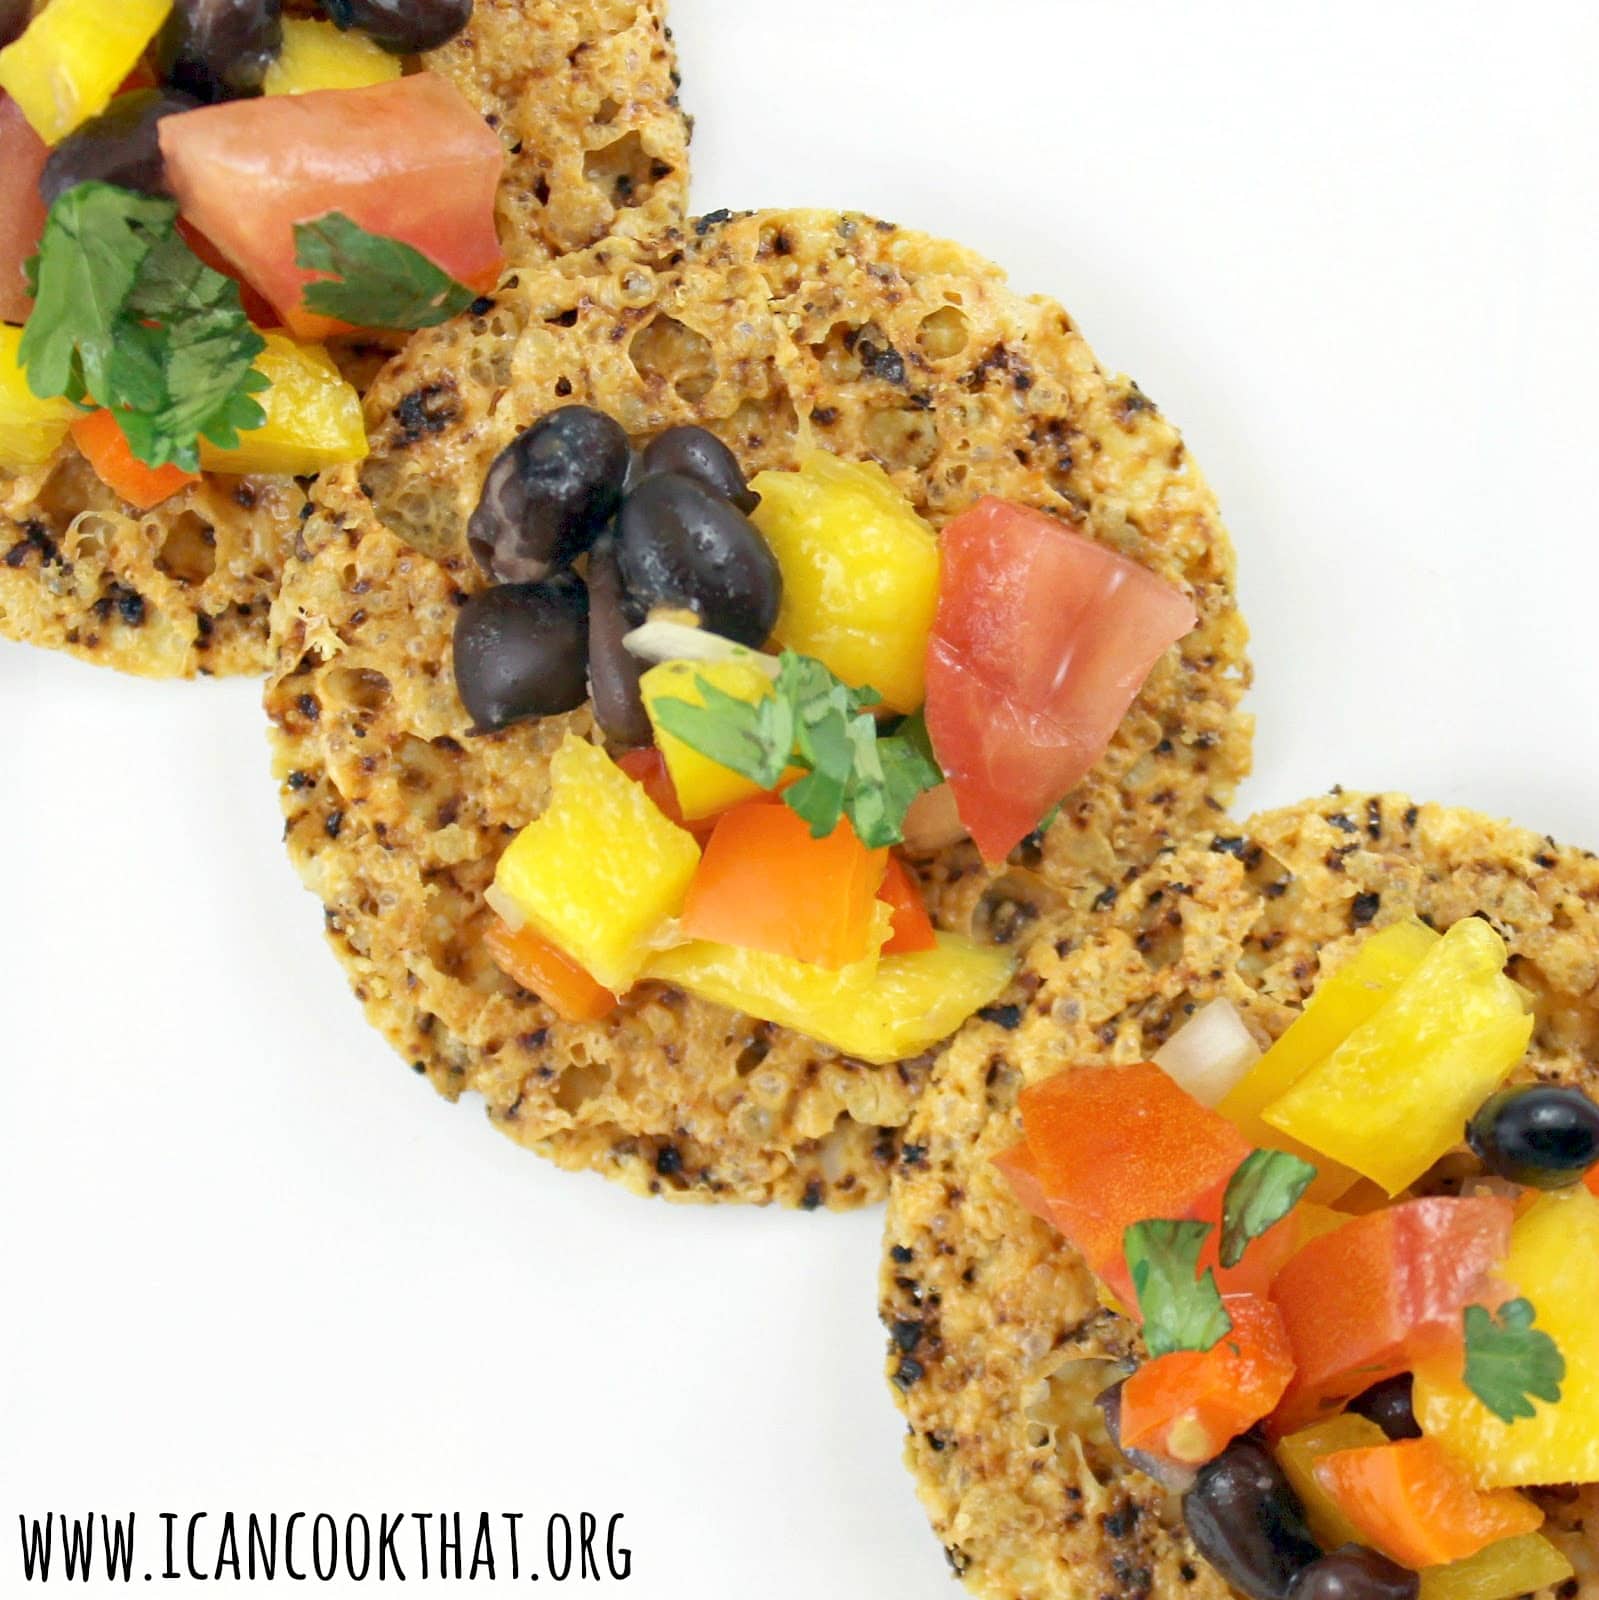
Due to my craving, I had none of these on hand. Junk. But I did have some of the Kitchen Table Bakers Rosemary Parmesan Crisps that went perfectly with the hummus!
Oh so satisfying.

Cannellini beans make one fantastic hummus, who knew?

The hummus was nice and creamy. And I loved the fresh rosemary!

I’d suggest adding some extra fresh chopped rosemary on top for added flavor. You can store this overnight or for a few days beforehand. I like to bring it with me as a snack at work.