As soon as the weather begins to move into fall, I begin to think of all the hearty meals I will be making in the upcoming months. A slow cooker is such a helpful tool during colder months, it allows you to make a bunch of servings all by dropping them in a pot and just waiting. Slow cooking tough cuts of meat also turns them into the most tender fall-off-the-bone protein. I’ve never tried osso buco before, but a slow cooker version sounds basically idiot proof, so I decided to make it. I actually put this together Sunday night and when I woke up the next morning, spooned out a portion for lunch that day and froze the rest. What a great way to start the week!
I had a heck of a time finding some ingredients despite them being pretty common. So I kind of fudged some of the ingredients. For the original recipe, check it out here.
Ingredients:
2/3 cup all-purpose flour
¾ teaspoon ground black pepper, divided
½ teaspoon kosher salt, divided
About 5 pounds veal (go for the cheaper cuts—its usually made with veal shank but they were all out at my market – I used cubed veal and one veal loin chop so that there was some bone)
2 teaspoons butter, divided
2 teaspoons olive oil, divided
2 cups coarsely chopped red onion
1 ½ cups chopped celery
6 garlic cloves, minced
4 cups beef broth
2 cups dry white wine
1 tablespoon fresh rosemary
1 tablespoon minced anchovy fillets (the original recipe calls for 1 tablespoon anchovy paste)
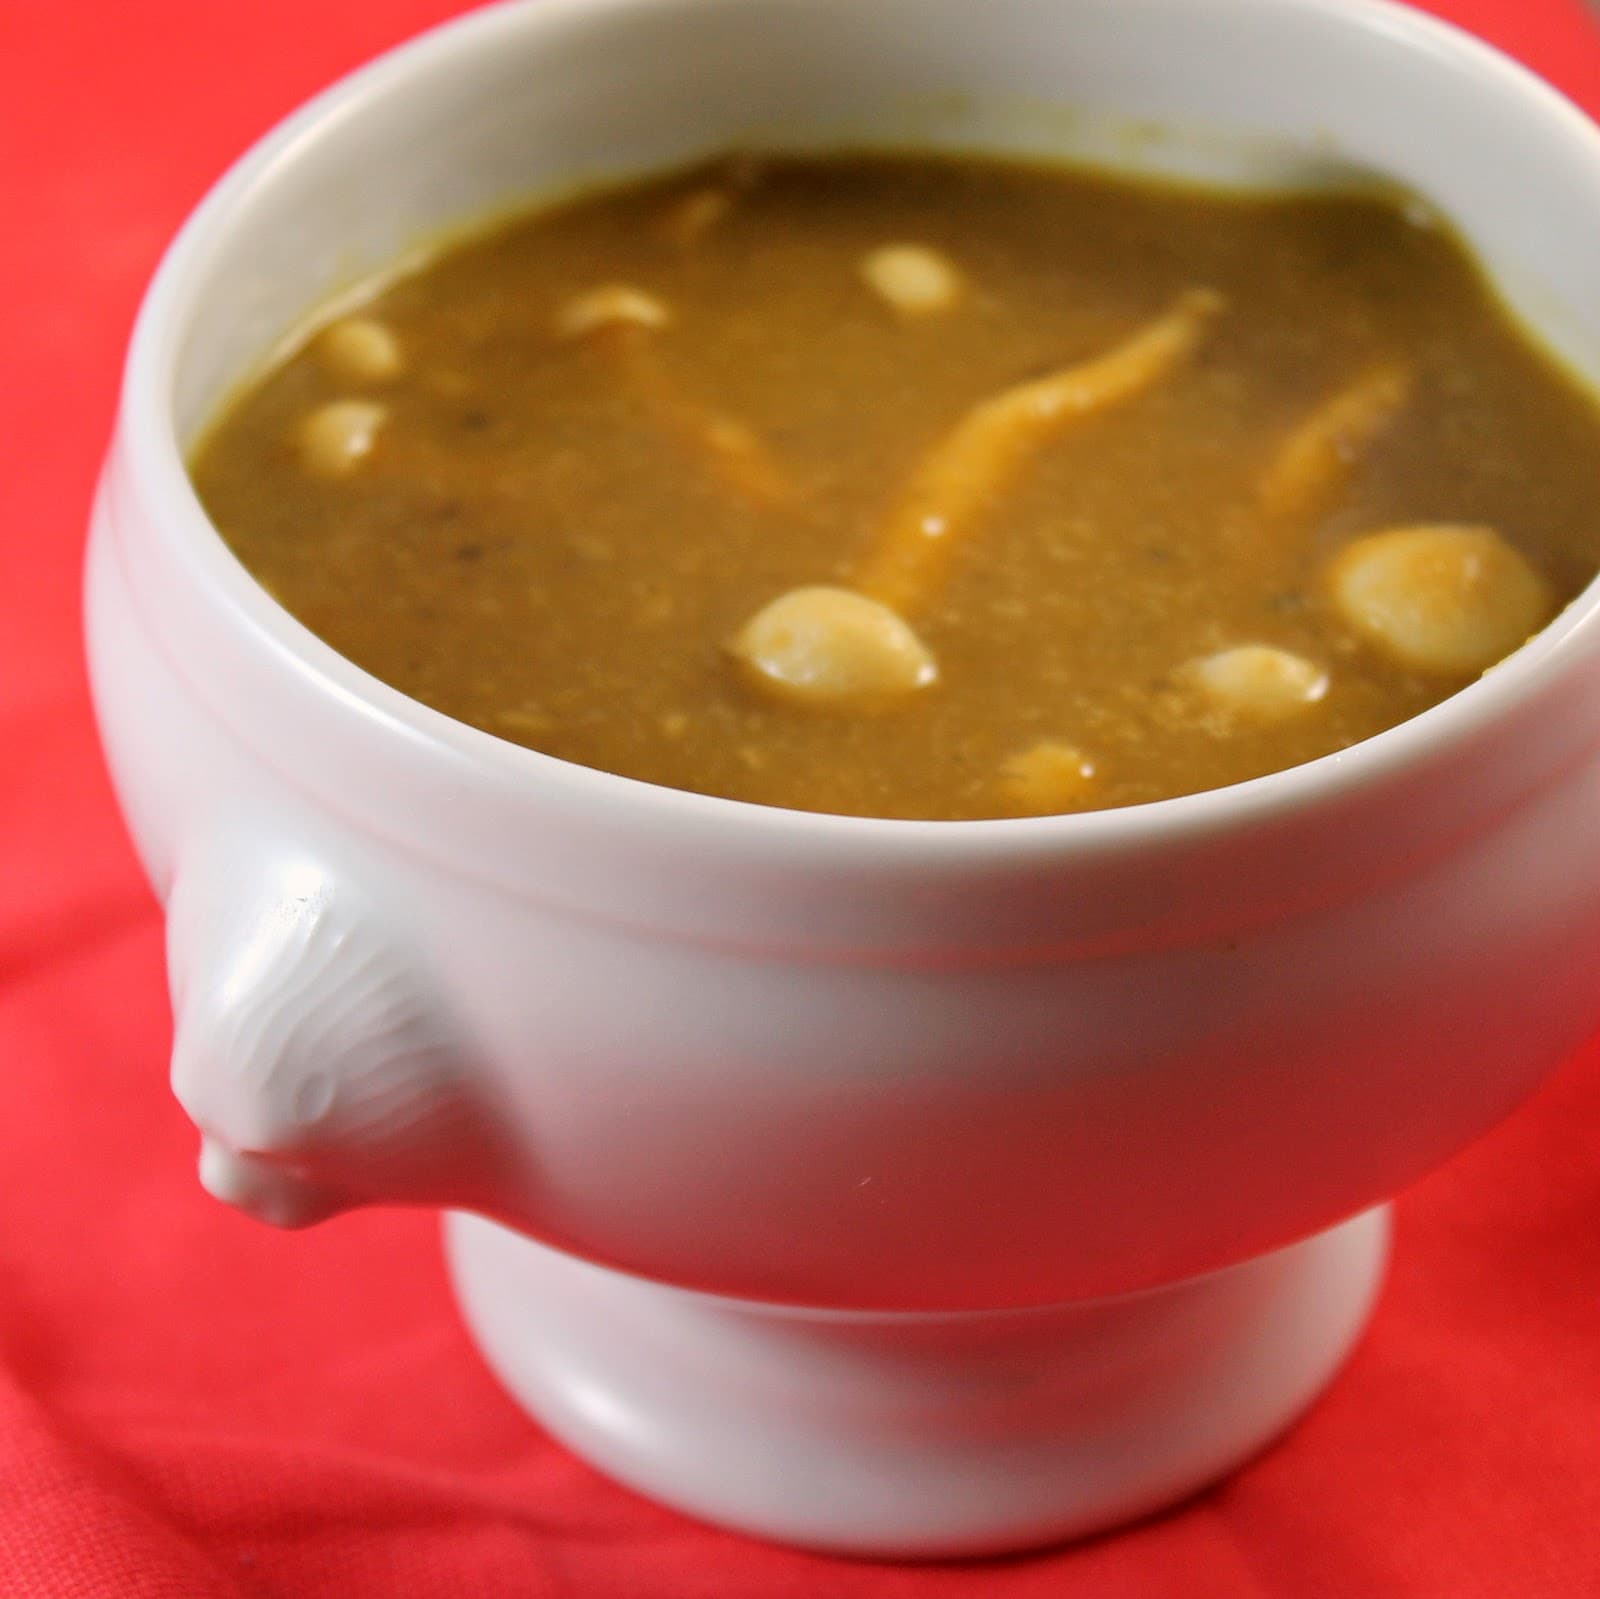
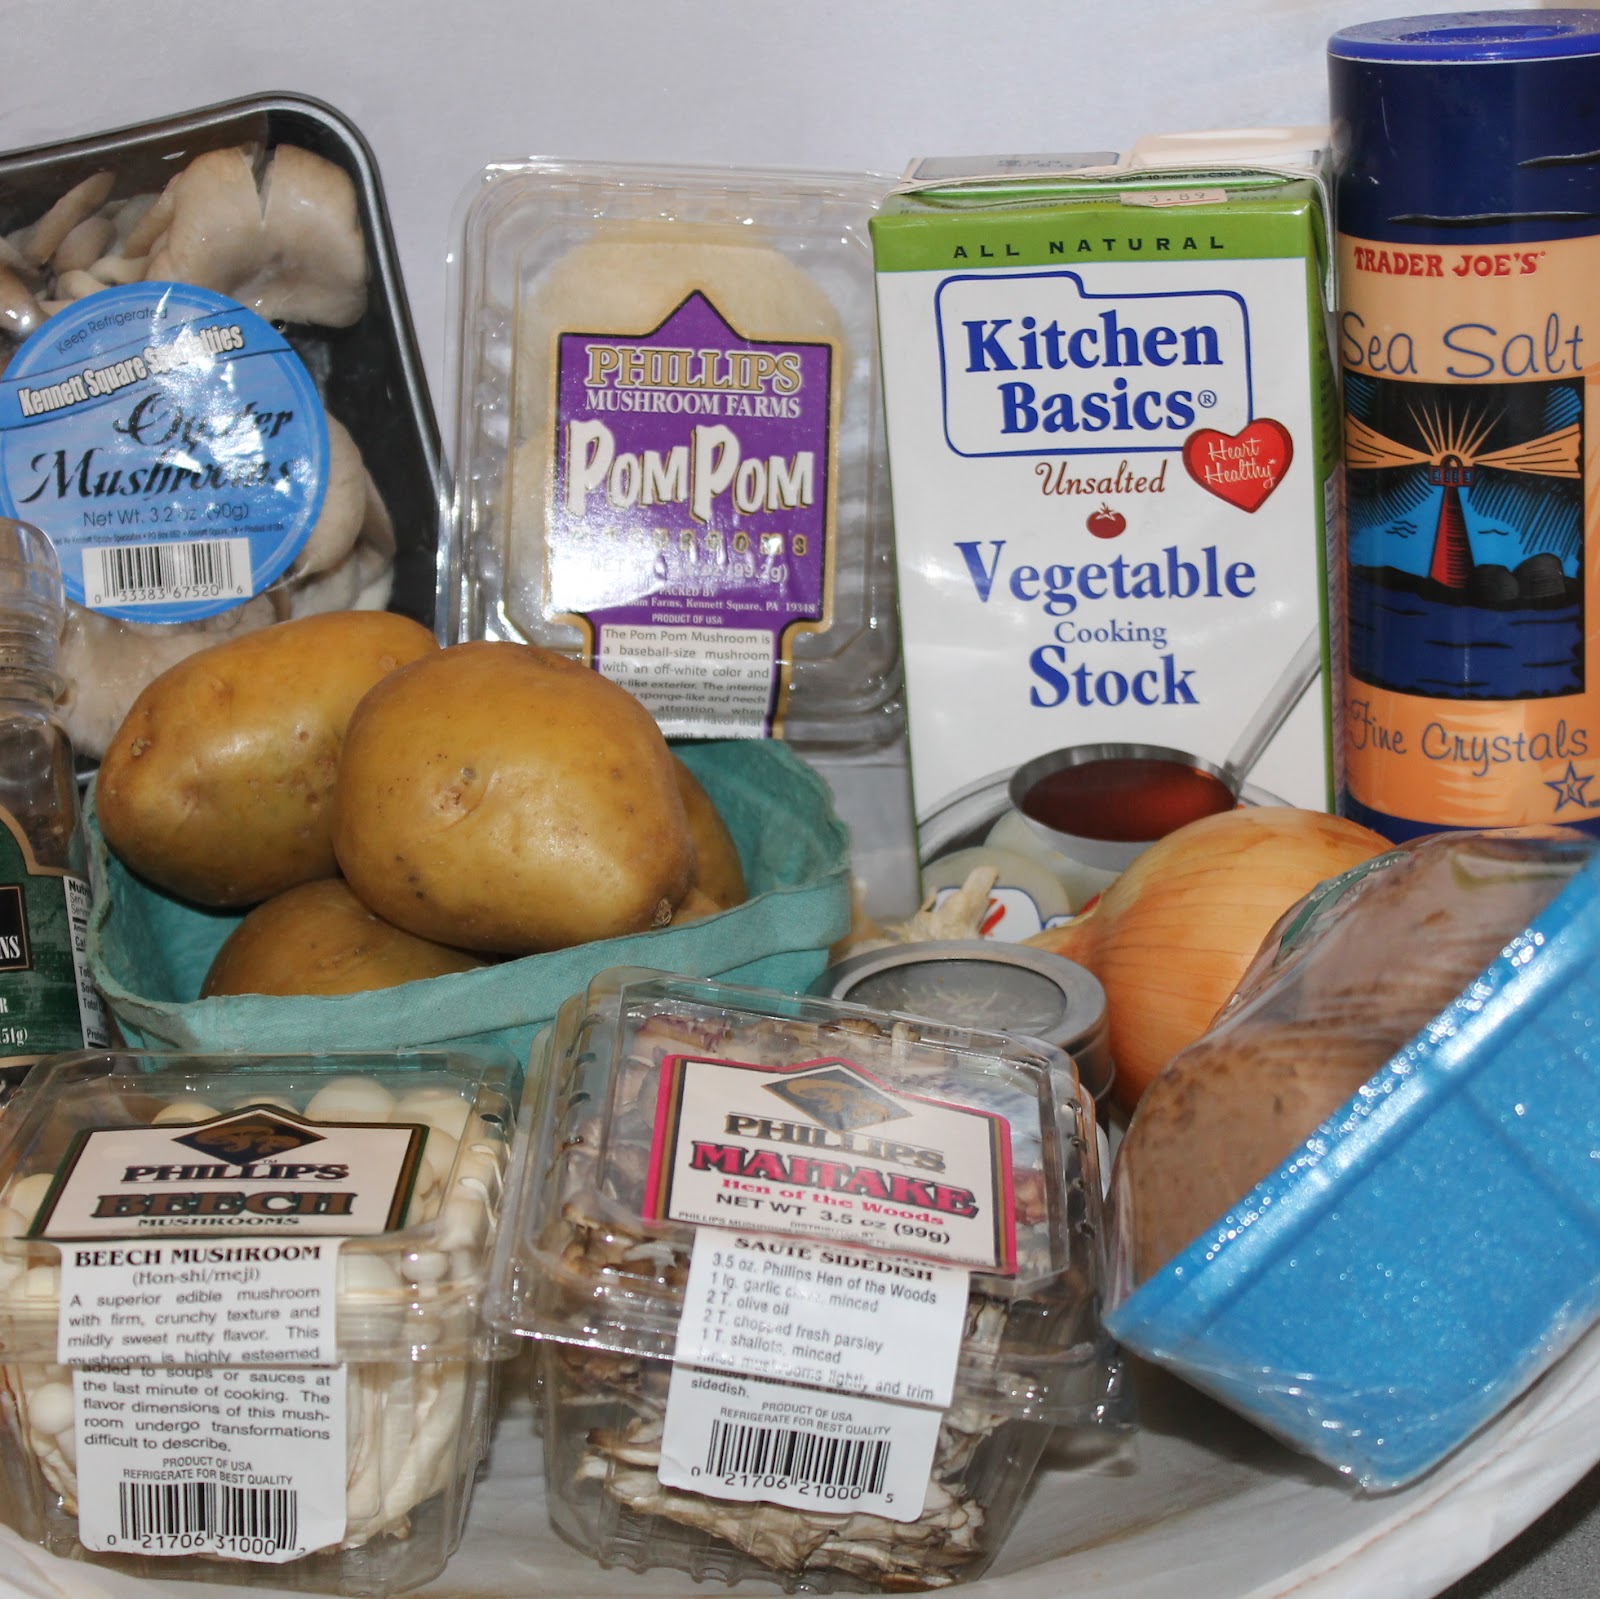
This past weekend was one of my favorite September events: the Kennett Square Mushroom Festival. That’s right, an entire festival dedicated to fungi. And it’s amazing. Kennett Square’s main street (State Street) shuts down to accommodate blocks of vendors, there are cooking demonstrations, soup contests, and mushroom eating contests. There is even pumpkin mushroom ice cream. All in celebration of the mushroom. (Fun fact: Kennett Square is considered the Mushroom Capital of the world).
Naturally, I picked up a bunch of mushrooms which I will now be using to cook all week. mmm. Because today was the first “fall” feeling day, I decided to use some of the mushrooms to make a soup. I wanted to stay away from a creamy soup so I used potatoes to thicken it up. I found the inspiration for this soup in The Flavor Thesaurus by Niki Segnit (one of my favorite books for food pairings).
Whenever I have a cocktail, I tend to lean towards refreshing drinks, usually with gin. But while visiting friends in New York, we went to a cocktail bar that used caraway vodka in a drink. (Caraway has an anise flavor to it and is frequently used in baking. It is commonly used in rye bread and most versions of Irish soda bread.) So it adds a really nice earthy flavor to any drink. I decided to make my own to use in refreshing cocktails. I also used it to make a version of my favorite cocktail: the east side, which is essentially a gimlet. (Every drink seems to just be a variation of yet another drink).
Ingredients to make caraway vodka:
2 cups vodka (I used a cucumber vodka for more flavor)
2 tablespoons caraway seeds
Ingredients to make cocktail:
2 oz caraway vodka
1 oz lemon juice
1/2 oz simple syrup
1 basil leaf, chopped
ice
club soda
Making your own flavored vodka is really easy. Just take a jar and fill it with 2 cups vodka and 2 tablespoons caraway seeds. Allow to sit for at least a week. Strain and store for future use. I used cucumber vodka as a base which made a pretty awesome flavor combination.
A traditional east side uses cucumber and mint muddled together then mixed with gin, simple syrup, and lime and topped off with club soda. My version is just as refreshing, but uses some of summer’s other favorite fresh ingredients, lemon juice and basil, paired with my homemade caraway-cucumber vodka.
To make, add ice to a cocktail shaker and add the caraway vodka, lemon juice, simple syrup, chopped basil, and ice. Shake and strain into a glass. Top with club soda. If desired, garnish with a cucumber or a lemon twist.
You can also serve the drink on the rocks, which I prefer (the ice keeps it nice and cool to keep it super refreshing).
If you are a fan of more citrus over sweetness, omit the simple syrup. You can further customize the drink by muddling the basil before adding it to the drink to release more flavor into the cocktail.
Everything about this drink screams summer. I wish I had made the vodka earlier in the summer so I could have had this all season. Sigh. Instead, it will just have to be my way to keep a little summer going on all year long!
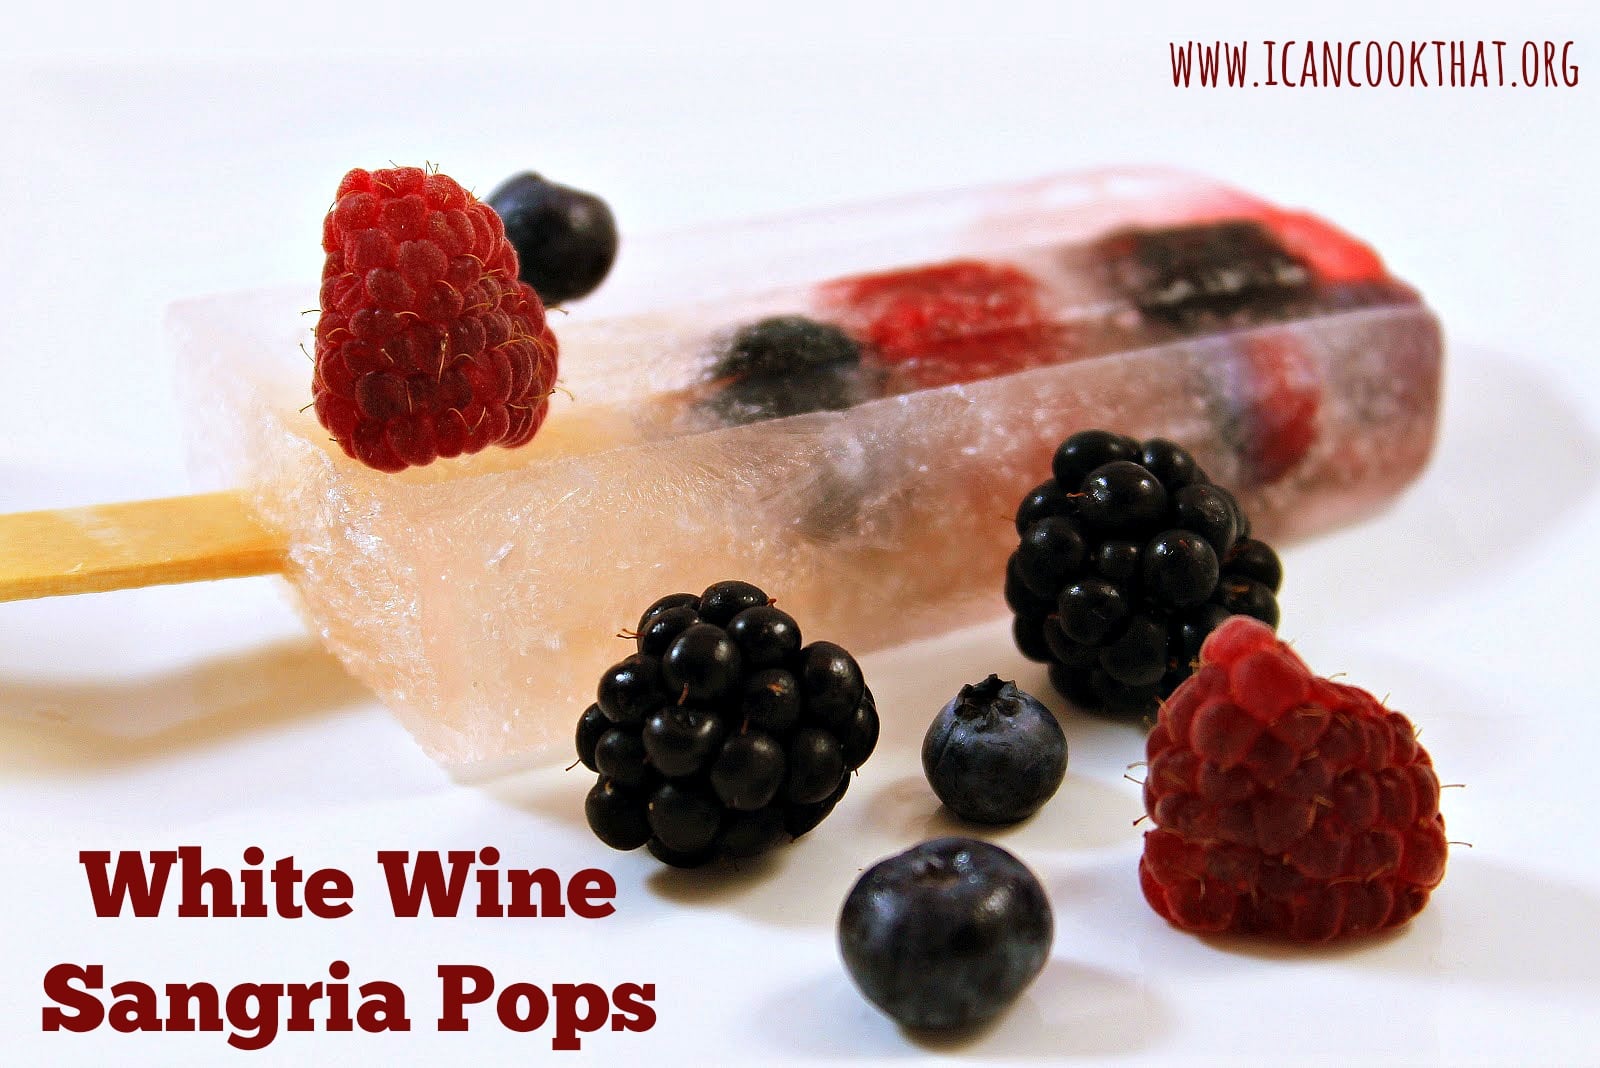
I was at a restaurant on Long Island that had a drink they called a “lushee” which was basically a frozen sangria. And I haven’t been able to stop thinking about it. Pure brilliance. I told a friend about this and we knew we had to make our own, what could possibly be more refreshing on a hot summer day? I was recently sent a cookbook that actually one-upped the concept of the lushee: a White Wine Sangria Popsicle.
The book, Poptails, by Erin Nichols of Erin Cooks, is filled with sixty pops inspired by your favorite alcoholic beverages. Recipes range from classics like a gin and tonic to fancy favorites like a cosmopolitan.There are even some awesome dessert pops like cherry cheesecake and banana split.
I was in love with this book before I even received it. What an amazing idea! Who wouldn’t want their favorite drink in iced pop form? The recipes had me imagining all of the lovely get-togethers I could have: a brunch with iced coffee and bloody Mary pops, a pool party with strawberry basil martini pops, or Christmas in July with spiked eggnog, mulled wine, and Christmas cheer pops. Sigh.
Anyways, I kept thinking back to those lushes and knew I had to try the white wine sangria pops.
I tweaked the recipe within the book a bit. For the original recipe, pick up a copy of this fun book!
Ingredients:
1 bottle white wine (I used Sauvignon Blanc)
1 liter flattened seltzer water
1/4-1/3 cup cranberry juice (I used cranberry hibiscus)
1 tablespoon simple syrup, or to taste
1 pint raspberries
1 pint blackberries
1 pint blueberries
Note: You’ll need ice pop molds and Popsicle sticks to make these.
I wanted to start this post with the definition of seltzer, club soda, tonic water, and sparkling water. Because I always manage to mess these drinks up. And no wonder: club soda, seltzer and sparkling water are all water infused with carbonation. These can all be interchanged. Tonic water is something a bit different, it is still a carbonated water, but quinine is dissolved into the water as well. It’s quite a bit more bitter so be sure to use club soda/seltzer/sparkling water in this recipe. Or for a bit more sweetness, a lemon-lime soda would work.
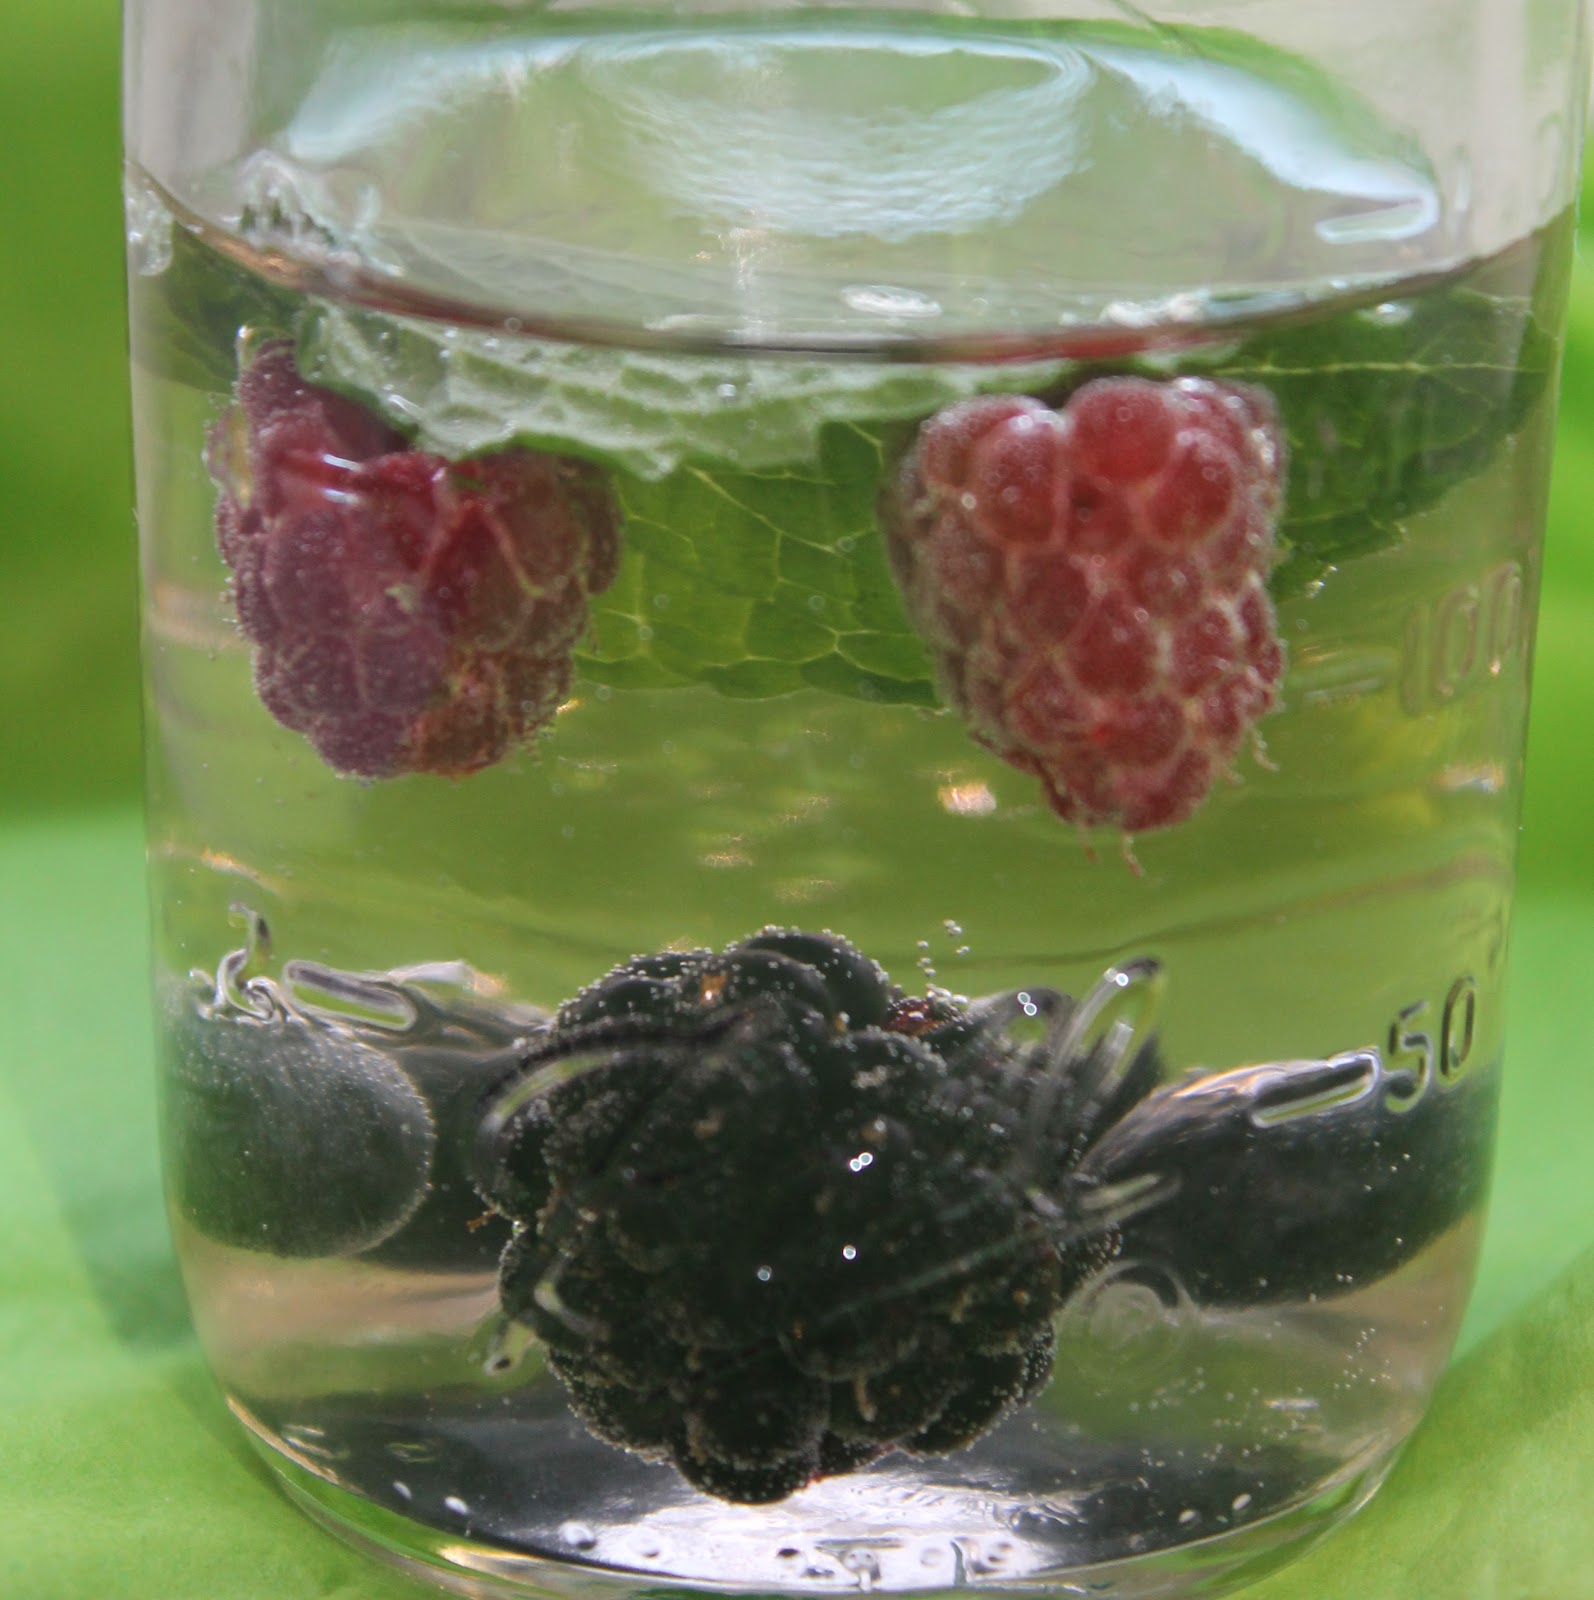
Make sure to allow your seltzer water to flatten. Don’t forget this step! Unflattened carbonated beverages will explode when frozen. And that sounds like an awful waste of white wine sangria if you ask me. The book suggests opening your seltzer 8 hours prior and popping it into your fridge in a place it won’t spill.
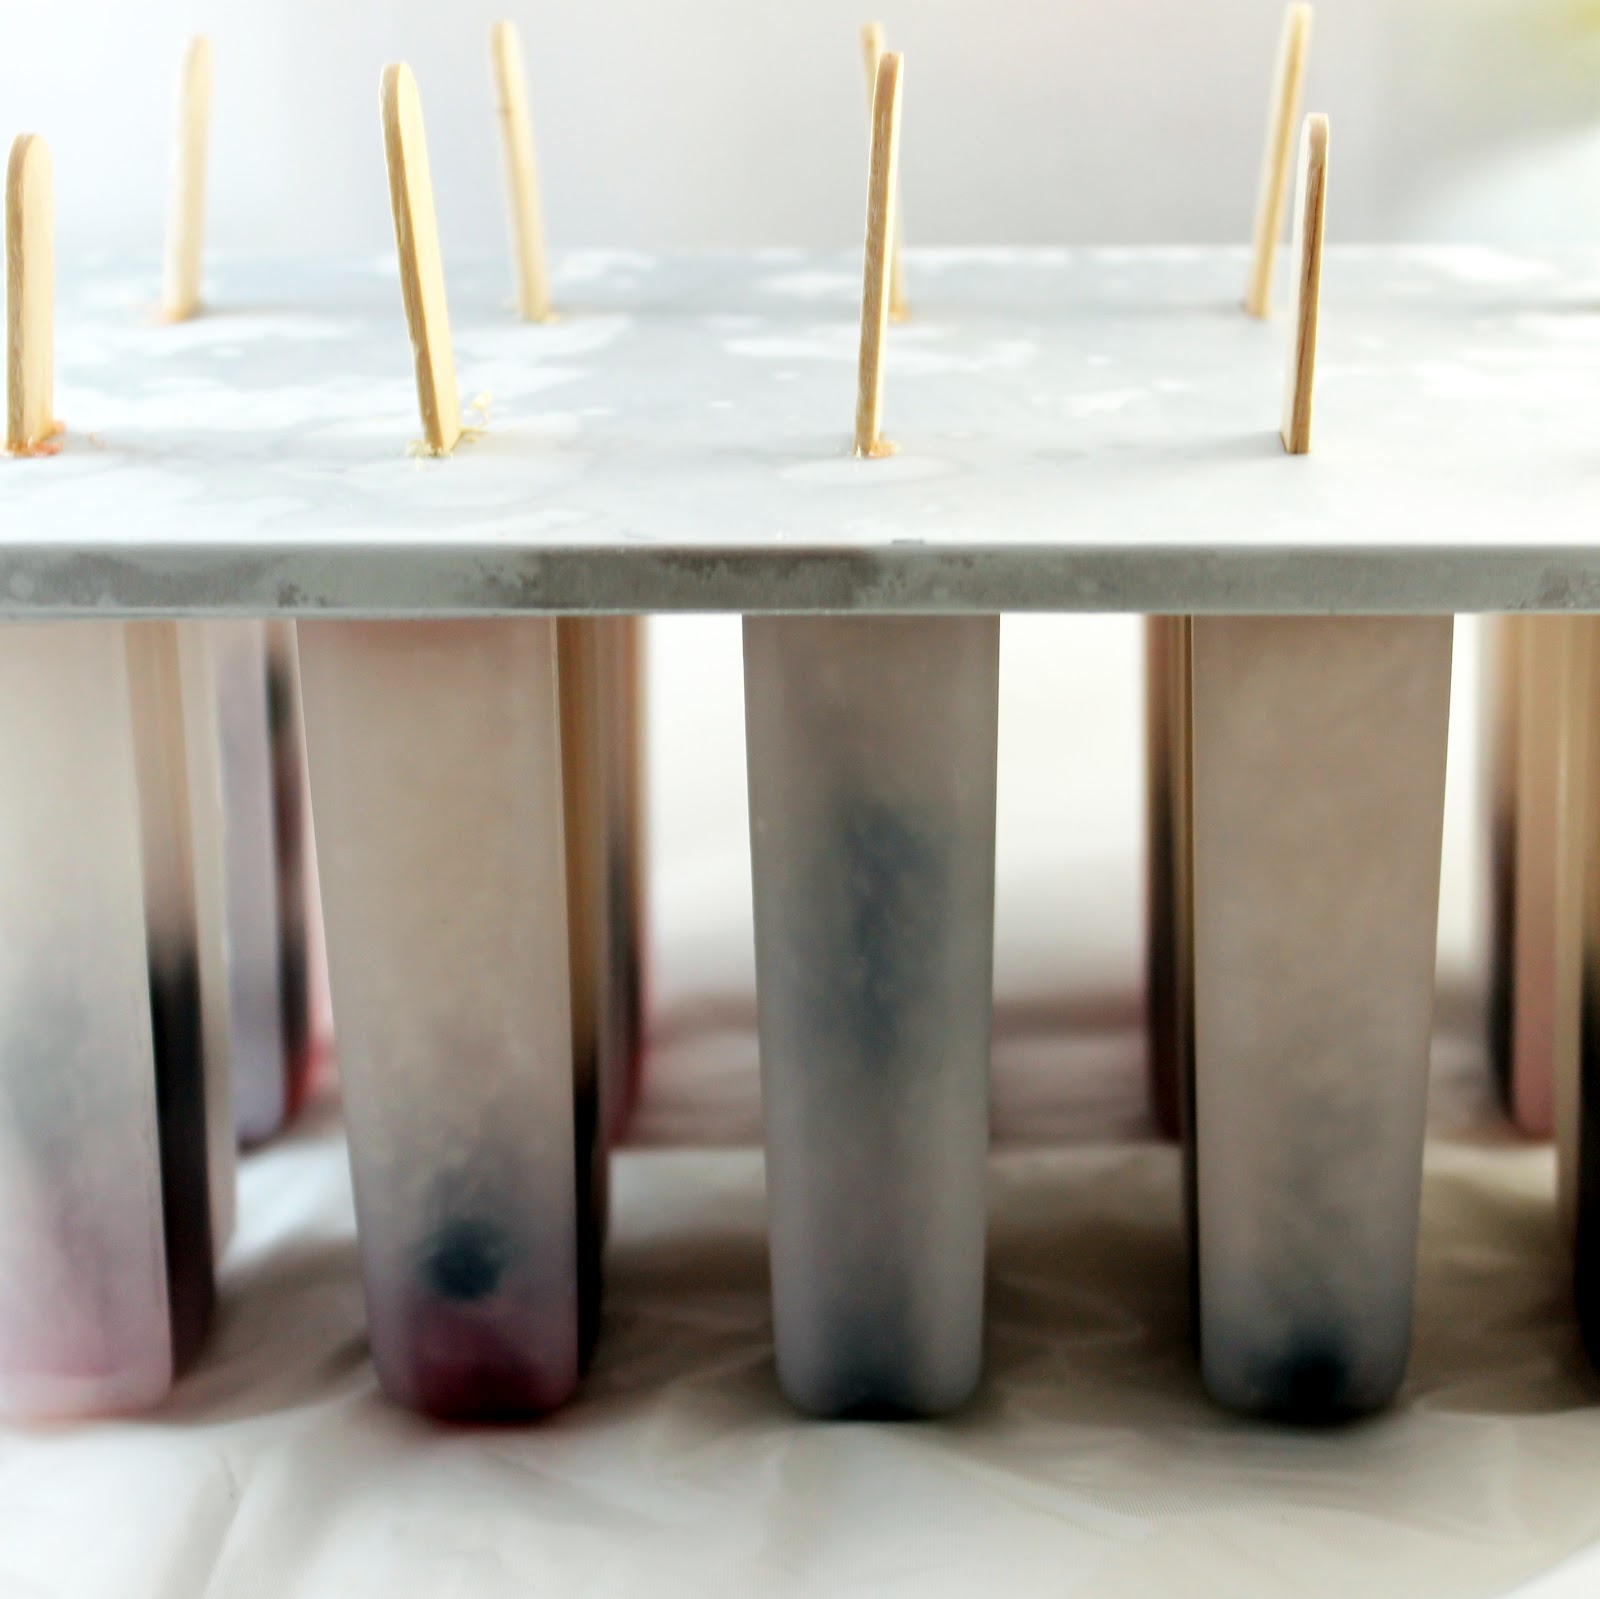
Combine the wine, flattened seltzer water, cranberry juice, and simple syrup. I used lemon simple syrup to give a touch more flavor. Feel free to add some lemon zest to add a little extra.Add whatever mixture of berries you’d like to the pop molds. I went for one raspberry, one blackberry, and a few blueberries per pop.Fill each mold ¾ of the way full with the mixture; you need to leave a small amount at the top to allow the liquid to expand.
Note: you’ll have some extra sangria that won’t fit in the pop molds. This is so you can enjoy your creation before waiting 24 hours 🙂
Add popsicle sticks, cover, and freeze for approximately 24 hours.
To remove from the molds, fill a bowl larger than your pop molds with warm (not hot) water. Add the mold to the bowl for 15 seconds then gently pull on the top of the ice pop stock. If the pop does not release, add the mold back to the water for another 15 seconds, repeat this process until the pops come out of the molds.
These pops were refreshing and a little bit tangy. I wanted a bit more sweetness though, I might add more simple syrup next time I make them. I also would add a bit more cranberry juice so that the pops turn a very light pink color, which would probably look really nice.
What’s nice about this recipe is how adaptable it is. You can add or subtract whatever fruit makes you happy. You could use a sweeter wine, or even a (flattened) champagne. My friend made this recipe using white grape juice instead of cranberry.
There are plenty of other creative pop recipes within the pages of this book. I love the element of fun that the popsicles add and can’t wait to try more of these yummy recipes!
1/4-1/3 cup cranberry juice (I used cranberry hibiscus)
1 tablespoon simple syrup, or to taste
1 pint raspberries
1 pint blackberries
1 pint blueberries
Instructions
Make sure to allow your seltzer water to flatten. Don’t forget this step! Unflattened carbonated beverages will explode when frozen. And that sounds like an awful waste of white wine sangria if you ask me. The book suggests opening your seltzer 8 hours prior and popping it into your fridge in a place it won’t spill.
Combine the wine, flattened seltzer water, cranberry juice, and simple syrup. I used lemon simple syrup to give a touch more flavor. Feel free to add some lemon zest to add a little extra. Add whatever mixture of berries you’d like to the pop molds. I went for one raspberry, one blackberry, and a few blueberries per pop. Fill each mold ¾ of the way full with the mixture; you need to leave a small amount at the top to allow the liquid to expand.
Note: you’ll have some extra sangria that won’t fit in the pop molds.
Add popsicle sticks, cover, and freeze for approximately 24 hours.
To remove from the molds, fill a bowl larger than your pop molds with warm (not hot) water. Add the mold to the bowl for 15 seconds then gently pull on the top of the ice pop stock. If the pop does not release, add the mold back to the water for another 15 seconds, repeat this process until the pops come out of the molds.
With the influx of vegetables in my life from my CSA, I am swimming in quite a large amount of highly perishable produce. So to preserve (and use) a bunch of my CSA veggies, I decided to try my first hand at Ratatouille. I looked at a bunch of recipes online and they can get really quite complex! There are some that cook each vegetable separately to bring out the flavor of each, some that layer the ingredients into a beautiful casserole. Well, I’m making this on a weeknight after work. So this is one of the easier versions, a one pot wonder if you will. One day, I will make the other version, but tonight, I just want a delicious meal that I can freeze for later.
So what is ratatouille, besides a really cute kids movie? It’s basically a stewed vegetable dish, usually served with bread, or maybe egg noodles or polenta (something to sop up all the deliciousness). There are many different recipes for the dish, but most include eggplant, zucchini, peppers, and onions. The spices can range from thyme or marjoram to herbes de Provence.
I found this recipe on MarthaStewart.com and kind of messed with the ratio of ingredients, so be sure to check out the original recipe to see if that is more to your liking.
Ingredients:
1/4 cup olive oil (or enough to cover the bottom of your pot)
1 medium onion, chopped (I used a sweet onion)
4 cloves garlic, minced
3 small eggplants, cubed
2 large zucchini, cubed
Salt and ground pepper, to taste
2 yellow or bell peppers, ribs and seeds removed, cubed (use any color pepper you want)
1 can (28 ounces) diced tomatoes
2 teaspoons fresh thyme
Chopped fresh basil, for garnish
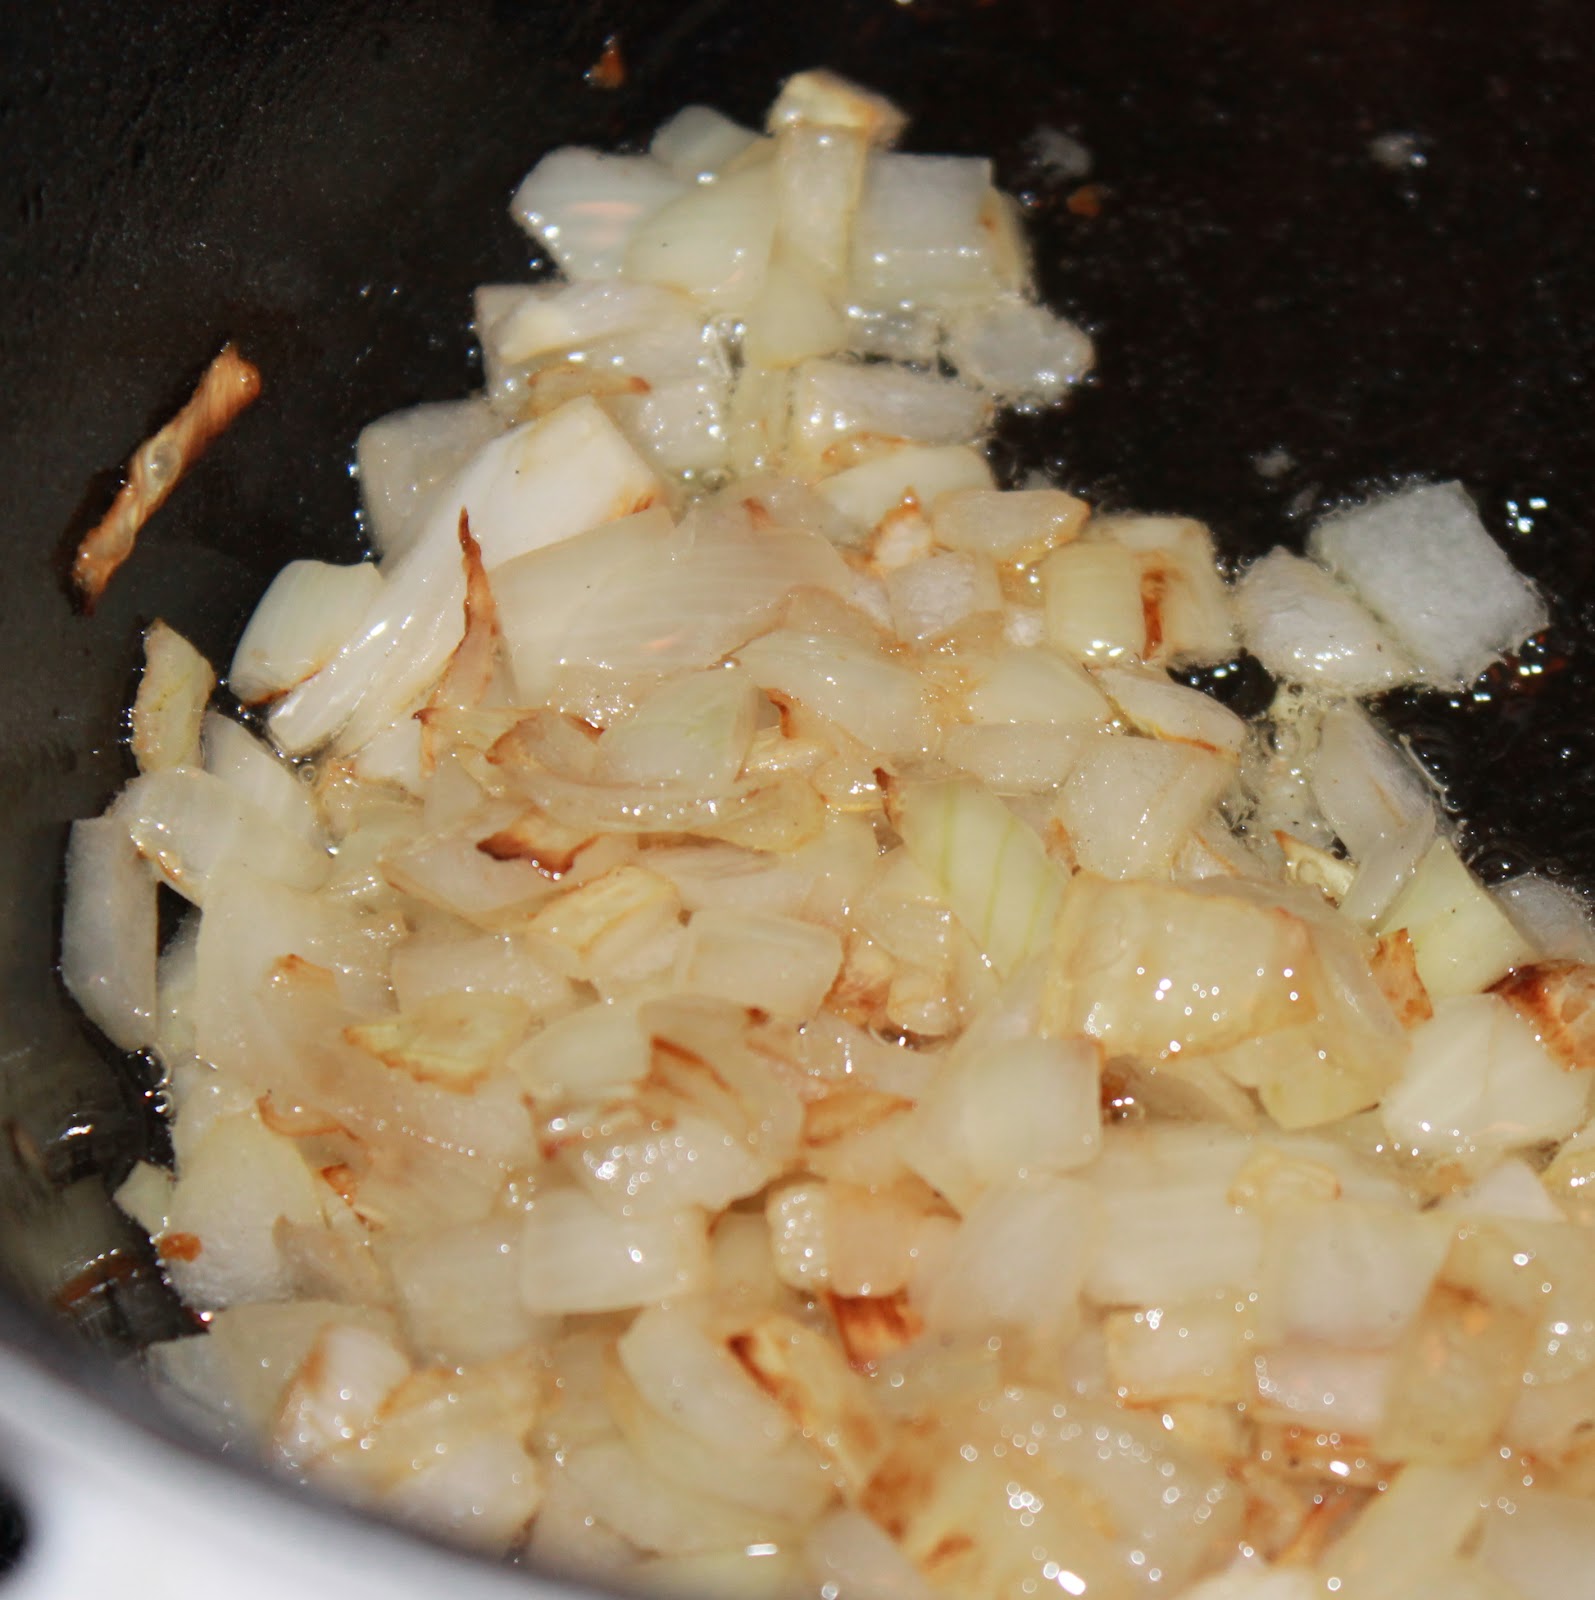
To make, add the olive oil to a Dutch oven or other large pot that has a lid. Heat over medium heat. While waiting to heat, chop your onions, garlic, eggplant, and zucchini.
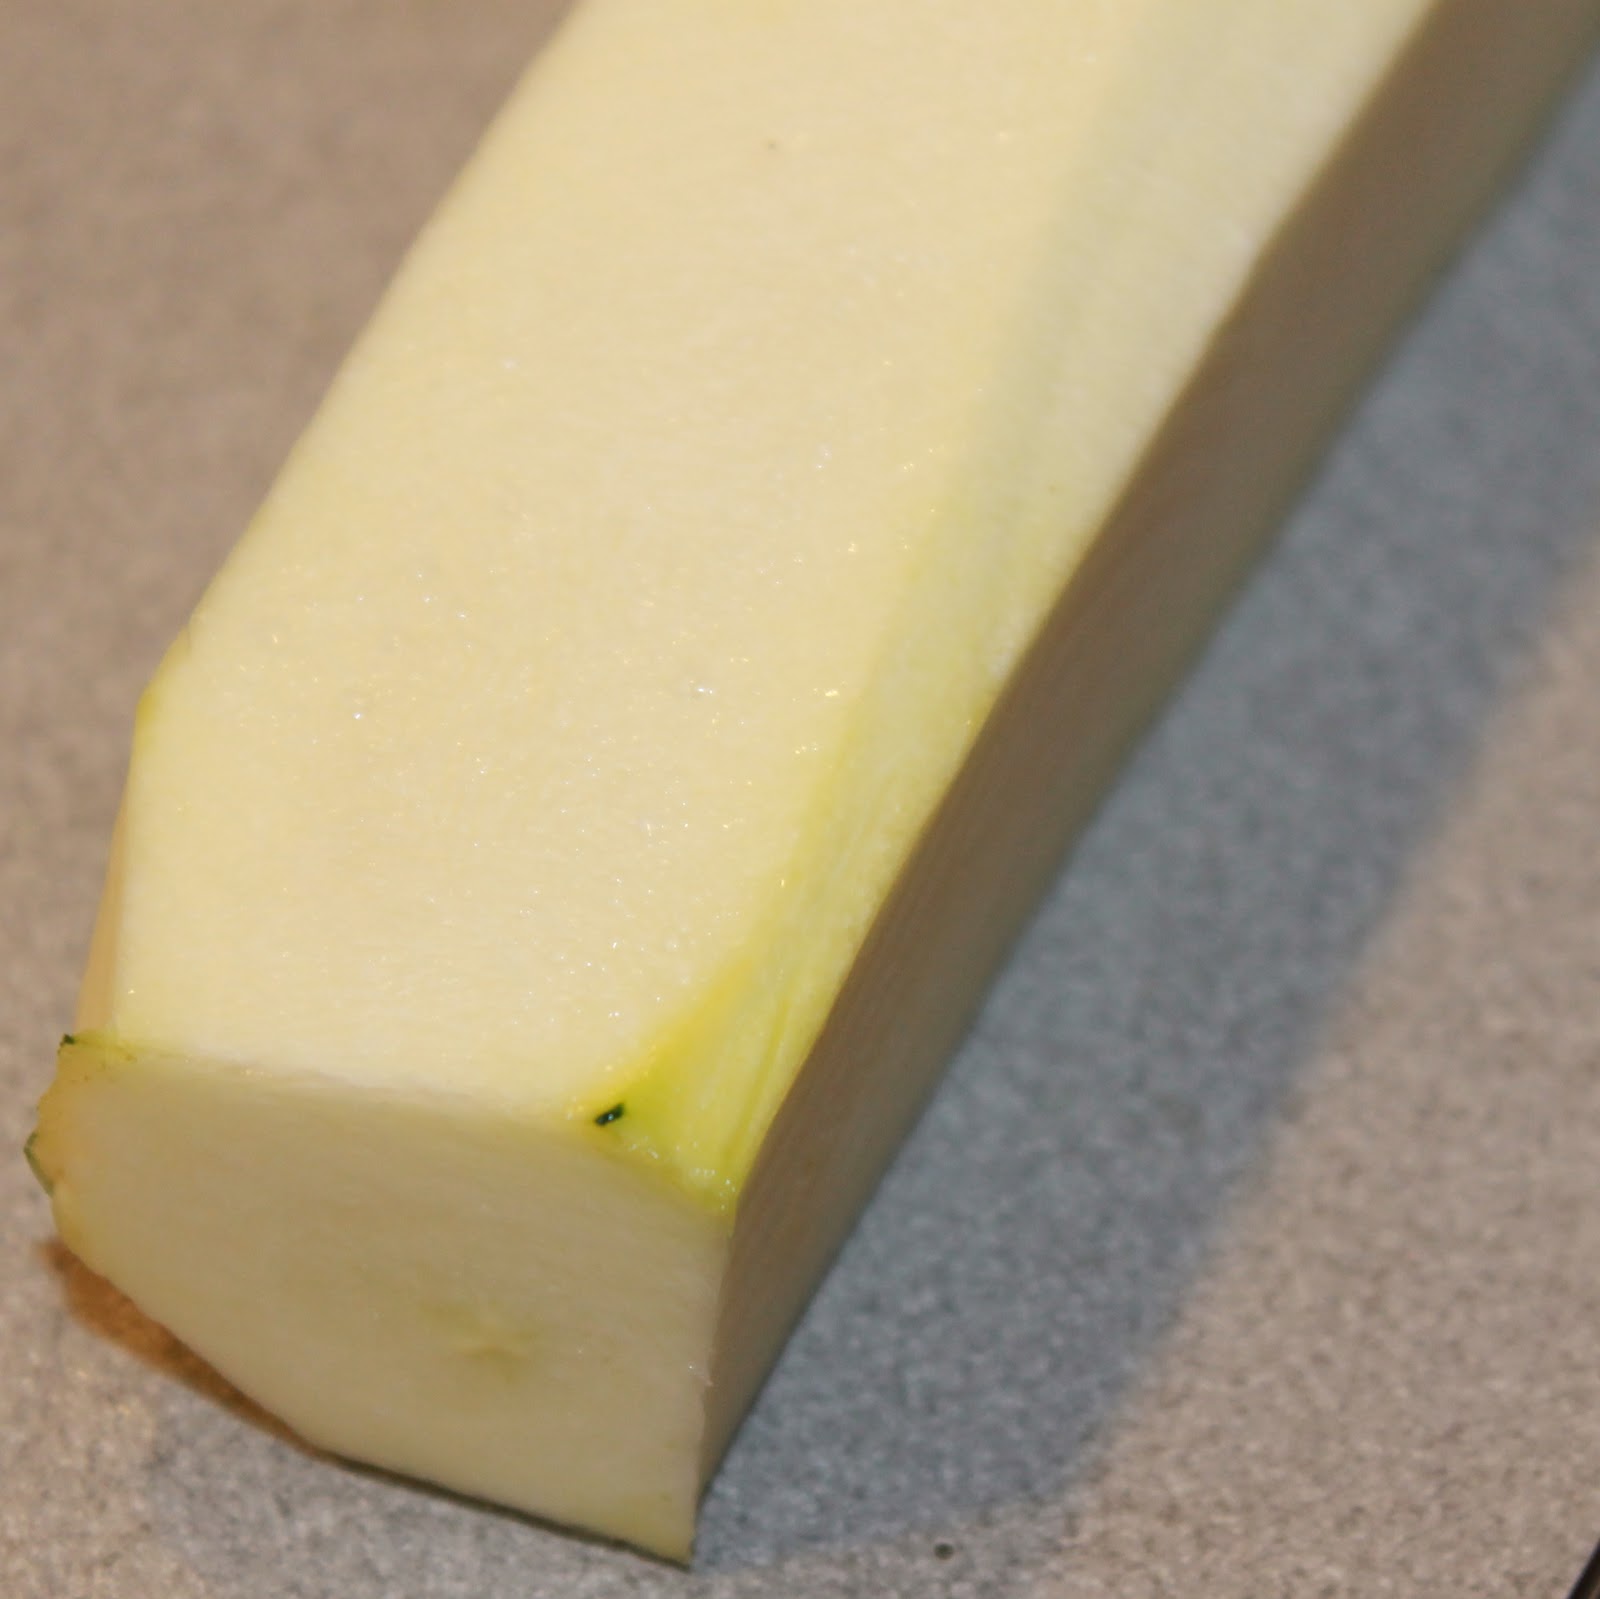
I want to take a minute to discuss a method of cutting eggplant. I googled this just as I was about to make the recipe so it was new to me too and it worked quite well. I found the method on recipetips.com.
To cut the zucchini, remove the skin using a knife by cutting the zucchini into a square shape (or close to a square.)
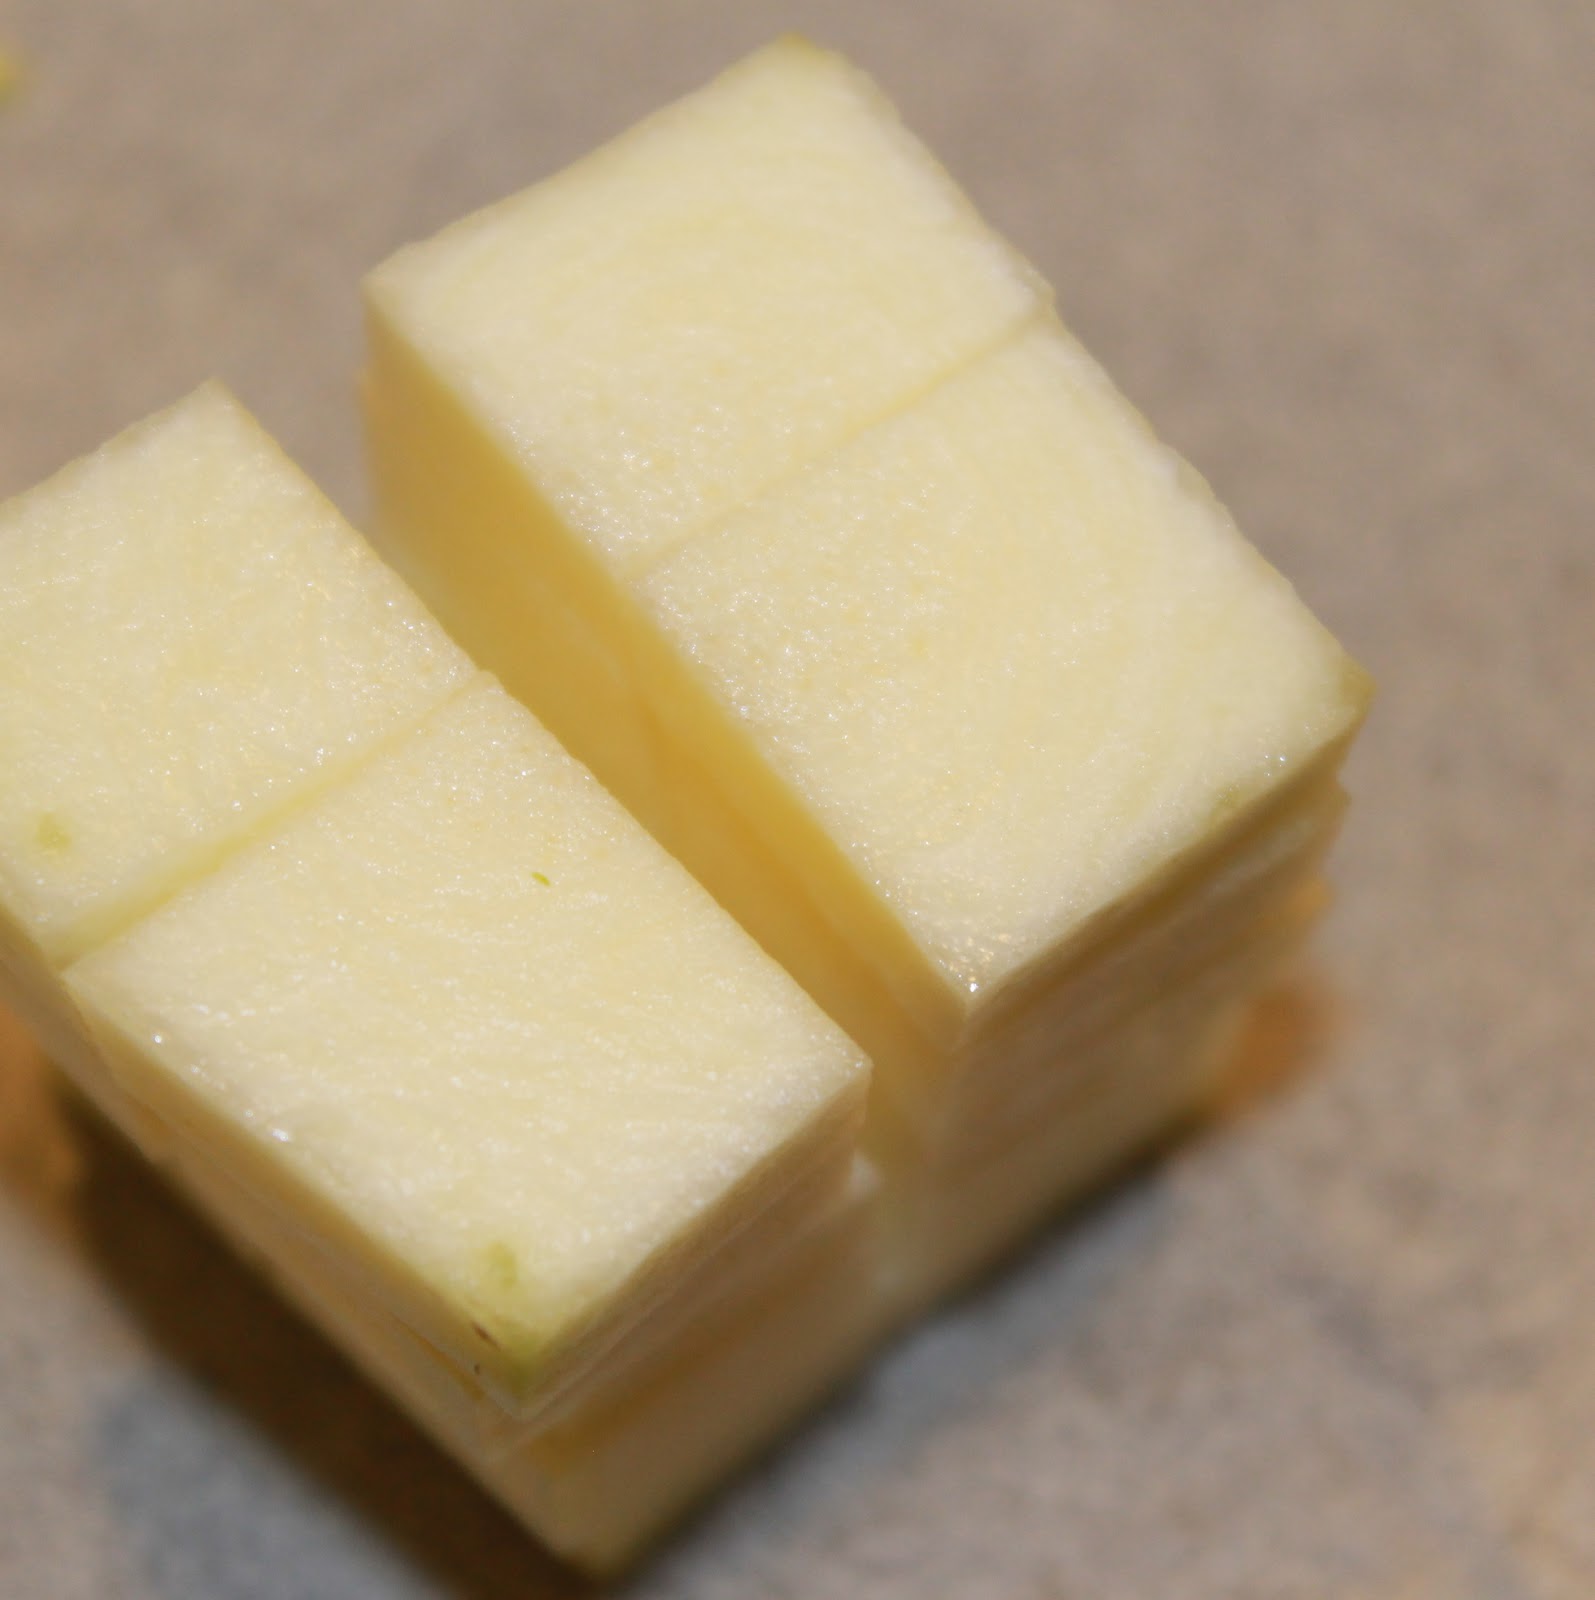
Slice the zucchini into smaller square disks.
Stack a few of them, and cut into fours to make smaller squares. This doesn’t have to be uniform, you just want them to be the same general shape so they cook evenly.
Add the onions to the pot and stir occasionally. Cook for 5 minutes.
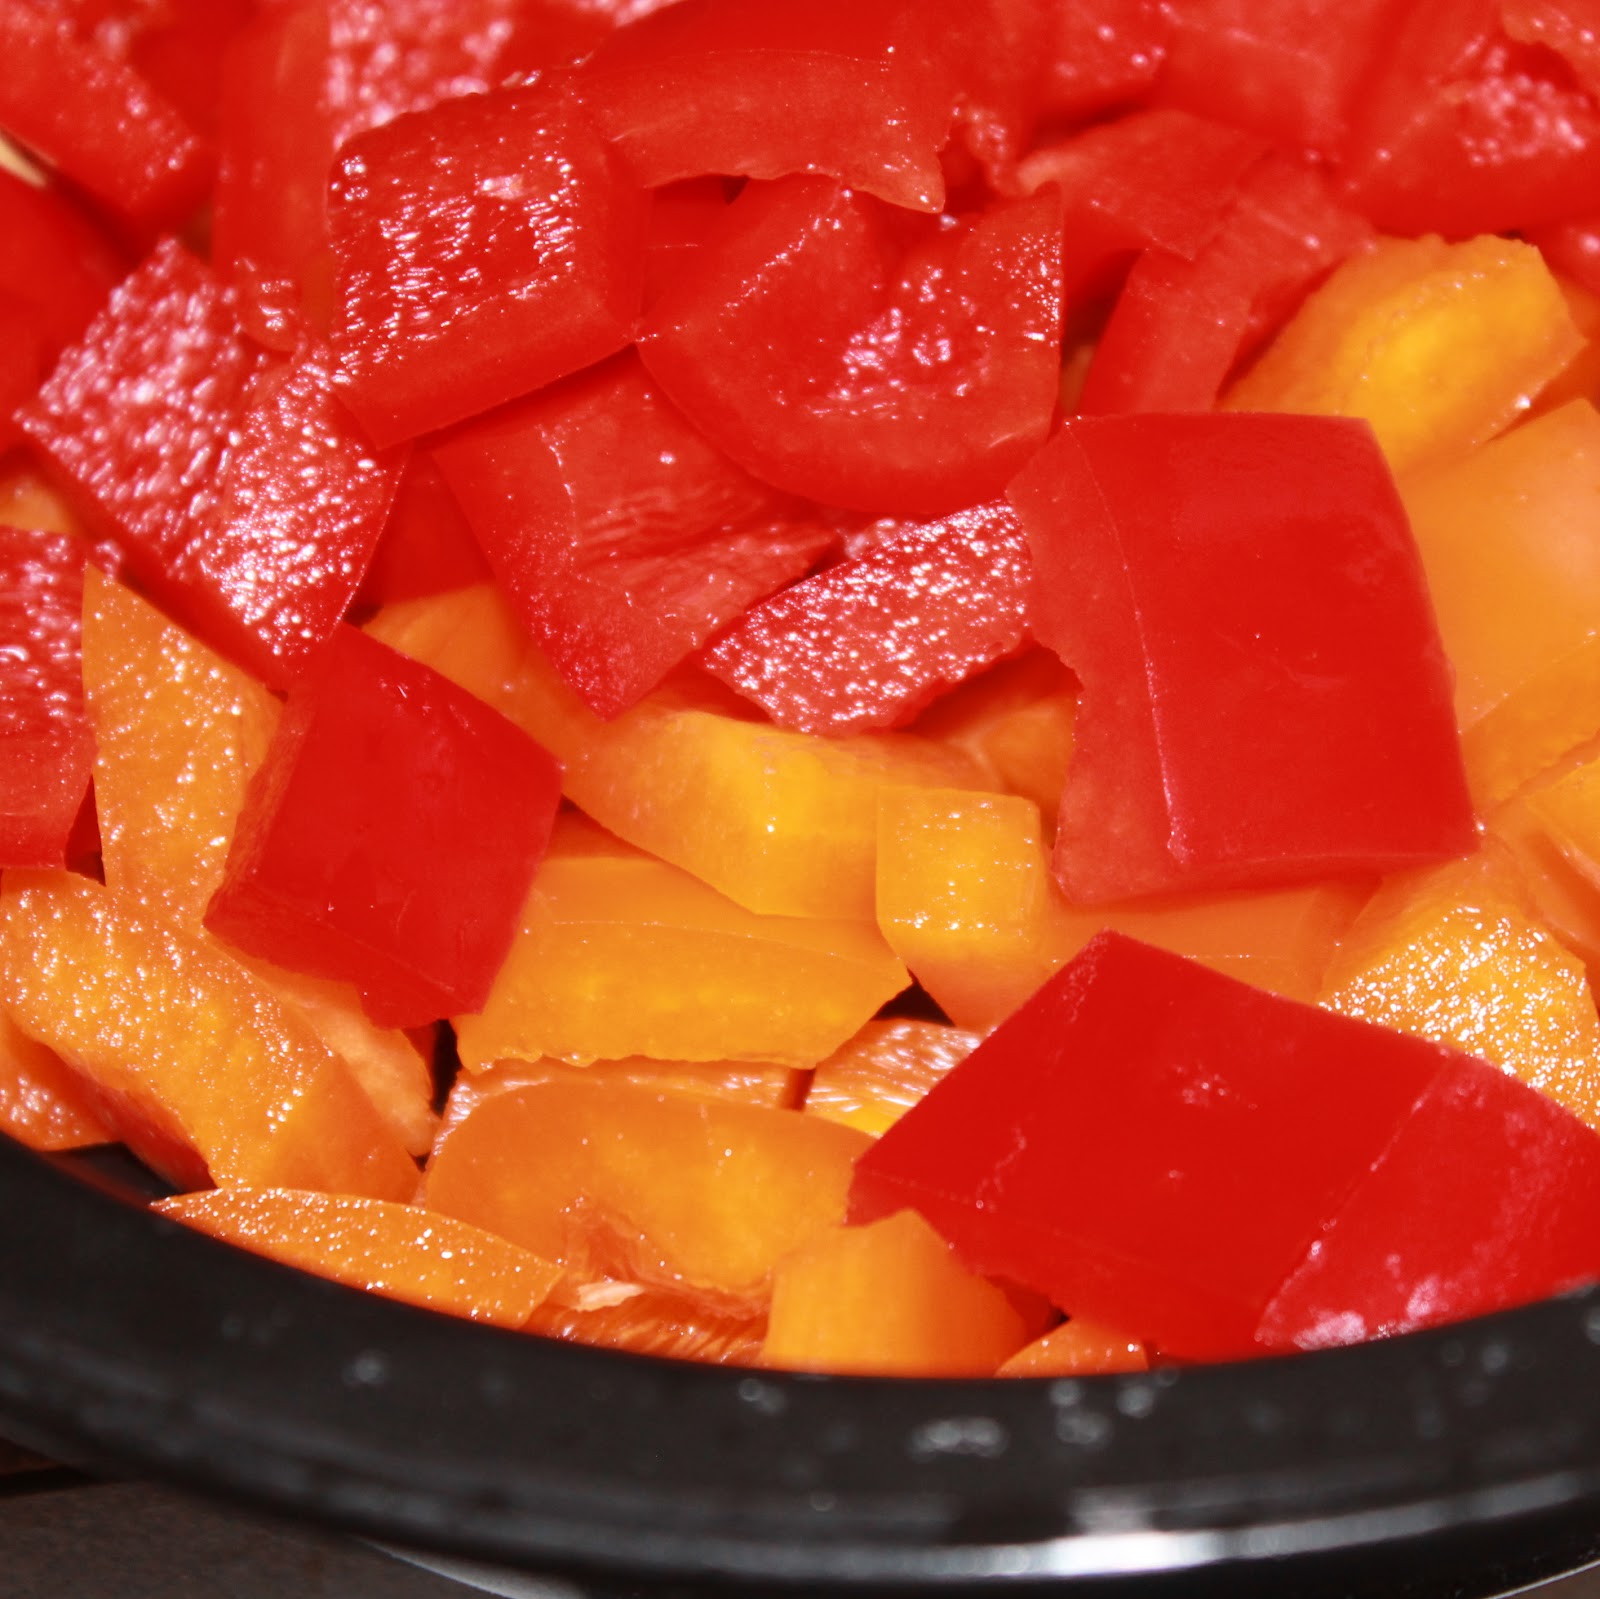
Add the garlic and cook for another minute. Stir in the eggplant and zucchini and season with salt and pepper. Add 3/4 cup of water, cover, and simmer for about 5 minutes, stirring once half way through. While waiting for the 5 minutes to pass, chop your peppers.
Add the peppers to the pot and simmer, covered, for another 5 minutes.
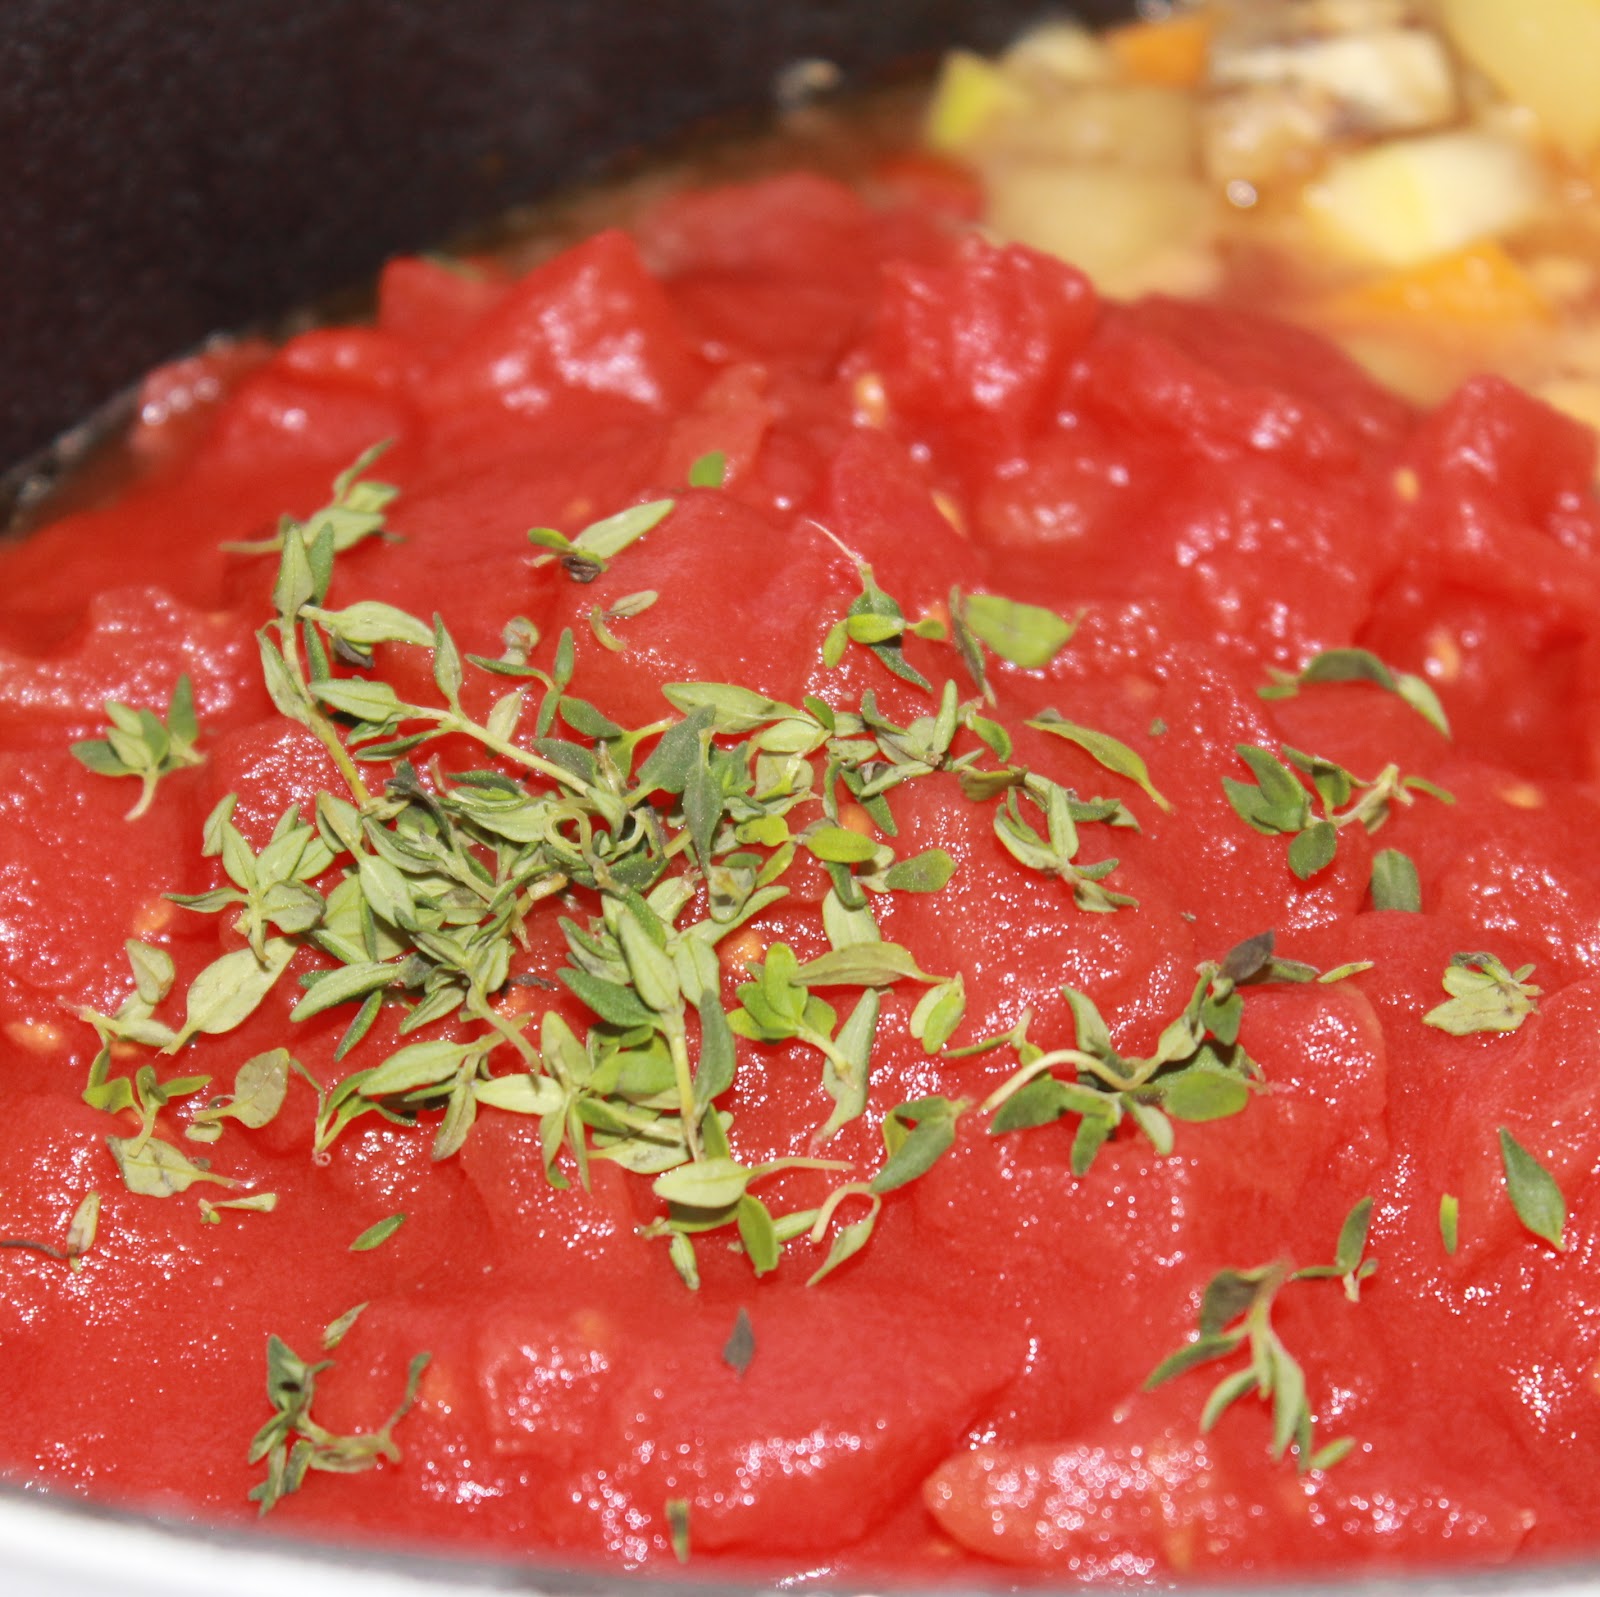
Add the tomatoes and thyme and bring to a boil.
Reduce heat to medium-low, partially cover, and simmer for 15 to 20 minutes. The recipe said to stir often. I didn’t. I got distracted and walked away. Oh well.
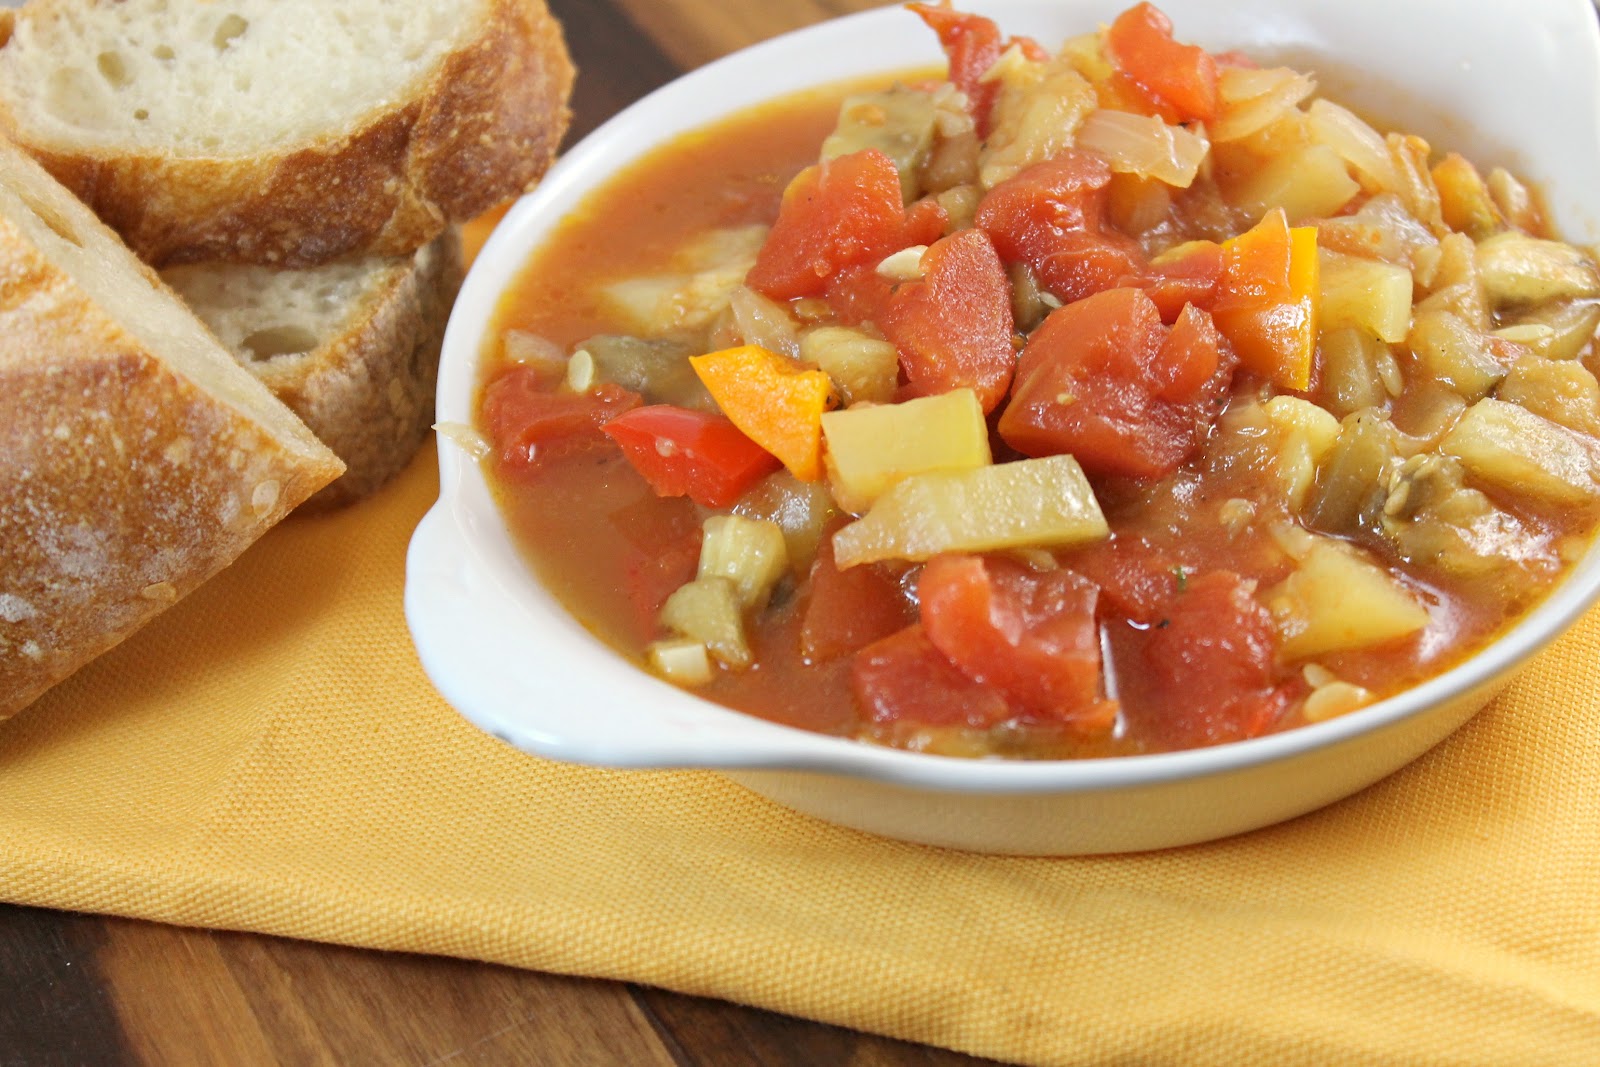
Remove from heat and serve. Top with a few slices of basil.
If freezing, leave the basil out and freeze.
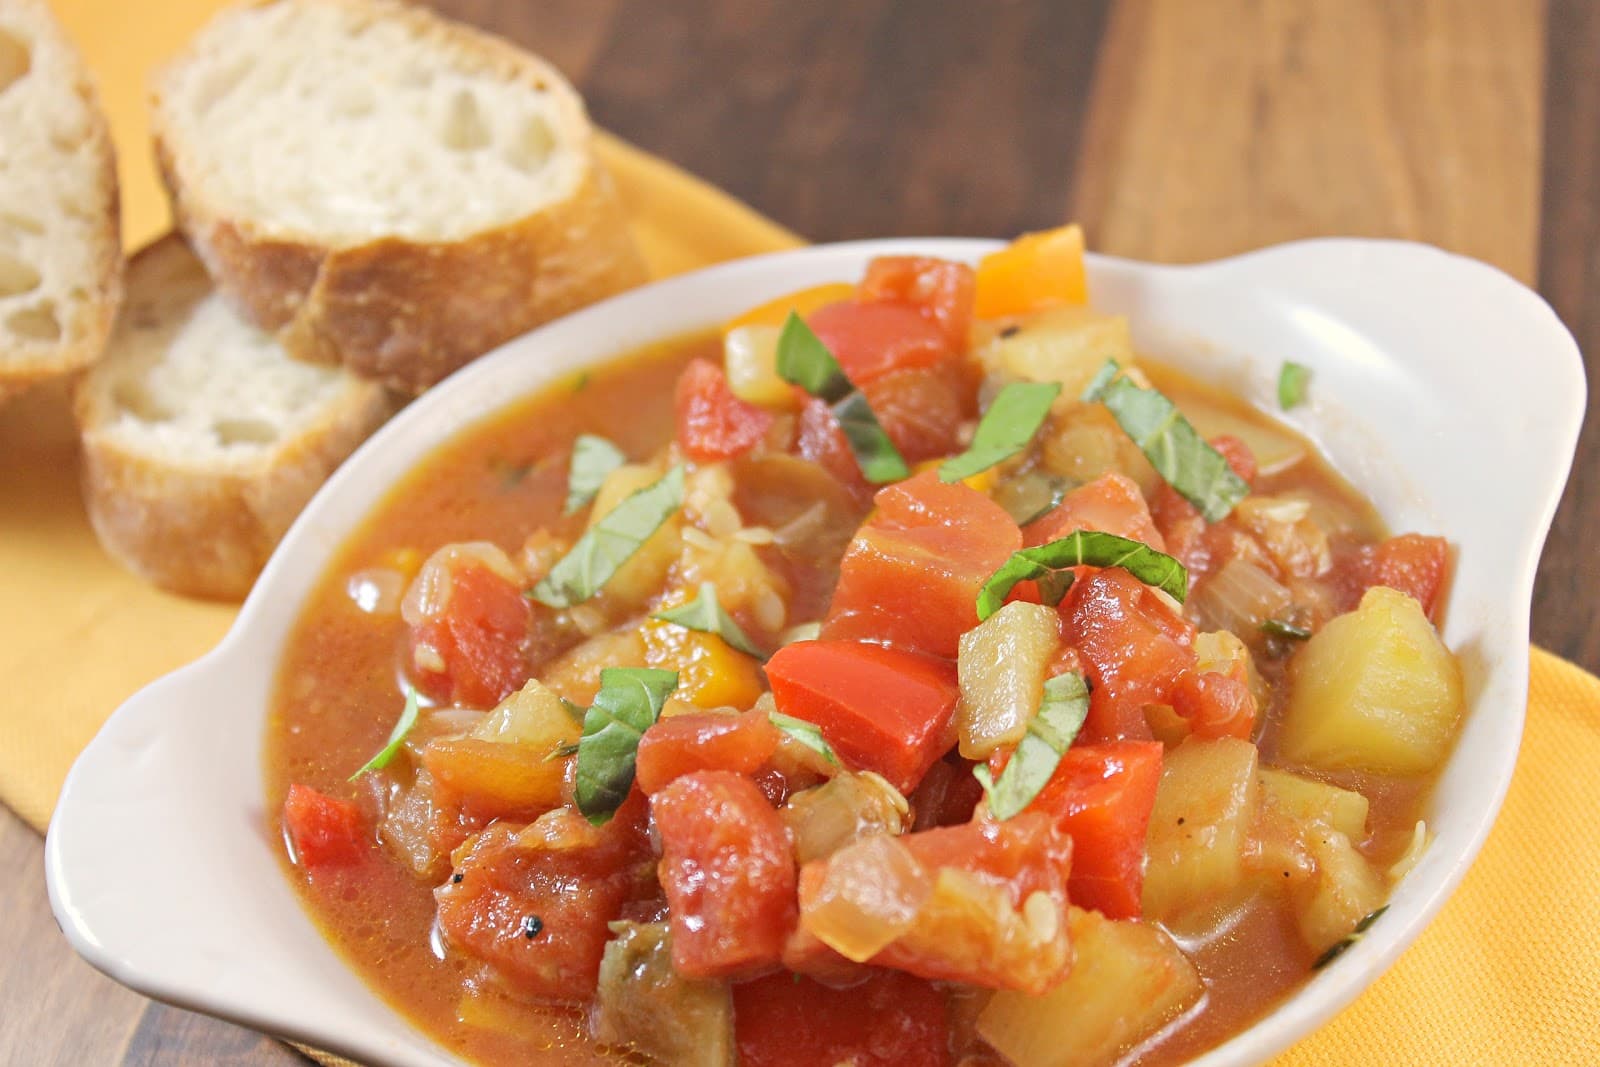
For being vegetarian, doesn’t this look fabulously hearty?
I paired mine with day old bread which was a perfect amount of crispiness to go with the veggies. It may not be terribly pretty, but it was comforting and really flavorful.
I ate one serving and froze the rest for nights when I don’t have time to cook. I’m glad I did or I’d still be sitting here eating it!
I figured it was about time I posted another Julia Child recipe. I have to admit, the past two weeks recipes intimidated me quite a bit, so I didn’t even make them. Although I have to say, Coq au Vin is not even close to being a weeknight friendly meal. Vichyssoise, or cold leek and potato soup, is more my speed. I’m pretty “skilled” at throwing things into a pot and letting time do the work. This isn’t a meal you can make and eat within one night, unless you have the luxury of beginning your meal much earlier in the day. I cooked this one night, chilled it overnight, and served it for dinner the next night. The original recipe is quite simple. I added crumbled bacon on top because, well, what isn’t better with bacon?
Ingredients: (I didn’t want a ton of soup sitting around so I scaled the recipe down. This makes about 2 hearty bowls)
4 cups of chicken stock (or vegetable stock for vegetarian)
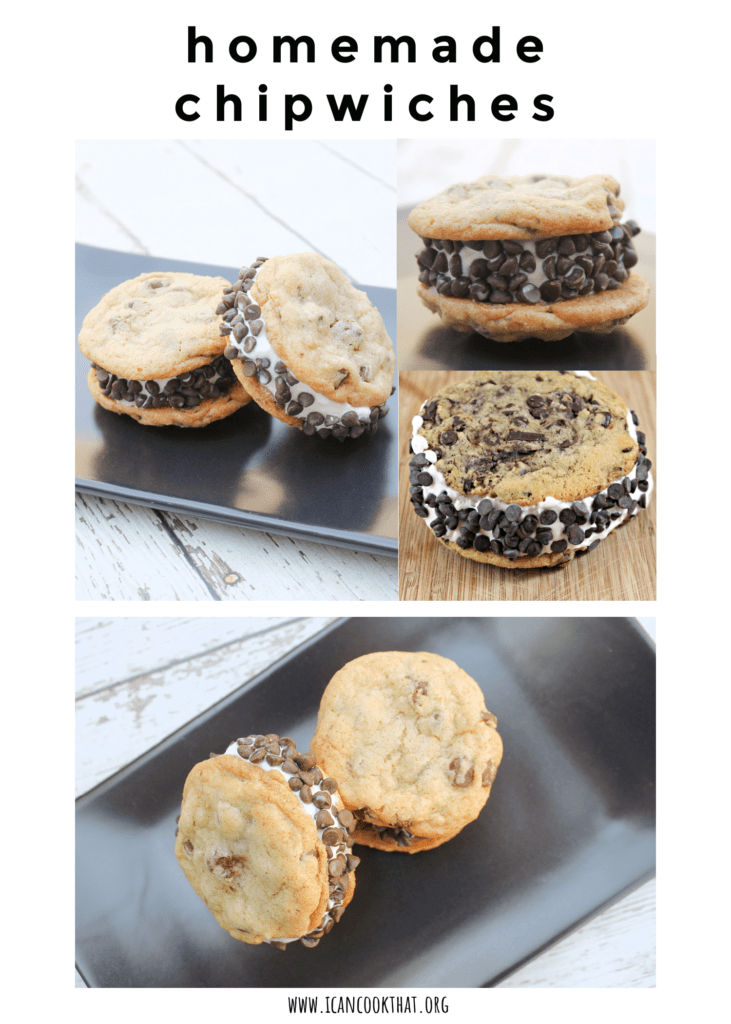
I have many childhood memories of me chasing down the ice cream truck to get my absolute favorite ice cream treat: a Chipwich. I mean, honestly, what more could you ask for in a dessert? Two chocolate chip cookies with ice cream sandwiched in between. Mmm.
So I was, well, horrified, to find out that the Chipwich brand name is no longer in existence as of 2007. At that time, Nestle bought the rights to the name and stopped all production because it competed with their “Chocolate Chip Cookie Sandwich.” I mean, come on. The name Chipwich is exponentially more catchy. But hey, whatever floats their boat.
Since finding out this information, I can’t get the idea of making my own Homemade Chipwiches or Chocolate Chip Cookie Sandwiches out of my head.
I was sent an Airbake cooking sheet recently and wanted to test it out. The Airbake Nonstick Insulated sheets are pretty snazzy. They are made of 100% aluminum and are comprised of two sheets surrounding a layer of air. This is said to reduce the temperature of the metal that actually comes in contact with the food which should result in more even baking. Airbake also claims that cookie bottoms won’t burn, win! (They also have natural sheets if you don’t want nonstick)
I decided to use a recipe from David Lebovitz for Salted Butter Chocolate Chip Cookies because the only way I can think to enhance my homemade chipwiches would be to add a little salt to bring out the flavor.
Ingredients (makes about 12 hand-sized chipwiches, make cookies larger if desired):
4 ounces salted butter, at room temperature
2/3 cup packed light brown sugar
1/2 cup granulated sugar
1 large egg, at room temperature
1/2 teaspoon vanilla extract
1 1/3 cup flour
1/2 teaspoon baking soda
1/2 teaspoon flaky sea salt or kosher salt
1 1/3 cups semisweet chocolate chips
1 pint vanilla ice cream (or your favorite ice cream)
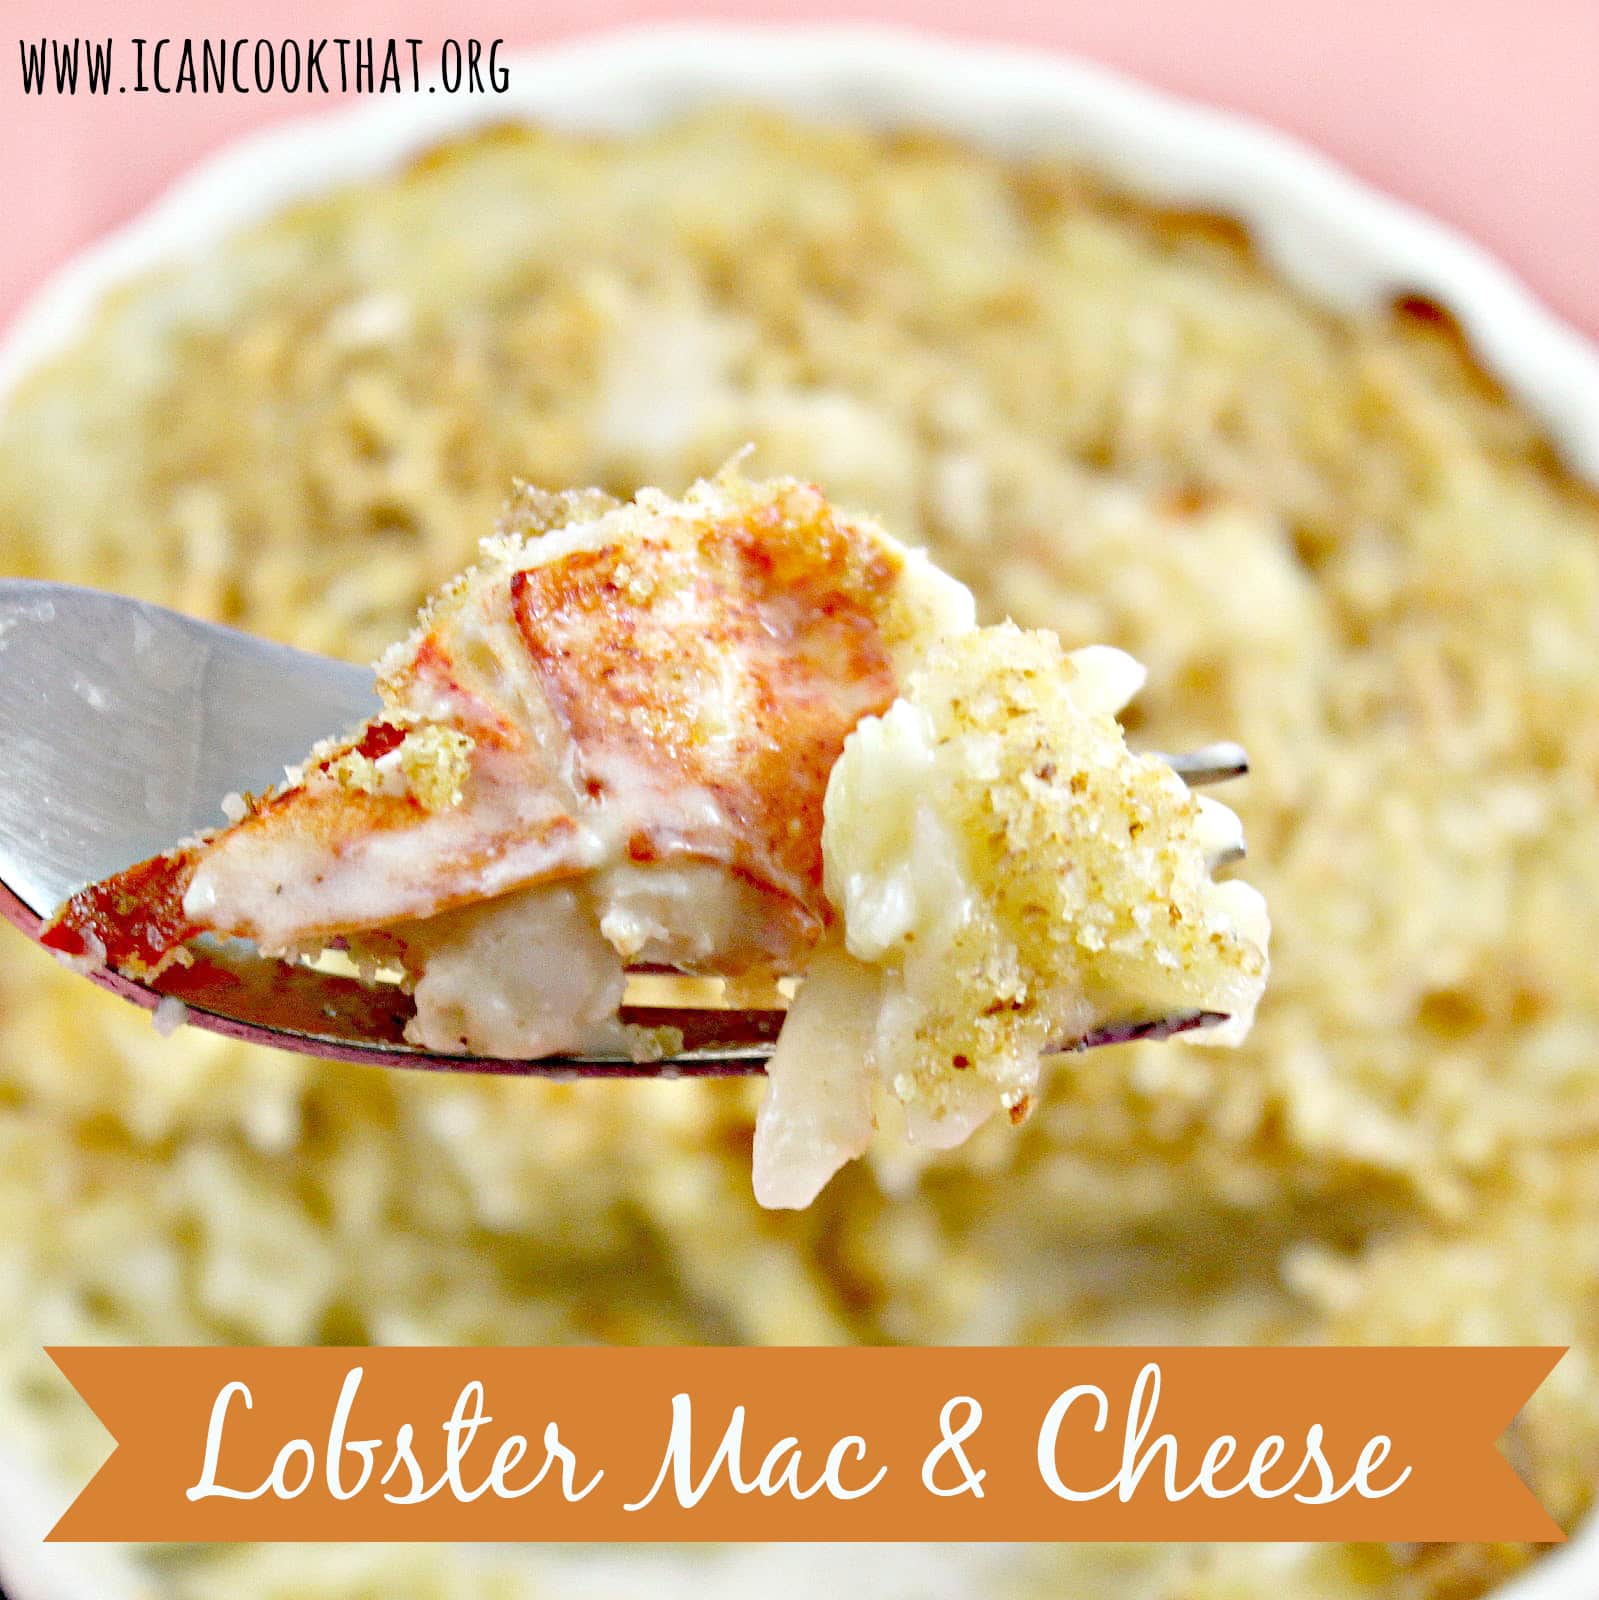
I have wanted to make Lobster Mac and Cheese for the longest time. So when I was having a crummy week, I thought it would be the perfect pick-me up. (I treat myself really well, don’t I?) Continental, a restaurant in Old City and Midtown, Philadelphia, have the most fantastic Lobster Mac and Cheese. Made with orzo, the restaurants use Fontina and Gruyere cheese to make a creamy, crave-worthy meal. I used a FoodNetwork.com recipe as a base with Continental’s version as inspiration.
I headed to DiBruno Bros. to pick up my cheeses, and they were somehow out of both Fontina and Gruyere. Sad day. DiBruno Bros. never disappoints though, and the cheesemonger helped me choose two cheeses: Comté and Tomme de Berger. Comté is very similar to Gruyere but is from France (rather than Switzerland). It has a slight nutty flavor to it, and melts wonderfully (it’s commonly used in fondue). Tomme de Berger also has a bit of a nutty flavor and is a blend of sheep and goat’s milk. If you can’t find these, substitute Gruyere for the Comté and Fontina for the Tomme de Berger.
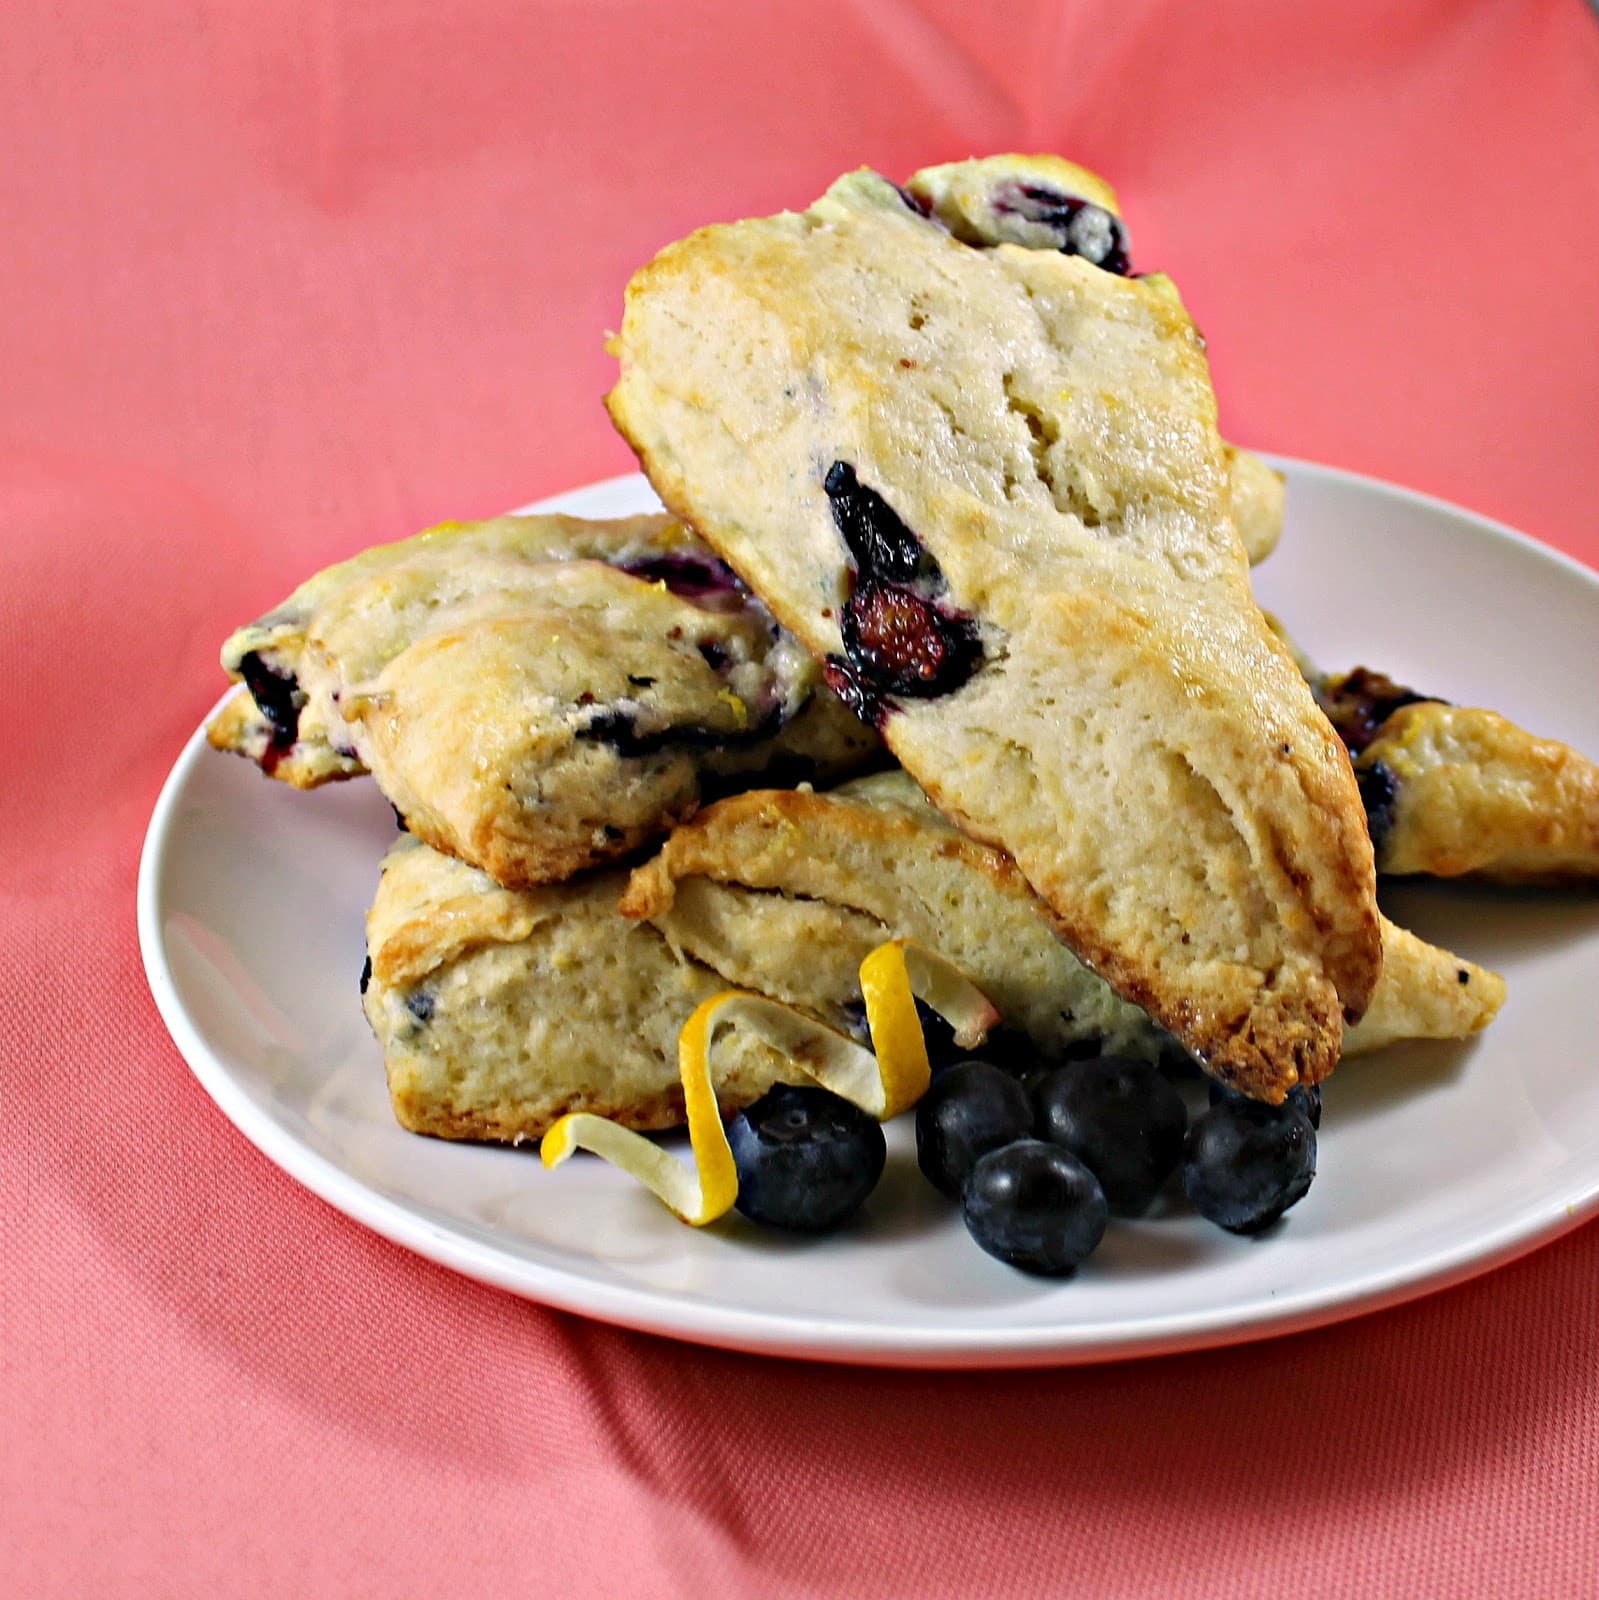
When a friend put in a special request for scones, I was up for the challenge. I’ve never made scones before, and I honestly wasn’t sure how they’d turn out. One of the issues is the definition of a scone changes depending on who you ask. In Great Britain, scones are usually round and look like American dinner biscuits. They are usually slightly sweet with raisins or currants. In America, we tend to make our scones into triangles. Despite being traditionally served as a dessert or with tea and coffee, most Americans eat scones as a breakfast. Scones within America tend to be include fruit and are more sweet than their British counterparts.
The difference between scones and biscuits is that scones used cold butter cut into the flour, making the scones flaky, while biscuits tend to use some type of shortening which results in a crumbly bread. So basically my goal was to end up with a baked good hopefully resembling a scone instead of a biscuit!
I used a recipe from Tyler Florence but changed the amount of Lemon drizzle used.
Ingredients:
for the scones:
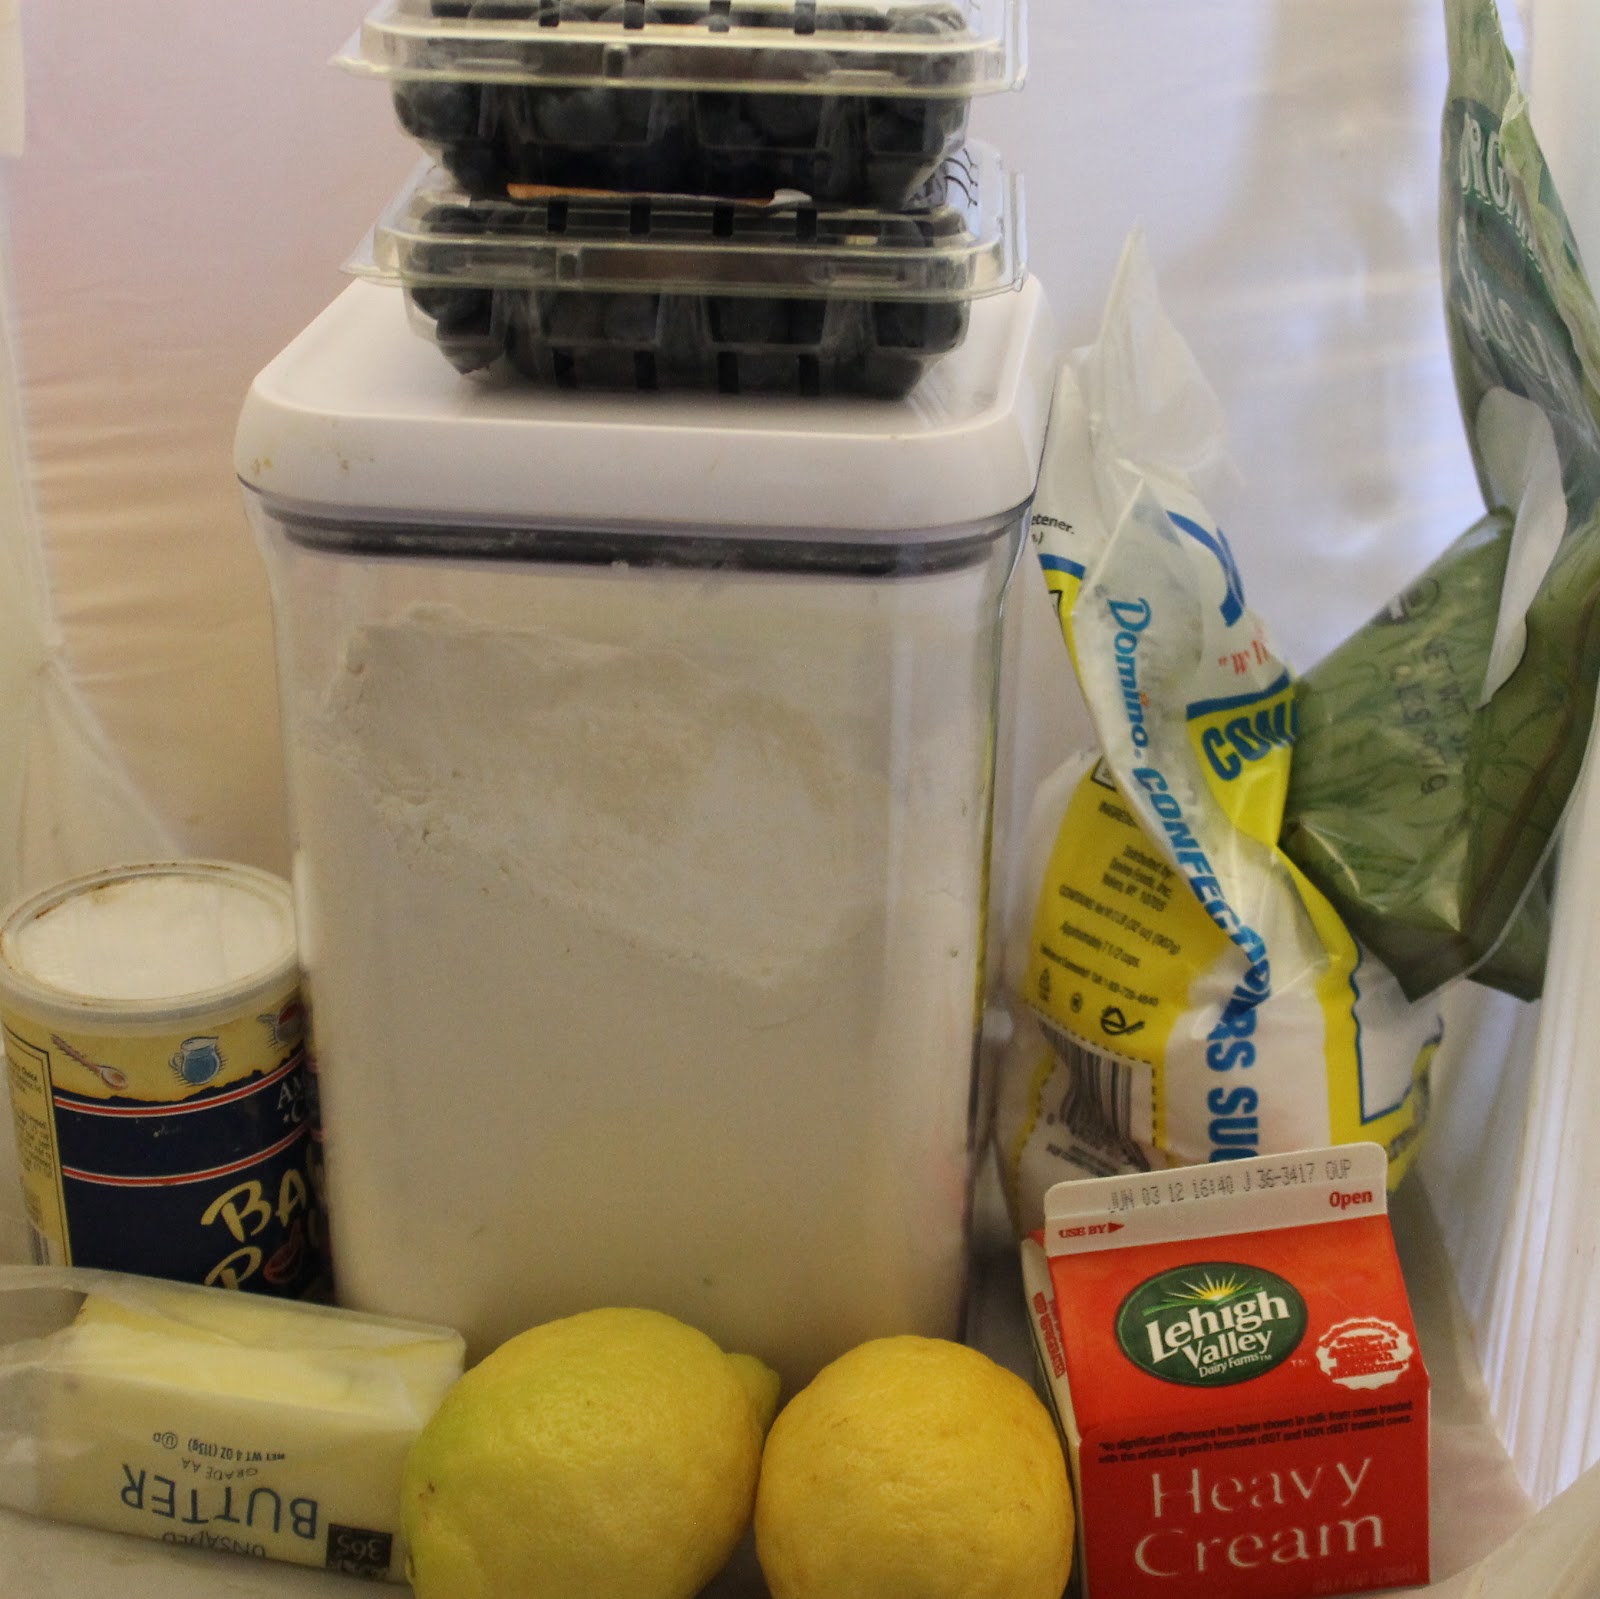
2 cups all-purpose flour
1 tablespoon baking powder
1/2 teaspoon salt
2 tablespoons sugar
5 tablespoons unsalted butter, cold, cut in chunks
1 cup fresh blueberries
1 cup heavy cream, plus more for brushing the scones
for the glaze:
1/2 cup freshly squeezed lemon juice
2 cups confectioners’ sugar, sifted
1 tablespoon unsalted butter
1 lemon, zest finely grated
Preheat your oven to 400 degrees. Sift the flour, baking powder, salt and sugar together and mix to combine.
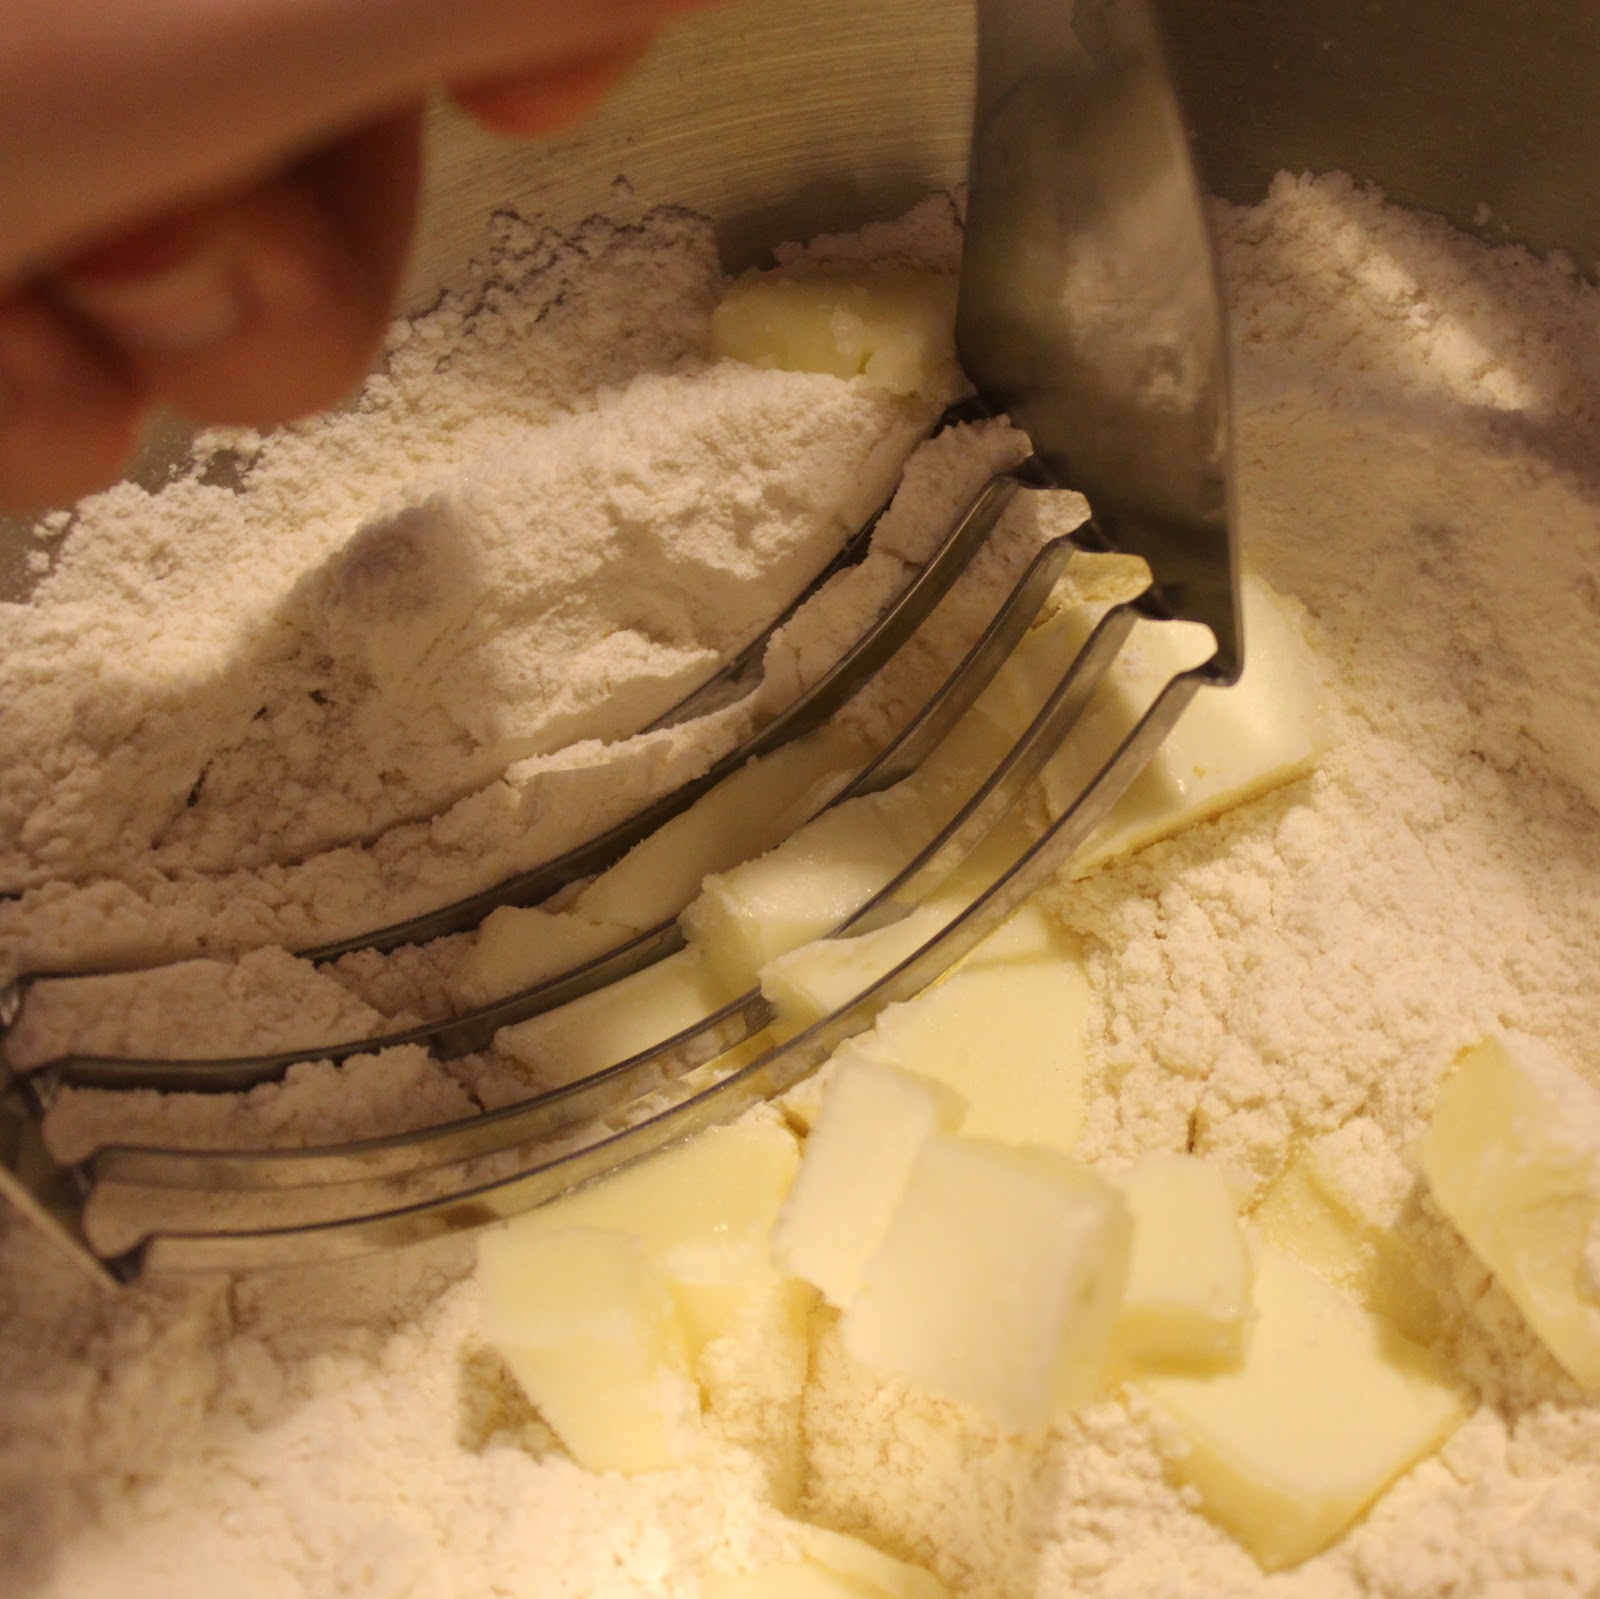
Remove the butter from the refrigerator. Cut the butter into smaller pieces (I aimed for 4 pieces per tablespoon) and add it to the flour mixture. You want to “cut” the butter into the flour using two forks or a pastry blender (the tool in my photo).
The goal is to get small pieces of butter covered in flour. It supposedly should look like coarse crumbs. Mine clearly doesn’t.
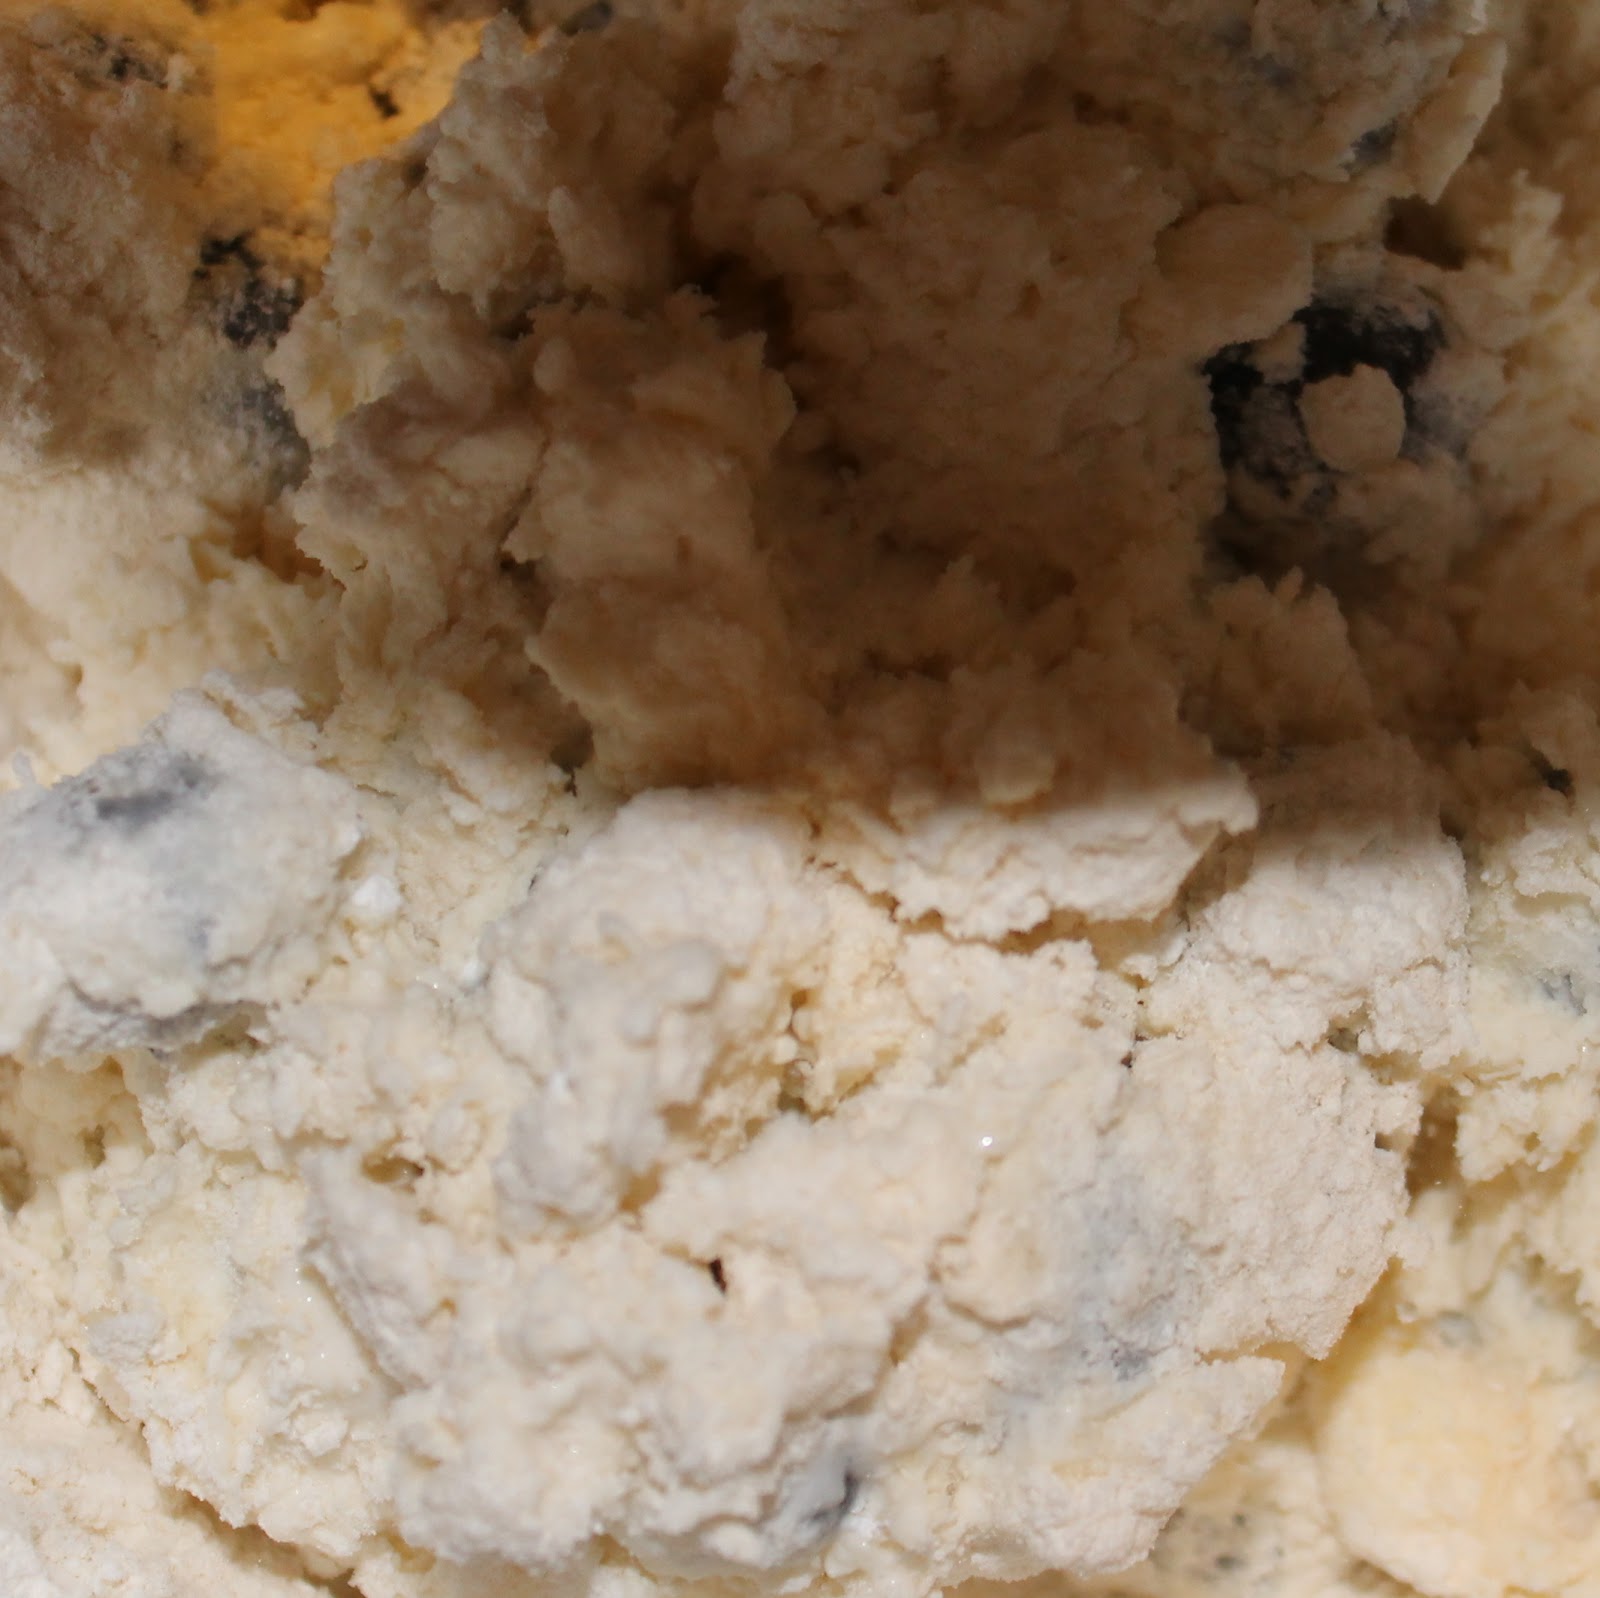
Add the blueberries to the mixture and combine ever so carefully, trying not to break the blueberries. (Using a silicone spatula or your hands will work well).
Make a well in the center and pour in the heavy cream. Fold the cream into the mixture until just incorporated, it can still be a little sticky.
Remove the dough from the bowl and press the dough out into a 12x3x1.25 inch rectangle with your hands, again trying not to break the blueberries. I failed at this. 1. I have no idea if my measurements of the triangle were correct. I eyeballed it and just hoped for the best. I also had quite the heavy hand and broke more than a few blueberries.
Cut the rectangle into 4 equal pieces, making 4 smaller rectangles.
Cut these pieces in half on a diagonal, resulting in 8 triangle scone pieces. Add the scones to an ungreased cookie sheet and brush the tops with a little bit of heavy cream.
Bake for 15-20 minutes (mine too about 18) until they begin to brown on the top. Allow to cool.
While waiting for the scones to cool, add the lemon juice and confectioners’ sugar to a microwave-safe bowl. Whisk to combine until the sugar is dissolved. Whisk in the butter and lemon zest (it’s ok if the butter is not yet fully incorporated). Add the glaze to the microwave for 30 seconds. Remove and whisk to remove any lumps.
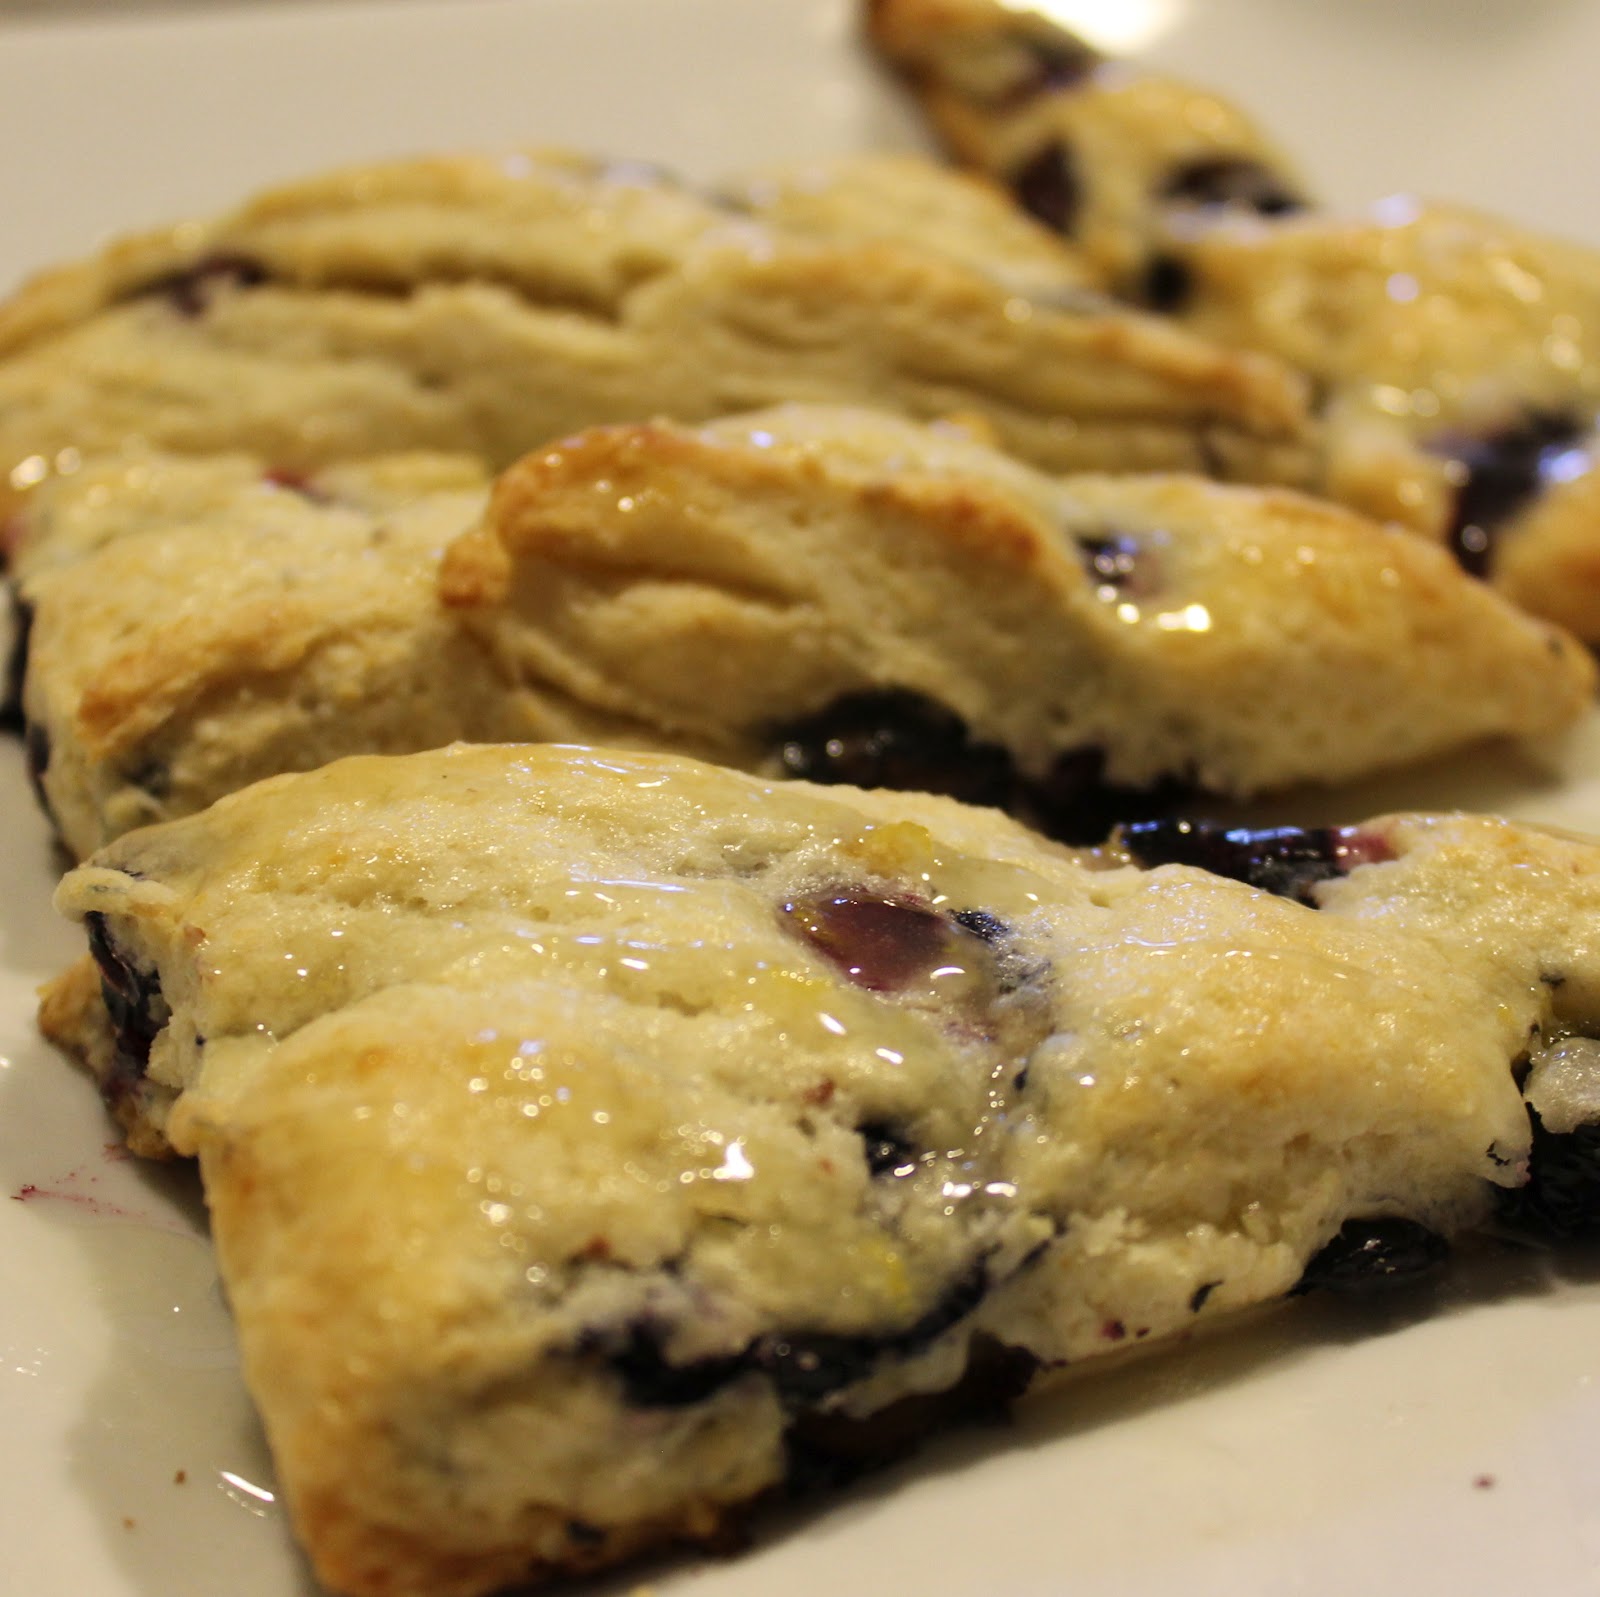
When the scones have cooled, drizzle the glaze over the scones. (I was left with a good 3/4 of the mixture. The scones would have been drenched if I used it all. I wanted more of a slight drizzle. Use to taste.)
Allow to sit for another 5 minutes before serving.
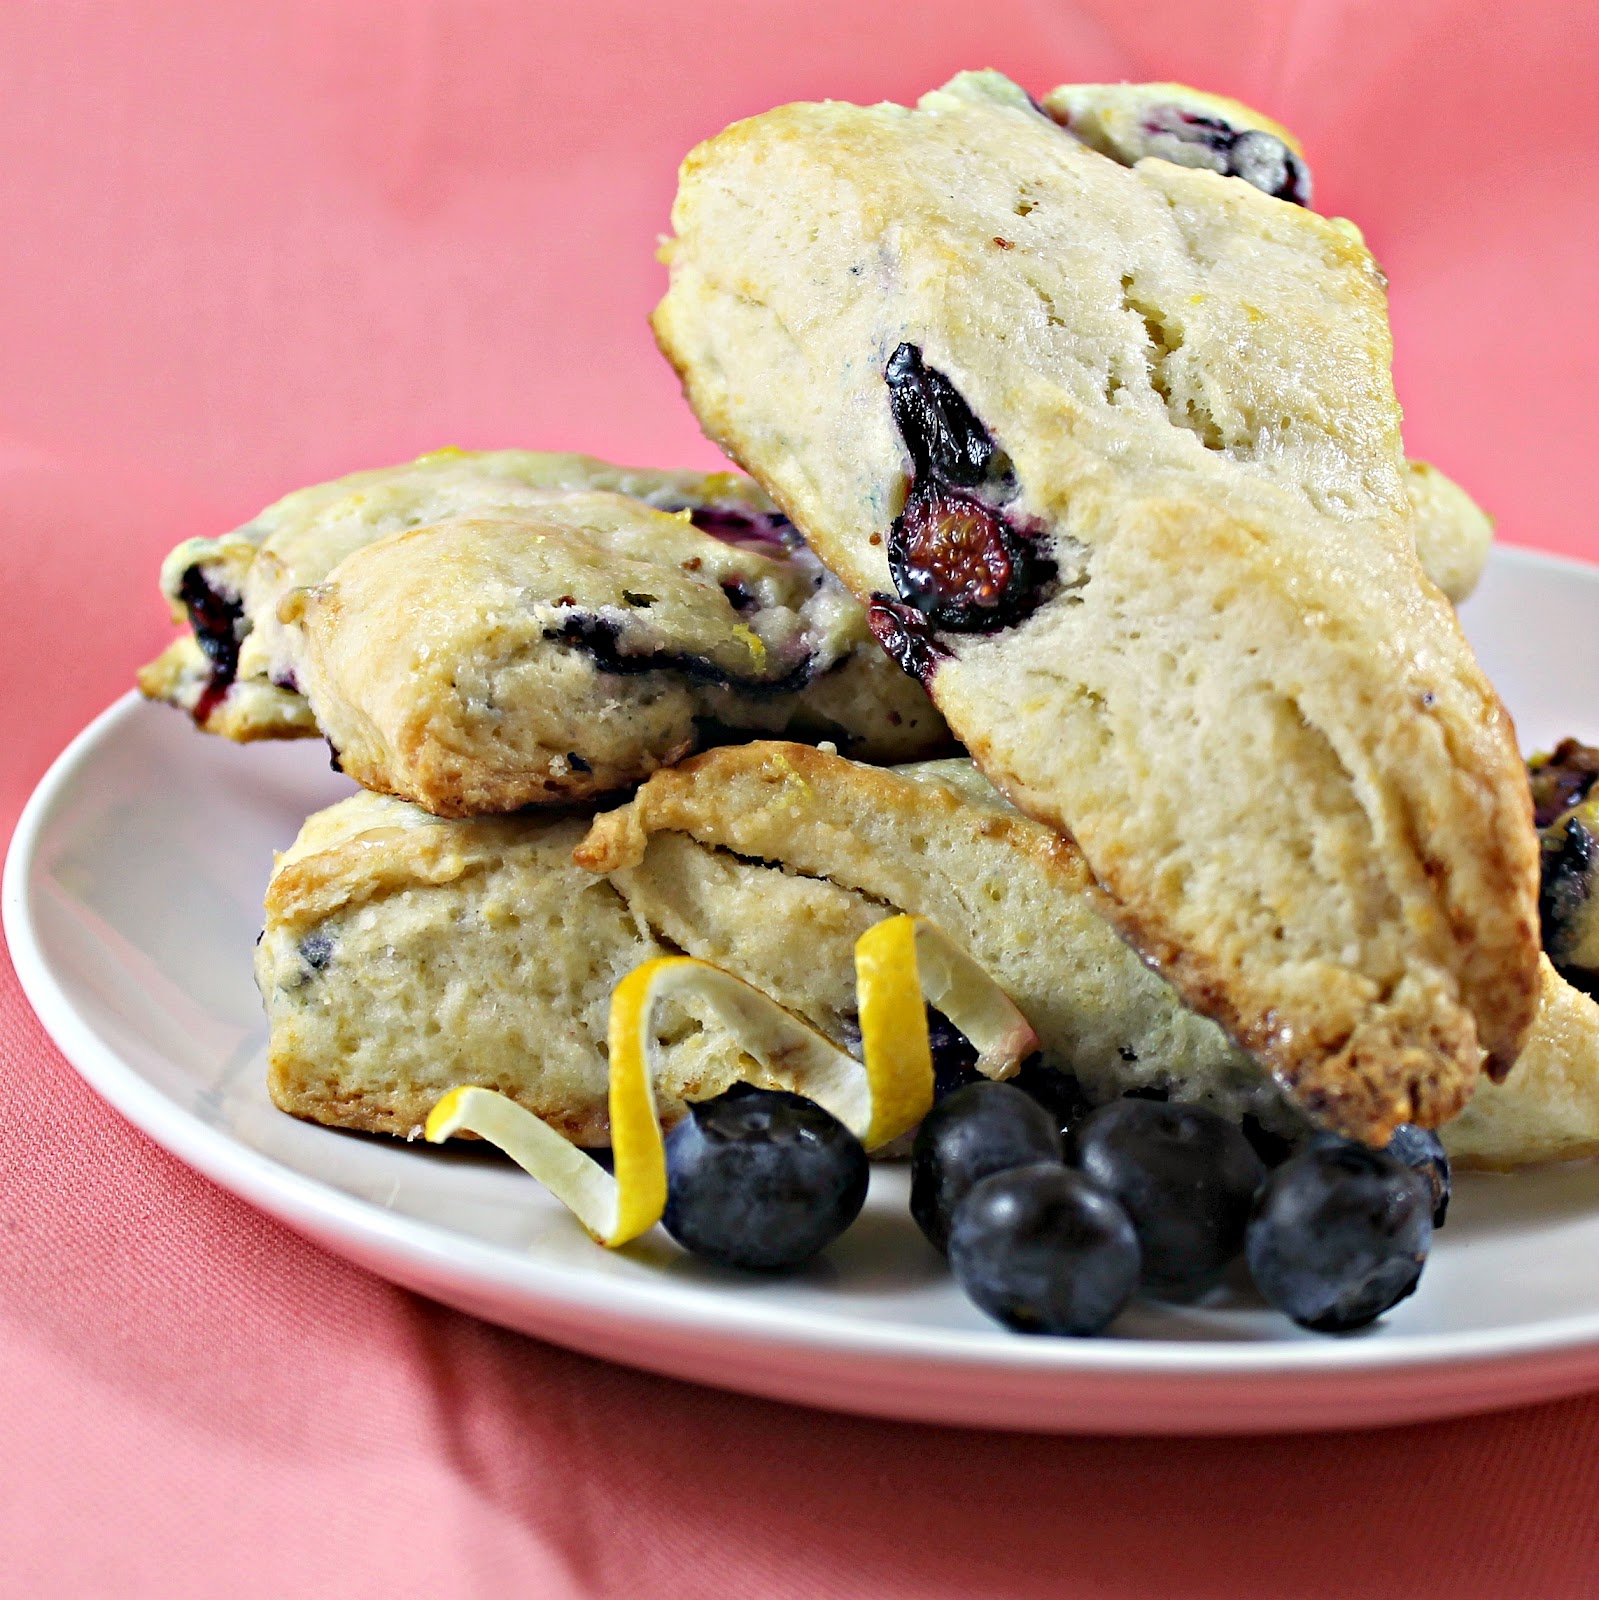
I’m really glad I didn’t try to use all of the glaze. My friend commented that at first bite, she actually thought they might be too sweet but that they ended up having the right amount of sweetness. Can you imagine if I doused them in the glaze?? It would have been a candy!
I wish I had added some of the lemon zest to the actual batter as well. I like my lemony flavor to be throughout my baked goods.
The scones were flaky when first removed from the oven, but by the next day they had become more dense which I didn’t mind at all.
The blueberries I crushed also (thankfully) didn’t bleed too much so I didn’t end up with purple scones!
Every food blogger dreams of walking out of their day job and never looking back to pursue a full-time career in food. Most keep this as a fun little pipe dream to think about while sipping on their morning coffee. Michael Natkin, however, did the unthinkable. He took a sabbatical from his job as a software engineer and spent 6 months immersed in food, experiencing Italy and Israel through food with his family and interning in the kitchen at Cafe Flora. He dove into the world of food full time this year.
His blog, Herbivoracious, has been going strong since 2007. If you’ve never seen it, go there. Now. I’ll wait…. Fantastic, right?!
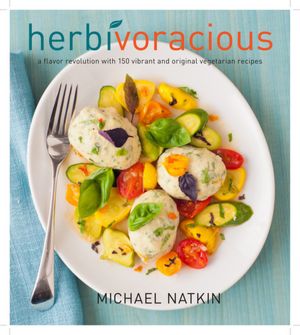
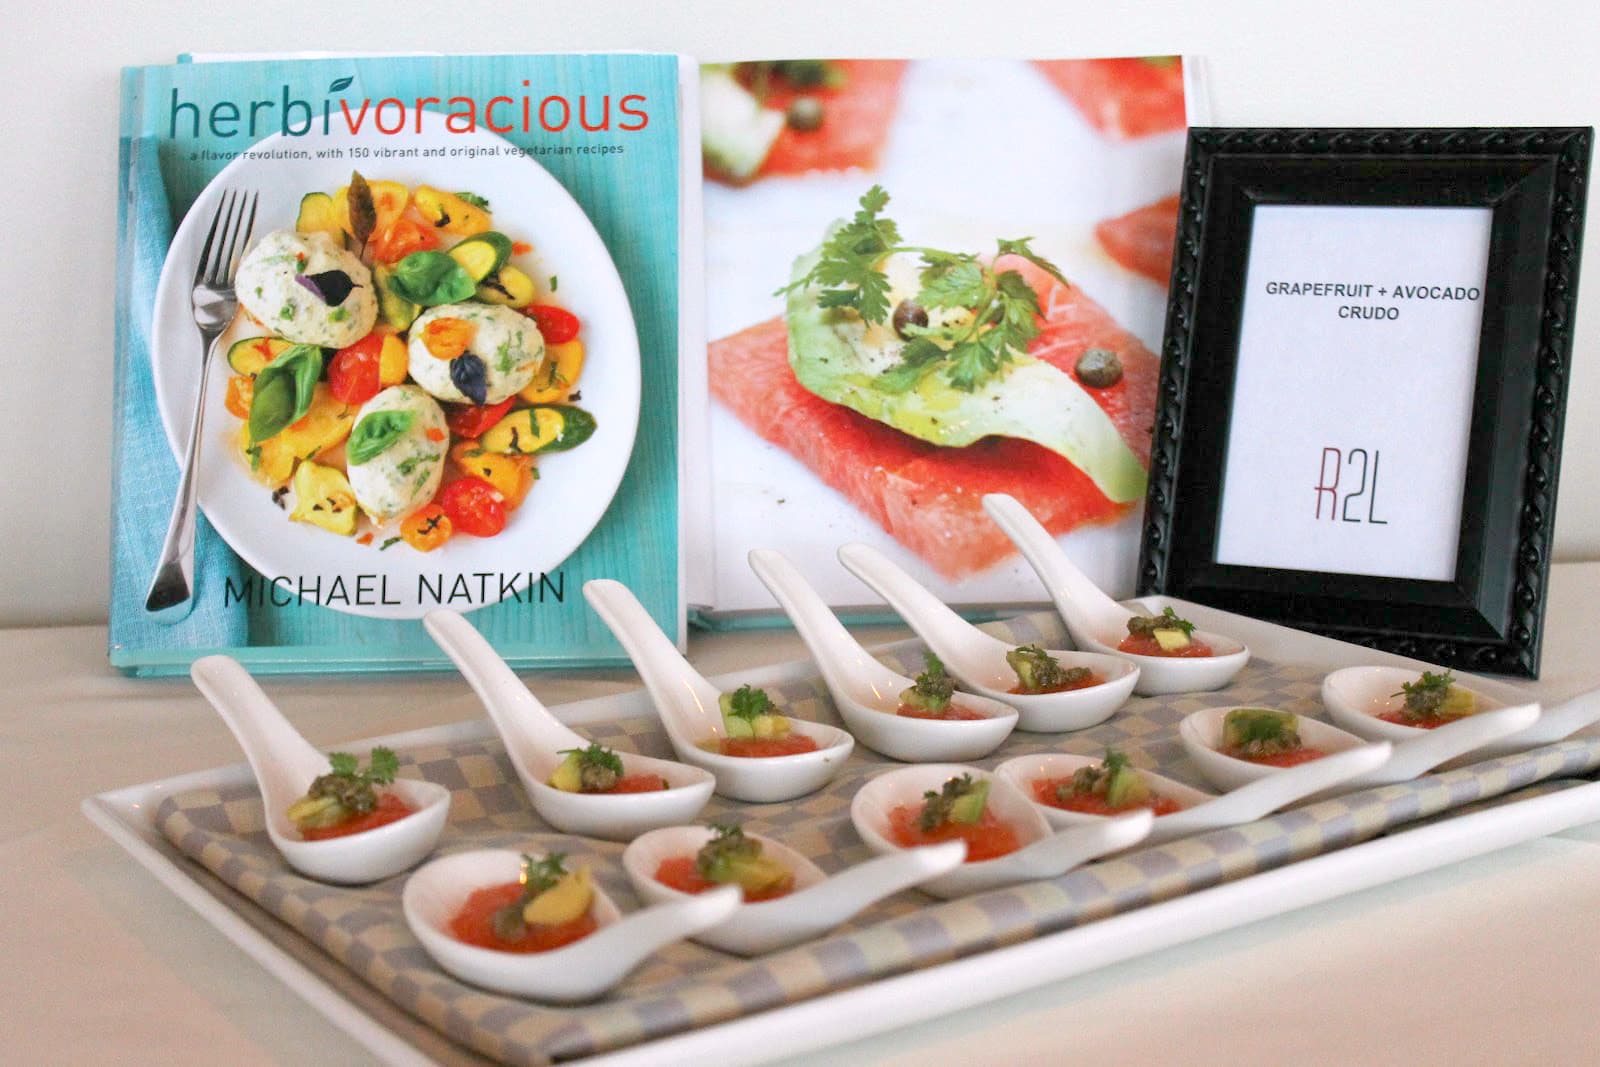
Michael’s cookbook based off his super popular blog, Herbivoracious: A Flavor Revolution with 150 Vibrant and Original Vegetarian Recipes, was released on May 9. Michael has been touring America to promote his book and recently came through Philadelphia. He hosted a food blogger event at the fantastic R2L, where local bloggers (like yours truly) were treated to bites from the kitchen and the opportunity to chat with Michael himself.
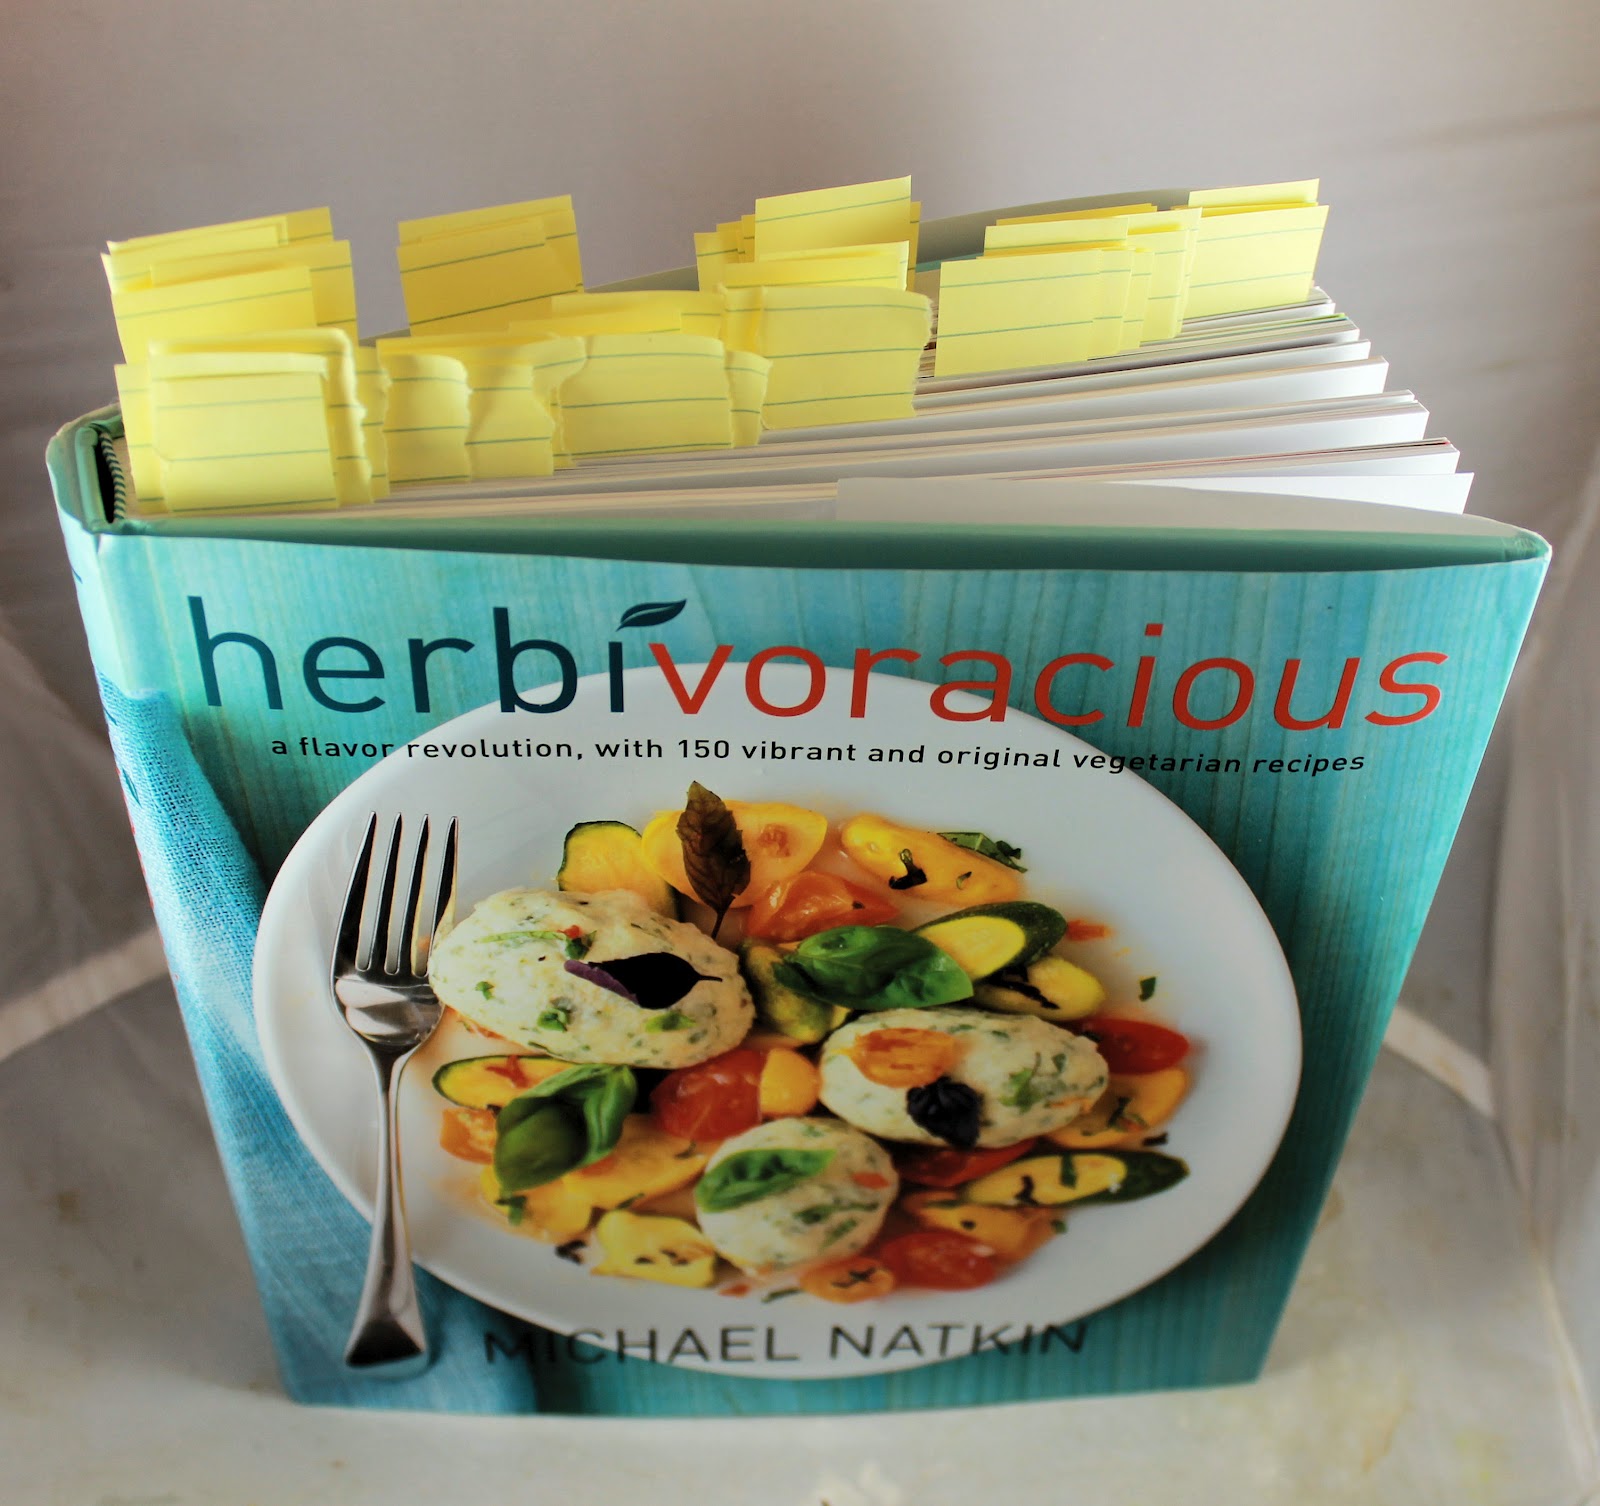
So, the cookbook is vegetarian. It honestly doesn’t even need to be mentioned though because the recipes inside the pages of this book are not wimpy, skimpy meals. As his blog states “You Don’t Have To Be A Vegetarian To Love This Cookbook!” and he is so right. The recipes are really inventive and sound so appetizing that you won’t even wonder where the meat is. Michael kindly allowed me to pick any recipe I wanted from the book to use for this post and boy did I have a problem. I am not exaggerating when I tell you I tagged over 50 recipes as possibilities.
see?
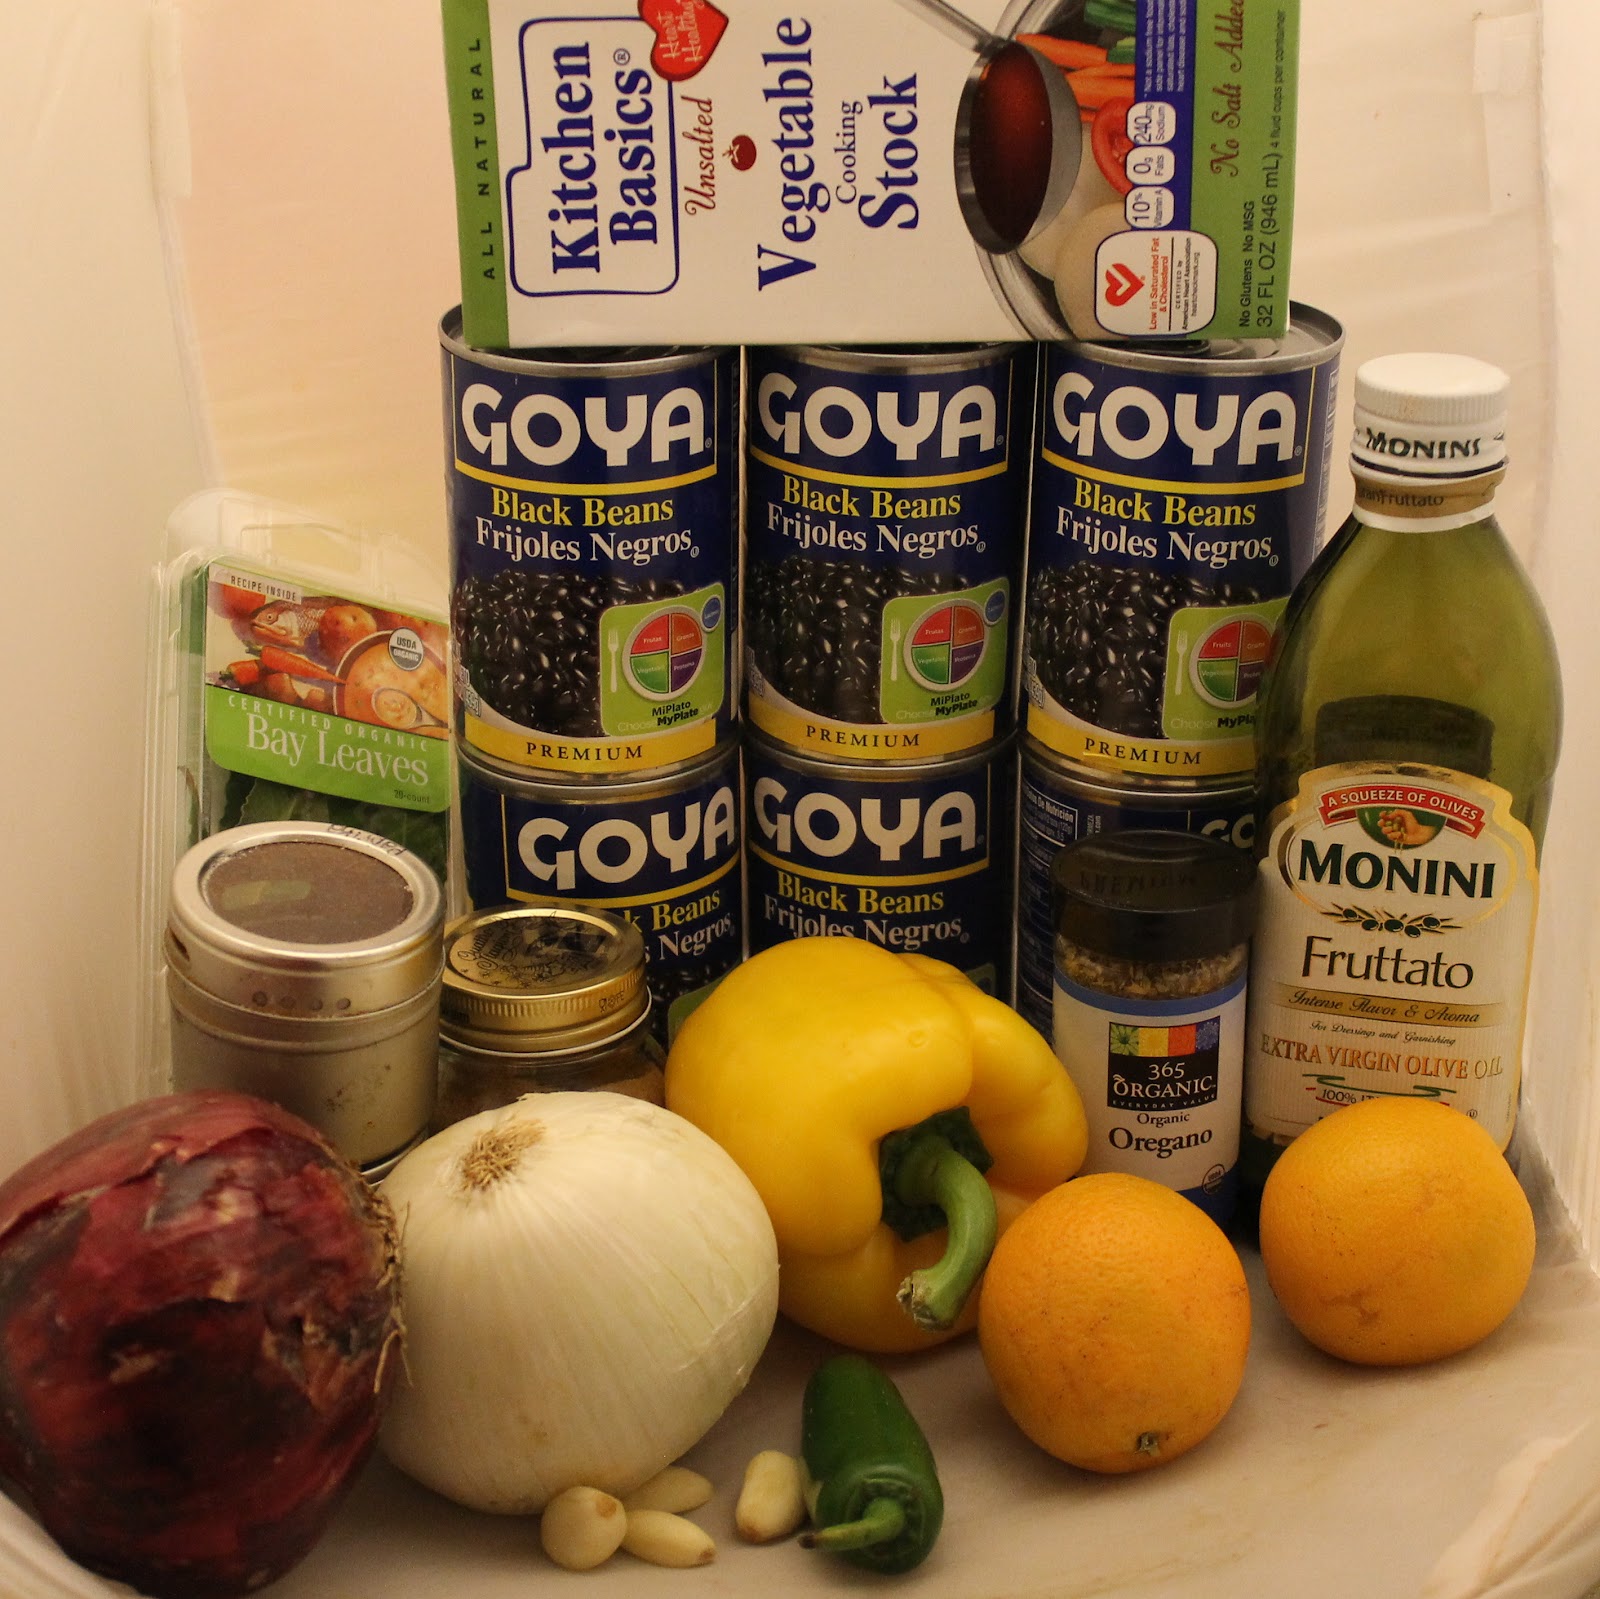
I finally decided on this recipe for Black Bean Soup with Orange Jalapeno Salsa when I mentioned it to my boyfriend and his eyes lit up. I altered the recipe ever so slightly, so check out the original at the link. You should check it out anyways because Michael gives some really great tips prior to the recipe.
Ingredients:
6 cans black beans
Vegetable broth
2 bay leaves
3 tablespoons olive oil
1 white onion, diced
1 yellow bell pepper, diced
4 cloves garlic, minced
1 tablespoon dried oregano
1 teaspoon dried cumin
1 teaspoon paprika
1/2 teaspoon ground chipotle
6 mandarin oranges (or fewer, larger oranges)
1/4 cup red onion, finely diced
1jalapeno pepper, finely diced
1 handful cilantro leaves
salt to taste
Sour cream
Each recipe in the cookbook mentions any dietary restrictions that are satisfied within the recipe. This soup is vegetarian, vegan if the sour cream is omitted, and is gluten-free. This recipe serves 6.
I know, I know. I really need to up my chicken recipes. Cooking Light must realize this too because they had a recipe for Spicy Moroccan Chicken Skewers that I couldn’t pass up. The original recipe suggested serving the skewers with Greek yogurt, so I made a quick raita to go with them. I also served it with a simple couscous. This recipe does involve marinating the chicken for 2 hours, so prepare accordingly. (I made this over a weekend, I think this might be tough to make on a weeknight.)
Ingredients:
1 1/2 tablespoons minced fresh garlic
1 1/2 tablespoons chile paste (such as sambal oelek)
2 tablespoons olive oil
1 teaspoon ground cumin
1/2 teaspoon ground coriander
5/8 teaspoon kosher salt, divided
4 skinless, boneless chicken thighs, cut into 30 pieces
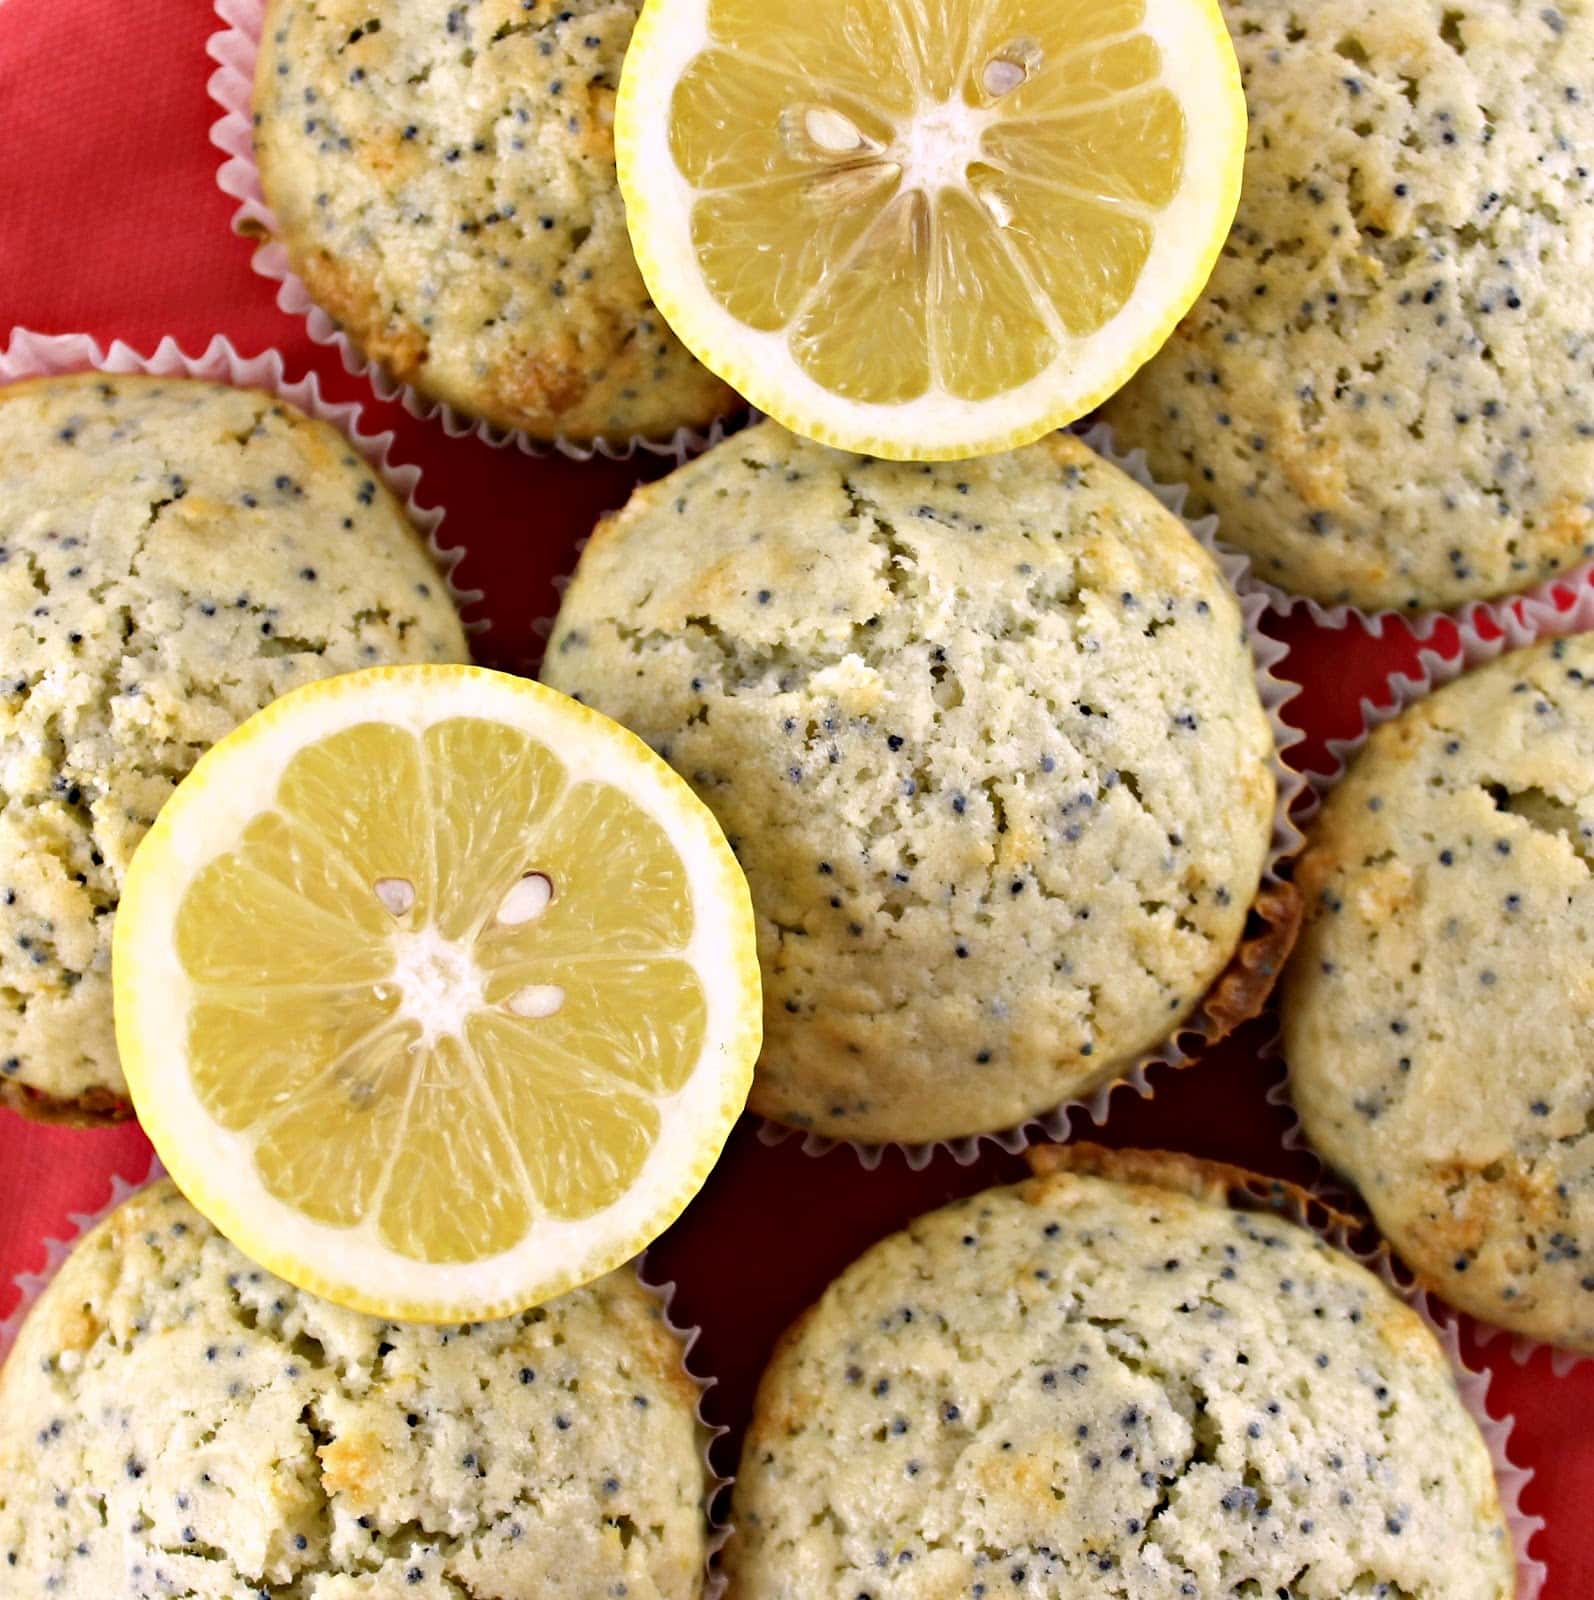
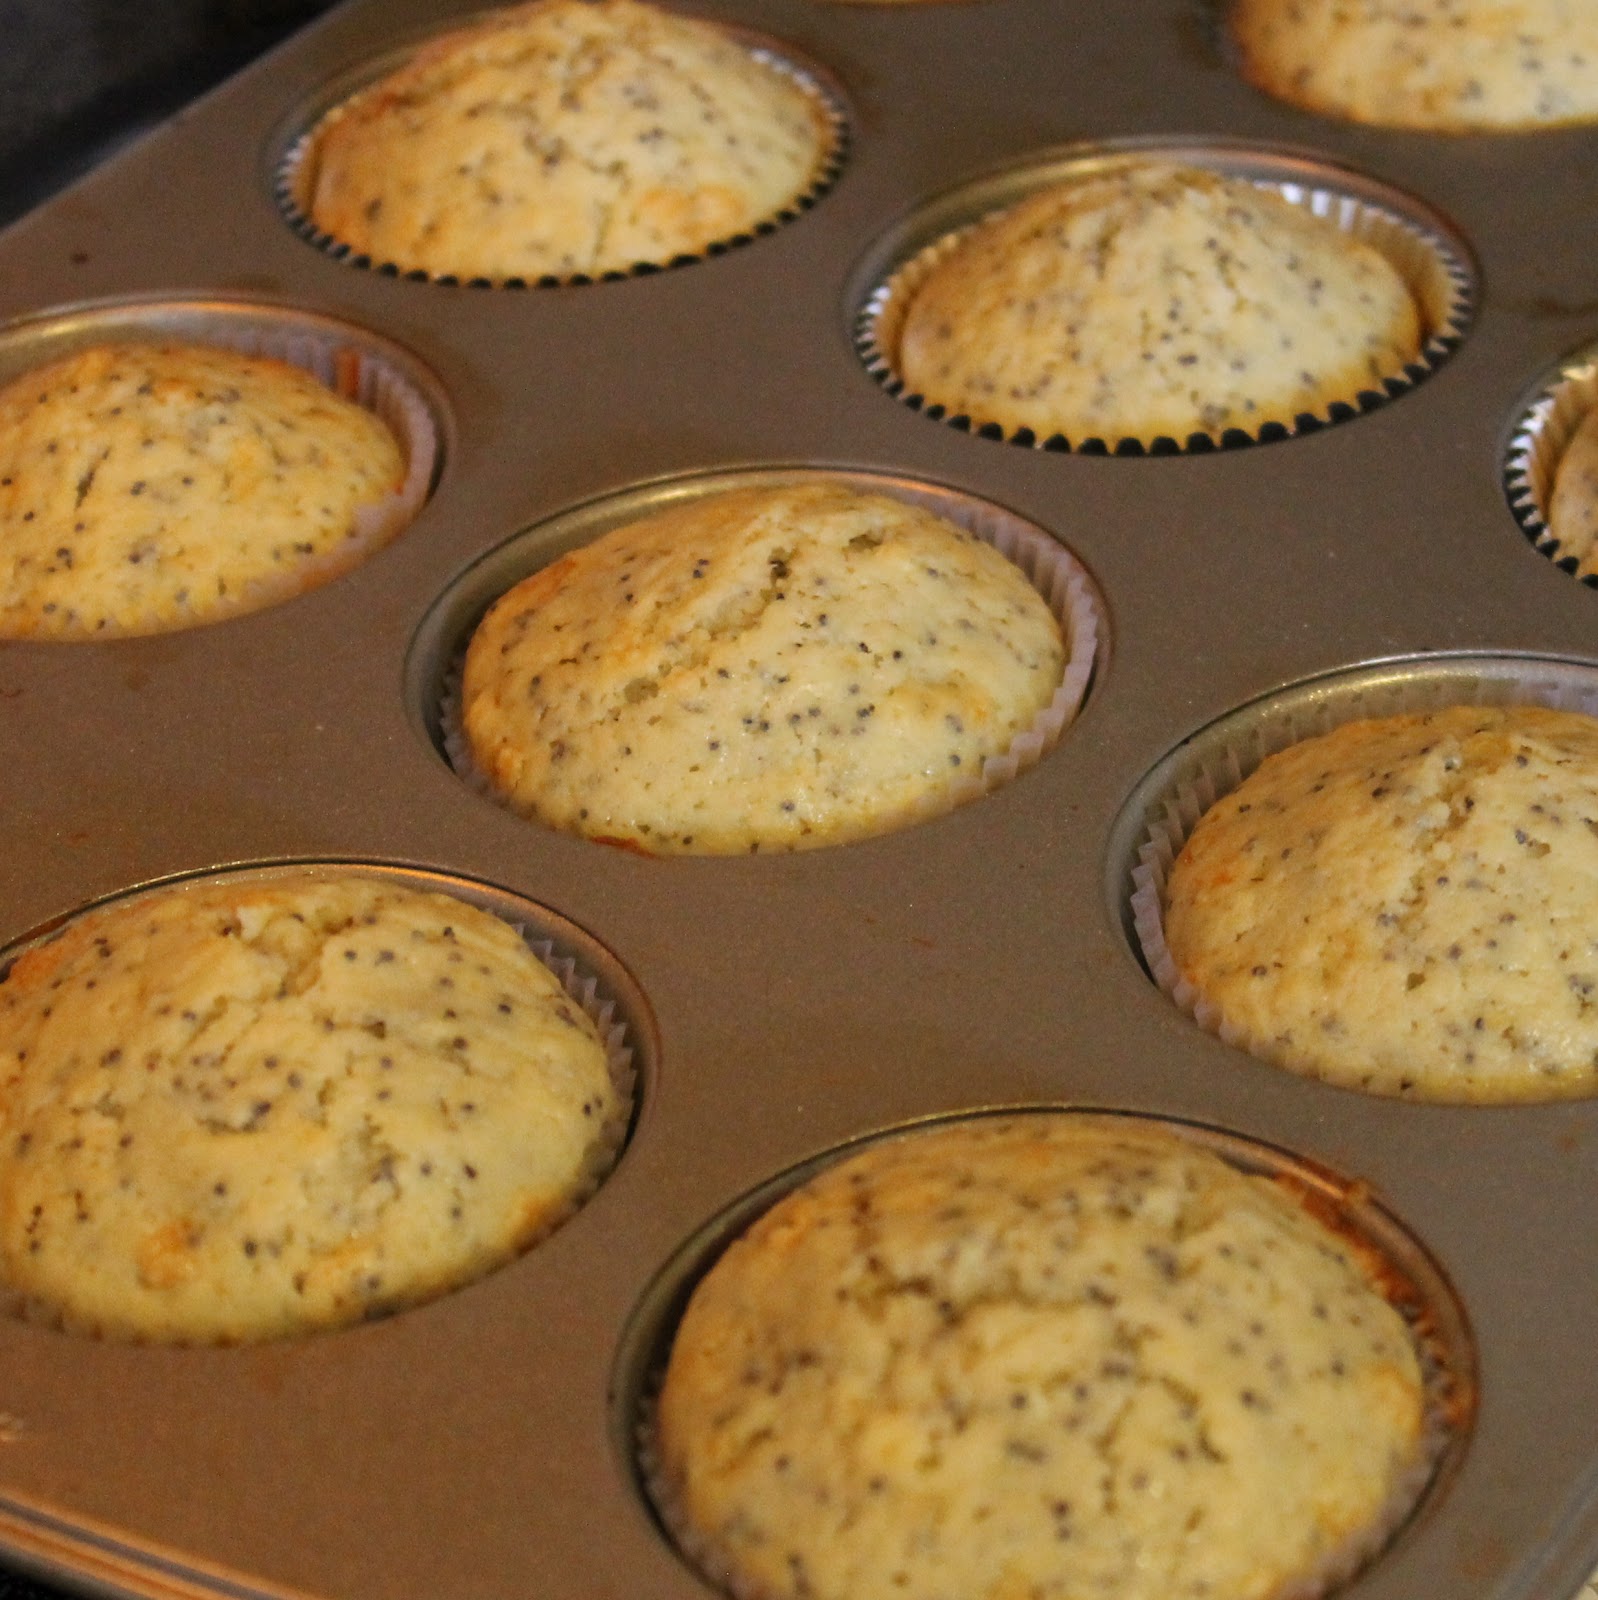
Muffins are the perfect Sunday baking activity to set yourself up for breakfasts throughout the week. I haven’t made a batch in so long so I’m happy I finally had time to do so! I was given the opportunity to try Tropical Traditions Coconut Oil and I thought the best way to try the oil out would be in baking. (I adapted this recipe for Coconut Lemon Poppy Seed Muffins from the 1 Mix, 100 Muffins cookbook.)
Coconut oil can be used like butter in its solid state and like oil in its liquid state. It does have a slight coconut flavor to it so it’s a great way to enhance the flavor of many dishes. These Coconut-Lemon Poppy Seed Muffins have just a hint of coconut that is really complementary to the Lemon flavor.
Tropical Traditions is also sponsoring a giveaway! One lucky reader will win their very own jar of coconut oil! Details below.
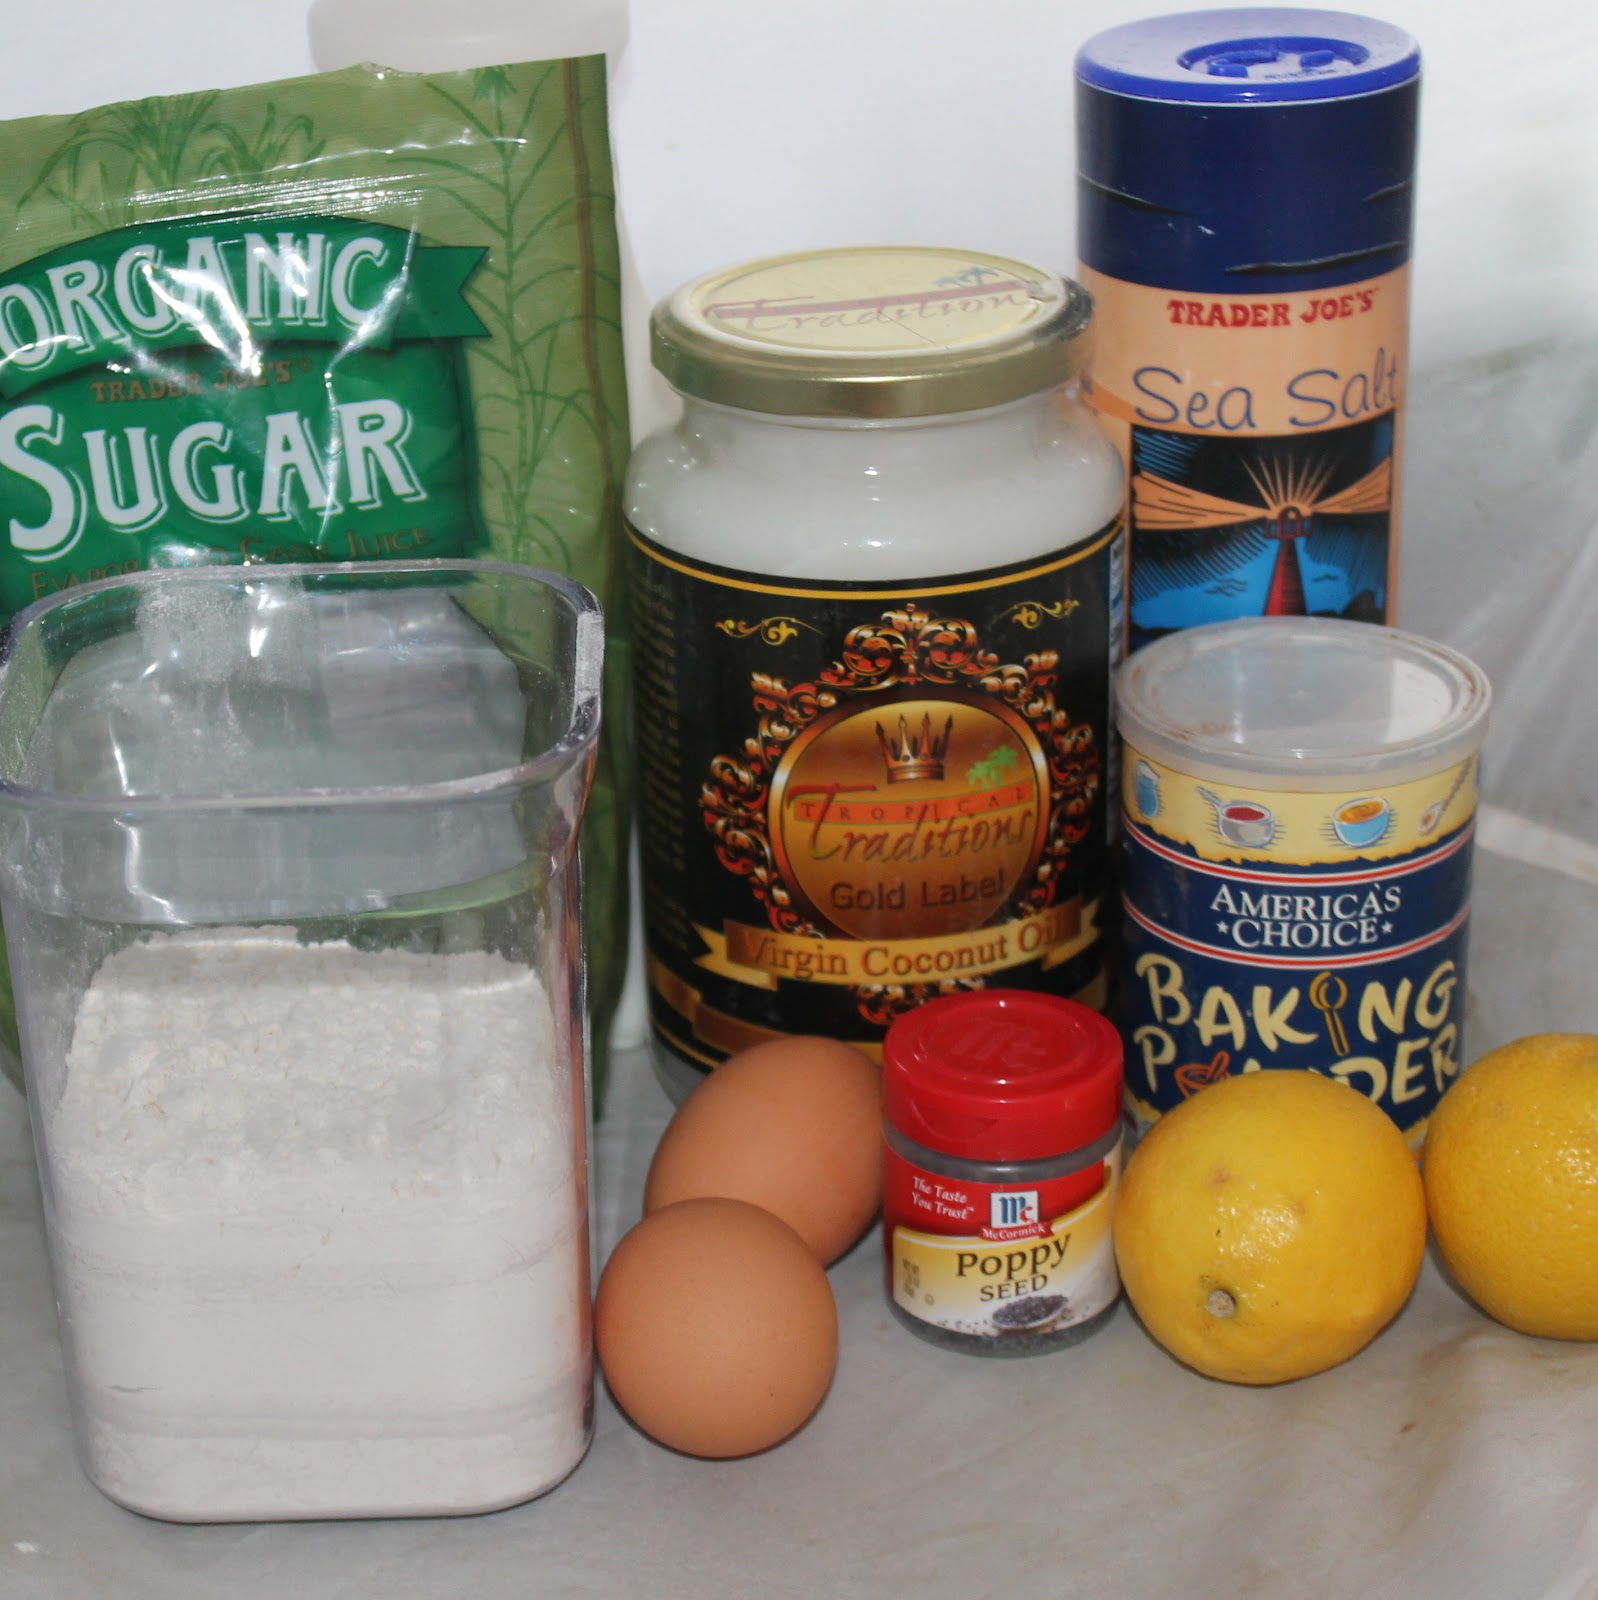
Ingredients (this recipe makes a dozen muffins):
2 cups all-purpose flour, leveled with a knife
1 tablespoon baking powder
1/8 teaspoon salt
2 eggs
1 cup milk
6 tablespoons Coconut Oil, melted and allowed to cool slightly
the zest of 2 lemons
1/2 cup sugar, plus 1 tablespoon sugar
2 tablespoons poppy seeds
Note: The method I will list below is the one I ended up using for this recipe. And the reason I used this method was because I completely forgot to add in the sugar and poppy seeds at the correct time! Anyways, the muffins turned out fine. Whew.
Preheat your oven to 400 degrees. Line a cupcake/muffin pan with 12 paper liners. Add 6 tablespoons coconut oil to a small saute pan over medium heat until completely melted. Remove from heat and reserve.
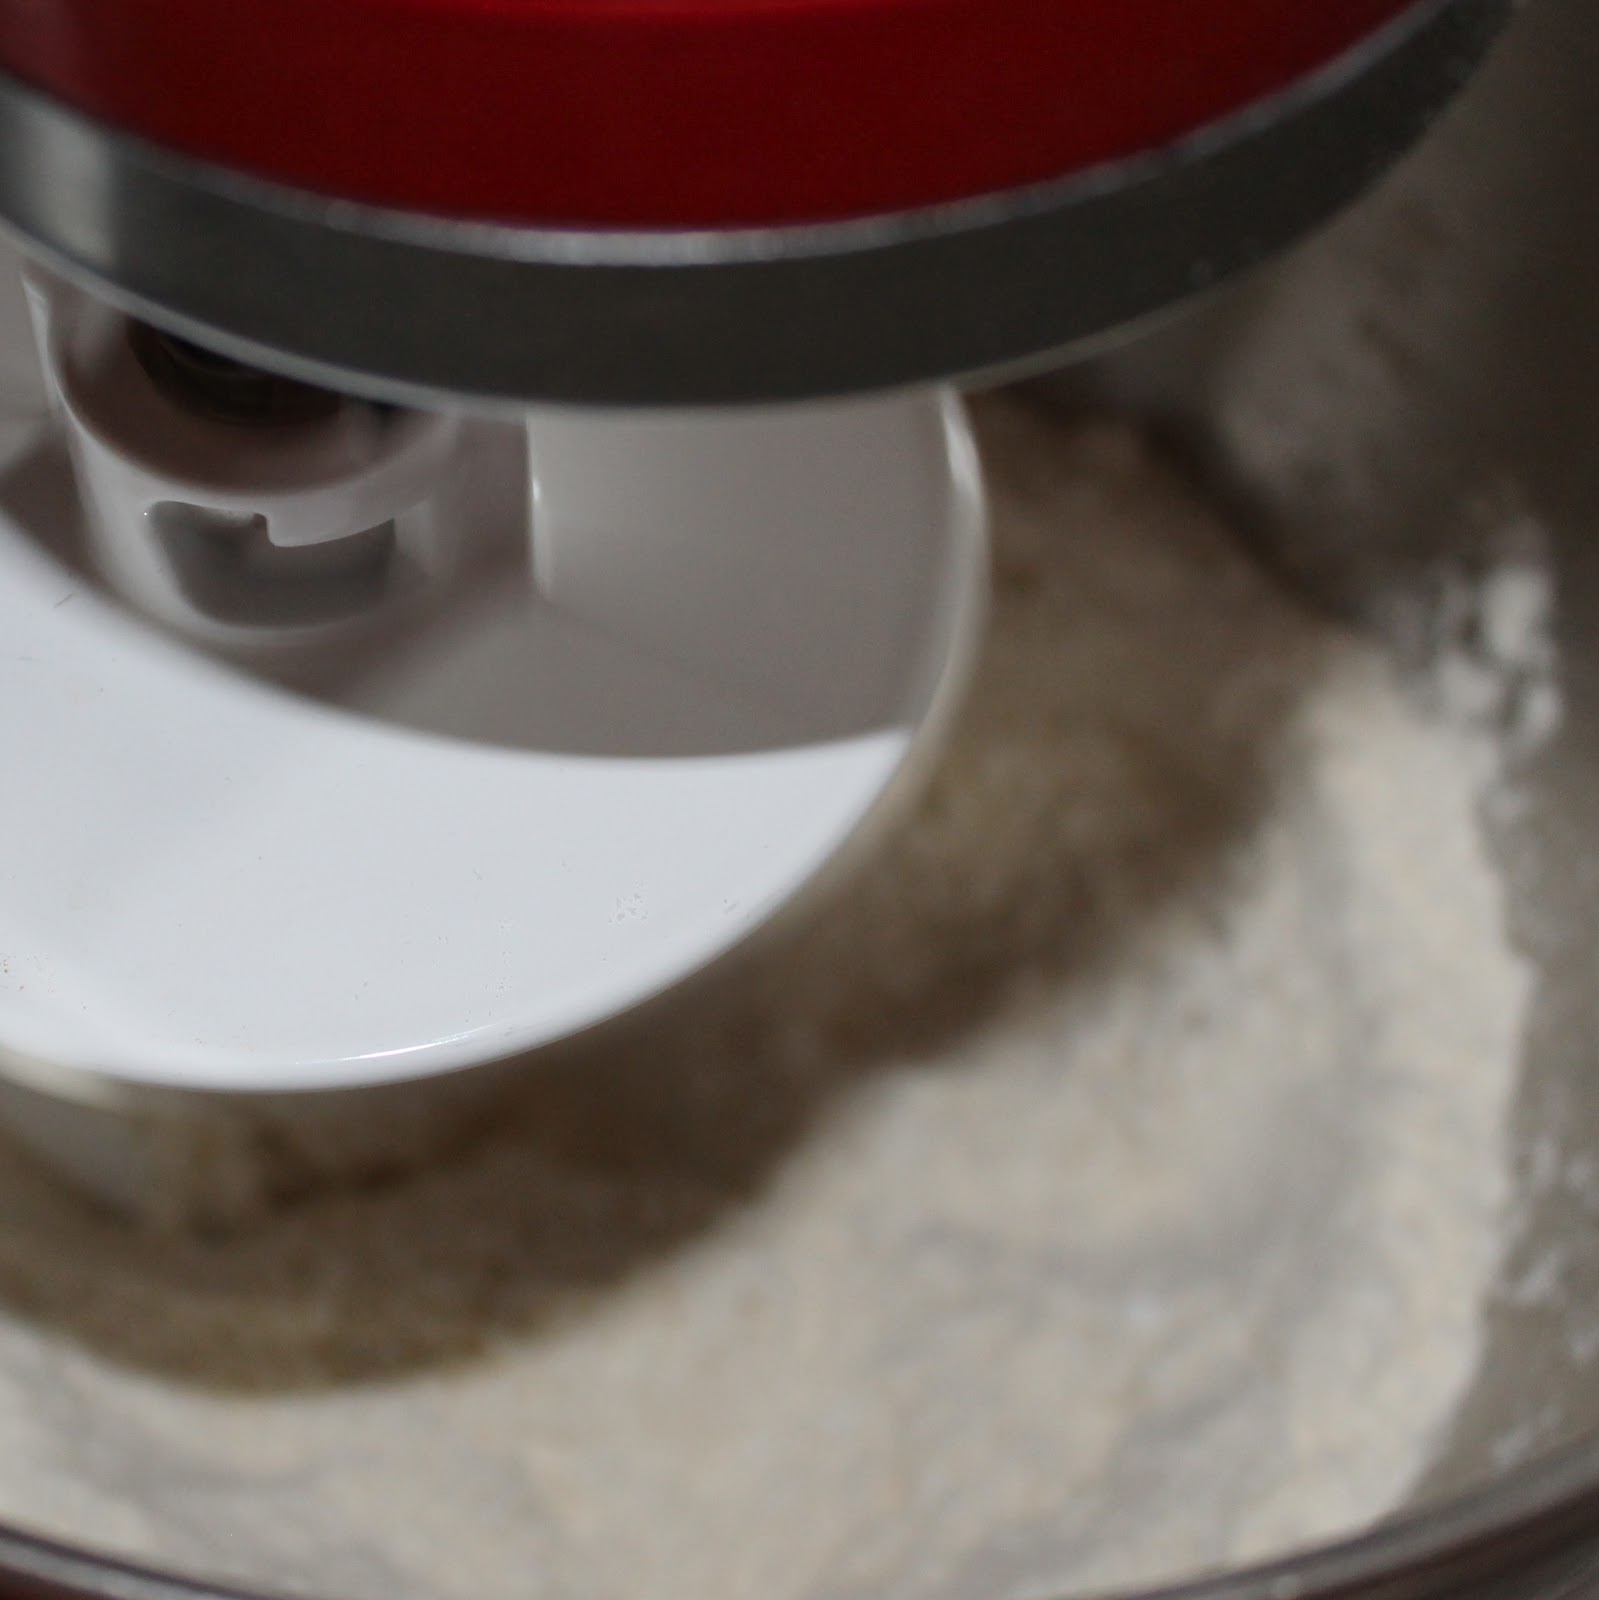
Sift the flour, baking powder, and salt. (If you have a stand mixer, add the dough hook and turn it on low for a minute or two. It will break up all the chunks, just as good as sifting!)
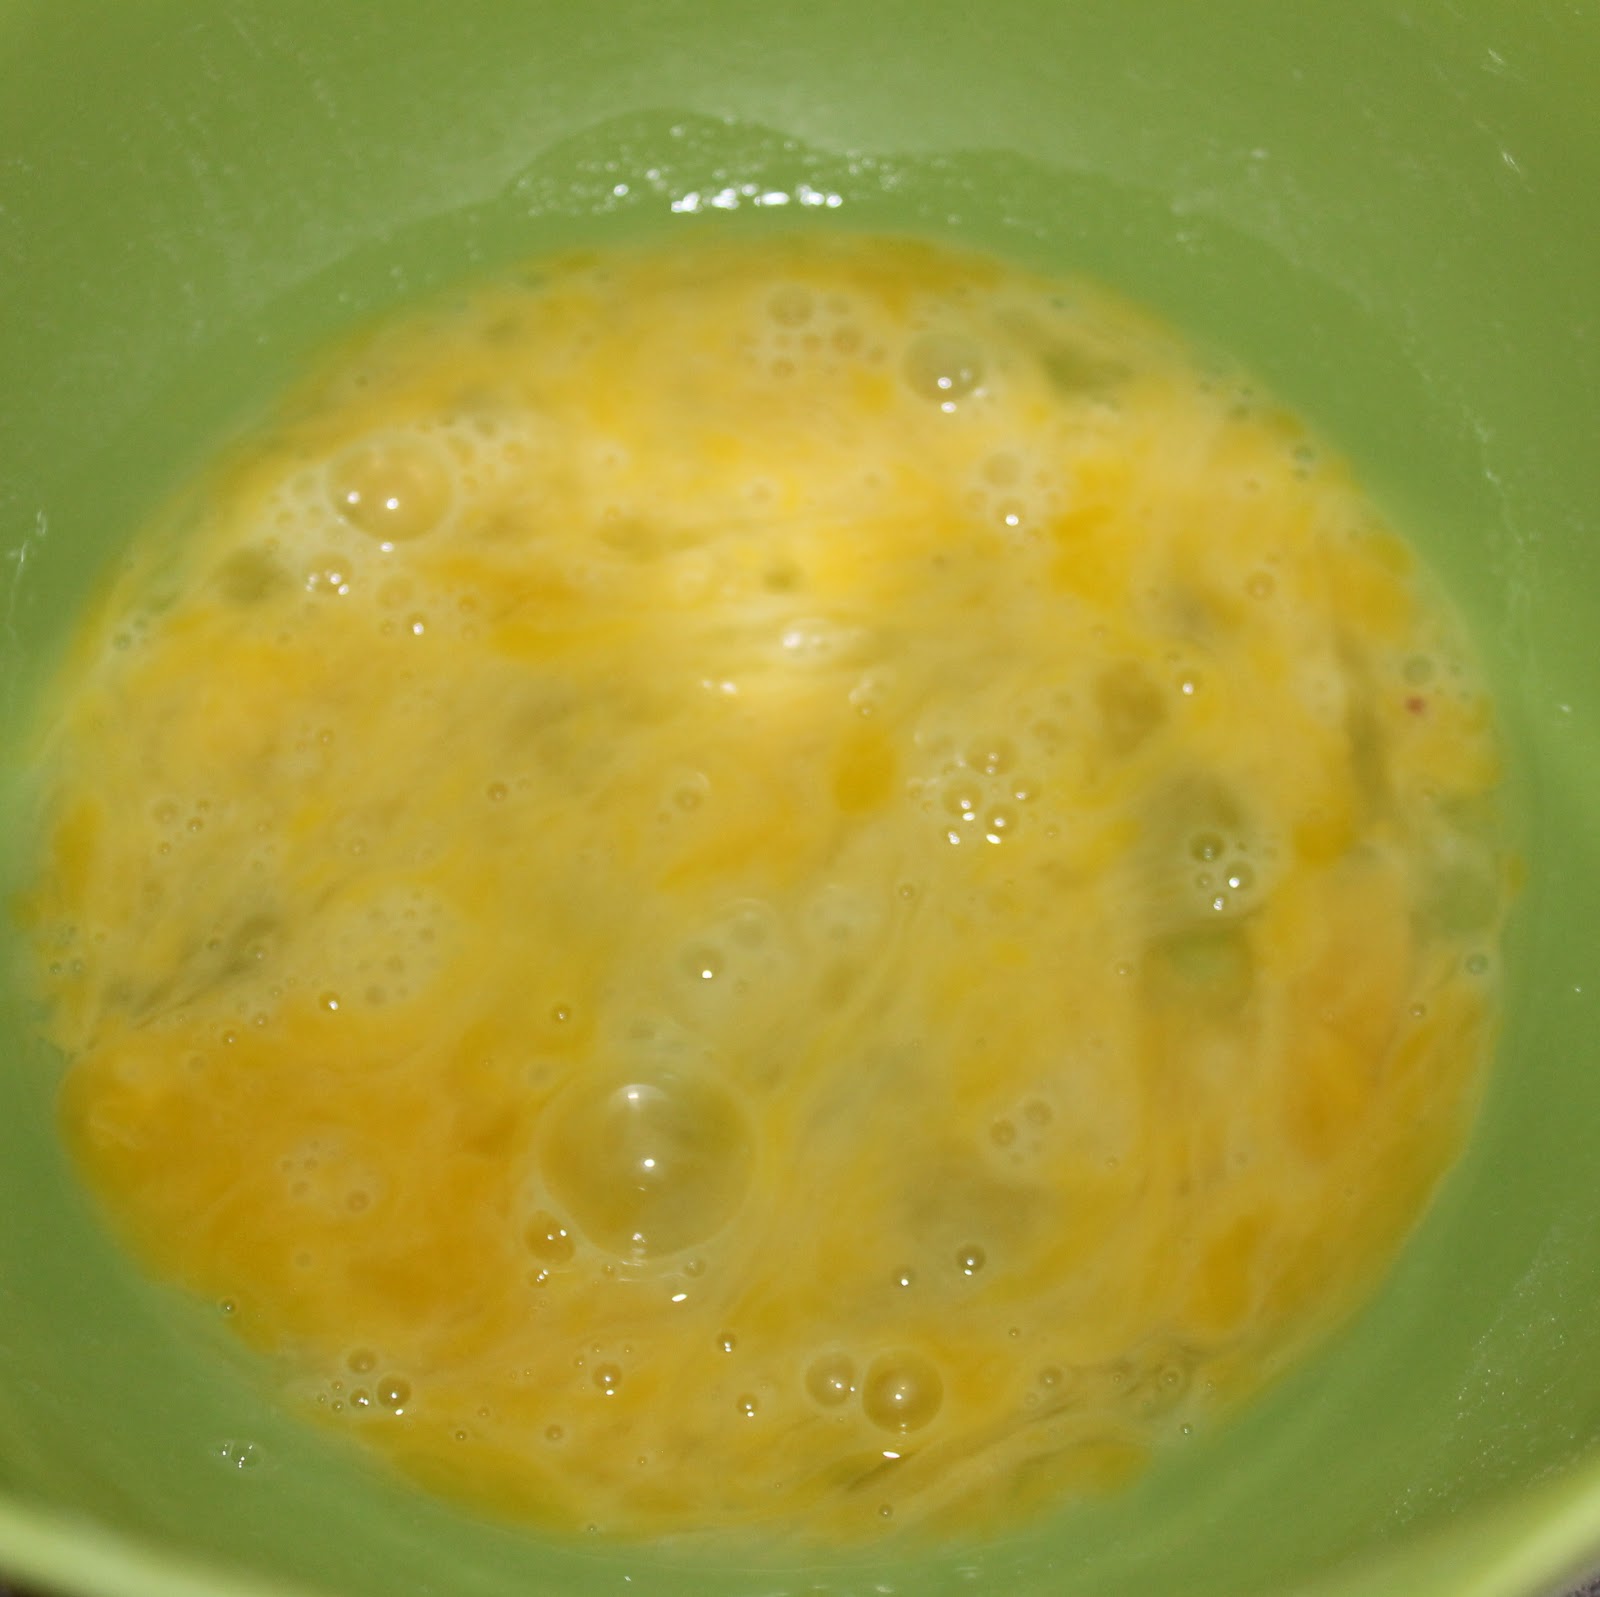
In a separate bowl, lightly beat the eggs.
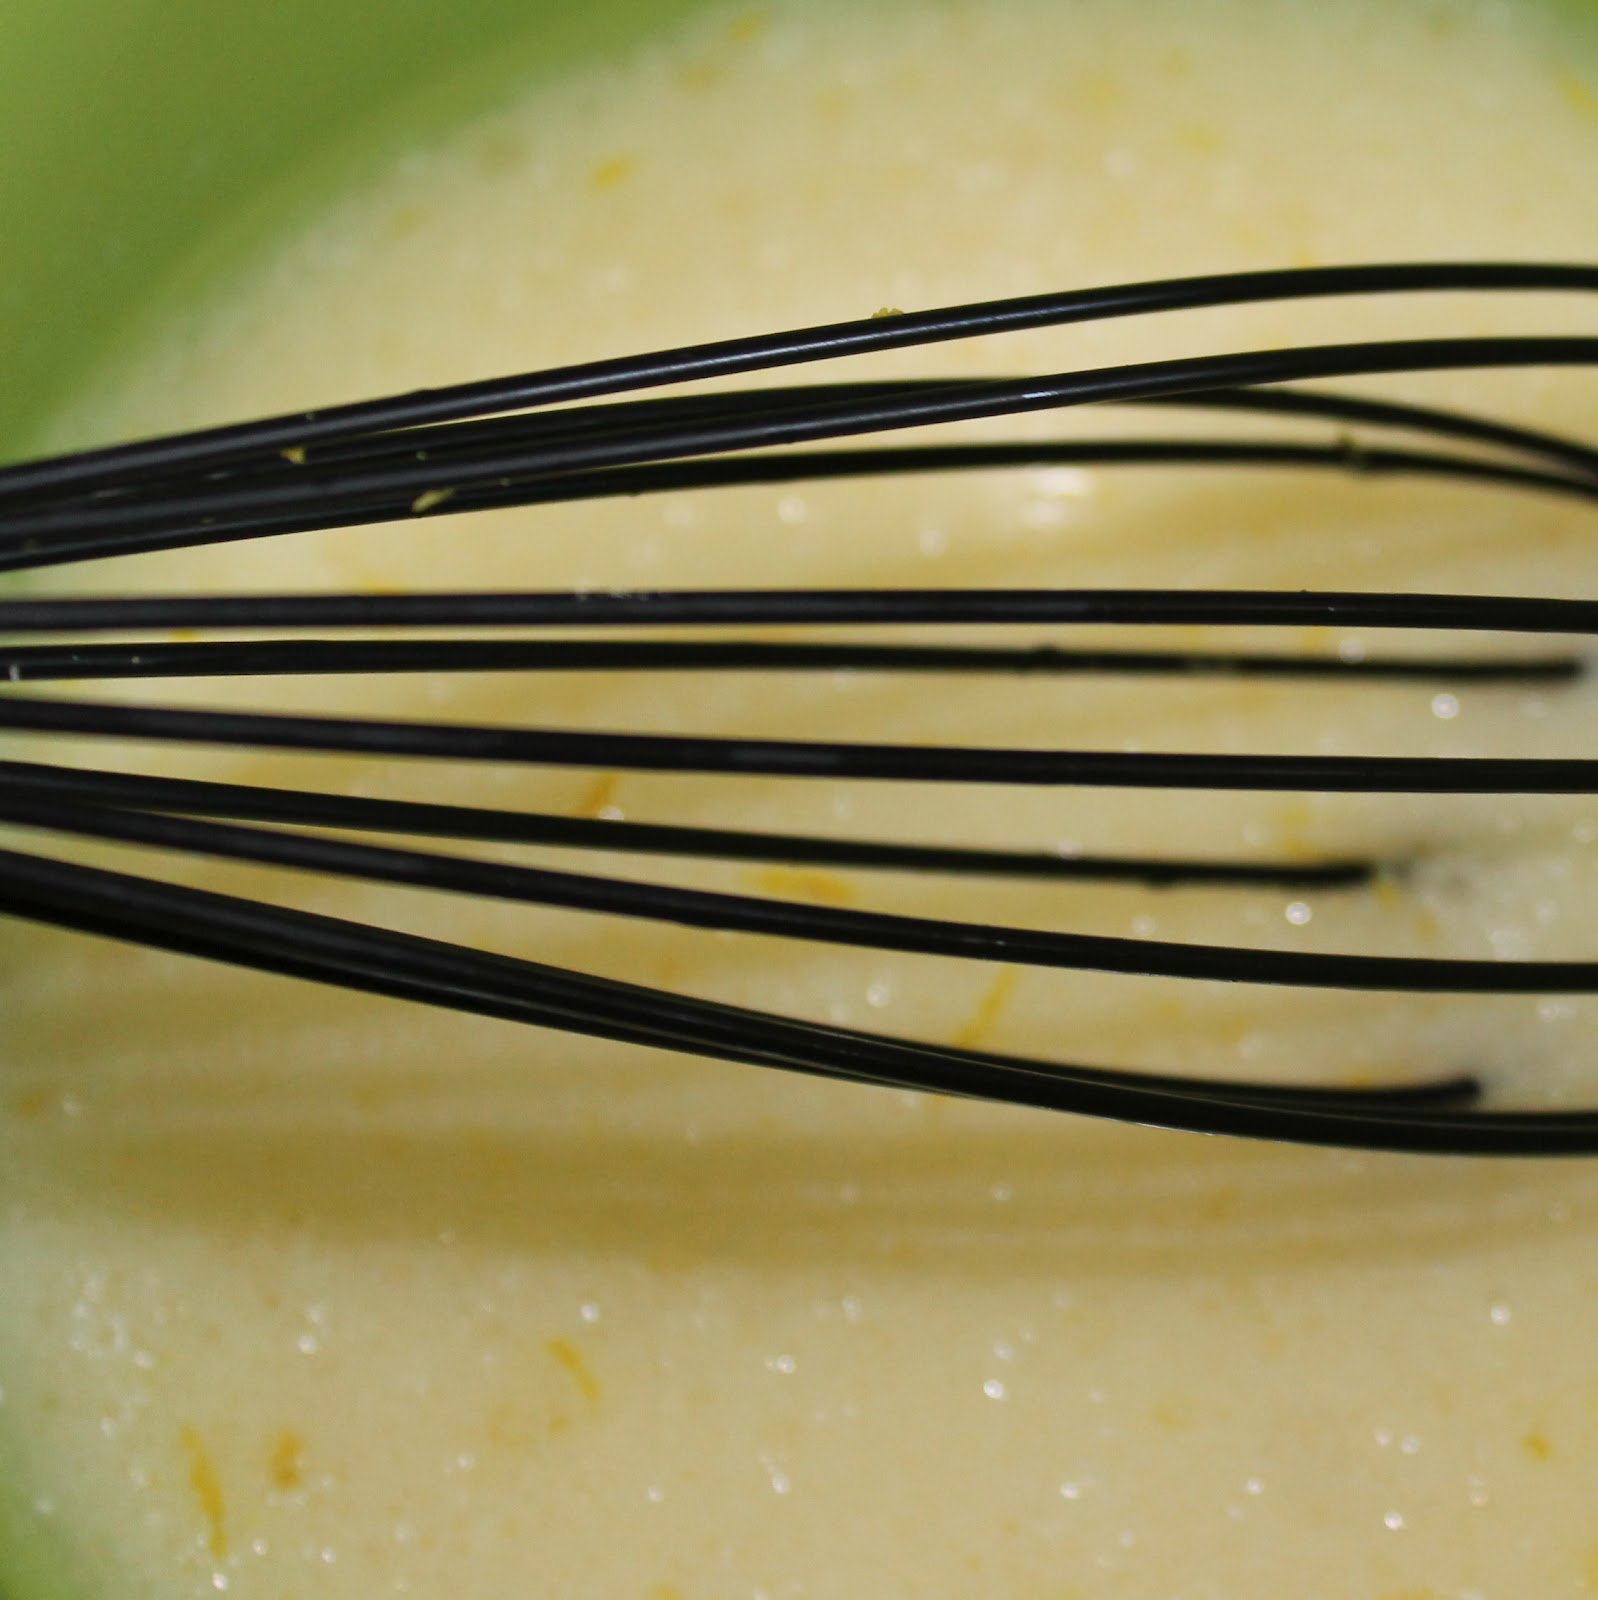
Add the milk, melted coconut oil, and lemon rind. And mix with a whisk to combine.
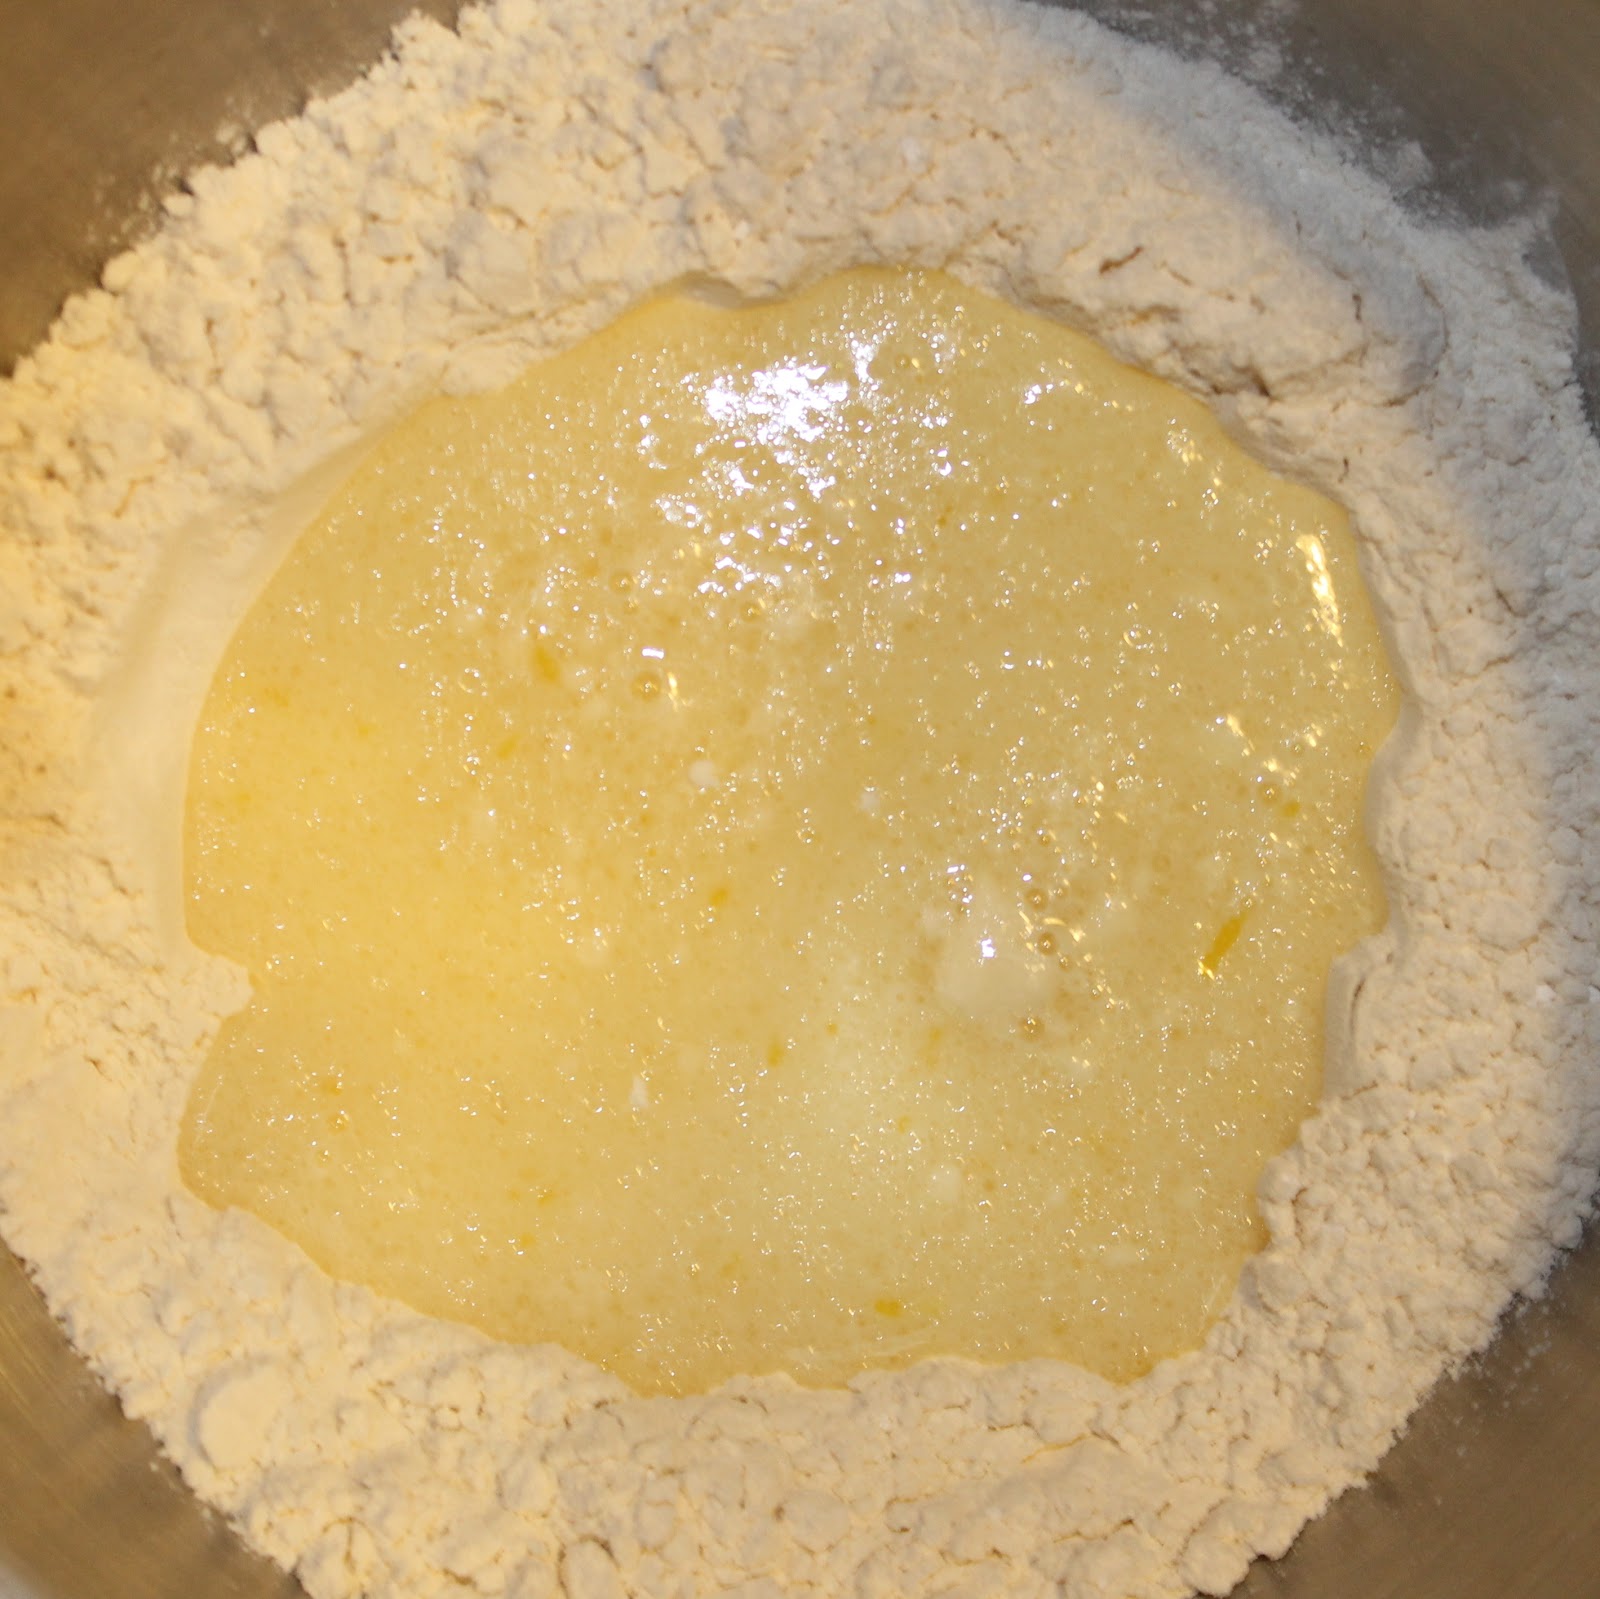
Make a well in the flour mixture and add the wet mixture to the bowl.
Stir until just combined (I used the lowest setting on my stand mixer. You can just use a spatula.)
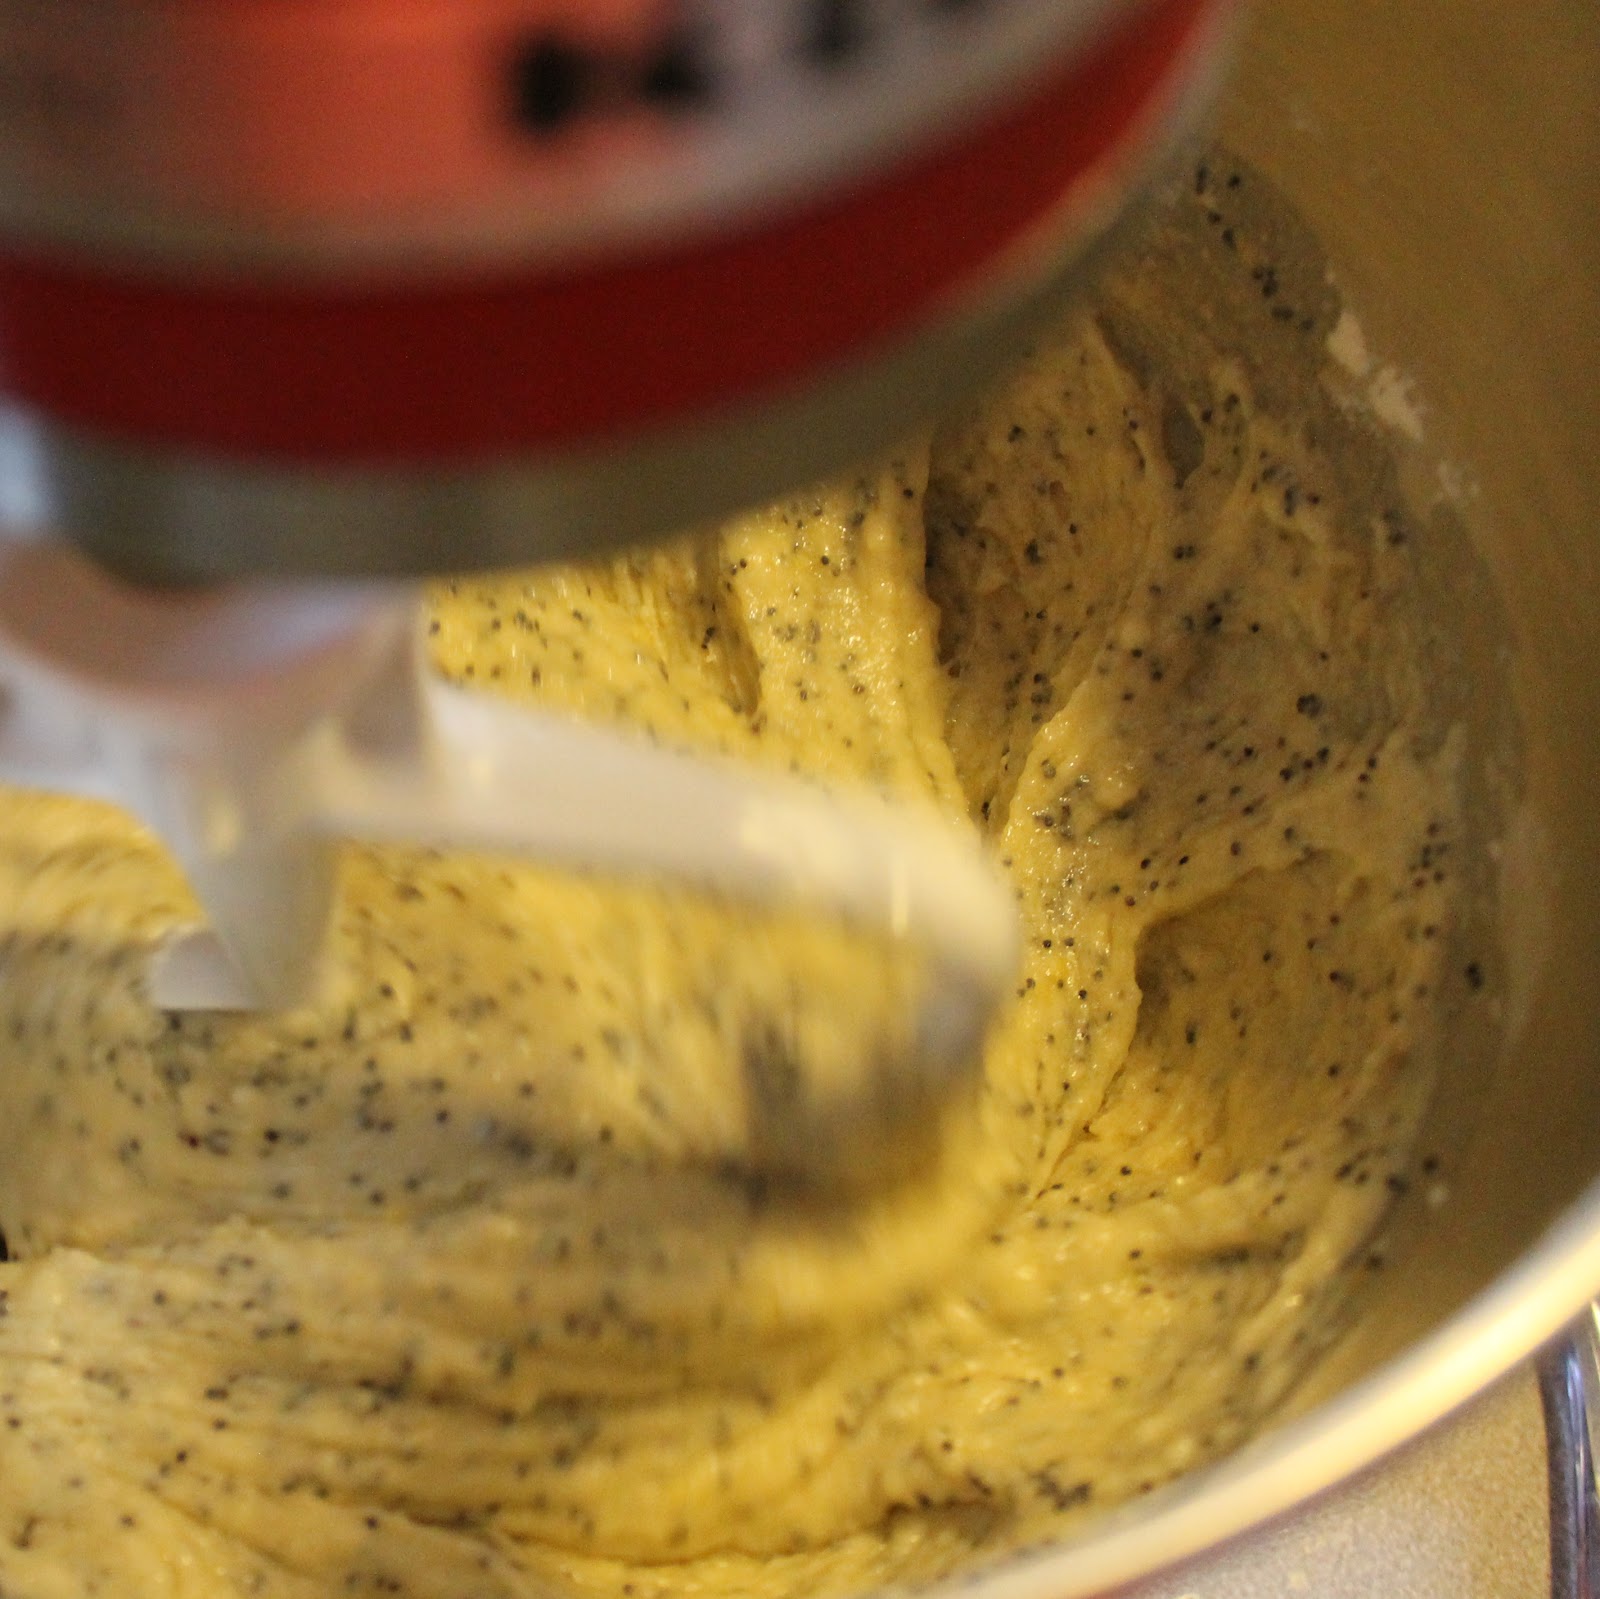
Add the sugar and poppy seeds, stirring until just combined.
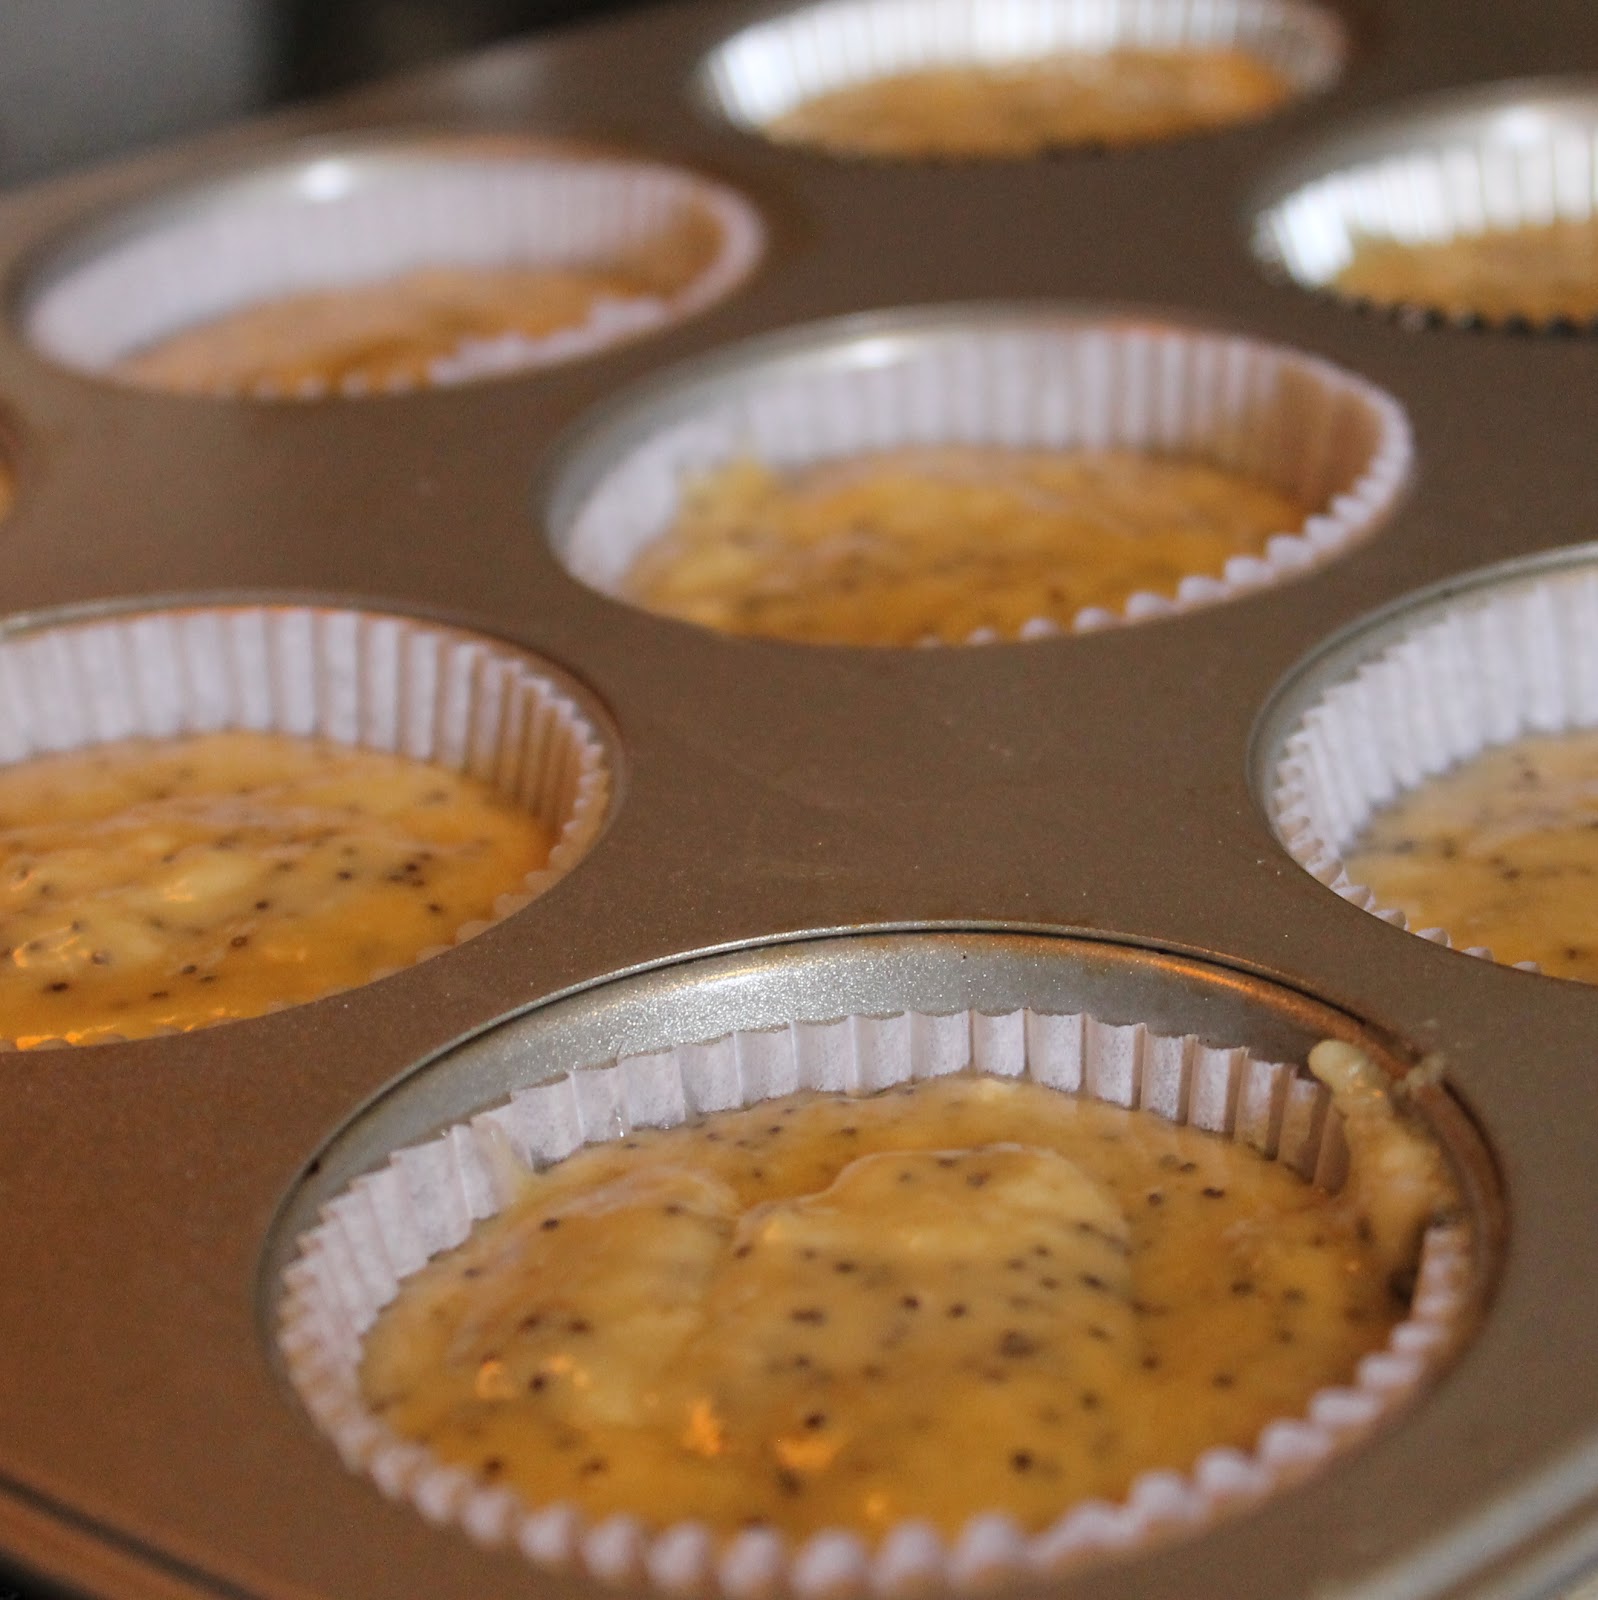
Add the batter to the muffin pan. To get equal sized muffins, use a small ladle or an ice cream scoop to portion out the batter.
Bake the muffins for 20-22 minutes; you want the muffins to have risen and be slightly golden brown on top, or when a toothpick inserted into the center of the cupcake comes out clean.
Allow to cool for 5 minutes in the pan and then remove.
So everyone knows how delicious normal Lemon Poppy Seed Muffins are. The coconut oil brings the muffins from good to great!
They are so fragrant. I was having trouble photographing them because I kept trying to eat them!
There is definitely a taste of coconut present without it being overwhelming; I find that coconut can really overtake a dish sometimes.
The lemon still shines through and is wonderfully sweet (due to all that sugar!)
Disclaimer: Tropical Traditions provided me with a free sample of this product to review, and I was under no obligation to review it if I so chose. Nor was I under any obligation to write a positive review or sponsor a product giveaway in return for the free product.
Tropical Traditions is America’s source for coconut oil. Their Gold Label Virgin Coconut Oil is hand crafted in small batches by family producers, and it is the highest quality coconut oil they offer. You can read more about how virgin coconut oil is different from other coconut oils on their website: What is Virgin Coconut Oil? You can also watch the video they produced about Gold Label Virgin Coconut Oil:
Tropical Traditions also carries other varieties of affordable high quality coconut oil. Visit their website to check on current sales, to learn about the many uses of coconut oil, and to read about all the advantages of buying coconut oil online. Since the FDA does not want us to discuss the health benefits of coconut oil on a page where it is being sold or given away, here is the best website to read about the health benefits of coconut oil.
To enter, use the widget below. You have 8 chances to win (Writing a comment is mandatory, the rest are optional)! Giveaway ends this Friday, May 11 at 11:59PM EST. Good luck!
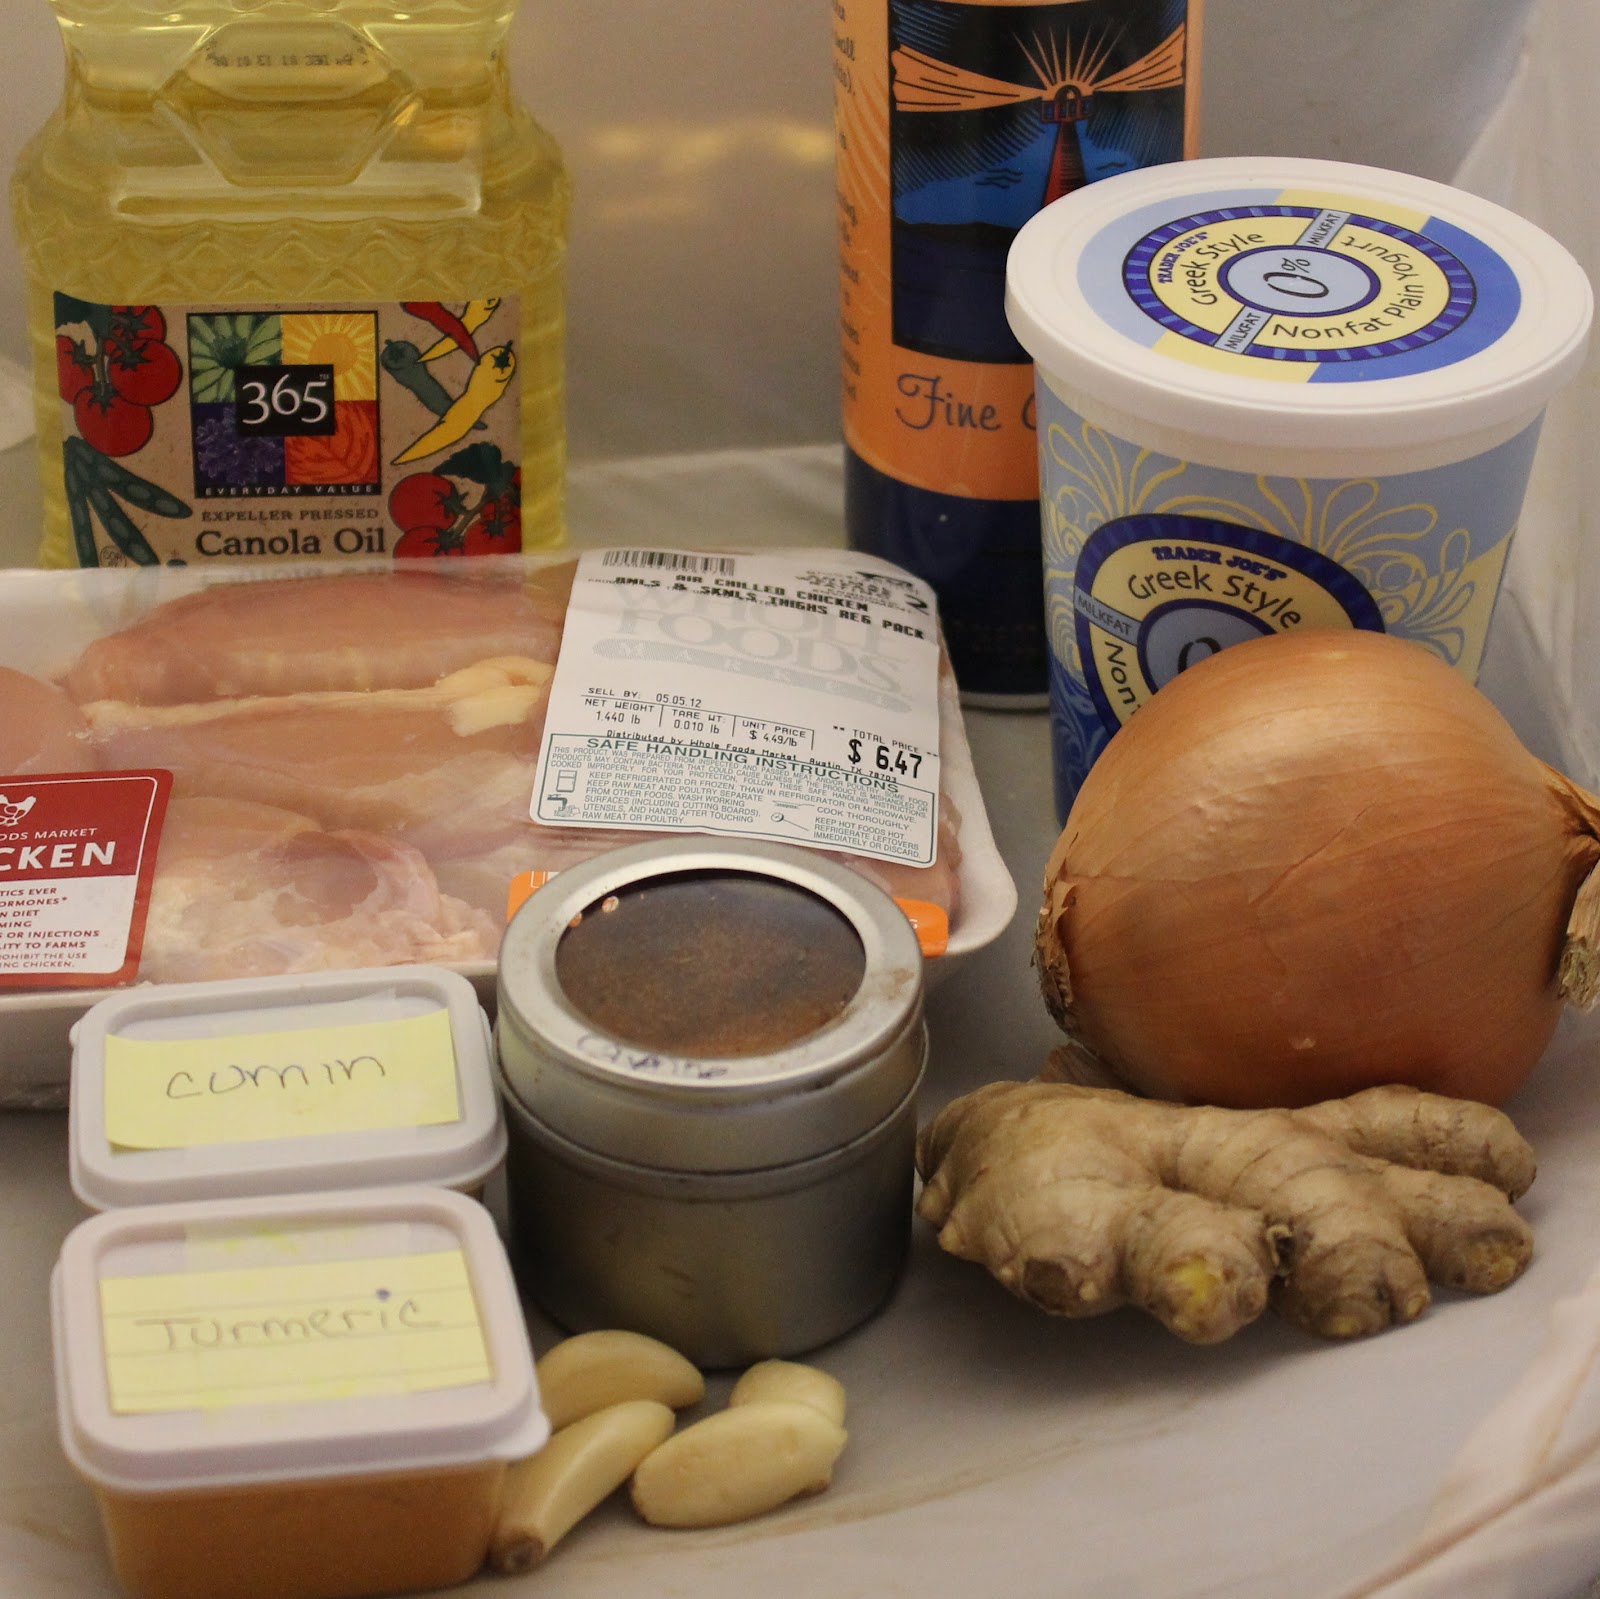
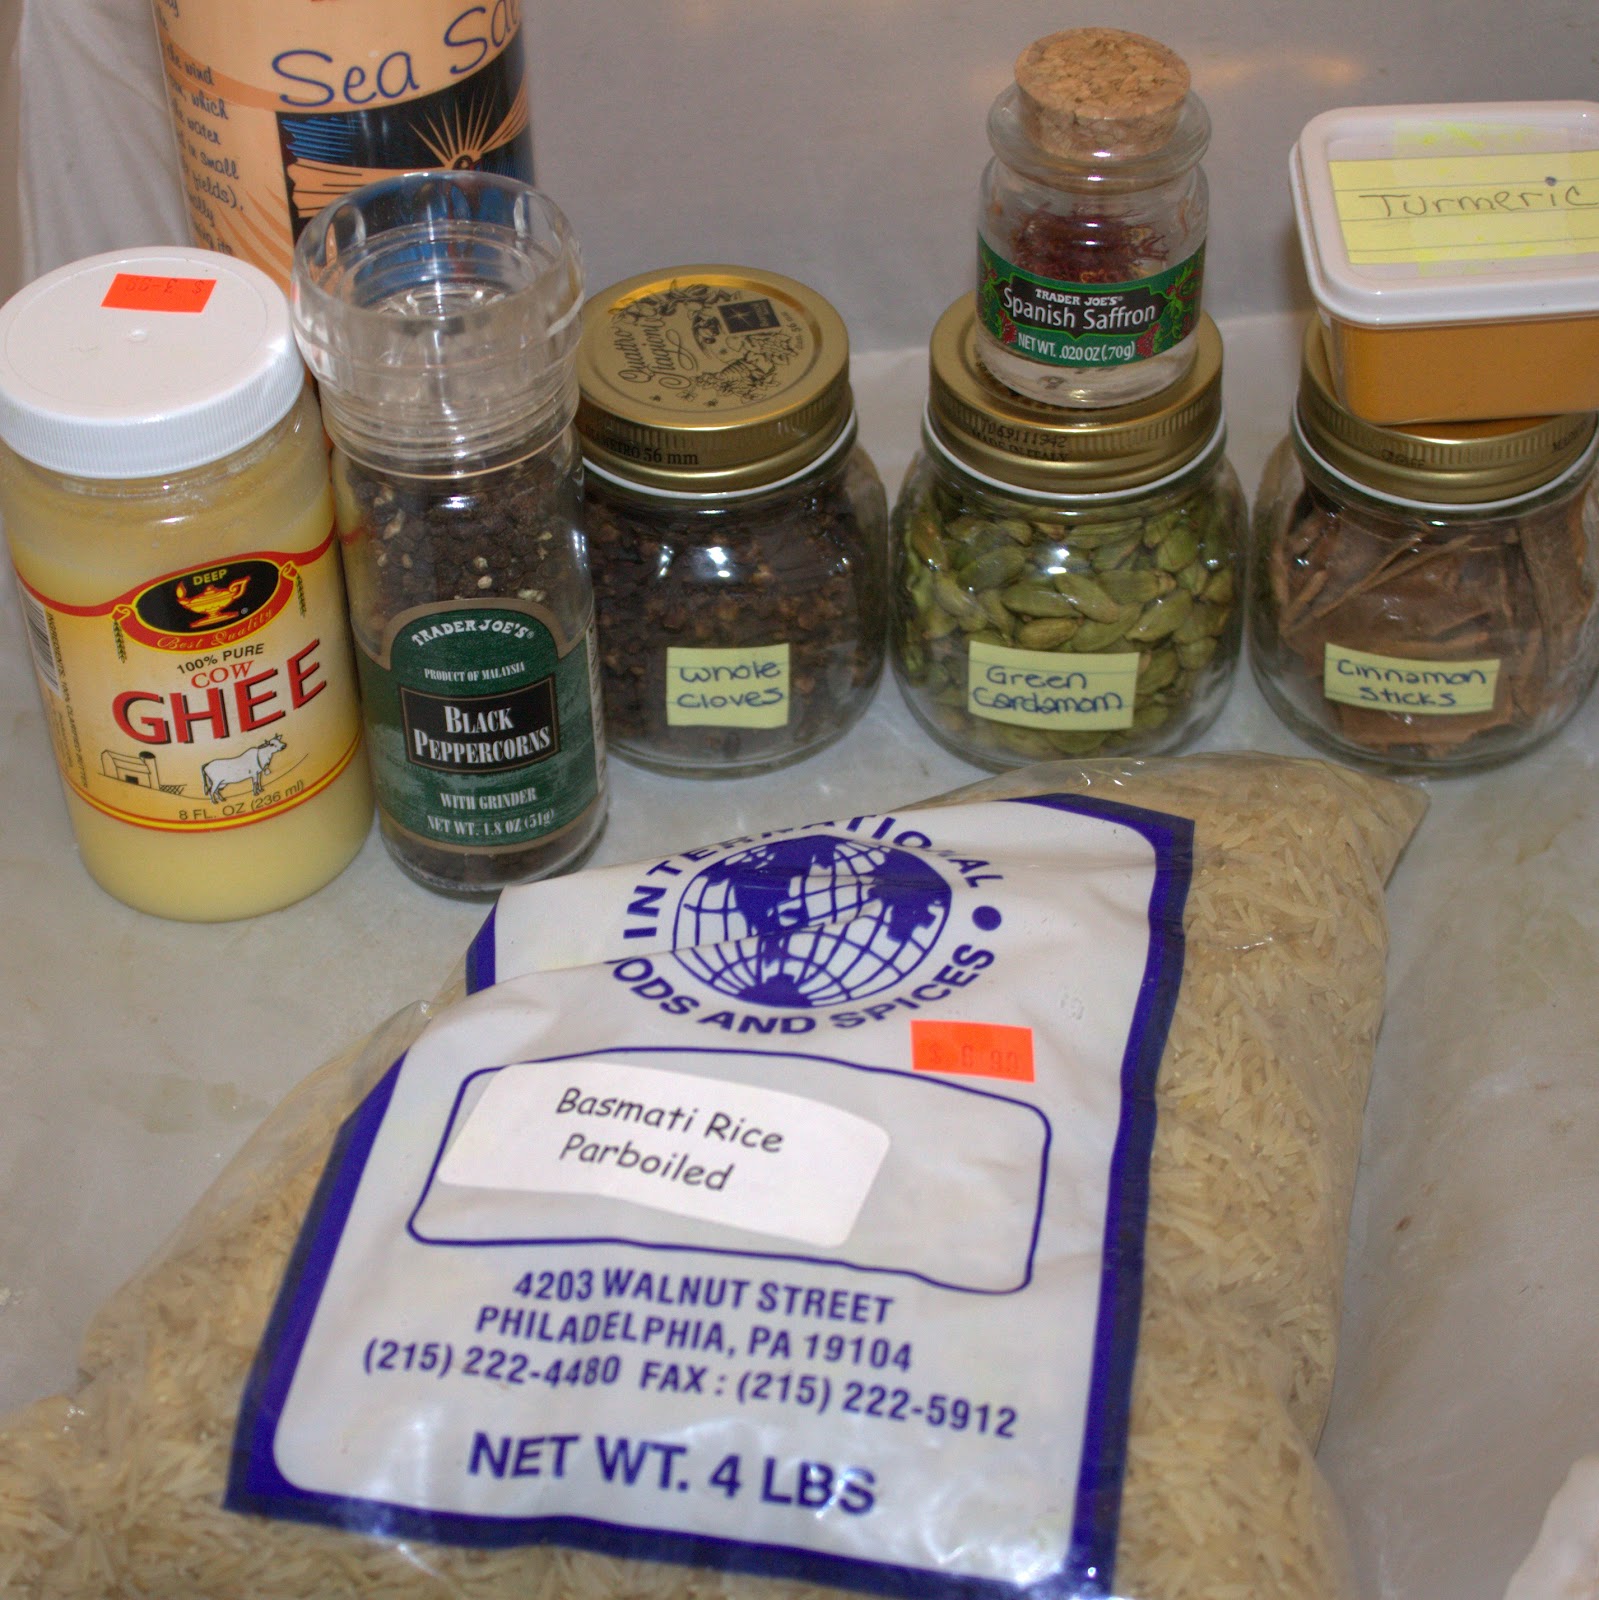
Adding spices to your meal is a great way to add tons of flavor to a dish without adding calories. Because you need so little of the spice to enhance a dish, it’s a pretty cost-effective way to add flavor as well. (I try to buy my spices outside of supermarkets where they are really marked up. Spice Terminal in Reading Terminal was my favorite spot — I hope it’s coming back soon! update: The Head Nut is now open!) This dish in the latest Cooking Light for Tandoori Chicken Thighs incorporates traditional Indian spices which I absolutely love. I also made a quick saffron rice to go with the chicken.
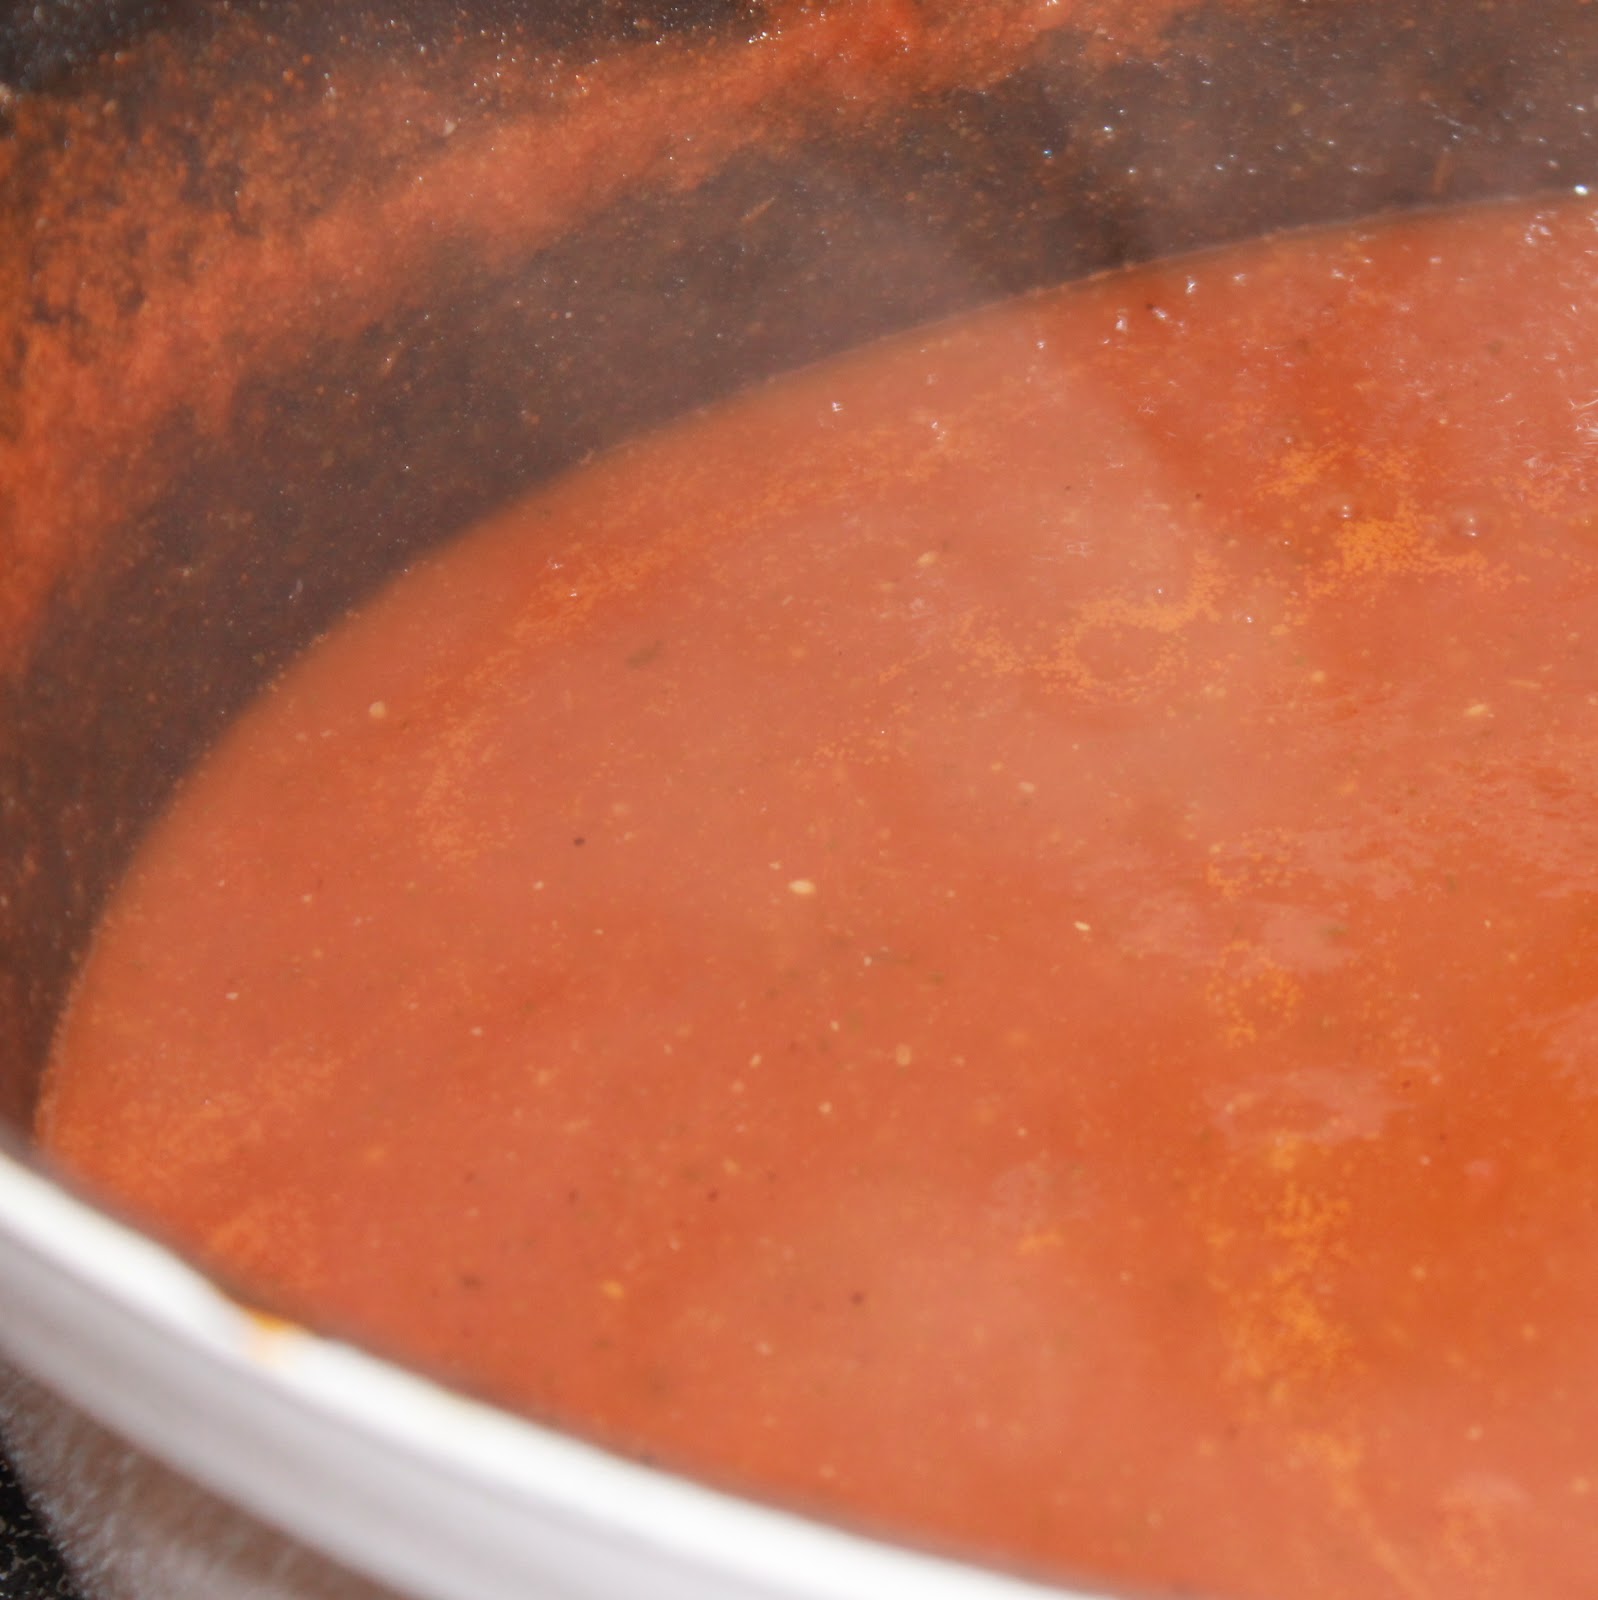
Naturally, the day after I made my Grilled Tomato Orzo Salad in a Tomato Bowl pretending it was summer, the weather decided to do a 180 and veer into rainy cold sadness. Sigh. So what better way to use some of my Lipman Tomatoes than to make Creamy Tomato Soup? I found this recipe on Food Network and I had most of the ingredients already, win! I changed the recipe slightly for my tastes.
Ingredients:
3 tablespoons olive oil
1 red onion, chopped
1 carrot, unpeeled and chopped
3 cloves minced garlic
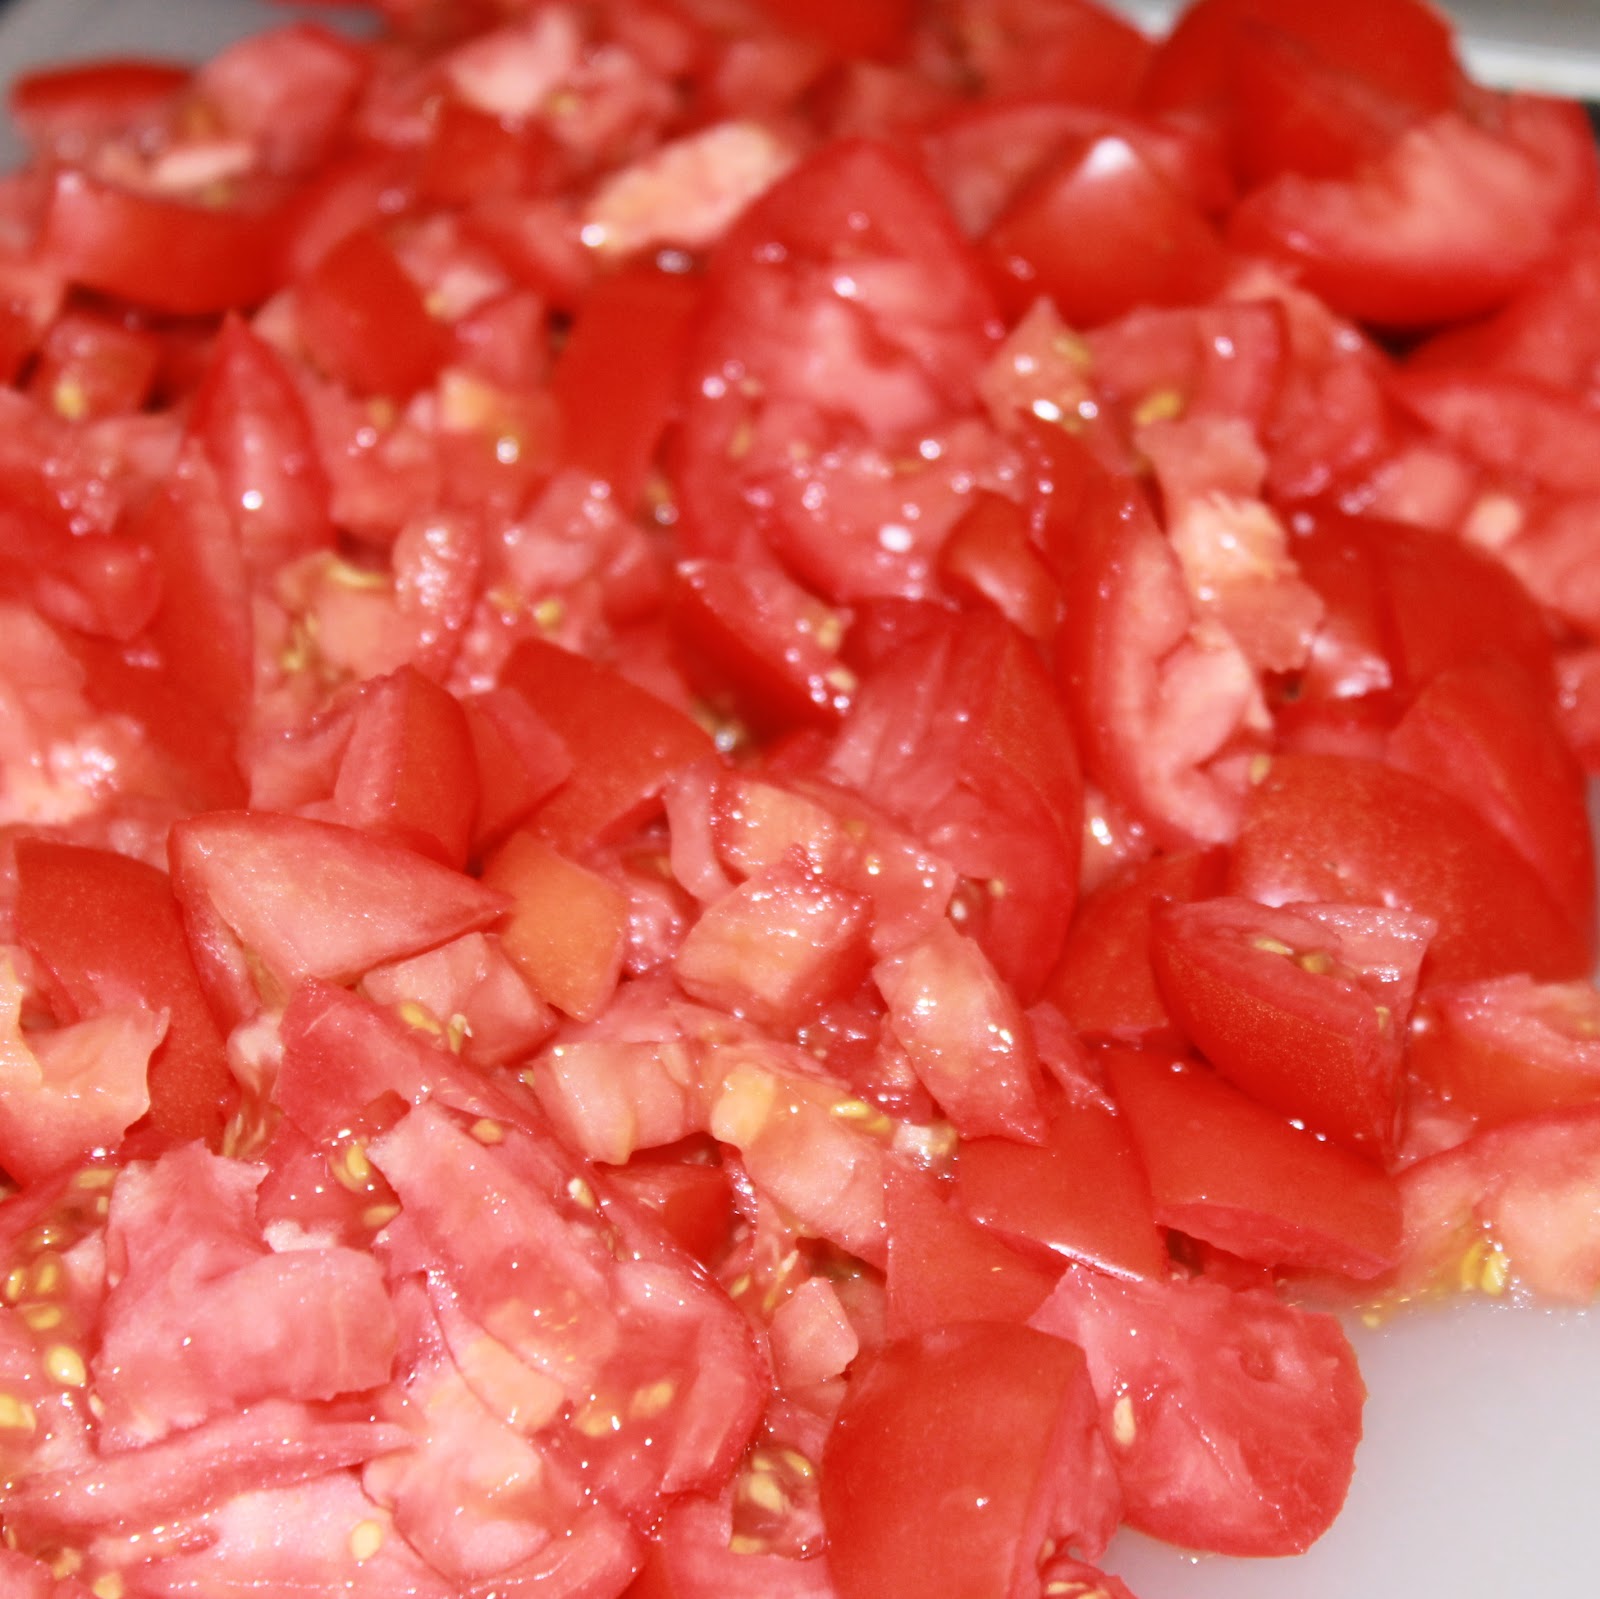
12 plum tomatoes, roughly chopped
1 teaspoon sugar
1 tablespoon tomato paste
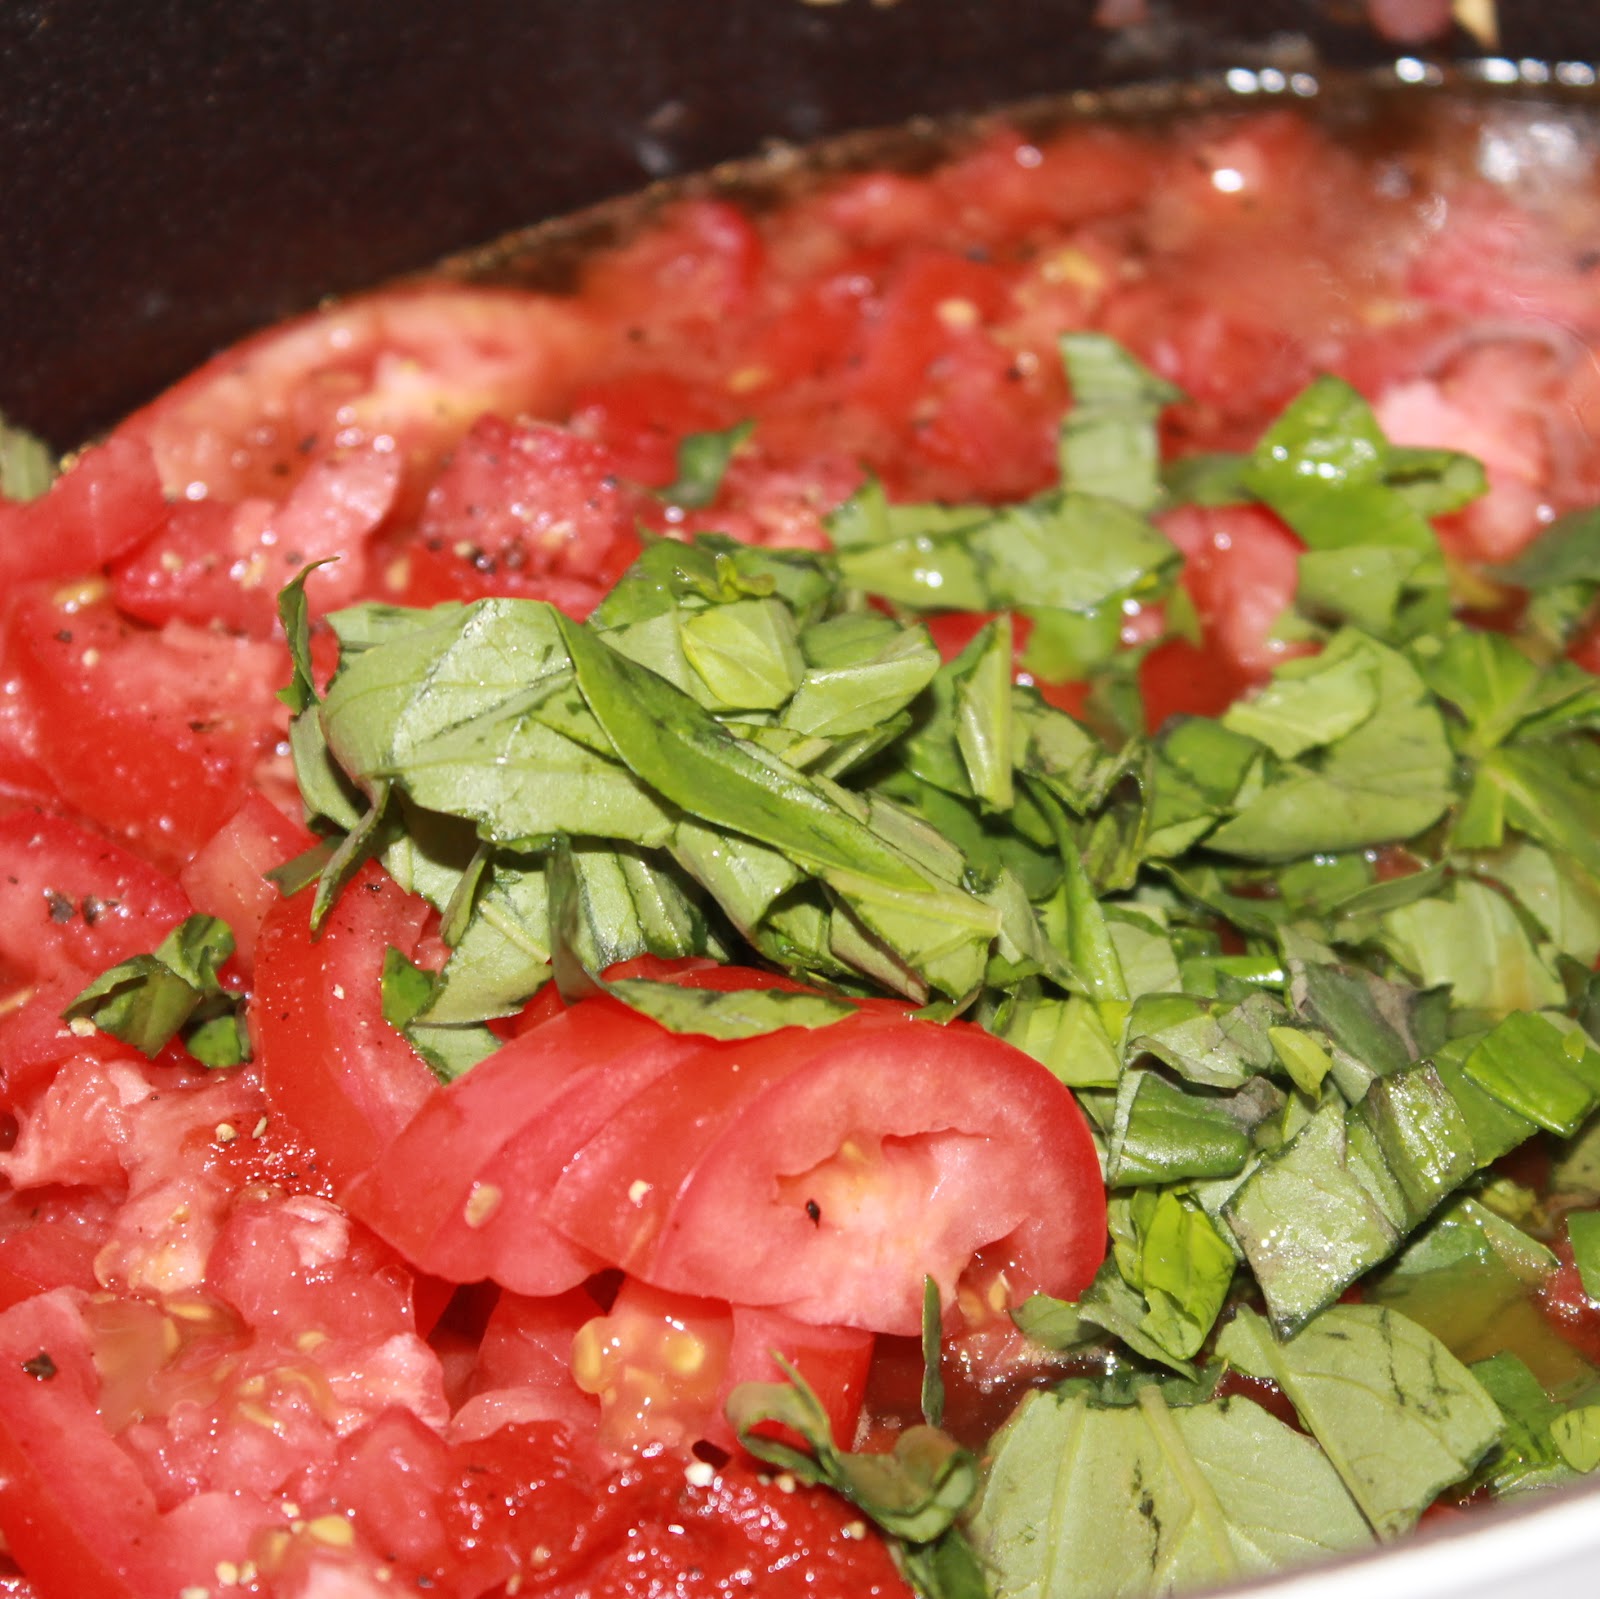
1/4 cup packed chopped fresh basil leaves, plus julienned basil leaves, for garnish
3 cups chicken stock
1 teaspoon kosher salt
1 teaspoons freshly ground black pepper
1/2 cup heavy cream
Croutons, for garnish
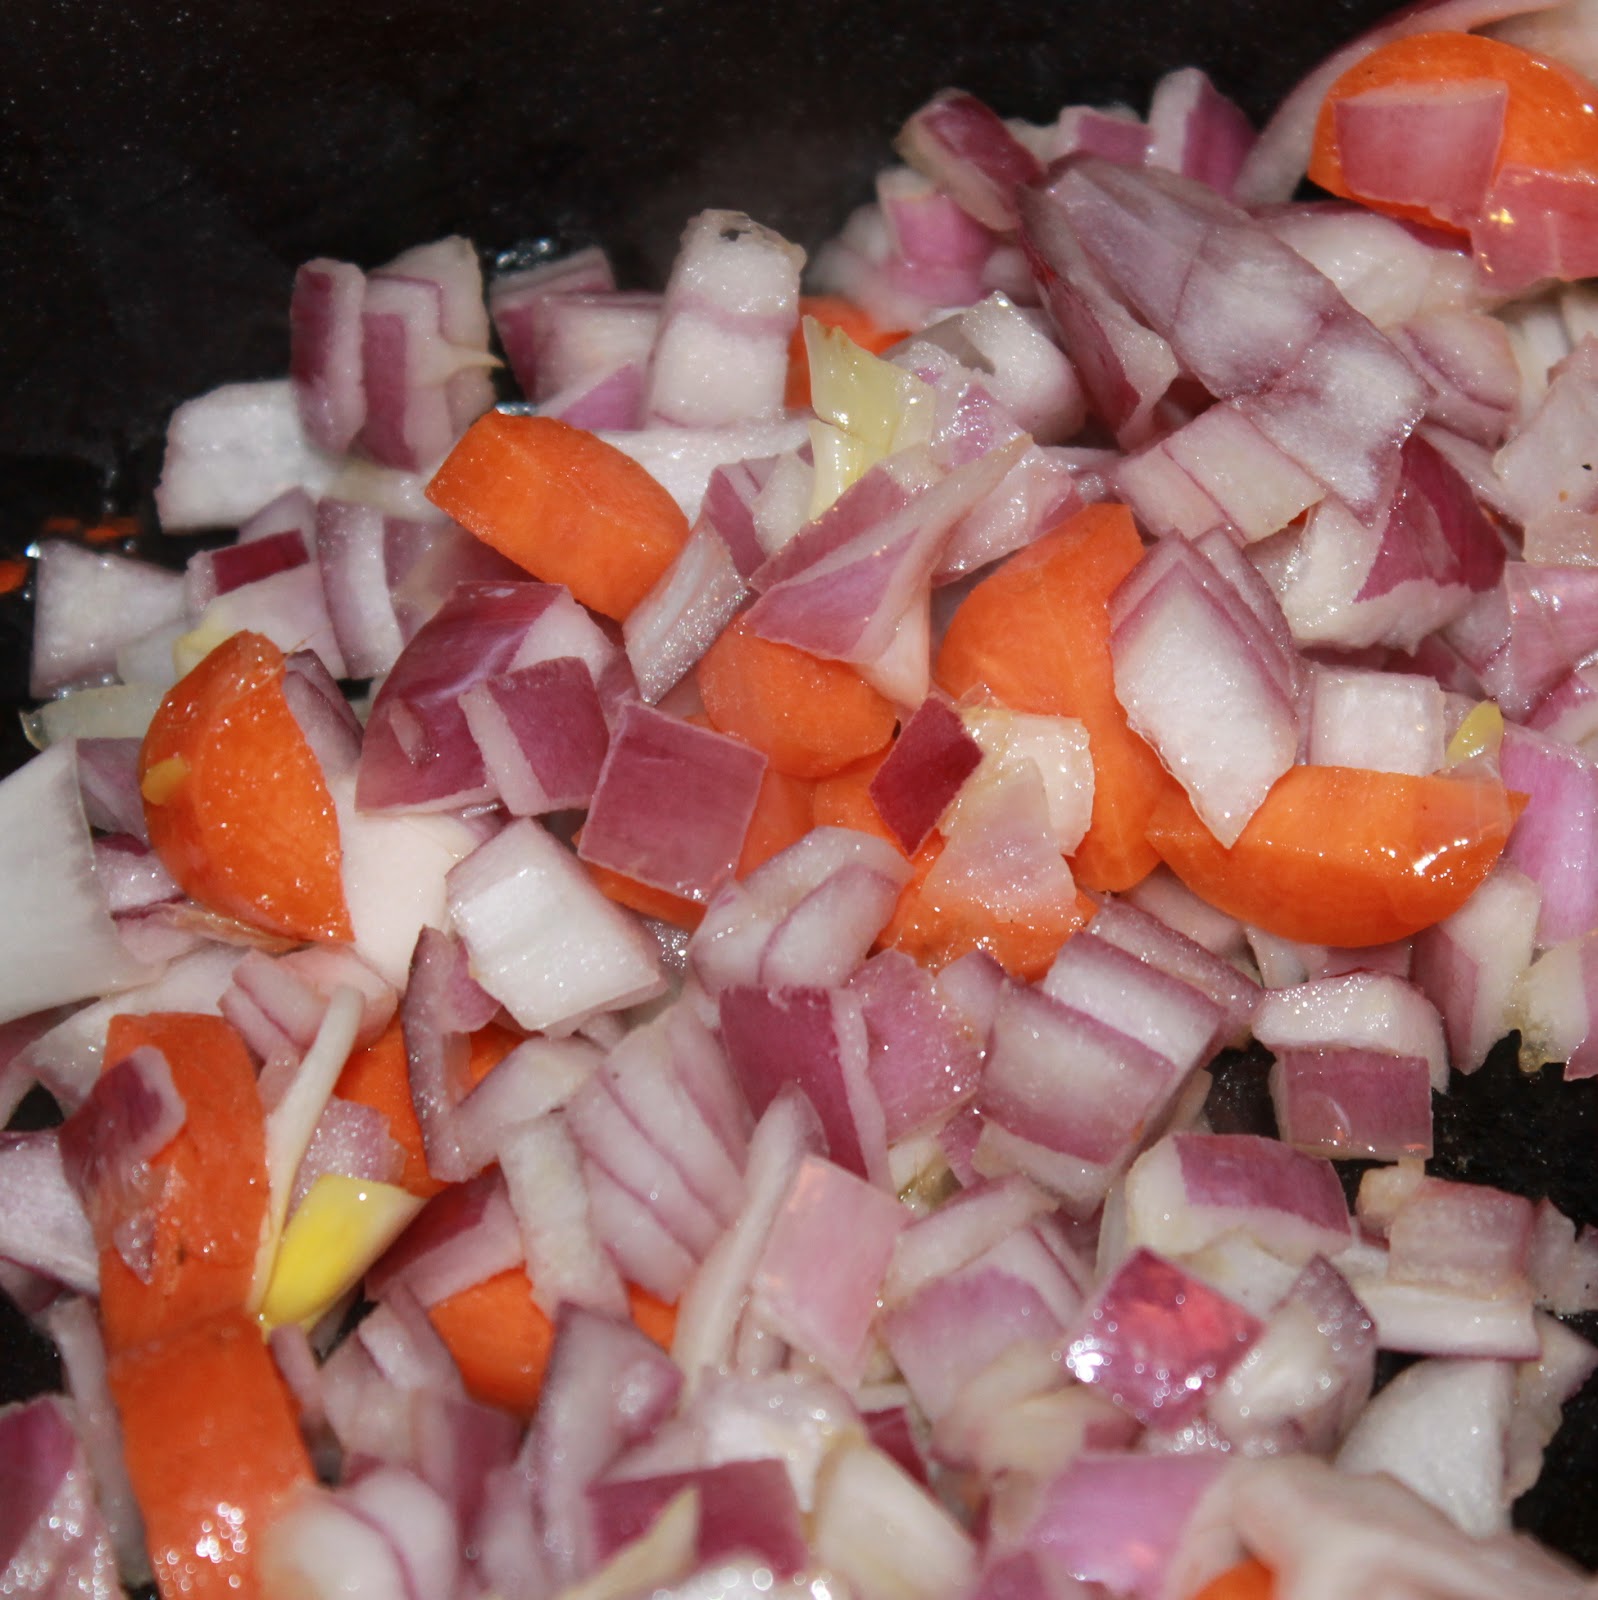
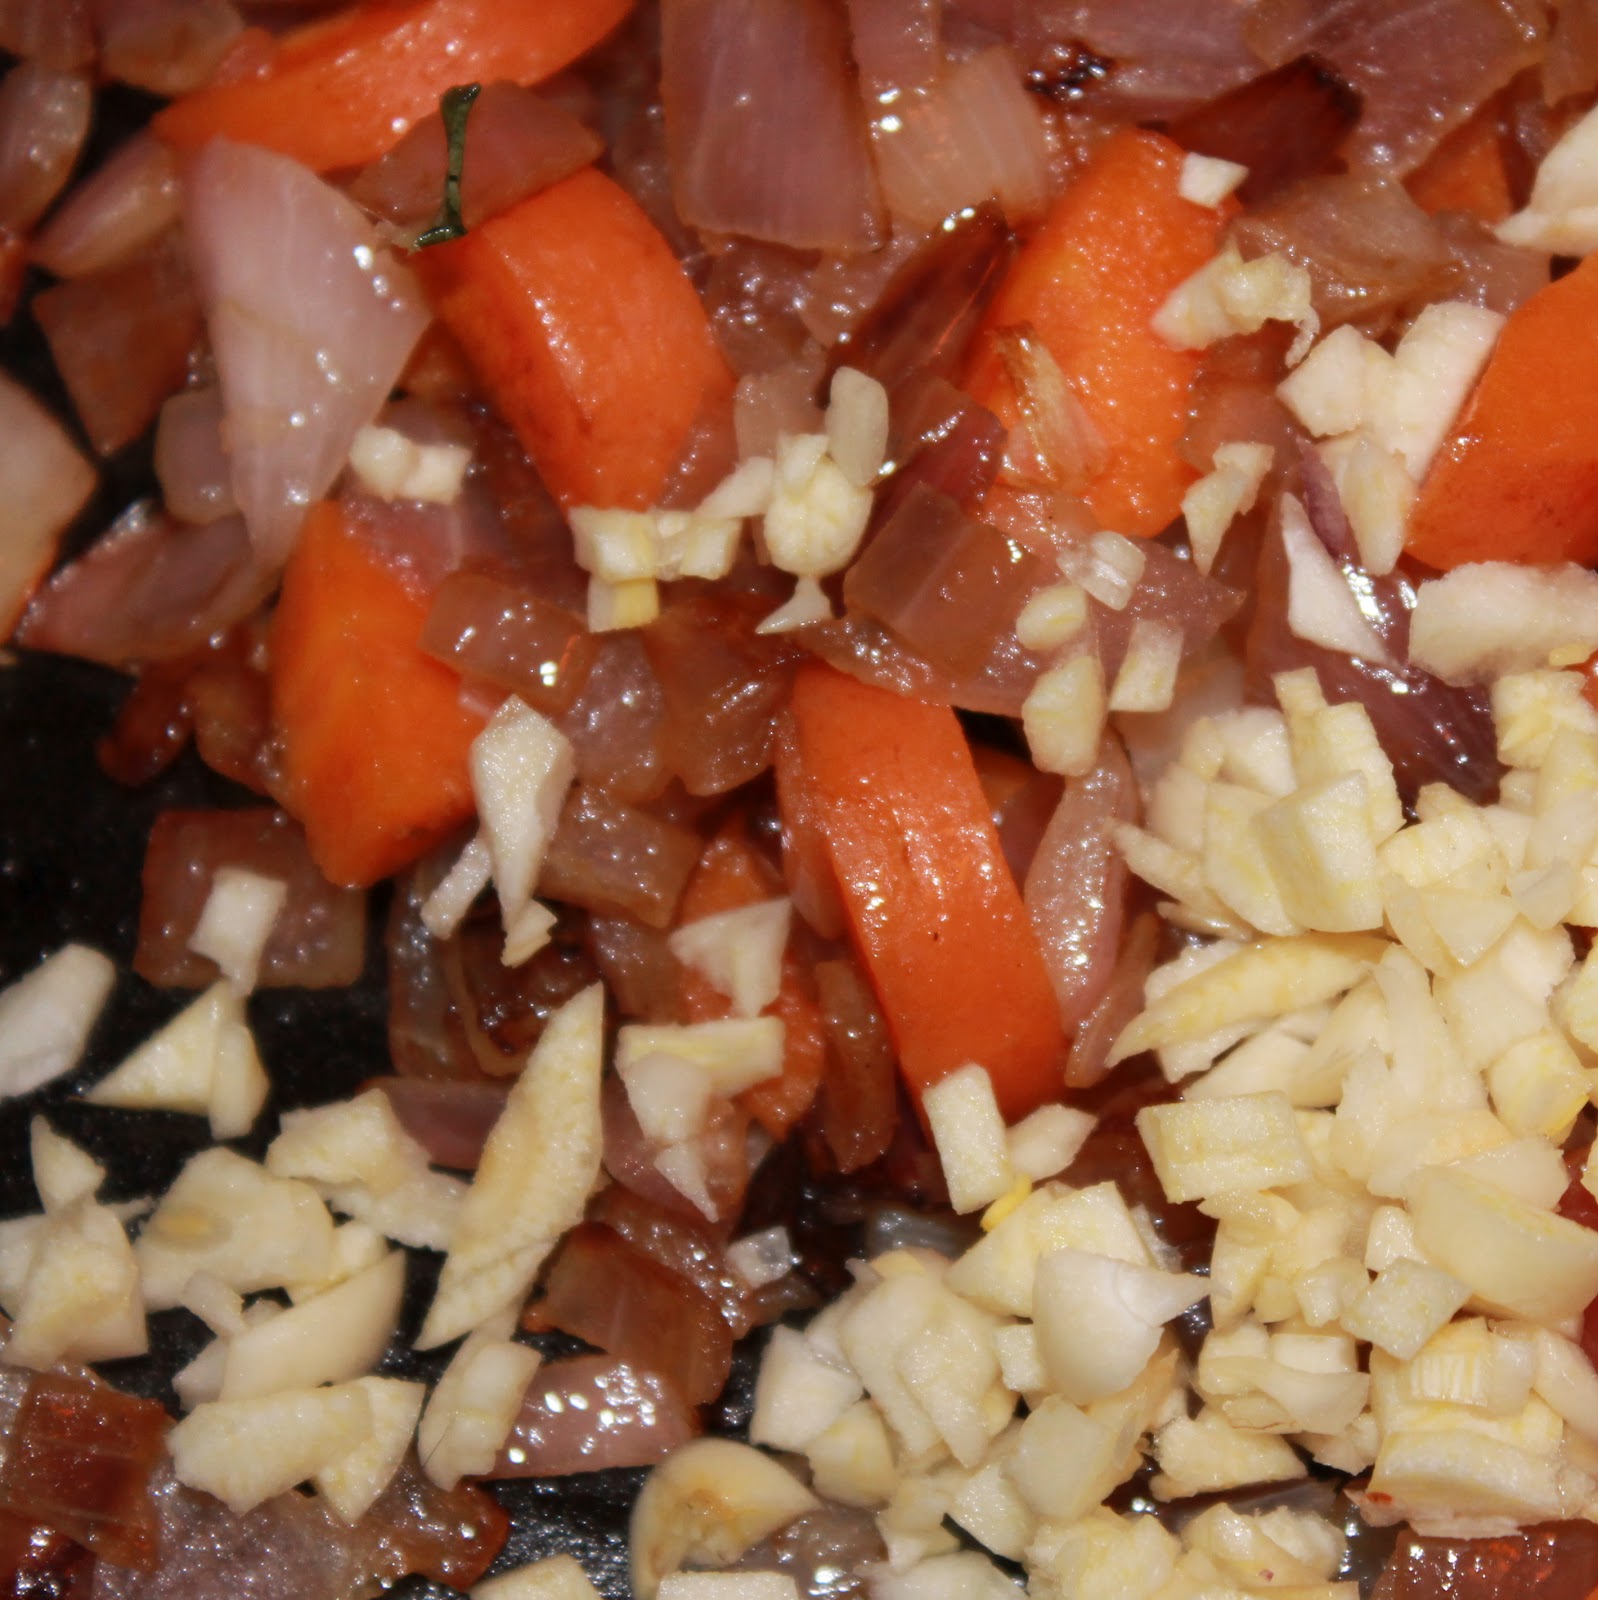
Heat a large pot or a Dutch oven over medium-low heat. Add the olive oil. Chop the onion and carrot.
Saute for 10 minutes.
While waiting for the onion and carrot to soften, mince the garlic and set it aside. Roughly chop the tomatoes. Chop the basil.
Add the garlic to the pot and cook for 1 minute.
Add the tomatoes, sugar, tomato paste, basil, chicken stock, salt and pepper to the pot.
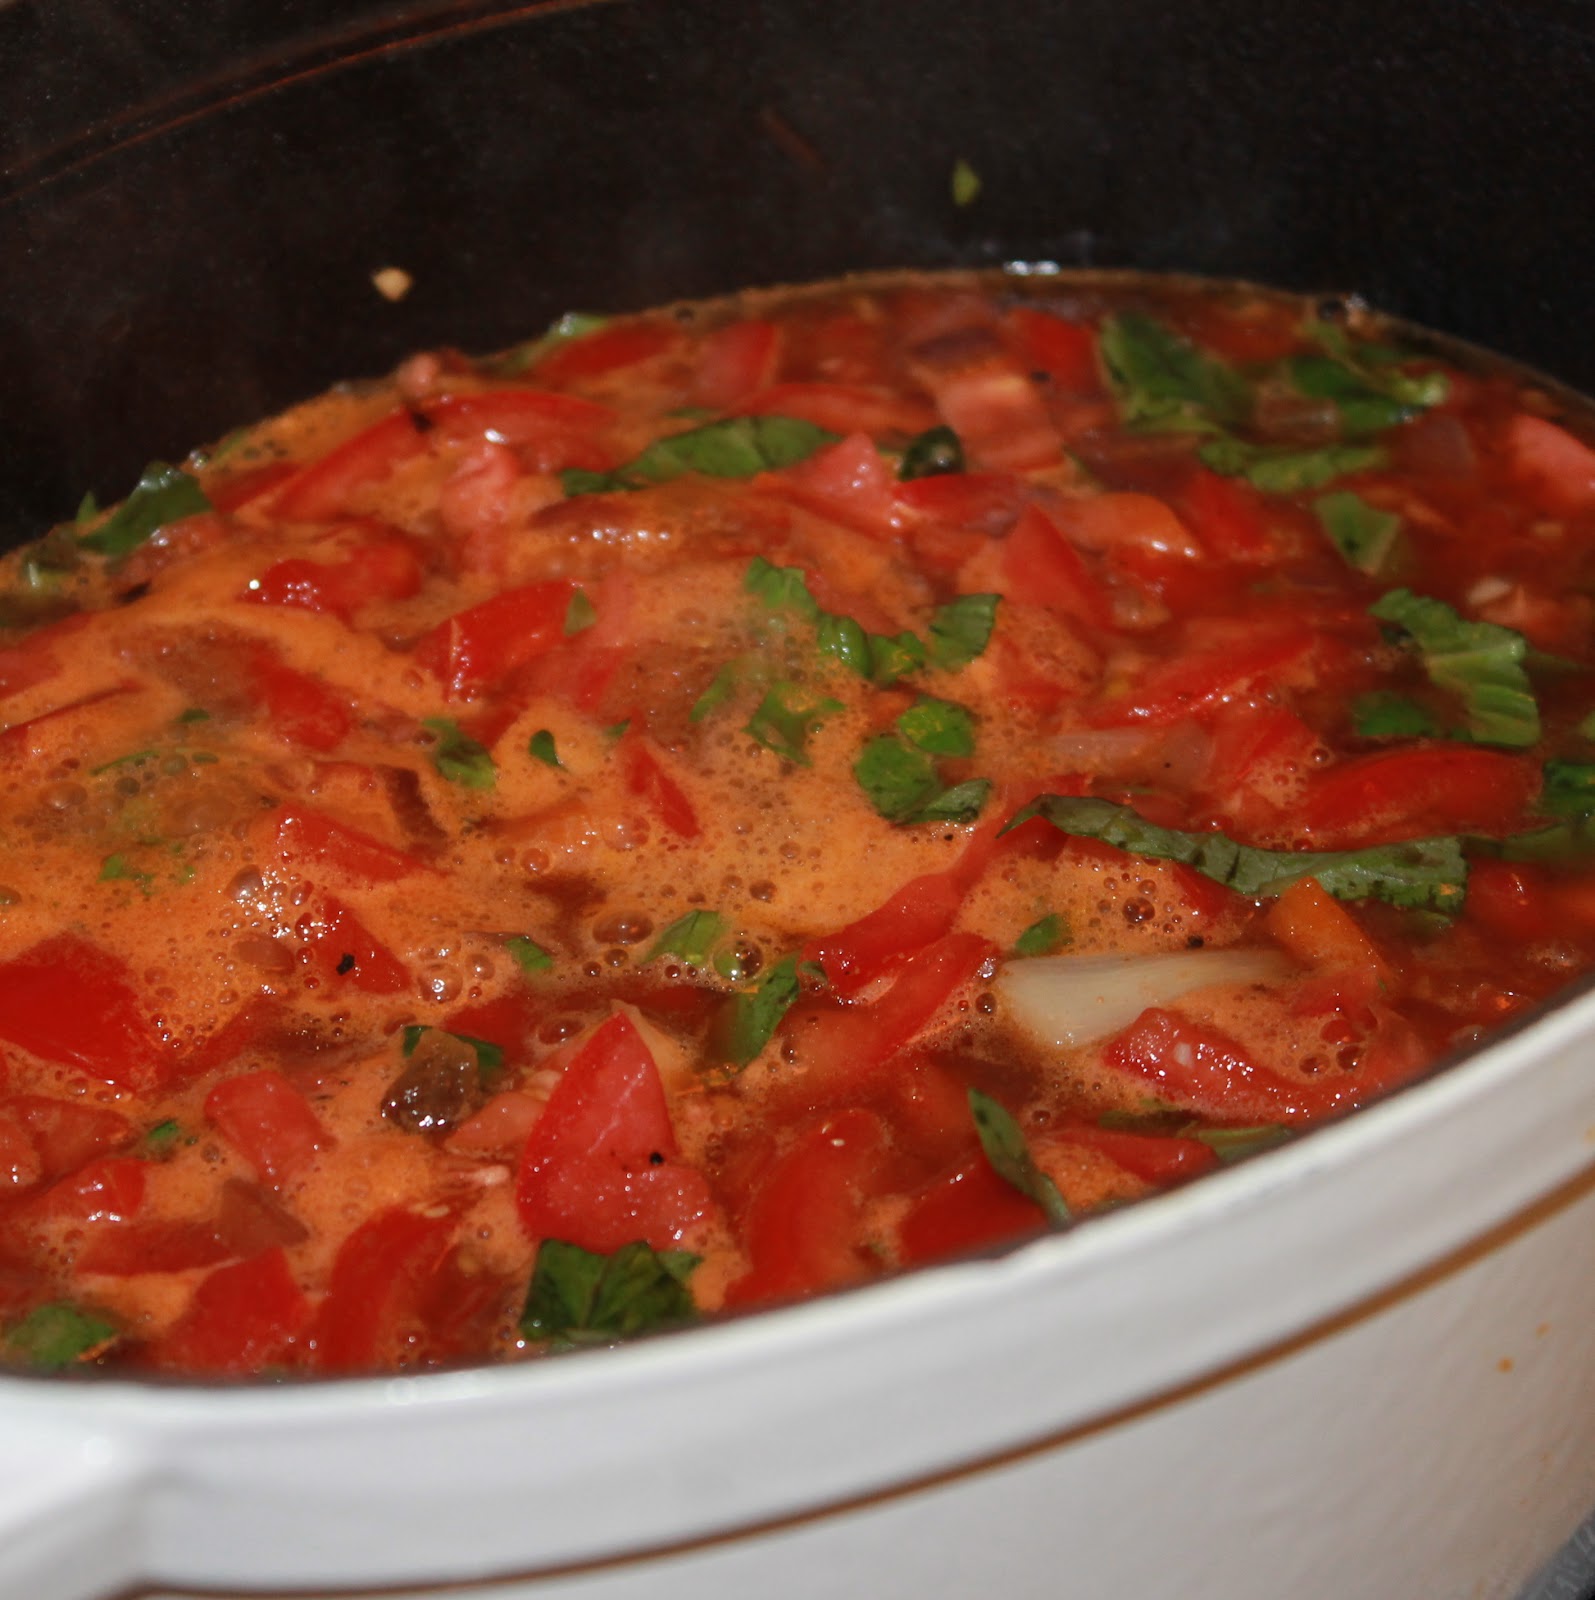
Stir well and bring to a boil.
Lower the heat and simmer, uncovered, for 30 minutes.
If you have an immersion blender, at this stage, use to puree the soup. If you don’t, remove half the mixture and add it to a blender. Blend until smooth; be sure to keep the center of the top off of the blender and cover with a paper towel. Repeat with remaining mixture. Return to the pot over medium-low heat.
The soup is honestly good to go at this point. Feel free to just stop here.
To make a creamy soup, add the cream to the soup and mix.
Serve with basil and croutons.
Oh my goodness. Not only is this super easy, but it is absolutely delicious.
Because the soup is made with so many fresh tomatoes, it’s important to use tomatoes at their peak.
This is a wonderfully thick soup so it’s a meal in itself, but rainy, cold days always make me want a favorite childhood staple:
Note: The original recipe used a food mill but I don’t have one. And I was not willing to peel the tomatoes so I blended them, and it worked out great. The soup ended up completely creamy.
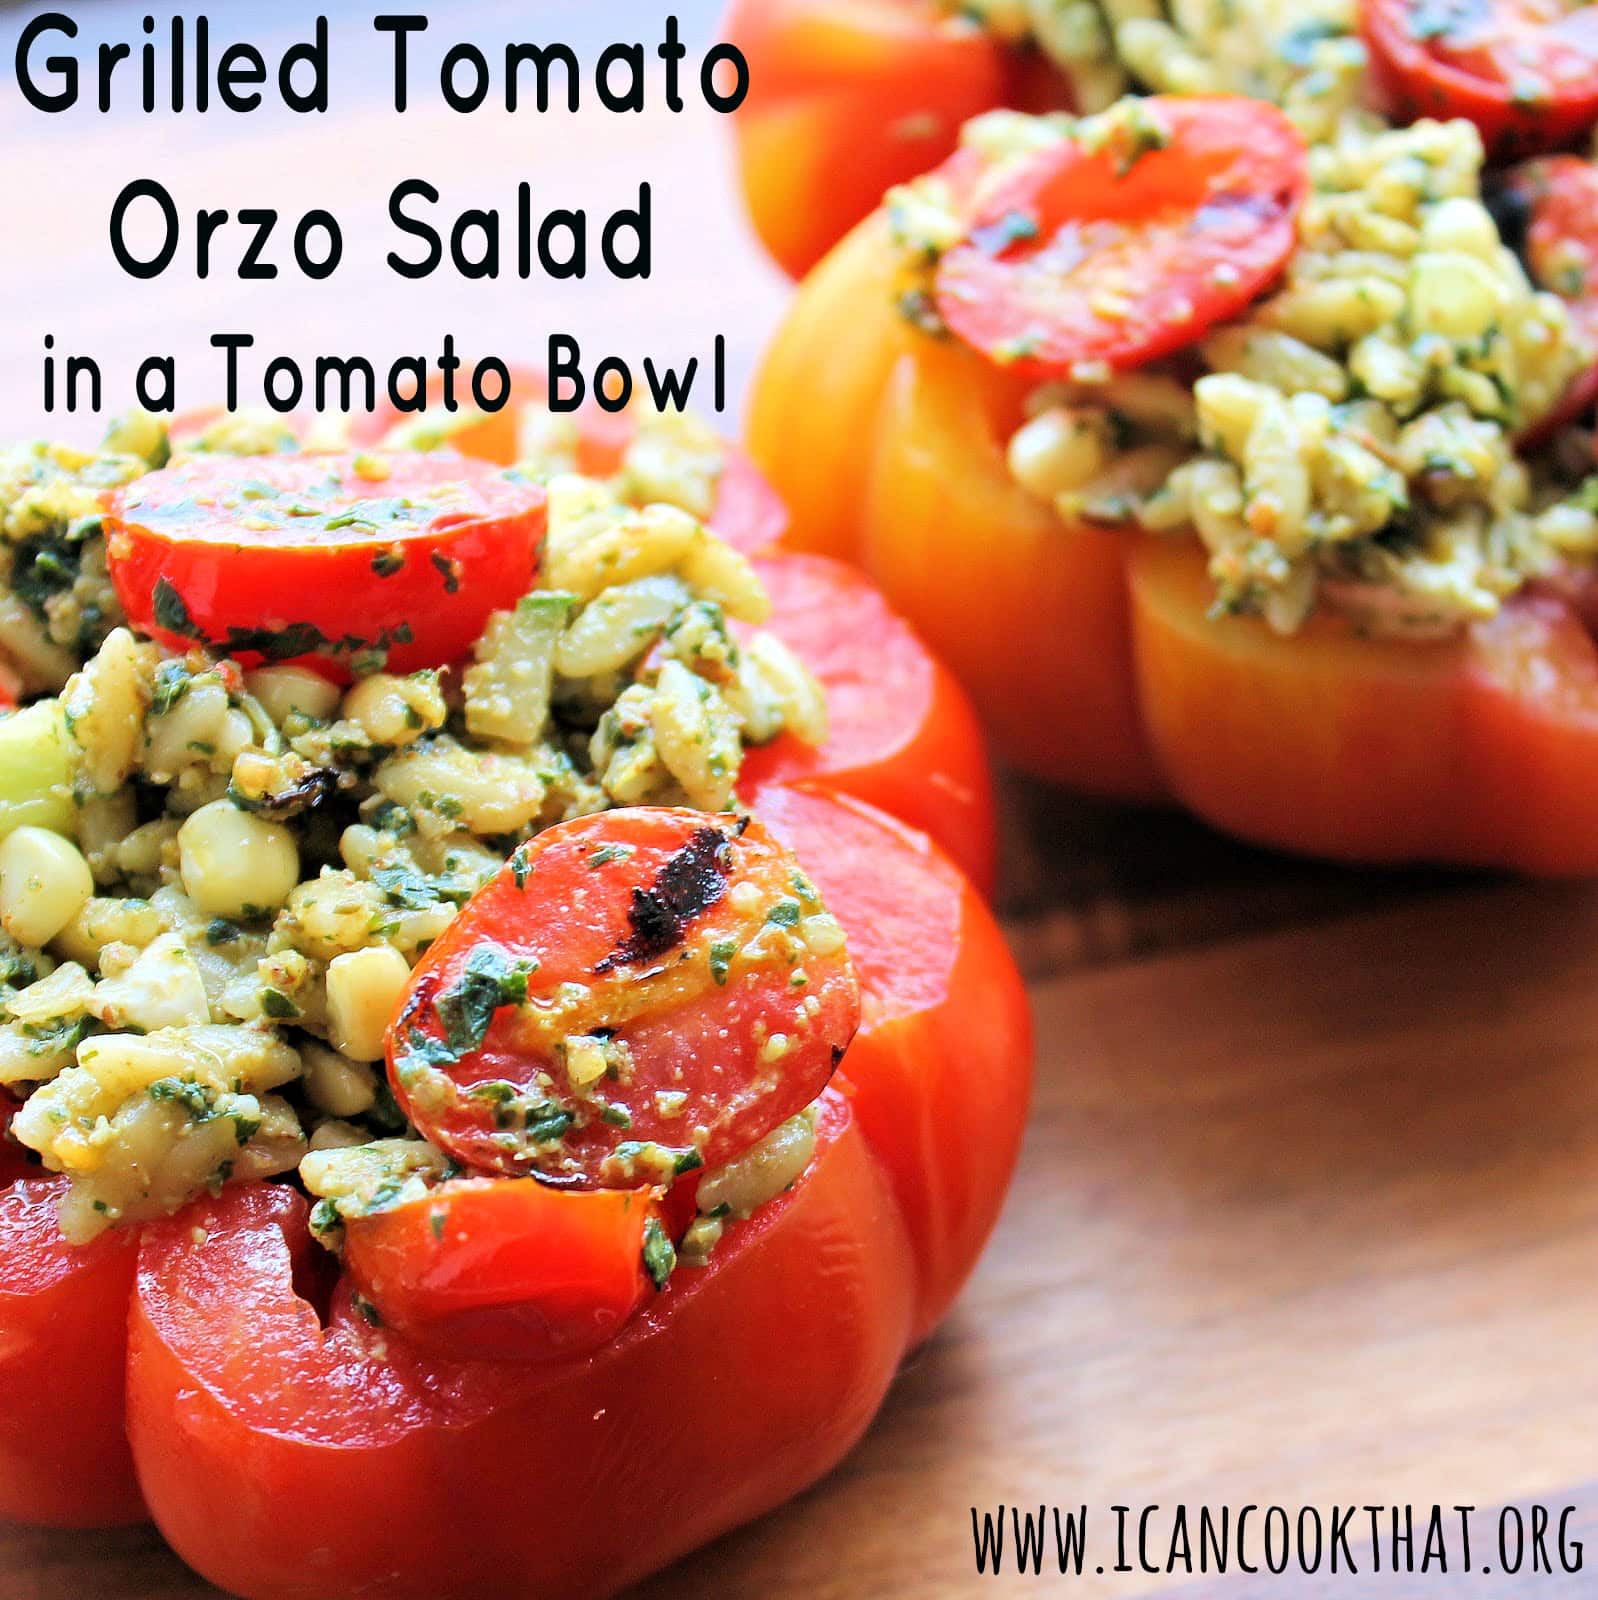
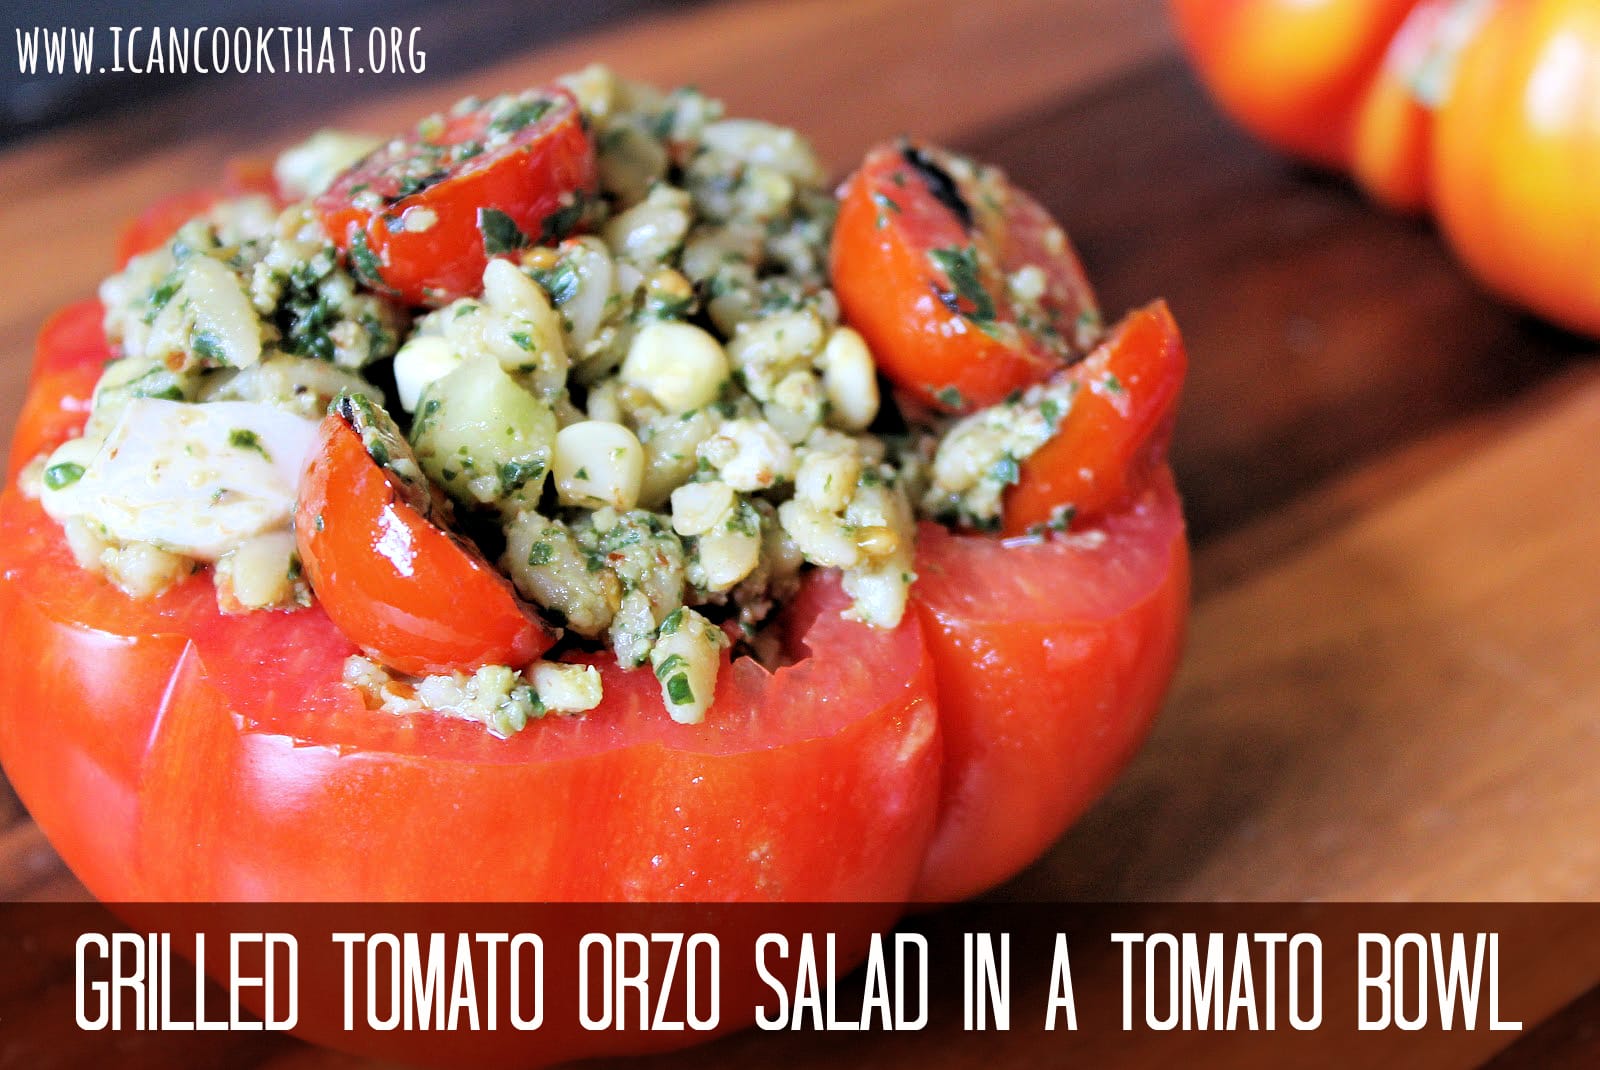
We have been having such a warm spring in Philadelphia. So if the weather is going to pretend it is summer, I will as well! To me, summer means tomatoes, corn, pesto, pasta salad, and of course, grilling.
Before I go into this recipe for Grilled Tomato Orzo Salad in a Tomato Bowl, first I want to tell you about Lipman Tomatoes. Lipman Tomatoes, a business-to-business company that has been supplying tomatoes and other vegetables to grocery stores and restaurants for 70 years, is about to launch a consumer-focused brand and website. Lipman contacted me about developing a recipe to celebrate their launch, which is the perfect opportunity for me to give into my “summer fever”. I decided to make a Grilled Tomato Orzo Salad served in a Tomato Bowl. (Update: the site is now live! Check out my recipe here!)
Lipman sent me an awesome assortment of their tomatoes. I decided to use the grape tomatoes for grilling, and the Vintage Ripe (a beautiful heirloom tomato) as my tomato bowls. The assortment also came with some cherry tomatoes and plum tomatoes so expect me to be on quite the tomato kick in the coming days!
Ingredients:
4 large Vintage Ripe tomatoes
1 cup orzo
4 cups vegetable broth
1 pint grape tomatoes
1 tablespoon olive oil
1 corn on the cob (or 1/3 cup frozen corn kernels, thawed)
8 oz mozzarella balls (if you cant get marinated mozzarella balls, even better!)