With the influx of vegetables in my life from my CSA, I am swimming in quite a large amount of highly perishable produce. So to preserve (and use) a bunch of my CSA veggies, I decided to try my first hand at Ratatouille. I looked at a bunch of recipes online and they can get really quite complex! There are some that cook each vegetable separately to bring out the flavor of each, some that layer the ingredients into a beautiful casserole. Well, I’m making this on a weeknight after work. So this is one of the easier versions, a one pot wonder if you will. One day, I will make the other version, but tonight, I just want a delicious meal that I can freeze for later.

So what is ratatouille, besides a really cute kids movie? It’s basically a stewed vegetable dish, usually served with bread, or maybe egg noodles or polenta (something to sop up all the deliciousness). There are many different recipes for the dish, but most include eggplant, zucchini, peppers, and onions. The spices can range from thyme or marjoram to herbes de Provence.

I found this recipe on MarthaStewart.com and kind of messed with the ratio of ingredients, so be sure to check out the original recipe to see if that is more to your liking.
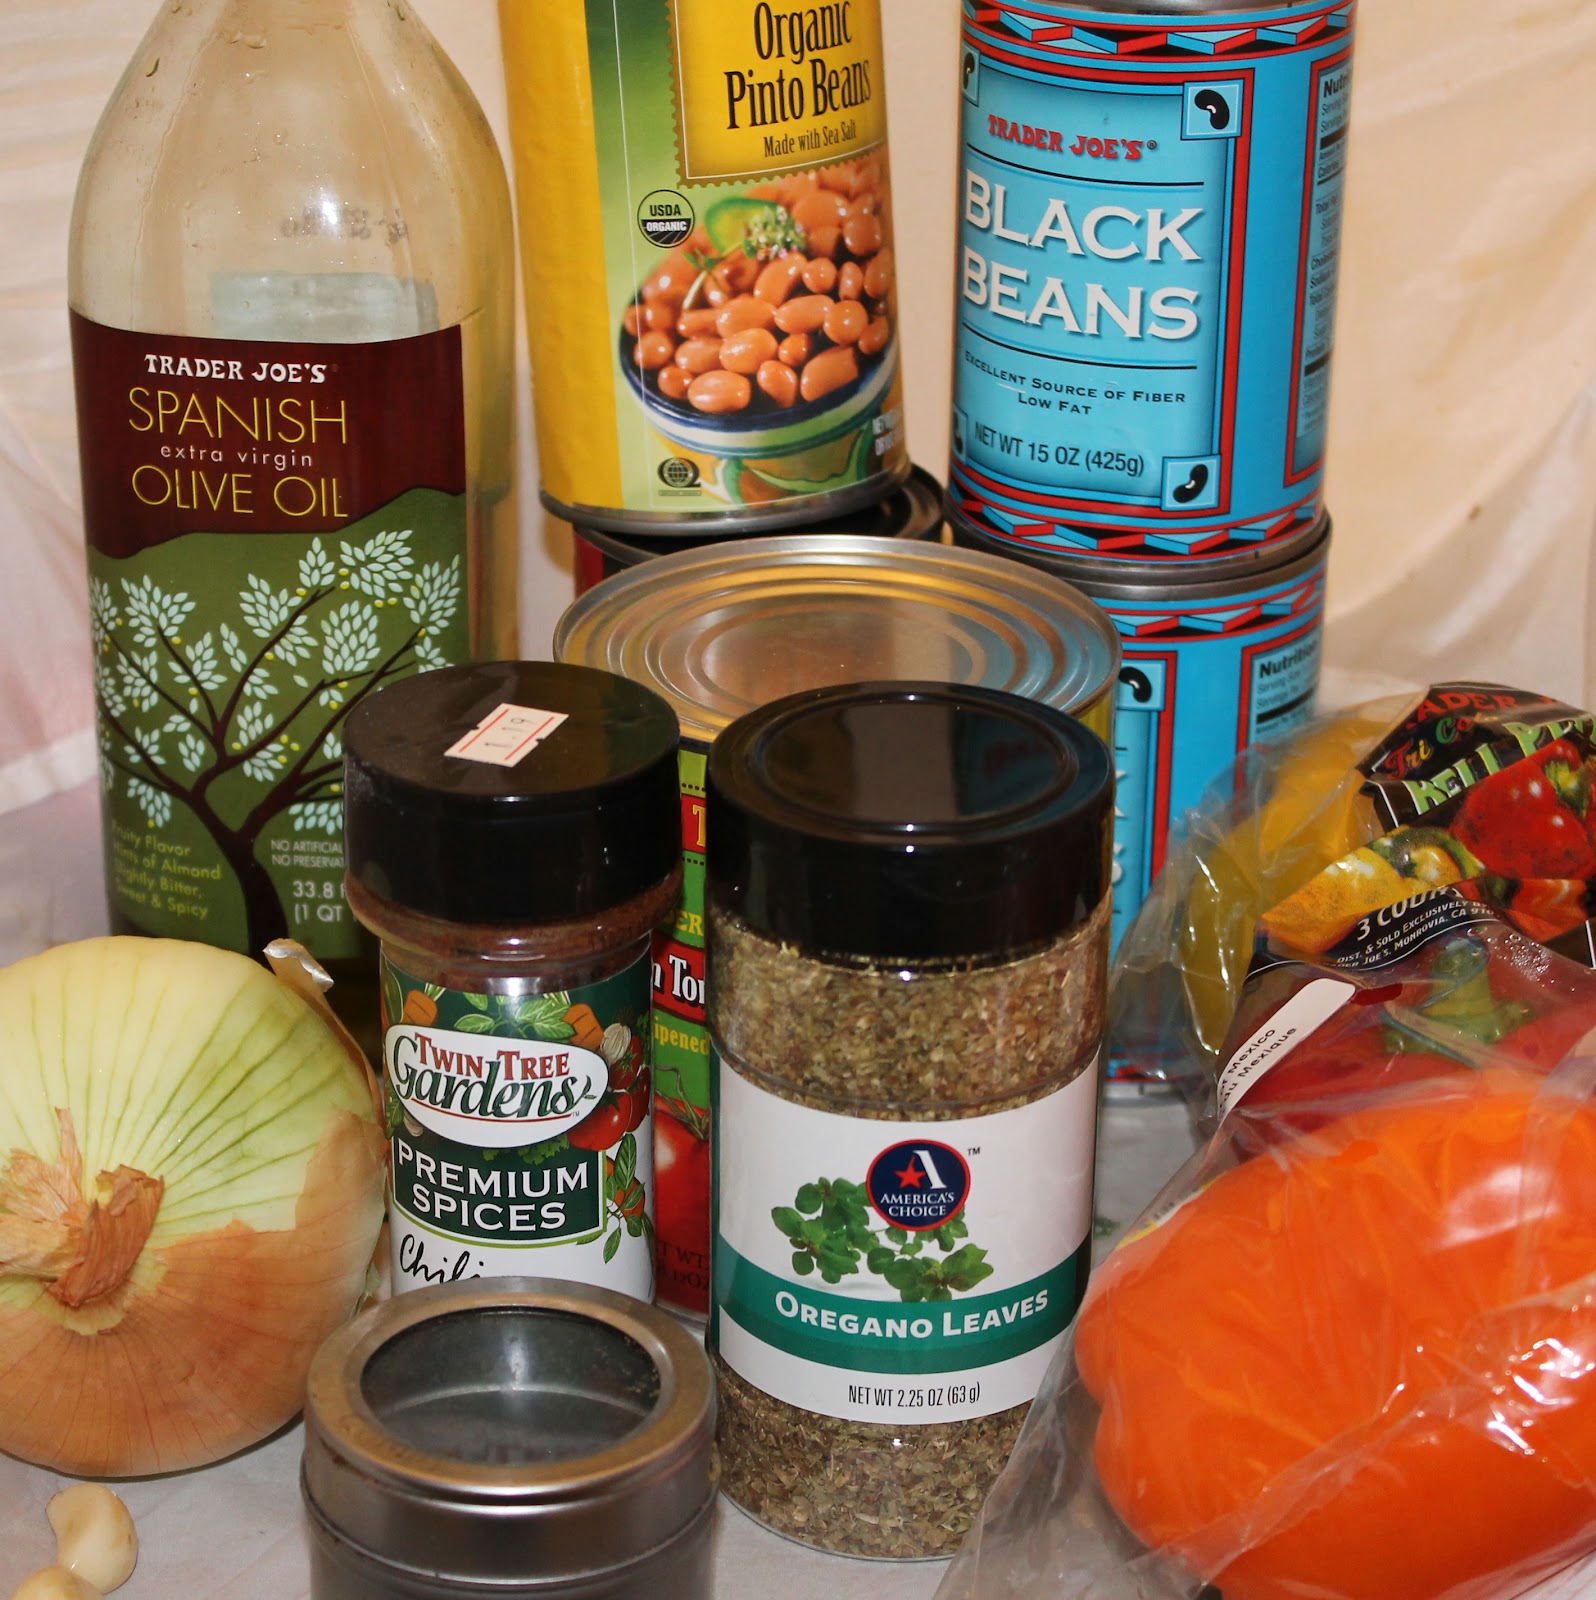
Ingredients:
1/4 cup olive oil (or enough to cover the bottom of your pot)
1 medium onion, chopped (I used a sweet onion)
4 cloves garlic, minced
3 small eggplants, cubed
2 large zucchini, cubed
Salt and ground pepper, to taste
2 yellow or bell peppers, ribs and seeds removed, cubed (use any color pepper you want)
1 medium onion, chopped (I used a sweet onion)
4 cloves garlic, minced
3 small eggplants, cubed
2 large zucchini, cubed
Salt and ground pepper, to taste
2 yellow or bell peppers, ribs and seeds removed, cubed (use any color pepper you want)
1 can (28 ounces) diced tomatoes
2 teaspoons fresh thyme
Chopped fresh basil, for garnish
2 teaspoons fresh thyme
Chopped fresh basil, for garnish

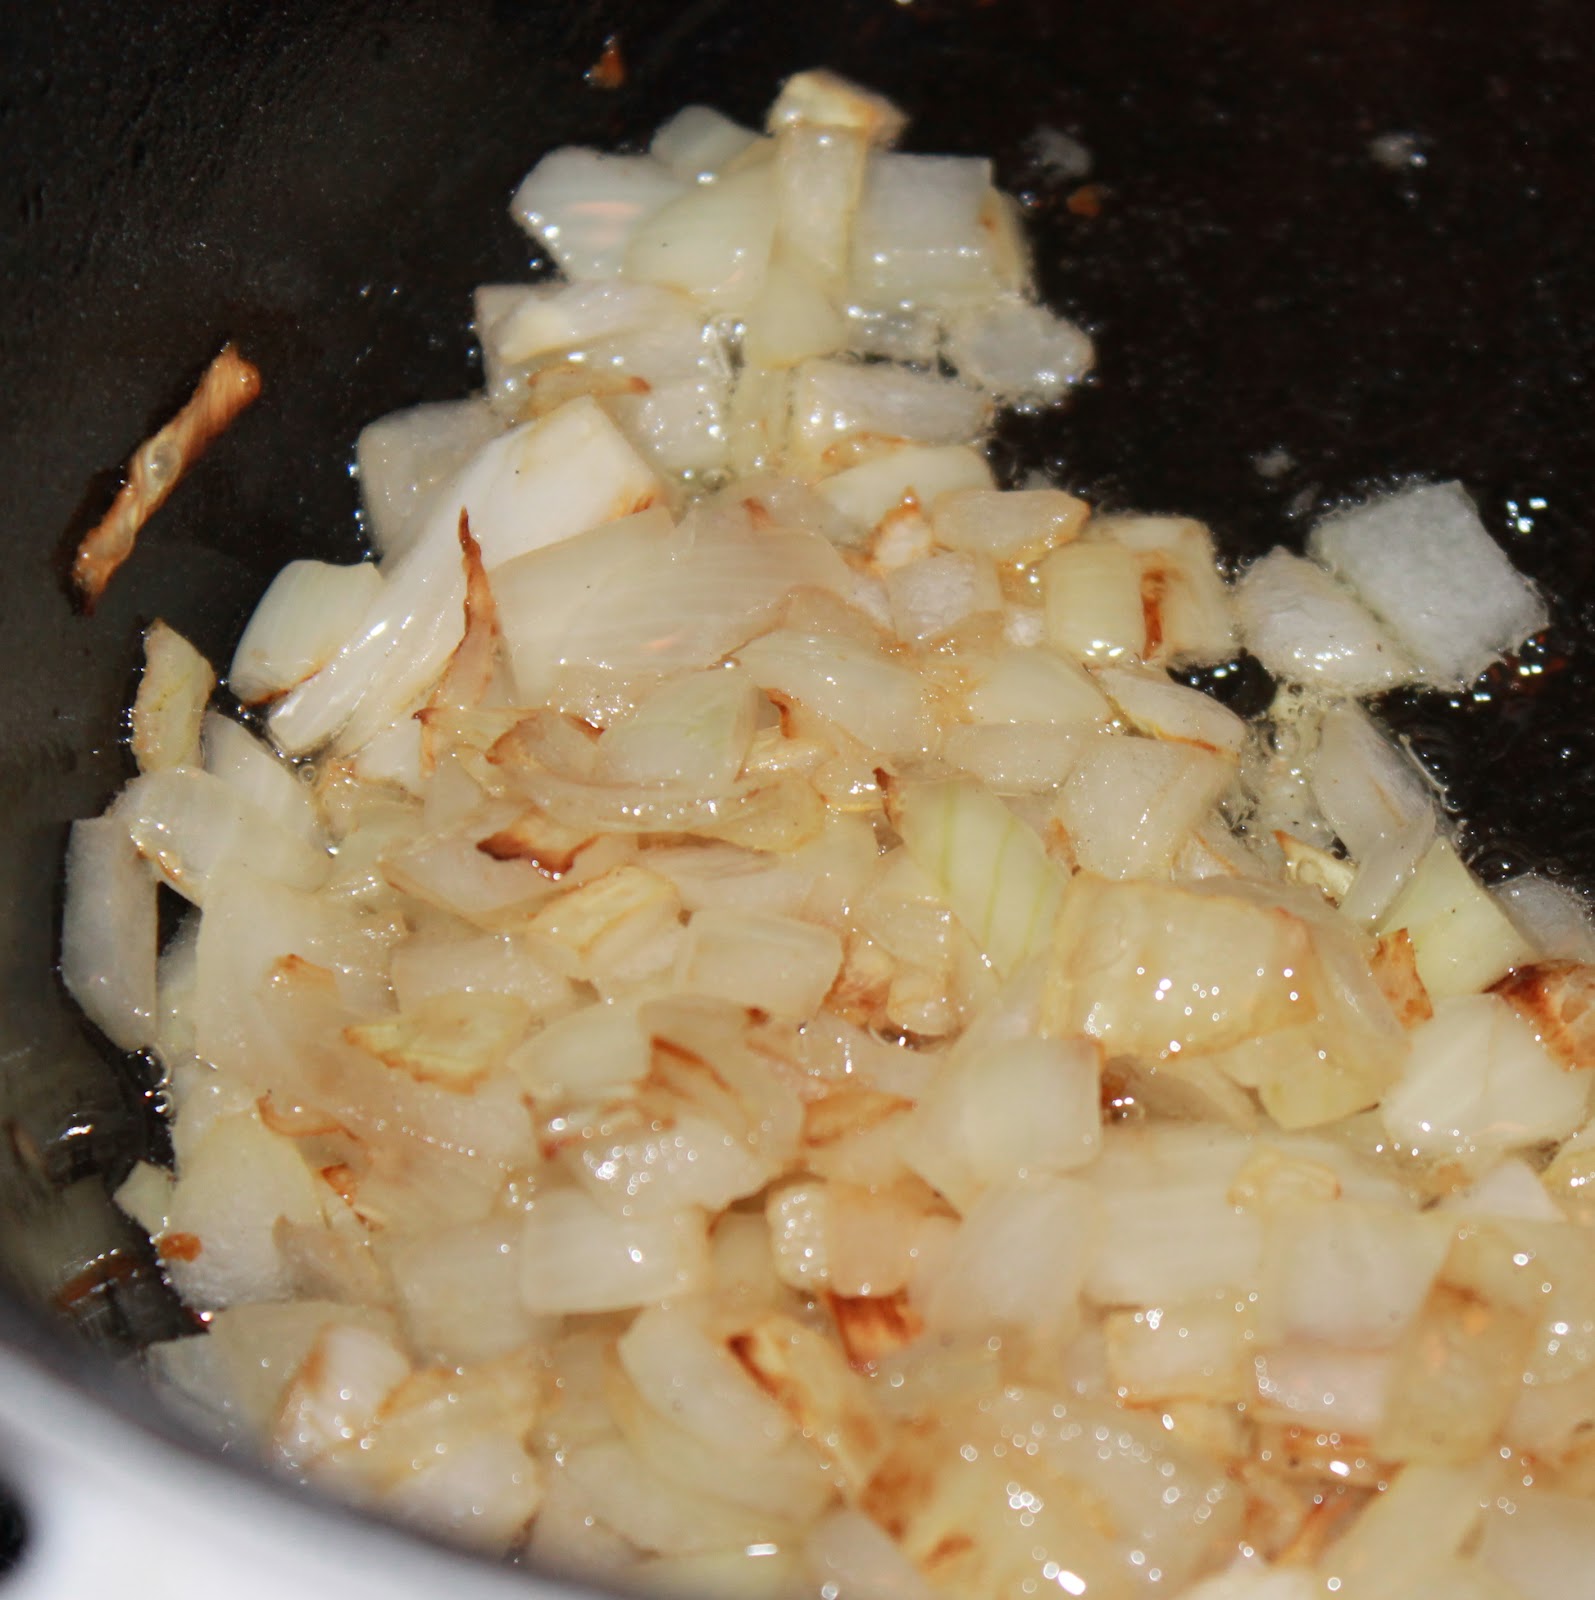
To make, add the olive oil to a Dutch oven or other large pot that has a lid. Heat over medium heat. While waiting to heat, chop your onions, garlic, eggplant, and zucchini.

I want to take a minute to discuss a method of cutting eggplant. I googled this just as I was about to make the recipe so it was new to me too and it worked quite well. I found the method on recipetips.com.

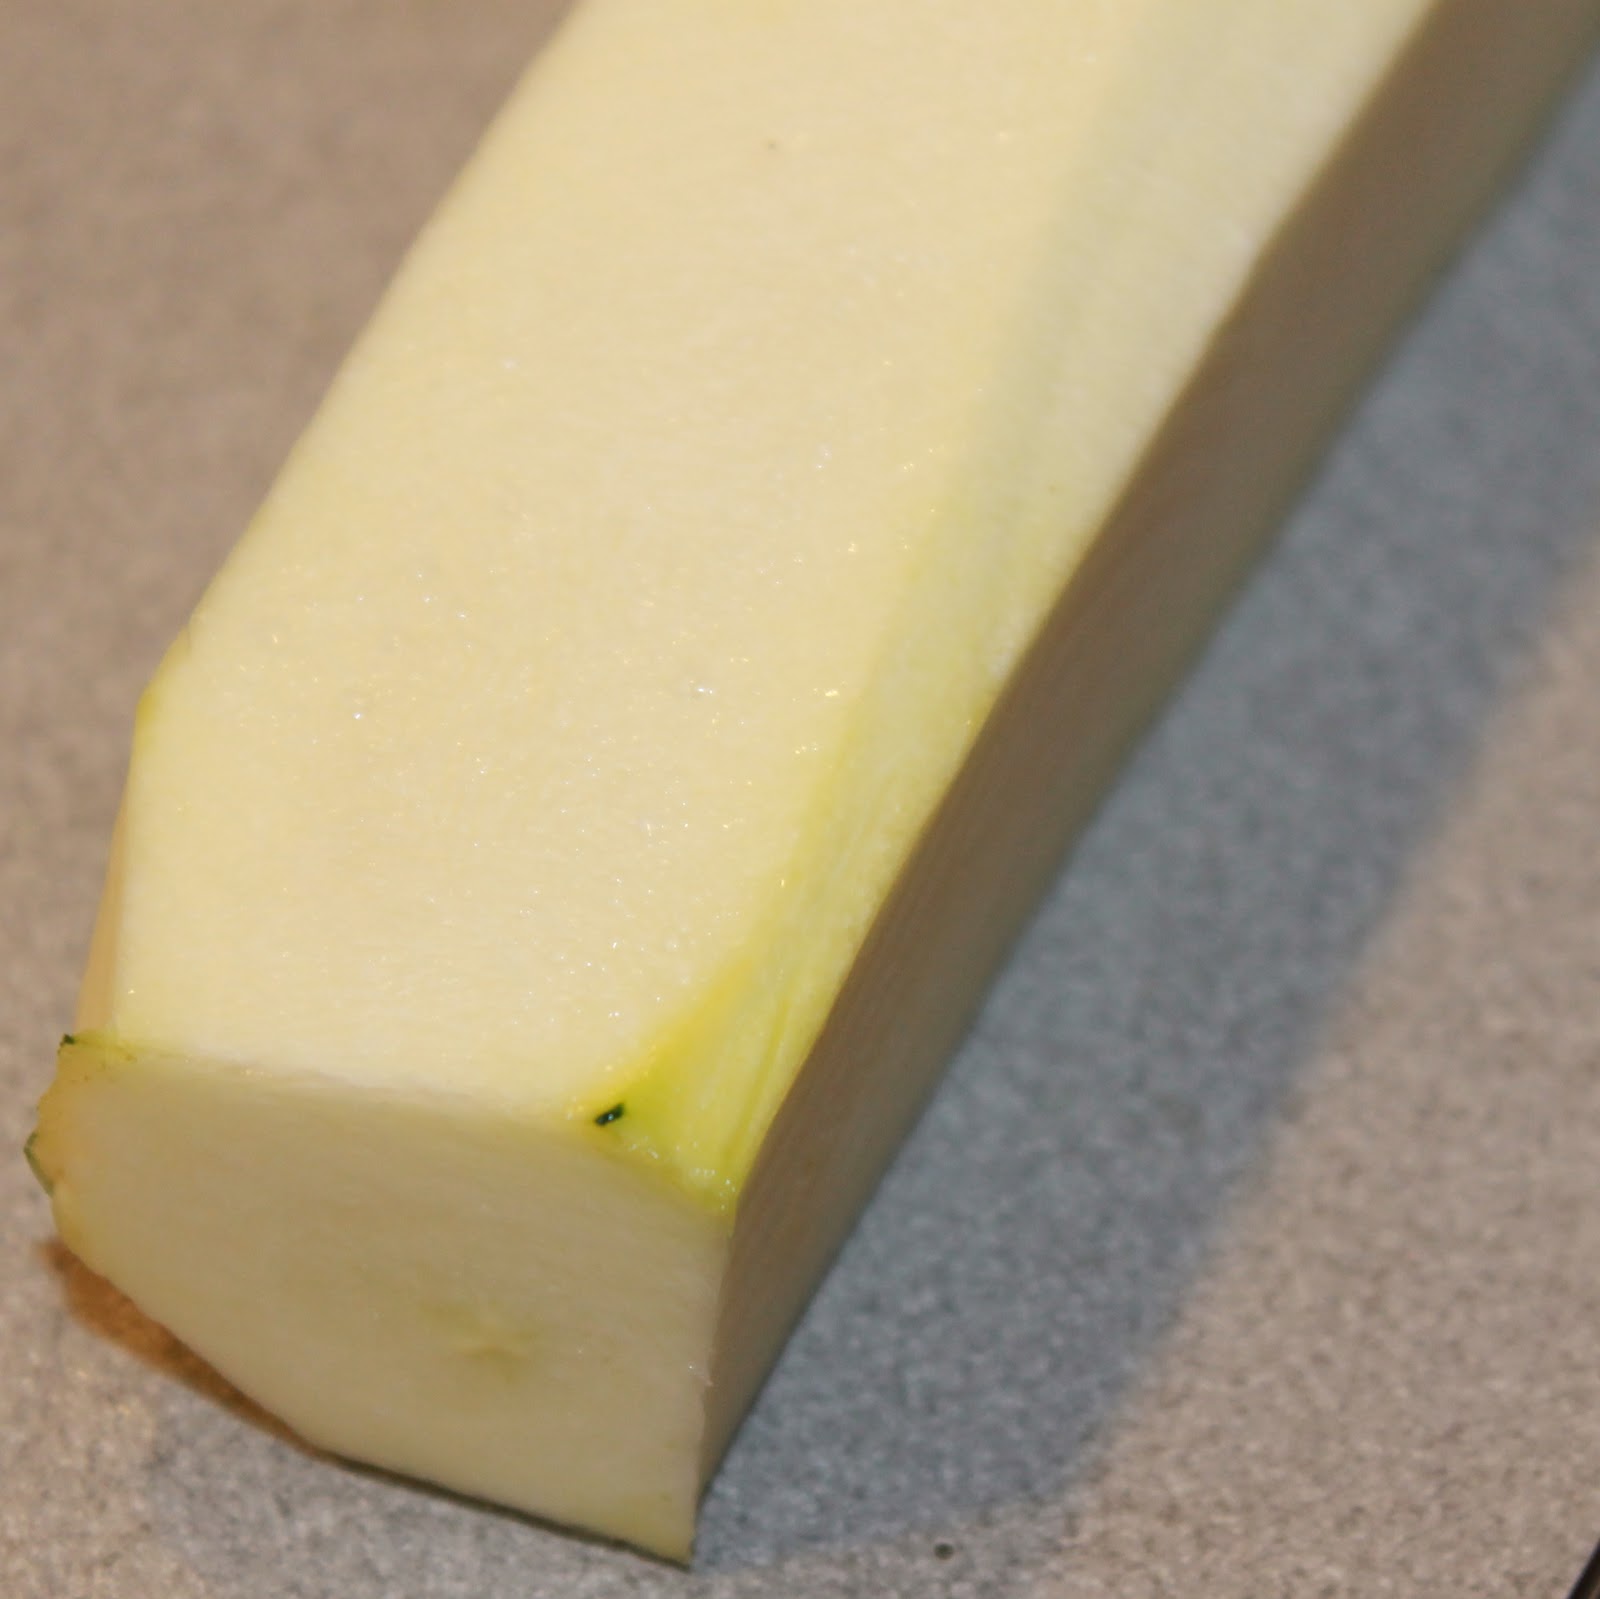
To cut the zucchini, remove the skin using a knife by cutting the zucchini into a square shape (or close to a square.)
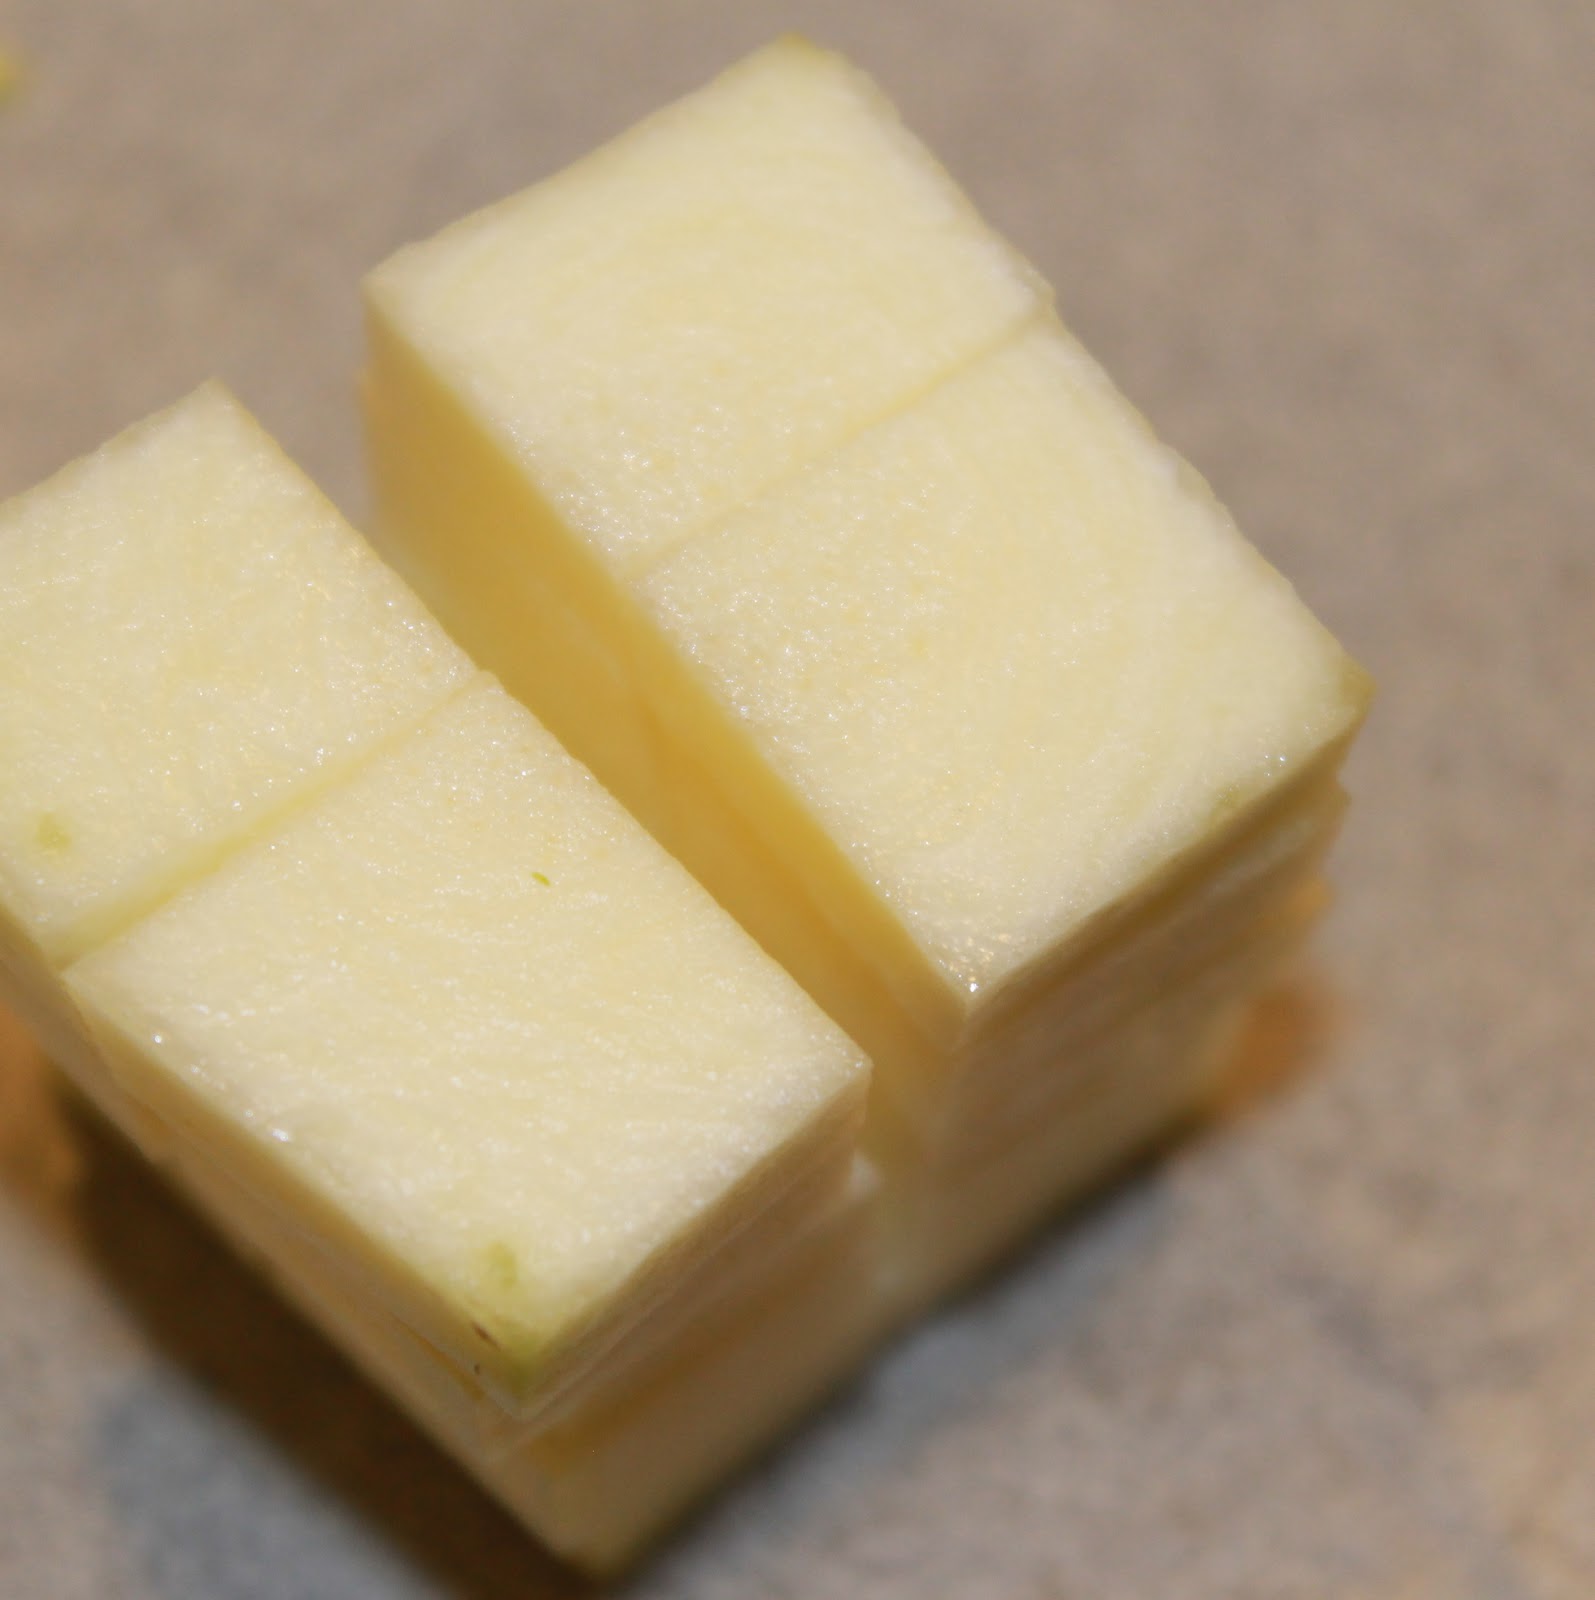
Slice the zucchini into smaller square disks.

Stack a few of them, and cut into fours to make smaller squares. This doesn’t have to be uniform, you just want them to be the same general shape so they cook evenly.
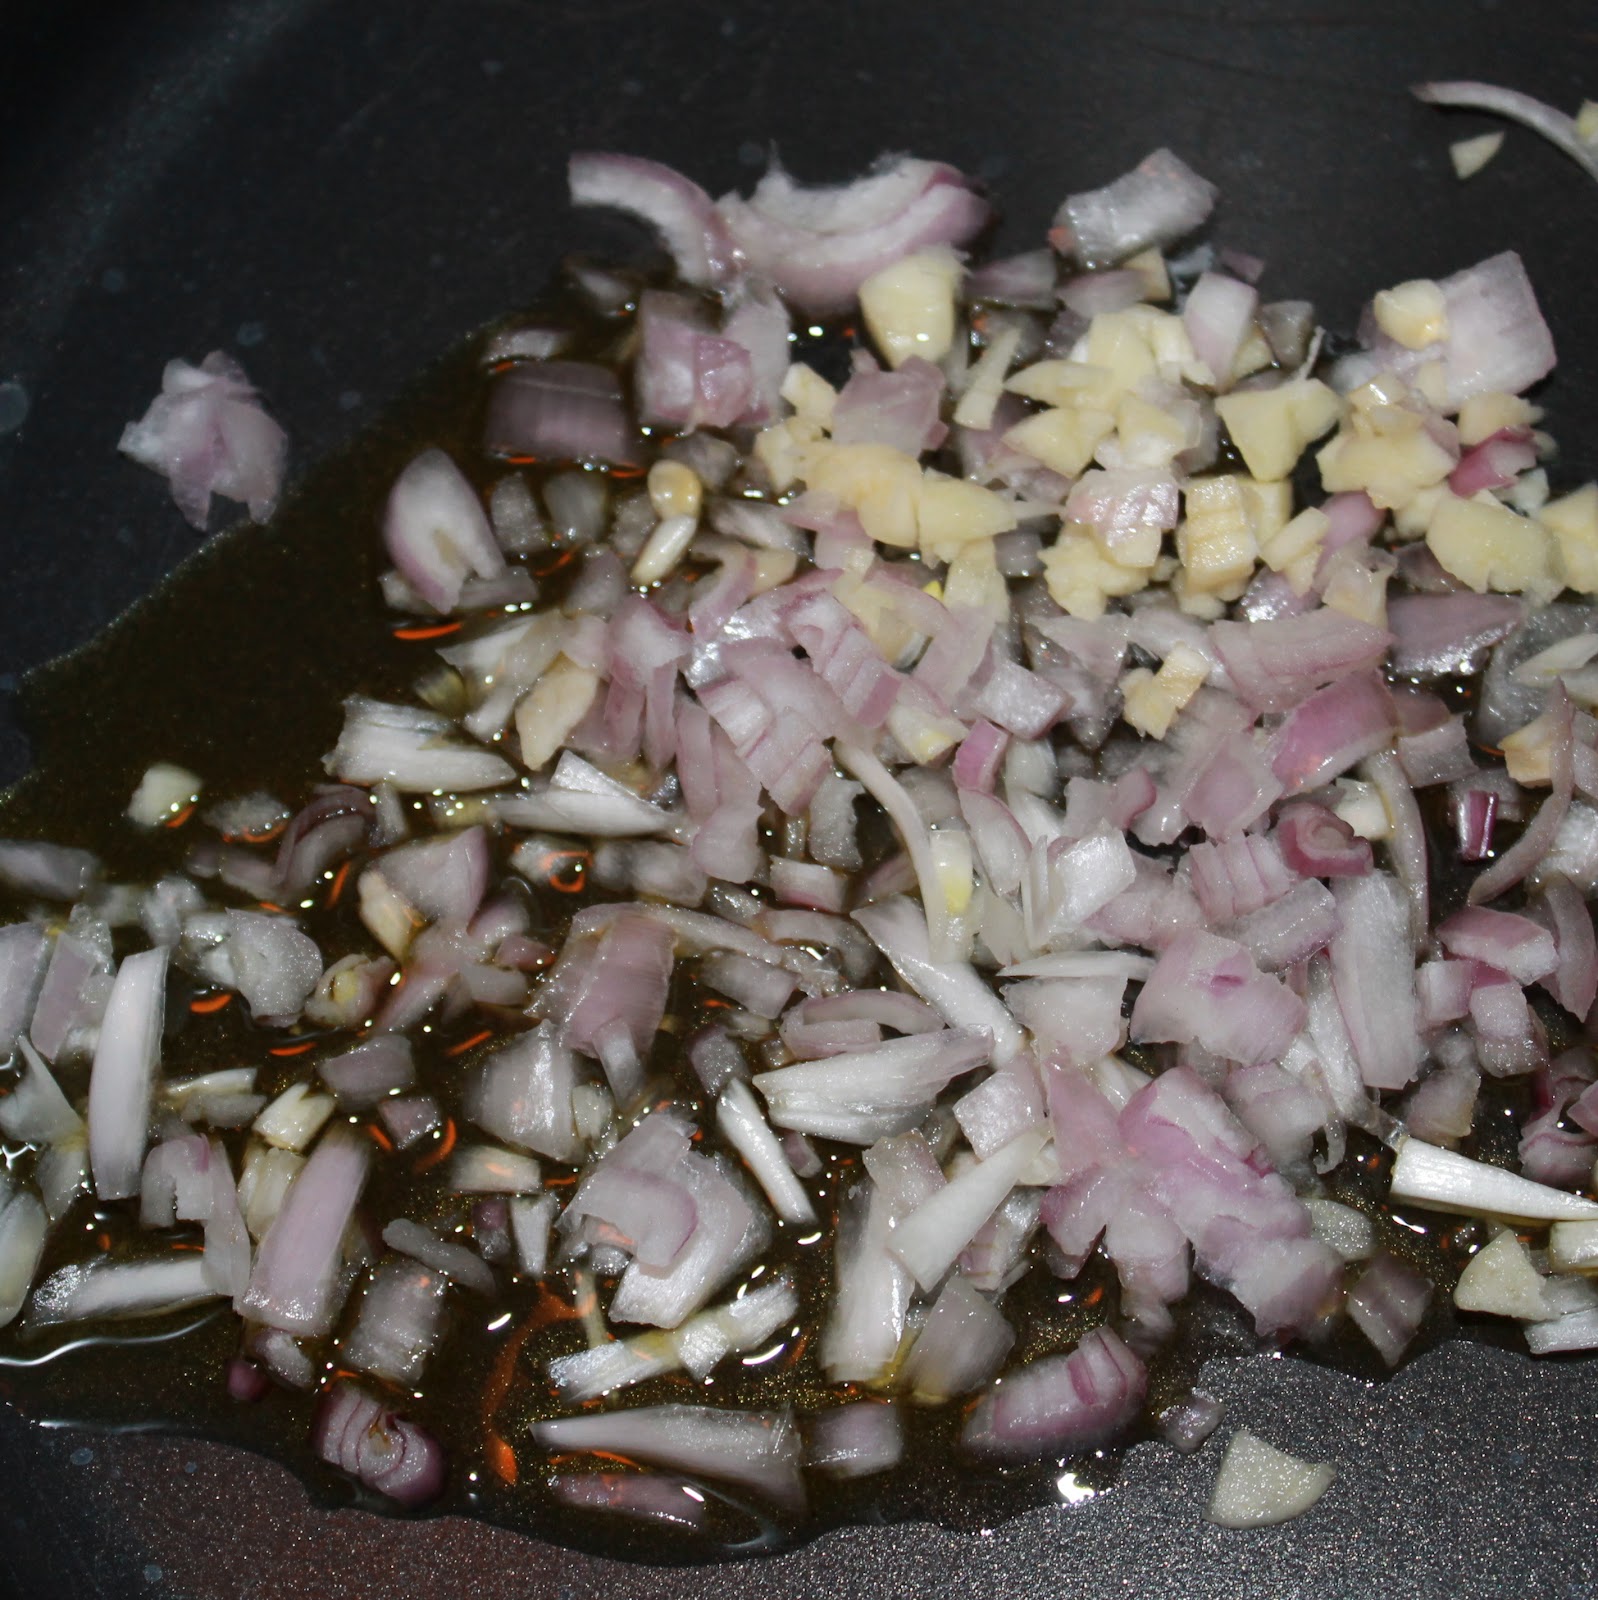
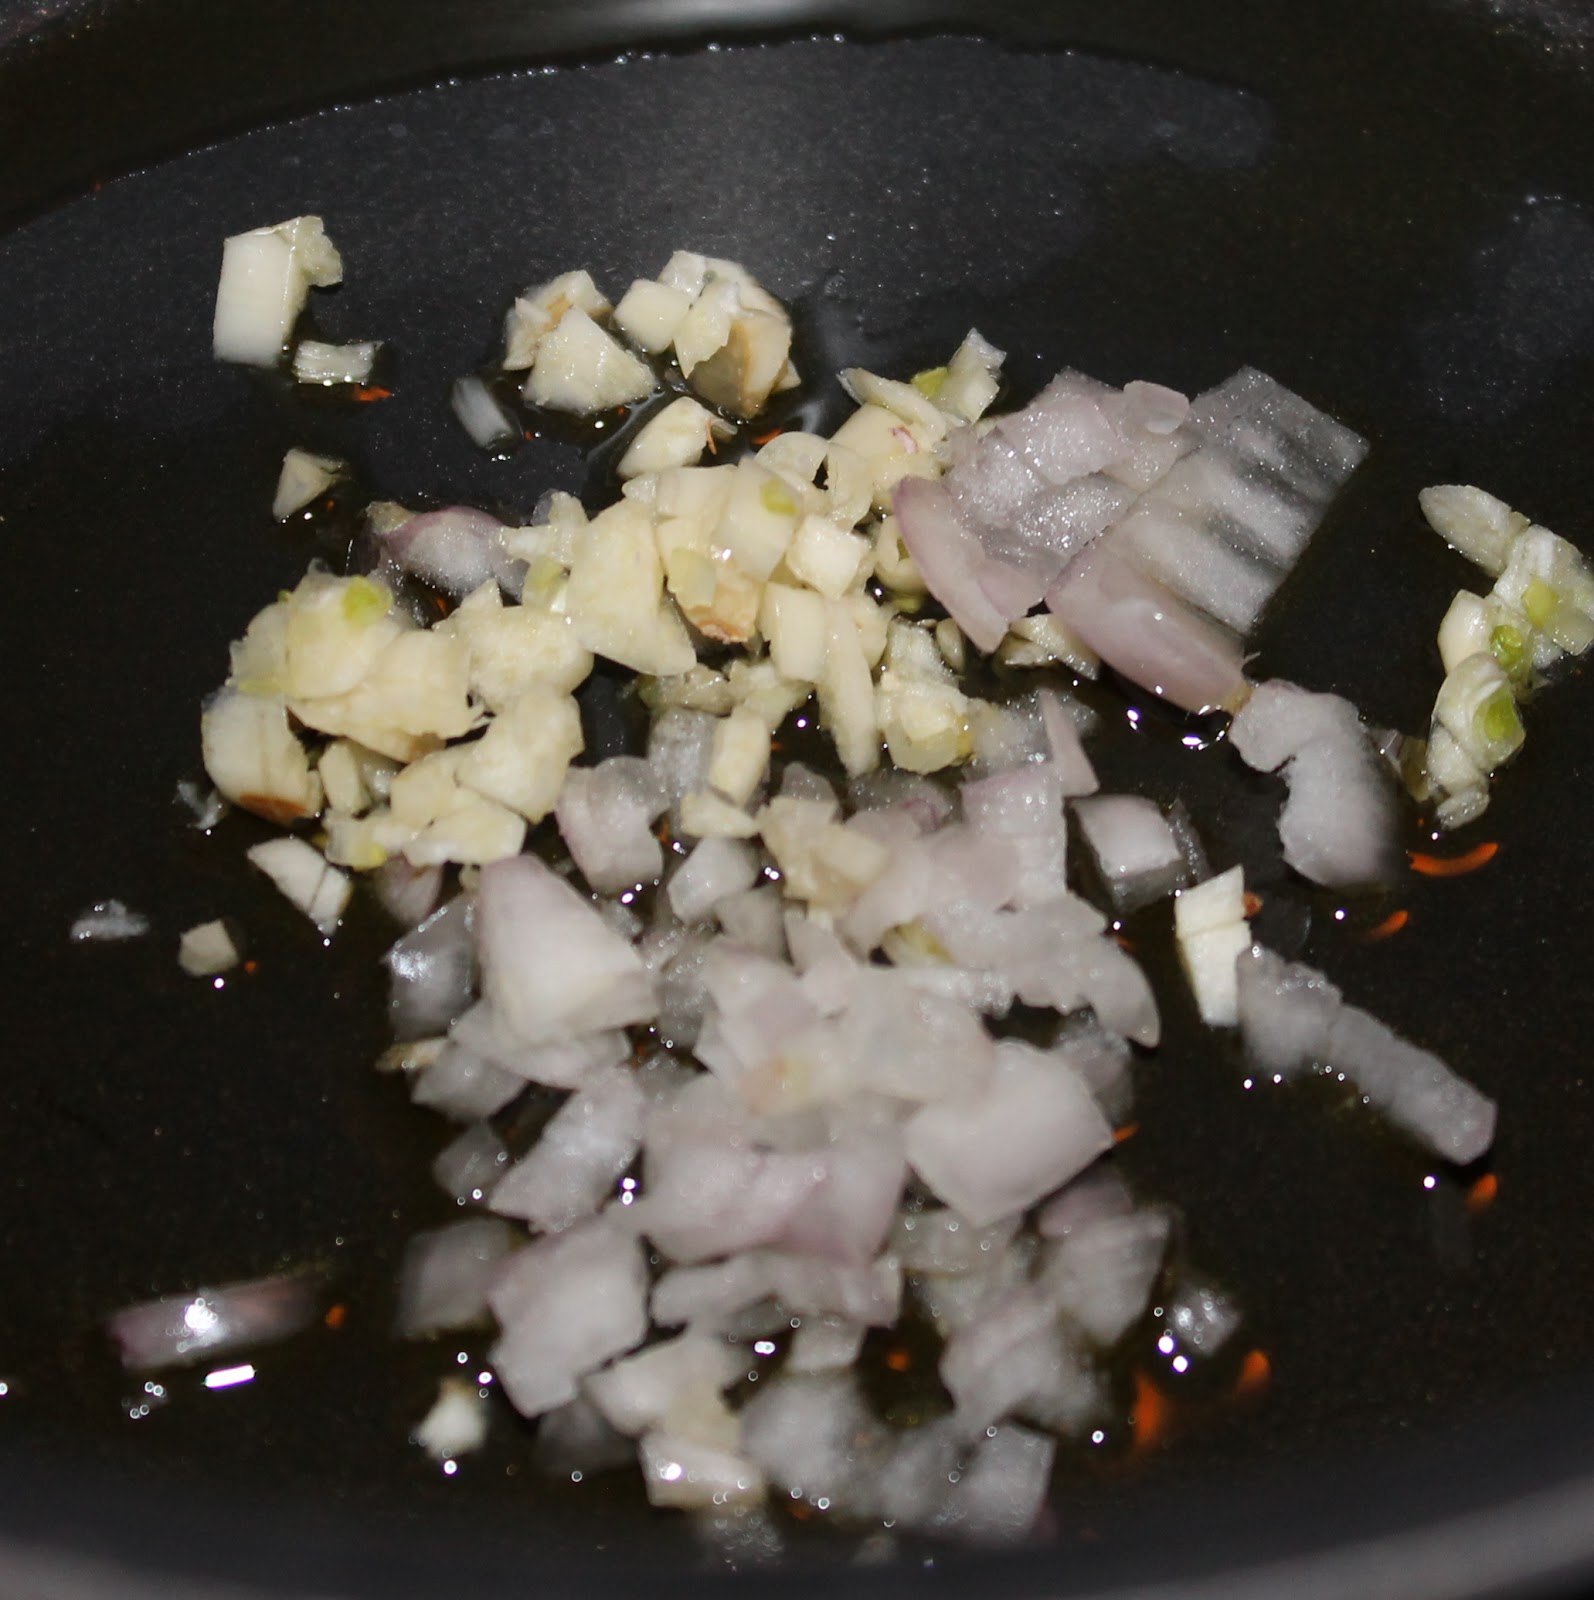
Add the onions to the pot and stir occasionally. Cook for 5 minutes.
Add the garlic and cook for another minute. Stir in the eggplant and zucchini and season with salt and pepper. Add 3/4 cup of water, cover, and simmer for about 5 minutes, stirring once half way through. While waiting for the 5 minutes to pass, chop your peppers.
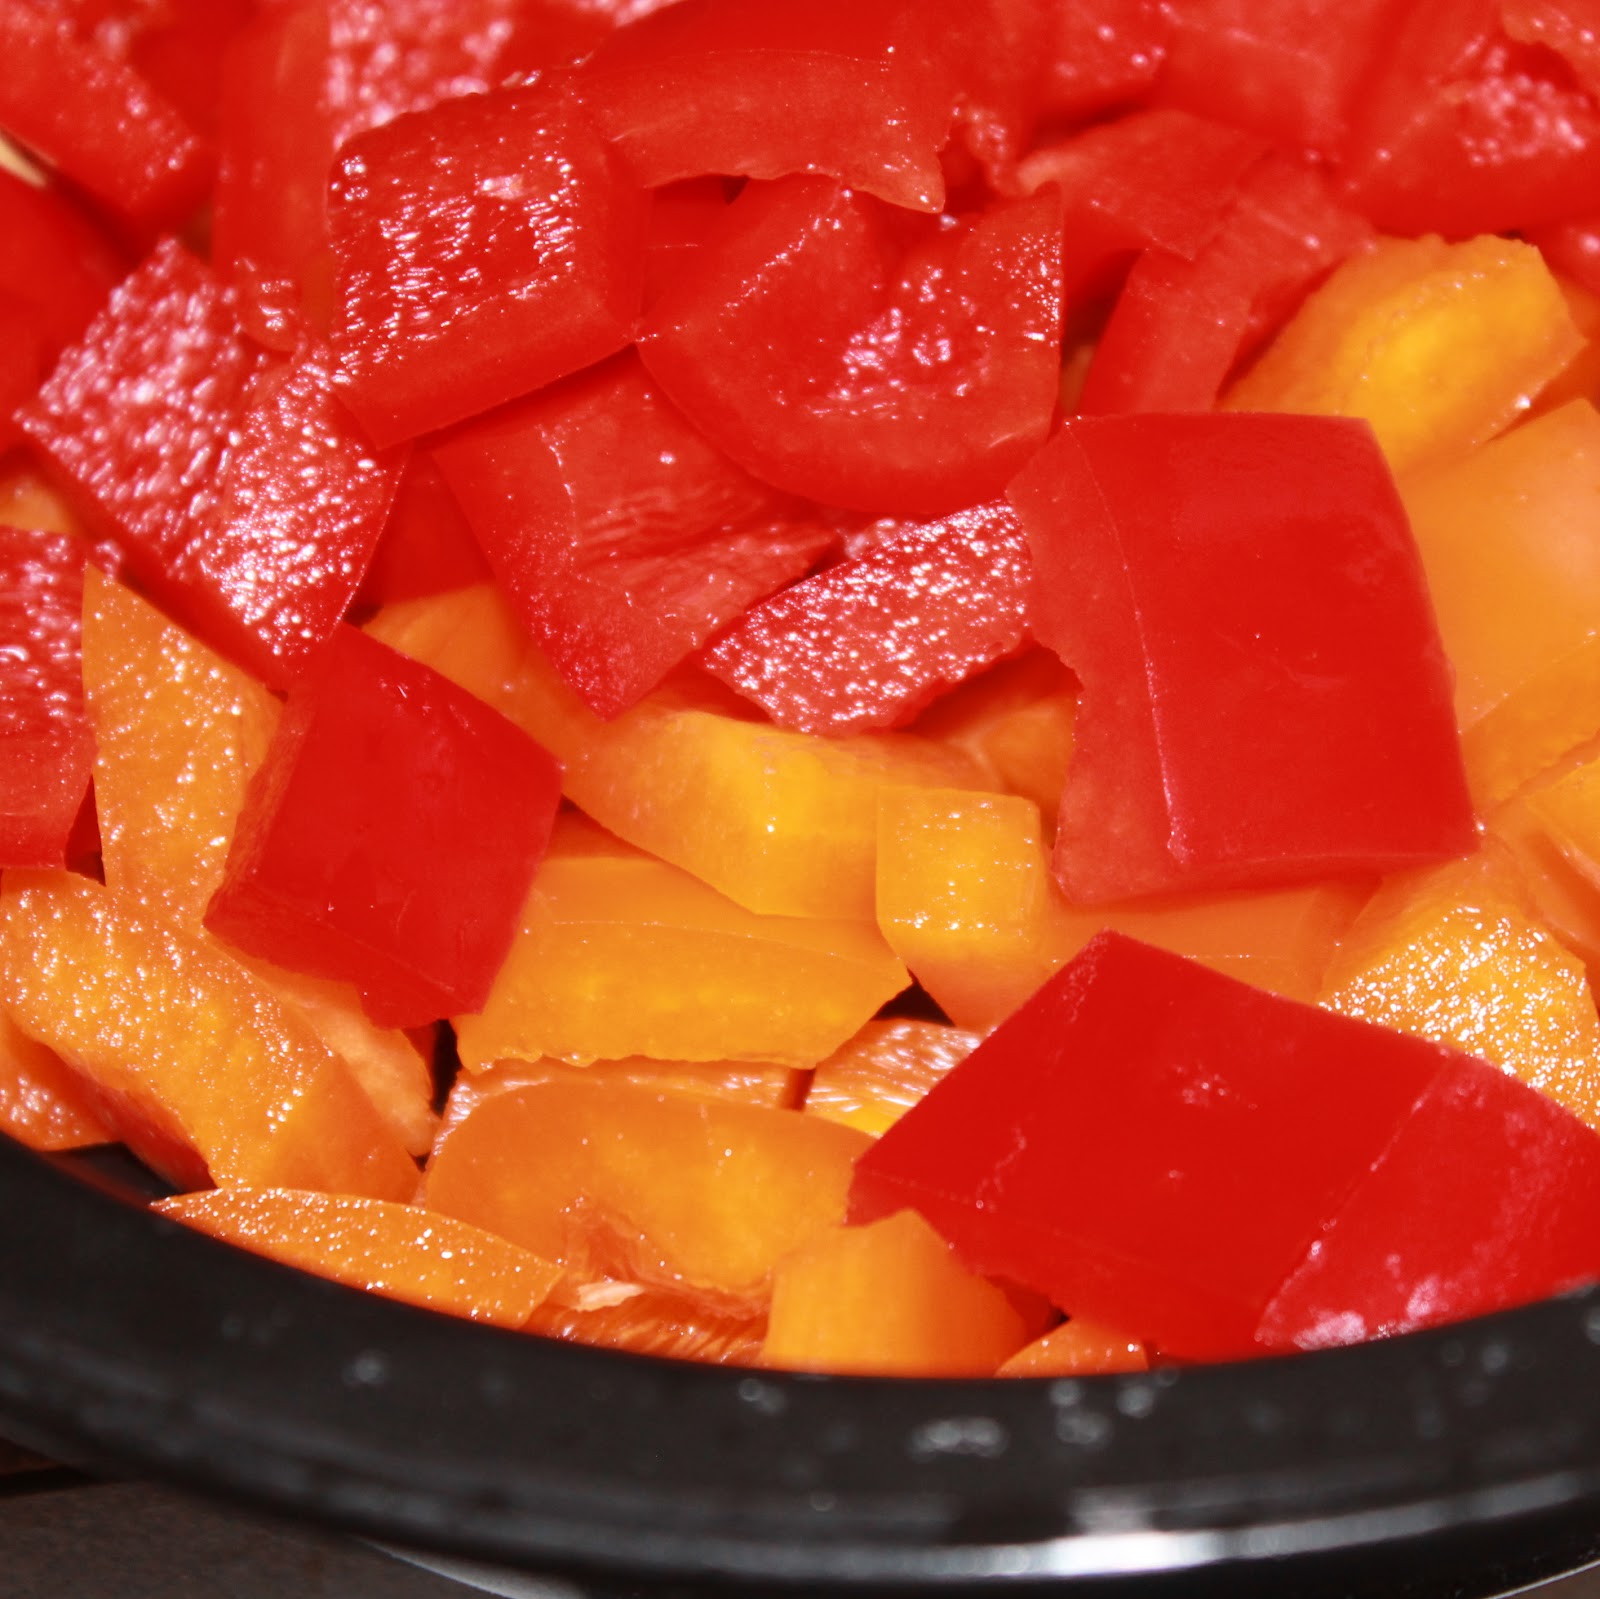
Add the peppers to the pot and simmer, covered, for another 5 minutes.

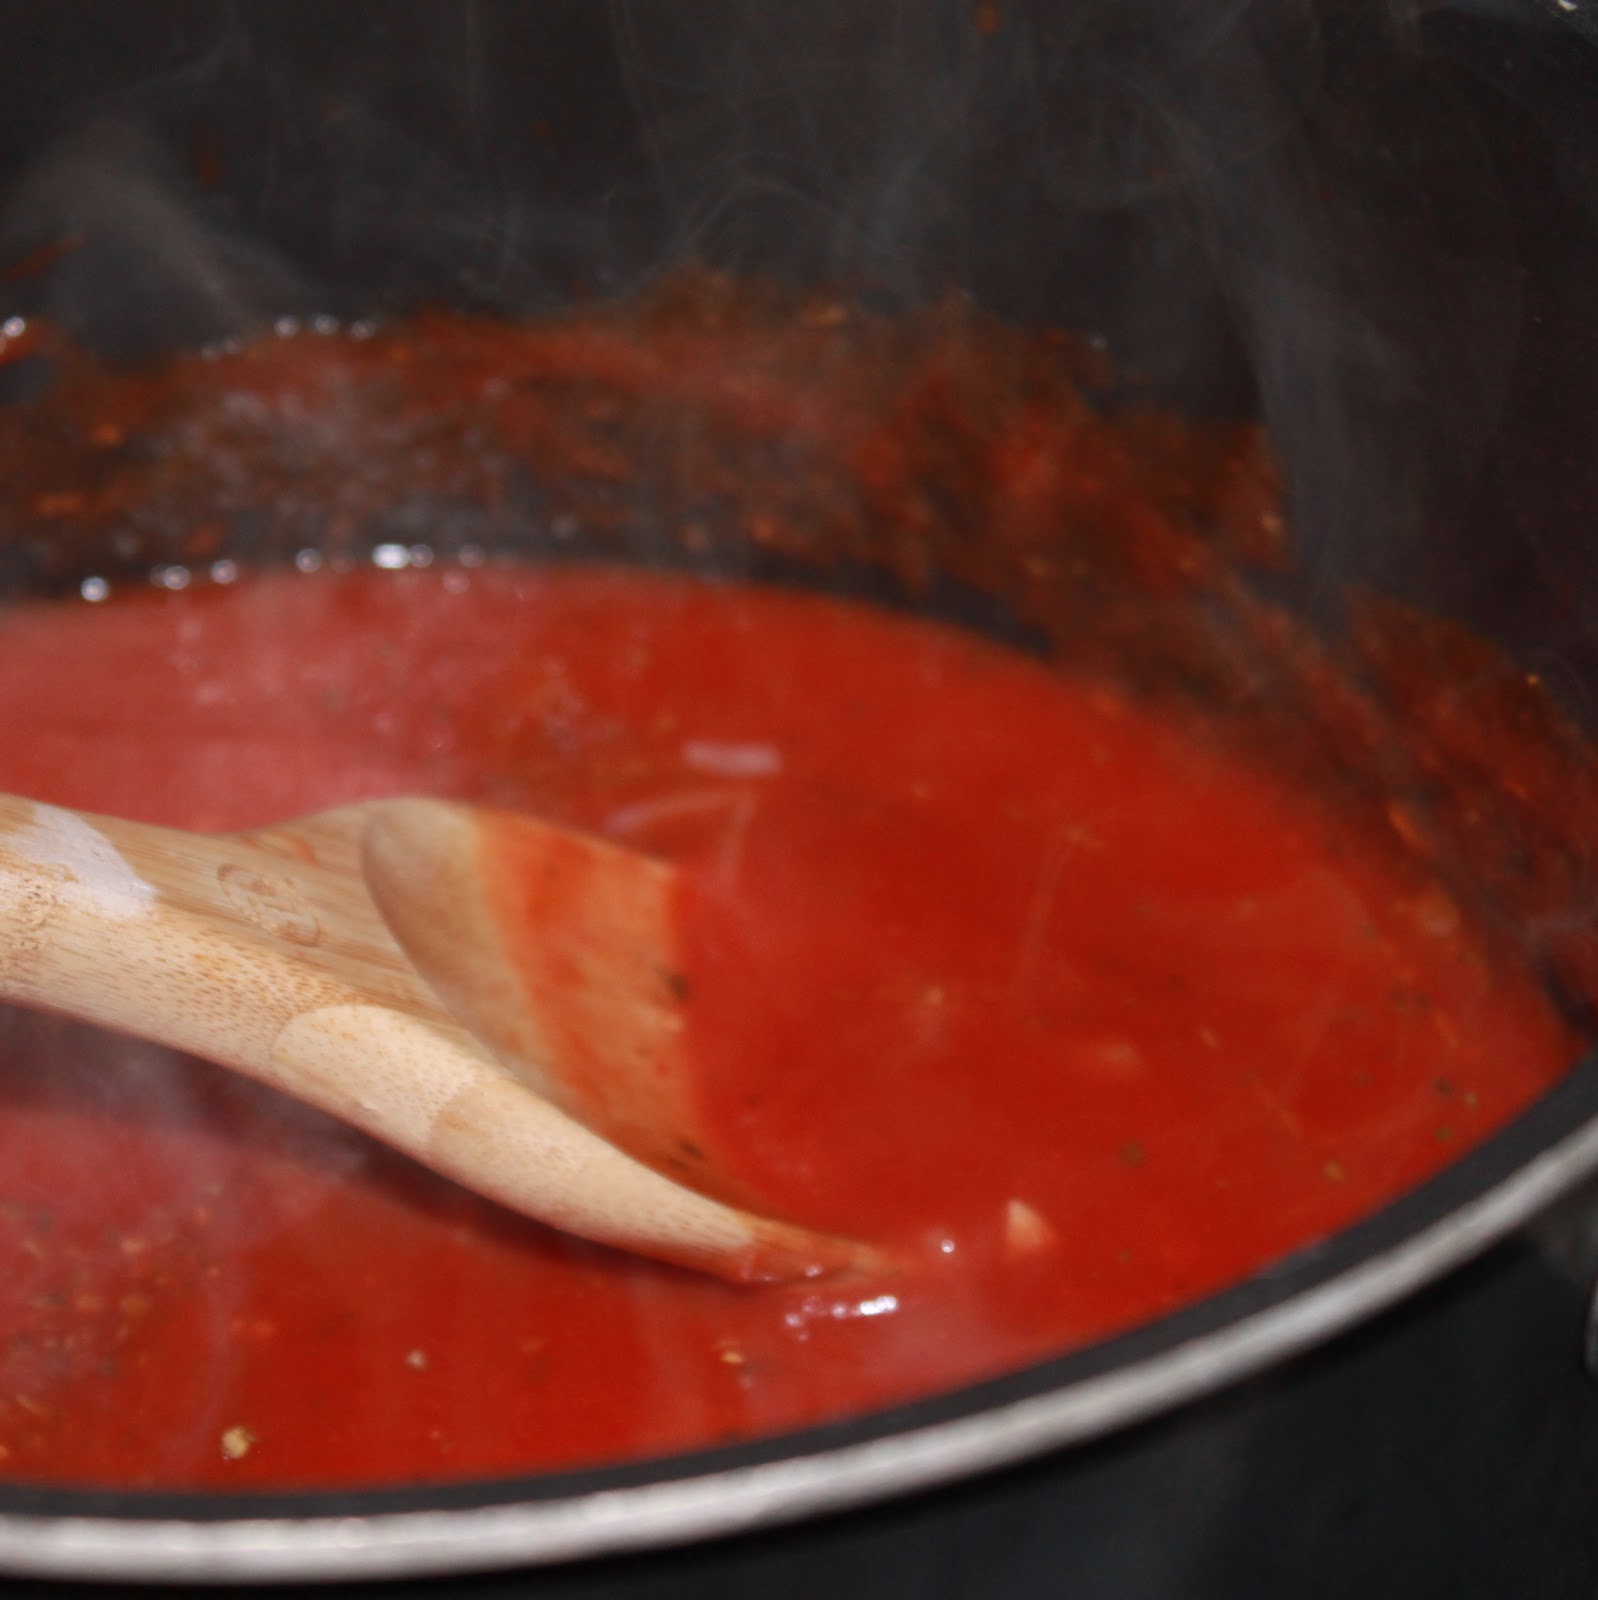
Add the tomatoes and thyme and bring to a boil.
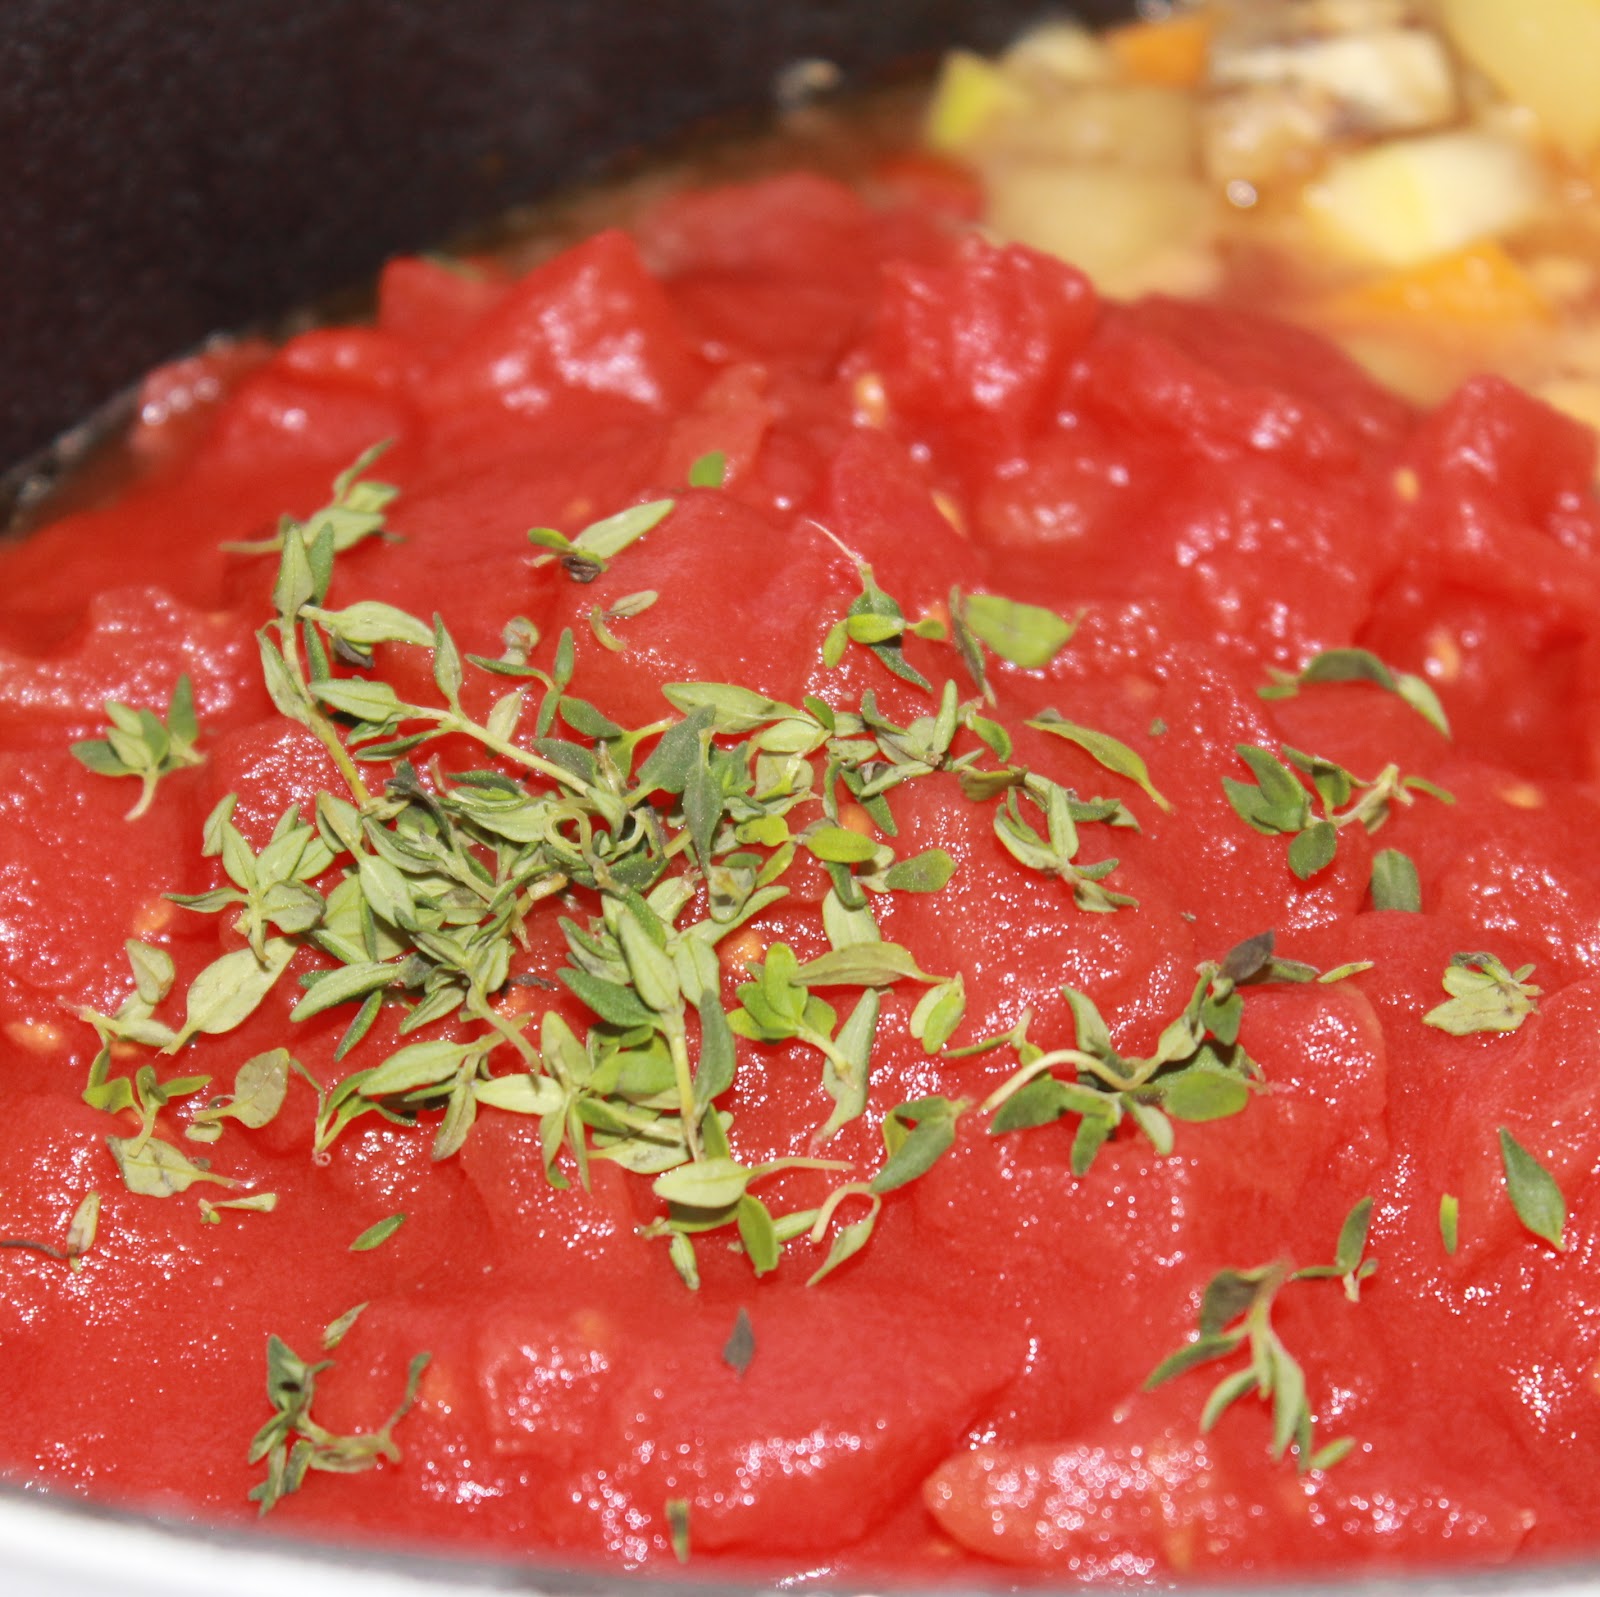
Reduce heat to medium-low, partially cover, and simmer for 15 to 20 minutes. The recipe said to stir often. I didn’t. I got distracted and walked away. Oh well.

Remove from heat and serve. Top with a few slices of basil.

If freezing, leave the basil out and freeze.
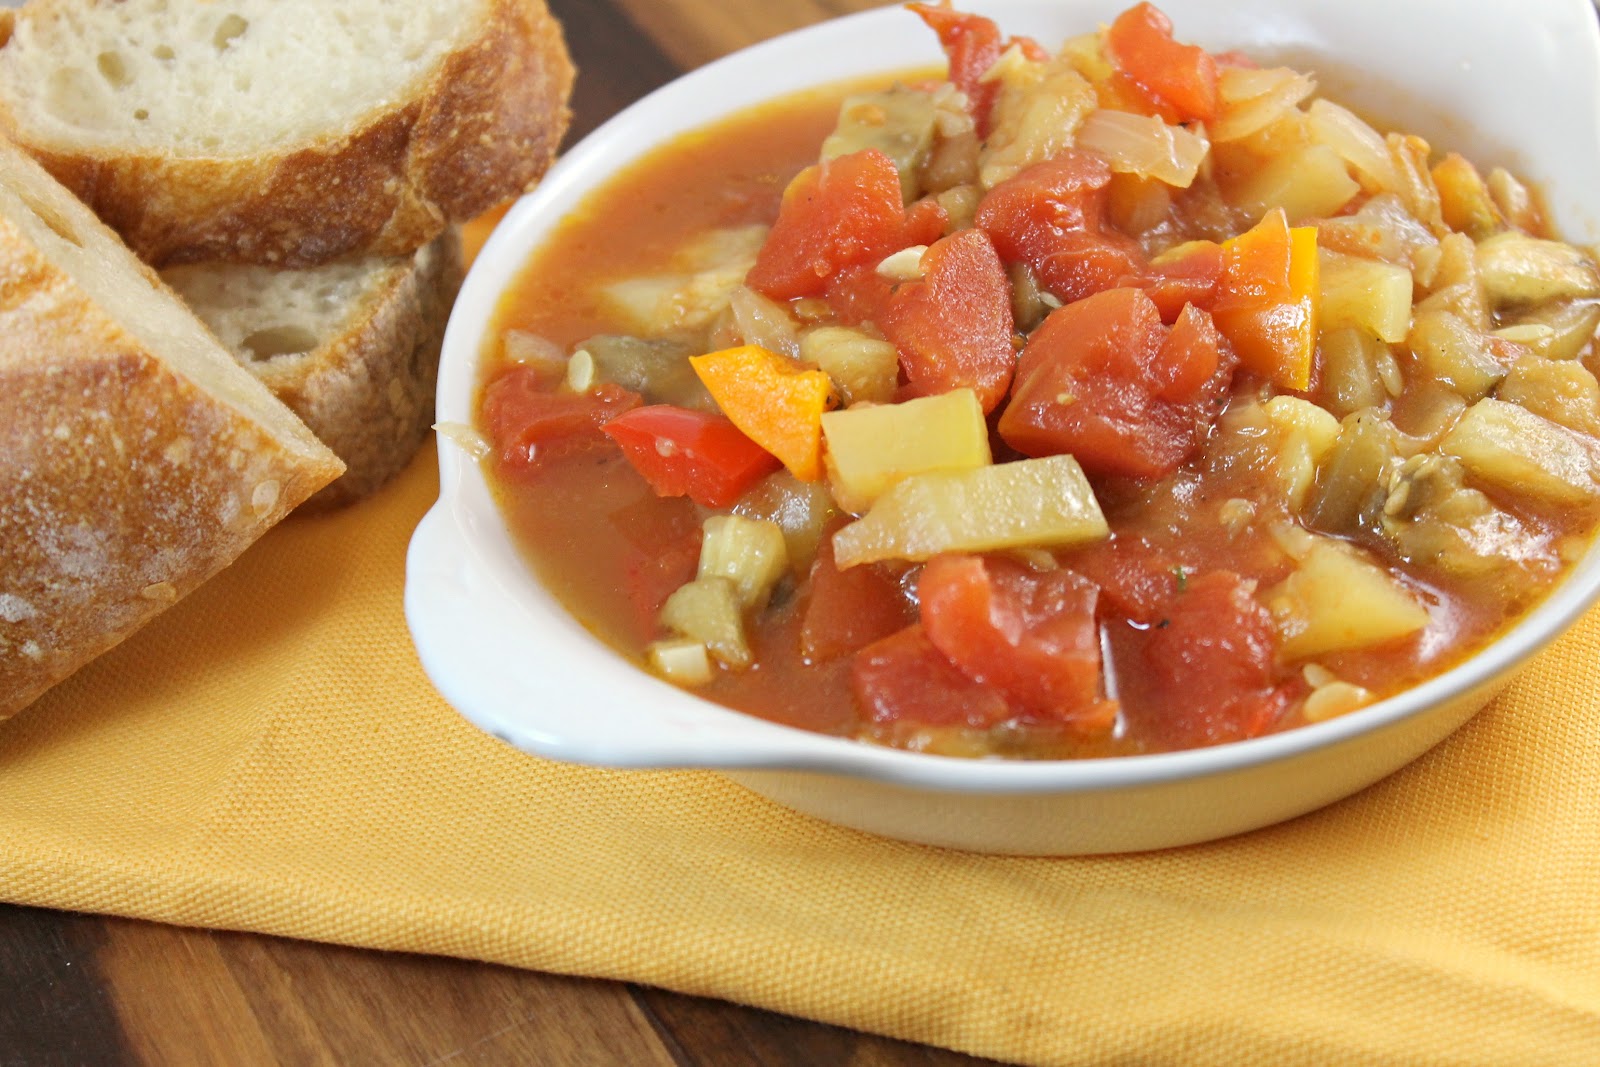
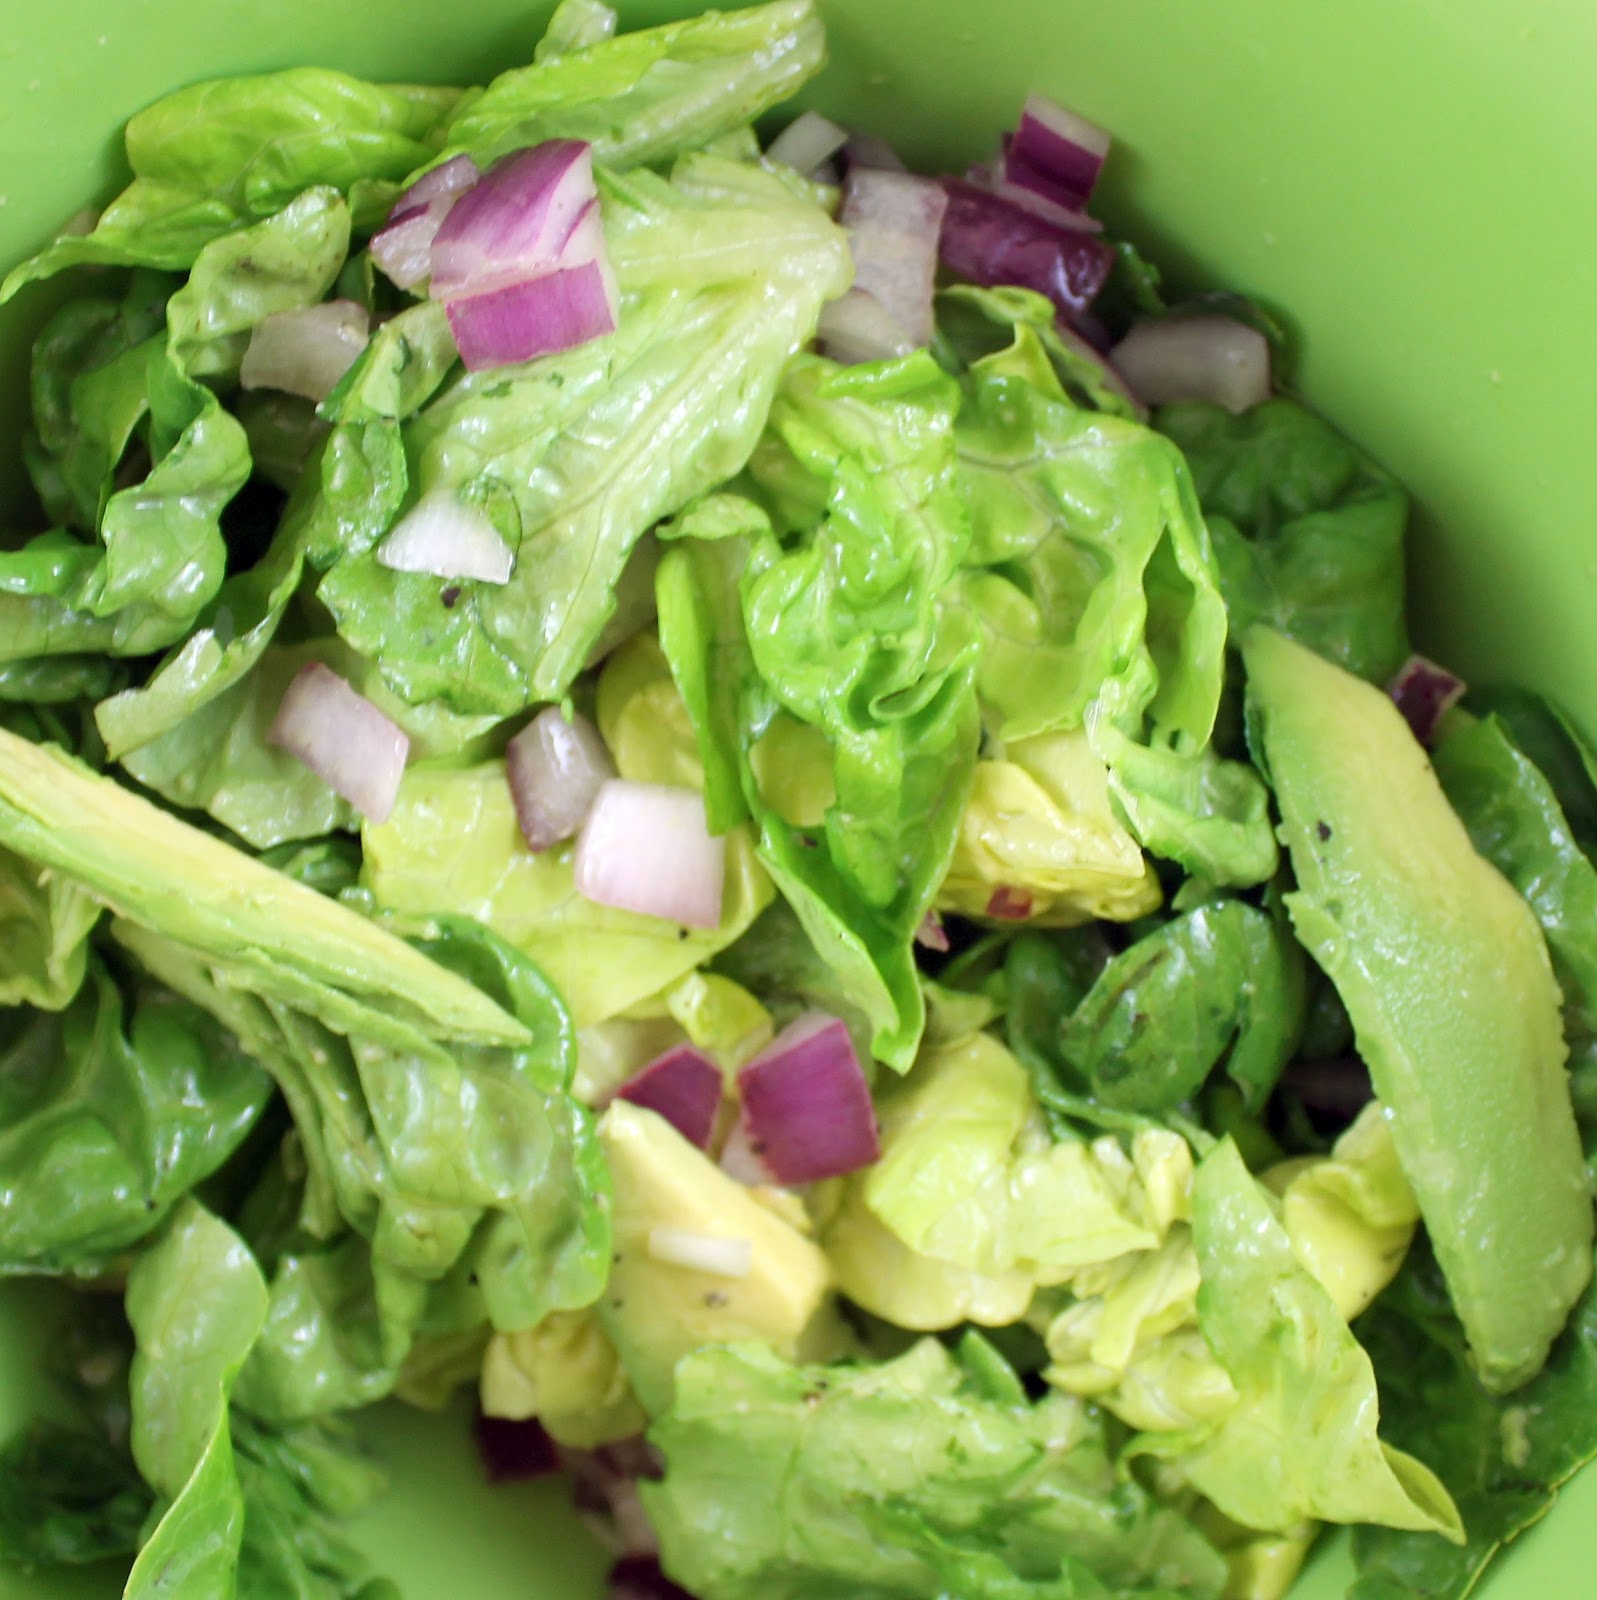
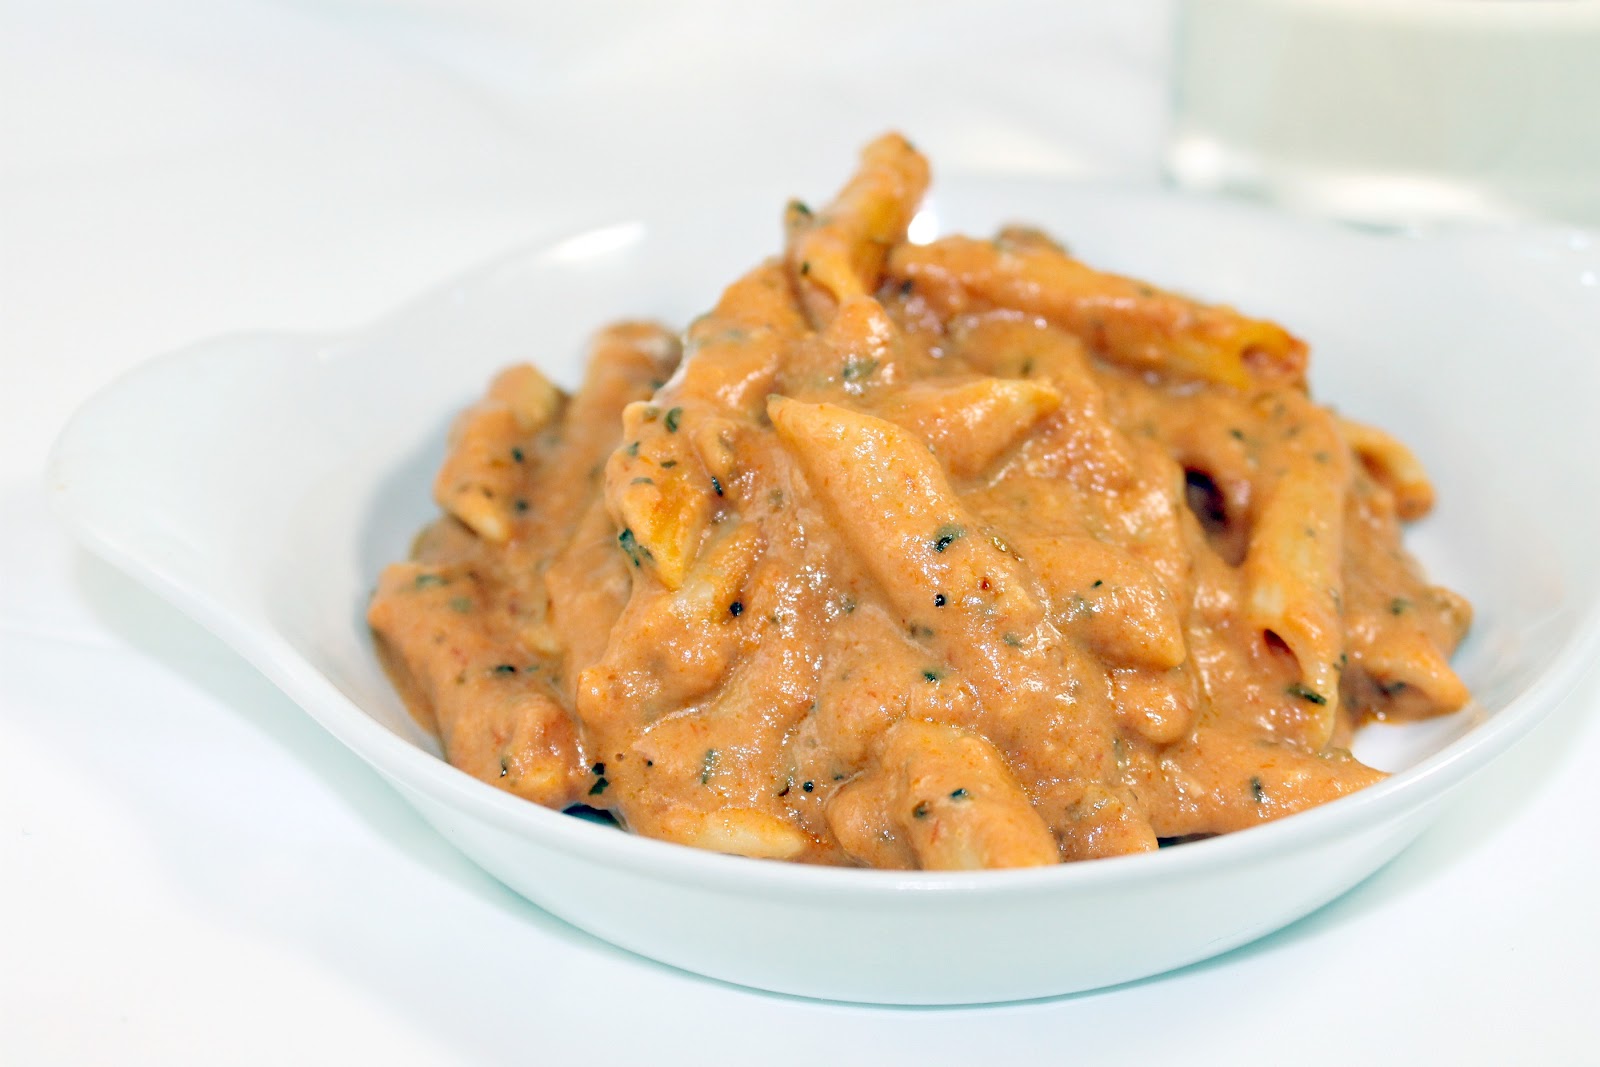
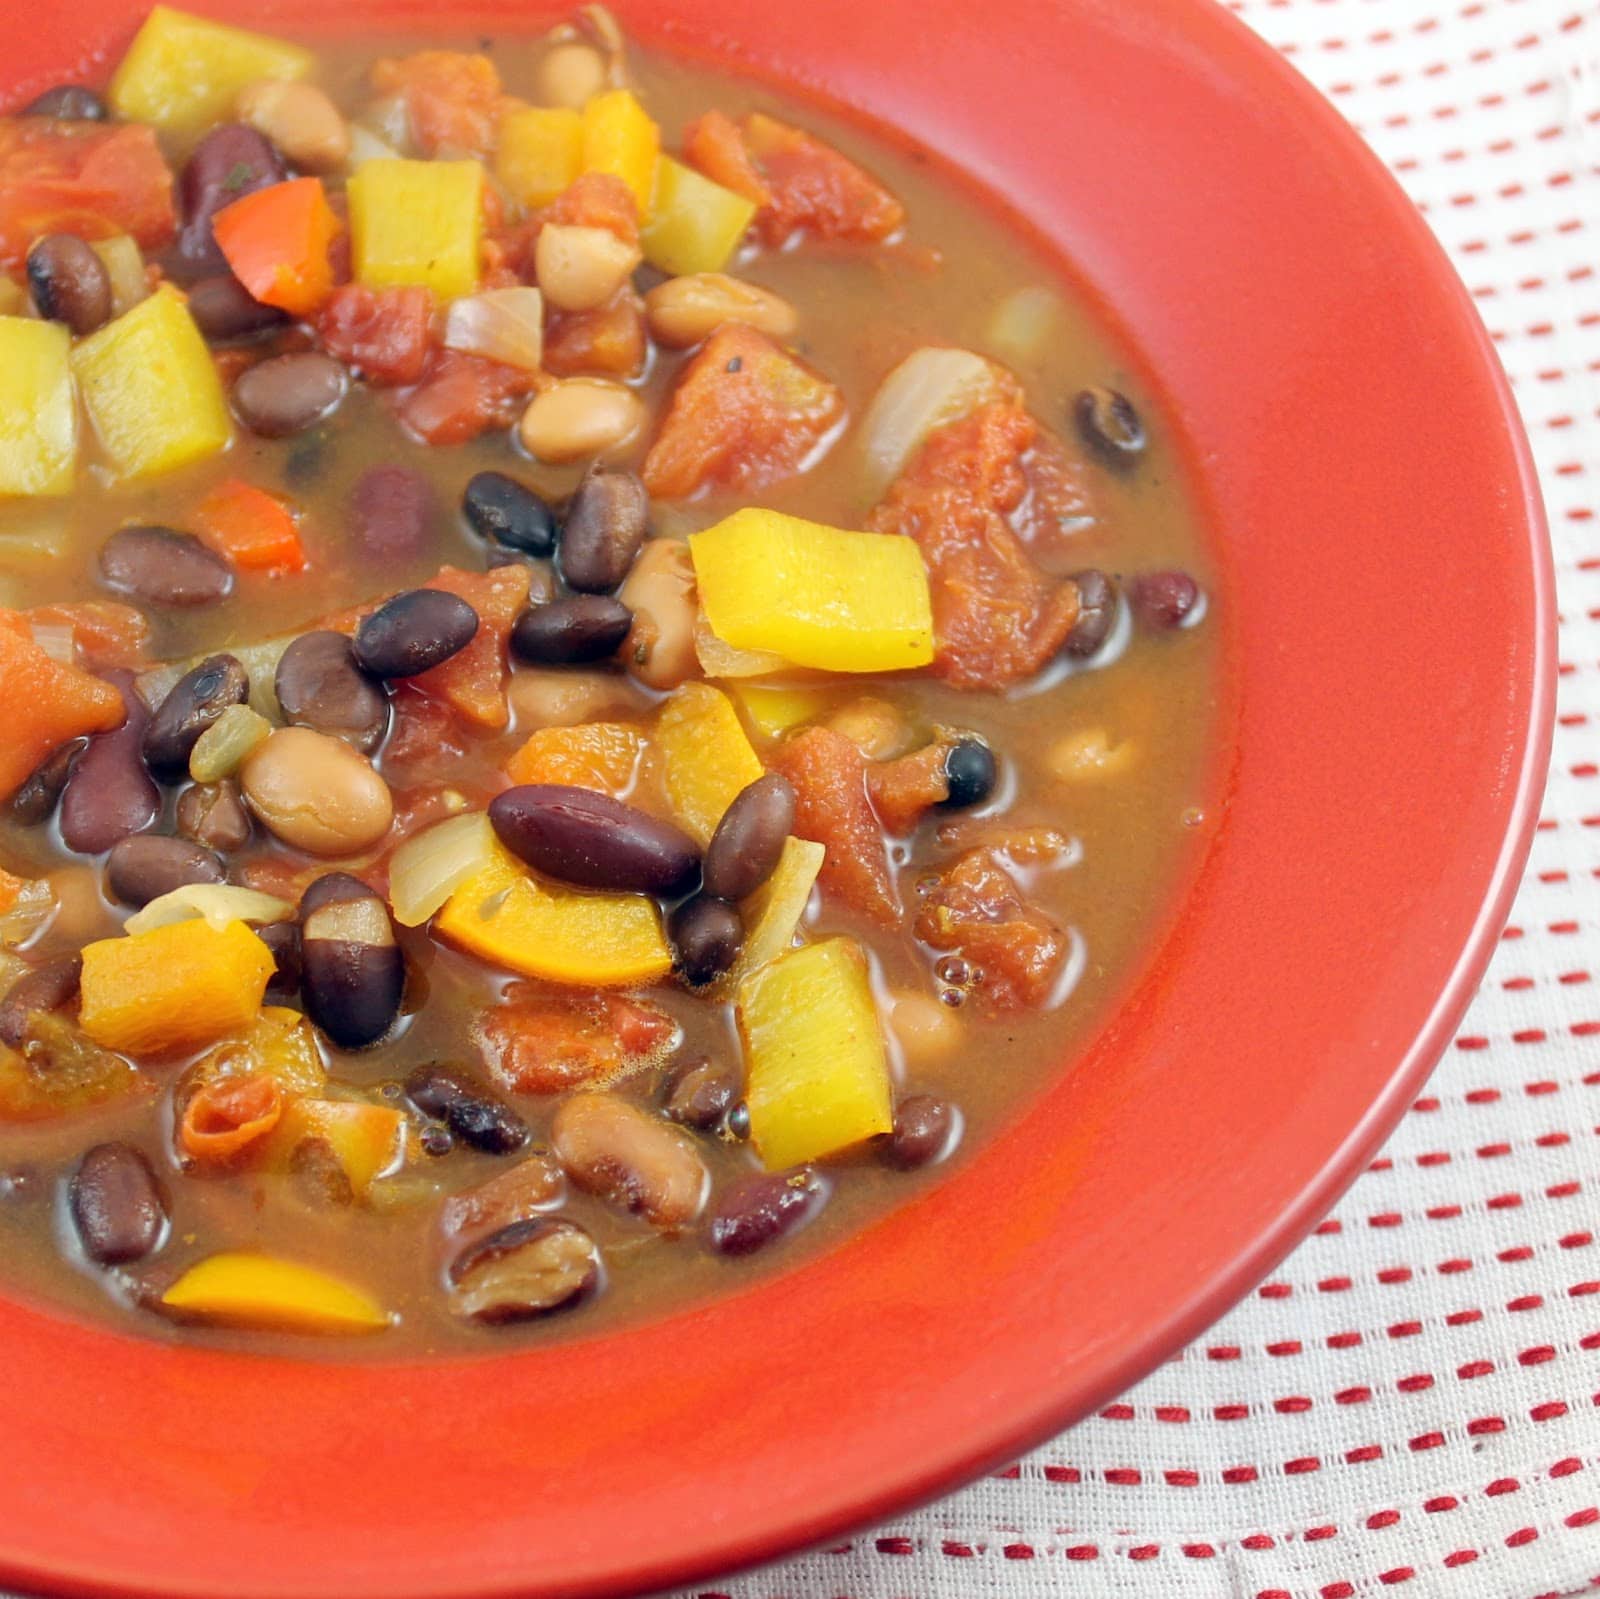
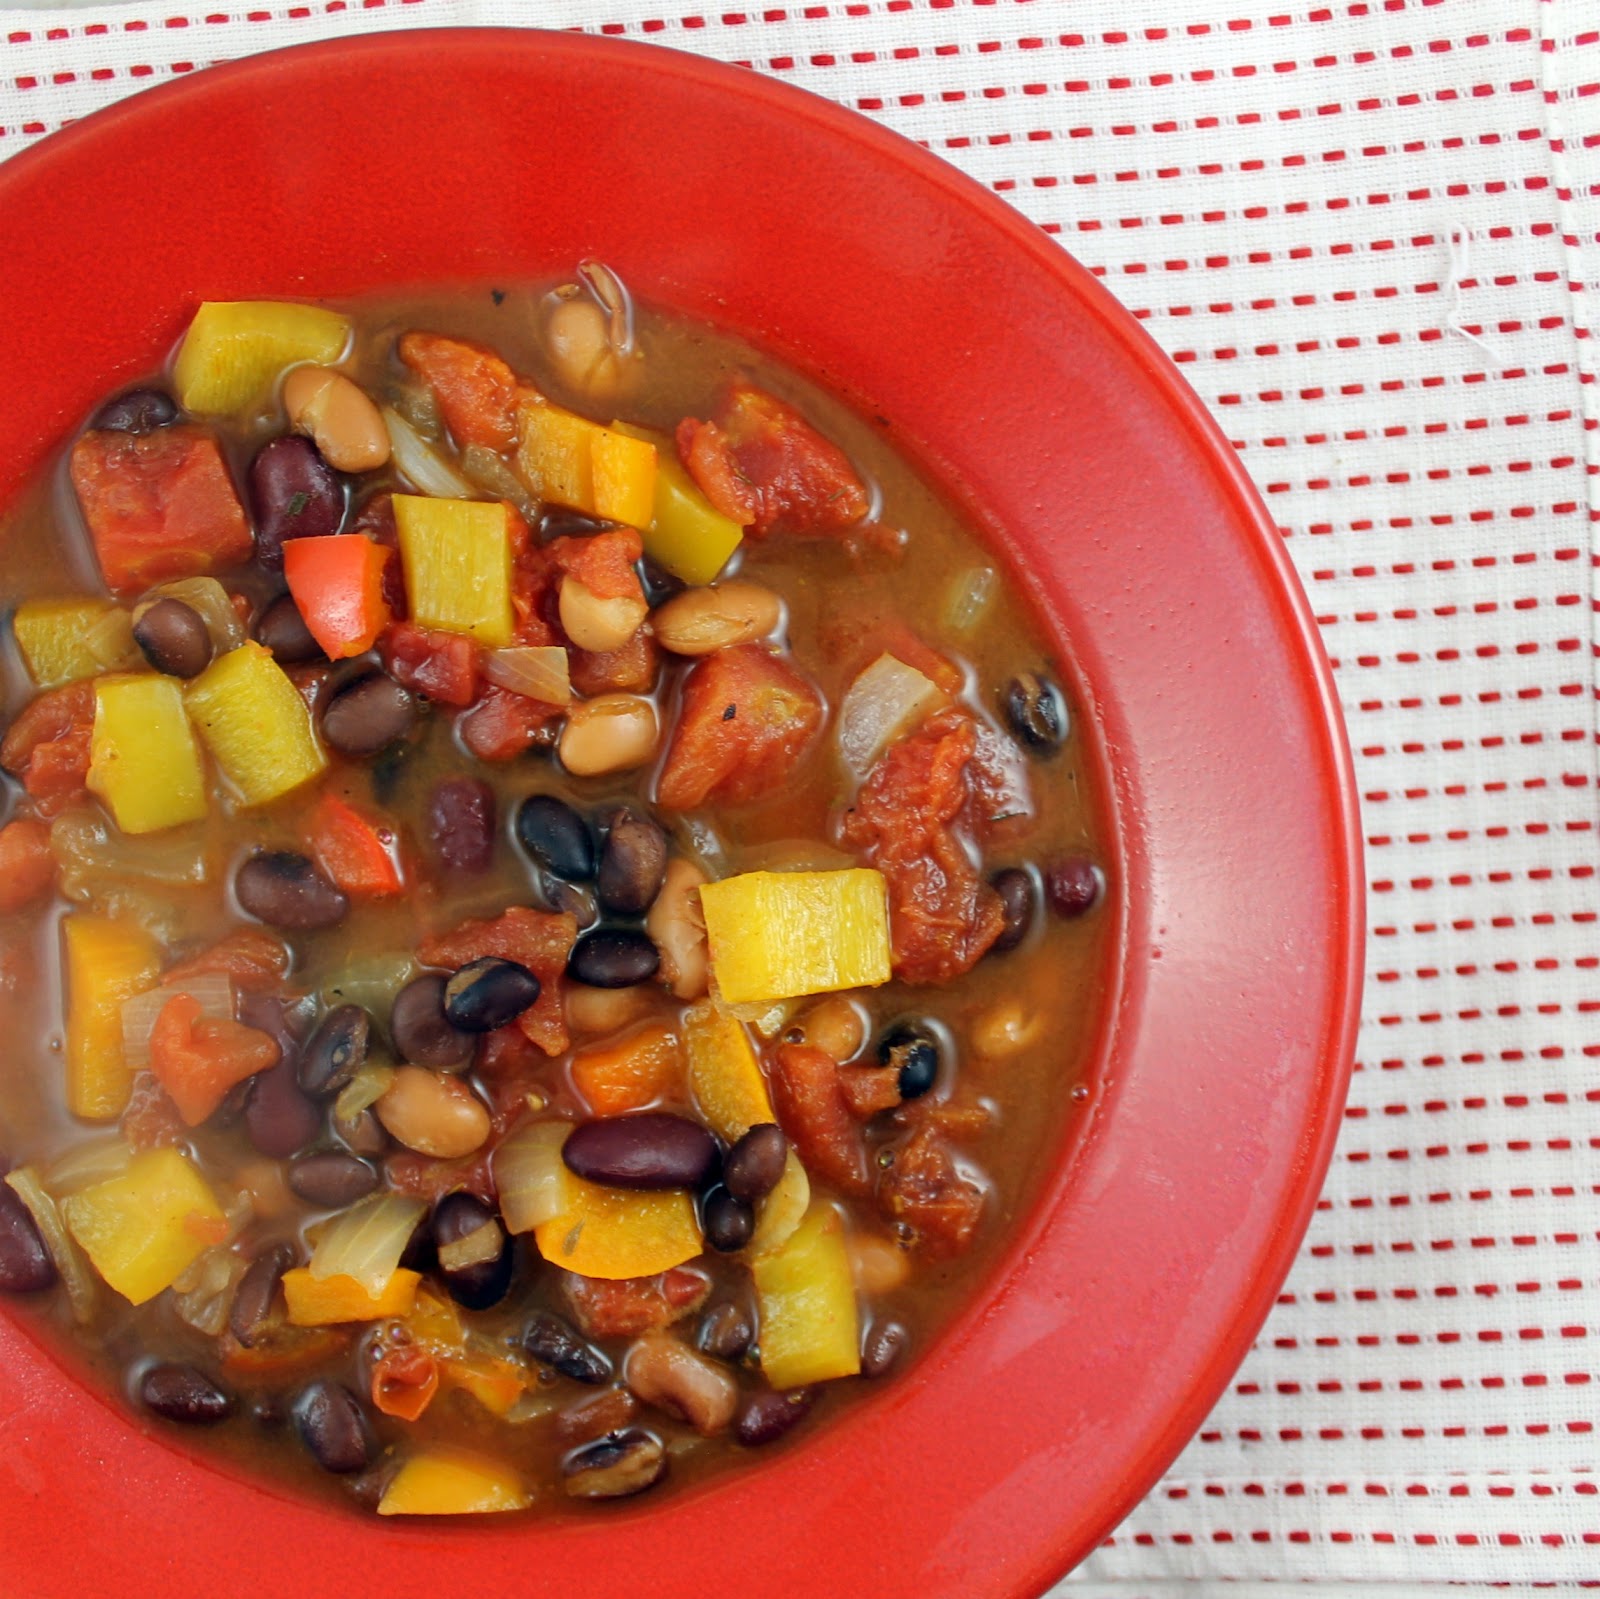
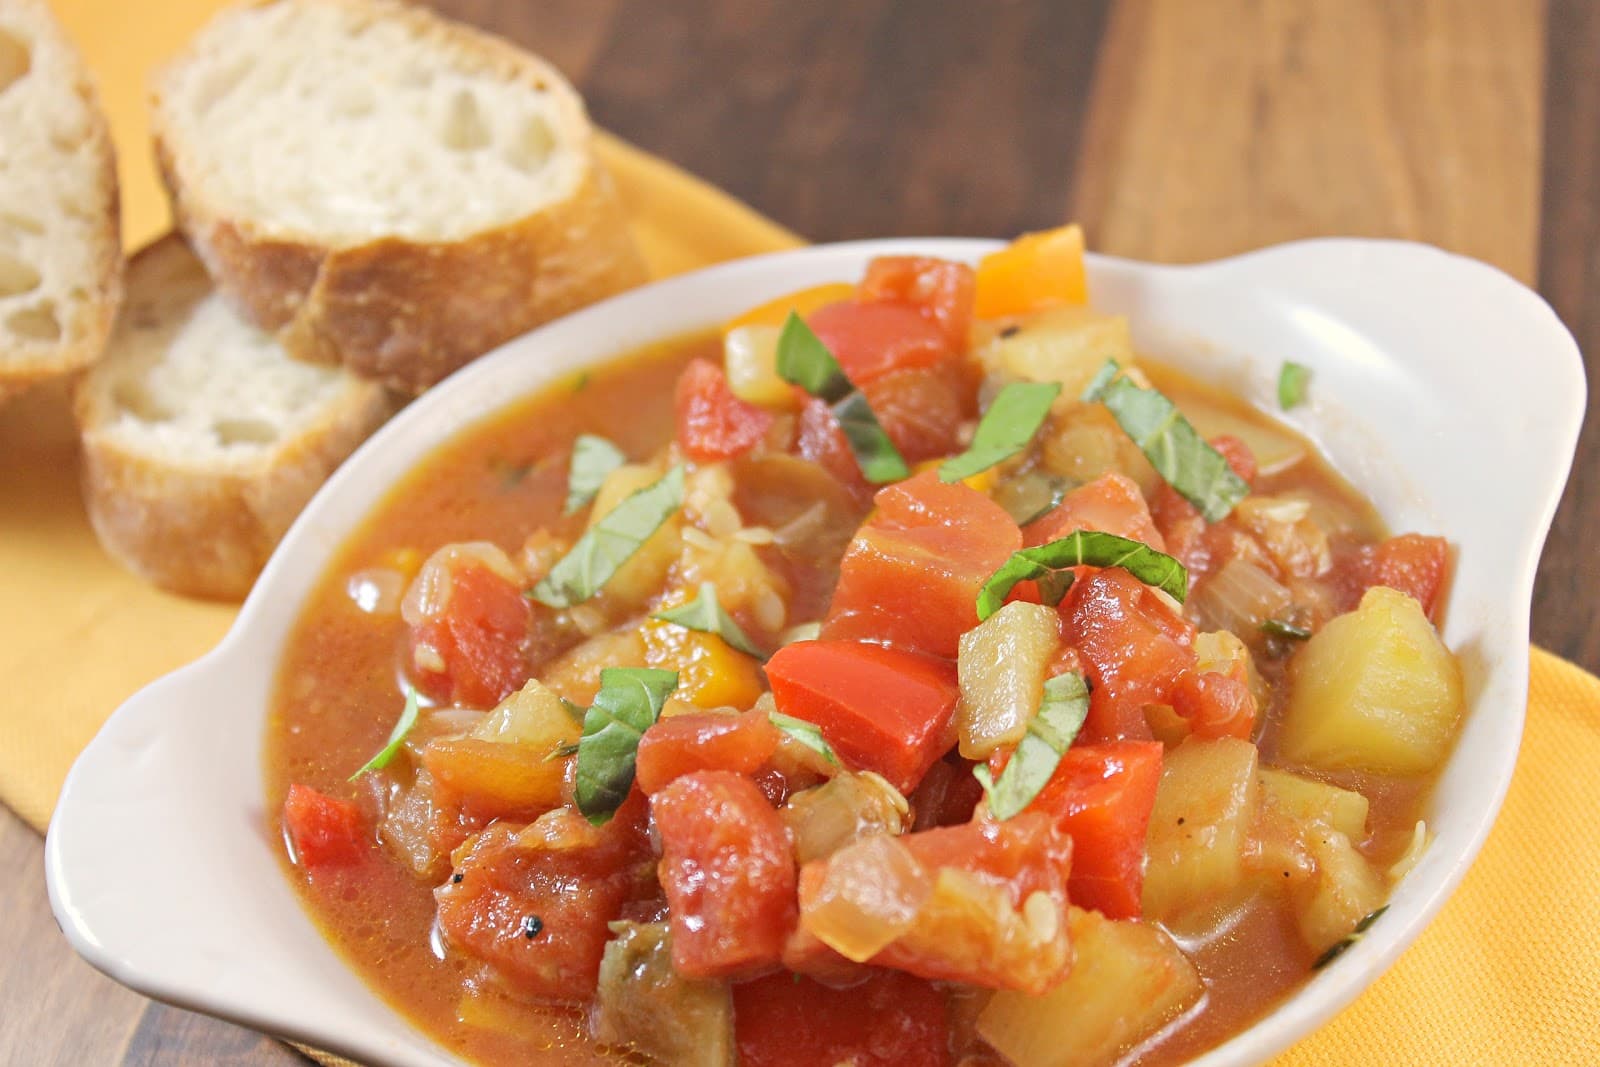
For being vegetarian, doesn’t this look fabulously hearty?

I paired mine with day old bread which was a perfect amount of crispiness to go with the veggies. It may not be terribly pretty, but it was comforting and really flavorful.

I ate one serving and froze the rest for nights when I don’t have time to cook. I’m glad I did or I’d still be sitting here eating it!