Note: I was sent a copy of Instant Indian: Classic foods from every region of India made easy in the Instant Pot for review. All opinions are mine alone.
I really enjoy Indian recipes. I’ve dabbled a bit in Indian cooking on my blog so far, although most of my recipes aren’t terribly authentic. I’ve even taken a class with Haneeda’s Kitchen to learn more about the cuisine. But a lot of the recipes can be pretty involved, and take quite a bit of time to make, so knowing ways to speed up the cooking process without sacrificing flavor are always welcome!
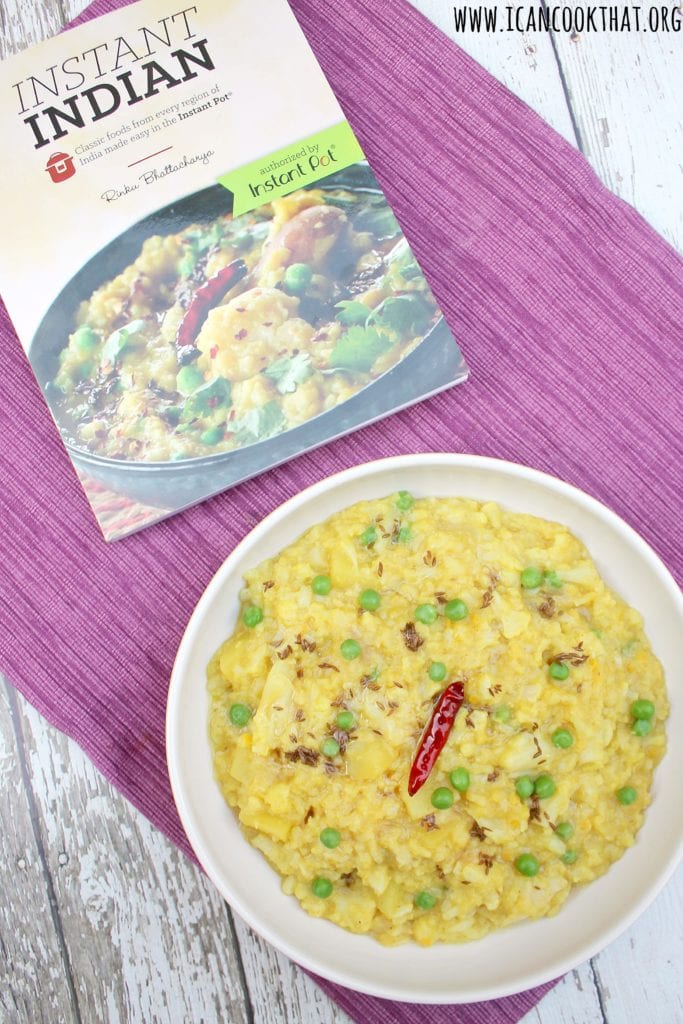

Cookbook author, blogger and cooking teacher Rinku Bhattacharya has put together a collection of 100 authentic Indian recipes all made in a multi-cooker, cutting down the time to make these recipes without sacrificing flavor. Instant Indian: Classic Foods from Every Region of India Made Easy in the Instant Pot showcases the diversity and range of the foods of India, where every state and region boasts its own unique dishes. Rinku Bhattacharya provides techniques and recipes that showcase the rich culinary diversity of Indian food. Her recipes are culled from the culinary regions of North India, Western India, Eastern India and South India.
![]()

The cookbook features recipes covering everything from spice blends to meat dishes to desserts. Nearly all the recipes are gluten free, and there are plenty of vegetarian and vegan options throughout the cookbook too!
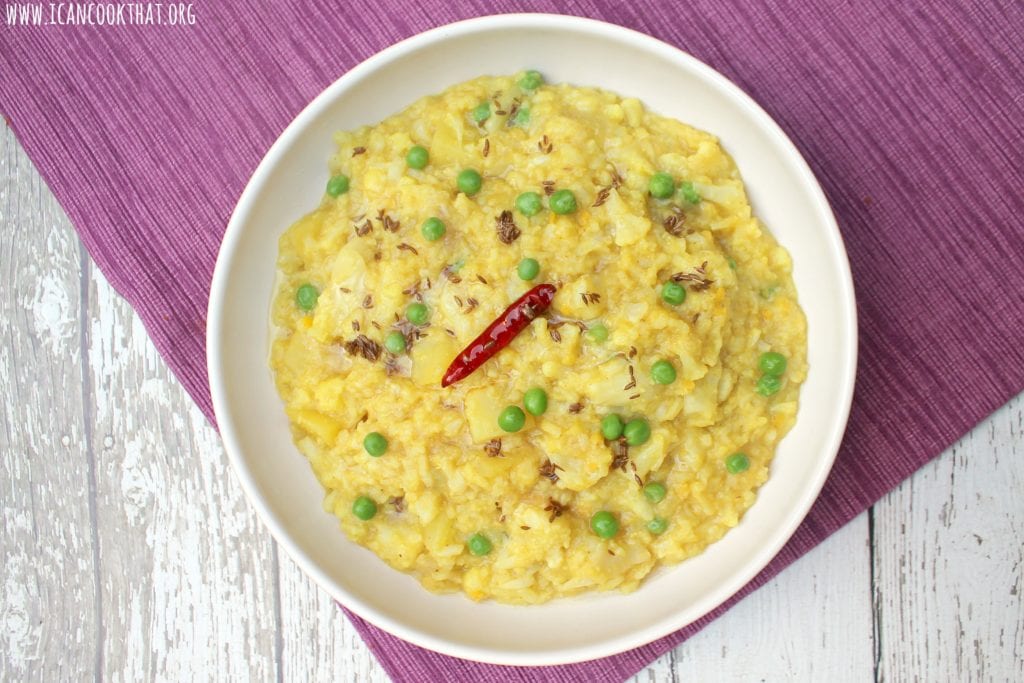

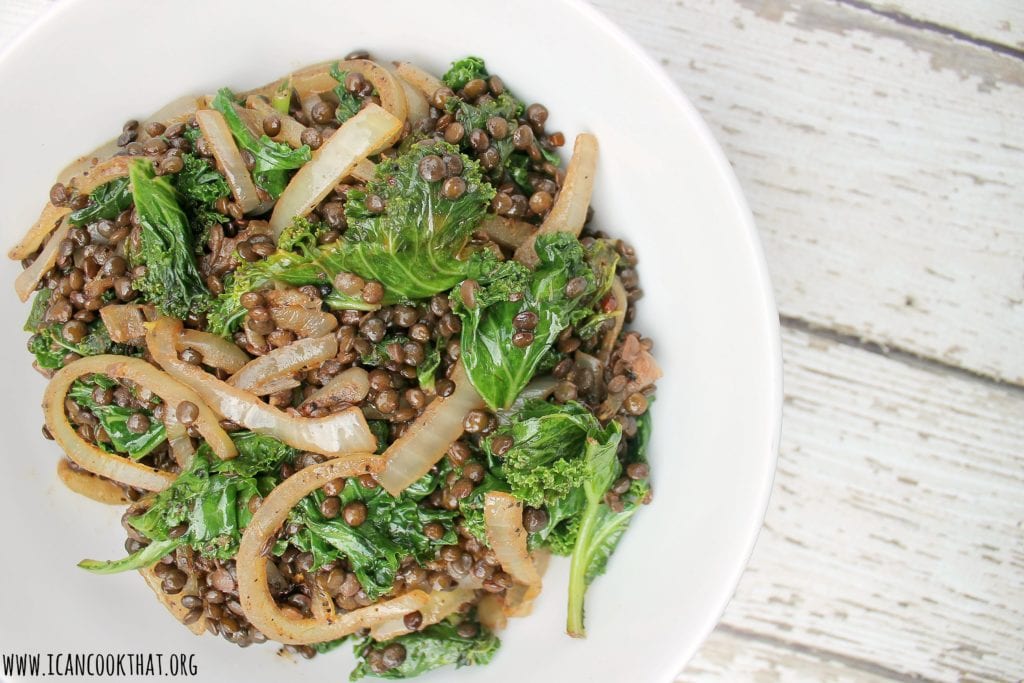
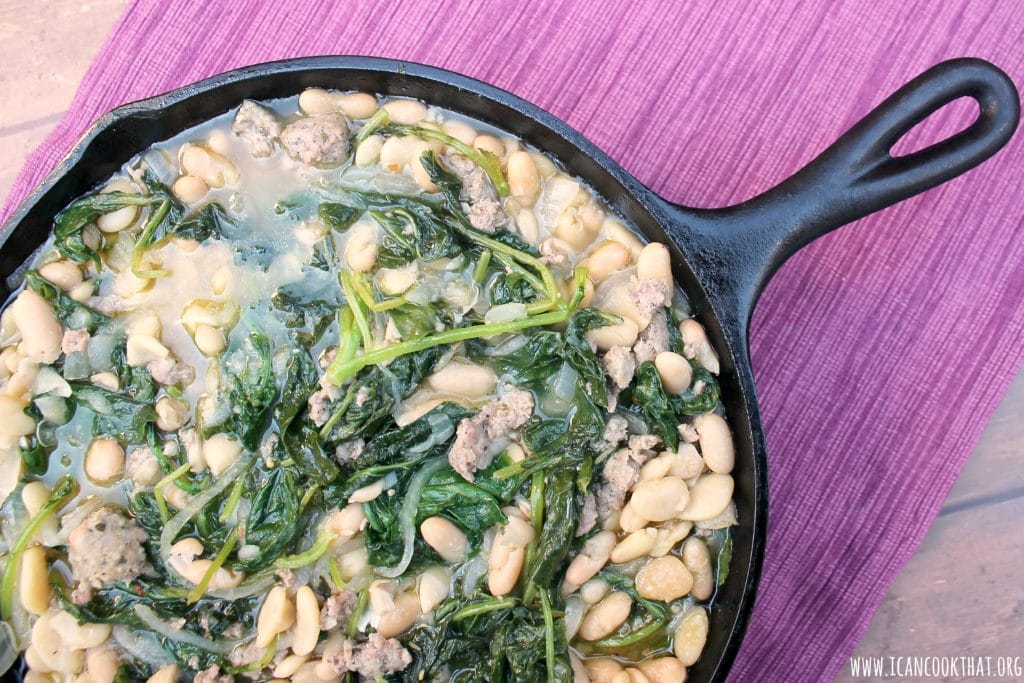
Khichuri (or khichdi) is a classic rice and lentil mixture that can be found throughout India, with different regions having their own spin on it. This version is from Bengal and uses sautéed red onions, red lentils, cauliflower, potatoes and peas. The version below for Pressure Cooker Khichuri is gluten-free, vegetarian, and vegan.
Note: I used my COSORI 6 Qt Electrical Pressure Cooker to make this recipe, so the directions are written with that in mind.

Ingredients: (serves 6)
Adapted from Instant Indian by Rinku Bhattacharya/Hippocrene Books/October
Khichuri:
- 4 tablespoons vegetable oil
- 1 medium red onion, thinly sliced
- 3/4 cup red lentils
- 1/2 cup basmati rice
- 1 tablespoon grated fresh ginger
- 1 teaspoon ground cumin
- 1 teaspoon ground coriander
- 1 teaspoon salt
- 1/2 teaspoon ground cayenne pepper
- 1/2 teaspoon turmeric
- 2 cups cauliflower florets
- 1 medium Yukon gold potato, peeled and cut into bite-sized cubes
- 1/2 cup frozen peas
Toppings:
- 1 tablespoon coconut oil
- 1 1/2 teaspoons cumin seeds
- 2 whole dried red chilies
- the juice of 1 lime
Continue reading Pressure Cooker Khichuri (Bengali Red Lentil Risotto)