This recipe actually builds from the two previous, with some minor changes. For simplicity, the entire recipe from start to finish is below so you don’t have to go to multiple posts to make it. The multi-pot shortens the time of making a solid chicken soup, but it is still a labor of love. Total time to cook is roughly 3 hours.
It freezes well, so it’s a great recipe to make now to have on hand for sick days!
Ingredients: (serves 8)
Chicken:
1(3 to 4 pound)whole chicken – I used a 3 pound chicken
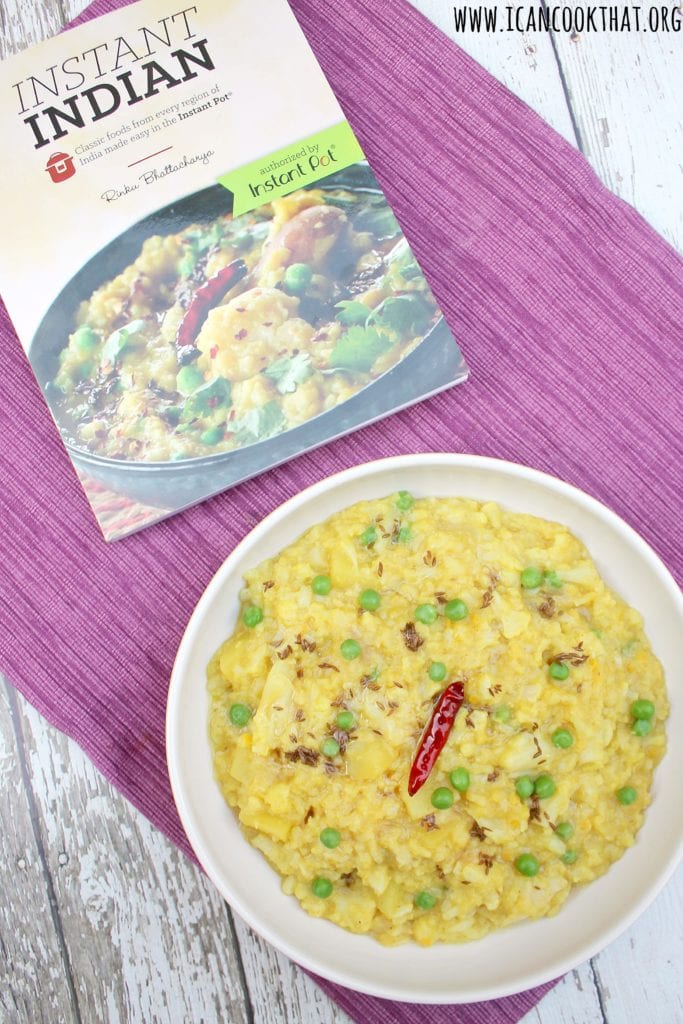
Note: I was sent a copy of Instant Indian: Classic foods from every region of India made easy in the Instant Pot for review. All opinions are mine alone.
I really enjoy Indian recipes. I’ve dabbled a bit in Indian cooking on my blog so far, although most of my recipes aren’t terribly authentic. I’ve even taken a class with Haneeda’s Kitchen to learn more about the cuisine. But a lot of the recipes can be pretty involved, and take quite a bit of time to make, so knowing ways to speed up the cooking process without sacrificing flavor are always welcome!
Cookbook author, blogger and cooking teacher Rinku Bhattacharya has put together a collection of 100 authentic Indian recipes all made in a multi-cooker, cutting down the time to make these recipes without sacrificing flavor. Instant Indian: Classic Foods from Every Region of India Made Easy in the Instant Pot showcases the diversity and range of the foods of India, where every state and region boasts its own unique dishes. Rinku Bhattacharya provides techniques and recipes that showcase the rich culinary diversity of Indian food. Her recipes are culled from the culinary regions of North India, Western India, Eastern India and South India.
The cookbook features recipes covering everything from spice blends to meat dishes to desserts. Nearly all the recipes are gluten free, and there are plenty of vegetarian and vegan options throughout the cookbook too!
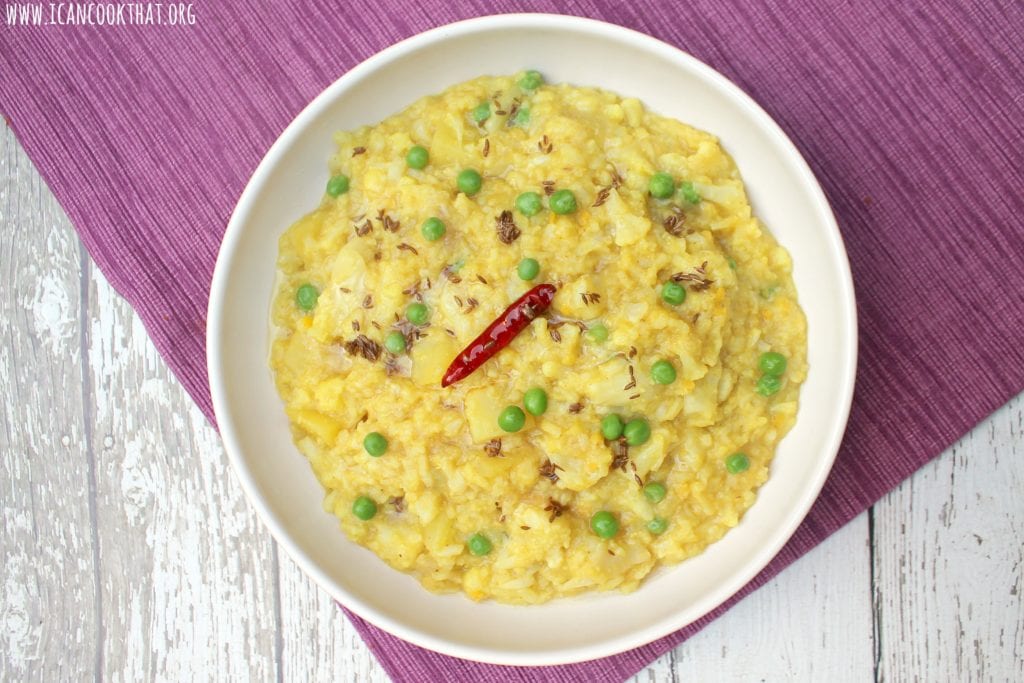
Khichuri (or khichdi) is a classic rice and lentil mixture that can be found throughout India, with different regions having their own spin on it. This version is from Bengal and uses sautéed red onions, red lentils, cauliflower, potatoes and peas. The version below for Pressure Cooker Khichuri is gluten-free, vegetarian, and vegan.
I’ve been told I make a pretty darn good Bloody Mary. Although I can’t take much credit for it; I’ve been using my grandpa’s recipe for years now. My “responsibility” at Thanksgiving every year is to keep the pitcher of Bloody Marys full, so I’ve had some practice.
I’m finally sharing my recipe on here to highlight a fun event happening in South Philly this weekend at one of my favorite bars: Moonshine. Chef Christine Hazel, of Hell’s Kitchen and Chopped fame, is hosting a Brunch Cooking Class this Sunday, December 9th, at 11 am. The class includes learnings how to make some brunch dishes, dish samples, and 2 signature cocktails. You can get tickets here. (I’ve already purchased mine, so come hang out with me!)
Source: Christine Hazel
So why not get the brunch cocktail party started now?
Ingredients: (serves 4)
2 cups tomato juice
the juice and zest of 1 lemon
the juice and zest of 1 lime
2 oz Worcestershire sauce (some brands are gluten-free)
10-15 dashes hot sauce (depending on how much heat you’re looking for)
1/2 teaspoon salt
1/2 teaspoon black pepper
6 oz vodka
ice
for garnish (optional): celery stalks, lemon wedges, lime wedges, olives
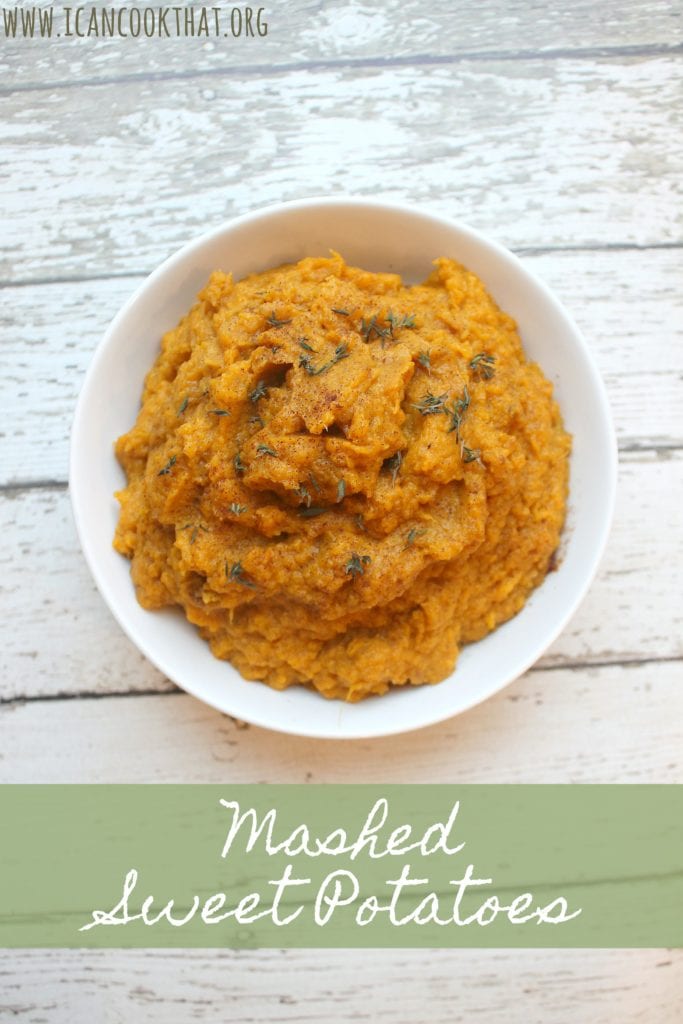
I really love sweet potatoes. I have a pretty bad sweet tooth, so sweet potatoes are right up my alley. Growing up, we used to always have them mashed with a ton of butter and topped with roasted marshmallows. Mmm.
This version for Pressure Cooker Mashed Sweet Potatoes is a bit more stripped down, no marshmallows here. The natural sweetness is allowed to shine through (although I do enhance it a bit with some maple syrup)!
Plus, because I cooked the sweet potatoes in my Pressure Cooker, this recipe is done in no time!
Ingredients:
4 lbs sweet potatoes, peeled and cut into similar sized pieces
1 cup water
1/4 cup unsalted butter (or coconut oil to make dairy free/vegan)
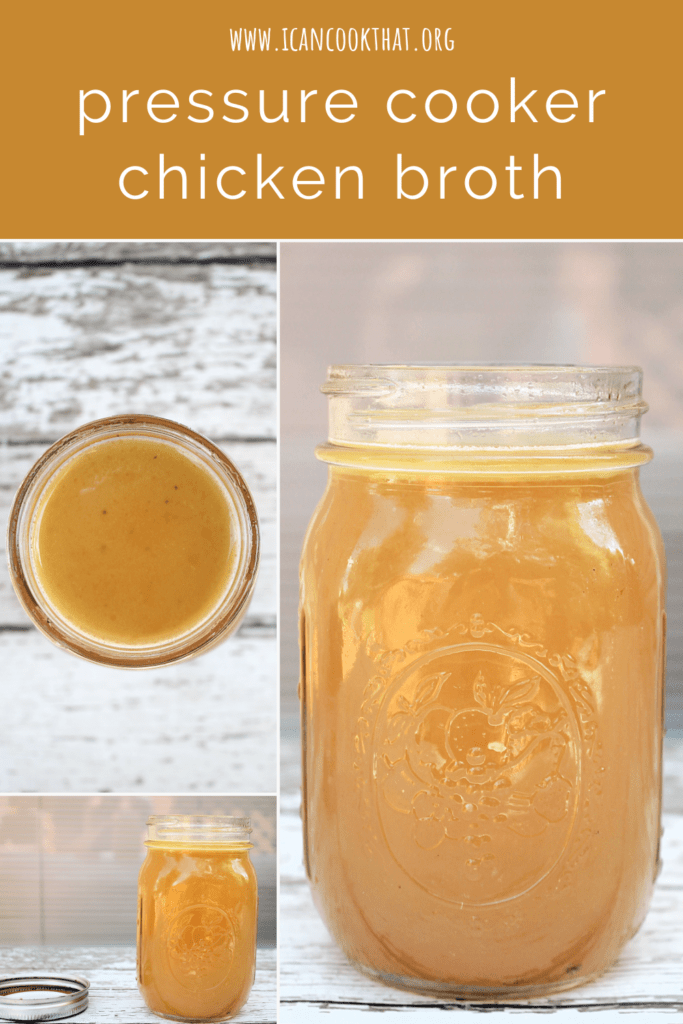
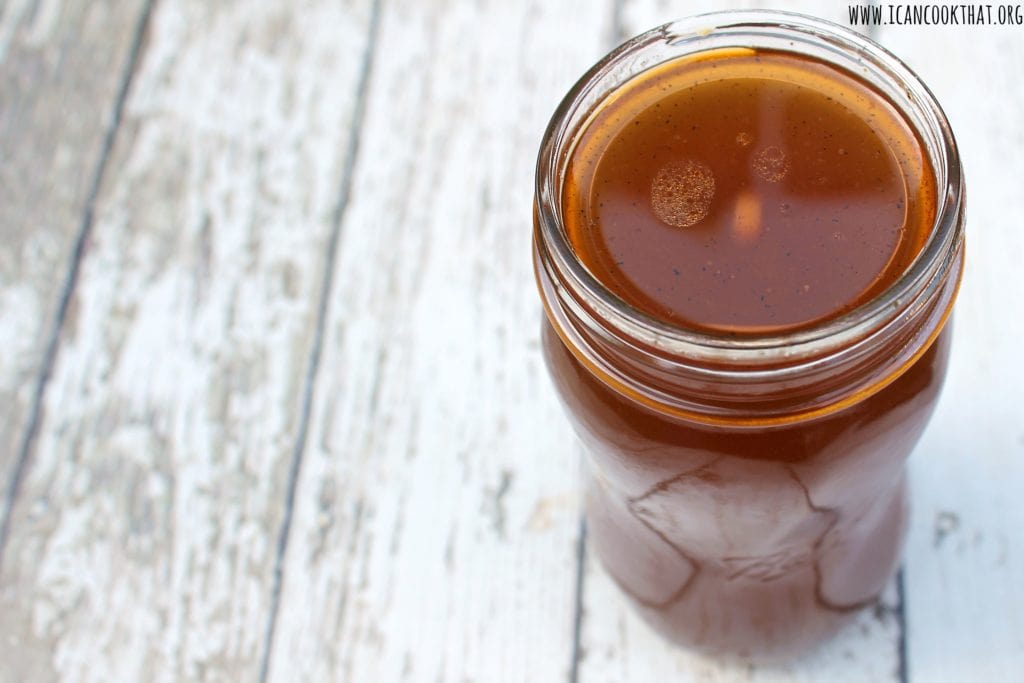
I don’t know if it’s just me, but I go through a ton of chicken broth and stock — I never seem to be able to keep enough on hand!
So when I was making my Pressure Cooker Whole Chicken, I knew homemade Pressure Cooker Chicken Broth would be the natural next step.
Making your own pressure cooker chicken broth or stock is a super easy (and affordable) way to get the most out of your whole chicken!
Just a quick summary on the difference between stock and broth: both simmer bones and/or meat in water with onions, carrots, celery, and aromatics but stock is left unseasoned (no salt) while broth is seasoned.
Ingredients:
6
2 sprigs fresh rosemary
10 whole peppercorns, omit for stock
1/2 teaspoon salt, omit for stock
the bones of 1 chicken carcass
Note: If you’re making this immediately following making a chicken in your Pressure Cooker, you won’t need as much water.
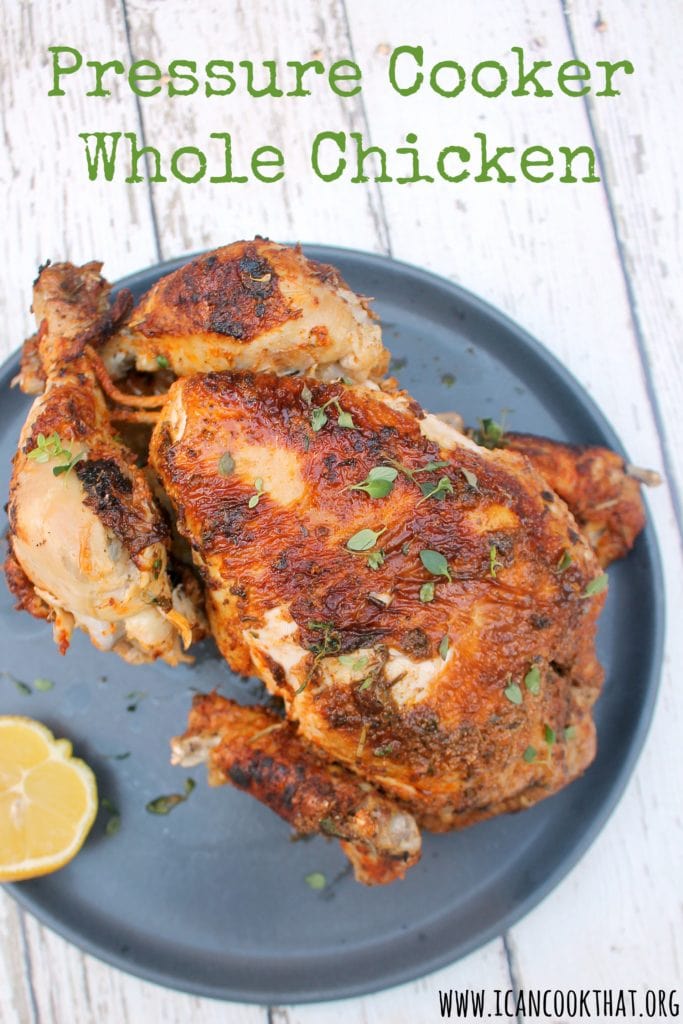
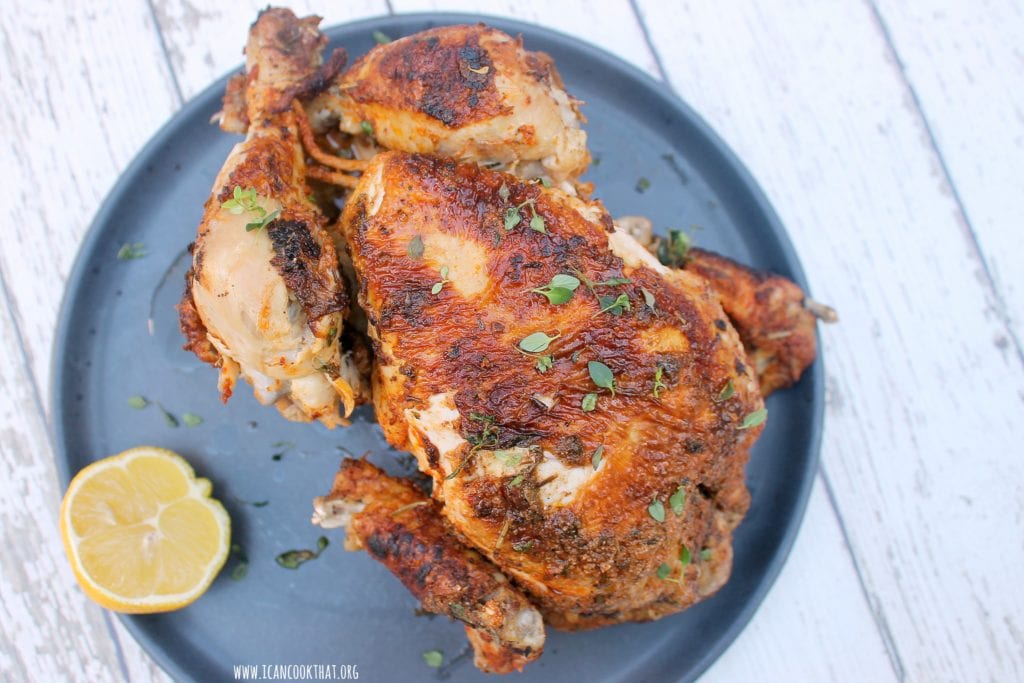
My husband has been on a pretty solid streak of making himself salads for weekday lunches. Nothing terribly fancy: lettuce, tomatoes, cucumbers, a protein, and some olives or cheese with homemade dressing. For the protein, he tends to use canned tuna, beans, or rotisserie chicken. So when I heard that you can make your own “rotisserie” chicken in a pressure cooker, I knew I had to try it! May I introduce you to: Pressure Cooker Whole Chicken!
The recipe is quite straightforward… season your chicken, brown on all sides, and then pressure cook. Pressure cooking doesn’t result in crispy skin, but boy does the meat stay juicy!
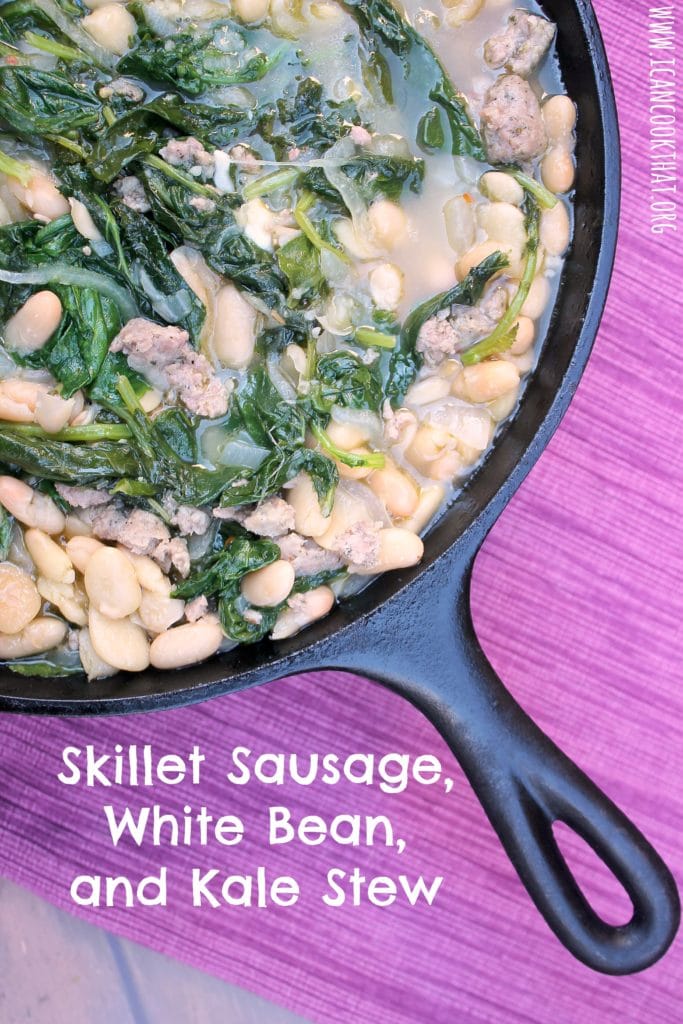
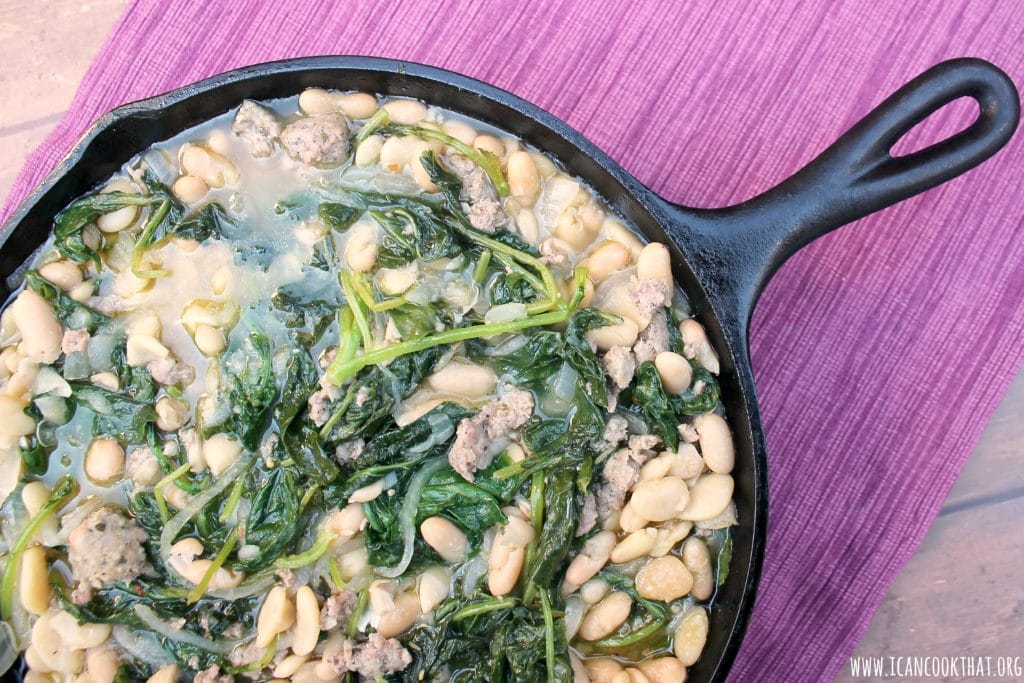
As the weather gets a little cooler, I begin to gravitate toward more comfort food recipes, like this Skillet Sausage White Bean and Kale Stew. Not necessarily bad-for-you recipes, recipes that are simple but flavorful and filling.
To me, there are very few things as comforting as this stew with ground sausage, cannellini beans, and kale. (I’m referring to this as a stew, but there is very little broth in this Skillet Sausage White Bean and Kale Stew. It’s meant to be that way.) Something magical when these ingredients are cooked with onions and garlic!
This recipe for Skillet Sausage White Bean and Kale Stewis adapted from Simply Recipes, where it was originally intended to be a side. My version is pretty similar, but I make enough for it to be a nice dinner on its own; just serve with a side of crusty bread to sop up that wonderful sauce!
Ingredients:
2 tablespoons olive oil
1 large white onion, thinly sliced
4 large garlic cloves, thinly sliced
1 pound hot Italian sausage, casings removed (for gluten-free, make sure to use gluten-free sausage)
2 (5 oz) containers baby kale, divided
1 1/4 cups beef stock, divided
2 (15 oz) cans cannellini beans, rinsed and drained (or any white beans you prefer)
My husband says he doesn’t like soup, but he honestly just doesn’t like thin broth soups, like traditional chicken noodle soup. So I’m always in search of soup recipes that are thicker based — not necessarily from cream. Pureed vegetable soups have become a favorite in my house!
This recipe from Saveur for Red Lentil and Butternut Squash Soup mentions that it originates from Palestine, but I haven’t been able to find a similar butternut squash and red lentil soup to confirm that. No matter where this recipe originally comes from, the result is a perfect colder weather soup- creamy, filling, with a little bit of heat!
Ingredients:
1/4 cup olive oil
4 cloves garlic, minced
3 medium carrots, chopped
2 stalks celery, chopped
1 medium white onion, chopped
1 teaspoon ground cumin
1/2 teaspoon crushed red chile flakes
1 pound peeled, seeded, and chopped butternut squash
salt and pepper, to taste
6 cups chicken stock (or vegetable stock to make vegetarian/vegan)
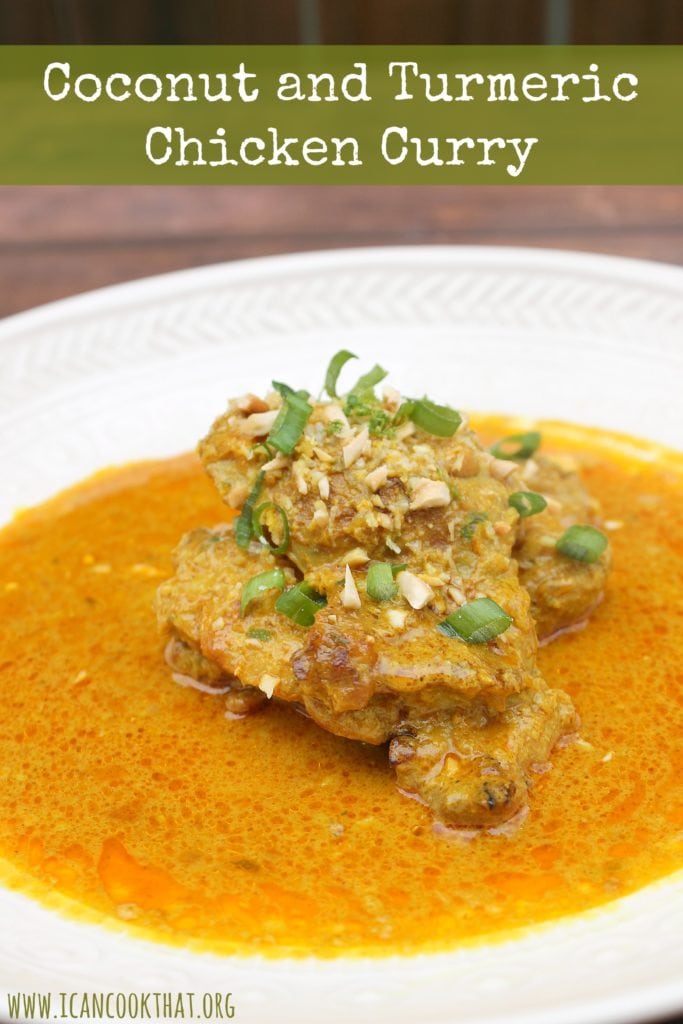
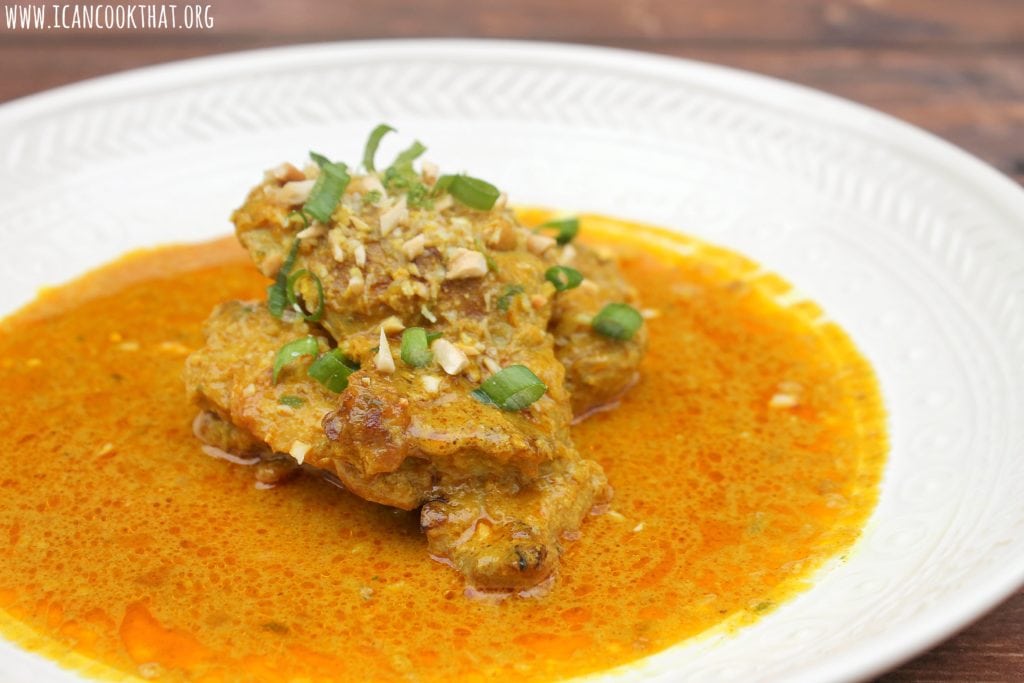
I came across a recipe for Sri Lankan Coconut and Turmeric Chicken Curry a while back, but was unable to find all of the ingredients to actually make it. (Curry leaves are difficult to come by near me!)
Recently, I just gave up and decided to make it with some substitutions.
This recipe from Delicious.com, even with my adjustments, is so fantastic that I can only imagine how good the original is!
Ingredients:
1 medium white onion, roughly chopped
~1 1/2 inch piece ginger
3 garlic cloves, crushed
1 small jalapeno, seeds and membranes removed
8 boneless skinless chicken thighs
4 tablespoons coconut oil, divided
1 tablespoon ground turmeric
1 tablespoon ground cumin
2 teaspoons ground coriander
2 teaspoons smoked paprika
3 cardamom pods, smashed
1 piece of cinnamon
2 whole cloves
3 bay leaves
1 (13.5 oz) can coconut milk, well shaken
1 cup chicken stock
2 tablespoons cashews, finely chopped, plus extra to serve
I’m seriously loving using my pressure cooker! My husband was out of town while I was experimenting with this recipe, so I enlisted the help of a couple of friends to be my taste testers. Luckily they were willing to oblige!
The unsuspecting friends showed up without knowing what exactly I was planning on preparing – they are very trusting! 🙂
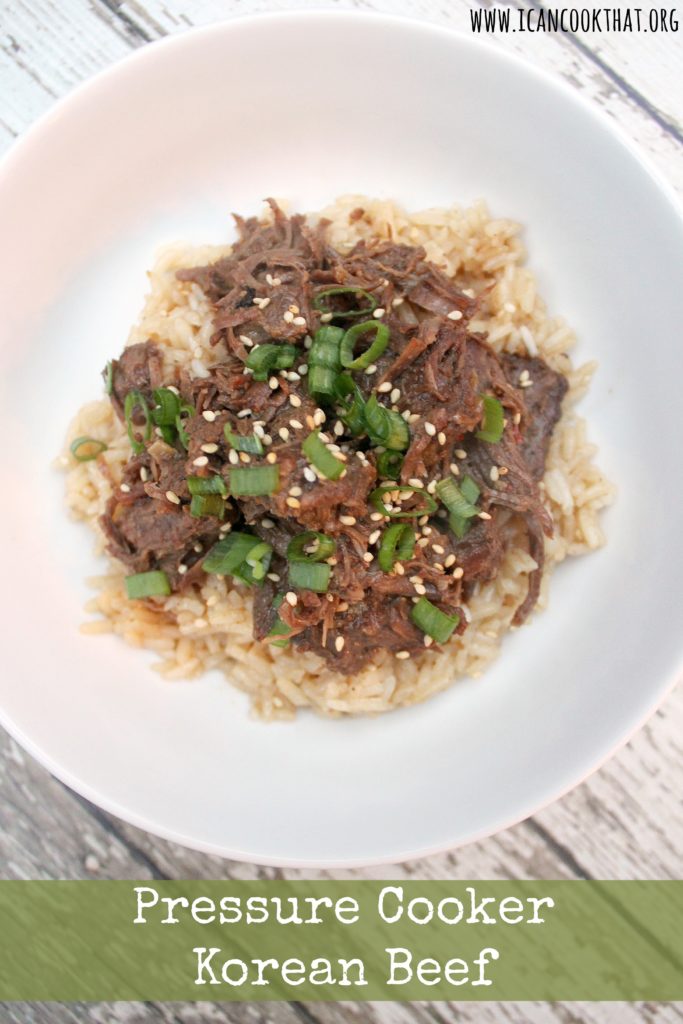
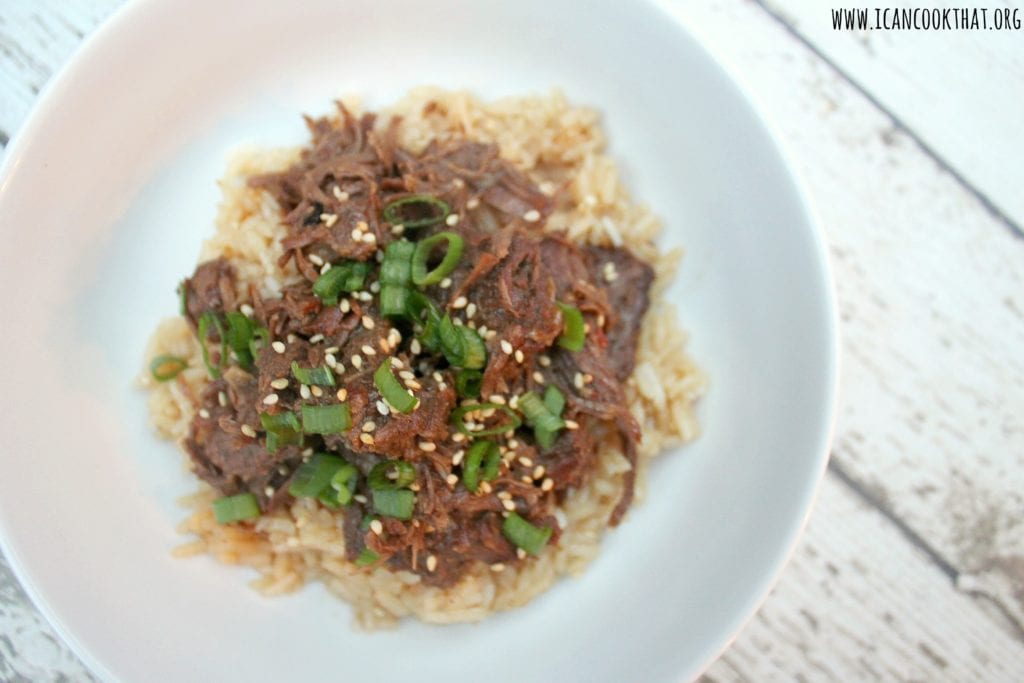
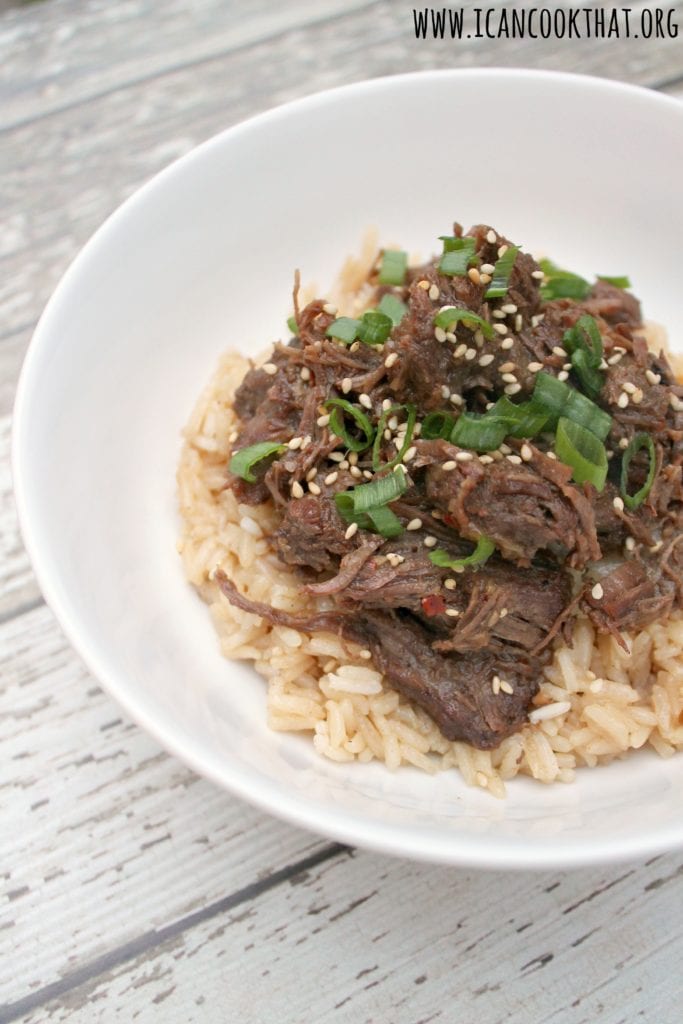
I had a craving for bulgogi recently, so I decided to make a pressure cooker Korean beef. Bulgogi is typically made with thin, marinated slices of beef that are then barbecued. The marinade is usually a mixture of soy sauce, sugar, sesame oil, ginger, and garlic with a touch of crushed red pepper.
This recipe is inspired by the flavors of bulgogi, but instead of grilling thinly sliced beef, it instead uses chuck roast beef and a pressure cooker to make a super tender, shredded version.
Ingredients (serves 8):
1 tablespoon vegetable oil, plus more if needed
4 lbs chuck beef, cut into cubes, excess fat trimmed
1 small onion, chopped
6 garlic cloves, minced
1 to 2 tablespoons beef stock
1/2 cup brown sugar, lightly packed
1/2 cup reduced sodium soy sauce (or coconut aminos to make gluten free)
1 tablespoon sesame oil
1/2 teaspoon crushed red pepper flakes
1 teaspoon fresh ginger, minced
green onions, sliced, for garnish
white sesame seeds, for garnish
4 cups cooked rice
To make, cut the beef into large chunks. Season with salt and pepper. (Go light on the salt, the soy sauce will provide all the salt you need!)
Press the “saute” function on your pressure cooker. Press the “cook time” button and increase the time to 25 or 30 minutes (it took me about 25 minutes to brown up all of my meat.) Press the “adjust” button and choose “more/high.” Press “on/start.” The pressure cooker will beep five times when it is preheated.
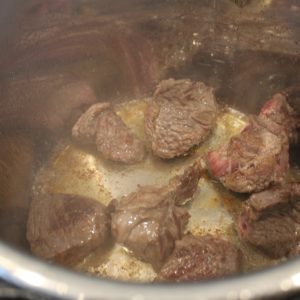
Carefully add the vegetable, oil and then add some meat to the pressure cooker (without crowding the beef).
Brown the meat on all sides. Remove from the pressure cooker and continue with the remaining beef.
When done browning the last batch, remove the final pieces and set aside. Press “stop/cancel” to turn off the saute function.
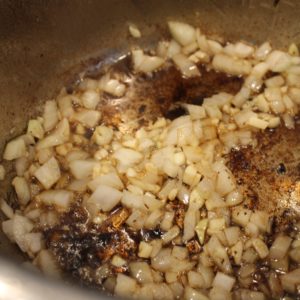
If needed, add a bit more vegetable oil. Add the onions and garlic to the pot and saute until fragrant, about 3 minutes.
Add a little bit of beef stock (1 or 2 tablespoons) to the pressure cooker and scrape the browned bits from the bottom of the pressure cooker using a wooden or plastic spoon.
In a small bowl, stir together the brown sugar, soy sauce (or coconut aminos), sesame oil, red pepper flakes, and ginger.
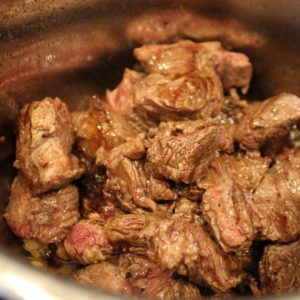
Add back in all of the beef to the pressure cooker, as well as any juices from the beef.
Pour in the soy sauce mixture, evenly covering the beef.
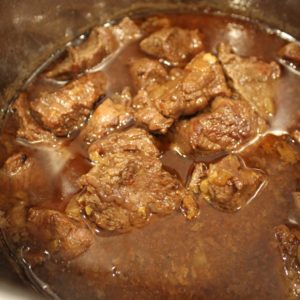
Close the lid, ensuring that the steam valve is closed. Select the meat/stew pressurized cooking function. Press the “adjust” button and choose “more/high” to set it for 45 minutes. Press “on/start” to begin cooking.
Once the unit has reached optimal cooking pressure (~15 minutes), the unit will beep once and start counting down from 45 minutes. You’ll notice that the pressure release valve (red) rises up during this time.
The pressure cooker will beep 3 times to alert you when cooking has finished. It will automatically go on to “keep warm” mode for up to 6 hours. Once cooking is complete, turn off the pressure cooker by pressing “stop/cancel” and unplugging the power cable.
Let the unit cool down for 15 to 20 minutes, or until the float valve drops down. Using an oven mitt, move the pressure release value to the “release” position to let out any remaining pressure in the unit. Wait again for the float value to drop down before opening the pressure cooker.
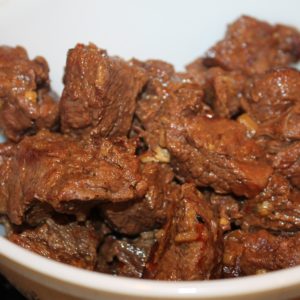
The meat should be really tender.
Remove the meat from the pot, keeping the liquid in the pot, and shred with two forks. Add to a large bowl.
Measure out about 1 cup of the cooking liquid and add to the bowl.
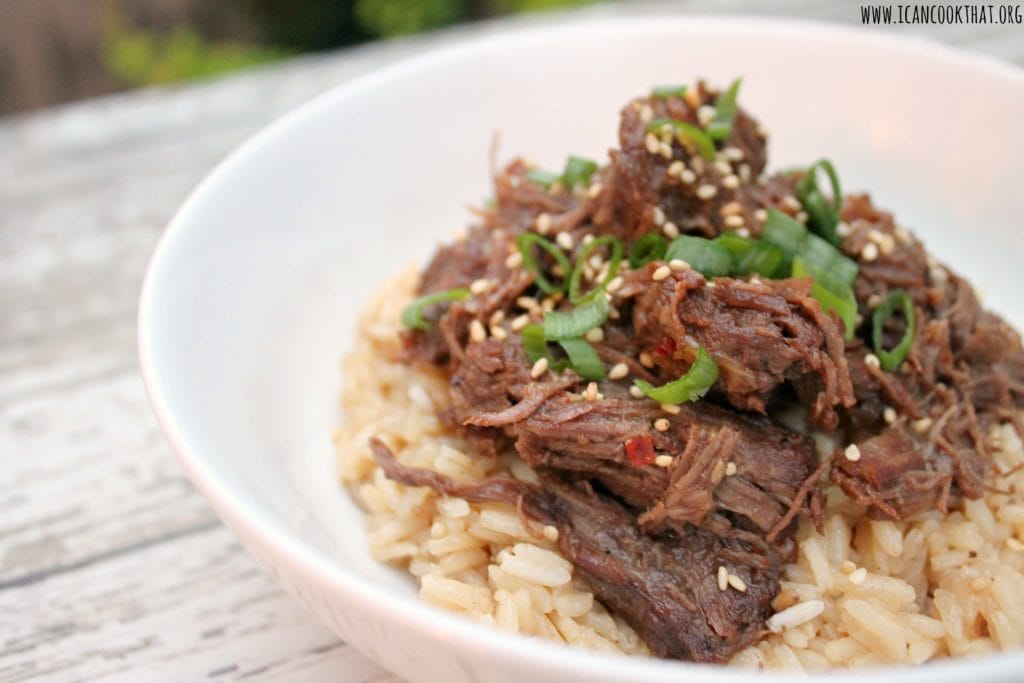
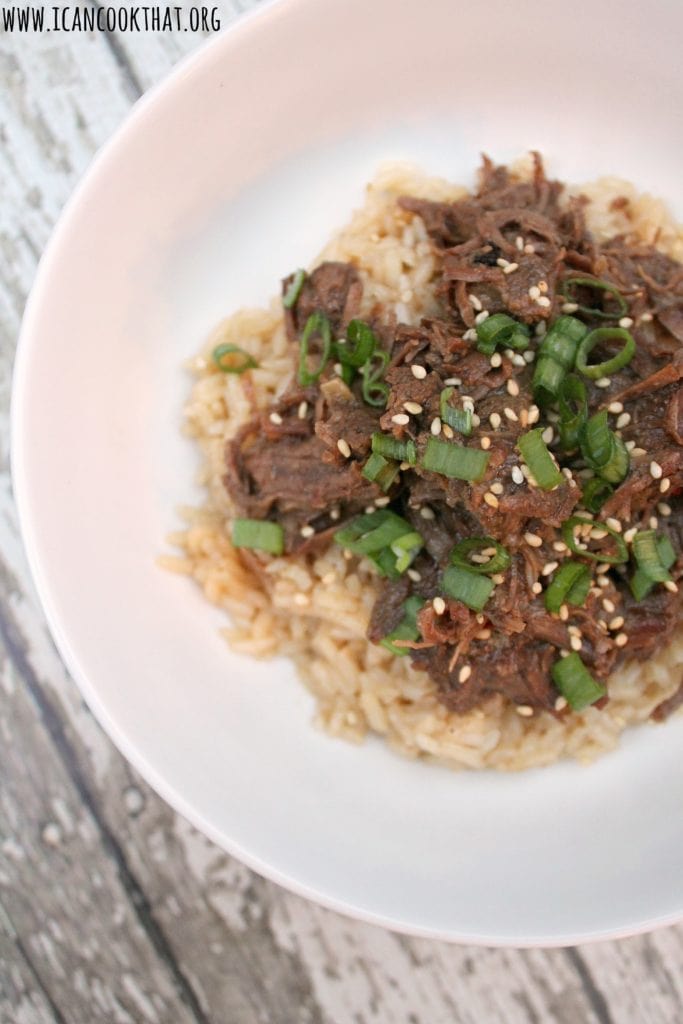
Fill bowls with rice and top with the shredded beef. Garnish with sesame seeds and green onions and serve.
The beef is wonderfully flavorful and juicy. My friends and I just gobbled this up! It’s most certainly not spicy so if you prefer some heat, add a bit more crushed red pepper.
This is a great make ahead dish as well. If doing so, add some more of the cooking liquid to the container before refrigerating, so that when you reheat it, there is still plenty of juicy liquid to drizzle over the top!
I also made the rice in the Cosori Multicooker and it came out great! (Tip: if you have extra cooking liquid, substitute some of that in for the water/broth in your rice.)
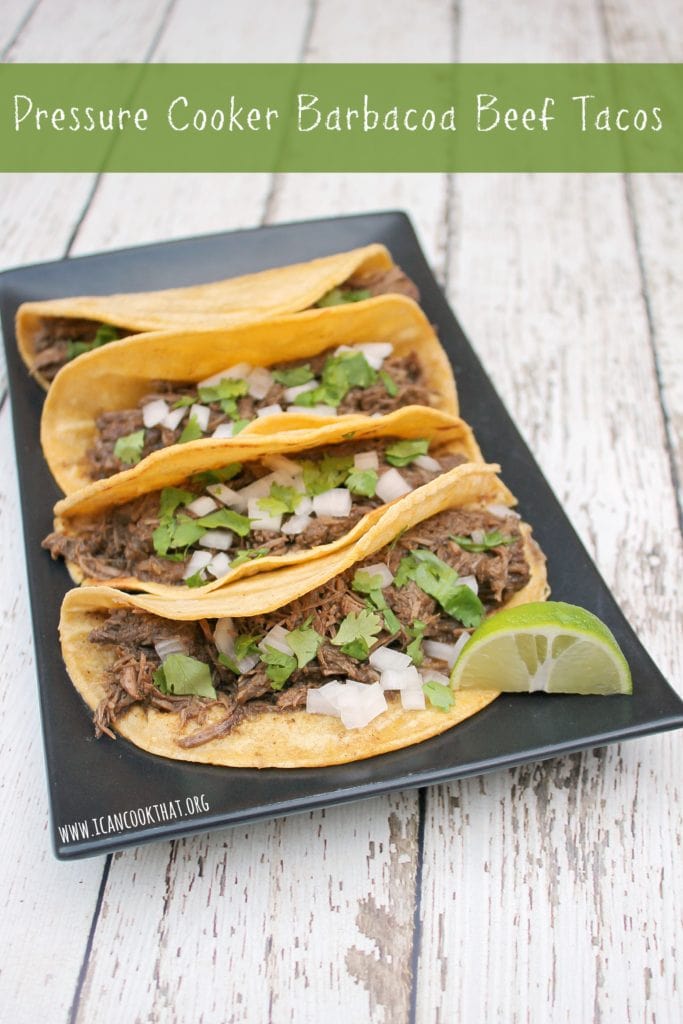
If you’re looking for more information about the Cosori Multicooker, check out my review post here (plus a recipe for Barbacoa Beef Tacos).
4 lbs chuck beef, cut into cubes, excess fat trimmed
1 small onion, chopped
6 garlic cloves, minced
1 to 2 tablespoons beef stock
1/2 cup brown sugar, lightly packed
1/2 cup reduced sodium soy sauce (or coconut aminos to make gluten free)
1 tablespoon sesame oil
1/2 teaspoon crushed red pepper flakes
1 teaspoon fresh ginger, minced
green onions, sliced, for garnish
white sesame seeds, for garnish
4 cups cooked rice
Instructions
To make, cut the beef into large chunks. Season with salt and pepper. (Go light on the salt, the soy sauce will provide all the salt you need!)
Press the “saute” function on your pressure cooker. Press the “cook time” button and increase the time to 25 or 30 minutes (it took me about 25 minutes to brown up all of my meat.) Press the “adjust” button and choose “more/high.” Press “on/start.” The pressure cooker will beep five times when it is preheated.
Carefully add the vegetable, oil and then add some meat to the pressure cooker (without crowding the beef).
Brown the meat on all sides. Remove from the pressure cooker and continue with the remaining beef.
When done browning the last batch, remove the final pieces and set aside. Press “stop/cancel” to turn off the saute function.
If needed, add a bit more vegetable oil. Add the onions and garlic to the pot and saute until fragrant, about 3 minutes.
Add a little bit of beef stock (1 or 2 tablespoons) to the pressure cooker and scrape the browned bits from the bottom of the pressure cooker using a wooden or plastic spoon.
In a small bowl, stir together the brown sugar, soy sauce (or coconut aminos), sesame oil, red pepper flakes, and ginger.
Add back in all of the beef to the pressure cooker, as well as any juices from the beef.
Pour in the soy sauce mixture, evenly covering the beef.
Close the lid, ensuring that the steam valve is closed. Select the meat/stew pressurized cooking function. Press the “adjust” button and choose “more/high” to set it for 45 minutes. Press “on/start” to begin cooking.
Once the unit has reached optimal cooking pressure (~15 minutes), the unit will beep once and start counting down from 45 minutes. You’ll notice that the pressure release valve (red) rises up during this time.
The pressure cooker will beep 3 times to alert you when cooking has finished. It will automatically go on to “keep warm” mode for up to 6 hours. Once cooking is complete, turn off the pressure cooker by pressing “stop/cancel” and unplugging the power cable.
Let the unit cool down for 15 to 20 minutes, or until the float valve drops down. Using an oven mitt, move the pressure release value to the “release” position to let out any remaining pressure in the unit. Wait again for the float value to drop down before opening the pressure cooker.
The meat should be really tender.
Remove the meat from the pot, keeping the liquid in the pot, and shred with two forks. Add to a large bowl.
Measure out about 1 cup of the cooking liquid and add to the bowl.
Fill bowls with rice and top with the shredded beef. Garnish with sesame seeds and green onions and serve.
I’ve mentioned before that my husband is an avid runner. He’s currently training for a marathon, so I’ve been trying to support his training with more food geared toward fueling him both before and after his runs. It’s important to fuel up with something protein rich after working out to help promote muscle recovery.
These Peanut Butter Chocolate Chip Protein Cookies are a yummy choice after a long run, while still satisfying my husband’s sweet tooth.
The cookies are made with peanut butter, protein powder and almond flour, so they are surprisingly filling too.
Note: I was sent a Cosori Premium 6qt multicooker in order to write this post. Opinions are mine alone.
I’m not going to lie, pressure cookers have always kind of intimidated me. I was under the impression that they were difficult to use, and easy to mess up.
Well, after trying out the Cosori Premium 6qt pressure cooker over the past couple of weeks, I’m here to tell you they are actually quite easy to use!
source: cosori.com
Pressure cookers are definitely having a moment right now, but they’ve actually been around since the 1600’s in some form or another. Pressure cookers use steam pressure to help cook food faster. When cooking tough meat, pressure cookers help tenderize the meat and cook it surprisingly quickly in the process.
source: cosori.com
The Cosori Premium 6qt pressure cooker is actually a multicooker – it’s a pressure cooker, hot pot, steamer, slow cooker, food warmer, sauté pan, yogurt maker, and rice cooker – all in one! The unit has 17 smart cooking programs, but you can also adjust the cooking time, temperature, and pressure cooking levels to customize your cooking.
source: cosori.com
I couldn’t wait to test the pressure cooker out! I immediately thought of barbacoa – super tender and shredded meat (typically lamb or beef) with seasonings, so it’s time to try making Pressure Cooker Barbacoa Beef Tacos!
We eat a lot of tacos in my house, so I knew this would be a perfect test of the pressure cooker’s ability. This recipe actually uses two of the features available -” sauté/brown” and “meat/stew” pressure cooking. The Cosori premium pressure cooker is quite large (6 quarts!), so I decided to make a huge batch for future dinners. (It’s always helpful to have a full freezer for busy fall weeknights.)
Note: If you’ve been considering purchasing the Cosori Premium 6qt pressure cooker, click on this link and use code UCS9PK3K to receive 10% off! (The code is only good through October 31, 2018, so be sure to purchase before then!)
Ingredients: (makes 12 servings)
6 garlic cloves
1 medium onion, peeled and quartered
1 chipotle in adobo, plus 3 tablespoons chipotle in adobo sauce
2 tablespoons ground cumin
2 tablespoons ground oregano
1 teaspoon ground cinnamon
½ teaspoon ground cloves
zest and juice of 1 lime
2 tablespoons apple cider vinegar
2 cups beef broth, plus a tablespoon or two, divided
I’m not sure what took me so long, but I’ve just started using Hungry Harvest. Hungry Harvest rescues produce that would normally go to waste, packages them up in different box options, and delivers it to your doorstep. Each box is customizable, so if you don’t like something in it, you can opt for another product through their website before delivery. There are also add-ons, like eggs, crushed tomatoes, or other fruits/vegetables.
To be honest, I don’t really see an issue with any of the produce I received. Apparently, reasons include that the produce is too big, too small, has some discoloring, are oddly shaped, or there were just too many in the crop. For example, the carrots I used for this post were “randomly sized and have some curve to them.” They still taste the same to me!
Anyways, I am loving having veggies delivered to my house and am experimenting with some new sides to add to my rotation. These carrots are inspired by a dish at a local Italian restaurant in South Philly: Ristorante Pesto. After ordering, they bring out a nice bruschetta plate as well as these awesome balsamic marinated carrots that I couldn’t get enough of! They serve theirs cold as an appetizer, but the below recipe for Balsamic Honey Roasted Carrots can be served either hot or cold.
Note: This is not a sponsored post, but if you’d like to try Hungry Harvest, feel free to use my referral link to sign up. You’ll receive $5 off your first order. I will also receive a credit when you receive your first delivery.
As much as I wish that I could meal plan and cook every night of the week, I have times where my job is too busy and I just don’t have time. During these busy periods, I usually order Blue Apron meals so that at least the meal planning and grocery shopping is done for me.
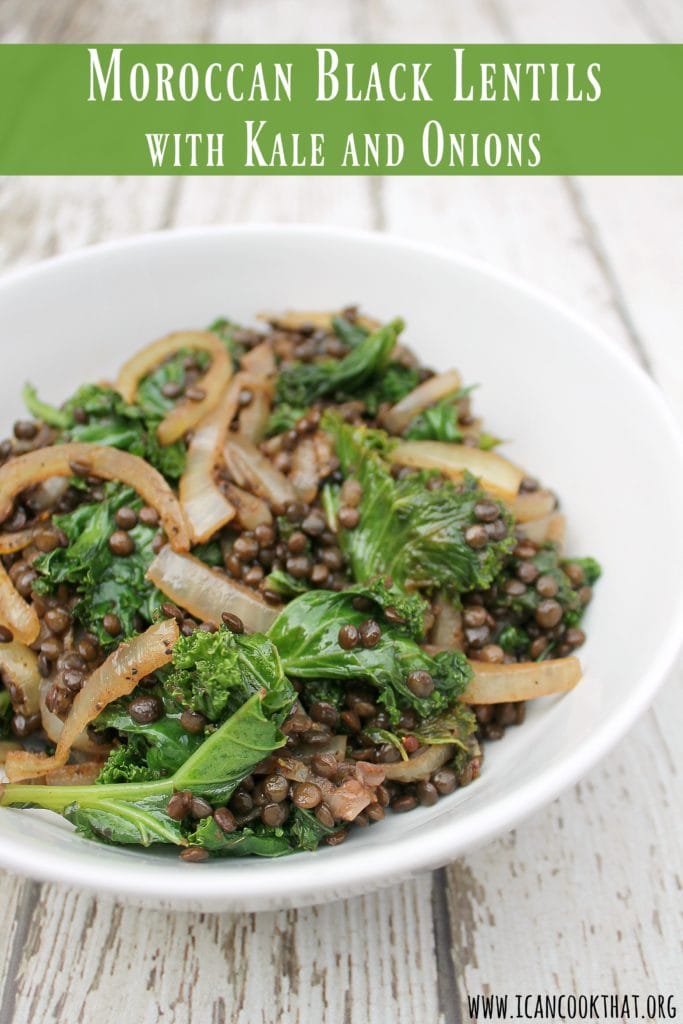
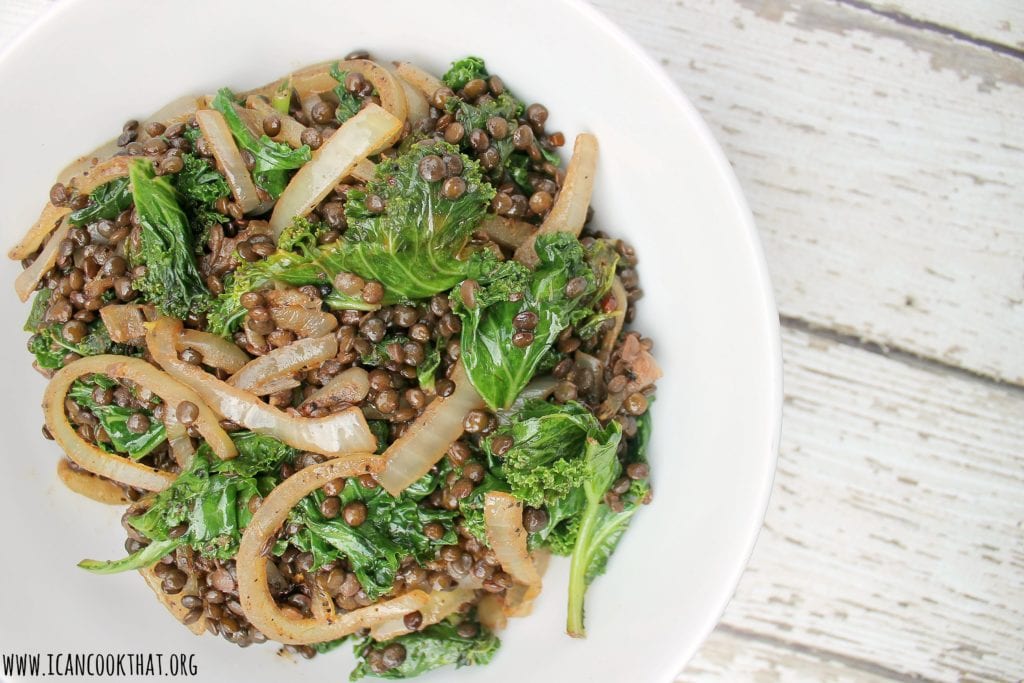
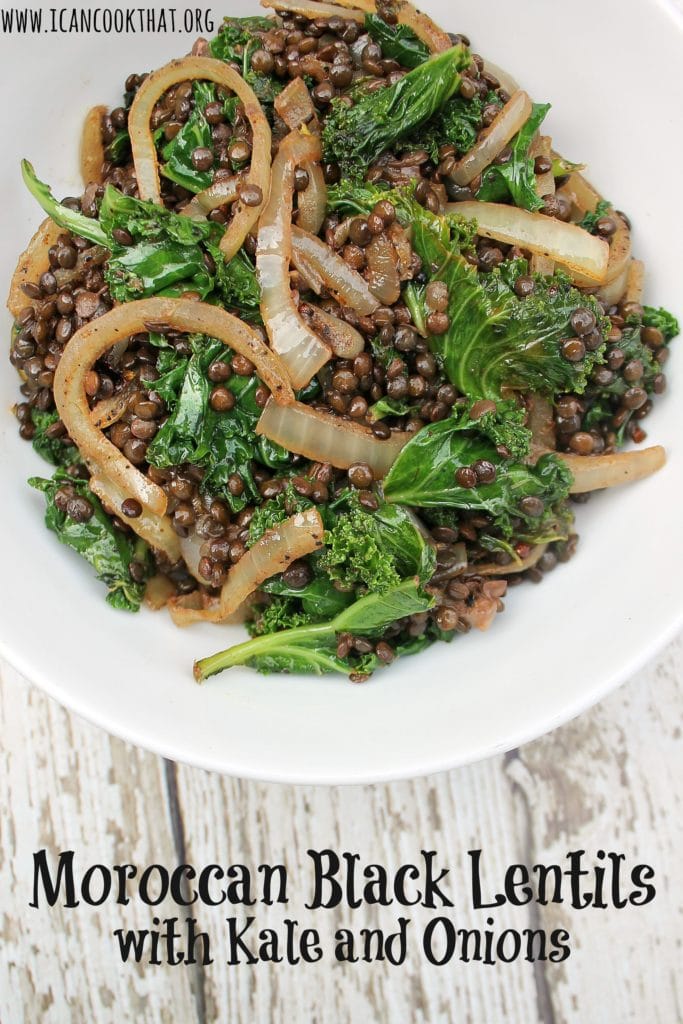
One of the meals a few months back had a side of black lentils with sauteed kale and onions that was absolutely fantastic. Since then, a version inspired by the original recipe has become a staple in my house.
Lentils in general are an awesome source of protein, and black lentils are no different. Sometimes called beluga lentils, they are named for their likeness to caviar. Black lentils hold their shape better than some other types of lentils, so they add great texture to meals.
The spice used in this recipe, ras el hanout, is a Moroccan spice blend that differs depending on the shop, so your version may come out slightly different than mine. The name, which means “head of the shop” (which is similar to the English expression “top-shelf”) is a mixture of the best spices the seller has to offer. As such, there is no definitive ras el hanout recipe. Common ingredients include cardamom, cumin, clove, cinnamon, nutmeg, allspice, ginger, coriander, paprika, and turmeric. I’m a huge fan of this spice blend, mainly because it takes a lot of the guess work out of seasoning — plus it tastes amazing! You may remember me using it in my One Pot Moroccan Chicken recipe earlier this year.
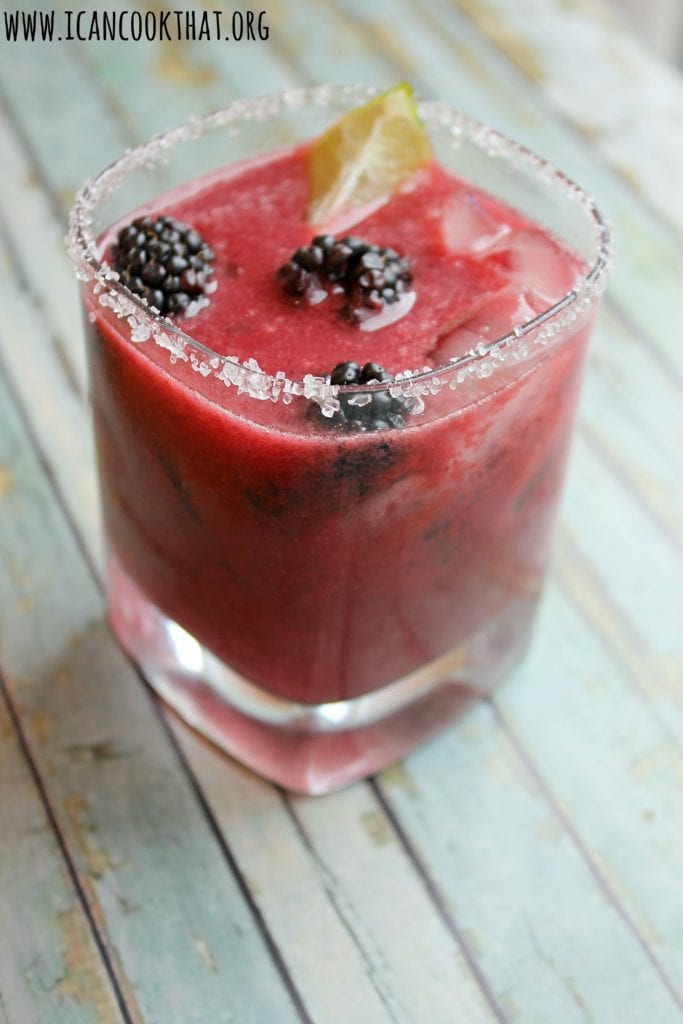
I’m not going to lie. I’m a bit of a margarita wimp. I prefer my margaritas as fruity as possible. I do have a Grilled Margarita recipe, but my other margarita recipes have pomegranates and blood oranges in them. Yum.
Anywho, I came across this recipe for Blackberry Orange Margaritas in Cooking Light and knew I’d like this one! The original recipe adds spicy serrano tequila, but I decided to keep this one spice-free.
Ingredients:
6 ounces tequila
12 ounces fresh blackberries
1 cup fresh orange juice
1/2 cup fresh lime juice
2 tablespoons agave nectar
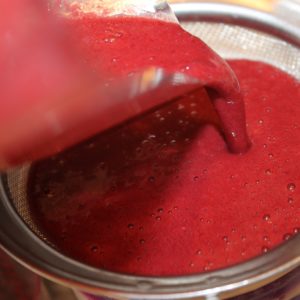
Add the blackberries, 1 cup orange juice. 1/2 cup lime juice, and 2 tablespoons agave to a blender and process until smooth.
Strain through a sieve, discarding the solids. Use a spoon to press down on the sieve to strain the liquid.
Stir in the tequila. Divided mixture among 4 ice-filled glasses and serve.
Tangy, slightly sweet, and super refreshing. Exactly what I want in a cocktail!
I love the color of this too. The photos don’t really do it justice. Definitely a statement drink that would be perfect for the next time you’re entertaining. You can also make this ahead of time and pour when ready to serve.