Do you remember the first time you had a root beer float? I remember thinking “soda and ice cream, why hadn’t someone mentioned this deliciousness to me before this very moment?!” Mind you, I was a kid and probably didn’t need any more sugar or desserts in my life. But root beer floats always have such a wonderful feeling of nostalgia. I was at Franklin Fountain in Philadelphia recently. I saw that they sell root beer floats, and I haven’t been able to stop thinking about them since. So when this month’s Cooking Light arrived with what I can only call an “Adult Root Beer Float” I was so excited to try it out.
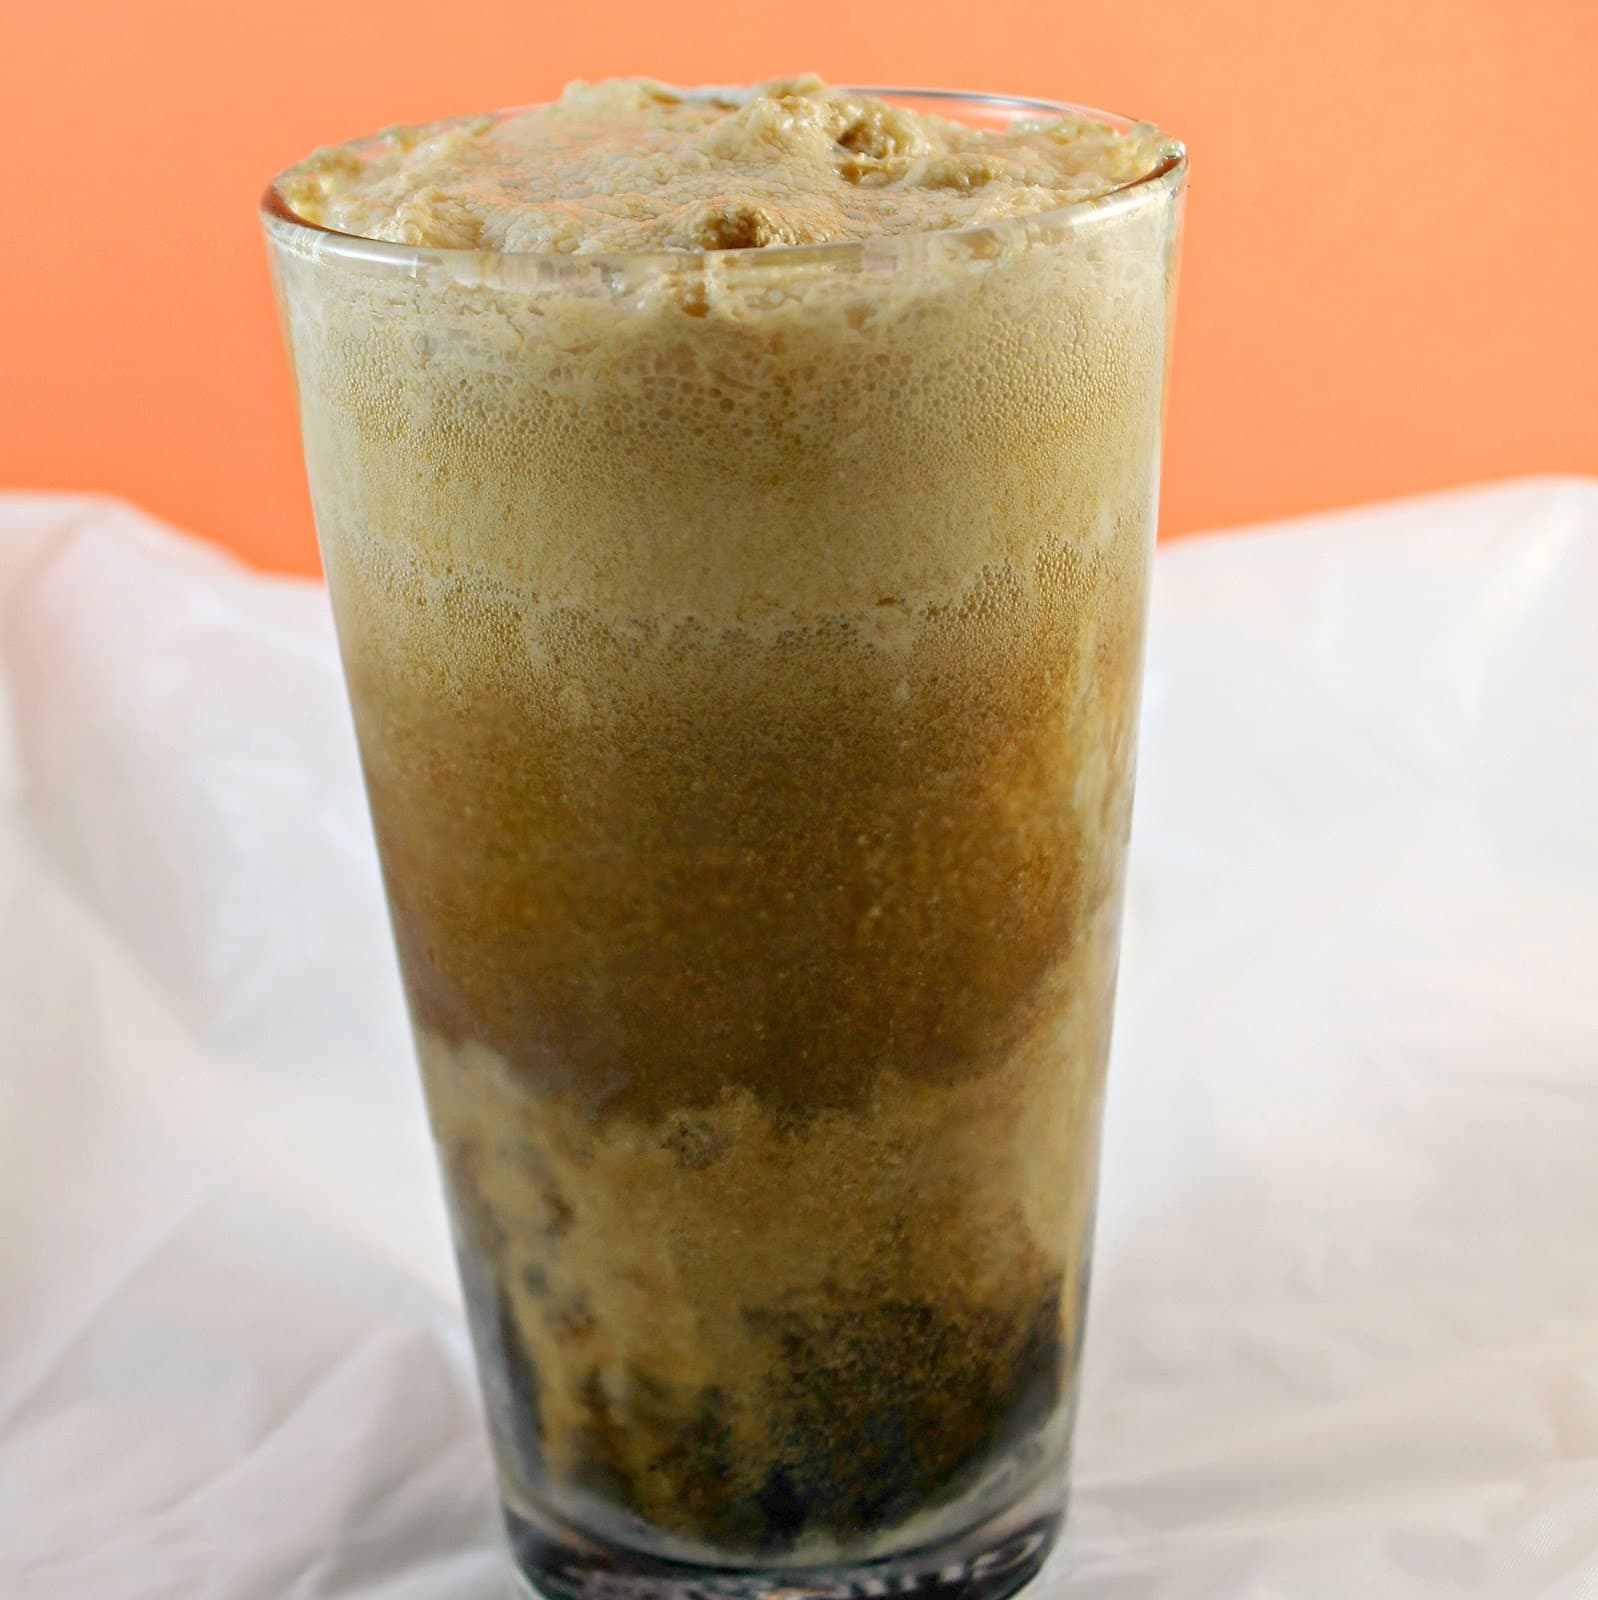
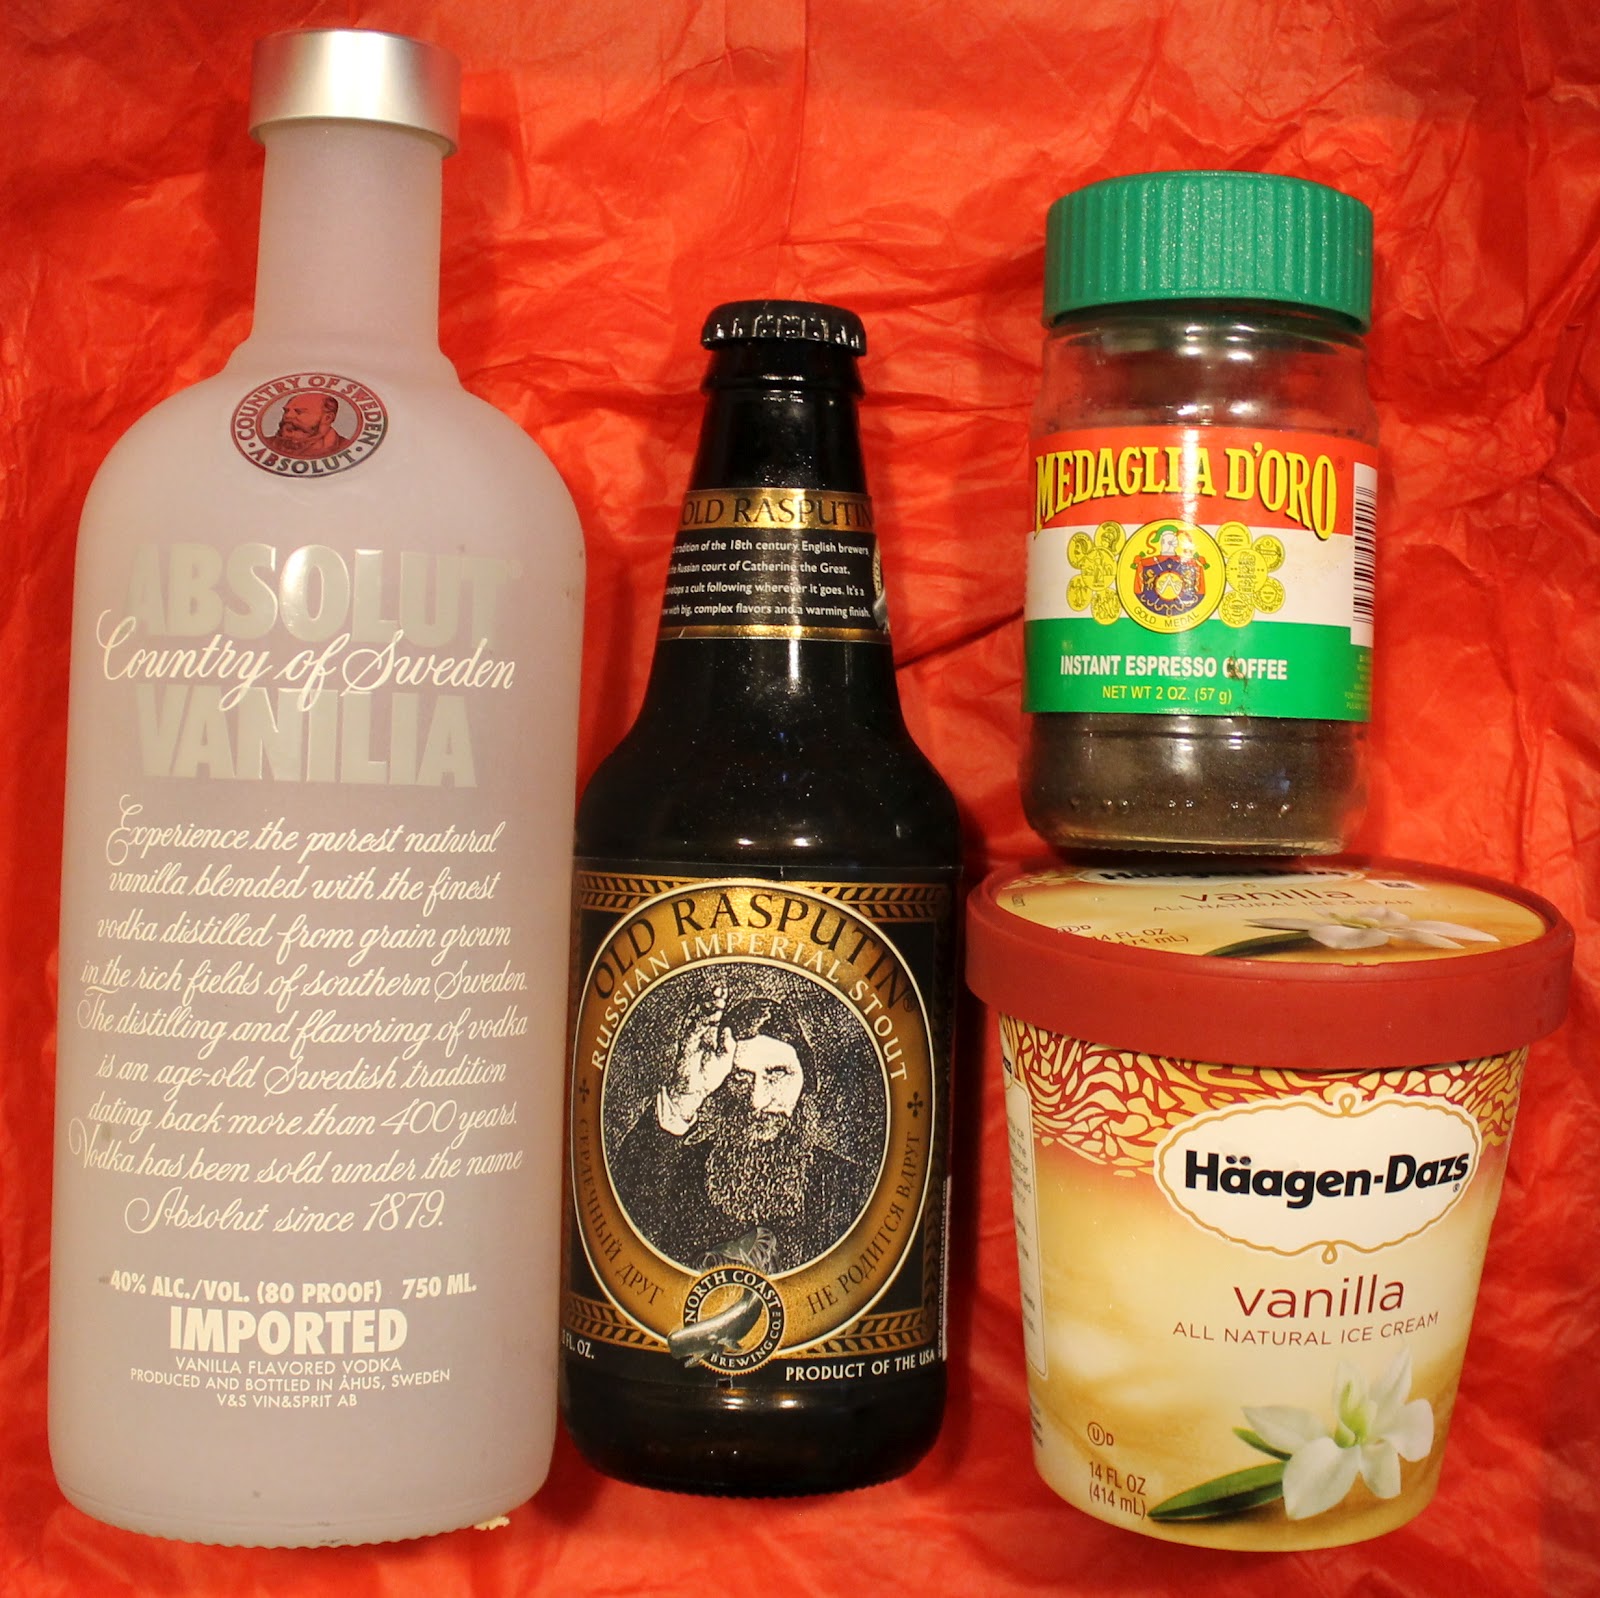
The drink, referred to as a Black Cauldron (it’s the October issue), is just as simple as a traditional root beer float, but it uses a stout instead of root beer. To add a little bit more flavor, the drink also has a touch of vodka and brewed espresso. How can you not like this drink?

Ingredients: (makes 4)
1 pint vanilla ice cream
1/4 cup vanilla vodka
1/4 cup brewed espresso (or coffee)
24 ounces stout beer (oatmeal, chocolate, whatever your favorite is)
Brew your espresso or coffee. Allow to cool.
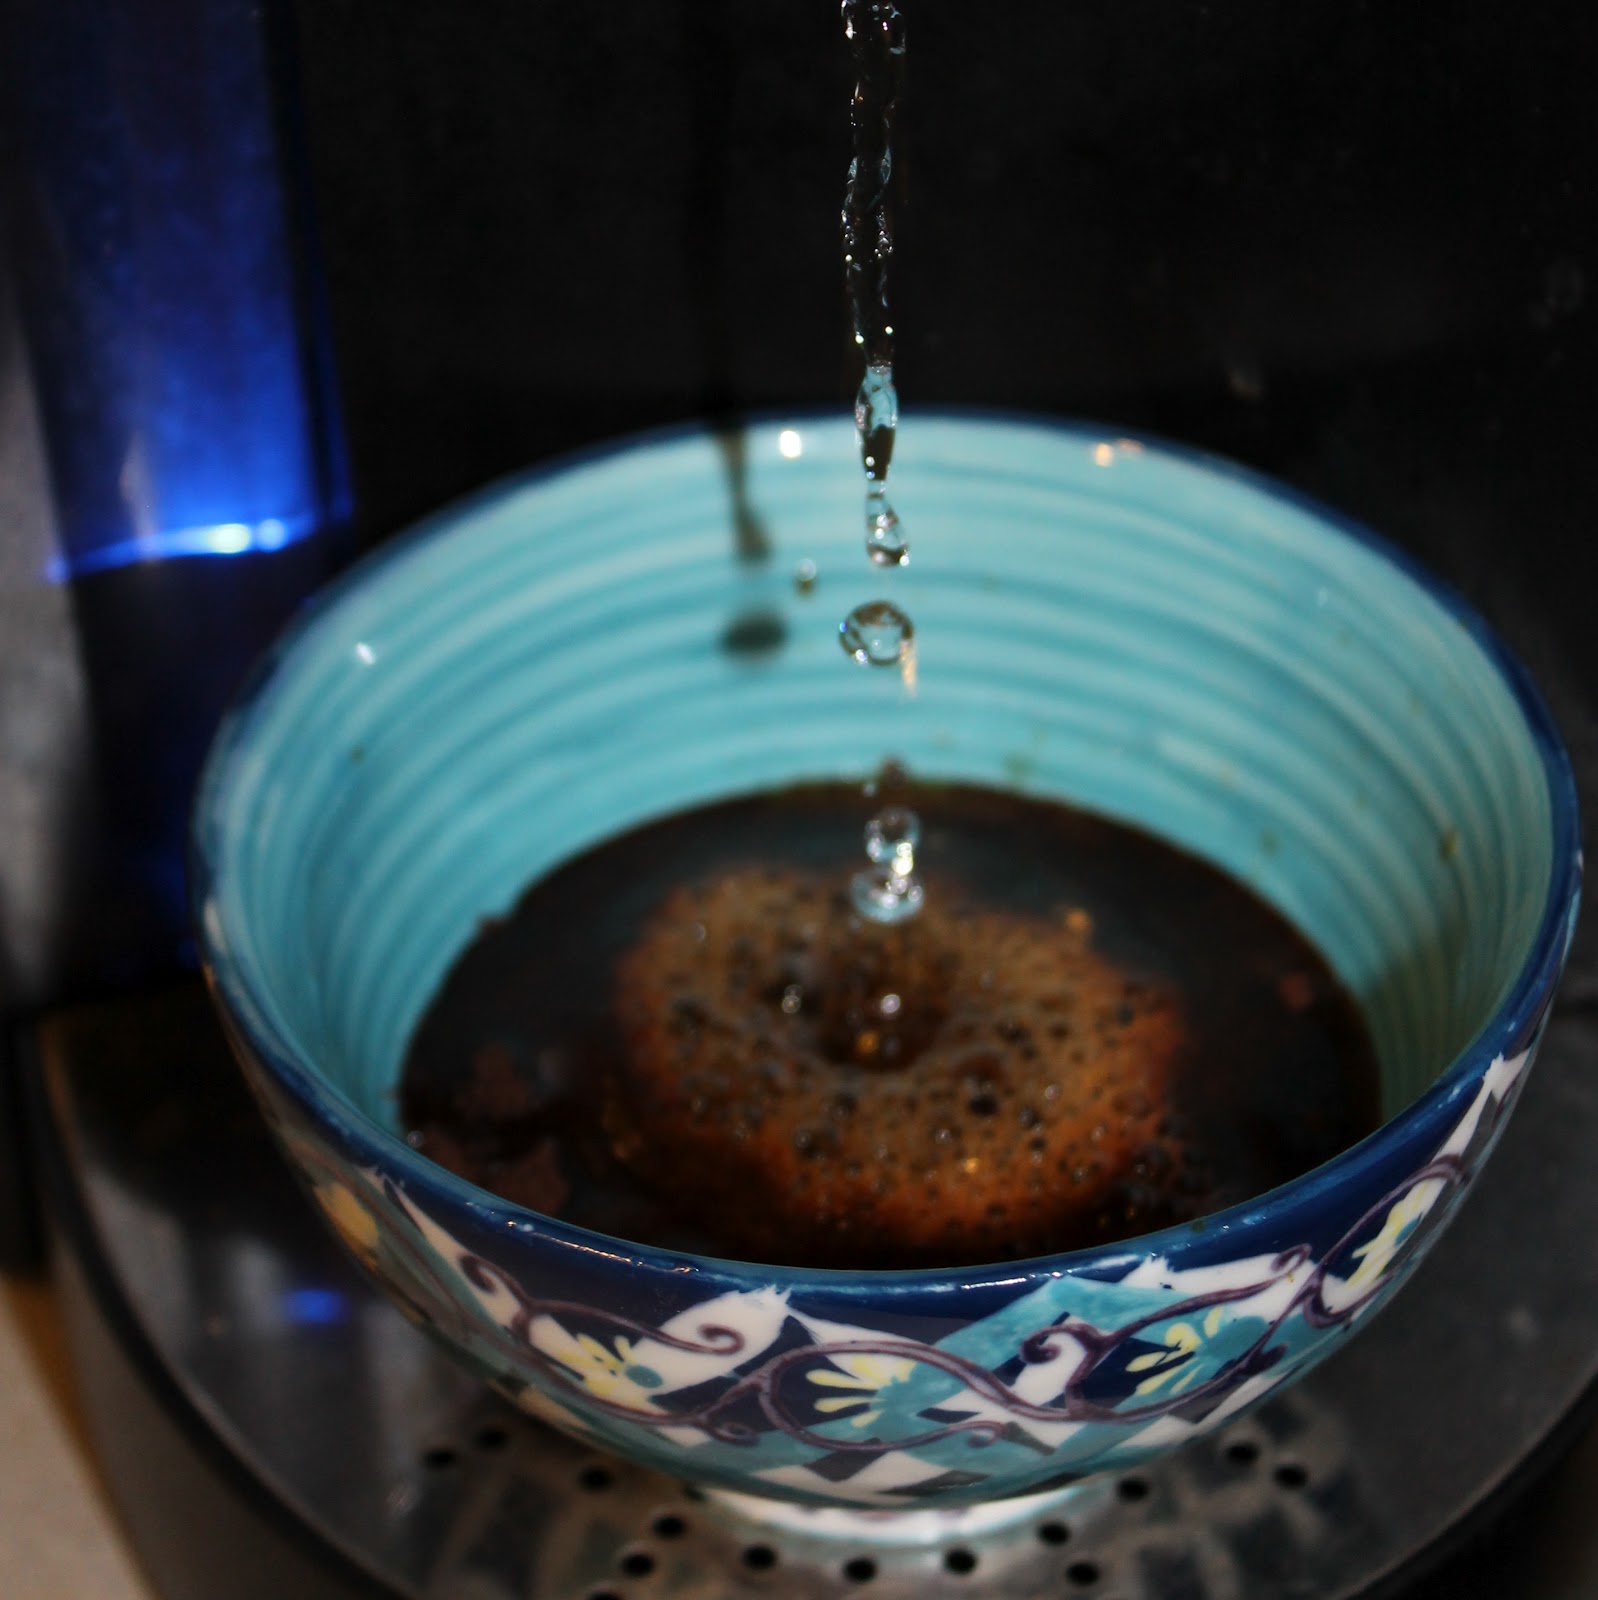
Add 1/2 cup vanilla ice cream to each of 4 glasses.

Top each with 1 tablespoon vodka and 1 tablespoon espresso. (Note: espresso can make this drink very bitter. Feel free to use brewed coffee instead.)
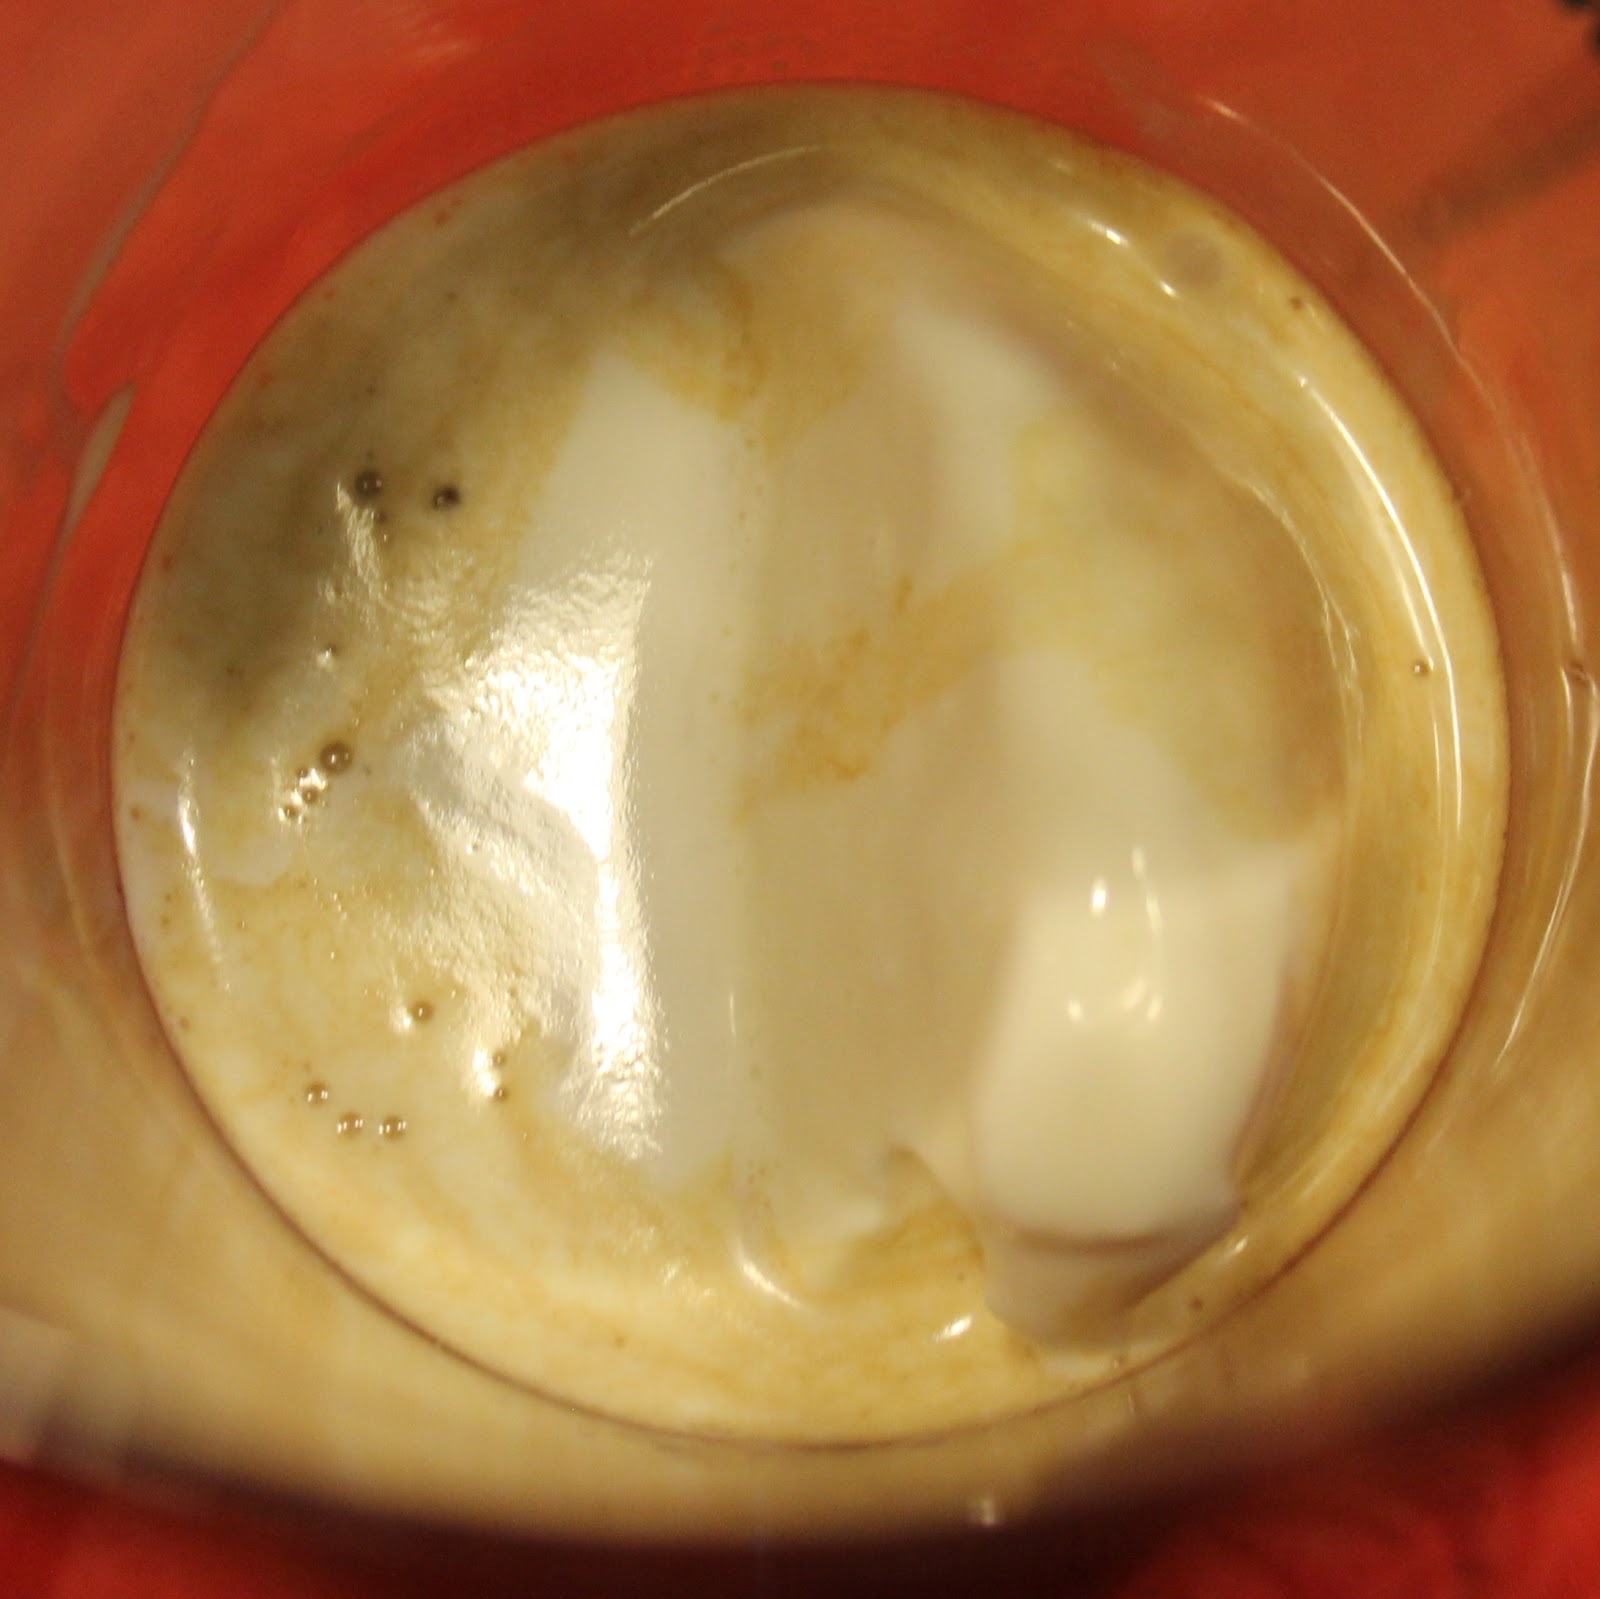
Fill with the stout (it will get very frothy).
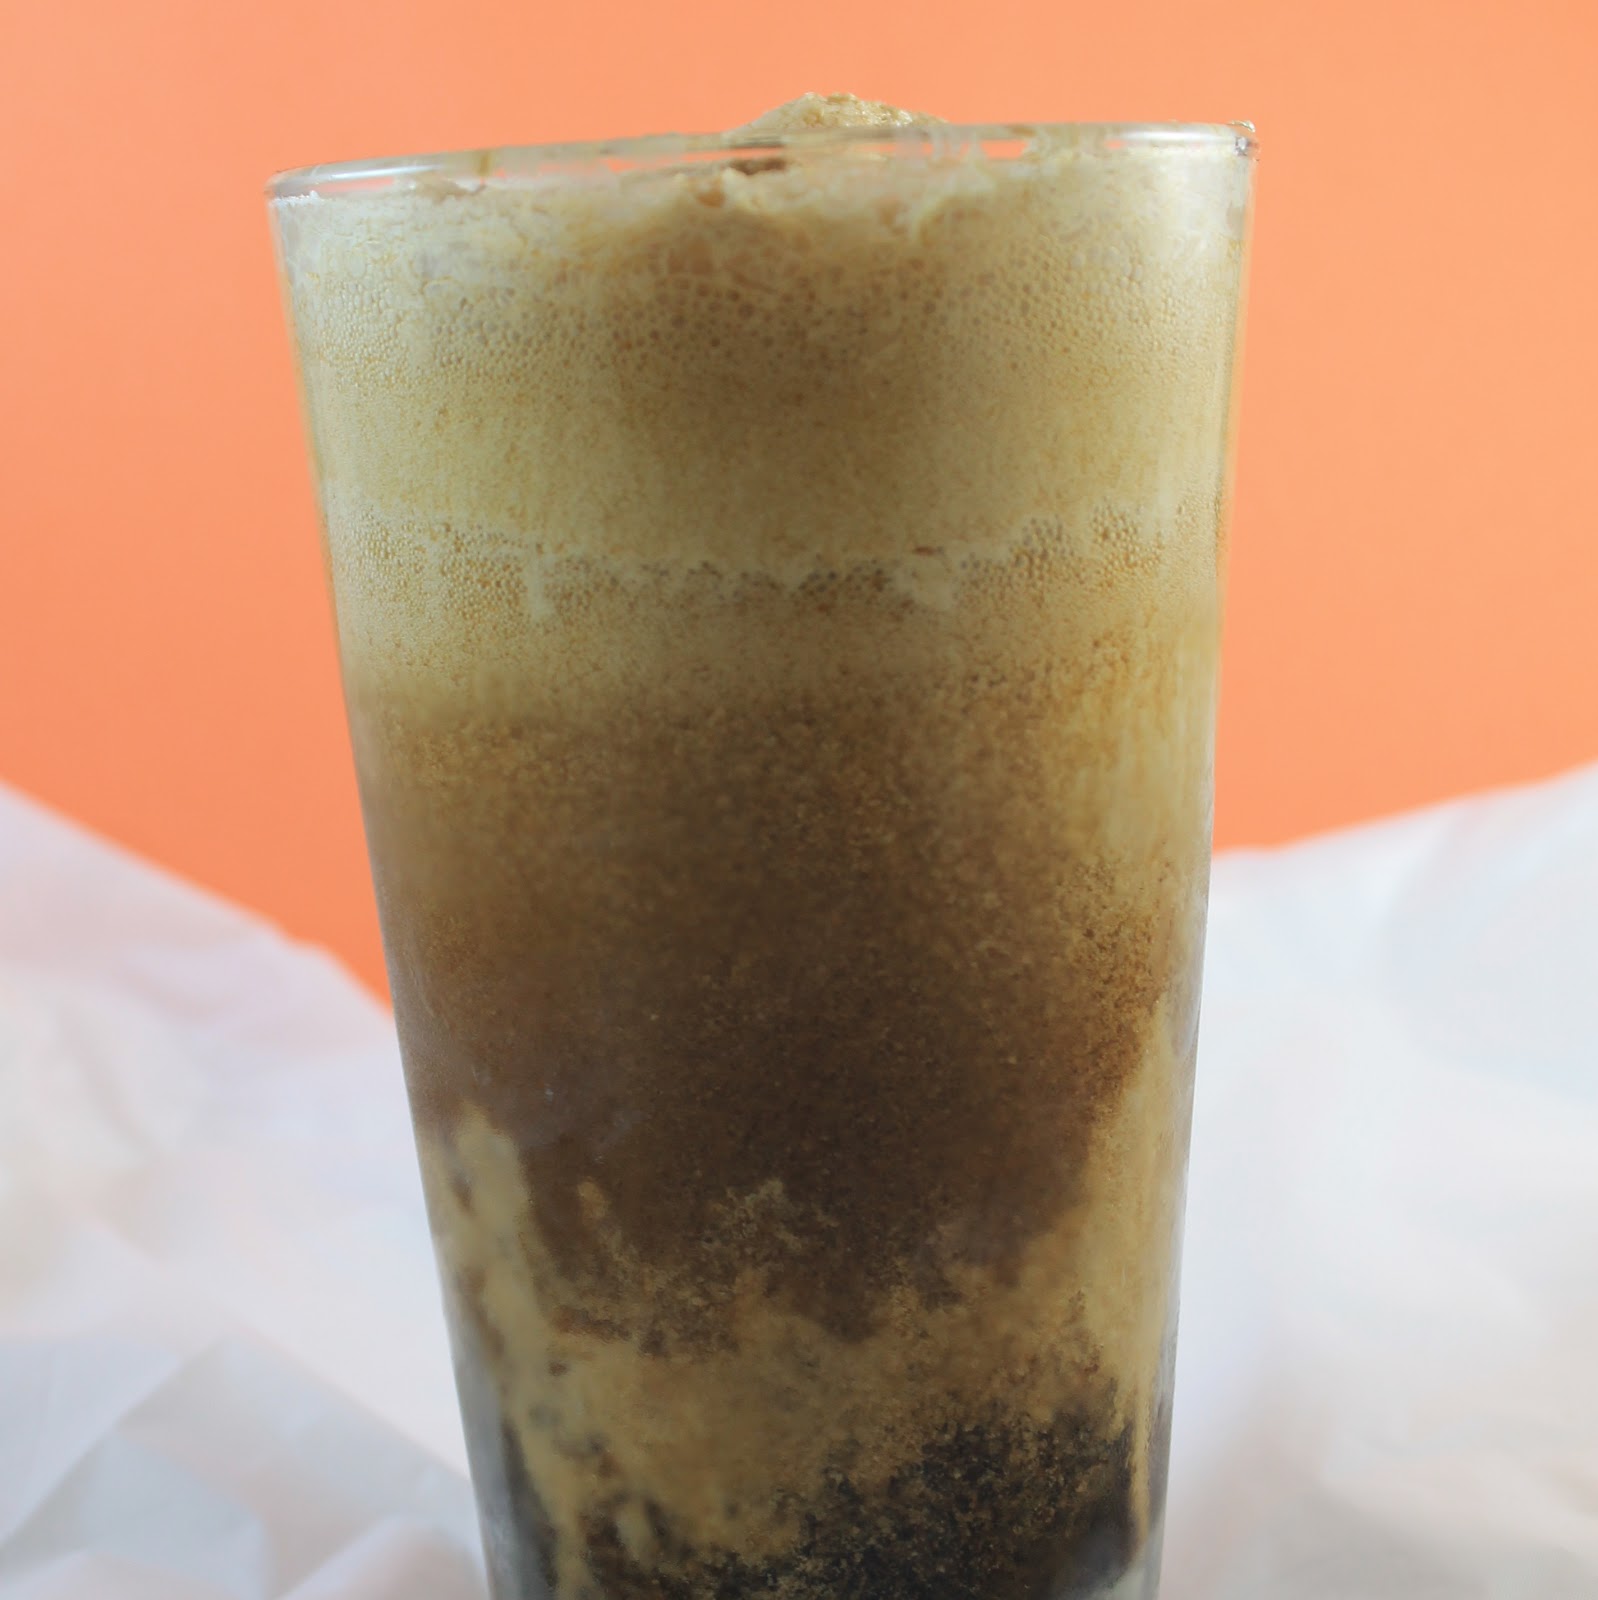
That’s it! What a great upgrade!

If you don’t like stouts, you are obviously not going to like this drink. But as a stout lover, I couldn’t get enough of this drink. The ice cream melts into the drink, making it really creamy. On a couple of mine, it actually floated to the top!