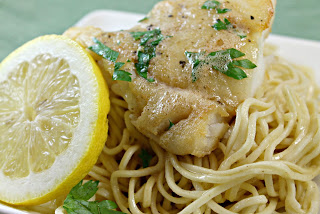
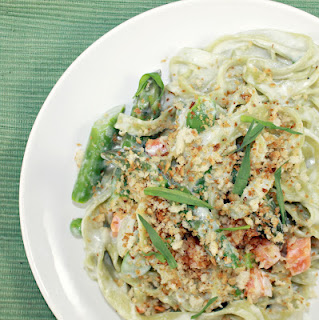
.With Julia Child’s 100th birthday fast approaching, the food blog world has been celebrating in the best way we know how: honoring Julia Child through her recipes. I am currently reading a book about her life called Dearie: The Remarkable Life of Julia Child by Bob Spitz. (I will have a review of this book when I’m finished reading). I just got to the chapter which describes Julia’s first encounter with French food. Her first meal in France was Sole Meuniere, a simple but absolutely delicious dish. I couldn’t get it out of my mind, so I made a slightly altered version of Julia’s version over spaghetti. I wanted to make it with sole, but my market was all out. Hake is a similar fish, so I substituted it for the sole, so I bring you Hake Meuniere over Spaghetti.
Ingredients:
1 pound fresh spaghetti
3 skinless and boneless hake or sole fillets, 4 to 6 ounces
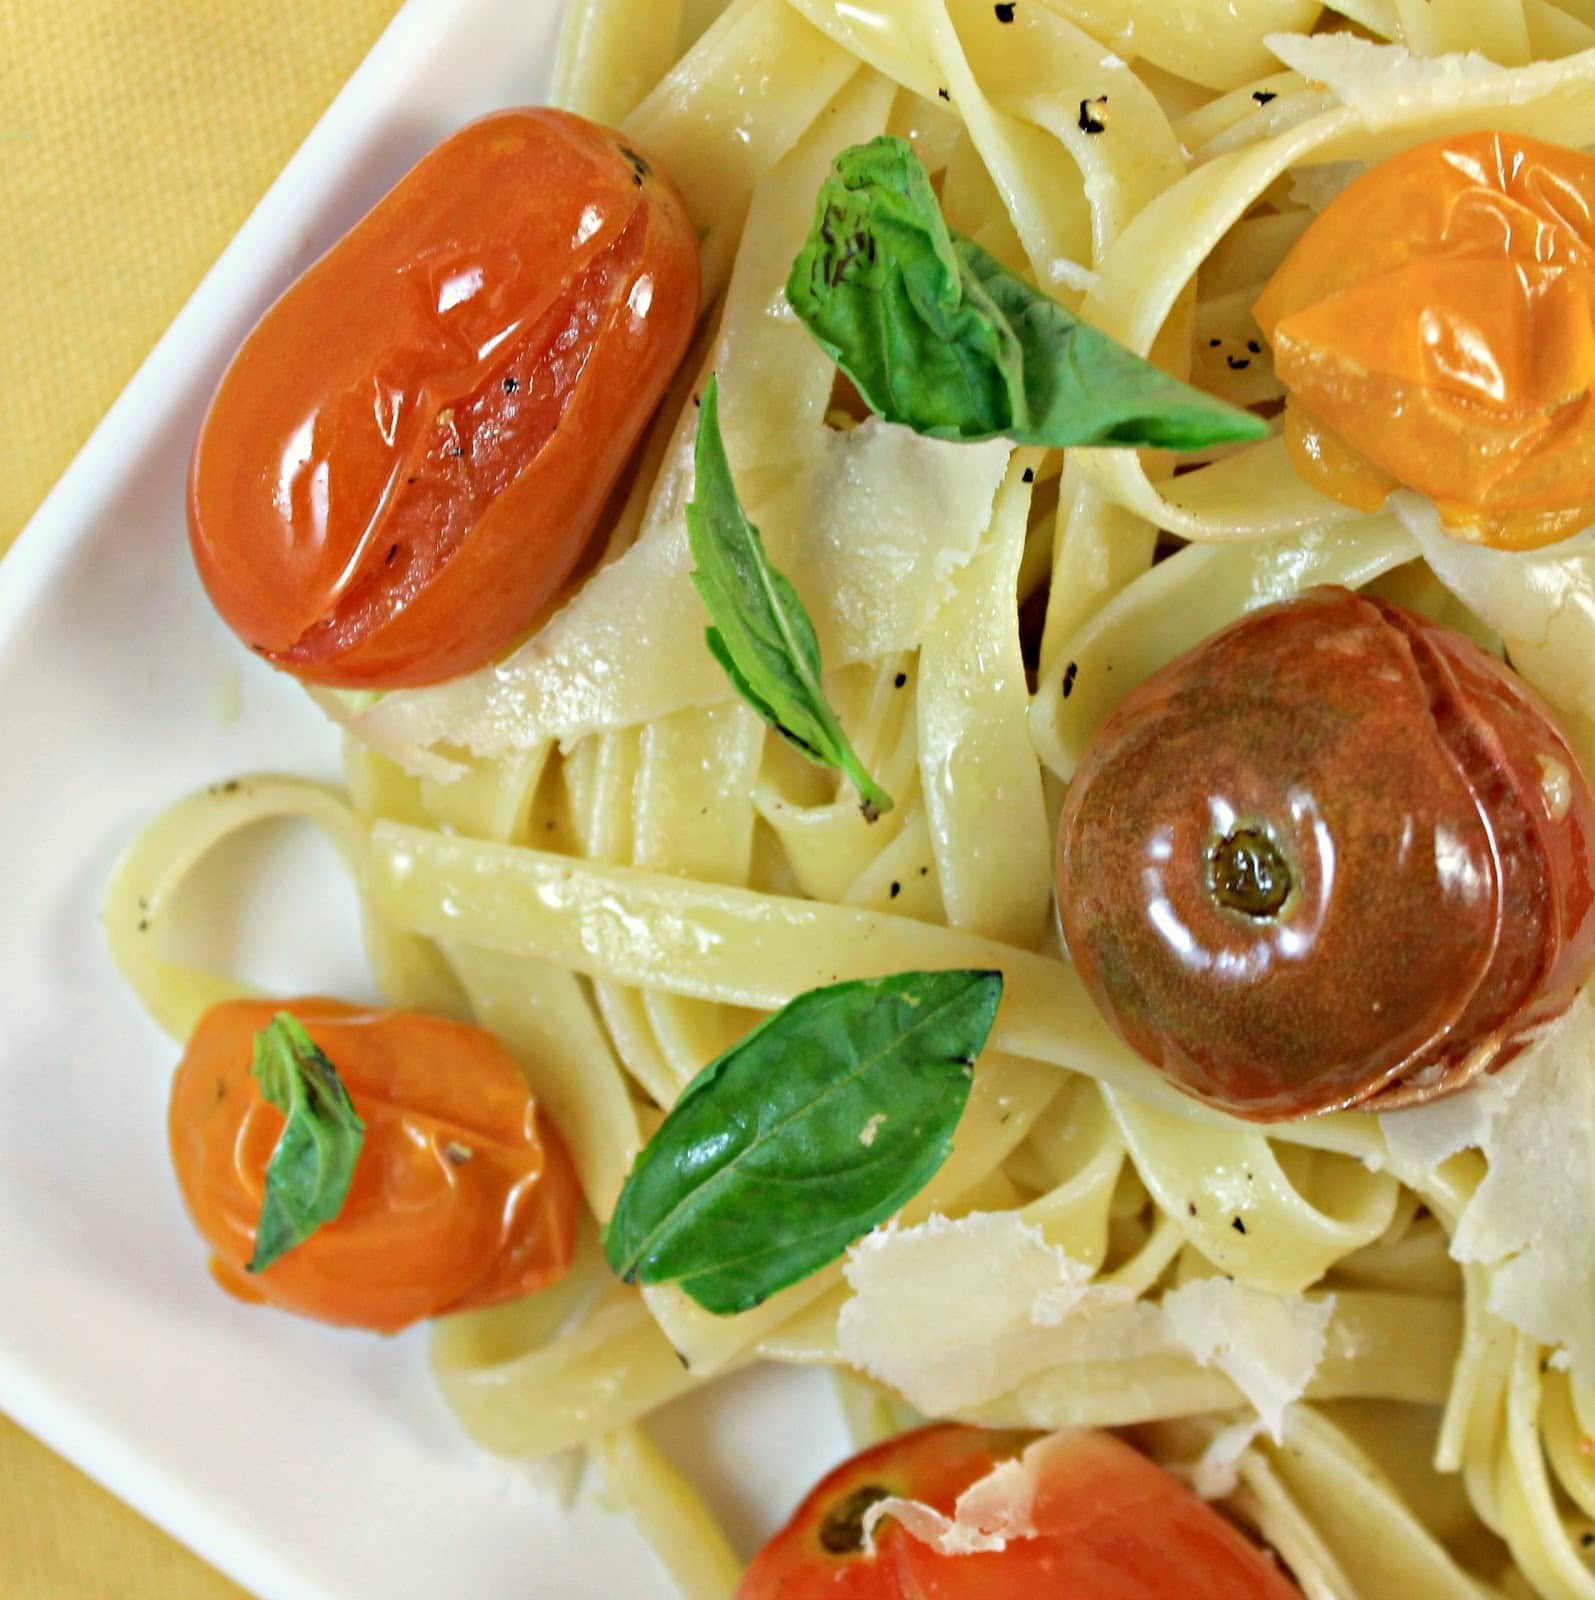
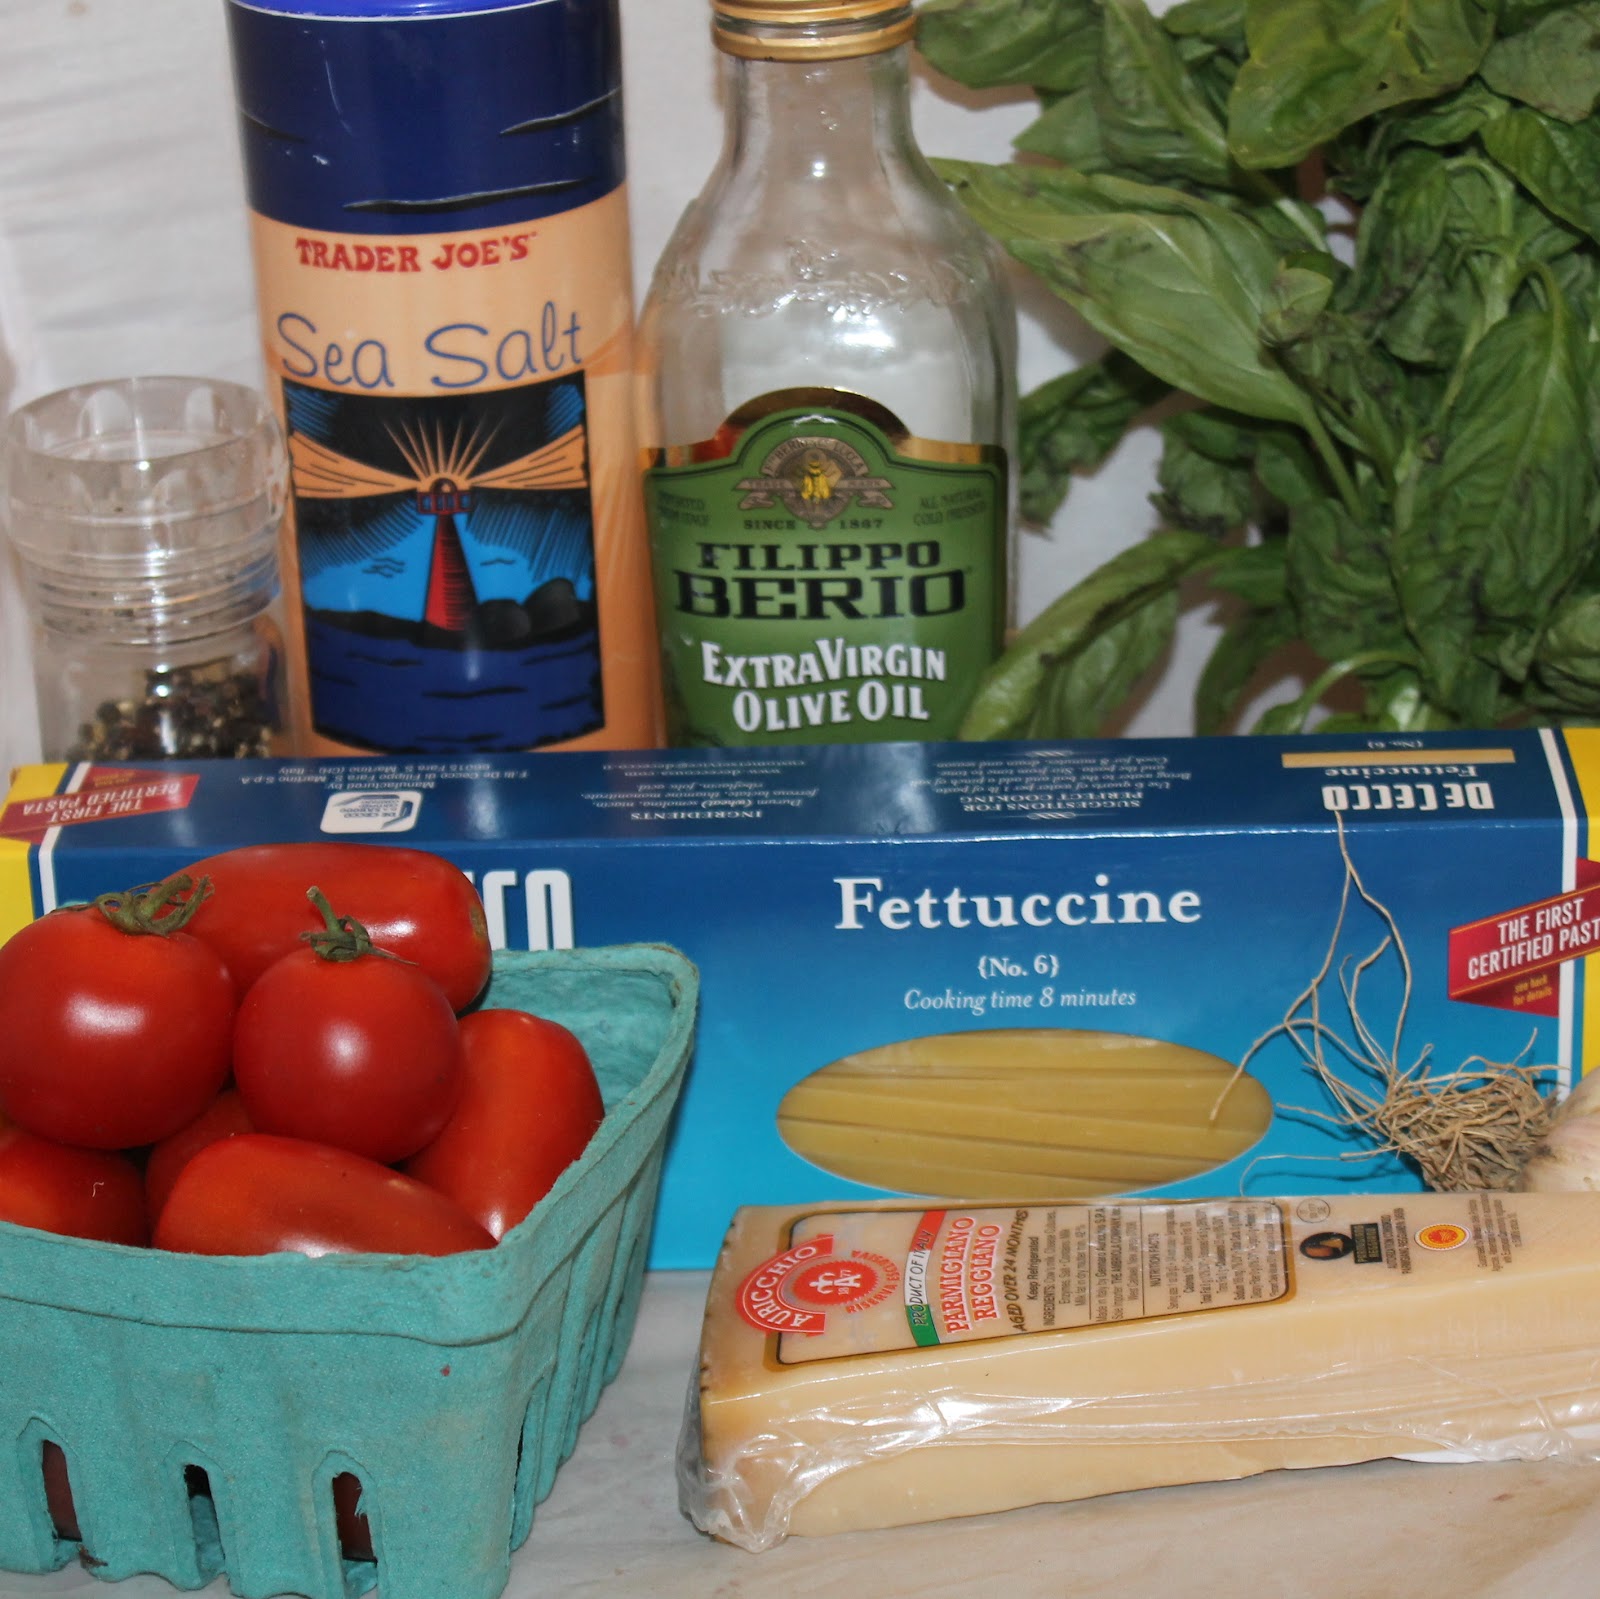
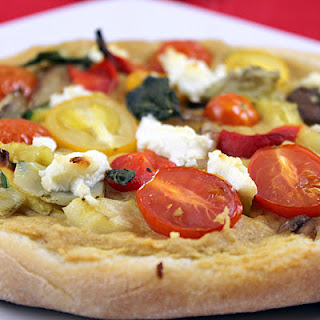
This week is my favorite week of the summer: I received my first batch of tomatoes from my CSA. I love tomatoes oh so much (if you haven’t figured that out with all my posts including tomatoes as an ingredient). As a kid, I used to eat them whole, dipping them in ranch dressing. Not much has changed, except now I choose to dip them in hummus instead. Although I do love a good fresh, juicy tomato, there is something wonderful about a cooked tomato. Cooking Light‘s latest issue was (as usual) on point with a lovely, simple pasta recipe that includes tomatoes, garlic, basil … and not much else.
Ingredients:
1 tablespoon kosher salt
8 ounces uncooked fettuccine
1/4 cup extra-virgin olive oil, divided
2 pints multicolored tomatoes (I used cherry/grape tomatoes)
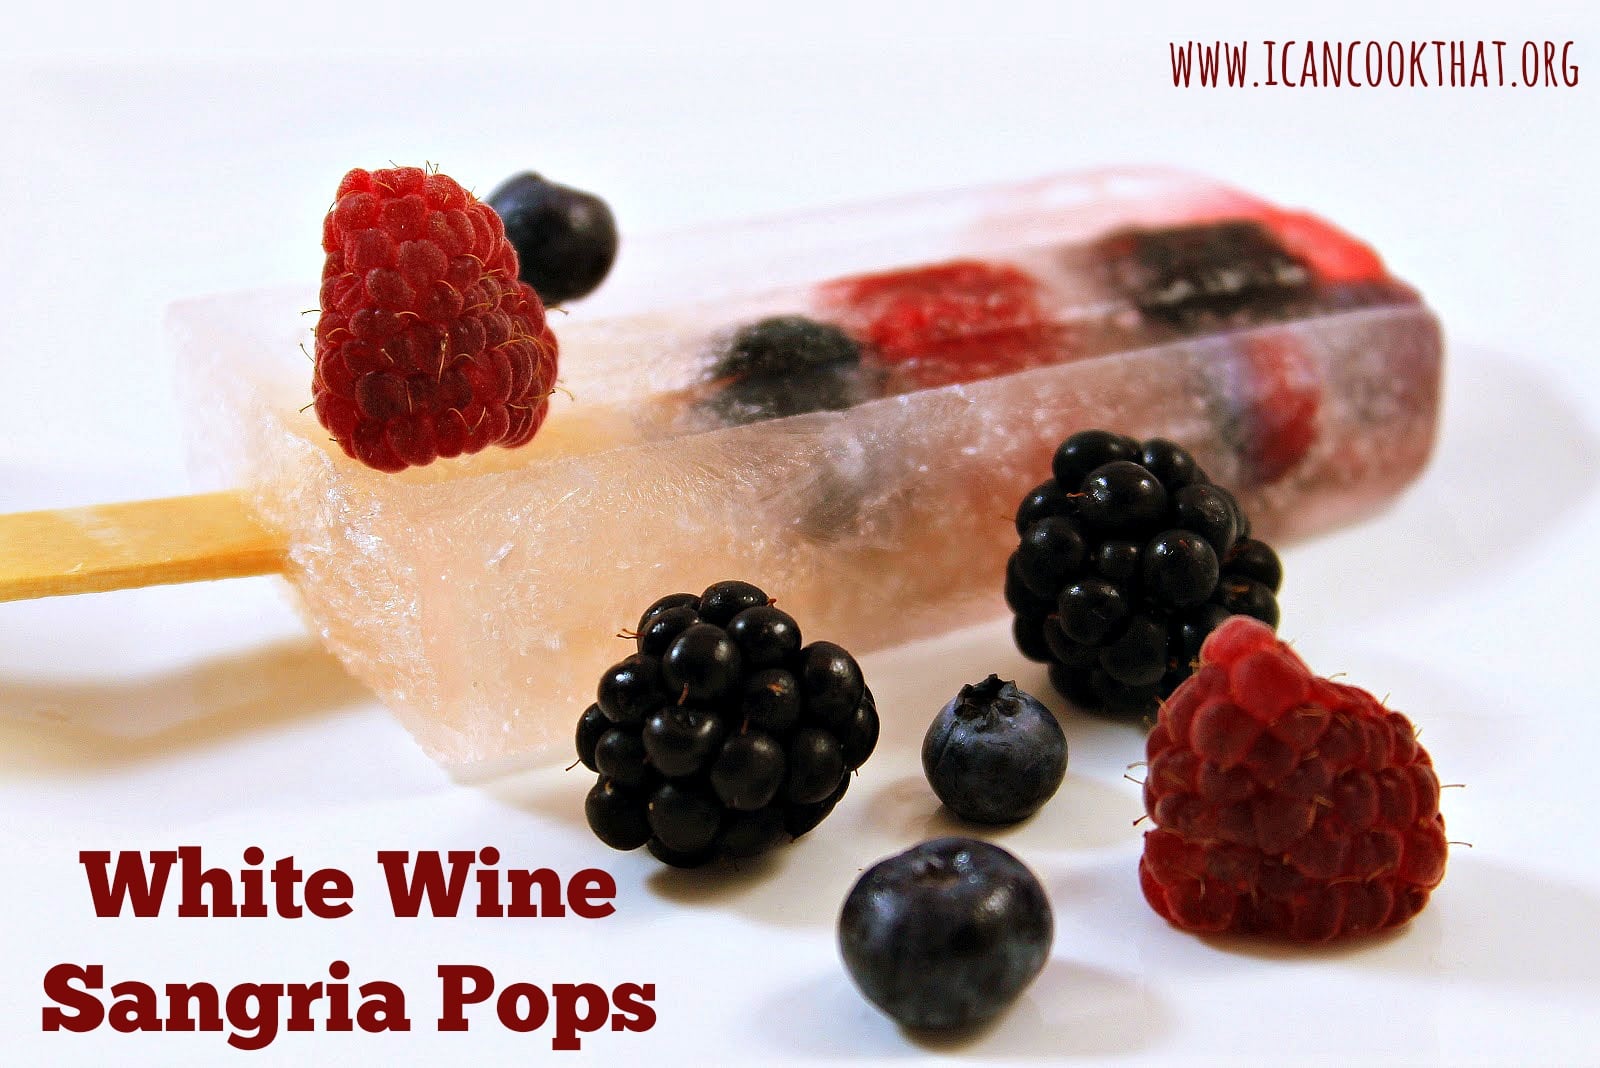
I was at a restaurant on Long Island that had a drink they called a “lushee” which was basically a frozen sangria. And I haven’t been able to stop thinking about it. Pure brilliance. I told a friend about this and we knew we had to make our own, what could possibly be more refreshing on a hot summer day? I was recently sent a cookbook that actually one-upped the concept of the lushee: a White Wine Sangria Popsicle.
The book, Poptails, by Erin Nichols of Erin Cooks, is filled with sixty pops inspired by your favorite alcoholic beverages. Recipes range from classics like a gin and tonic to fancy favorites like a cosmopolitan.There are even some awesome dessert pops like cherry cheesecake and banana split.
I was in love with this book before I even received it. What an amazing idea! Who wouldn’t want their favorite drink in iced pop form? The recipes had me imagining all of the lovely get-togethers I could have: a brunch with iced coffee and bloody Mary pops, a pool party with strawberry basil martini pops, or Christmas in July with spiked eggnog, mulled wine, and Christmas cheer pops. Sigh.
Anyways, I kept thinking back to those lushes and knew I had to try the white wine sangria pops.
I tweaked the recipe within the book a bit. For the original recipe, pick up a copy of this fun book!
Ingredients:
1 bottle white wine (I used Sauvignon Blanc)
1 liter flattened seltzer water
1/4-1/3 cup cranberry juice (I used cranberry hibiscus)
1 tablespoon simple syrup, or to taste
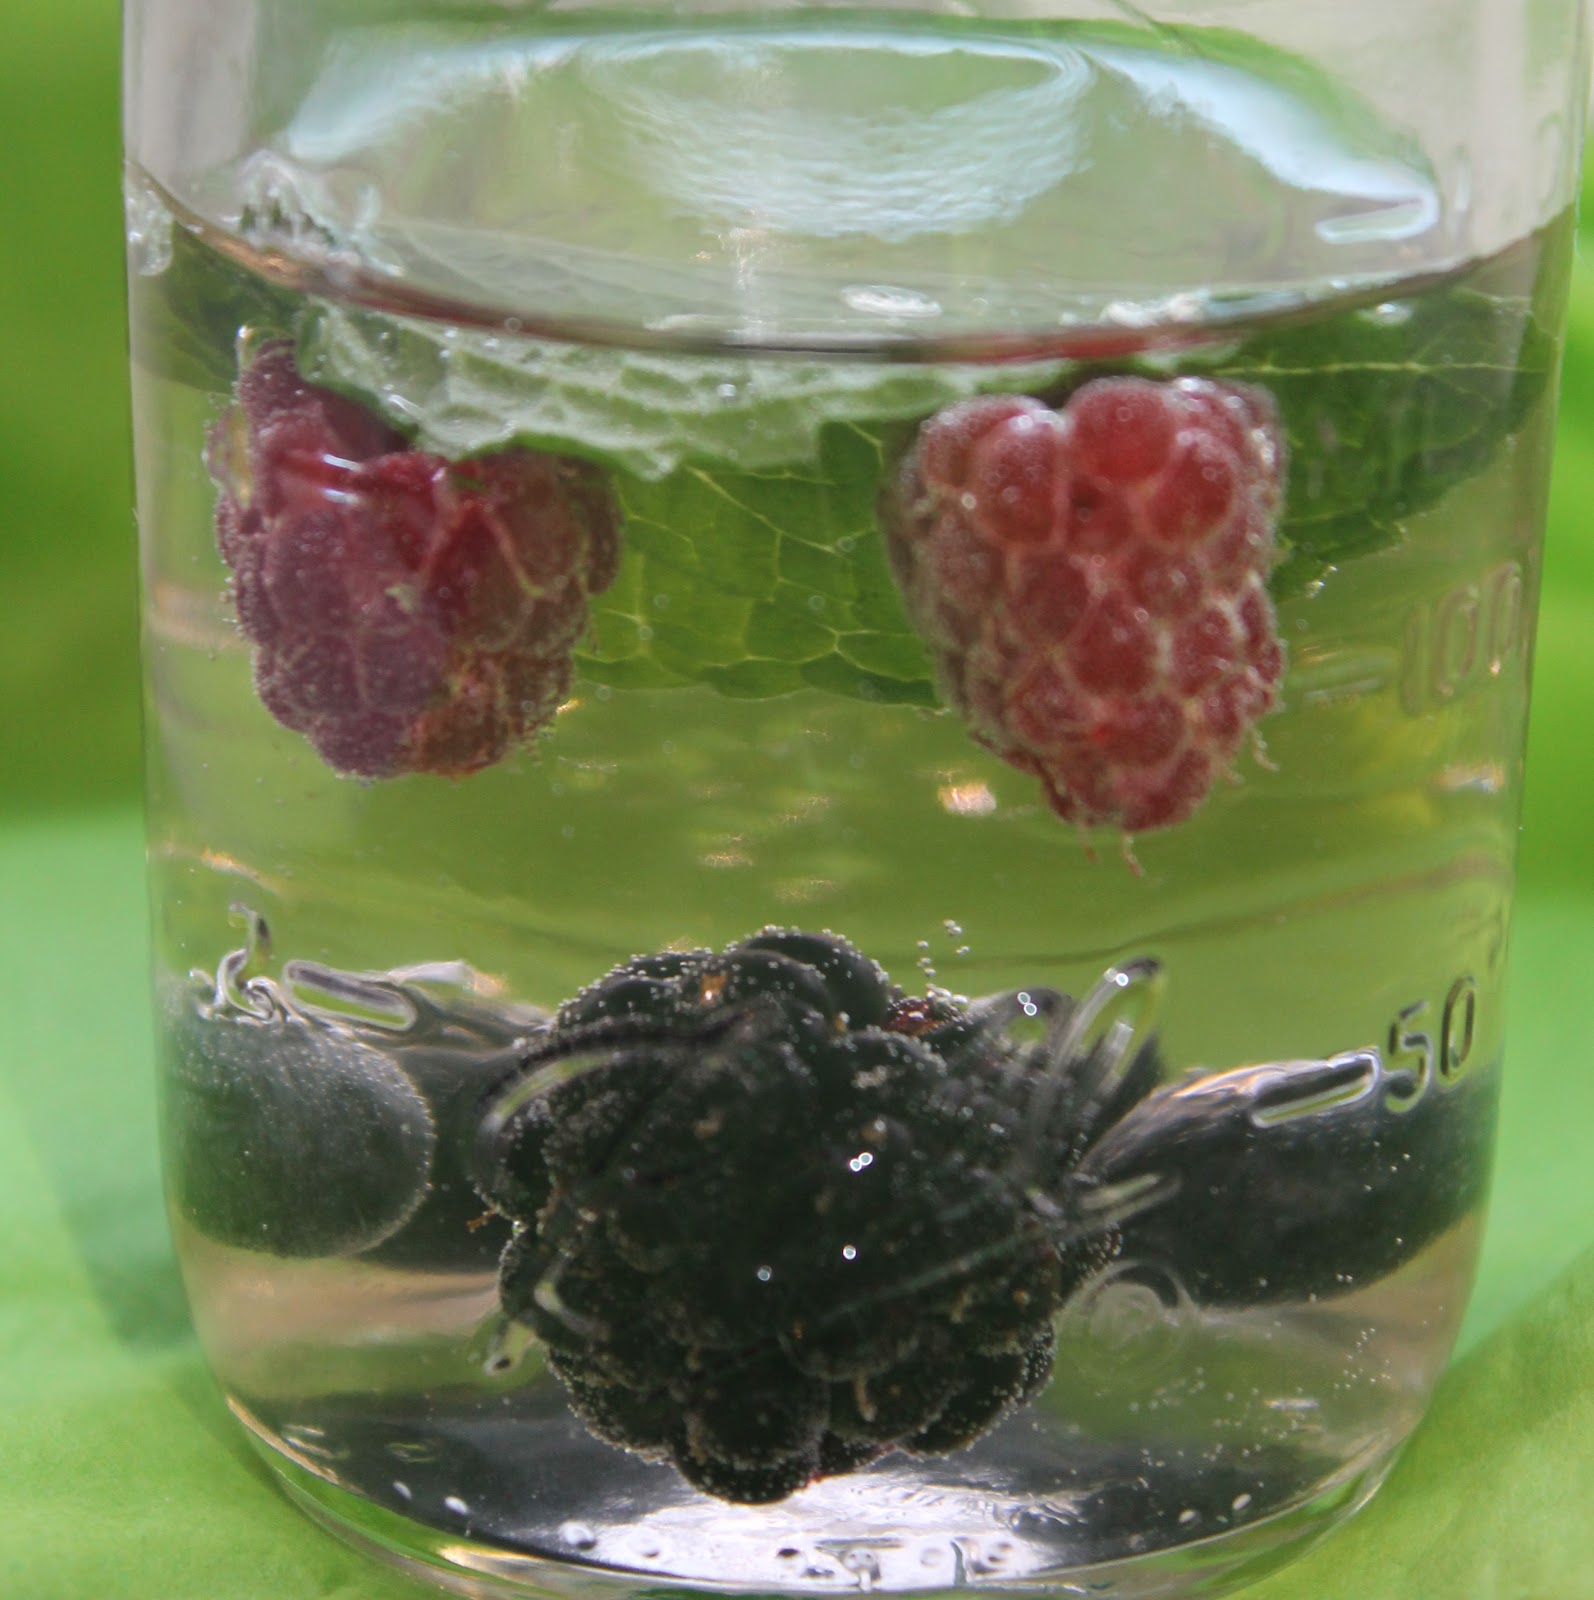
1 pint raspberries
1 pint blackberries
1 pint blueberries
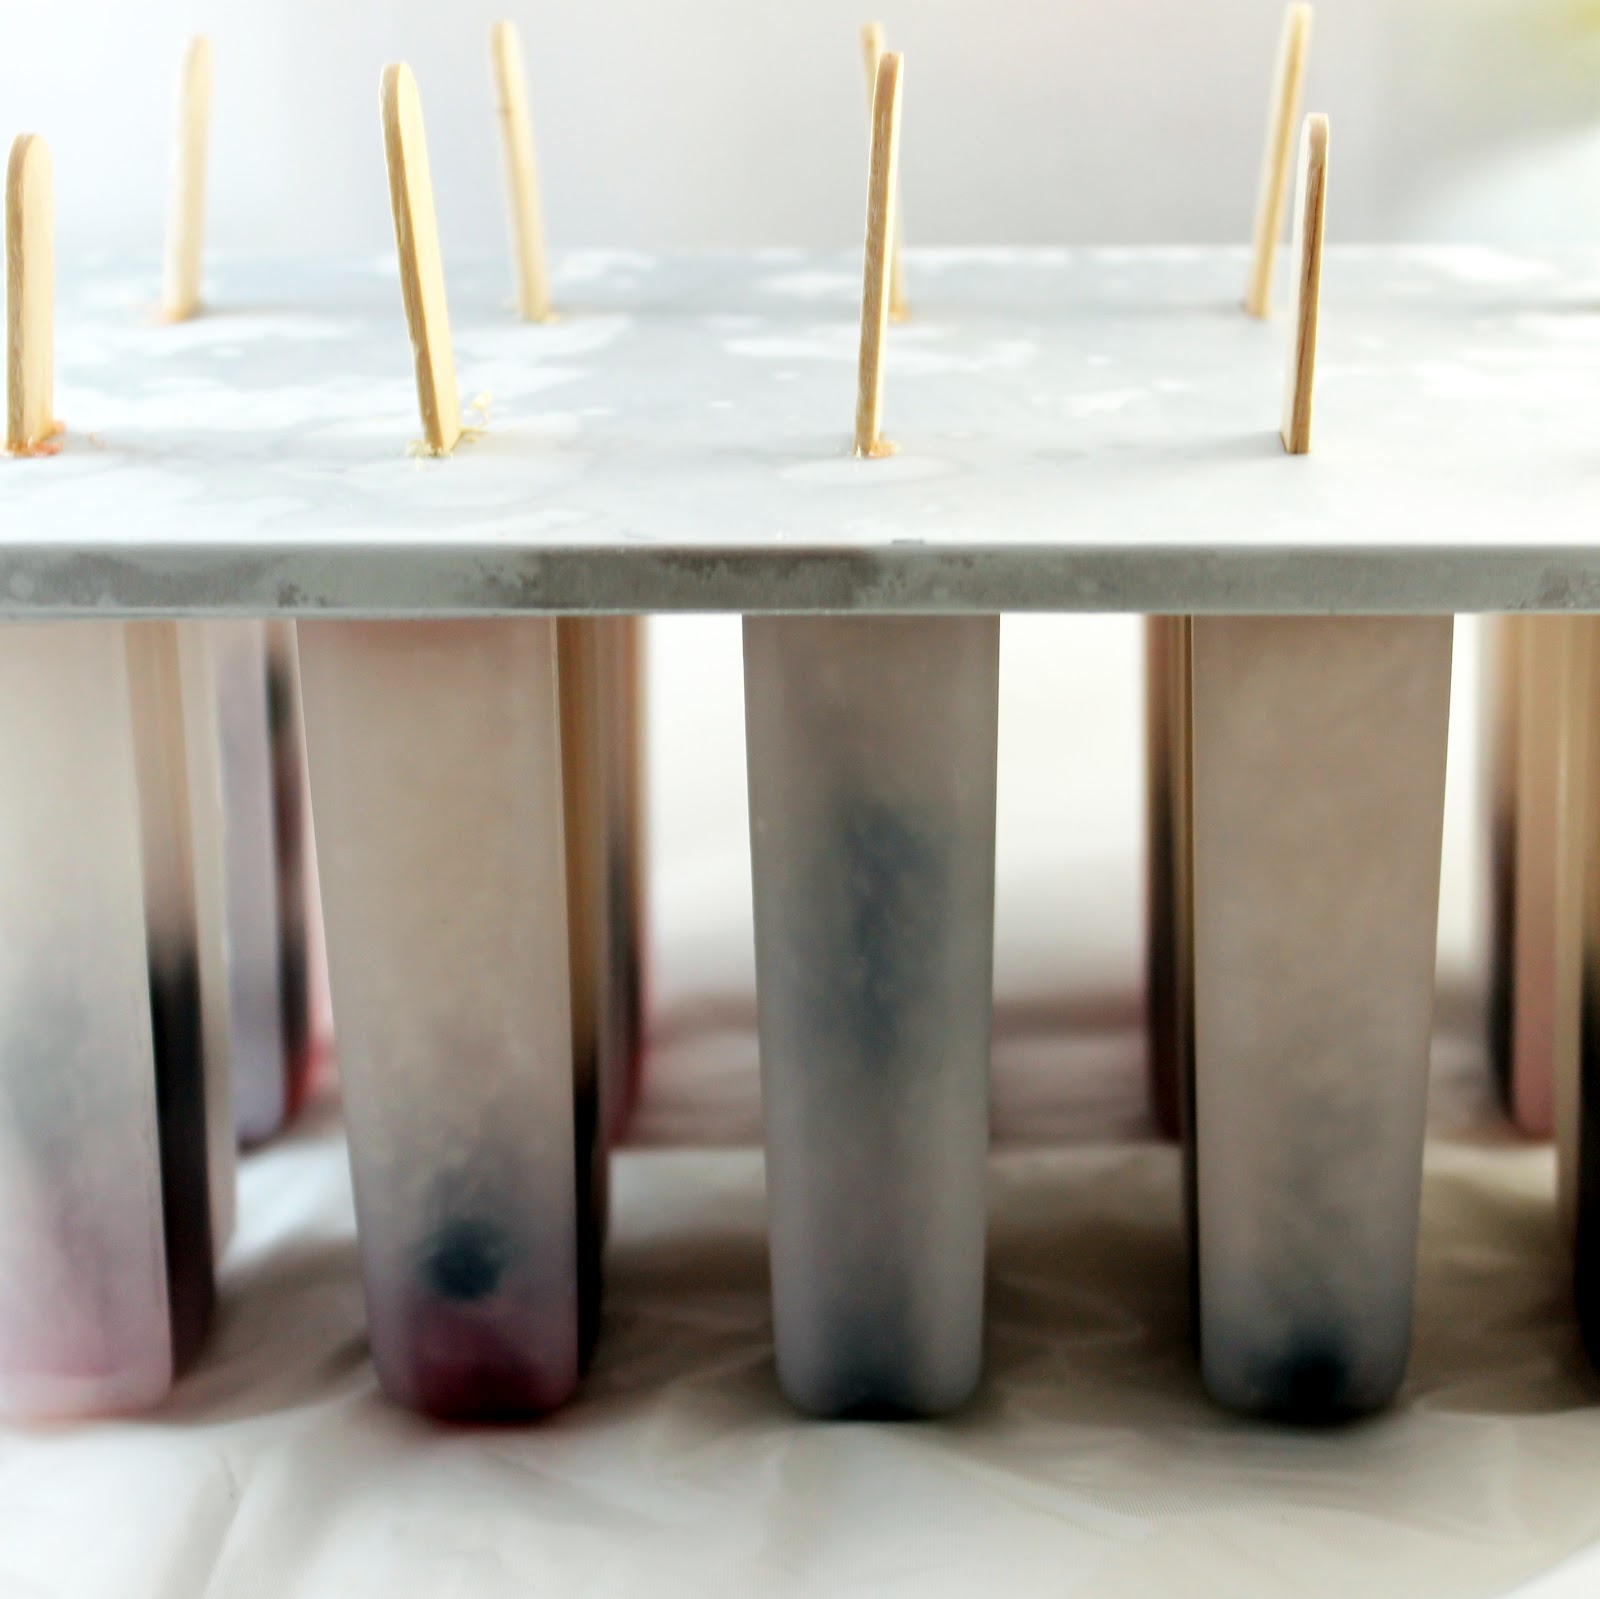
Note: You’ll need ice pop molds and Popsicle sticks to make these.
I wanted to start this post with the definition of seltzer, club soda, tonic water, and sparkling water. Because I always manage to mess these drinks up. And no wonder: club soda, seltzer and sparkling water are all water infused with carbonation. These can all be interchanged. Tonic water is something a bit different, it is still a carbonated water, but quinine is dissolved into the water as well. It’s quite a bit more bitter so be sure to use club soda/seltzer/sparkling water in this recipe. Or for a bit more sweetness, a lemon-lime soda would work.
Make sure to allow your seltzer water to flatten. Don’t forget this step! Unflattened carbonated beverages will explode when frozen. And that sounds like an awful waste of white wine sangria if you ask me. The book suggests opening your seltzer 8 hours prior and popping it into your fridge in a place it won’t spill.
Combine the wine, flattened seltzer water, cranberry juice, and simple syrup. I used lemon simple syrup to give a touch more flavor. Feel free to add some lemon zest to add a little extra.Add whatever mixture of berries you’d like to the pop molds. I went for one raspberry, one blackberry, and a few blueberries per pop.Fill each mold ¾ of the way full with the mixture; you need to leave a small amount at the top to allow the liquid to expand.
Note: you’ll have some extra sangria that won’t fit in the pop molds. This is so you can enjoy your creation before waiting 24 hours 🙂
Add popsicle sticks, cover, and freeze for approximately 24 hours.
To remove from the molds, fill a bowl larger than your pop molds with warm (not hot) water. Add the mold to the bowl for 15 seconds then gently pull on the top of the ice pop stock. If the pop does not release, add the mold back to the water for another 15 seconds, repeat this process until the pops come out of the molds.
These pops were refreshing and a little bit tangy. I wanted a bit more sweetness though, I might add more simple syrup next time I make them. I also would add a bit more cranberry juice so that the pops turn a very light pink color, which would probably look really nice.
What’s nice about this recipe is how adaptable it is. You can add or subtract whatever fruit makes you happy. You could use a sweeter wine, or even a (flattened) champagne. My friend made this recipe using white grape juice instead of cranberry.
There are plenty of other creative pop recipes within the pages of this book. I love the element of fun that the popsicles add and can’t wait to try more of these yummy recipes!
1/4-1/3 cup cranberry juice (I used cranberry hibiscus)
1 tablespoon simple syrup, or to taste
1 pint raspberries
1 pint blackberries
1 pint blueberries
Instructions
Make sure to allow your seltzer water to flatten. Don’t forget this step! Unflattened carbonated beverages will explode when frozen. And that sounds like an awful waste of white wine sangria if you ask me. The book suggests opening your seltzer 8 hours prior and popping it into your fridge in a place it won’t spill.
Combine the wine, flattened seltzer water, cranberry juice, and simple syrup. I used lemon simple syrup to give a touch more flavor. Feel free to add some lemon zest to add a little extra. Add whatever mixture of berries you’d like to the pop molds. I went for one raspberry, one blackberry, and a few blueberries per pop. Fill each mold ¾ of the way full with the mixture; you need to leave a small amount at the top to allow the liquid to expand.
Note: you’ll have some extra sangria that won’t fit in the pop molds.
Add popsicle sticks, cover, and freeze for approximately 24 hours.
To remove from the molds, fill a bowl larger than your pop molds with warm (not hot) water. Add the mold to the bowl for 15 seconds then gently pull on the top of the ice pop stock. If the pop does not release, add the mold back to the water for another 15 seconds, repeat this process until the pops come out of the molds.
Have you ever heard of Meatless Monday? It’s a campaign that began in 2003 encouraging people to cut out meat from their Monday meals. Monday was chosen as a way to start your week off more healthy. I am a big fan of Meatless Monday in general but I find it difficult to reserve one day a week specifically to go meatless. I prefer a much more flexible approach, where I try to cut meat out of three meals within my week.
The point of Meatless Monday is to eat a healthy meal as a substitute, adding a little more vegetables or whole grains to your diet instead of always making protein the star of the meal. I am by no means a vegetarian, and honestly never will be. But Americans in general tend to consume way too much protein. According to meatlessmonday.com, “going meatless once a week may reduce your risk of chronic preventable conditions like cancer, cardiovascular disease, diabetes and obesity.”
It’s honestly pretty darn easy to do once you make a mental note to try it out. I have plenty of meatless options on my blog to help get you started. Some of my favorites include (in no particular order):
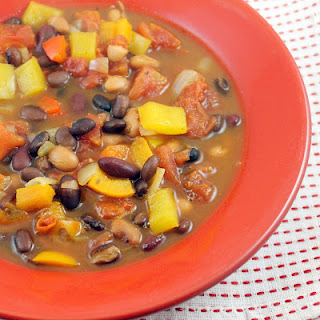
If you are in need of more inspiration, one of my favorite vegetarian cookbooks is Herbivoracious. (Michael Natkin, the author, also has a pretty snazzy blog. Check it out here.) Michael’s recipes are truly wonderful (the black bean soup above is one of his) so be sure to pop over to see them.
Do you already participate in Meatless Monday? What is your favorite meatless meal to prepare?
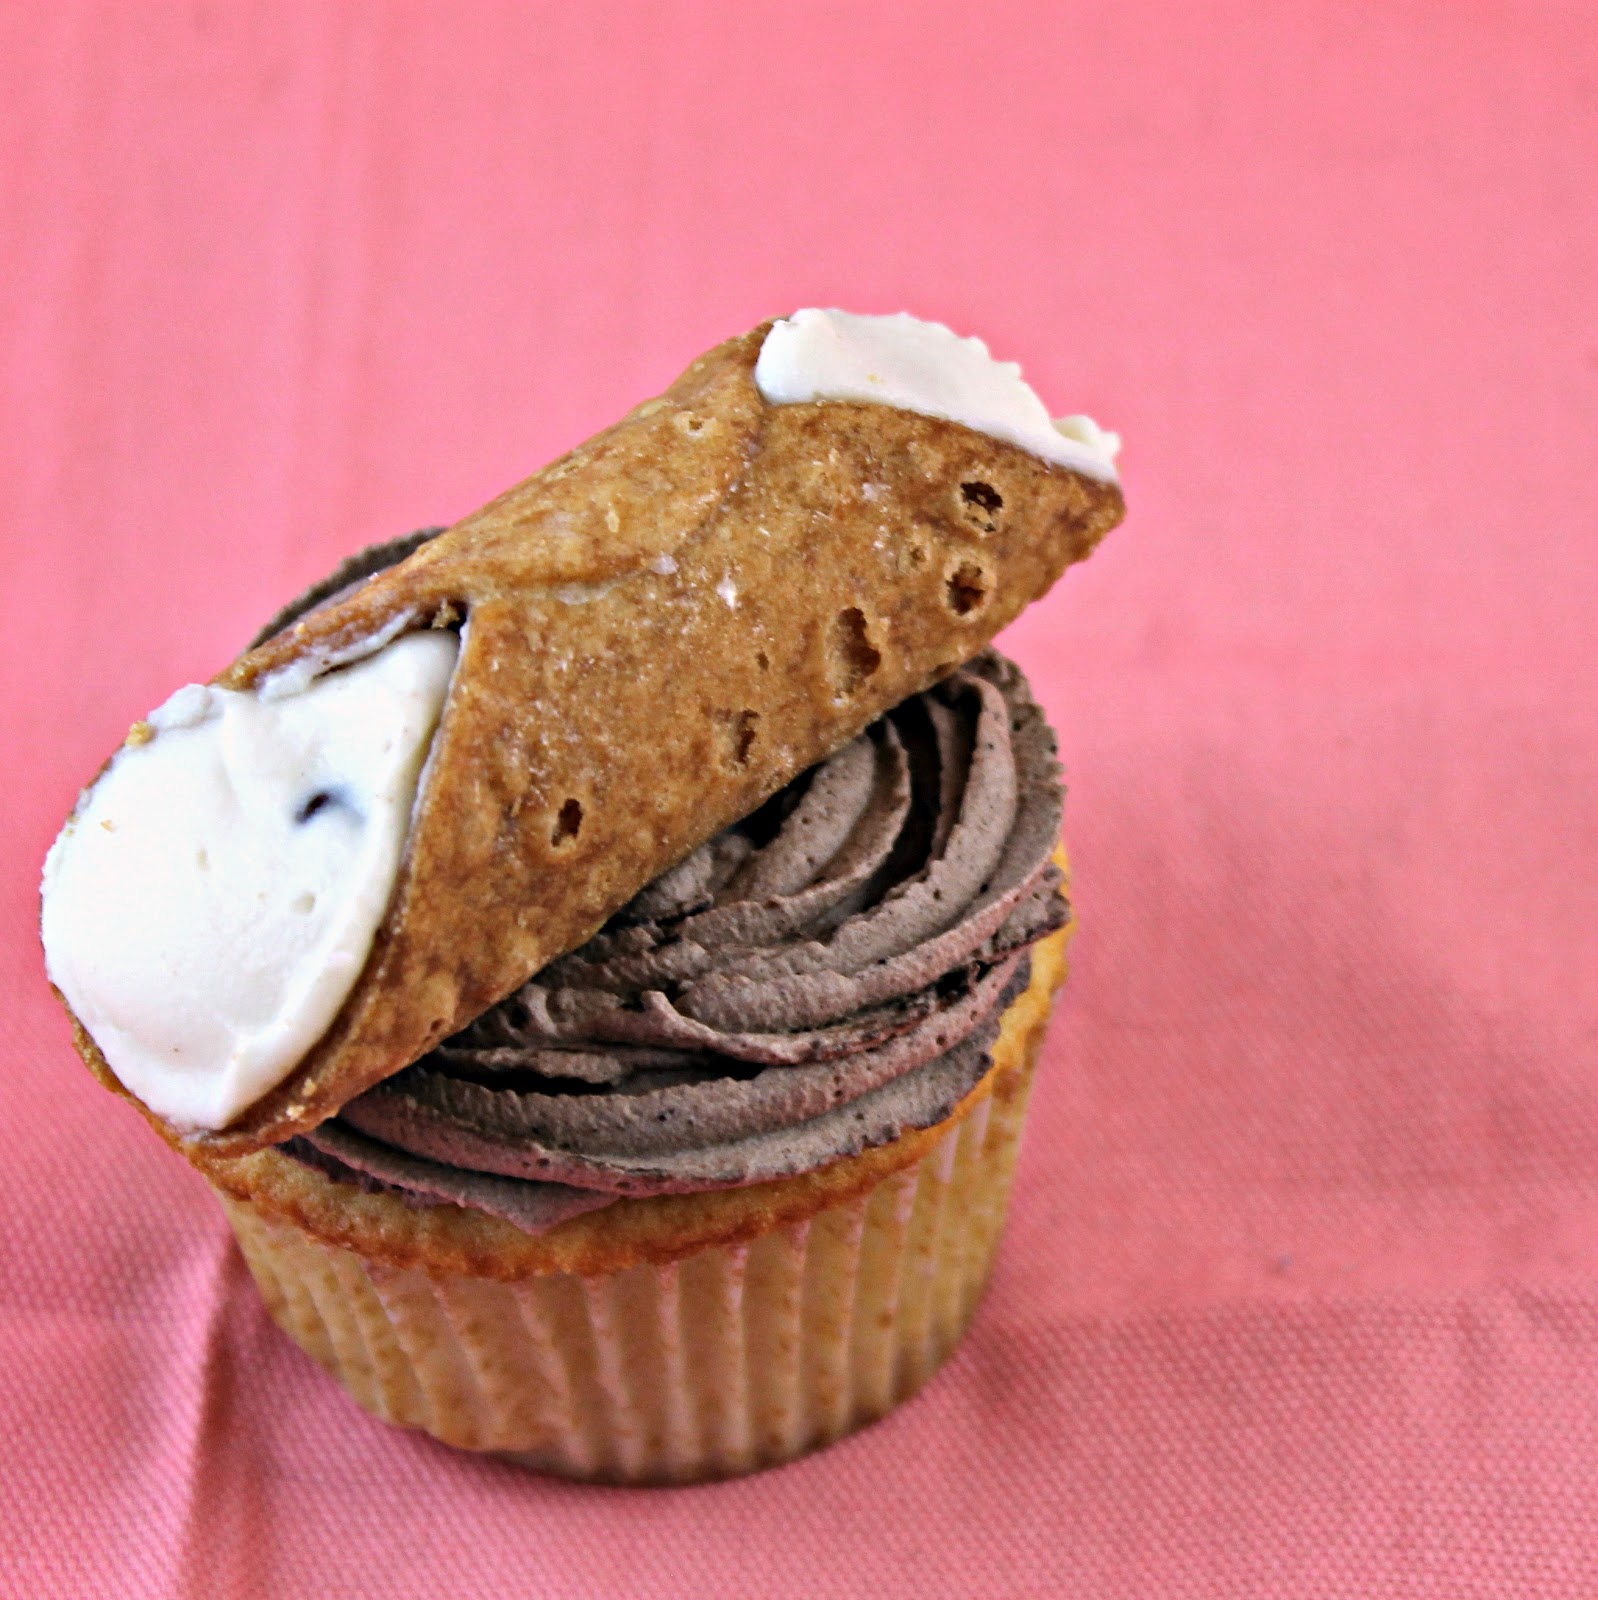
Cannolis always remind me of my Italian/German side of the family. I can’t think of a Christmas that these little delicious desserts didn’t make an appearance. My sister was downright obsessed with them as a kid, if she got to the dessert table first, there was no chance of getting one. So when I was sent Grace’s Sweet Life: Homemade Italian Desserts, I was really hoping to find a recipe for cannolis so I could make some for her. Well, the cookbook did me one better: Vanilla Cupcakes filled with Ricotta Cream, topped with Marsala-Chocolate Whipped Cream. And to make them even better, they are topped with a mini cannoli!
Grace is a blogger over at La Mia Vita Dolce. The website is absolutely fantastic. Just the names of the recipes are enough to make your mouth water. Her new cookbook is no different. It is filled with recipes for the very traditional (Pizzelles – those Italian waffle cookies that look like snowflakes) to the super creative (Chocolate Salami, you read that correctly!) The photography is stunning. The titles of the desserts are in both Italian and English which I thought was a nice touch. (The title of the cupcakes in Italian is Piccoli Torta alla Vaniglia con Crema di Ricotta, Panna Montata al Cacao e Marsala in case you were wondering.) Grace breaks down the recipes into easy to follow steps, which is really helpful, especially for a recipe like the cupcakes I made. I changed bits and parts to her recipe just due to what I could and couldn’t find.
Ingredients:
For the cupcakes:
1 3/4 cups cake flour (you can substitute all-purpose flour)
2 teaspoons baking powder
1/4 teaspoon salt
3/4 cup unsalted butter, at room temperature (3 sticks)
1 1/4 cups superfine sugar
2 large eggs
2 large egg yolks
1 1/2 teaspoons vanilla extract
1 cup milk (I used skim milk)
For the ricotta cream:
1 1/2 cups ricotta
3/4 cup confectioners’ sugar
1 teaspoon vanilla extract
1/4 cup miniature chocolate chips
For the marsala-chocolate whipped cream frosting:
2 tablespoons unsweetened cocoa
1/2 cup confectioner’s sugar
2 cups heavy cream
1 teaspoon marsala
24 mini cannolis
Superfine sugar is just normal sugar that is ground into a finer grain. If you can’t find it in your local supermarket, just add a little more than 1 1/4 cups sugar to a food processor and blend for 1-2 minutes. Just make sure that you have 1 1/4 cup of sugar at the end.
So, I really wanted to make my own mini cannolis. I really did. But I couldn’t find anything to wrap the cannolis around to make mini ones, all the places I looked only had the metal tubes for regular sized cannolis. So then, I tried going to bakeries to ask for mini cannoli shells. They all either didn’t have any or were unwilling to give them to me without filling them first. Sigh. So the cannolis on top of these lovely cupcakes are not my own making. But, they are the best cannolis in Philly (in my humble opinion), from Termini Bakery. On to the cupcakes!
Preheat your oven to 350 degrees. Line 2 12-cup muffin pans with paper liners.
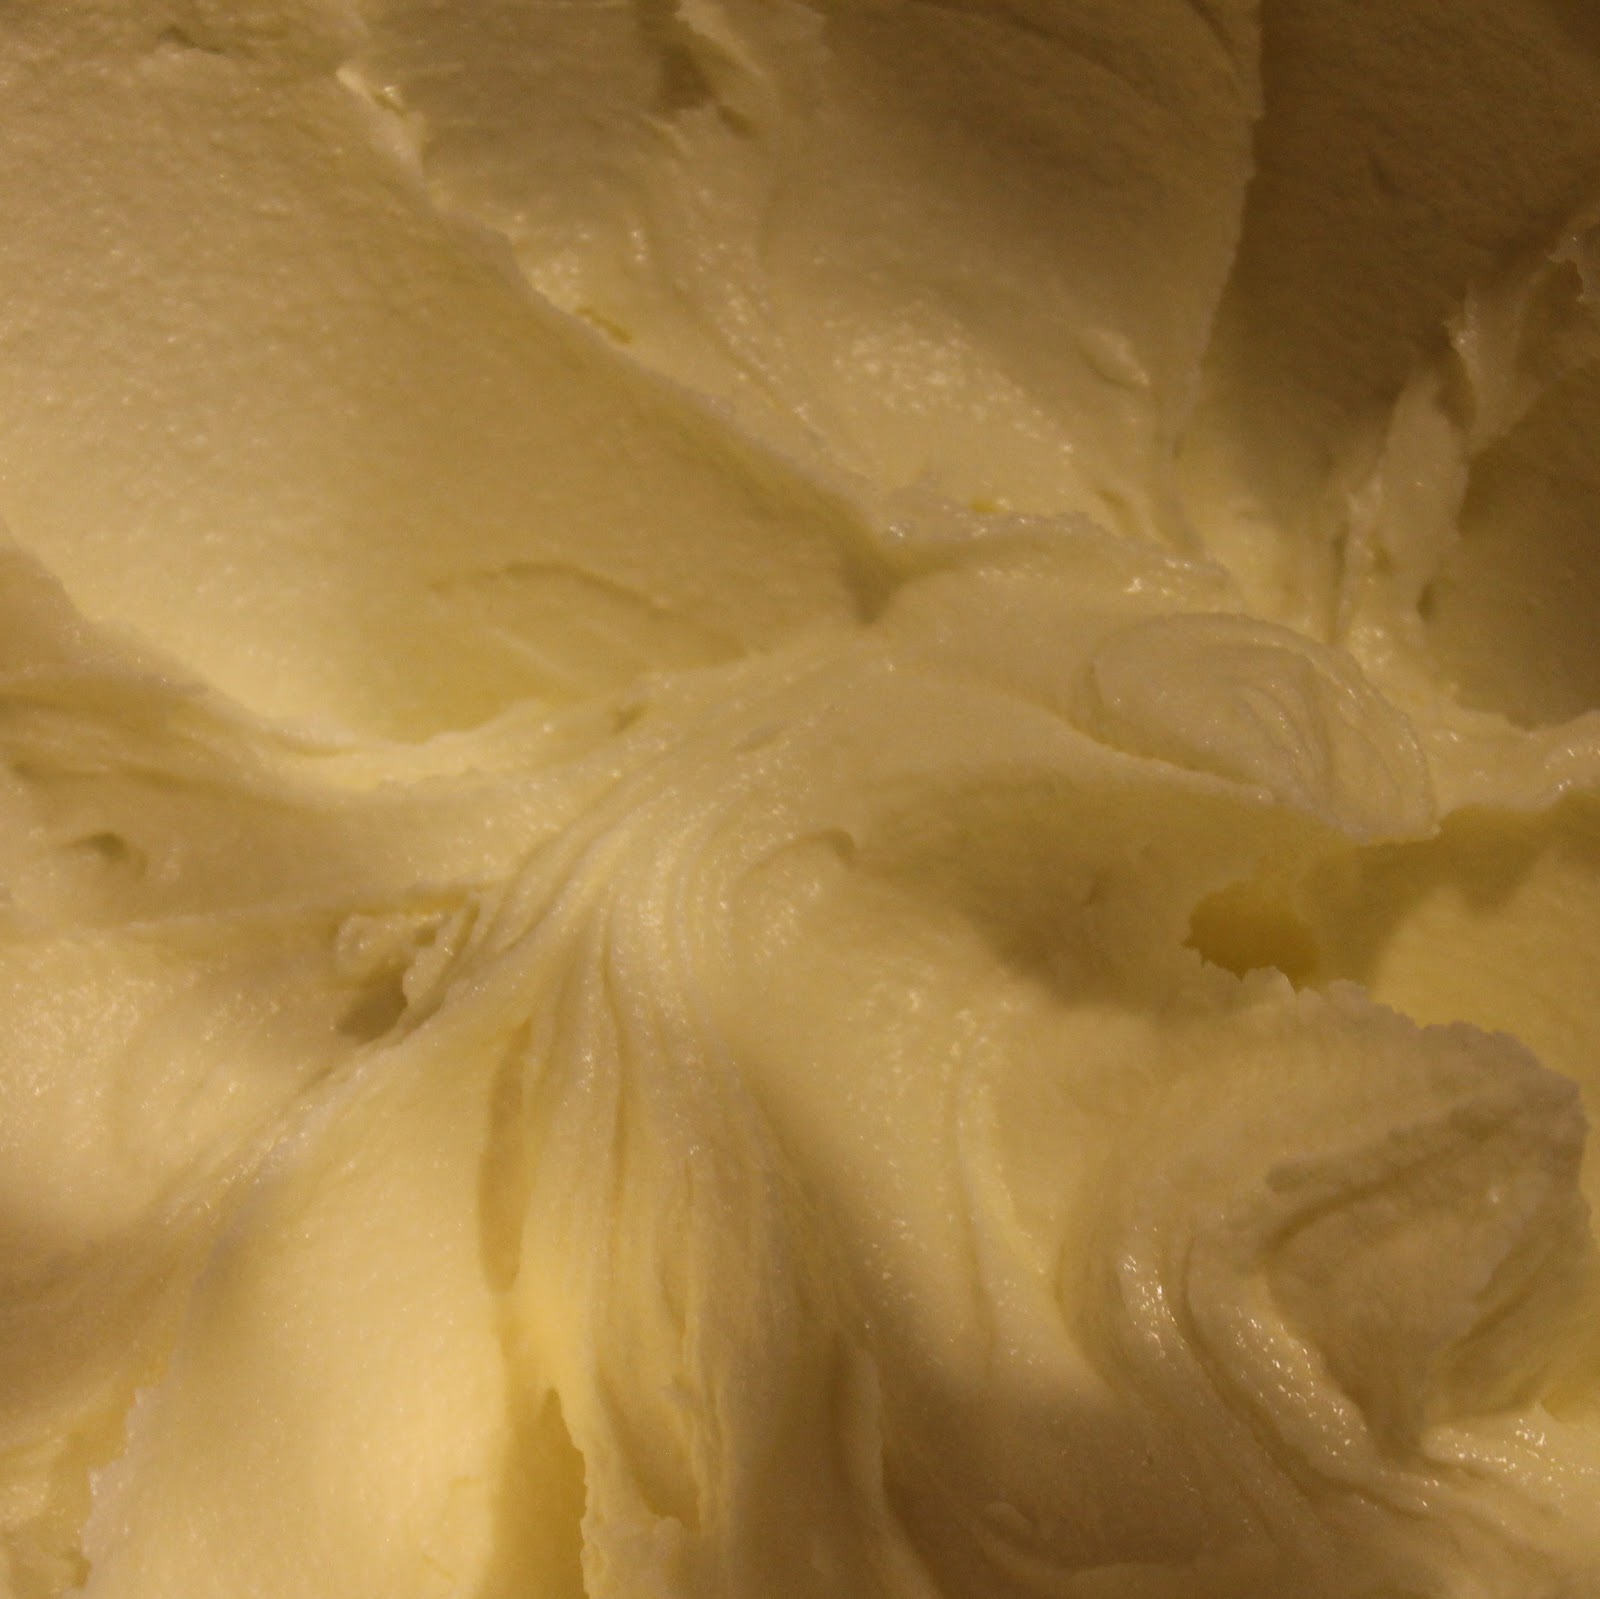
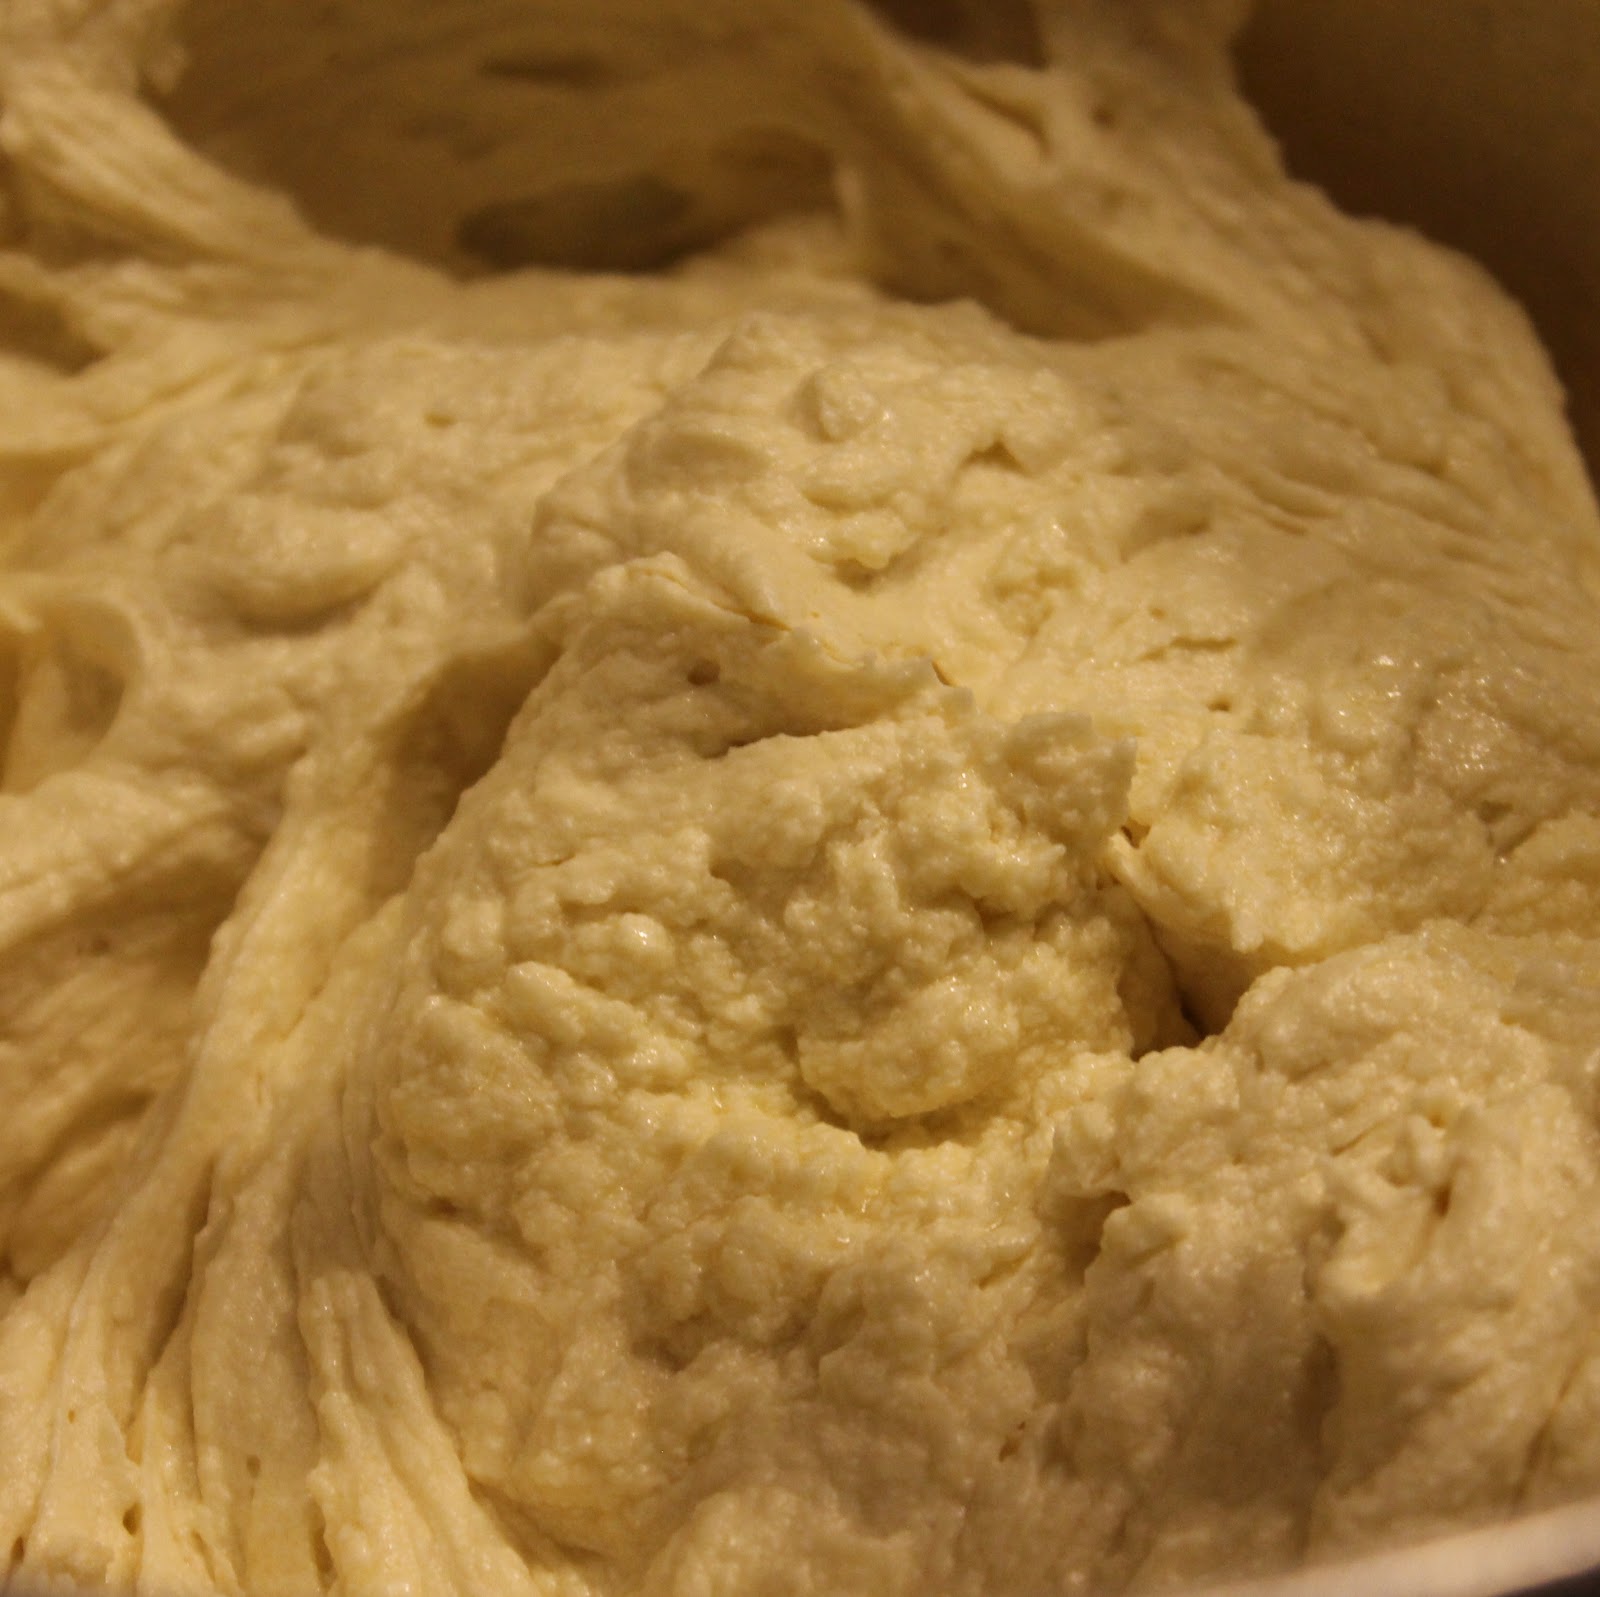
Sift together the flour, baking powder and salt in a small bowl. Set aside. Cream the butter and sugar at medium speed for about 4 minutes or until light and fluffy.
Add the eggs and egg yolks to a measuring cup with the vanilla extract. Lightly beat with a fork.
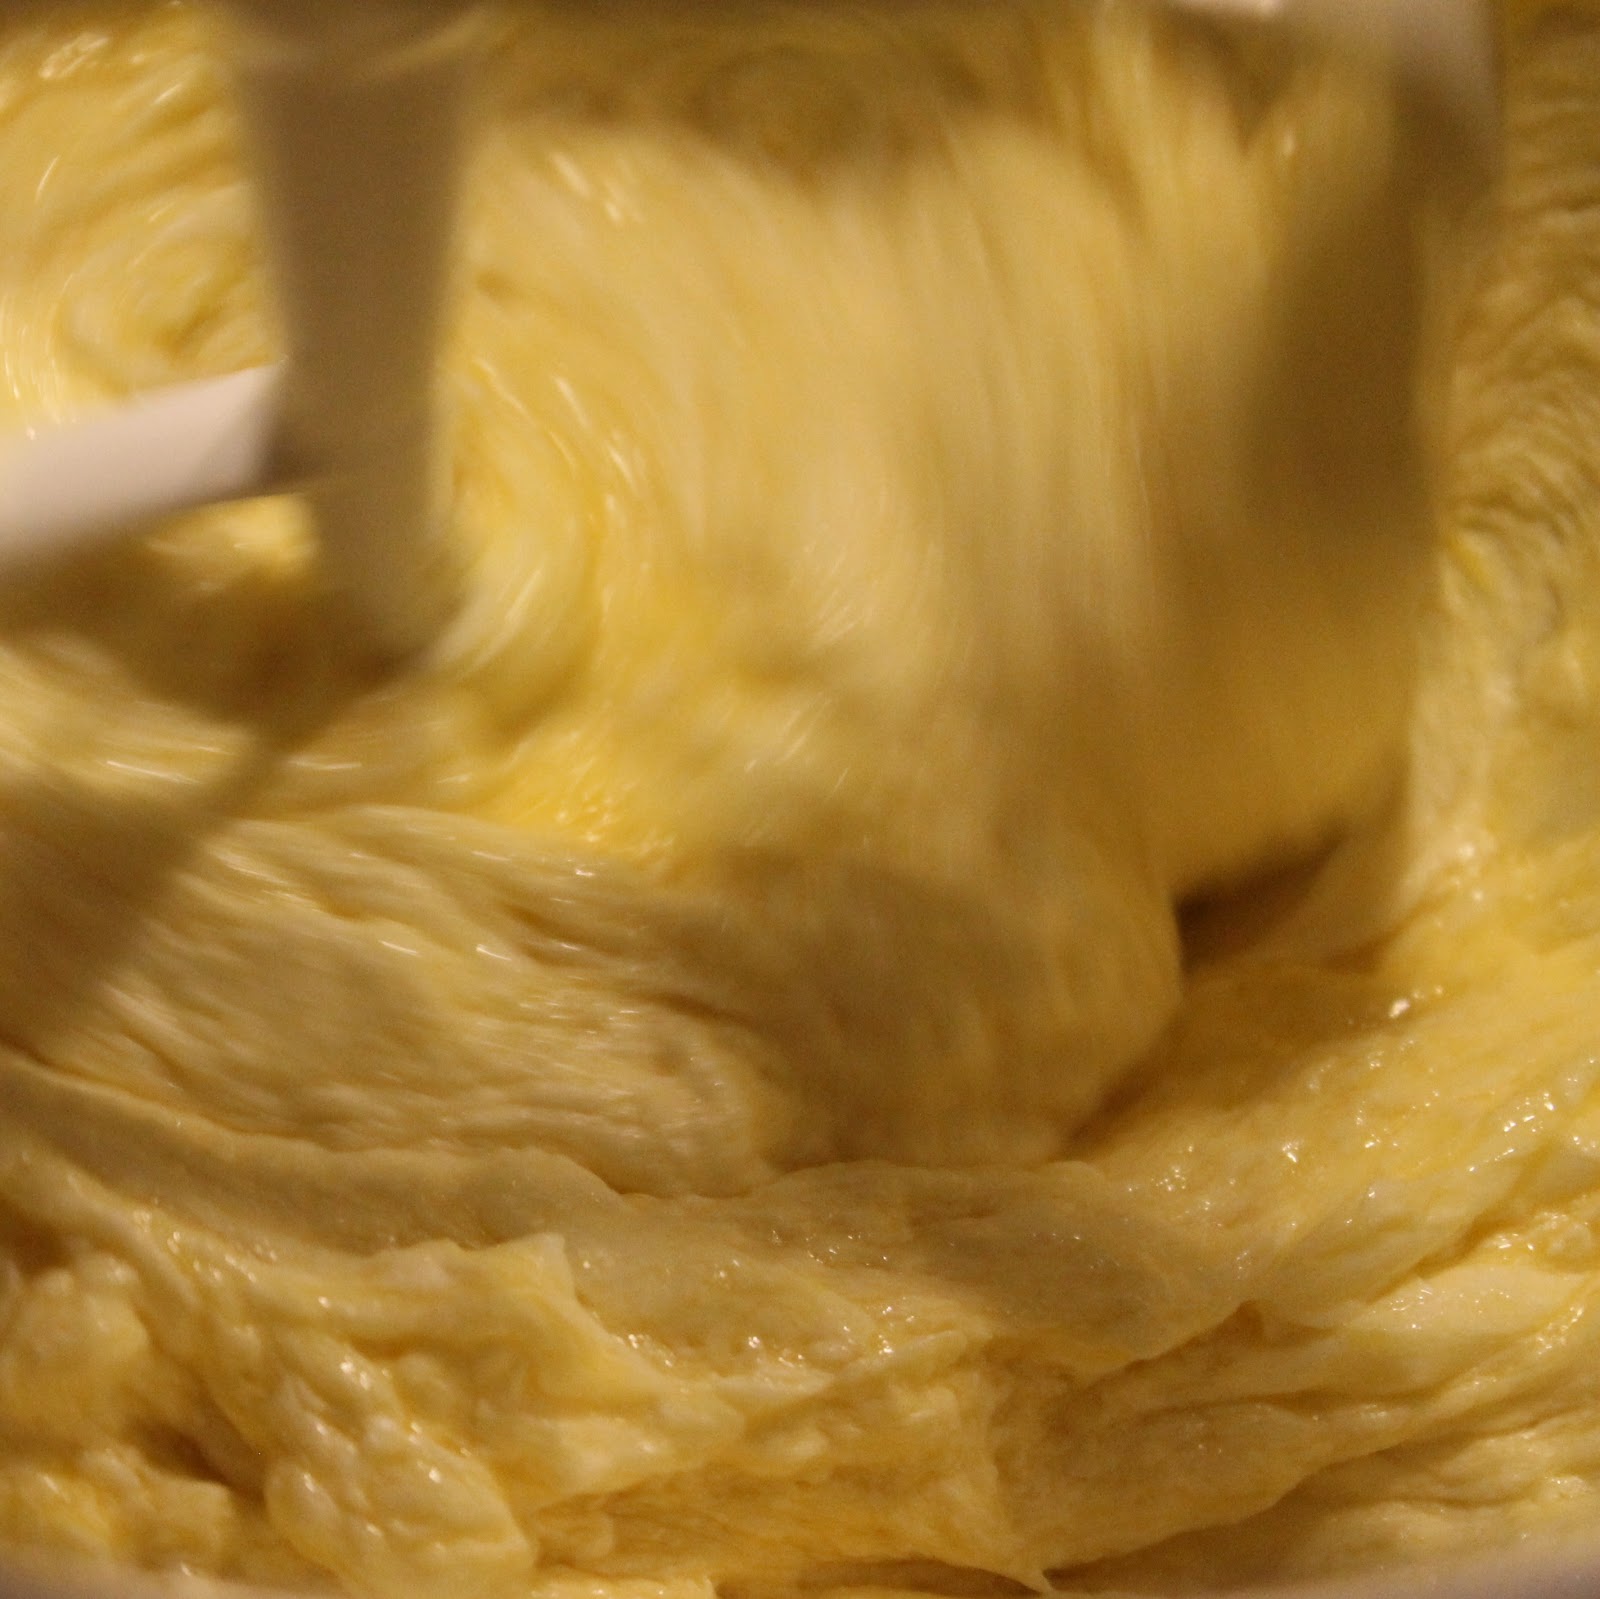
With the mixer running (if you’re using a hand mixer, you might need a baking buddy for this step), gradually pour the egg mixture into the butter mixture.
Reduce the speed of the mixer to low. Add the flour mixture 1/3 at a time alternating with adding the milk in two additions. (1/3 flour, then 1/2 milk, 1/3 flour, 1/2 milk, 1/3 flour). Beat until just combined after each addition.
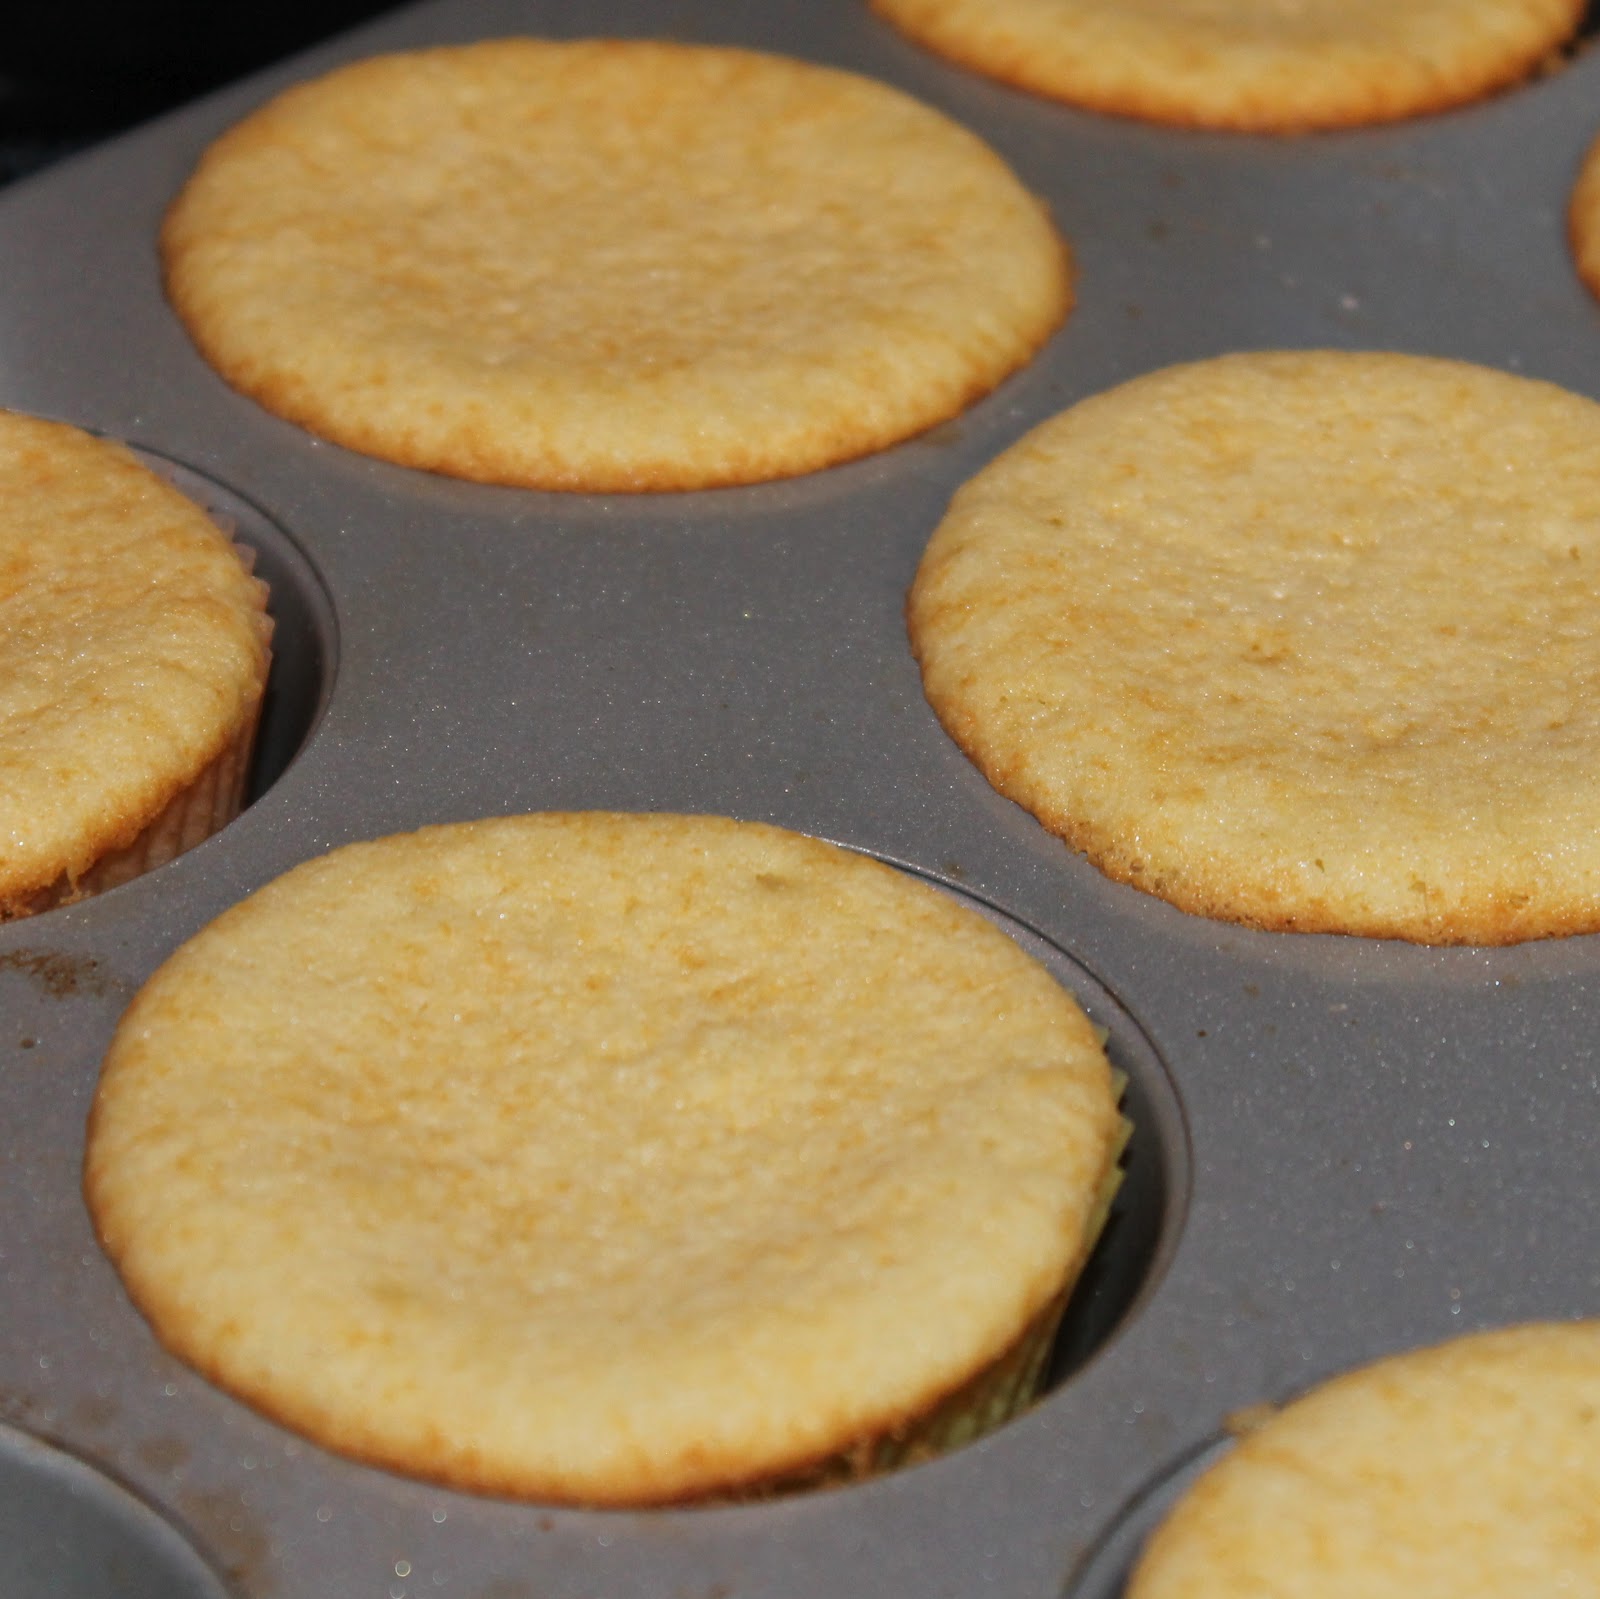
Divide the batter evenly in the muffin cups. Fill each tin 3/4 of the way full.
Bake for 20 minutes, rotating the pans halfway through, or until a toothpick inserted into the center of the cupcake comes out clean. Allow to cool.
To make the ricotta cream, beat the ricotta on medium speed for 2-3 minutes or until smooth. Add the confectioners sugar as beat until smooth. Stir in the chocolate chips and transfer to an airtight container. Refrigerate until ready to use.
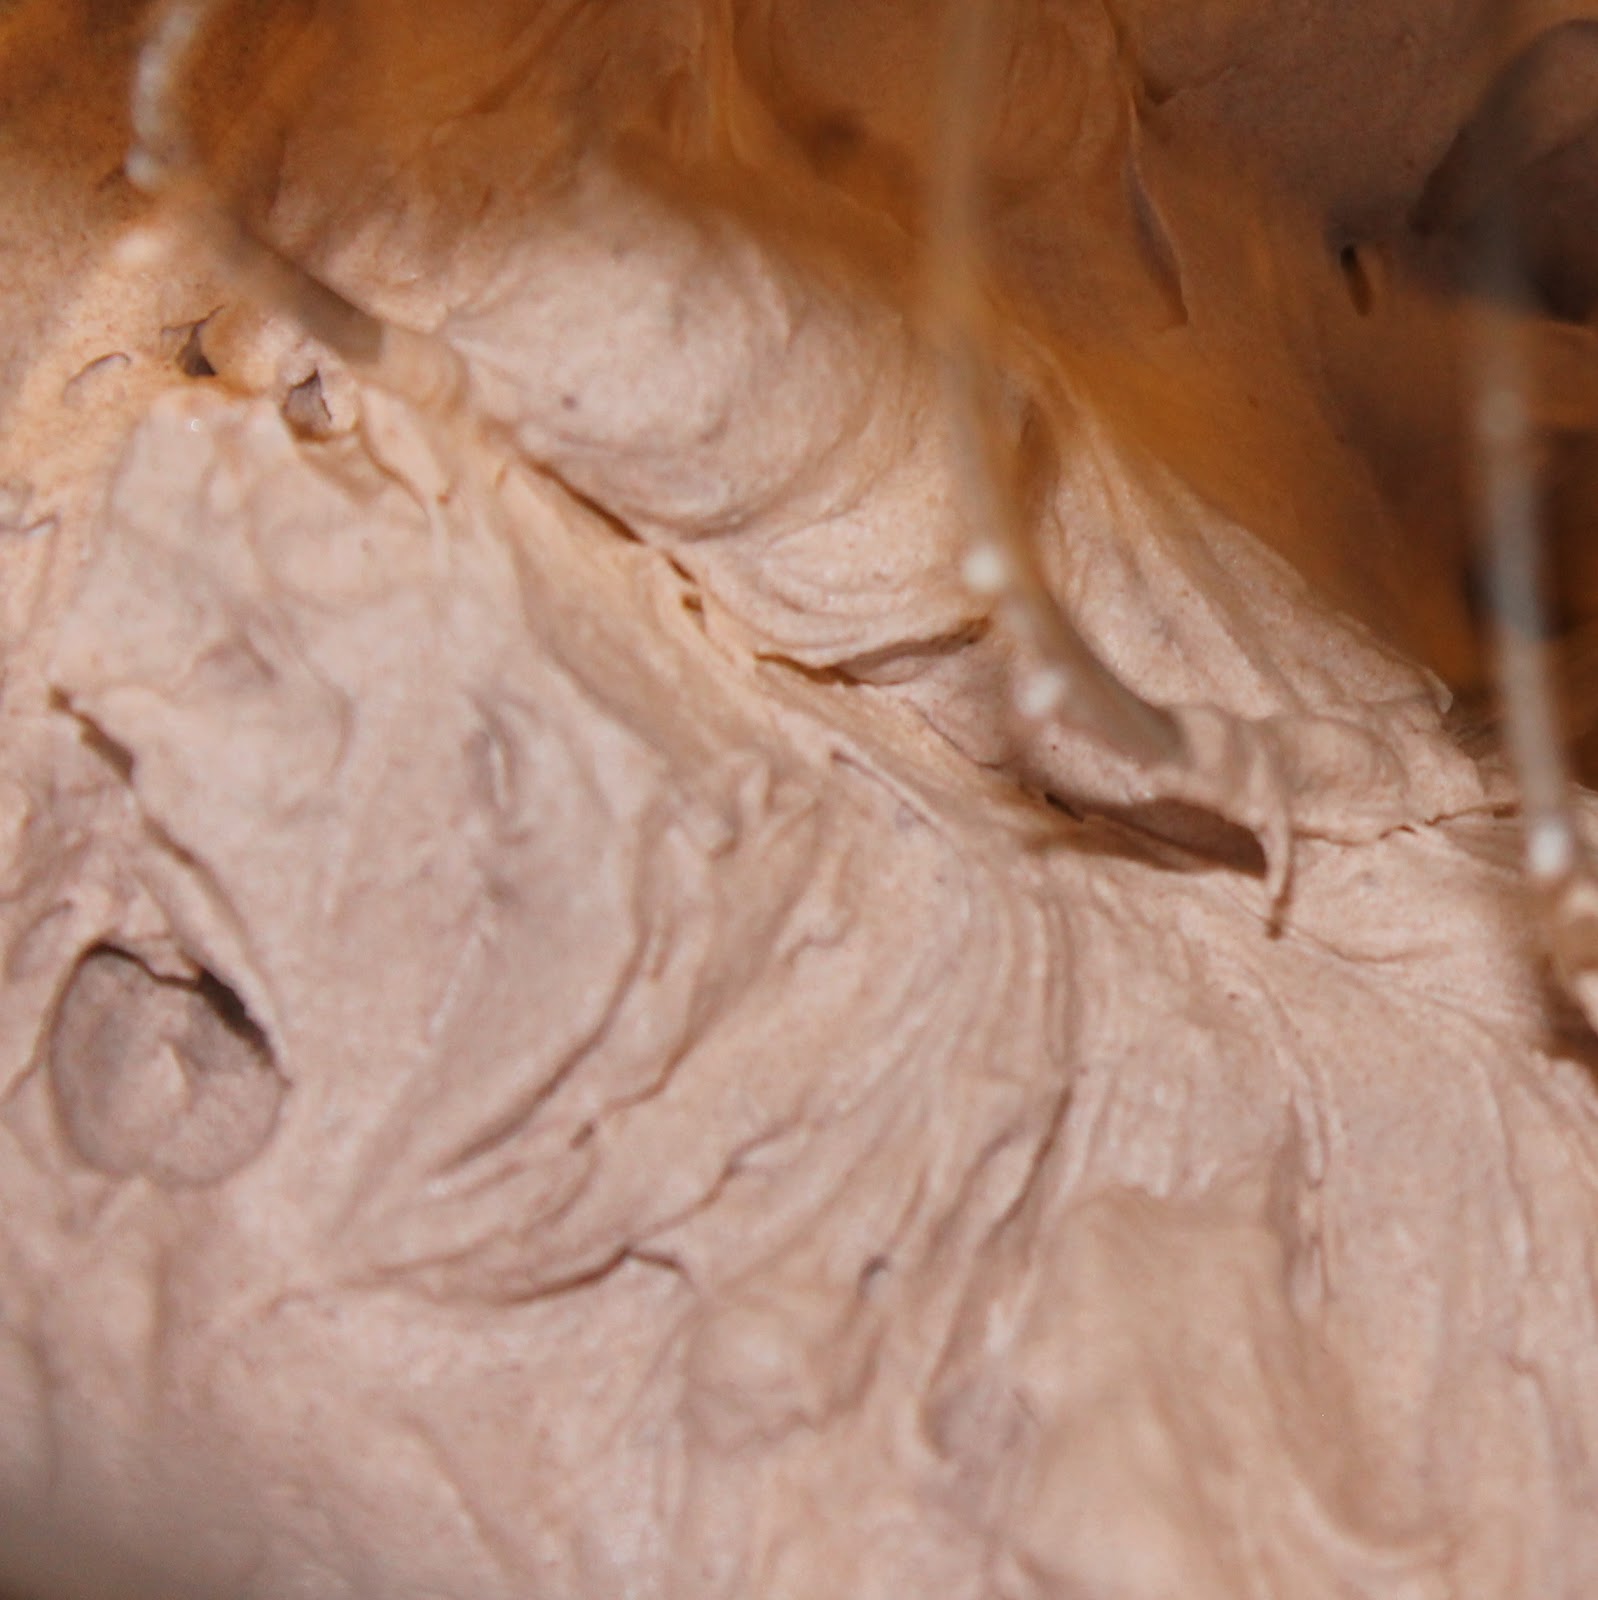
To make the frosting, sift the cocoa and the confectioners sugar into a small bowl and whisk to combine.
Beat the heavy cream, cocoa mixture and the marsala on medium high speed until stiff peaks form. Transfer to an airtight container and refrigerate until cold, about 15 to 30 minutes.
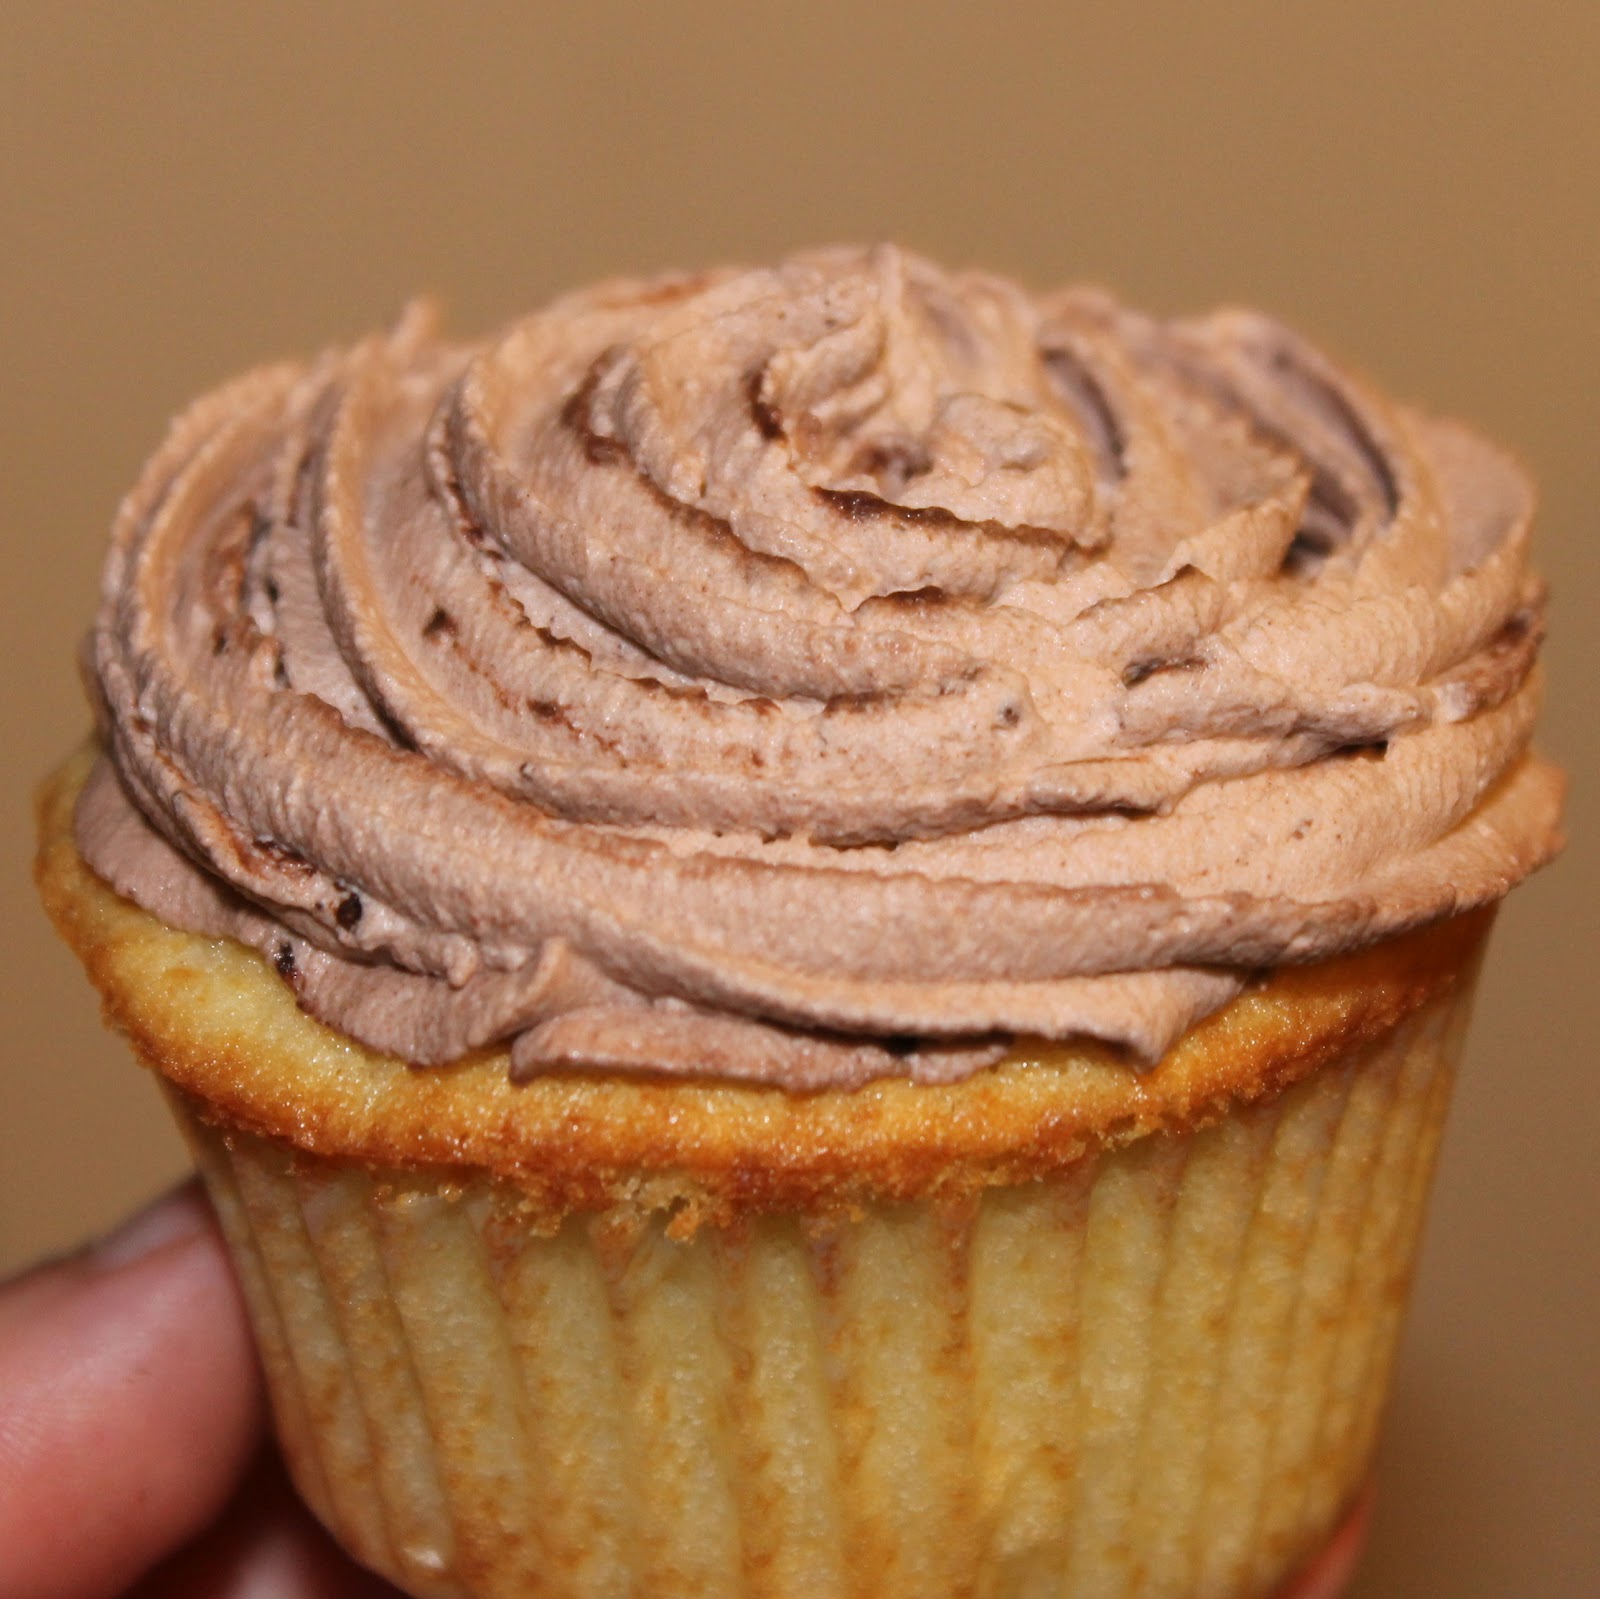
To assemble, use a pairing knife to cut a 1 1/2 inch deep cone shaped piece of cake from the center of each cupcake. Trim off the top of the cone piece into a round, flat disk that you’ll use to top off the cupcake. Add the ricotta cream to a large pastry bag (or a ziplock bag with a corner cut off). Pipe the cream into each cupcake, filling almost to the top. Top with the disks of cake.
Add the frosting to a large pastrry bag or ziplock bag. Pipe the frosting on top of each cupcake.
Top with the mini cannolis. How fun are these??
Although it seems like these cupcakes would be really heavy and overwhelming, they were actually light and airy (I have no idea how). The cannoli added a fun touch, but these cupcakes can hold their own without them.
The ricotta cream inside was fantastic. I loved the flavor of them with the vanilla cupcakes and the chocolate chips were a fun addition.
Be sure to go check out Grace’s Sweet Life cookbook!
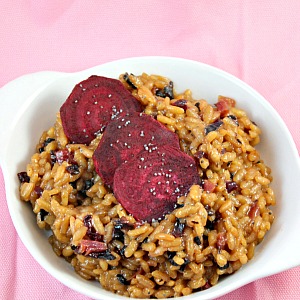
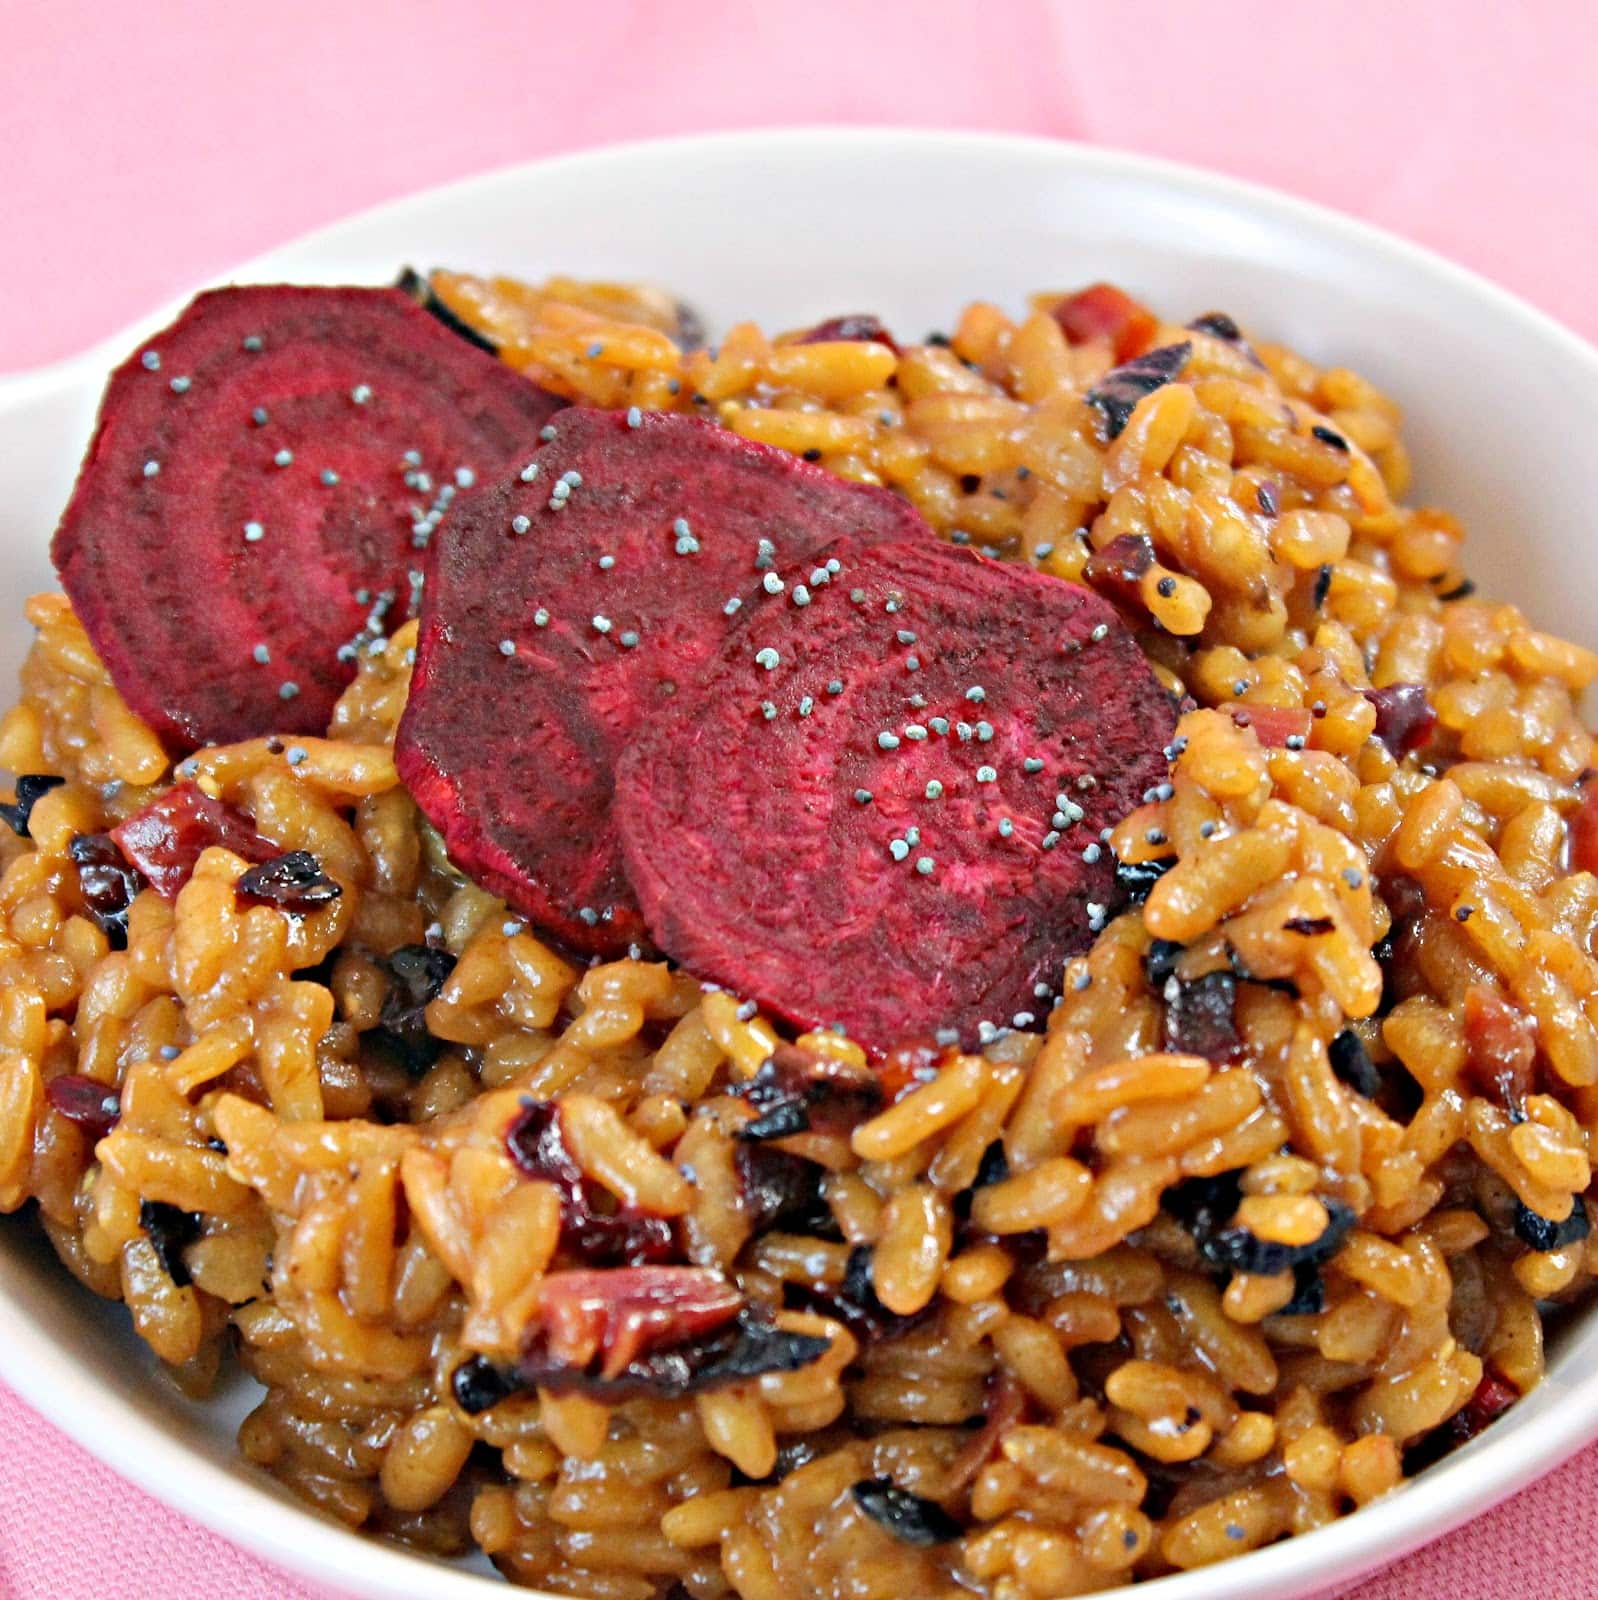
I love the taste of beets, but preparing them is so time consuming that I tend to avoid buying them. Most recipes involving beets require you to roast the beets and then peel them. I came across a recipe for beet risotto in Food and Wine that just cooked the beets on the stove top in significantly less time. This risotto recipe is supposed to turn a beautiful red color from the beets. I didn’t get the same bright red color but I still love how it looks!
Ingredients:
3 cups chicken stock or water
1 tablespoon unsalted butter
1 tablespoon extra-virgin olive oil
1 large shallot, finely chopped
2 large beets peeled and finely chopped, plus thinly sliced beets for garnish
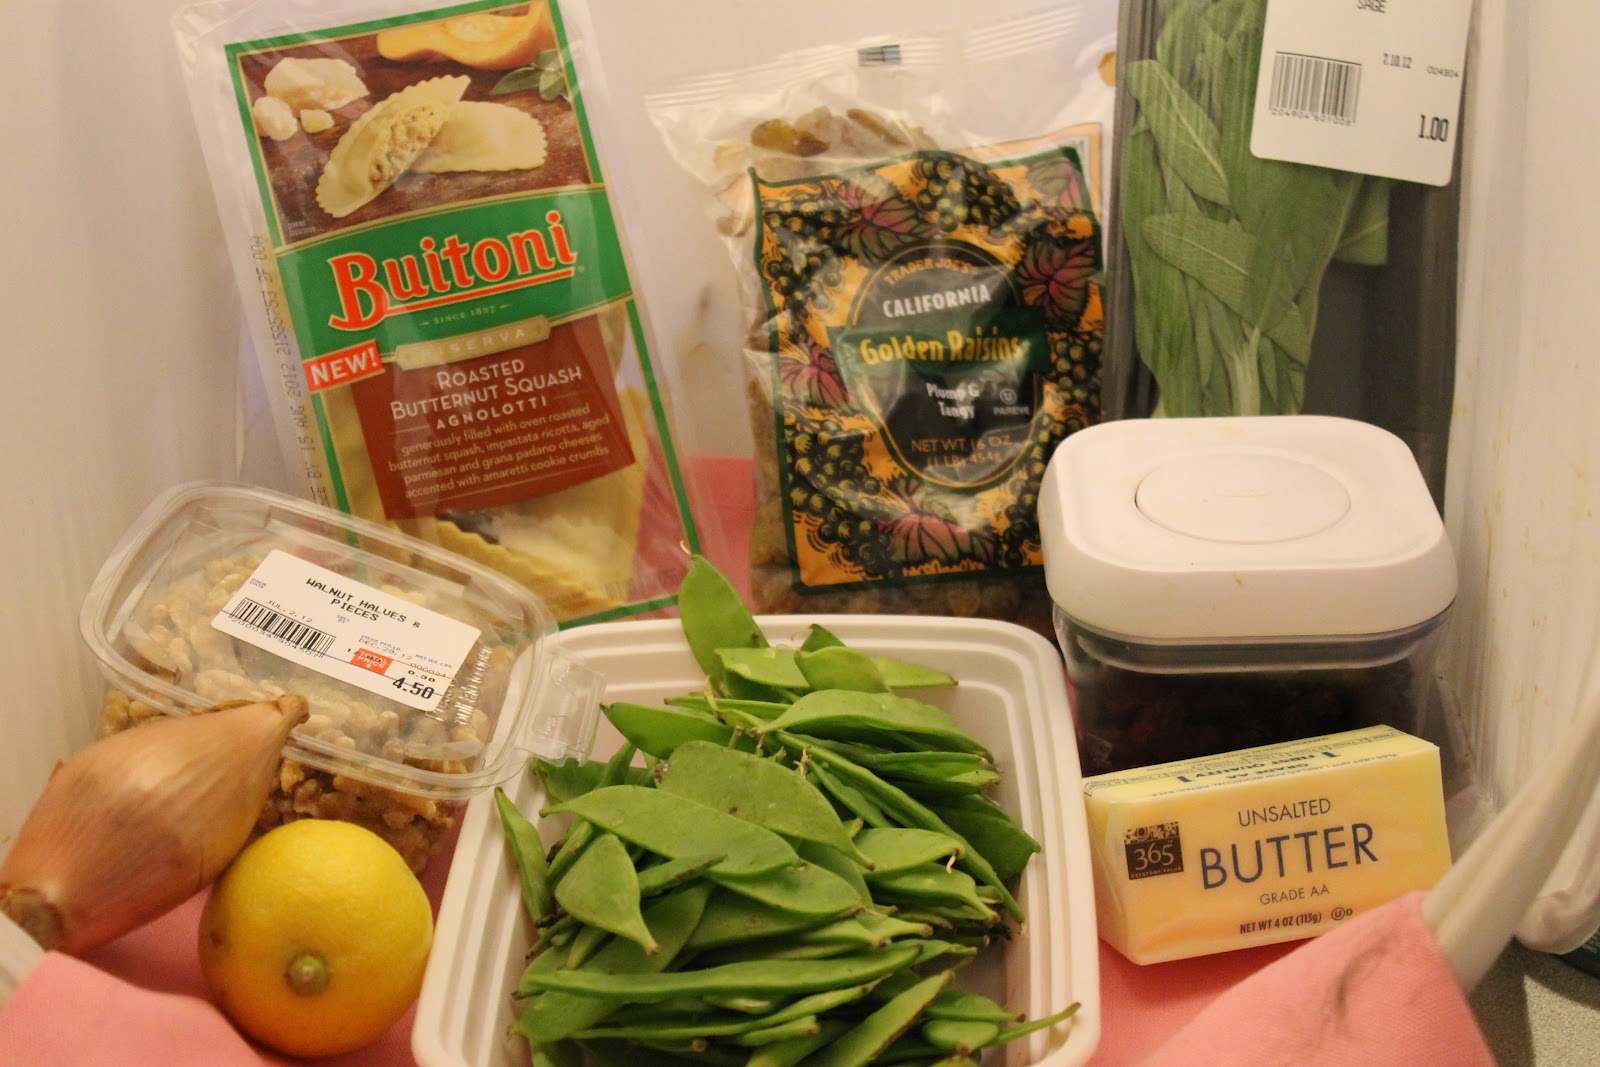
What is it about nuts that go so wonderfully with pumpkin and butternut squash dishes? Walnuts, pecans, and hazelnuts just pair so nicely with the flavors of squash. When I first received Buitoni’s Butternut Squash Agnolotti, I knew I wanted to make a hazelnut cream sauce with it. Hazelnuts, like most nuts, taste significantly better when toasted. I have no idea why this is, but I feel the need to always heat nuts for a little while to increase the flavor.
Ingredients:
1 package of Buitoni’s Butternut Squash Agnolotti
1/2 cup hazelnuts, blanched
1 stick of butter
1/4 cup sweet vermouth
1/2 cup heavy cream
1/4 teaspoon cinnamon
a pinch each of ginger, allspice, and nutmeg (1/8 teaspoon or less)
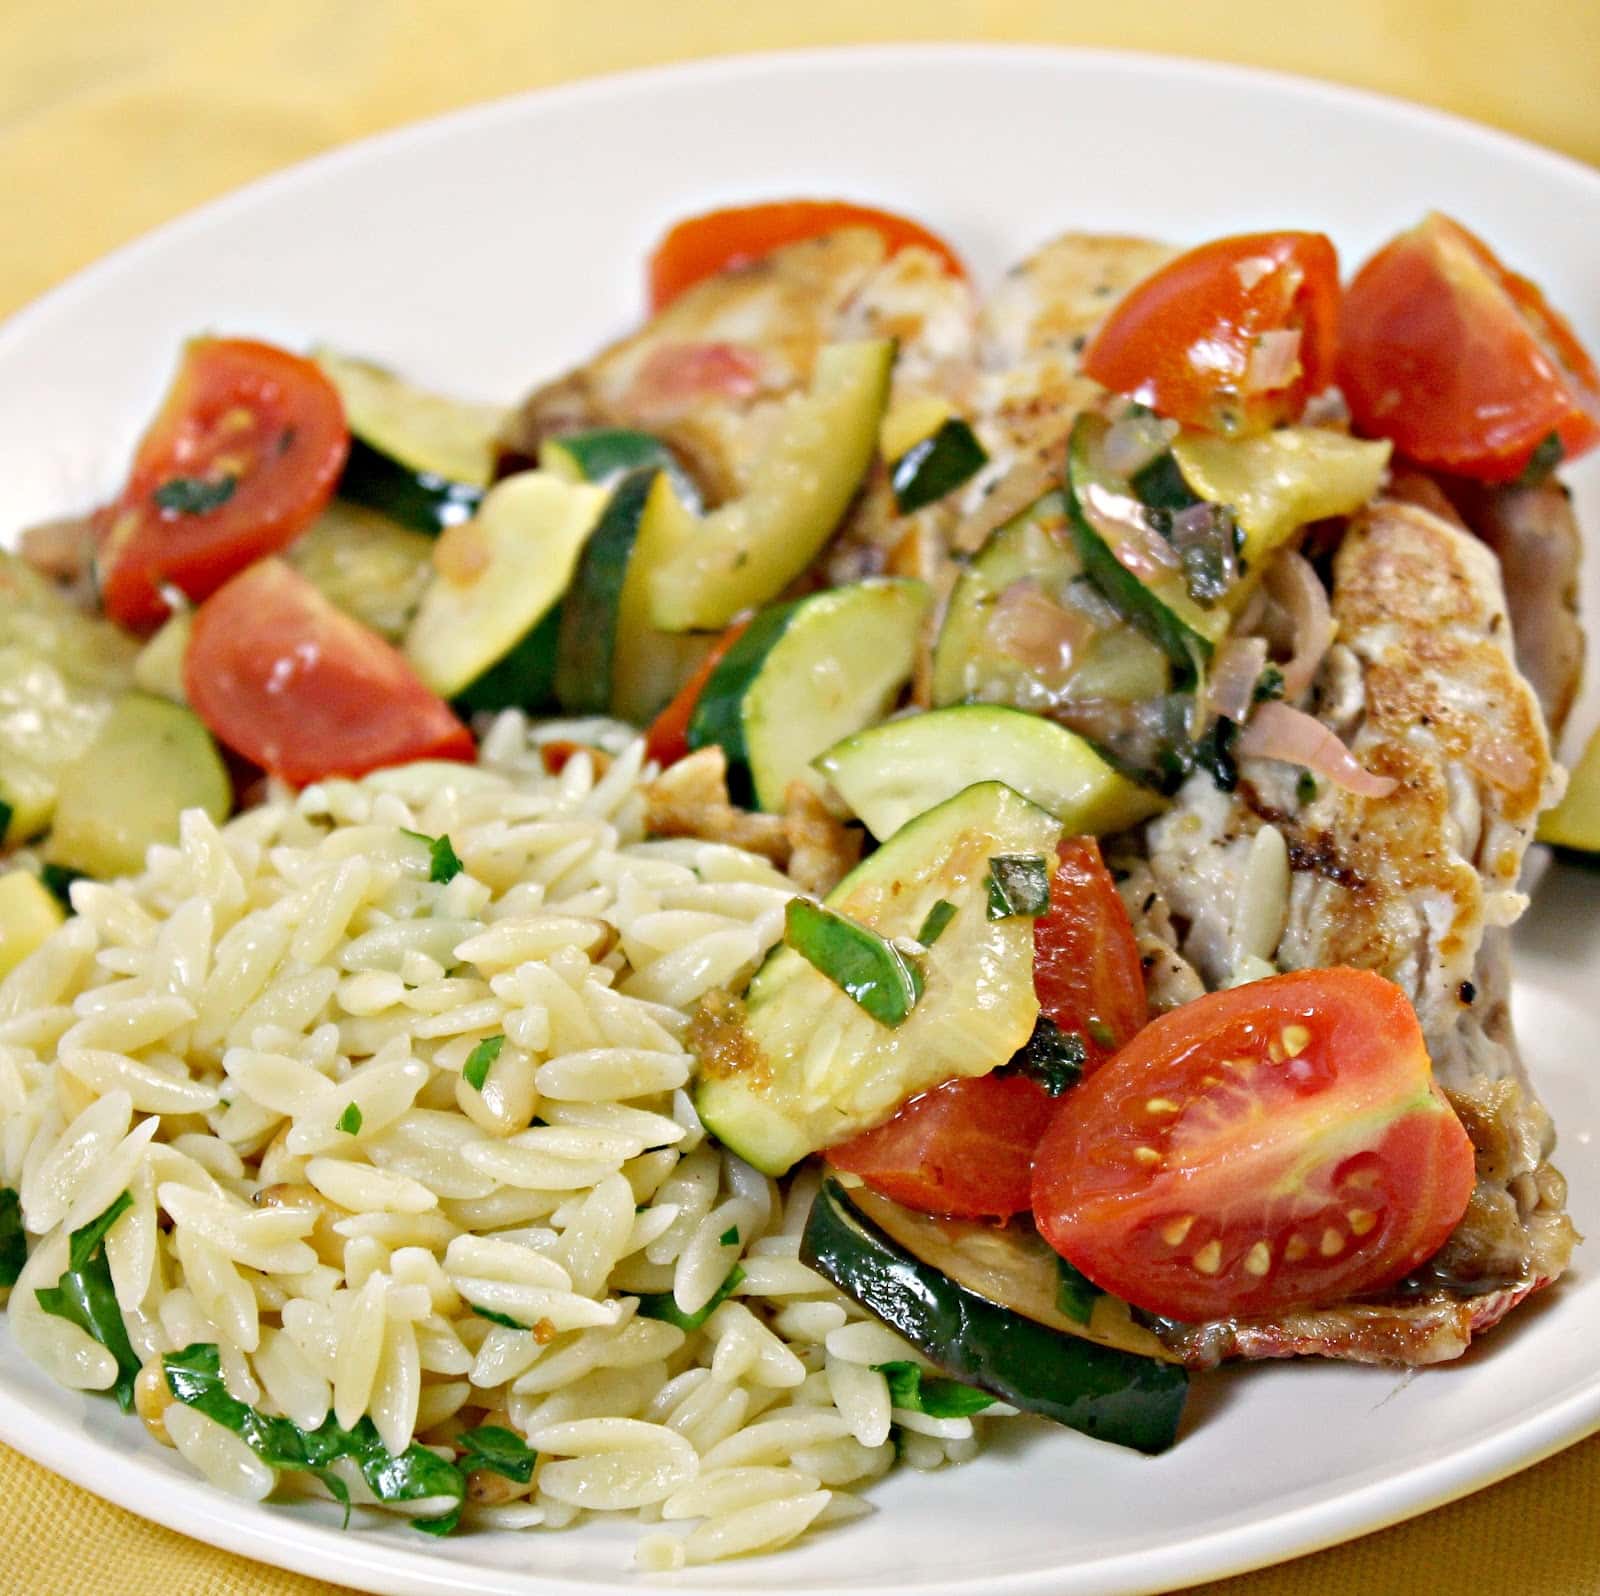
My CSA this year allows me to choose 6 items each week to be in my share. Every single time so far, I’ve chosen zucchini as one of the six. I just love it. But with 3-4 pieces of zucchini a week, I am absolutely in search of as many different recipes as I can find. Cooking Light’s latest issue had this wonderful recipe for Snapper with Zucchini and Tomato that I just had to try. They also suggest pairing it with some Parsley Orzo. Note: this recipe makes 2 servings. Multiply as needed.
If you’ve been following my blog for a while, you might have picked up on my obsession with pumpkin and butternut squash. I attempt to limit my gourd intake to the September and October months, but every now and then I still need my fix outside of those months. Butternut squash seems to be more socially acceptable, especially in pasta form. Buitoni’s Butternut Squash Agnolotti is the perfect way for me to have this delicious ingredient year-round.
Agnolotti is just a type of ravioli. This specific agnolotti is a “half-moon pasta filled with oven-roasted butternut squash, Impastata Ricotta, aged Parmesan and Grana Padano cheeses, accented with amoretti cookie crumbs. I traditionally use a brown butter sage sauce with butternut squash ravioli because they are a perfect pair. I wanted to try something a little different with this agnolotti, so I instead made a cold pasta salad. It has been so unbearably hot in Philadelphia that I thought this would be a perfect (and timely) twist.Also, don’t forget to enter my giveaway to win a bunch of Buitoni goodies and free Buitoni pasta!
Ingredients:
1 package of Buitoni’s Butternut Squash Agnolotti
½ cup butter
1 shallot, chopped
1 tablespoon fresh sage leaves, roughly chopped
½ cup walnuts, toasted and roughly chopped
A handful of golden raisins, or to taste
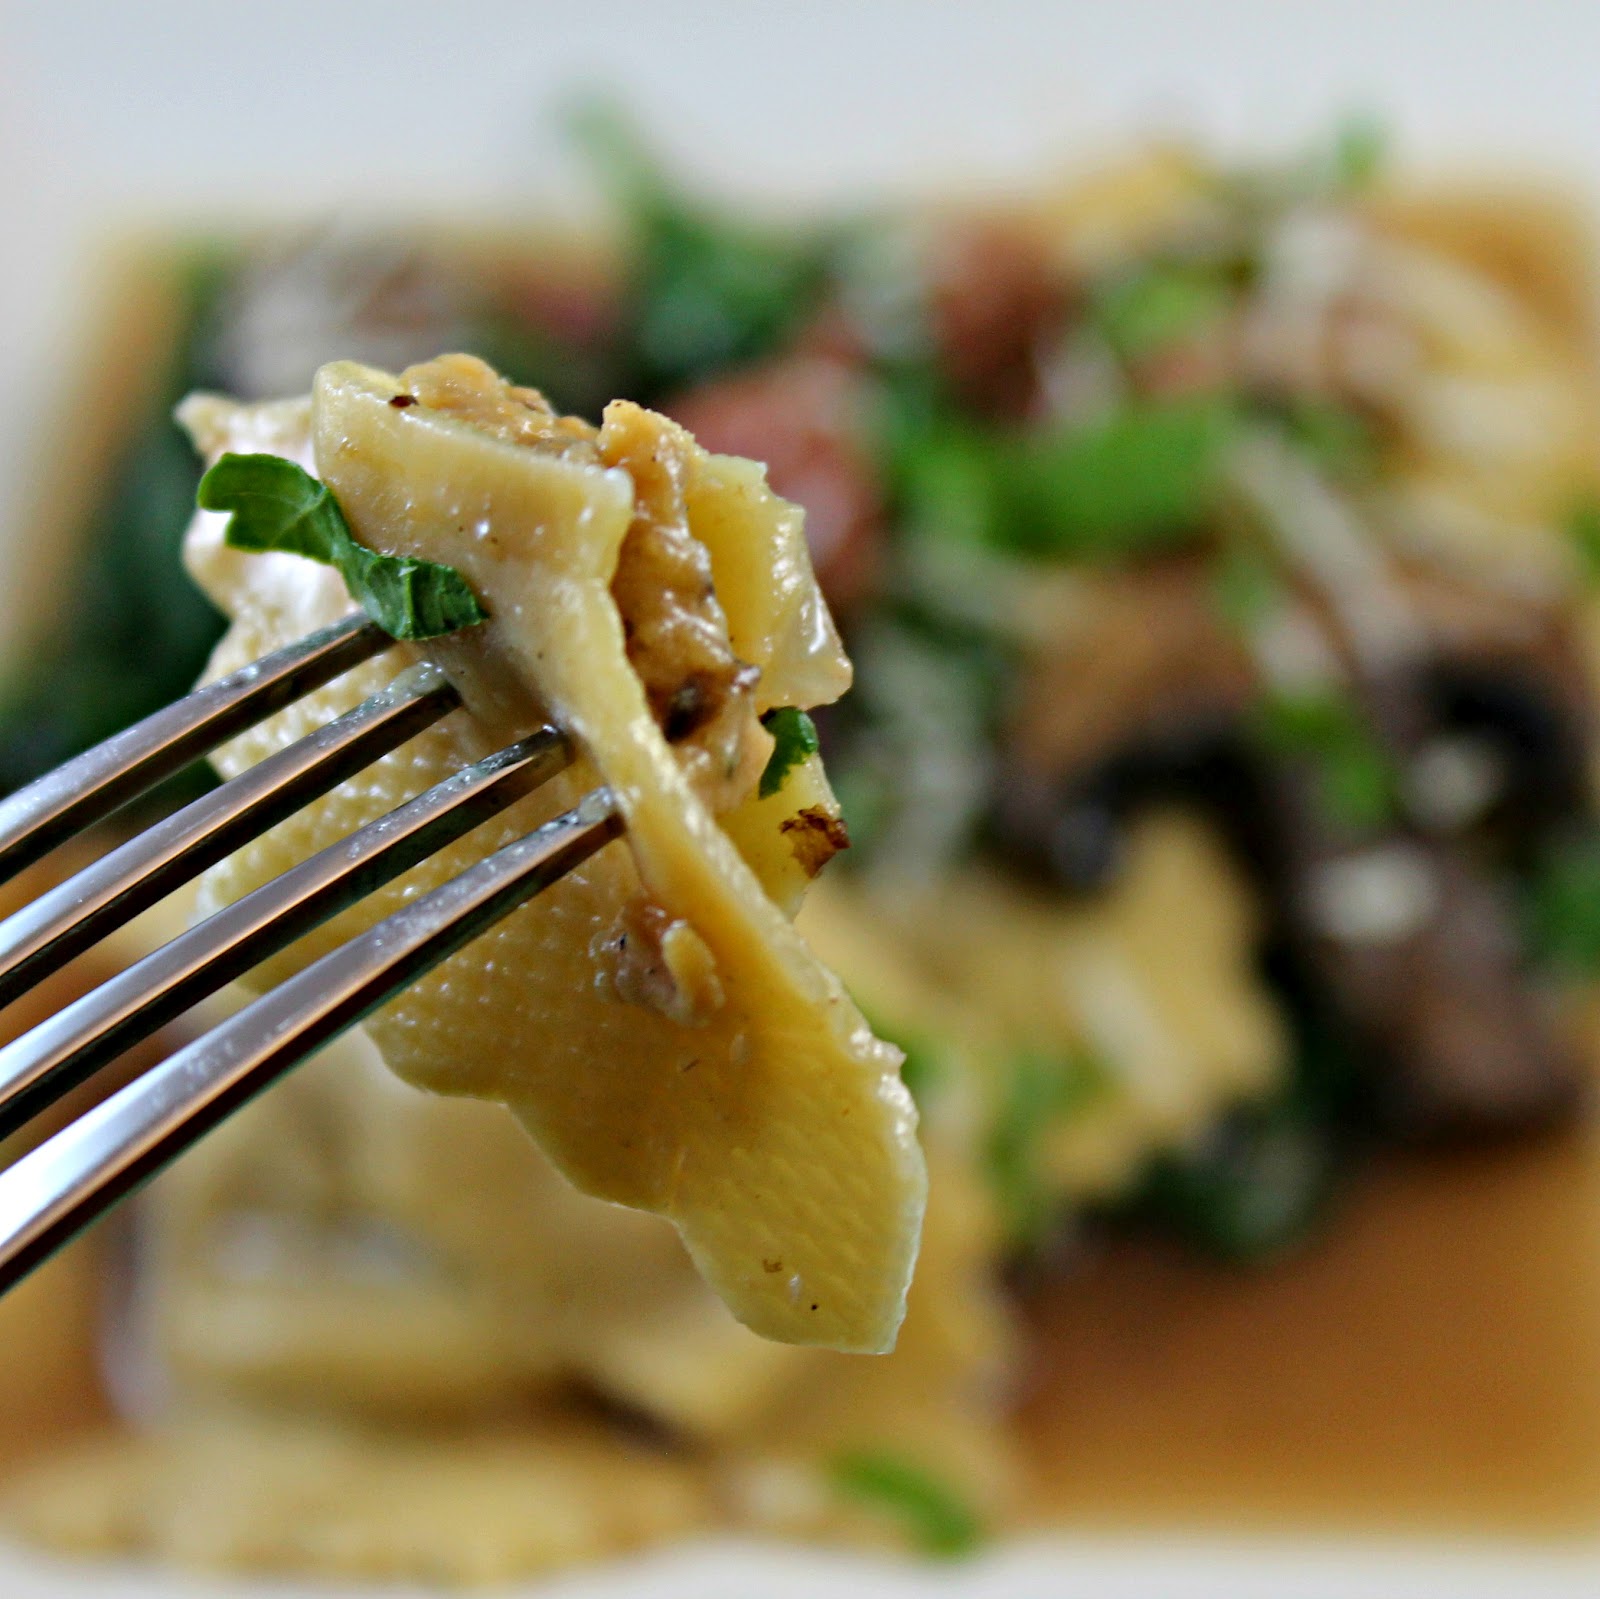
I am a pasta addict. I love it. I will never ever be carb free because I don’t want to know what life is like without pasta. I am a huge fan of fresh pasta because 1. I personally think it tastes better and 2. takes about half the time to cook. When Buitoni contacted me about a new ravioli they were introducing (it should be available in early July), I was already sold. But then they told me what kind of ravioli it is: Chicken Marsala Ravioli. Chicken Marsala is one of my ultimate favorite recipes so I was beyond excited to work with this ravioli!
The Ravioli, “generously filled with all natural white meat chicken, roasted portobello mushrooms and caramelized onions with impastata ricotto, aged parmesan, and asiago cheeses accented with marsala wine”, is one of Buitoni’s new Riserva line of pastas. Other pastas include: Butternut Squash Agnolotti (which I will have a post on soon!), Chicken and Four Cheese Ravioli, Spicy Beef and Sausage Ravioli, Quattro Formaggi Agnolotti, and Wild Mushroom Agnolotti. How fantastic do they all sound?? The Butternut Squash Agnolotti and the Chicken Marsala Ravioli are only available in the Northeast, but the rest are available in grocery stores nationwide. Look for them in the refrigeration section, you can see if your store carries Buitoni products here.
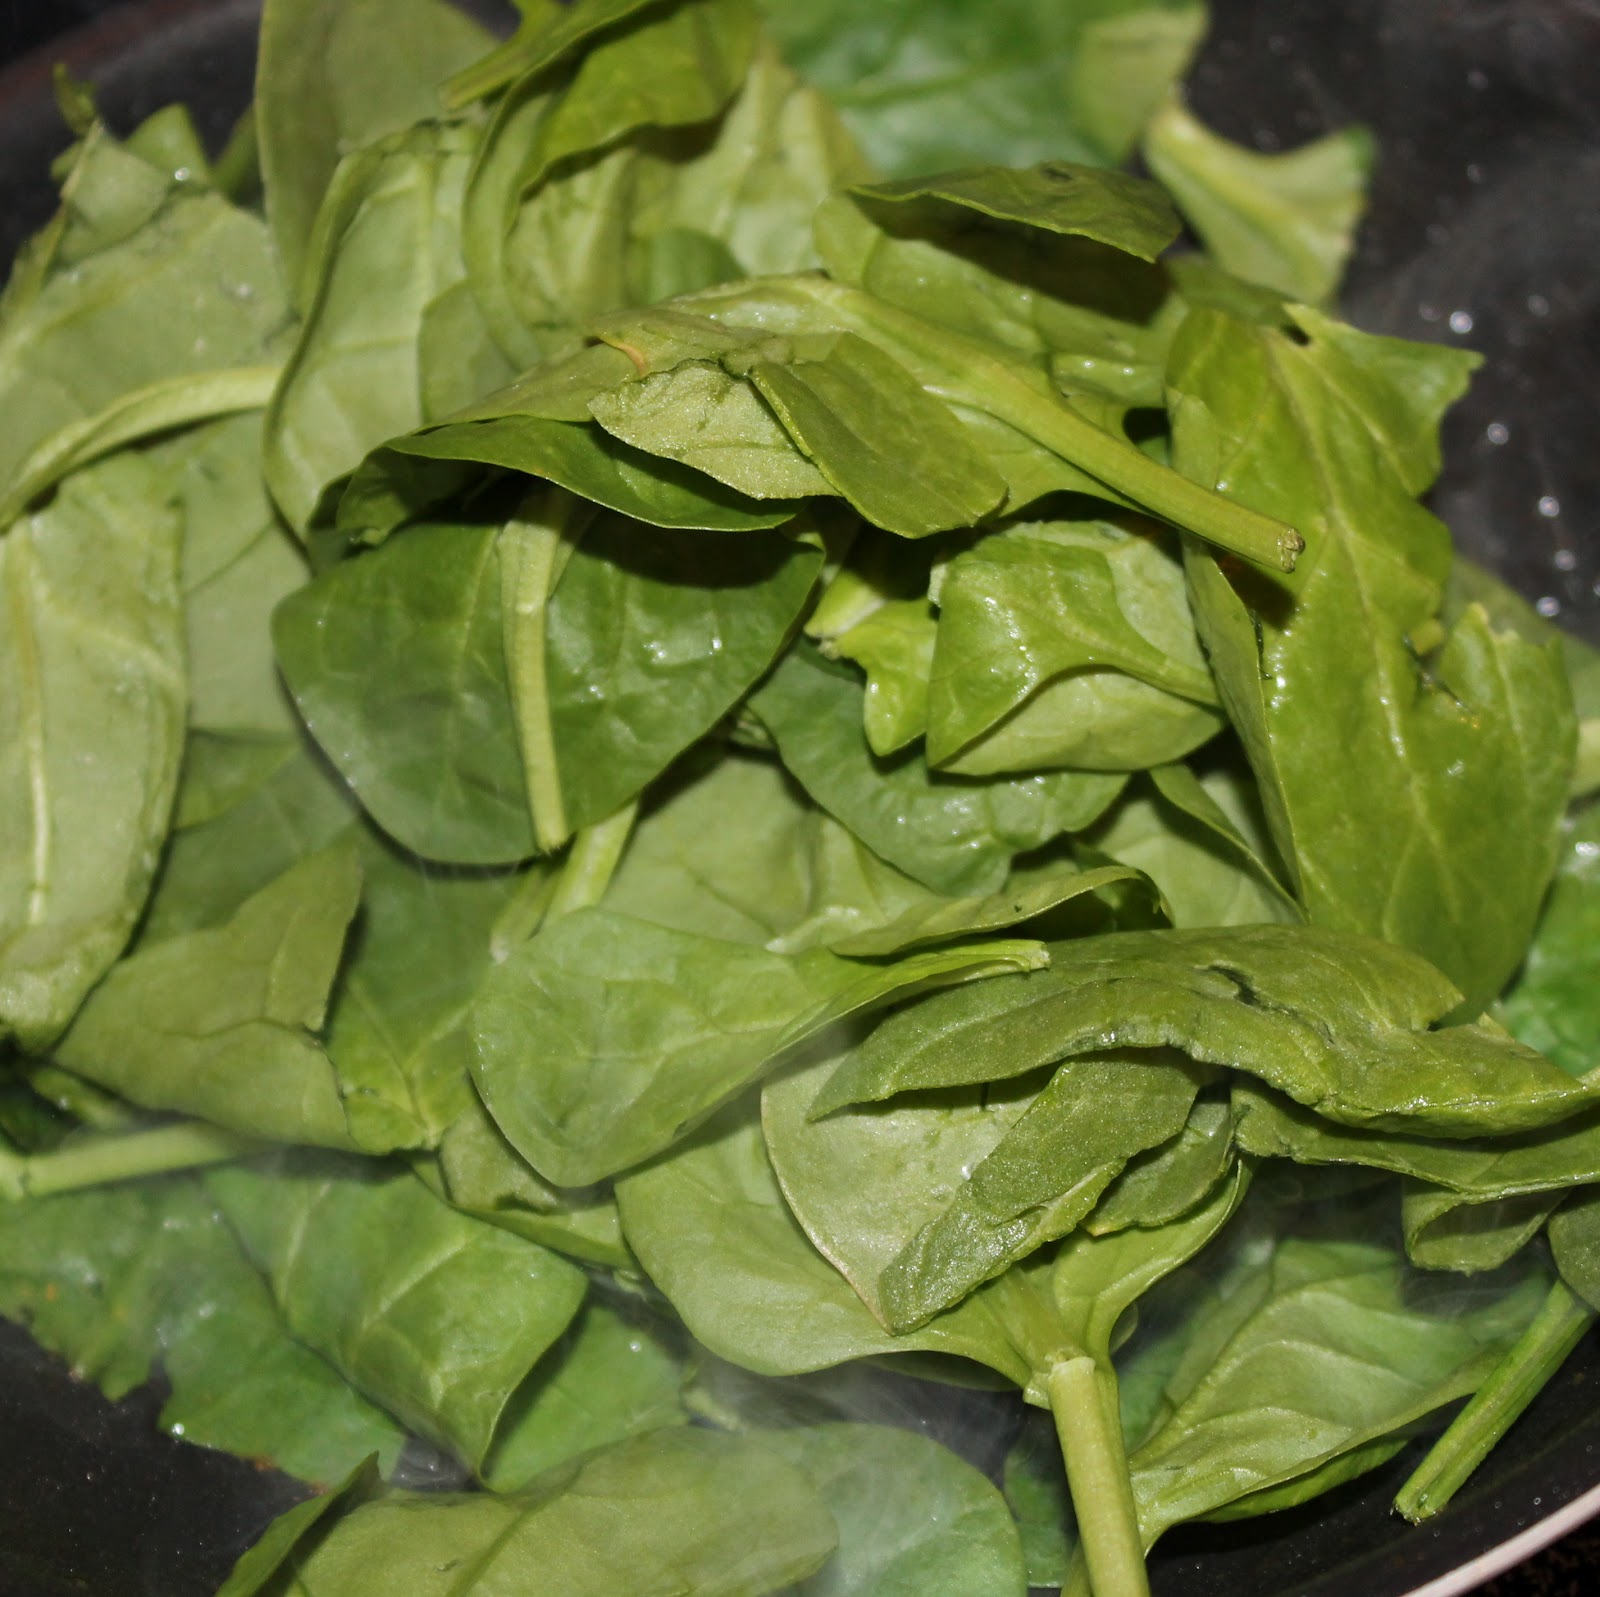
This pasta would probably be fantastic just with a light butter sauce, but I decided to highlight the flavors of the ravioli that were already present in the pasta through a marsala sauce with mushrooms. Caramelized onions and marsala can both be pretty sweet, so I added some spinach to the mix to counteract that. Buitoni was also generous enough to send me a Buitoni apron, a Buitoni cutting board, and a few free coupons so one lucky winner can try these new pastas themselves! More information is below…
Ingredients:
1 package of Buitoni Chicken Marsala Ravioli
1 tablespoon plus 1 teaspoon olive oil, divided
1 shallot, minced
2 garlic cloves (or 1 garlic scape), minced
1 package of baby bella mushrooms, sliced
1 package of shiitake mushrooms, stems removed and sliced
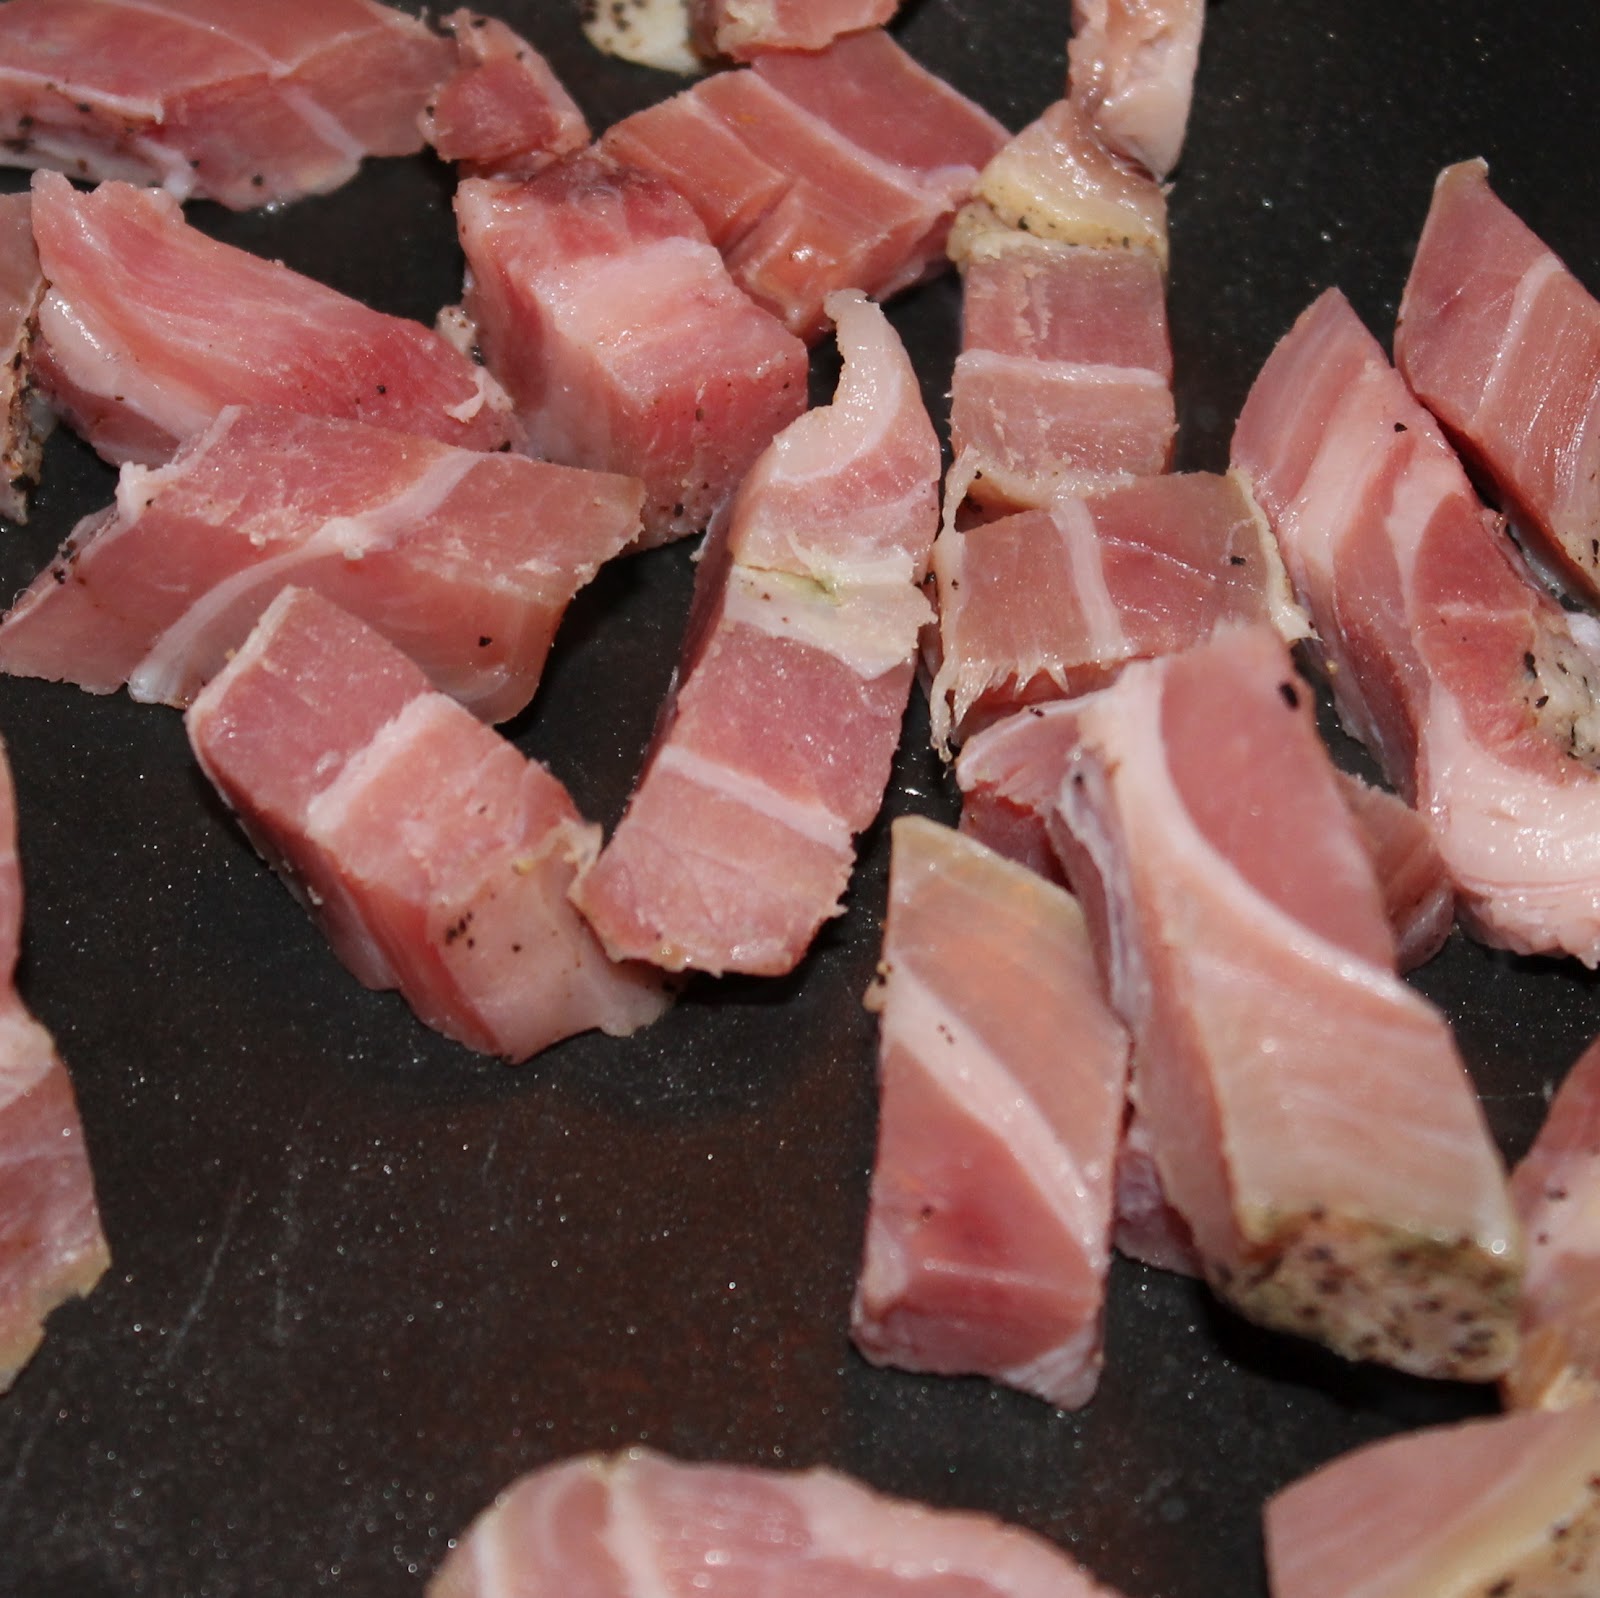
1/4 lb pancetta, cubed (or prosciutto, that was actually my original plan!)
Salt and pepper, to taste
1 cup baby spinach leaves
1 cup Marsala wine
1/2 cup vegetable or chicken broth
1/4 tsp or less of truffle oil (optional)
Parmesan cheese, grated, as garnish
Parsley, chopped, as garnish
Begin by bringing a large pot of water to a boil.
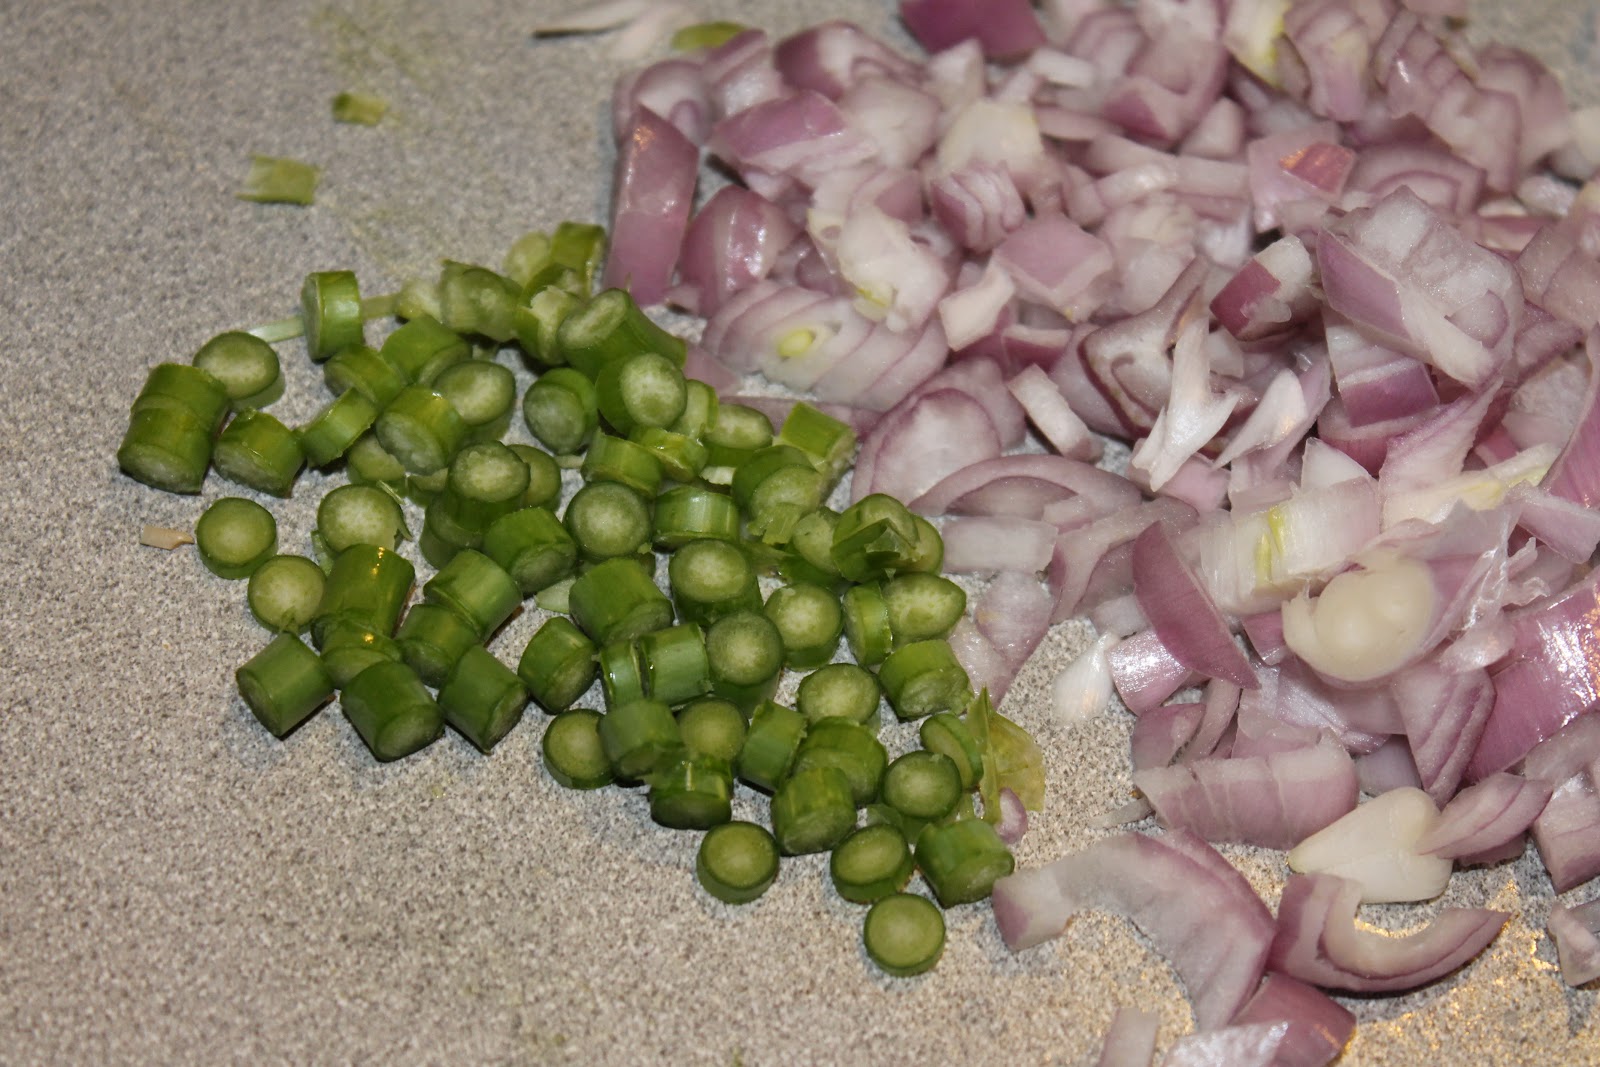
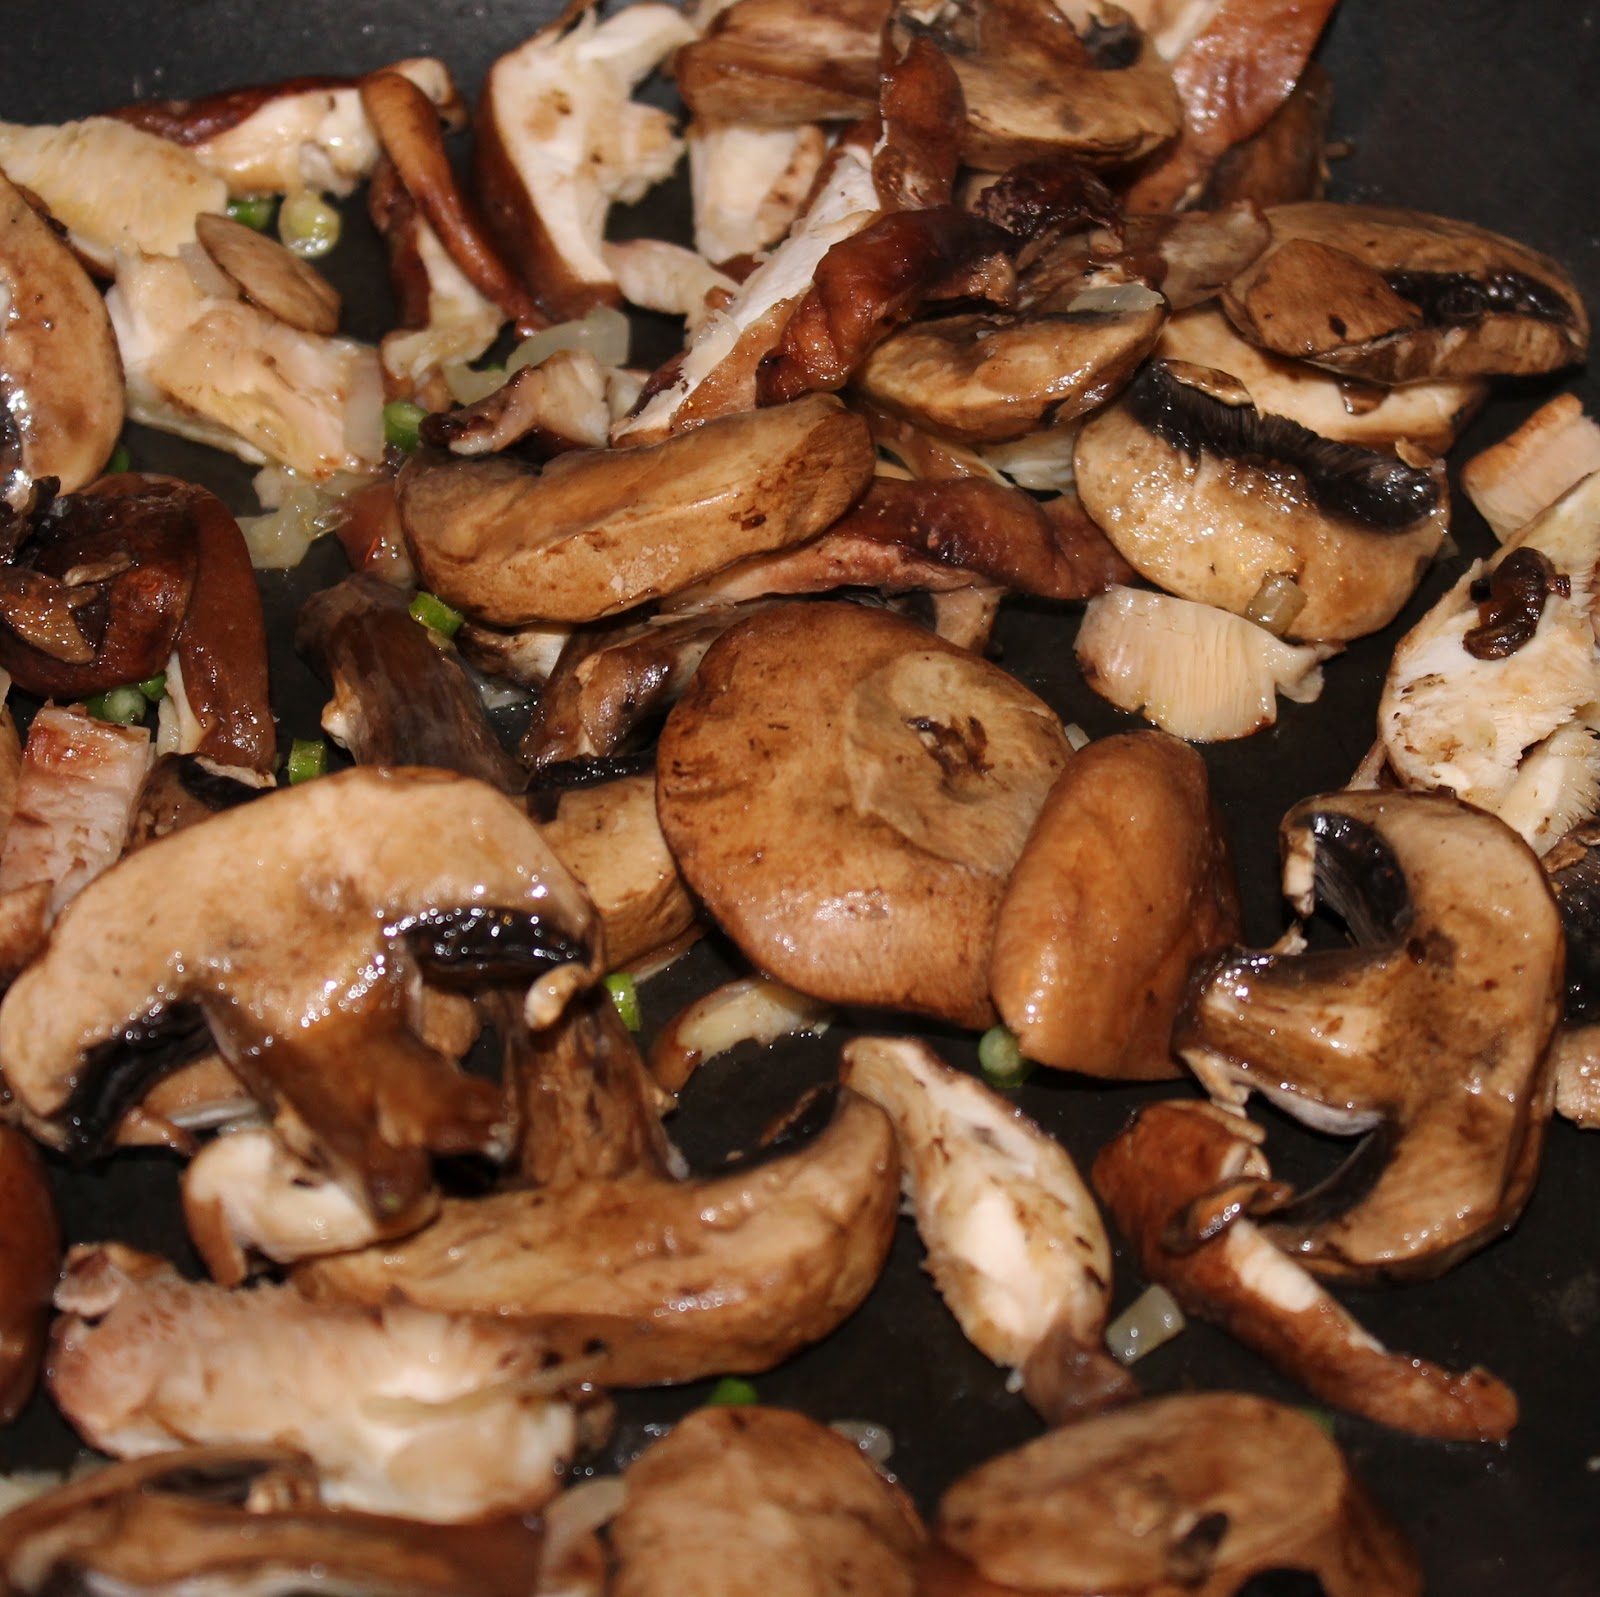
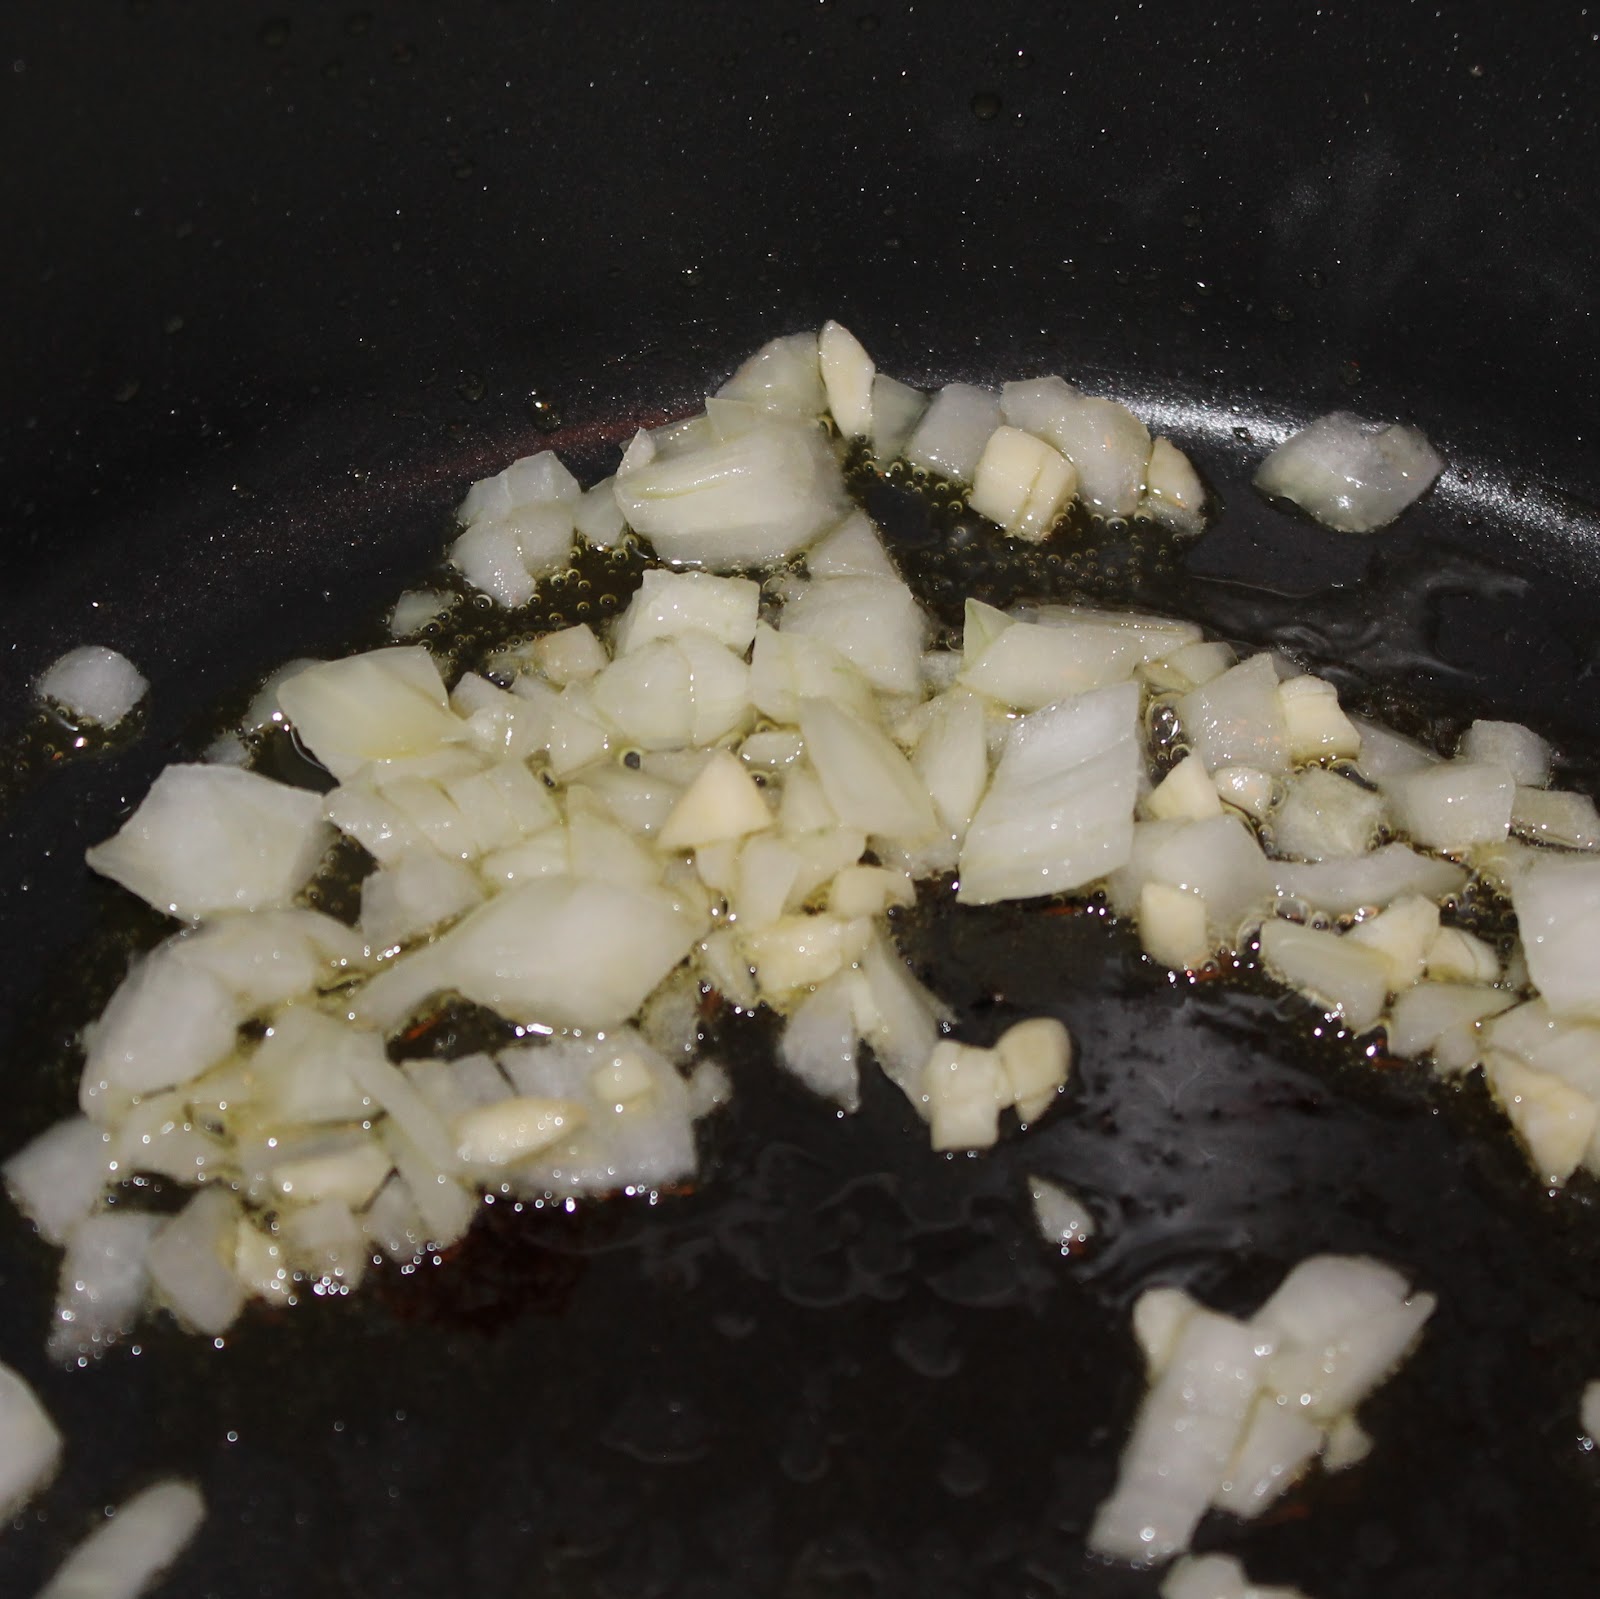
While waiting for the pot of water to boil, mince your shallot and garlic. I used a garlic scape from my CSA share, it’s perfectly fine to use garlic cloves. Slice your mushrooms. Be sure to remove the stems of the shiitake mushrooms, they can be really woody tasting.
In a large saute pan, add 1 tablespoon olive oil over medium heat. Add the shallot and garlic and cook for 1-2 minutes.
Add the mushrooms and season with salt and pepper. (You’re adding pancetta or prosciutto to this dish so have a light hand with the salt. You just need some to draw the water out of the mushrooms).
Cook, stirring occasionally, until the mushrooms cook down and the liquid has evaporated.
While waiting for the mushrooms to cook down, cube the pancetta and add to a small saute pan over medium high heat. Cook for 4 minutes.
Your pot of water should hopefully be boiling. Add 1 teaspoon olive oil to the pot of boiling water and add the ravioli. Cook for 6 minutes and drain.
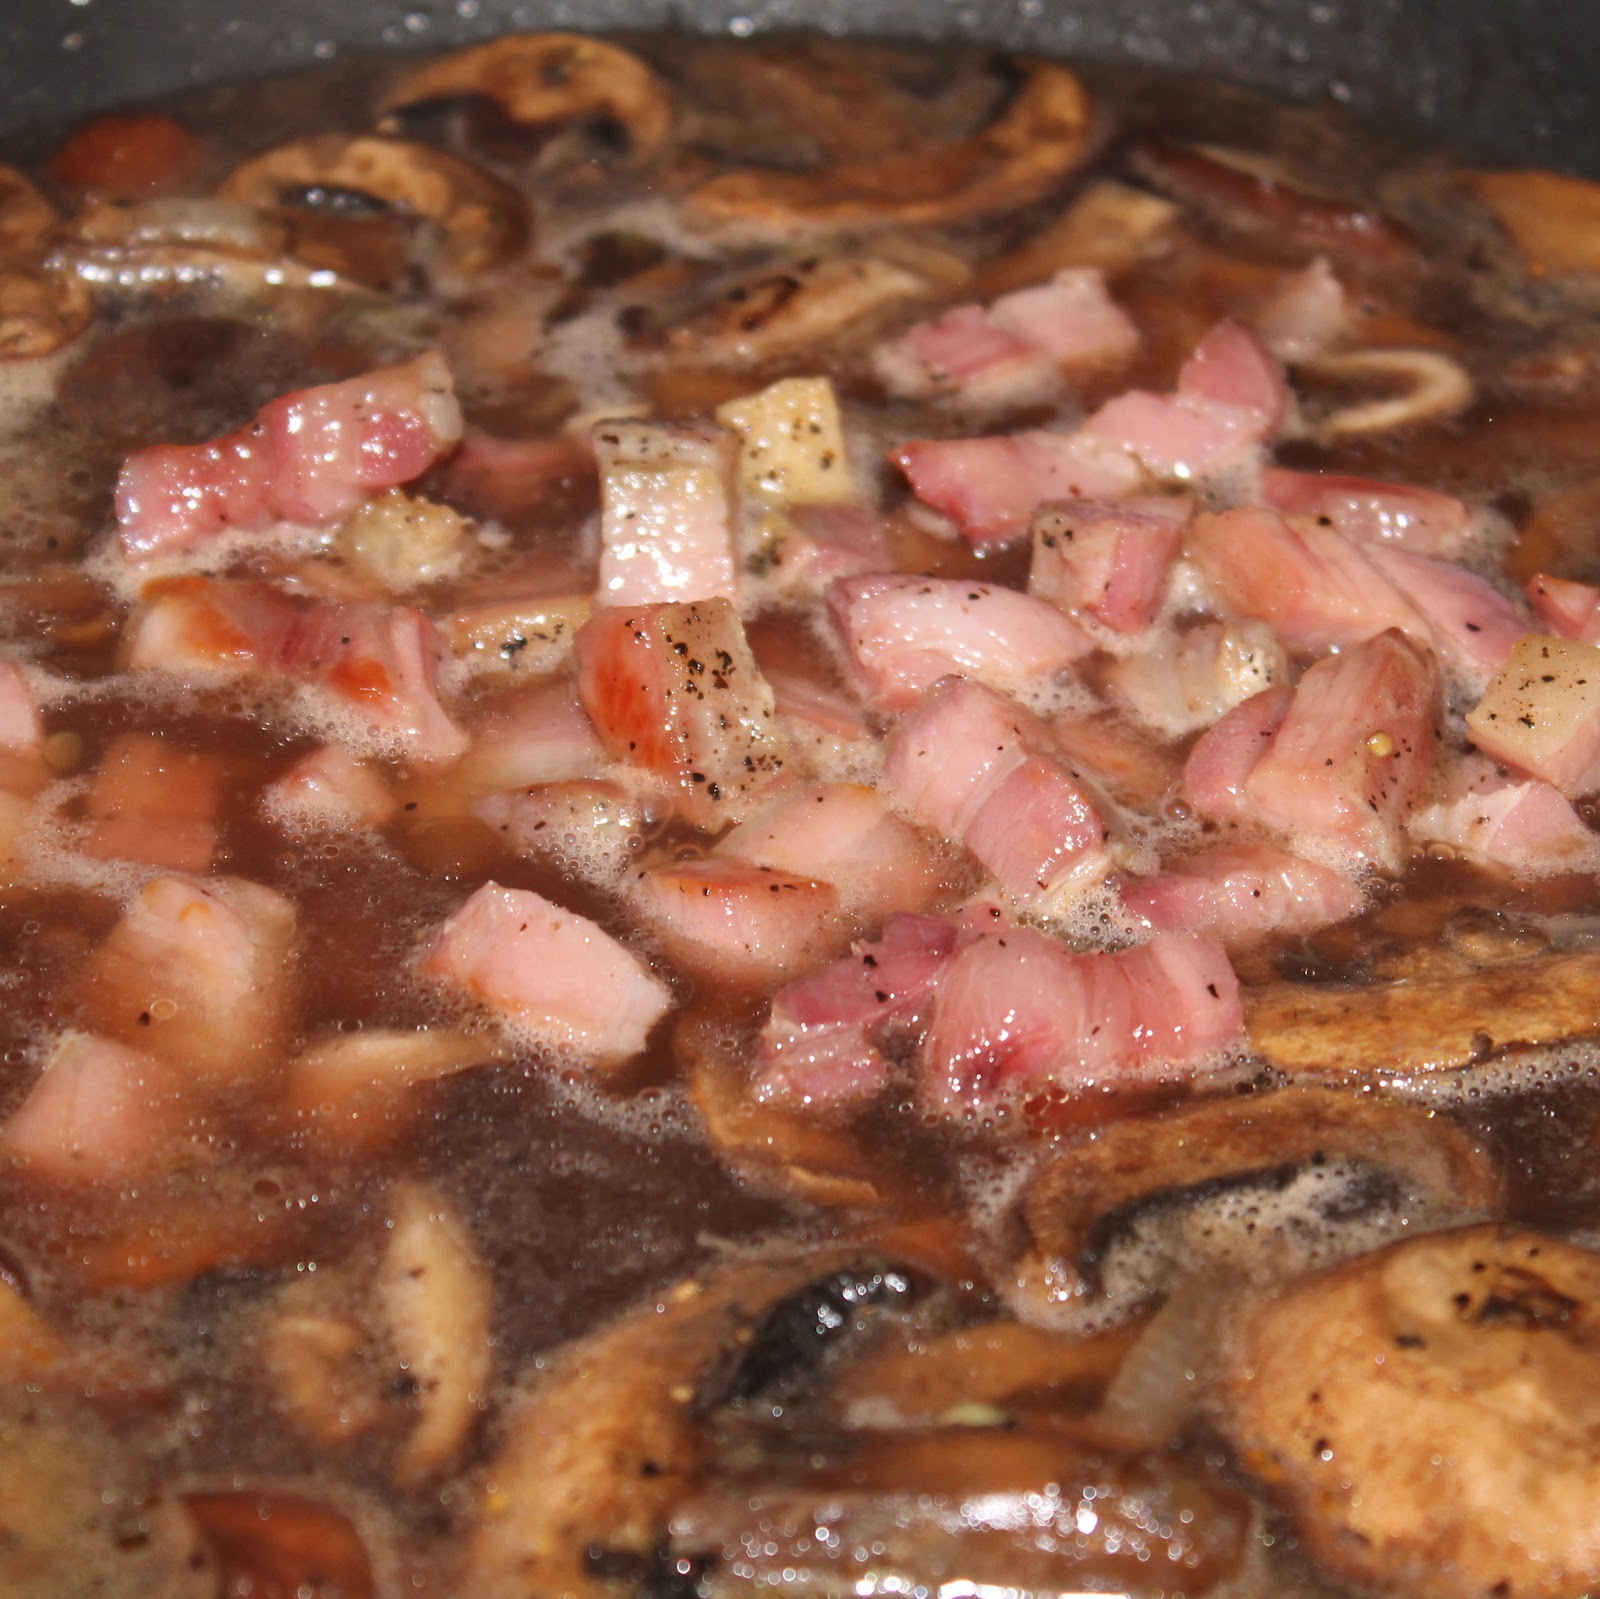
Add the Marsala and the broth to the mushrooms. Bring to a simmer and cook for 5 minutes. Add the pancetta to the mixture when it is finished cooking.
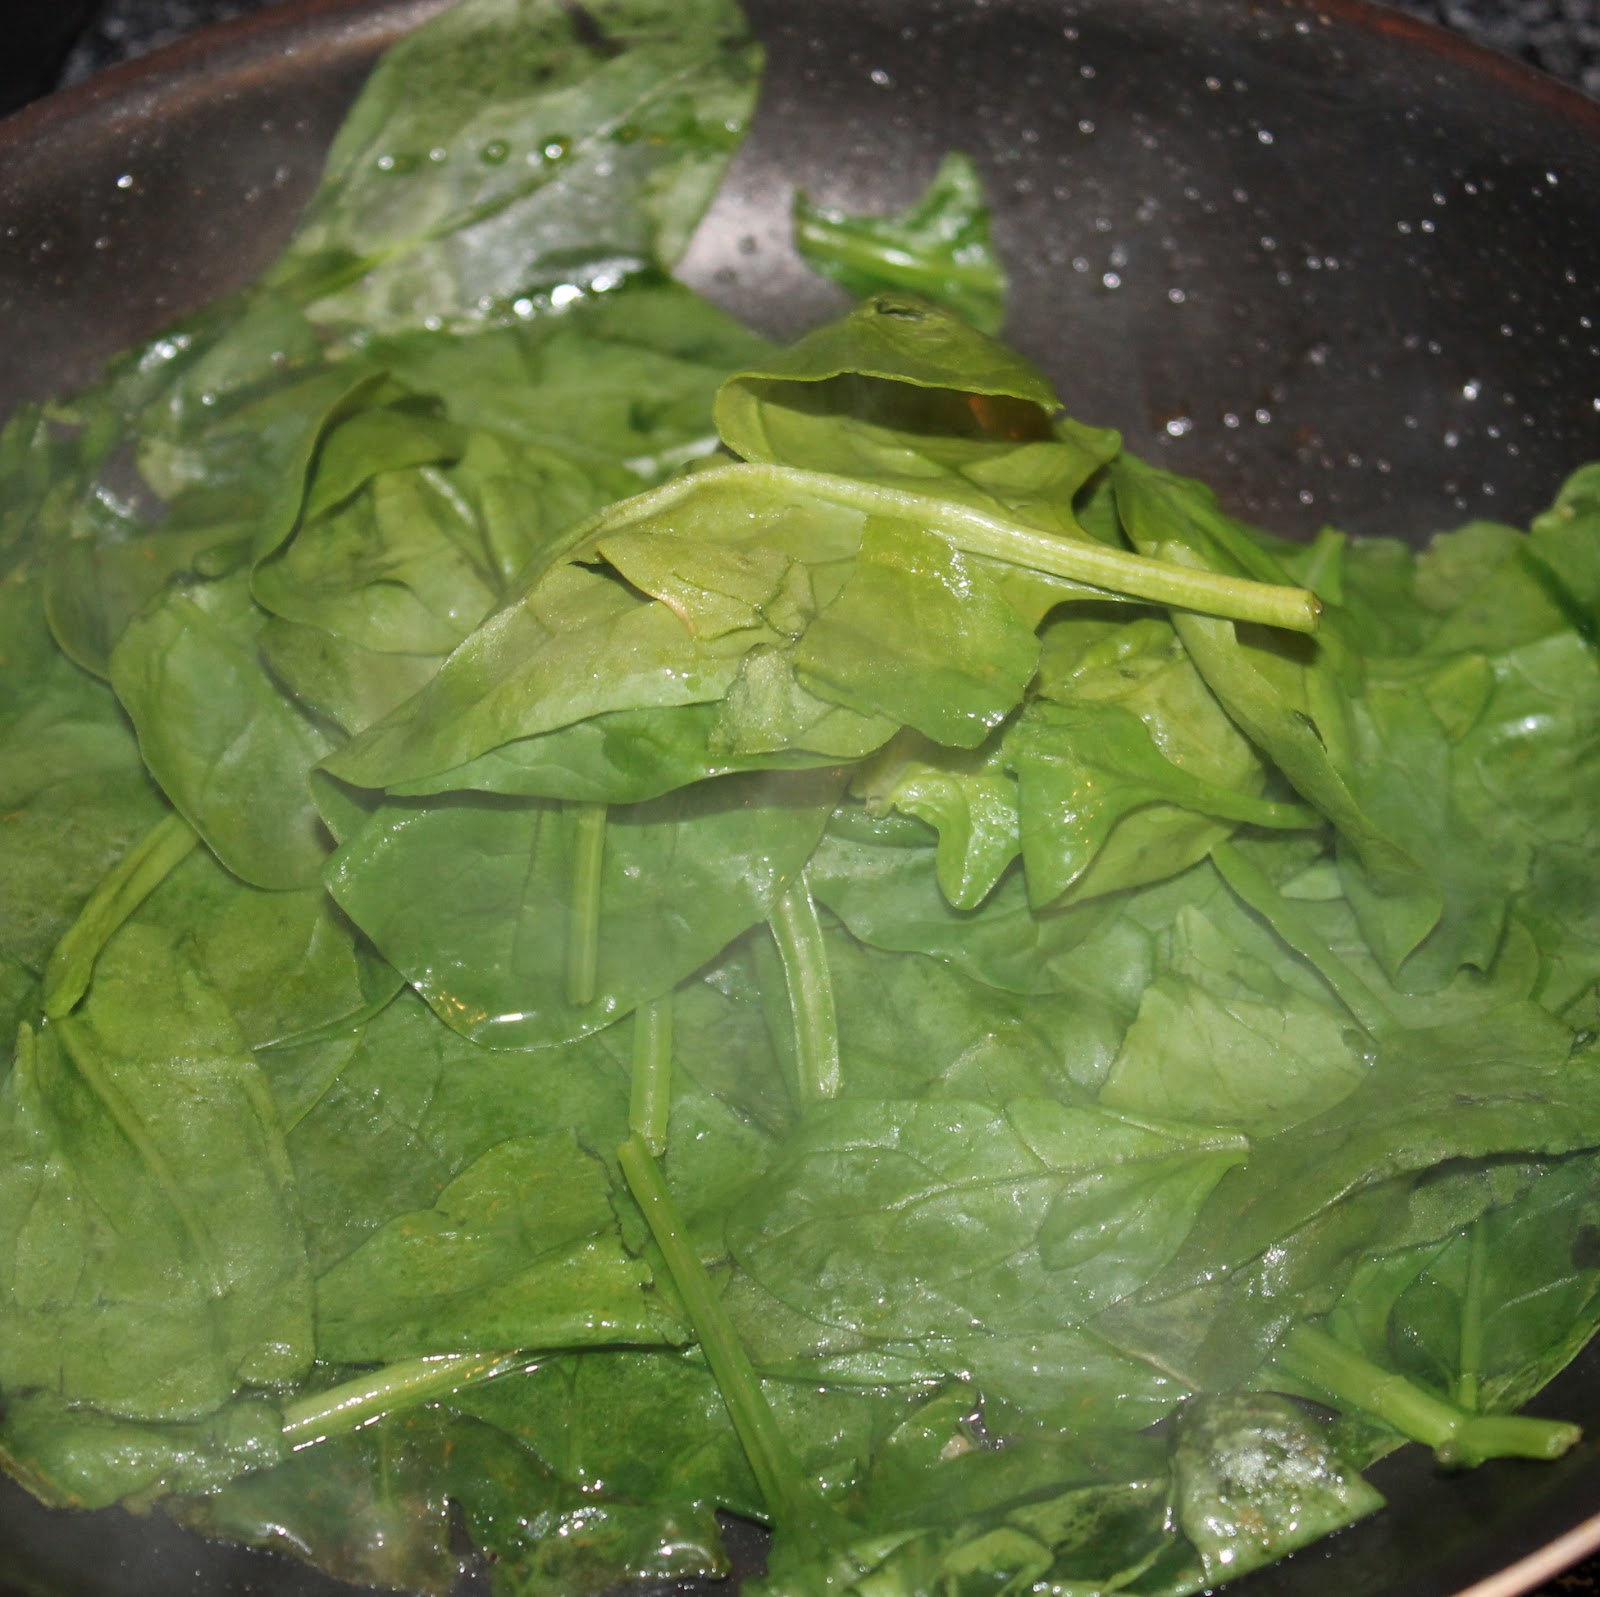
Don’t wipe down the saute pan that had the pancetta. Just add the 1 cup of spinach leaves and cover. Cook until wilted, about 1 minute.
Add the ravioli to the mushroom mixture and toss. Remove from heat, add a very slight amount of truffle oil if using, and mix in the wilted spinach.
To serve, add the ravioli to a plate. Spoon the sauce, mushrooms, spinach and pancetta over the pasta. Top with parsley and Parmesan cheese.
The pancetta adds the perfect amount of saltiness to the dish to bring out the other flavors. The spinach works to counteract the sweetness of the Marsala. Mushrooms add an earthy flavor to the whole dish.
I loved the ravioli by the way. It has a ton of flavor and really did a great job of capturing the flavor of chicken marsala into a pasta! My boyfriend absolutely loved this recipe. In fact, he ate a good three servings of this in one sitting!
What kind of sauce would you serve with your Chicken Marsala Ravioli?
Now on to the giveaway. Please be sure to use the widget below to enter. Each person can enter up to 7 times, but only the first entry (writing in the comment section what Buitoni pasta you want to try and how you’d prepare it) is mandatory. Good luck!!
Chicken Marsala Ravioli with Spinach and Mushrooms
Total Time: 30 minutes
Yield: 4 servings
Ingredients
1 package of Buitoni Chicken Marsala Ravioli
1 tablespoon plus 1 teaspoon olive oil, divided
1 shallot, minced
2 garlic cloves (or 1 garlic scape), minced
1 package of baby bella mushrooms, sliced
1 package of shiitake mushrooms, stems removed and sliced
1/4 lb pancetta, cubed (or used prosciutto, that was actually my original plan!)
Salt and pepper, to taste
1 cup baby spinach leaves
1 cup Marsala wine
1/2 cup vegetable or chicken broth
1/4 tsp or less of truffle oil (optional)
Parmesan cheese, grated, as garnish
Parsley, chopped, as garnish
Instructions
Begin by bringing a large pot of water to a boil.
While waiting for the pot of water to boil, mince your shallot and garlic. I used a garlic scape from my CSA share, it’s perfectly fine to use garlic cloves. Slice your mushrooms. Be sure to remove the stems of the shiitake mushrooms, they can be really woody tasting.
In a large saute pan, add 1 tablespoon olive oil over medium heat. Add the shallot and garlic and cook for 1-2 minutes.
Add the mushrooms and season with salt and pepper. (You’re adding pancetta or prosciutto to this dish so have a light hand with the salt. You just need some to draw the water out of the mushrooms).
Cook, stirring occasionally, until the mushrooms cook down and the liquid has evaporated.
While waiting for the mushrooms to cook down, cube the pancetta and add to a small saute pan over medium high heat. Cook for 4 minutes.
Your pot of water should hopefully be boiling. Add 1 teaspoon olive oil to the pot of boiling water and add the ravioli. Cook for 6 minutes and drain.
Add the Marsala and the broth to the mushrooms. Bring to a simmer and cook for 5 minutes. Add the pancetta to the mixture when it is finished cooking.
Don’t wipe down the saute pan that had the pancetta. Just add the 1 cup of spinach leaves and cover. Cook until wilted, about 1 minute.
Add the ravioli to the mushroom mixture and toss. Remove from heat, add a very slight amount of truffle oil if using, and mix in the wilted spinach.
To serve, add the ravioli to a plate. Spoon the sauce, mushrooms, spinach and pancetta over the pasta. Top with parsley and Parmesan cheese.
Cucumbers are everywhere right now, and as much as I love just eating them raw, I thought it might be a nice change to try to use them cooked. Cucumber soup, chilled, sounds oh so refreshing doesn’t it? I found this recipe for Chilled Creamy Cucumber Soup from Eating Well. It uses an avocado and some plain yogurt, making a really creamy delicious soup. Plus, it only takes 35 minutes to make (it is additional time to chill).
Ingredients:
1 tablespoon extra-virgin olive oil
2 cloves garlic, minced
1 small onion, diced
1 tablespoon lemon juice
4 cups peeled, seeded and thinly sliced cucumbers, divided
1 1/2 cups vegetable broth, or reduced-sodium chicken broth
1/2 teaspoon salt
1/4 teaspoon freshly ground pepper
Pinch of cayenne pepper
1 avocado, diced
1/4 cup chopped fresh parsley, plus more for garnish
1/2 cup low-fat plain Greek yogurt
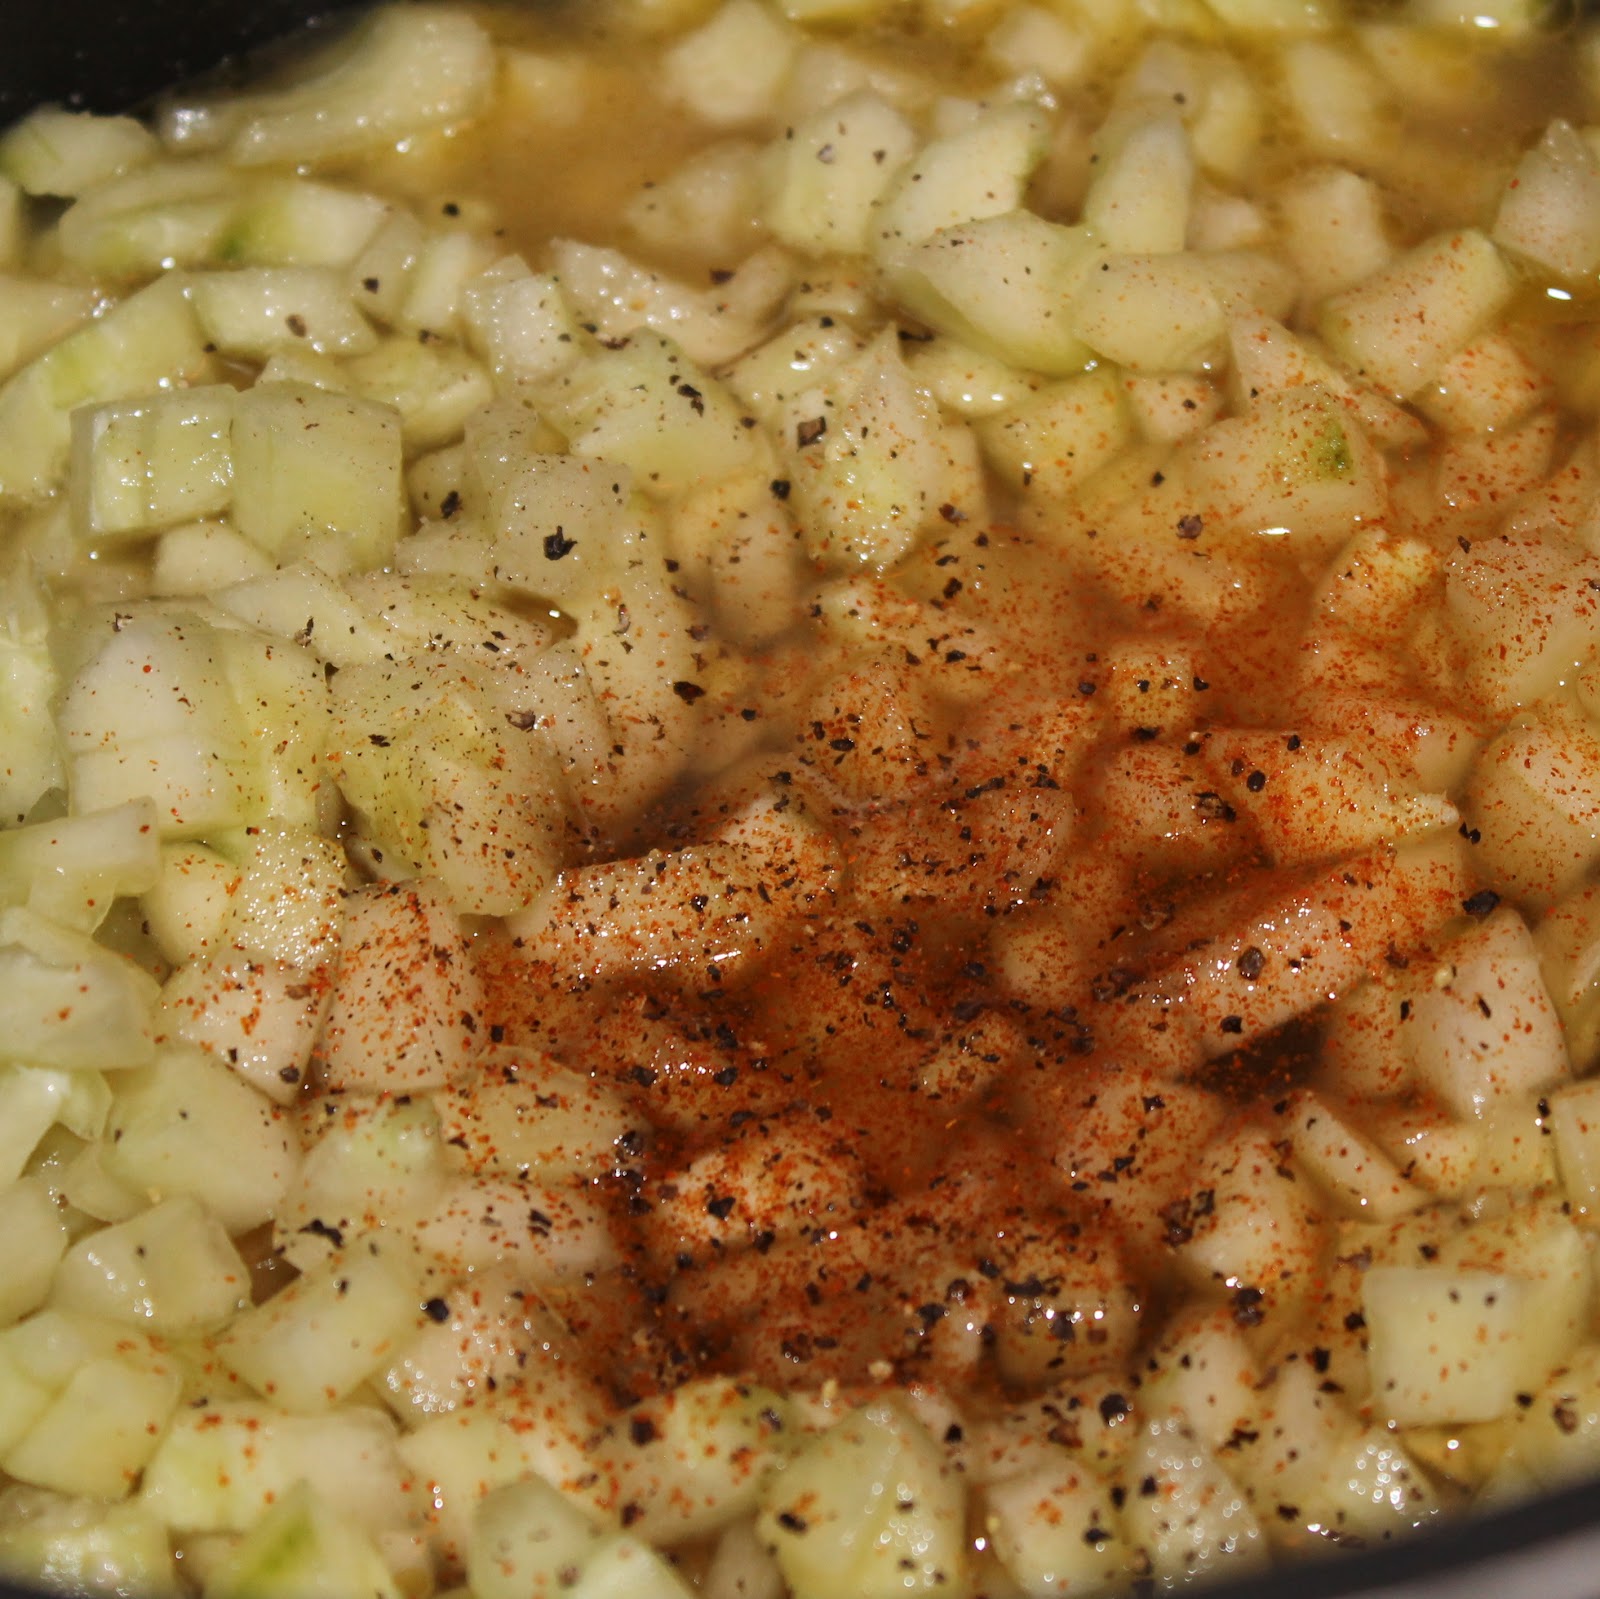
Begin by prepping all your ingredients. Mince the garlic, dice the onion, peel, seed, and slice the cucumber, and dice your avocado. (I added a squeeze of lemon juice over the avocado to keep it from browning).
Heat the olive oil in a large pot over medium high heat. Add your onion and garlic to the pot, stirring occasionally. Cook for 4 minutes.
Add the lemon juice and cook for another minute. Add the cucumber, broth, salt, pepper, and cayenne (optional) and bring to a simmer.
Reduce heat and simmer for 6 to 8 minutes, or until the cucumbers are soft.
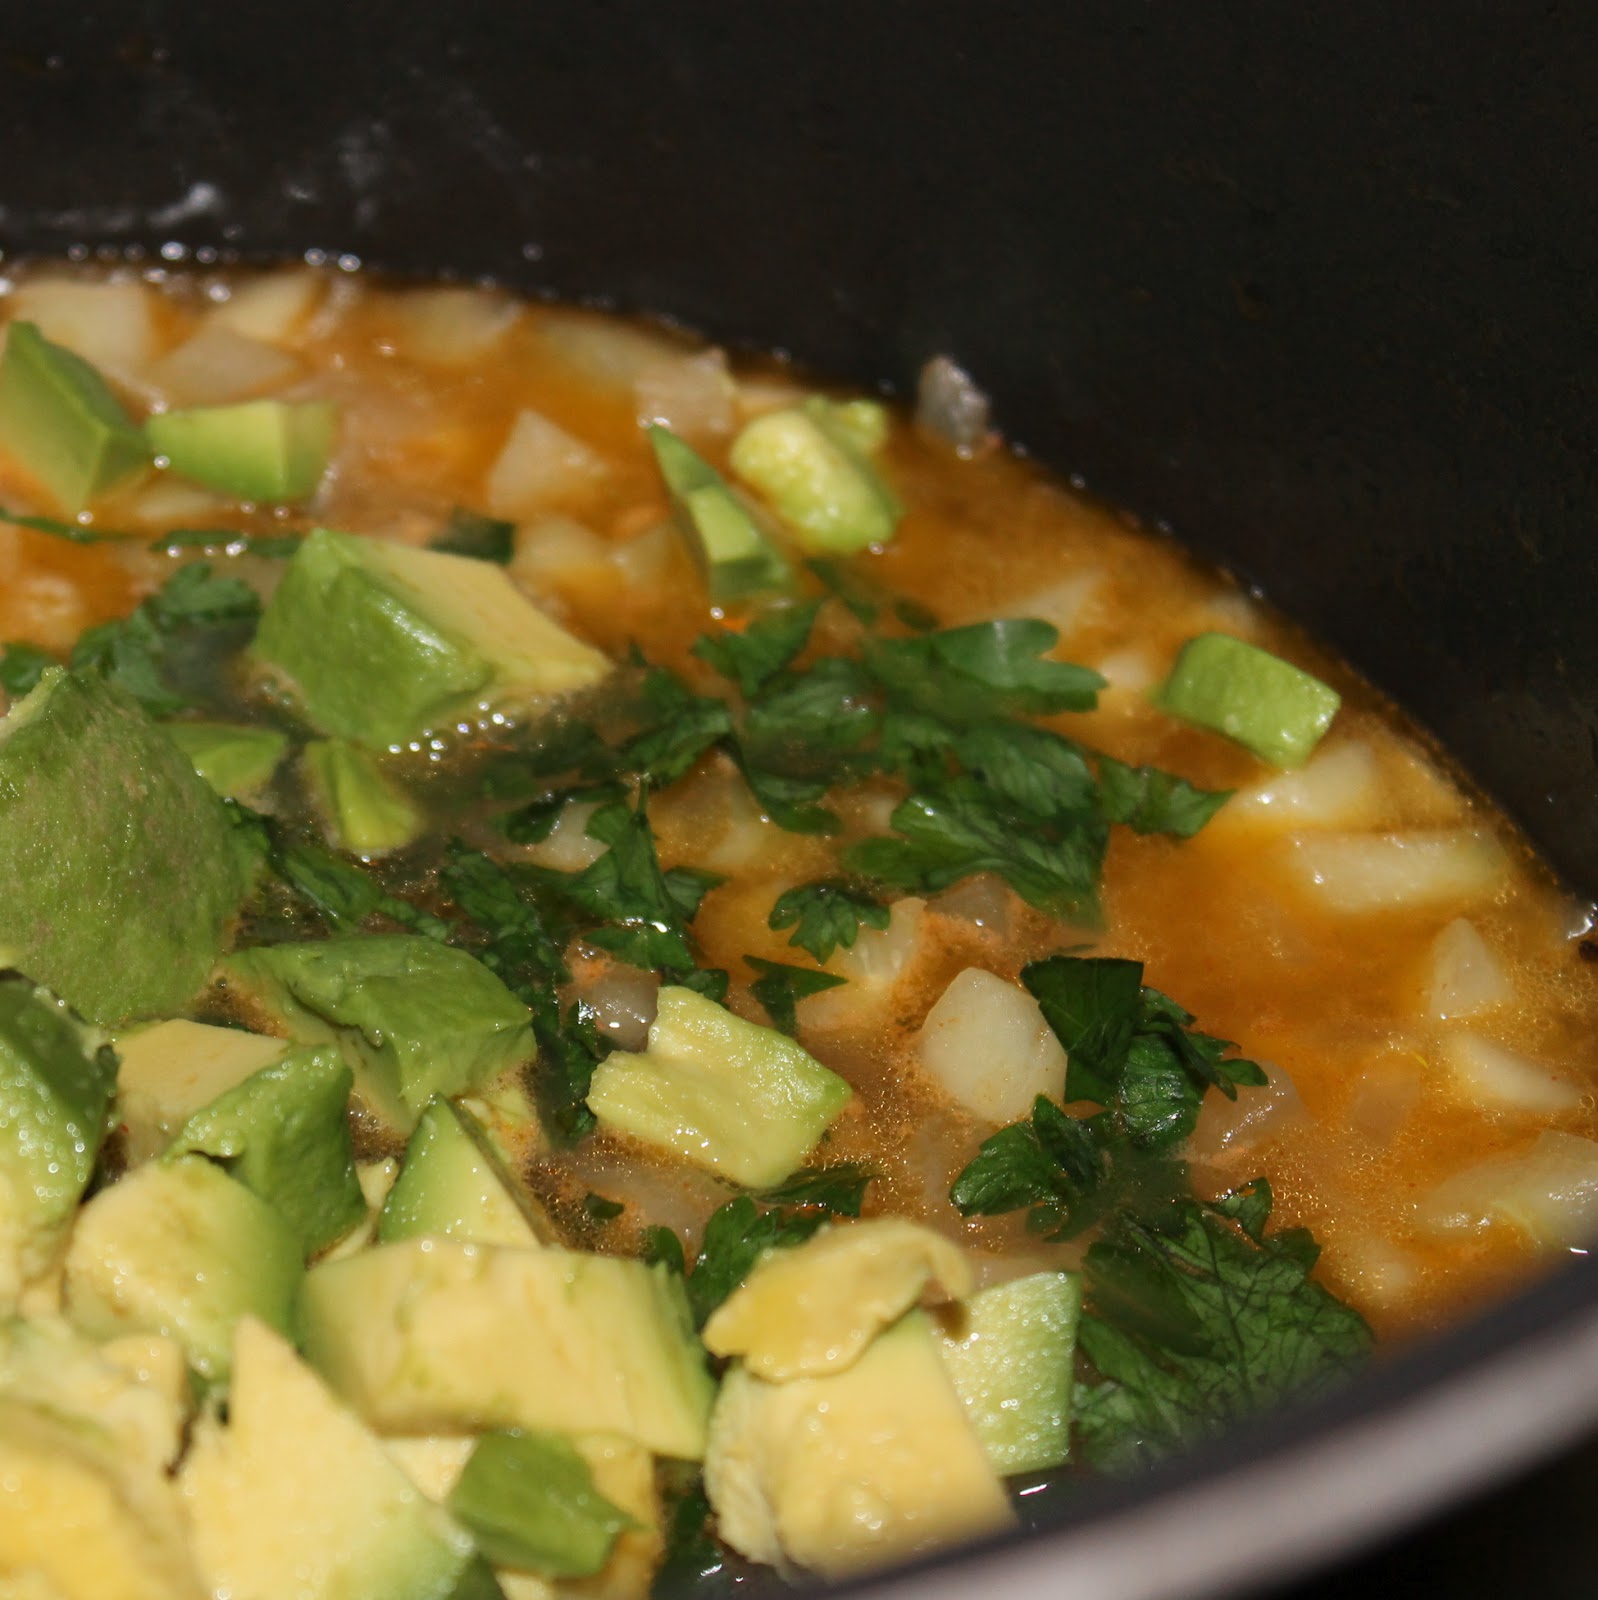
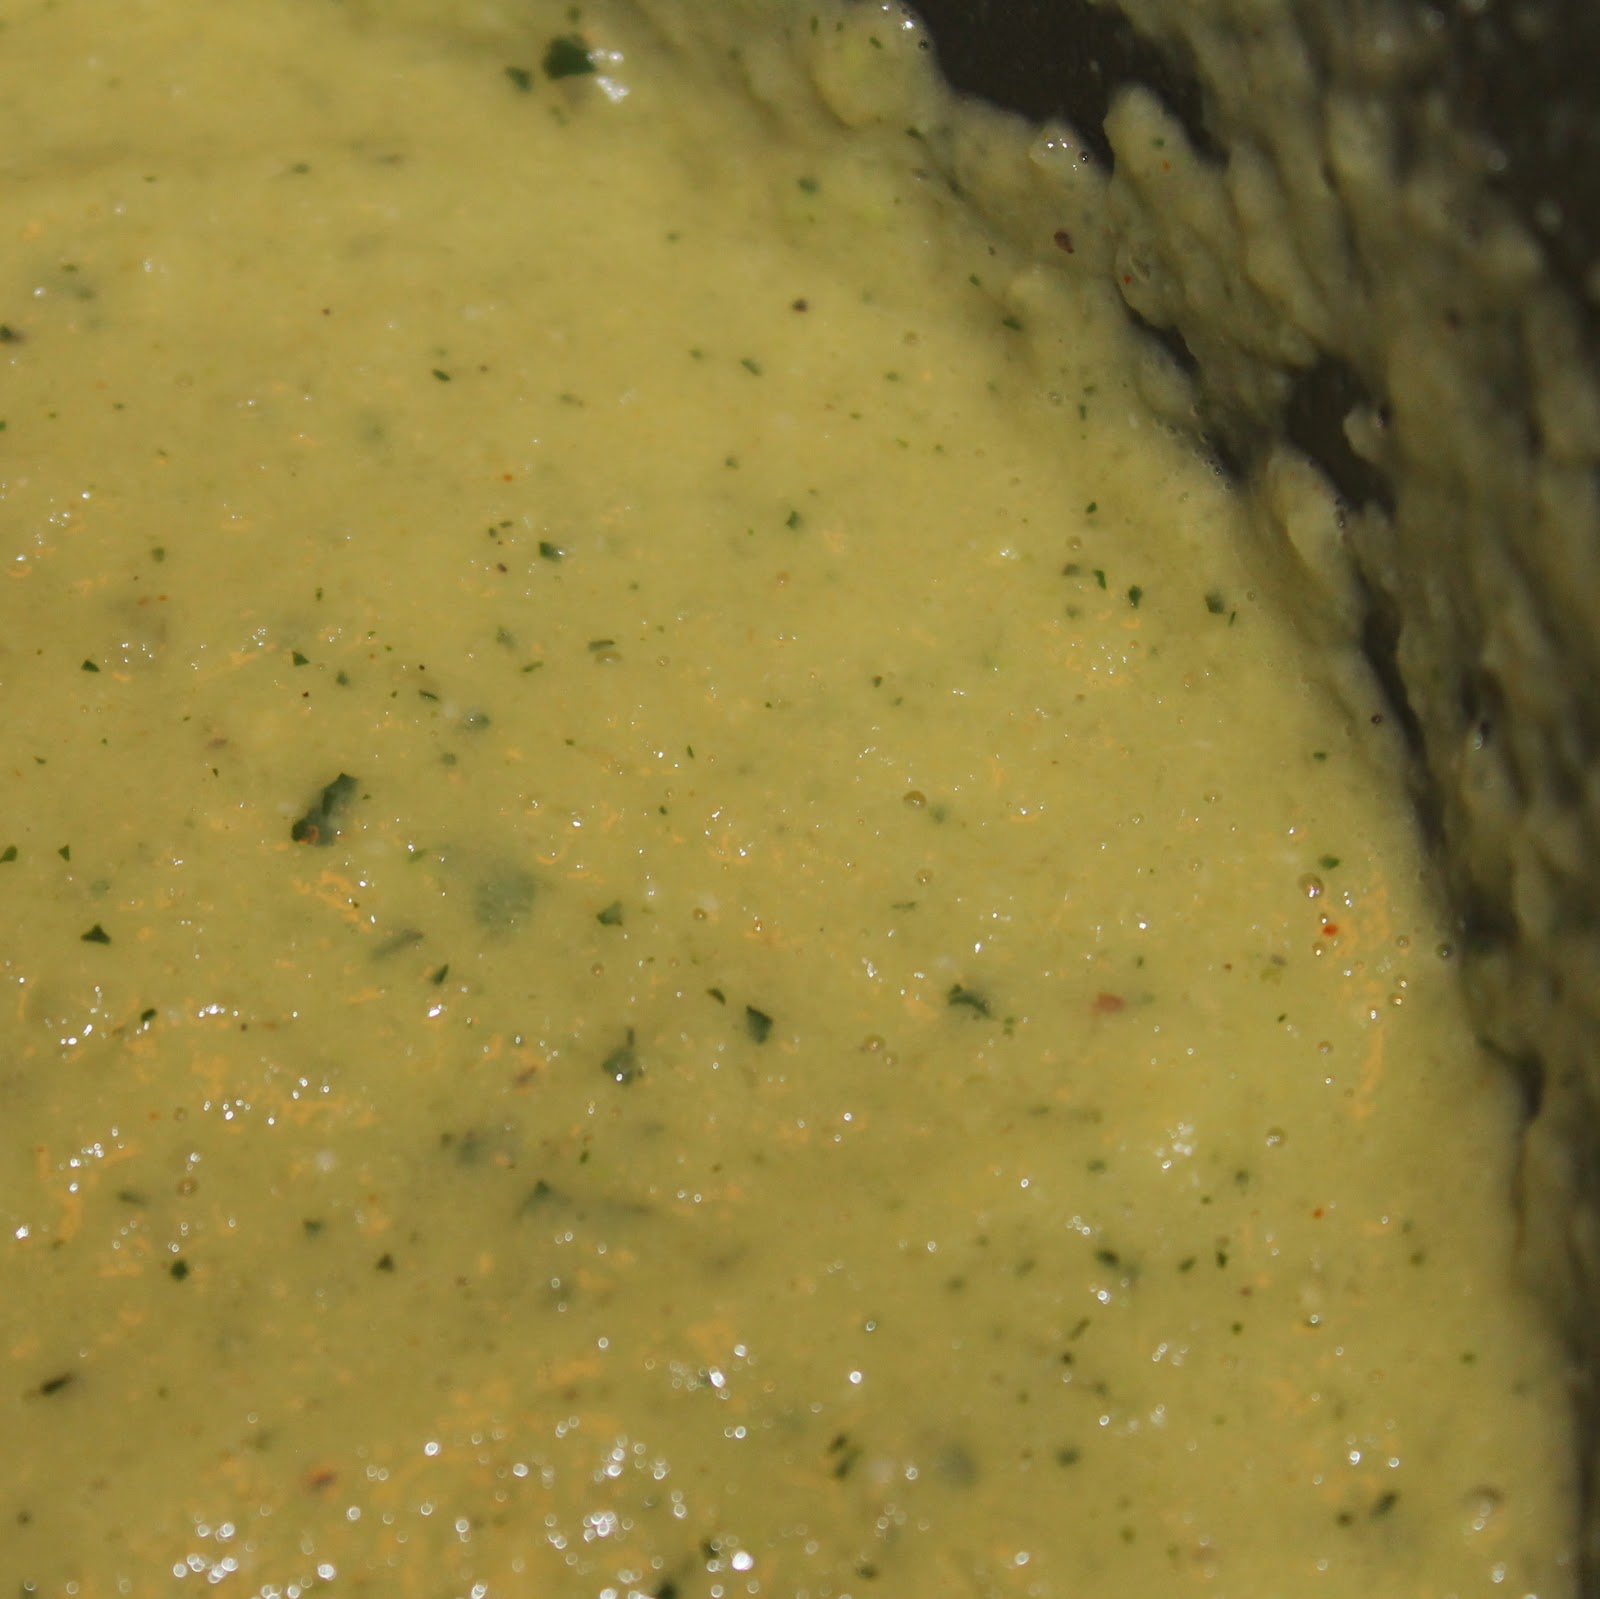
Add thesoupto a blender (be careful), removing the center of the top of the blender. Add the avocado and parsley.
Place a paper towel over the open hole before blending. Blend on low until smooth. (I just do all of this in the pot using an immersion blender, I find it less hazardous hehe).
If you want to eat the soup hot, pour into a serving bowl and stir in the yogurt. Top with cucumber slices and garnish with parsley. If chilling the soup, refrigerate for at least one hour, then stir in the yogurt and garnish before serving.
The soup is smooth, a little tangy from the Greek yogurt, and ends with a slight hint of spice. I like mixing in the parsley and chopped cucumbers into the soup to give it some texture.
I love what I call “after work recipes.” I can make this when I get home and can eat before 8 pm. For an even more refreshing soup, try substituting mint or dill for the parsley.
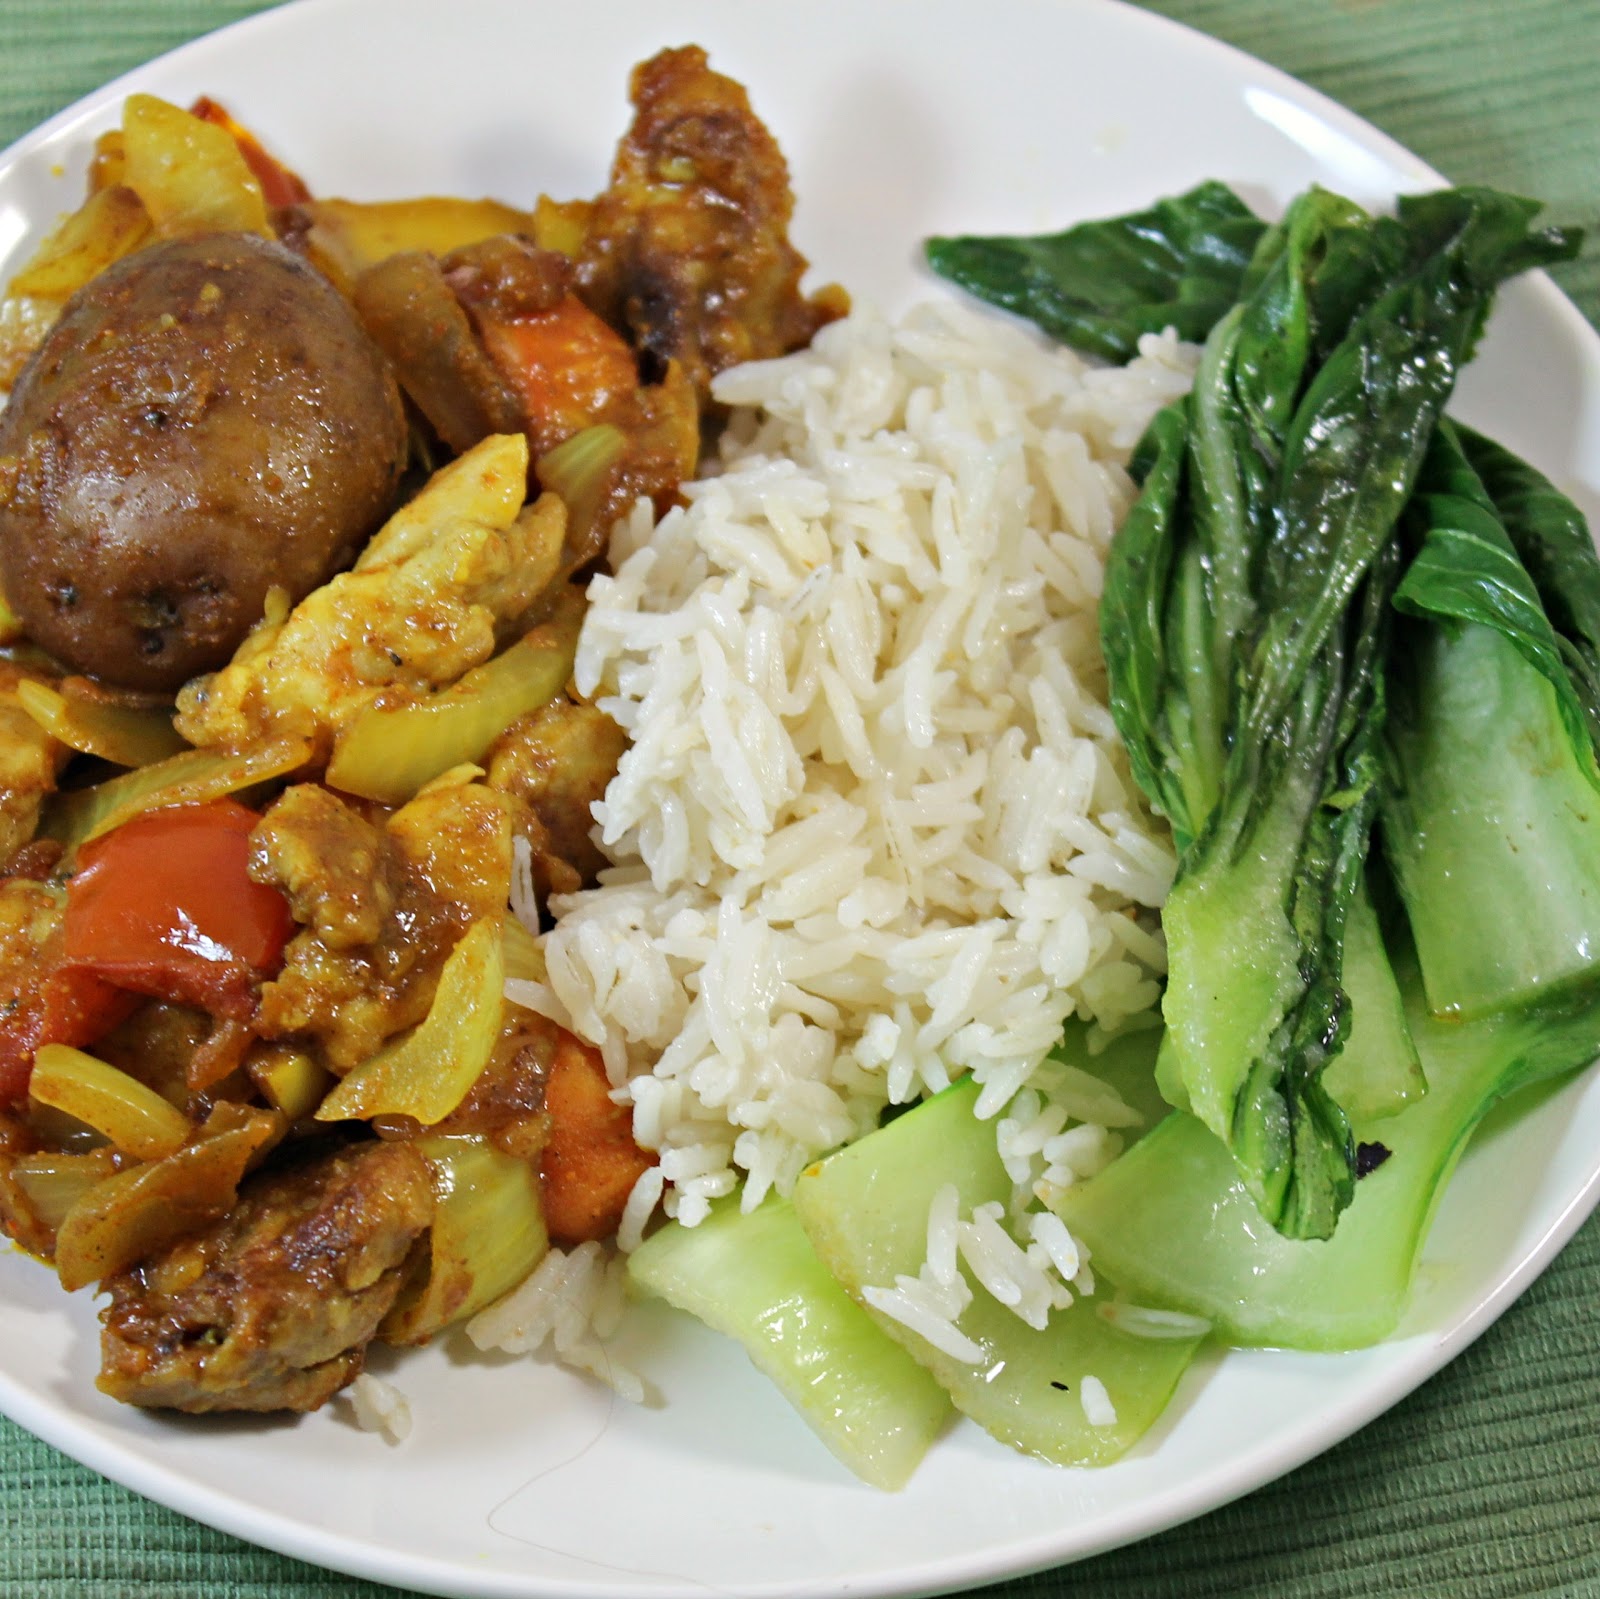
I was recently sent a clay pot from Romertopf to try out and review. Cooking in a clay pot is something I never really thought about, or even considered. You just cook your meal in a clay pot which has been soaking in water. This releases steam while it cooks and keeps the food moist. Clay pots have been used for cooking dating back to Roman times and are still used around the world. The clay pots are perfect for making roast chicken, paella, ratatouille, or even dessert!
I honestly had no idea how to go about finding a recipe to try out my new spiffy clay pot. So I just used a recipe from the Romertopf website as my first attempt. The Curry Clay Pot Chicken sounded right up my alley. (https://www.romertopfonline.com/chicken-recipes.htm)
Ingredients:
1 pound skinless, boneless chicken thighs
1/4 teaspoon salt
1/8 teaspoon pepper
1 teaspoon finely chopped fresh ginger
1 tablespoon cornstarch
6 small new red potatoes, cut into 1/2-inch slices (I forgot to cut mine! Make sure you do though!)
6 baby carrots
2 tablespoons vegetable oil
2 teaspoons minced garlic
1 medium onion, roughly chopped
2 tablespoons curry powder
1 medium tomato, cut into 1/2-inch wedges
1 tablespoon soy sauce (or coconut aminos to make gluten free)
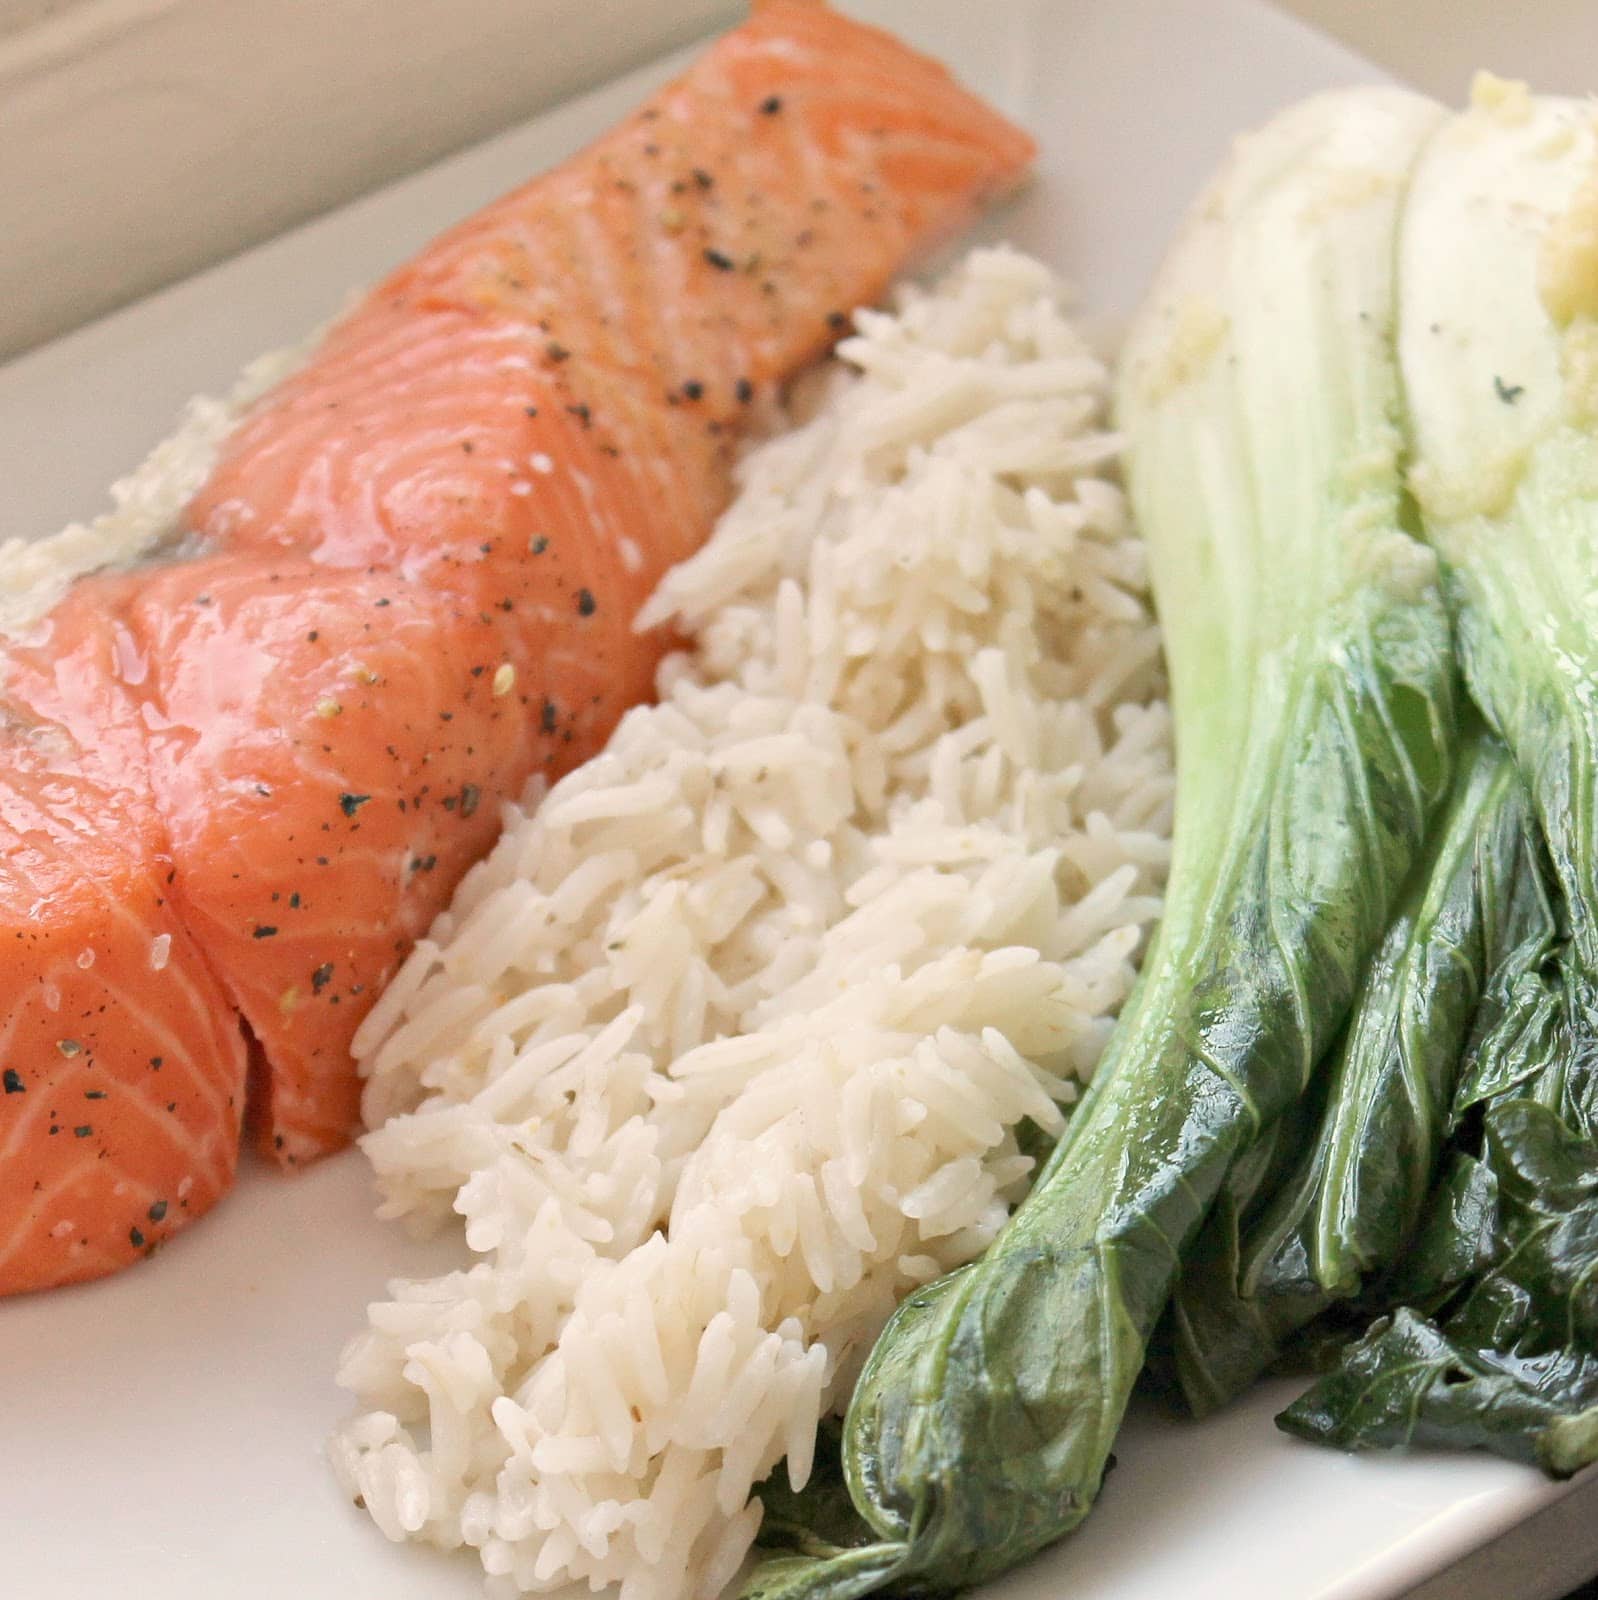
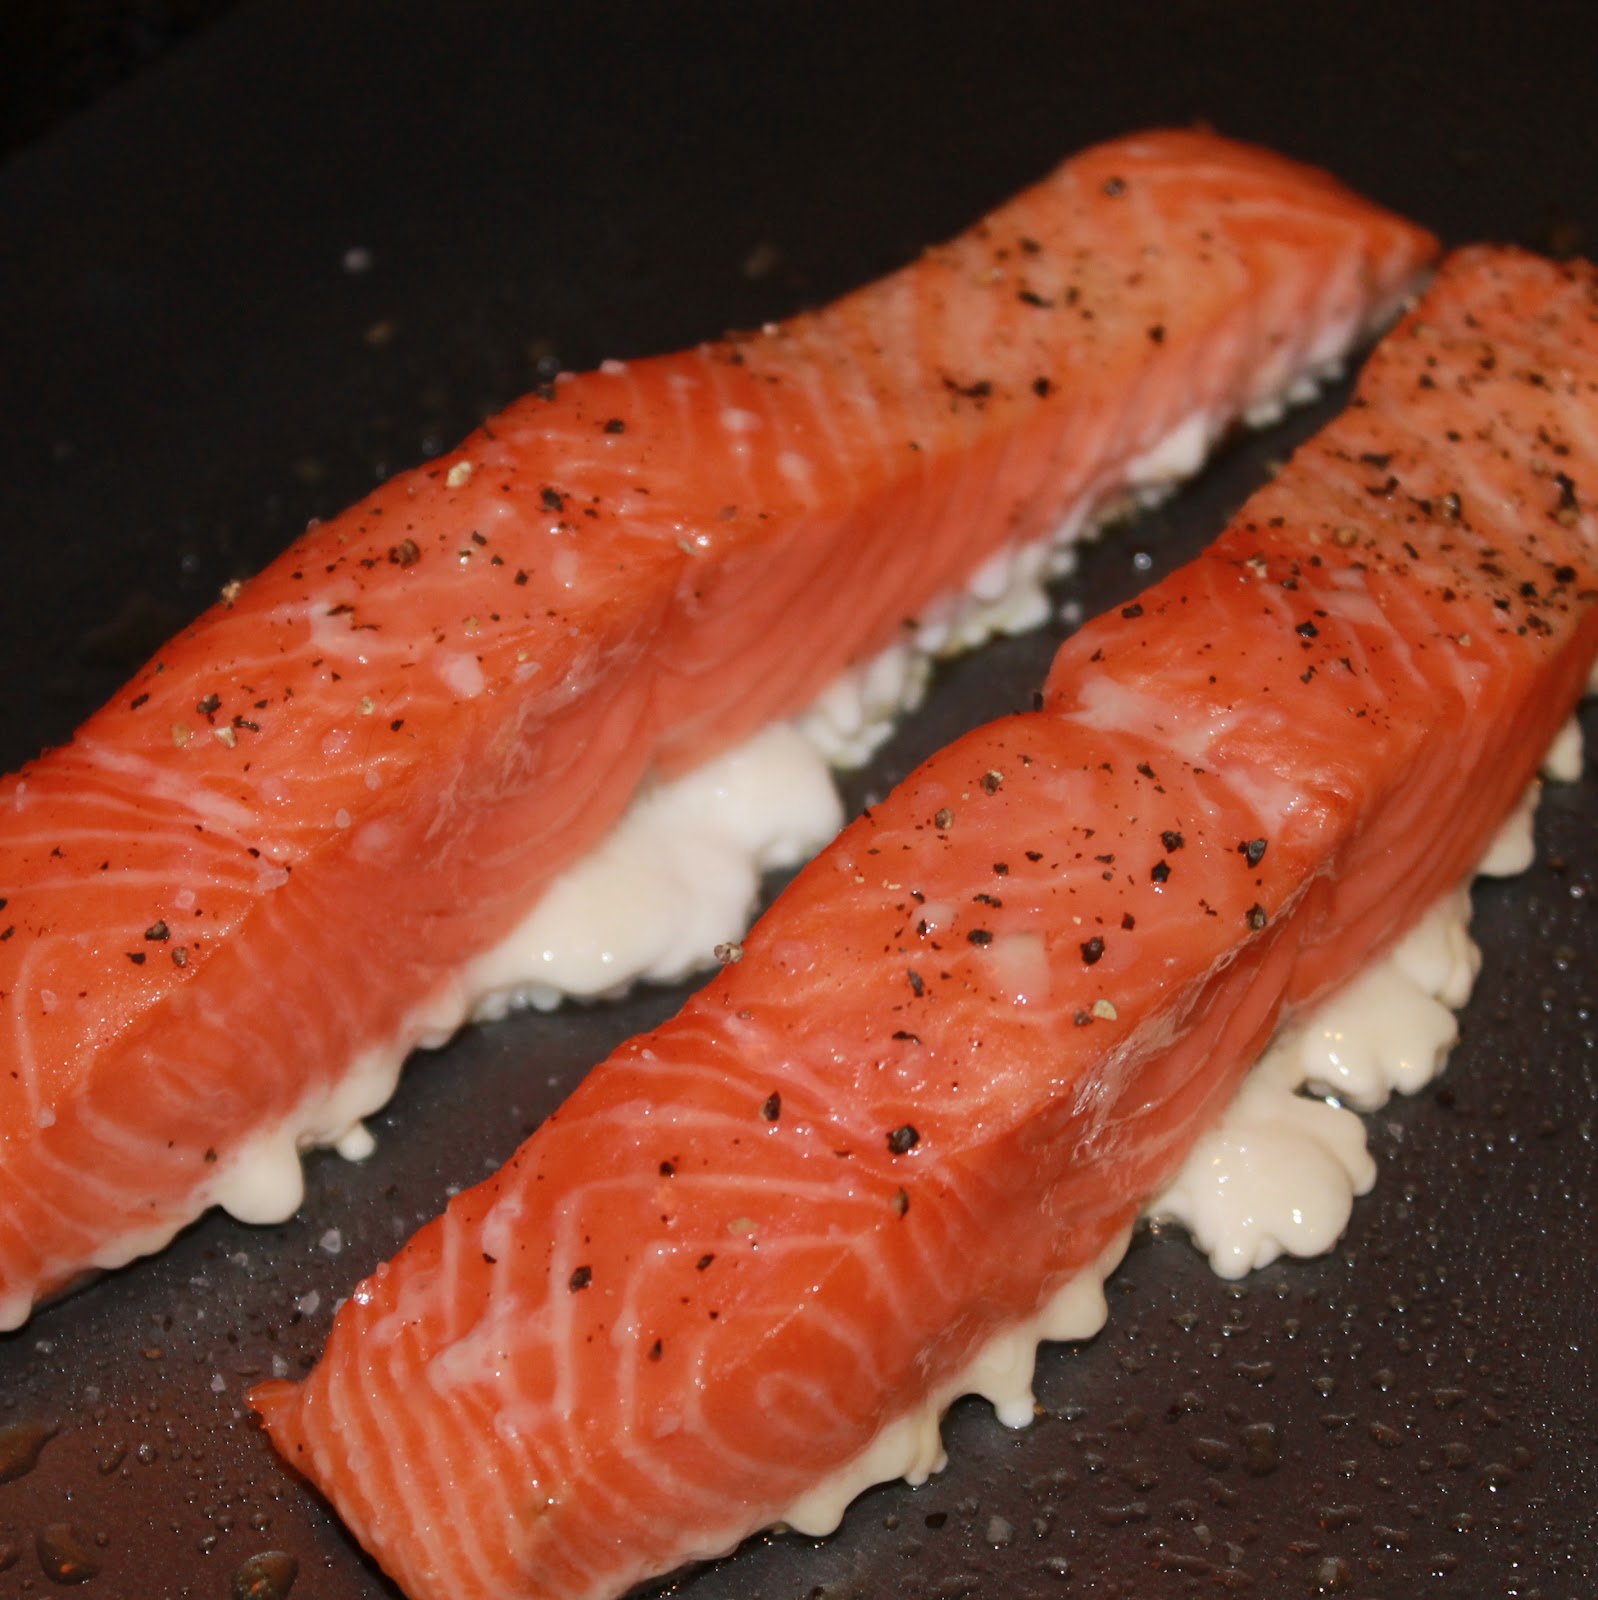
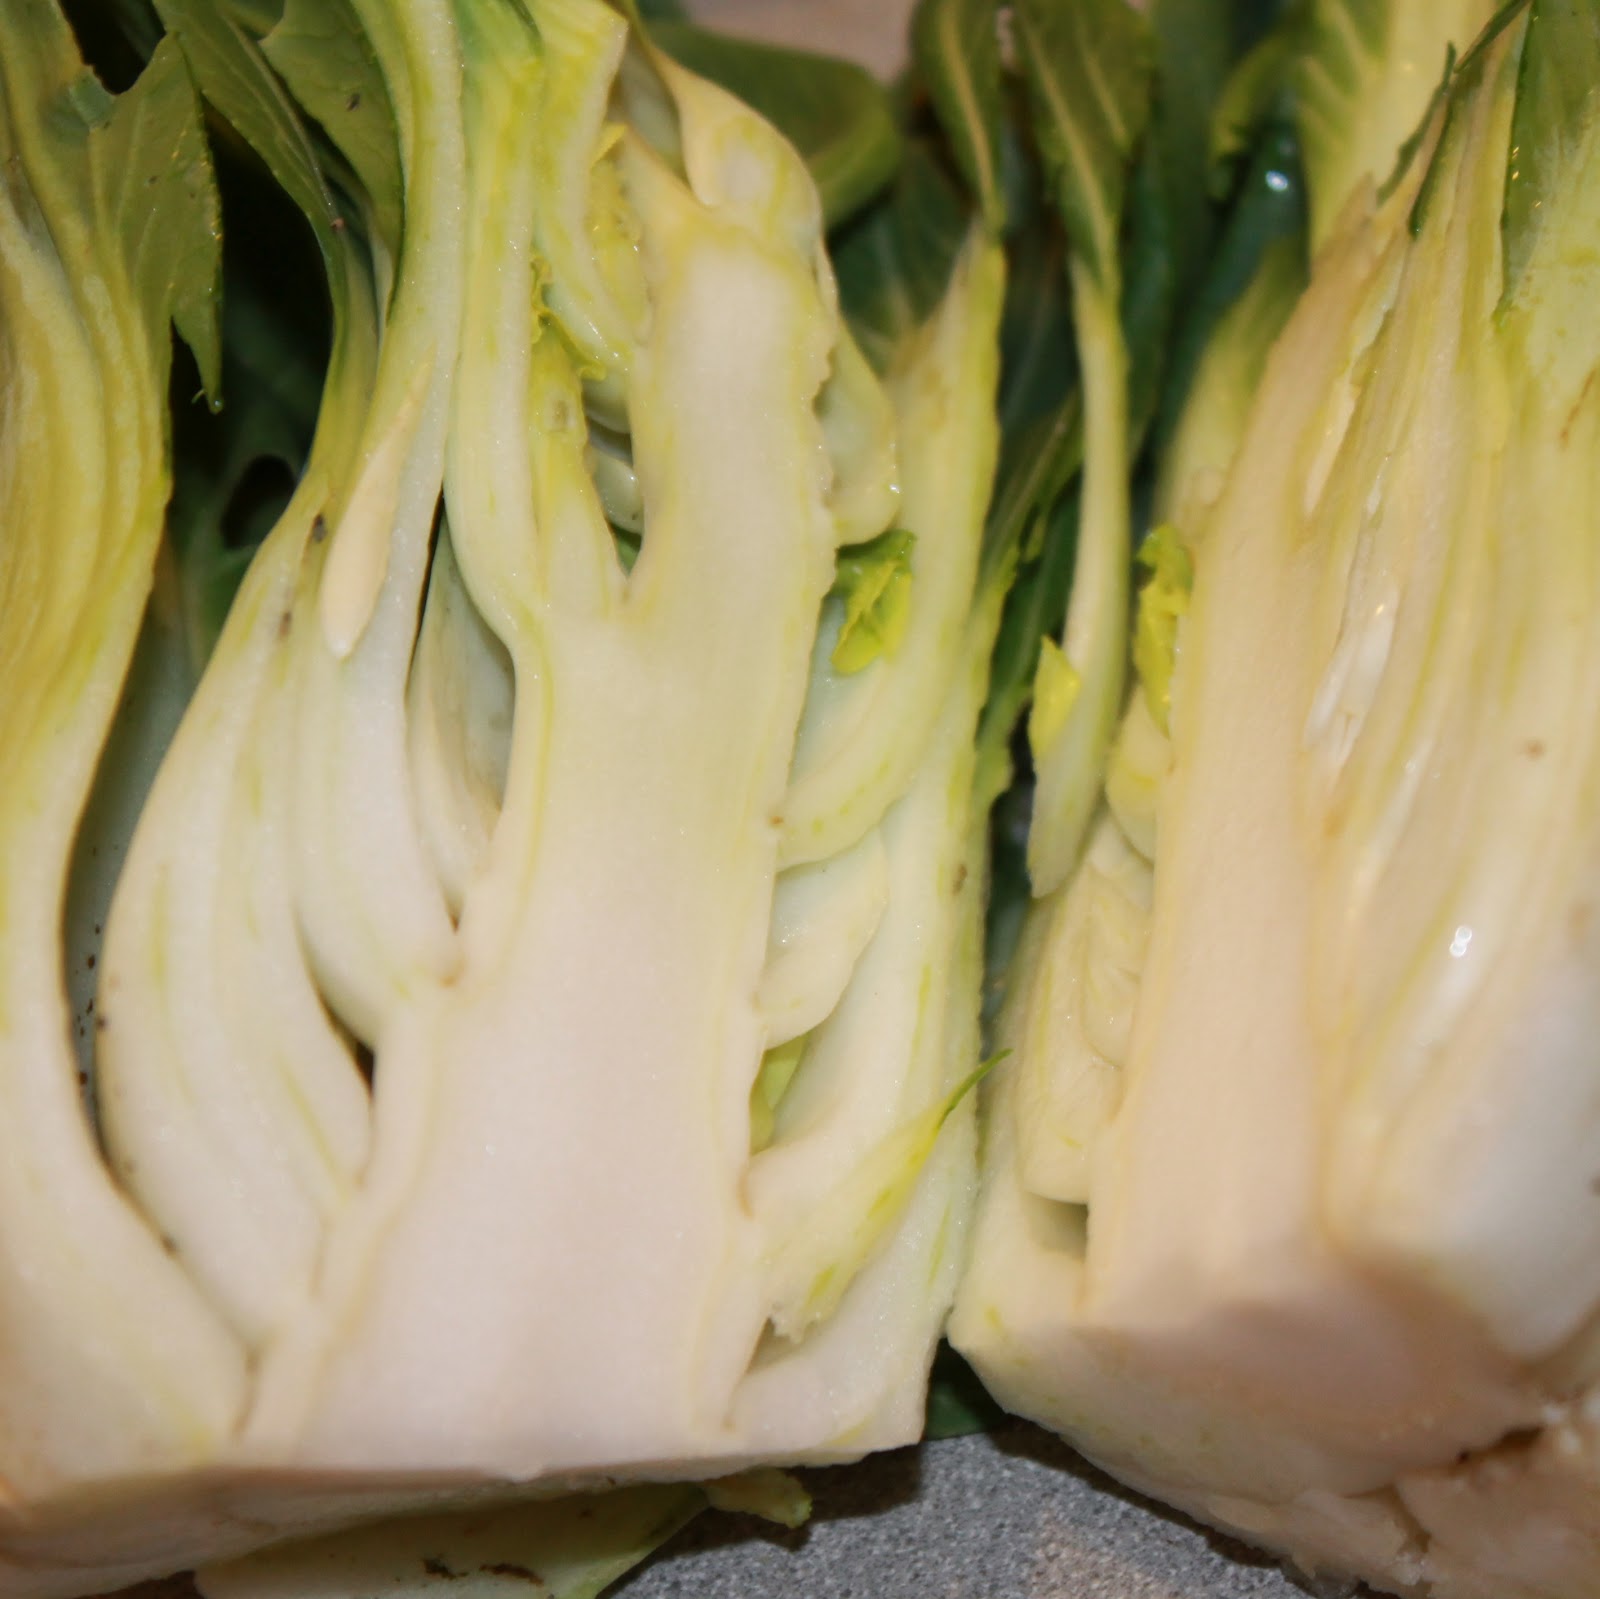
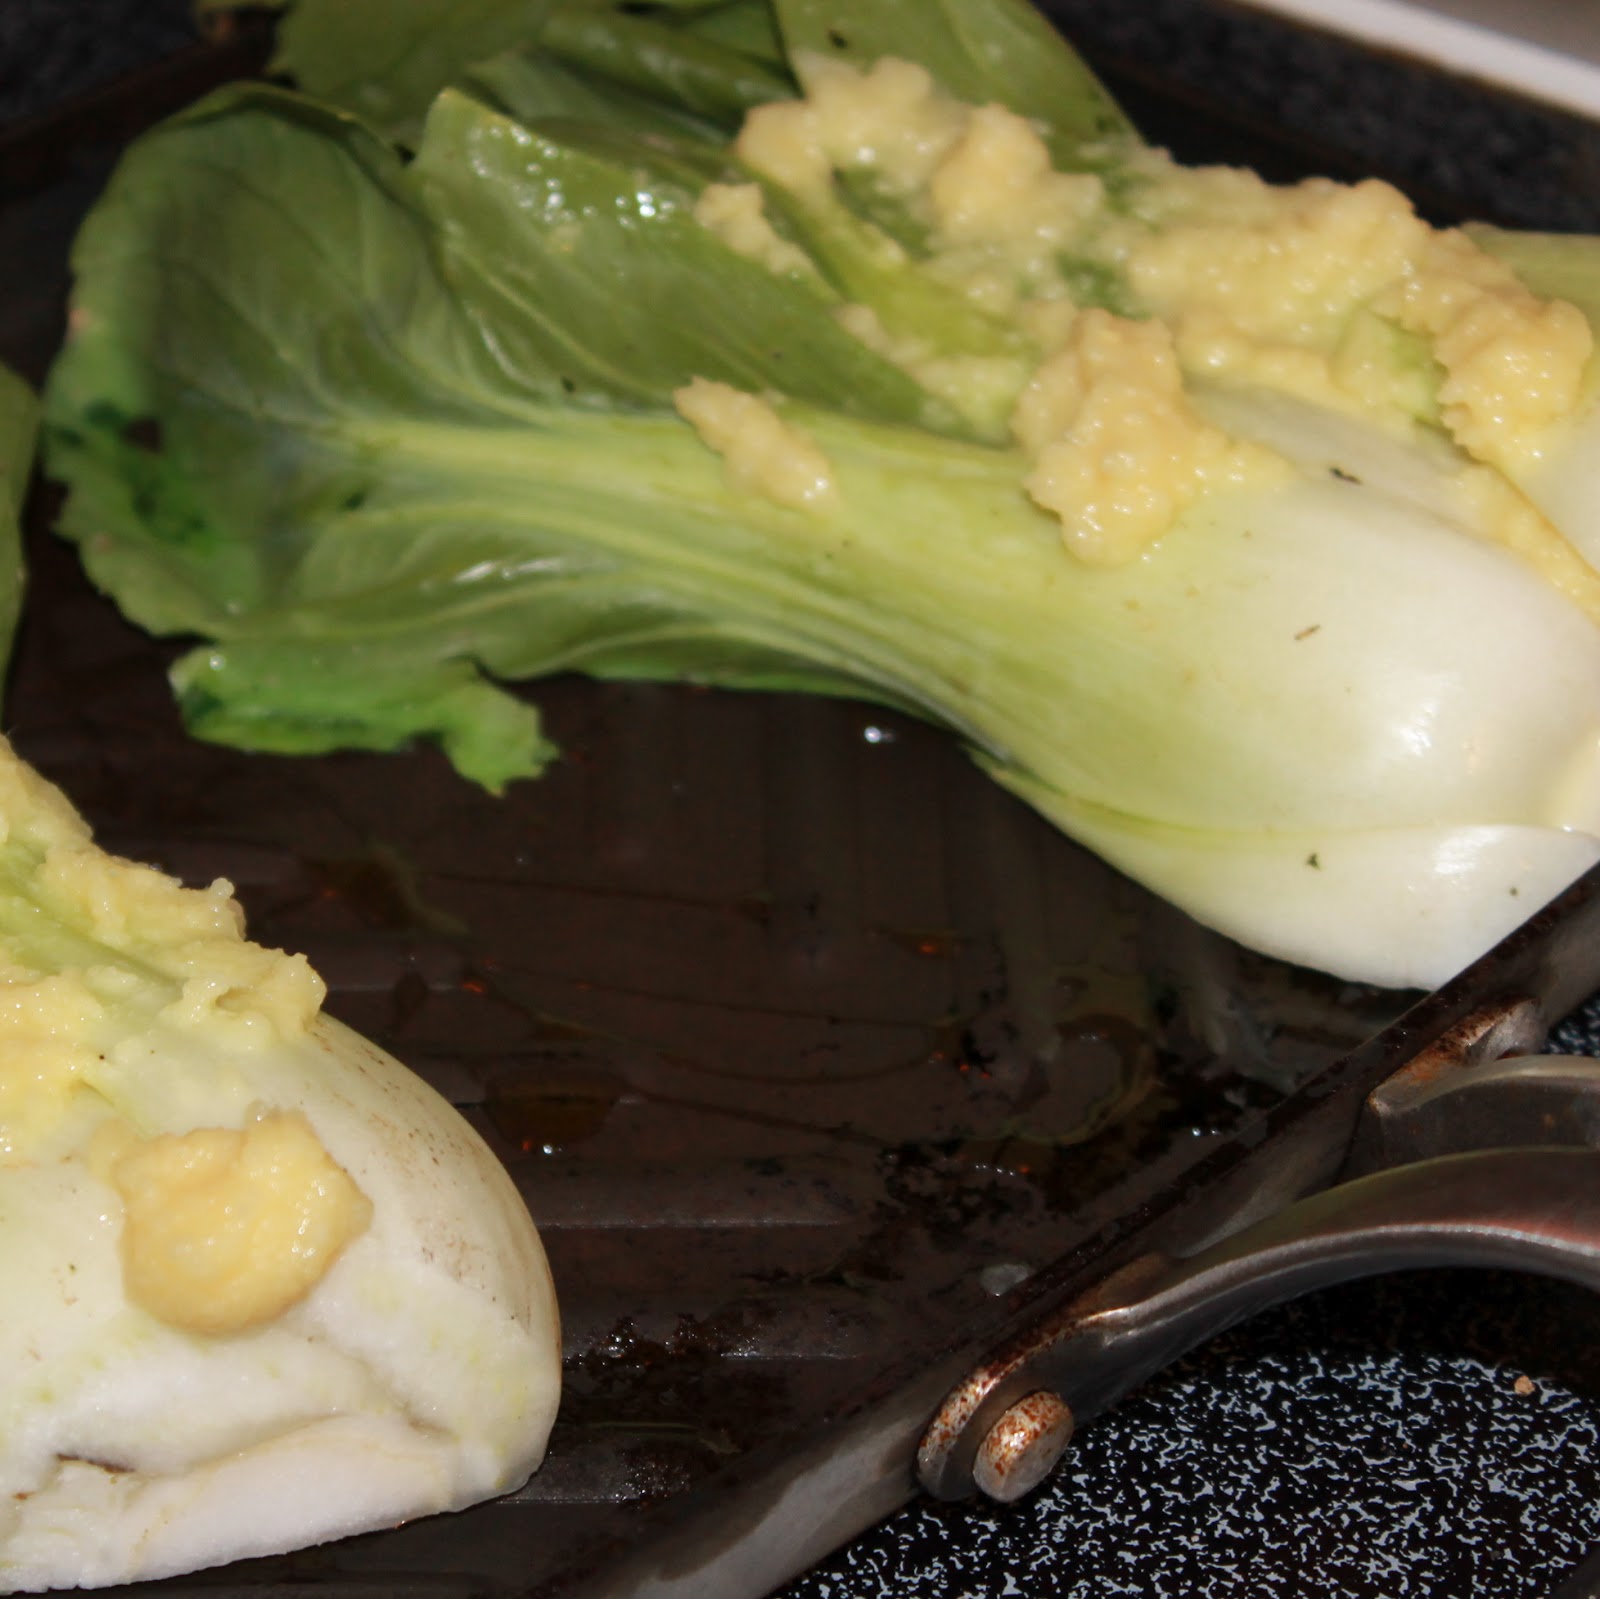
Tuesday I received one of my most anticipated ingredients (aside from tomatoes, can’t wait!!) from my CSA share: Fuyo Shumi, or Baby Bok Choy. I am absolutely in love with this vegetable. It’s just a mini version of bok choy which has a cabbage flavor and is very popular in Asian cooking. I personally am not a fan of cabbage (sorry to my Irish roots), but love the subtle taste and crunchy texture of these little guys. I’m always looking for new methods to cook salmon so this recipe from Cooking Light was the perfect opportunity. This recipe slow cooks the salmon to keep it really moist. Keep in mind you’ll need a good 30-40 minutes to make this dish.
Ingredients:
Salmon:
8 (6-ounce) salmon fillets
1/2 teaspoon salt
1/2 teaspoon freshly ground black pepper
Cooking spray
Rice:
2 cups uncooked basmati rice
1 1/2 cups light coconut milk
1 1/2 cups water
1/4 teaspoon salt
Bok choy:
2 teaspoons canola oil
16 cups bok choy, trimmed and cut into 1 1/2-inch pieces (about 4 pounds)
1 tablespoon minced peeled fresh ginger
1/2 cup sake (rice wine)
1/4 teaspoon salt
Sauce:
1/3 cup fresh lime juice
1/4 cup seasoned rice vinegar
3 tablespoons brown sugar
2 tablespoons Thai fish sauce
1/2 teaspoon red curry paste (such as Thai Kitchen)
Preheat the oven to 250 degrees. Season the salmon with salt and pepper. Place the salmon on a baking sheet coated with cooking spray, skin side down.
Bake for 30 minutes or until the fish flakes easily. Cut off all the drippings.
While the salmon is cooking, rinse the rice in cold water and drain. Combine the rice, coconut milk, 1.5 cups water and ¼ teaspoon salt in a sauté pan. Bring to a boil over high heat and stir. Cover, reduce heat, and simmer for 20 minutes or until liquid is absorbed. Remove from heat and let stand for 10 minutes.
Cut the baby bok choy pieces in half
While the rice is standing, heat the canola oil in a large sauté pan over medium-high heat. Add the bok choy and ginger and sauté for 1 minute.
Add the sake and ¼ teaspoon salt, cover, and cook for 2 minutes until the bok choy wilts. Remove from heat and keep warm.
Add the lime juice, rice vinegar, cilantro, brown sugar, fish sauce, and red curry paste to a bowl. Whisk to combine.
Serve over the salmon, rice, and bok choy.
Um. Yum. What an awesome dinner! The flavors go so well together. The sauce has a little tanginess that I really liked with all of the parts of this dish, but especially the rice. The salmon, because it was cooked at a low temperature, came out really moist. And the baby bok choy was crunchy, wilty, and flavorful all at the same time.
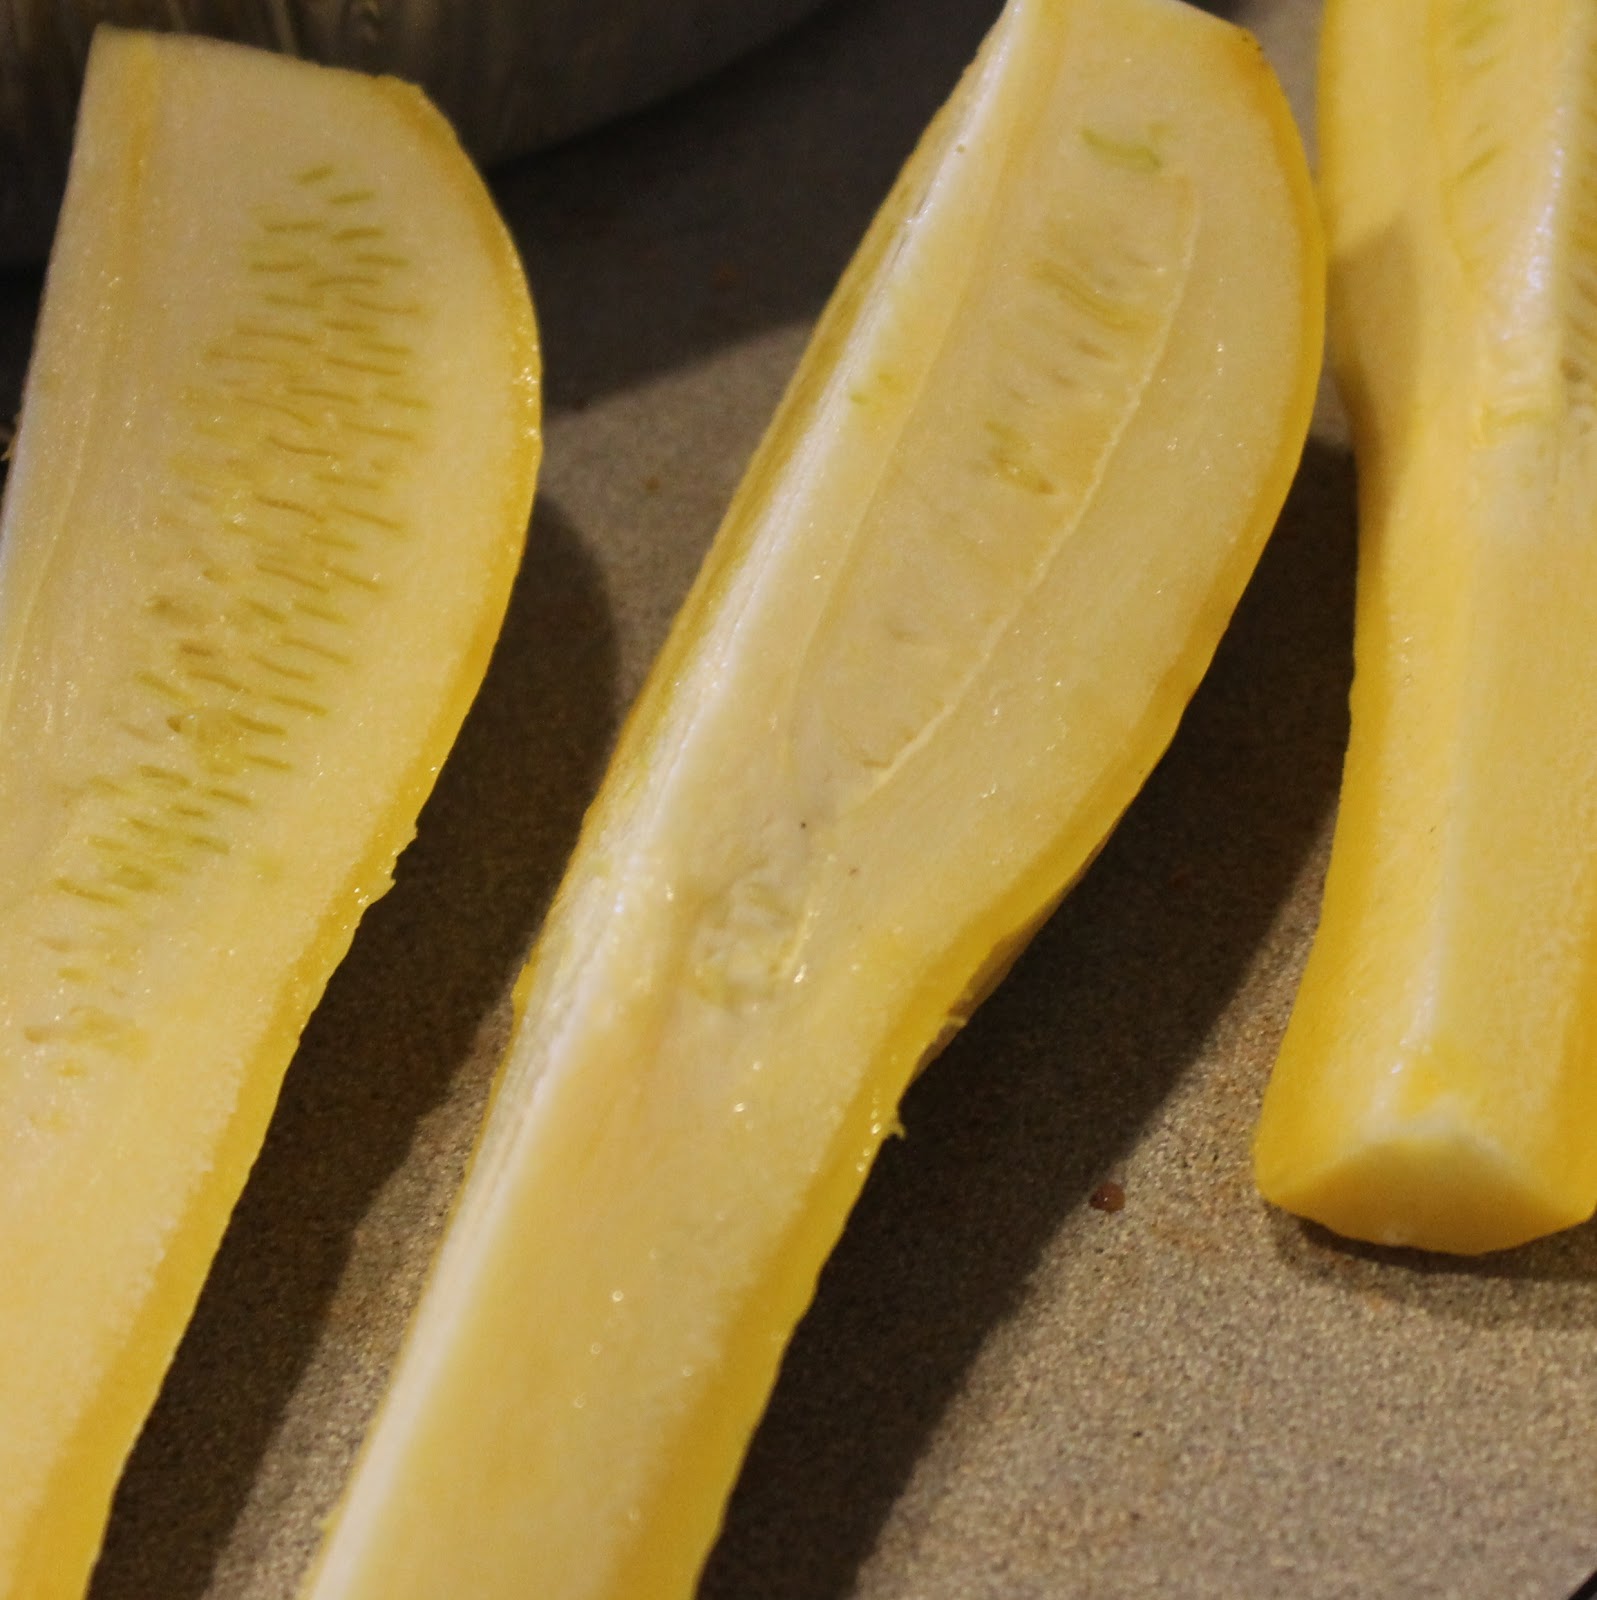
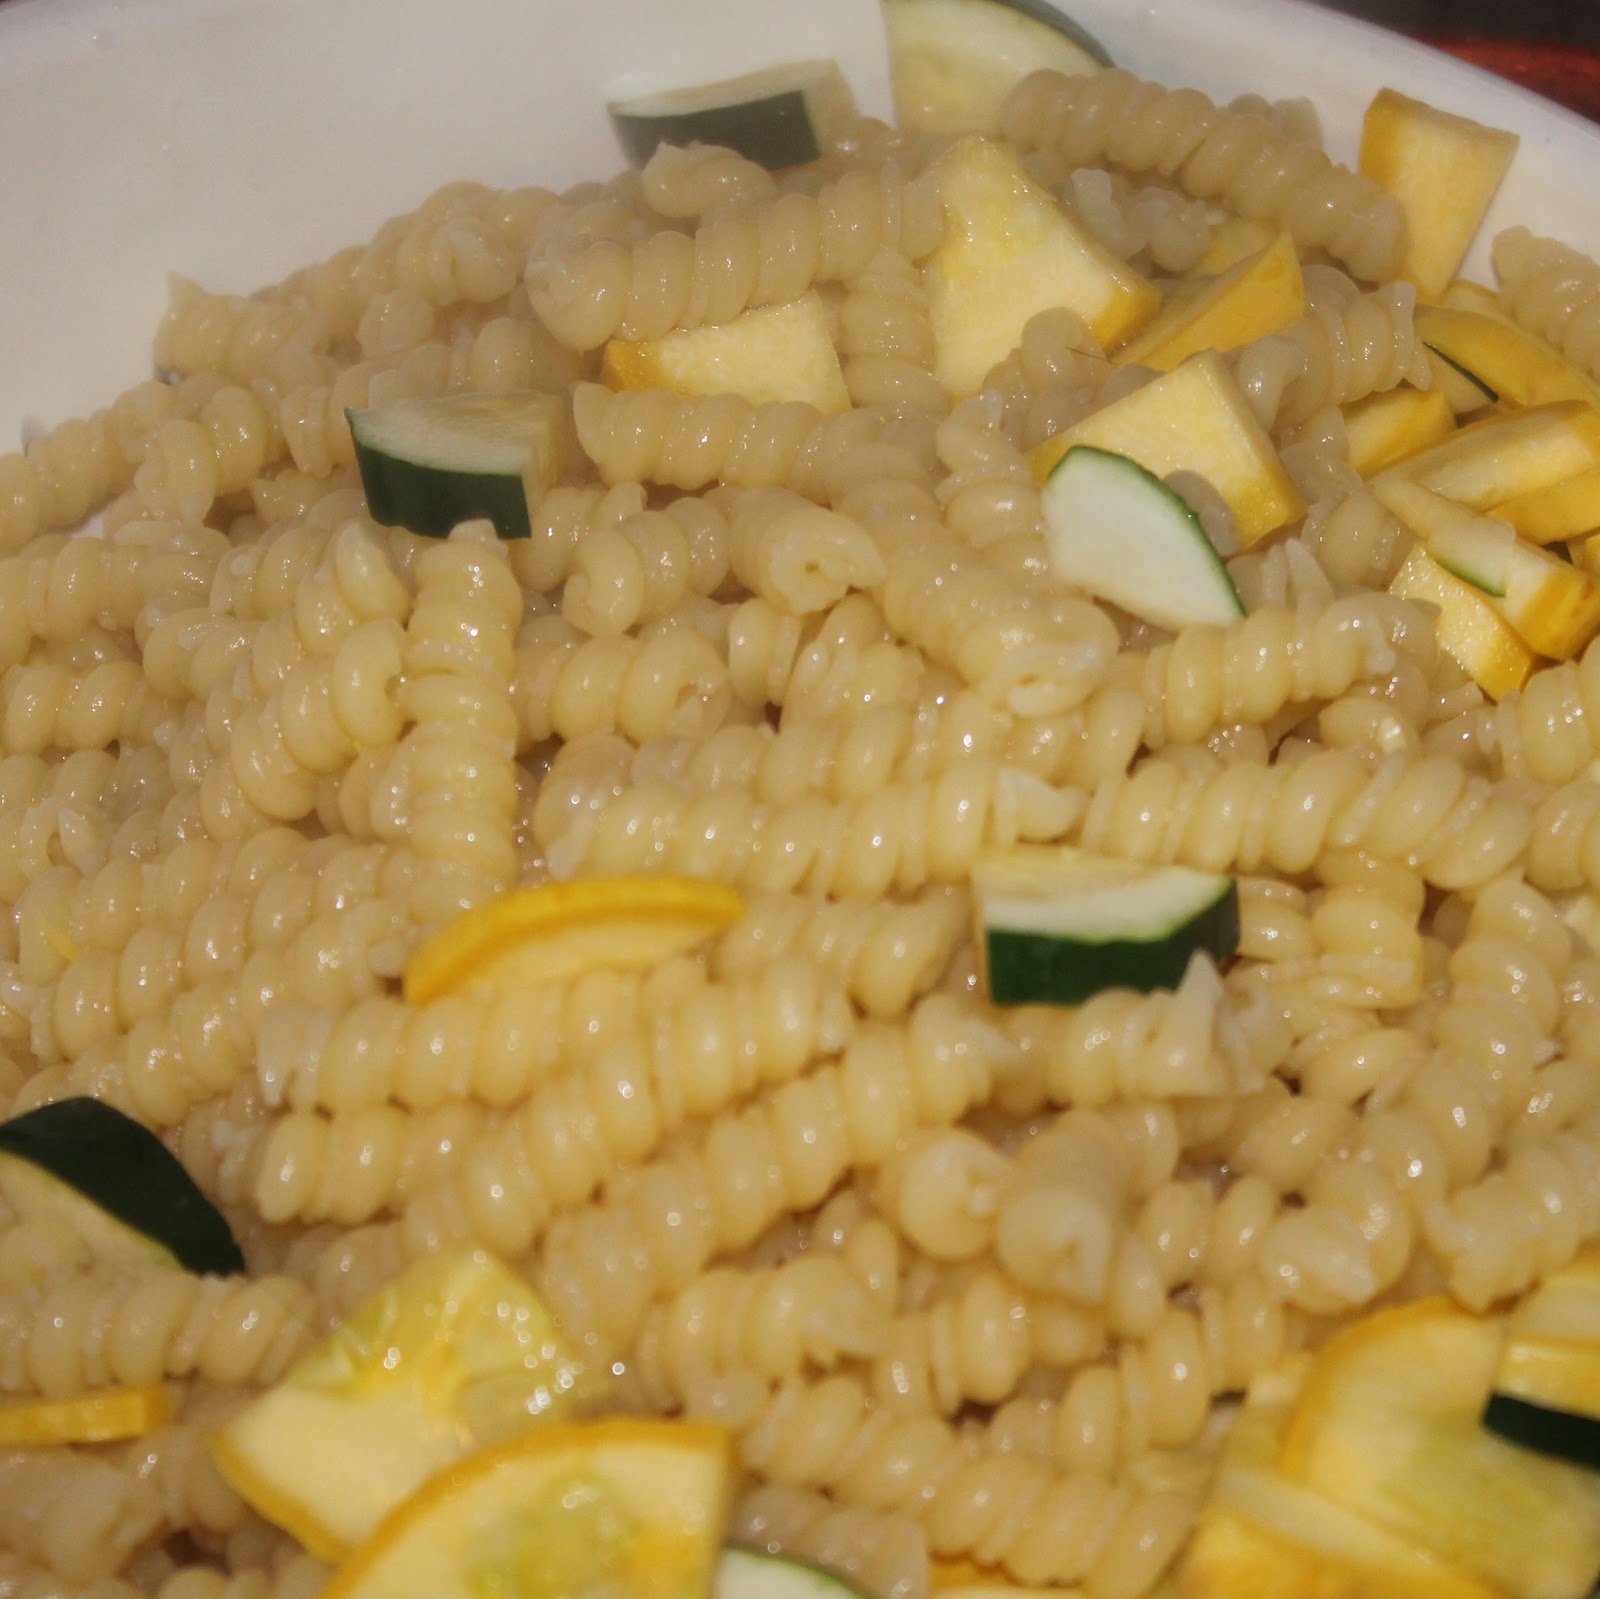
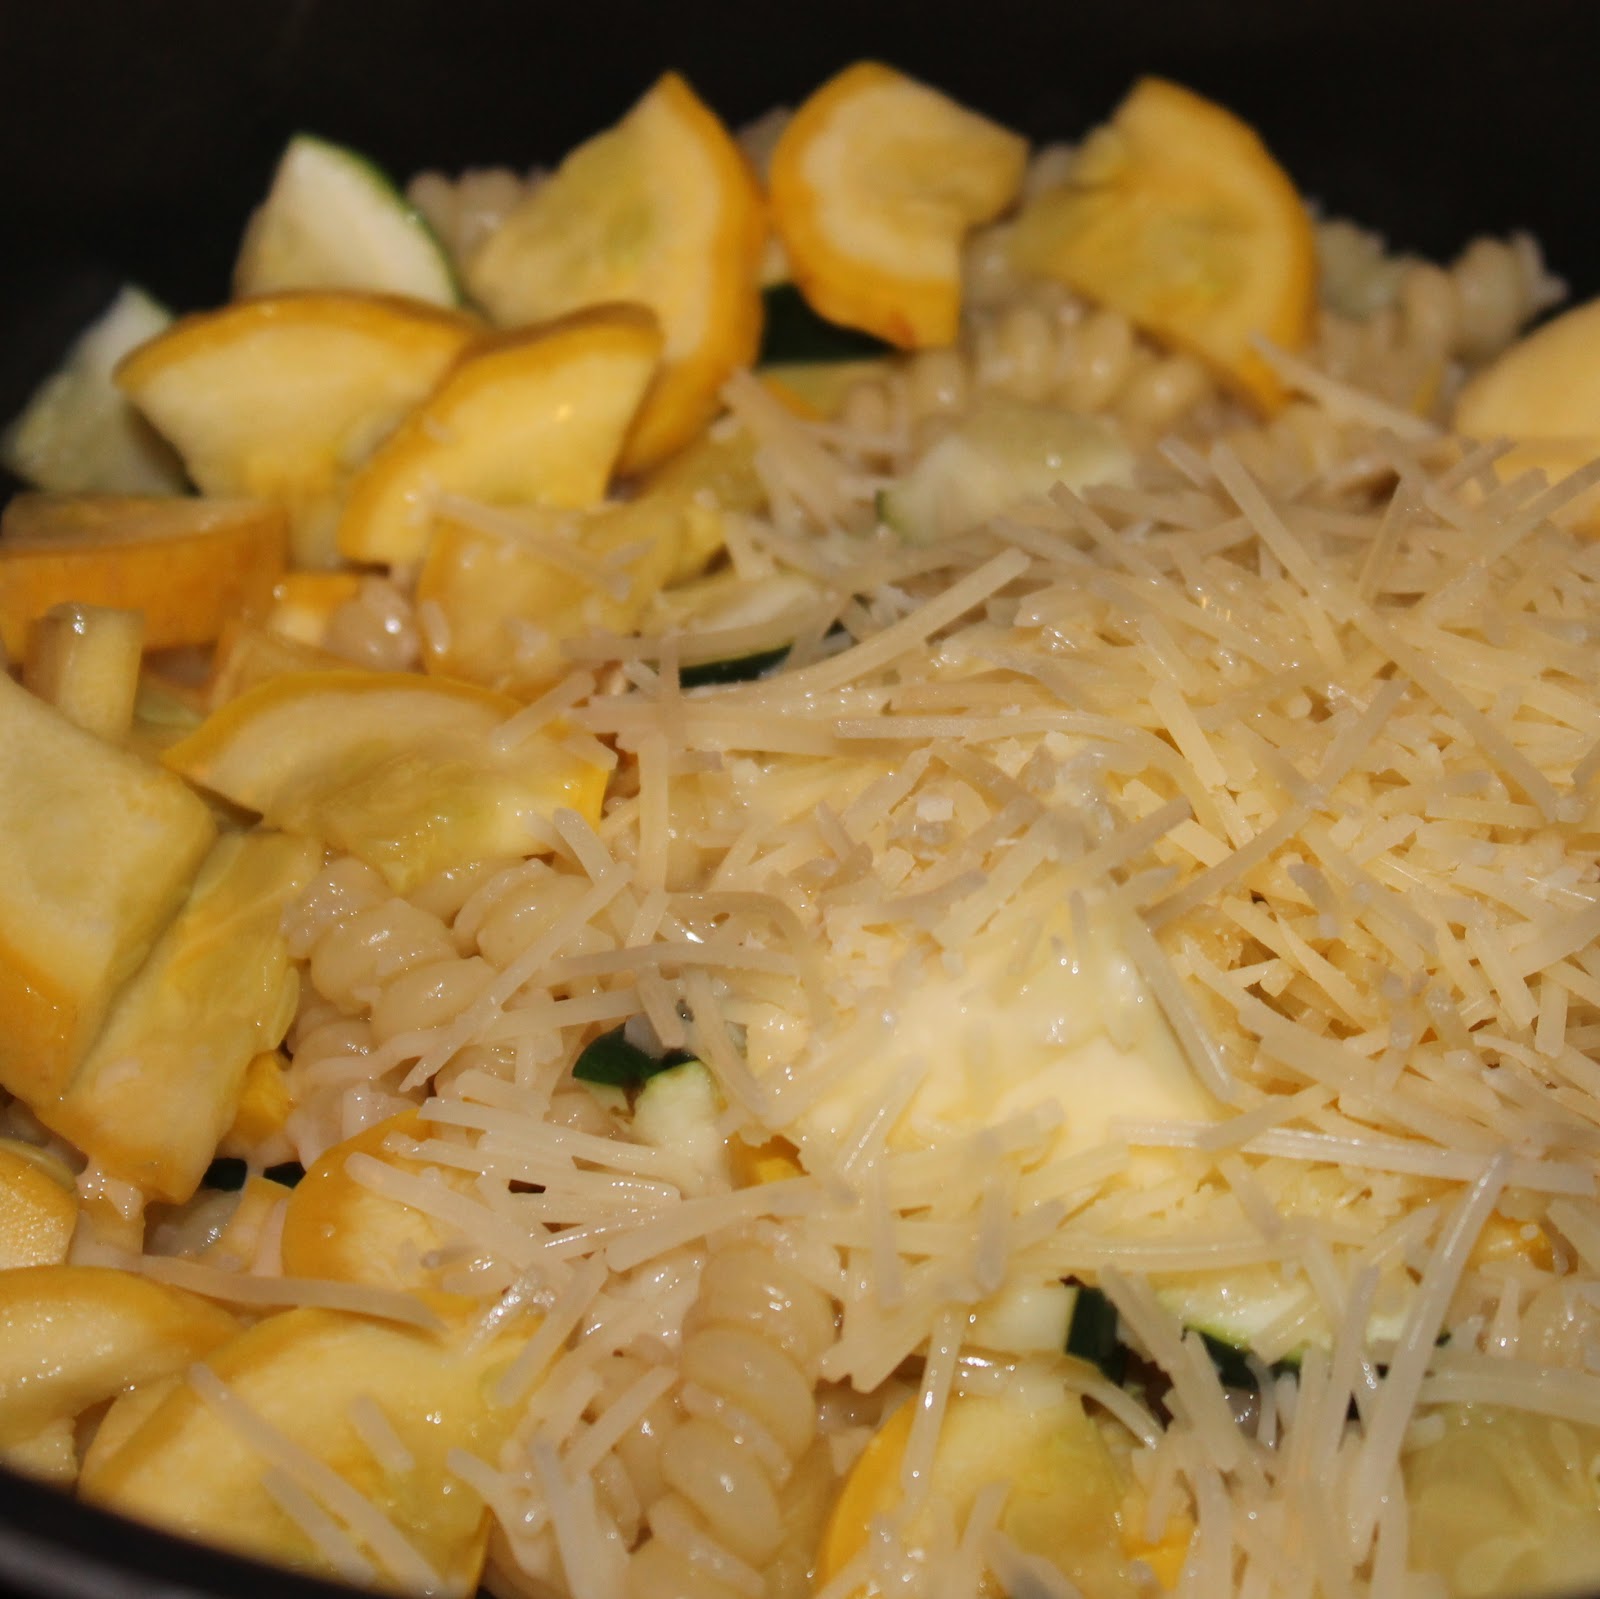
One of my favorite parts of the CSA share is having a plethora of zucchini and summer squash at my disposal. I love these ingredients with a simple pasta, so I was happy to come across a Martha Stewart recipe fthat incorporated these ingredients. I thought I still had some snap peas left over and was going to throw those in, but I unfortunately was all out. Plus, I didn’t have any frozen peas in my freezer. If you have those, be sure to include them. I threw in a zucchini also because I had one on hand.
Ingredients:
Coarse salt and ground pepper
8 ounces gemelli or other short pasta
3 medium yellow squash, quartered lengthwise and thinly sliced
1 medium zucchini, quartered lengthwise and thinly sliced
4 tablespoons butter, cut into small pieces
1 tablespoon fresh lemon juice
1/2 cup shredded Parmesan
Torn fresh basil leaves, as garnish
Cook pasta in a pot of boiling salted water. Cook 2 minutes less than required for al dente (my pasta had to cook for 6 minutes).
While waiting for the pasta to cook, slice your squash and zucchini.
Add the squash and zucchini to the pasta and water, and cook for 2 minutes.
Drain the pasta, reserving 1/2 cup of pasta water. Return the pasta to the pot.
Add the butter, lemon juice, 1/4 cup Parmesan, and 1/2 cup pasta water. Season with salt and pepper and toss to combine.
Spoon into individual bowls and top with basil and sprinkle with Parmesan.
At first bite, I thought this might be missing something. But all it really needed was another seasoning of pepper and an extra squeeze of lemon. After that, it was quite yummy.
To really up the flavor, a few red pepper flakes would go a long way.
The flavor of this was nice and fresh. It was a solid vegetarian dish, but I think it works best as a base. I feel like you could really turn this into something special with some additional flavors included.
Food is just as much about the joy of the process as it is about enjoying eating the dish. So when I was sent The Cookie Dough Lovers Cookbook, I was excited to be more whimsical than I usually am when cooking. The cookbook is filled with recipes that incorporate an egg-less cookie dough, which means it is safe to eat it raw. Recipes range from breakfast foods to desserts. The photos are stunning as well, I had a tough time choosing a recipe! What I really love about this cookbook, though, is that it allows your creativity to wander. The recipes listed are probably fantastic as is, but can also work as a base for whatever you want to change. The cookbook is also filled with really helpful tips to successfully complete the recipes inside.
I was also asked if I wanted to take part in the Cookie Dough-lympics. Now who in their cookie dough loving mind is going to turn down a chance to be in the Cookie Dough-lympics? The competition is a month long, where me and other food bloggers have adapted recipes within this lovely cookbook. I’m the last (and hopefully not the least) blogger to participate so I hope you’ve had a chance to check out all of the other bloggers creative posts. If not, I have links to their blogs listed below.
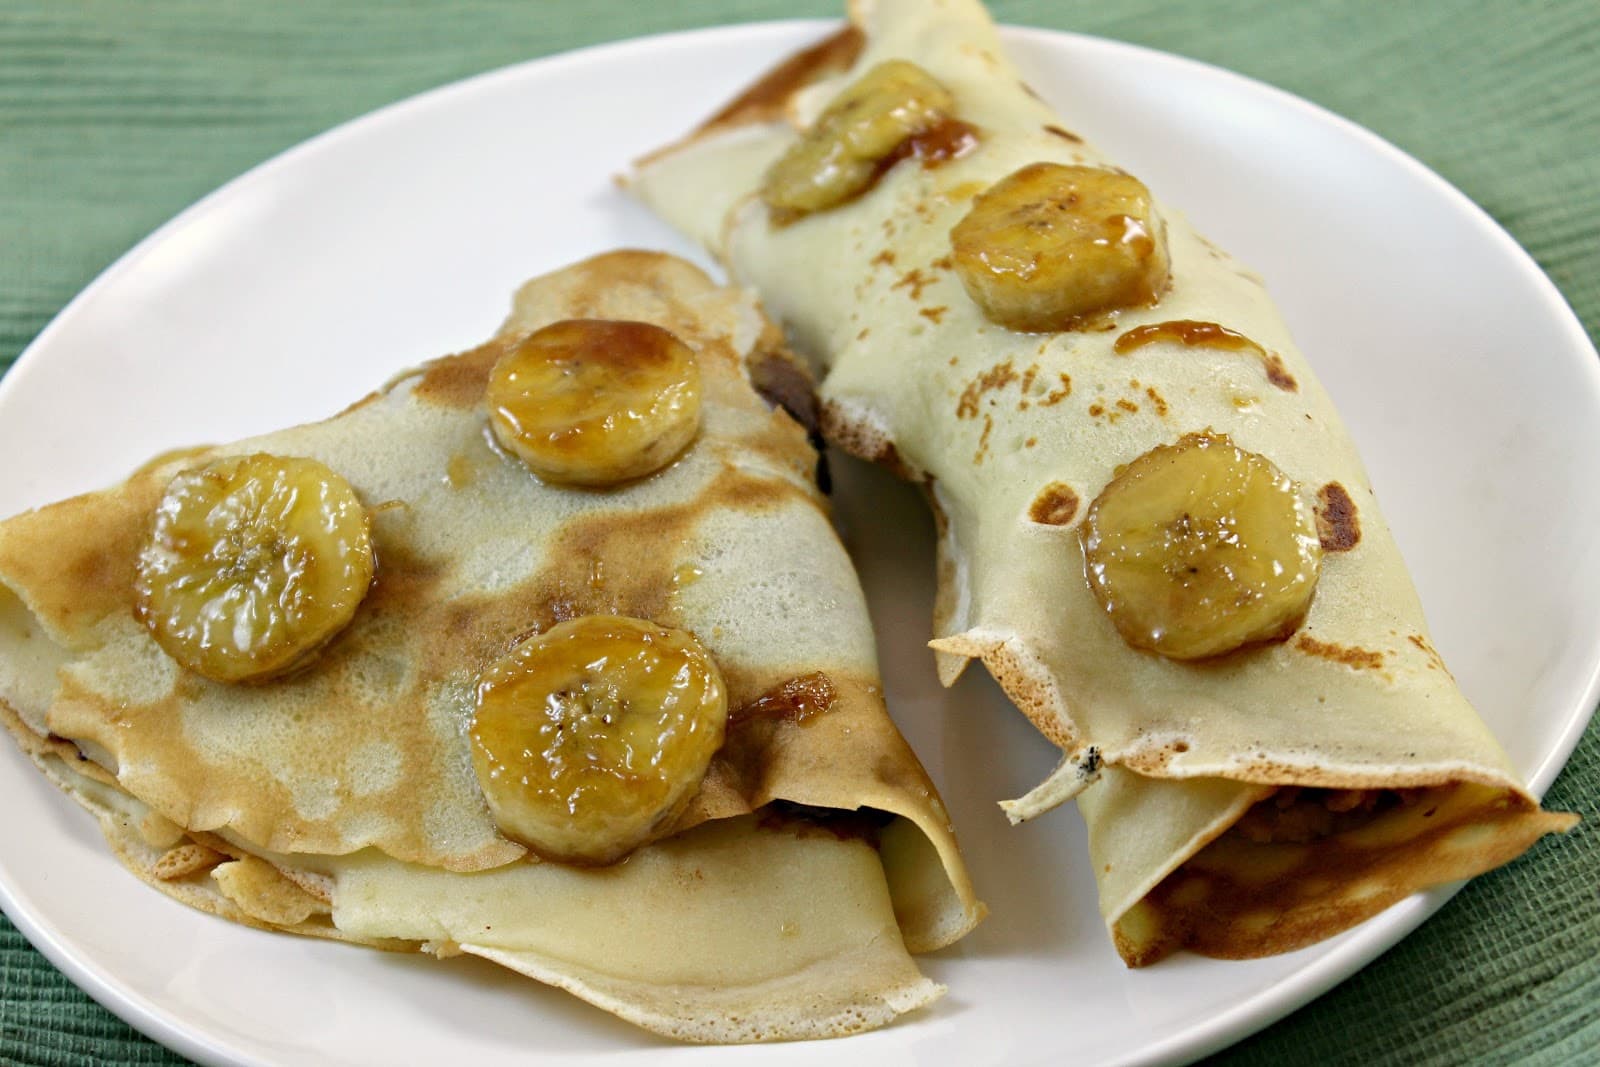
I decided to make the Cookie Dough-Filled Crepes. I must have had some inspiration from Elvis because I decided to use a peanut butter cookie dough instead of a traditional chocolate chip. I also added some nutella to really make it delicious. I topped the crepes with sauteed bananas to complete my decadent breakfast.
Ingredients:
For crepes:
1 cup all purpose flour
1 tablespoon granulated sugar
1/8 teaspoon salt
1 cup whole milk
2 eggs
3 tablespoons unsalted butter, melted and cooked to room temperature, plus more for cooking