I am a messy (and clumsy) cook. Because I usually start cooking as soon as I come home, I rely on aprons to keep my work clothes from being completely ruined by my latest culinary creation. One can never have too many aprons, so I’m happy to say that the lovely makers of Knotty Daughters Aprons contacted me about giving away one of their aprons to one of my readers!
Knotty Daughters design and sell cute and functional aprons. They have plenty of styles and are made with extra long lies so you can knot them in the front or the back, depending on your preference. The best part: The aprons are made of kitchen towels so they can stand up to your best kitchen messes! They are also machine washable. As they say on their site, these are “knot your mom’s apron” hehe.
Maya Apron- Front
Maya Apron- Back
Be sure to check our their selection of aprons here.
The ladies at Knotty Daughters will be giving away an apron of the winner’s choice! To enter, just use the widget below. The giveaway will be open for one week. Good luck!
I figured it was about time I posted another Julia Child recipe. I have to admit, the past two weeks recipes intimidated me quite a bit, so I didn’t even make them. Although I have to say, Coq au Vin is not even close to being a weeknight friendly meal. Vichyssoise, or cold leek and potato soup, is more my speed. I’m pretty “skilled” at throwing things into a pot and letting time do the work. This isn’t a meal you can make and eat within one night, unless you have the luxury of beginning your meal much earlier in the day. I cooked this one night, chilled it overnight, and served it for dinner the next night. The original recipe is quite simple. I added crumbled bacon on top because, well, what isn’t better with bacon?
Ingredients: (I didn’t want a ton of soup sitting around so I scaled the recipe down. This makes about 2 hearty bowls)
4 cups of chicken stock (or vegetable stock for vegetarian)
When I came across this recipe, my first thought was “why don’t people make Egg BLTs more often”? Why is this not a common brunch menu choice? Egg sounds like a logical upgrade to a traditional BLT. The addition of avocado to this just takes it over the top. I found this recipe on myrecipes.com and switched it around a bit, but the general idea is the same.
Ingredients (makes two servings):
1/2 cup halved grape tomatoes
1/2 avocado, diced
1 tablespoon chopped fresh basil
1 garlic clove, minced
1 tablespoon extra virgin olive oil
Salt and pepper to taste
1 teaspoon red wine vinegar, divided
2 large eggs
2 teaspoons mayonnaise
2 pieces of ciabatta bread (or 2 ciabatta rolls)
1 cup firmly packed arugula
4 thick bacon slices, cooked
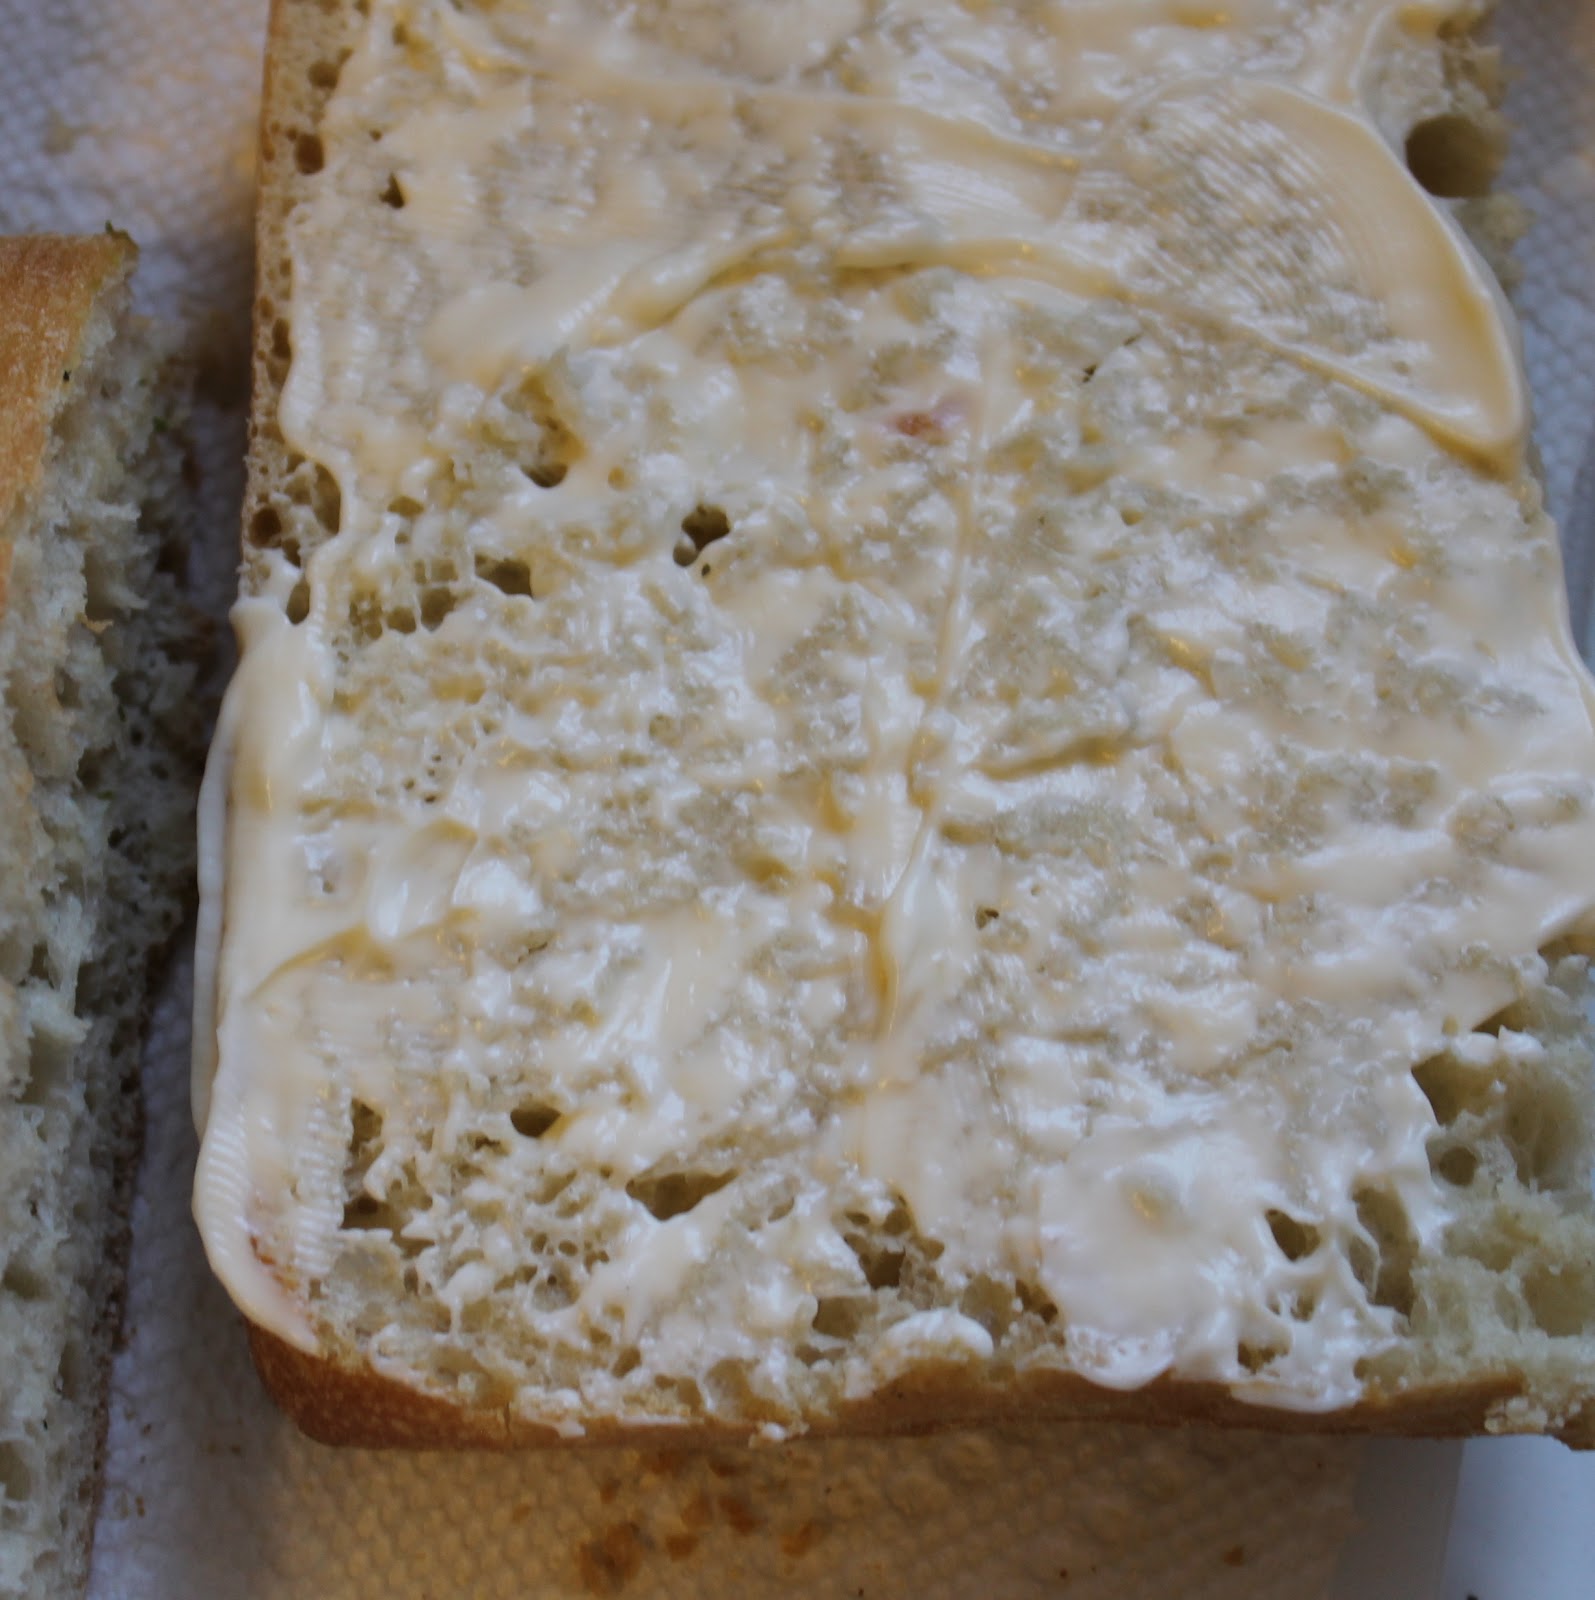
I bought one of those “bake at home” ciabatta breads that you pop in the oven for about 10 minutes. I thought some “freshly baked” bread would be nice with this dish. You can use whatever bread you happen to find if ciabatta is not available.
Cook the bacon according to package directions. Transfer to a paper towel to drain excess fat.
Combine the tomatoes, avocado, basil, garlic, olive oil, red wine vinegar, salt and pepper in a bowl.
Cook eggs over easy (or whatever style you prefer). To cook them over easy, heat a saute pan over low heat and spray with cooking spray. Crack one egg into the pan. Season with salt and pepper if desired (I honestly don’t think you need it ) and cook until the whites become opaque. To make sure the yolk cooks slightly, I add a top to the saute pan. Repeat with the second egg.
Now it’s all assembly. Spread 1 teaspoon mayonnaise on a slice of bread.
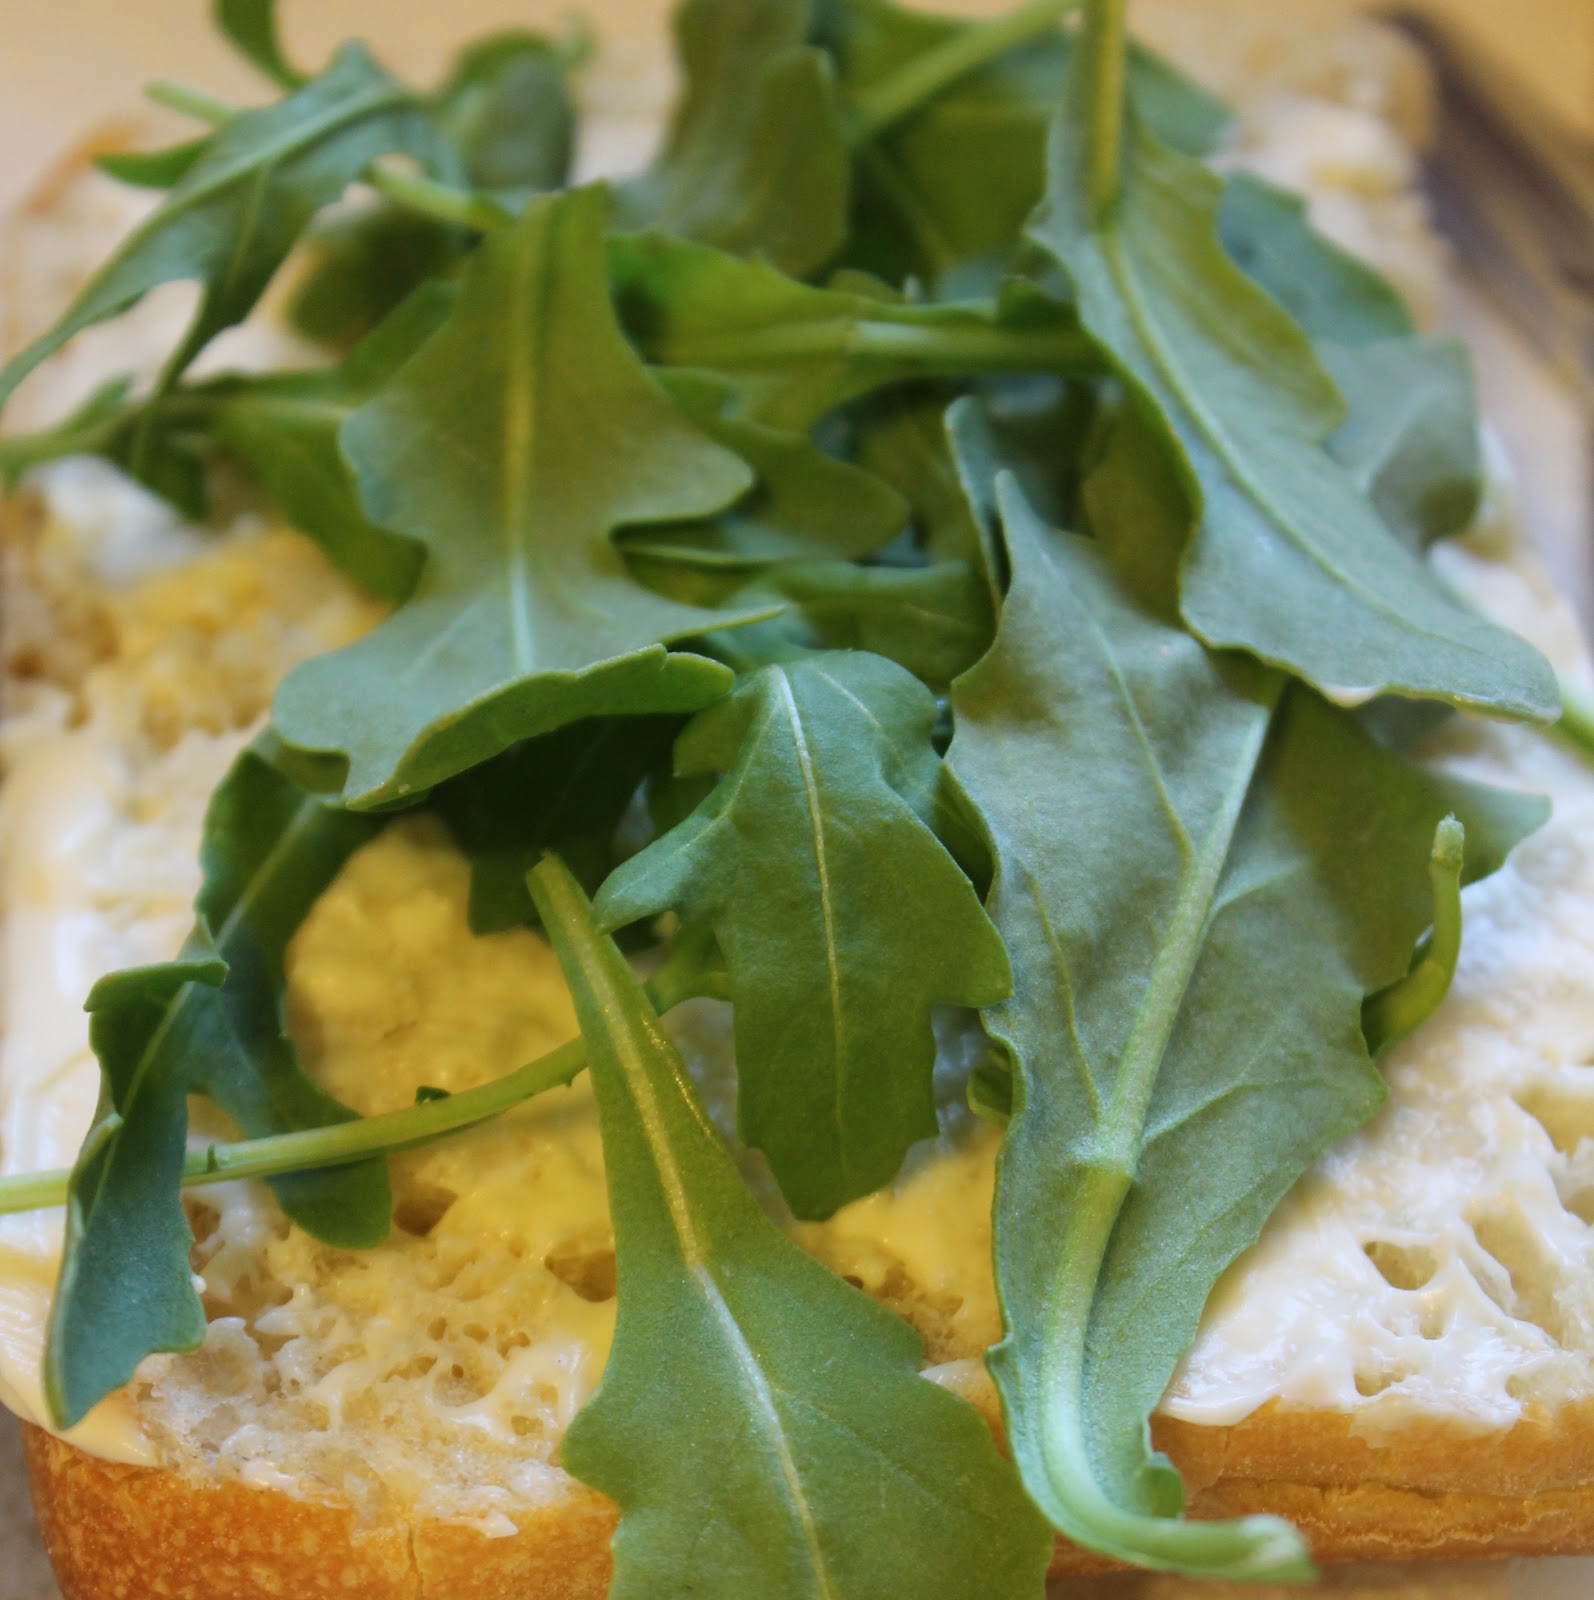
Add 1/2 cup arugula.
2 bacon slices (I tore them in half to fit nicely)
and the egg.
Top with the tomato avocado mixture.
This is the fanciest BLT I’ve ever seen.
It was fantastic too. I kept saying over and over again how yummy each bite was!
This recipe is so great because you can substitute whatever you want. Mess up the egg? Stick a scrambled egg on there instead. Hate arugula? Substitute baby spinach leaves. I suggest adding some extra sliced basil on top of the whole dish to add some extra freshness!
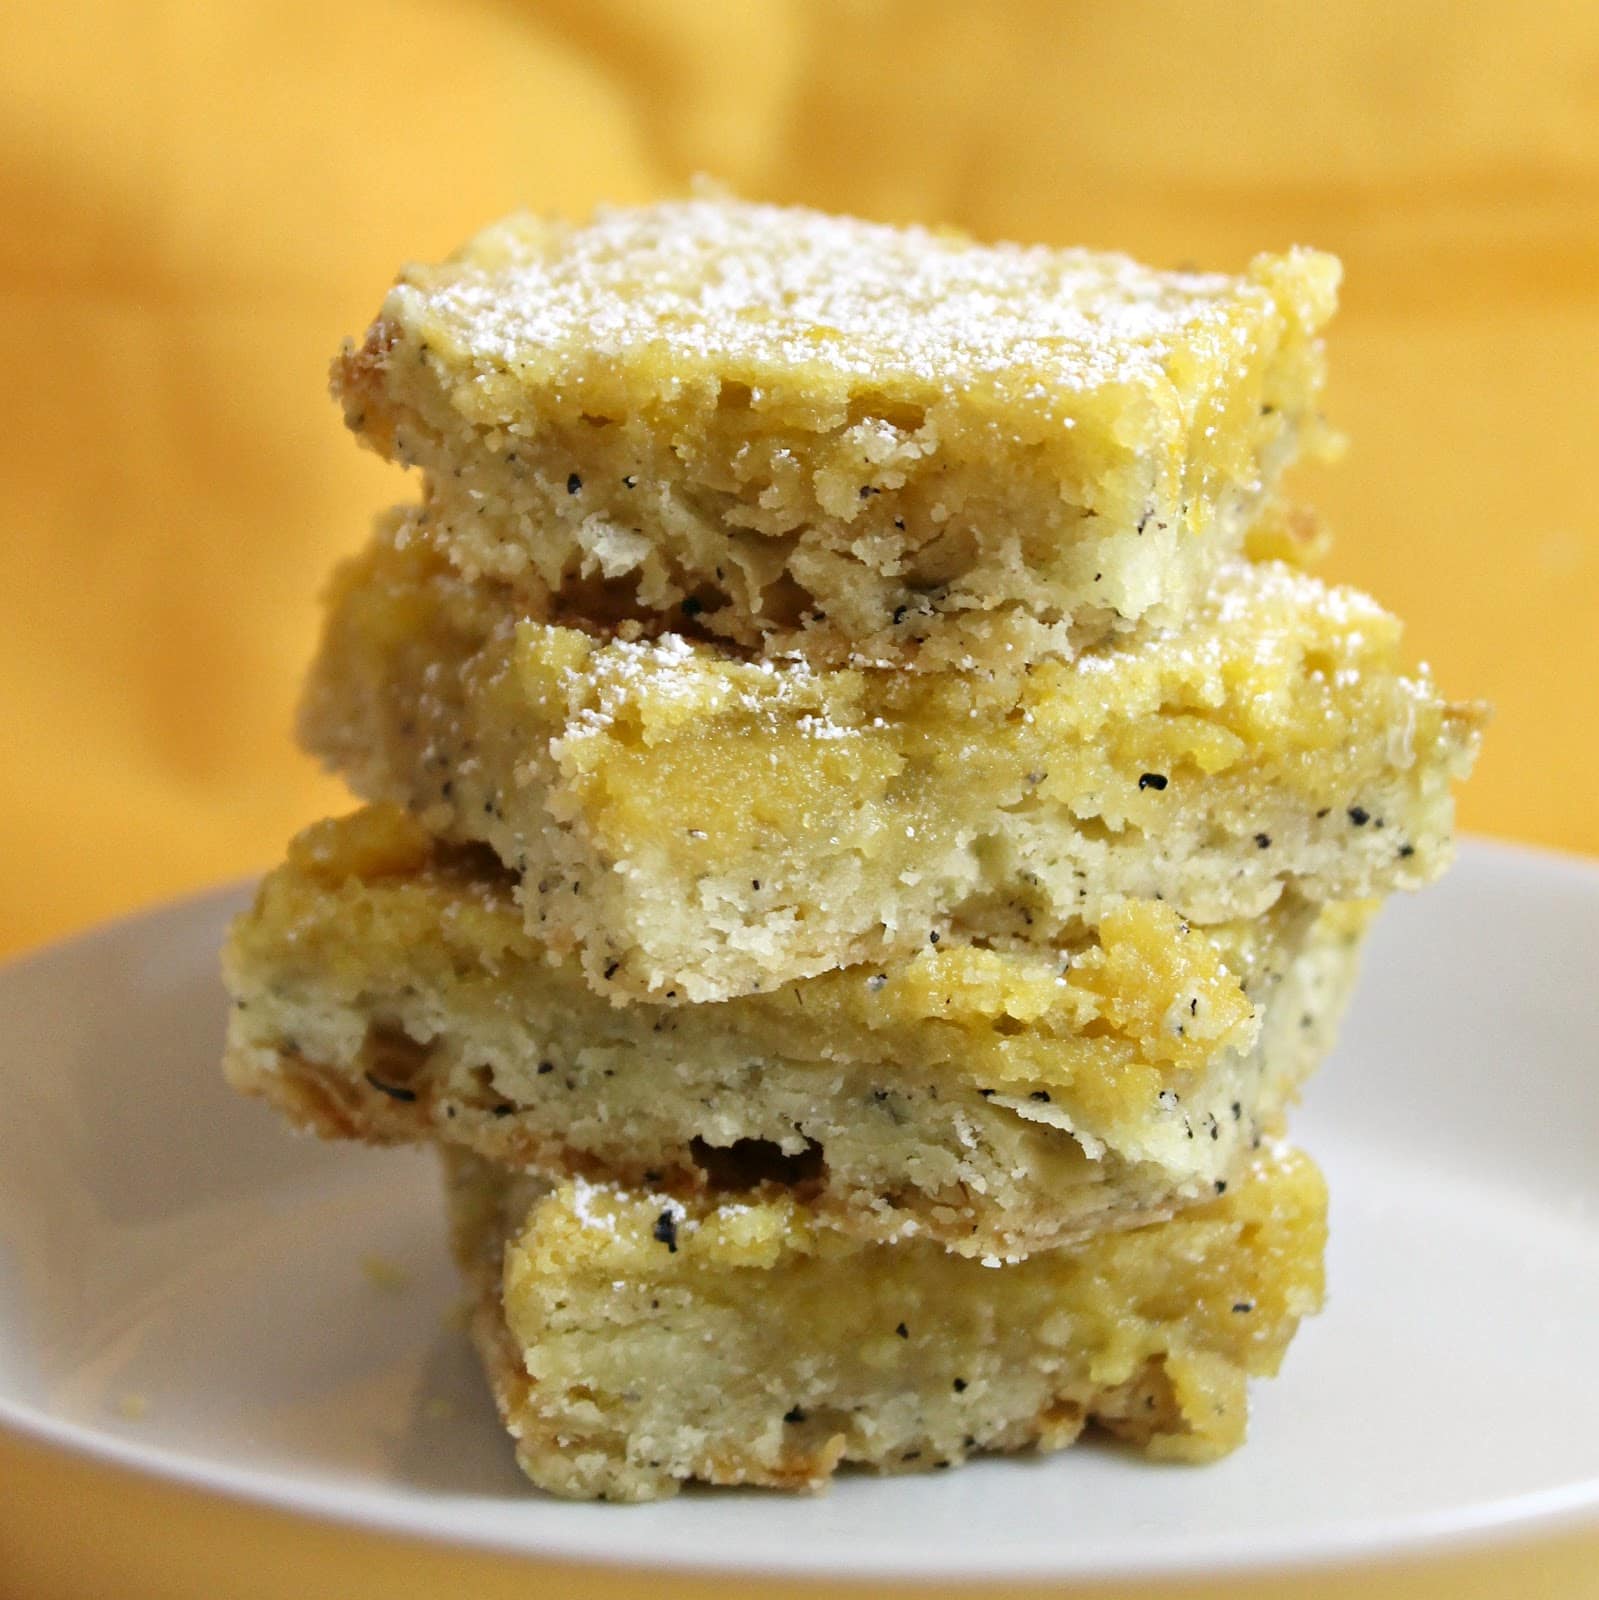
My sister and dad have their birthdays within 2 days of each other. And this year, my mom was away on Mother’s Day so we didn’t get to celebrate. So when I went home to celebrate the birthdays of my sister and dad, I wanted to bring a little something for my mom as well. When the last issue of Cooking Light had a recipe for Lemon Early Grey Squares, I knew they would be perfect. My mom is obsessed with everything bergamot. She’s also a huge citrus (specifically lemon) fan. I hope she likes them!
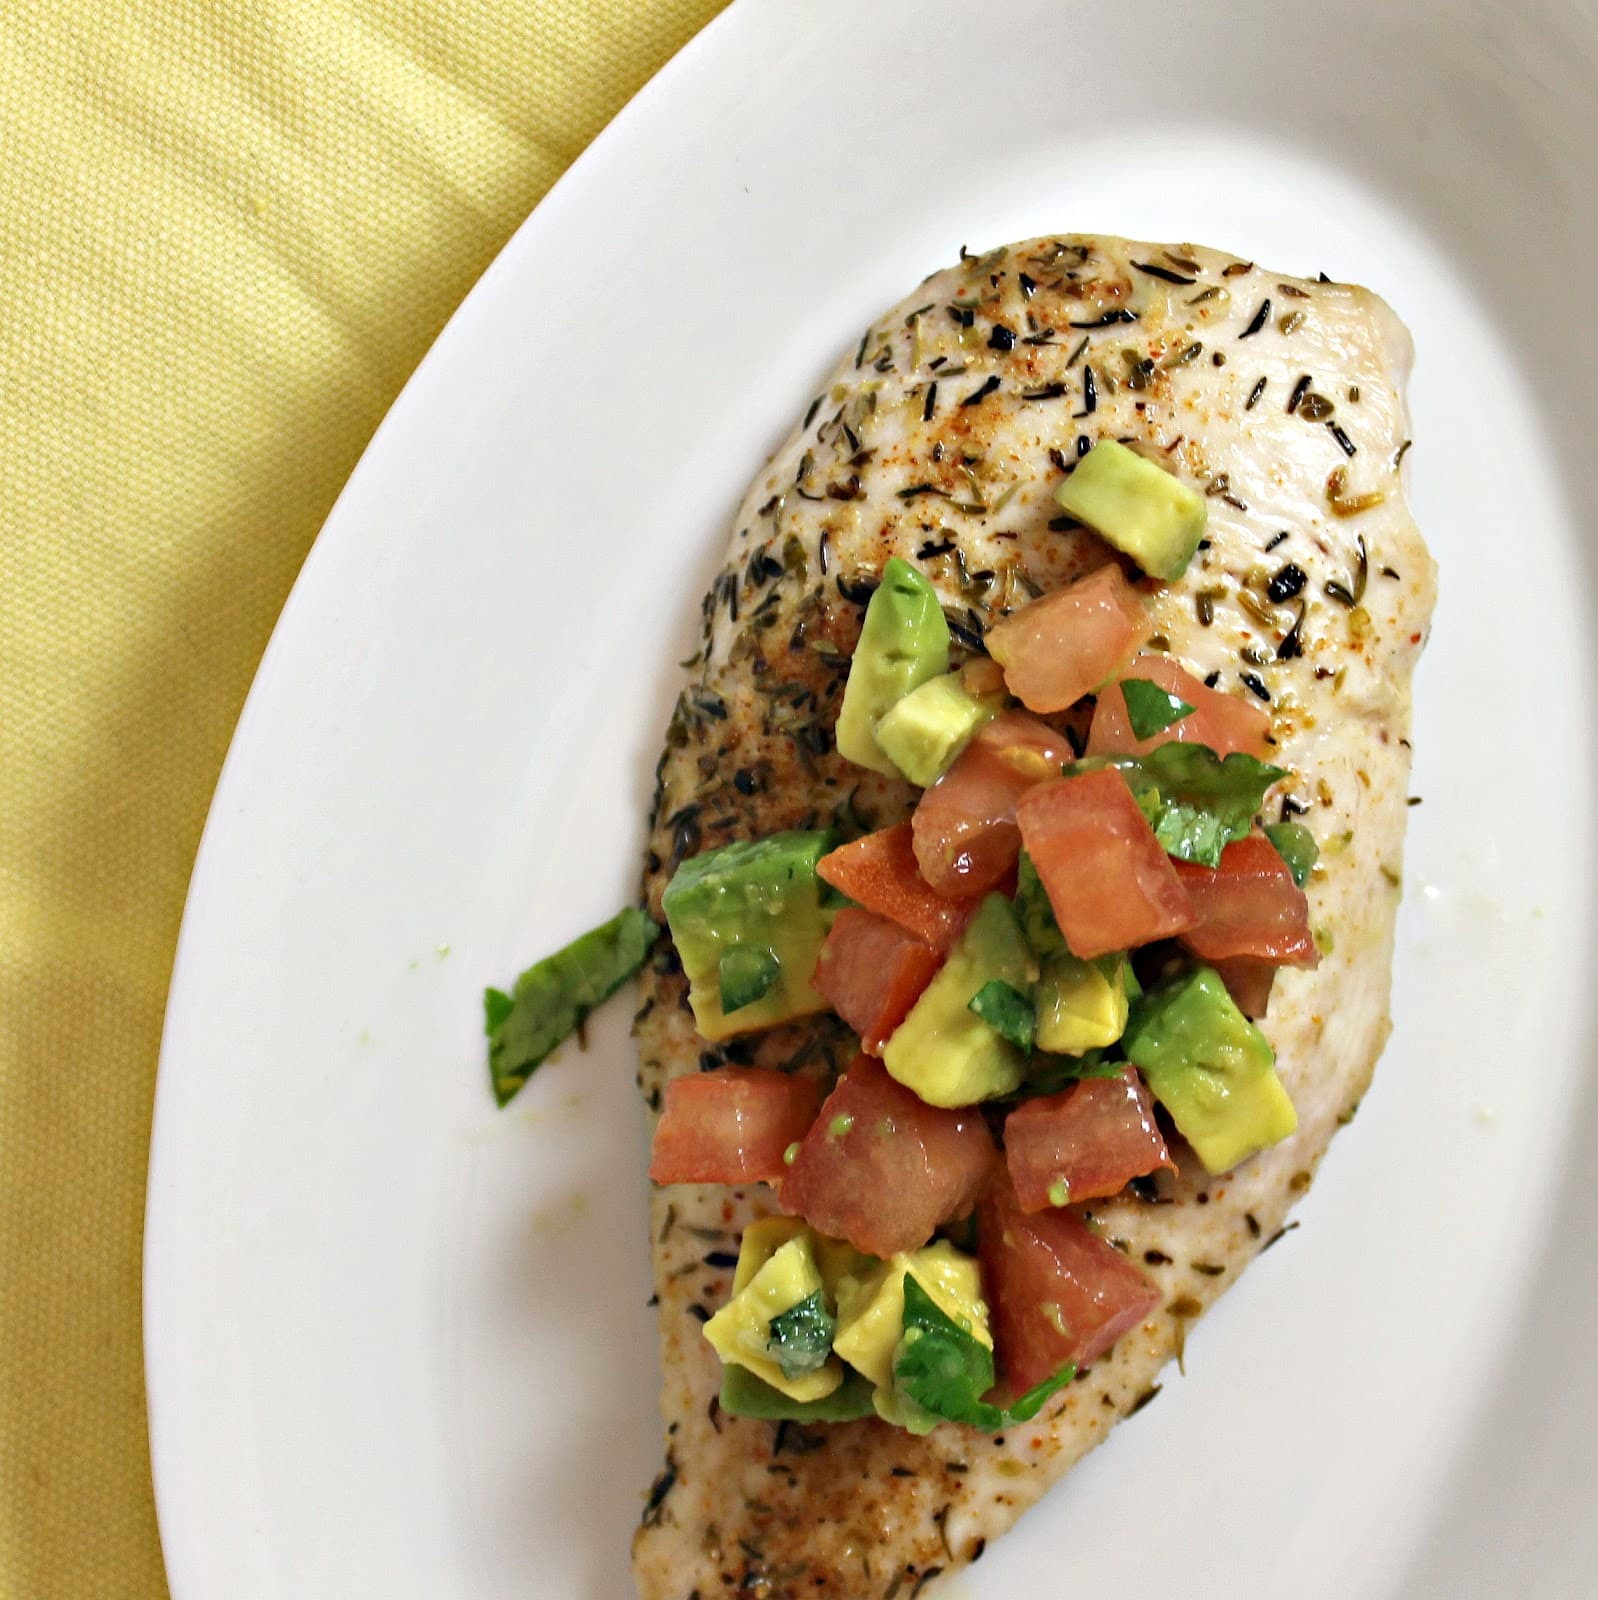
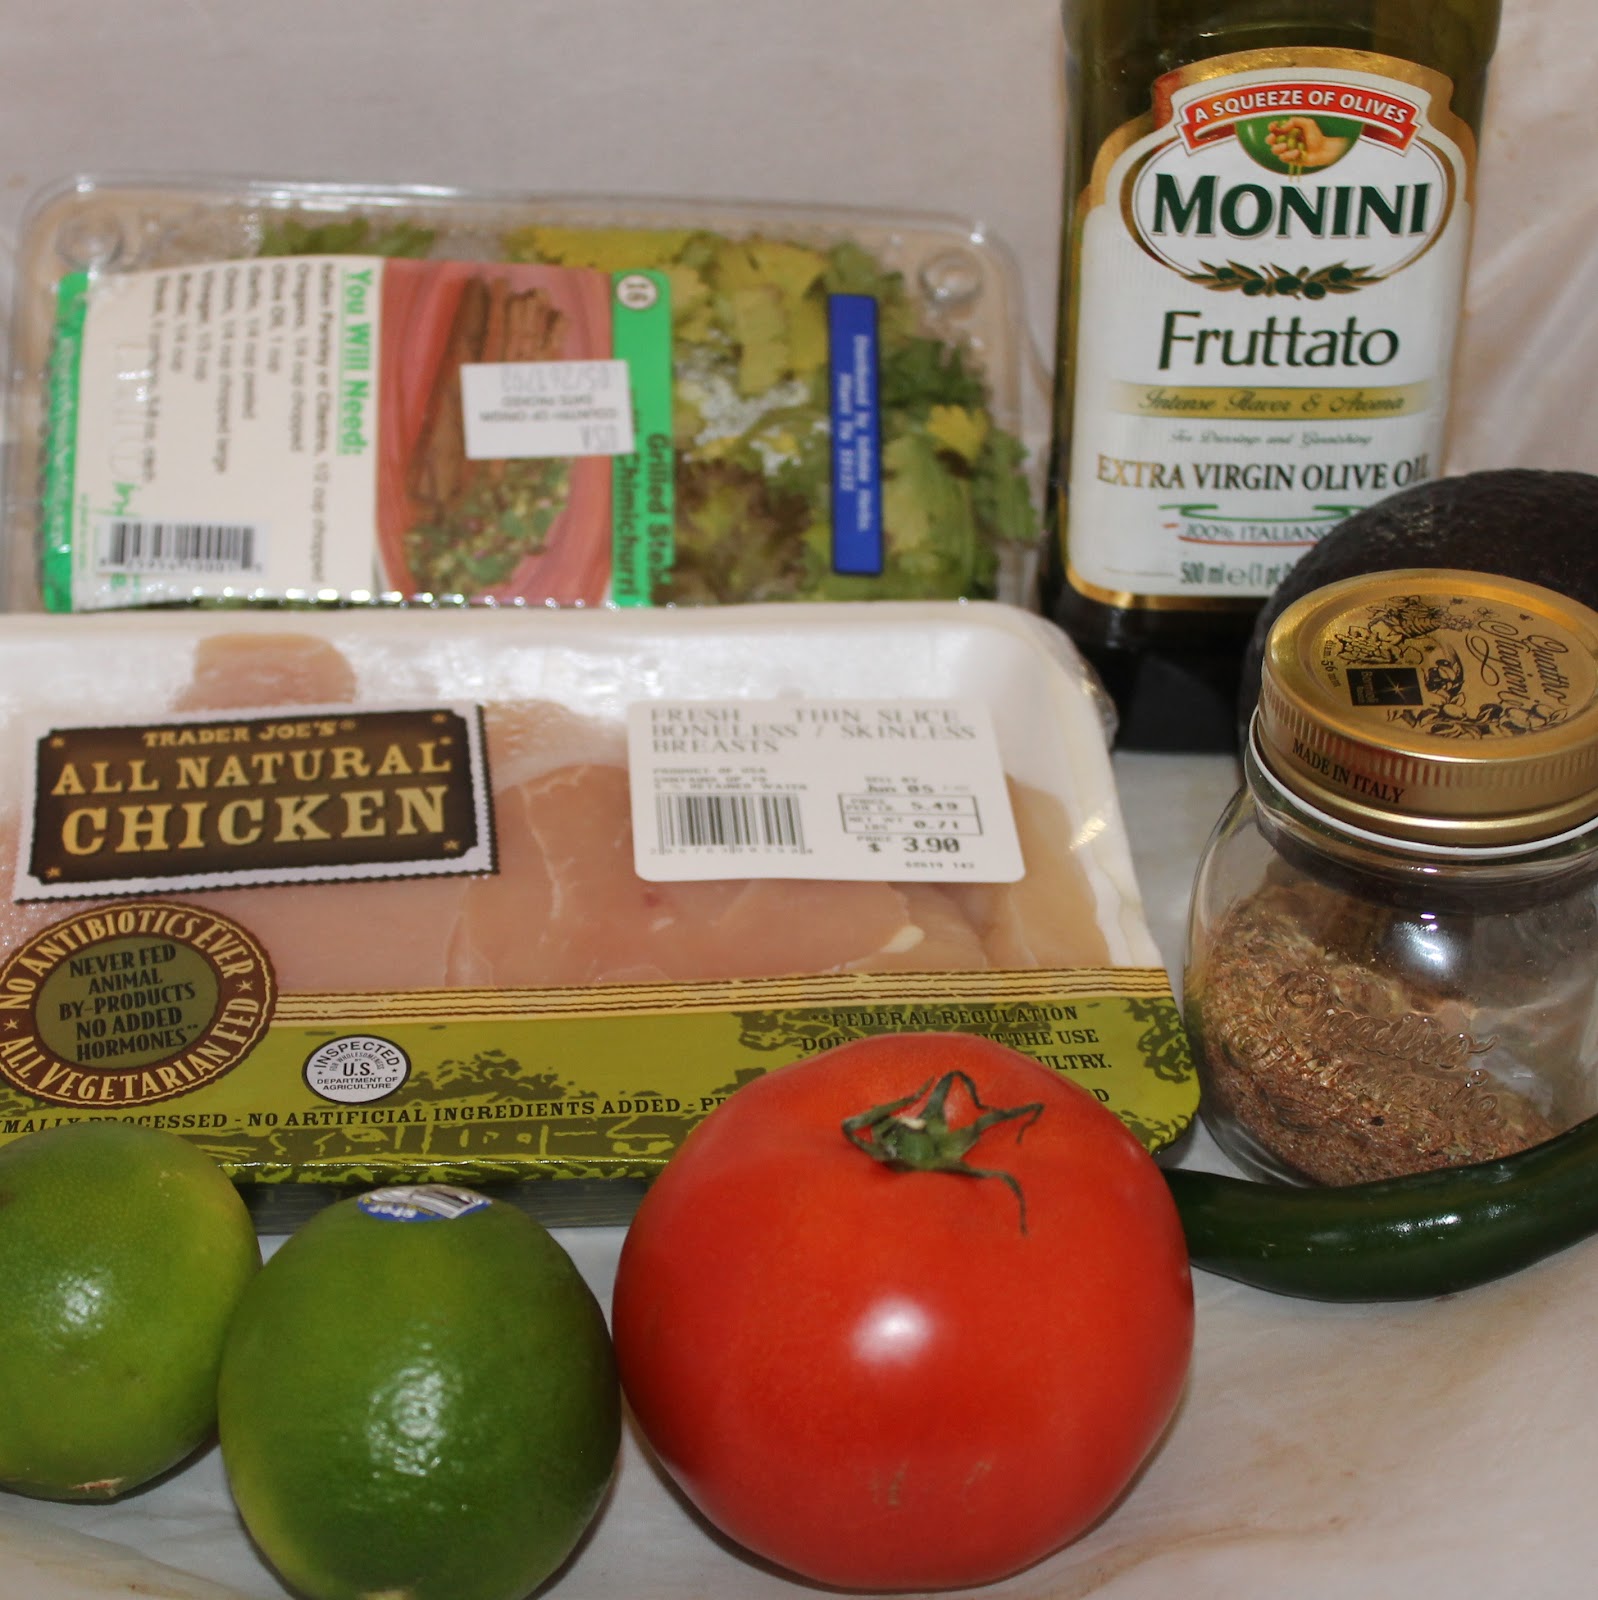
I have inexplicably been picking up an avocado each and every time I buy groceries. I didn’t have a recipe for the avocados, I just kept buying them. I guess my subconscious really wanted one. So I finally sat down and found a recipe highlighting them: Seared Chicken with Avocado. I added some tomato to give it a bit more freshness but the rest of the recipe is pretty intact.
Ingredients:
1 1/2 teaspoons blackened seasoning
4 skinless, boneless chicken breast halves
1 teaspoon coconut oil
1 diced peeled avocado
2 tablespoons chopped fresh cilantro
1 jalapeño pepper, seeded and finely chopped
2 tablespoons fresh lime juice (about 1 lime), plus the zest of the lime
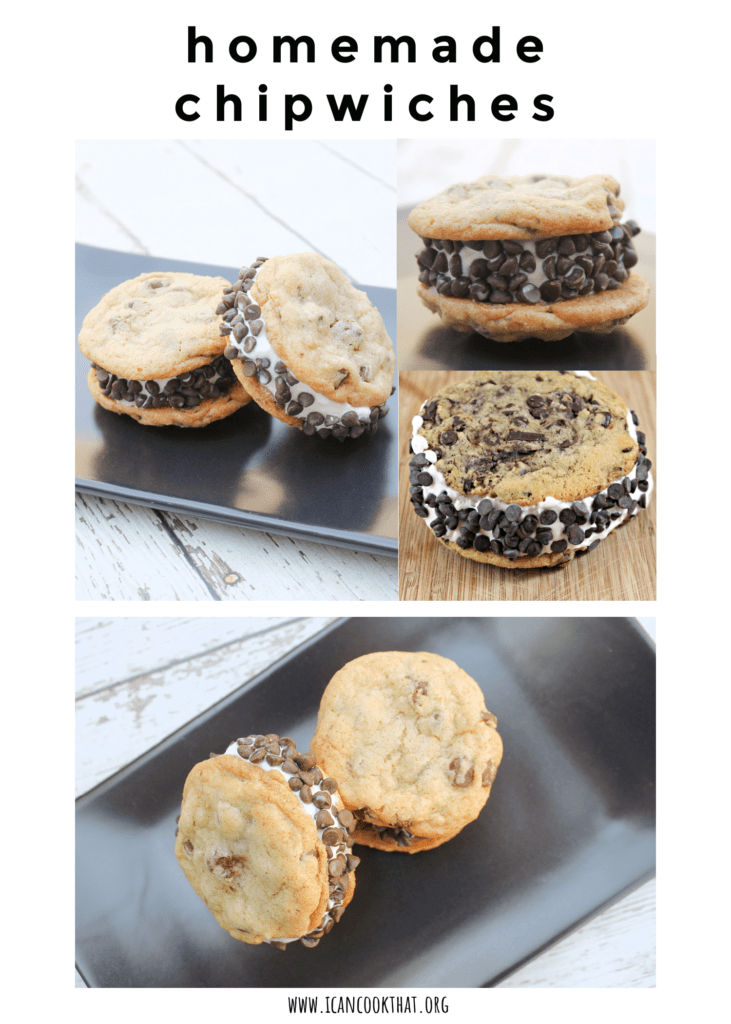
I have many childhood memories of me chasing down the ice cream truck to get my absolute favorite ice cream treat: a Chipwich. I mean, honestly, what more could you ask for in a dessert? Two chocolate chip cookies with ice cream sandwiched in between. Mmm.
So I was, well, horrified, to find out that the Chipwich brand name is no longer in existence as of 2007. At that time, Nestle bought the rights to the name and stopped all production because it competed with their “Chocolate Chip Cookie Sandwich.” I mean, come on. The name Chipwich is exponentially more catchy. But hey, whatever floats their boat.
Since finding out this information, I can’t get the idea of making my own Homemade Chipwiches or Chocolate Chip Cookie Sandwiches out of my head.
I was sent an Airbake cooking sheet recently and wanted to test it out. The Airbake Nonstick Insulated sheets are pretty snazzy. They are made of 100% aluminum and are comprised of two sheets surrounding a layer of air. This is said to reduce the temperature of the metal that actually comes in contact with the food which should result in more even baking. Airbake also claims that cookie bottoms won’t burn, win! (They also have natural sheets if you don’t want nonstick)
I decided to use a recipe from David Lebovitz for Salted Butter Chocolate Chip Cookies because the only way I can think to enhance my homemade chipwiches would be to add a little salt to bring out the flavor.
Ingredients (makes about 12 hand-sized chipwiches, make cookies larger if desired):
4 ounces salted butter, at room temperature
2/3 cup packed light brown sugar
1/2 cup granulated sugar
1 large egg, at room temperature
1/2 teaspoon vanilla extract
1 1/3 cup flour
1/2 teaspoon baking soda
1/2 teaspoon flaky sea salt or kosher salt
1 1/3 cups semisweet chocolate chips
1 pint vanilla ice cream (or your favorite ice cream)
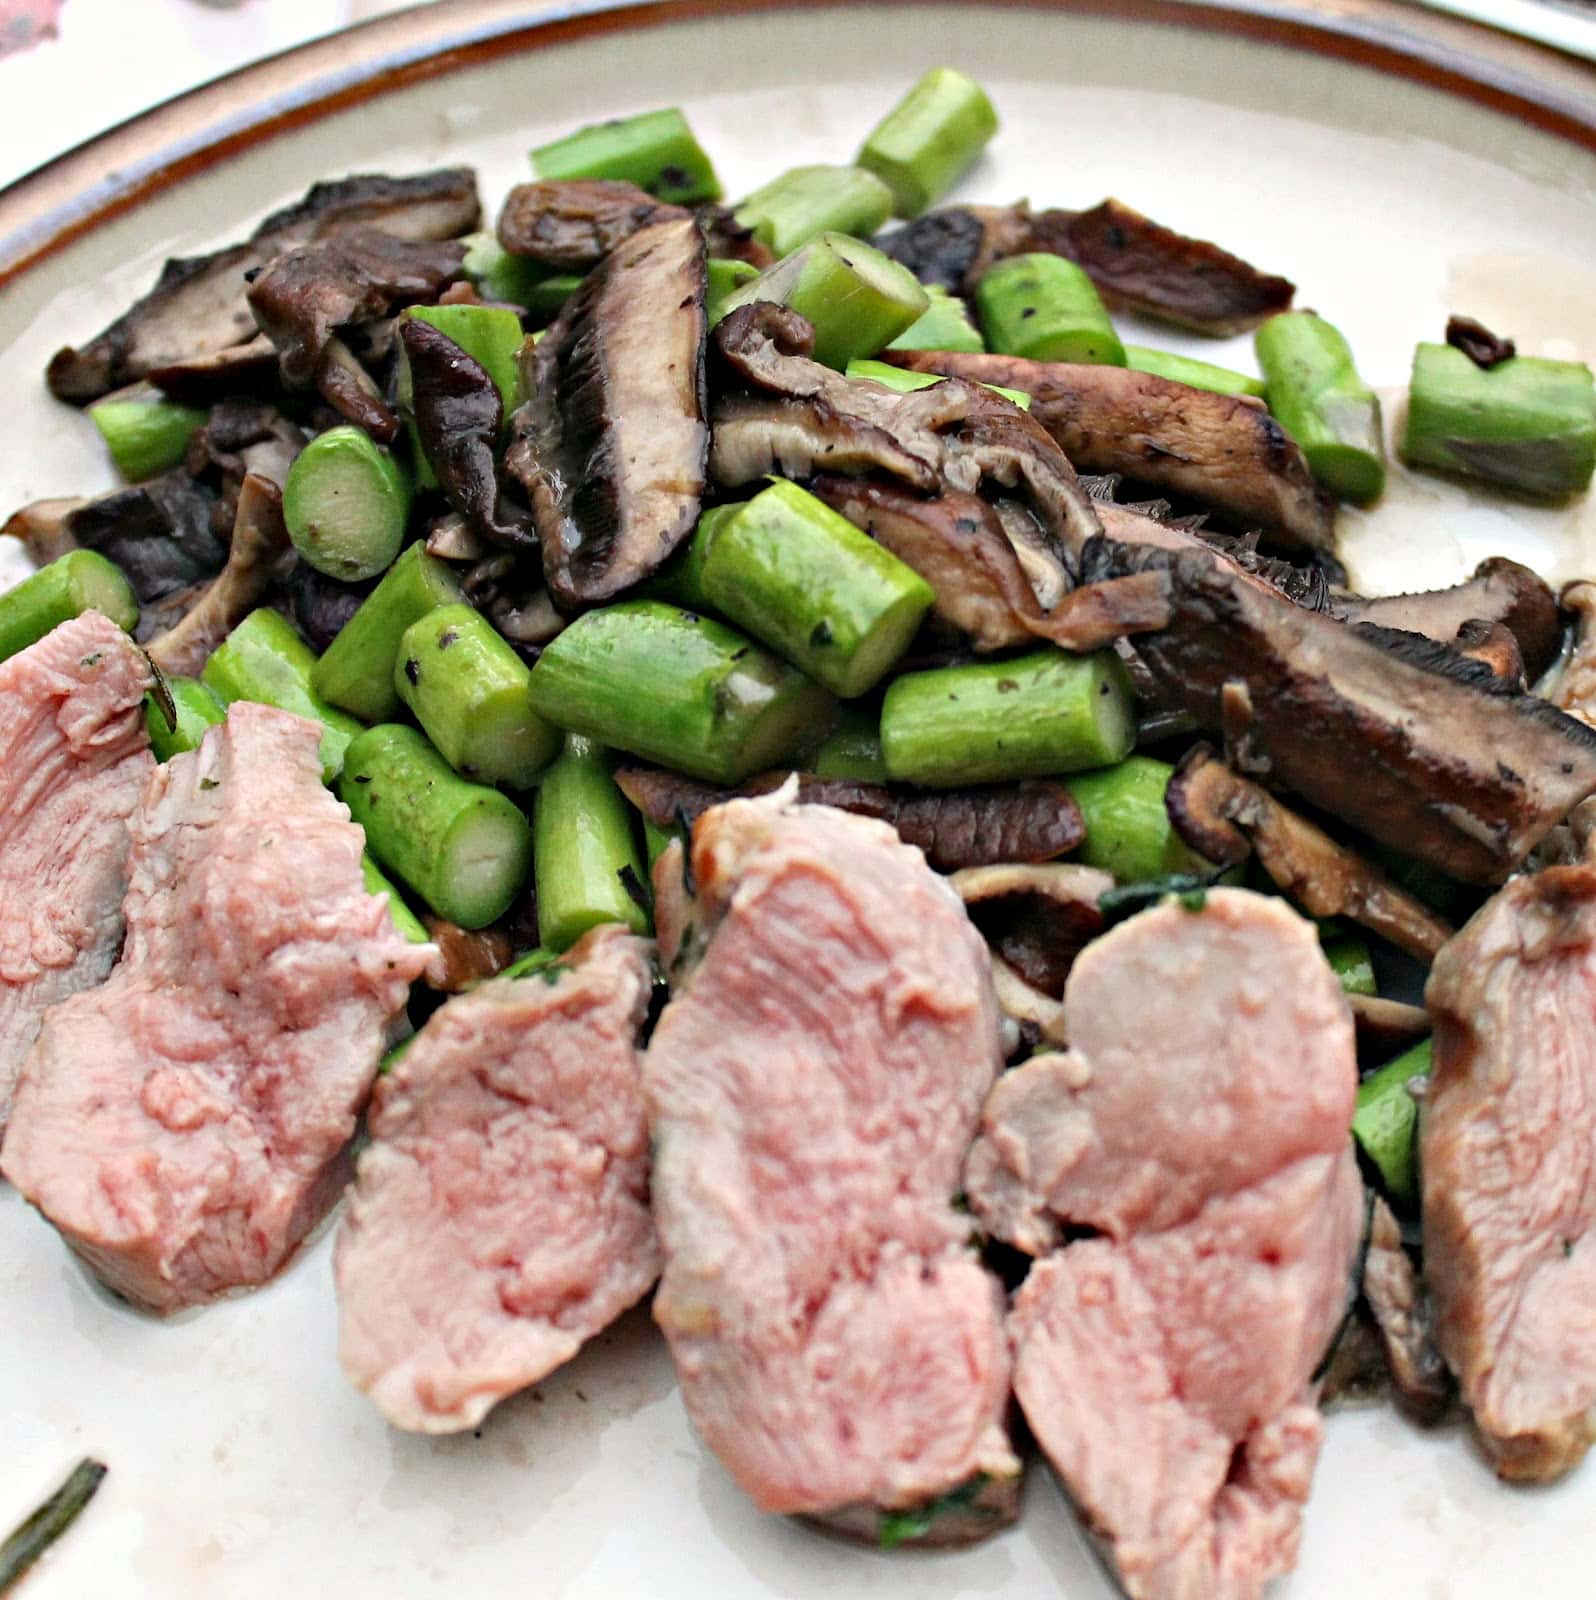
Happy Memorial Day weekend! Grilling is synonymous with Memorial Day in my mind, so I was so happy to receive a Grilling Cookbook from Cooking Light a few days ago. The cookbook: Cooking Light Way to Cook Grilling: The Complete Visual Guide to Healthy Grilling is pretty darn snazzy. The photos are gorgeous, so um, please don’t compare my crummy photos for this recipe to the ones in the book, that will make me sad. Anyways, when I saw a recipe for grilled duck, I wanted to try it. I love duck, it’s a go-to for me at restaurants. But, I’m beyond terrified to cook it myself. It’s a tough meat to cook, and if overcooked, can be super crummy. Plus, it’s not exactly cheap! But grilling? I think I can handle that…
This recipe sounded like it was written just for me and my boyfriend. Before even opening the cookbook this was our conversation:
“We should try grilling a meat we’ve never made before, I’m not in the mood for a normal burger”
“Yeah, and maybe we can grill up some asparagus and mushrooms as well. I do want a meat as part of the meal though.”
We turn to this recipe, which managed to incorporate all of our requirements, and we were sold. The only thing we weren’t sold on? The marinating time. The original recipe suggested marinating the duck overnight, up to two days. We wanted duck, and we wanted it well before tomorrow, so our marinating was closer to 3 hours instead. There are also some pretty pricey ingredients in this dish, so this would definitely be a special occasion type of meal.
I have wanted to make Lobster Mac and Cheese for the longest time. So when I was having a crummy week, I thought it would be the perfect pick-me up. (I treat myself really well, don’t I?) Continental, a restaurant in Old City and Midtown, Philadelphia, have the most fantastic Lobster Mac and Cheese. Made with orzo, the restaurants use Fontina and Gruyere cheese to make a creamy, crave-worthy meal. I used a FoodNetwork.com recipe as a base with Continental’s version as inspiration.
I headed to DiBruno Bros. to pick up my cheeses, and they were somehow out of both Fontina and Gruyere. Sad day. DiBruno Bros. never disappoints though, and the cheesemonger helped me choose two cheeses: Comté and Tomme de Berger. Comté is very similar to Gruyere but is from France (rather than Switzerland). It has a slight nutty flavor to it, and melts wonderfully (it’s commonly used in fondue). Tomme de Berger also has a bit of a nutty flavor and is a blend of sheep and goat’s milk. If you can’t find these, substitute Gruyere for the Comté and Fontina for the Tomme de Berger.
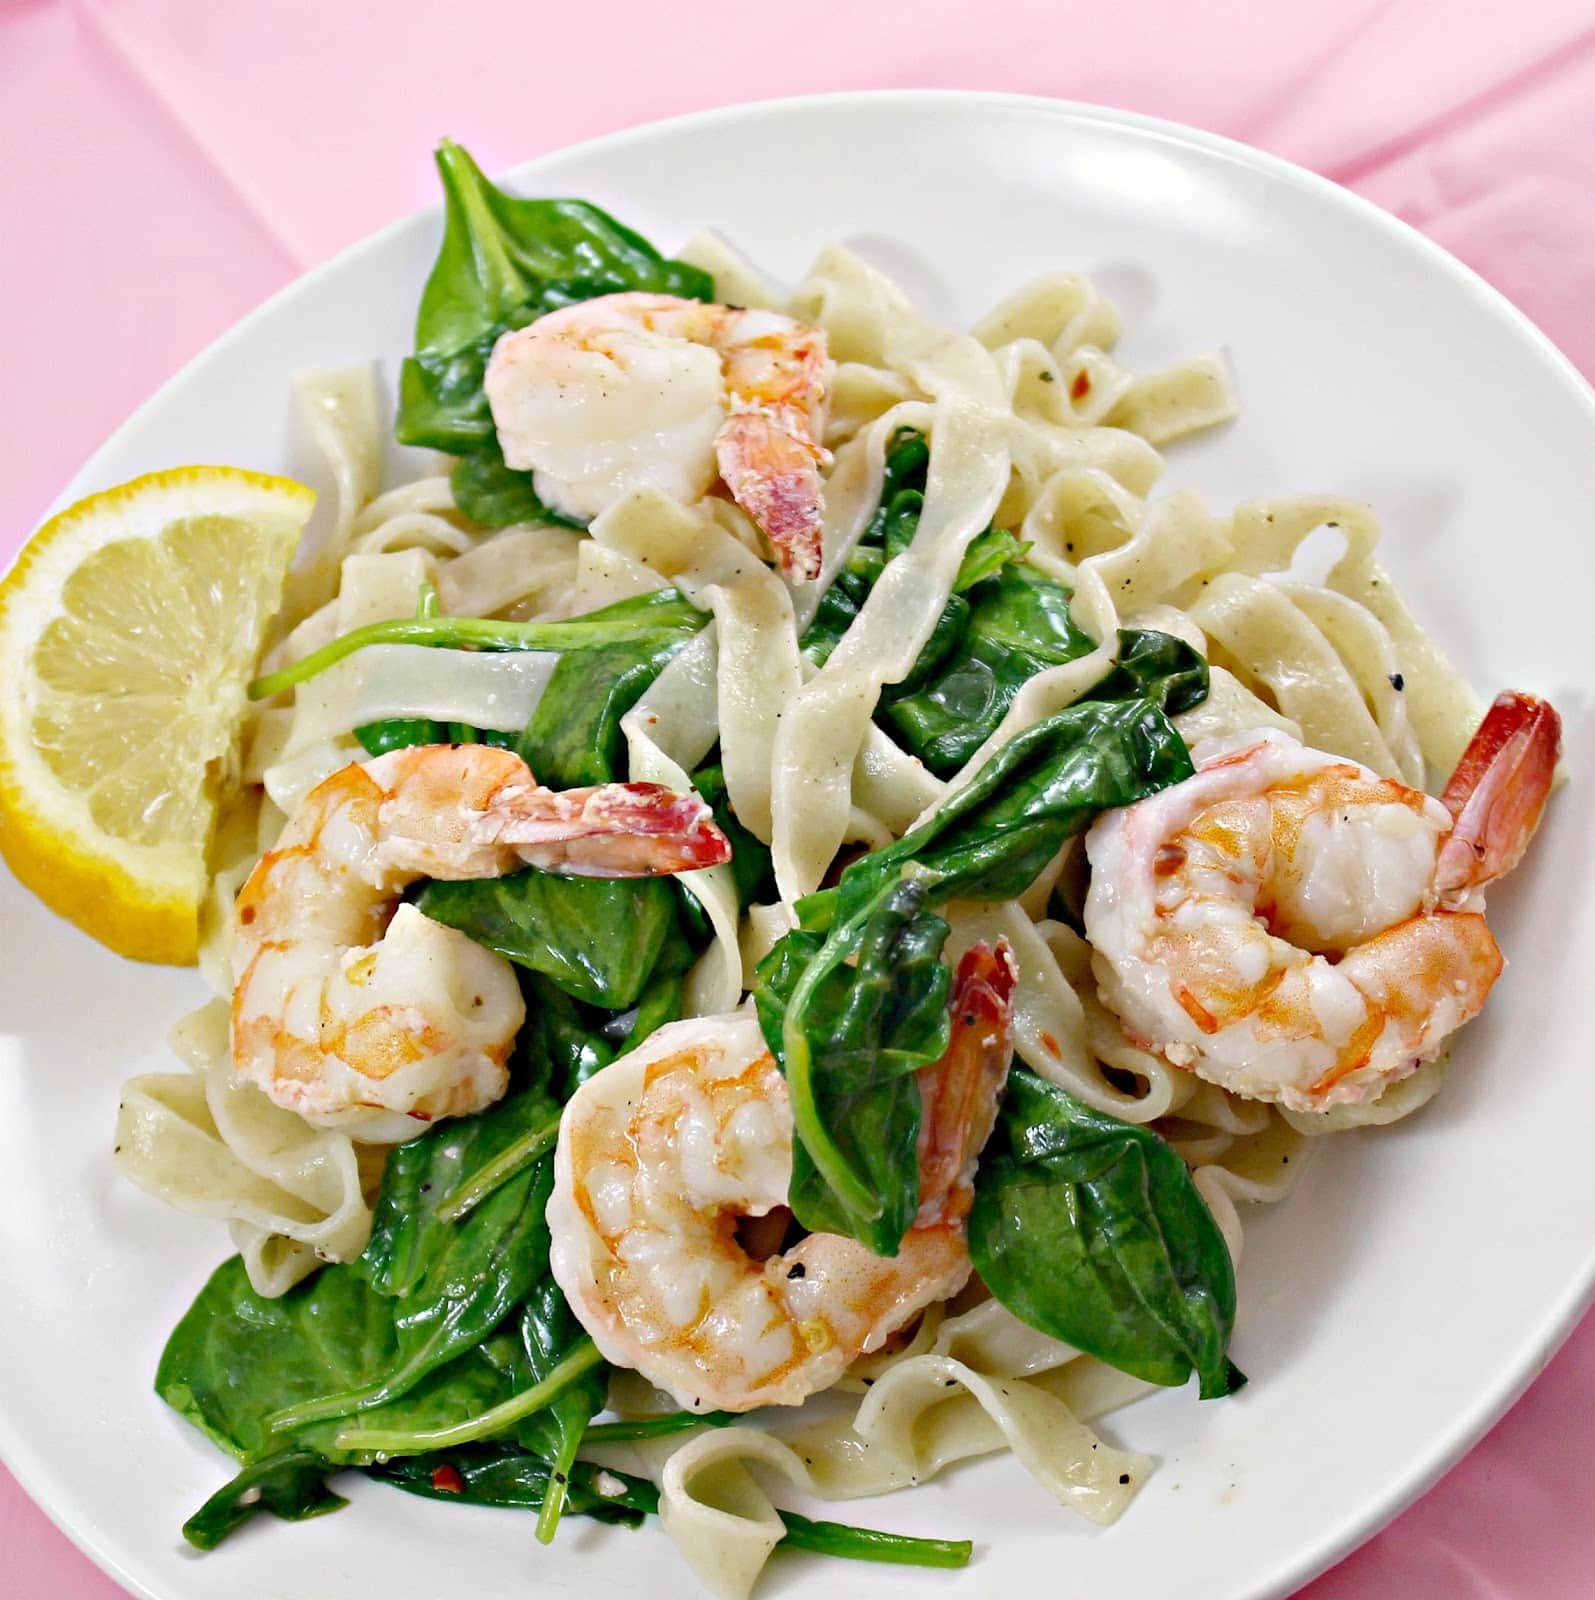
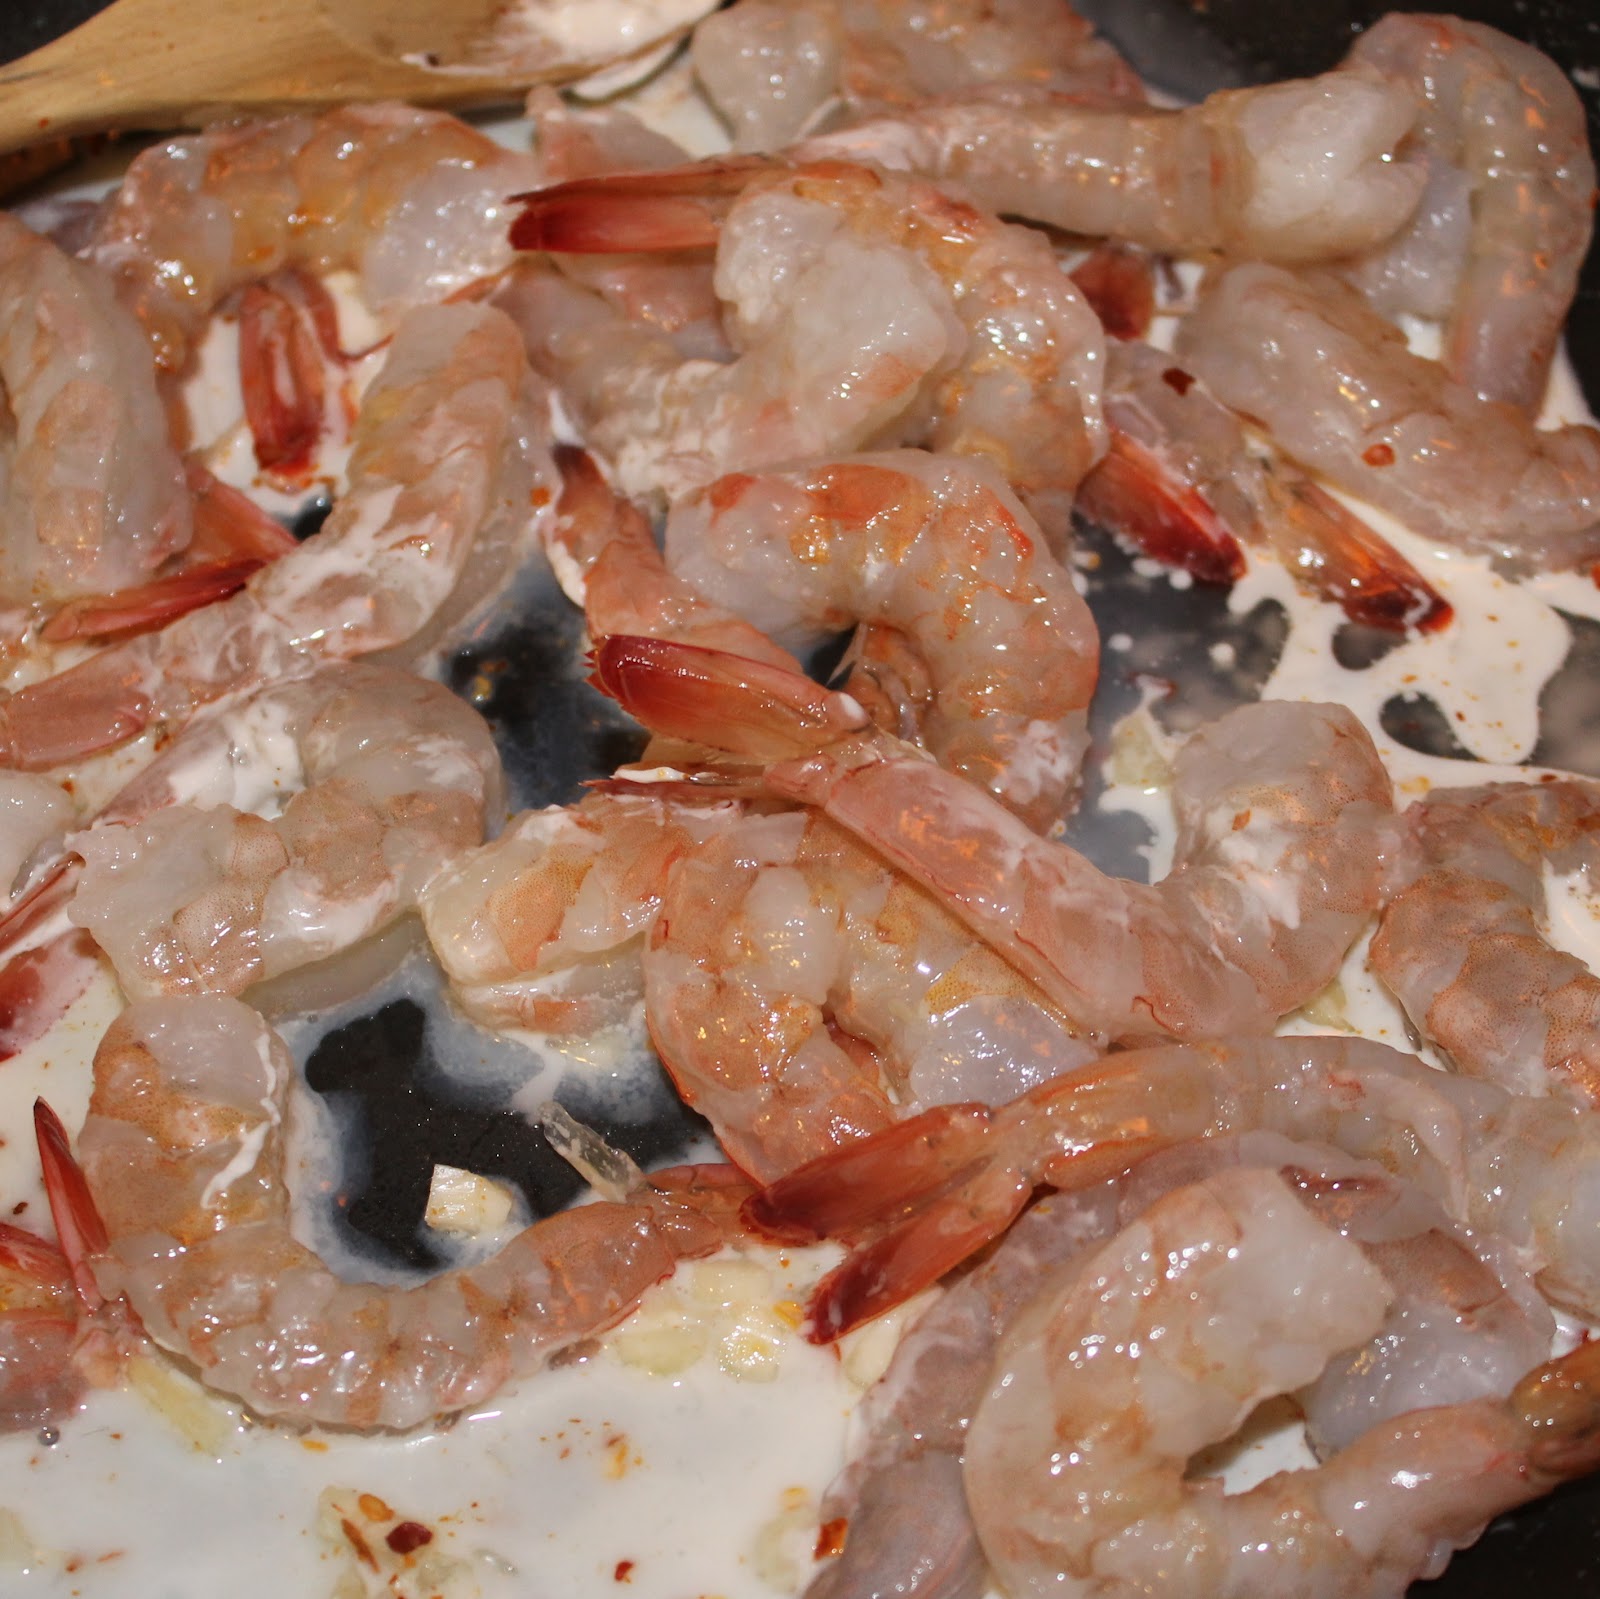
My boyfriend is allergic to shrimp. And I swear knowledge of this allergy makes me inexplicably crave shrimp. All. The. Time. So I wait for weekdays to make shrimp as much as my little heart desires. Another plus is that shrimp is a super quick meal. This Cooking Light recipe took a whopping 30 minutes from start to finish. And who doesn’t like shrimp, pasta, lemon, and spinach?
Ingredients:
8 ounces uncooked fettuccine (I used fresh pasta so it would cook faster)
2 tablespoons Melt buttery spread (or other margarine)
1 pound large shrimp, peeled and deveined
2 large garlic cloves, minced
1 teaspoon crushed red pepper
the juice and zest of 2 lemons
1/2 teaspoon kosher salt
1/2 teaspoon freshly ground black pepper
1 (6-ounce) package fresh baby spinach
Cook pasta according to package directions. If using fresh pasta, it will be done in 2-3 minutes. Drain and set aside.
Add Melt to a saute pan over medium heat. When melted, add the shrimp, garlic, and red pepper flakes to the pan. Cook for 4 minutes, or until shrimp are cooked. (It’s easiest to use tongs so that you can flip the shrimp after 2 minutes).
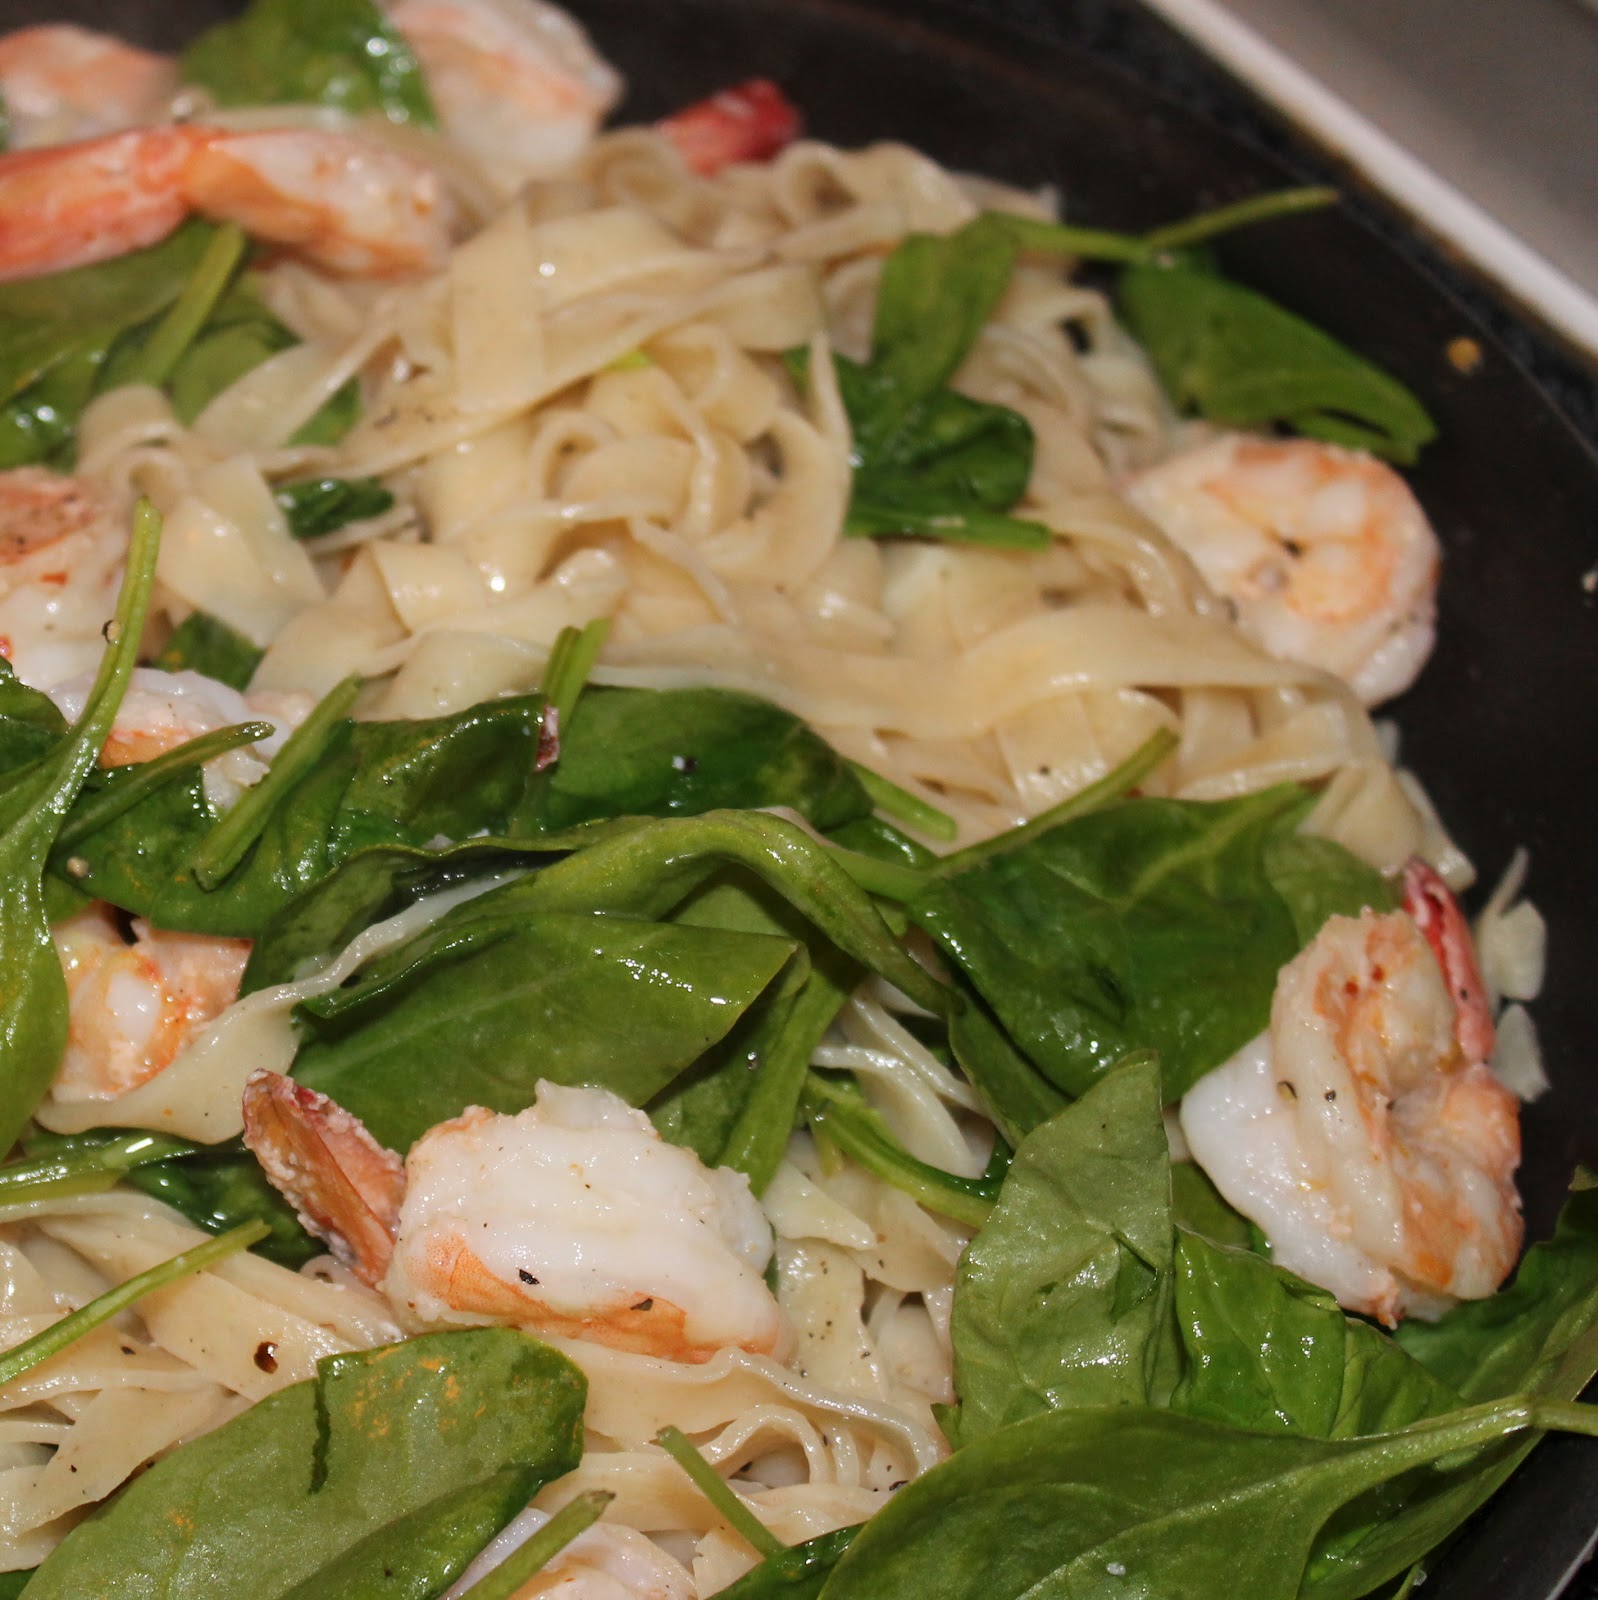
Add the cooked pasta, lemon juice and zest, black pepper, and spinach. The spinach will wilt significantly, so don’t worry if it seems like there is too much.
Cook for 3 minutes, or until the spinach begins to wilt. Serve immediately with a lemon wedge on the side.
I was not prepared for how strong the red pepper would be. If I made this again, I’d cut the red pepper in half. I actually ended up adding a tablespoon of whipped cream just to cut some of the heat.
I also wanted a bit more of lemon. I ended up adding lemon to the pasta throughout eating the dish. But the base flavors here were good! I just need to adjust the amount of ingredients and it would be a keeper! So, to recap: more lemon, less red pepper = perfect.
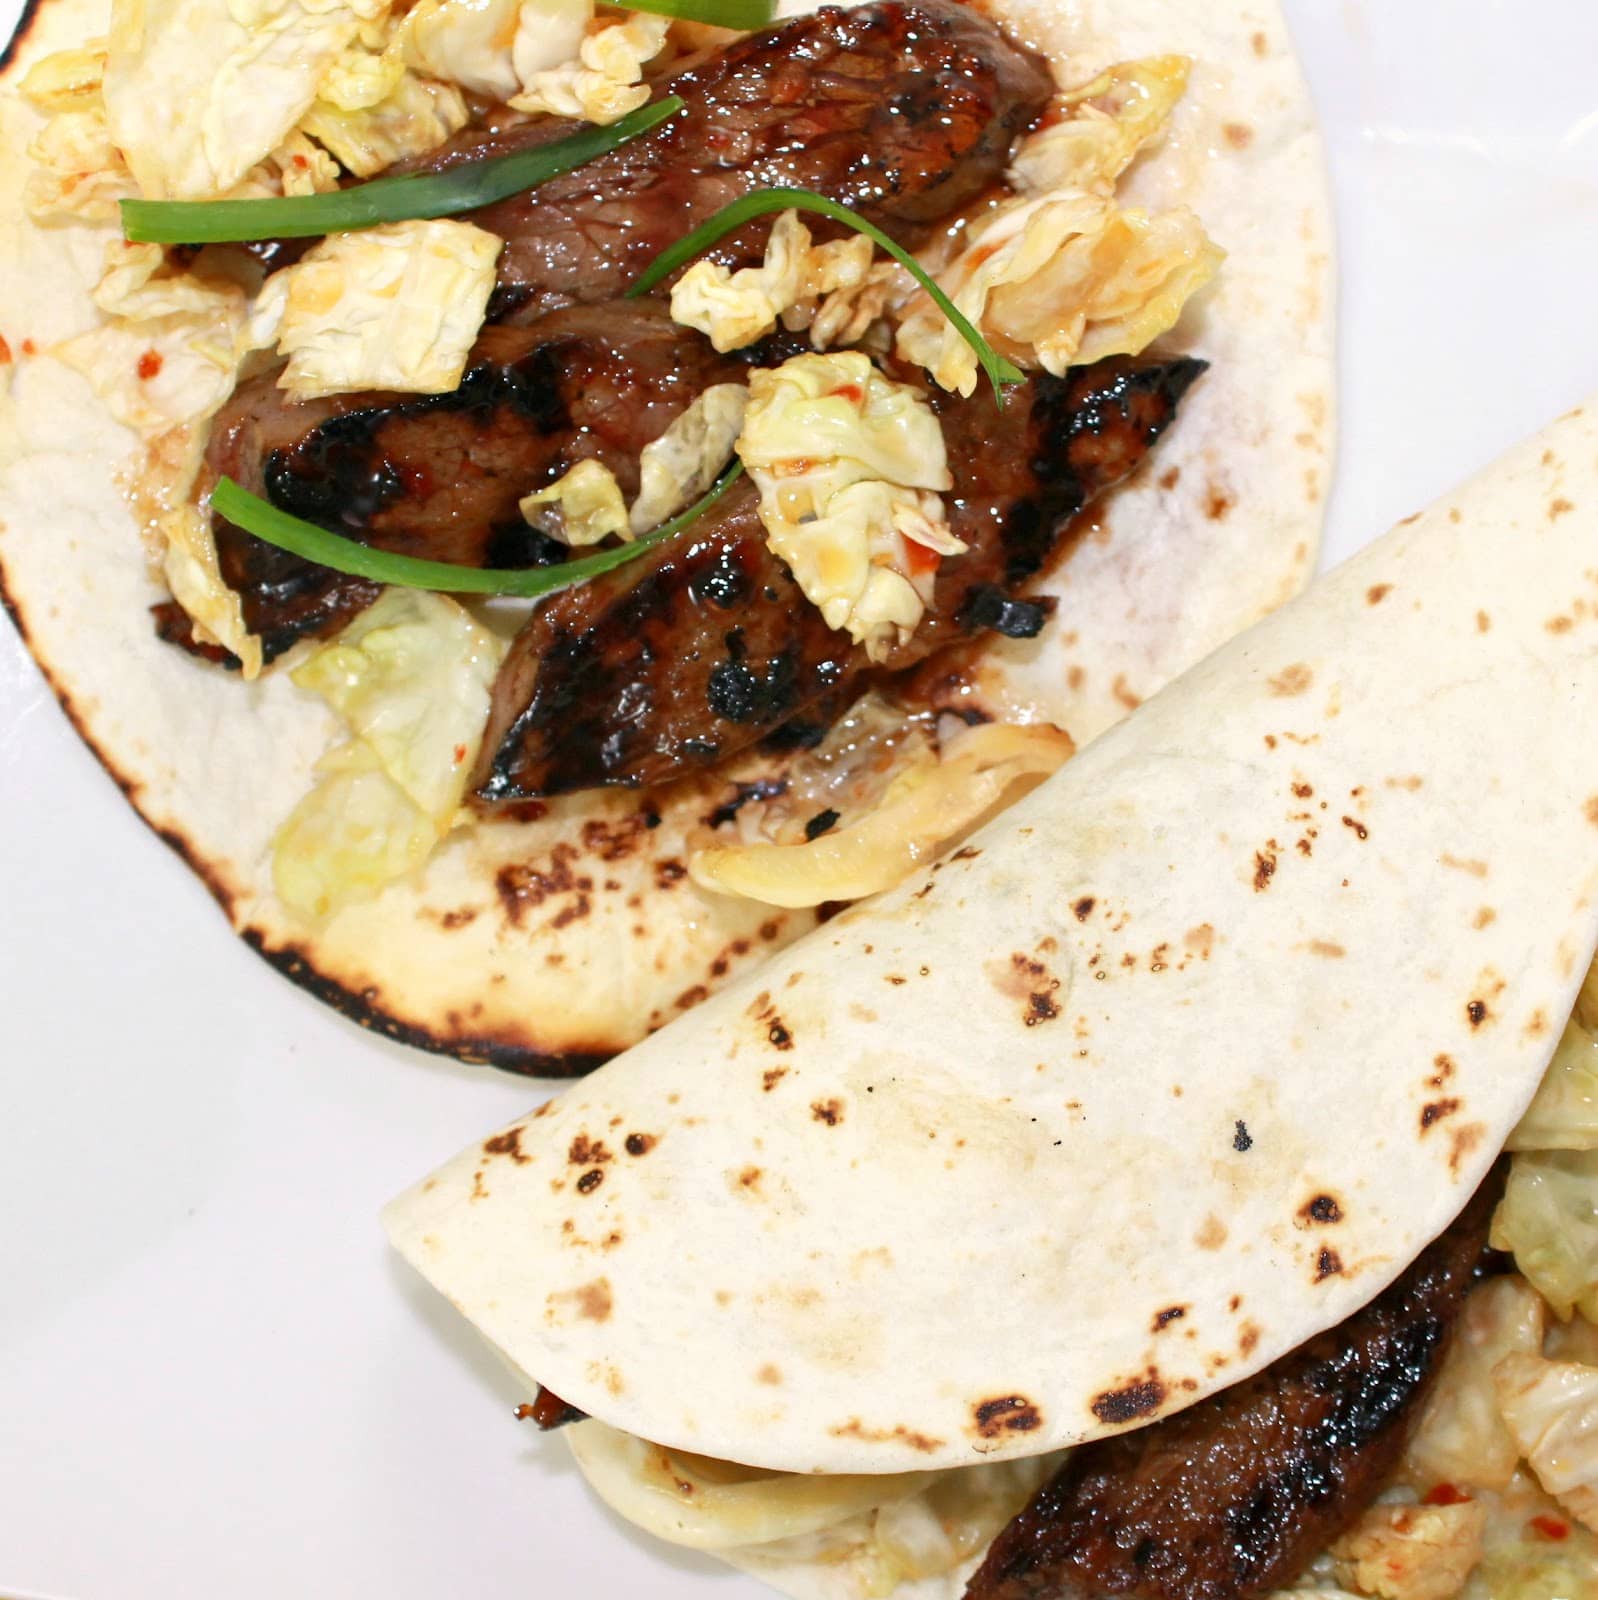
Tacos are one of my go-to’s for a quick weeknight meal. However, there’s only so many nights you can make traditional tacos before you start craving some new flavors. Cooking Light’s Korean-Style Beef Tacos sounded like the best of both worlds: a quick meal with new spices. I ended up changing the method of cooking, but the ingredients remained the same. Cooking Light suggested topping the tacos with a Quick Pickled Cabbage as well, so I’ve included that below. This recipe does require you to marinate the beef for an hour, so plan accordingly. To make it a quick meal, you could also just marinate the meat overnight.
Ingredients for the tacos:
1/3 cup sugar
5 tablespoons lower-sodium soy sauce
1 1/2 tablespoons chile paste (such as sambal oelek)
the juice of 2 limes
1 tablespoon dark sesame oil
4 garlic cloves, minced
12 ounces flank steak, sliced against the grain into thin strips
When a friend put in a special request for scones, I was up for the challenge. I’ve never made scones before, and I honestly wasn’t sure how they’d turn out. One of the issues is the definition of a scone changes depending on who you ask. In Great Britain, scones are usually round and look like American dinner biscuits. They are usually slightly sweet with raisins or currants. In America, we tend to make our scones into triangles. Despite being traditionally served as a dessert or with tea and coffee, most Americans eat scones as a breakfast. Scones within America tend to be include fruit and are more sweet than their British counterparts.
The difference between scones and biscuits is that scones used cold butter cut into the flour, making the scones flaky, while biscuits tend to use some type of shortening which results in a crumbly bread. So basically my goal was to end up with a baked good hopefully resembling a scone instead of a biscuit!
I used a recipe from Tyler Florence but changed the amount of Lemon drizzle used.
Ingredients:
for the scones:
2 cups all-purpose flour
1 tablespoon baking powder
1/2 teaspoon salt
2 tablespoons sugar
5 tablespoons unsalted butter, cold, cut in chunks
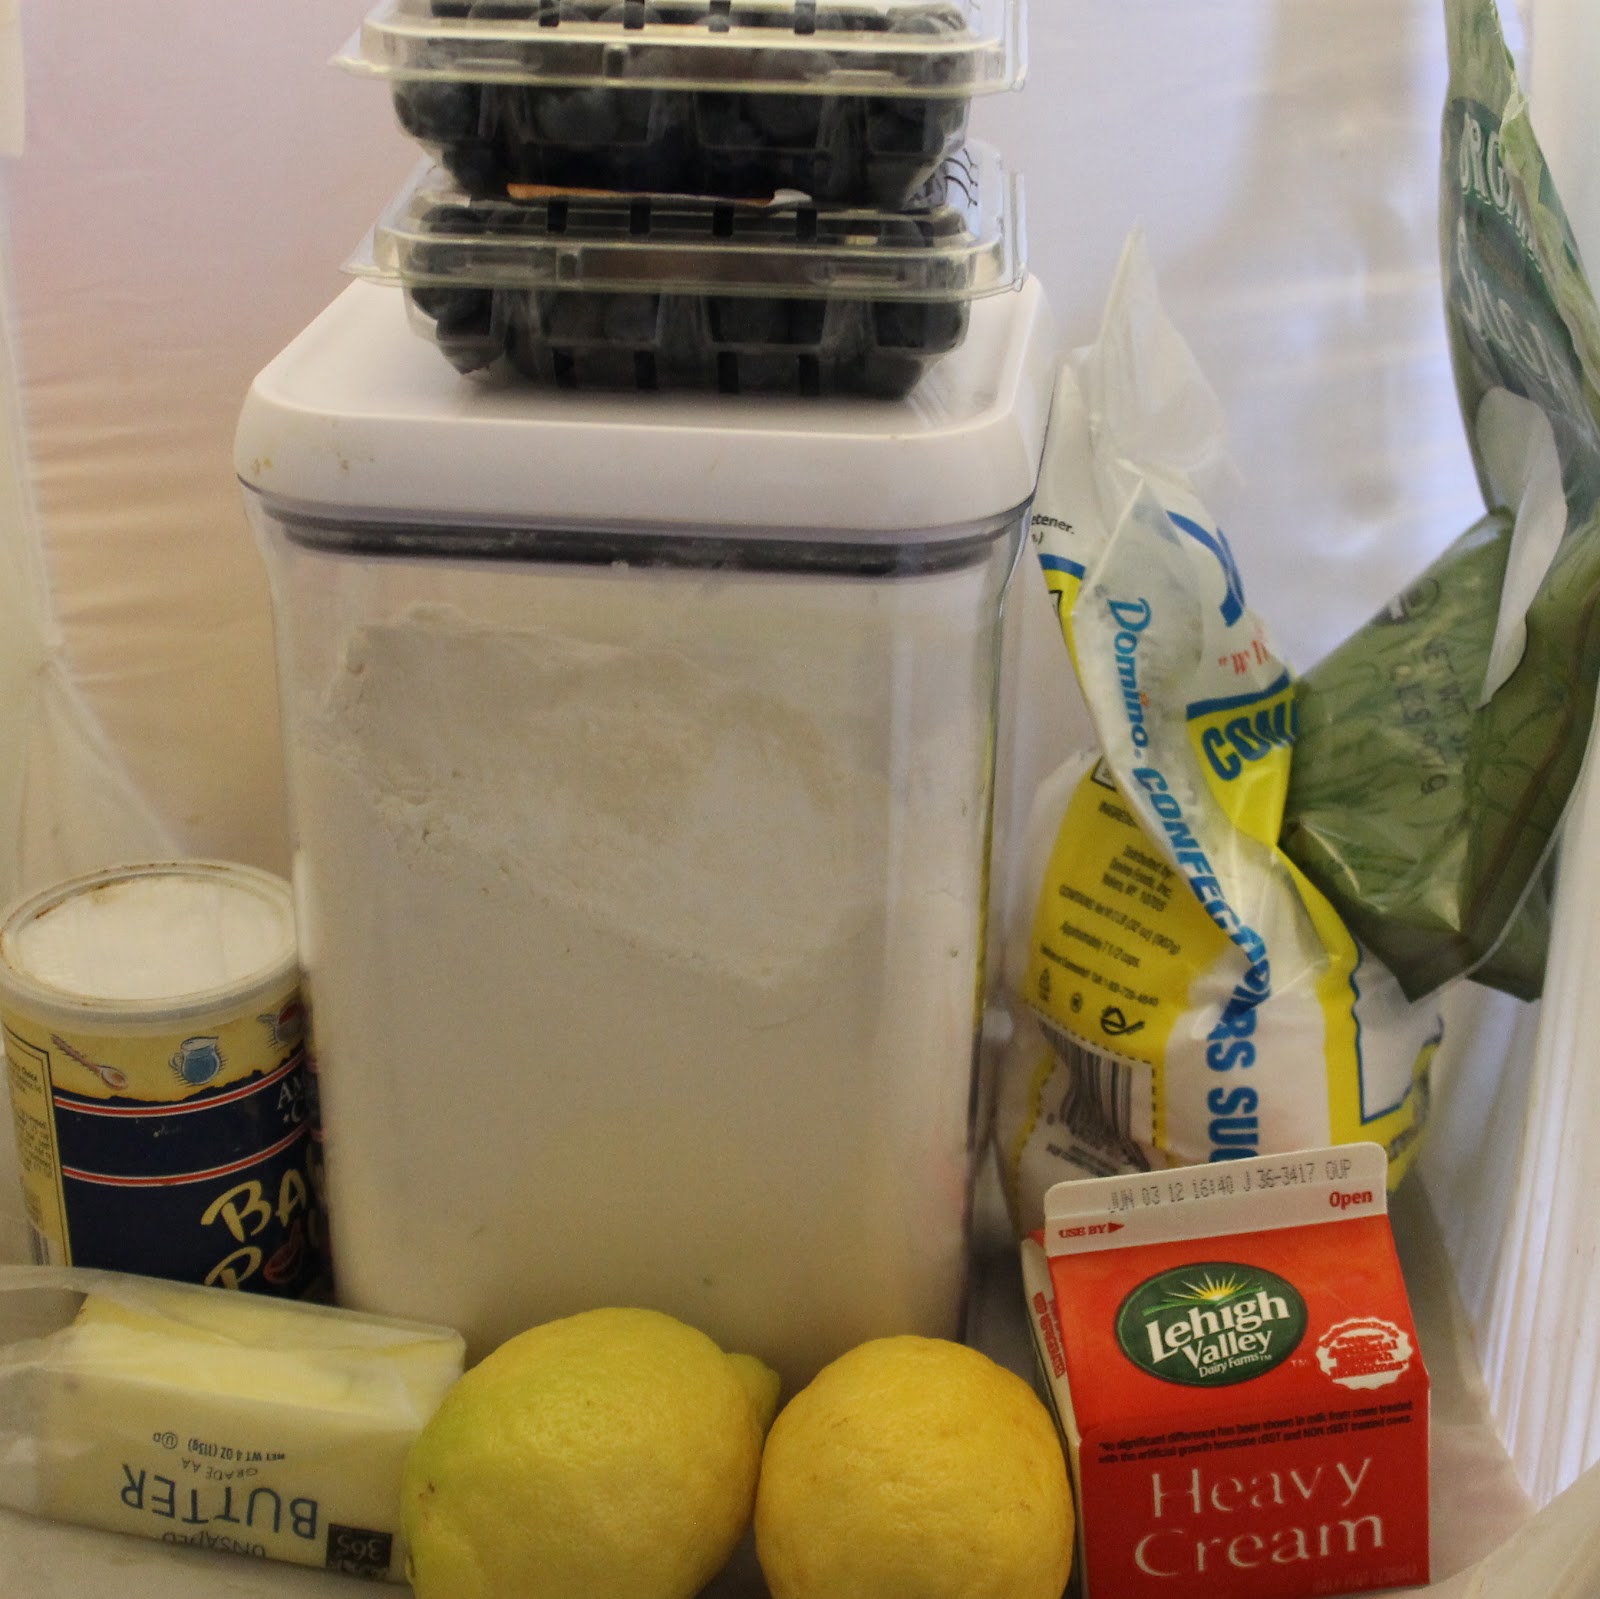
1 cup fresh blueberries
1 cup heavy cream, plus more for brushing the scones
for the glaze:
1/2 cup freshly squeezed lemon juice
2 cups confectioners’ sugar, sifted
1 tablespoon unsalted butter
1 lemon, zest finely grated
Preheat your oven to 400 degrees. Sift the flour, baking powder, salt and sugar together and mix to combine.
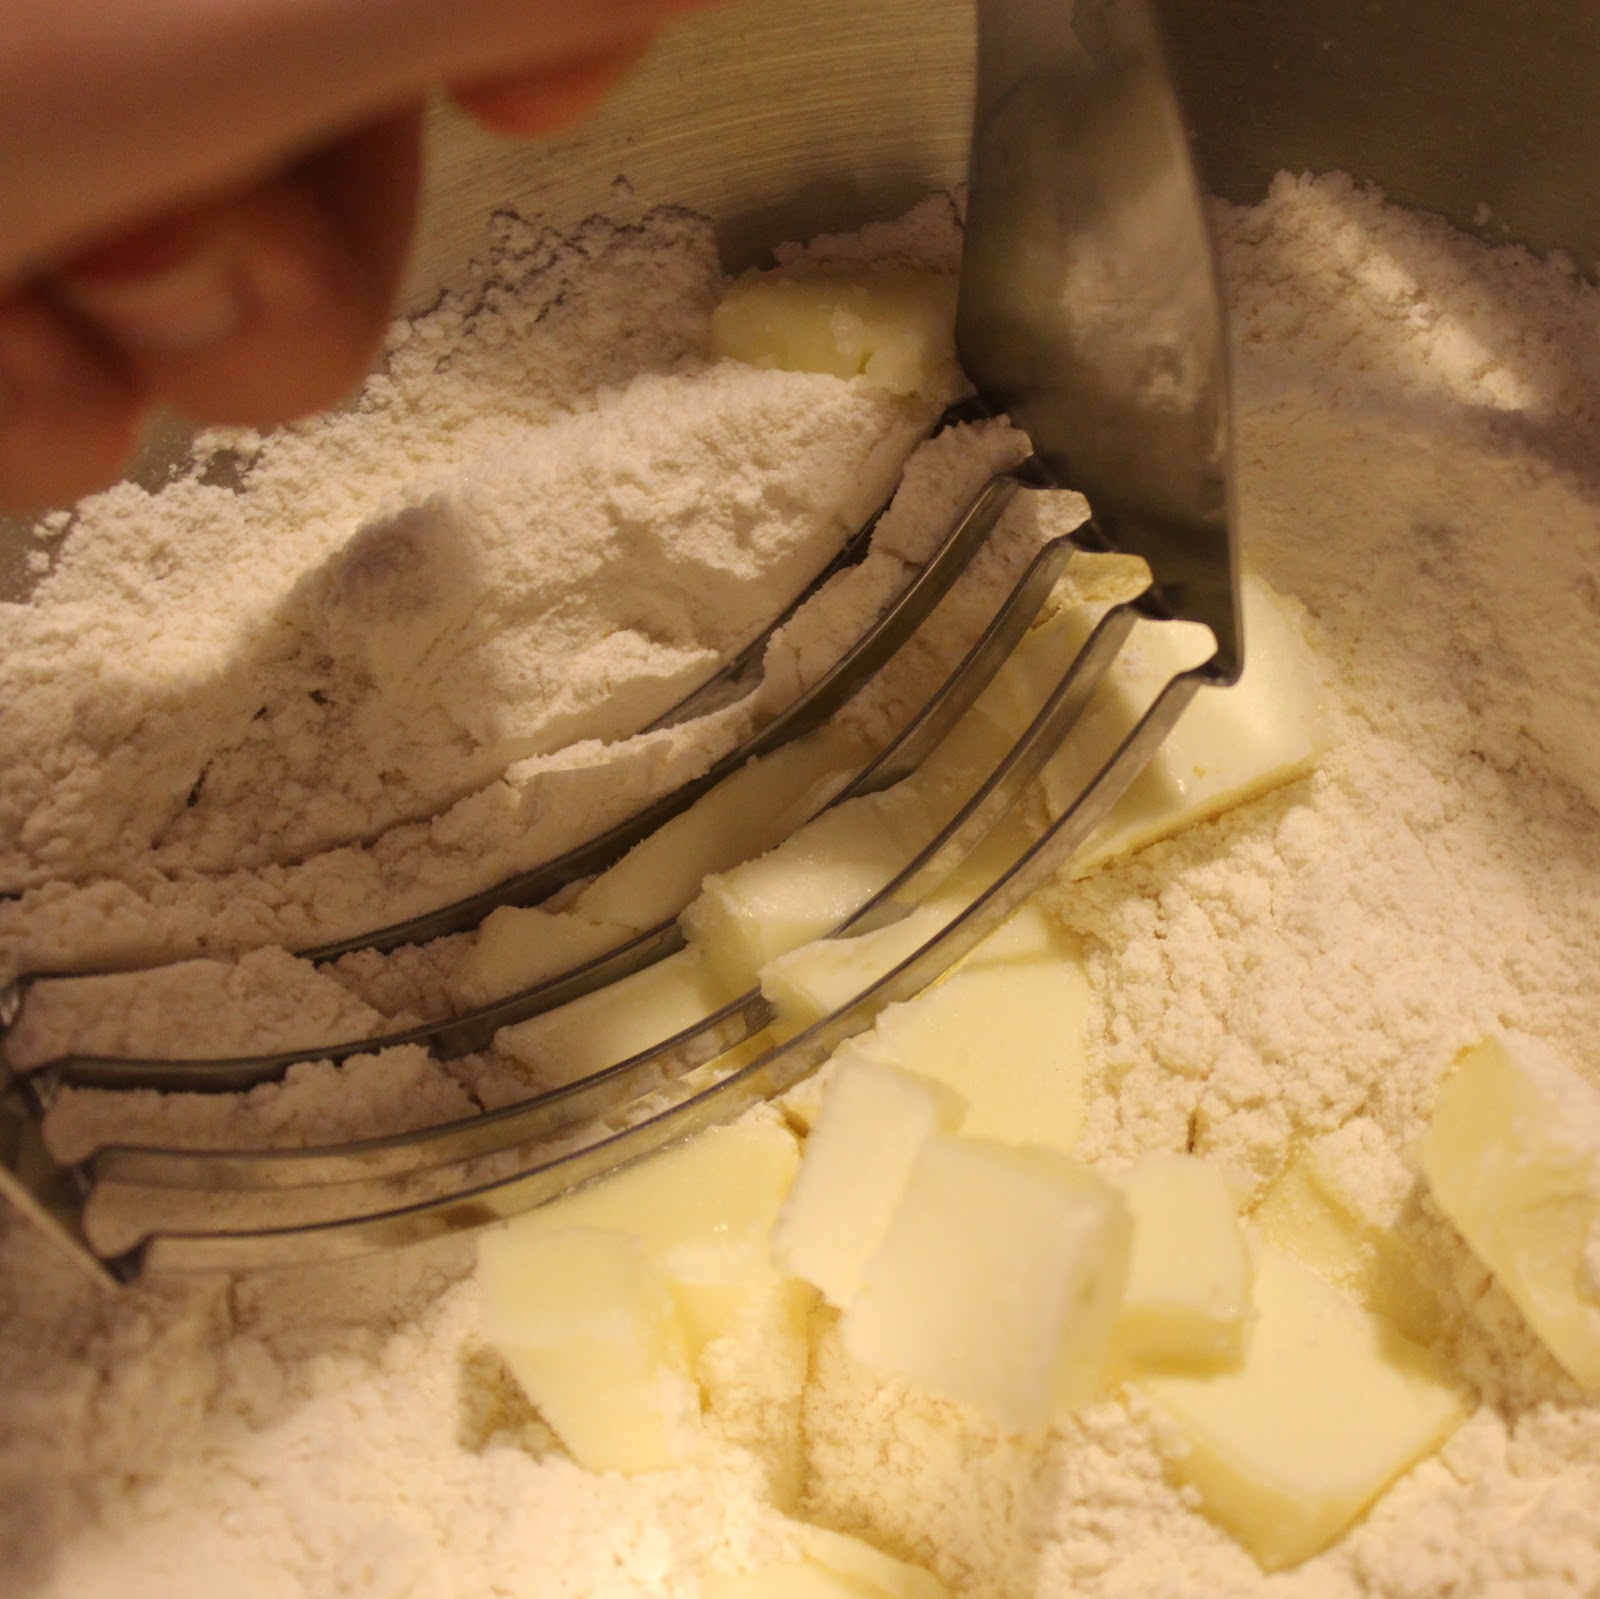
Remove the butter from the refrigerator. Cut the butter into smaller pieces (I aimed for 4 pieces per tablespoon) and add it to the flour mixture. You want to “cut” the butter into the flour using two forks or a pastry blender (the tool in my photo).
The goal is to get small pieces of butter covered in flour. It supposedly should look like coarse crumbs. Mine clearly doesn’t.
Add the blueberries to the mixture and combine ever so carefully, trying not to break the blueberries. (Using a silicone spatula or your hands will work well).
Make a well in the center and pour in the heavy cream. Fold the cream into the mixture until just incorporated, it can still be a little sticky.
Remove the dough from the bowl and press the dough out into a 12x3x1.25 inch rectangle with your hands, again trying not to break the blueberries. I failed at this. 1. I have no idea if my measurements of the triangle were correct. I eyeballed it and just hoped for the best. I also had quite the heavy hand and broke more than a few blueberries.
Cut the rectangle into 4 equal pieces, making 4 smaller rectangles.
Cut these pieces in half on a diagonal, resulting in 8 triangle scone pieces. Add the scones to an ungreased cookie sheet and brush the tops with a little bit of heavy cream.
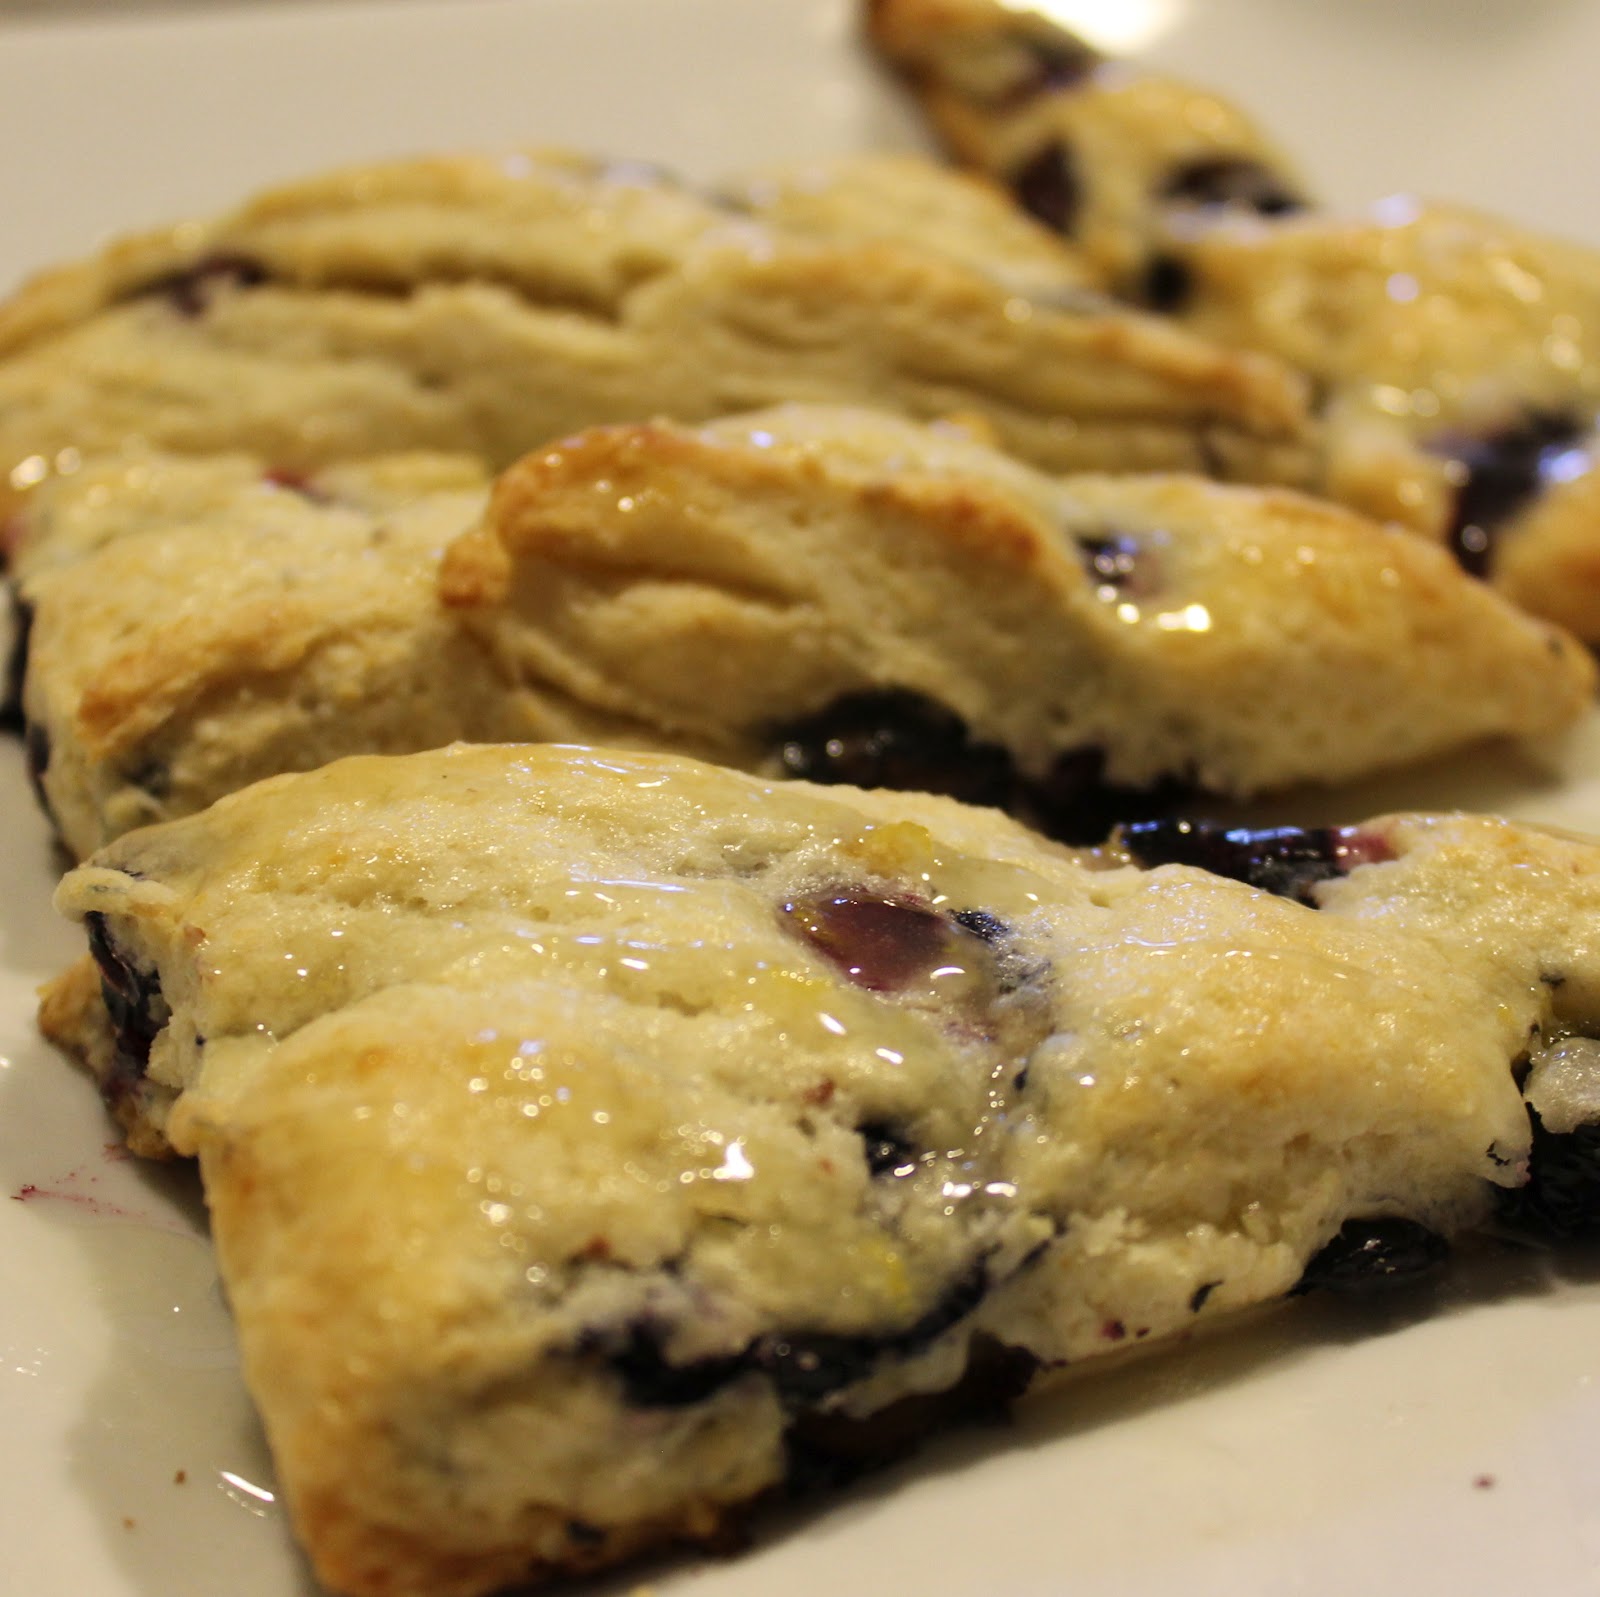
Bake for 15-20 minutes (mine too about 18) until they begin to brown on the top. Allow to cool.
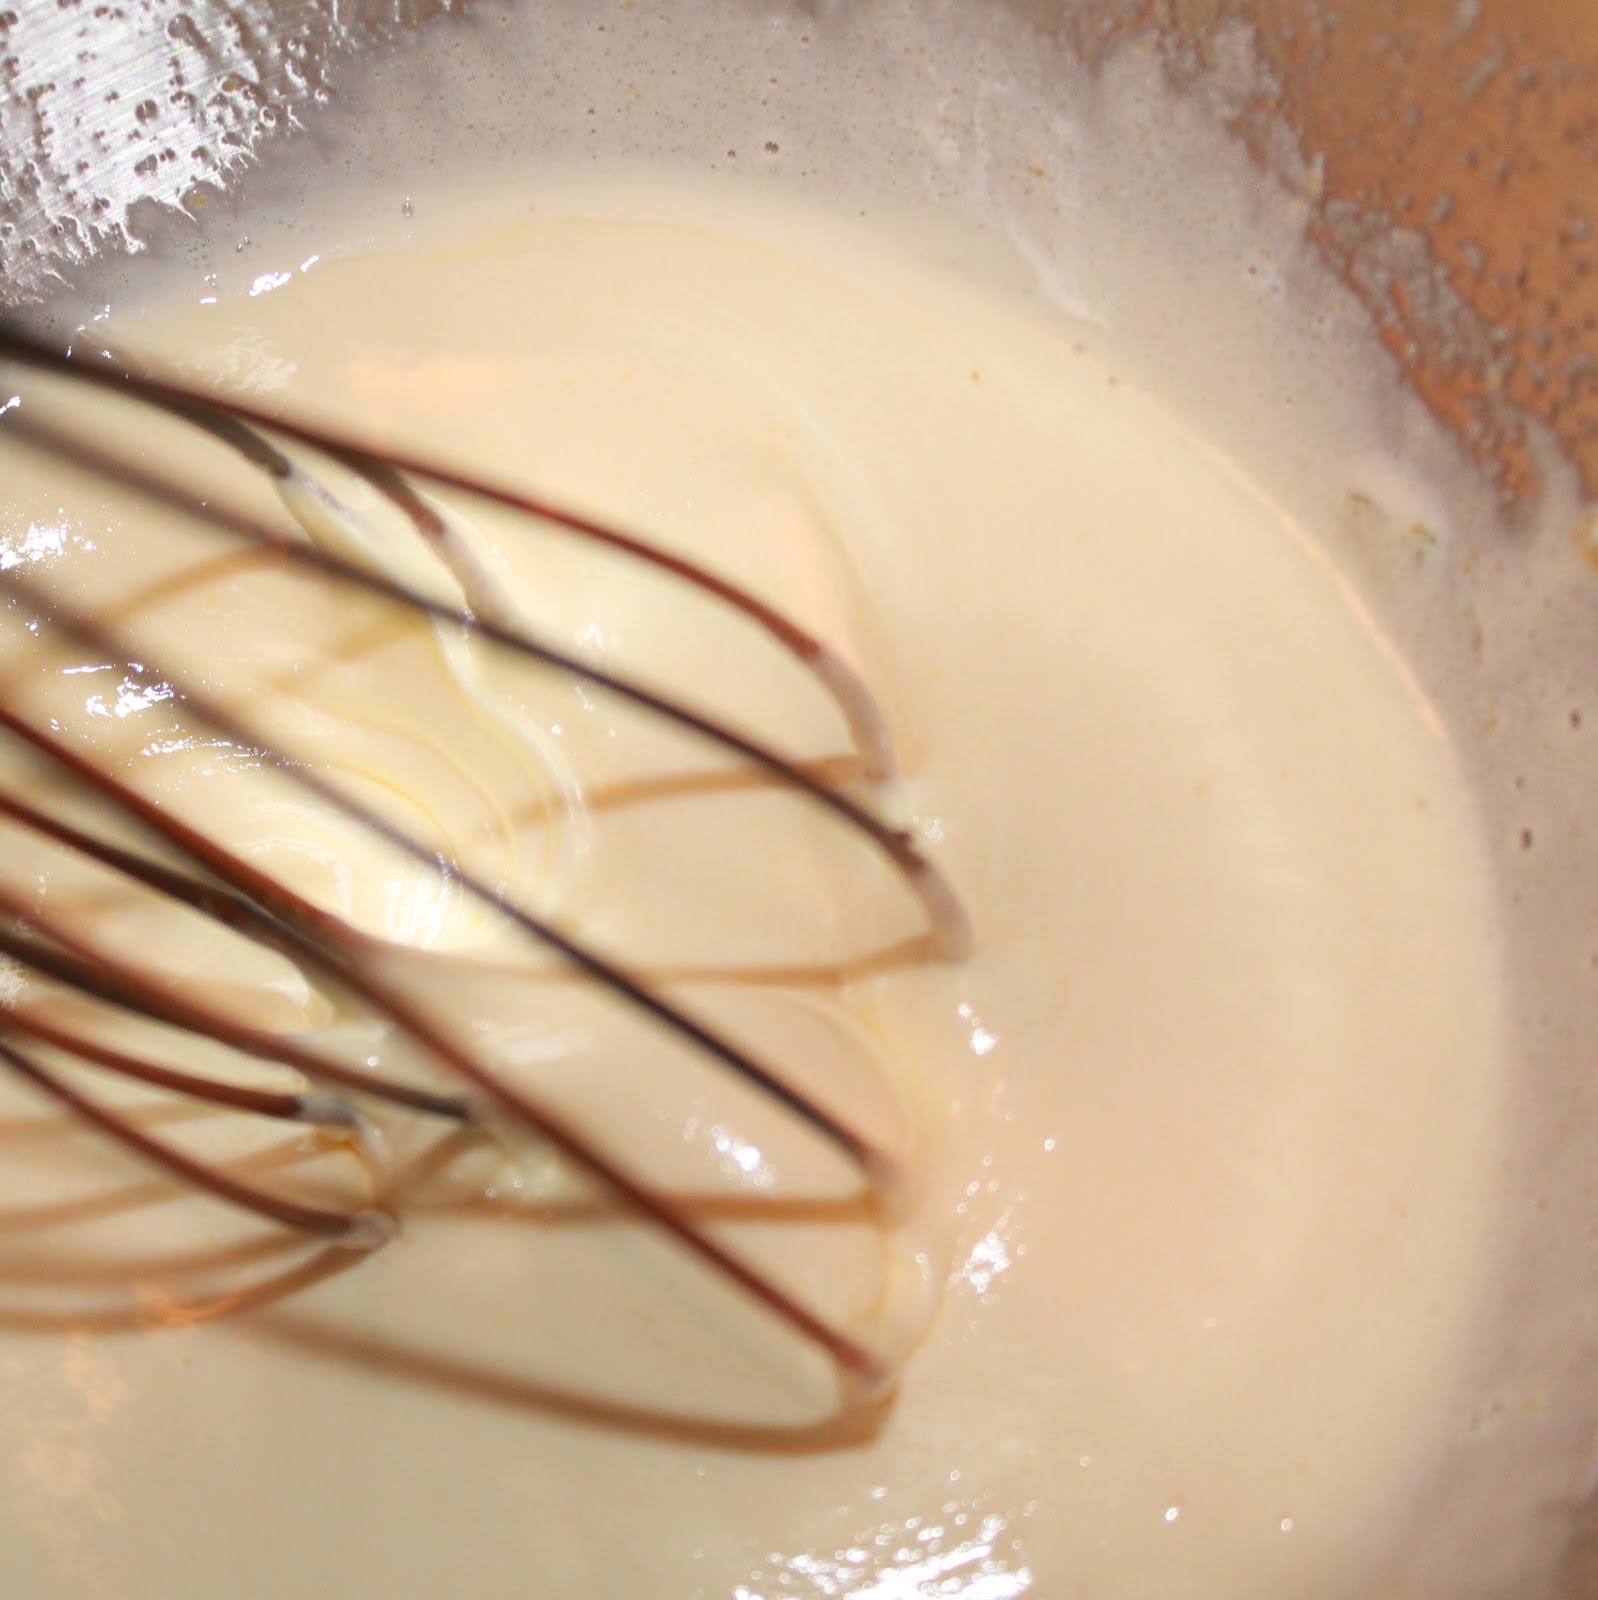
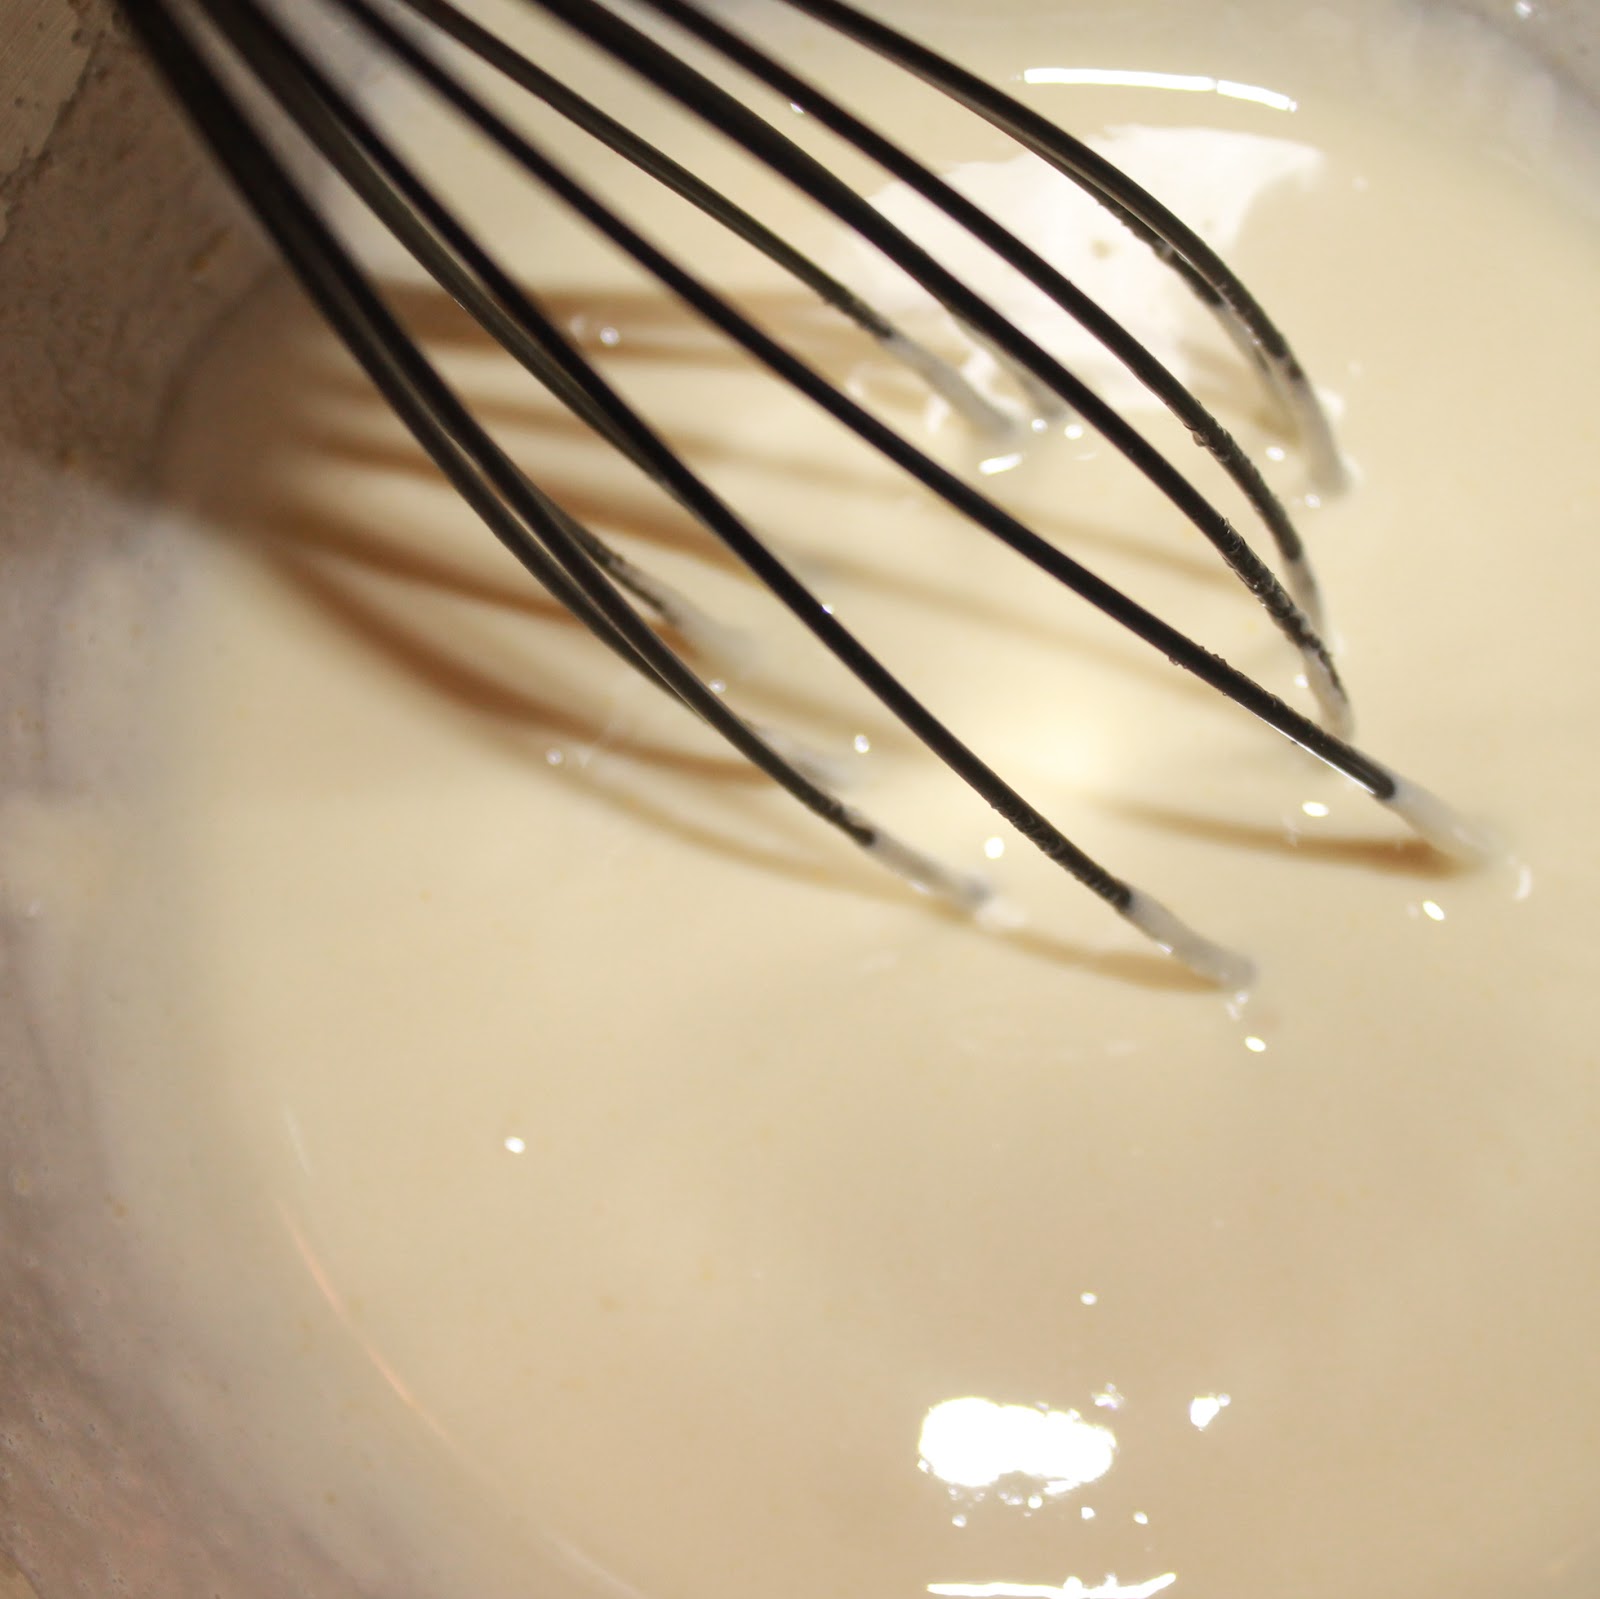
While waiting for the scones to cool, add the lemon juice and confectioners’ sugar to a microwave-safe bowl. Whisk to combine until the sugar is dissolved. Whisk in the butter and lemon zest (it’s ok if the butter is not yet fully incorporated). Add the glaze to the microwave for 30 seconds. Remove and whisk to remove any lumps.
When the scones have cooled, drizzle the glaze over the scones. (I was left with a good 3/4 of the mixture. The scones would have been drenched if I used it all. I wanted more of a slight drizzle. Use to taste.)
Allow to sit for another 5 minutes before serving.
I’m really glad I didn’t try to use all of the glaze. My friend commented that at first bite, she actually thought they might be too sweet but that they ended up having the right amount of sweetness. Can you imagine if I doused them in the glaze?? It would have been a candy!
I wish I had added some of the lemon zest to the actual batter as well. I like my lemony flavor to be throughout my baked goods.
The scones were flaky when first removed from the oven, but by the next day they had become more dense which I didn’t mind at all.
The blueberries I crushed also (thankfully) didn’t bleed too much so I didn’t end up with purple scones!
Most of the time when I explain my blog to someone, they bring up Julie and Julia. I have yet to watch the movie, and I am only a few chapters into the book, so I’m not exactly sure how many similarities I have to Julie. However, it goes without saying that Julia Child is an inspiration to most, if not all, food bloggers, cooks, and home cooks. August 15, 2012 is Julia Child’s 100th birthday. To celebrate, JC100 was launched. It is a national campaign involving restaurants, chefs, bookstores, and bloggers. The goal is to “raise one million voices in tribute to Julia”. When I was asked to participate, I jumped at the chance. The campaign started 100 days before Julia’s birthday on May 7.
The first recipe was a classic Omelette Roulee, a Rolled Omelette which Julia described as “dinner in half a minute.” Well, I found one thing I have in common with Julie (not Julia): I am not a big egg fan. The idea of eating an omelette at all, let alone for dinner, didn’t make me happy. So I passed over the recipe so that the first recipe I posted could be something I truly love. JC100 is sending me a new recipe each week so I should have a summer full of Julia Child recipes on here!
This week, the recipe was right up my alley: chocolate mousse! This chocolate mousse is a winner. Instead of the typical mousse made with cream and egg white, this one is made of egg yolks, sugar, and butter. I also made a fresh whipped cream to top off the mousse.
Ingredients:
4 eggs, separated
3/4 cup sugar
1/4 cup orange liqueur
A pan of barely simmering water
A basin of cold water
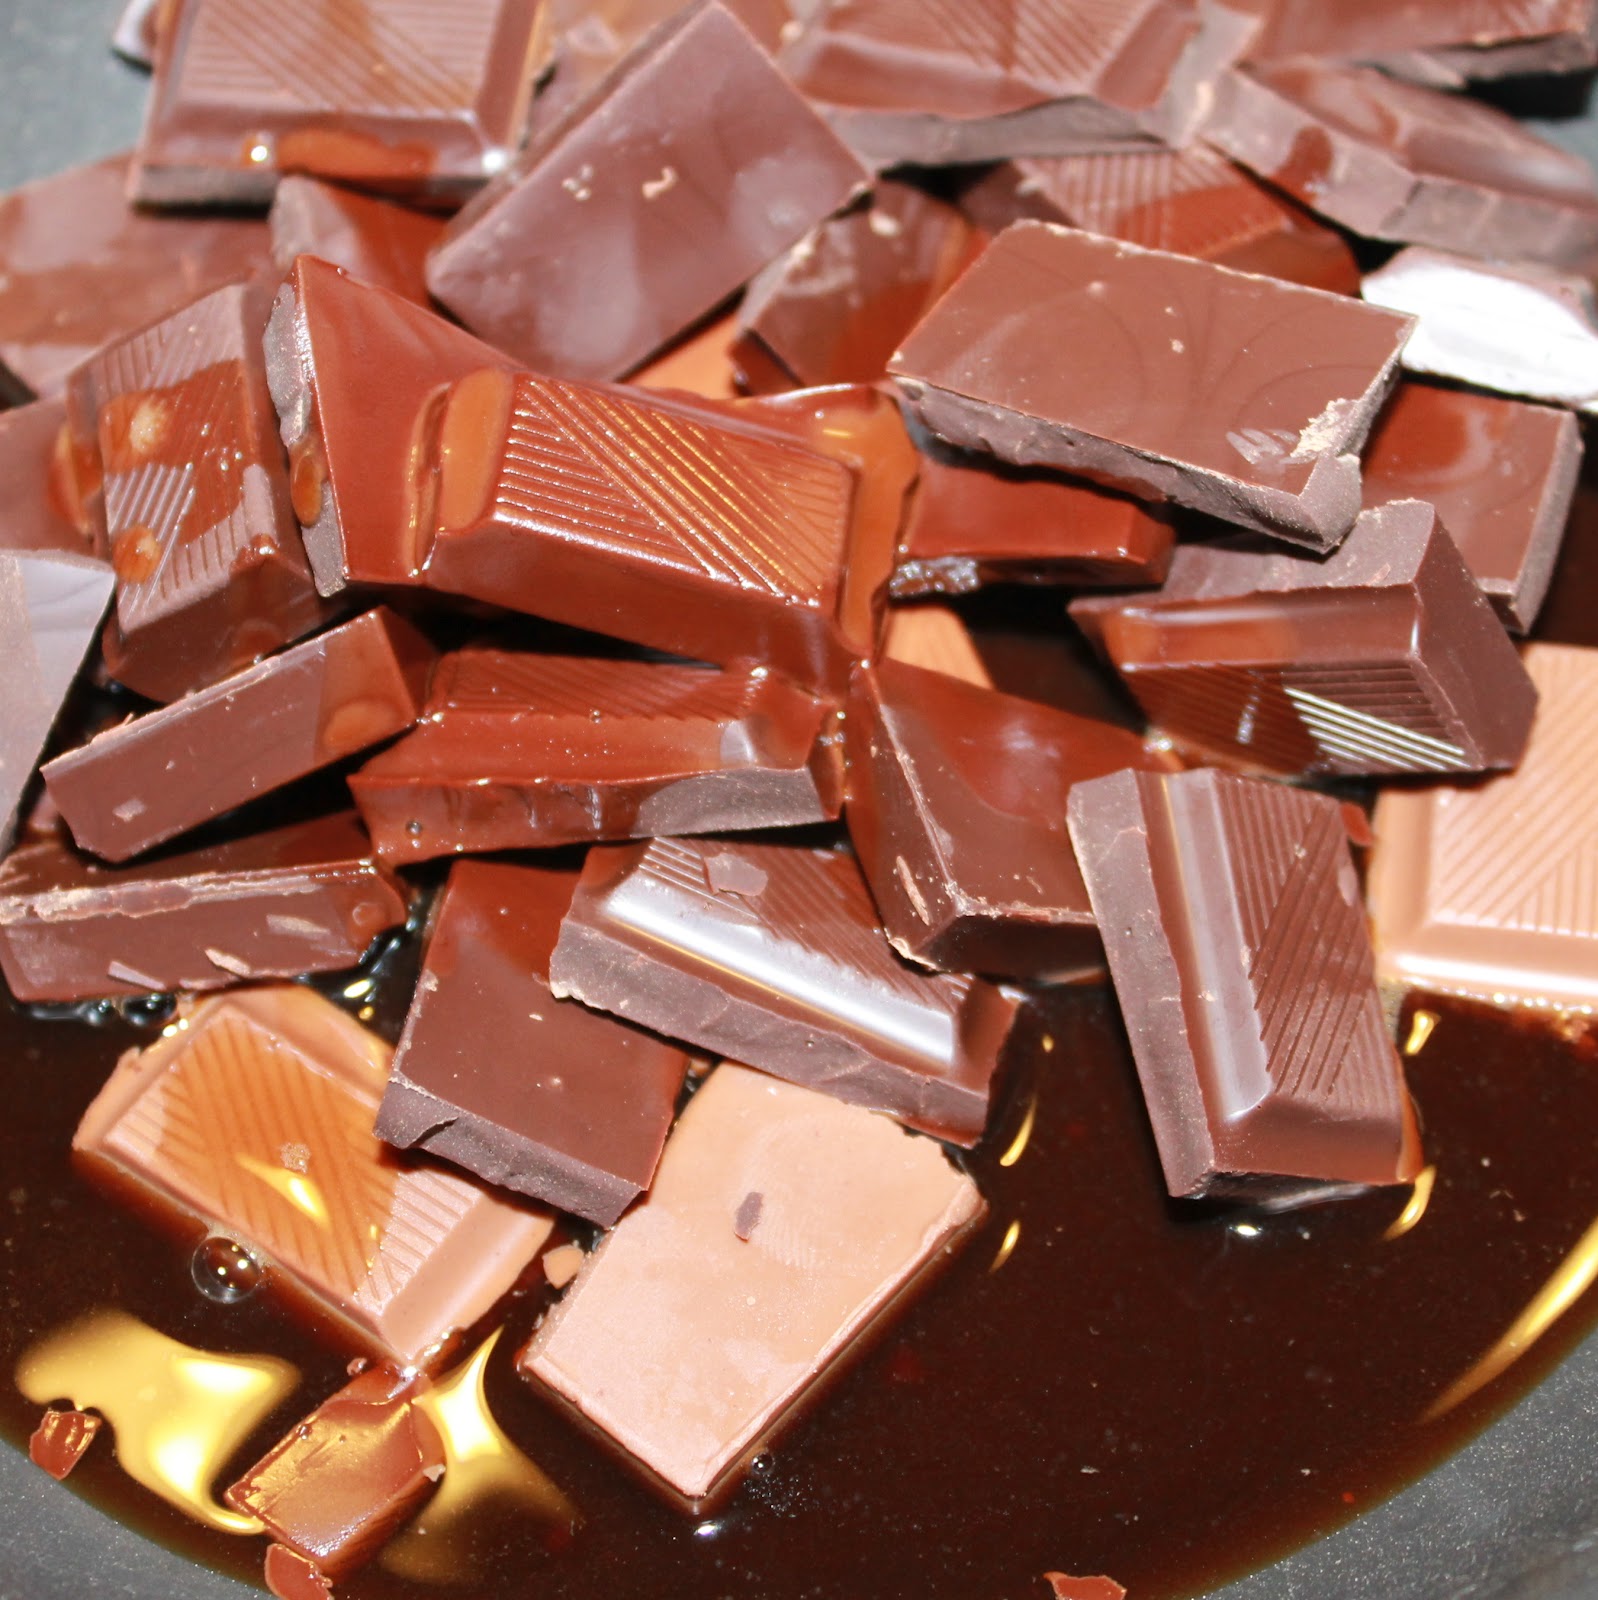
6 ounces or squares semi-sweet baking chocolate
4 tablespoons of strong coffee (I used espresso granules dissolved in boiling water)
1 1/2 sticks softened unsalted butter
pinch of salt
1 tablespoon sugar
1/2 cup heavy whipping cream
1 tablespoon sugar
1/2 teaspoon vanilla
1/2 teaspoon orange liqueur
To make, prepare your two waters. Add a small pot filled with water to the stove over medium heat. Bring to just below a simmer. Add ice to a medium sized bowl and fill with water.
Add the egg yolks to a medium sized bowl; you want it to be stainless steel or porcelain. Reserve the egg whites for later use.
Add the sugar and beat until the mixture is thick, pale, yellow, and falls upon itself forming a ribbon. Add the orange liqueur.
Place the bowl over the simmering water and and continue to beat for 3 to 4 minutes, or until the mixture is foamy. (Keep the simmering pot over the heat, you’ll use it again soon)
Move the bowl to on top of the ice water bowl and beat for another 3 to 4 minutes. The mixture should again form ribbons and have the consistency of mayonnaise.
Add the chocolate and 4 tablespoons coffee to a small saute pan.
Melt the chocolate and coffee mixture over the hot water.
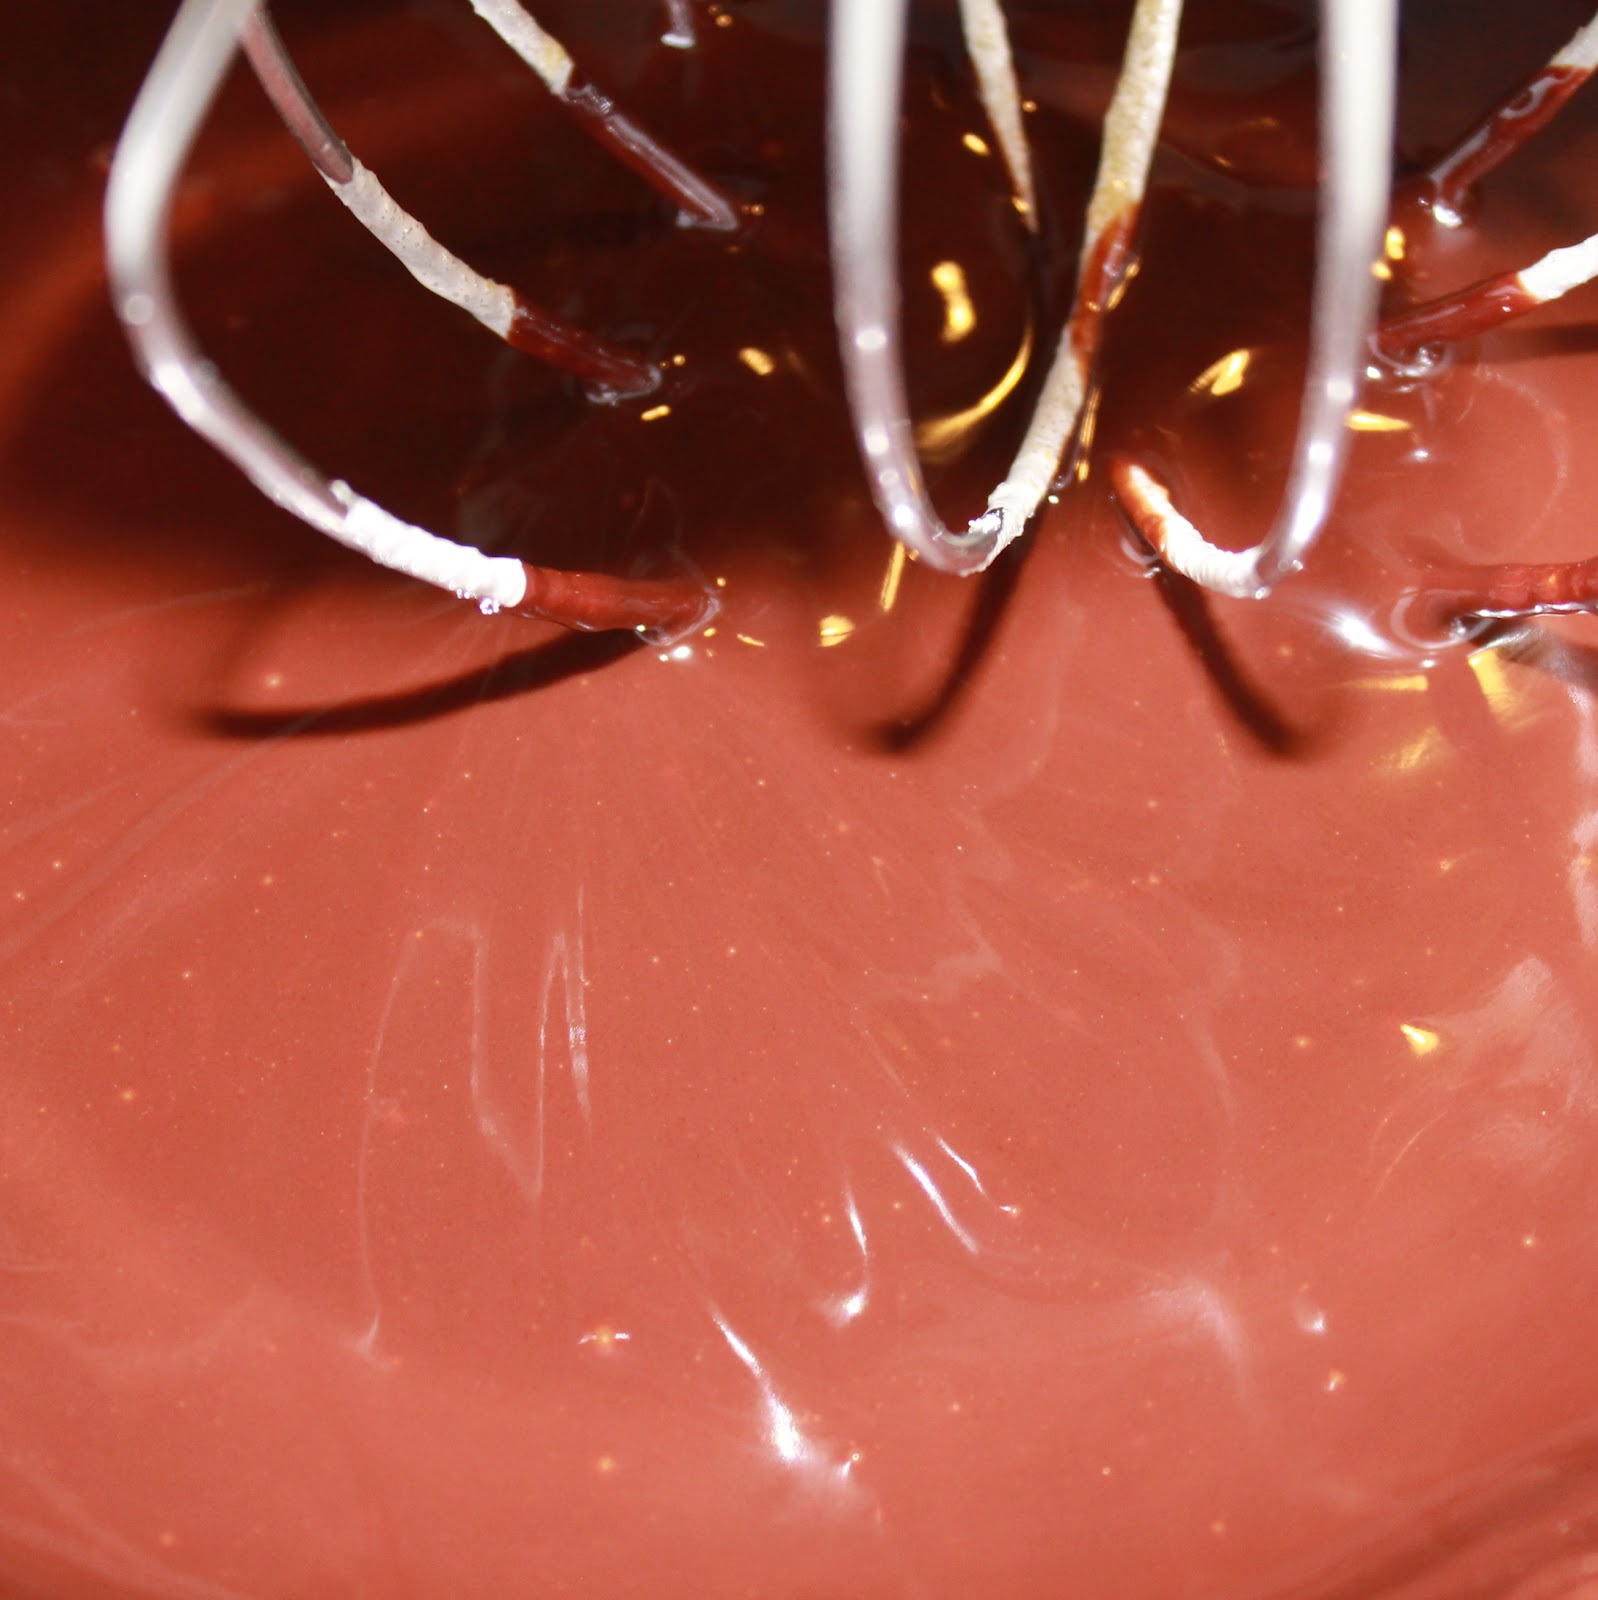
Remove from heat and slowly beat in the butter a little at a time to make a smooth cream.
Add the chocolate mixture to the egg-sugar mixture and mix to combine.
So, what you’re supposed to do at this stage is beat the egg whites and salt in a separate bowl until soft peaks form. Add the 1 tablespoon sugar and beat until stiff peaks are formed. Add 1/4 of the egg whites to the chocolate mixture and then fold in the rest of the egg whites.
That was on a different page. Which I apparently decided not to read. So my “mousse” had more of a pudding consistency. Oops. It was still delicious!
Refrigerate for 2 hours before serving.
To make the whipped cream, add the cream to a bowl. Using a hand mixer, mix the cream on medium/high until frothy.Add the sugar, vanilla and orange liqueur. Beat on medium/high until stiff peaks form, and the mixture resembles whipped cream.
To serve, scoop the mousse into individual bowls and top with fresh whipped cream.
Despite my colossal mistake, this dessert turned out really well! The mousse had a silky consistency that I really enjoyed. I couldn’t necessarily taste the coffee or the orange liqueur, but I could taste that there was something special in there.
The whipped cream was a great complement. The orange liqueur was a bit more pronounced in the whipped cream which worked really well with the mousse.
I’m bummed I messed up Julia Child’s recipe, but, to quote Julia herself “try new recipes, learn from your mistakes, be fearless, and above all have fun!” I learned that I really need to read a recipe all the way through before starting to make a recipe, something I am guilty of on more than one occasion. So I may not have had the right consistency, but the flavor was still there. I’ll call it a win!
Every food blogger dreams of walking out of their day job and never looking back to pursue a full-time career in food. Most keep this as a fun little pipe dream to think about while sipping on their morning coffee. Michael Natkin, however, did the unthinkable. He took a sabbatical from his job as a software engineer and spent 6 months immersed in food, experiencing Italy and Israel through food with his family and interning in the kitchen at Cafe Flora. He dove into the world of food full time this year.
His blog, Herbivoracious, has been going strong since 2007. If you’ve never seen it, go there. Now. I’ll wait…. Fantastic, right?!
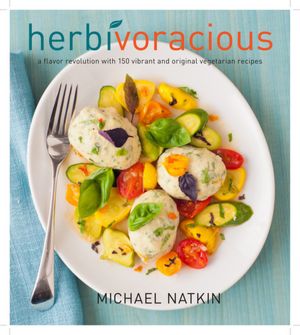
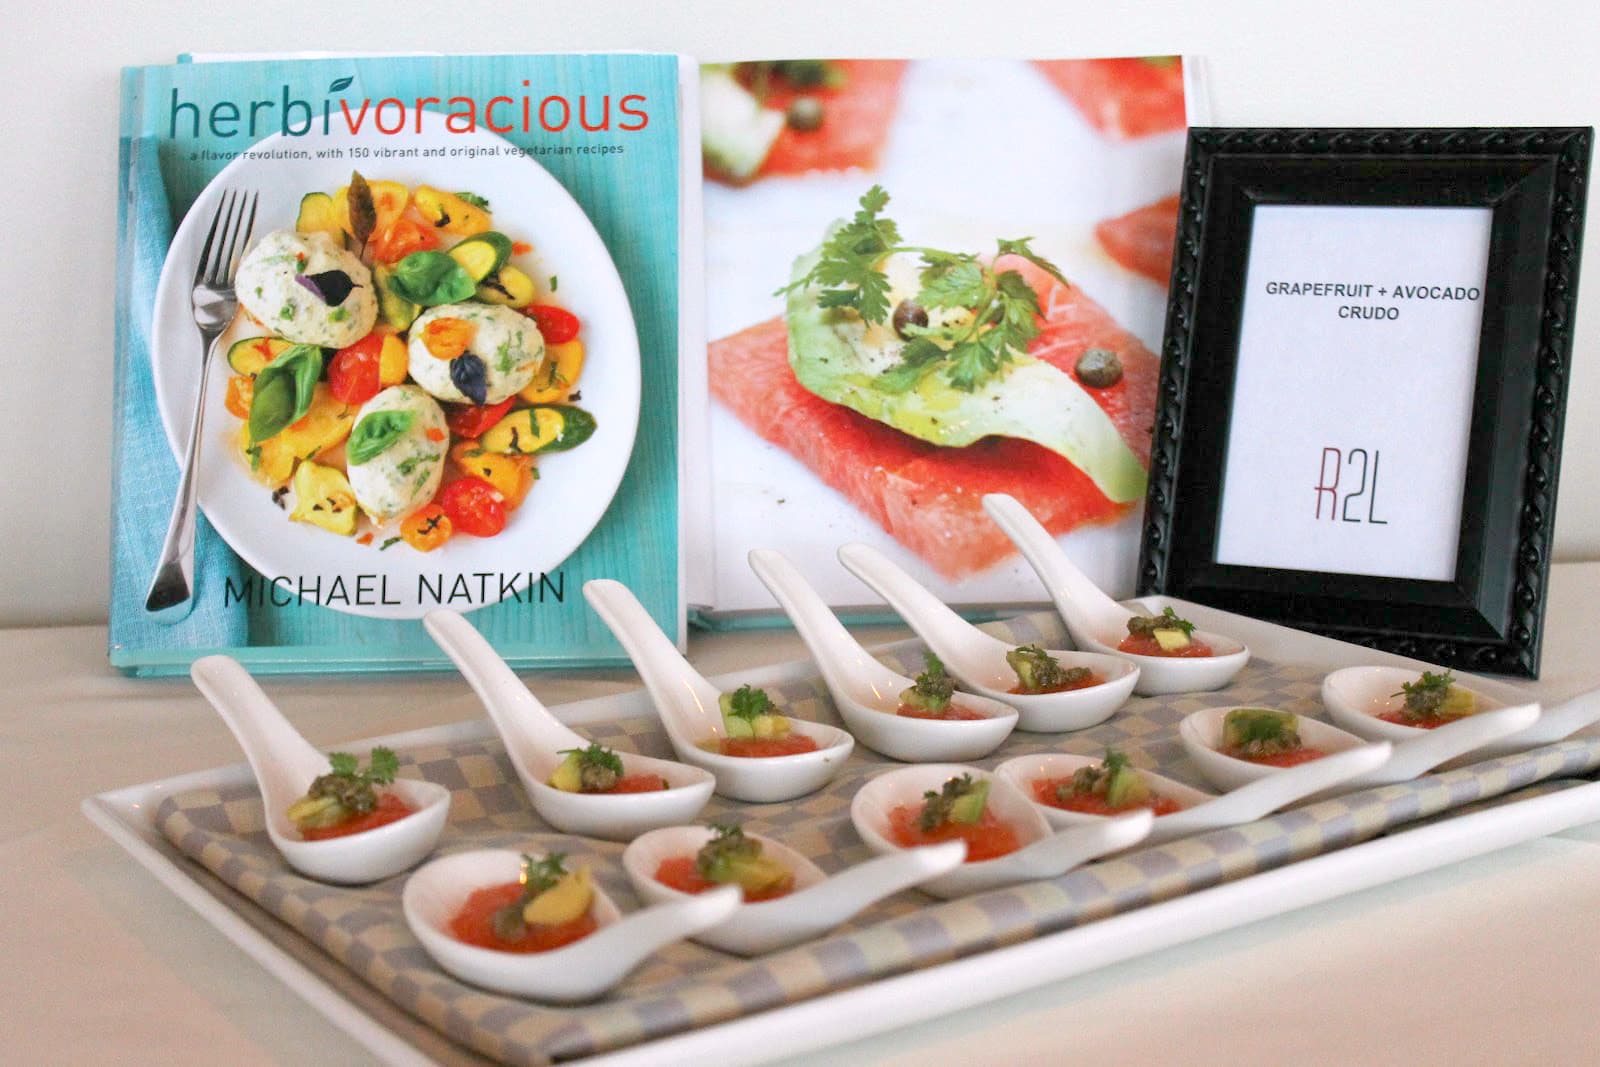
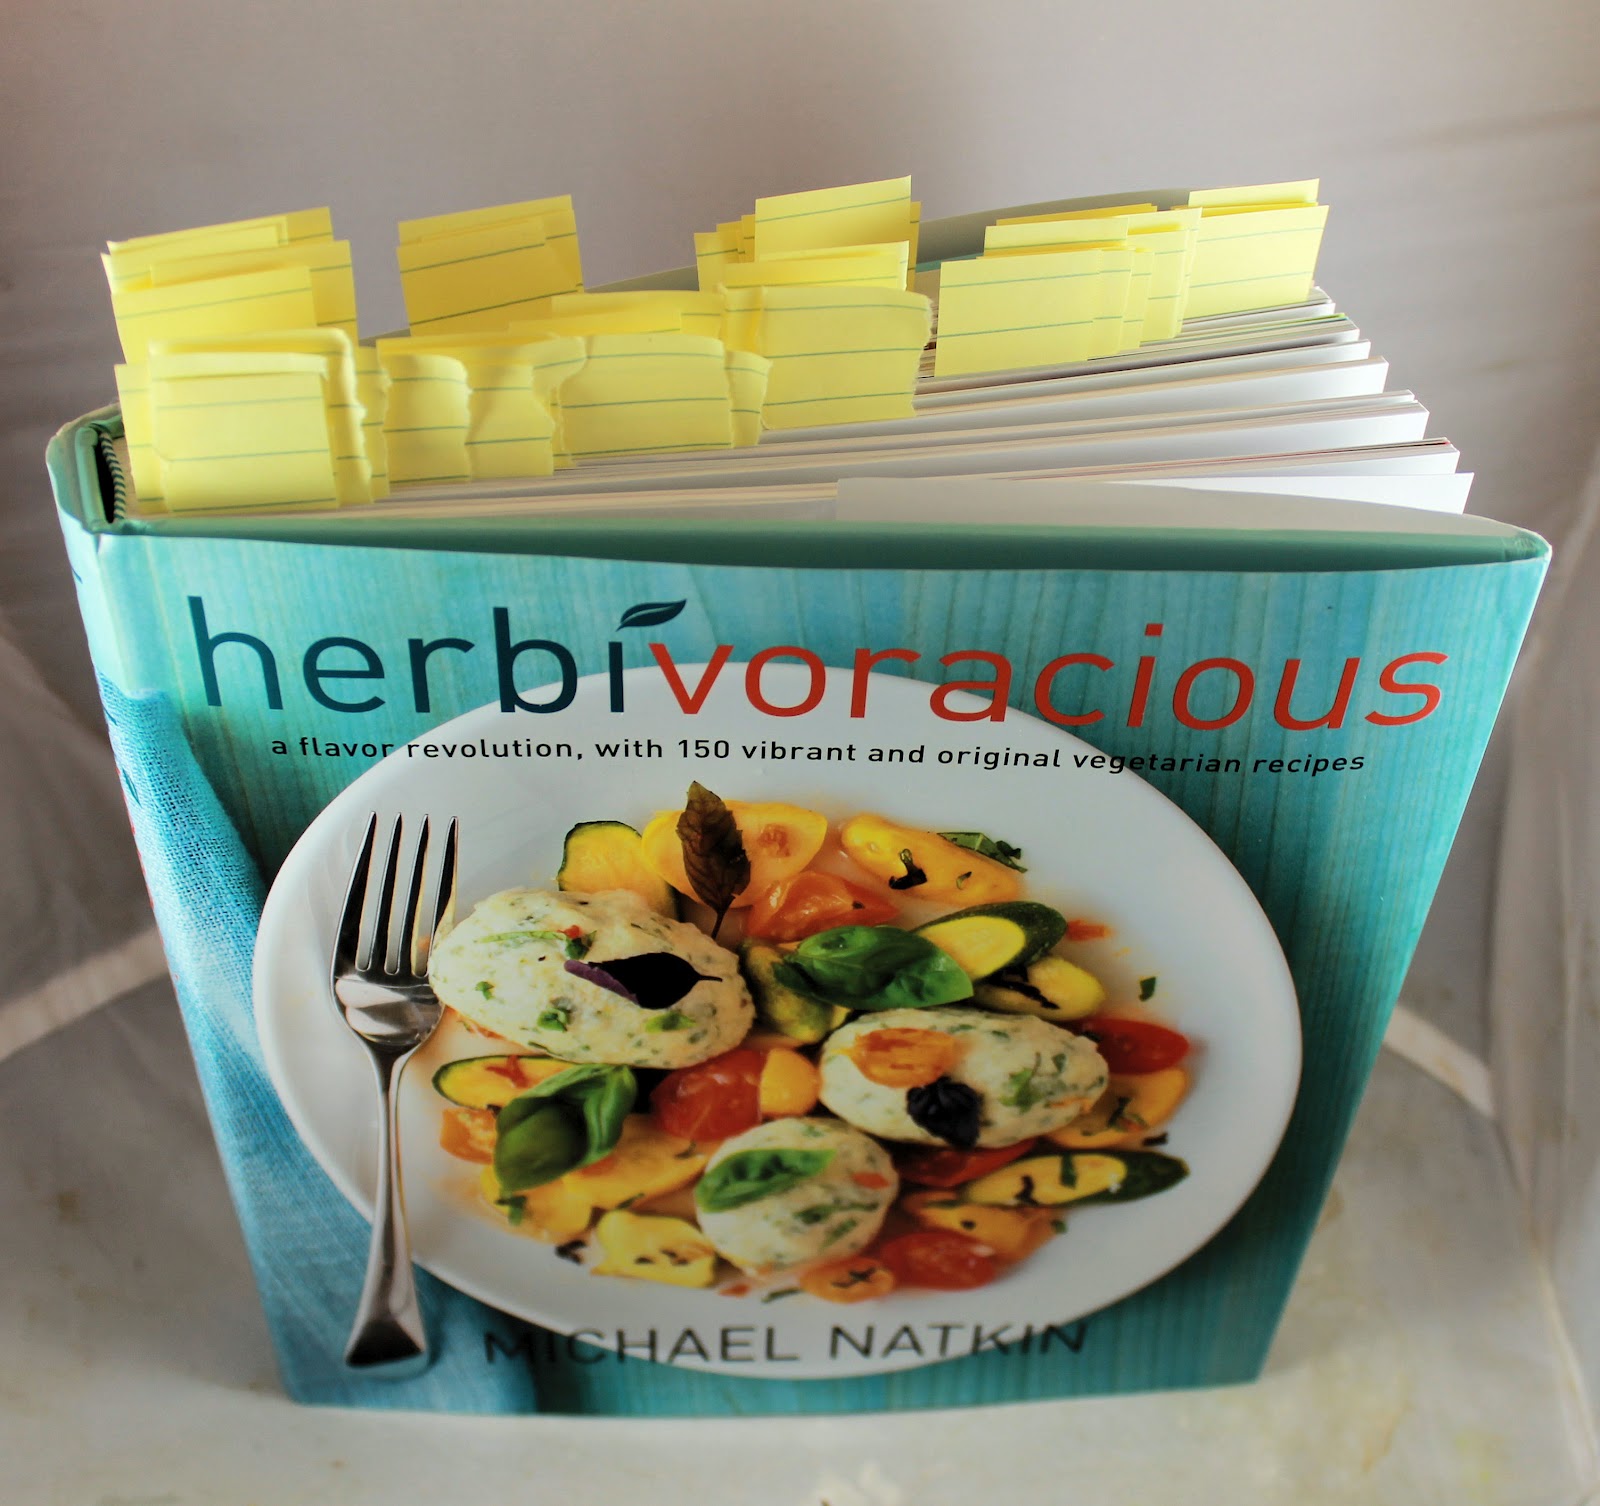
Michael’s cookbook based off his super popular blog, Herbivoracious: A Flavor Revolution with 150 Vibrant and Original Vegetarian Recipes, was released on May 9. Michael has been touring America to promote his book and recently came through Philadelphia. He hosted a food blogger event at the fantastic R2L, where local bloggers (like yours truly) were treated to bites from the kitchen and the opportunity to chat with Michael himself.
So, the cookbook is vegetarian. It honestly doesn’t even need to be mentioned though because the recipes inside the pages of this book are not wimpy, skimpy meals. As his blog states “You Don’t Have To Be A Vegetarian To Love This Cookbook!” and he is so right. The recipes are really inventive and sound so appetizing that you won’t even wonder where the meat is. Michael kindly allowed me to pick any recipe I wanted from the book to use for this post and boy did I have a problem. I am not exaggerating when I tell you I tagged over 50 recipes as possibilities.
see?
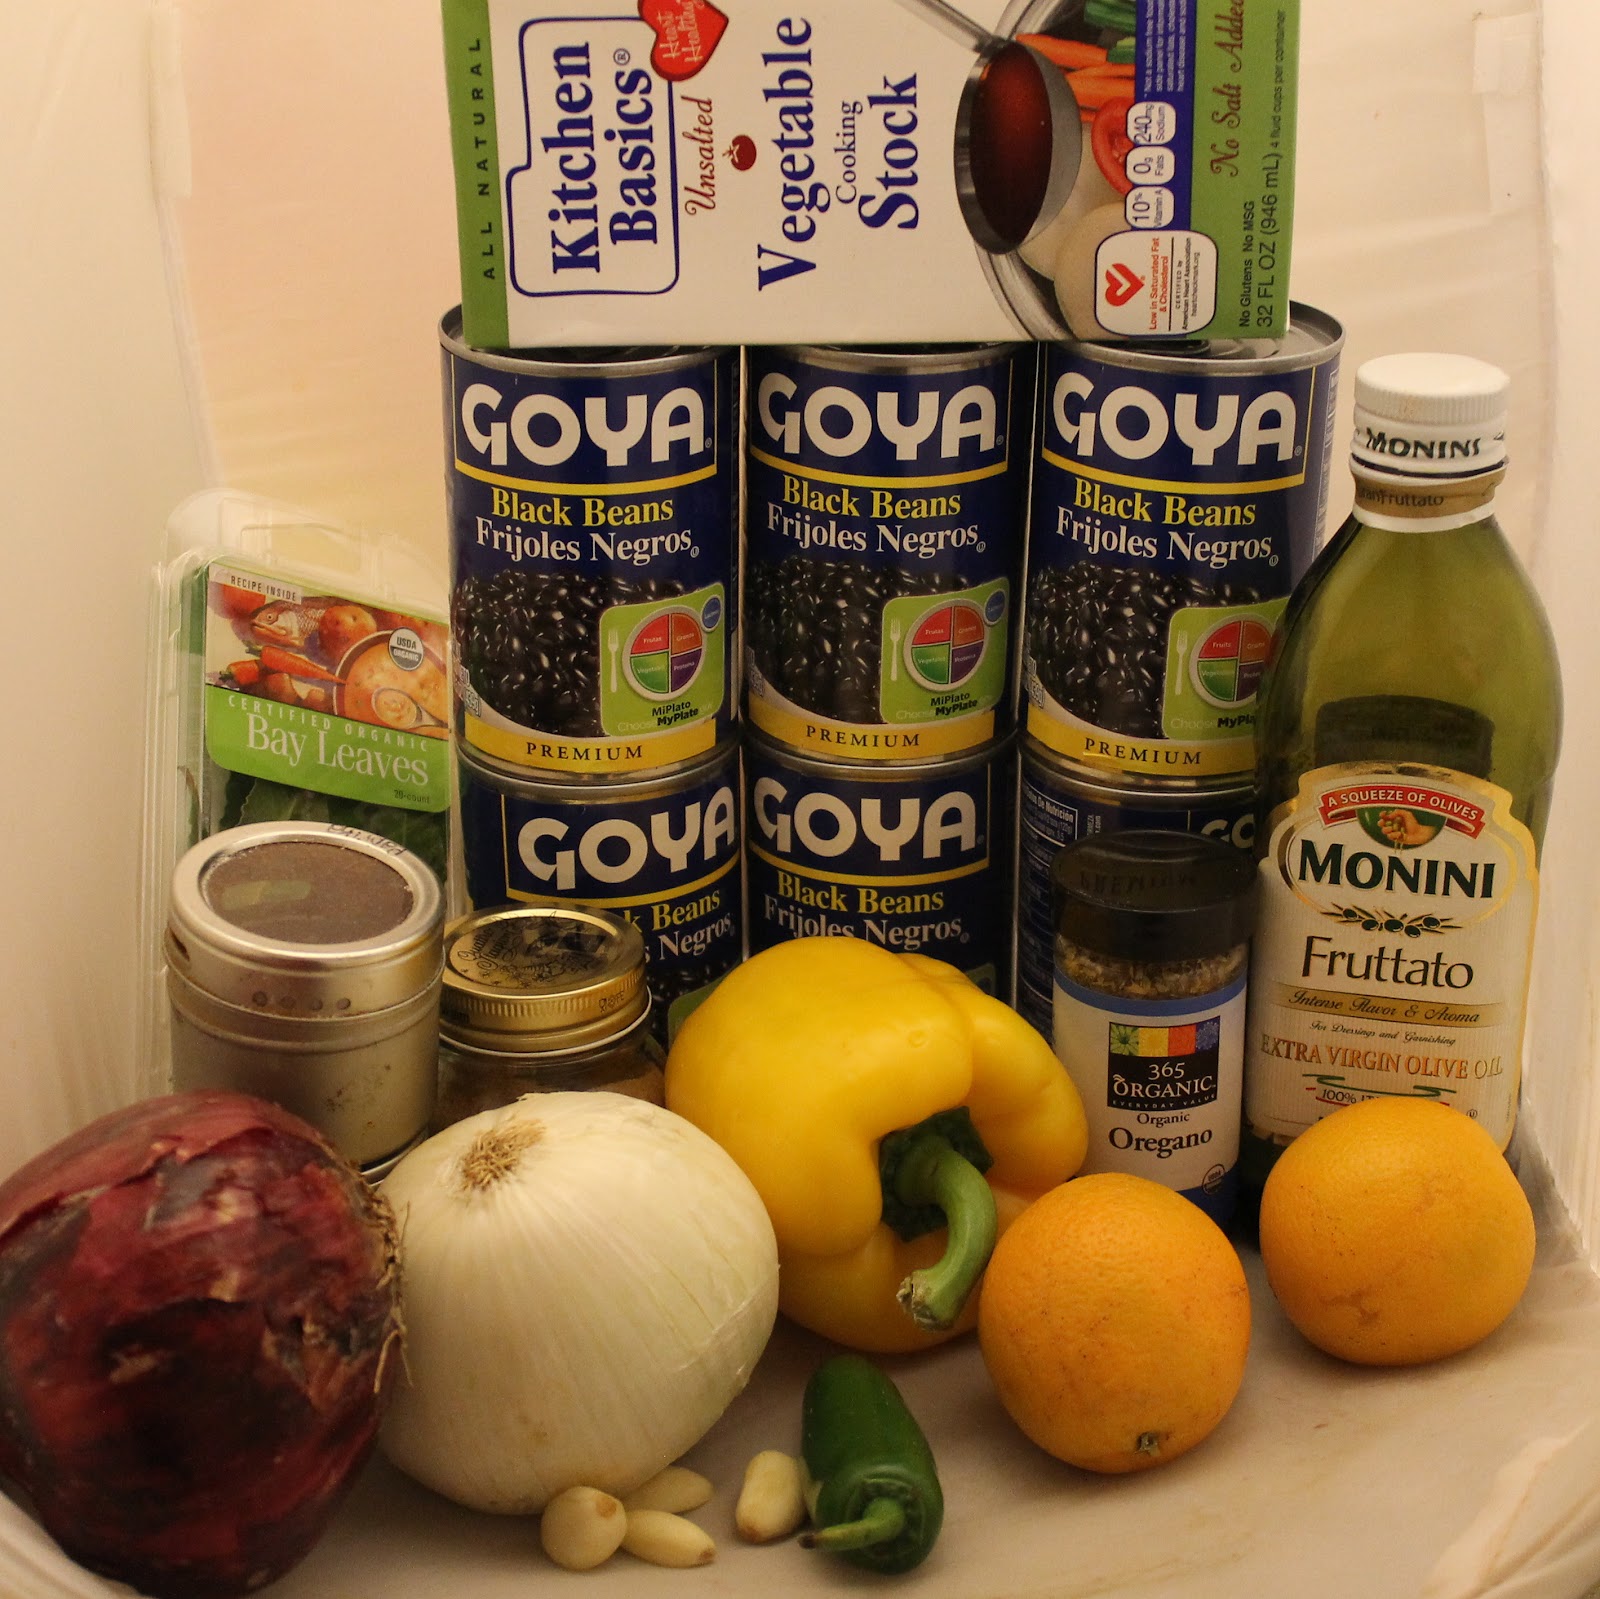
I finally decided on this recipe for Black Bean Soup with Orange Jalapeno Salsa when I mentioned it to my boyfriend and his eyes lit up. I altered the recipe ever so slightly, so check out the original at the link. You should check it out anyways because Michael gives some really great tips prior to the recipe.
Ingredients:
6 cans black beans
Vegetable broth
2 bay leaves
3 tablespoons olive oil
1 white onion, diced
1 yellow bell pepper, diced
4 cloves garlic, minced
1 tablespoon dried oregano
1 teaspoon dried cumin
1 teaspoon paprika
1/2 teaspoon ground chipotle
6 mandarin oranges (or fewer, larger oranges)
1/4 cup red onion, finely diced
1jalapeno pepper, finely diced
1 handful cilantro leaves
salt to taste
Sour cream
Each recipe in the cookbook mentions any dietary restrictions that are satisfied within the recipe. This soup is vegetarian, vegan if the sour cream is omitted, and is gluten-free. This recipe serves 6.
I know, I know. I really need to up my chicken recipes. Cooking Light must realize this too because they had a recipe for Spicy Moroccan Chicken Skewers that I couldn’t pass up. The original recipe suggested serving the skewers with Greek yogurt, so I made a quick raita to go with them. I also served it with a simple couscous. This recipe does involve marinating the chicken for 2 hours, so prepare accordingly. (I made this over a weekend, I think this might be tough to make on a weeknight.)
Ingredients:
1 1/2 tablespoons minced fresh garlic
1 1/2 tablespoons chile paste (such as sambal oelek)
2 tablespoons olive oil
1 teaspoon ground cumin
1/2 teaspoon ground coriander
5/8 teaspoon kosher salt, divided
4 skinless, boneless chicken thighs, cut into 30 pieces
Everyone needs a quick but really impressive meal in their cooking arsenal. My go-to is usually ravioli; it cooks in a few minutes and all you really have to do is make an awesome sauce.
You can make the meal in a half hour, and most of the ingredients are relatively easy to have on hand. (I know it’s a bit odd to have saffron threads in my spice collection but Trader Joe’s sells some that isn’t terribly expensive.) You can buy lobster ravioli if/when it goes on sale and store it in your fridge until needed which means this seemingly fancy recipe for Lobster Ravioli with Saffron Cream Sauce is actually a quick and easy dinner option!
I was pretty excited when I came across this recipe because it sounded amazing. Um, it was beyond amazing. Seriously. This is one of my favorite sauces I’ve ever made. Mmm. Ok, sorry. I should probably share it with you now.