.Pizzas are a great weeknight meal option; it’s easy to make it out of products in your pantry and can be customized for whatever you’re in the mood to eat that night (or what you need to clean out of the fridge!) There is a pizza place near me in Philly called Nomad Pizza that has one of my favorite pizzas: their Truffle Pecorino pizza. The pizza is topped with cheese, garlic, shiitake mushrooms, truffle oil, and a runny egg.
I wanted to try out a version of this pizza for myself. I used a mixture of baby bella, maitake, and shiitake mushroom caps and made a quick garlic truffle oil to drizzle on for extra flavor to make this recipe for Wild Mushroom Truffled Pizza Topped with Runny Eggs.
Ingredients:
1 store bought pizza dough
1/4 cup olive oil, plus 1 tablespoon, divided
2 garlic cloves crushed
a drizzle of white truffle oil
1 package of sliced shiitake mushroom caps
1 package of sliced baby bella mushrooms
1/4 cup maitake mushrooms (or any wild mushroom you prefer)
salt and pepper, to taste
4 oz ricotta
2 tablespoons grated Parmesan cheese
4 oz shredded mozzarella cheese
4-6 oz brie (I used Champignon German Brie with mushrooms)
2-4 oz Boschetto al Tartufo (Boschetto with Truffles) – you can also just use any mild cow cheese you’d like
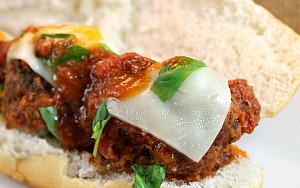
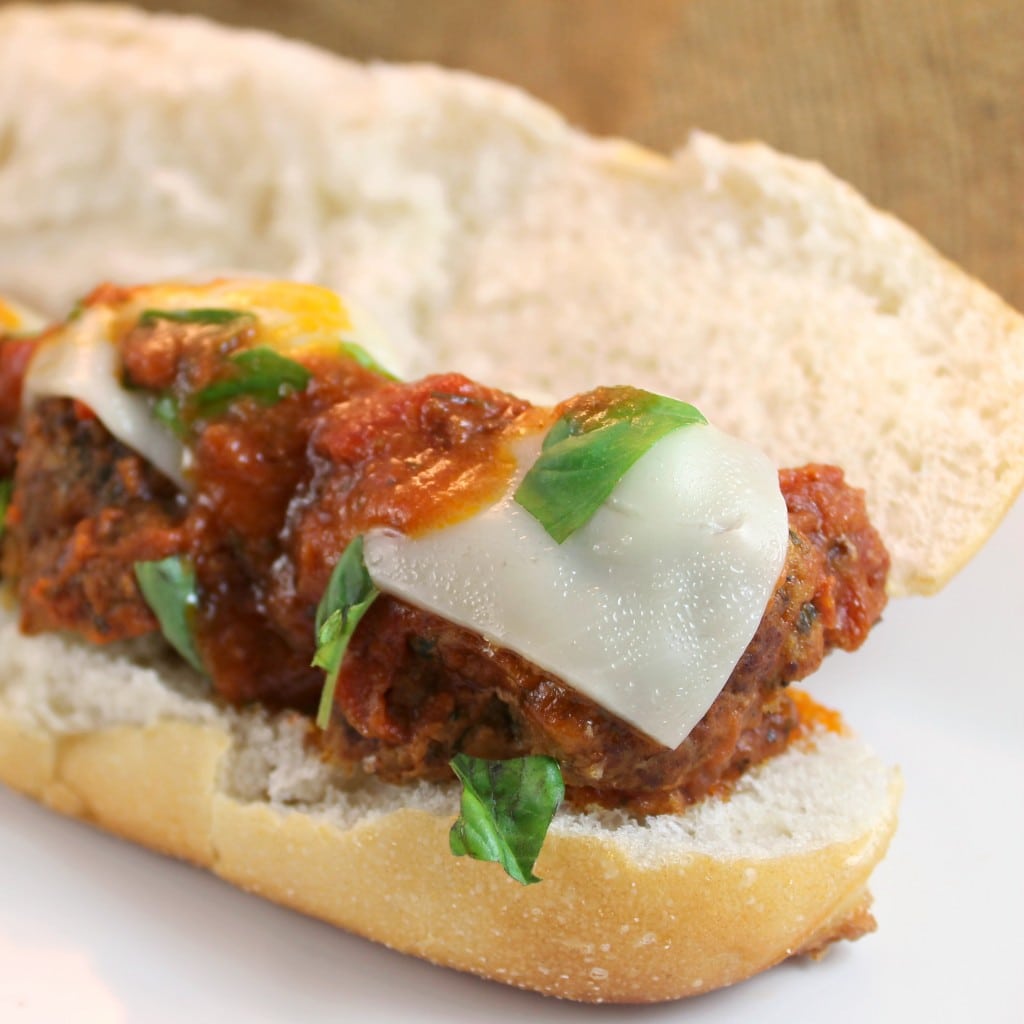
When I know I have a busy week coming up, I try to think of quick dinners I can make during the week. If I can make a huge batch of something on Sunday and just reheat the meal on a weekday, even better. So this weekend, after a visit to the Italian Market, I decided to make a bunch of meatballs so that we could have meatball subs later in the week. The tomato sauce is basically a more chunky version of my normal tomato sauce. I also added sausages to the sauce so that we could also make Sausage and Pepper Sandwiches if we so choose. The best part is that you can make a huge portion of this, freeze it, and use when needed. The sauce, although heavy on the meat, would also work as a yummy pasta sauce.
Ingredients (serves 8; with added sausage, serves 12):
2 lbs ground sirloin
1 lb sweet Italian sausage, cut from its casing
1 cup Italian breadcrumbs
4 garlic cloves, minced
2 tablespoons dried basil, divided
2 tablespoons dried parsley, divided
1/3 cup plus 1 tablespoon grated Parmesan cheese, divided
1/4 teaspoon salt
1/4 teaspoon pepper
3 eggs, beaten
1 tablespoon olive oil
1.5 lbs sausage (optional)
1 can (28 oz) strained tomatoes (or 1 box of Pomi strained tomatoes)
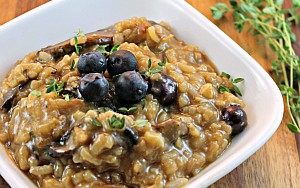
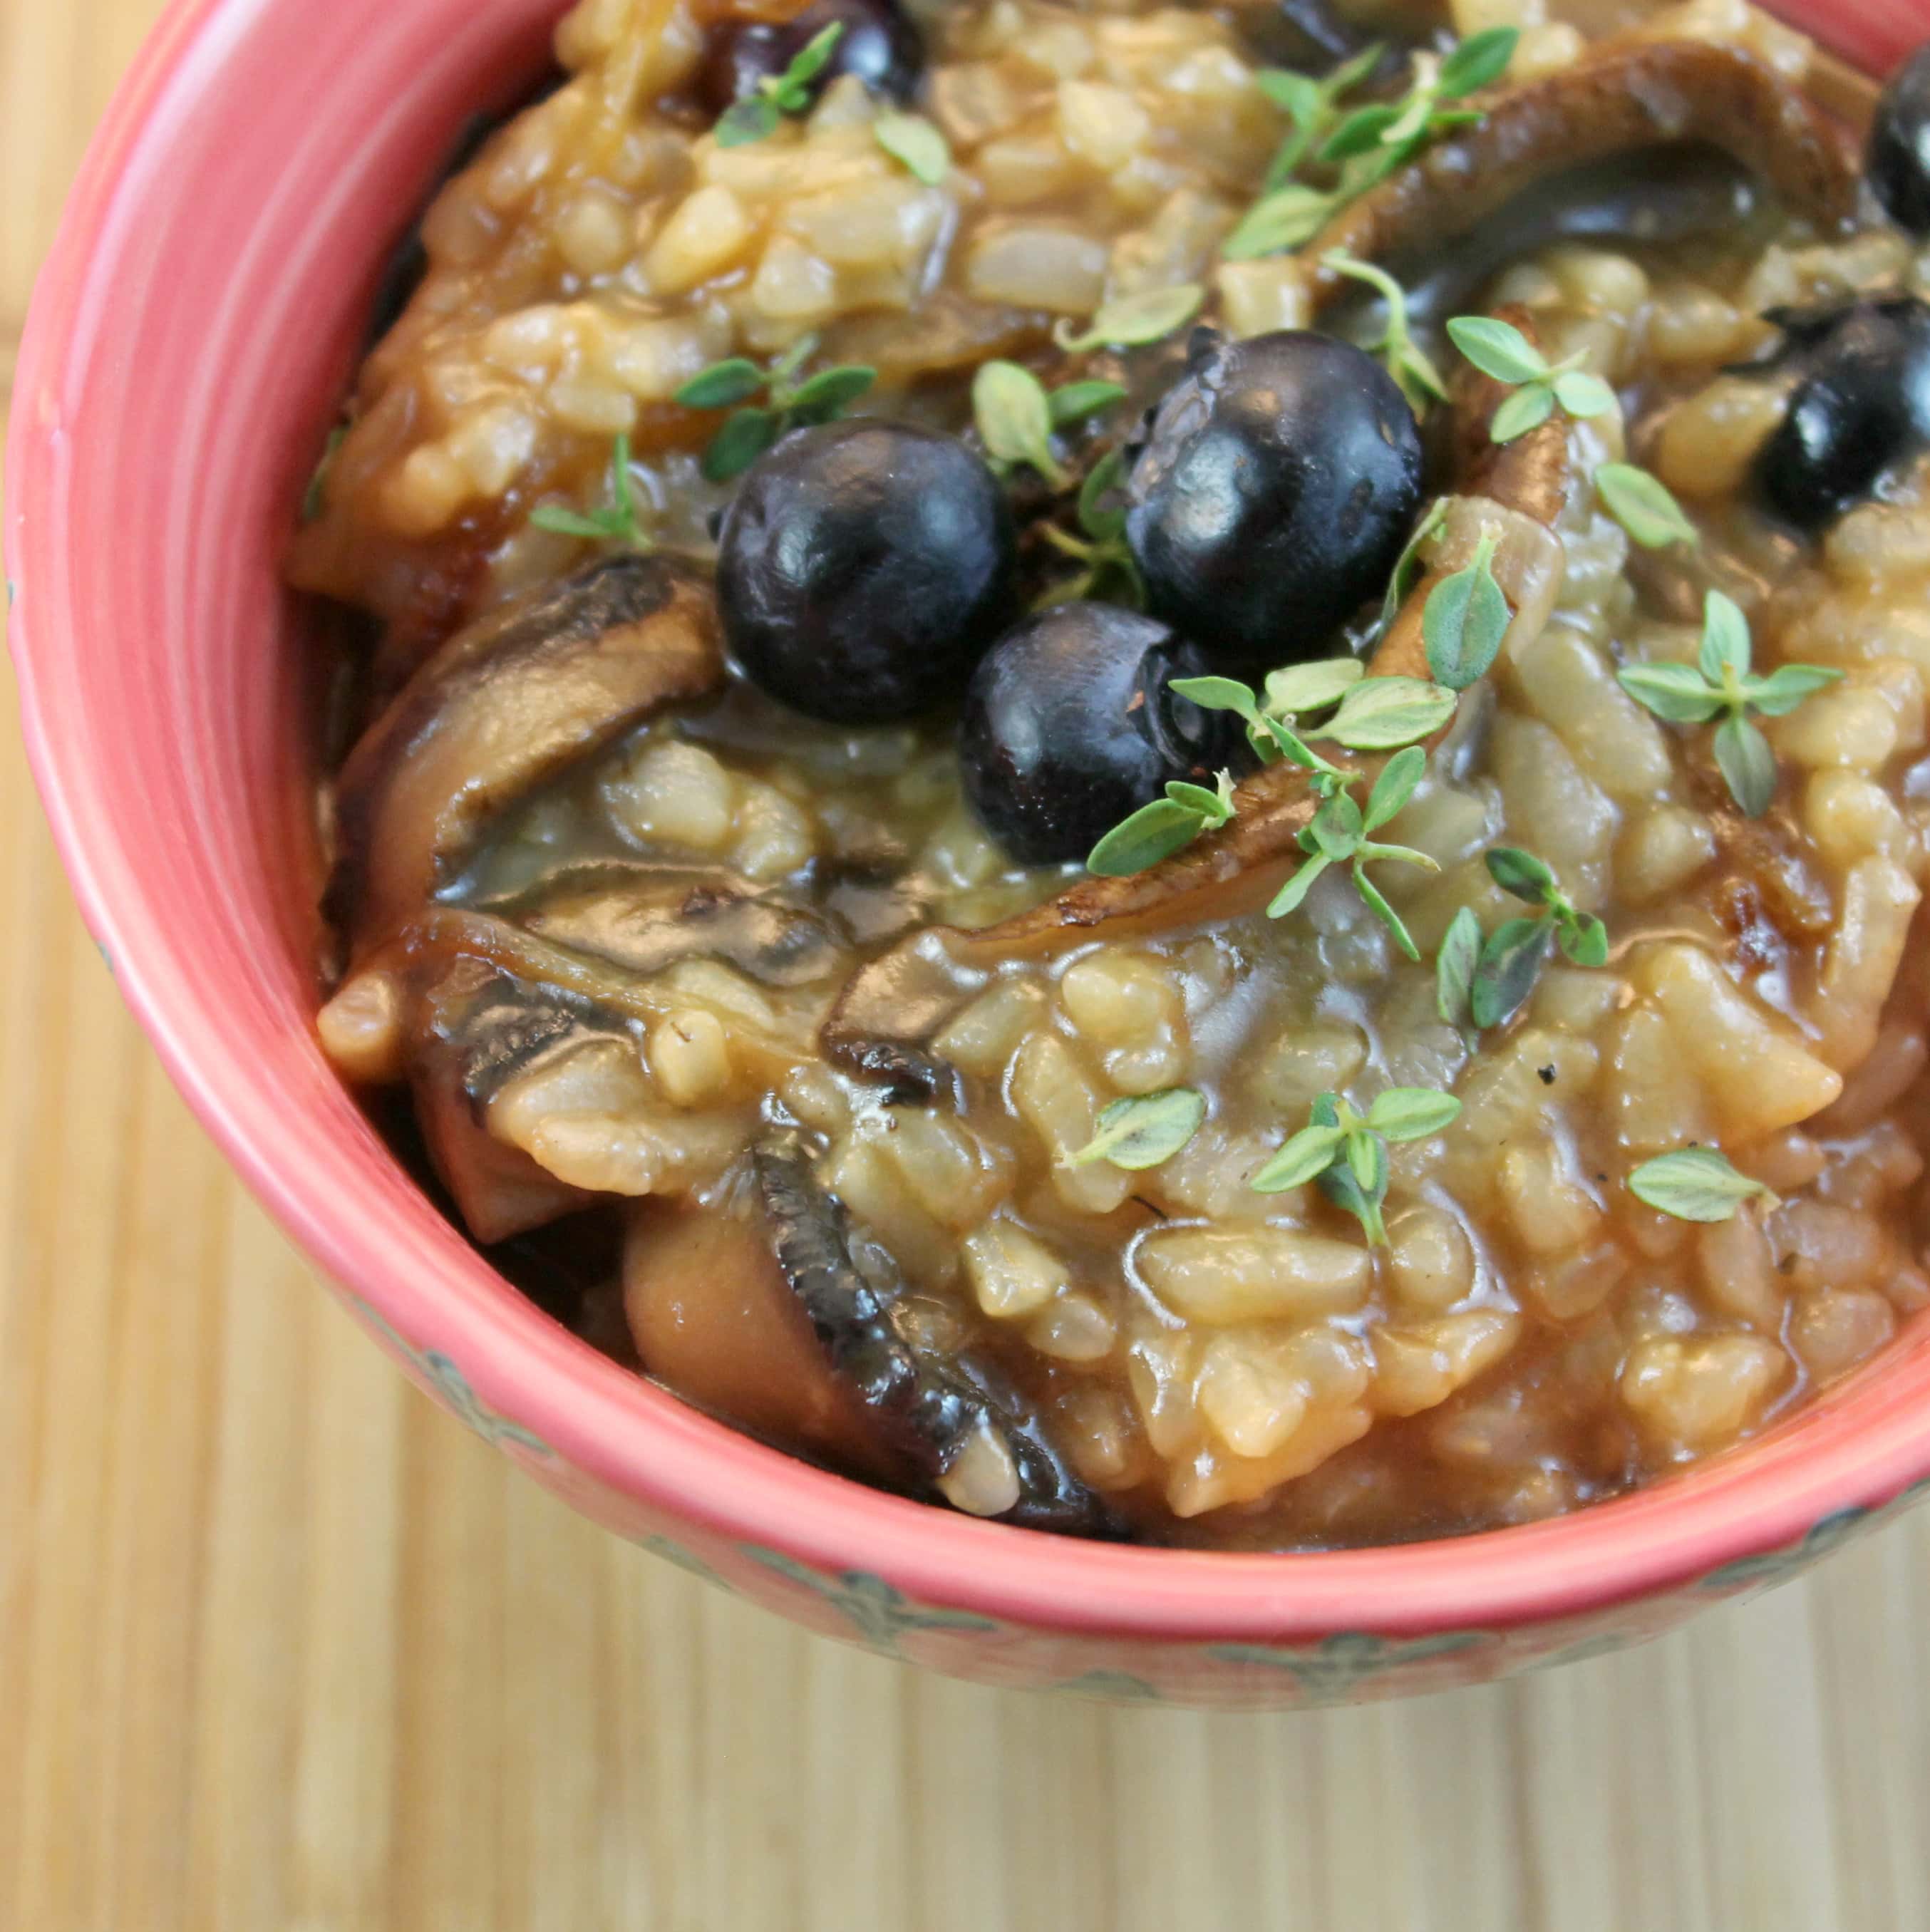
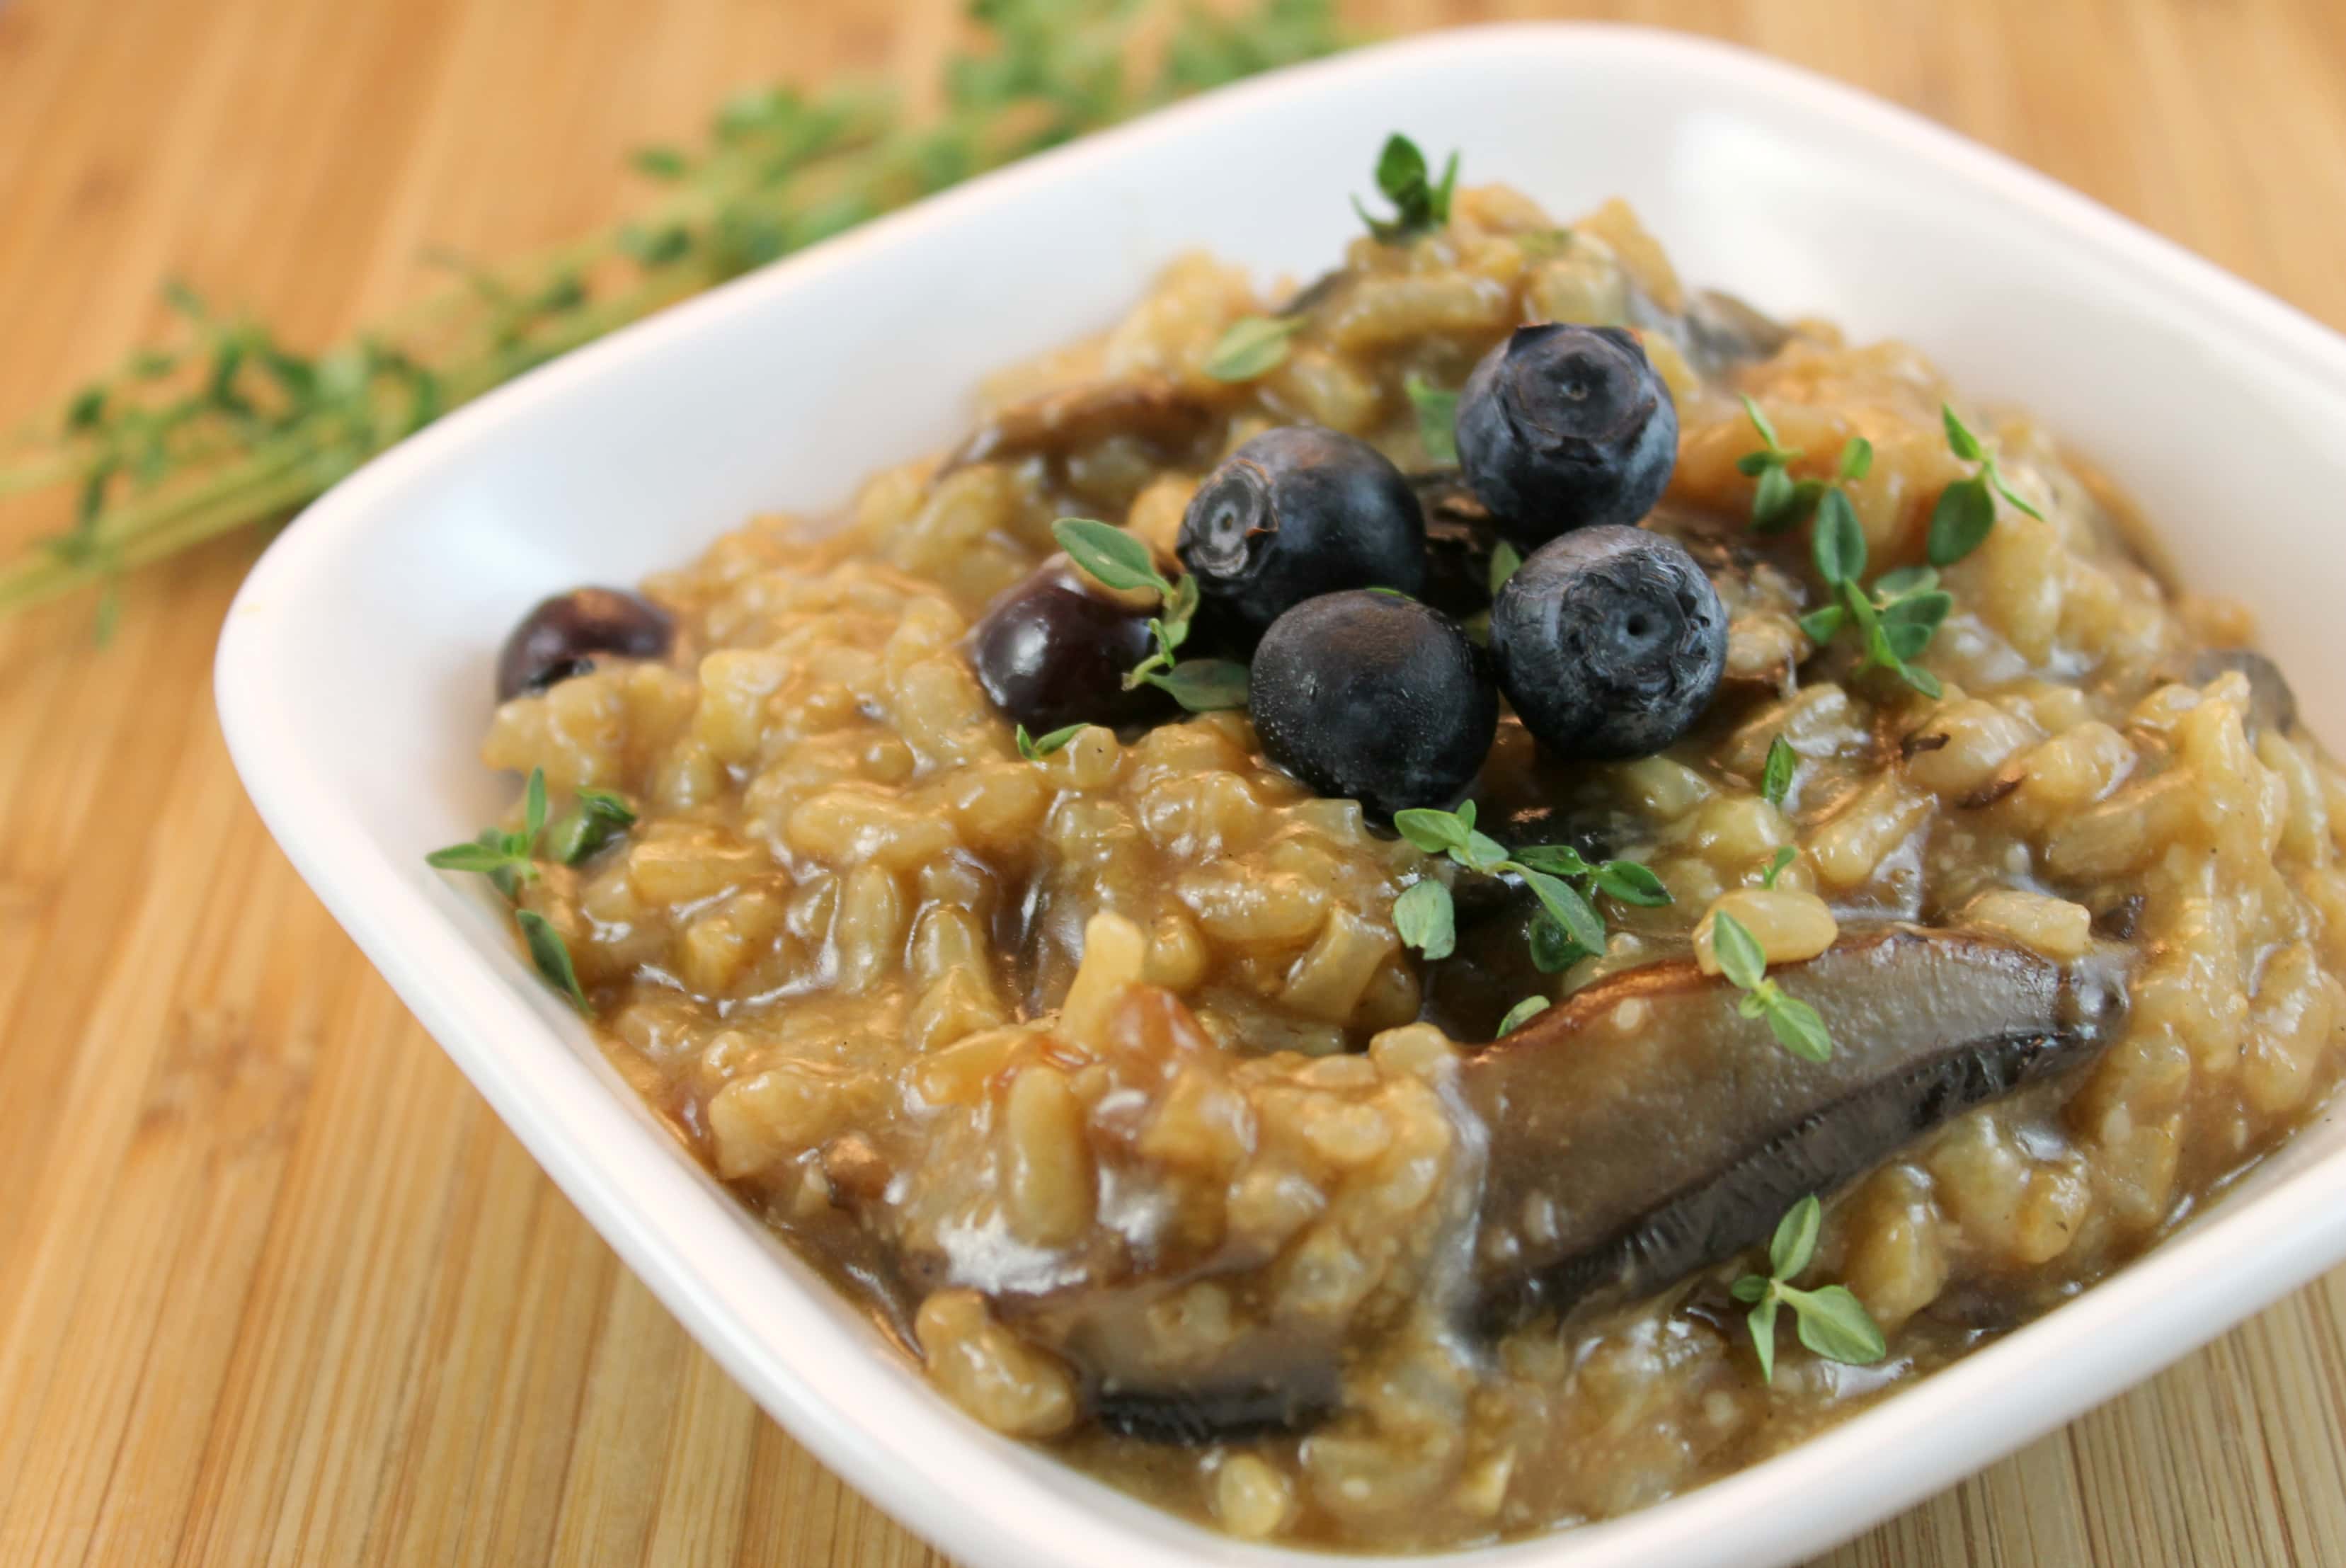
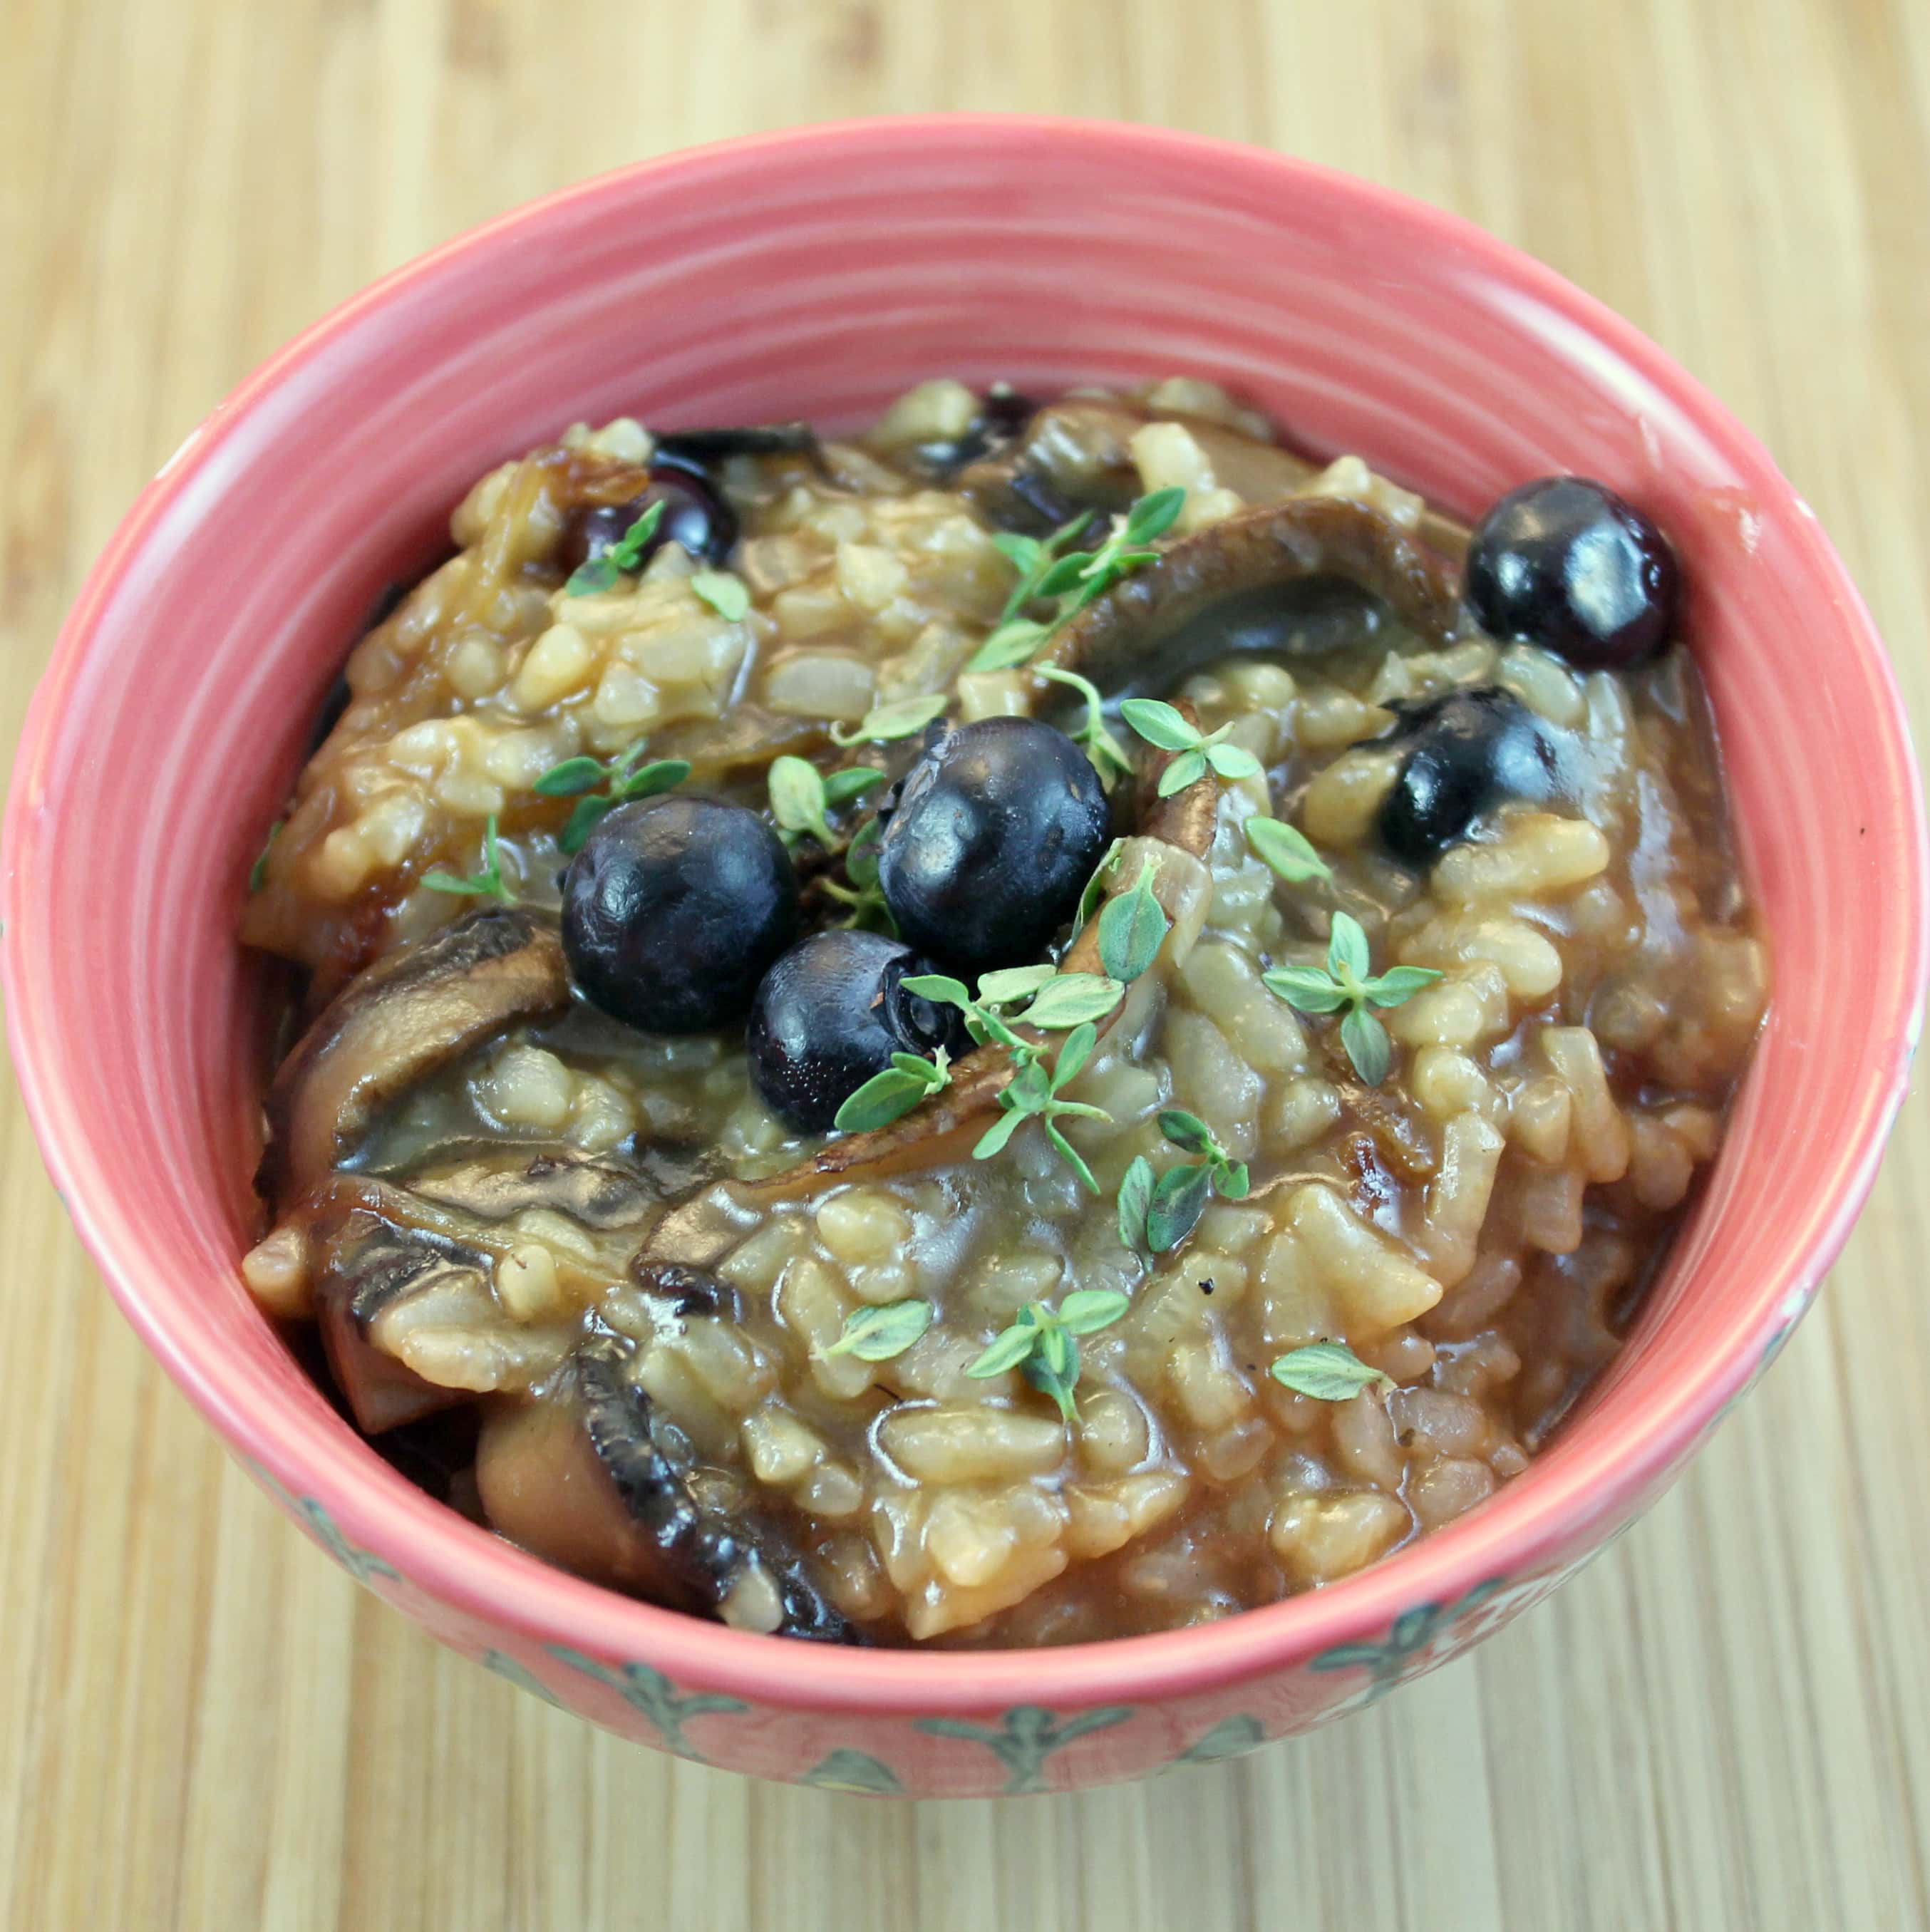
Blueberry Mushroom Risotto. Hear me out. I know you read the title of this post and probably thought I’ve officially lost it. But I promise you this is amazing. I first heard about this bizarre combo in a book called The Flavor Thesaurus: A Compendium of Pairings, Recipes and Ideas for the Creative Cook. This book is fantastic. It lists pairings, common and strange, to help make your cooking a bit more adventurous. I page through it all the time, and have learned some yummy pairings. But the one that has stuck out to me the most is the mushroom and blueberry combination.
Apparently northern Italy cooking commonly pairs fruit with mushrooms according to the book. Who knew? My fellow Philadelphian (and internationally known chef) Marc Vetri also has a porcini and blueberry lasagna in one of his cookbooks: Il Viaggio Di Vetri: A Culinary Journey.
So when I found myself the proud recipient of a bunch of mushrooms from To-Jo Mushrooms, I knew it was finally time to try it out. It has been a really crummy, rainy day so I was craving comfort food. Risotto is a perfect rainy day food: hearty, creamy, and absolutely delicious! I’m a huge fan of mushroom risotto so I was excited to try this spin on it. In the past, I’ve made a traditional Mushroom Risotto, as well as a Wild Mushroom Farro Risotto.
Ingredients:
3 tablespoons olive oil, divided
1/2 cup shallots, sliced
3 slider mushrooms, sliced (or 2 large portobello mushrooms)
1/4 cup assorted dry mushrooms, optional (I used a mixture of morel, chanterelle, and trumpet mushrooms)
!This weekend, I attended a conference in Philadelphia. As a “local blogger” I received quite a few food perks due to my proximity to the conference. I was sent home with a case of Gerolsteiner Mineral Water, a whole watermelon (and a heavy one at that!), and a case of fresh California Mission Figs. Poor me, right? 🙂
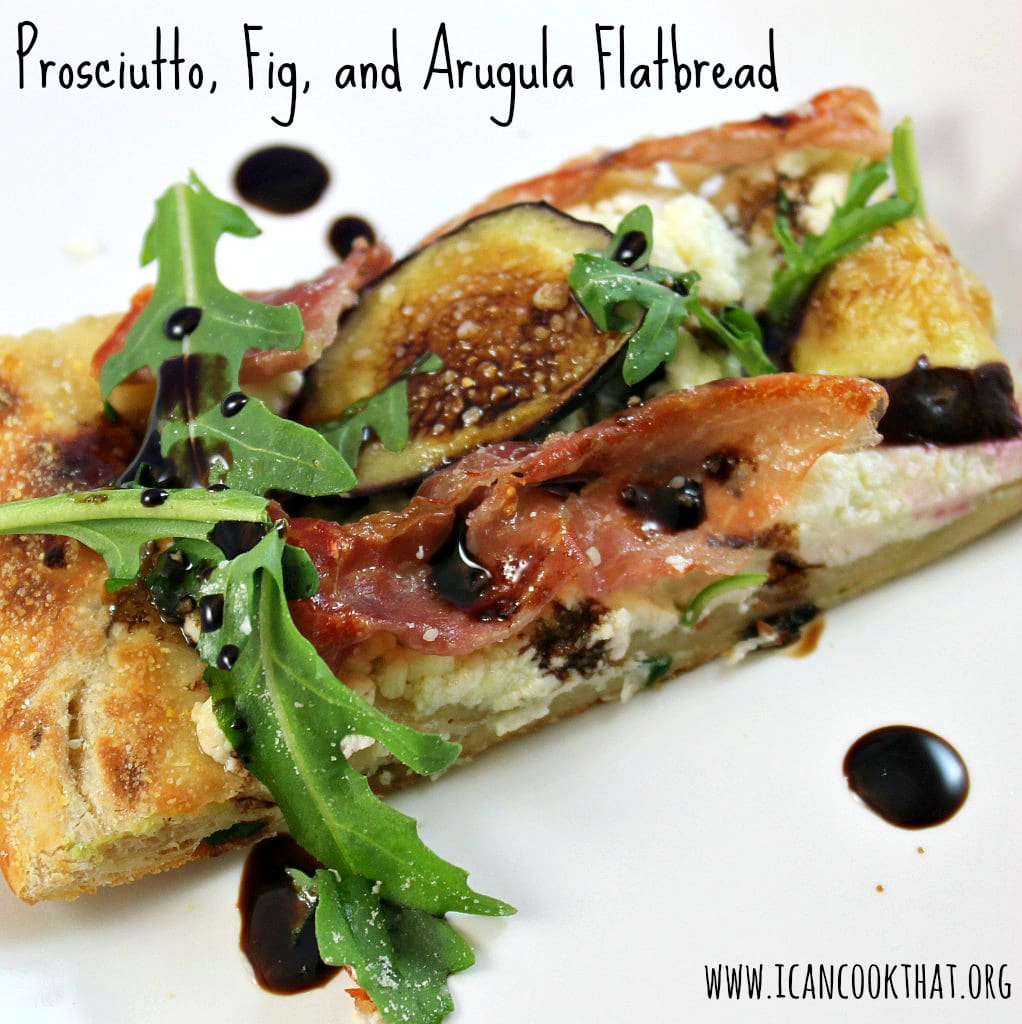
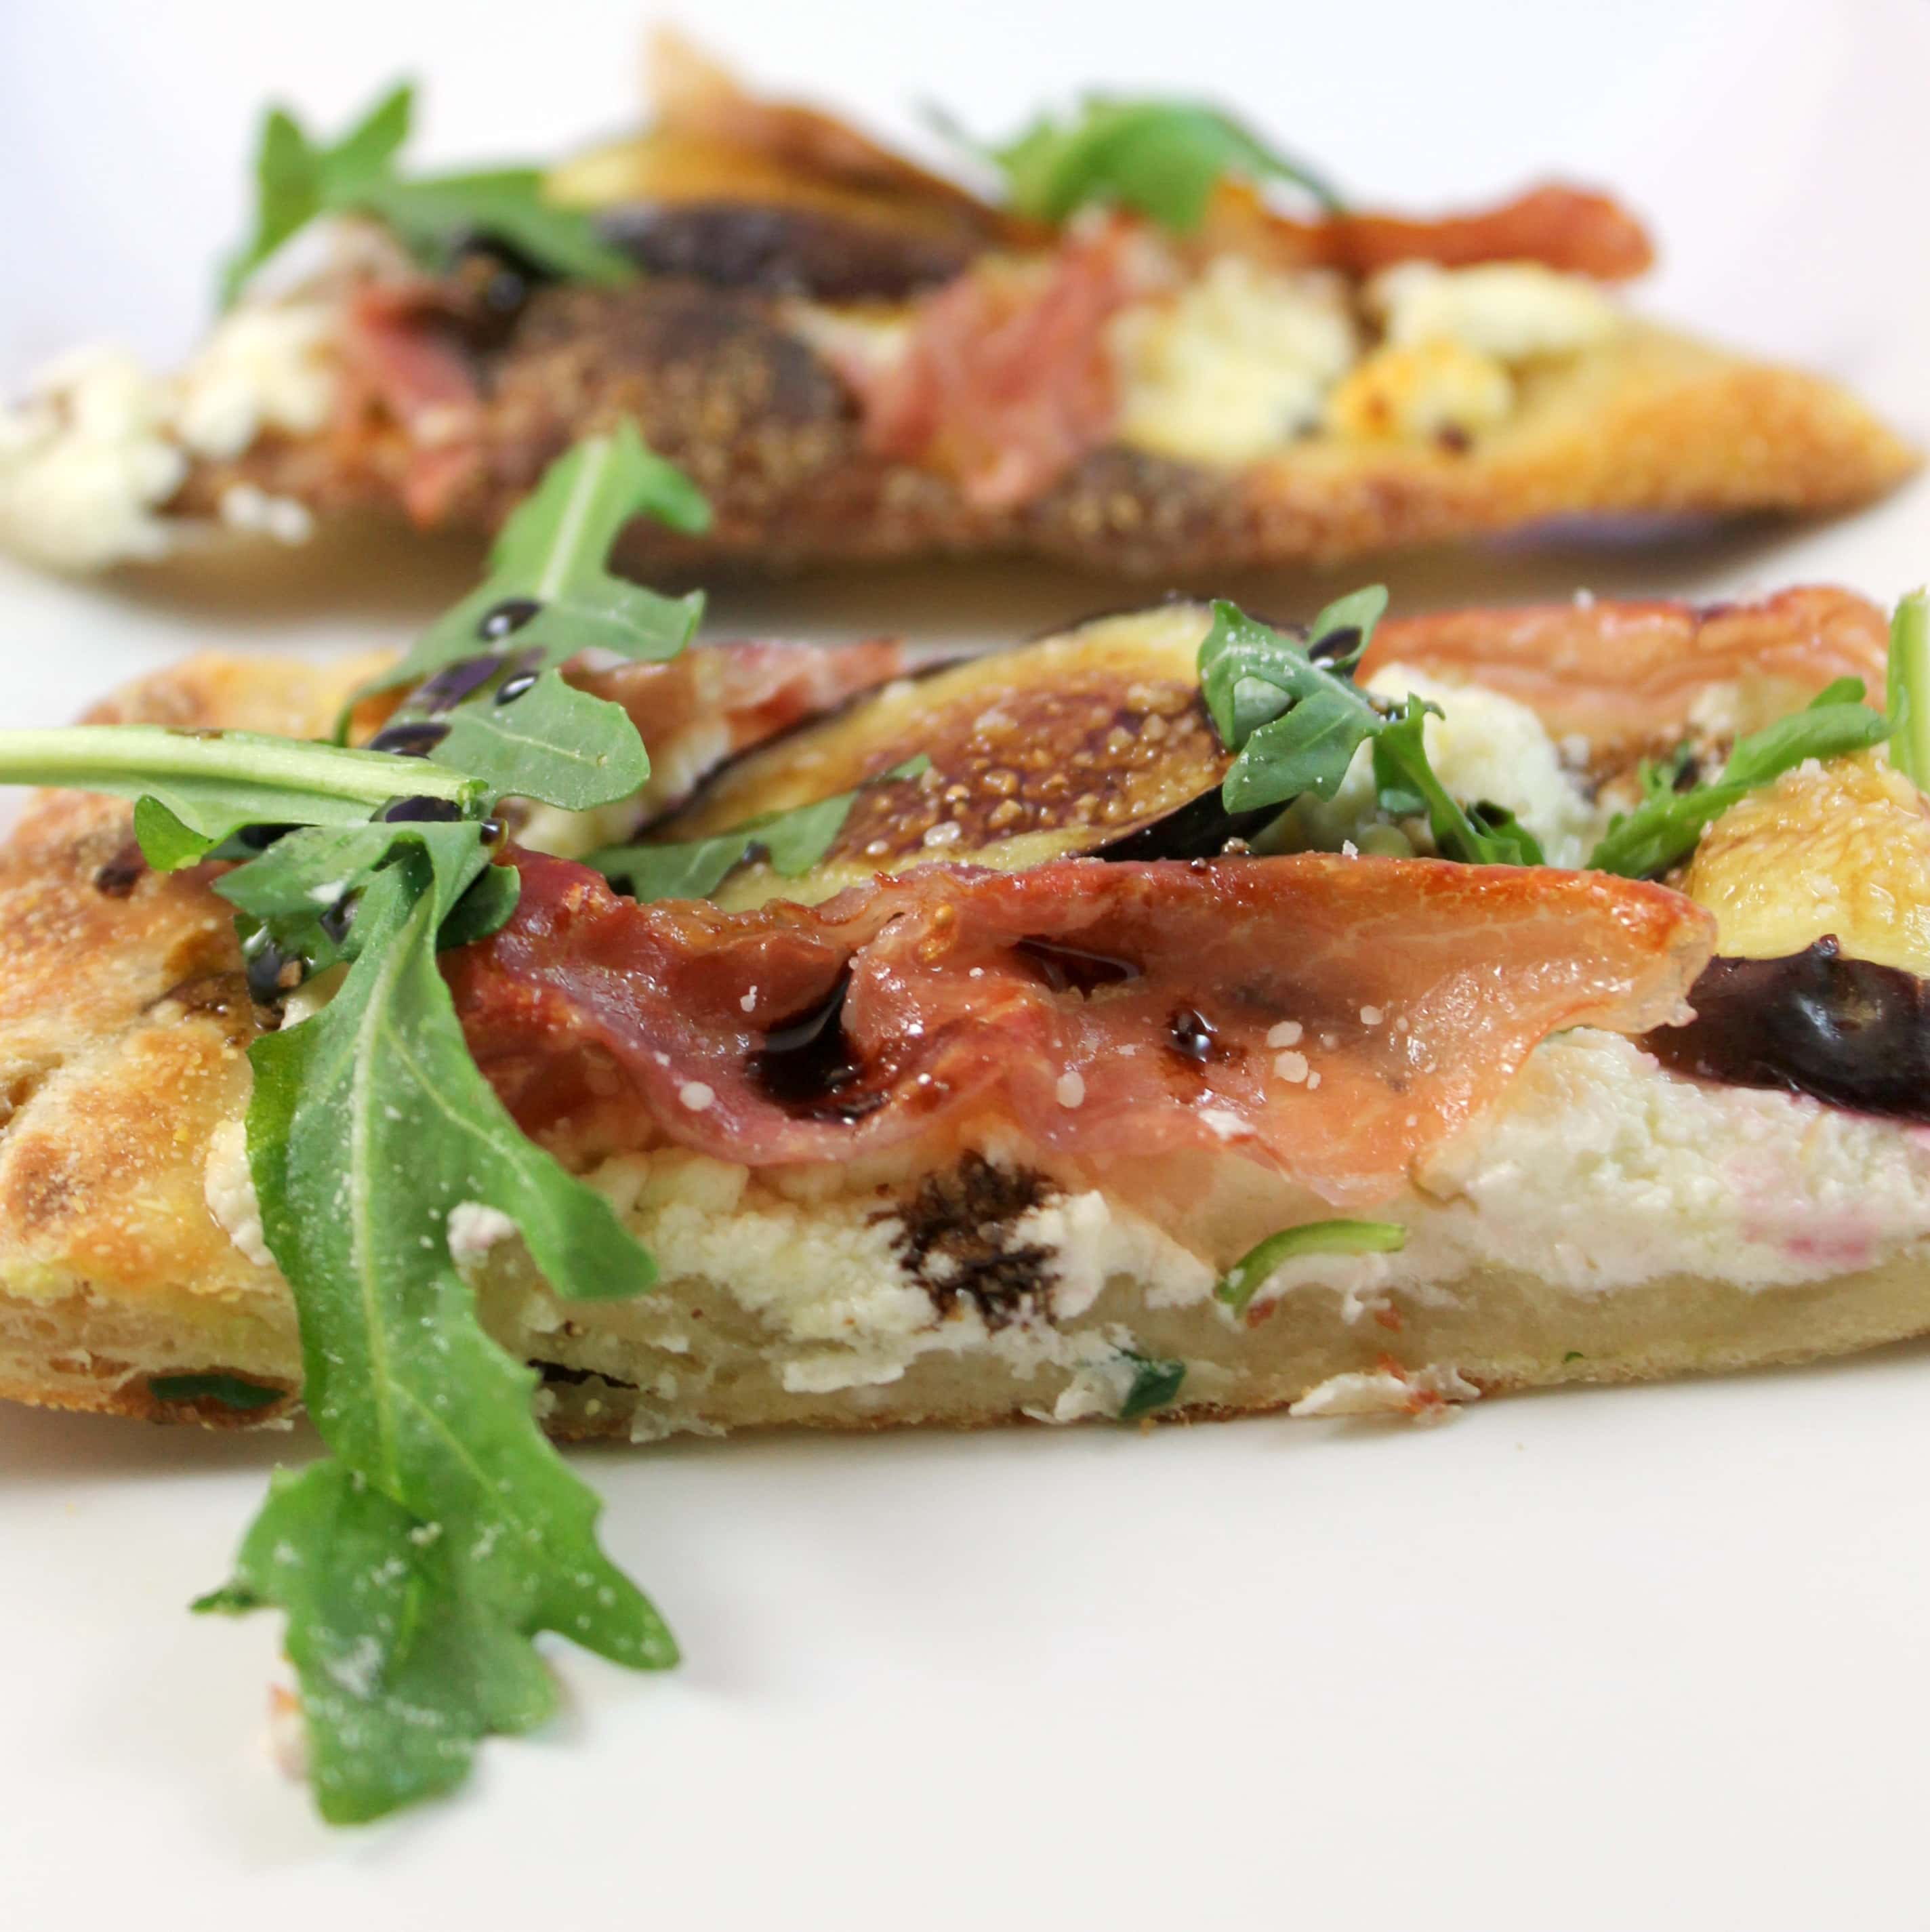
So. Figs don’t last terribly long which means I might have a few fig posts in a row. But figs are so much more versatile than you expect and can be really quite fantastic in a savory dish, especially in this Prosciutto, Fig, and Arugula Flatbread!
Flatbreads are a great weeknight meal, although you have to let your dough sit out at room temperature for at least an hour. So, more specifically, they are great for nights where you get home in time to leave out the dough, go do some chores/errands, and then want to whip up a quick meal.
Whenever I think of figs, my mind immediately goes to bacon-wrapped figs (I’ve done a post in the past with bacon-wrapped dates which I used as a substitute for figs in case you have any interest), which can be easily translated from an appetizer into a main meal by turning the recipe into a flatbread. When visiting my boyfriend’s brother last summer, they made us an absolutely delicious grilled flatbread with prosciutto, figs, and goat cheese which was my inspiration for this dish. I added some baby arugula and a balsamic reduction as well to give it a little more bite.
Ingredients (serves 2 as a main dish and 4 as an appetizer):
I’ve mentioned on here many times, I really stink at getting an entire meal on the table. I can usually handle making the main dish and then I just scramble to throw a salad together and call it a meal. So when Cooking Planit told me about their app, it was like they had made it with me in mind!
The app, available for the iPhone and iPad (android coming soon) can also be accessed online. Your usage is synced up through your login, so you can browse on your computer, iPhone, and iPad seamlessly. (The app is currently on sale for $0.99 for iPhone and $1.99 for iPad)
The overall goal of Cooking Planit is to get a meal, sides included, on the table at the same time. The app includes tons of recipes that come already packaged as meals, but you can also mix and match to suit your tastes.
Once you choose your recipes/meal, you can add it to “My Cookbook” to store for future use. When you’re ready to go food shopping, just add the meal to your grocery list. The app gives you the option of planning for 2, 4, or 6 servings which I absolutely love! The grocery list can be viewed as a list by aisle (produce, dairy & eggs, canned goods, etc.), images (in case you have no idea what a leek looks like), or by recipe so you can see what you need for which recipe. Once you find and purchase your ingredients, just check them off and remove them from the list.
When you’re ready to get cooking, just bring up the recipe and click get started. The app will walk you through the meal, step by step, so that all parts of the recipe will finish at or around the same time. The app even shows you which cooking equipment, kitchen supplies, and appliances you need to make your meal, almost foolproof! It also lets you know how long it will take to make from start to finish. I liked being able to browse the recipes online at work, get the grocery list up on my phone at the supermarket, and then use my laptop at home to view the directions while I cooked. Super easy! The iPhone/iPad app also has voice control, so if you’re elbow deep in cooking, you can give voice commands like “Move On” or “Go Back.” When parts of the recipe need a timer, automatic timers show up at the top of the screen for you. The app will also tell you when to slow down so that all parts of the recipe finish at the same time.
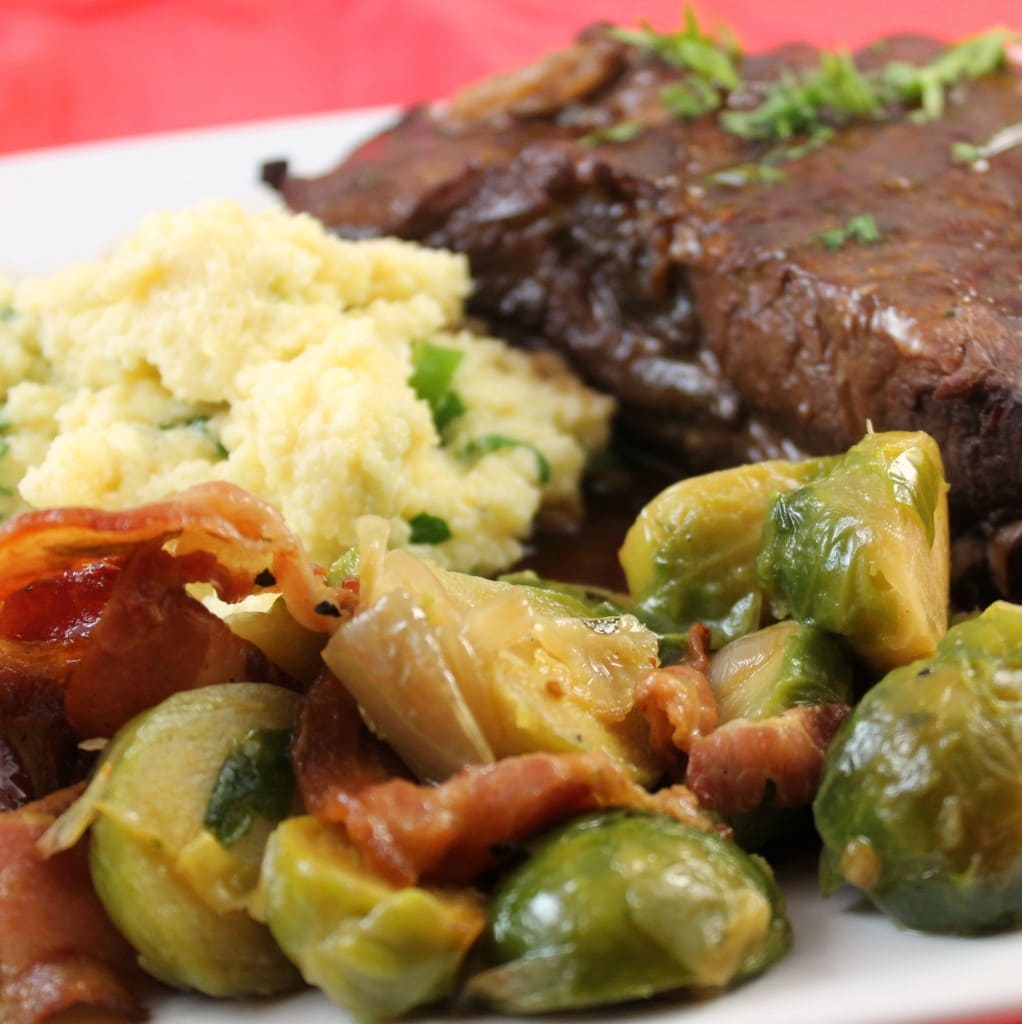
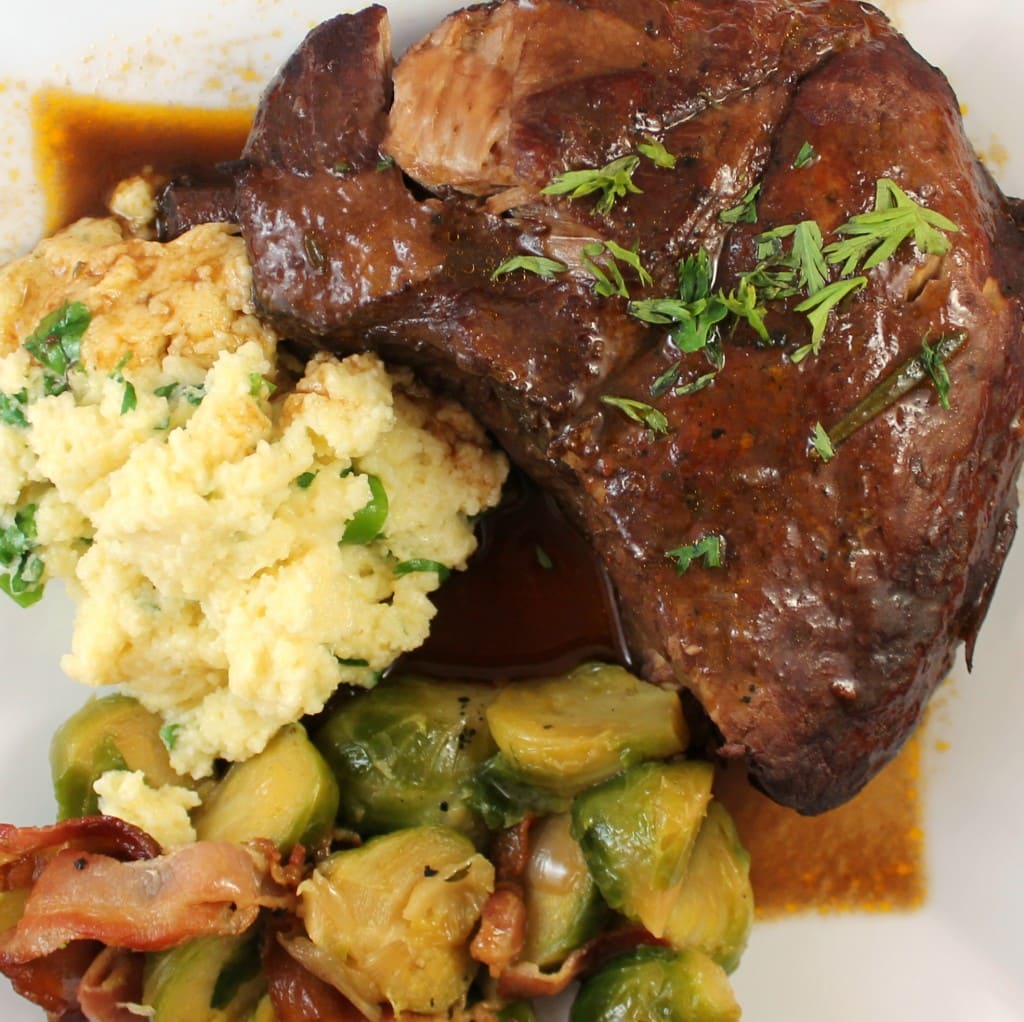
So I decided to try it out and give the results below! I (of course) messed with the recipe slightly so my version is below. I chose “Sunday Supper” but changed it to Baby Back Ribs instead of Short Ribs and used my slow cooker instead of the oven.
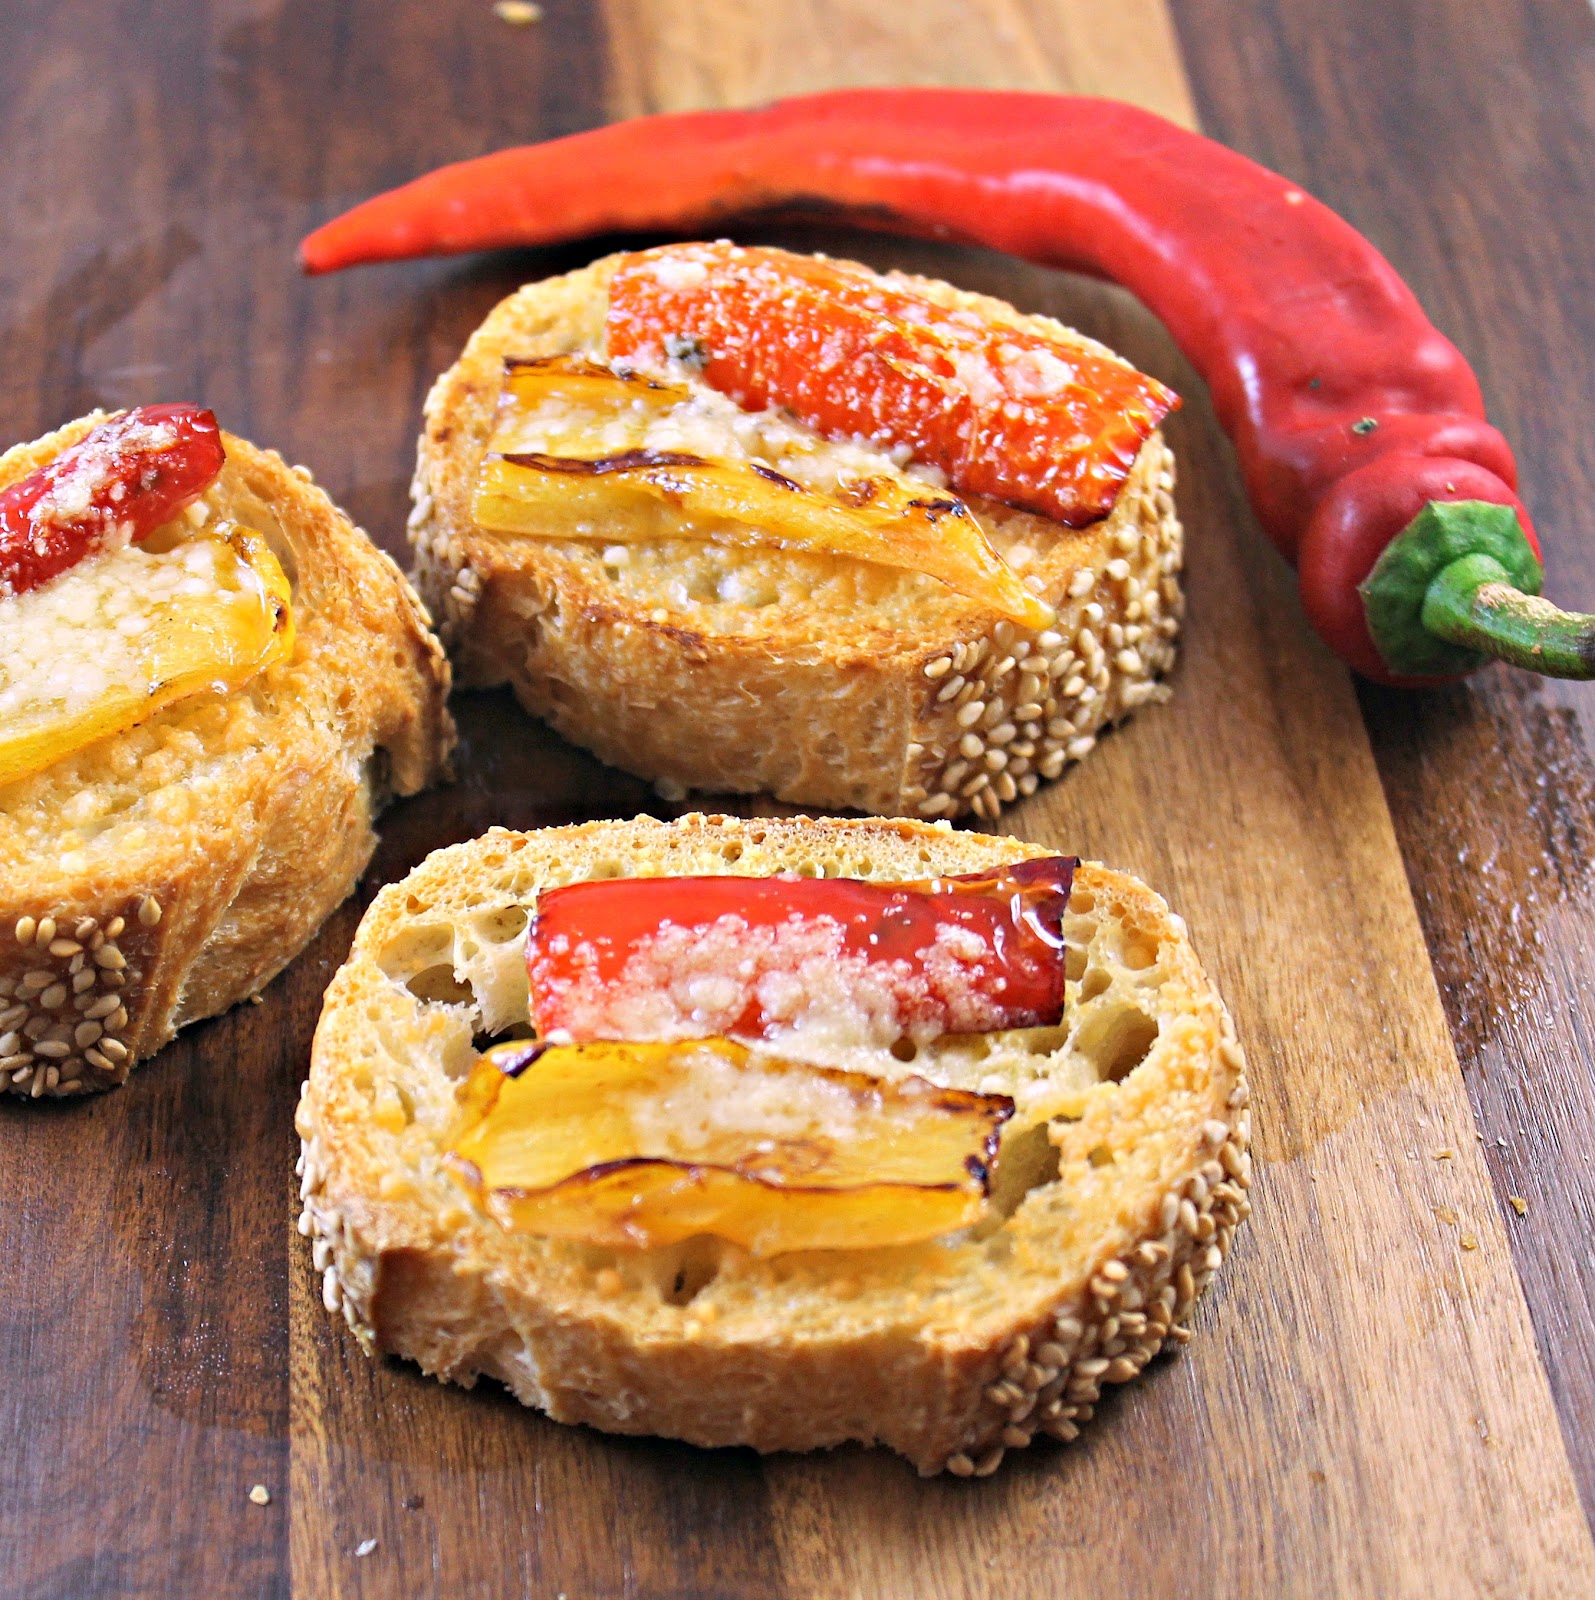
I received Italian Frying Peppers in my CSA share this week. I had no idea what an Italian frying pepper was so I was curious to find out more about these fun looking peppers. Although they look like they might be spicy, they are definitely closer to the flavor of a bell pepper, but there is a hint of spice. They come in a range of colors so I thought they’d make a beautiful bruschetta-type appetizer. I figured there was good reason they were called frying peppers, so I kept it simple and did just that: sauteed them up in some olive oil. (Sorry about the lack of amounts of each ingredient, I made this up as I was going)
Ingredients:
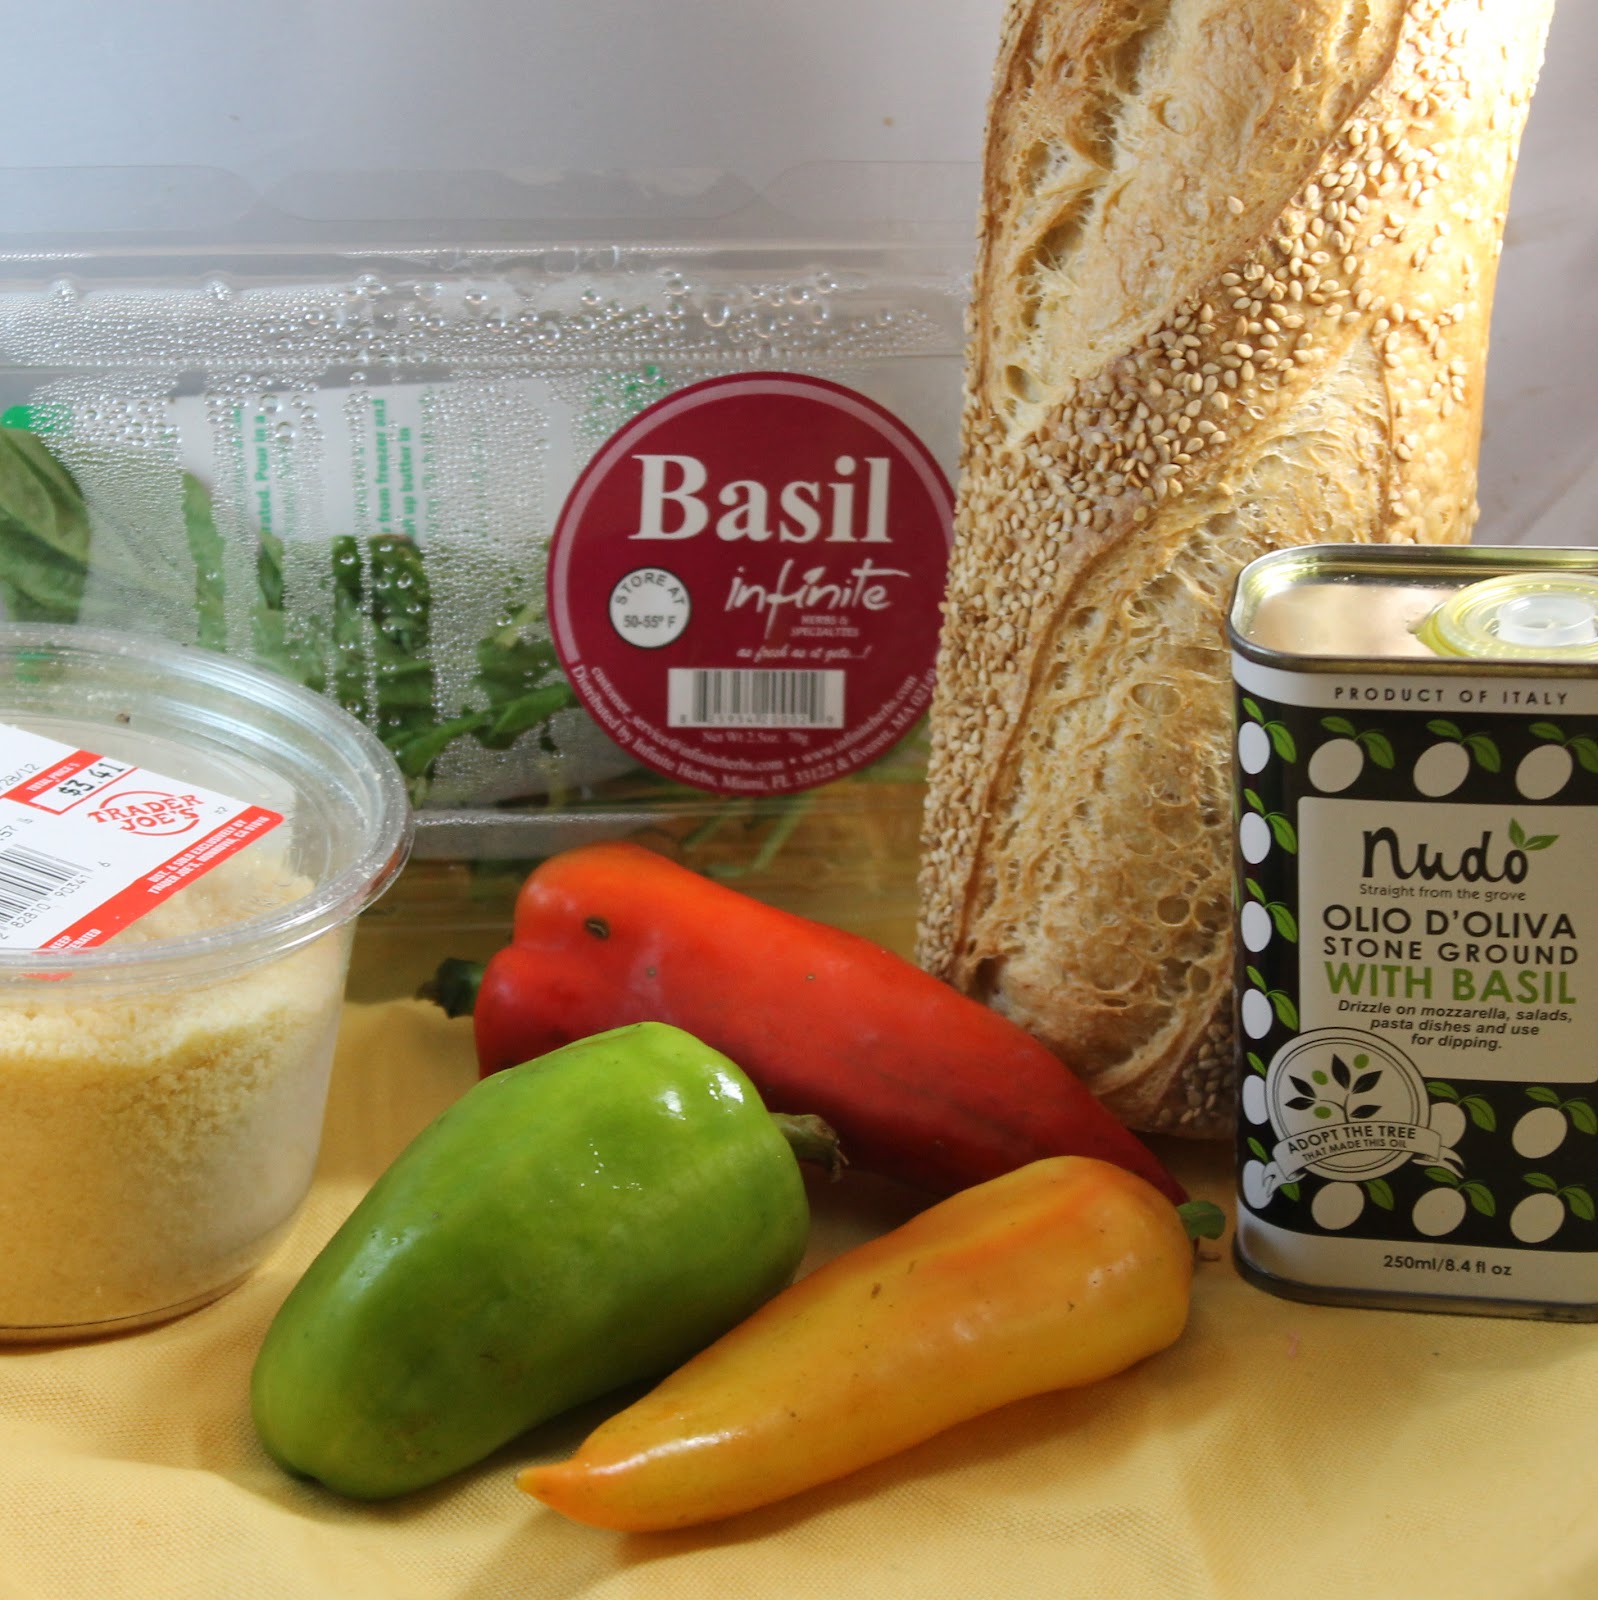
Italian frying peppers, cut small/thin enough to fit on bread slices
French or Italian bread, sliced
Olive oil (I used Nudo’s basil olive oil)
Parmesan cheese
Fresh basil, chopped
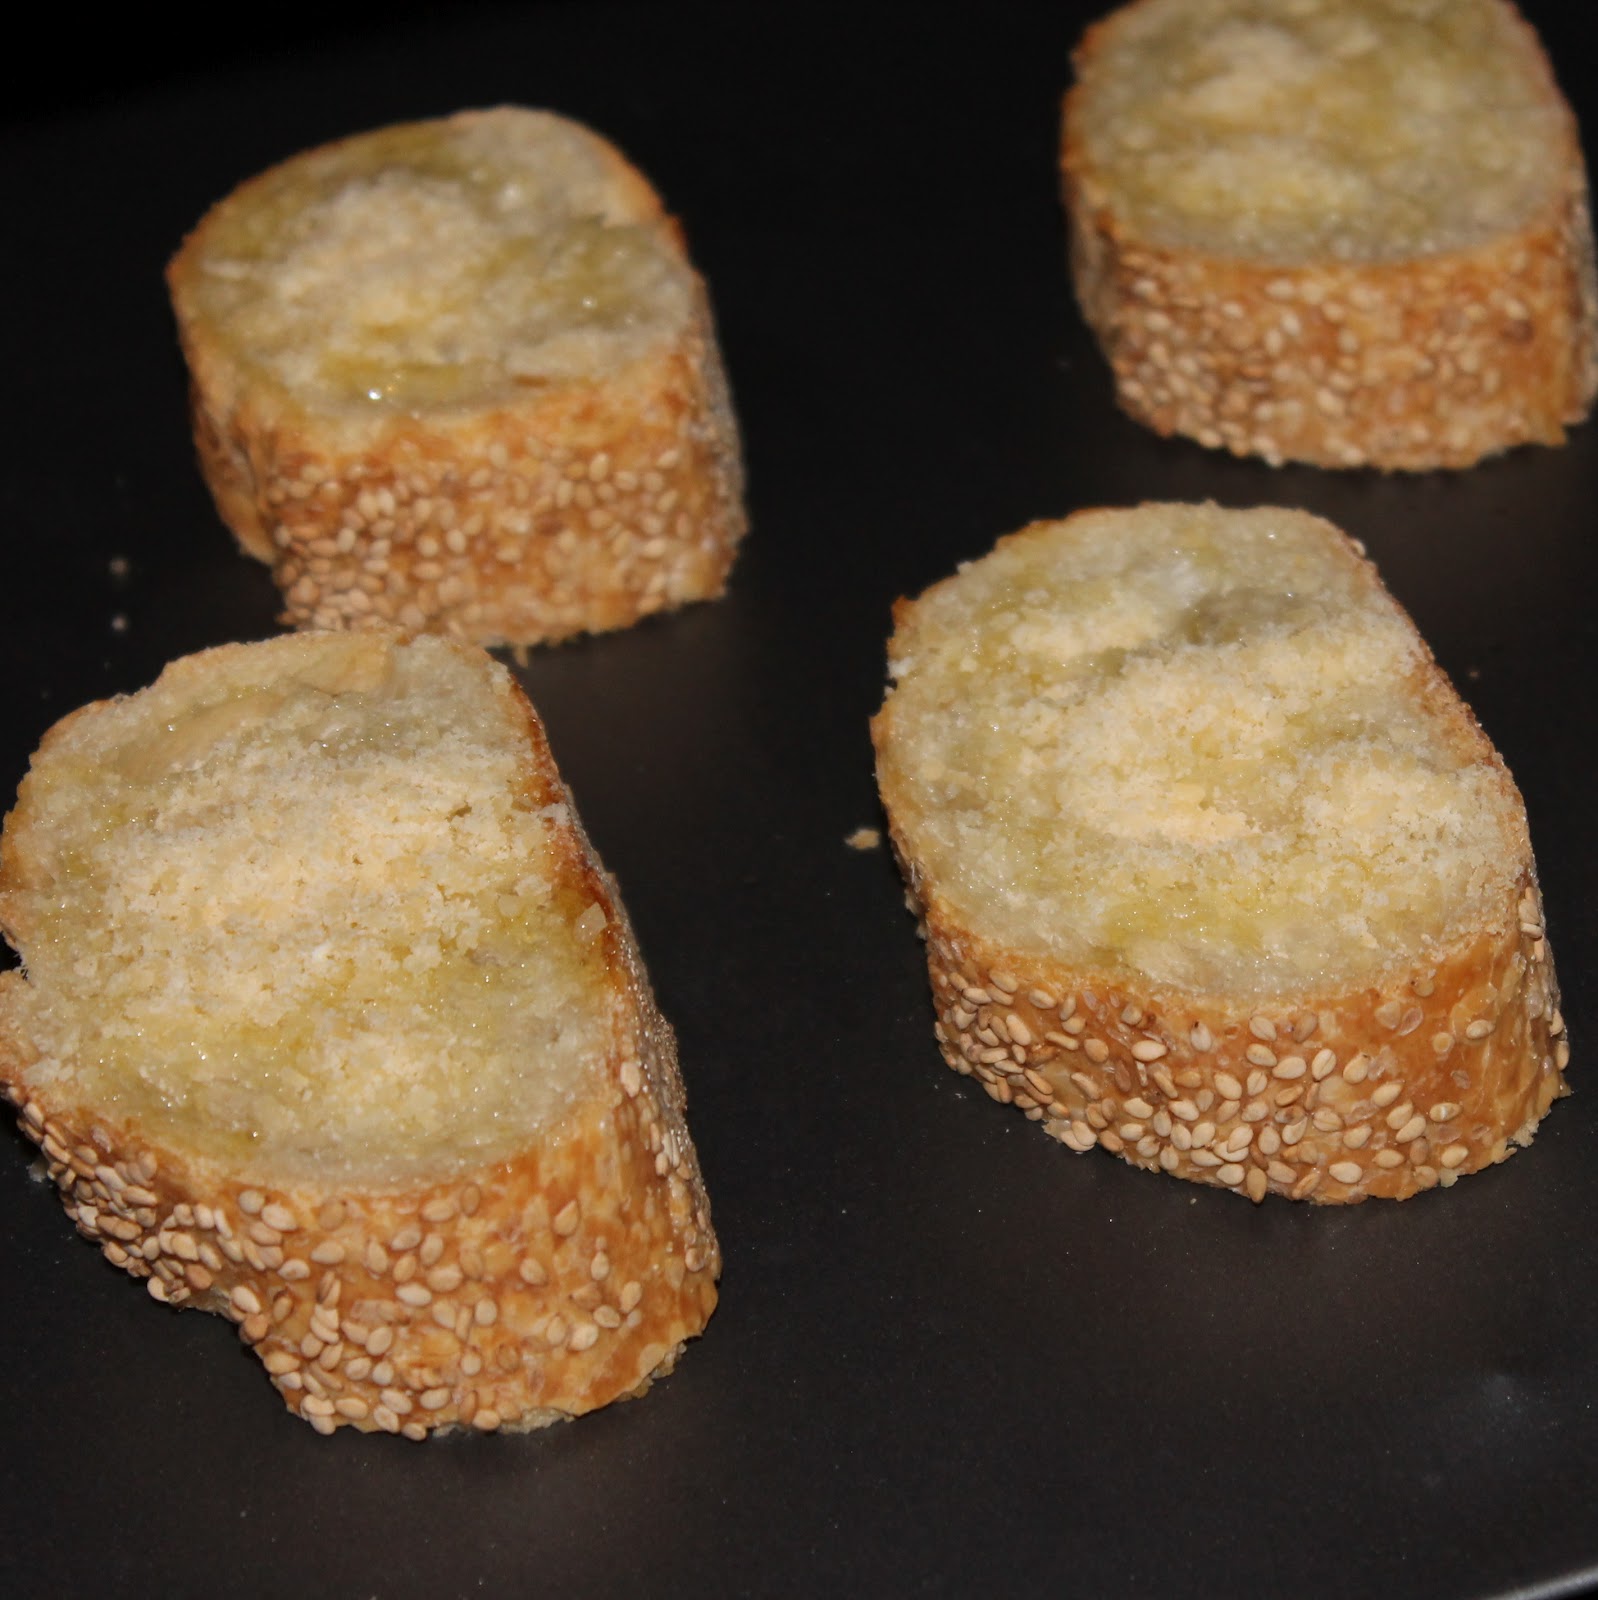
Preheat your broiler. Brush the pieces of bread with the olive oil. (I realized after I did this with basil how fantastic it would have been with Nudo’s olive oil with chili. Sigh. I’ll do that next time!)
Top with Parmesan cheese and add to a cookie sheet.
Broil for 1-2 minutes or until the bread begins to brown.
Add 1 teaspoon of olive oil per frying pepper (I cooked three so I used 1 tablespoon) to a saute pan over medium-high heat. Add the peppers.
Cook until they begin to brown, turning once, about 4-5 minutes.
Remove the peppers from the pan and top the bread with slices of peppers.
If desired, add a bit more Parmesan cheese and broil for another 30 seconds to a minute, or until the cheese melts.
They can be served as is. Simple, delicious, and quick.
You can also add some freshly chopped basil to the slices to add a bit more flavor.
These were really stellar. I loved how (for lack of a better term) creamy the peppers became once fried. This recipe was really delicious with the basil olive oil, but I bet the chili olive oil would have been spectacular. Normal extra virgin olive oil would also do the trick.
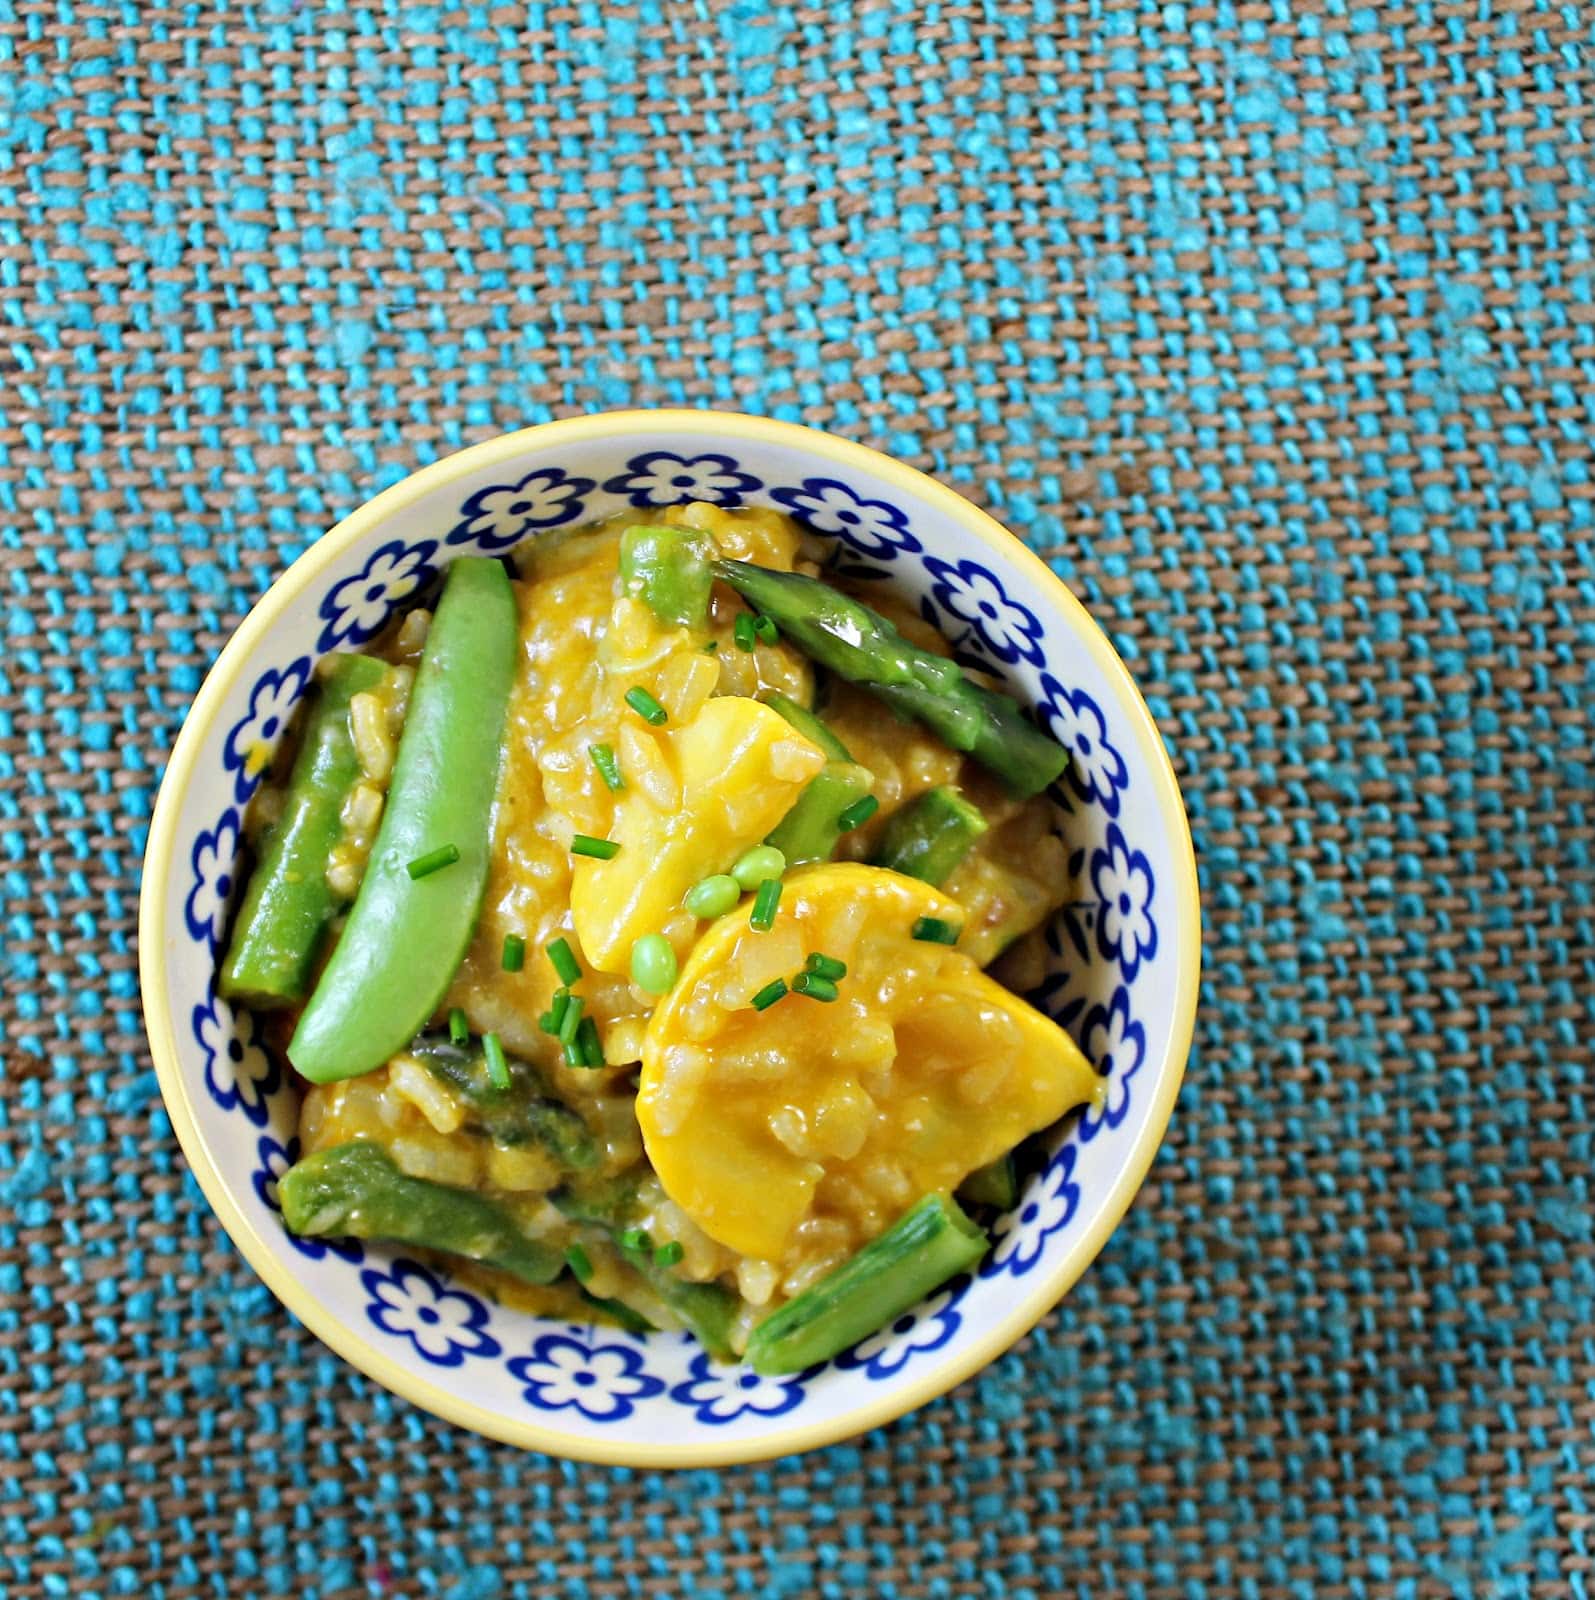
As I hear rumblings of all things pumpkin just around the corner (yay!), I realized that my days of beautiful, fresh vegetables are numbered (boo). Which means I needed a recipe that used some of summer’s best. This risotto recipe from Cooking Light fit the bill: Asparagus, Sugar Snap Peas, Zucchini, Yellow Squash.. mmm.
Ingredients:
8 ounces asparagus, trimmed and cut into 1-inch pieces
8 ounces sugar snap peas, trimmed and cut in half
5 teaspoons extra-virgin olive oil, divided
1 (8-ounce) zucchini, halved lengthwise and cut into 1/2-inch-thick slices
1 (8-ounce) yellow squash, halved lengthwise and cut into 1/2-inch-thick slices
I am a pasta addict. I love it. I will never ever be carb free because I don’t want to know what life is like without pasta. I am a huge fan of fresh pasta because 1. I personally think it tastes better and 2. takes about half the time to cook. When Buitoni contacted me about a new ravioli they were introducing (it should be available in early July), I was already sold. But then they told me what kind of ravioli it is: Chicken Marsala Ravioli. Chicken Marsala is one of my ultimate favorite recipes so I was beyond excited to work with this ravioli!
The Ravioli, “generously filled with all natural white meat chicken, roasted portobello mushrooms and caramelized onions with impastata ricotto, aged parmesan, and asiago cheeses accented with marsala wine”, is one of Buitoni’s new Riserva line of pastas. Other pastas include: Butternut Squash Agnolotti (which I will have a post on soon!), Chicken and Four Cheese Ravioli, Spicy Beef and Sausage Ravioli, Quattro Formaggi Agnolotti, and Wild Mushroom Agnolotti. How fantastic do they all sound?? The Butternut Squash Agnolotti and the Chicken Marsala Ravioli are only available in the Northeast, but the rest are available in grocery stores nationwide. Look for them in the refrigeration section, you can see if your store carries Buitoni products here.
This pasta would probably be fantastic just with a light butter sauce, but I decided to highlight the flavors of the ravioli that were already present in the pasta through a marsala sauce with mushrooms. Caramelized onions and marsala can both be pretty sweet, so I added some spinach to the mix to counteract that. Buitoni was also generous enough to send me a Buitoni apron, a Buitoni cutting board, and a few free coupons so one lucky winner can try these new pastas themselves! More information is below…
Ingredients:
1 package of Buitoni Chicken Marsala Ravioli
1 tablespoon plus 1 teaspoon olive oil, divided
1 shallot, minced
2 garlic cloves (or 1 garlic scape), minced
1 package of baby bella mushrooms, sliced
1 package of shiitake mushrooms, stems removed and sliced
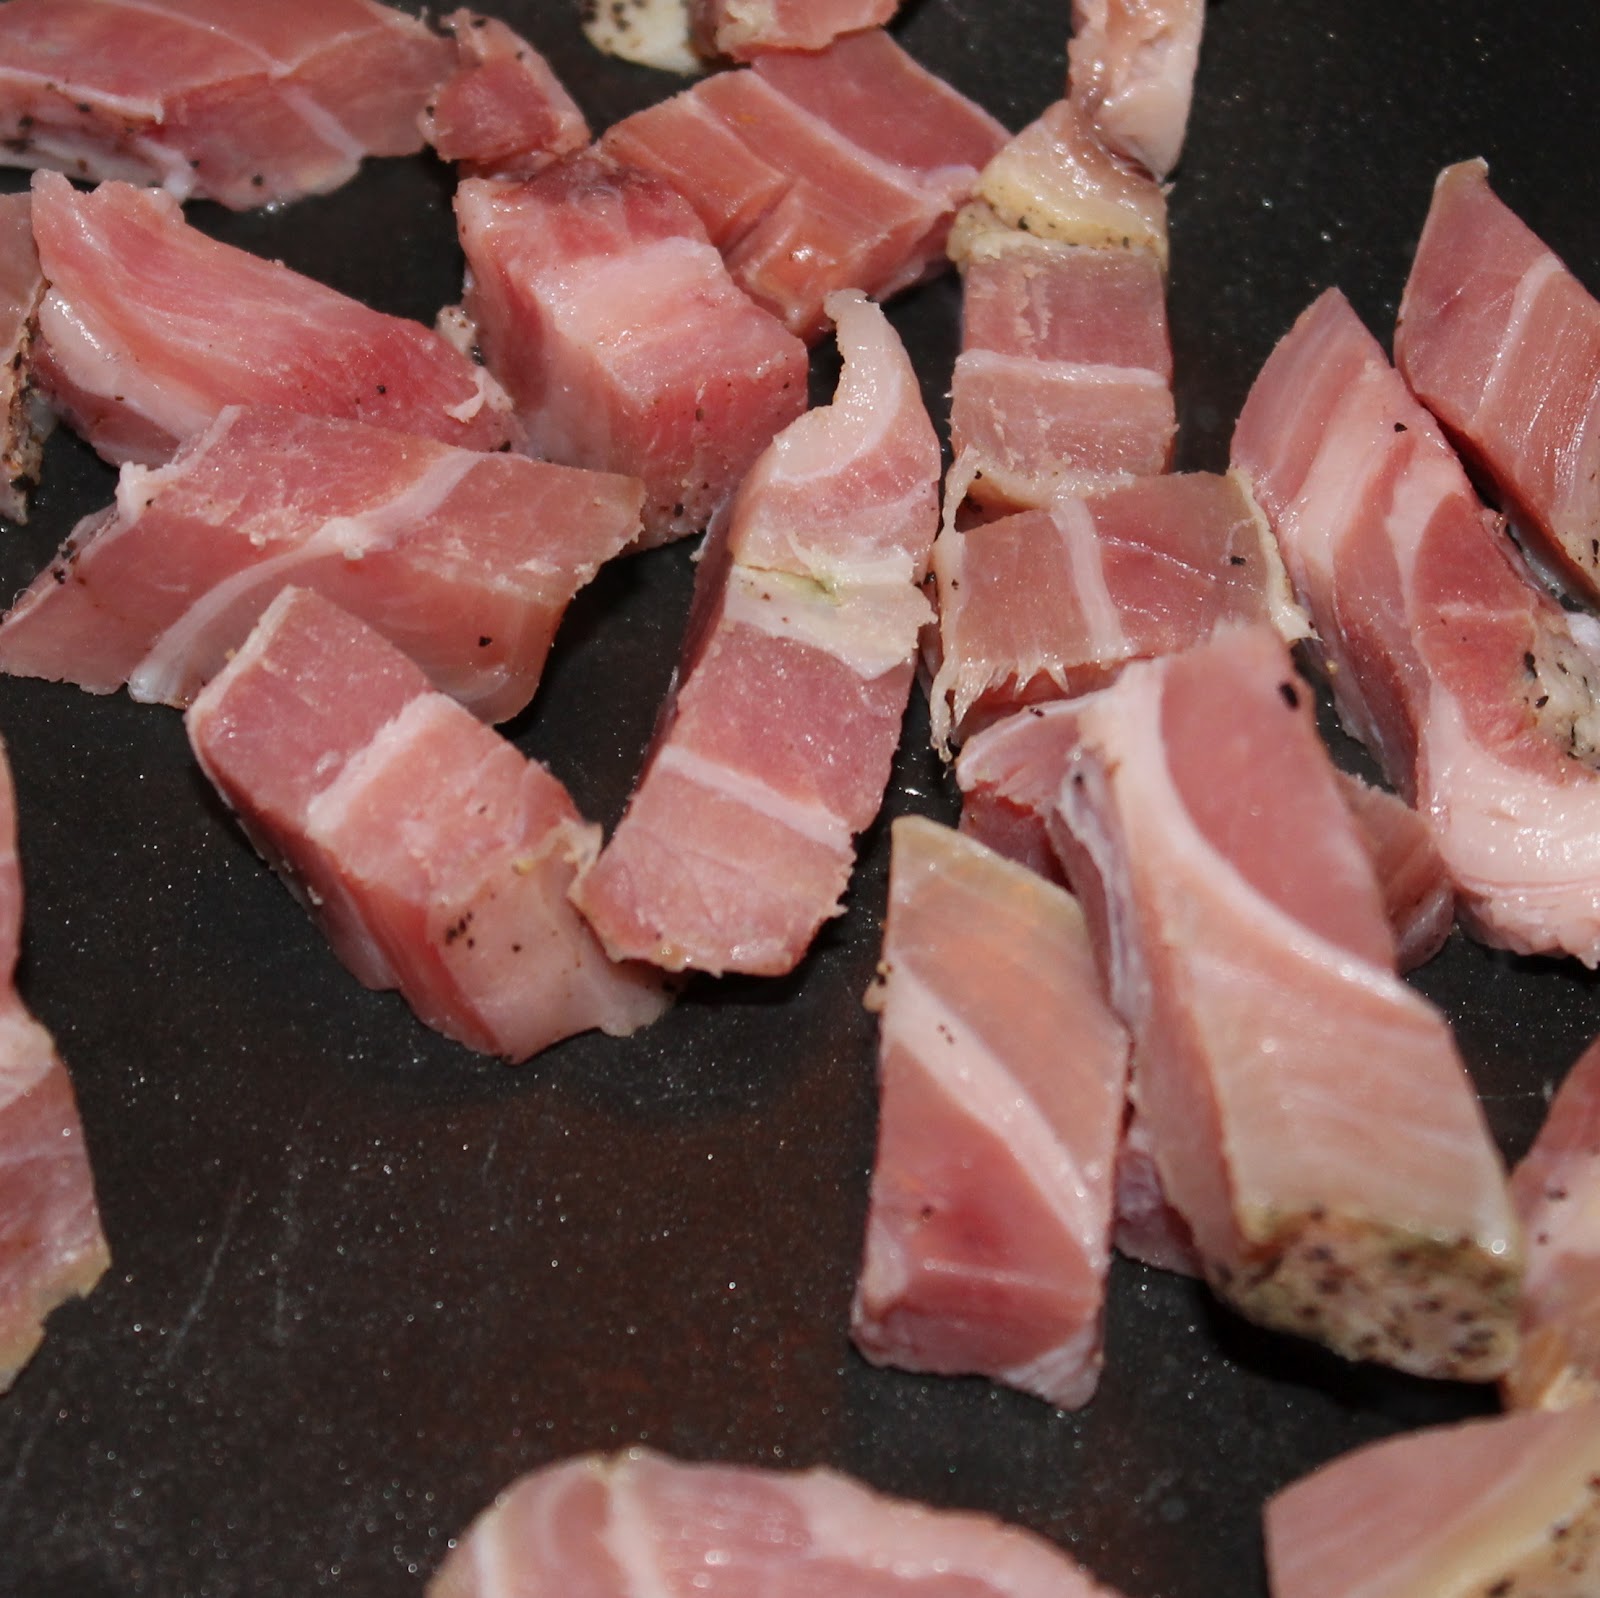
1/4 lb pancetta, cubed (or prosciutto, that was actually my original plan!)
Salt and pepper, to taste
1 cup baby spinach leaves
1 cup Marsala wine
1/2 cup vegetable or chicken broth
1/4 tsp or less of truffle oil (optional)
Parmesan cheese, grated, as garnish
Parsley, chopped, as garnish
Begin by bringing a large pot of water to a boil.
While waiting for the pot of water to boil, mince your shallot and garlic. I used a garlic scape from my CSA share, it’s perfectly fine to use garlic cloves. Slice your mushrooms. Be sure to remove the stems of the shiitake mushrooms, they can be really woody tasting.
In a large saute pan, add 1 tablespoon olive oil over medium heat. Add the shallot and garlic and cook for 1-2 minutes.
Add the mushrooms and season with salt and pepper. (You’re adding pancetta or prosciutto to this dish so have a light hand with the salt. You just need some to draw the water out of the mushrooms).
Cook, stirring occasionally, until the mushrooms cook down and the liquid has evaporated.
While waiting for the mushrooms to cook down, cube the pancetta and add to a small saute pan over medium high heat. Cook for 4 minutes.
Your pot of water should hopefully be boiling. Add 1 teaspoon olive oil to the pot of boiling water and add the ravioli. Cook for 6 minutes and drain.
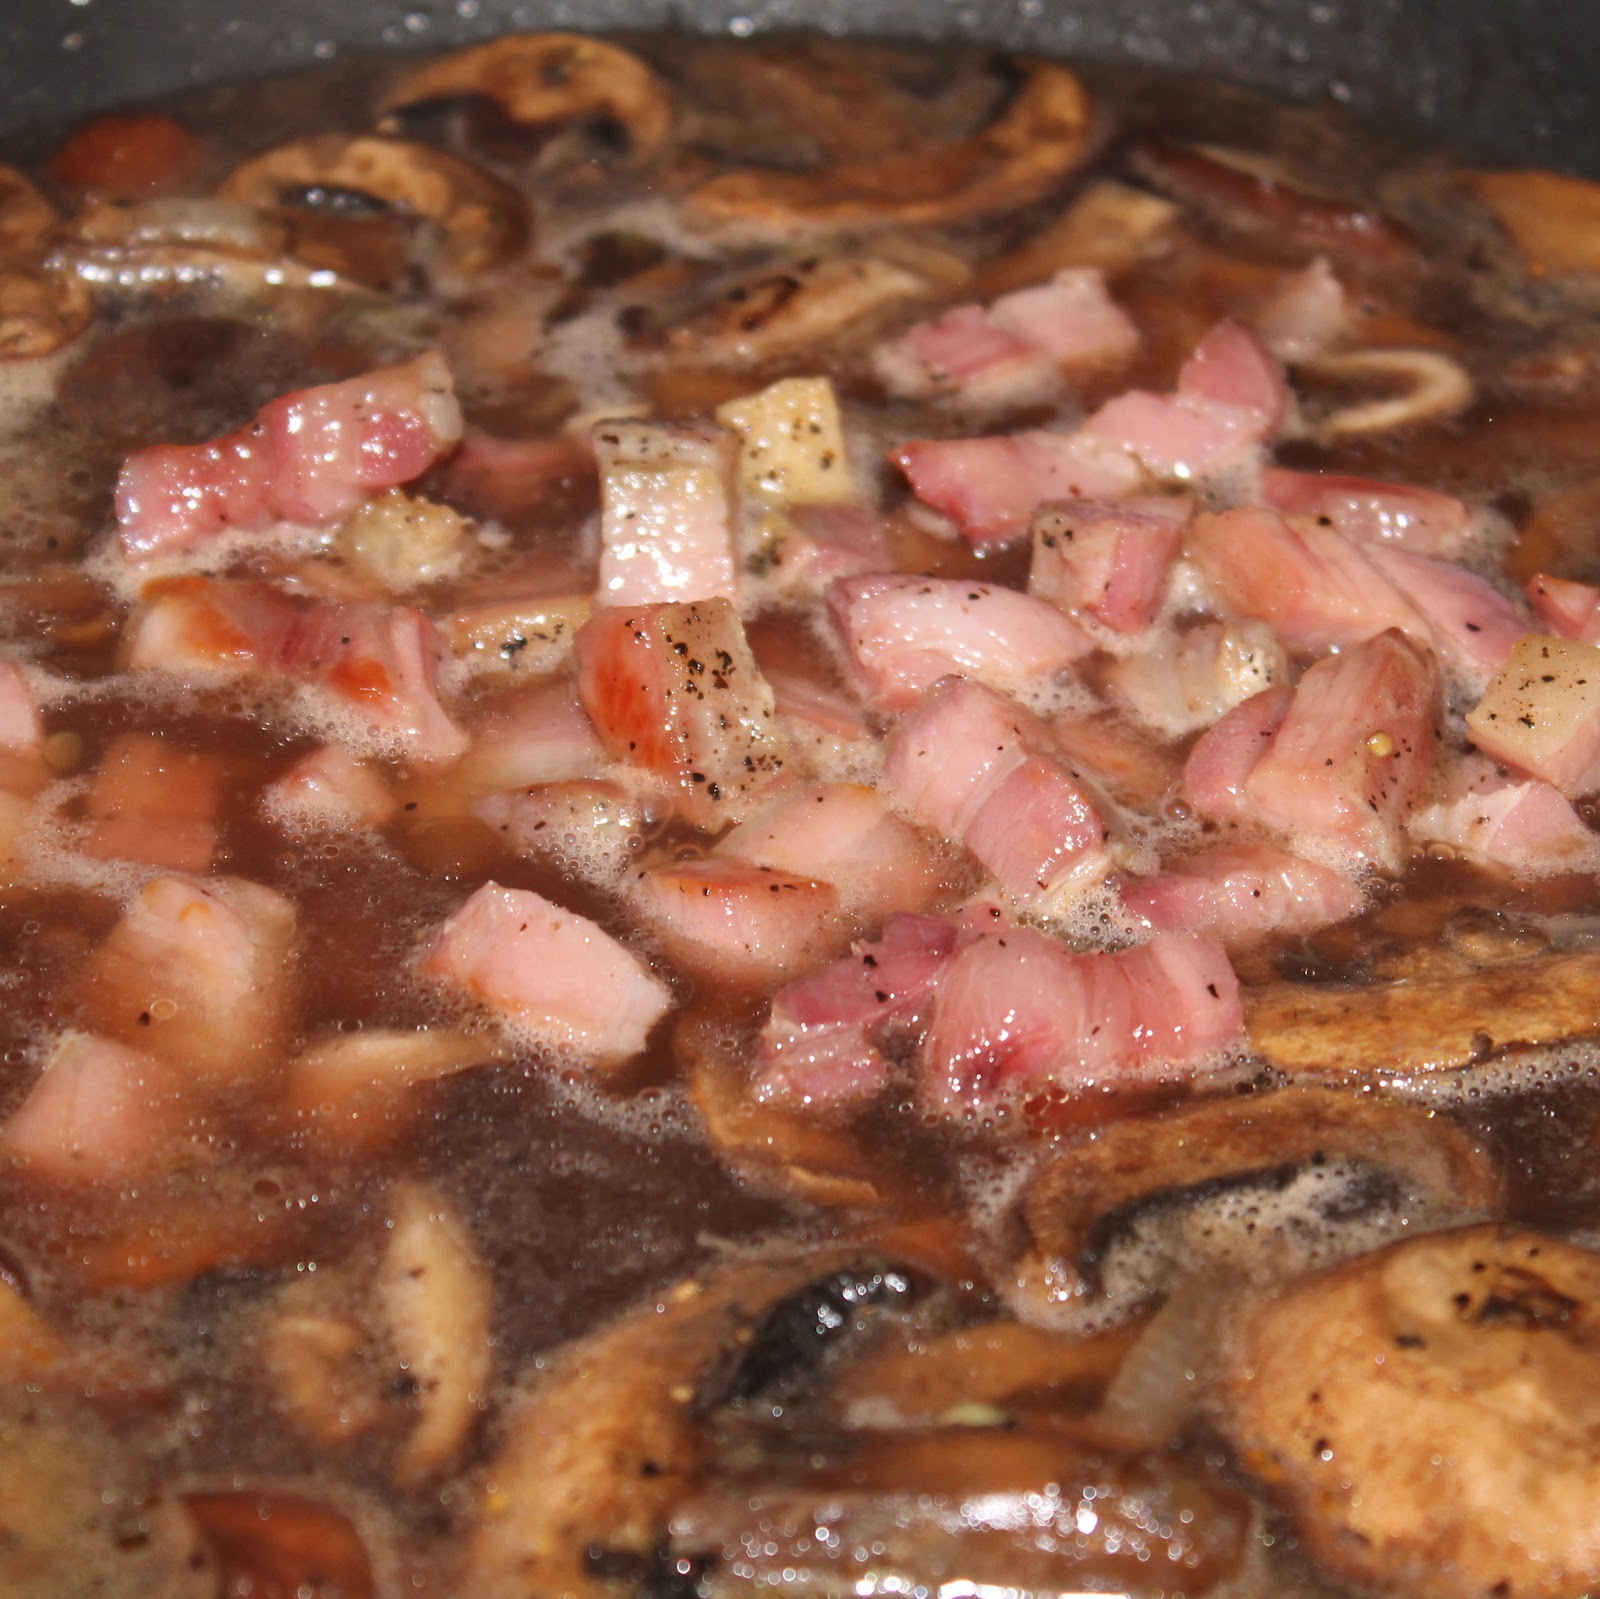
Add the Marsala and the broth to the mushrooms. Bring to a simmer and cook for 5 minutes. Add the pancetta to the mixture when it is finished cooking.
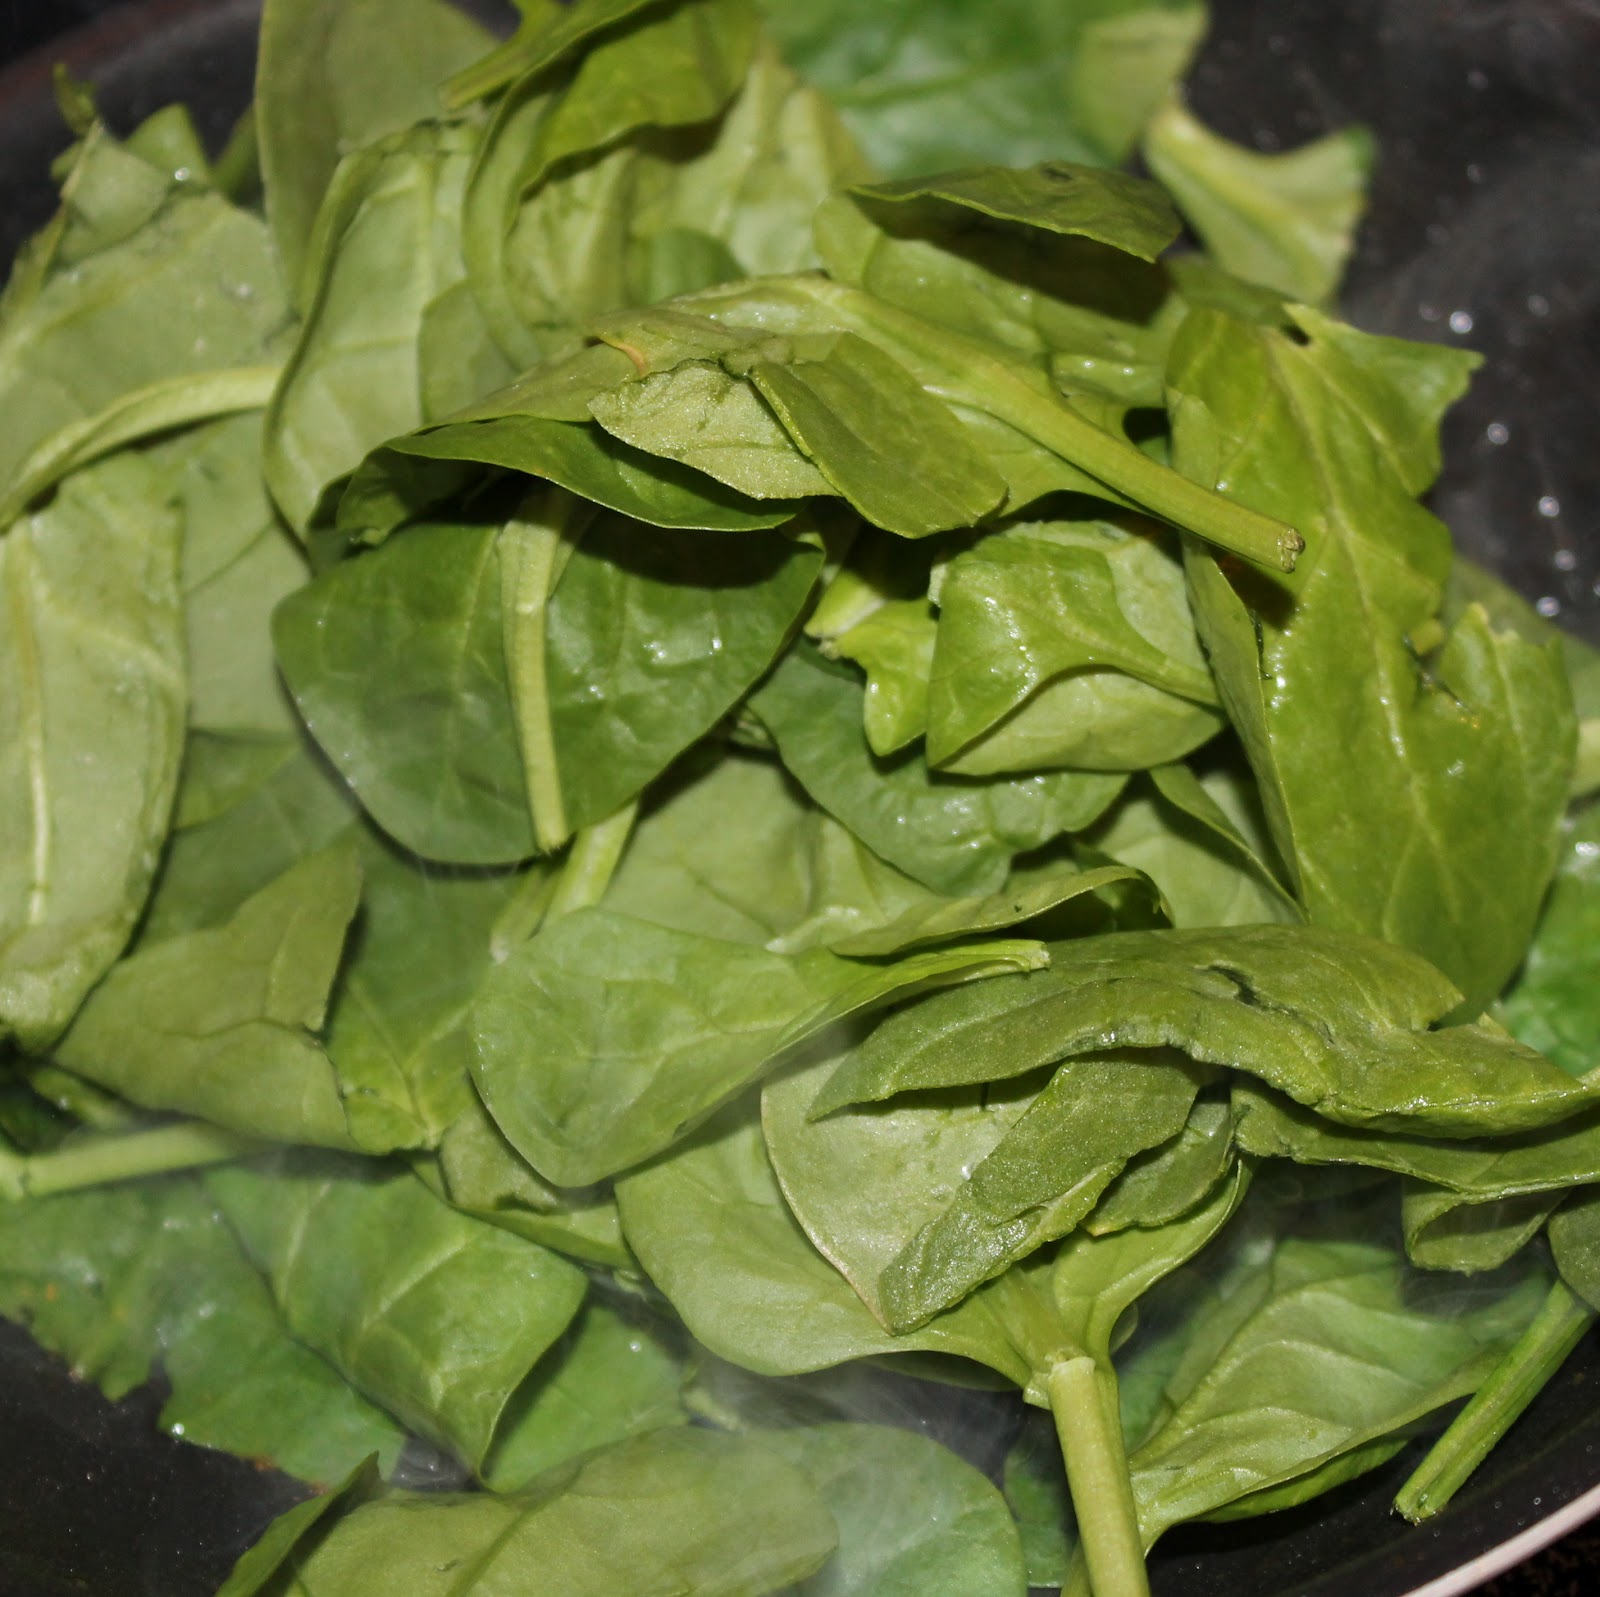
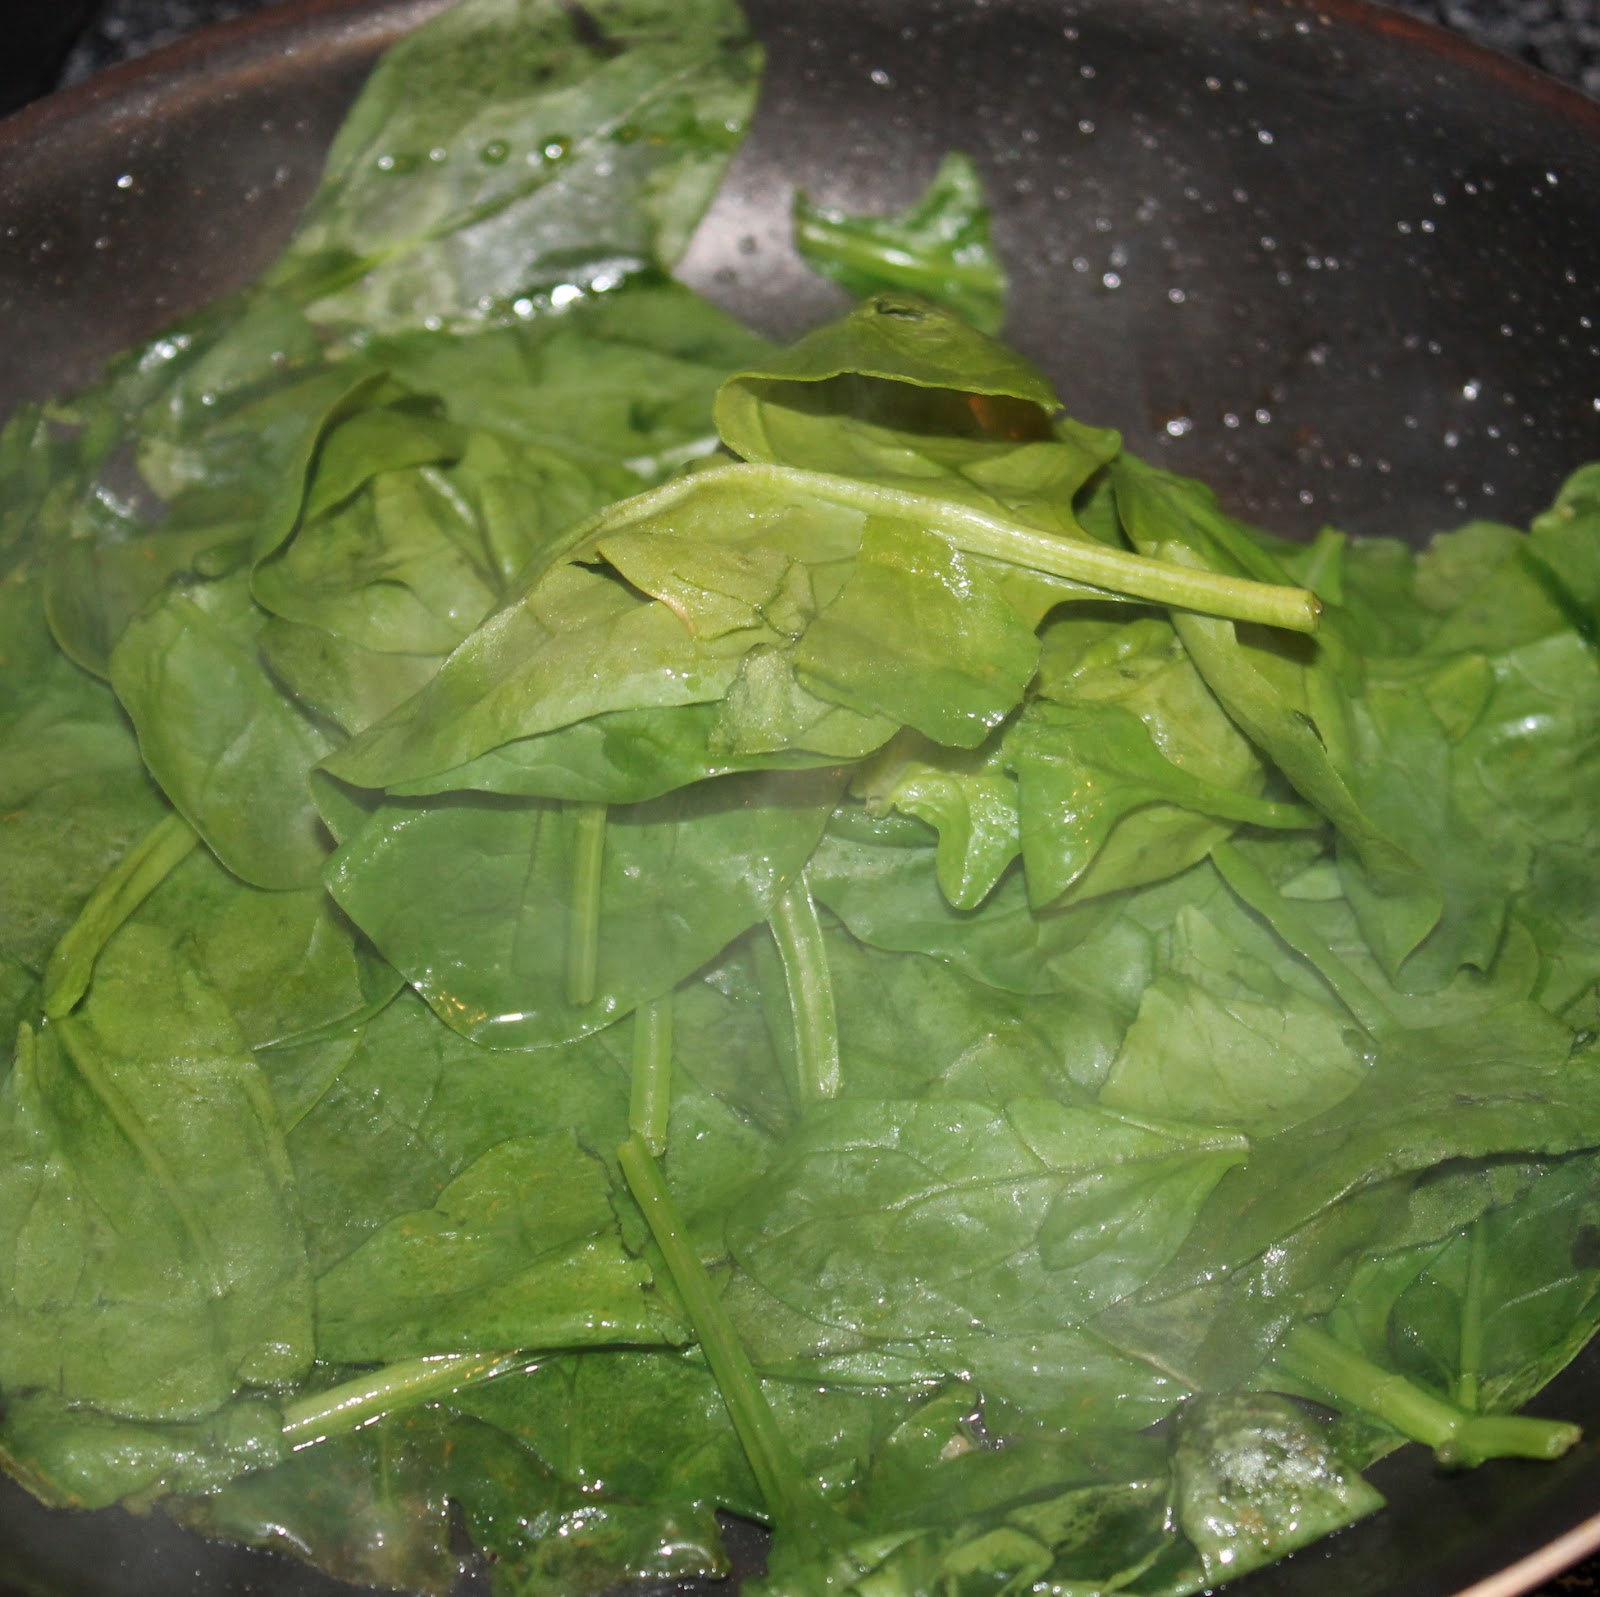
Don’t wipe down the saute pan that had the pancetta. Just add the 1 cup of spinach leaves and cover. Cook until wilted, about 1 minute.
Add the ravioli to the mushroom mixture and toss. Remove from heat, add a very slight amount of truffle oil if using, and mix in the wilted spinach.
To serve, add the ravioli to a plate. Spoon the sauce, mushrooms, spinach and pancetta over the pasta. Top with parsley and Parmesan cheese.
The pancetta adds the perfect amount of saltiness to the dish to bring out the other flavors. The spinach works to counteract the sweetness of the Marsala. Mushrooms add an earthy flavor to the whole dish.
I loved the ravioli by the way. It has a ton of flavor and really did a great job of capturing the flavor of chicken marsala into a pasta! My boyfriend absolutely loved this recipe. In fact, he ate a good three servings of this in one sitting!
What kind of sauce would you serve with your Chicken Marsala Ravioli?
Now on to the giveaway. Please be sure to use the widget below to enter. Each person can enter up to 7 times, but only the first entry (writing in the comment section what Buitoni pasta you want to try and how you’d prepare it) is mandatory. Good luck!!
Chicken Marsala Ravioli with Spinach and Mushrooms
Total Time: 30 minutes
Yield: 4 servings
Ingredients
1 package of Buitoni Chicken Marsala Ravioli
1 tablespoon plus 1 teaspoon olive oil, divided
1 shallot, minced
2 garlic cloves (or 1 garlic scape), minced
1 package of baby bella mushrooms, sliced
1 package of shiitake mushrooms, stems removed and sliced
1/4 lb pancetta, cubed (or used prosciutto, that was actually my original plan!)
Salt and pepper, to taste
1 cup baby spinach leaves
1 cup Marsala wine
1/2 cup vegetable or chicken broth
1/4 tsp or less of truffle oil (optional)
Parmesan cheese, grated, as garnish
Parsley, chopped, as garnish
Instructions
Begin by bringing a large pot of water to a boil.
While waiting for the pot of water to boil, mince your shallot and garlic. I used a garlic scape from my CSA share, it’s perfectly fine to use garlic cloves. Slice your mushrooms. Be sure to remove the stems of the shiitake mushrooms, they can be really woody tasting.
In a large saute pan, add 1 tablespoon olive oil over medium heat. Add the shallot and garlic and cook for 1-2 minutes.
Add the mushrooms and season with salt and pepper. (You’re adding pancetta or prosciutto to this dish so have a light hand with the salt. You just need some to draw the water out of the mushrooms).
Cook, stirring occasionally, until the mushrooms cook down and the liquid has evaporated.
While waiting for the mushrooms to cook down, cube the pancetta and add to a small saute pan over medium high heat. Cook for 4 minutes.
Your pot of water should hopefully be boiling. Add 1 teaspoon olive oil to the pot of boiling water and add the ravioli. Cook for 6 minutes and drain.
Add the Marsala and the broth to the mushrooms. Bring to a simmer and cook for 5 minutes. Add the pancetta to the mixture when it is finished cooking.
Don’t wipe down the saute pan that had the pancetta. Just add the 1 cup of spinach leaves and cover. Cook until wilted, about 1 minute.
Add the ravioli to the mushroom mixture and toss. Remove from heat, add a very slight amount of truffle oil if using, and mix in the wilted spinach.
To serve, add the ravioli to a plate. Spoon the sauce, mushrooms, spinach and pancetta over the pasta. Top with parsley and Parmesan cheese.
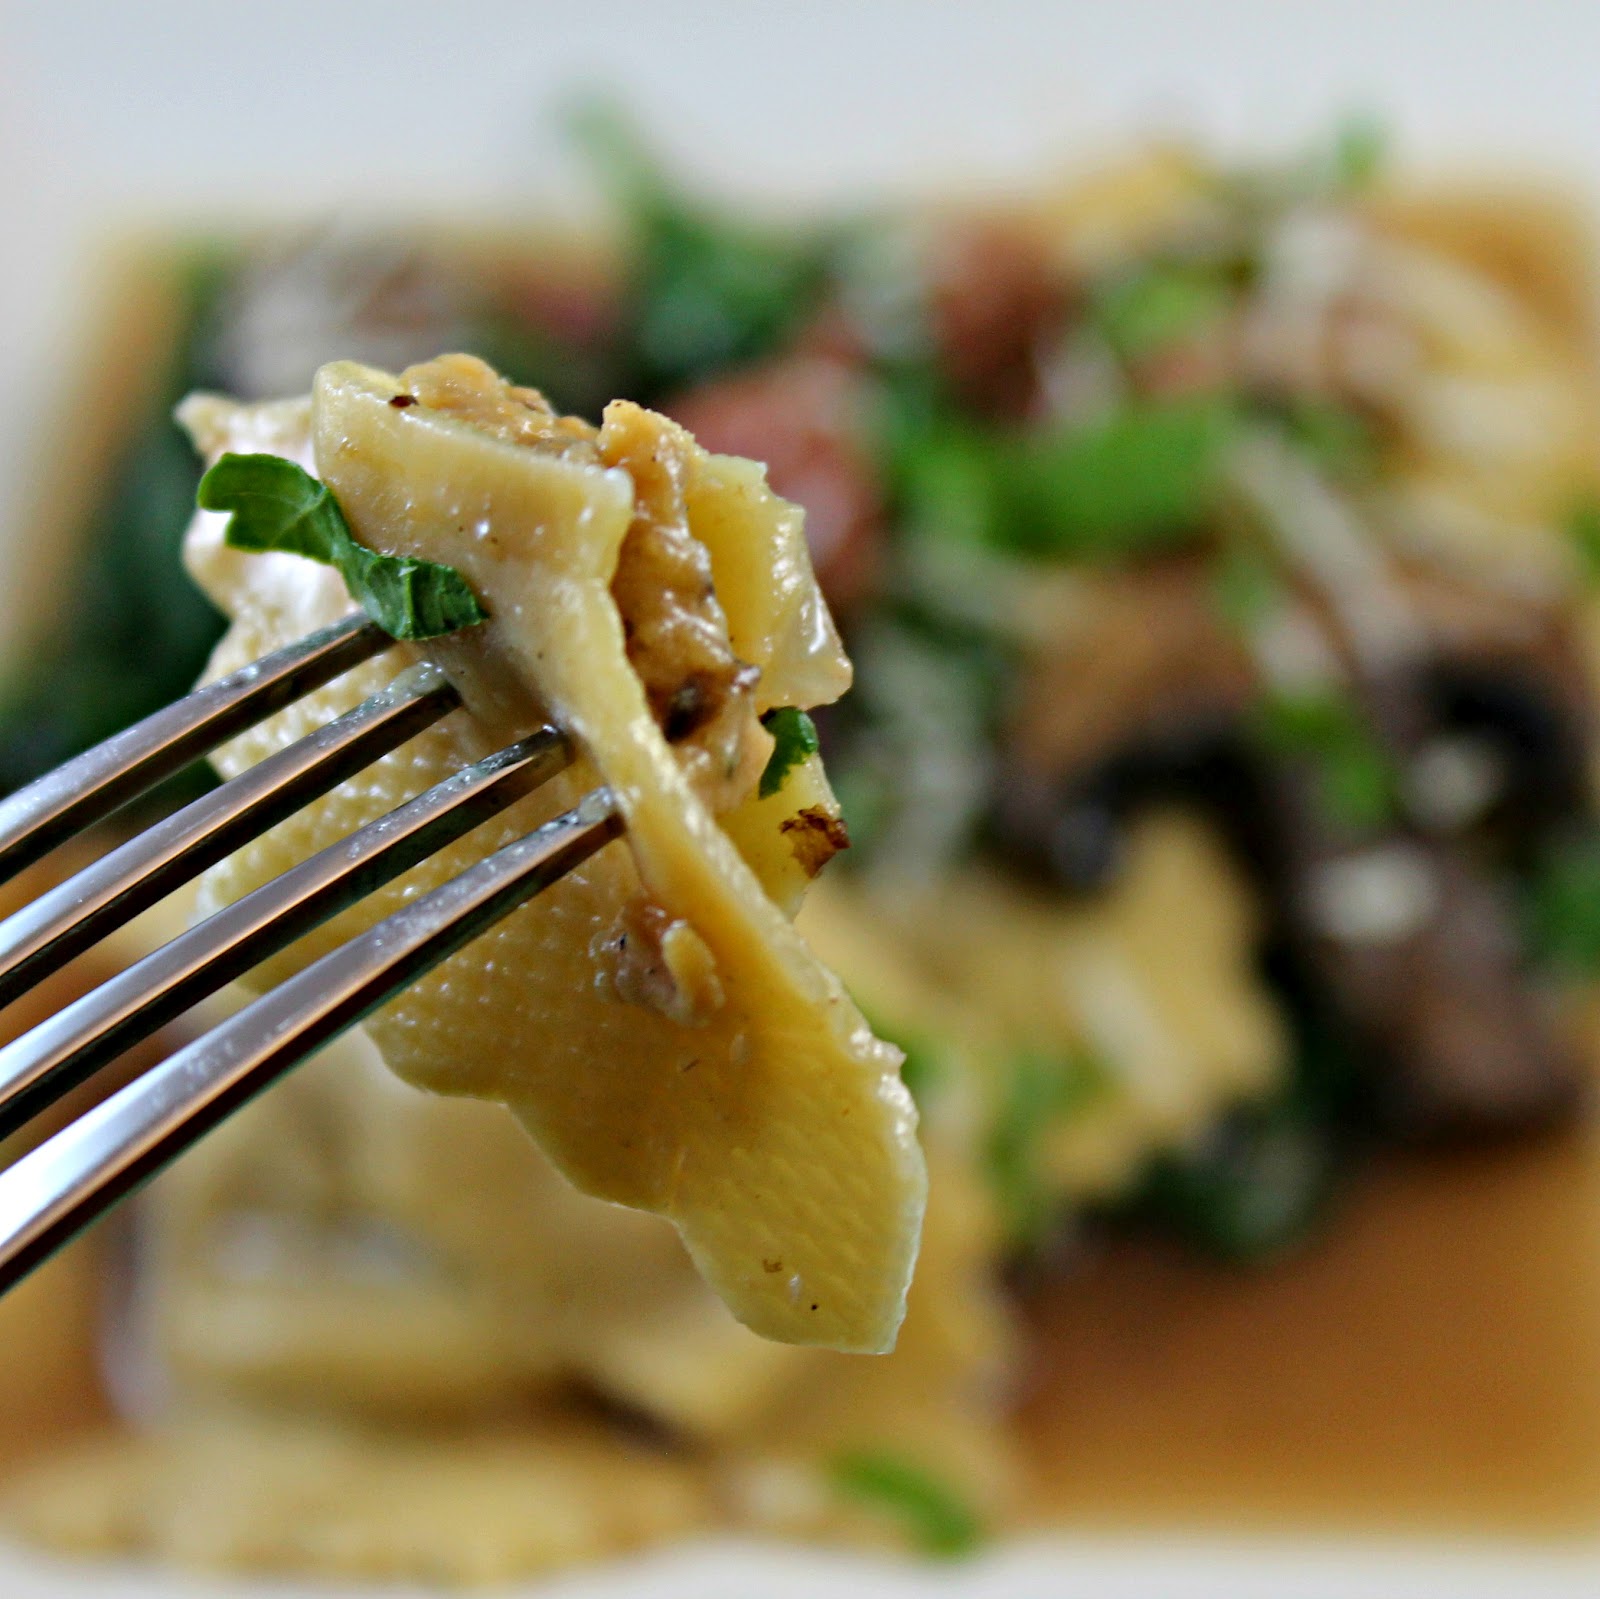
One of my favorite parts of the CSA share is having a plethora of zucchini and summer squash at my disposal. I love these ingredients with a simple pasta, so I was happy to come across a Martha Stewart recipe fthat incorporated these ingredients. I thought I still had some snap peas left over and was going to throw those in, but I unfortunately was all out. Plus, I didn’t have any frozen peas in my freezer. If you have those, be sure to include them. I threw in a zucchini also because I had one on hand.
Ingredients:
Coarse salt and ground pepper
8 ounces gemelli or other short pasta
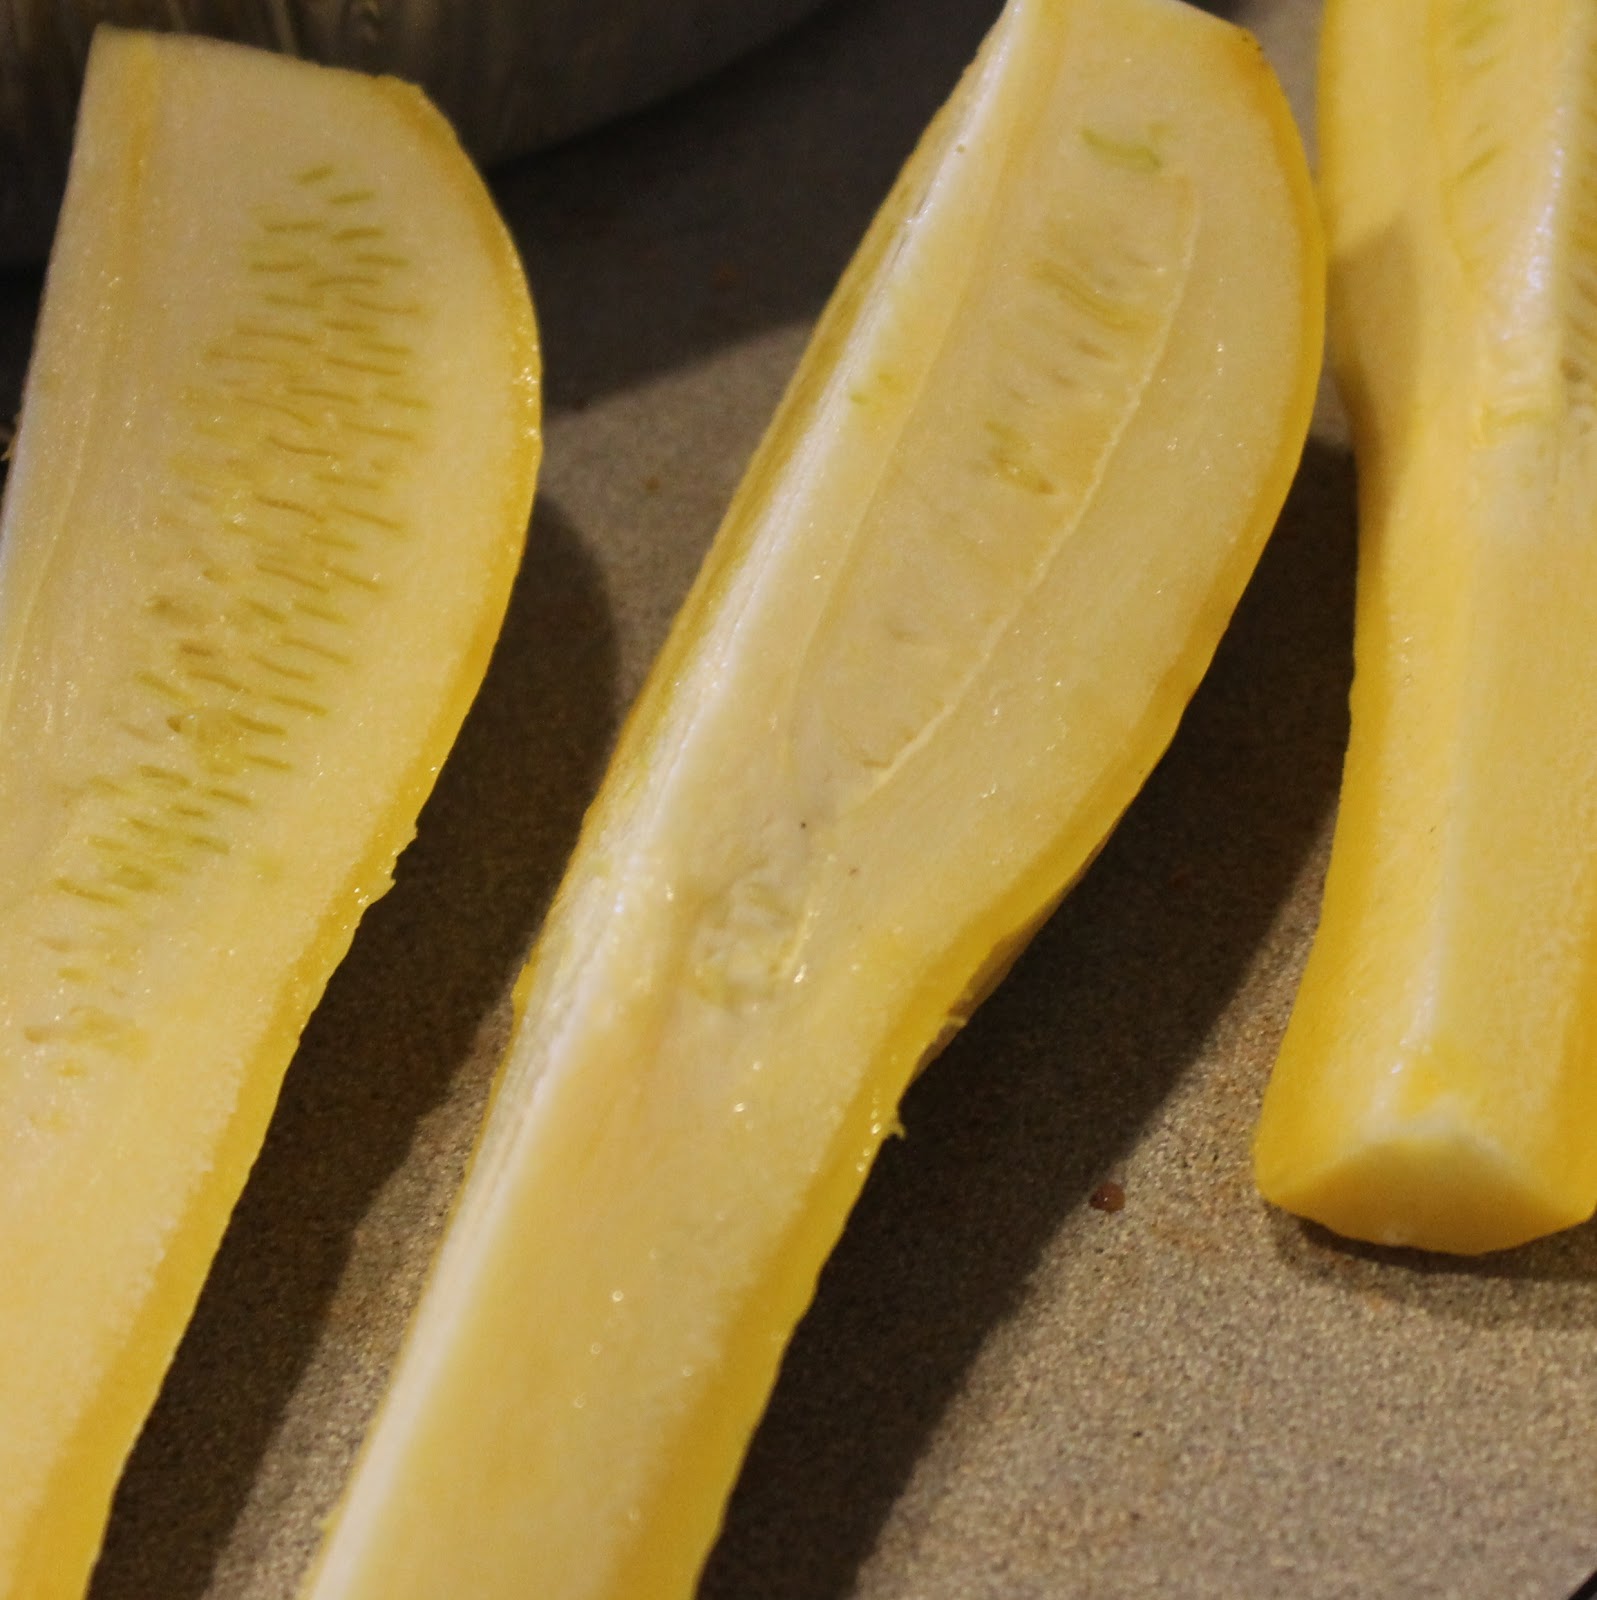
3 medium yellow squash, quartered lengthwise and thinly sliced
1 medium zucchini, quartered lengthwise and thinly sliced
4 tablespoons butter, cut into small pieces
1 tablespoon fresh lemon juice
1/2 cup shredded Parmesan
Torn fresh basil leaves, as garnish
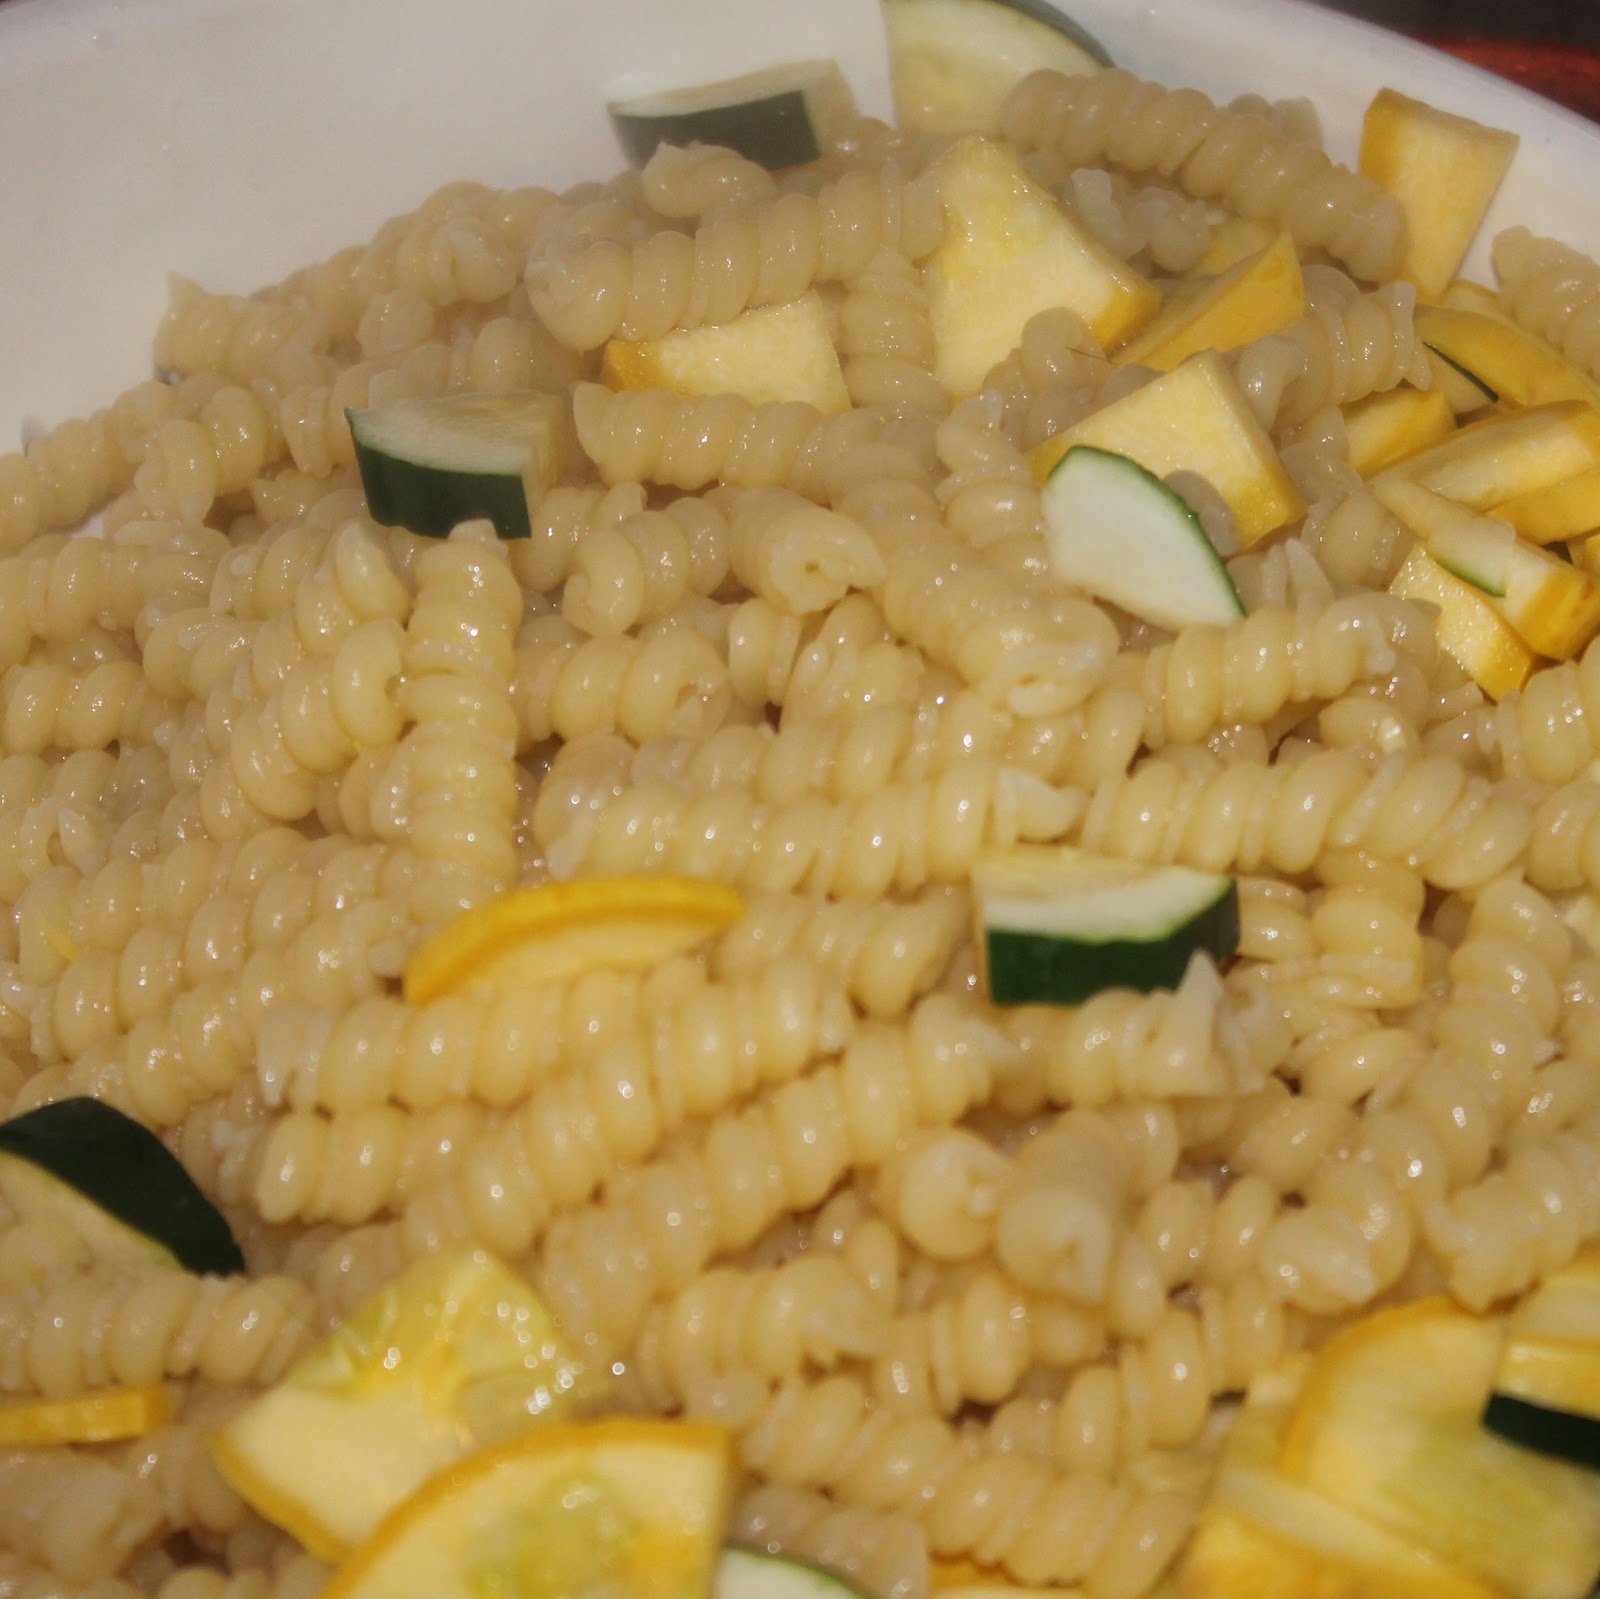
Cook pasta in a pot of boiling salted water. Cook 2 minutes less than required for al dente (my pasta had to cook for 6 minutes).
While waiting for the pasta to cook, slice your squash and zucchini.
Add the squash and zucchini to the pasta and water, and cook for 2 minutes.
Drain the pasta, reserving 1/2 cup of pasta water. Return the pasta to the pot.
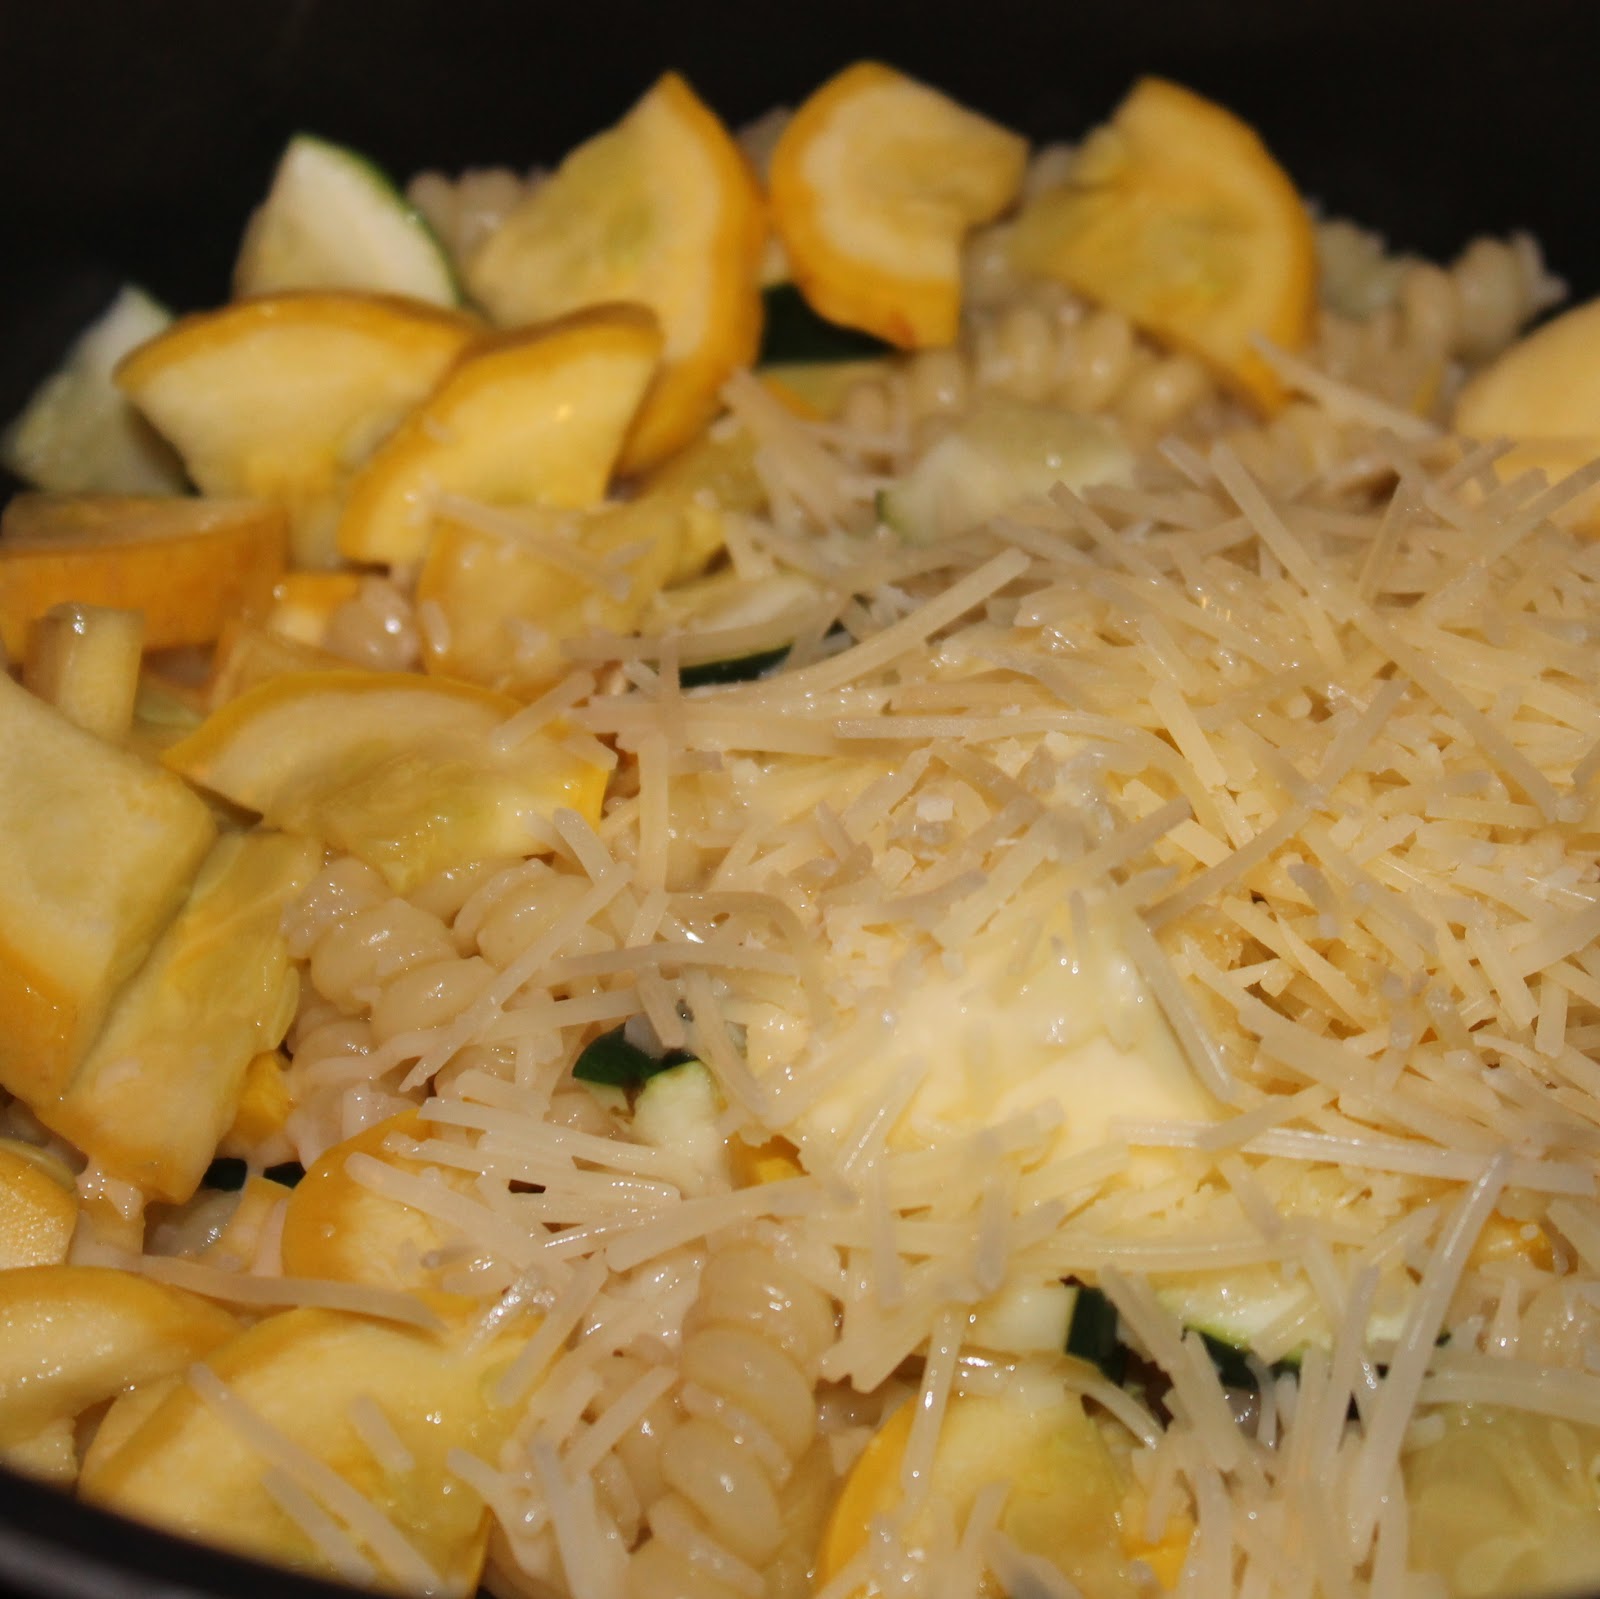
Add the butter, lemon juice, 1/4 cup Parmesan, and 1/2 cup pasta water. Season with salt and pepper and toss to combine.
Spoon into individual bowls and top with basil and sprinkle with Parmesan.
At first bite, I thought this might be missing something. But all it really needed was another seasoning of pepper and an extra squeeze of lemon. After that, it was quite yummy.
To really up the flavor, a few red pepper flakes would go a long way.
The flavor of this was nice and fresh. It was a solid vegetarian dish, but I think it works best as a base. I feel like you could really turn this into something special with some additional flavors included.
Today is my first of five different blog posts over the summer with a resolution on how to eat healthier. T-fal is hosting a 2012 Healthy Summer Challenge where I and five other bloggers will work towards a healthier lifestyle through some changes in our diet, exercise, etc. I will, of course, share my food resolutions rather than my exercise ones because, well, I’m a food blogger! 🙂 My first resolution of the summer is to eat more vegetables.
I find one of the easiest ways to do this is to find vegetables you actually like. No one is forcing you to eat broccoli if you don’t like it. Why not try that baby bok choy you’ve seen in the supermarket, or maybe throw a few slivers of radishes in your next salad instead of cheese? The change also doesn’t have to be extreme. Try to incorporate 1-3 more vegetables into your diet per week and go from there.My veggie intake is also being aided by joining a CSA, or Community Supported Agriculture (I use Red Earth Farm). I did a CSA last year as well, but this year, I get to choose what vegetables are in my share! The CSA has just begun so I plan on trying out as many new vegetables as I can to expand my veggie horizons.
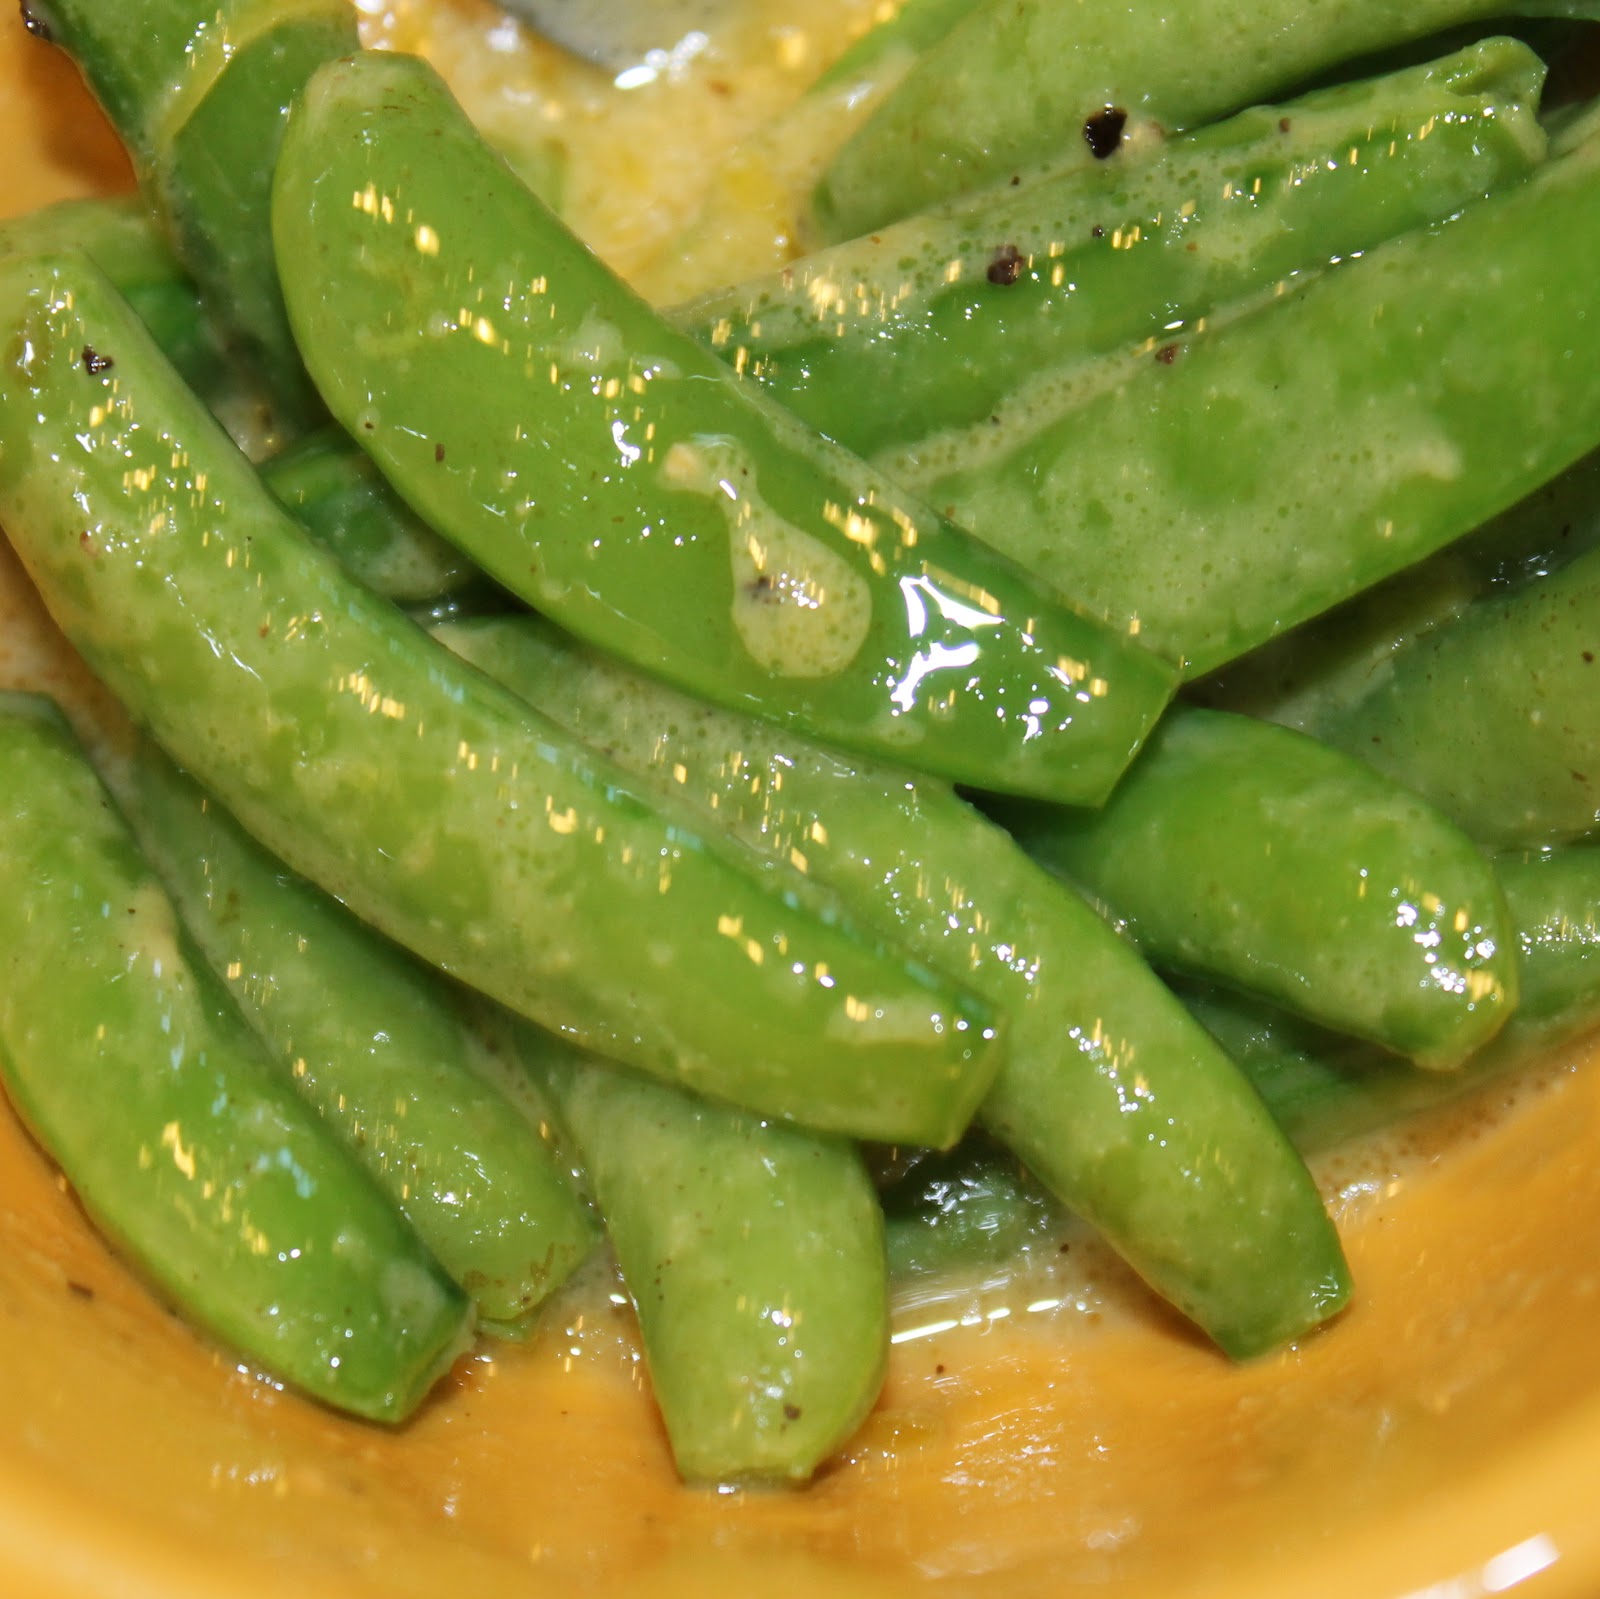
From last year’s share, I already know kale and I are not friends. Swiss chard is another toughie for me. But, I found out I really enjoy radishes. And zucchini. And a ton of other yummy veggies. So I can’t wait to see what comes my way this year! My first post uses one of my favorite vegetables: sugar snap peas. Even if you aren’t a normal pea fan, try these little guys out. I enjoy them more for the texture than for the taste honestly, the crunch is just so wonderful.
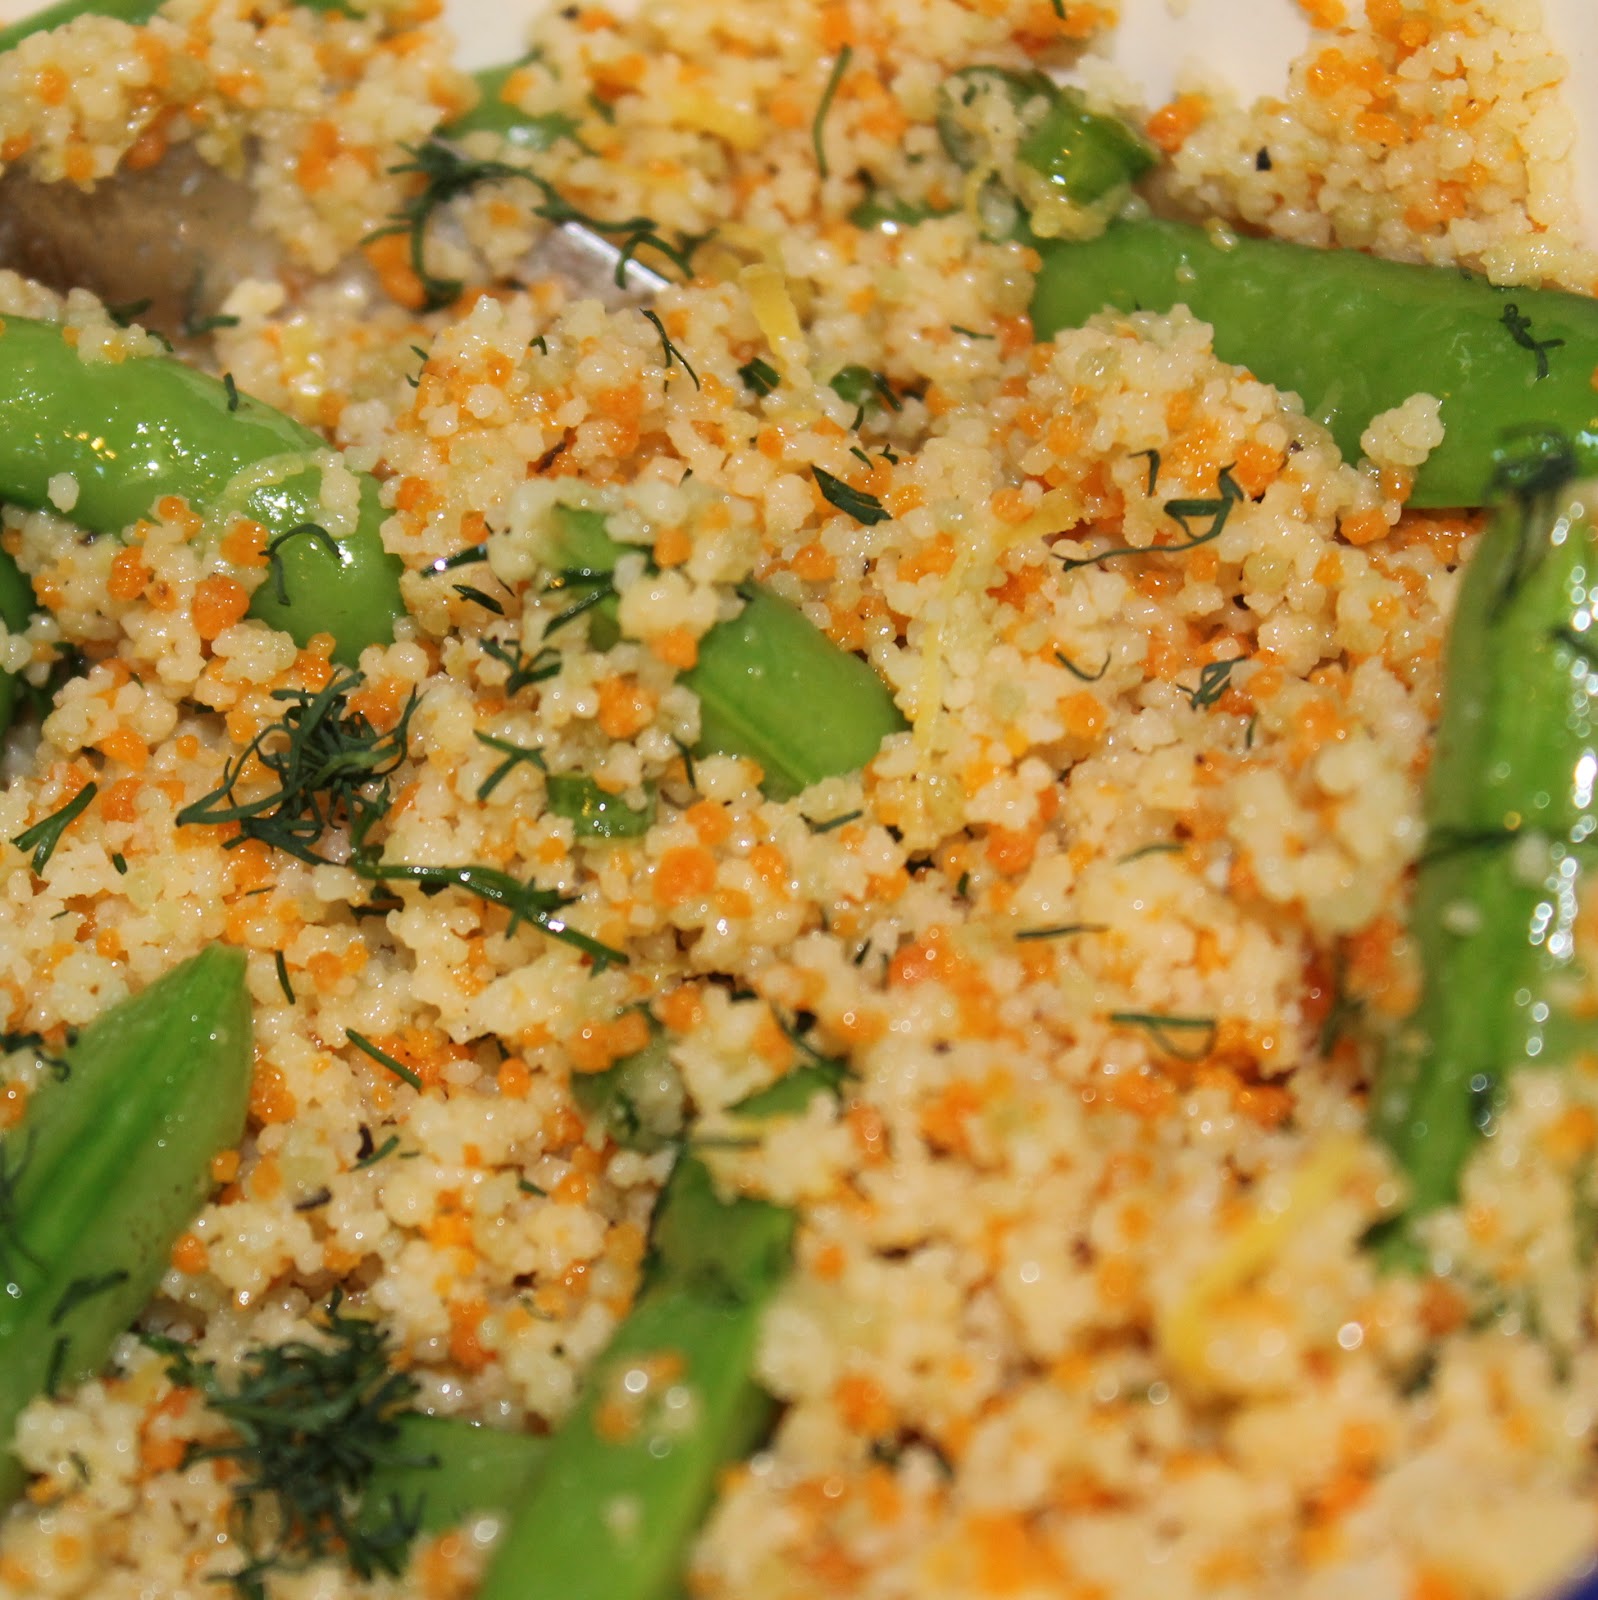
This recipe is a wonderful option for those that aren’t the biggest fan of vegetables and don’t want to just eat steamed veggies. The peas are mixed in with couscous and a vinaigrette that adds a ton of flavor.
Ingredients:
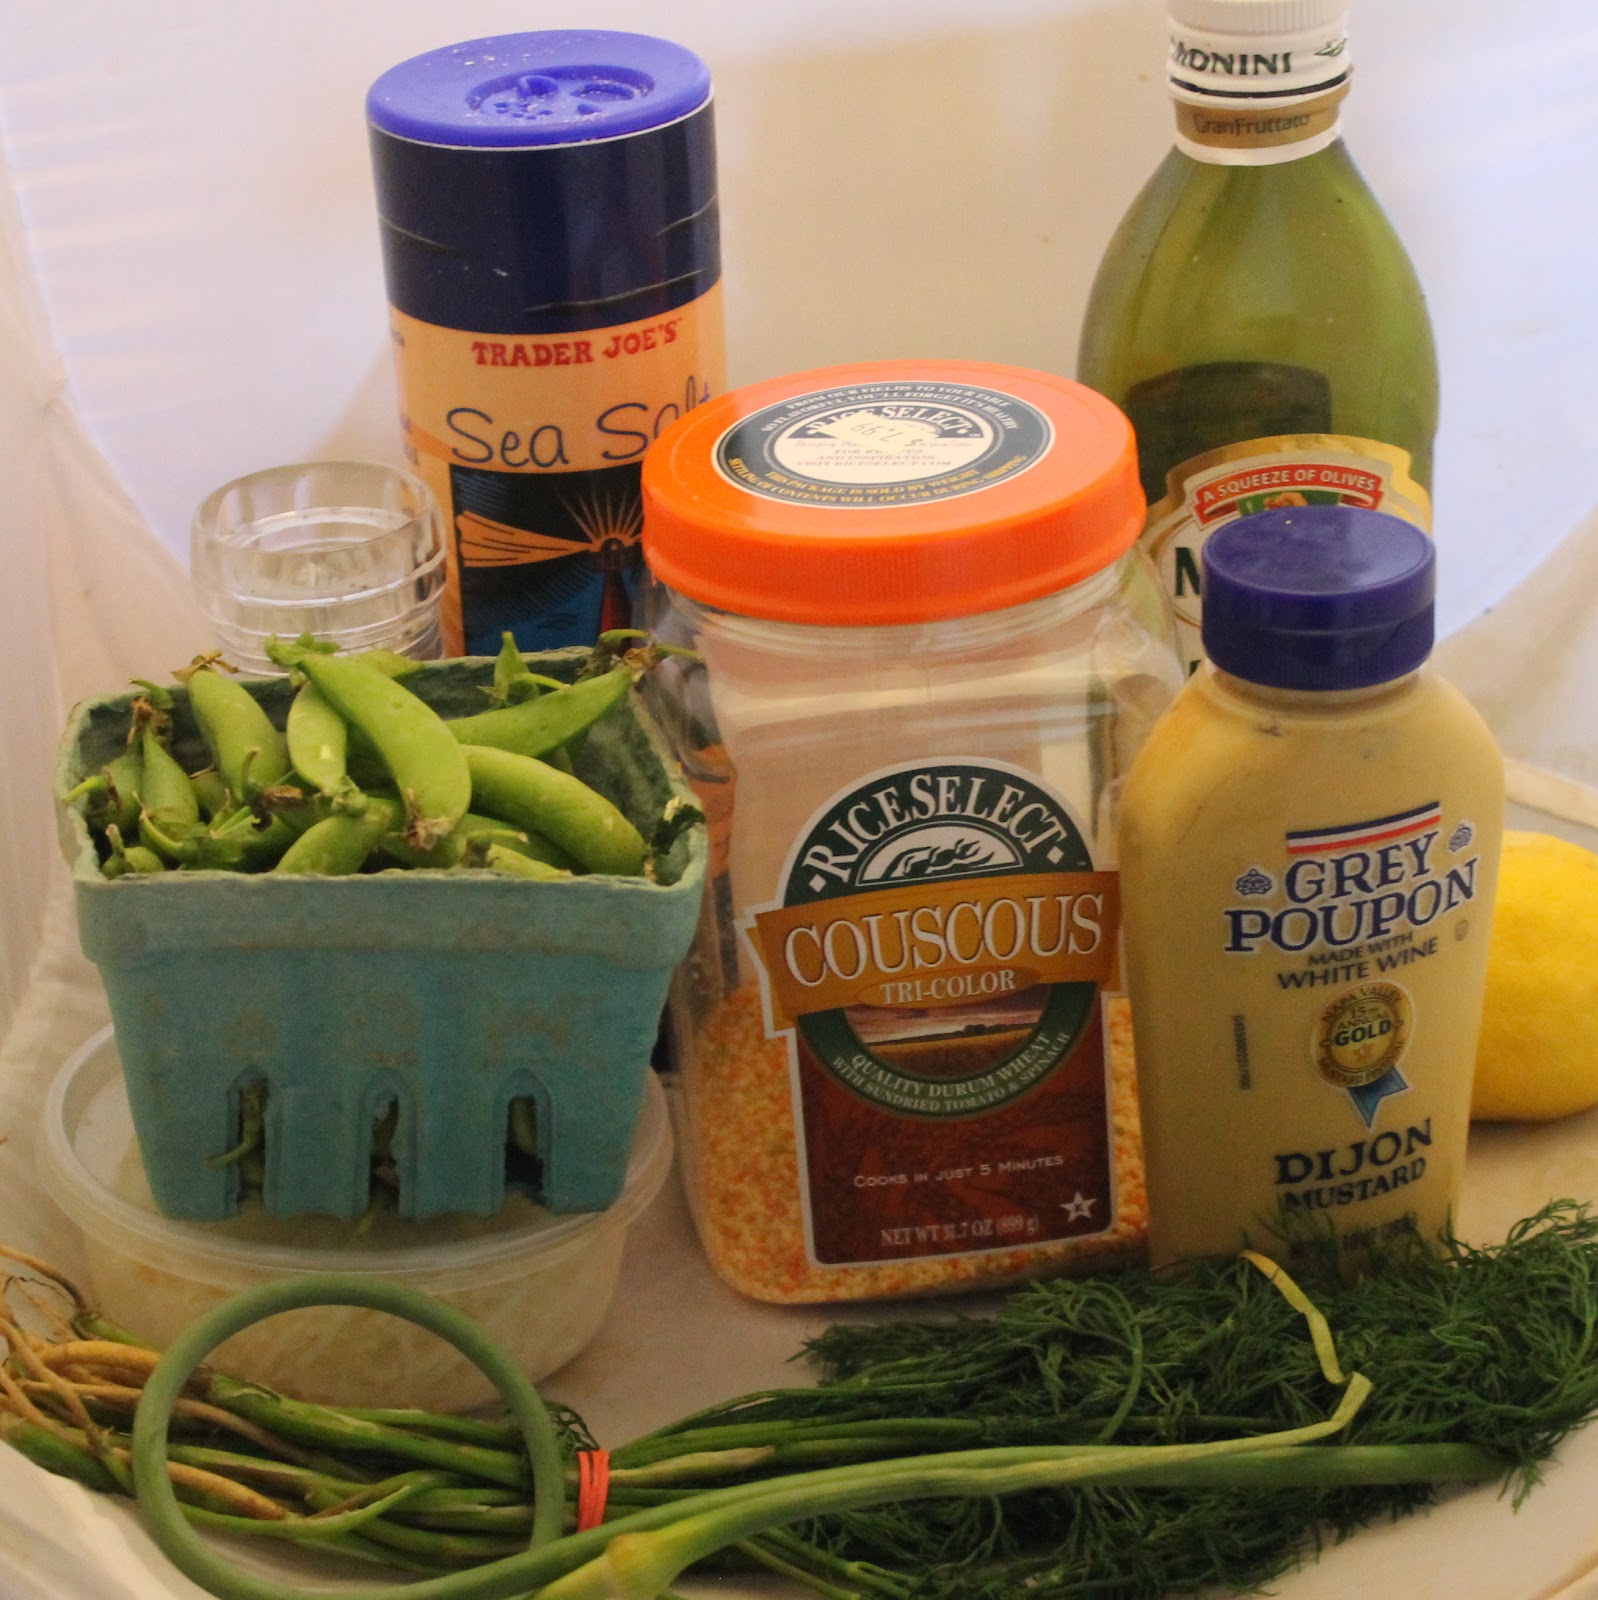
1 cup couscous
1 cup water
8 cups water
6 ounces sugar snap peas, trimmed
The zest and juice of 1 lemon (grab a larger lemon if you can)
1 tablespoon extra-virgin olive oil
1 teaspoon Dijon mustard
1/2 teaspoon sugar (I used Stevia just because that’s what I had)
1/2 teaspoon kosher salt
1/4 teaspoon black pepper
1/2 teaspoon chopped garlic scapes
1 tablespoon minced dill
2 tablespoons shredded Parmesan cheese
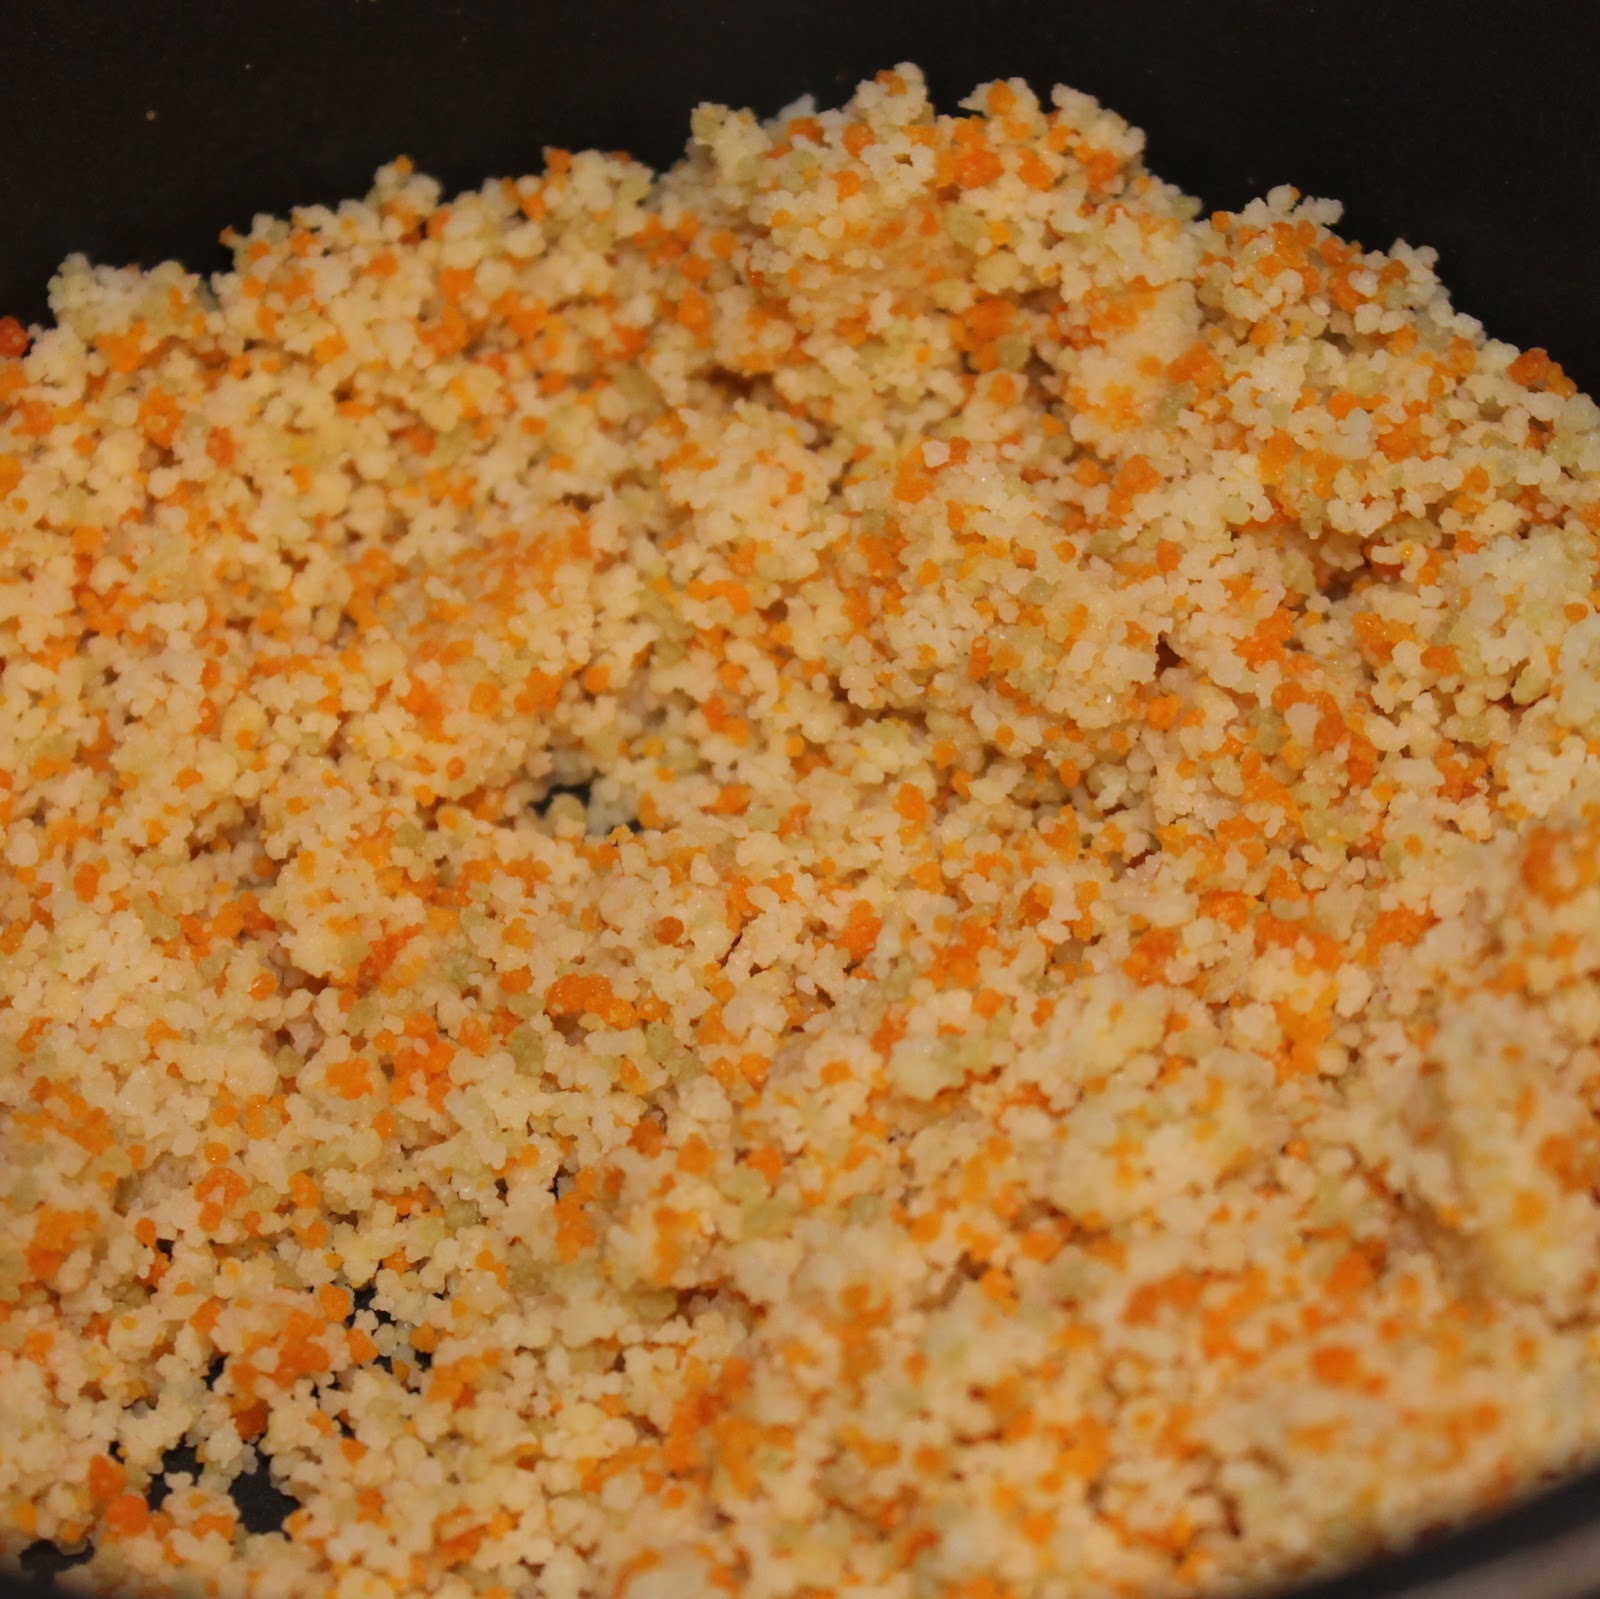
Begin by cooking your couscous. Add 1 cup of water to a small pot and bring to a boil. Add the couscous, mix, cover, and remove from heat. Allow to sit for about 5 minutes and fluff with a fork.
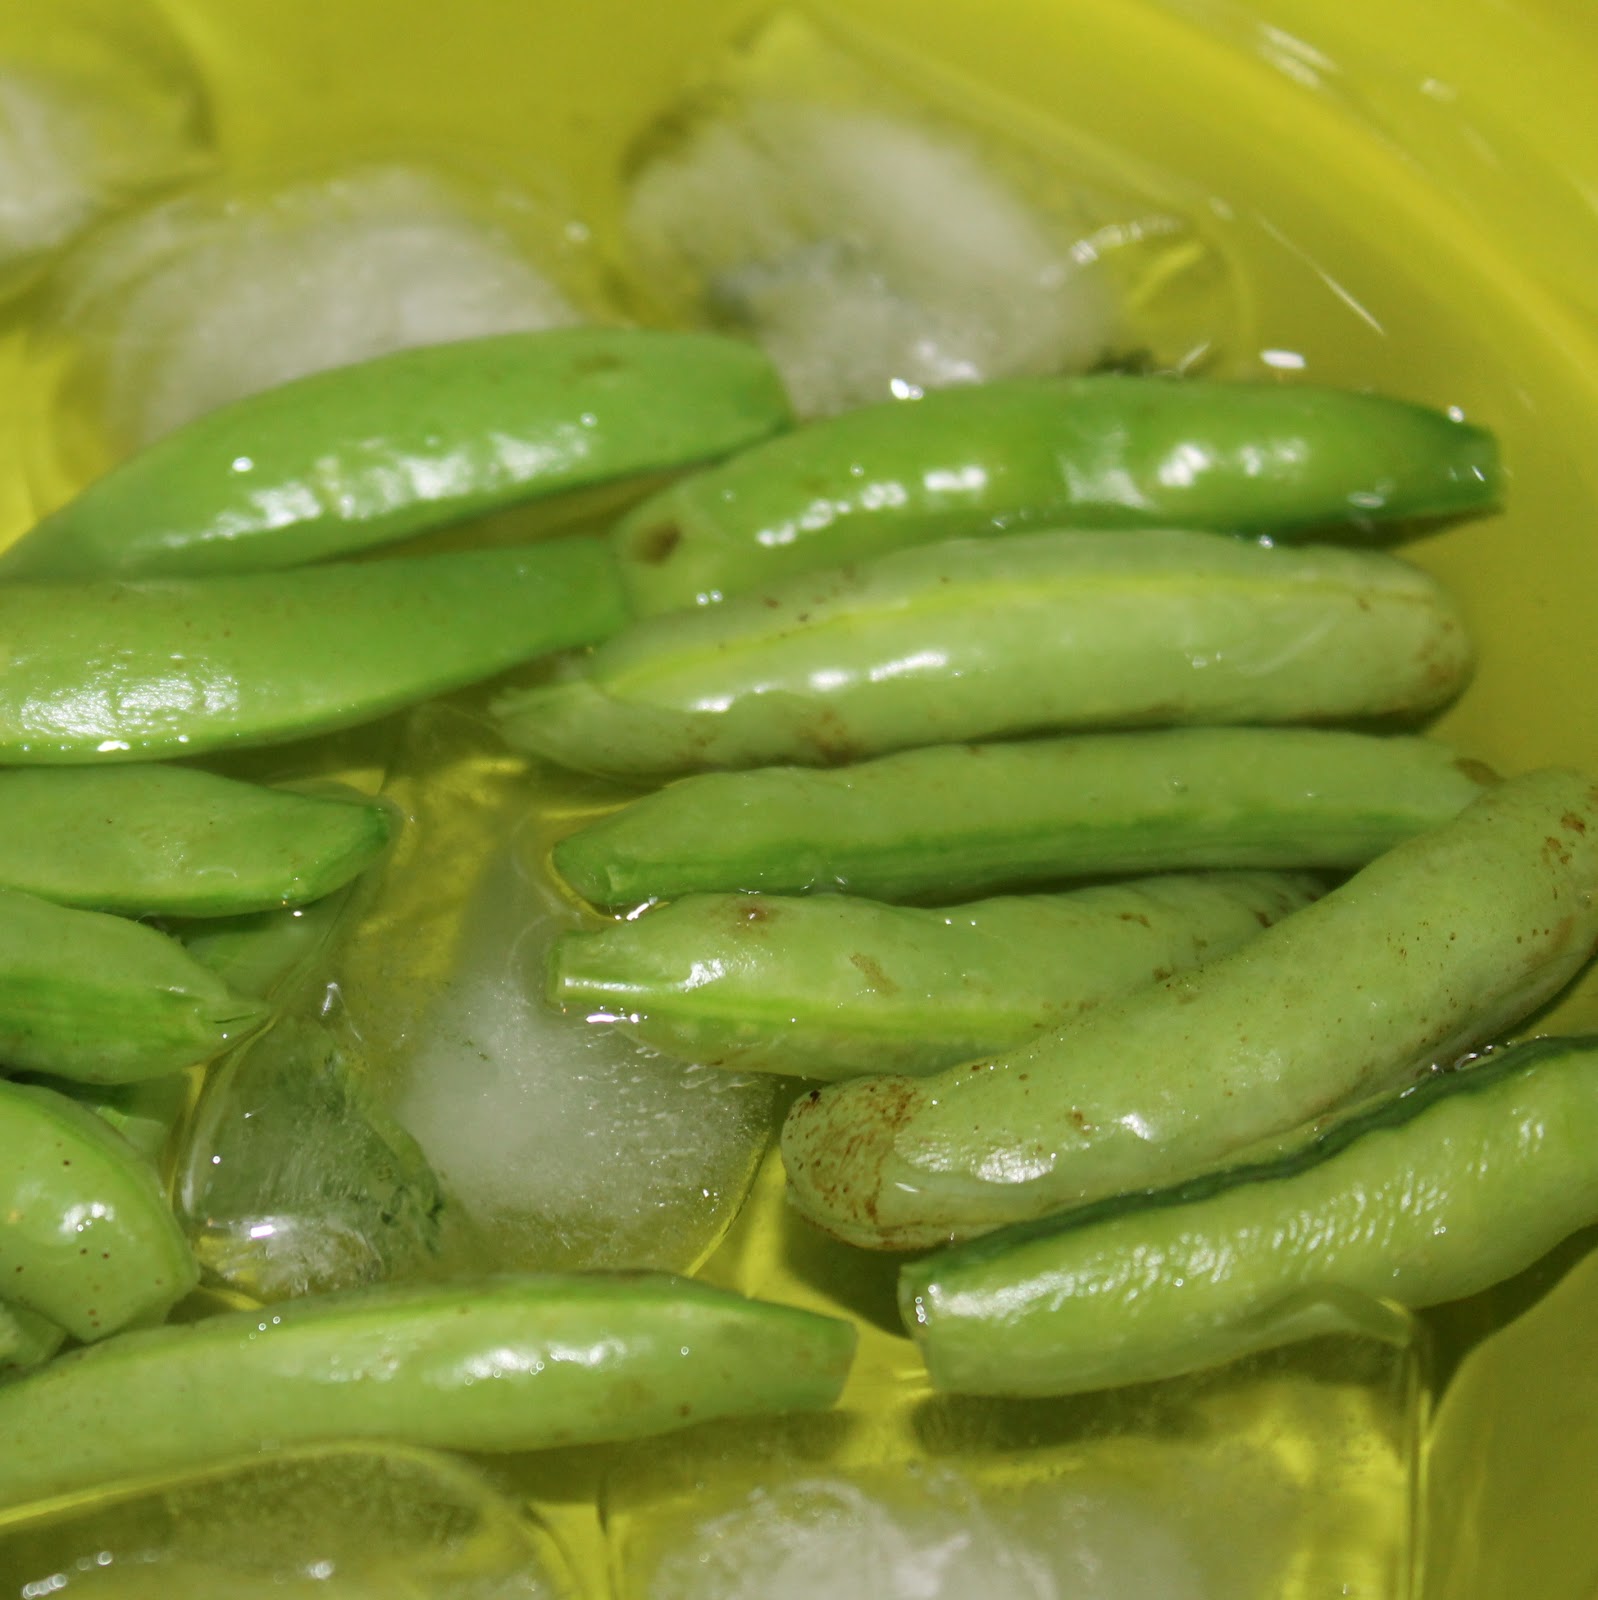
While waiting for the couscous to absorb the water, bring 8 cups of water to a boil in a large pot. Add the peas and cook for 30 seconds. Drain and add to an ice bath to stop the cooking process.
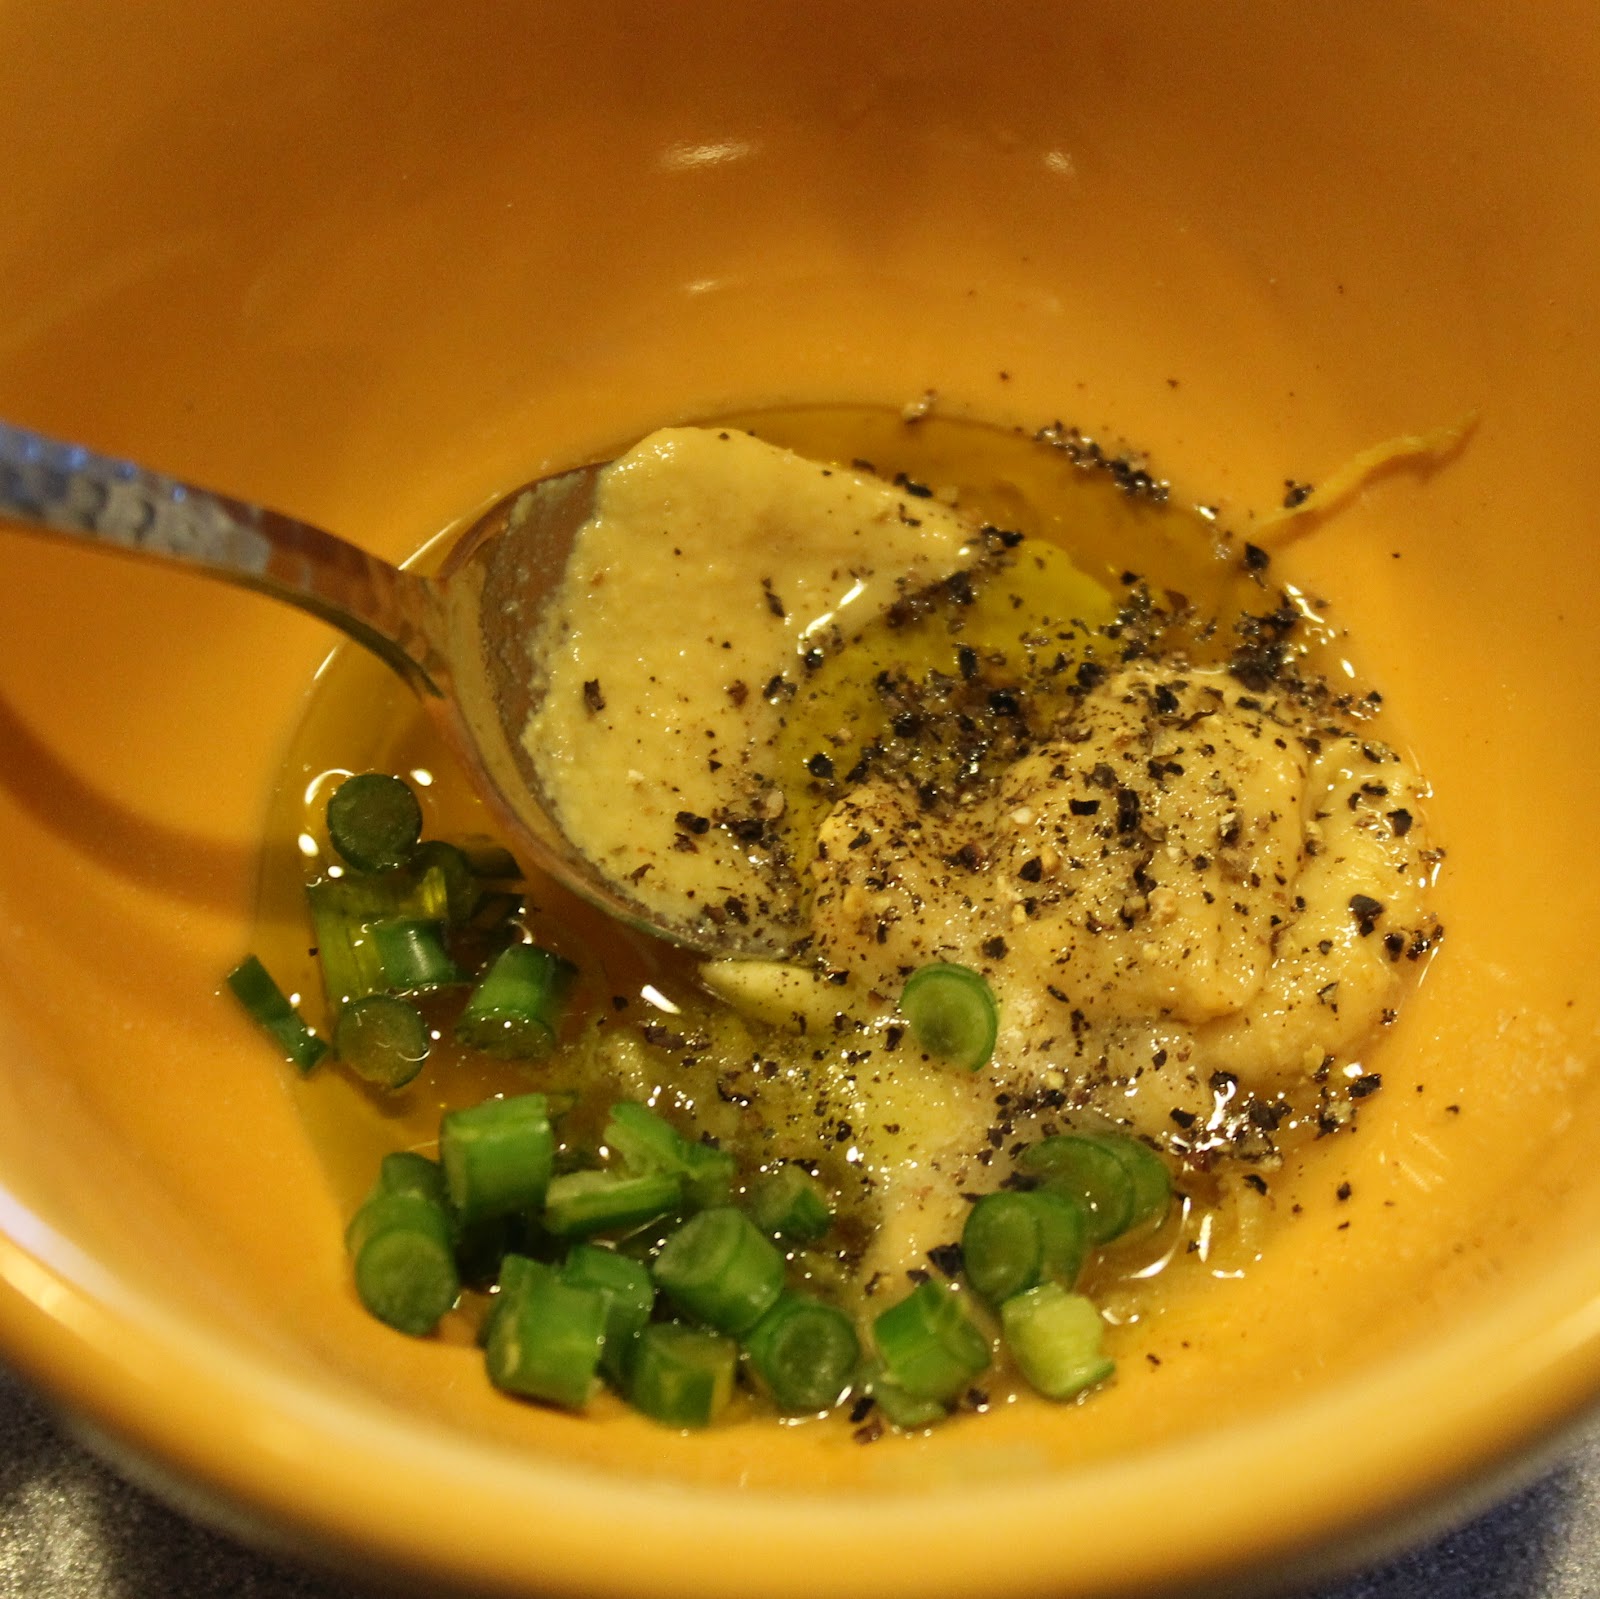
Combine the lemon zest, lemon juice, olive oil, mustard, sugar, salt, pepper, and scapes in a bowl. (Garlic scapes are the green part that grows out of the earth while the bulb is growing in the ground. They have a subtle garlic taste which is really appealing. They can usually be found in the spring and early summer. You can substitute in 2 minced garlic cloves if you don’t have scapes. They were in my CSA share this week too!)
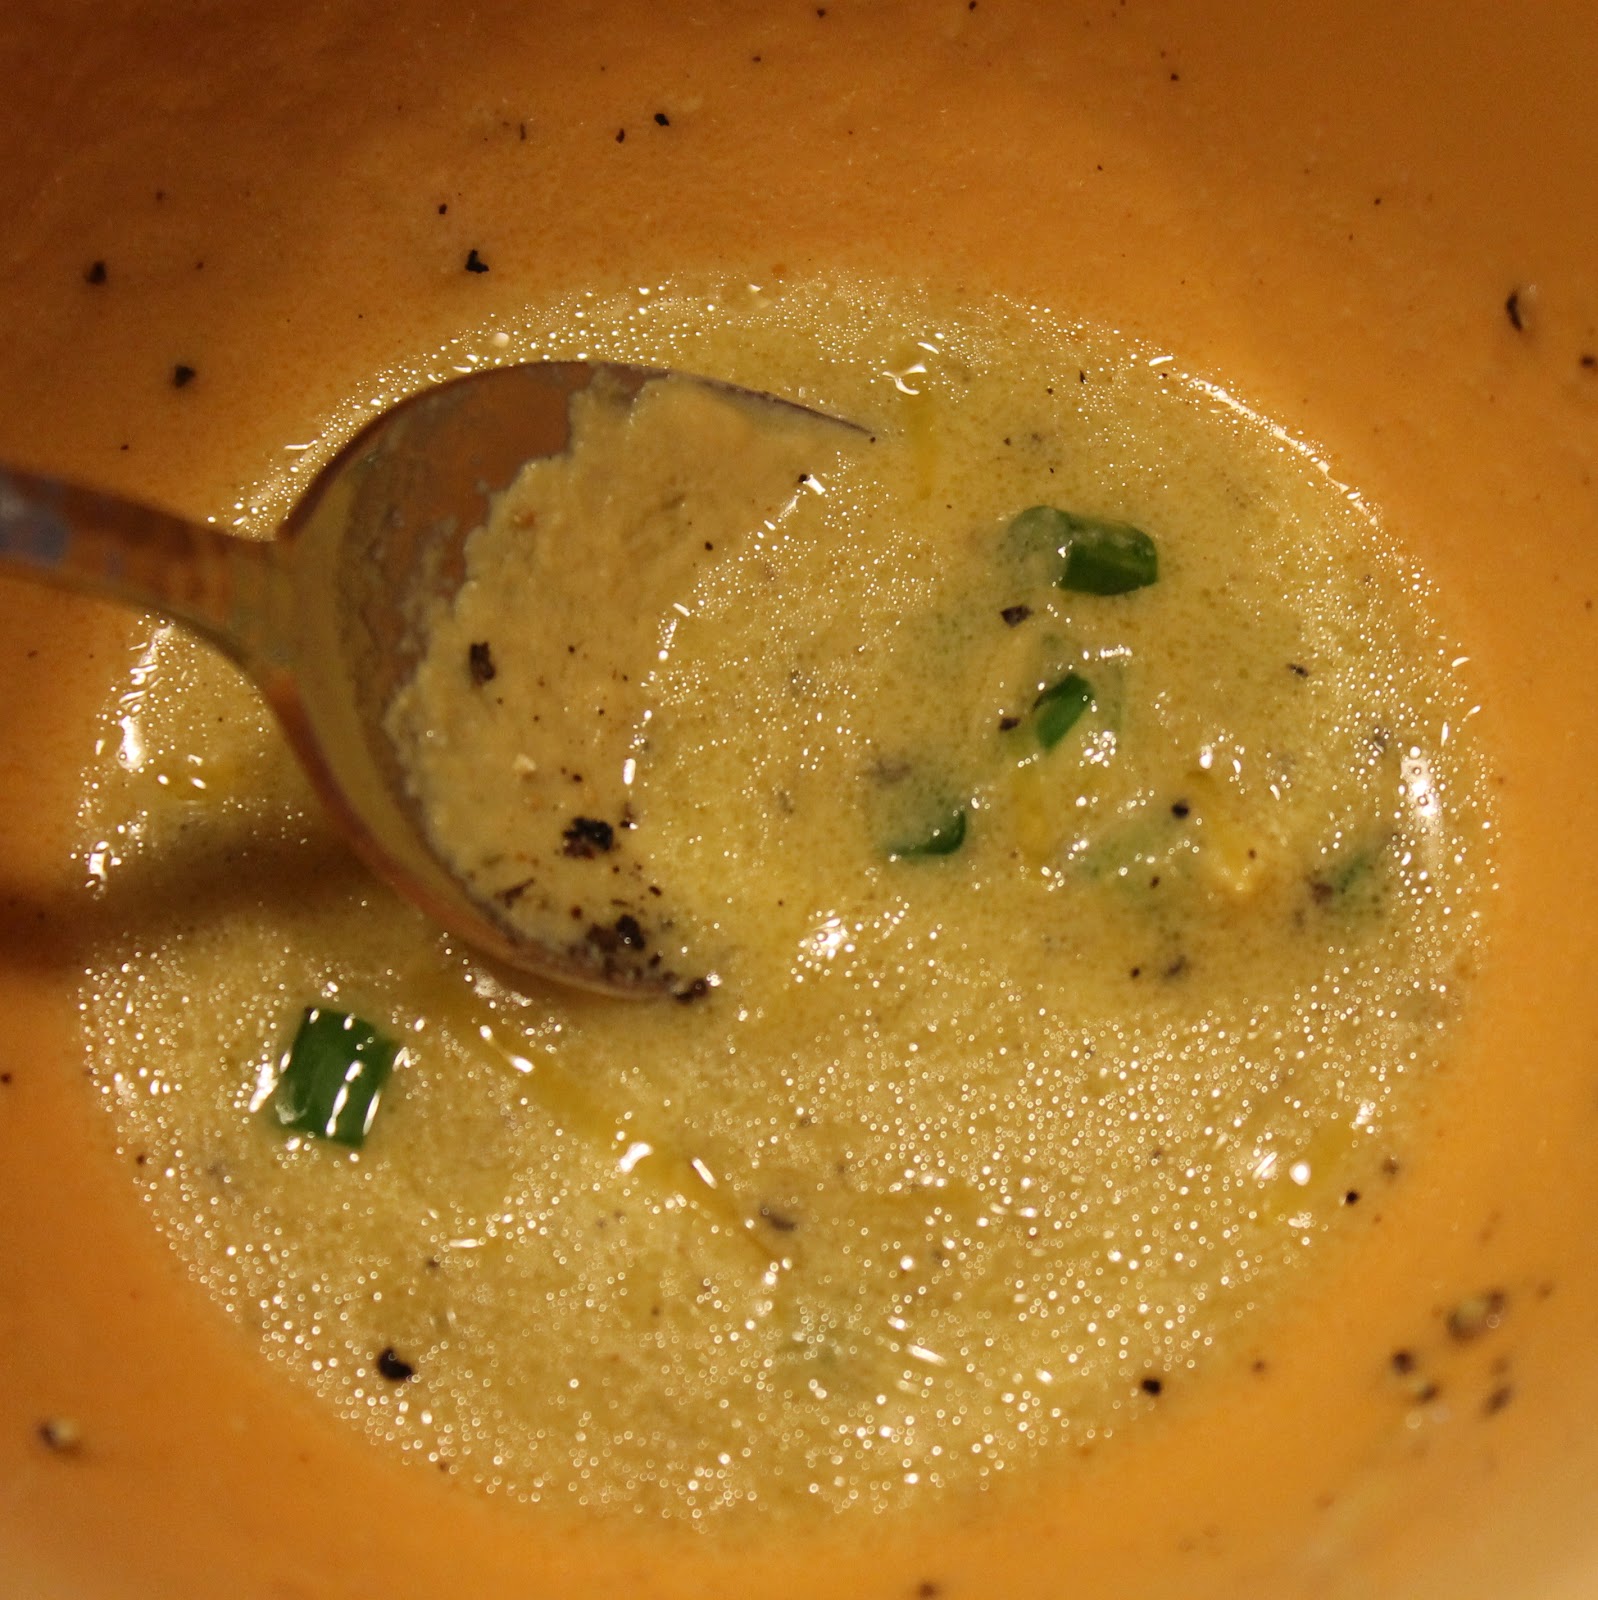
Stir with a whisk.
Add the peas and toss to coat.
Combine the peas with the couscous and 1 tablespoon minced dill.
Top with Parmesan cheese and serve.
I ate this with a simple grilled salmon and it was just perfect. The dressing with the peas helps bring out their fresh taste and the couscous is a wonderful complement. I actually saved some of this for lunch the next day and it was great then too!
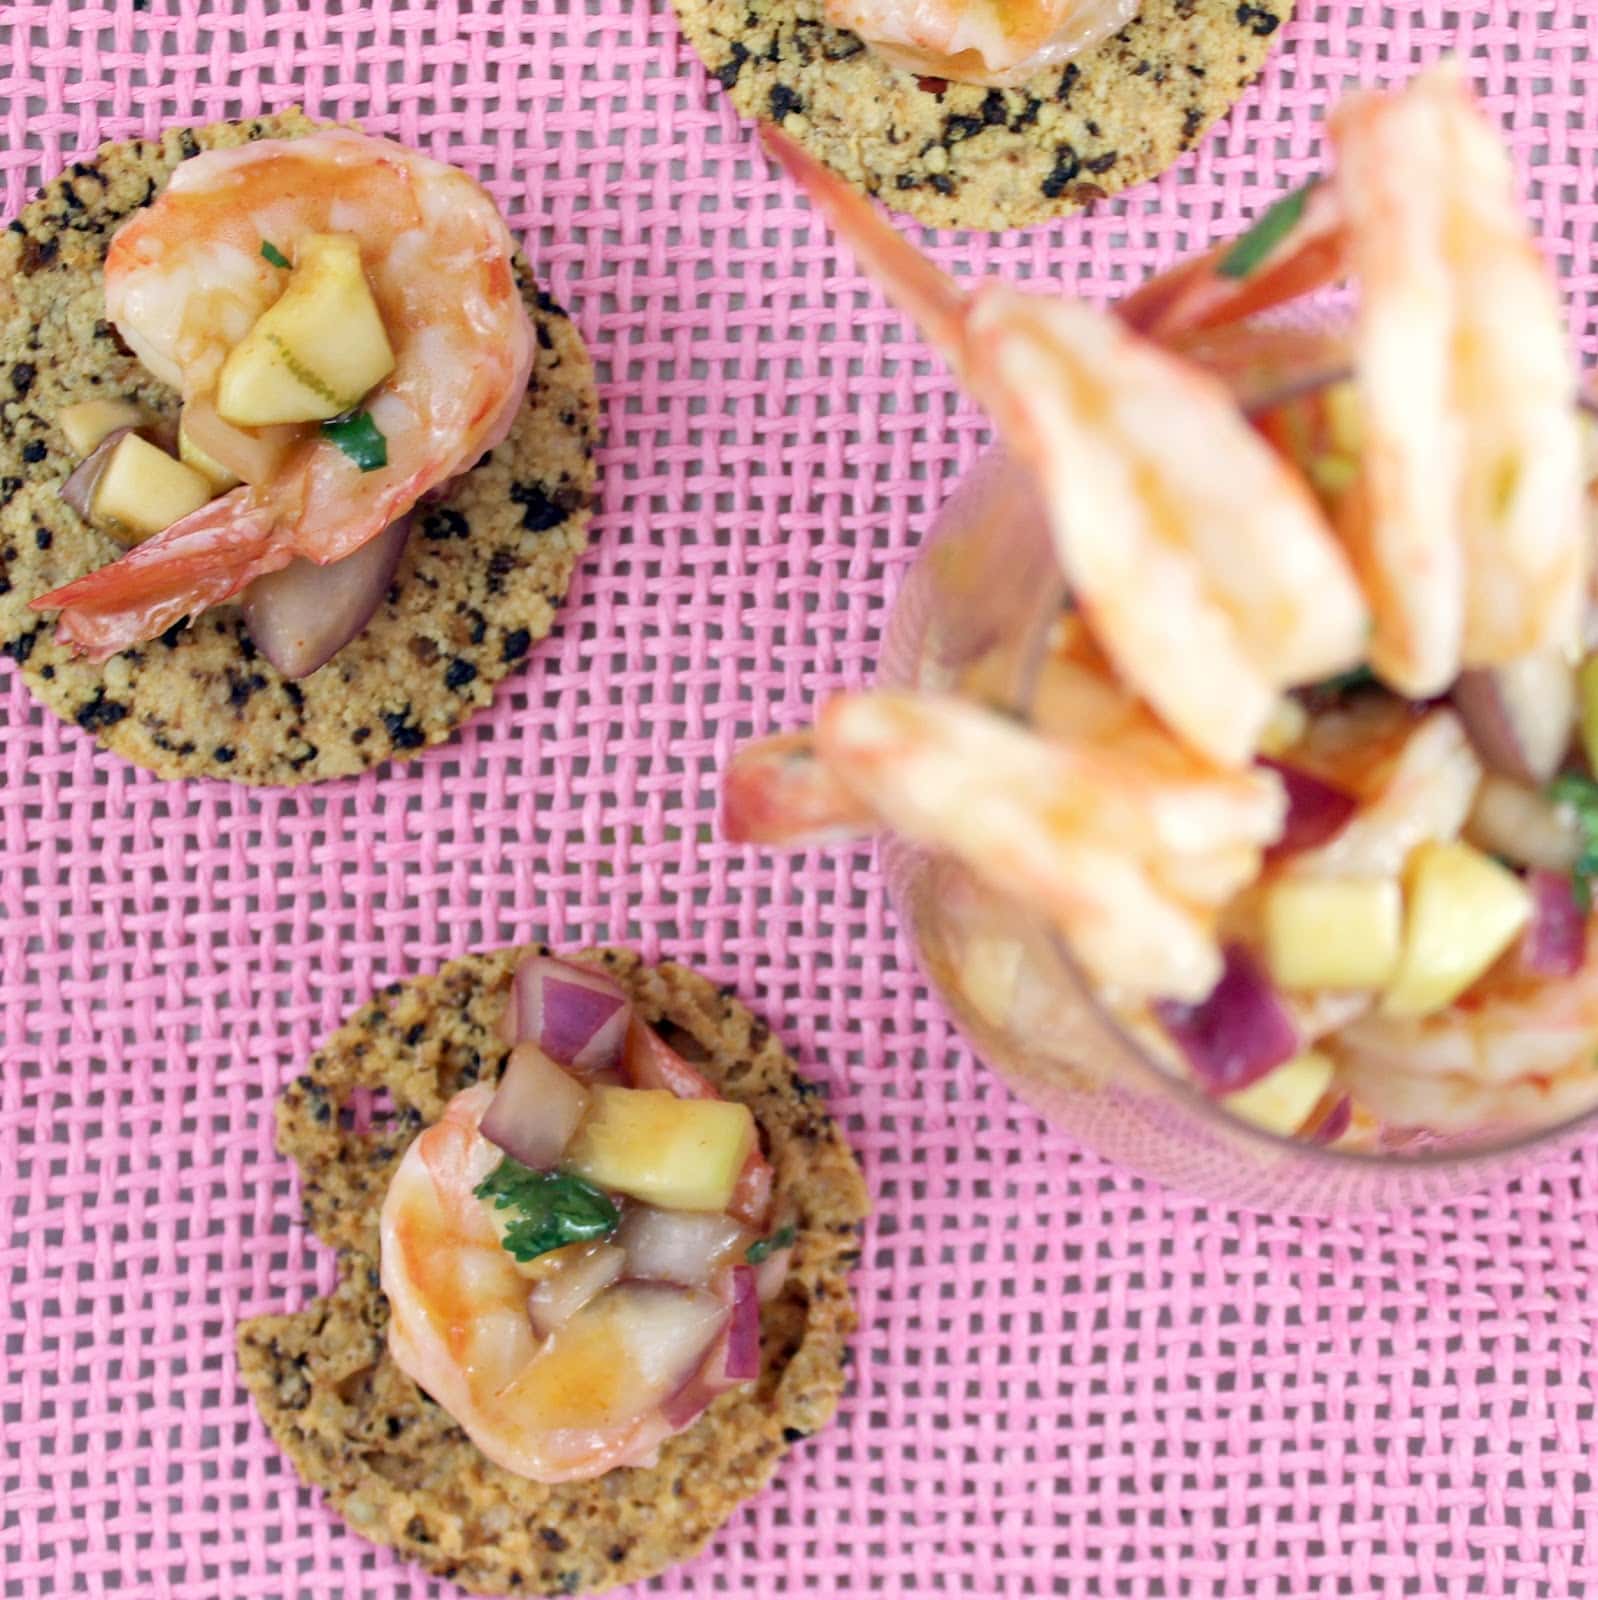
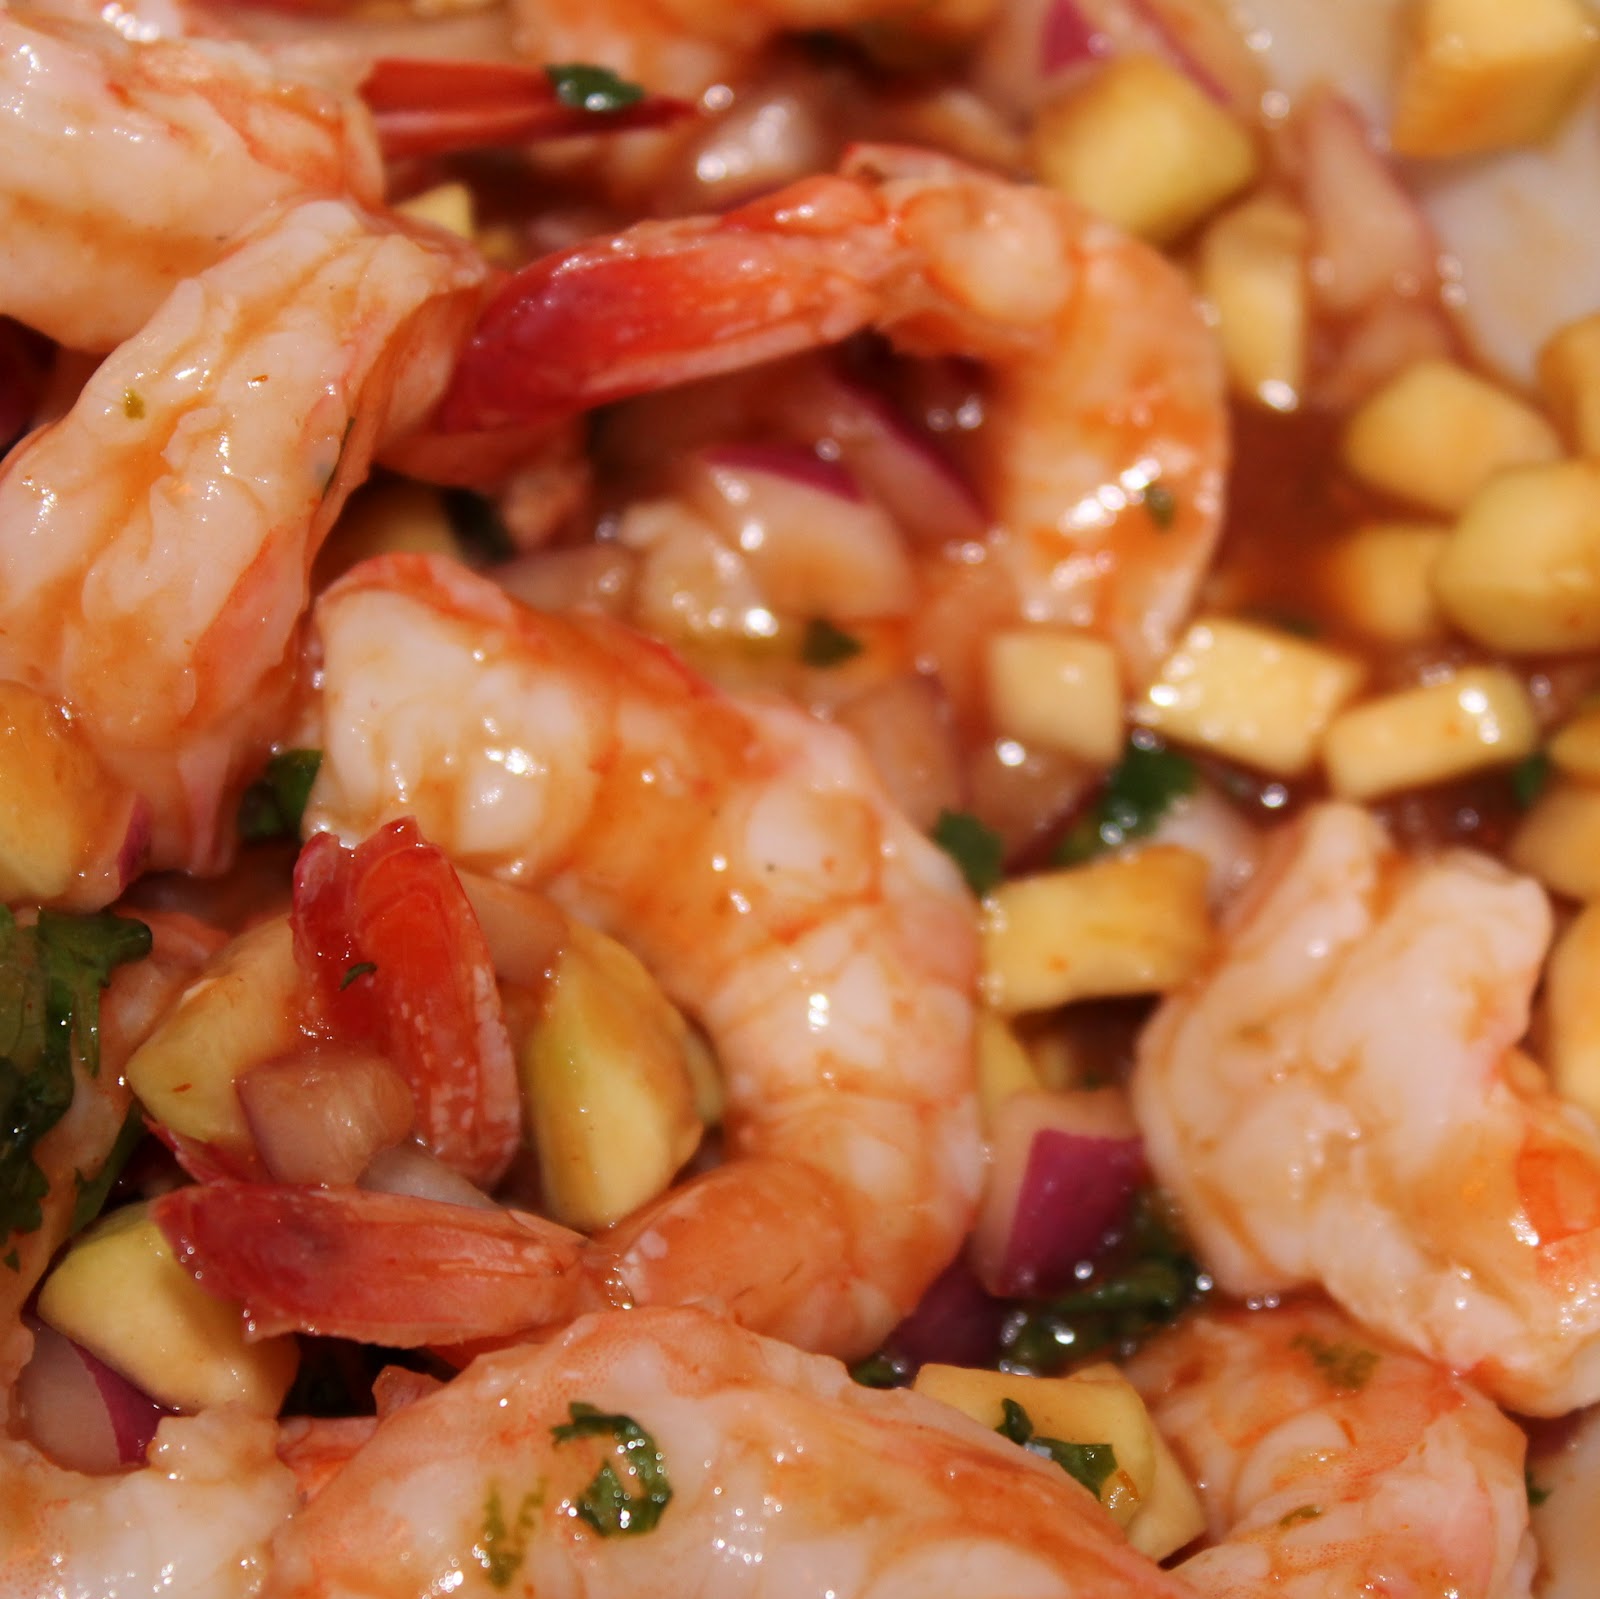
I’m really on a canape/appetizer kick. I used these Jalapeno Parmesan crisps to make canapes with Black Bean Mango Salsa on top, but really wanted to make something with shrimp incorporated in it. I found this Cooking Light recipe for Ceviche de Camaron and used it as a base for this recipe for Shrimp Ceviche on Jalapeno Parmesan Crisps. Traditional ceviche is usually fresh raw fish marinated in lemon or lime juice. I actually steamed the shrimp before marinating them in the lime, so it is not an actual ceviche, but the general idea of it is still present.
Ingredients:
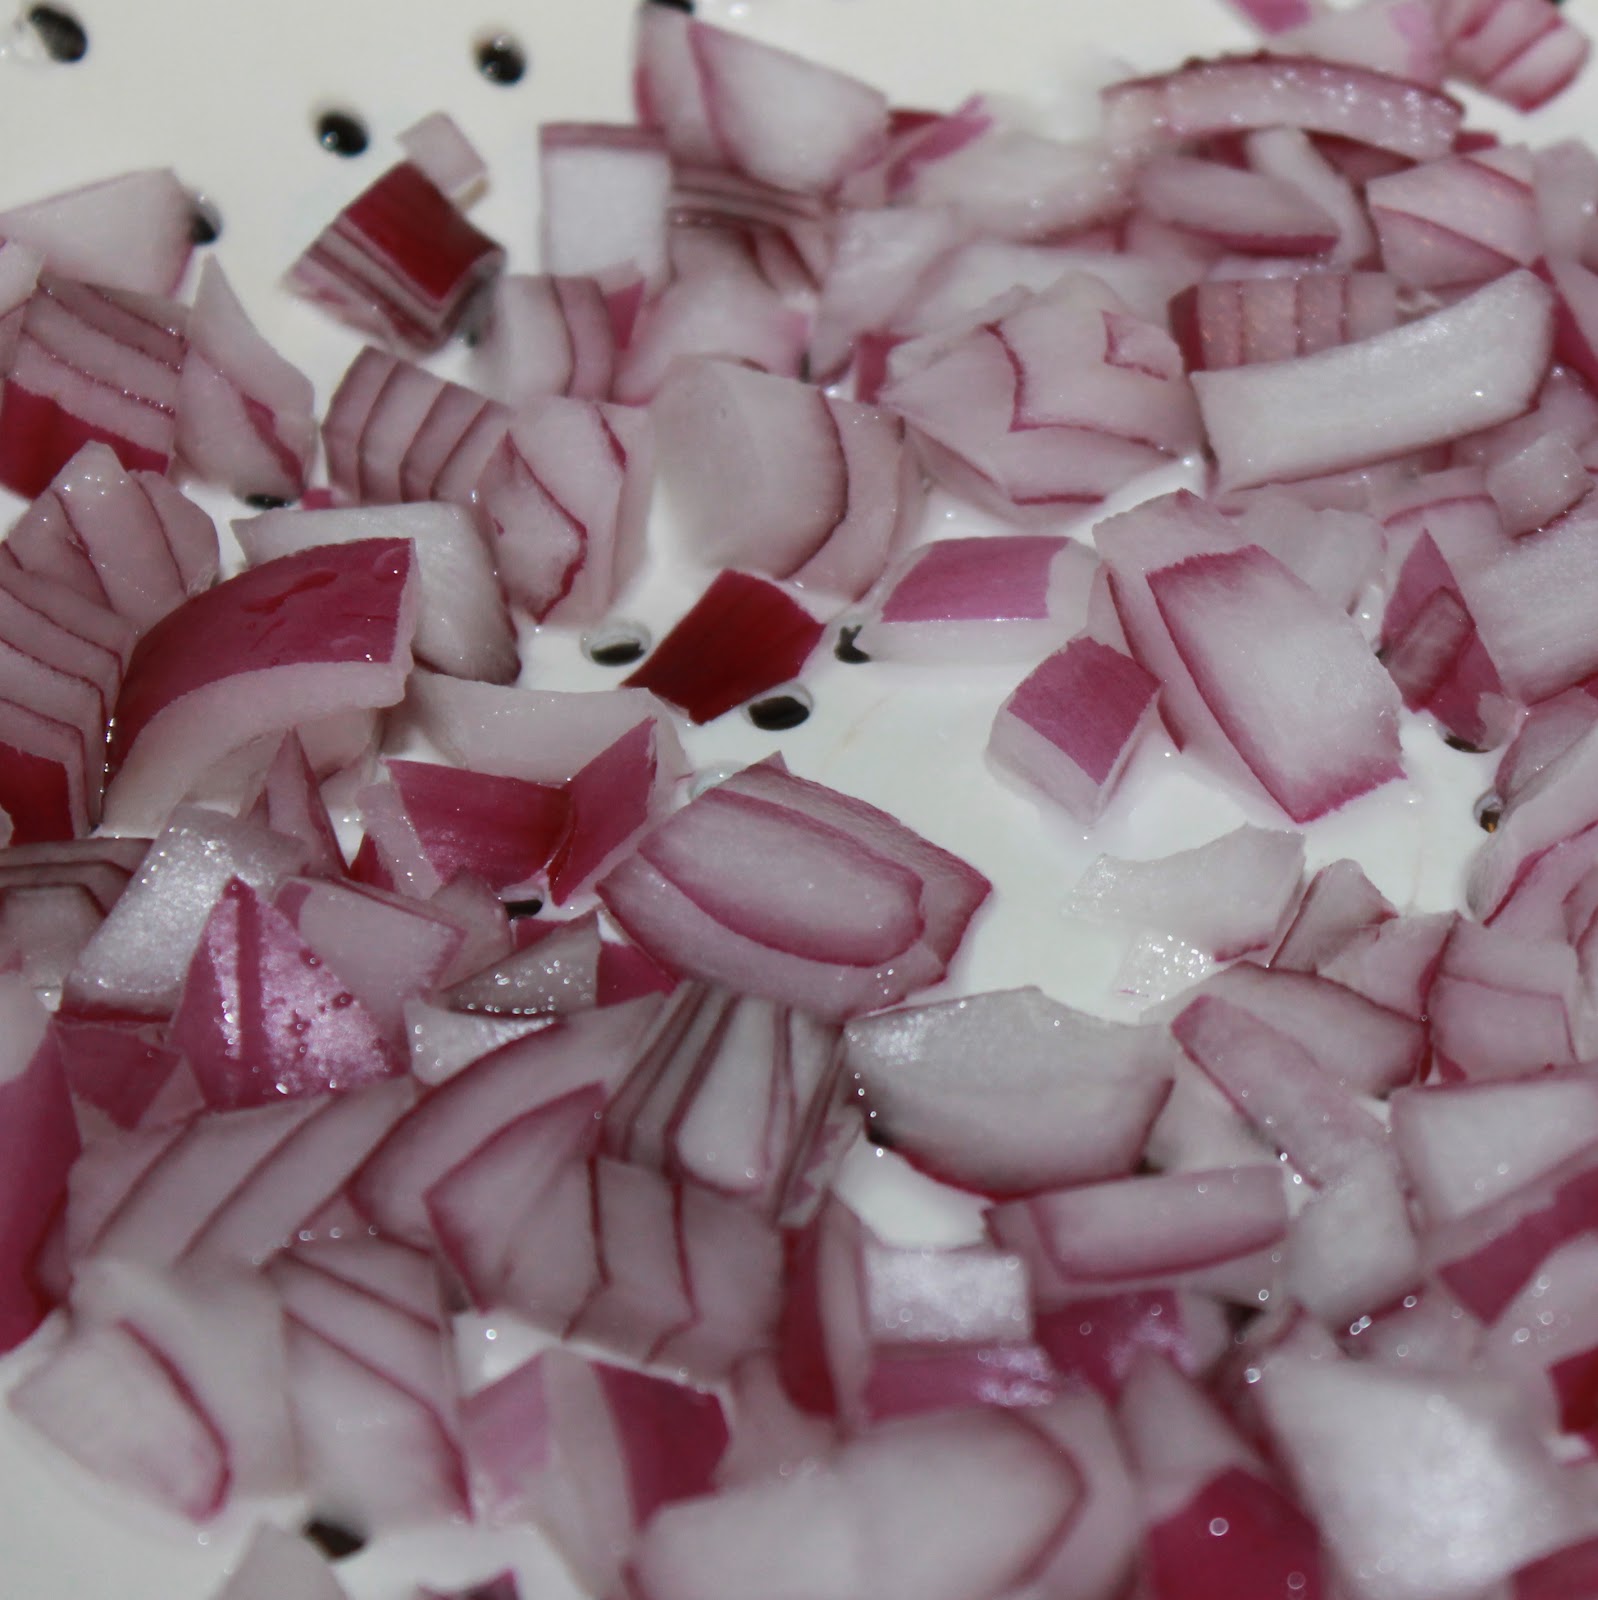
1/2 cup chopped red onion
6 cups water
3/4 cup fresh lime juice, divided
1 pound medium shrimp
1 cup chopped peeled cucumber
1/4 cup ketchup
1/4 cup mild taco sauce
1/3 cup chopped fresh cilantro
1 teaspoon sriracha or other hot sauce
1 tablespoon olive oil
1 teaspoon Worcestershire sauce
1/4 teaspoon salt
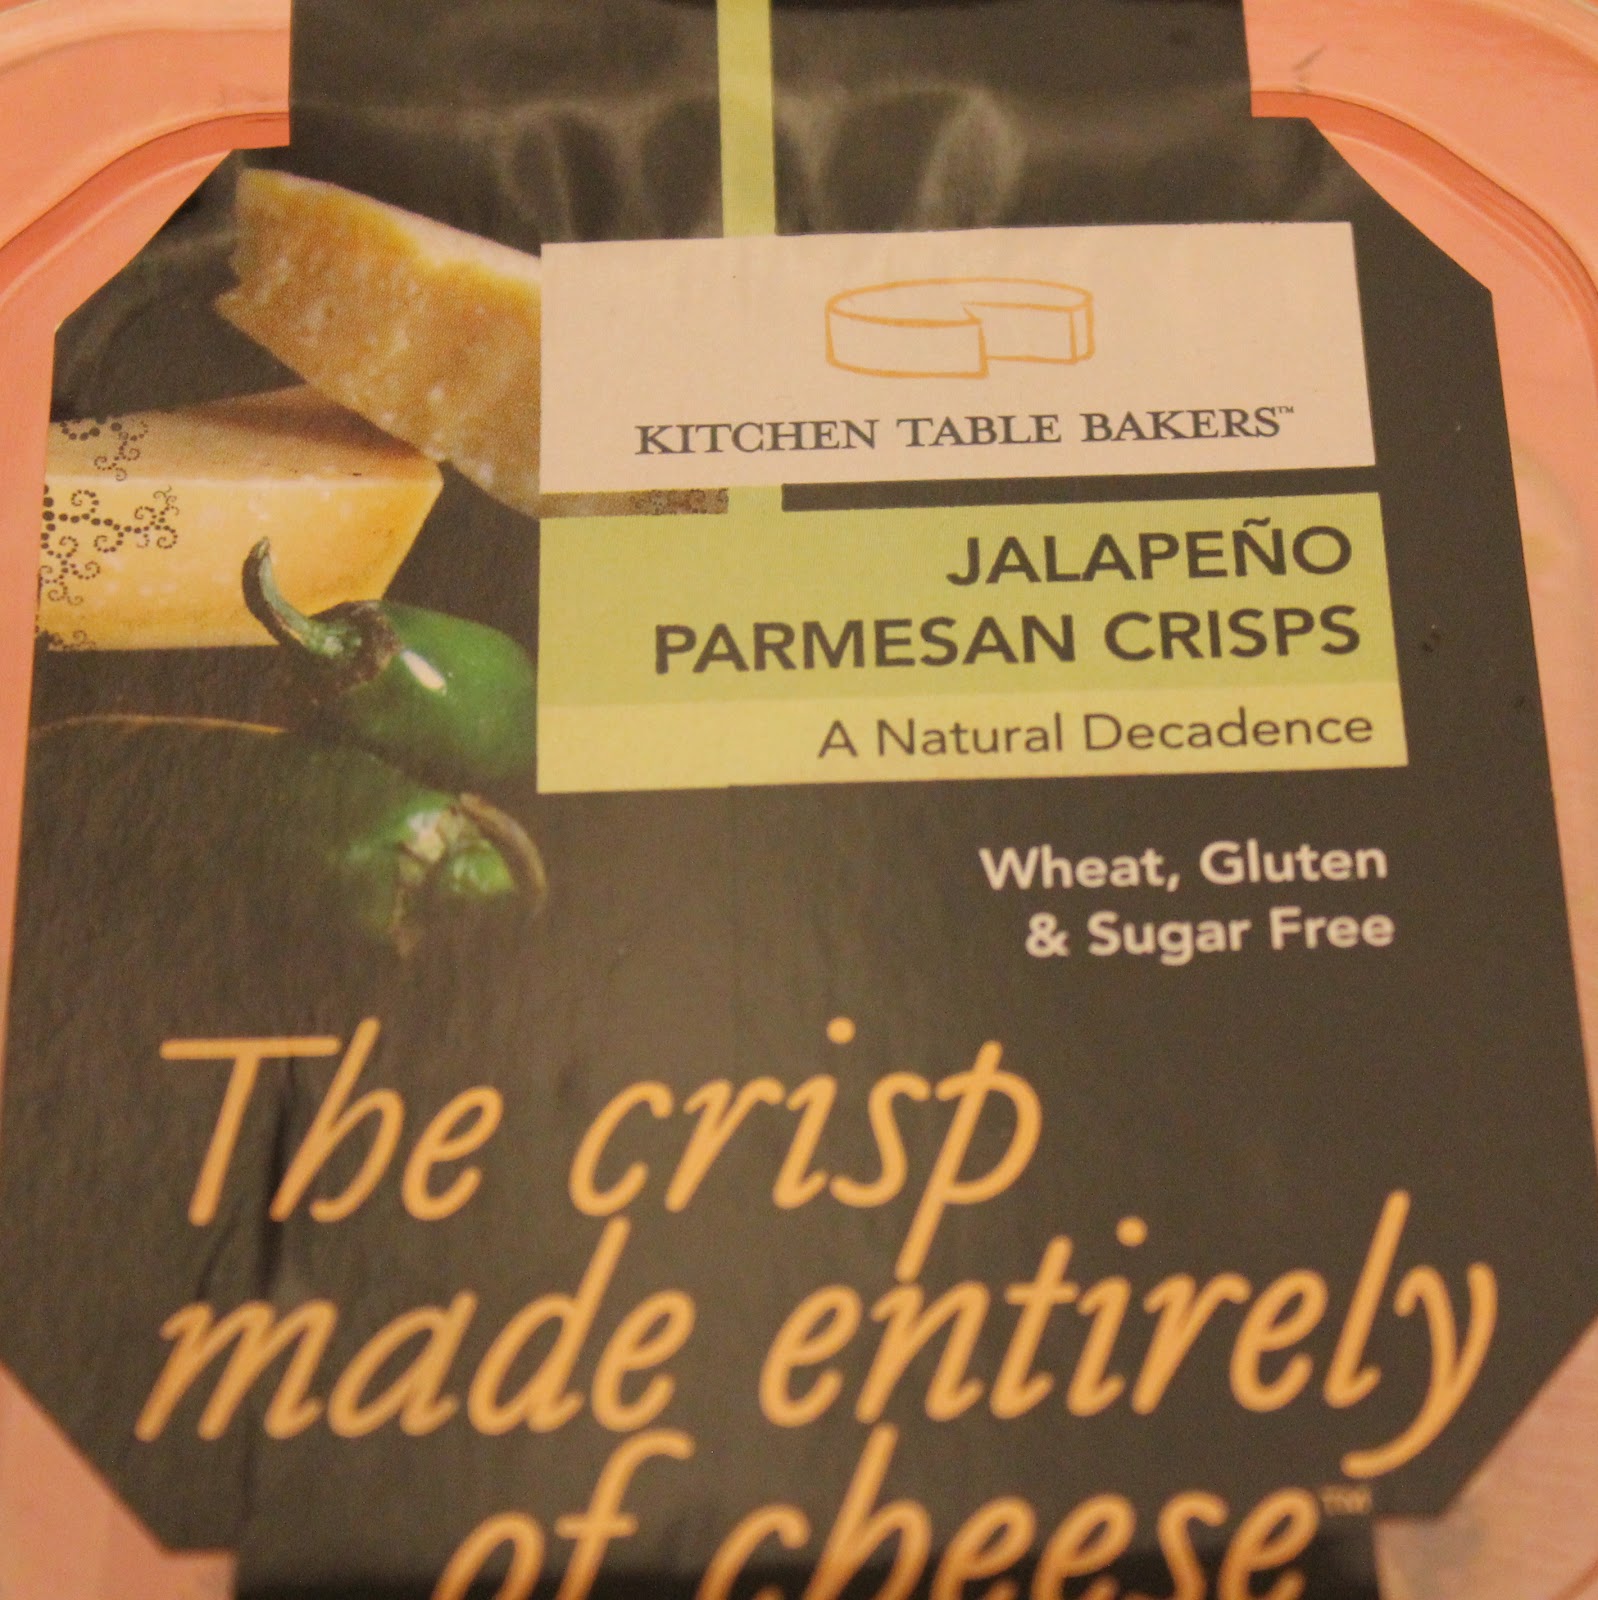
Jalapeno Parmesan Crisps (Kitchen Table Bakers)
I didn’t read the recipe correctly before buying my ingredients, so I actually asked the seafood place to peel and devein the shrimp. Well, the original recipe required boiling the shrimp and then peeling them, so I had to change it up a bit. Click the link above for the original recipe if you’d like.
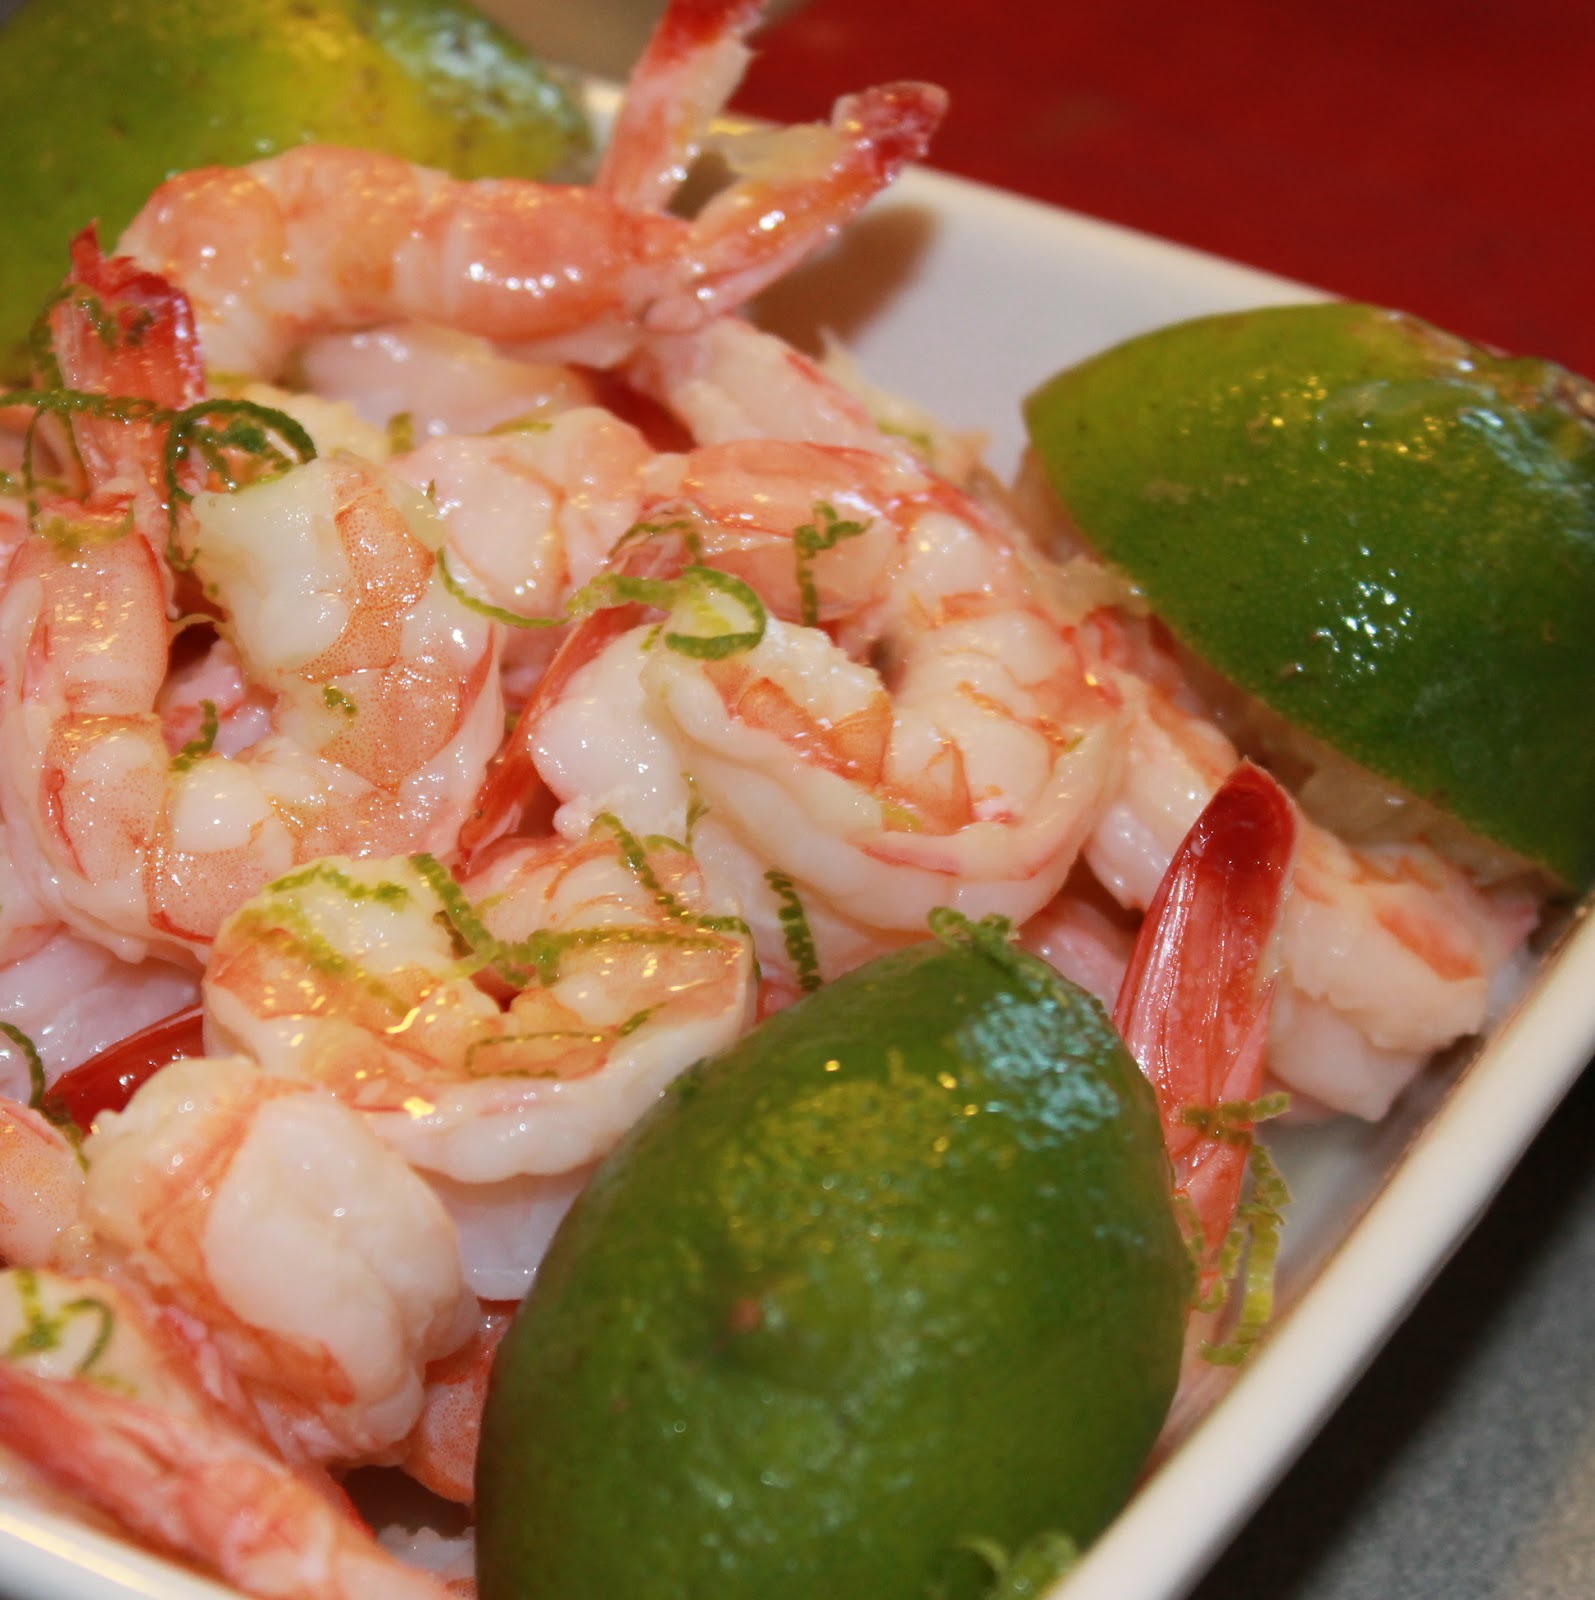
Bring 6 cups of water with 1/4 cup fresh lime juice to a boil in a large pot. When boiling, add the shrimp to a steam basket and place on top. Cover and cook for 3 minutes.
Remove the shrimp and combine with 1/2 cup juice, plus the zest from the limes, in a large bowl.
Cover and refrigerate for 1 hour.
While waiting for the hour to pass, chop your onion, cucumber, and cilantro. Take the chopped onion and rinse with cold water in a colander.
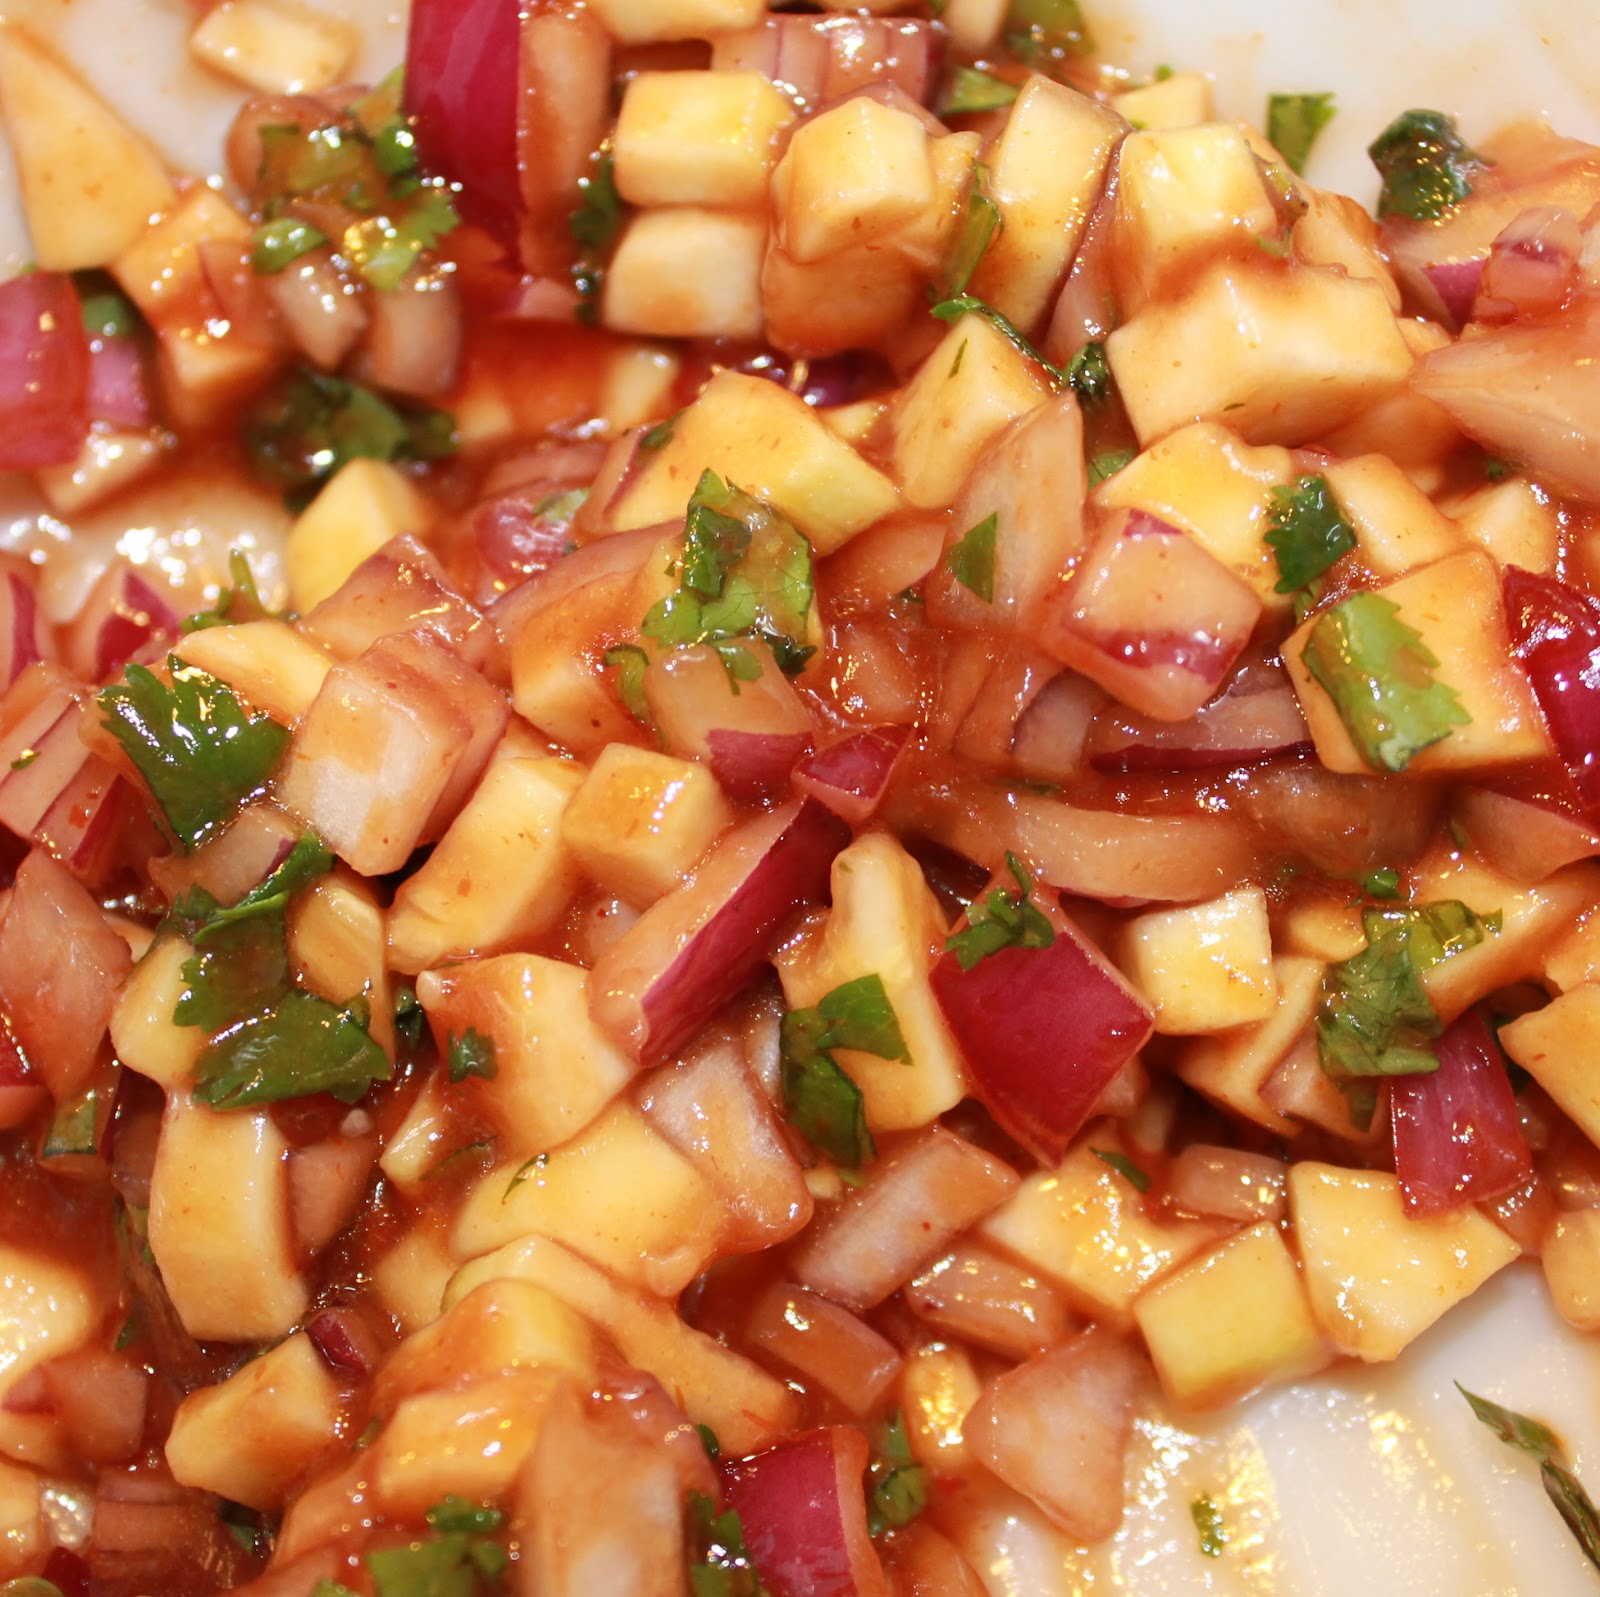
Add the onion to a medium bowl. Stir in the cucumber, ketchup, taco sauce, cilantro, hot sauce, olive oil, Worcestershire sauce and salt.
Refrigerate until the hour has passed for the shrimp. When the hour is finished, stir in the shrimp and lime juice.
Top each Parmesan crisp with one shrimp and a teaspoon of the onion cucumber mixture.
Aren’t these fun?
So I realized after taking these photos that the shrimp still had their tails. I wouldn’t suggest serving the shrimp on the crisps with the tails on.
However, if you serve the ceviche in a bowl or wine glass with the crisps on the side, keep the tails on for presentation.
The shrimp managed to maintain a really nice citrus flavor despite being pre-cooked.
The cocktail sauce on the shrimp had a nice spice but didn’t deliver much heat (the Parmesan crisps were spicy enough for me) so if you like it really spicy, add a bit more hot sauce.
I did think corn kernels would go great with this as well. Next time I make it, I think I’d throw in some frozen thawed corn kernels for extra texture.
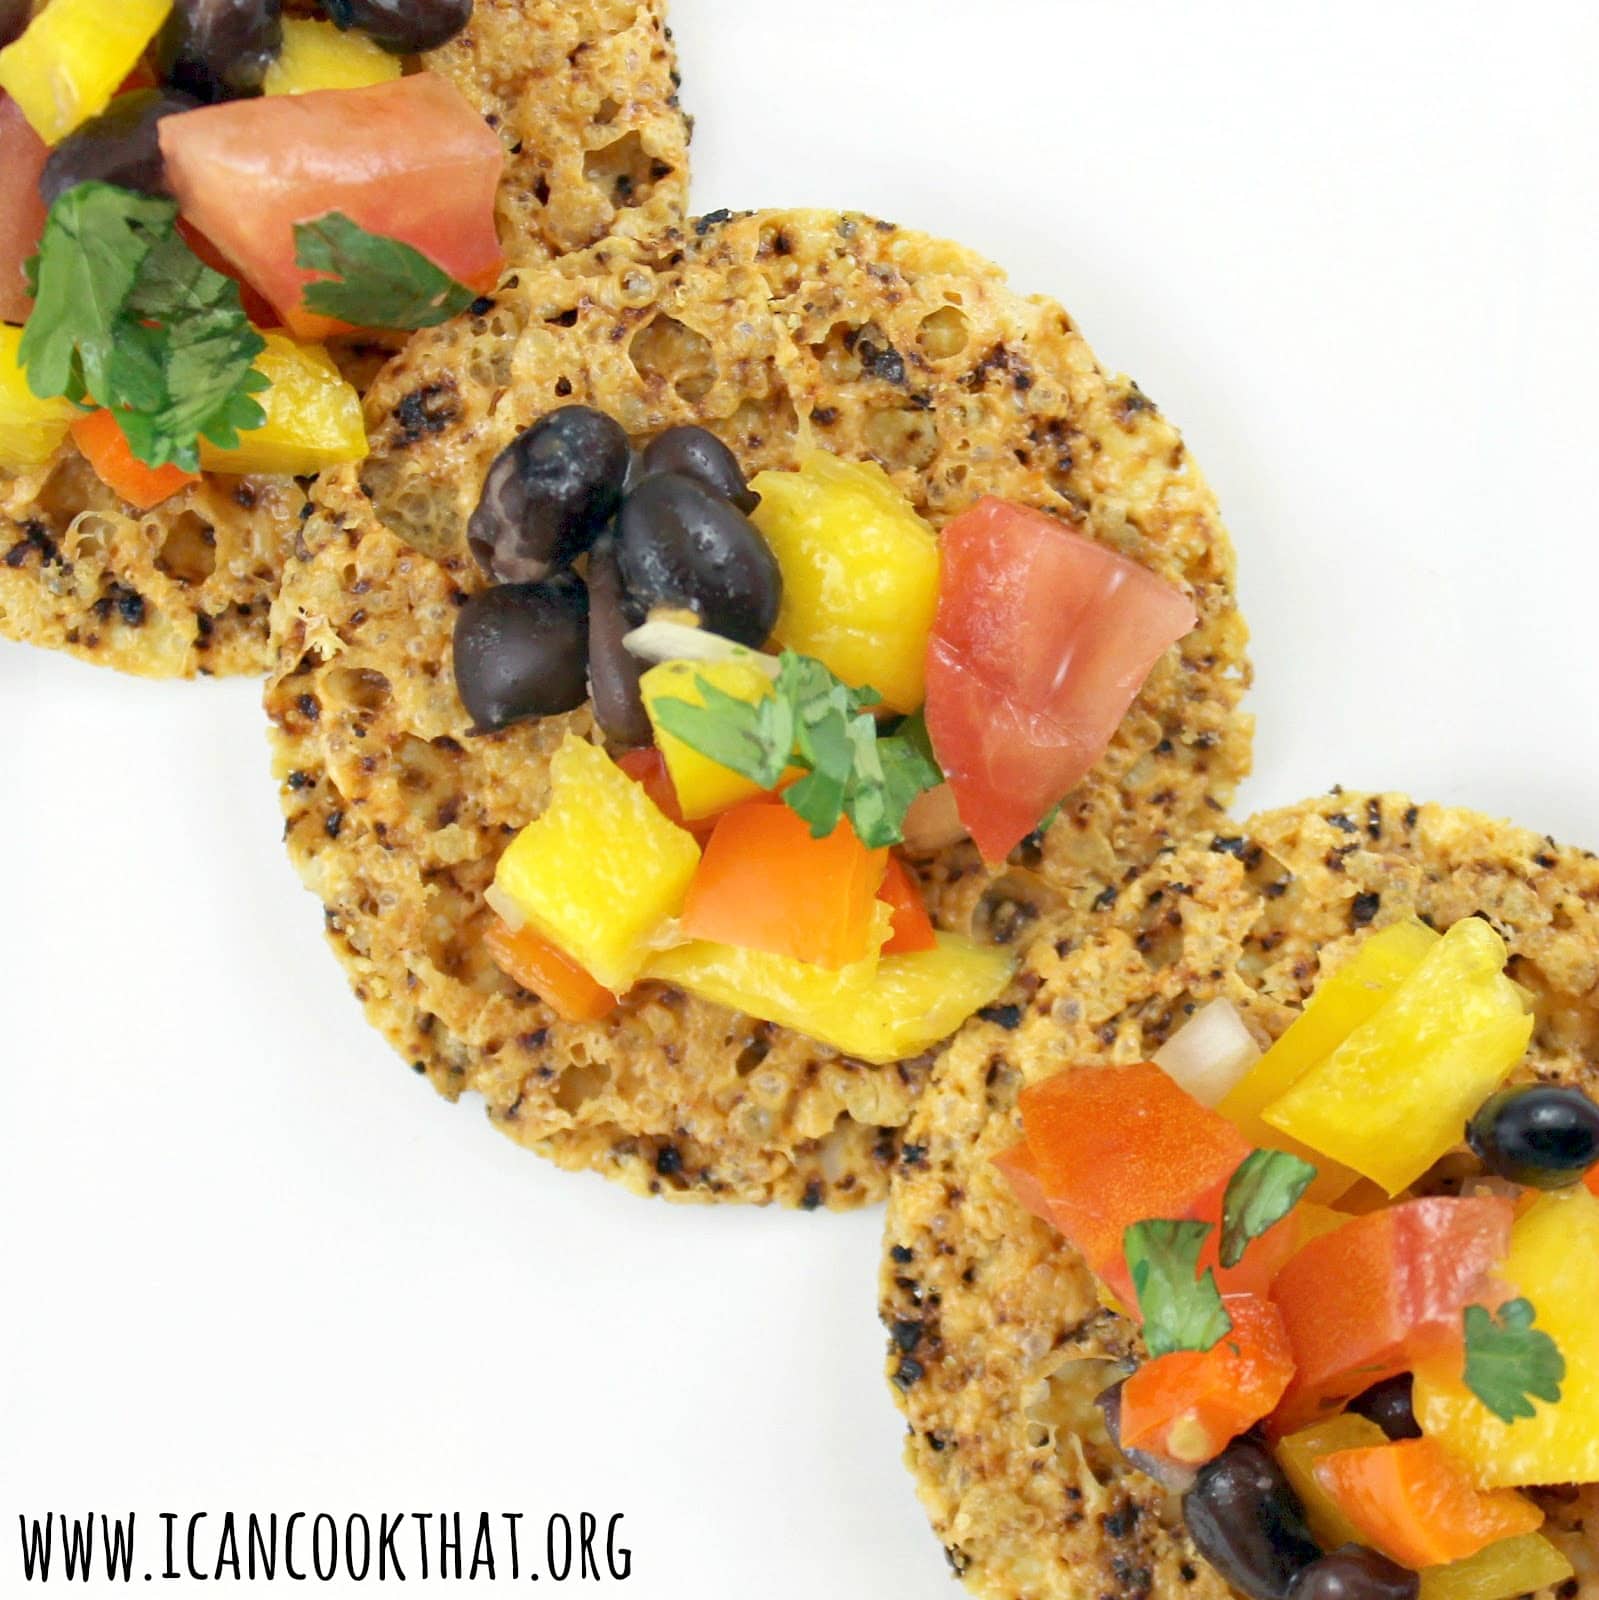
You can never have too many quick appetizers on hand. I am loving the Kitchen Table Makers Crisps. I already did one post on the Rosemary Parmesan Crisps, so it was time to get a little spicy. I used Kitchen Table Makers Jalapeno Parmesan Crisps and topped it with a yummy Black Bean Mango Salsa. The original recipe had jalapenos within the salsa, but after tasting the Crisps, I decided they had enough heat that the additional jalapeno might be too much. If you’re a huge spice fan, feel free to add a bit of chopped jalapeno to the salsa.
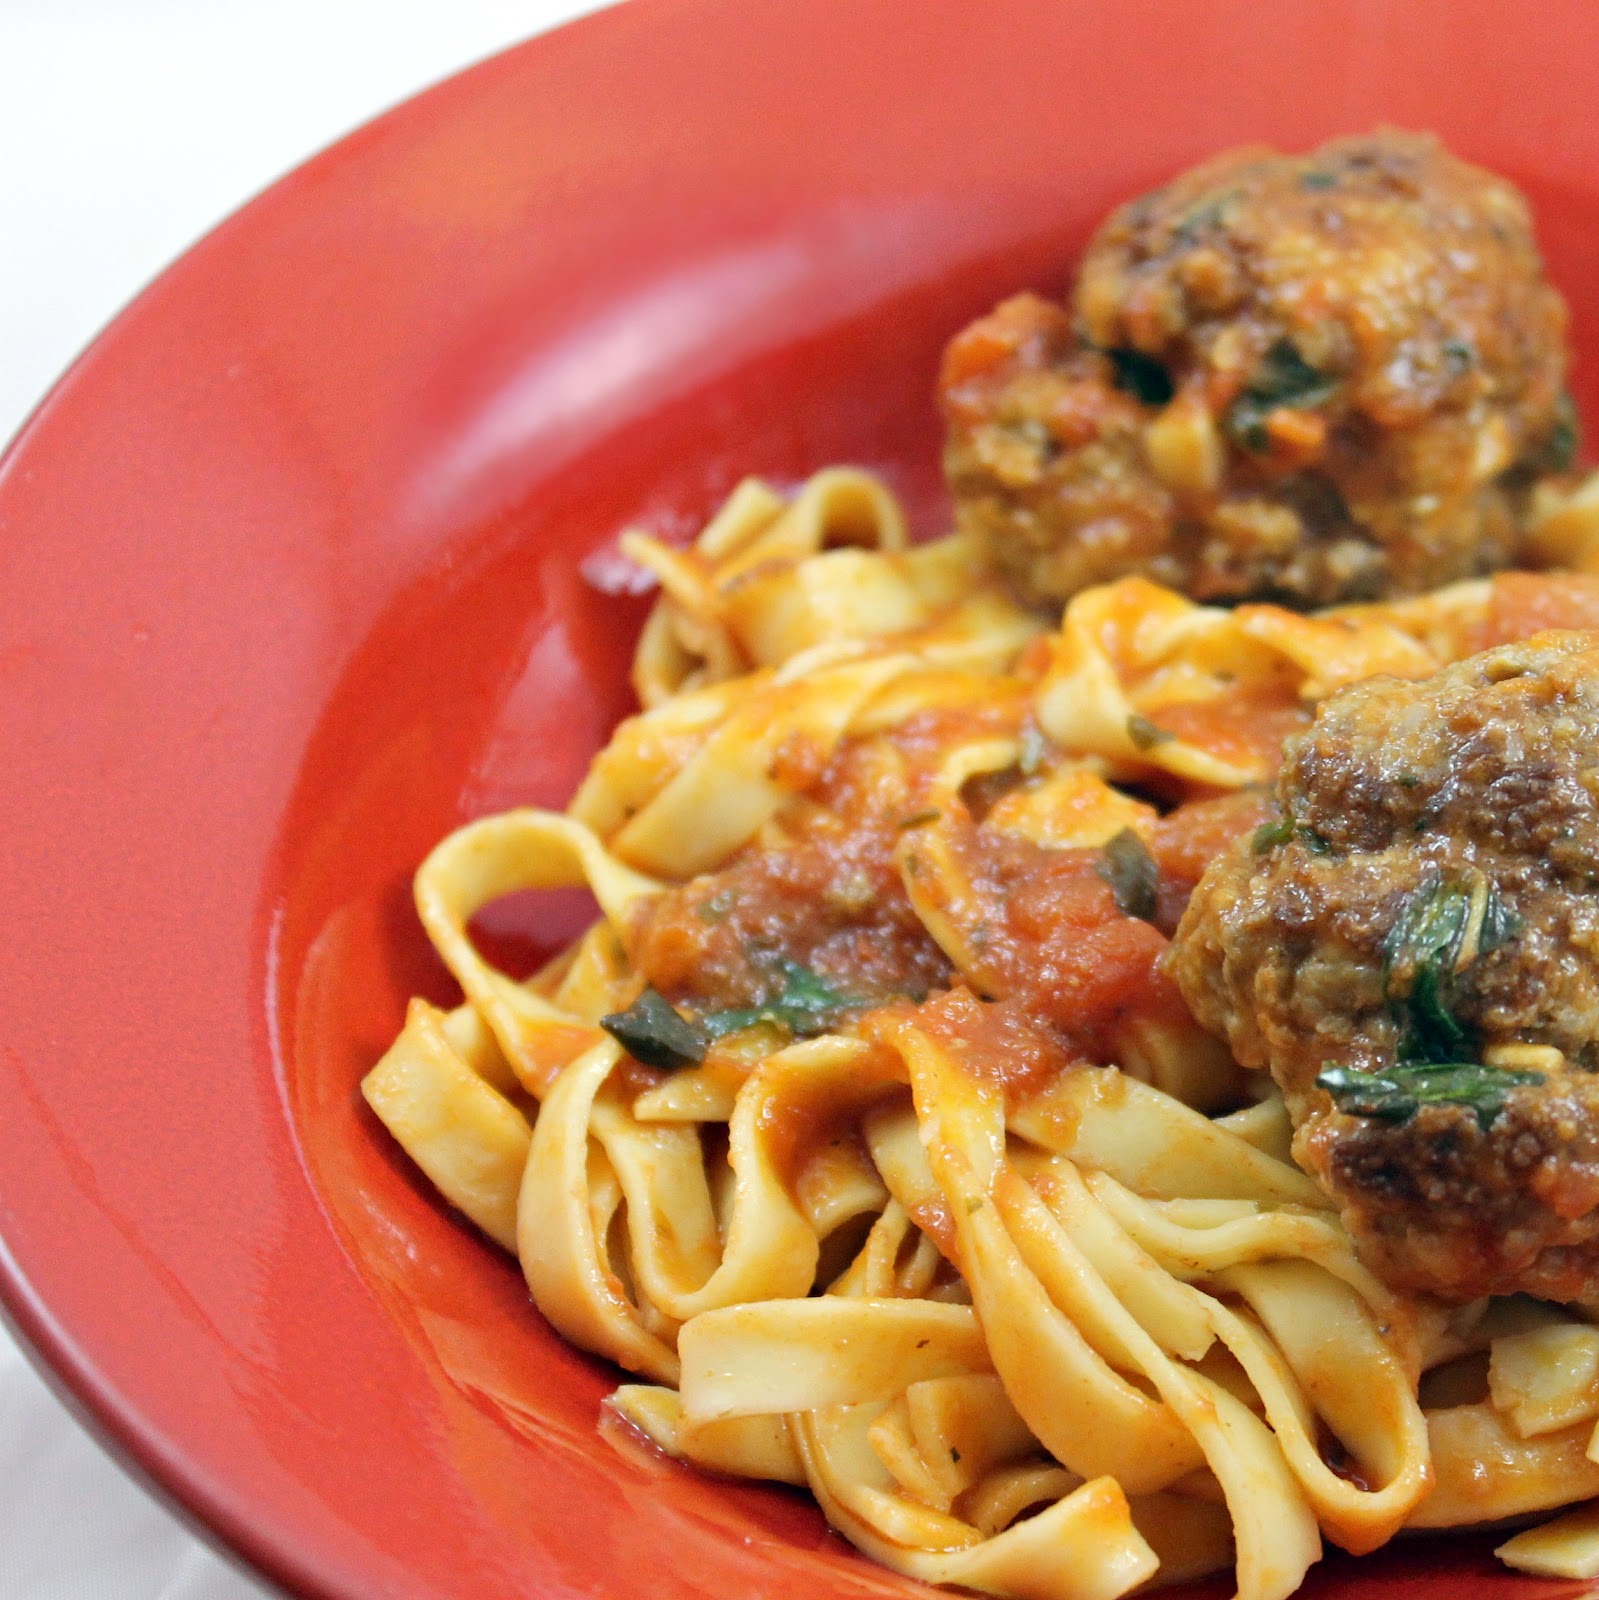
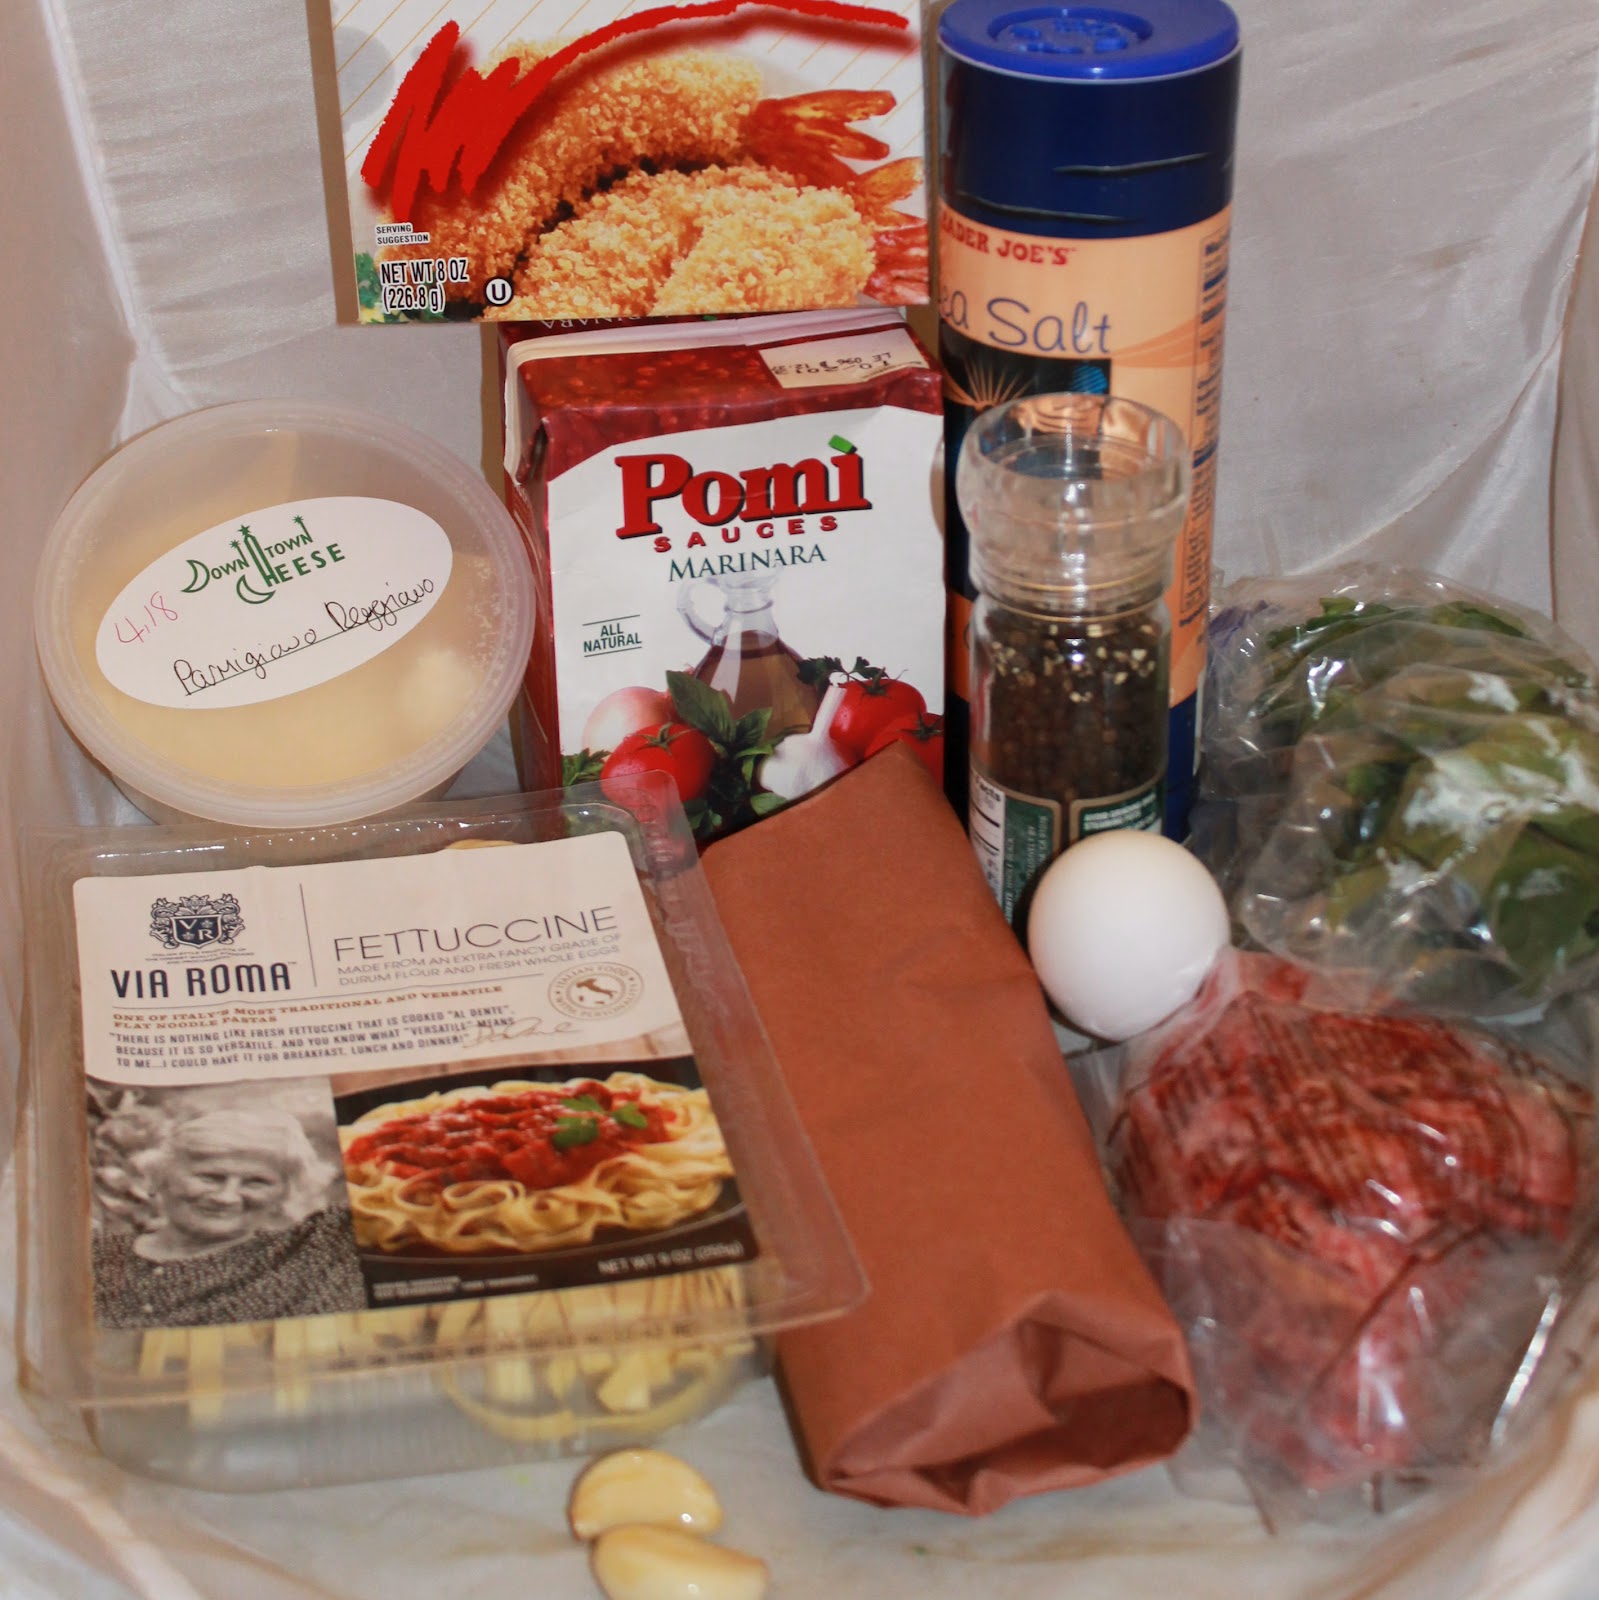
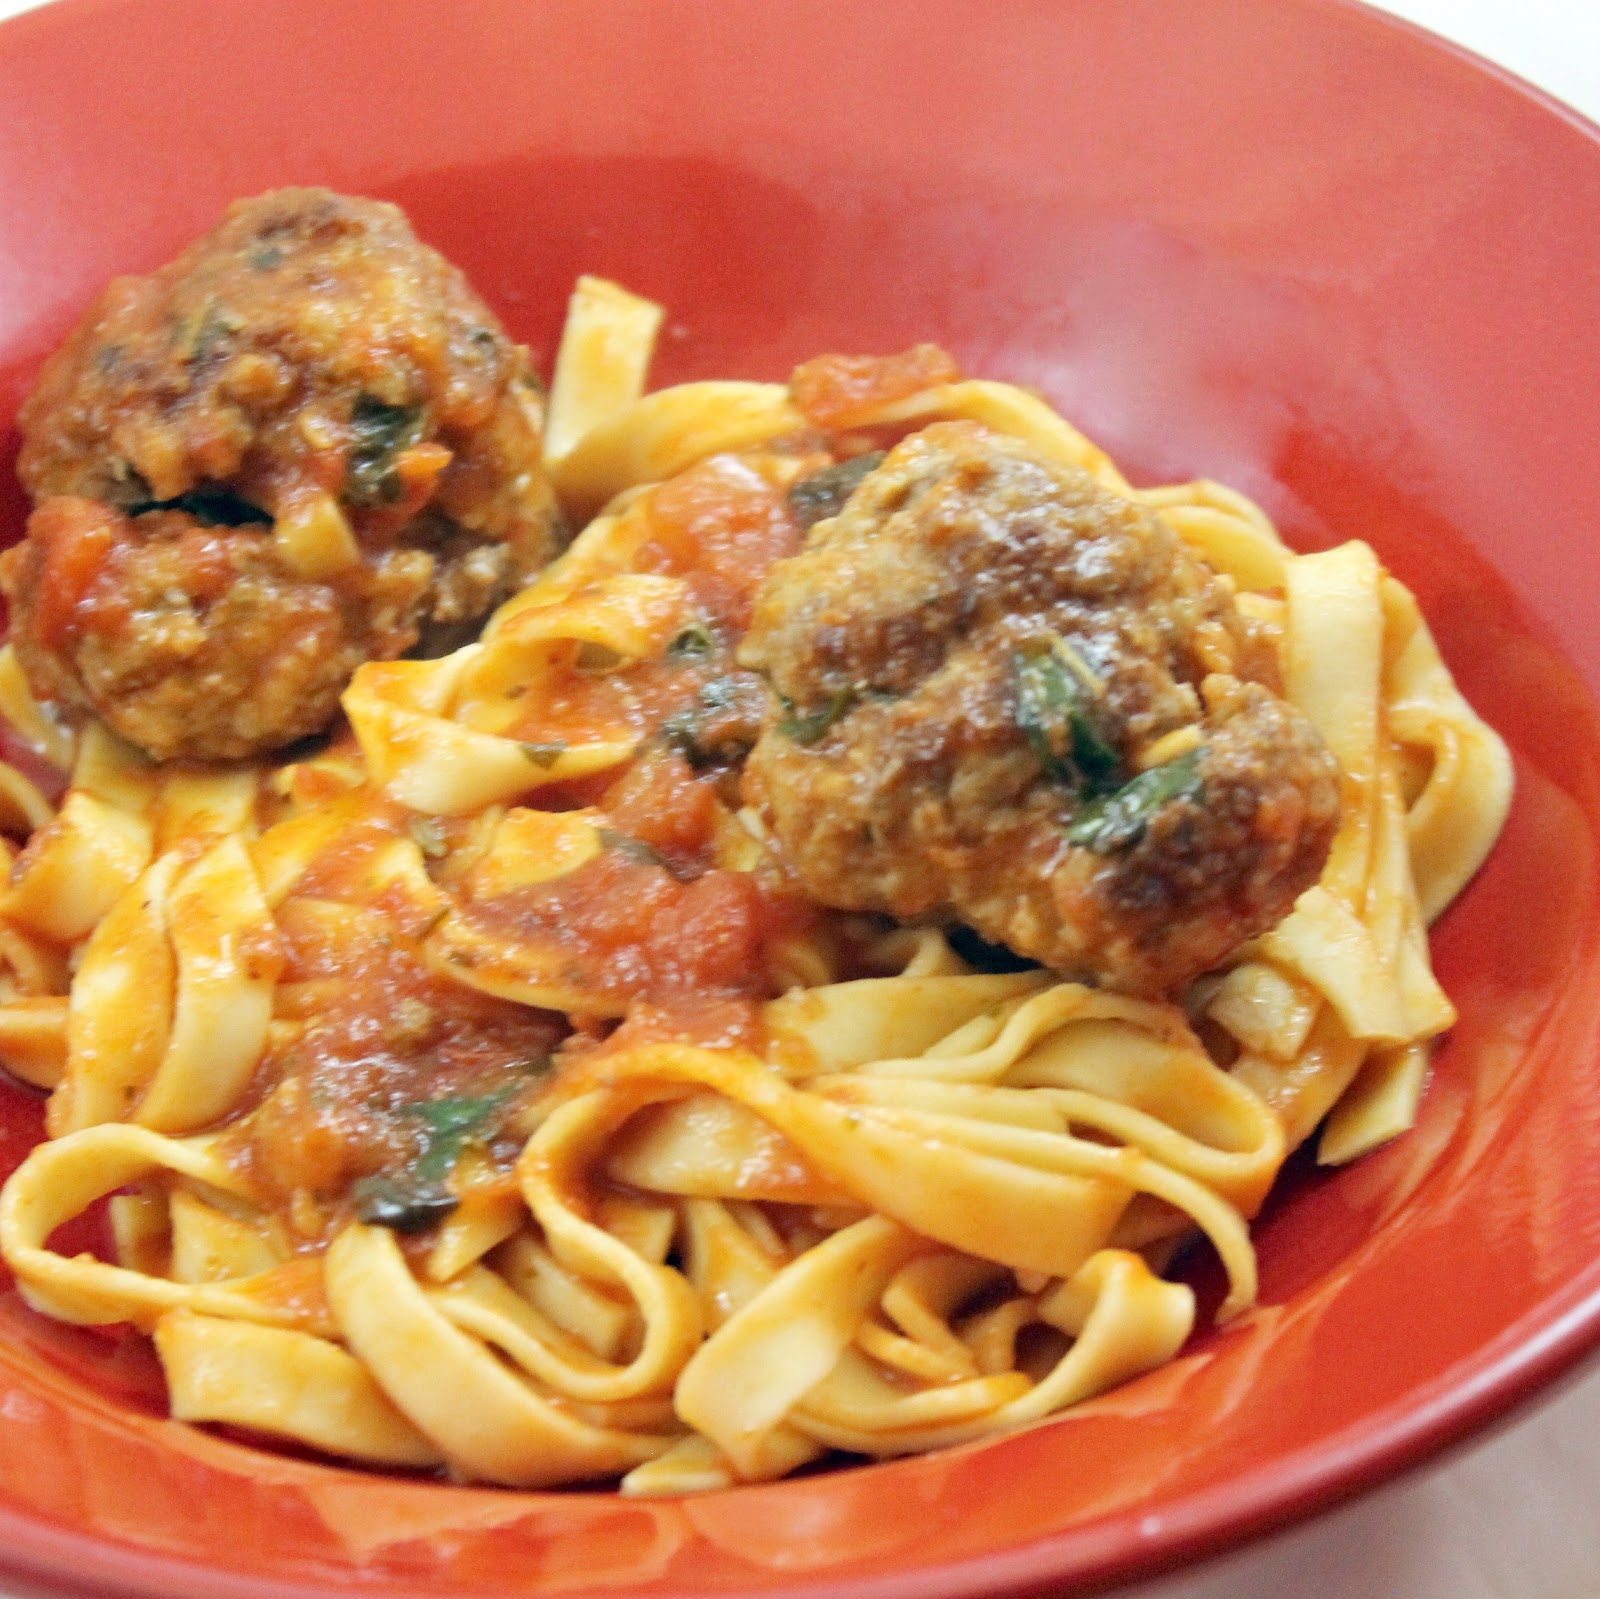
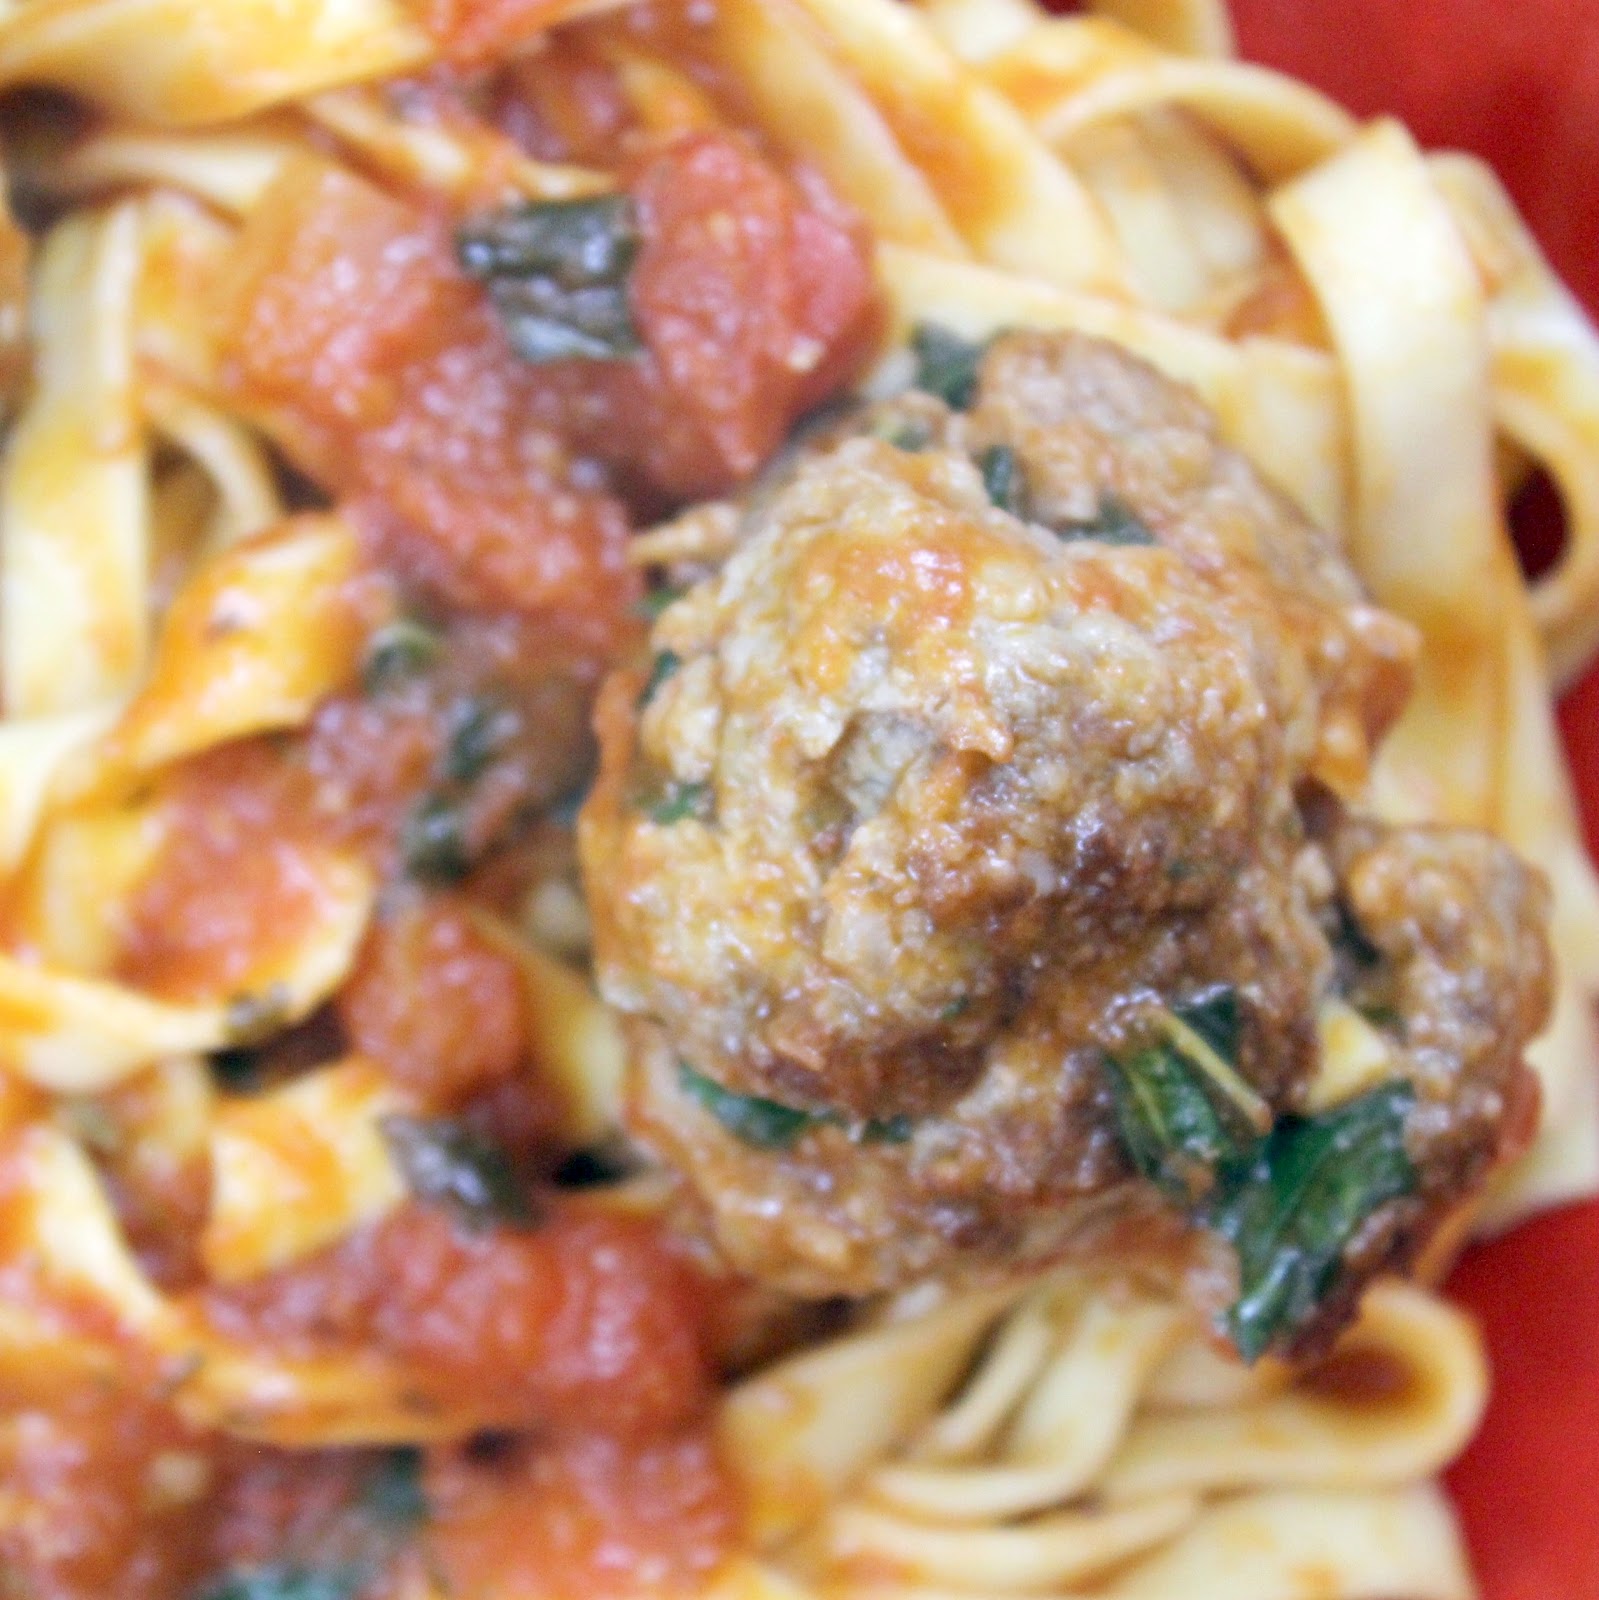
Despite having an Italian mother, I have never made meatballs before. I’m almost embarrassed to admit it. Whelp, at the age of 26, I believe it is time to finally get my hands dirty and make some meatballs. One of Cooking Light’s 40 Fast Menus in Under 40 Minutes had a recipe for meatballs, so I used it as my base for this recipe.
2 sausages, removed from their casings
1/2 cup panko
1/3 cup chopped fresh basil
2 garlic cloves, minced
3/8 teaspoon kosher salt
1/4 teaspoon black pepper
1 large egg, lightly beaten
2 teaspoons olive oil
1 3/4 cups lower-sodium marinara sauce
1 ounce Parmesan cheese, grated
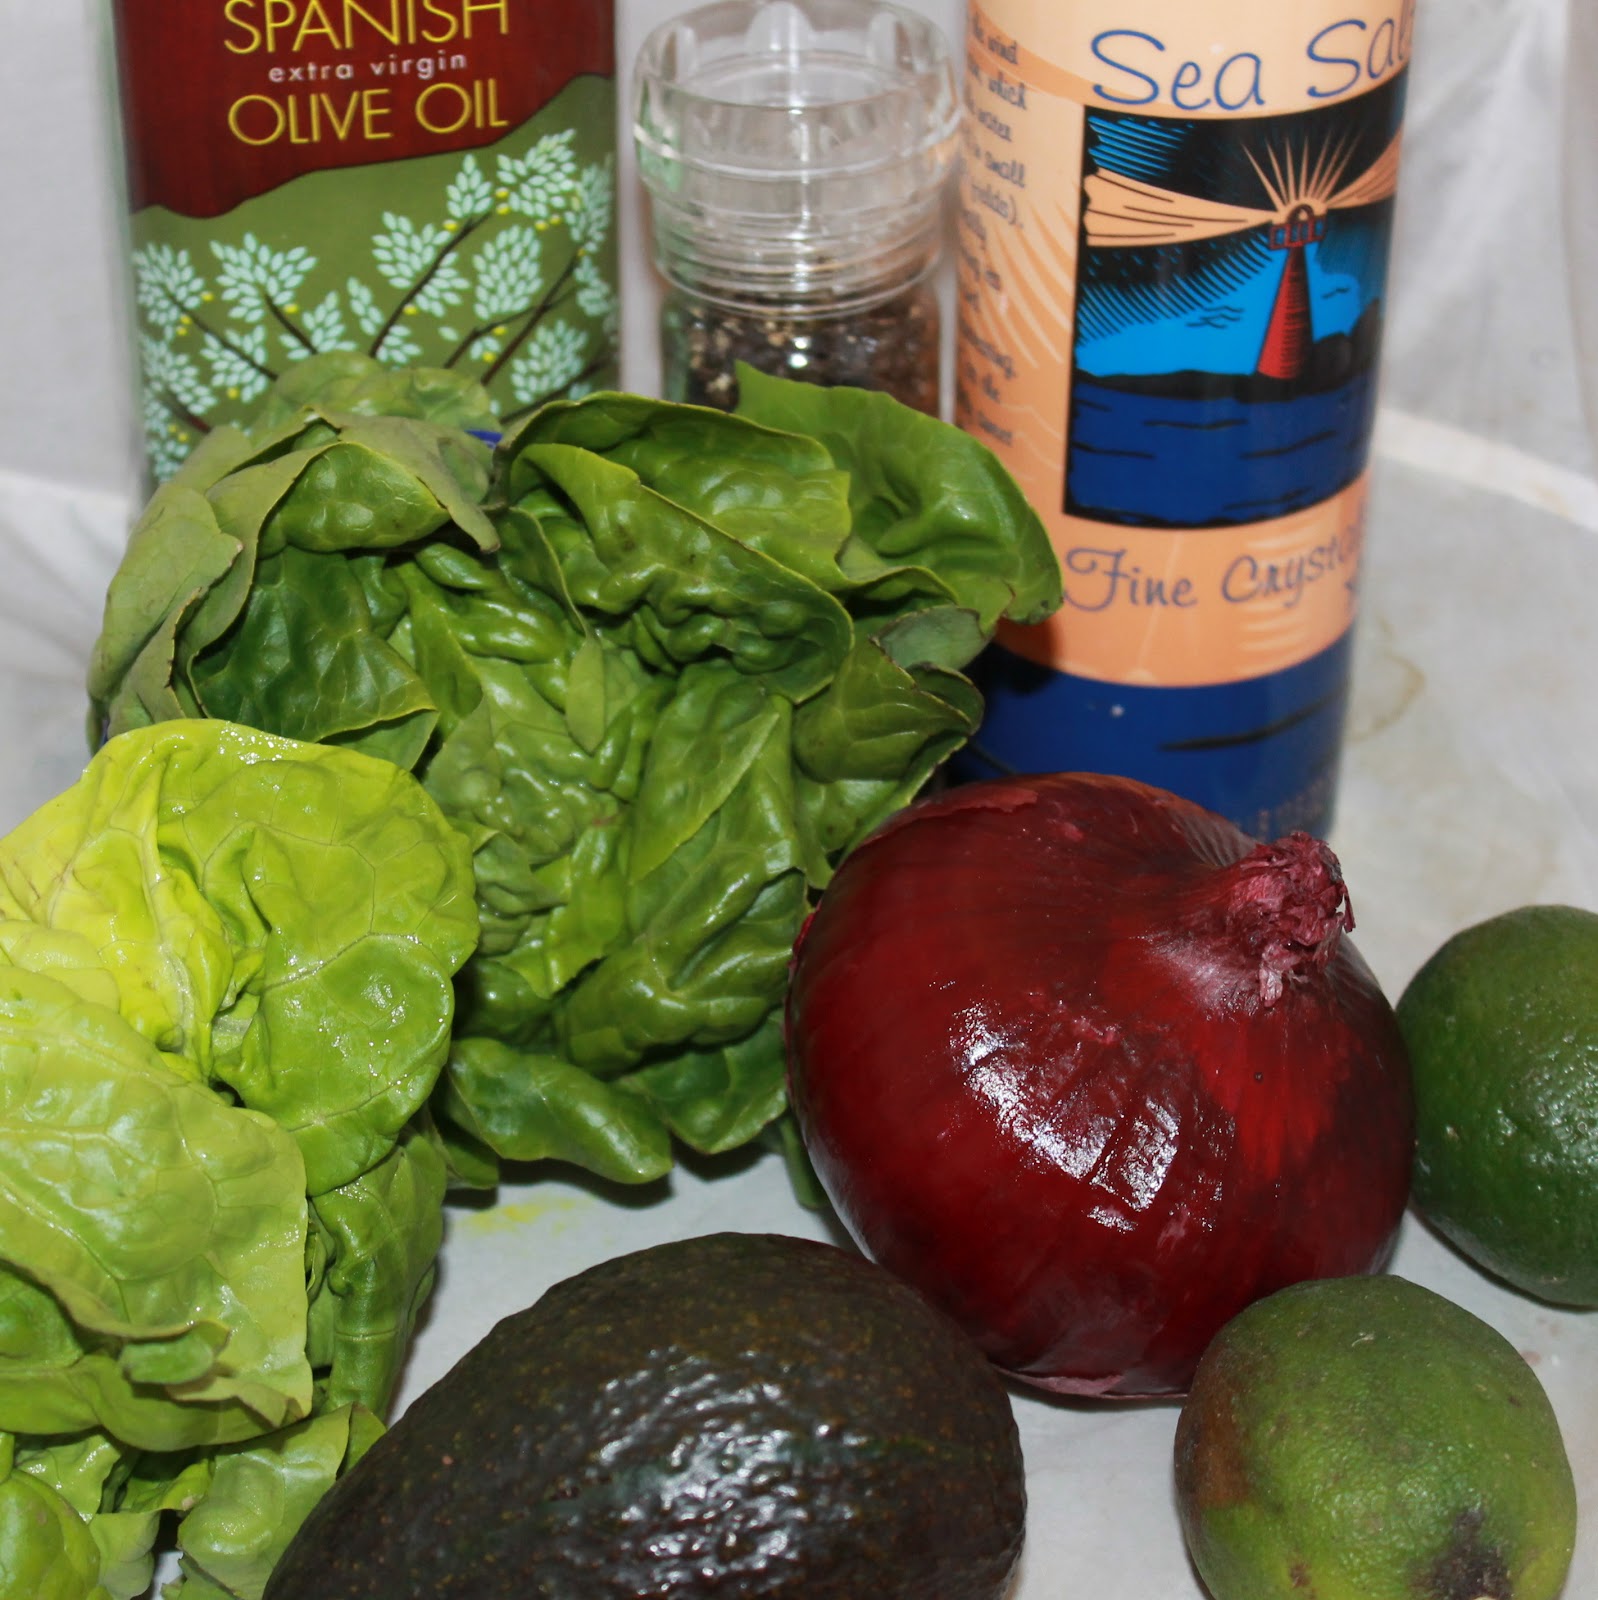
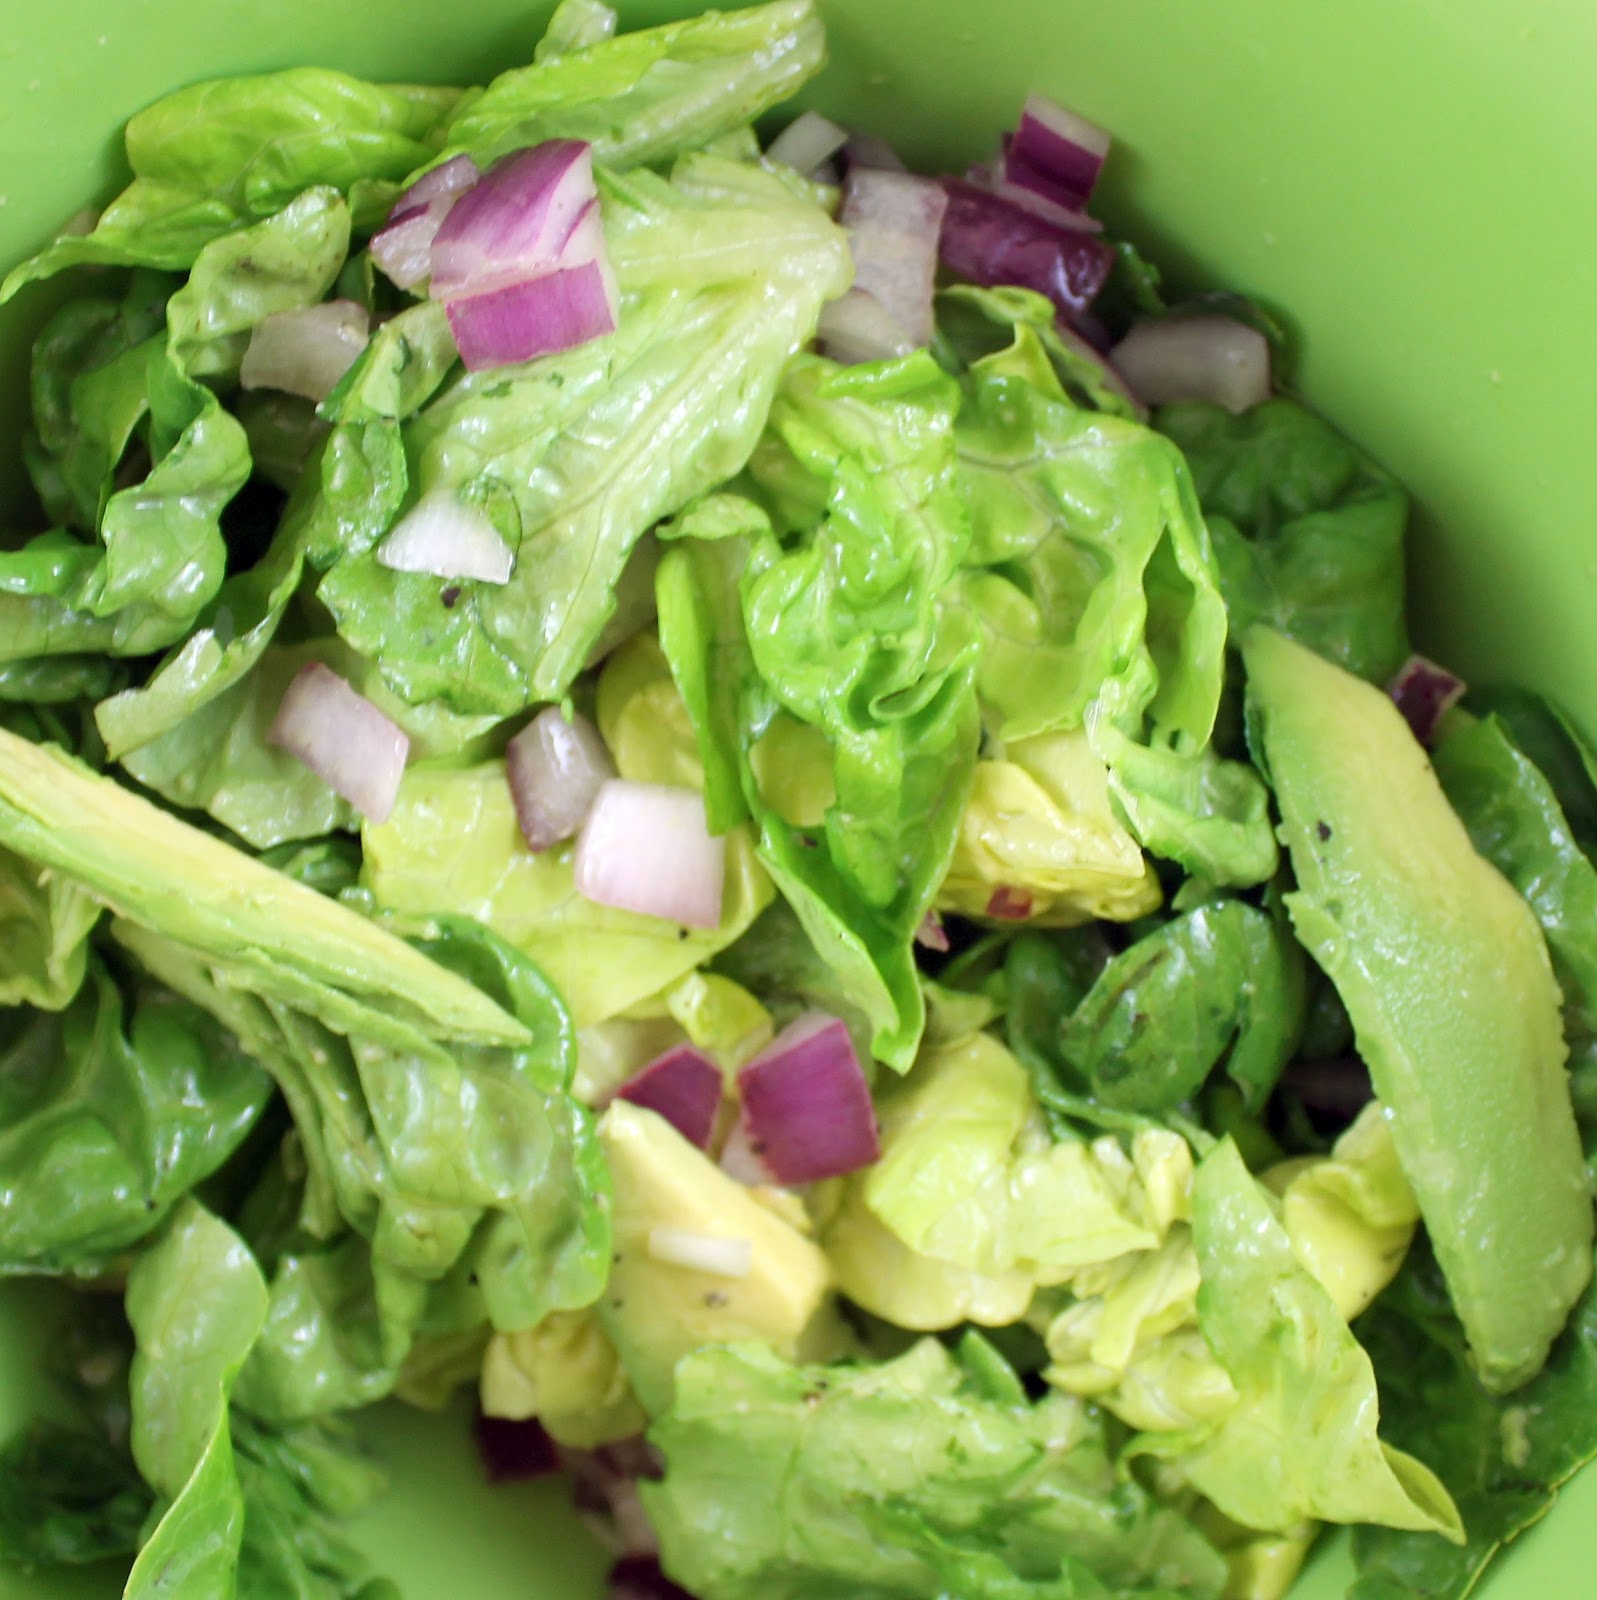
For the Salad:
1 cup chopped red onion
2 tablespoons olive oil
1 tablespoon fresh lime juice
1/4 teaspoon salt
1/4 teaspoon black pepper
3 cups torn butter lettuce
1 cup sliced avocado
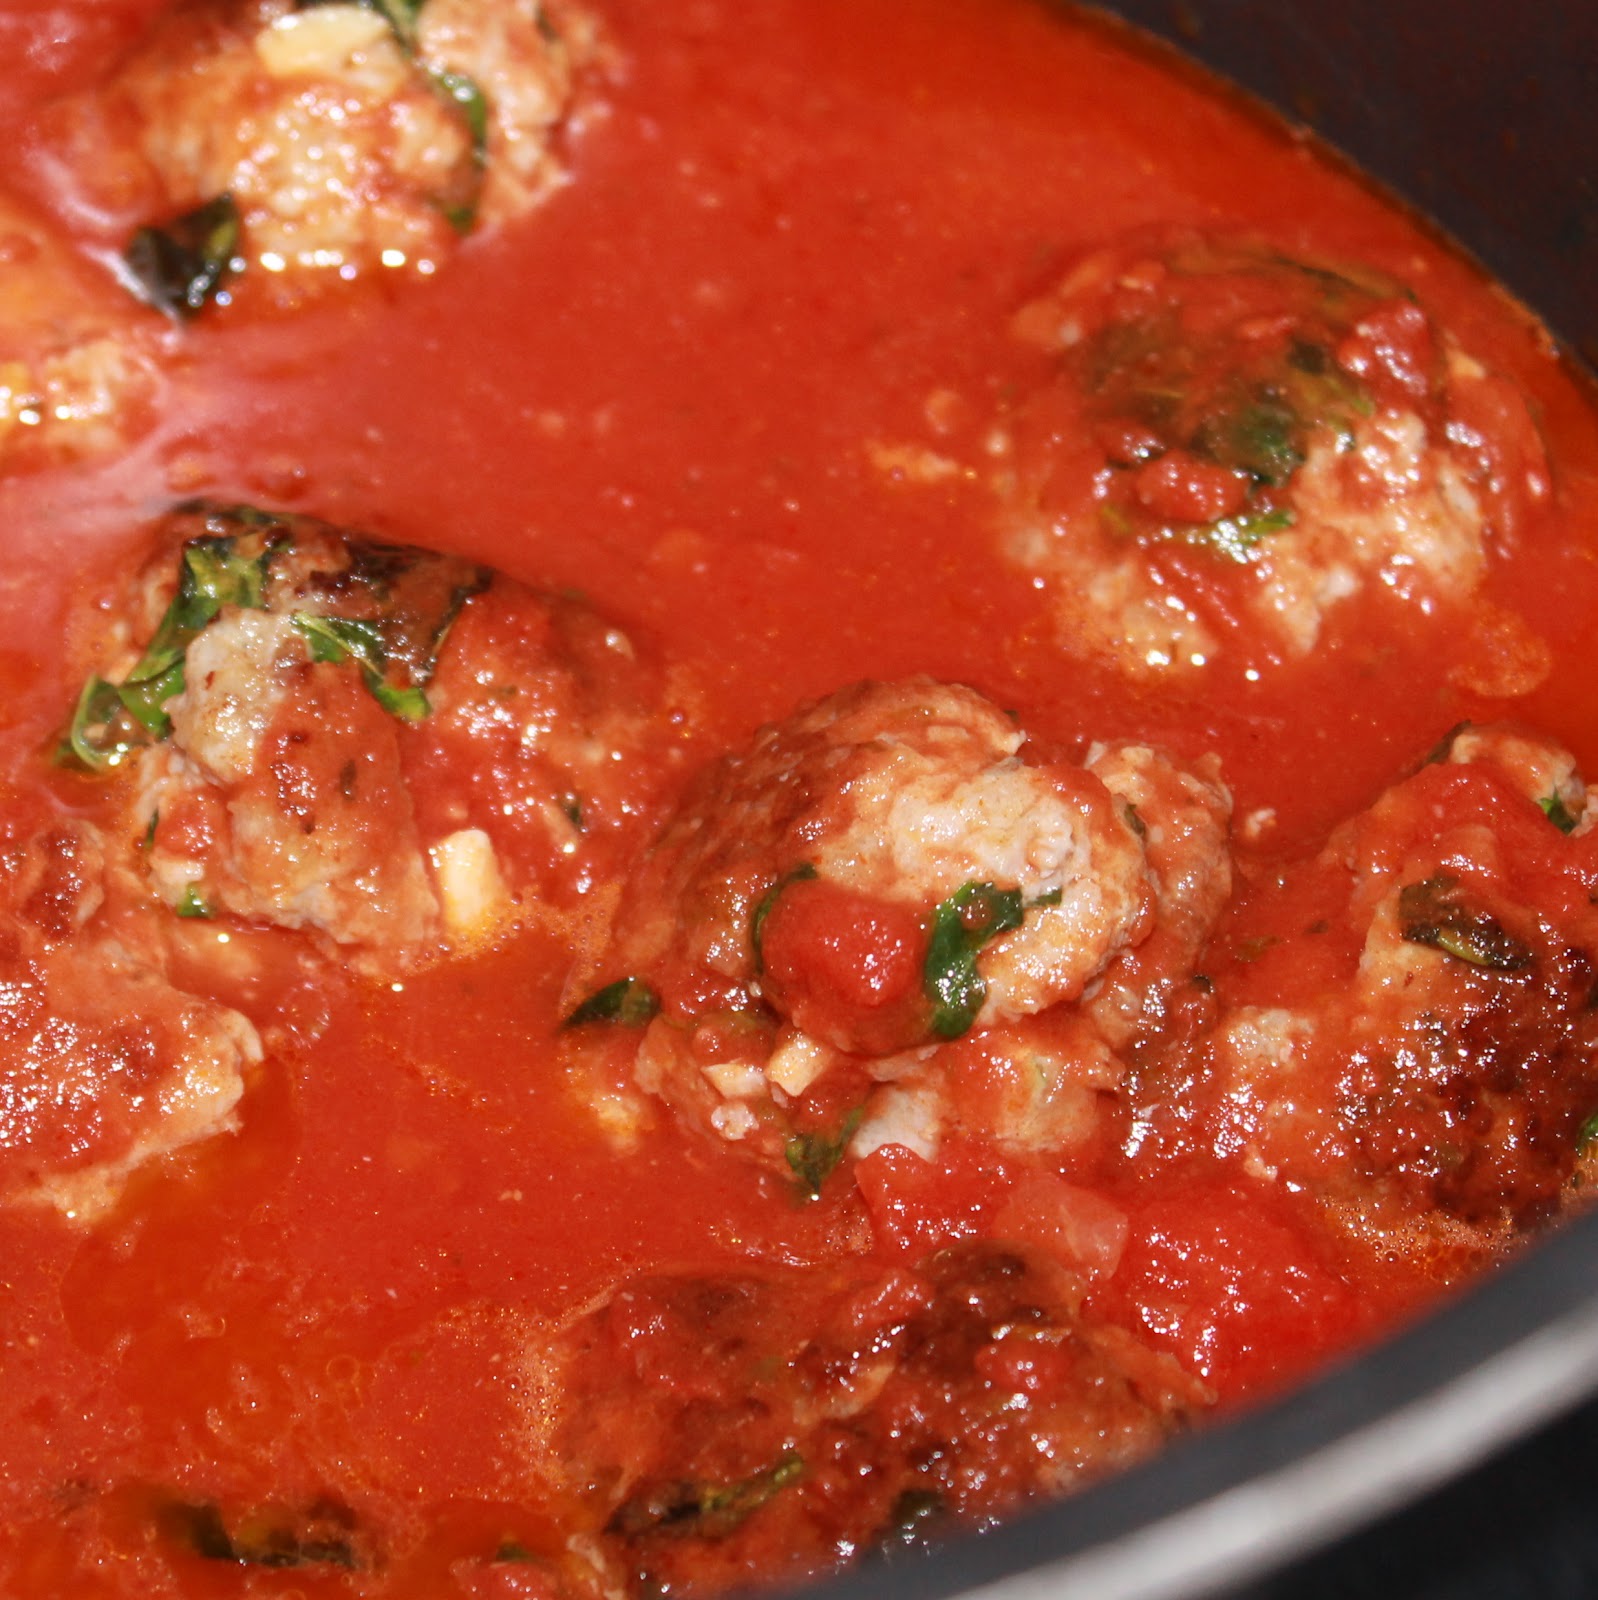
Because this is a very simple sauce, I’d suggest going for a premium high-quality marinara sauce.
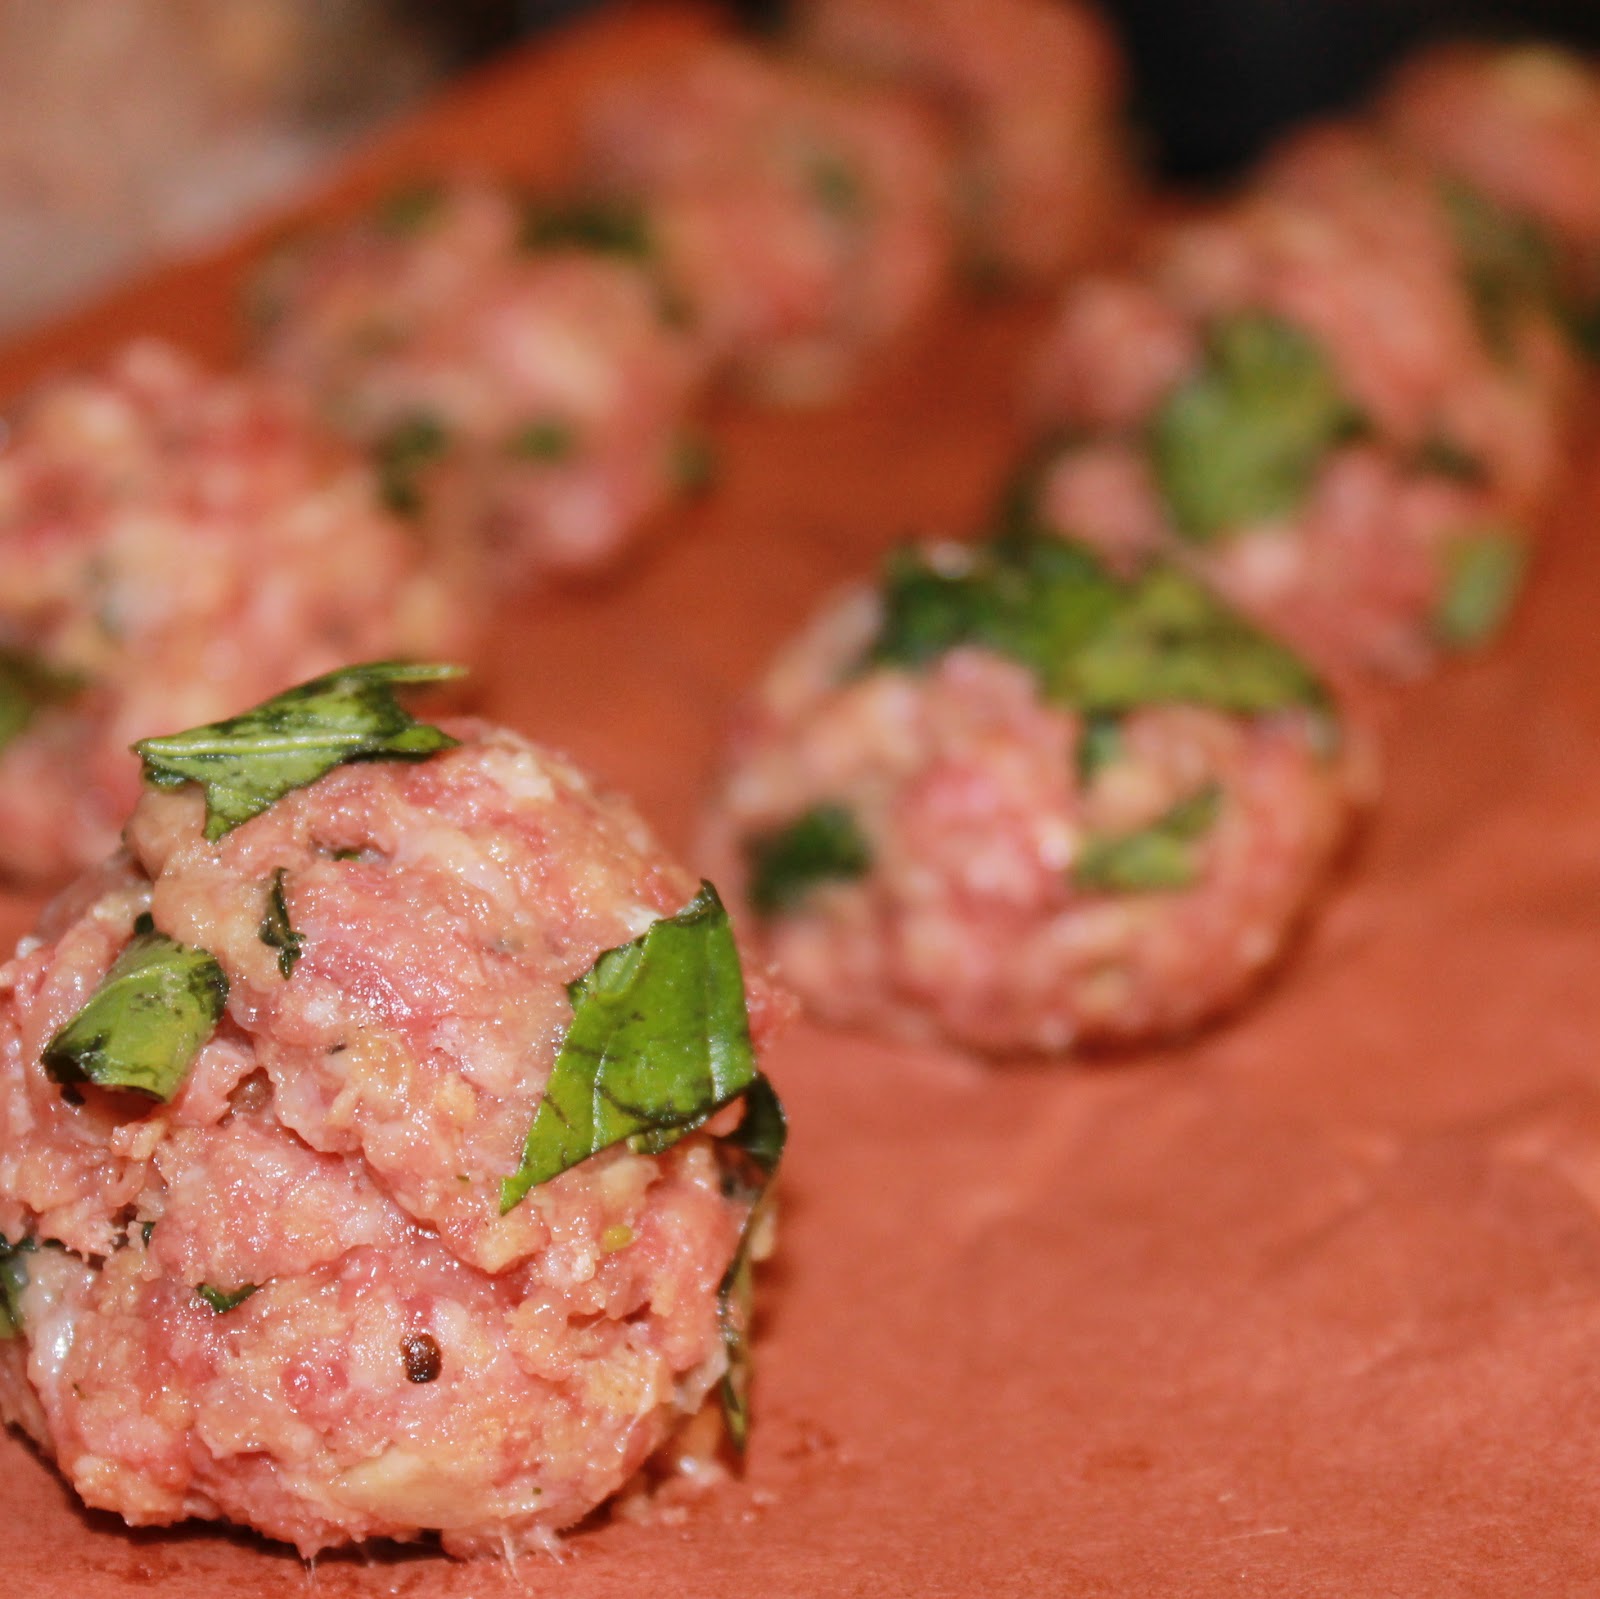
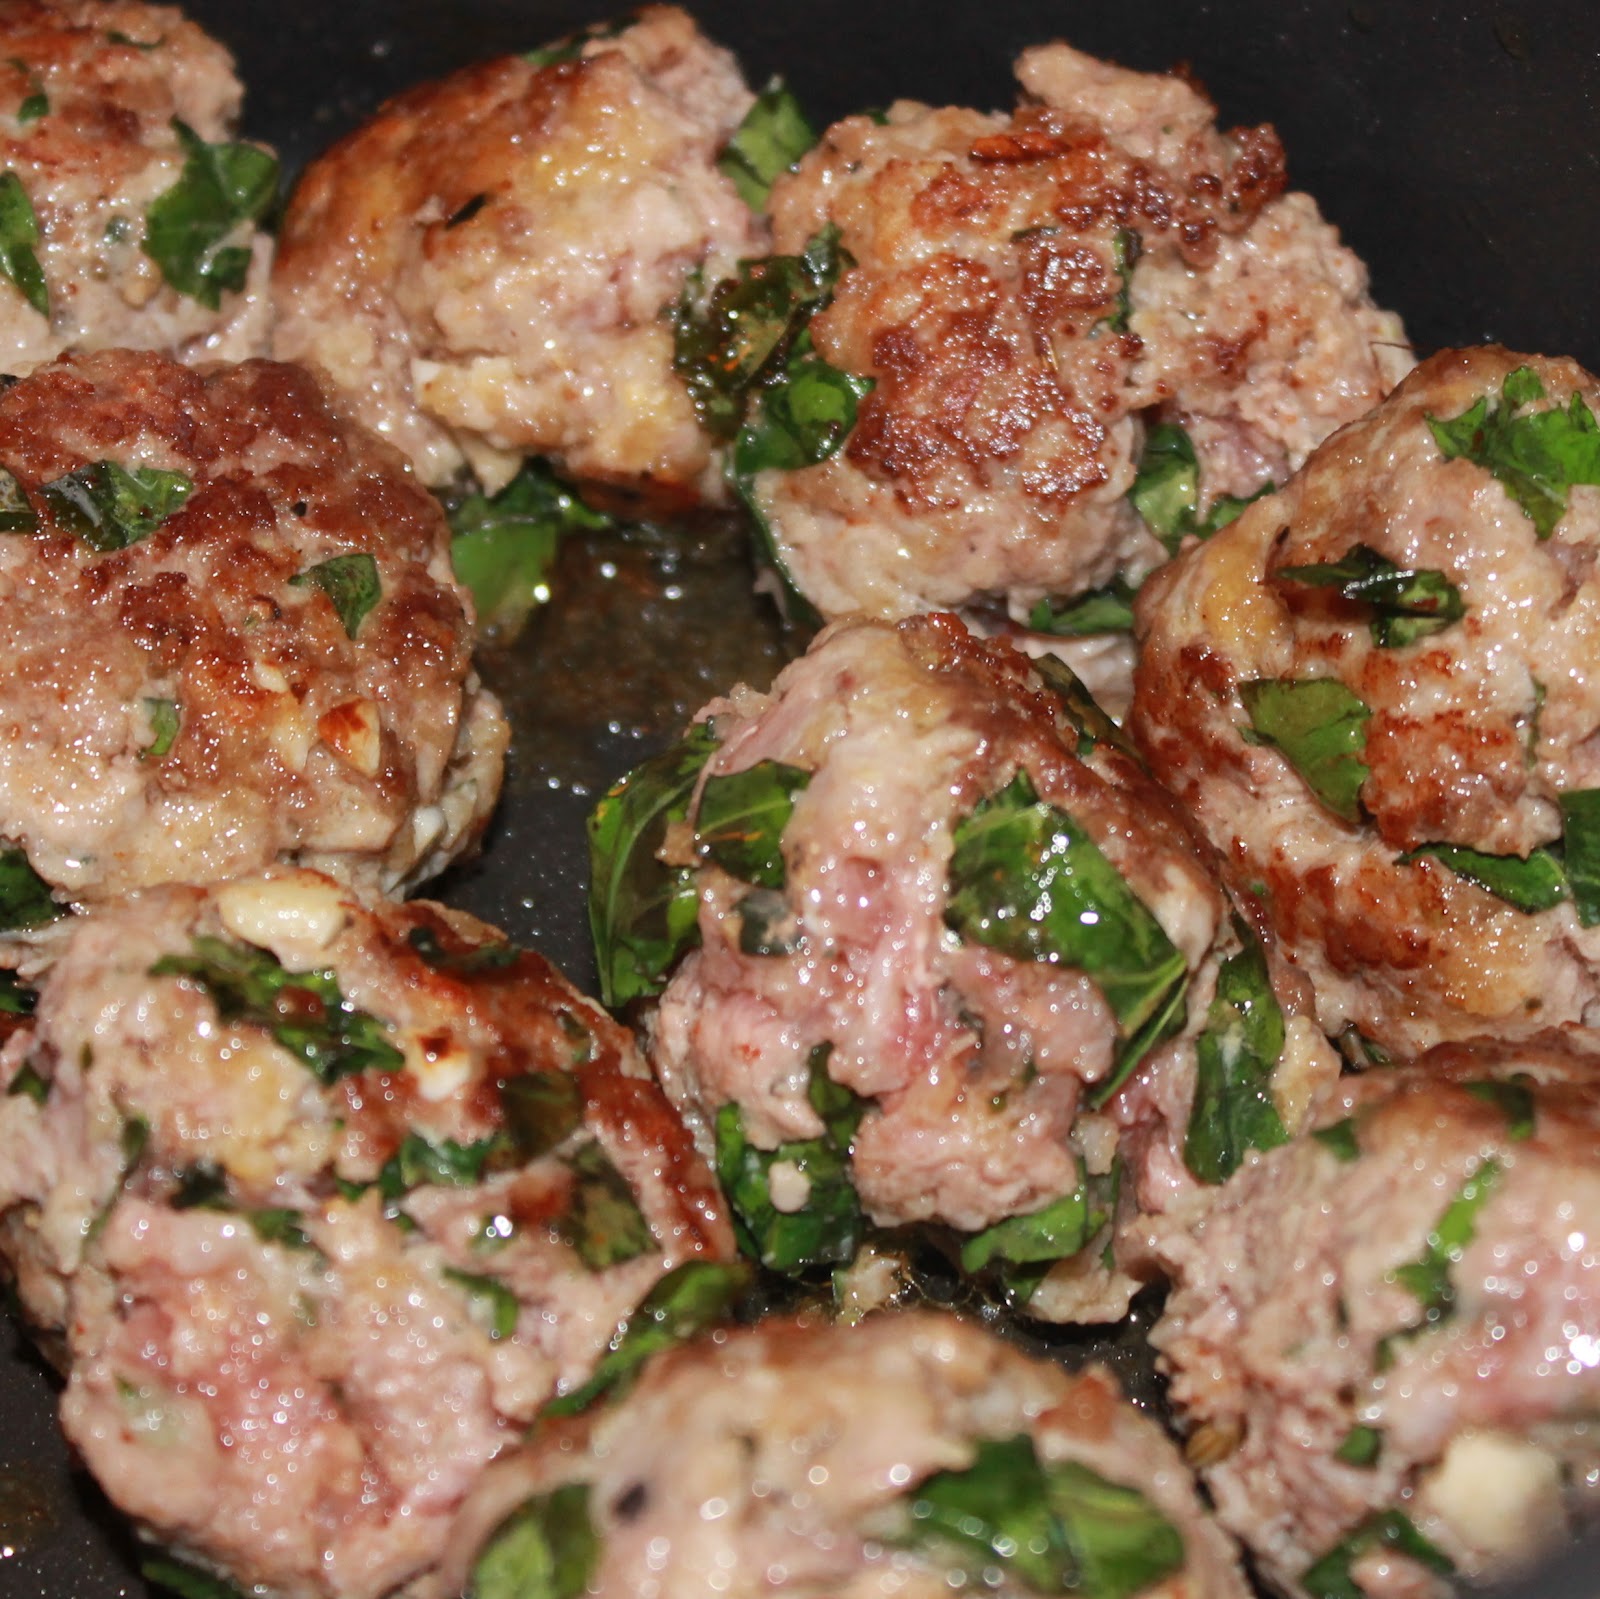
Bring a pot of water to a boil. While waiting for the water to boil, combine the beef, sausage meat, panko, basil, garlic, salt, pepper, and egg in a medium sized bowl. The original recipe did not have the sausage included, but I thought it would add some extra flavor (I used these awesome sausages from Martin‘s in Reading Terminal- Mozzarella and Basil Sausages, amazing right?)
Shape the mixture into small meatballs. The recipe says to make 16. I ended up with 10. I wasn’t very good at the whole eyeballing-the-right-size-thing.
By now the water should be boiling. Cook the pasta according to directions. Drain over a bowl to reserve 1/3 cup pasta water.
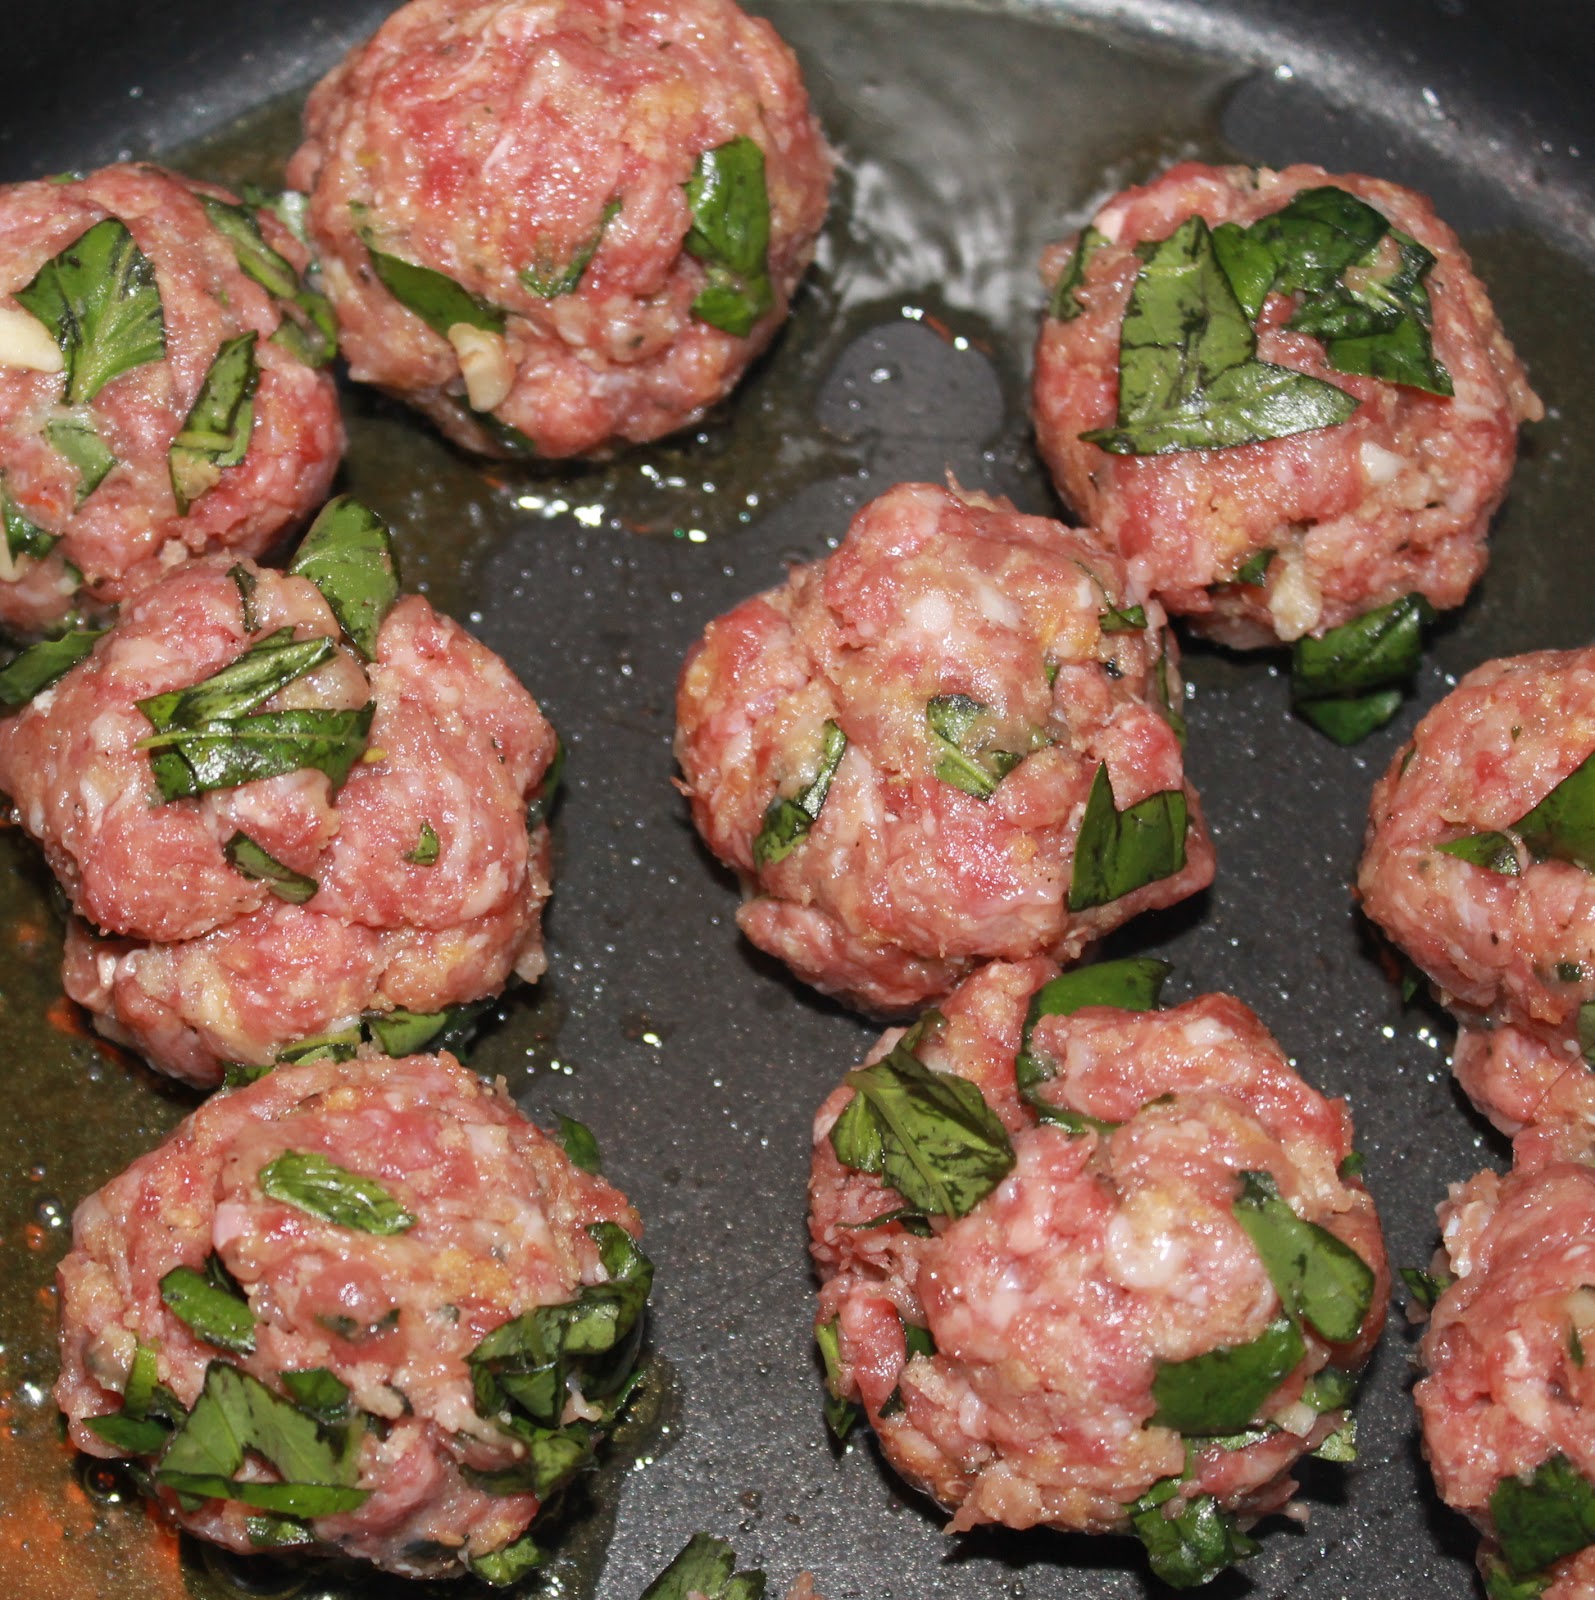
Heat the olive oil in a large pot over medium-high heat. Add the meatballs and cook until browned on all sides, about 5 minutes. (stir to flip the meatballs so they brown evenly)
Reduce the heat to medium low and add the sauce and 1/3 cup pasta water.
Cover and cook for 11 minutes or until the meatballs are cooked through.
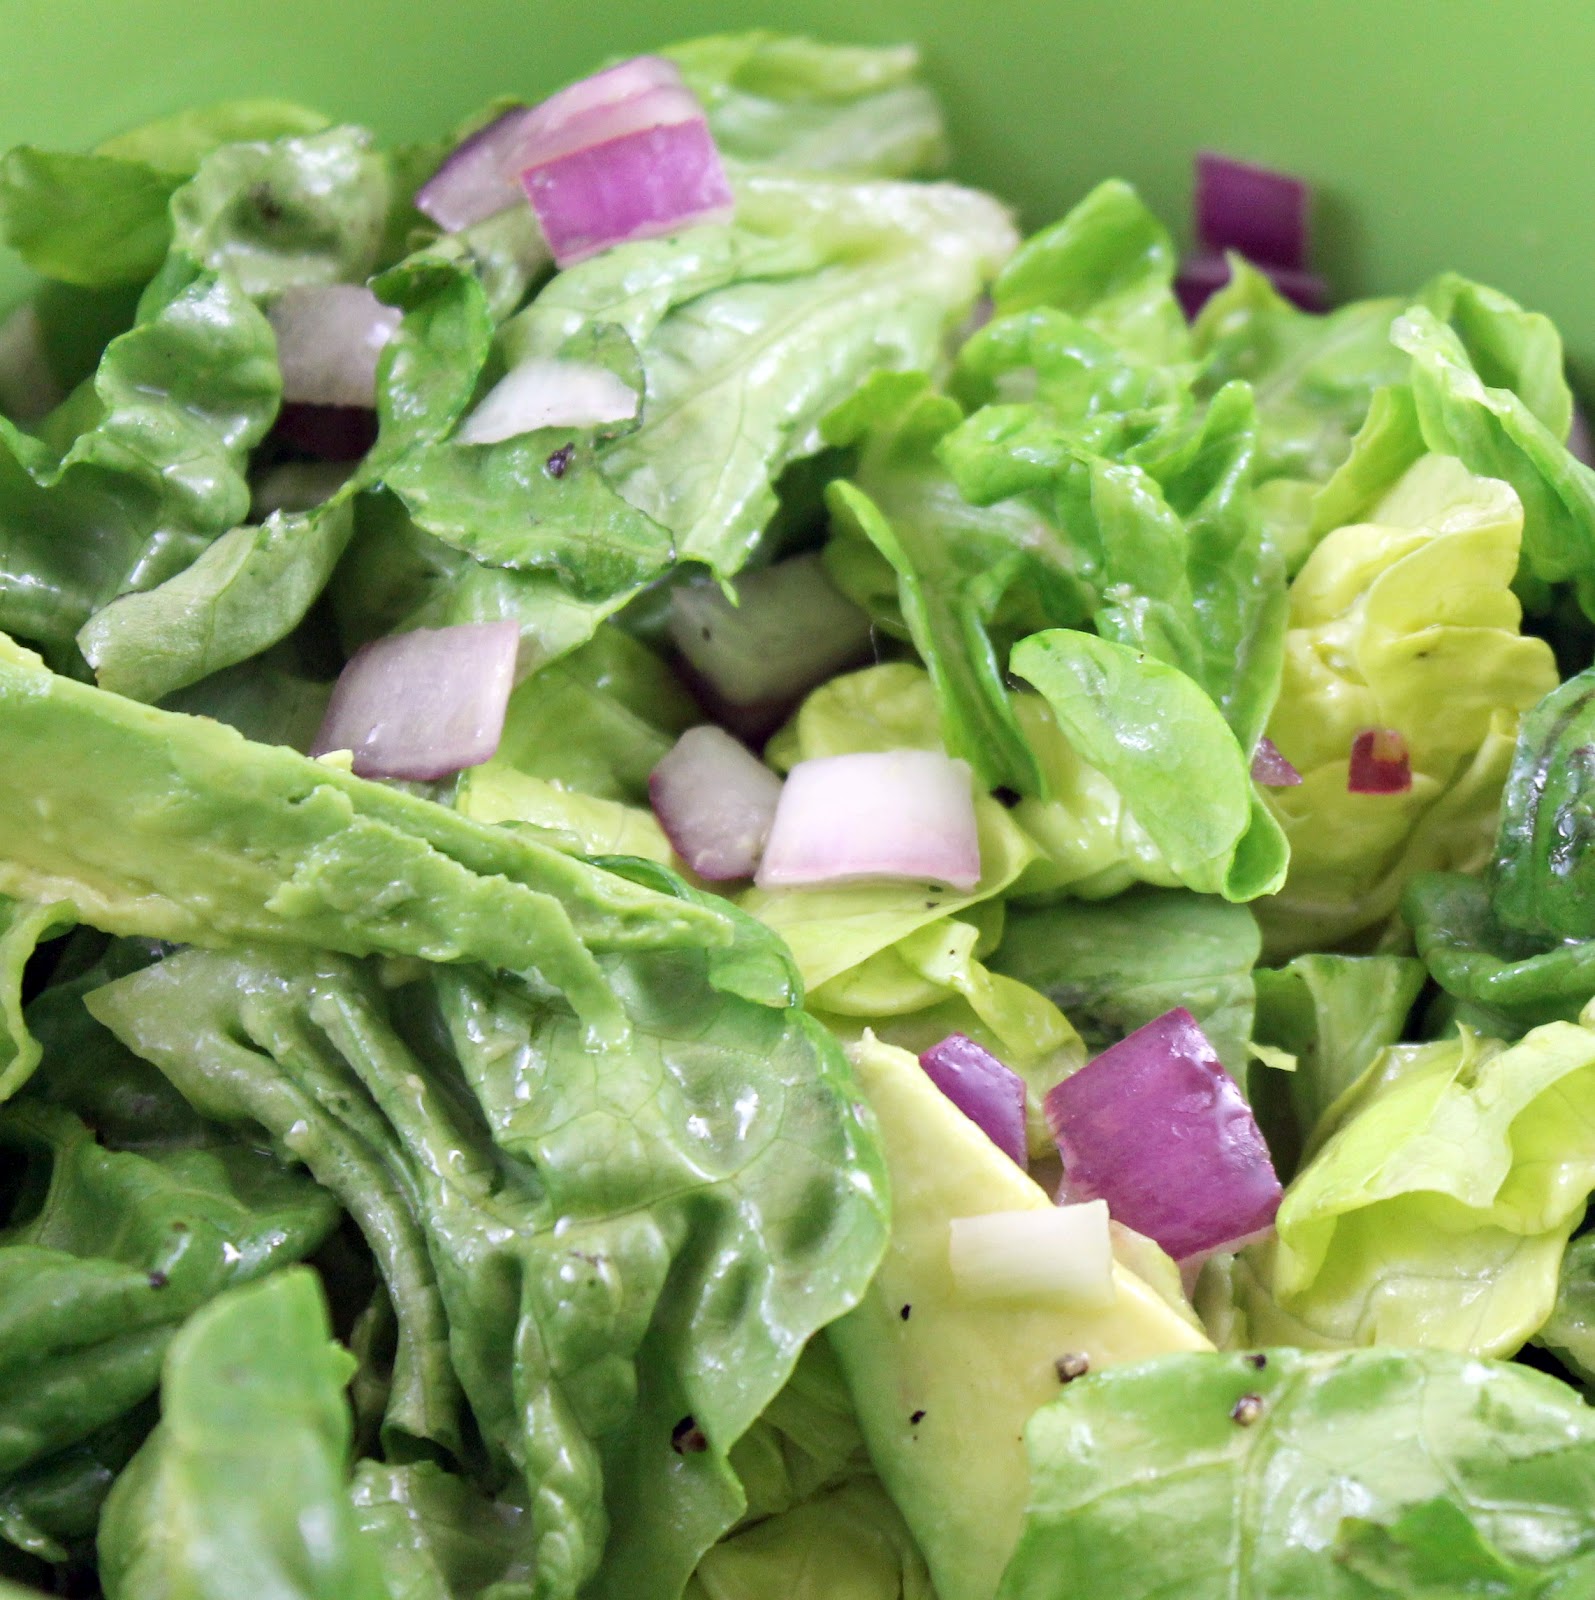
While waiting for the sauce to cook, combine the red onion, olive oil, lime juice, salt and pepper in a bowl. Let stand for 10 minutes.
Add lettuce and avocado; toss gently.
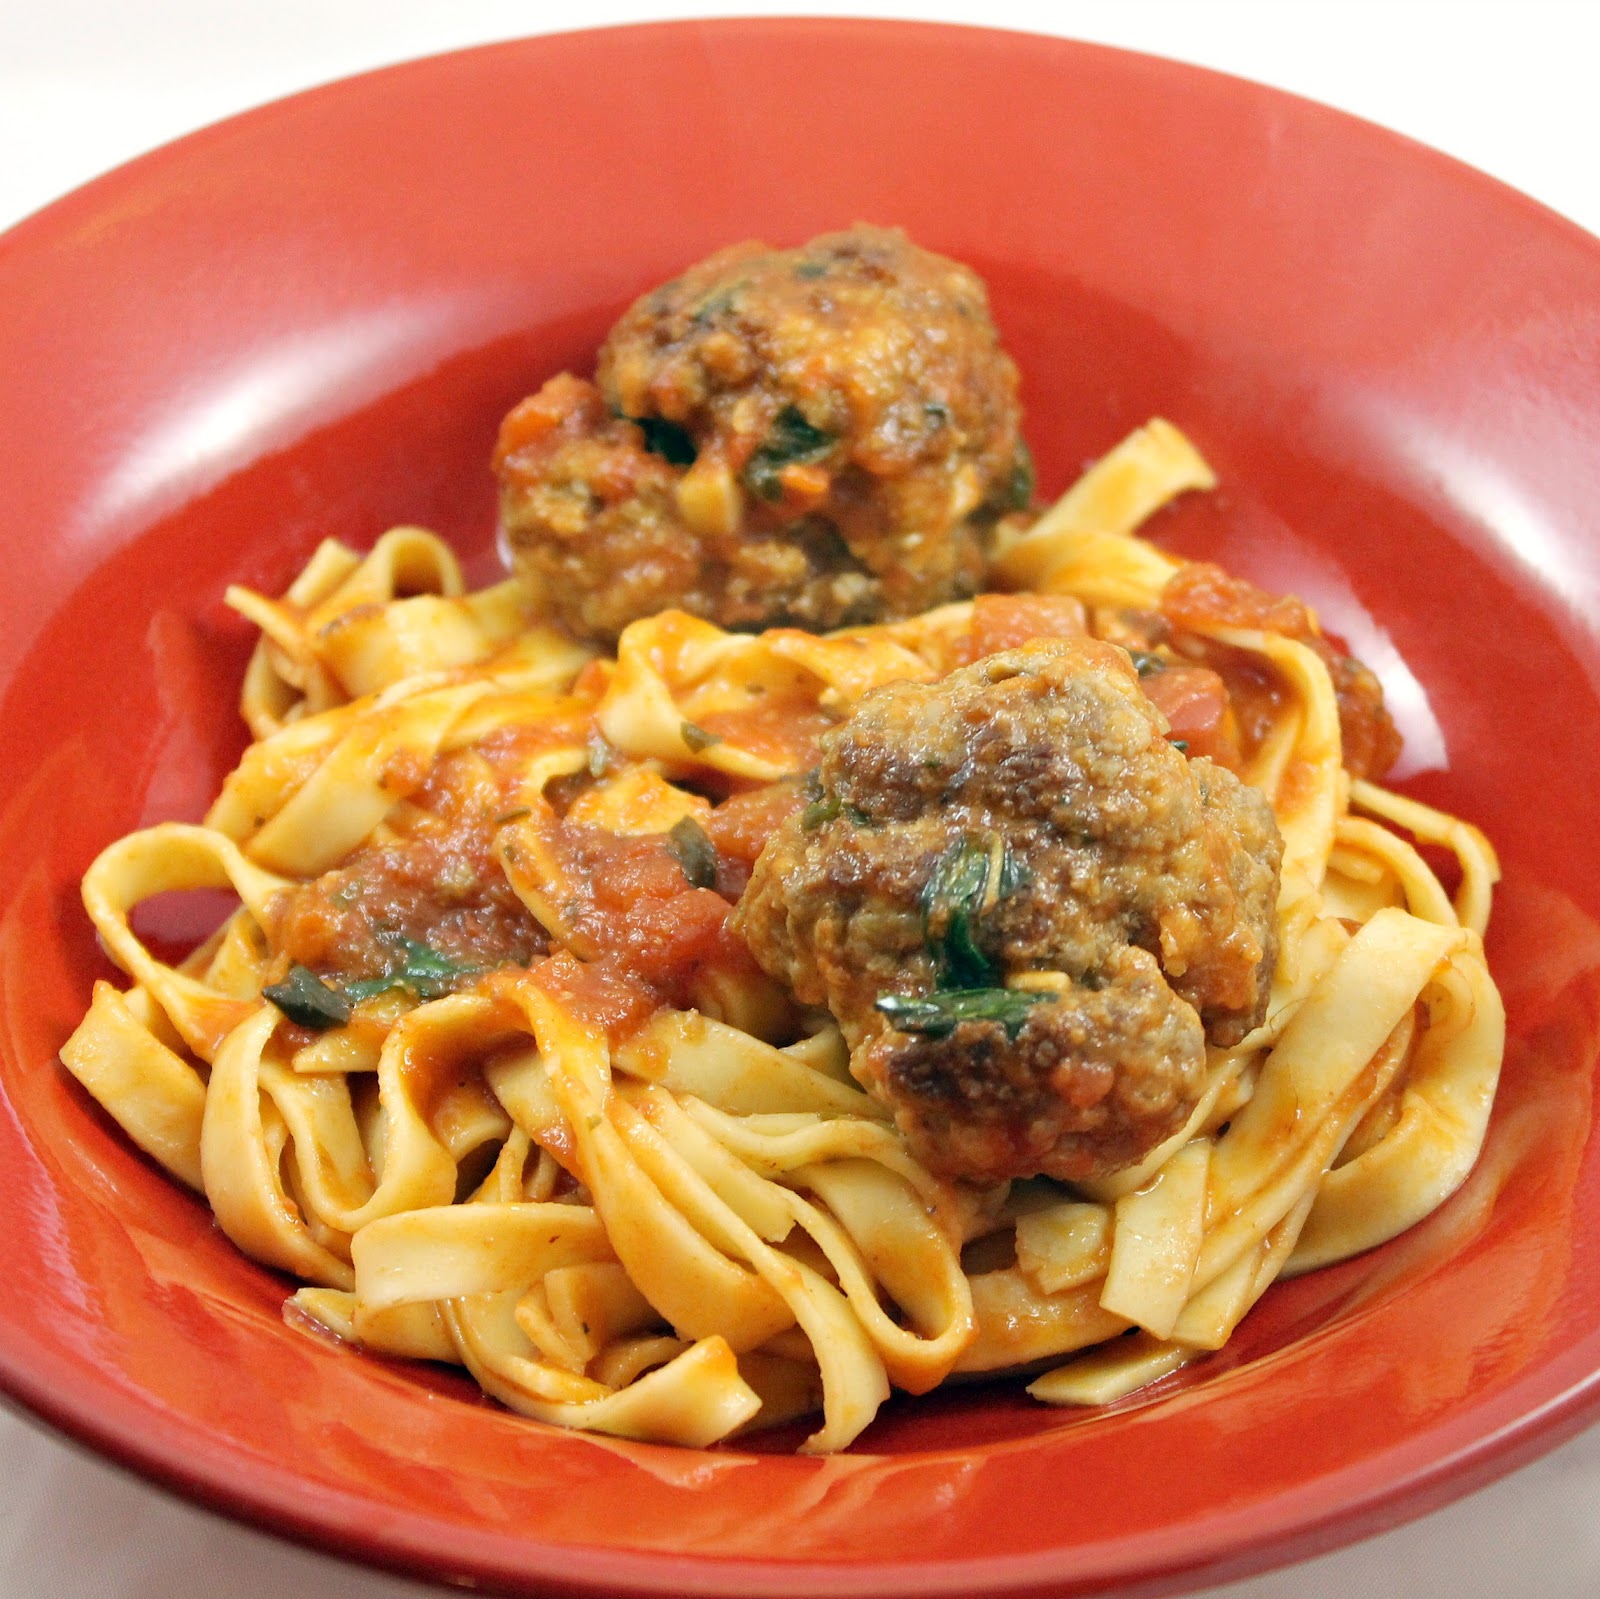
When the sauce is finished cooking, mix in the pasta and cook until heated through, about 2 minutes.
Serve the pasta topped with some Parmesan cheese and the salad on the side.
I love how simple this recipe is but still packs a bunch of flavor! My normal tomato sauce takes forever to make, so I’m pretty excited to have a quick sauce when I need it.
Oh. And the meatballs? Fan-tastic. I could eat these all day.
The salad was really delicious as well! There was a bit too many onions for my liking, so I might limit the amount next time I make this.
I seem to forget how yummy simple recipes can be, something I need to remember as vegetables and fruits come back in season.
I received two packages of Kitchen Table Bakers‘ Parmesan Crisps in the mail recently, and my mind immediately went to making fun little hors d’oeuvres with them. The crisps, made entirely from Parmesan cheese, are like a thin chip packed with a bunch of delicious cheesy flavor. So why not add a little more cheese on top?
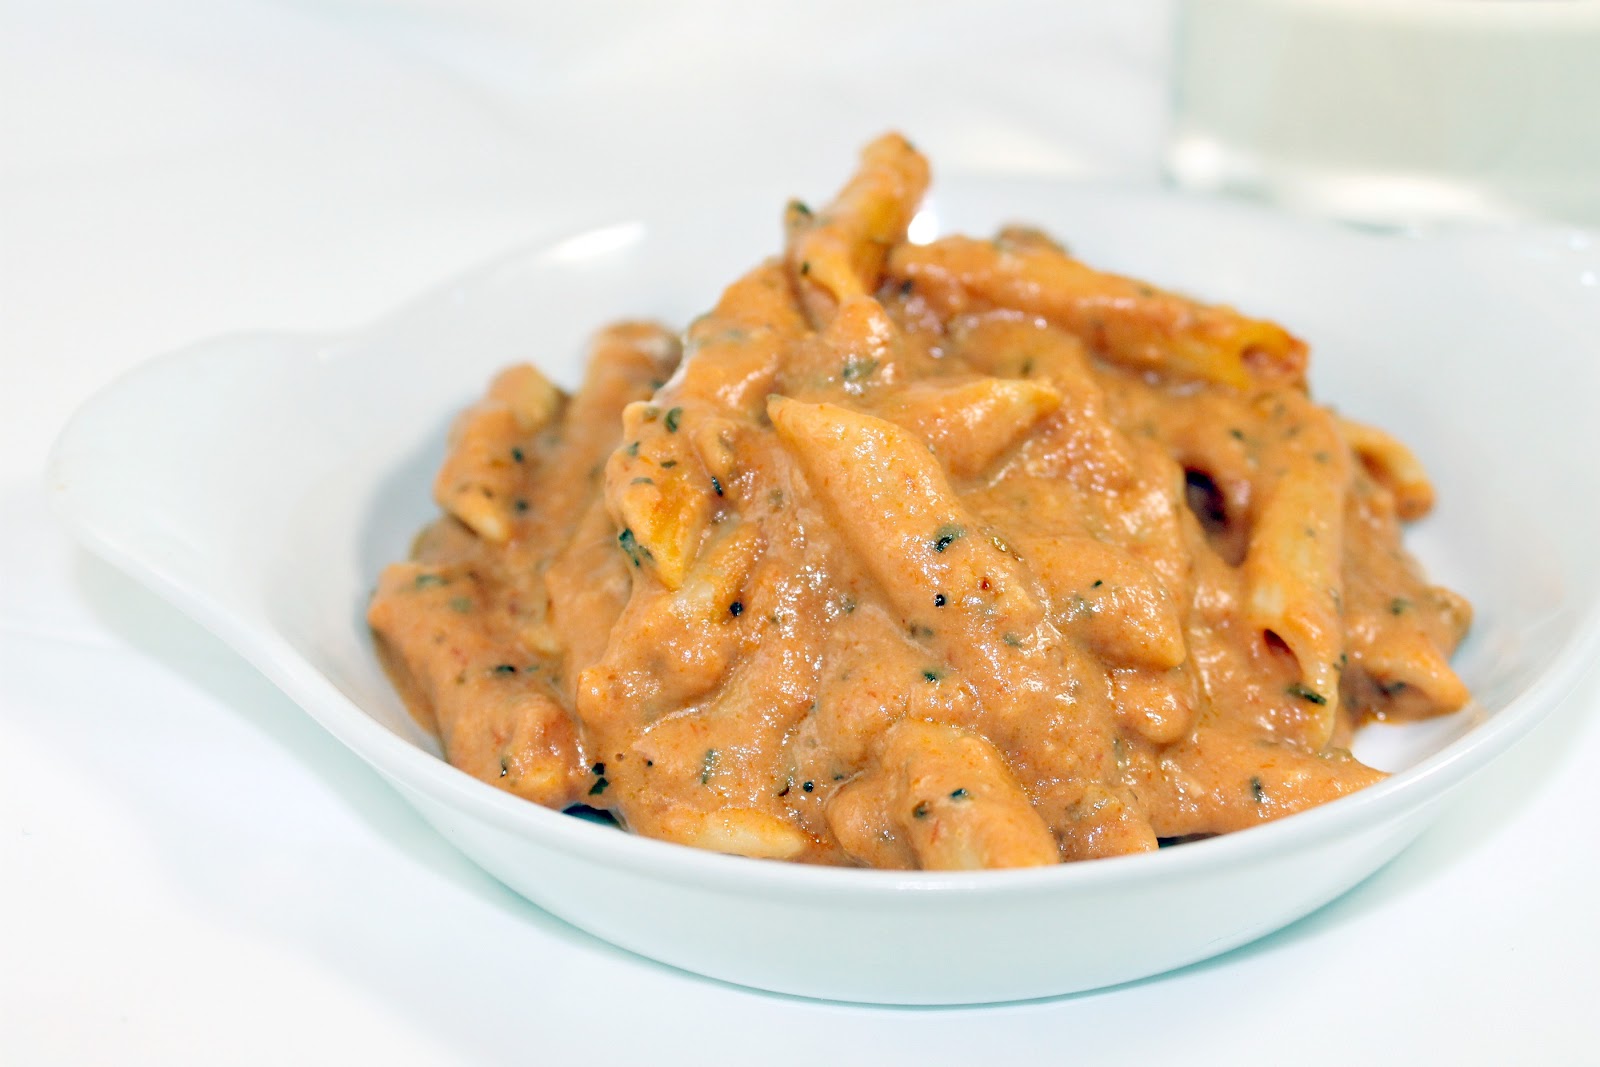
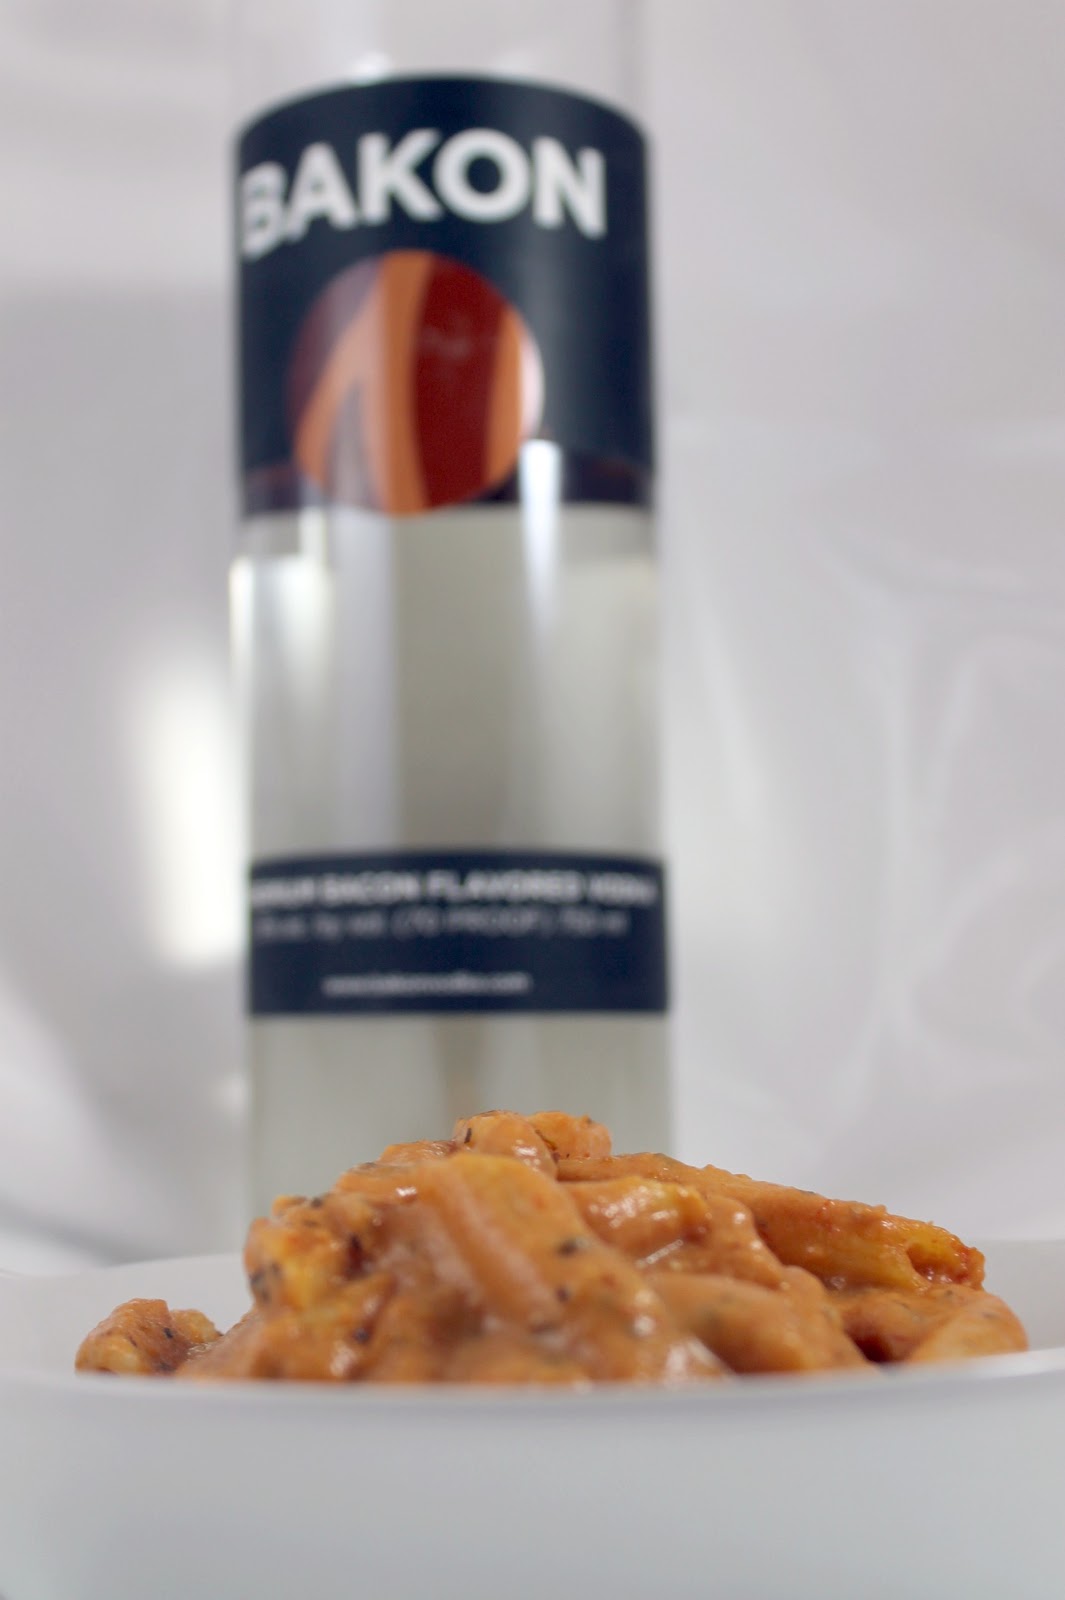
Yes, you read that title correctly. Penne with Bacon Vodka Sauce. I have wanted to make some recipes using Bakon Vodka ever since I heard of its existence. My mind immediately went to Bloody Mary’s (which I will have a post on soon), but a coworker suggested I use it for Penne Vodka. Brilliant, no?
Ingredients:
1 can (28 oz) tomato sauce
1 shallot, chopped
2 garlic cloves, minced
1 tablespoon olive oil
1 teaspoon dried oregano
1 teaspoon dried parsley
1/2 teaspoon basil
2/3 cup Bakon vodka
1/2 cup heavy cream
1/2 cup grated Parmesan cheese
1/2 box penne pasta
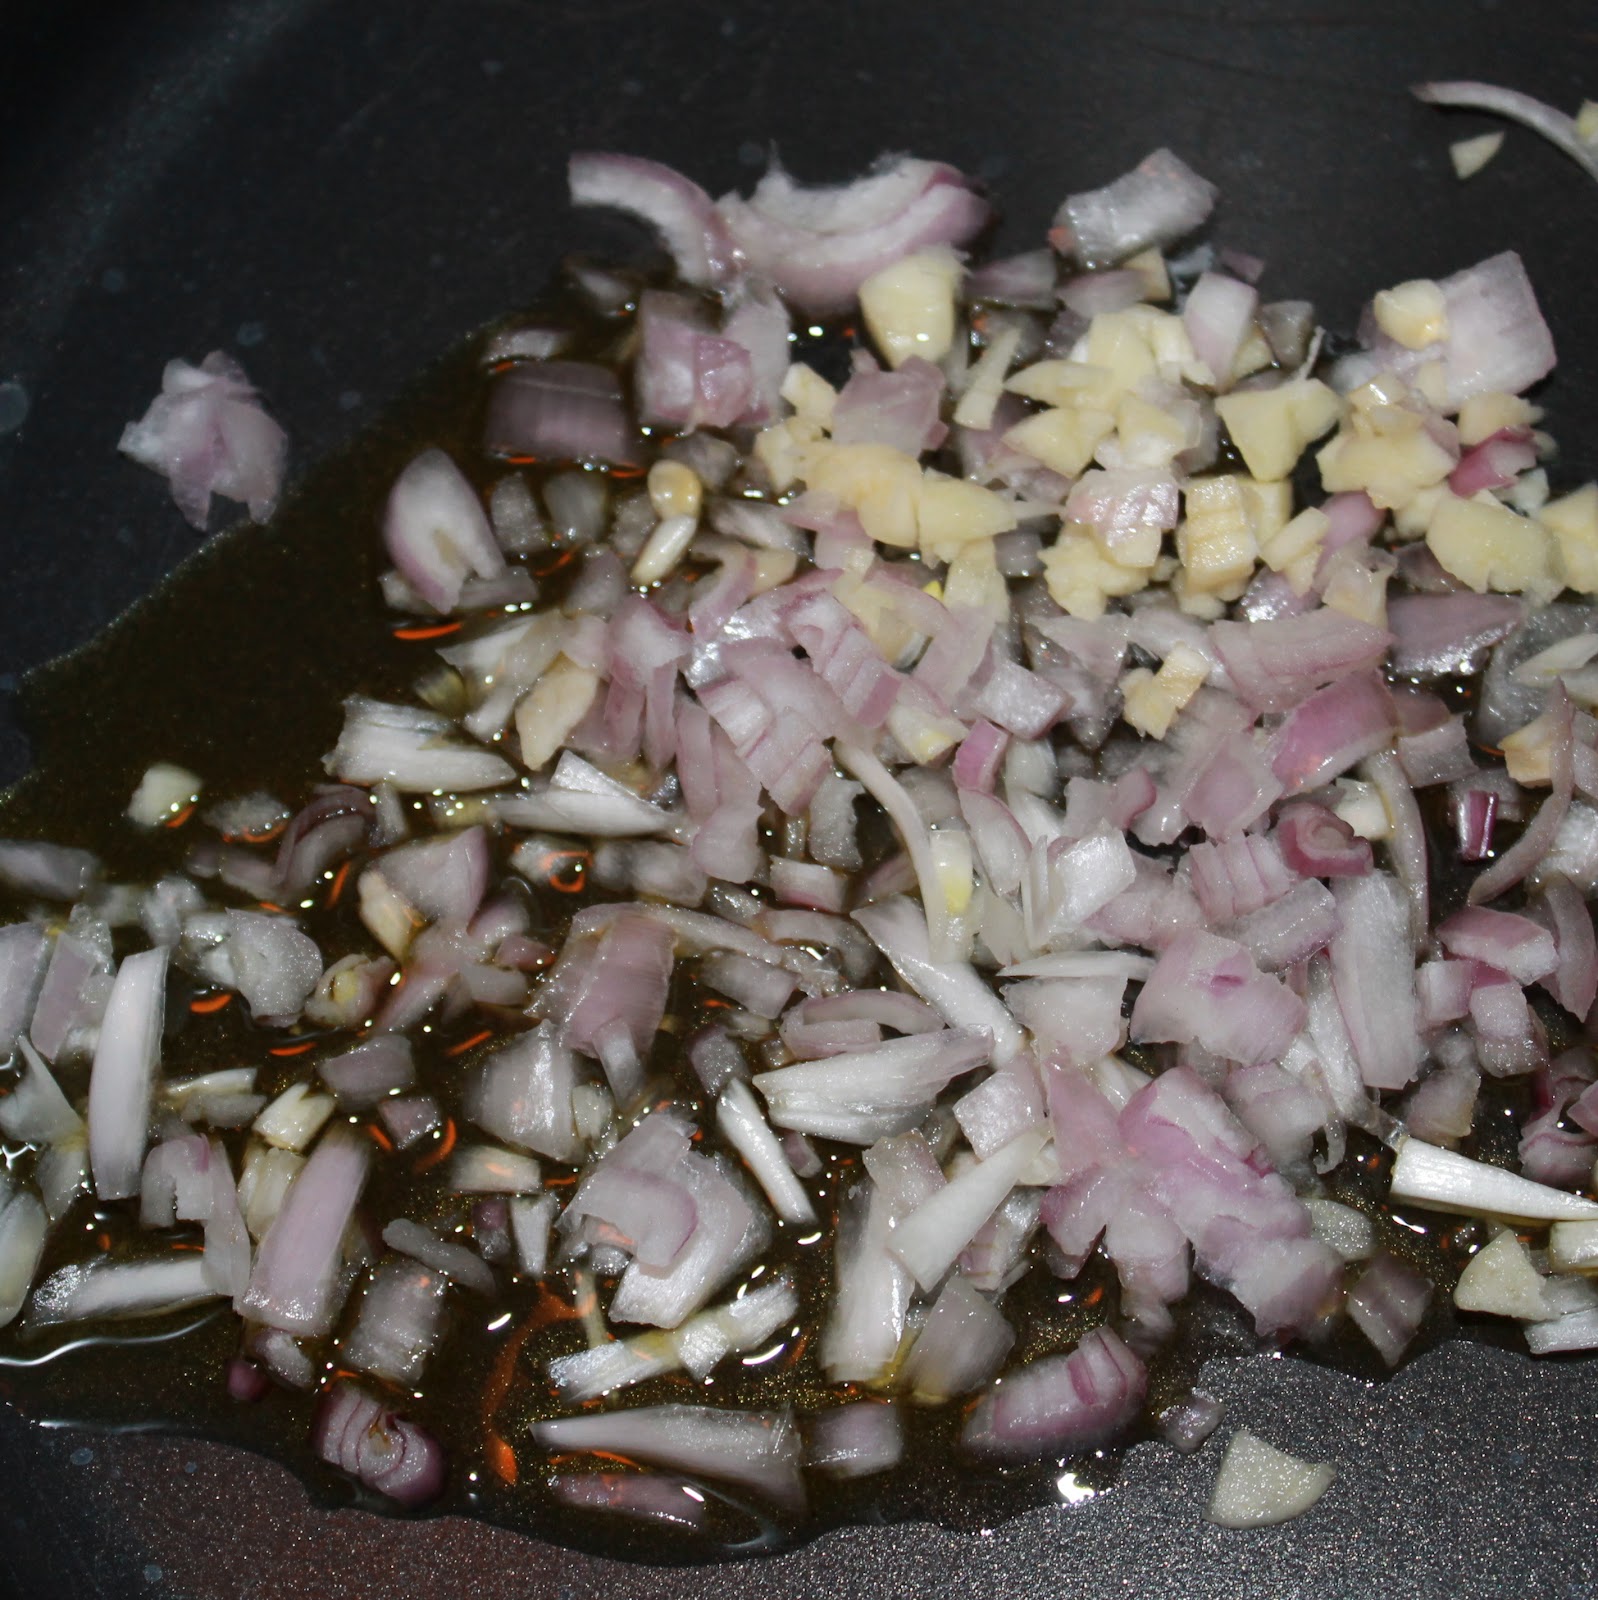
Chop the shallot and garlic cloves. Heat the olive oil over medium heat. Add the shallot and cloves and cook for 3 minutes.
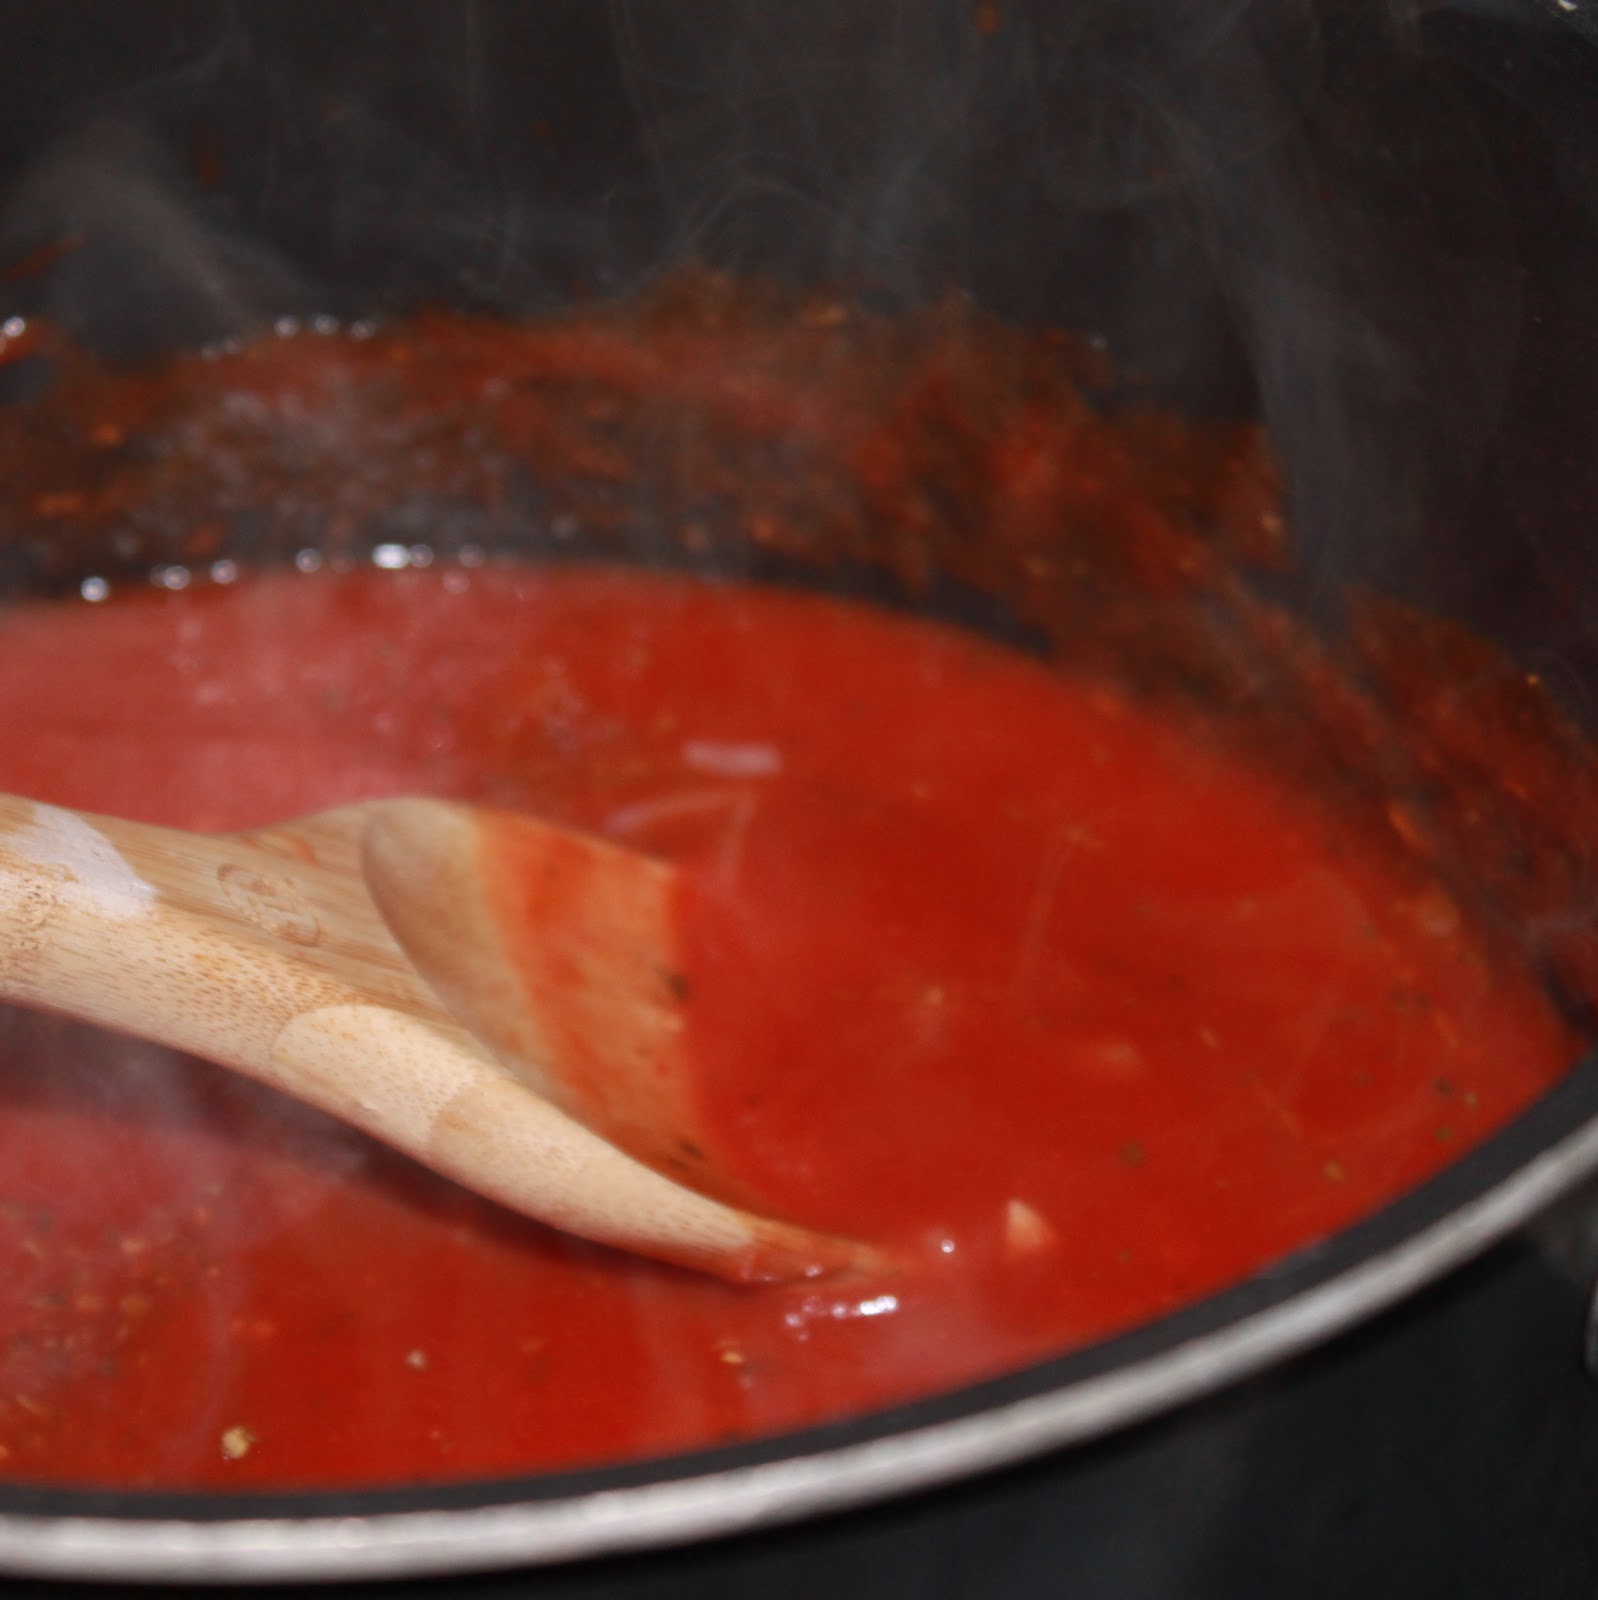
Add the tomato sauce, oregano, parsley, and basil. Add the Bakon vodka and stir to combine. Simmer for 15 minutes, stirring occasionally; it will thicken and reduce a bit.
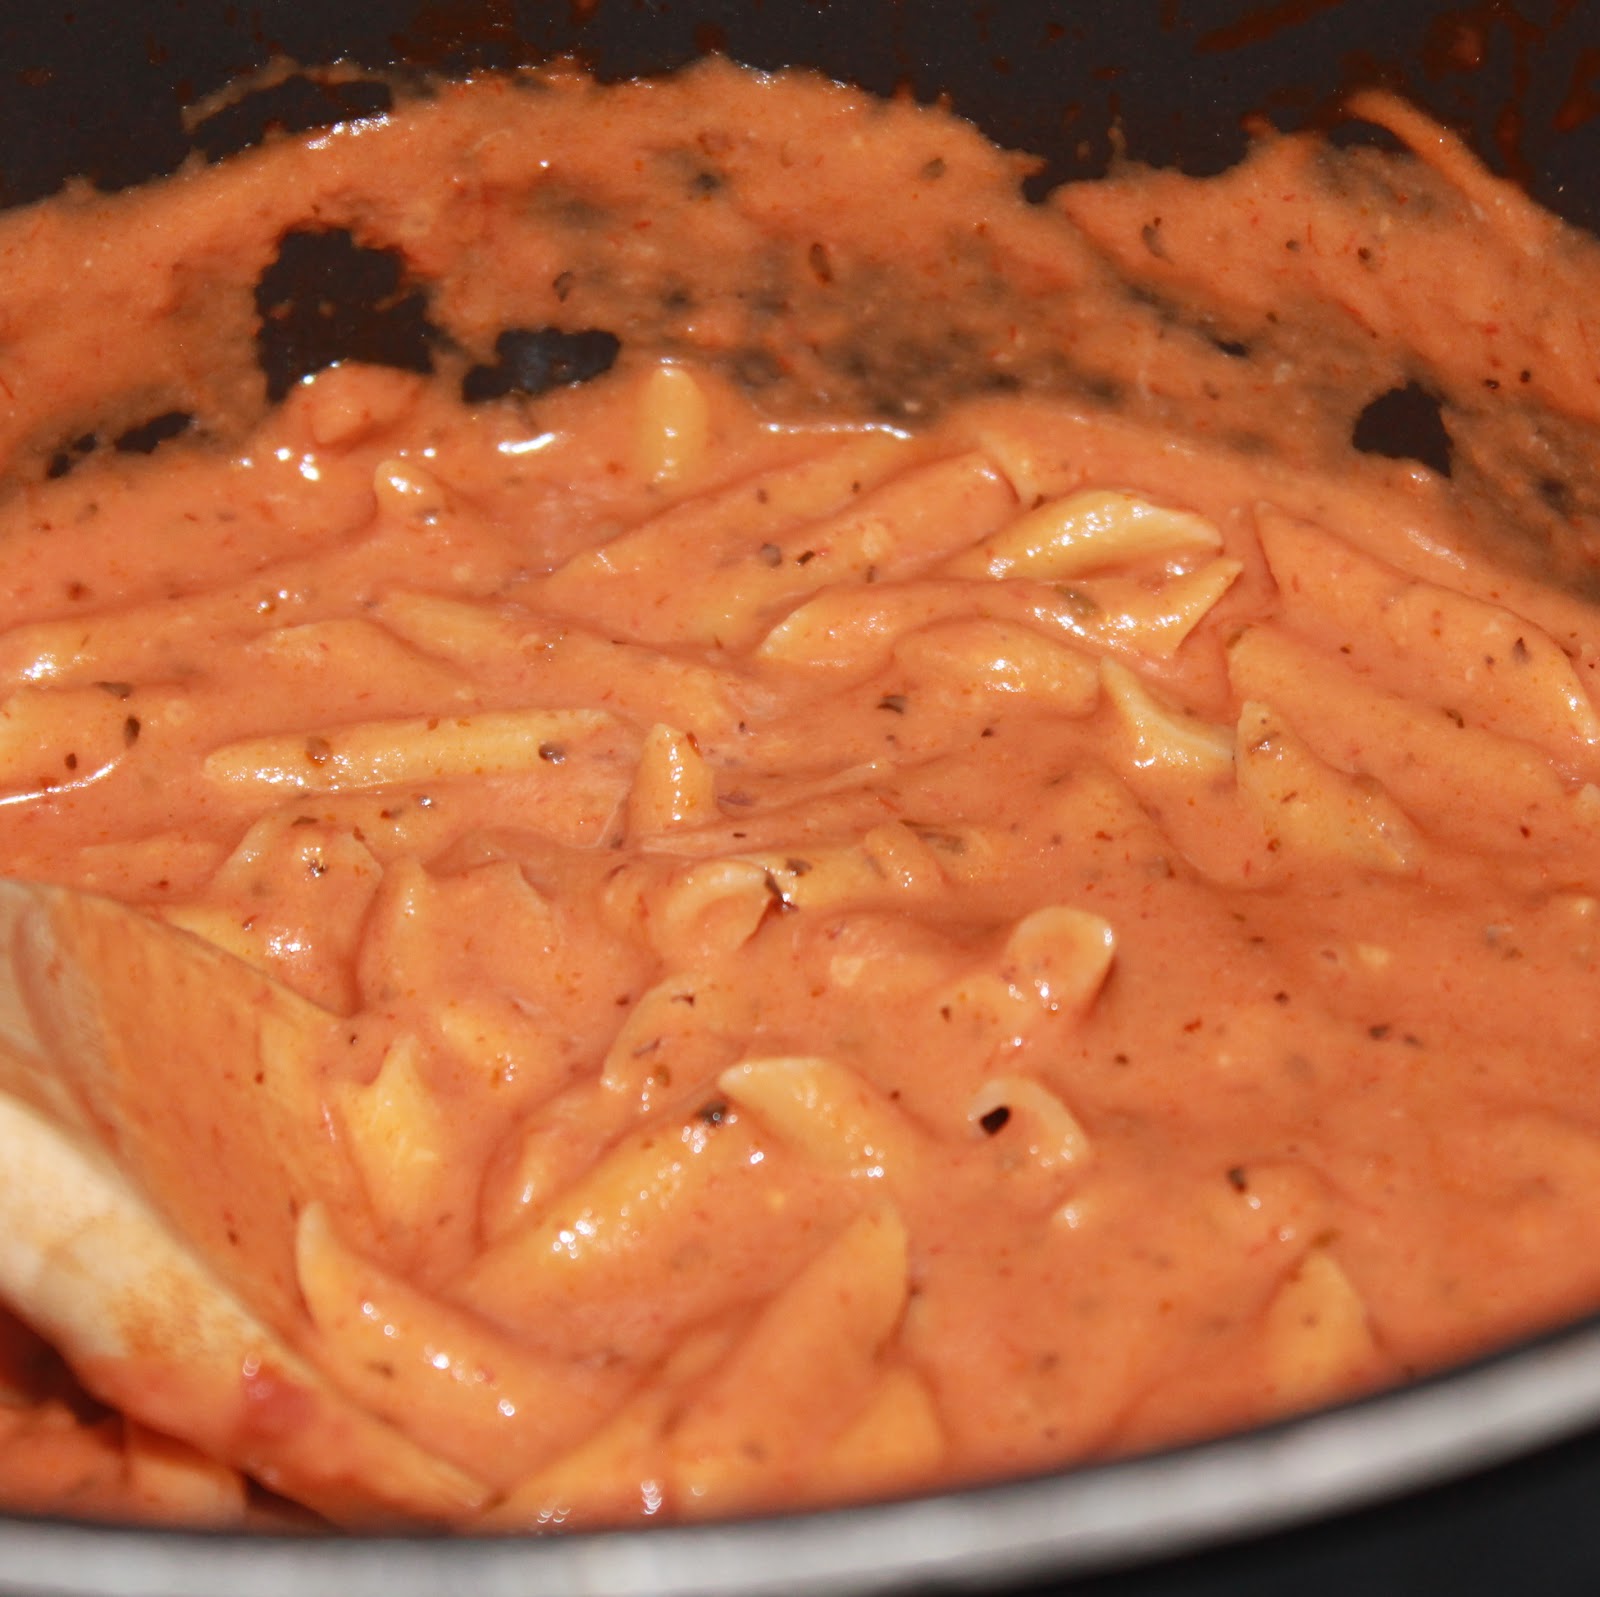
While waiting for the sauce to reduce, boil a pot of water and cook the penne according to directions, you want the pasta al dente. After the 15 minutes have passed, add the heavy cream and Parmesan cheese and stir to combine.
Add the pasta and mix to combine. Cook for another minute or so to allow the sauce to absorb into the pasta.
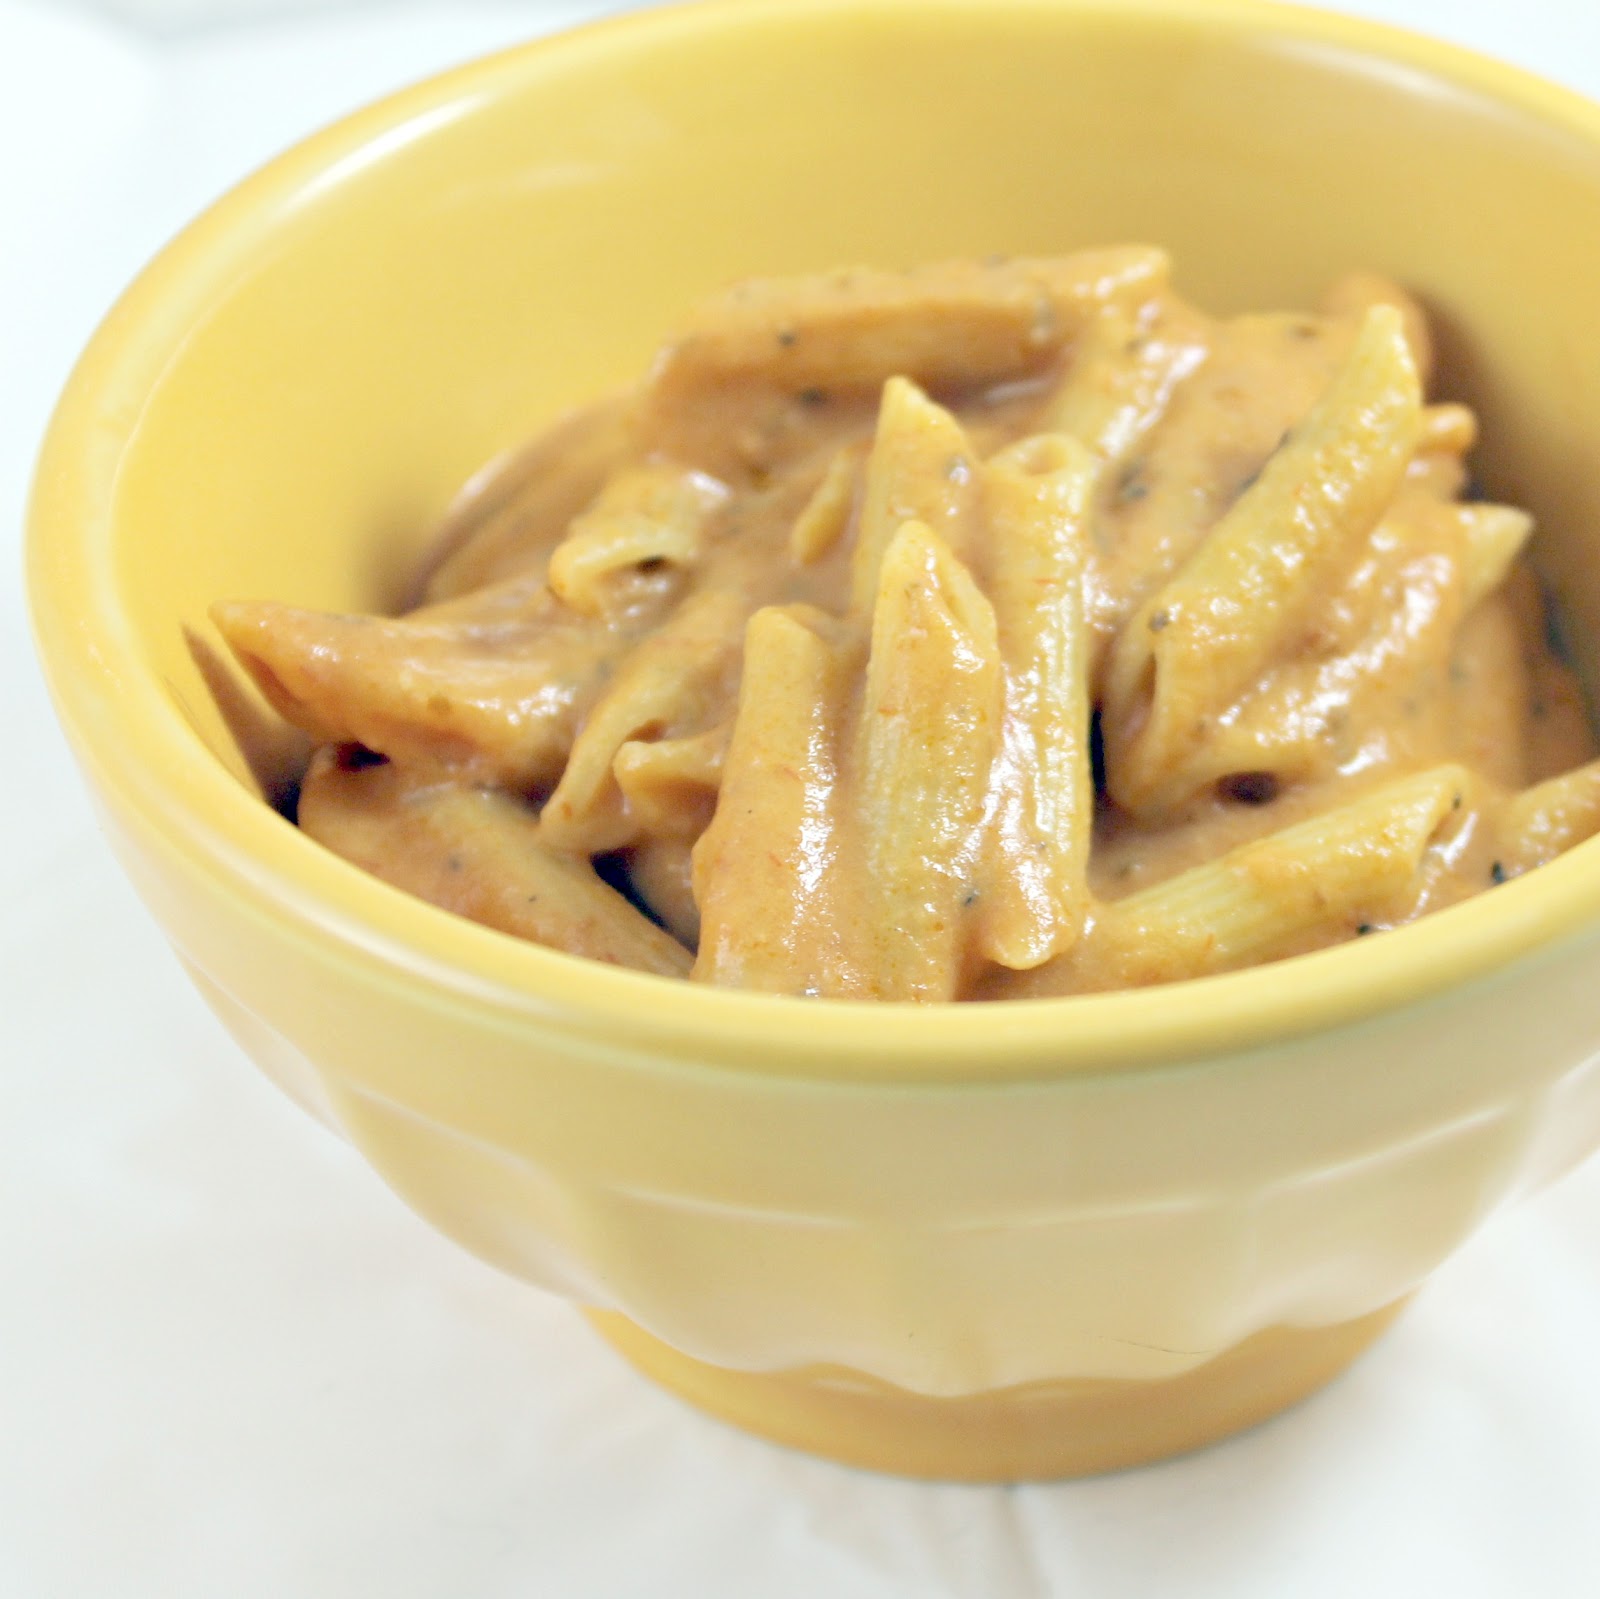
Mmmm. Smoky goodness.
This was really tasty! The bacon vodka added a subtle smokiness, kind of like using roasted tomatoes, or smoked paprika.
It wasn’t an overpowering, punch-in-the-face kind of bacon taste though. Honestly, it might be tough to pinpoint the flavor if you didn’t know that was in it.
So if you’re really in a bacon-y mood, I’d suggest adding some crumbled bacon or pancetta on top of the finished pasta.
Chop the shallot and garlic cloves. Heat the olive oil over medium heat. Add the shallot and cloves and cook for 3 minutes.
Add the tomato sauce, oregano, parsley, and basil. Add the Bakon vodka and stir to combine. Simmer for 15 minutes, stirring occasionally; it will thicken and reduce a bit.
While waiting for the sauce to reduce, boil a pot of water and cook the penne according to directions, you want the pasta al dente. After the 15 minutes have passed, add the heavy cream and Parmesan cheese and stir to combine.
Add the pasta and mix to combine. Cook for another minute or so to allow the sauce to absorb into the pasta.