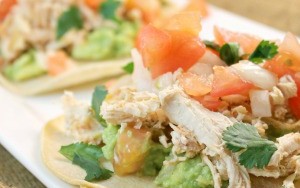
Working late really messes with my dinner making plans. When I get home later than expected, I can’t justify making a big meal, mainly because I’m already hungry and just want to eat as soon as possible. This recipe for Chicken and Guacamole Tostadas is perfect for nights like that, it uses shredded rotisserie chicken so that the recipe comes together in no time!
You’ll still notice that the photos are, well, crummy. I was super hungry and had to eat ASAP; the tostadas looked so good!
Ingredients:
1 ripe peeled avocado
1 cup plus 2 tablespoons finely chopped tomato, divided
3 tablespoons minced fresh onion, divided
1/4 teaspoon ground cumin
the juice of 2 limes, divided
1/2 teaspoon salt, divided
1 tablespoon chopped fresh cilantro, plus more for garnish
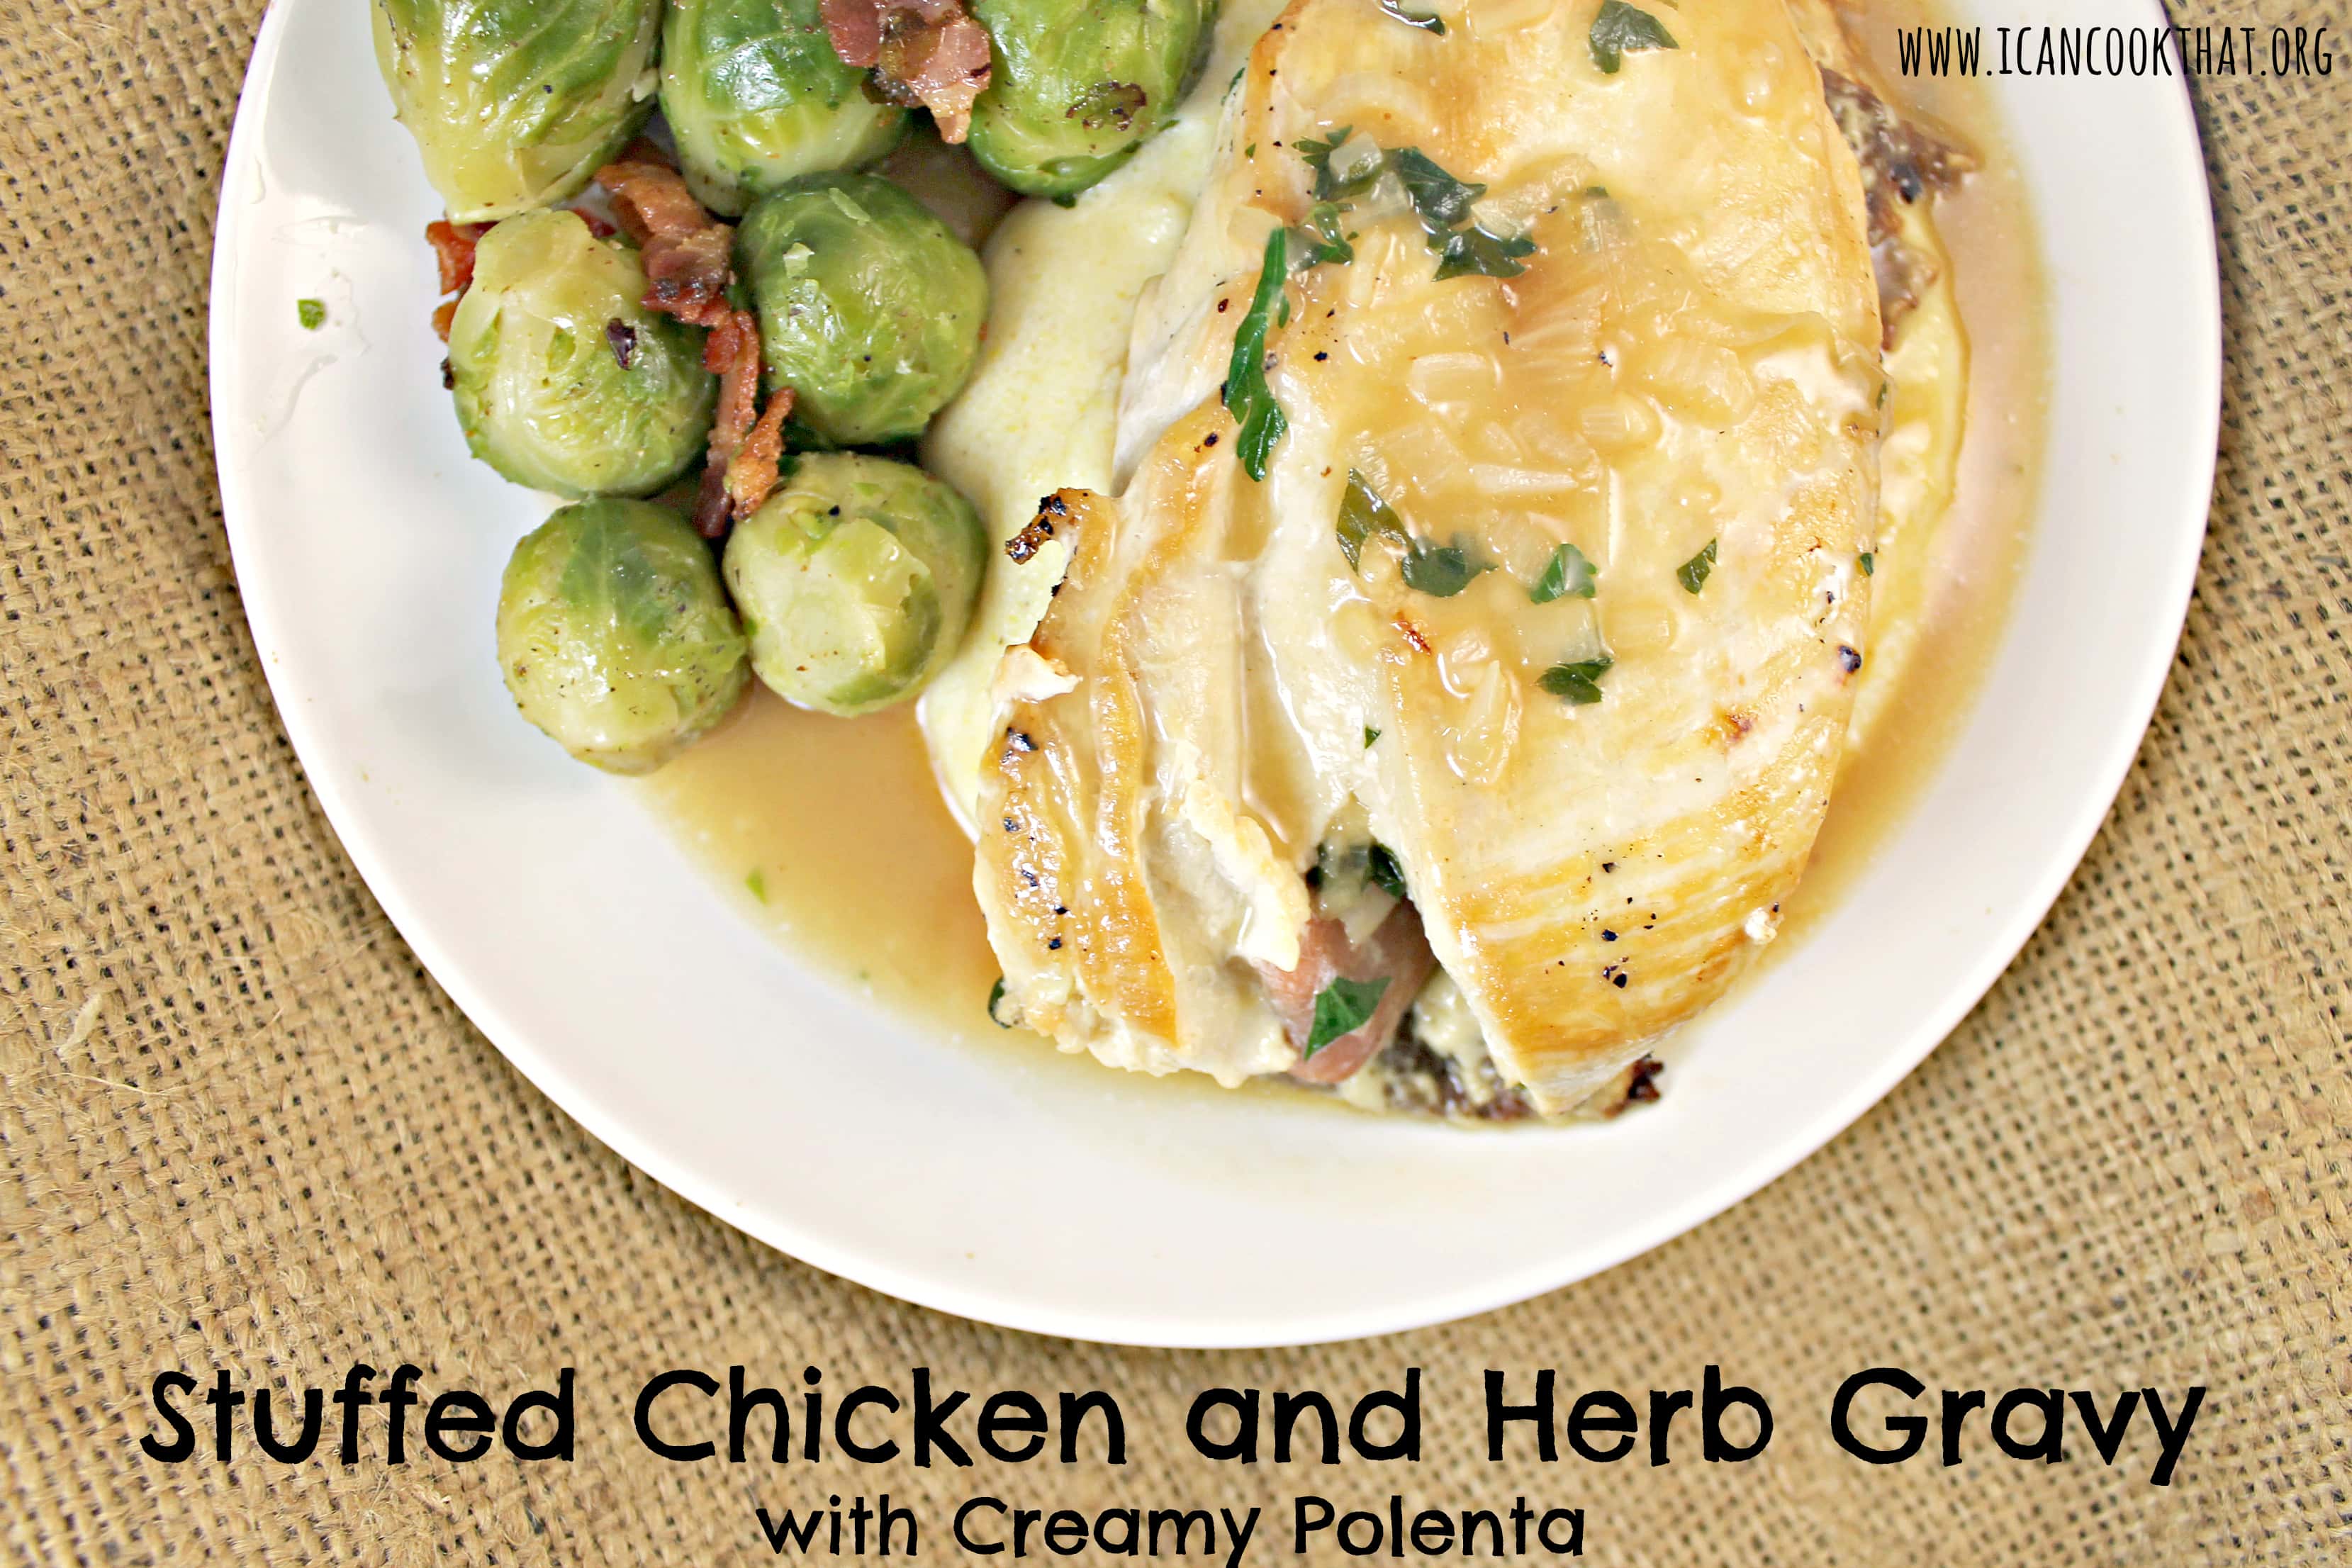
I am seriously starting to think that Cooking Light has a way to read my thoughts. It’s like they know exactly what ingredient I want to work with next, or a particular product I might be craving, like this recipe for Stuffed Chicken and Herb Gravy. And I don’t mind that one bit.
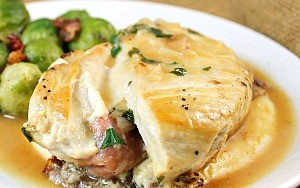
The latest issue has a recipe for Stuffed Chicken and Herb Gravy with Creamy Polenta that upon seeing in the magazine, I immediately put on my boots, coat, hat, scarf, gloves, etc. etc. and headed for the supermarket, despite the slippery and freezing walk I had ahead of me (it’s a whopping 5 blocks away, but I still managed to almost fall a good 3 times). And I have to tell you, it was worth it.
(I posted this photo to Instagram before I left for the supermarket. hehe)
Chicken breasts stuffed with prosciutto and provolone, over creamy polenta, topped with an herb gravy… What’s not to like? The recipe suggested making it with bacon green beans, but we had some Brussels sprouts in the freezer that I wanted to use so I substituted them in instead.
Ingredients:
CHICKEN AND GRAVY:
4 (6-ounce) skinless, boneless chicken breast halves
2 very thin prosciutto slices (about 1/2 ounce), halved
4 (2/3-ounce) slices reduced-fat provolone cheese
1 tablespoon canola oil
1/4 teaspoon freshly ground black pepper
2 tablespoons minced shallots
1 tablespoon chopped fresh thyme
1 1/2 cups unsalted chicken stock, divided
1 tablespoon all-purpose flour
1 1/2 tablespoons unsalted butter
1 tablespoon chopped fresh flat-leaf parsley
1 1/2 teaspoons chopped fresh tarragon
POLENTA
2 cups 1% low-fat milk
1/3 cup unsalted chicken broth
1/2 cup uncooked polenta (I just used yellow corn meal)
You may have noticed in November that some of the photos in my posts were taken with the Samsung Galaxy Camera. I was given the opportunity through Verizon Wireless’ Philadelphia Tri-State Region team to try out this nifty little guy.
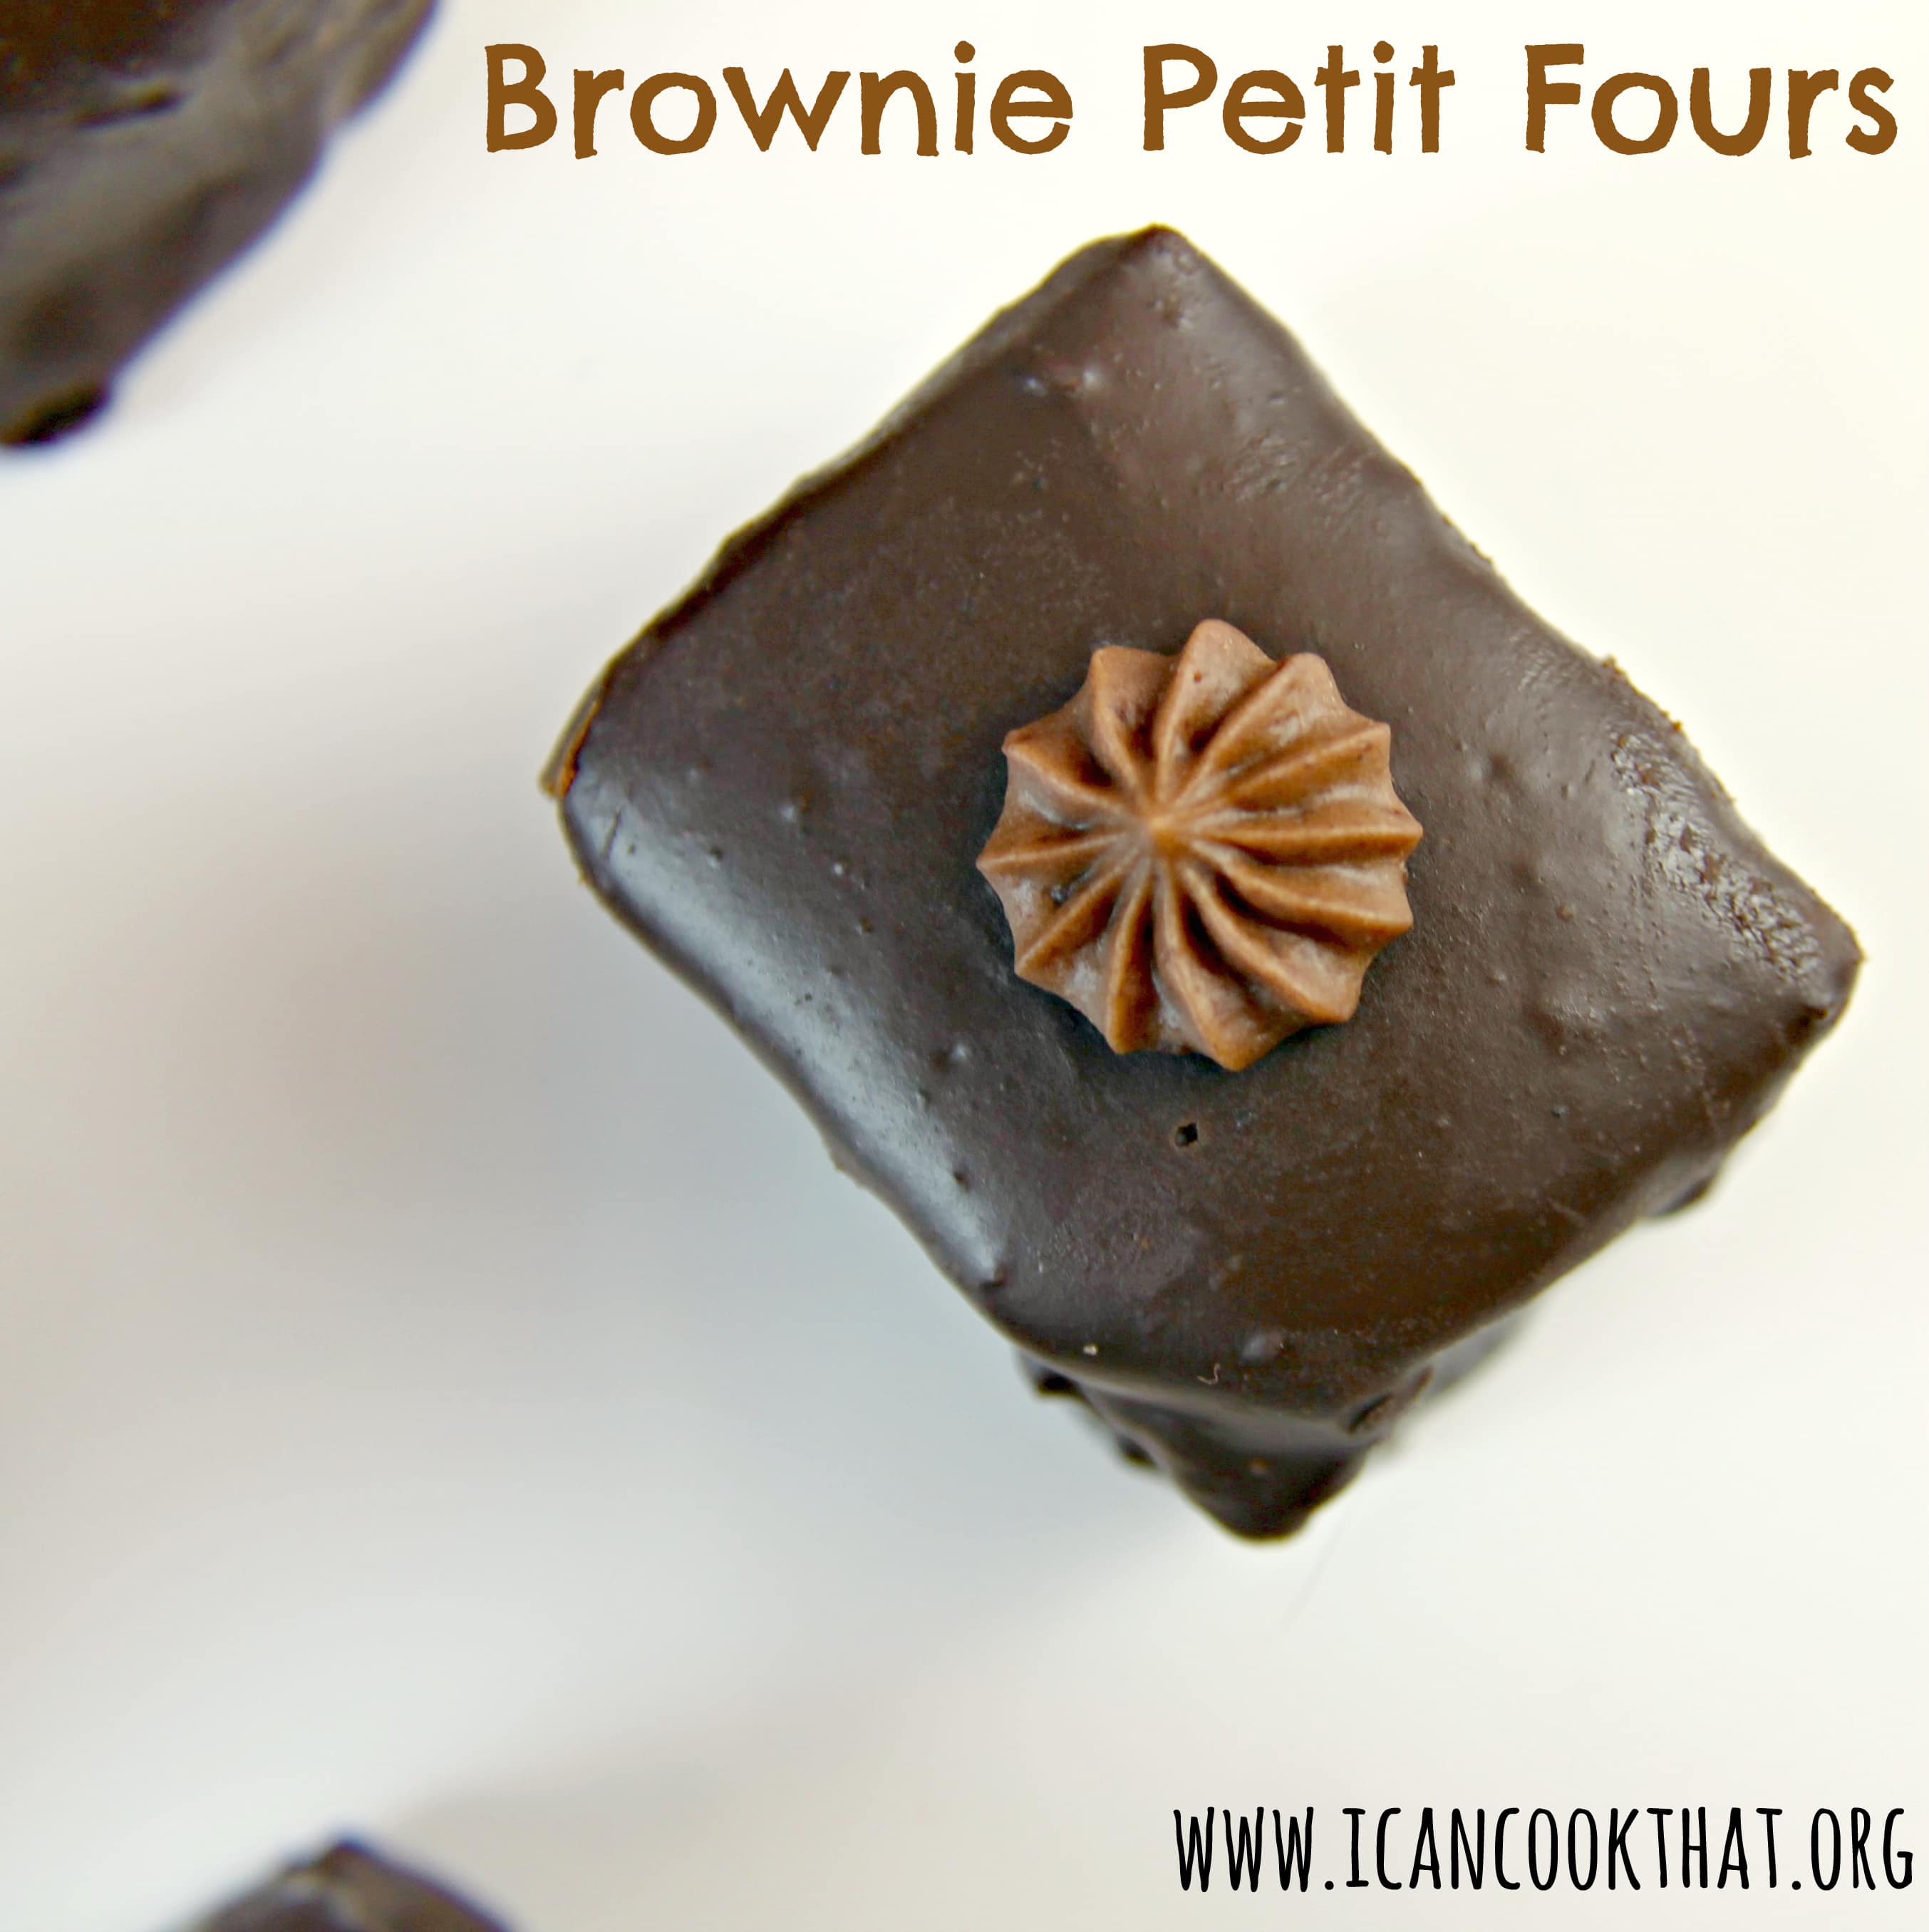
Here’s another delicious dessert I made for New Years Eve – Brownie Petit Fours. (You can read about my New Years Eve party and get a recipe for Honey Citrus Champange Cupcakes here) The original BHG recipe included bourbon, but I already had Bourbon Truffles on the menu so I decided to go without it in this recipe.
I was a little wary of making these little guys, petit fours seem pretty difficult to make. But I was surprised with how simple it was to make these!
Ingredients:
BROWNIES
1/2 cup butter
3 ounces unsweetened chocolate, coarsely chopped
1/4 cup milk
2 tablespoons coffee grounds (I measured them out from a k cup)
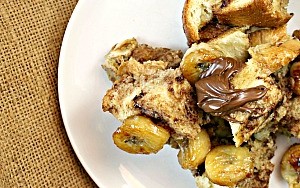
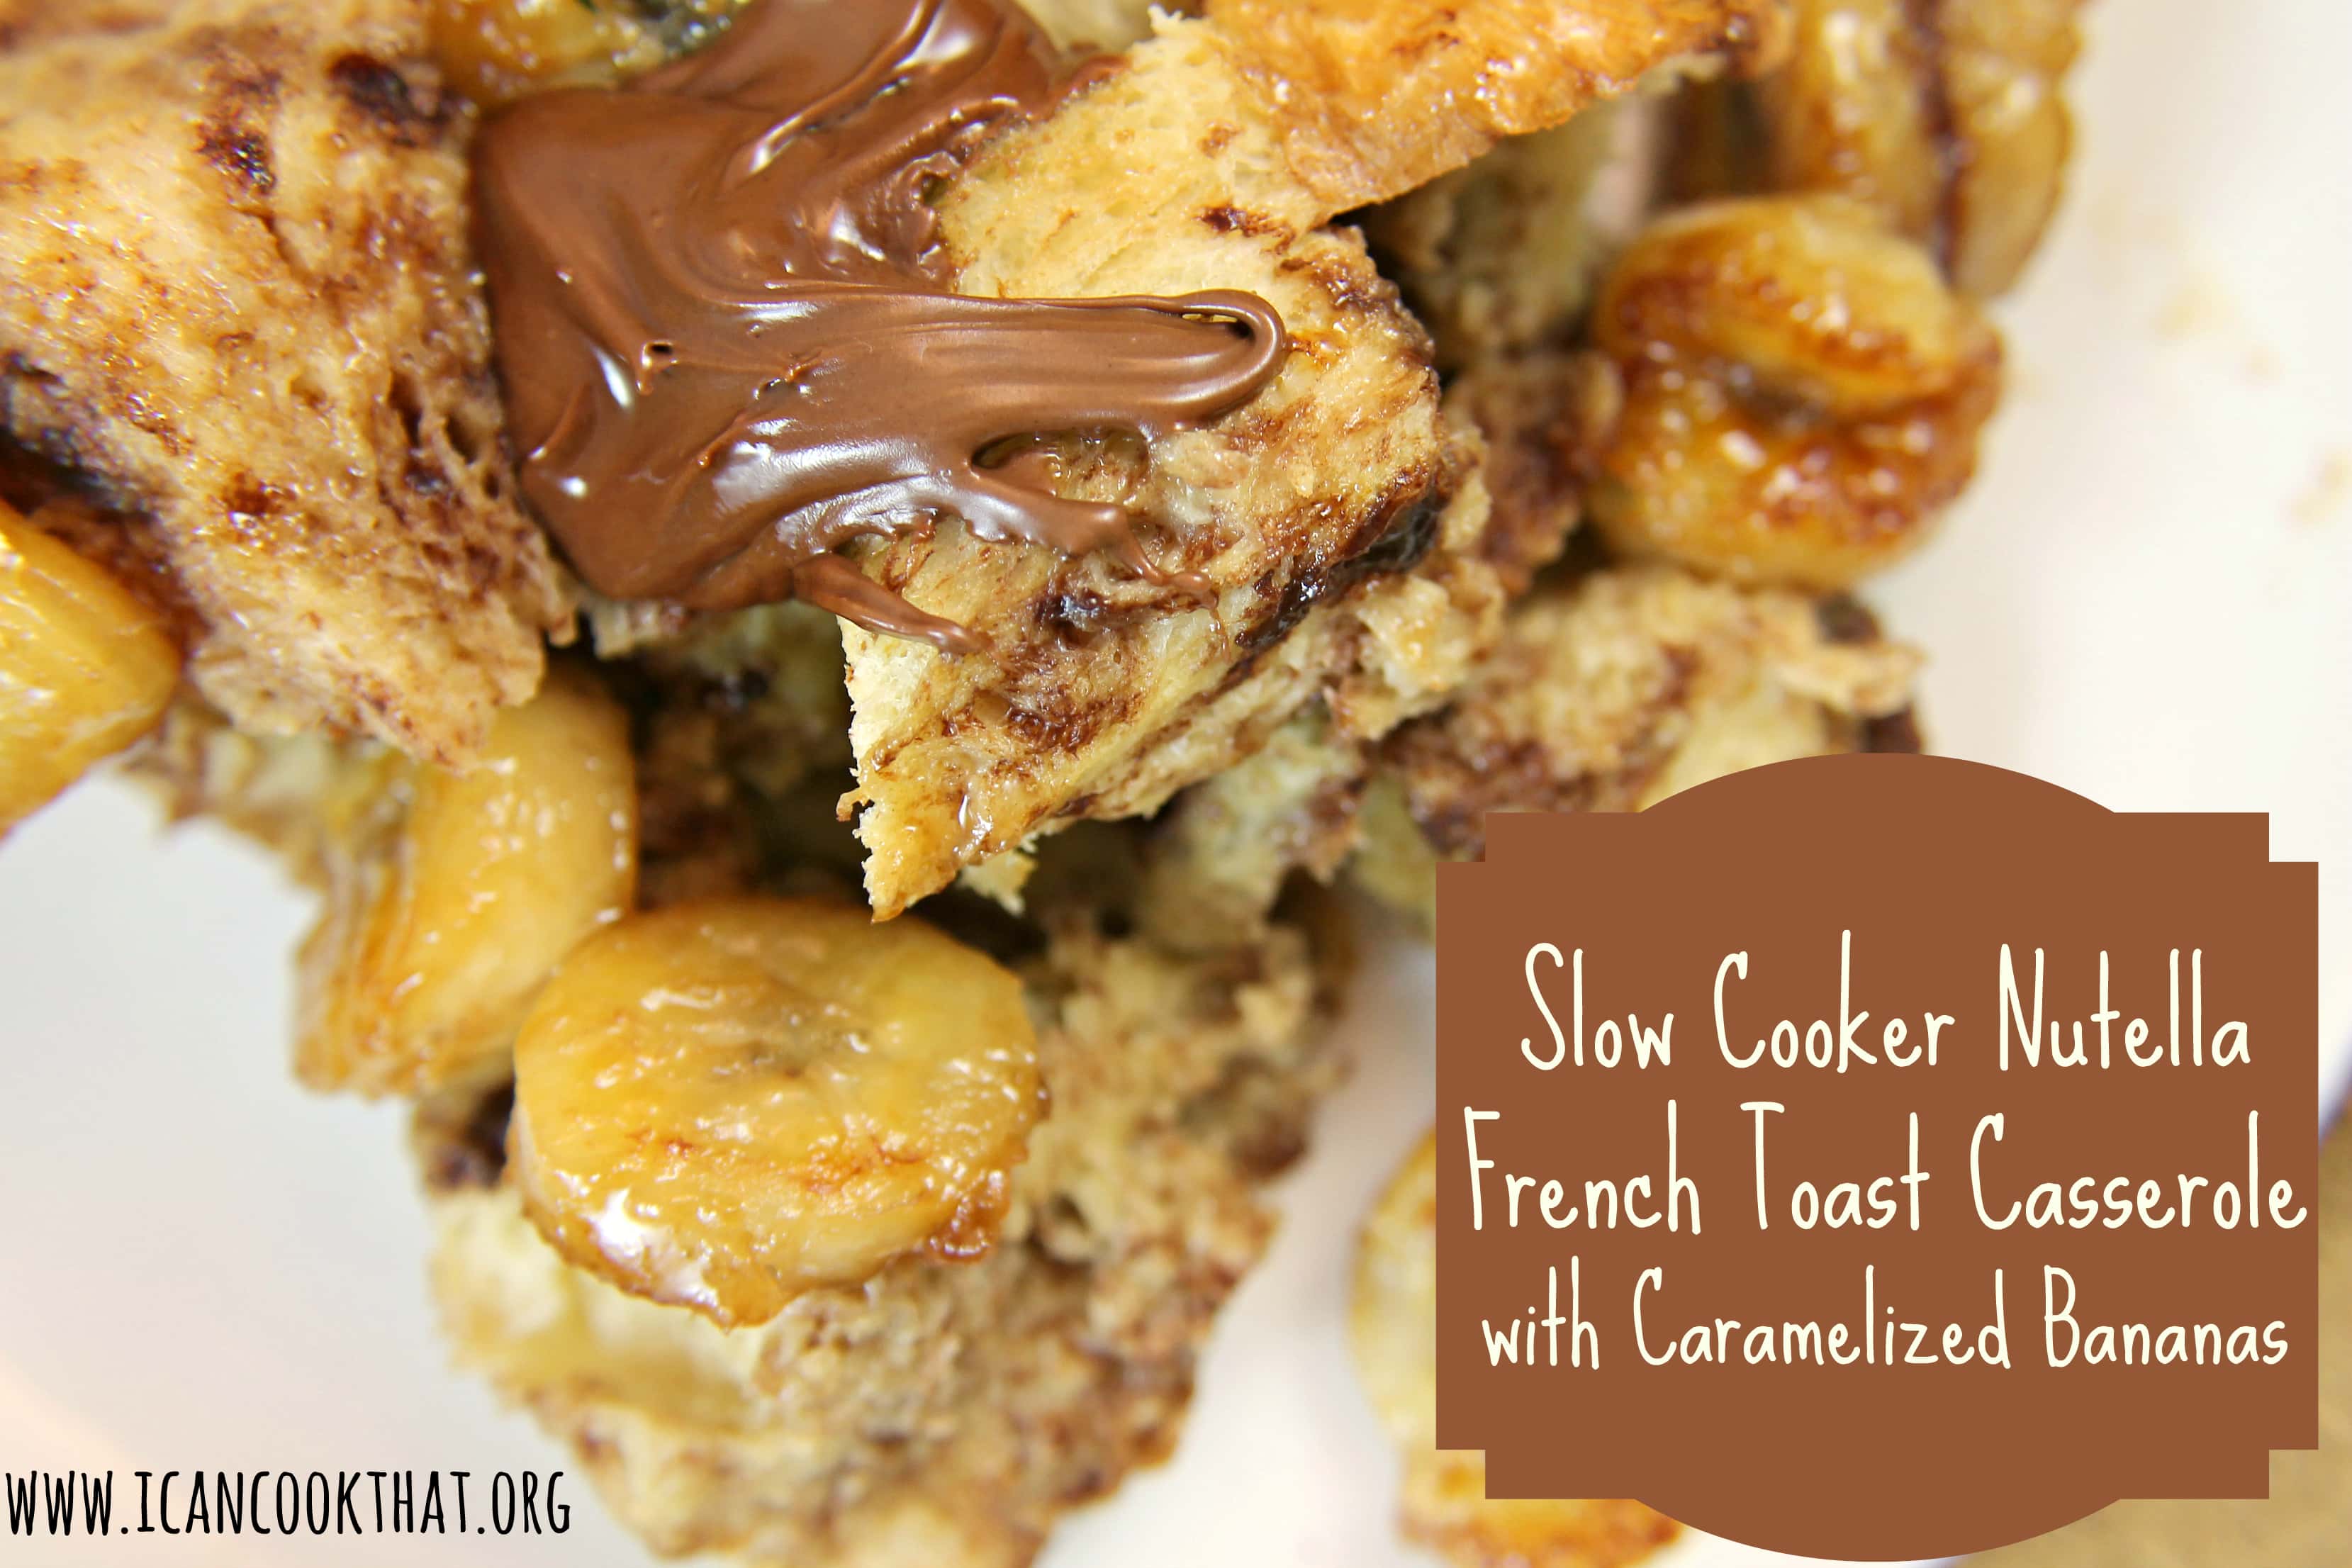
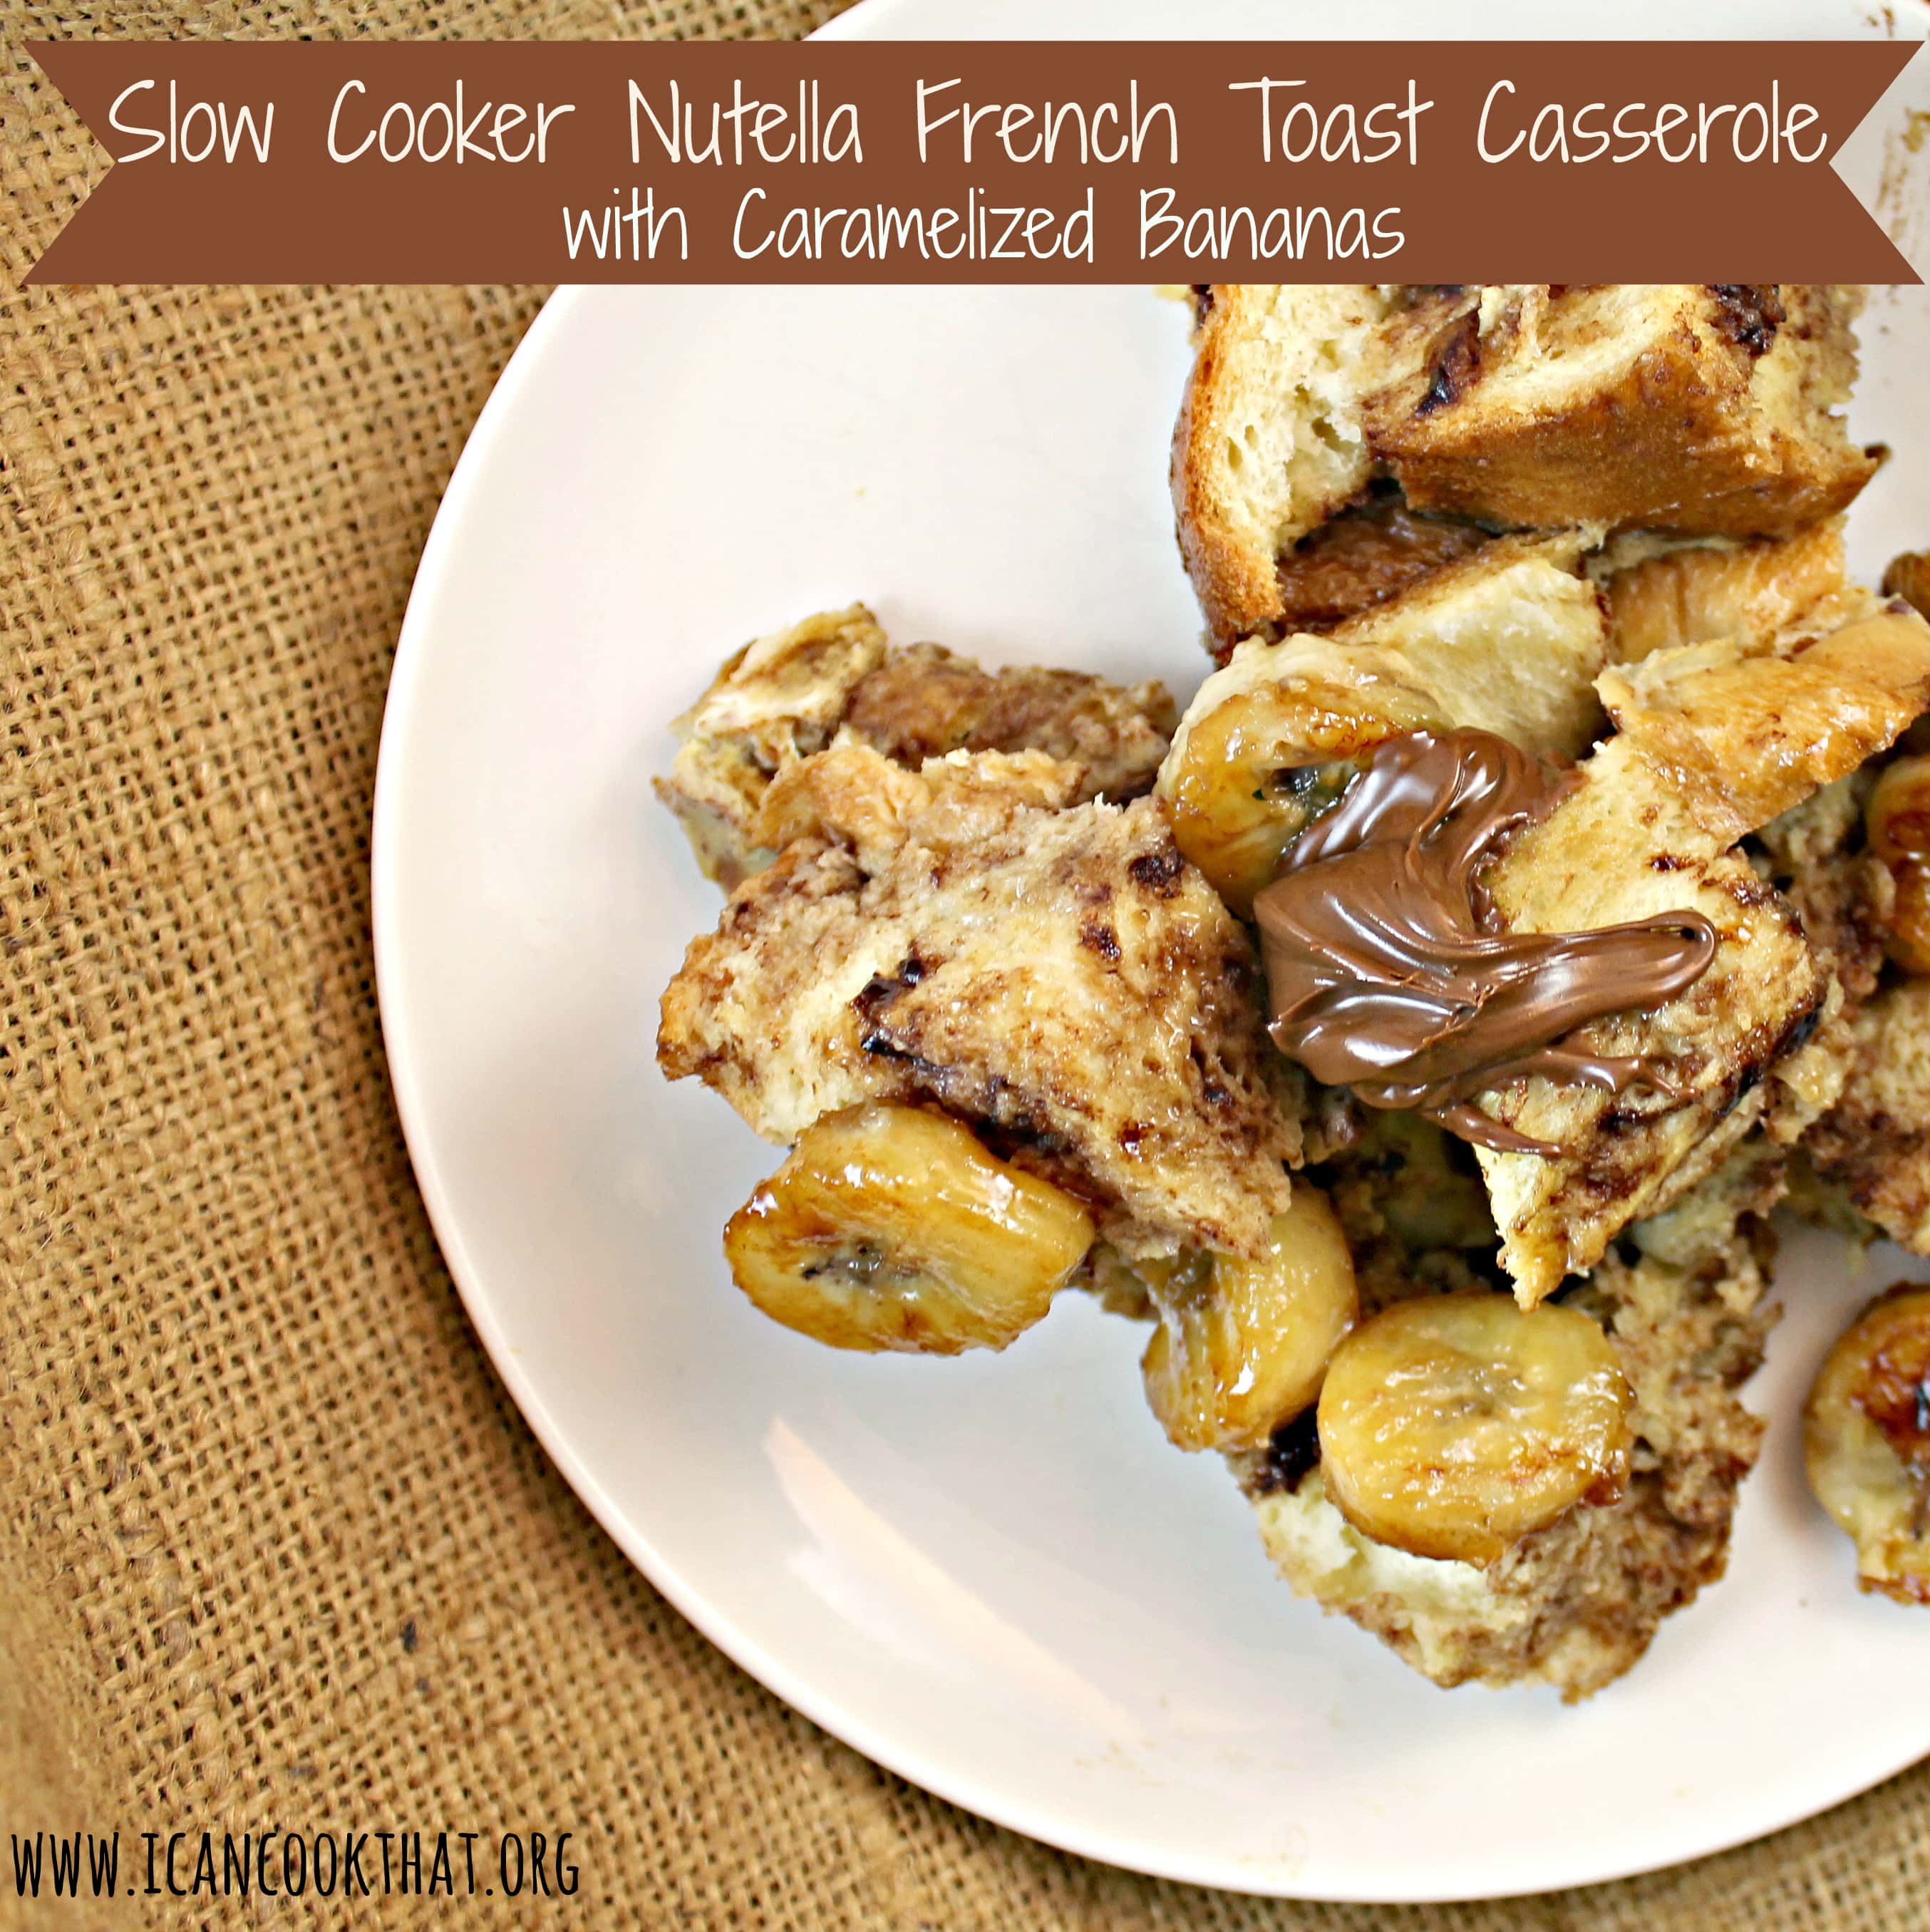
As most of the U.S. has been dealing with seriously cold weather and snow, I thought it was time to share another French Toast recipe. Without fail, people always go out before a storm and stock up on bread, milk, and eggs so French Toast is the perfect meal on a snow day. This recipe for Slow Cooker Nutella French Toast Casserole with Caramelized Bananas is sure to become a favorite snow day meal for you!
This recipe is based off my Slow Cooker Apple French Toast Casserole, but incorporates Nutella and tops it off with caramelized bananas for good measure. I love using my slow cooker for French Toast because it makes a bunch of servings to either share with a group or pack up and enjoy all week!
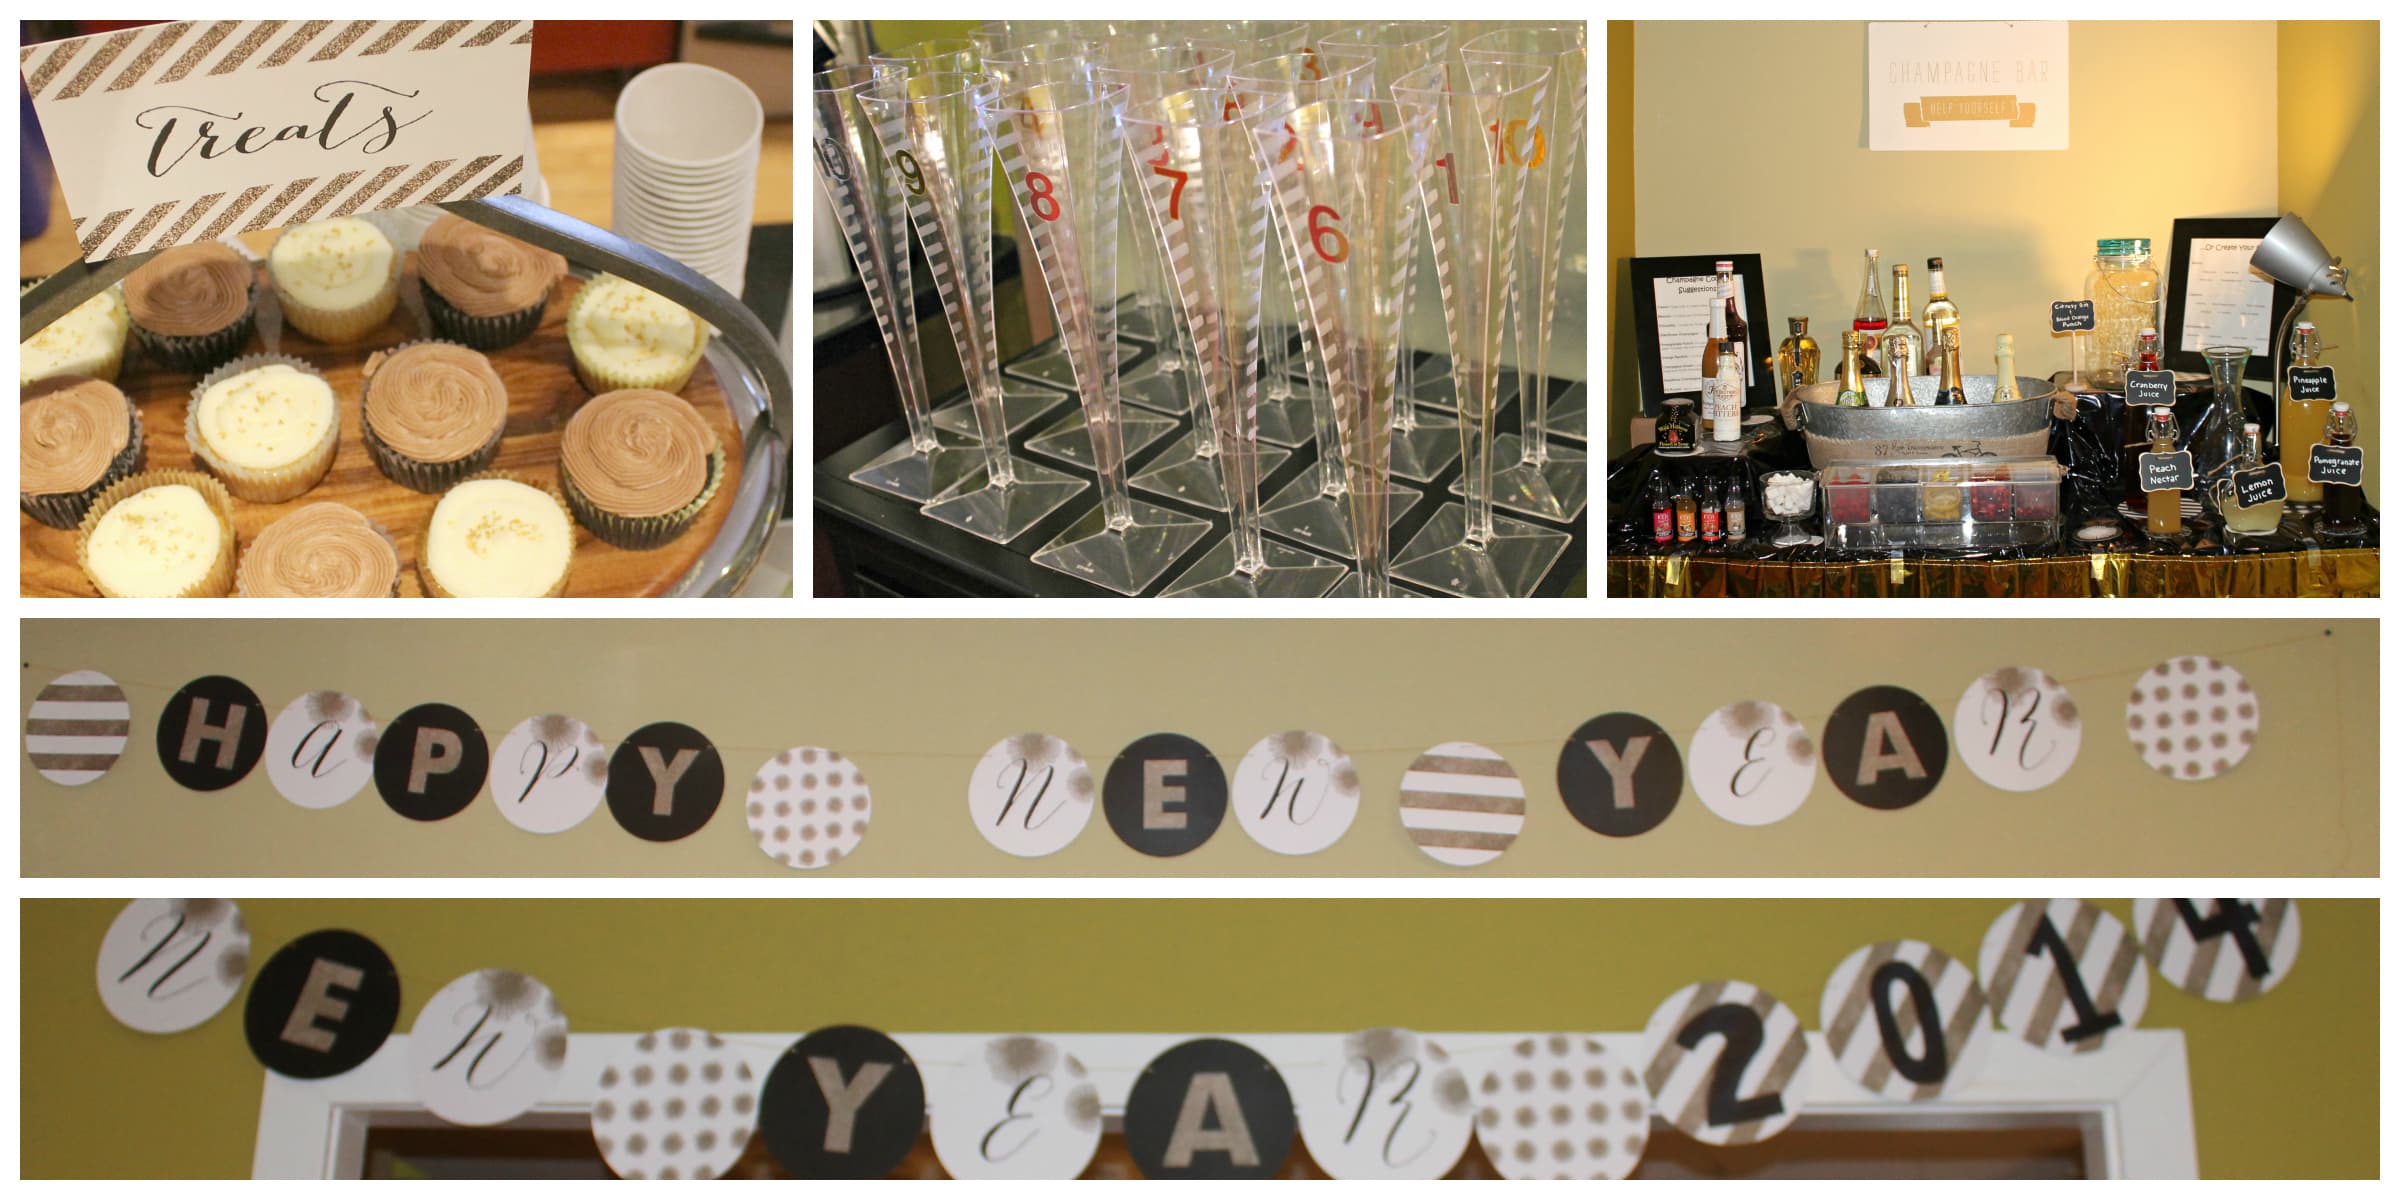
Happy New Year!! I hope everyone had a wonderful holiday season! My boyfriend and I had a New Years Eve party this year, complete with a champagne bar, dessert bar, and a DIY photo booth!
Minted sent me the banner and signs as well as paper cups, plates, and napkins to really snazz up our party. Aren’t those signs so cute? The theme shown in the photos is “Sparkle Everywhere”
Their party decor is really great; Minted has decor for any party you can imagine! You can build your own package or choose from three suites: unique party, perfect party, or dream party. Minted has you covered from the napkins to the table confetti to even adorable paper straws and cake plates. You can also order invitations that match your theme!
The Champagne Bar was a huge hit. I included suggested champagne cocktails but creativity was encouraged. My favorite combination was St. Germaine filled with sparkling wine and topped with some cranberry juice.
We had a blast in the photo booth and people had fun with all of the props!
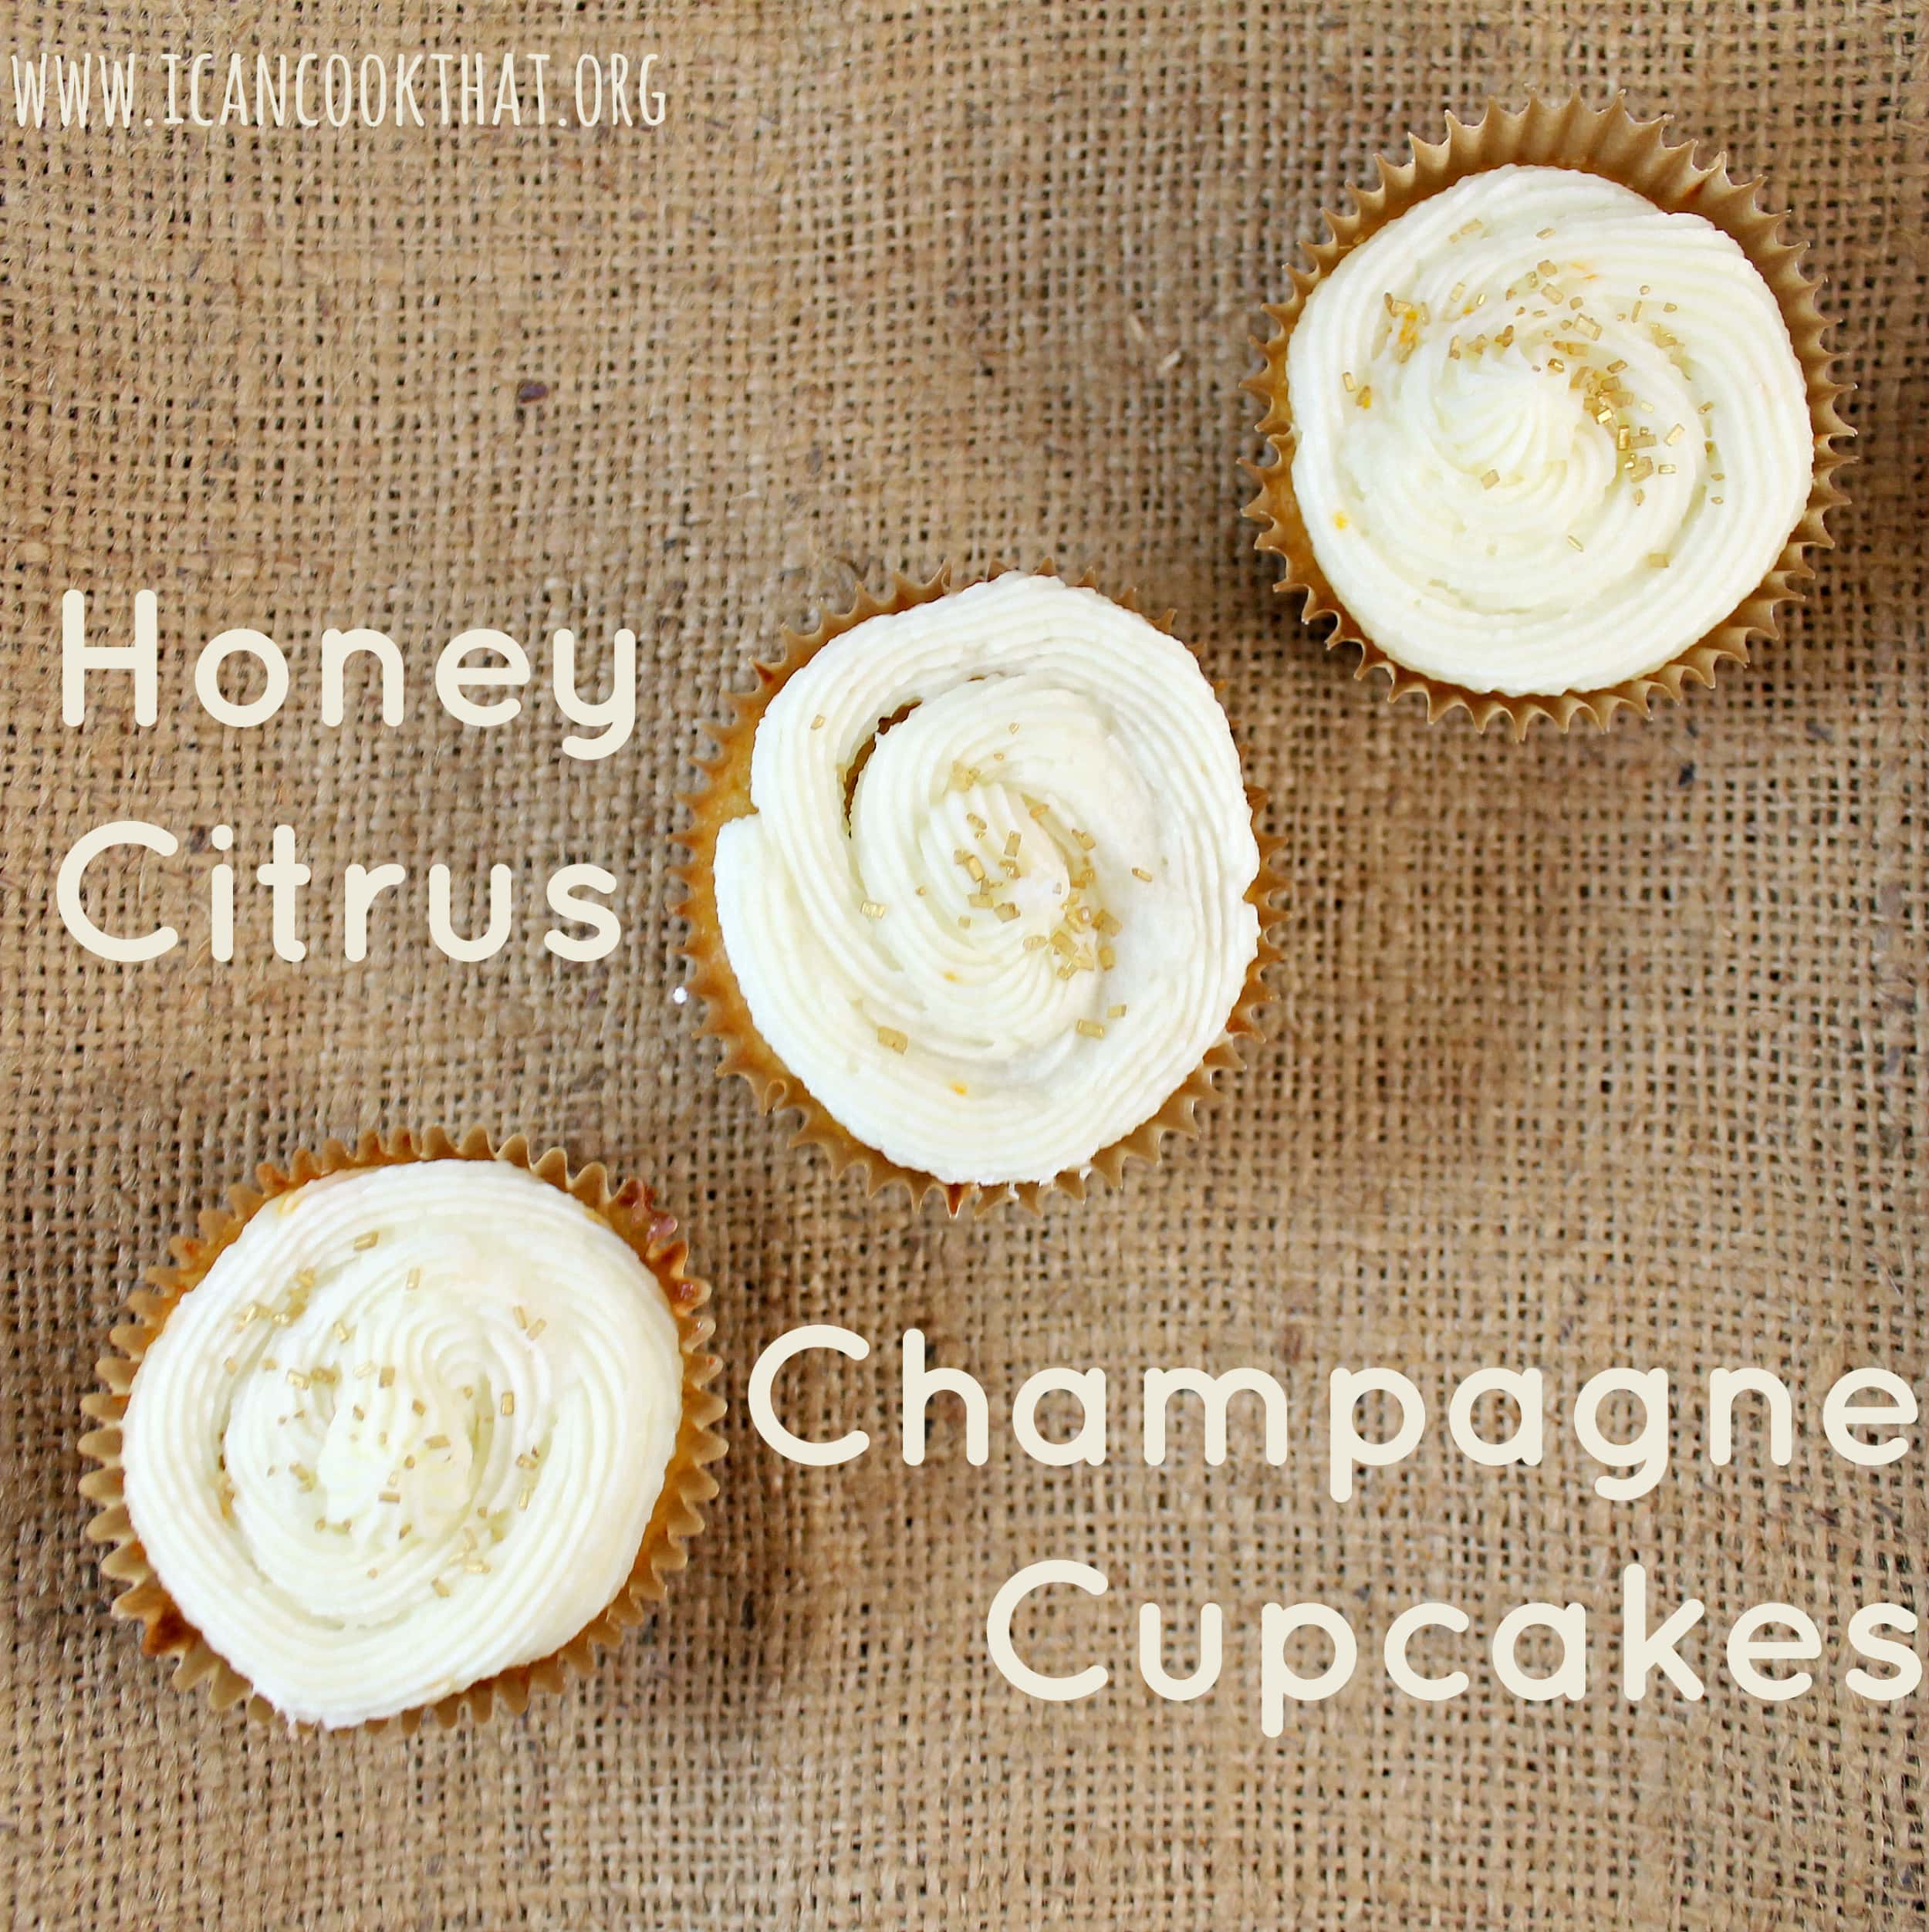
The dessert bar turned out great too! I will be sharing recipes that I made for it over the coming days but I wanted to start with a particularly appropriate New Years Eve cupcake, although these are so good you will want to make them all year round 🙂
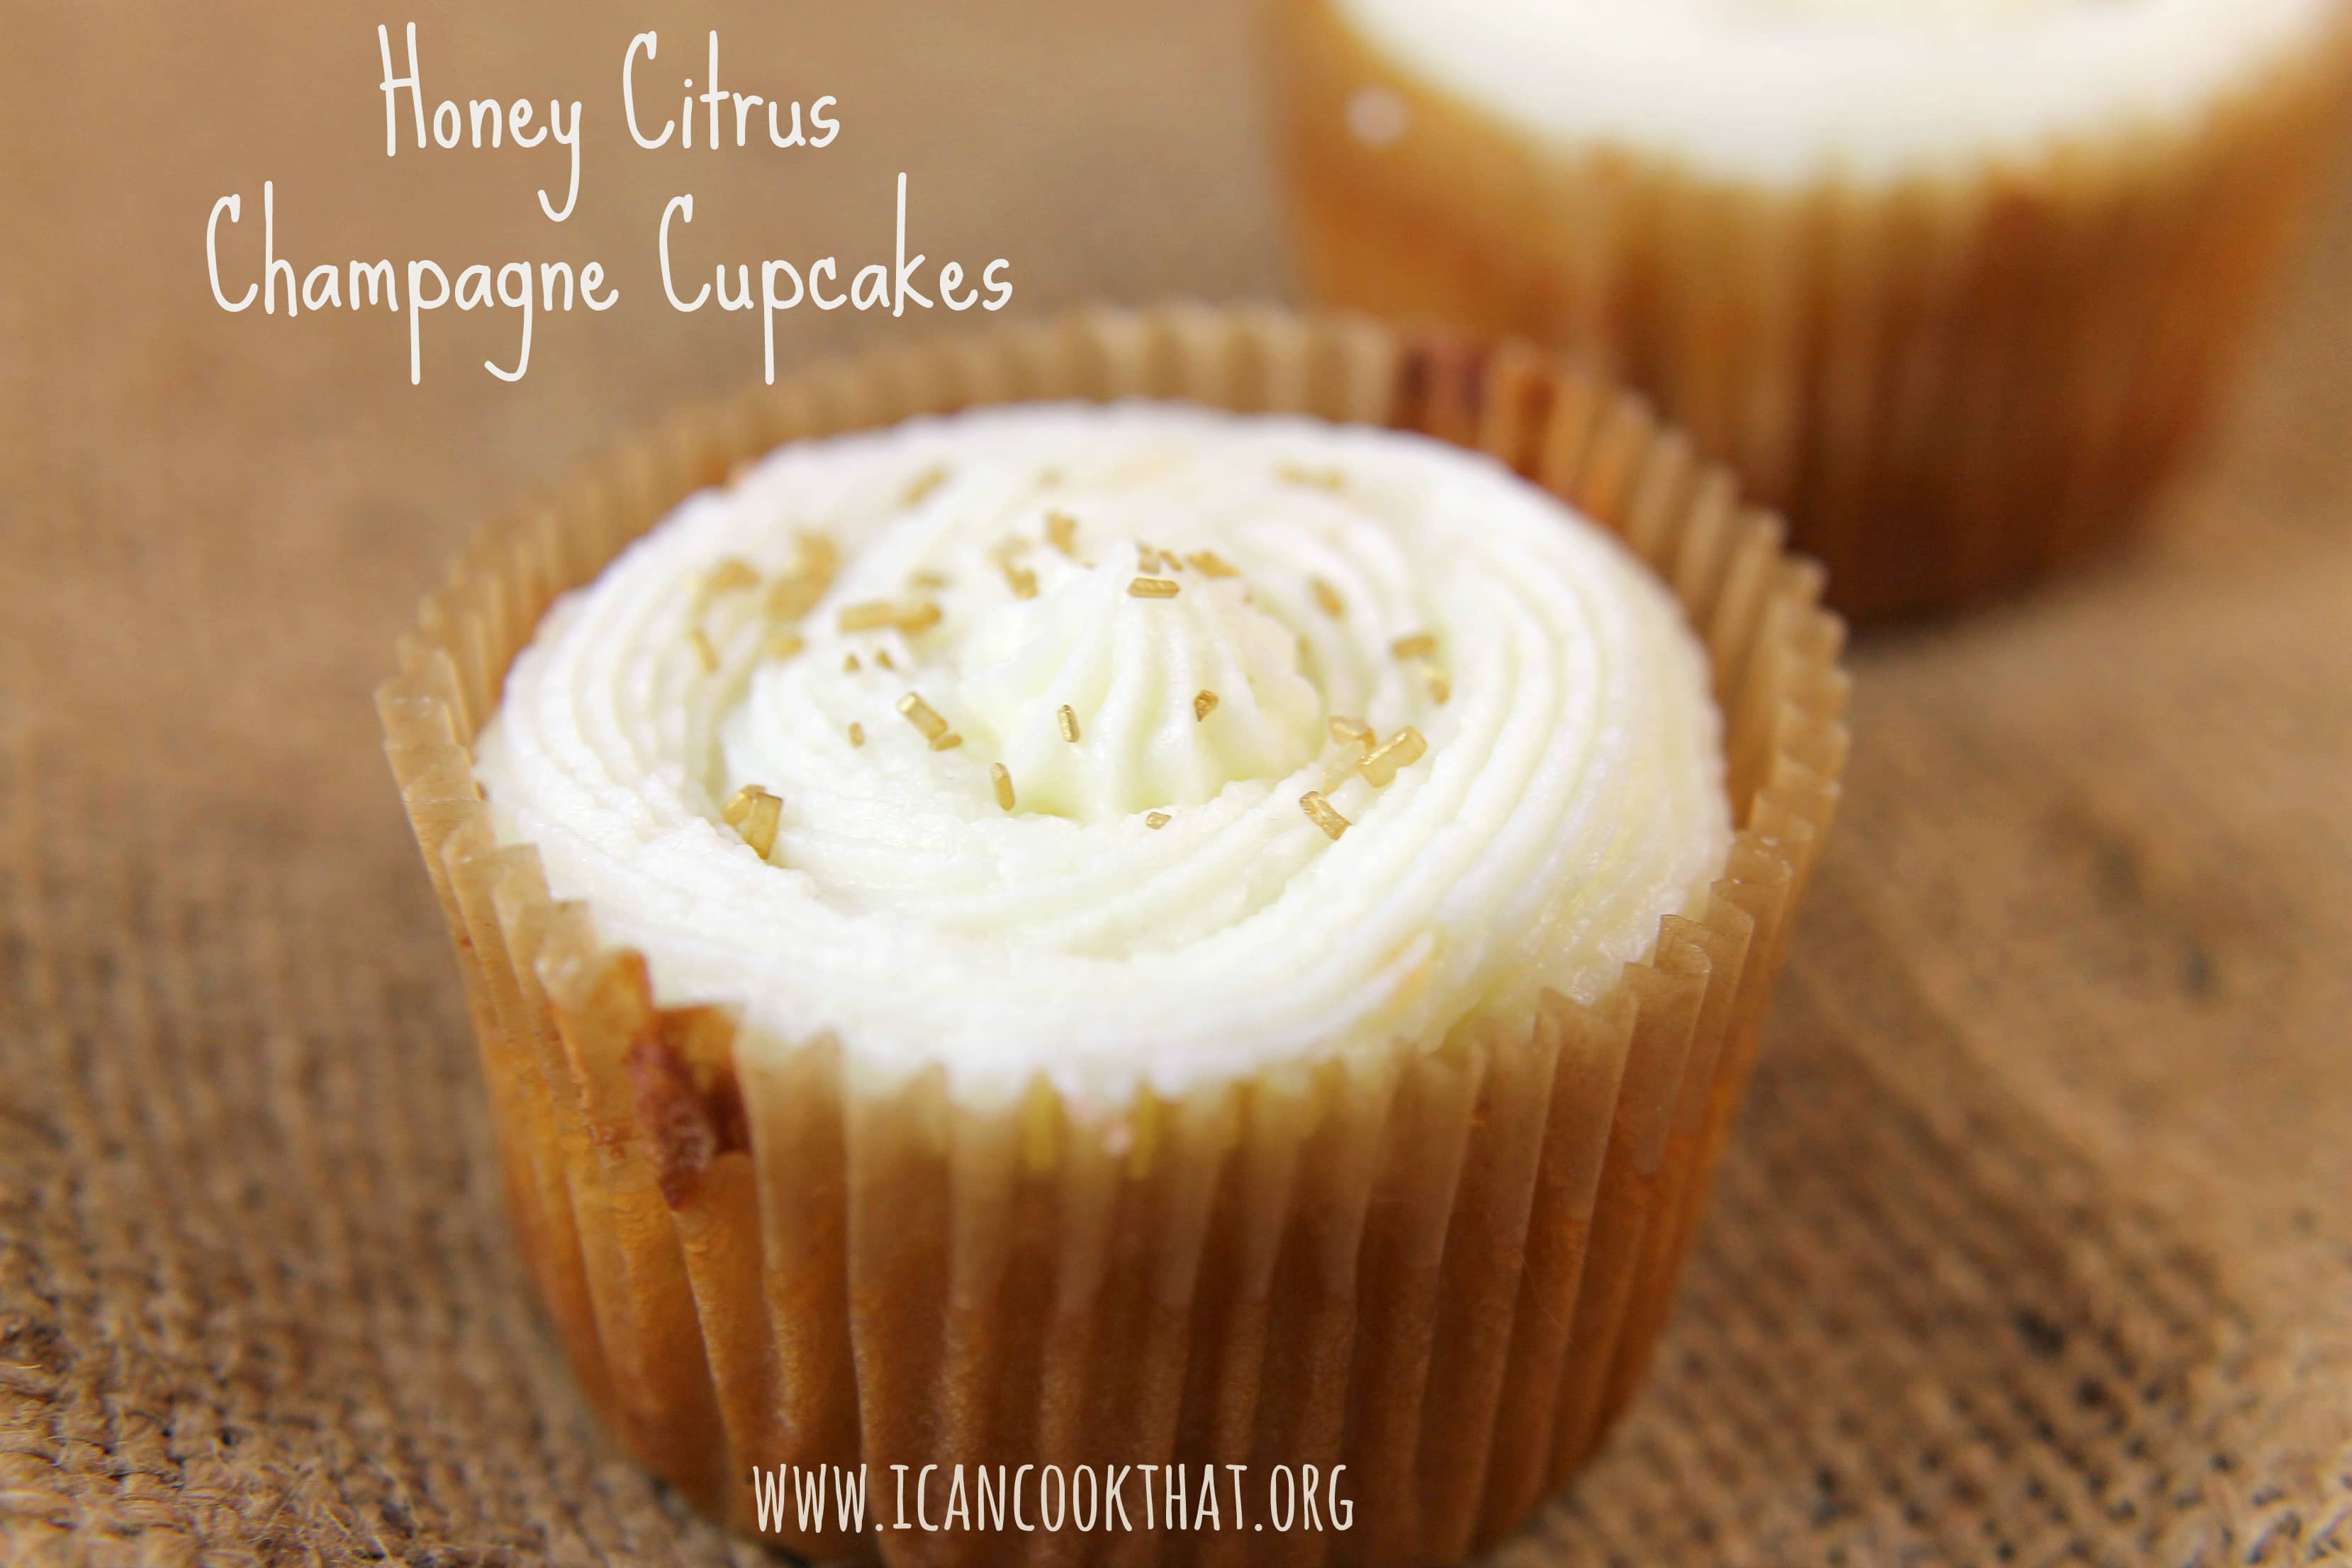
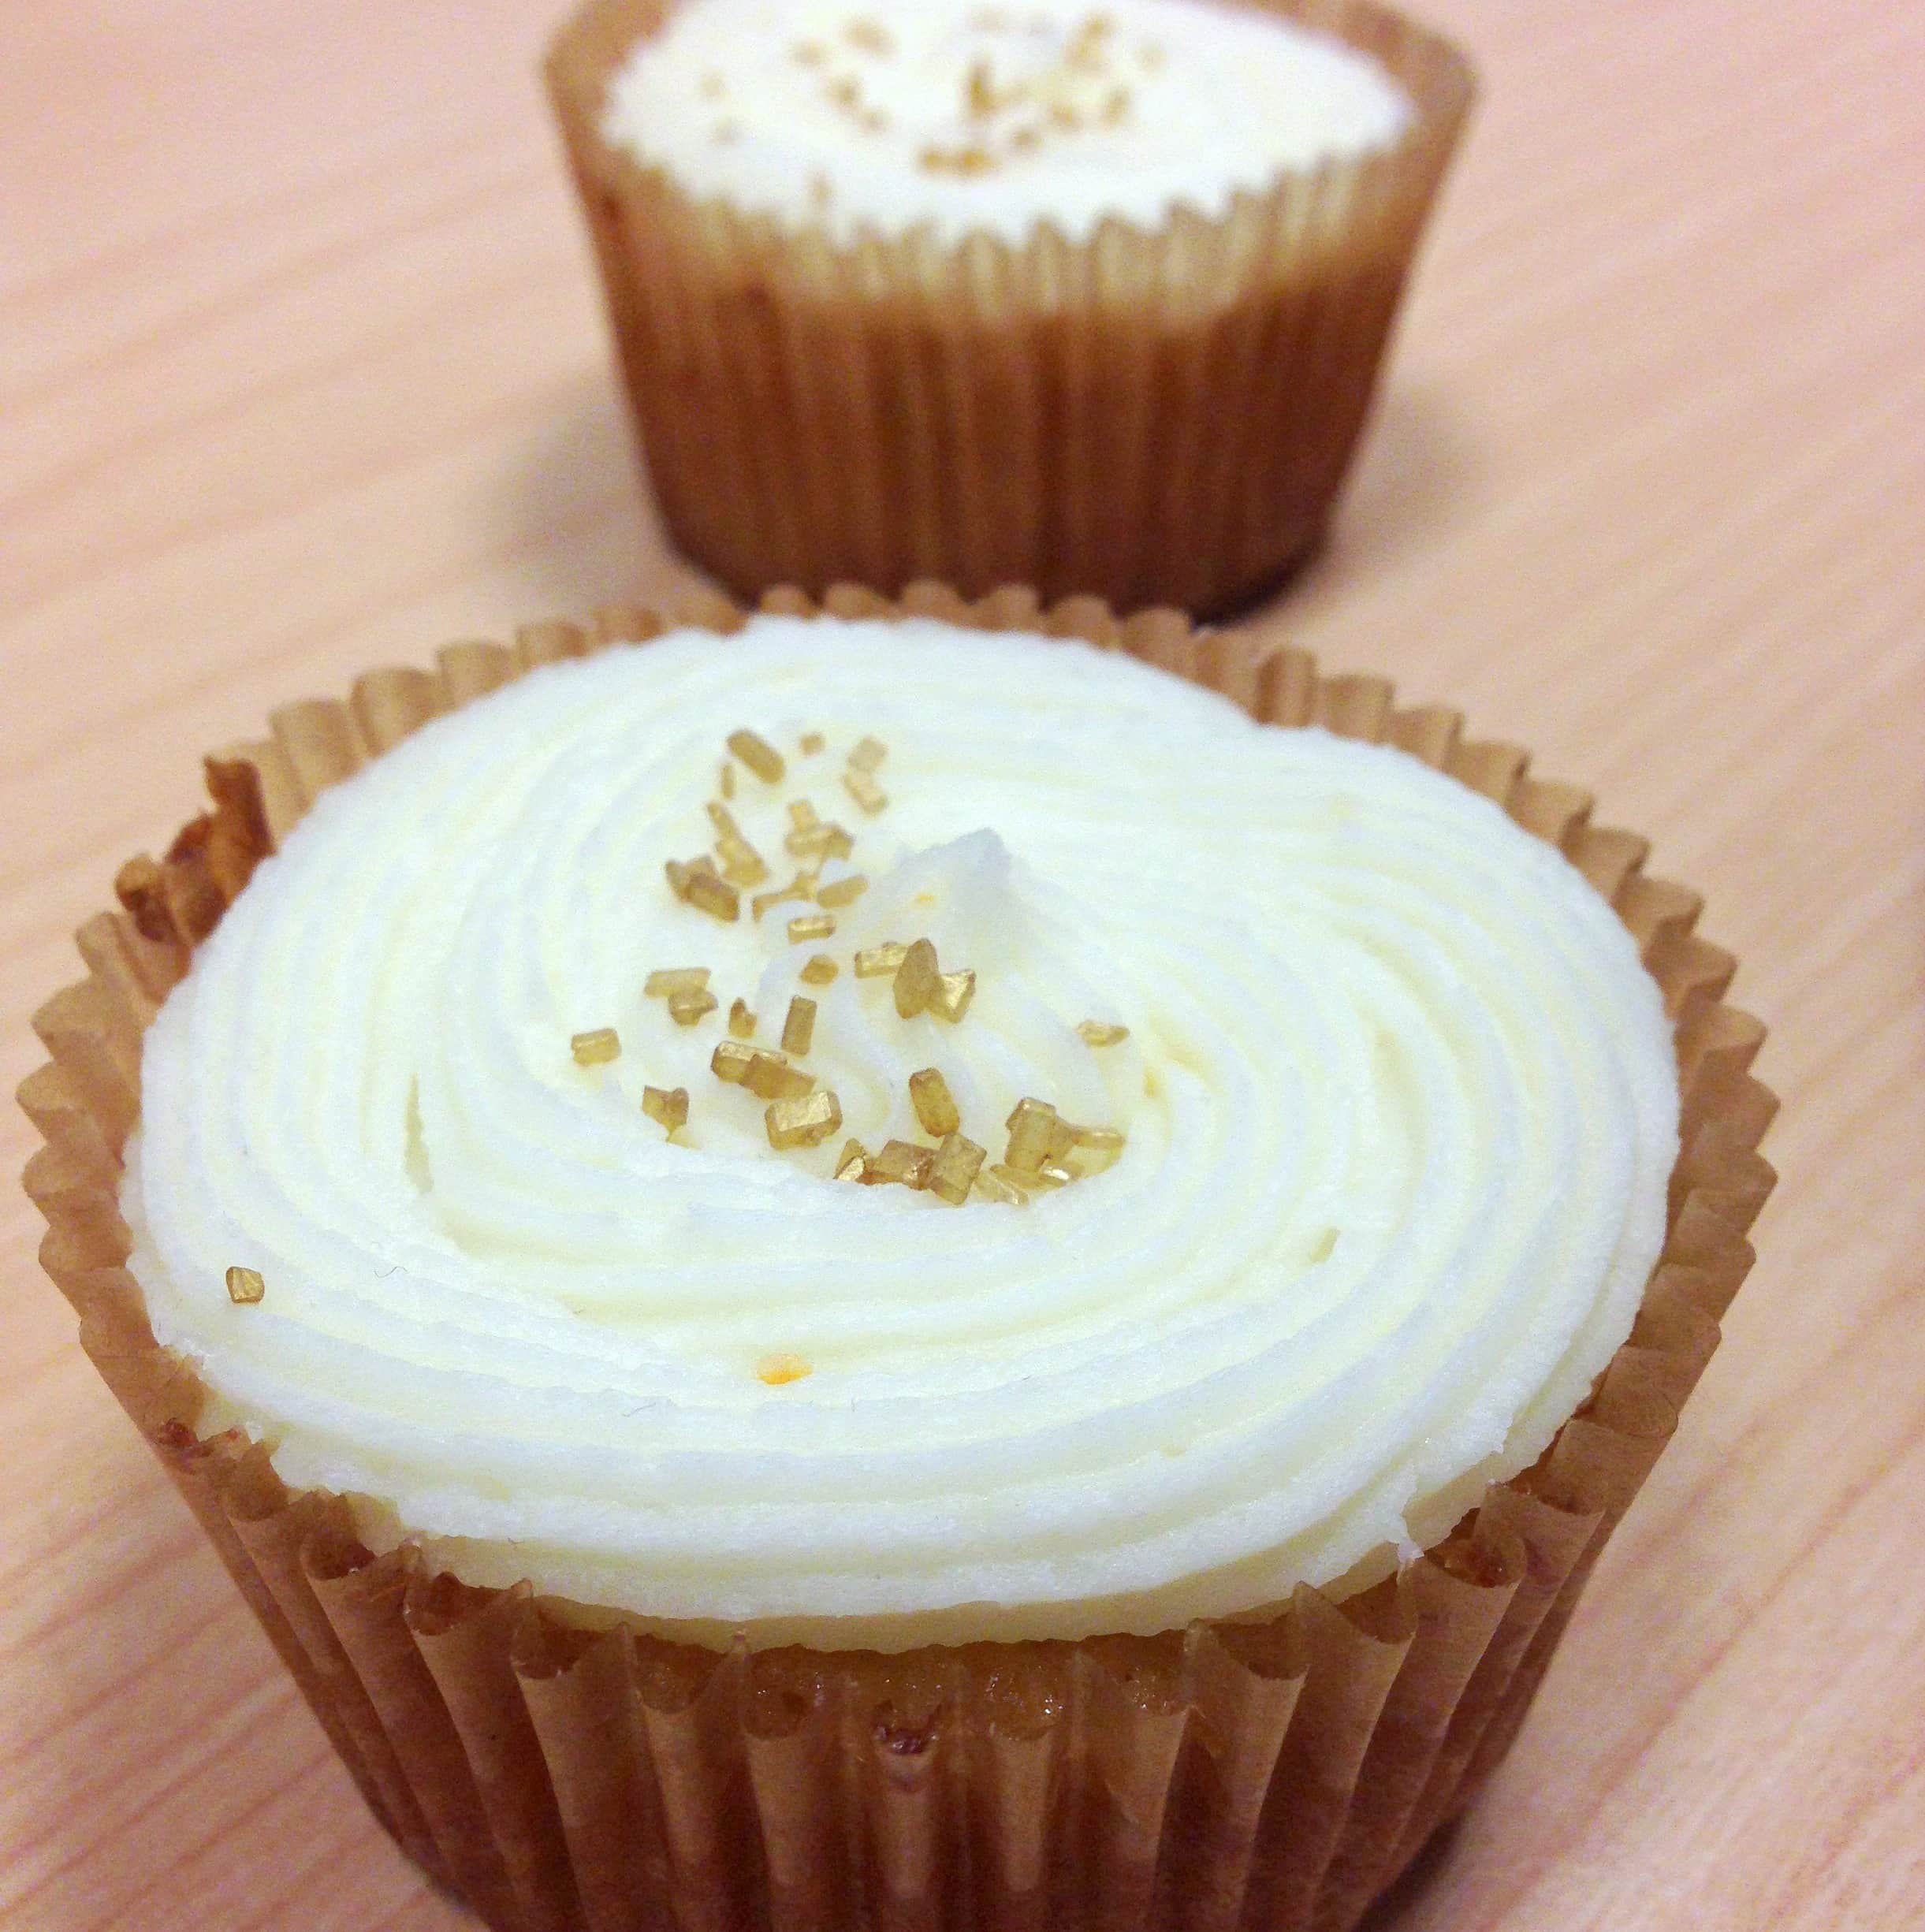
This recipe for Champagne Cupcakes was sent to me by Golden Blossom Honey. Golden Blossom’s honey is composed of honey from three flowers — extra-white clover, sage buckwheat, and orange blossom so the flavor profile is unique and really tasty!
These cupcakes highlight the taste of the honey with the addition of orange and dry champagne, making for a really moist and flavorful cupcake.
I’m a bit late posting this cookie recipe after Christmas and all but who really gets upset about a cookie recipe?
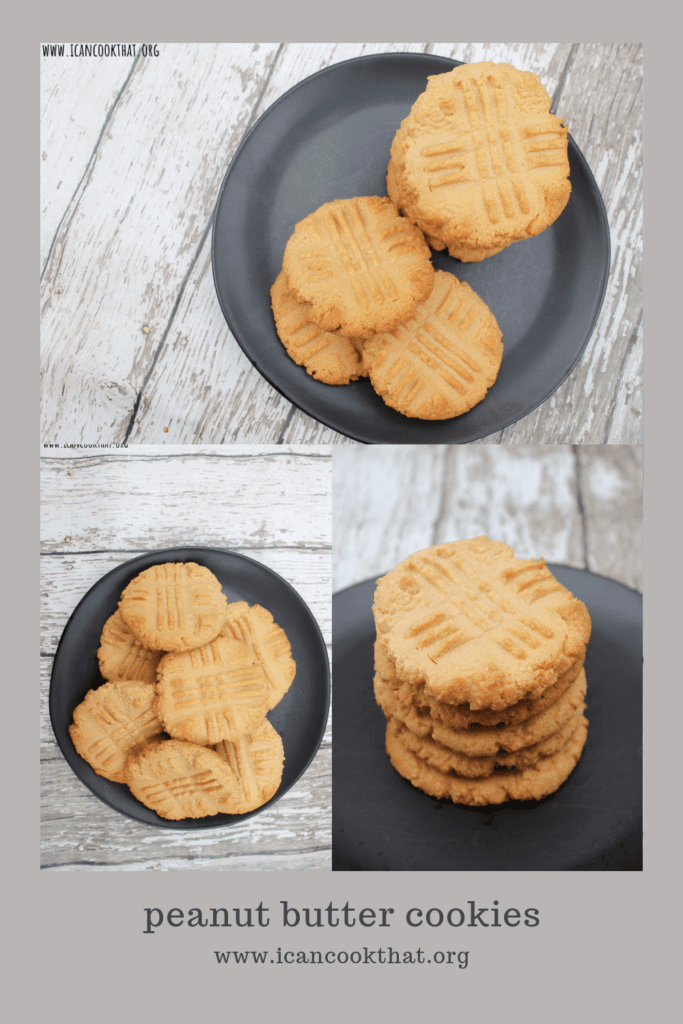
For as long as I can remember, Peanut Butter Cookies have been a part of my Christmas celebrations. They are just the best. And luckily, they are really easy to make too!
This recipe is from Food Network and can be made in under 30 minutes; you don’t even have to refrigerate the dough before baking!
Ingredients (makes approximately 2 dozen cookies):
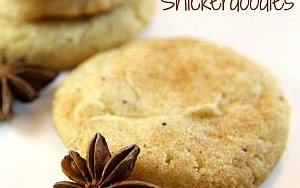
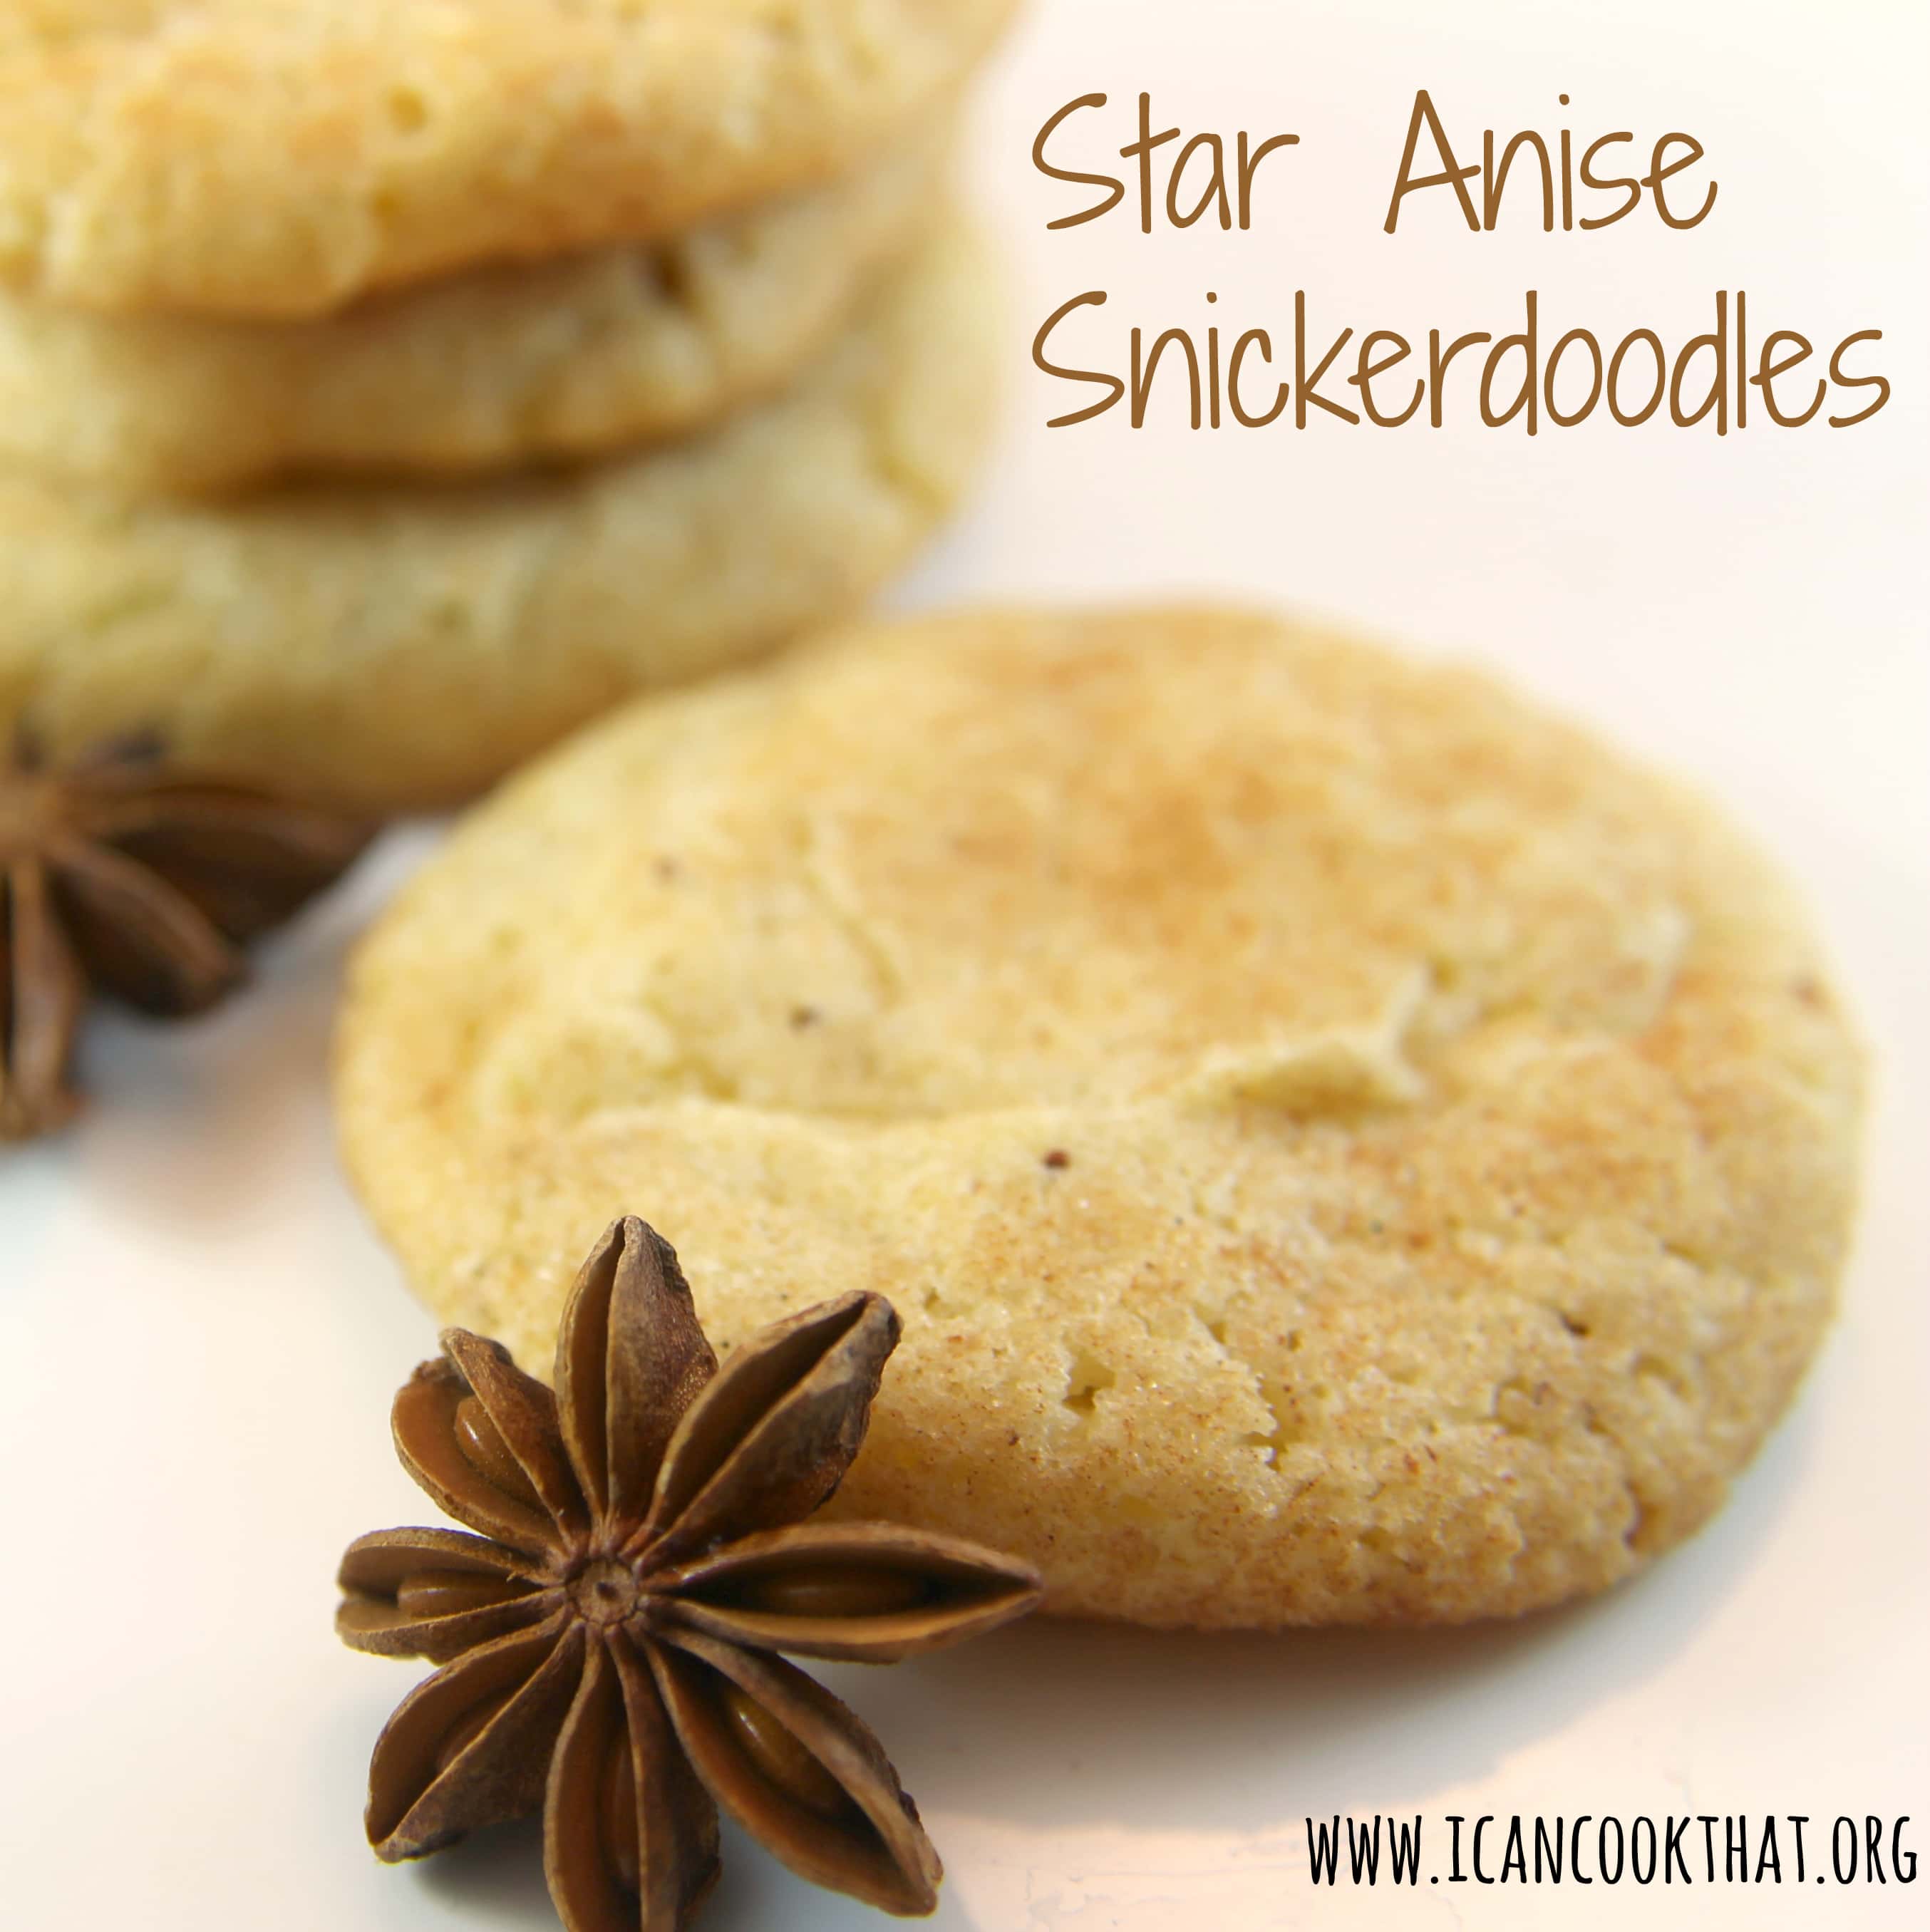
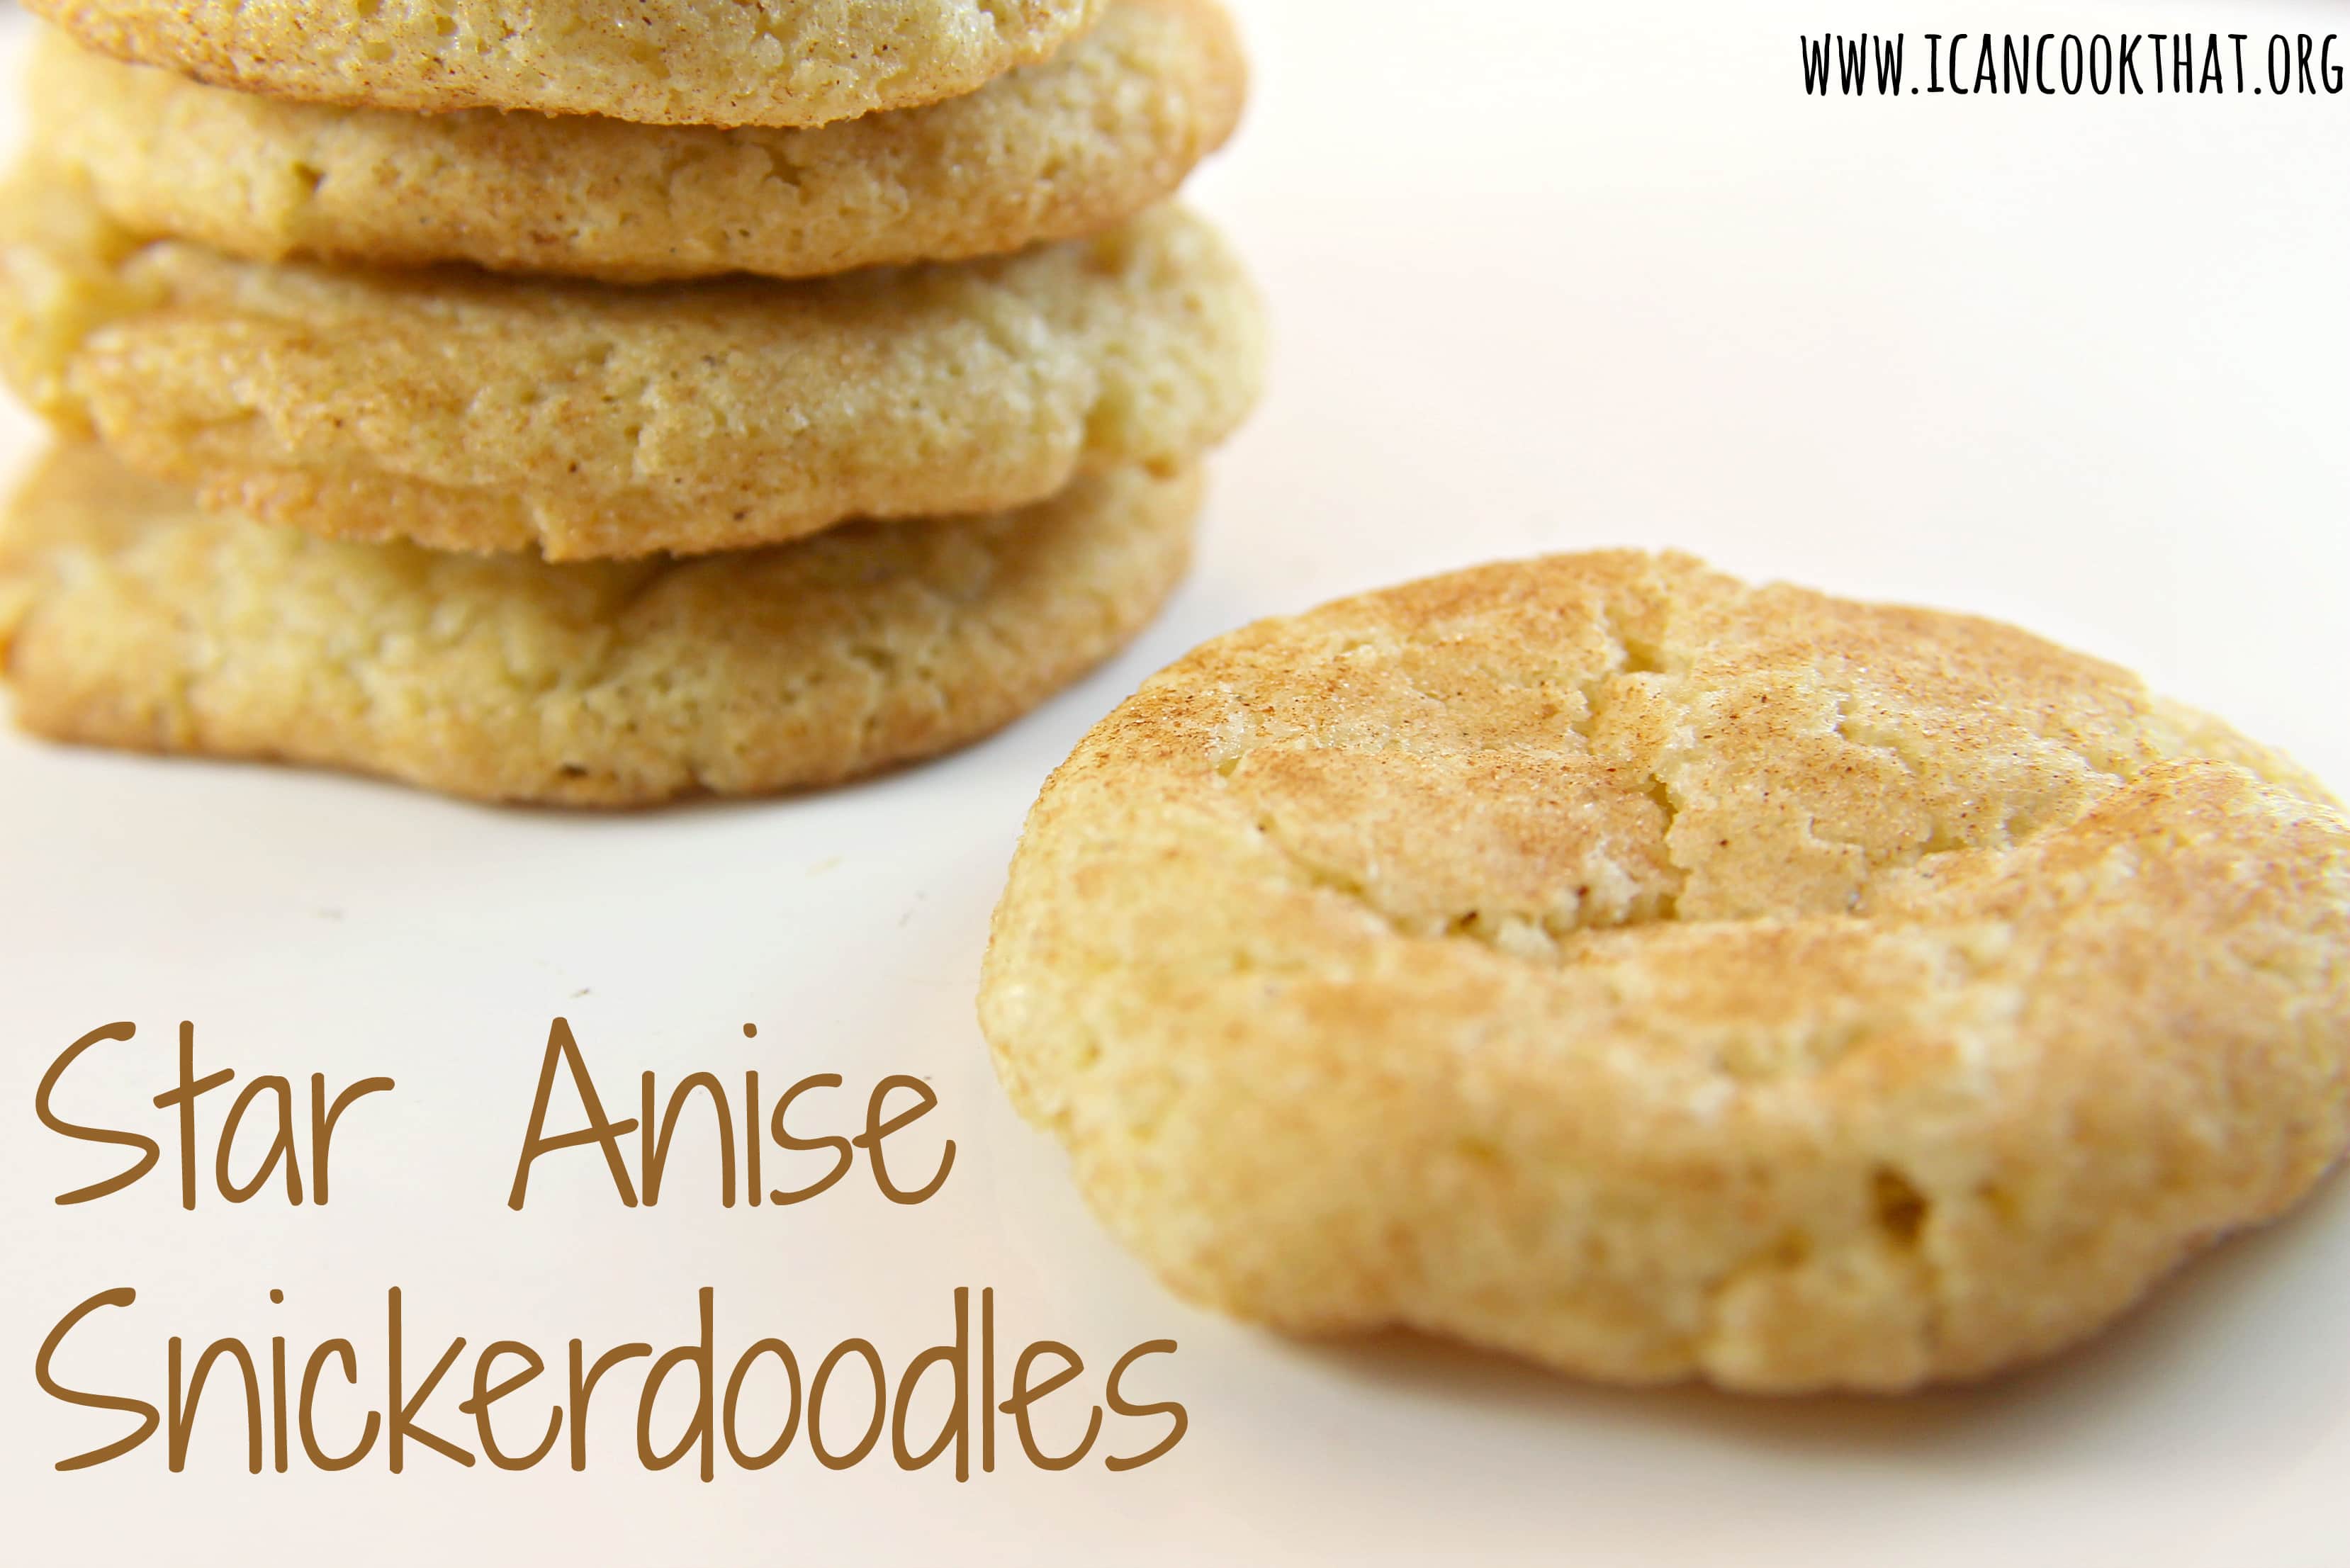
Boy did I start my cookie baking late this year! I can’t believe Christmas is just days away. I was recently sent a beautiful carved cinnamon bark box with 3 oz of Vietnam cinnamon by World Vision so I wanted to make a cookie recipe that would feature cinnamon, so I had to make snickerdoodles! This recipe for Star Anise Snickerdoodles from Cooking Light adds ground star anise to traditional sugar cookies for a subtle different take on the classic.
World Vision is a Gift Catalog that allows you to give a truly meaningful gift this holiday season. The catalog is filled with items for every budget ($16 to $39,000) that help children and families in need worldwide. The World Vision Gift Catalog offers an alternative (or addition to) traditional holiday gift giving. You can choose a gift for these families that fits your financial abilities and personal tastes. For example, a gardener may enjoy giving hybrid or drought-resistant seeds to a farmer with a donation of just $17 to help one family.
With a financial contribution, the gift giver can select one of 36 items that you will get while helping a person in need. The cinnamon used in this recipe comes with a donation of $85. The wonderful people at World Vision Gift Catalog have offered to give another Prosperity Cinnamon Box away to a lucky reader!
More after the recipe …
Ingredients:
1 1/4 cups all-purpose flour
1 teaspoon baking powder
1/2 teaspoon freshly ground star anise (about 2 pods)
This post brought to you by Campbell’s Dinner Sauces. Weekend-worthy dinners with only weekday-level effort needed! Learn more at https://www.campbellsauces.com/
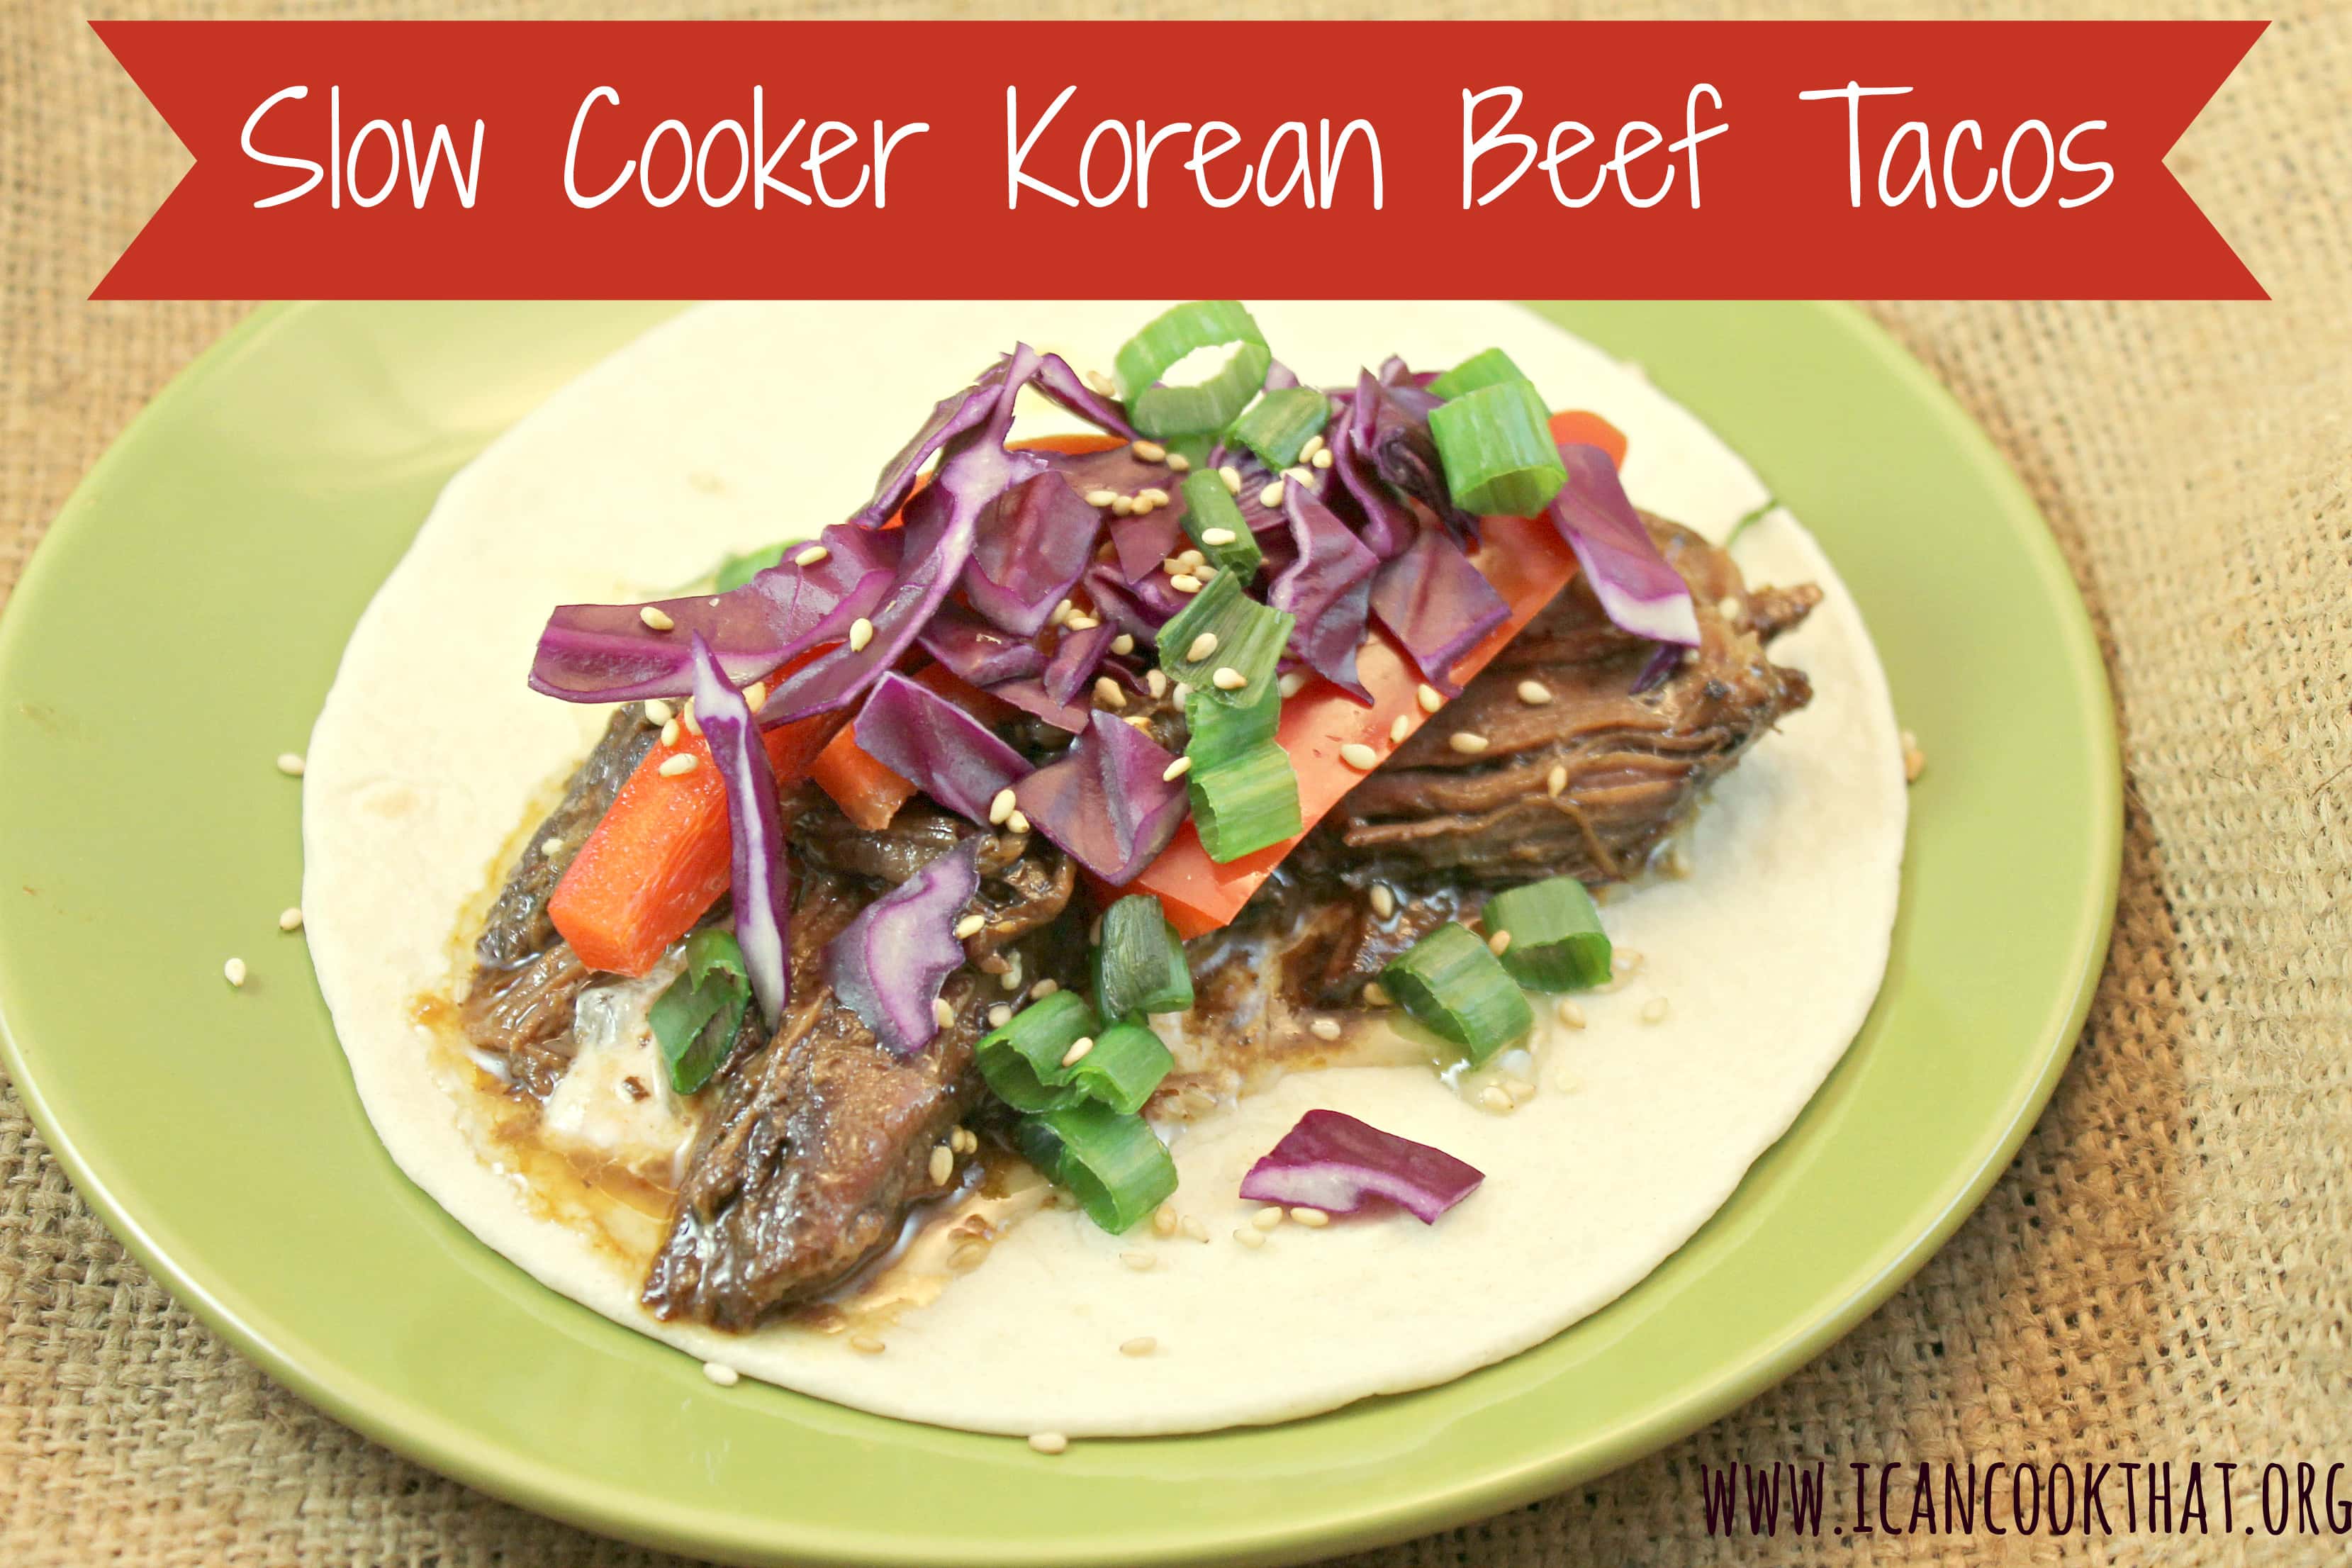
This year, my boyfriend and I are hosting a New Year’s Eve party. With a quite a few friends coming from out of town, I need a recipe that is simple to make but can feed a crowd. I also need something that doesn’t dirty up every pot and pan I own right before the party starts, which means I’m whipping out my trusty slow cooker!
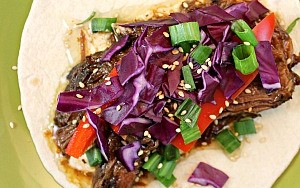
Campbell’s has made this process even easier for me with their new Slow Cooker Sauces. I actually mentioned in a previous post how I wanted to try the Sweet Korean BBQ sauce, so here’s my opportunity! I made a test batch this week to see how it tastes.
As a member of the DailyBuzz Brand Ambassador Program, I once again get to work with Campbell’s to try out another one of their delicious sounding sauces. The sauces are currently available in supermarkets, typically in the Gravy or Boxed Dinner Kit aisles. (To learn more about the sauces, check out their interactive Facebook app that gives more information about both the Skillet and the Slow Cooker Sauces.)
Because the sauce is already prepared, getting everything into the slow cooker is a cinch. To stretch the beef a little further, I made these into tacos served with red cabbage, sriracha sour cream, and red bell peppers.
Ingredients:
1 teaspoon olive oil
1 bunch green onions (scallions), divided
1 small yellow onion, chopped
3-4 lbs boneless chunk roast
1 package of Campbell’s Sweet Korean BBQ Slow Cooker Sauce
1 (8 oz) container sour cream
1 teaspoon to 1 tablespoon sriracha (depending on your spice tolerance)
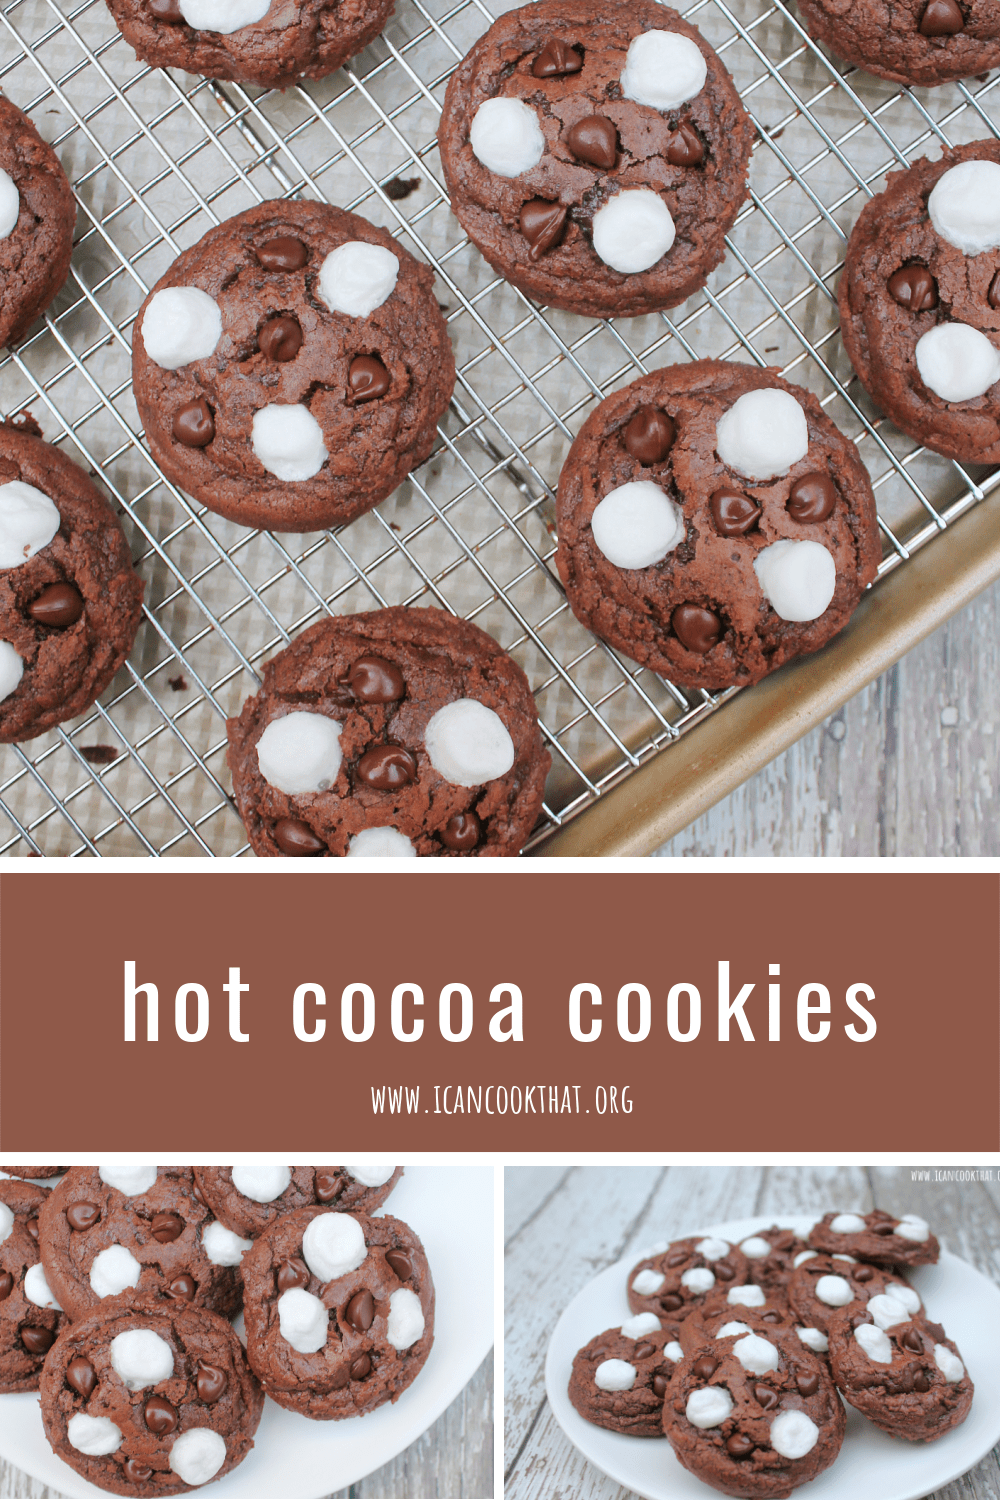
It’s that time of year again! I signed up for the Great Food Blogger Cookie Swap again this year and got some great ideas for what to bake for Christmas!
In its third year, the Great Food Blogger Cookie Swap helps raise money for Cookies for Kids’ Cancer, a national non-profit organization committed to funding new therapies used in the fight against pediatric cancer, which claims the lives of more children in the US than any other disease. The swap raised $13,778.40 this year, raised through blogger participants donations and matching donations from OXO, Dixie Crystals, Gold Medal, and Grandma’s Molasses. The goal was $10,000, so to get nearly $4,000 more in donations is amazing!
So here’s how the actual swapping part of this works: I was assigned three food bloggers and made one dozen cookies for each of them. In return, I received three different boxes of cookies from other bloggers.
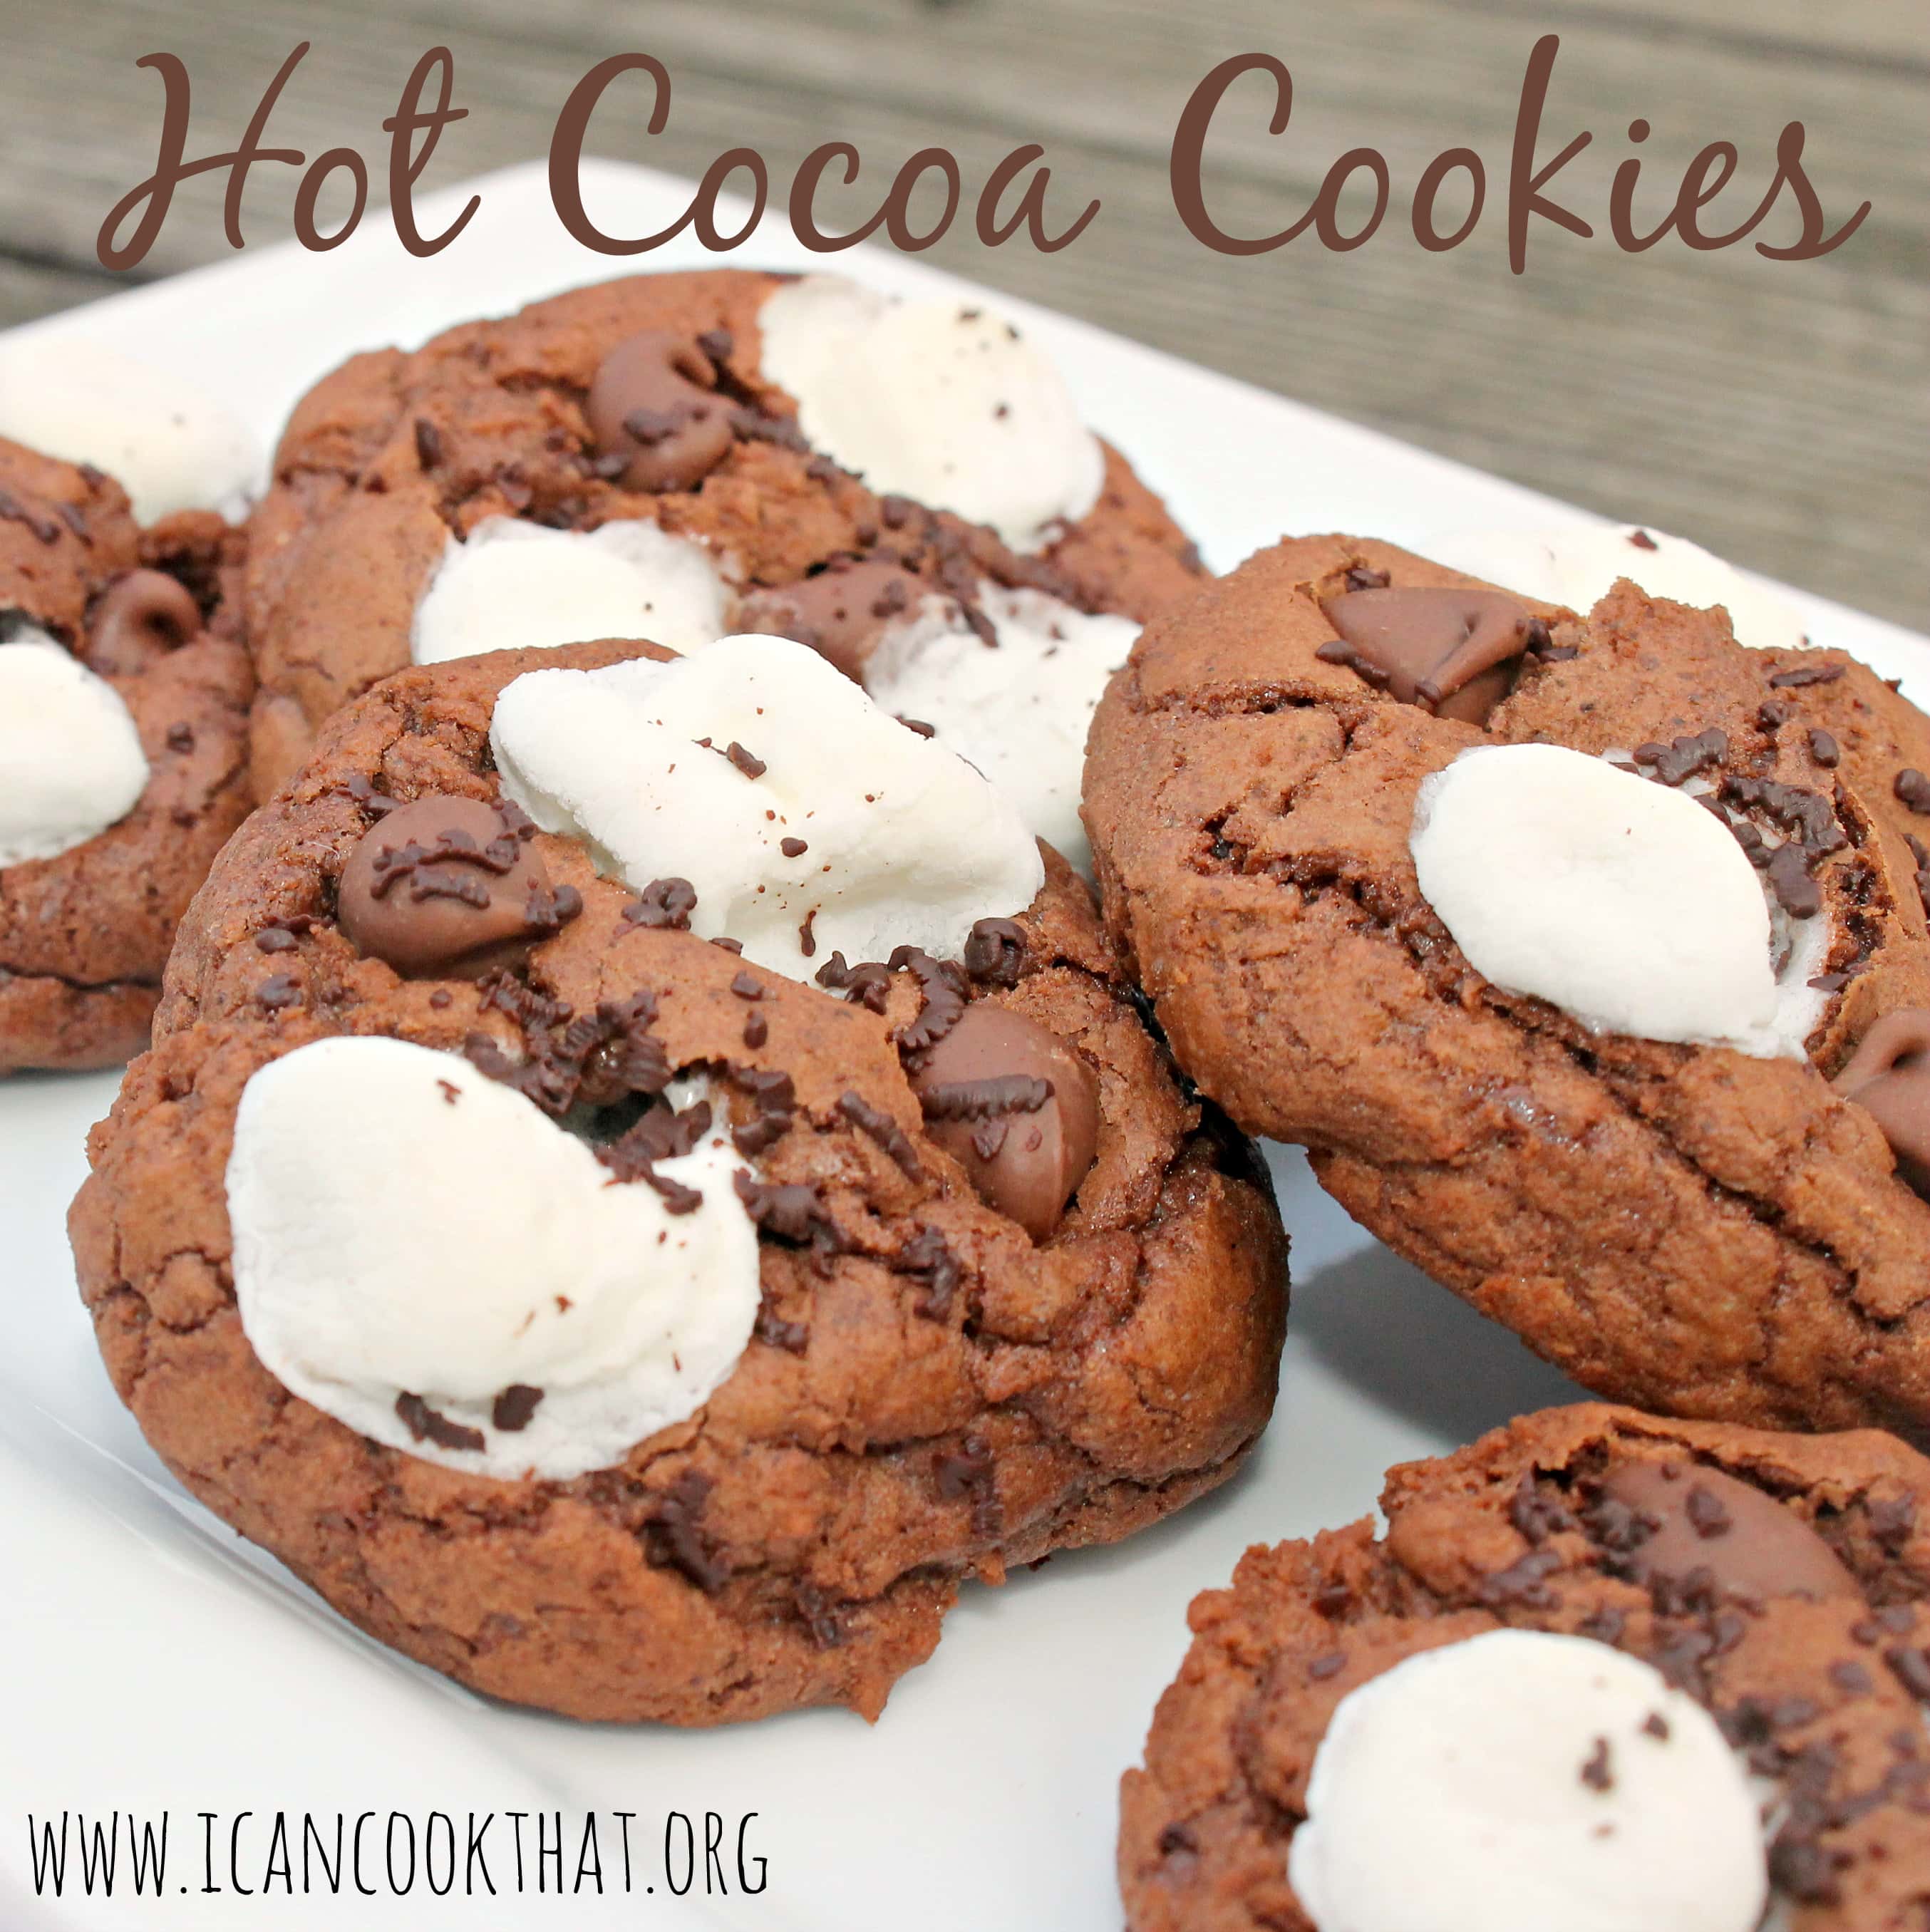
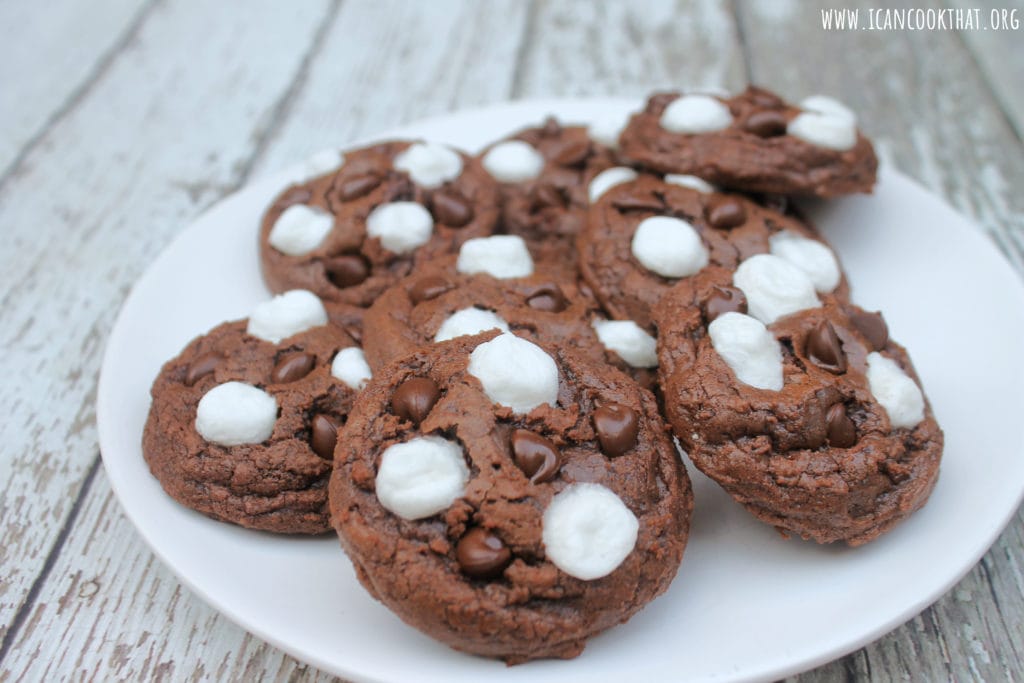
Last year, I received a batch of hot cocoa cookies that were SO good I was craving them again this year. So I decided to make some myself! The chocolate cookies are topped with mini marshmallows, chocolate chips, and a touch of grated chocolate. I based my recipe off of Rachel Ray’s Hot Cocoa Cookies recipe.
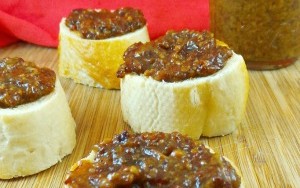
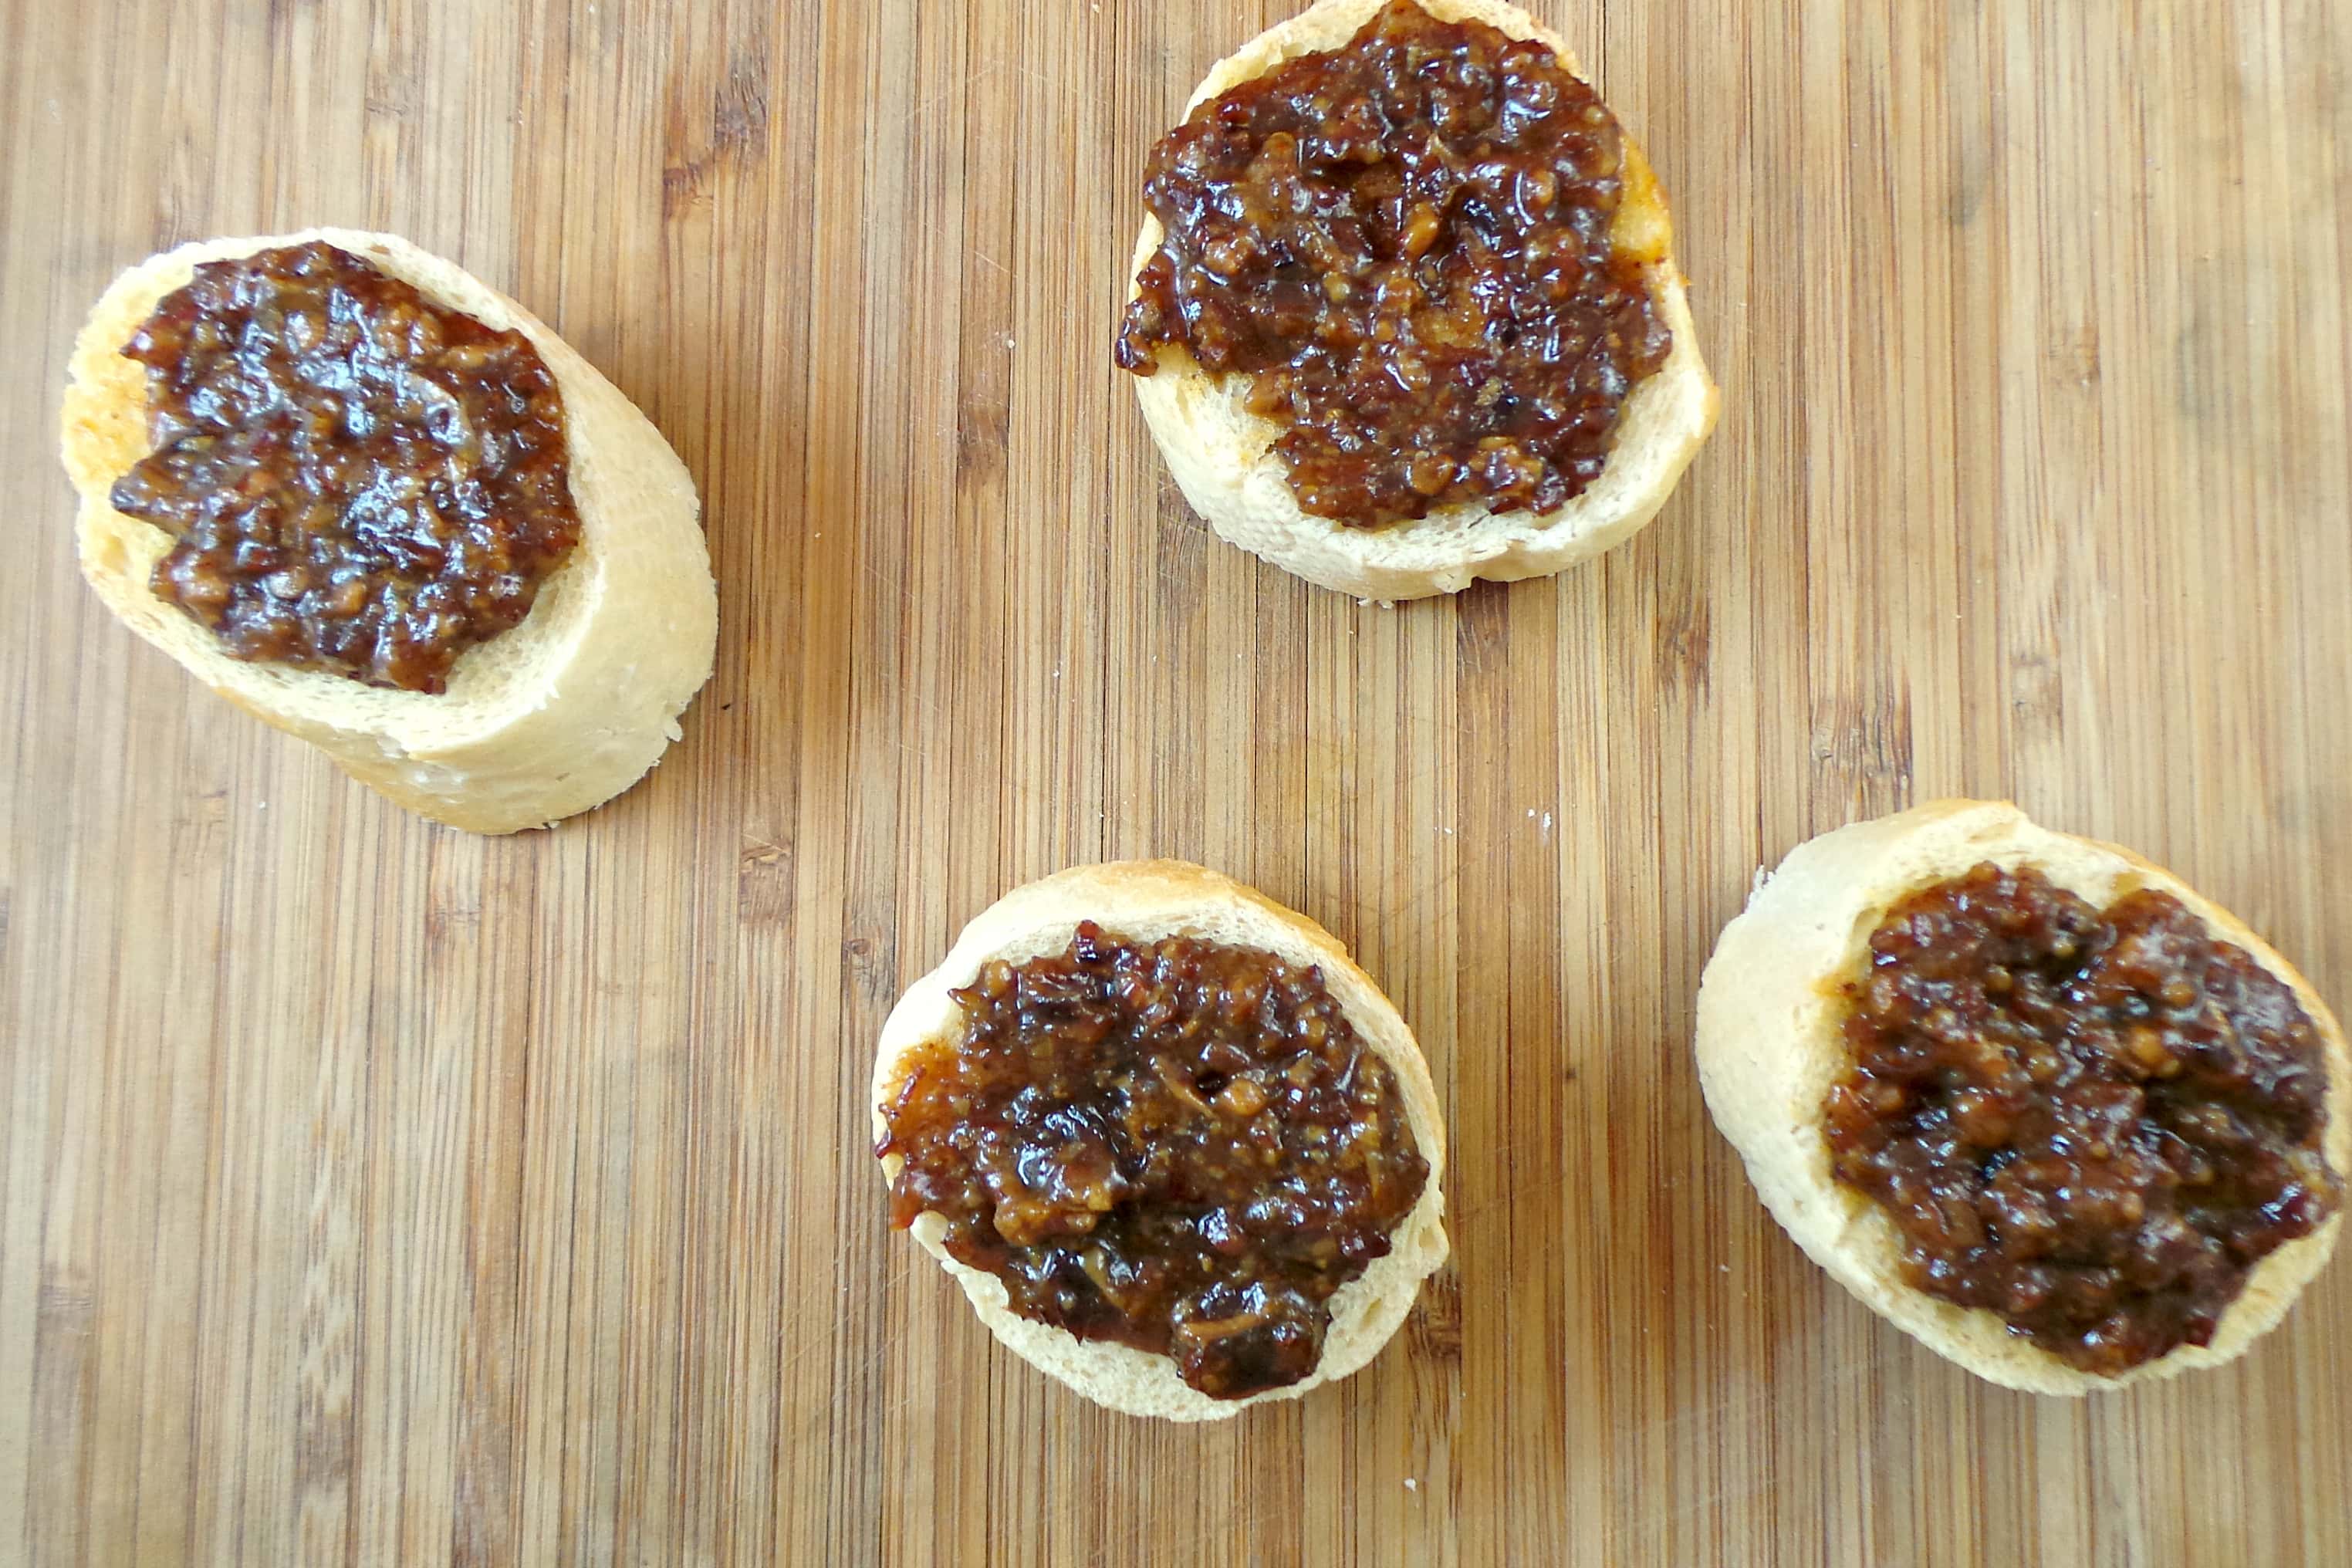
I wanted to make an appetizer that travels easily so that I could bring it up to an engagement party I was attending on Long Island. Closet Cooking has a fantastic recipe for Maple Bourbon Bacon Jam that sounded perfect. I altered it to make it into a slow cooker recipe because I didn’t have time to keep something on the stove for 1-2 hours (I actually ended up making this overnight) and made it a bit less spicy.
The jam can be made well ahead of time which made it perfect for traveling!
Ingredients:
1 (16 oz) package uncured center cut bacon
1 large white onion, sliced
5 cloves garlic, roughly chopped
1/4 cup cider vinegar
1 cup brewed coffee
1/4 cup packed brown sugar
1/4 cup maple syrup
1/4 cup bourbon
1 chipotle chili in adobo, chopped, plus a teaspoon of the adobo sauce
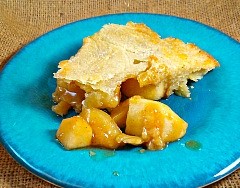
You can never have too many pie recipes during the holidays! This one for Caramel Apple Pie is a great spin on a traditional apple pie that adds caramel to really amp up the flavor. The recipe comes from Organic Valley and uses their Salted Butter, Whole Milk, and Eggs. Note: I was sent a coupon to receive one Organic Valley product for free.
Organic Valley is a co-op of organic farmers based in La Farge, Wisconsin. The cooperative was founded in 1988 and markets its products in all 50 states as well as Canada and Japan. Organic Valley promotes organic agricultural methods, with each participating farm certified as organic by the National Organic Program.
A problem I still run into when cooking/baking is I rarely read the directions all the way though before starting (a huge no no). So I made a completely different pie crust by accident because I got confused as to where the sugar and egg was supposed to go in the original recipe. Luckily it turned out fine (whew!) but for the original recipe, be sure to head over to the Organic Valley website.
2 pounds organic Granny Smith apples (10-11 medium-sized apples or 4 large), peeled, cored and cut into ½-inch thick slices (coat slices with juice of 1 lemon to prevent browning)
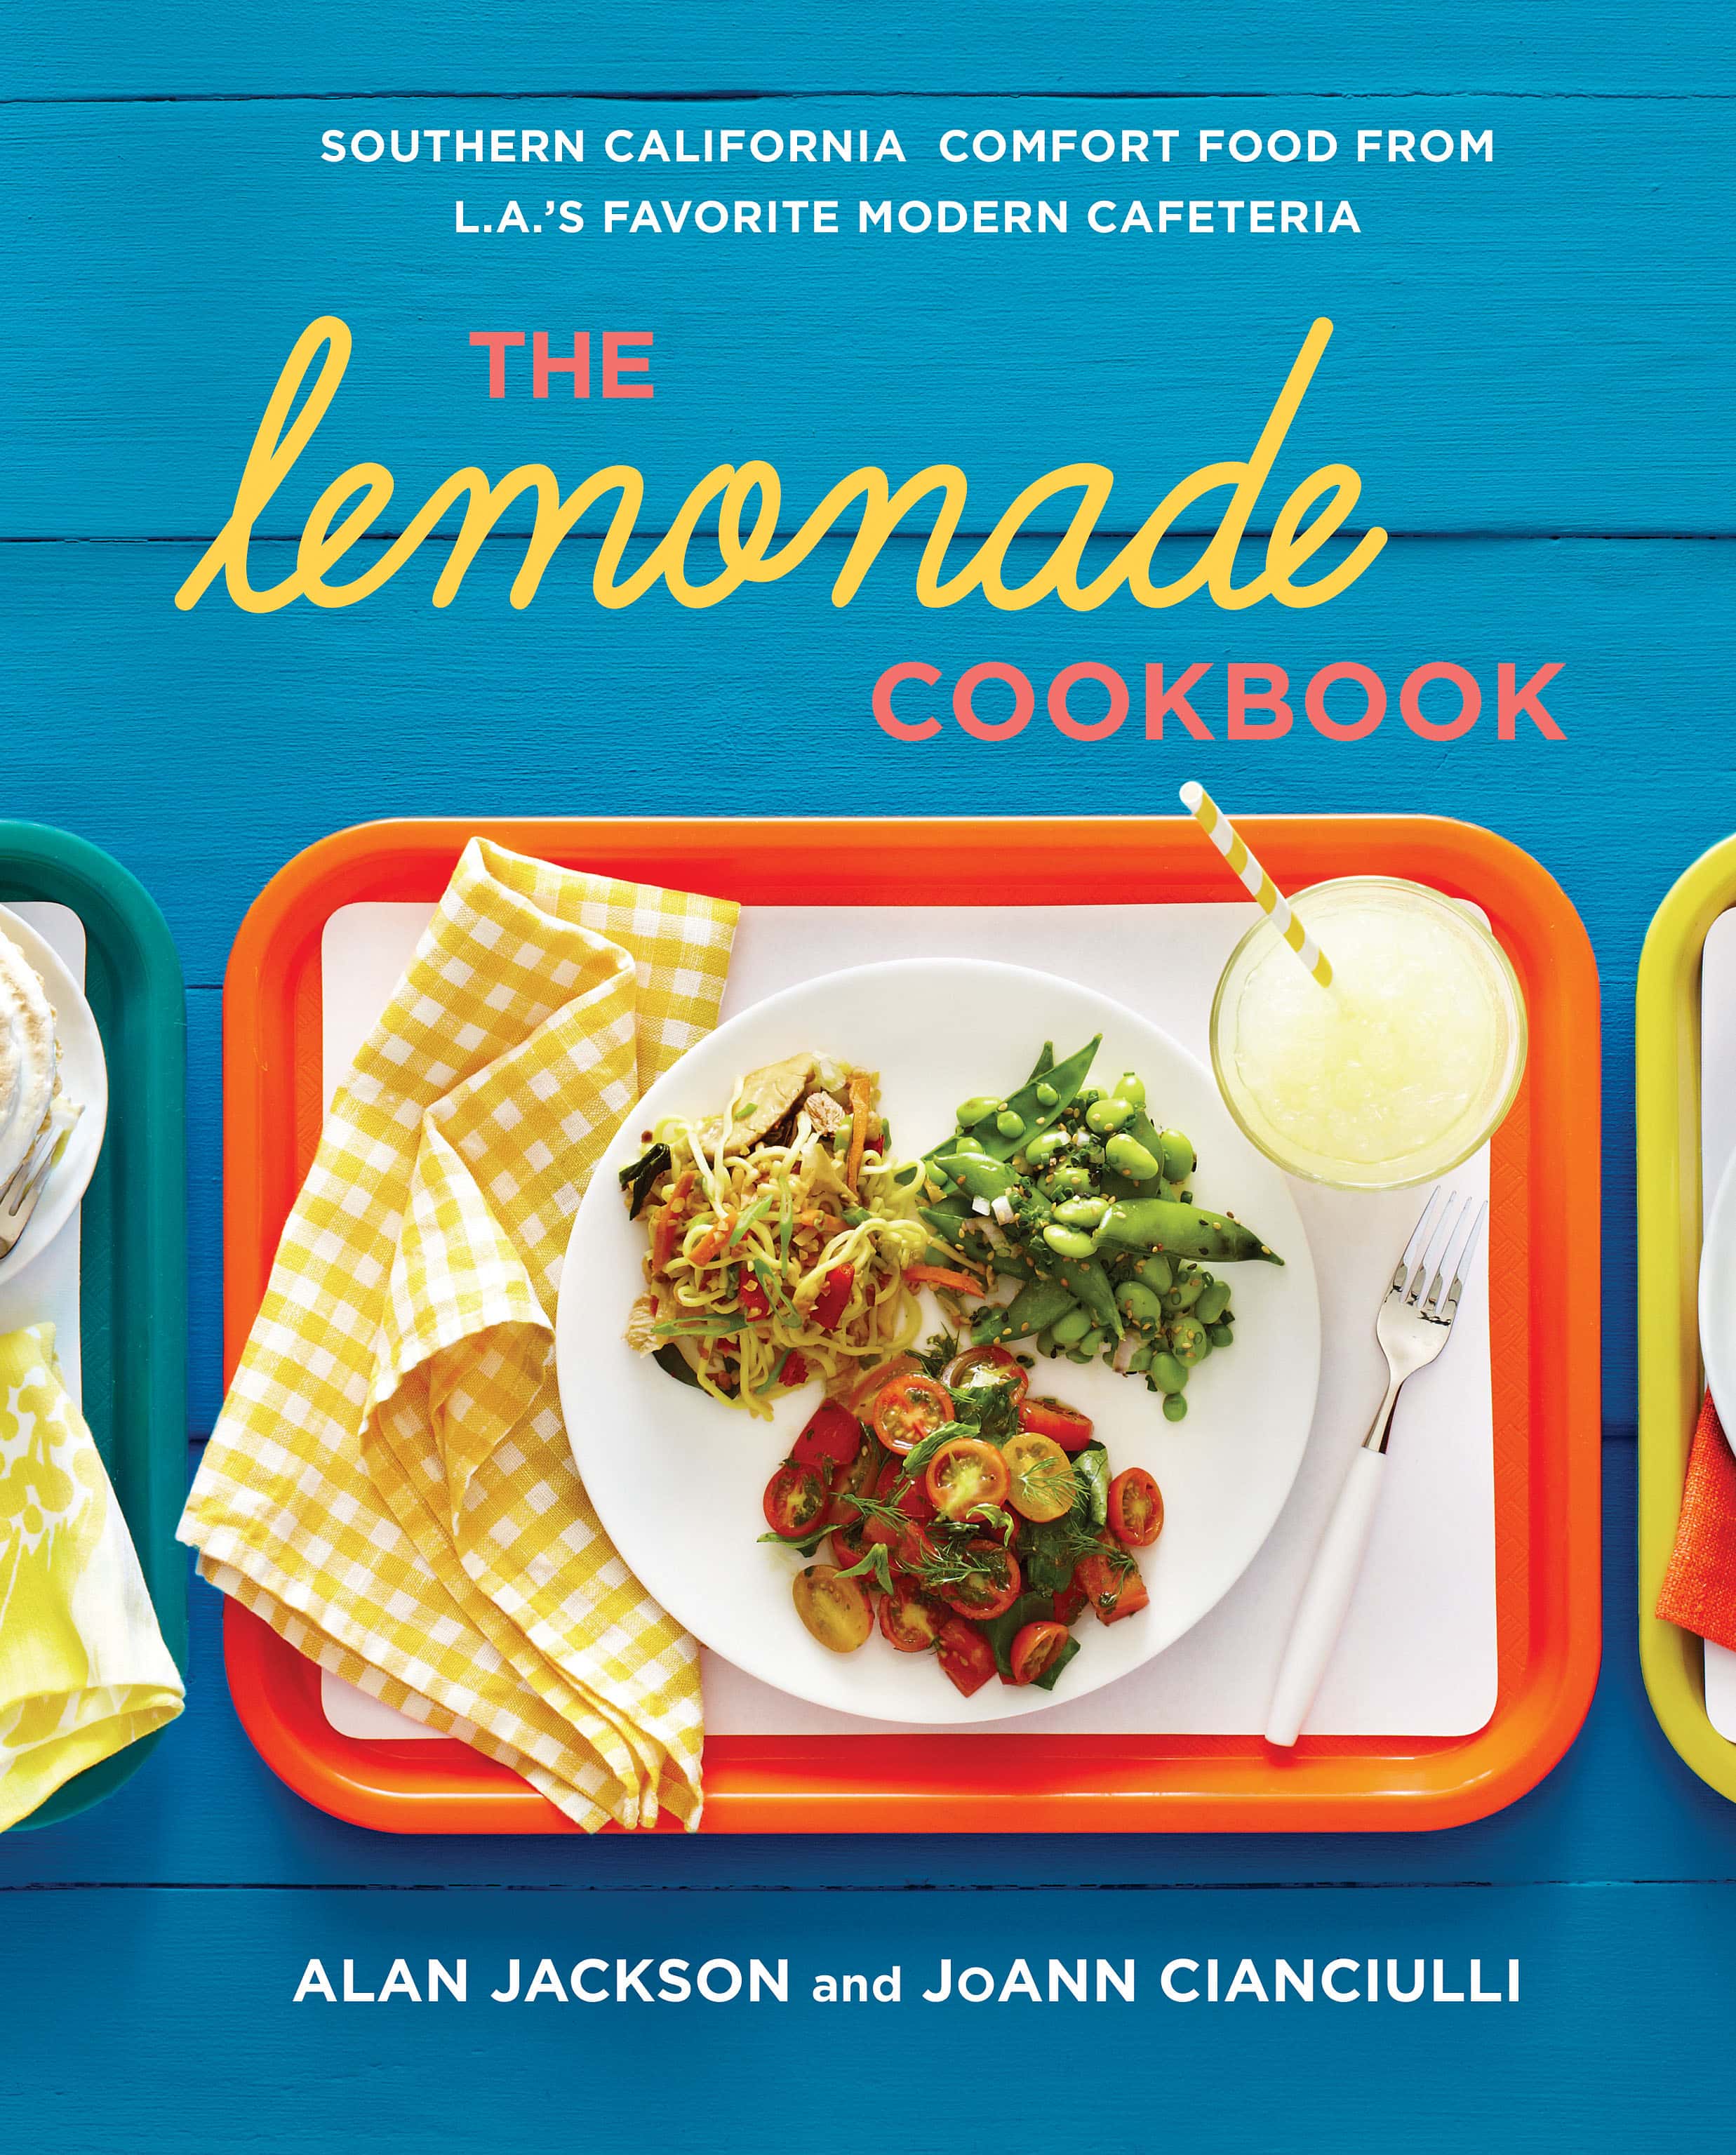
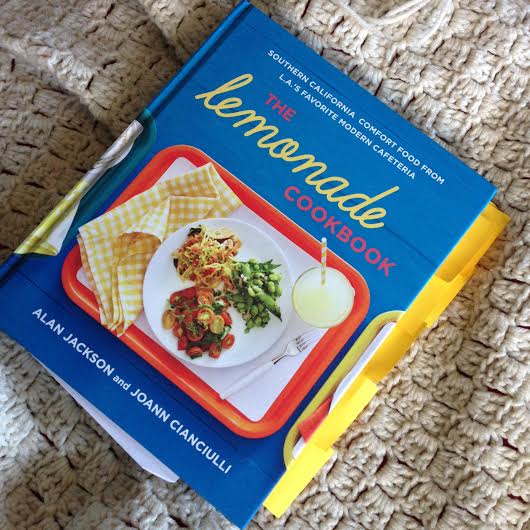
There are some really fantastic sounding recipes in this cookbook. Just look at how I tabbed this book trying to decide which to make for this post!
Included in the cookbook, which features 120 recipe, are:
Forbidden Rice with Hearts of Palms, Mushrooms and a Jalapeno Vinaigrette
Bay Shrimp with Cannellini Beans dressed in Shallots and Cayenne Pepper
Red Miso Short Rib Braise
Lemon Poppy Seed Bundt Cake
Unique Lemonade concoctions like Peach Ginger, Pear Basil, and Cantaloupe Sage
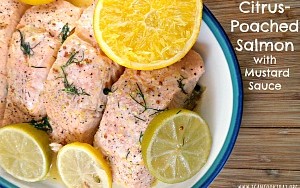
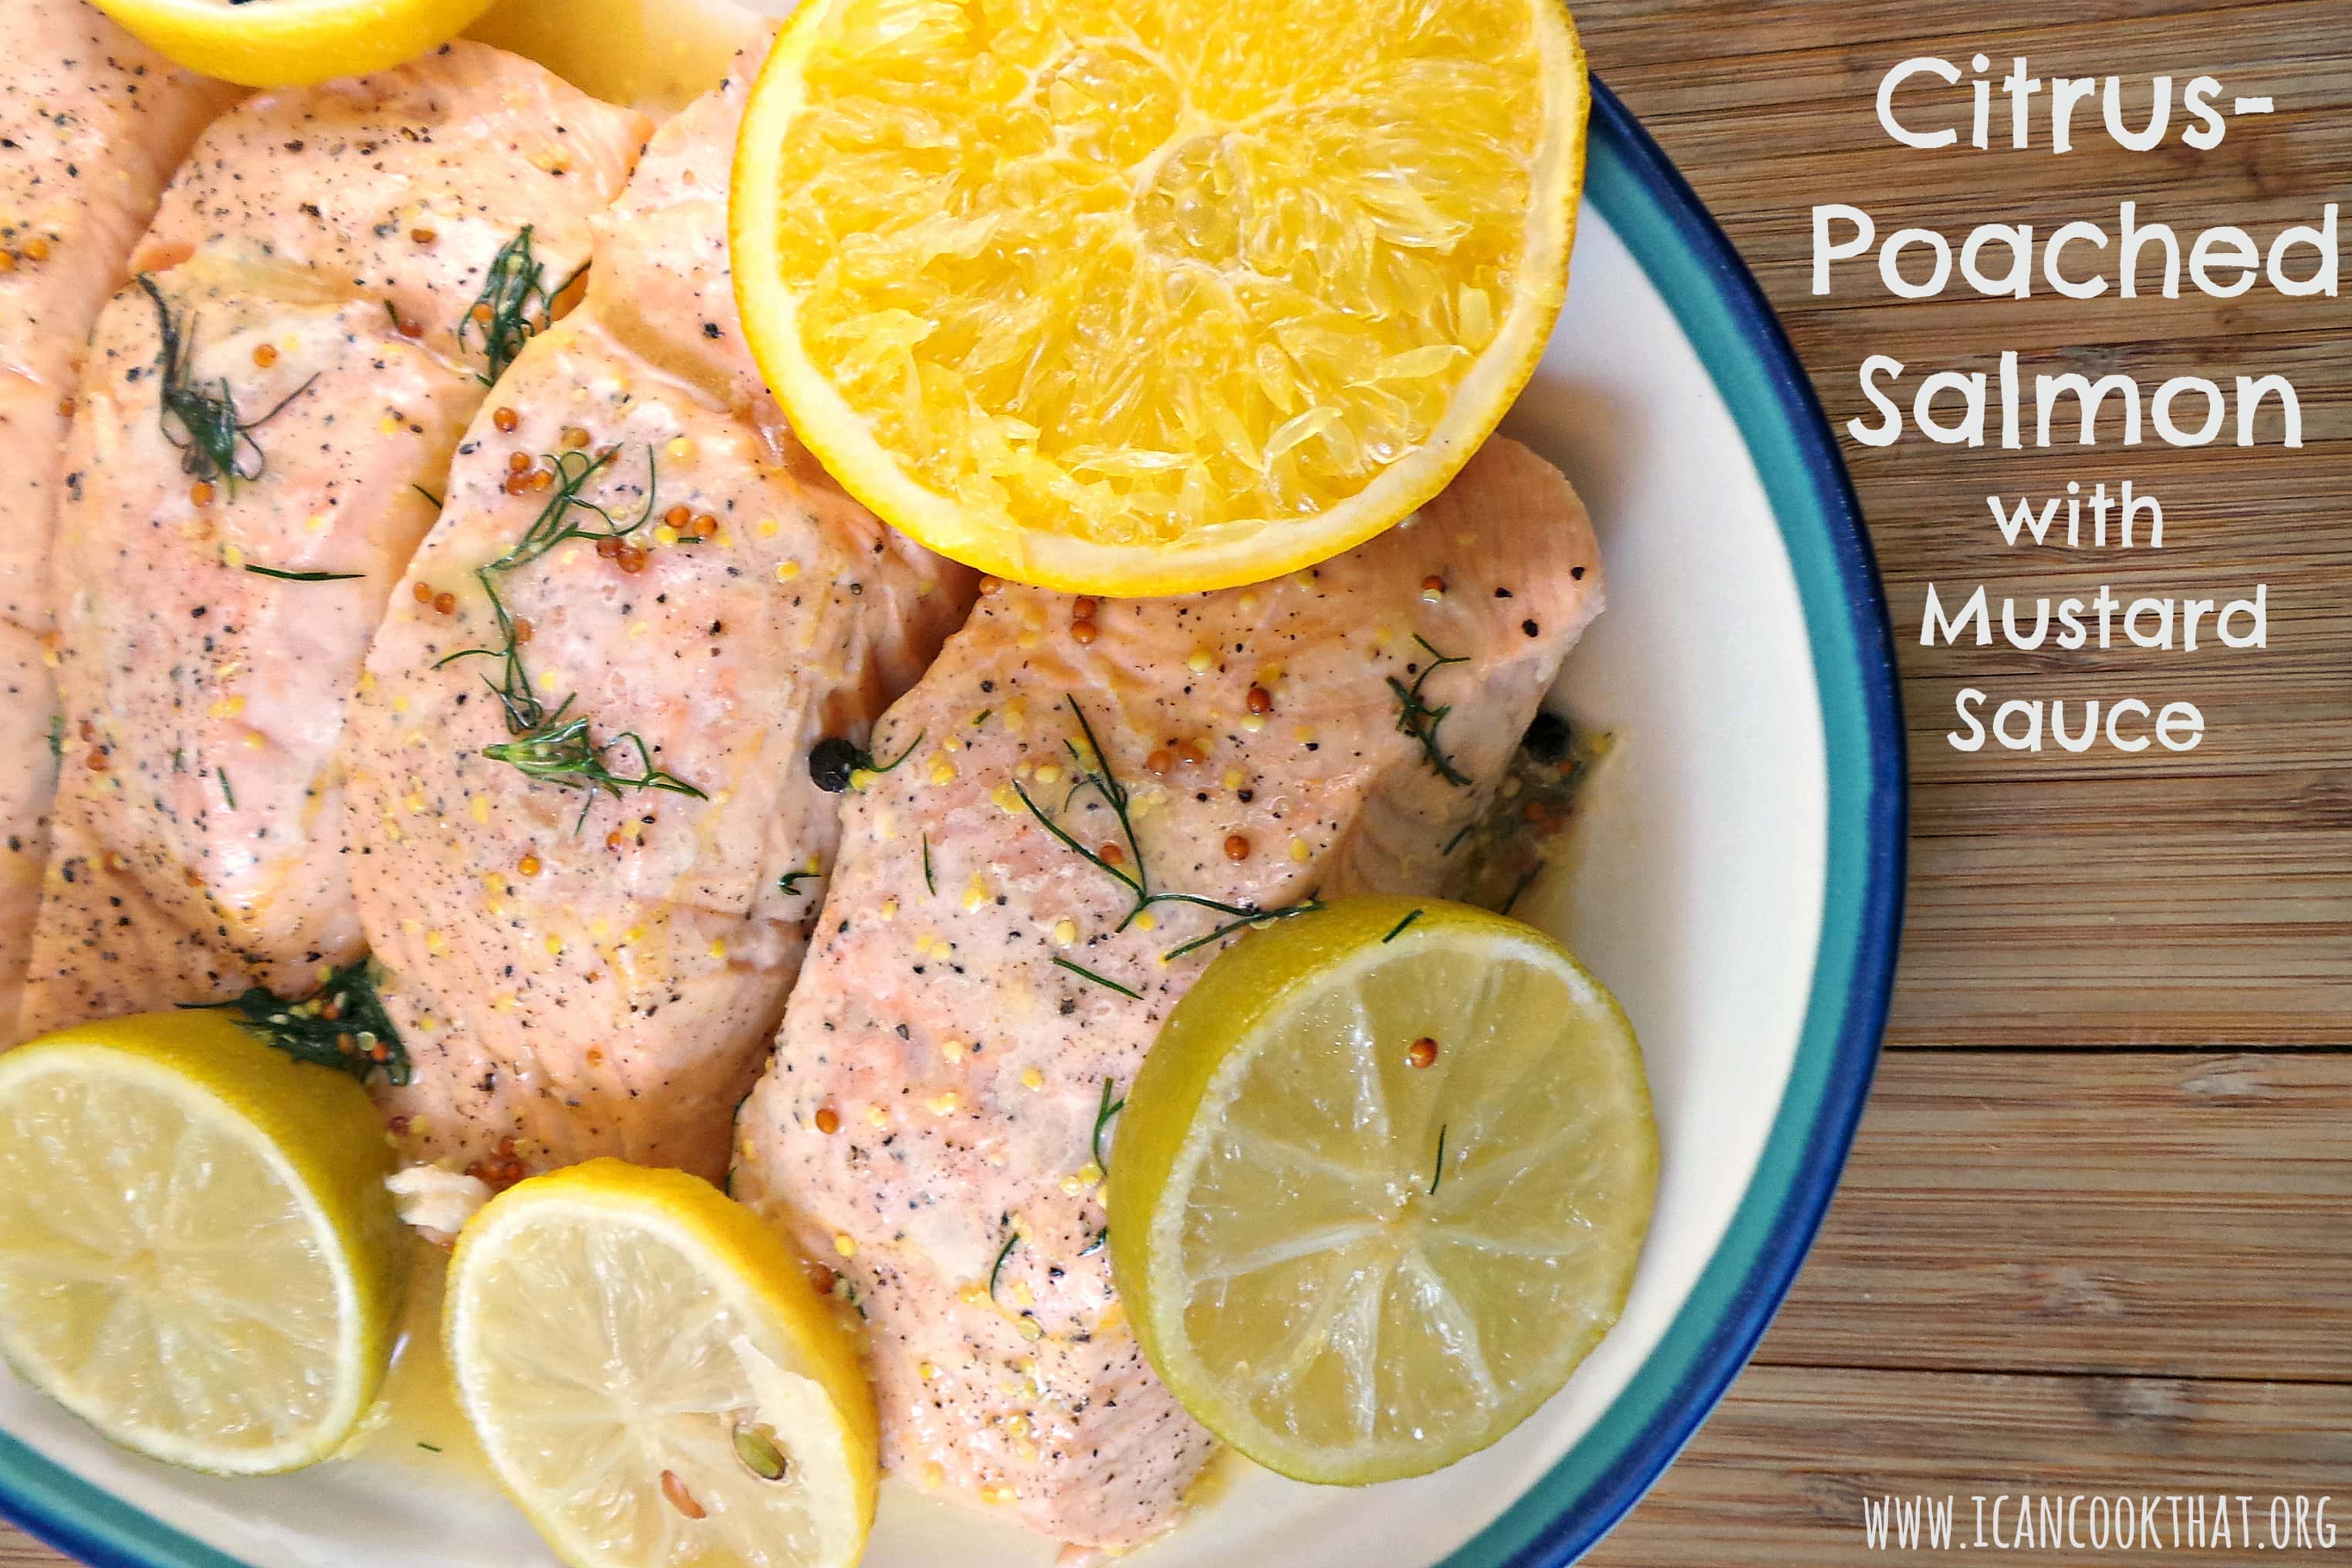
With descriptions like that, I have to point out that these recipes are surprisingly unfussy and manageable to make at home. I decided to make the salmon because 1. it sounds delicious and 2. I have never poached fish before and I love trying out new techniques.
This recipe takes about 40 minutes from start to finish so it is great for a special weeknight dinner (or as a mid-week pick me up!) I changed the ingredients ever so slightly so to see the original, check out the cookbook, available in stores now!
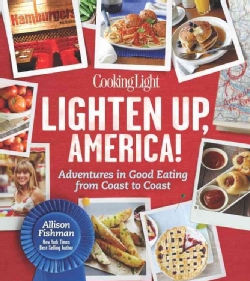
It is fitting that I am able to host this giveaway so close to my blog anniversary! One of my biggest inspirations for learning how to cook and starting a blog to document it was Cooking Light Magazine. My mom on a whim picked up a copy of the magazine while at the supermarket. As I paged through, I was surprised with how simple the recipes seemed to be and how absolutely delicious they all sounded. After cooking a couple of the recipes, I was hooked. Three years later, Cooking Light remains a huge inspiration as I continue to learn how to cook.
One of the best parts of learning to cook is being able to experience different cultures in your very own kitchen. America alone has a ton of different cooking styles with different areas and cities having signature dishes. Allison Fishman Task, a contributing editor of Cooking Light, traveled across America to discover native dishes across the nation. The lightened up versions can be found in Lighten Up. America! Favorite American Foods Made Guilt-Free. The cookbook tackles everything from fried green tomatoes to Philly cheesesteaks.
You can win a copy of this cookbook for your very own! Details after the recipe…
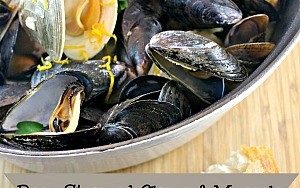
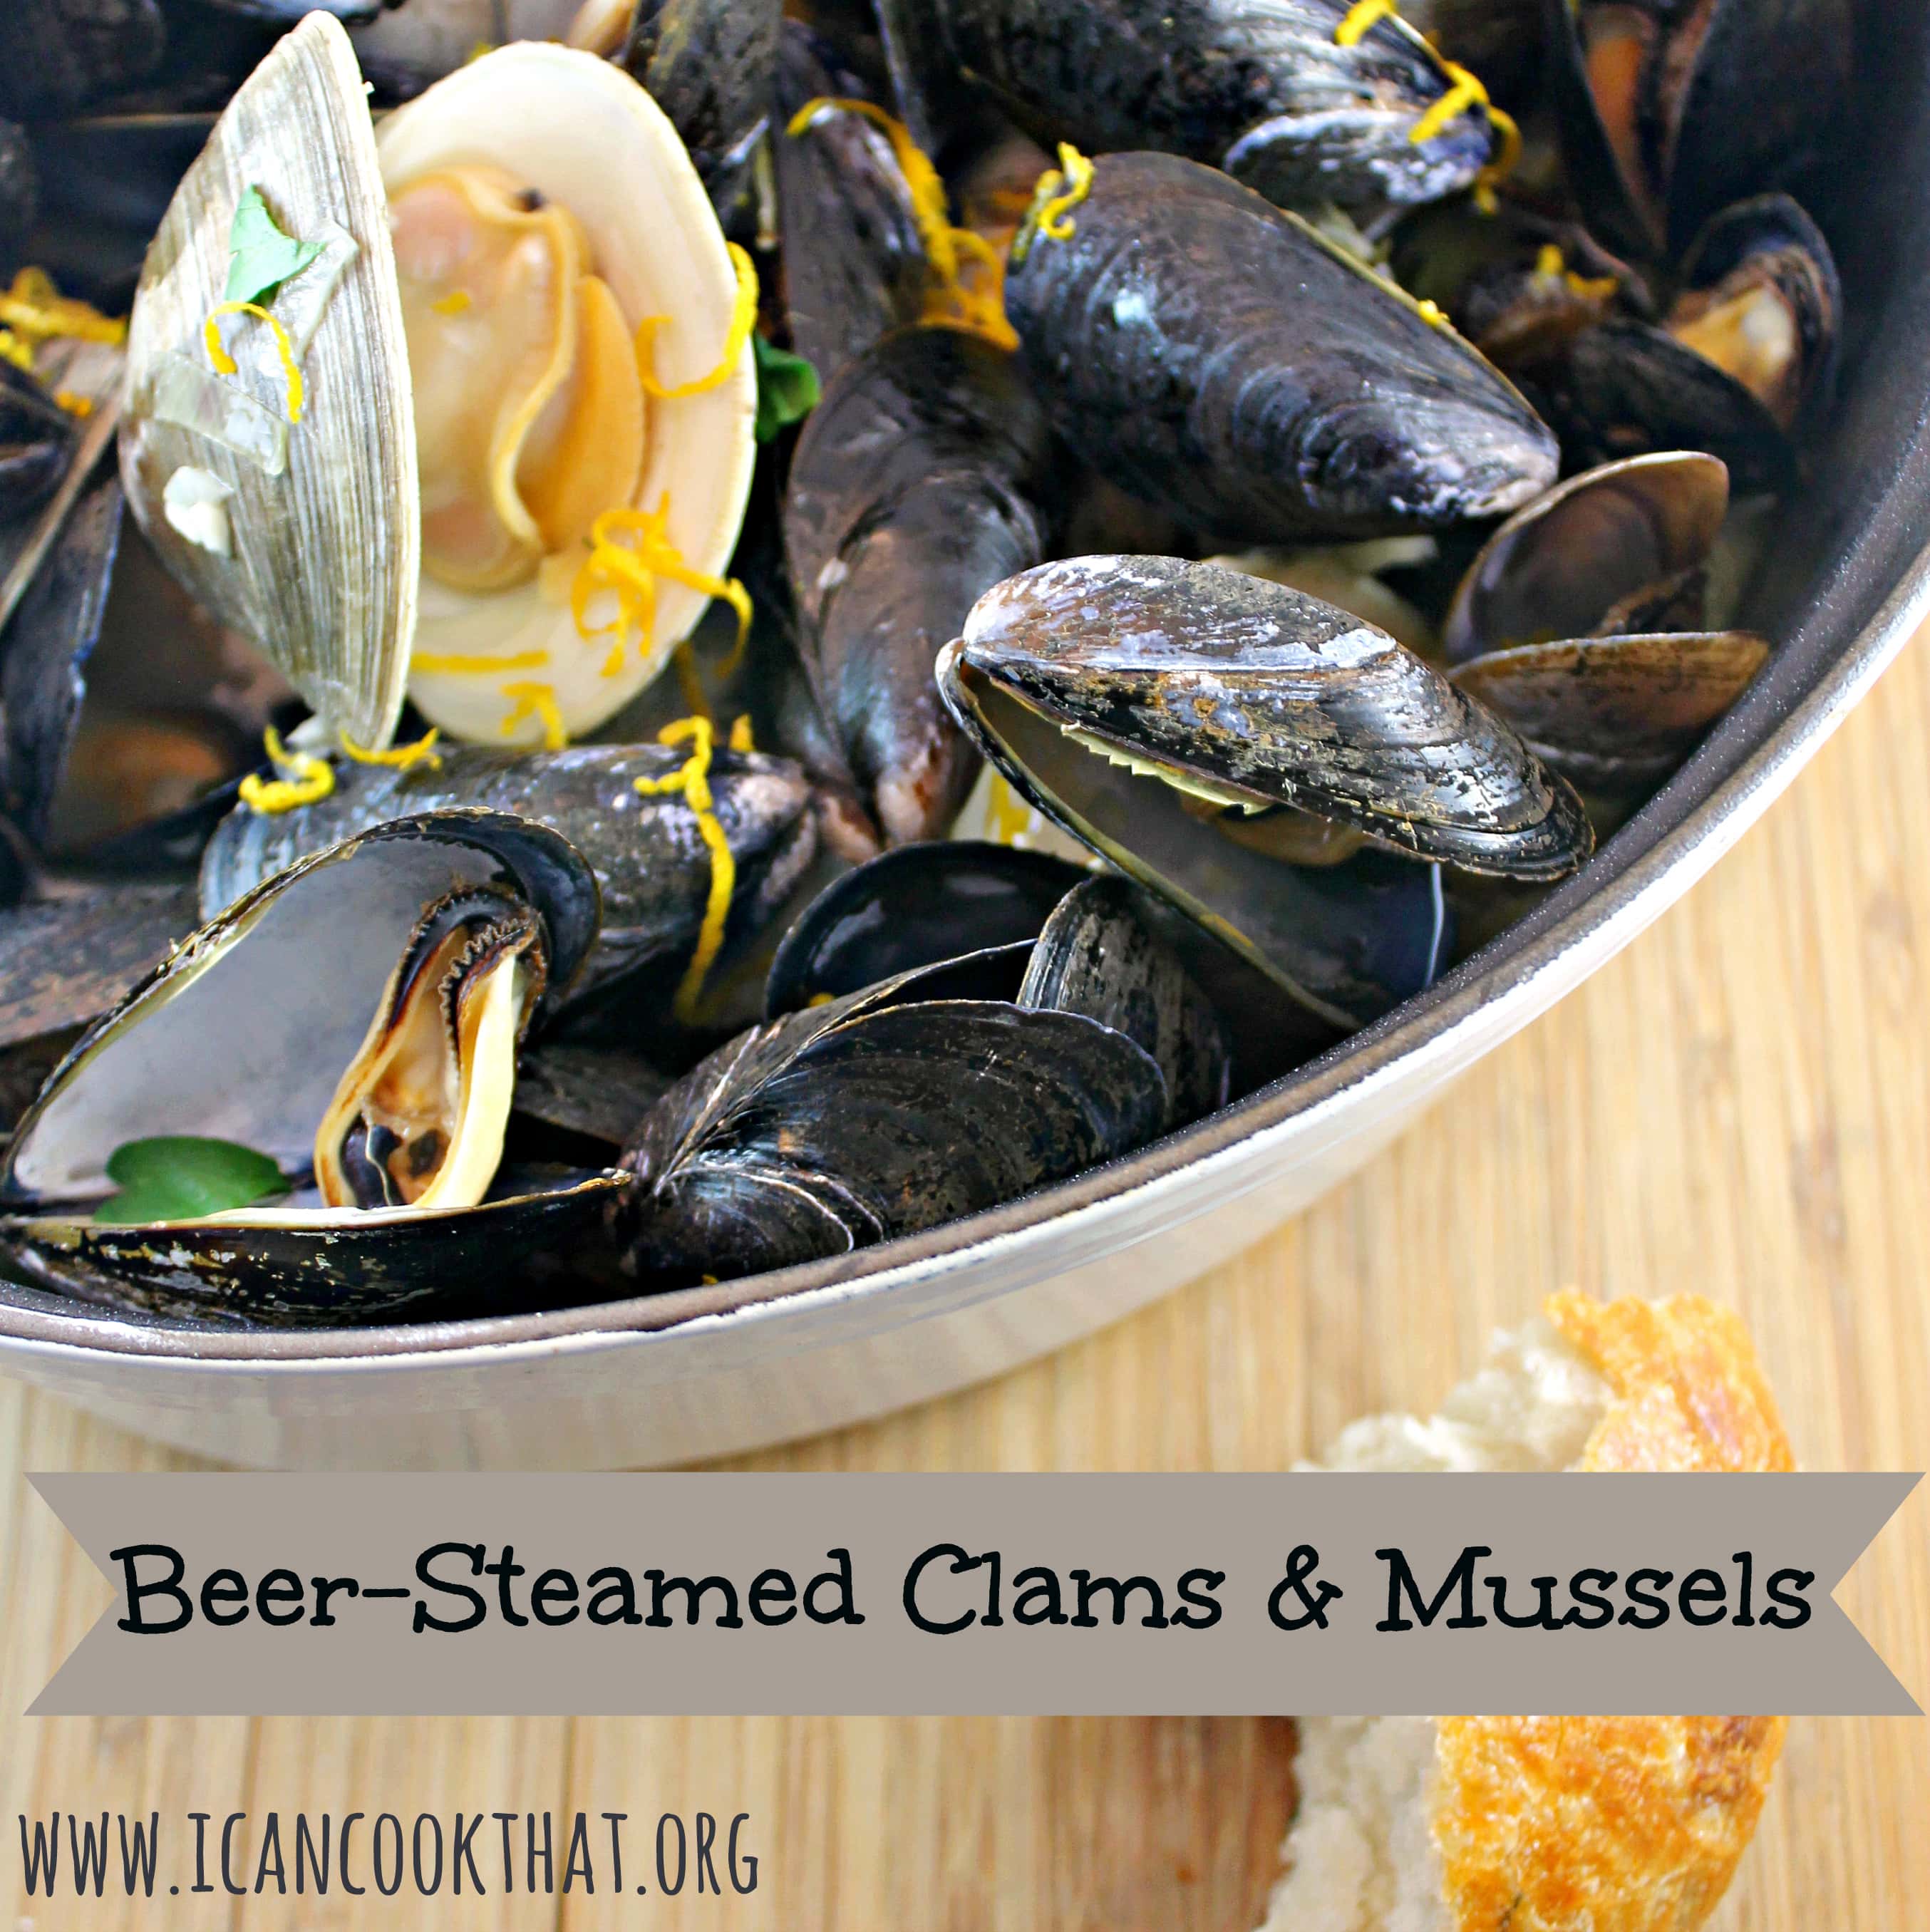
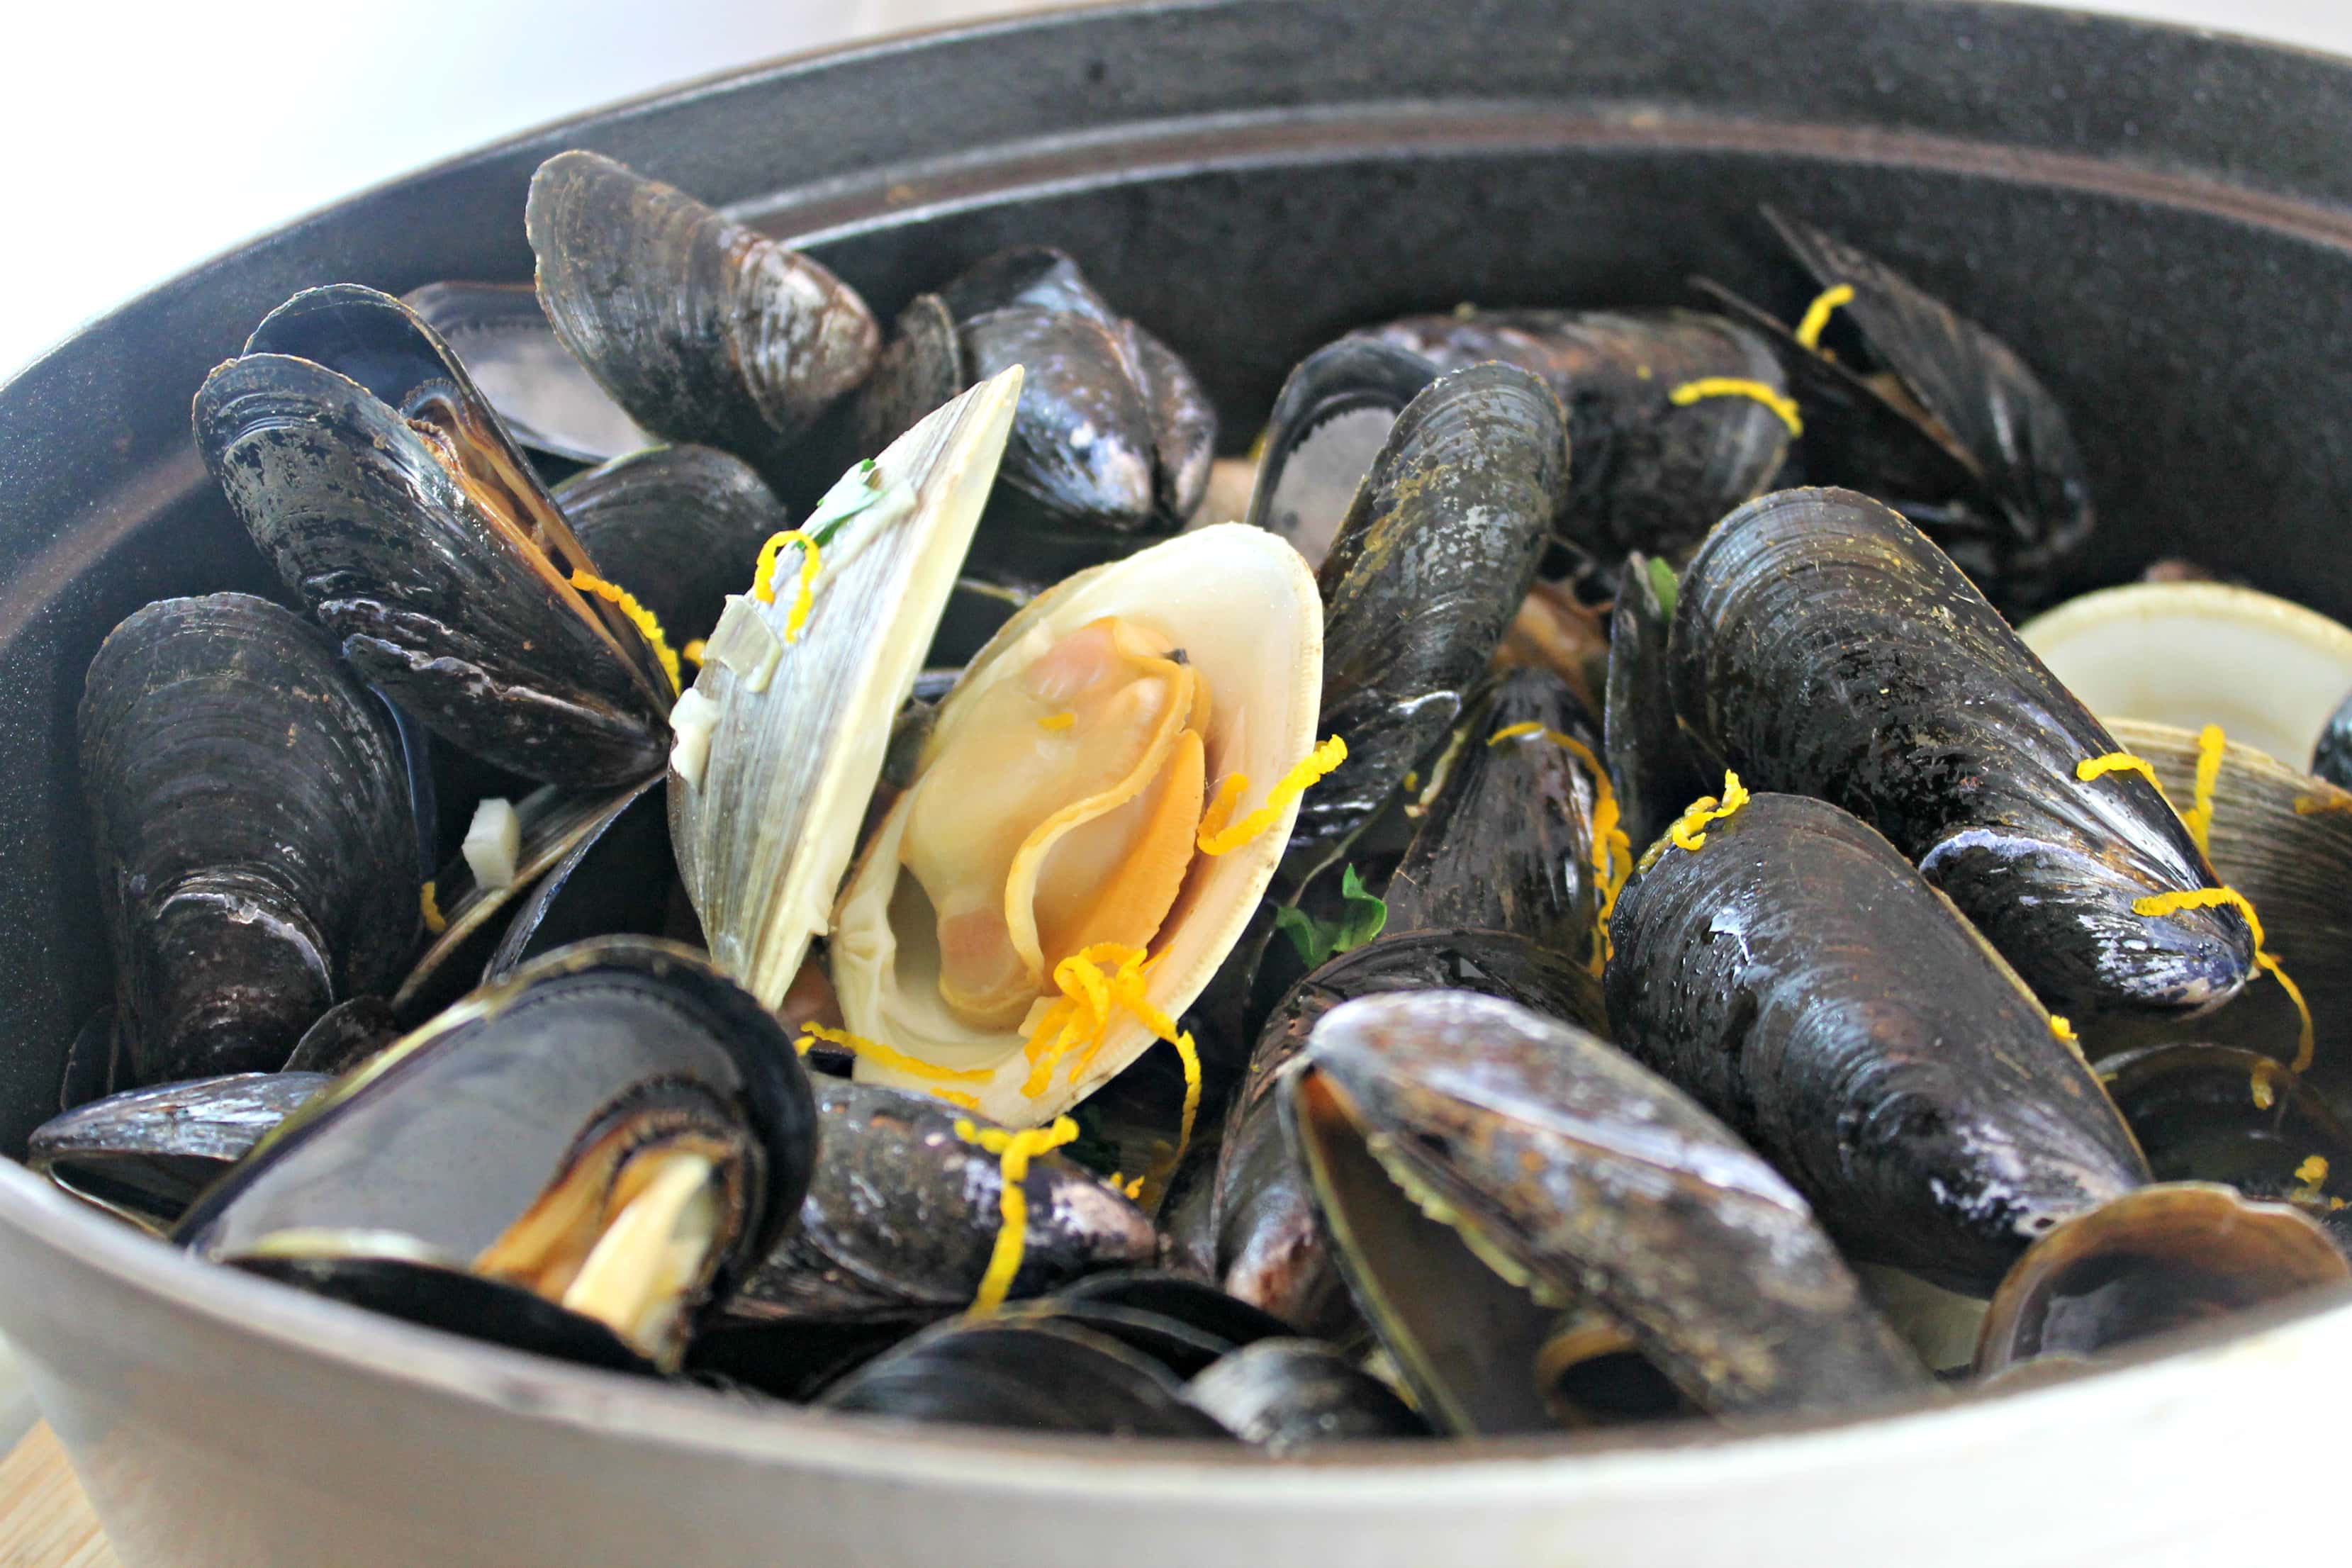
I am always in search of new seafood recipes so I gravitated towards the recipe for Beer Steamed Clams and Mussels. To Philadelphia-ize it, I used a local beer from Philly Brewing Company called Walt Wit.
Ingredients:
1 tablespoon butter
1 tablespoon olive oil
4 shallots, chopped
5 sprigs marjoram
3 garlic cloves, minced
1 bottle Walt Wit (or another Belgian White)
the juice and zest of one orange, divided
10 clams (I used larger clams but I’d suggest using Littlenek)
I received a fun challenge from the Mystery Ingredient Blogger Showcase a few weeks back: have a mystery ingredient sent my way and come up with my very own recipe using it.
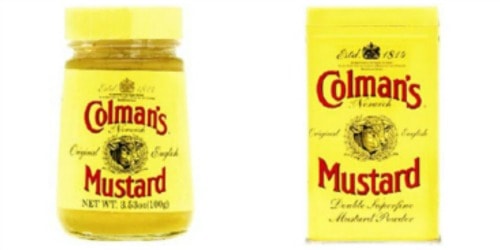
I received the package last week and found the following inside:
Coleman’s Mustard and Mustard Powder! Coleman’s has been producing mustard products in England since the early 1800’s so they know their product. As one of the oldest existing food brands, Coleman’s yellow tin is a symbol of quality mustard powder and prepared mustard.
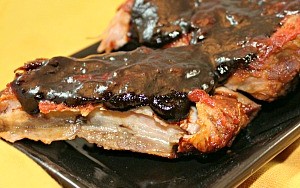
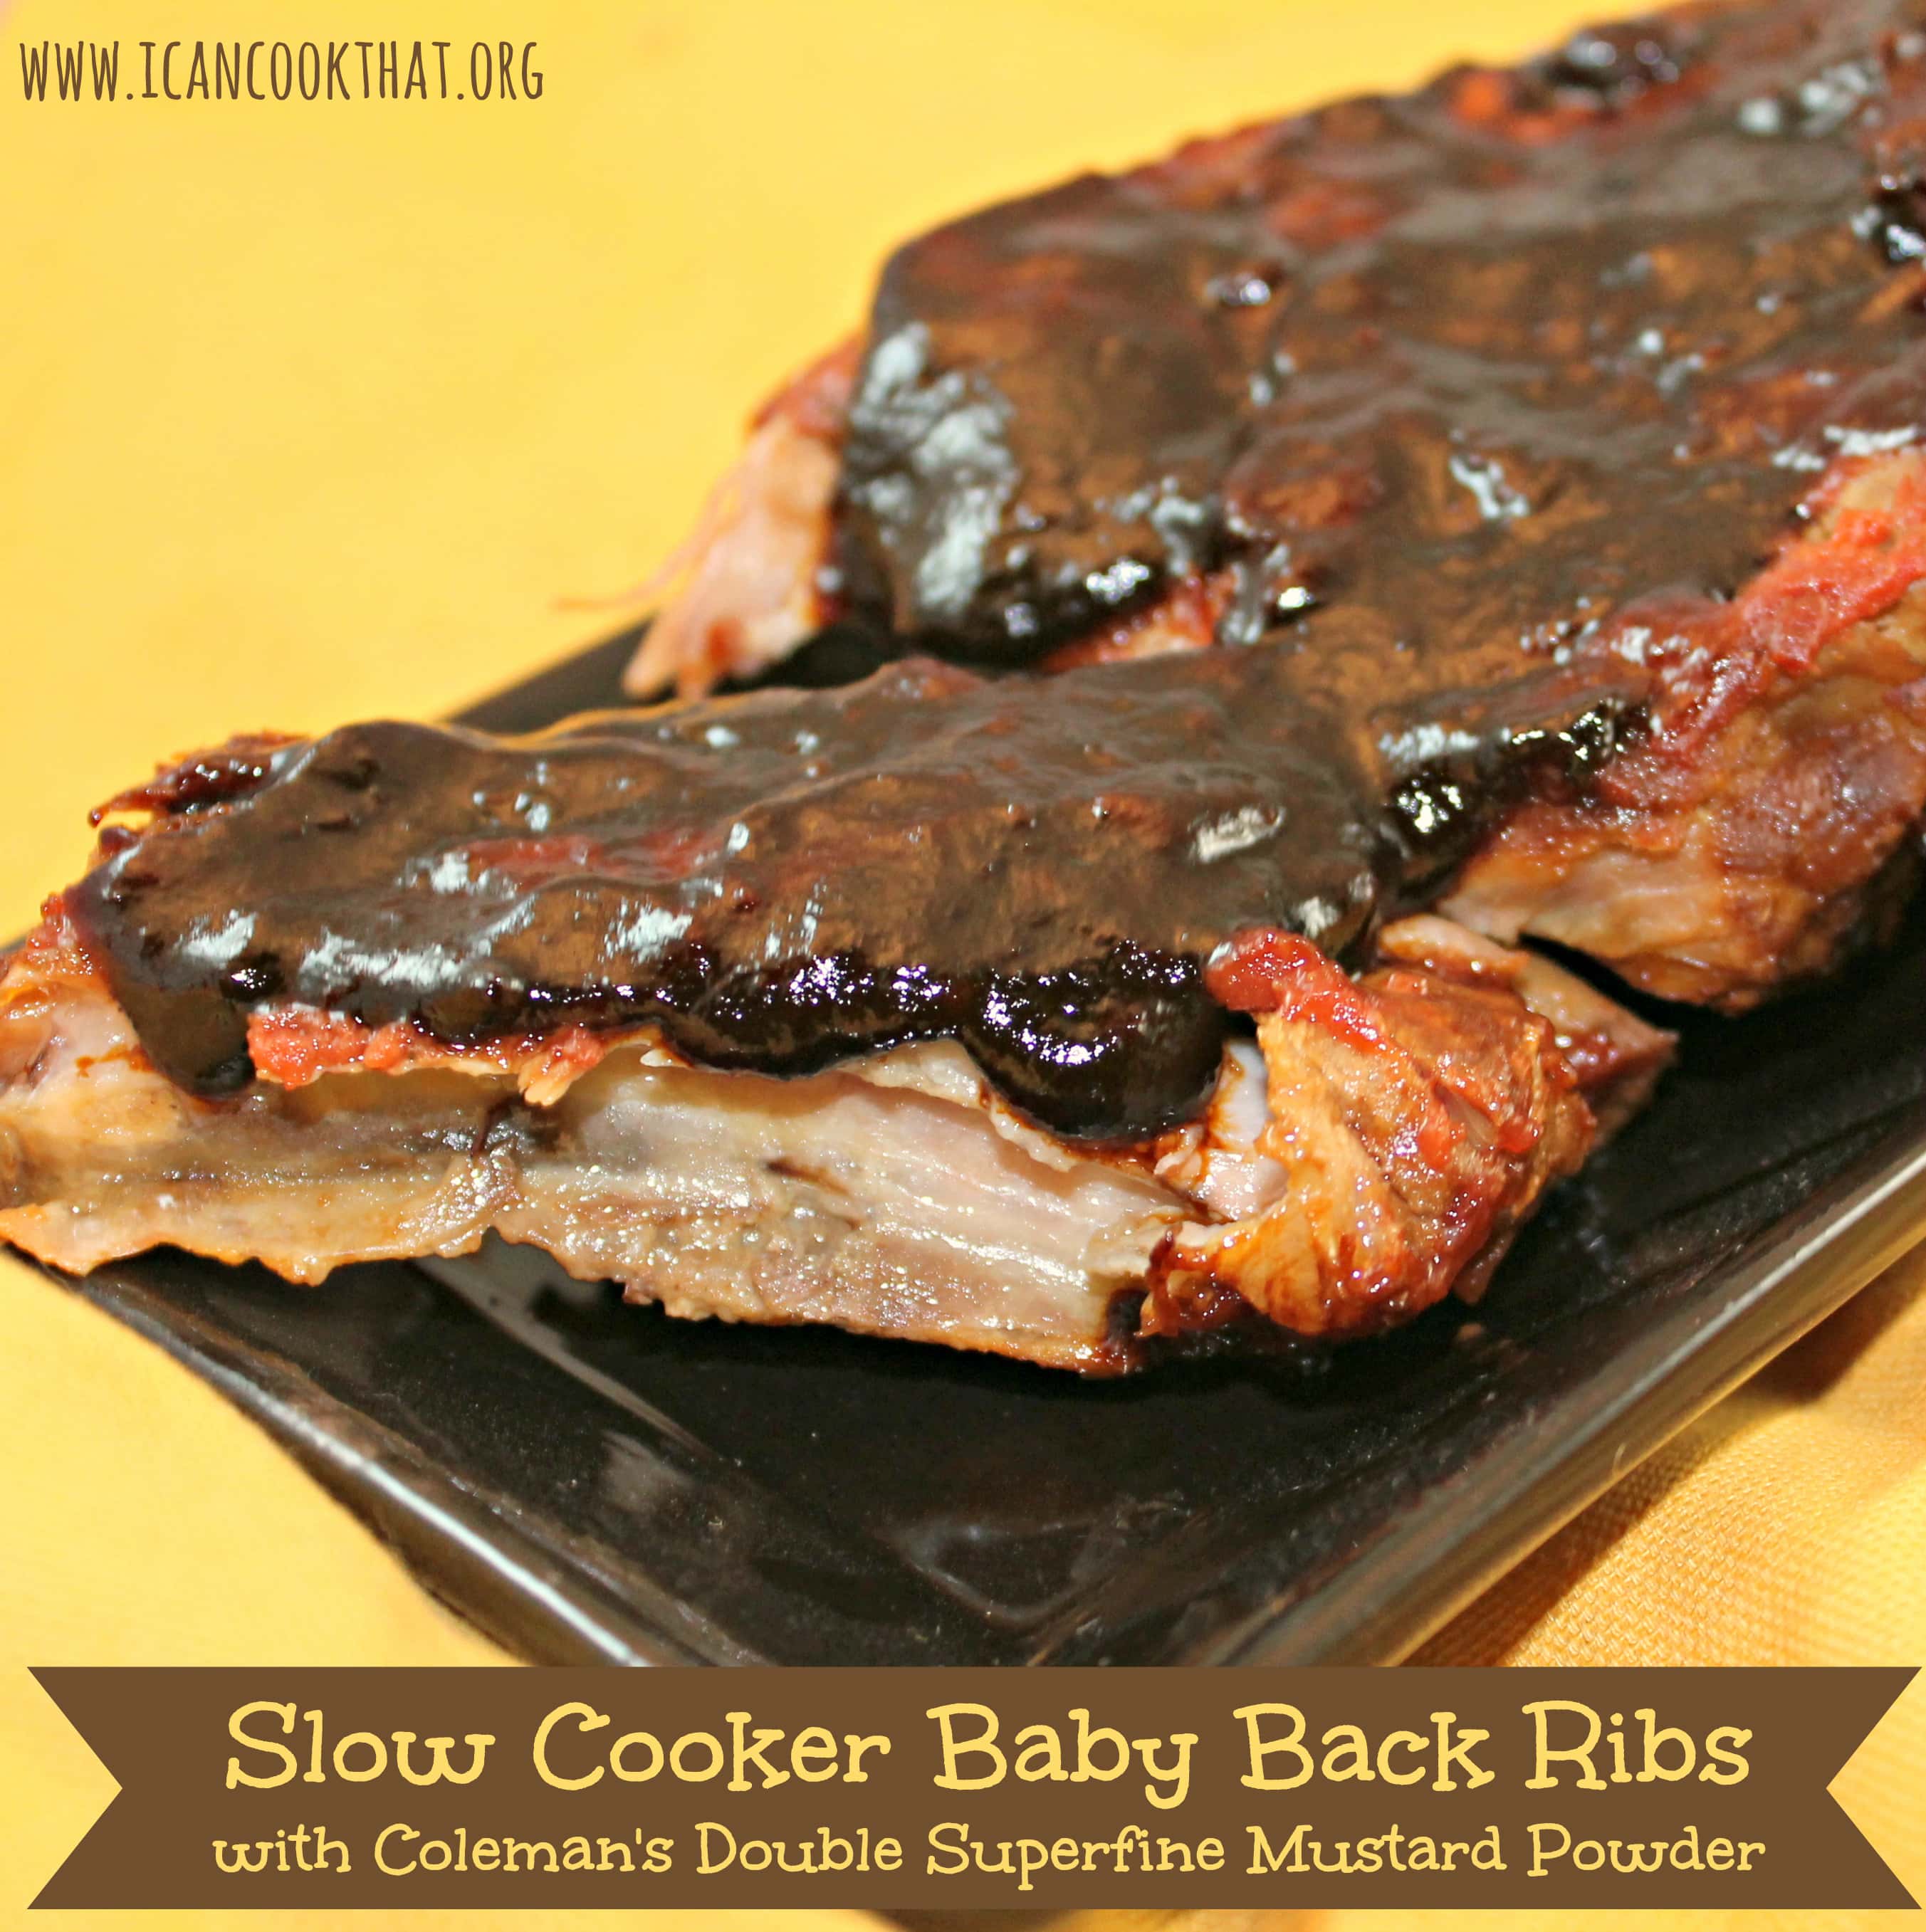
I have never worked with mustard powder before so I wanted to use that in a recipe. I was just at a wedding in Texas and didn’t have time to get some barbecue while I was there, so I’ve had quite the craving for ribs. I have no idea what a traditional Texas barbecue sauce would be (and a friend of mine told me mine is actually more of a Kansas City sauce) but I figured mustard powder would be a great addition to my Slow Cooker Baby Back Ribs and would hopefully fulfill my craving.
Coleman’s Mustard Powder is no joke; it’s pretty hot. It’s made from a mixture of both brown and white mustard seeds and heats up when added to a liquid. So I used it sparingly in the sauce but for the spice enthusiasts, feel free to increase the amount used.


.png)