!This weekend, I attended a conference in Philadelphia. As a “local blogger” I received quite a few food perks due to my proximity to the conference. I was sent home with a case of Gerolsteiner Mineral Water, a whole watermelon (and a heavy one at that!), and a case of fresh California Mission Figs. Poor me, right? 🙂
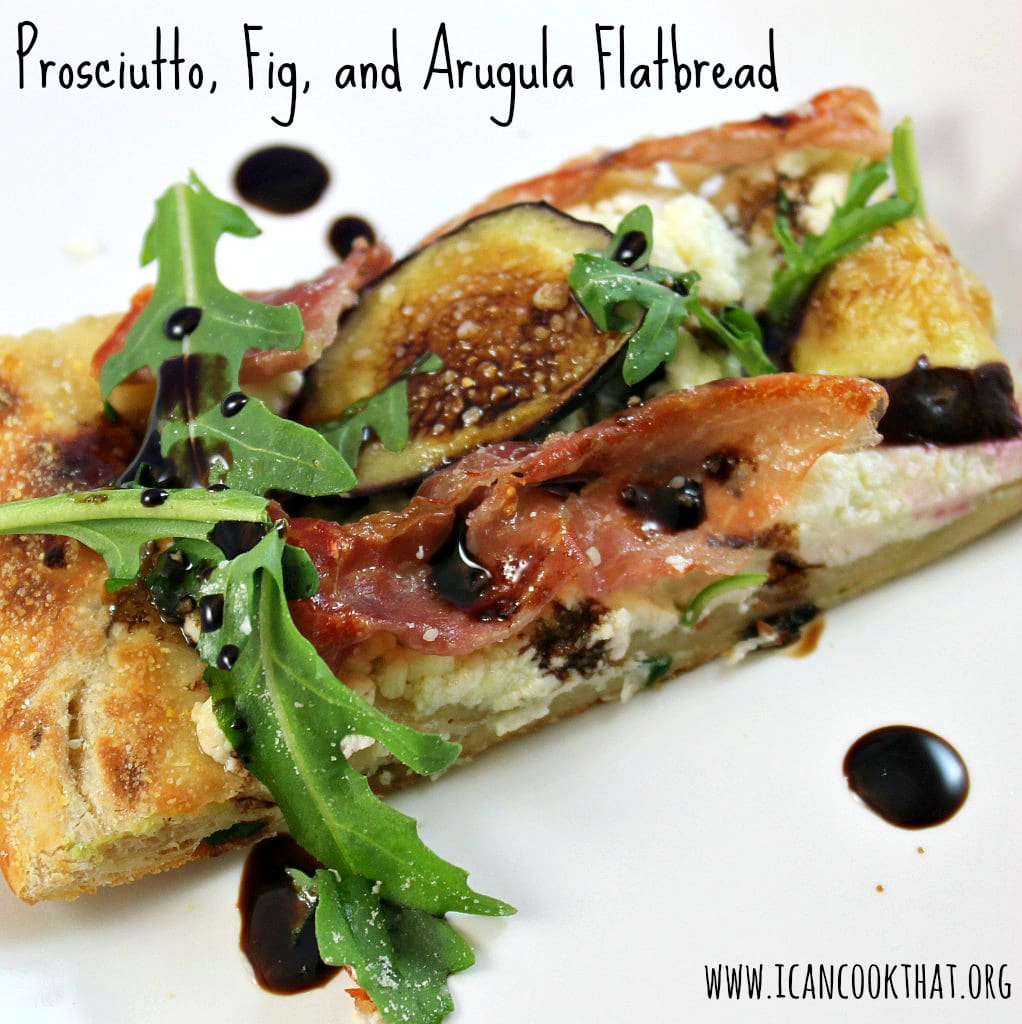
So. Figs don’t last terribly long which means I might have a few fig posts in a row. But figs are so much more versatile than you expect and can be really quite fantastic in a savory dish, especially in this Prosciutto, Fig, and Arugula Flatbread!
Flatbreads are a great weeknight meal, although you have to let your dough sit out at room temperature for at least an hour. So, more specifically, they are great for nights where you get home in time to leave out the dough, go do some chores/errands, and then want to whip up a quick meal.

Whenever I think of figs, my mind immediately goes to bacon-wrapped figs (I’ve done a post in the past with bacon-wrapped dates which I used as a substitute for figs in case you have any interest), which can be easily translated from an appetizer into a main meal by turning the recipe into a flatbread. When visiting my boyfriend’s brother last summer, they made us an absolutely delicious grilled flatbread with prosciutto, figs, and goat cheese which was my inspiration for this dish. I added some baby arugula and a balsamic reduction as well to give it a little more bite.

Ingredients (serves 2 as a main dish and 4 as an appetizer):
- 1/2 cup balsamic vinegar
- 8 oz dough, at room temperature
- cornmeal for dusting (or flour)
- olive oil
- 6 oz crumbled goat cheese
- 3-4 mission figs, thinly sliced
- 1 oz prosciutto, torn into thin strips
- 1/4 cup lightly packed baby arugula
- salt and pepper, to taste
- grated Parmesan cheese, to taste