Note: I was sent a Coyote Outdoor Grill to participate in the #CoyoteChallenge. All opinions are mine alone.
Last night, we finally broke in our snazzy new Coyote OutdoorGrill; it’s about time I started the Coyote Challenge! (Granted, I just got back from my honeymoon; it’s difficult to grill when you’re in a different country!) We had friends along for the adventure, so we made a few simple items to try out the grill.
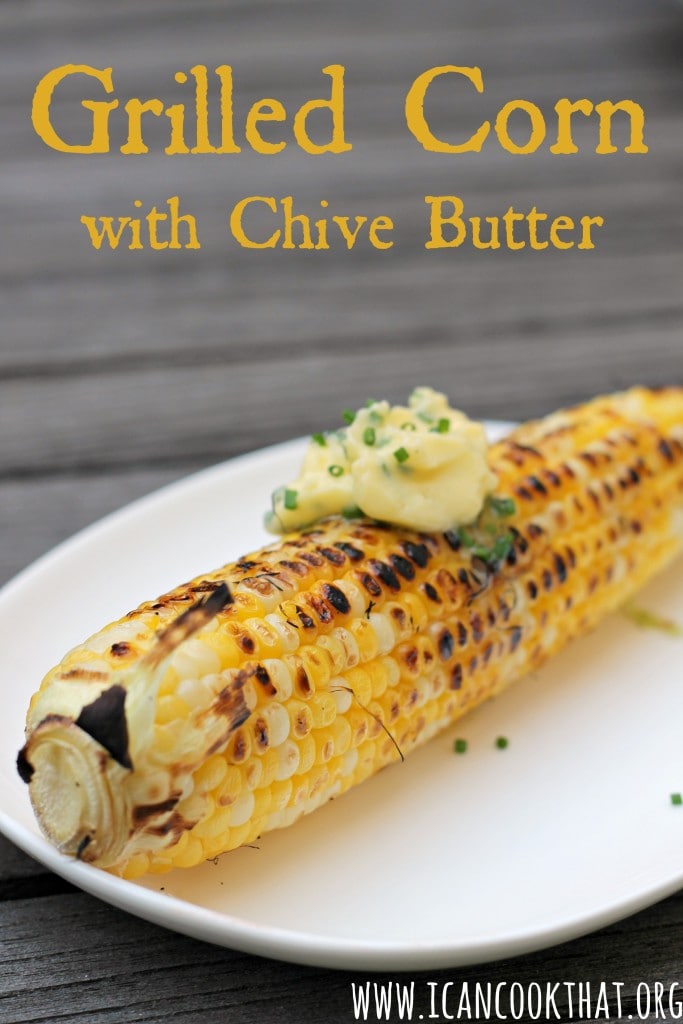
Despite it being July, none of us had eaten corn on the cob yet! So naturally, we decided to make a quick grilled corn with an easy chive butter to test out the vegetable/fish grates. There isn’t much to it, so this recipe for Grilled Corn with Chive Butter was the perfect way to try out the grill for the first time.
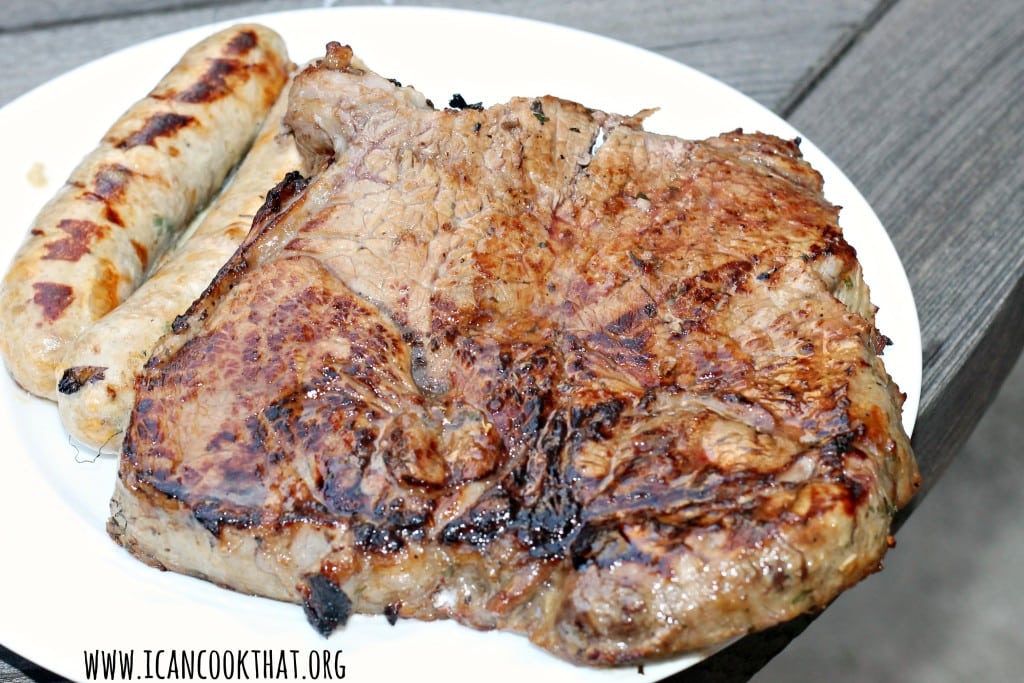
We also shared a huge delicious piece of steak that Steve (our grill-master for the evening) had marinated first in an IPA (yum) and then transferred it into a more traditional herbed marinade (double yum). It was so juicy and delicious!
There were some other yummy grilling experiments that took place, but discussion of those are for another post. On to the recipe!
Ingredients:
4 ears of corn, shucked
1/4 cup salted butter, at room temperature
1 tablespoon finely chopped chives, plus more for garnish
I am so excited to announce a summer partnership with Coyote Outdoor Living, a company known for its high-quality all premium stainless steel grills and accessories.
source: coyoteoutdoor.com
I will be participating in the Coyote Challenge: All summer long, I will be grilling anything and everything to show the versatility of using an outdoor grill.
Coyote Outdoor Living sent me one of their amazing grills in order to get my grilling on! Last week, I was sent a Coyote 36″ S-Series Grill, which includes three high-performing Coyote Infinity Burners, one infrared rear burner, one RapidSearTM Burner, a Rotisserie Kit, and a Smoker Box.
source: coyoteoutdoor.com
I was also sent some other accessories to really make the most of my grill this summer:
The Coyote signature grates are laser-cut with precision for proper air-flow and flame penetration to grill any ingredient to perfection. There are three separate types of grates: wide-set grates for seared steaks, grates designed for chicken prevent charred outsides and under-cooked insides, and fish/vegetable grates for more delicate ingredients.
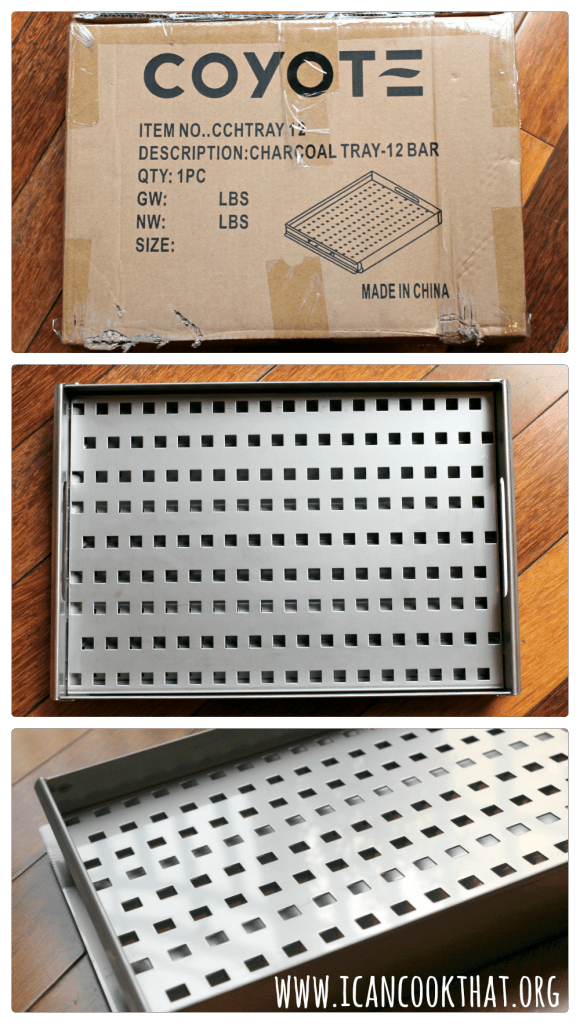
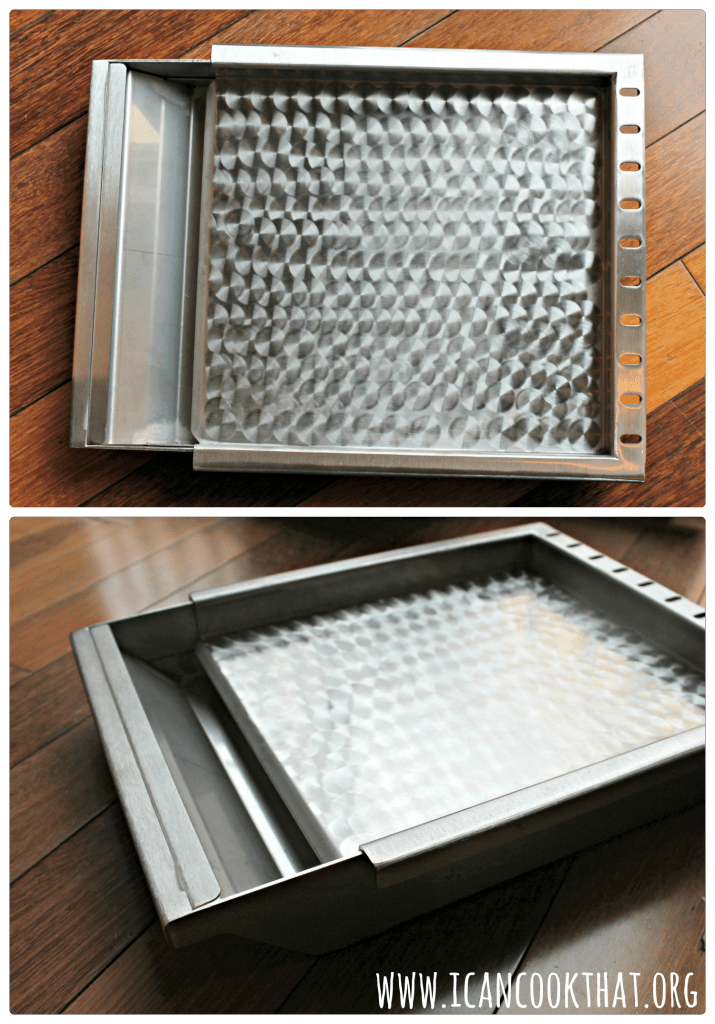
The solid stainless steel charcoal tray allows me to temporarily convert one side of the grill to a charcoal grill for slow cooking, but is completely removable making the grill versatile for any cooking method.
The 14″ commercial-grade griddle allows me to even make breakfast on the grill; pancakes and eggs here I come!
The 36″ S-Series Grill is one impressive looking grill. I had to swindle some friends (and my very patient sister) into helping me move the grill and cart to the back patio and set it up.
Setting it up is a breeze (once you have the brawn to do so):
We removed the grill and the cart from their respective boxes
The cart comes fully assembled, so we just moved the cart into place on the patio. The cart:
includes two fold down shelving for solid work space in your grilling area
includes two self-closing doors, which provide storage space for barbecue tools and grilling accessories
features industrial-style locking wheel casters for portability
is made of stainless steel, and is designed to endure the elements
The S-Series 36-Inch Grill is just placed on top of the cart. The grill:
combines the power and function of a luxury grill with the durability of a Coyote grill
features premium stainless steel construction
offers stainless steel, performance enhancing heat control grids that minimize flare-ups and distribute heat evenly across its 640 square inch cooking area
is powered by three, durable cast stainless steel Infinity burners and one RapidSear infrared burner which deliver up to 90,000 BTUs of cooking power
the burners are lit by an easy to use, push and turn ignition system
includes internal halogen grill lights for grilling at night
the removable warming rack can be used to keep food heated until serving time
you can easily monitor the temperature inside your grill using the integrated thermometer
includes a rotisserie system with rear infrared burner to slow roast foods
includes a smoker box to infuse your grilled food with delicious smoke flavor
Our bedroom is right off of the patio with our new grill, so I plan on using the Coyote grill like my own little outdoor kitchen! I cannot wait to get started and to show off all of the amazing things you can make outdoors instead of heating up your kitchen in the warmer months. Stay tuned for some classics, with some “who knew you could grill that?” recipes all summer long!
Note: I was sent a coupon for Sargento Ultra Thin Cheese Slices through Cooking Light Bloggers’ Connection. Opinions are mine alone.
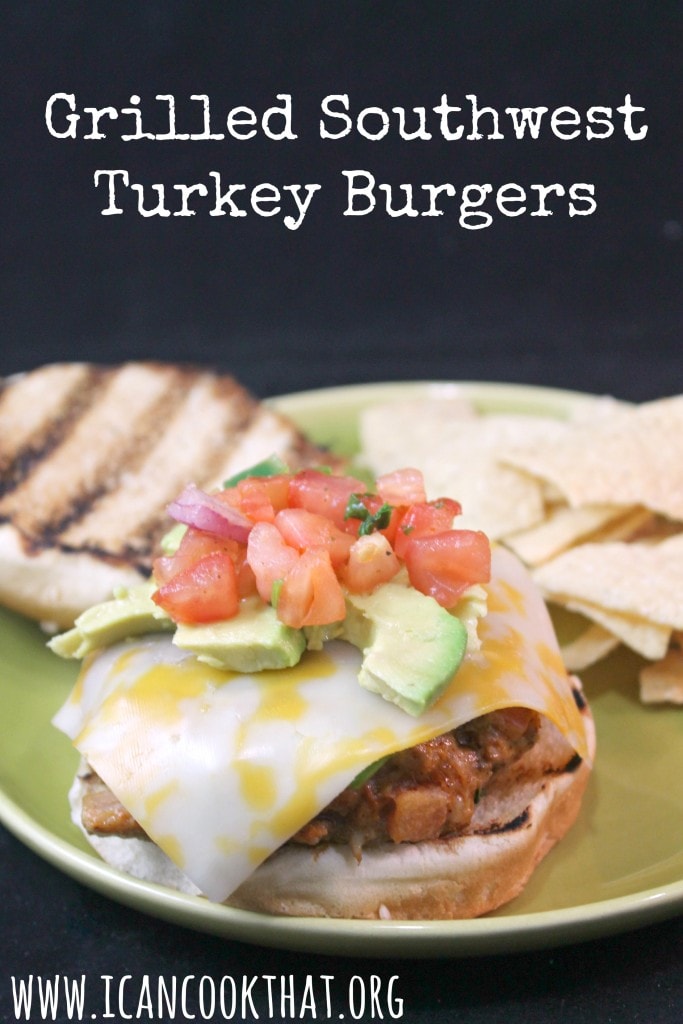
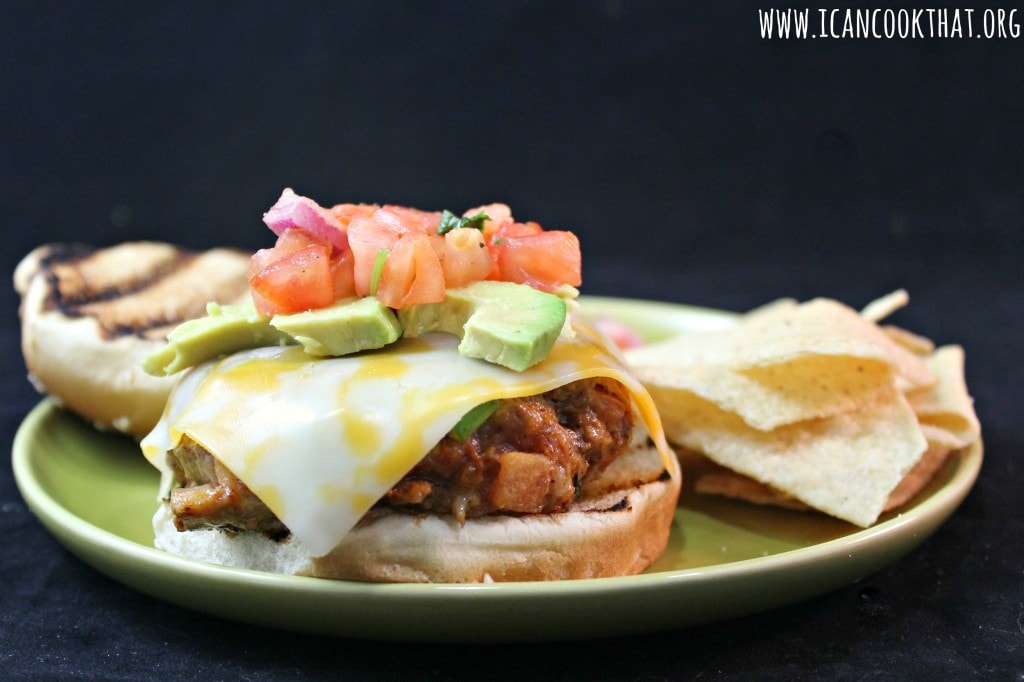
Well, summer weather came out of nowhere, didn’t it? Rising temperatures mean it’s grilling season! Throwing a burger on the grill doesn’t have to mean an super unhealthy meal though!
AND you don’t even have to skip the cheese to make a healthier burger! These turkey burgers are filled with deliciousness without being heavy and are topped with Sargento® Ultra Thin® Colby Jack Cheese Slices, pico de gallo, and avocado slices.
At 40 calories a slice, Sargento® Ultra Thin® Colby Jack Cheese Slices do nutritious in the most ultra-delicious way. The cheese slices are made of 100% real, natural cheese but are sliced thinner, so you can enjoy the cheesy deliciousness in moderation.
Ingredients: (recipe makes 3 larger burgers or 4 smaller burgers)
1 pound ground turkey
1 tablespoon chili powder
1/2 teaspoon garlic powder
1/2 teaspoon smoked paprika
1/2 teaspoon salt
2 tablespoons finely diced red bell pepper
2 tablespoons pico de gallo
2 tablespoons sliced green onions (scallions)
3-4 hamburger buns
3-4 slices of Sargento® Ultra Thin® Colby Jack Cheese Slices
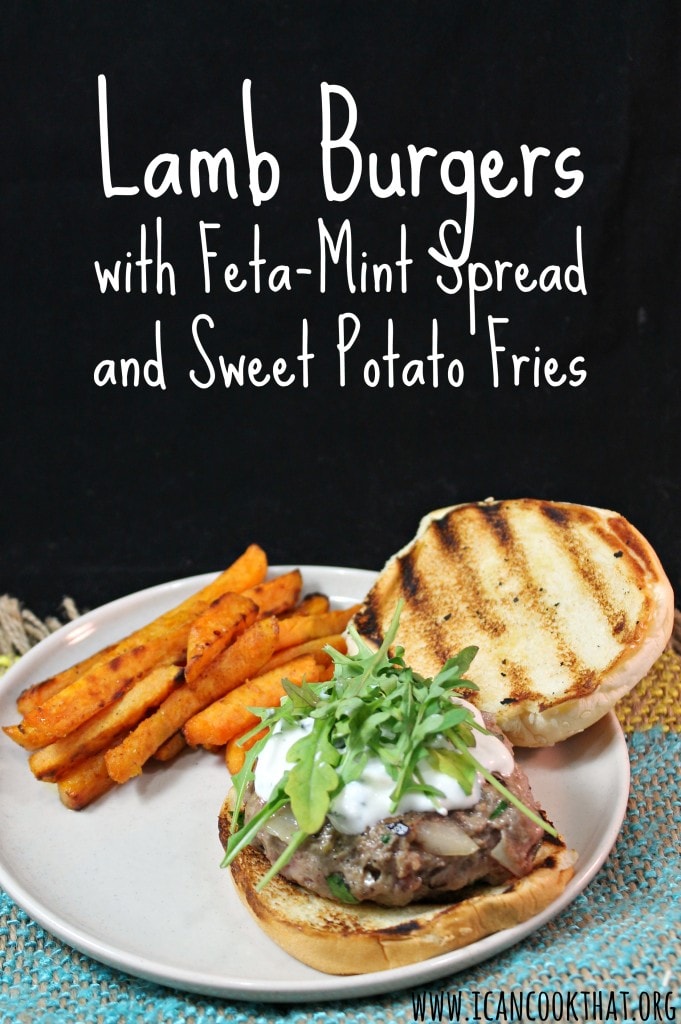
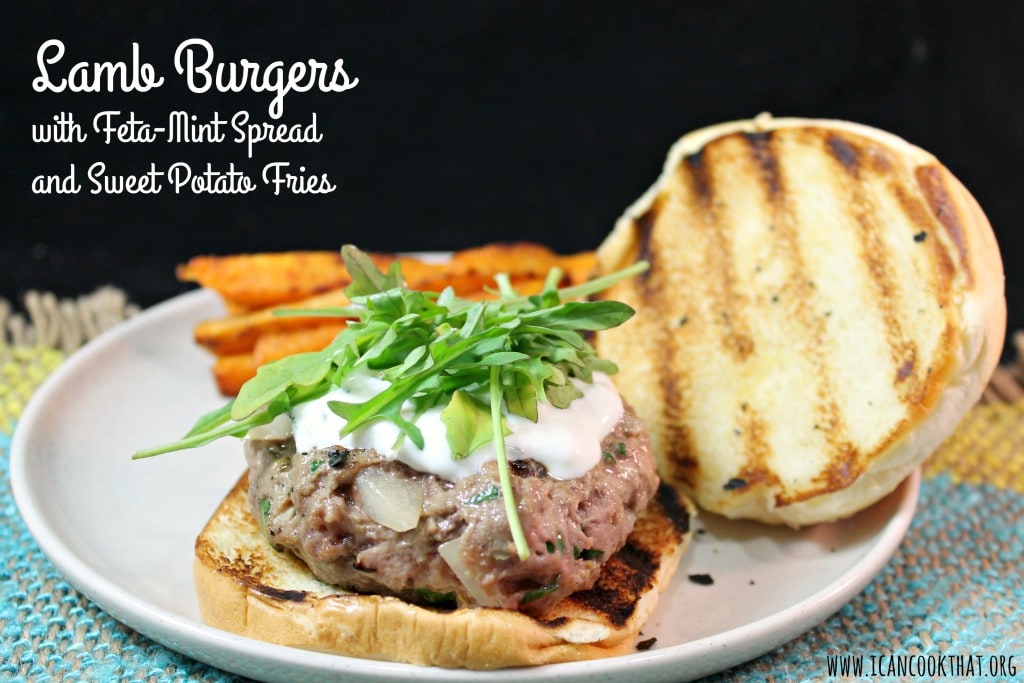
I’ve been in a bit of a cooking rut recently; I’ve had a difficult time figuring out what new recipes I want to try. Luckily, Cooking Light always has some inspiration for me. This time, it came in the form of a lamb burger.
This lamb burger recipe is actually half lamb/half beef and is really simple to make. I also made sweet potato fries as a side, super delicious!
Ingredients:
Burgers:
1/2 cup finely chopped onion
1/4 cup chopped fresh flat-leaf parsley
1 teaspoon minced garlic
1 teaspoon grated lemon rind
1/2 teaspoon kosher salt
1/2 teaspoon black pepper
1/8 teaspoon ground cumin
8 ounces lean ground lamb
8 ounces 90% lean ground sirloin
Cooking spray
4 hamburger buns
1/4 cup plain fat-free Greek yogurt
2 tablespoons reduced-fat feta cheese, crumbled
1 tablespoon finely chopped fresh mint
1 teaspoon lemon juice
1 cup baby arugula
Fries:
1 large sweet potato, peeled
1 tablespoon extra-virgin olive oil
1/4 teaspoon kosher salt
1/4 teaspoon freshly ground pepper
1/8 teaspoon ground red pepper
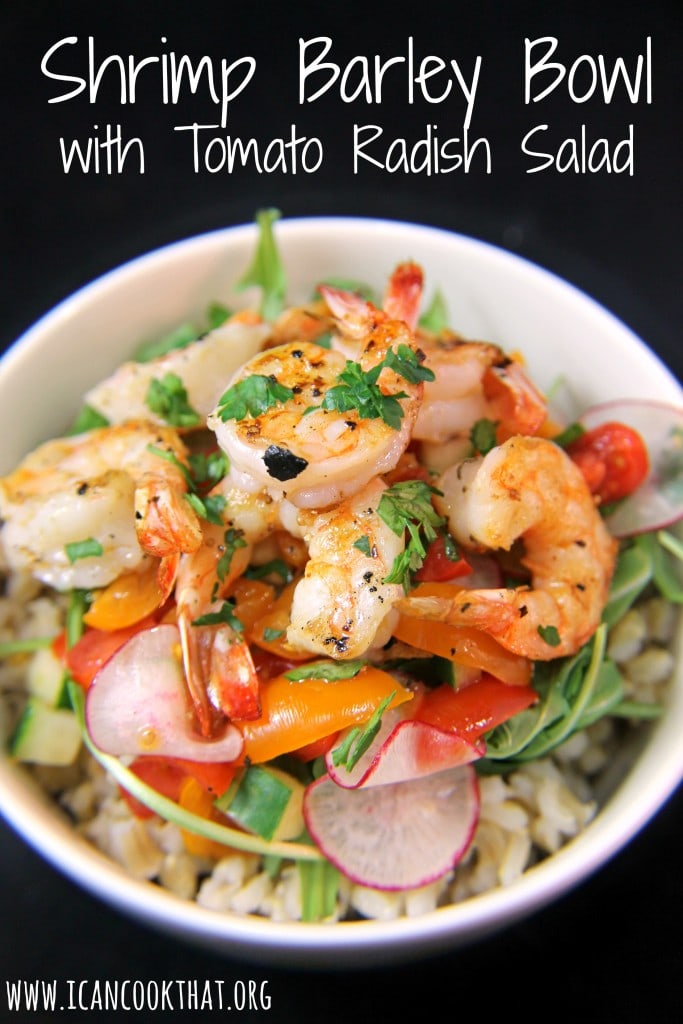
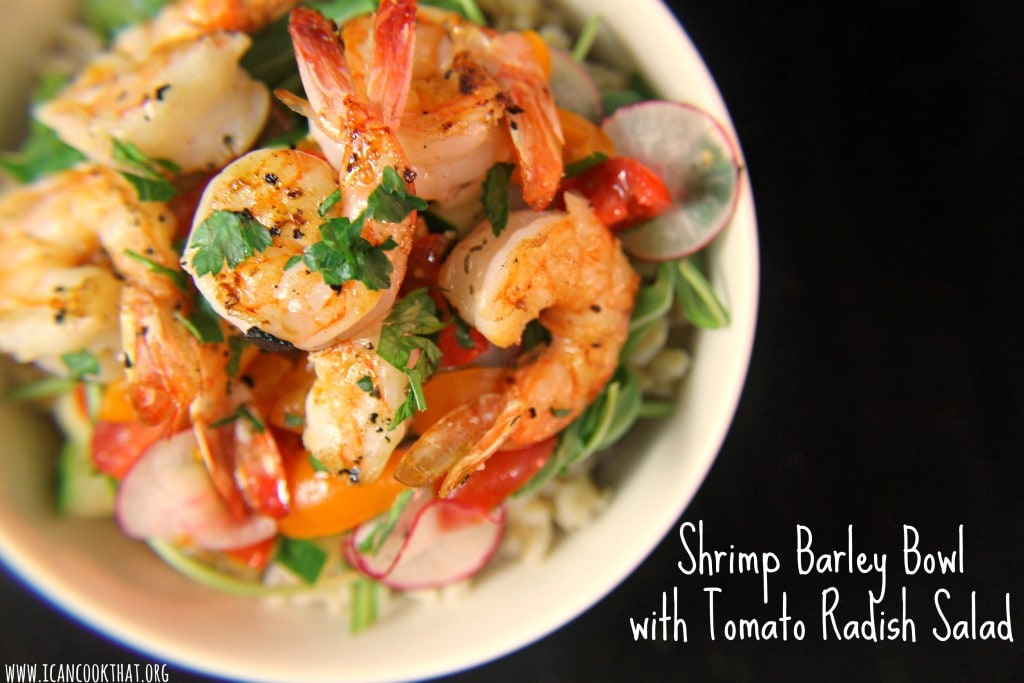
I have been doing my best to pack myself lunches for work. One of my favorite “lunch meals” is a bowl (either rice or another grain) topped with veggies and a protein. My latest creation, this Shrimp Barley Bowl with Tomato Radish Salad was inspired by some nifty new tools I had sent to me from OXO.
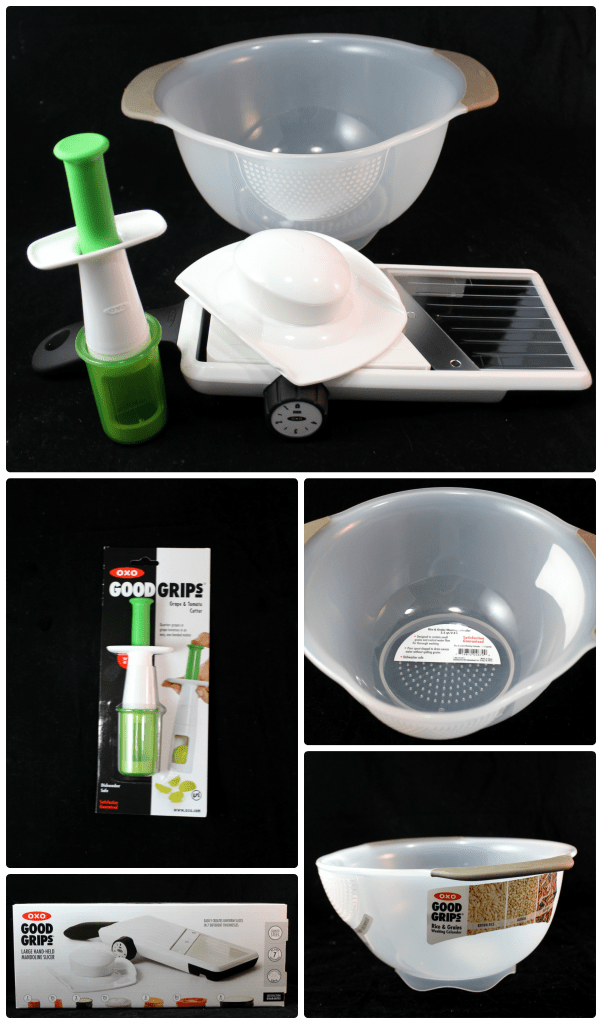
The Rice & Grains Washing Colander is great for tiny grains that require rinsing to wash impurities and starch from the grains, like rice, quinoa, buckwheat, and barley. The small holes in the colander allow water to drain slowly, while preventing the grains from falling through.
The Large Hand-Held Mandoline Slicer has seven thickness options to get the perfect slick thickness depending on what you need. The food holder can be placed on top of whatever you are slicing for safety, and the non-slip notches allow you to slice directly over bowls if needed. For this recipe, I used the lowest setting to make paper thin radish slices.
The Grape & Tomato Cutter quickly and easily quarters grape tomatoes, pitted olives, and grapes, just insert the produce and push down to use.
This recipe combines nutty barley with peppery arugula, sweet tomatoes, crunchy radishes, and grilled shrimp for a really tasty meal, cold or hot!
Messaging below is intended for ages 21+ and is intended to be enjoyed responsibly, in moderation. This shop has been compensated by Collective Bias, Inc. and its advertiser. All opinions are mine alone. #OktoberOnTheFarm #CollectiveBias
I’m celebrating Oktoberfest a bit late on my blog, but the weather has just starting feeling fall-like this week! Oktoberfest is a 16-day festival held in Munich, Germany at the end of September/beginning of October that is famously known for its beer drinking and accompanying eats.
When I think of Oktoberfest, I immediately imagine beer, pretzels, and yummy wursts (or sausages). One of my favorite sausages (although it’s not German) is Kielbasa, especially when grilled.
Hillshire Farm® Polska Kielbasa is made with beef, pork, and turkey with a blend of natural spices to really bring the flavor. I wanted to play off of the smoky flavor as well as pay tribute to Oktoberfest with a Beer and Cheddar Soup to pair with the Grilled Polska Kielbasa. I found Hillshire Farm Polska Kielbasa in my local Walmart.
Ingredients:
4 tablespoons salted butter
1 leek, chopped
1 large carrot, chopped
1 celery stalk, chopped
1 medium red bell pepper, chopped
3 garlic cloves, chopped
1 bay leaf
1/2 cup flour
4 cups low sodium chicken stock
12 oz Oktoberfest beer
1 1/2 cups half and half
1 tablespoon Worcestershire sauce
1 tablespoon smoked hot sauce (can also use liquid smoke)
This post is #sponsored by LongHorn Steakhouse. All opinions are my own.
With summer in full swing, it’s time to get grilling! As I’ve mentioned before, I unfortunately do not have any outdoor space at my apartment for a grill, but that hasn’t stopped me! I use my trusty grill pan as often as possible to bring the flavor of summer indoors.
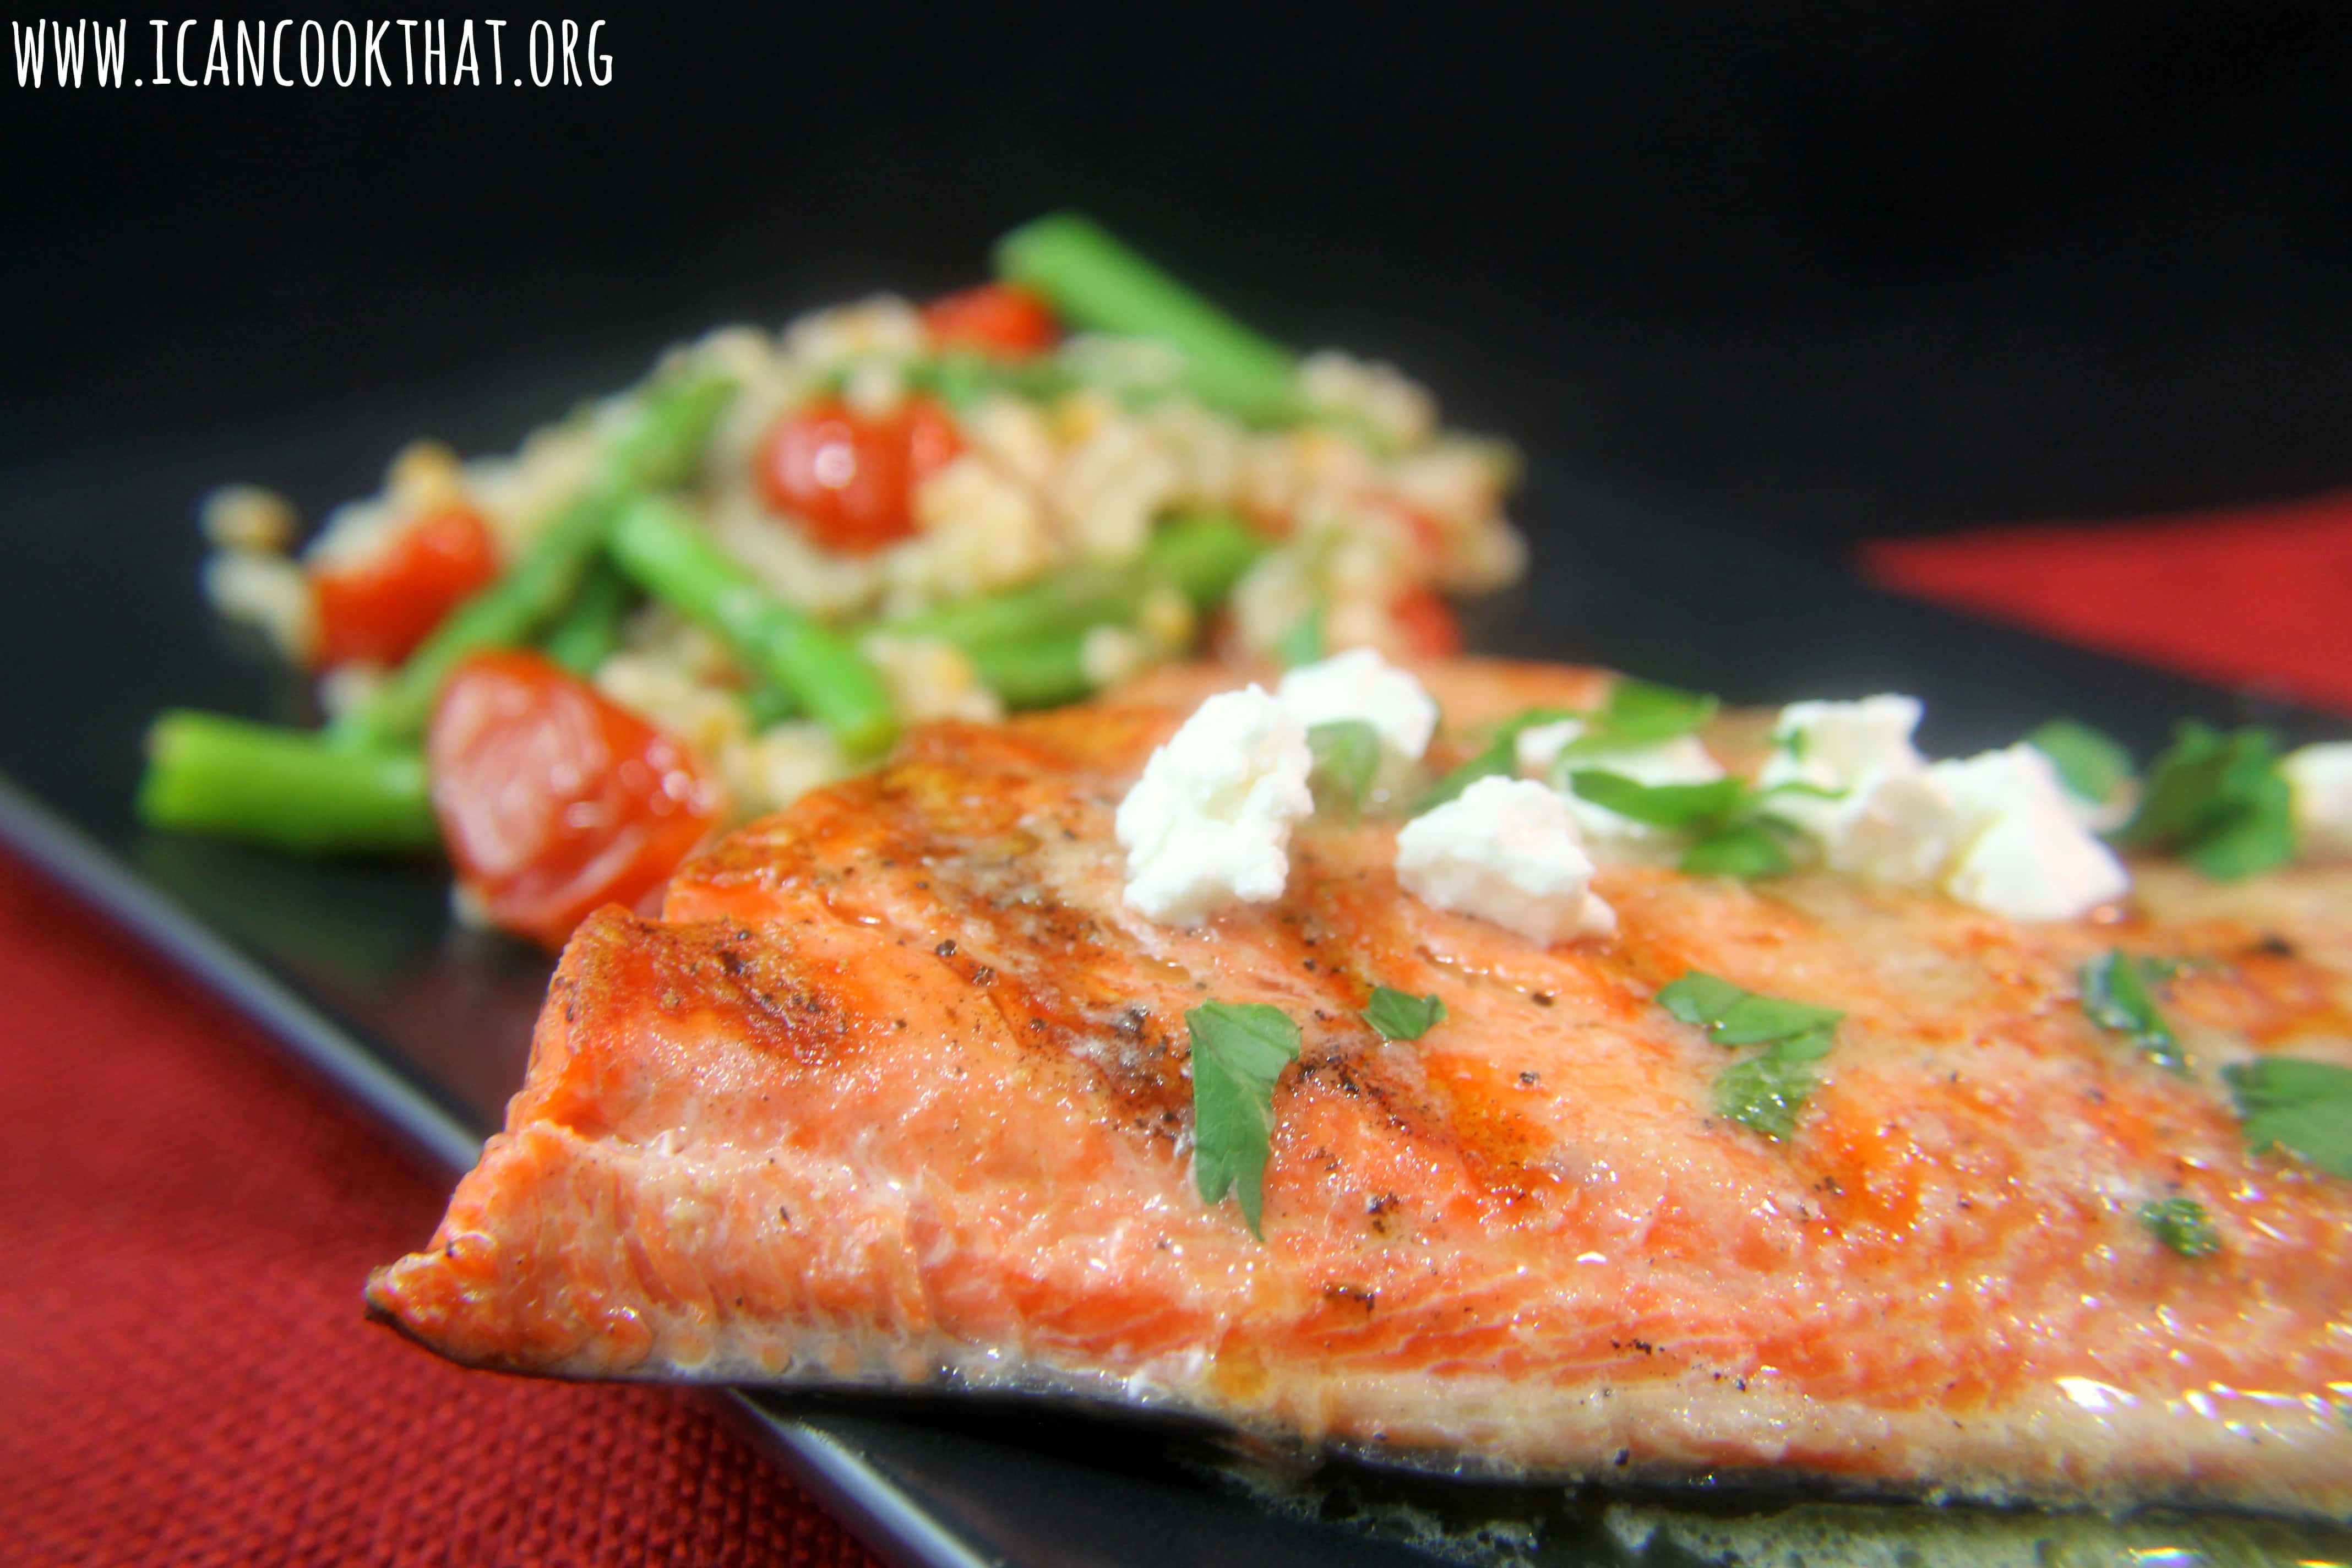
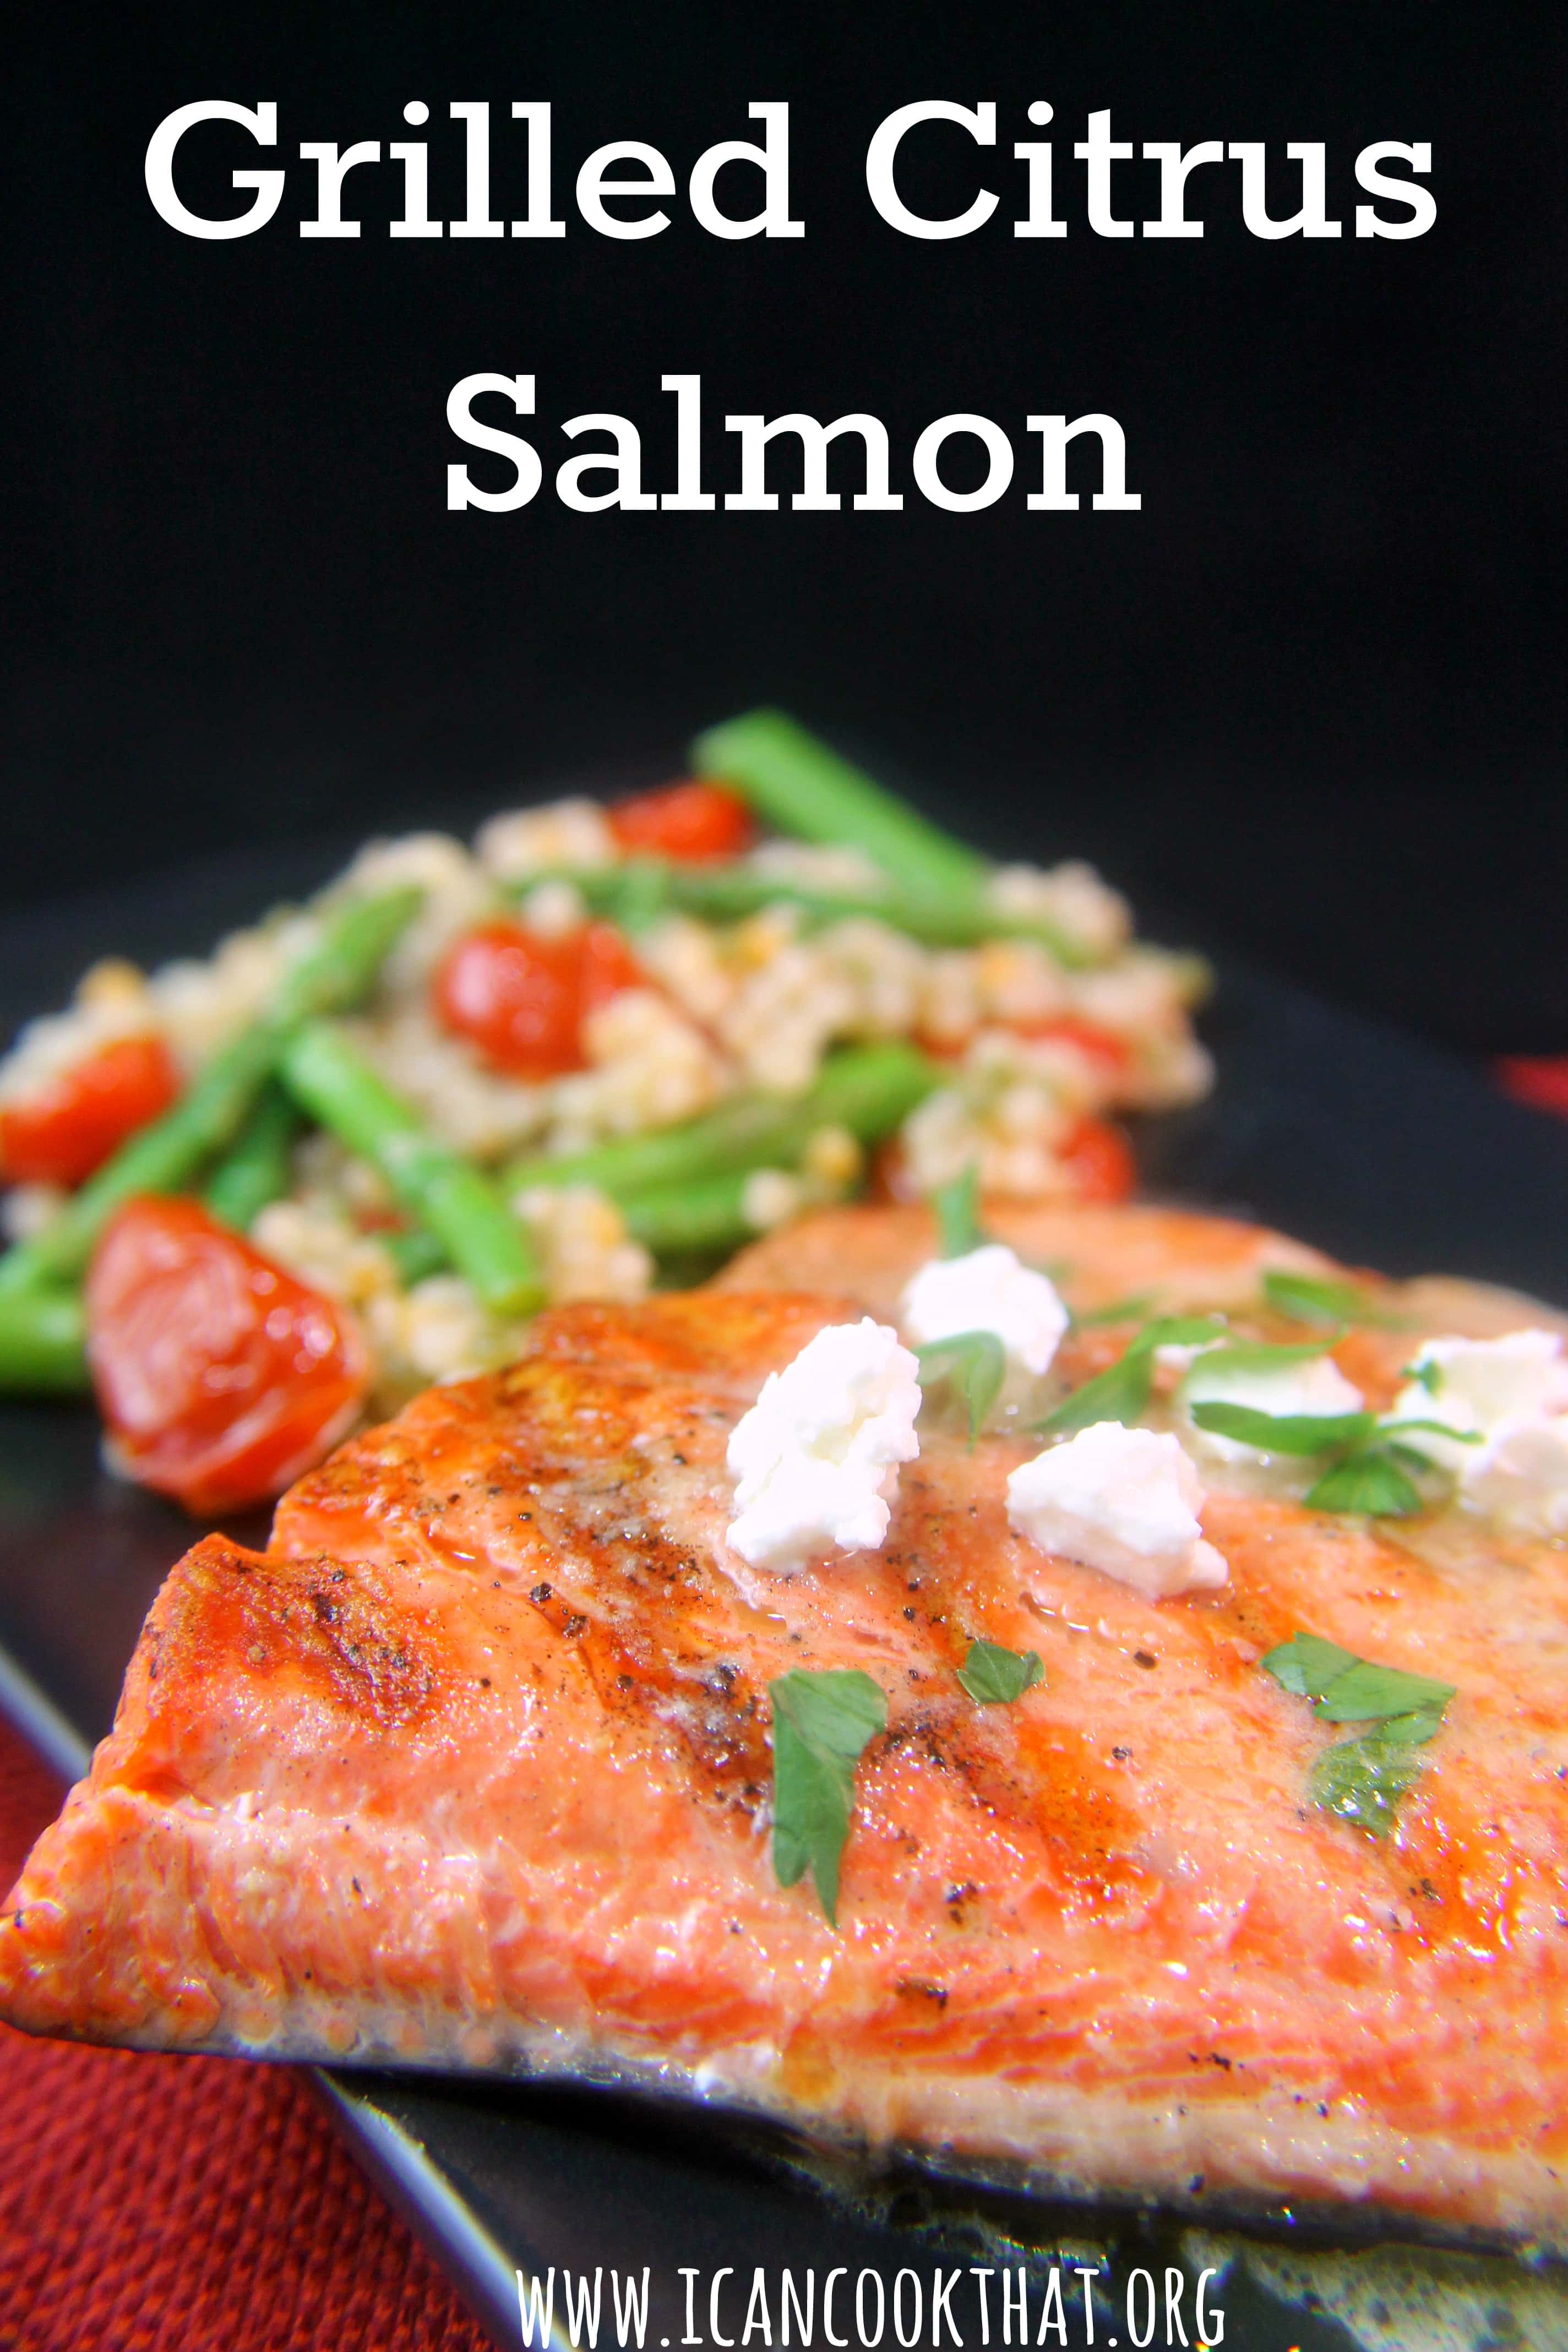
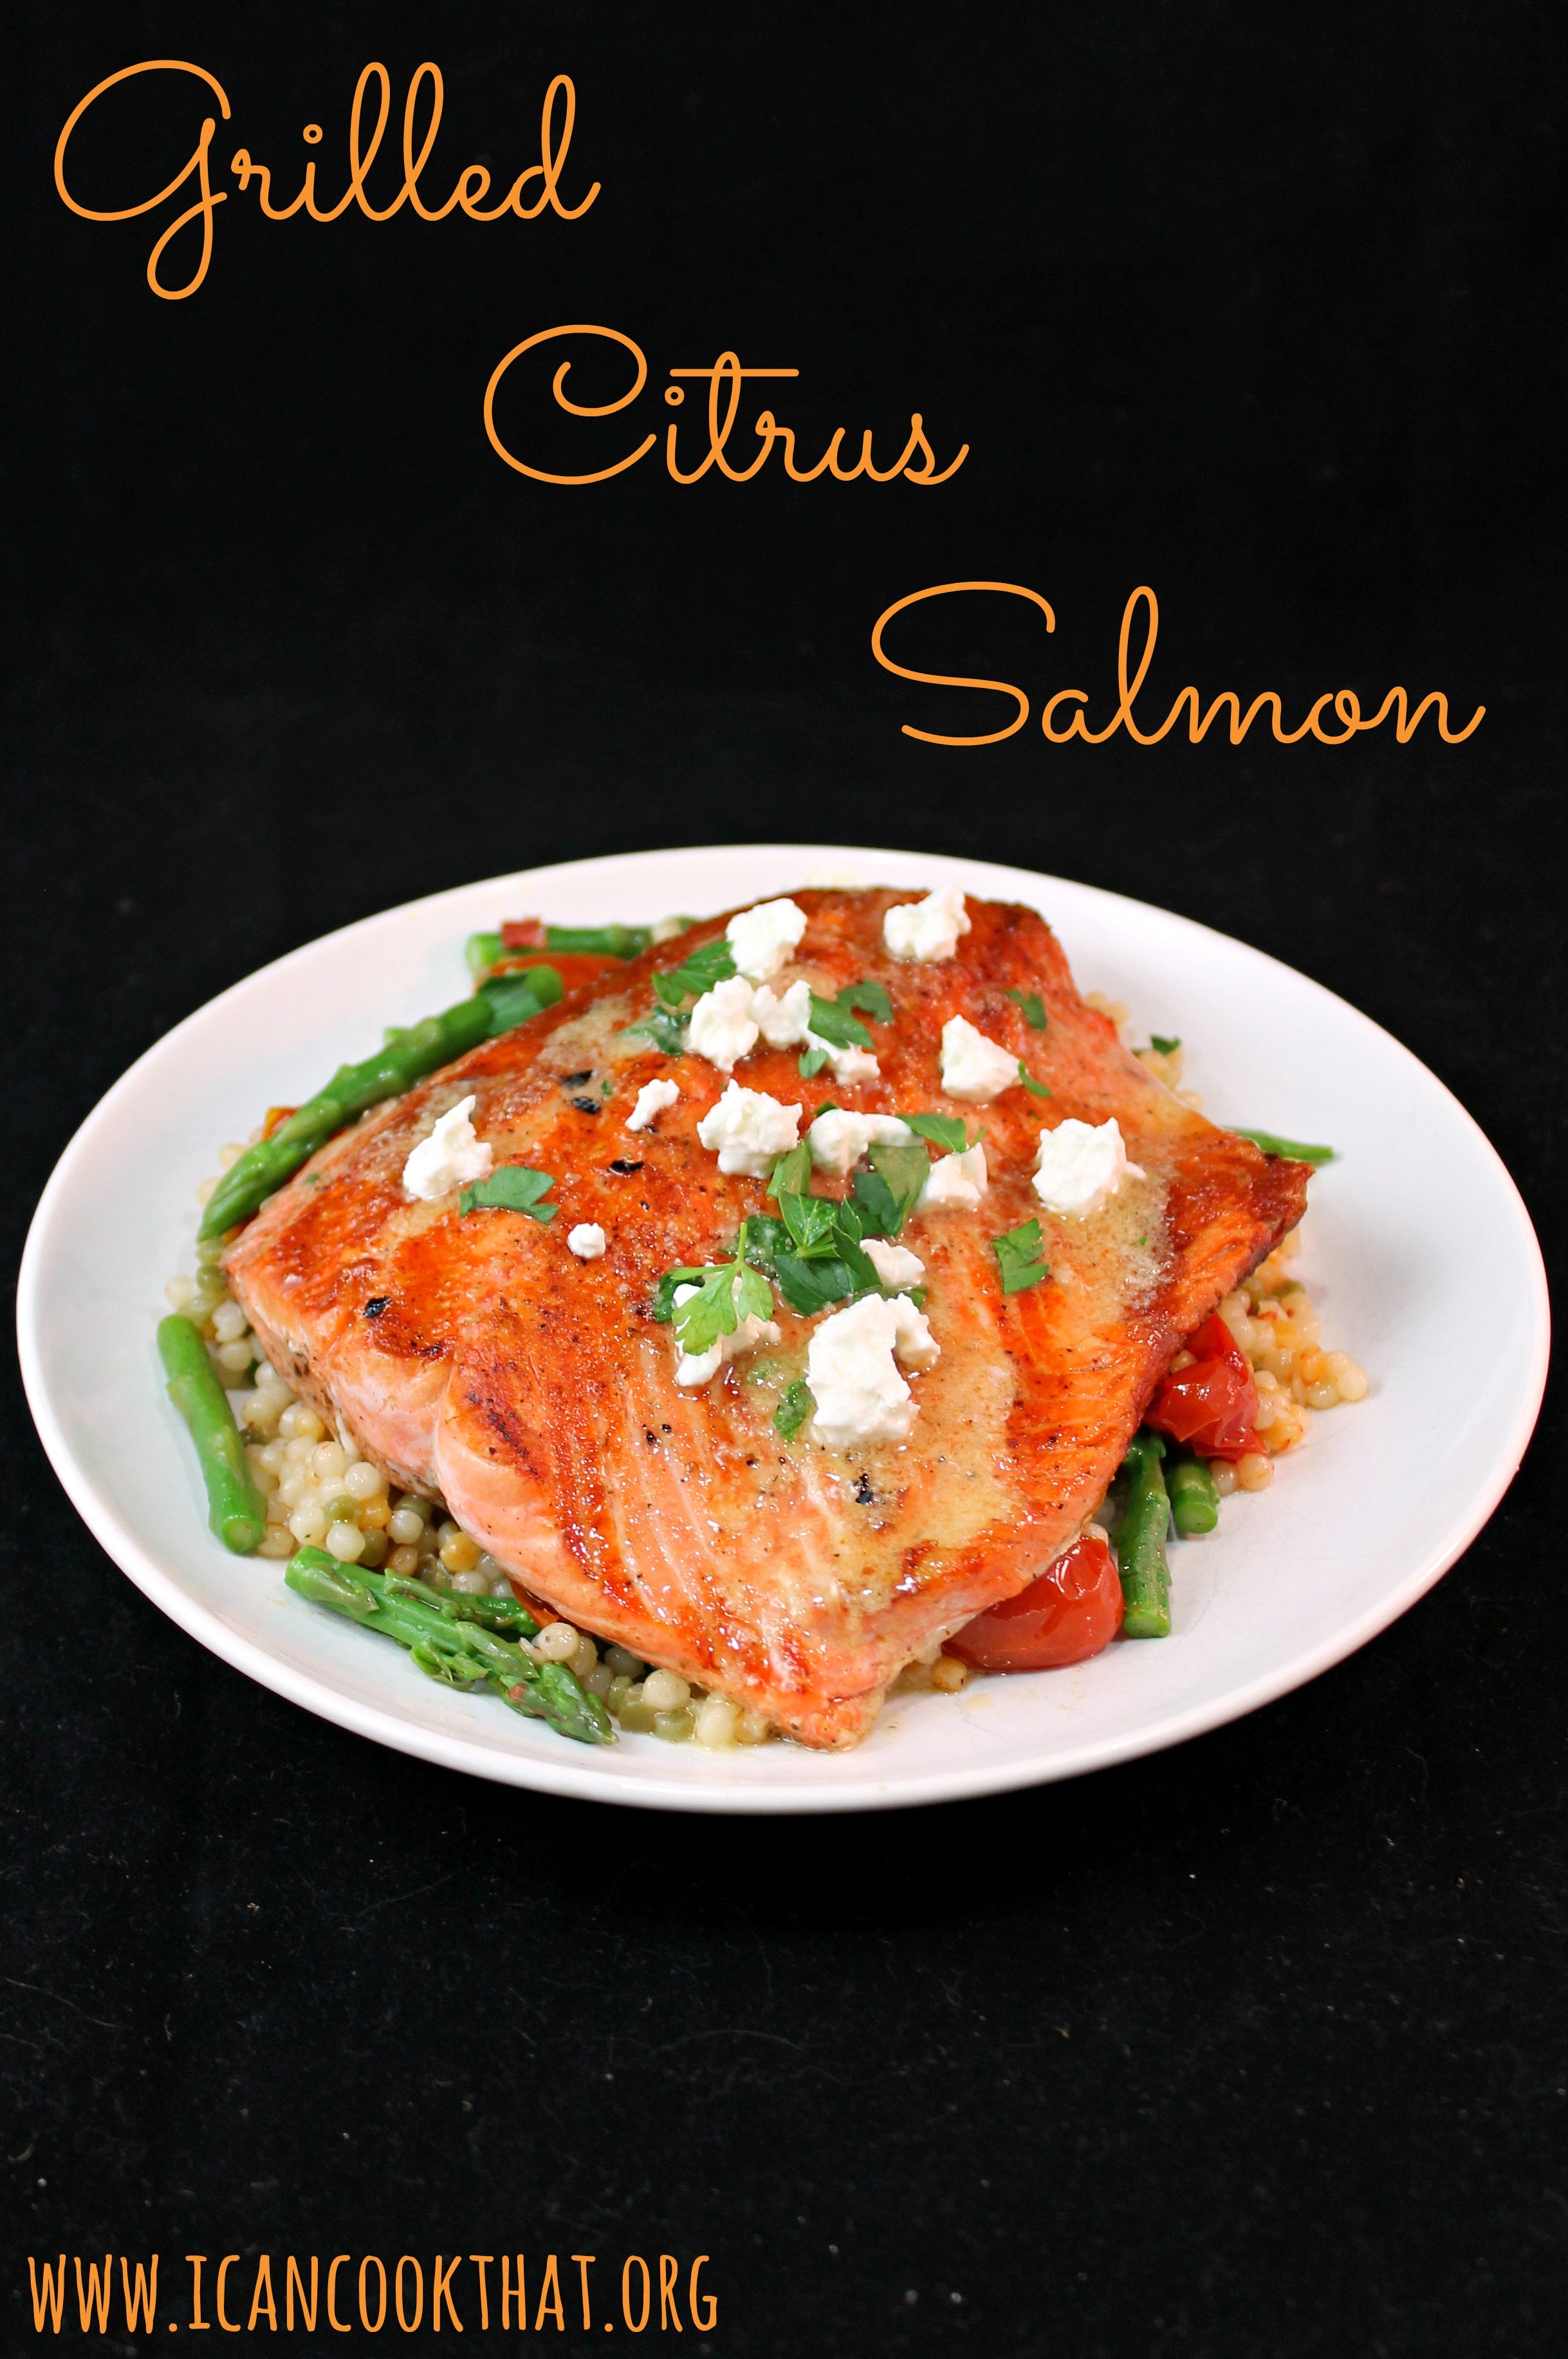
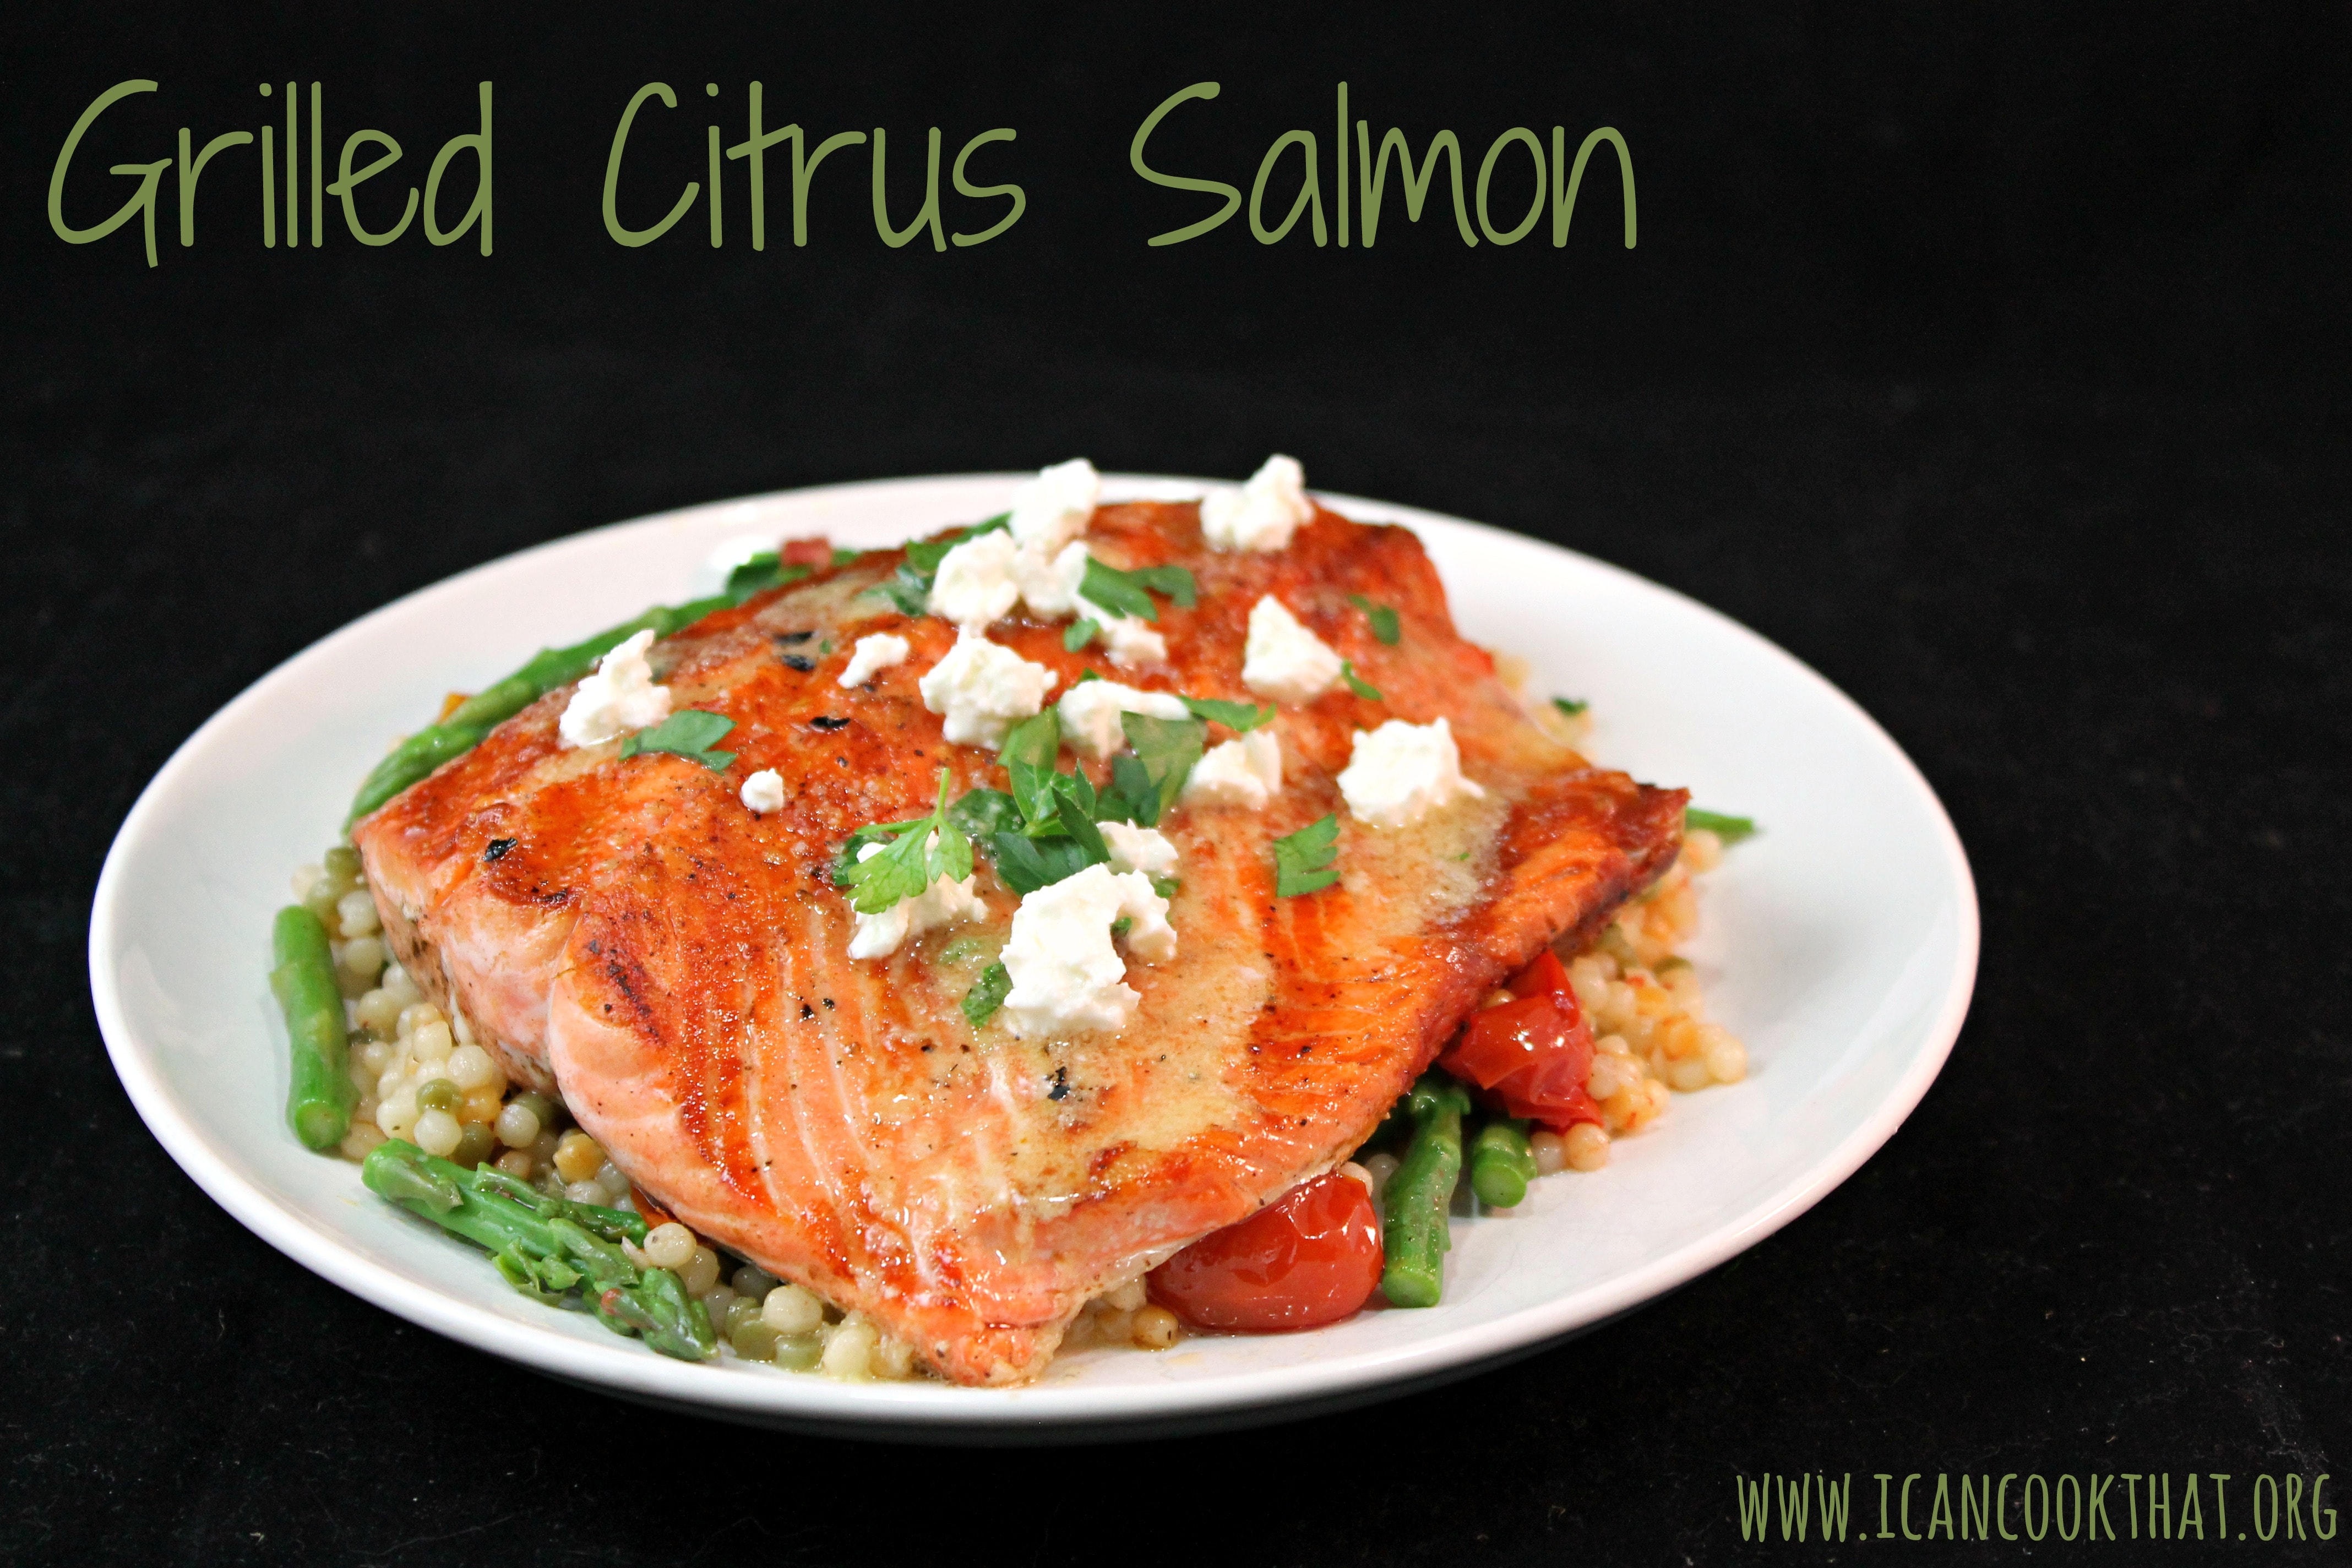
This yummy recipe for Grilled Citrus Salmon was sent to me by LongHorn Steakhouse, and a version of this is actually available in their restaurants as part of their Summer Chef’s Showcase menu. I adapted it slightly to include ingredients I had on hand, so be sure to stop in to your local LongHorn Steakhouse to try their version as well!
As we all head out to grill this July 4th, LongHorn Steakhouse will have their Grill Us Hotline open Thursday, July 2 through Saturday July 4 from noon to 5 pm to answer grilling questions via phone and text. At-home grillers can call 1-855-LH-GRILL or text LHGRILL to 40679 (wait for a response & follow the prompts) to be connected with a grilling expert to answer questions live in real-time.
LongHorn Steakhouse was also kind enough to offer to give away a LongHorn Steakhouse Summer Grilling Party Pack to one winner! The grilling pack includes various grilling tools, koozies for your outdoor grill-out and a $25 gift card to visit LongHorn Steakhouse. More details after the recipe.
Ingredients:
Salmon
4 (7-oz.) salmon fillets
Salt and Pepper, to taste
8 oz. crumbled feta cheese
1 tablespoon freshly chopped parsley
Citrus Glaze
2 tablespoons unsalted butter
3 tablespoons fresh orange juice
salt and pepper, to taste
1/4 teaspoon garlic powder
1/4 teaspoon onion powder
1 tablespoon freshly chopped flat-leaf parsley
Summer Vegetables and Pearl Couscous
4 cups cooked Israeli (pearl) couscous (~1 cup dry)
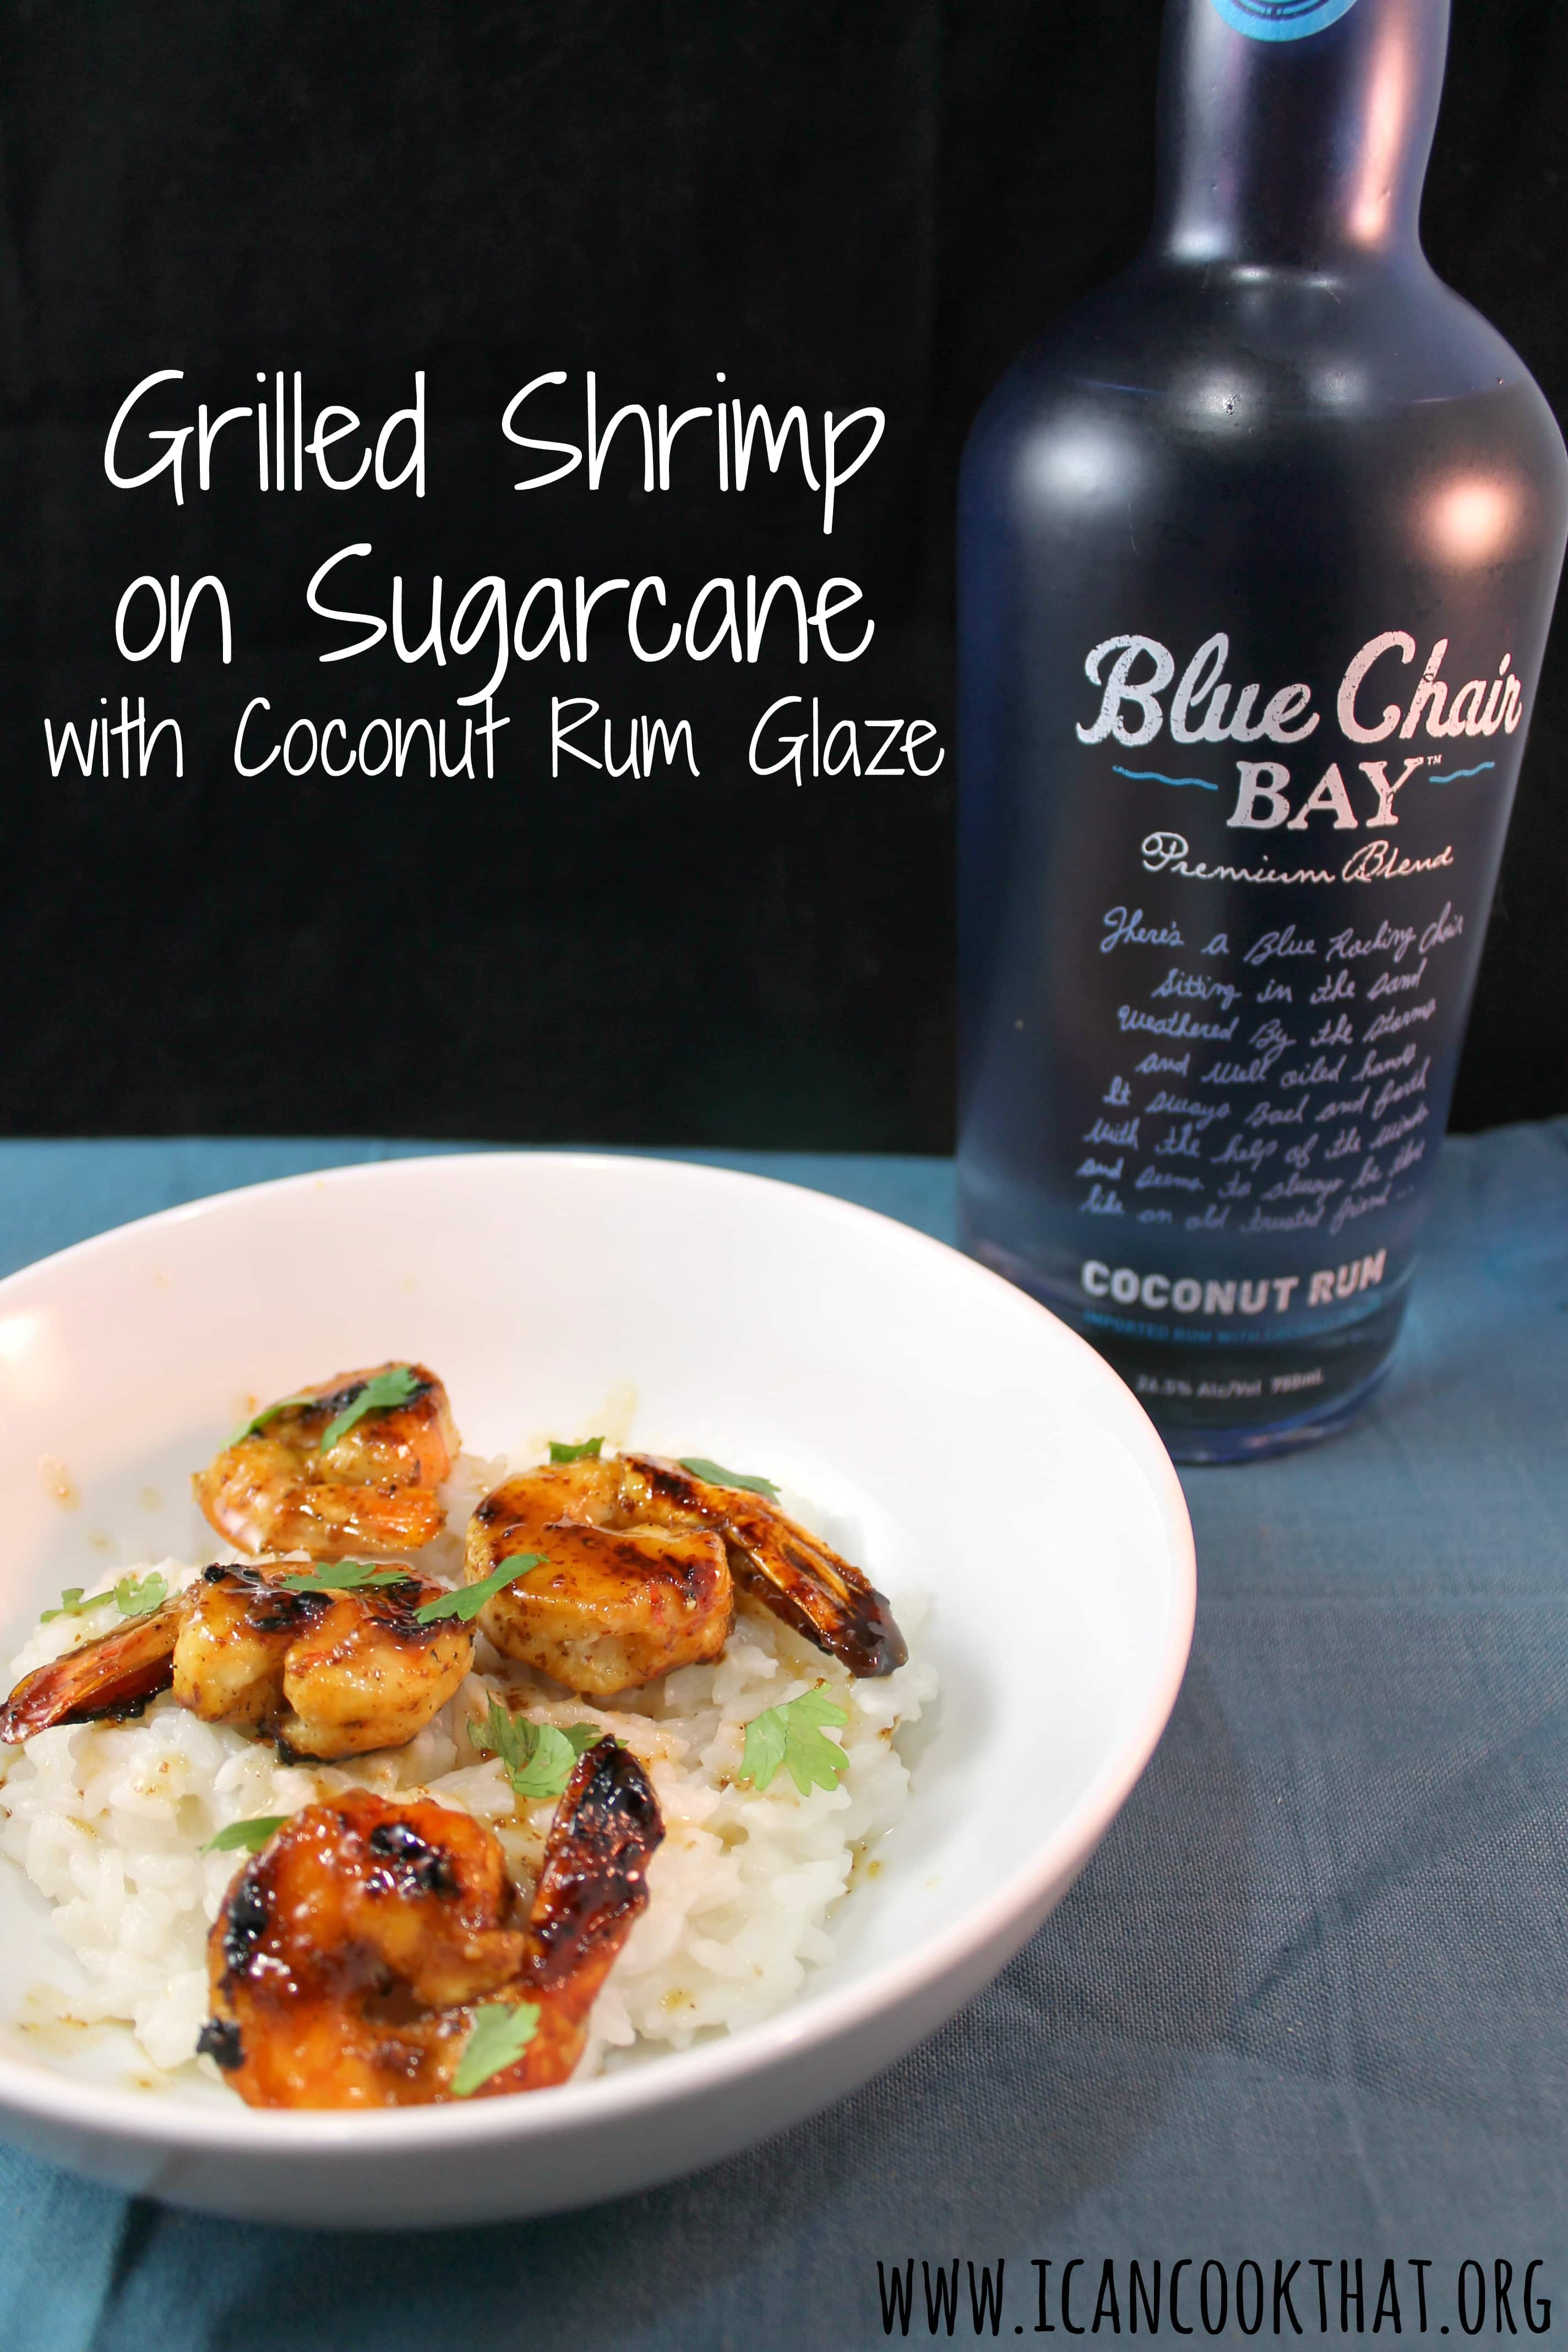
I live in an apartment that has no outdoor space, so we clearly do not have access to a grill, which is causing me to only want grilled food! Luckily, I have a grill pan so I can get my fix, and I’ve been using it nonstop!
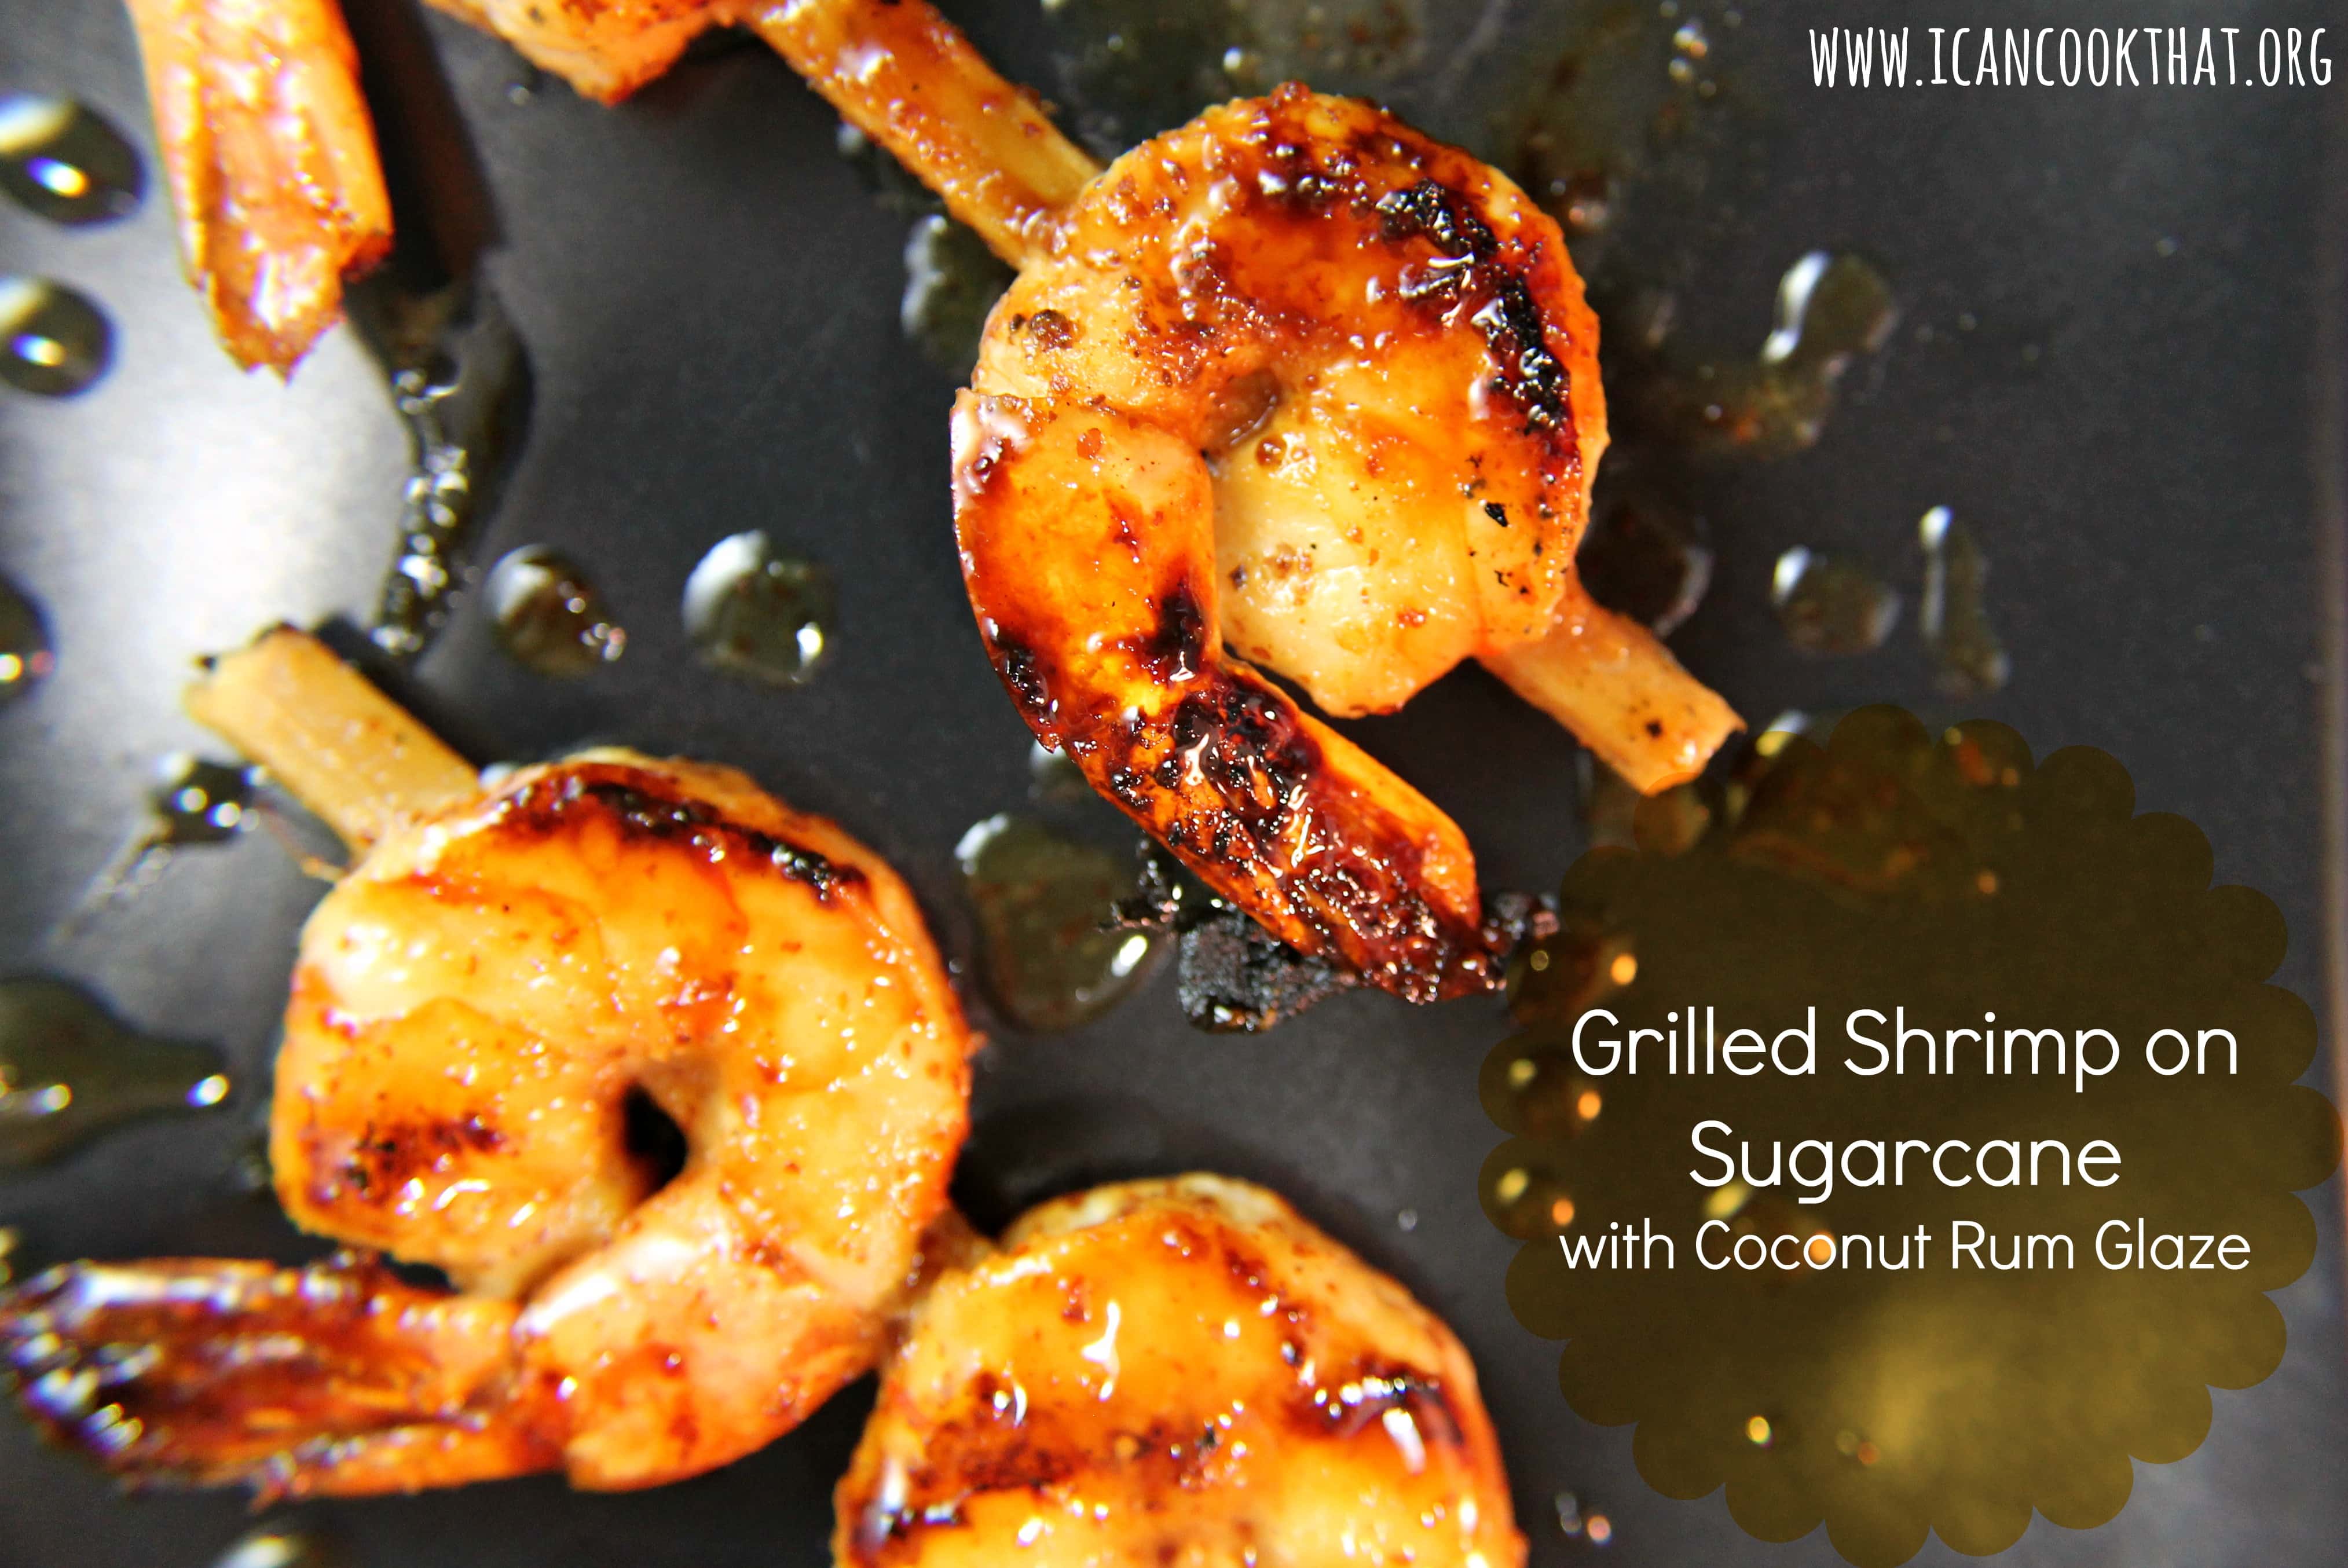
A really simple weeknight favorite of mine is to grill up some shrimp and serve over rice. This recipe is quick and easy to make, but delivers on flavor! Blue Chair Bay Rum sent me a bottle of their Coconut Rum that I knew would be perfect for a glaze on grilled shrimp. The glaze caramelizes beautifully, adding a nice char and sweetness to the shrimp.
I adapted this recipe from a Cooking Light recipe, adding more hints of coconut to play off of the Blue Chair Bay Coconut Rum.
Ingredients:
1 tablespoon olive oil
the juice of one lime
1/4 teaspoon black pepper
1/8 teaspoon salt
1 garlic clove, minced
24 jumbo shrimp, peeled and deveined (about 1 1/2 pounds)
6 sugarcane swizzle sticks, each cut into 2 pieces
Did you know that May is National Barbecue Month? The weather is perfect for going outside and grilling, and with Memorial Day behind us, it’s time to take full advantage of grilling season!
I’ve partnered with Four Roses Bourbon to make an oh-so yummy summer barbecue-themed dessert. A lot of the steps of this can be made ahead of time to make serving the dessert easy enough for a weeknight.
This dessert includes ice cream, grilled fruit, a spiced bourbon butter sauce, and toasted pound cake pieces… what more could you ask for?!
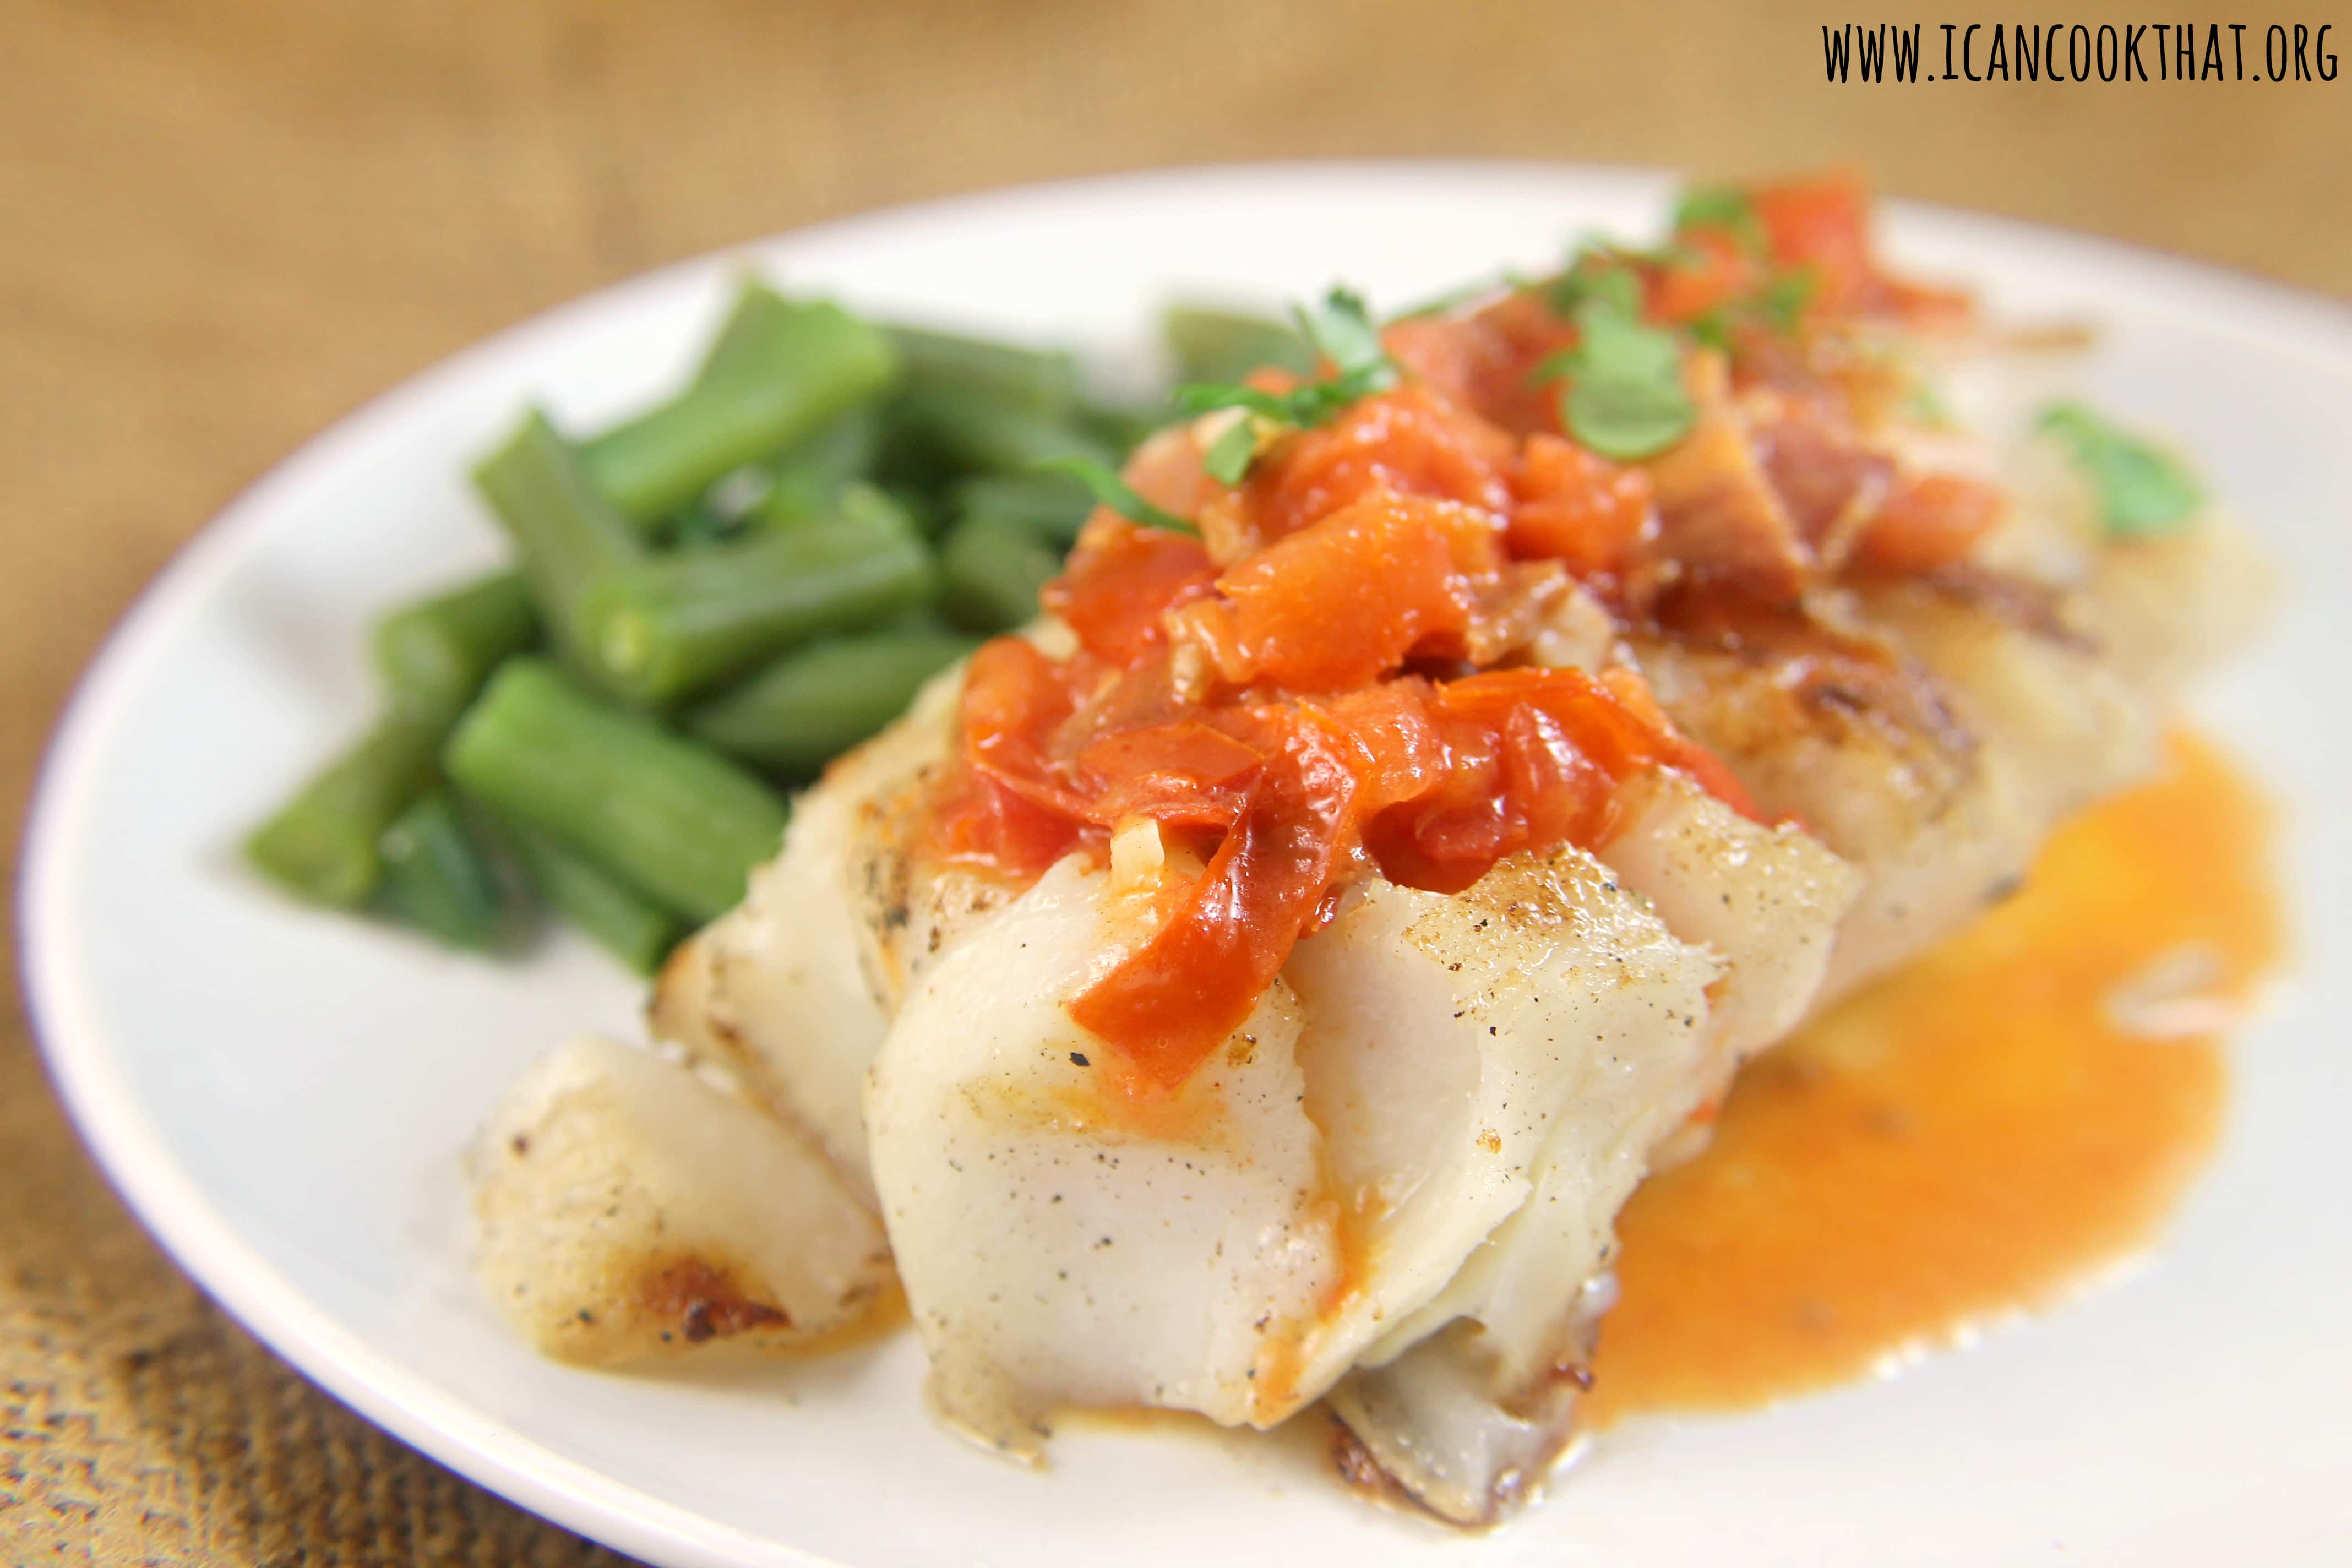
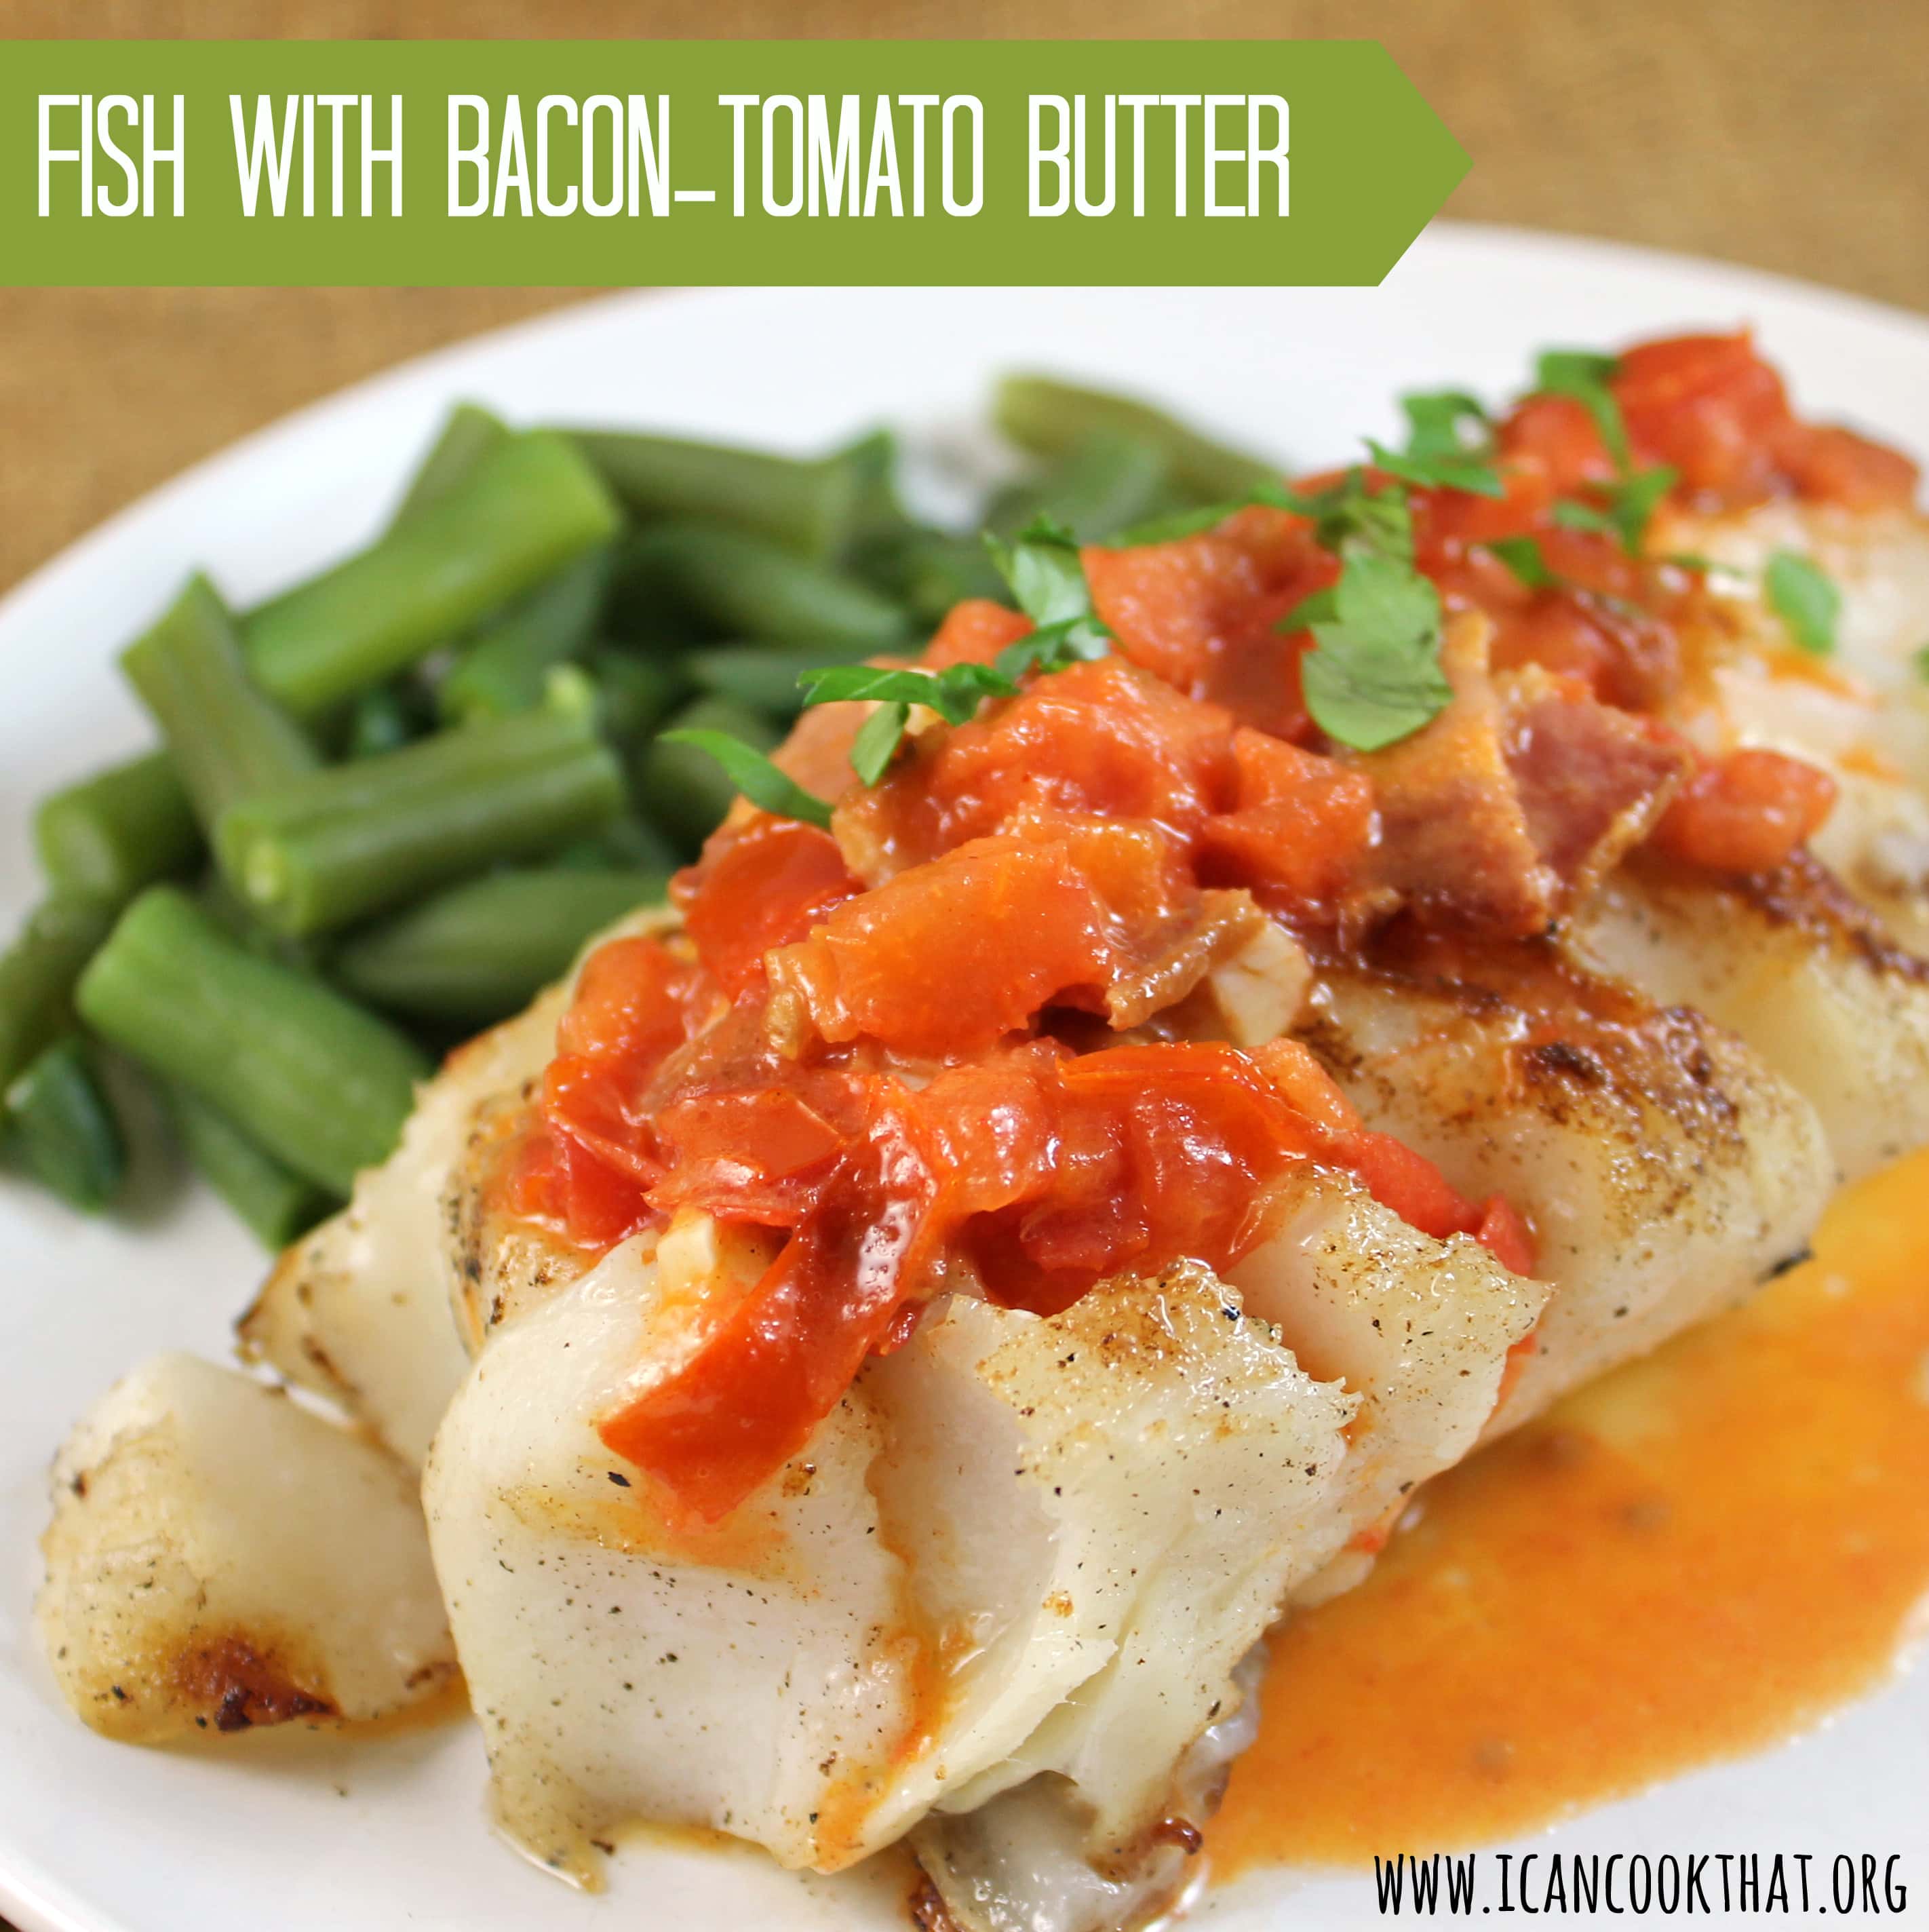
I know you’re probably not going to believe me on this, but this recipe for Fish with Bacon Tomato Butter is a Cooking Light recipe. Bacon? Butter? Yup. Still Cooking Light. Everything in moderation, my friends.
The problem here may just be the “in moderation” part. The Bacon-Tomato Butter is just the best. THE BEST.
This was originally a grill recipe so I used my indoor grill pan. Actually grilling (on a gas or charcoal grill) would add a really great smoky taste to this though so I highly recommend trying the original recipe out. This is also a great kind of “fridge cleaning” recipe. Is it just me who ends up with like two pieces of uncooked bacon that get lost in the fridge for me to find way past their prime?
Ingredients:
2 cups water
1 tablespoon fine sea salt
2 teaspoons sugar
4 (6-ounce) firm white fish fillets (I used Chilean Sea Bass)
I have been in full on grilling mode recently. I can’t seem to get enough of recipes made on the grill! So as the end of summer continues to creep closer, I am trying to get in all of the grilling I can. As much as I would love to grill in the colder months, I’m a wimp and know I just won’t stand out in the cold.
I’ve used indoor counter top grills in the past and really wasn’t thrilled with the cooking results — it didn’t seem to heat up enough to get proper grill marks, all of the juices would flow out of the grill making for a very dry protein, and I’d always under or overcook the meat.
Source: https://optigrill.t-falusa.com/
So when I was contacted to test out the T-fal OptiGrill as part of T-fal’s OptiGrill Blogger Bash, I had some reservations about if this grill would really live up to expectations. Well, I was really pleasantly surprised! What sets the OptiGrill apart is its Precision Grilling Technology that adjusts the cooking time and temperature depending on the type of protein and the thickness of whatever you’re cooking.
Source: https://optigrill.t-falusa.com/
The T-fal OptiGrill has a cooking level indicator with a color changing display that notifies you when your protein has reached rare, medium, or well-done. It also beeps when your food reaches each of the cooking stages. (Keep in mind that if you want your meat to rest before slicing, it continues to cook. So if you wanted a steak at medium rare and planned to let it rest for 5 minutes, you should probably take it out when the OptiGrill hits the “rare” notification.)
Source: https://optigrill.t-falusa.com/
The grill comes pre-programmed with 6 settings that adapt cooking temperature and times for different types of food: burger, poultry, sandwich, pork/sausage, red meat, and fish/seafood. There is also a frozen food function button so that you can cook your protein even when frozen; just push the snowflake button and then one of the 6 pre-programmed buttons. The grill will defrost and cook the protein in one easy step! When cooking fruits and veggies, just use the manual mode, which allows you to determine when the food is done cooking. The OptiGrill also takes into account the thickness of your food using an integrated thickness sensor so that the protein is fully cooked correctly.
The grill is made of brushed stainless steel with die-cast aluminum plates with a non-stick coating. The plates are removable for easy cleaning and are even dishwasher safe. The plates are angled so that drippings can flow into the removable drip tray, which surprisingly doesn’t leave the meat tough, dry, or chewy.
Want to see the grill in action? I decided to test it out with a yummy recipe from Cooking Light that uses both chicken thighs and chicken breasts. Chicken is so easy to overcook leaving a dry meal so I thought it would be a perfect way to test what this grill can really handle. This recipe also includes grilled pineapple so I was able to test out the manual setting as well. I made the marinade from this recipe for Jerk-style Chicken and the salsa from this recipe for Jerk Chicken with Grilled Pineapple Salsa.
I also am giving away one T-fal OptiGrill to one lucky reader, courtesy of T-fal OptiGrill! Details below the recipe.
Note: I was sent a T-fal OptiGrill to test for this review. T-fal is also offering one I Can Cook That reader the chance to win their own T-Fal OptiGrill. All opinions are my own.
Ingredients:
1 teaspoon grated lime rind
1/4 cup fresh lime juice plus 1 tablespoon, divided (about 3 limes)
1 tablespoon ground allspice
1 tablespoon brown sugar (substitute 1 tablespoon molasses to make paleo)
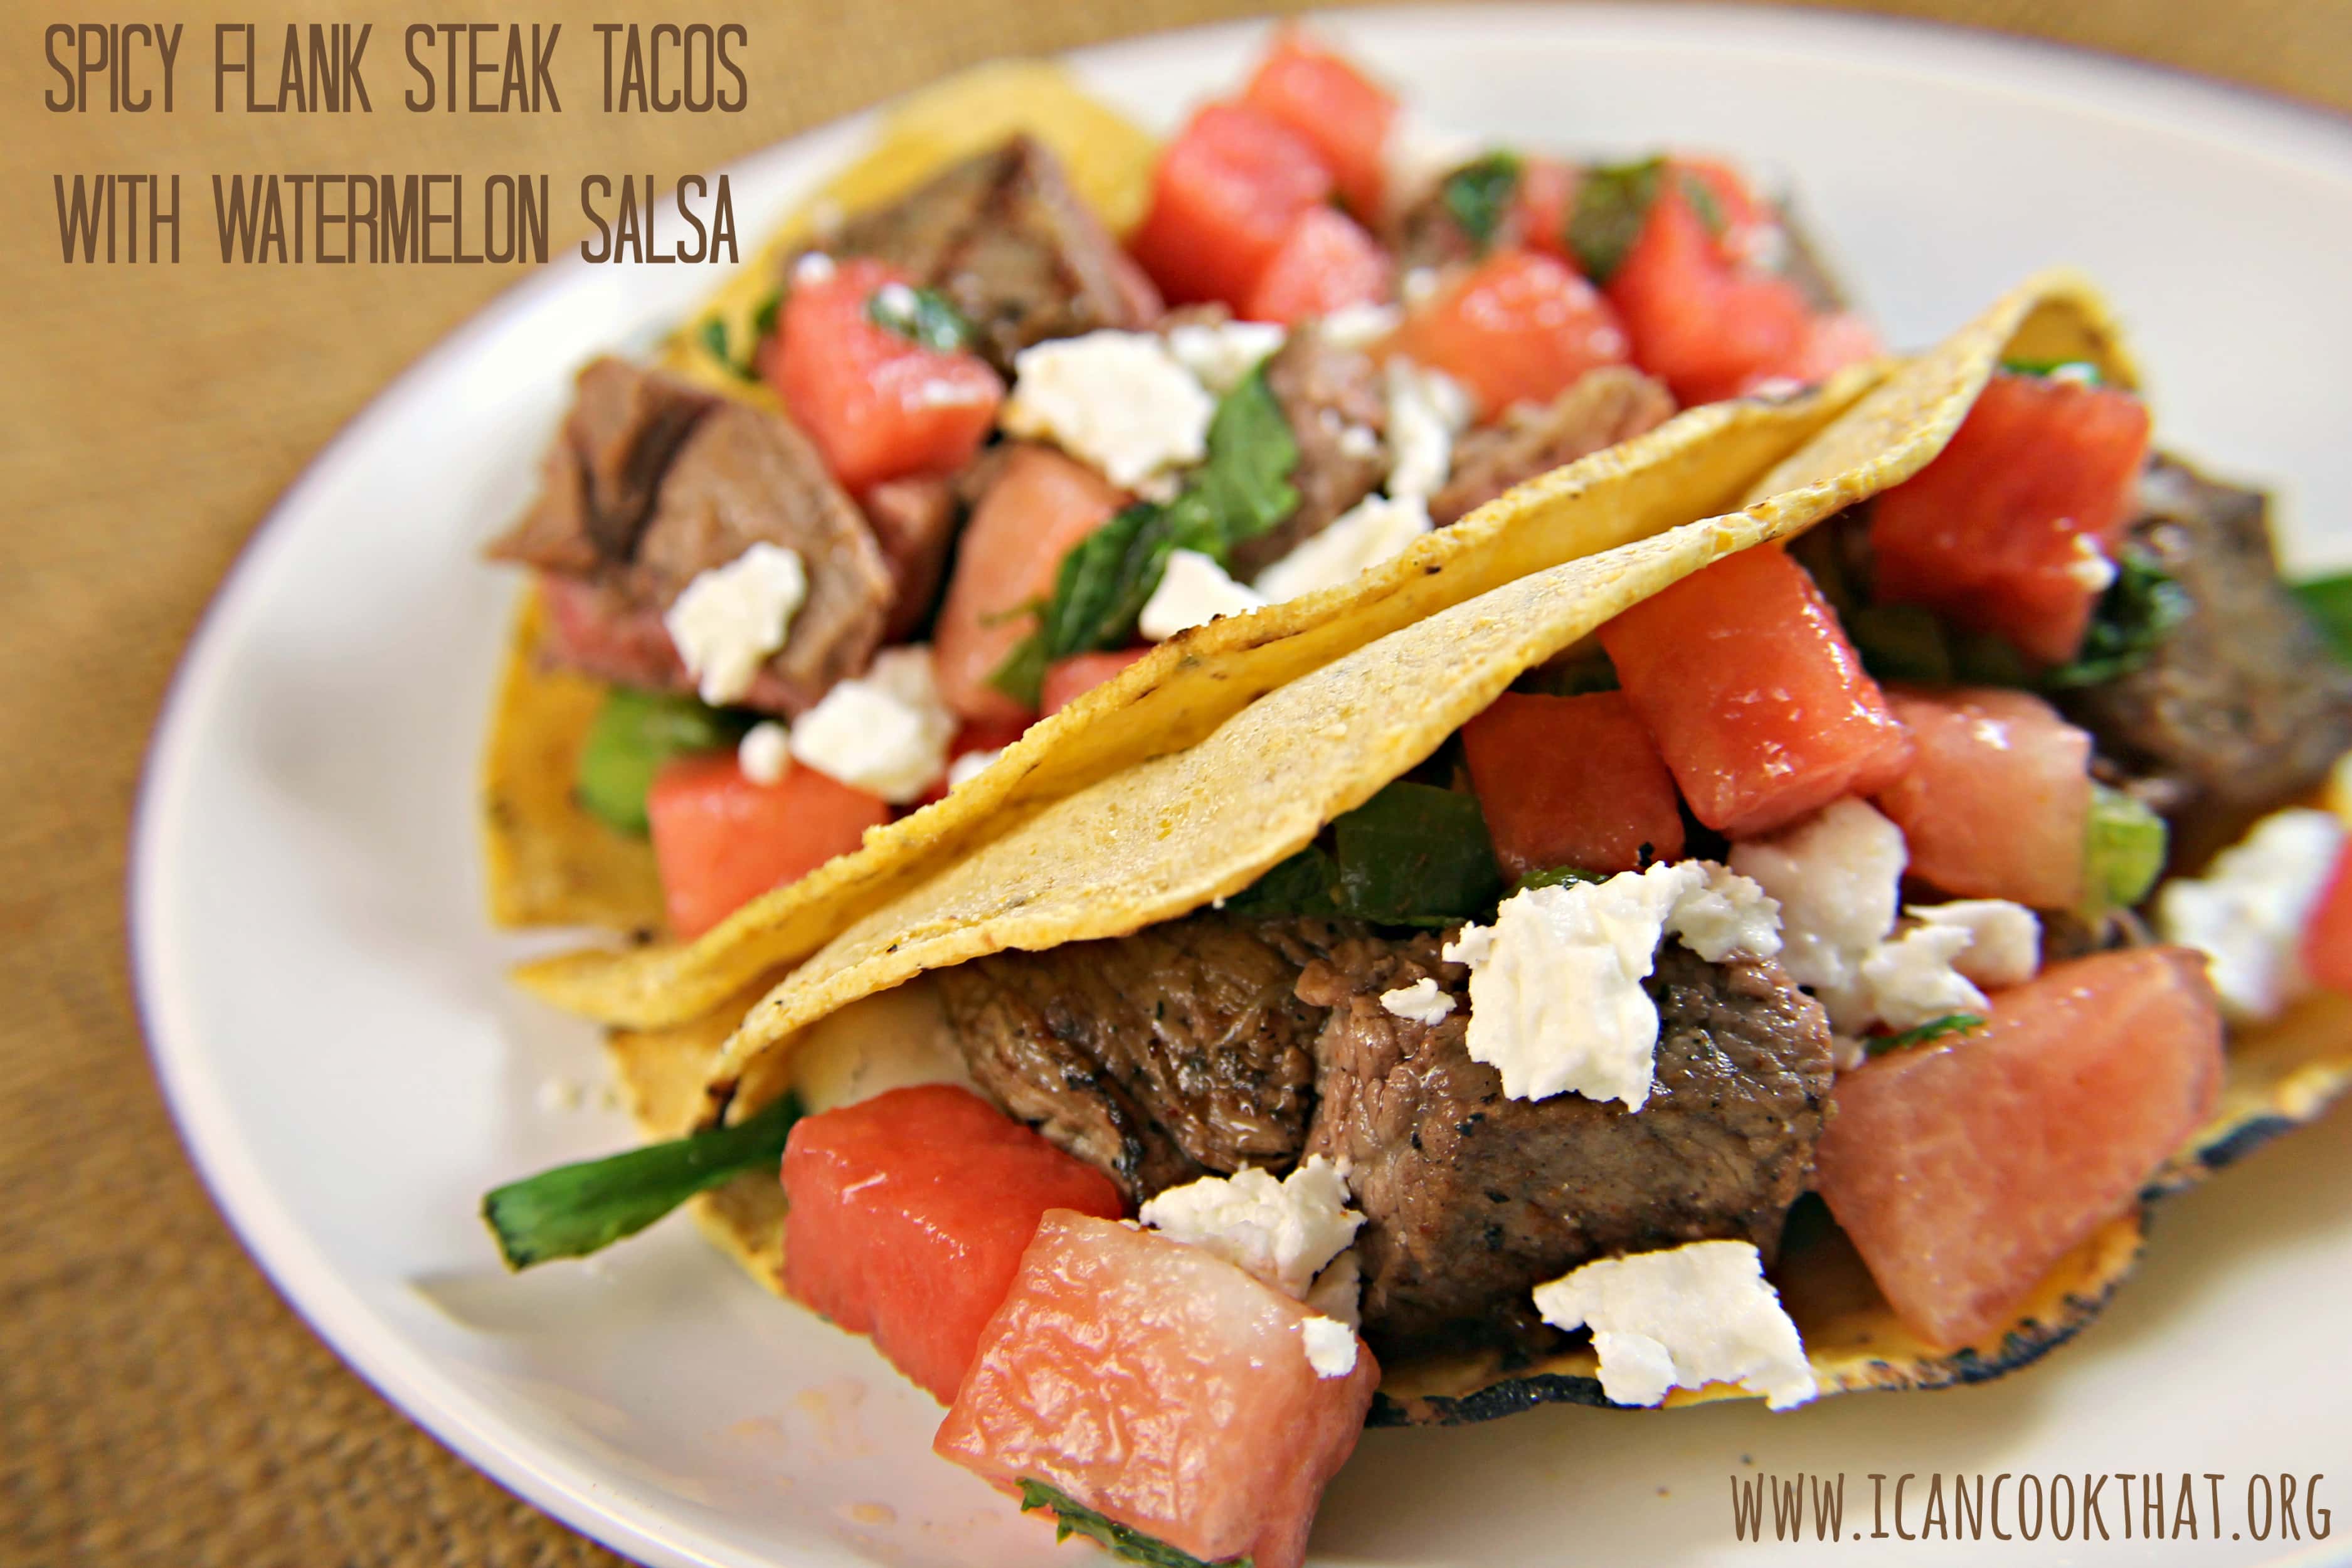
When I first spotted this recipe in the August issue of Cooking Light, I knew I wanted to make it. I have never used watermelon in a savory recipe before and it sounded like a perfect summer dinner! This recipe comes together in no time (and is really simple to make), making it a great weeknight meal option.
The rub on the steak is only four ingredients: salt, black pepper, white pepper, and red (cayenne) pepper. If you don’t have white pepper you can just substitute in more black pepper. But each pepper does bring it’s own taste to the rub.
Black and white pepper comes from the same pepper plant but white peppercorns have the outer layer removed, leaving the seed inside. White pepper has a more subtle flavor than black pepper. Red pepper, or cayenne pepper, is ground from hot peppers so it has a nice level of heat to it. The three together add a nice spiciness to the steak without being overwhelming.
I altered this recipe a little bit but the general idea is there. If you’re interested in seeing the original version, check it out here.
Ingredients:
1/2 teaspoon plus 1/8 teaspoon kosher salt, divided
1/4 teaspoon freshly ground black pepper
1/4 teaspoon ground white pepper
1/4 teaspoon ground red pepper
1 (1-pound) flank steak, trimmed and halved lengthwise
I love the flavor that grilling adds to a recipe but I struggle with grilling protein to the correct temperature. This means we sometimes end up with dry, chewy and overcooked food or, even worse, super rare/raw meat.
Luckily, Verizon Wireless’ Philadelphia Tri-State Region team gave me the opportunity to try out an iGrill thermometer that not only displays the temperature, but also uses Verizon’s LTE 4G network to send me an alert when my protein has reached the temperature I want!
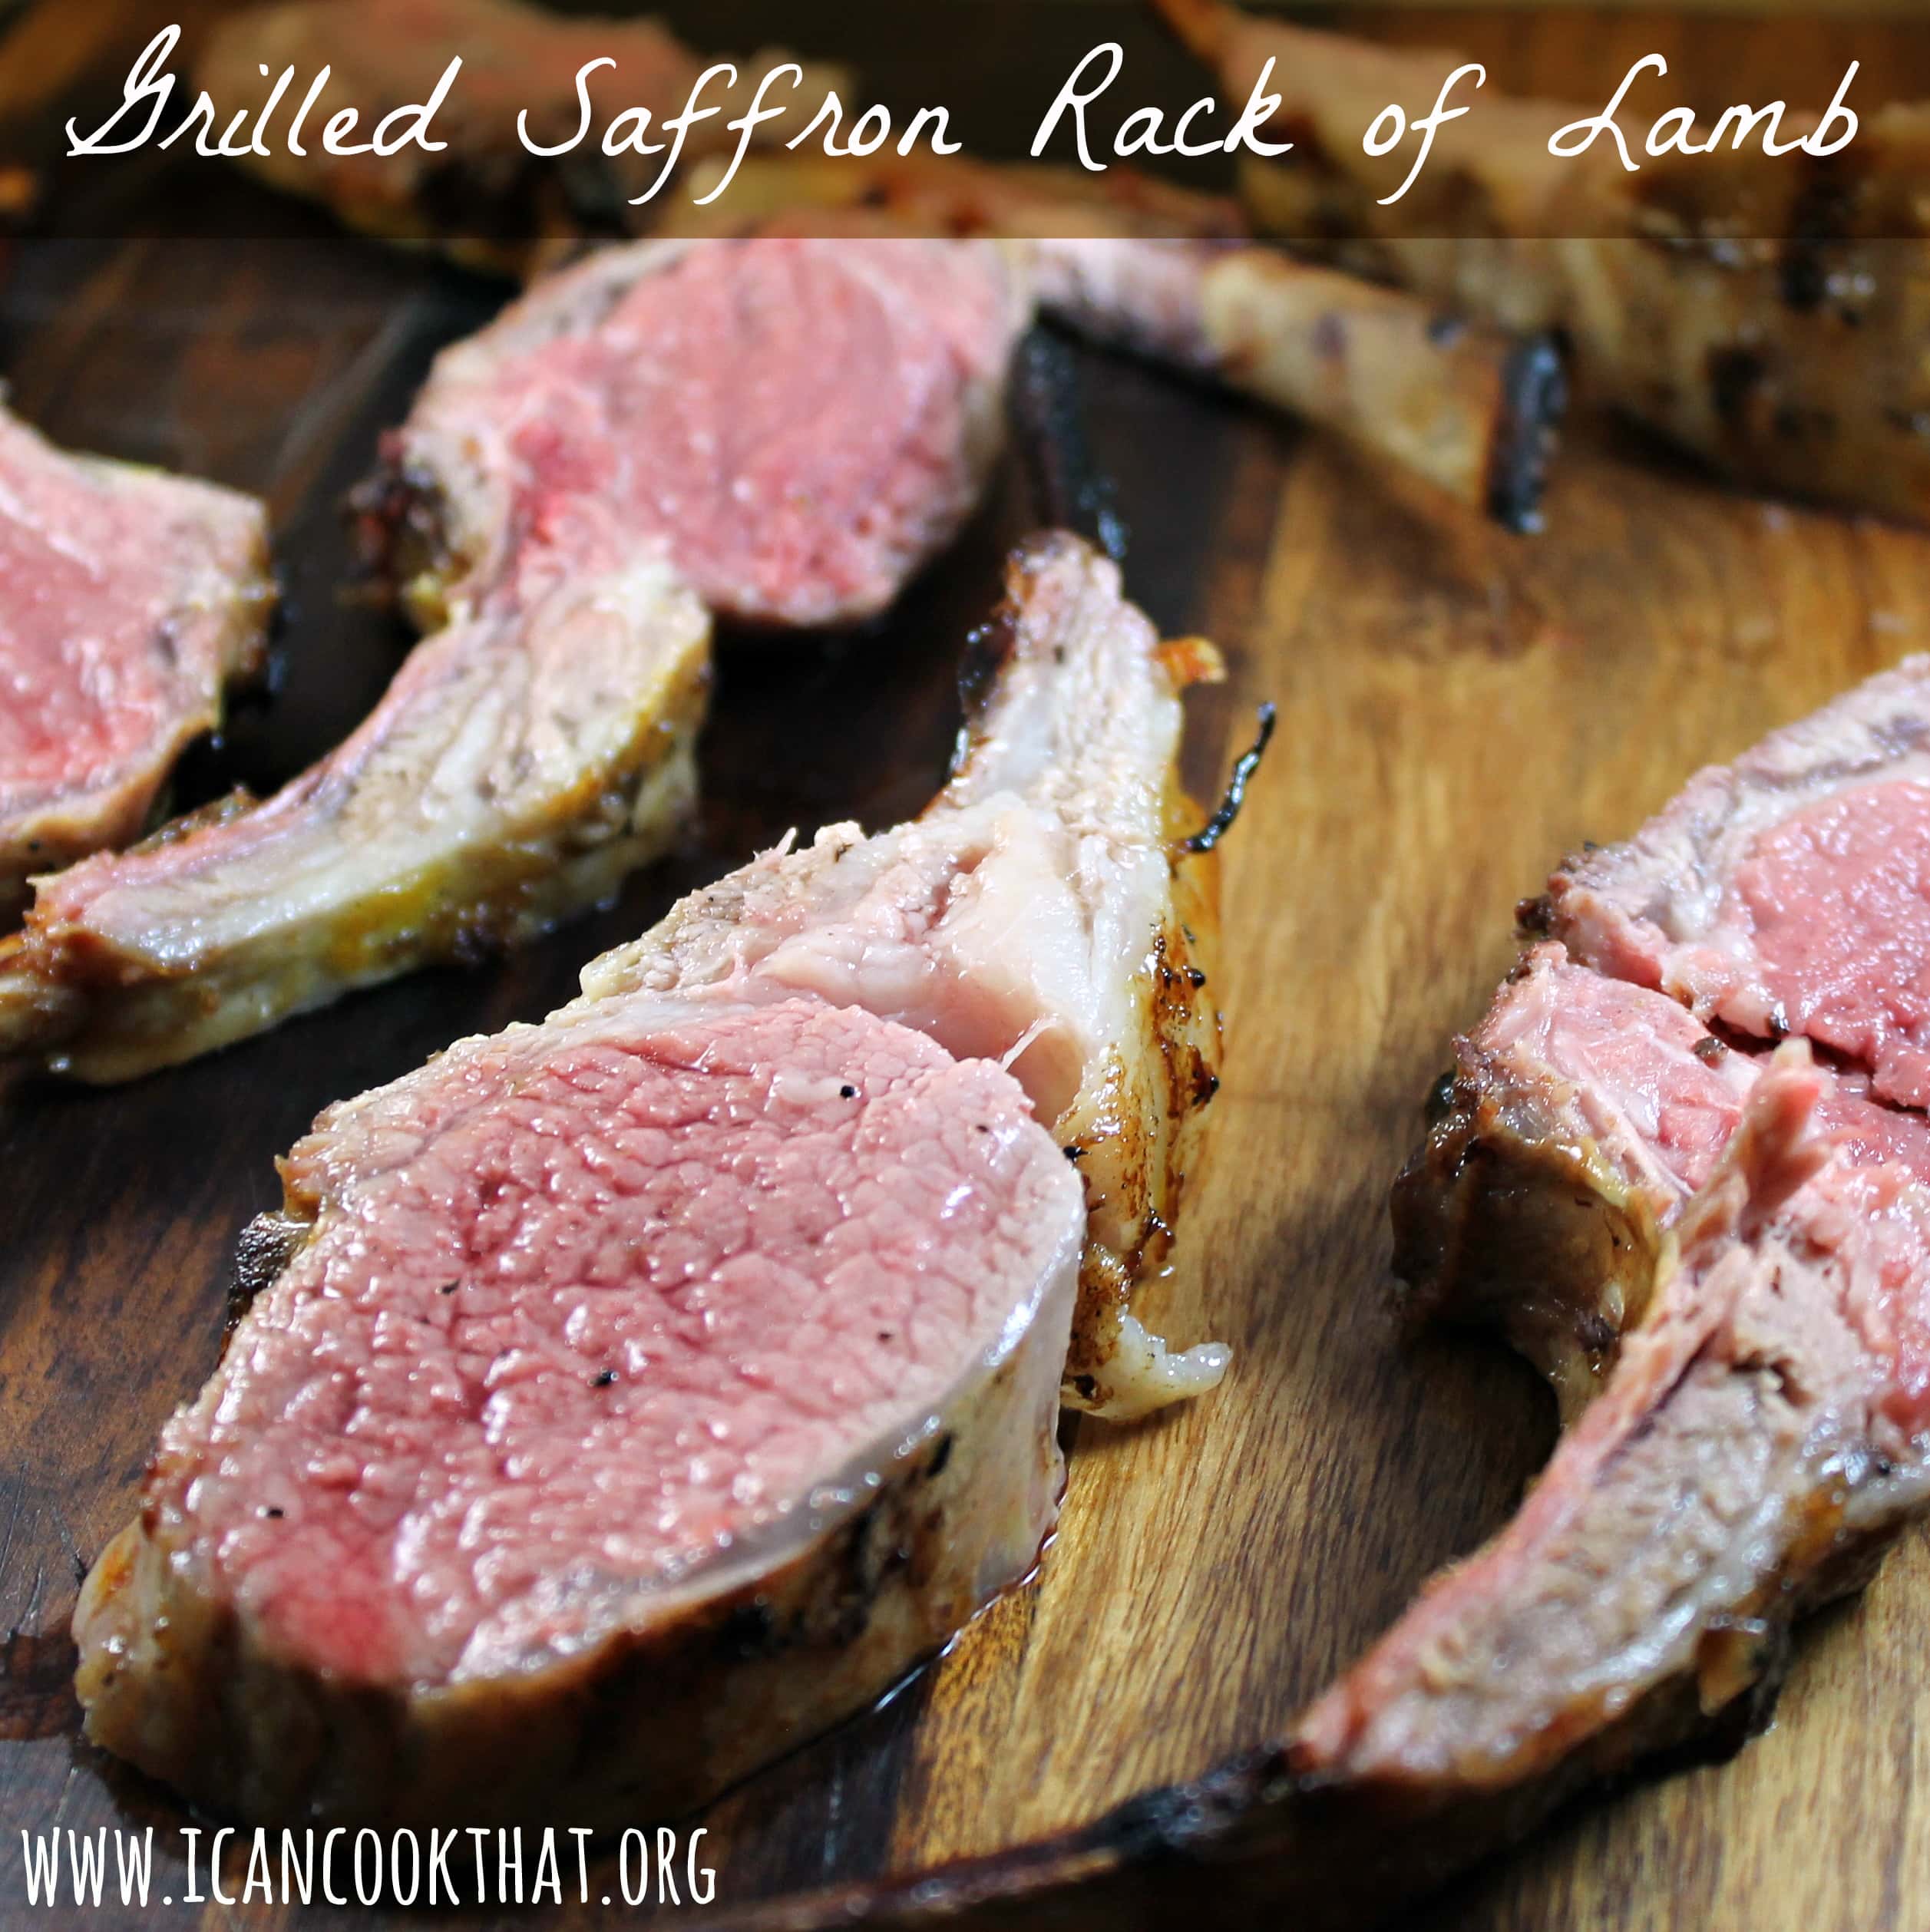
I was so excited about this product that I decided to really test it out and used it on a pretty finicky meat: lamb. Lamb is a protein that should be cooked to medium rare and not much more. It gets really tough and chewy if overcooked. It’s pretty easy to overcook as well; lamb continues to cook after being removed from heat so it has to be removed before reaching the ideal internal temperature for medium rare. Plus, it’s a pretty expensive meat so you want it to be perfect!
The iGrill Thermometer takes a lot of the guesswork out of the process. The thermometer comes with two probes so you can track the temperature of two meats at the same time. You just insert the probe into the thickest part of the meat (not touching a bone). The thermometer pairs with your phone through Bluetooth. Using the iGrill app on your smartphone, you can set a temperature or a timer to alert you when your meat is finished cooking. Pretty nifty, right?
Ingredients:
2 racks of lamb, rib bones frenched
salt and pepper, to taste
2 garlic cloves, crushed
1 cup plain 0% Greek yogurt
2 tablespoons olive oil
the zest of 1 lemon
1/2 teaspoon saffron threads, finely crumbled
note: “Frenched rib bones” means that the meat has been cut away from the end of the rib so that part of the bone is exposed
Grilled corn is one of my absolute favorite foods of summer. There is just nothing like a cob of sweet corn charred over a grill. Mmm. But as much as I love a simple corn on the cob, sometimes I need a little variety. This recipe from Bon Appetit gives me my beloved grilled corn, plus fresh herbs and tomatoes. What’s not to love?
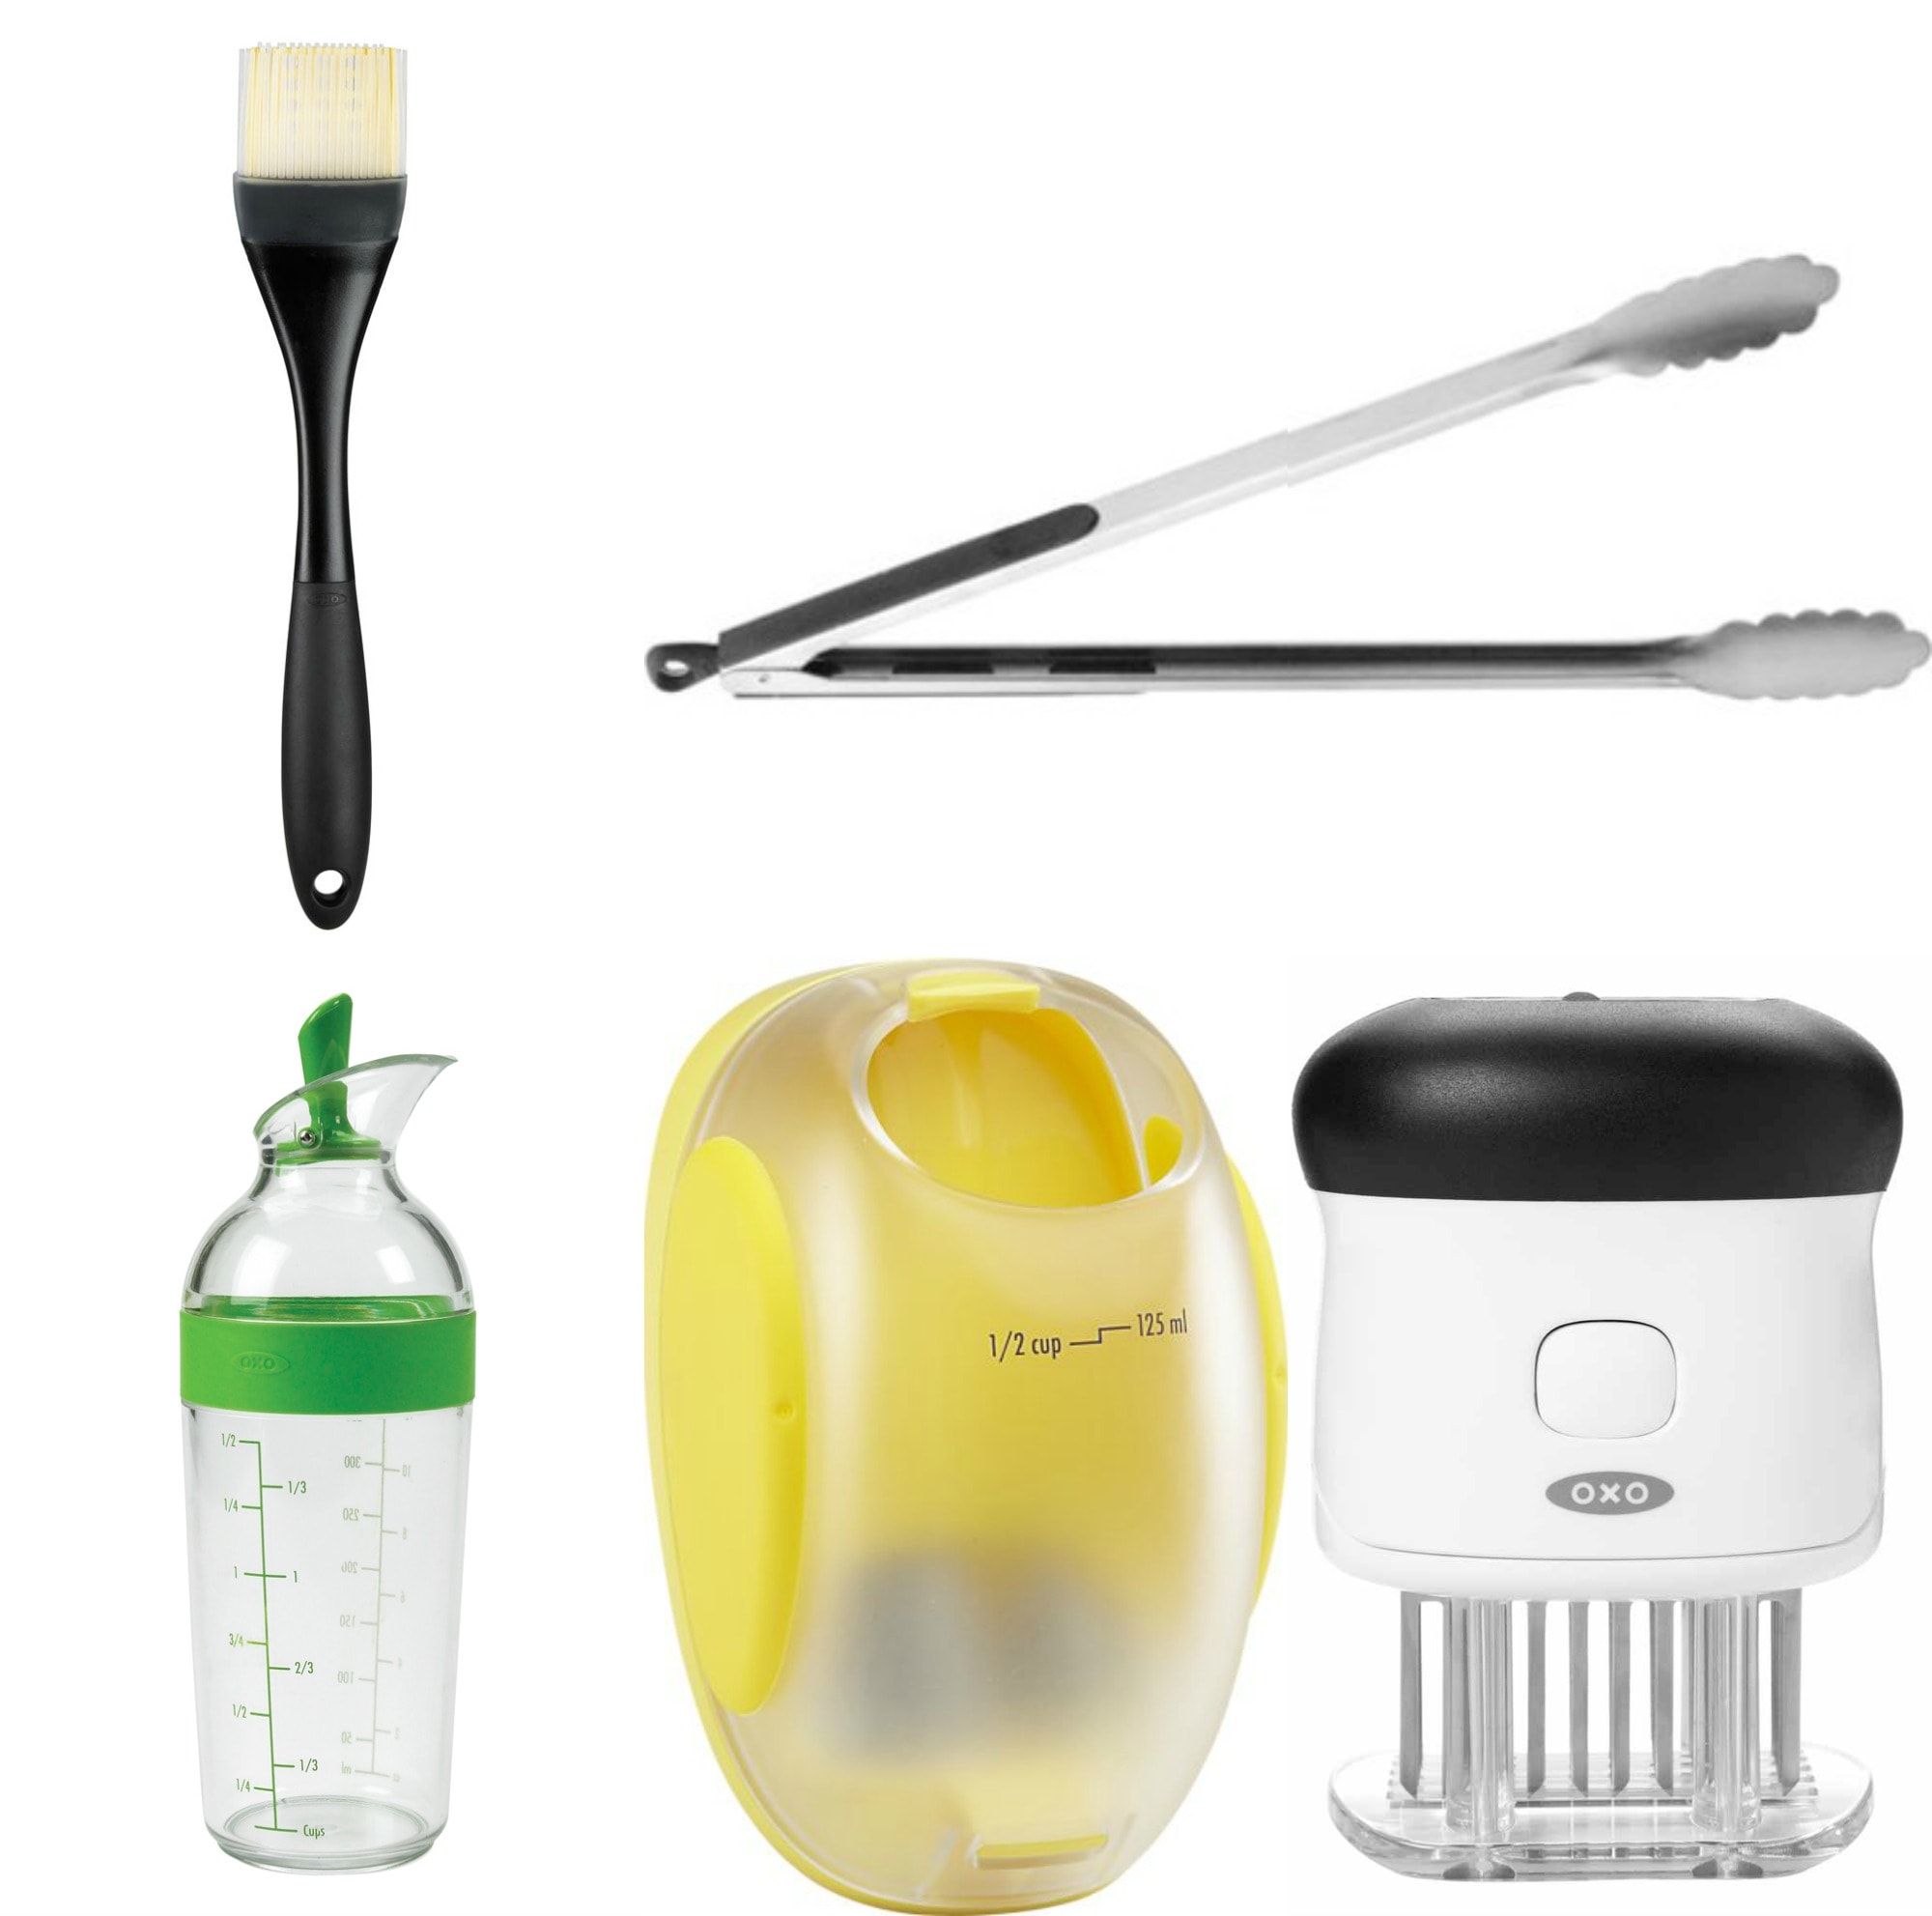
This recipe also allows me to show off some of my favorite grilling tools, courtesy of OXO. I was sent some grilling essentials as a participant in OXO’s #WhatAGrillWants campaign, including a Corn Stripper, Silicone Basting Brush, and 16″ tongs. I was also sent a Bladed Meat Tenderizer (which I plan on using for steak in an upcoming recipe… stay tuned) and a Little Salad Dressing Shaker that is the perfect size for 2 servings; I will have a post including that little guy soon too!
source: oxo.com
The Silicone Basting Brush is perfect for grilling because it is head resistant, odor resistant, and easy to clean. I used it this time around to rub the corn with olive oil before grilling. The center bristles have circular gaps that hold on to the liquid as you transfer the sauce from the bowl to the food and the tapered outer bristles let you baste easily. Because the bristles are heat resistant to 600 degrees F, it’s a great tool to add an extra layer of barbecue sauce to a protein while grilling! The basting brush is also dishwasher safe.
My boyfriend was most excited about the 16″ tongs. They are stainless steel but have non-slip handles that make them safe for barbecuing. The long length is very much appreciated when working over a hot grill! The tongs also lock closed with a large pull tab that also doubles as a hole for hanging, great for my peg board! (You can also get the tongs in 9-inch and 12-inch sizes).
The corn stripper is the perfect tool for this recipe. I’ve mentioned on here before that I have a (ridiculous) fear of knives. So when trying to strip corn off a cob, I get a bit anxious. This tool makes it SO much easier without the risk! The corn stripper has a container that actually stores the kernels as you strip them from the cob; it holds up to 1/2 cup. You can then just pour the kernels out of the top of the container and you’re good to go!
Now that I’ve gone through all of my nifty tools that made this recipe a breeze, maybe it would be a good idea to actually share the recipe, no? 🙂
Ingredients:
6 ears of corn, husked
3 tablespoons olive oil, divided
1/2 cup thinly sliced red onion
1/2 cup cherry tomatoes, halved
1/2 cup (loosely packed) fresh basil leaves, large leaves torn
A while back, I was given the opportunity to visit Davio’s Northern Italian Steakhouse. Naturally, I jumped at the chance. Davio’s has been a staple in the Philadelphia food scene for a while now. Located in Rittenhouse Square, Davio’s still seems to be a bit of a hidden gem due to it’s location on the second floor of a building, although it isn’t difficult to find (the entrance on 17th Street is clearly marked).
The restaurant is known just as much for it’s service and ambiance as it is it’s delicious food. The staff really know how to make your night feel special. The dining room’s large windows and tall ceilings add to the traditional and comfortable feel of the restaurant — it is located in the historic Provident Bank Building. The space is also equipped with a bar that I hear is quite a popular destination for happy hour.
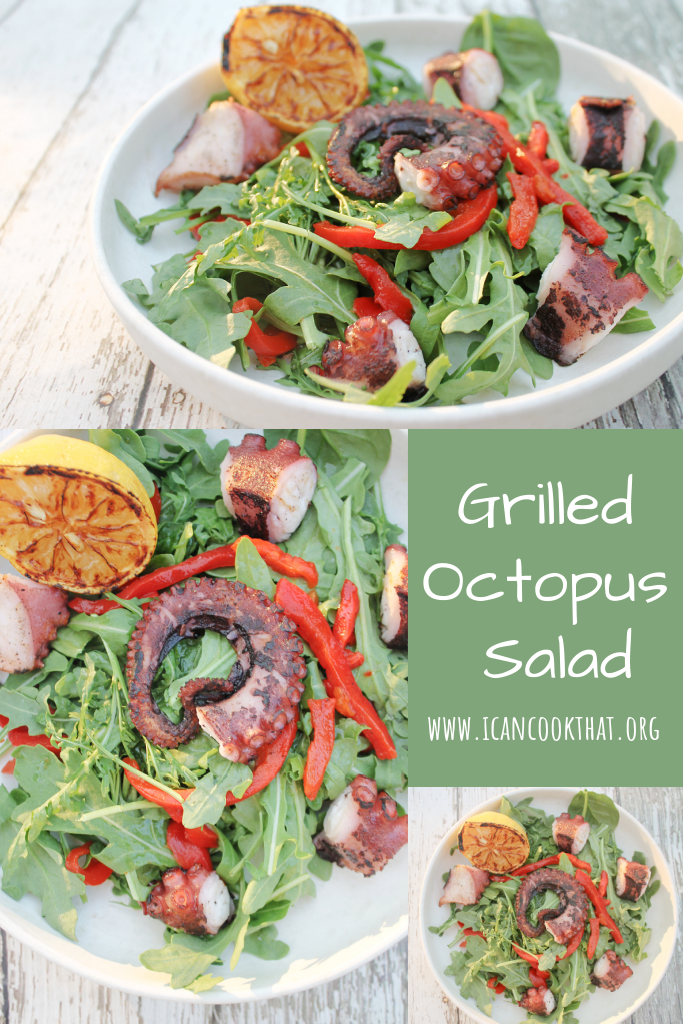
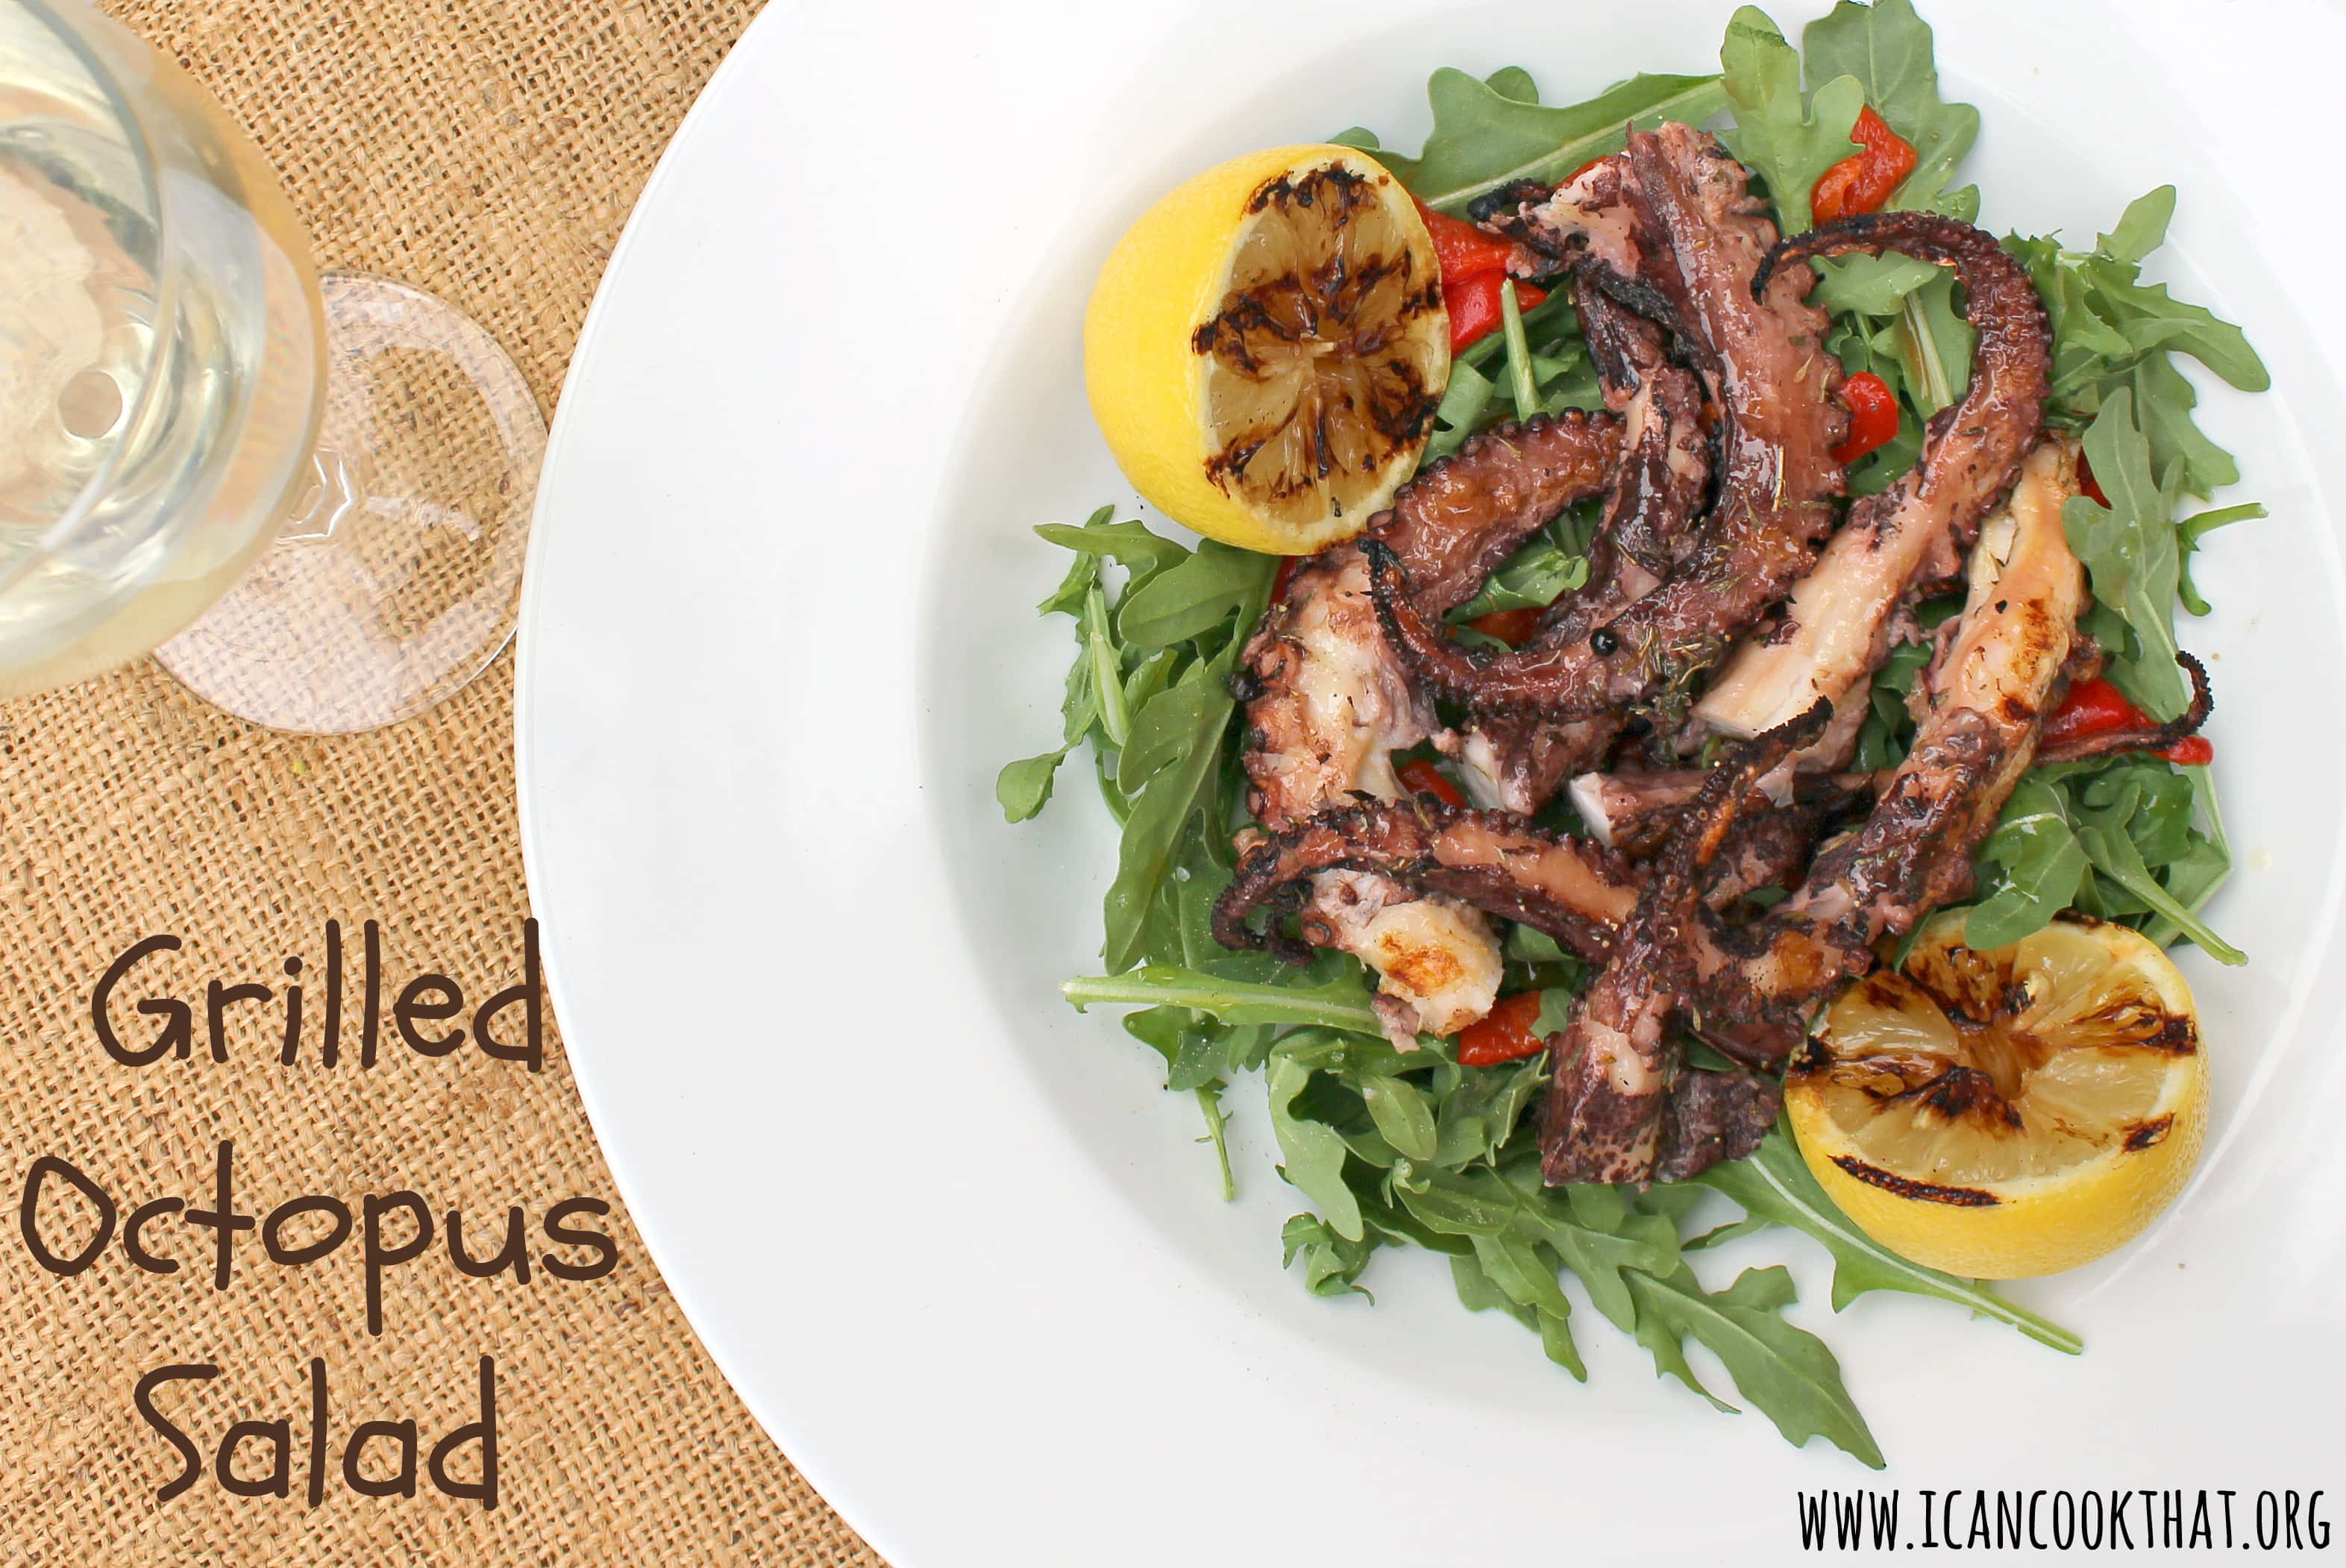
My entire meal was absolutely delicious. Every dish seemed to be better than the last! I have included a run down of everything we ate (we basically needed to be rolled out of the building) and I also wanted to try my hand at one of the specials they were serving that night: A Grilled Octopus Salad over Arugula.
My version is heavily based on Davio’s with a few changes: Davio’s also included chorizo in their version (yum!) and used yellow peppers rather than red. This was my first time working with octopus so it was a little nerve wracking but turned out amazing!