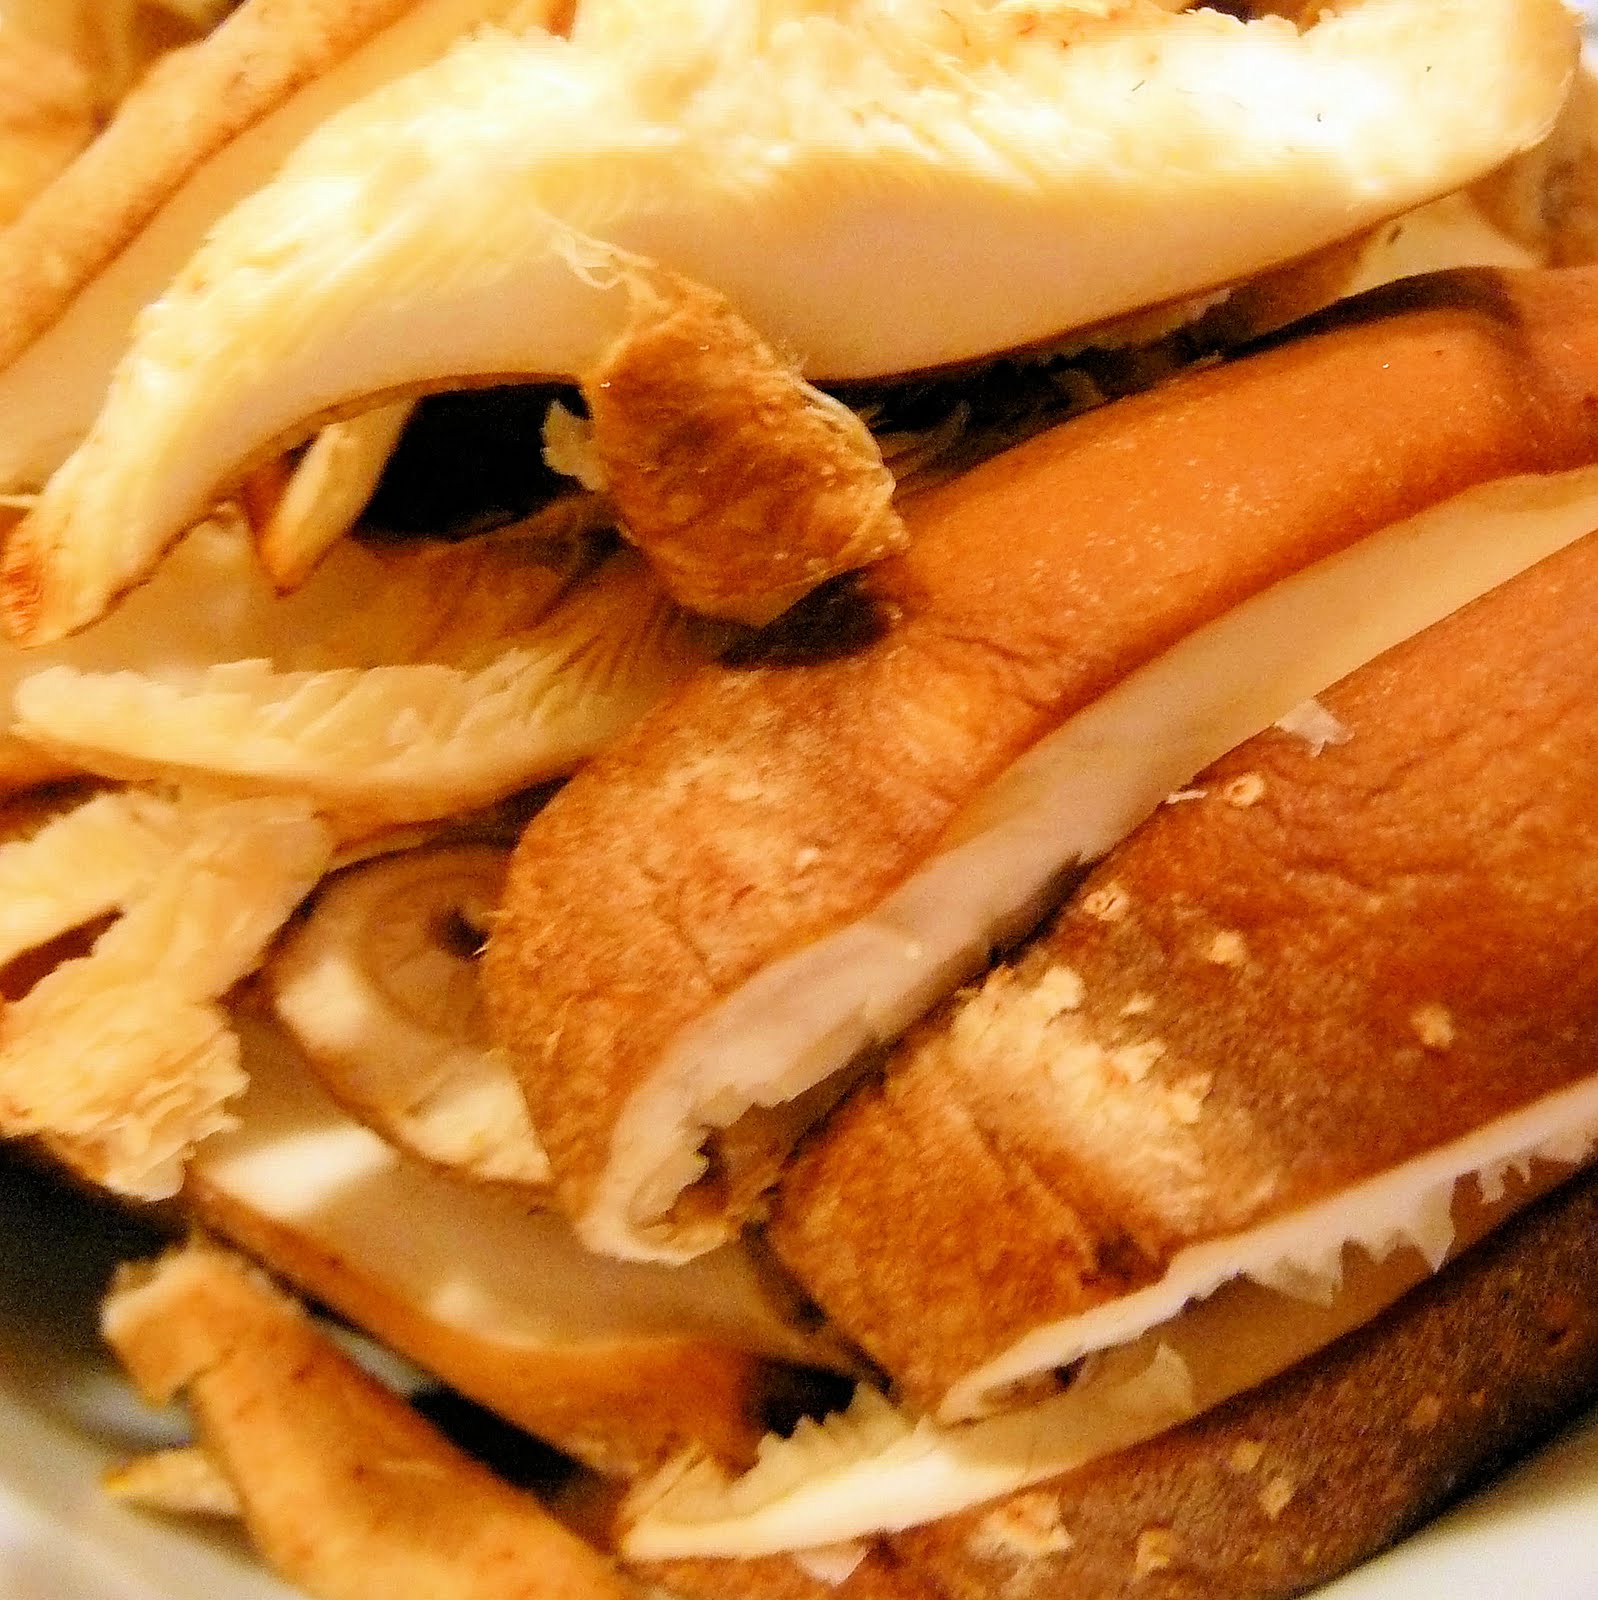
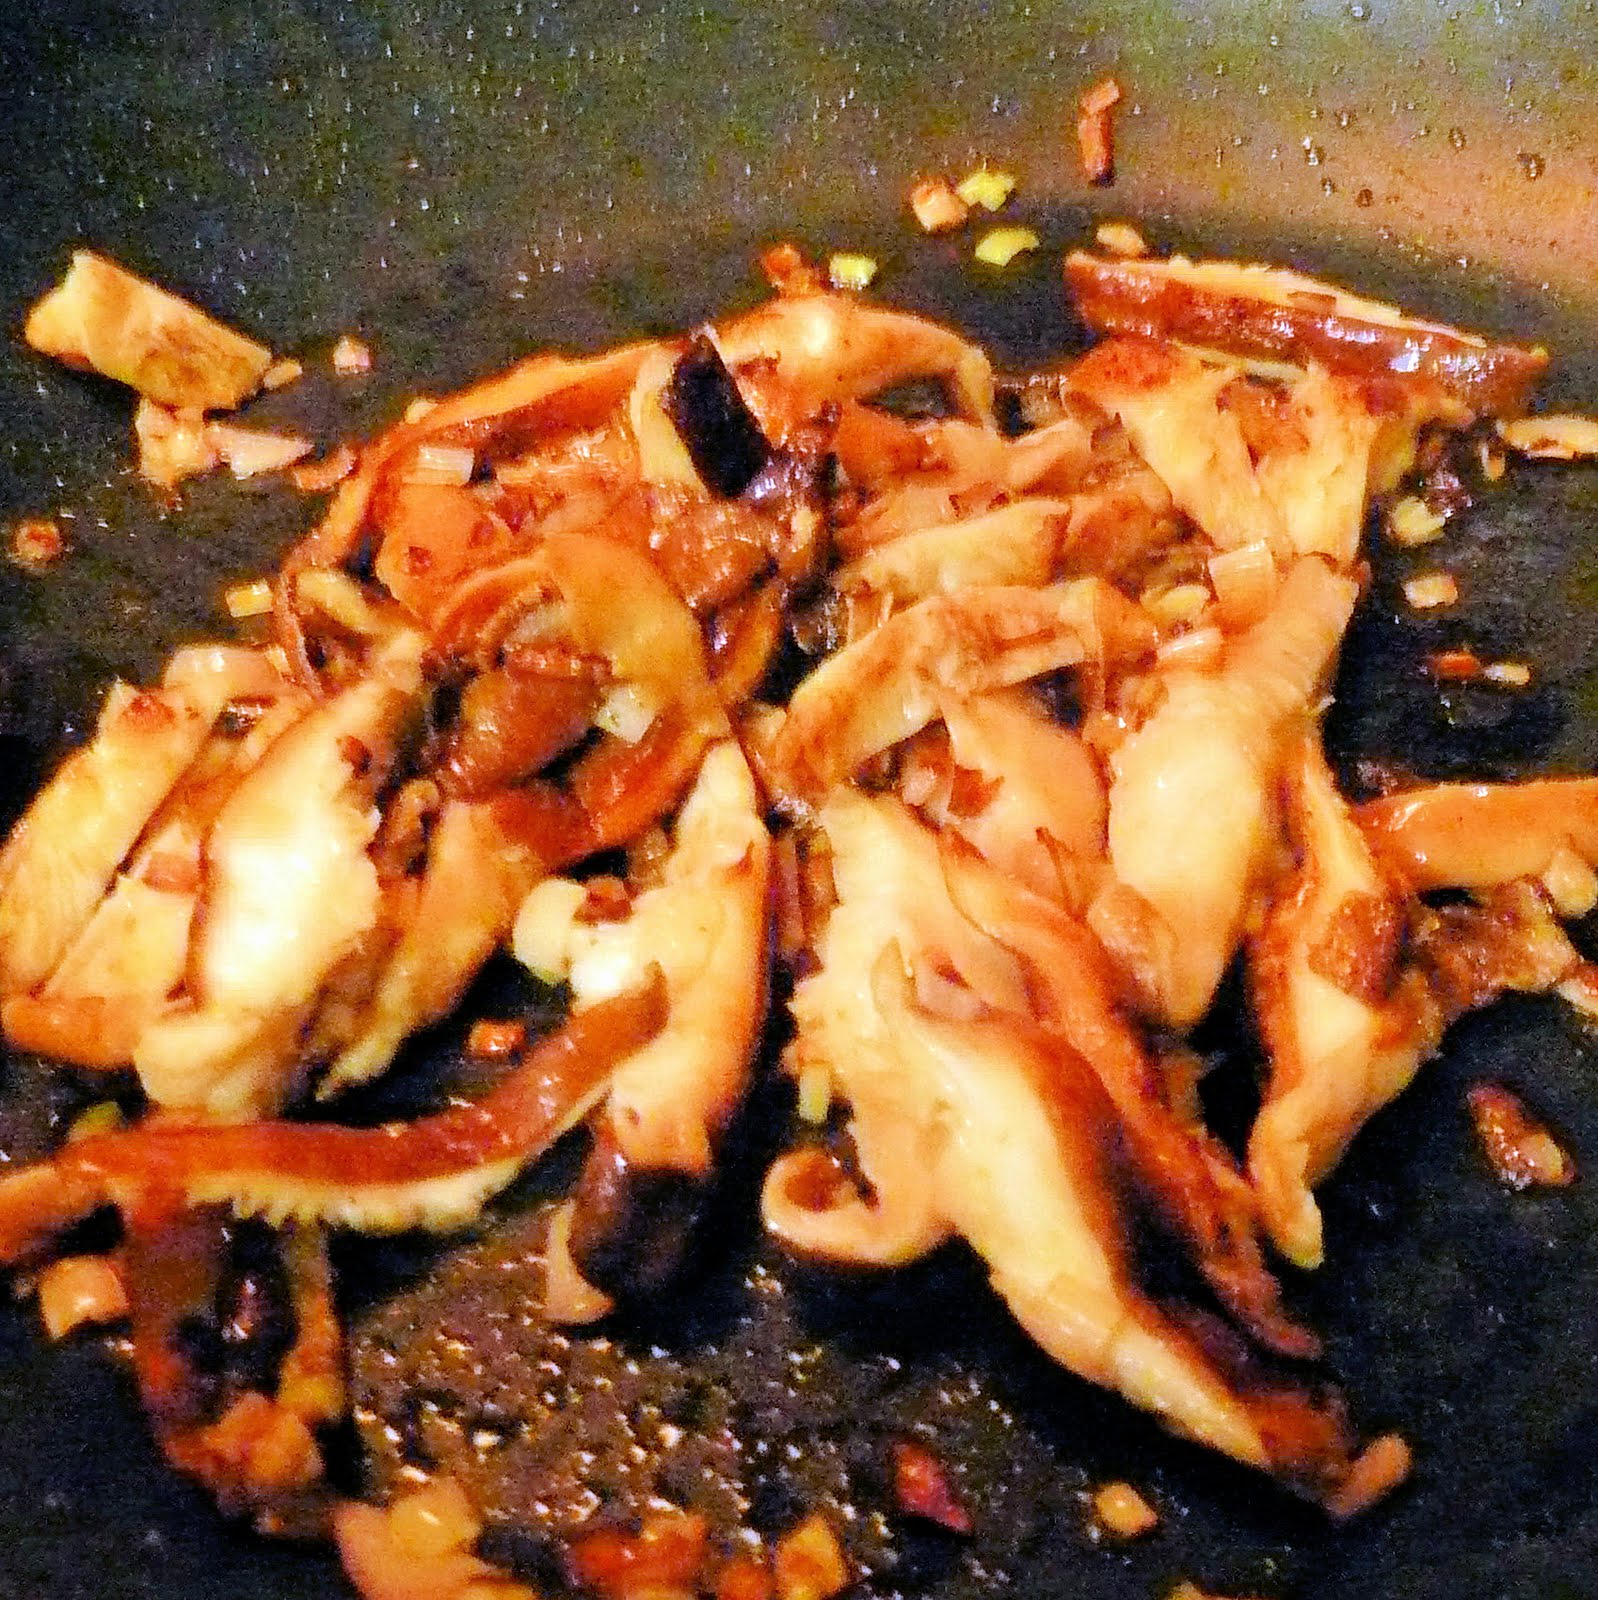
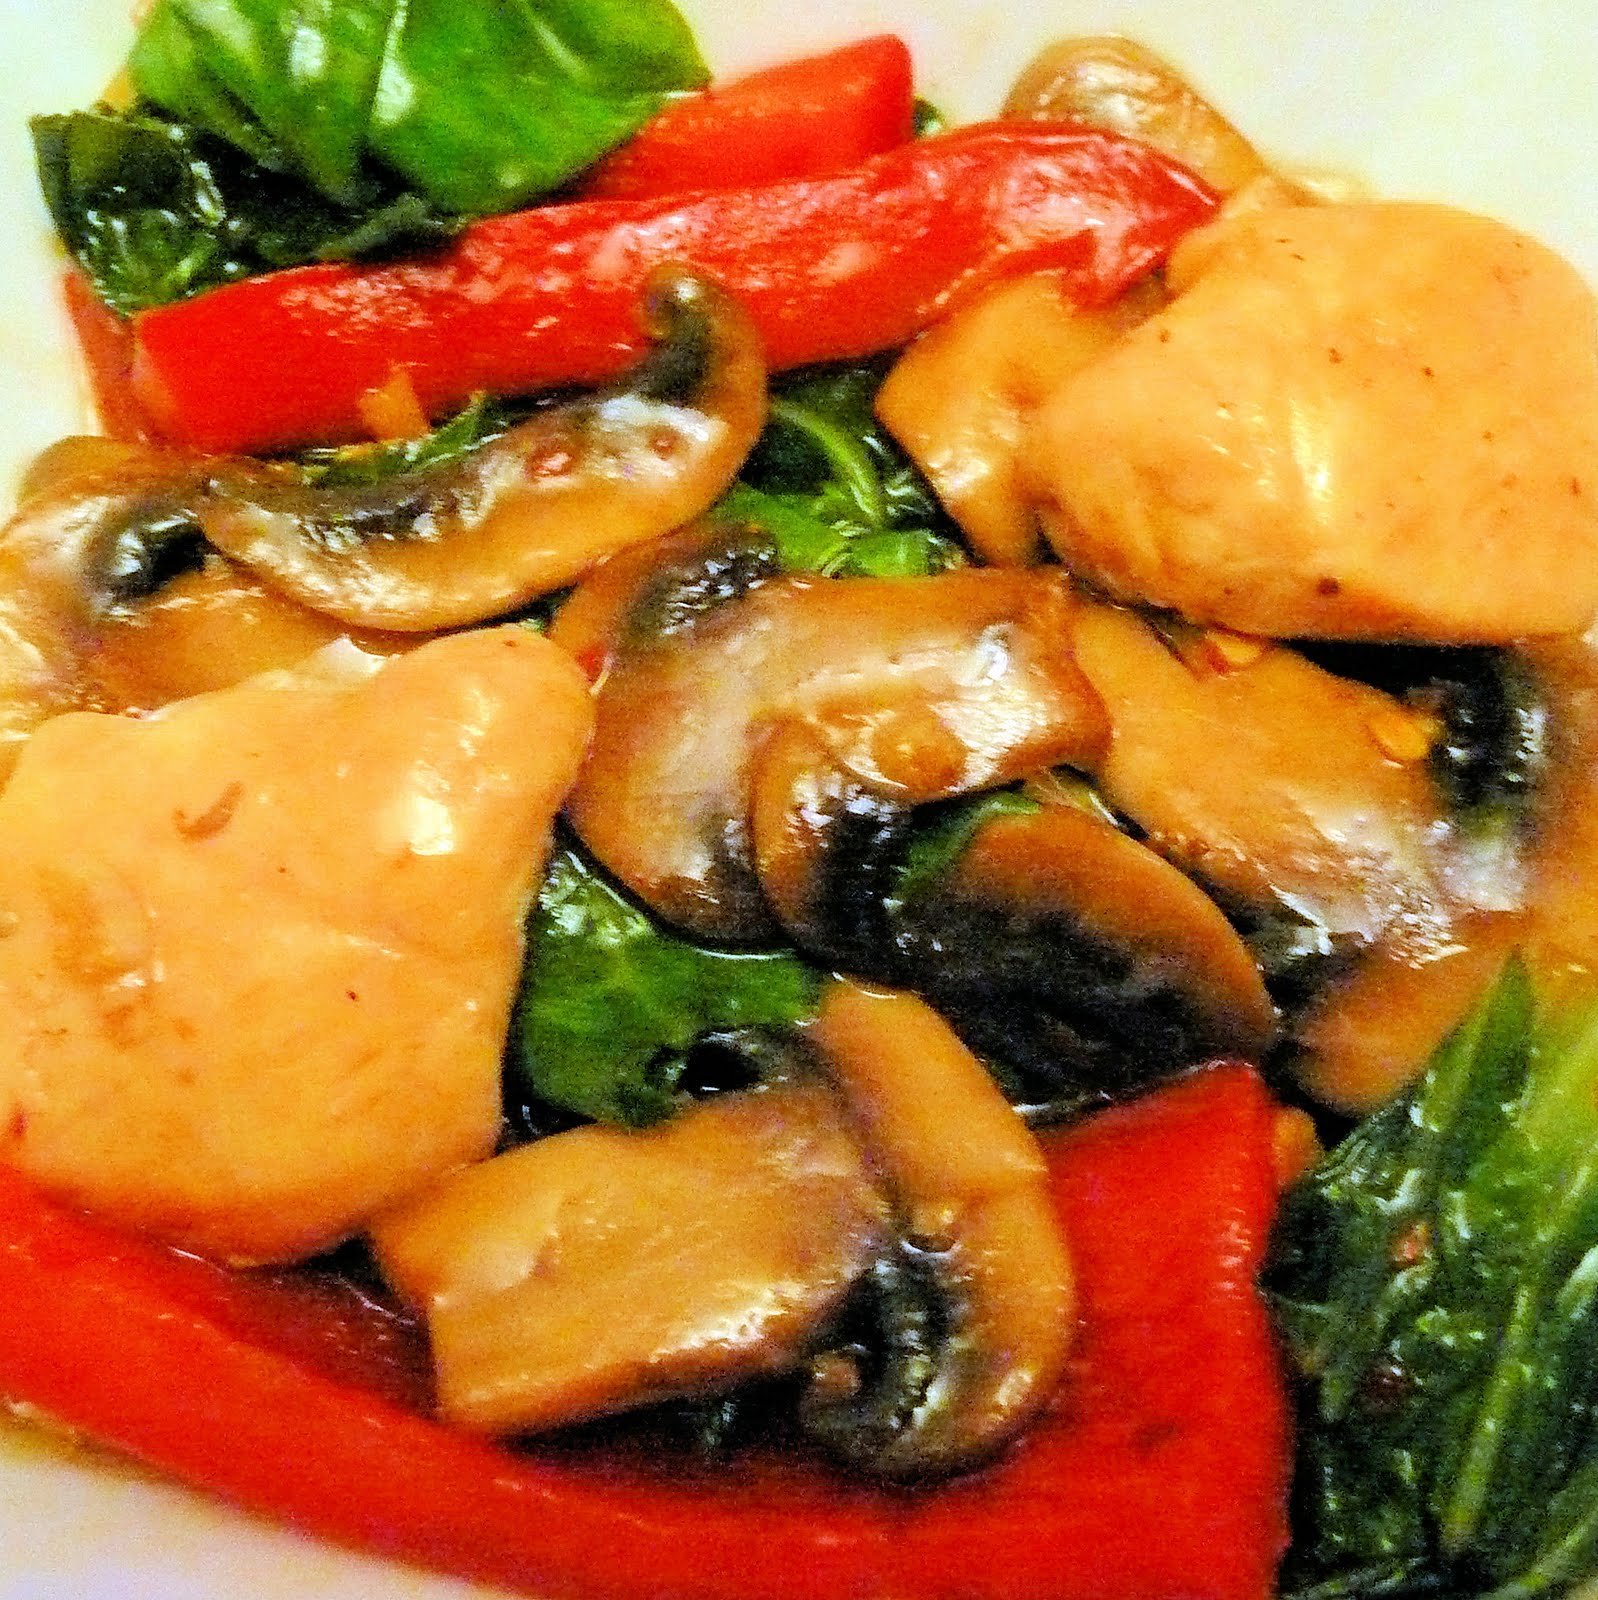
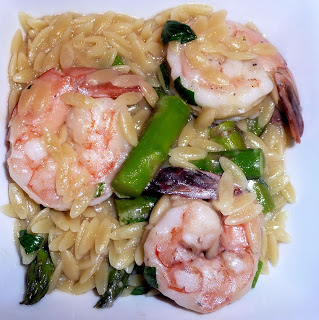
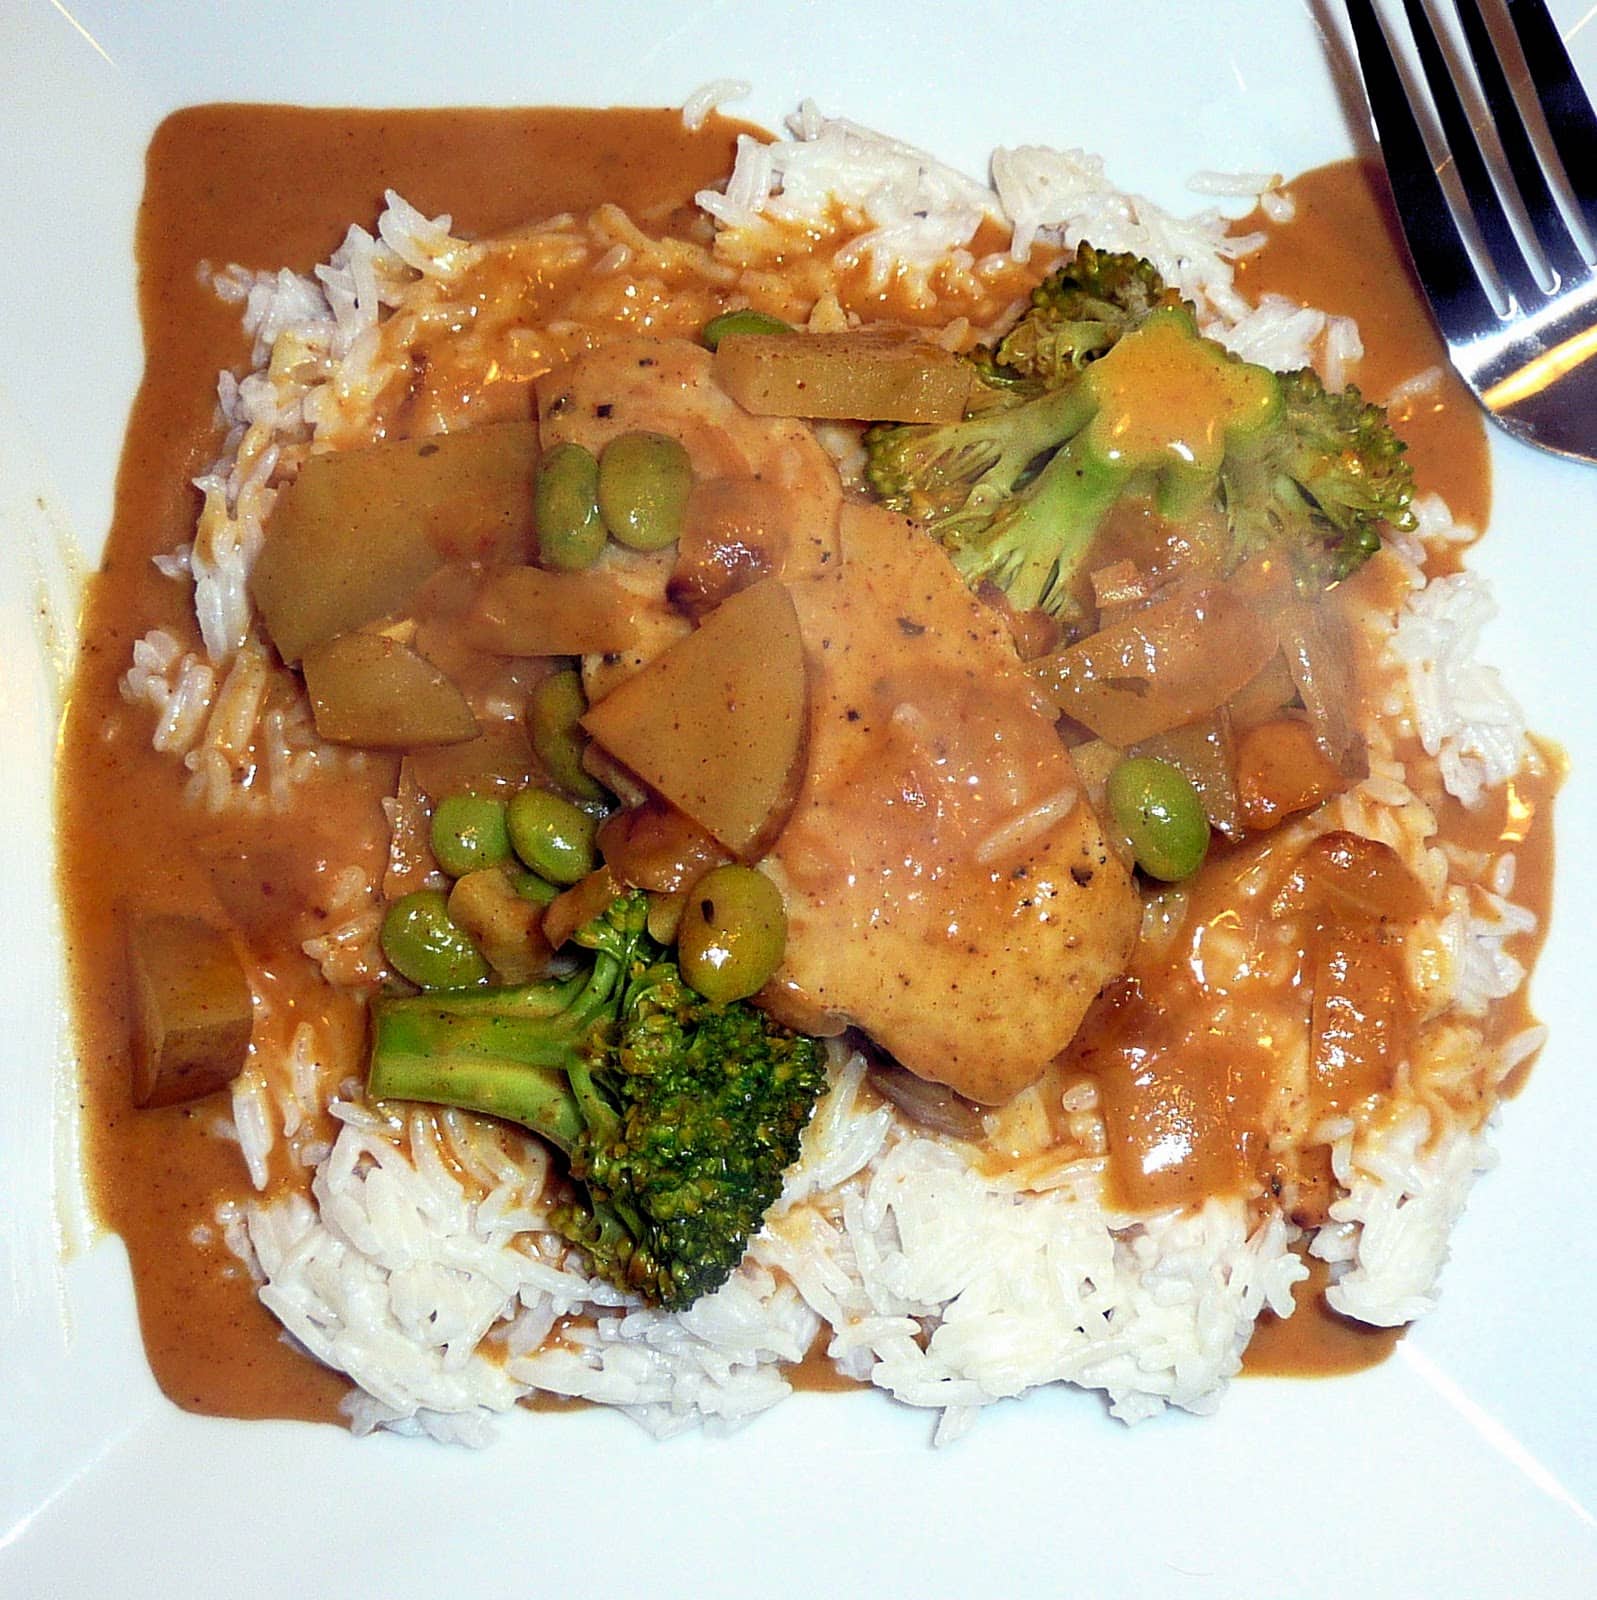
Finishing out my CSA bundle for the week, I decided to make a stir fry that had both bok choy and mushrooms as ingredients. (The recipe for Ginger Sesame Chicken with Bok Choy and Mushrooms originally called for oyster mushrooms, but I went with the button mushrooms I had from the vegetable share.
Food & Wine had a recipe that sounded right up my alley so I tried it out.
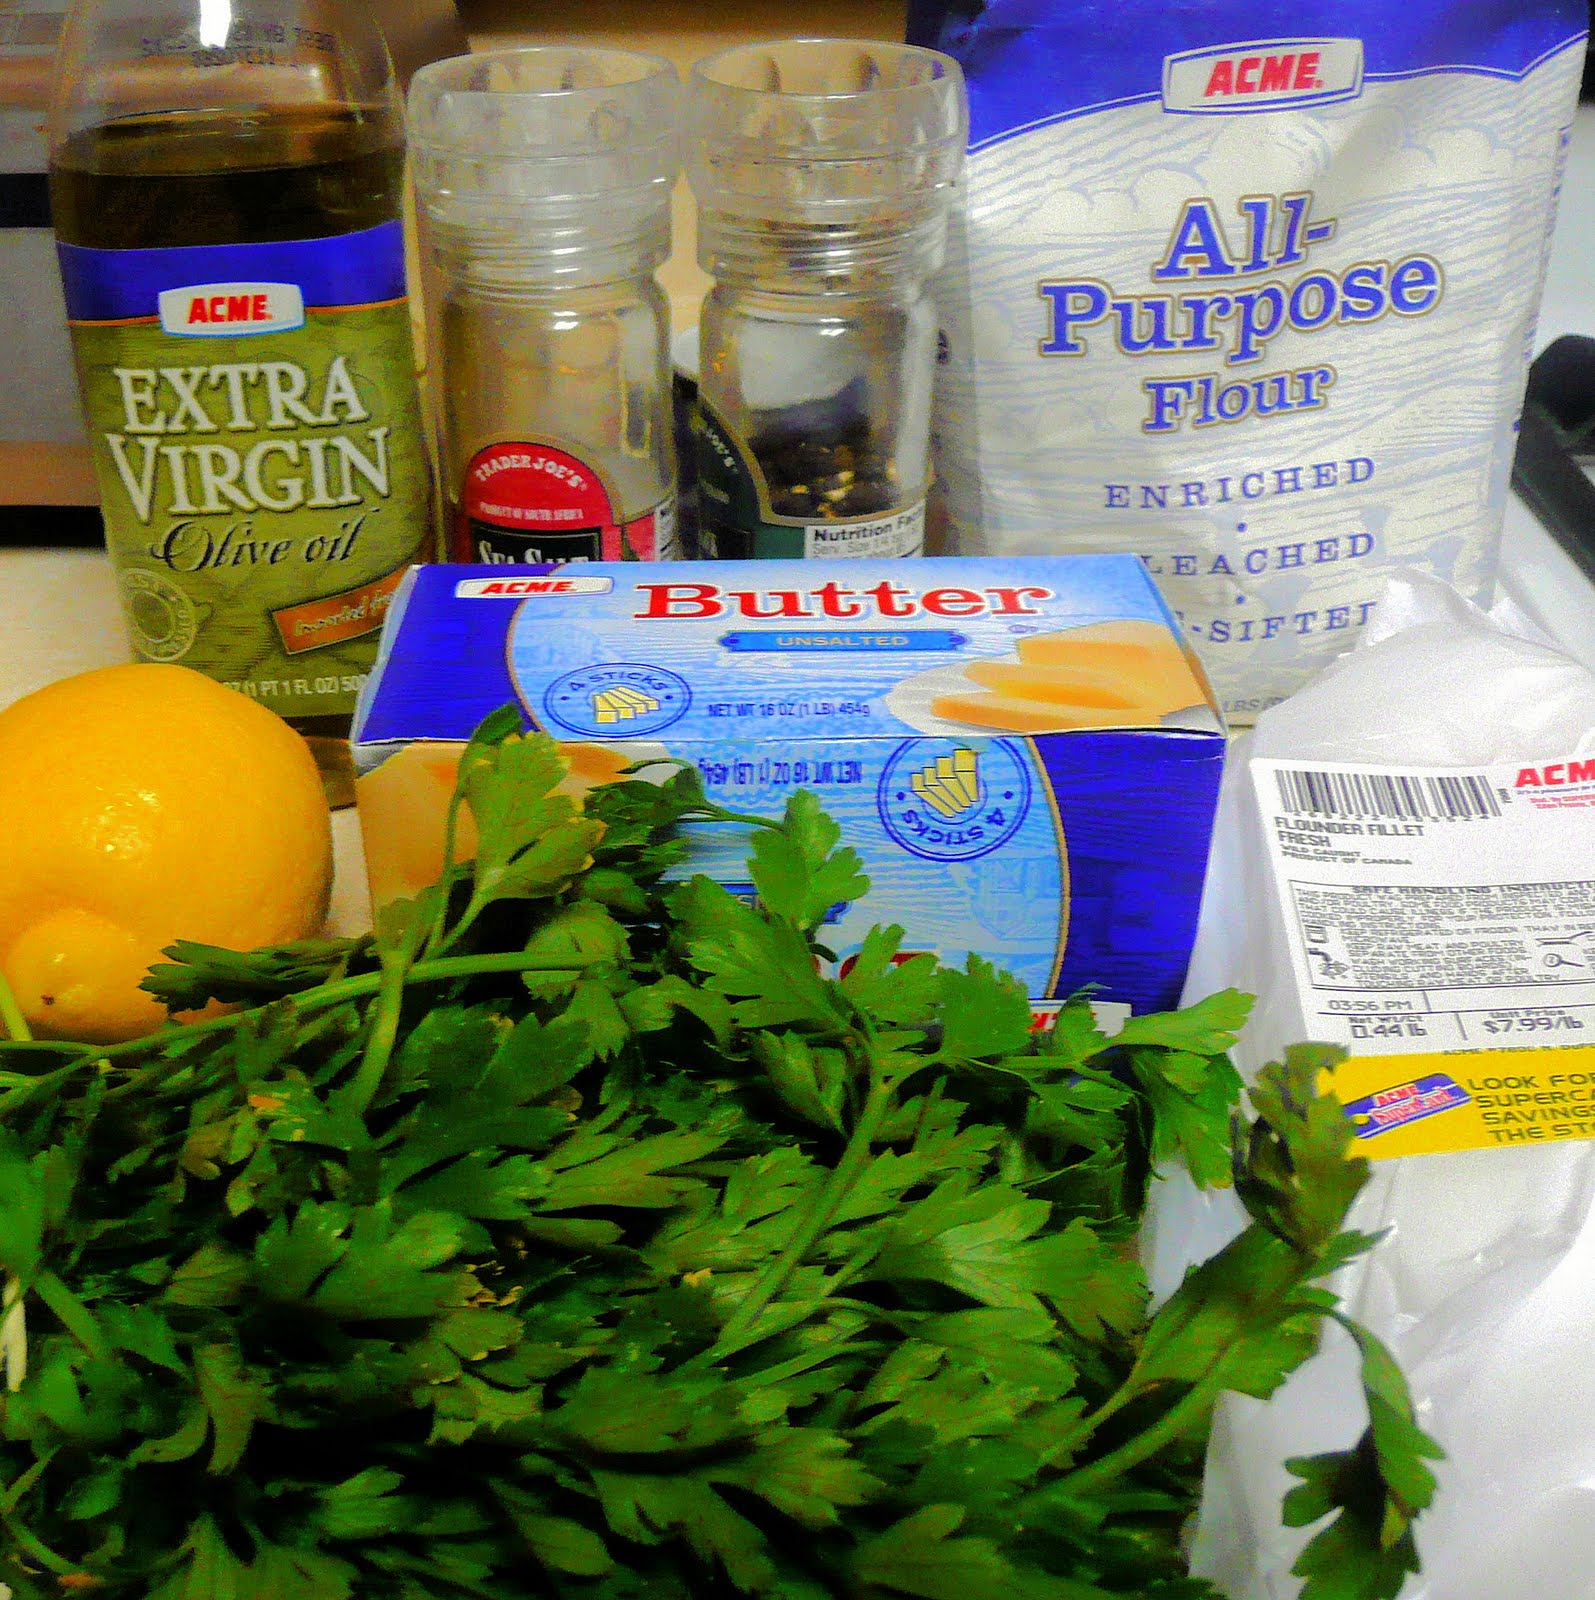
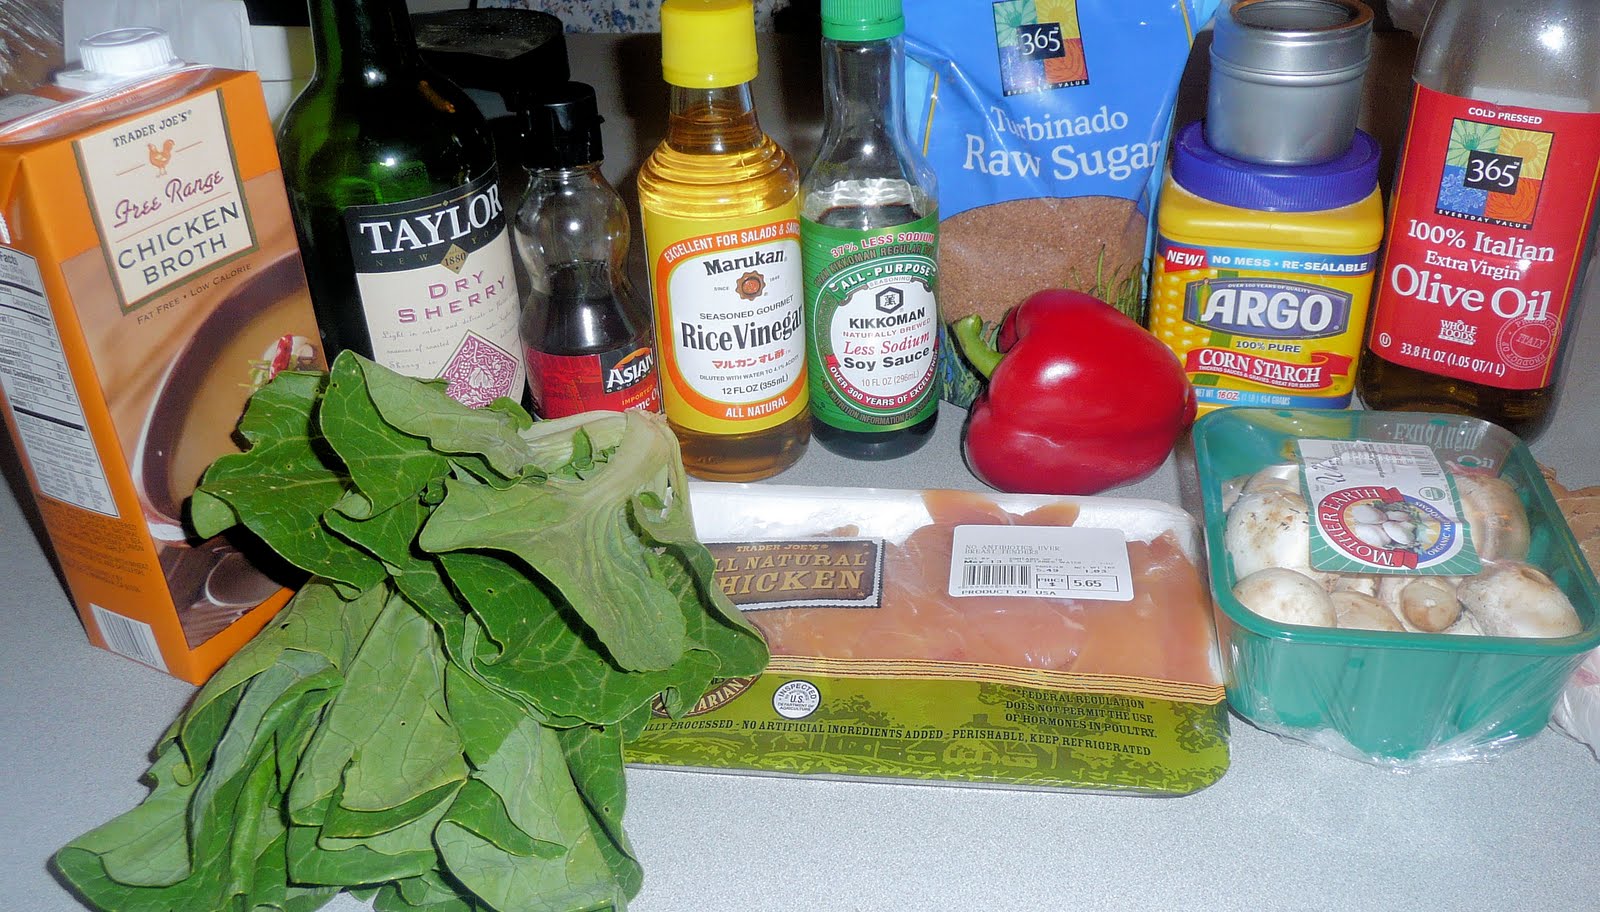
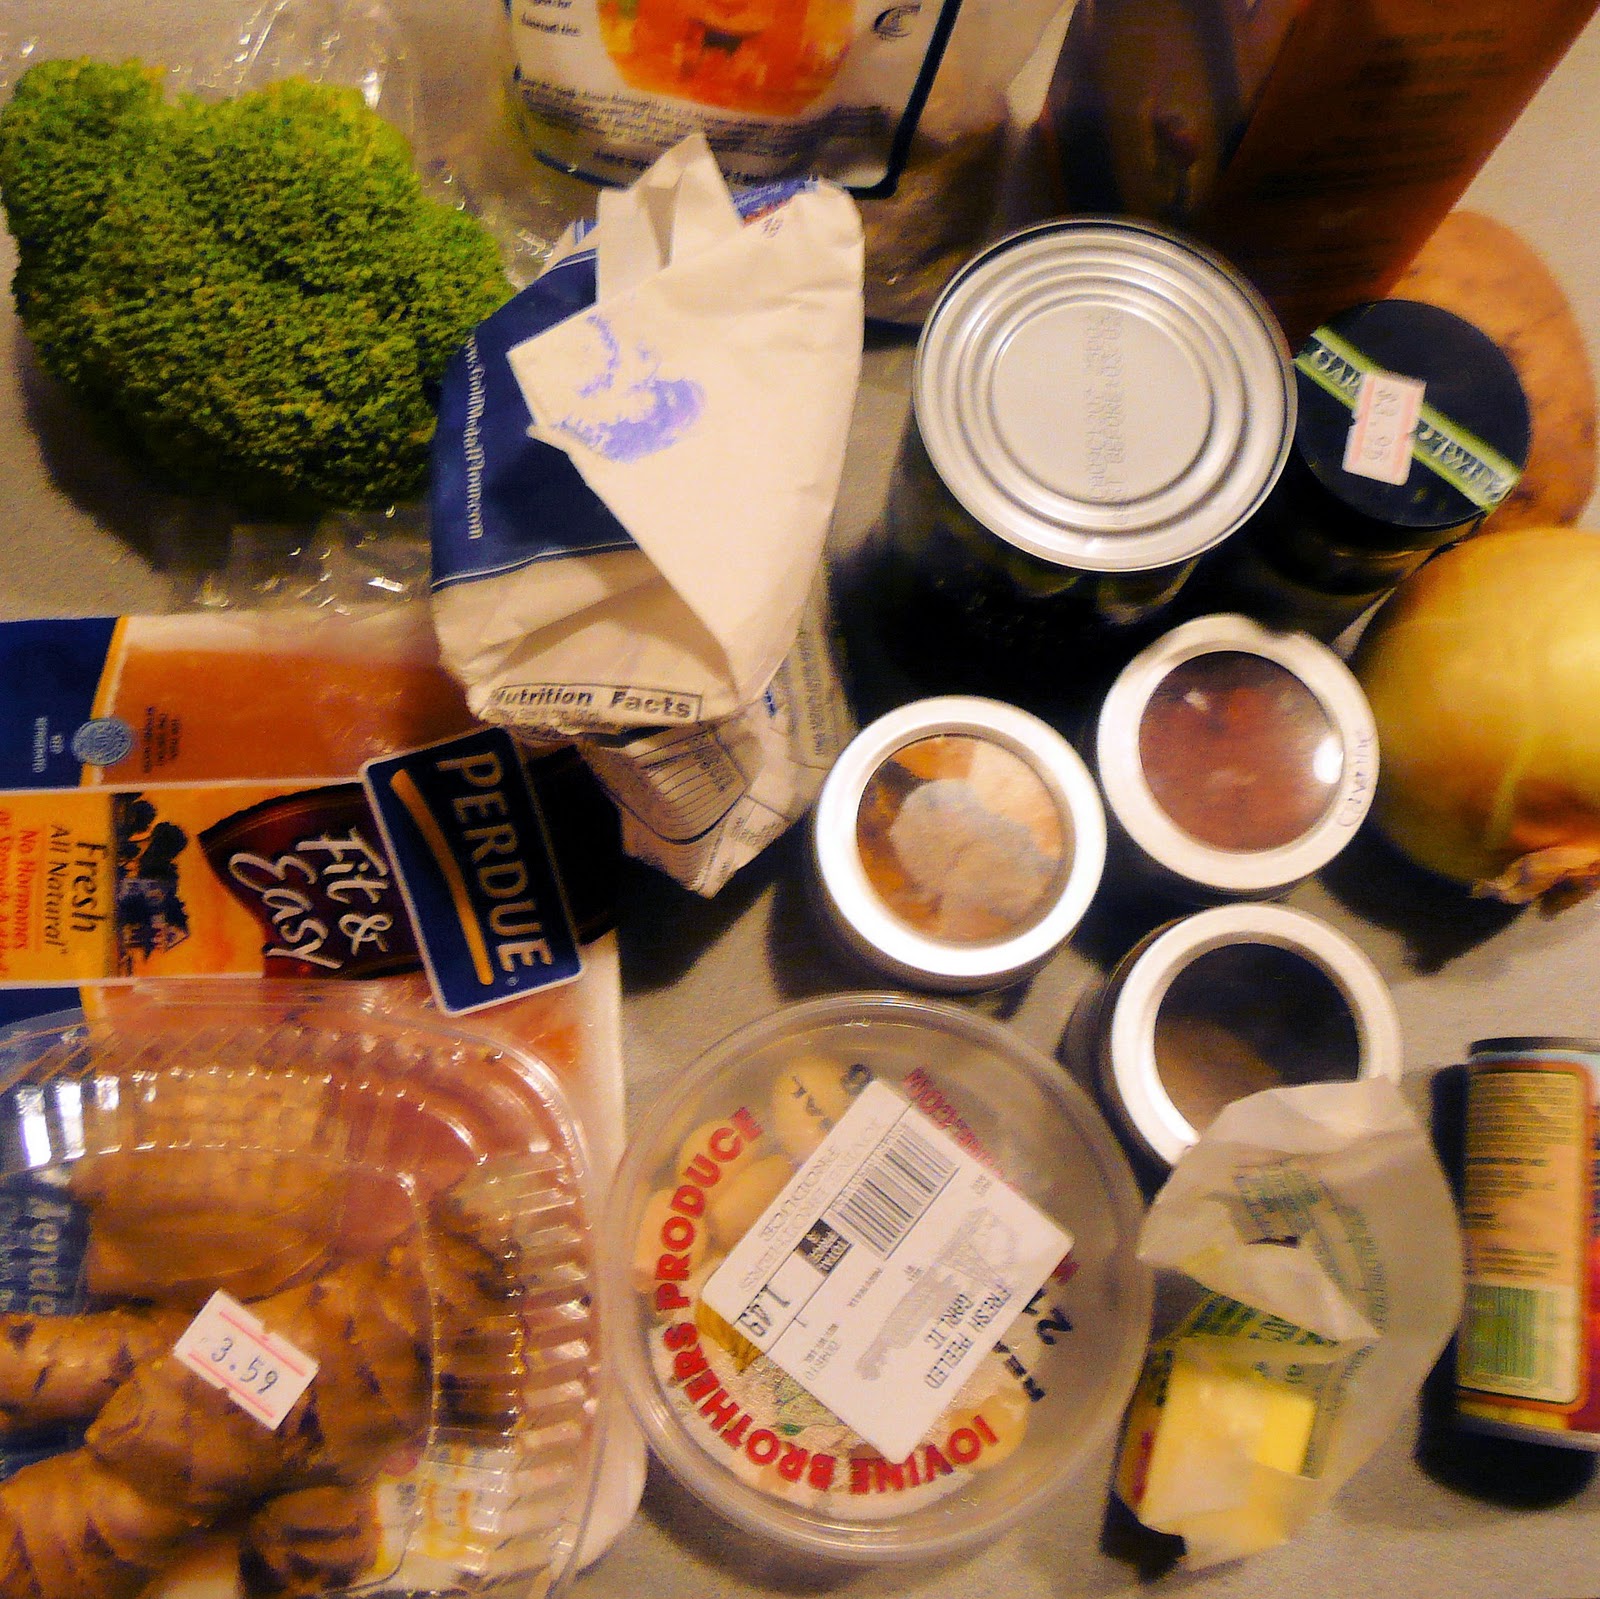
Ingredients:
1/2 cup chicken broth
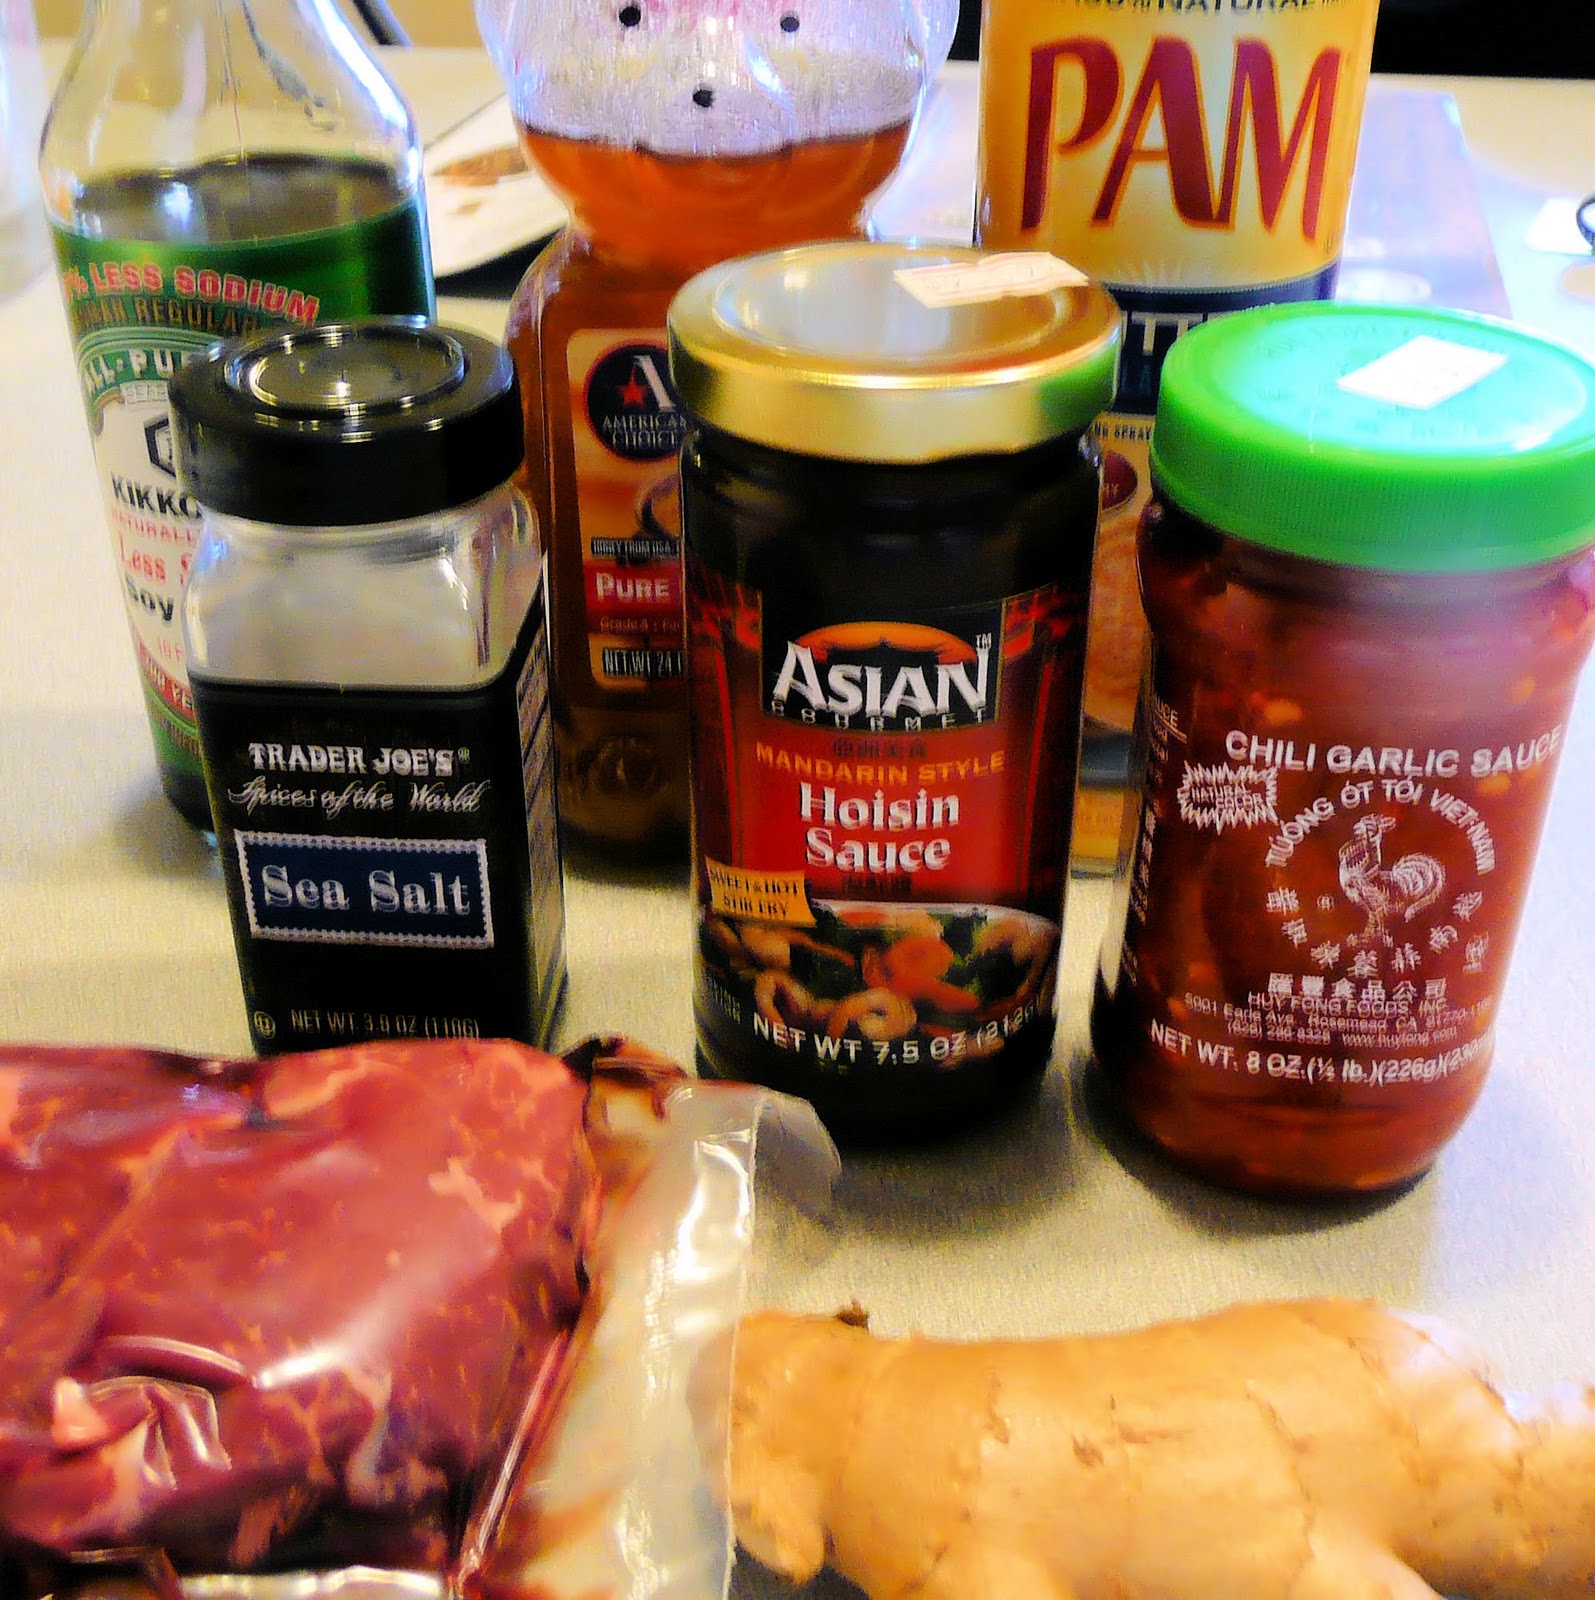
3 tablespoons low-sodium soy sauce (or coconut aminos to make gluten free)
1 tablespoon sherry
1 tablespoon sugar
1 teaspoon cornstarch dissolved in 1 tablespoon water
1/2 teaspoon unseasoned rice vinegar (I only had seasoned, so I used that)
1/2 teaspoon Asian sesame oil
1/2 teaspoon crushed red pepper
3 tablespoons olive oil, divided
1 pack of button mushrooms, sliced (feel free to use the pre-sliced kind)
1 pack of chicken tenders, cut into 1 inch pieces
Salt and freshly ground pepper
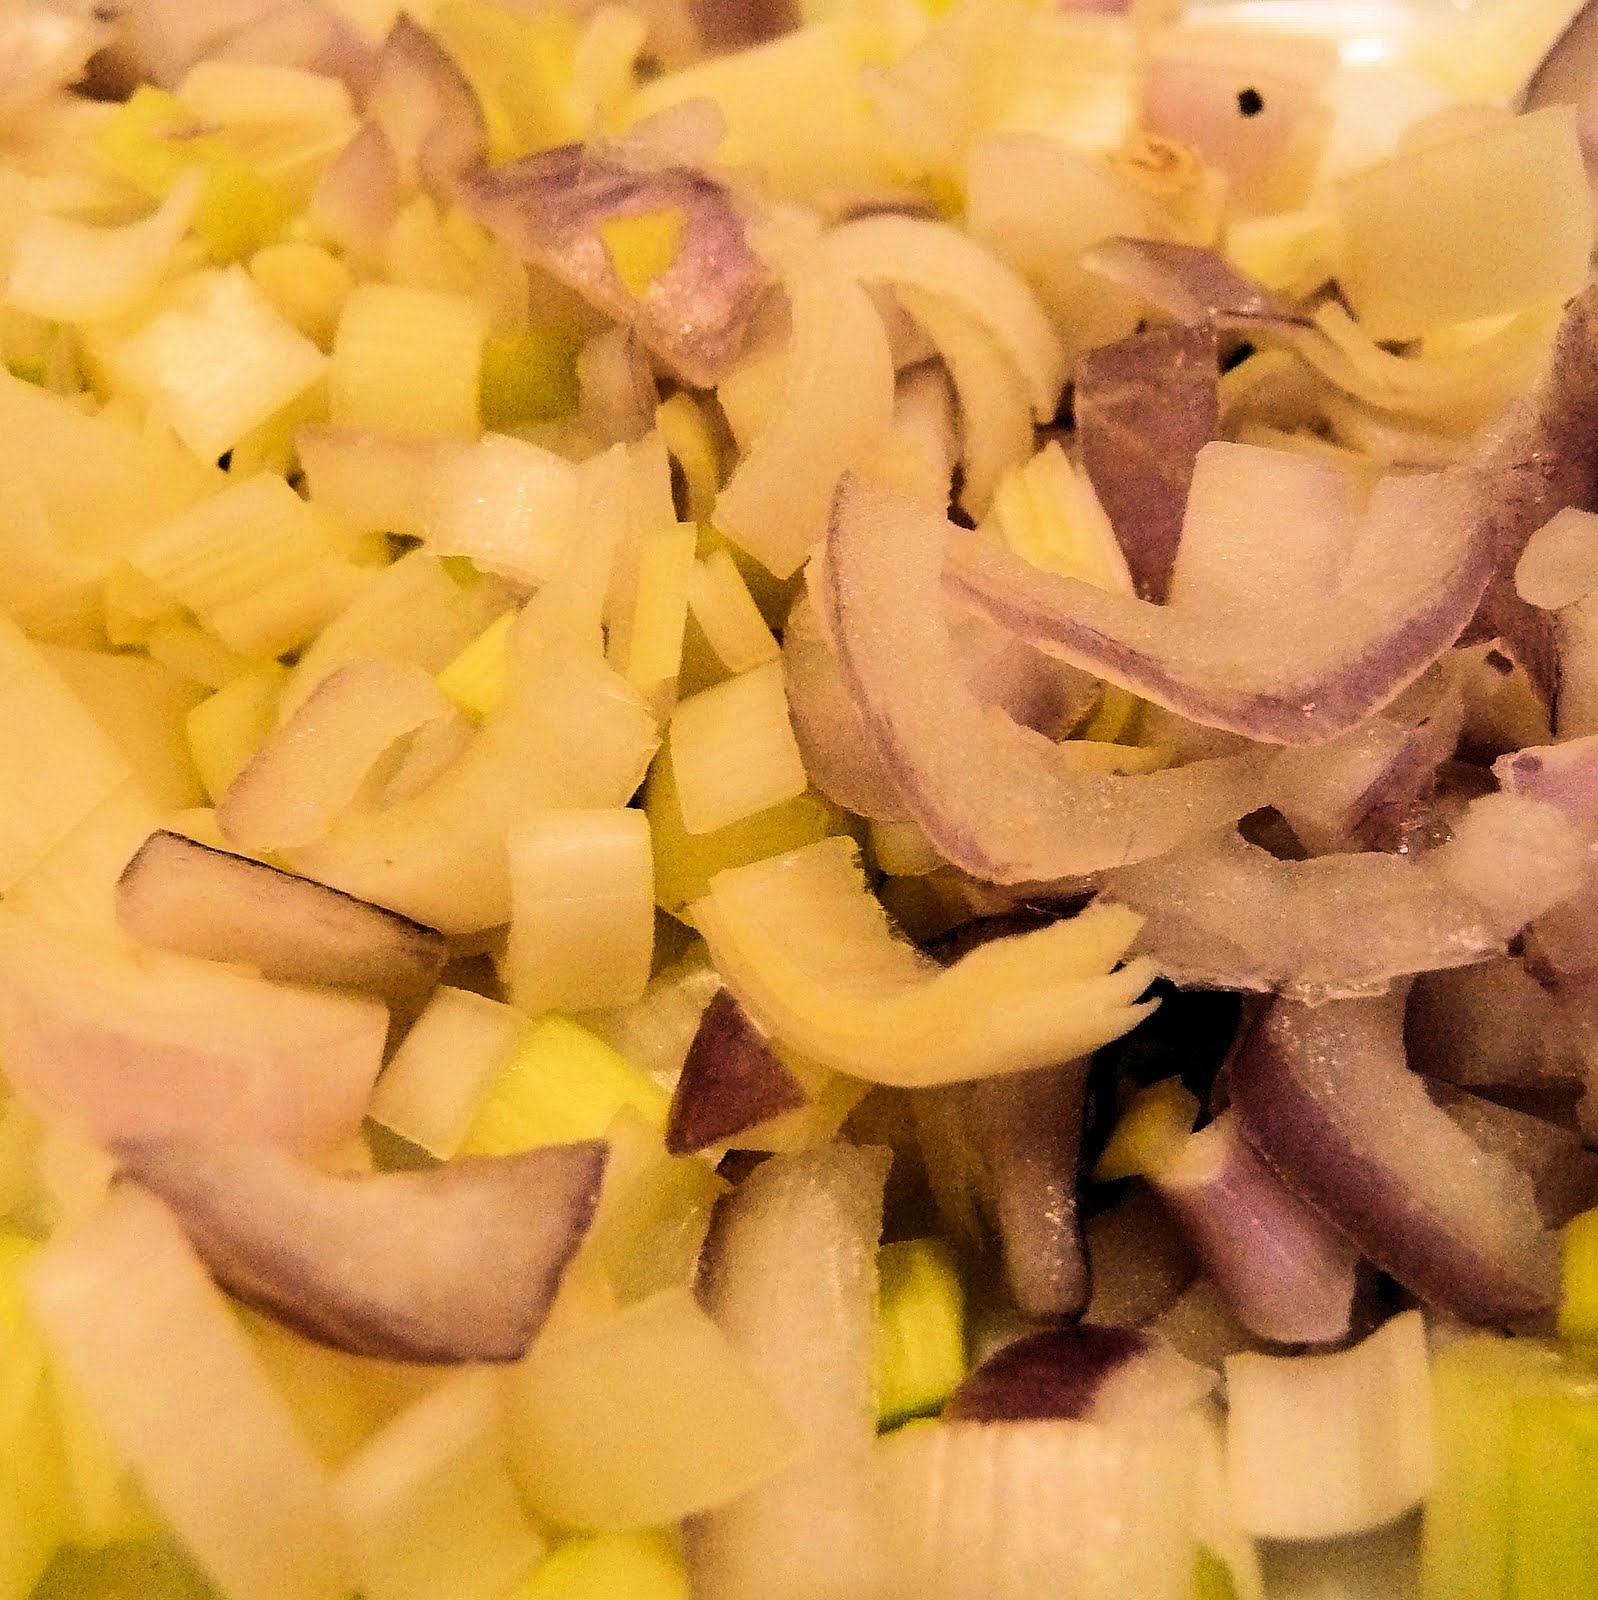
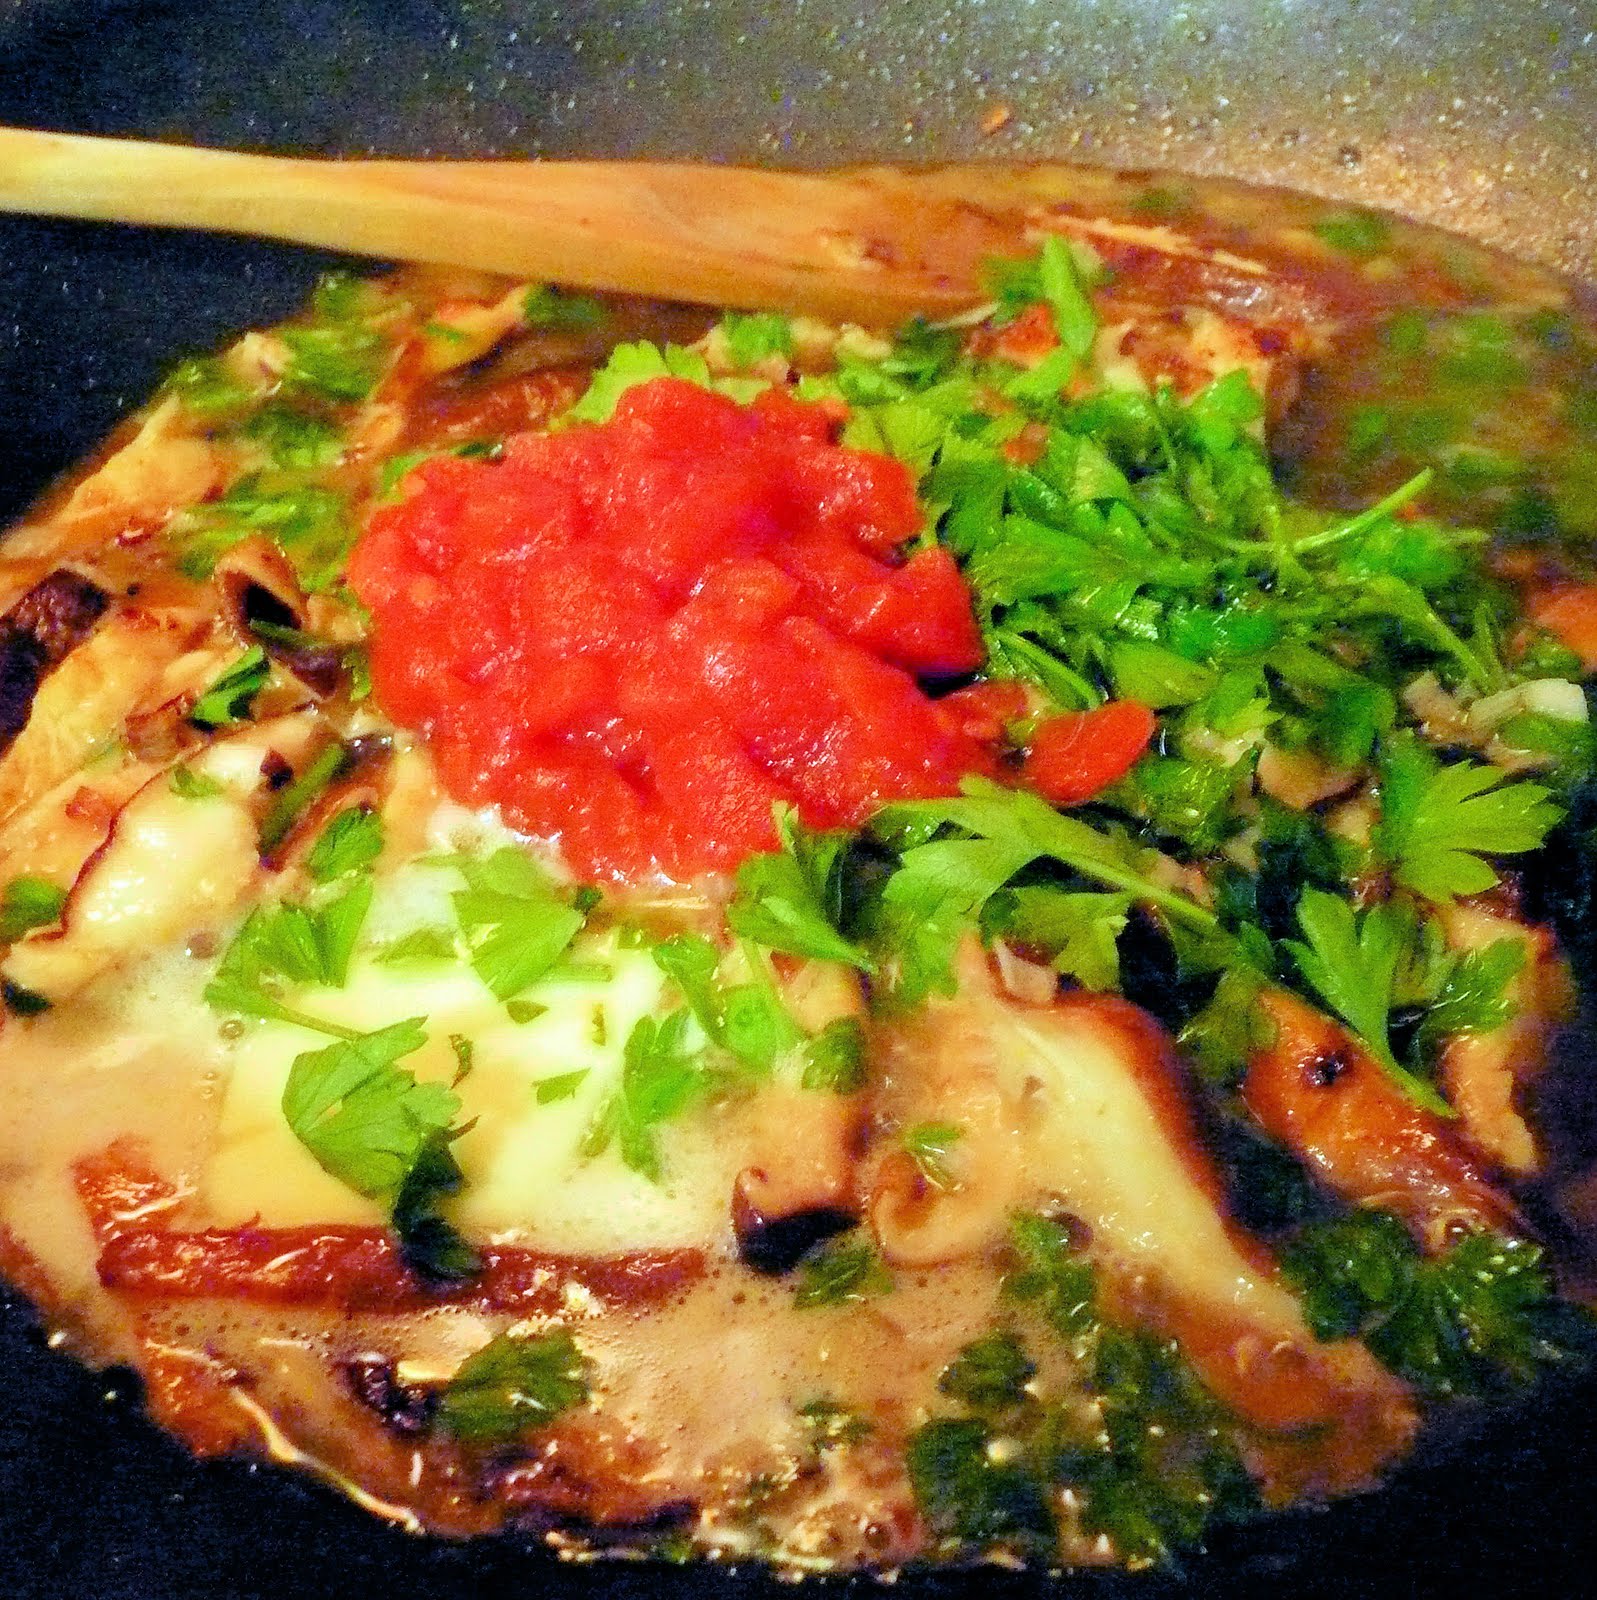
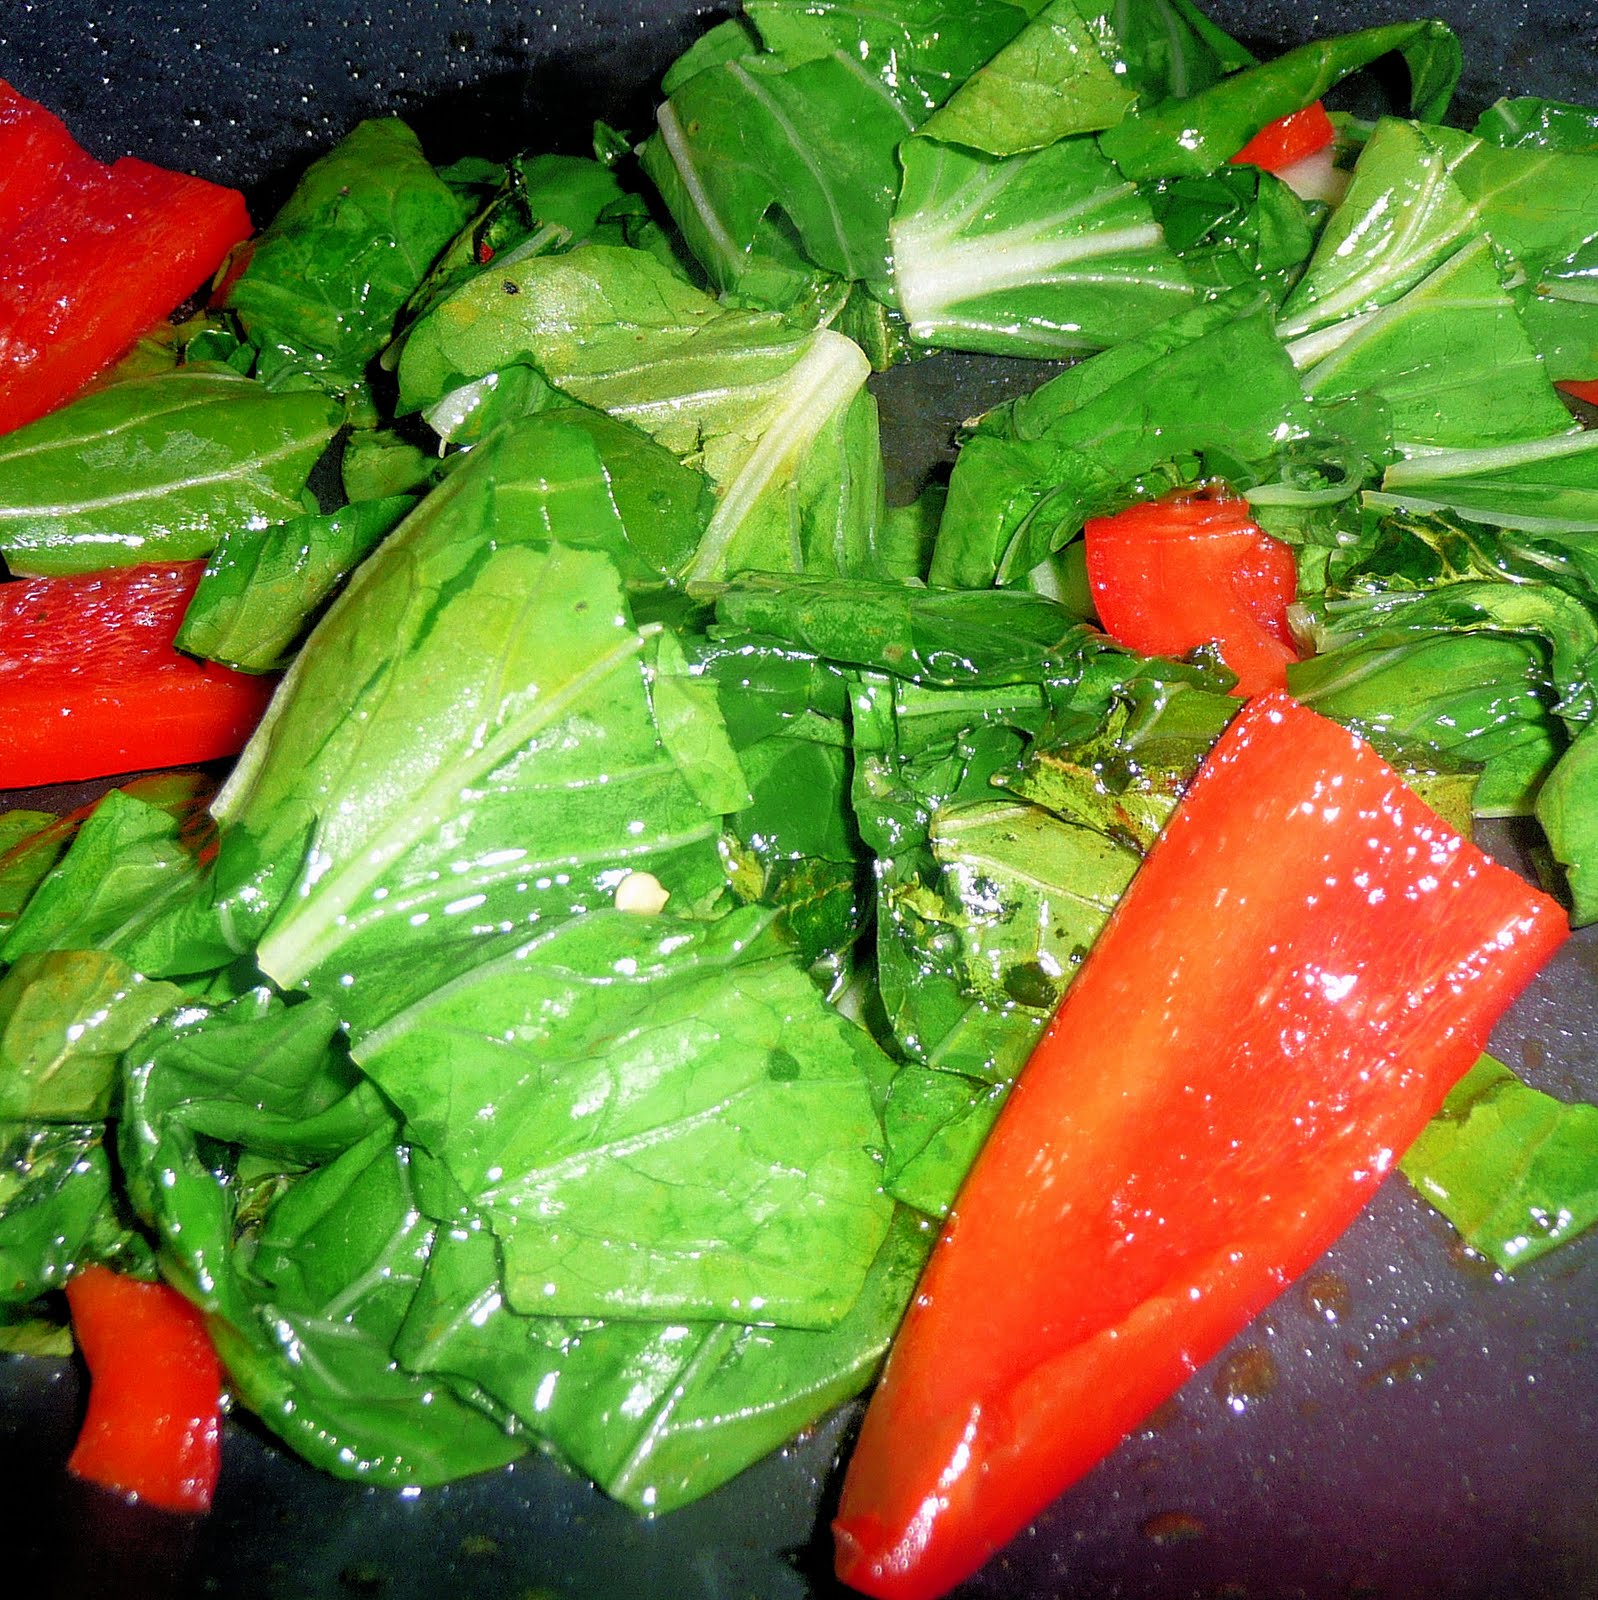
2 bunches of bok choy, thickly cut crosswise
1 small red bell pepper, sliced with seeds removed
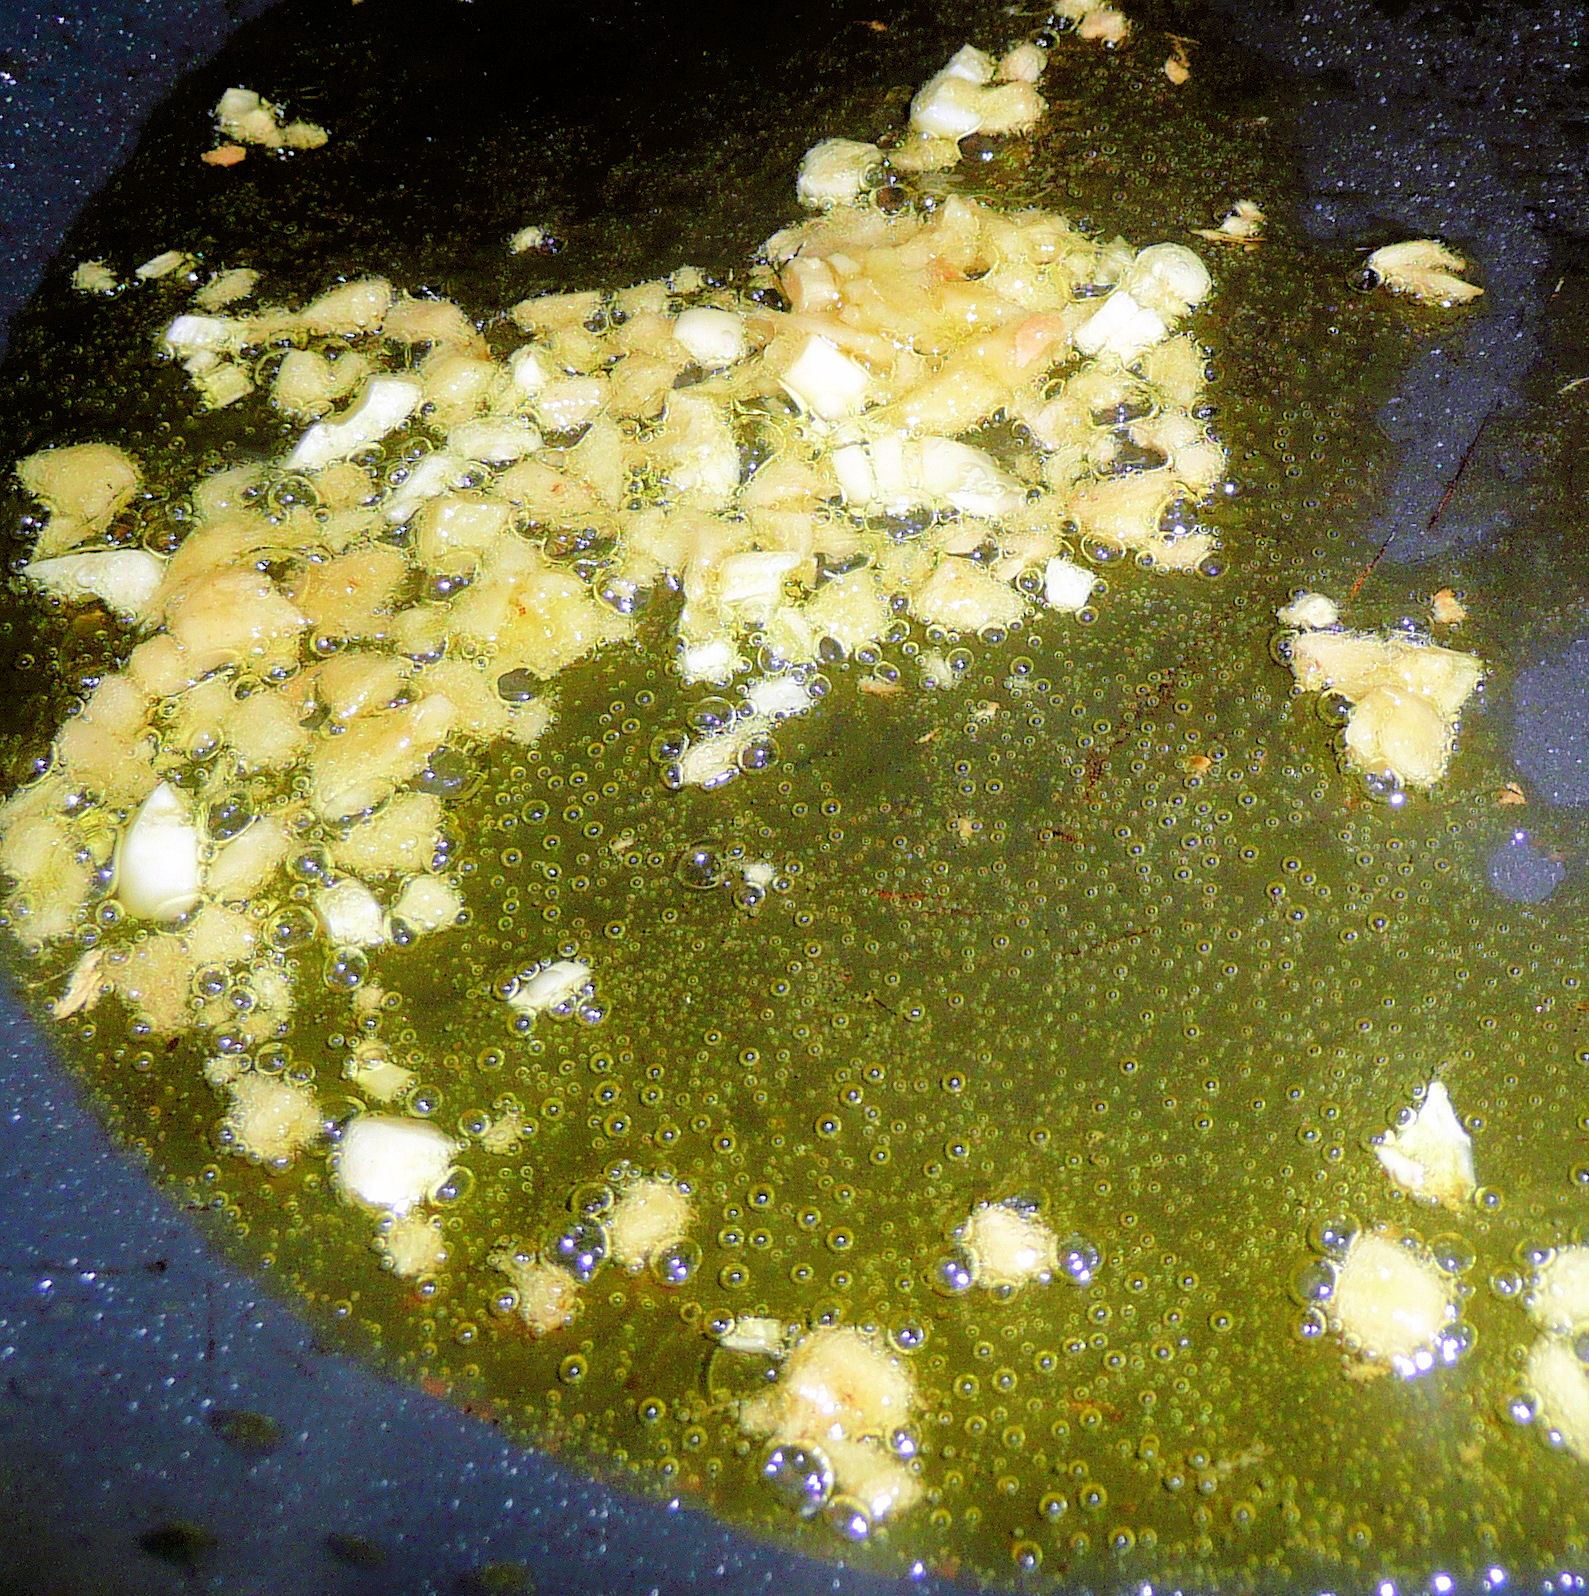
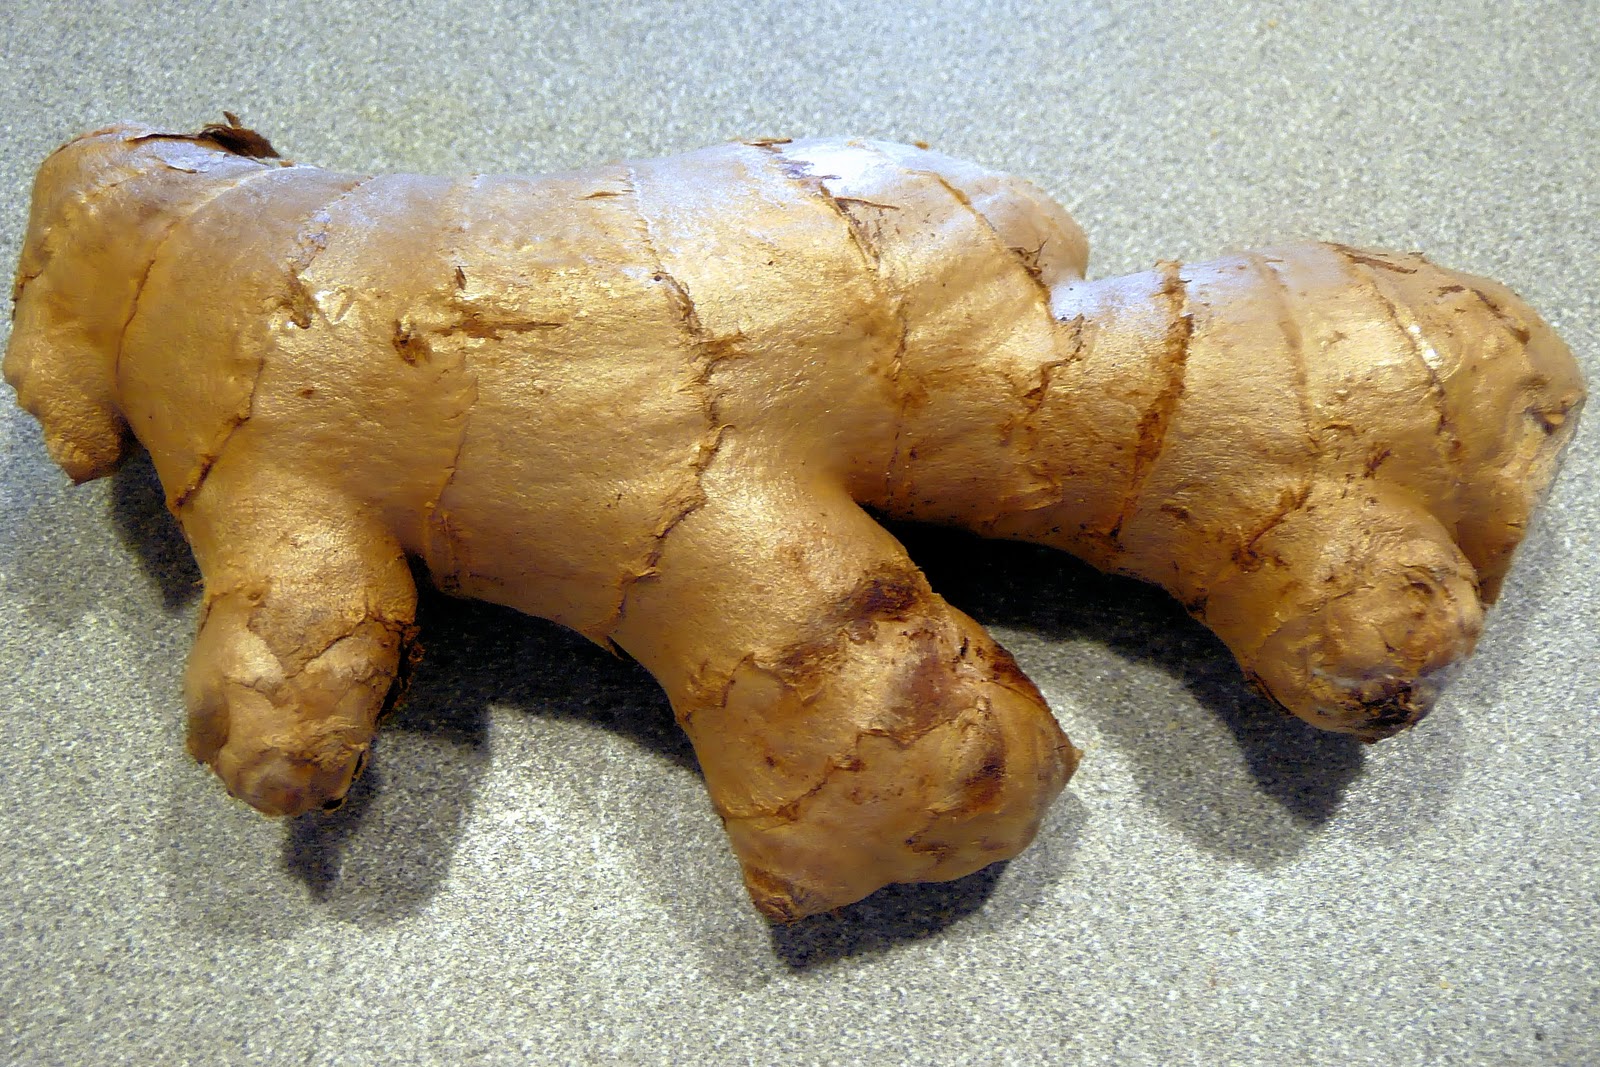
2 tablespoons finely chopped fresh ginger
1 garlic clove, minced
To make the sauce, combine the chicken broth, soy sauce, sherry, sugar, dissolved cornstarch mixture, rice vinegar, sesame oil, and crushed red pepper in a medium-sized jar.
Shake well and set aside. Prepare all your vegetables, ginger, and garlic.
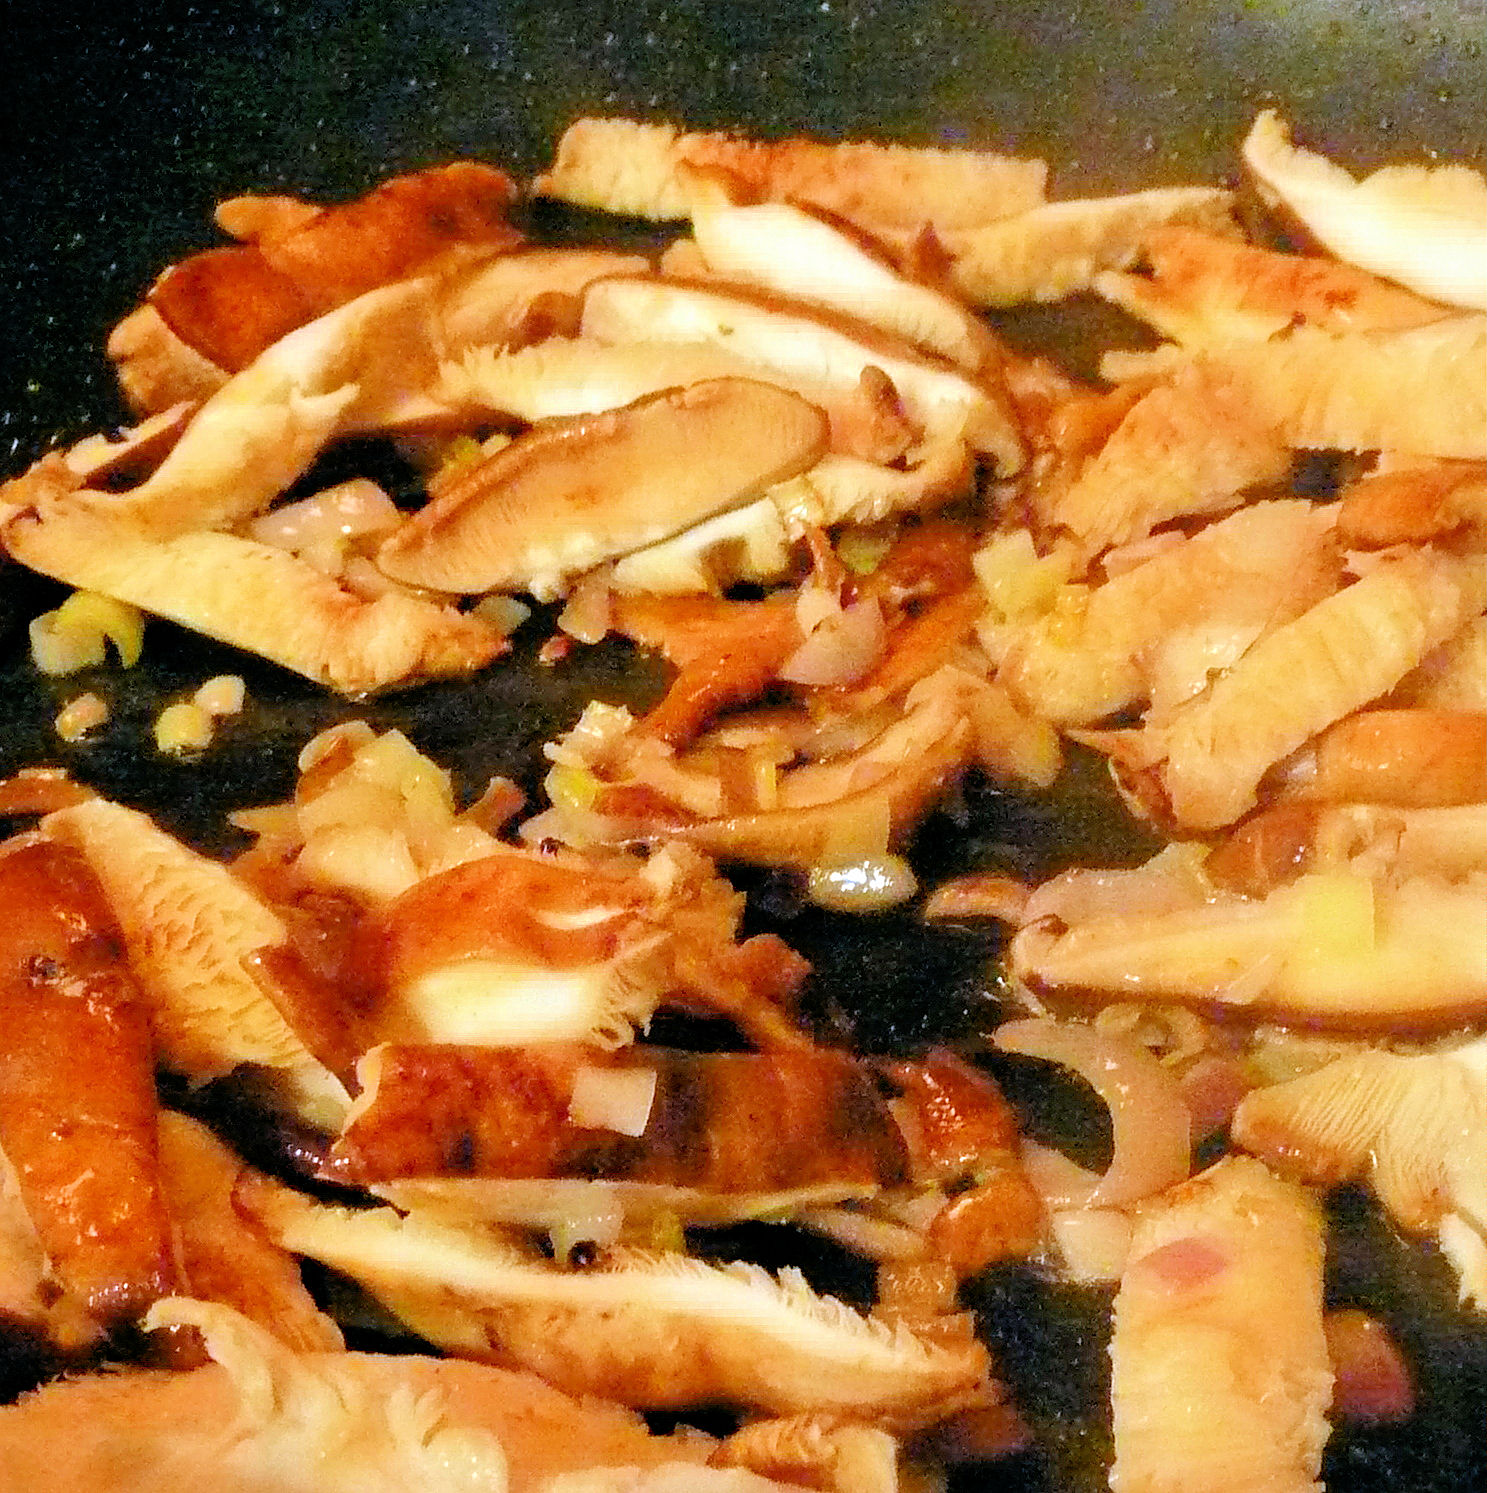
In a large saute pan, heat 2 teaspoons of olive oil over medium-high heat. Add the mushrooms and cook, stirring occasionally, until browned and tender, about 6 minutes.
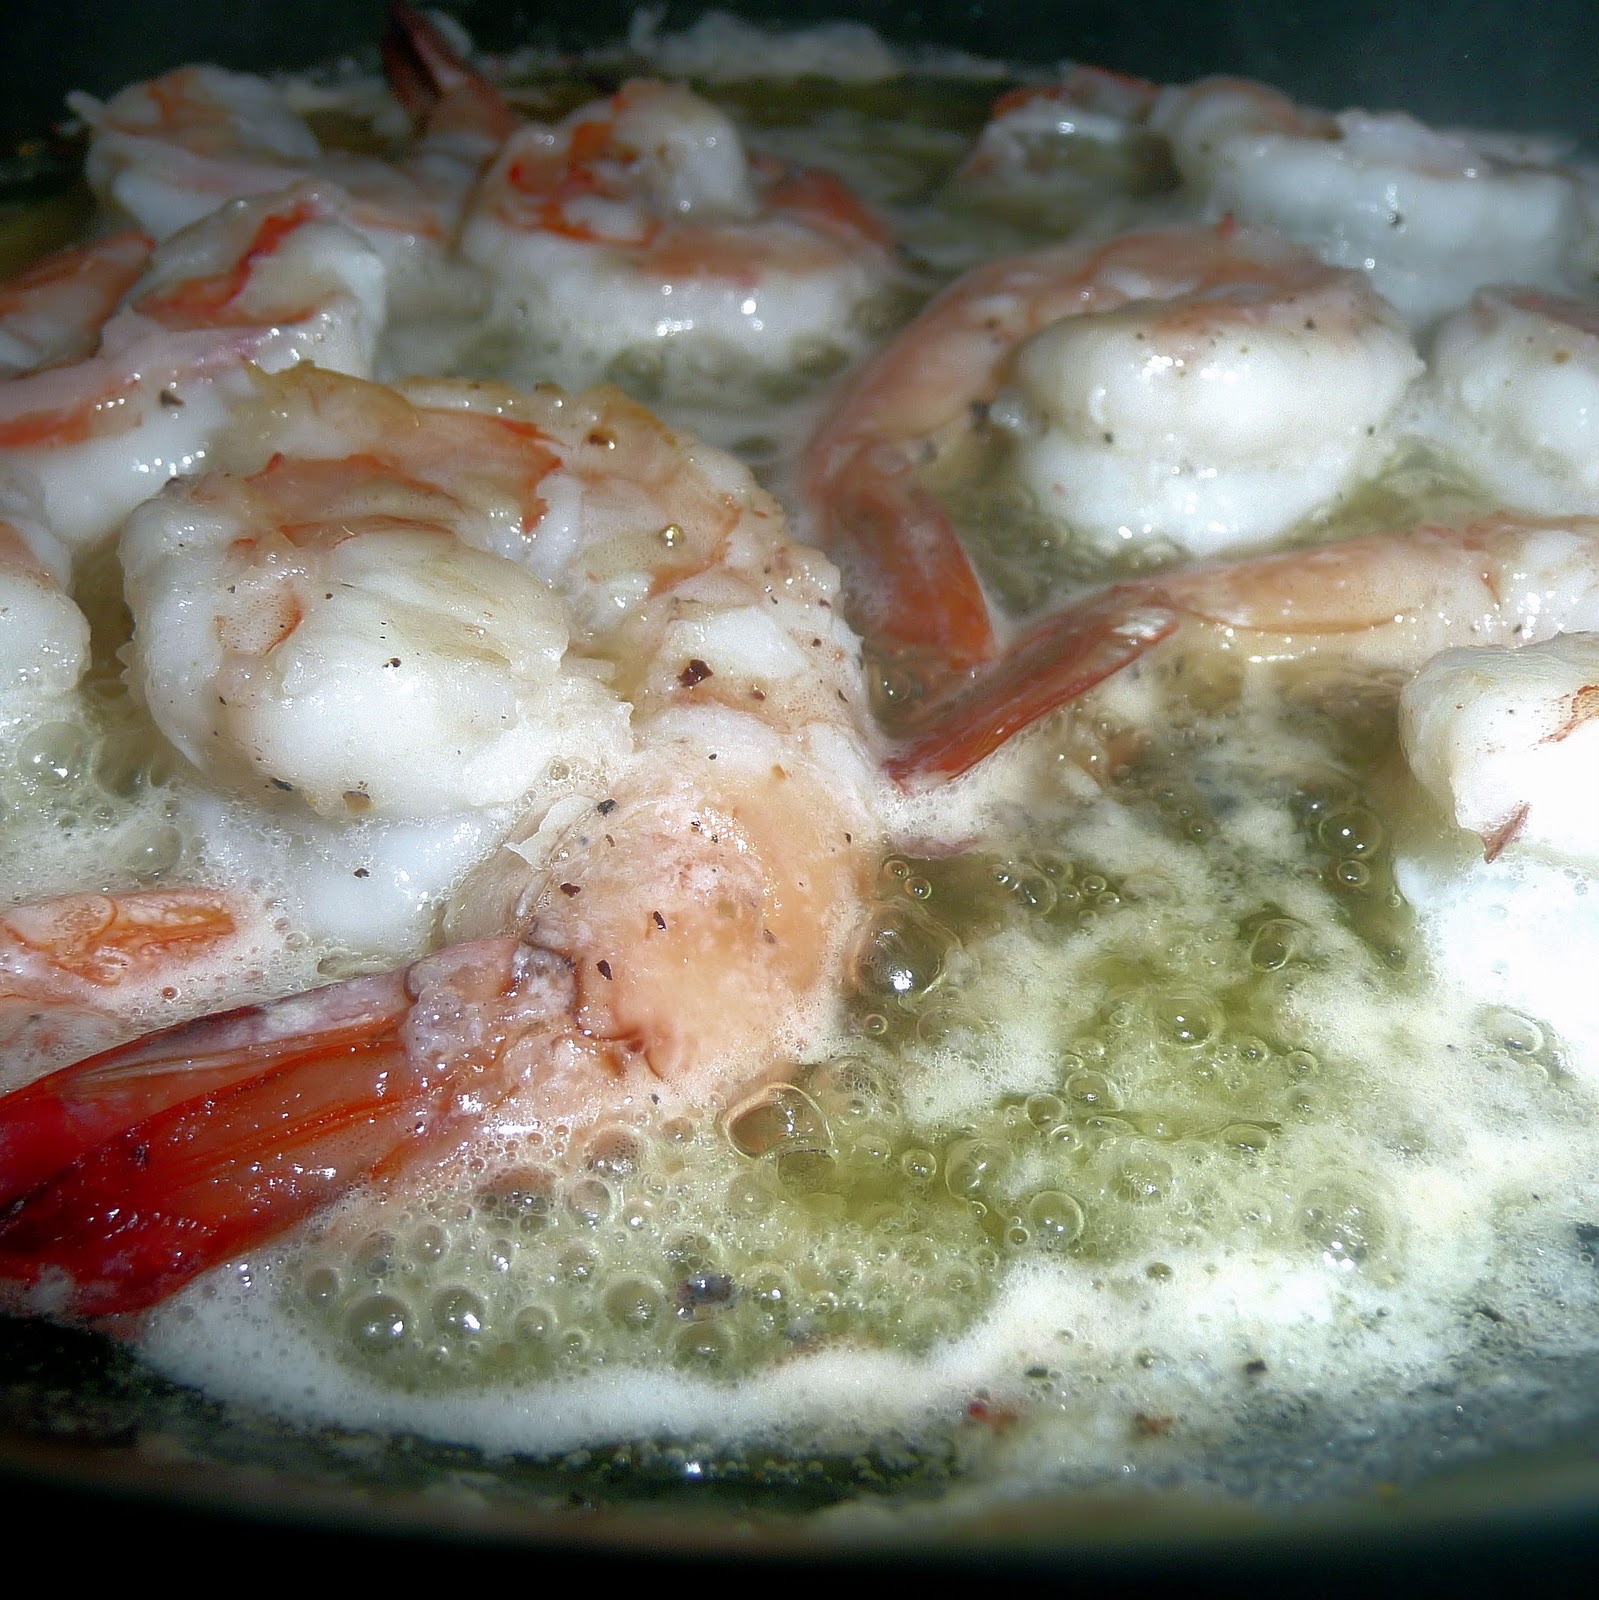
Transfer the mushrooms to a large plate or bowl. Season the chicken with salt and pepper. Add another 2 teaspoons of oil to the pan. Once heated, add the chicken and cook until just barely cooked through, about 4 minutes.
Transfer to the same dish as the mushrooms. Add 1 tablespoon oil to the pan and add the bok choy and red pepper. Cook for about 3 minutes.
Transfer to the dish. Add the remaining 2 teaspoons to the saute pan. Add the ginger and garlic and cook for 1 minute, or until fragrant.
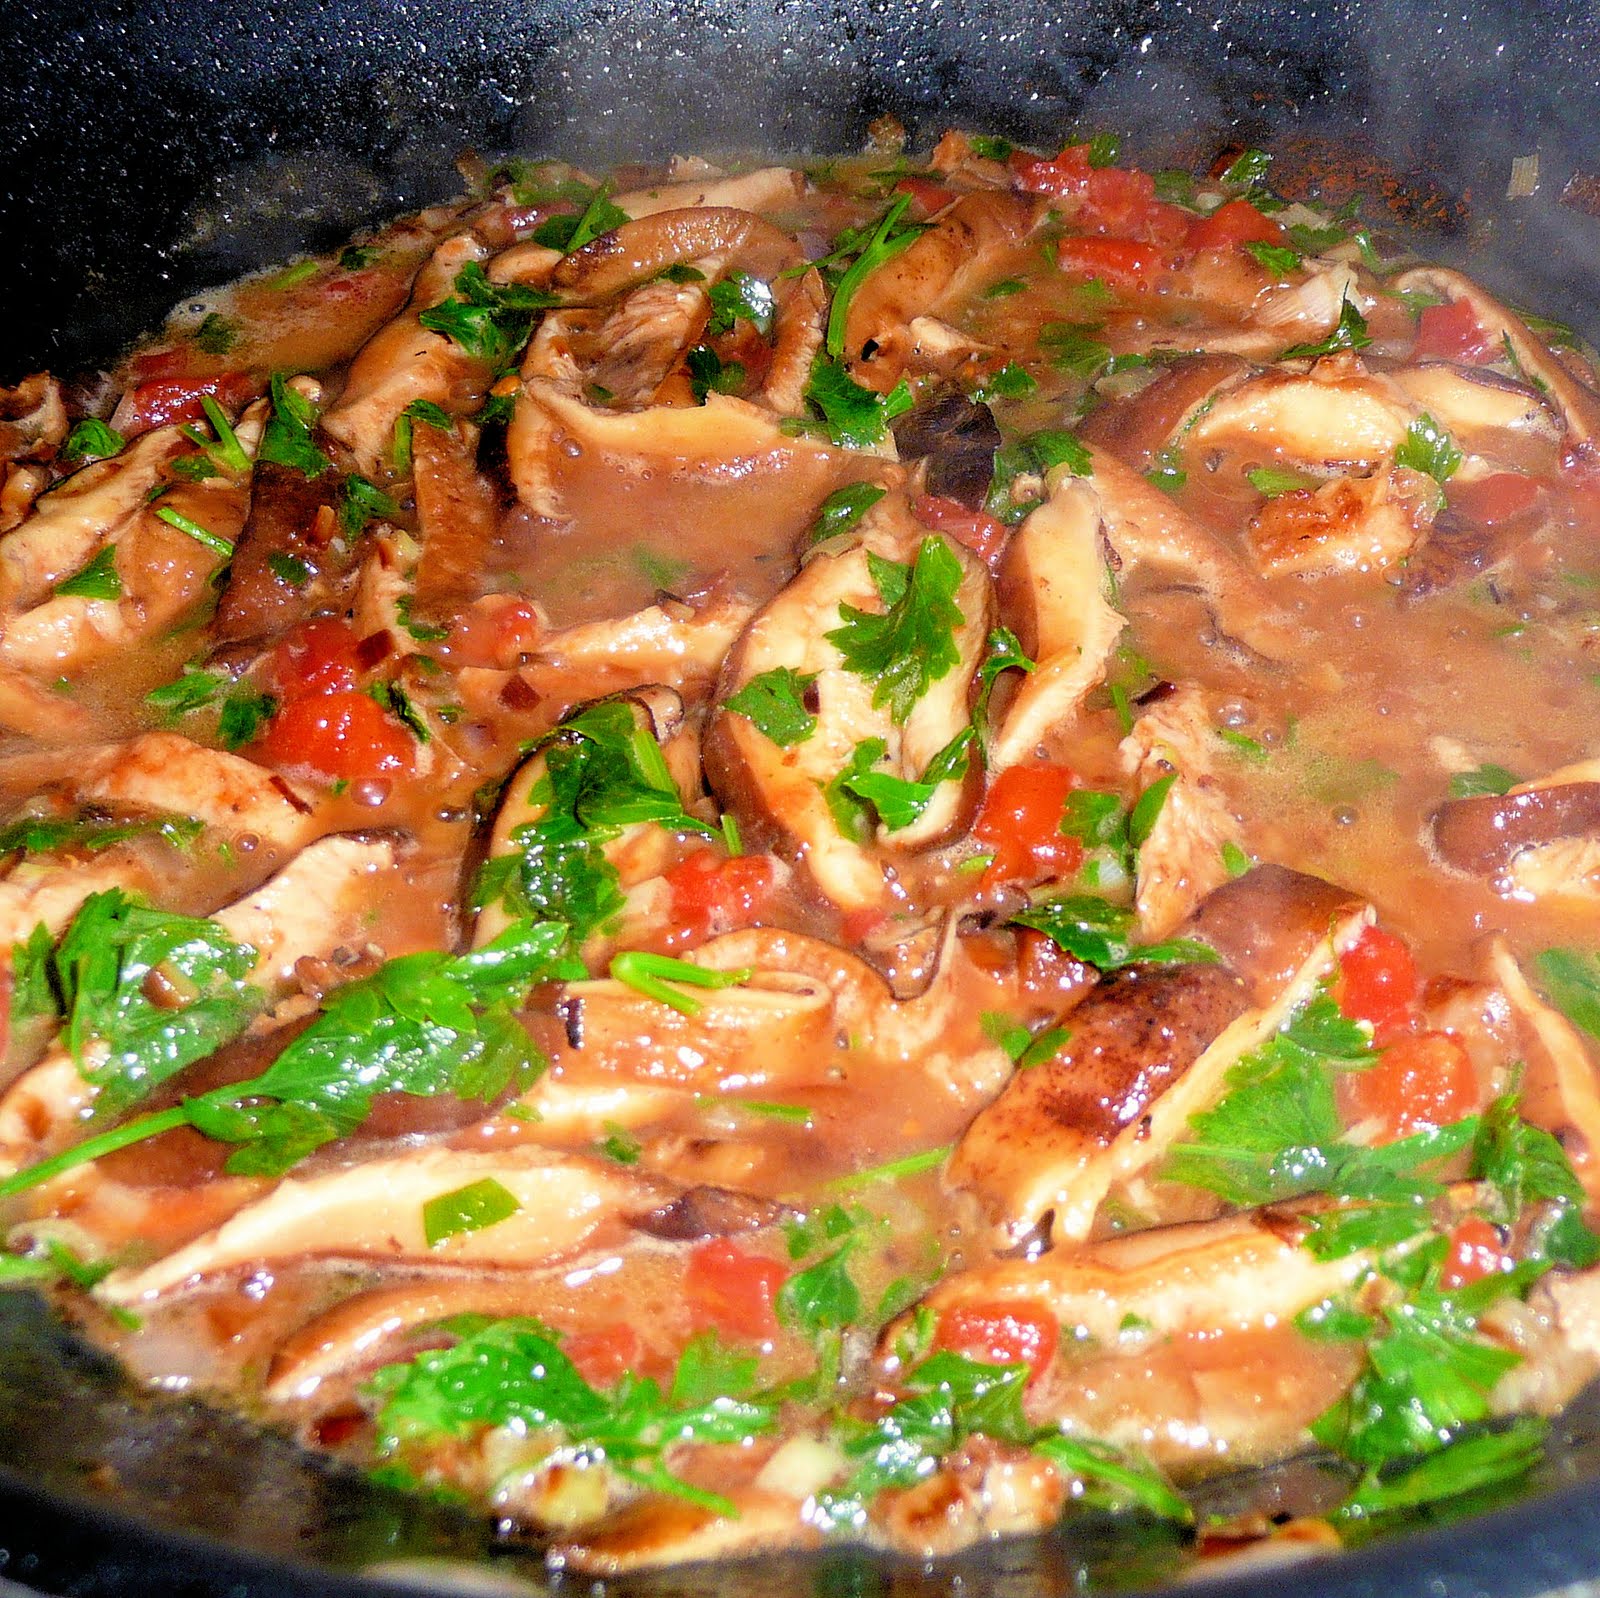
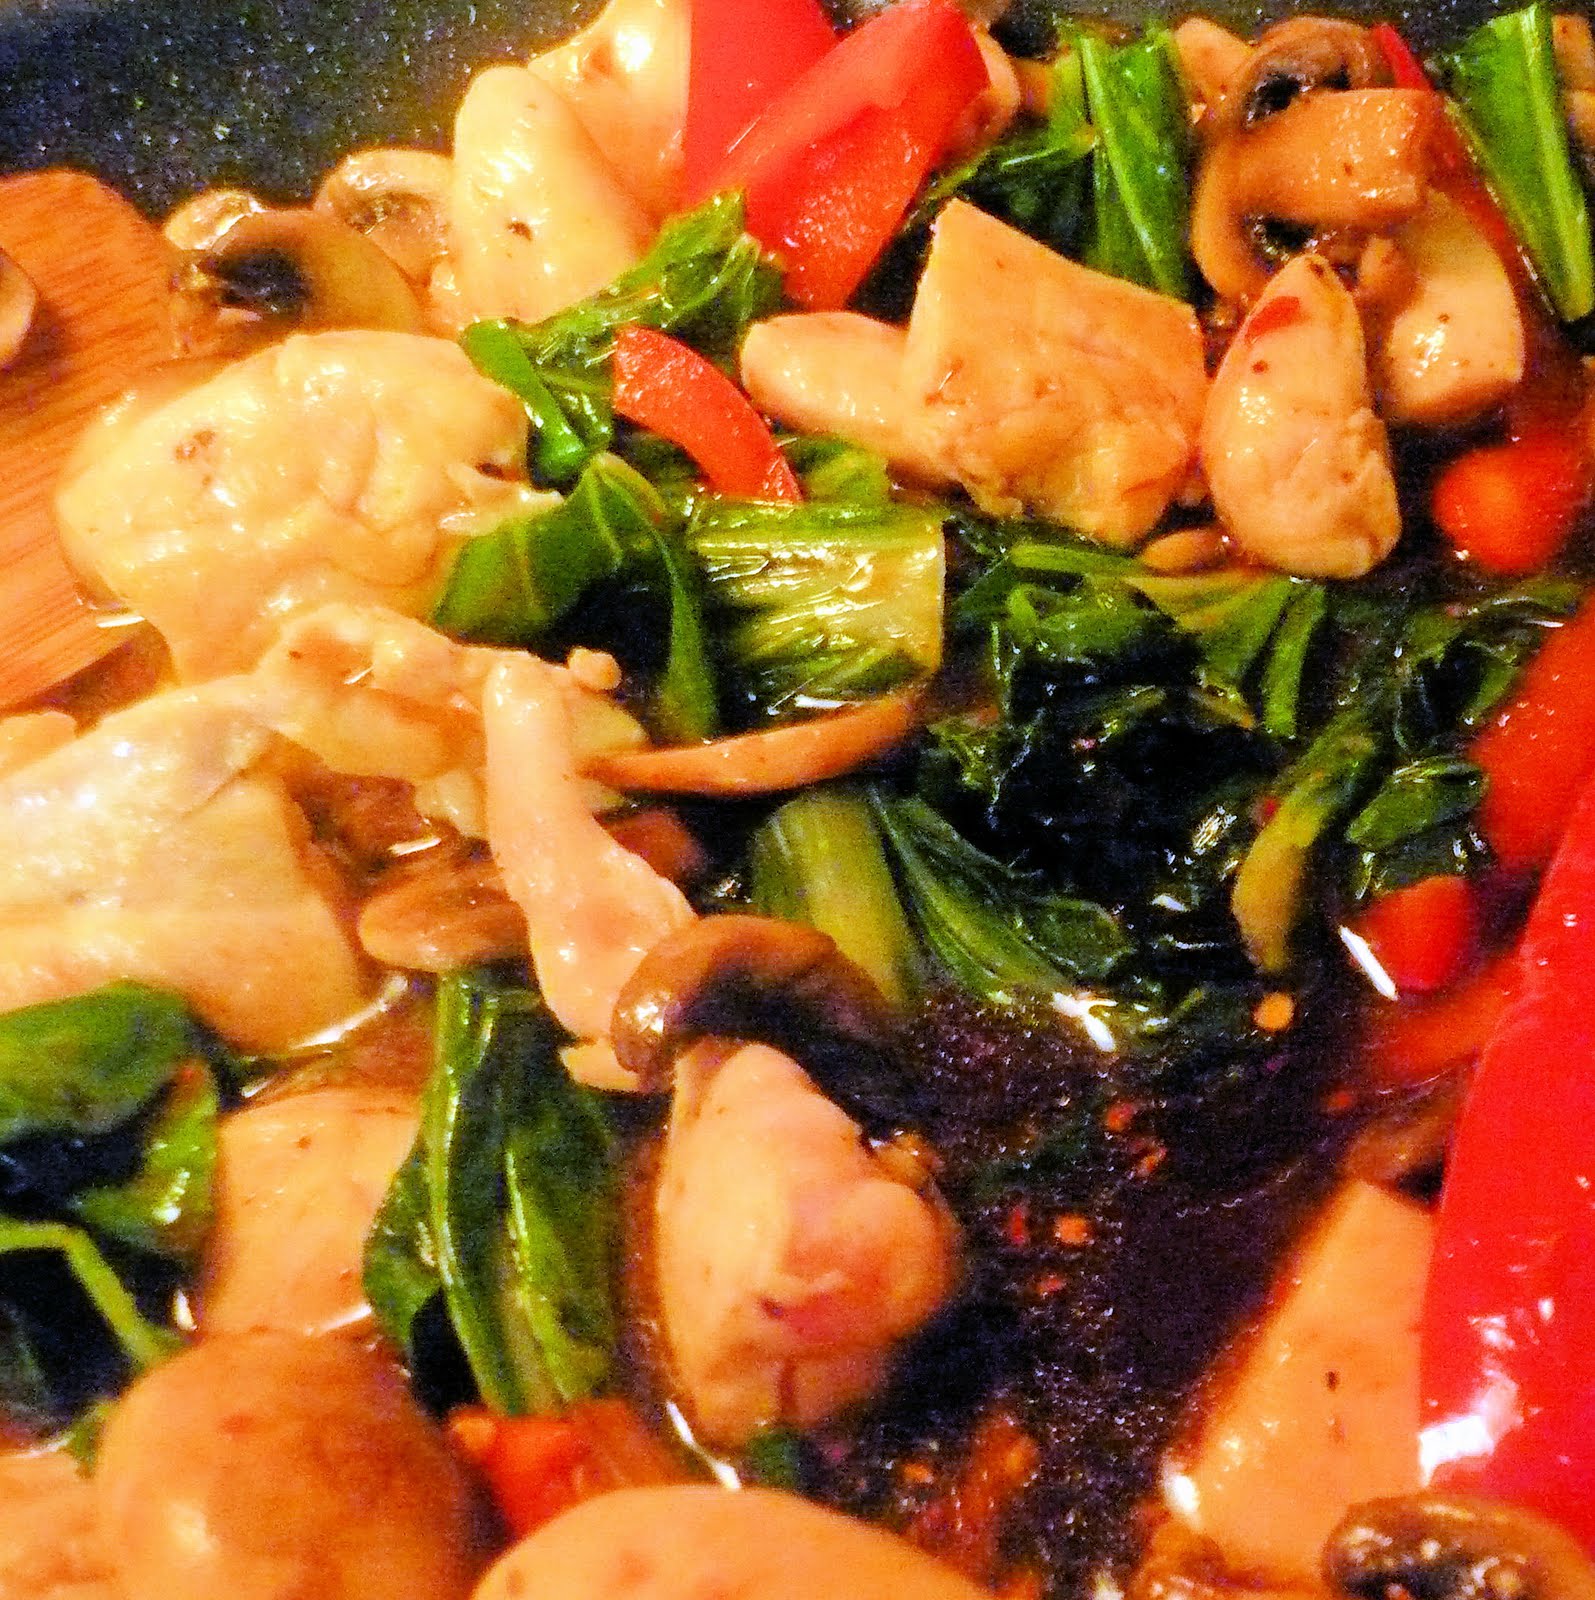
Return the chicken and vegetables to the pan. Shake the sauce in the jar and add to the pan.
Bring to a boil and simmer until slightly thickened, about 1 minute.
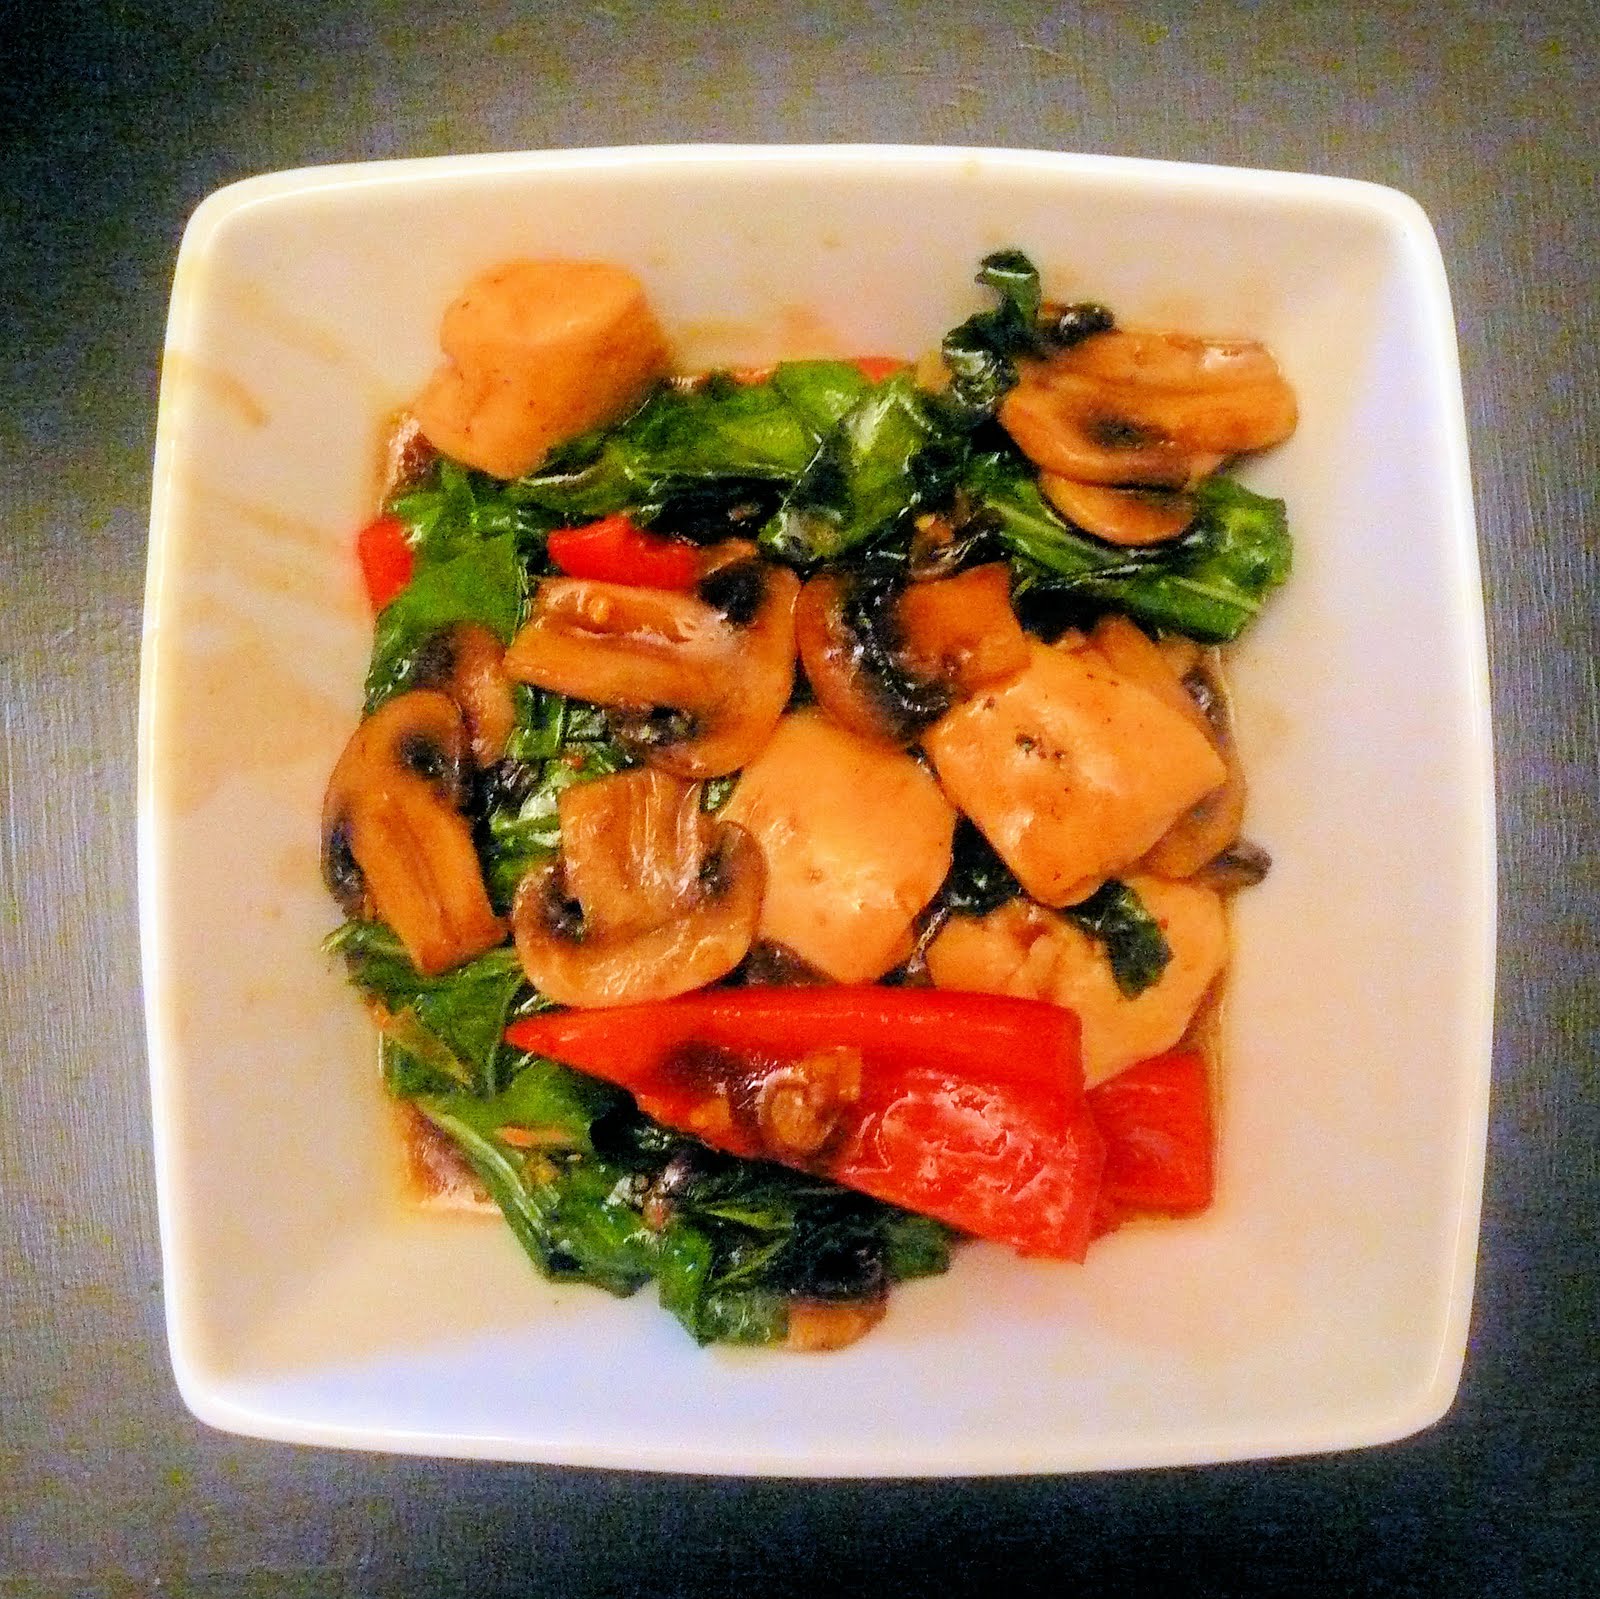
Transfer to a bowl and serve.
I really liked this dish, but I was hoping for more vegetables overall, especially more bok choy. I don’t honestly think that this would be much better with oyster mushrooms, so don’t go crazy looking for them if you can’t find them; button mushrooms were good enough. The sauce had some nice heat without being too spicy, so I will definitely try this recipe again with more veggies.