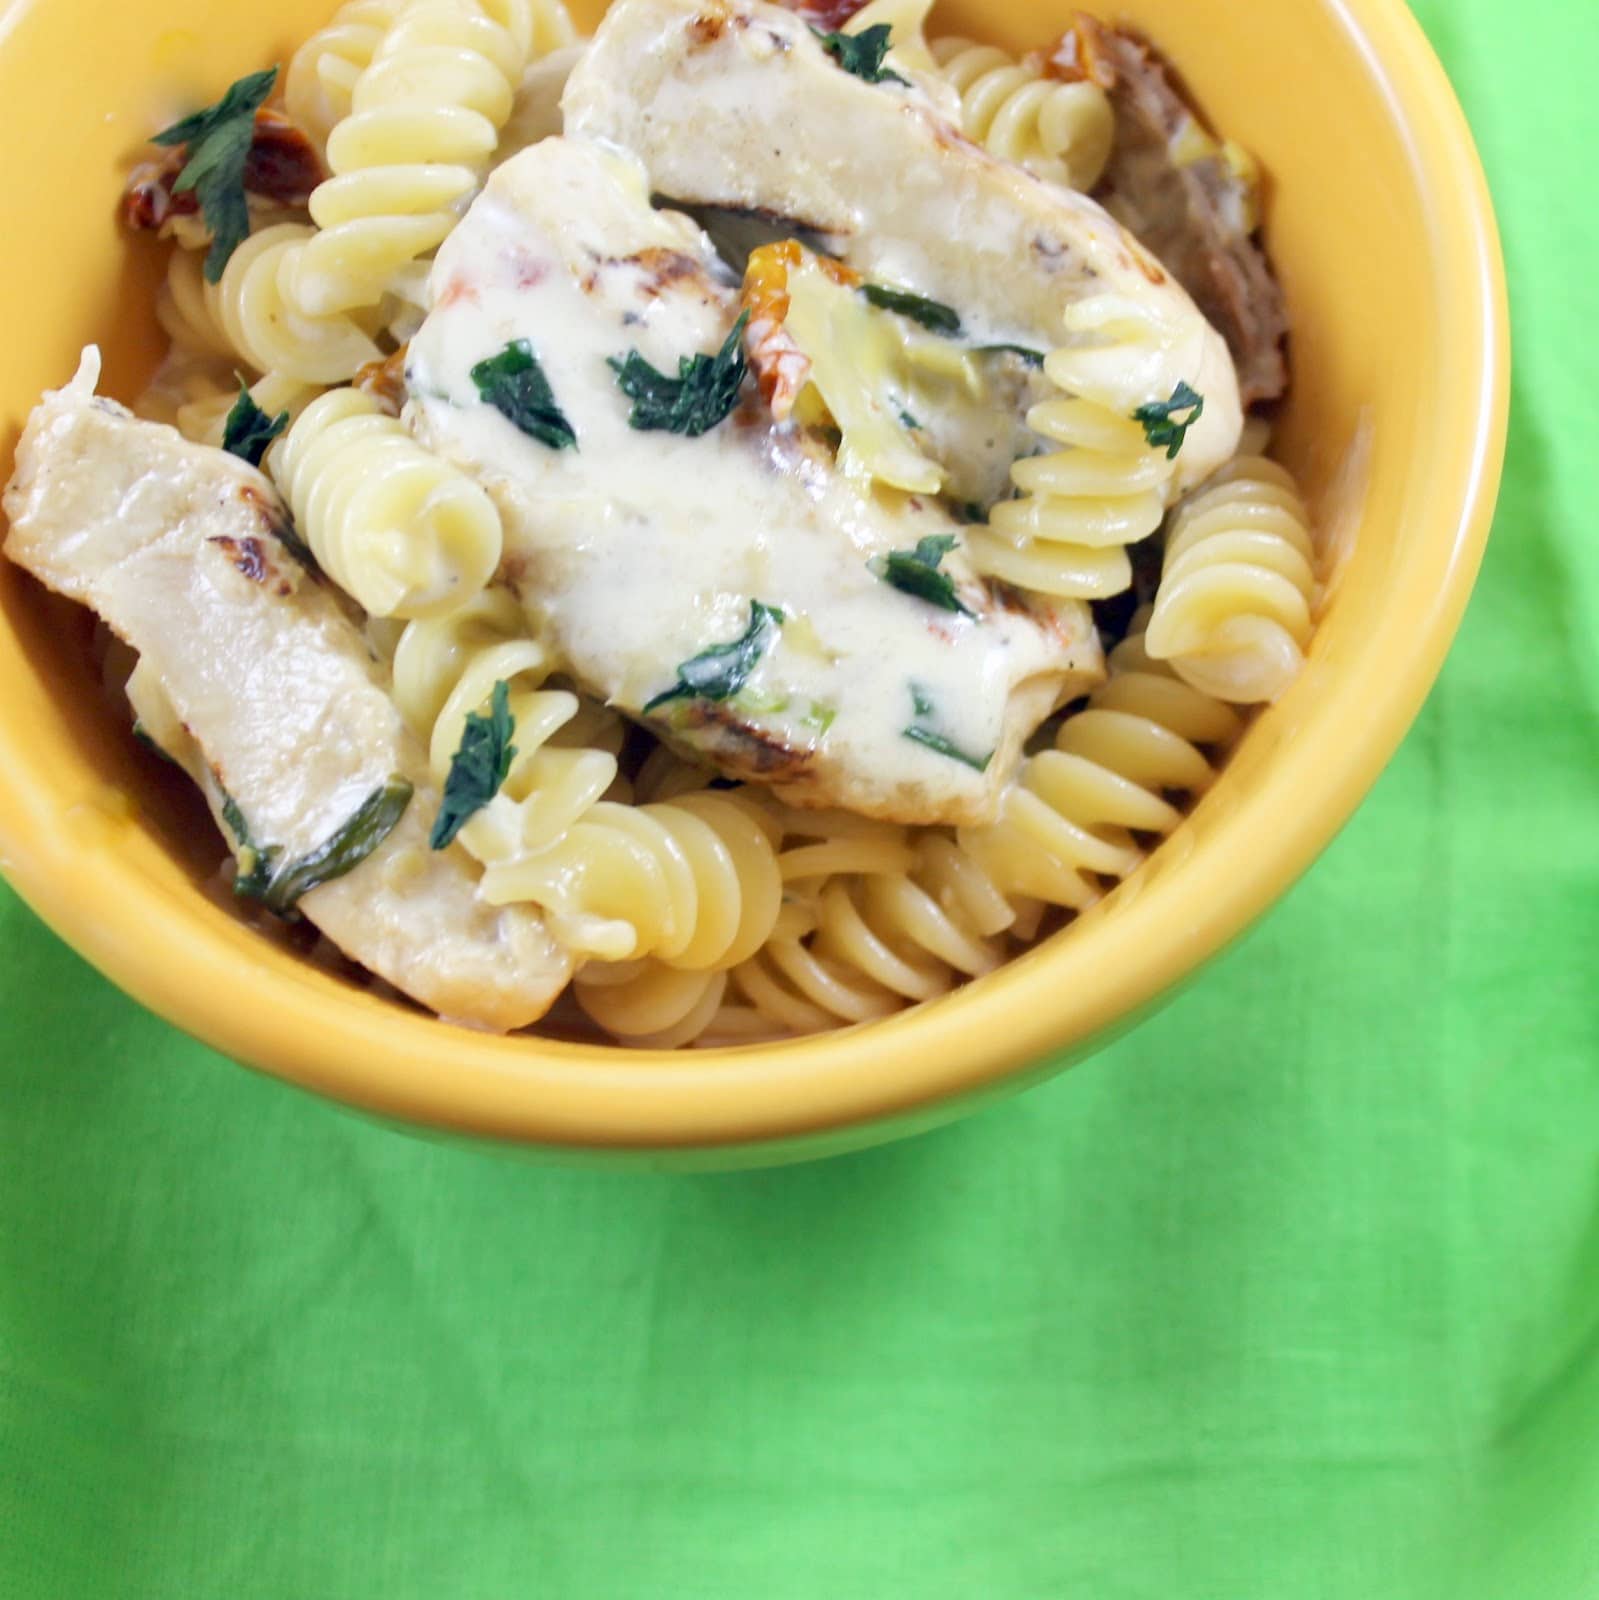
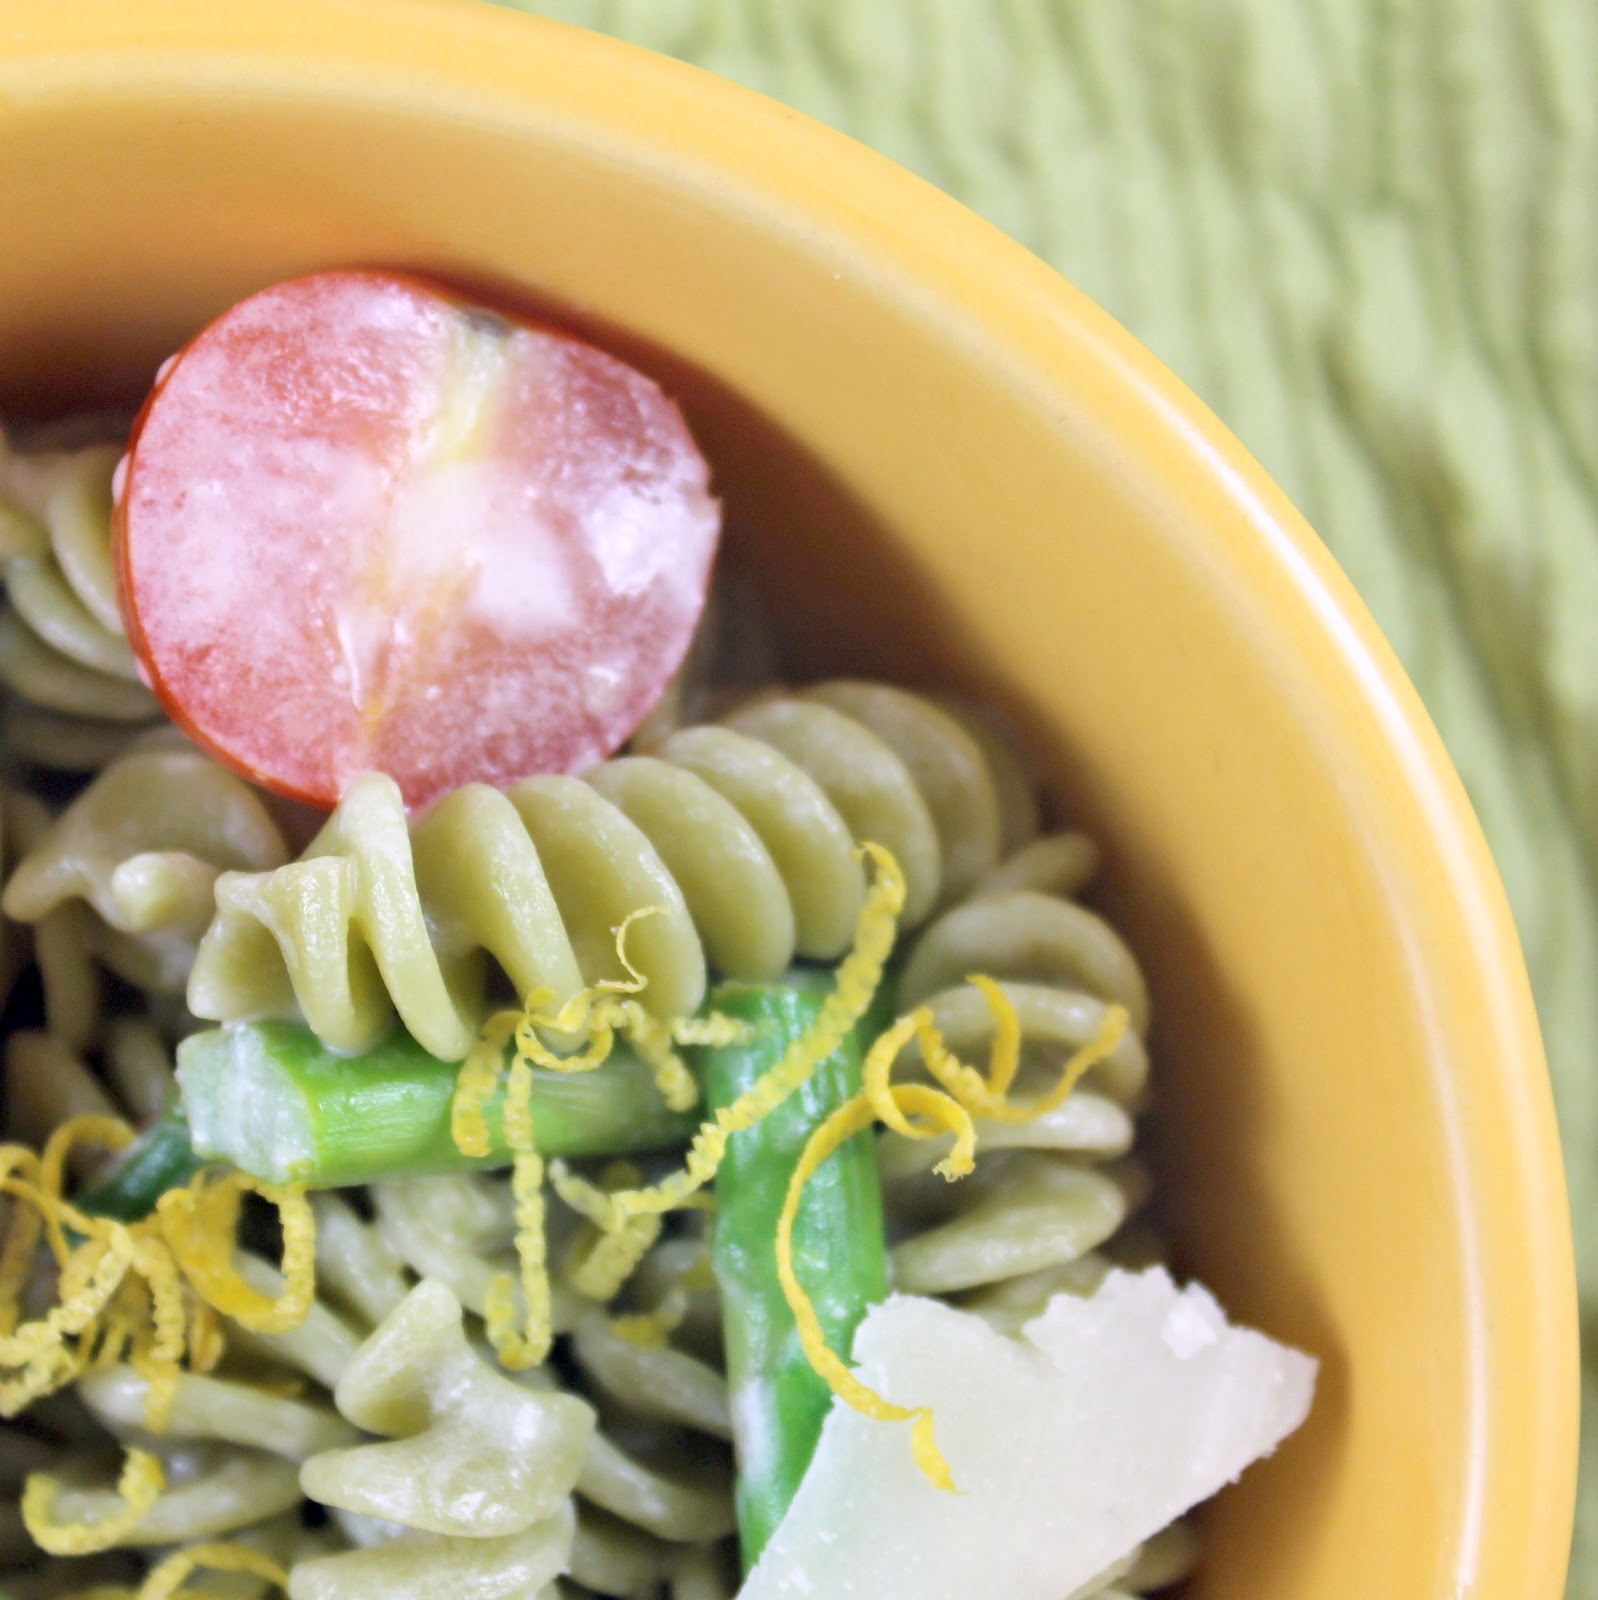
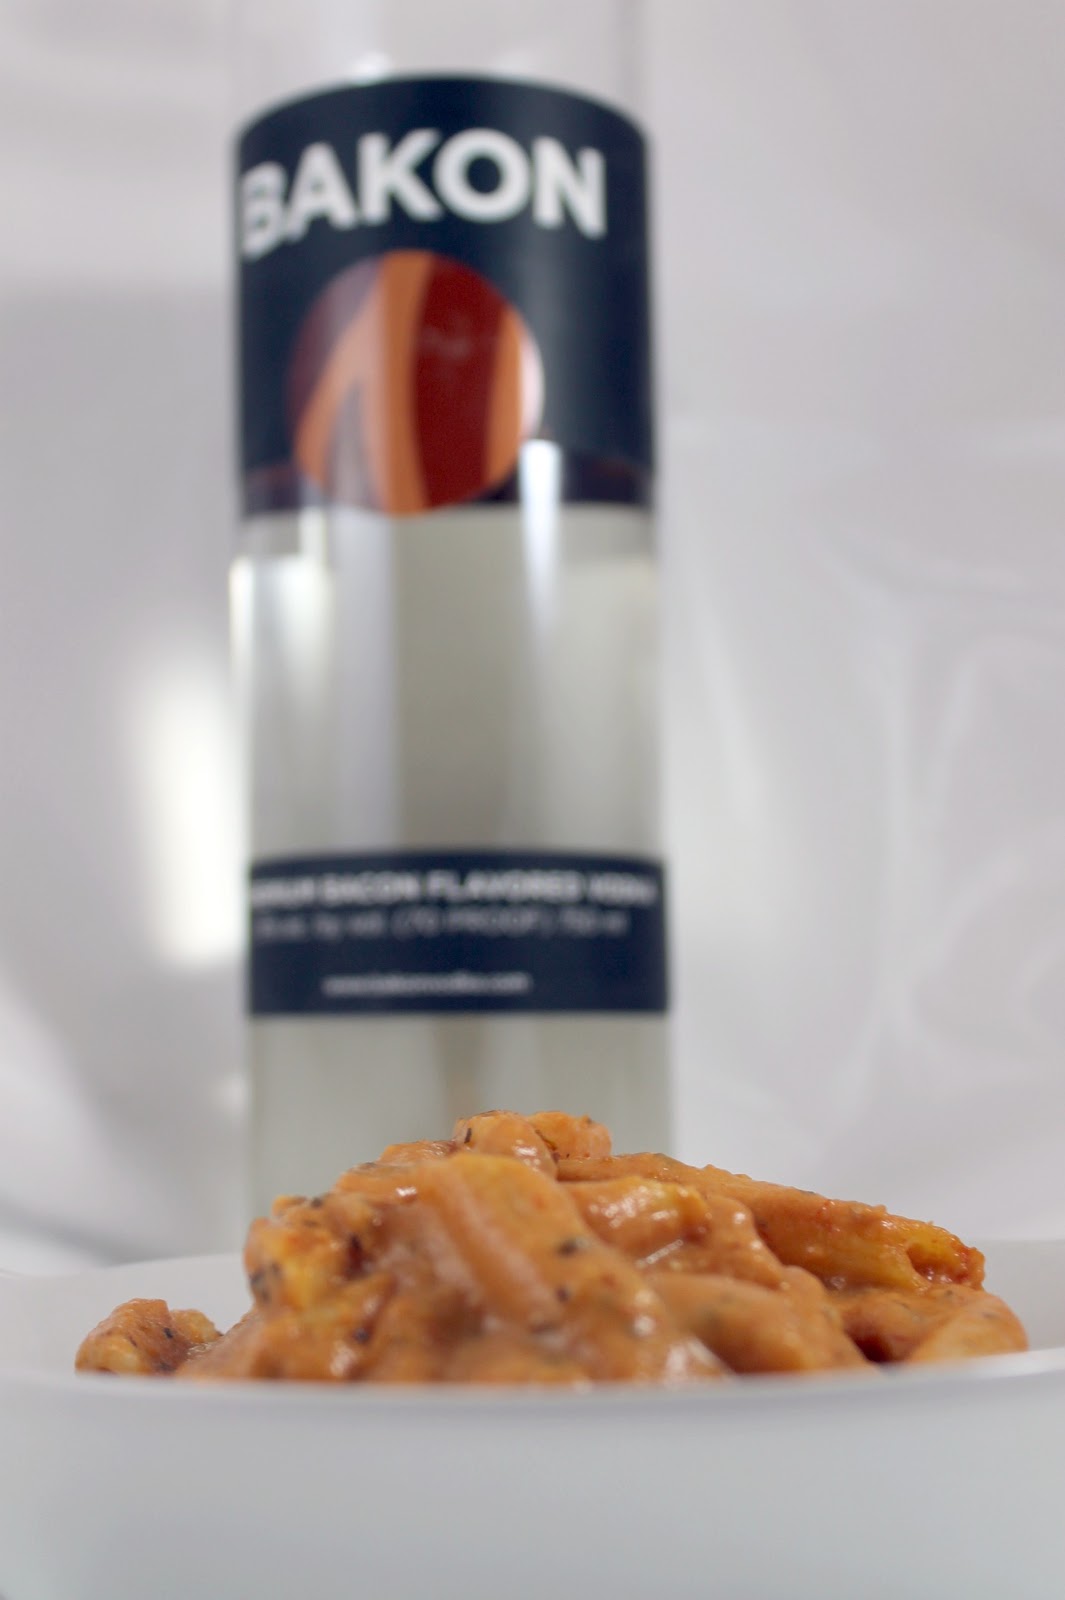
Yes, you read that title correctly. Penne with Bacon Vodka Sauce. I have wanted to make some recipes using Bakon Vodka ever since I heard of its existence. My mind immediately went to Bloody Mary’s (which I will have a post on soon), but a coworker suggested I use it for Penne Vodka. Brilliant, no?

Ingredients:
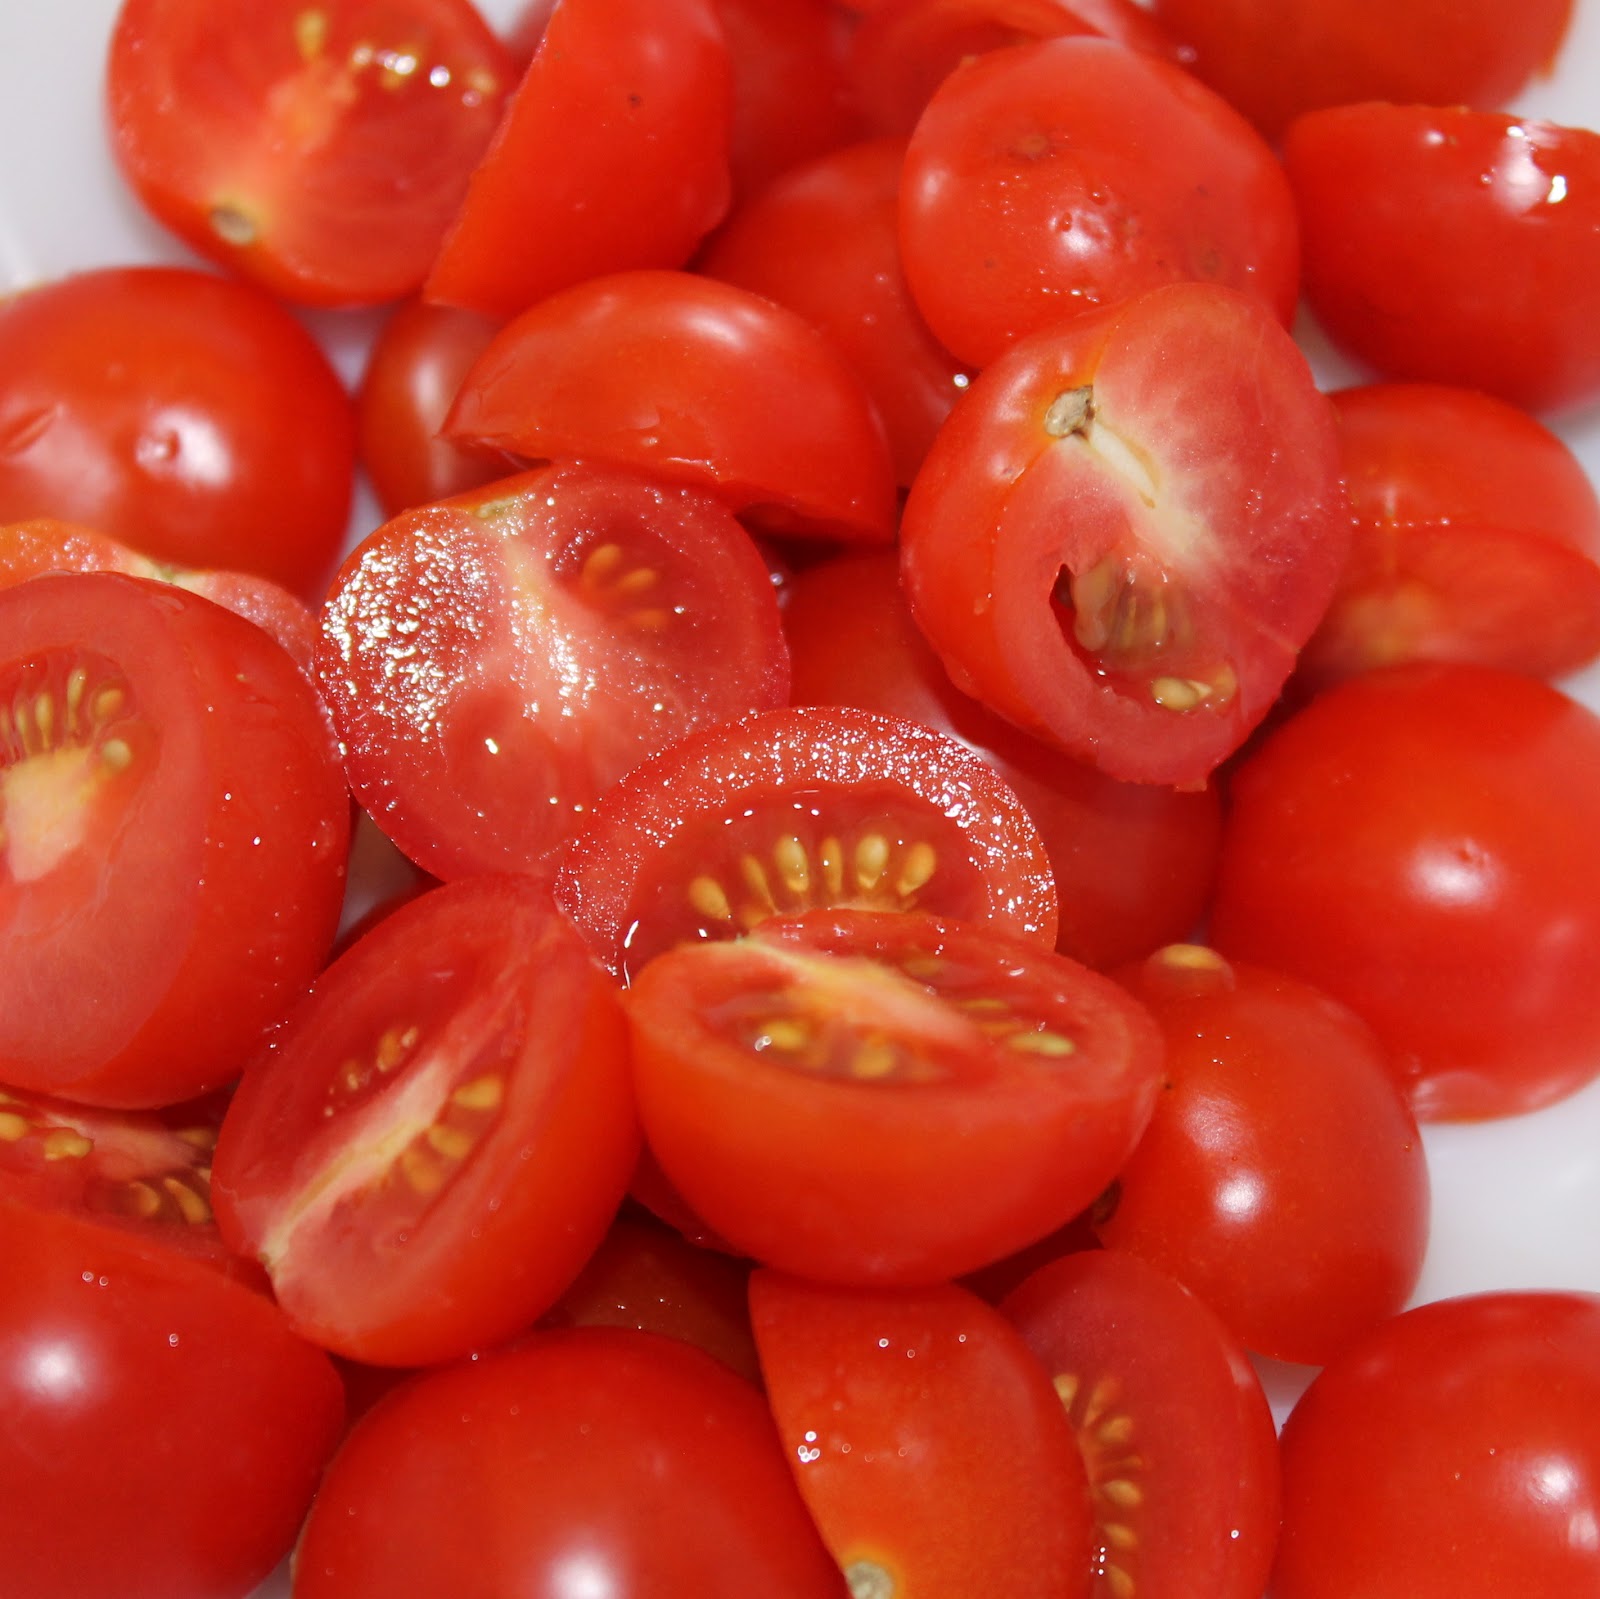
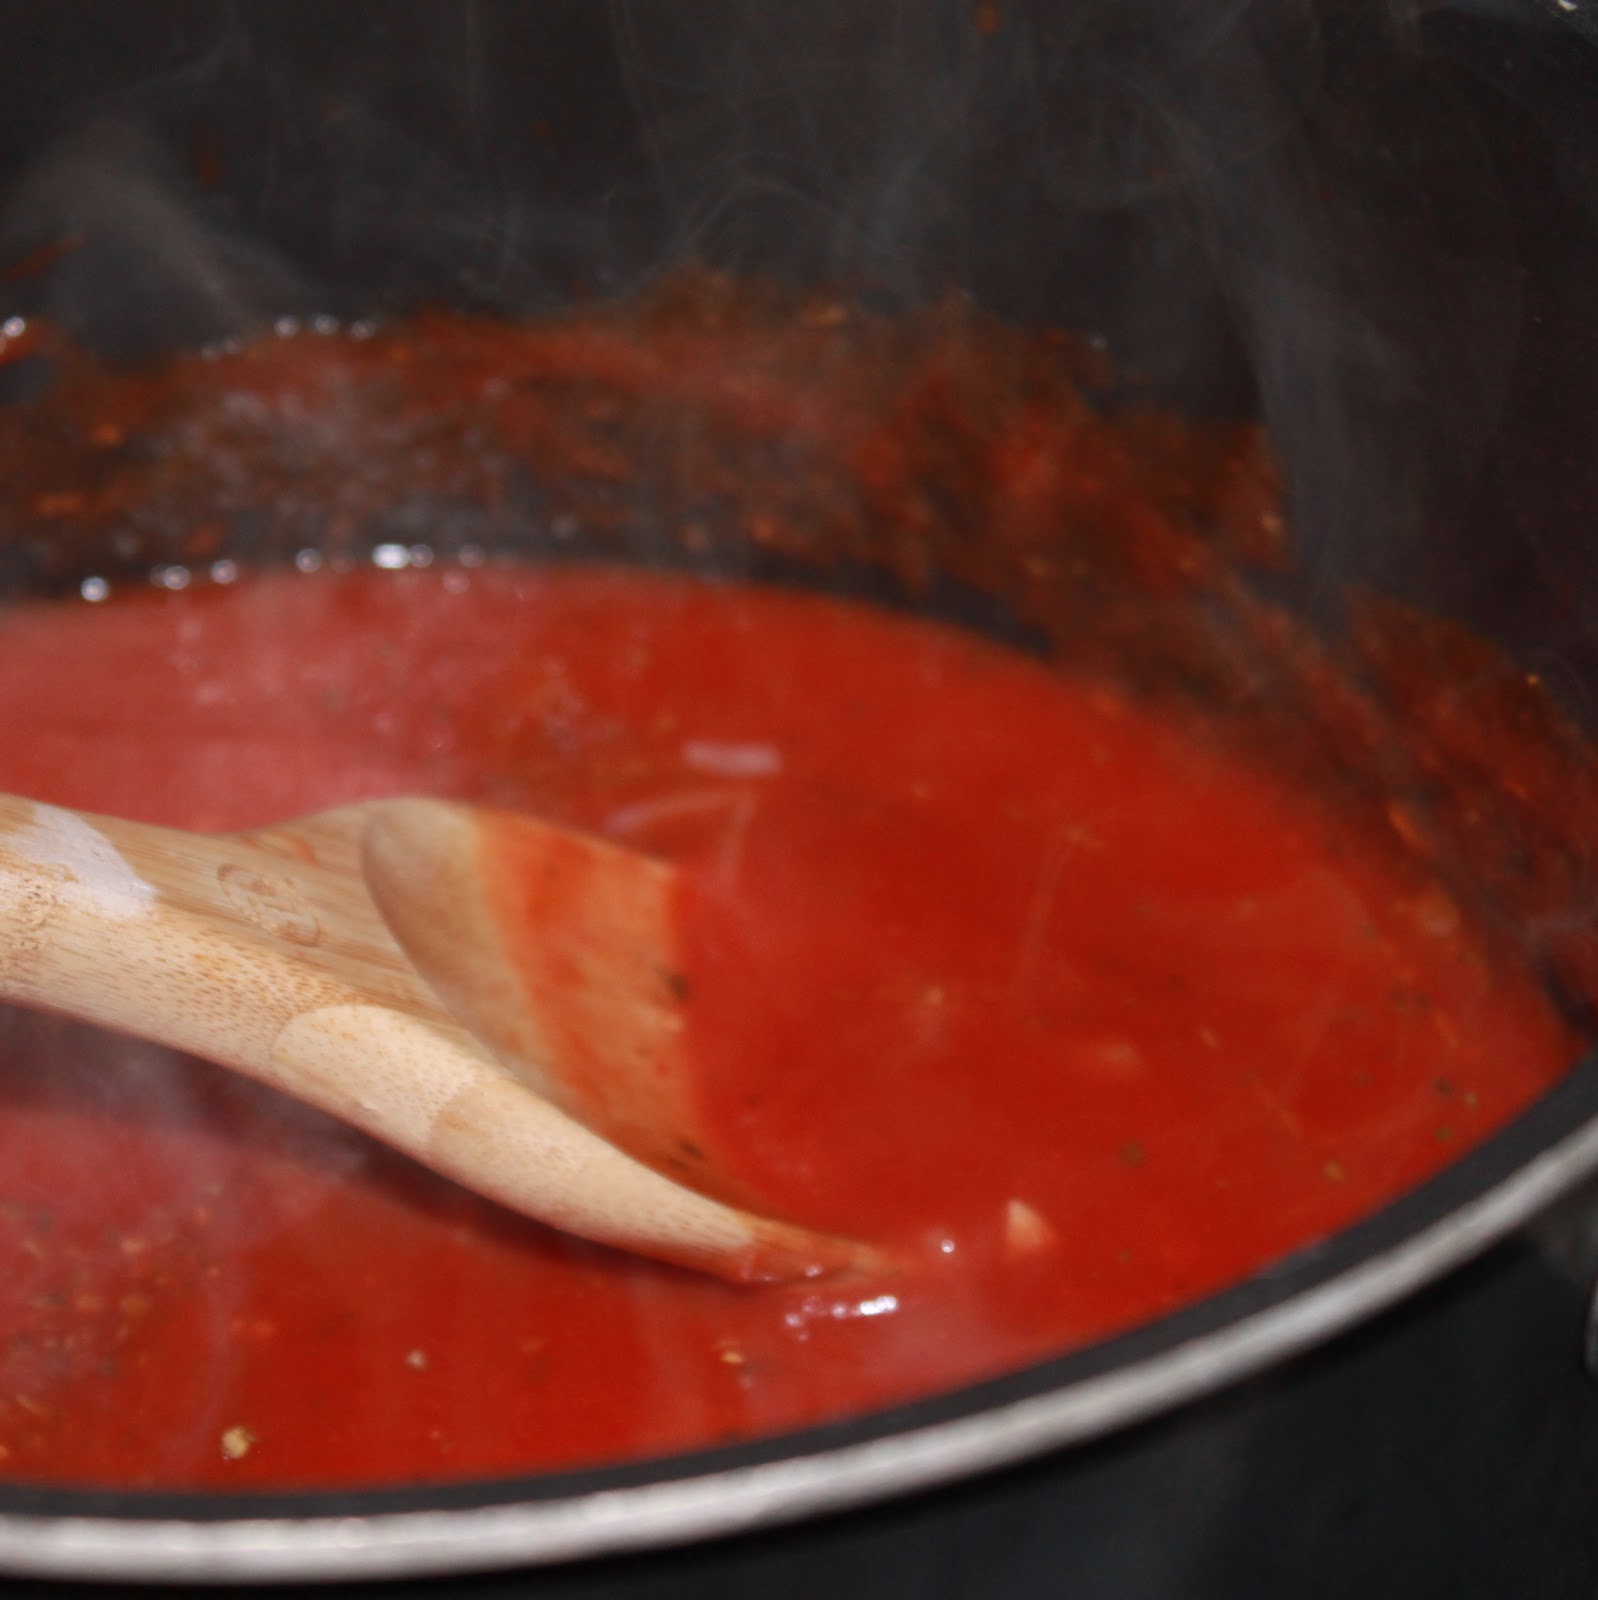
1 can (28 oz) tomato sauce
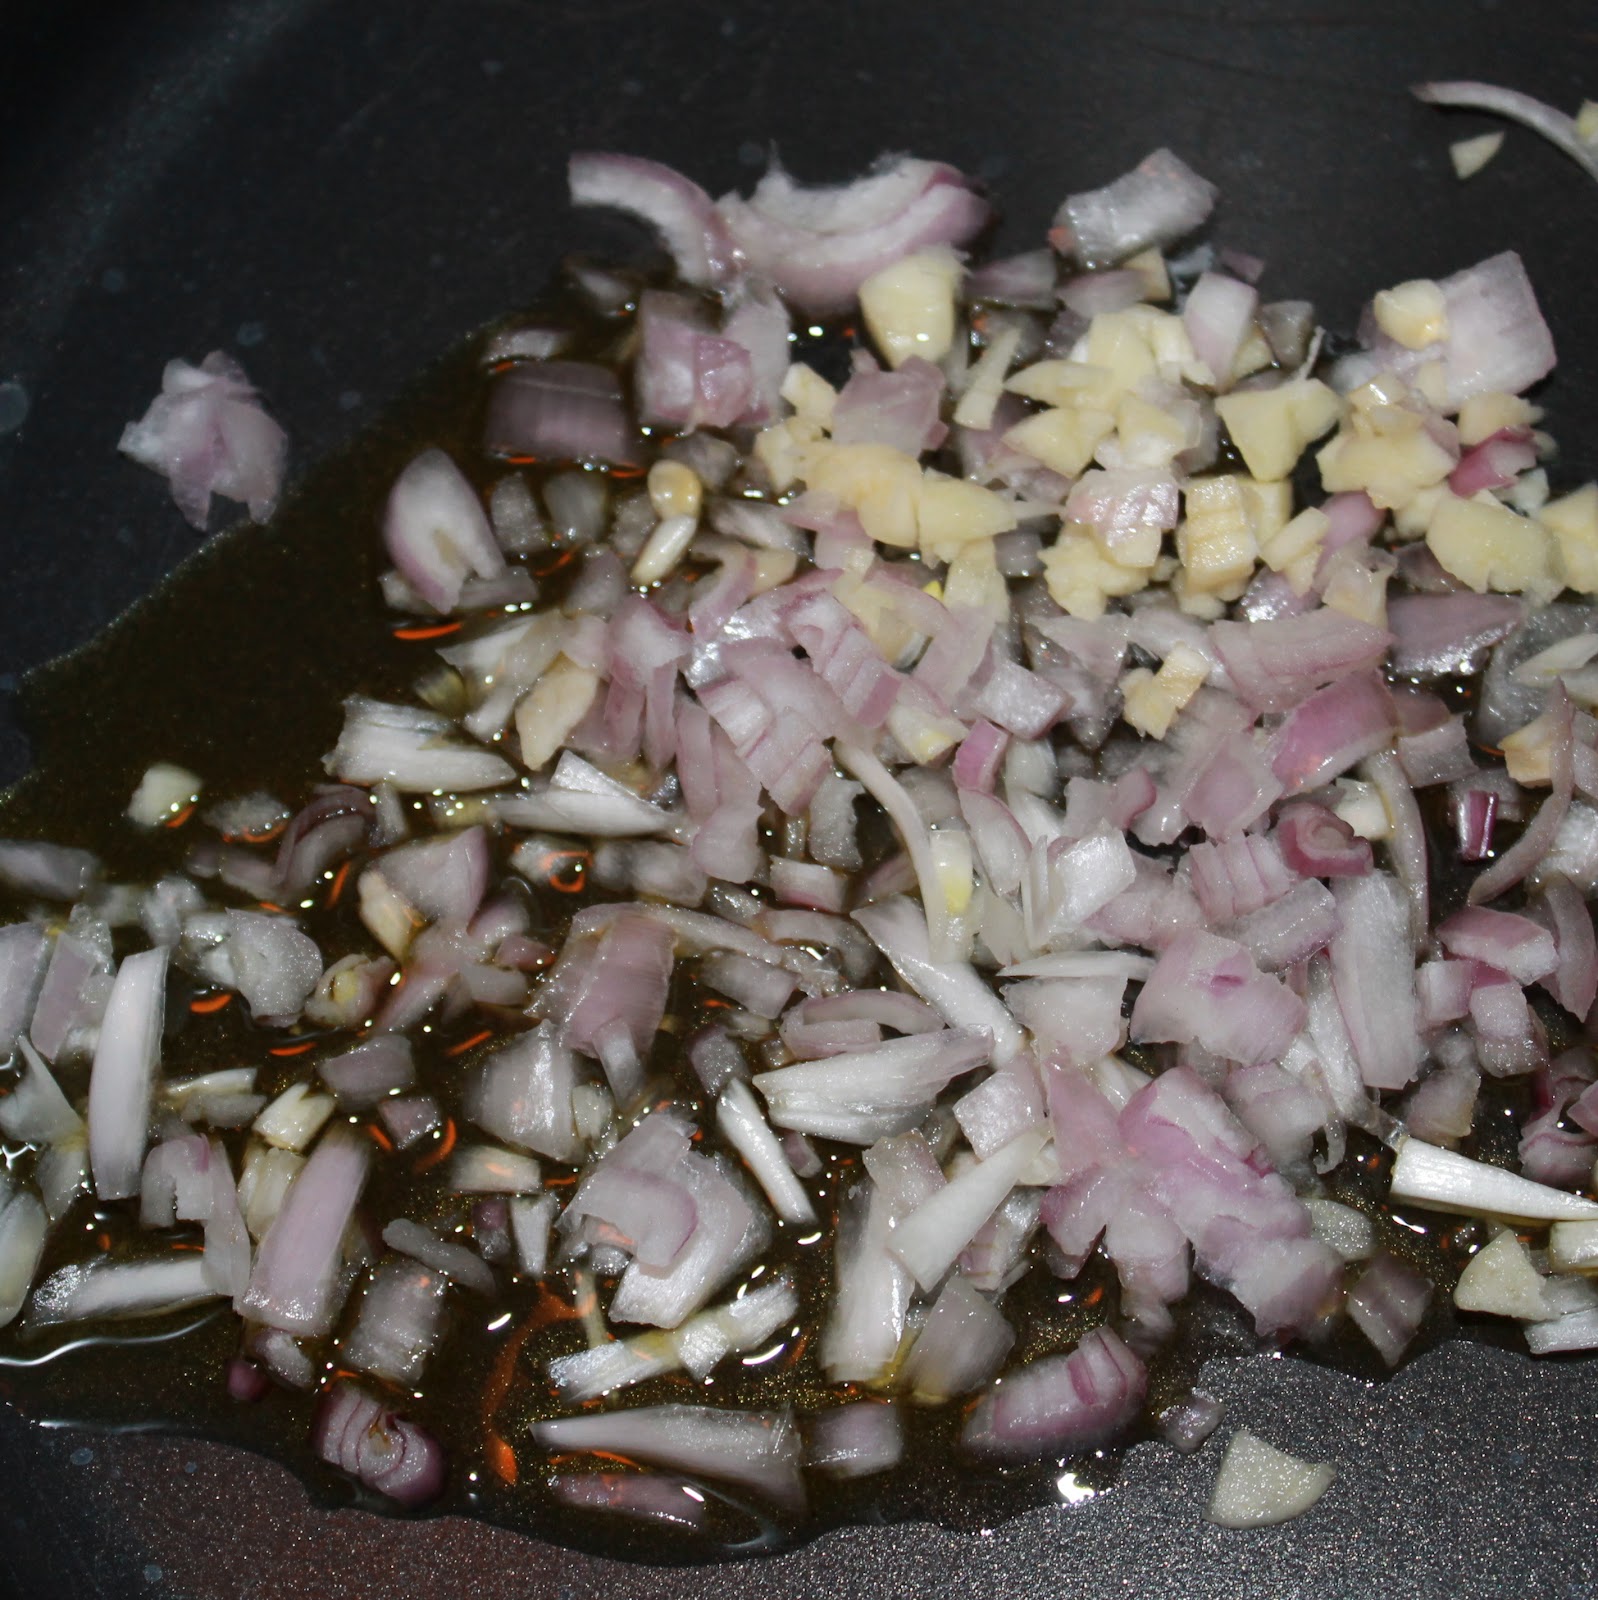
1 shallot, chopped
2 garlic cloves, minced
1 tablespoon olive oil
1 teaspoon dried oregano
1 teaspoon dried parsley
1/2 teaspoon basil
2/3 cup Bakon vodka
1/2 cup heavy cream
1/2 cup grated Parmesan cheese
1/2 box penne pasta

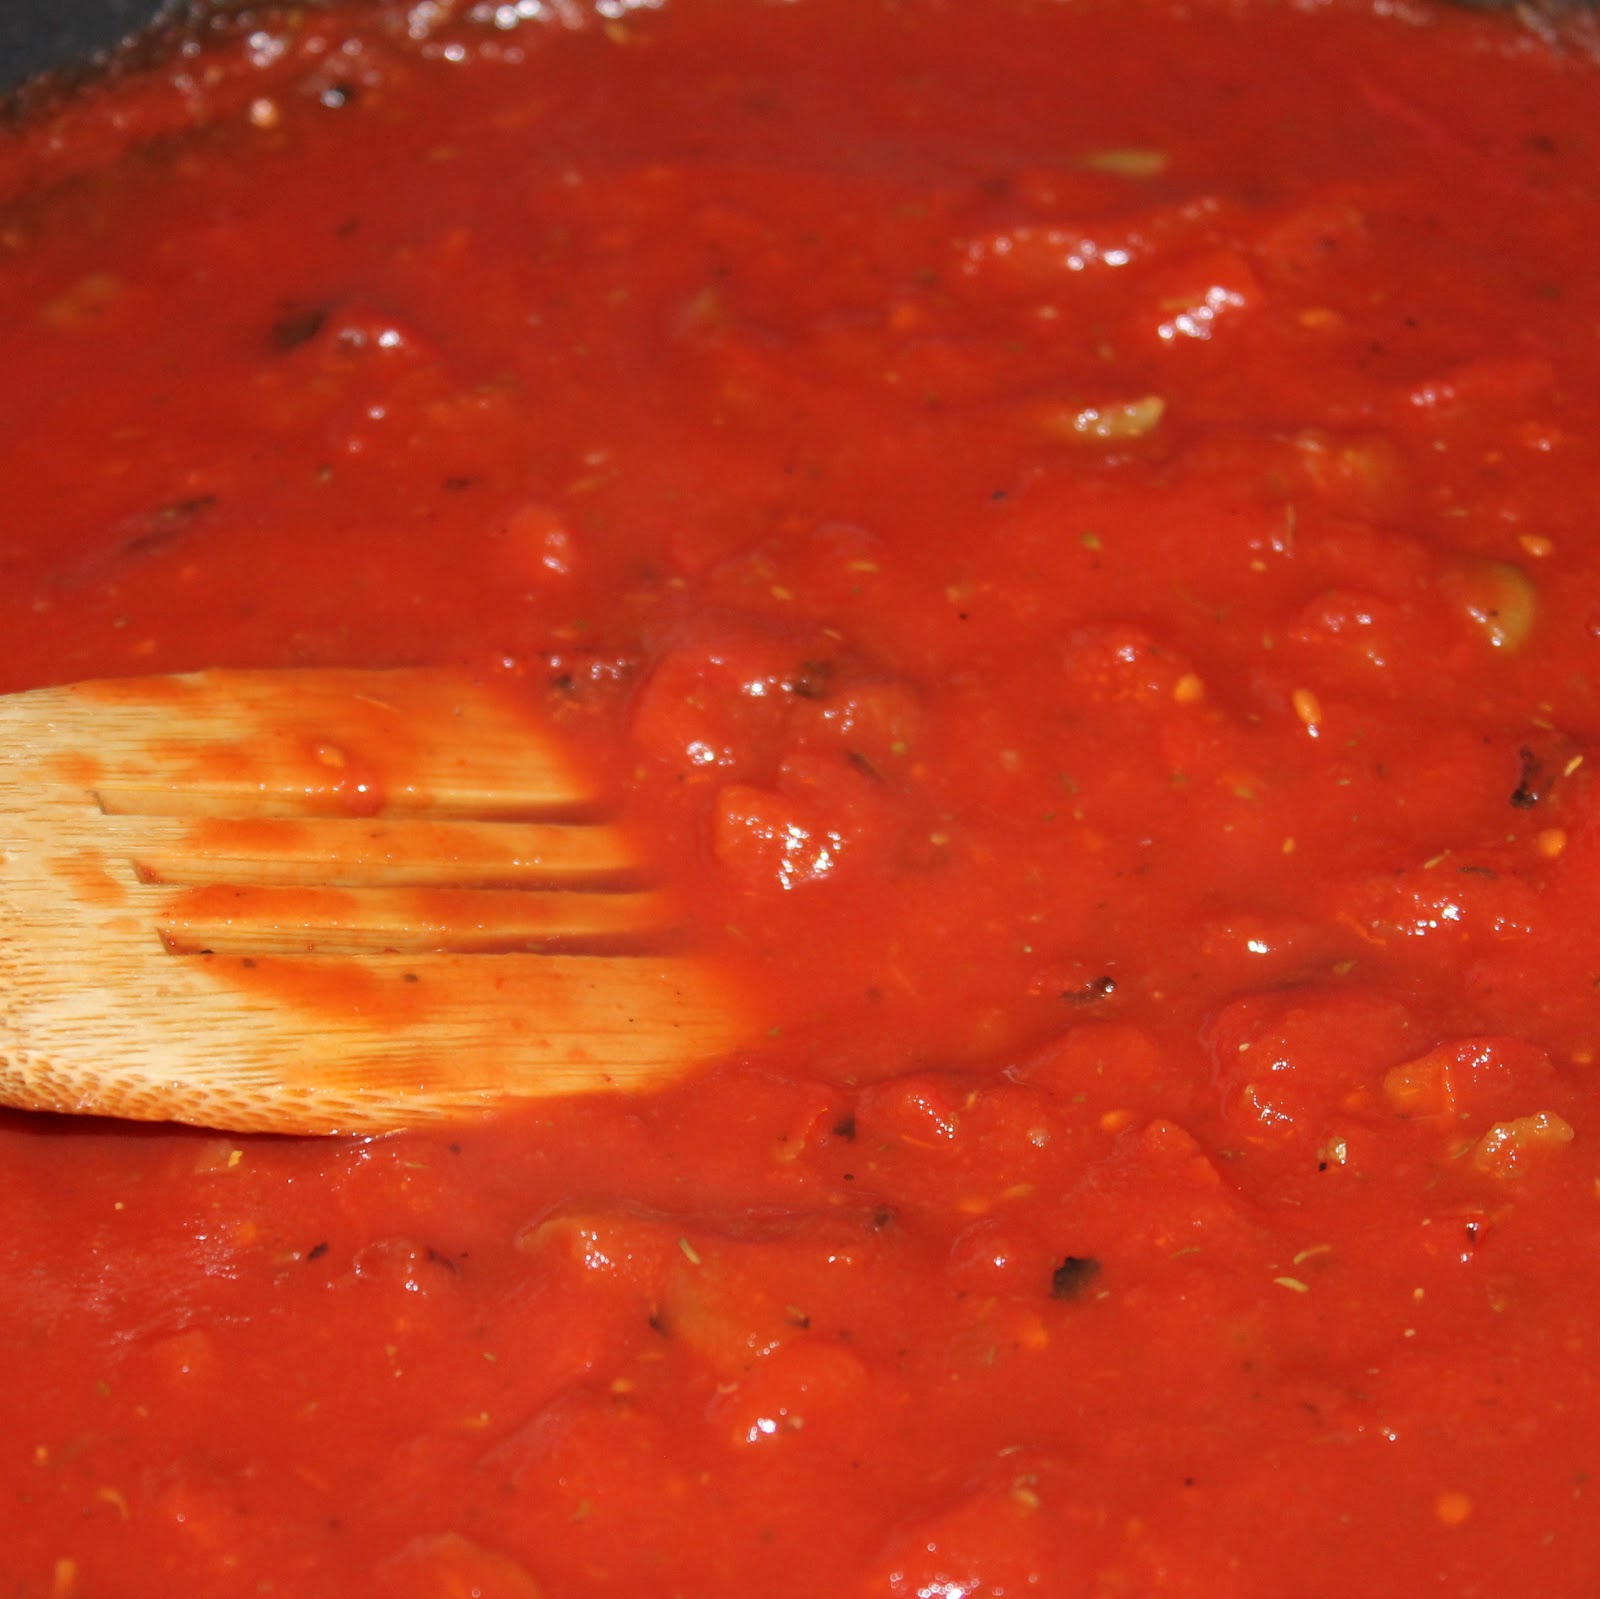
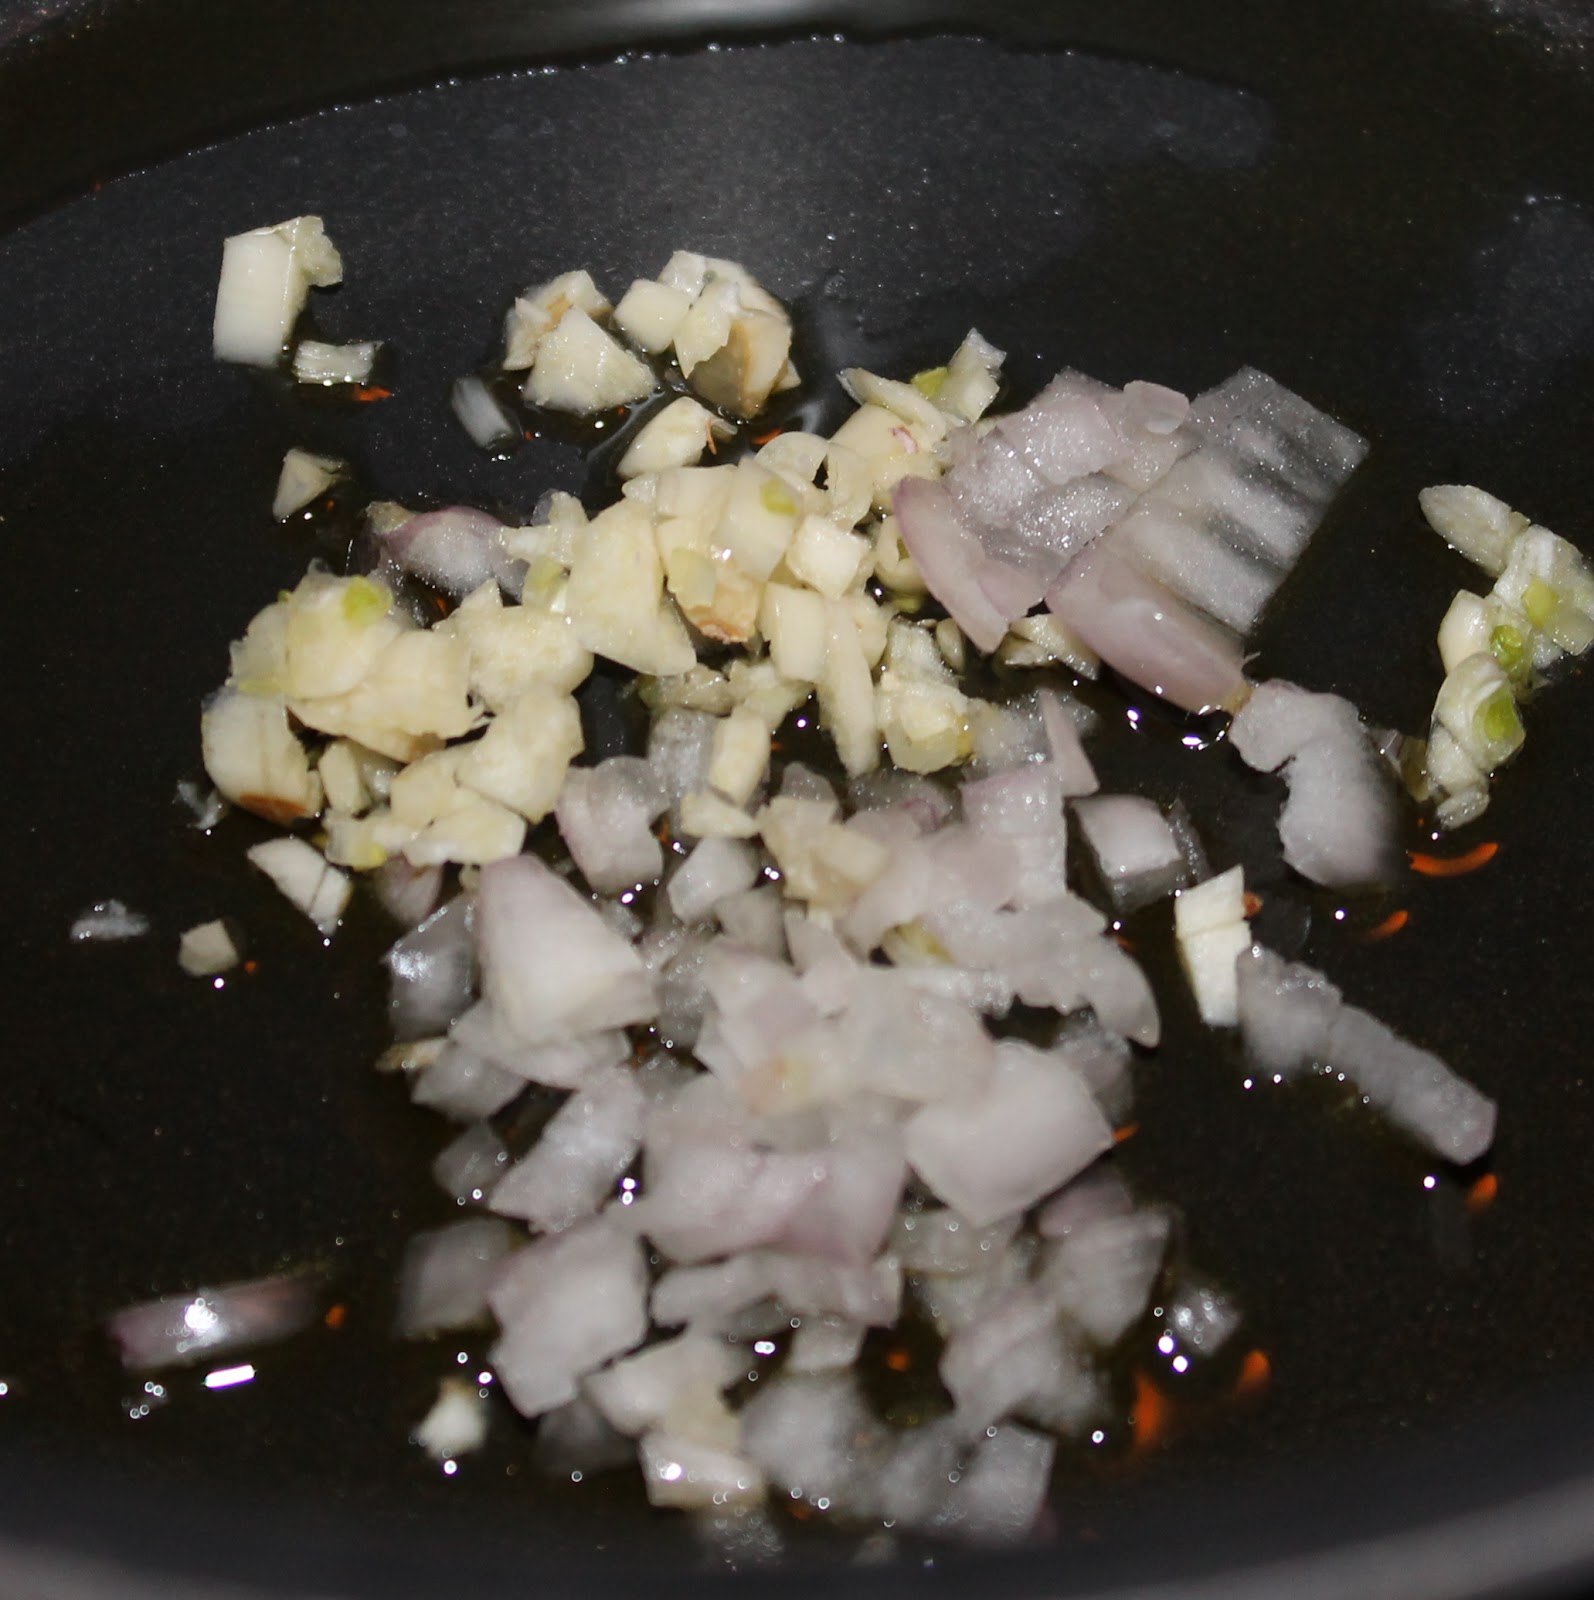
Chop the shallot and garlic cloves. Heat the olive oil over medium heat. Add the shallot and cloves and cook for 3 minutes.
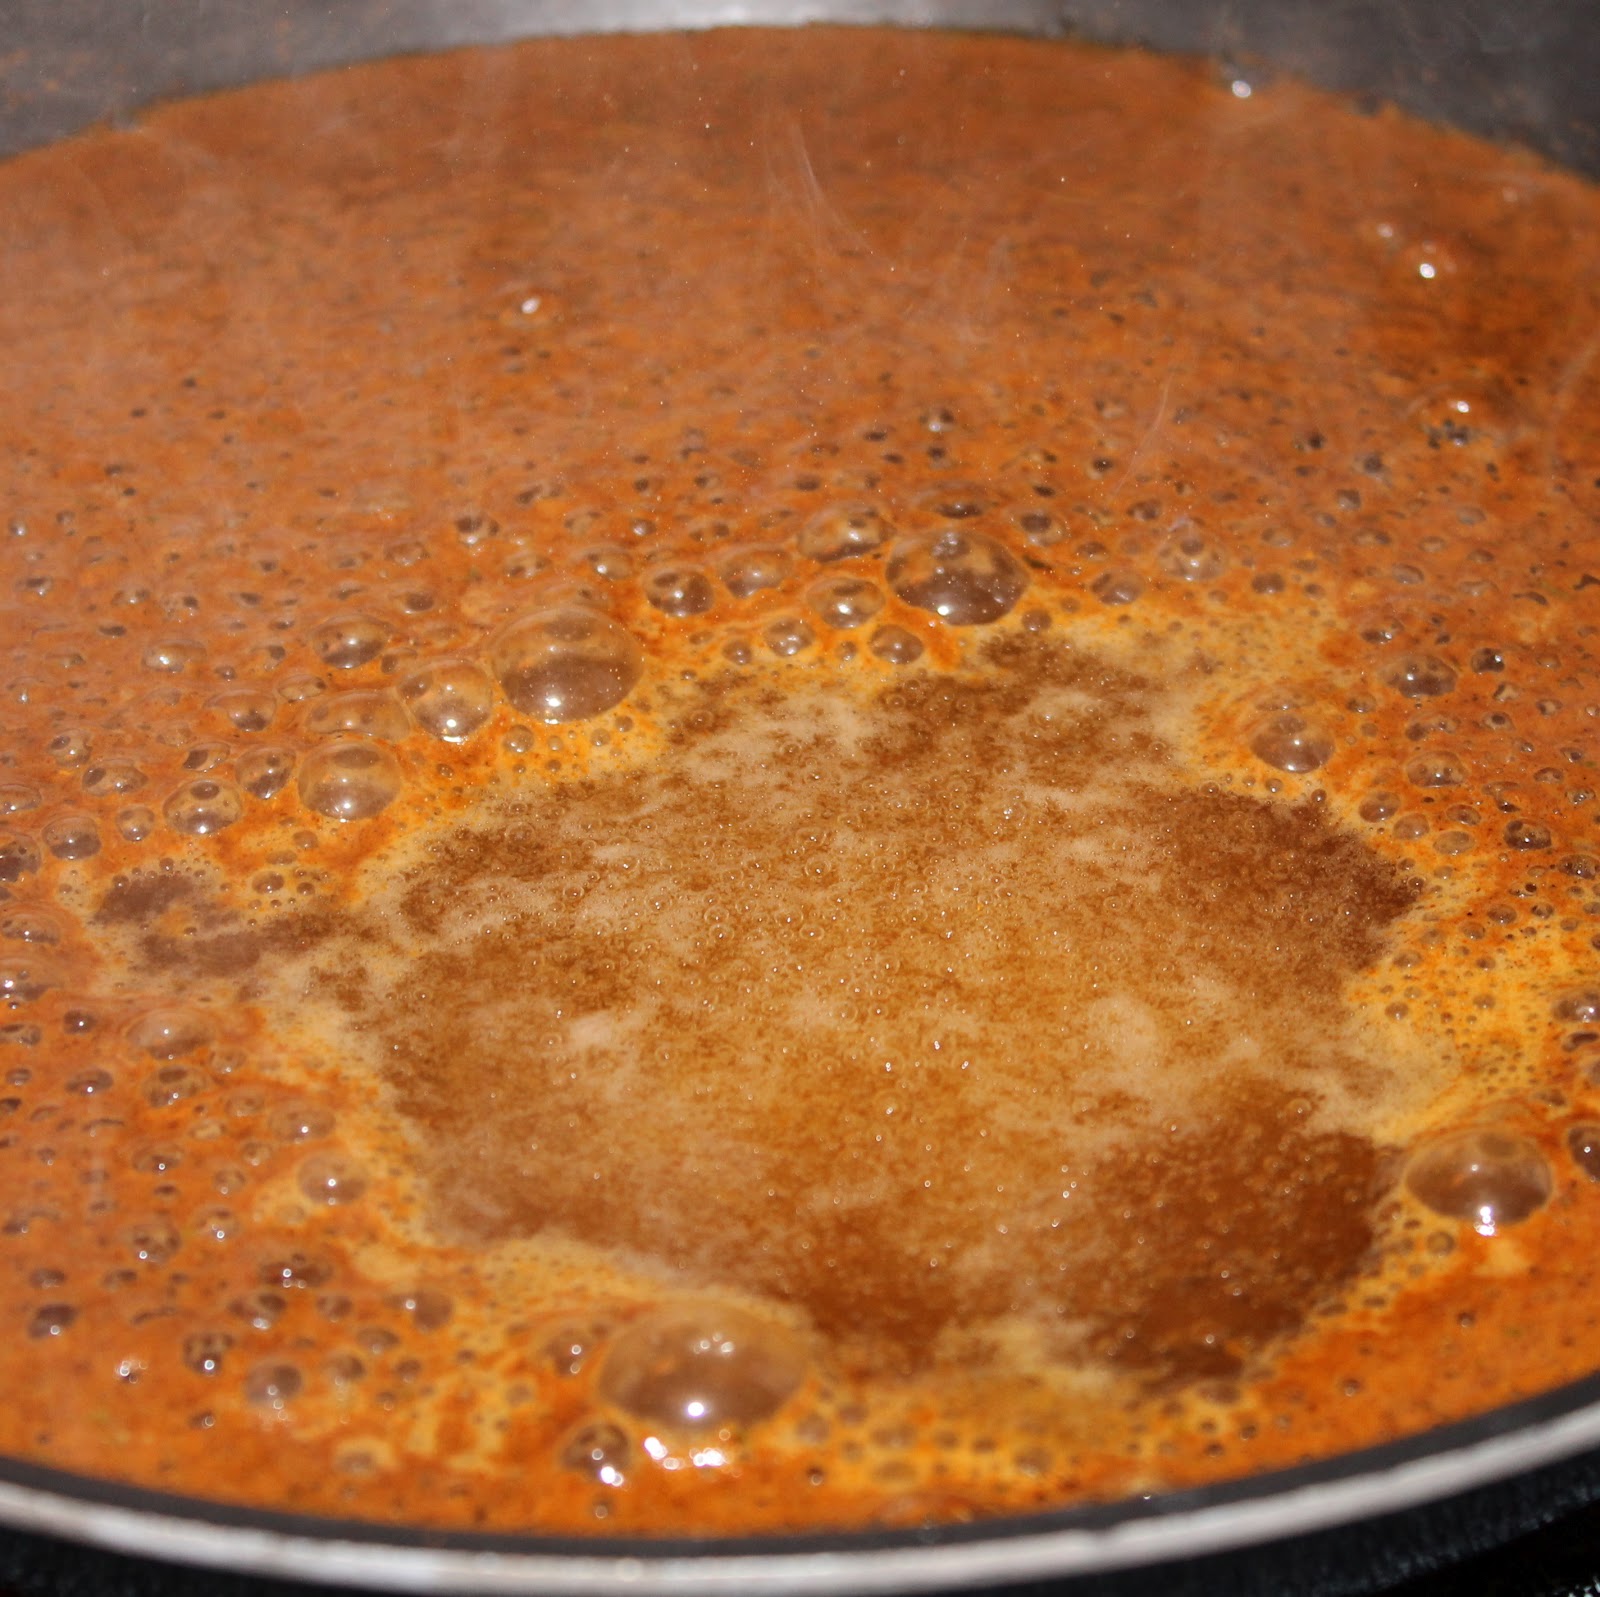
Add the tomato sauce, oregano, parsley, and basil. Add the Bakon vodka and stir to combine. Simmer for 15 minutes, stirring occasionally; it will thicken and reduce a bit.
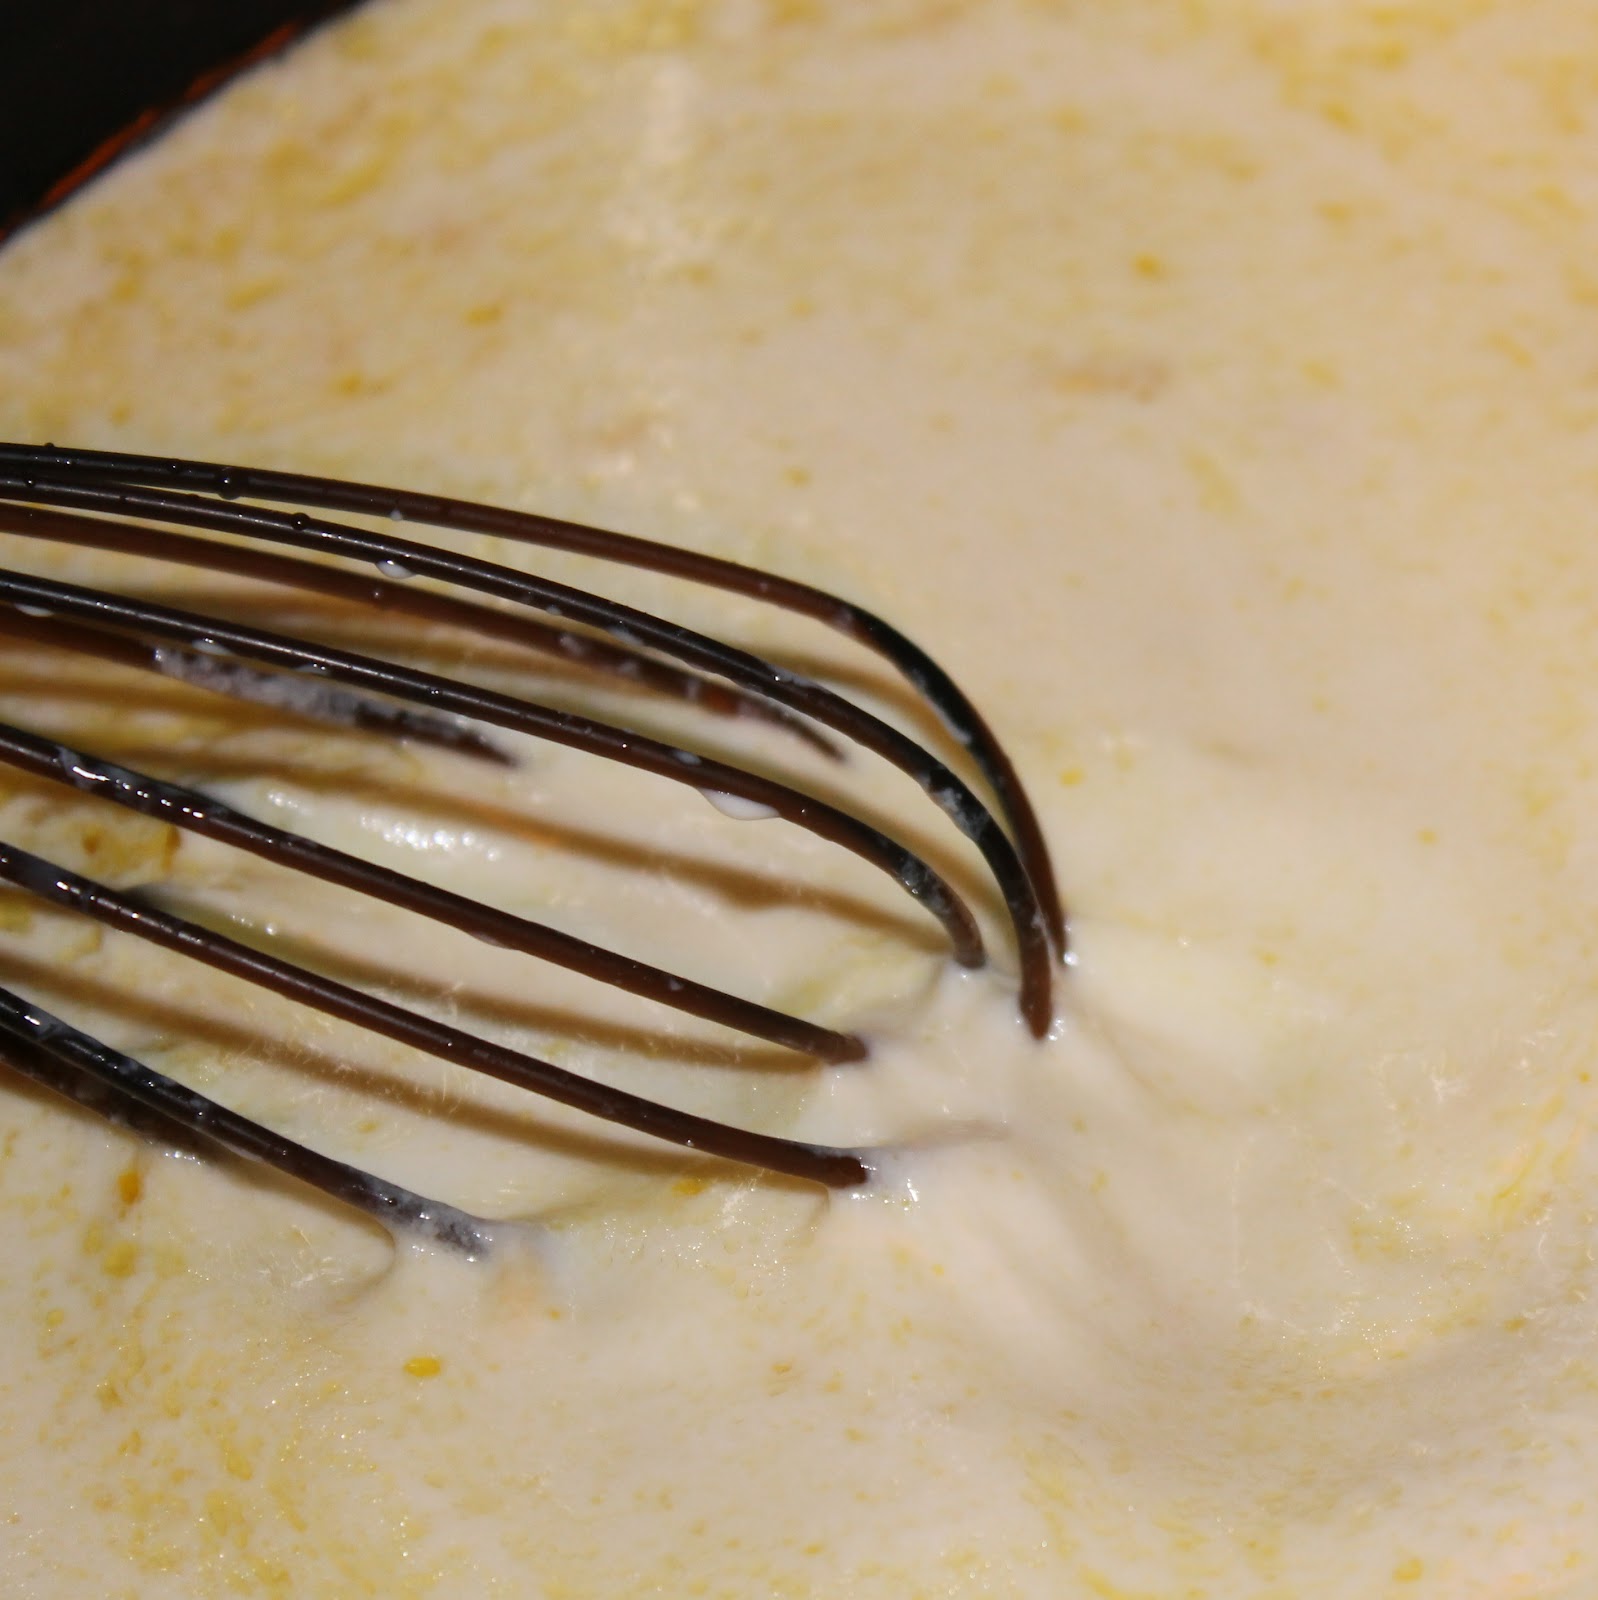
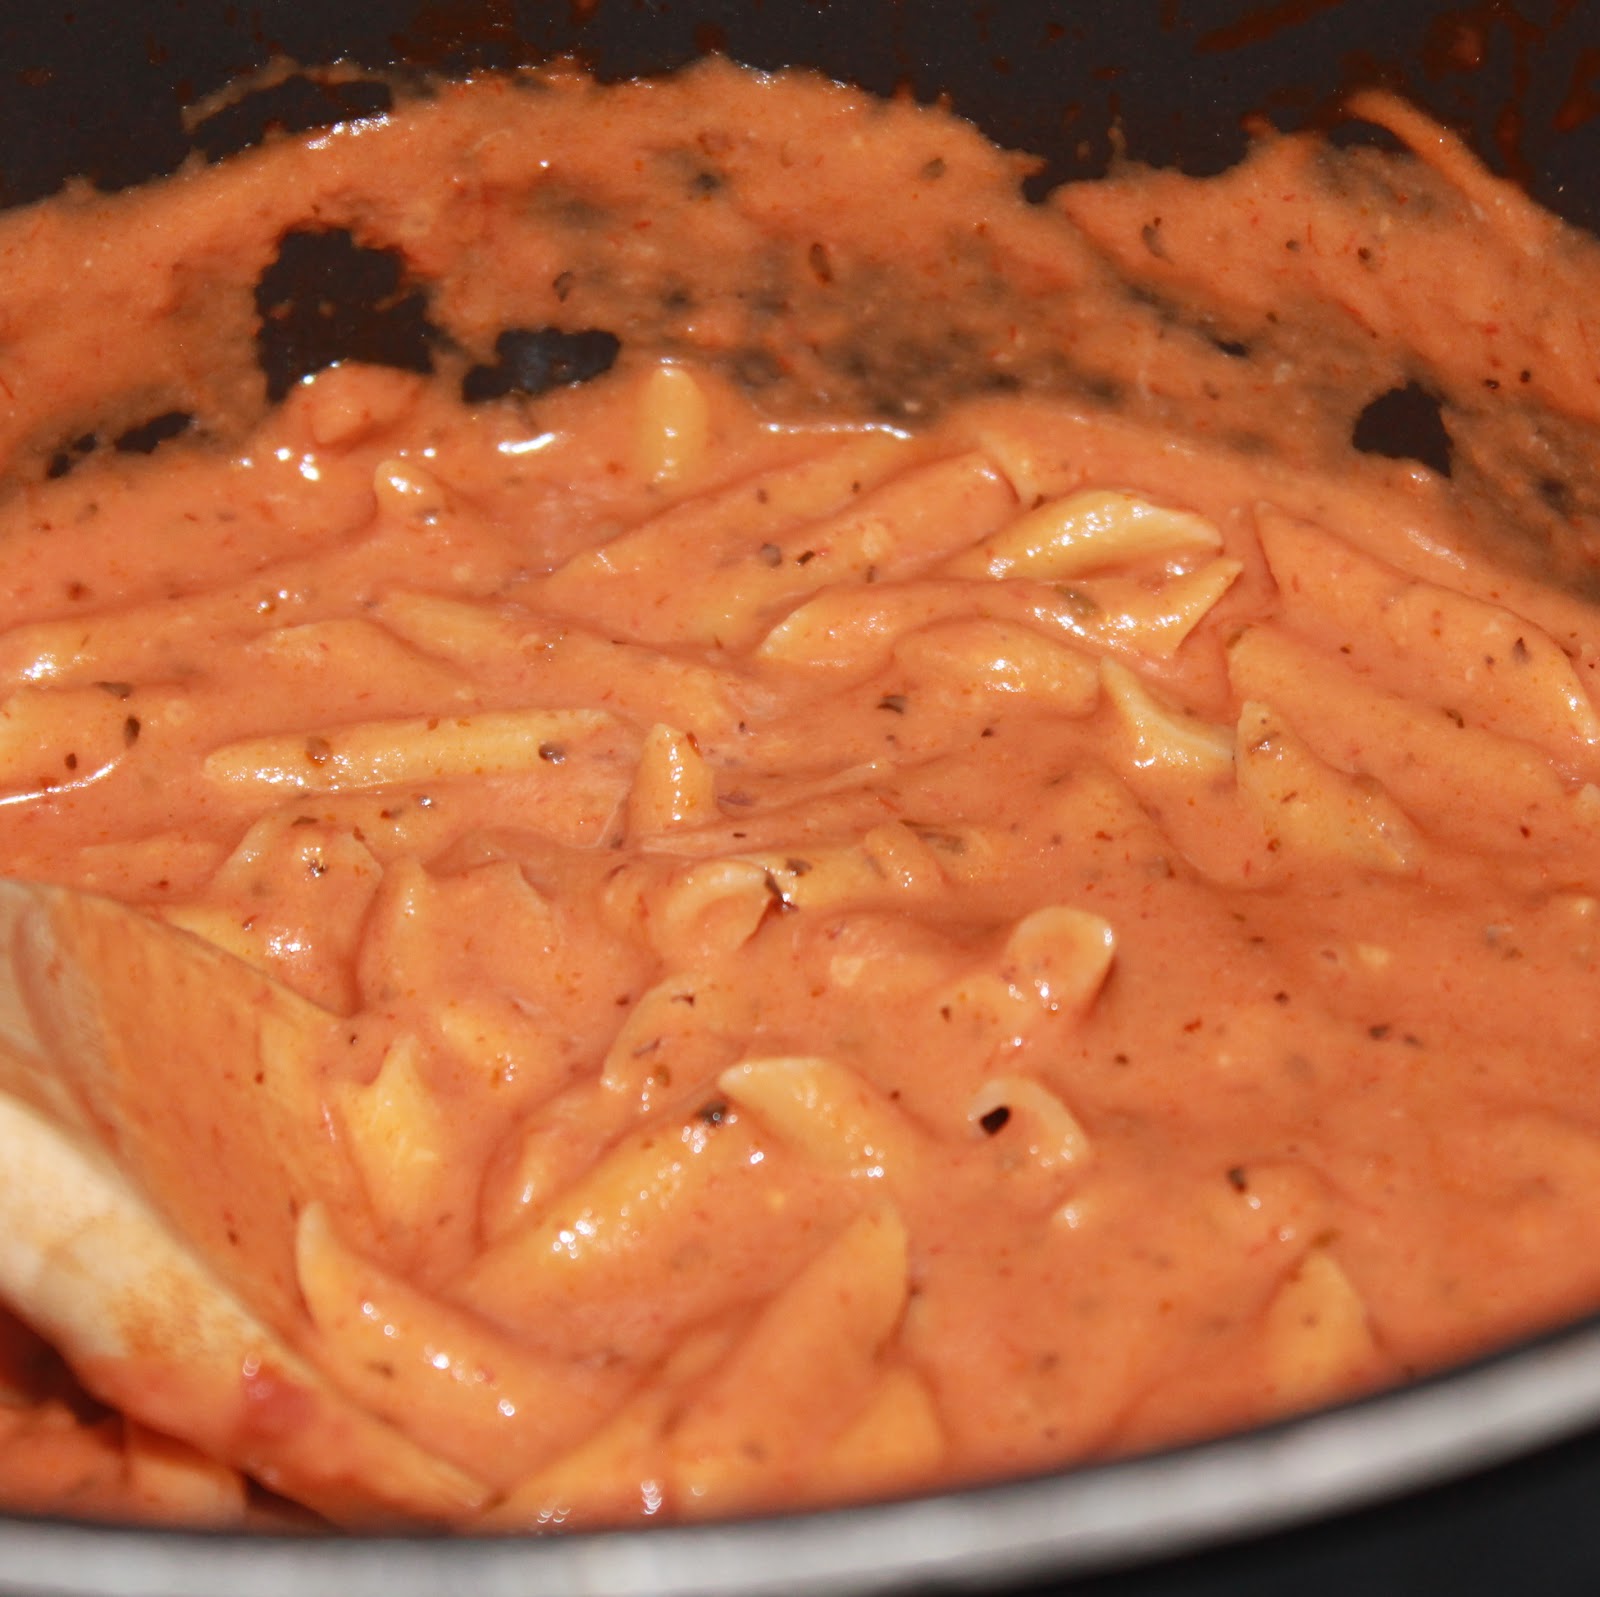
While waiting for the sauce to reduce, boil a pot of water and cook the penne according to directions, you want the pasta al dente. After the 15 minutes have passed, add the heavy cream and Parmesan cheese and stir to combine.

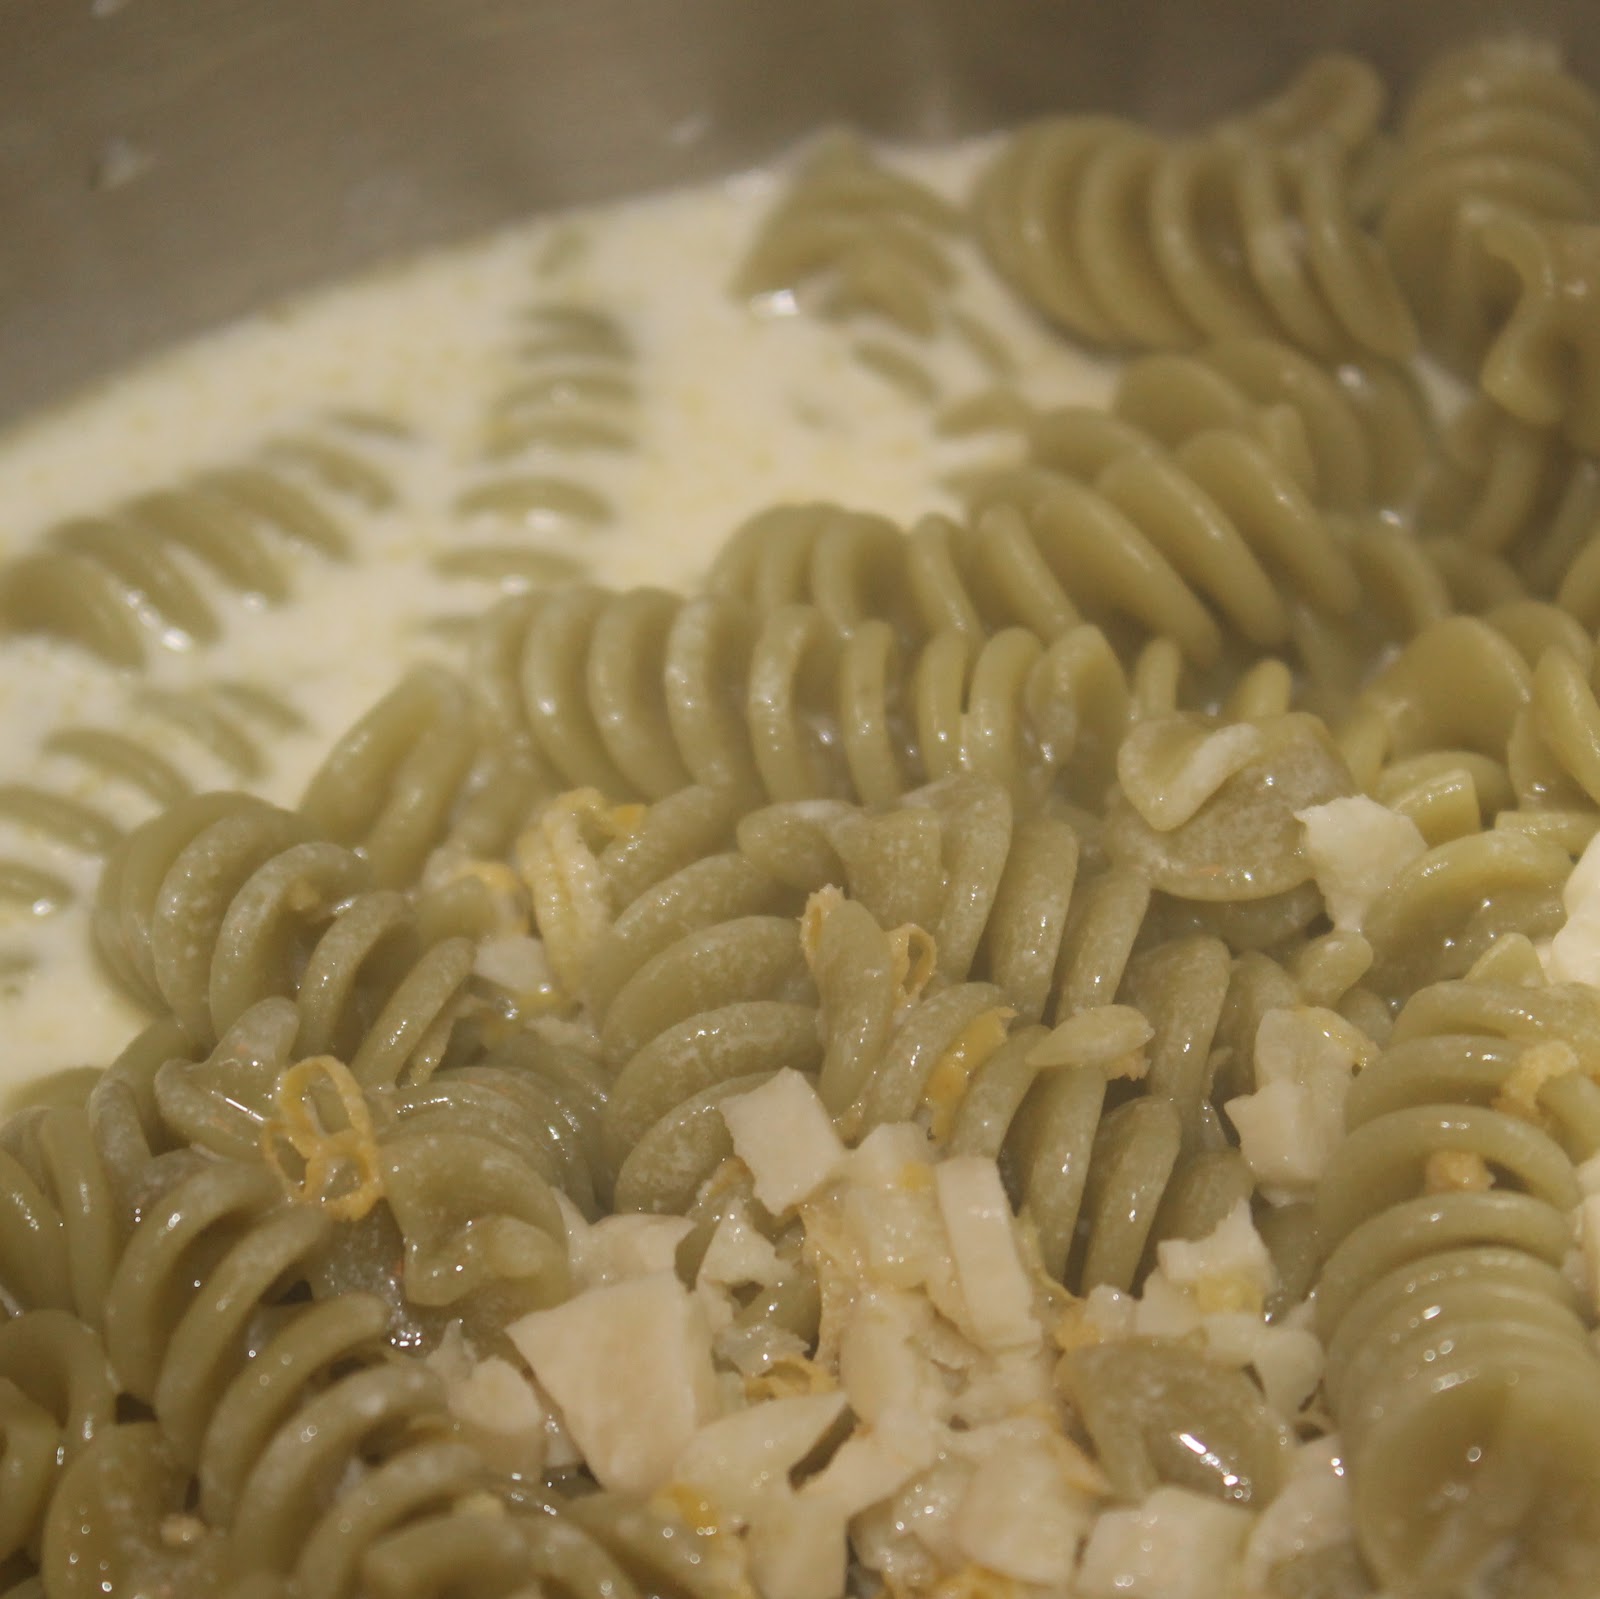
Add the pasta and mix to combine. Cook for another minute or so to allow the sauce to absorb into the pasta.
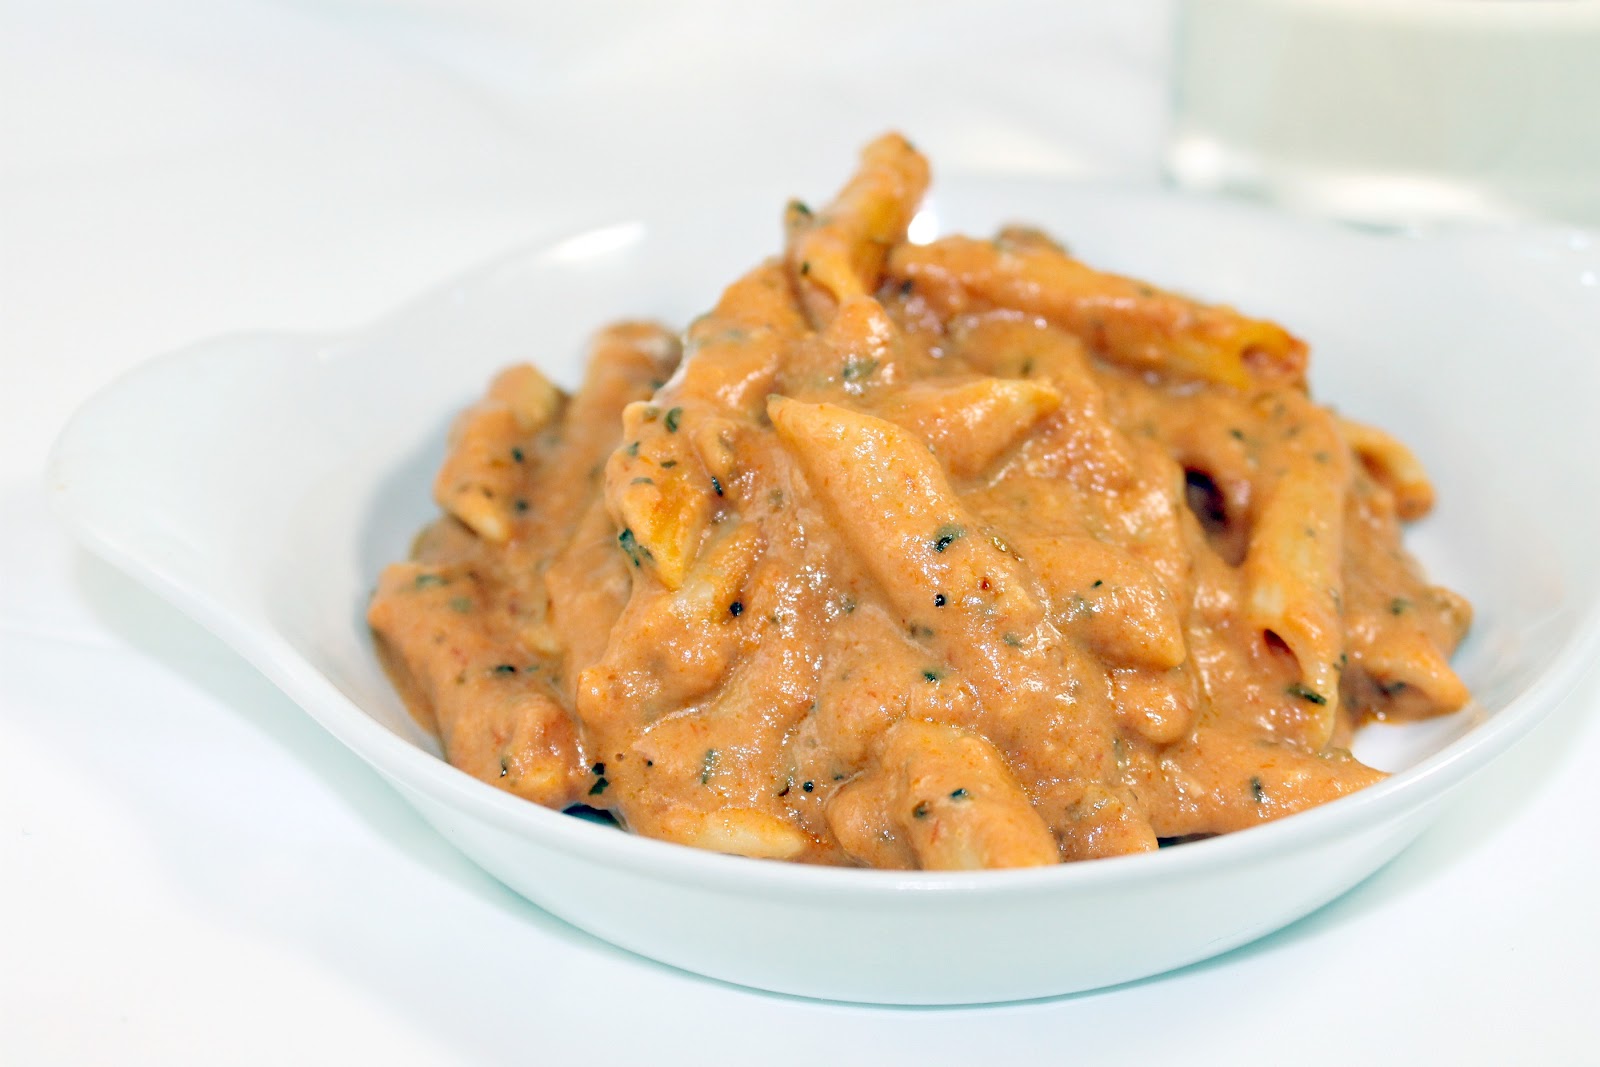
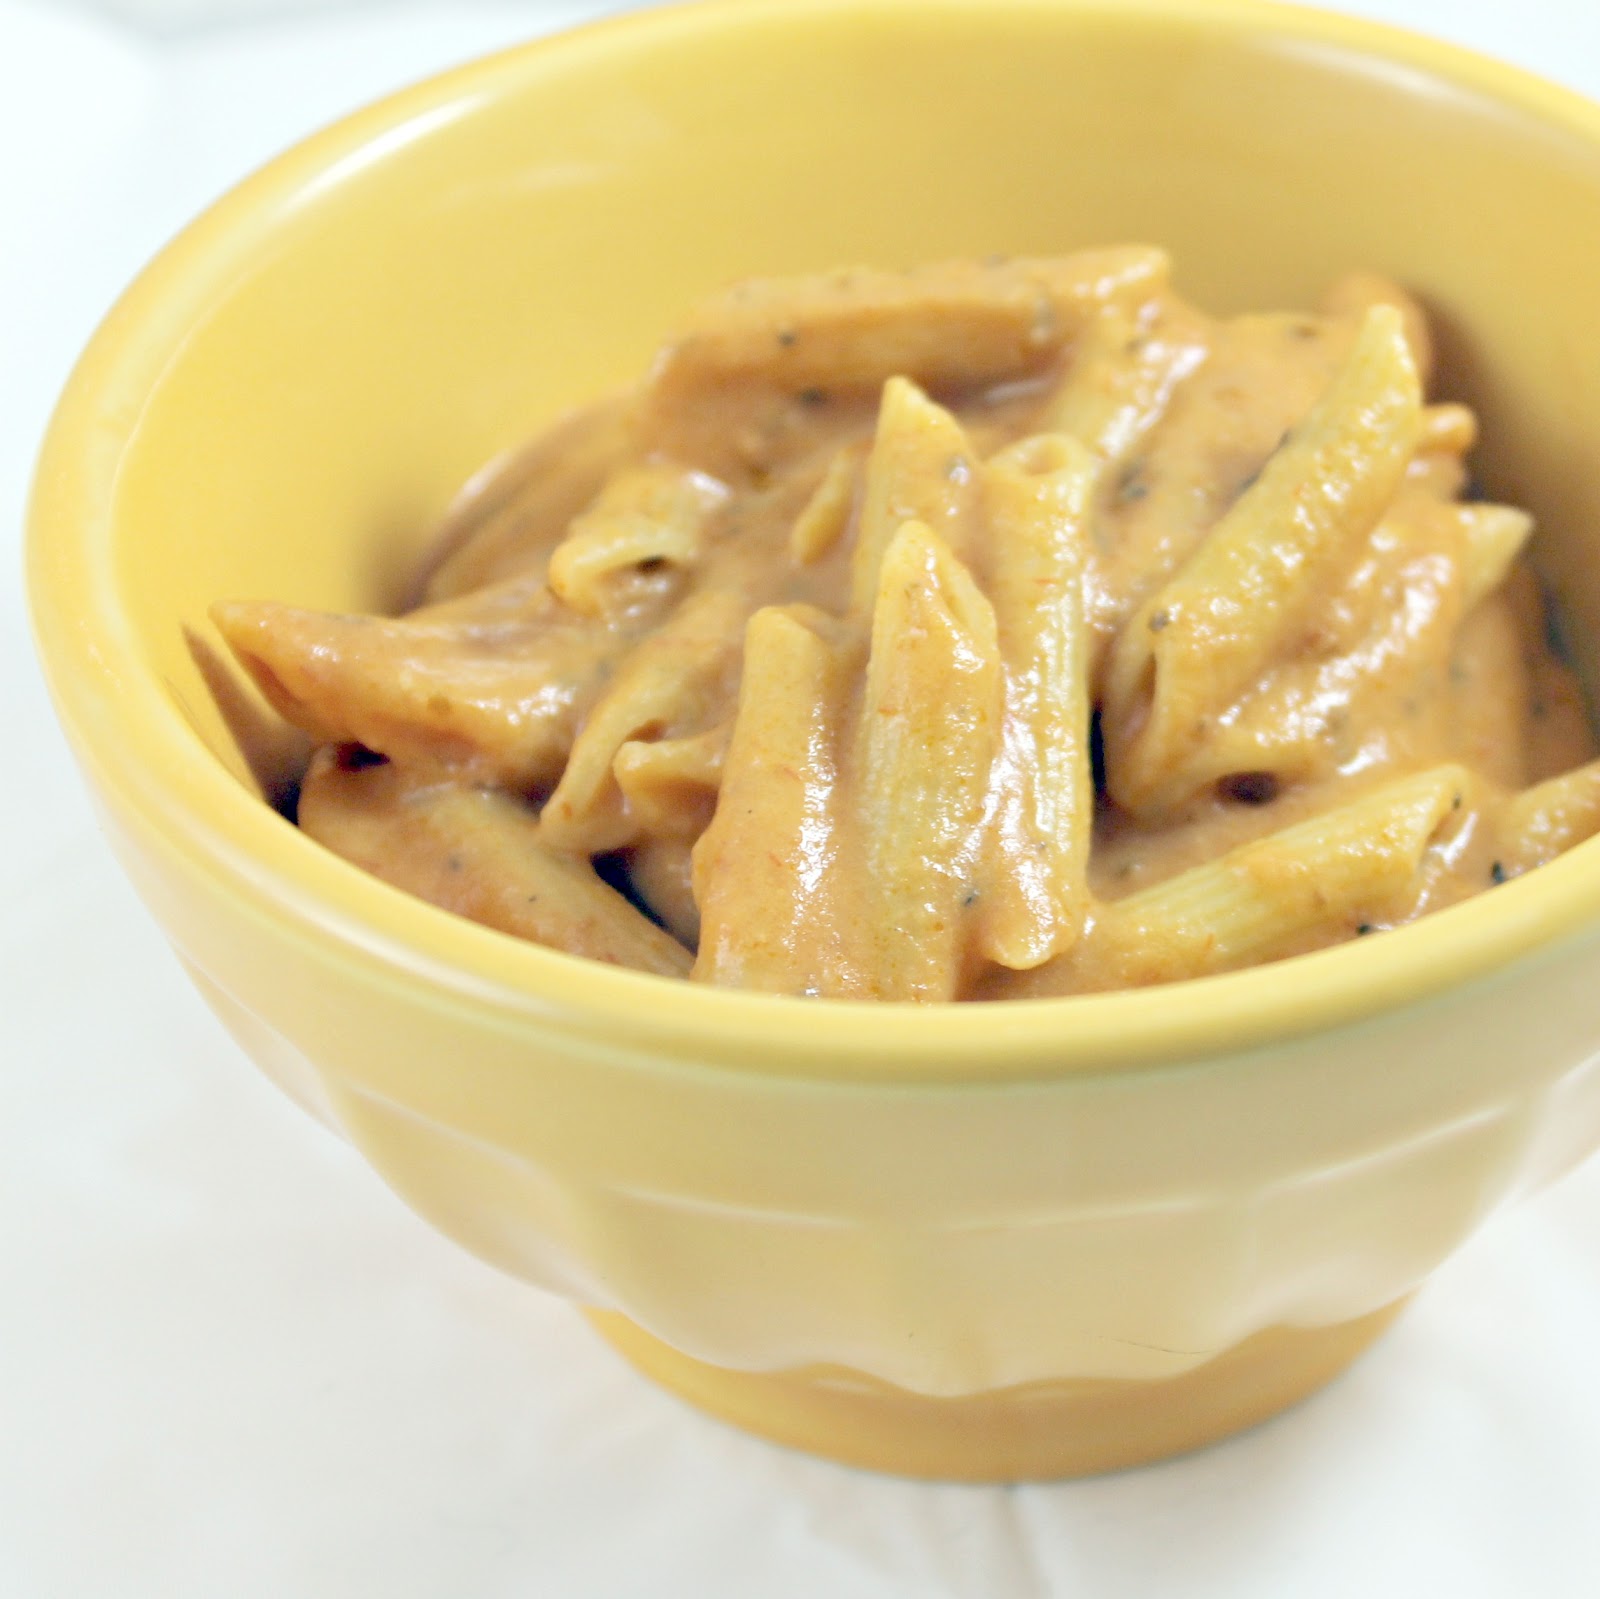
Mmmm. Smoky goodness.

This was really tasty! The bacon vodka added a subtle smokiness, kind of like using roasted tomatoes, or smoked paprika.

It wasn’t an overpowering, punch-in-the-face kind of bacon taste though. Honestly, it might be tough to pinpoint the flavor if you didn’t know that was in it.
So if you’re really in a bacon-y mood, I’d suggest adding some crumbled bacon or pancetta on top of the finished pasta.
Penne with Bacon Vodka Sauce
Ingredients
- 1 can (28 oz) tomato sauce
- 1 shallot, chopped
- 2 garlic cloves, minced
- 1 tablespoon olive oil
- 1 teaspoon dried oregano
- 1 teaspoon dried parsley
- 1/2 teaspoon basil
- 2/3 cup Bakon vodka
- 1/2 cup heavy cream
- 1/2 cup grated Parmesan cheese
- 1/2 box penne pasta
Instructions
- Chop the shallot and garlic cloves. Heat the olive oil over medium heat. Add the shallot and cloves and cook for 3 minutes.
- Add the tomato sauce, oregano, parsley, and basil. Add the Bakon vodka and stir to combine. Simmer for 15 minutes, stirring occasionally; it will thicken and reduce a bit.
- While waiting for the sauce to reduce, boil a pot of water and cook the penne according to directions, you want the pasta al dente. After the 15 minutes have passed, add the heavy cream and Parmesan cheese and stir to combine.
- Add the pasta and mix to combine. Cook for another minute or so to allow the sauce to absorb into the pasta.
Schema/Recipe SEO Data Markup by Yummly Rich Recipes
0.1
https://icancookthat.org/2012/03/penne-with-bacon-vodka-sauce.html