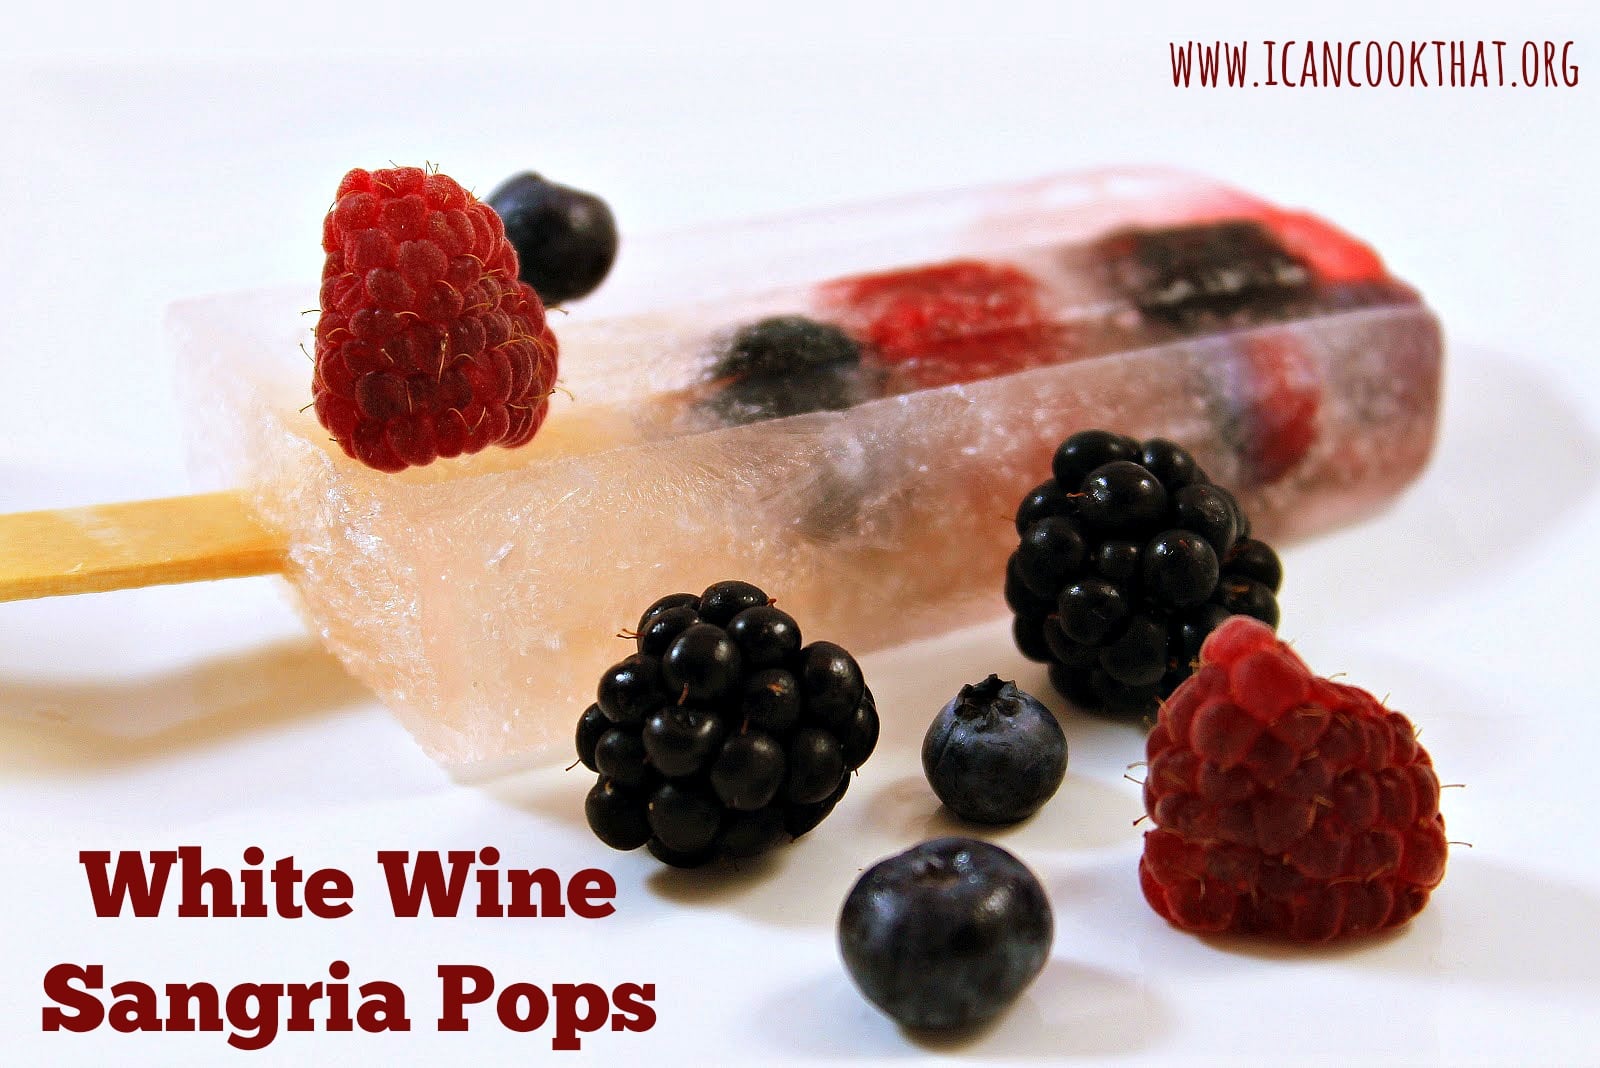
I was at a restaurant on Long Island that had a drink they called a “lushee” which was basically a frozen sangria. And I haven’t been able to stop thinking about it. Pure brilliance. I told a friend about this and we knew we had to make our own, what could possibly be more refreshing on a hot summer day? I was recently sent a cookbook that actually one-upped the concept of the lushee: a White Wine Sangria Popsicle.
The book, Poptails, by Erin Nichols of Erin Cooks, is filled with sixty pops inspired by your favorite alcoholic beverages. Recipes range from classics like a gin and tonic to fancy favorites like a cosmopolitan. There are even some awesome dessert pops like cherry cheesecake and banana split.

I was in love with this book before I even received it. What an amazing idea! Who wouldn’t want their favorite drink in iced pop form? The recipes had me imagining all of the lovely get-togethers I could have: a brunch with iced coffee and bloody Mary pops, a pool party with strawberry basil martini pops, or Christmas in July with spiked eggnog, mulled wine, and Christmas cheer pops. Sigh.
Anyways, I kept thinking back to those lushes and knew I had to try the white wine sangria pops.
I tweaked the recipe within the book a bit. For the original recipe, pick up a copy of this fun book!
Ingredients:
1 bottle white wine (I used Sauvignon Blanc)
1 liter flattened seltzer water
1/4-1/3 cup cranberry juice (I used cranberry hibiscus)
1 tablespoon simple syrup, or to taste
1 pint raspberries
1 pint blackberries
1 pint blueberries
Note: You’ll need ice pop molds and Popsicle sticks to make these.
I wanted to start this post with the definition of seltzer, club soda, tonic water, and sparkling water. Because I always manage to mess these drinks up. And no wonder: club soda, seltzer and sparkling water are all water infused with carbonation. These can all be interchanged. Tonic water is something a bit different, it is still a carbonated water, but quinine is dissolved into the water as well. It’s quite a bit more bitter so be sure to use club soda/seltzer/sparkling water in this recipe. Or for a bit more sweetness, a lemon-lime soda would work.
Make sure to allow your seltzer water to flatten. Don’t forget this step! Unflattened carbonated beverages will explode when frozen. And that sounds like an awful waste of white wine sangria if you ask me. The book suggests opening your seltzer 8 hours prior and popping it into your fridge in a place it won’t spill.
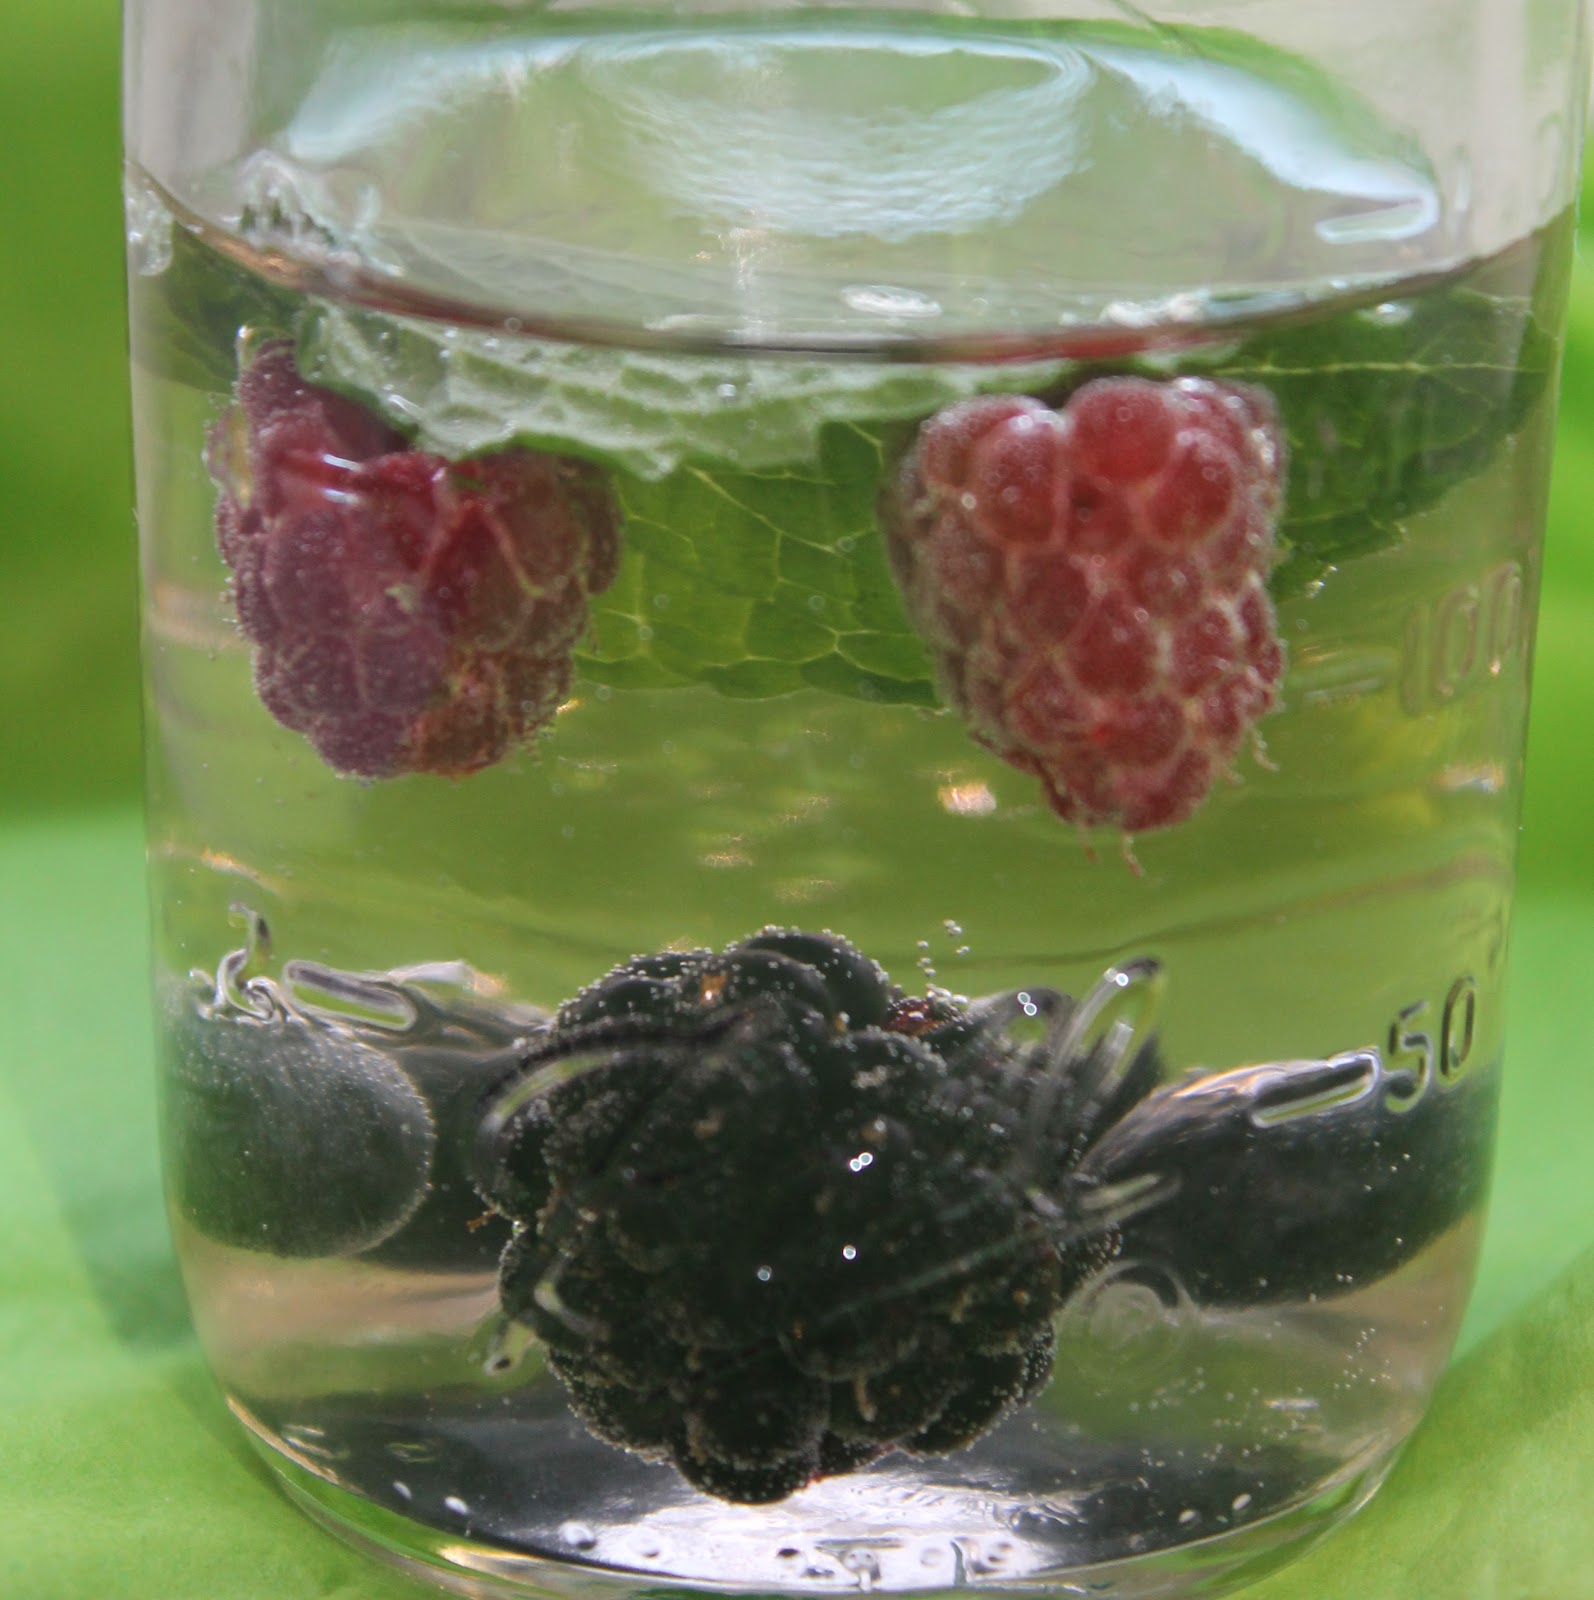
Combine the wine, flattened seltzer water, cranberry juice, and simple syrup. I used lemon simple syrup to give a touch more flavor. Feel free to add some lemon zest to add a little extra. Add whatever mixture of berries you’d like to the pop molds. I went for one raspberry, one blackberry, and a few blueberries per pop. Fill each mold ¾ of the way full with the mixture; you need to leave a small amount at the top to allow the liquid to expand.

Note: you’ll have some extra sangria that won’t fit in the pop molds. This is so you can enjoy your creation before waiting 24 hours 🙂
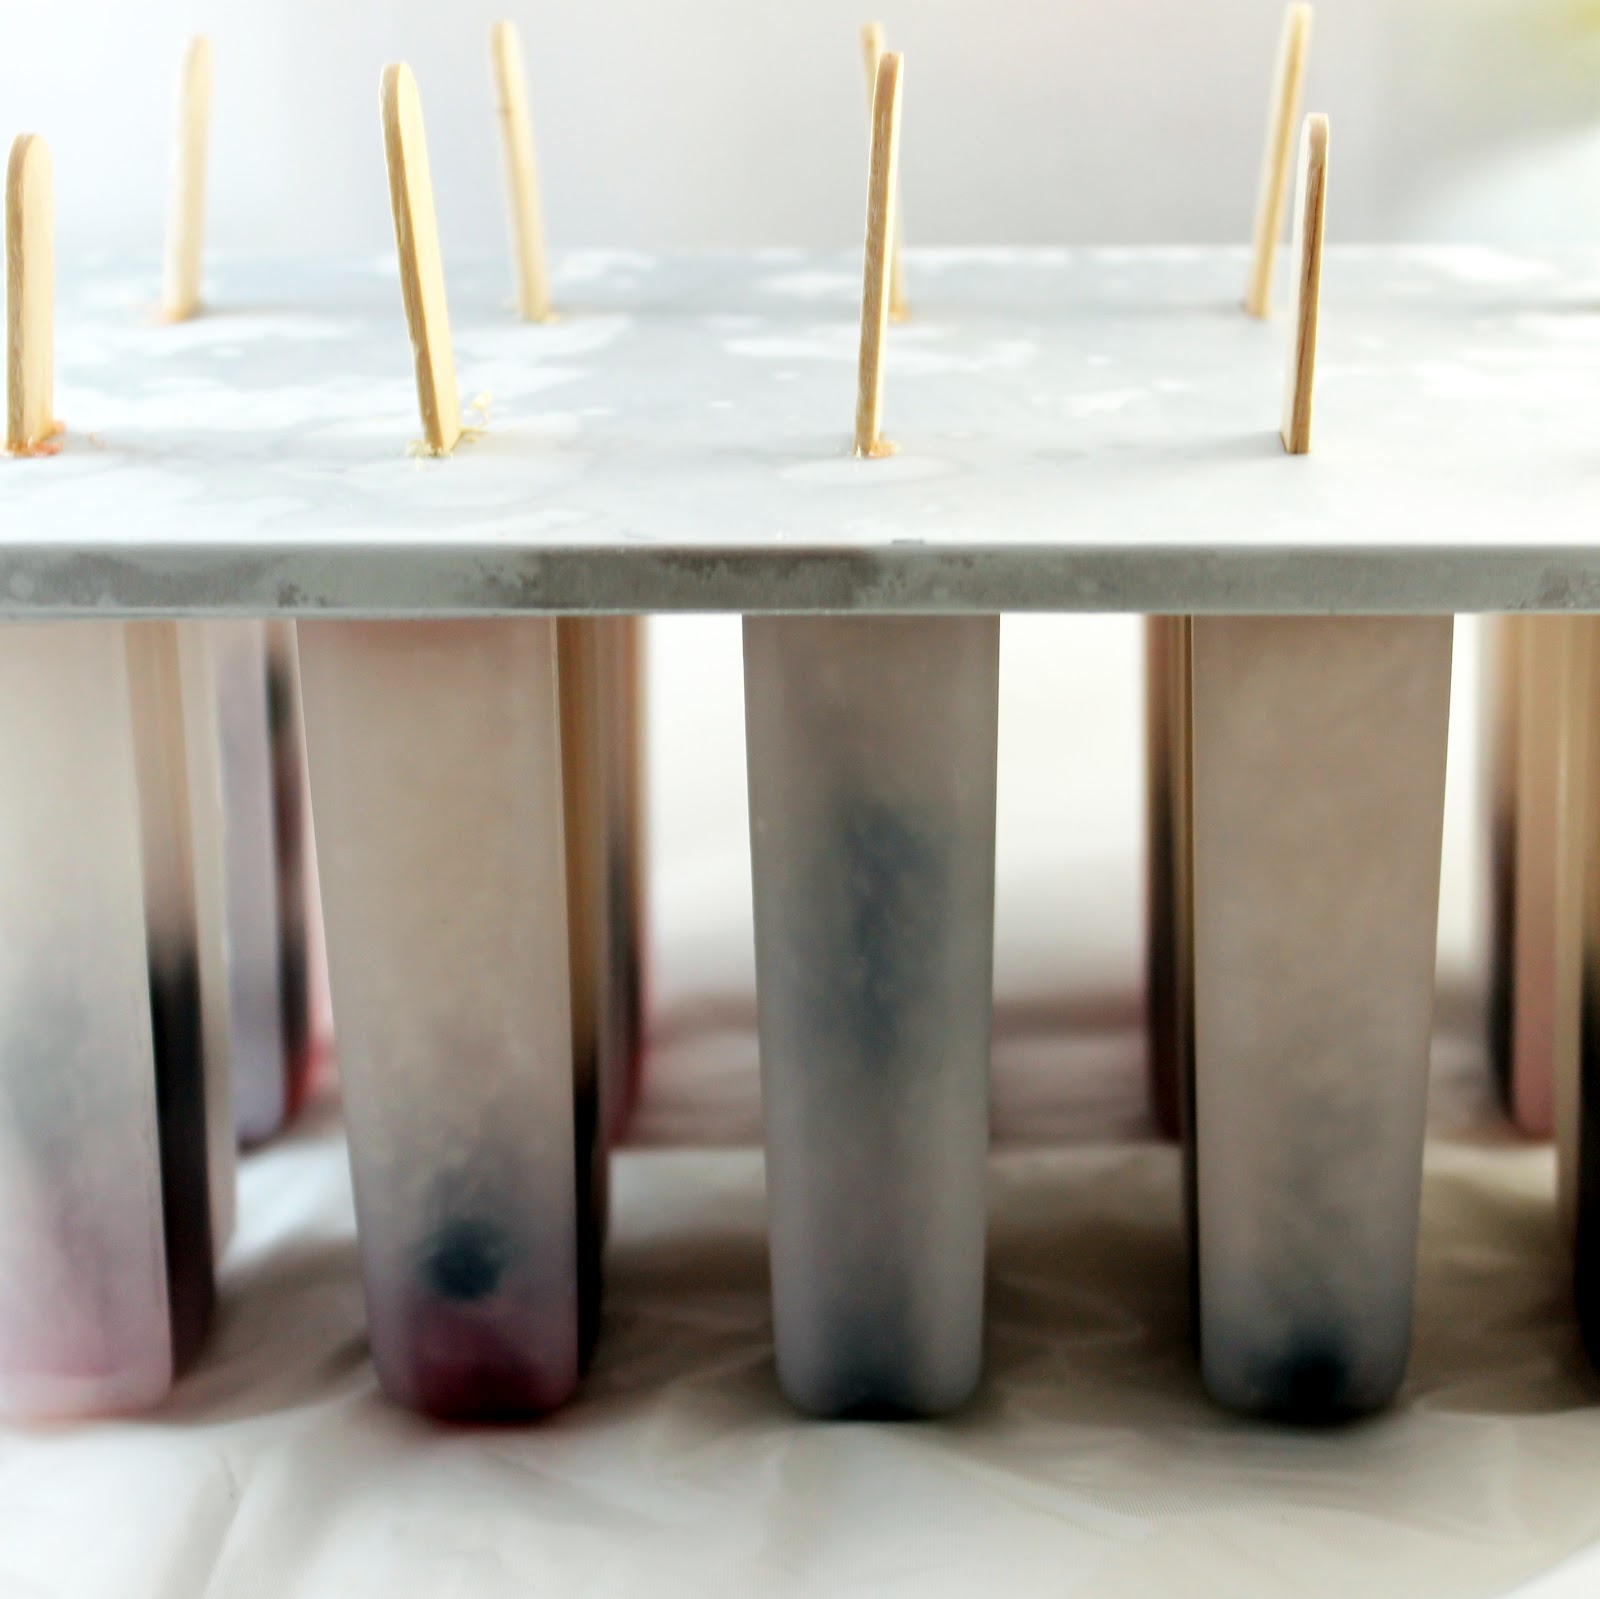
Add popsicle sticks, cover, and freeze for approximately 24 hours.
To remove from the molds, fill a bowl larger than your pop molds with warm (not hot) water. Add the mold to the bowl for 15 seconds then gently pull on the top of the ice pop stock. If the pop does not release, add the mold back to the water for another 15 seconds, repeat this process until the pops come out of the molds.

These pops were refreshing and a little bit tangy. I wanted a bit more sweetness though, I might add more simple syrup next time I make them. I also would add a bit more cranberry juice so that the pops turn a very light pink color, which would probably look really nice.

What’s nice about this recipe is how adaptable it is. You can add or subtract whatever fruit makes you happy. You could use a sweeter wine, or even a (flattened) champagne. My friend made this recipe using white grape juice instead of cranberry.
There are plenty of other creative pop recipes within the pages of this book. I love the element of fun that the popsicles add and can’t wait to try more of these yummy recipes!
White Wine Sangria Pops


Ingredients
- 1 bottle white wine (I used Sauvignon Blanc)
- 1 liter flattened seltzer water
- 1/4-1/3 cup cranberry juice (I used cranberry hibiscus)
- 1 tablespoon simple syrup, or to taste
- 1 pint raspberries
- 1 pint blackberries
- 1 pint blueberries
Instructions
- Make sure to allow your seltzer water to flatten. Don’t forget this step! Unflattened carbonated beverages will explode when frozen. And that sounds like an awful waste of white wine sangria if you ask me. The book suggests opening your seltzer 8 hours prior and popping it into your fridge in a place it won’t spill.
- Combine the wine, flattened seltzer water, cranberry juice, and simple syrup. I used lemon simple syrup to give a touch more flavor. Feel free to add some lemon zest to add a little extra. Add whatever mixture of berries you’d like to the pop molds. I went for one raspberry, one blackberry, and a few blueberries per pop. Fill each mold ¾ of the way full with the mixture; you need to leave a small amount at the top to allow the liquid to expand.
- Note: you’ll have some extra sangria that won’t fit in the pop molds.
- Add popsicle sticks, cover, and freeze for approximately 24 hours.
- To remove from the molds, fill a bowl larger than your pop molds with warm (not hot) water. Add the mold to the bowl for 15 seconds then gently pull on the top of the ice pop stock. If the pop does not release, add the mold back to the water for another 15 seconds, repeat this process until the pops come out of the molds.
Schema/Recipe SEO Data Markup by Yummly Rich Recipes
0.1
https://icancookthat.org/2012/07/white-wine-sangria-pops-from-poptails.html