Note: I was sent ingredients from Plugra Premium Butter in order to make this post. Opinions are mine alone. Ingredients included: 1 bar unsalted Plugra Premium Butter,1 container of the Spice House’s Vietnamese Saigon Cinnamon, Valrhona Manjari 64% Dark Chocolate, and Nielsen-Massey Madagascar Bourbon Pure Vanilla Extract.
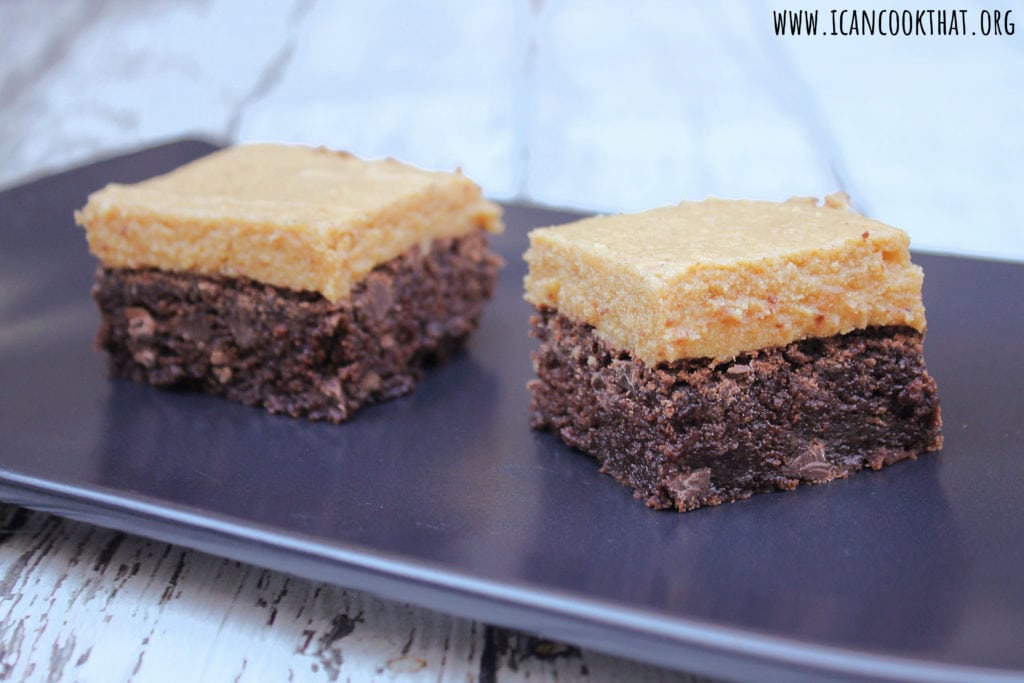
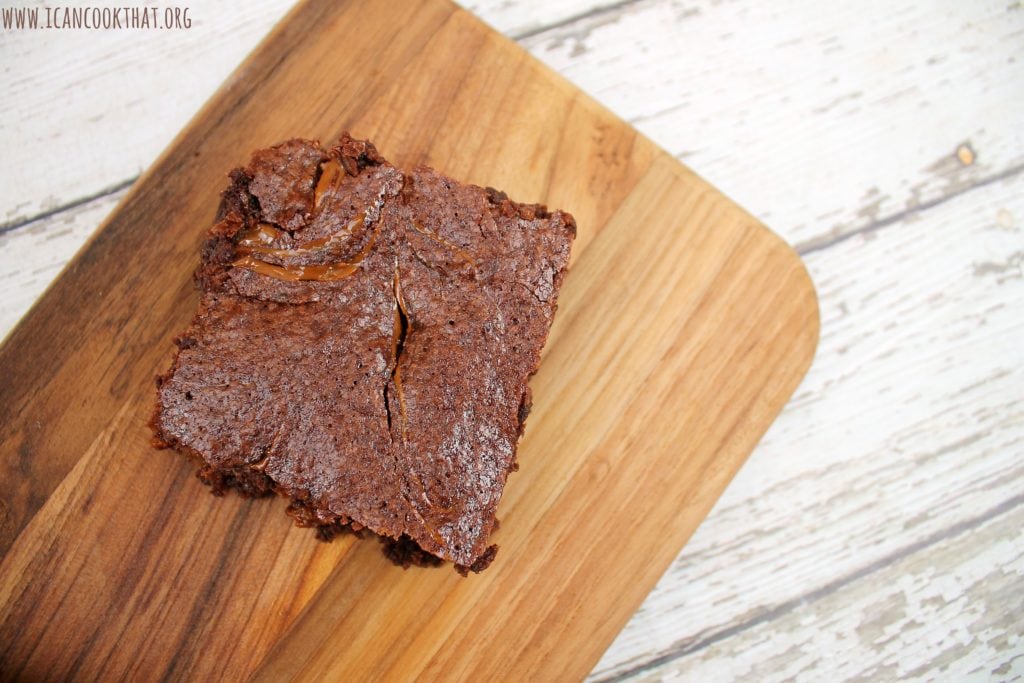
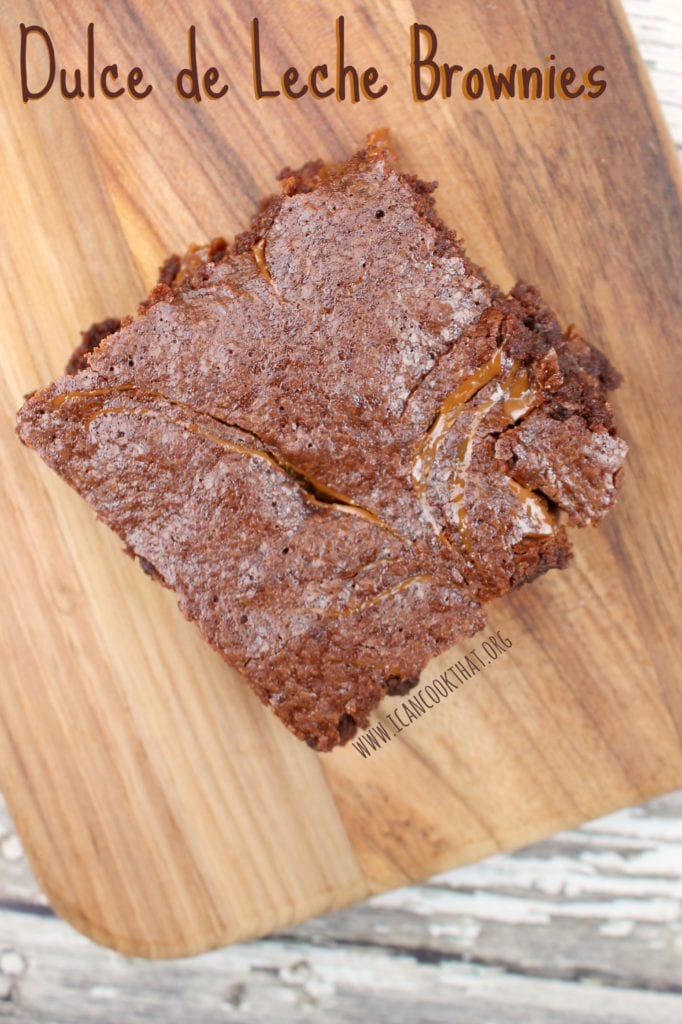
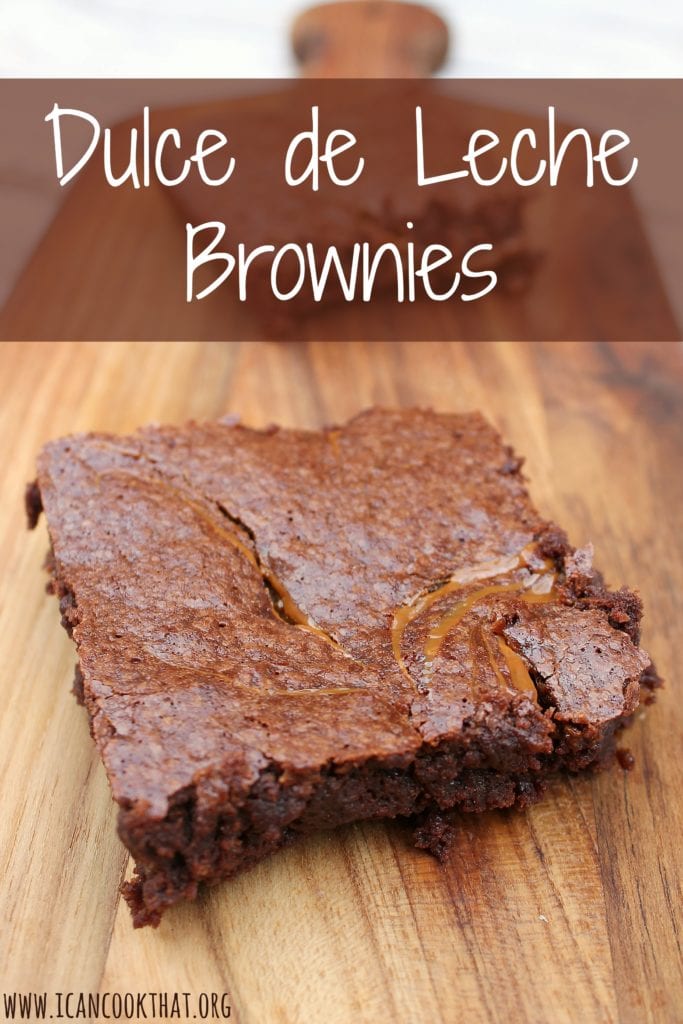
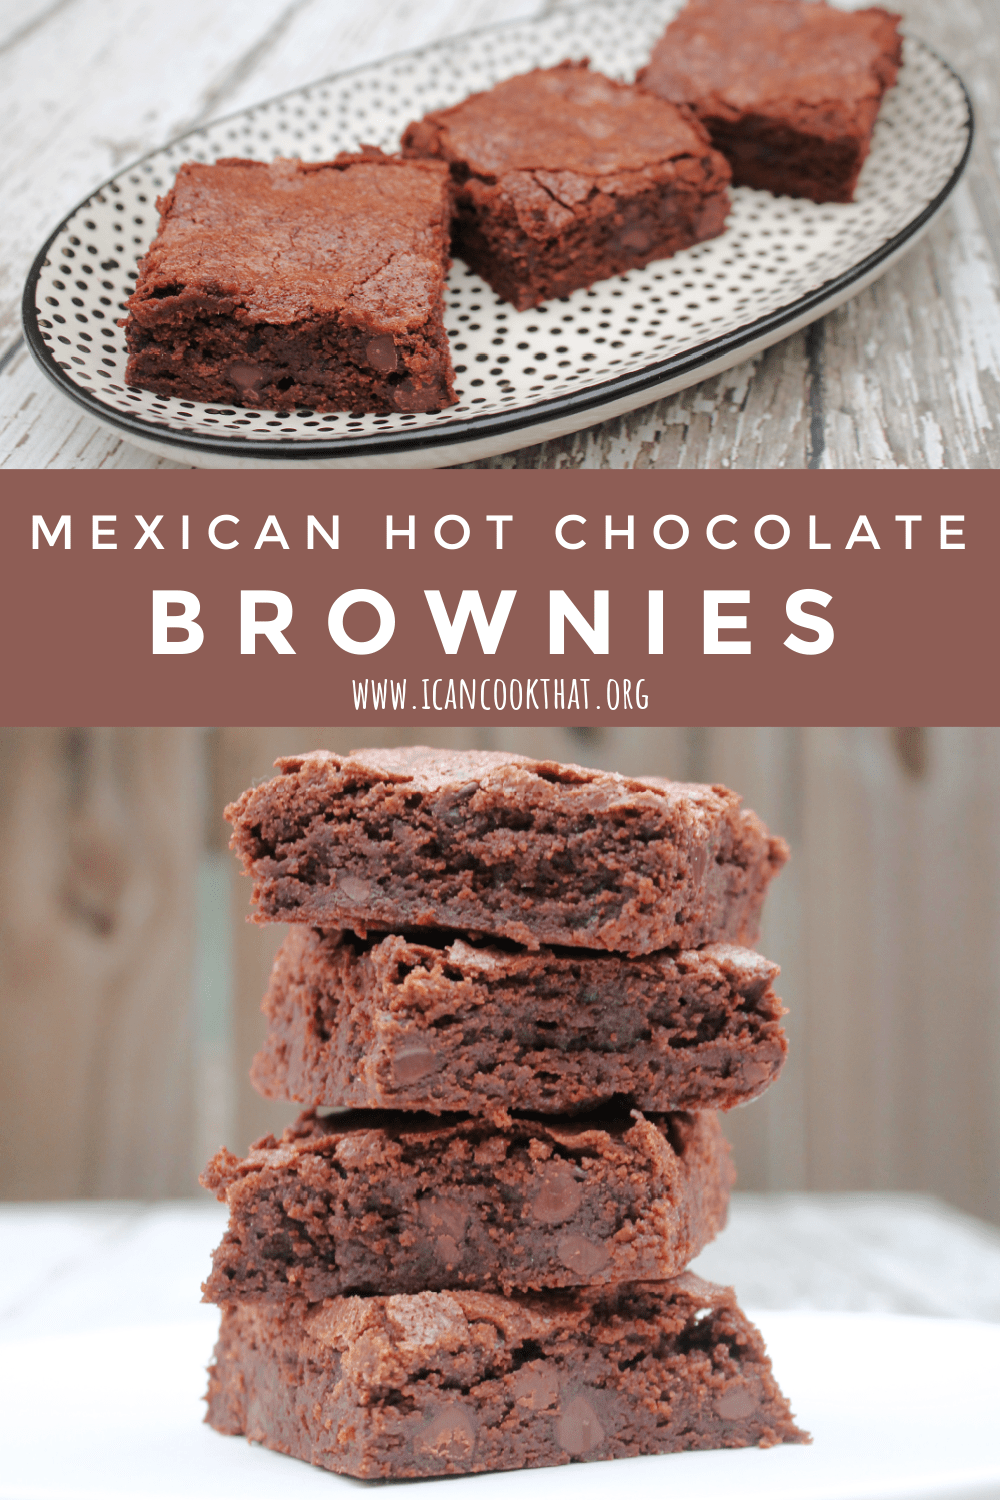
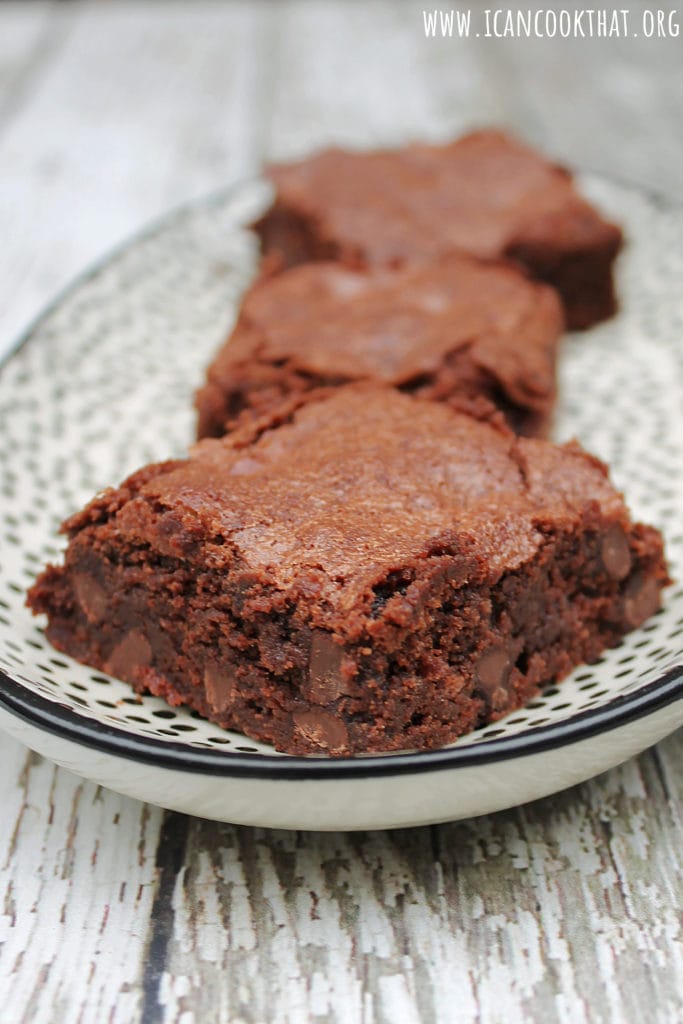
Do I have a tasty recipe for you today! I was contacted recently by Plugrá Kitchens with a delicious sounding brownie recipe (these Mexican Hot Chocolate Brownies) using some of my favorite ingredients, so I knew I had to share it. This brownie recipe is based off the flavors of Mexican Hot Chocolate, which is a hot chocolate that is spiced with cinnamon and sometimes a little bit of chili to bring additional warmth and heat.


Plugra Kitchens was nice enough to send me a package with the best goodies to make these brownies, including (of course) Plugrá Premium Unsalted Butter, Spice House Ground Saigon Cinnamon, Nielsen-Massey Madagascar Bourbon Pure Vanilla Extract, and Balrhona Manjari 64% Dark Chocolate.


Plugrá Butter is an awesome ingredient to use for baking. Made by Dairy Farmers of America, its slow-churn and extra creaminess has the perfect balance of moisture and fat for use in baking. The Spice House‘s Vietnamese “Saigon” Cassia cinnamon is the strongest and sweetest cinnamon in their collection. The Vietnamese cinnamon bark is ground in house to produce a dark, rich texture that is fiery and fragrant, making it perfect for these brownies. My love of Nielsen-Massey‘s Madagascar Bourbon is well known to those that frequent this blog. Their Madagascar Bourbon Pure Vanilla extract is made from premium, hand-selected vanilla beans cultivated in Madagascar, the world’s leading supplier of high-quality vanilla. It then utilizes a slow, cold extraction process to gently draw out and preserve all 300 natural vanilla flavor notes to create the richest tasting vanilla. Madagascar Bourbon Pure Vanilla has a flavor profile that is full, sweet, creamy, and mellow with velvety after-tones. Valrhona Chocolate has been a partner of artisans of taste since 1922 and is a pioneer and reference in the world of chocolate.
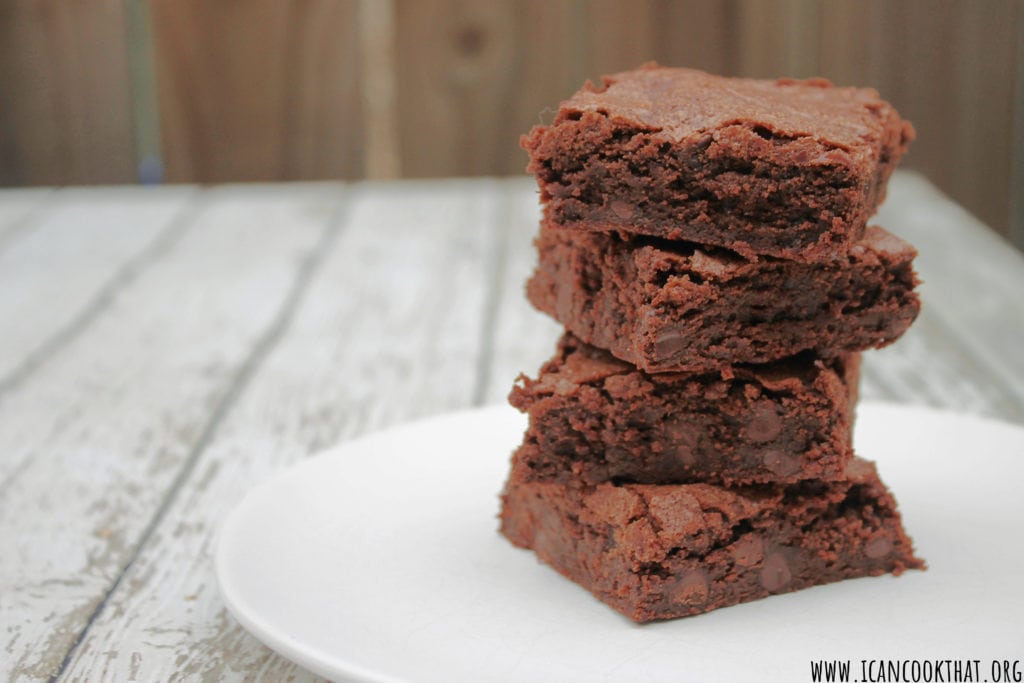

With ingredients like that, you know this recipe is going to taste good! I adapted the recipe a bit, but the overall gist is still there. These Mexican Hot Chocolate Brownies are soft and chewy, with a subtle warmth and heat that pairs really well with the richness of the chocolate.
Ingredients (makes 18 servings):
- 1 (8 oz) bar unsalted butter, like Plugrá® European Style Butter
- 2 cups sugar
- 4 large eggs, at room temperature
- 2 teaspoons vanilla extract, like Nielsen-Massey Madagascar Bourbon Pure Vanilla Extract
- 1 cup all-purpose flour
- 2/3 cup unsweetened cocoa powder
- 1 tablespoon ground cinnamon, like Saigon cinnamon from the Spice House
- 1/2 teaspoon kosher salt
- 1/2 teaspoon baking powder
- ¼ teaspoon ground cayenne pepper
- 1 cup dark chocolate, like Valrhona Manjari 64% Dark Chocolate, chopped