If you’ve noticed an uptick in my interest of miniature food, the cookbook Tiny Food Party! is to blame. Teri Lyn Fisher and Jenny Park, who also write on their blog Spoon Fork Bacon, have developed an entire cookbook based on tiny versions of dozens of food. The recipes range from breakfast favorites to delicious desserts. Tiny Food Party! also includes themed menus so you can throw your own tiny food party to your friends delight.

Brian at Bridges,Burgers & Beer and I were given the opportunity to test out the recipes in this cookbook in the best way possible: by hosting a Tiny Food Party!
Menu:
– Appetizers:
o Pajeon (Korean scallion pancakes) w/ Sesame Soy Sauce
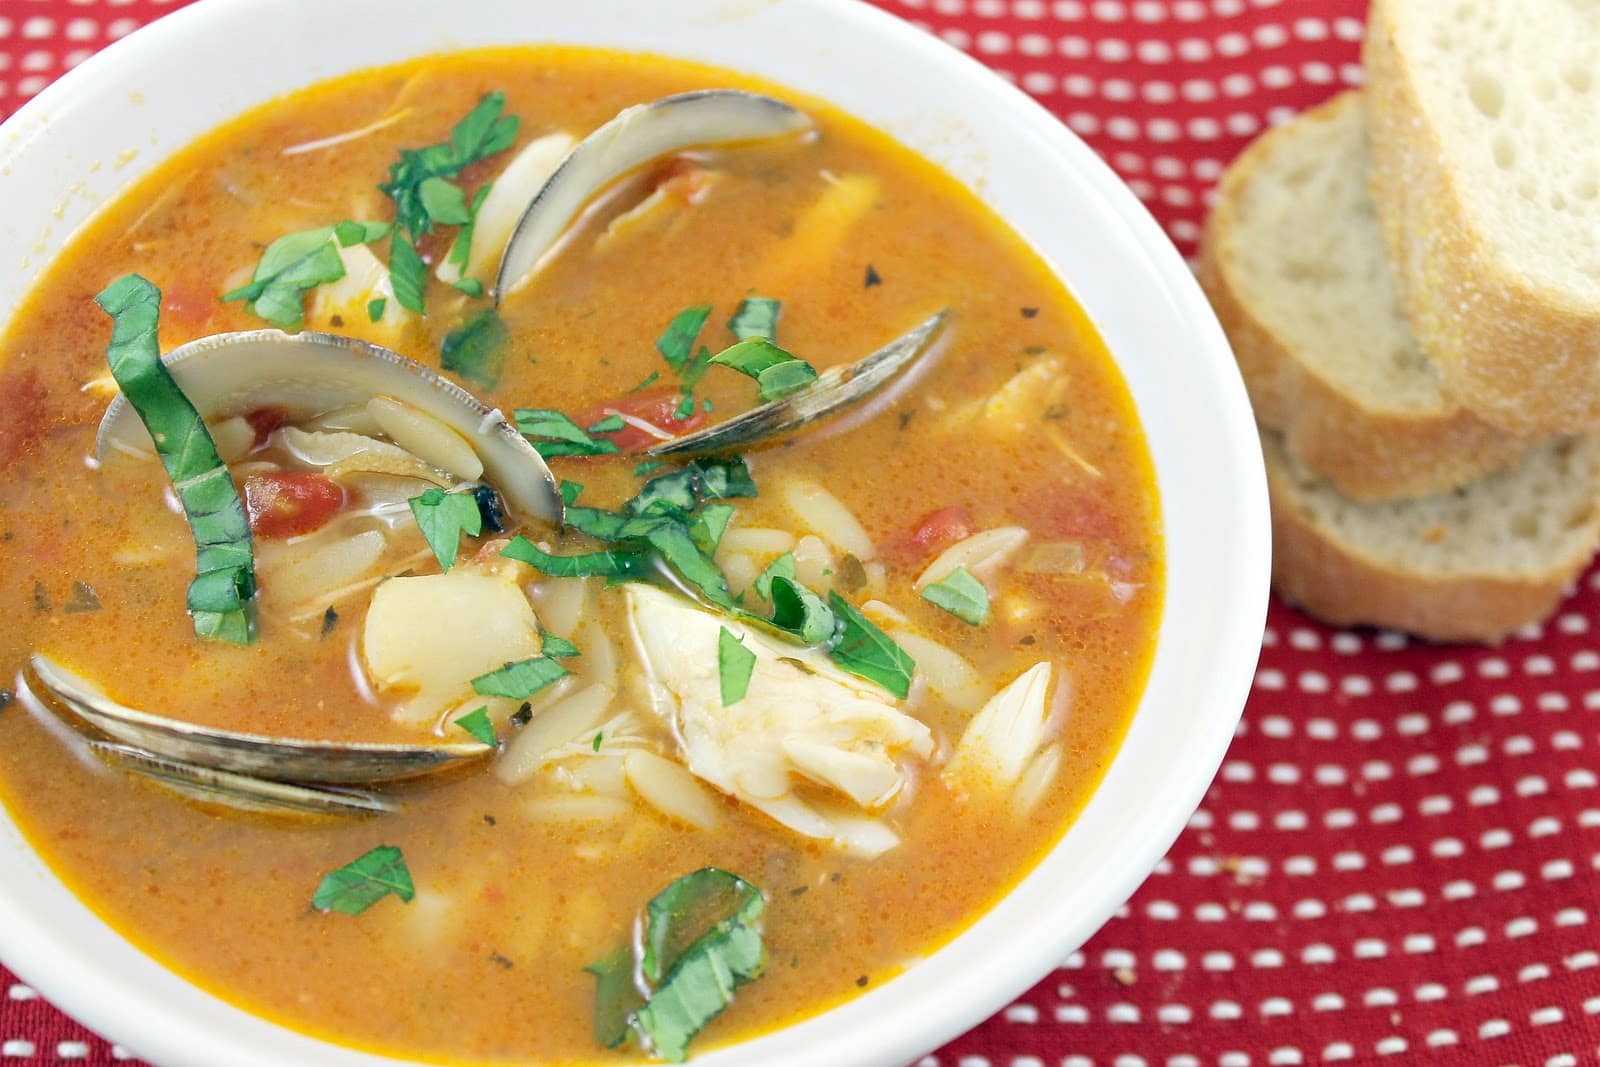
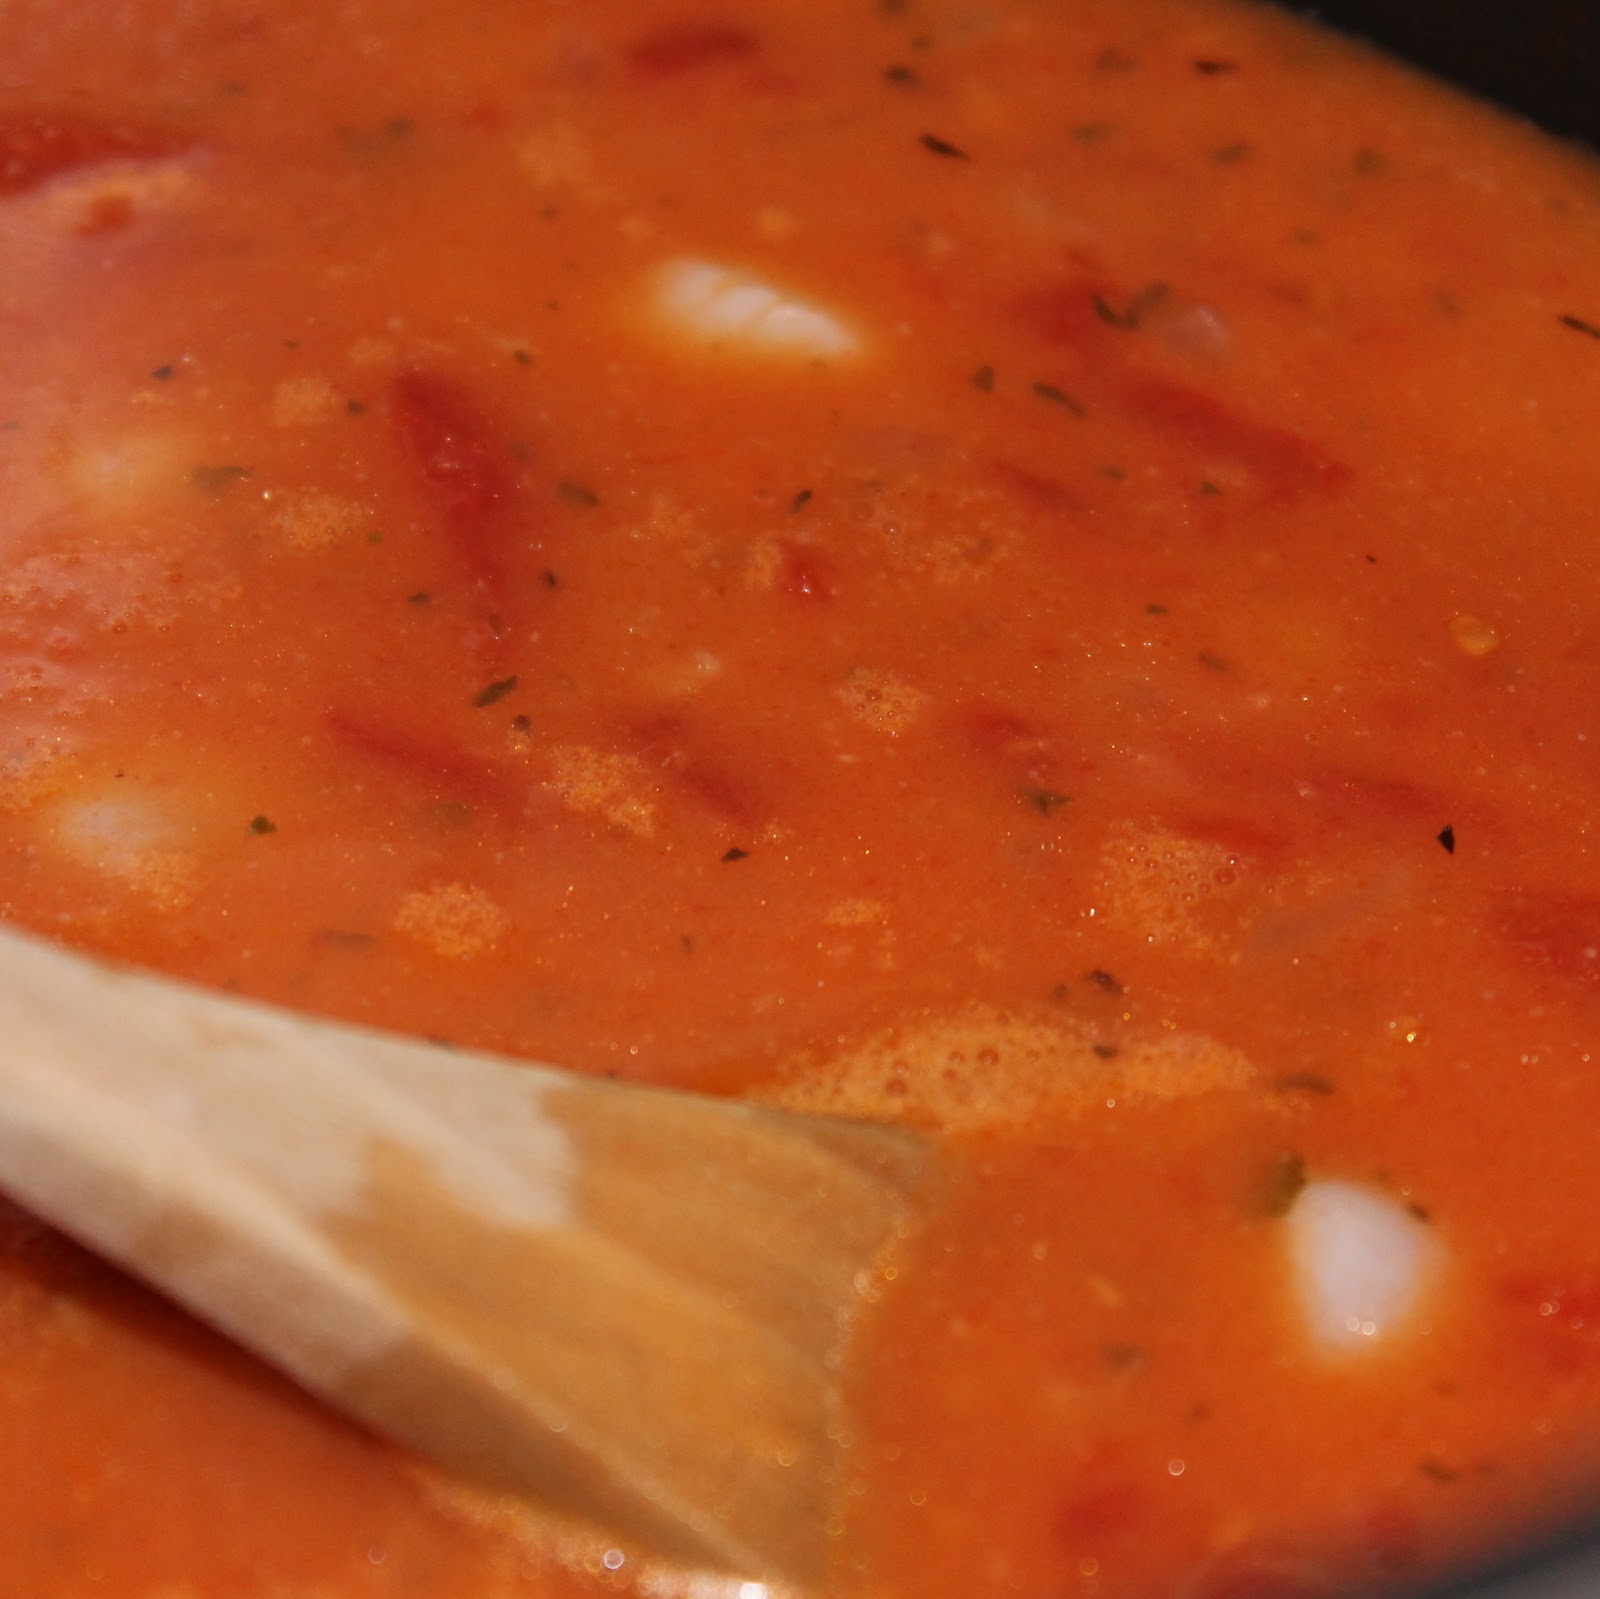
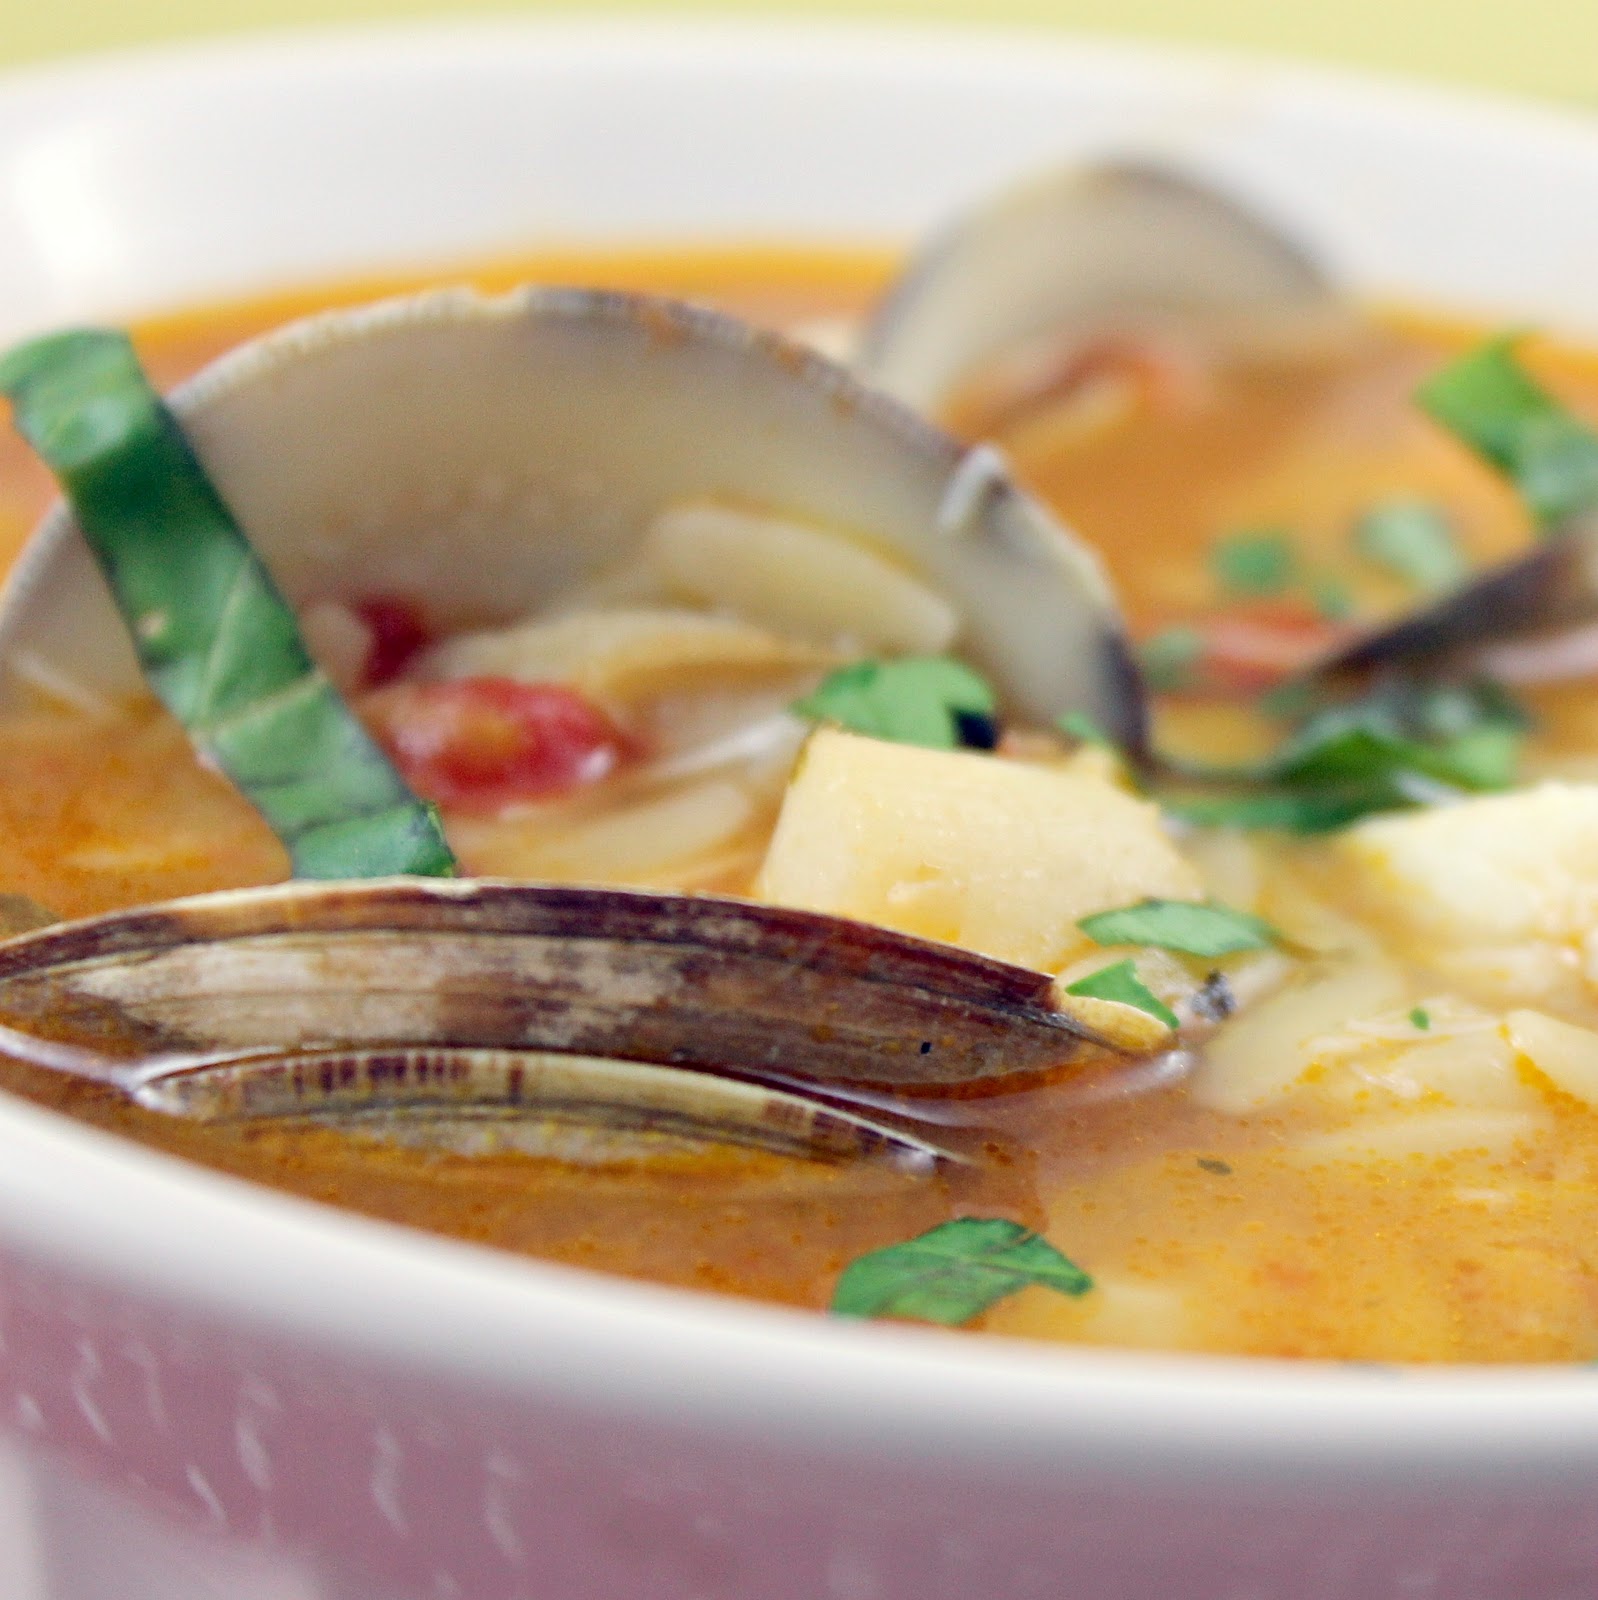
o Seafood Cocktail Cups
o Onion Rings w/ Roasted Red Pepper Aioli & Buttermilk Ranch
o Potato Salad Bites
o Caprese Skewers
– Main Bites:
o Chicken n Waffles
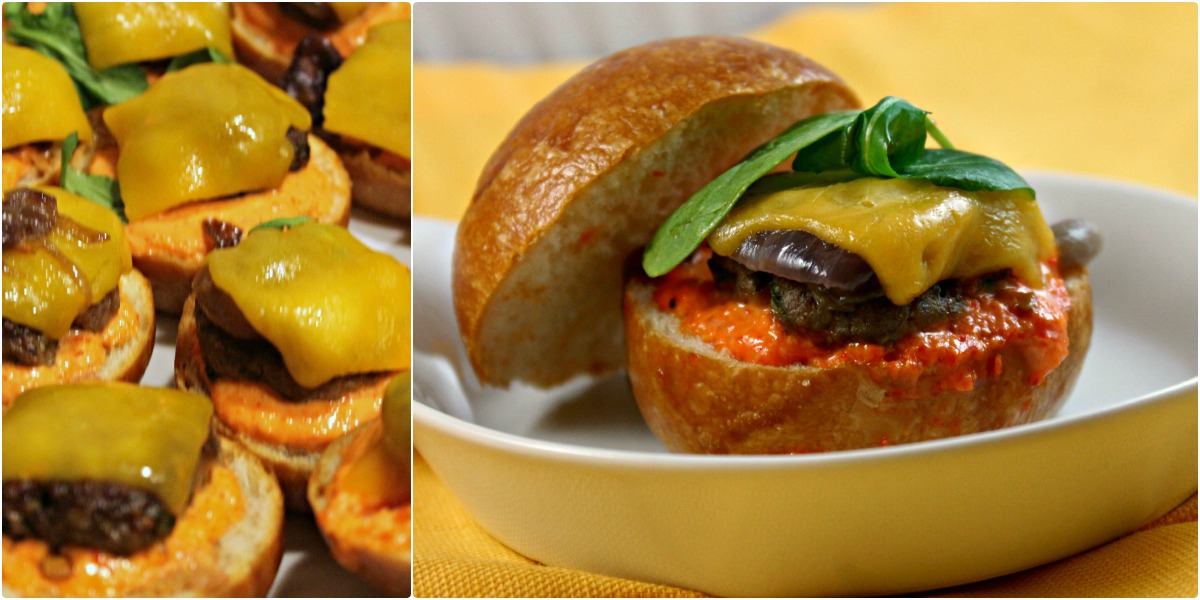
o Lamb Sliders
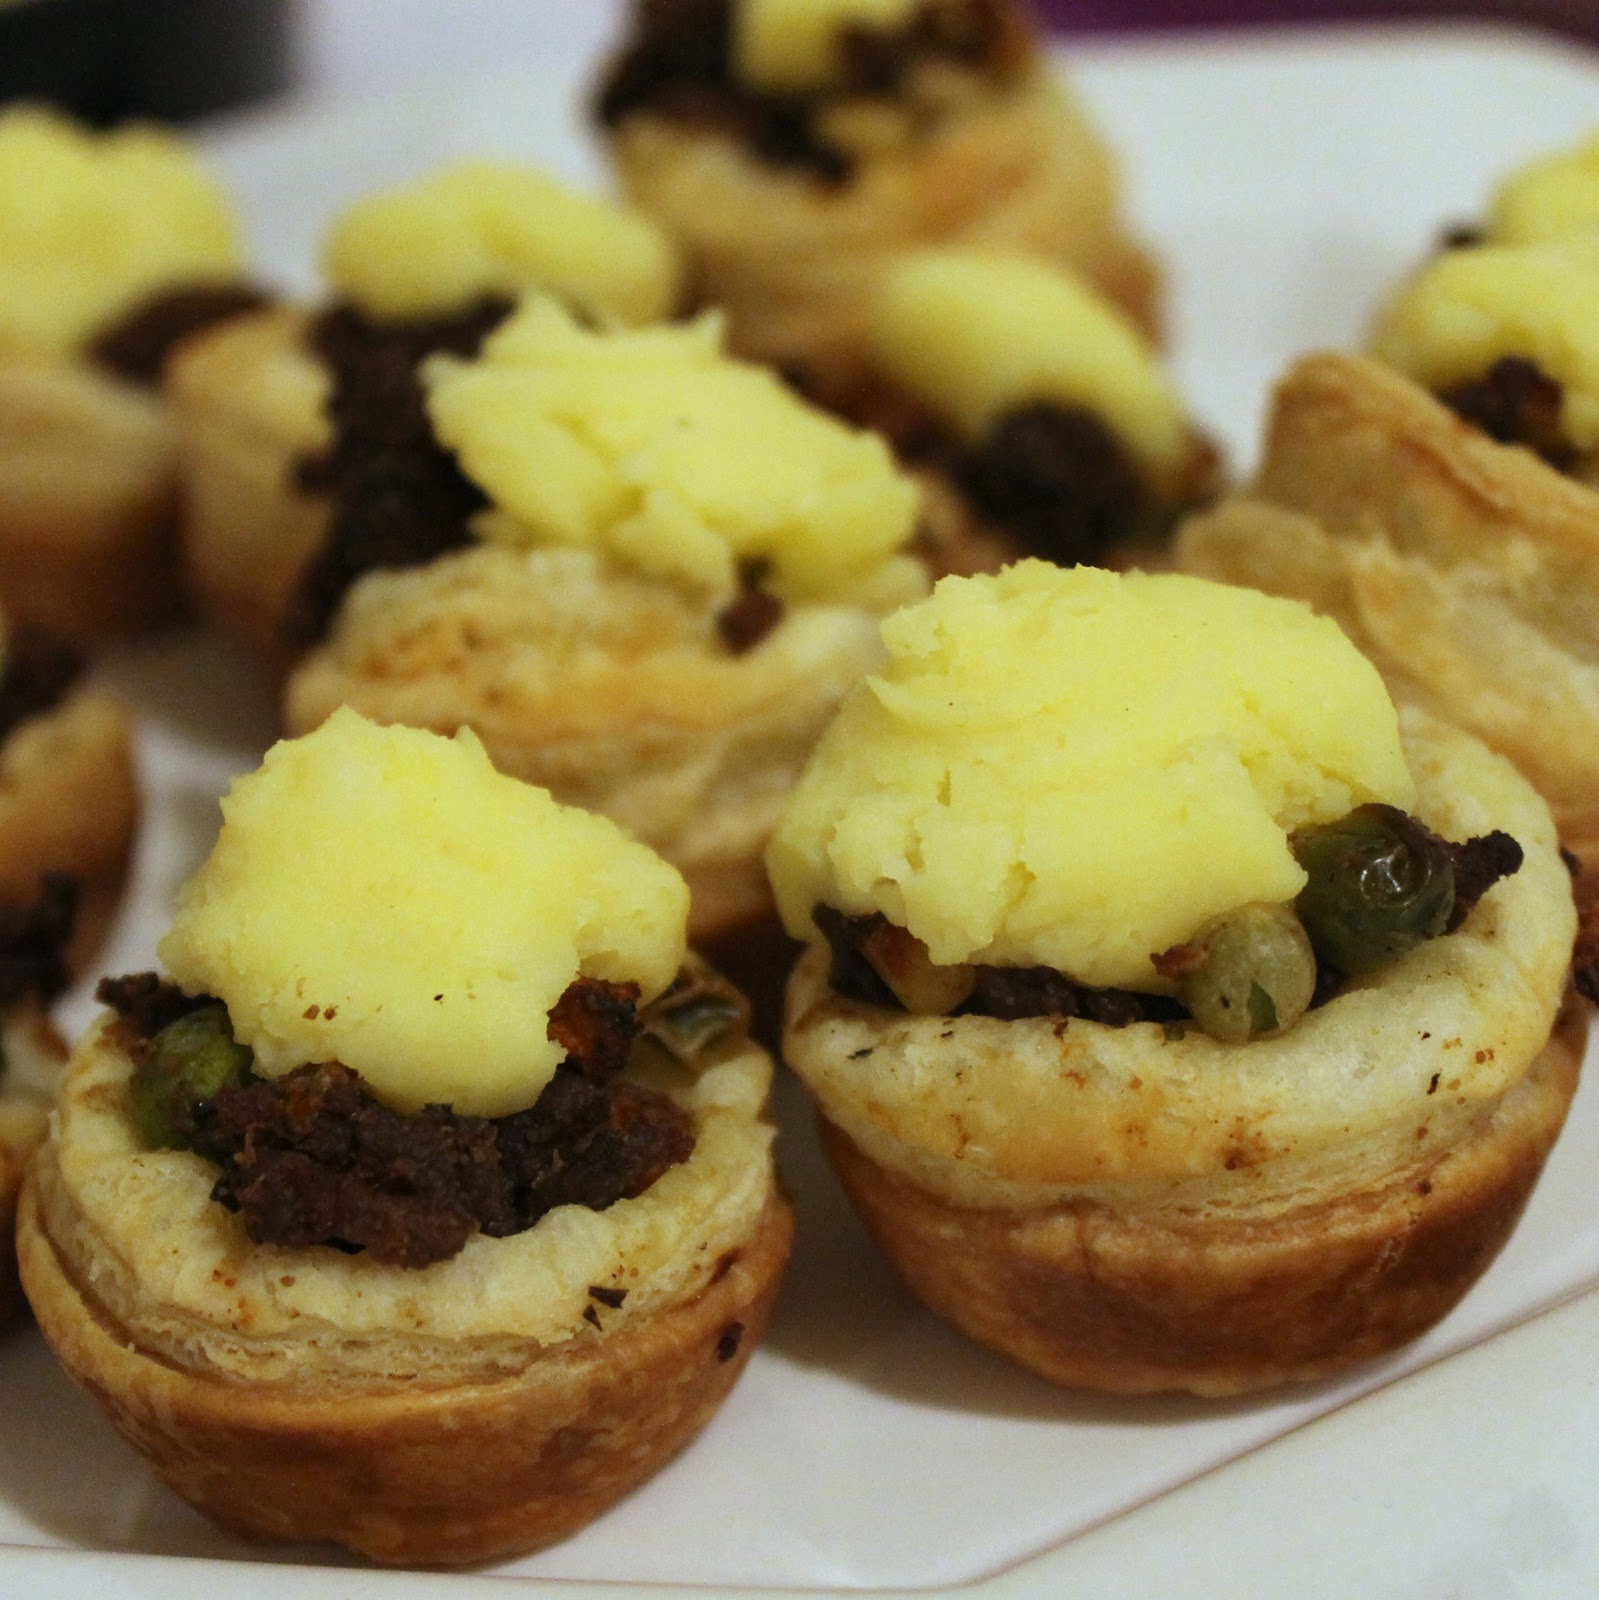
o Shepherd’s Pie
o Country Style Eggs Benedict
–Desserts
o Fudge Puppies
o Snickerdoodle Ice Cream Sandwiches
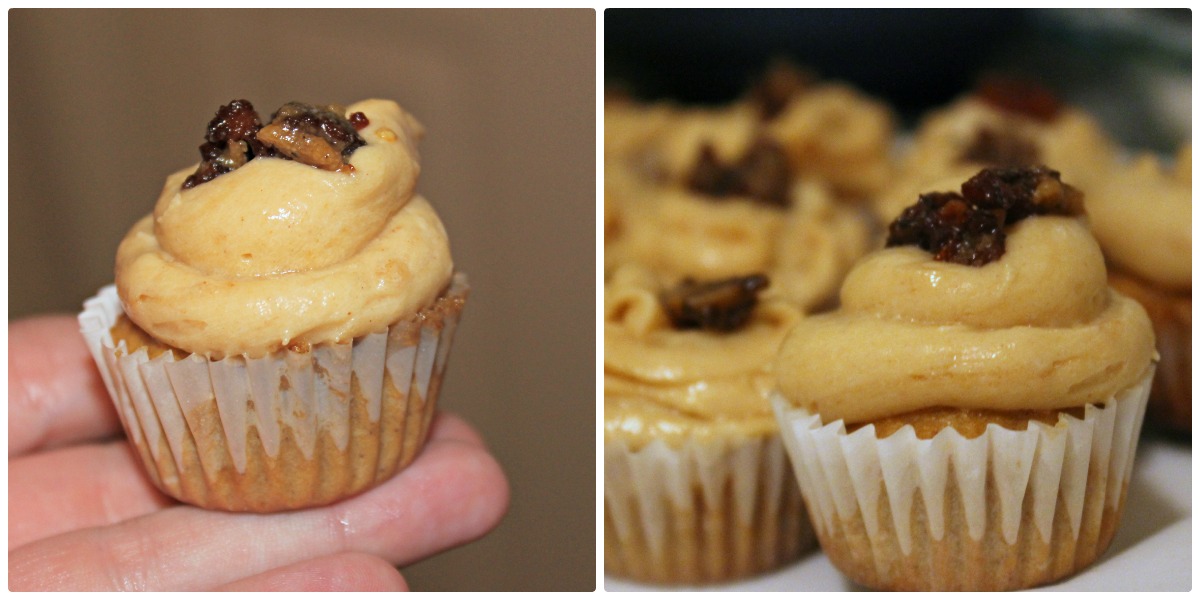
o Cinnamon Spiced Cupcakes with Peanut Butter Frosting and Candied Bacon
We invited over a bunch of friends to help us test out the above food. We did require a few tools that might not be in everyone’s kitchen: A mini muffin tin, a deep fryer (you can use a normal pot, and then you just need a candy thermometer), biscuit cutters, and slider buns. Past that, the ingredients should be available in your local grocery store.
At first look, the cookbook had both of us really excited. So many things stood out to us we had one heck of a time cutting it down to a few choices. I did think there were a high number of fried foods but hey, if it’s tiny, it’s not nearly as bad for you (right?)

After my first trip to Wegman’s (why has no one brought me here before?! I’m in love!), we split up the menu so we could both do some prep stuff before the party. I was able to make the seafood cocktail cups, potato salad bites, and all of the desserts completely ahead of time.
We met a few hours before the party and went on a cooking rampage. Shepherd’s Pies were filled, Caprese Skewers were … well, skewered, and the Onion Rings were prepared throughout the night (we even got some frying help from Zoe from Row Home Eats, thanks so much Zoe!)

In review, we decided the size of the Pajeon pancakes weren’t different enough to be considered mini, so Brian cut the size down a bit more for effect. The seafood cocktail cups were a hit, I loved that they were served in a cucumber cup and were quite easy to make. The mini onion rings, made from shallots, took a ton of prep work. Poor Brian was probably having nightmares of shallot slicing by the end! The Potato Salad Bites were served in mini wonton cups which made the overall flavor quite bland unfortunately. But the actual potato salad was quite delicious! I’ve already decided the Caprese skewers will be a staple for any party: they are so easy to make and the presentation is fantastic.
 |
| Panjeon |
 |
| Seafood Cocktail Cups |
 |
| Mini Onion Rings |
 |
| Potato Salad Bites |
 |
| Caprese Skewers |
The mini mains were definitely the crowd favorites. The Chicken and Waffles, served on mini Eggo Waffles (in the freezer section of your supermarket) were drizzled with a bit of honey. We substituted chicken thighs for the chicken tenders suggested and were really pleased with the results. We could not get enough of these!


The Lamb Sliders were also absolutely fantastic. Brian flips a mean (mini) burger! The sliders were topped with a mini slice of cheese, roasted red pepper aioli, caramelized red onions, and arugula. I know, sorry, your mouth is now watering. There was a good bit of prep work for these but it was well worth it. I loved that when it came down to the actual party, it was basically just assembly!

The Country Style Eggs Benedict was the biggest surprise, at least for me. Served on a mini biscuit, we used quail eggs and drizzled them with a roasted garlic cheese sauce. I could eat these all day!


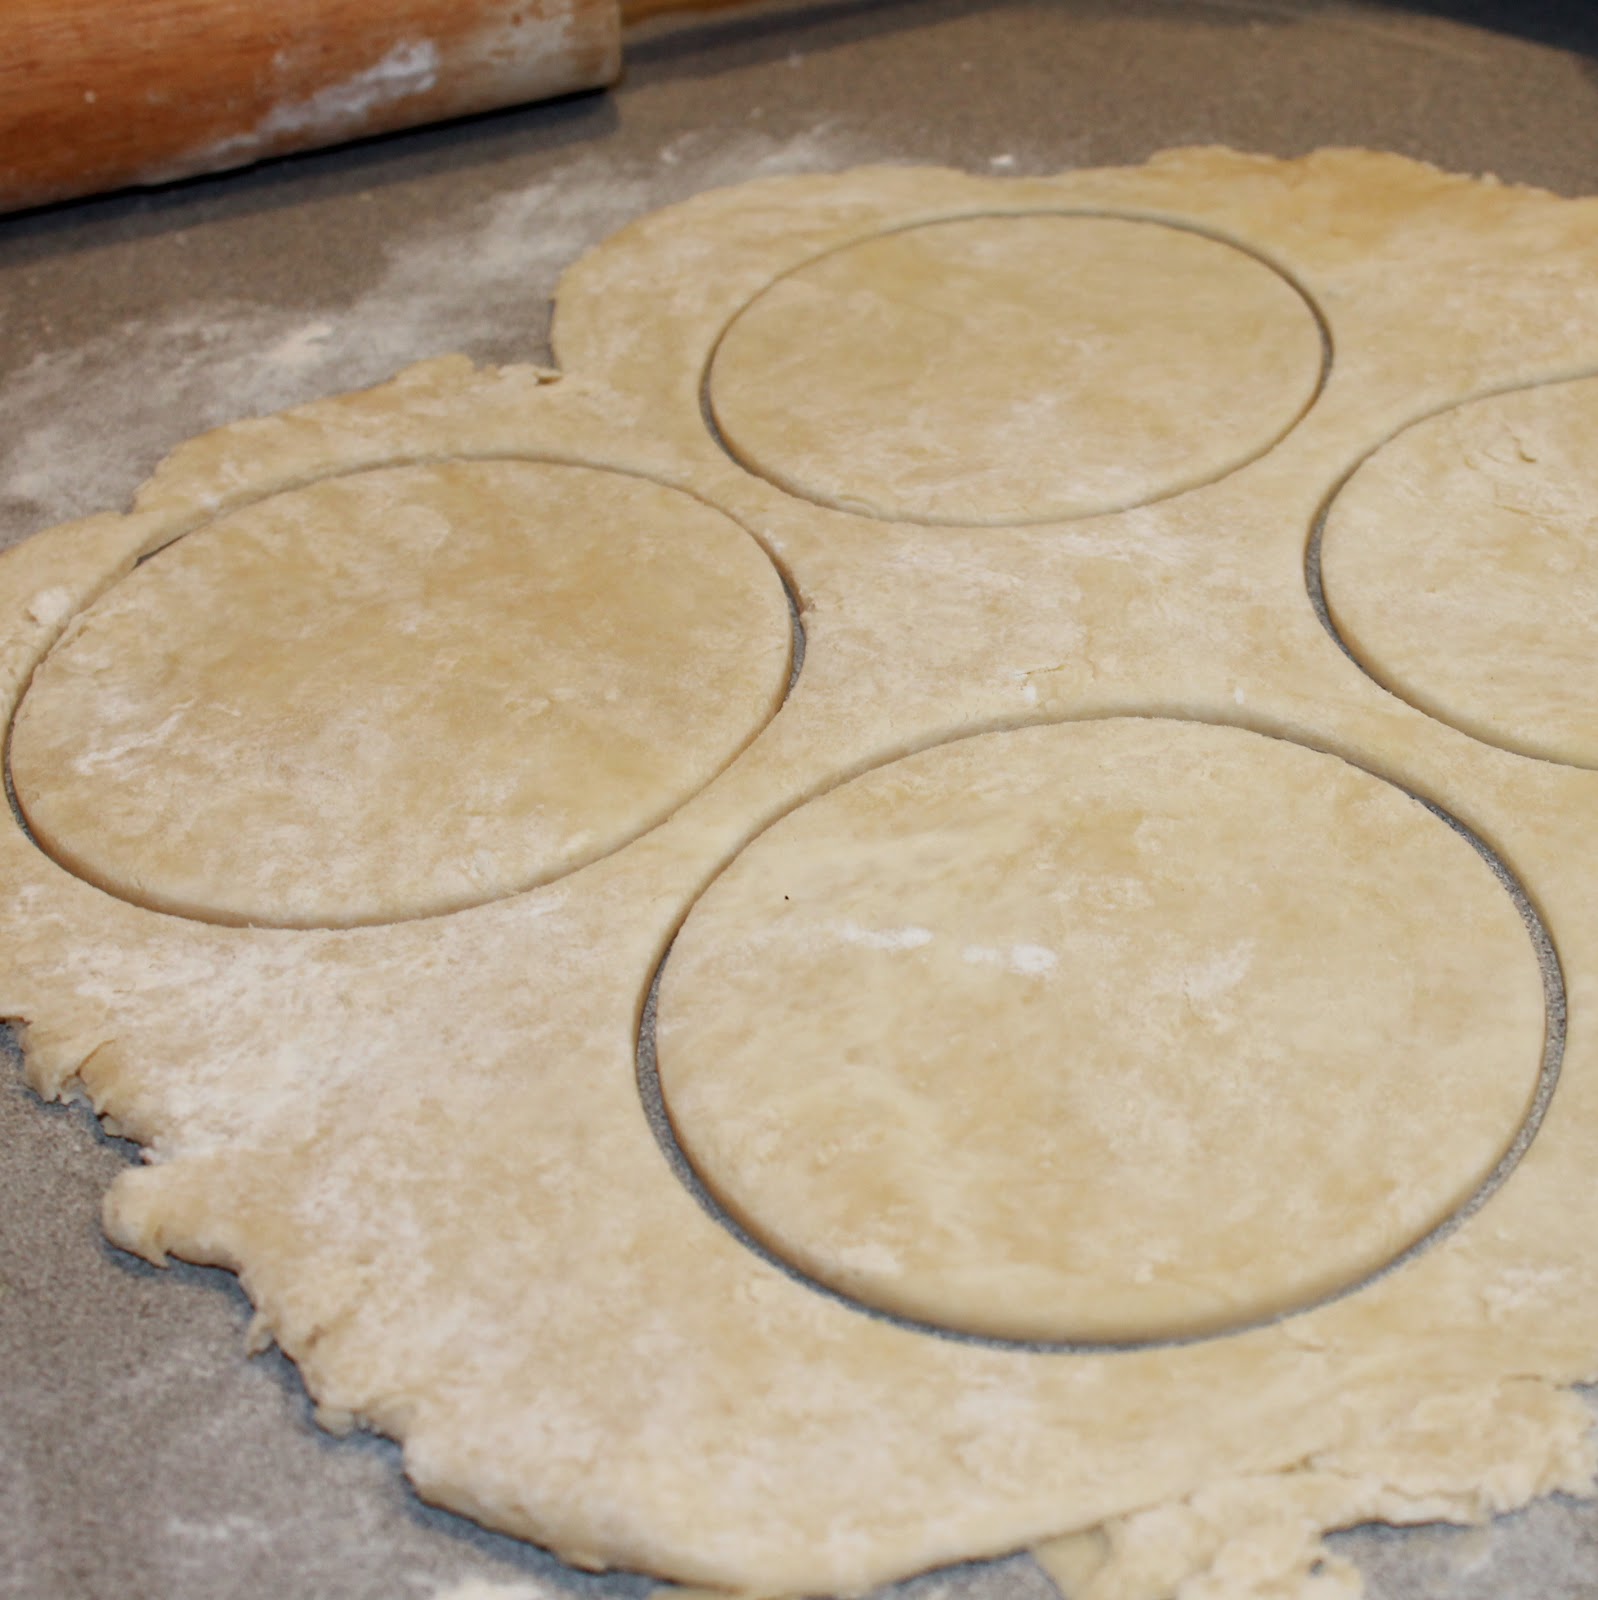
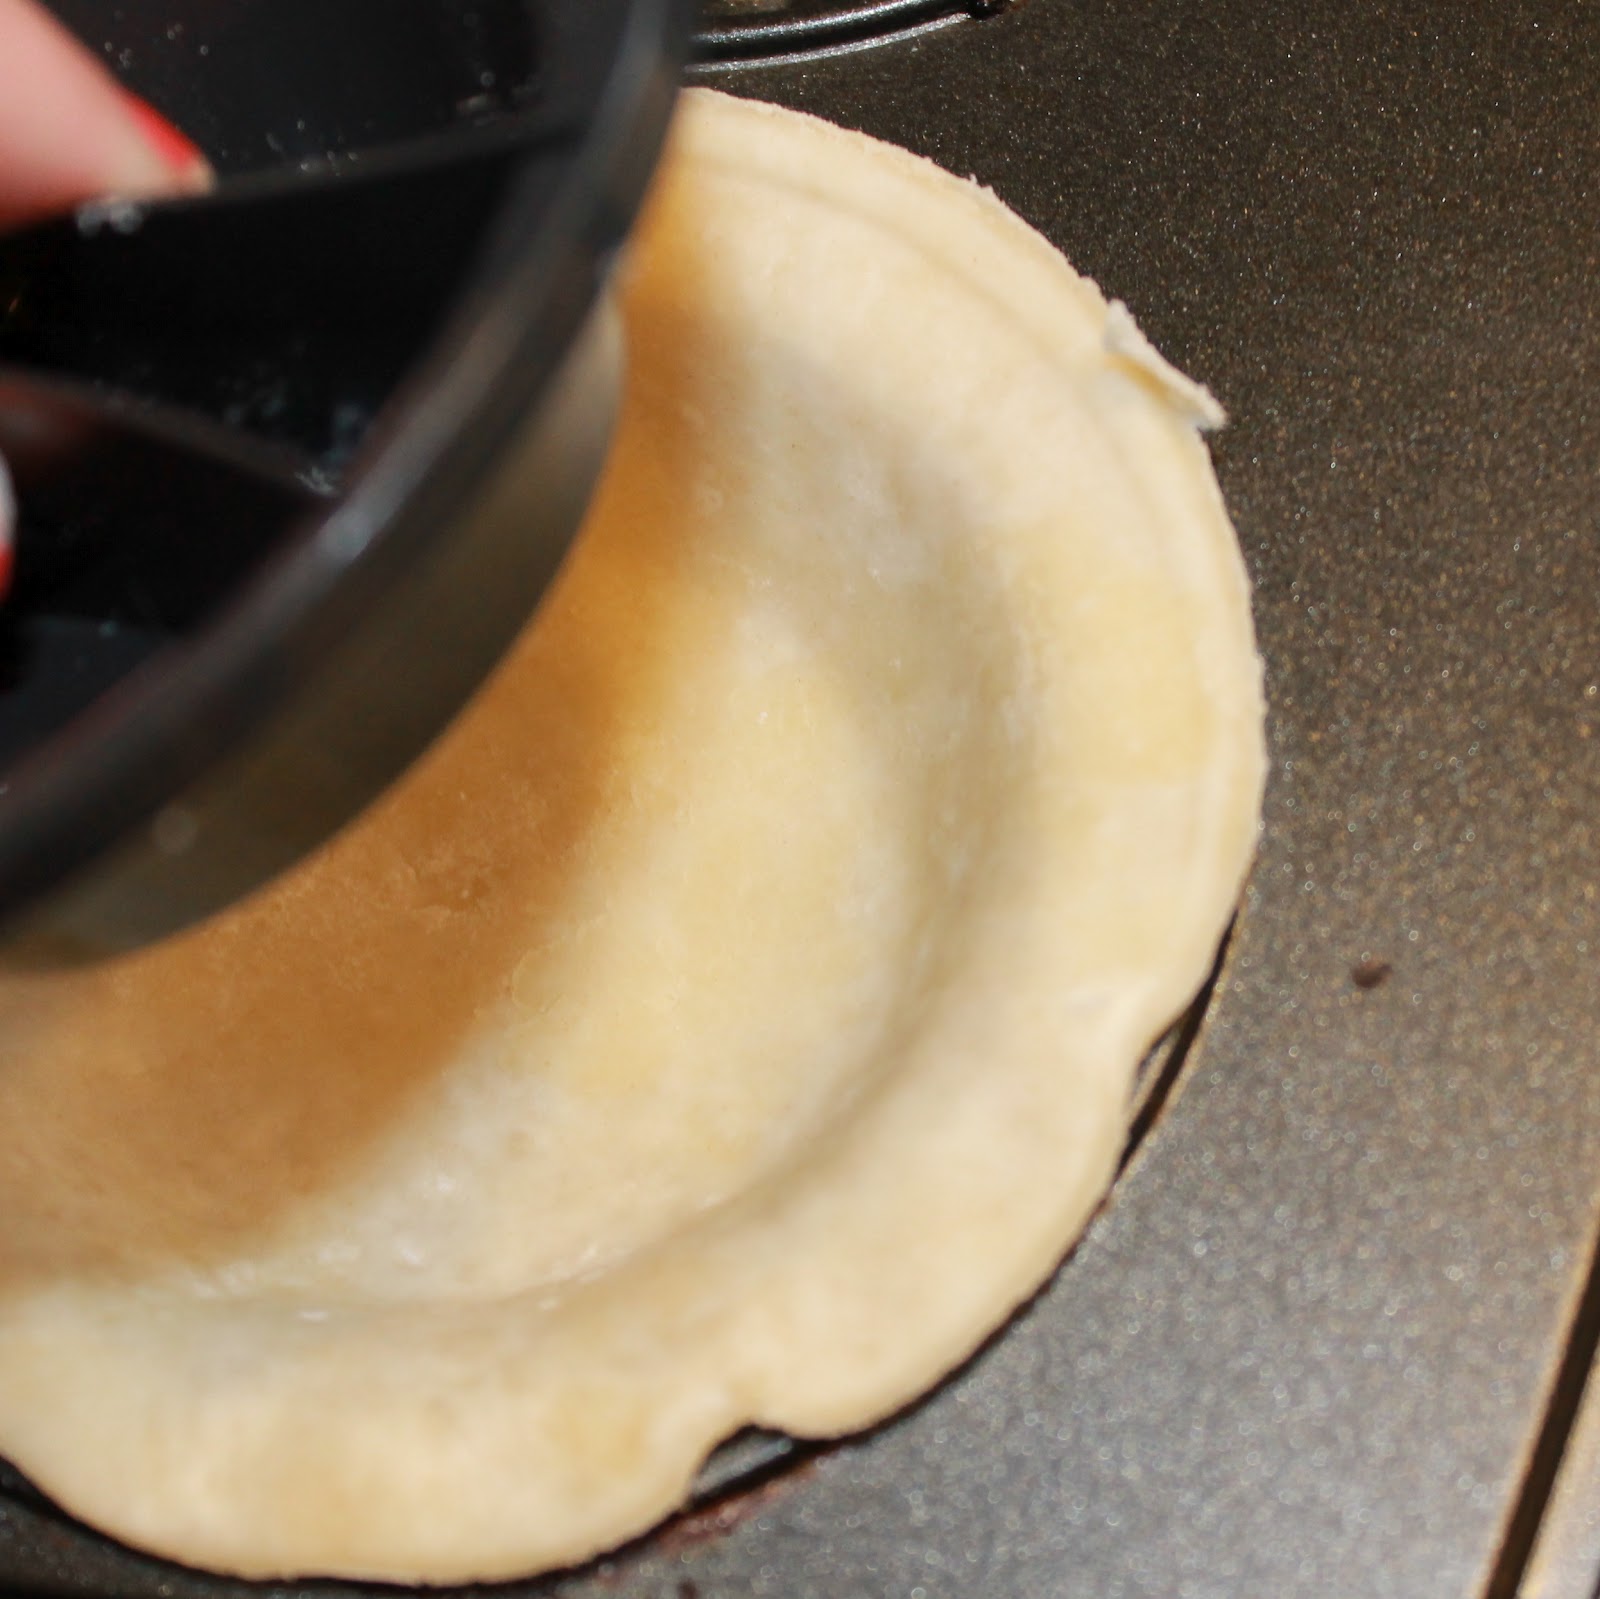
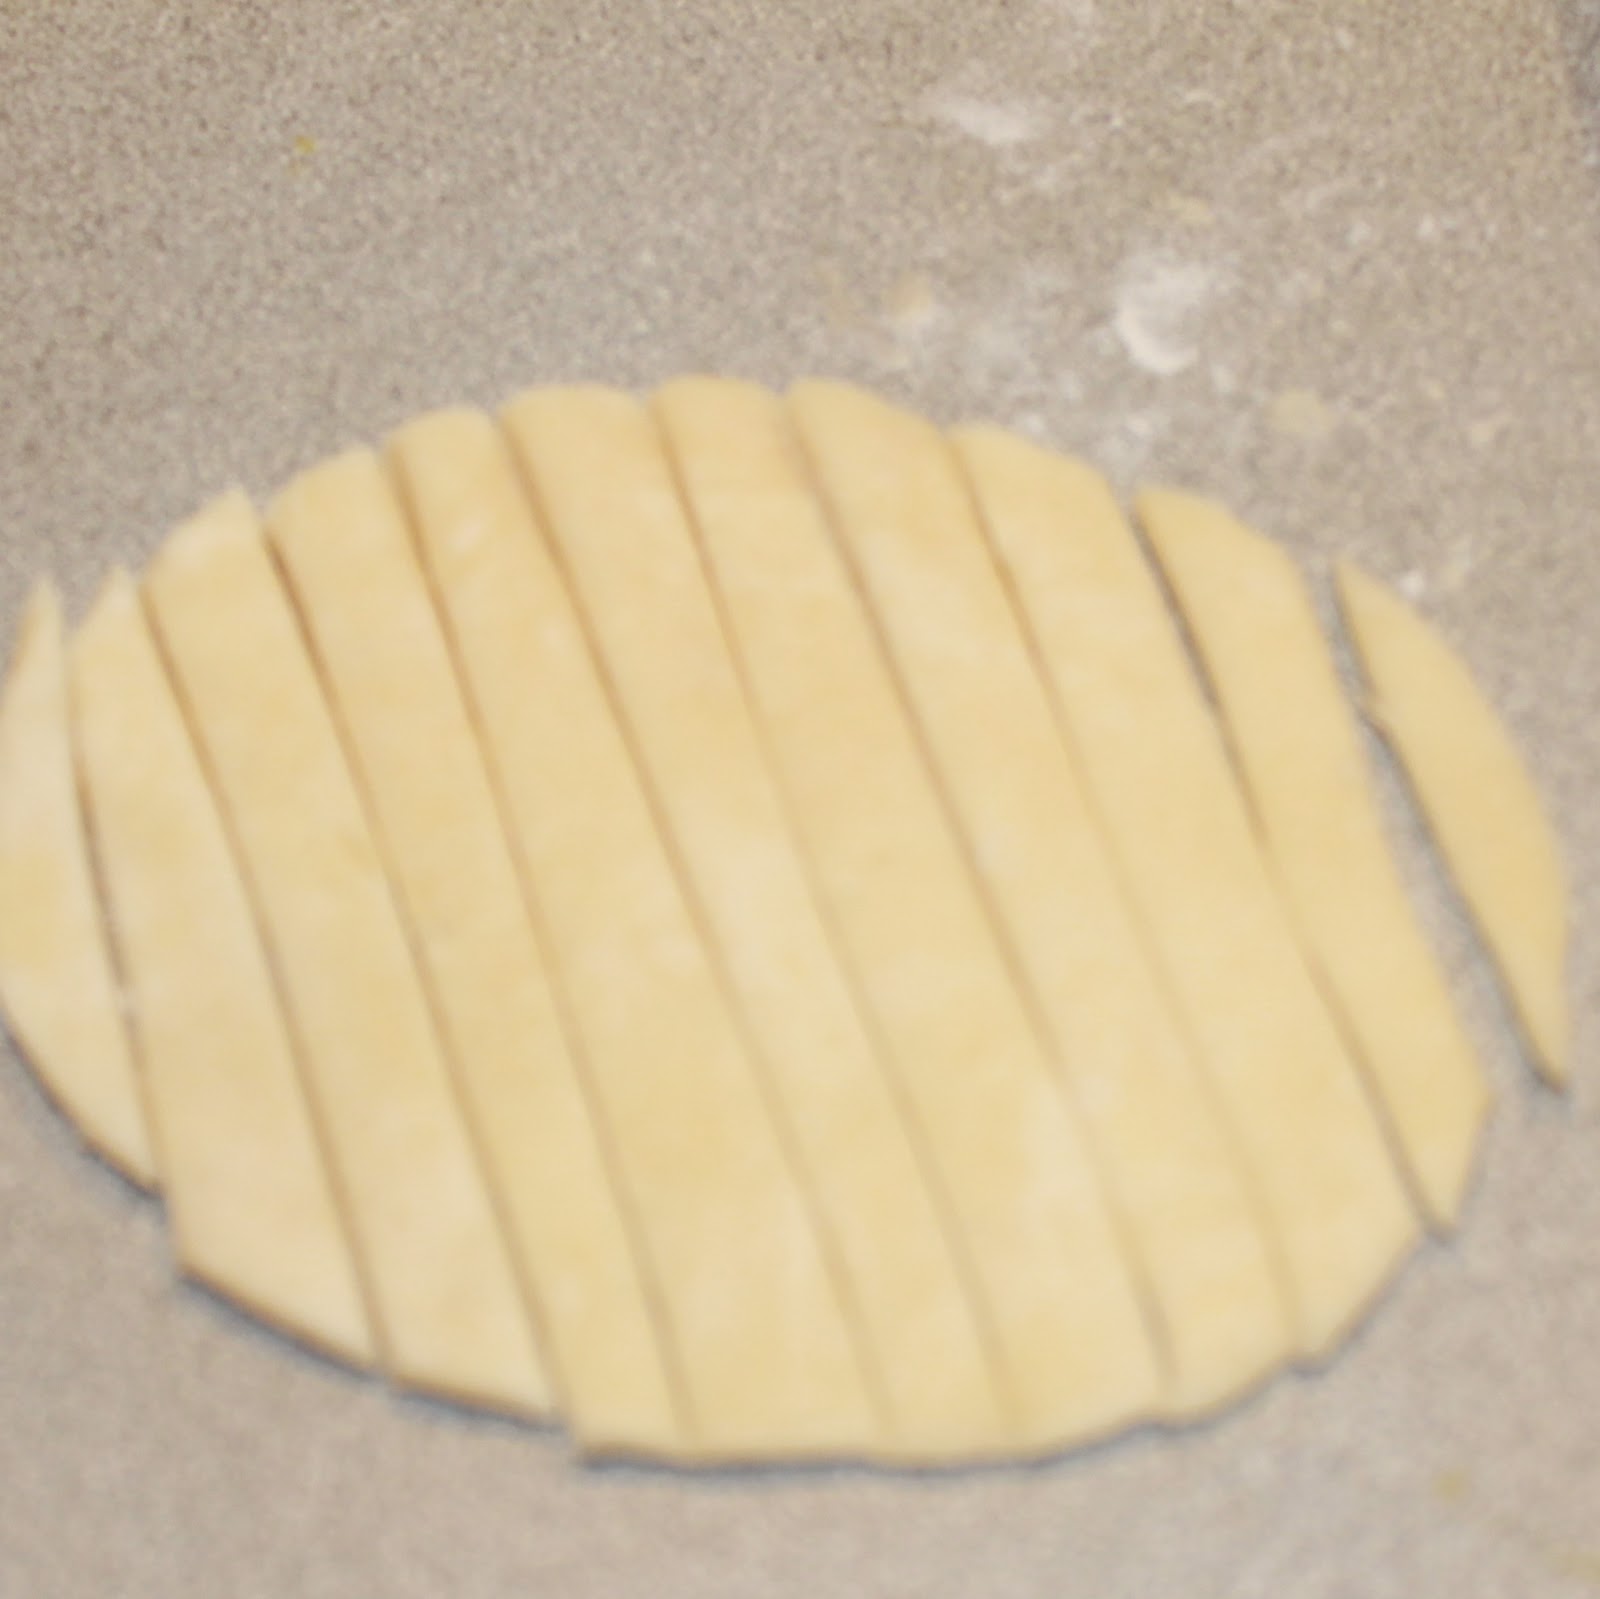
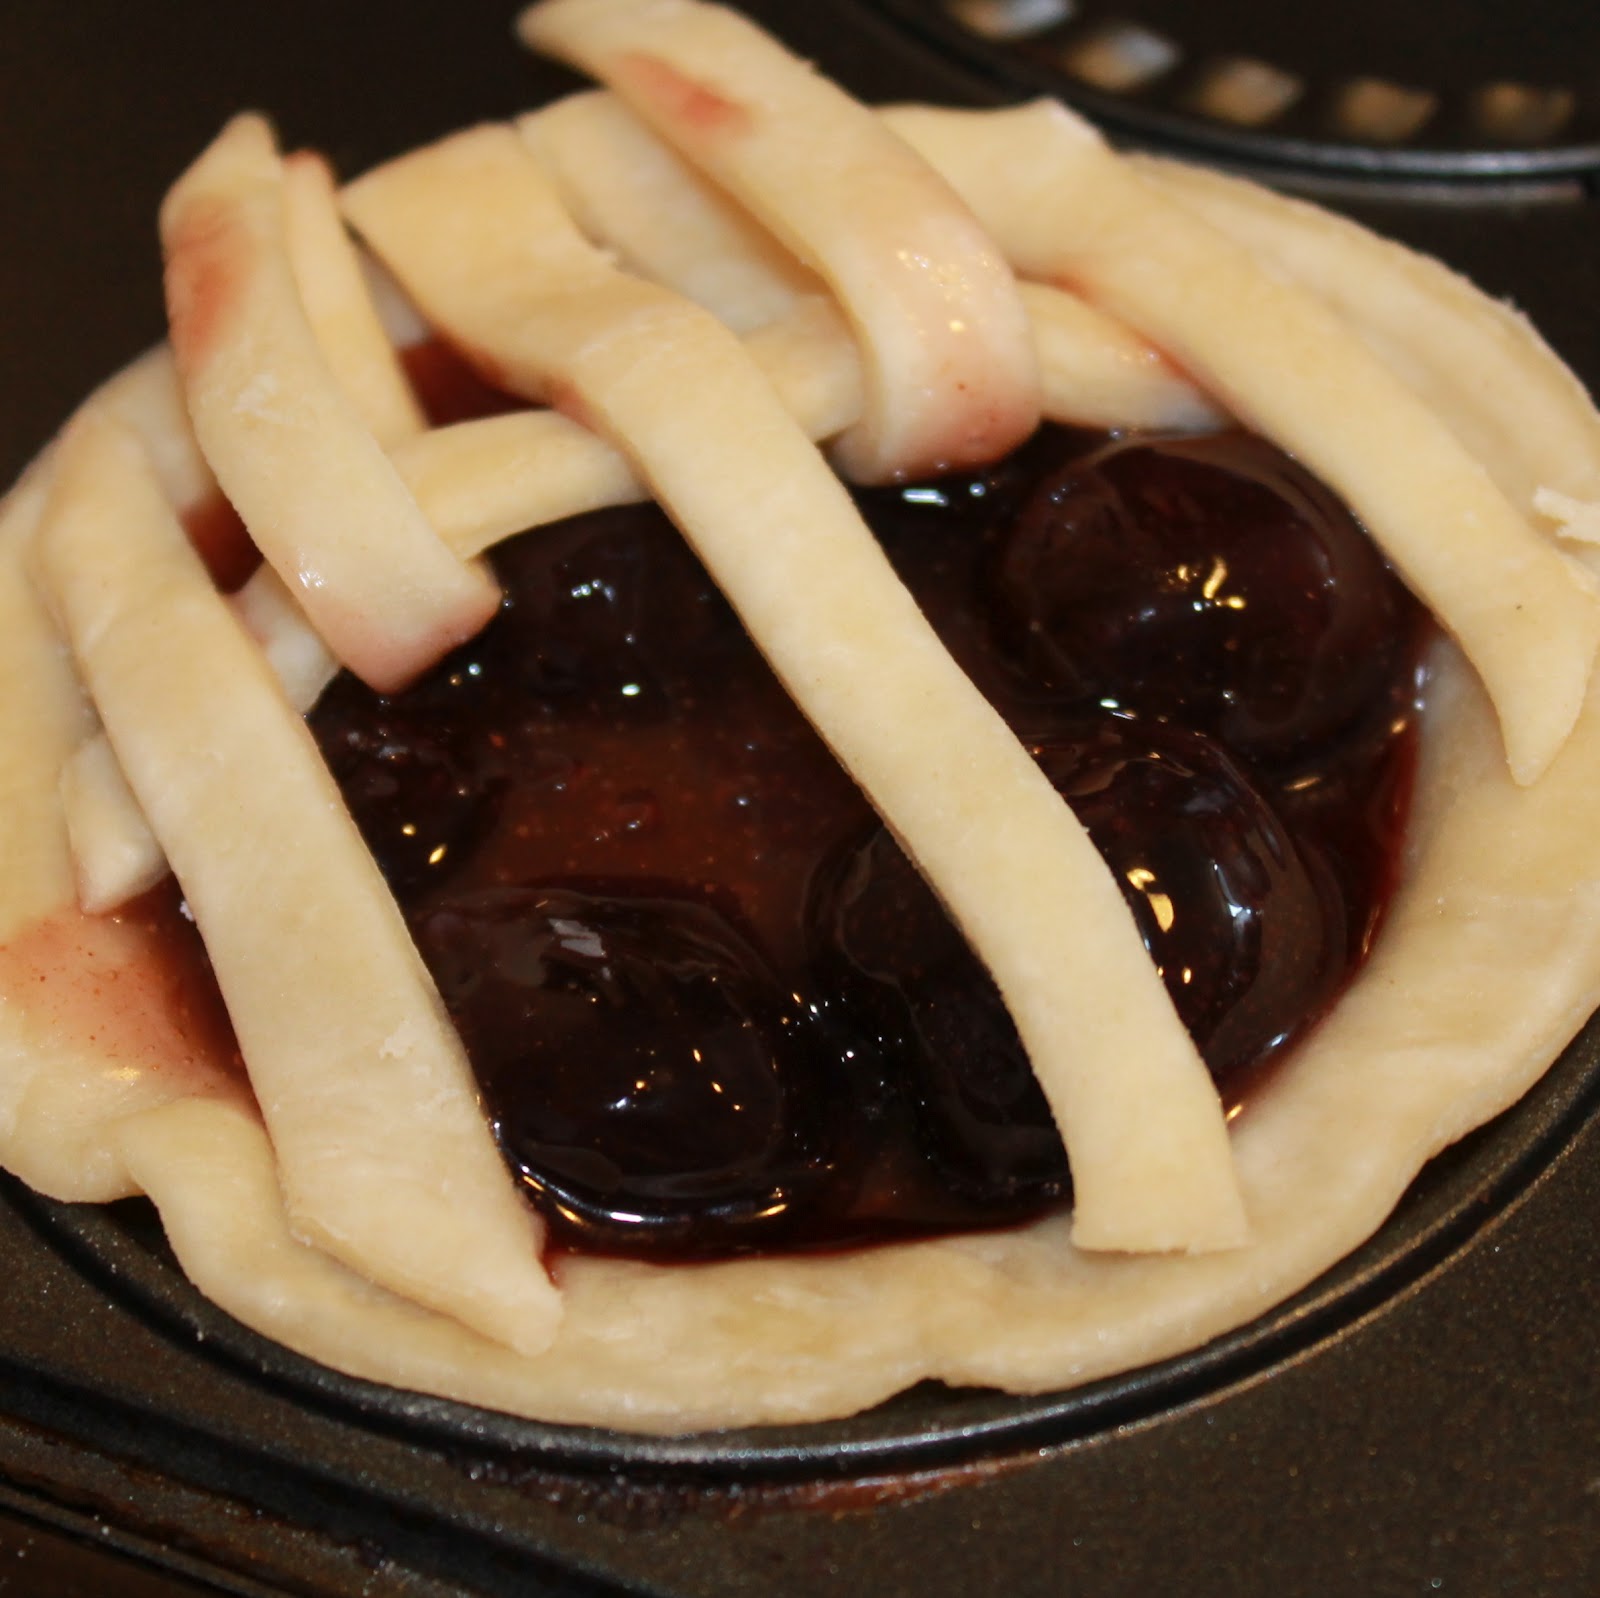
The Shepherds Pies were gone before I could grab a taste, so I’m going to call those a win. My only complaint as someone with Irish blood was that the recipe used cumin. Cumin? Anywho, it was delicious. And I hate to admit it, but the cumin was a big part of that tastiness. We had some trouble making the little puff pastry cups the pies were made in so be sure to actually prick the bottoms of the dough before baking. Those little guys puff like crazy!
Dessert was a mixed bag, completely due to human (a.k.a Kaitlin) error. You’ll never believe this, but ice cream sandwiches don’t travel well. Insanity, right? If you could get past the meltiness of the ice cream sandwich, these were super tasty. Ah well.

The Fudge Puppies were another favorite. We used the leftover mini waffles from the Chicken N Waffles and dipped them in melted chocolate. We then rolled them in crushed banana chips. Mmmm. Best part of these was I was able to make them the day before, refrigerate them, and bring them out when needed. No day of work required.


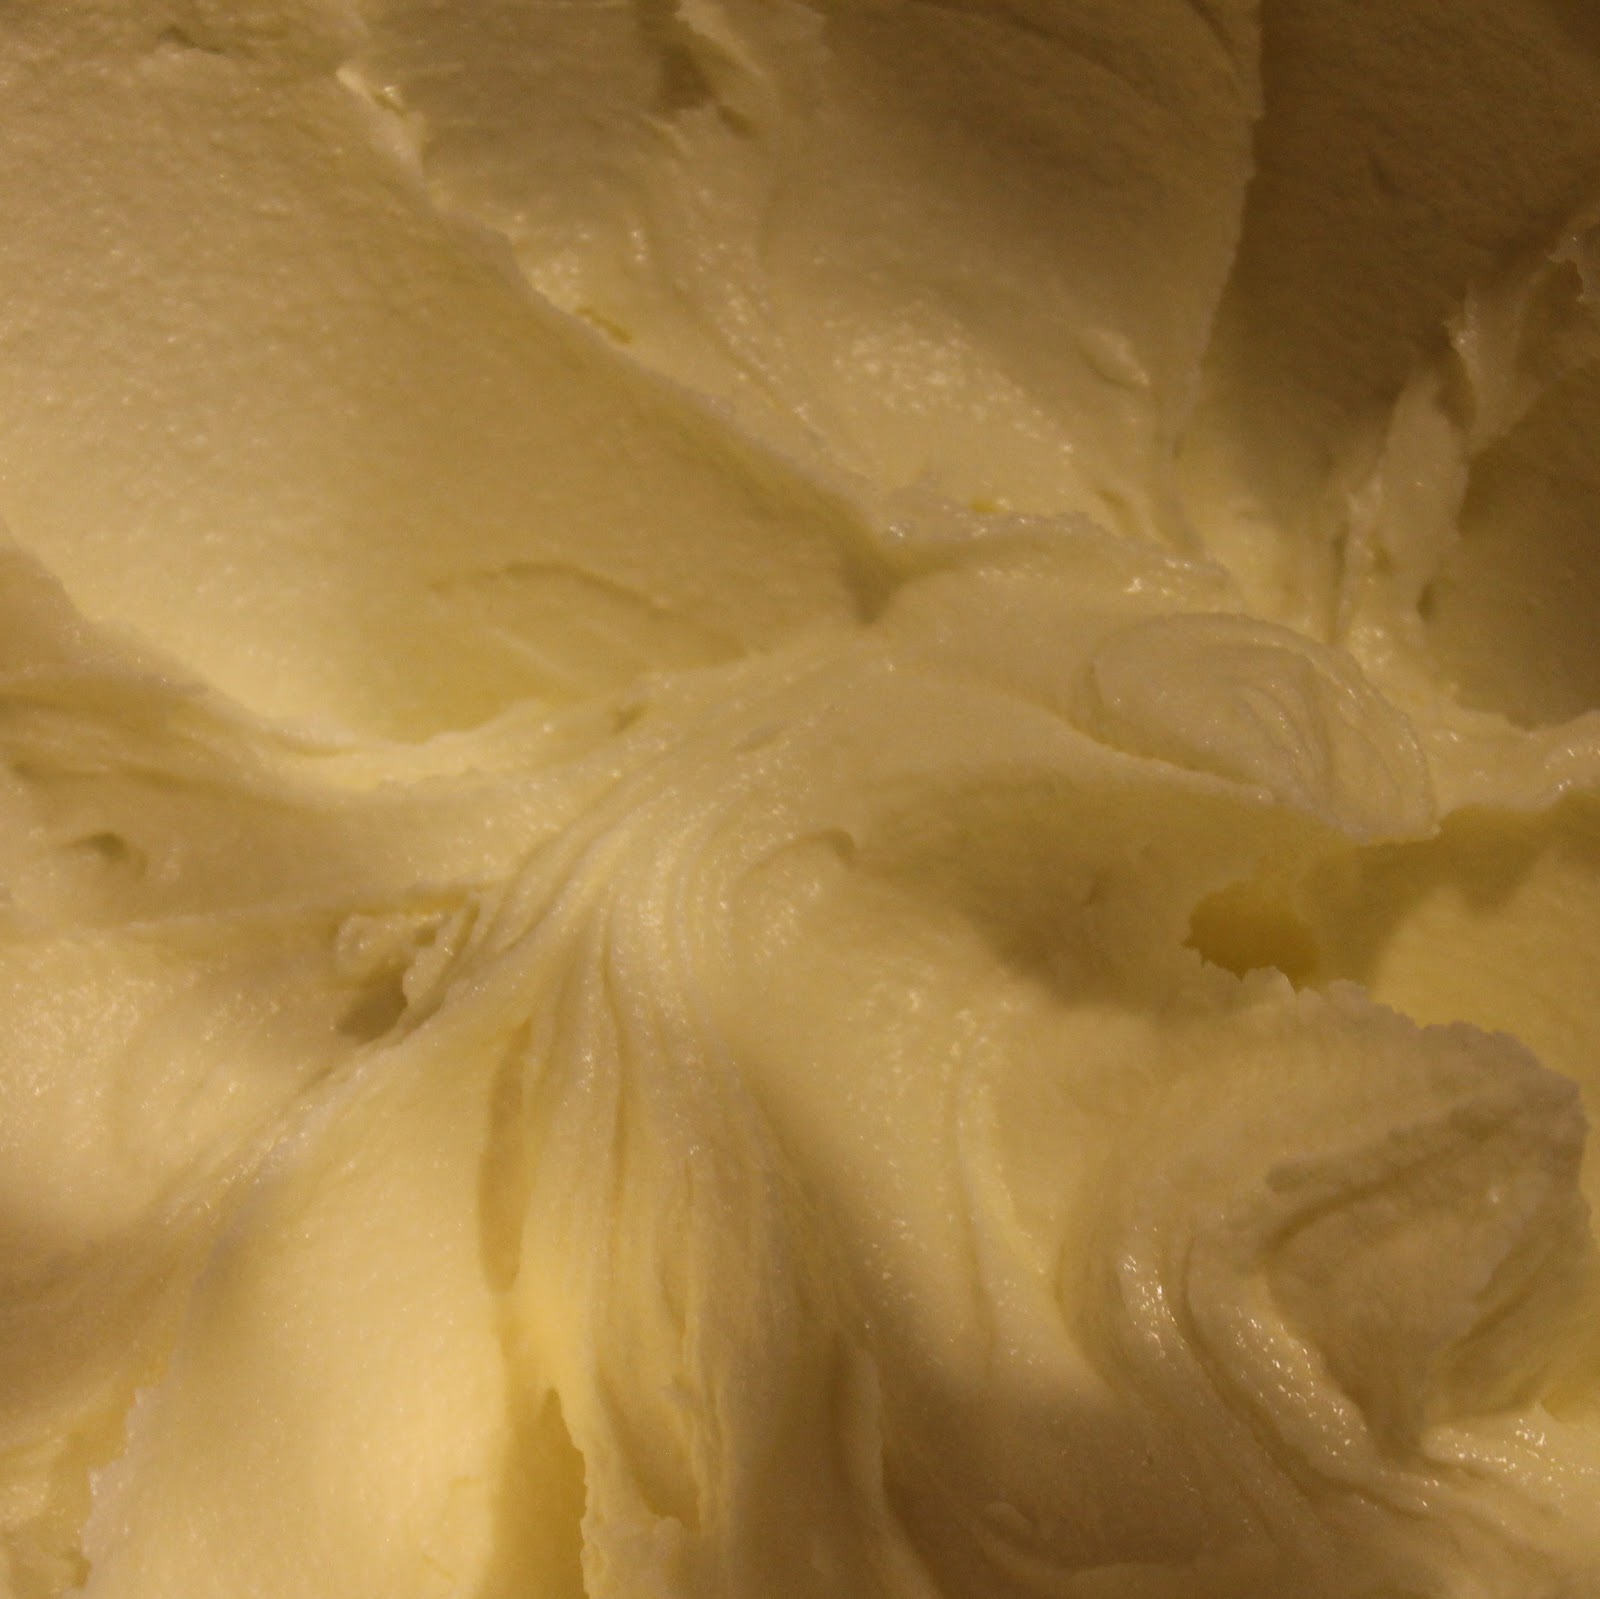
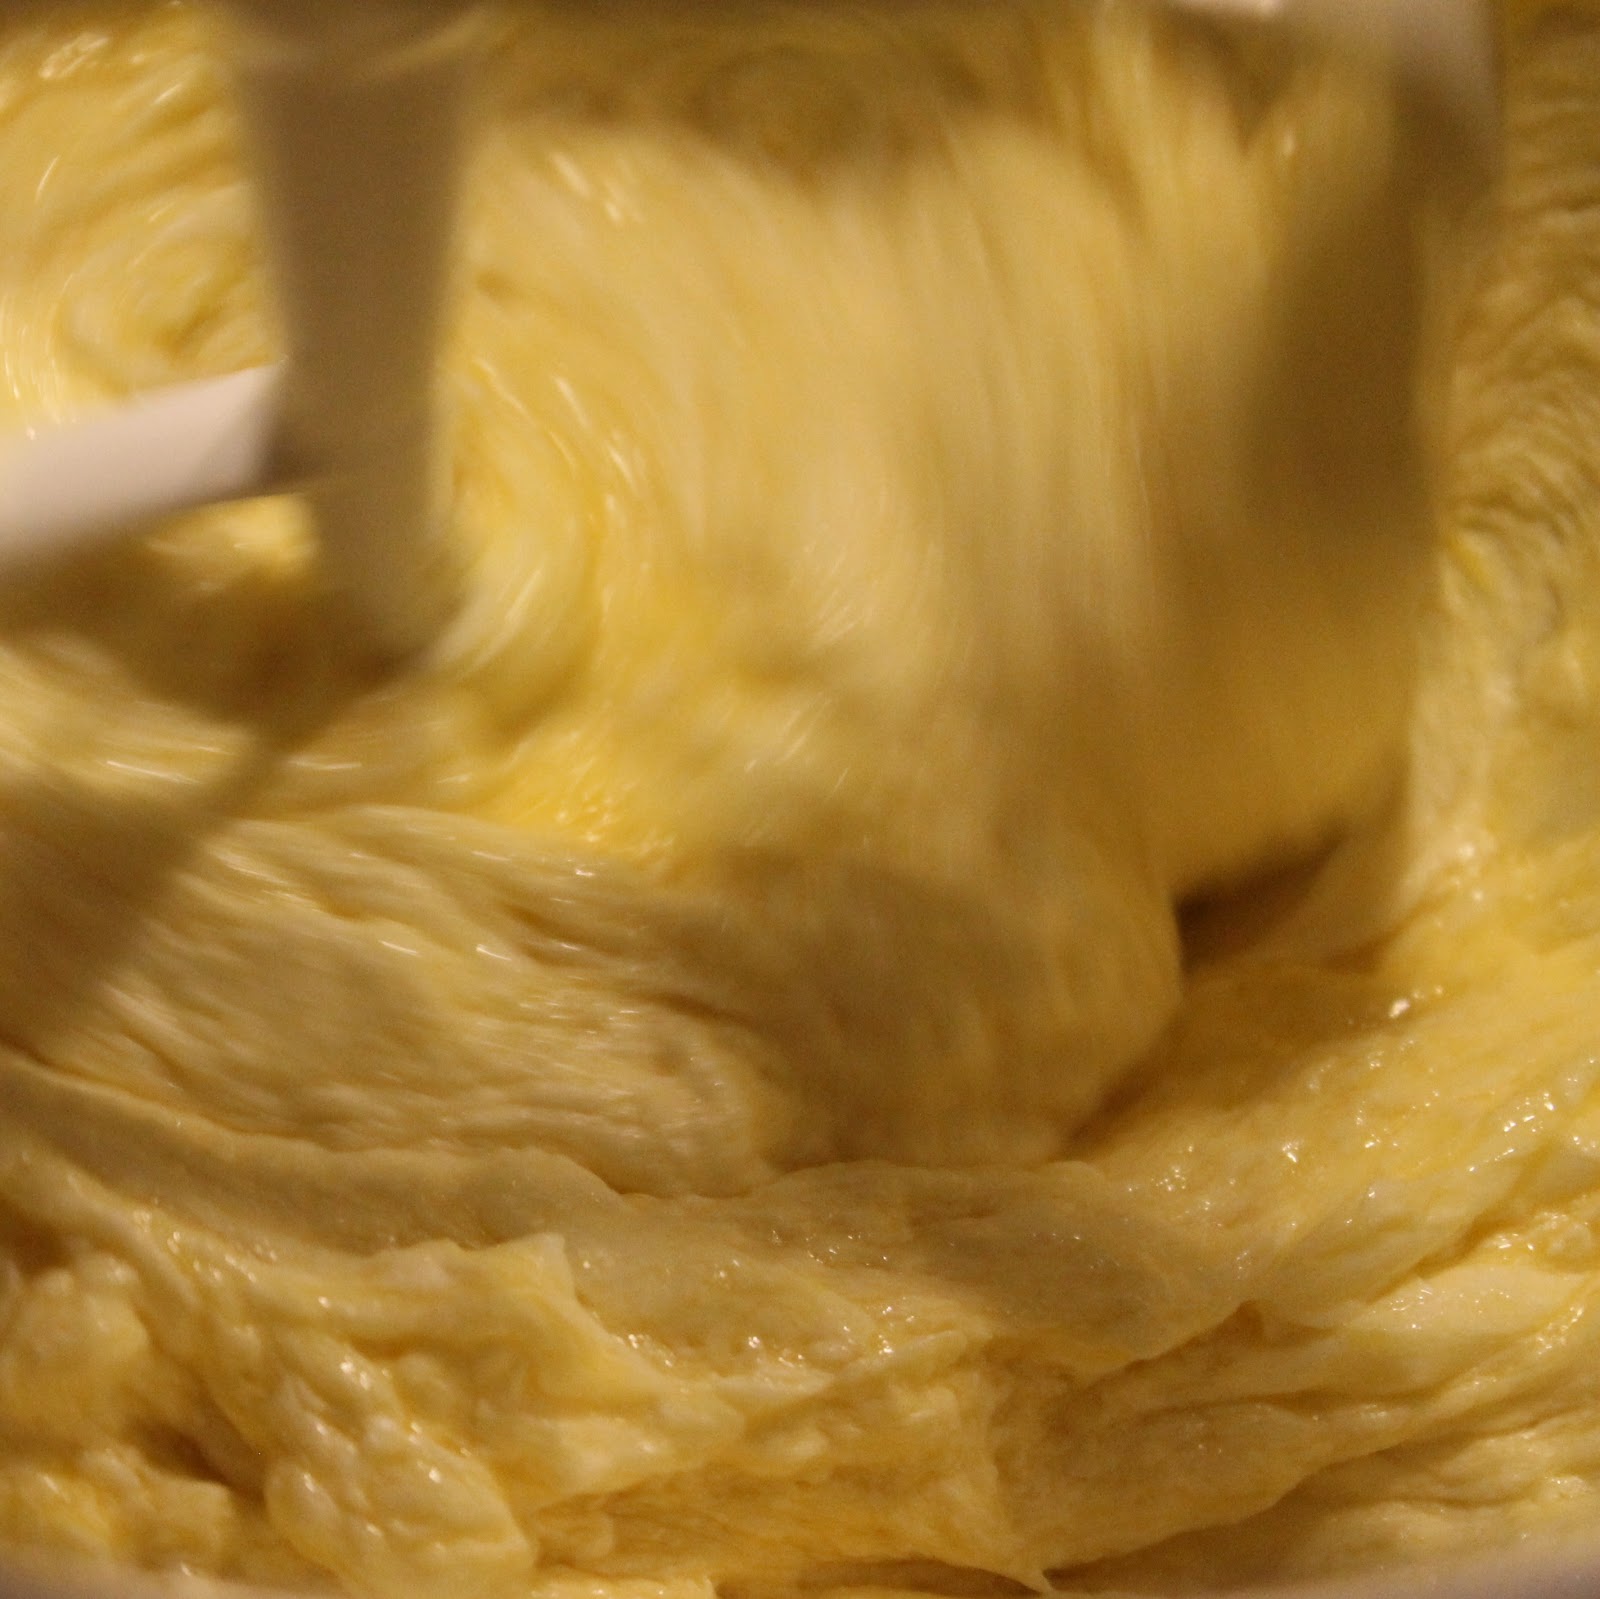
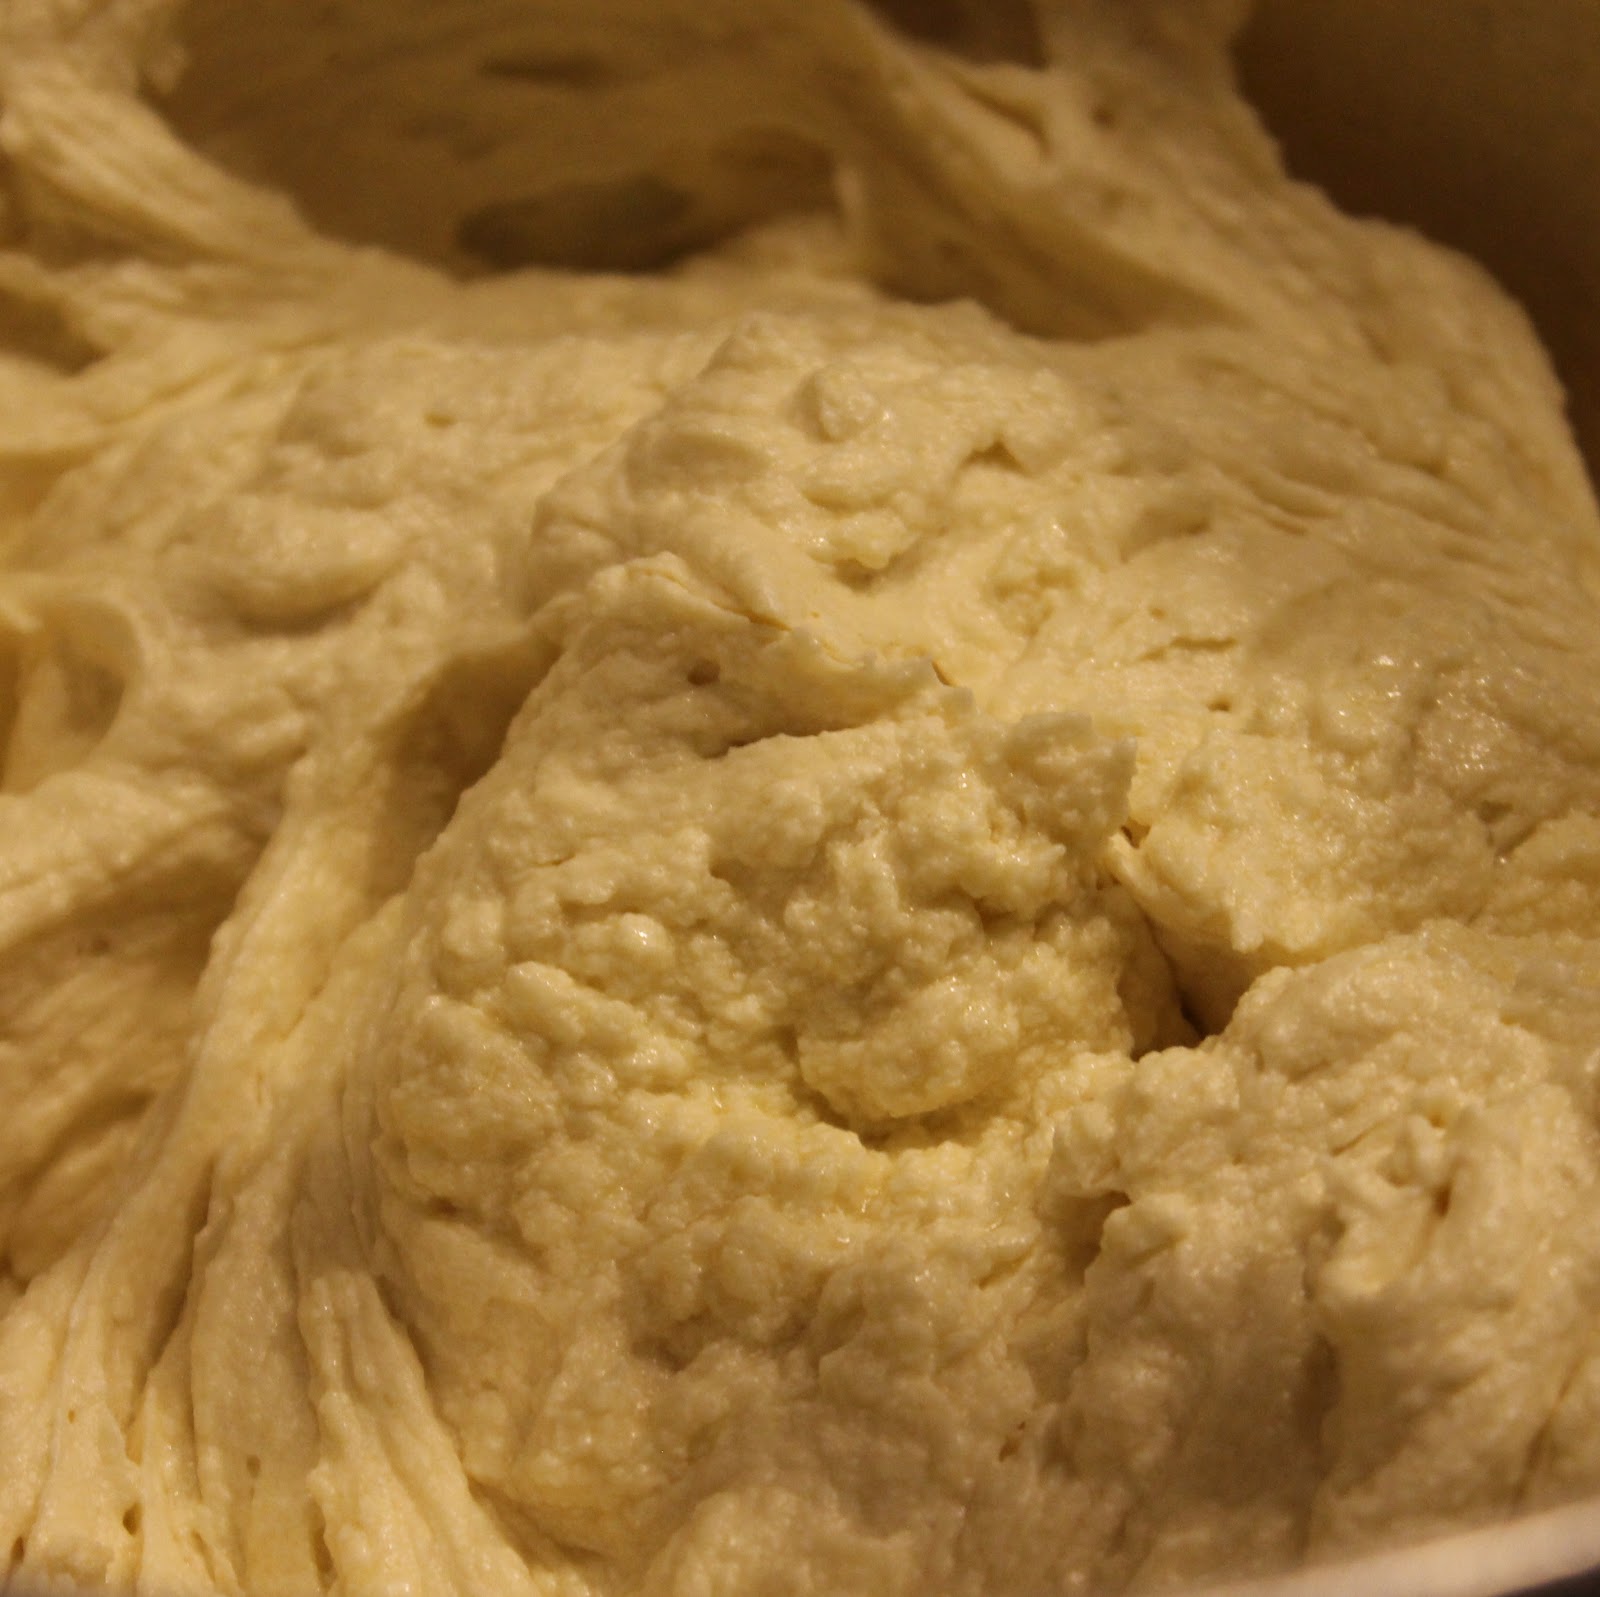
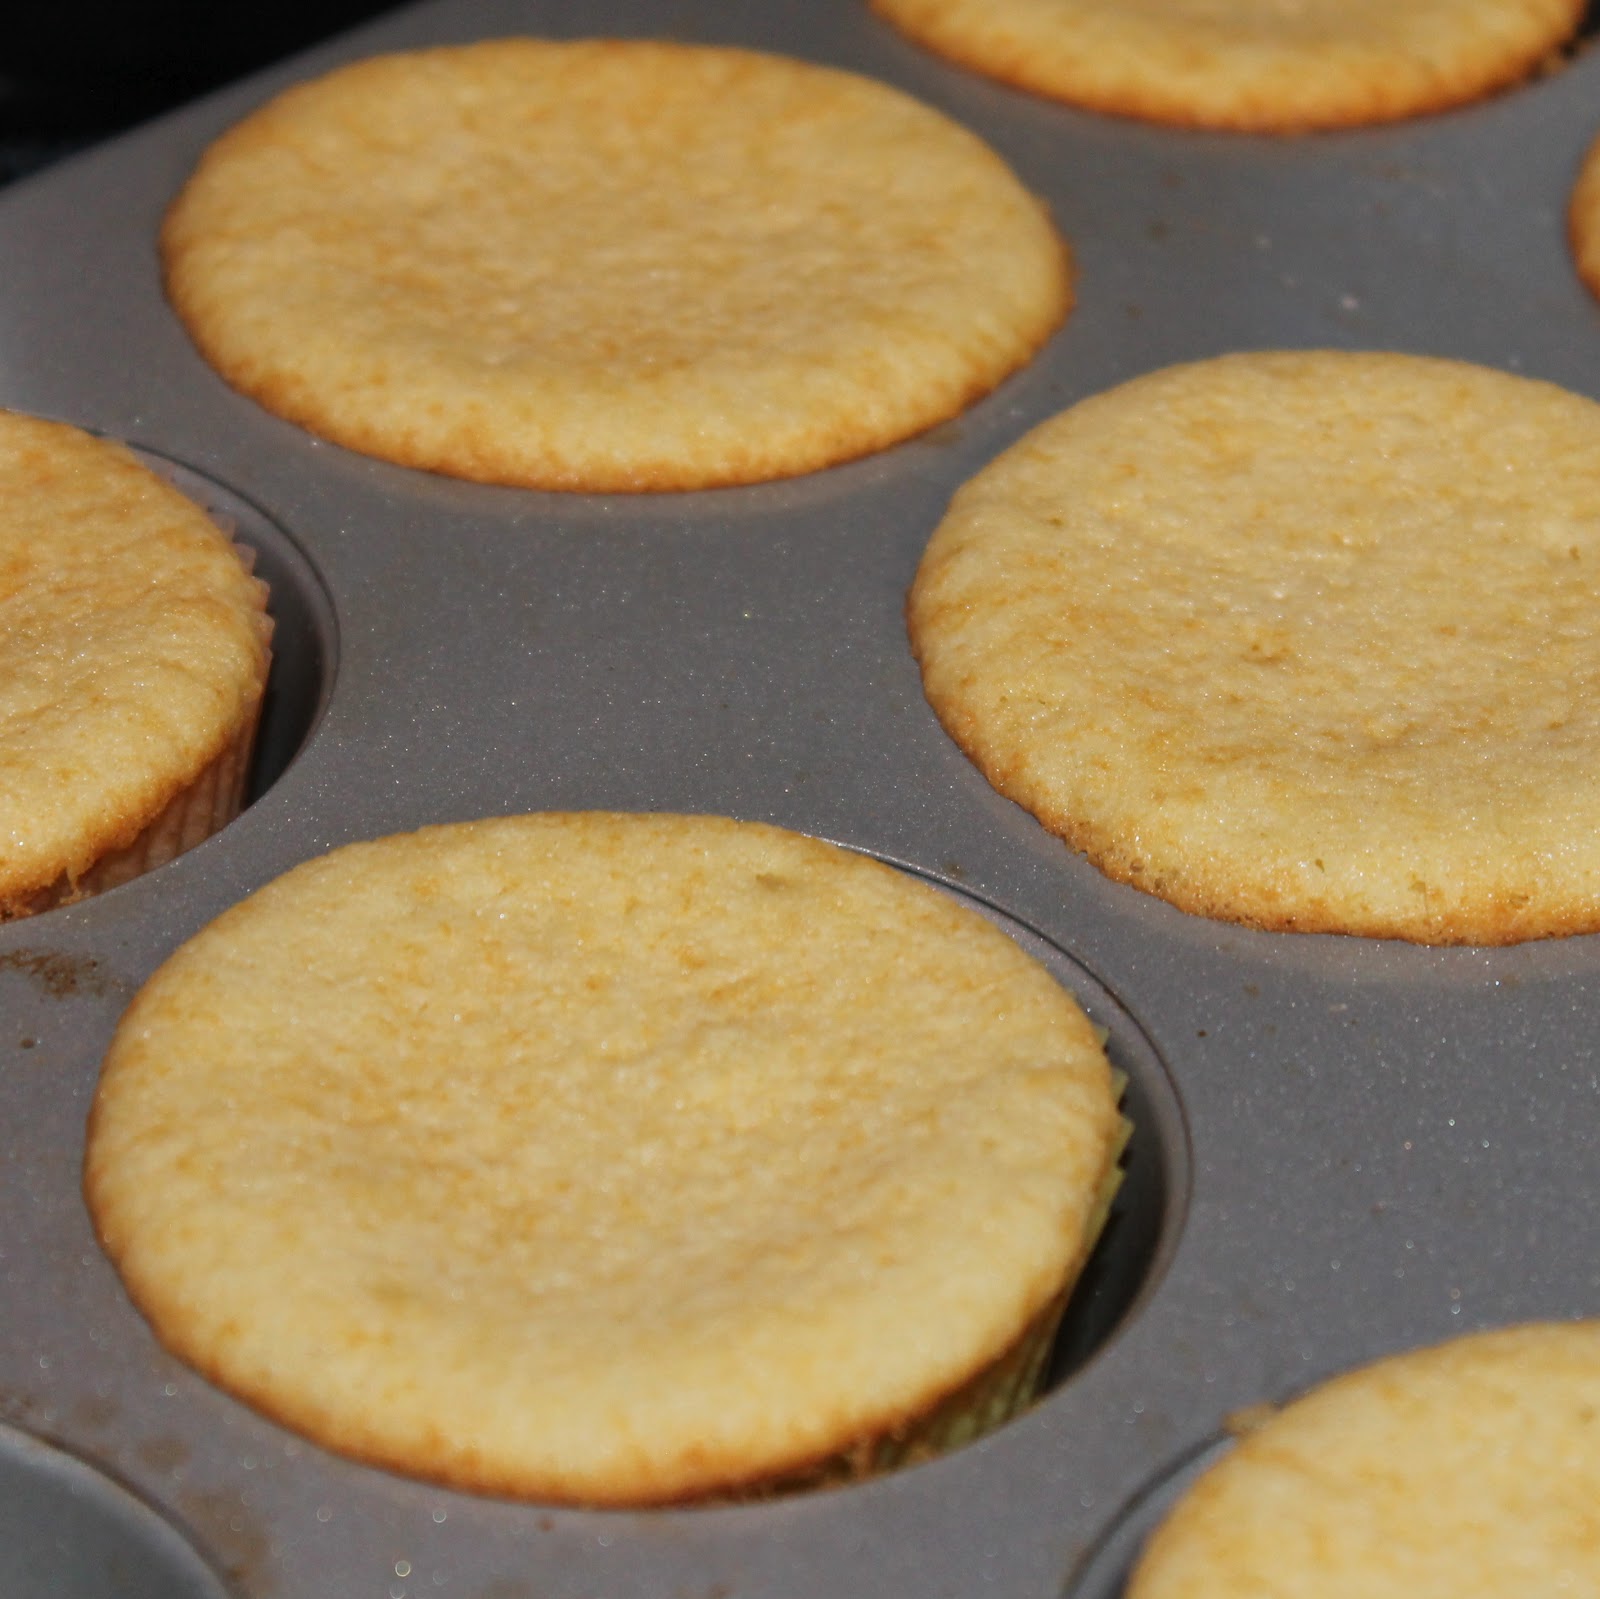
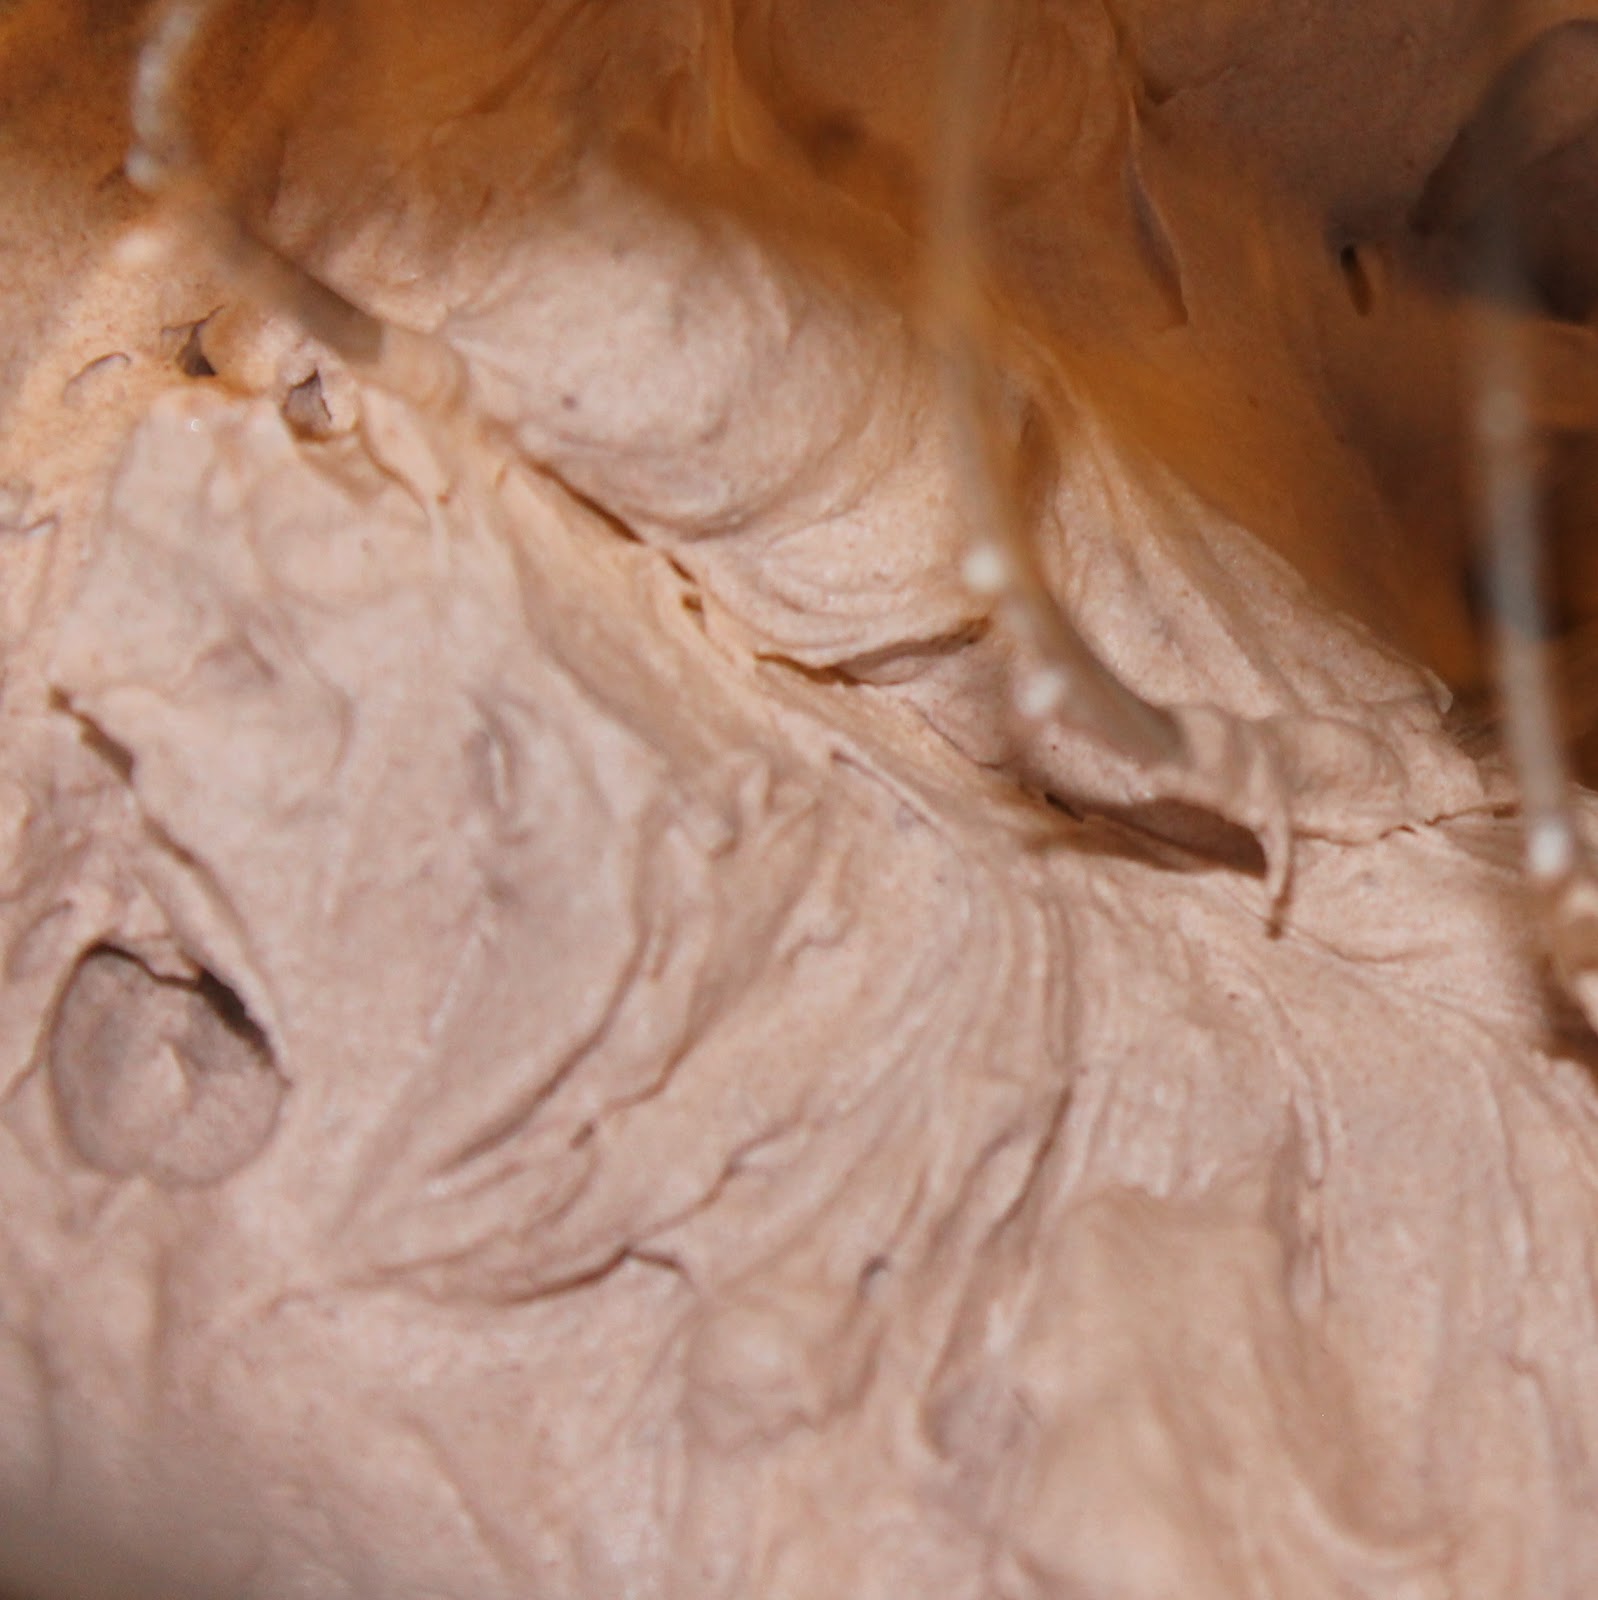
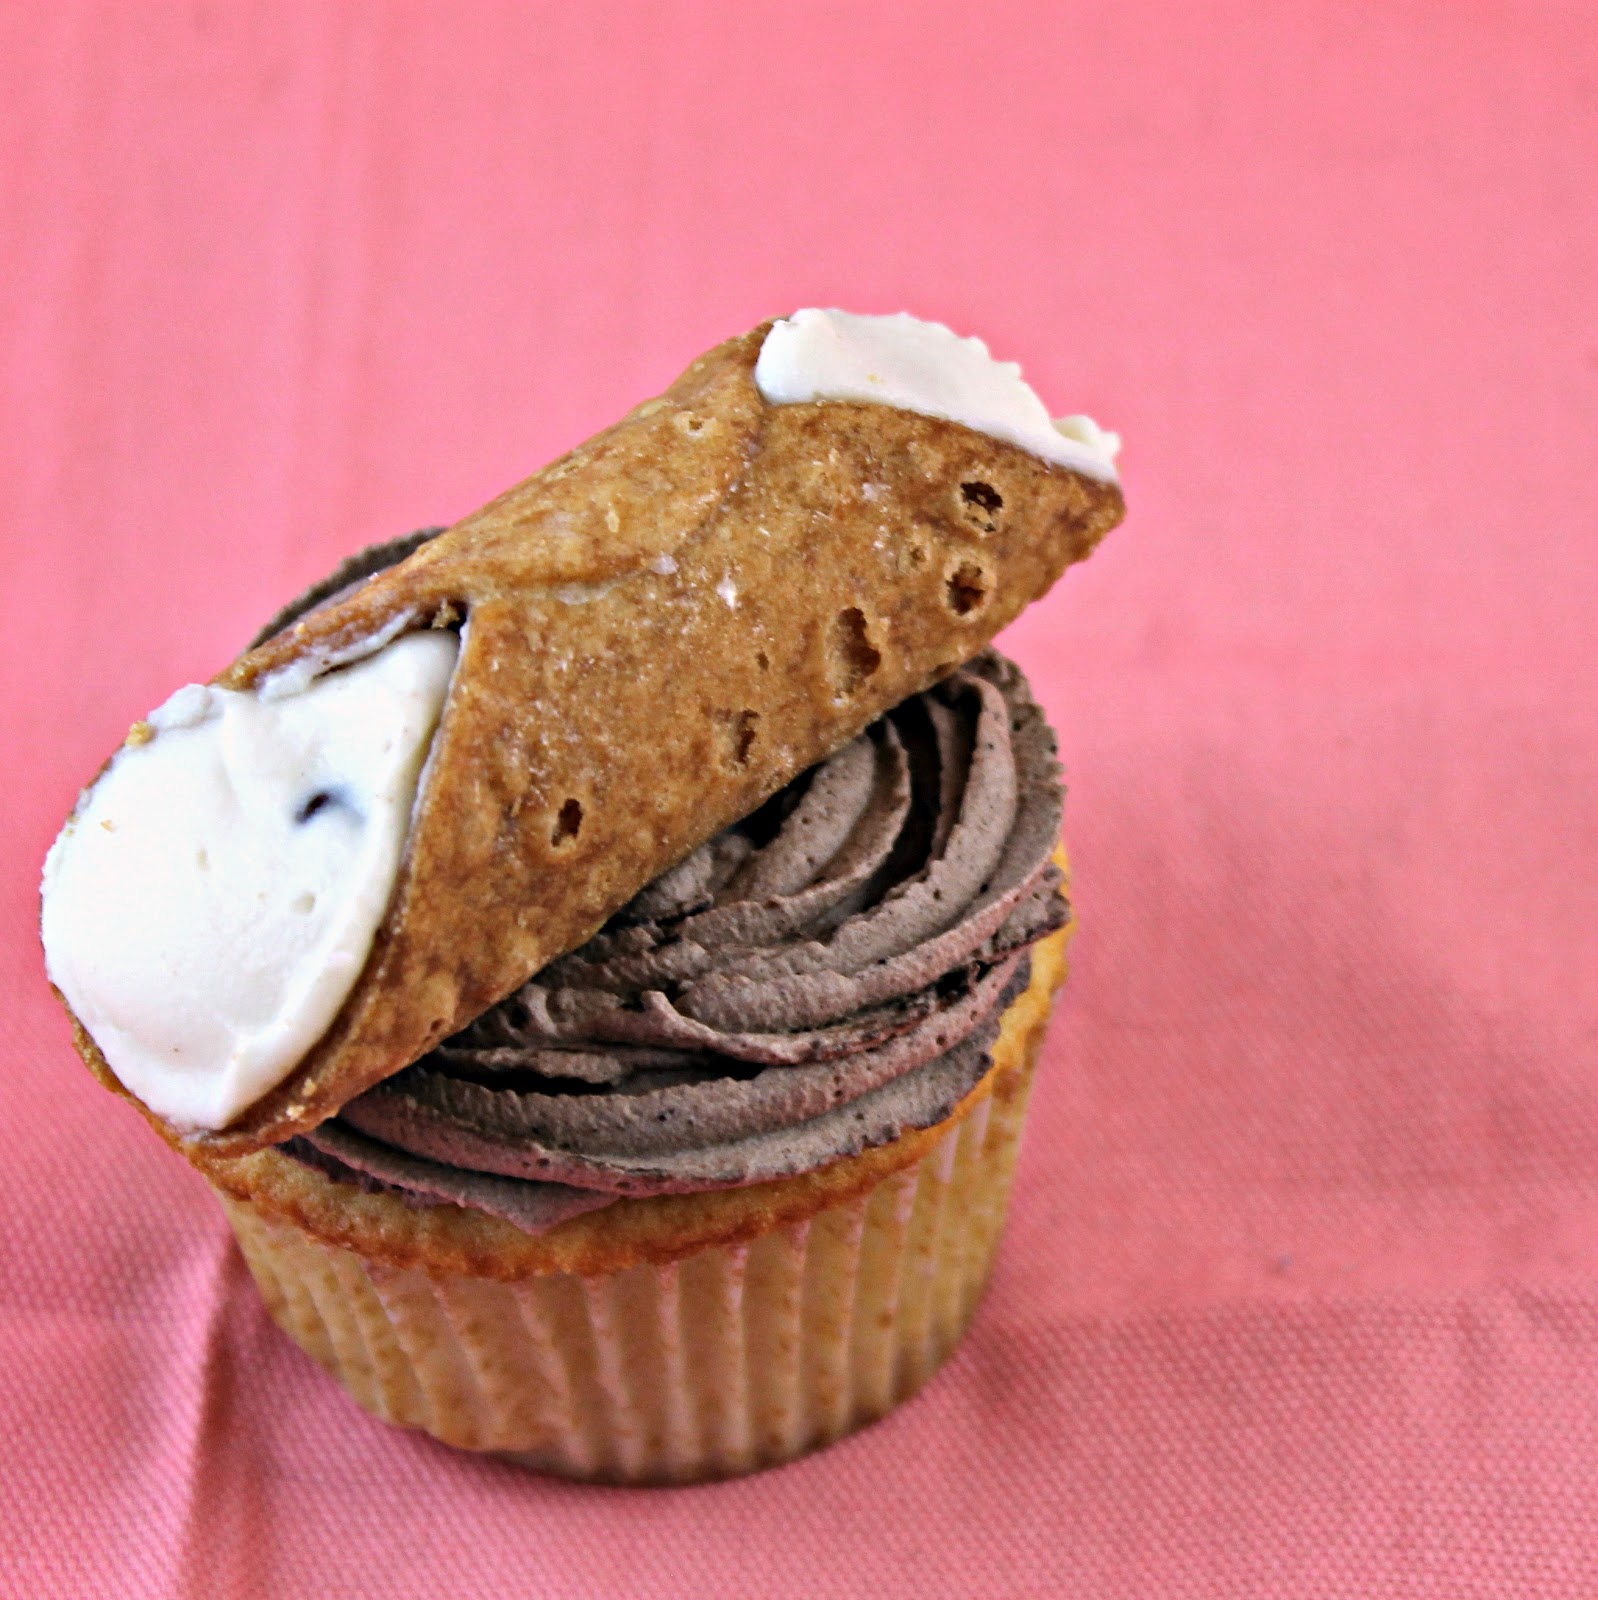
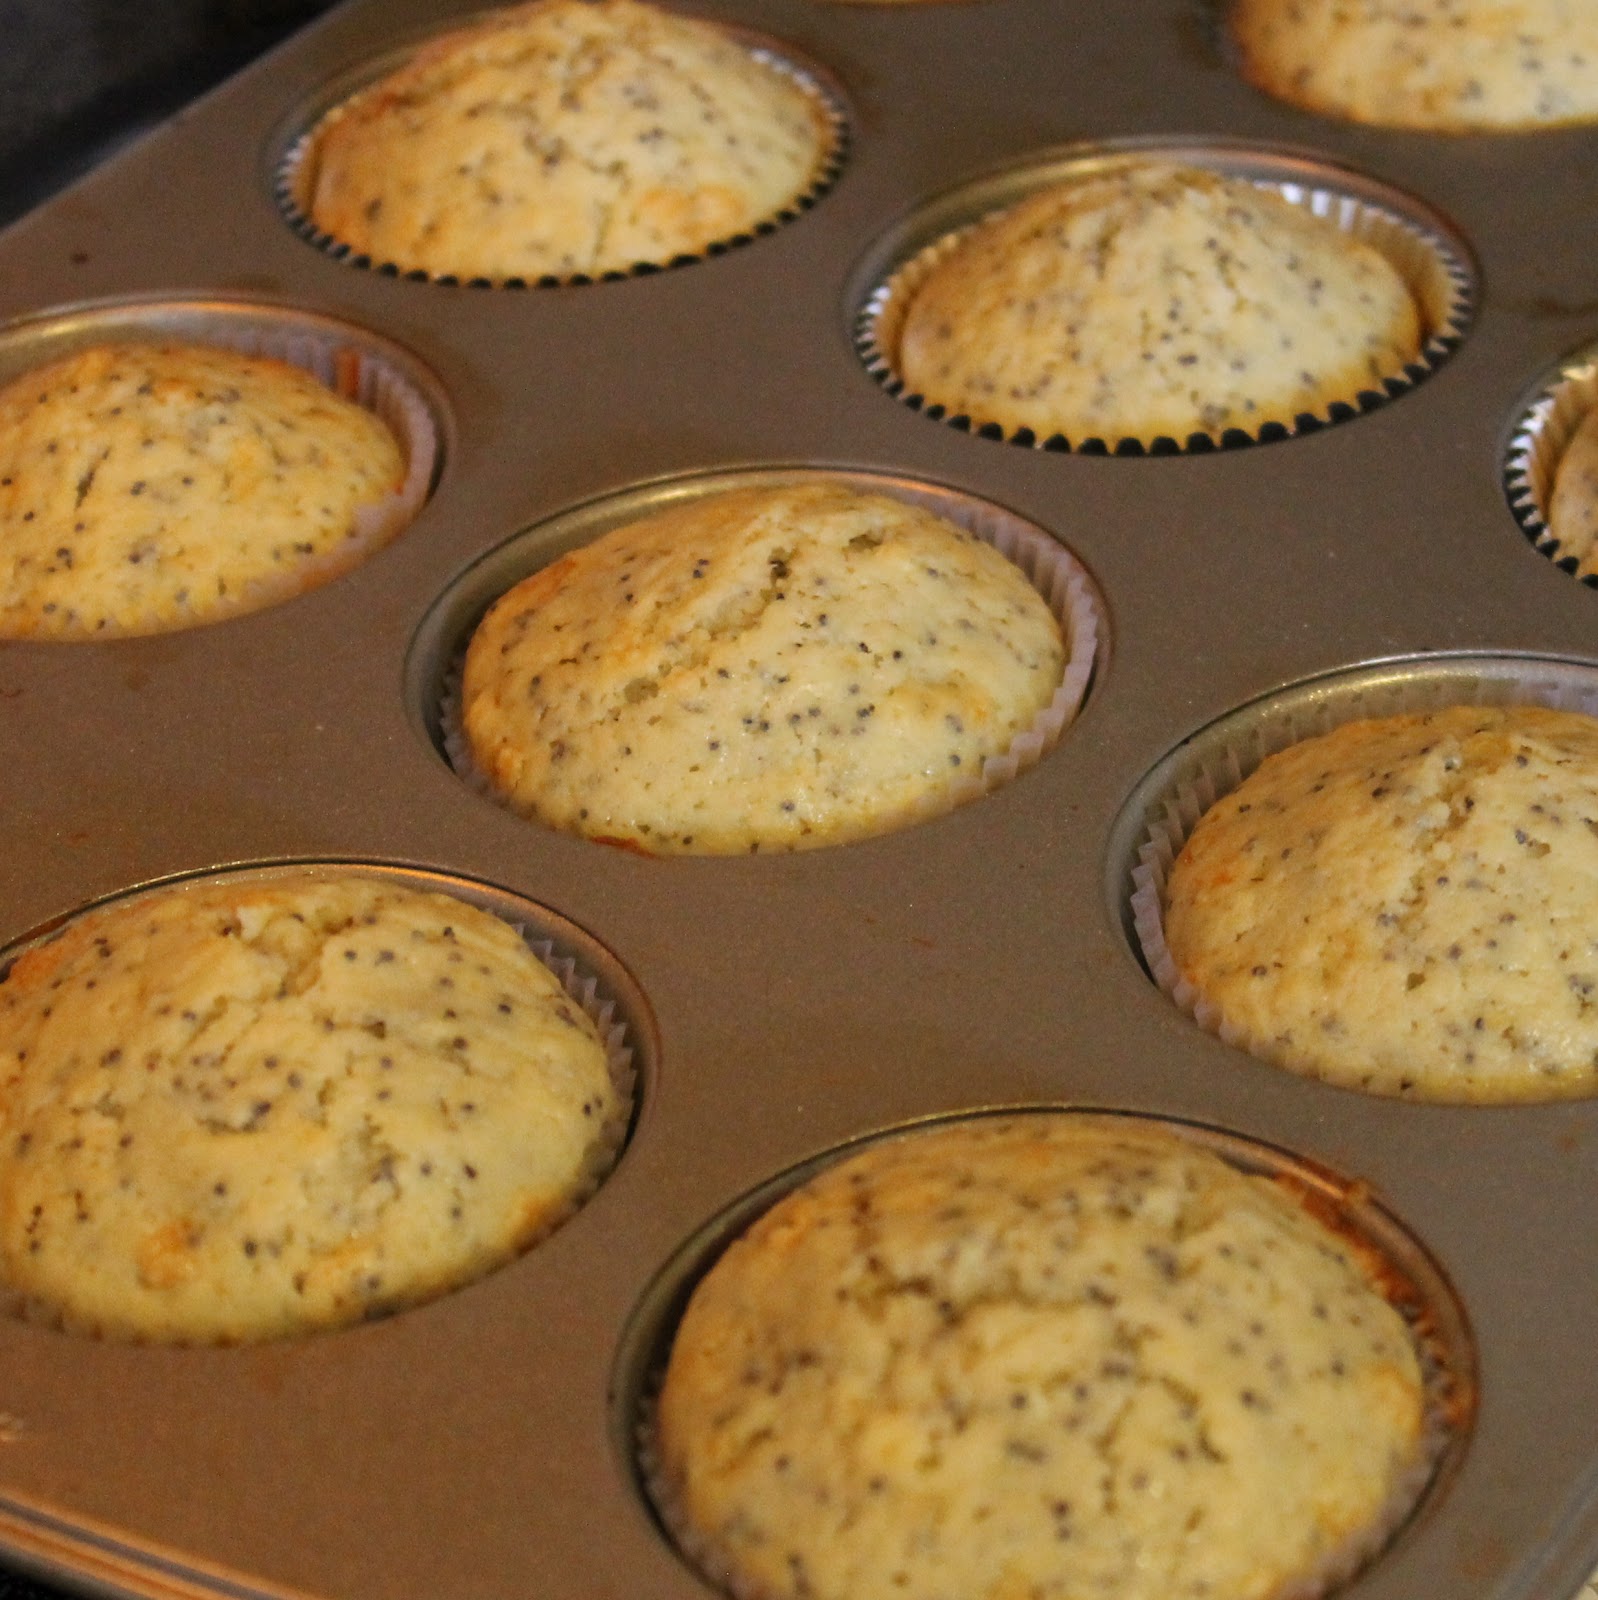
Last but certainly not least were the Cinnamon Spiced Cupcakes. I’ve gotta tell you, the frosting for these cupcakes stole the show. It was oh so creamy and delicious. Topping it with pieces of candied bacon didn’t hurt either.
Overall, people left full and happy. Brian and I were pret-ty proud of ourselves after turning out all of this food! We’ve already decided that we are Tiny Food Party addicts. Although the next time we have a tiny food party, we think a potluck version would work best so that we can munch on all the bites at the same time!
The cookbook is really extensive but it’s got me thinking… what else would you make in tiny food form? Mini grilled cheese dipped in a “tomato soup?” Mini whoopie pies? The options are endless!
This cookbook is actually being released today, October 9. You can find it at: Amazon, Barnes & Noble, or at your local store.