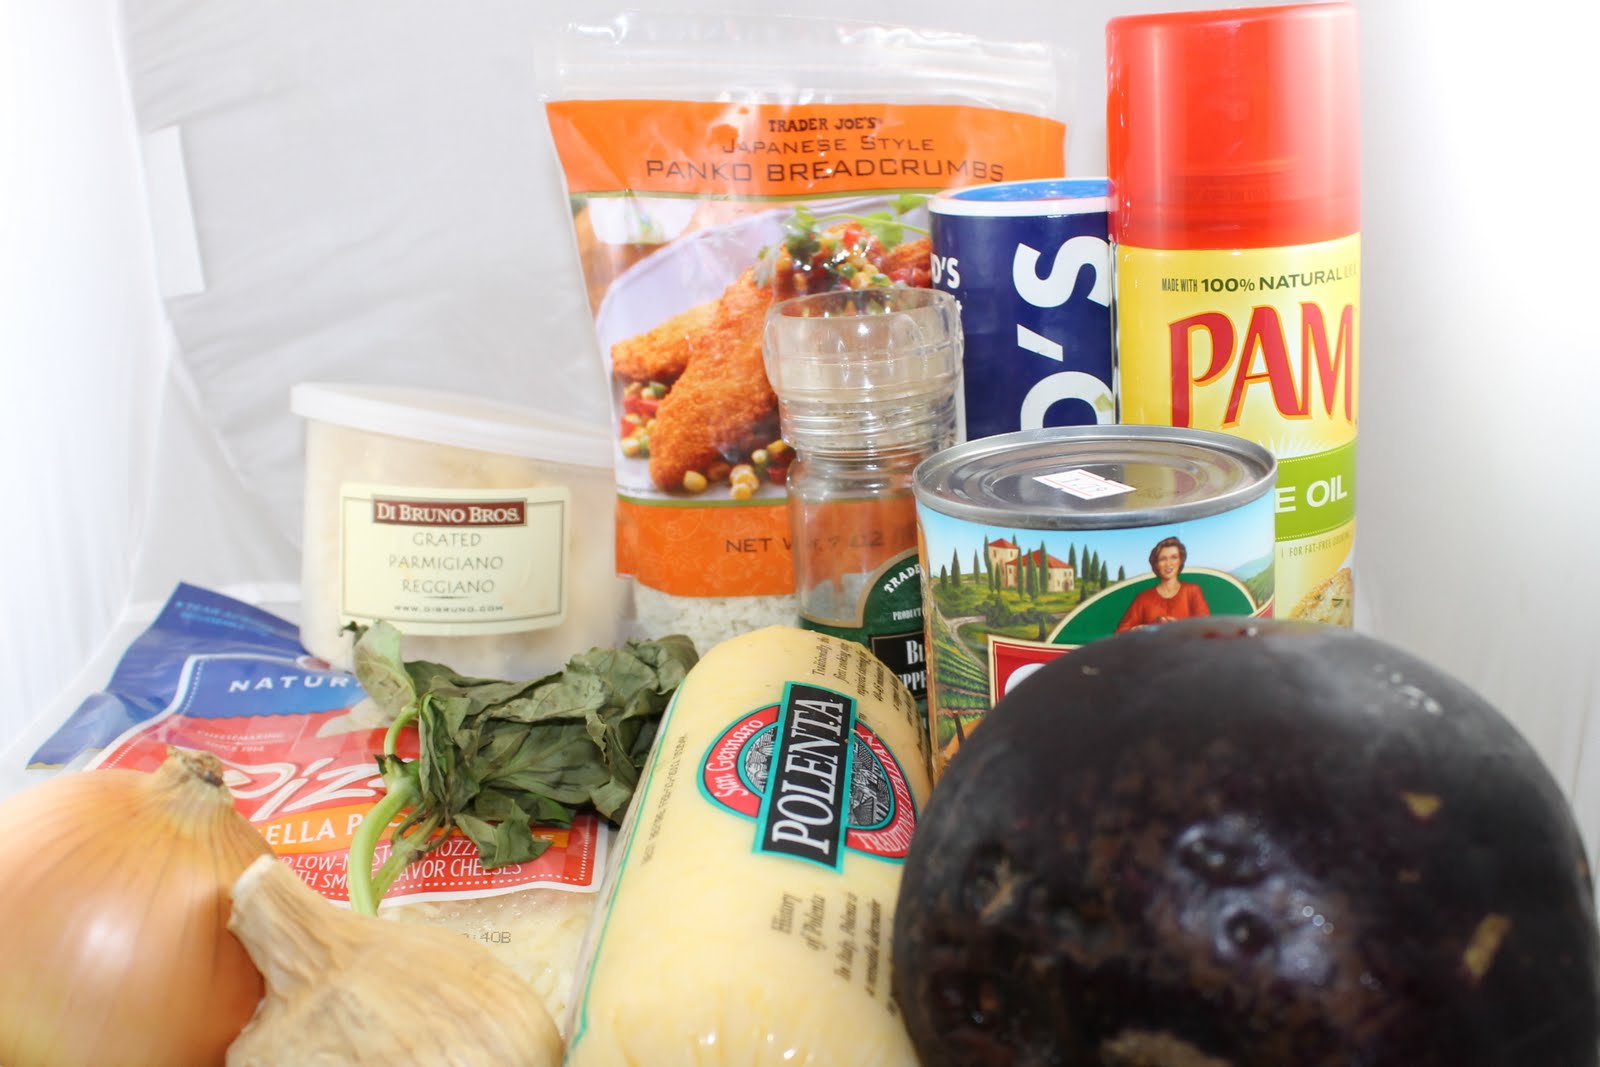

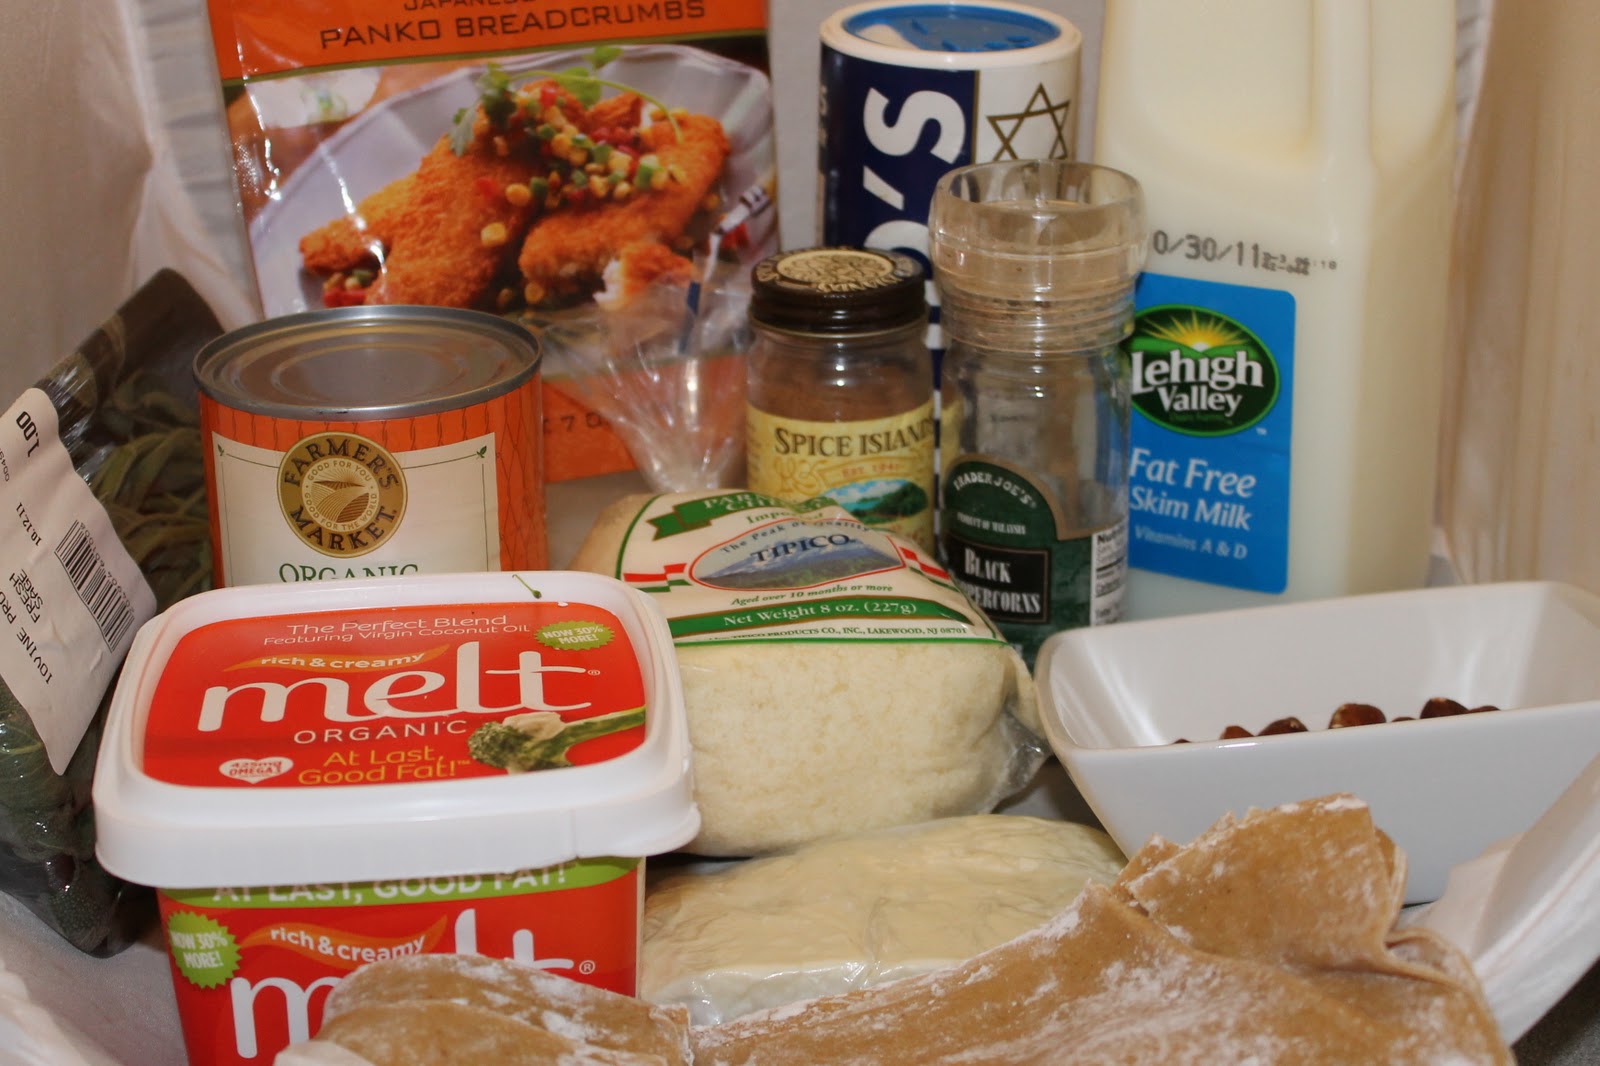
Ingredients (makes 3 servings):
1 1/4 cups canned pumpkin
2 tablespoons panko breadcrumbs
2 tablespoons fresh grated Parmesan cheese
1/2 teaspoon salt
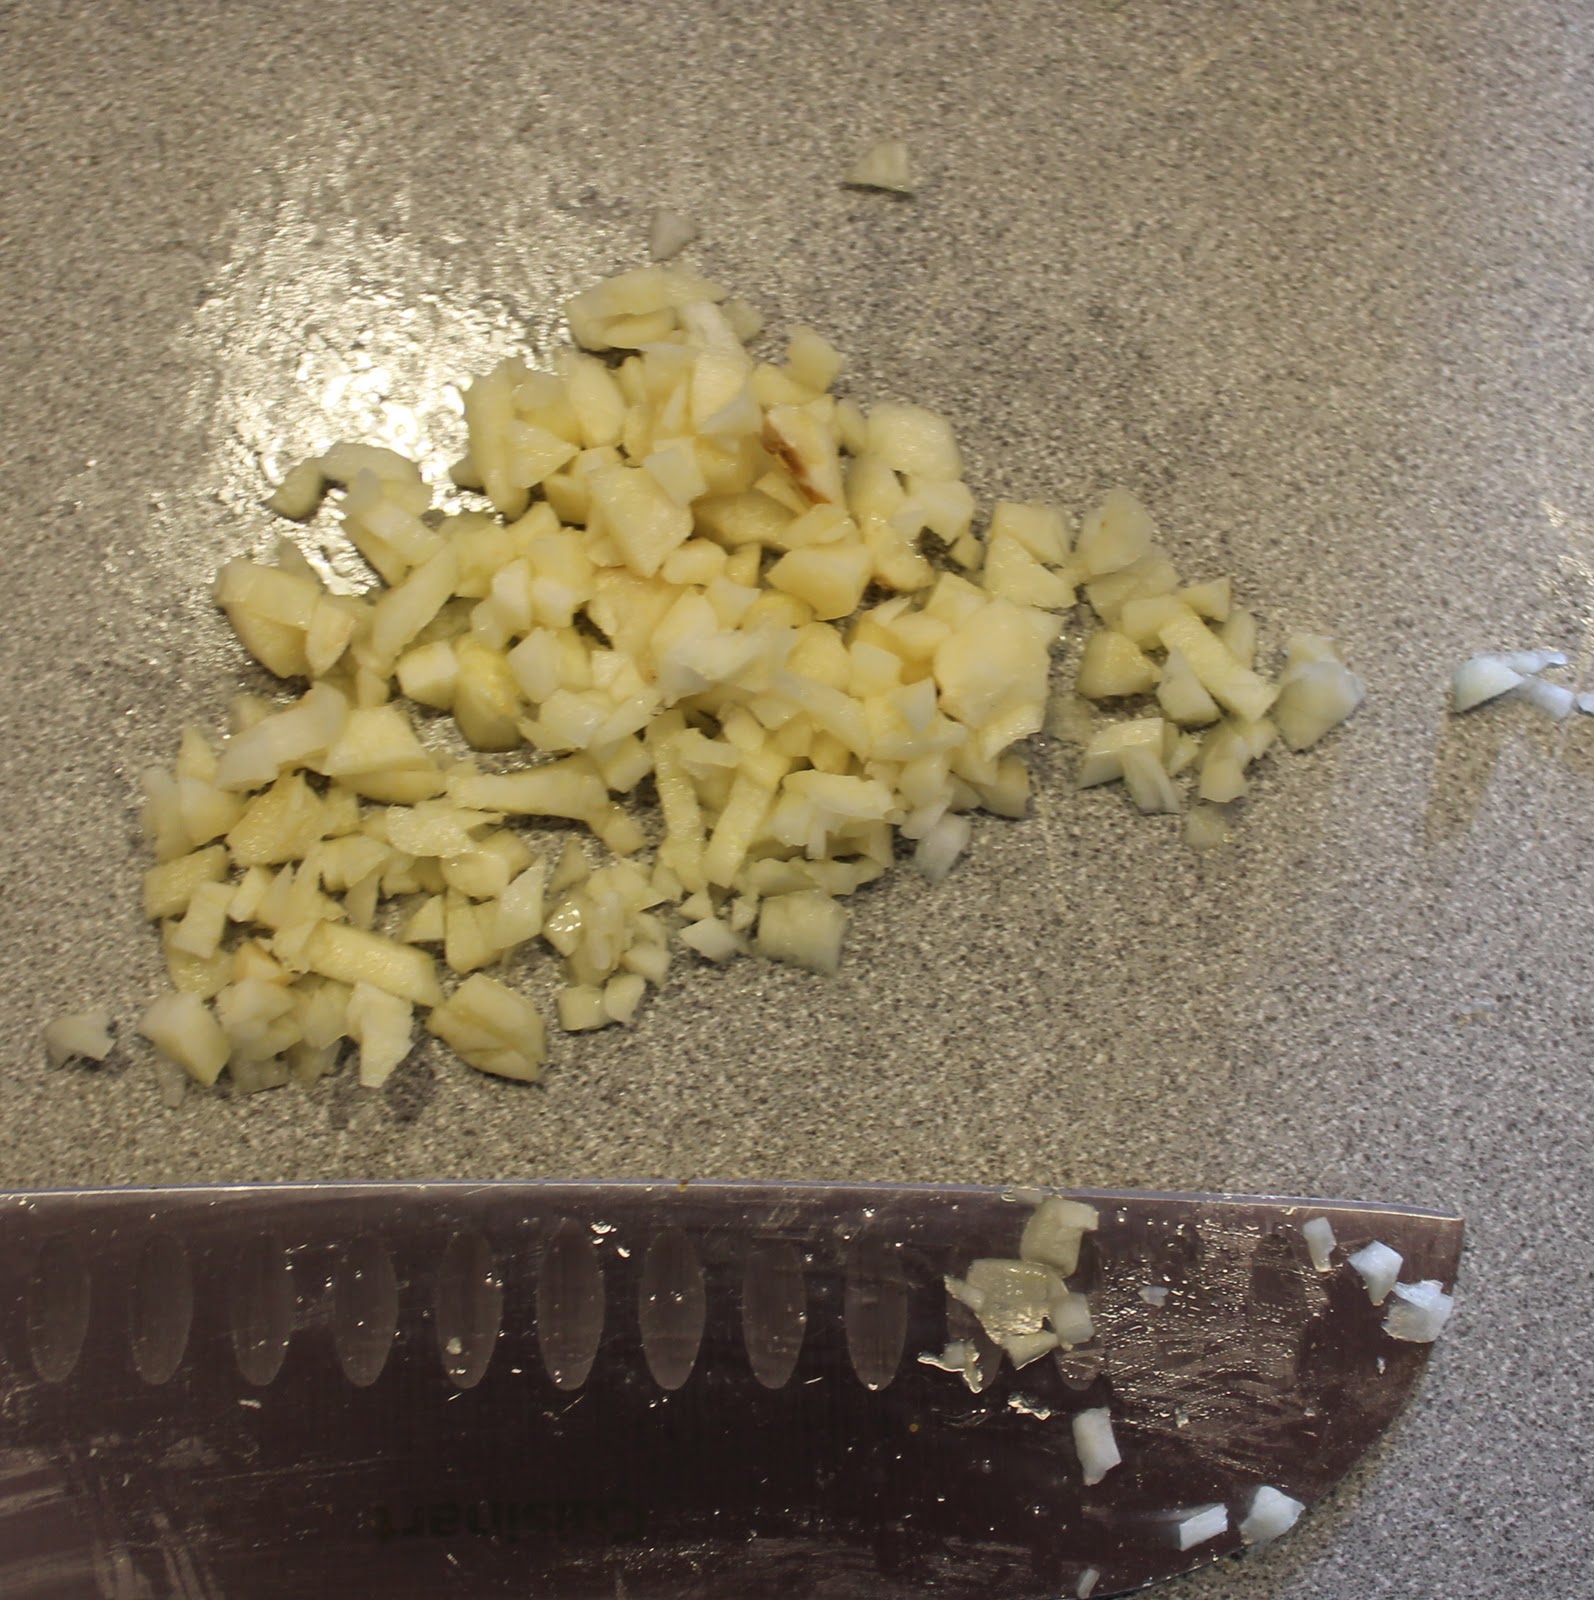
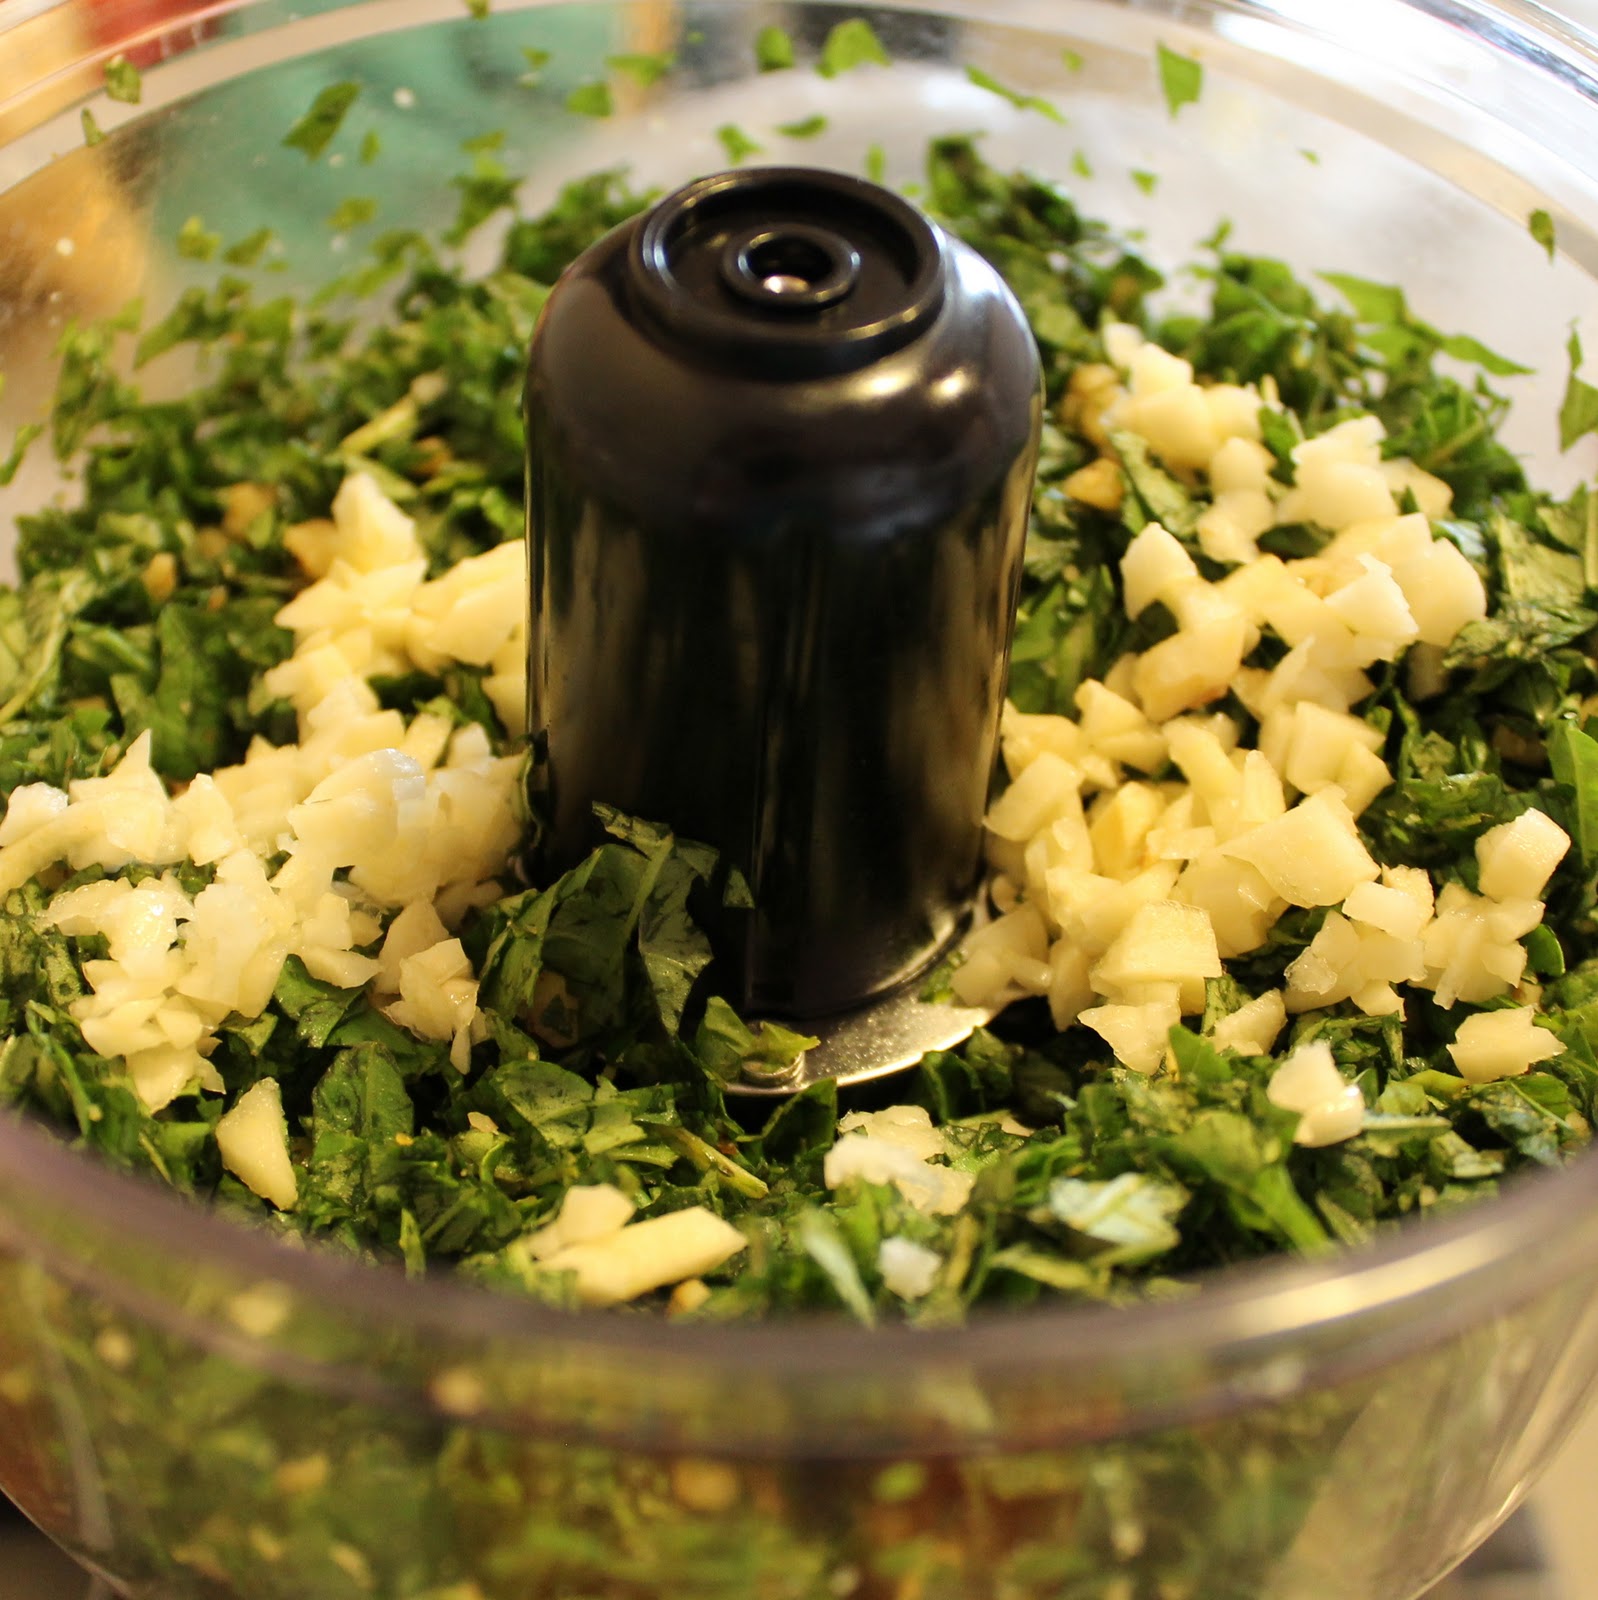
3/4 teaspoon minced fresh sage
1/4 teaspoon freshly ground black pepper
1/4 teaspoon ground nutmeg, divided
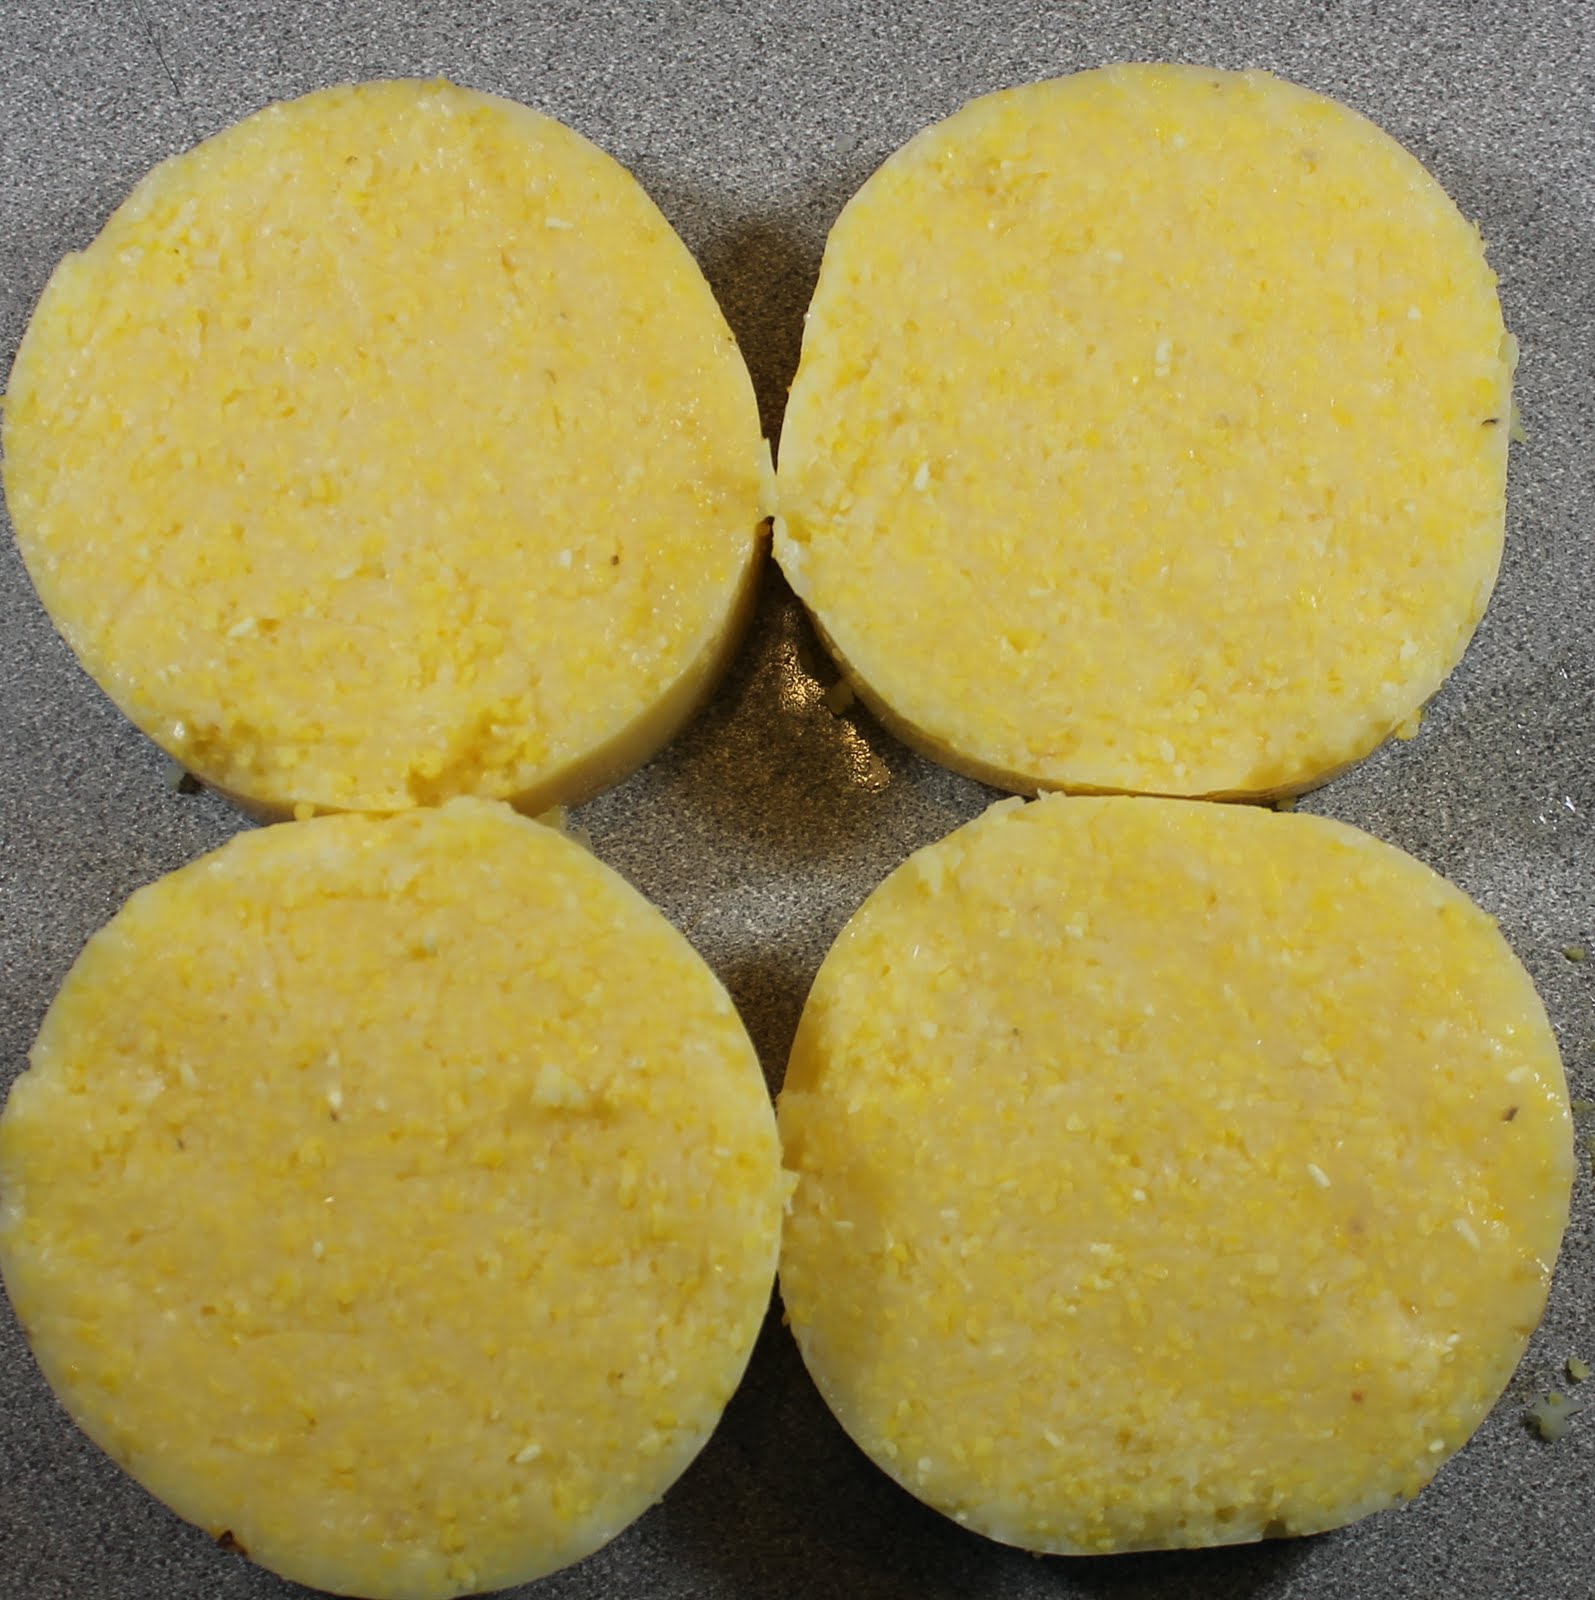
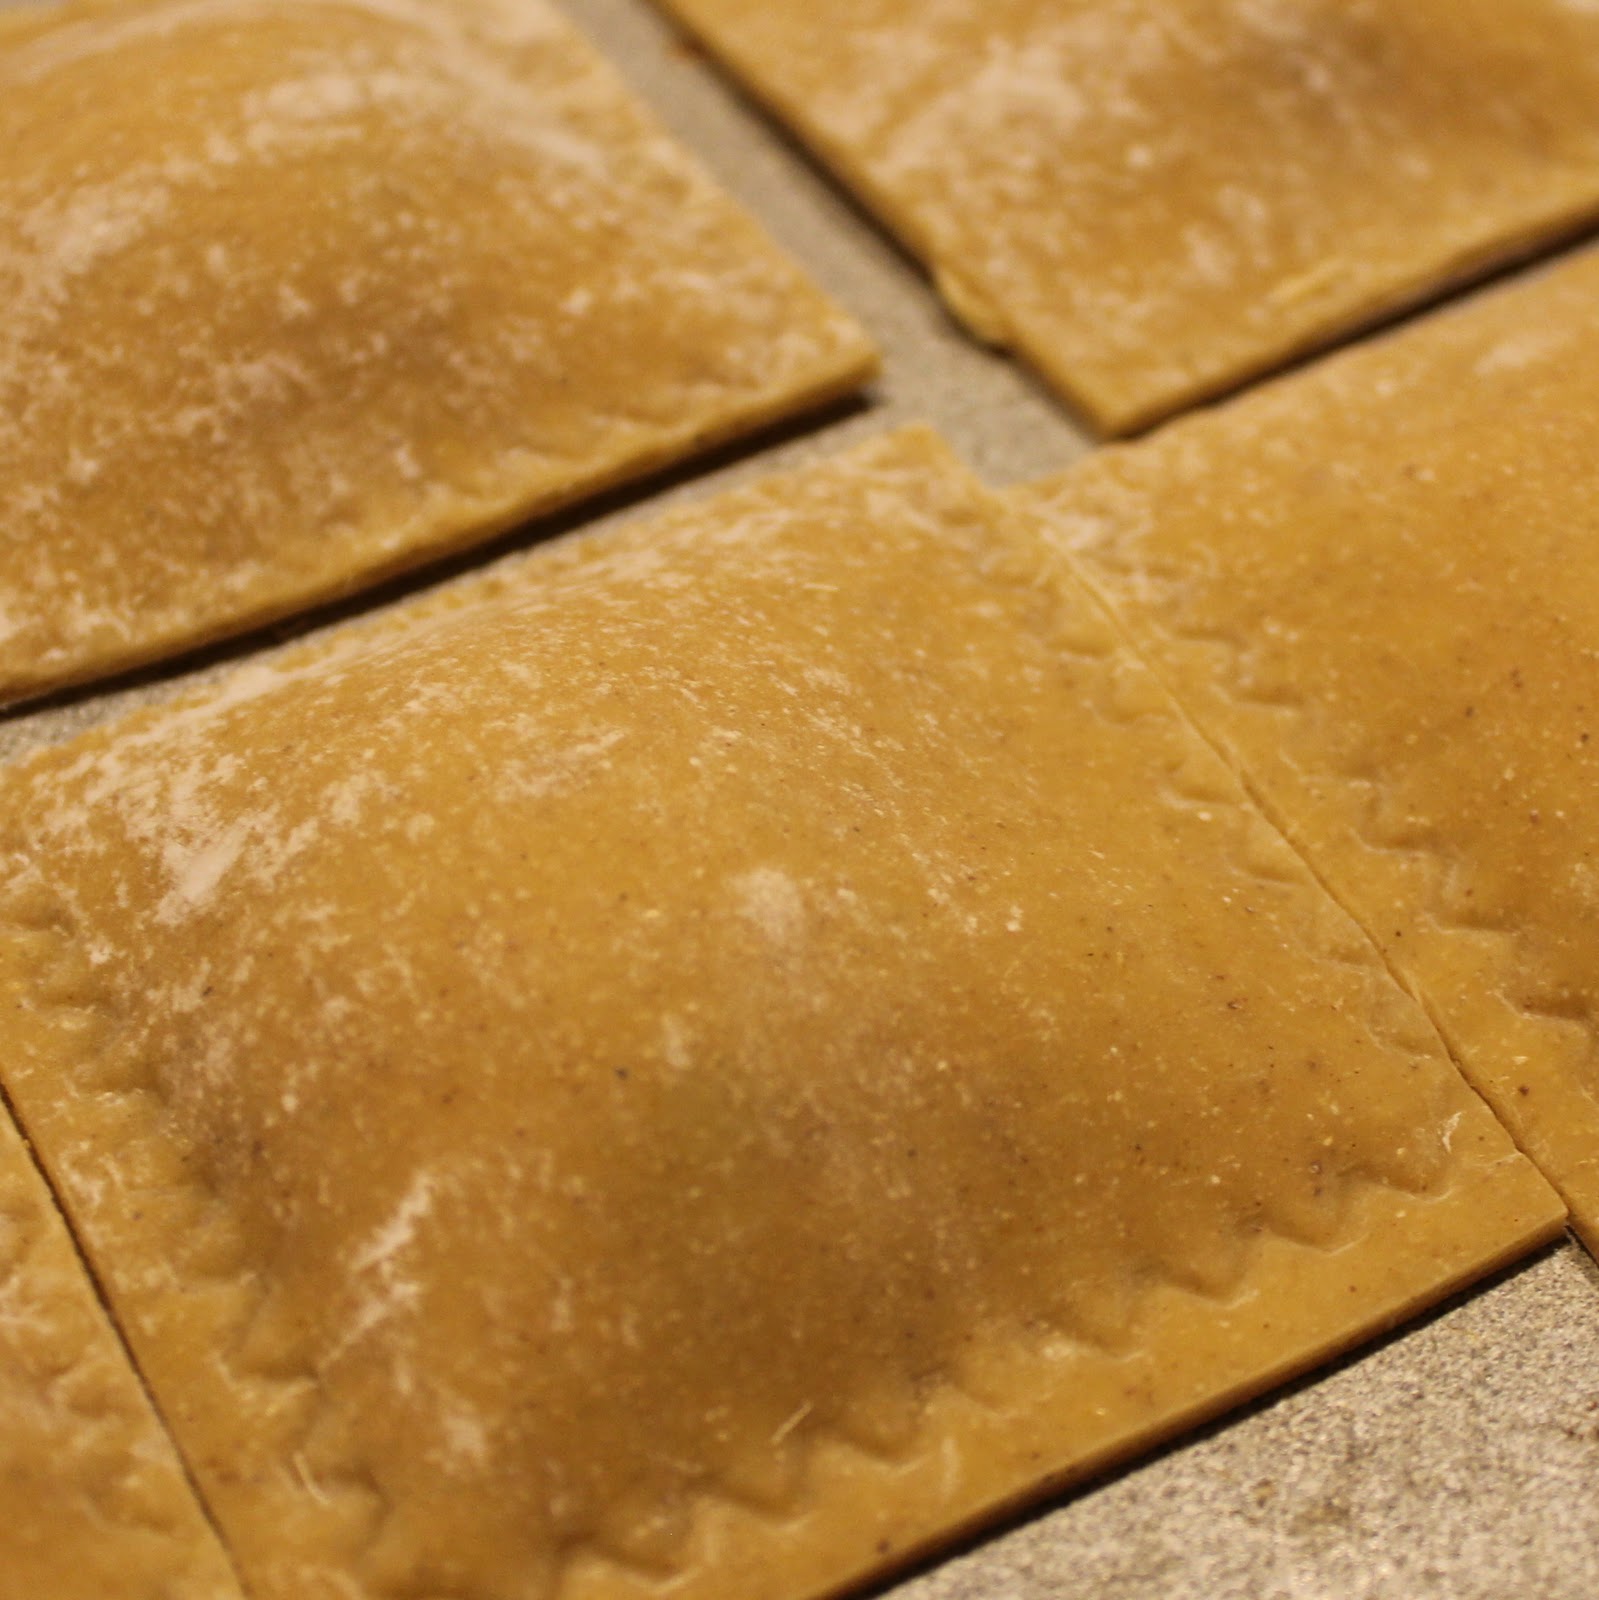
6 pieces of fresh pasta lasagna sheets, rolled thinner if desired (I used pumpkin pasta, no surprise there!) – about 1 lb.
1 cup fat-free milk
1 tablespoon all-purpose flour
1 1/2 tablespoons butter
1/2 cup (2 ounces) crumbled Gorgonzola cheese
1 tablespoon egg substitute or one egg, mixed
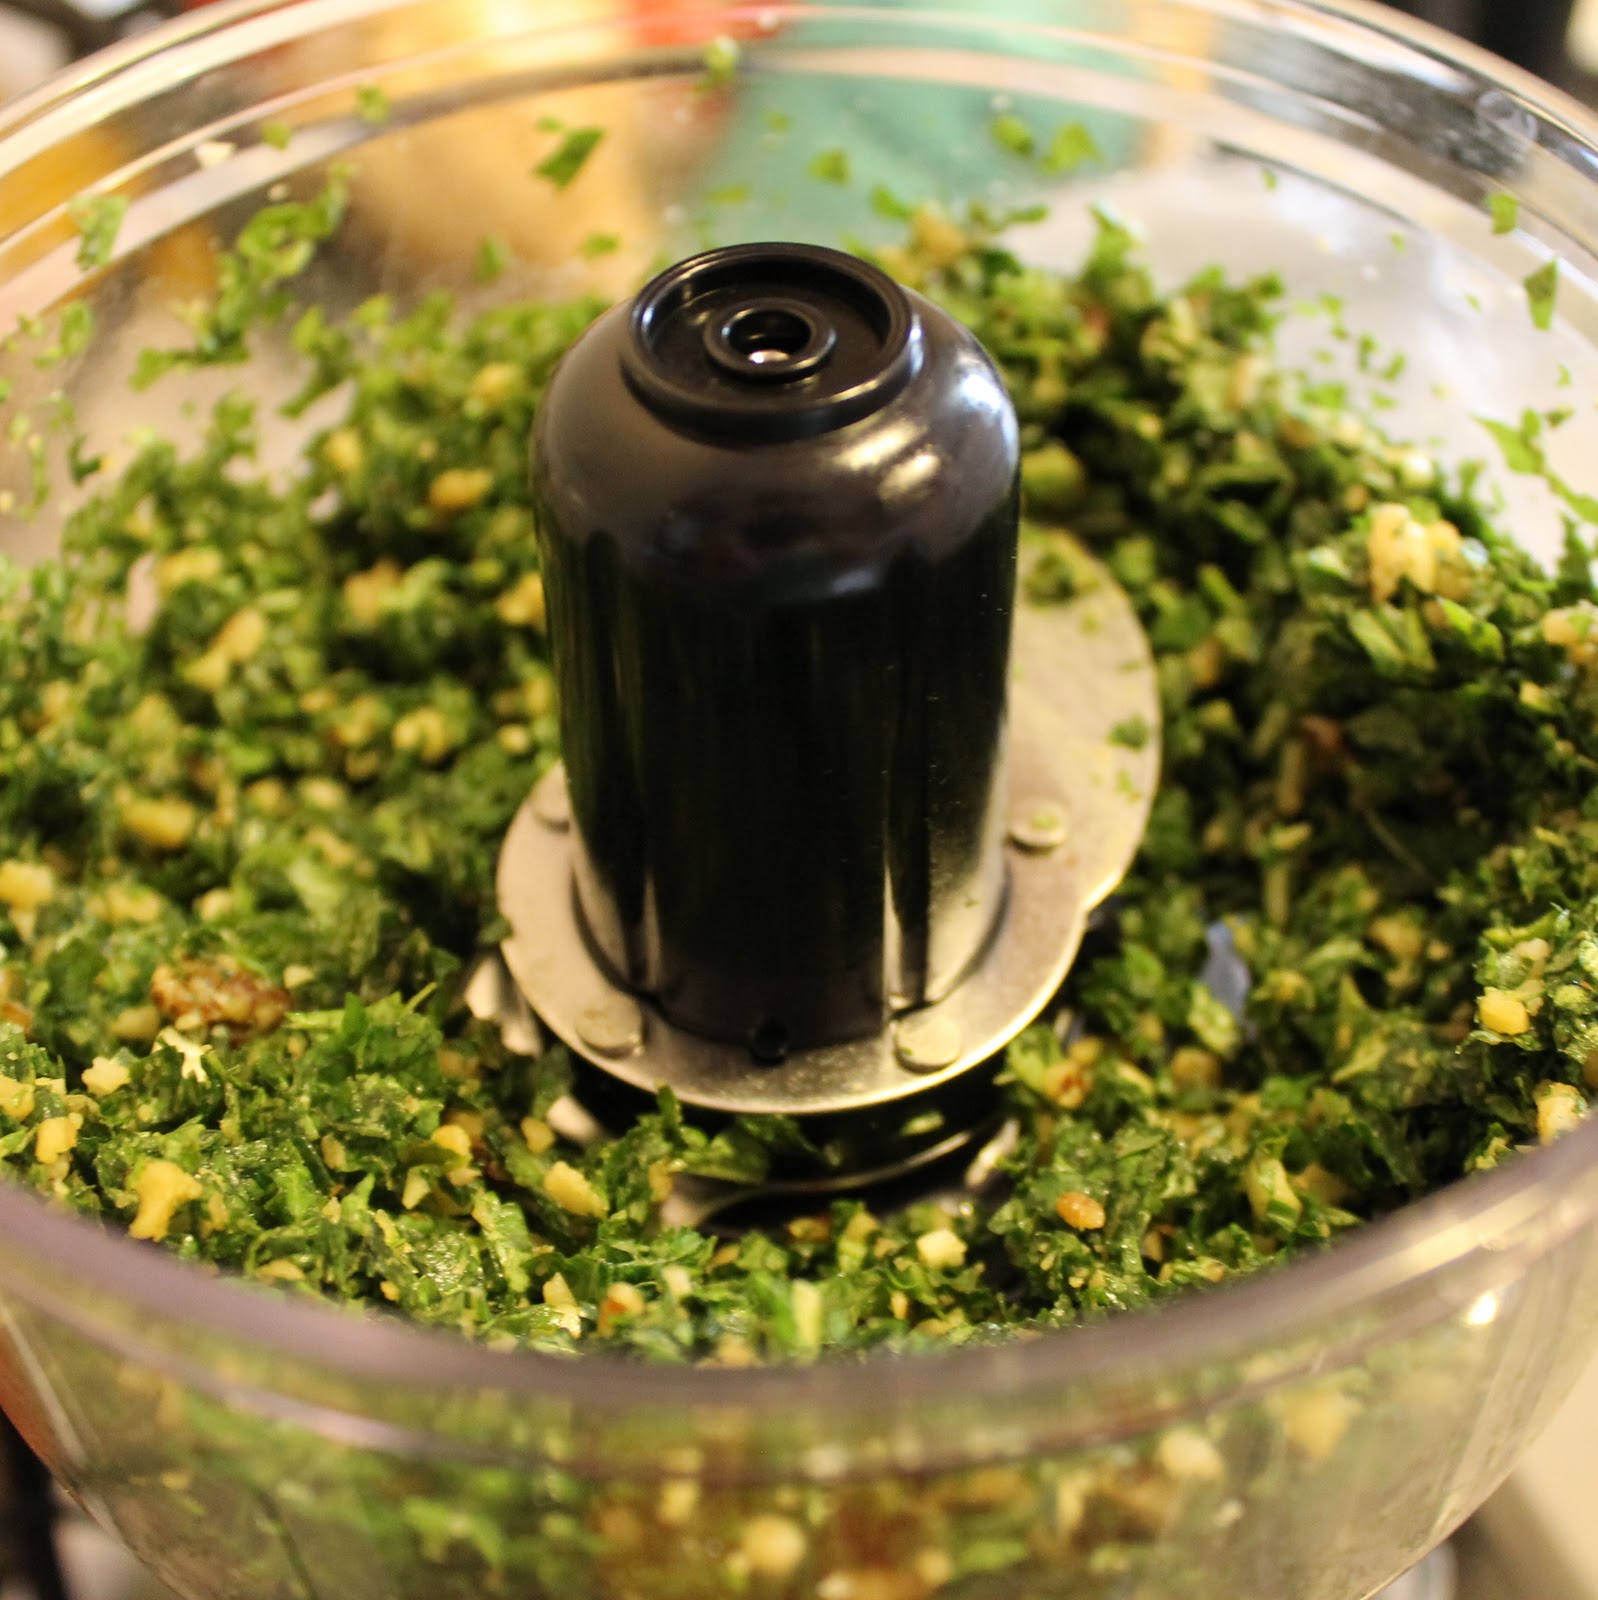
3 tablespoons hazelnuts, chopped
Fresh sage leaves for garnish

To make the Pumpkin Ravioli with Gorgonzola Sauce, add a salted pot of water to your stove over high heat. Bring to a boil.
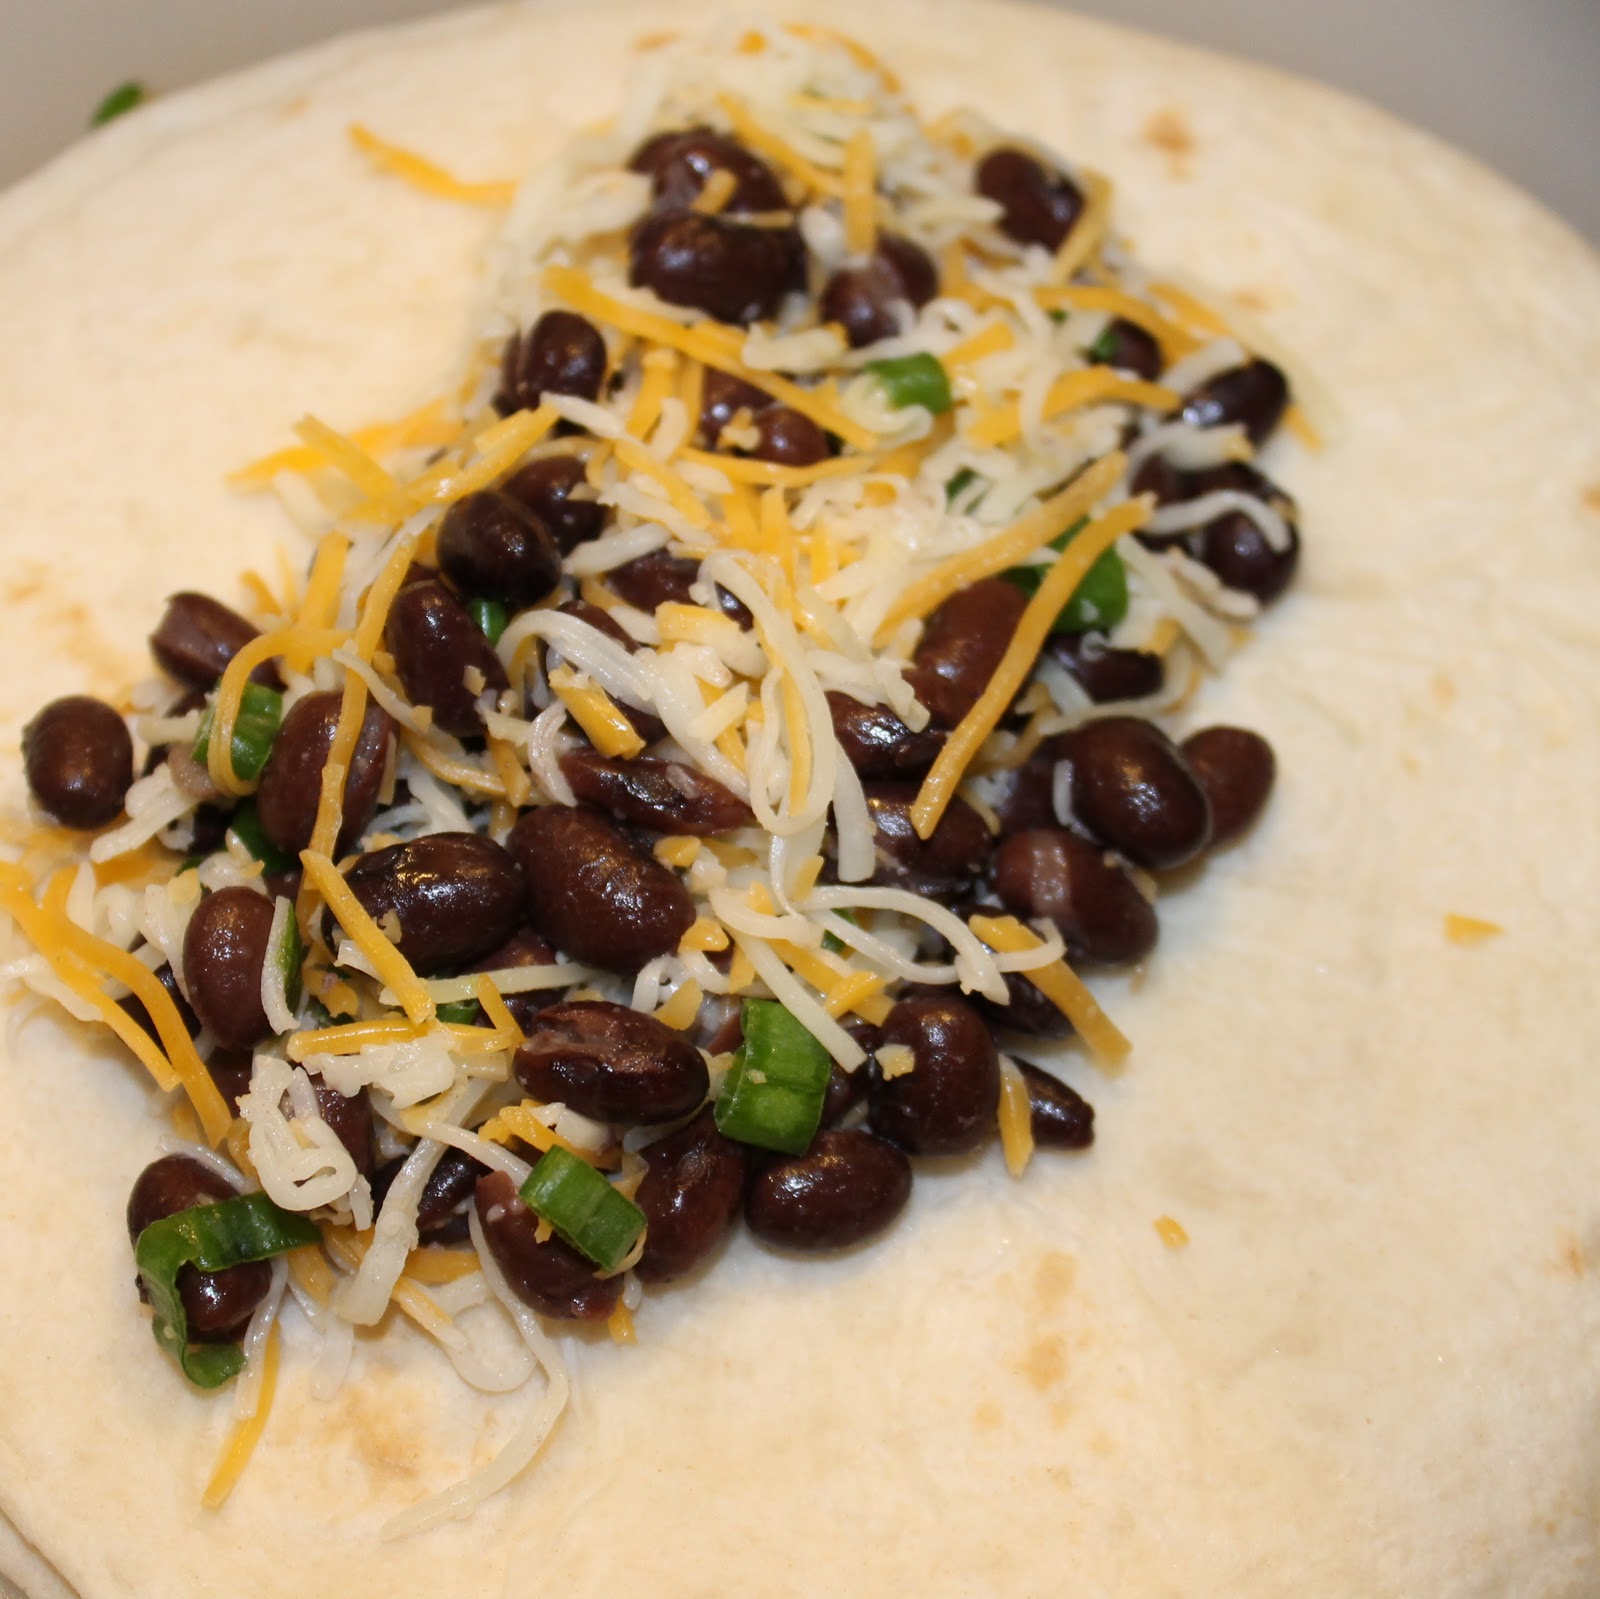
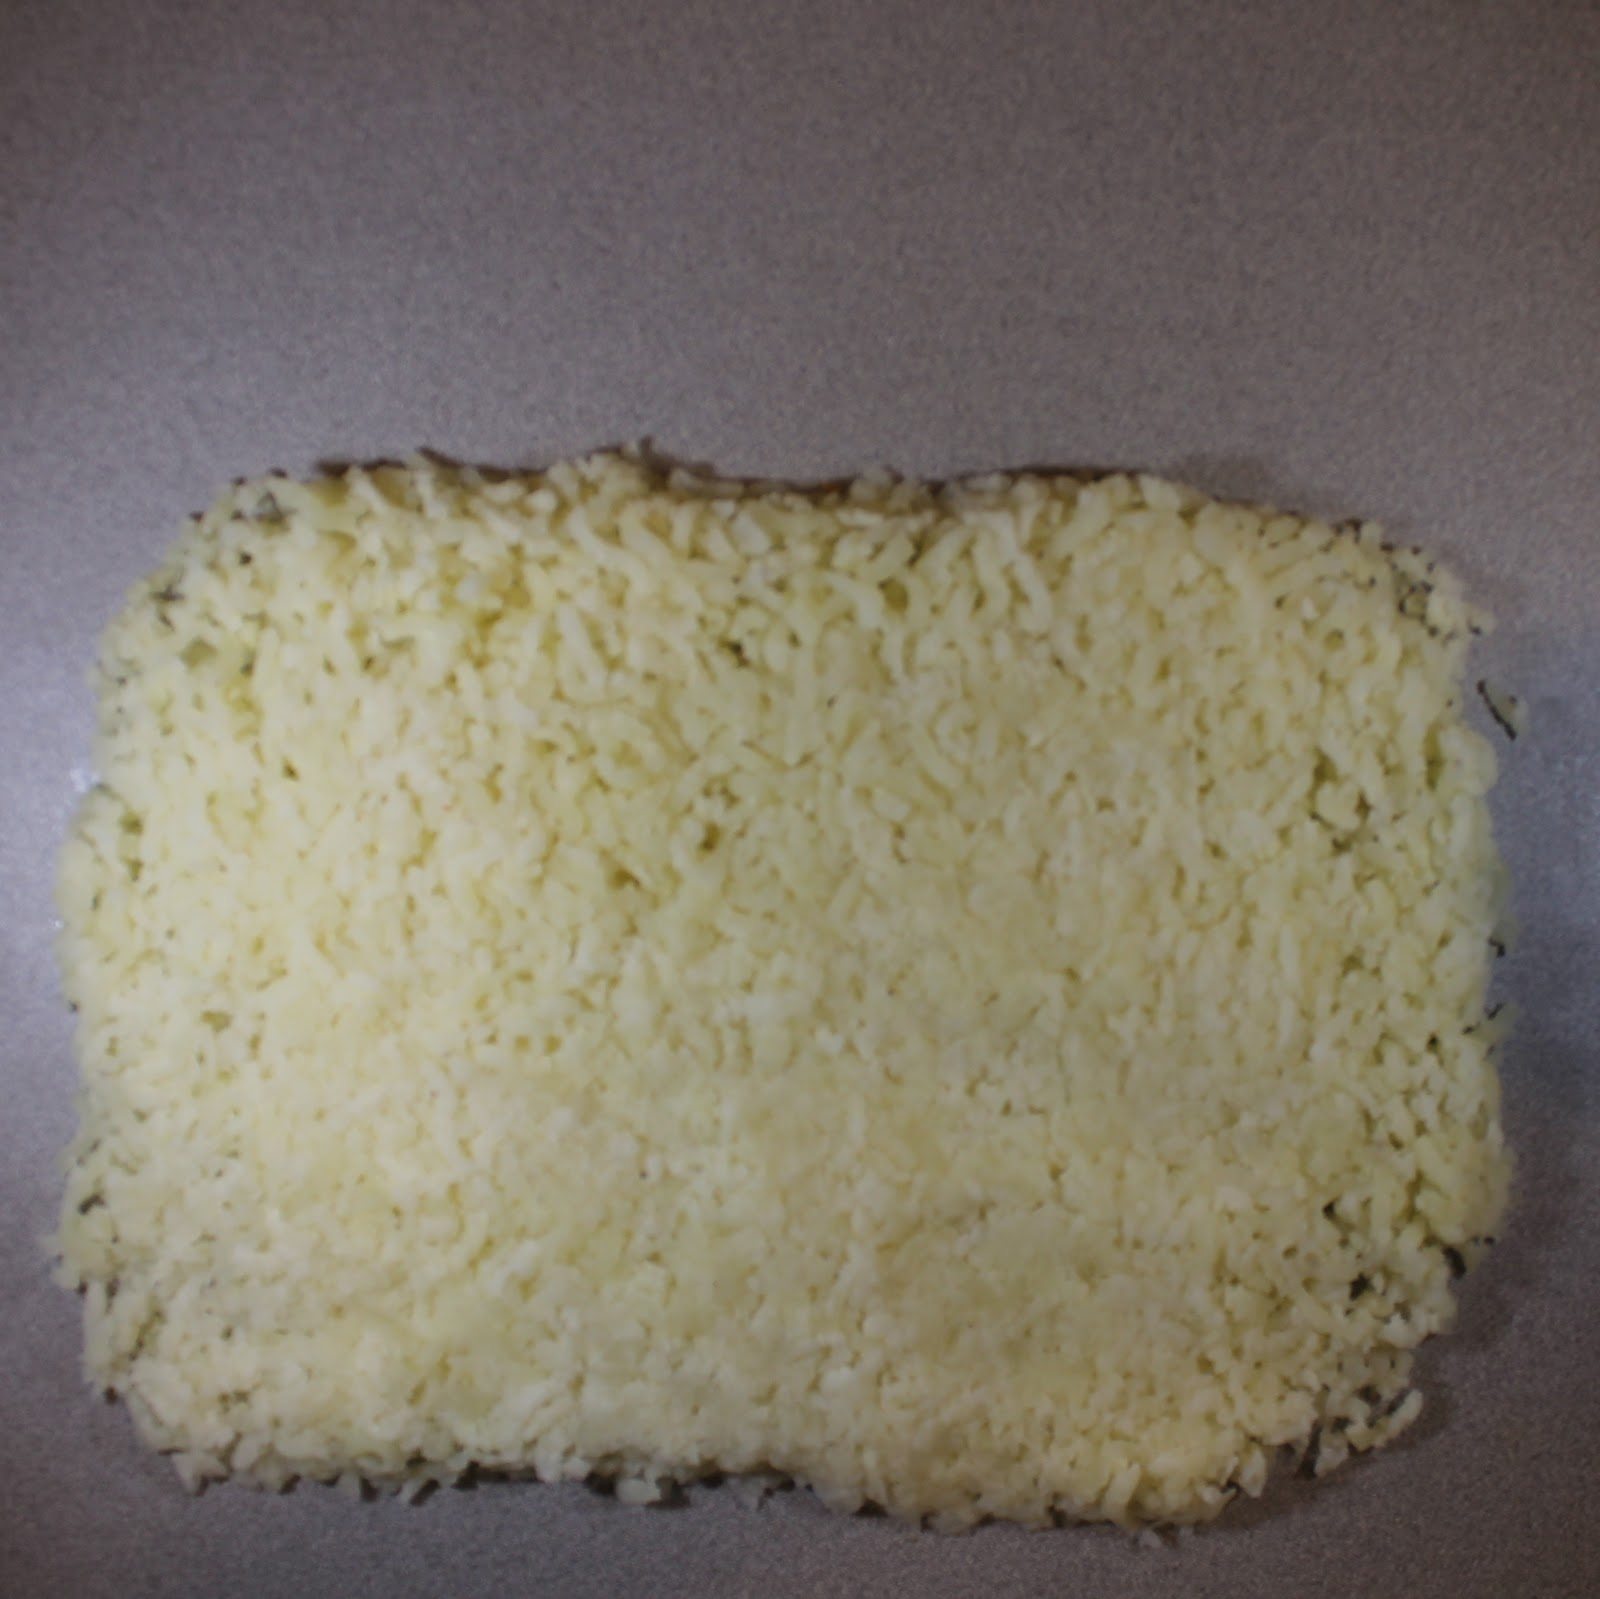
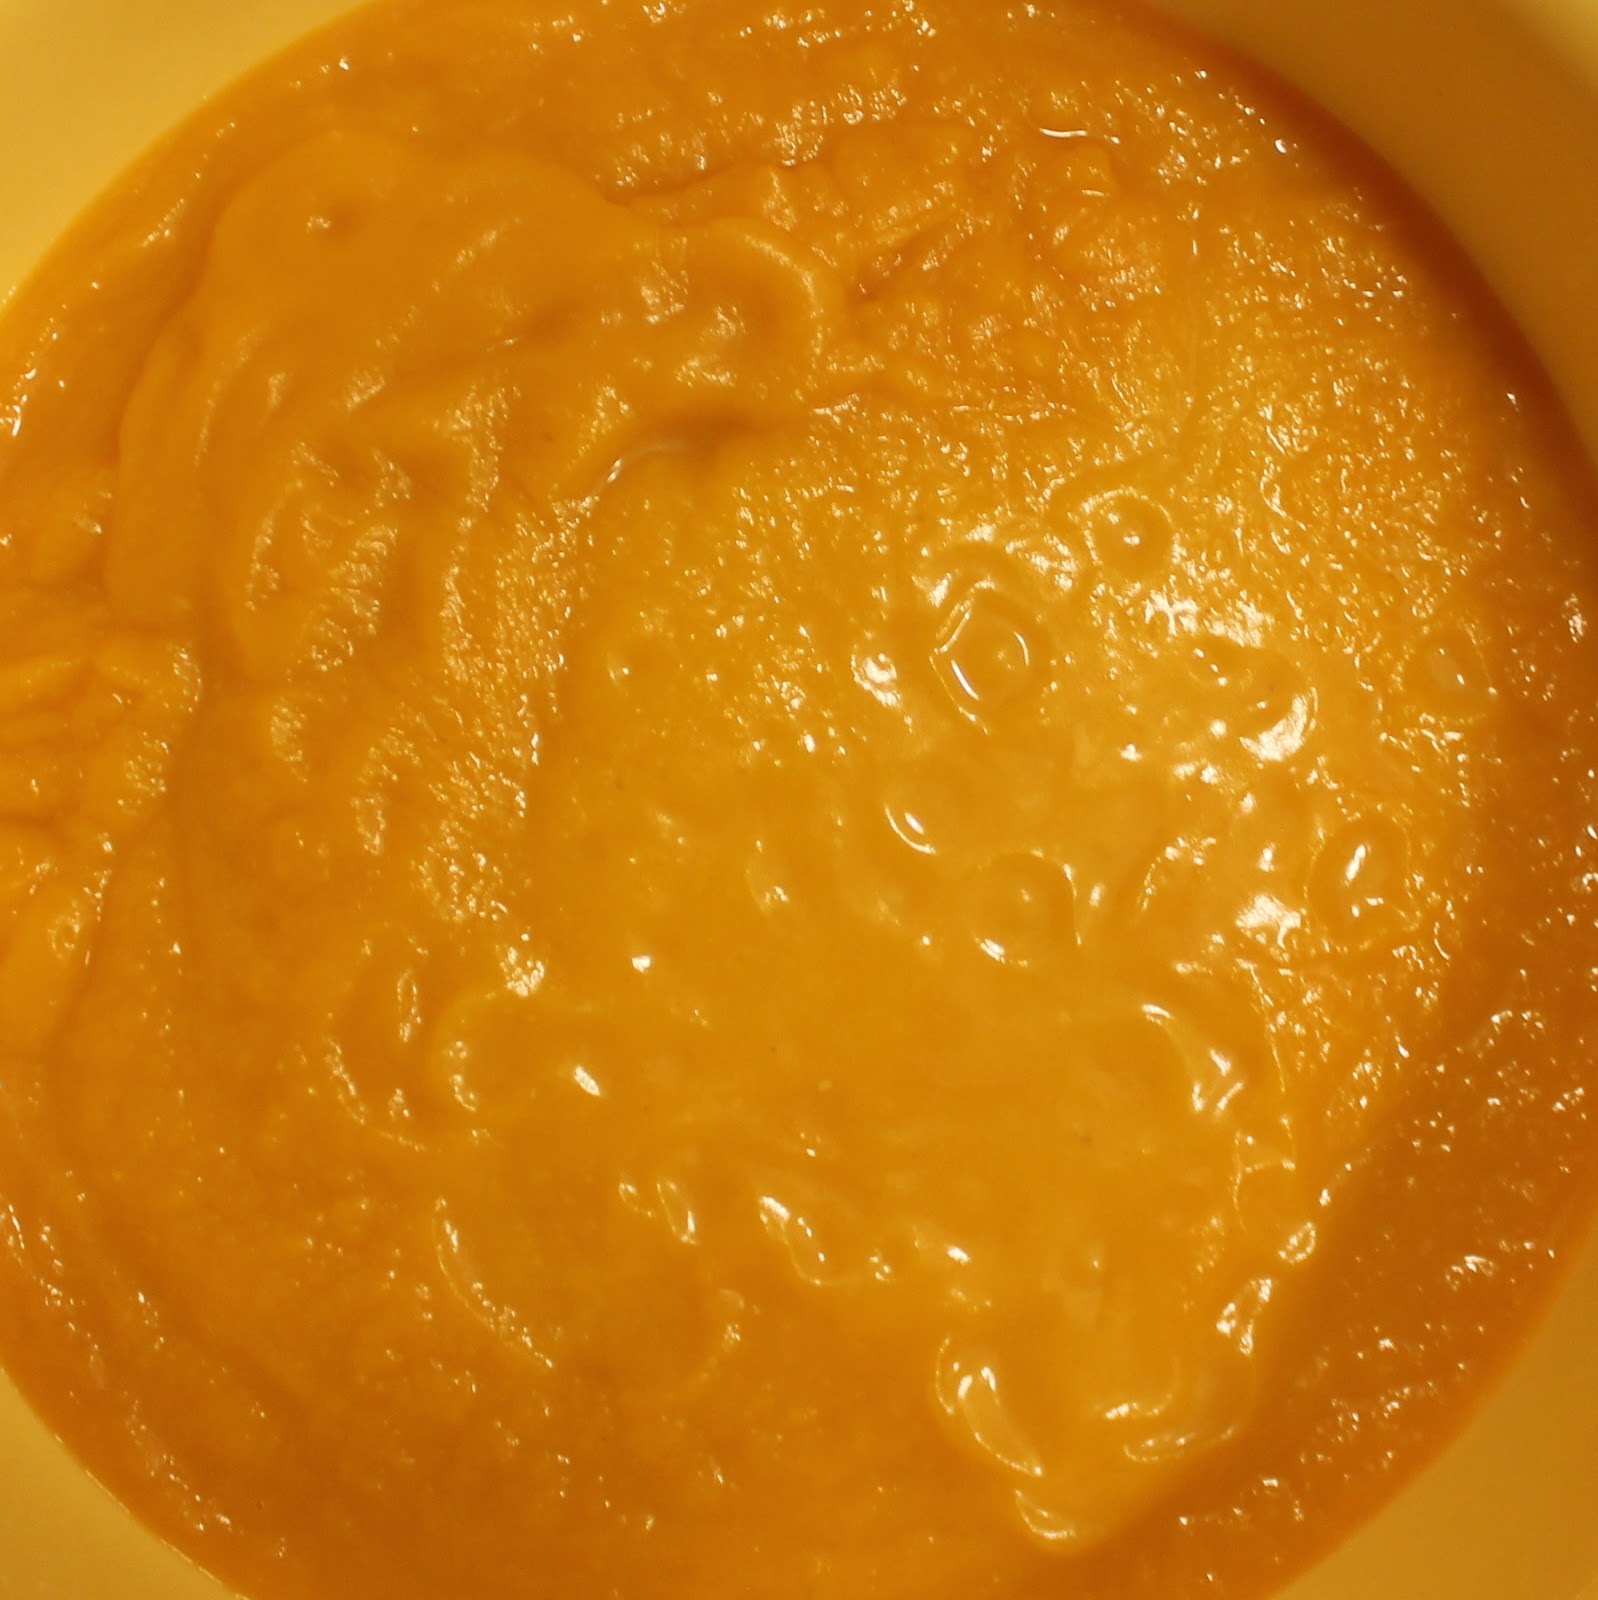
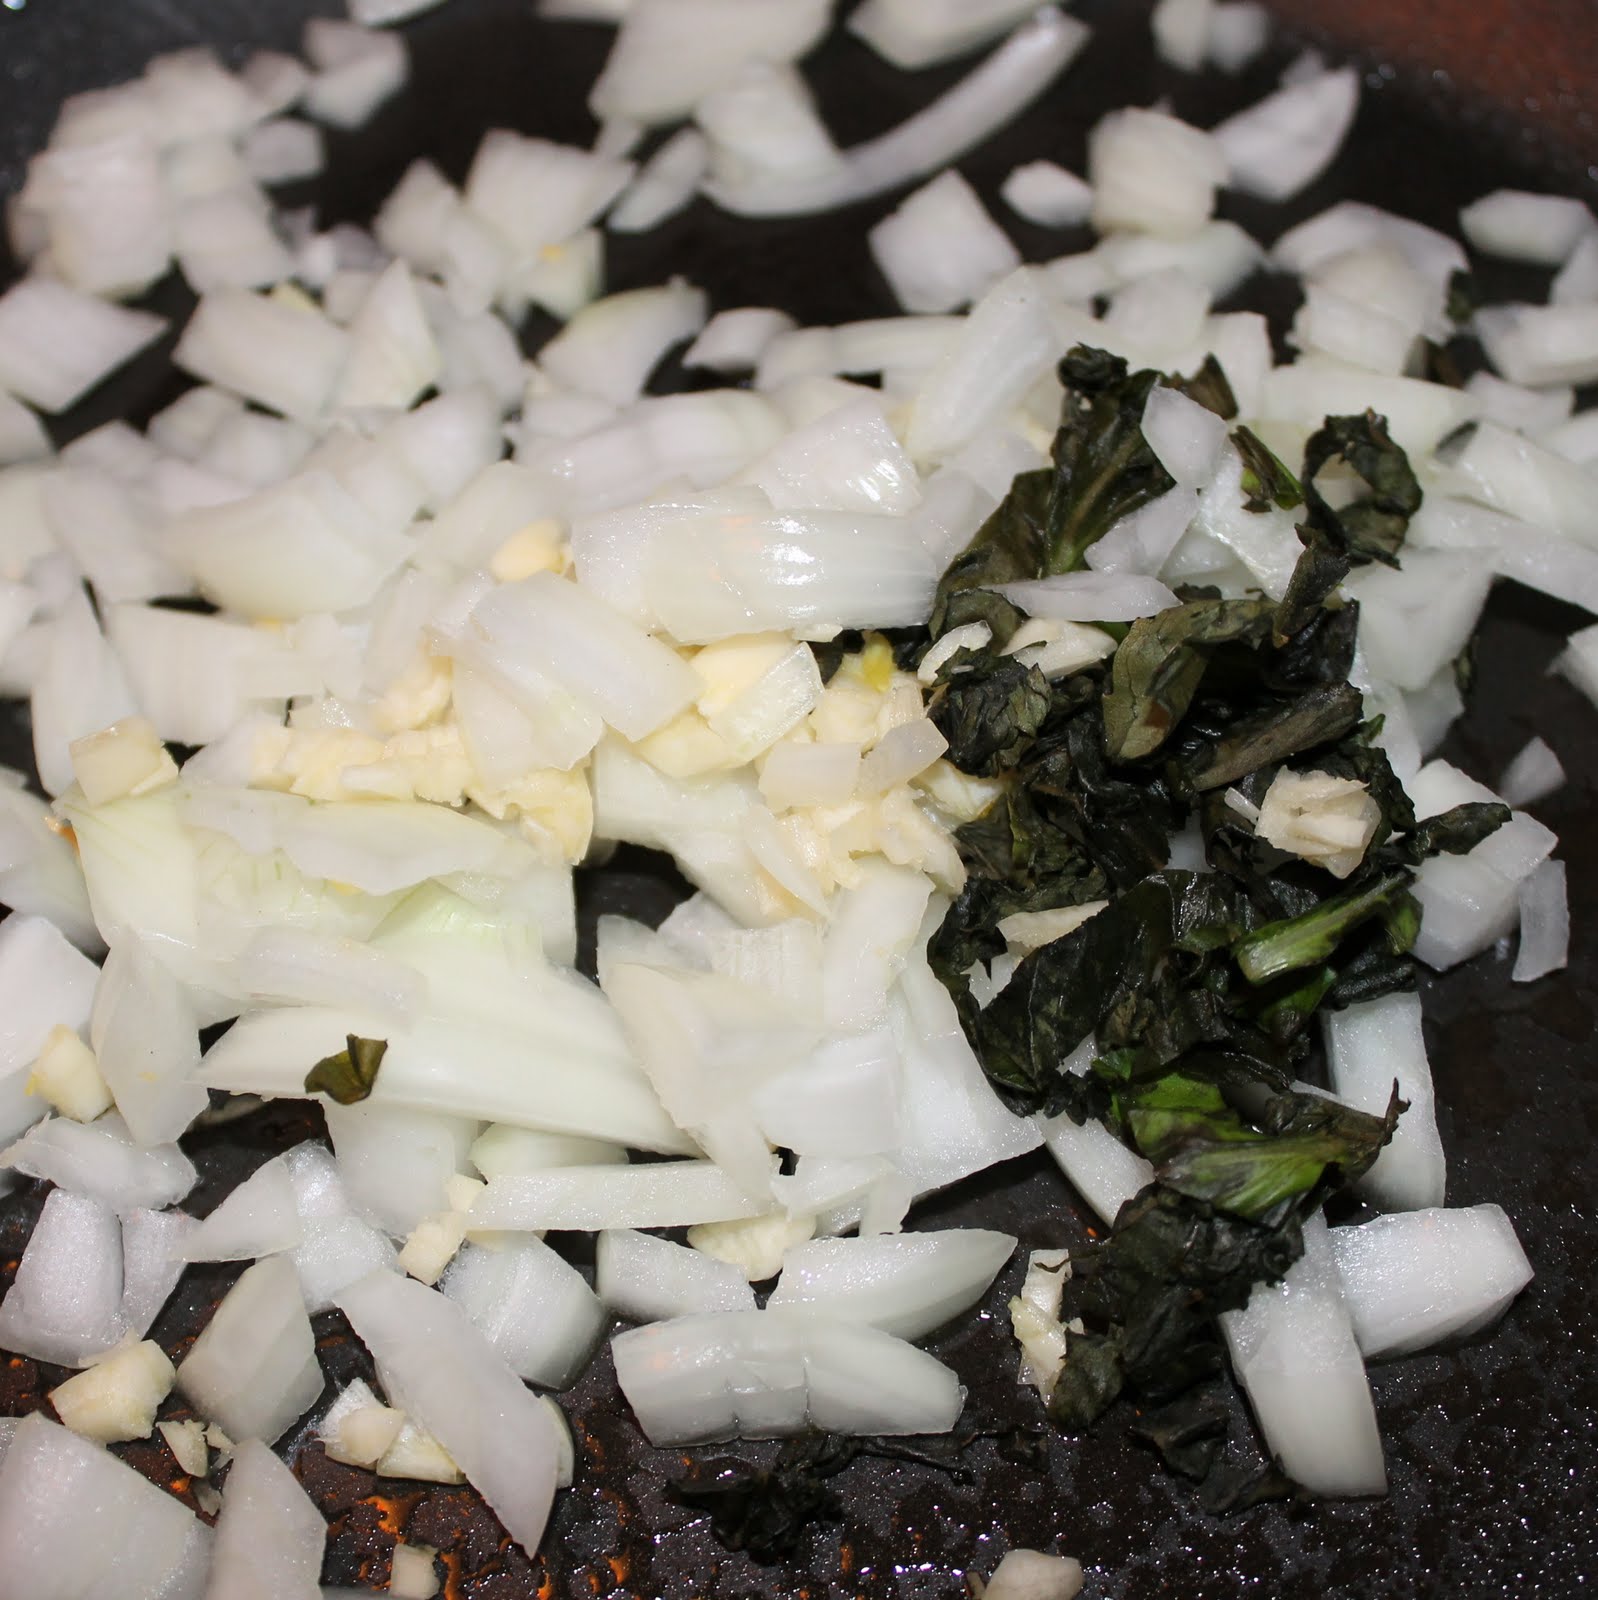
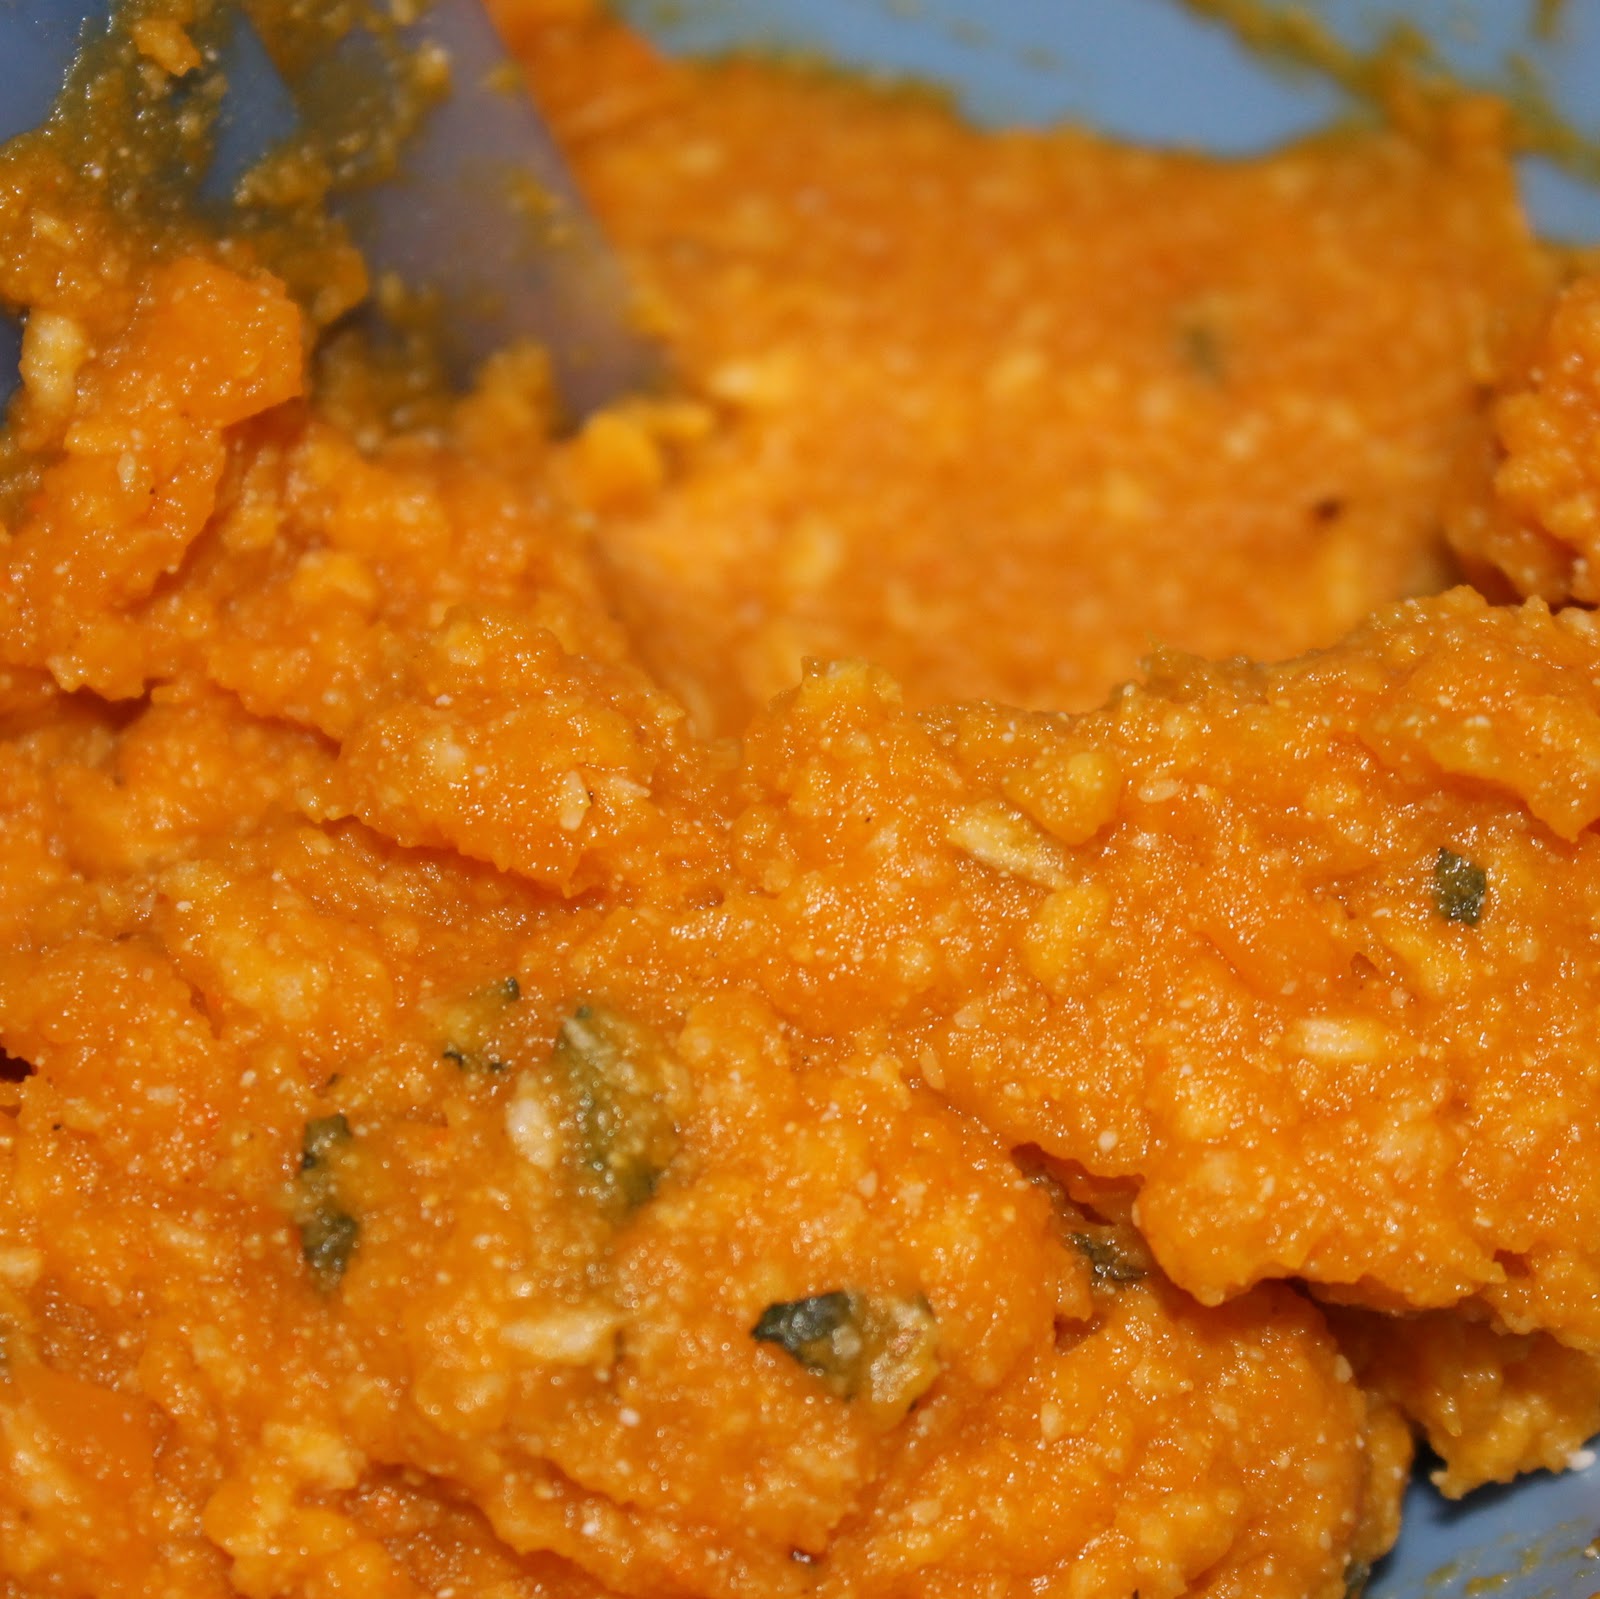
Begin by making the ravioli stuffing. Add the pumpkin, panko, Parmesan, minced sage, salt, pepper, and 1/8 teaspoon nutmeg to a bowl. Mix to combine.
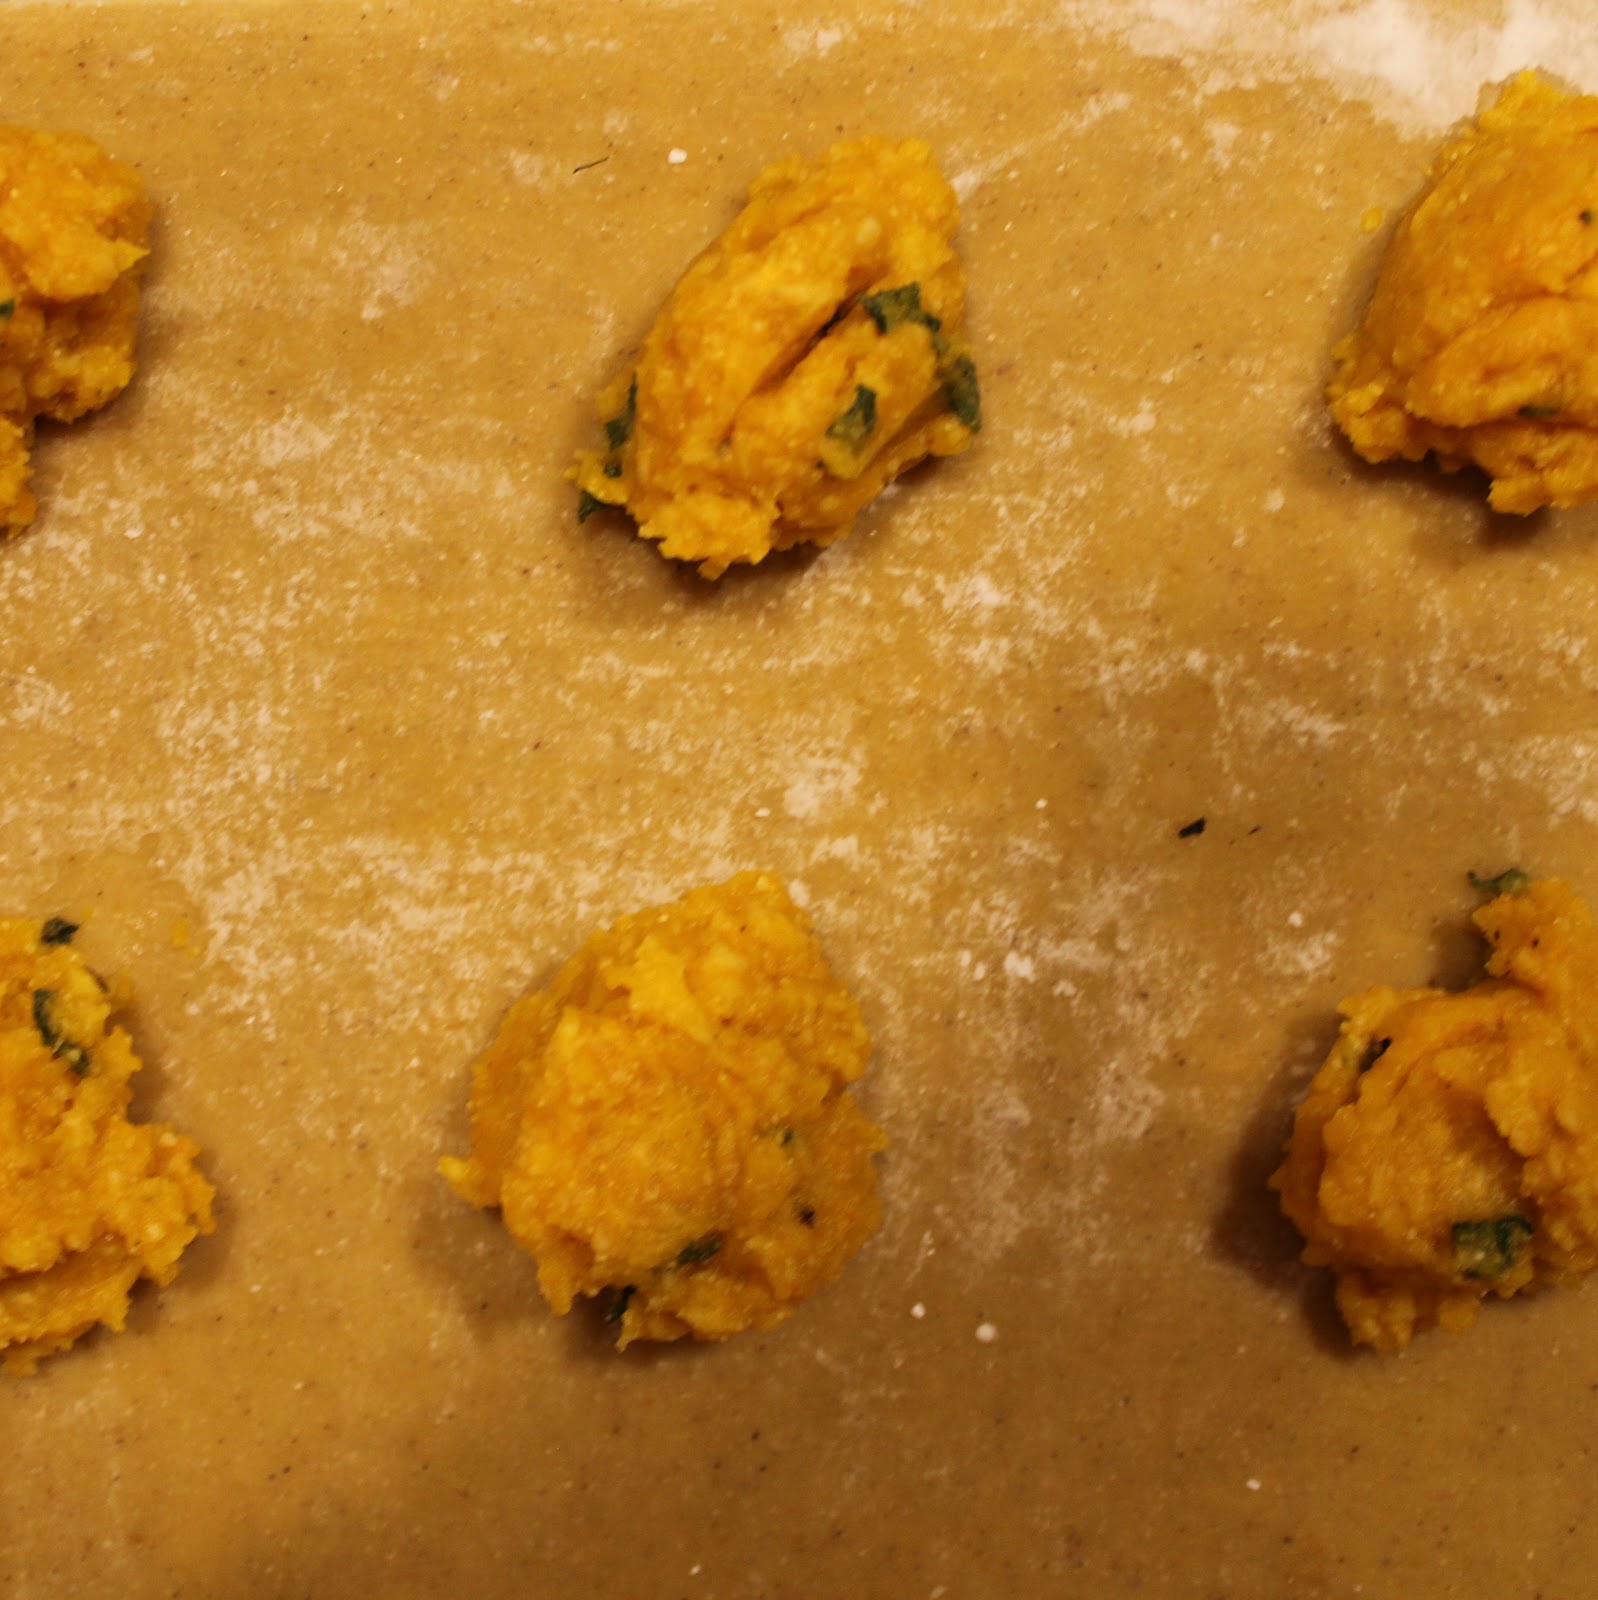

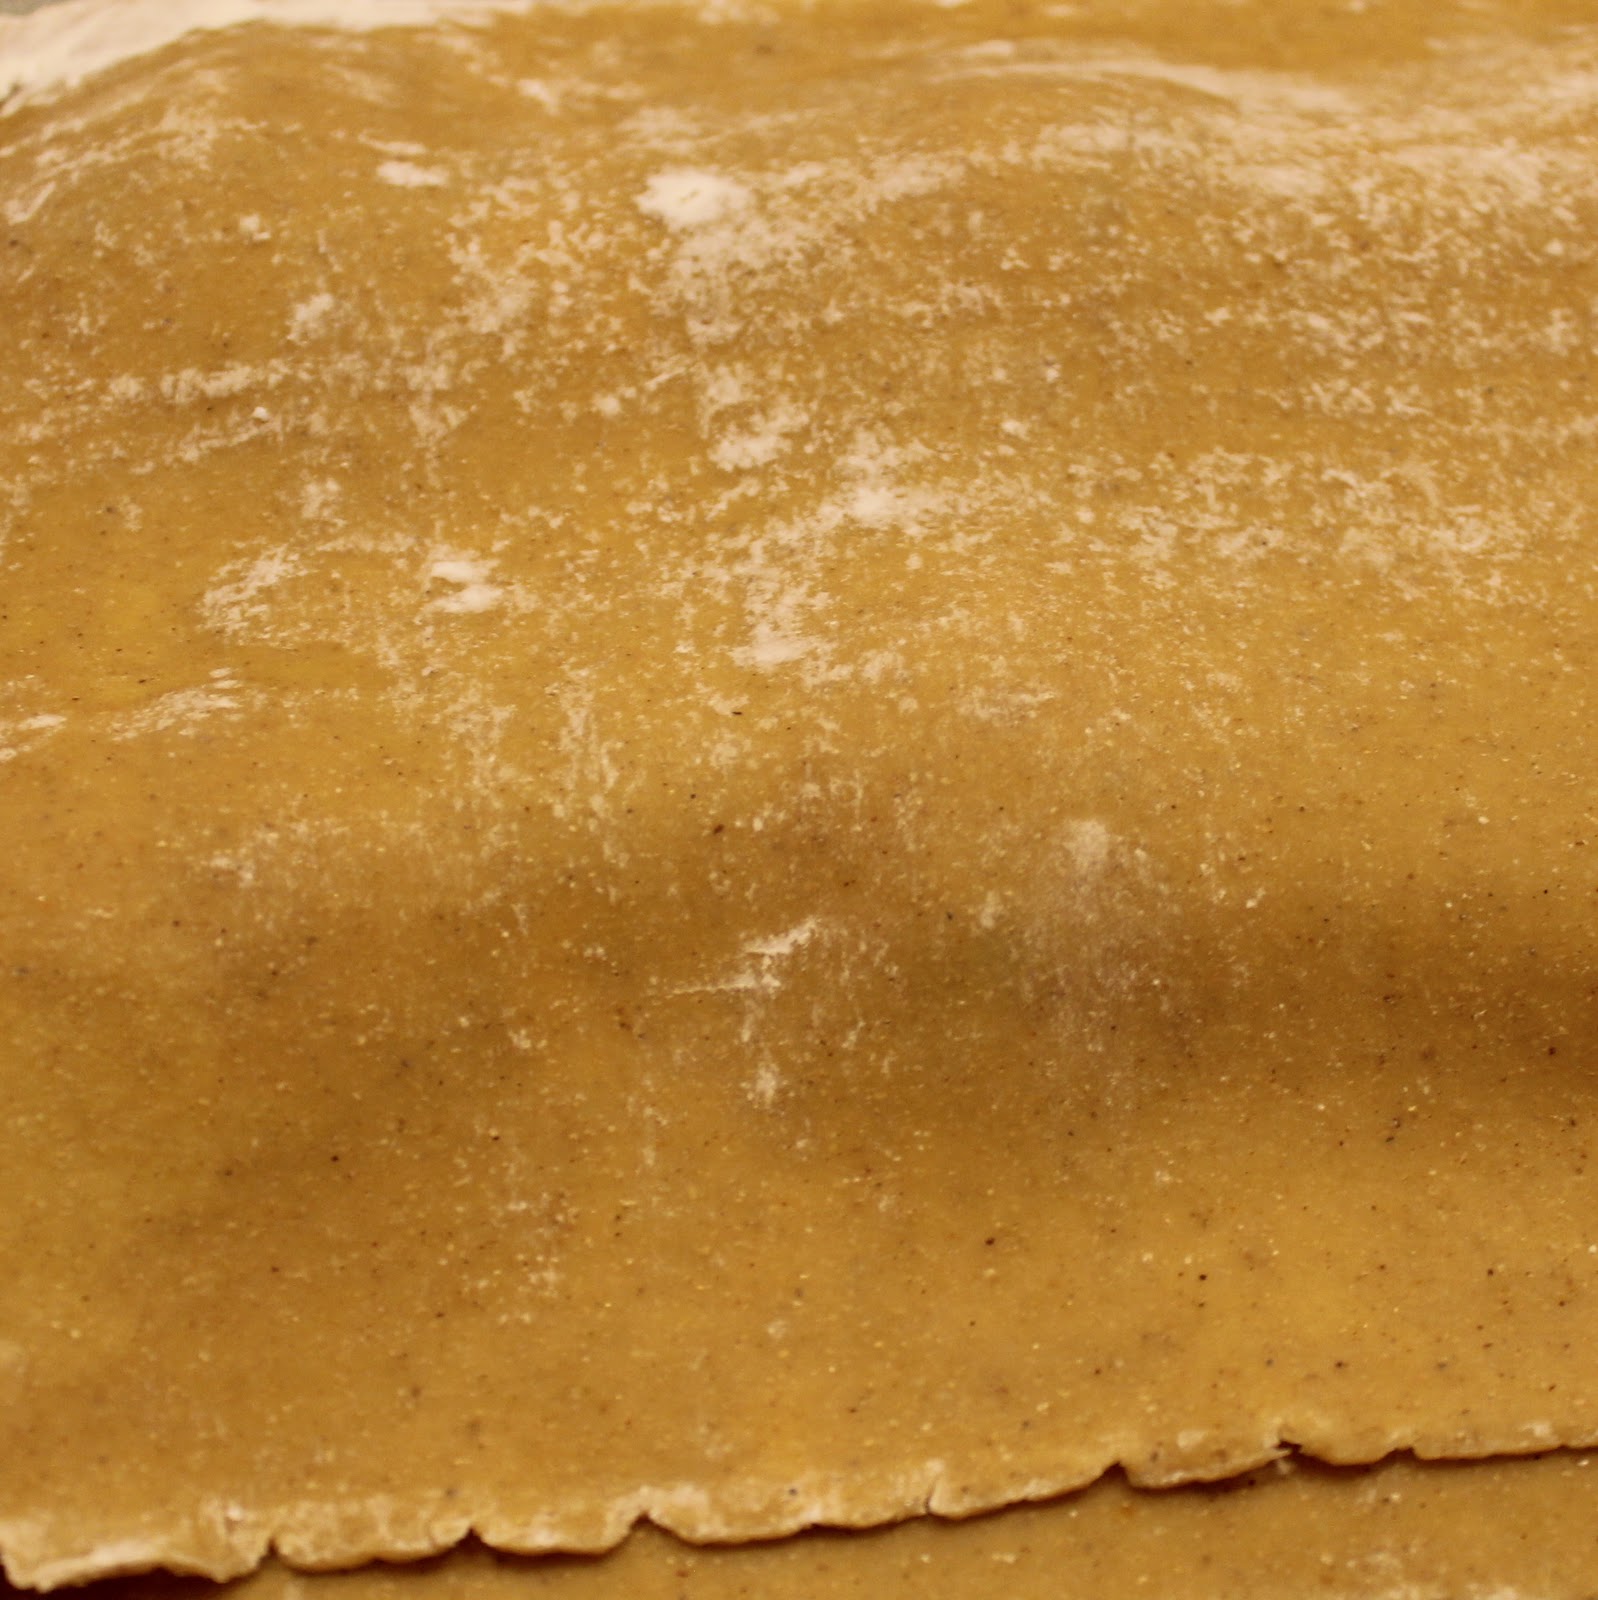
Place another lasagna sheet on top of the original sheet, covering the pumpkin mixture.


Remove from heat. Add the butter, stirring until it fully melts. Stir in the crumbled Gorgonzola. Add more minced sage leaves if you’d like.

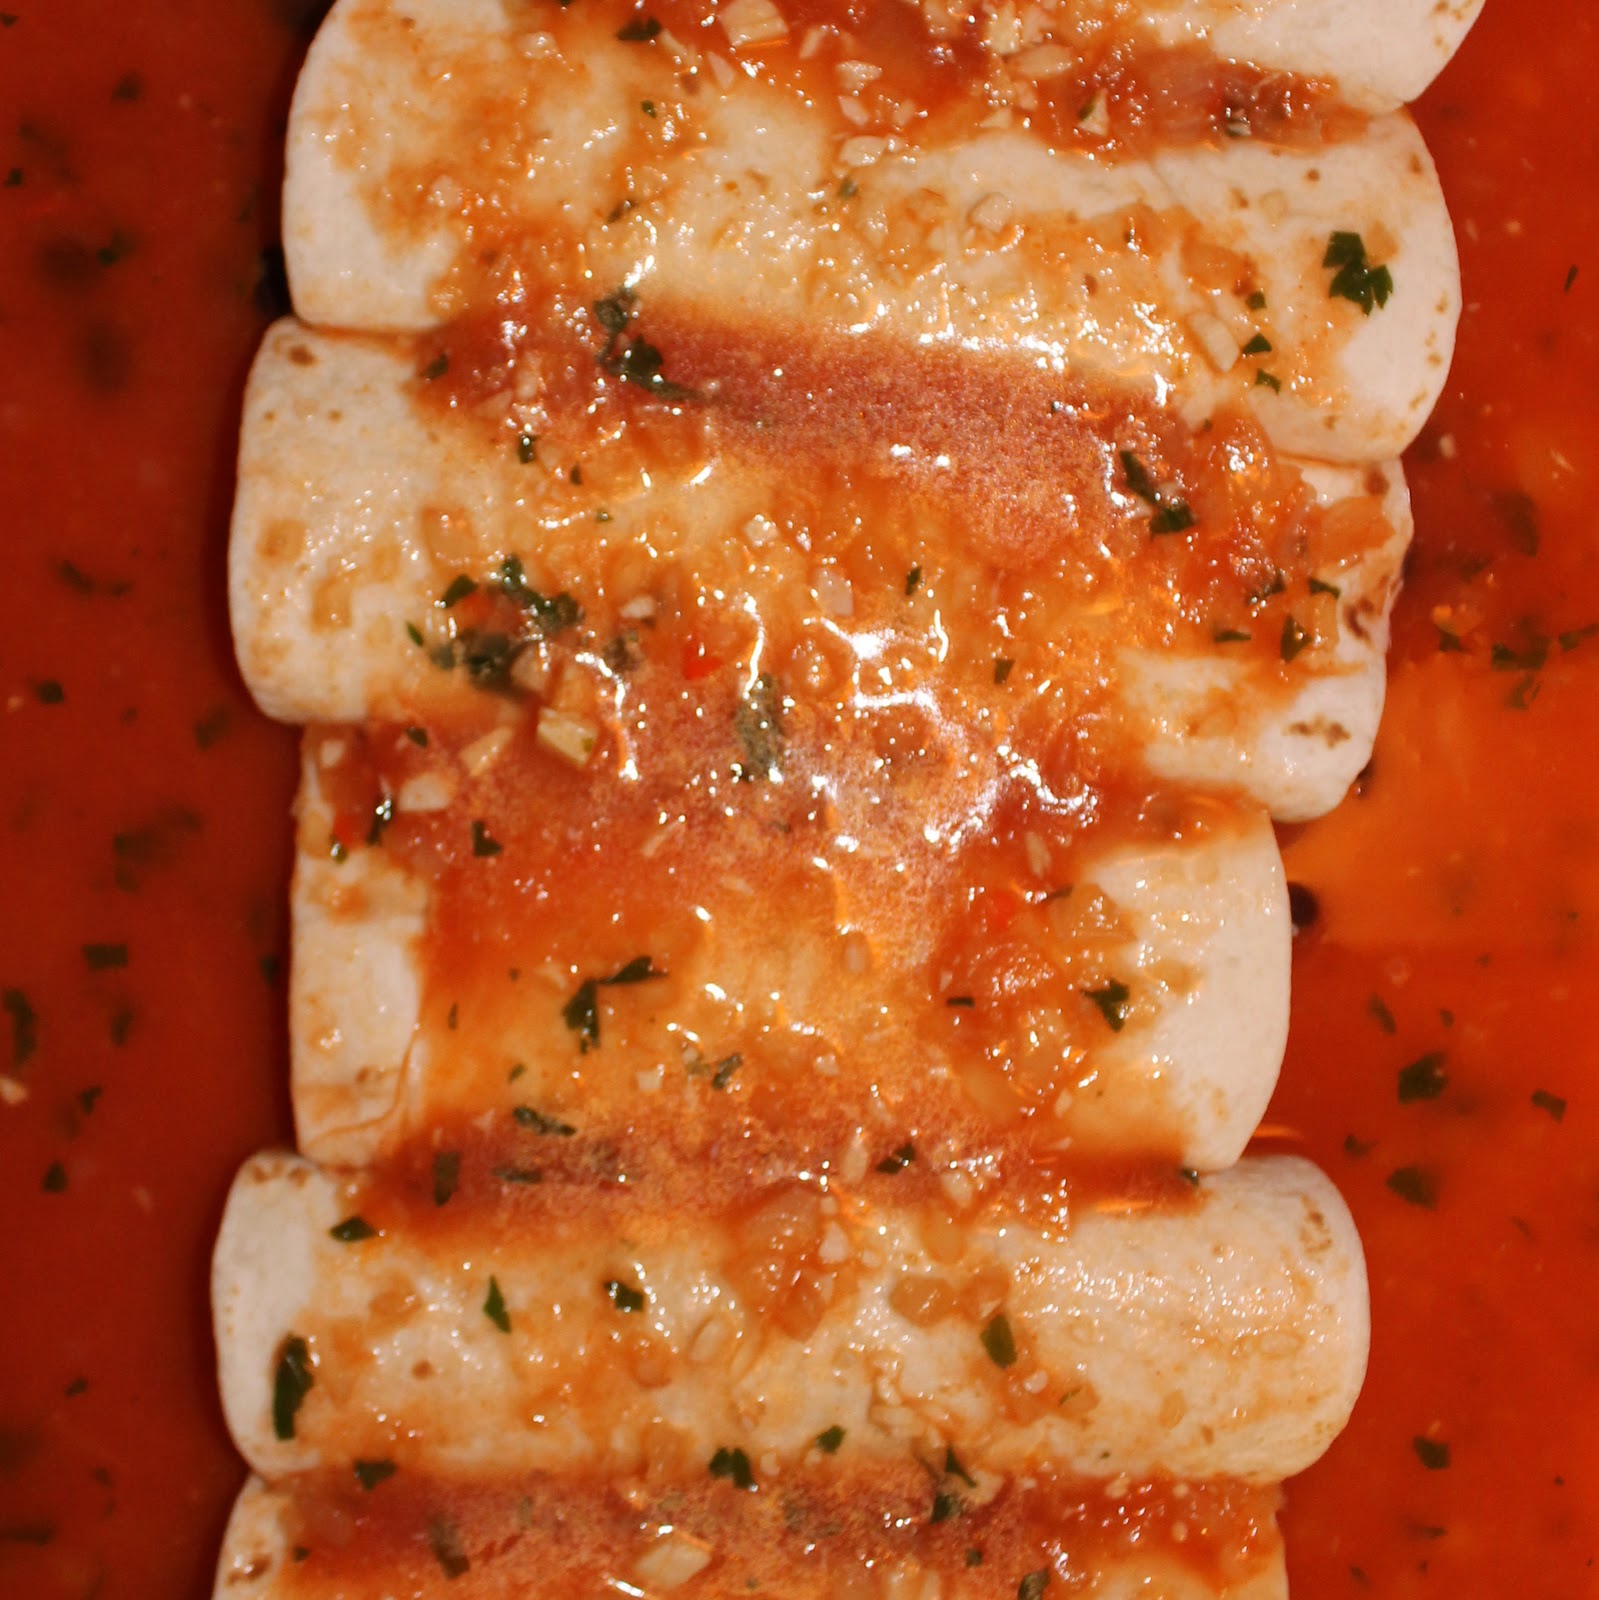
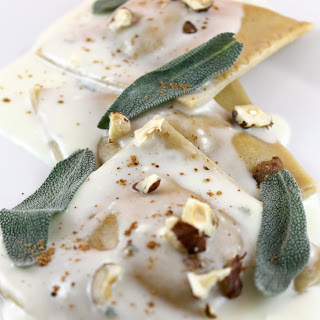
Add 6 ravioli each to three plates. Drizzle with 3 tablespoons of the Gorgonzola sauce. Add a teaspoon of chopped hazelnuts, a few sage leaves, and a sprinkle of nutmeg.

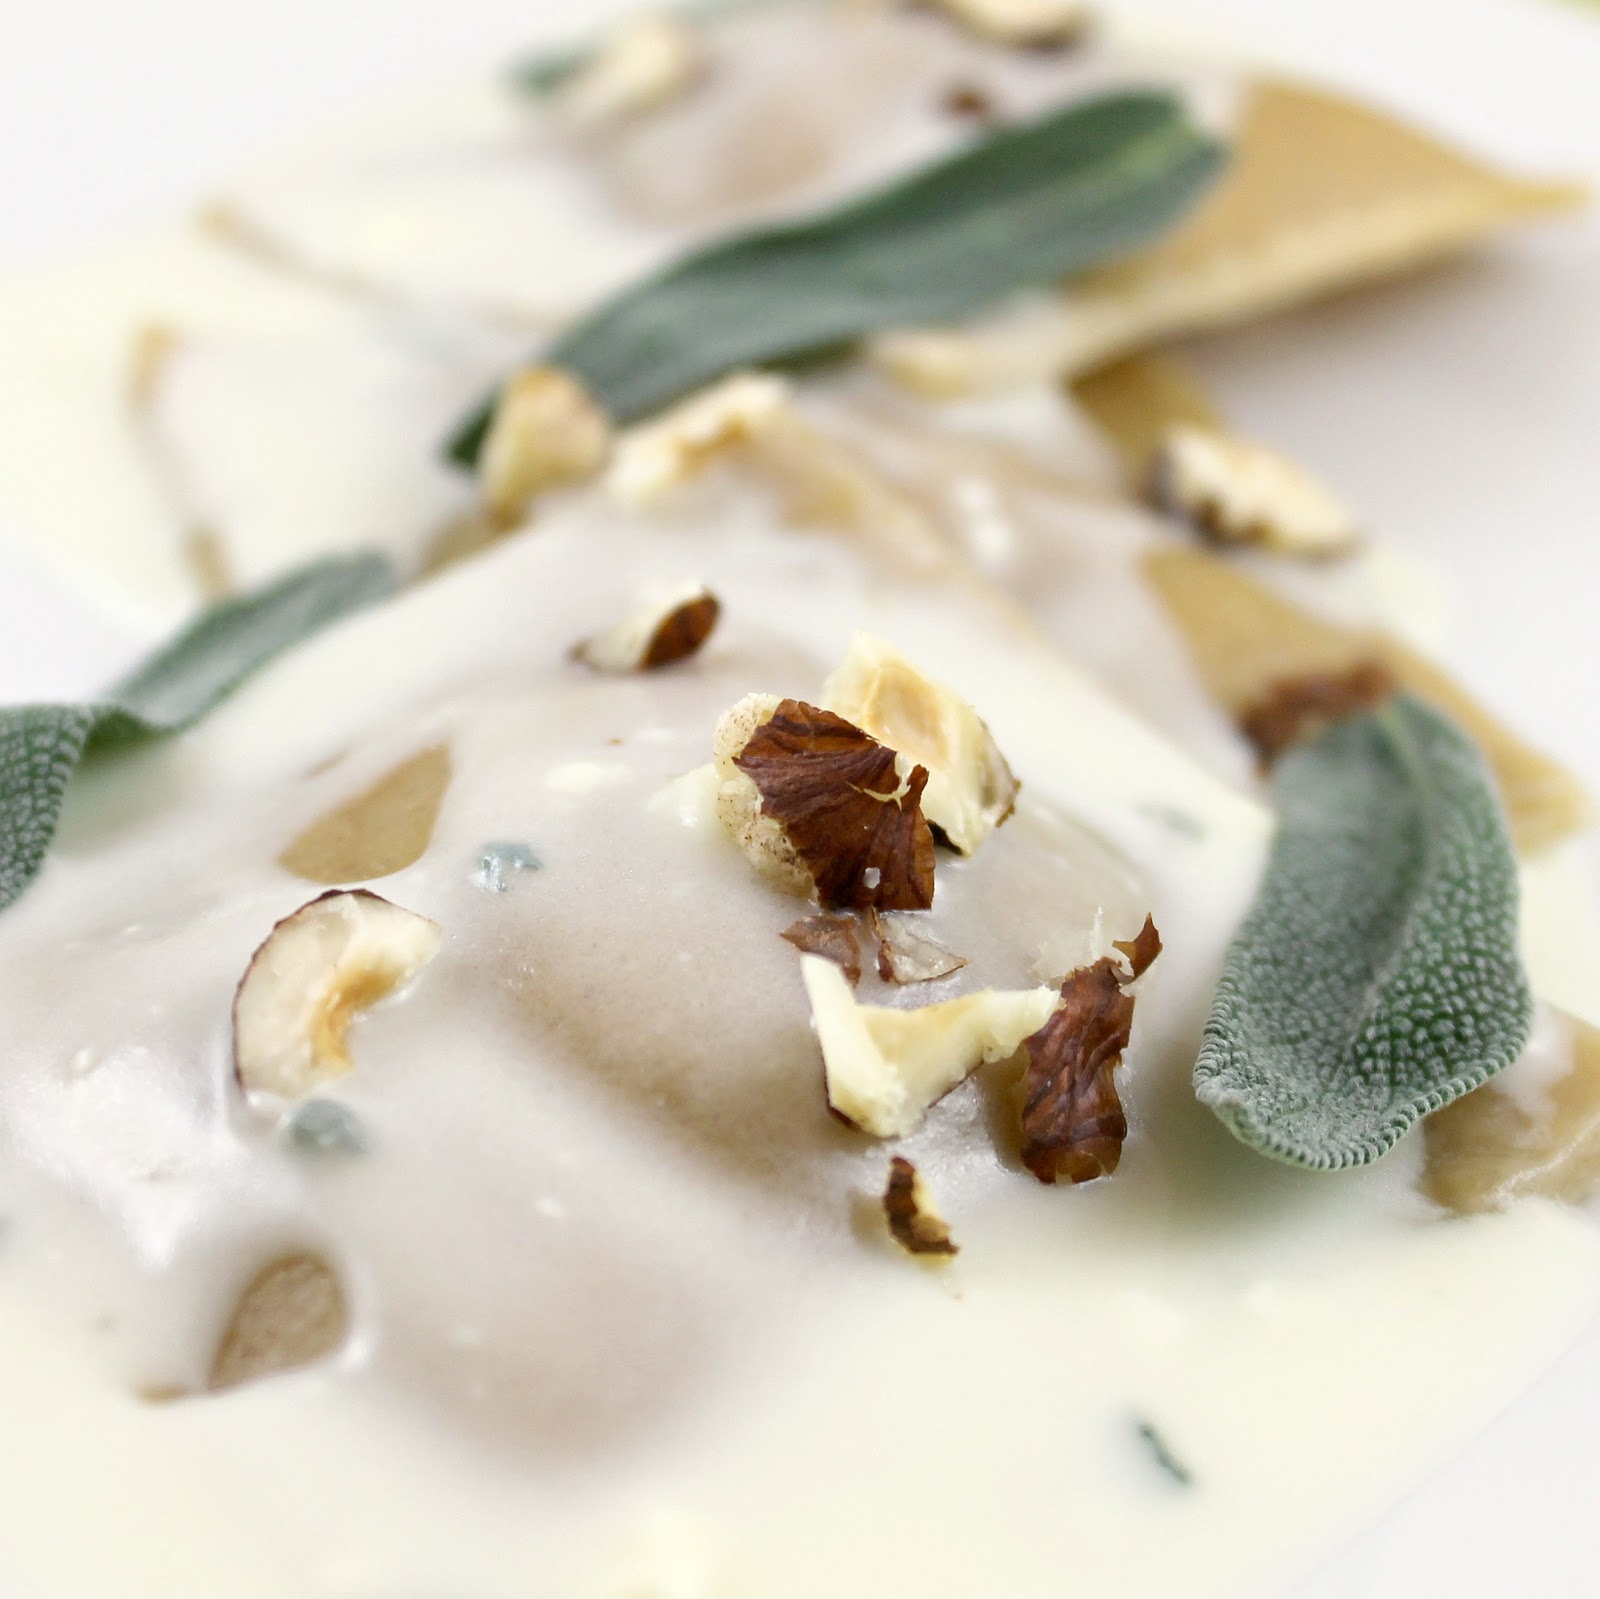
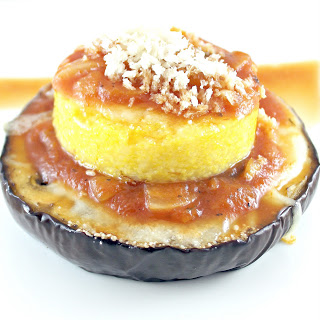
This Pumpkin Ravioli with Gorgonzola Saucewas pretty darn good. I think it could handle a boost in nutmeg though; there was something missing from the overall flavor of the dish.