I had a realization a few days ago that summer is almost over. And the end of summer means the winding down of fresh ingredients. So for the next few weeks, I am going to try to make meals that really highlight all of those in season vegetables (like my post about Fettuccine with Fresh Tomato Sauce). For seasonal recipes, Cooking Light continues to be my go-to magazine. Because it comes monthly, the recipes change with the seasons and freshness of produce. In the September issue, Cooking Light featured seven “Trailblazing Chefs” including recipes from some of the chefs. Chef Brandon Sharp, the executive chef of Solar located at the Solage Calistoga spa resort in the Napa Valley, has a recipe for Chilled Corn Soup that will make the most of summer corn. Plus, its also vegan and mostly fat free, win!

Ingredients (makes 6 servings):
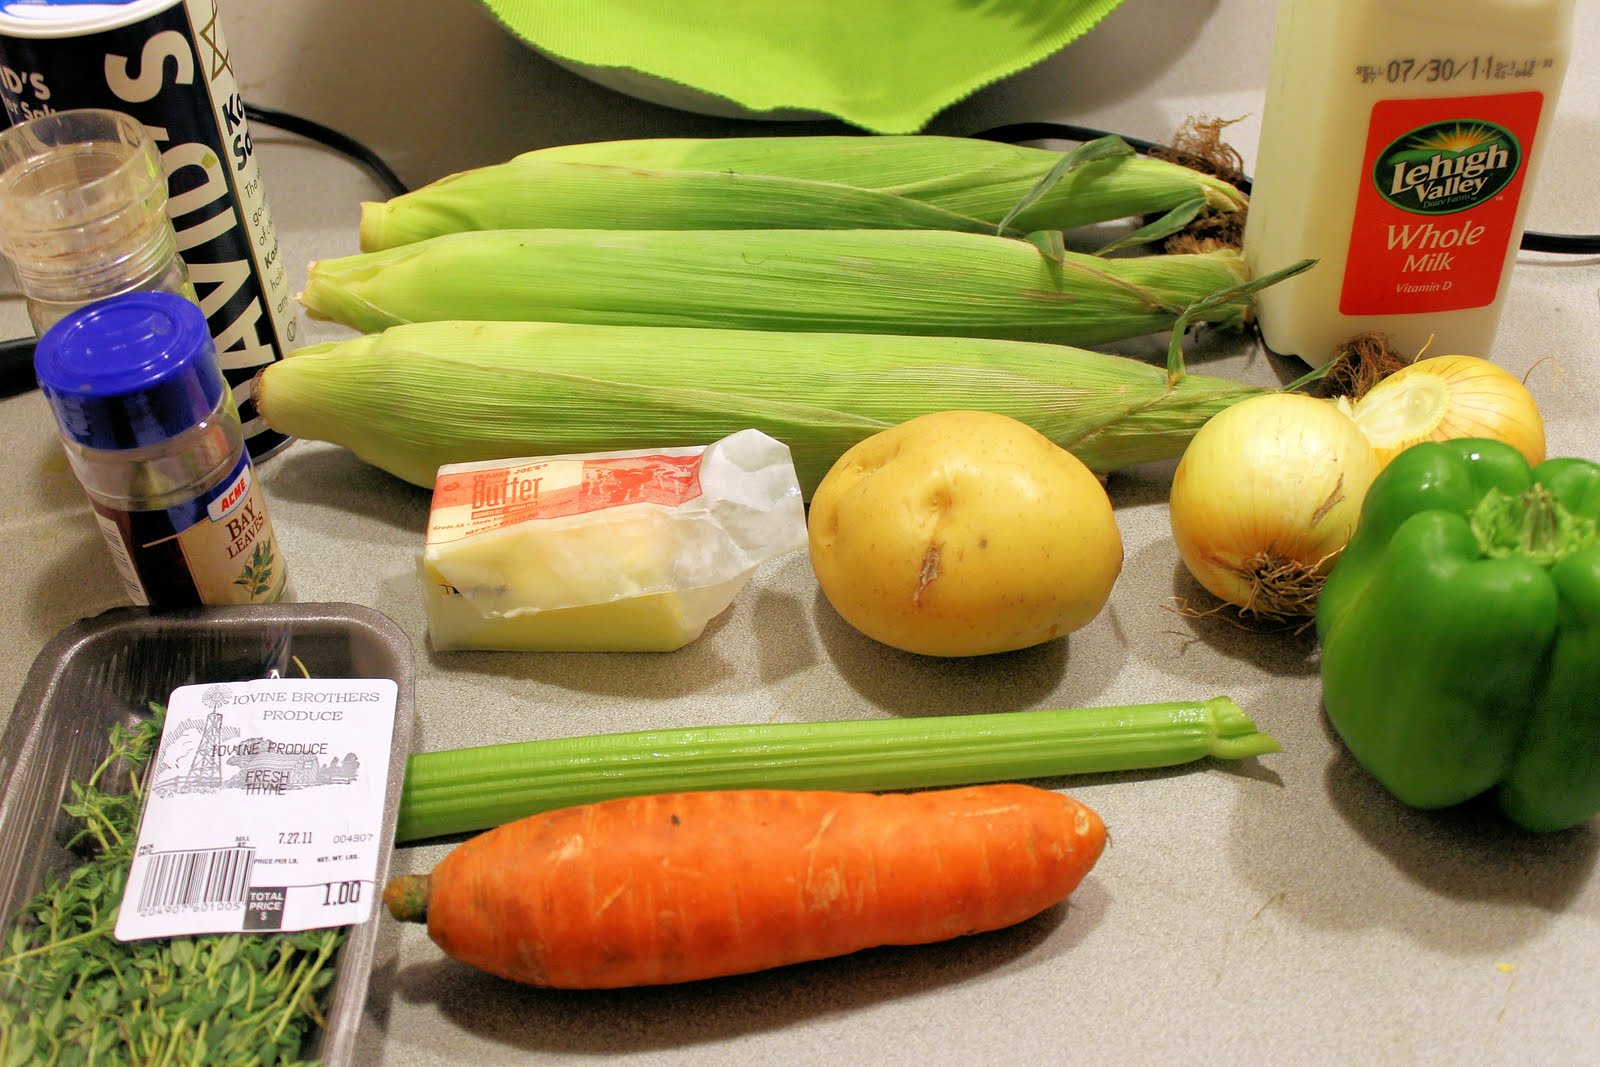
4 large ears shucked corn
4 tablespoons canola oil
3/4 cup chopped onion
6 sprigs fresh thyme, tied in a bundle
3/4 teaspoon kosher salt, divided
1 garlic clove, minced
3 cups water
1/2 cups diced peeled avocado
1/2 cup diced radish
1 tablespoon chopped fresh cilantro
1 tablespoon fresh lime juice
1/8 teaspoon ground red pepper
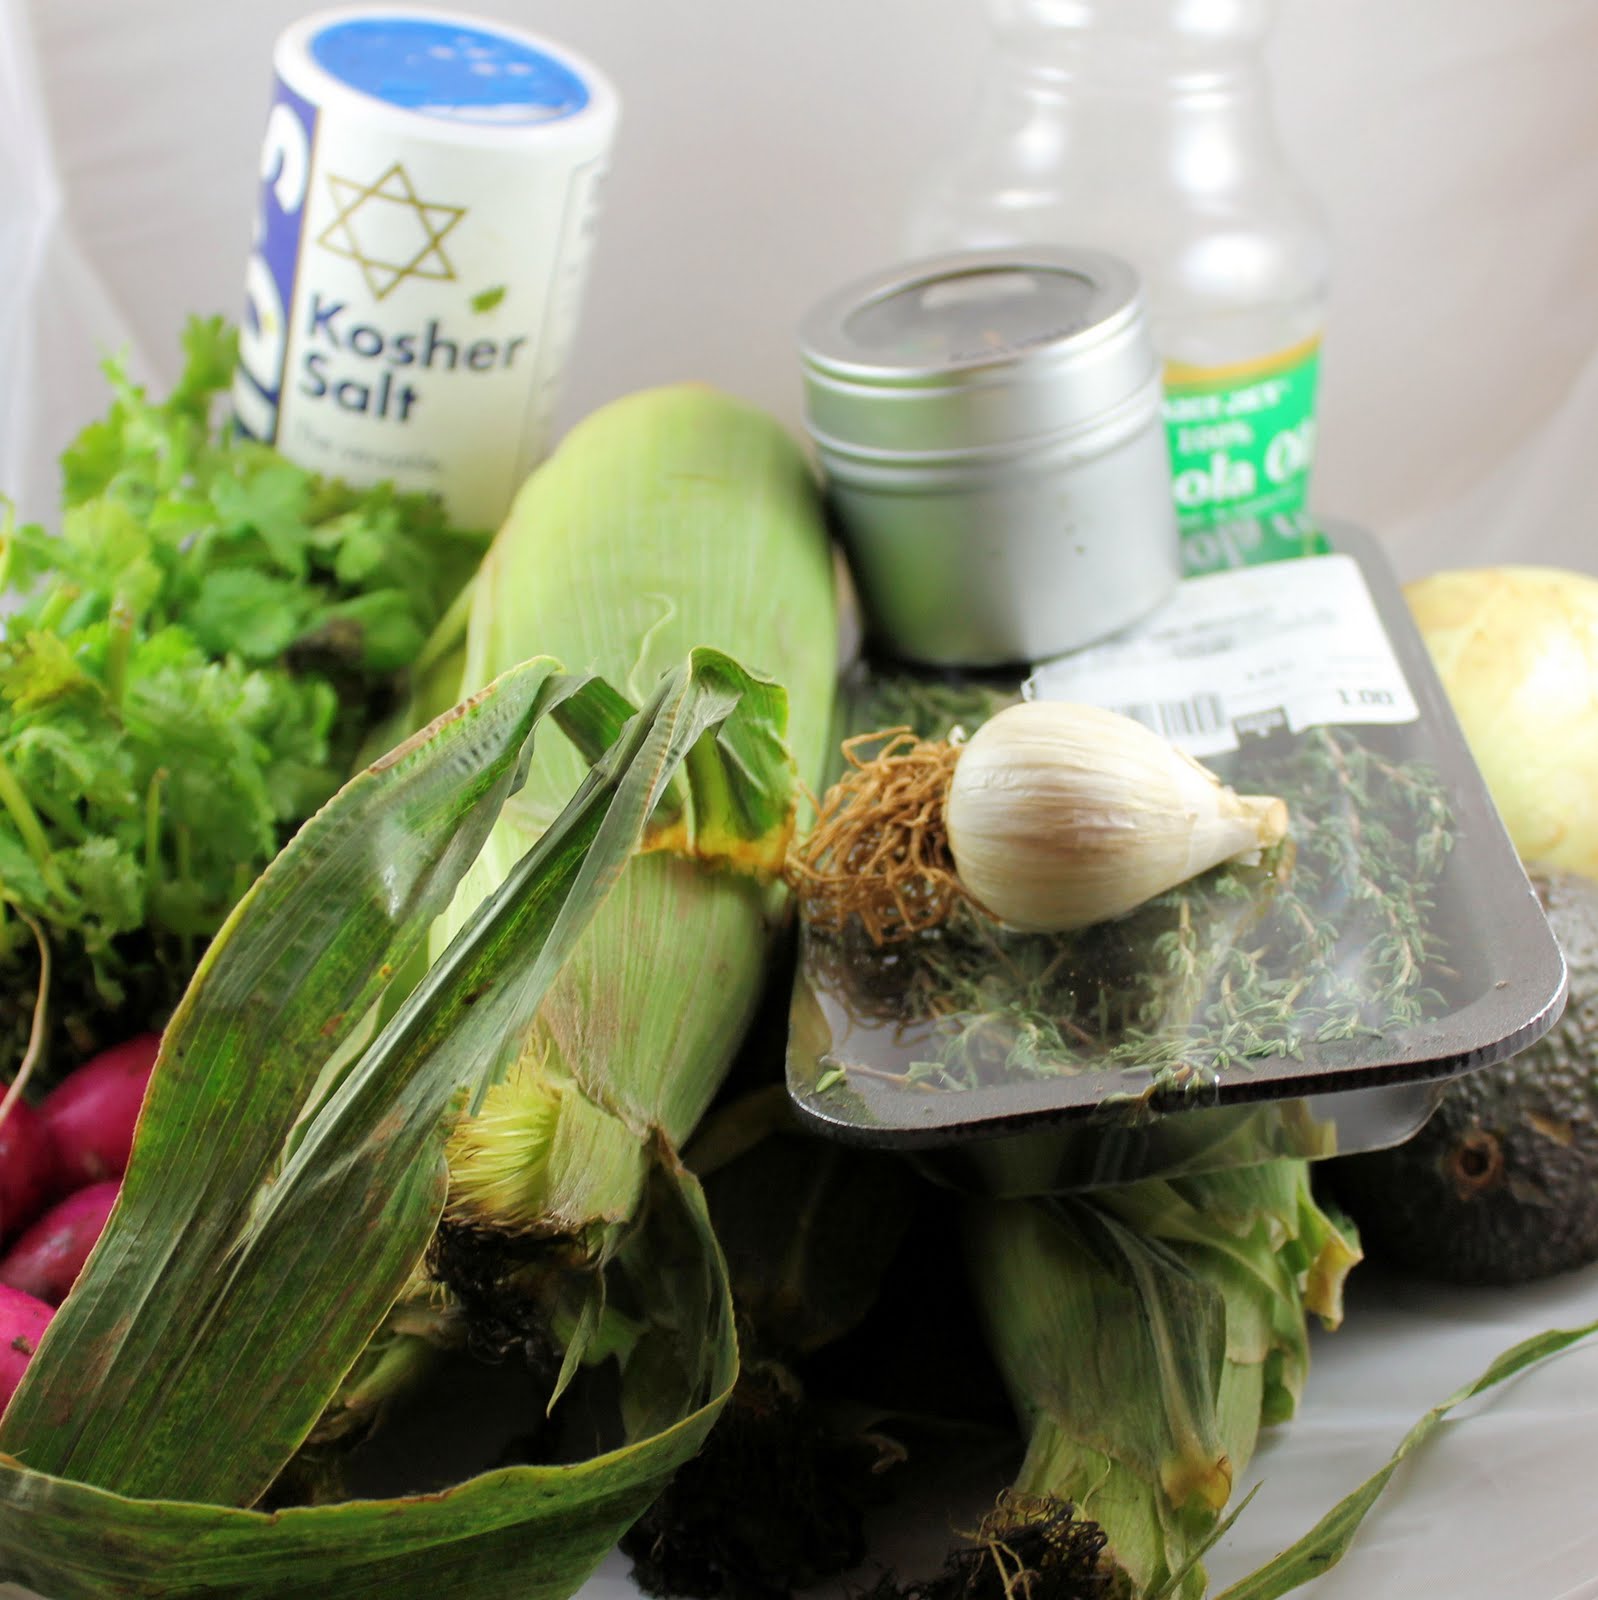
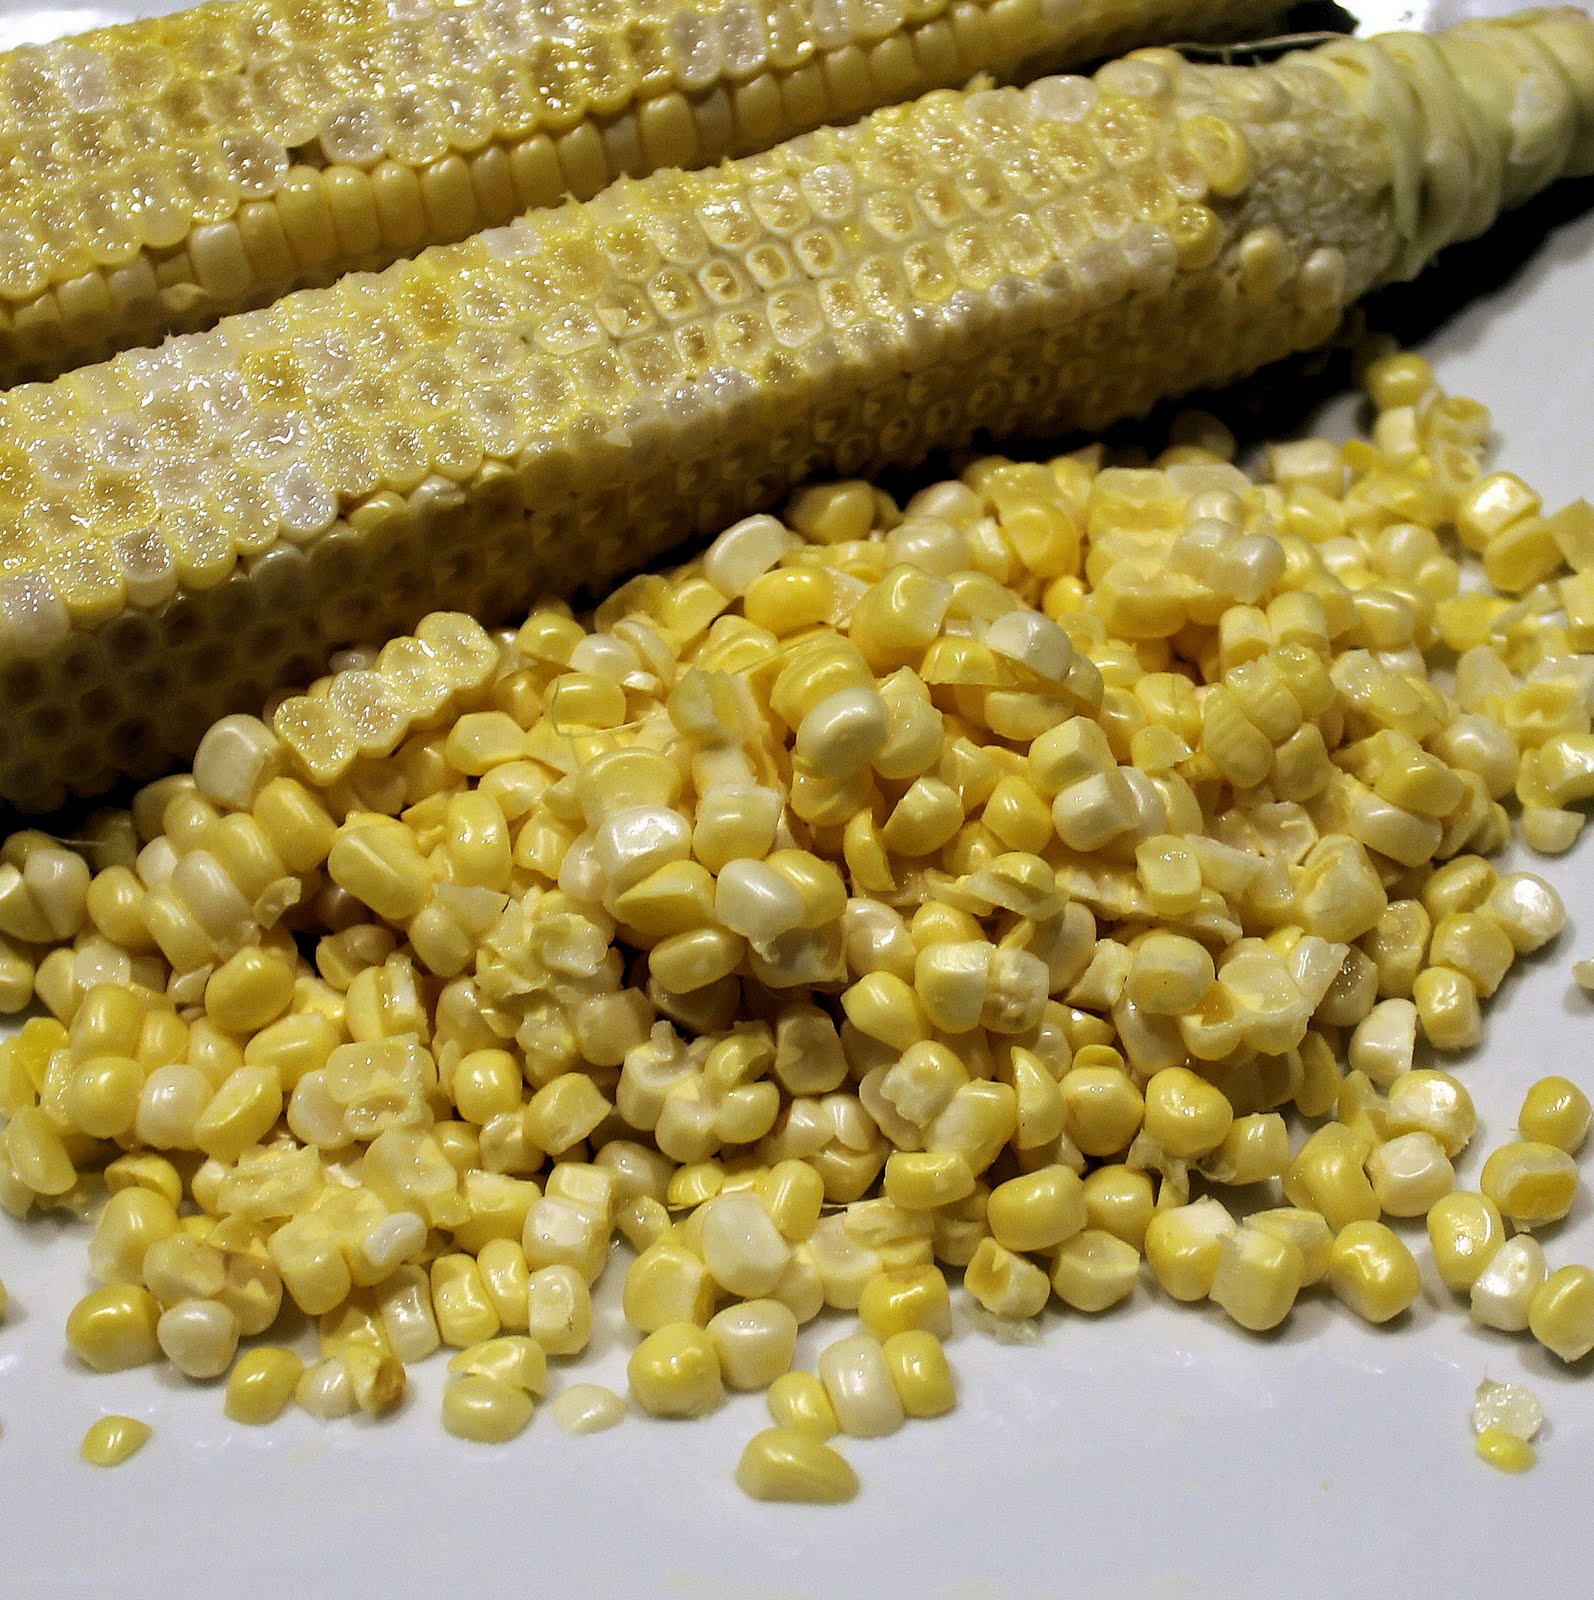
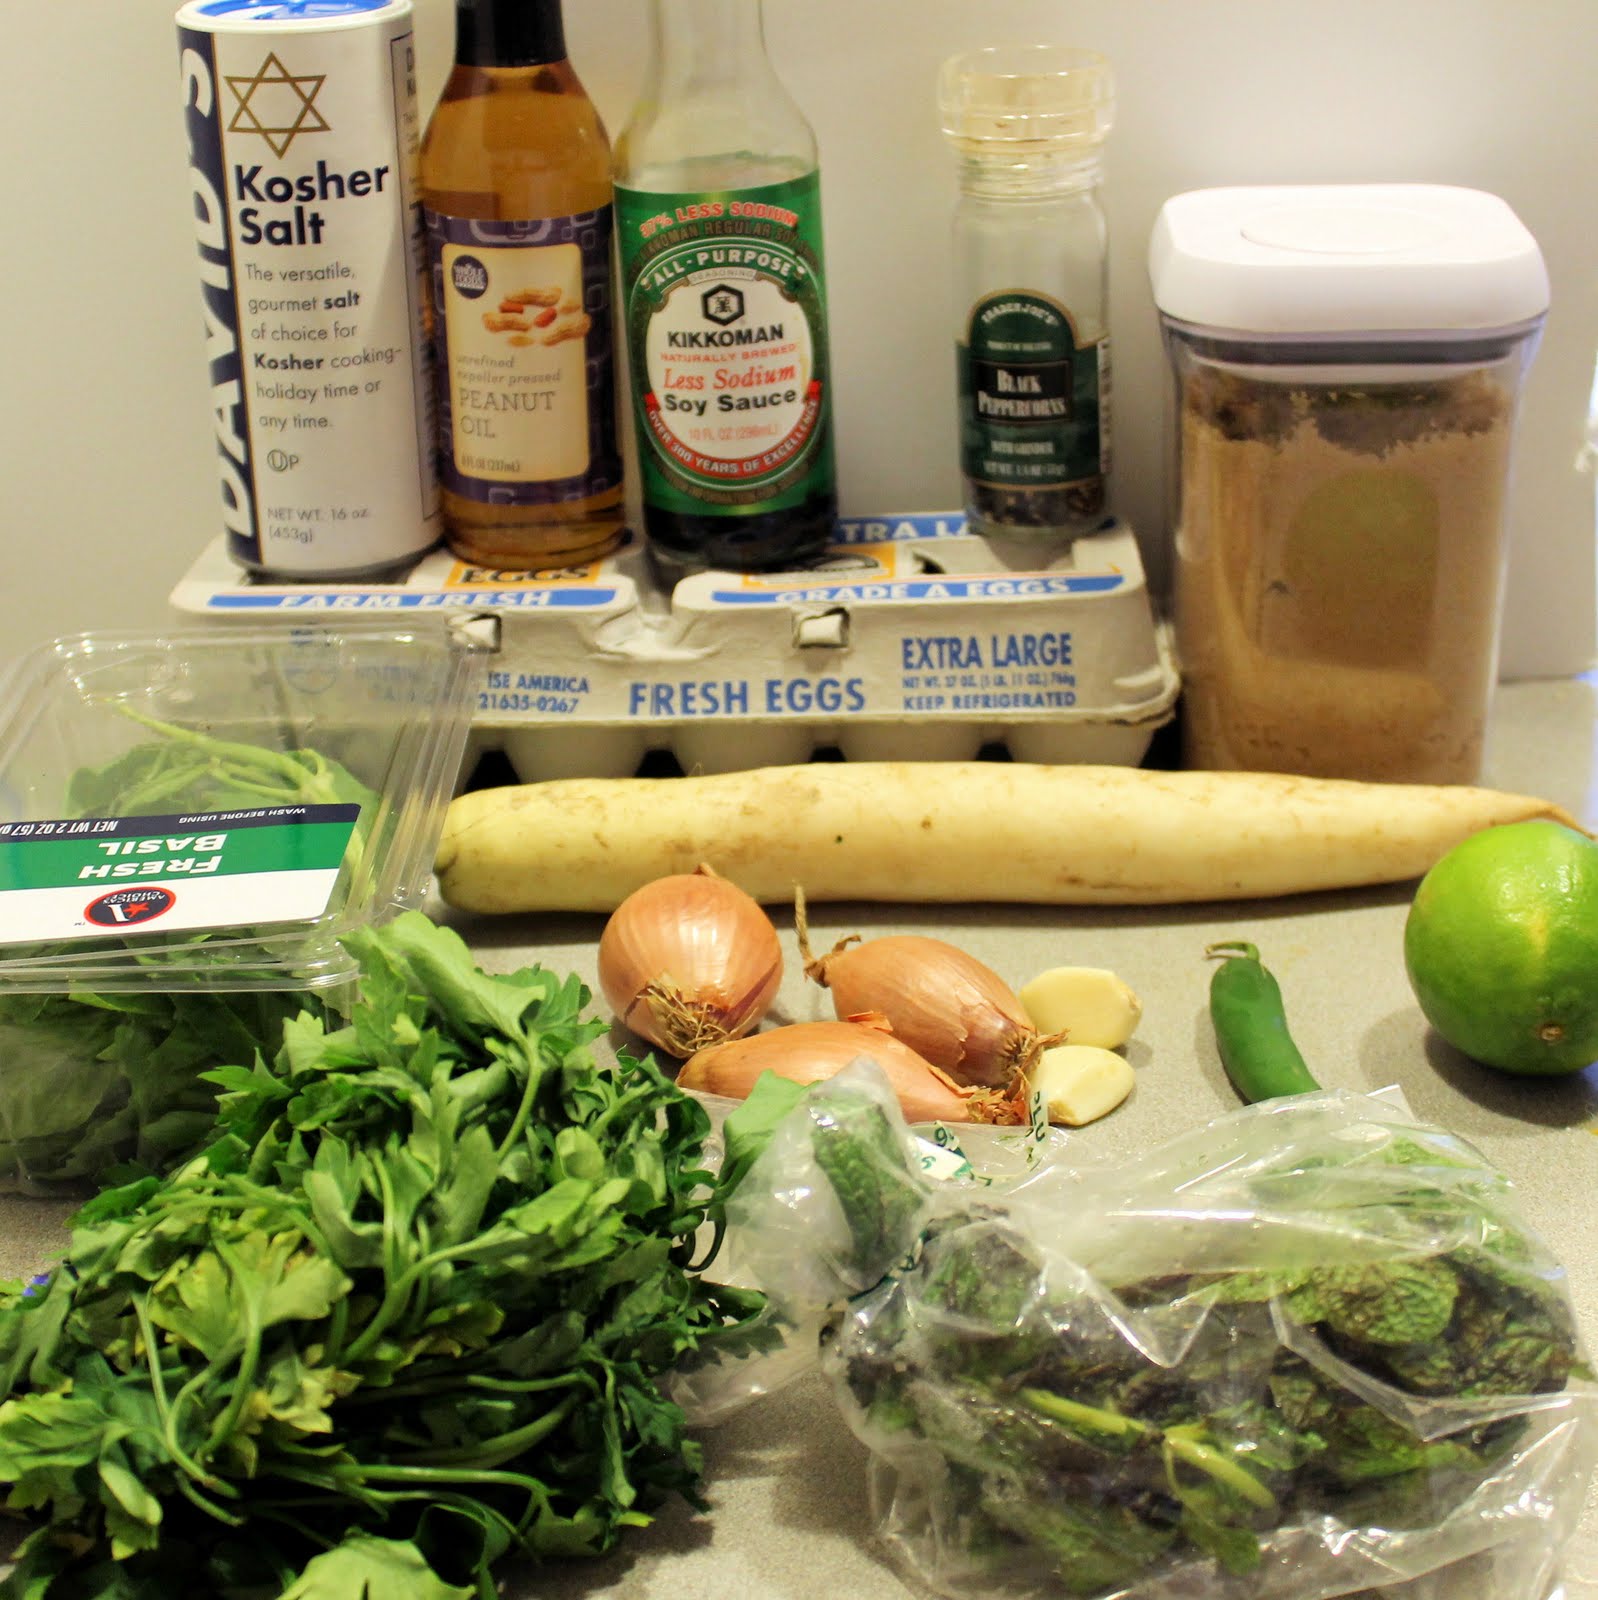
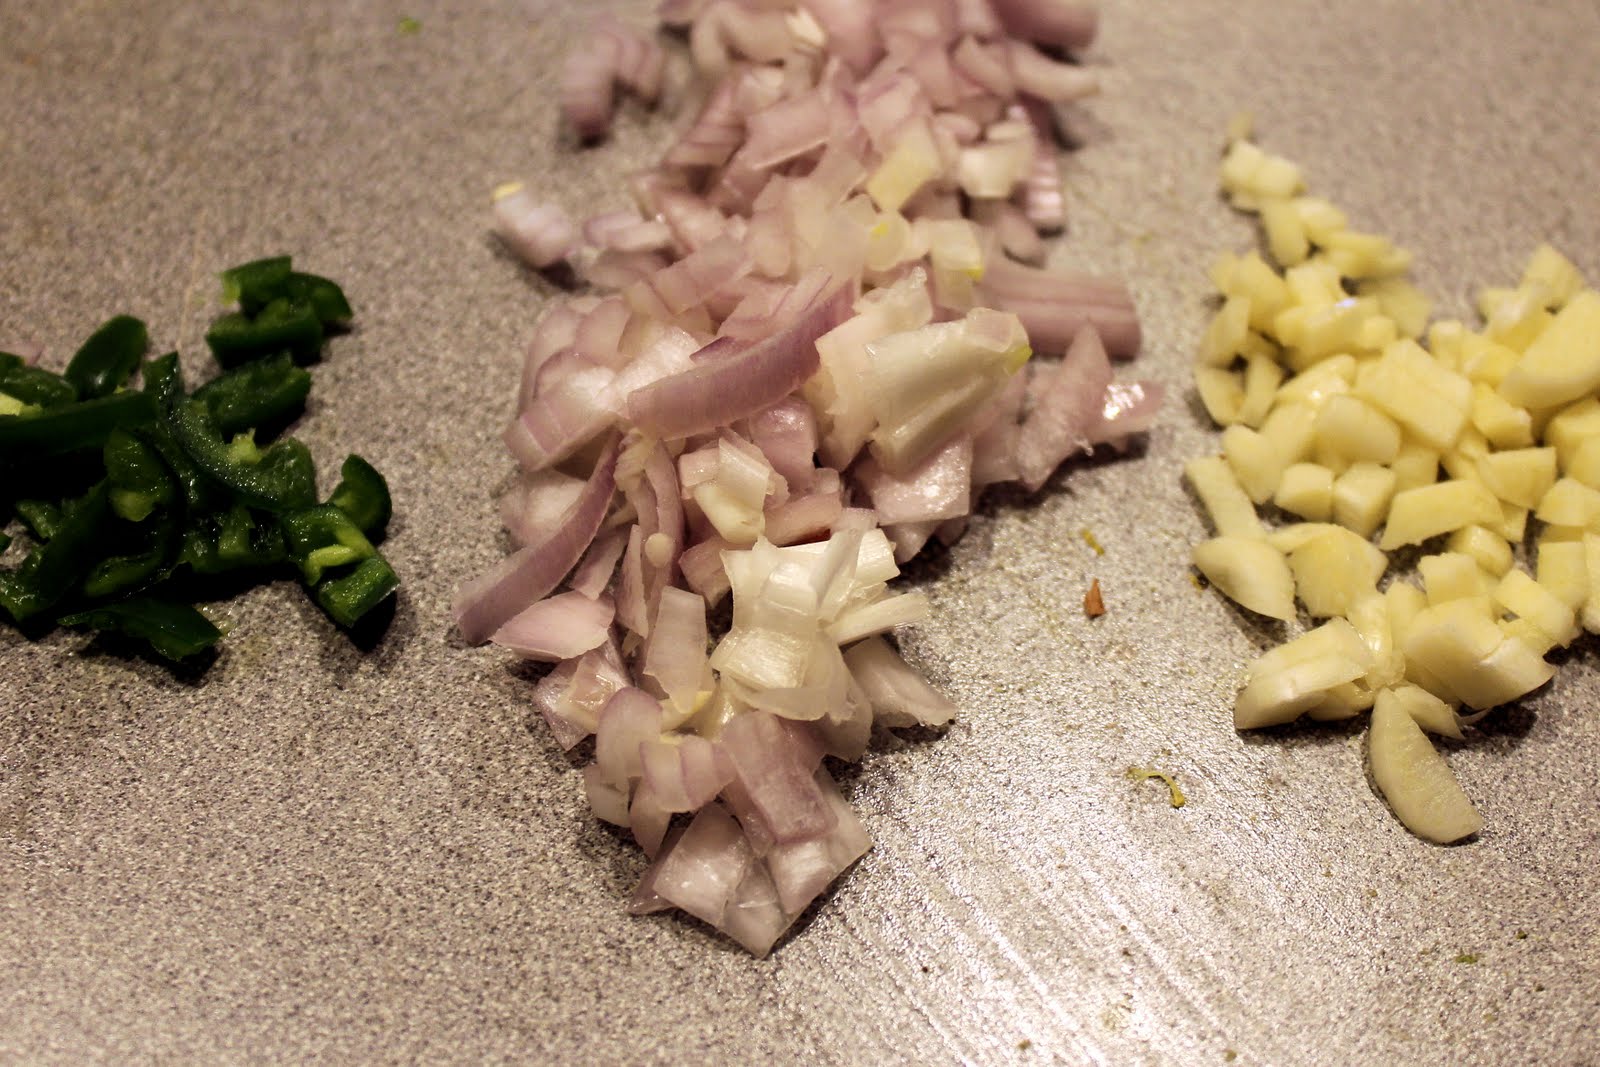
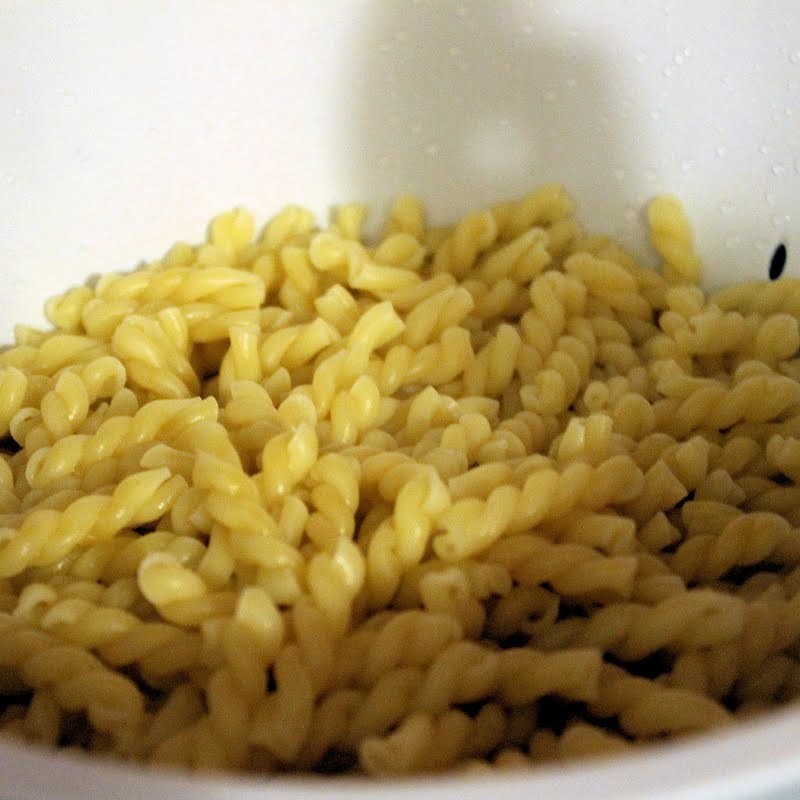
Begin by shucking your corn. You can buy already shucked corn in the supermarket which will work just fine, just don’t use frozen corn kernels for this recipe. Prepare some of your ingredients: chop the onion, mince the garlic and bundle the thyme.
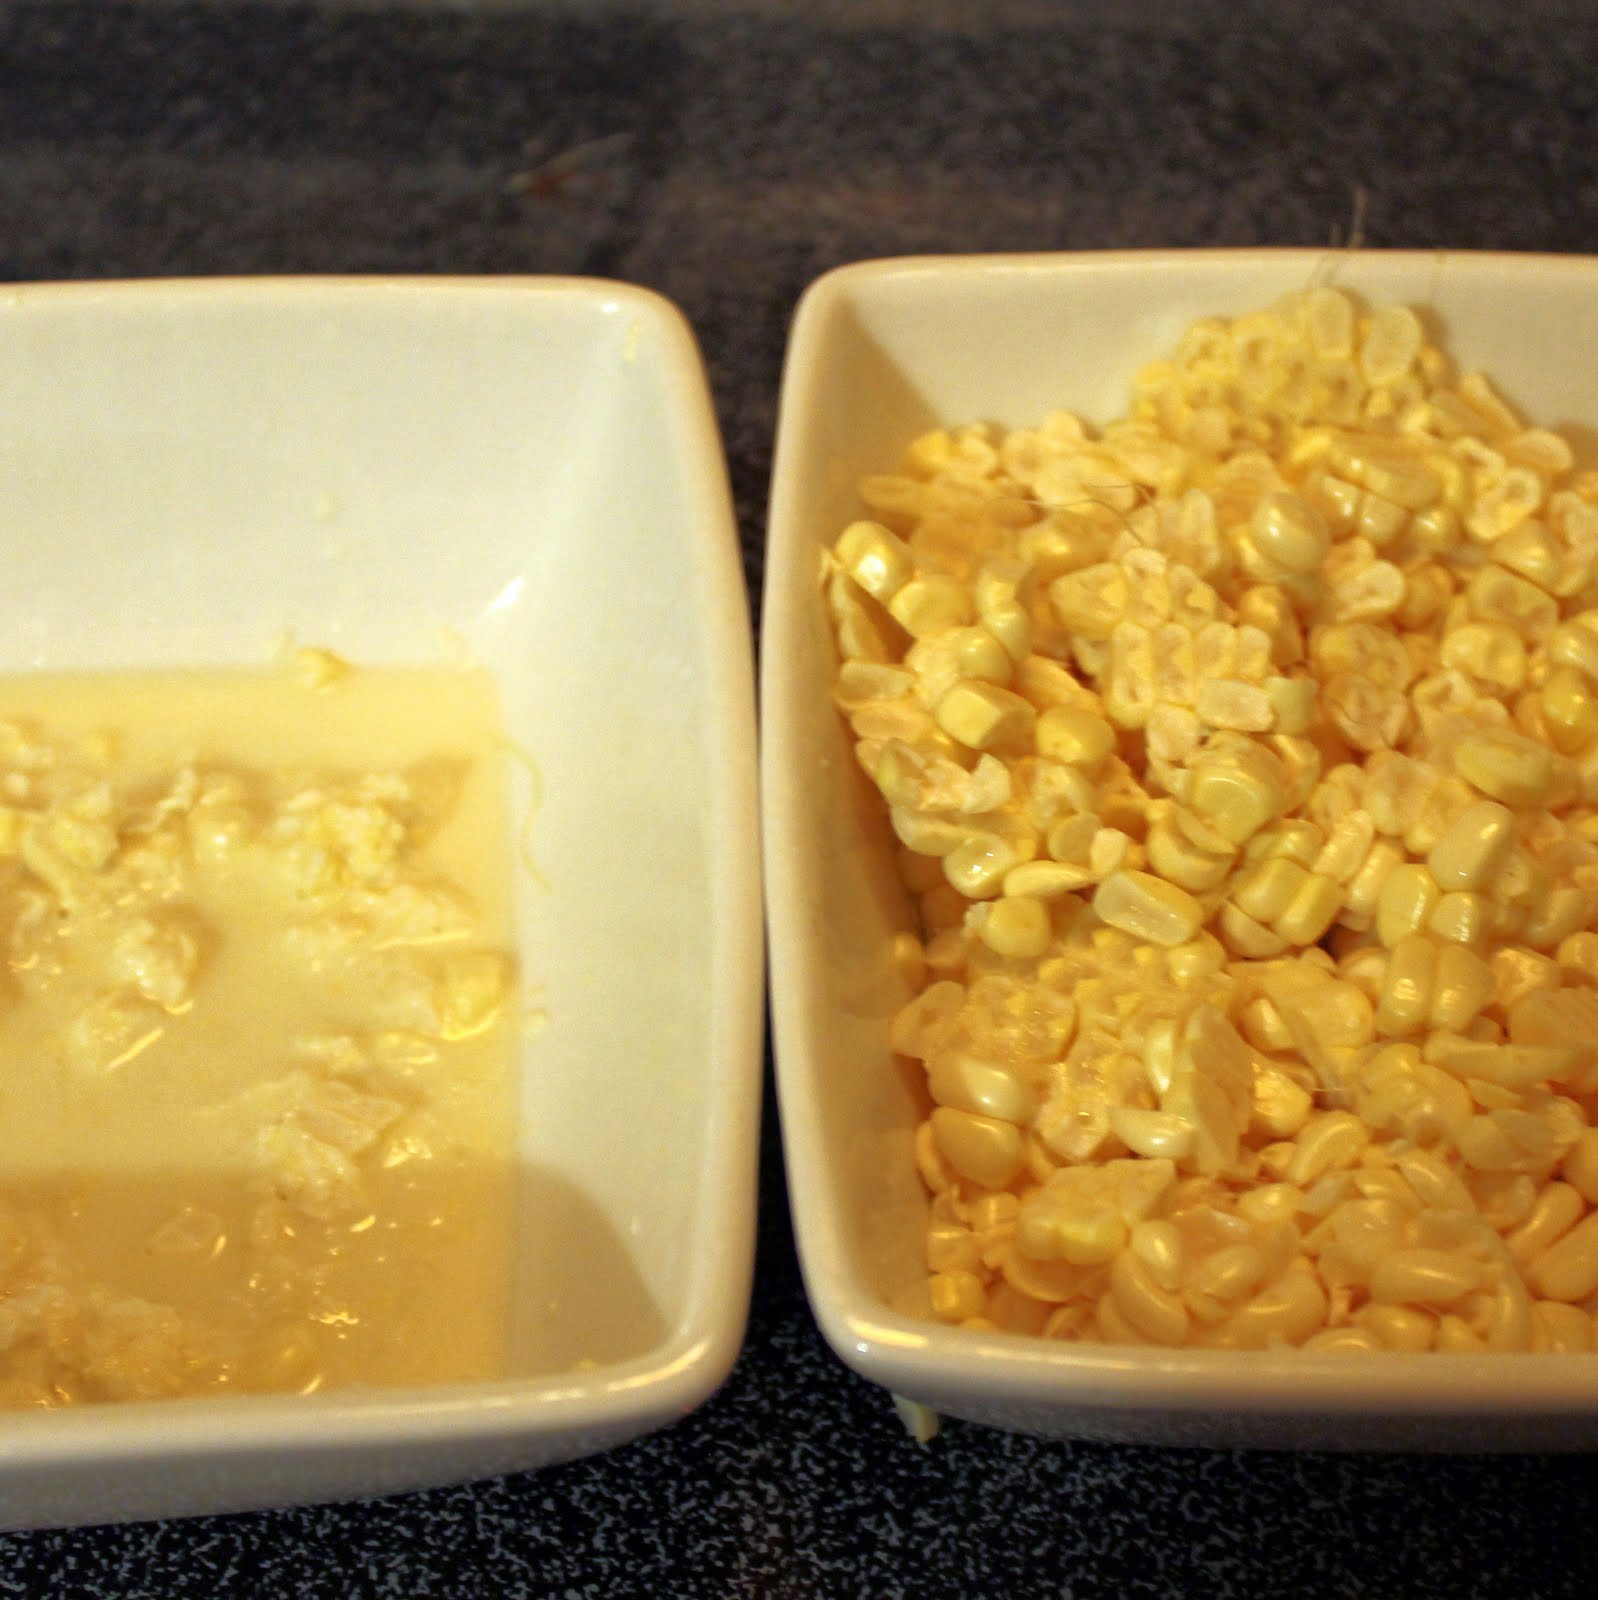
Using a knife, cut the kernels from the ears of corn. Using the dull side of the knife blade, run the knife back over the cobs to remove the remaining pulp and corn starch from the cobs into a separate bowl.
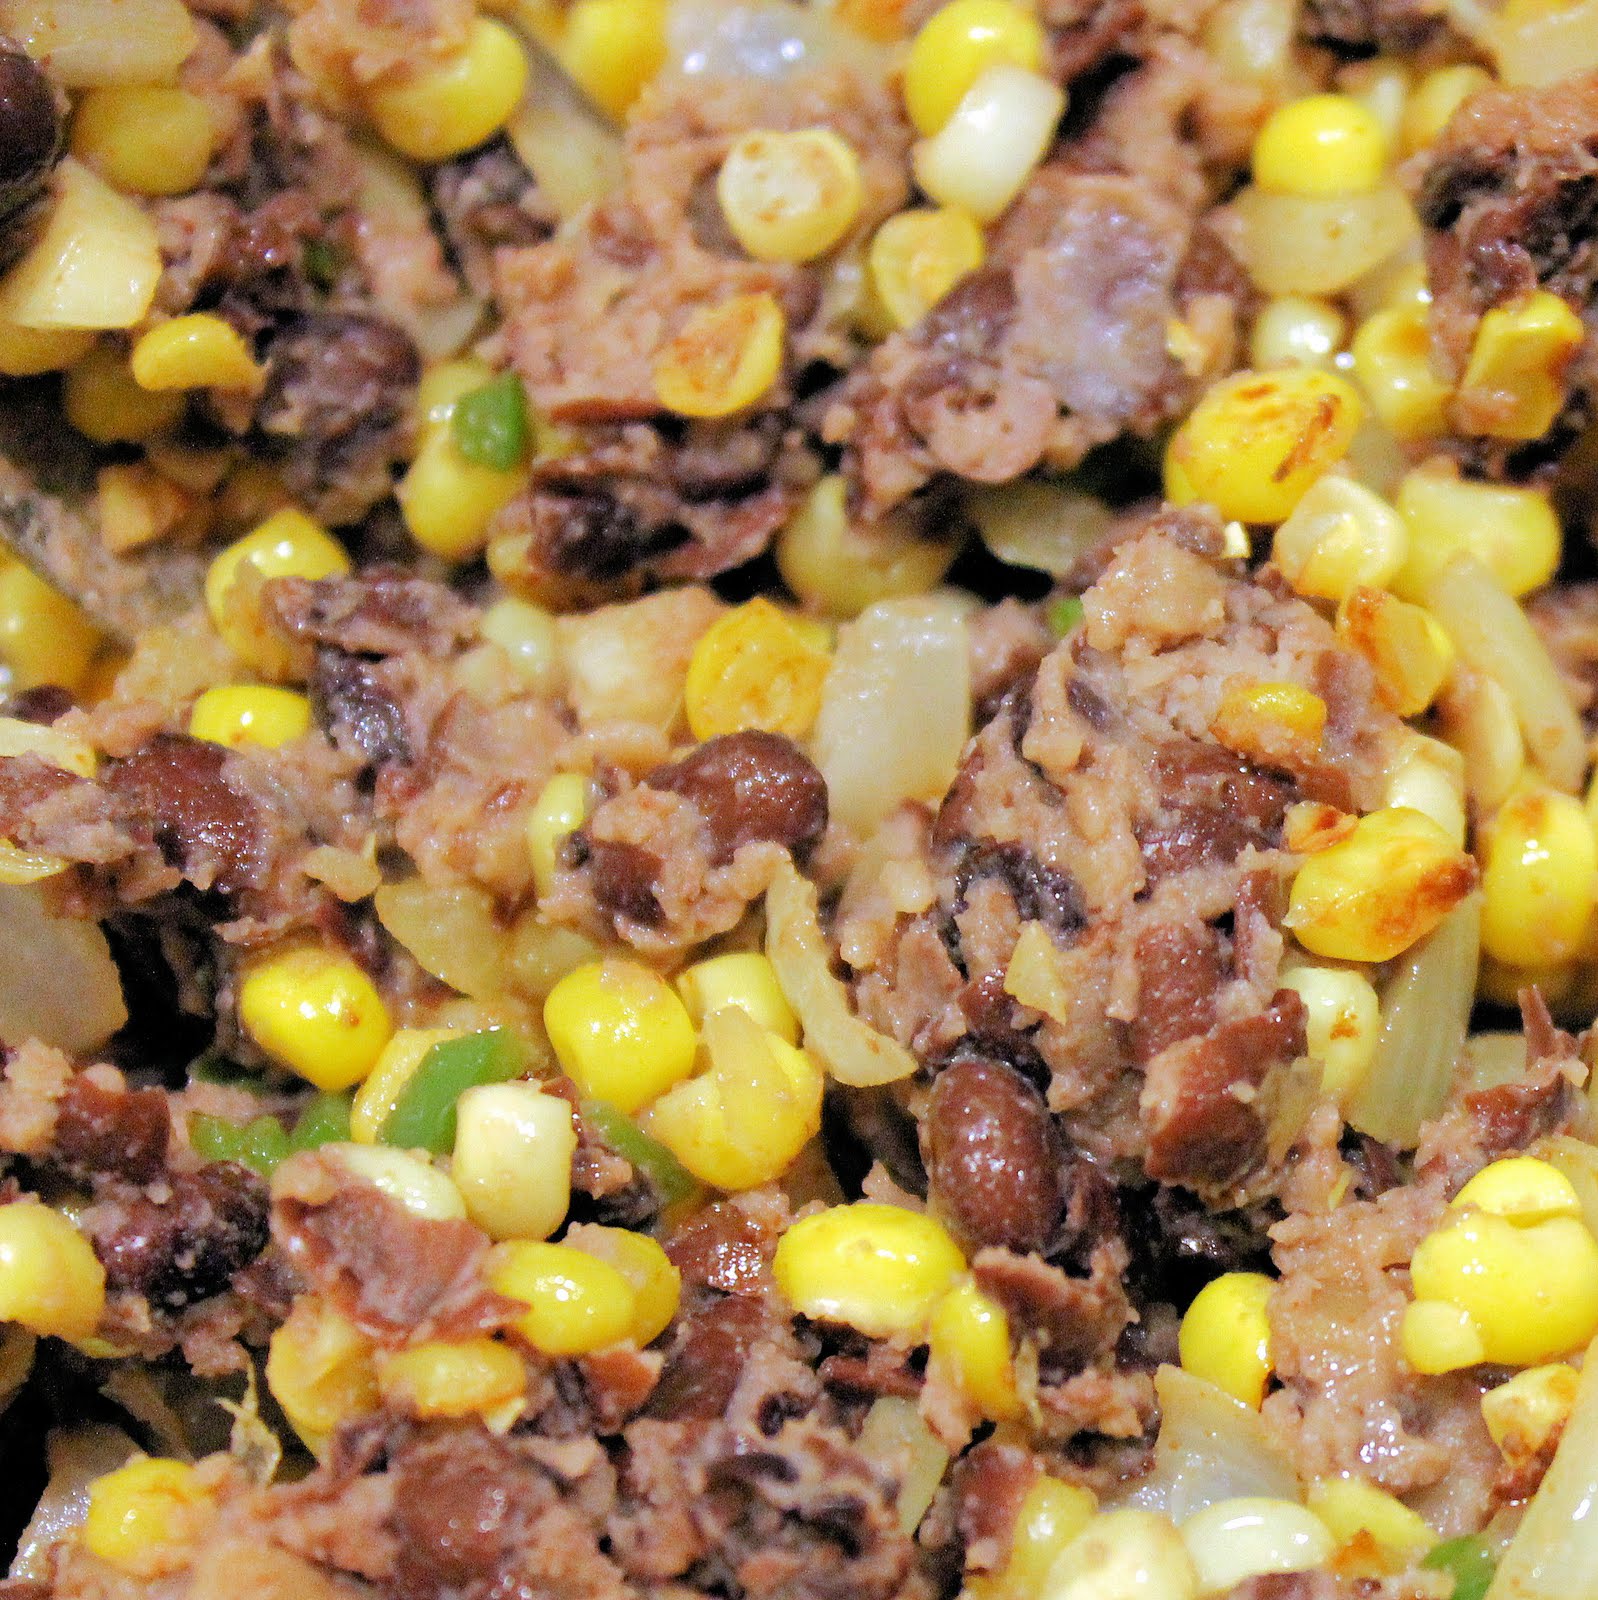
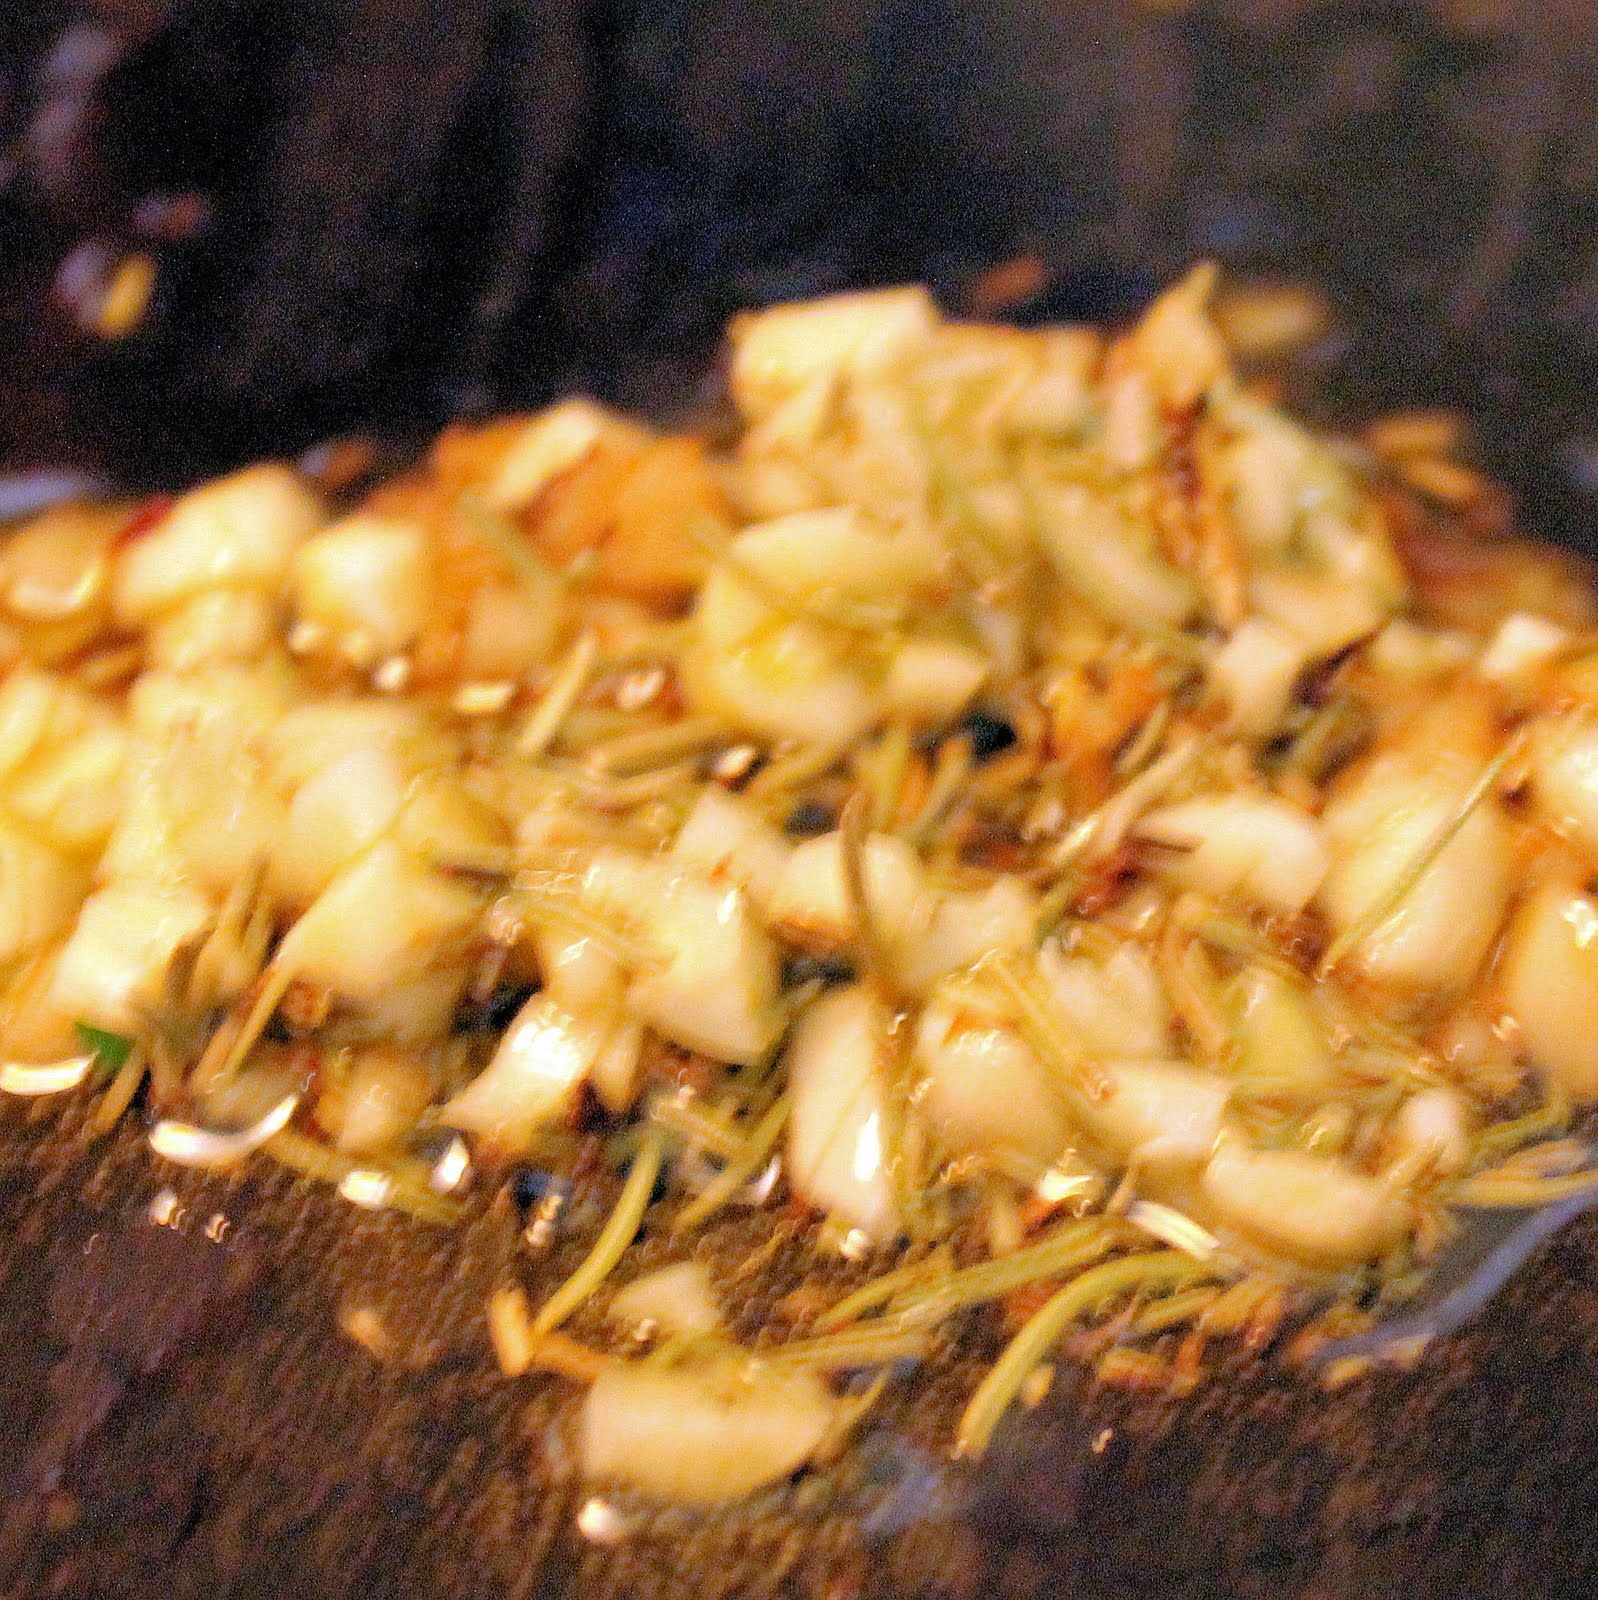
Heat oil in a saute pan over medium heat. Add the chopped onions, tied thyme, and 1/4 teaspoon salt. It’s best to tie the thyme for easy removal later.

Reduce the heat to medium low and cover. Cook for 8 minutes or until the onions have softened, stirring occasionally. Add the corn kernels and minced garlic, cover, and cook for 4 minutes.

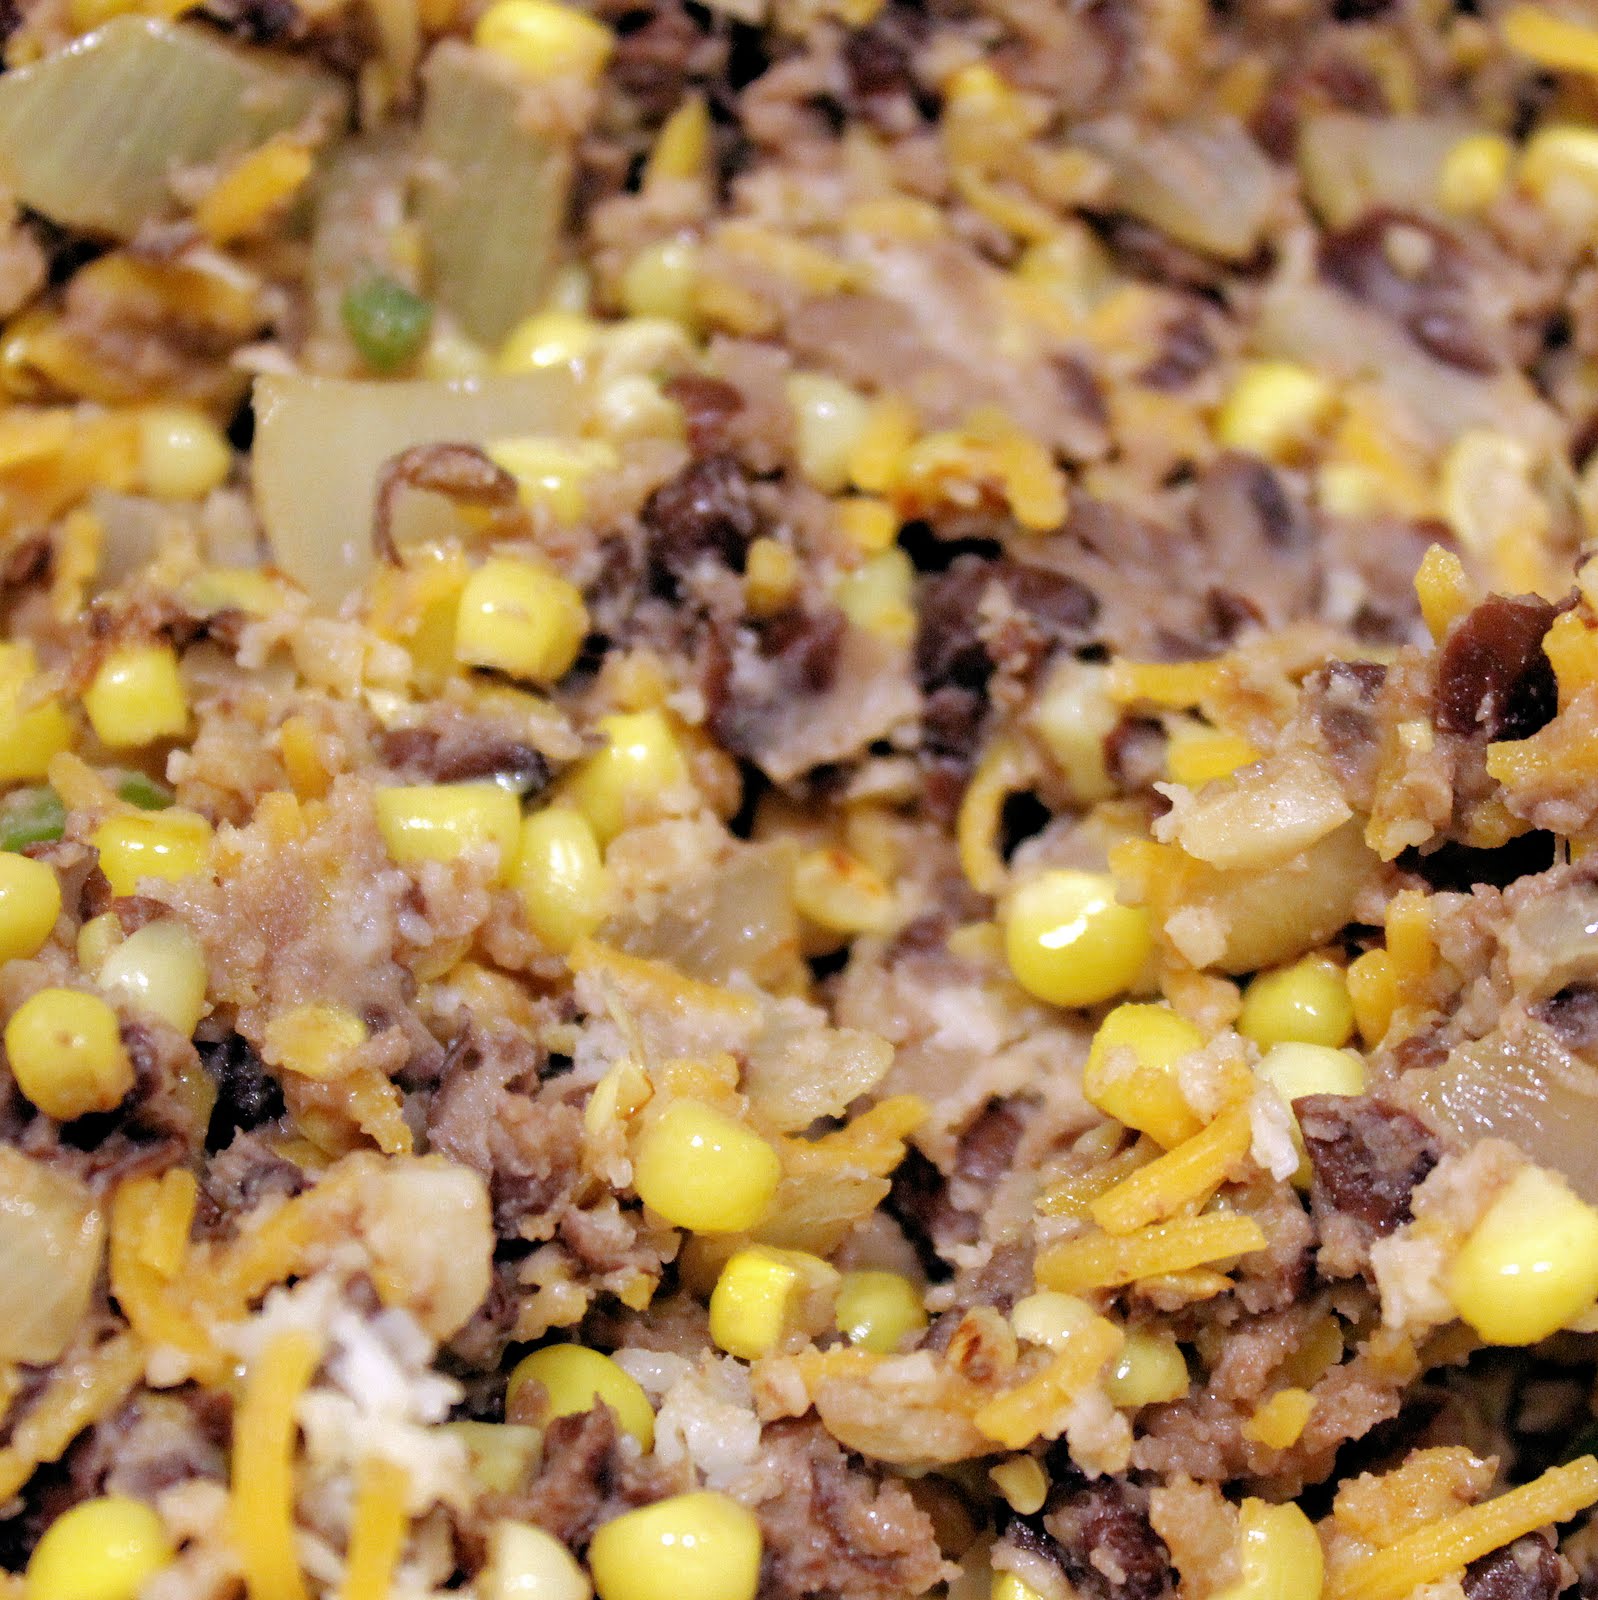
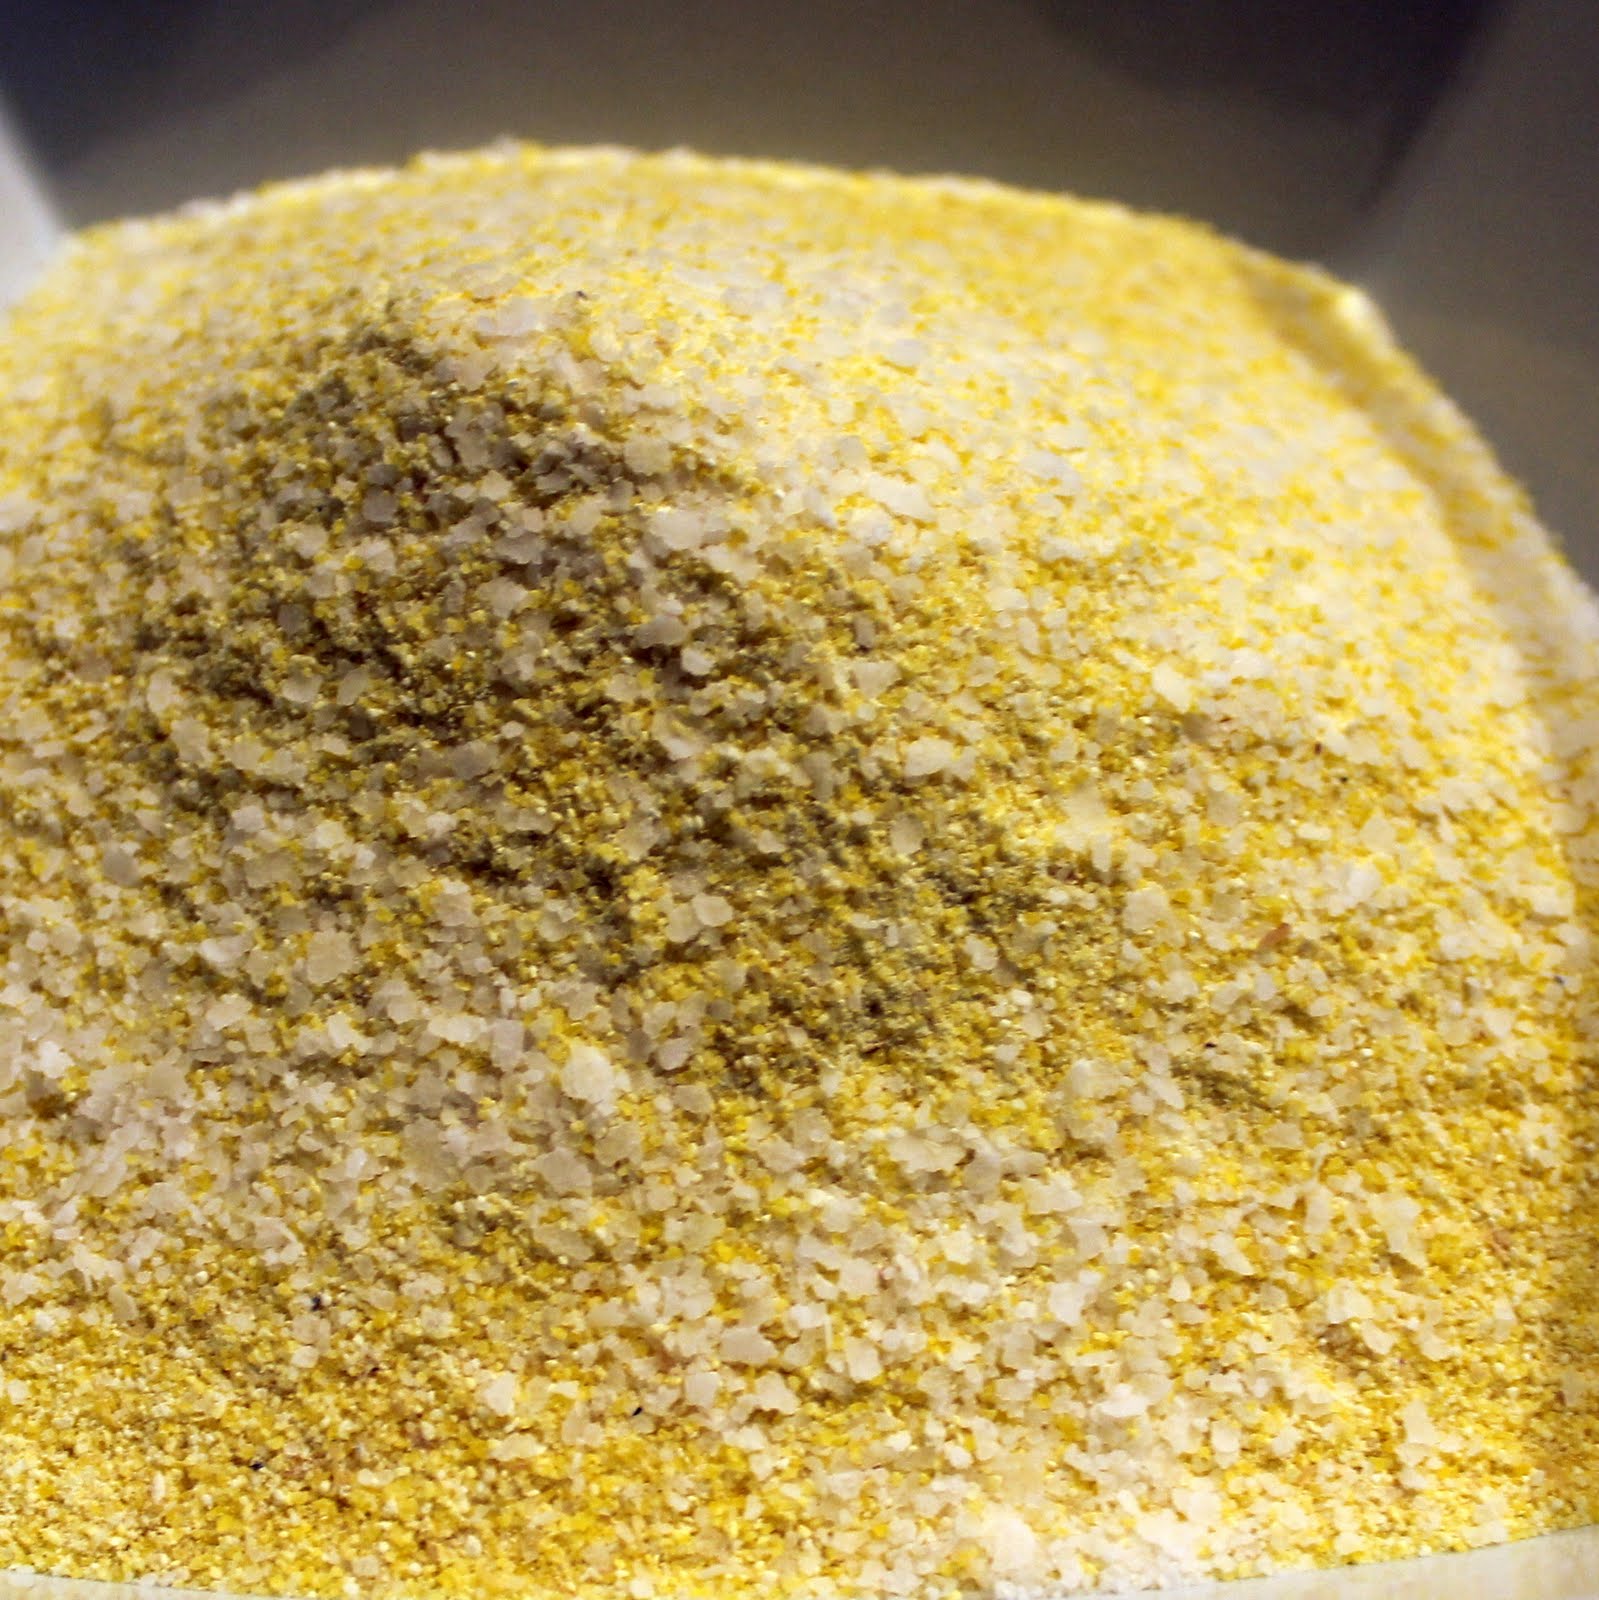
Add the corn starch/pulp, water and remaining 1/2 teaspoon salt.

Turn the heat to medium-high and bring to a boil. Remove from heat and discard the thyme. Pour half of the corn mixture into a blender.

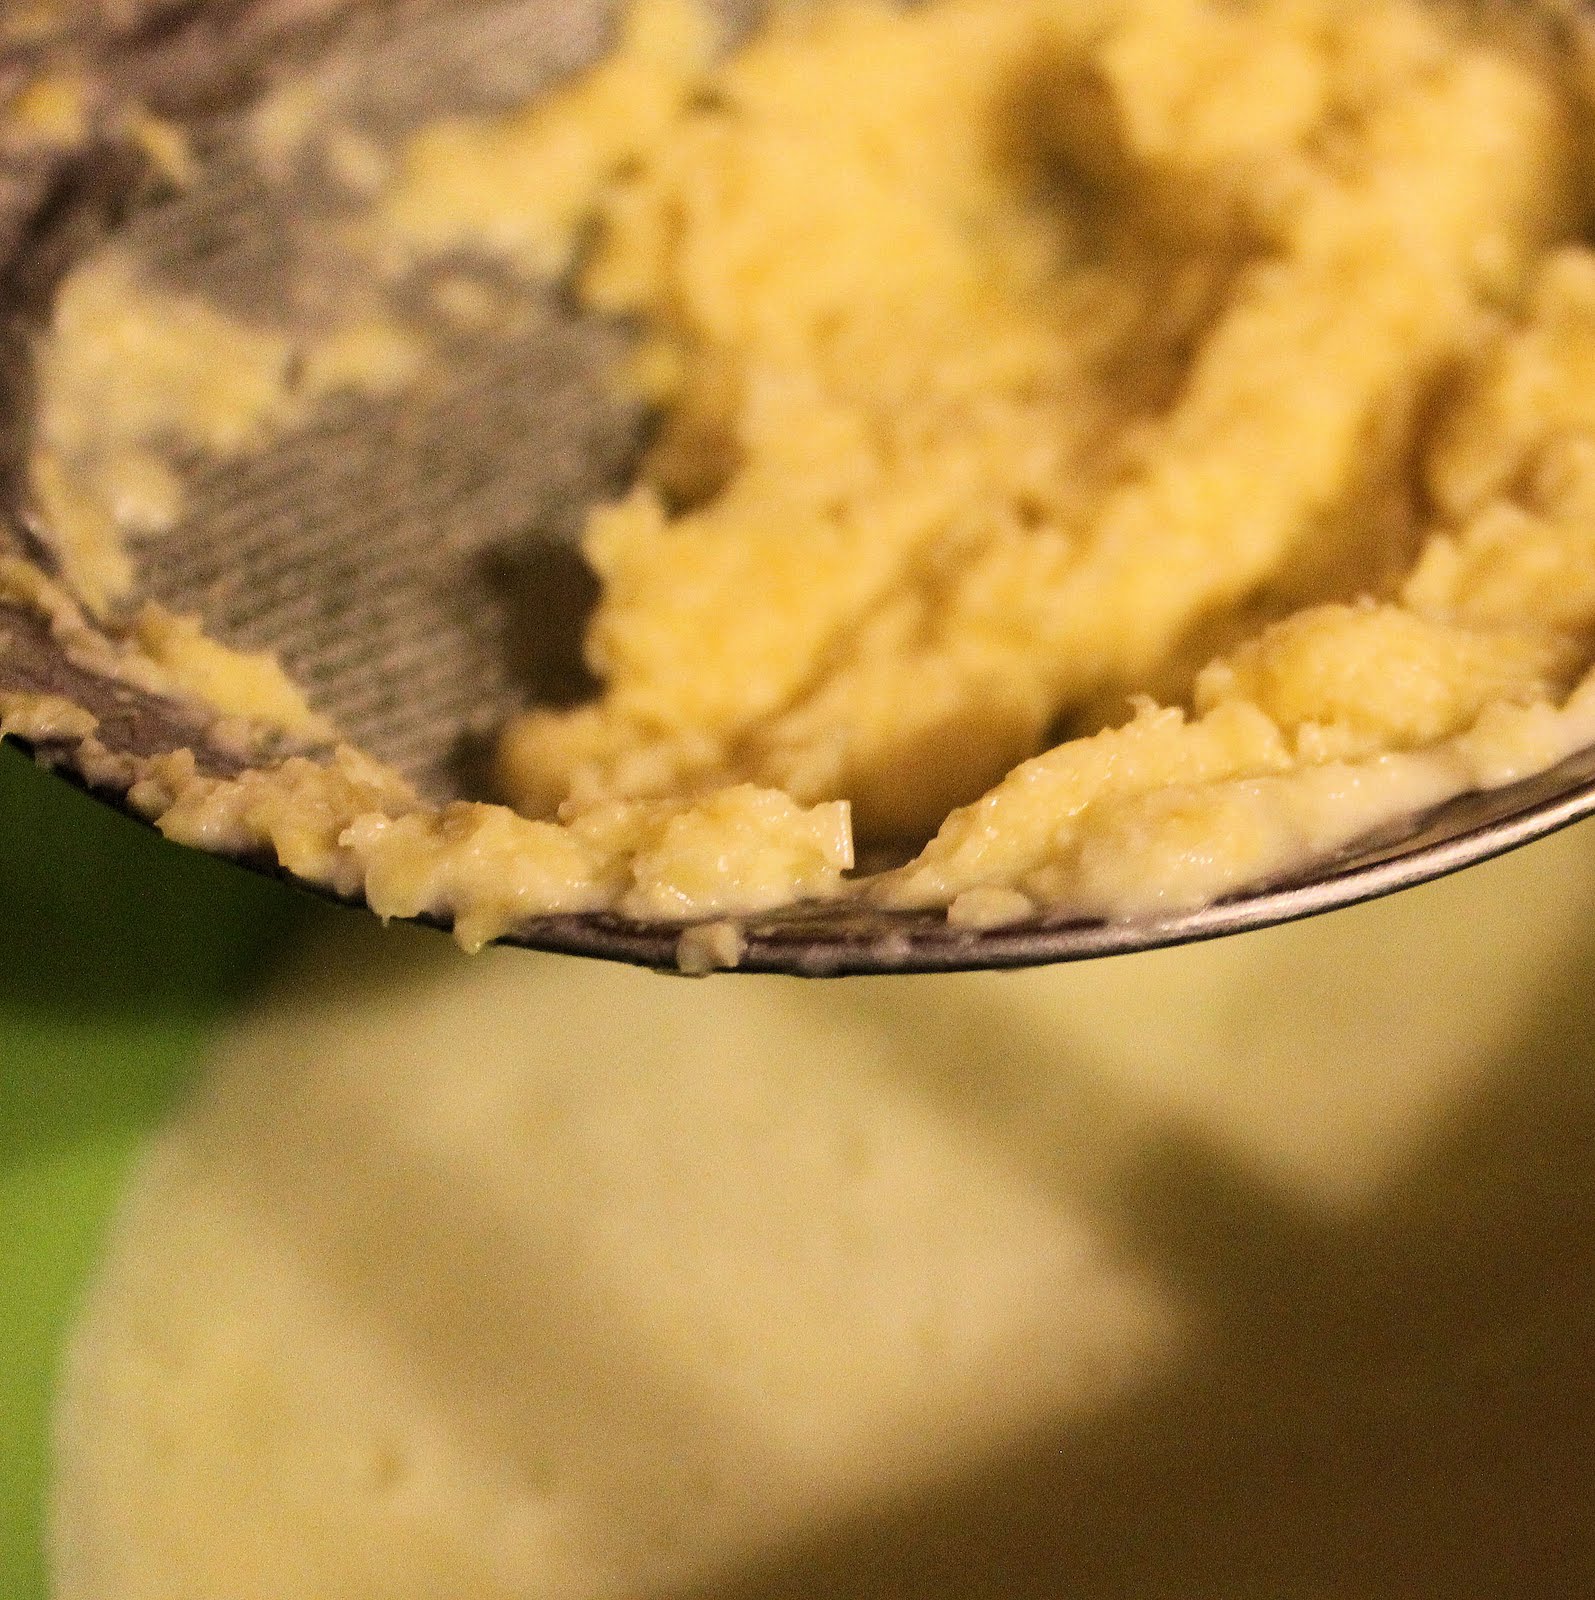
Remove the center piece of the blender lid so that the steam can escape. Place a clean towel or paper towel over the hole in the blender lid to avoid splatters, and blend until smooth. Strain the mixture through a sieve into a large bowl.

Using a spoon, push the liquid through the sieve and discard the solids.
Repeat with the remaining half of the corn mixture. Refrigerate for at least 4 hours.
When you are ready to serve the corn soup, dice the avocado and radishes, and chop the cilantro. Add to a bowl. Squeeze the lime juice over the avocado and radishes. Be sure to get it on all pieces so that they don’t oxidize and turn colors. Add the ground red pepper and mix to combine.
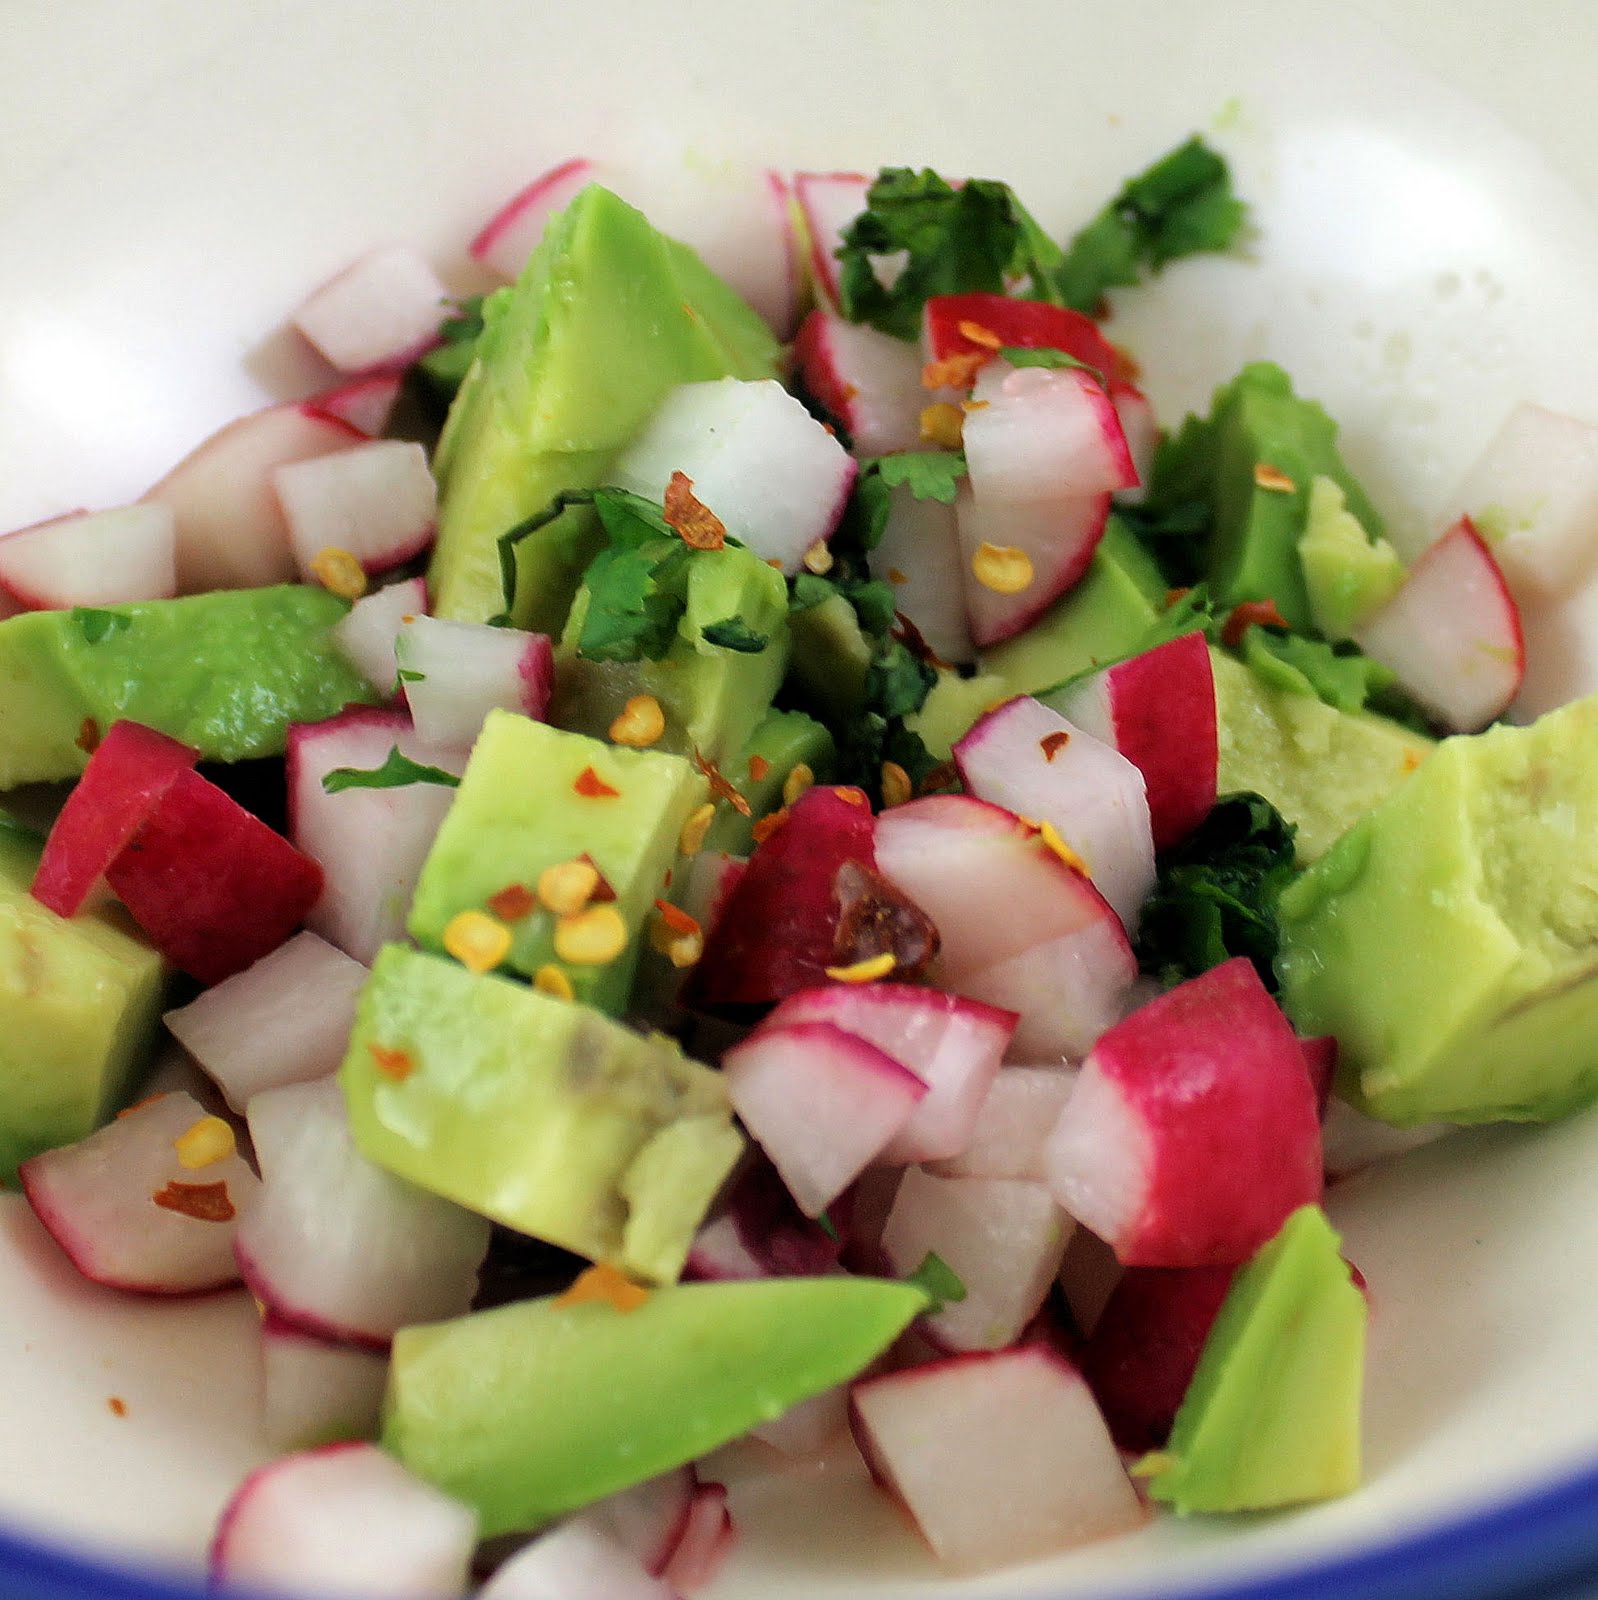
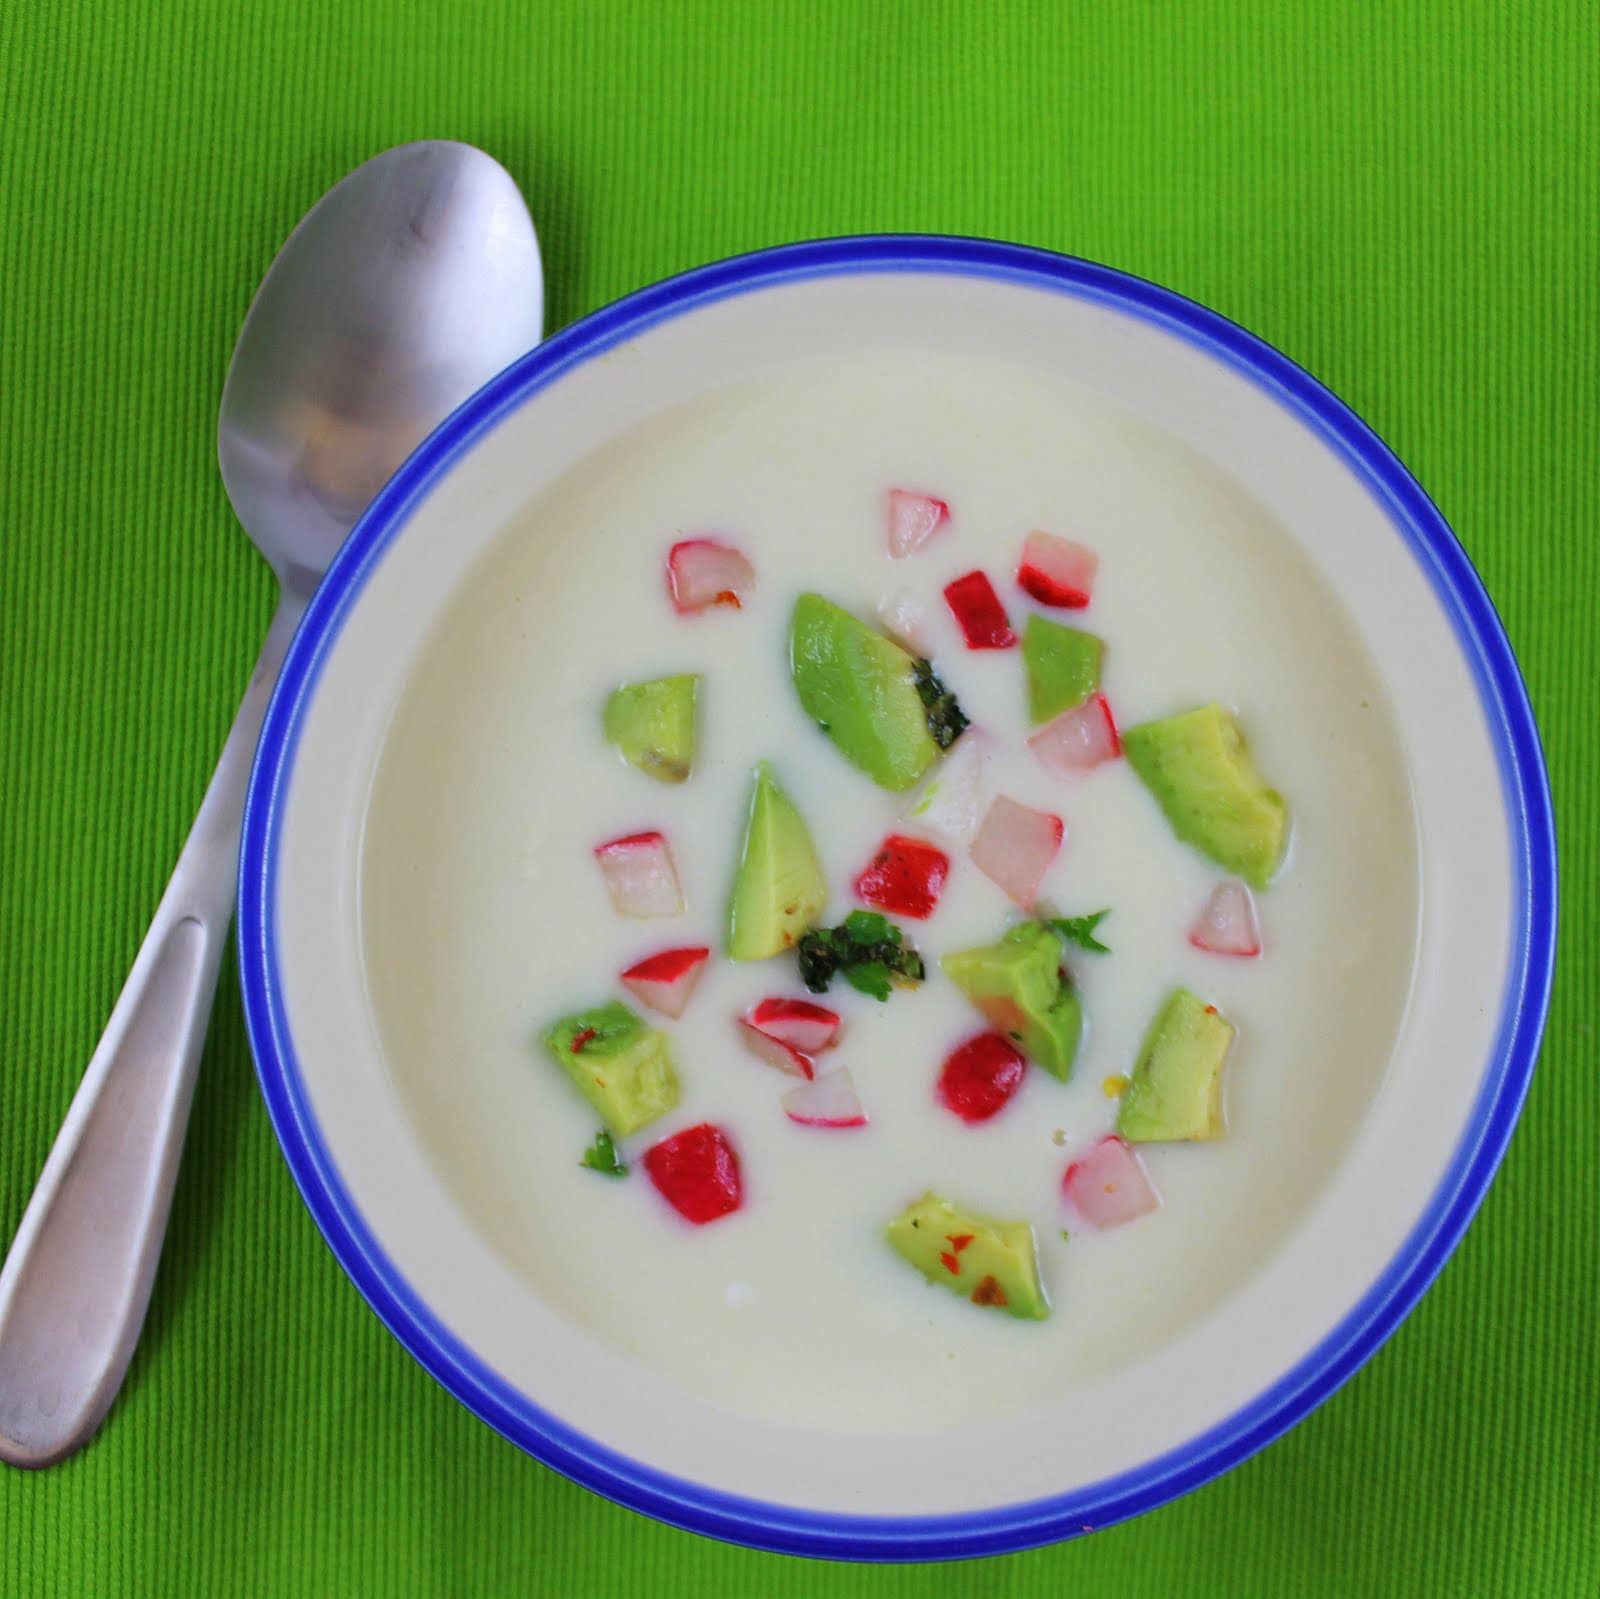
To serve, ladle 1 cup soup into each of 6 bowls, top with 2 tablespoons of the avocado mixture.

The soup was so creamy and smooth, it tasted like it was made with heavy cream. The corn starch/pulp thickens the broth which gives it that creamy quality. The radishes added a nice crunch to the dish, and the avocados add a bit more creaminess and a little bit of good fats to make the dish more filling. I loved the cilantro, it enhances the other flavors. What a delicious soup!