It’s almost July 4th weekend, so I am preparing a bunch of dishes for me to trek down to the beach.
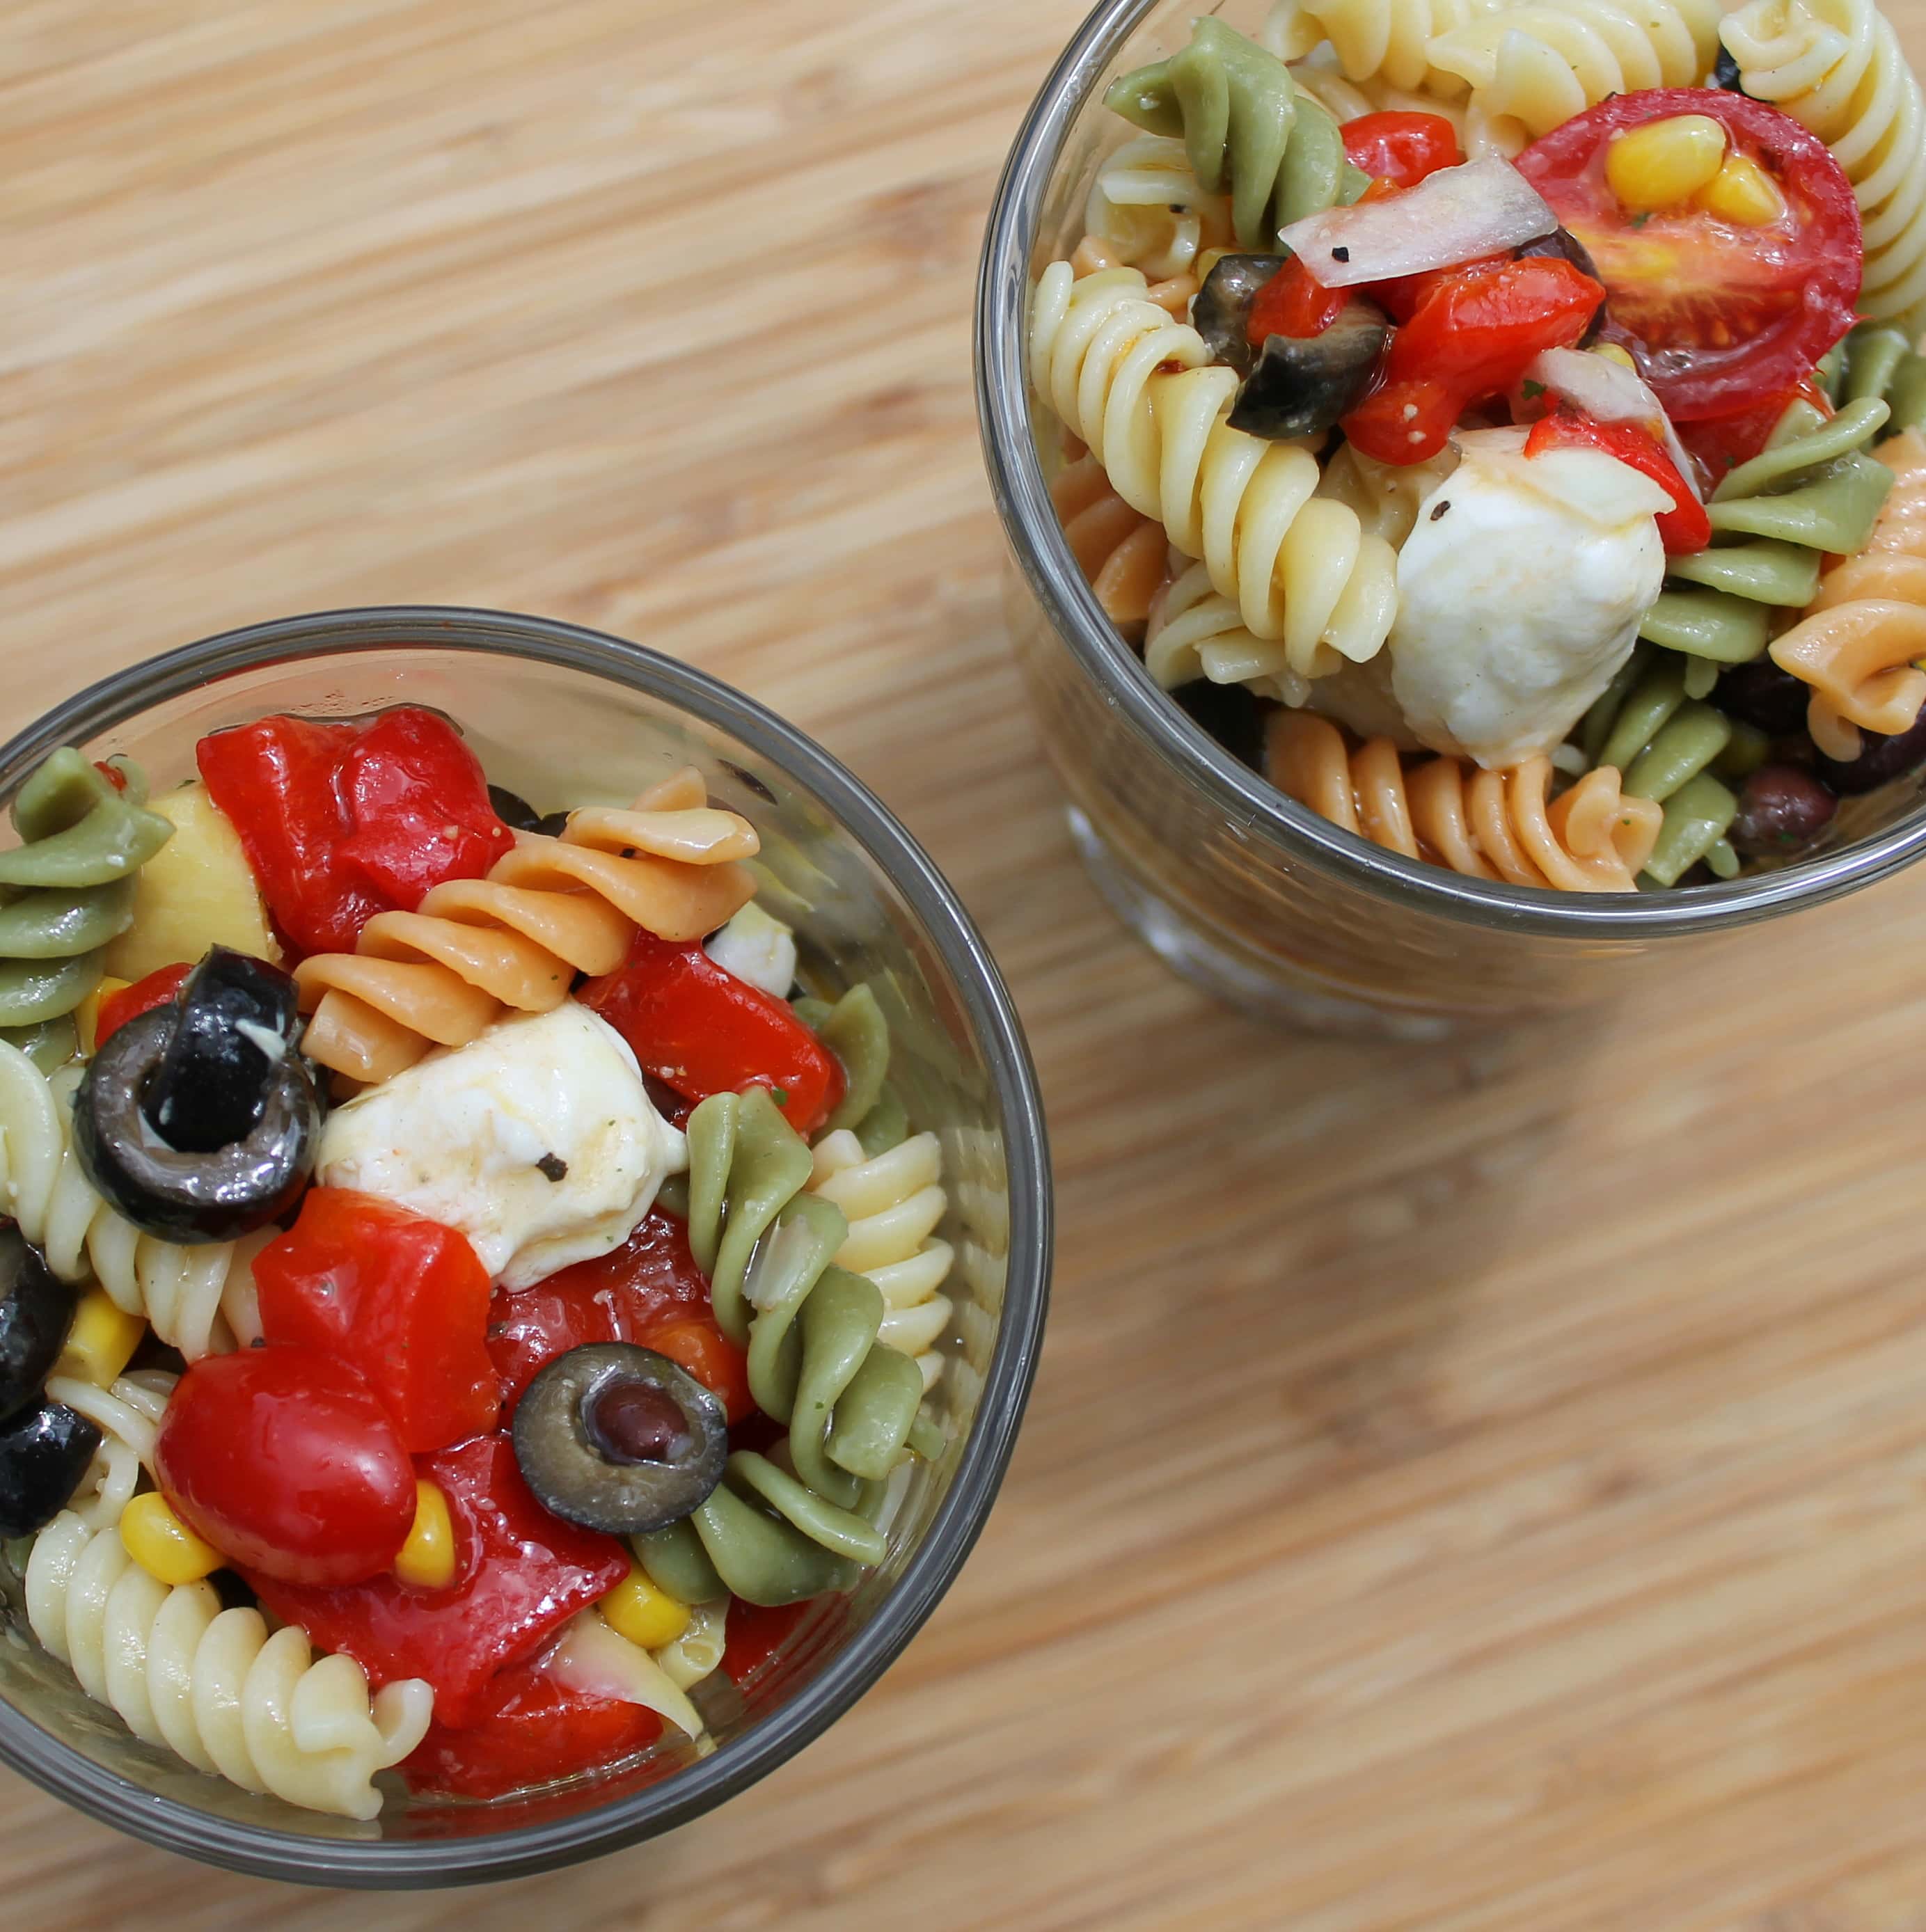
I tend to make food that can marinate for a day or two so that I have time to make it without rushing around right before we leave. This time around, I decided to make a pasta salad based off my mom’s version.
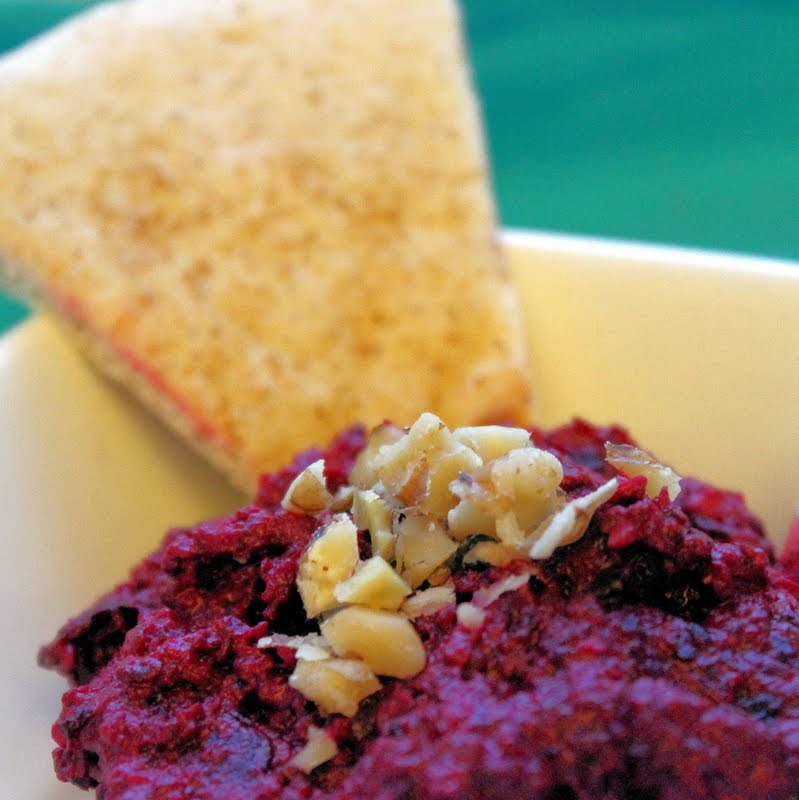
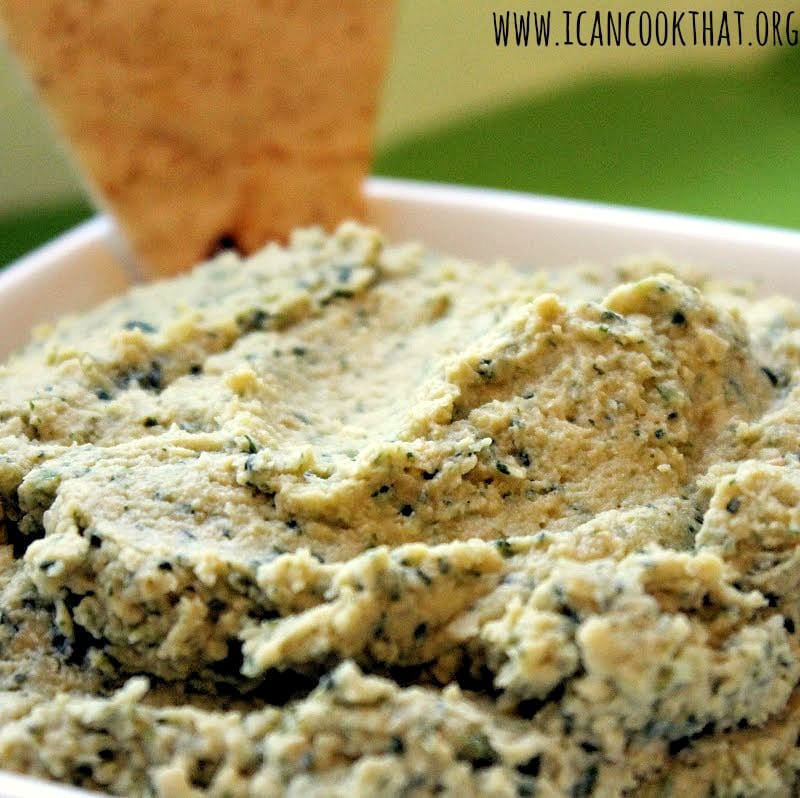
There is a restaurant in Philadelphia called Zahav that serves modern Israeli food. I went there for my birthday last December, and am still thinking about their tasty hummus and absolutely fantastic salatim, a selection of 8 little salads that you scoop up with their house baked laffa. All of the salads were really delicious, but the pureed beet salad was by far the happiest surprise offered. So when my CSA share came with beets this time around, I knew exactly what I was going to make… or try to make at least. I basically made a hummus, substituting in roasted beets for the chickpeas. My version is probably not all that close, to the one served as Zahav but I’m still happy with the results.
Ingredients:
1 bunch of beets (mine came with 5)
2 tablespoons tahini
The juice and zest of 2 lemons
2 garlic cloves, minced
1 teaspoon cumin
1 tablespoon olive oil
Salt and pepper, to taste
Walnuts, for topping
To roast the beets, preheat your oven to 450 degrees. Remove the tops, wash to remove all dirt, and arrange on a baking sheet. Drizzle with the olive oil and add a generous amount of salt.
Cook for 40 minutes or until you can easily stick them with a fork. My beets were on the smaller side, so you may need to up the time to 1 hour.
Allow to cool completely. Remove the skin of the beets by rubbing them with a paper towel. This is surprisingly easy, I promise.
Roughly chop the beets.
Add the beets, tahini, lemon juice, lemon zest, cumin, garlic, salt and pepper to a food processor.
Process until smooth.
Transfer to a serving dish and top with chopped walnuts. Serve with cucumbers, pita, broccoli, cauliflower, or anything else you’d like to dip in this lovely little dish.
If you’d prefer, you can add in a can of rinsed chickpeas to make a beet hummus. Another alternative would be to add some Green yogurt, to taste, to make a creamier version of this dish. Enjoy!
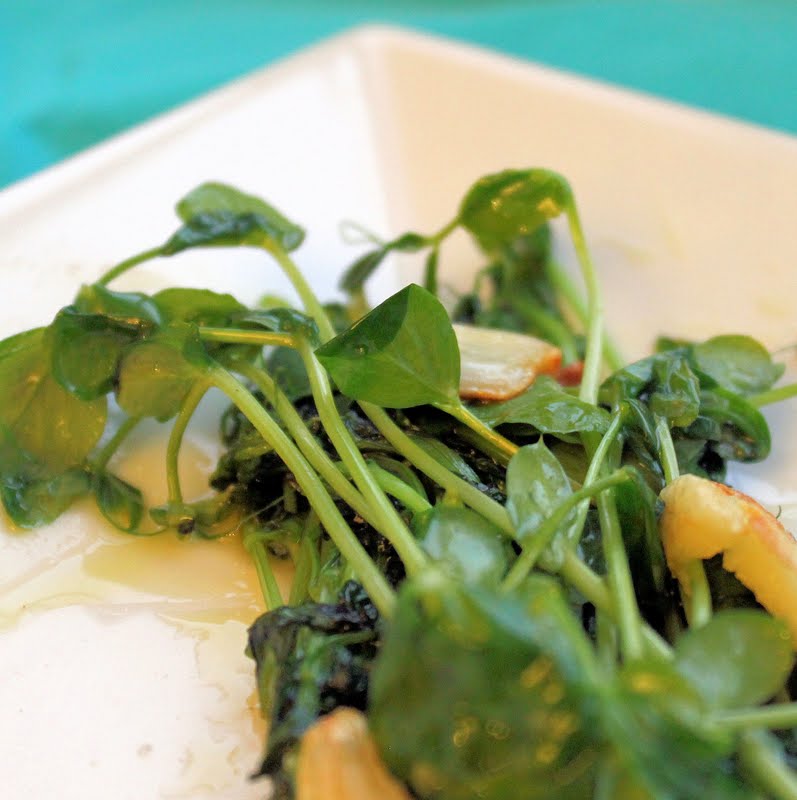
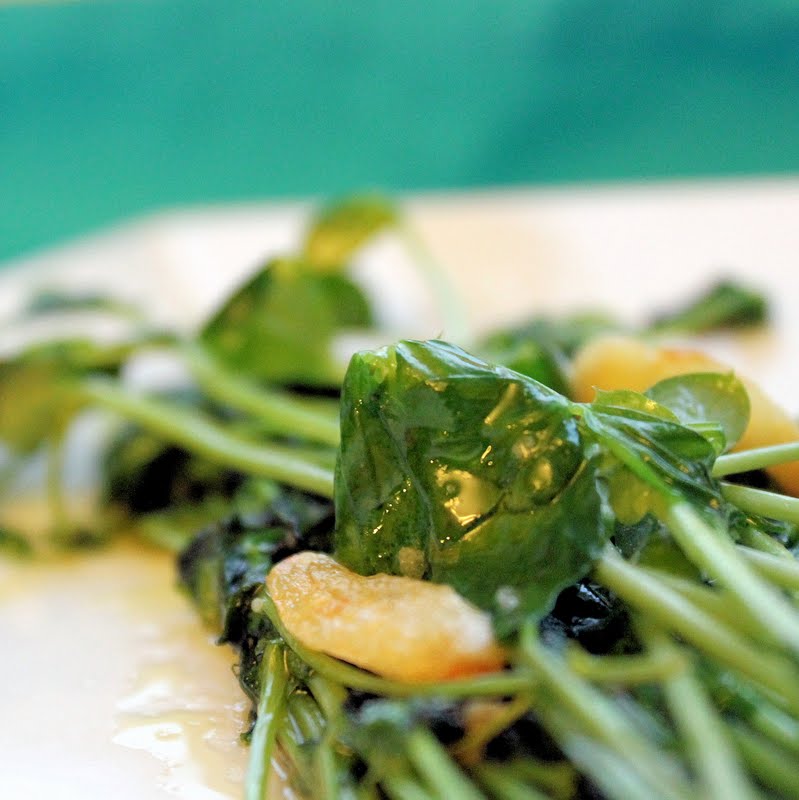
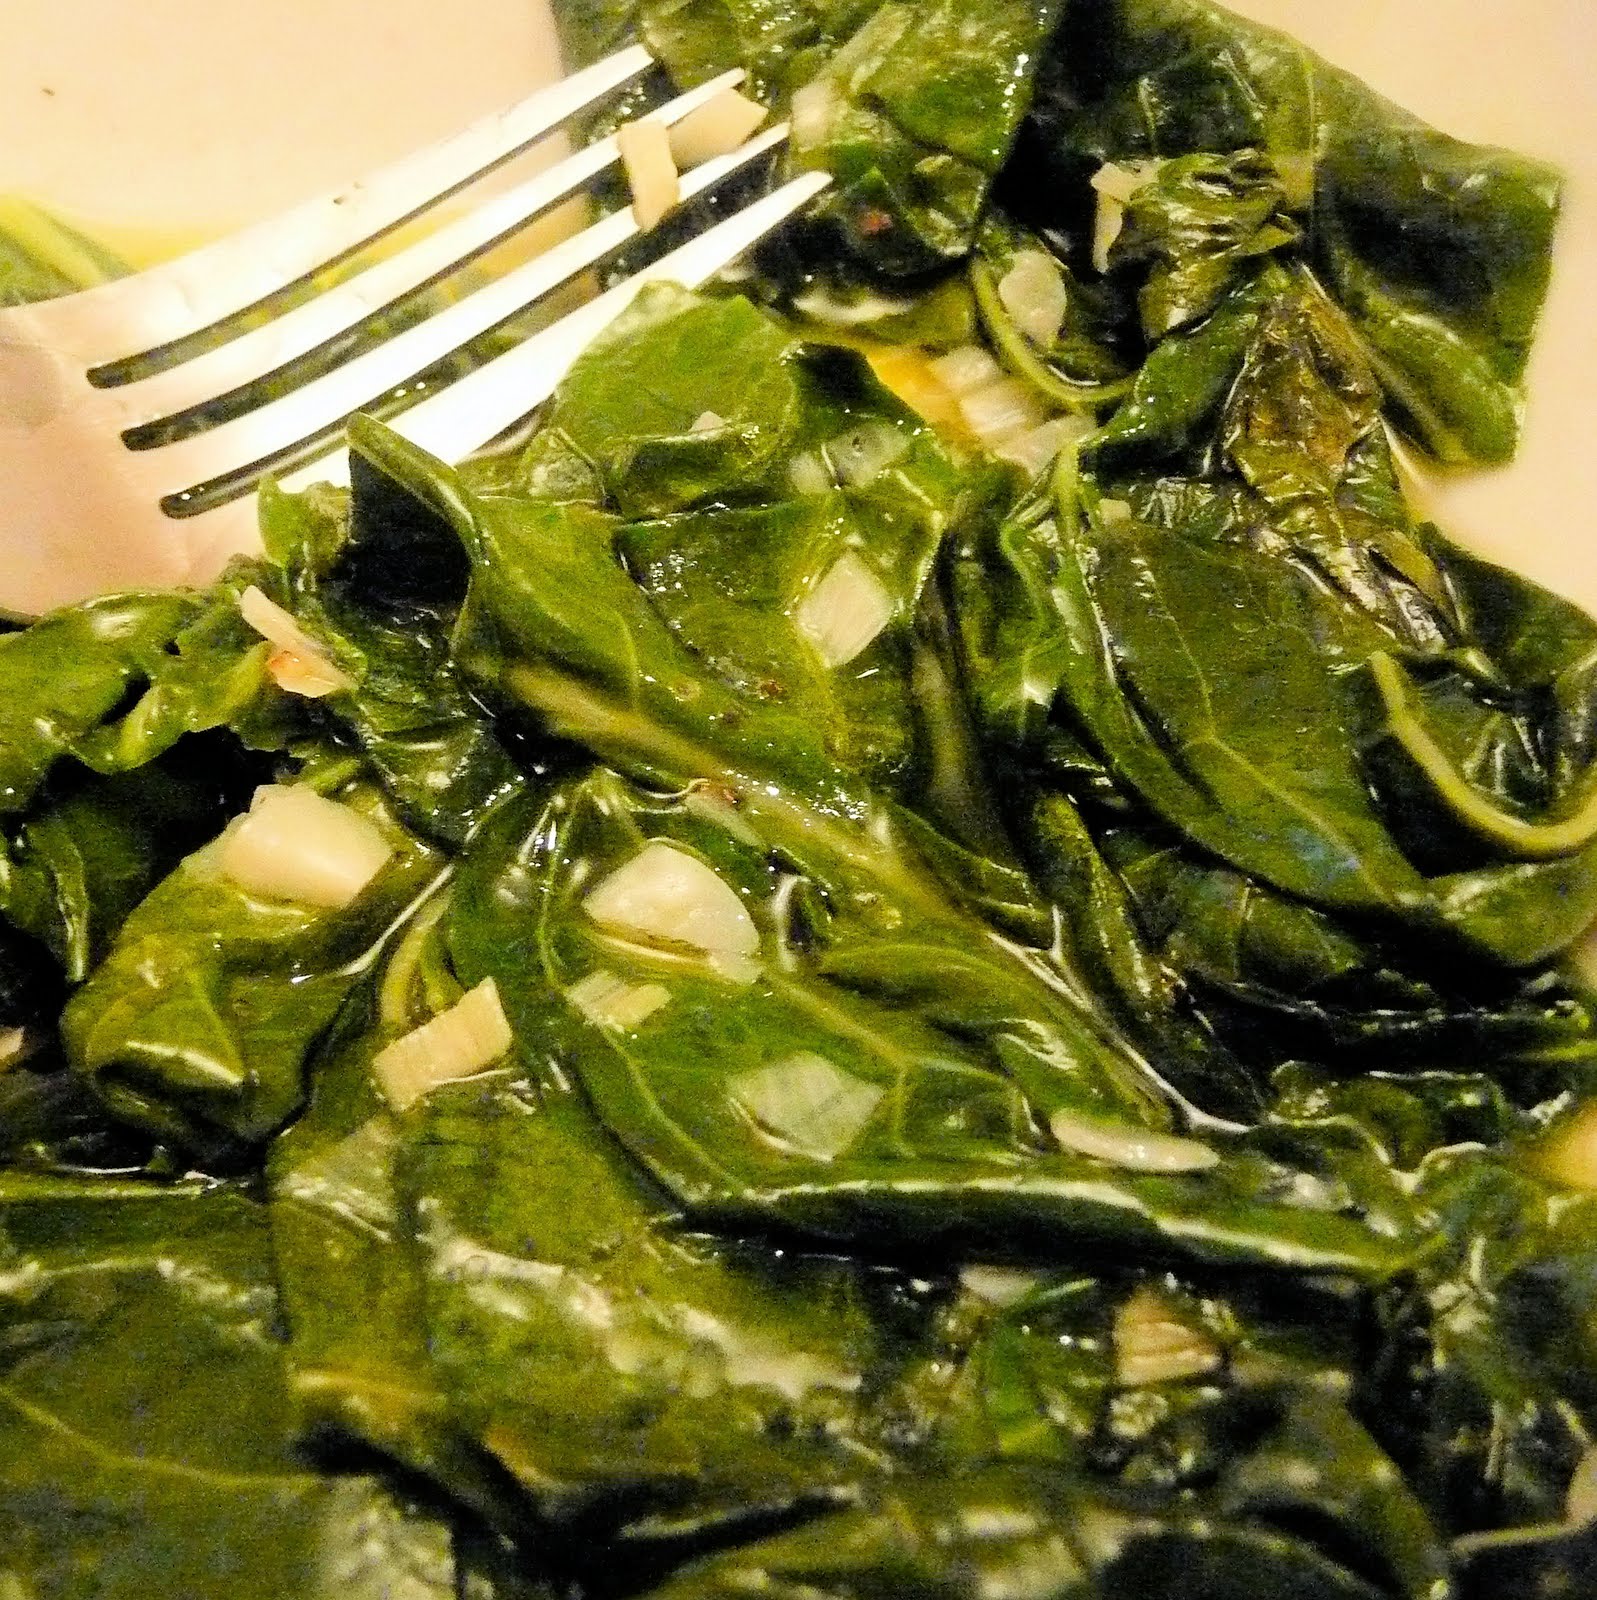
Pea tendrils (or pea shoots) are the leaves from a snow pea plant. They have a bit of a spinach-pea taste, delicate and very tasty. Before receiving them in my CSA share, I just thought they were used in a stir fry or as a topping. But these little guys are really delicious in a simple saute.
Ingredients:
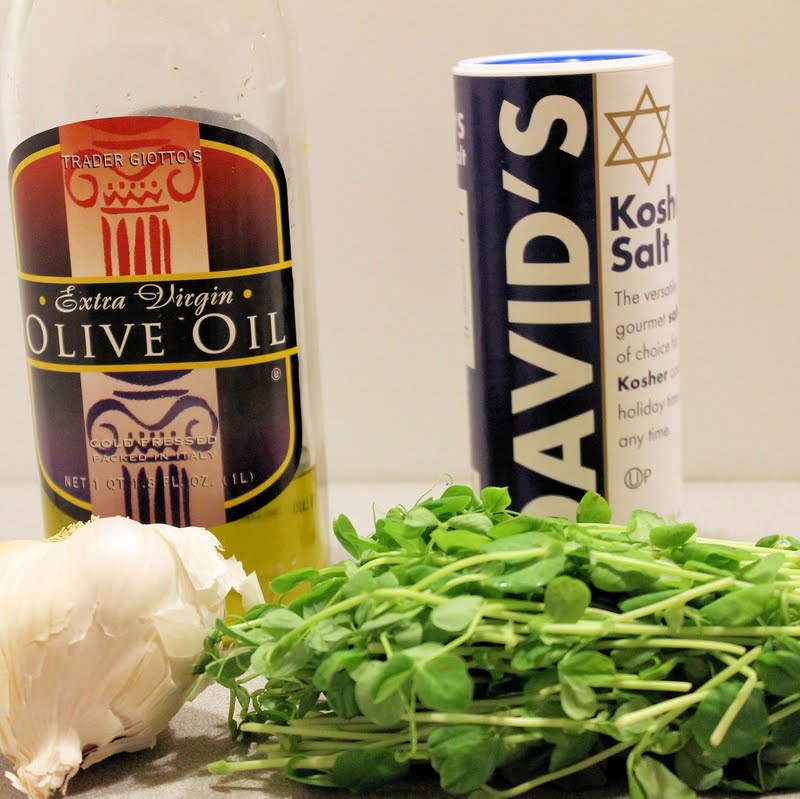
Pea tendrils
1 teaspoon olive oil
3 garlic cloves, smashed and cut in half
Salt, to taste
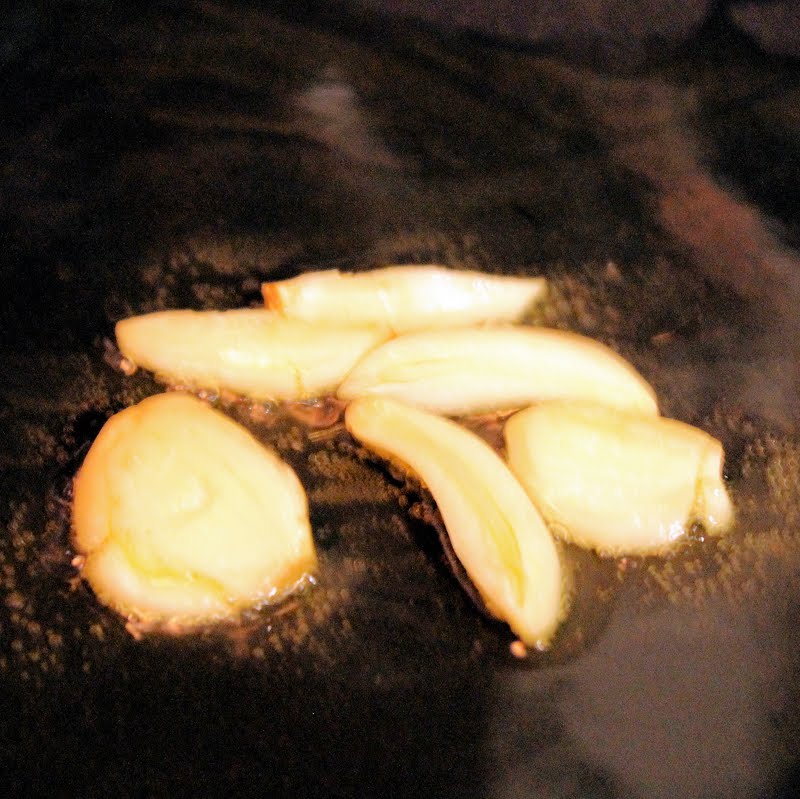
Heat the olive oil in a saute pan over medium-low heat. Add the garlic cloves and cook for 2 minutes, until sizzling but not browned.
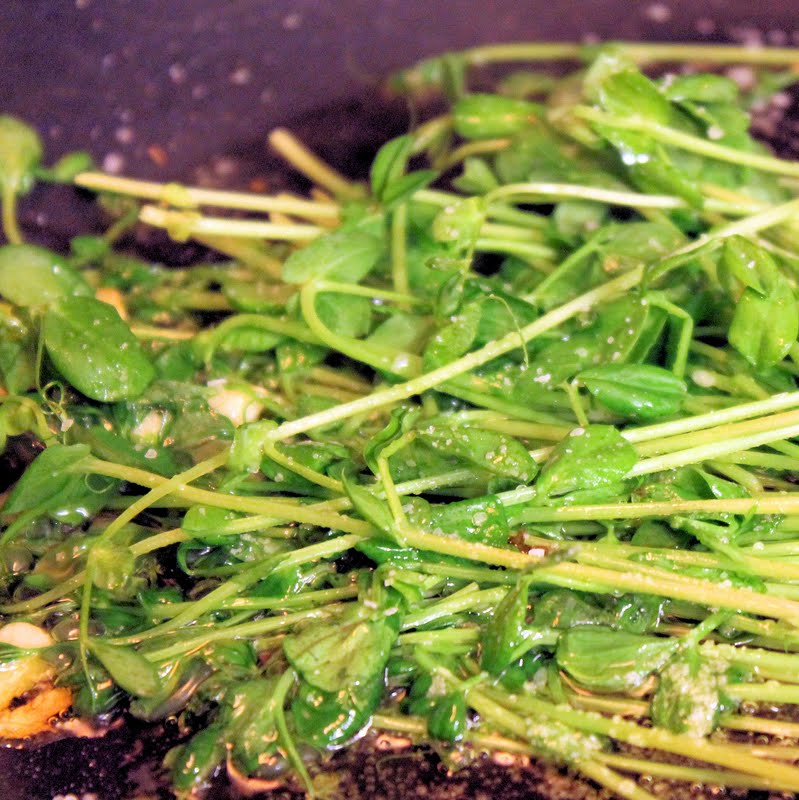
You can either remove the garlic, or keep it in there to add more garlicky flavor. Add the pea tendrils and salt to taste.
Saute for 1-2 minutes until slightly wilted but still maintaining its shape. That’s it! So simple, so yummy.
I can never have enough hummus, it is one of my favorite snacks (although I tend to eat so much of it, it’s not really a snack!) I’ve had hummus on the brain for a while now. Be Well Philly must have read my mind, because they posted this great Cilantro Lime hummus recipe that I just had to try. As a plus, cilantro came in my CSA share this week!
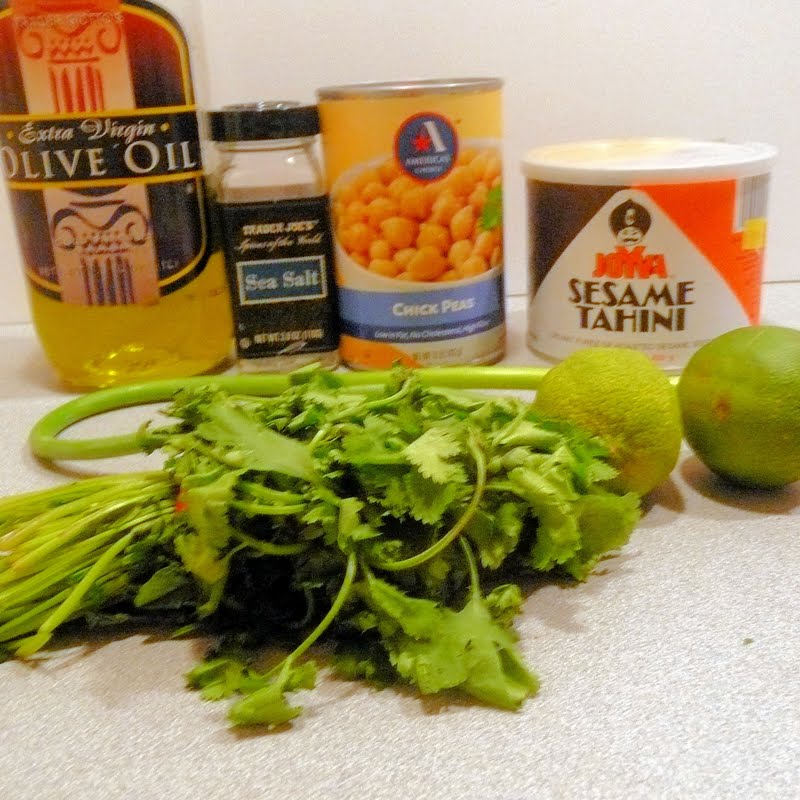
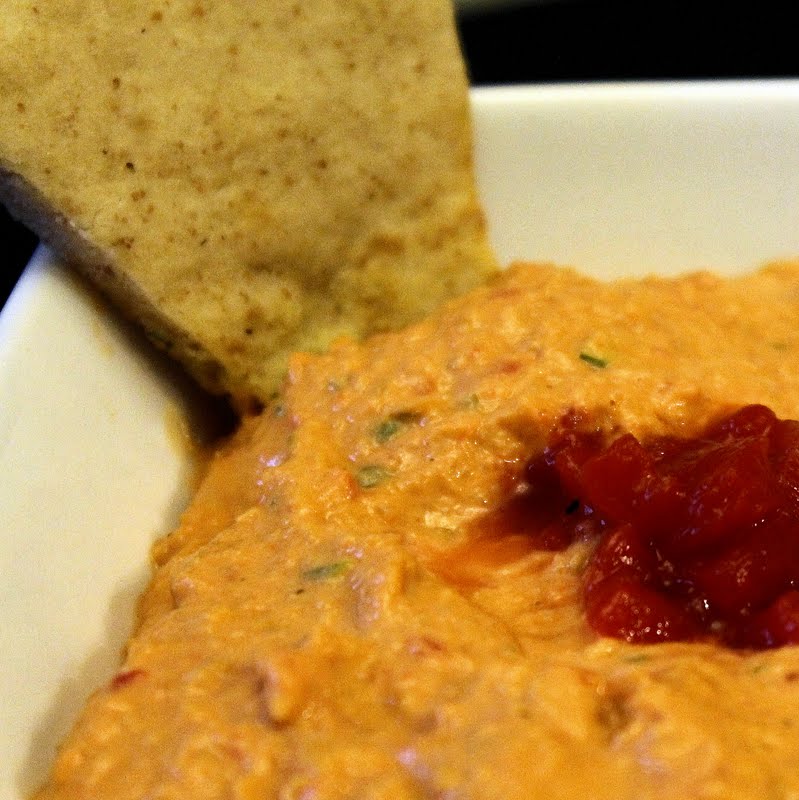
I think I’m on a hummus kick. Or maybe I’m feeling particularly lazy dinner-wise this week, and hummus is a quick and easy thing to make. Whatever the reason, it is hummus overload on this website. I have a good feeling no one is complaining though. One of the most appealing things about hummus is how versatile it is. Here is my version of roasted red pepper hummus.
Ingredients:
1 (15 ounce) can chickpeas, drained
1/3 cup tahini
The juice and zest of 1 lemon juice
1 jar of roasted red peppers (about 3 peppers)
1 garlic scape, chopped (or 2 garlic cloves)
1/4 teaspoon cumin
Salt and pepper to taste
For dipping:
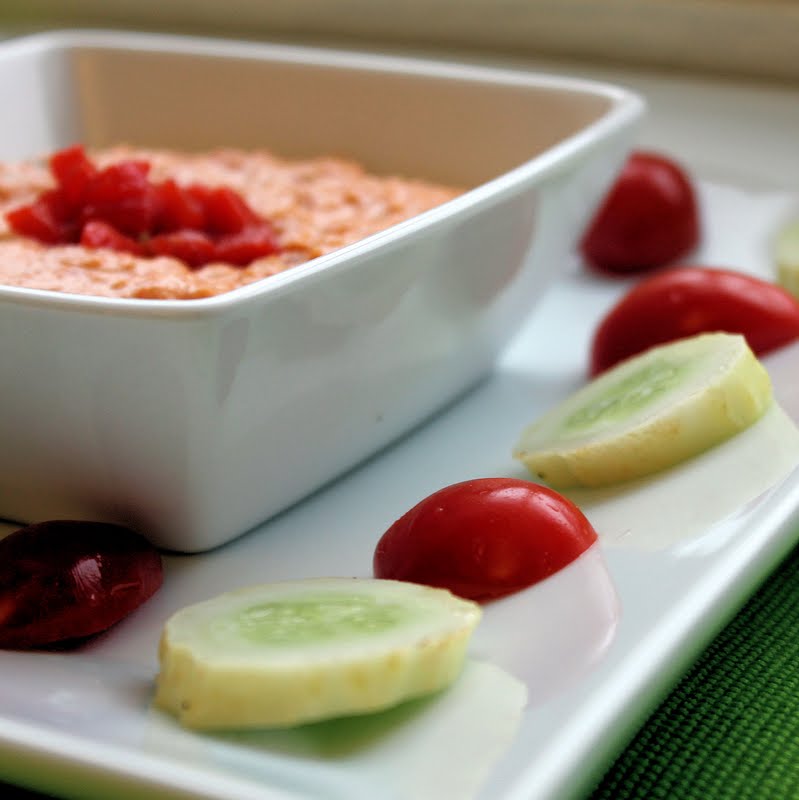
Grape tomatoes
Pita bread
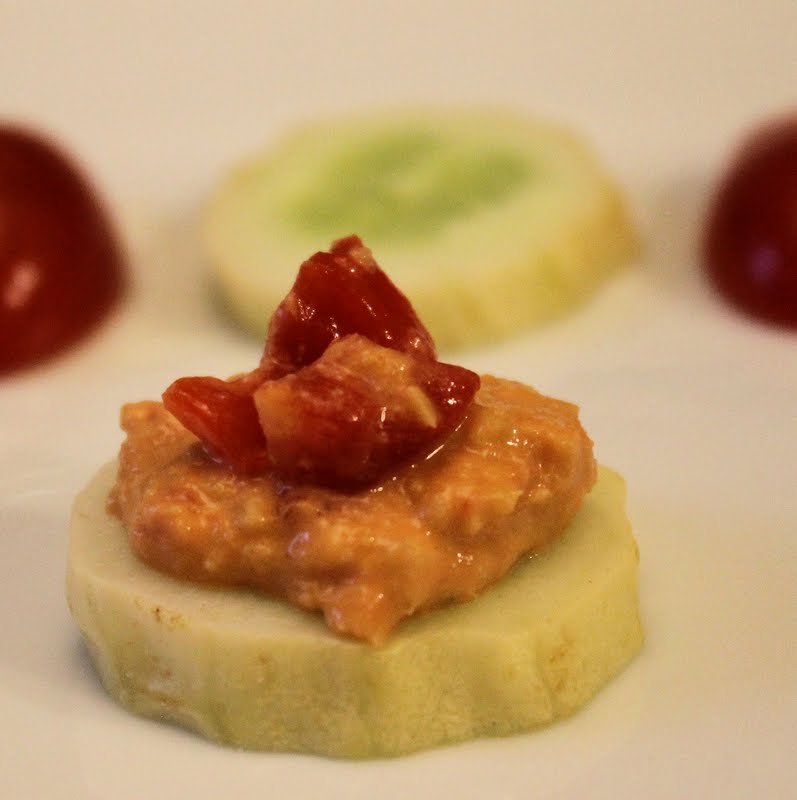
Cucumber
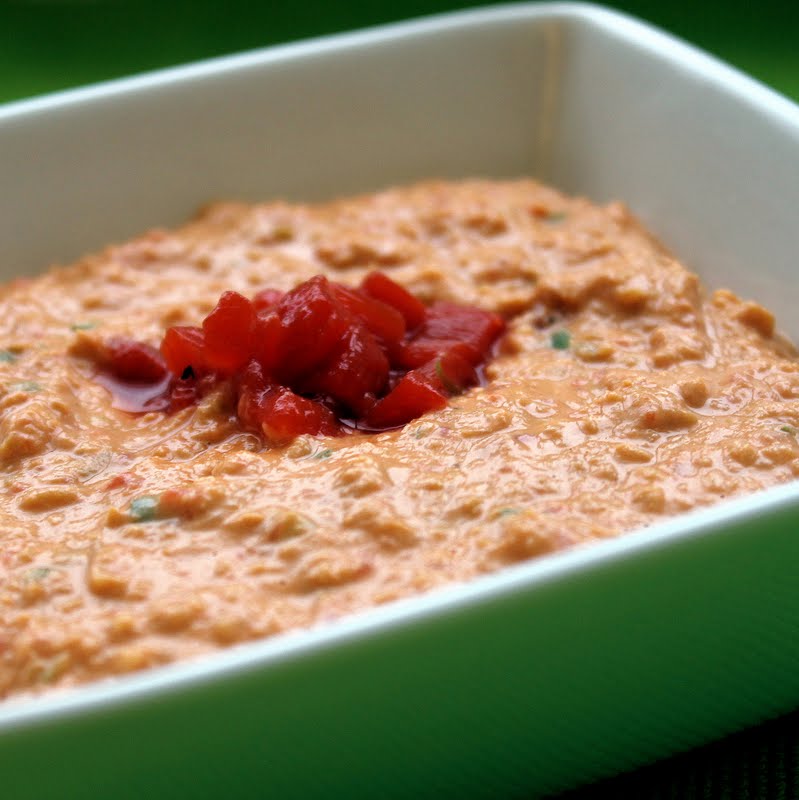
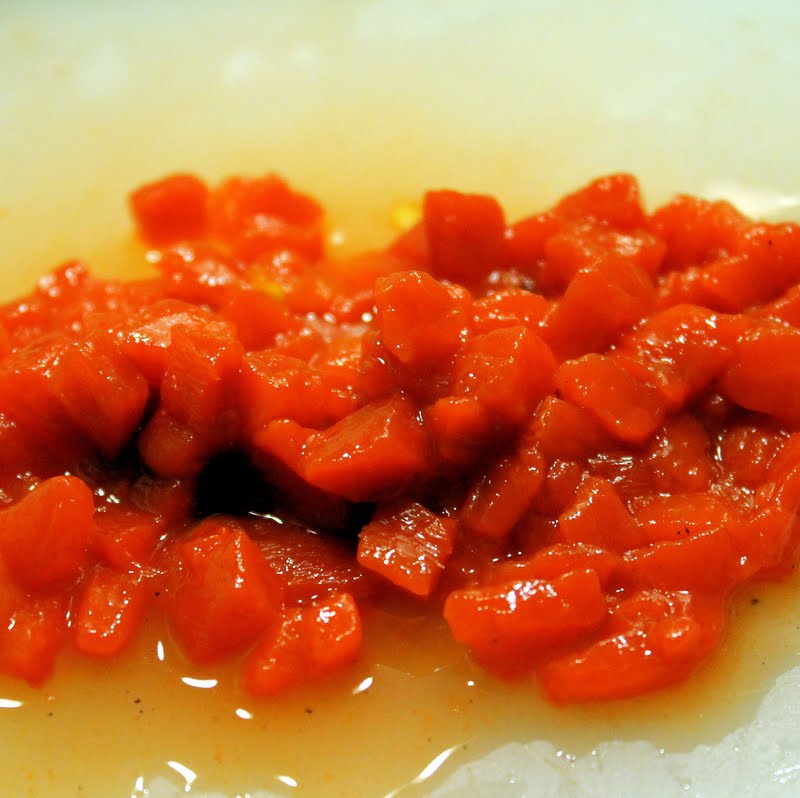
First, prepare your red peppers. Remove the peppers from the jar. Take two of the peppers and roughly chop. You will use these in the actual hummus. Finely chop the remaining red pepper as a topping for the hummus. Set the finely chopped red pepper aside.
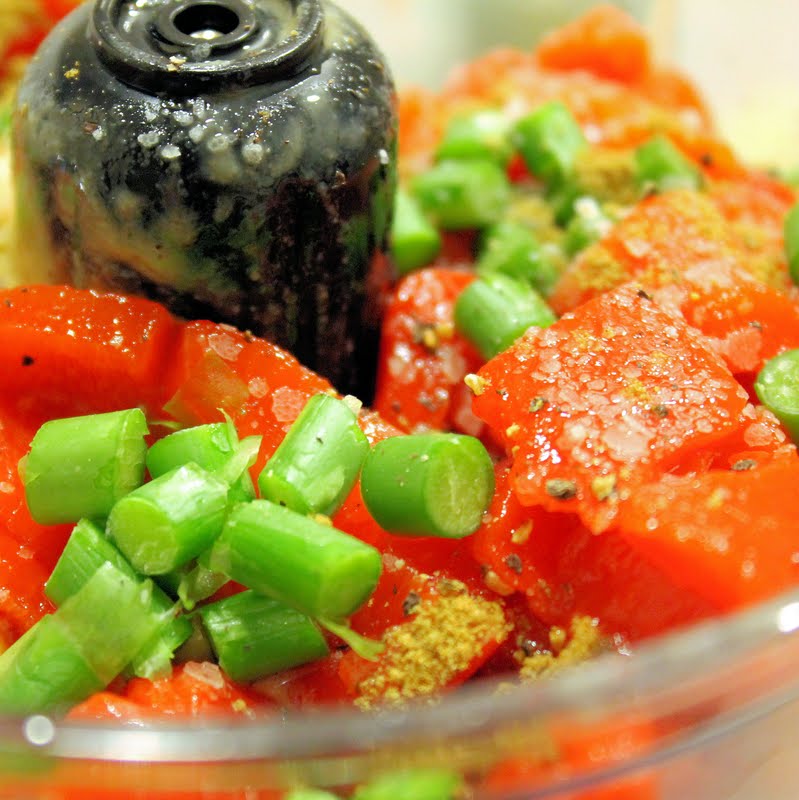
Combine everything (chickpeas to salt and pepper) in a food processor.
Blend until smooth.
Top with some of the remaining red pepper. Serve with pita, cucumber slices, or tomatoes.
Roasted red pepper hummus is one of my favorite. It always ends up tasting so smooth and creamy, it makes me so happy. The tiny addition of cumin gives a light heat to the hummus which I really enjoy. If you’re not a fan, feel free to omit the cumin. I loved the scapes in this hummus. Raw minced garlic can sometimes be overbearing in hummus, so the subtlety of the scapes was perfect.
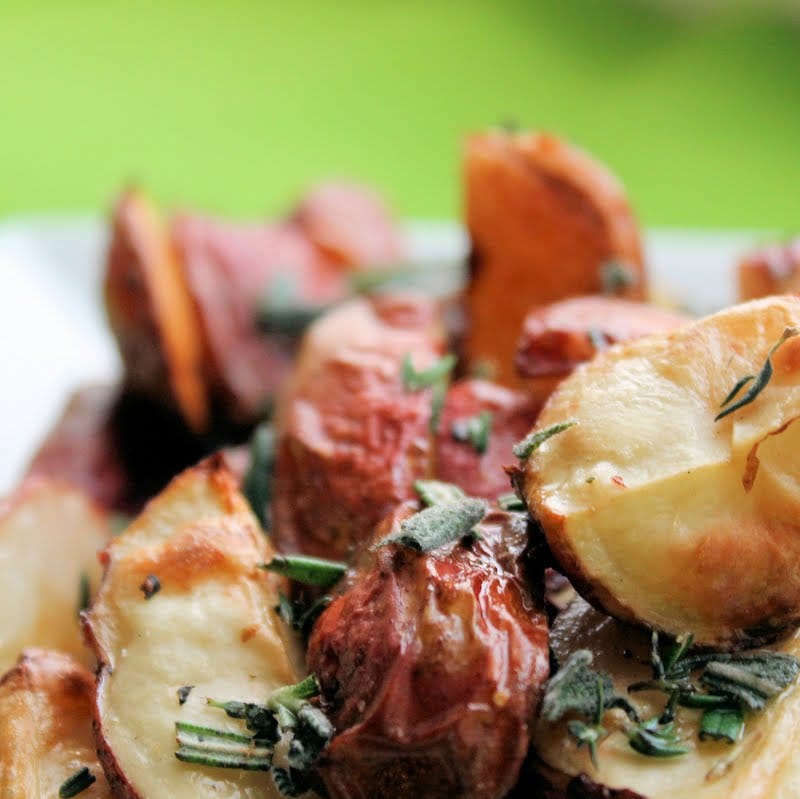
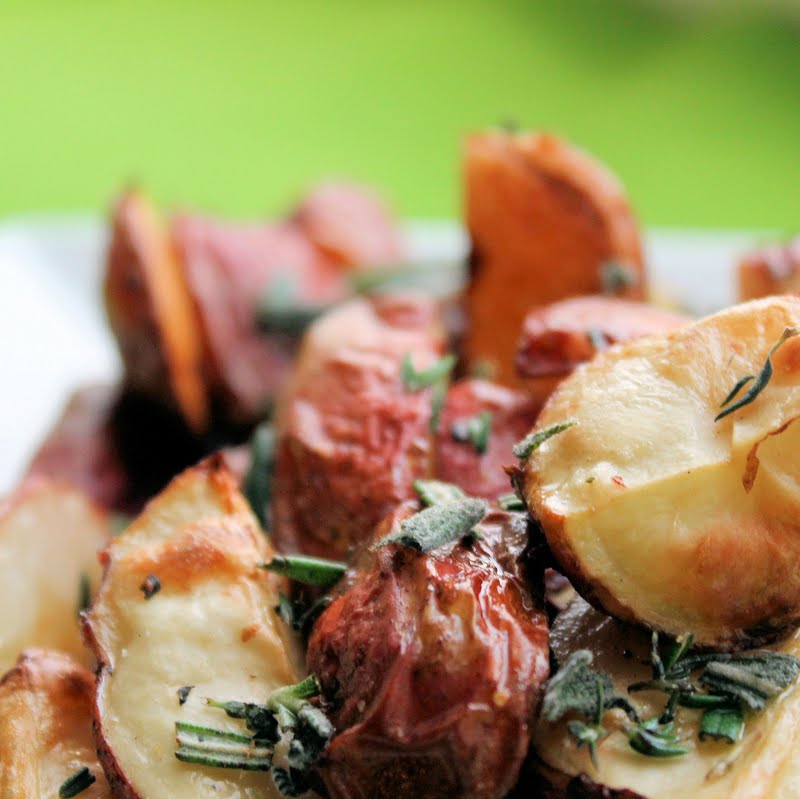
I was so excited to receive red potatoes in my CSA share this week. I love roasted red potatoes with fresh herbs, but I had a little bit of white truffle oil left that I wanted to use. I found this recipe for Truffled Roasted Potatoes from Cooking Light which sounded delicious.
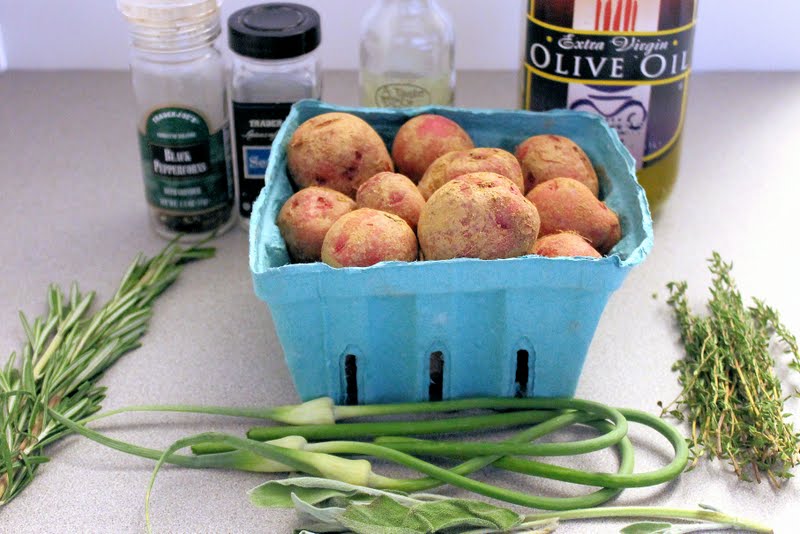
Ingredients:
1 small container of red potatoes, washed and quartered
2 tablespoons olive oil
2 garlic scapes, chopped
Salt and pepper, to taste
1 tablespoon white truffle oil
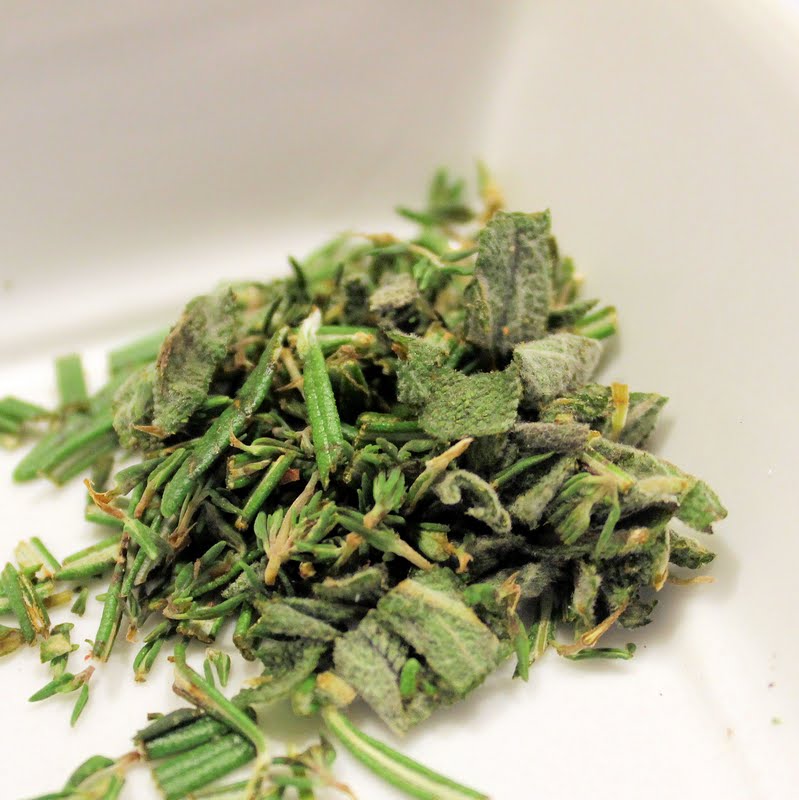
1 teaspoon each of chopped fresh thyme leaves, sage leaves, and rosemary
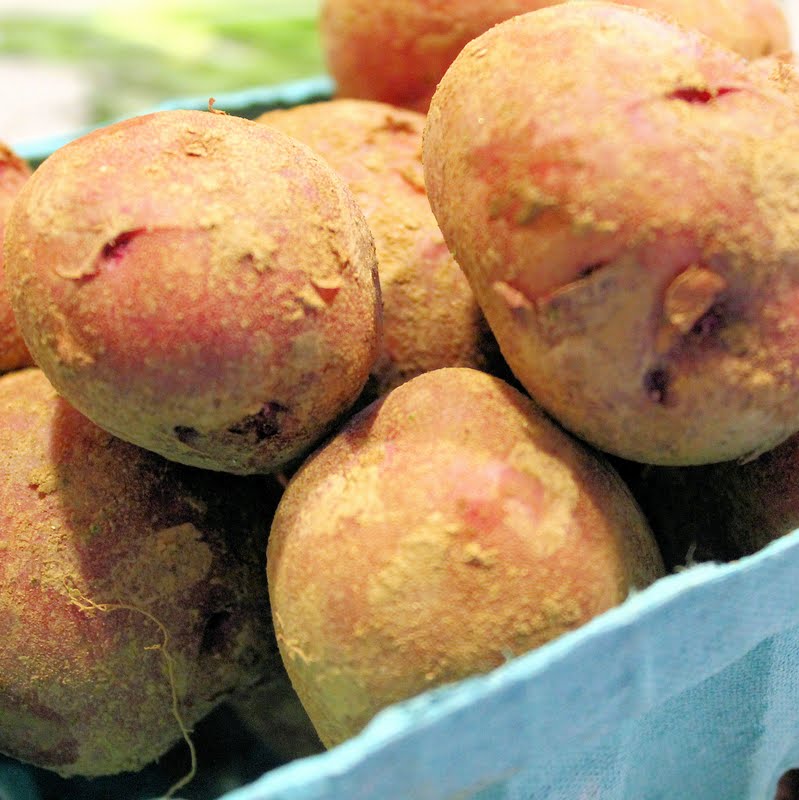
Preheat your oven to 450 degrees. Wash your red potatoes thoroughly, but gently. (The skin of red potatoes is fragile). I used a little brush to lightly buff off the dirt under warm running water.
before
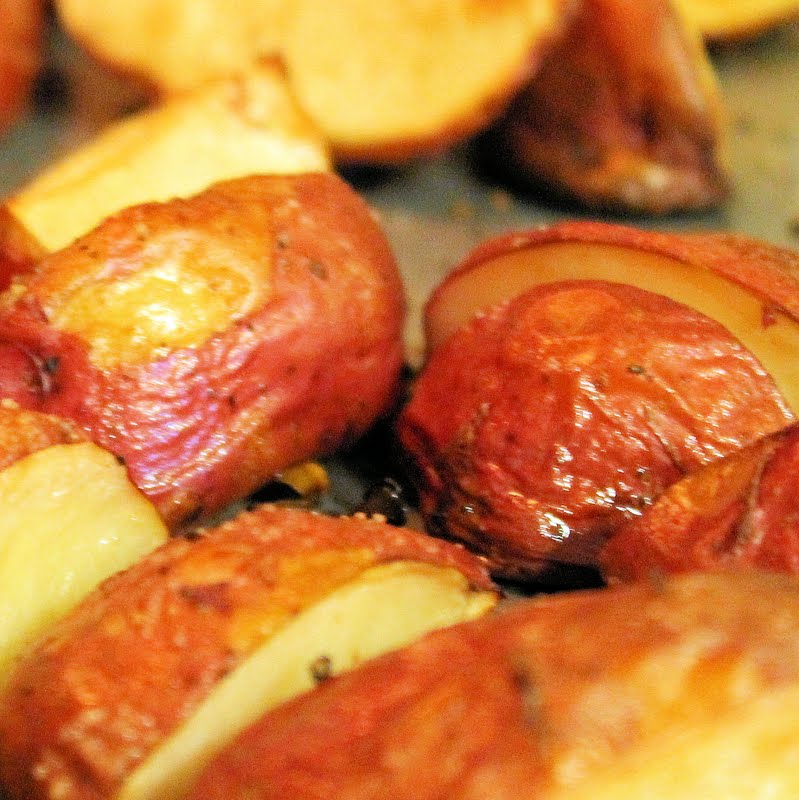
after
Cut the potatoes into wedges: quarters for the larger potatoes, and halves for the smaller potatoes, and arrange on a cookie sheet.
Drizzle olive oil over the potatoes and sprinkle with garlic scapes, salt and pepper.
Bake at 450 degrees for 30 minutes or until the potatoes are brown and slightly wrinkled.
While the potatoes are cooking, chop your thyme, sage, and rosemary. Combine.
Remove the potatoes from the oven, drizzle with truffle oil, and sprinkle with the herb mixture.
This was fantastic. I honestly couldn’t stop eating the potatoes. Truffle oil is such a great ingredient, although it is a bit of a splurge. Truffle oil is usually added at the end of a dish, the oil is too delicate to be subjected to high heat. A little bit of truffle oil goes a long way though so do not overpour! When I make this recipe in the future, I plan on using normal minced garlic (2-3 cloves), the garlic scapes were quite burnt from the oven so I didn’t get any of the garlic taste from them. Boo.
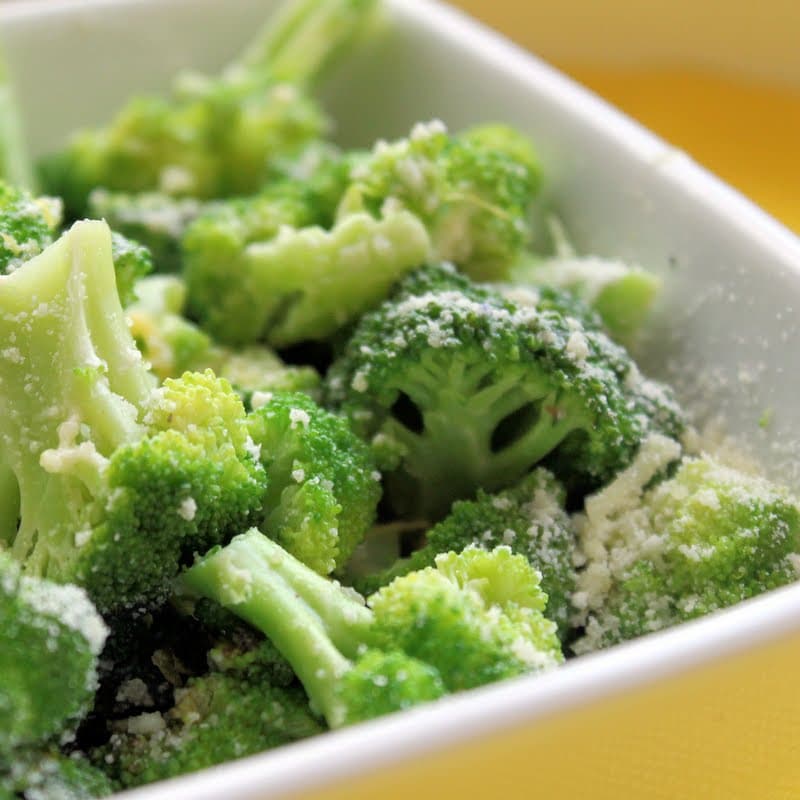
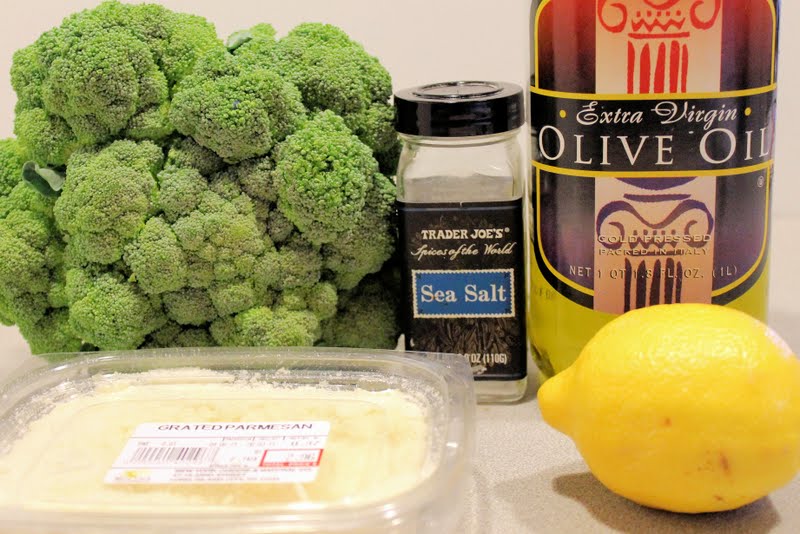
I’m not going to lie. Broccoli is not my favorite vegetable. I have a tendency to pass over it for more favored choices. But I received broccoli in my CSA half share this week, so I decided to give it another try. I used this recipe from Oxmoor House as a starting point, and adapted the recipe for my tastes.
My CSA share came with Swiss chard this week. I wasn’t in the mood to do another leafy green side, so I looked for a recipe that incorporated the Swiss Chard within the main dish. I found this recipe in the Health section of the New York Times and thought it was worth a try.
Ingredients:
1 bunch of Swiss chard, stemmed and washed
1 tablespoon extra virgin olive oil
2 red bell peppers, finely diced
Pinch of red pepper flakes
2 garlic scapes, thinly sliced
Salt
1 teaspoon chopped fresh marjoram
1 box of orecchiette
4 ounces goat cheese, crumbled
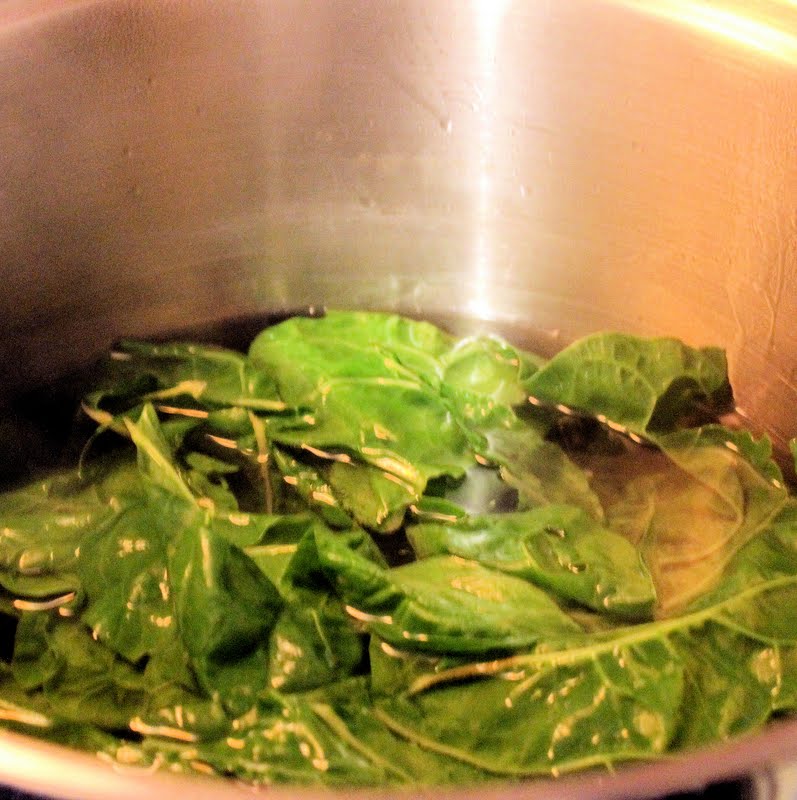
To begin, boil a pot of water over high heat. While the water is coming to a boil, prepare your Swiss chard. Add ice water to a bowl. When the water boils, add salt and the Swiss chard.
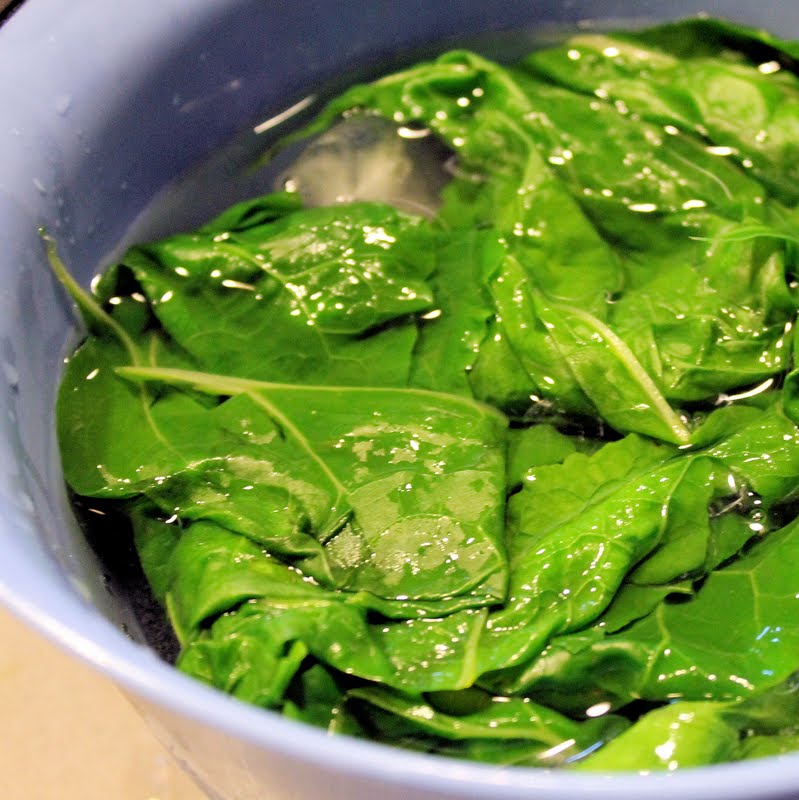
Boil for 2 minutes and remove using a slotted spoon and transfer to the ice water.
Reduce the heat of the leftover boiling water to a simmer. Drain the chard and squeeze the excess water out. Chop the Swiss chard and reserve.
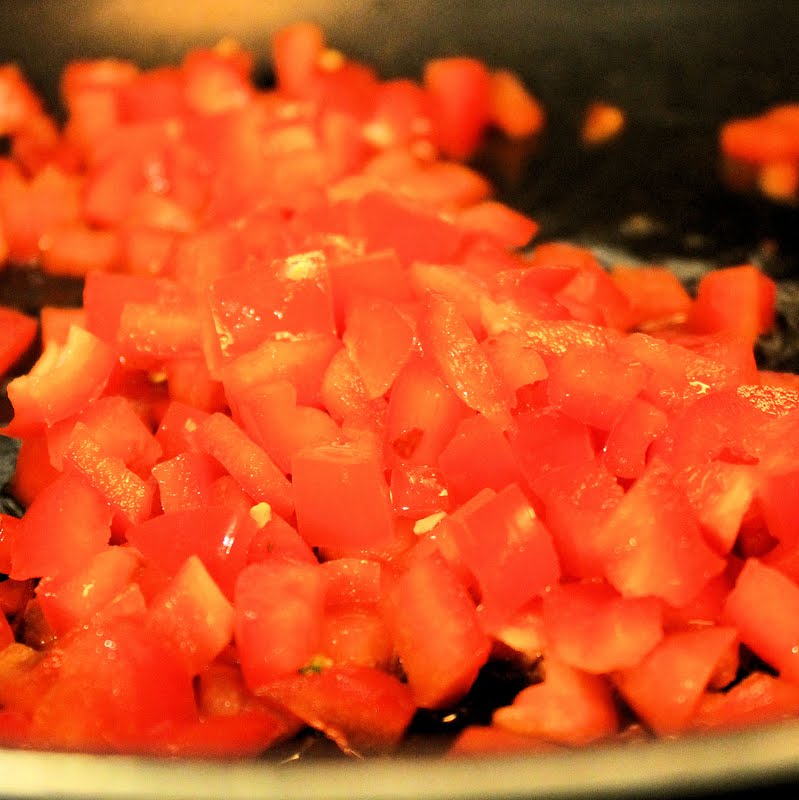
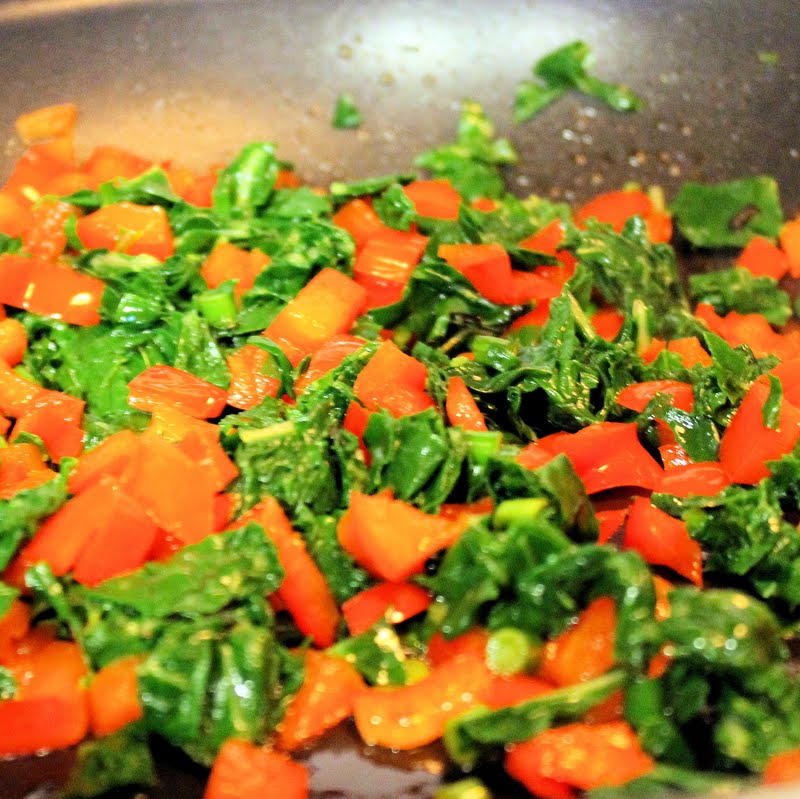
In a saute pan, heat the olive oil and add the finely chopped peppers and a pinch of crushed red pepper. Cook for 8 minutes, stirring often.
Bring the pot of water to a boil again. Add the pasta, cooking until al dente as directed on the box. Reserve 1/2 cup of the pasta water. Drain the pasta and set aside.
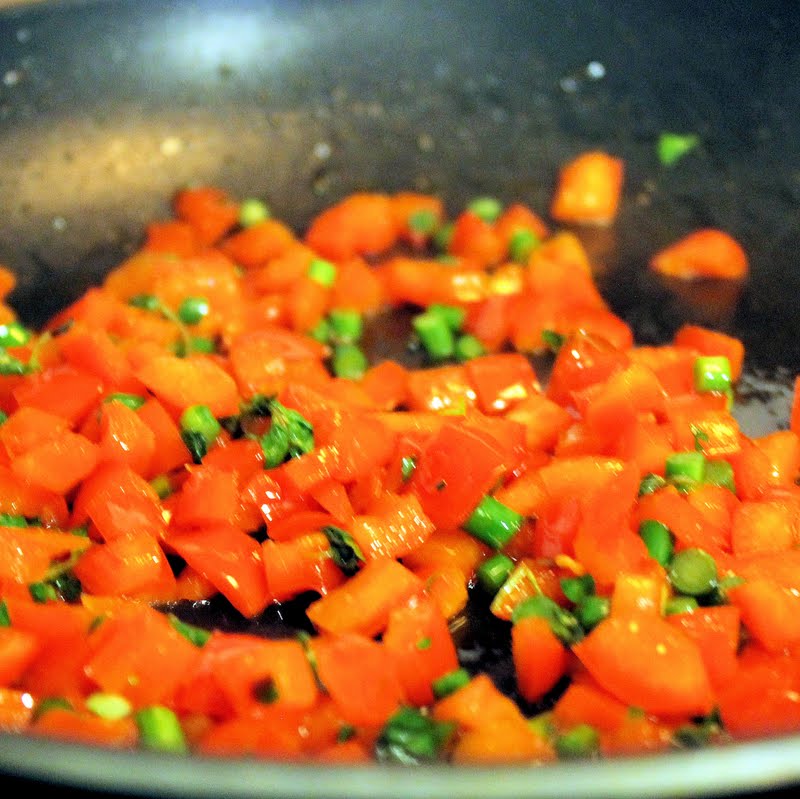
In the saute pan, add the garlic scapes and salt, stirring to combine.
When combined, add the chopped Swiss chard and marjoram.
Stir and lower the heat to warm. Add the 1/2 cup of pasta water and stir in the goat cheese.
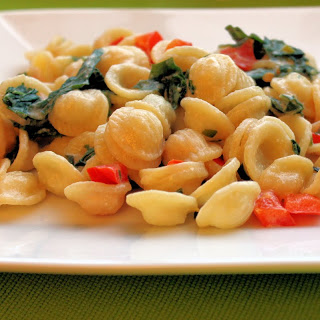
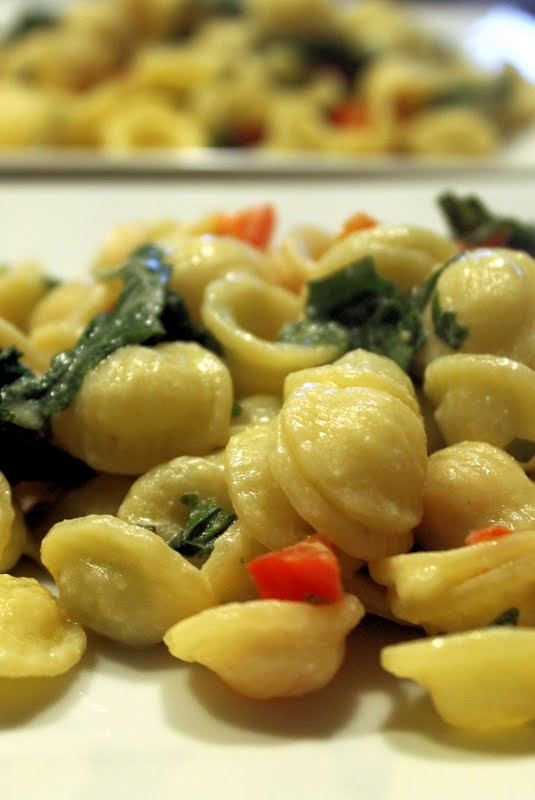
Add the orecchiette to the mixture and serve.
This was a nice alternative to the normal pasta with tomato sauce. The orecchiette helped catch some of the Swiss chard, peppers, and goat cheese so definitely use this type of pasta or another kind that can catch the ingredients. This made so much pasta, it will also be my lunch tomorrow. I have a feeling this will be better the next time around!
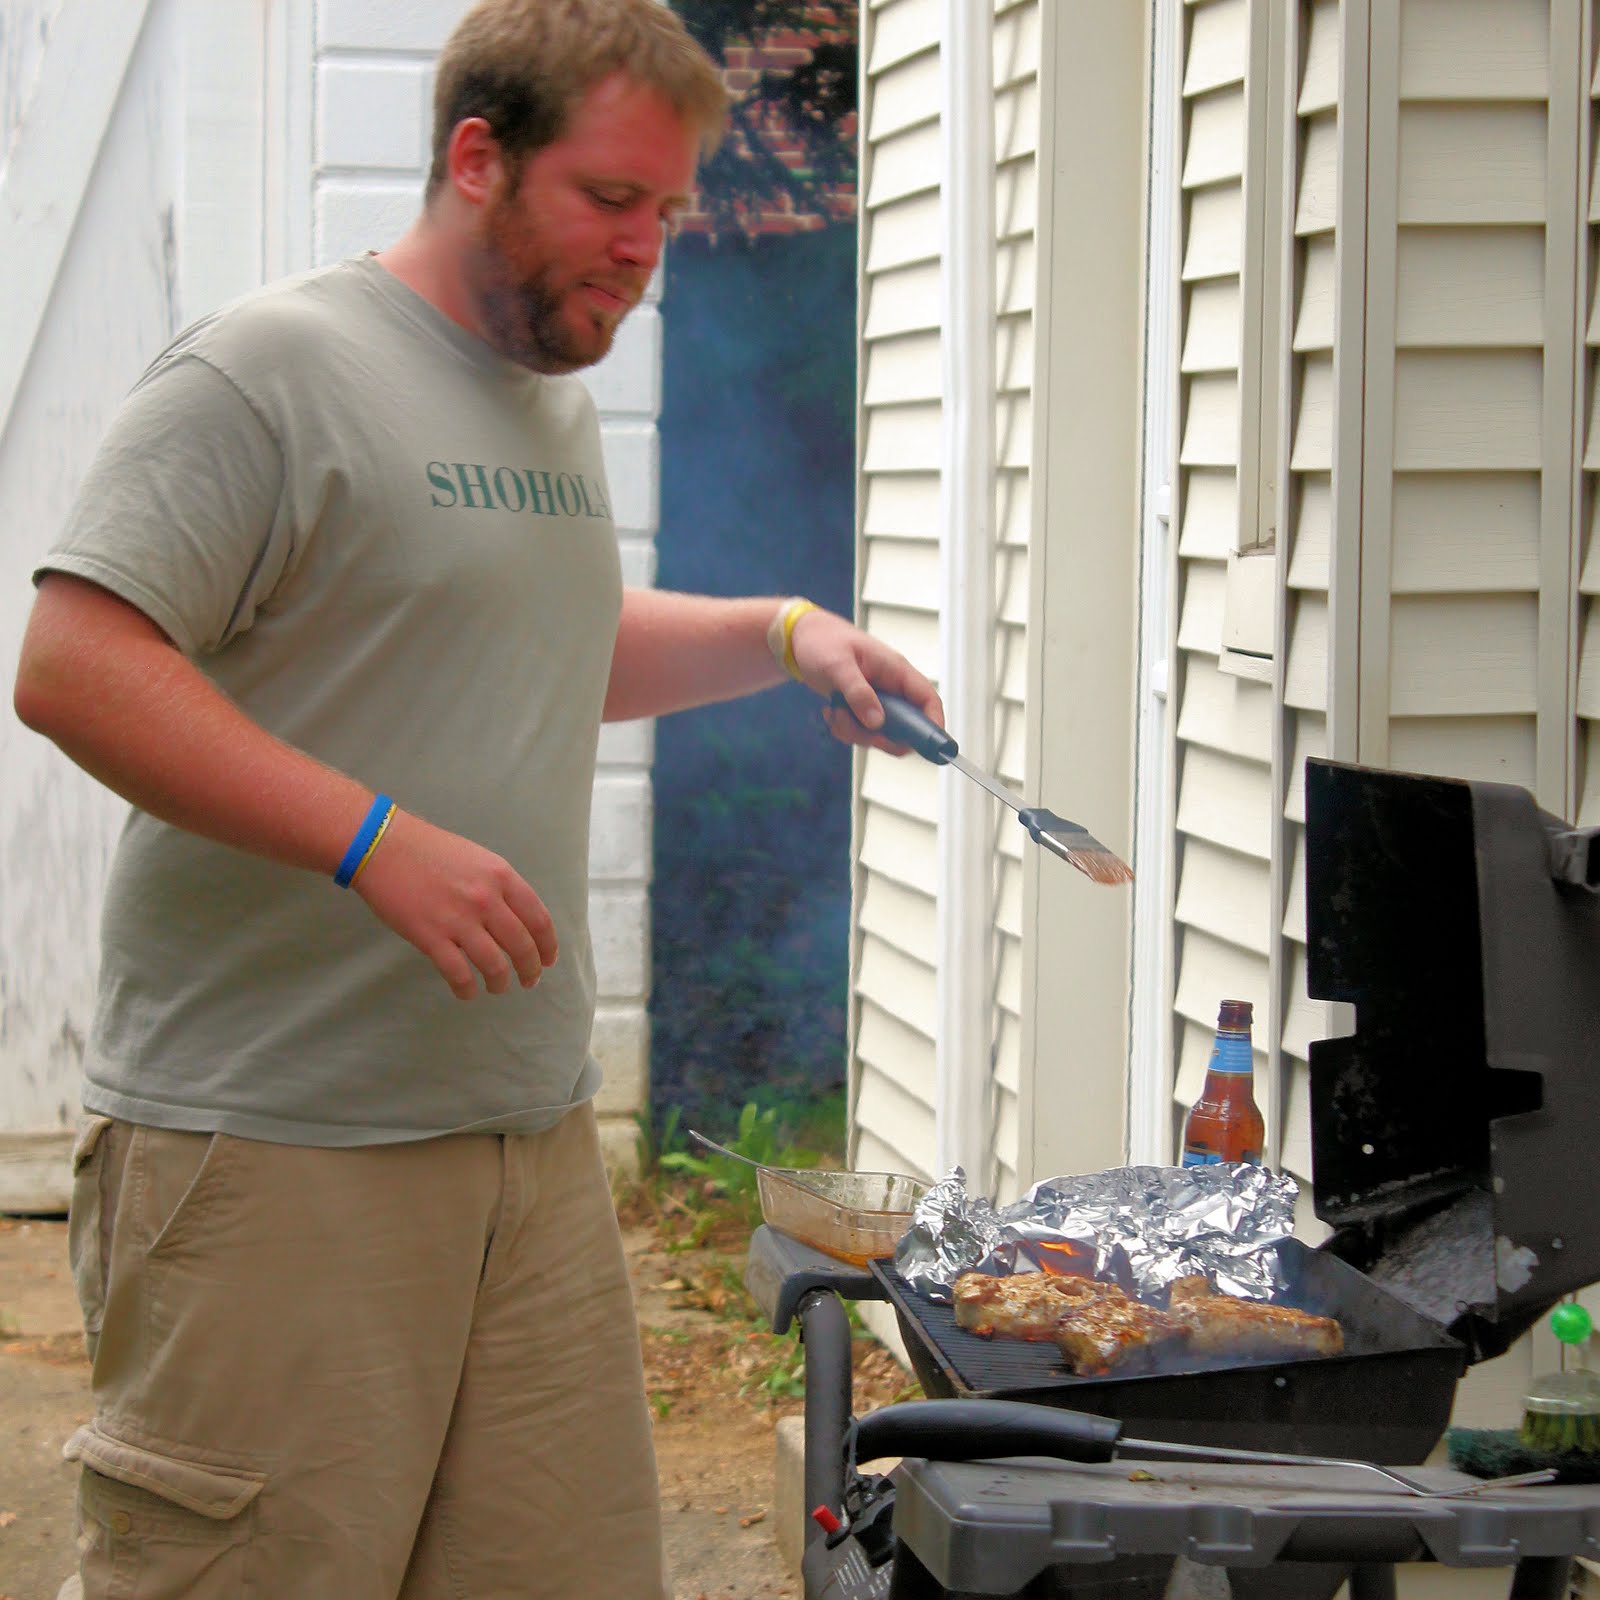
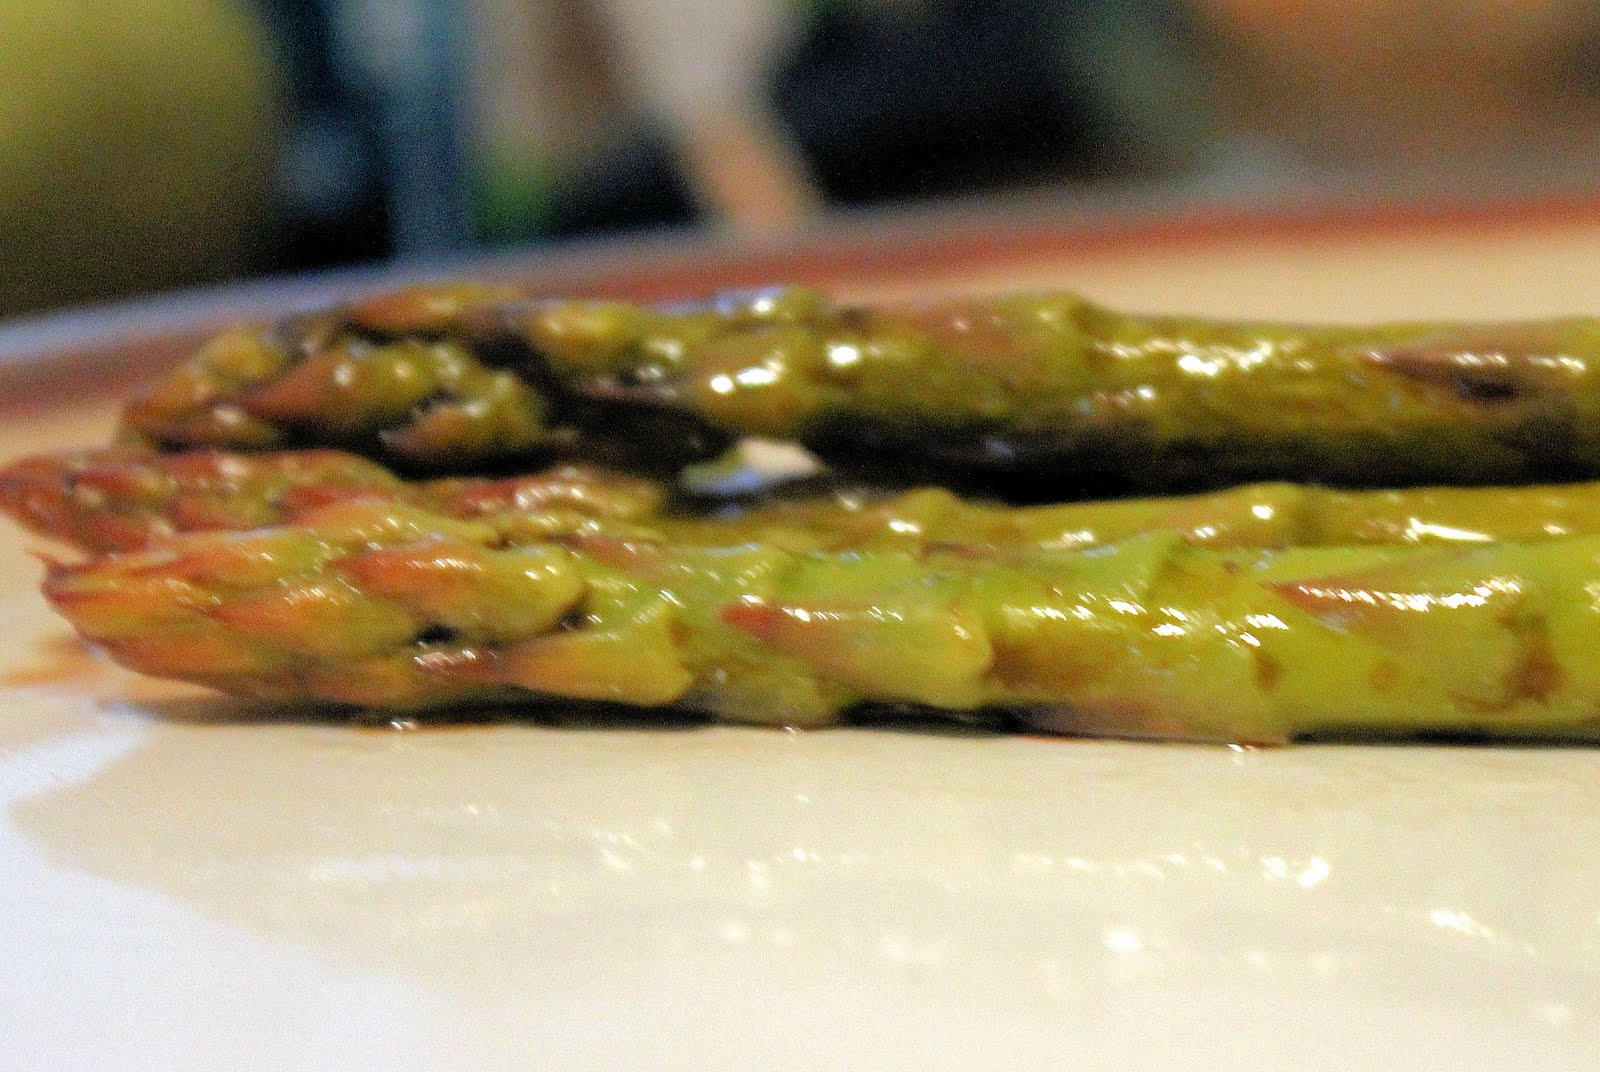
Tonight, I get a night off from cooking! Sort of. My boyfriend and his roommates are firing up the grill and doing the hard part, so all I have to do is make various marinades for the food. We had some asparagus lying around so I decided to just make a simple marinade to make this Grilled Marinated Asparagus.
Ingredients:
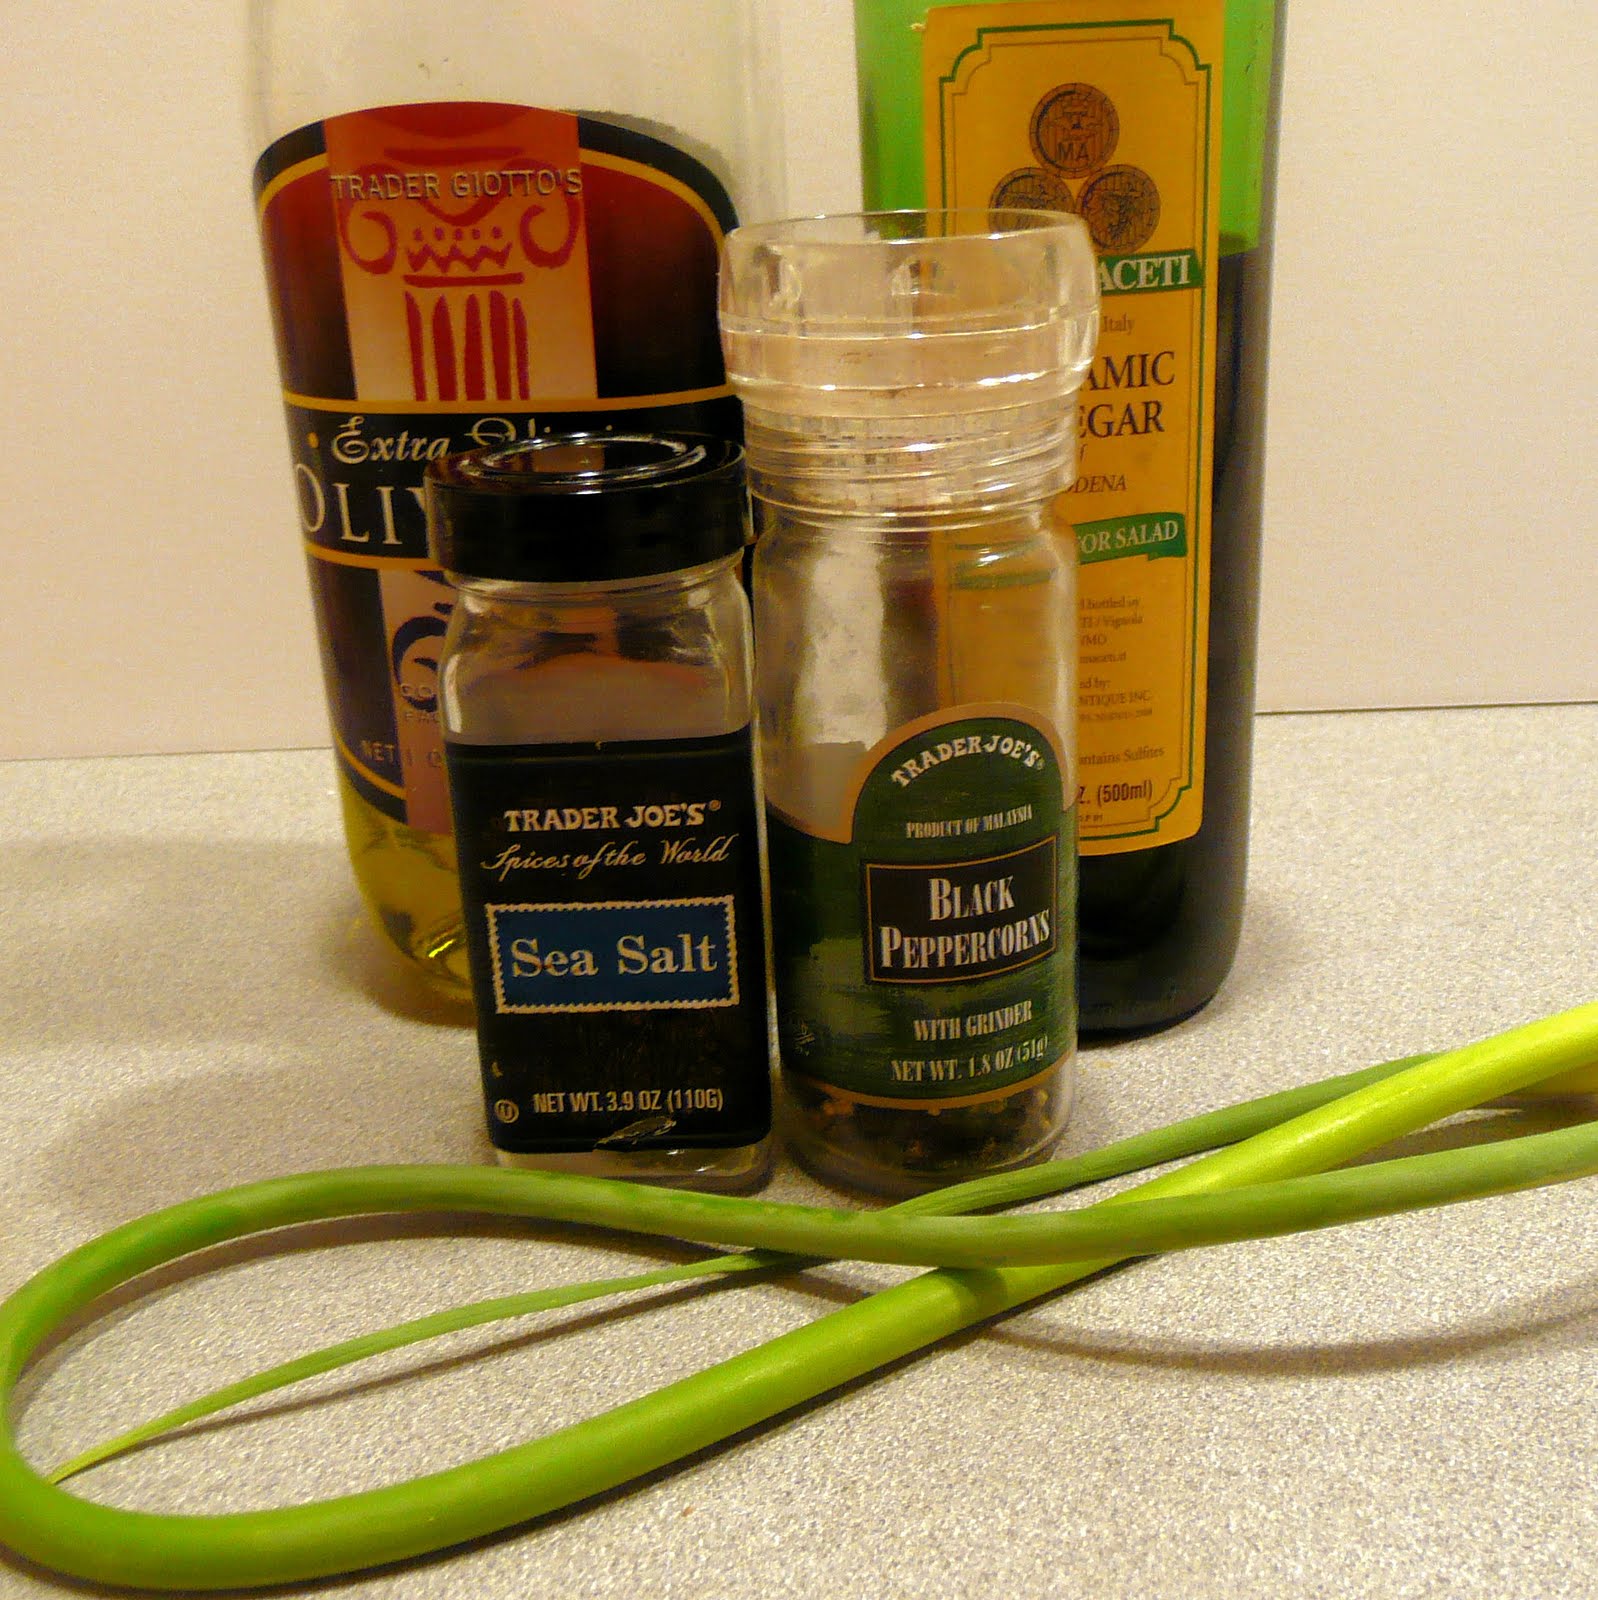
1 bunch of asparagus
1/2 cup balsamic vinegar
2 tablespoons olive oil
1 tablespoon minced garlic (about 2 large garlic cloves)
1 teaspoon Worcestershire sauce
1/4 teaspoon chopped onion flakes
Salt and pepper, to taste
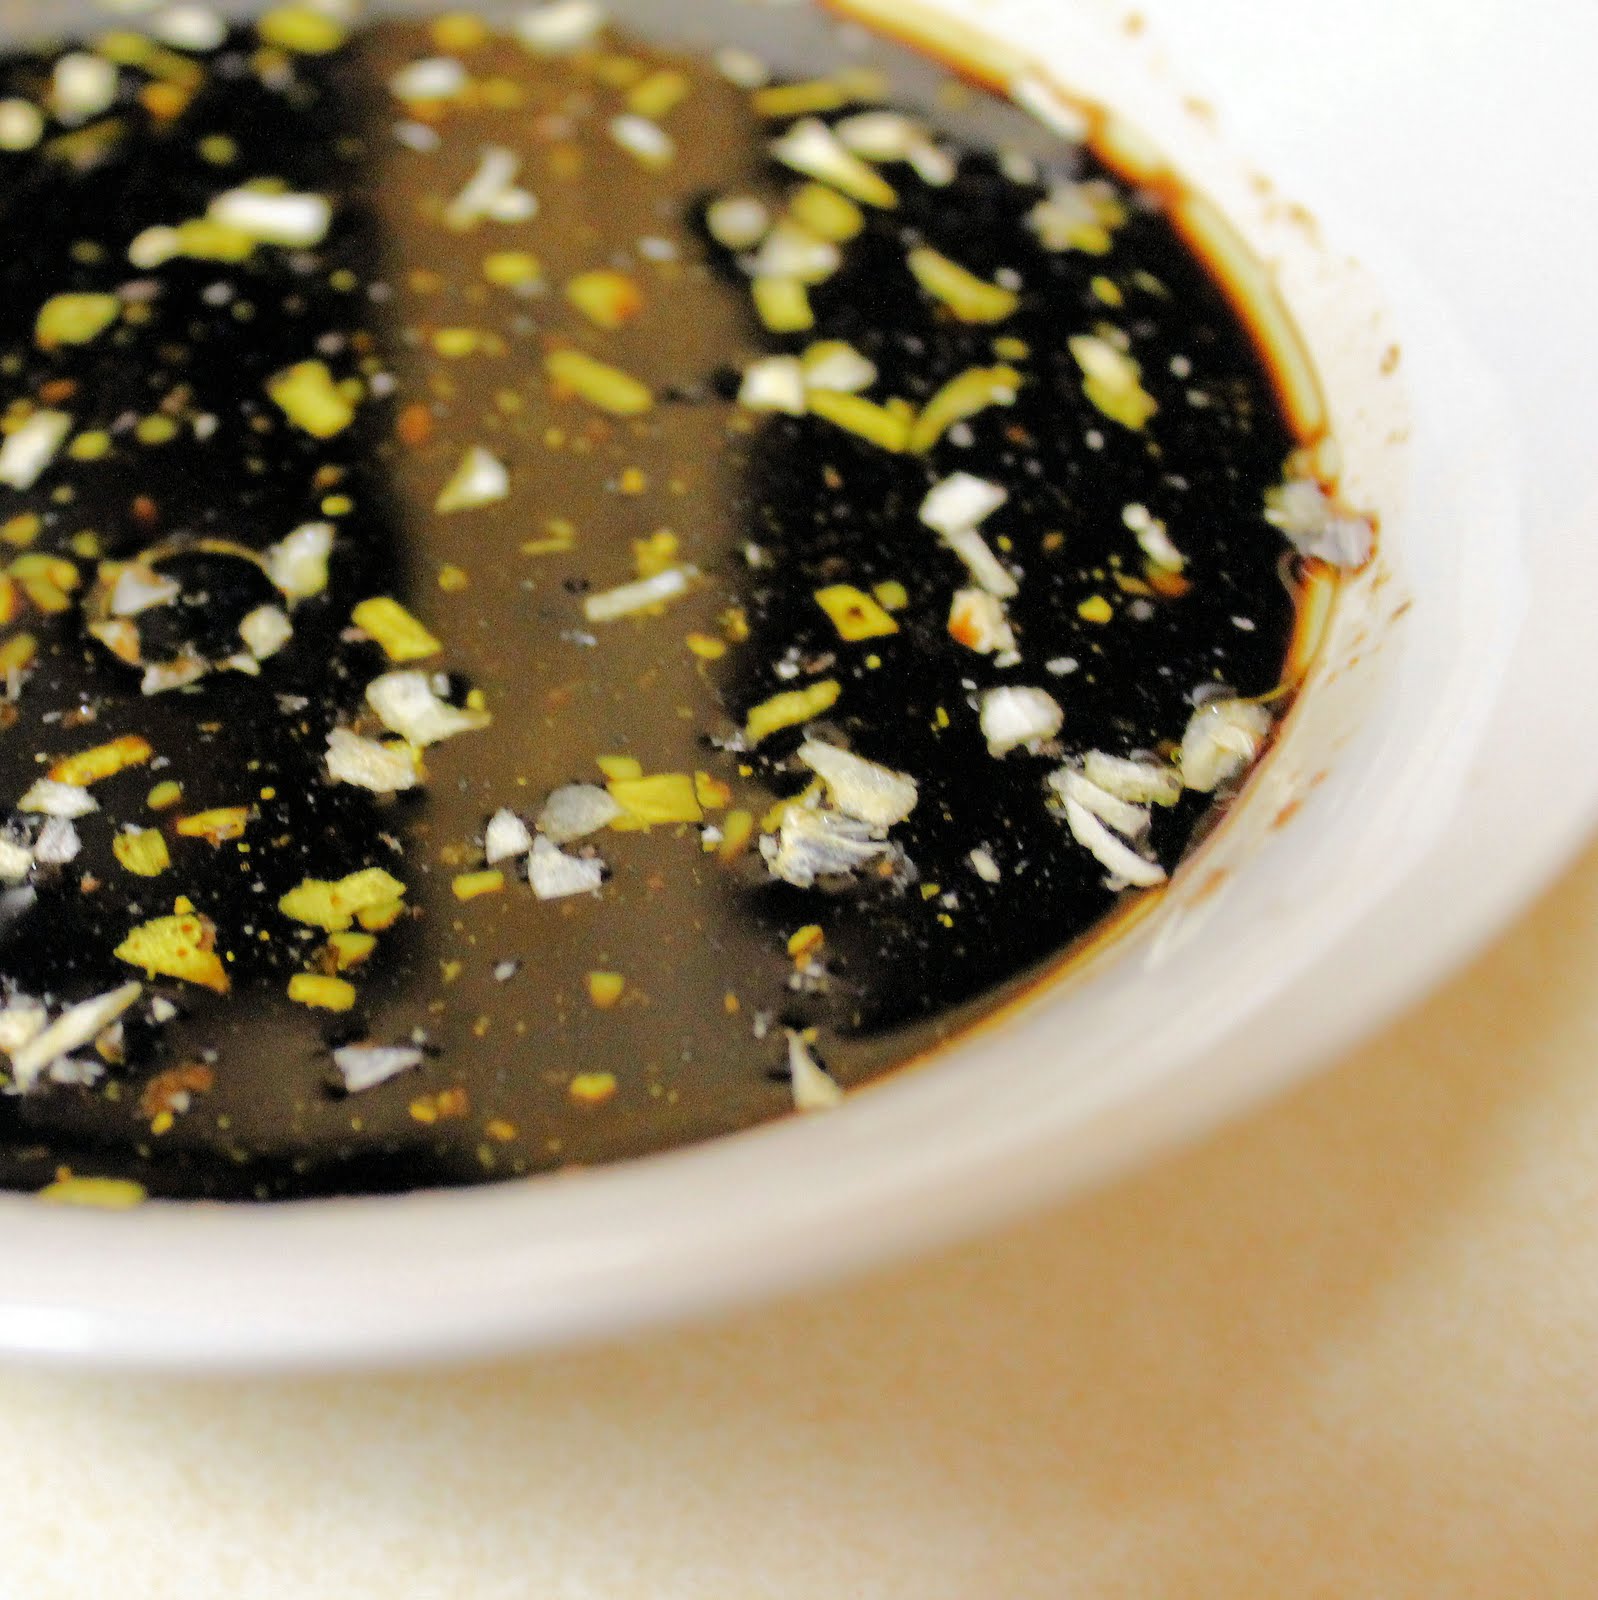
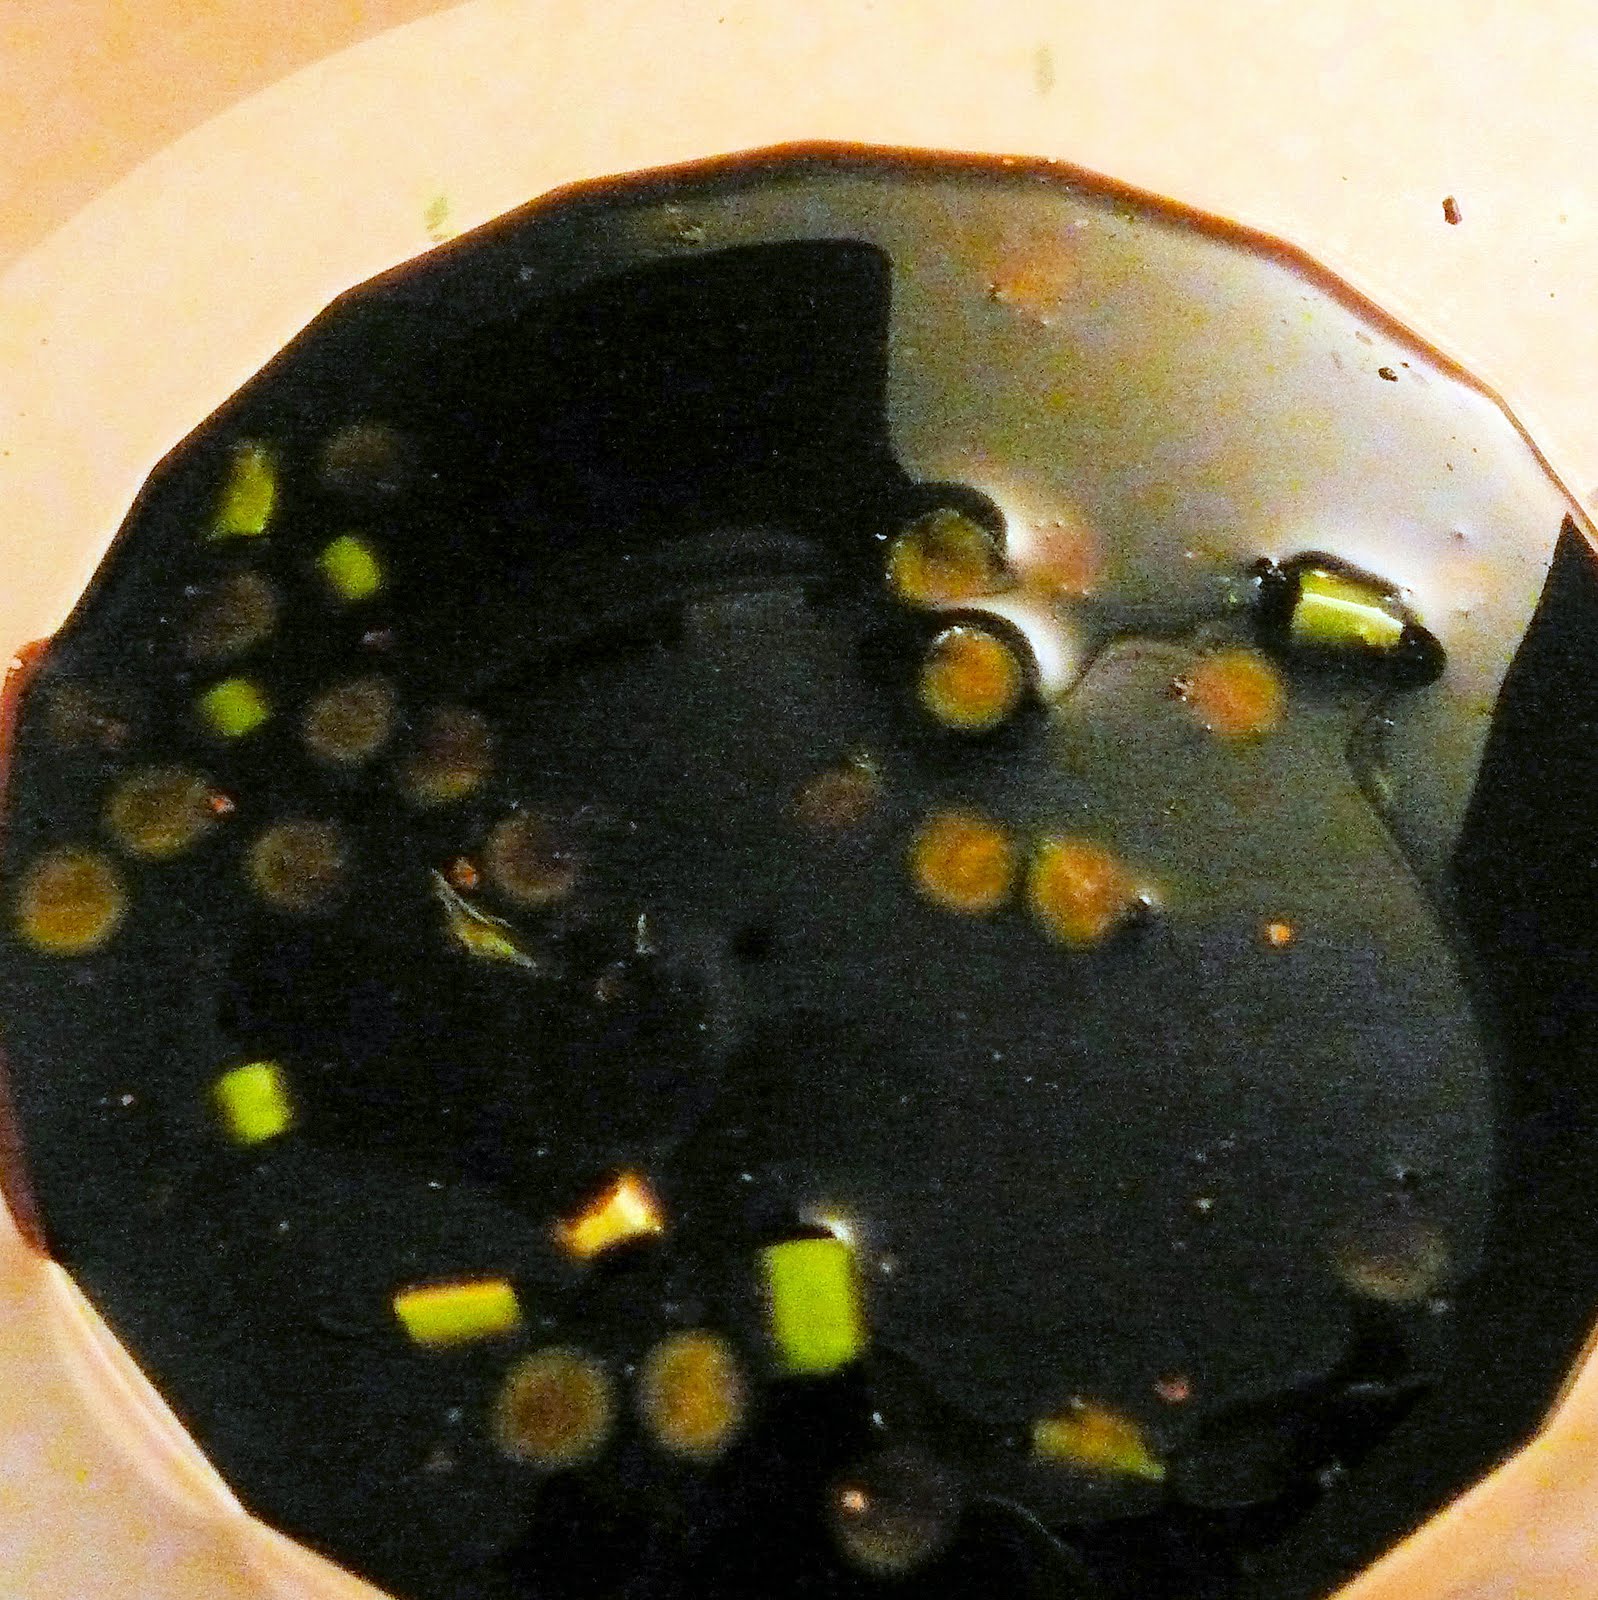
Combine all the ingredients not including the asparagus. Mix well.
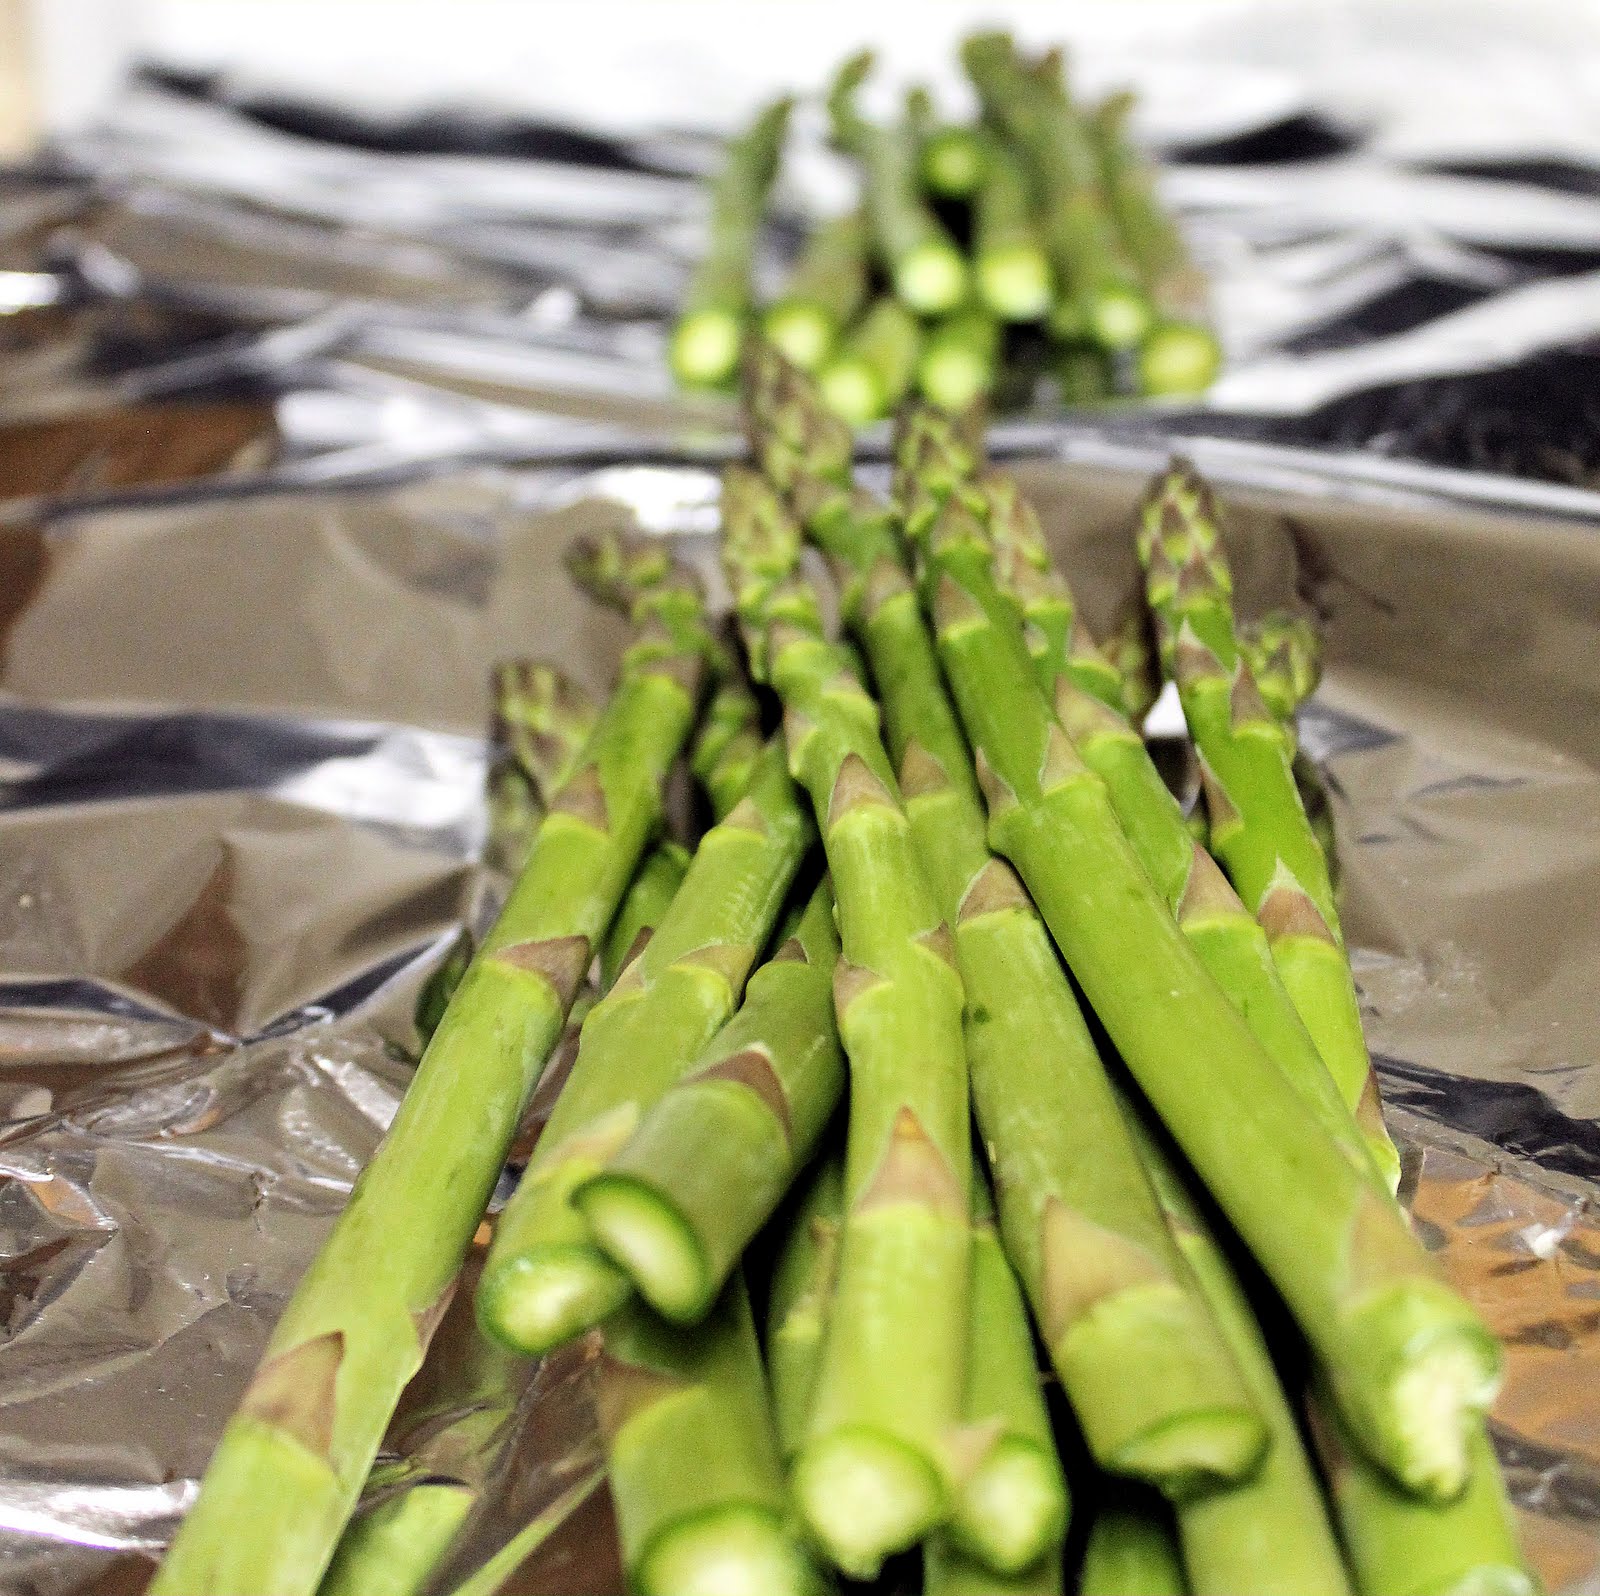
Prepare the asparagus. Remove the rough bottoms of the stems. Asparagus tends to snap where the tougher part ends, or you can just cut the asparagus where you think it needs to be trimmed.
asparagus ends
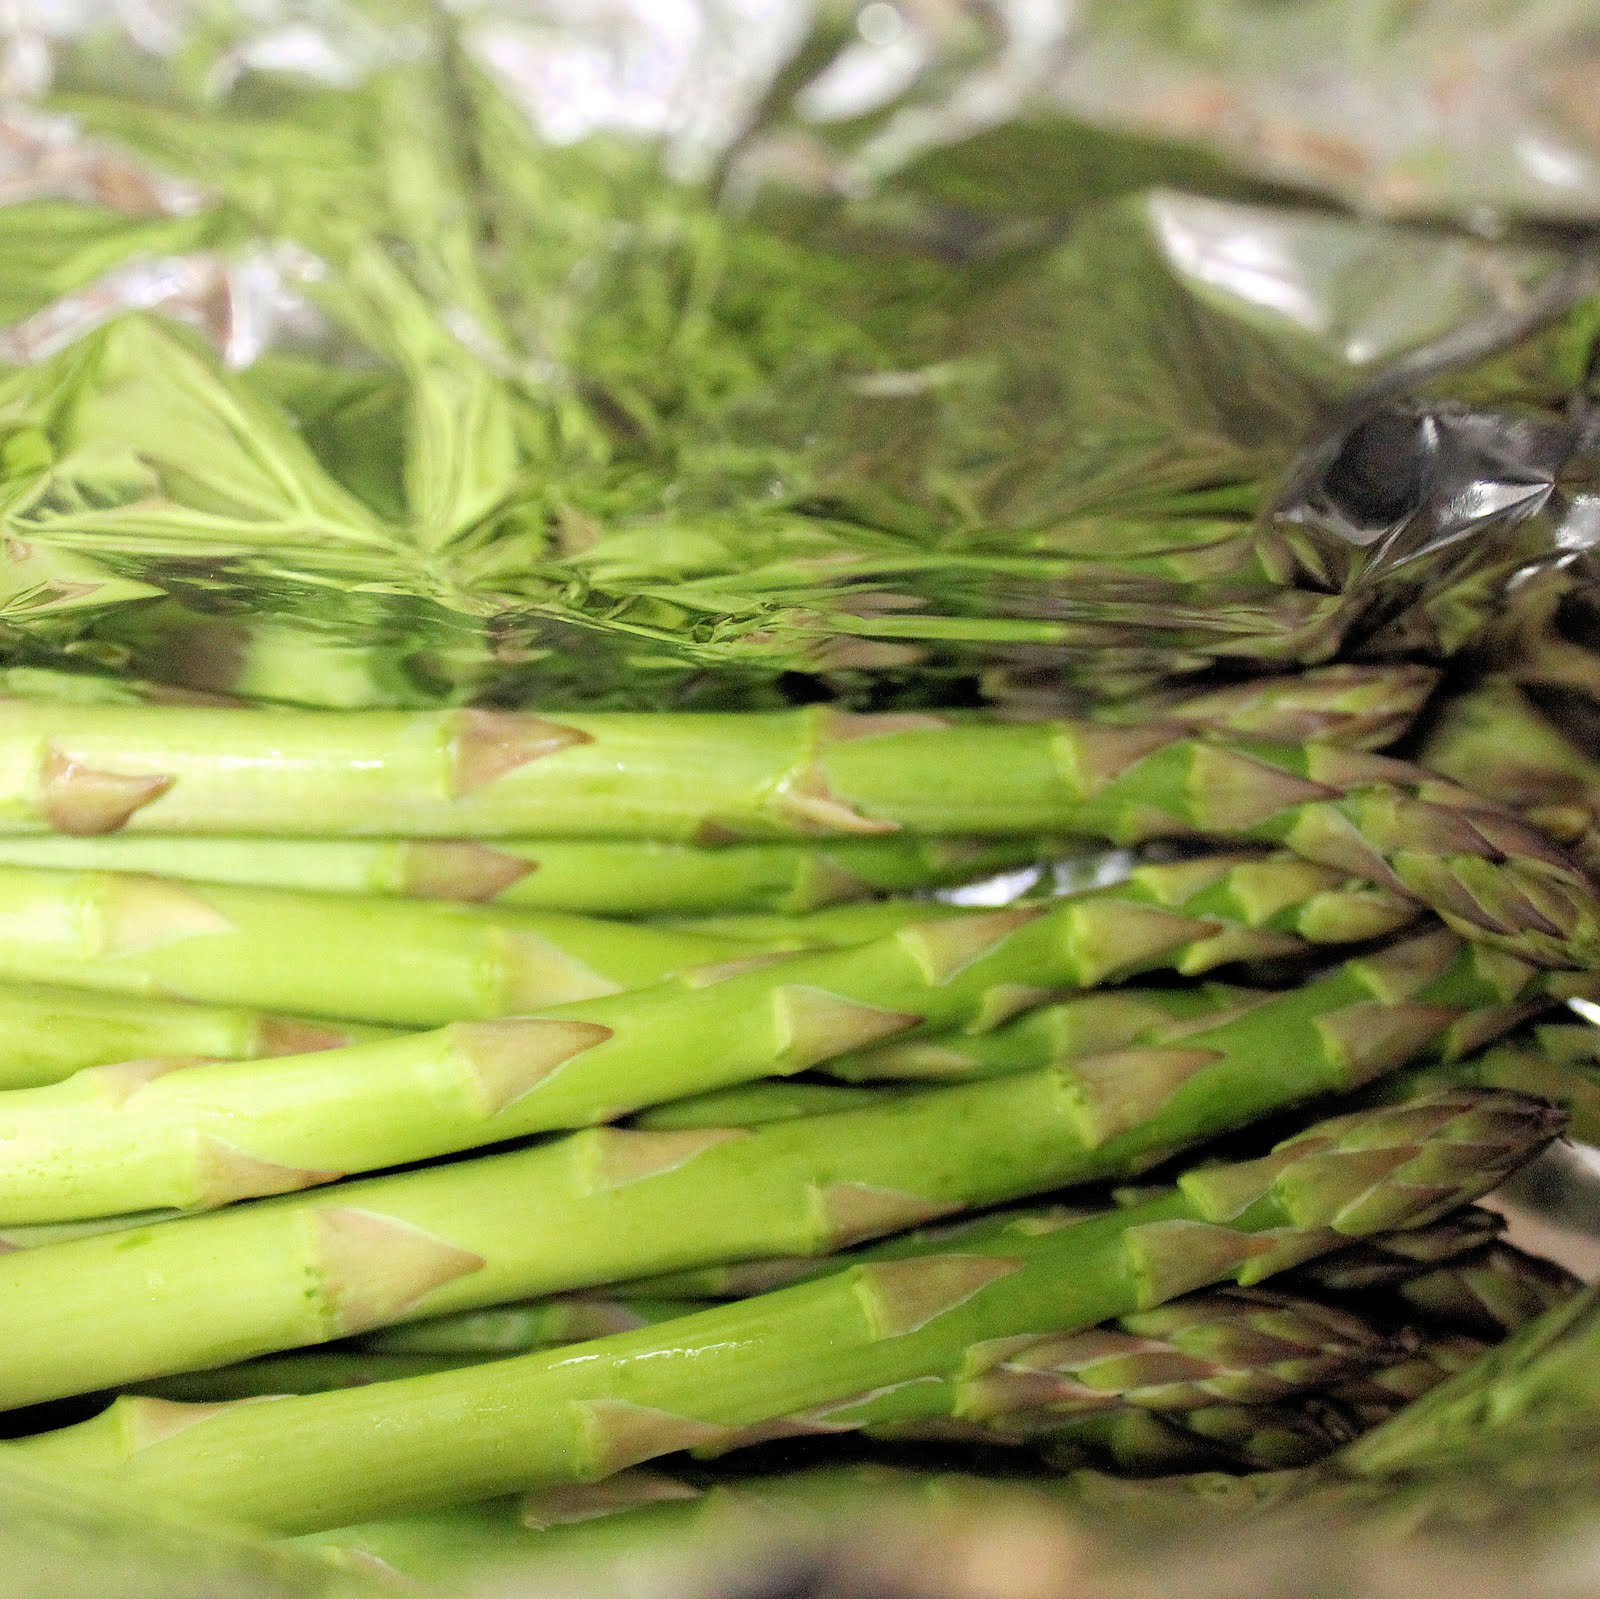
Place the asparagus on a large piece of tin foil. You will make a little packet out of the tin foil.
Fold up each side of the tin foil, twisting the ends so that they stay together.
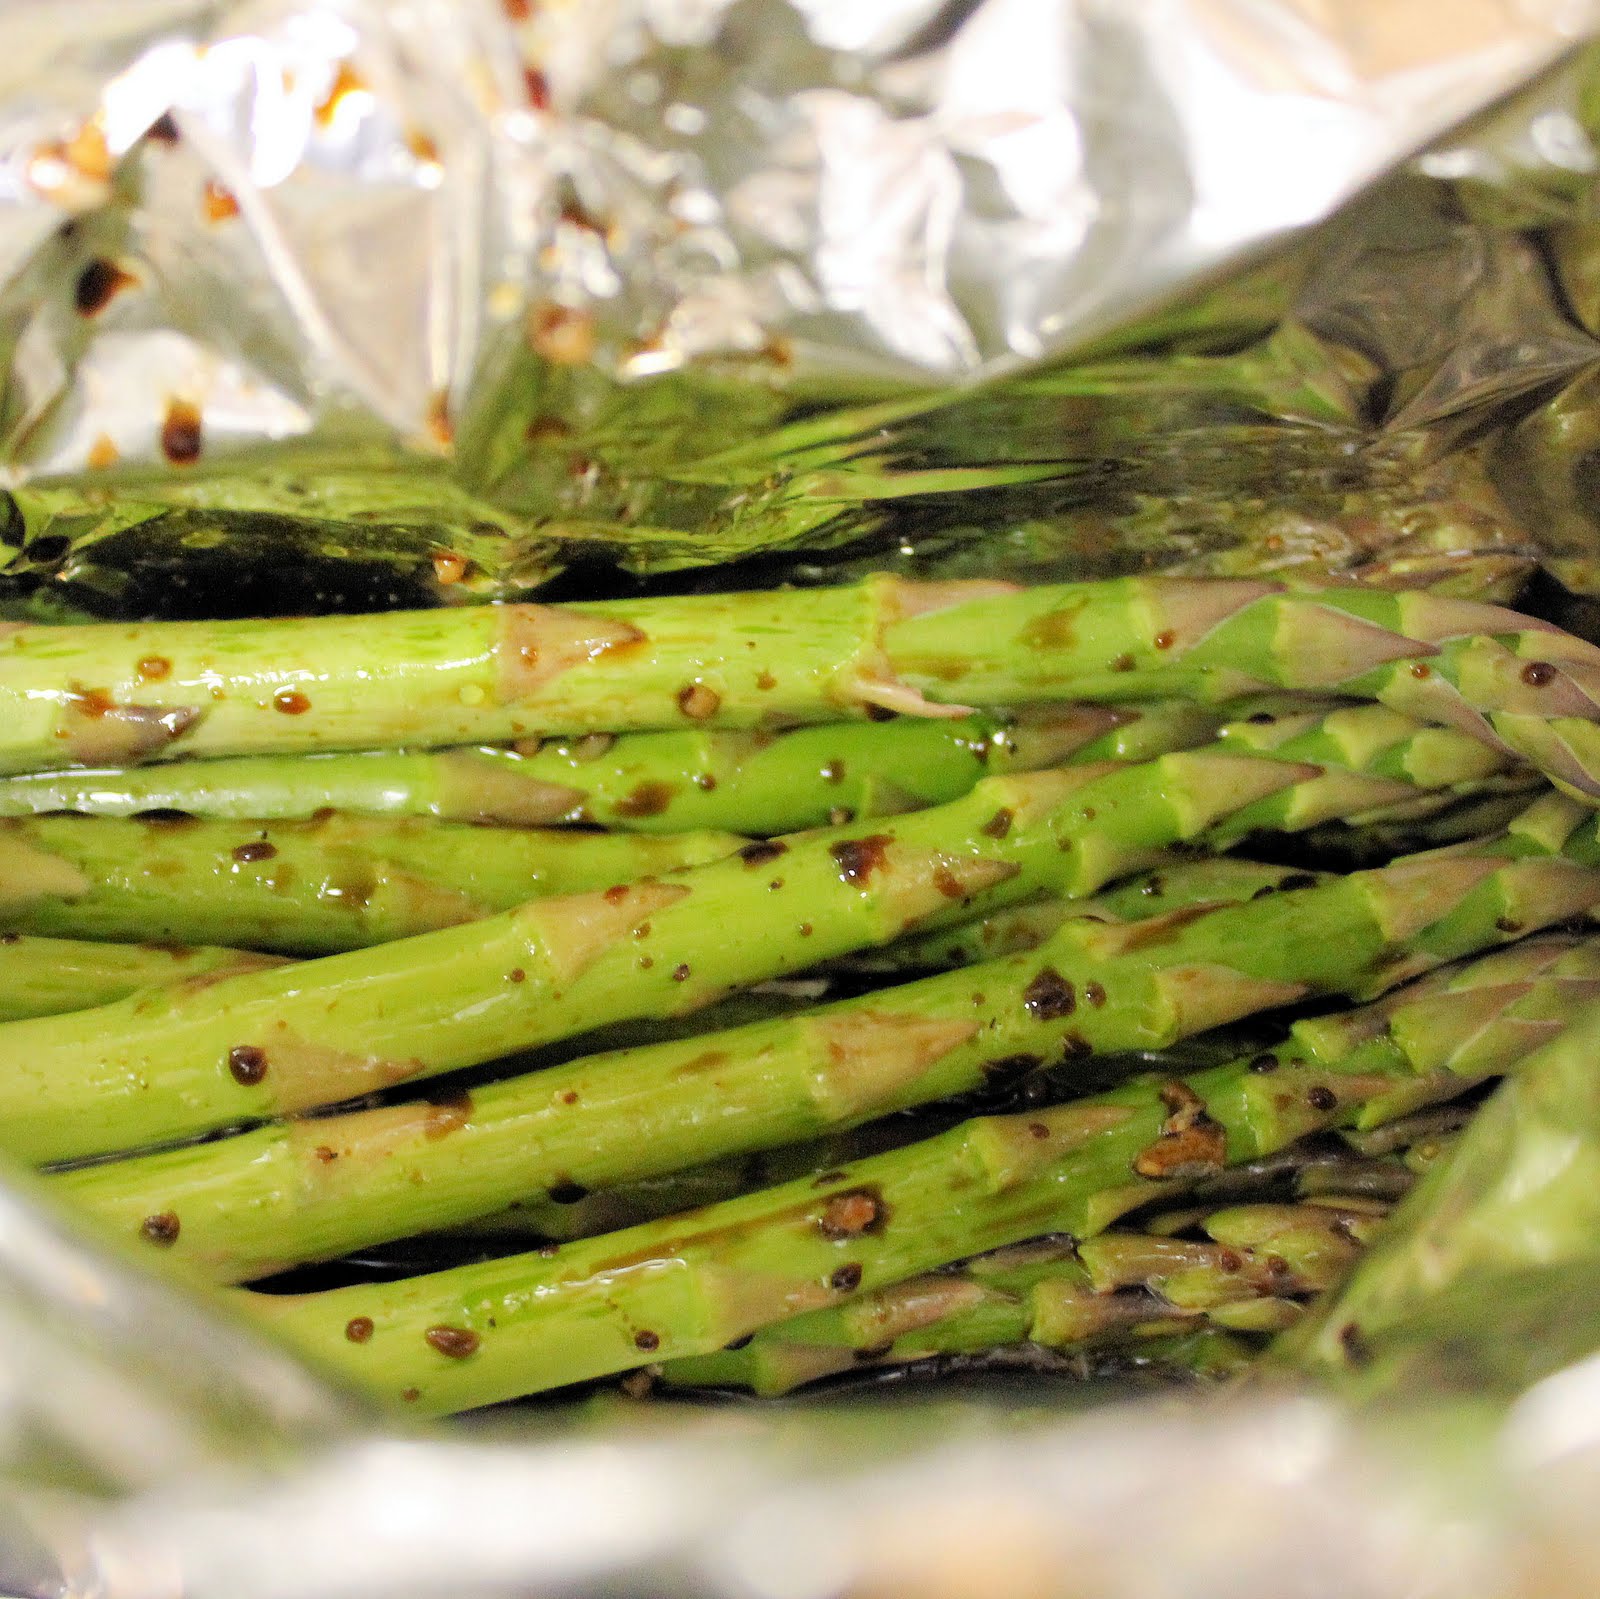
Pour the marinade over the asparagus.
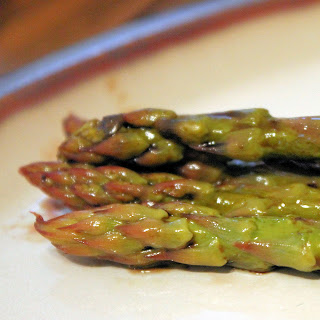
Close the foil and marinate for at least one hour. You can either remove the asparagus from the foil and place the asparagus right on the grill, cooking for 6-8 minutes, turning carefully half way through, or you can put the asparagus on the grill in the foil, cooking for about 10 minutes. Either way, grill until the asparagus is tender but still has a crunch to it.
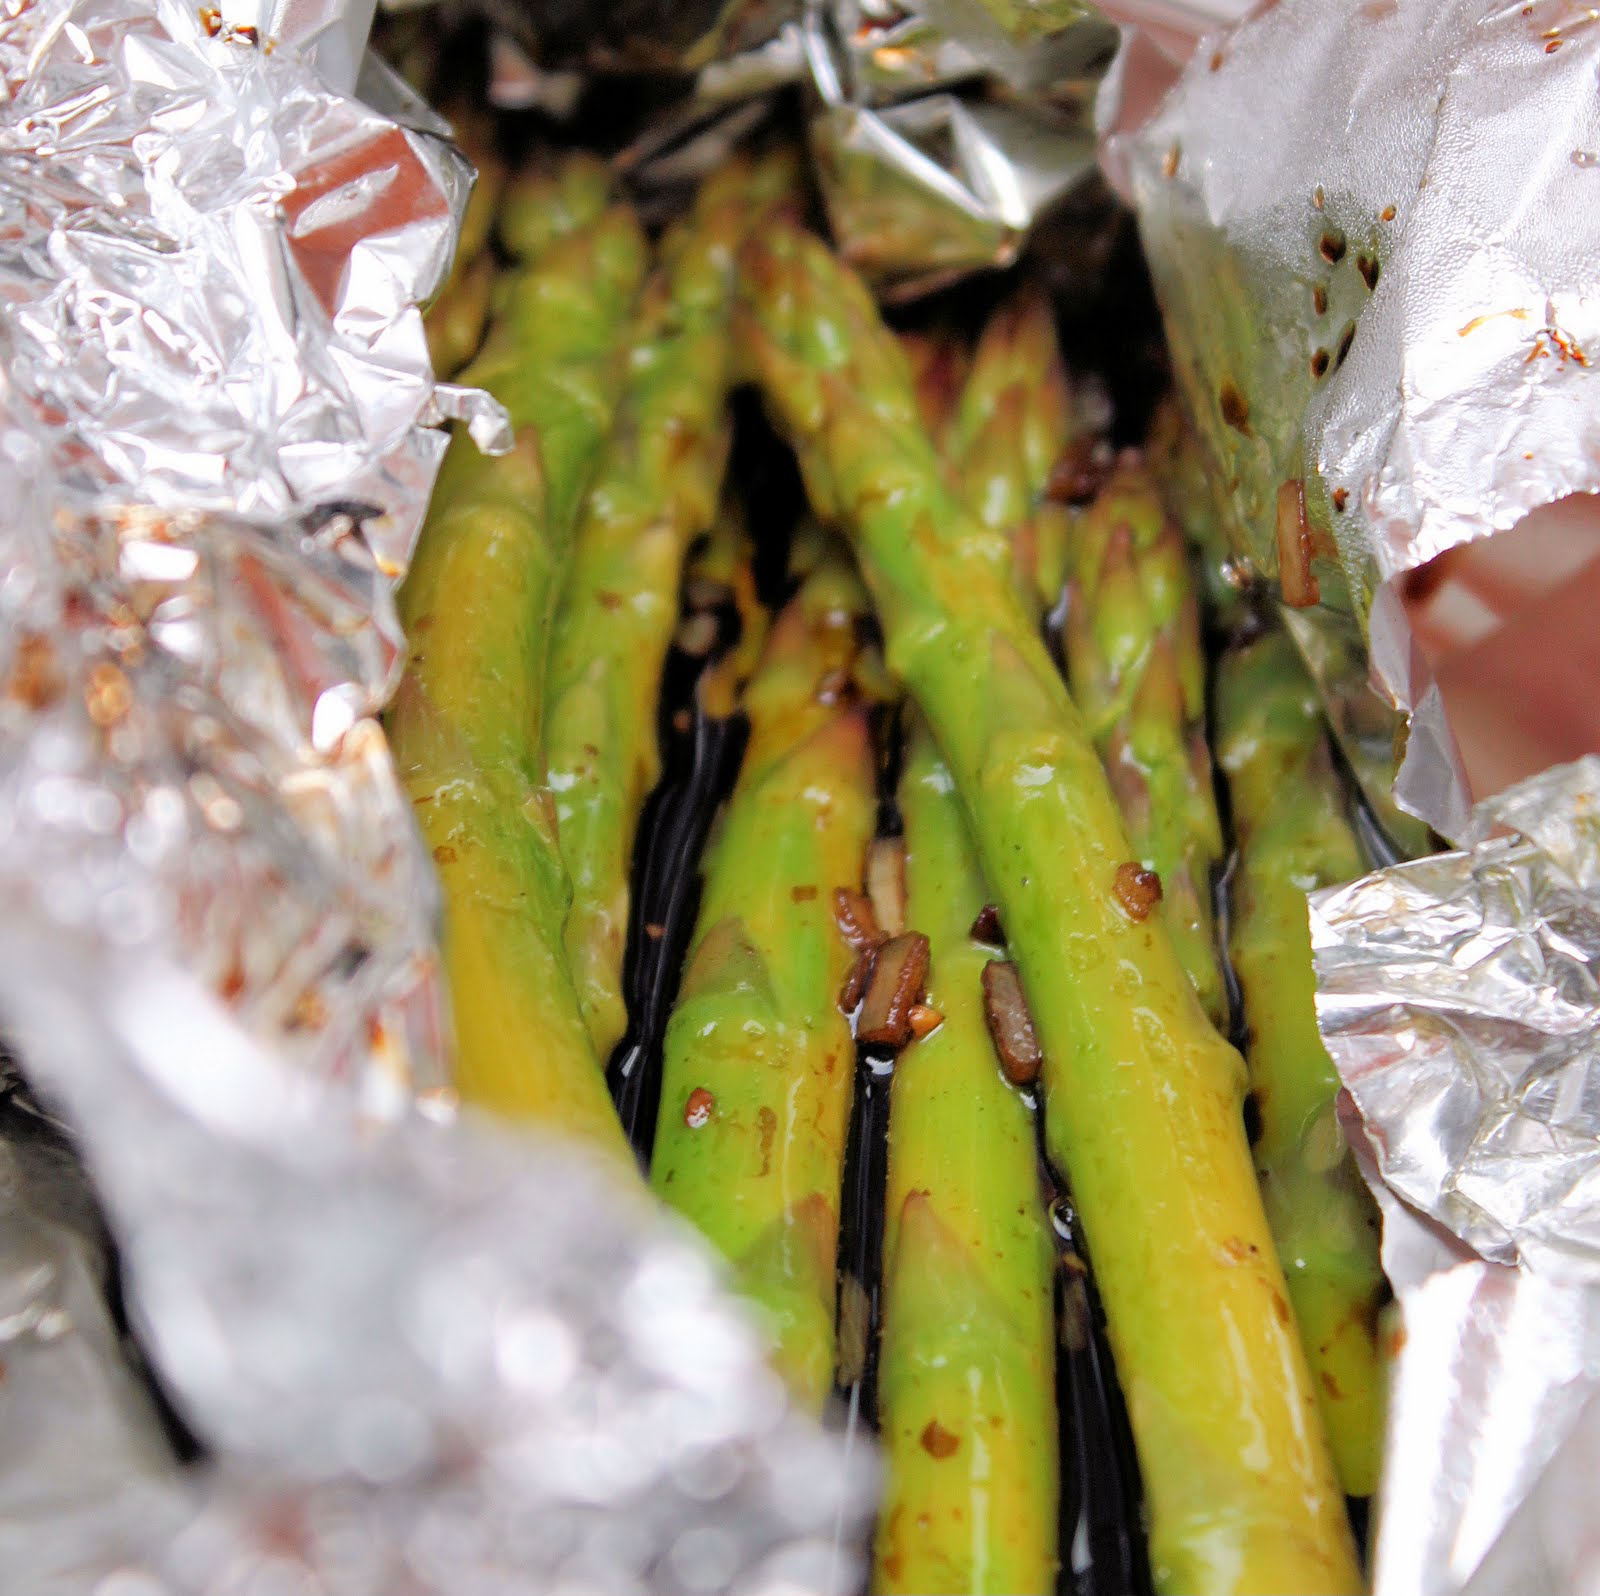
there it is. in the tin foil
This turned out really well. The balsamic vinegar and Worcestershire sauce add a bit of tangy-ness to the asparagus without overpowering the delicious natural flavor of asparagus. Many thanks to the grill masters:
Tim
Kevin
for not letting my asparagus get soggy. It was great to only have to do the prep work on a dish… a girl could get used to this!
1 tablespoon minced garlic (about 2 large garlic cloves)
1 teaspoon Worcestershire sauce
1/4 teaspoon chopped onion flakes
Salt and pepper, to taste
Instructions
Combine all the ingredients not including the asparagus. Mix well.
Prepare the asparagus. Remove the rough bottoms of the stems. Asparagus tends to snap where the tougher part ends, or you can just cut the asparagus where you think it needs to be trimmed.
Place the asparagus on a large piece of tin foil. You will make a little packet out of the tin foil.
Fold up each side of the tin foil, twisting the ends so that they stay together.
Pour the marinade over the asparagus.
Close the foil and marinate for at least one hour. You can either remove the asparagus from the foil and place the asparagus right on the grill, cooking for 6-8 minutes, turning carefully half way through, or you can put the asparagus on the grill in the foil, cooking for about 10 minutes. Either way, grill until the asparagus is tender but still has a crunch to it.
The warm days in Philadelphia keep on coming, so I think it’s time to attempt making the summer favorite: gazpacho. I wanted to do an heirloom gazpacho, but I am presently cooking out of Wilmington and the local store does not carry any. Sigh. I used this recipe from Cooking Light and just changed some of the ingredients to fit what I could find in the store.
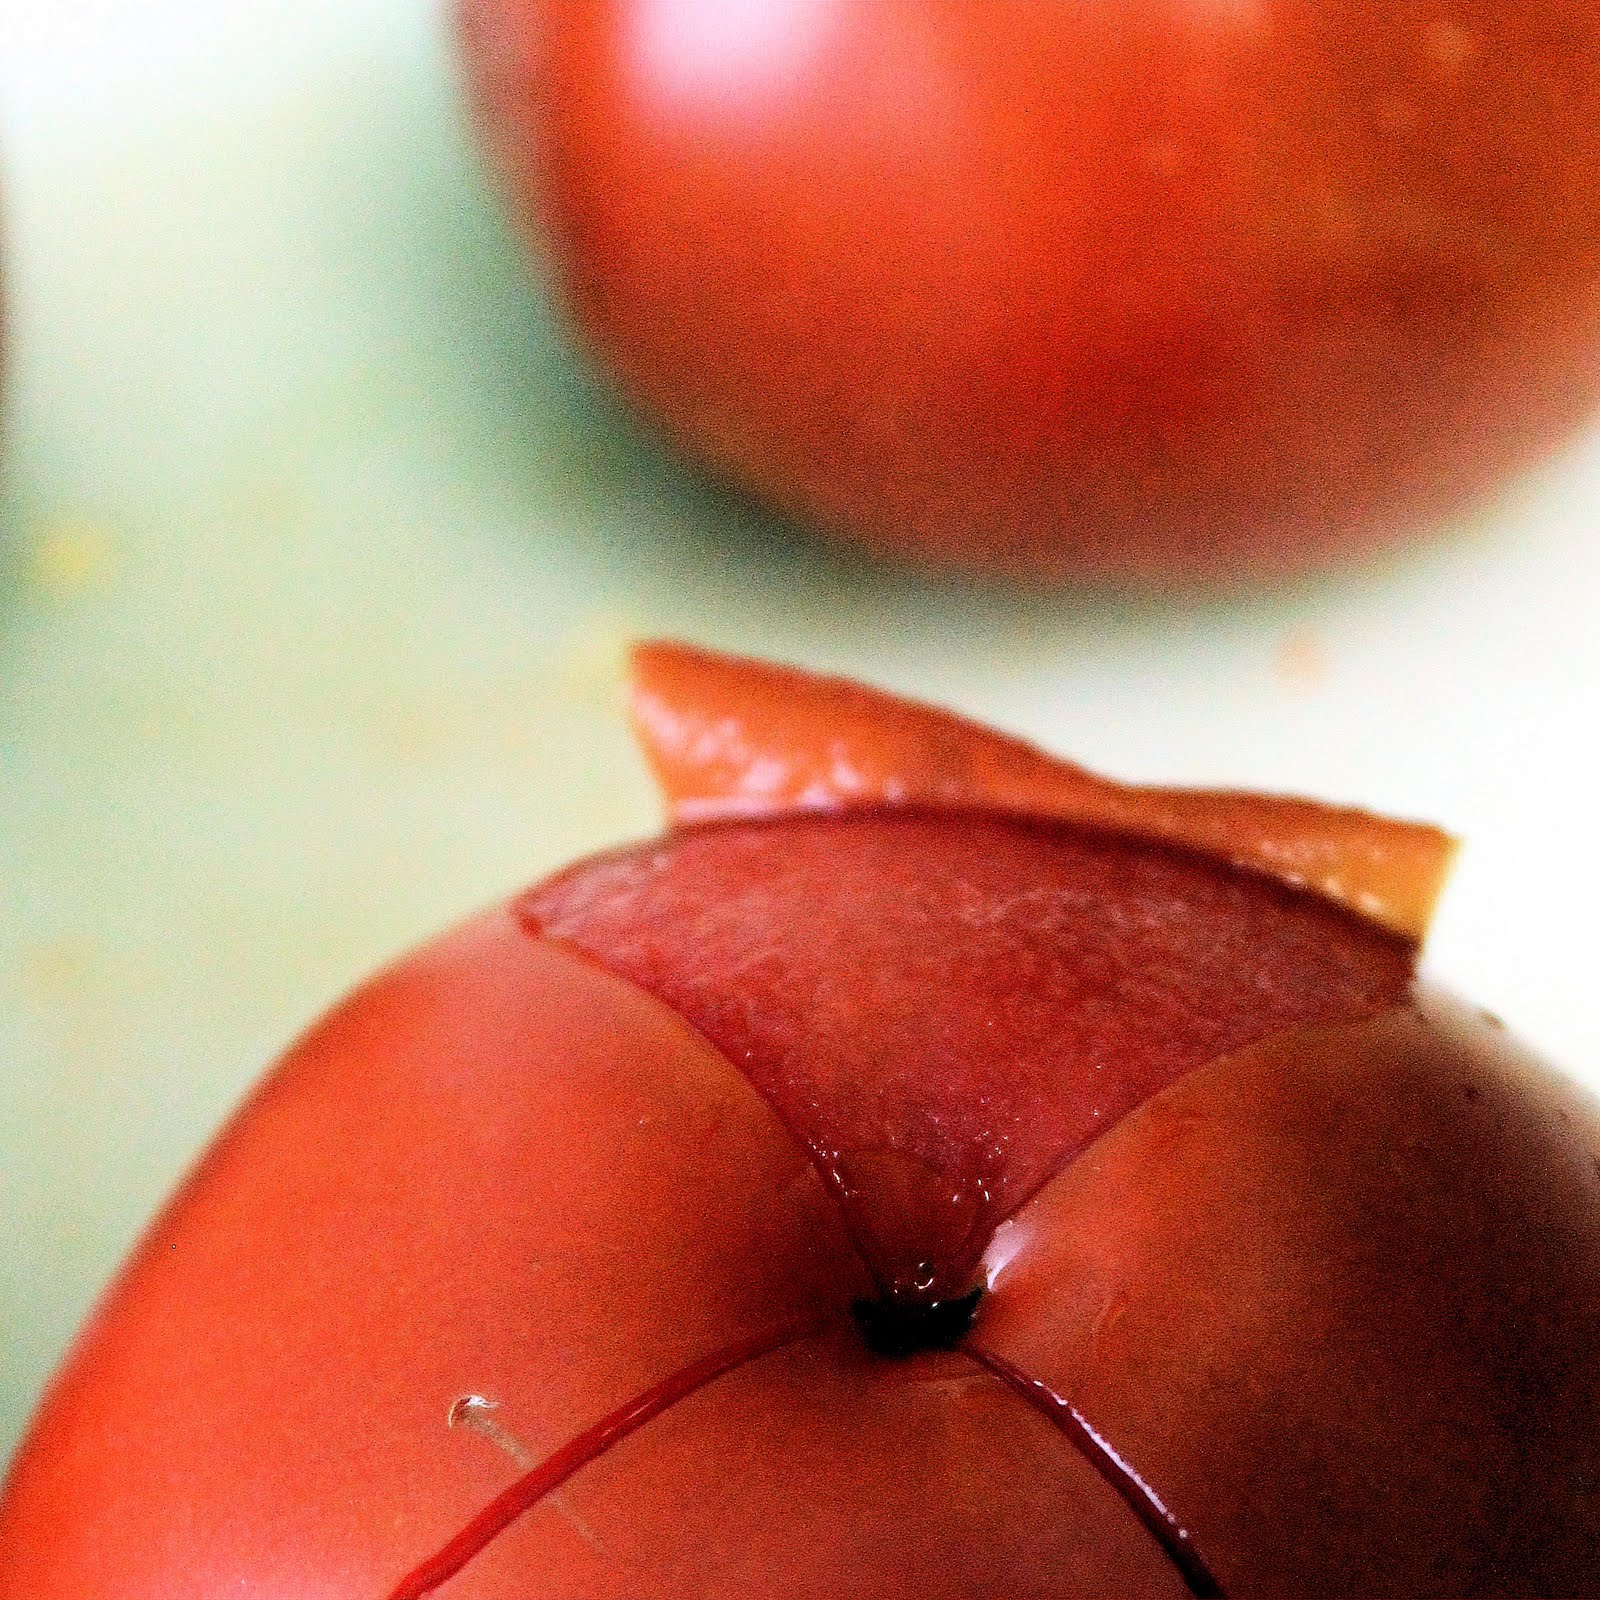
To begin, prepare all of your ingredients. Peel and seed 2 cucumbers. To learn how to seed a cucumber, check out my post here. Roughly chop the onion and red bell pepper. To peel a tomato, prepare a bowl with ice water and bring another pot of water to a boil.
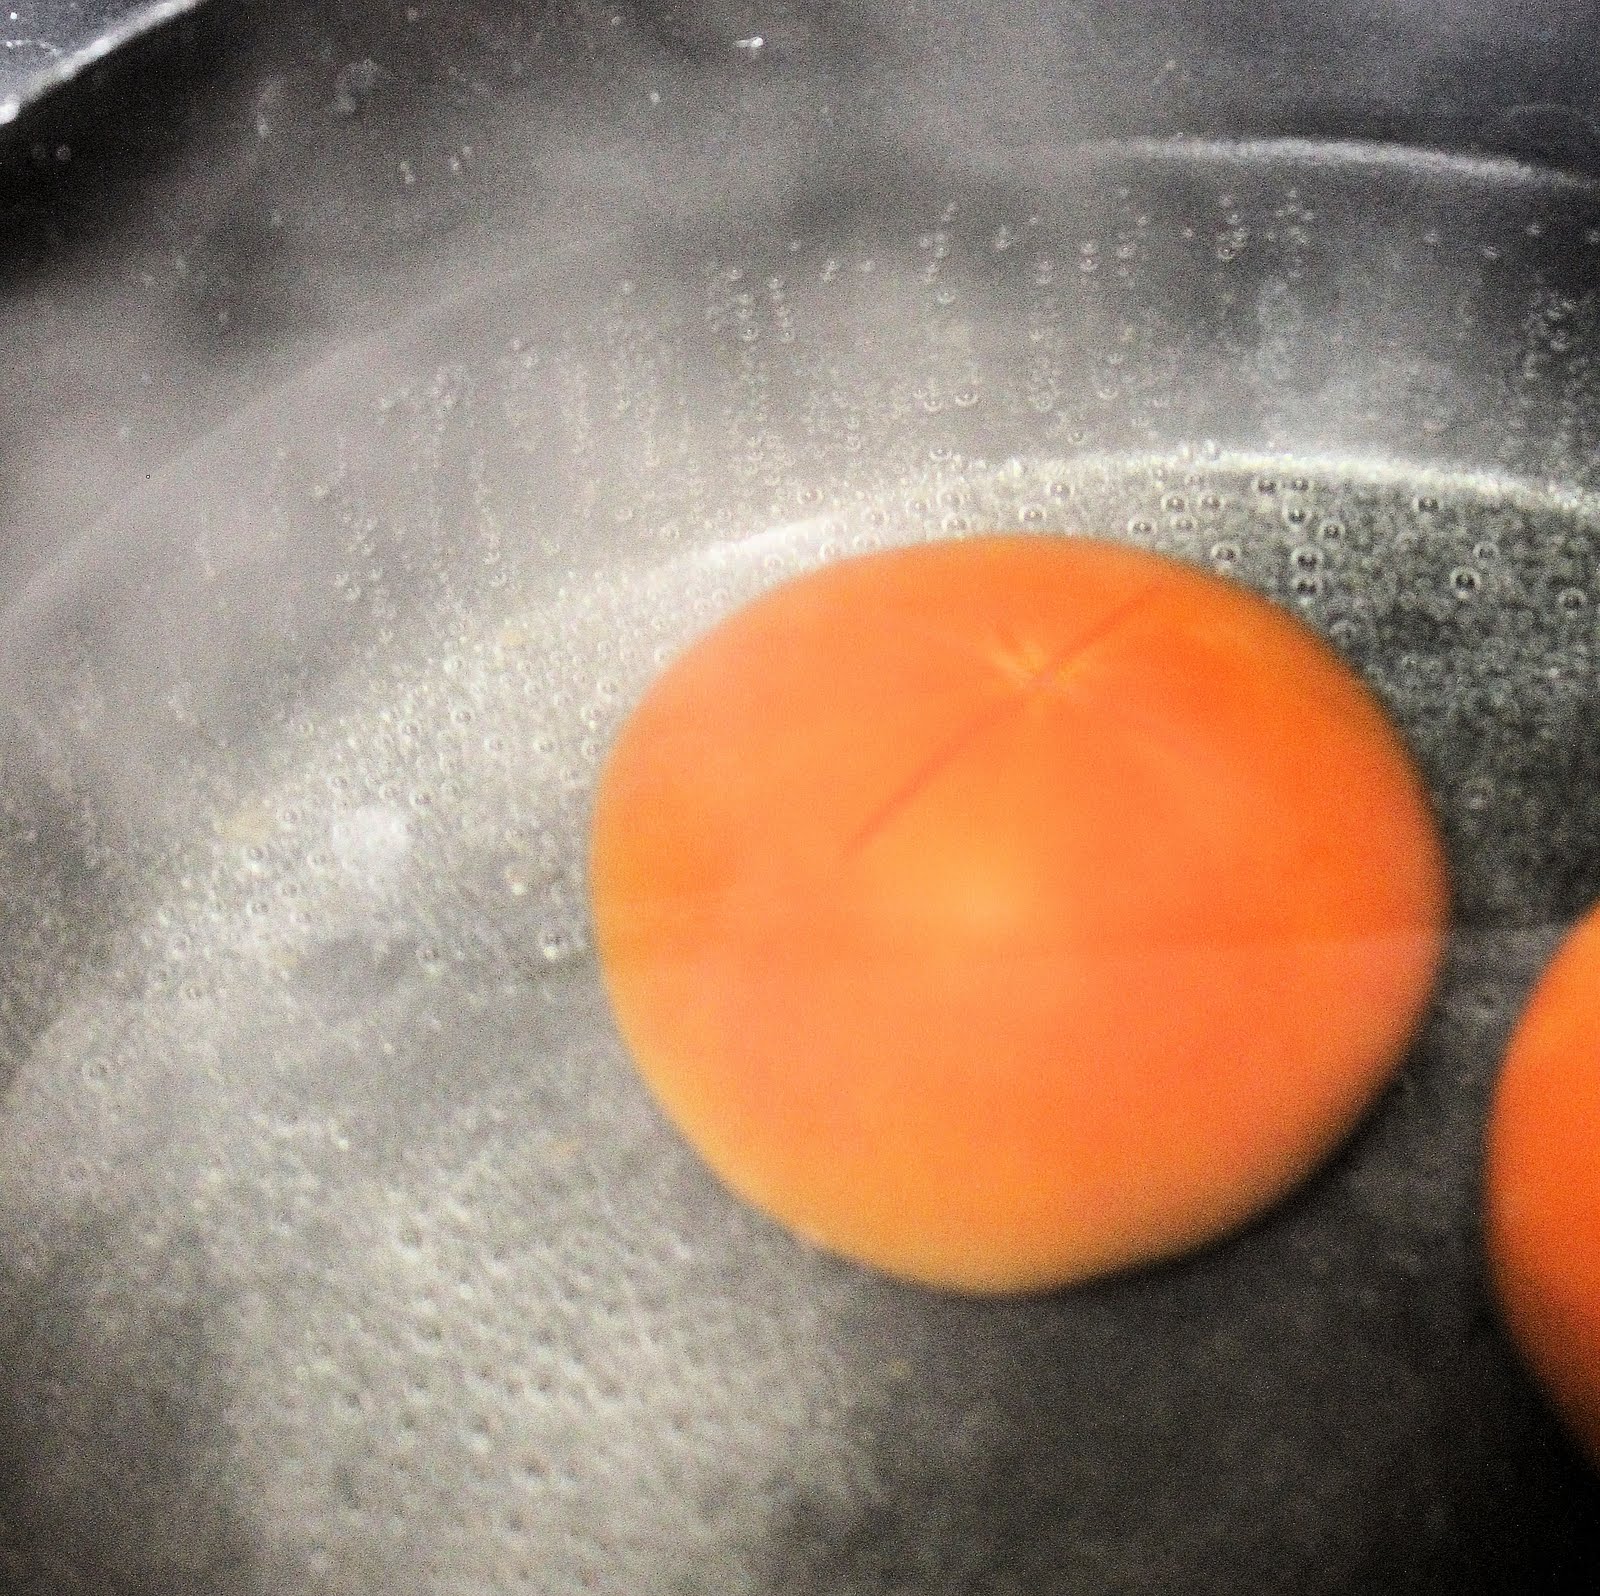
On the bottom side of the tomatoes, cut an X into the skin.
When the water is boiling, place 2 tomatoes at a time into the water.
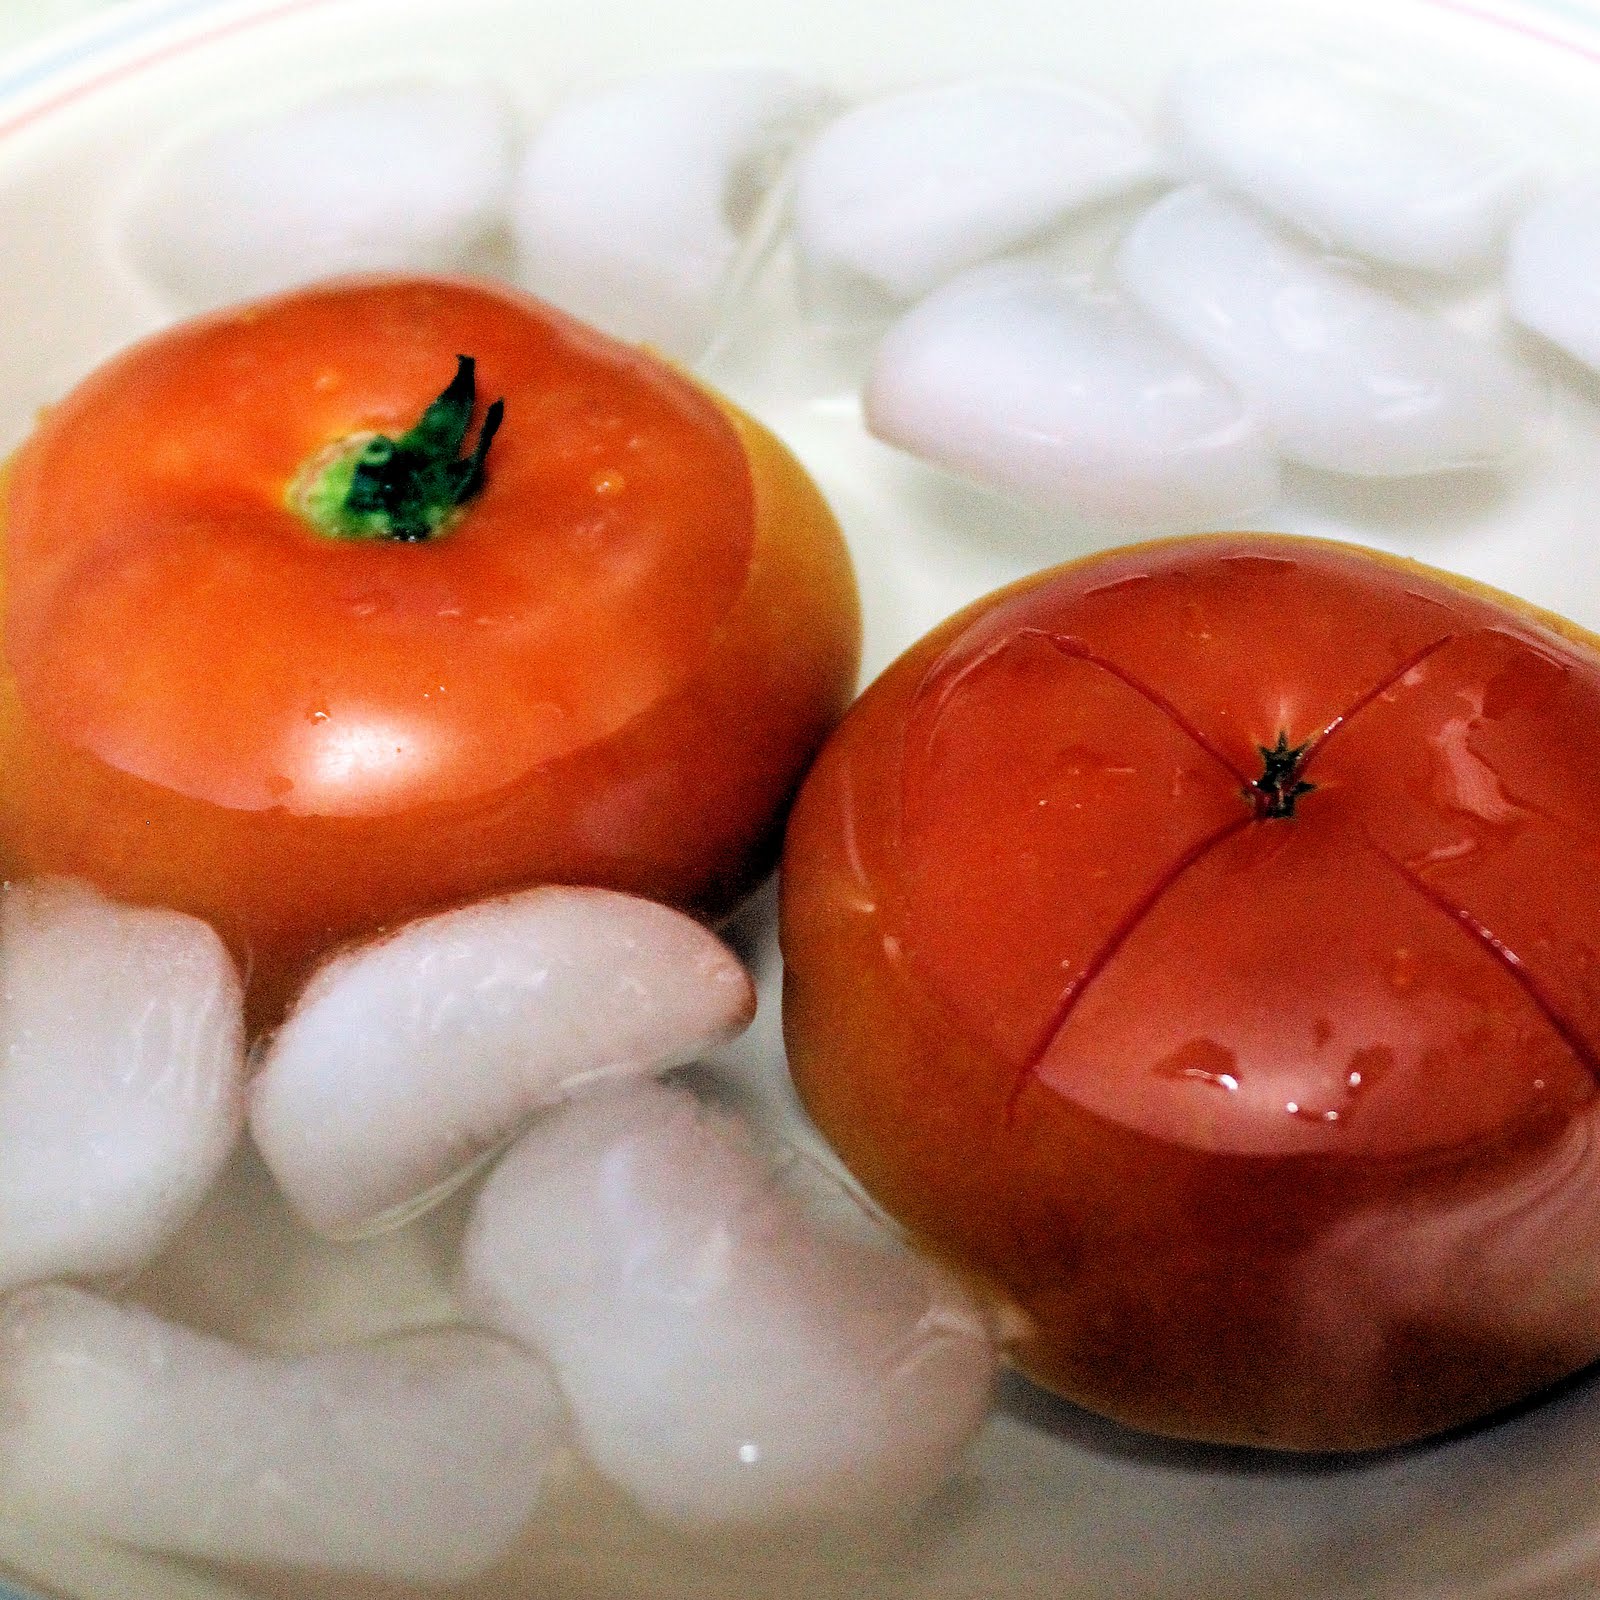
Keep in the water for 15 to 20 seconds, remove, and place in the ice water.
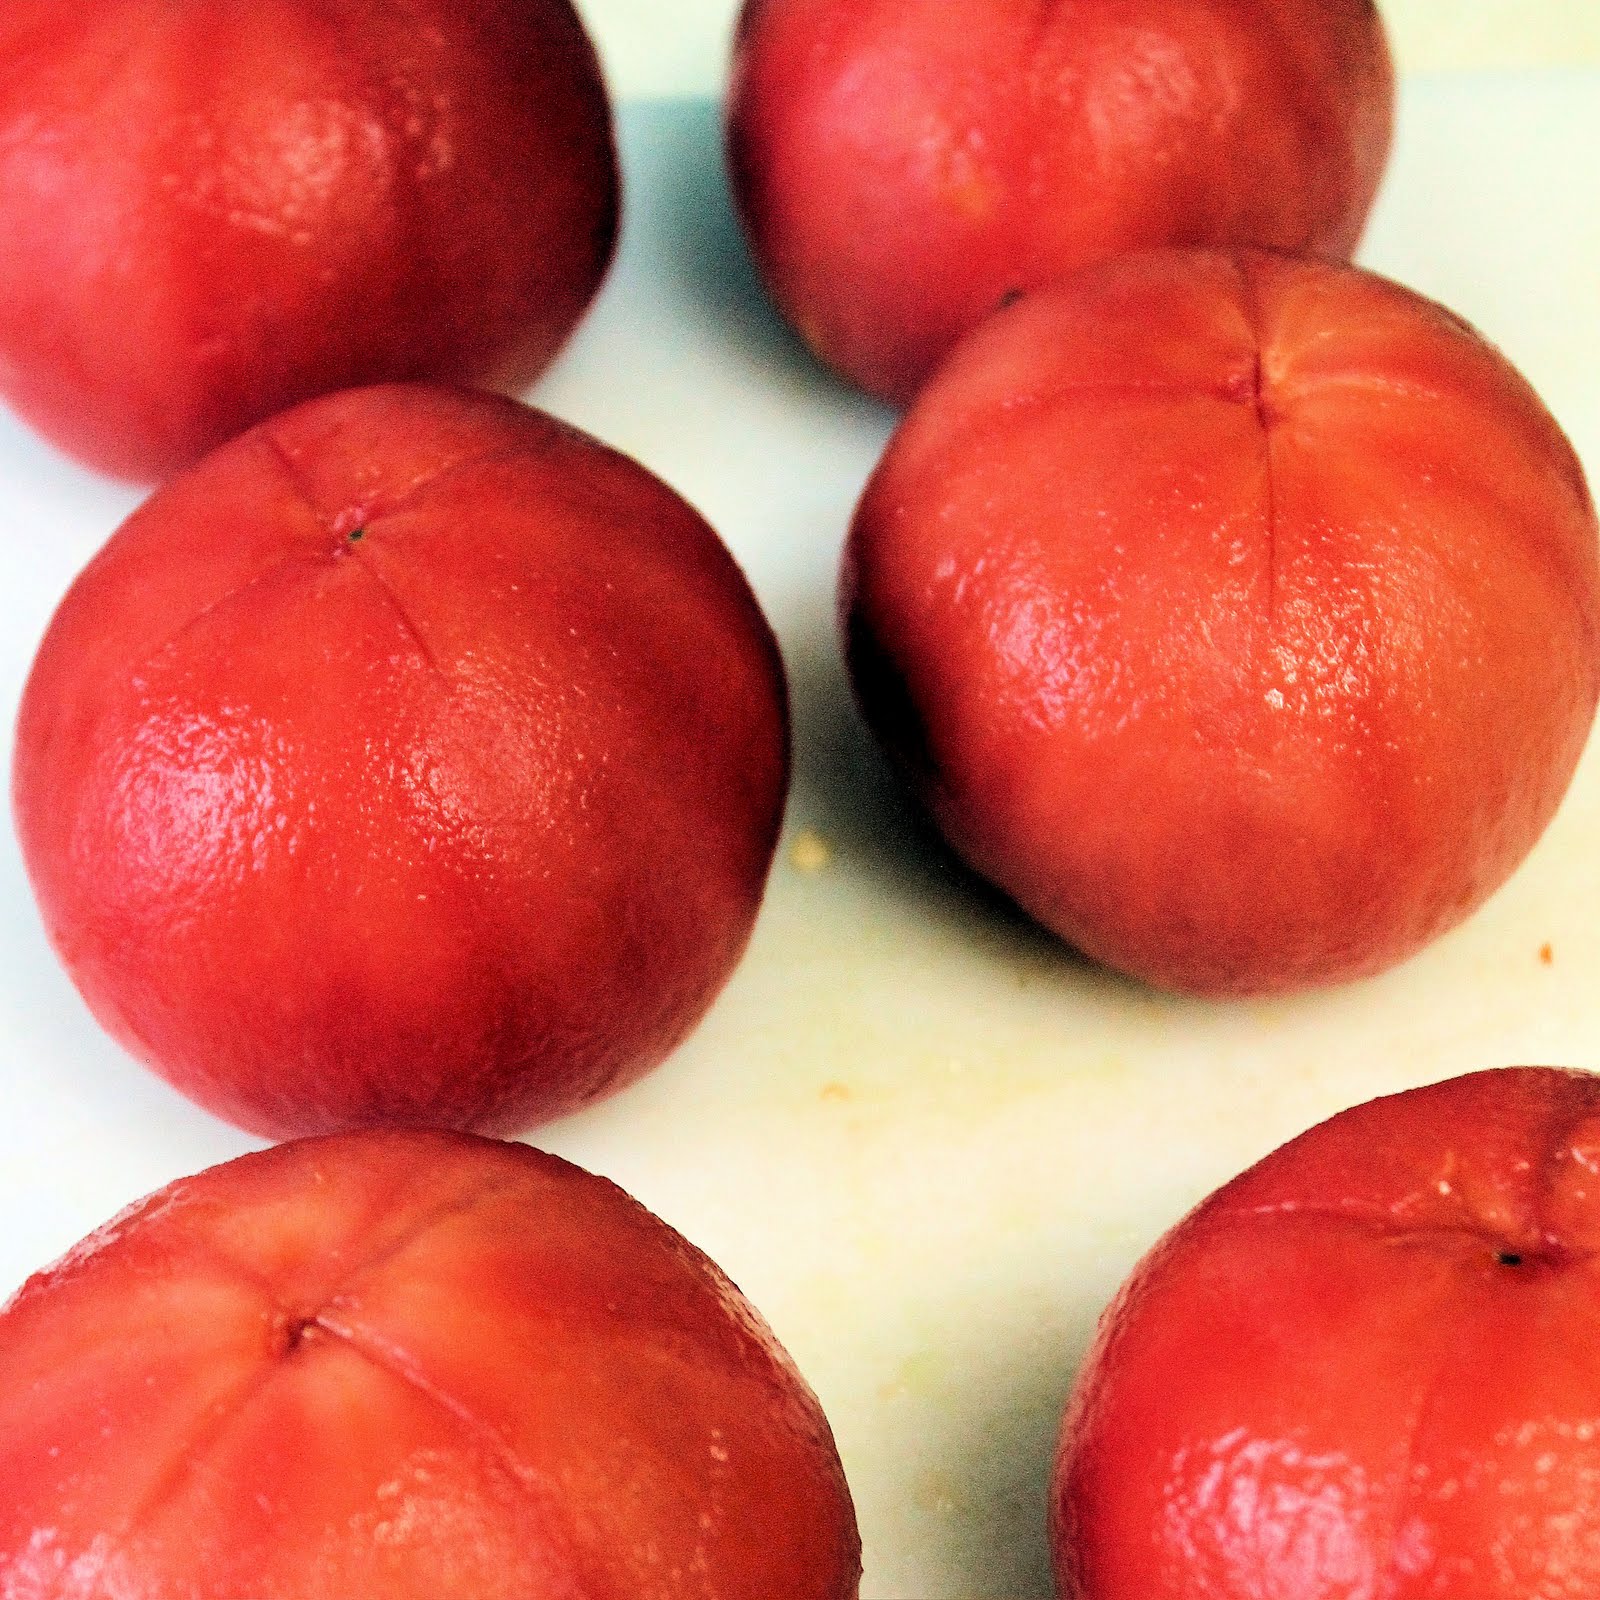
Once cooled, use a knife to peel away the skin from the X.
Repeat with remaining tomatoes.
To seed the tomato, cut the tomato in half and use a spoon to scoop out the seeds. Discard the seeds and roughly chop the tomatoes.
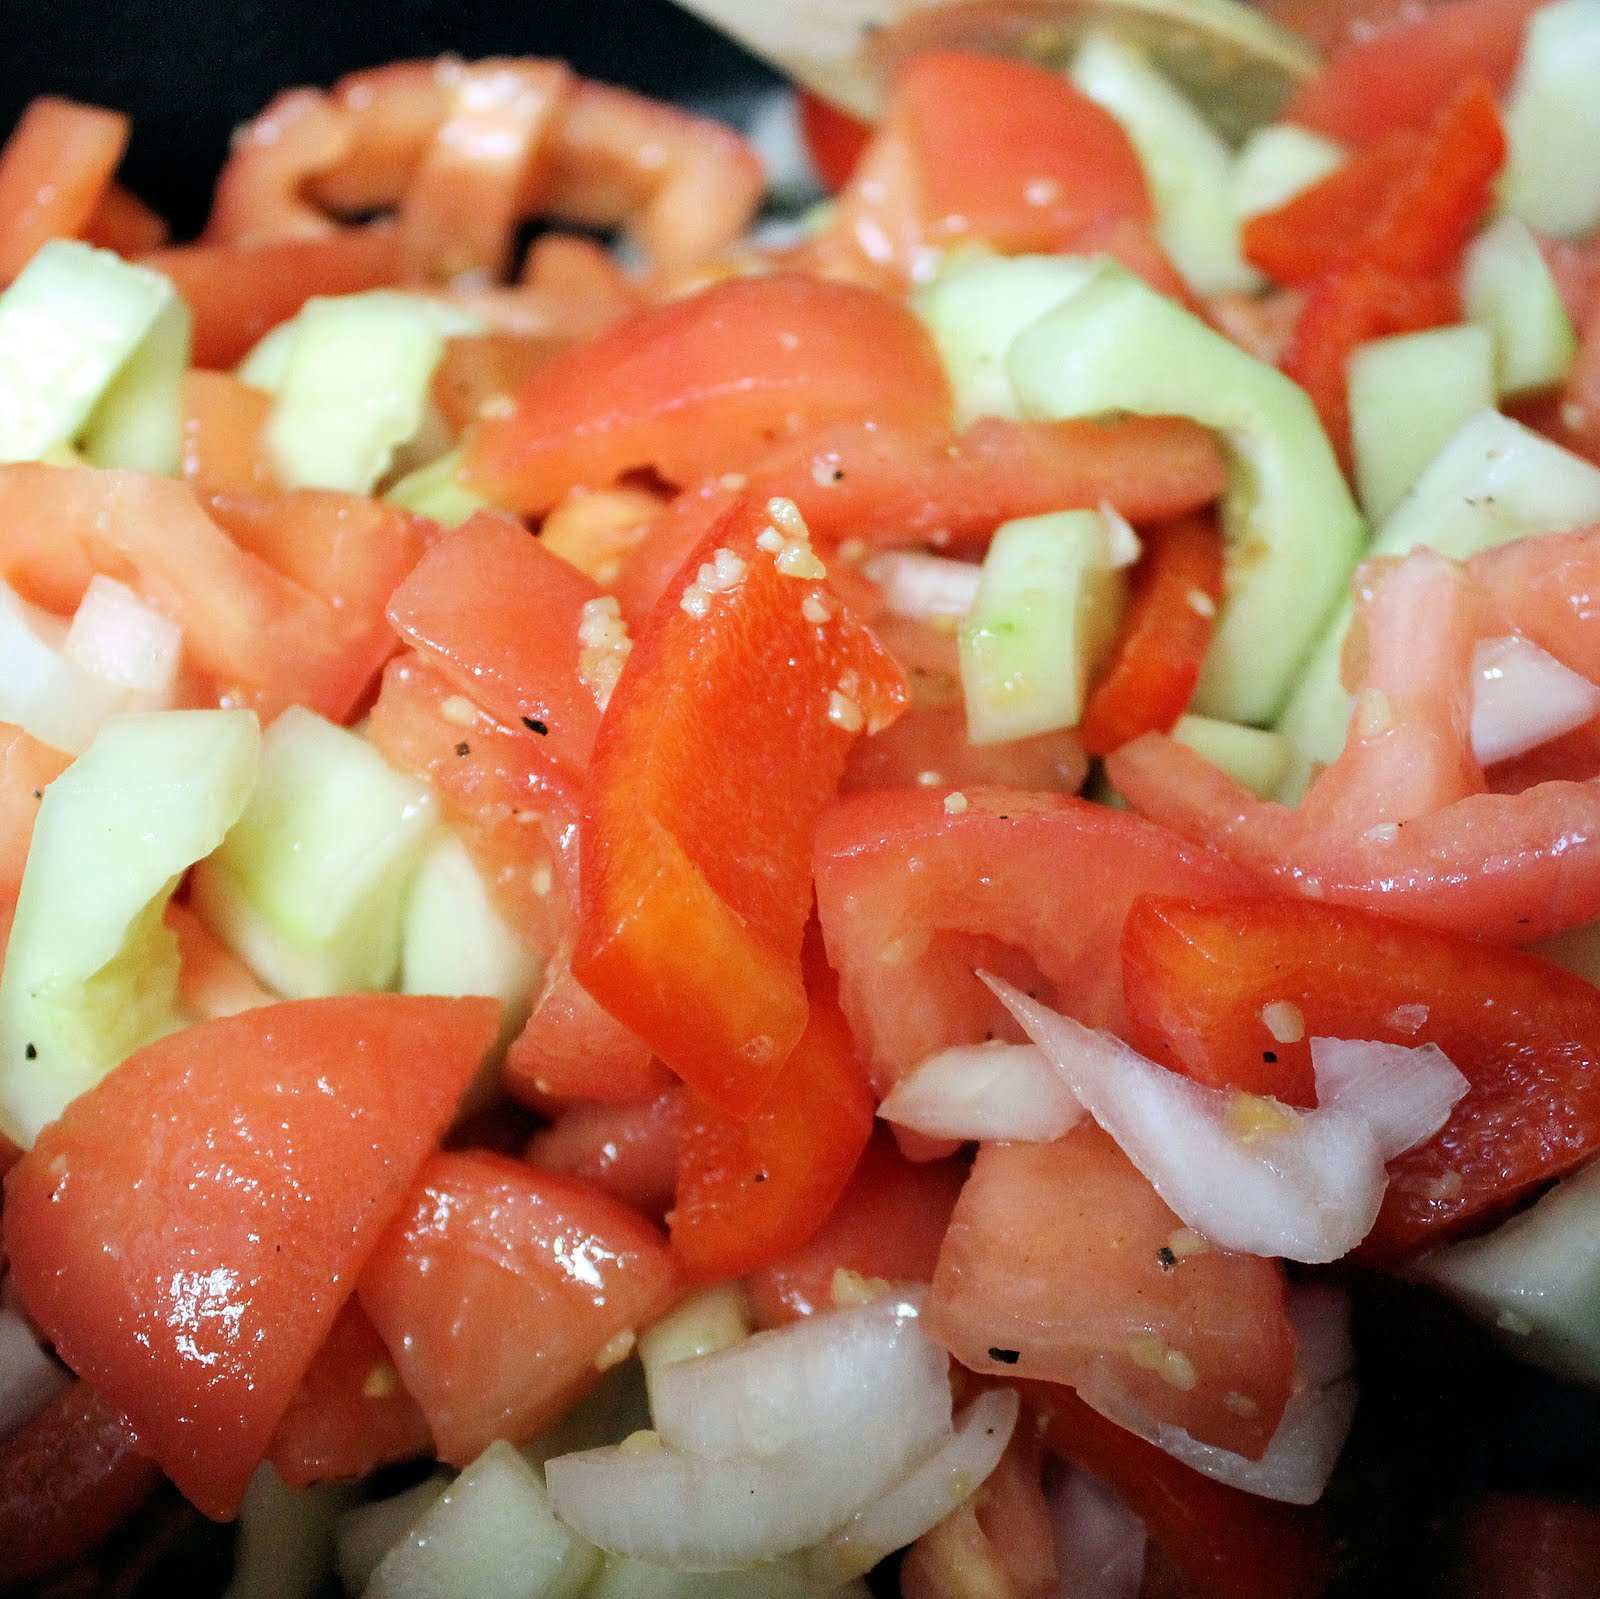
Prepped Veggies
To make the gazpacho, combine first 9 ingredients (up to the garlic).
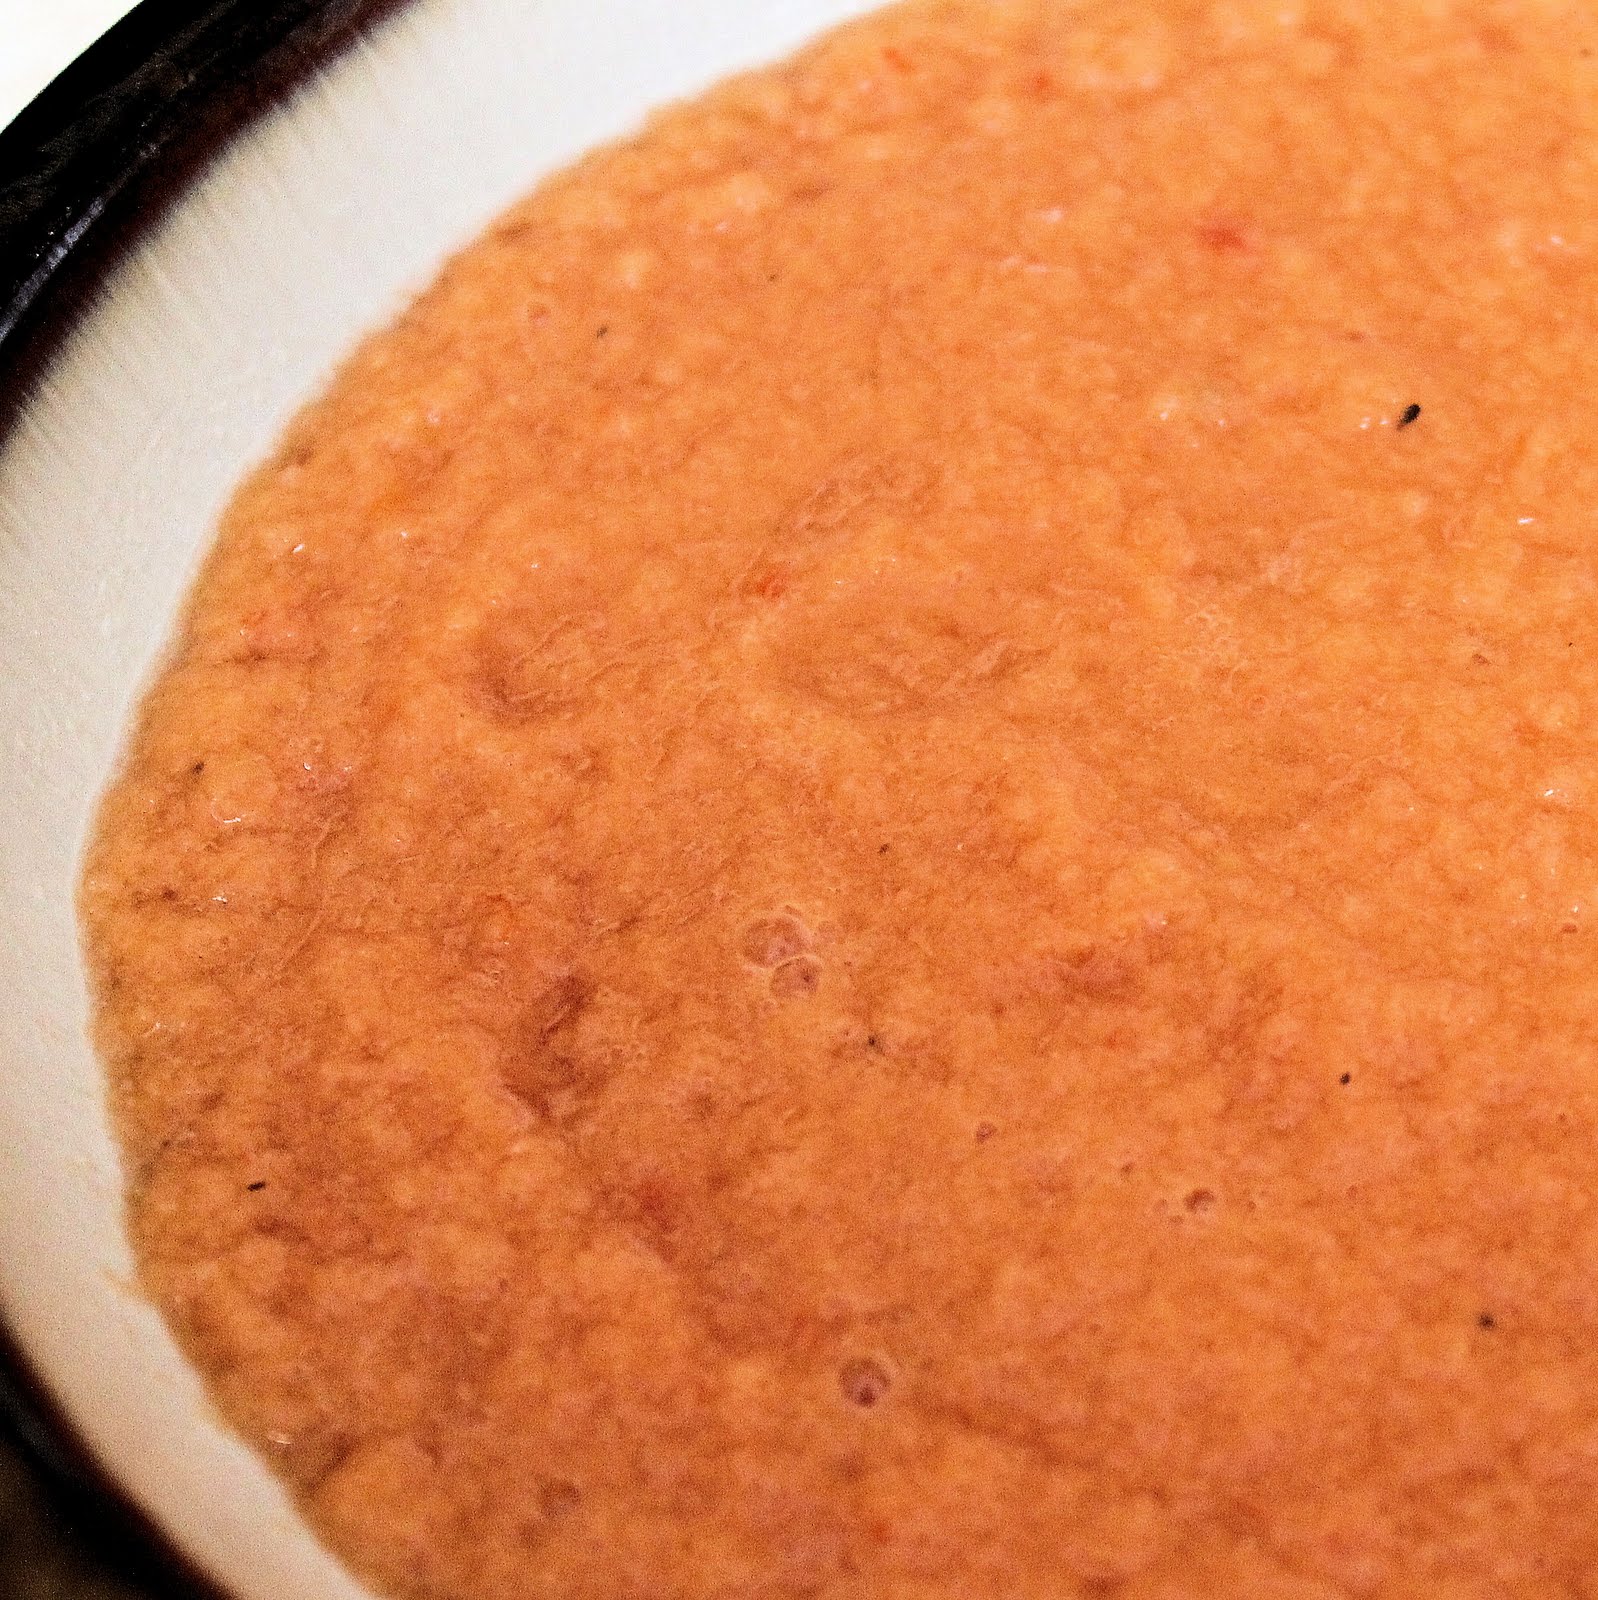
Add 1/3 of the mixture to a food processor and blend until smooth. Pour into a large bowl and repeat with the remaining 2/3 vegetable mixture. Cover and chill.
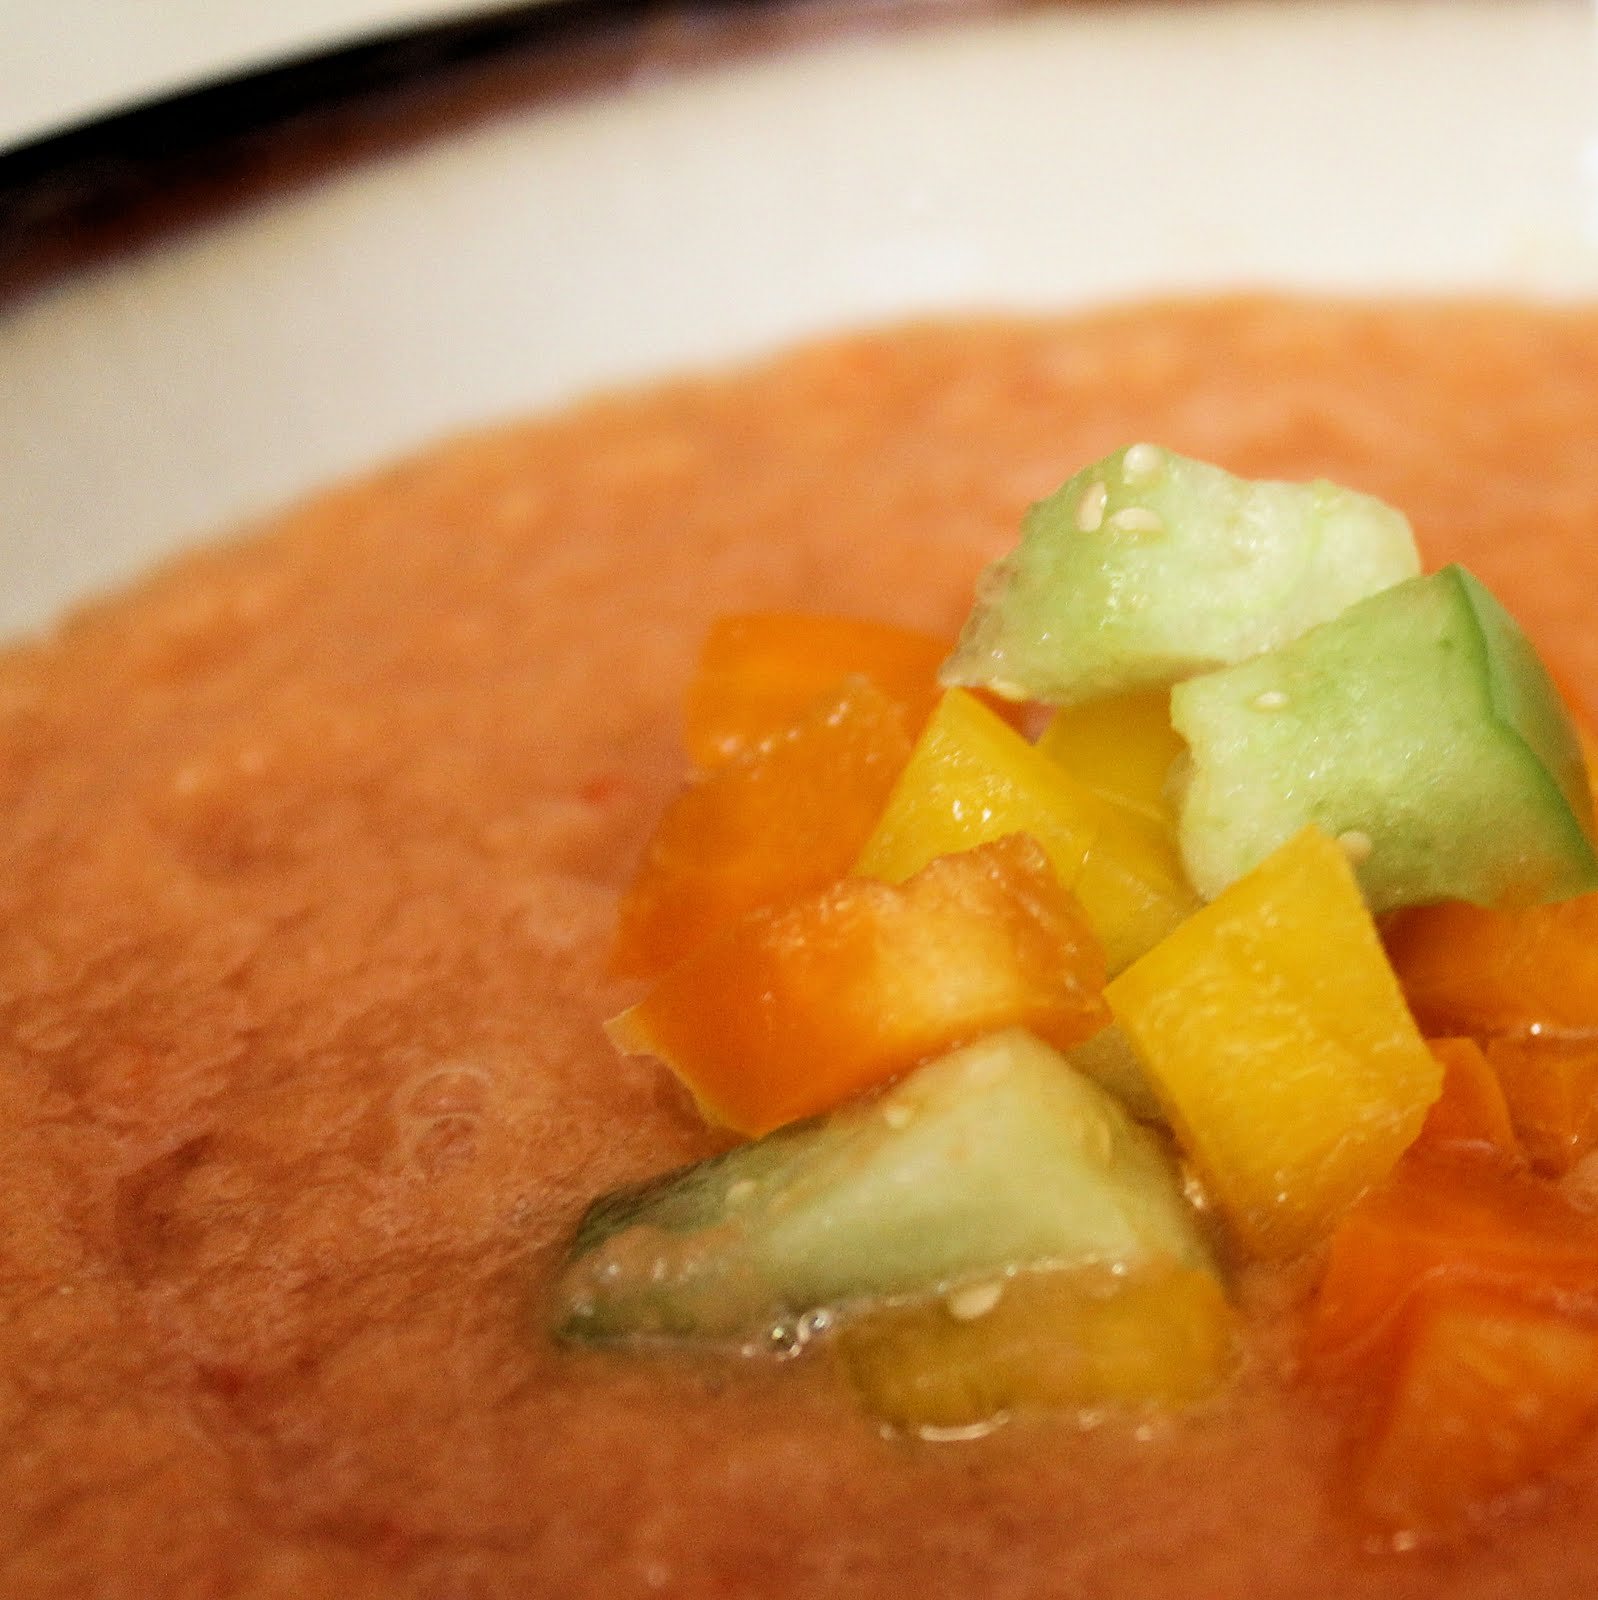
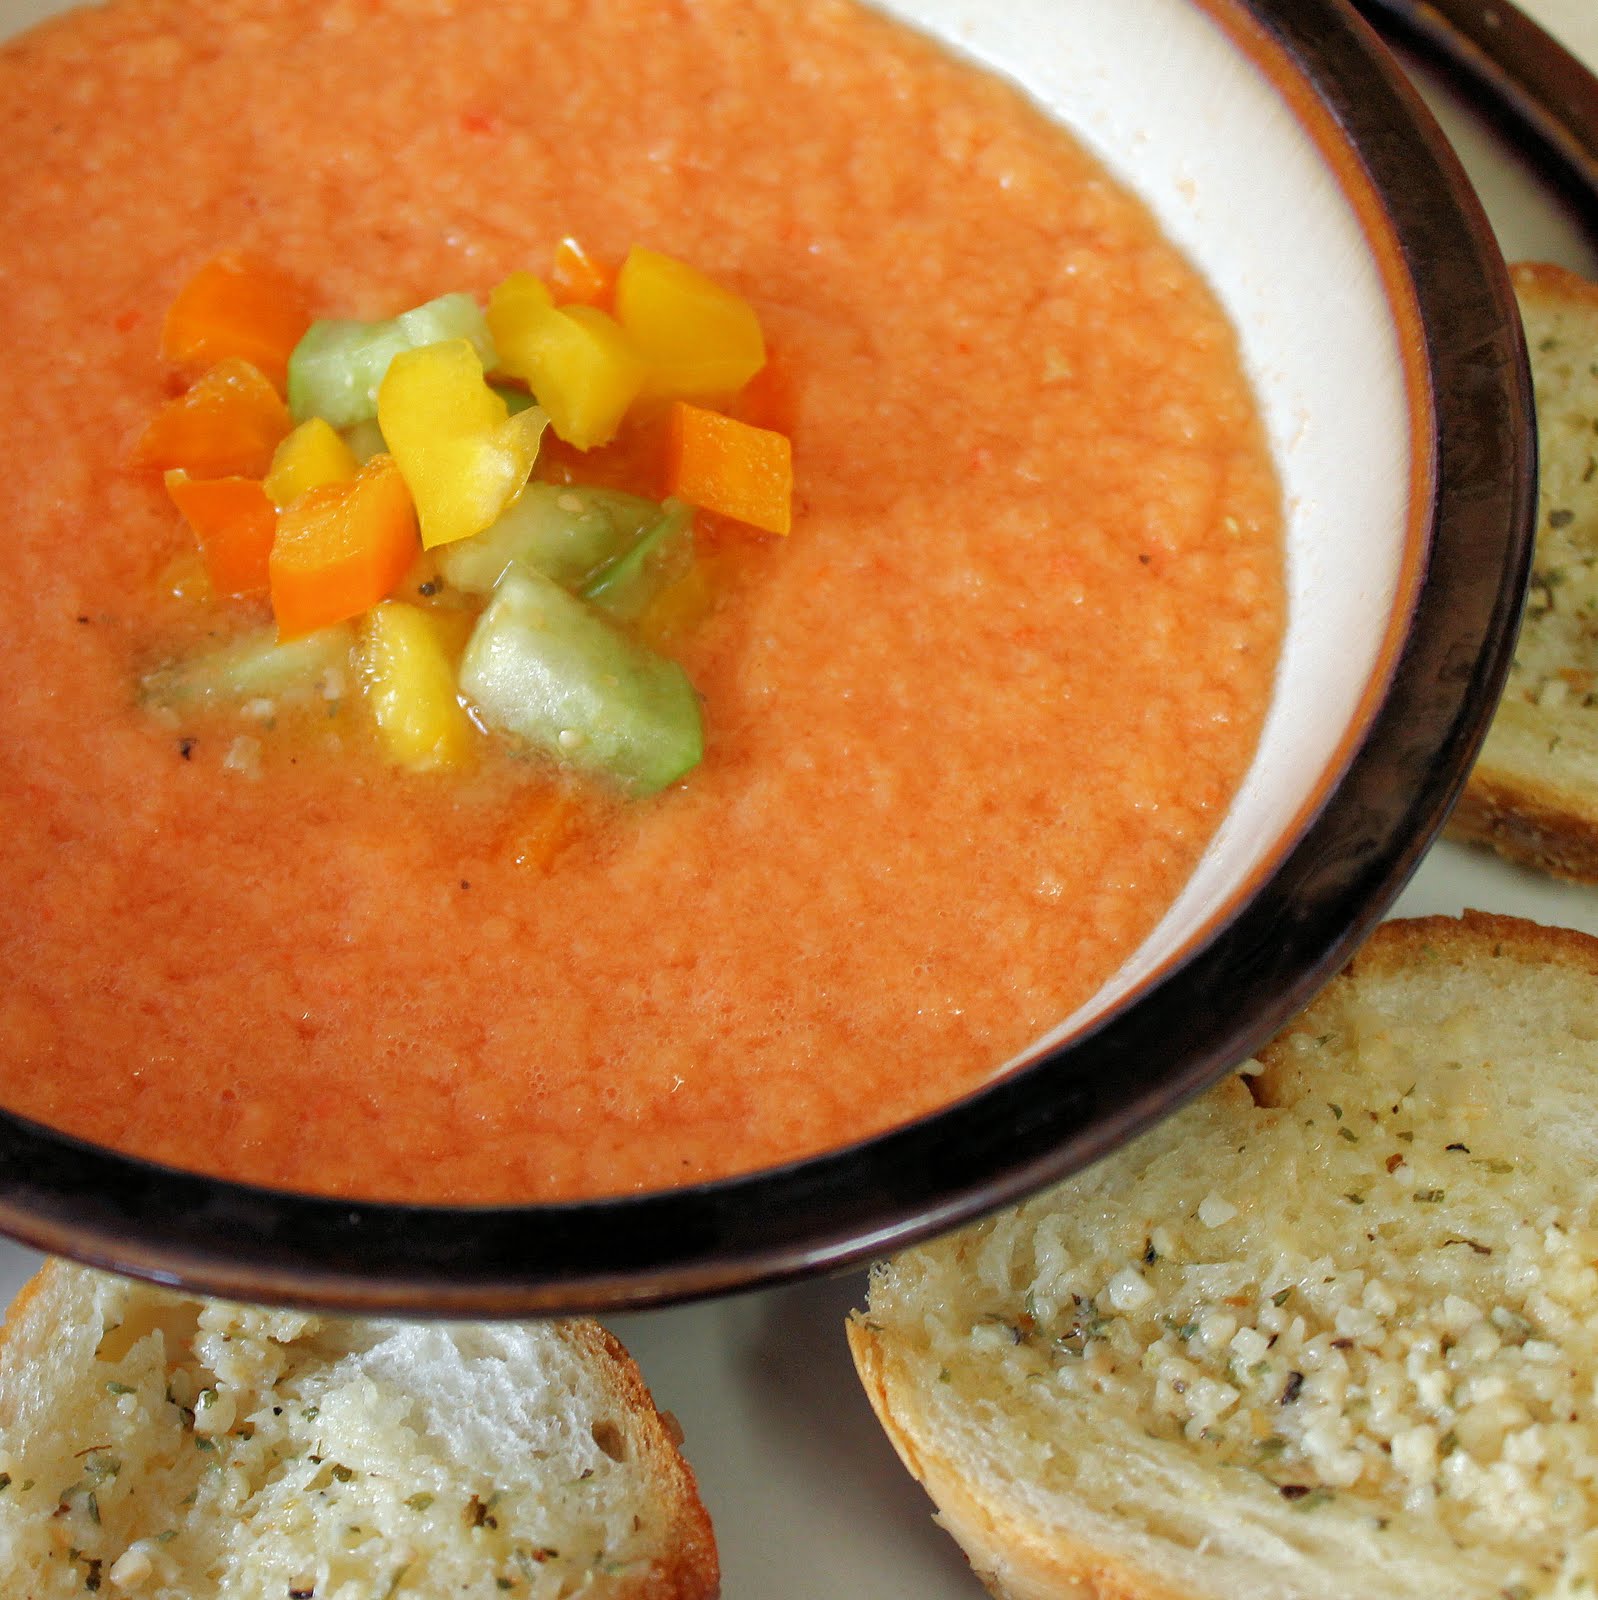
When ready to serve, spoon gazpacho into bowls. Finely chop your yellow and orange peppers and tomatillo. Combine the peppers and tomatillo.
Add 2 tablespoons of the mixture to each bowl. If you’d like, you can also add a piece of garlic bread (or just a crusty piece of day old bread), 1 tablespoon goat cheese, or a teaspoon of sour cream.
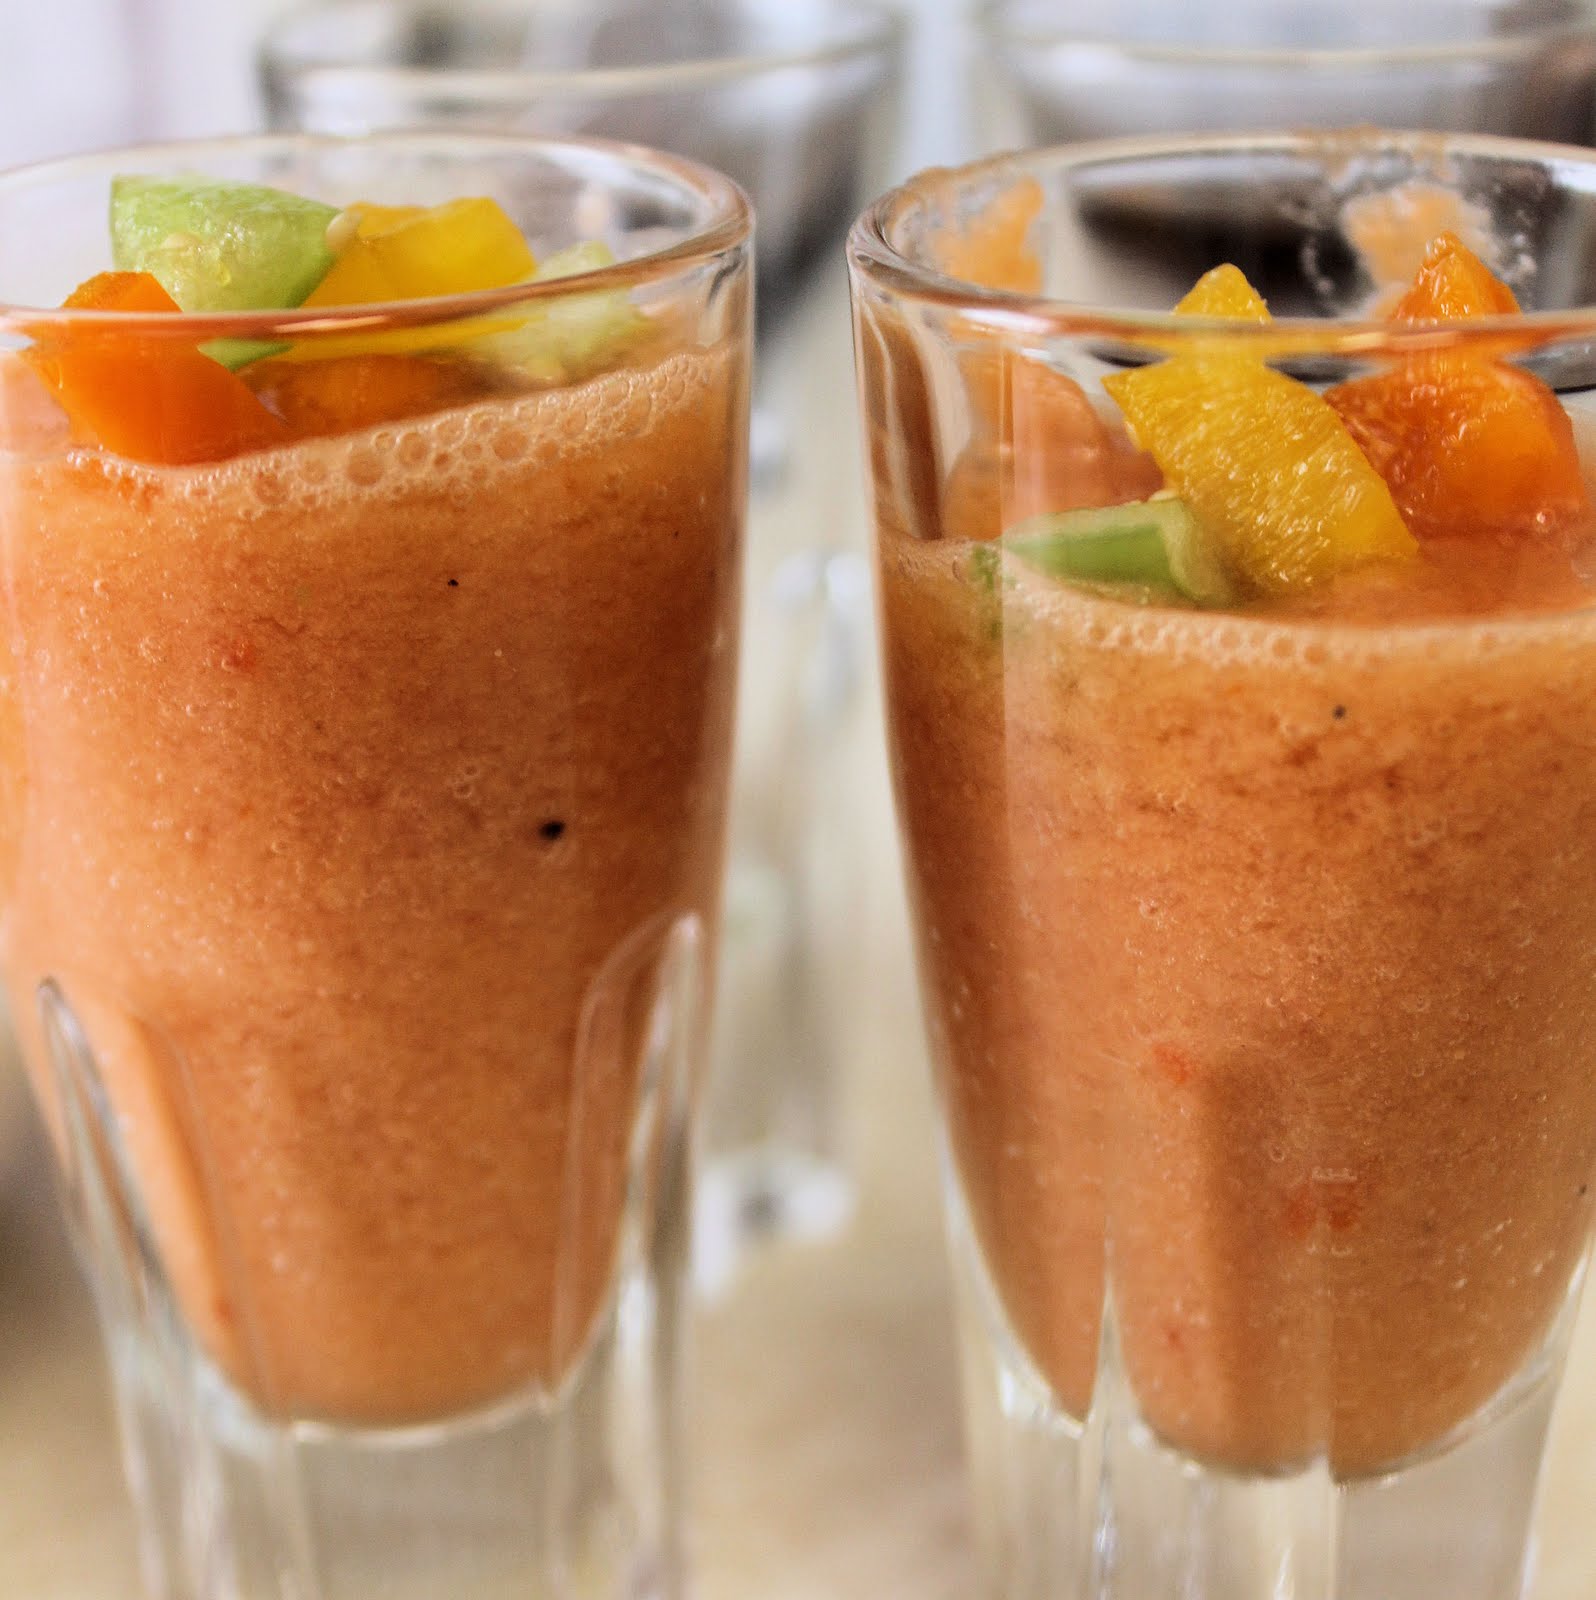
This would also be a nice appetizer. Pour the gazpacho into shooter glasses and top with a teaspoon of the pepper tomatillo mixture.
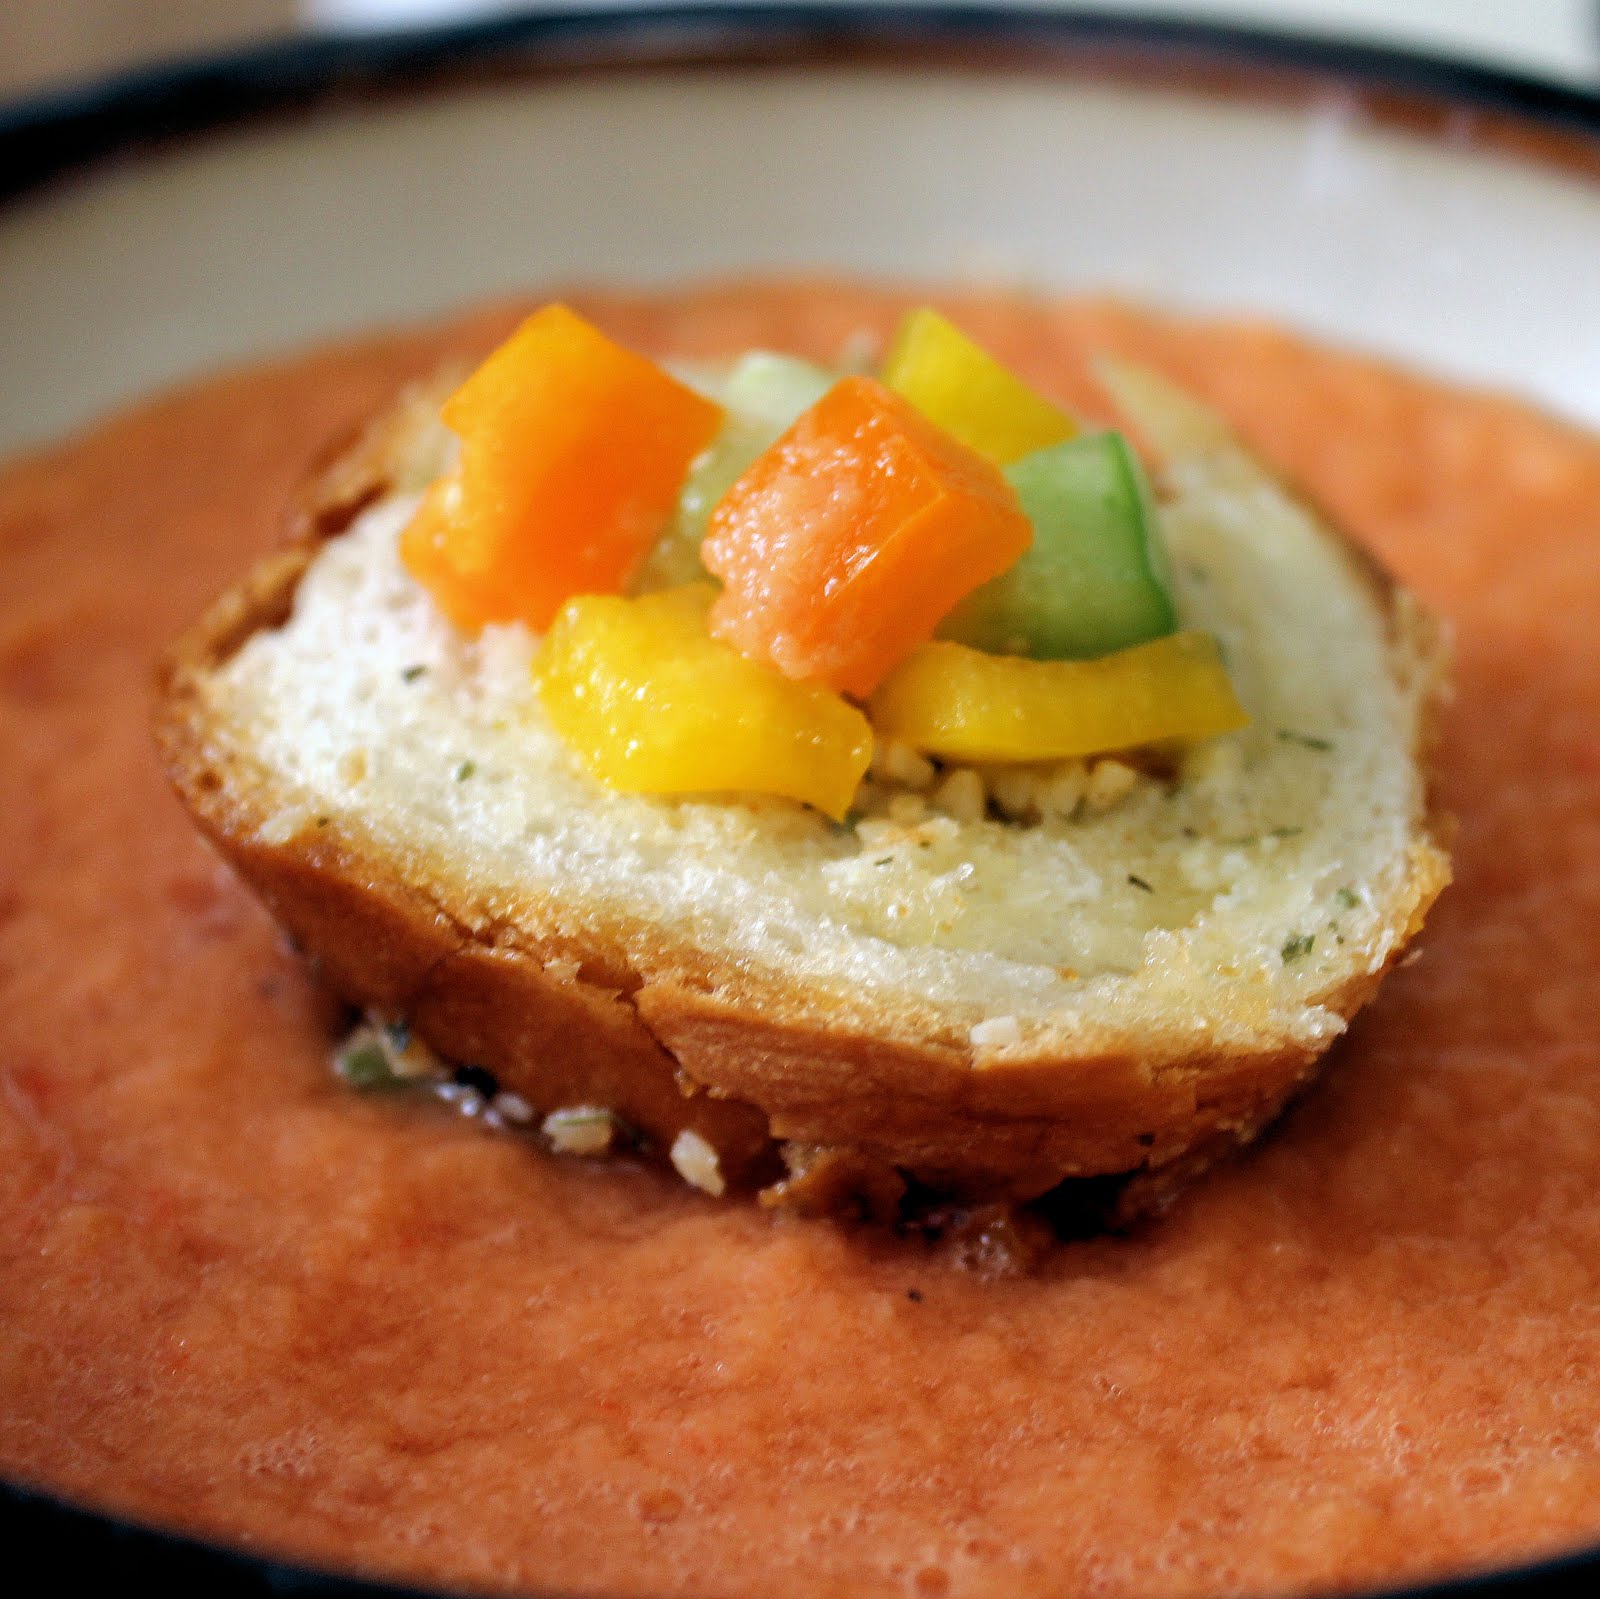
You can also use the gazpacho as a pureed salsa. Prepare garlic bread. Put on a plate with a bowl of gazpacho in the center with a spoon. Guests can spoon gazpacho on top of the bread, or use the bread to dip into the gazpacho.
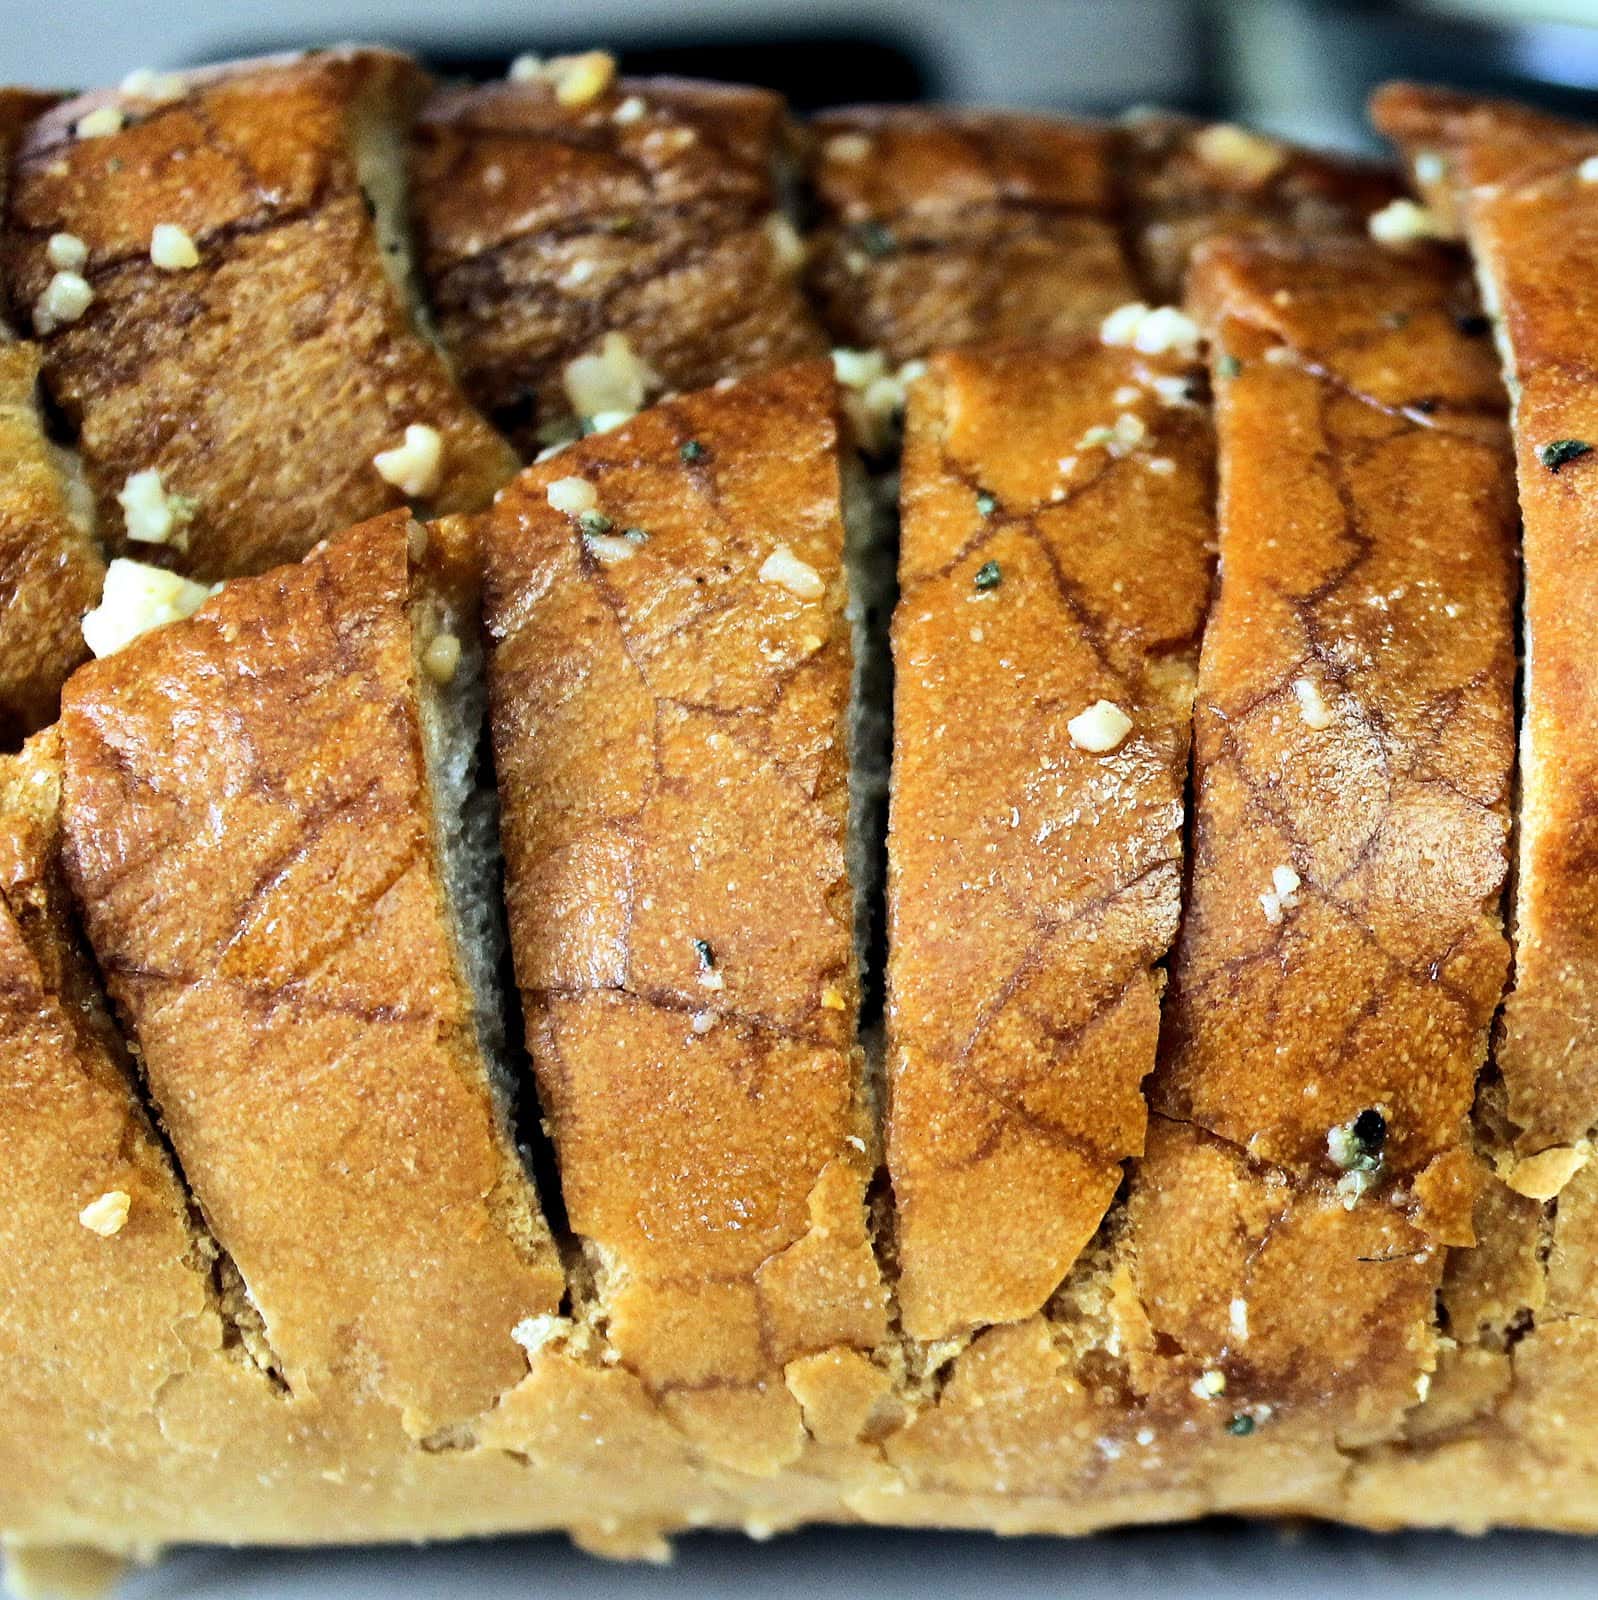
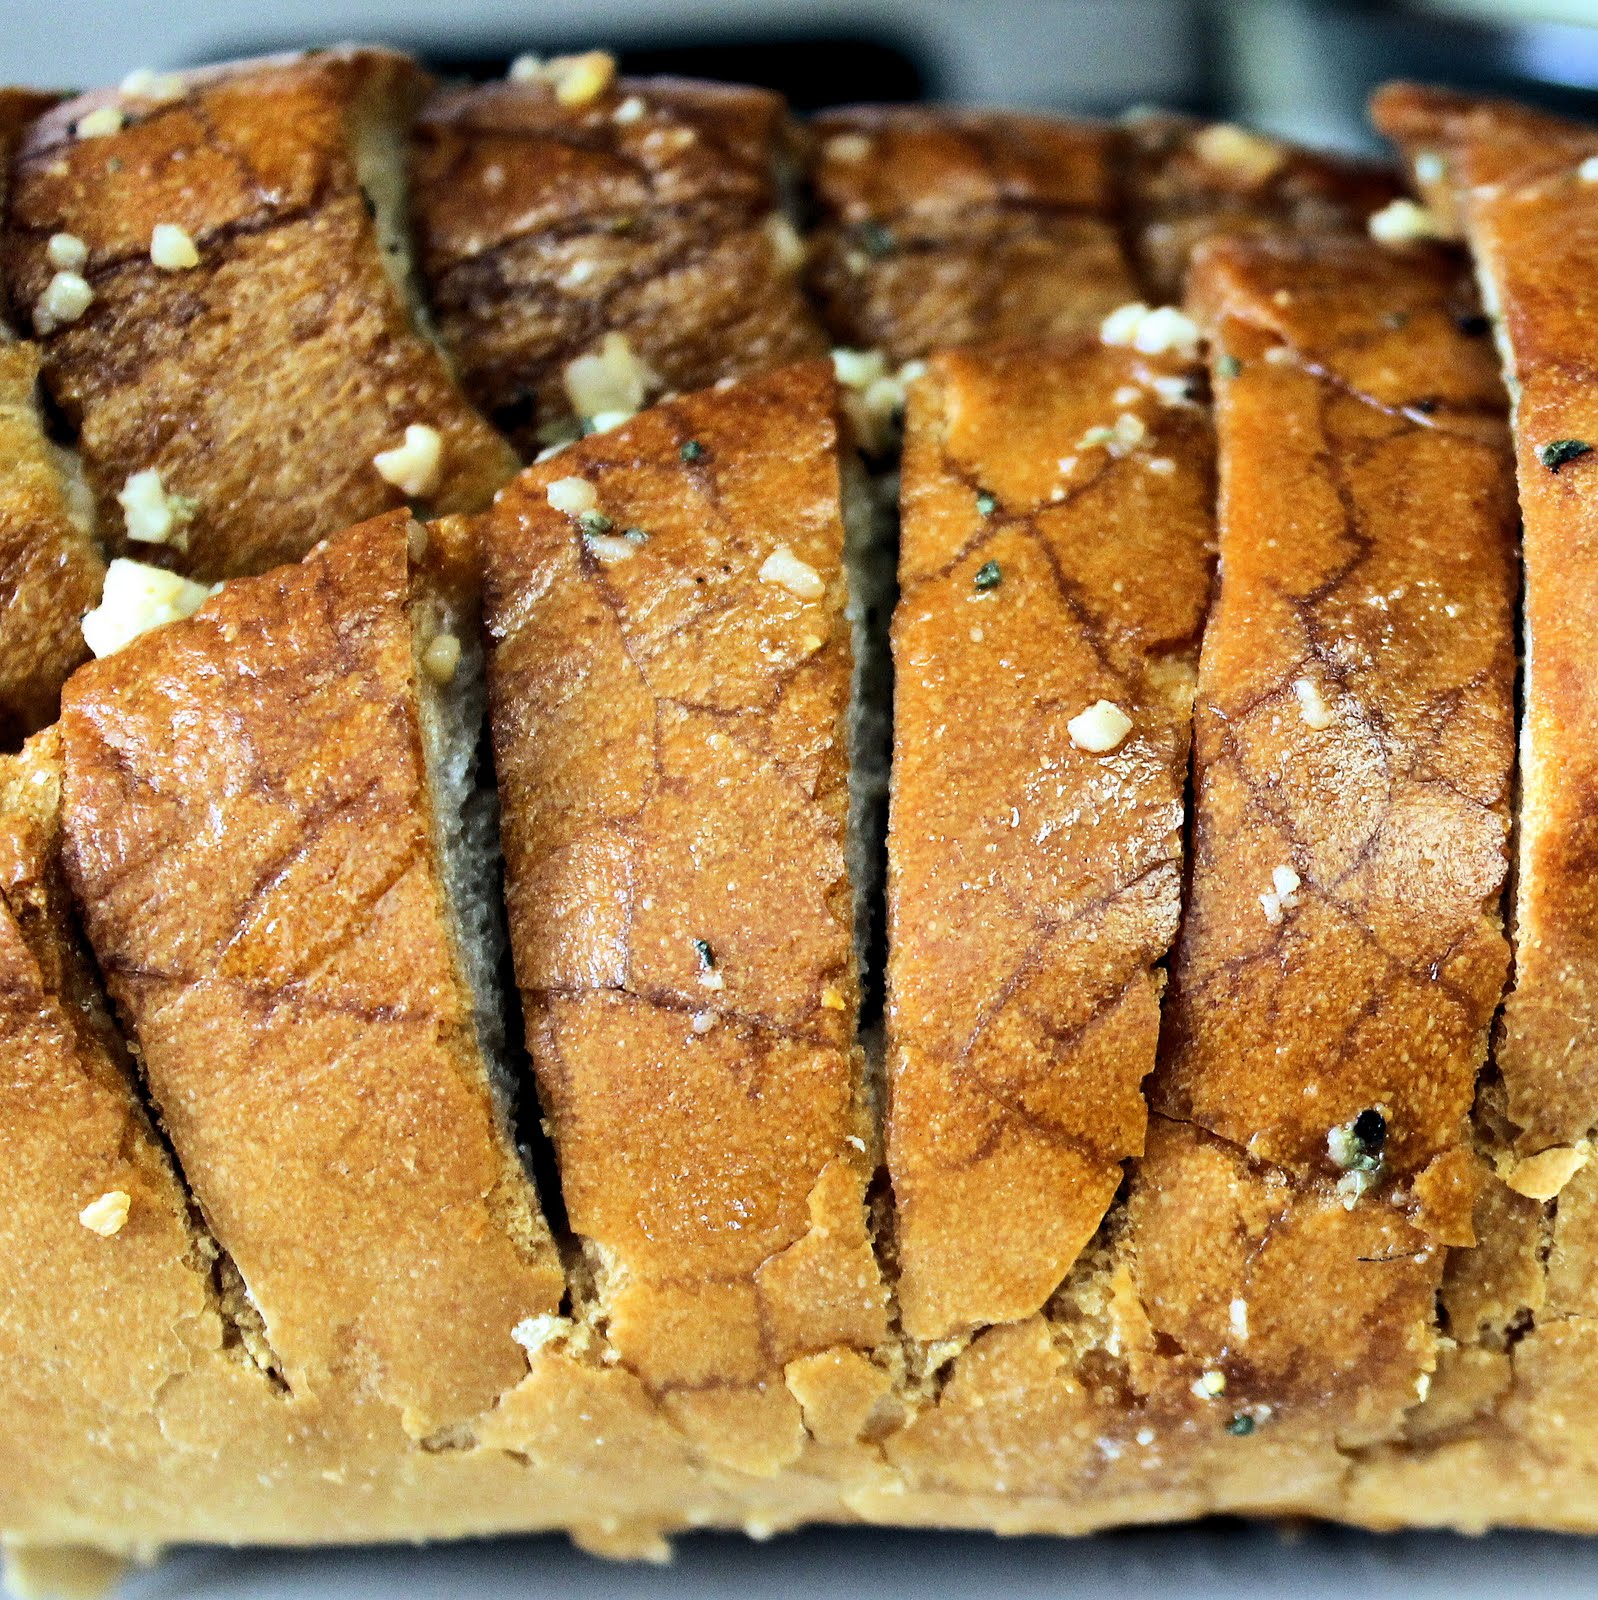
I love garlic bread. It’s really easy to make and is the perfect accompaniment to spaghetti or soup. Here is a quick recipe to make garlic bread.
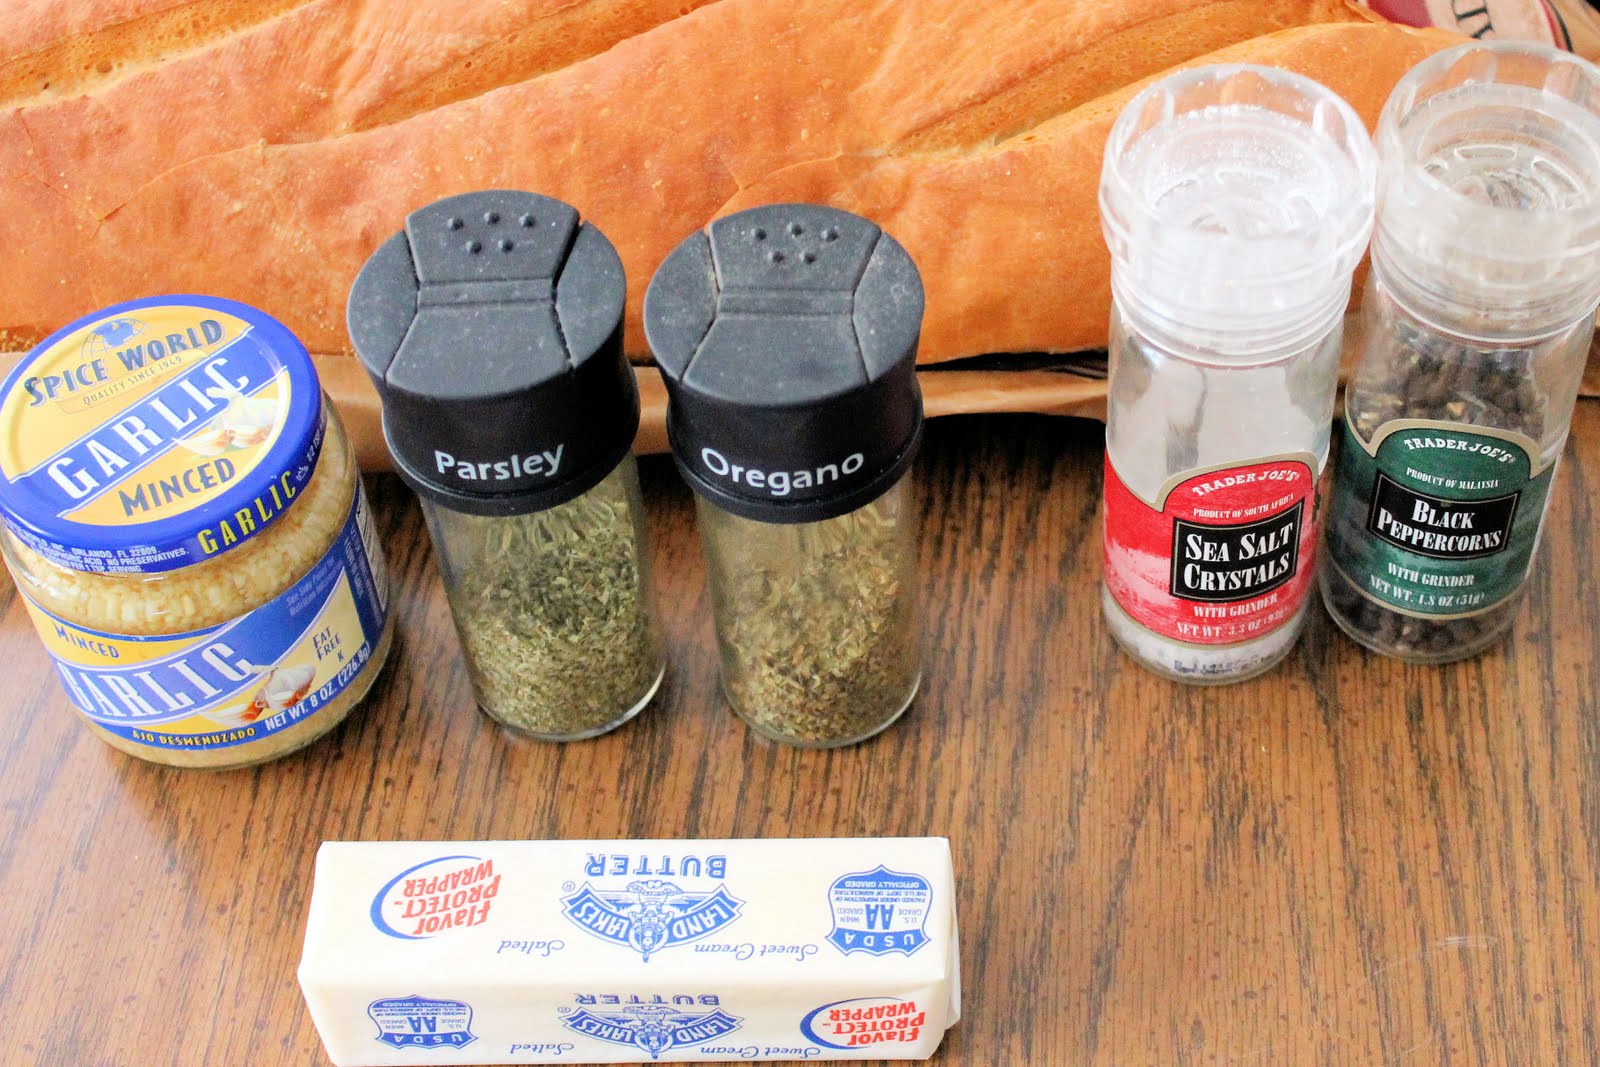
Ingredients:
1 loaf of French Bread
2 sticks unsalted butter, softened
5 cloves of garlic, minced
1 tablespoon parsley
1 tablespoon oregano
1 tablespoon grated Parmesan cheese
Preheat the oven to 350 degrees. Mix the butter, garlic, parsley, oregano, and Parmesan cheese. Slice the bread, but not all the way through.
Divide the butter mixture evenly between each piece.
Wrap the bread in aluminum foil and cook for 15 minutes.
Serve right out of the oven. You can either slice the bread all the way through, or just serve it as is and tear off a piece as needed. This recipe makes a softer garlic bread. If you prefer a toasty garlic bread, broil the bread for 2 to 3 minutes instead.
I have been really panicking about using all of my CSA ingredients this week. I am headed to the beach next week and can’t stand the idea of these ingredients going to waste! Thankfully, Cooking Light had a recipe that incorporated a lot of the ingredients I received this week.
Ingredients:
4 flour tortillas
Cooking spray
2 portobello caps, chopped
2 tablespoons balsamic vinaigrette (recipe below)
1 cup black beans, rinsed and drained
1 teaspoon minced green chilis
1 cup preshredded 4-cheese Mexican blend cheese
1/4 cup chopped red onions Fresh Salsa
Sour Cream, optional
Ingredients for the balsamic vinaigrette:
(you’ll have some leftover for a salad later)
1/4 cup balsamic vinegar
2-3 cloves of garlic, minced (I used 1 garlic scape… came with my CSA share)
1/2 teaspoon salt
1/2 teaspoon freshly ground black pepper
3/4 cup olive oil
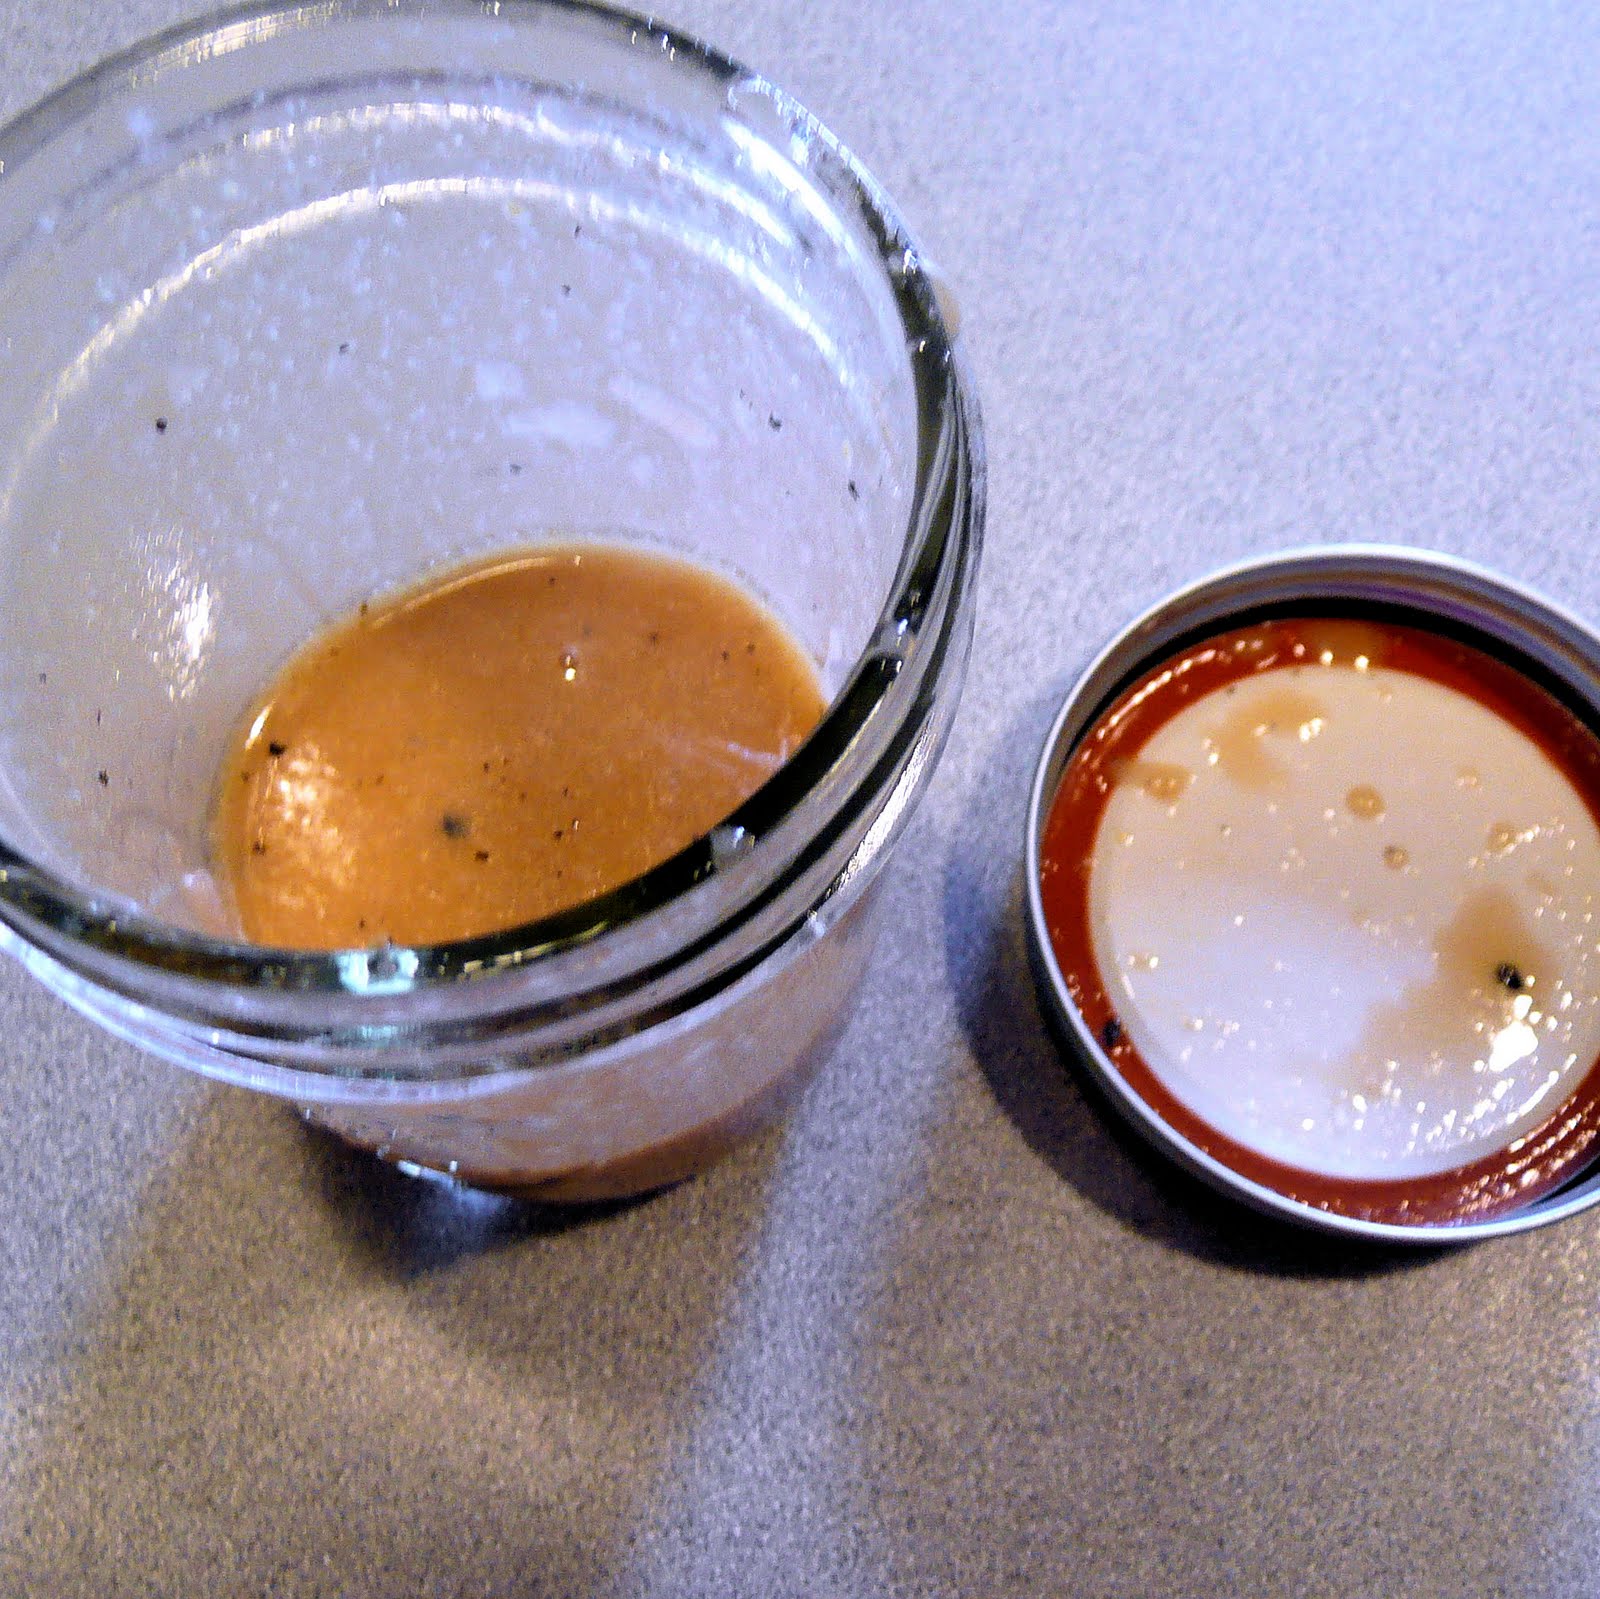
To make the vinaigrette, add the vinegar, garlic, salt, and pepper to a bowl and whisk until the salt dissolves. Add the oil in a slow steady stream, whisking constantly. You can also just add the ingredients to a jar and shake to combine.
Place your tortillas on a plate and cover with a damp paper towel. Microwave for 1 minute and leave in the microwave while preparing the rest of the dish.
Cook your mushrooms in a saute pan coated with cooking spray. If you don’t have cooking spray, use a bit of olive oil, maybe a teaspoon. Saute the mushrooms for 2 minutes, or until tender.
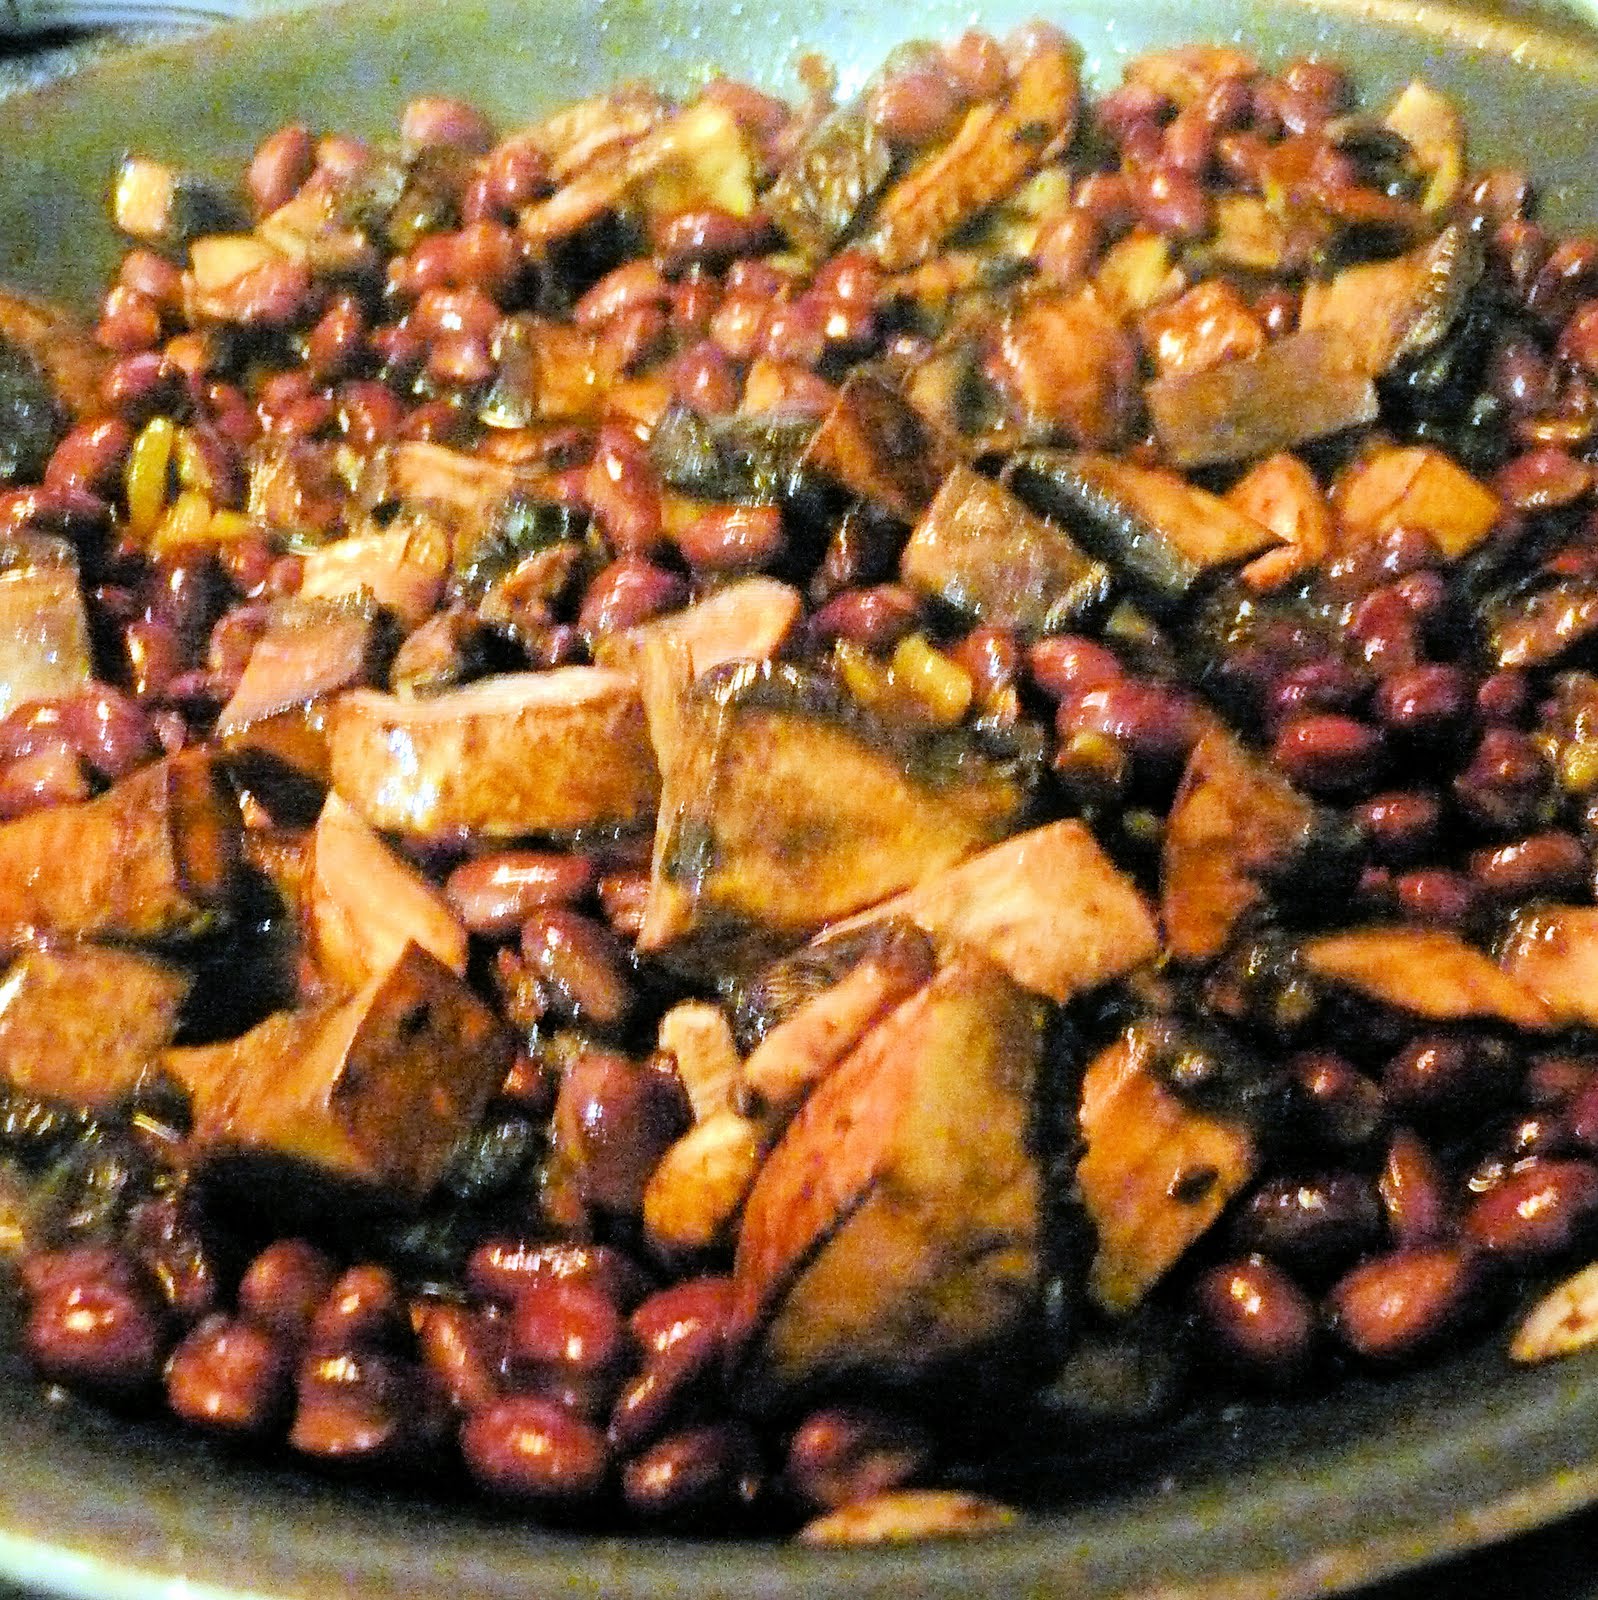
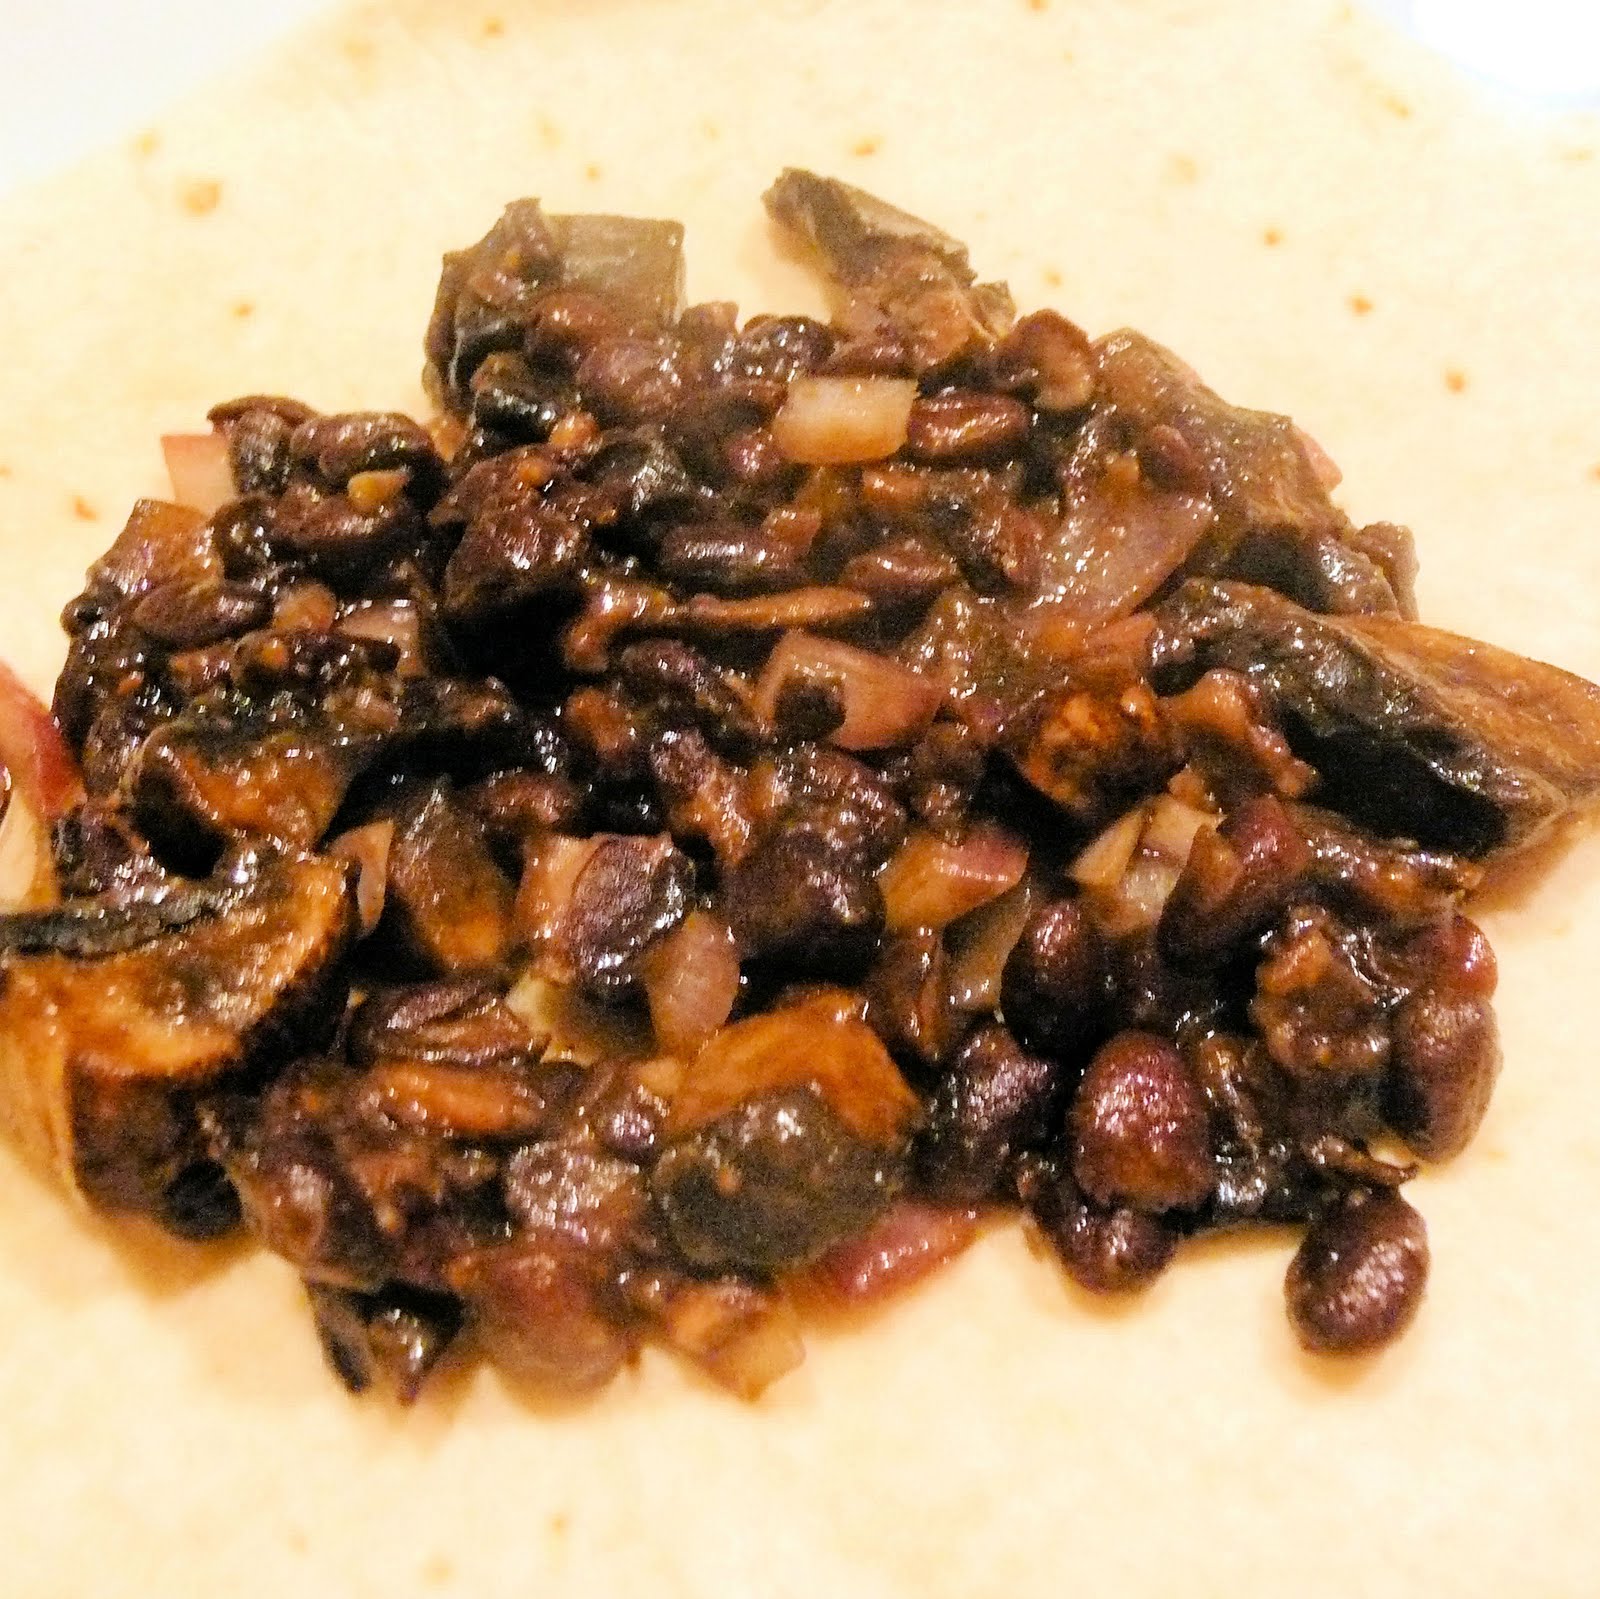
Add the vinaigrette, black beans, onions and green chile. Cook for 1 to 2 minutes, until the liquid evaporates. Mash the mixture slightly. If you have a potato masher, Cooking Light suggests using that. I don’t, so a fork will have to do!
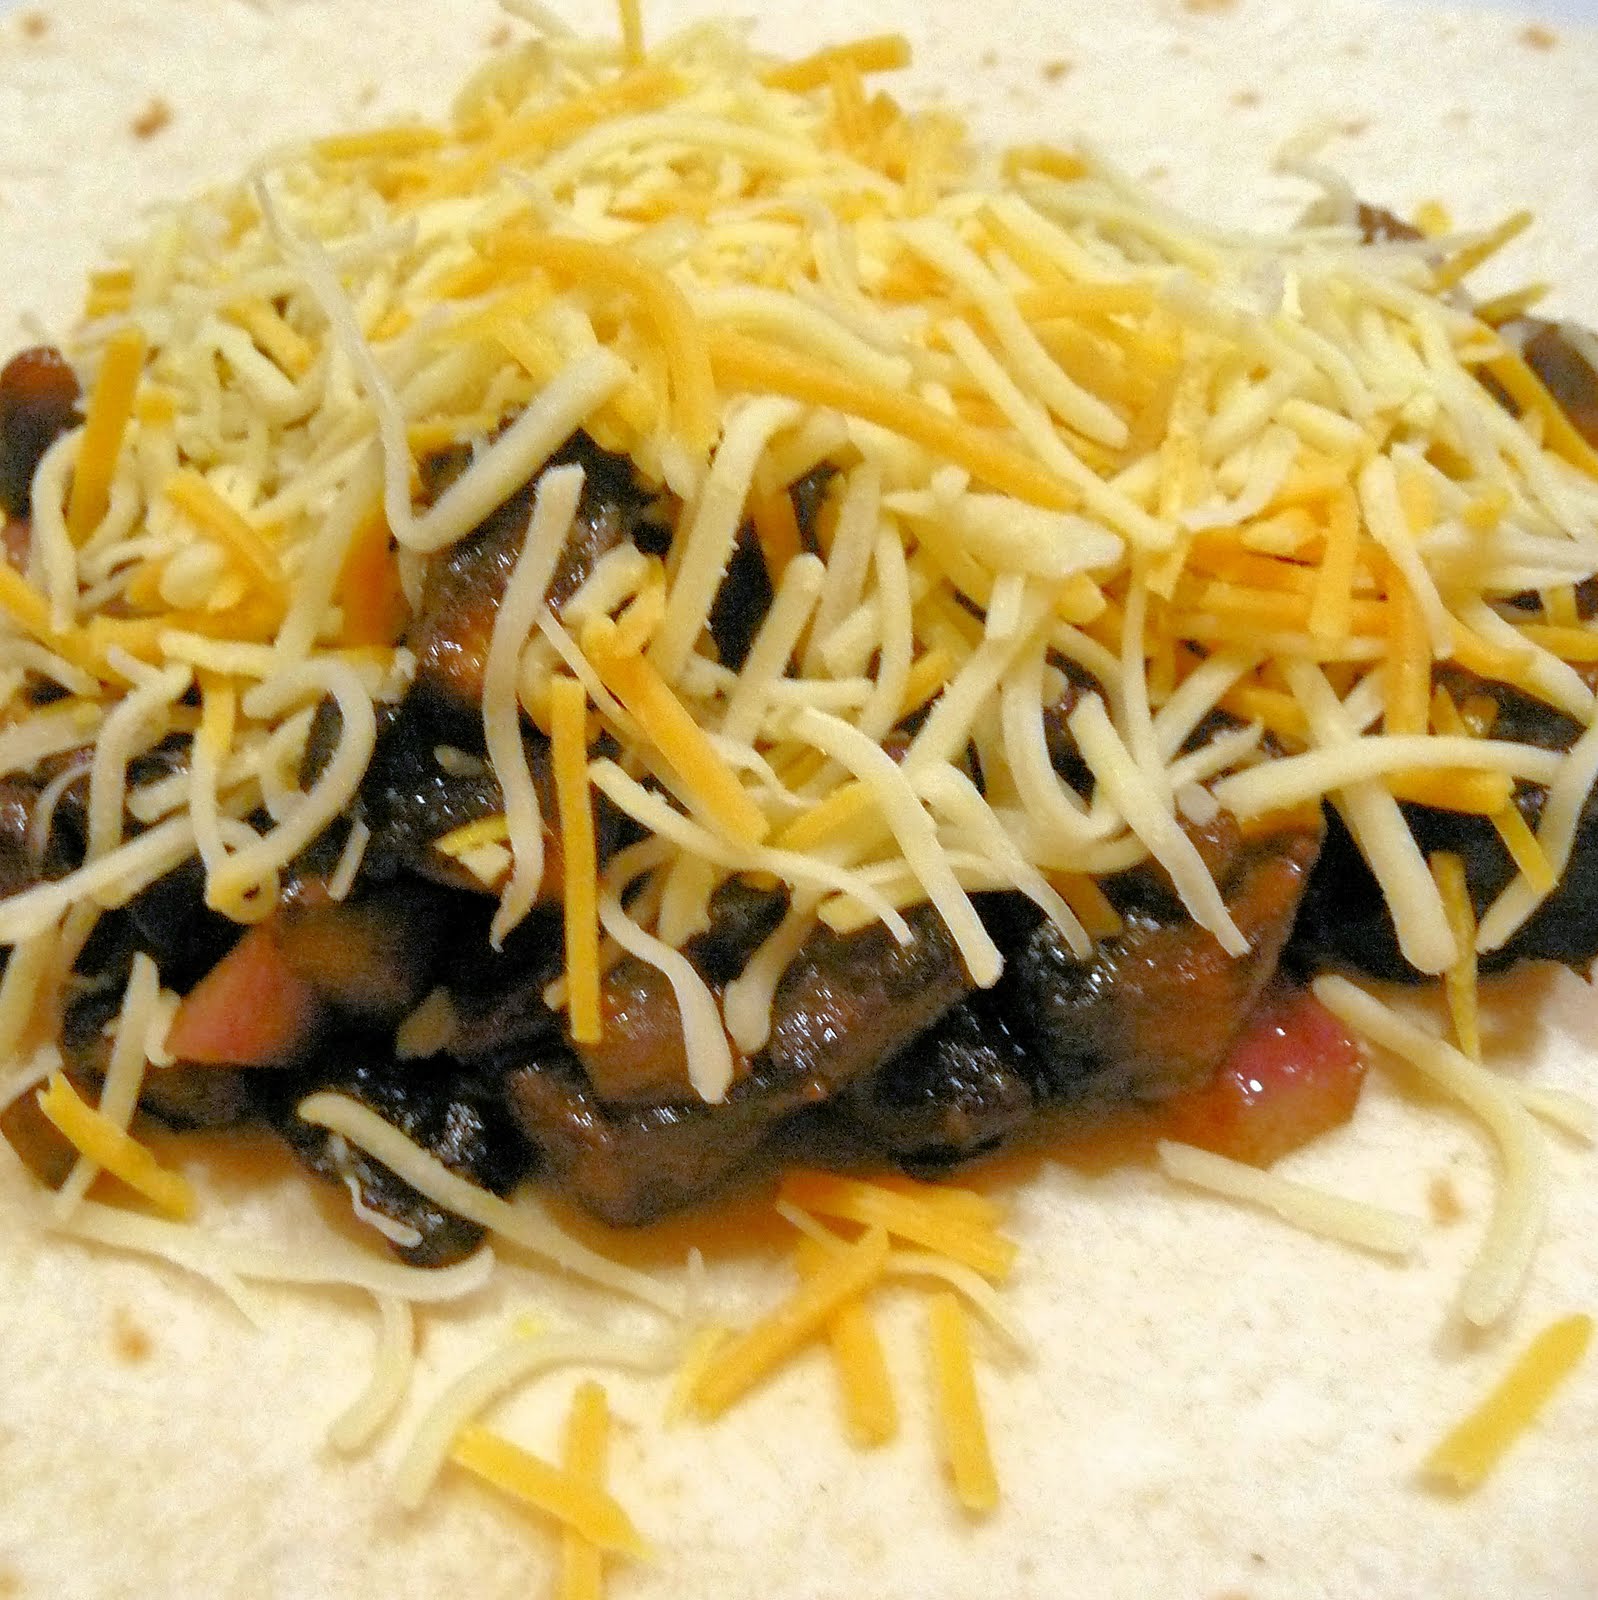
Spoon 1/4 of the mixture onto each tortilla.
Divide the cheese equally among the tortillas.
Fold the tortillas in half.
I have a panini grill/griddle, so I used that to cook the quesadillas. If you do not have one, just use the same saute pan you used to make the black bean mixture, just wipe it down well before! Coat with cooking spray and place two quesadillas on the griddle/pan. Cook 2 to 3 minutes on each side or until the cheese is melted. If using a griddle, I cooked them for about 5 minutes. Repeat with remaining quesadillas.
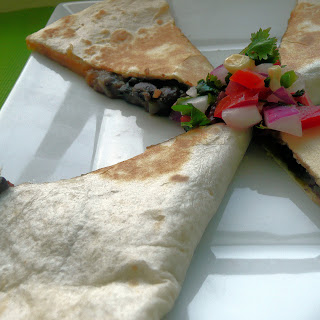
Cut each quesadilla into three wedges. Serve with salsa and sour cream.
I was afraid this wouldn’t have much flavor, but the vinaigrette and slight spice from the green chilies added just enough interest without going over the top. I couldn’t get enough of this dish! The salsa was a perfect complement as well. I am definitely adding this to my list of repeat meals.
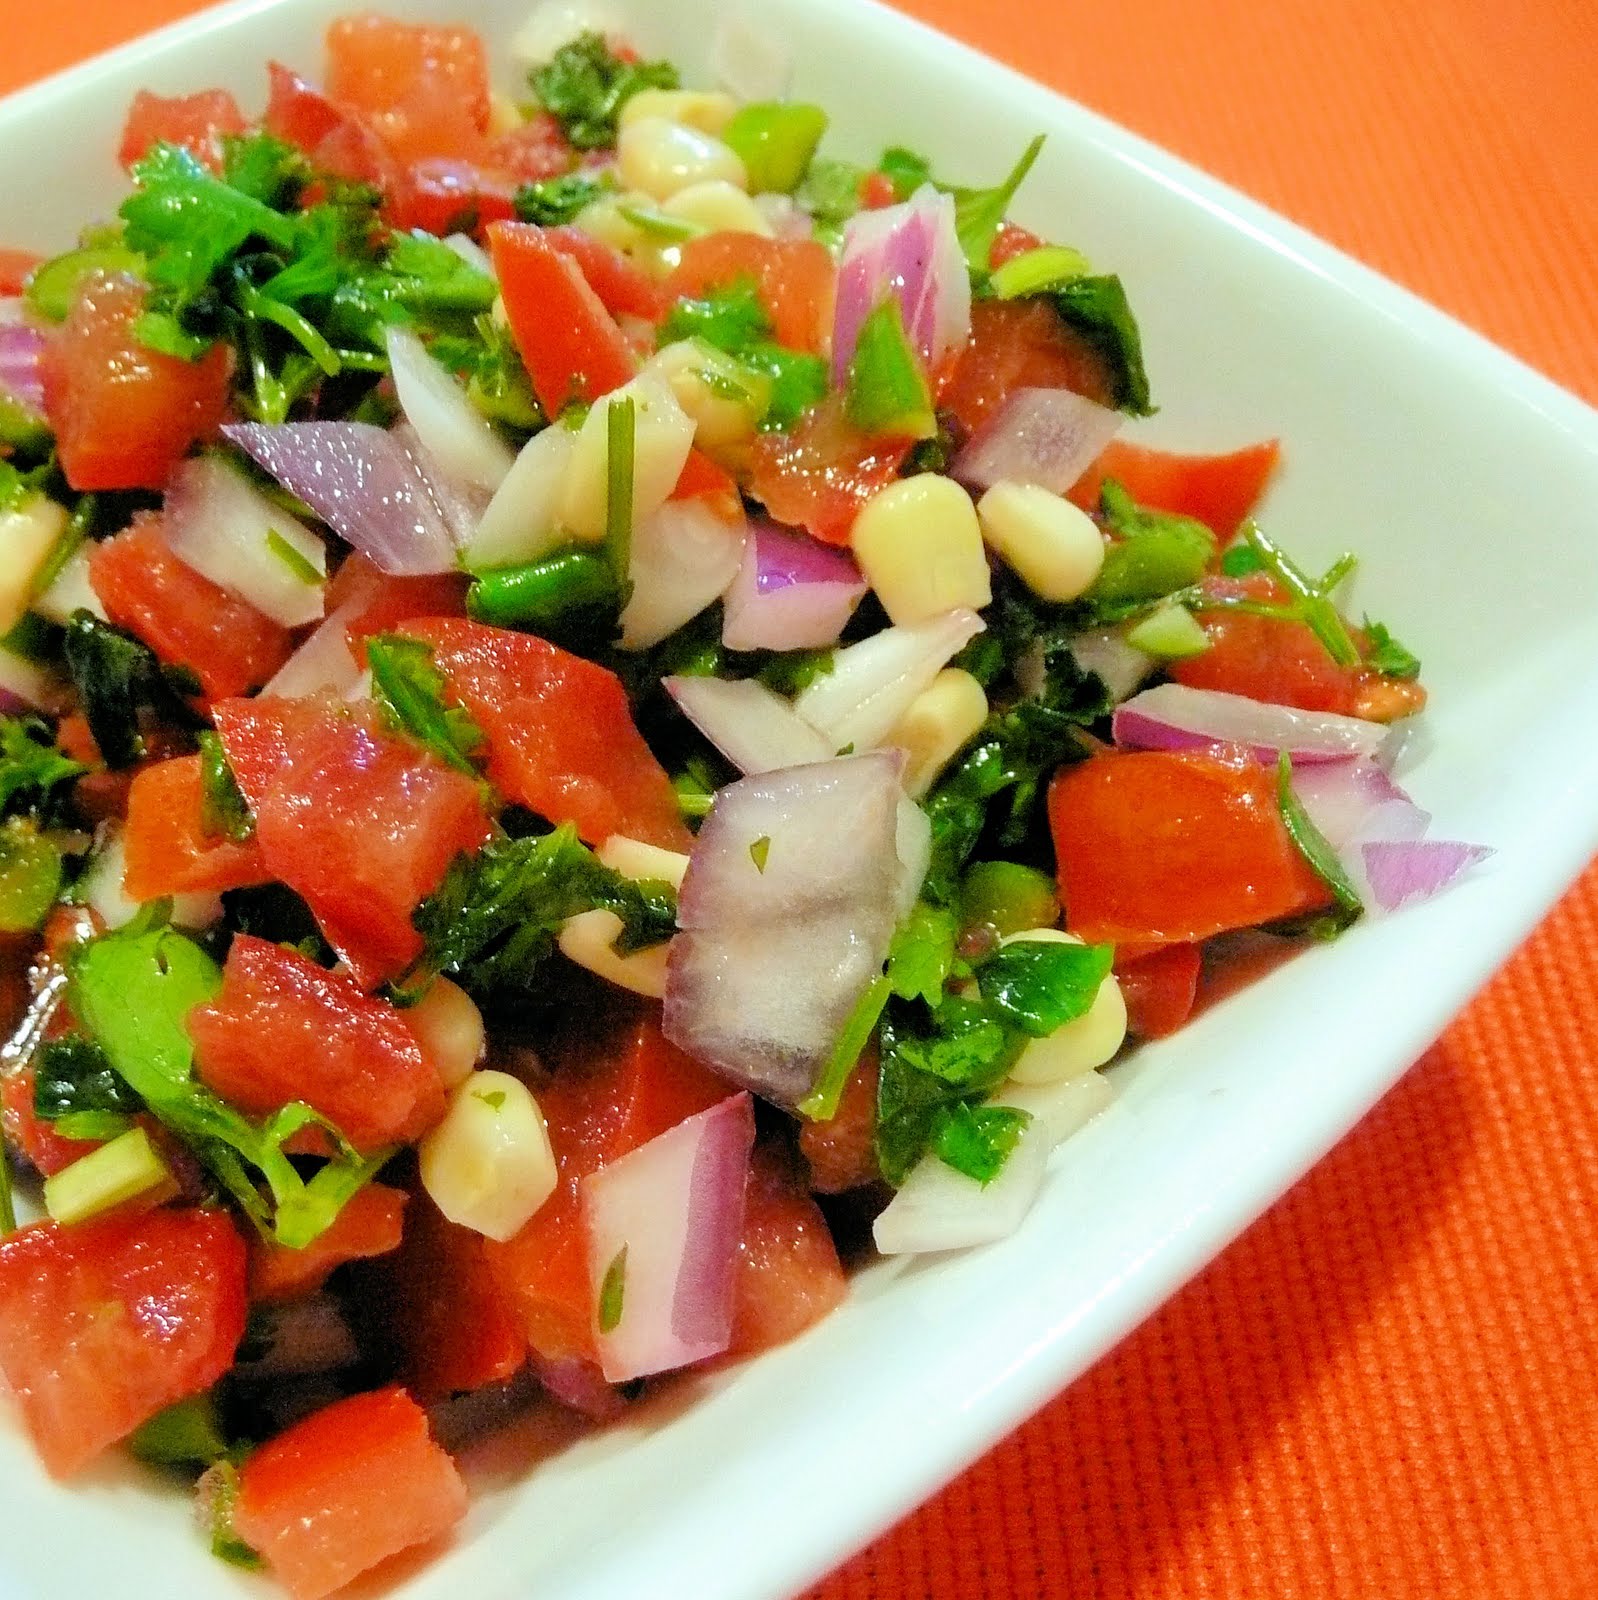
I wanted to make quesadillas, and it called for salsa. I realized I had all of the ingredients needed to make my own on hand, so I decided to try coming up with my own salsa.
Ingredients:
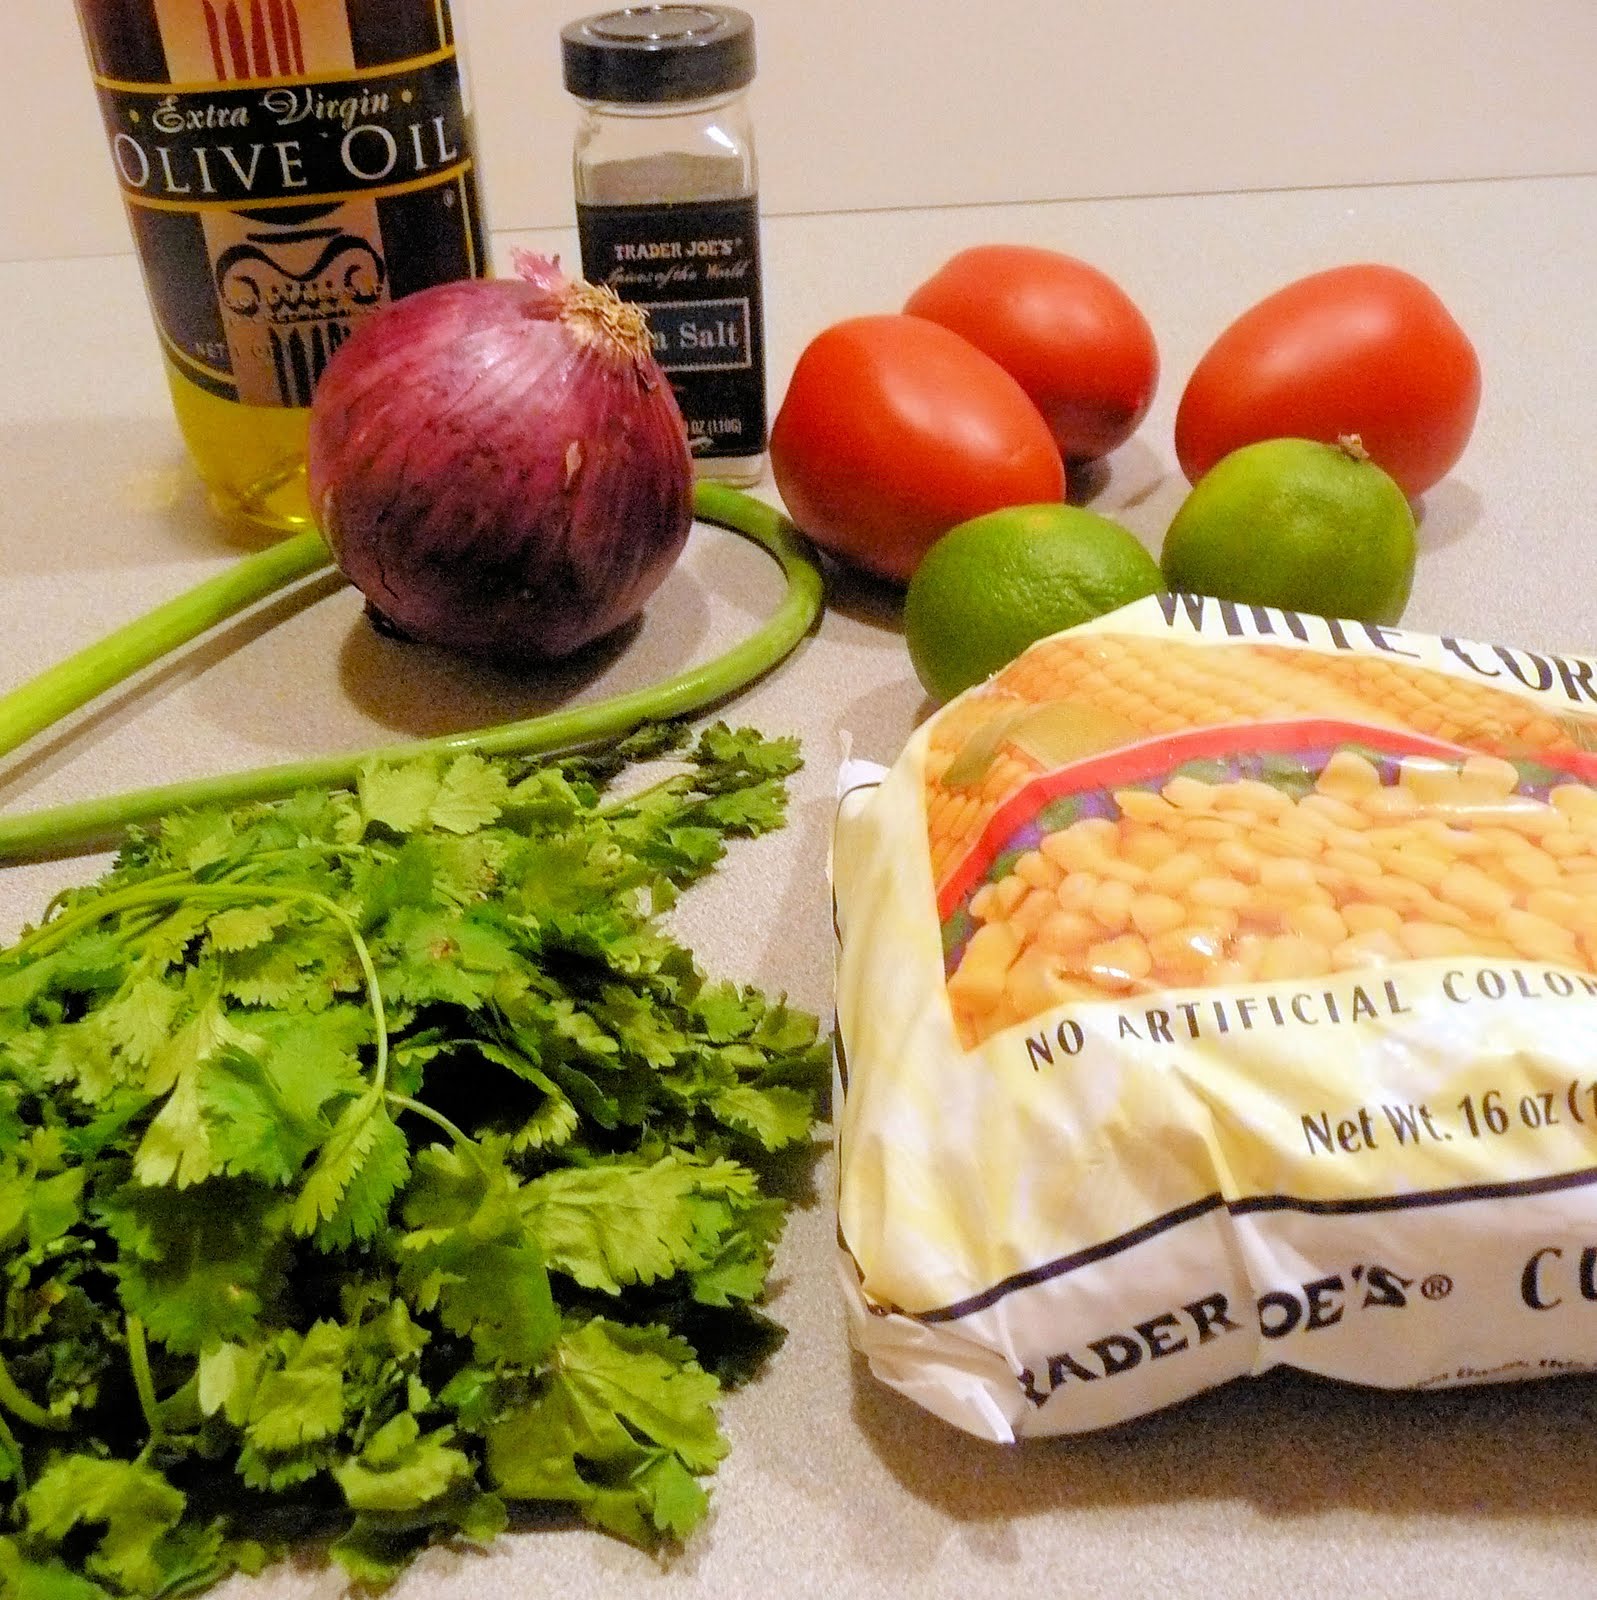
3 chopped and seeded tomatoes
1 red onion, finely chopped
1 garlic scape, finely chopped (or 2 garlic cloves)
1/4 cup chopped fresh cilantro
3 tablespoons fresh lime juice
1/2 teaspoon kosher salt
1/4 cup corn kernels (I just used frozen)
I have no clue why I put olive oil in the pic, sorry
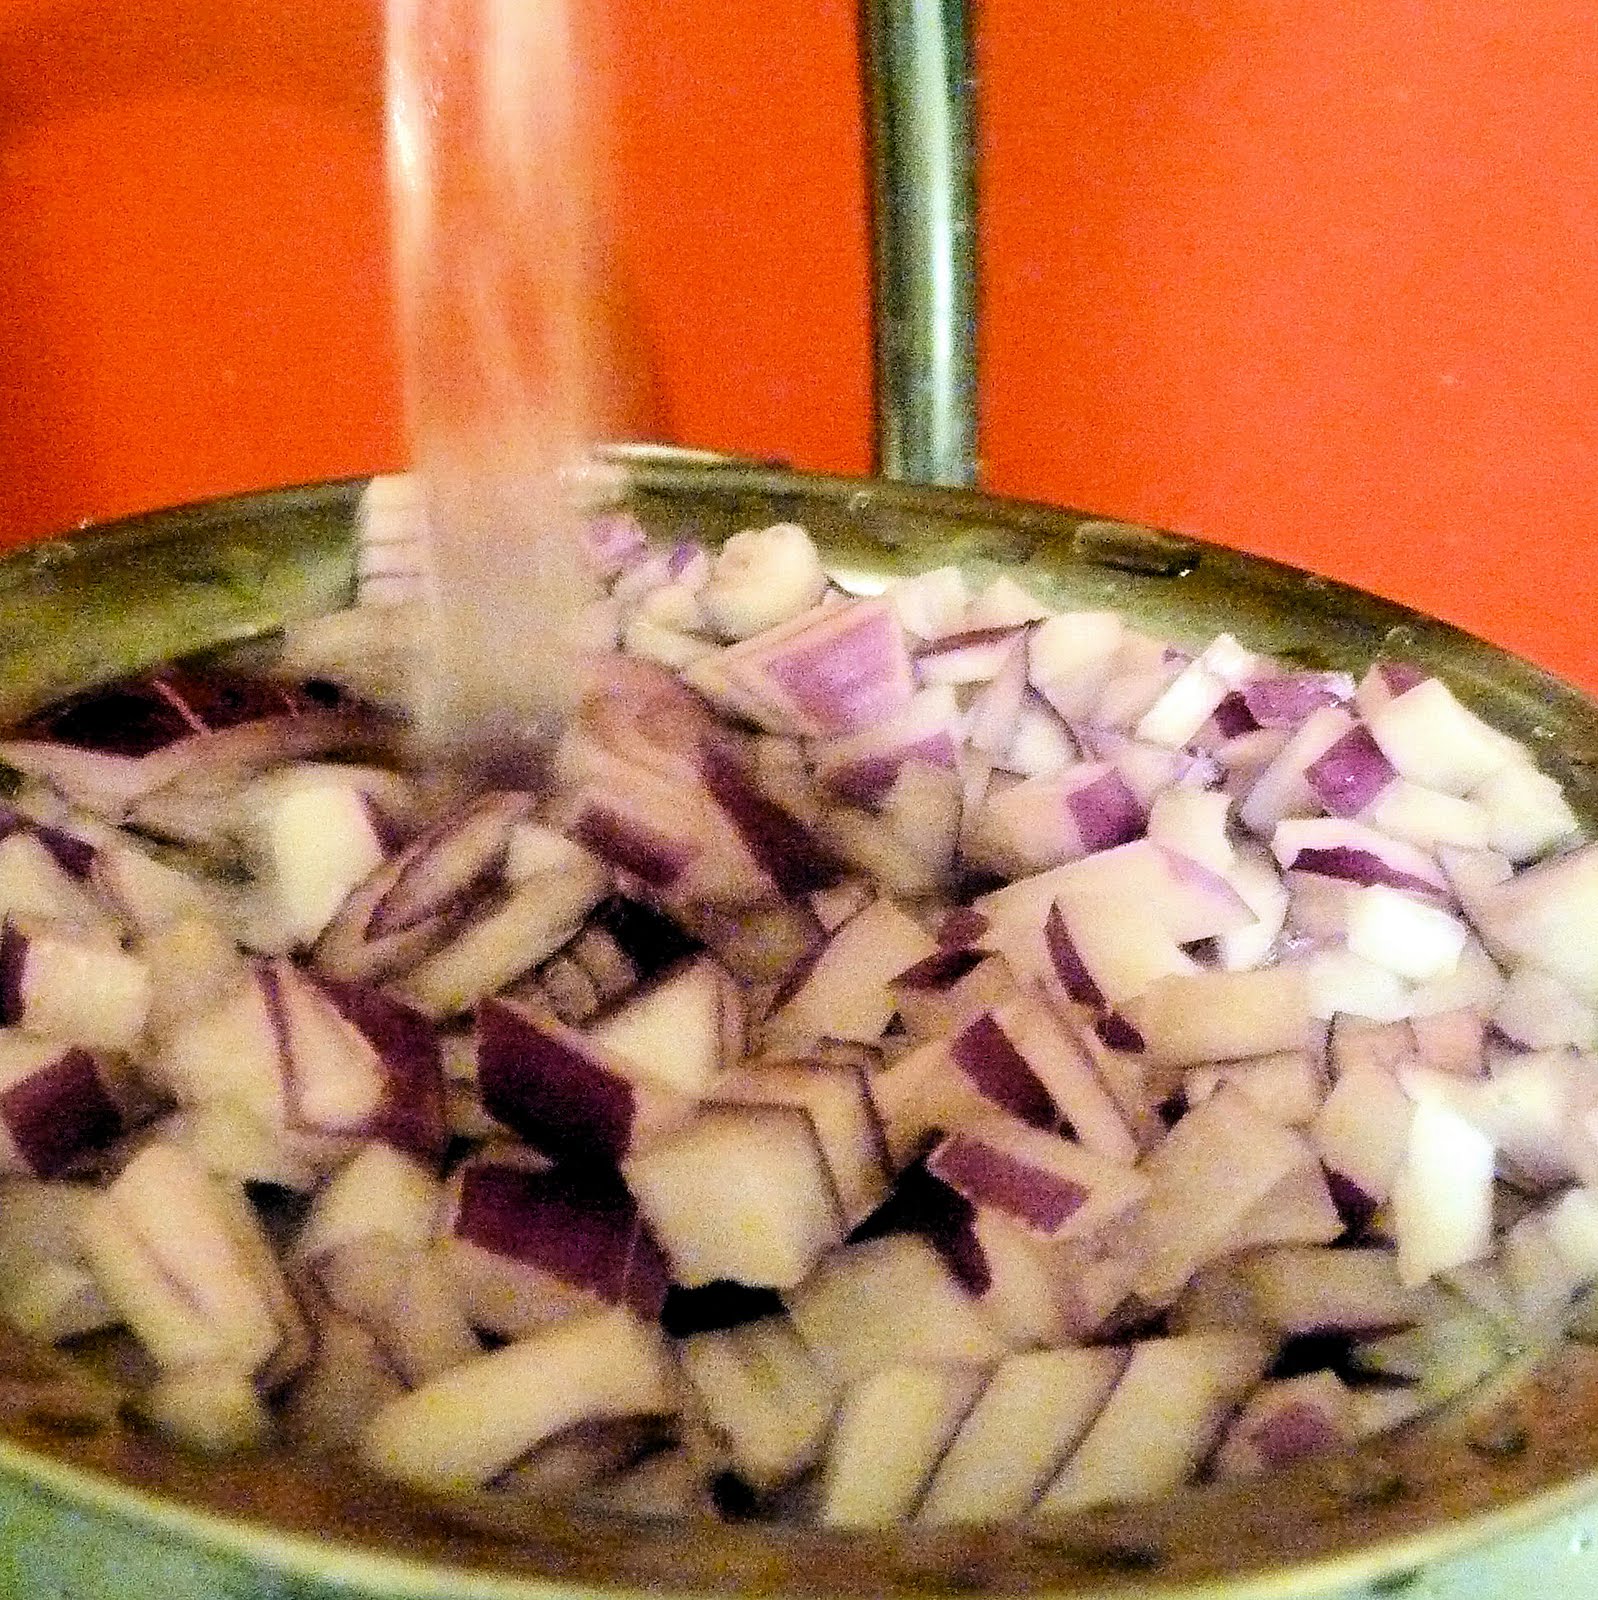
To make the salsa, first rinse the chopped onions under very cold water. This will help remove some of the bite associated with raw onions.
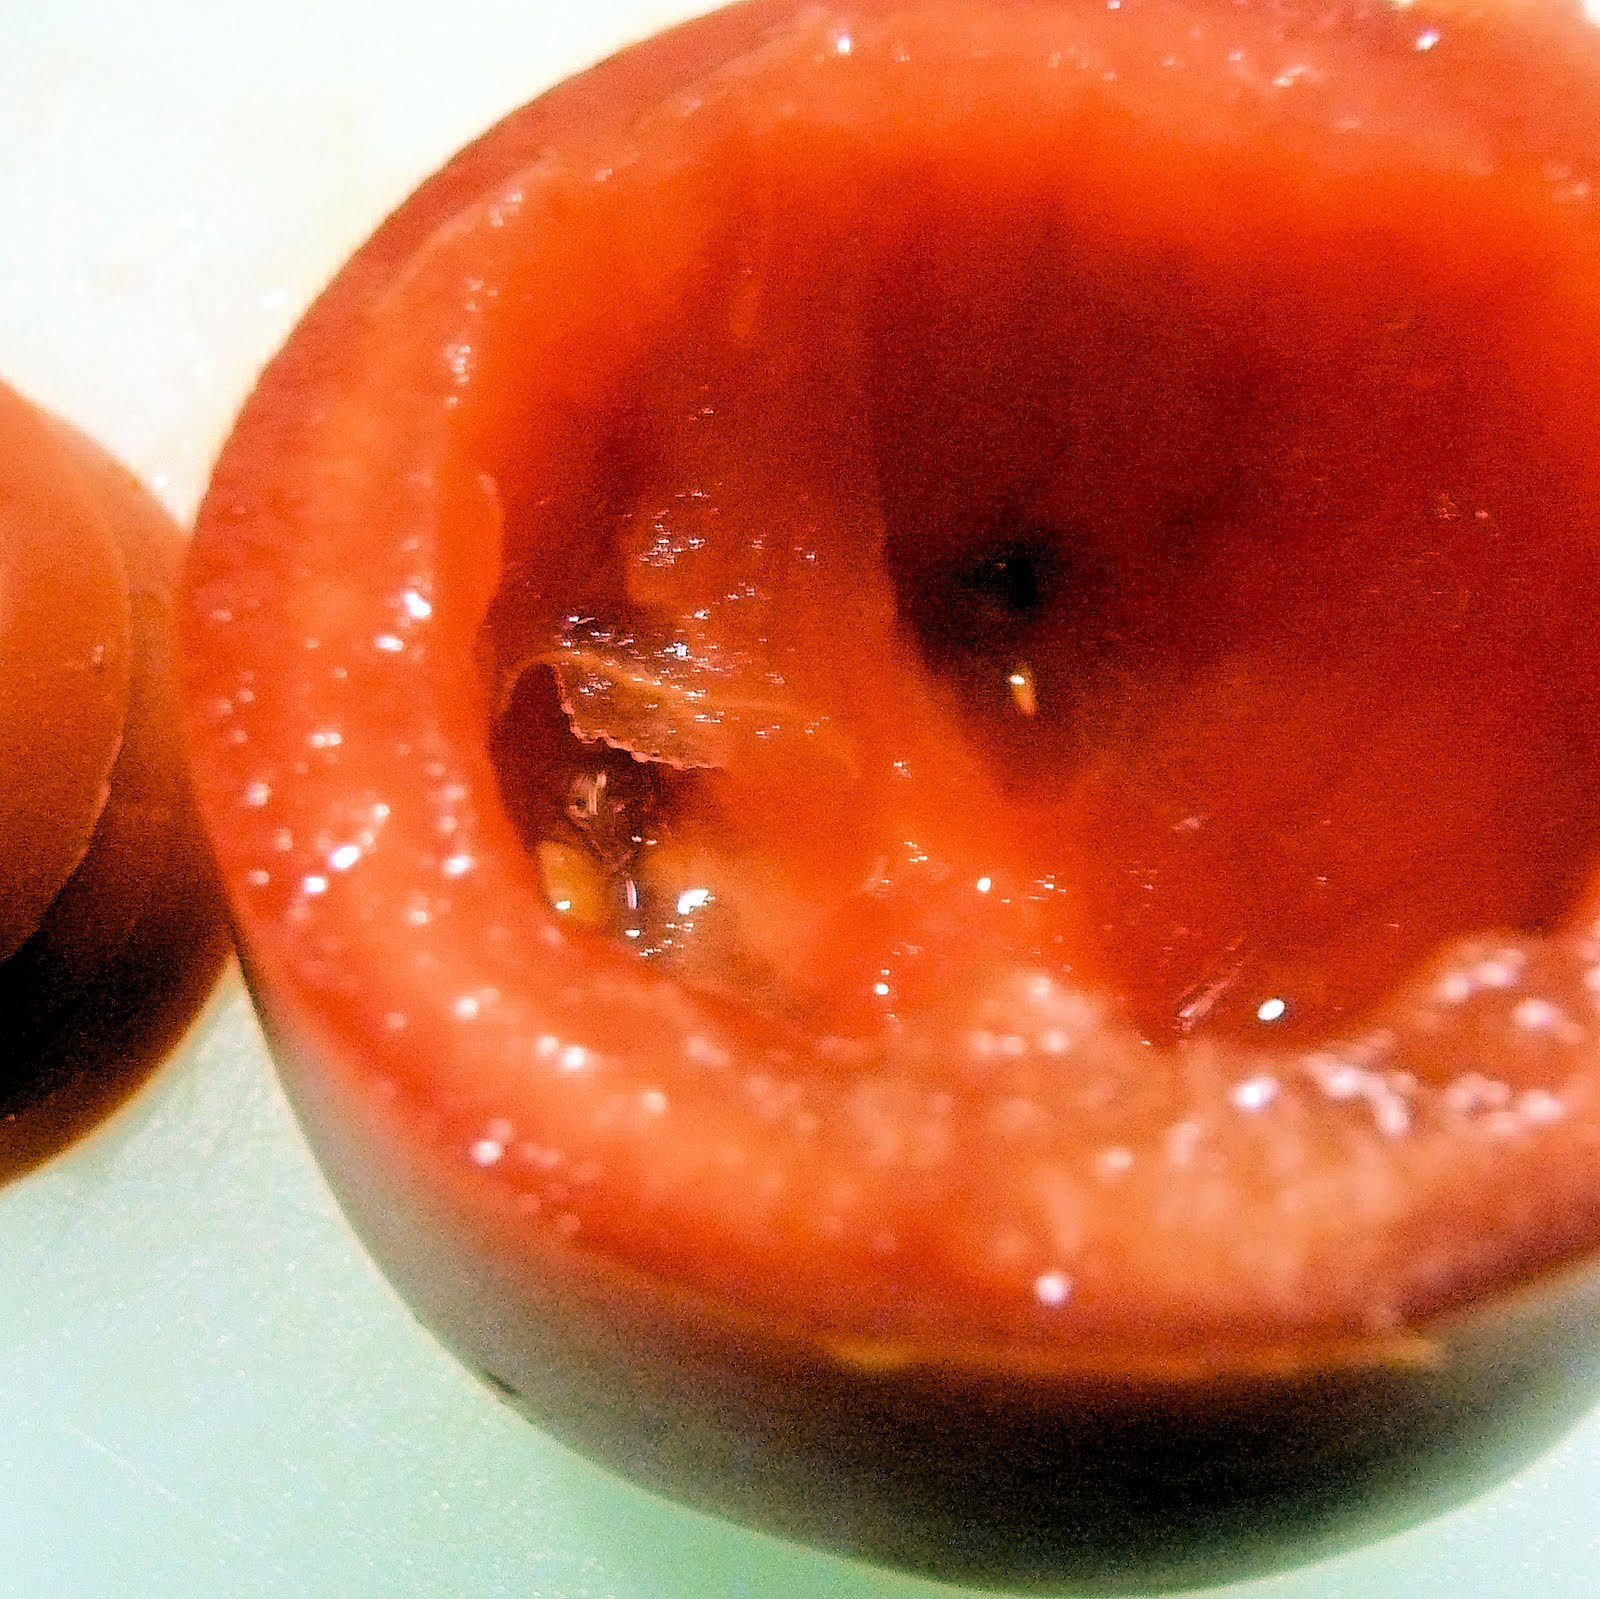
To seed the tomatoes, cut off one end of the tomato and use a spoon to scoop out the seeds.
Dice the tomato.
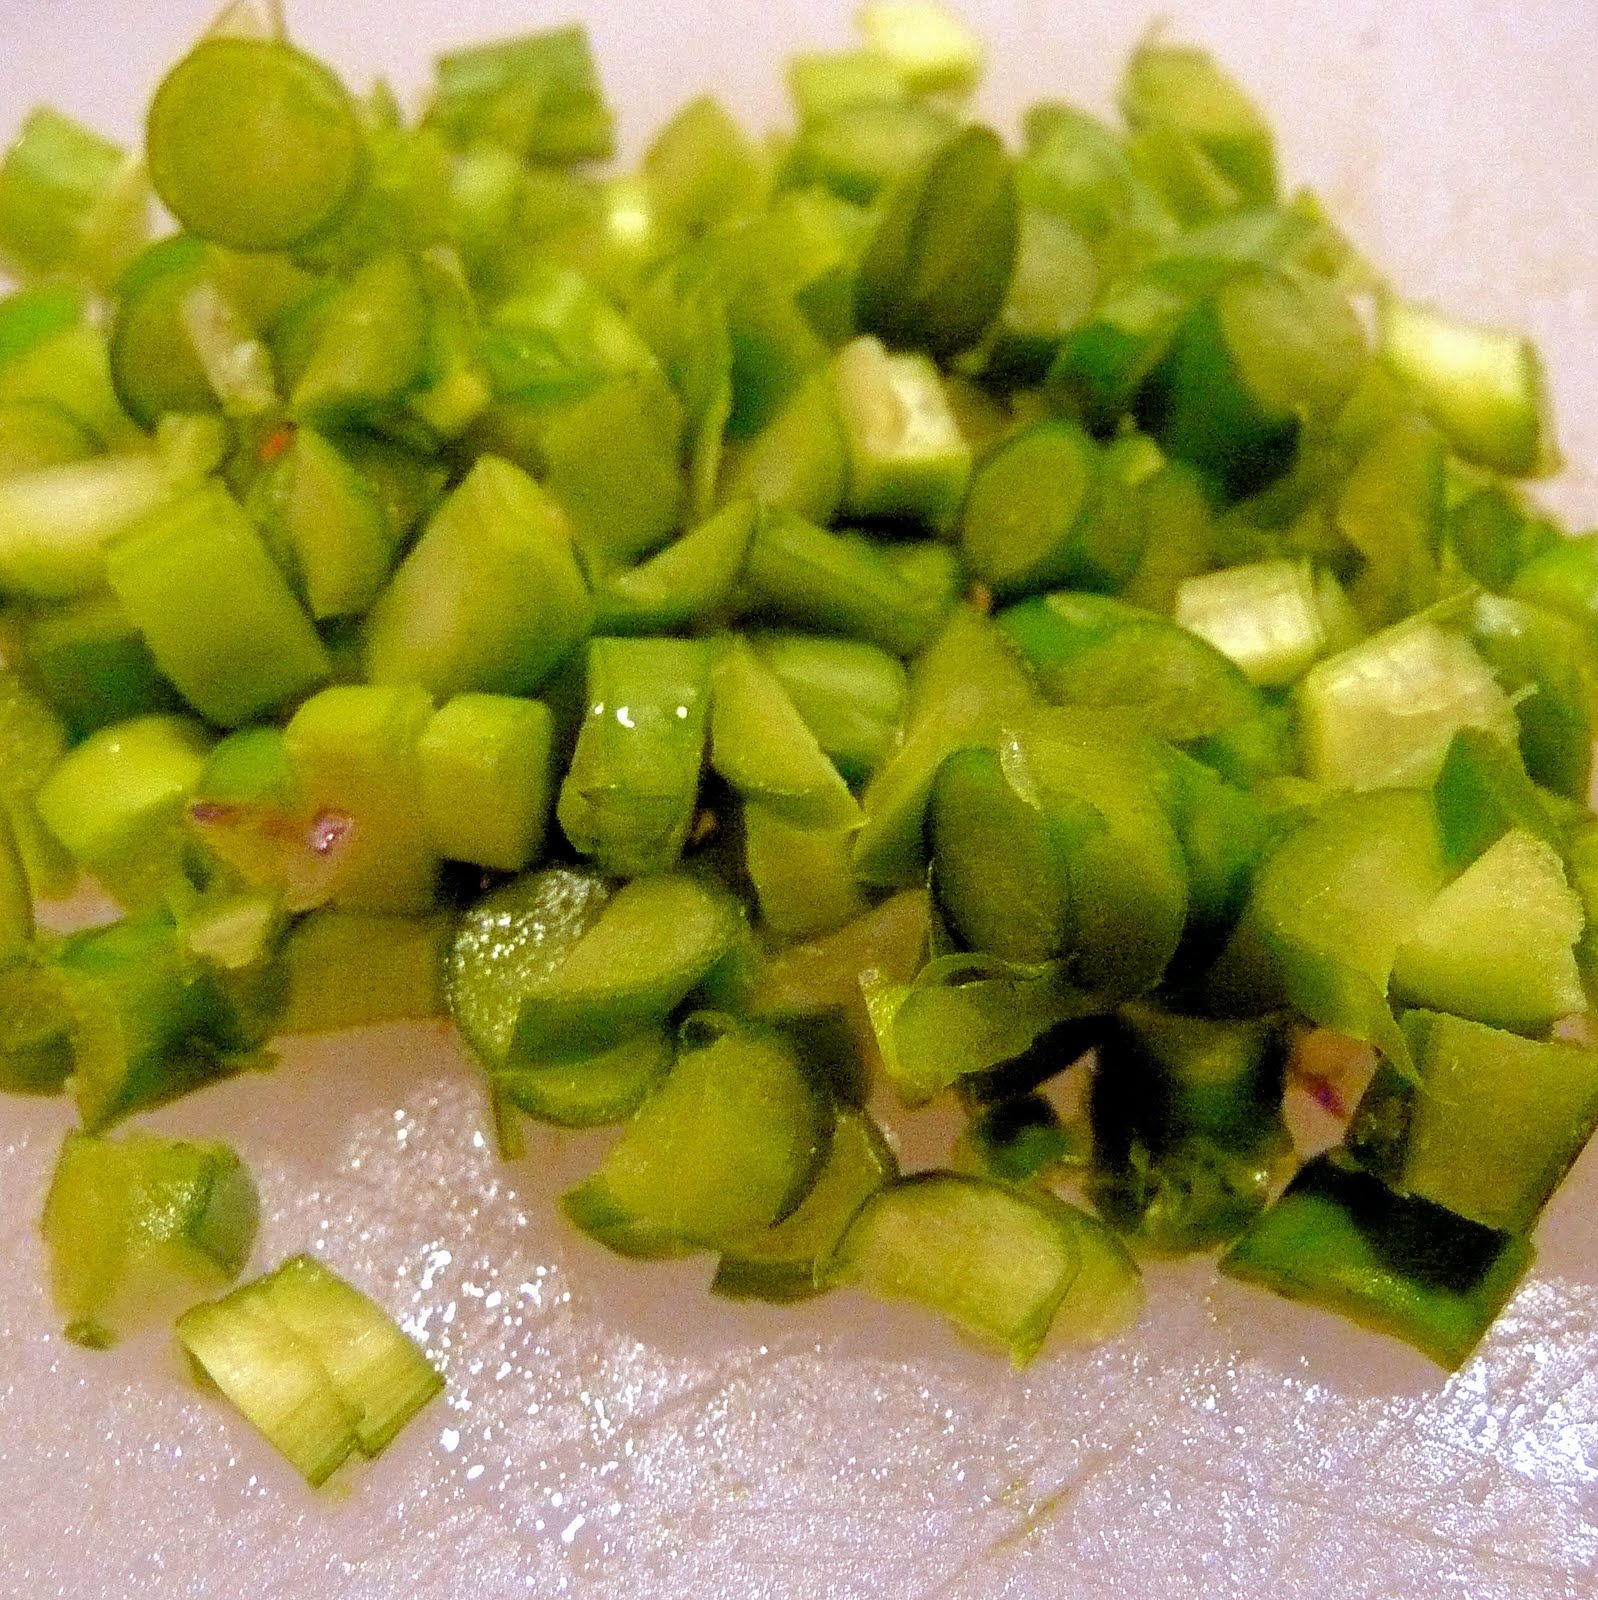
Chop the scape as finely as possible
Cut the cilantro.
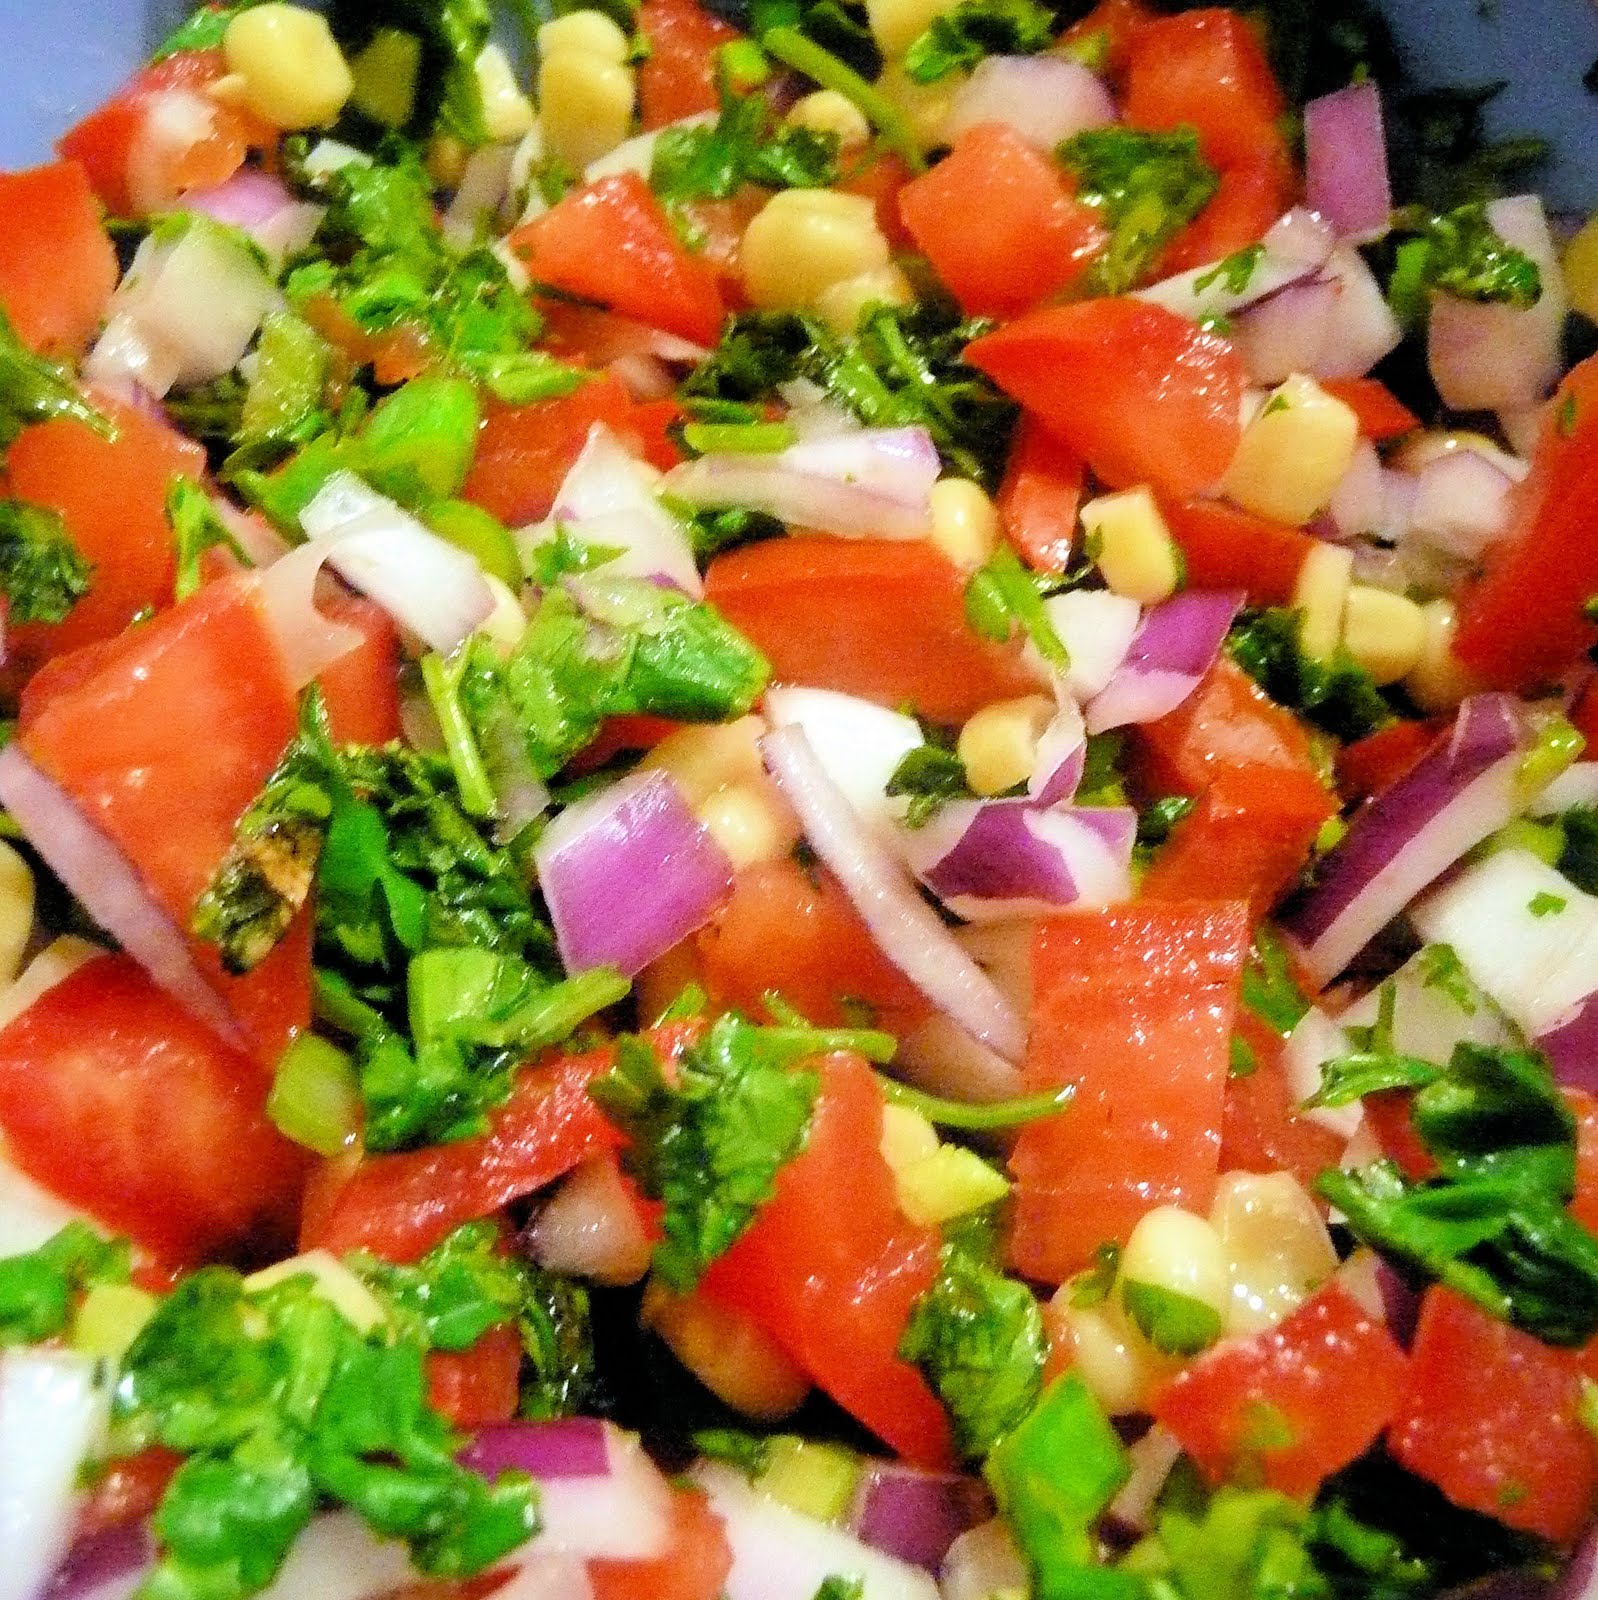
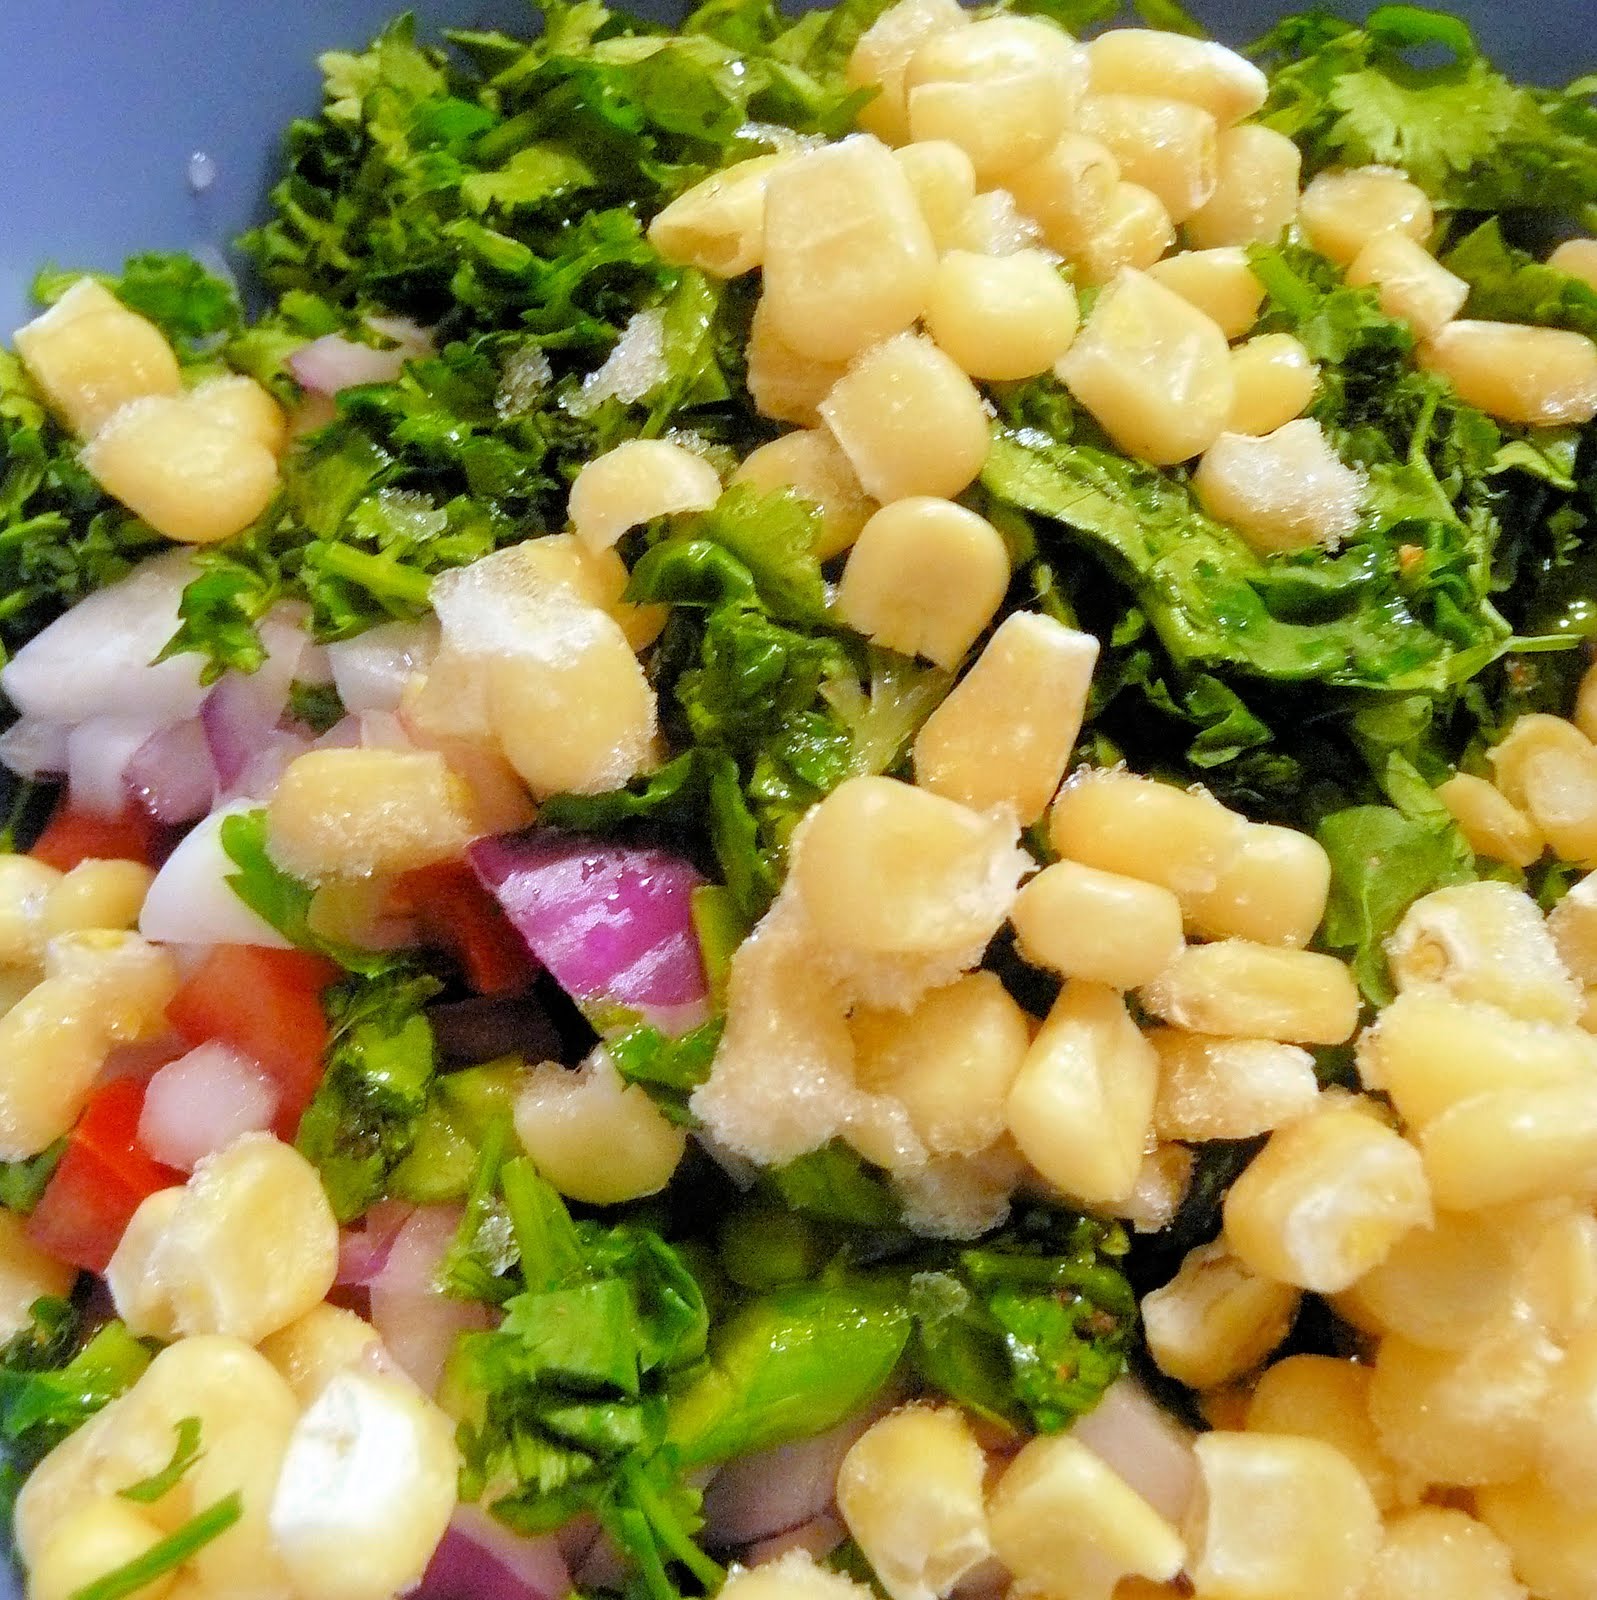
Combine the onions, garlic, chopped tomatoes, cilantro, lime juice, corn, and salt. Allow to refrigerate for a few hours to get the best flavor, or overnight.
The corn will defrost in the fridge
There is nothing like fresh salsa. This recipe can be adapted to what makes you happy as well; feel free to add some jalapenos or another hot pepper to add some spice. As I’ve said before, a lot of color in a dish makes me so happy. The red, green and yellow brighten up the whole meal. There is enough flavor in this salsa to serve at a party with some tortilla chips, but I can’t wait to try it with my quesadilla!
To make the salsa, first rinse the chopped onions under very cold water. This will help remove some of the bite associated with raw onions.
To seed the tomatoes, cut off one end of the tomato and use a spoon to scoop out the seeds.
Dice the tomato.
Chop the scape as finely as possible
Cut the cilantro.
Combine the onions, garlic, chopped tomatoes, cilantro, lime juice, corn, and salt. Allow to refrigerate for a few hours to get the best flavor, or overnight.
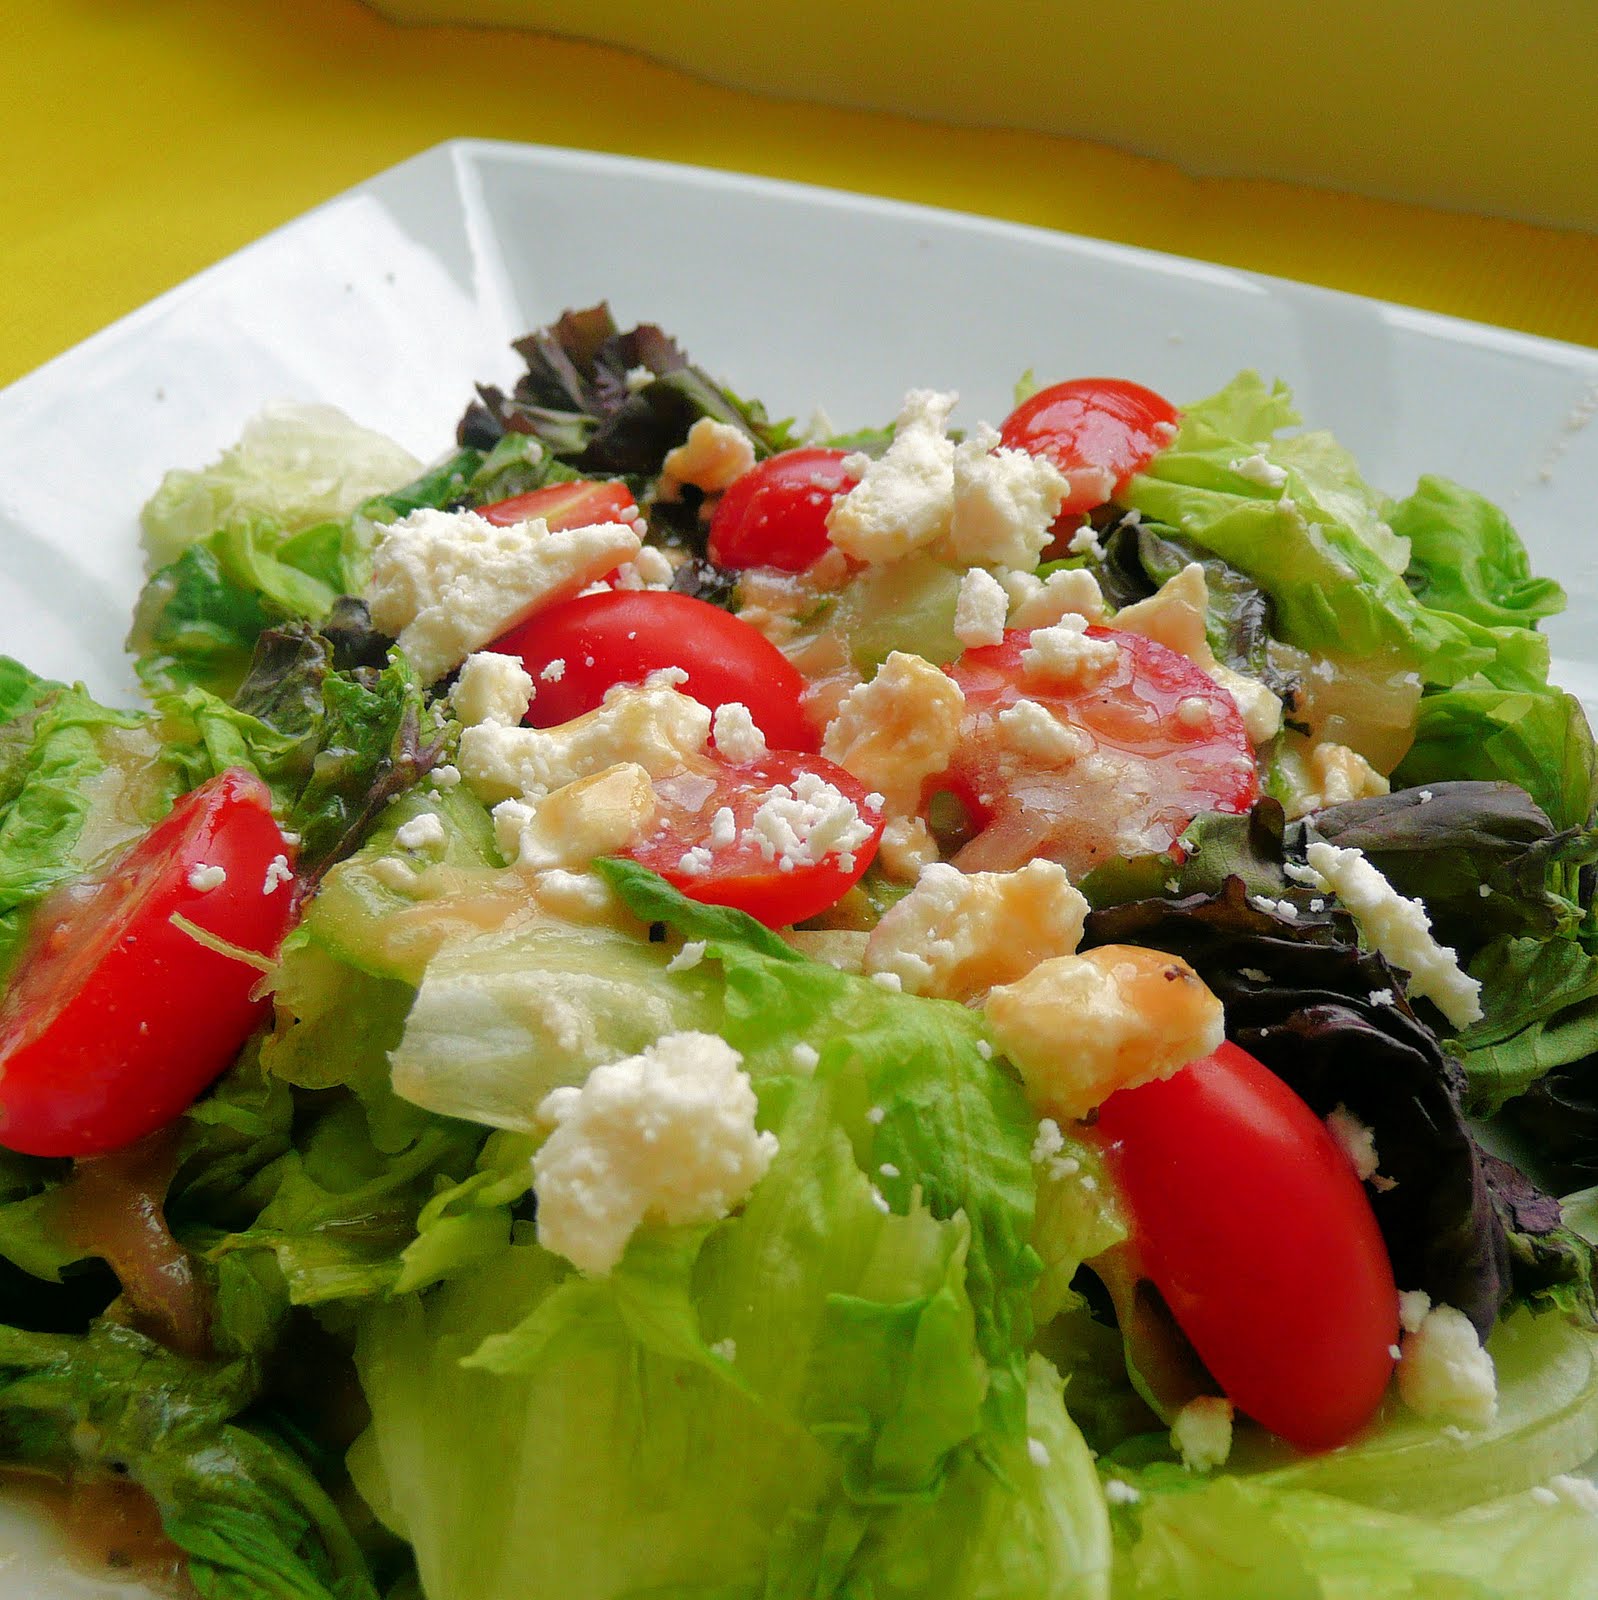
My poor leafy greens from this week’s CSA are beginning to wilt on me. I wanted to use them before they were no longer salvageable, so another salad! I’m stunned with how many different vinaigrette recipes exist out there. This one has a slight twist to it, using a roasted shallot instead of a raw one. The original recipe can be found here, another recipe from my trusty Cooking Light.
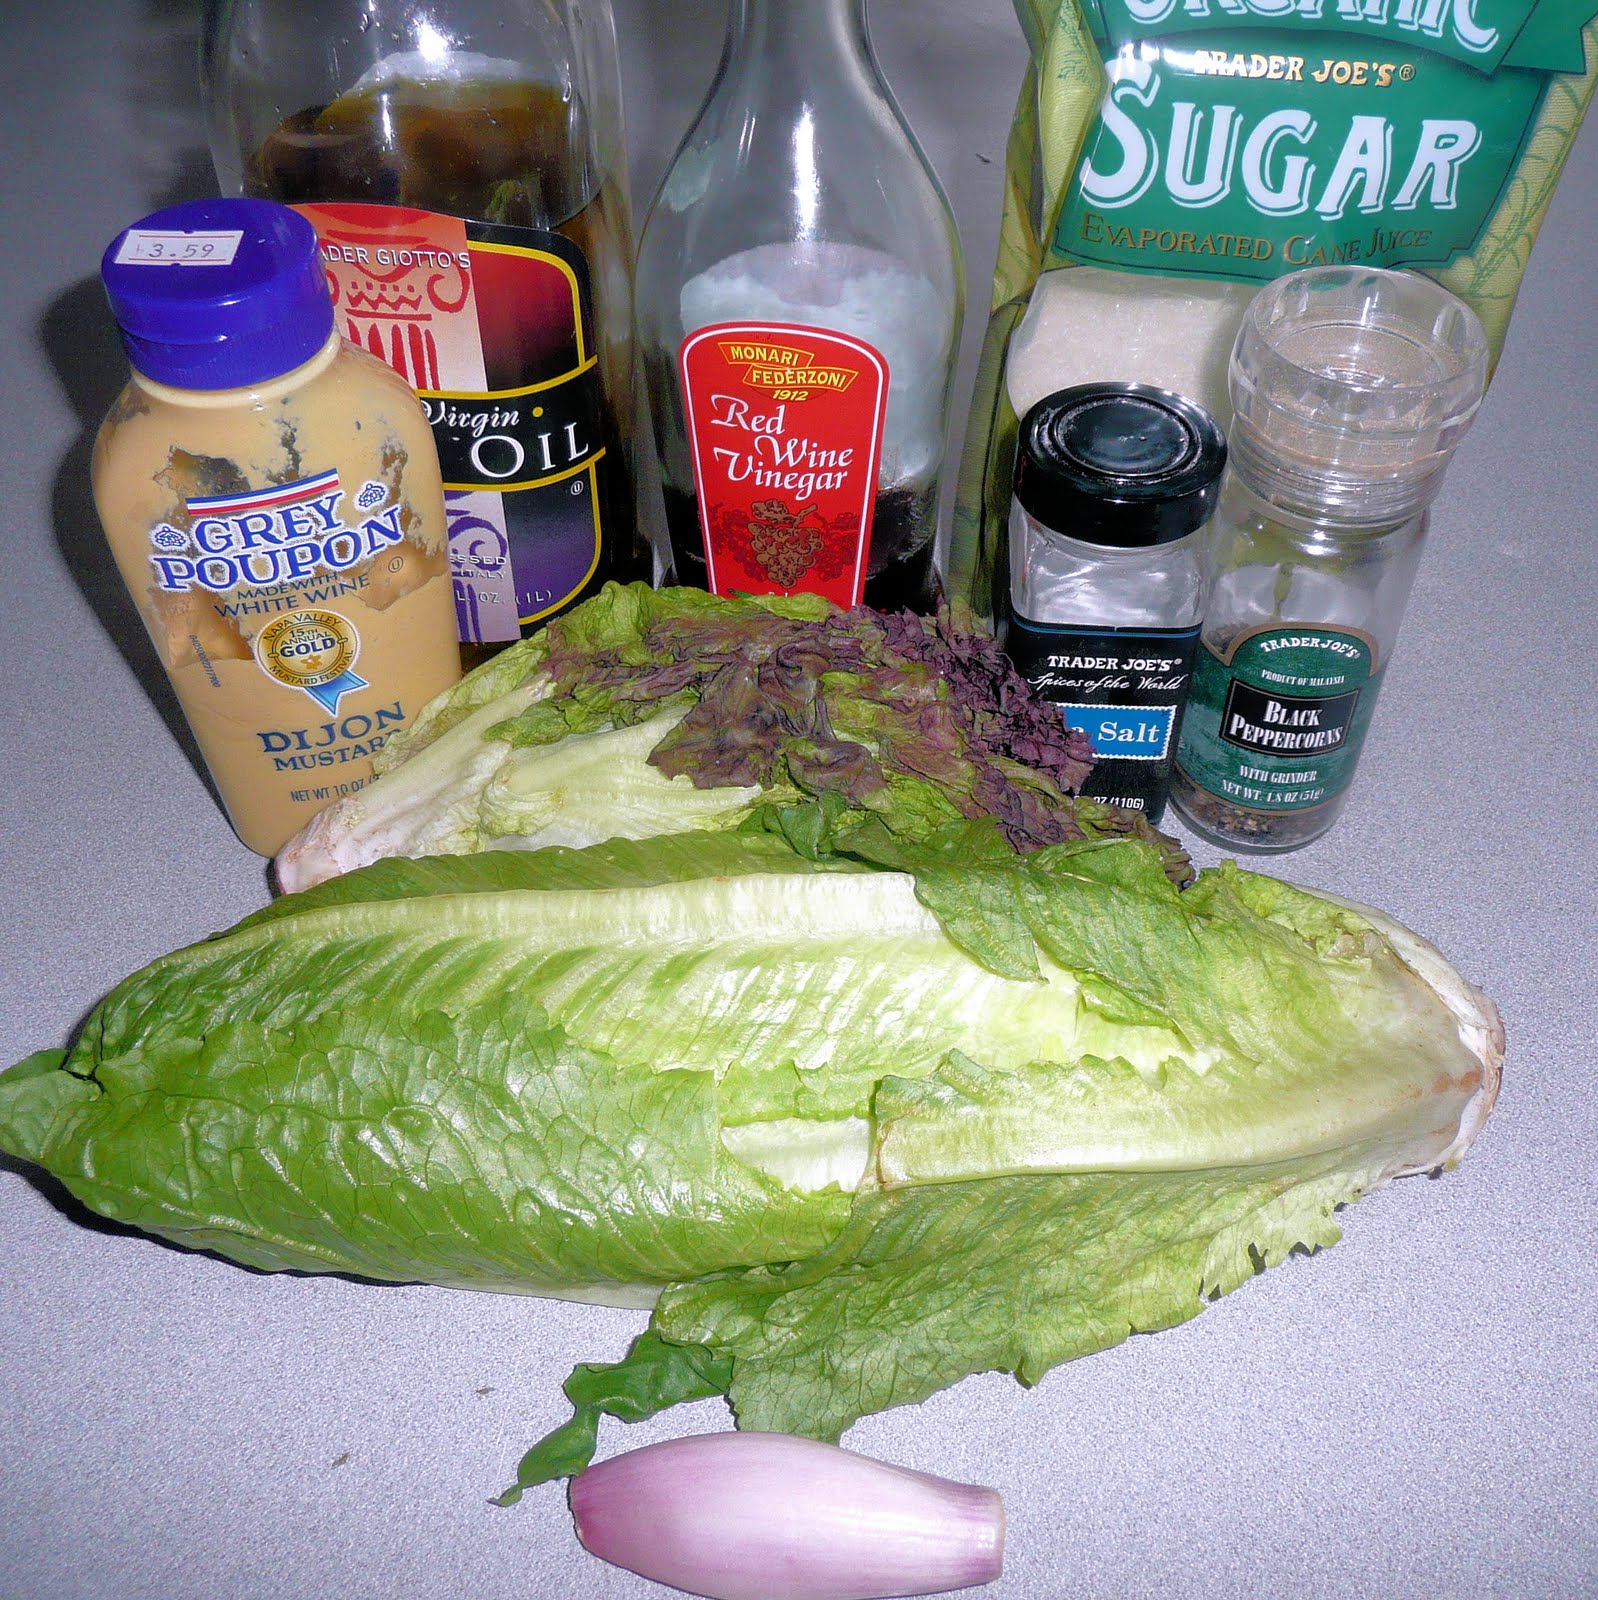
Ingredients:
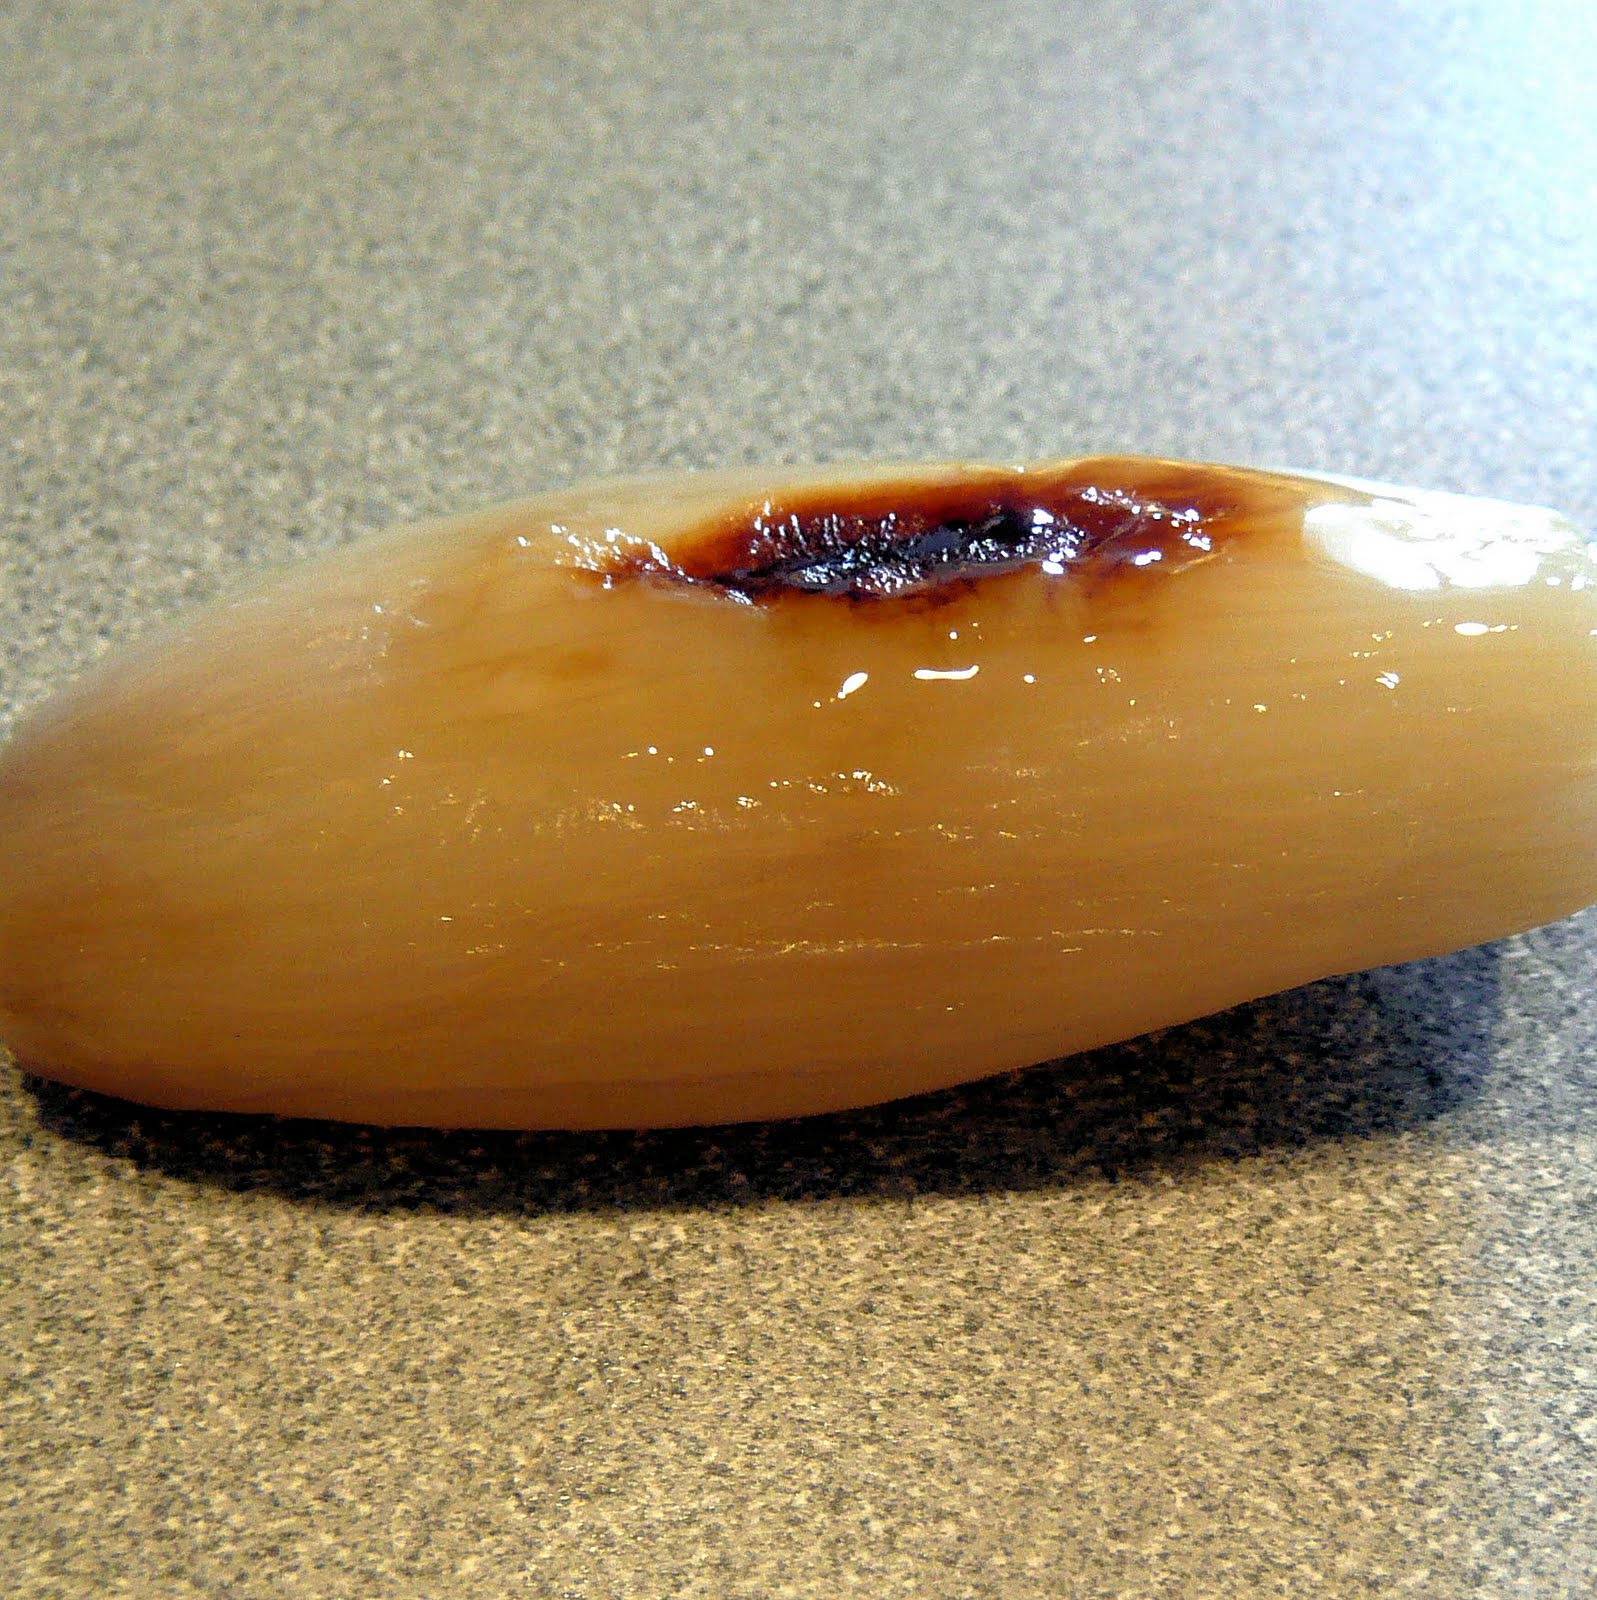
1 medium shallot, peeled
2 tablespoons red wine vinegar
1 tablespoon olive oil
1 teaspoon sugar
1 teaspoon Dijon mustard
1/4 teaspoon salt
1/4 teaspoon pepper
A few leaves of Romaine and red leafy lettuce, washed and torn (enough for 3 plates)
1/2 cup grape tomatoes, halved (optional)
1/3 cup crumbled feta cheese (optional)
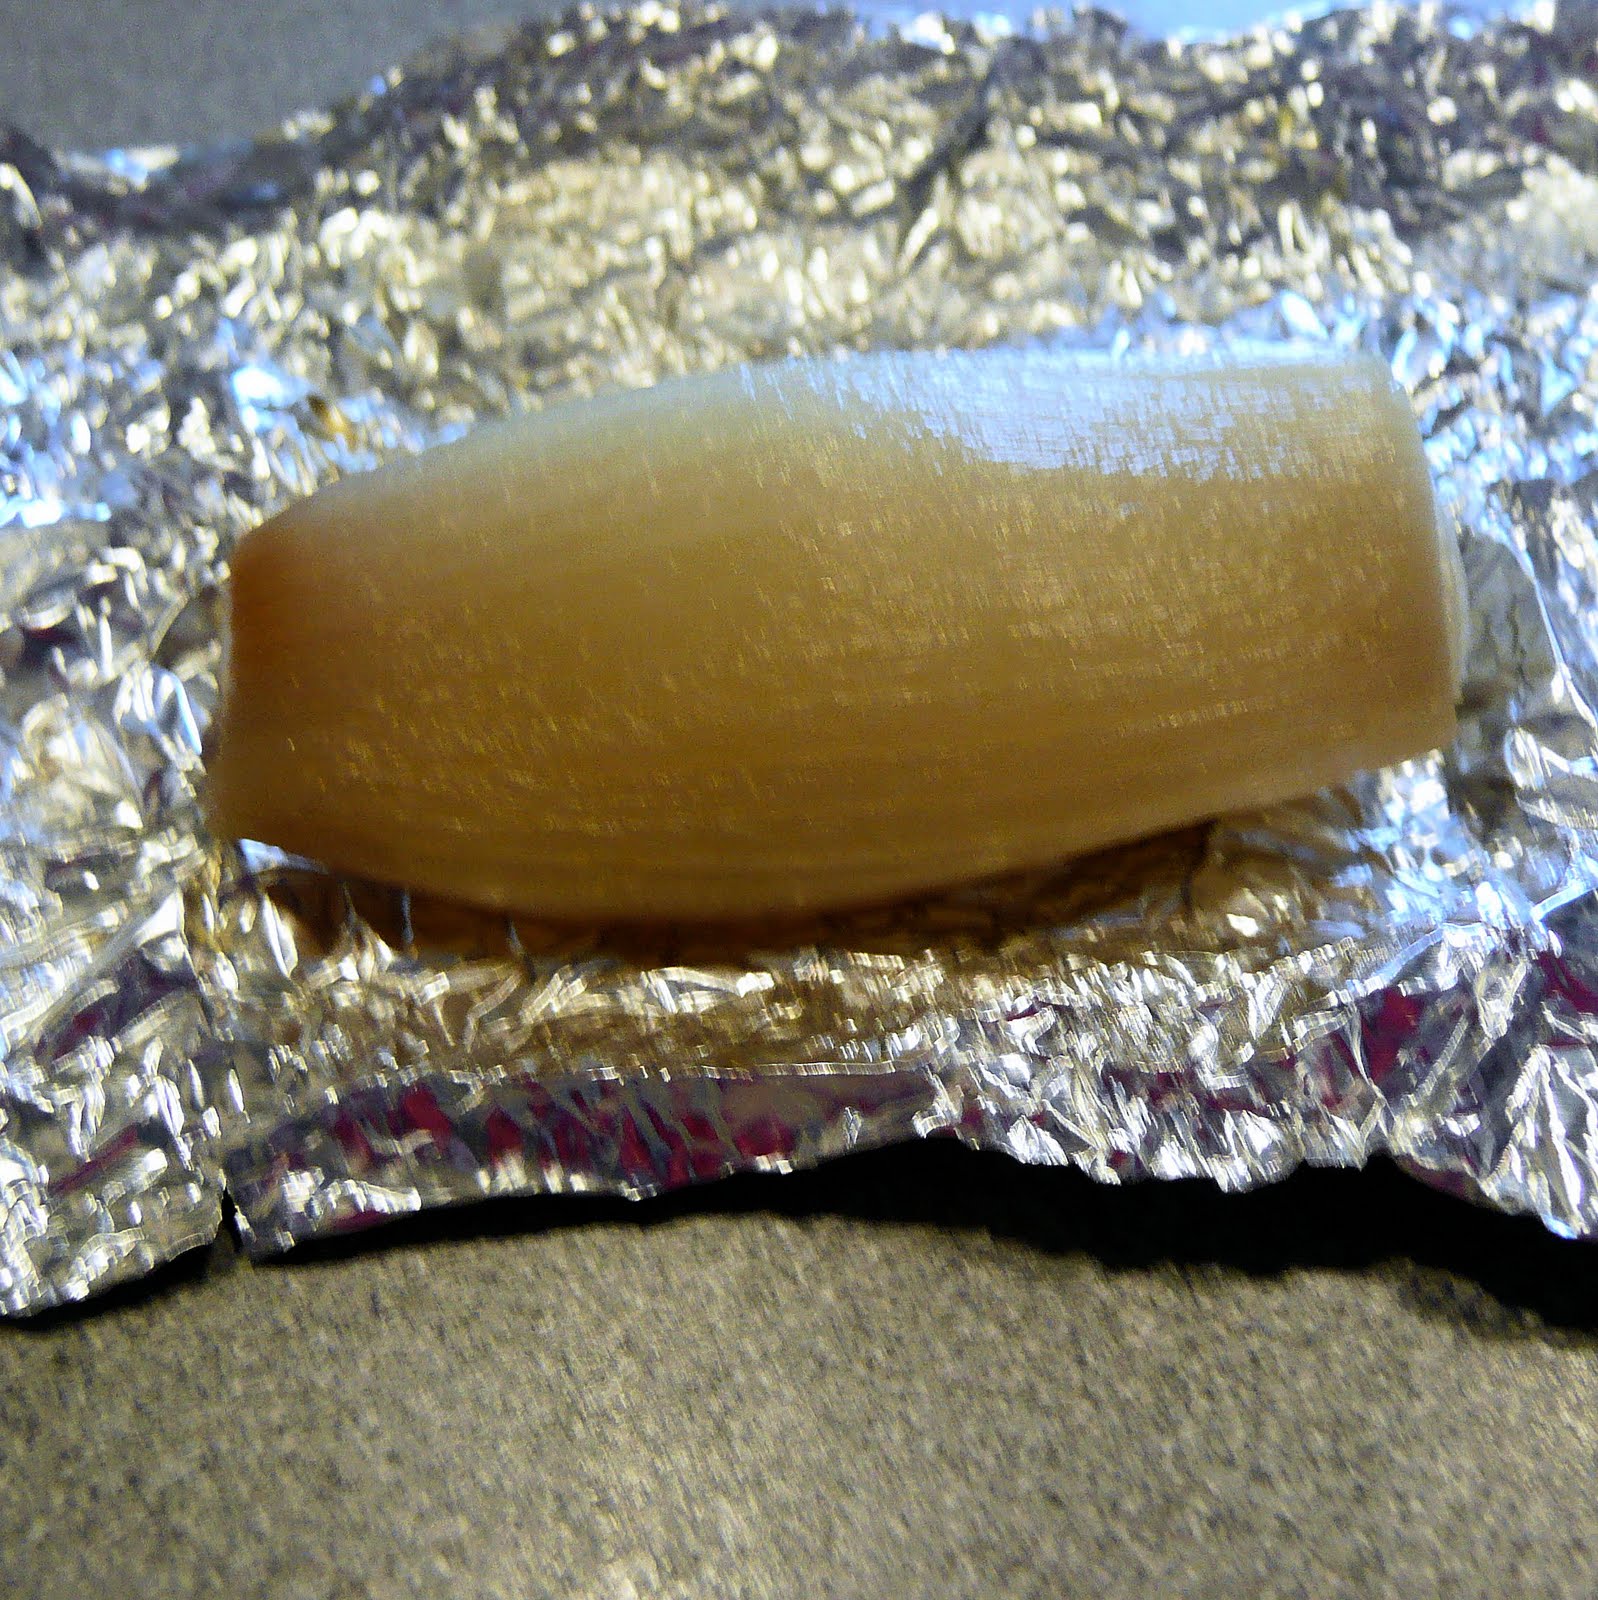
To make the vinaigrette, first preheat the oven to 400 degrees. Wrap the shallot in tin foil and cook at 400 degrees for 35 minutes.
This smells so good when it’s cooking
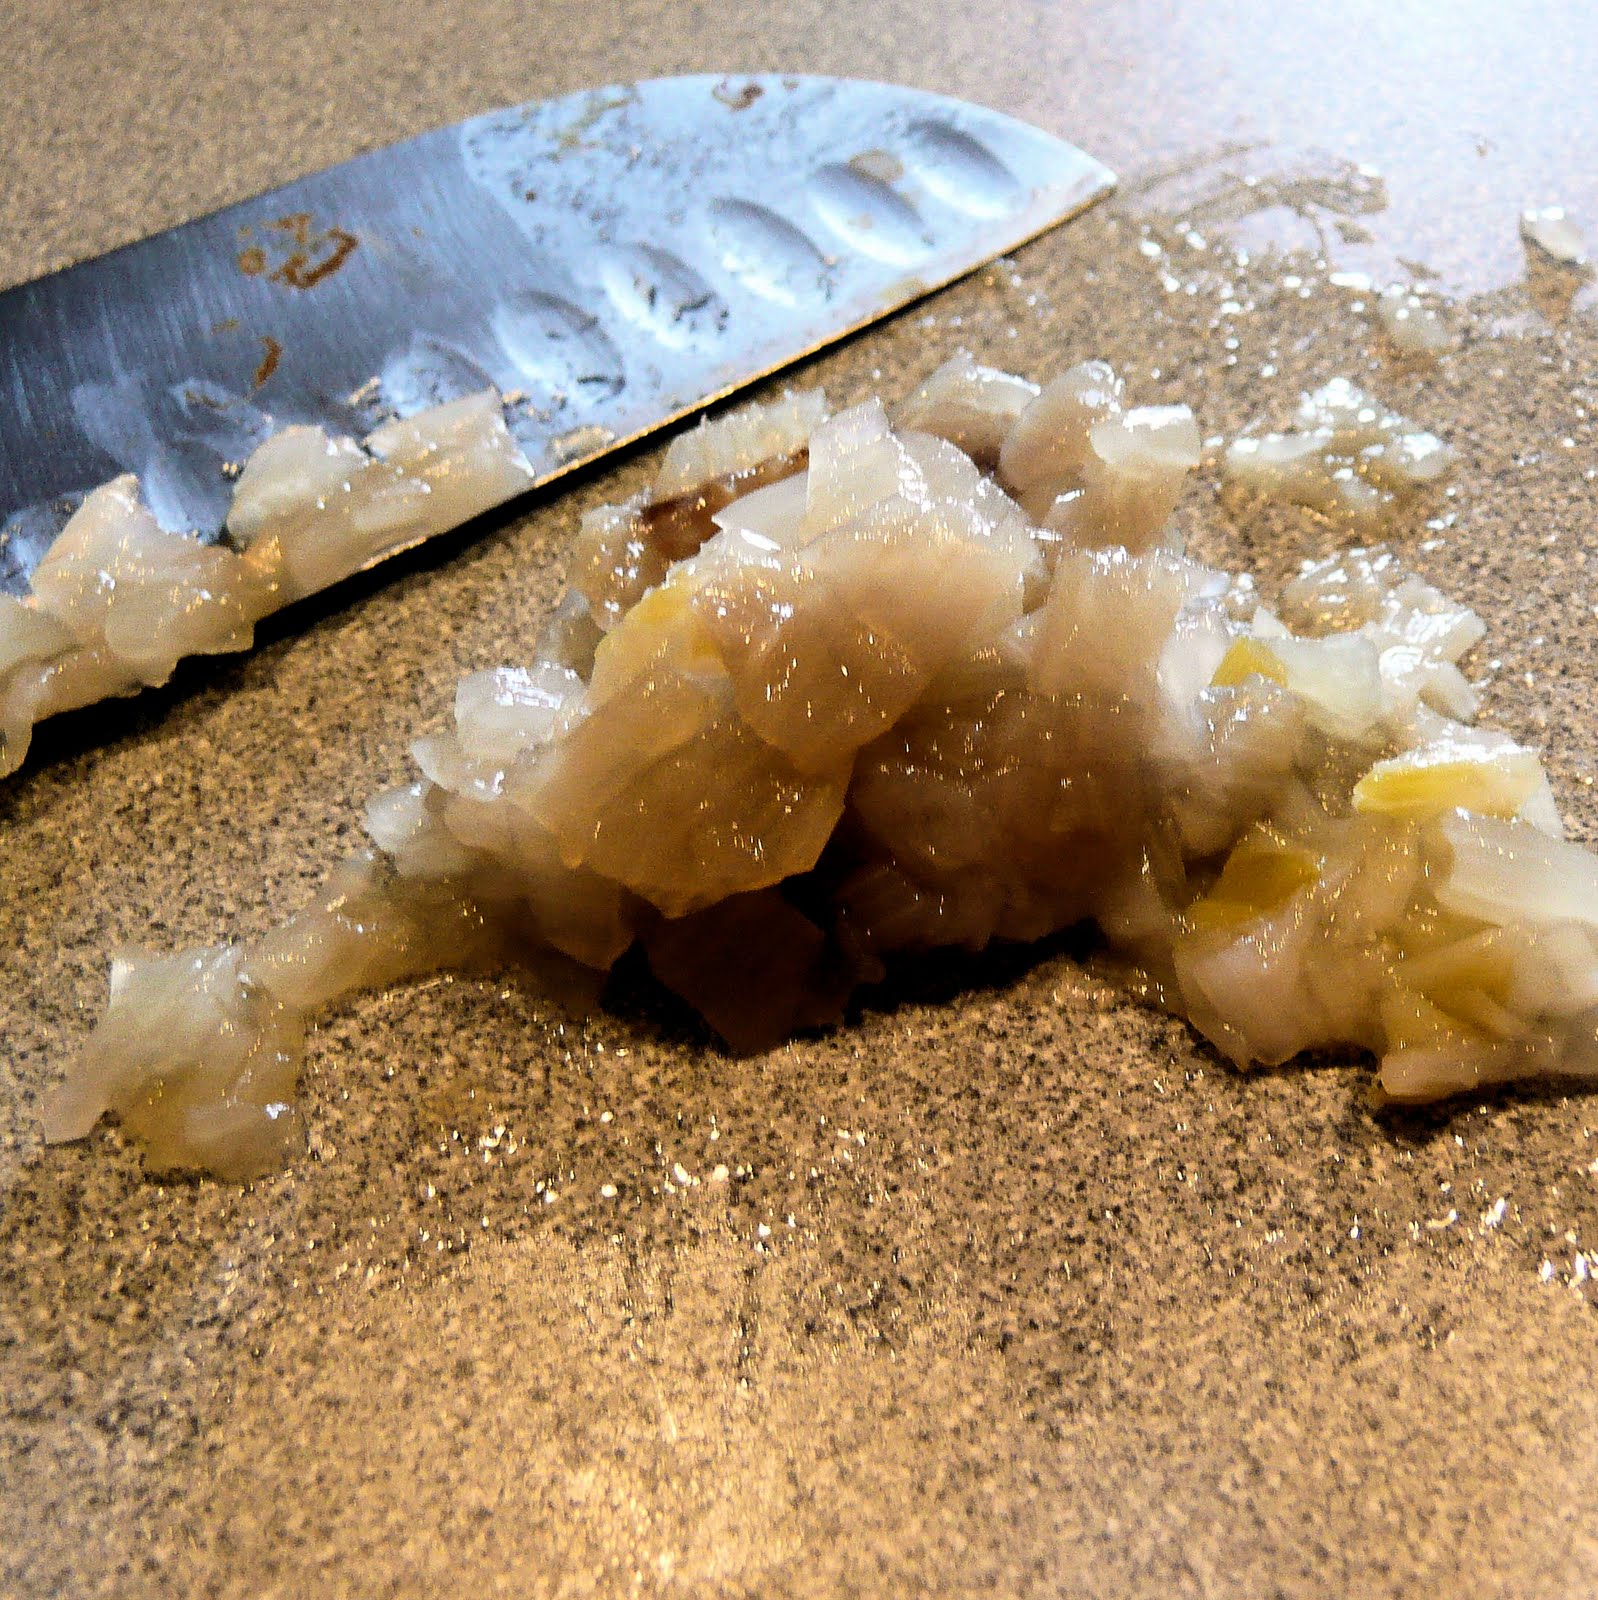
Cool for 10 minutes and mince.
While the shallot is cooking and cooling, prepare your lettuce. Wash and tear the lettuce and allow to dry in a colander. Halve your tomatoes. Add the lettuce, tomatoes and feta cheese to a large bowl. You can throw in whatever you happen to have around: peppers, artichoke hearts.. whatever makes you happy.
Combine the minced shallot and all ingredients up to pepper in a bowl, whisking to combine. (I just added them all to a jar, closed the jar tightly, and shook to combine.)
Add to salad and toss well to coat.
This is a great vinaigrette for those that find normal vinaigrettes too acidic. The roasted shallot (and the teaspoon sugar) add some sweetness to the dressing which cuts some of the acidity in the vinegar, without making it overly sweet.
This week, I received collard greens as part of my CSA. Although traditionally made with smoked meats and such, I wanted to ease my way into this new veggie. (I’ll try a somewhat more traditional version later this week)
Ingredients:
1 bunch of collard greens, stems removed and roughly chopped
3 tablespoons olive oil
1 spring garlic
Salt and pepper to taste
Lemon, optional
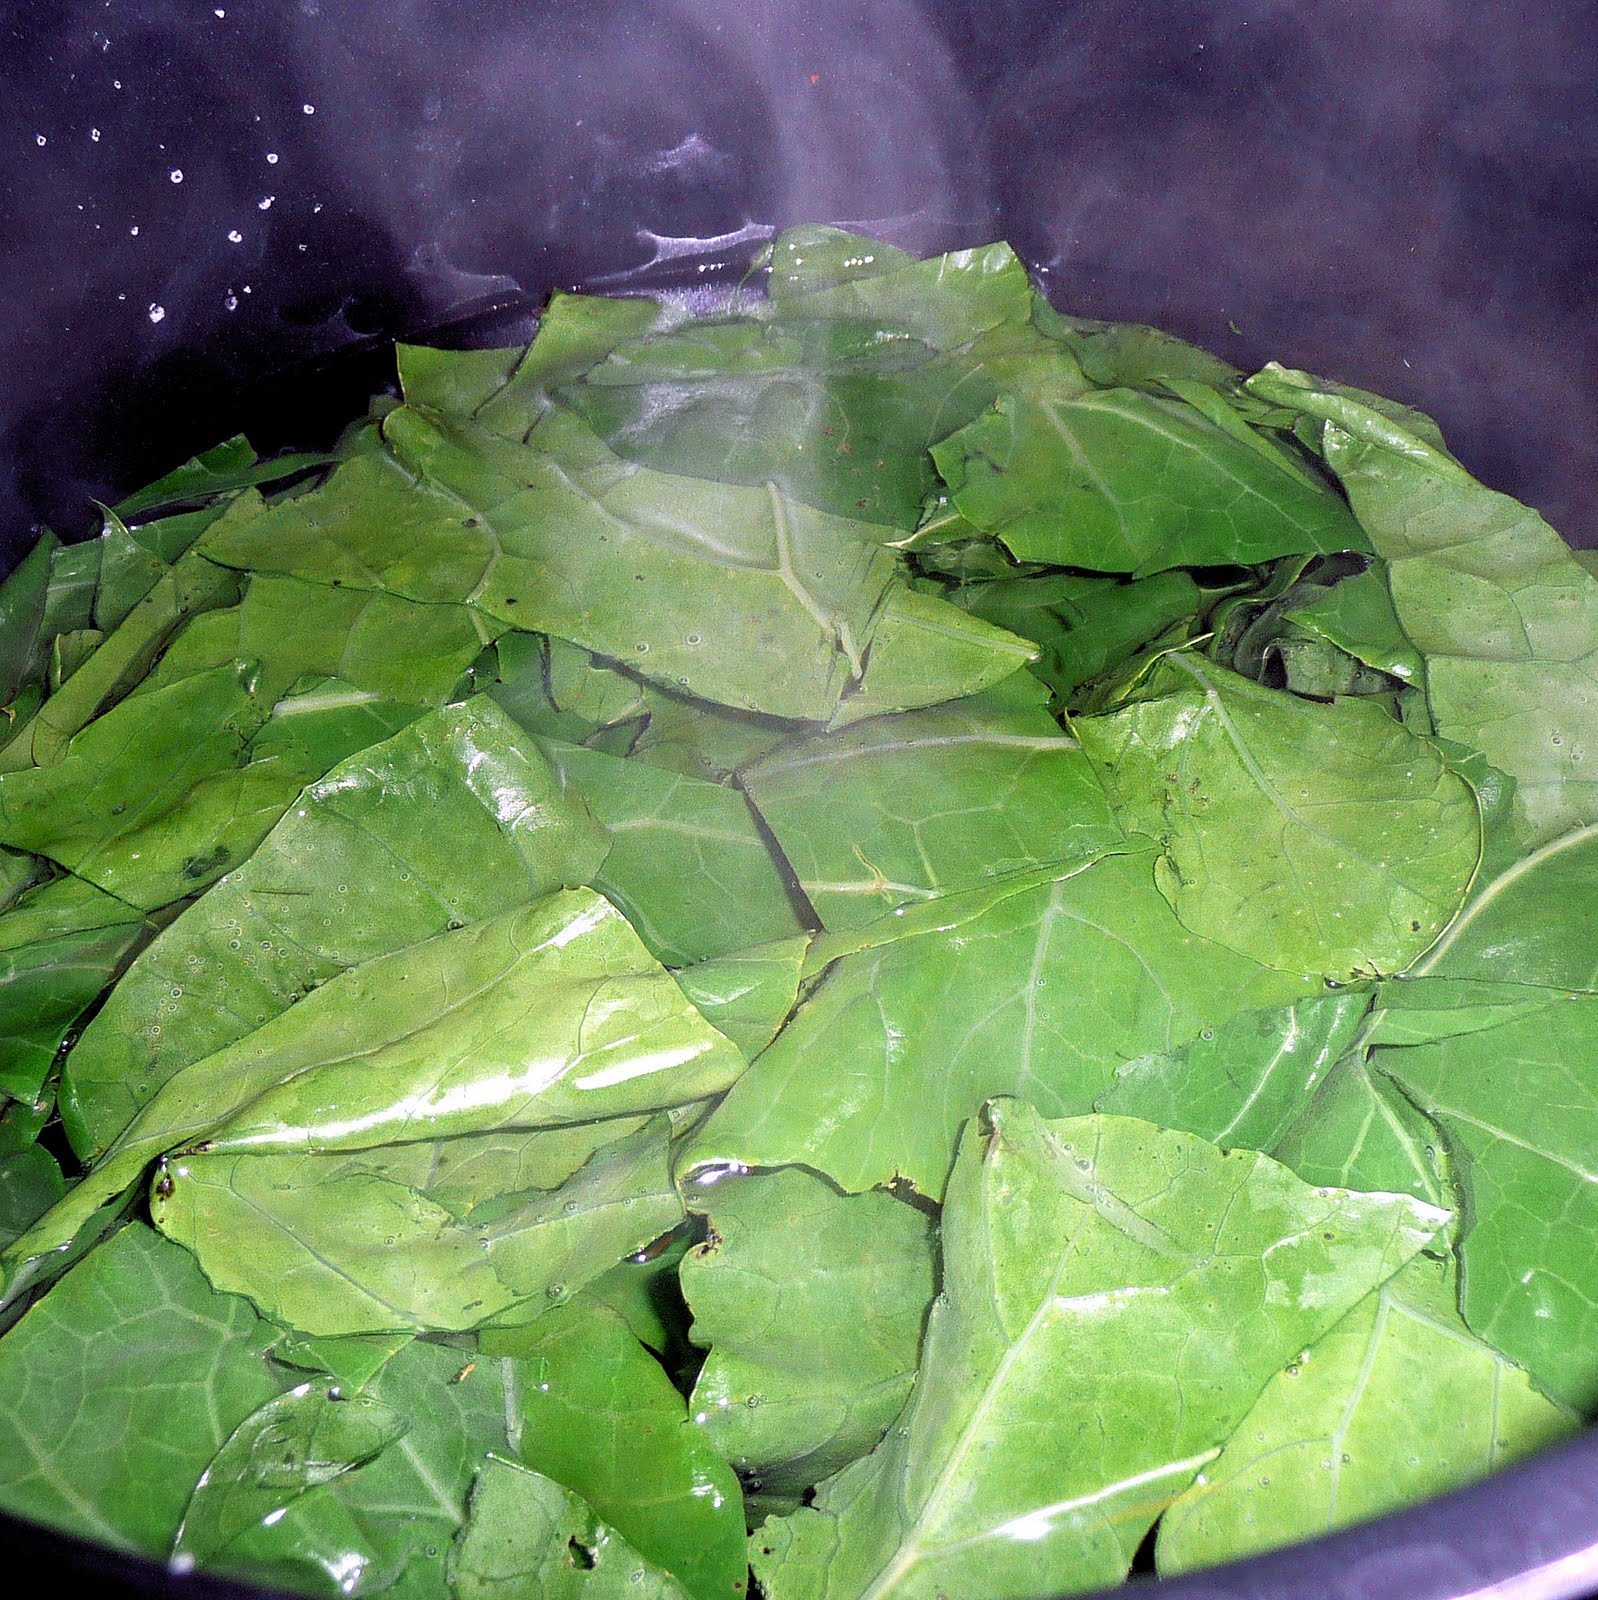
Bring a large pot of water to a boil. Add a teaspoon of salt. Prepare your collard greens while waiting for the water to boil.
remove large stem in center of leaf
roughly chop
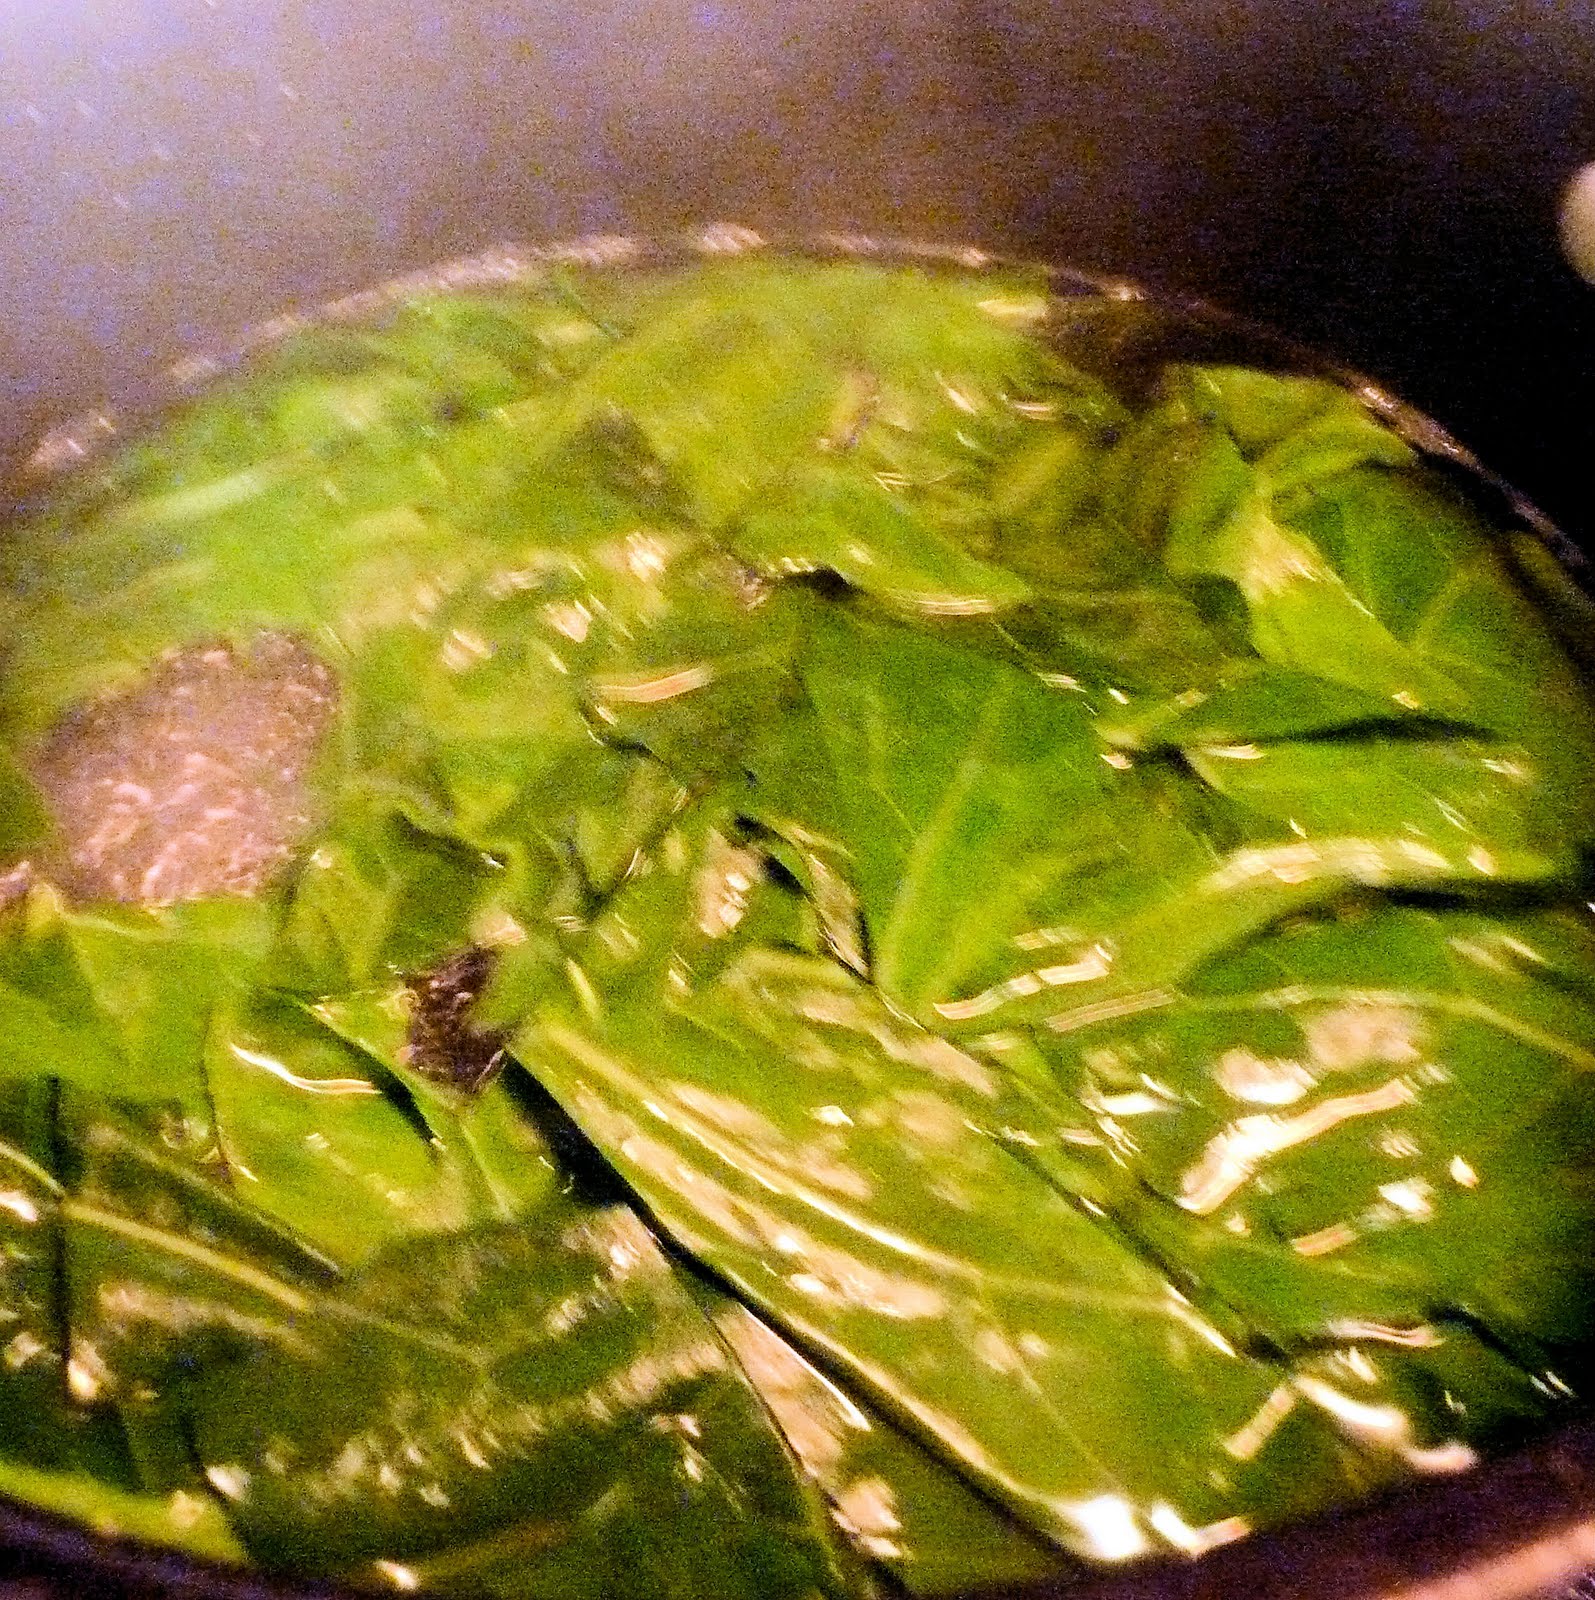
When the water is boiling, add the collard greens and cook for ten minutes.
when initially added
ten minutes in
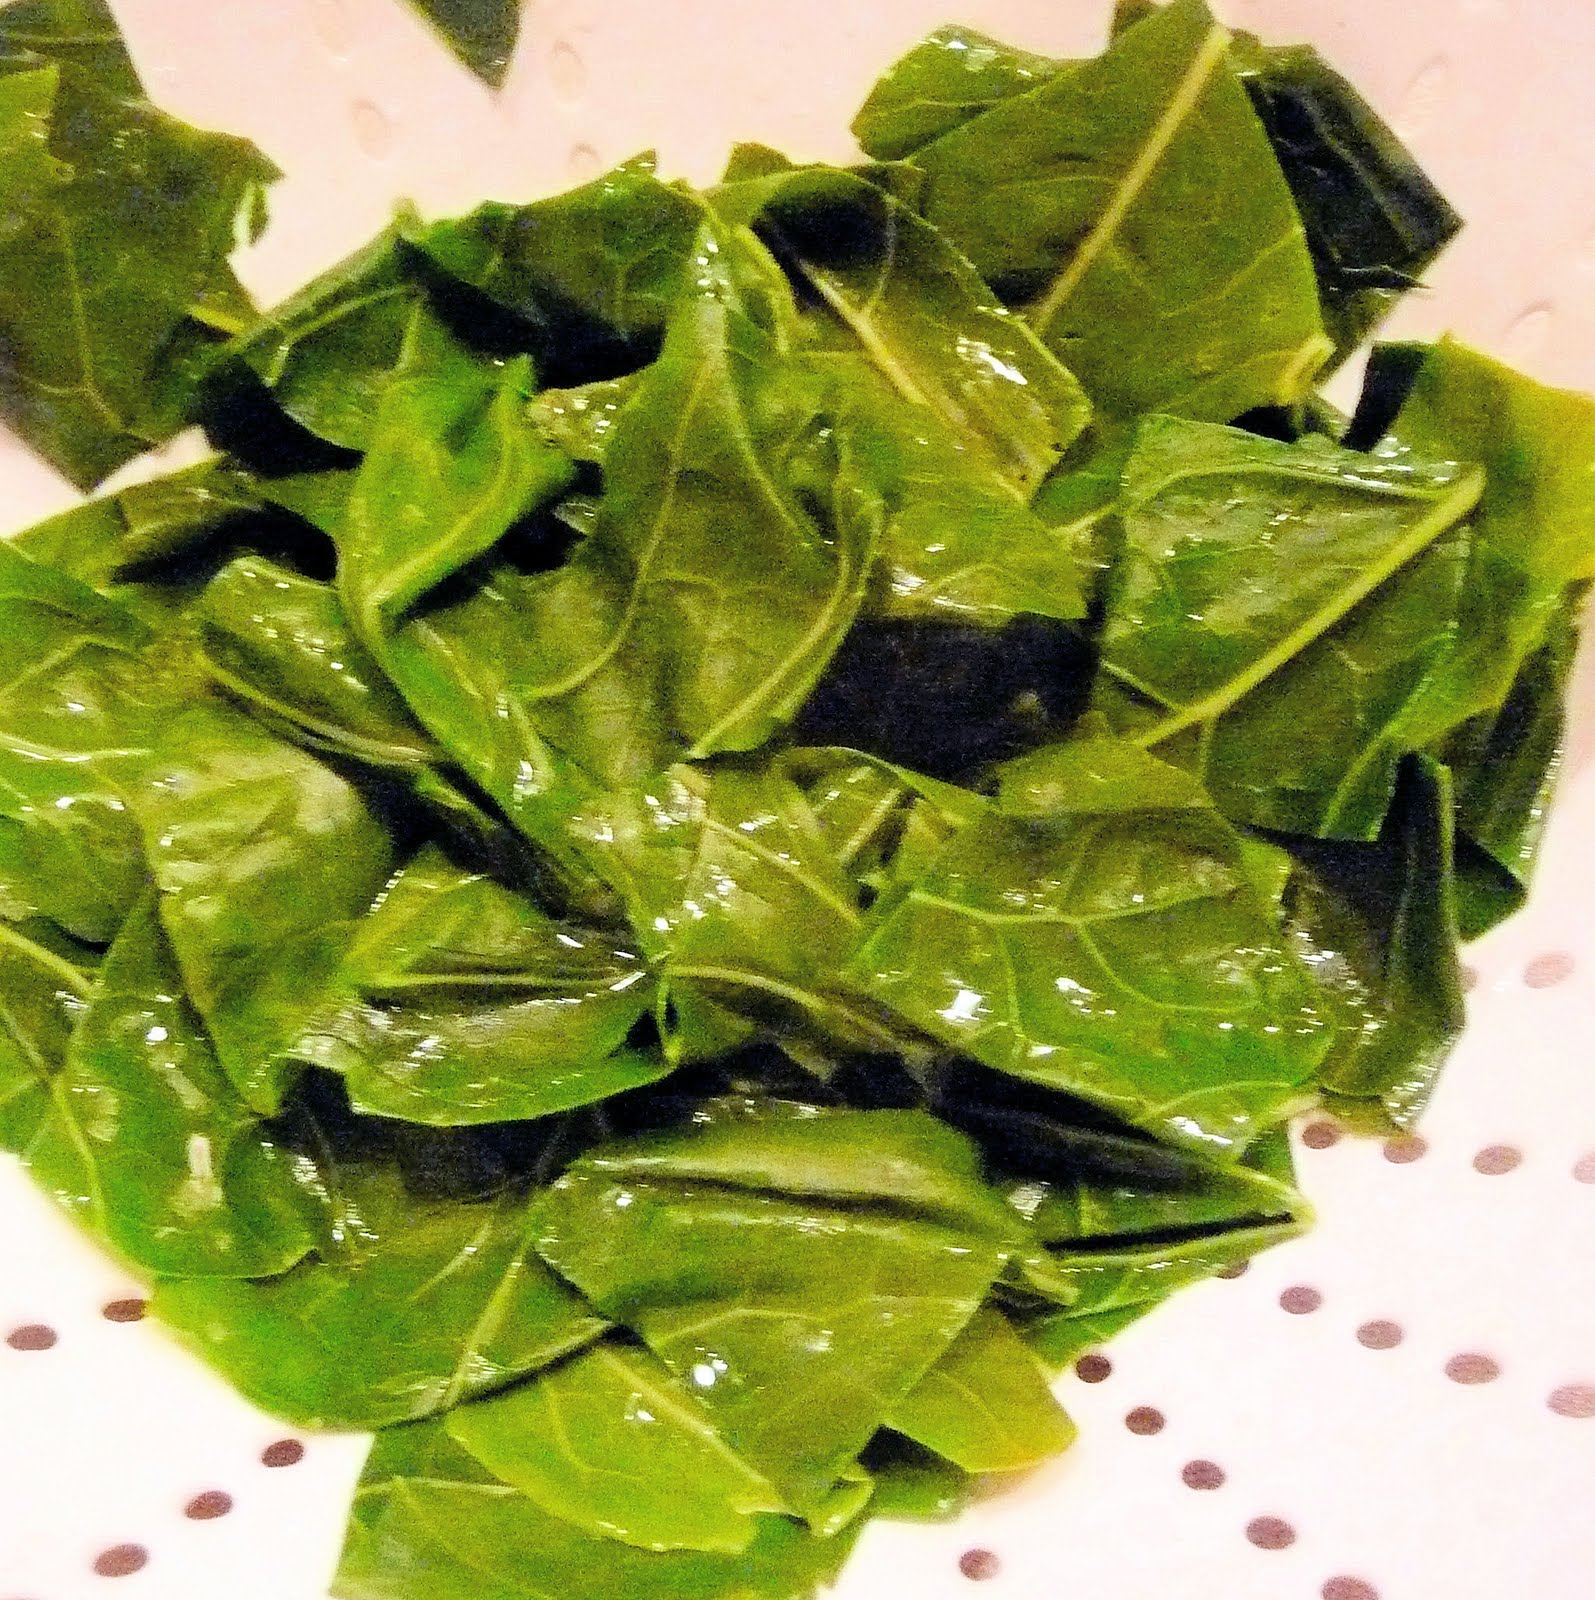
Drain the collard greens in a colander and rinse under cold water. Squeeze against the colander to remove excess water.
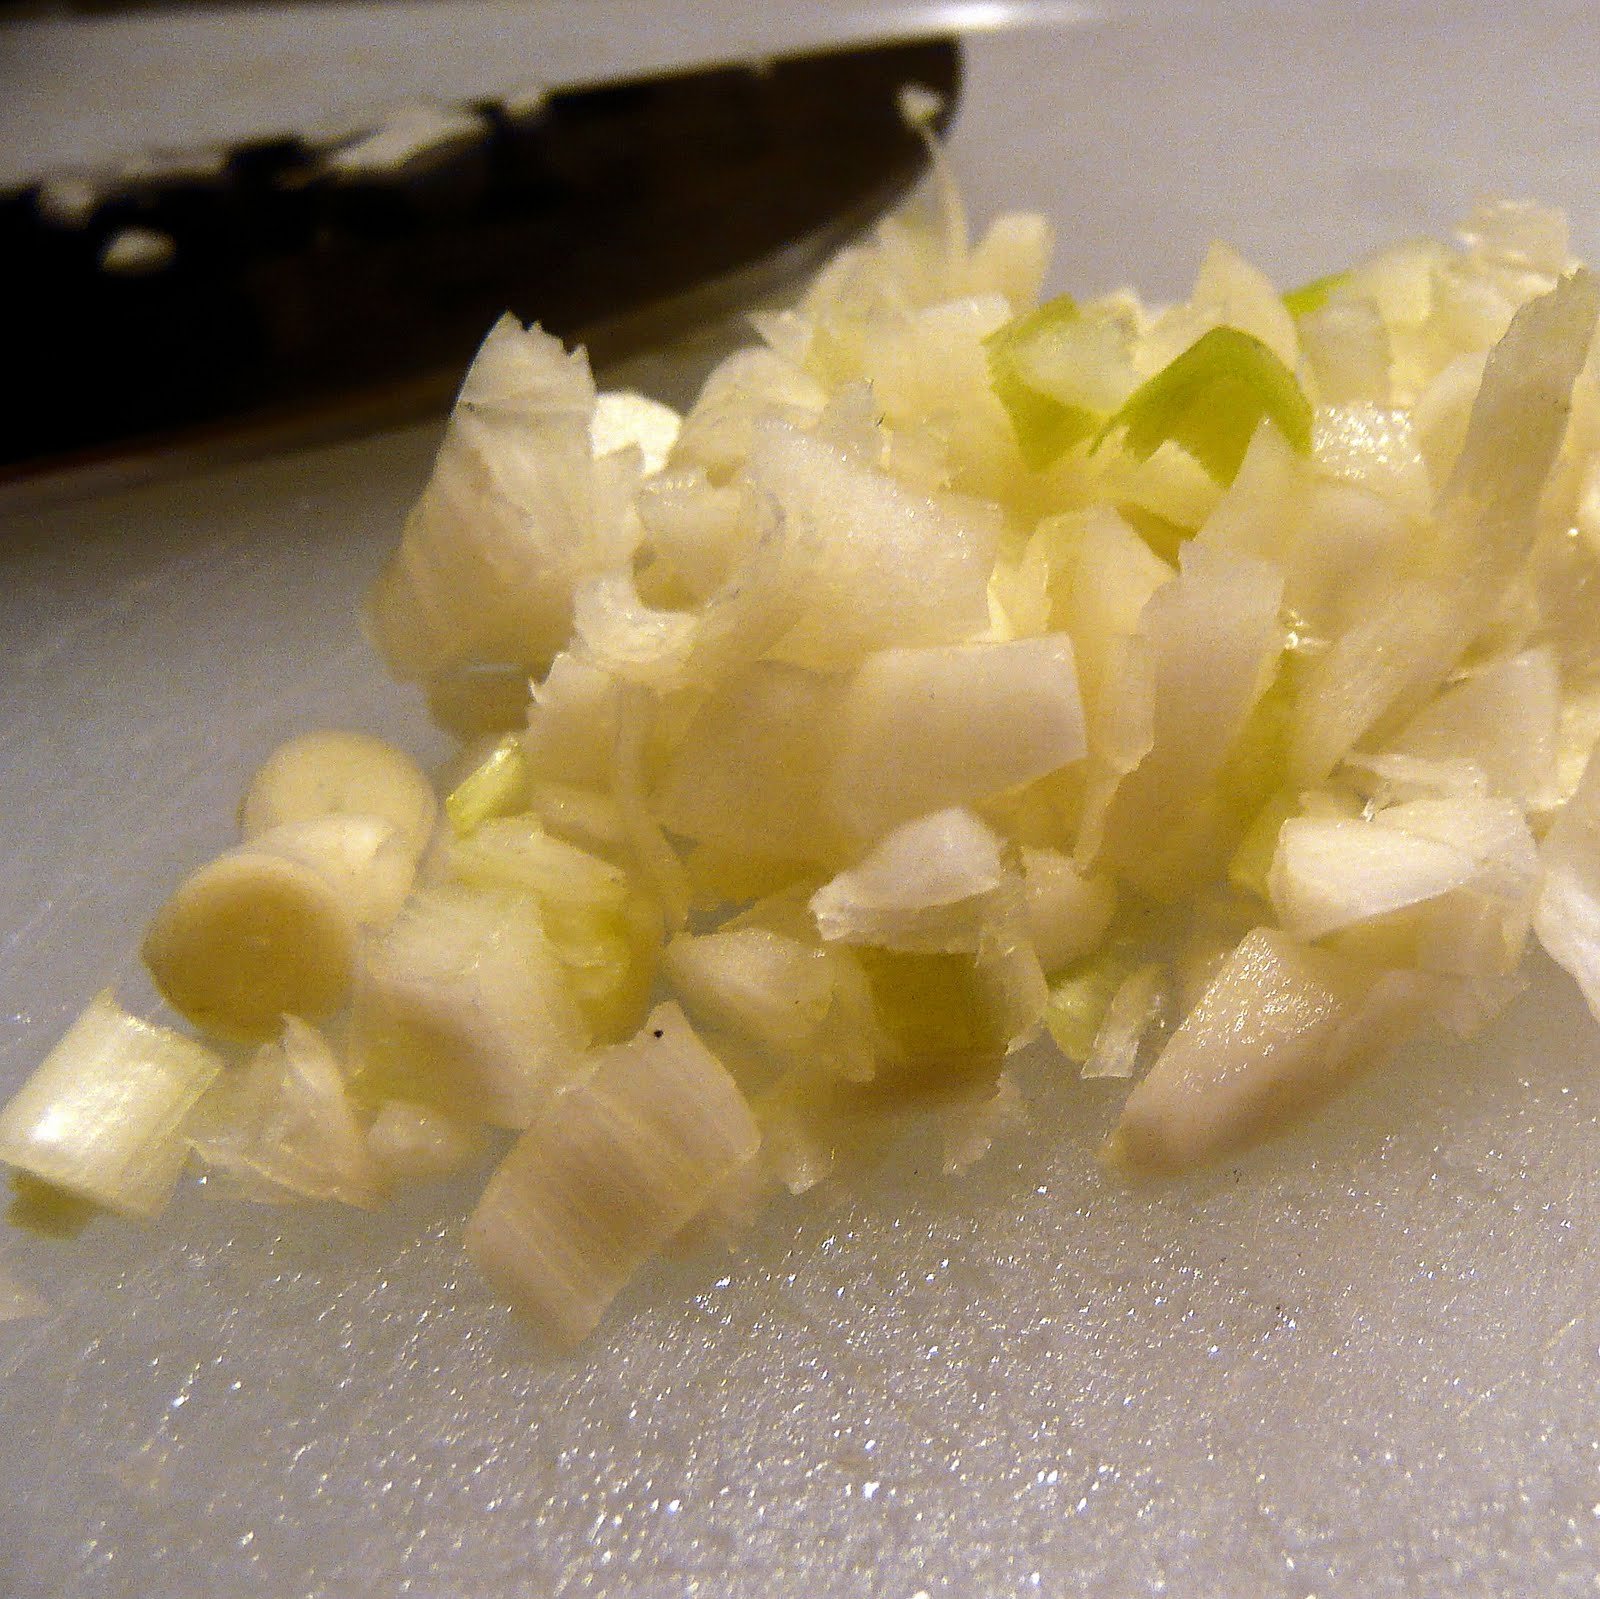
Chop the spring garlic.
Heat the olive oil in a saute pan over medium heat. Add the garlic and cook for one minute.
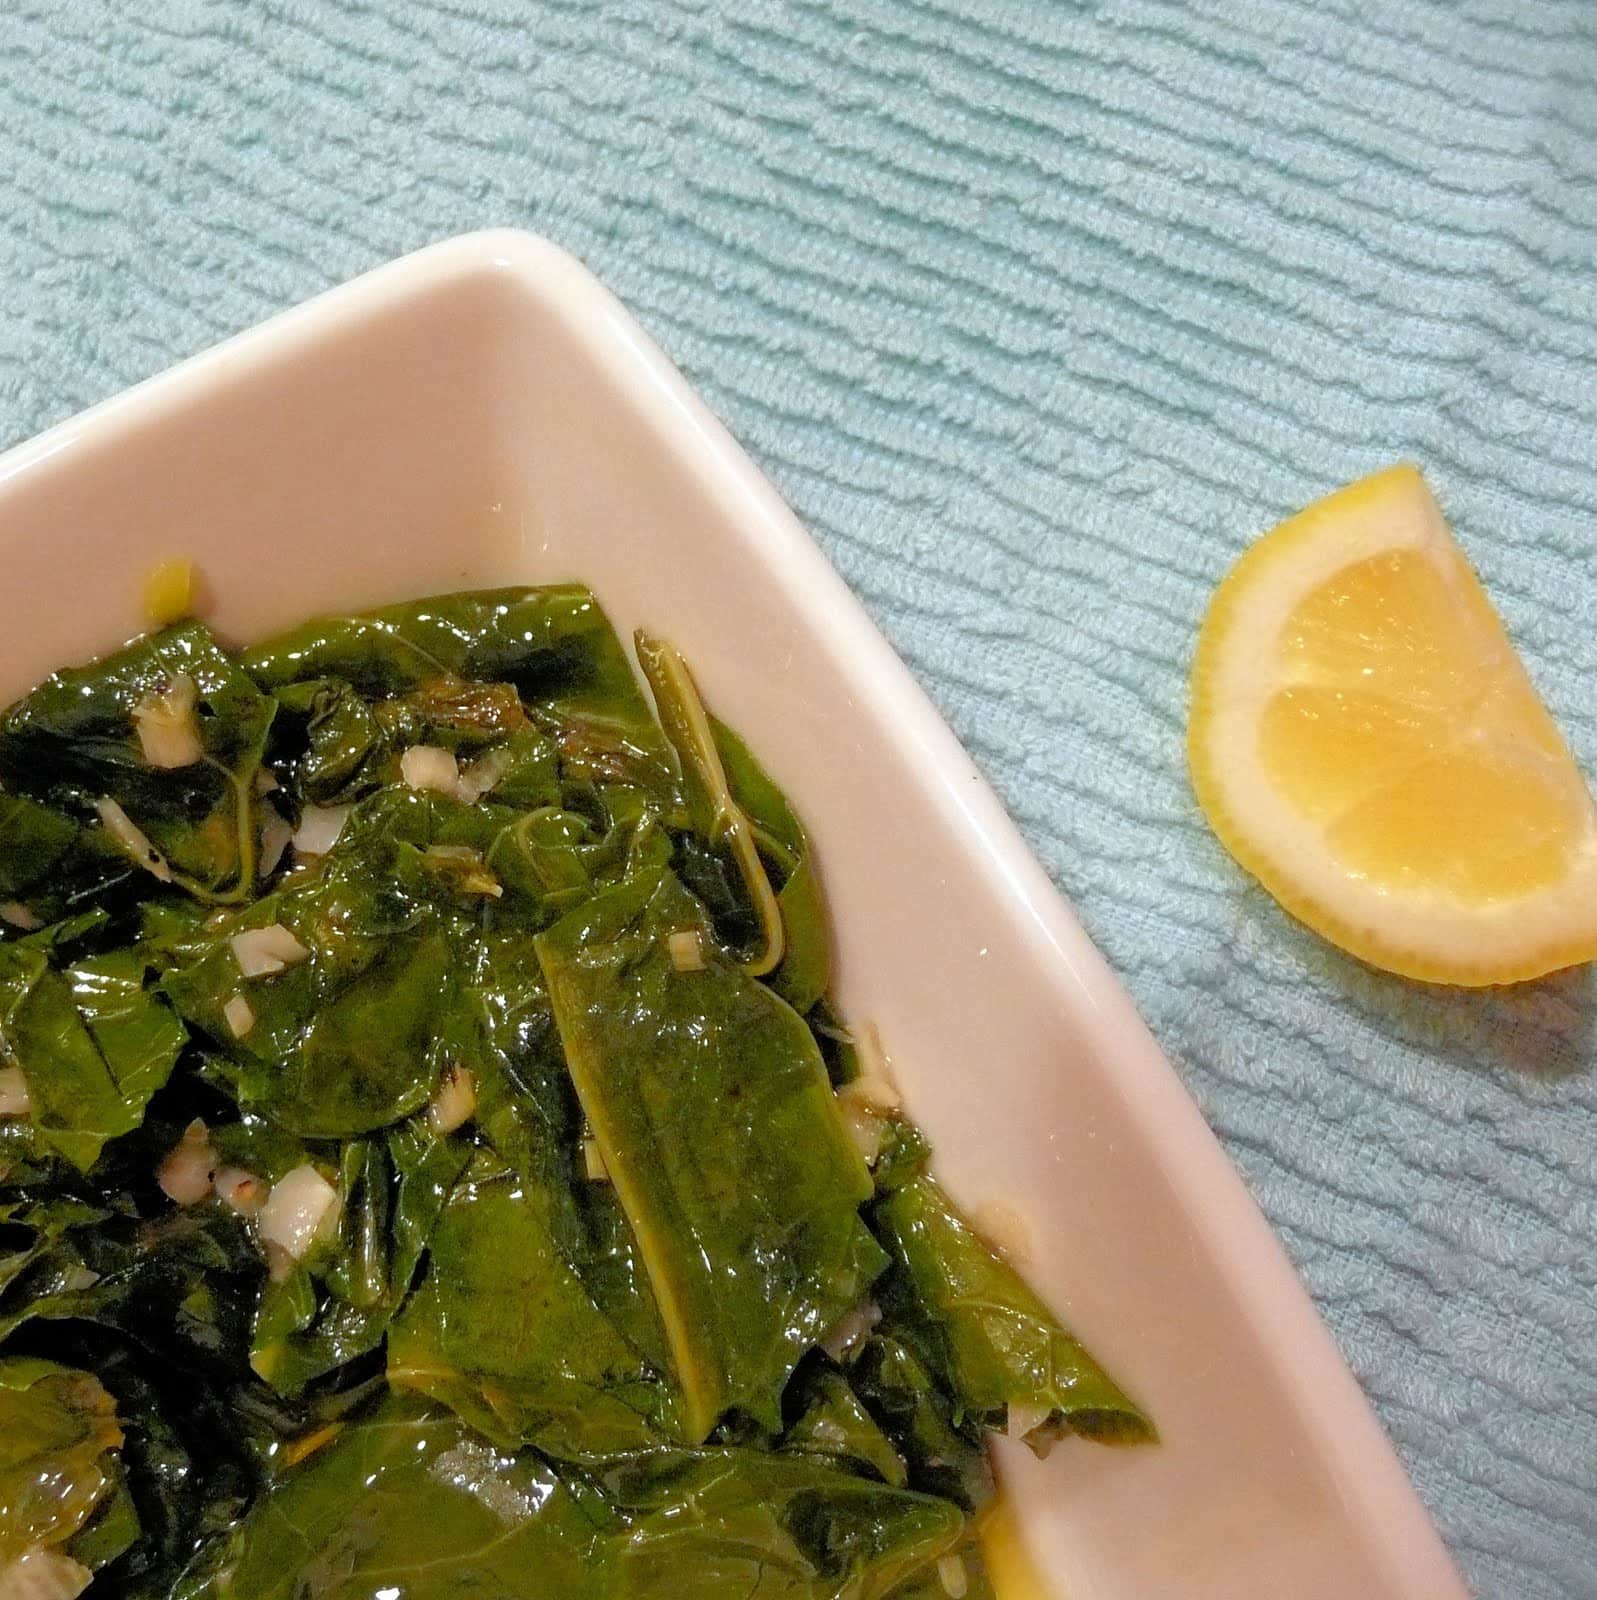
Add the collard greens and season with salt and pepper.
Cook until wilted, about three to four minutes.
Collard greens have a slight bitterness to them that works well with the subtle garlic taste of spring garlic (versus normal garlic). I added a squeeze of lemon which helped brighten the dish a bit. It’s a nice alternative to spinach, my default leafy green. As with most darker green vegetables, collard greens are high in Vitamins A, C, and K and are high in fiber, so the more leafy greens in my diet, the better.