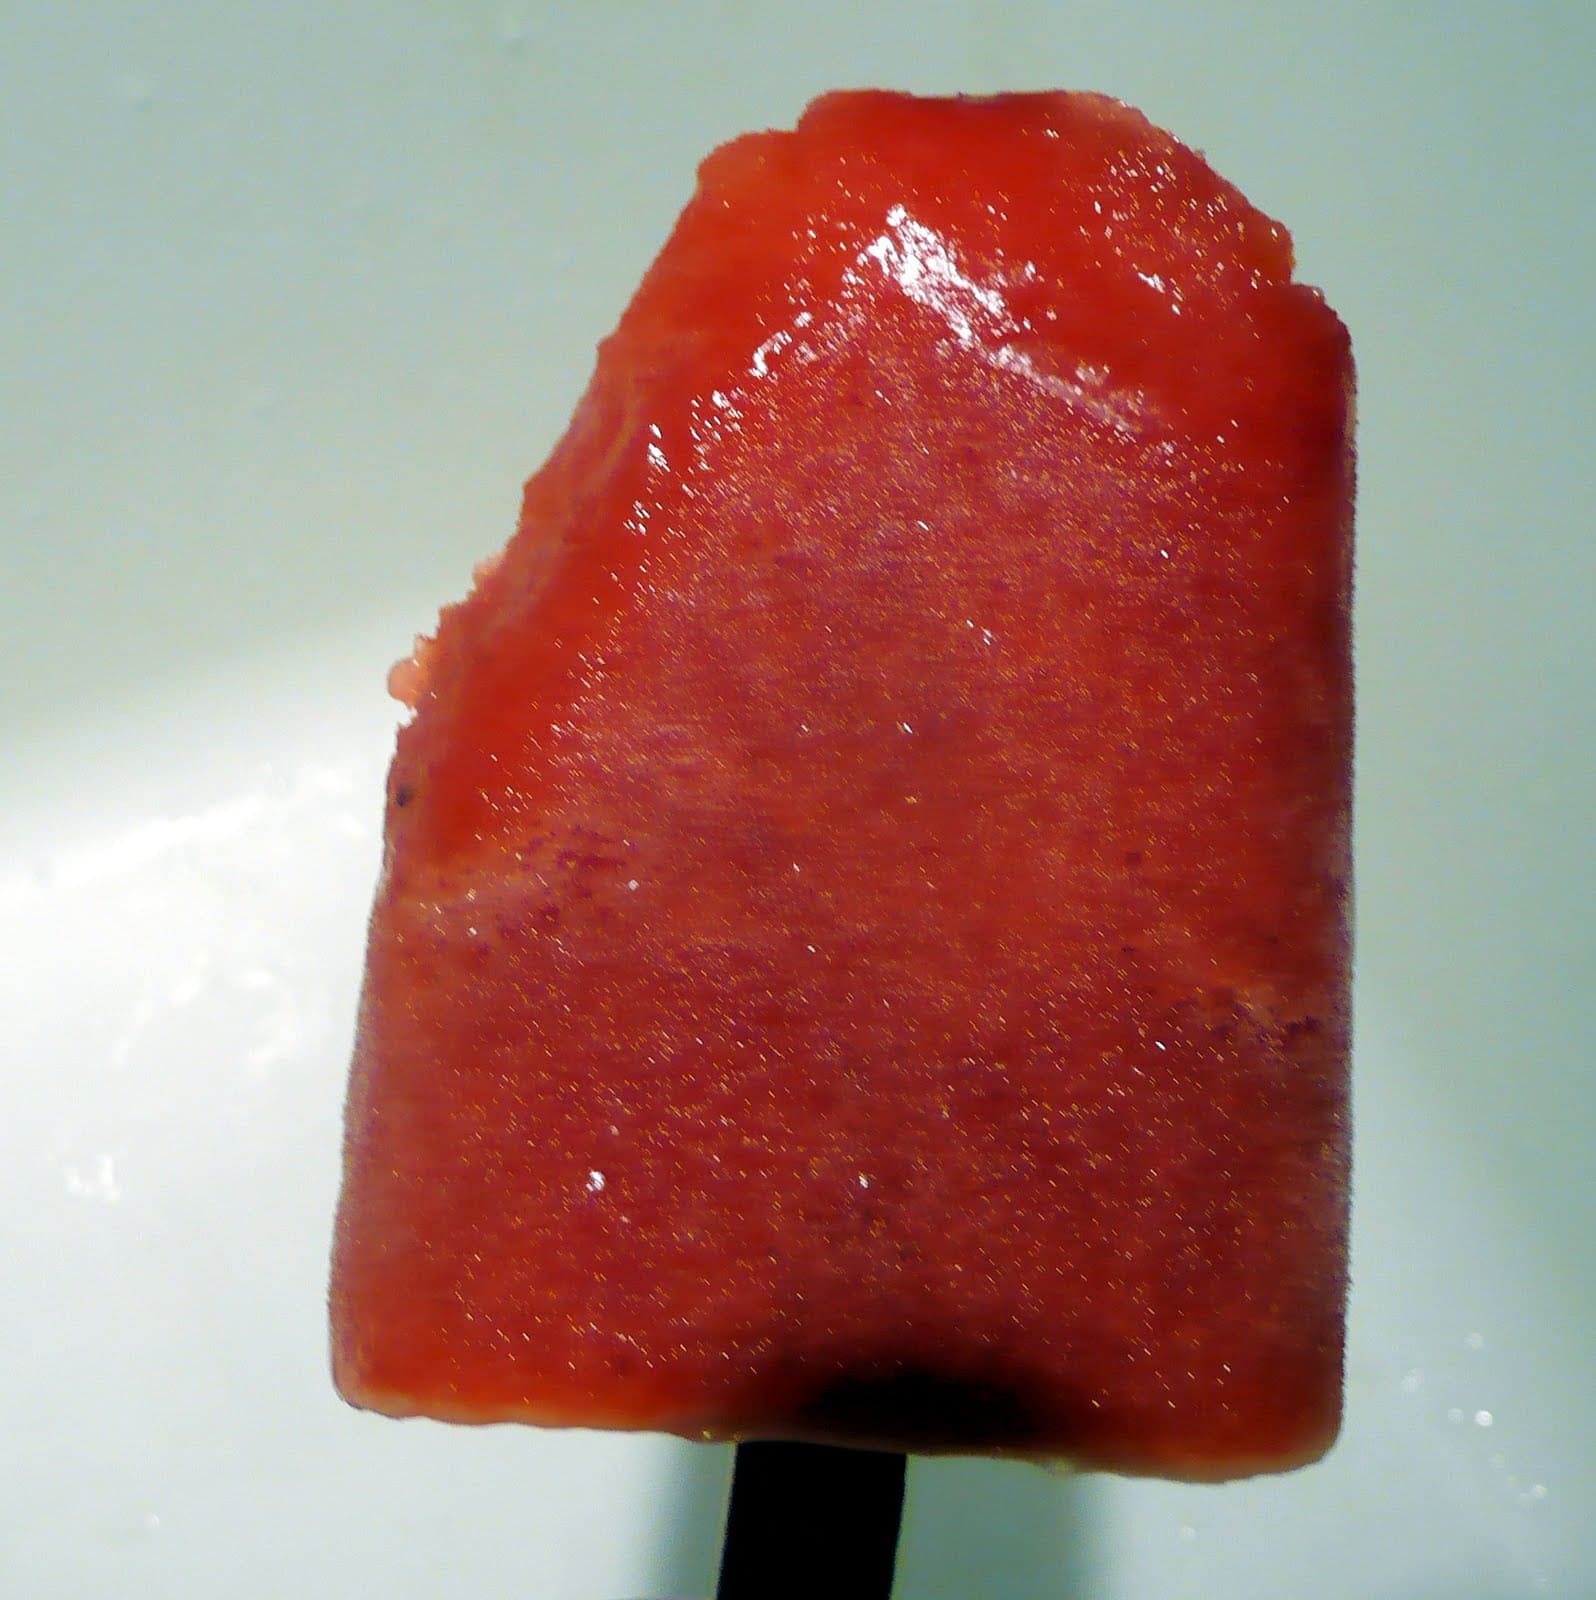
Coming back to the Philadelphia heat after nearly two weeks in Ireland was a bit of a shock to my system. I was in desperate need for a way to cool down, and what better way than through a cool dessert? Cooking Light‘s Sparkling Strawberry Pops seemed to be the perfect choice. (Please excuse the quality of these photos. I managed to lose the battery charger for my new camera, and am waiting for the replacement to be delivered so these were taken on a pretty crummy alternative.)

Ingredients:
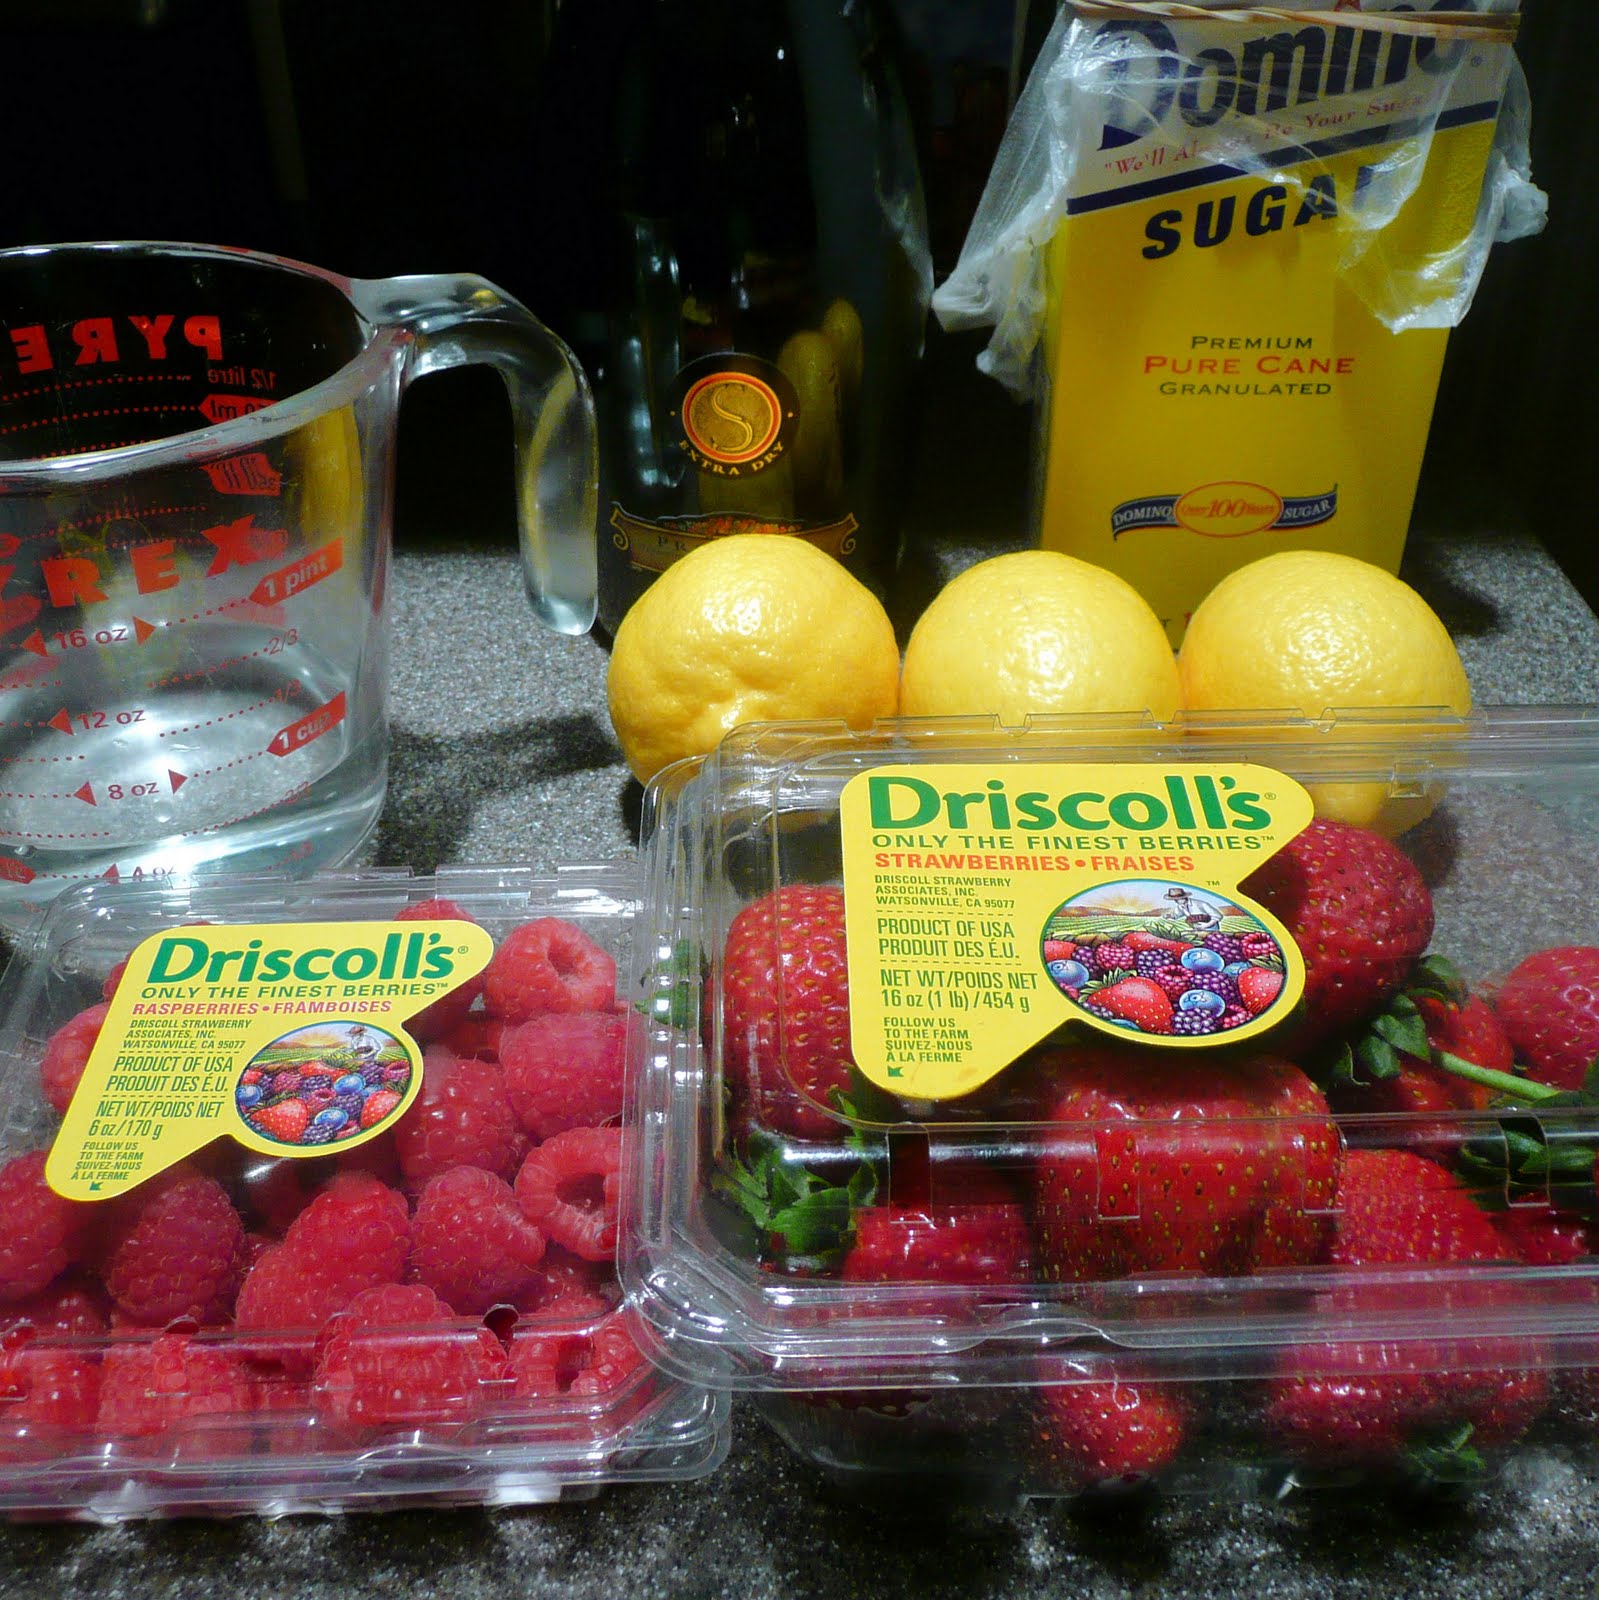
1 cup sugar
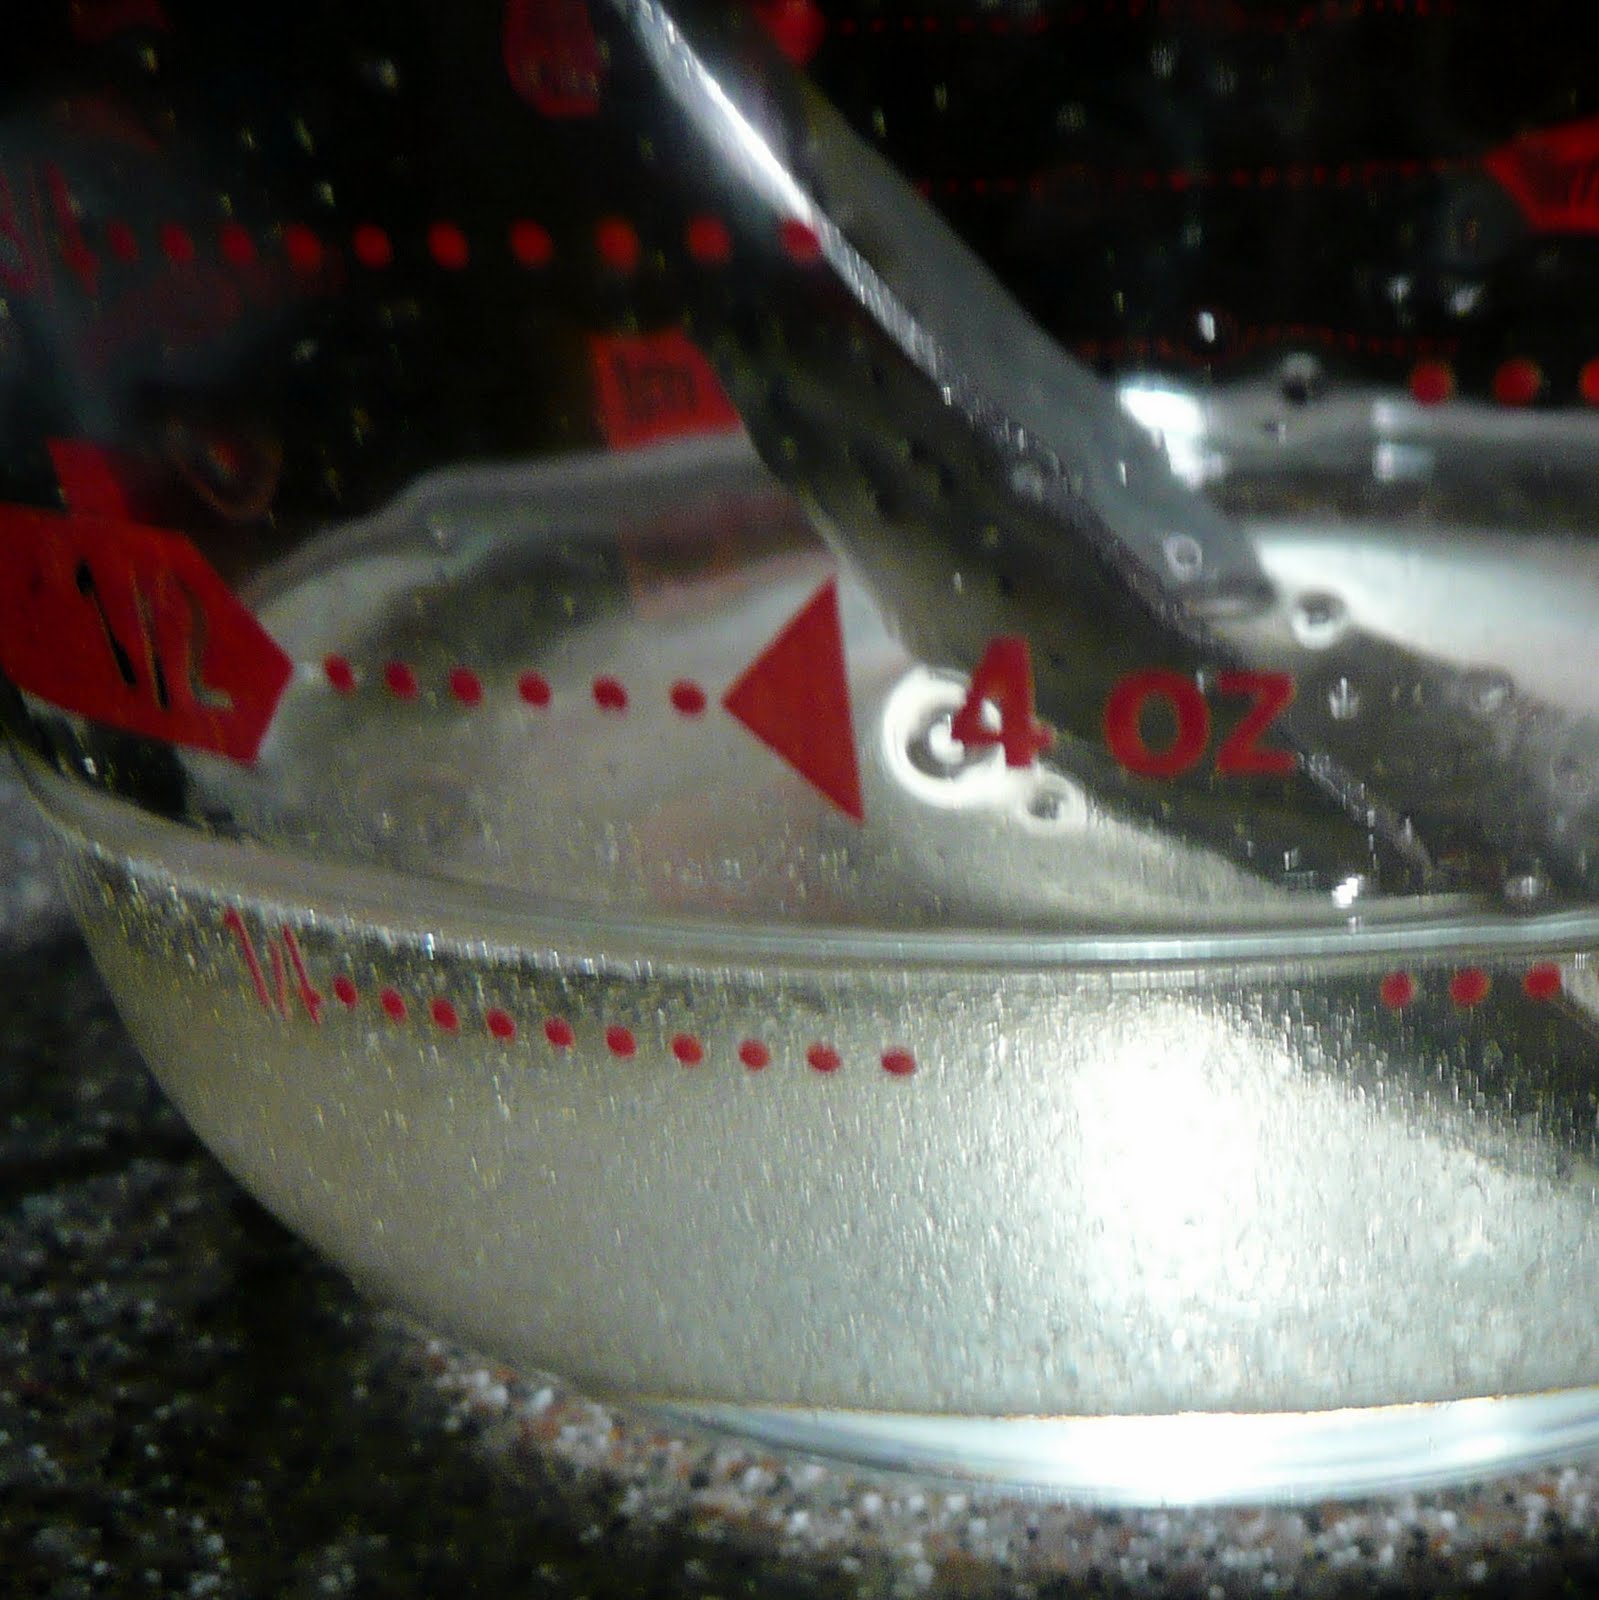
1/4 cup water
3 cups sliced fresh strawberries (1 pound) or a 1 lb mixture of berries
1 tablespoon fresh lemon juice
2/3 cups chilled Sparkling Wine (I used Prosecco)
I had to change the original recipe (linked above) a bit because I realized I didn’t have any corn syrup and was just too darn lazy to go out and buy some. This recipe is also halved from the original. You will need to have a Popsicle mold to make these. If you don’t have one, this might also work just as a “water ice” type treat; try just freezing the mixture in a bowl (if anyone tries this, please let me know how it turns out).
To make, combine the sugar and water in a microwave-safe bowl and microwave for 3 minutes or until it begins to boil. Remove from the microwave and stir until the sugar dissolves. It will have almost a corn syrup-like texture. Let cool.
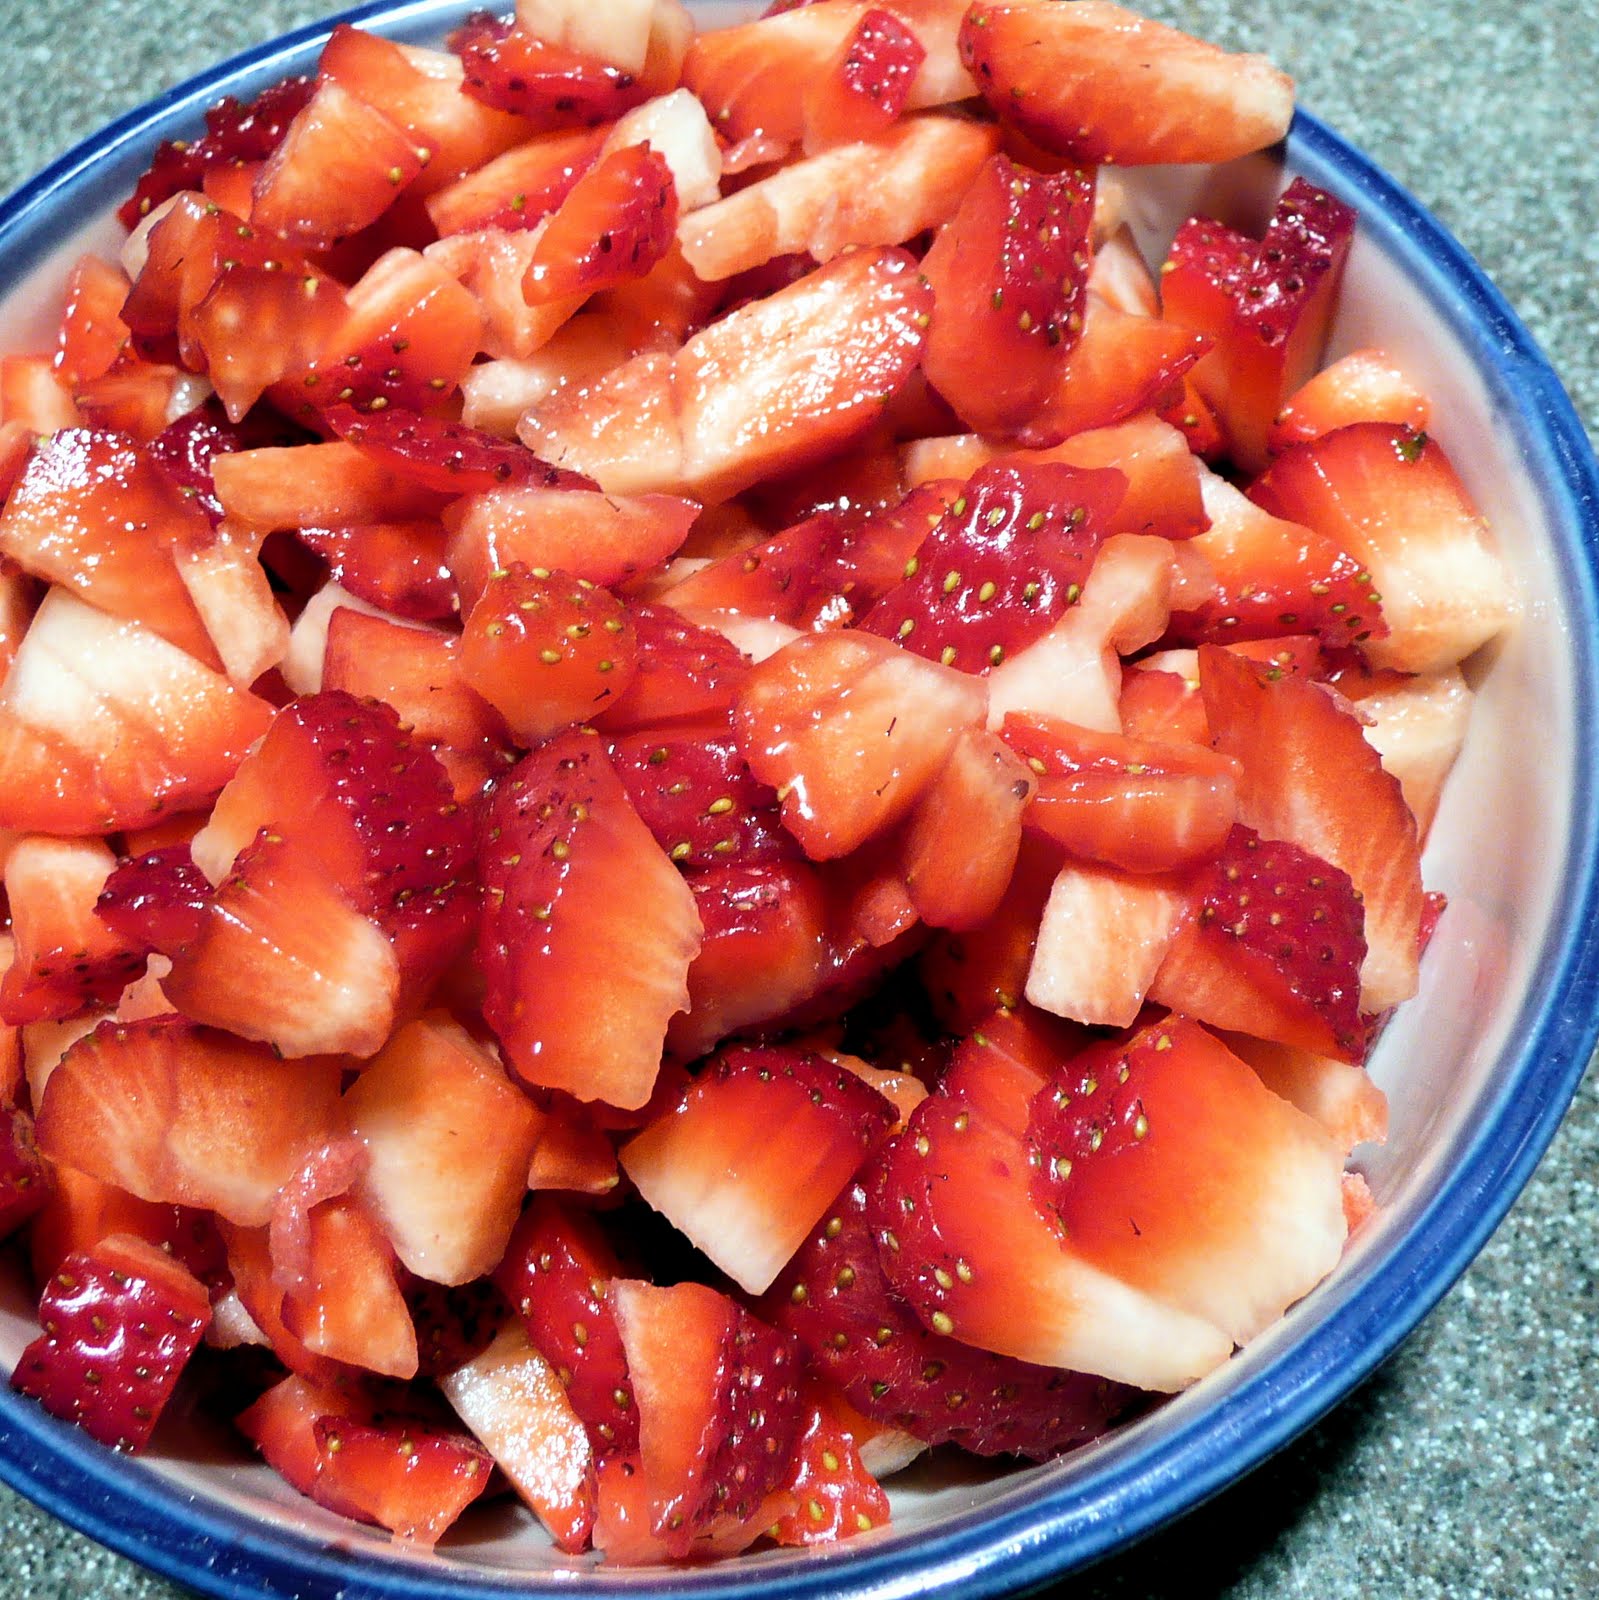
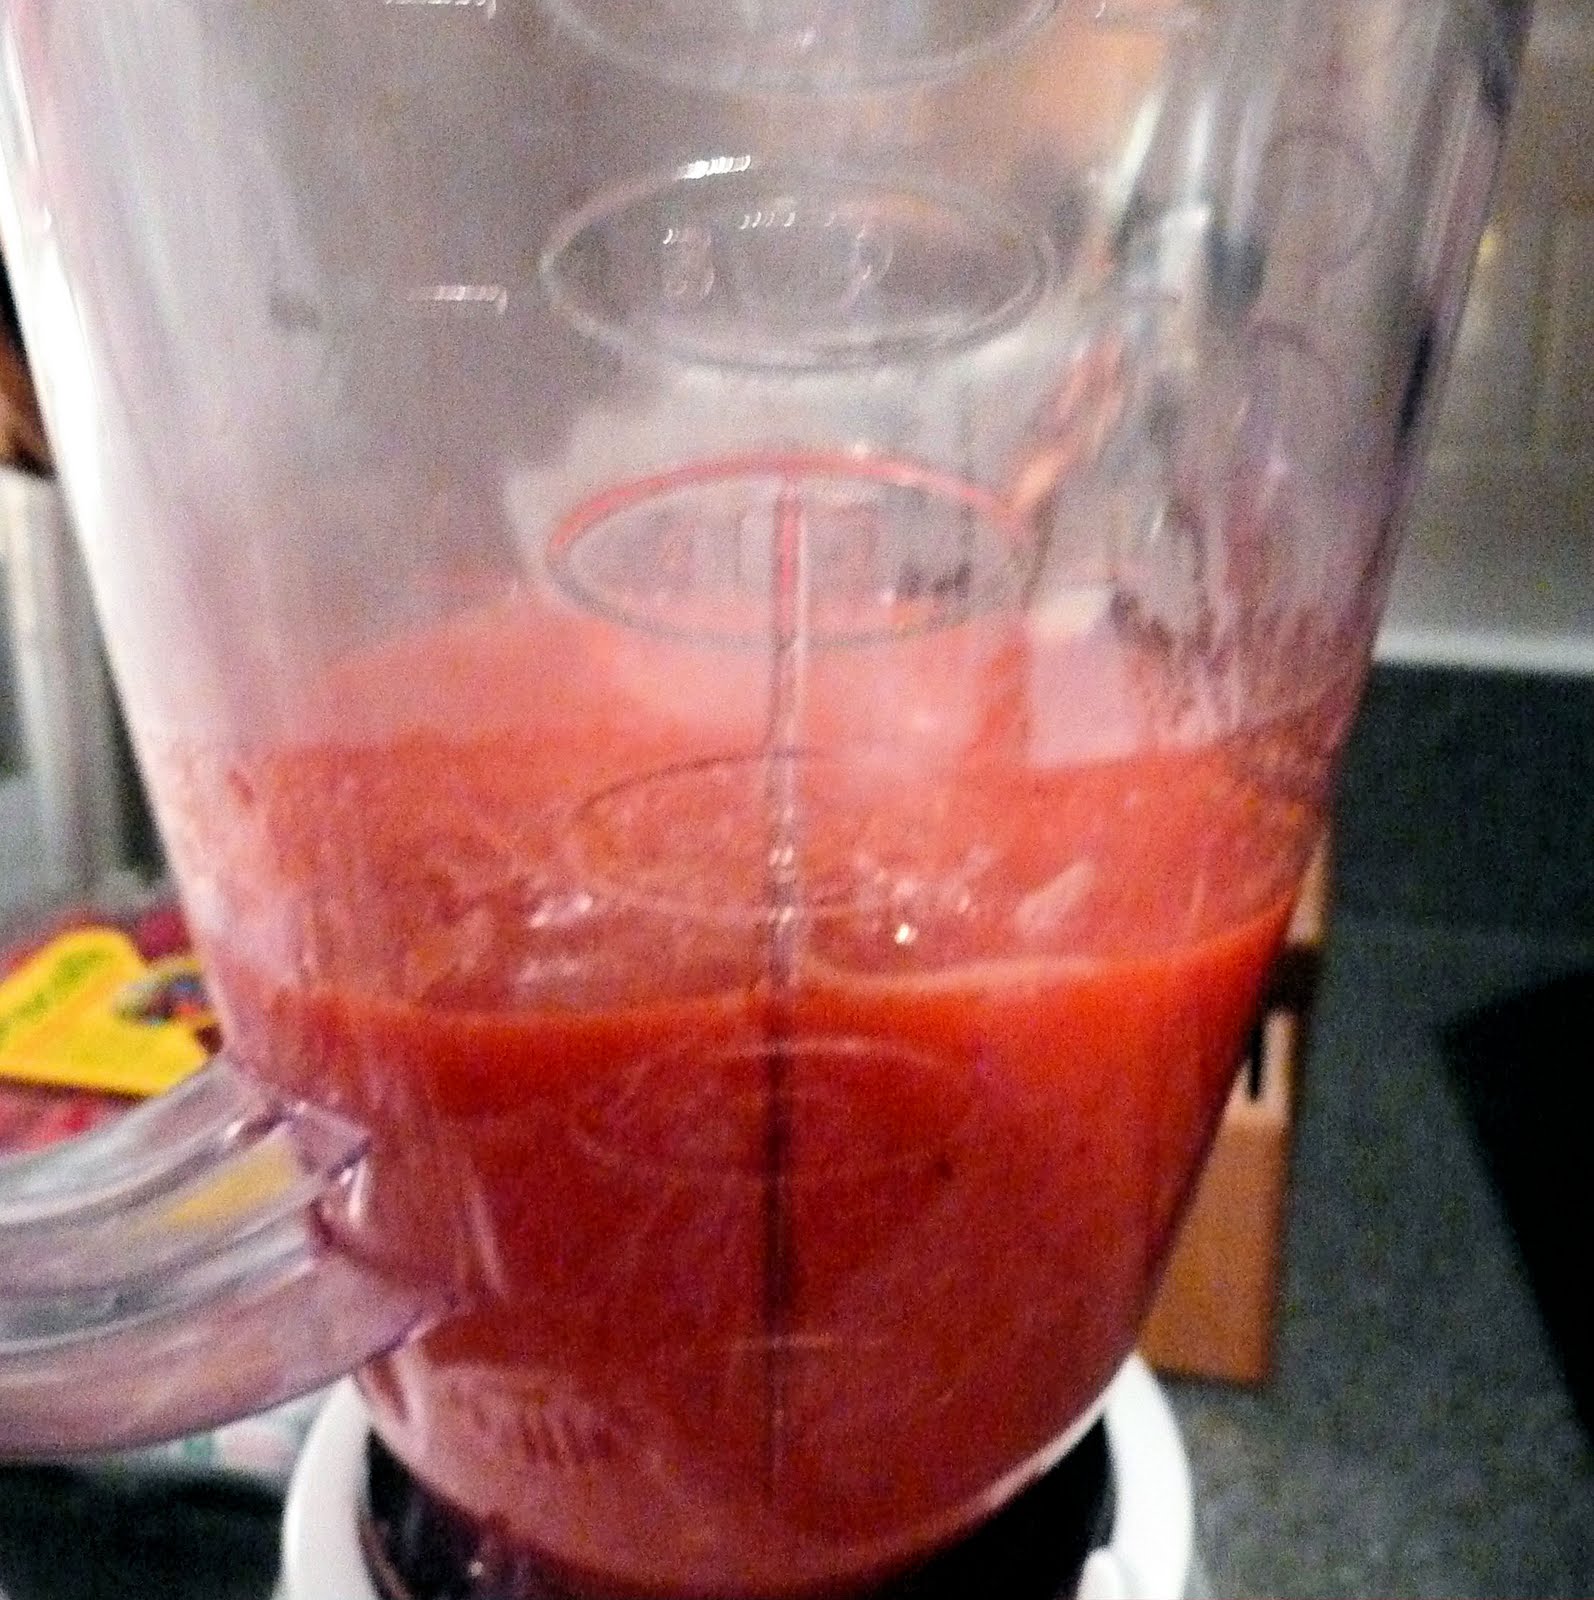
Chop your berries.
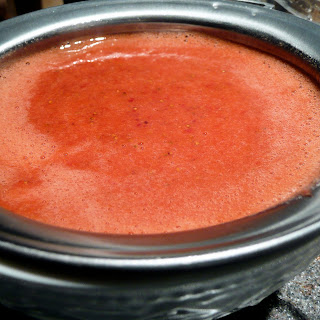
Combine the berries, lemon juice, and half of the sugar-water mixture in a food processor and process until smooth.
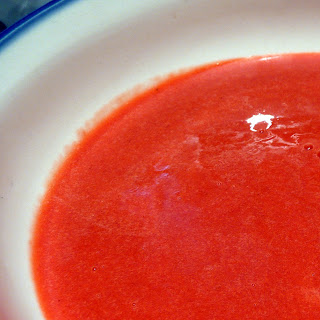
Using a fine mesh strainer, strain the mixture over a bowl.


Use a spoon to press down on the strainer to help push all the juices through.
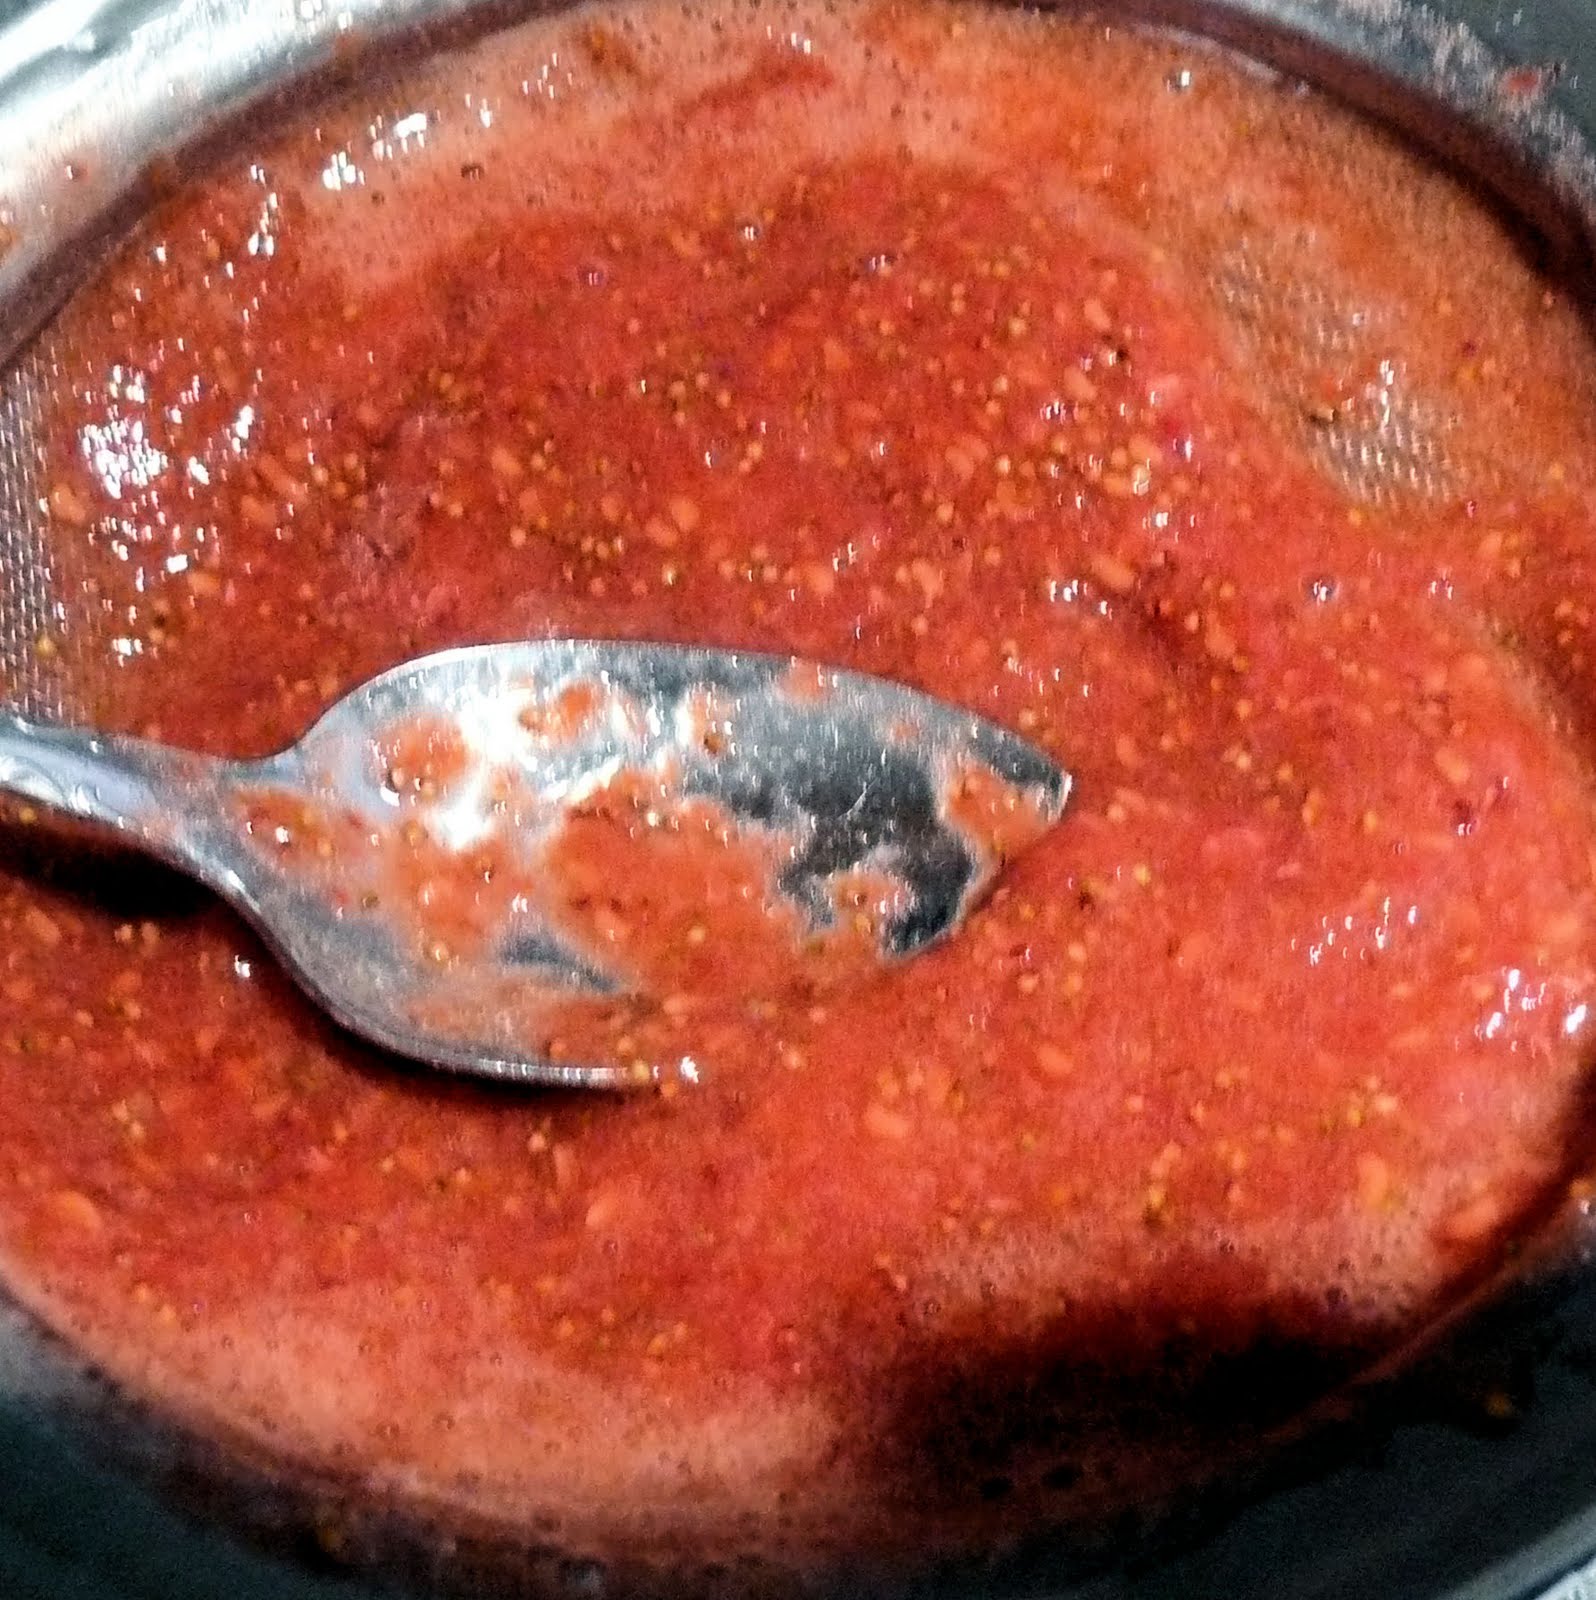
This will remove all seeds and any parts of the strawberries that didn’t fully blend.

Discard the solids left behind.
Add the rest of the sugar syrup and the sparkling wine to the strawberry mixture. Mix to combine.


Divide among 4 ice-pop molds.
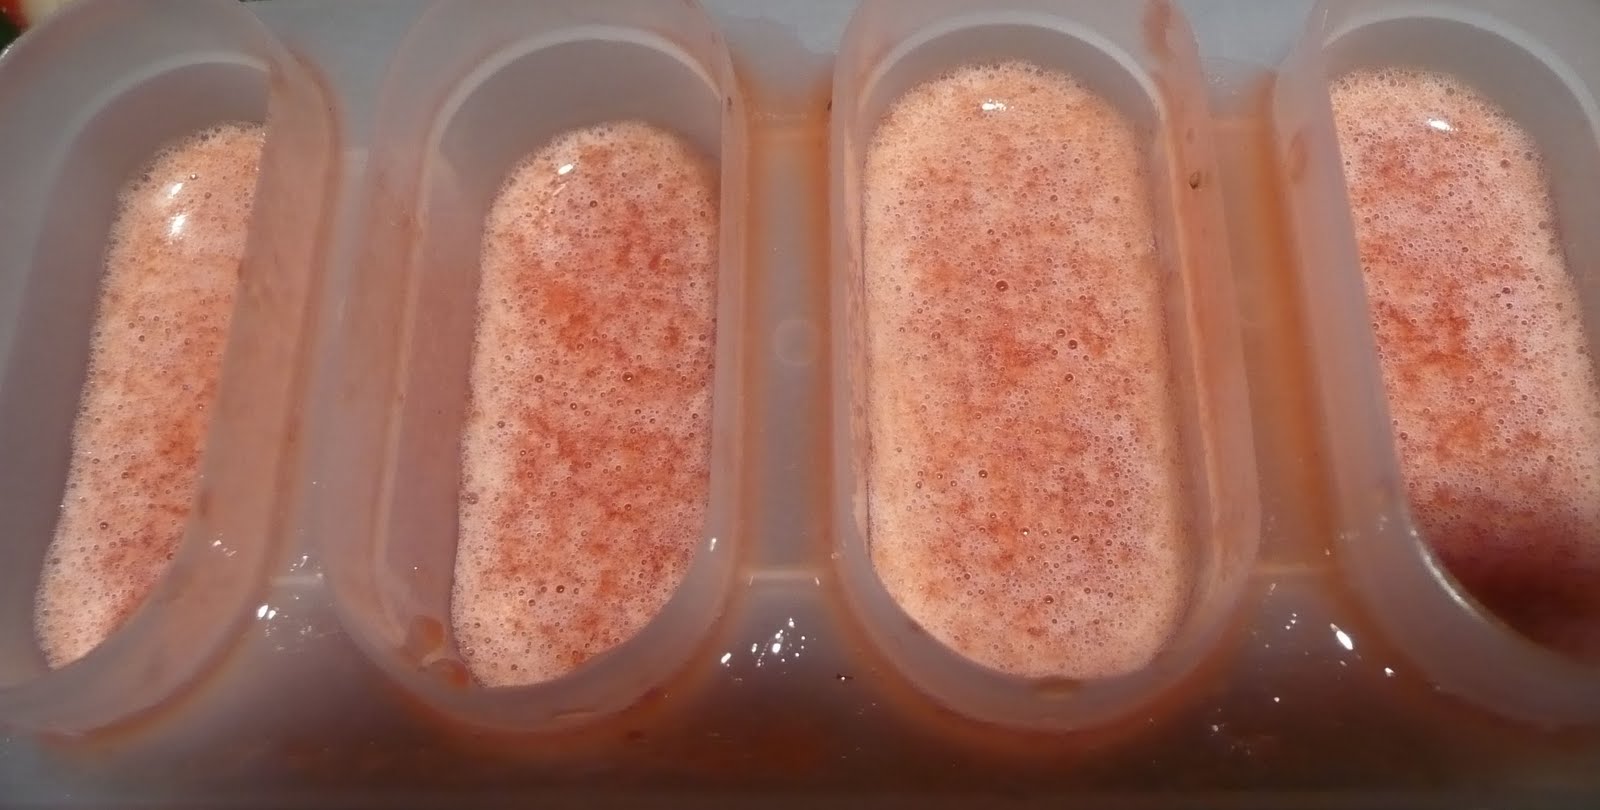
Cover with tin foil. Using a knife, carefully make a small slit in the tin foil on top of each Popsicle.


Insert a Popsicle stick into each slit (this helps to keep the sticks centered).

Freeze for 4 hours or until frozen.
To remove from the molds, run under hot water for a few seconds to loosen the pops.
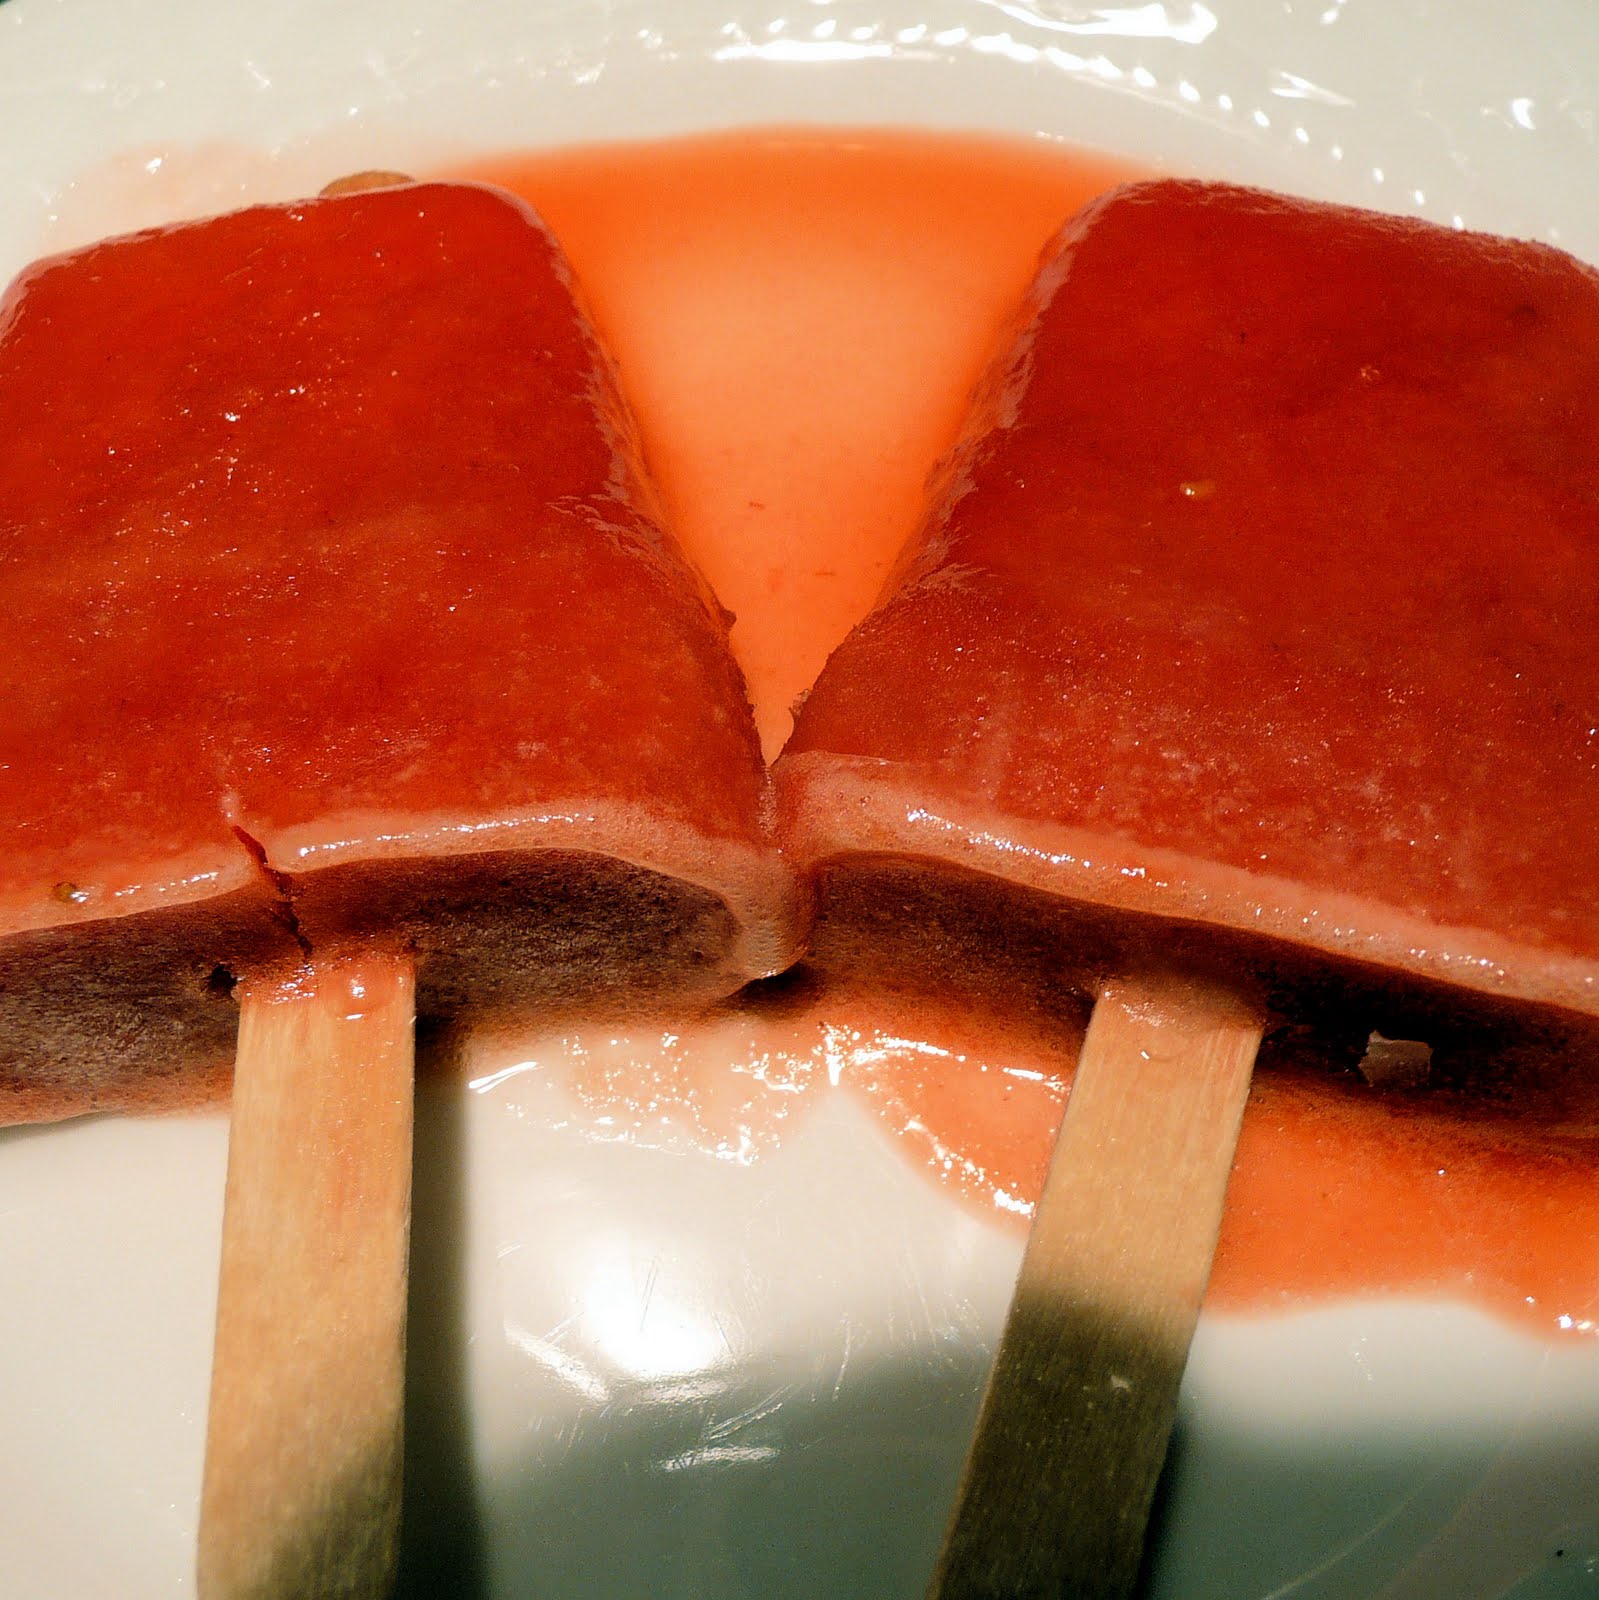
These pops were really refreshing. I was never a fan of Popsicles growing up because of that fake fruit taste that they all seemed to have, so the fresh strawberries really added a nice natural taste that I appreciated. This recipe can be adapted to use any berries you prefer, or even a mixture of a few types of berries. I hope these help beat the heat!