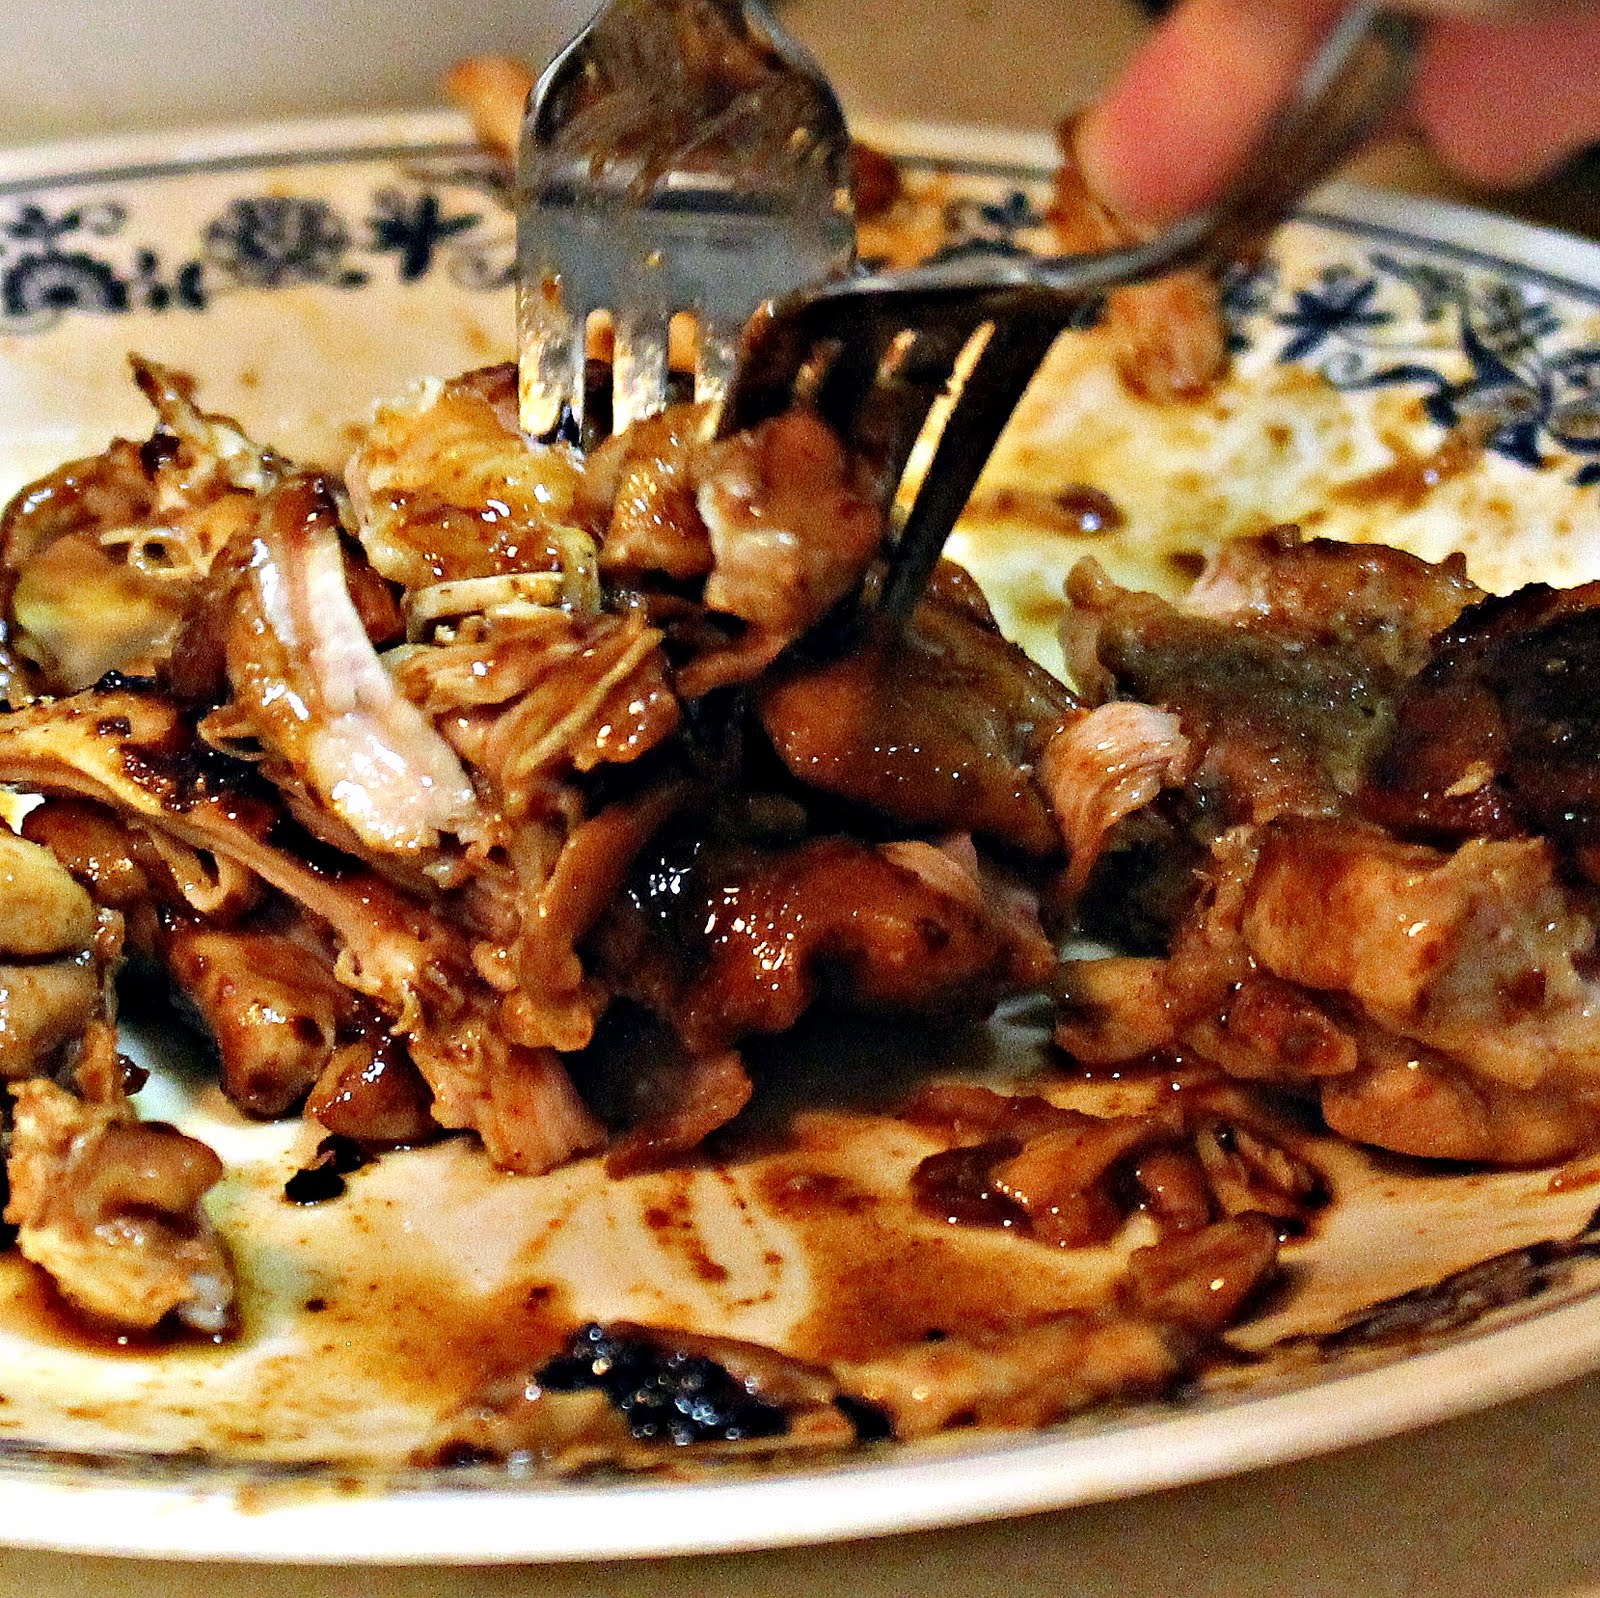
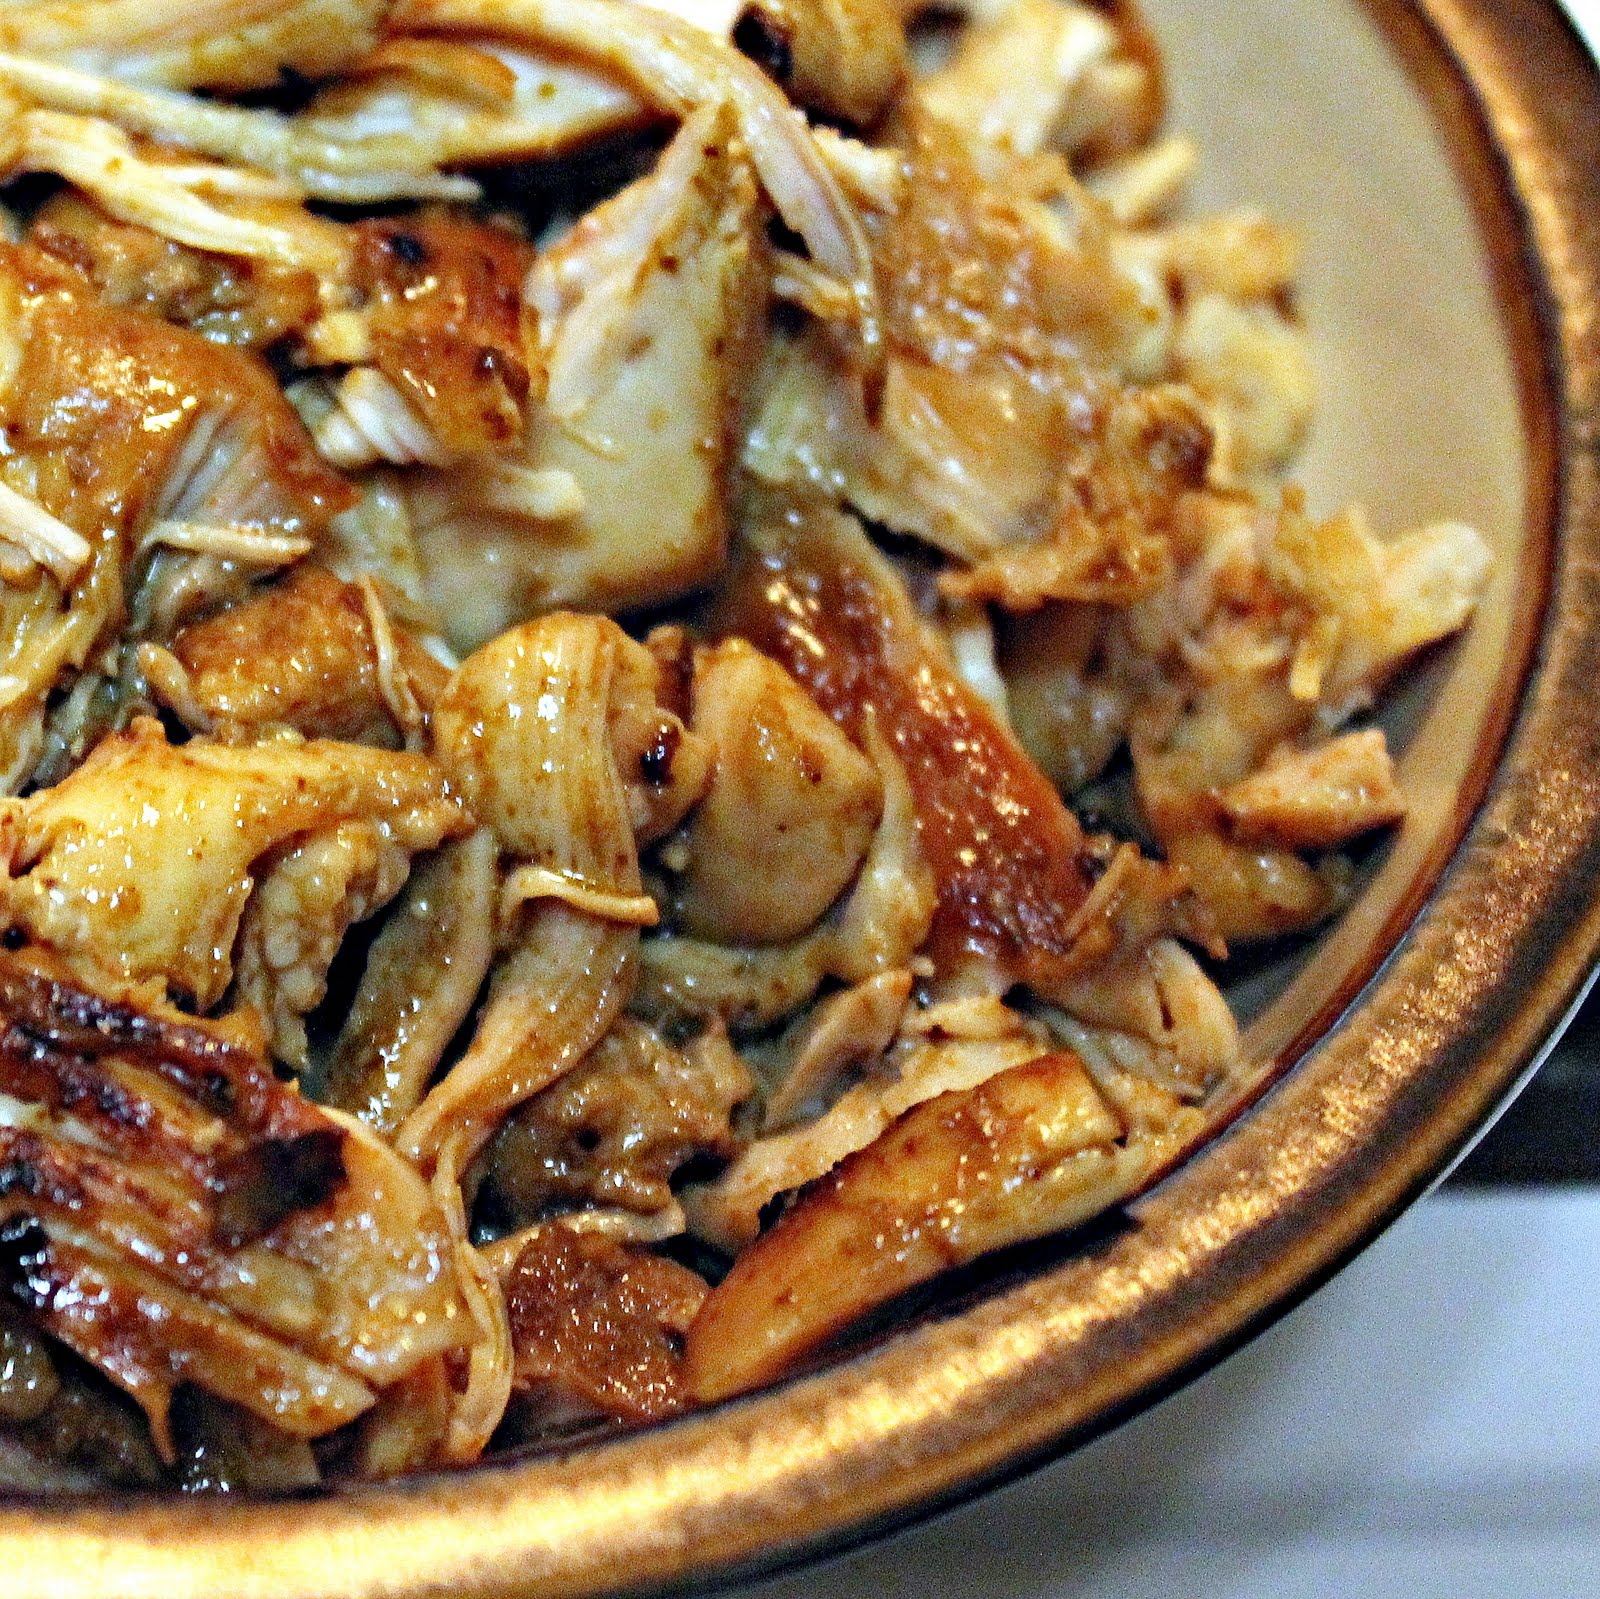
We all have those nights where we are absolutely too exhausted to cook. I tend to go straight for pasta whenever these nights come up, but recently I’ve been running low on my homemade tomato sauce. Sigh. I will of course whip up a batch of my tomato sauce when I have time, but it takes a good three hours to make!
Luckily,
Pomi must have sensed my tomato sauce drought, and asked if I’d be willing to try some of their new sauces, specifically the
Vodka Sauce and the
Alfredo Sauce. (They also have traditional Marinara and Tomato & Basil sauces.) Not only do I get to try theses sauces, but
Pomi is also going to send one lucky reader one box each of the Vodka Sauce and the Alfredo Sauce! I will discuss the giveaway at the end of this post, so stick with me!
I was excited to try Pomi. Unlike most tomato sauces, Pomi products actually come in boxes and are BPA-free. BPA, or bisphenol A is a compound used to make polycarbonate plastic and epoxy resins. Polycarbonate plastics are typically used in containers that store food and beverages, such as water bottles, and baby bottles. Epoxy resins are mainly used to coat the inside of metal products, such as food cans. The issue is there is evidence that BPA can seep into food and be absorbed into the human body, causing damage to the cardiovascular and reproductive systems, possibly leading to cancer, diabetes, asthma and obesity. Although more research needs to be completed, it has been suggested that consumers should try to limit their BPA exposure. Pomi also uses 100% natural tomatoes (no pesticides, herbicides or genetically modified seeds are used) and they do not add preservatives or artificial flavors to the end result.
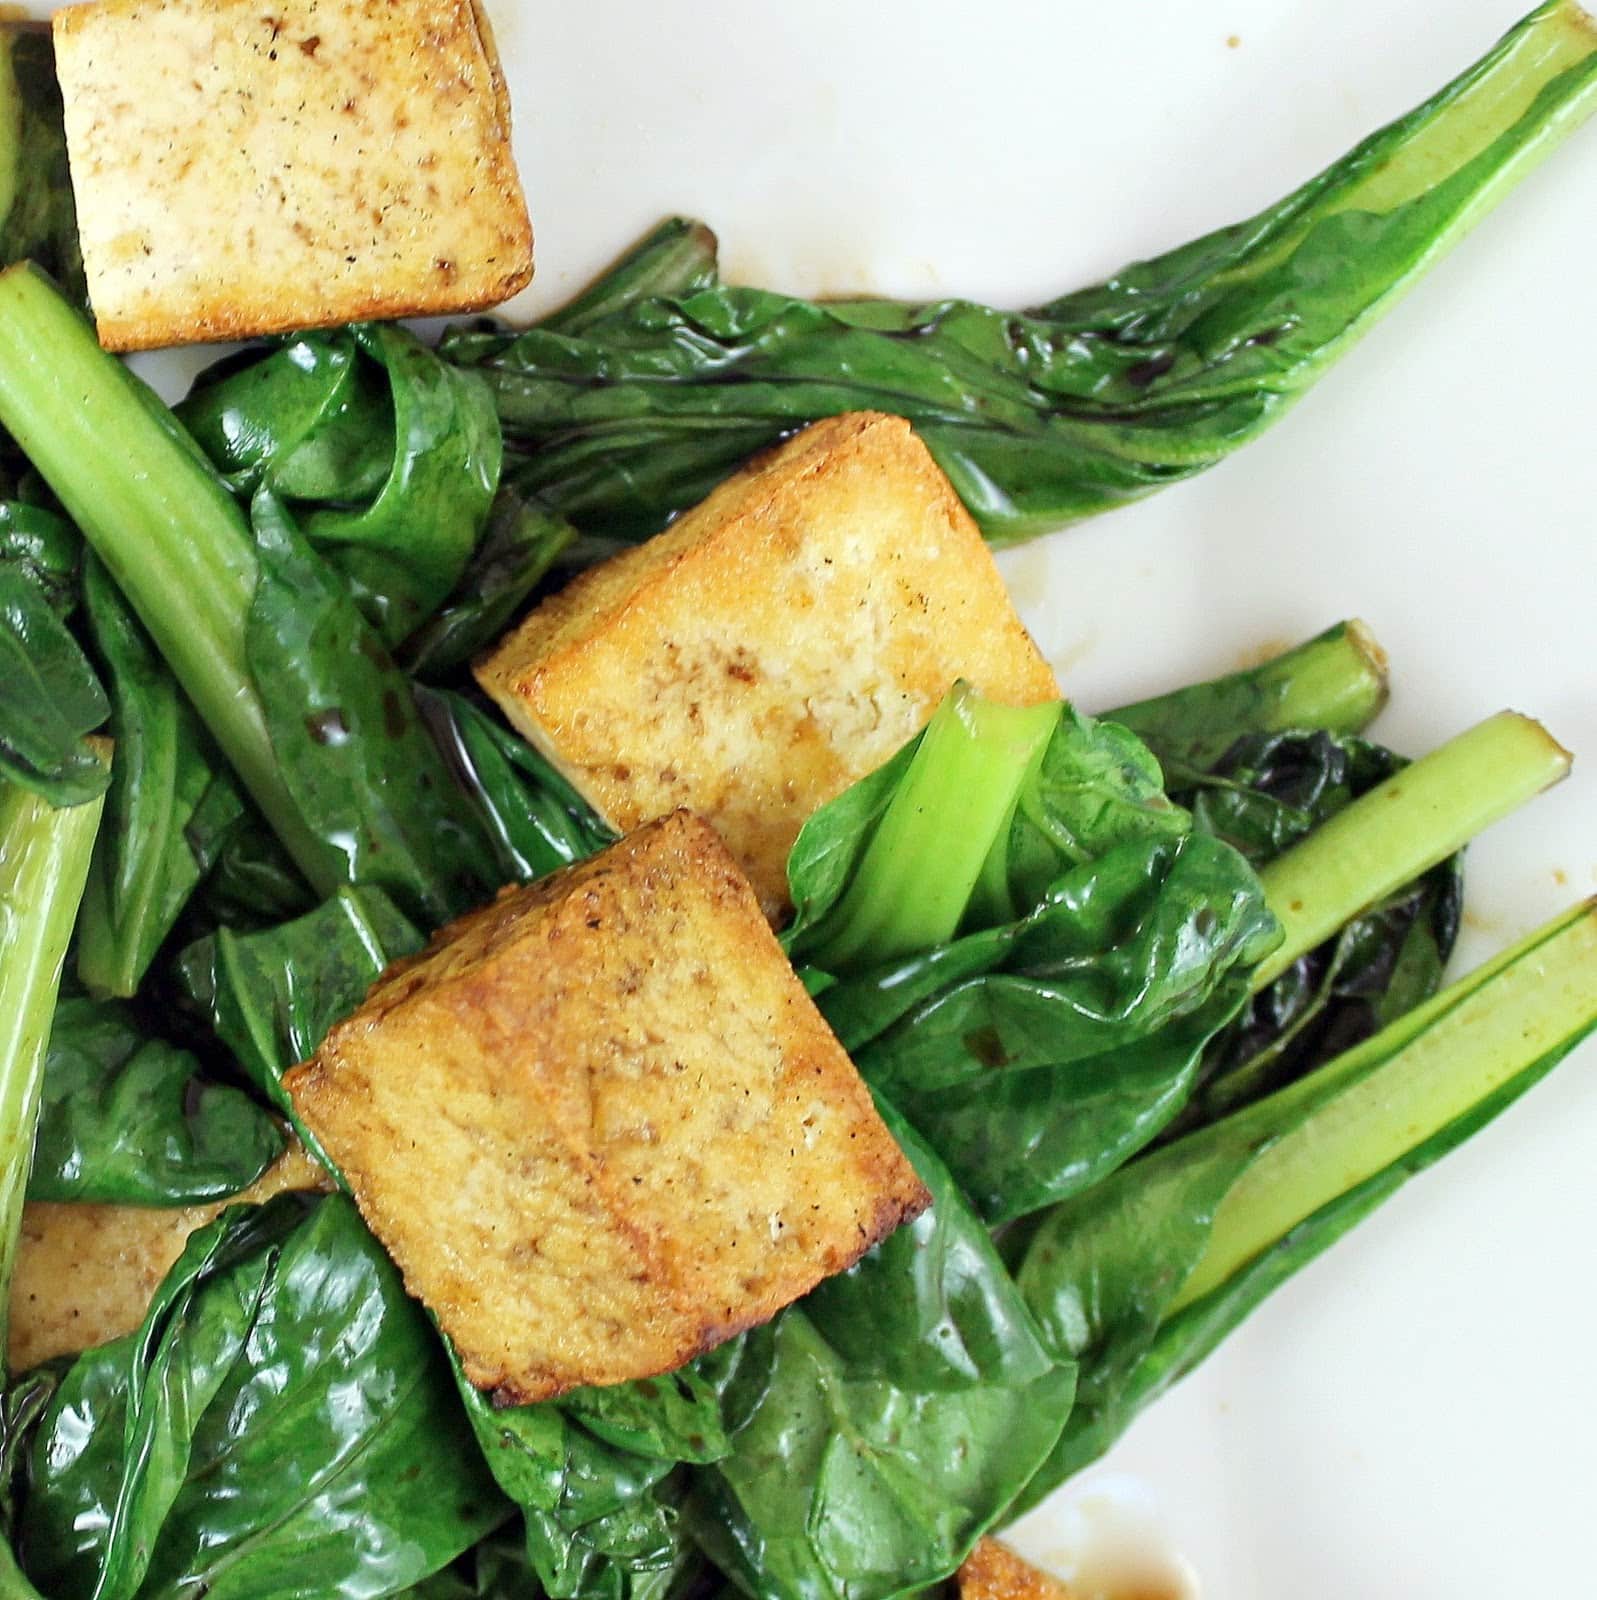
Naturally, you can used these sauces just poured over freshly cooked pasta. But I decided to also test how versatile these sauces are. To save from a ridiculously long post, the Alfredo Sauce post will be coming shortly!
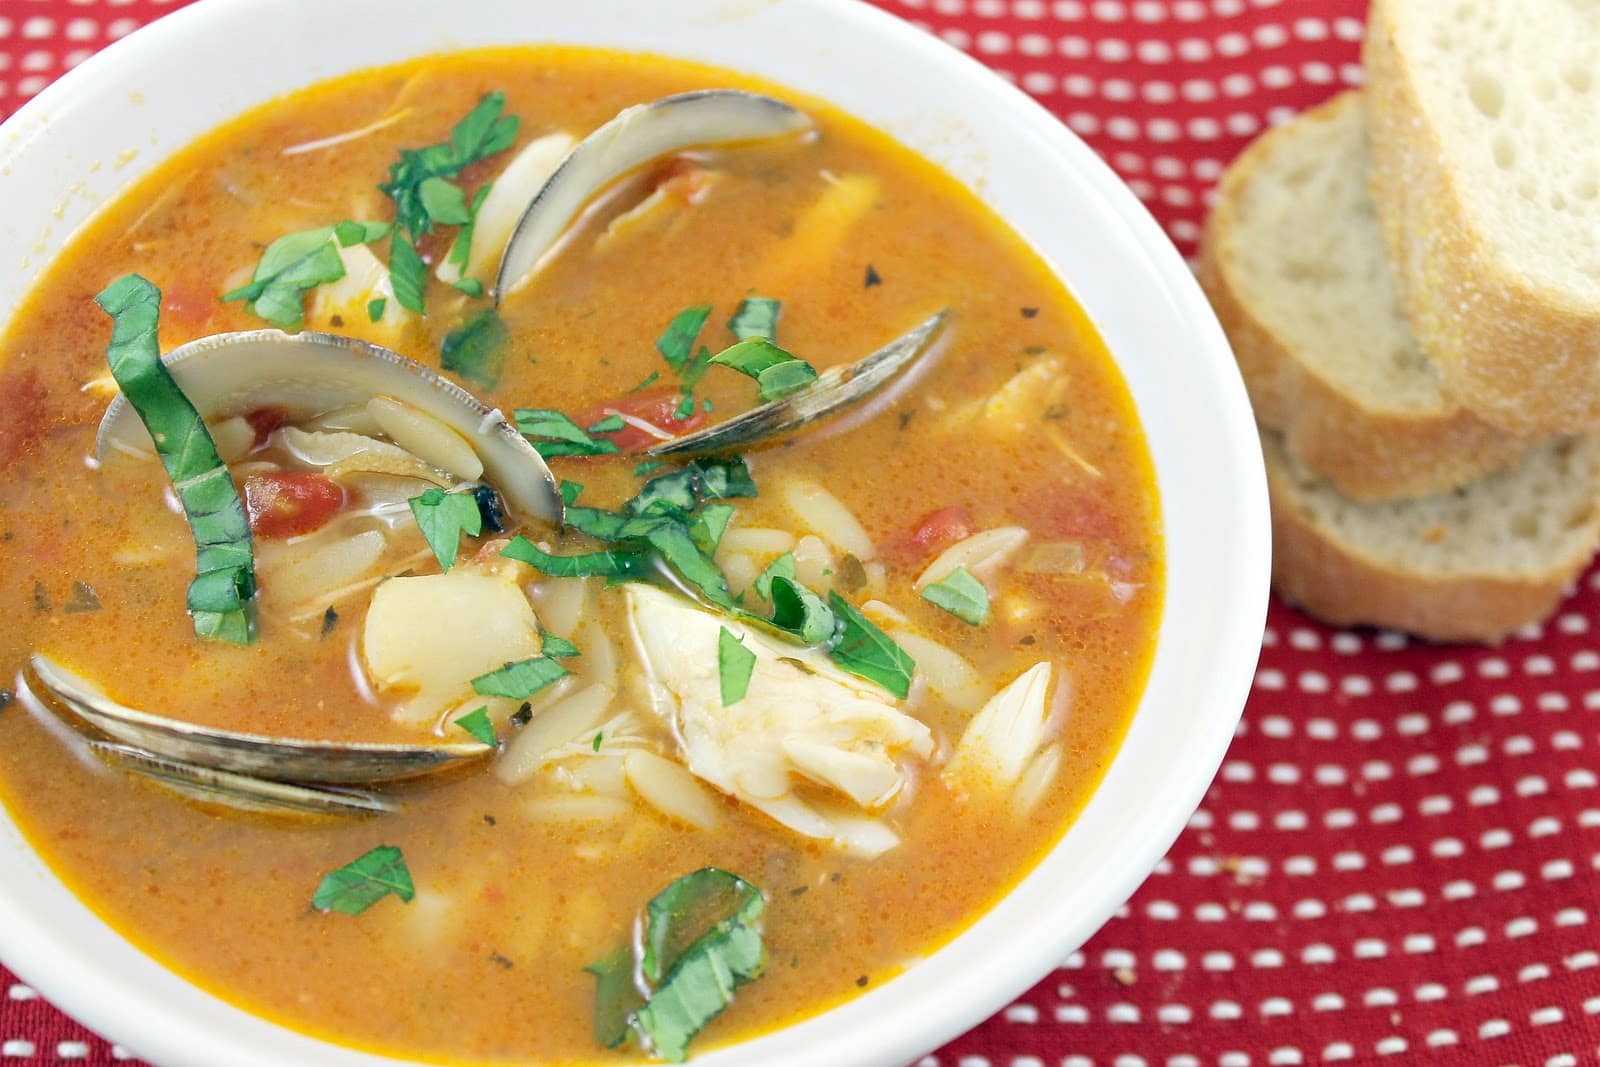
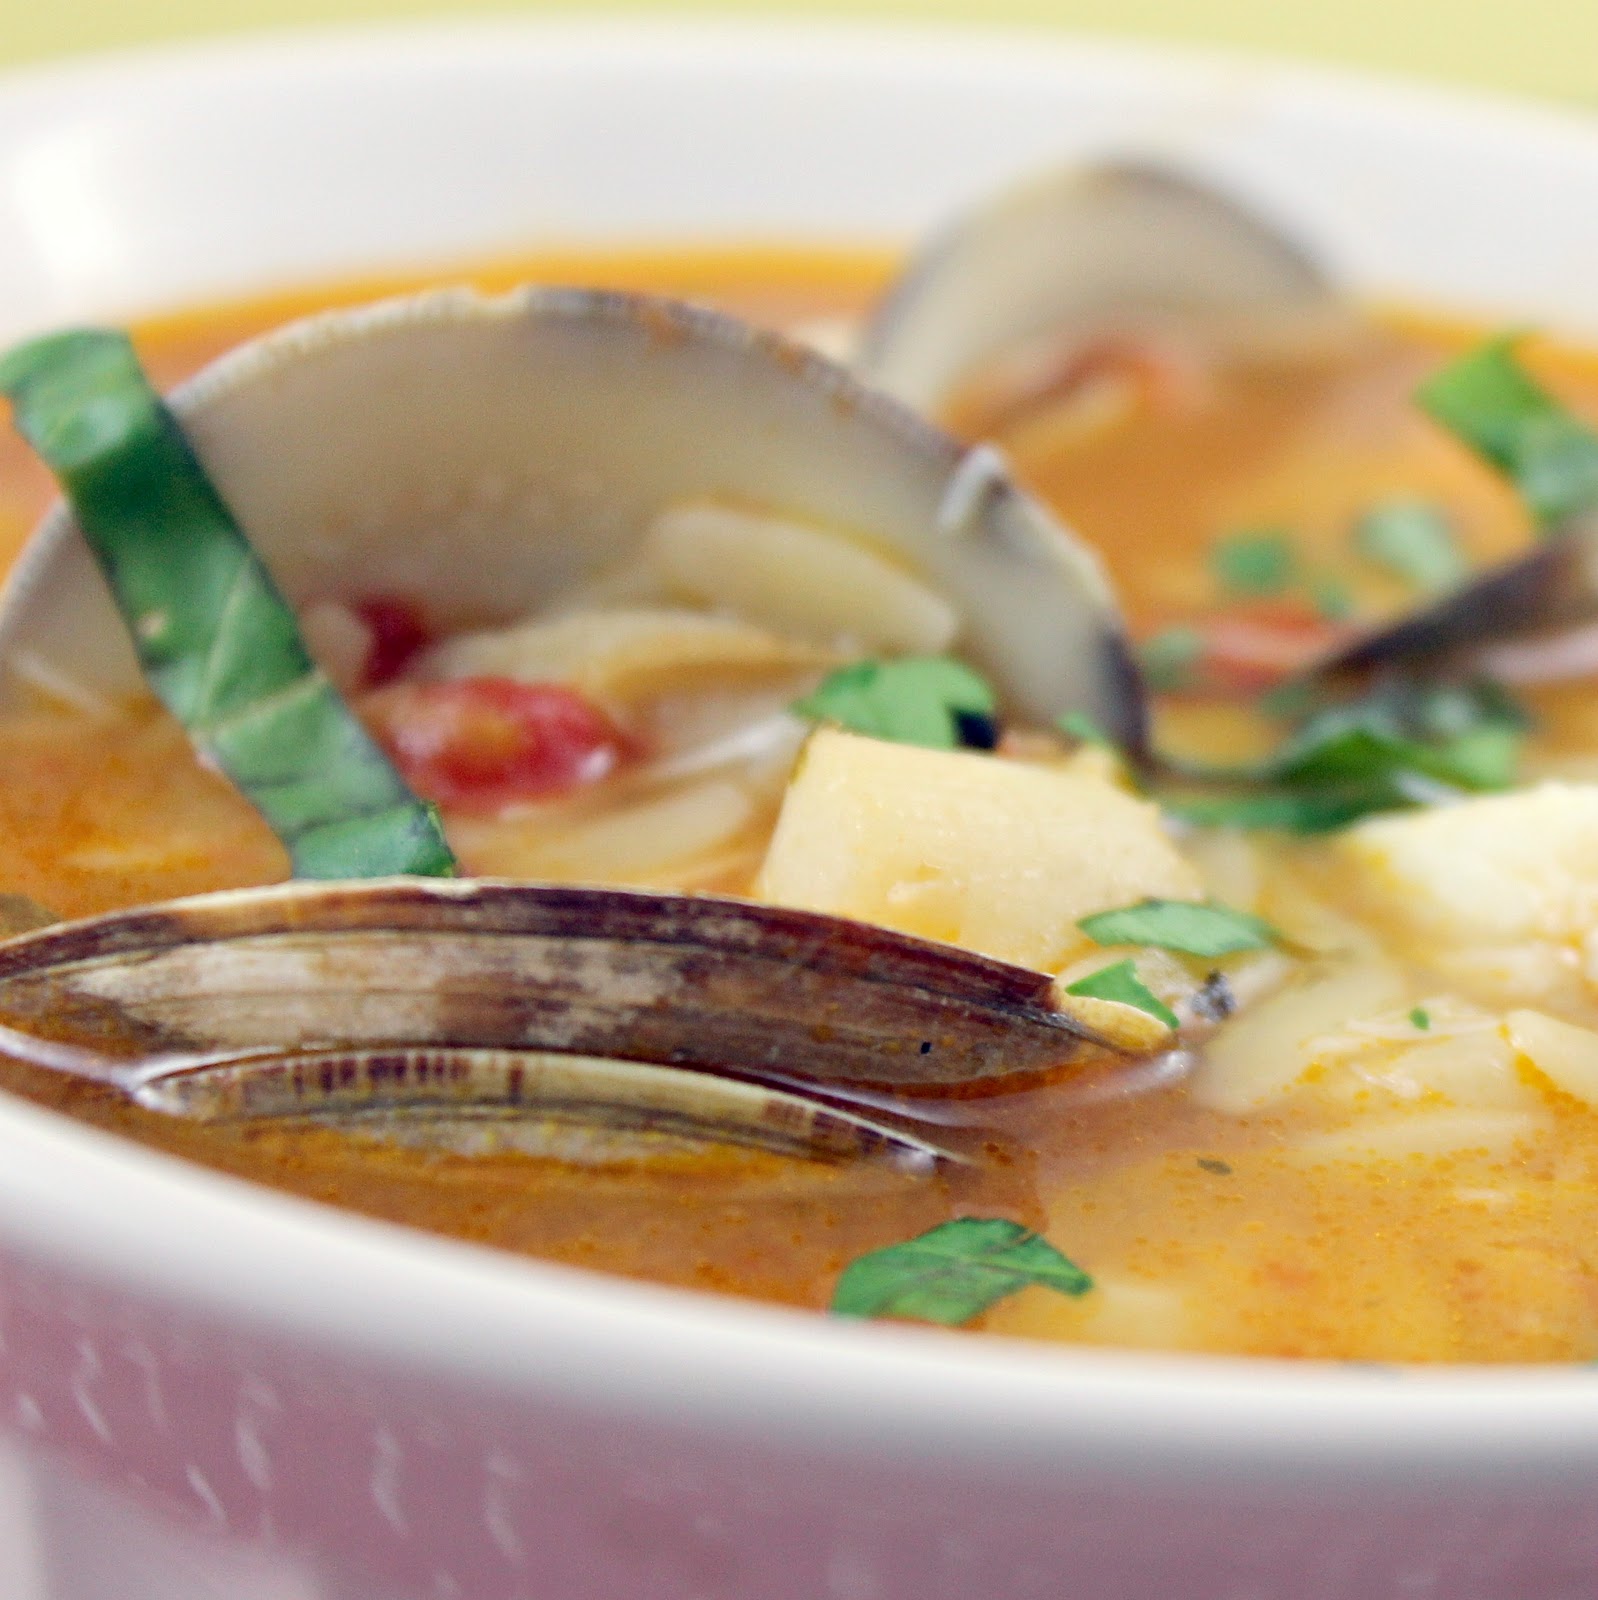
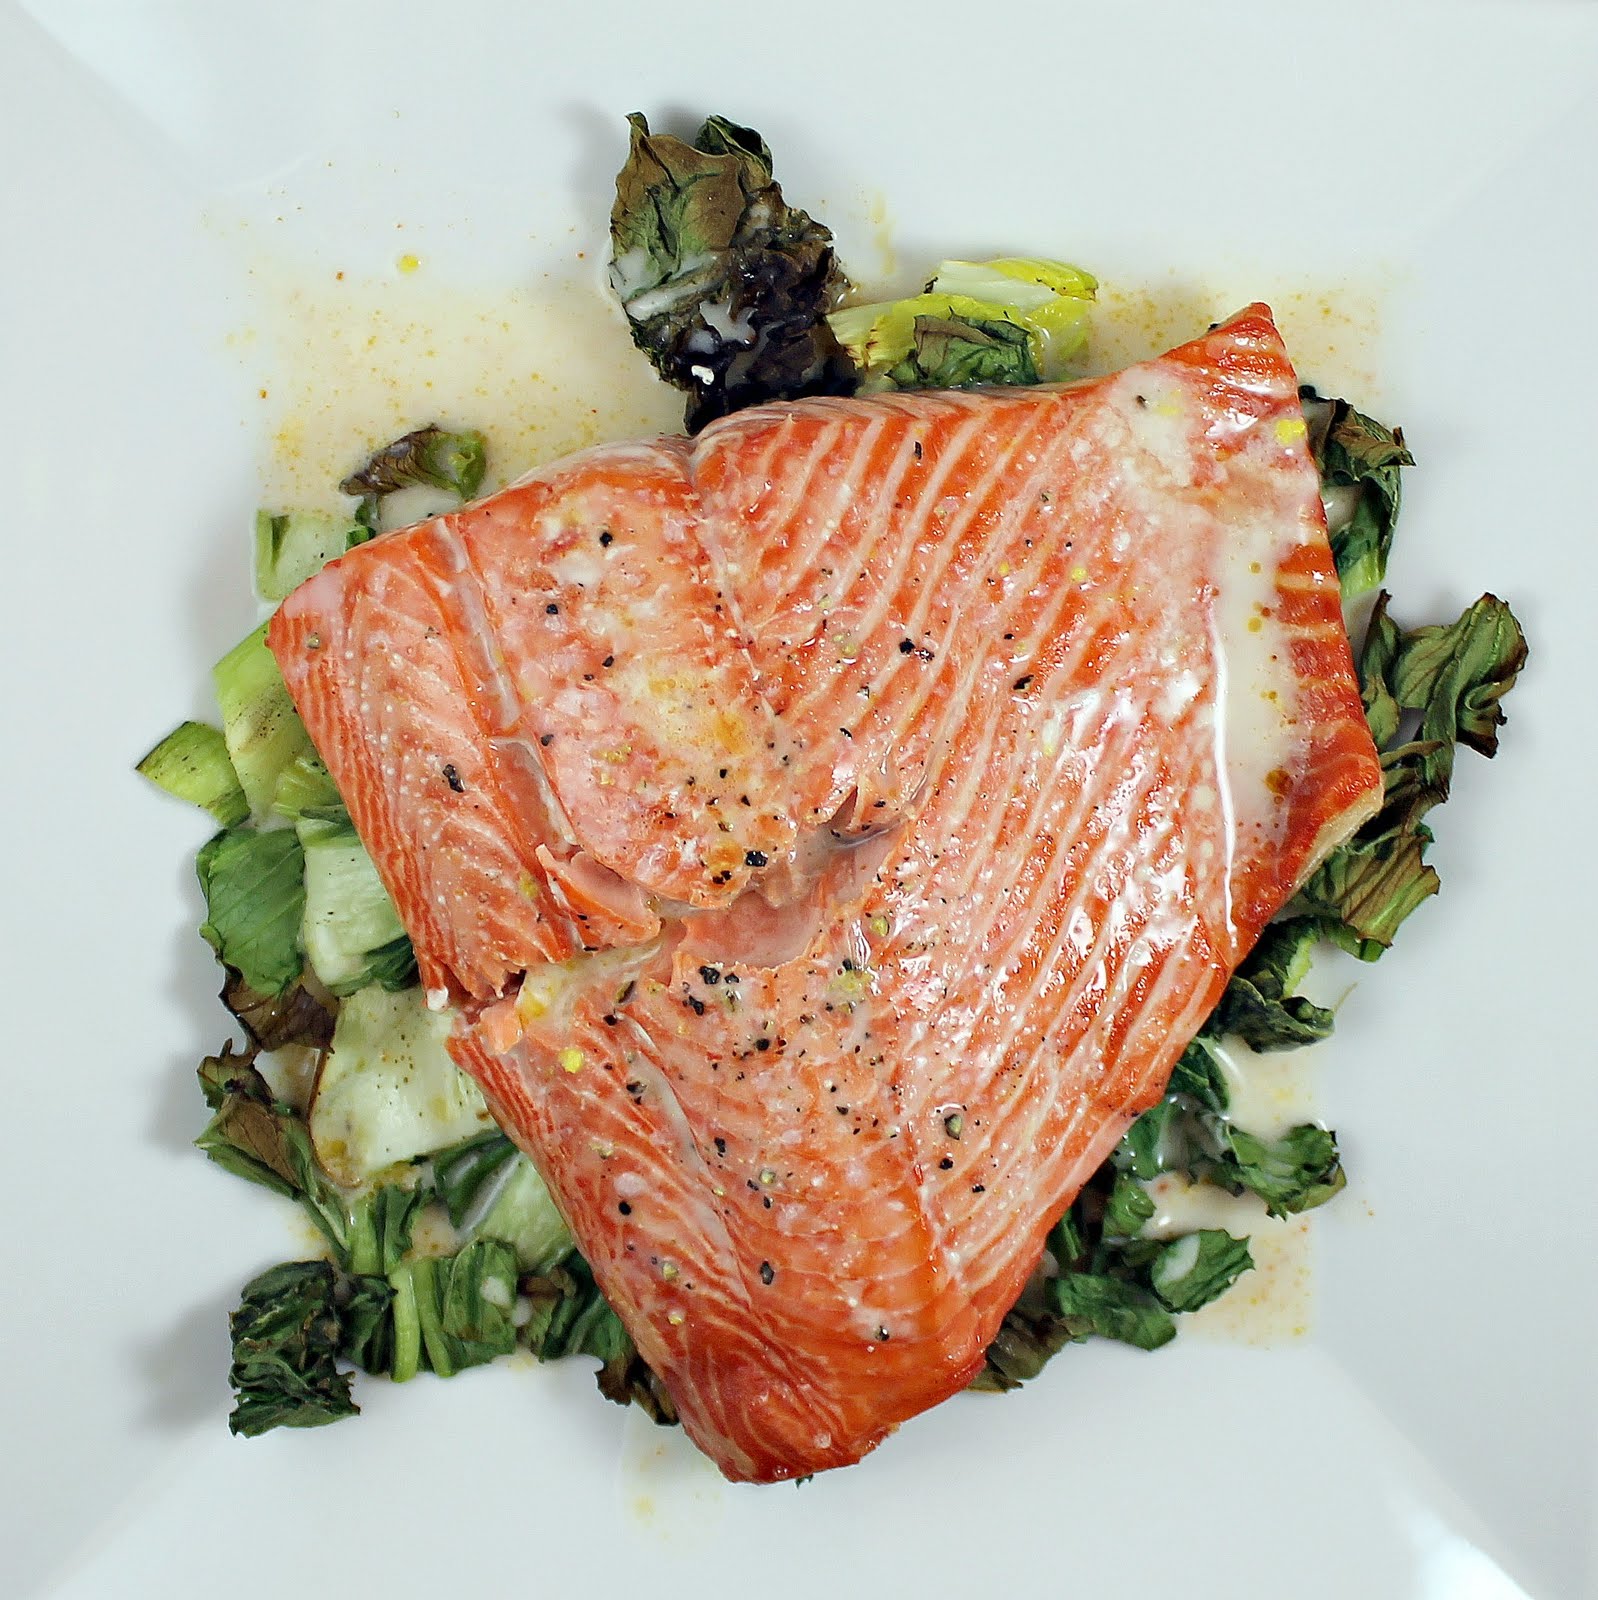
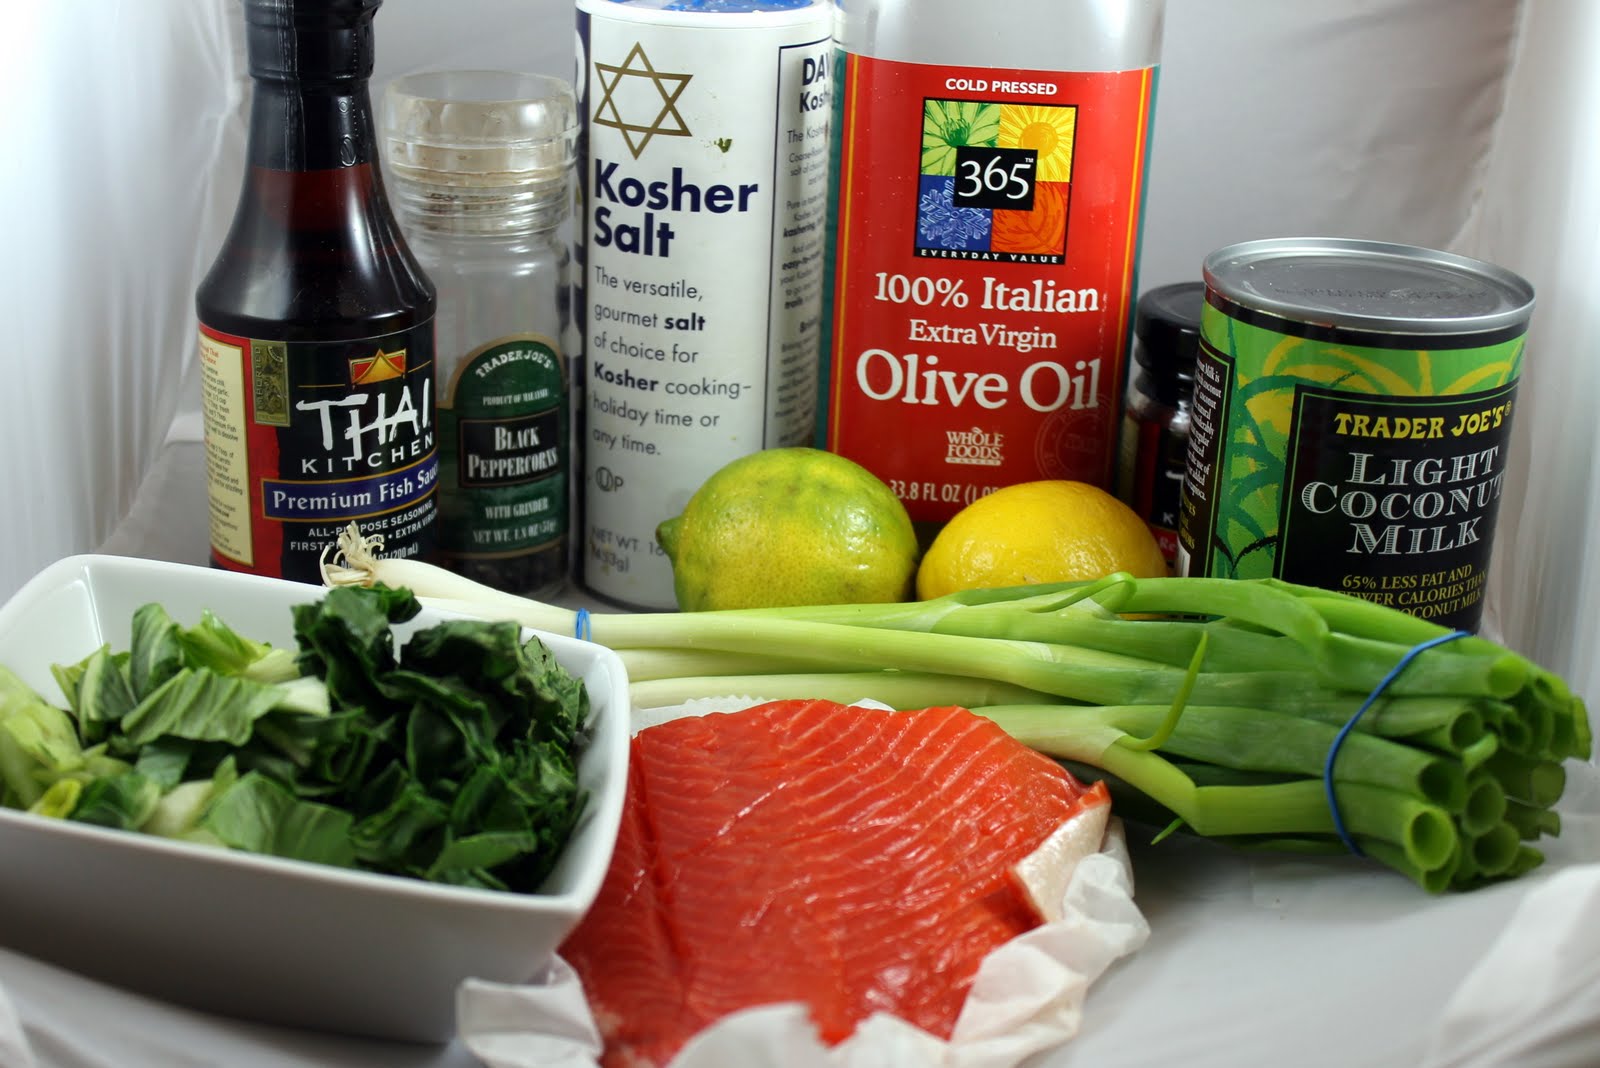
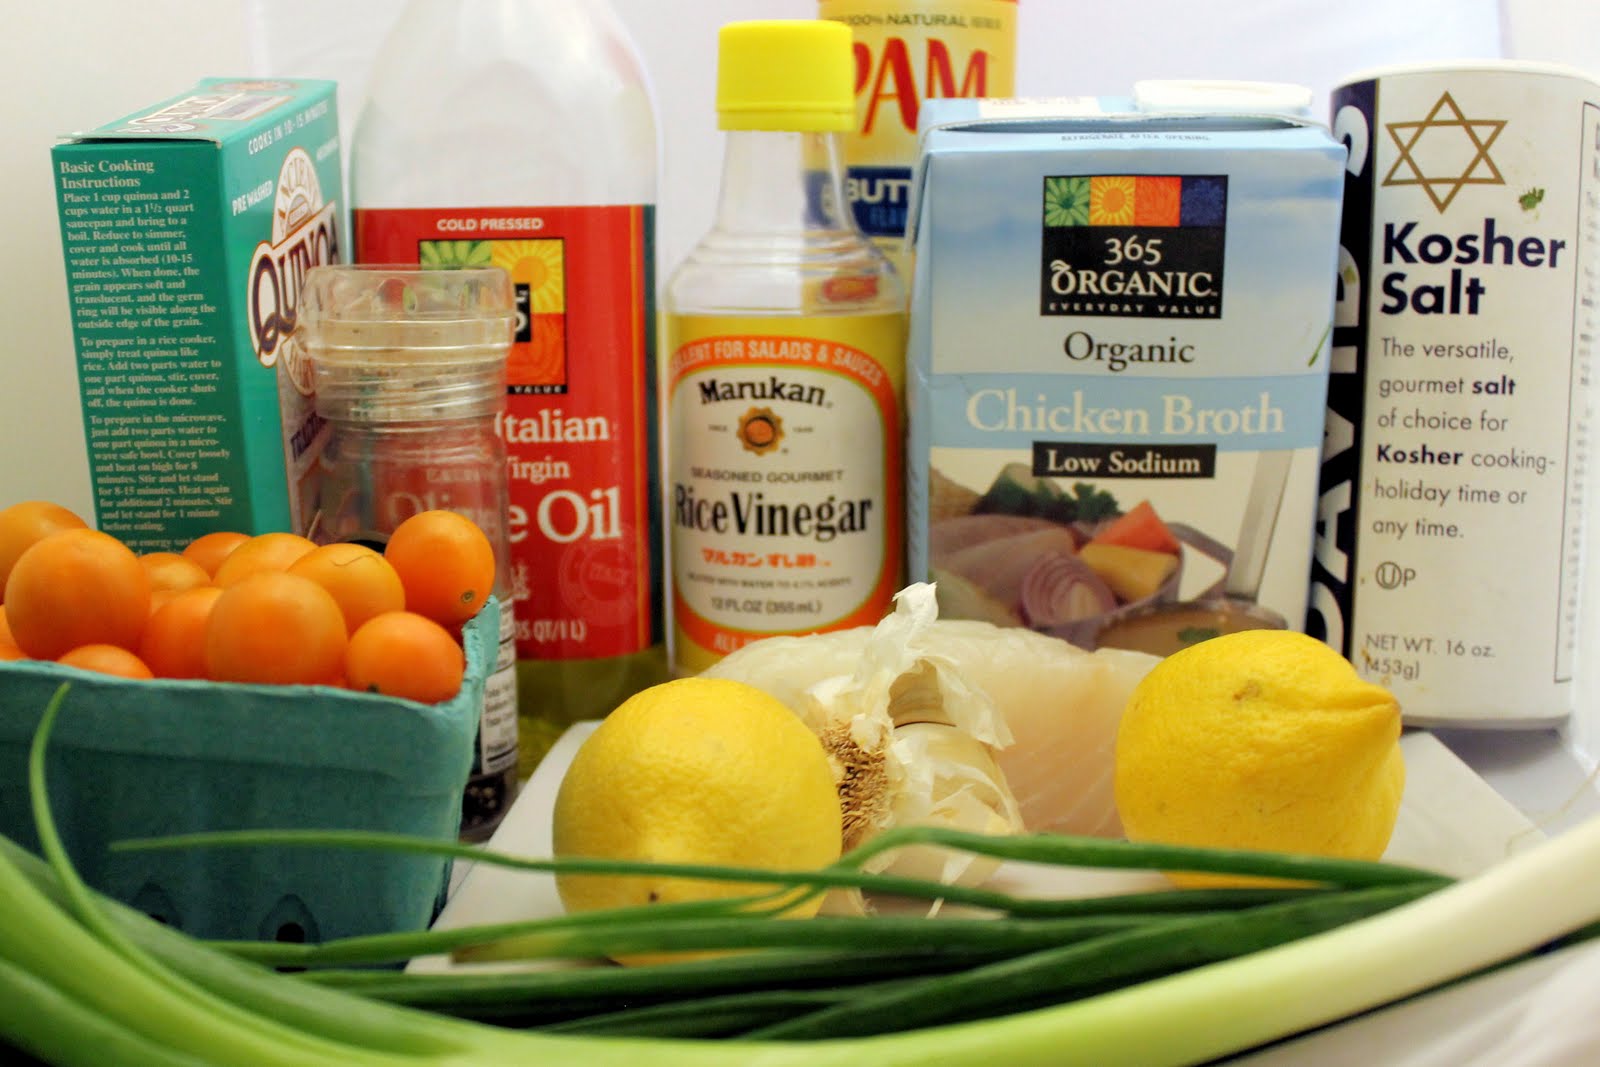
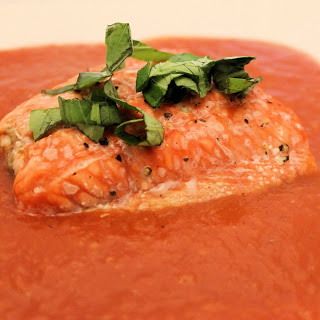
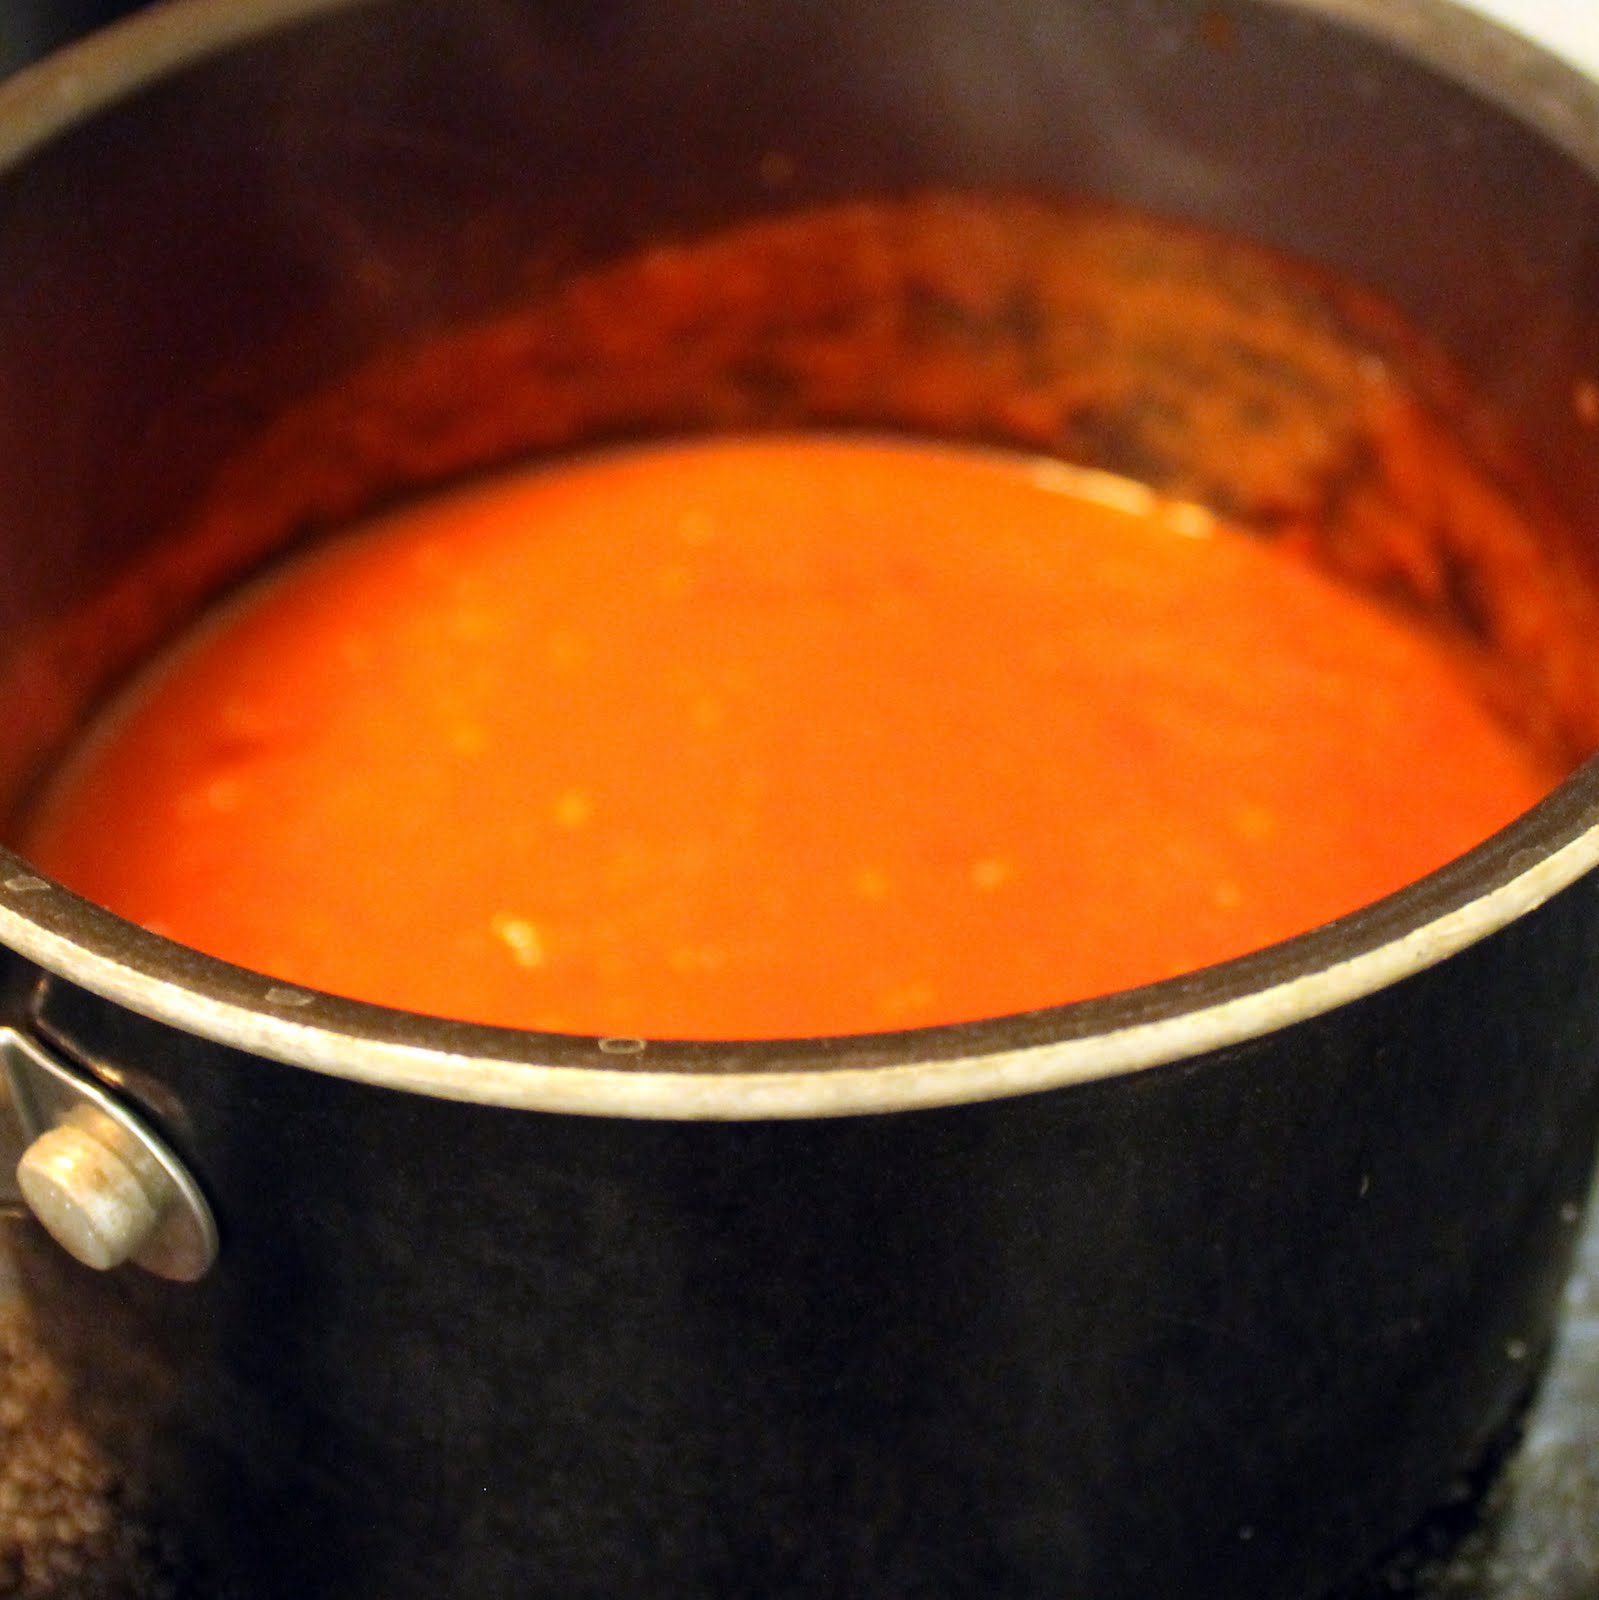
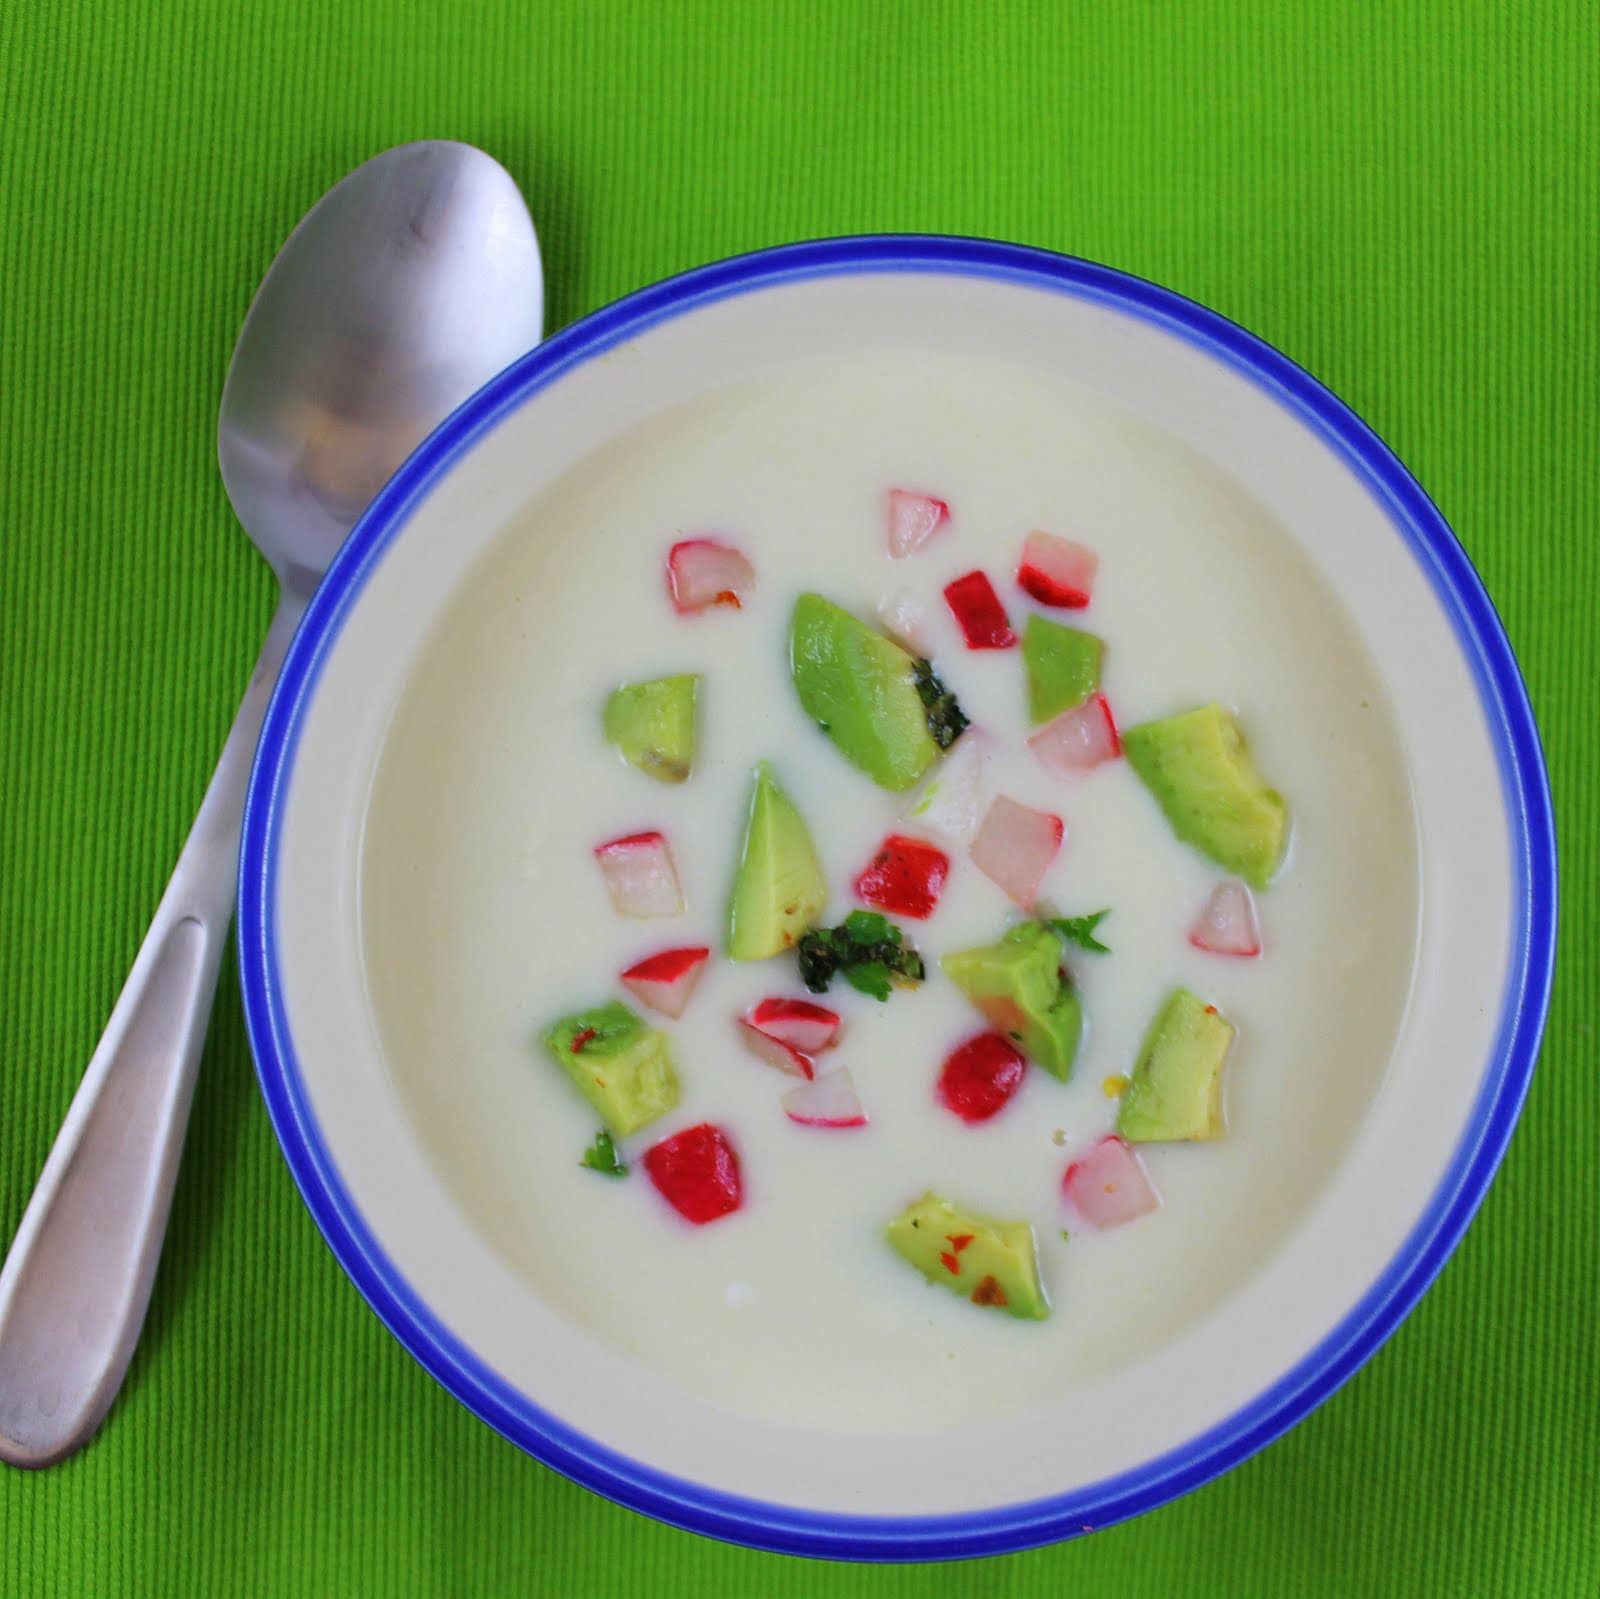
I decided to use the Vodka Sauce to make a Tomato Seafood Chowder. Pomi’s vodka sauce ingredients include: tomatoes, heavy cream, vodka, onion, cheeses, garlic, basil and parsley, which sounded like a wonderful base for a soup.
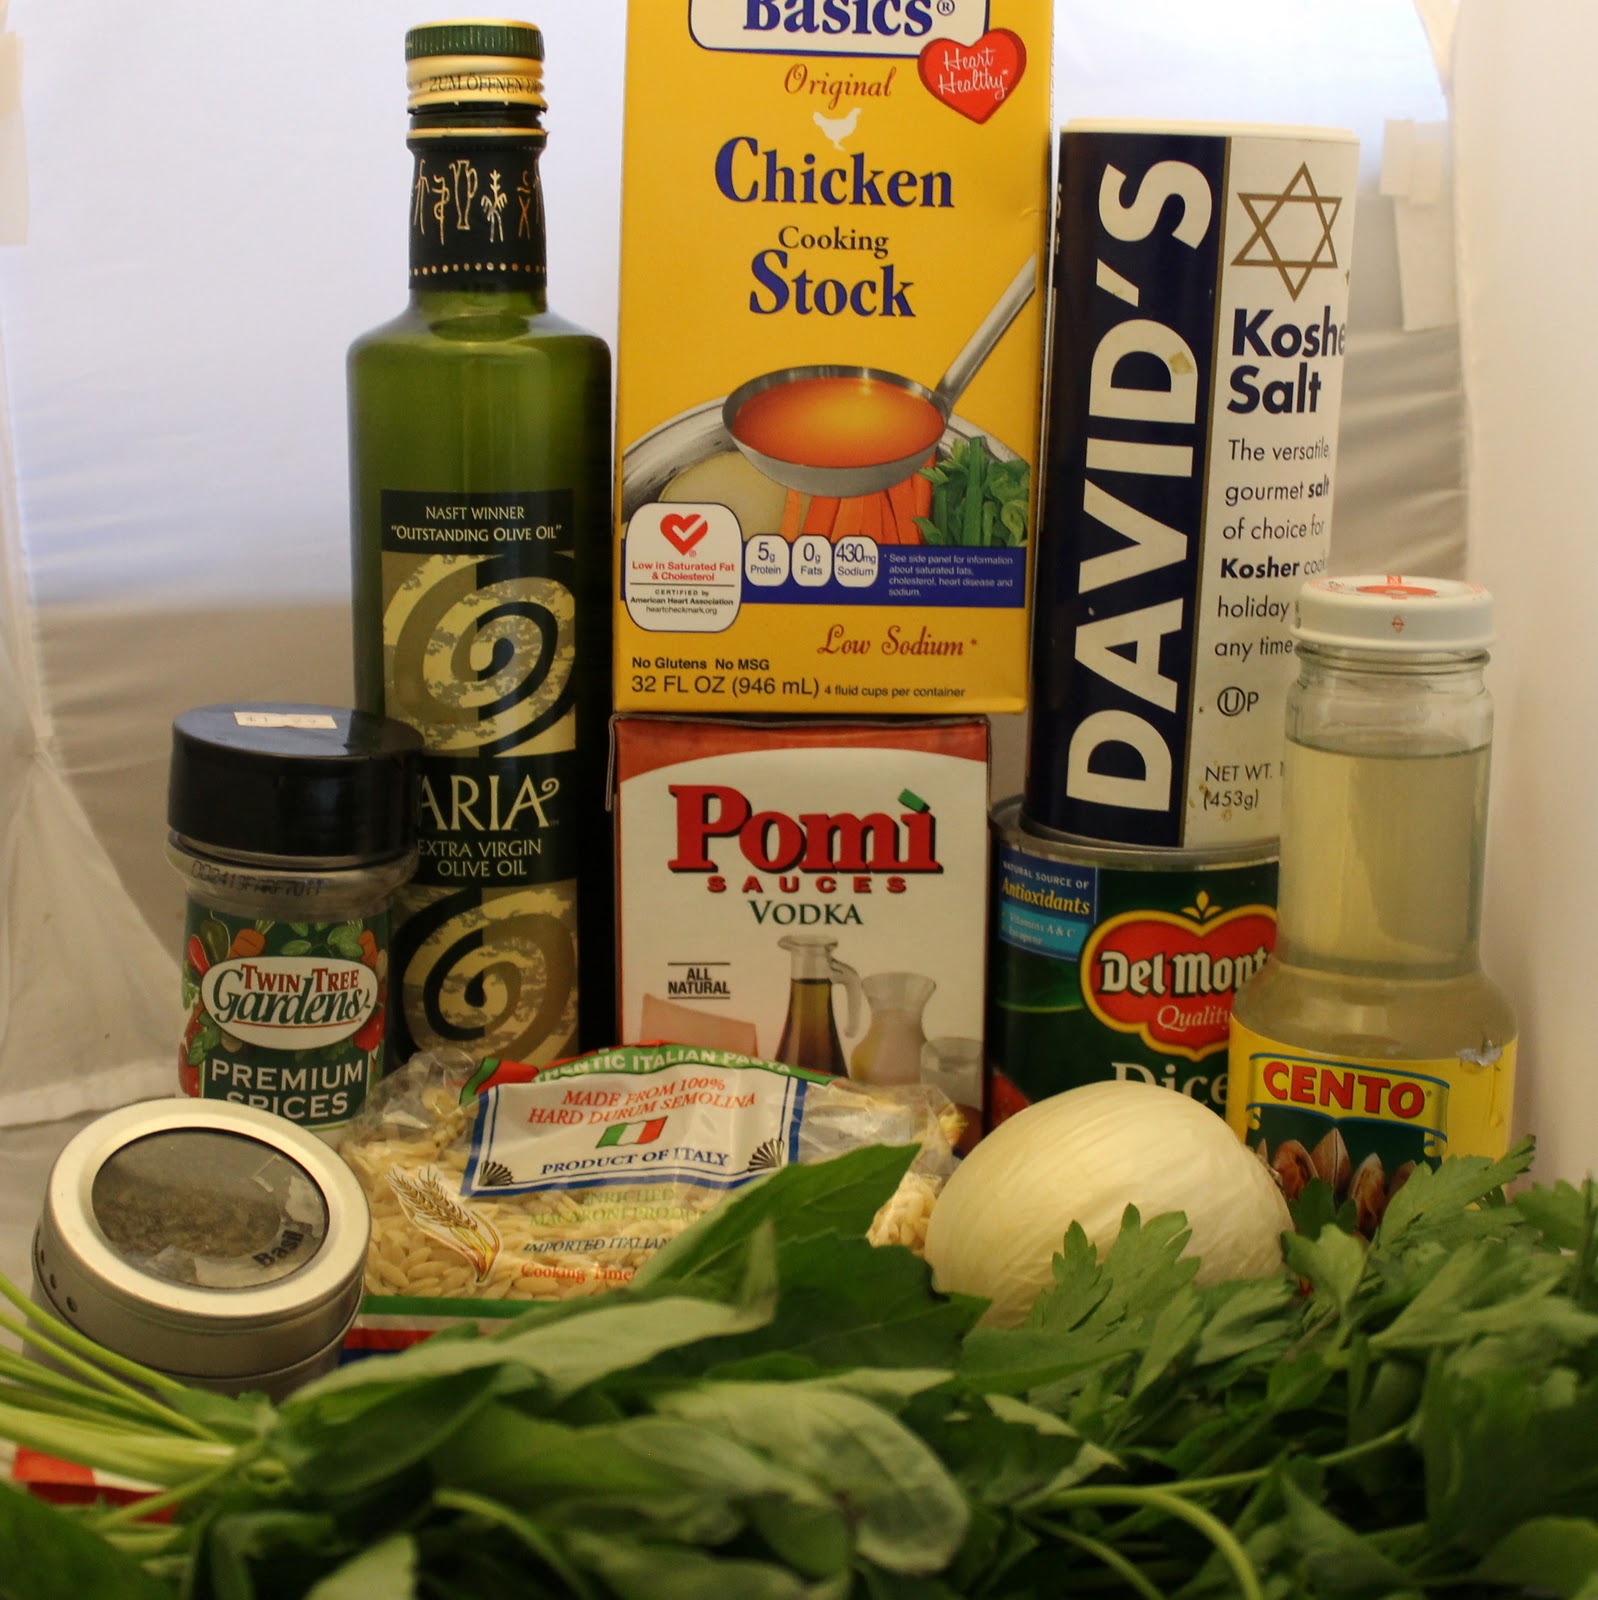
Ingredients:
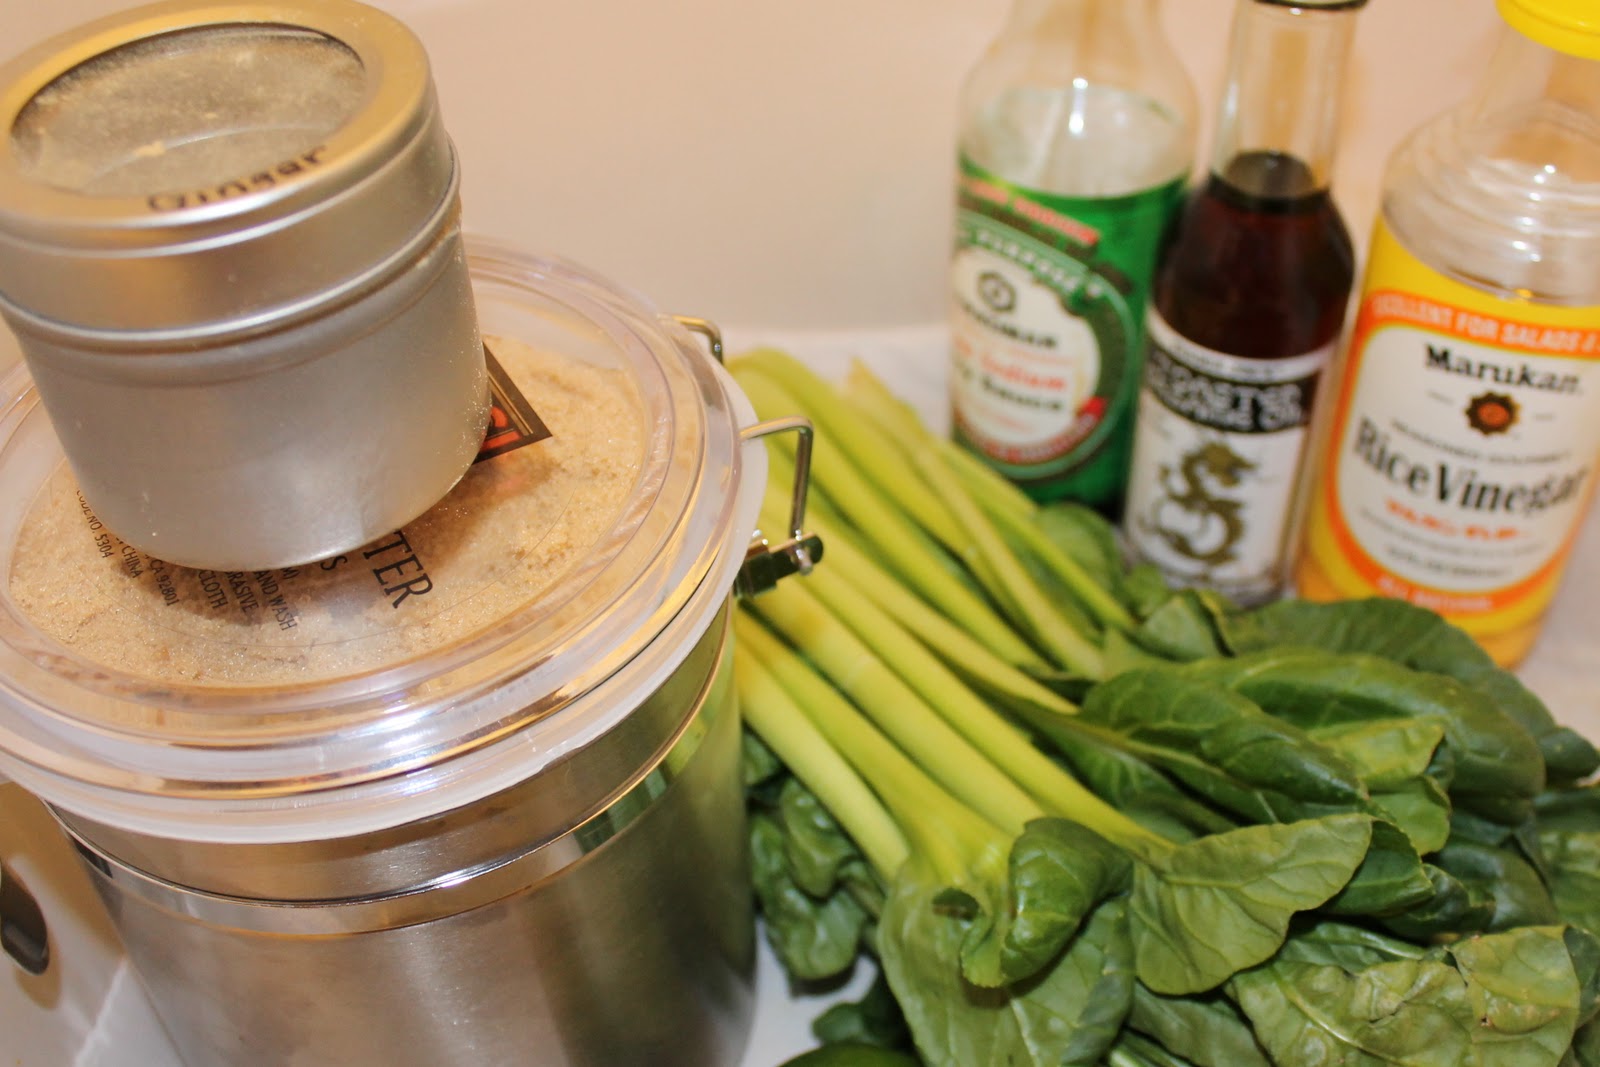
1 teaspoon olive oil
1 teaspoon dried basil
1 teaspoon dried parsley
1/4 teaspoon red pepper flakes, or to taste
1 garlic clove, minced
1 cup orzo, uncooked
1 medium sized yellow onion, finely chopped
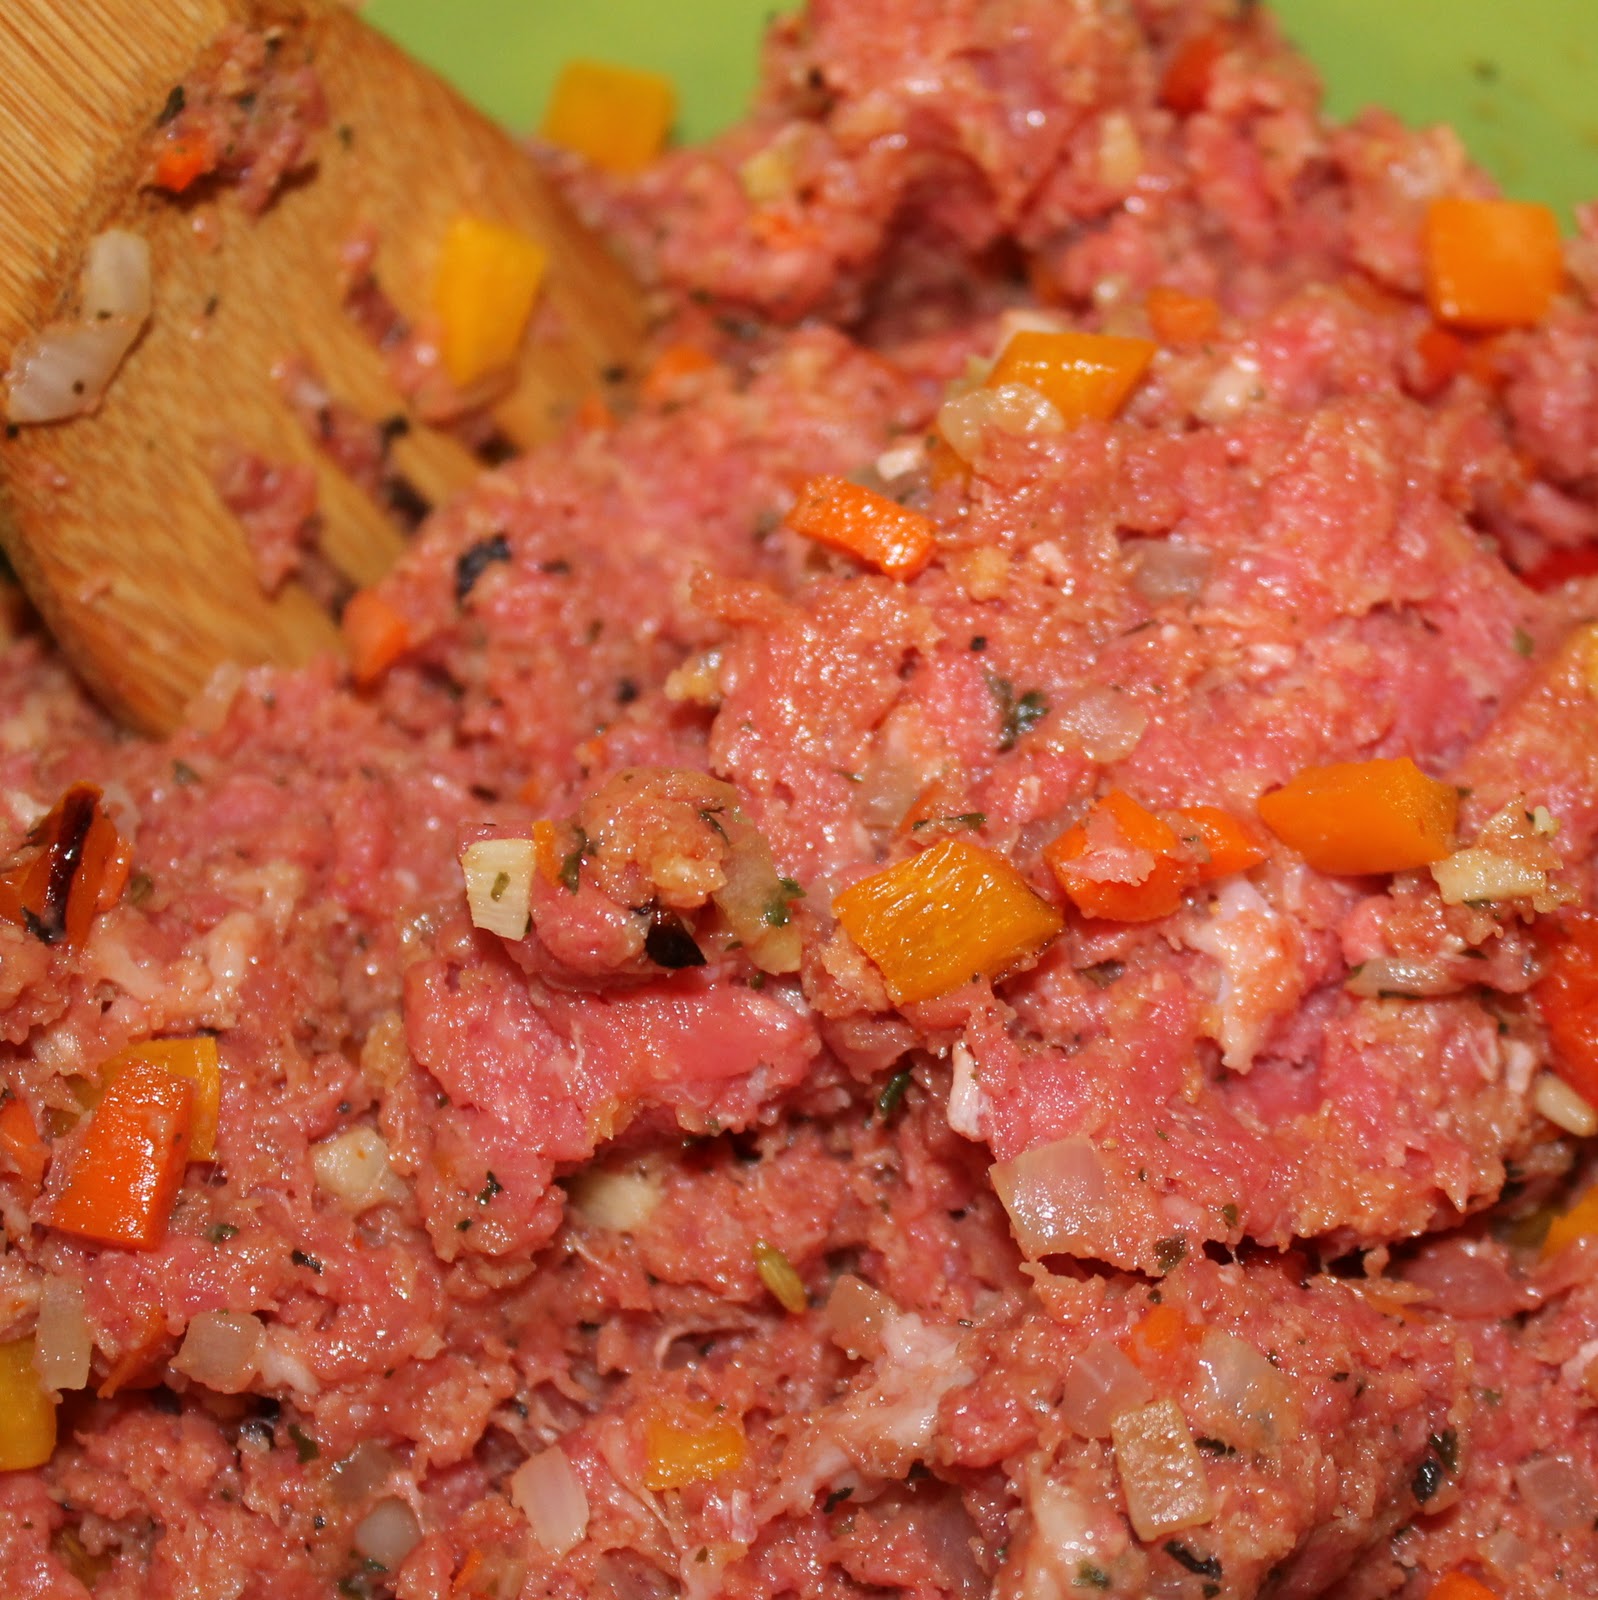
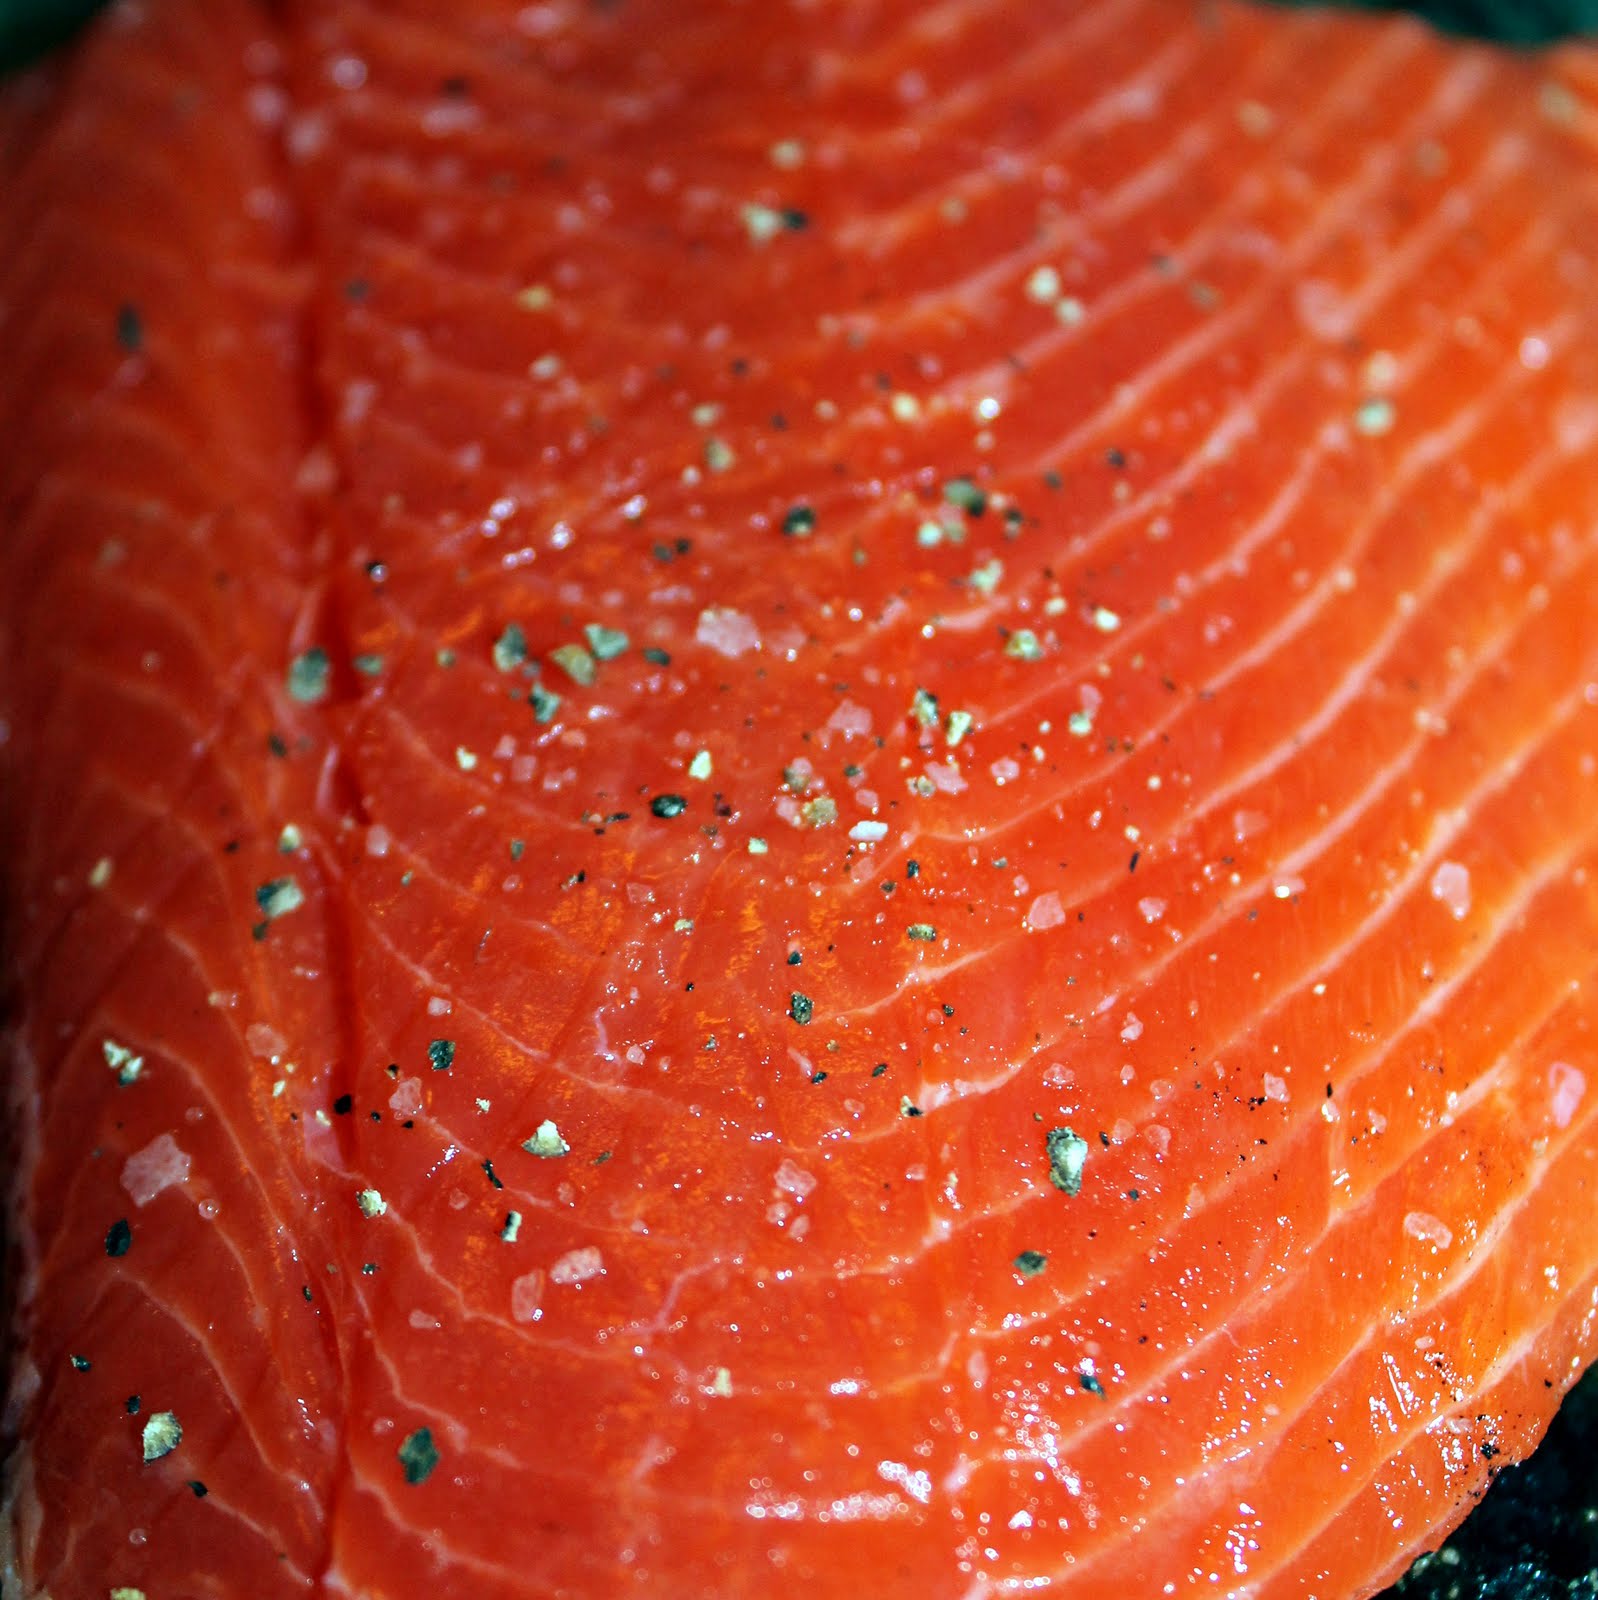
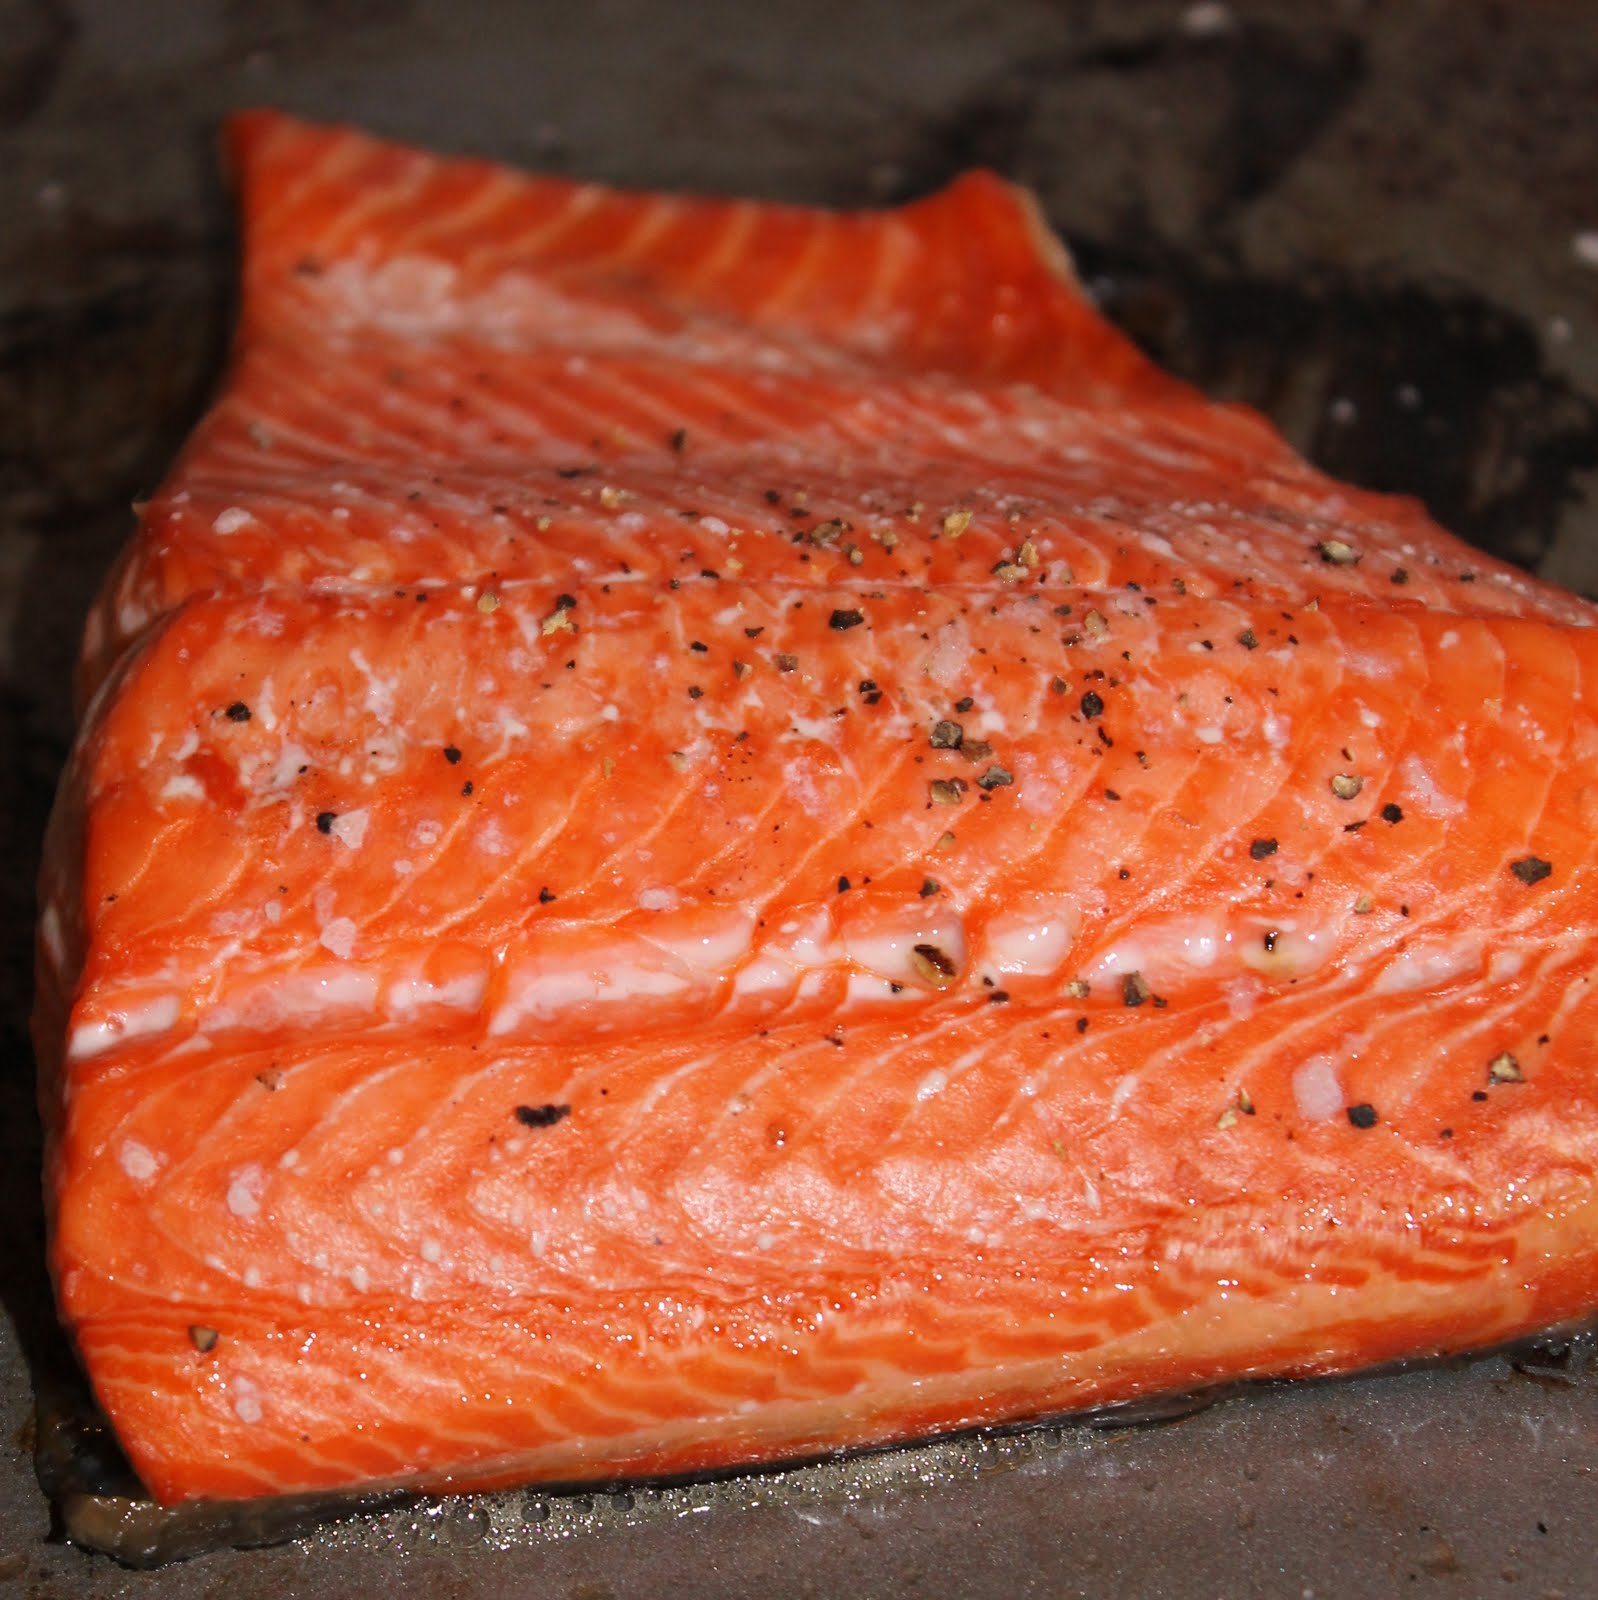
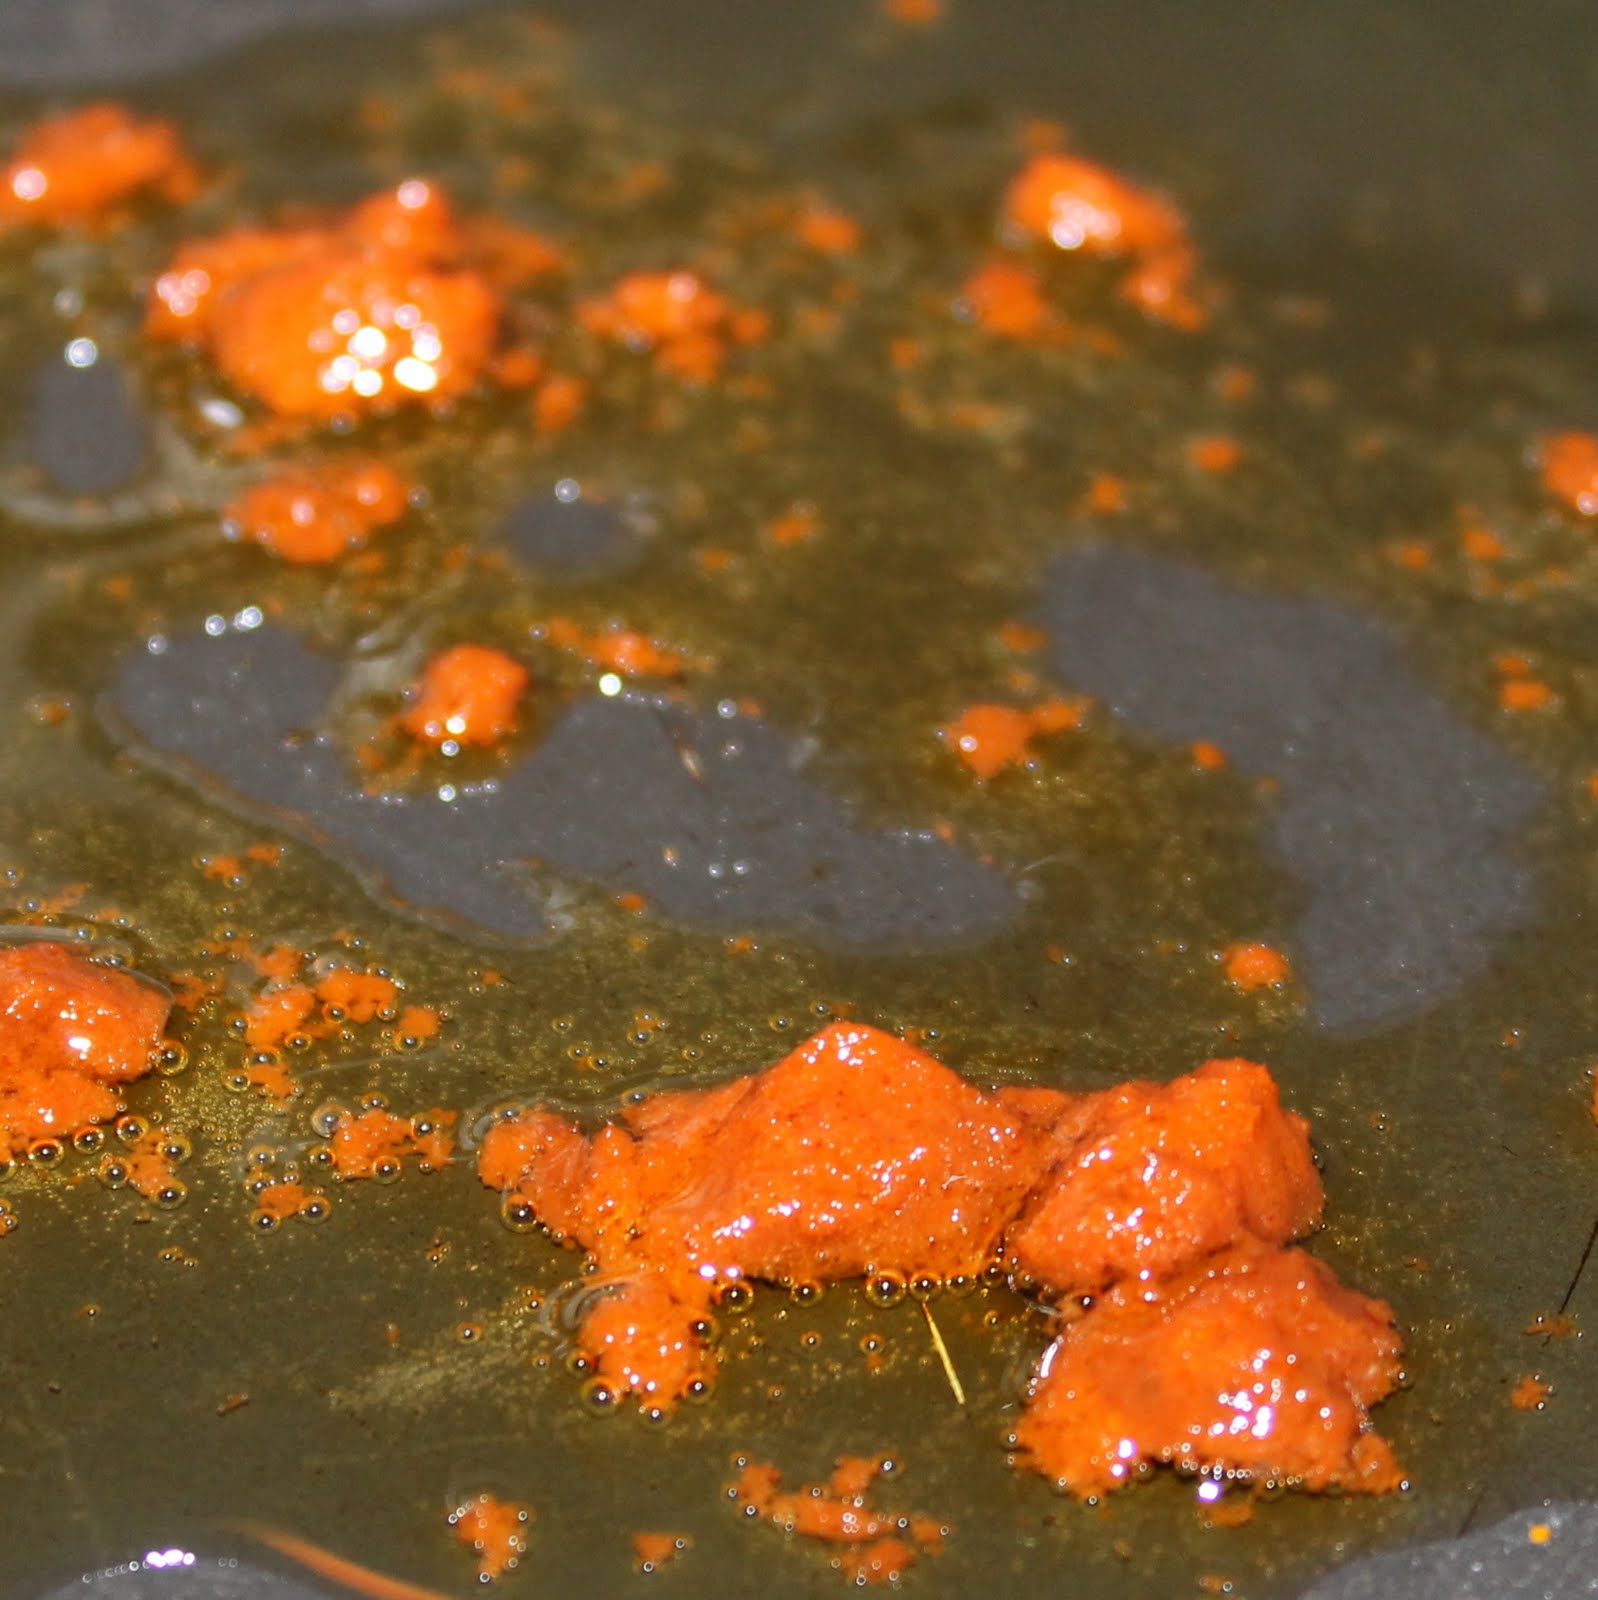
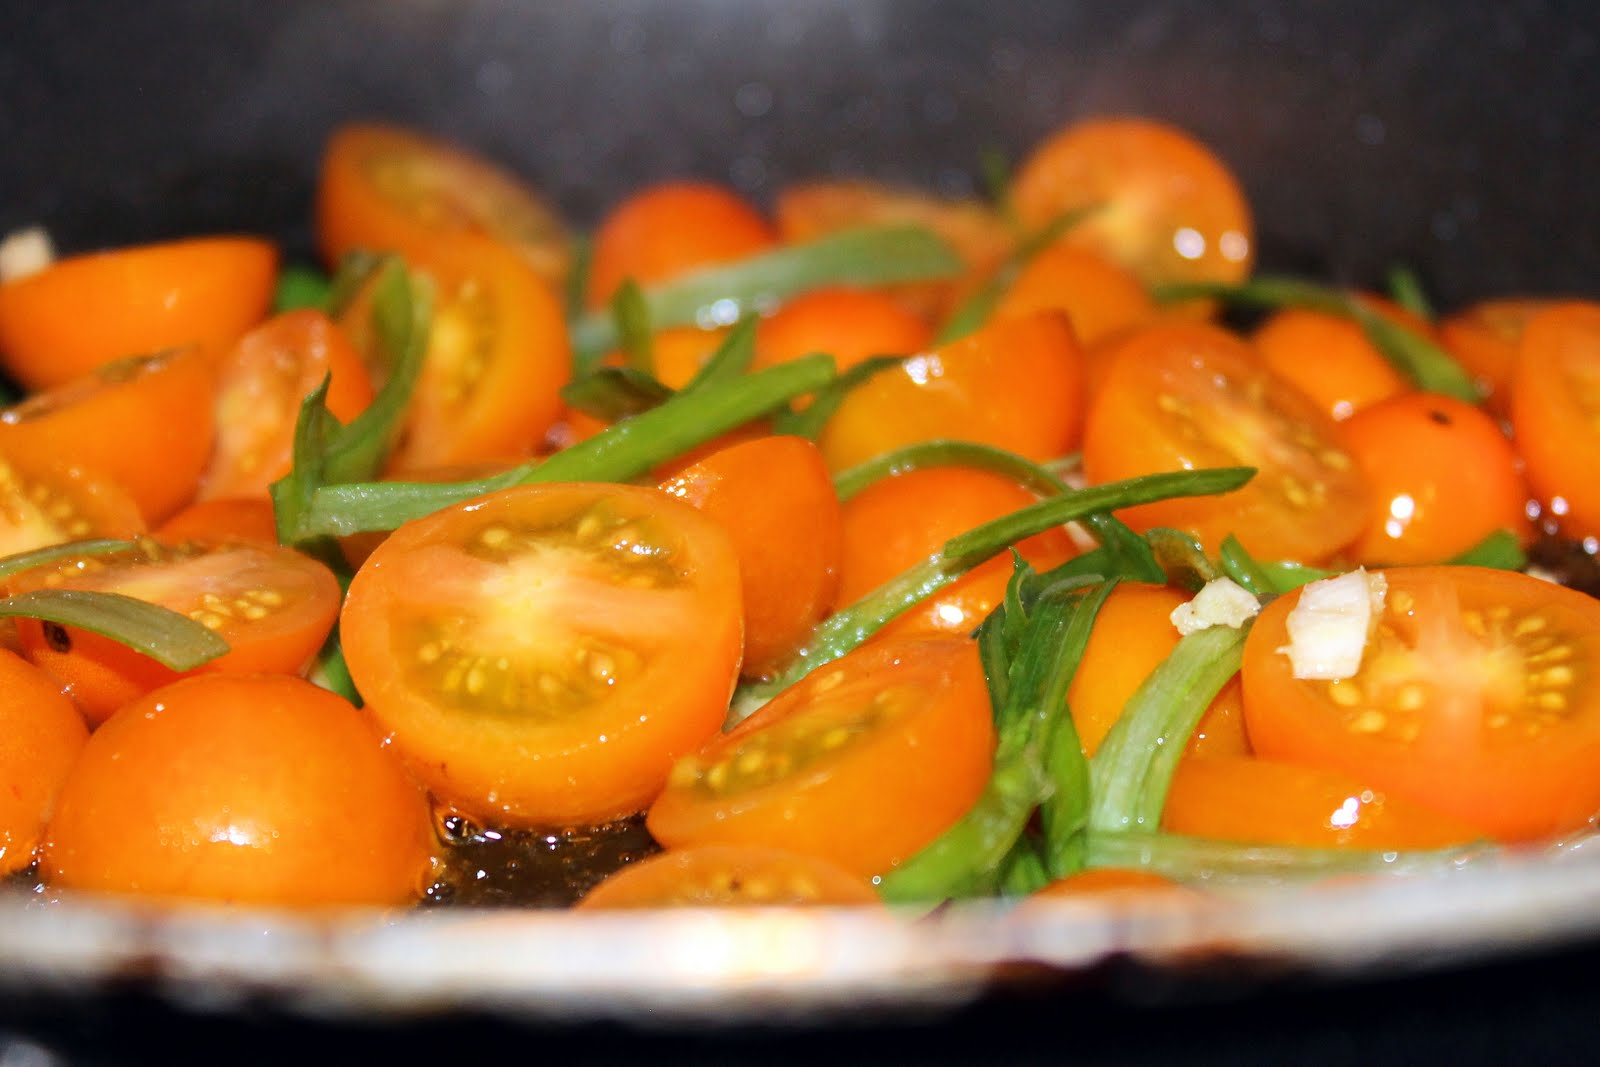
1 pound raw bay scallops
1/2 cup clam juice
1/2 cup chicken broth
1 box Pomi Vodka Sauce
1/2 can diced tomatoes, optional
1 dozen clams
8 oz crab meat
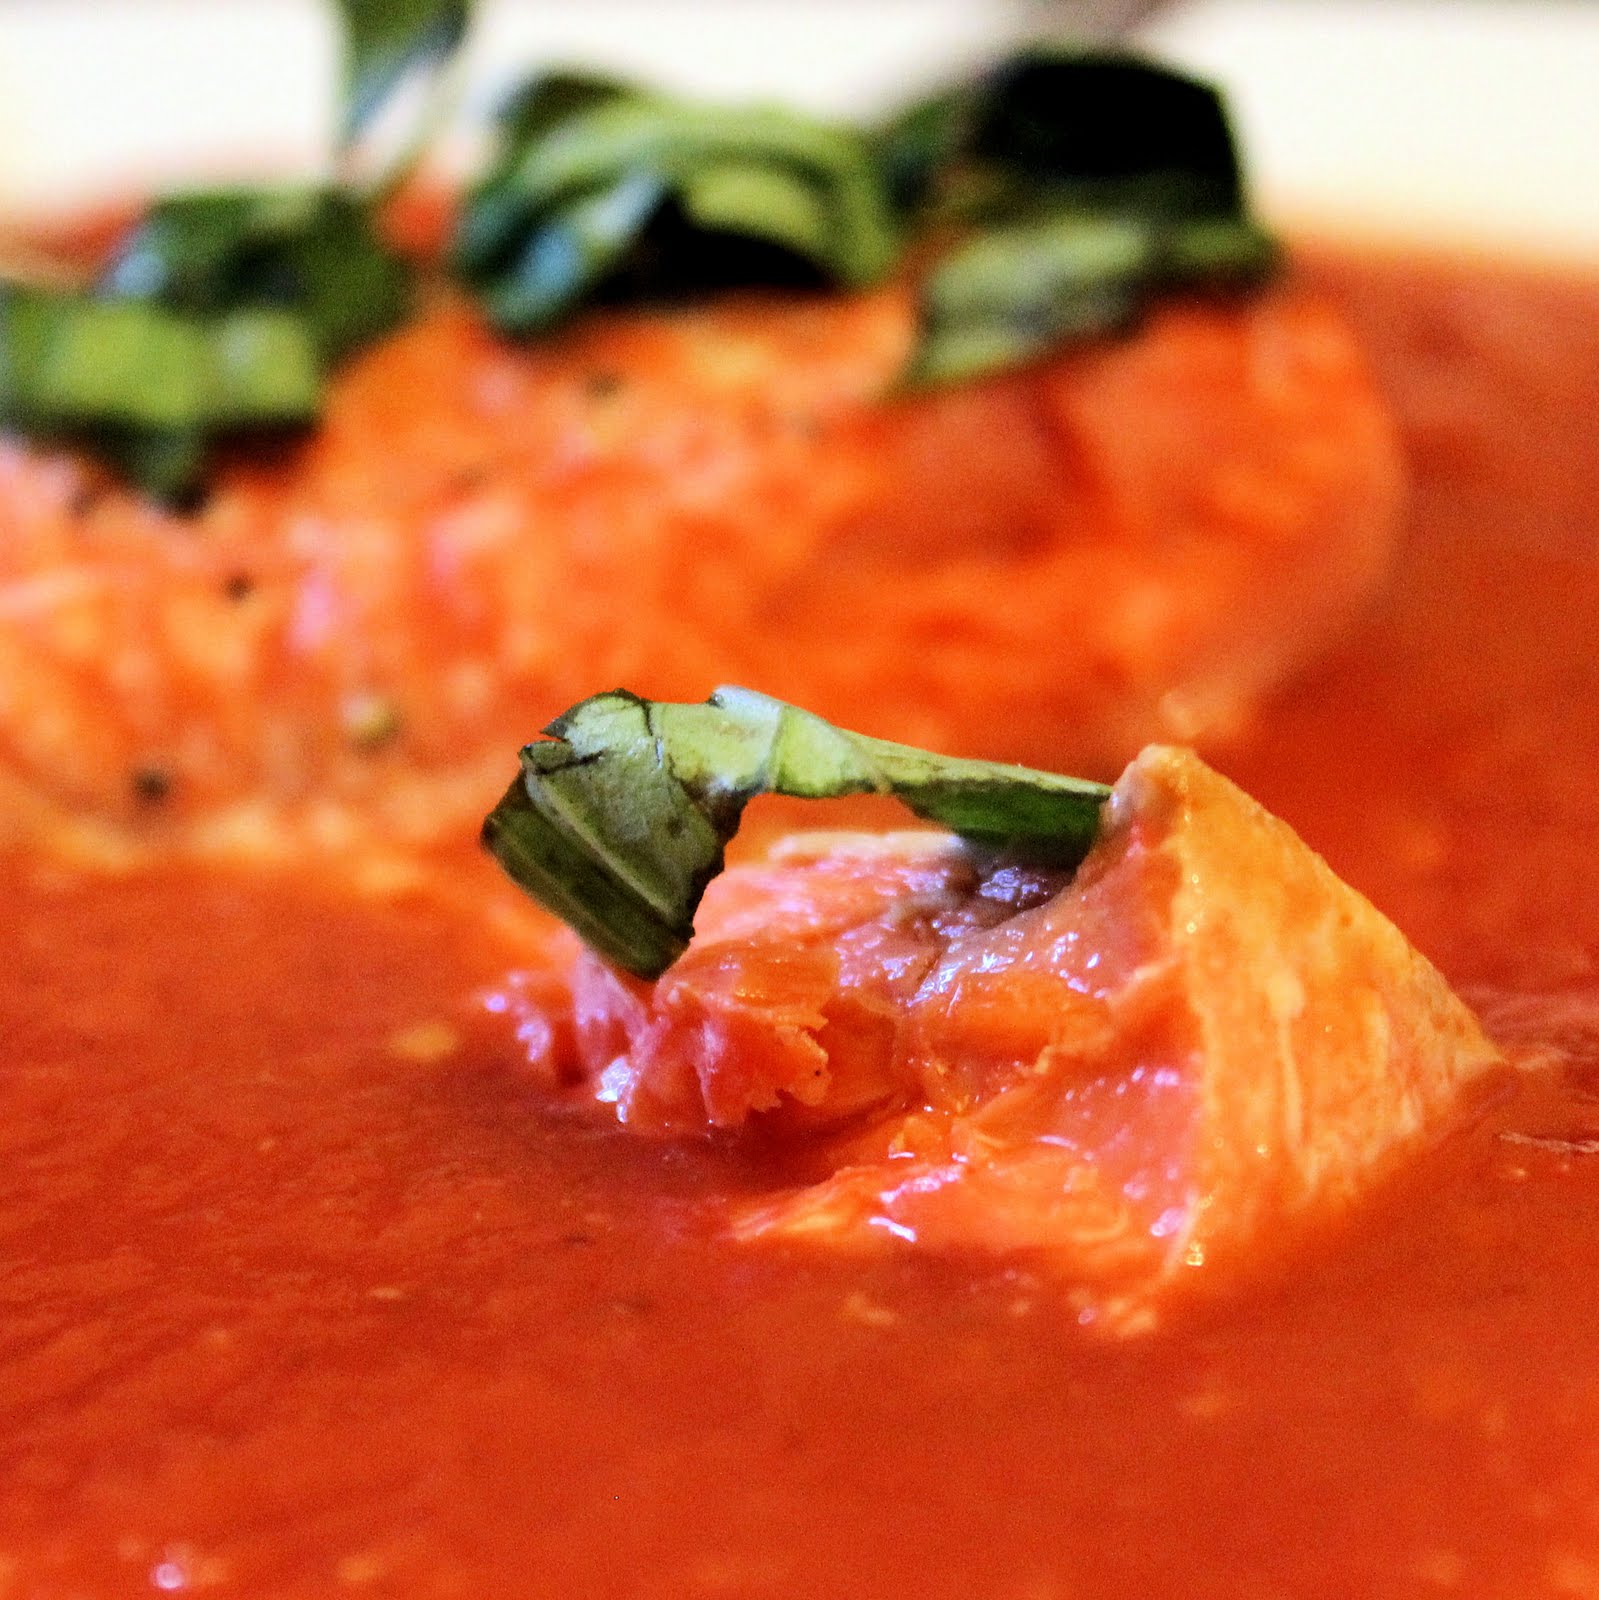
2 tablespoons sliced fresh basil, for garnish
2 tablespoons chopped fresh parsley, for garnish
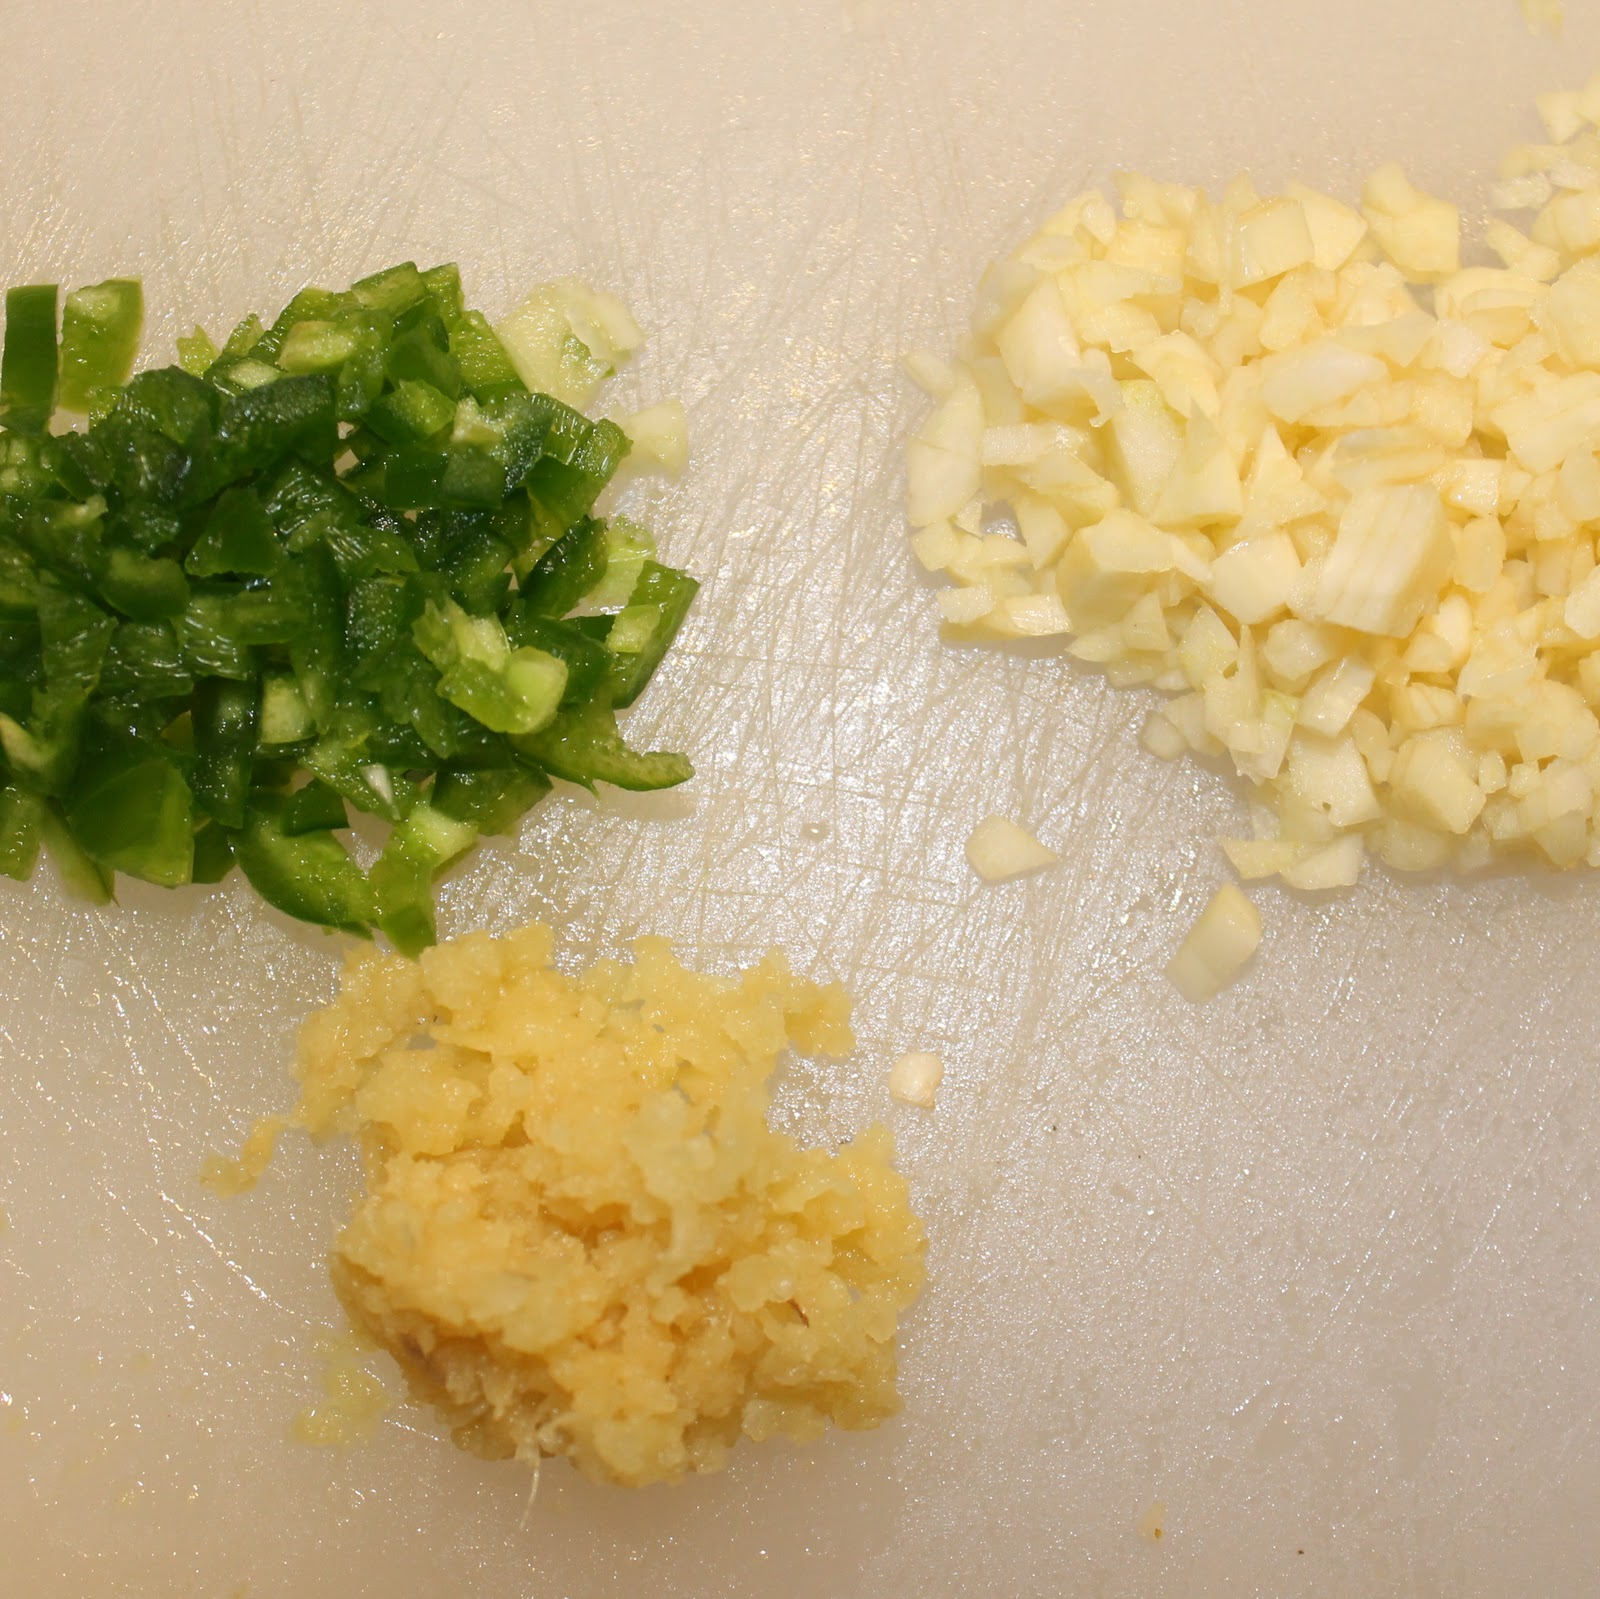
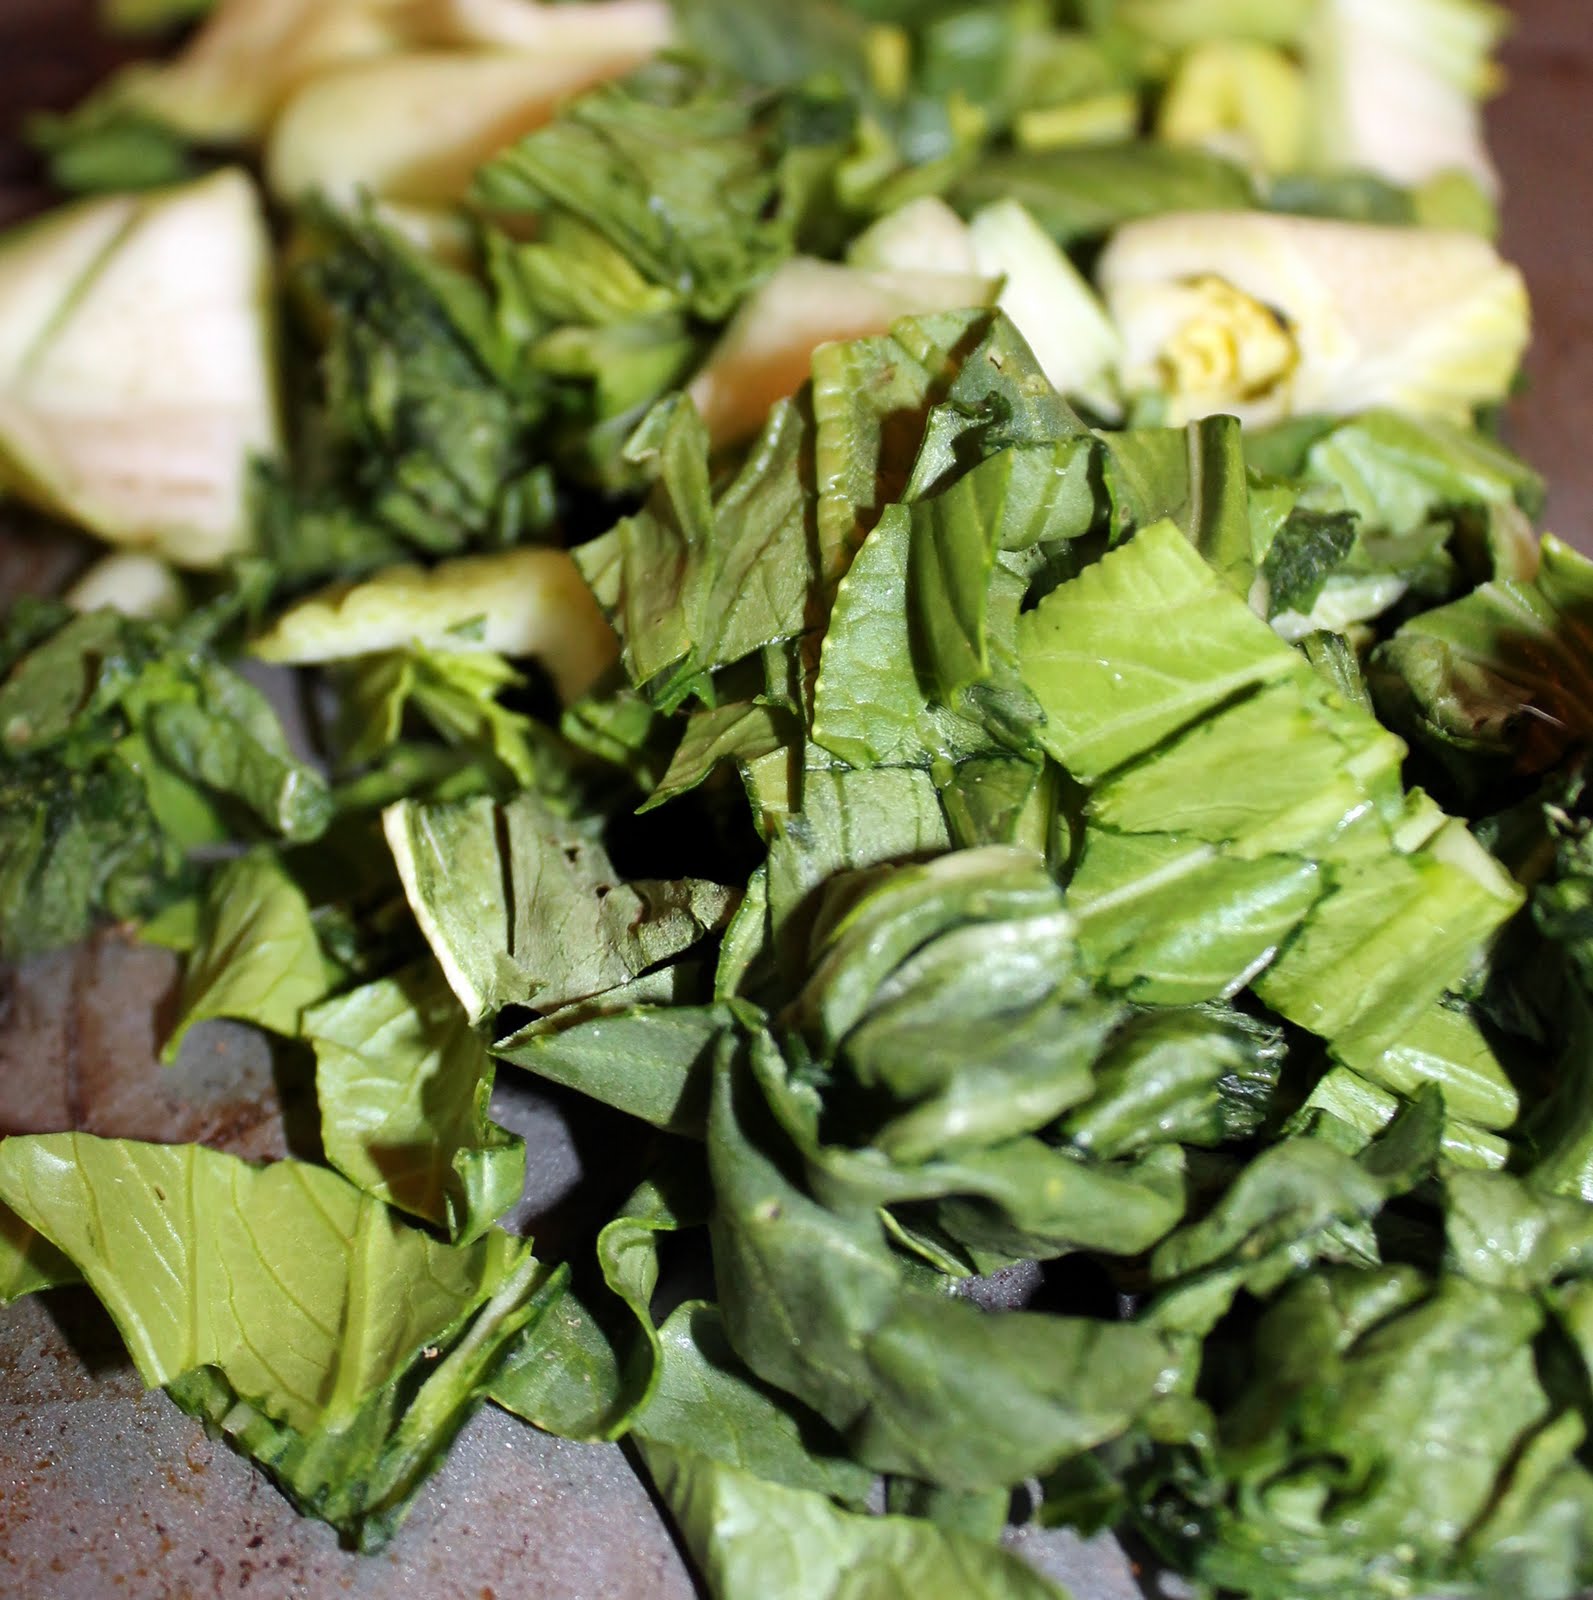
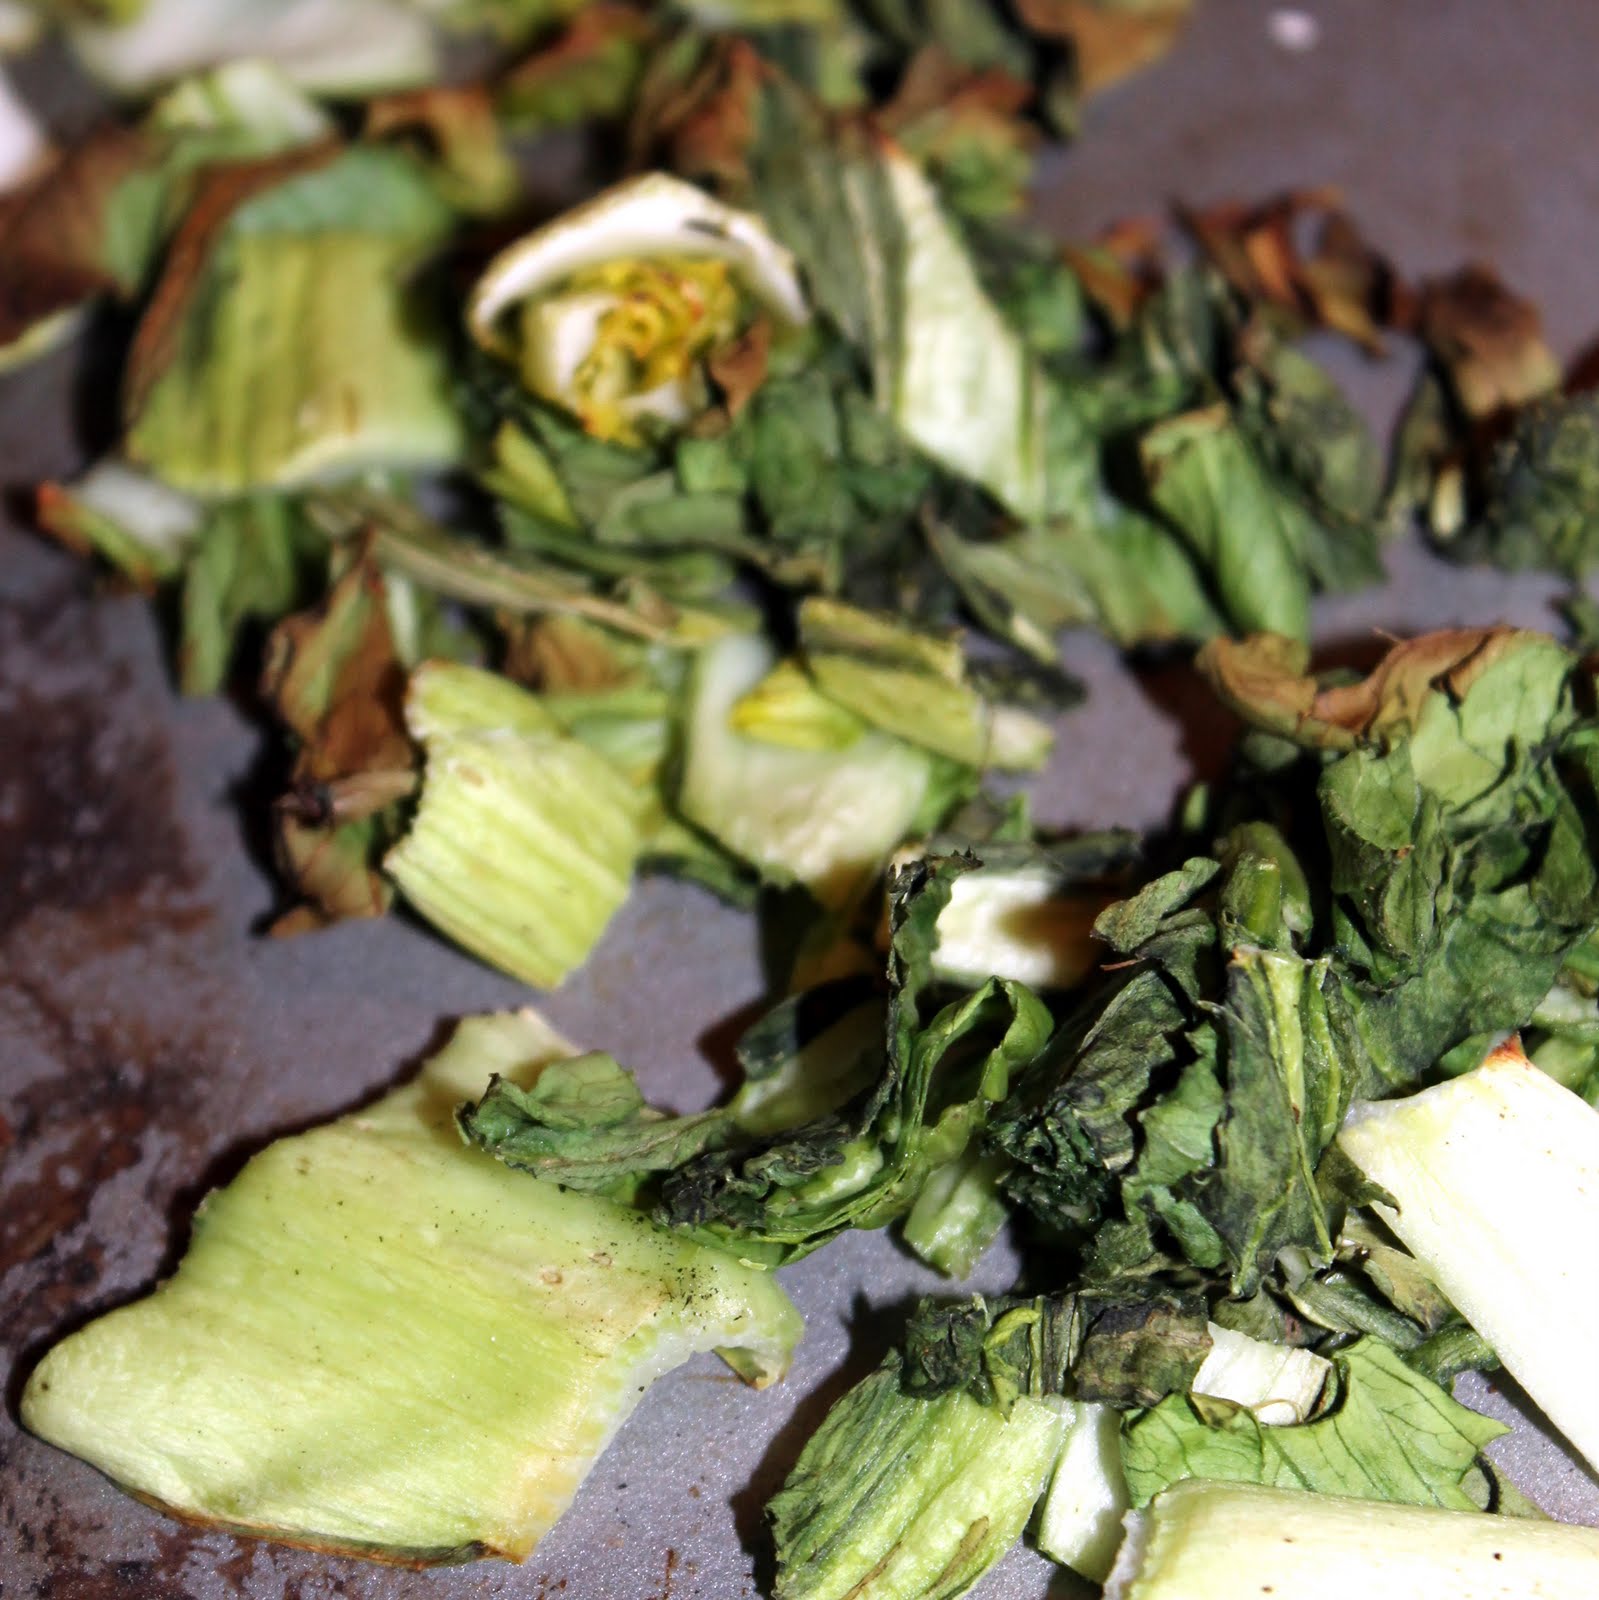
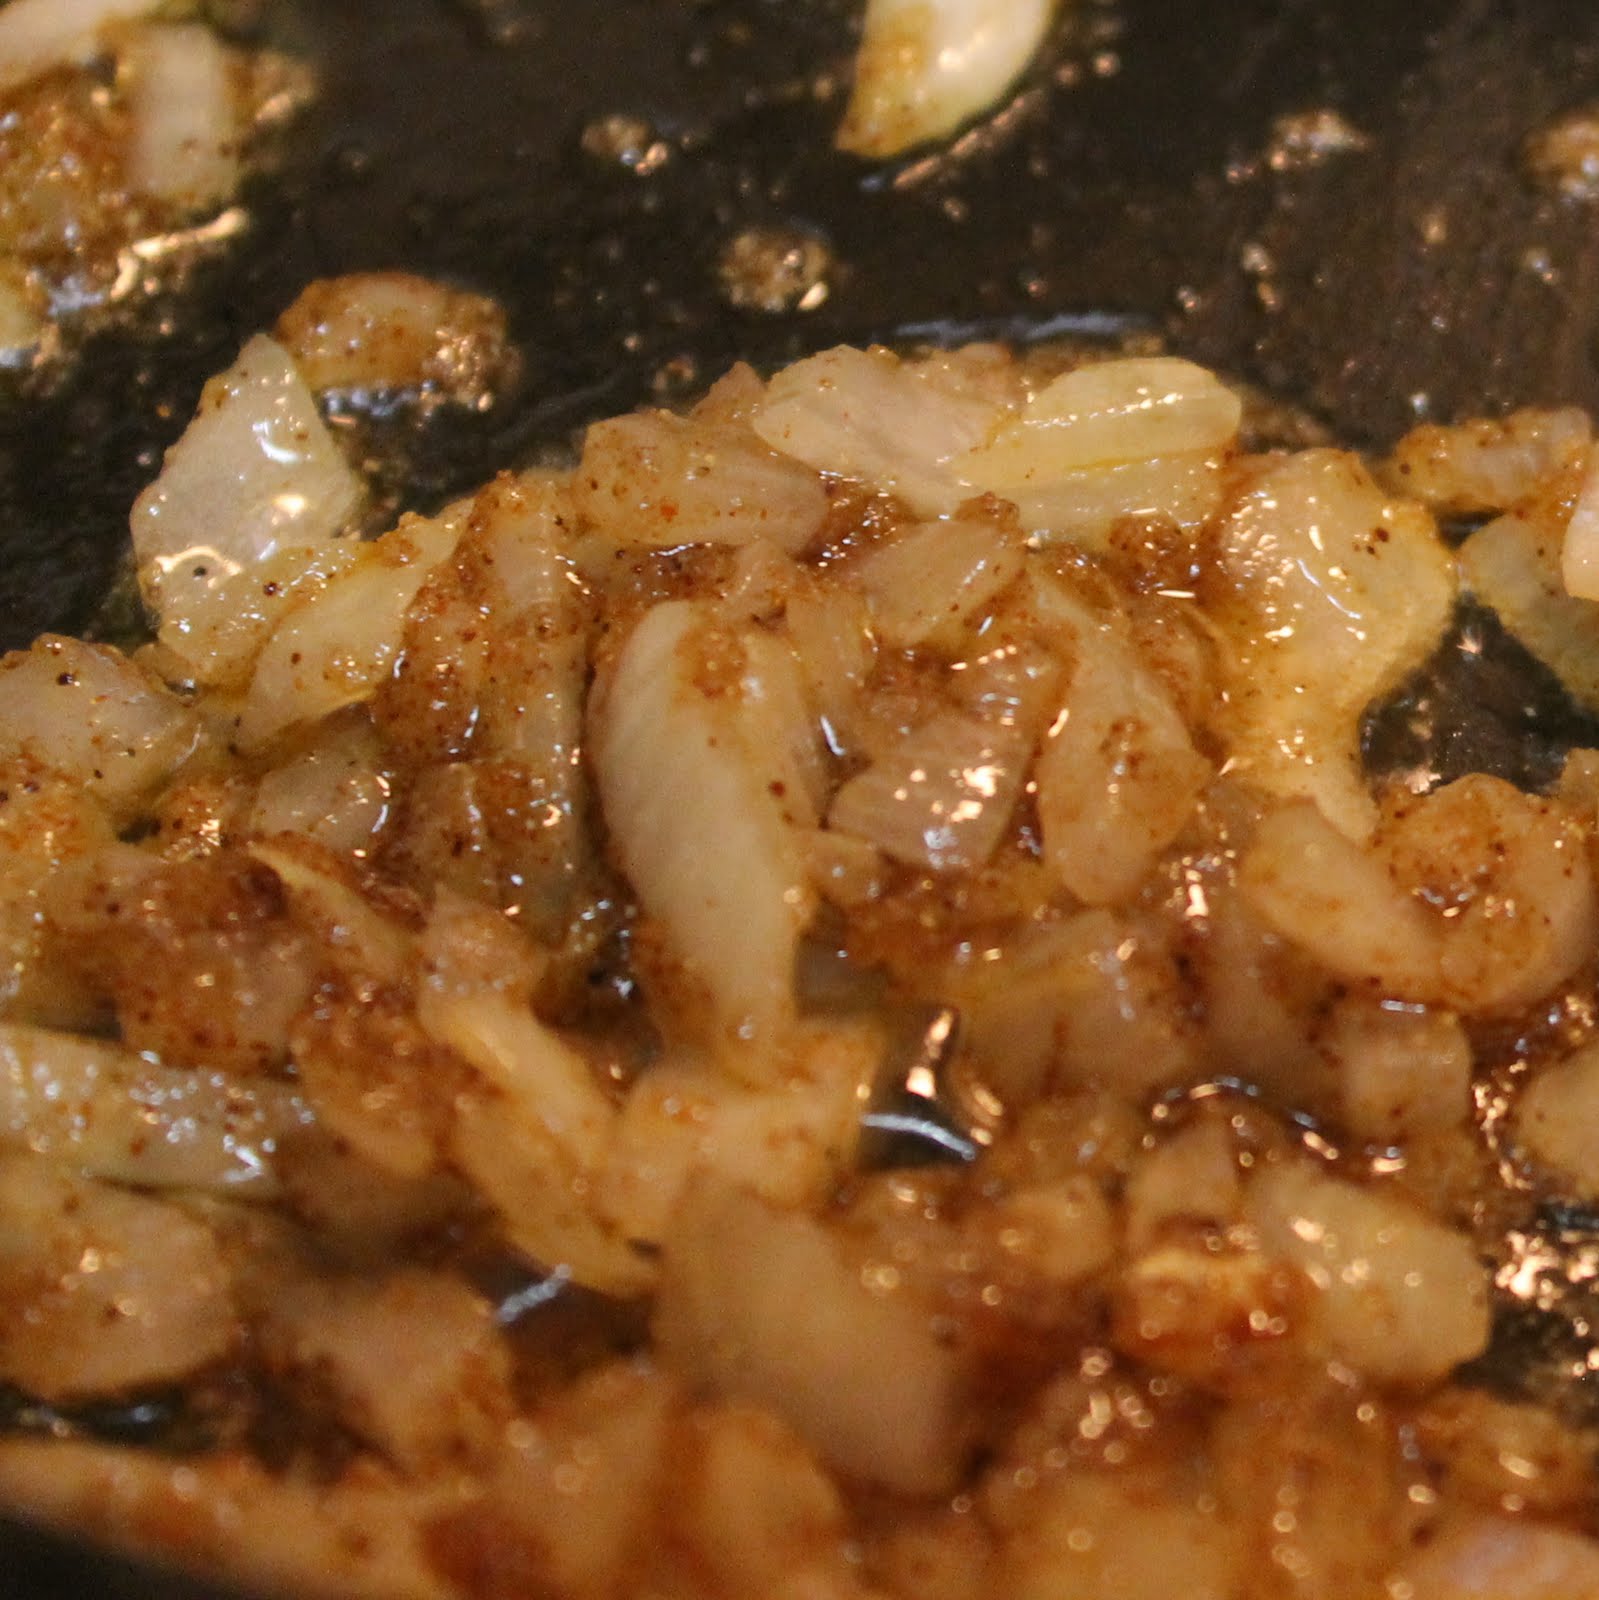
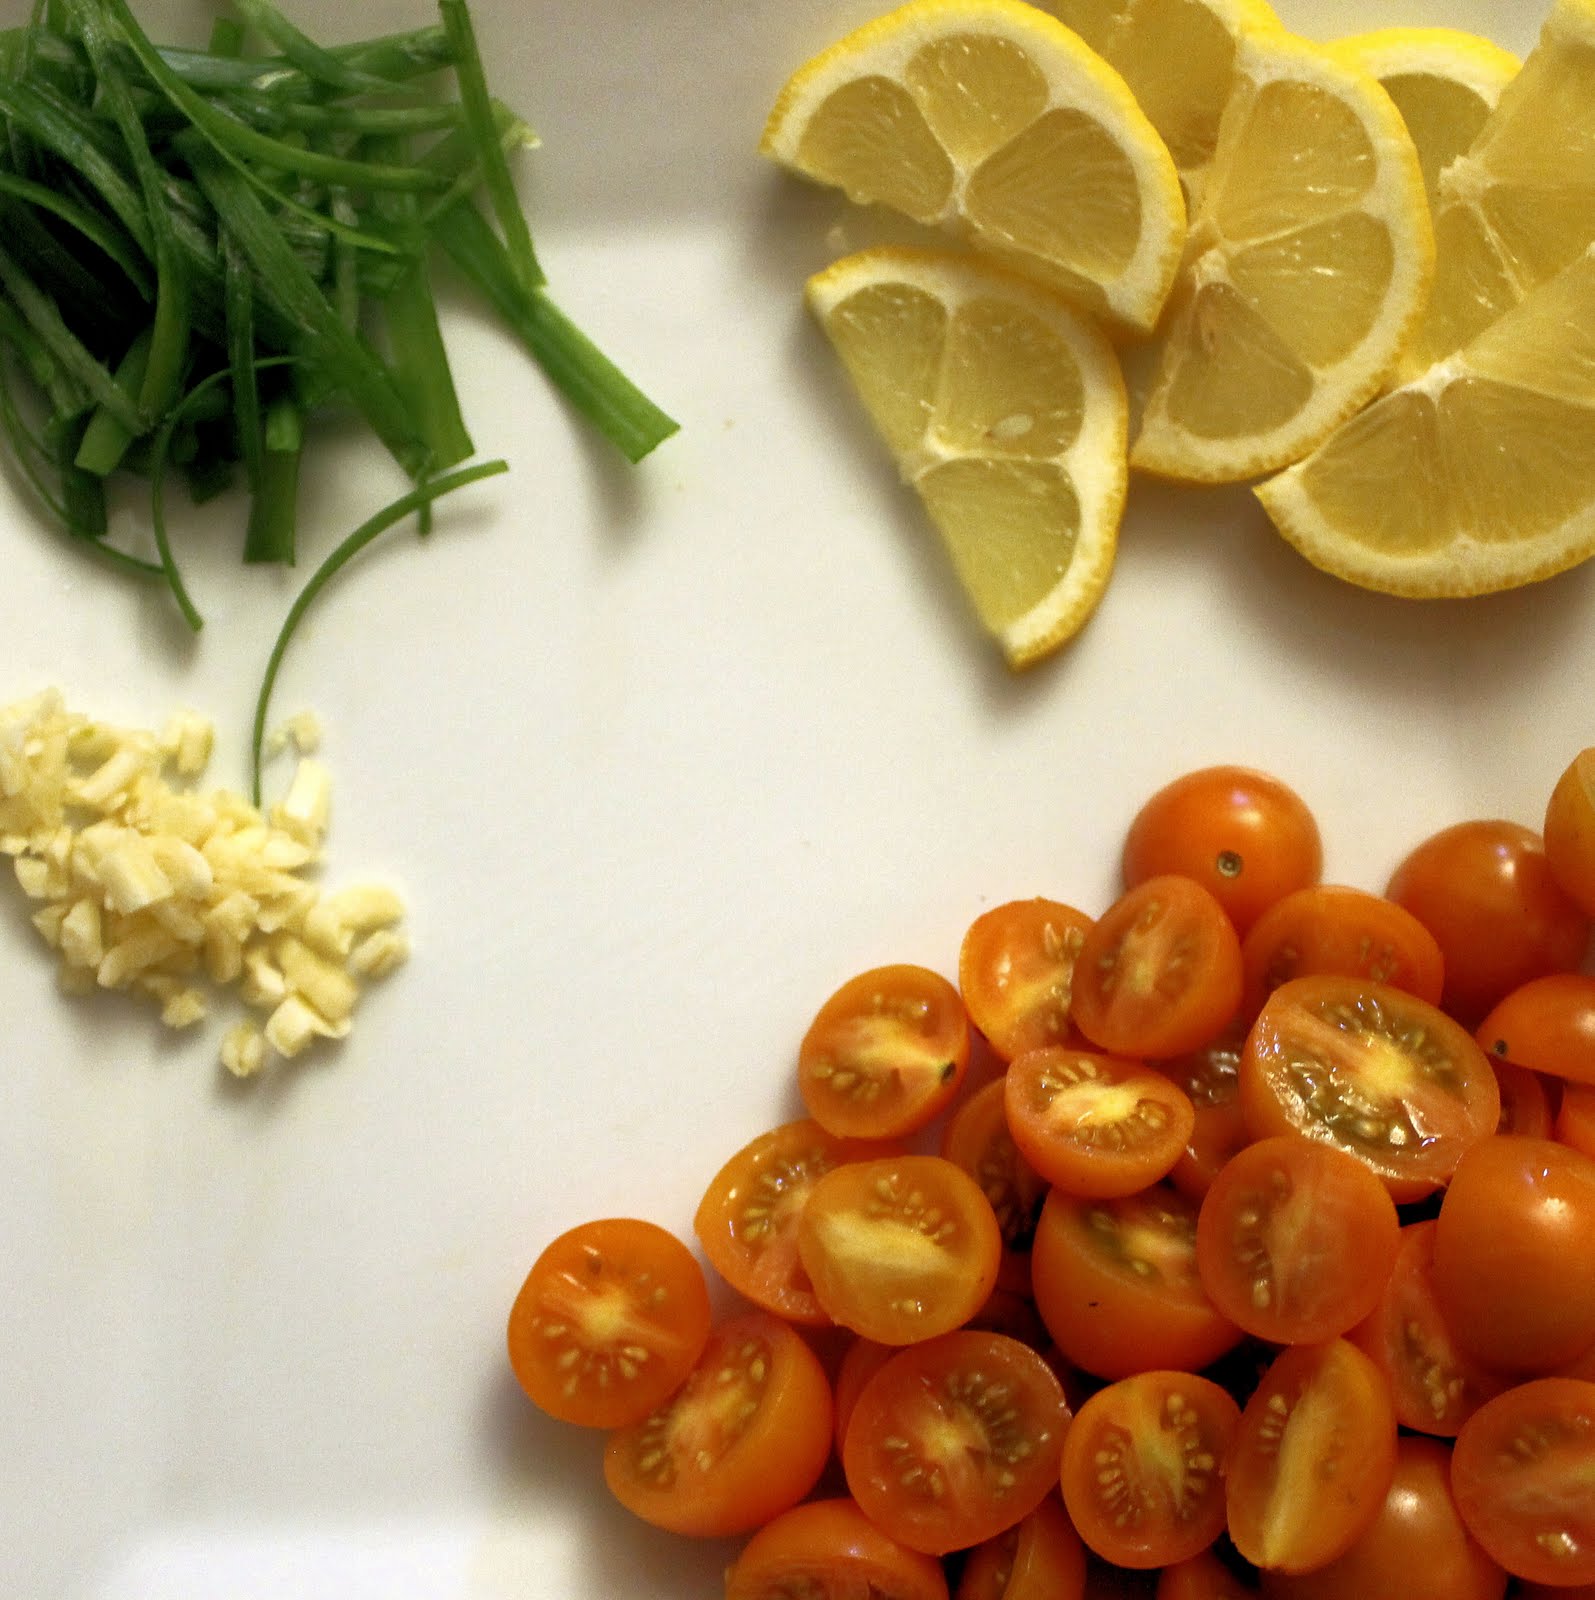
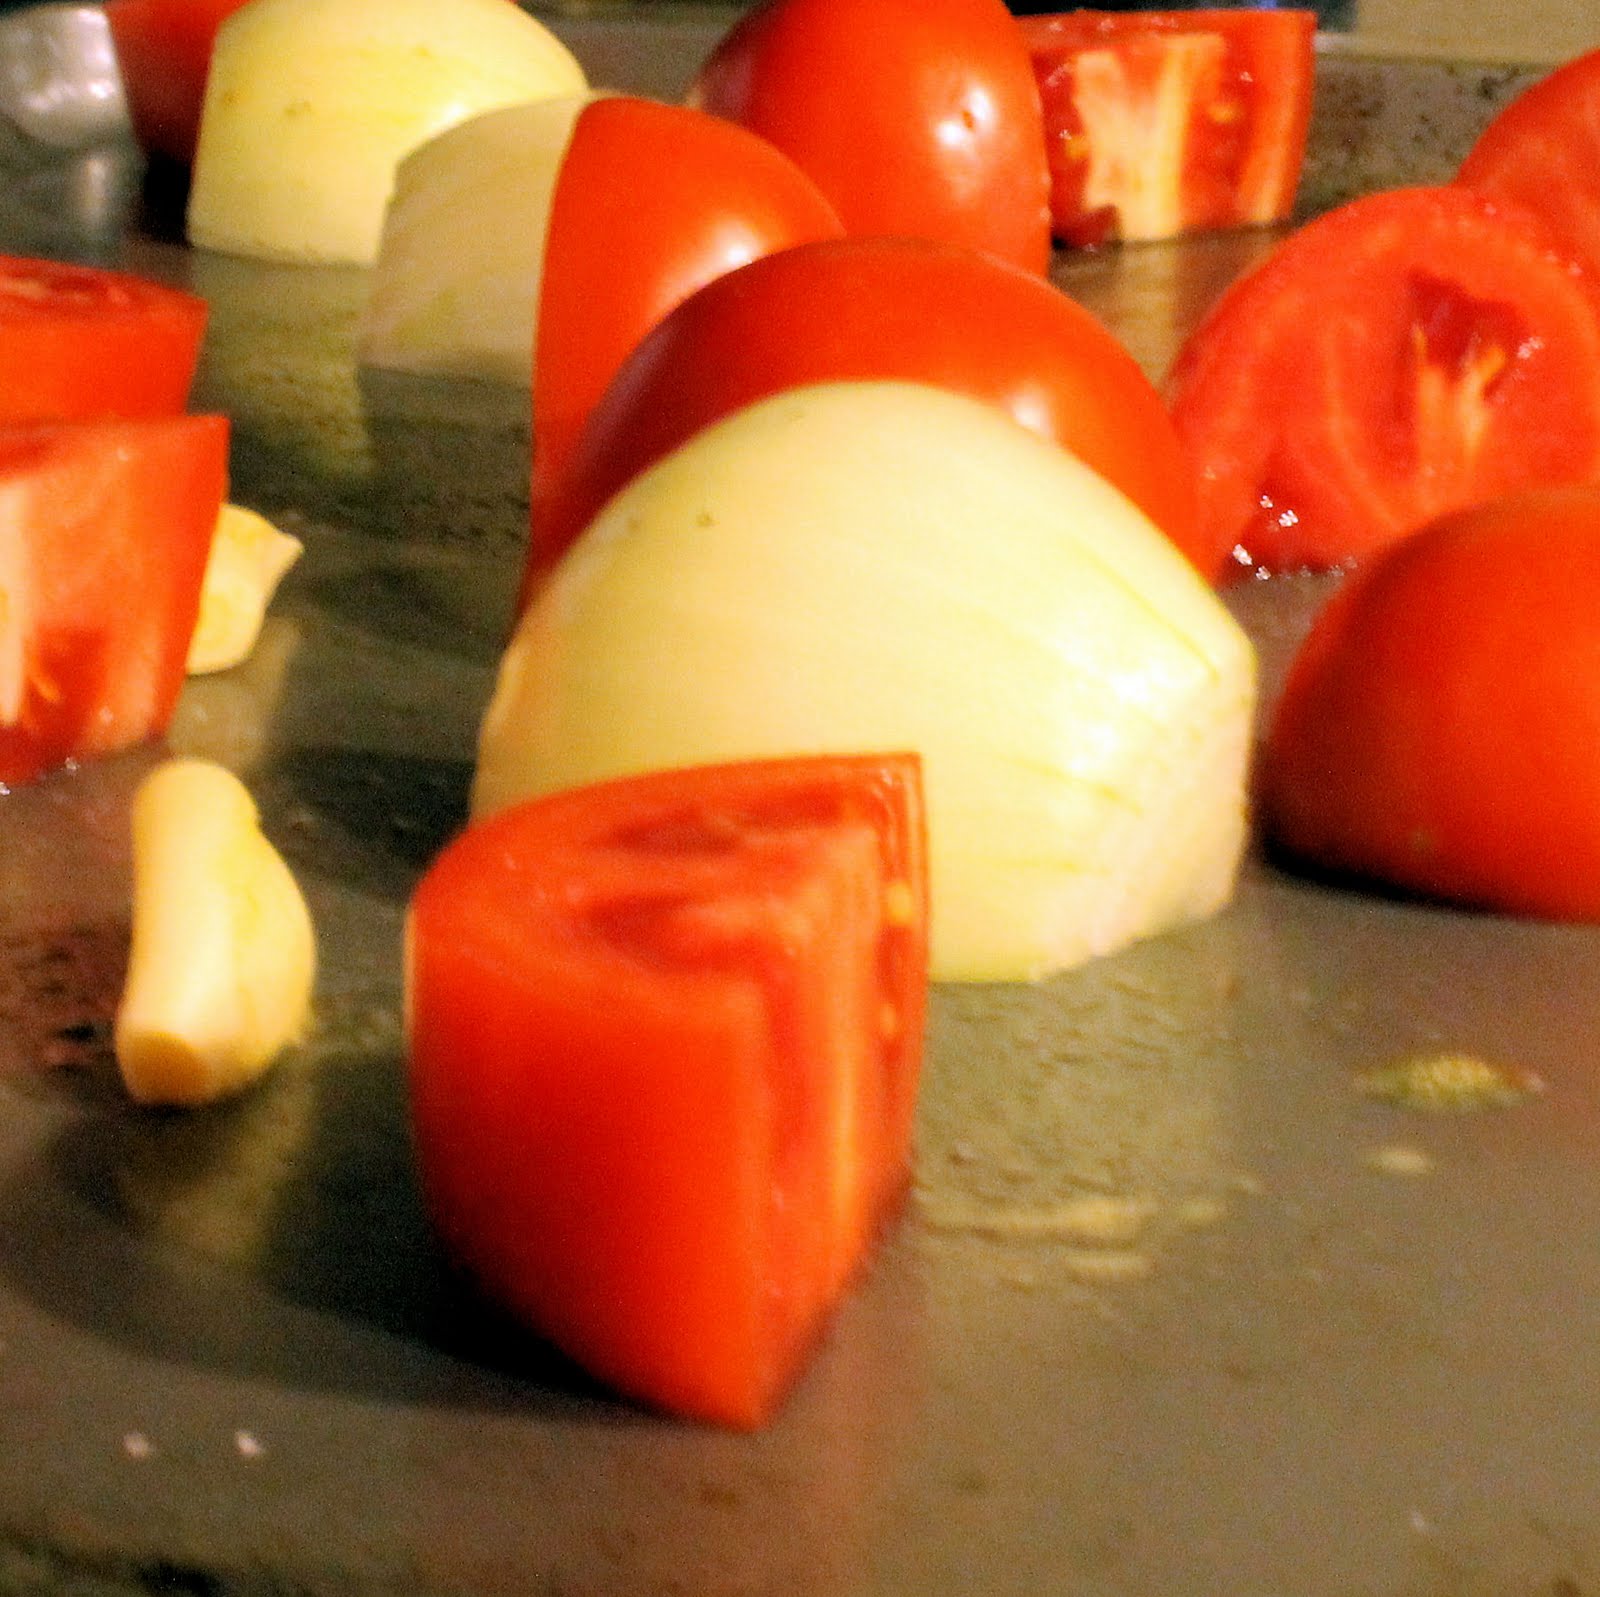
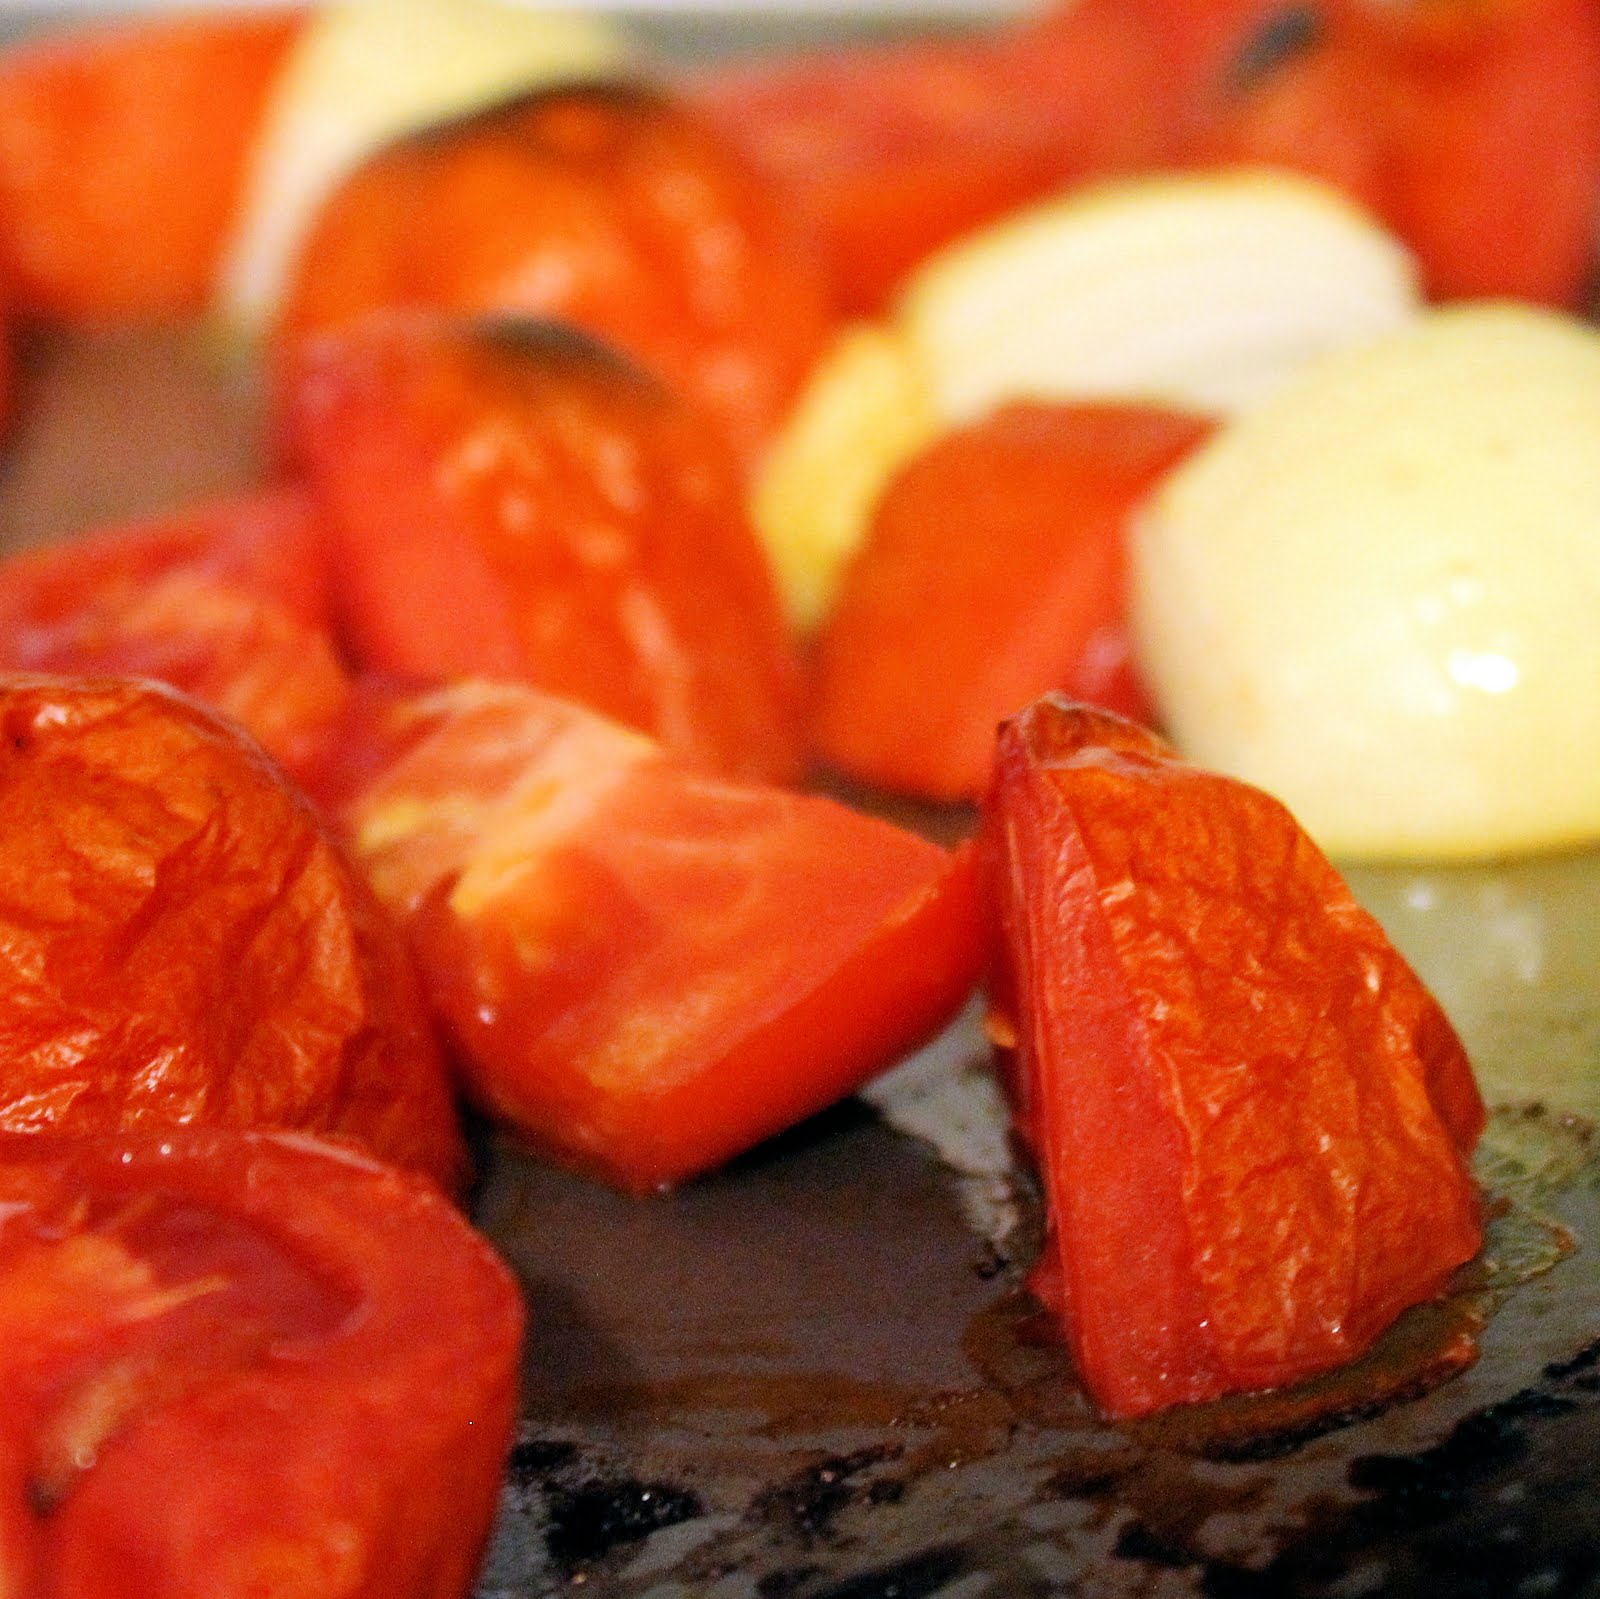
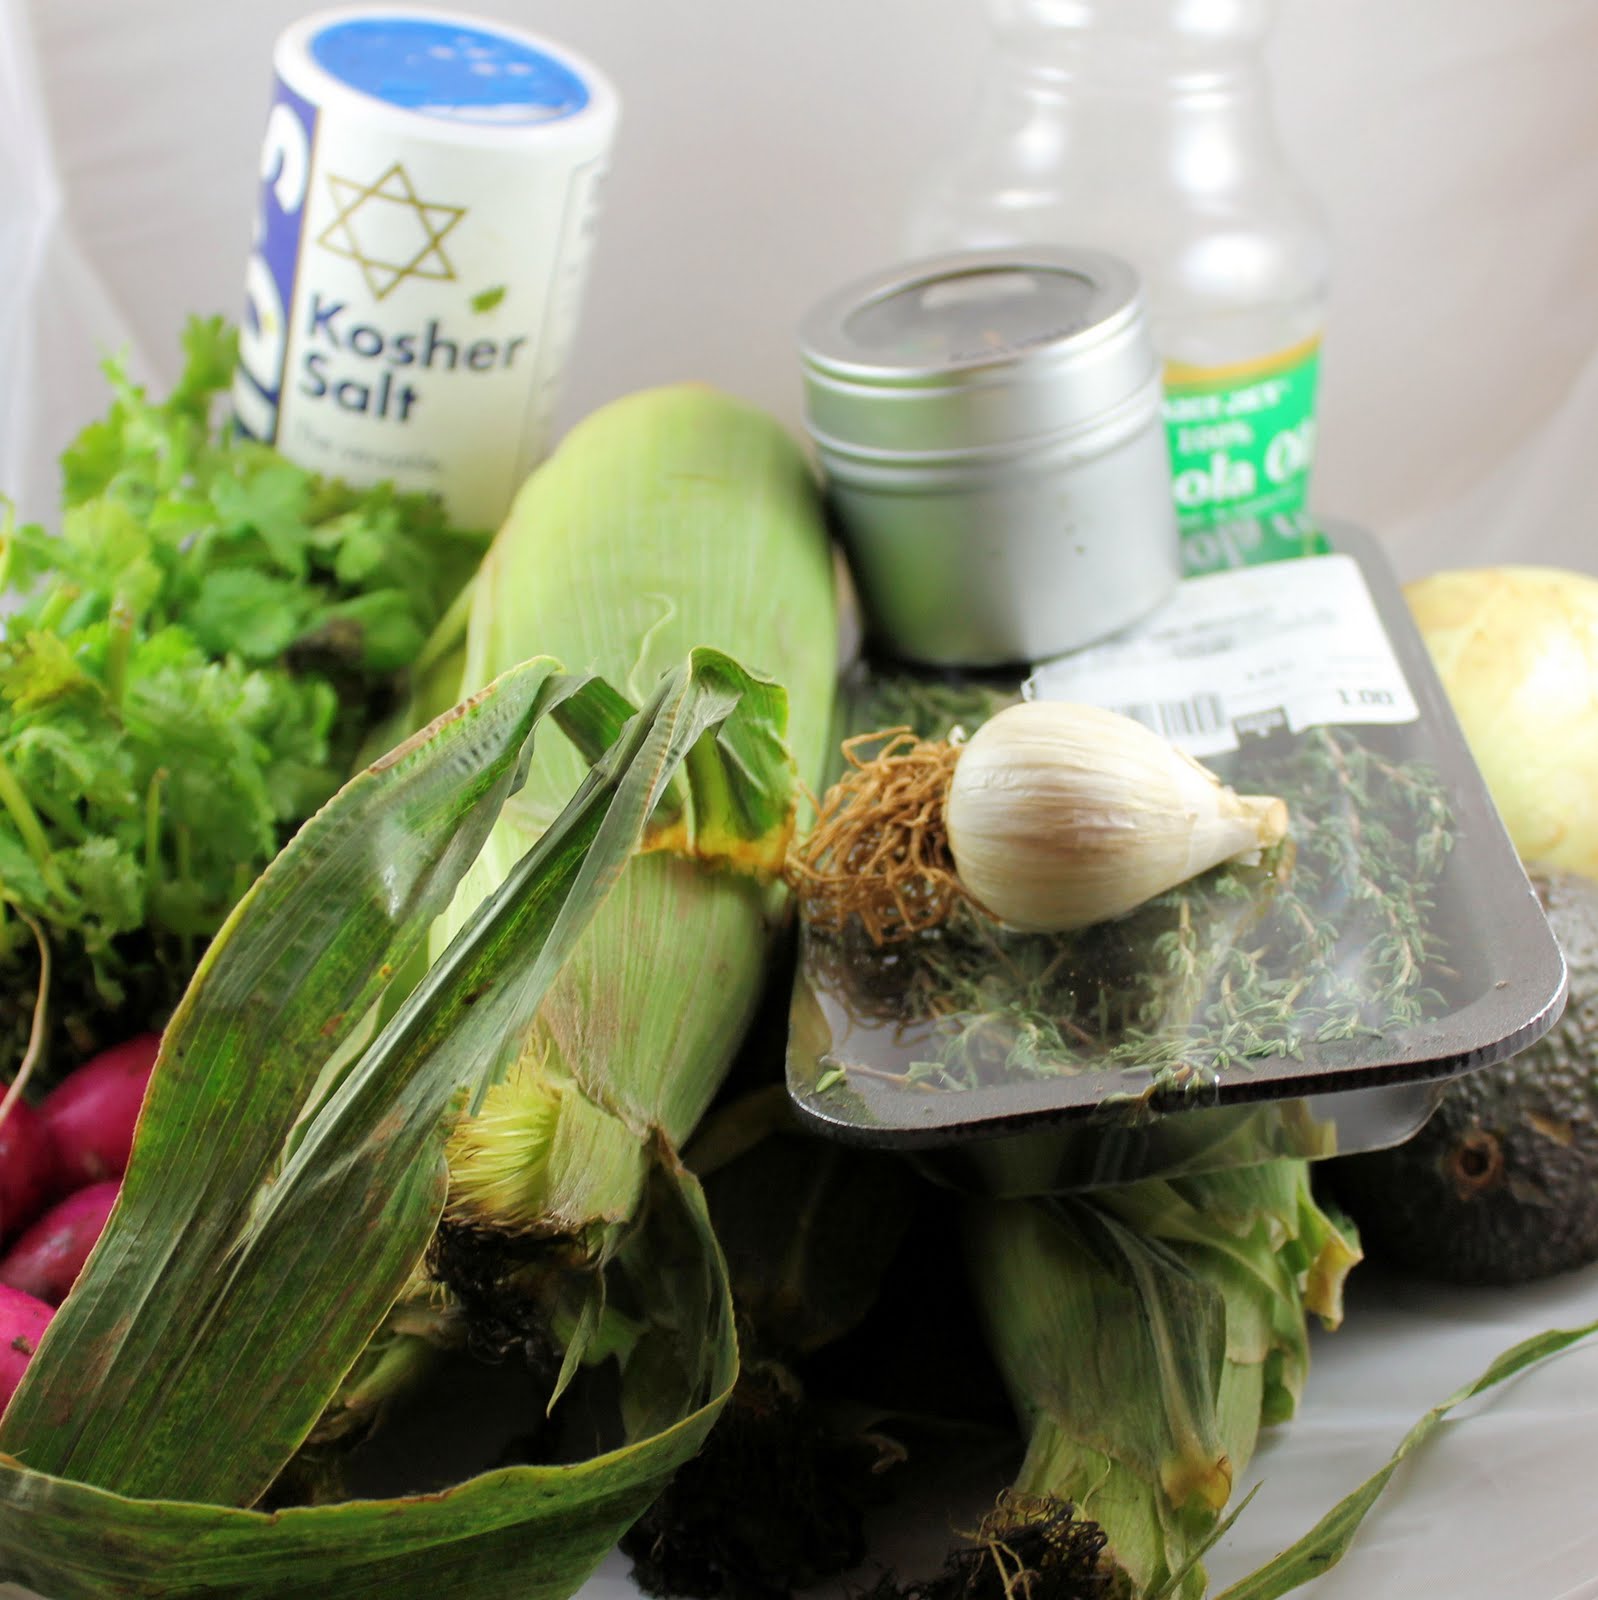
Cook the orzo according to package instructions on the package. Drain and set aside. While the orzo is cooking, prepare your ingredients: chop the onion, garlic, basil and parsley.
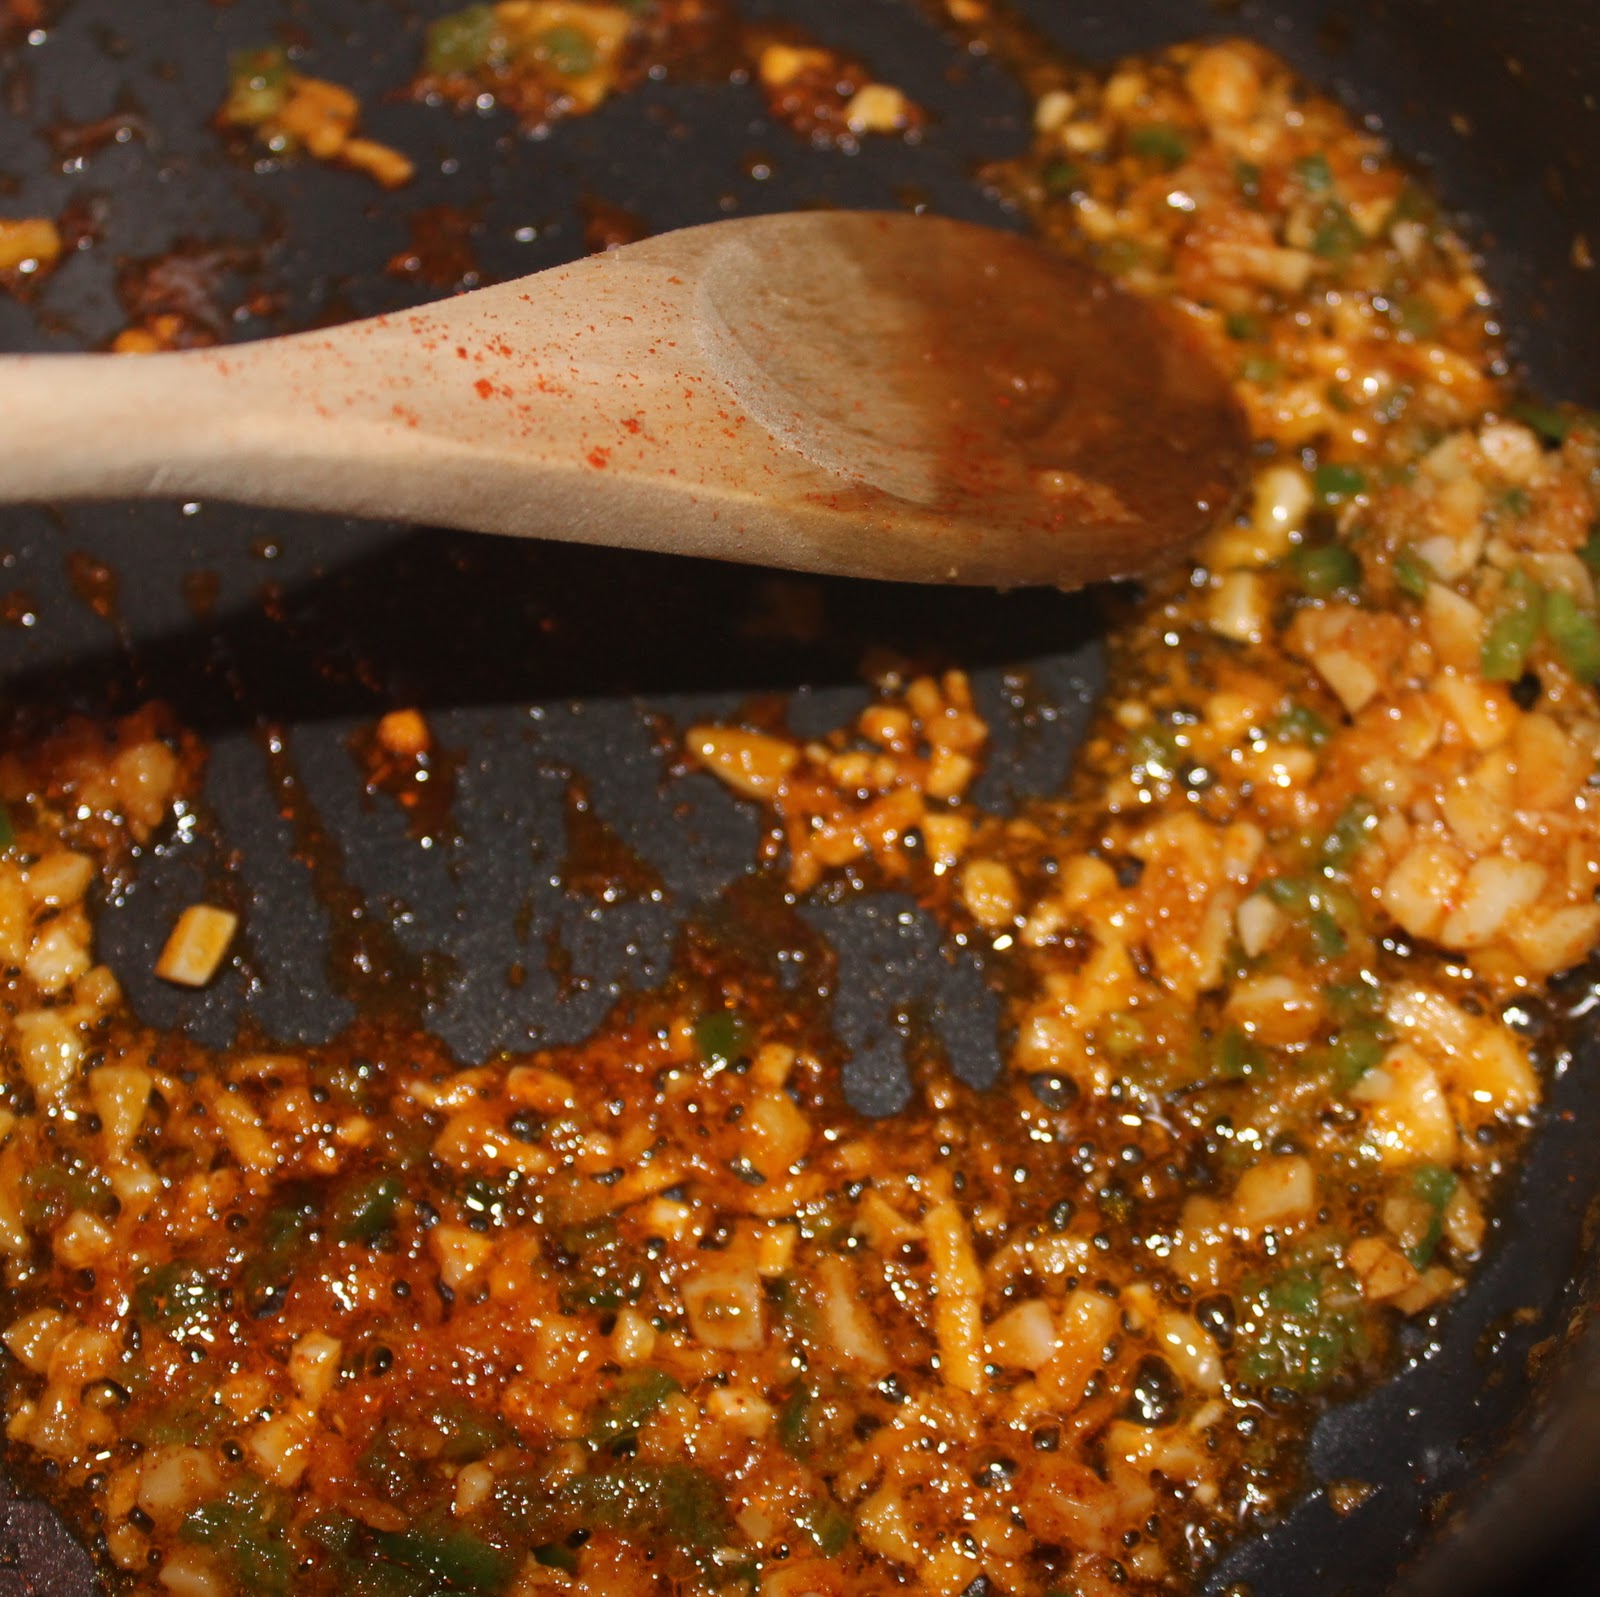
In a large pot, add the olive oil over medium heat. Add the onion ,garlic, dried basil and dried parsley. Cook for 5 minutes, stirring occasionally.
Add the scallops and cook for another 2-3 minutes, stirring.
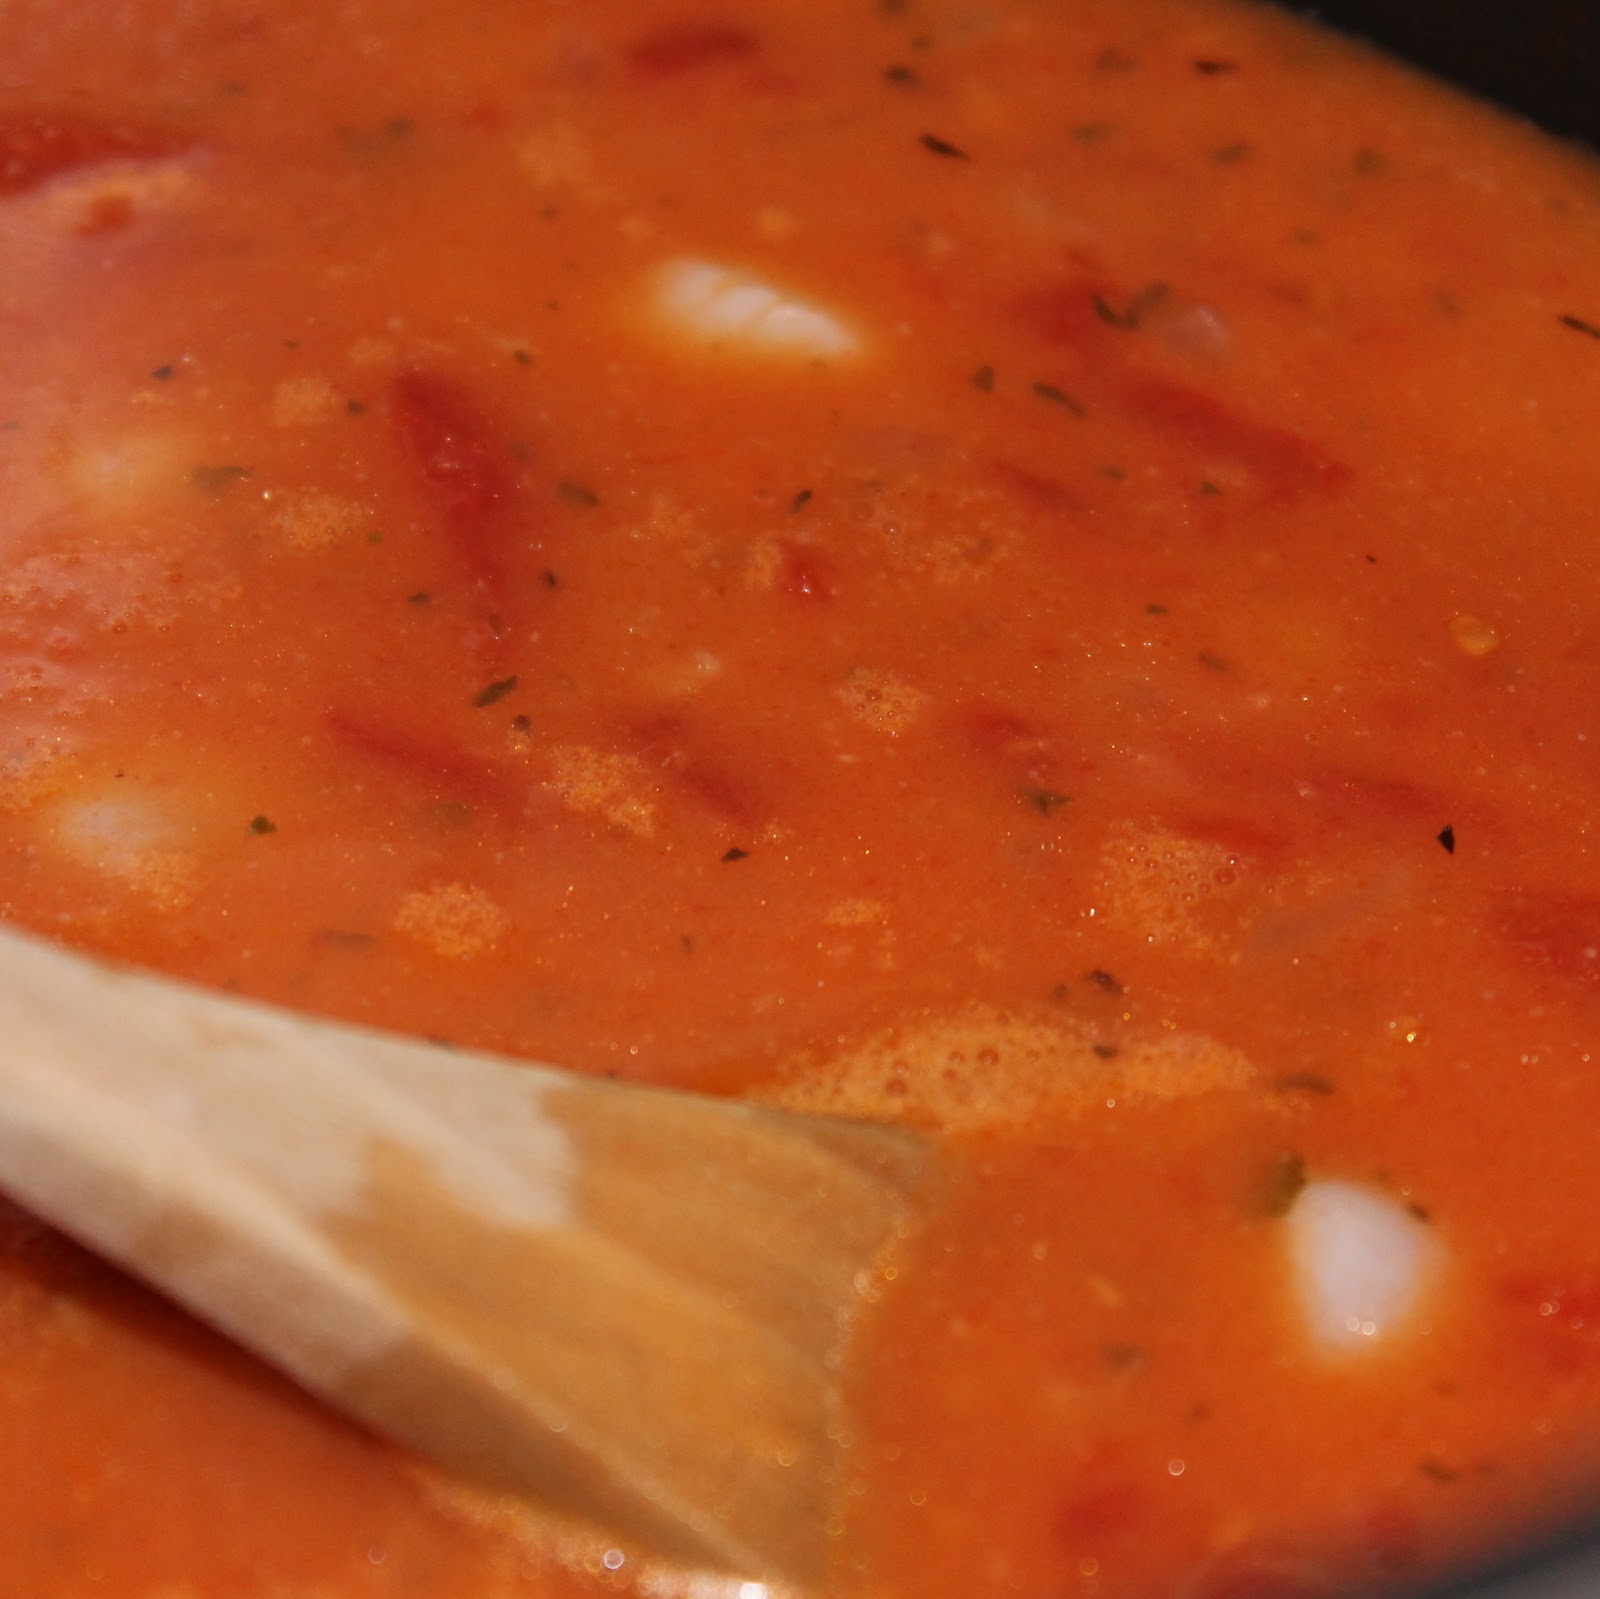
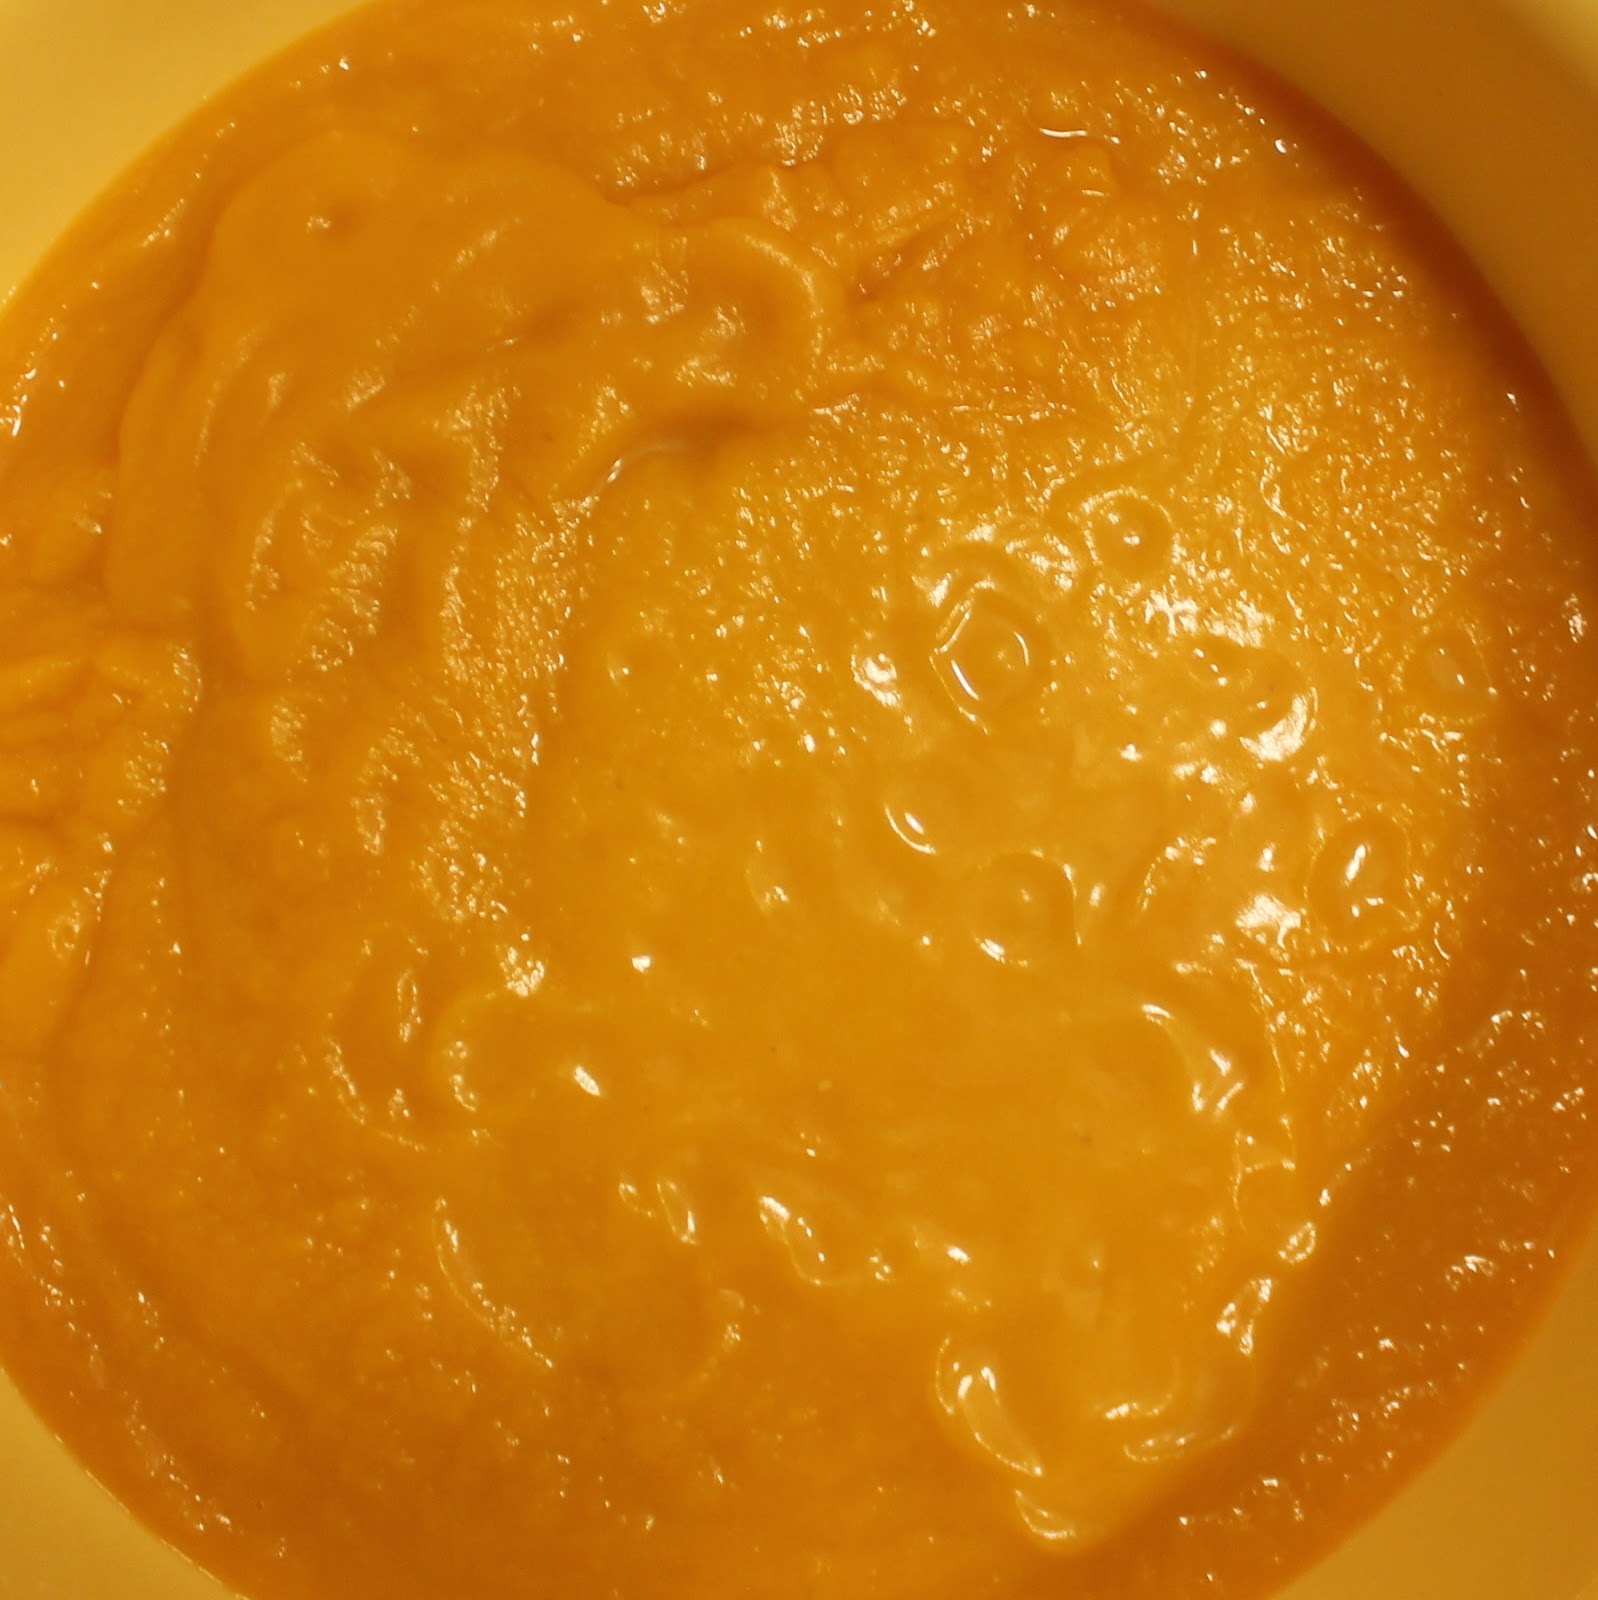
Add the clam juice and chicken broth. If you want, you can sub out the clam juice for all broth. Add the Pomi Vodka Sauce, red pepper flakes, and diced tomatoes. If you do not want a chunky stew, you can leave out the chopped tomatoes.
Bring to a boil, reduce heat, cover, and cook for about 10 minutes. Add the clams and cover, cooking for 3-5 minutes or until the clams open.
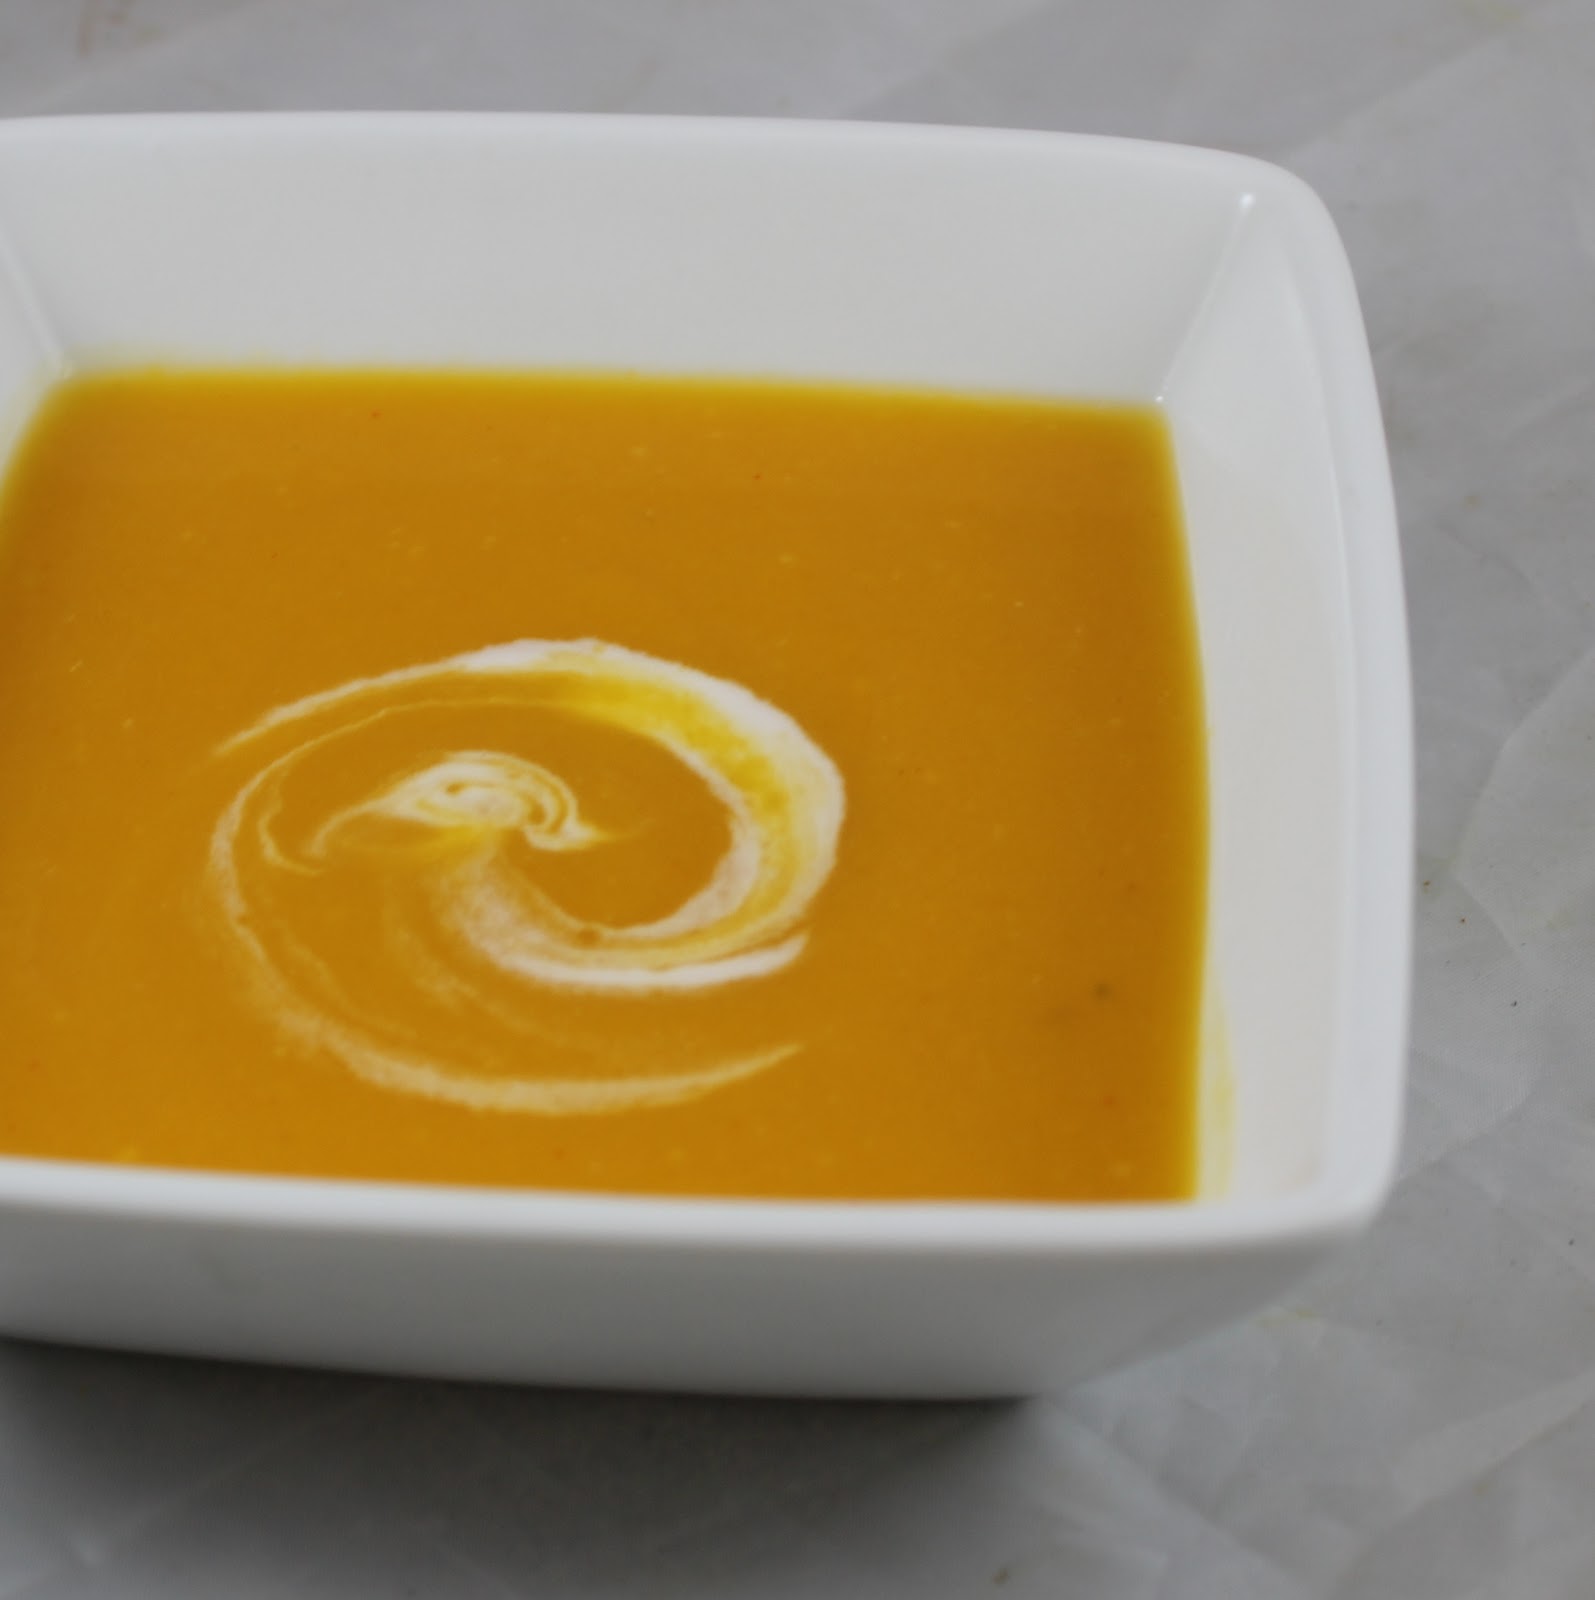
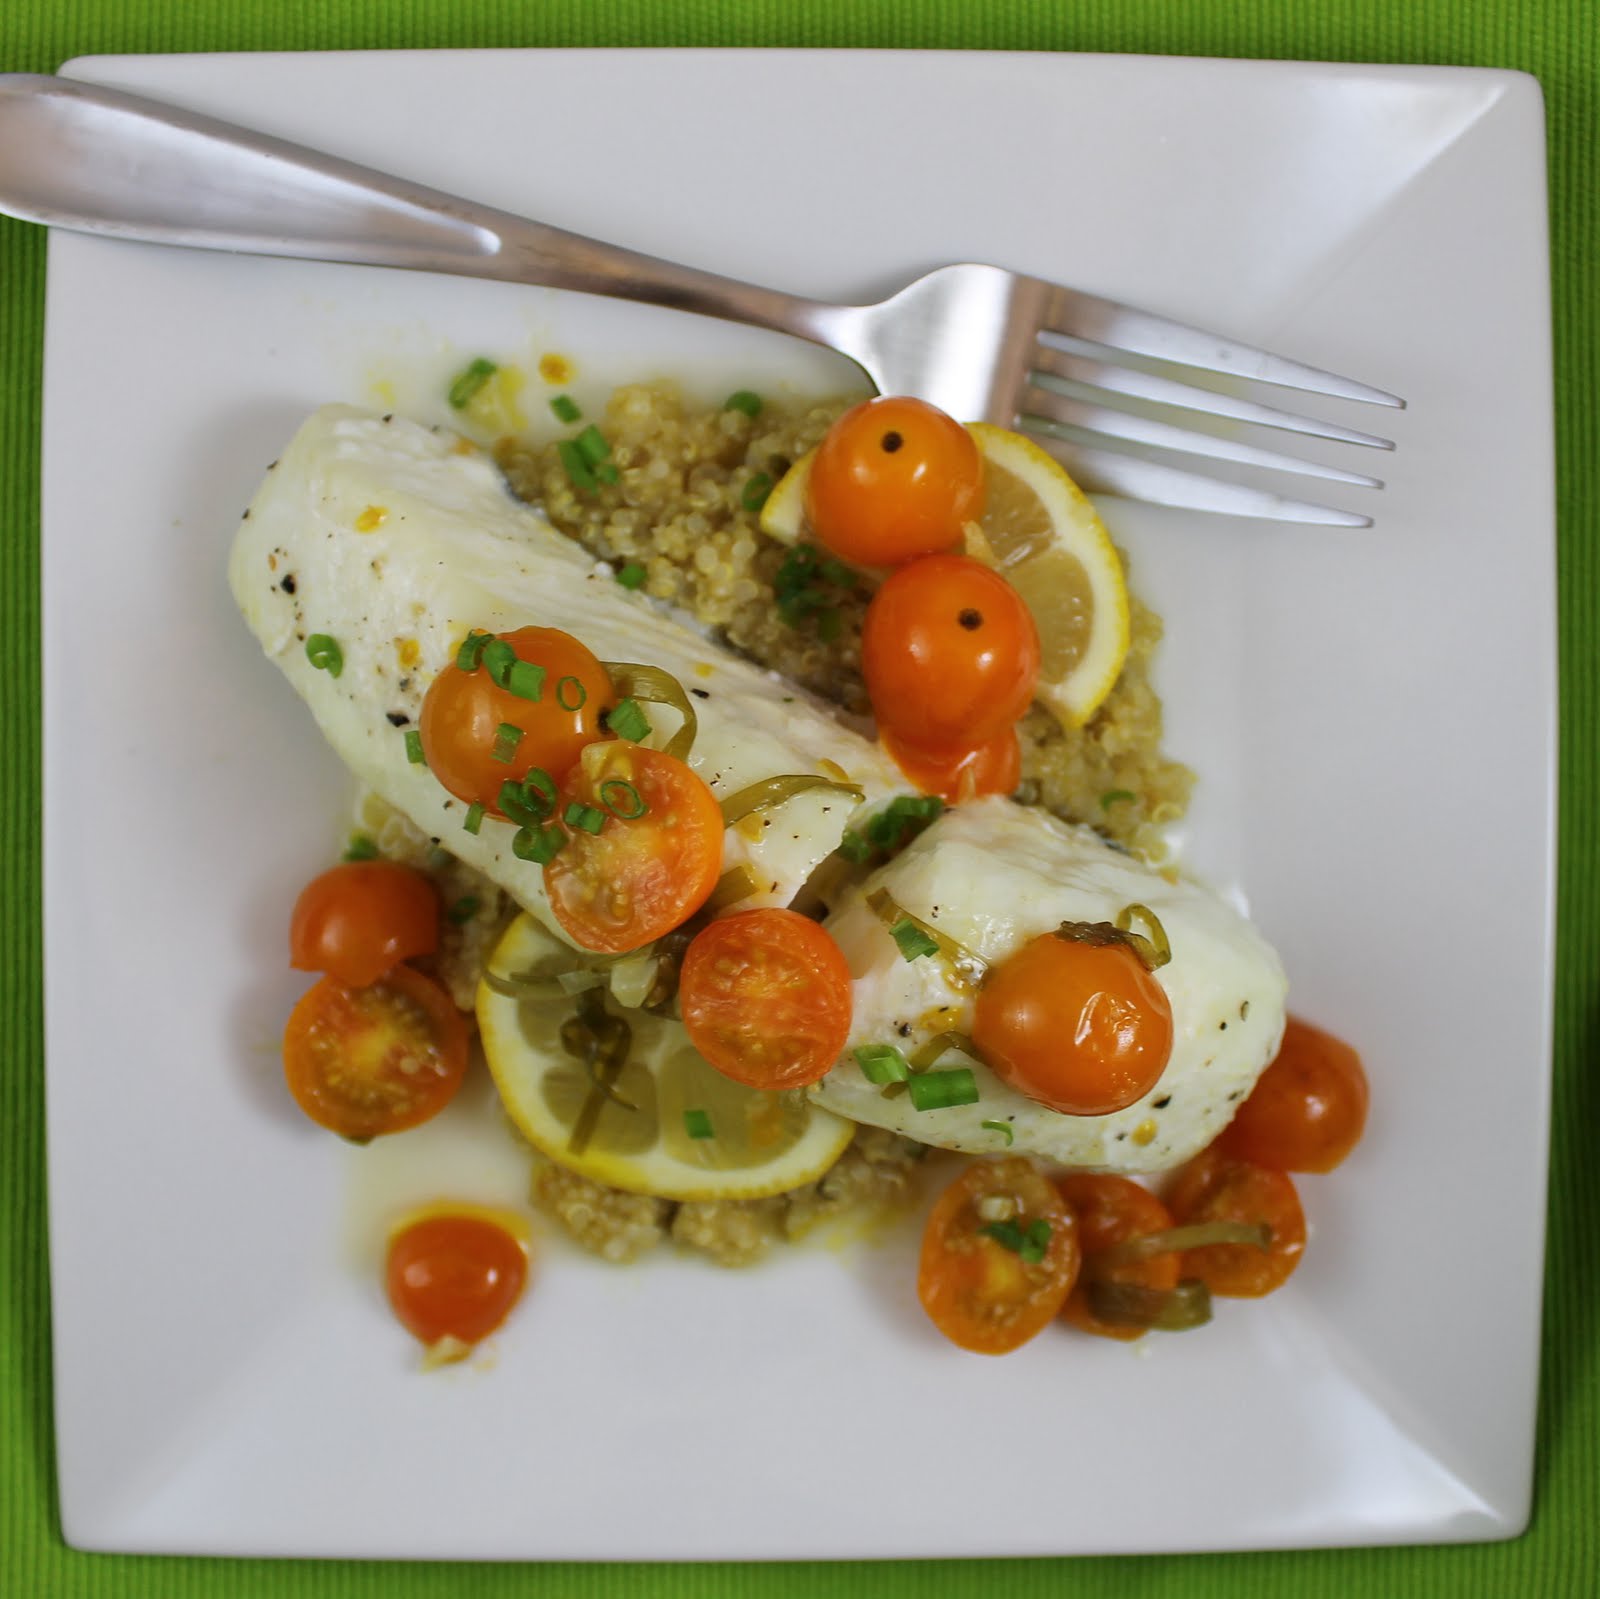
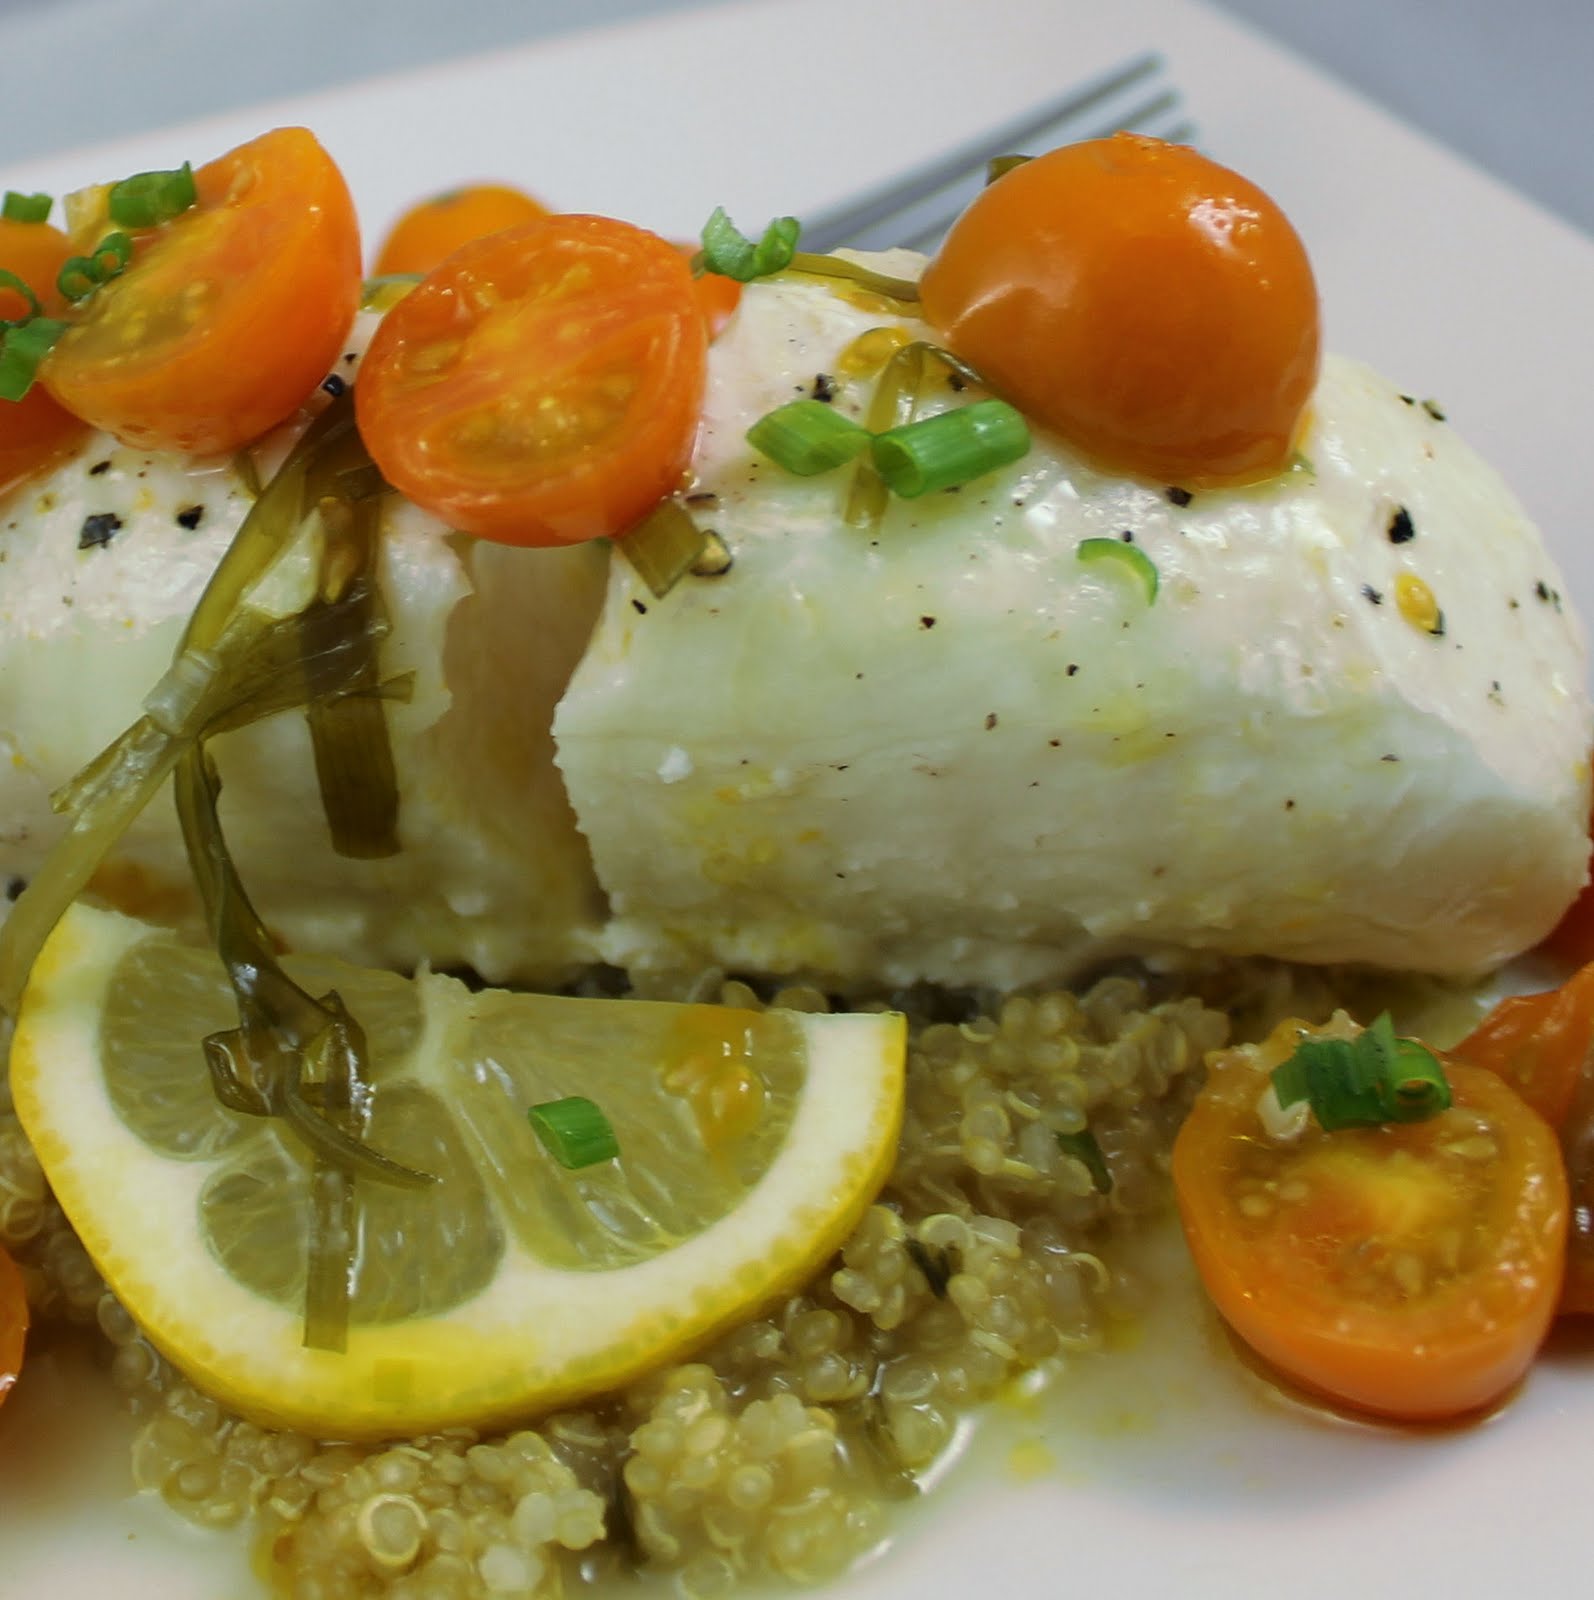
Stir in the orzo and the crab meat and serve with day old French bread.
There is plenty of salt from the clam juice, chicken broth and Pomi Vodka sauce so you really don’t need to add any. Feel free to add a bit of ground pepper if you’d like.
The Pomi Vodka sauce added plenty of flavor to the soup. It created a wonderful base and tasted awesome with the clams, crab meat and scallops. I strongly suggest adding the red pepper flakes for a tiny bit of heat, it works so well with the tomatoes. My boyfriend, who was really wary of trying the chowder, ended up polishing off his bowl, and he doesn’t even like scallops!
So now, for the giveaway! As a reminder, one reader will receive one box of Pomi Alfredo Sauce and one box of Pomi Vodka Sauce, mailed to your home. Unfortunately, this is only open to U.S. residents.
To enter, please leave a comment below letting me know how you’d use one of the sauces (this one is mandatory).
For extra entries, you can do as many of the following as you please. Leave me a comment below letting me know you’ve done them, each comment counts as a separate entry!
- Like I Can Cook That and Pomi on Facebook (comment saying you did so or let me know if you already do)
- Follow I Can Cook That on twitter (comment saying you did so or let me know if you already do)
- Tweet the following: “I just entered @icancookthat’s Pomi Sauce Giveaway! https://tinyurl.com/3c56eep” (leave a comment saying you did so below)
The winner will be chosen using random.org and will be announced Friday, October 21. All entries must be received by 12:00pm EST on Friday, October 21. Good luck!
Note: This giveaway is now closed. Thanks for participating!