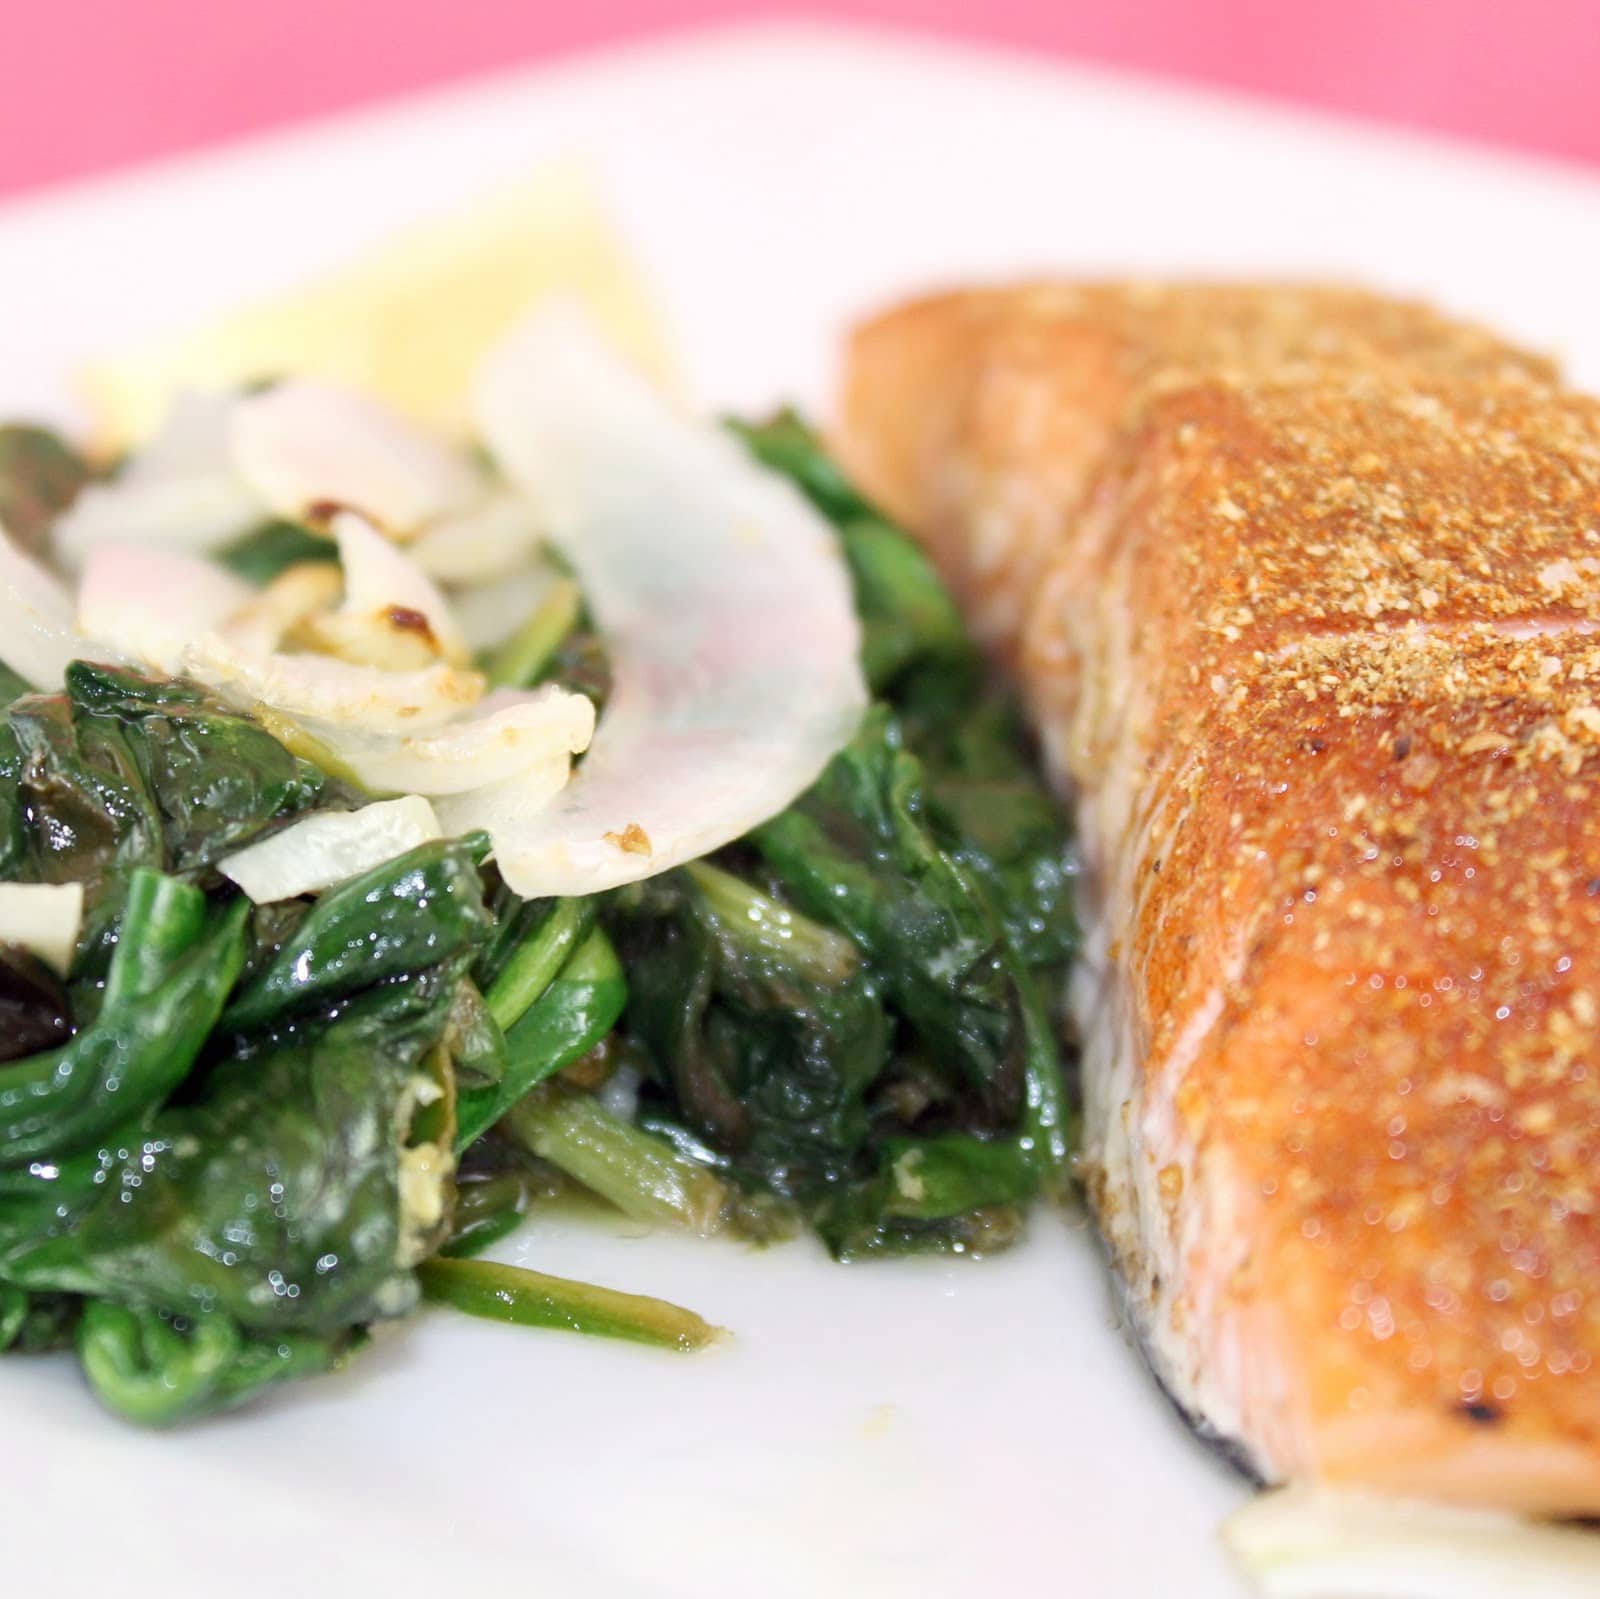
If you’re like me, you can never have too many salmon recipes. If I could, I’d eat salmon every day, so I prefer some variety with how it’s prepared. Cooking Light had a recipe that incorporated some really interesting spices: coriander, cinnamon, cumin and paprika. I was excited to see how this would turn out. The recipe also pairs the salmon with a wilted spinach, one of my favorite sides.
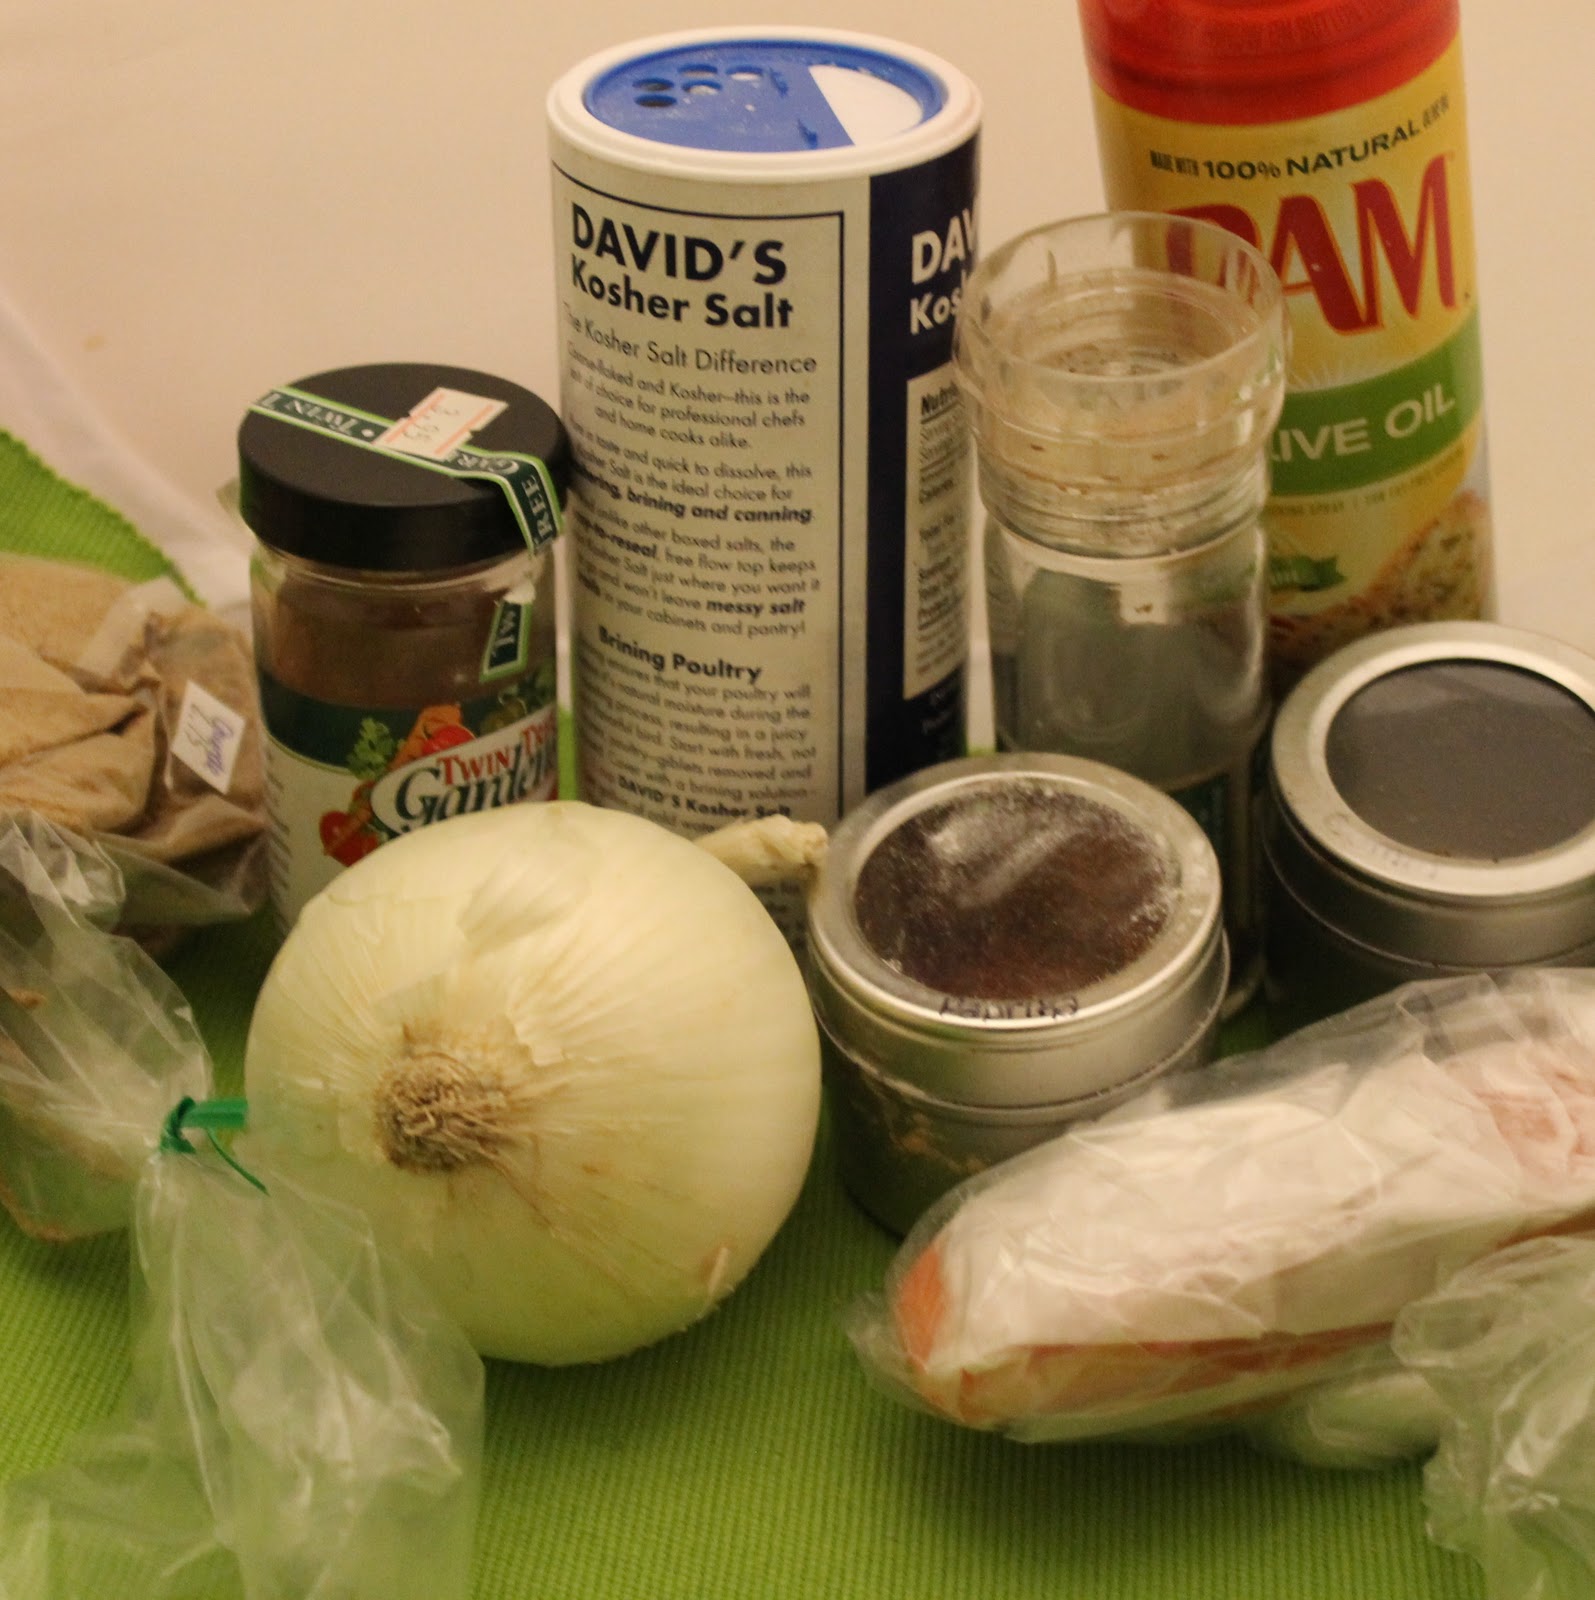
Ingredients (this makes one serving)
Salmon:
1/4 teaspoon salt
1/4 teaspoon ground cumin
1/4 teaspoon ground coriander
1/8 teaspoon paprika
a pinch of ground cinnamon
a pinch of freshly ground black pepper
1 5 oz salmon fillet
1/2 white onion, thinly sliced
Cooking spray
chopped cilantro, for garnish
lemon wedges
Spinach:
1 teaspoon olive oil
1 garlic clove, minced
2 large handfuls uncooked baby spinach
zest from one lemon
1/4 teaspoon salt
the juice of half a lemon
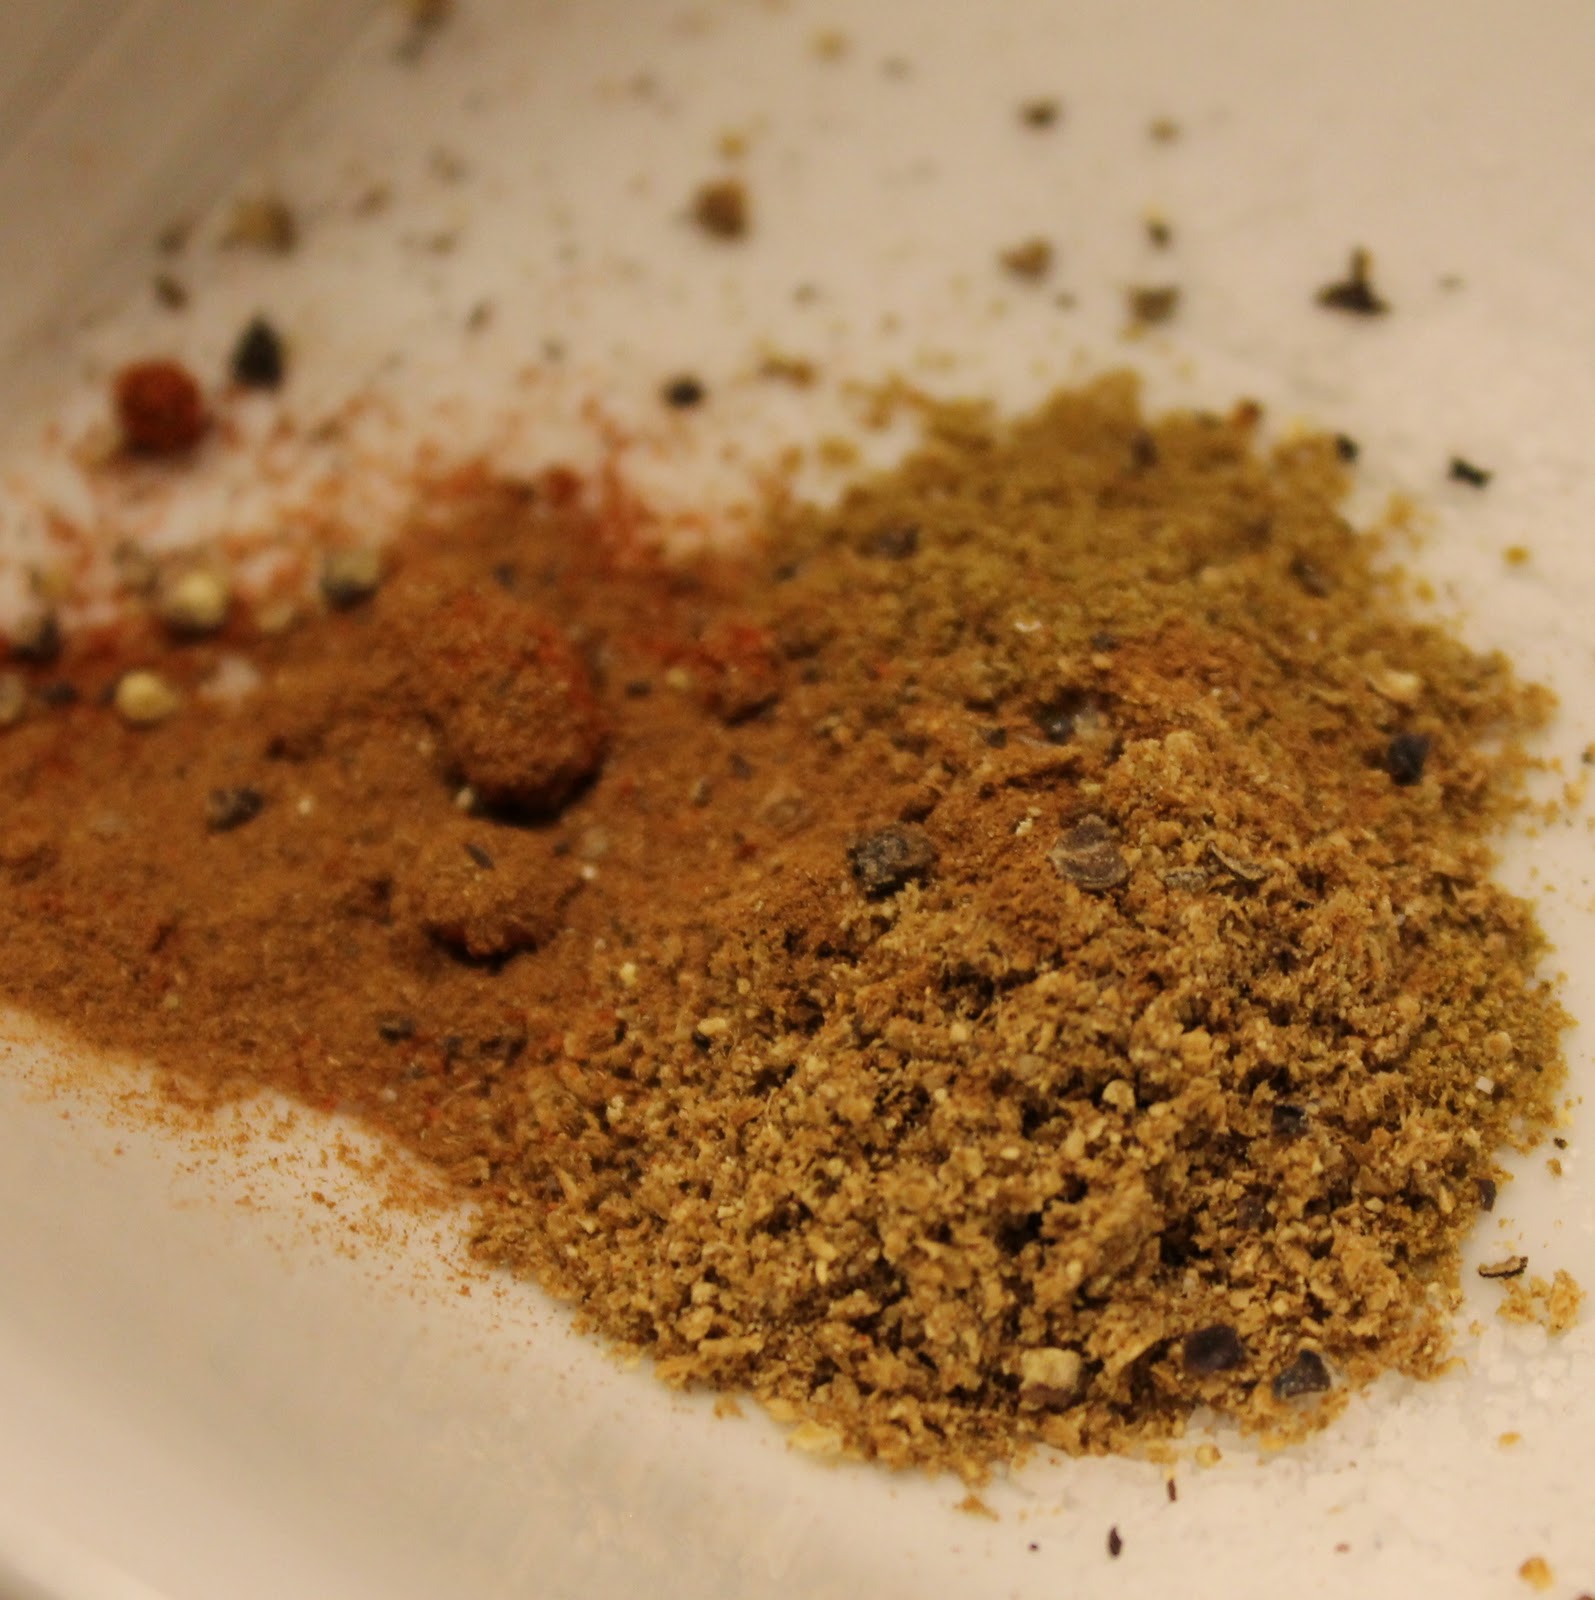
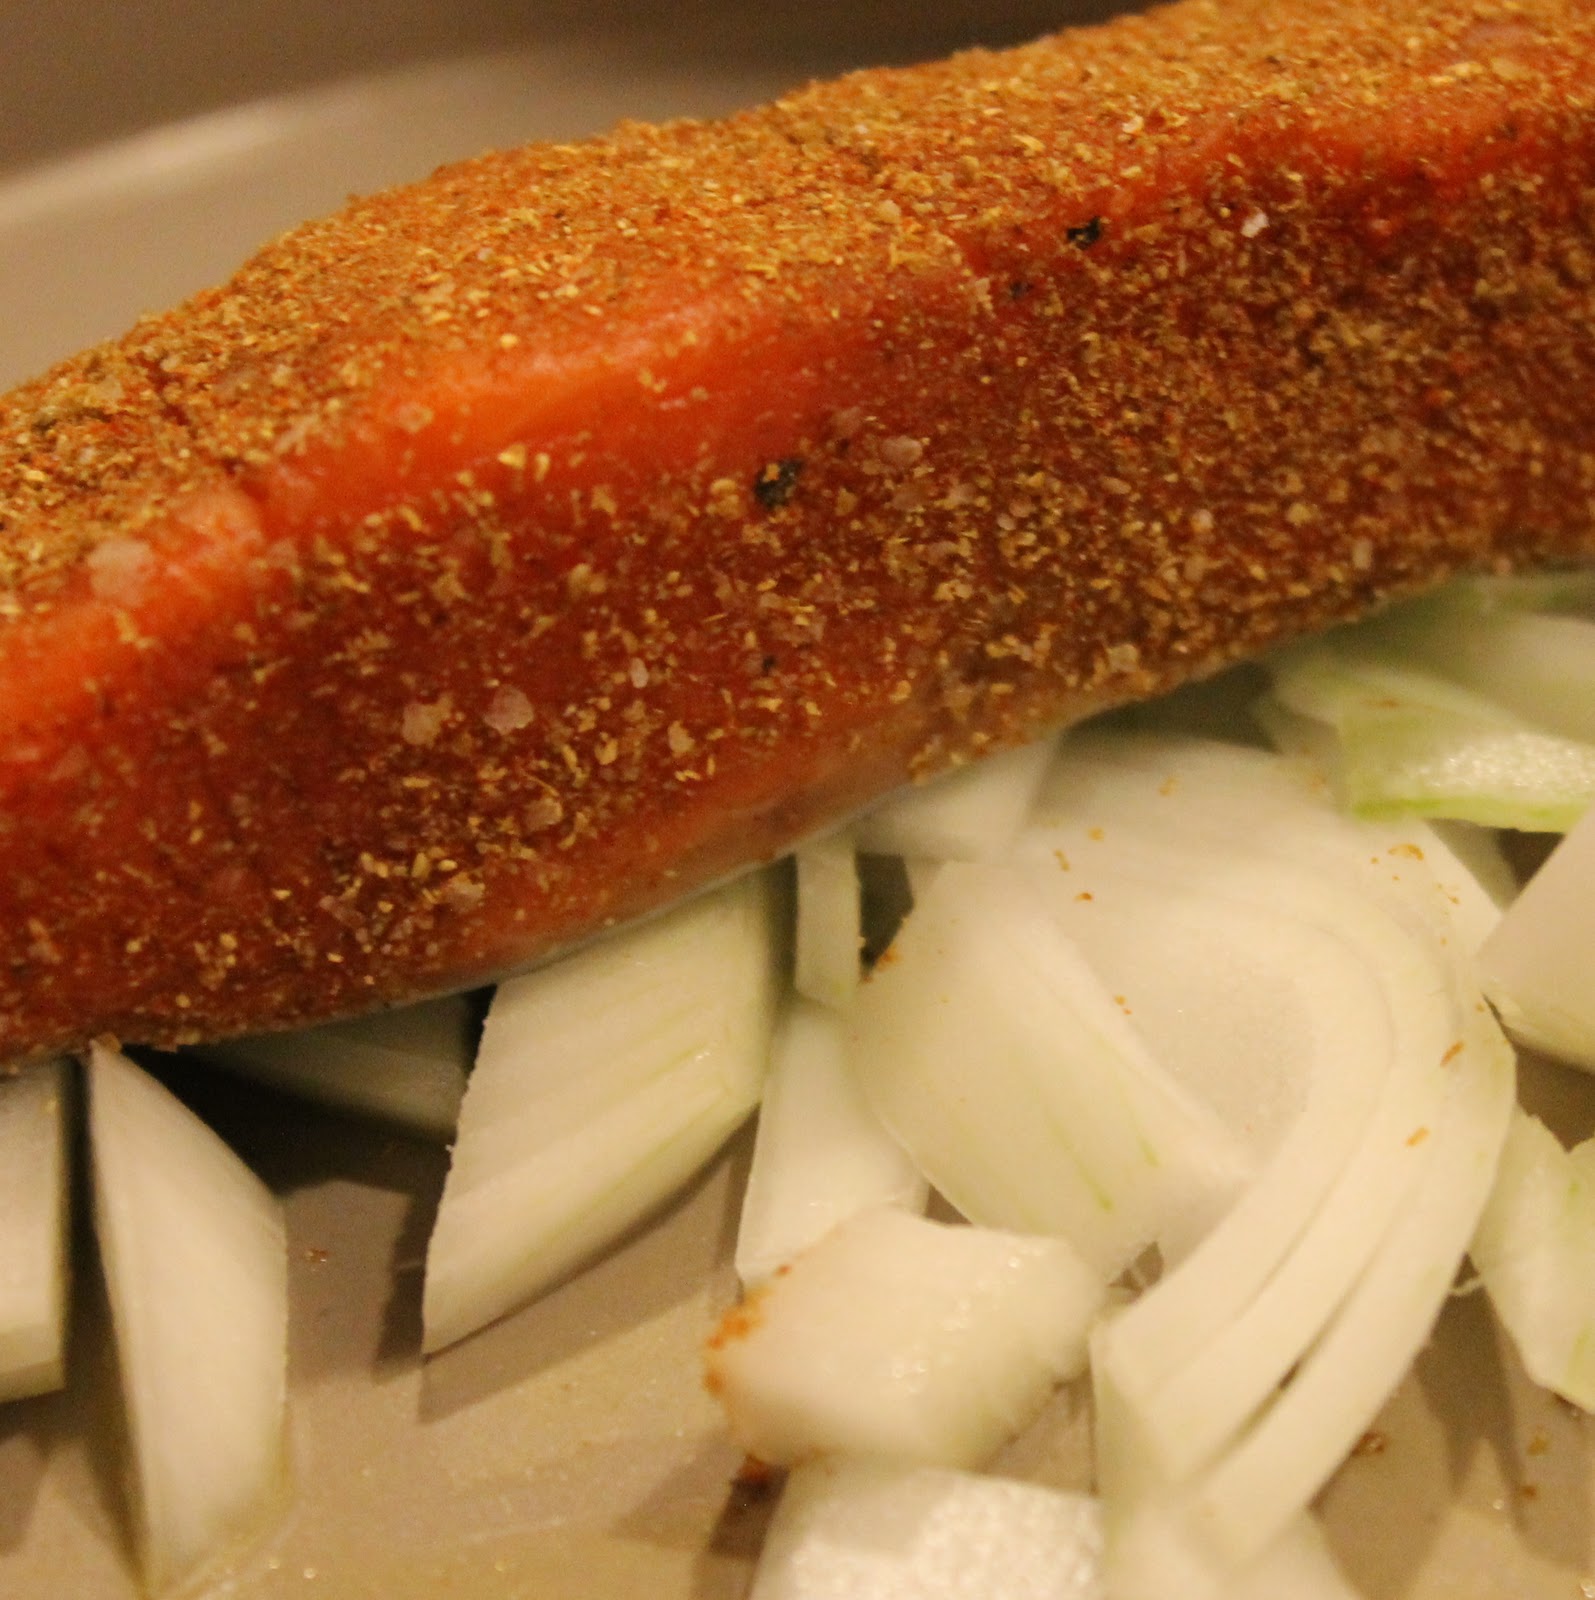
Preheat your oven to 400 degrees. To prepare the spice rub, combine the salt, cumin, coriander, paprika, cinnamon, and pepper in a bowl.
Rub the mixture evenly over the salmon.
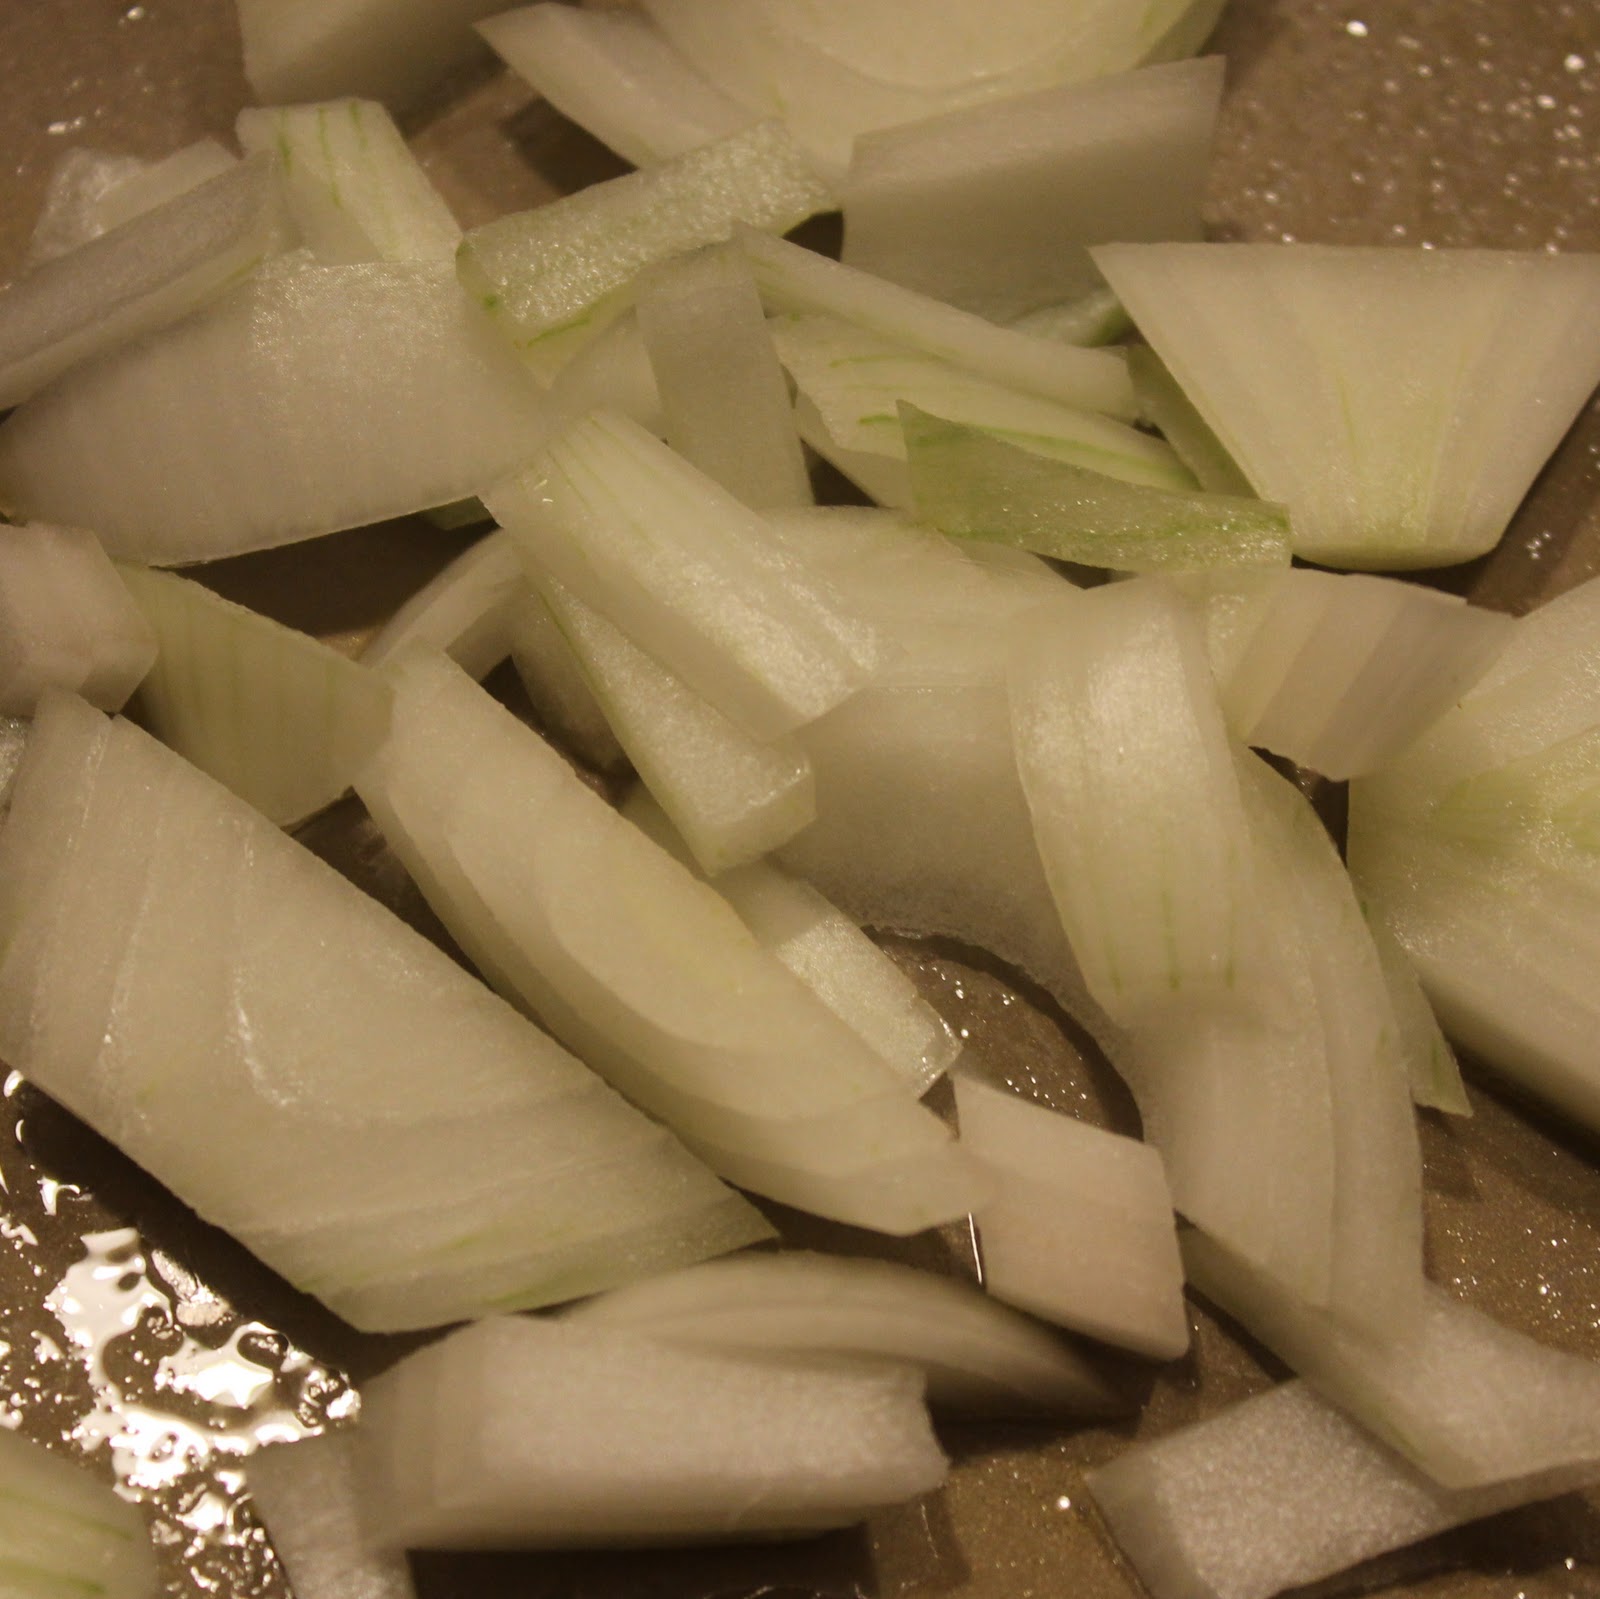
Thinly slice your onion. Add the onion to a baking dish coated with cooking spray.
Add the salmon on top of the onions. Bake at 400 degrees for 20 minutes or until flaky.
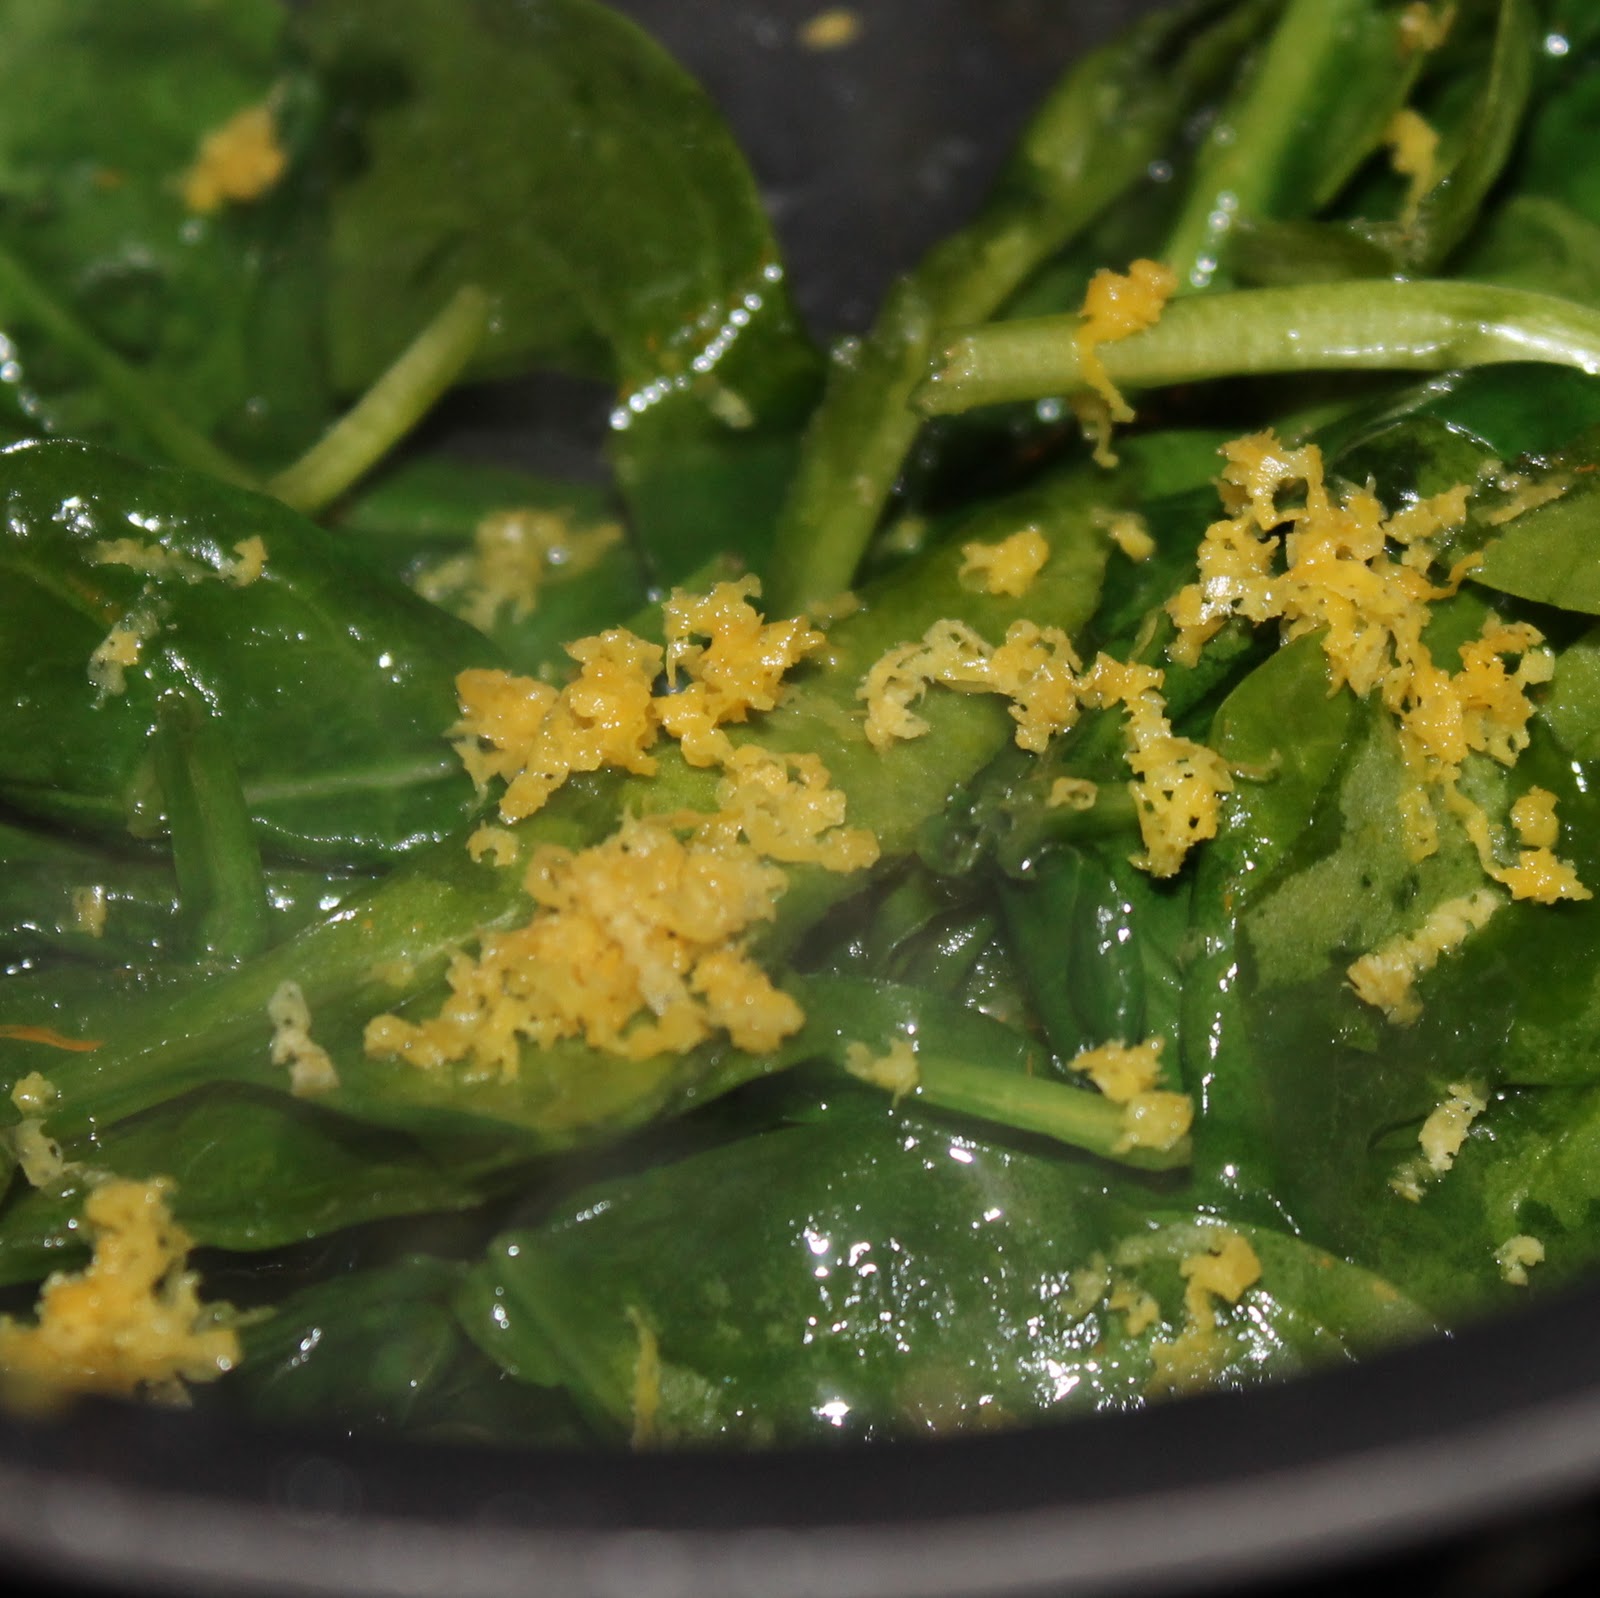
When there is about 5-10 minutes left on the salmon, prepare the spinach. Heat the olive oil over medium heat. Add the garlic and saute for 1 minute.
Add one handful of spinach.
Cook for one minute, stirring. Add the remaining handful of spinach and cook for 4 minutes or until wilted, stirring frequently.
Add lemon zest and salt. Stir in juice and remove from heat.
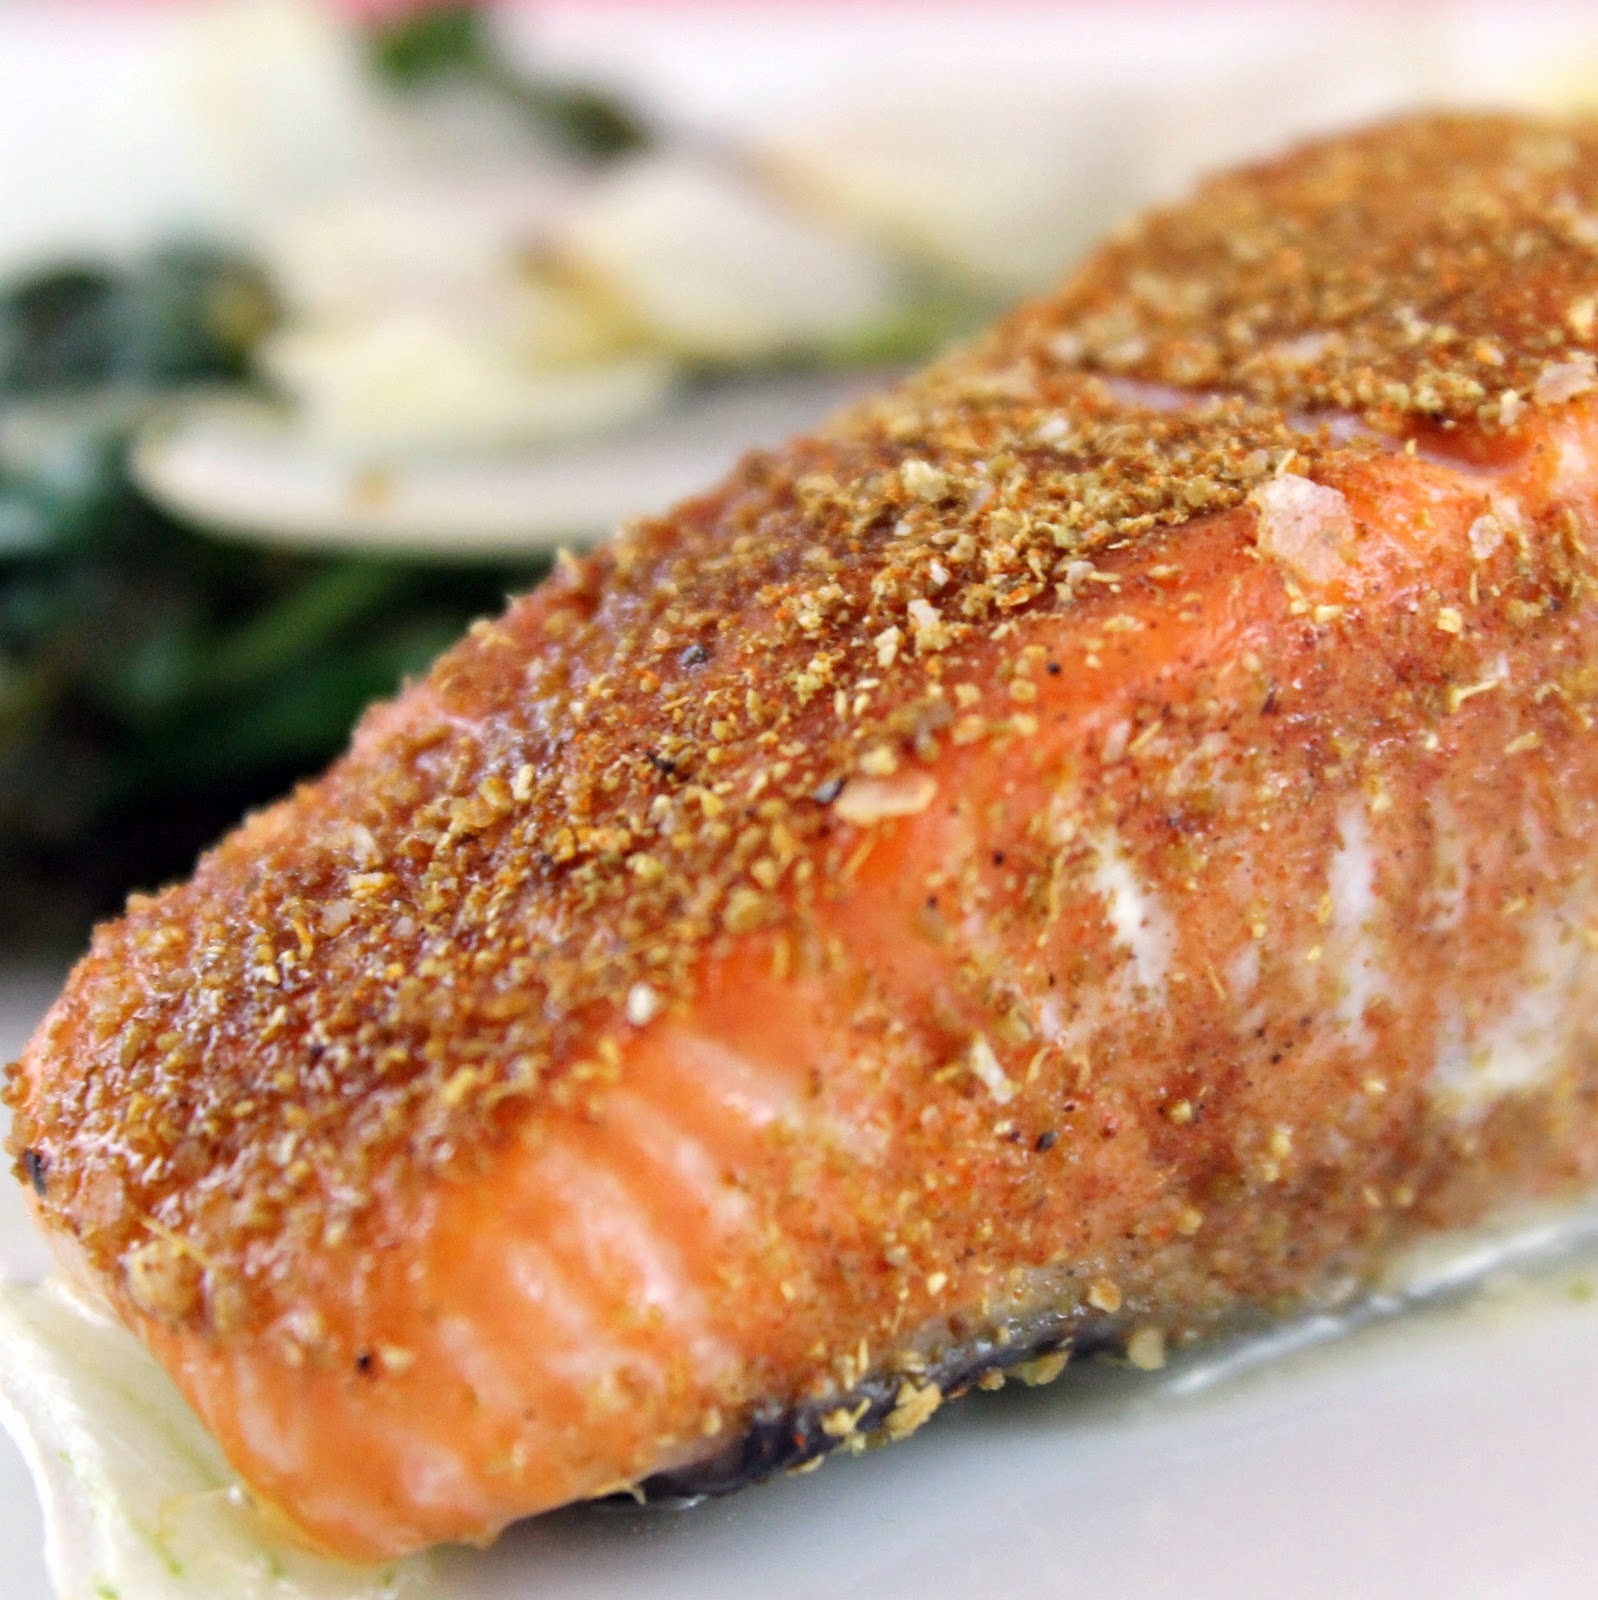
Serve the salmon with the onions and spinach.
Sprinkle salmon with cilantro. Serve with lemon wedges.
You’d think all of those powerful spices would overwhelm the salmon. Not at all. The flavor was fantastic!
I can’t even describe it. But my taste buds did a little dance.
The lemon added a nice tanginess to the spinach, which was a great contrast to the sweet caramelized onions.
I think the next time I make this, I will check the salmon after 15 minutes of cooking. The salmon was slightly overcooked for my liking. Past that, this recipe is a definite keeper!
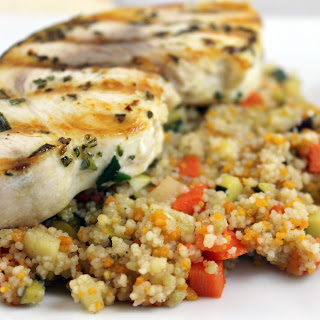
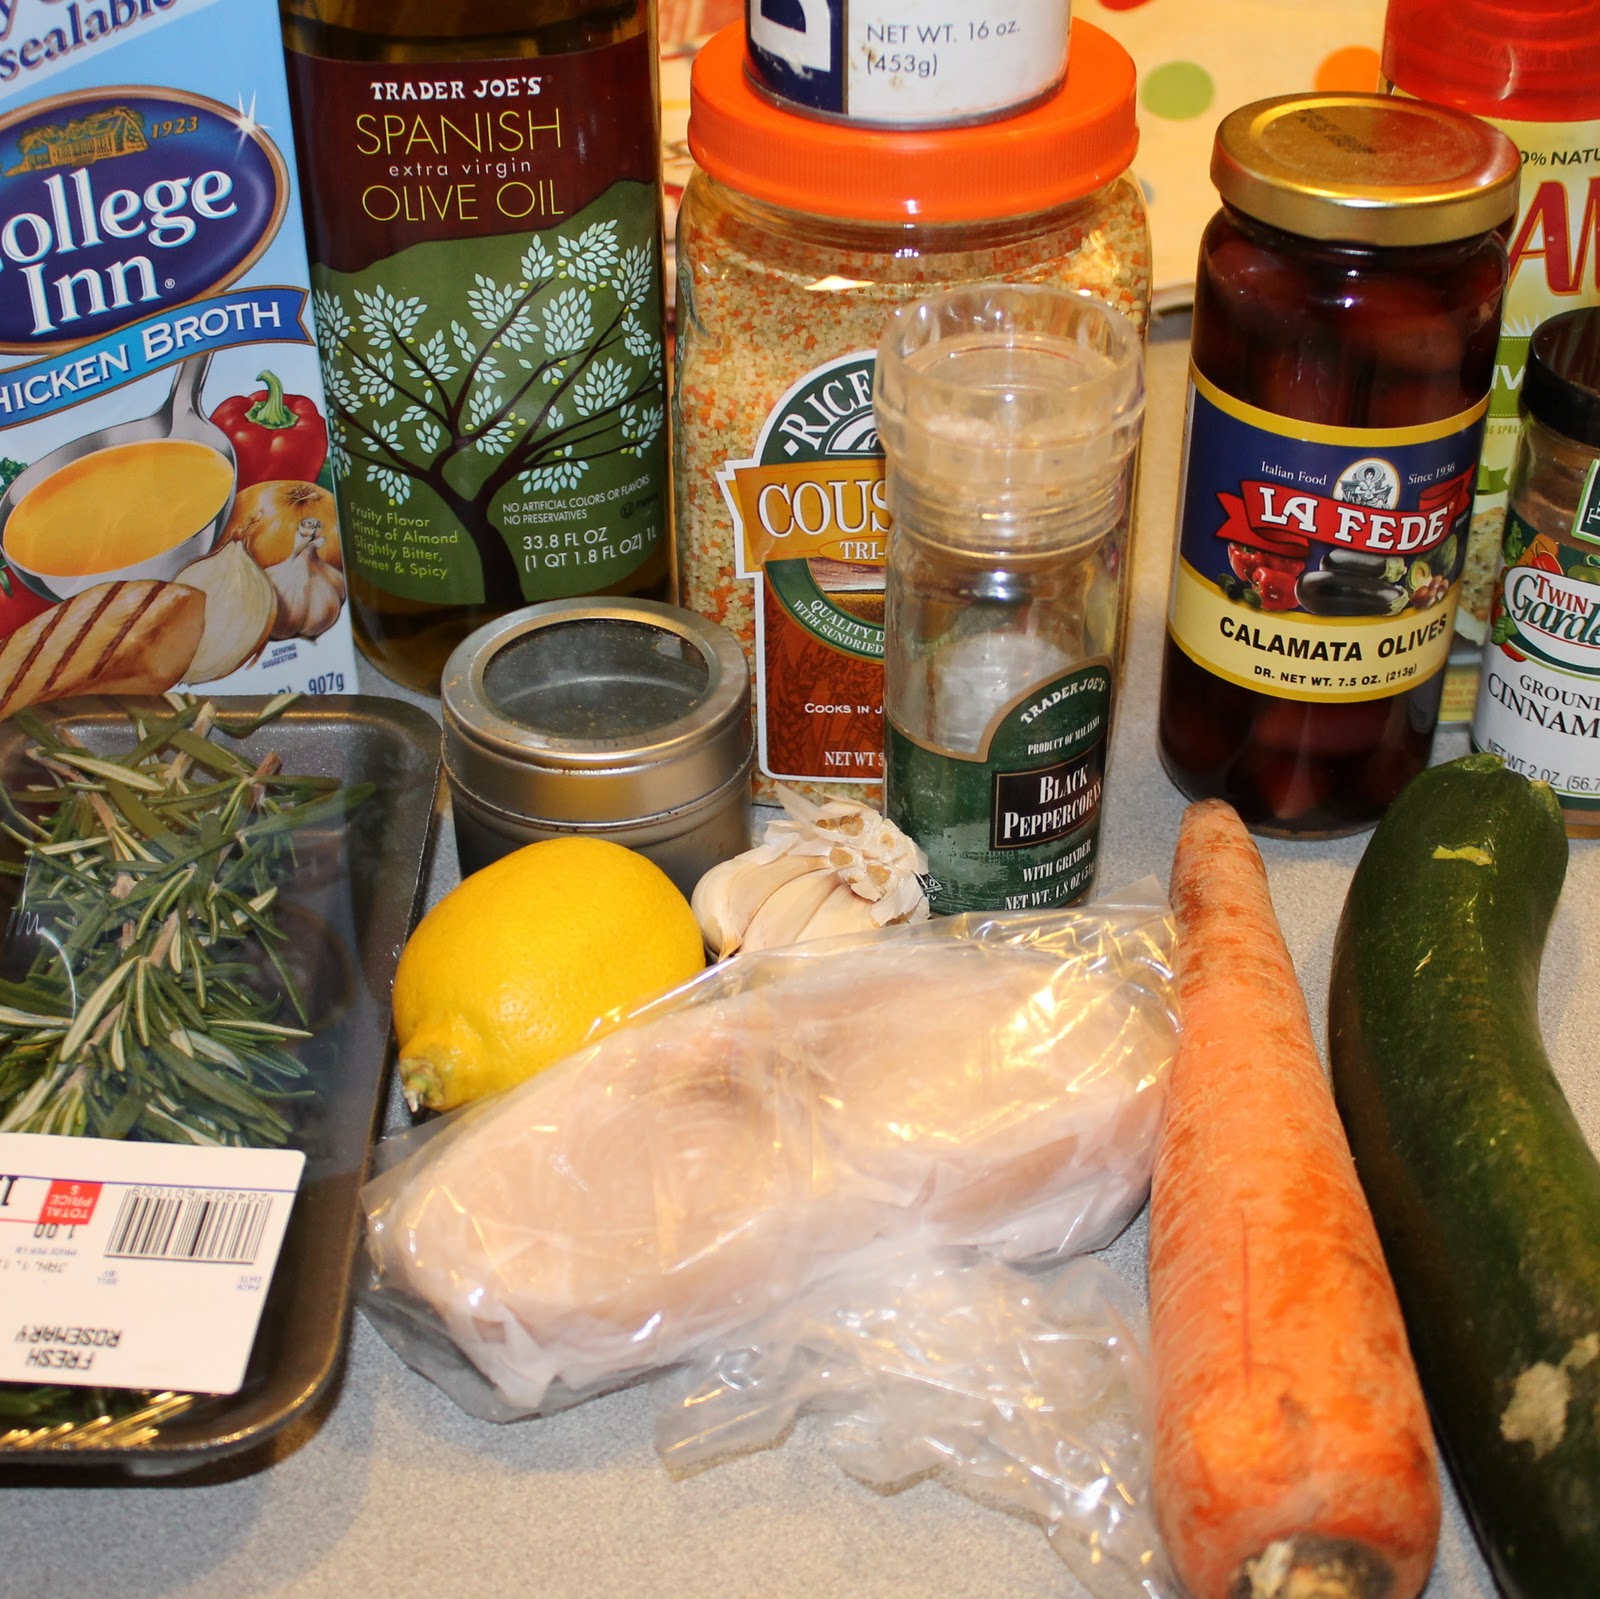
I apologize for the lack of posts! Like many, I’ve spent the past week doing a whole lot of eating, but not necessarily cooking. My parents gave me a nifty panini pan for the stove which also doubles as a grill pan. I wanted to test it out, so I decided to try Cooking Light’s Rosemary Swordfish on Vegetable Couscous.
Ingredients (this makes one serving so multiply as needed):
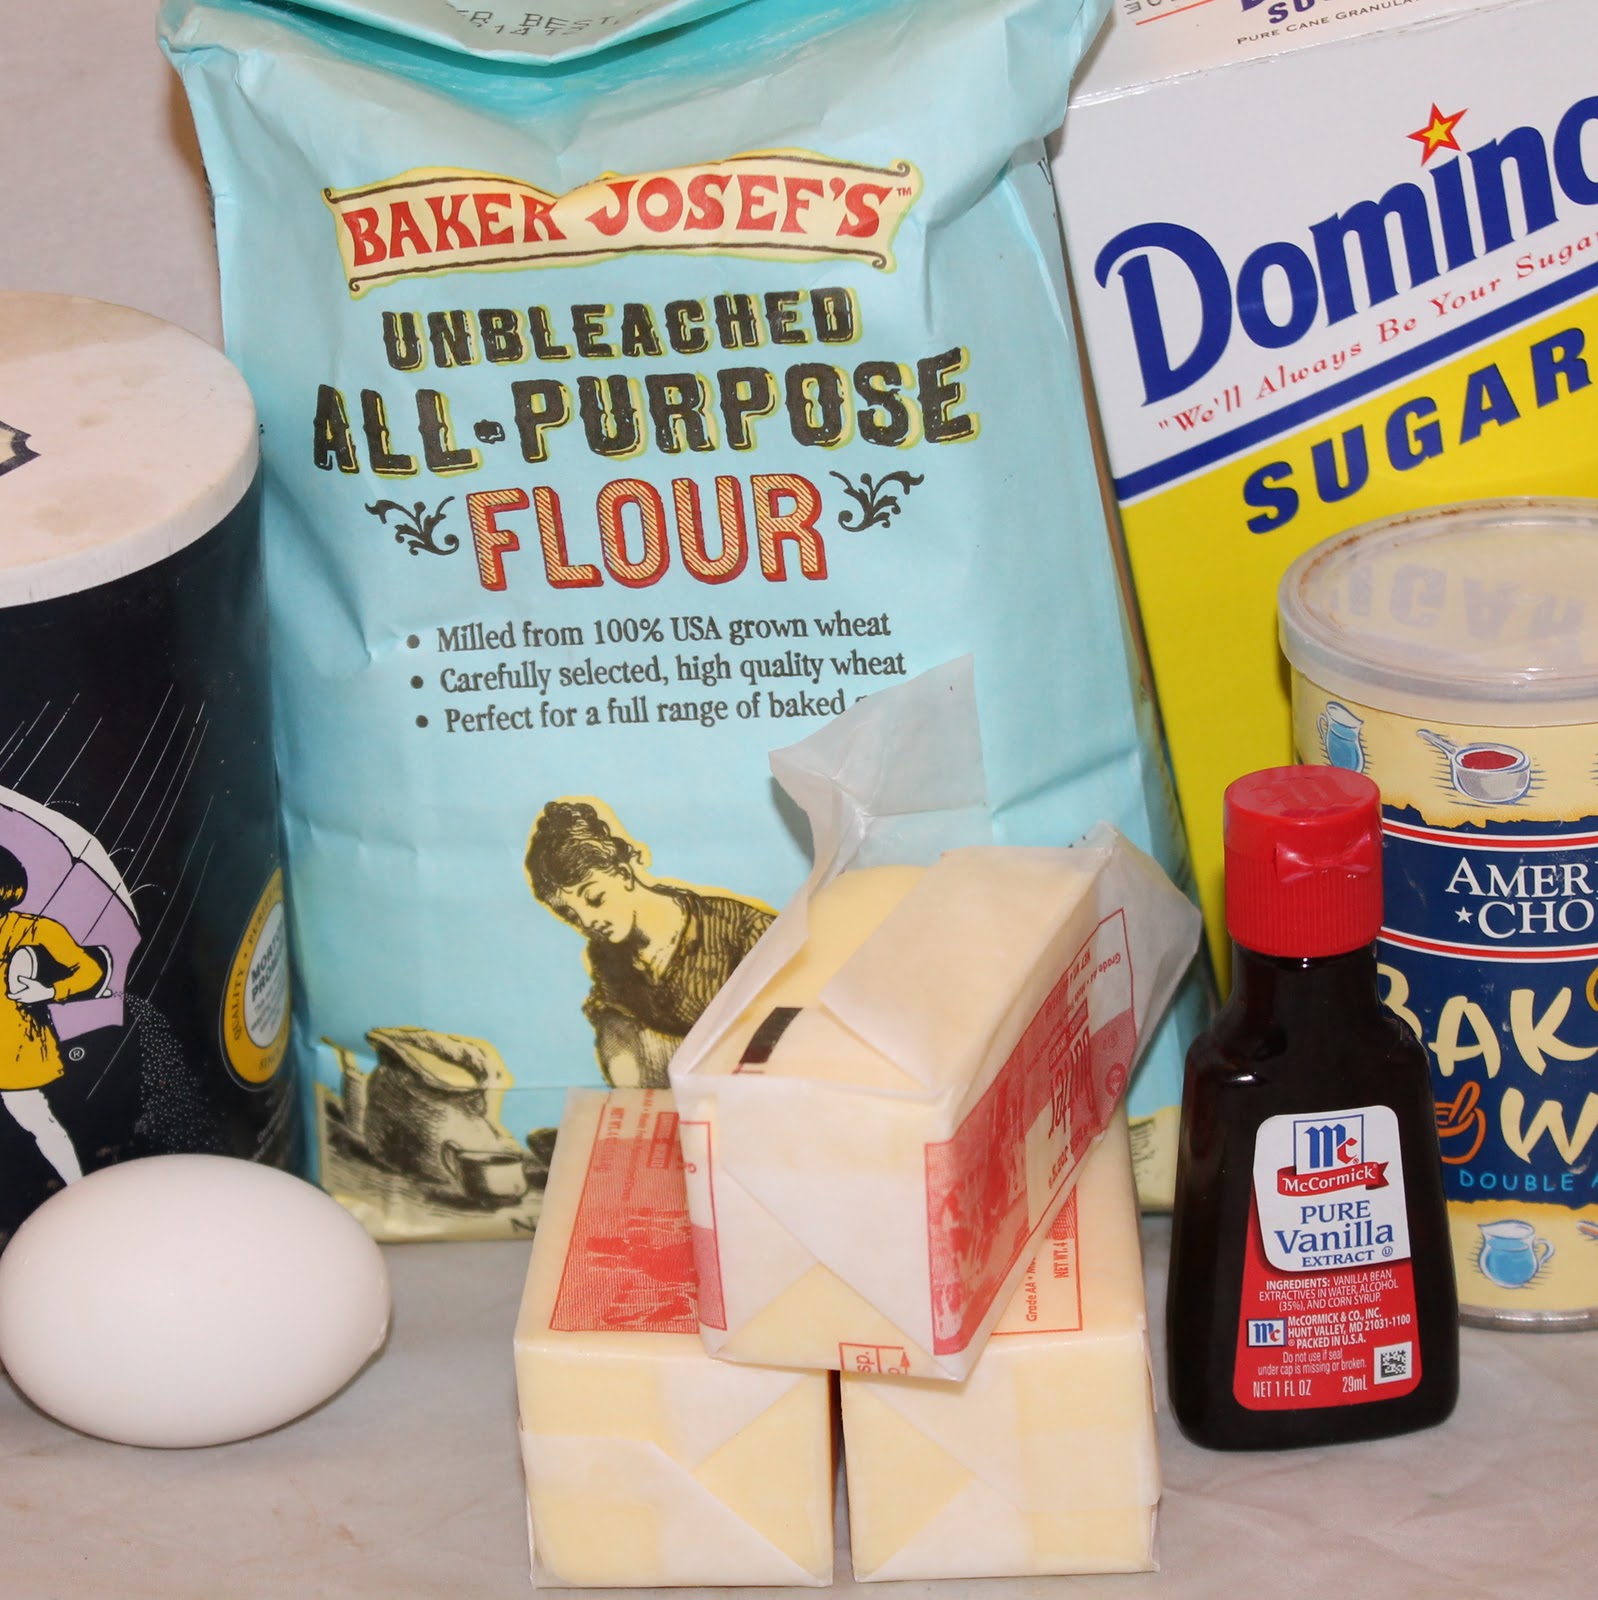
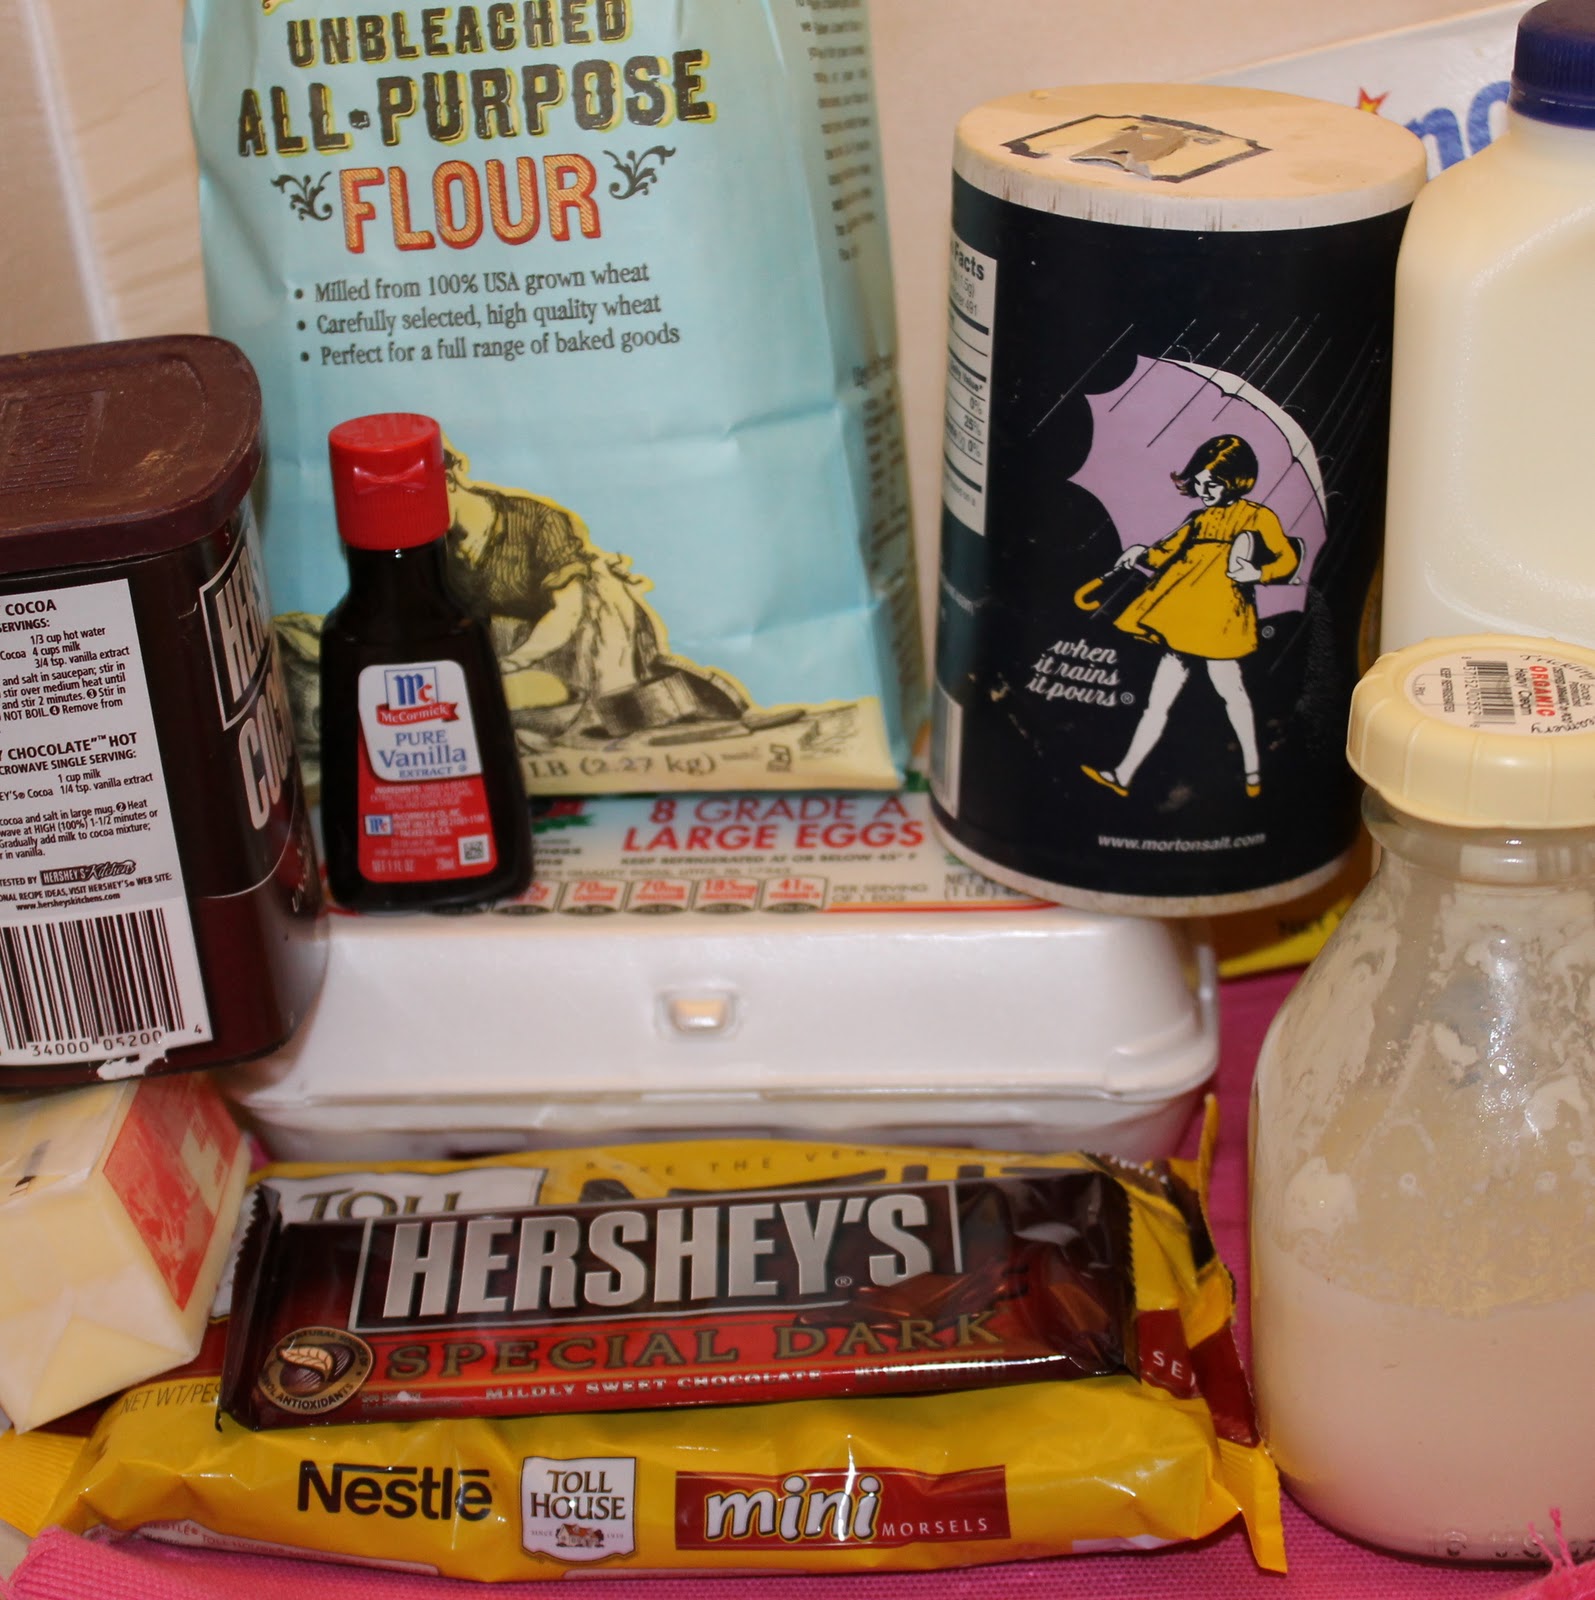
I am always so excited to make sugar cookies. To be more precise, I’m actually really excited to decorate the cookies. (Mind you, I’m awful at it. A 6 year old would beat me by a mile in a cookie decorating contest). But it is so fun to see the cookies transform from flour, sugar, and butter into cute little Christmas trees, snowmen, and candy canes. I used a traditional sugar cookie recipe from Cooking Light.
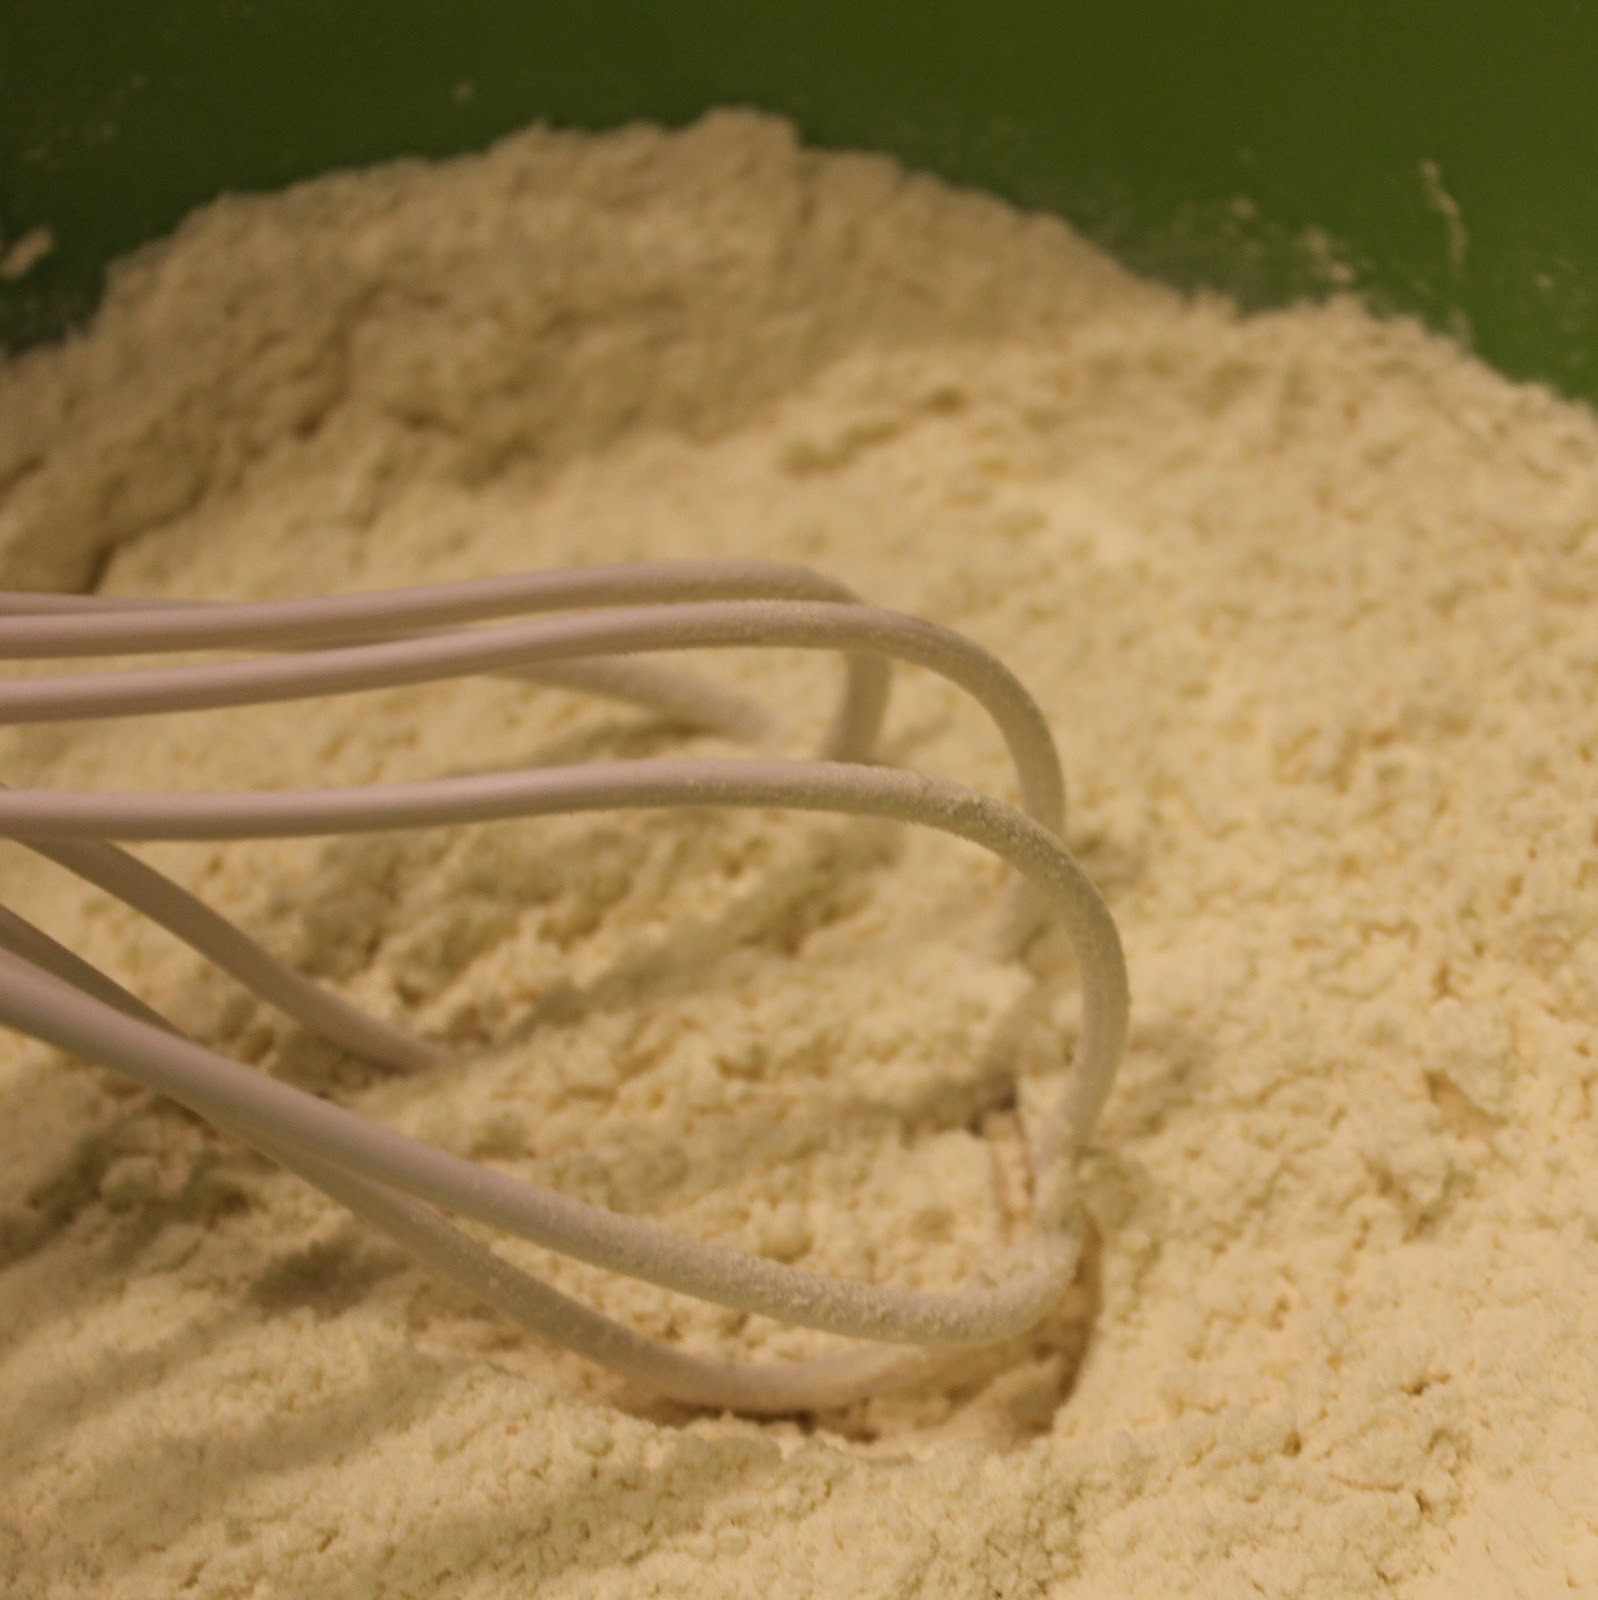
Add the flour, baking powder and salt to a medium bowl, stir with a whisk.
Add sugar and butter in a large bowl, beating with a mixer until combined.
Add vanilla and eggs.
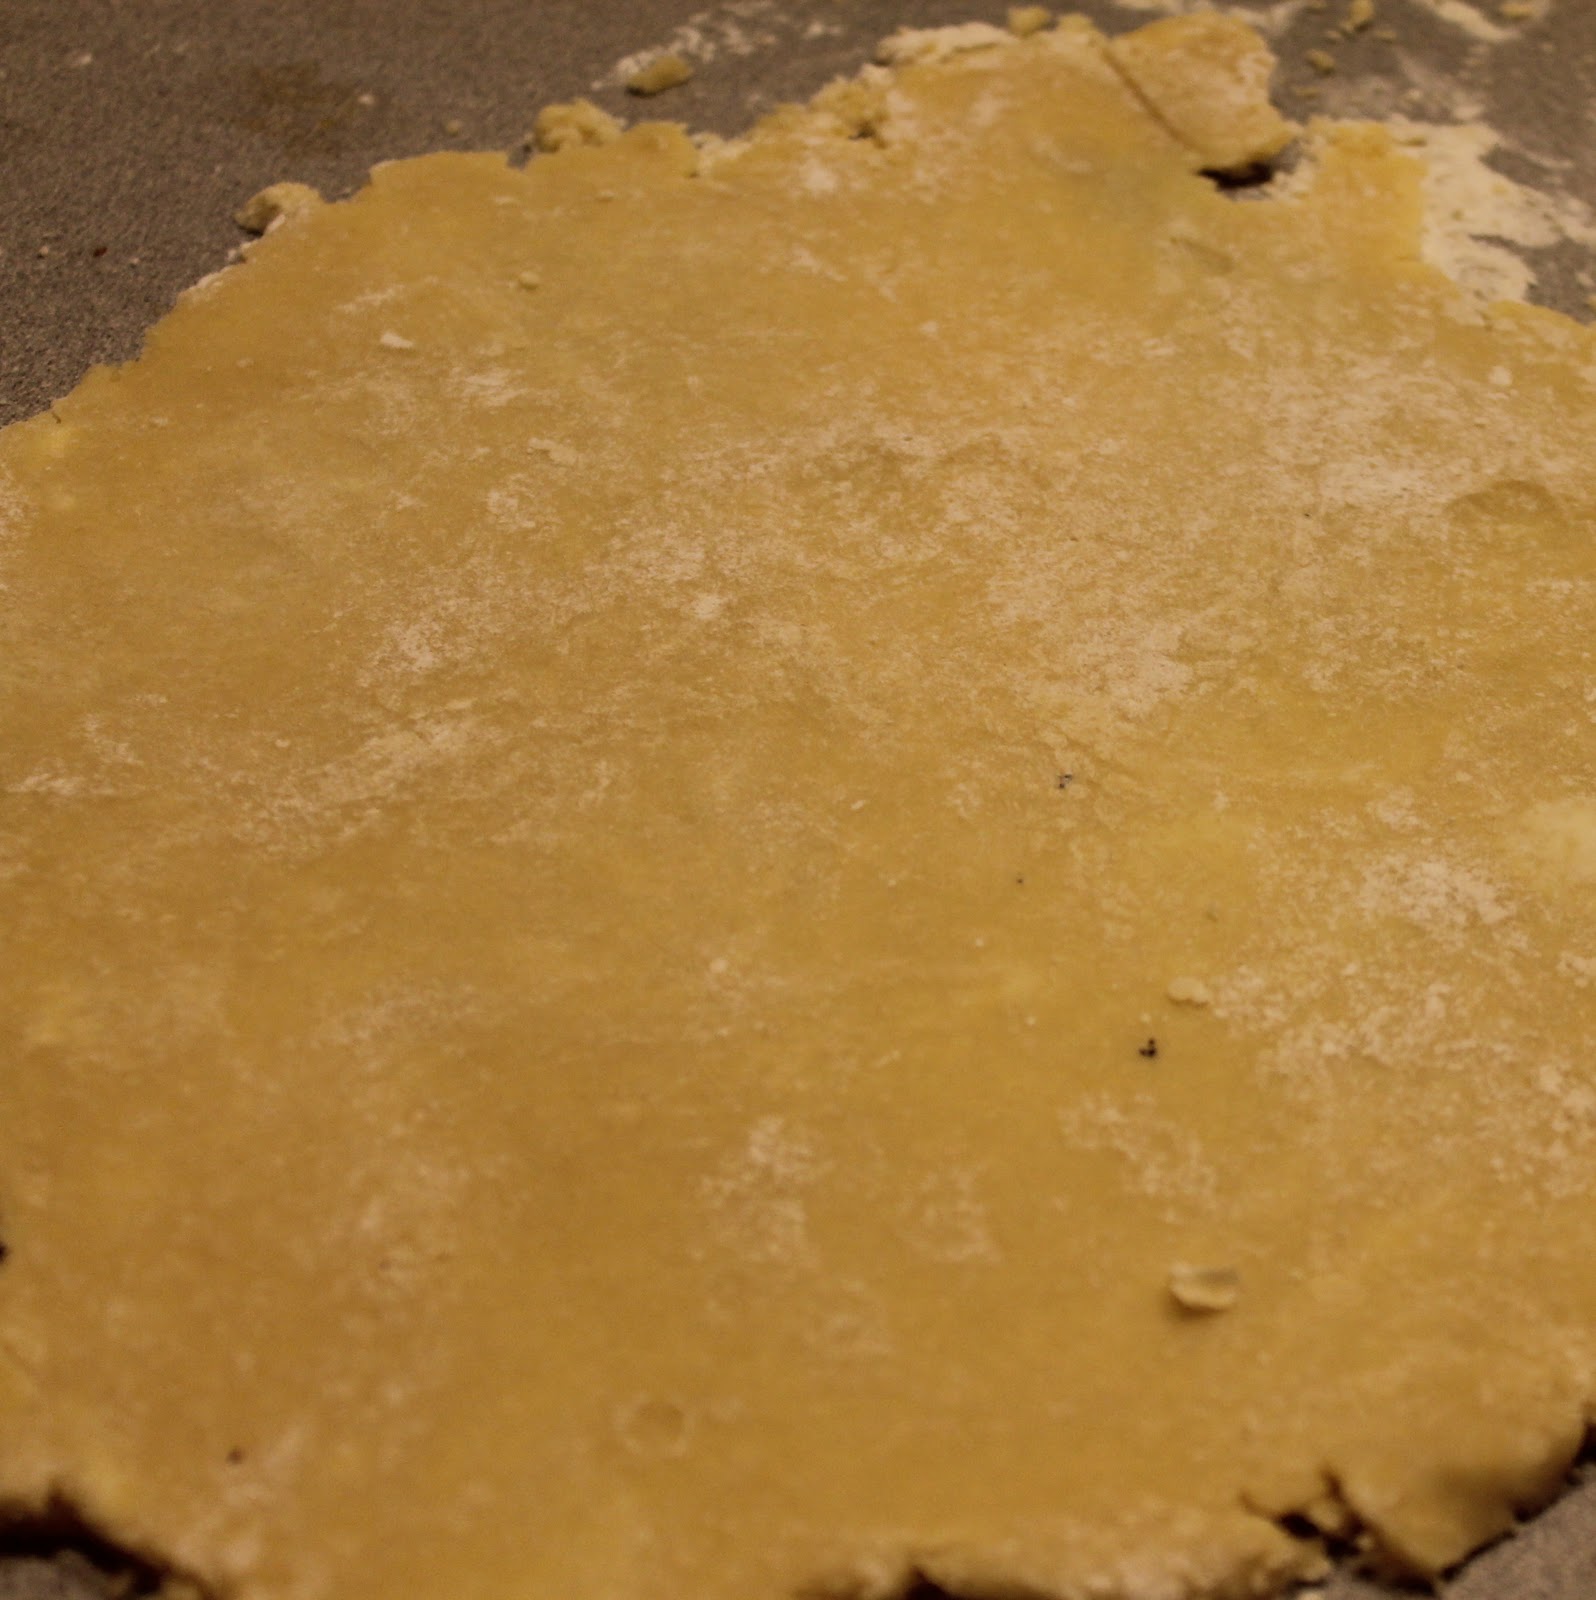
Add the flour mixture to the butter mixture and mix until combined. Mine looked very very crumbly. So if yours looks like this, don’t panic.
Add the mixture to a large piece of plastic wrap and wrap tightly.
Refrigerate for an hour. Unwrap the ball after an hour. Preheat the over to 375. Split the dough in half, rolling out out half of the dough on a floured surface.
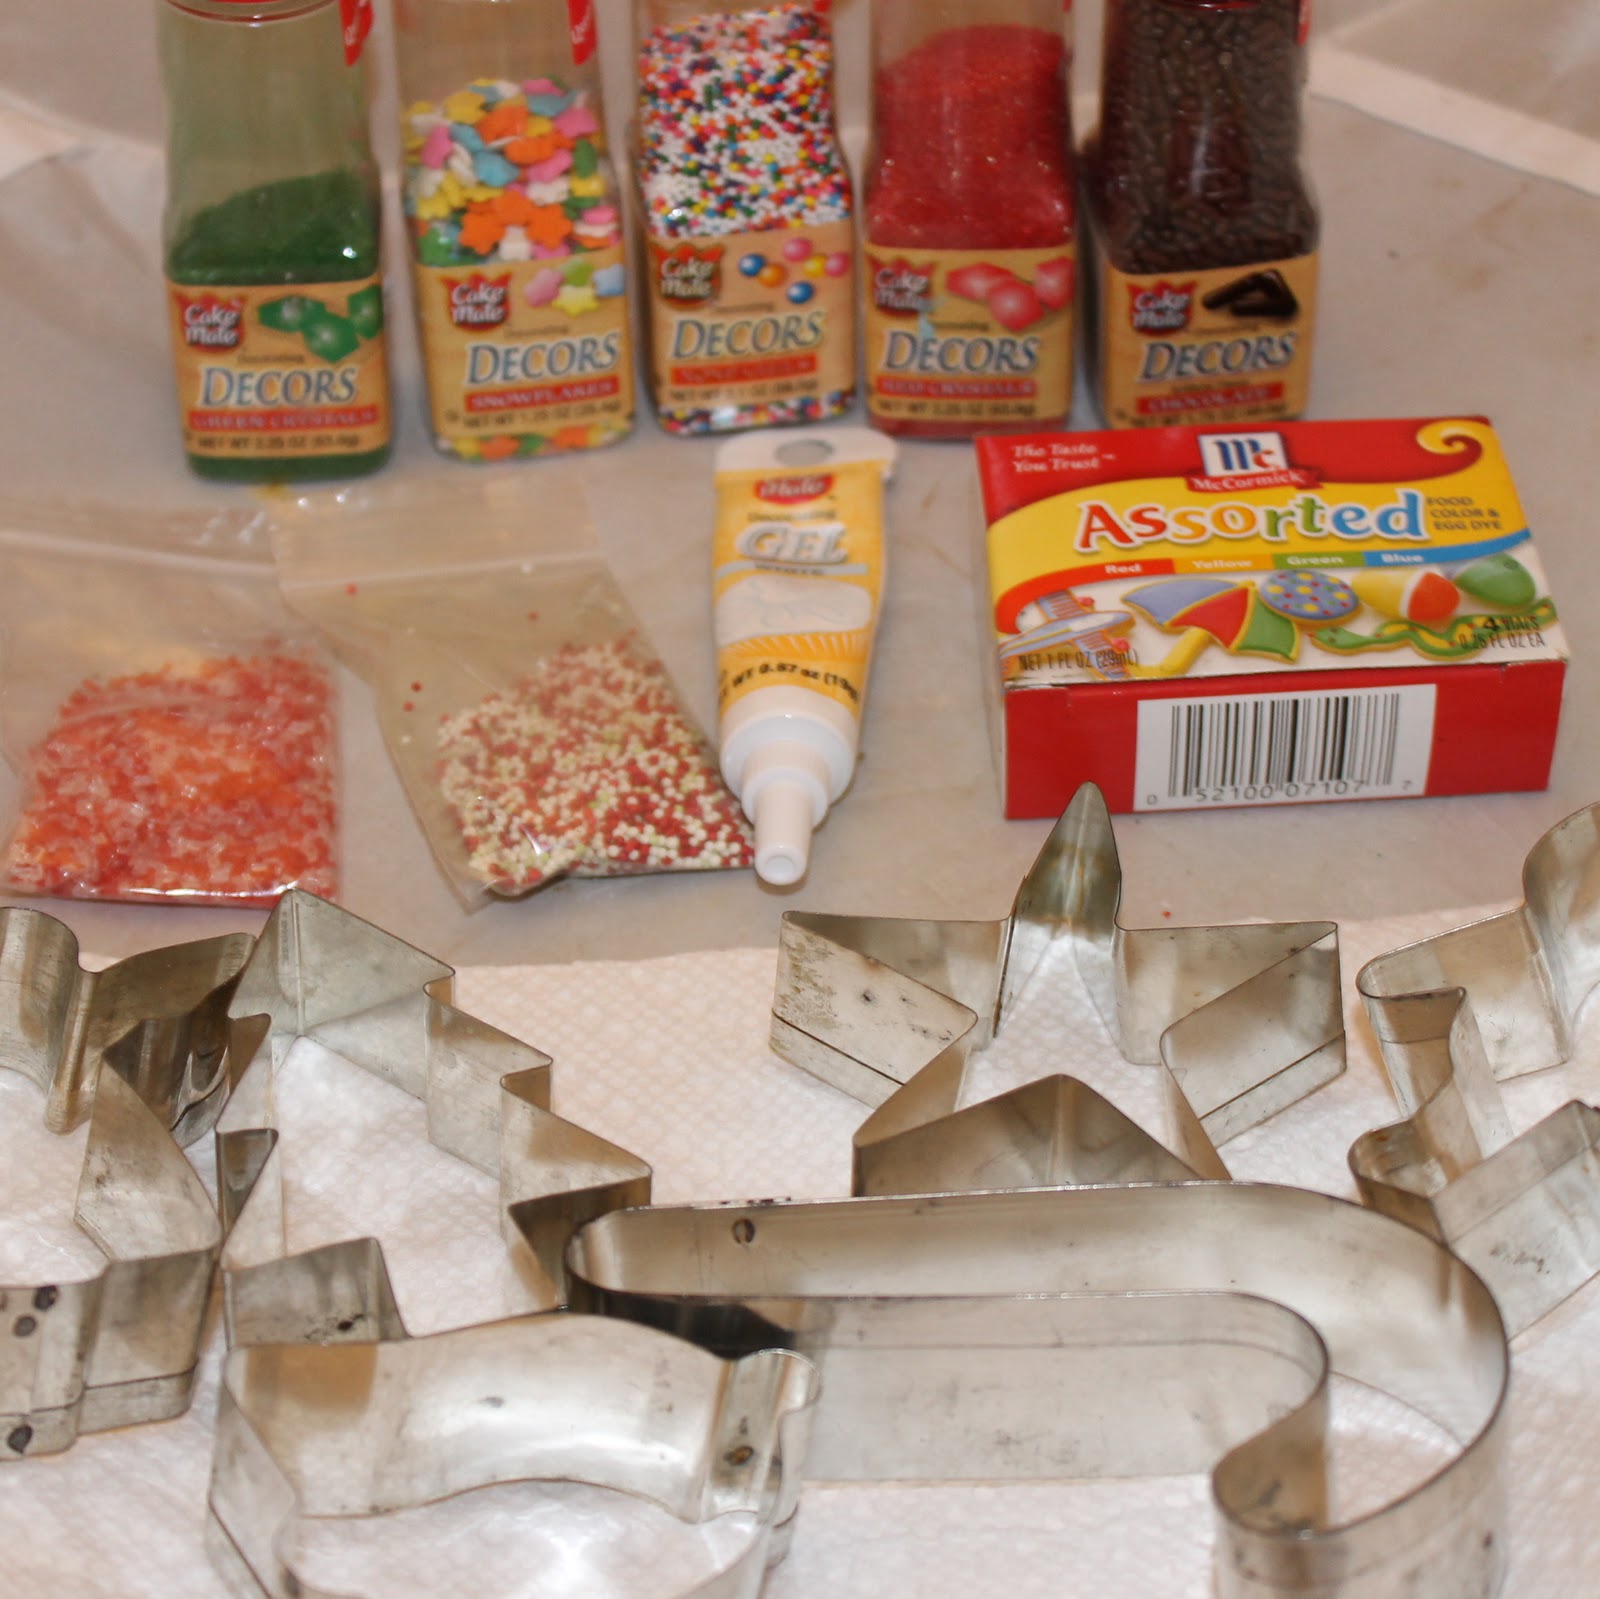
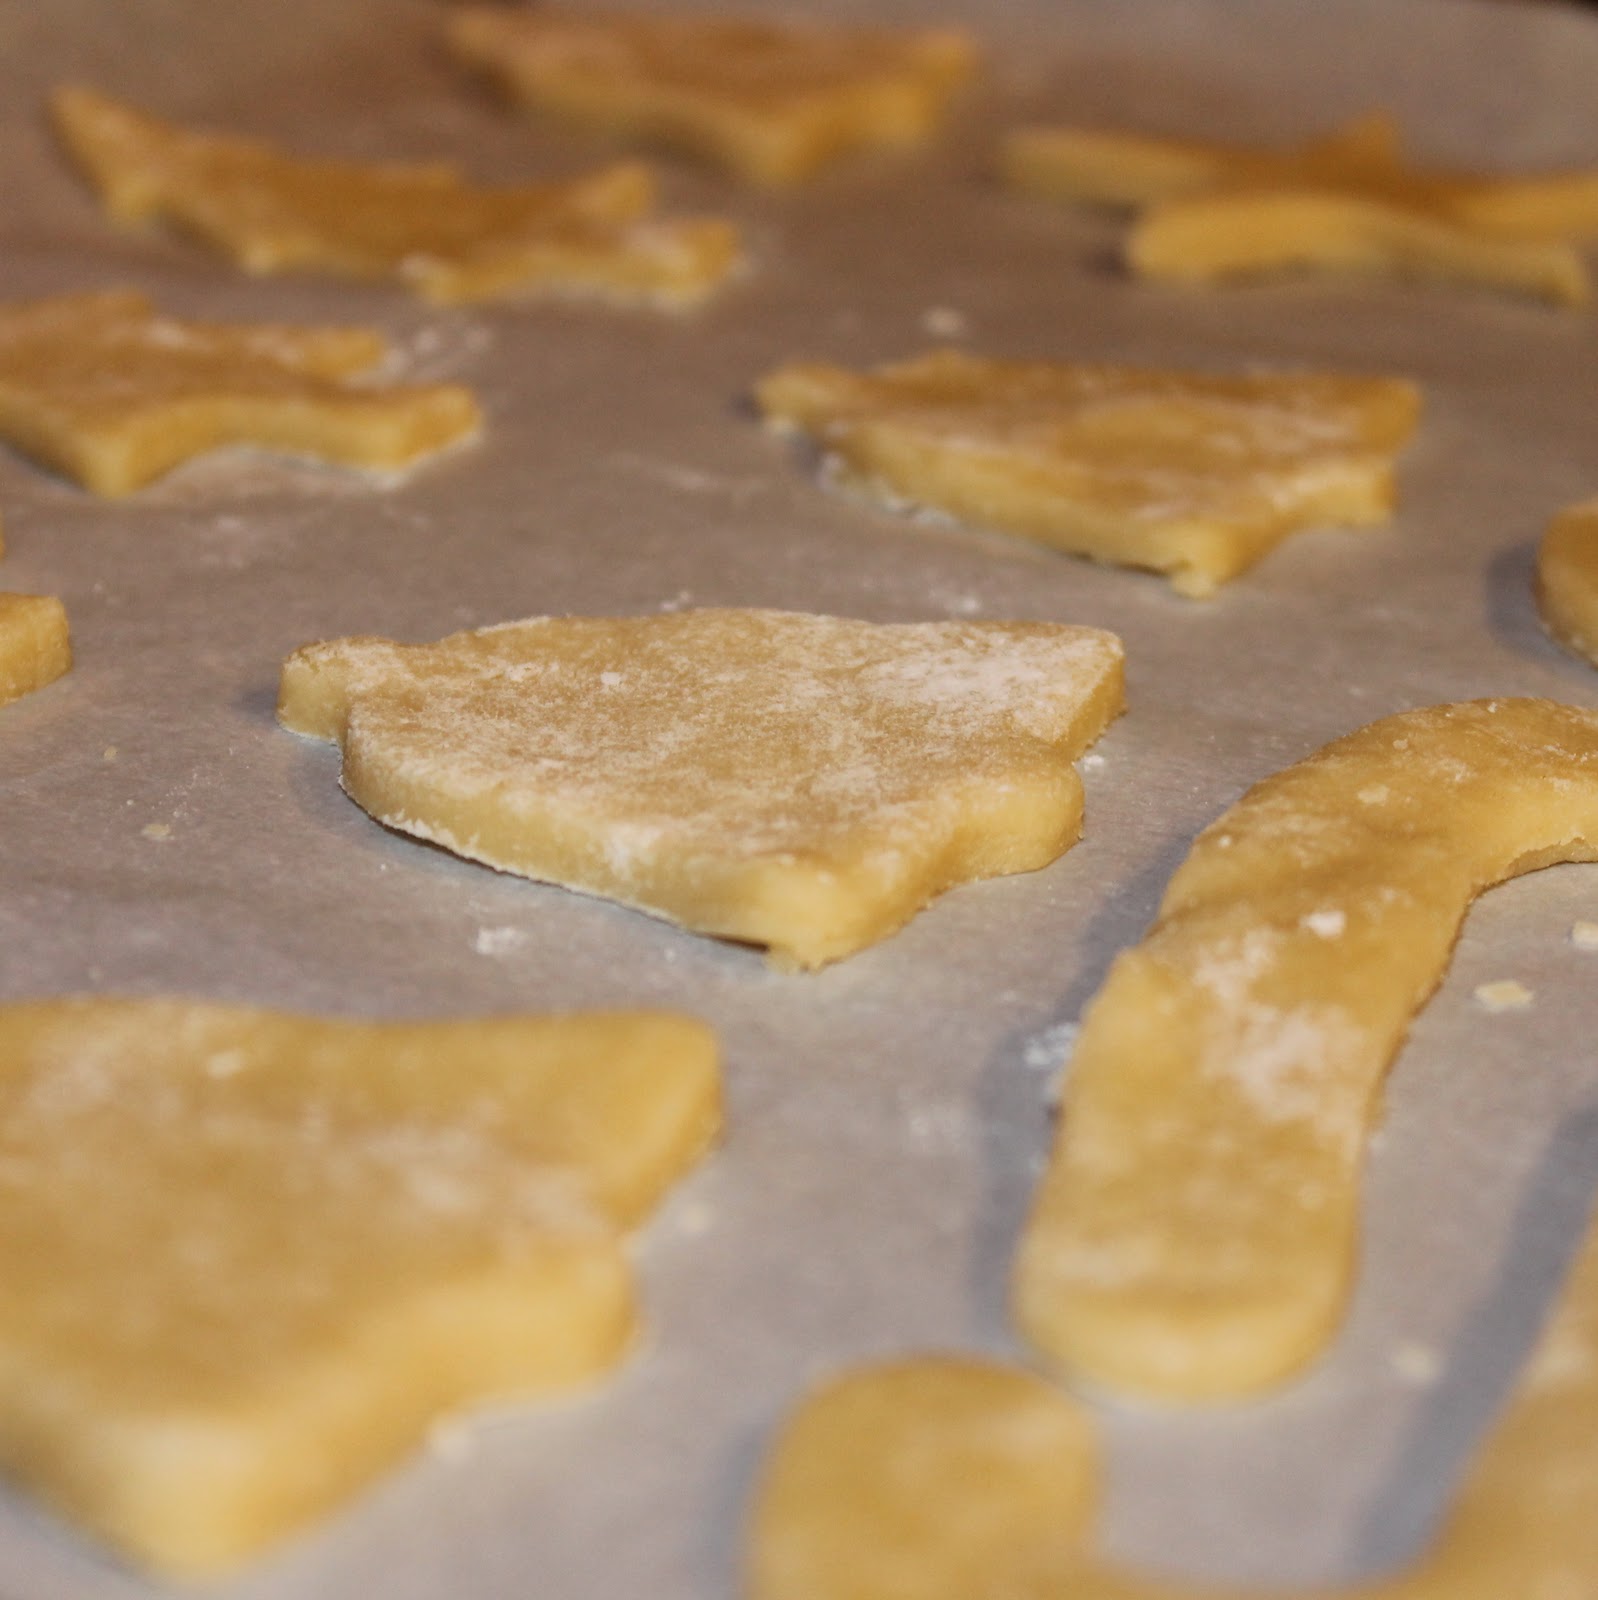
Using any cookie cutter you have, cut out shapes and place on a cookie sheet two inches apart lined with parchment paper.
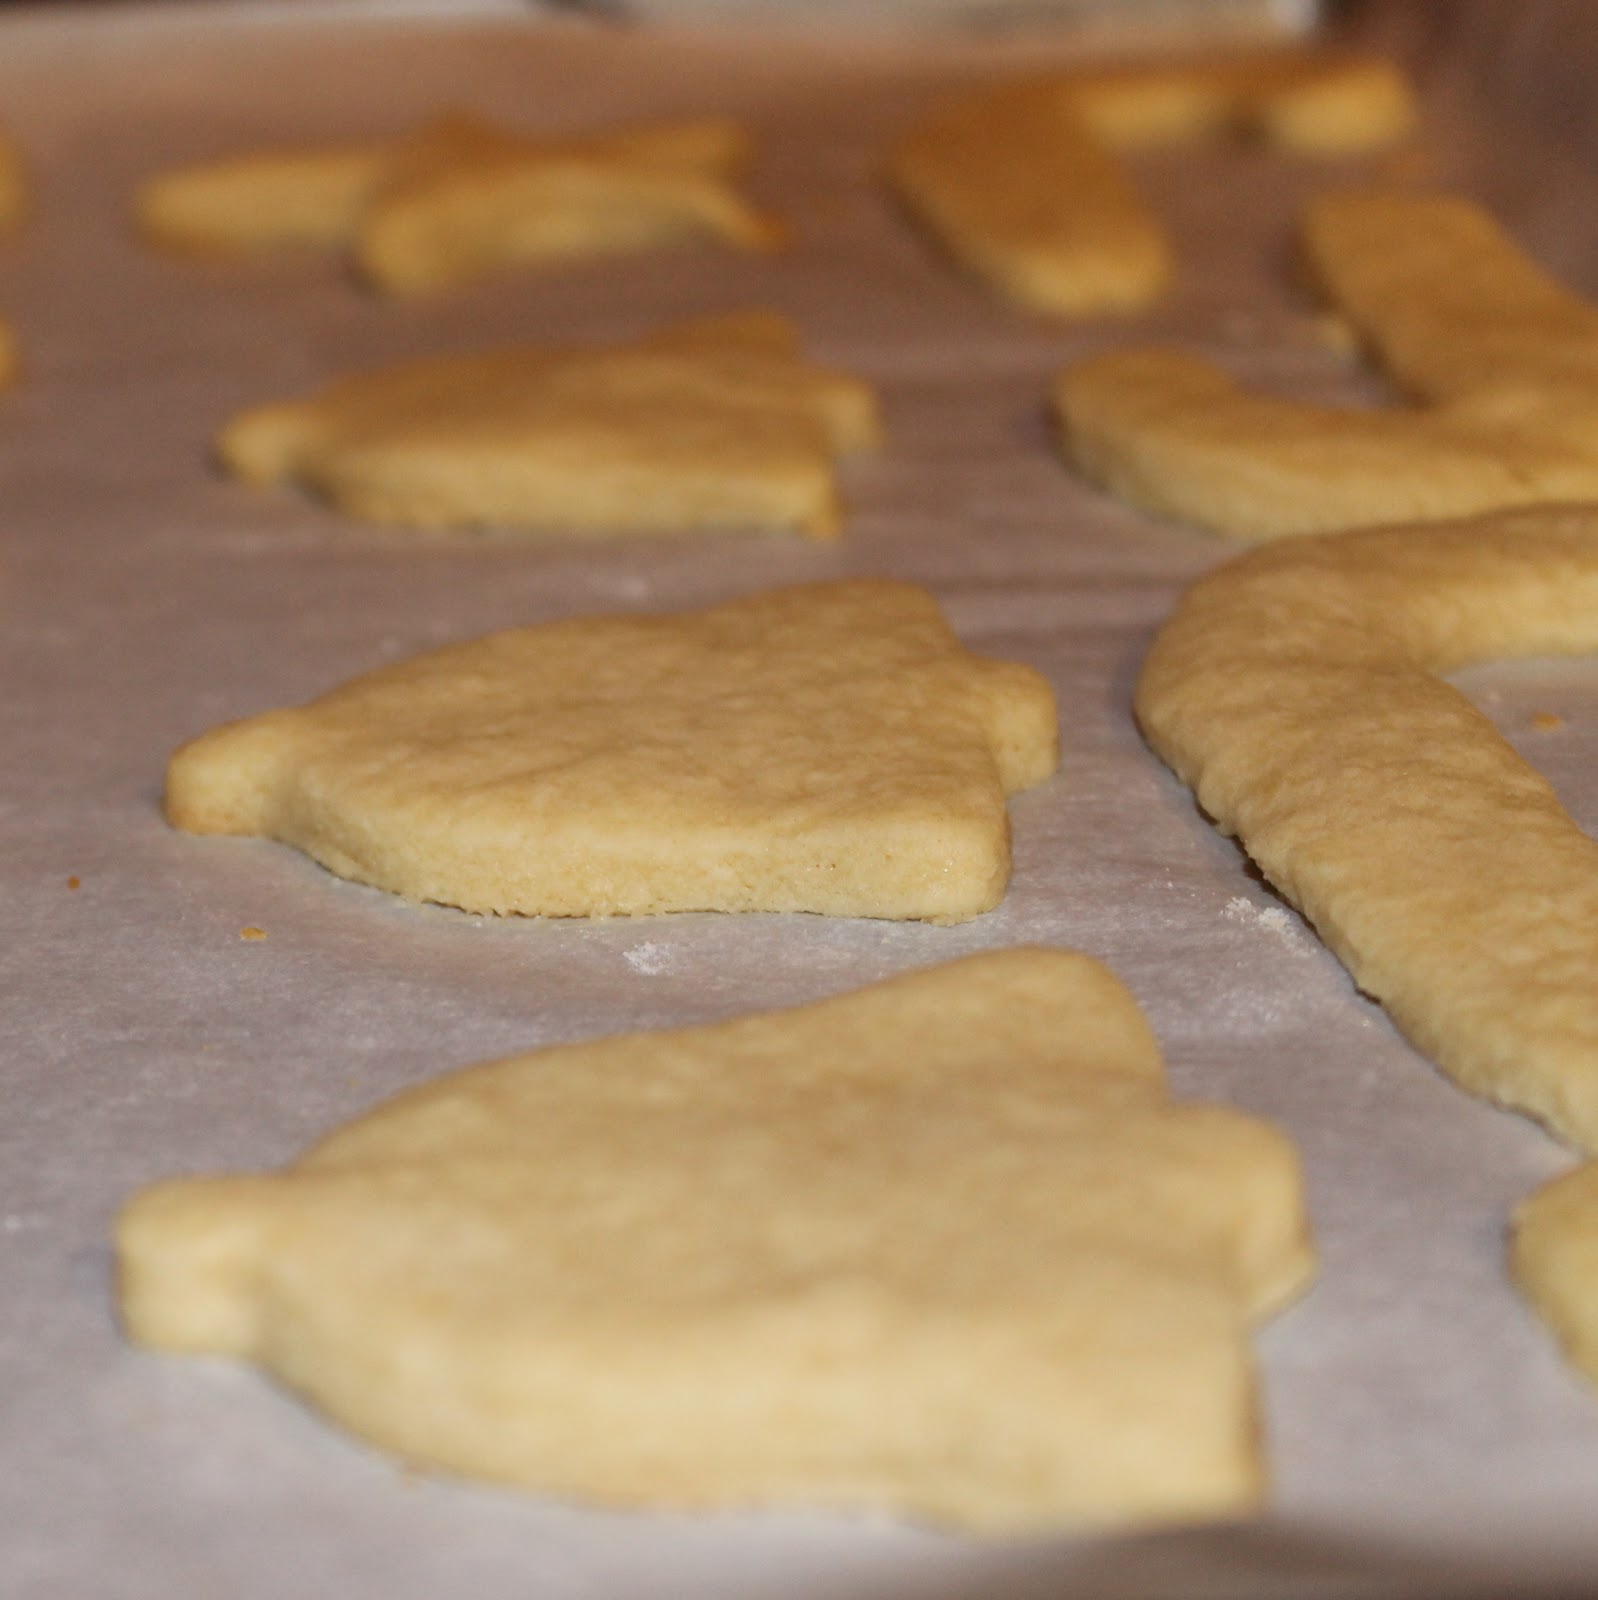
Repeat with remaining dough. Bake the cookies for 10 minutes or until lightly browned along the edges. Cool on pans for 5 minutes then remove and place on wire racks.
When completely cooled, prepare the icing. Combine the powdered sugar, vanilla, and milk stirring until smooth. I added the icing to a squeeze bottle (like a ketchup bottle) but you can also add it to a ziplock bag and cut off one of the bottom corners to make piping easier. Decorate the cookies however you like.
Allow to dry overnight.
Hehe. Aren’t they fun? You can use whatever you want. I happened to be a bit, well, sprinkle happy.
I have a confession to make. I am always (and I mean always) the girl at the table of 6 who has to use a card. It’s not like these group dinners are sprung upon me, but for some reason I never have the foresight to go to an ATM beforehand. So when it comes to splitting the check, my friends and I have to write a novel on the back of the check showing how we want everything broken down and on which card. Servers must hate seeing us seated in their section. Apparently I’m not the only cash-less jerk out there because American Express now has a service, appropriately named Serve, that helps eliminate the 14 credit cards at the end of a meal. I was given the opportunity through the Foodbuzz Tastemaker Program to try out Serve (and obviously I’m the perfect candidate).
The even better part is that Serve is hosting a contest to win $100 deposited into your very own Serve account! Stay tuned for a chance to enter this contest!
So, what is serve?
Serve is basically a digital source of funds that you can easily transfer to and from friends, family, or anyone else. Need to pay an electrician? If they have Serve, you just transfer the funds right over. Did the holiday shopping for your parents? Request the exact funds needed and it will transfer from their account to yours. For me personally, this tool is best used for my sorting of bills when out with friends.
It’s best to think of this service as a prepaid card. You can link it to a credit or debit card, or just deposit money into it using MoneyPak.To send and receive money, it works like an e-mail. Through your Serve account, just send the money to the recipient’s e-mail account they used to set up their Serve account. The recipient then confirms the transfer and it is finished! You receive a confirmation e-mail, and they receive their funds. (Note: the money transfer must be accepted within 7 days) To receive money, the sender can e-mail you through their account, or you can request an amount by sending a request to their e-mail.
Because it is a part of the American Express family, your money is protected by American Express’ technology and security. Even better, Serve sends you a card that can be used anywhere American Express is accepted.
Serve has an app for iPhone, Microsoft phones, and Androids, allowing you to make these transfers while sitting in the restaurant. Transfers can also be done online by signing into www.serve.com. Lastly, Serve can also be used through the prepaid, reloadable card.You can even withdraw cash from ATMs (for a fee starting in January).
Signing up for Serve is free. Services included in the free account include:
Person-to-person money transfers
Purchasing online and in stores with the Serve card
Reloading your account through a checking account
The first ATM withdraw a month
Getting cash from an ATM after using your first free withdraw a month will cost you $2.00, plus whatever the ATM might charge you for using it. If you want to fund your Serve account with a credit card, you’ll be charged 2.9% of the amount transferred plus $0.30 for each transfer.This card is also perfect for college kids that need money transferred. You can make sub accounts that you can control how much money goes in and when.
There are plenty of other really cool features (including using it to track collections/donations, donating to charities, etc) within Serve, so be sure to check out the site. Their “How Serve Works” section is particularly helpful.
How was my experience?
I went out with my boyfriend, my sister, and her boyfriend. My sister and I each signed up for a Serve account (which is free, plus they give you $10 to start!) and headed out for dinner.
I did some research beforehand to make sure our restaurant choice accepted American Express, in the off chance that our cards would arrive in time for us to use them. This was surprisingly easy! I had about five restaurants in mind, and all accepted Amex. (You can tell I don’t have an Amex card myself…)I ended up choosing one of my favorite restaurants in Philadelphia: Koo Zee Doo.Koo Zee Doo is a Portuguese BYOB in the city run by a husband and wife. David Gilberg is the chef while Carla Gonçalves makes the desserts and amazing bread brought to your table. The restaurant has an open kitchen so you have the opportunity to actually watch the chef prepare your meal (which I love). Koo Zee Doo is the phonetic spelling of the Portuguese word for “cooked” and also refers to a traditional Portuguese dish Cozido á Portuguesa that is a meat and vegetable dish found throughout Portugal.
The menu is awesome, ranging from the tame (Steak topped with a fried egg) to adventurous (braised chicken gizzards). They also offer a 5 course chef’s tasting menu that I have not tried (yet). I know this is a review of Serve, but I had to mention how wonderful this restaurant is. If you are ever in Philadelphia, I strongly suggest checking this place out.
As expected, our meal was wonderful. The food is served family style, so the four of us got two main dishes (the steak I mentioned as well as their special of the day: Lamb Stew) and two appetizers (braised chicken gizzards and Potato & salt cold croquettes). Despite being way too full, we had to try some of the amazing desserts as well (a chocolate hazelnut bread pudding and a coconut tart with chocolate whipped cream).
After our meal, we began the fun that is check deciphering. This bill was easier than most because of the family style serving, so we basically cut the check down the middle for each couple. My sister transferred the appropriate funds to my account while we sat at the table and I was able to accept and see the money in my account before paying.My card had amazingly come in the mail, so I just handed the server the one card which paid for everyone. I think Serve works best when using the card in tandem with the transfers. If the card had not come, my sister would have still transferred the money to me, but I would have had to use a separate card and the actual charge would have been on that separate card. The server, unbeknownst to her, had just dodged a bullet of dealing with two to four different credit cards with our scribble on the back of the check. The only criticism I have is that your name is not printed on the front of the card. When the popularity of this card picks up, I think that might make it very difficult to easily determine which card is yours.
Giveaway: So here’s the part you’ve all been waiting for. You can win $100 to be credited into your own Serve account! (You obviously would need to sign up for Serve to receive the $100. Click the link below for official rules for this giveaway) To enter, just comment below by midnight on 12/25/11.
As part of the Foodbuzz Tastemaker Program, I received a $250 stipend to try Serve from American Express. Sign up for Serve and receive a $10 credit towards your first use. Comment below within the next 7 days for your chance to win an extra $100 credit to your account! Official sweepstakes rules and regulations may be found here: https://www.foodbuzz.com/blogs/4622317-win-serve-dollars-giveaway-official-rulesGood luck!
As I’ve mentioned before, I cannot help myself from making a million desserts in December. There is something about the last month of the year that makes me want to bake my little heart out. Oxo has decided to help my cause by asking me to check out their new and improved Egg Beater. I am a huge fan of Oxo products (bowls, containers, apple corers; you name it, I have it). So I knew that their egg beater would find a happy home in my kitchen. Oxo also sent me an extra egg beater to give away to one of lucky reader. Details will be below!
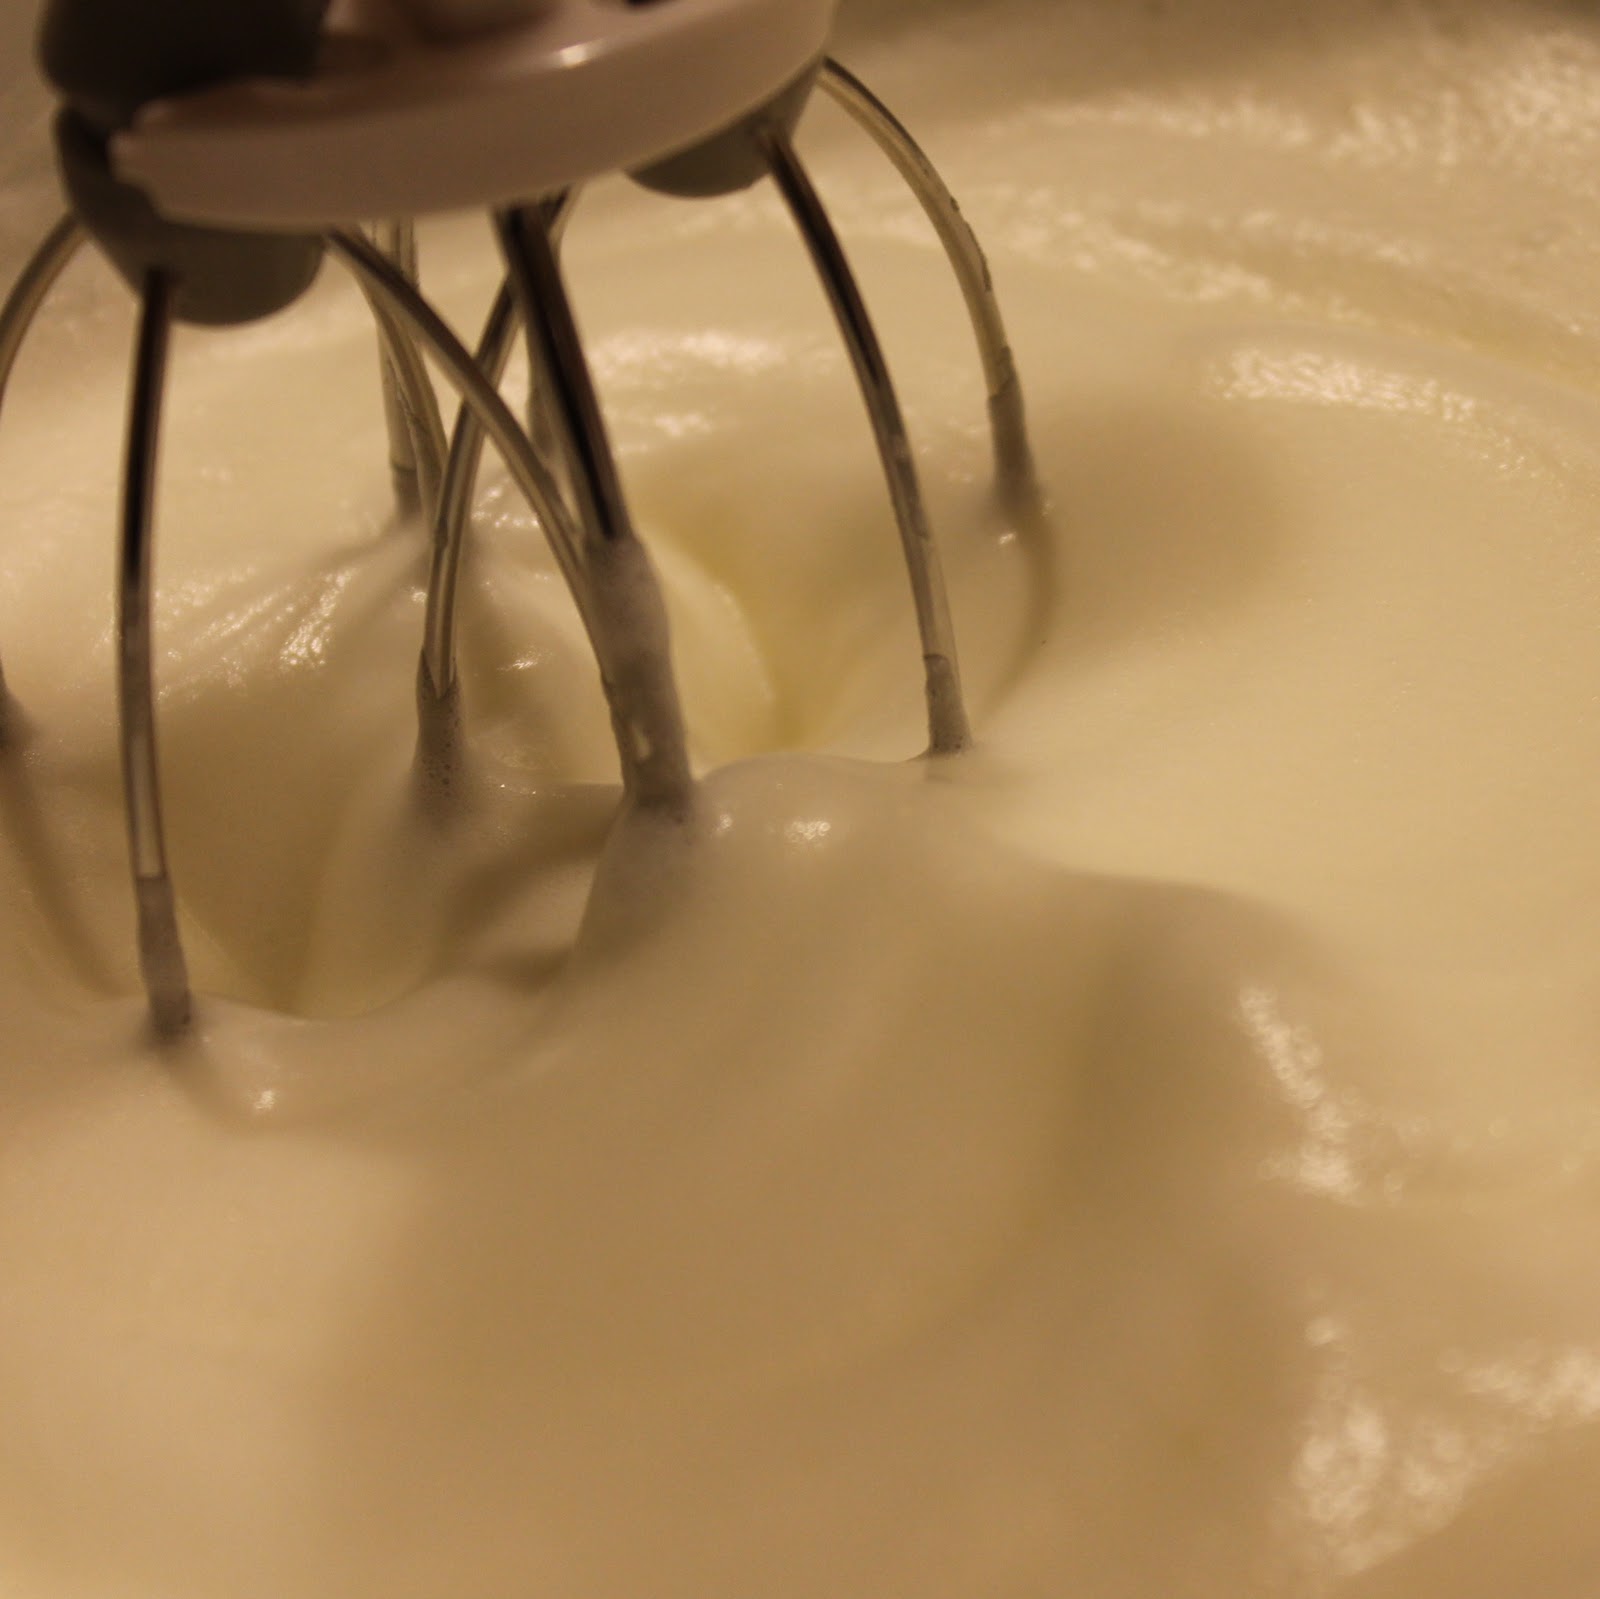
The egg beater has a non-slip grip handle for ease of use. The beaters are removable and then entire base can be detached and is dishwasher-safe (a must in my kitchen. I’m way too lazy to clean dishes after cooking). The beater itself has managed to improve upon its predecessors by adding a steel bridge at the bottom that can rest on the bottom of the bowl. This allows the beaters to be slightly in the air without causing arm strain.Note: This contest is now closed. Congratulations to Jill J;you have won! Check your e-mail 🙂
Photo courtesy of oxo.com
Their website had a great video that shows all the features so I wanted to include that hereas well.
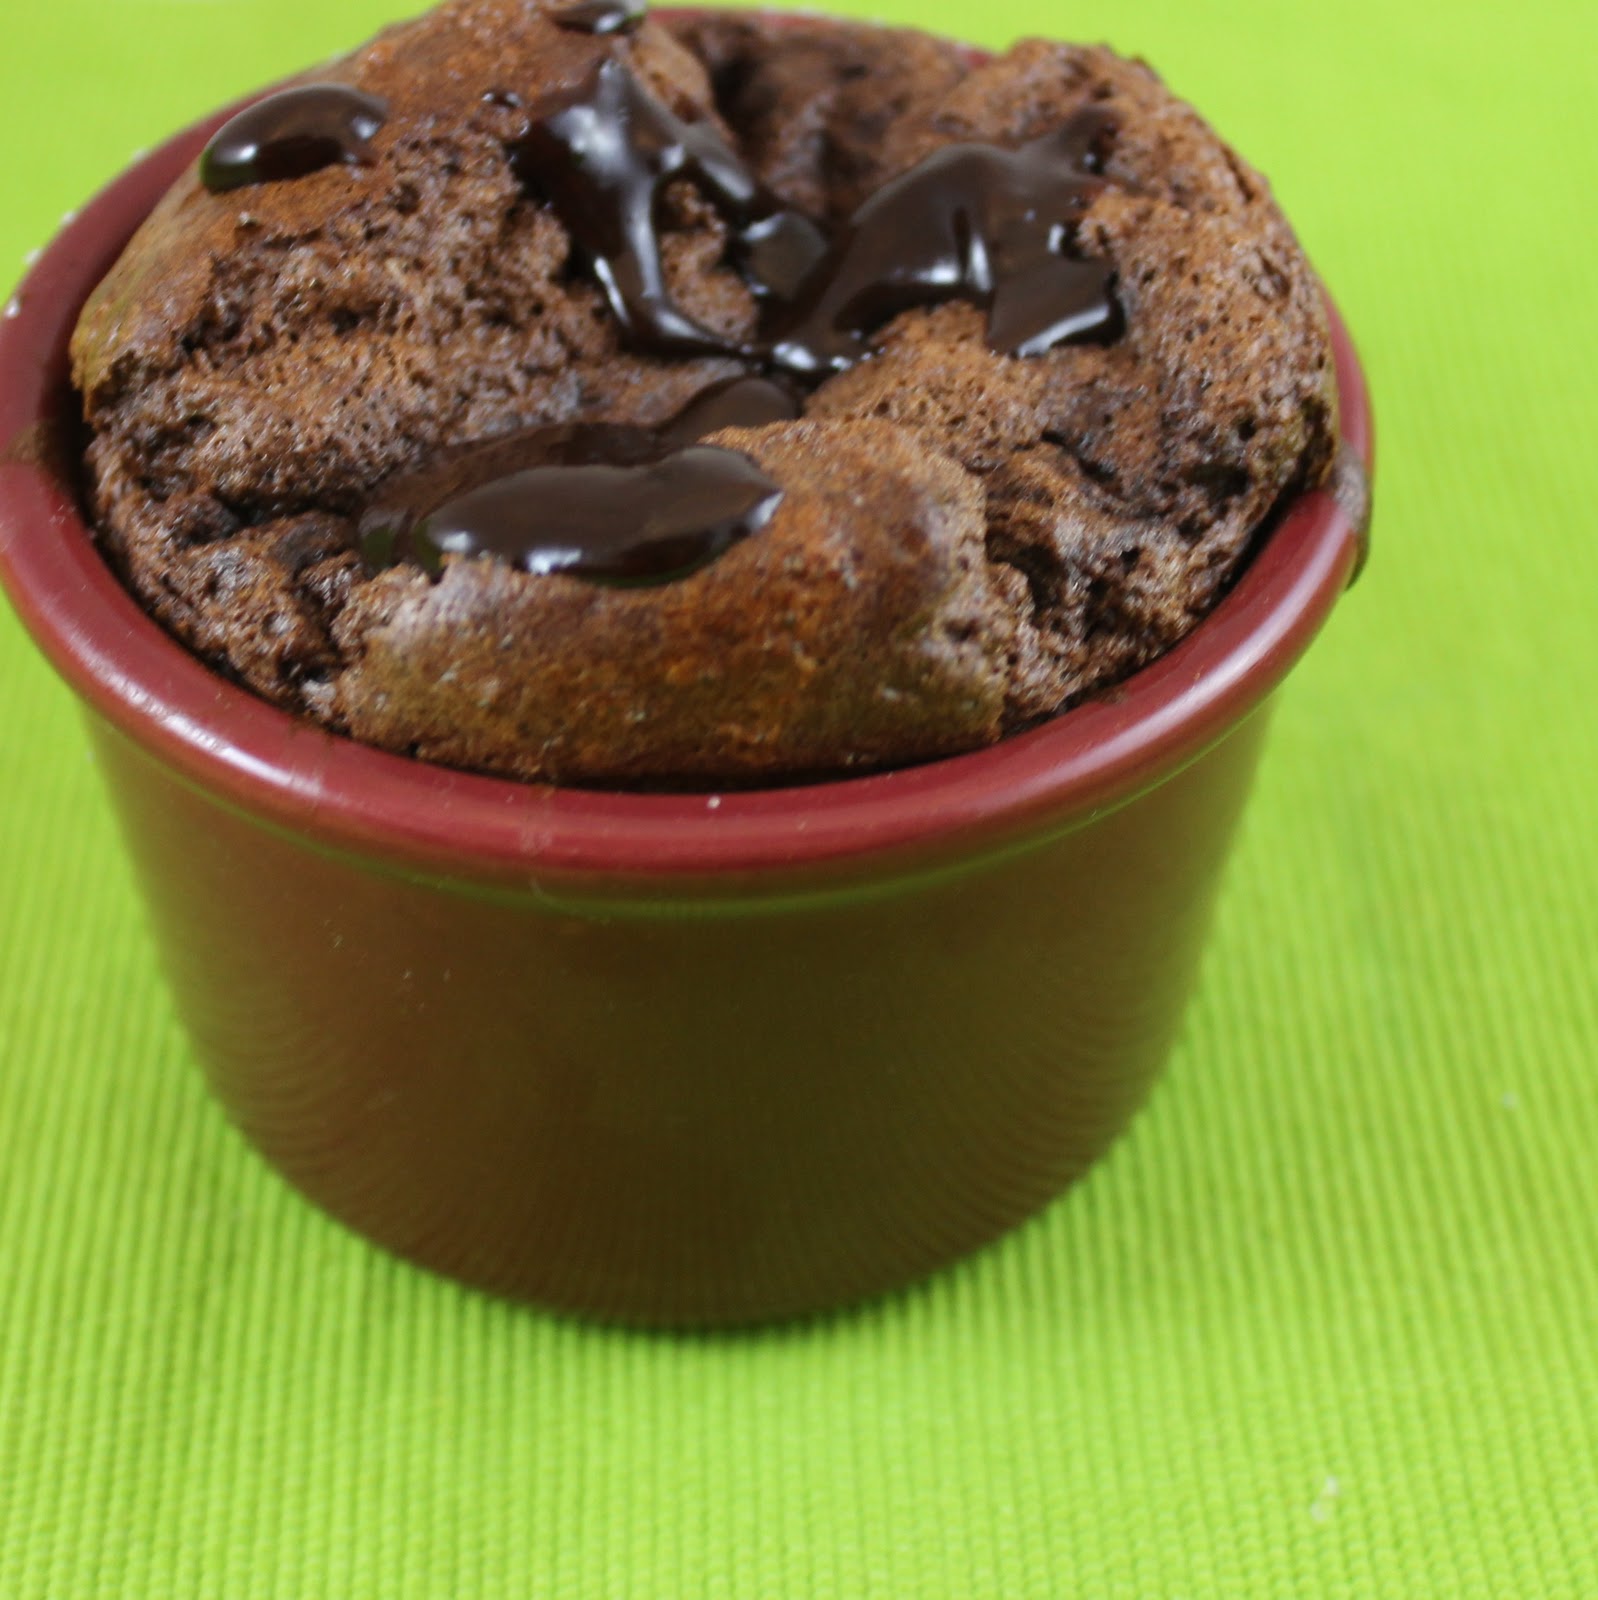
So I really wanted to test this bad boy. I decided to not only test it’s ease of use, but it’s ease of cleaning by making a recipe that uses the egg beater in more than one step of the process. How about a chocolate souffle topped with a warm fudge sauce and some freshly made whipped cream? (Not going to lie, the whipped cream was an afterthought because my souffle collapsed. Sigh. Still learning…)
Ingredients:
Souffle:
Cooking spray
1/2 cup plus 2 tablespoons sugar, divided
3 tablespoons all-purpose flour
3 tablespoons unsweetened cocoa
1/8 teaspoon salt
1 1/4 cups fat-free milk
3 ounces bittersweet chocolate, chopped
1 teaspoon vanilla extract
1 large egg yolk
6 large egg whites
Sauce:
1 tablespoon butter
1/3 cup sugar
2 tablespoons unsweetened cocoa
1 tablespoon all-purpose flour
1/2 cup fat-free milk
1/2 ounce bittersweet chocolate, chopped
Whipped cream:
1 cup heavy cream
1 teaspoon vanilla extract
1 tablespoon powered sugar
This recipe requires a bit of oven preparation. Take out the top rack of your oven. Position the other rack as low as possible. Preheat your oven to 425 degrees.
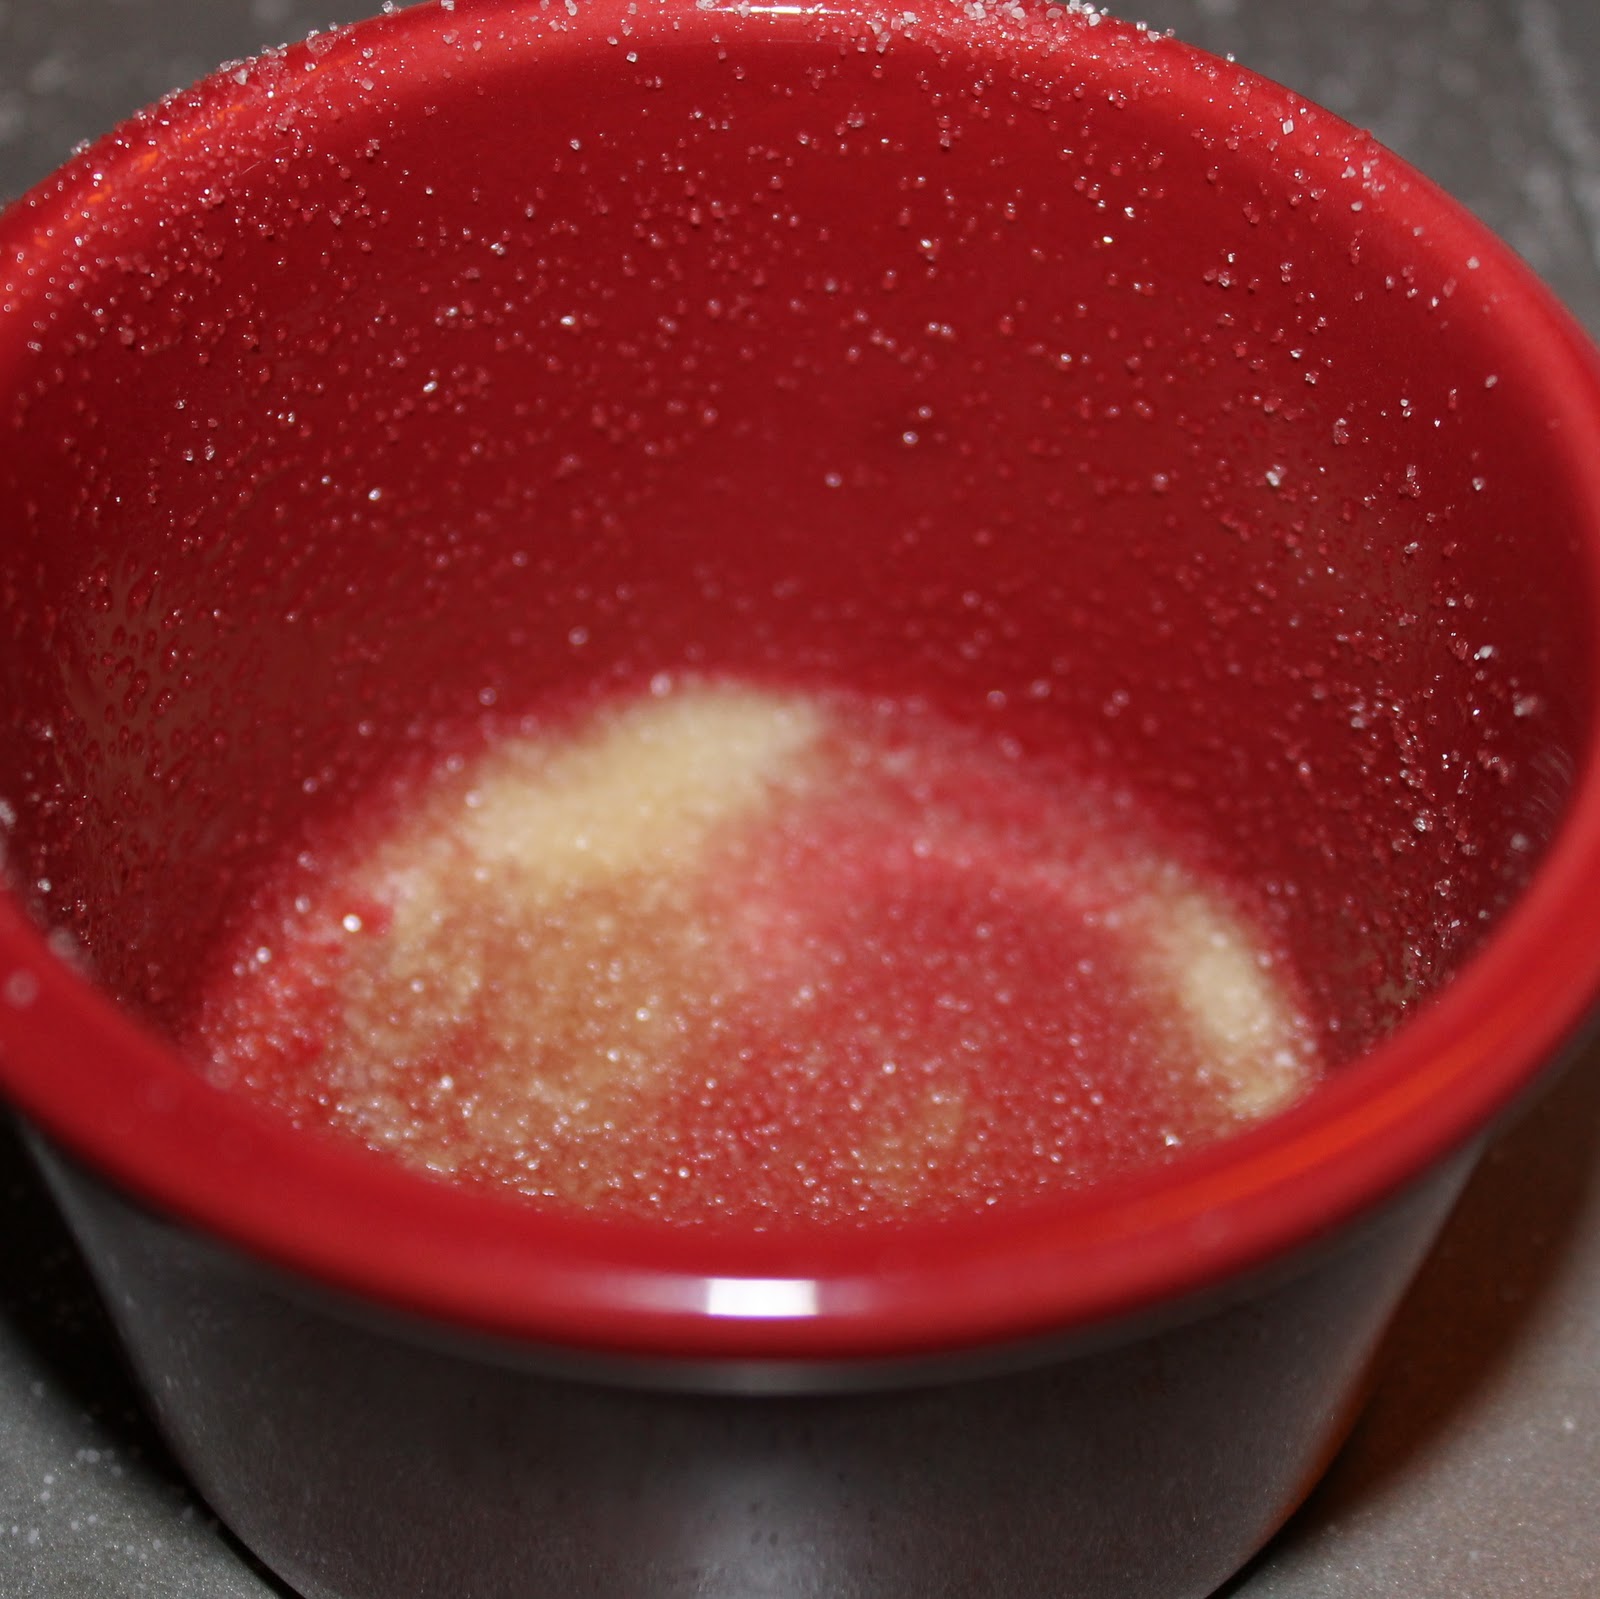
Spray six 8-ounce souffle dishes (or ramekins) with cooking spray. Sprinkle evenly with 2 tablespoons (or 1 teaspoon per ramekin) of sugar and set aside.
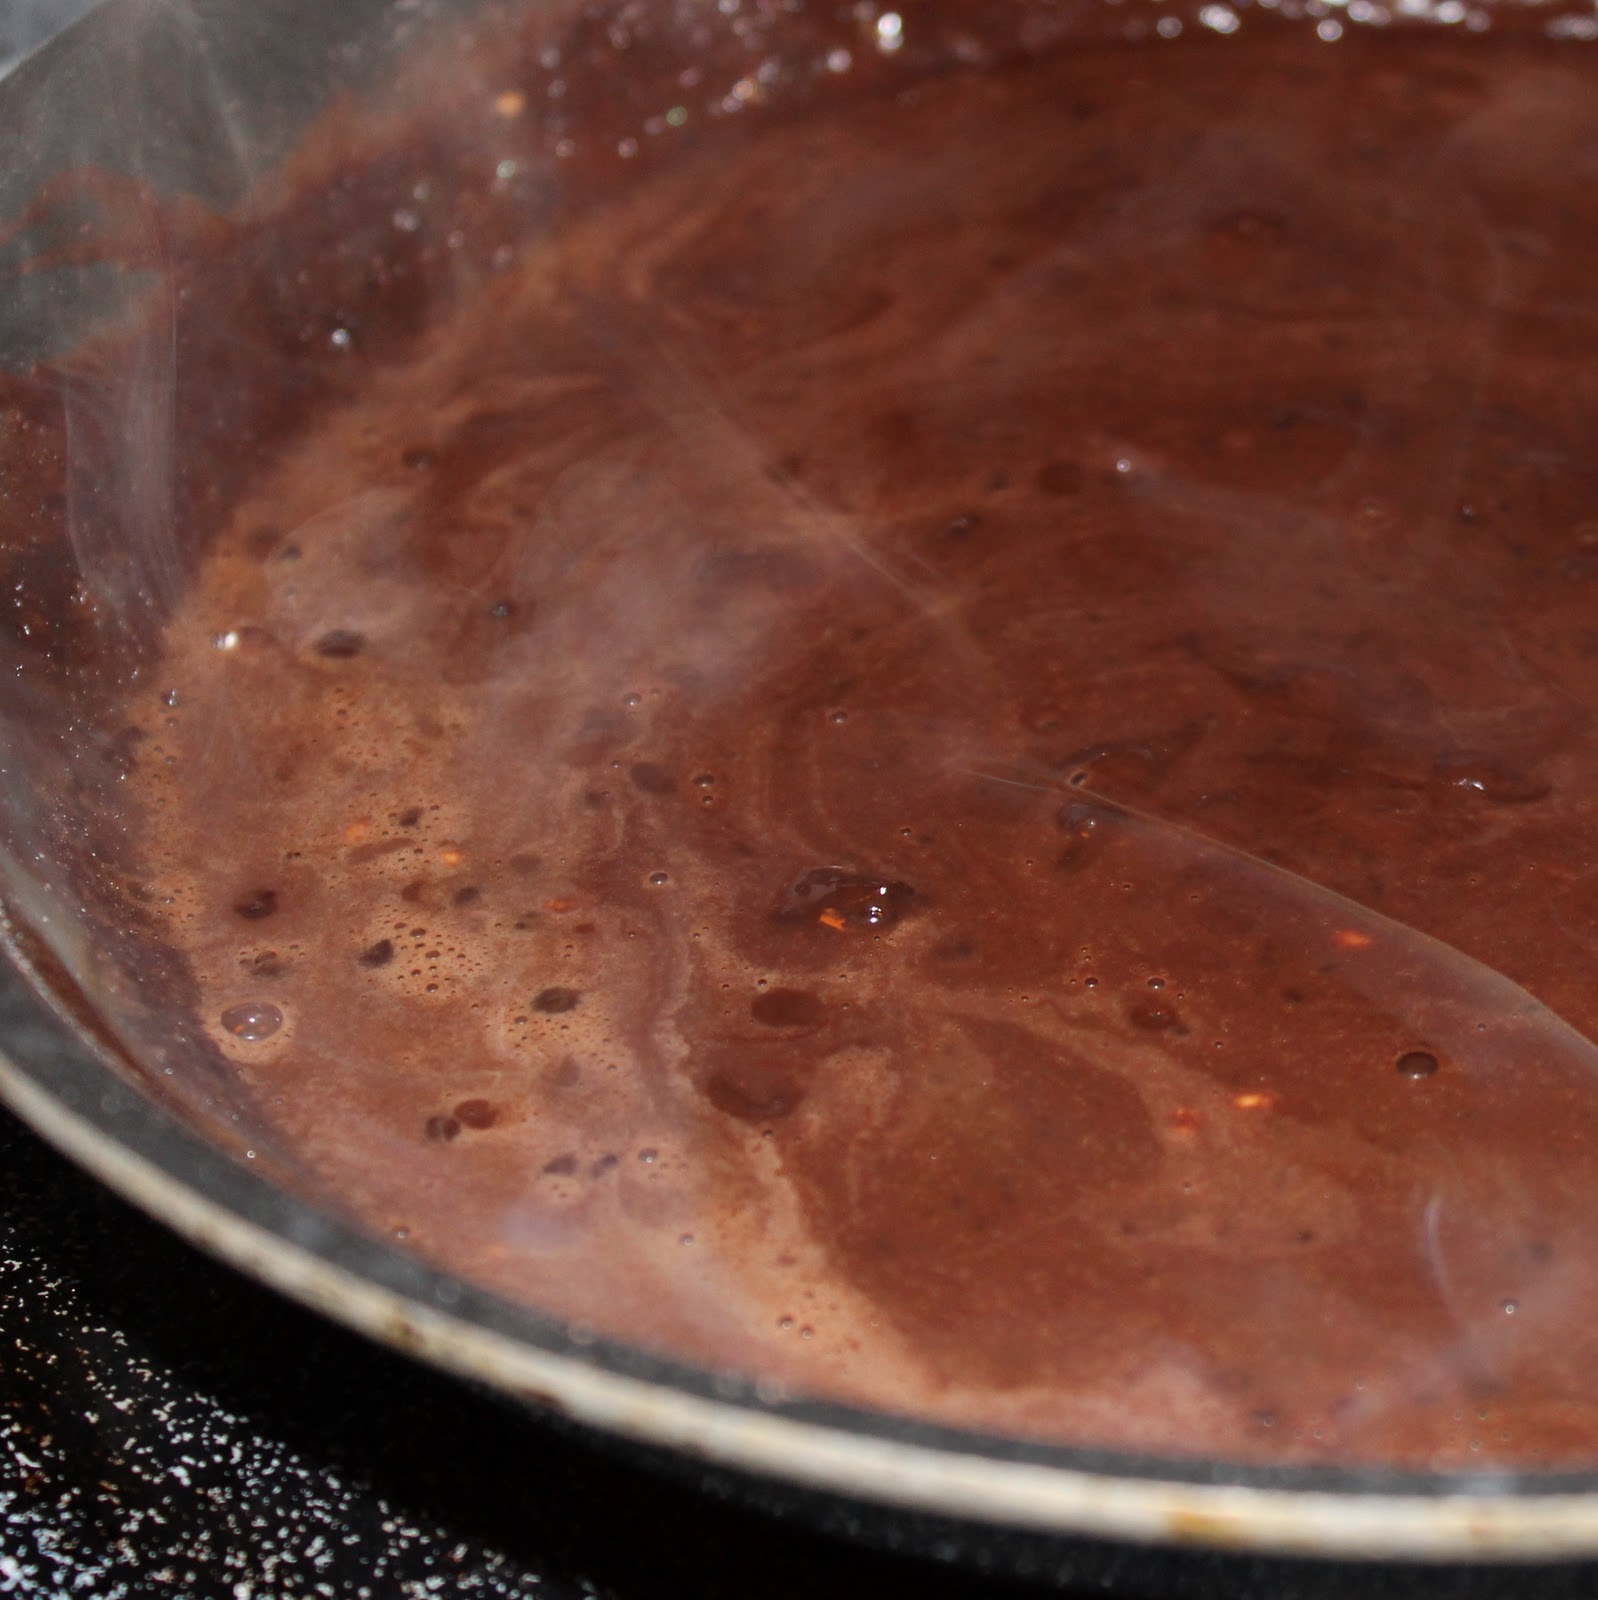
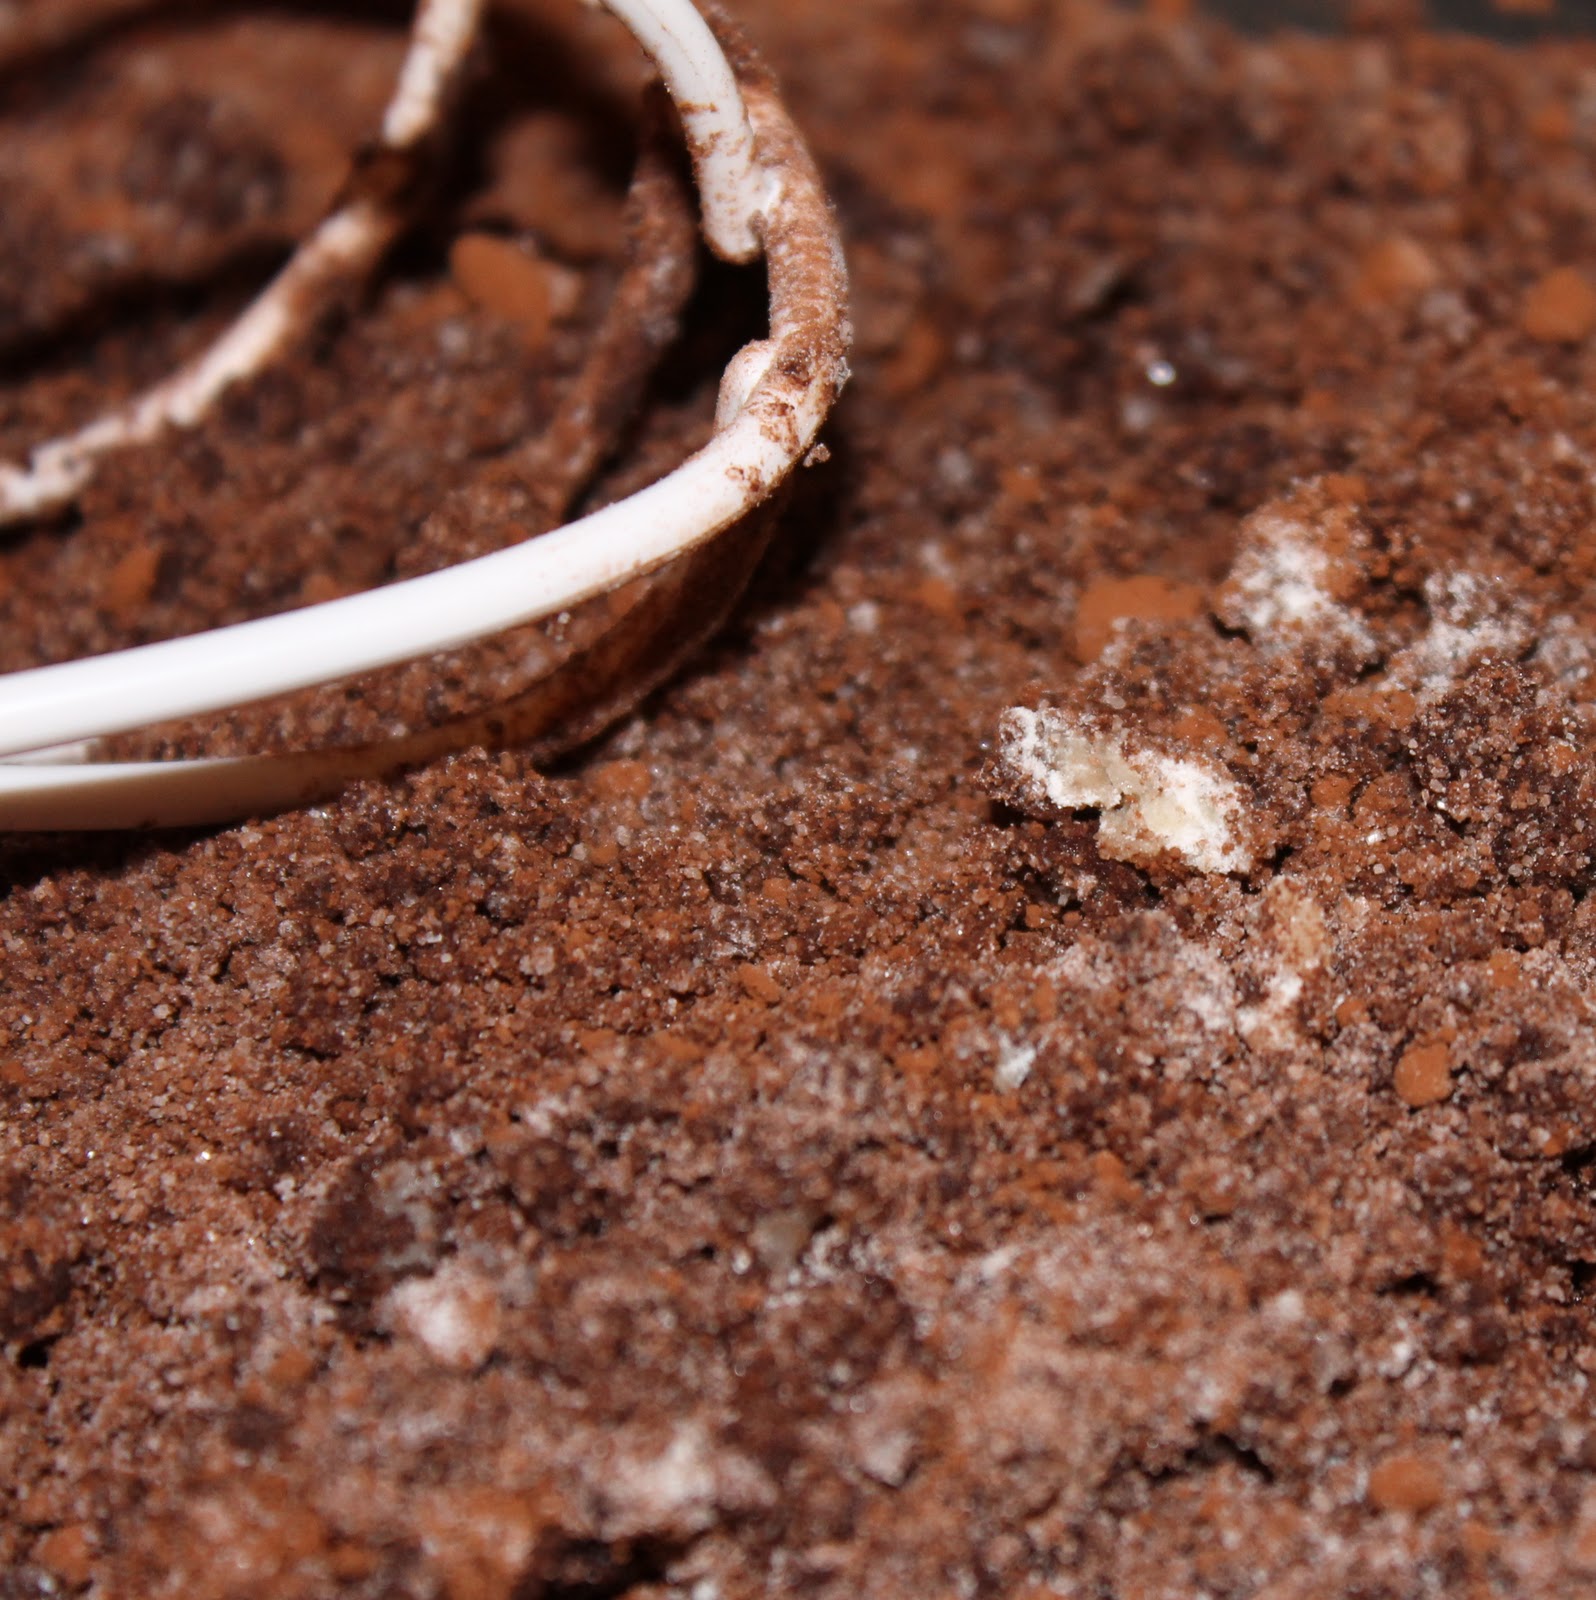
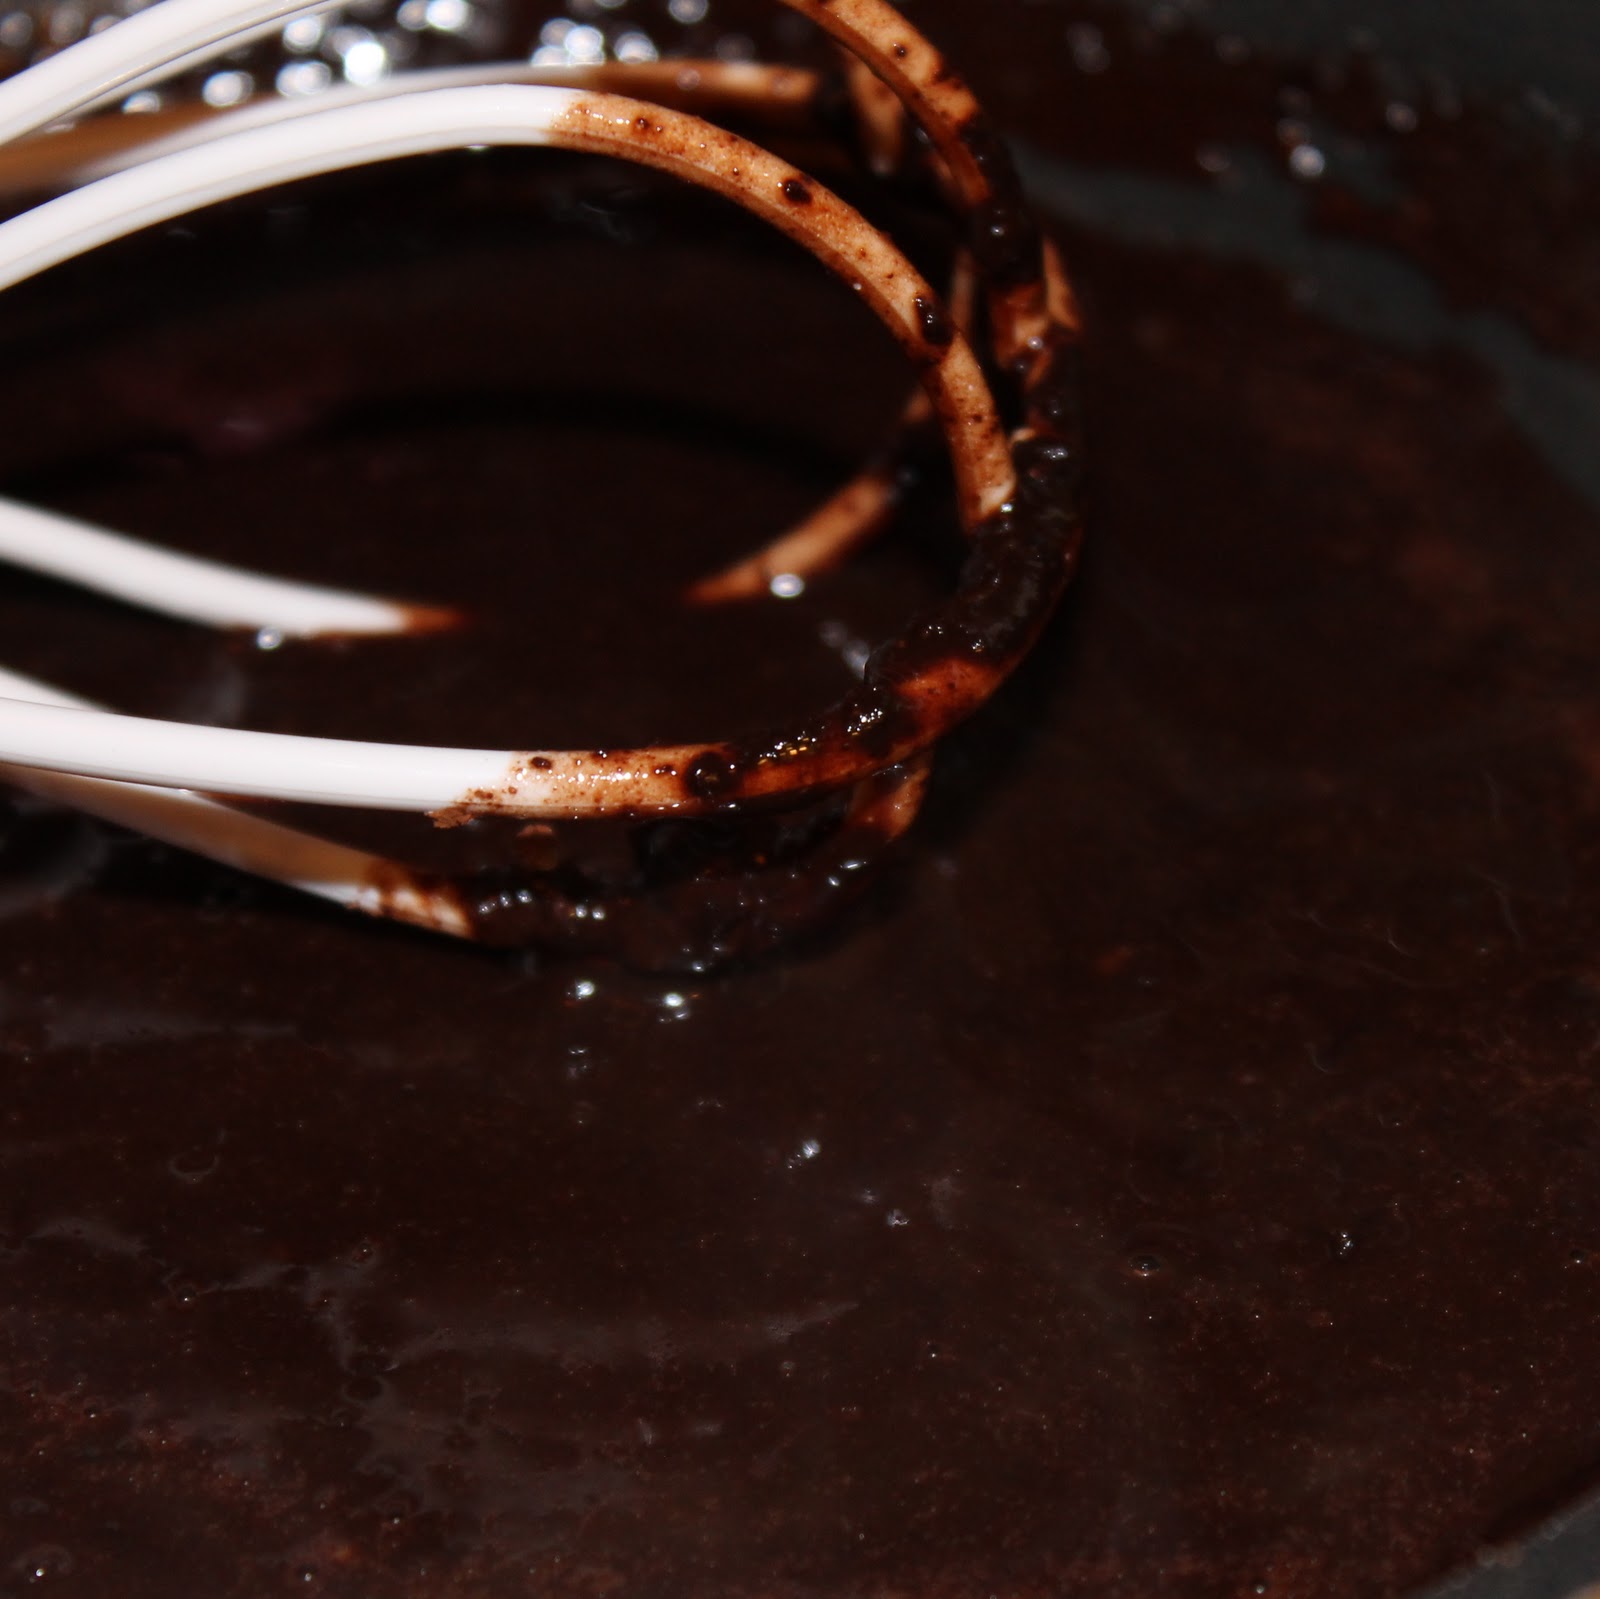
In a large saute pan, combine 1/2 cup sugar, 3 tablespoons flour, 3 tablespoons cocoa, and the salt over medium-high heat, stirring with a whisk or the Oxo egg beater. Add 1 1/4 cups milk, stirring constantly. Bring to a boil and cook for 2 minutes or until it begins to thicken, stirring constantly.
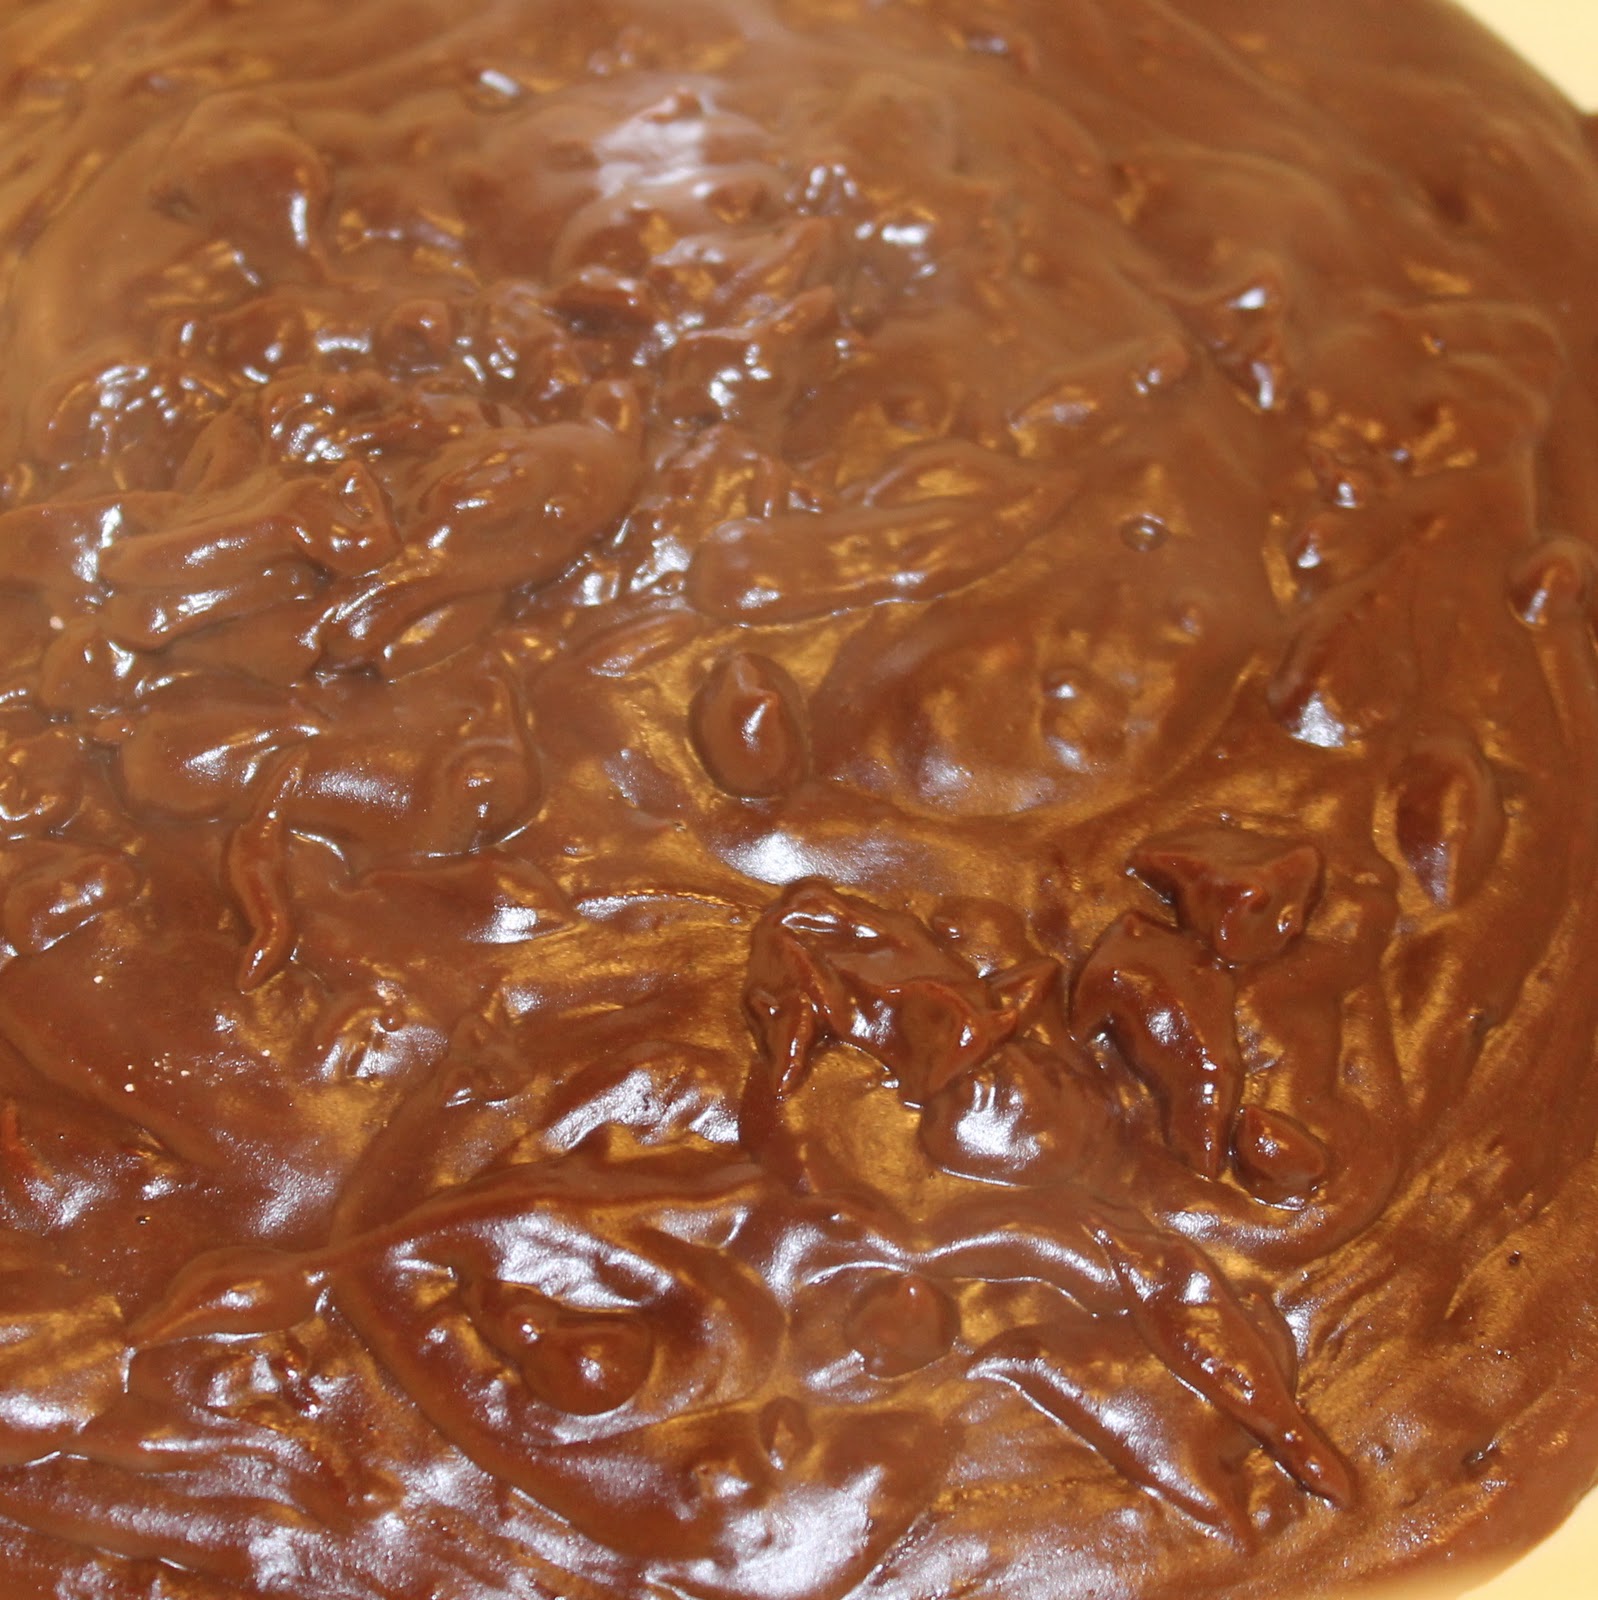
Remove from heat and add 3 ounces chocolate, stirring until smooth. Add to a large bowl and allow to cool to room temperature.
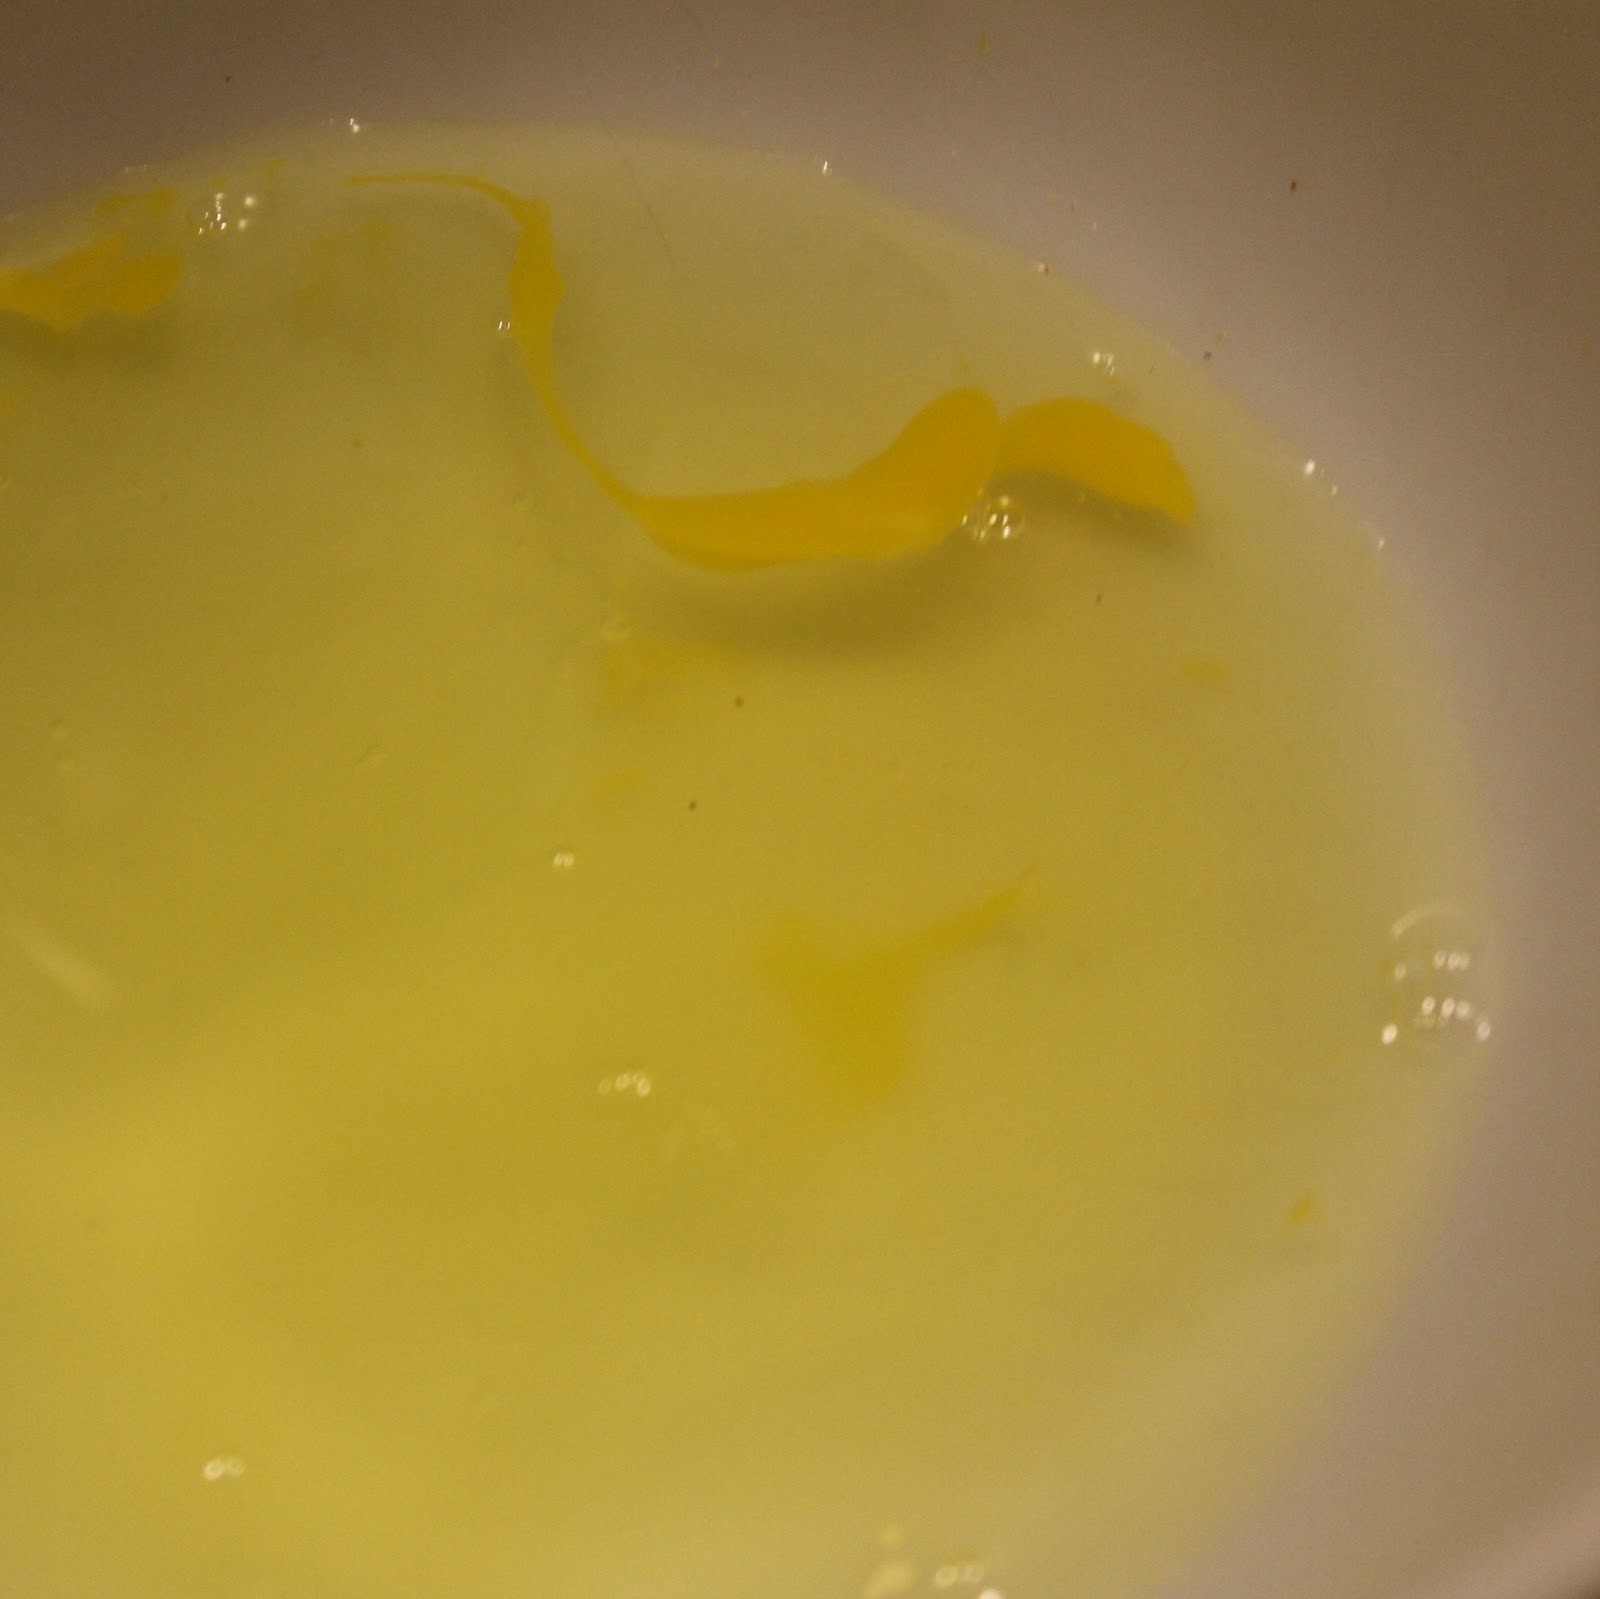
In a medium bowl, add the egg whites (reserve one egg yolk!) and beat using your egg beater until stiff peaks form. This took a good 5 minutes for me.
Once the egg whites are beaten, the chocolate mixture should have cooled. Add the vanilla and egg yolk to the chocolate mixture and stir.Fold in 1/4 of the egg white mixture into the chocolate mixture.
Once combined, gently fold in the remaining egg whites.
Spoon the mixture into the ramekins. Sharply tap the dishes two or three times on counter to even out each mixture in the ramekin. You want them to be about 3/4 full so that they can puff over the top of the ramekin. If you are making these ahead of time, you can cover the ramekins at this stage and freeze until you’re ready to bake them.
When ready to bake, place them on a baking sheet and place in the preheated oven (which is at 425) on the bottom rack. Immediately reduce the temperature to 350 degrees (keep the souffles in the oven and don’t open the door, the temperature will slowly lower over time). Bake for 40-45 minutes or until a toothpick inserted into the side comes out clean.
The sauce can also be made ahead of time if you so wish. Melt the butter in a small pot over medium-high heat. Add 1/3 cup sugar, 2 tablespoons cocoa, and 1 tablespoon flour, stirring well with a whisk.
Gradually add 1/2 cup milk stirring constantly. Bring to a boil and cook for 1 minute, continuing to stir. Remove from heat, add 1/2 ounce chocolate and stir until smooth. Spoon over warm souffles.
To make the whipped cream, add the heavy cream to a bowl. Using the egg beater, beat the cream until peaks are just about to form. Add the vanilla and the powdered sugar and beat until peaks form. Add a dollop of the fresh whipped cream to the souffle and serve.
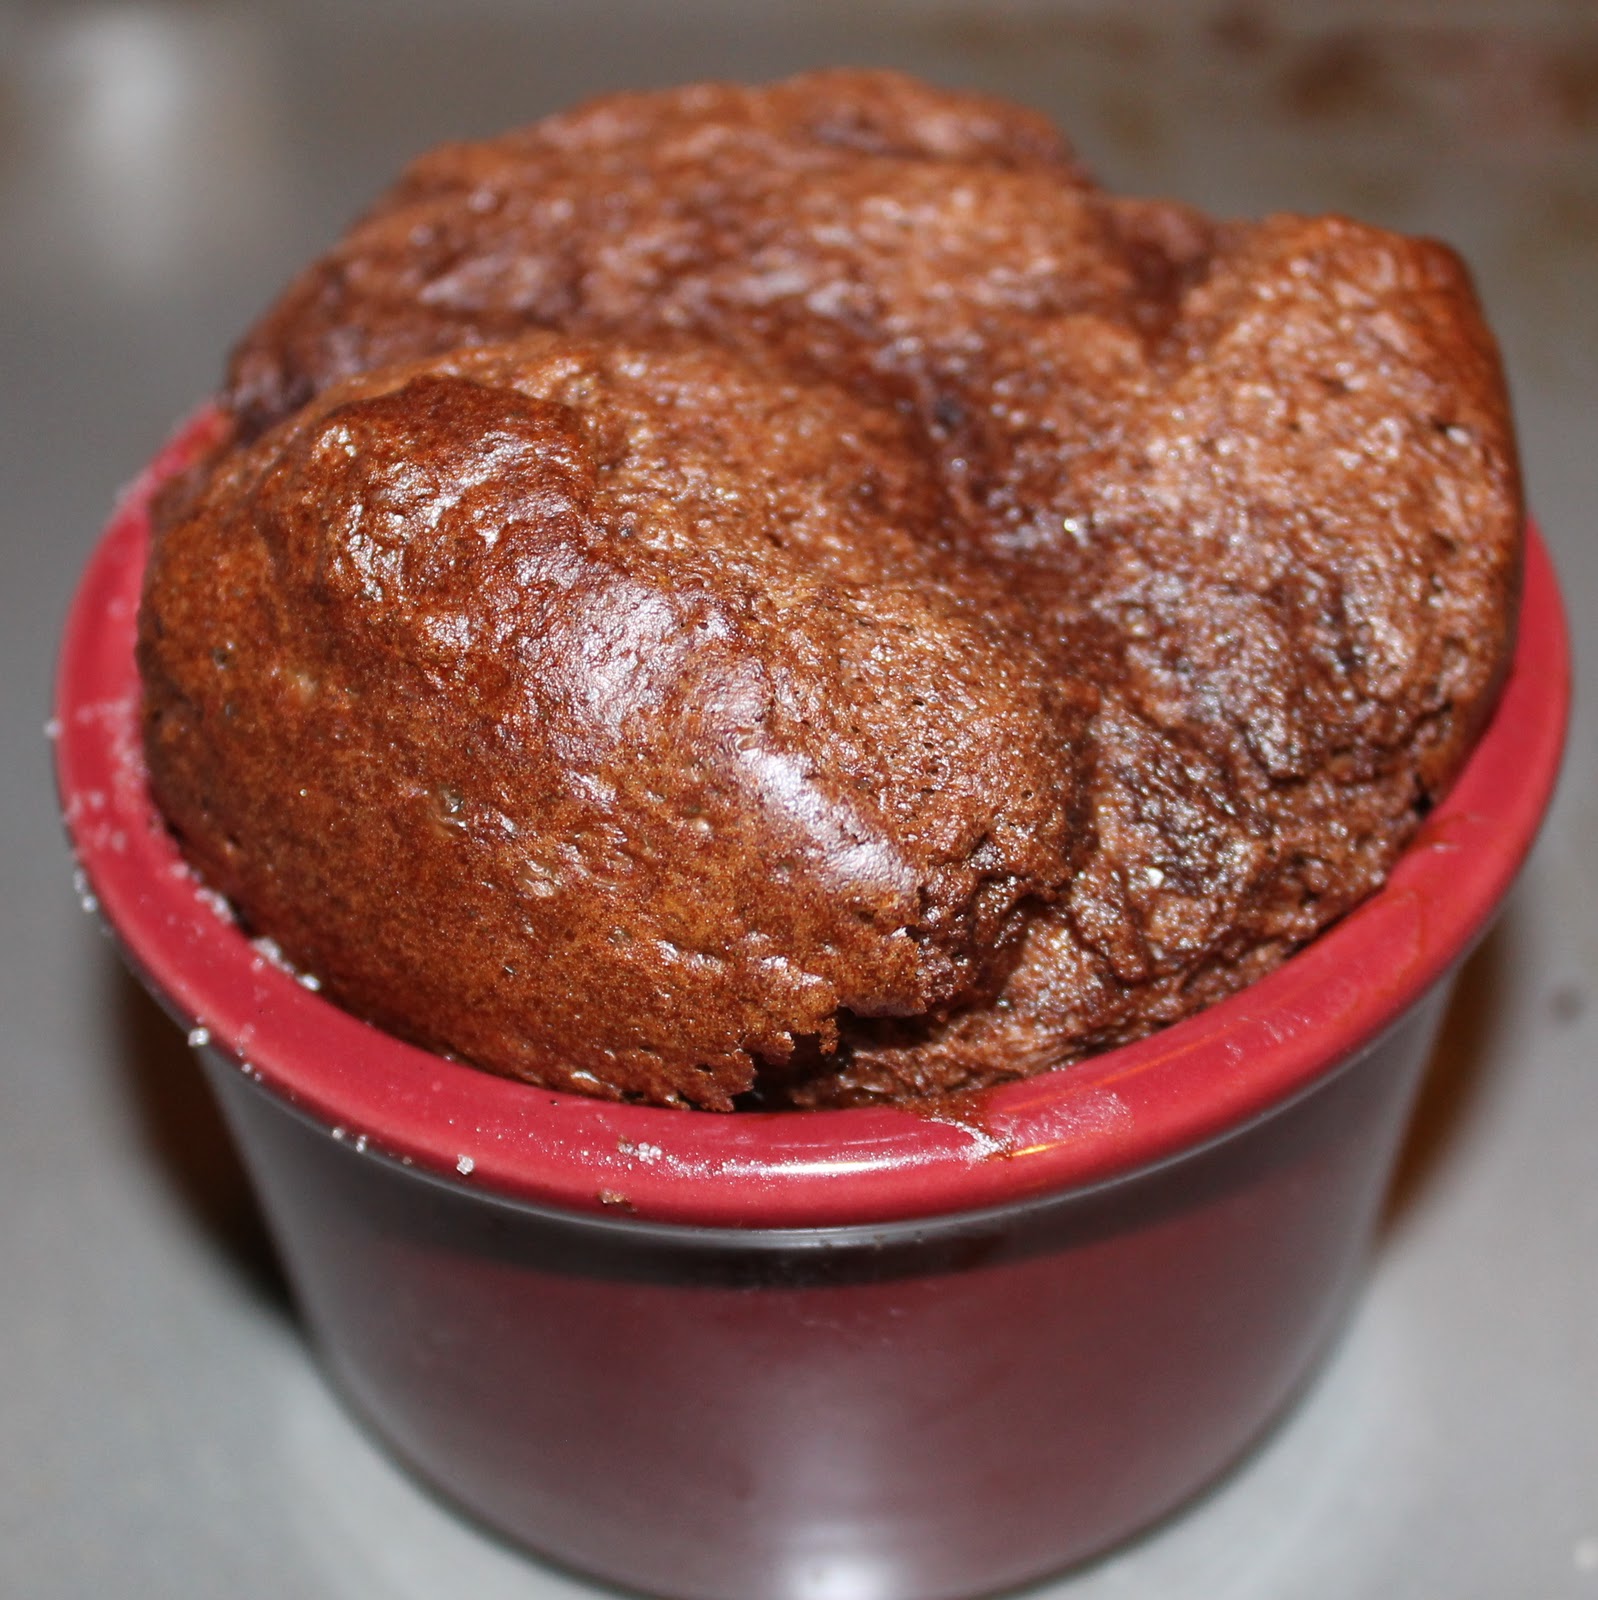
So my souffle came out puffy and happy and I was so excited!
But as I started adding the chocolate sauce, it began to deflate. Sigh.
So I topped it off with the fresh whipped cream and called it even.
Souffles are notoriously difficult to make, but I wanted to at least give it a shot. Who honestly cares if it deflated though? It still tasted wonderful! I think even a collapsed souffle still looks pretty darn nice as well, no?
So if you’re still with me, you can win your very own Oxo egg beater to beat and whip until your heart’s content.
Good luck, and feel free to leave me a comment below with any questions, comments, or complaints 🙂
Note: I received both a free egg beater for myself and for the giveaway through Oxo’s Blogger outreach program. All opinions and photos with the exception of the egg beater photo are mine.
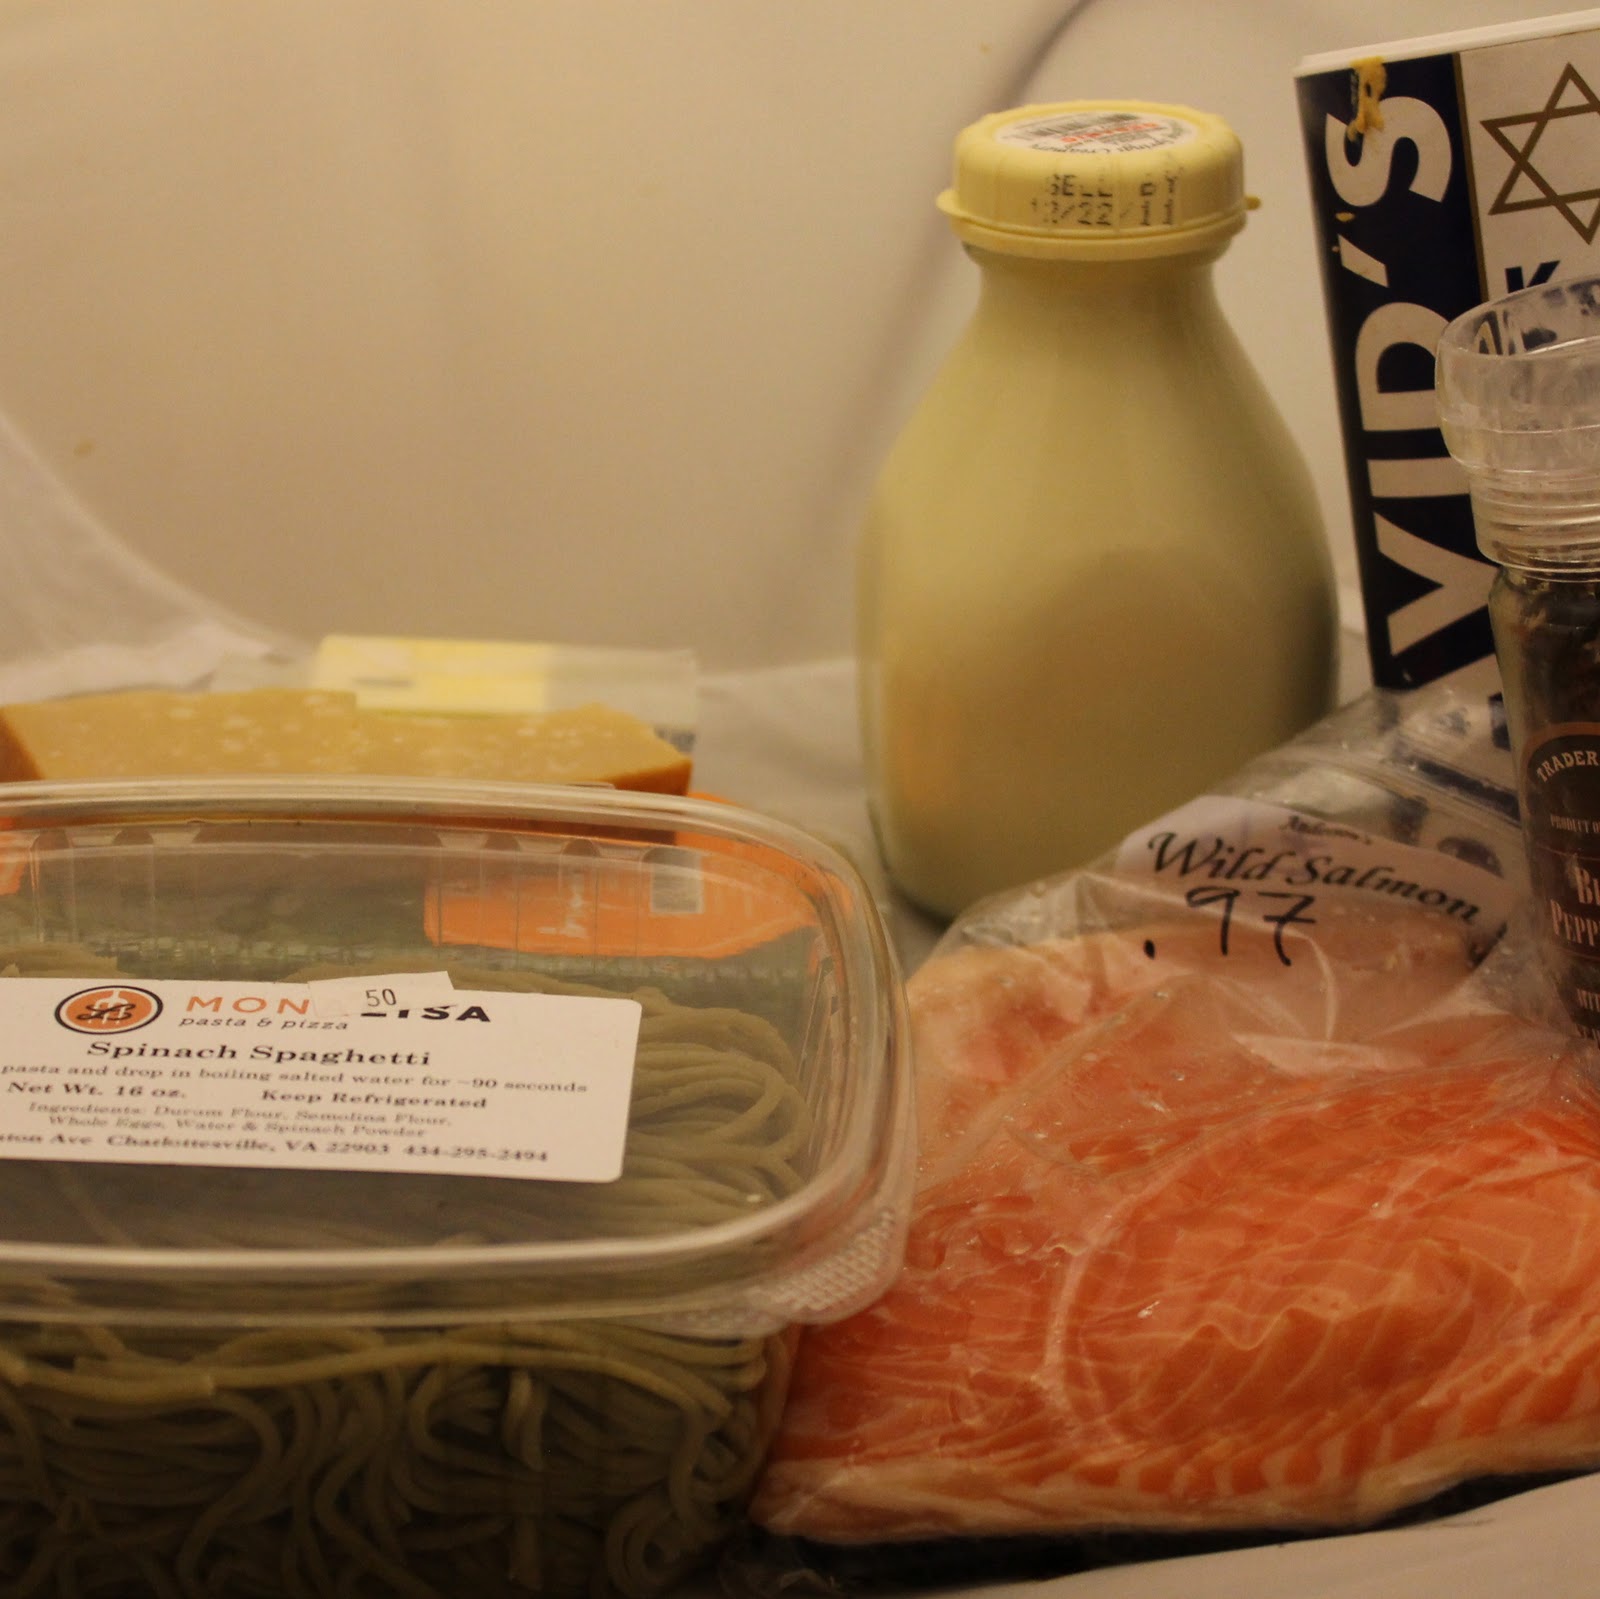
Have you ever bought a bunch of ingredients just because they sounded good? I try to stick to a list, but this time I couldn’t help myself. I found fresh spinach spaghetti and it just sounded so wonderful, I had to buy it. I wanted to make a simple but flavorful dish so I was pretty happy to find salmon as well. I already had heavy cream and parsley in my fridge so this recipe for Spinach Spaghetti with Salmon Cream Sauce was the result!
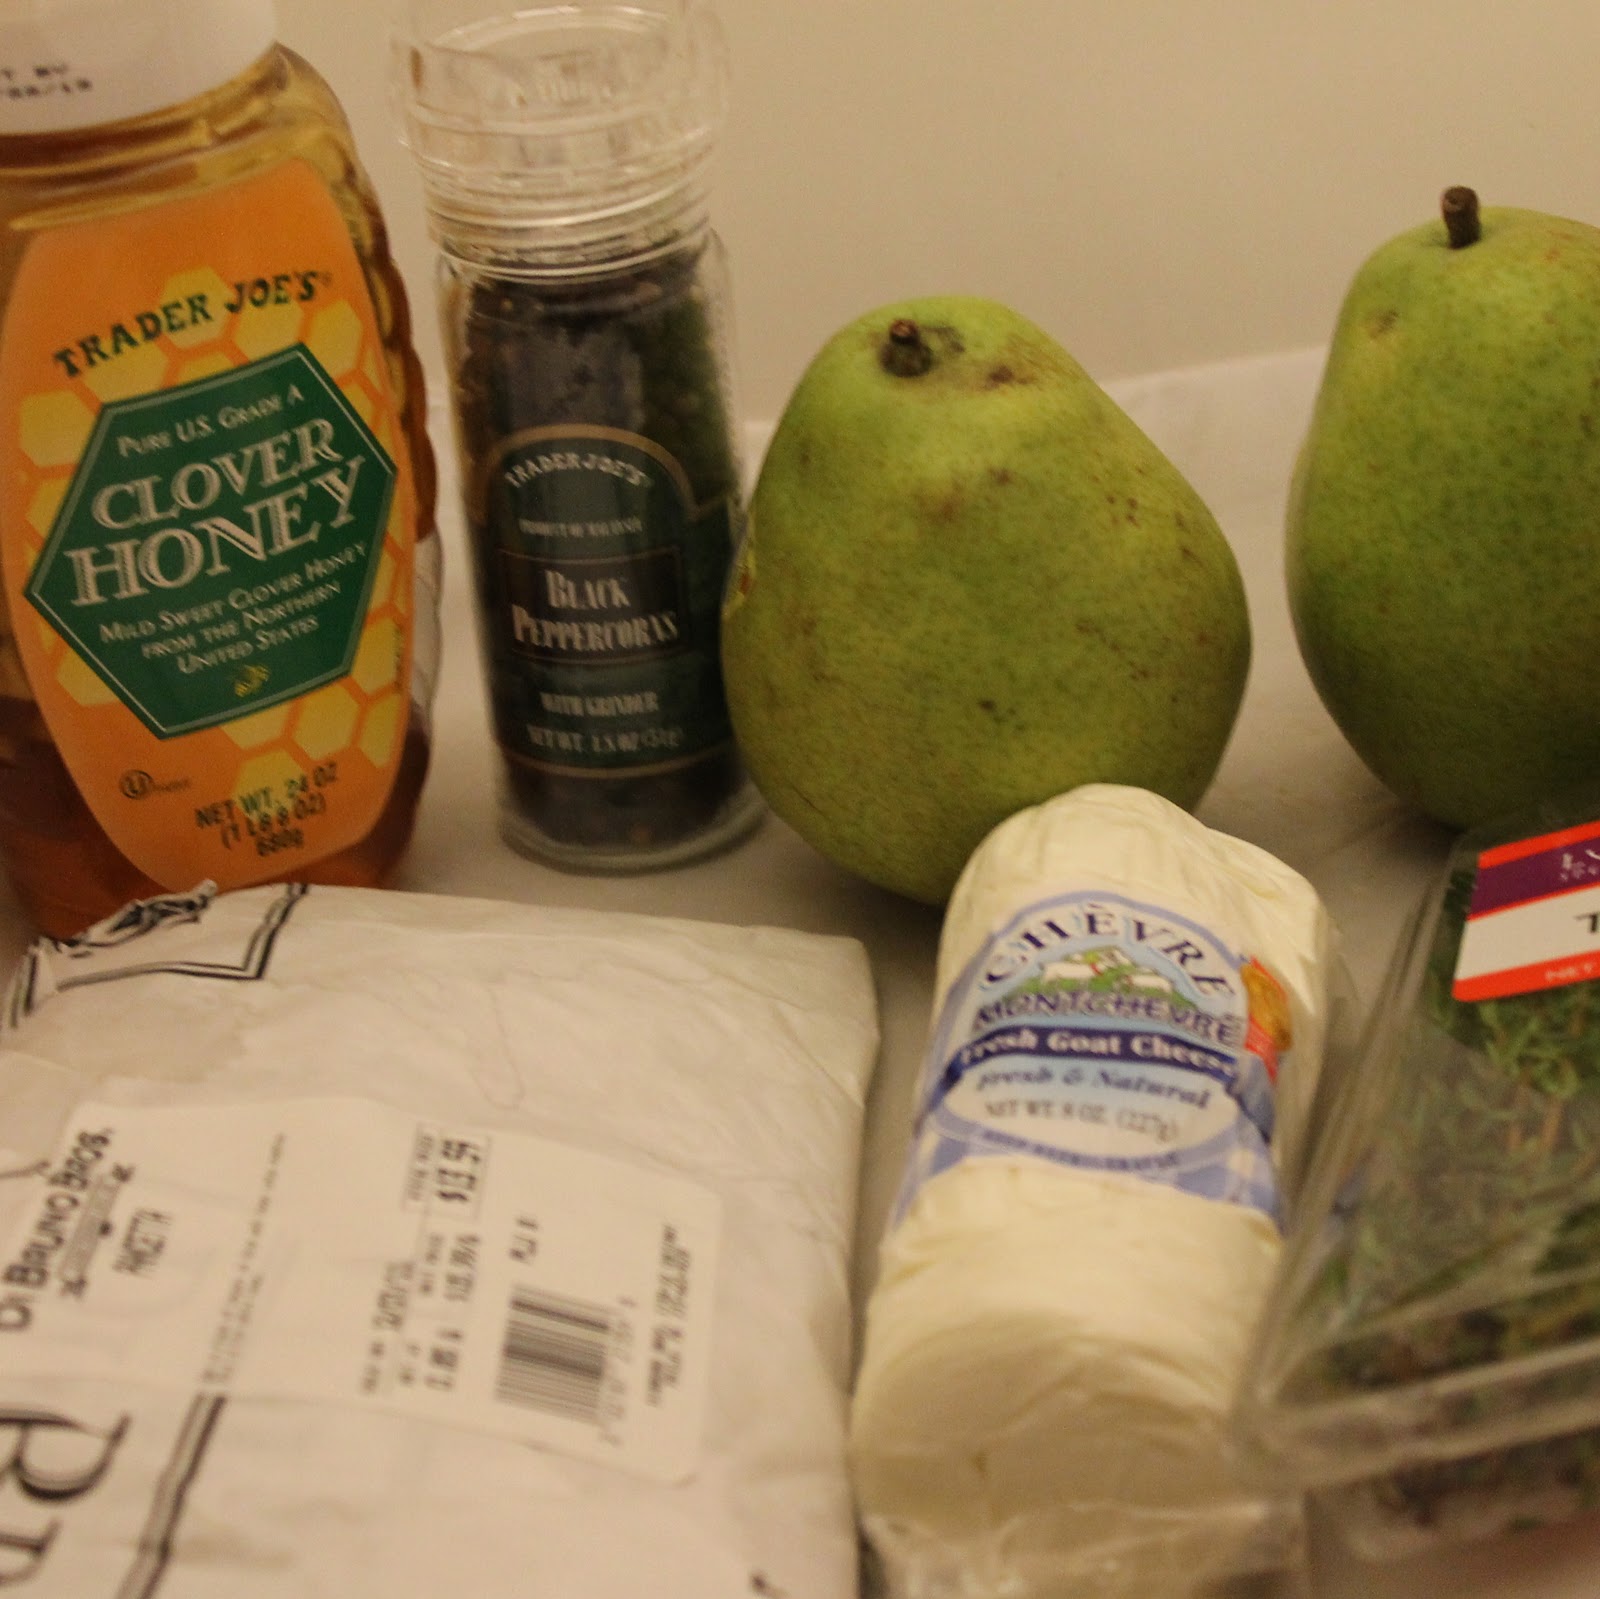
With the holidays fast approaching, we all need more quick appetizer recipes for when friends and family come to visit. This one for Pancetta Crisps with Goat Cheese and Pear from Southern Living intrigued me: pear, pancetta, honey, and goat cheese. I was interested to see how these flavors would all play out together. Because this can be served cold, you can do most of it ahead of time, pop it into the fridge, and bring it out right before you need it. Note: I only made 6 servings but naturally this can be expanded to fit any number of people.
Ingredients:
6 thin slices pancetta (I just asked the butcher to slice it thin, but not as thin as proscuitto)
1 anjou pear
1/4 (2-oz.) package goat cheese, crumbled
Cracked pepper
Honey
Thyme leaves and sprigs
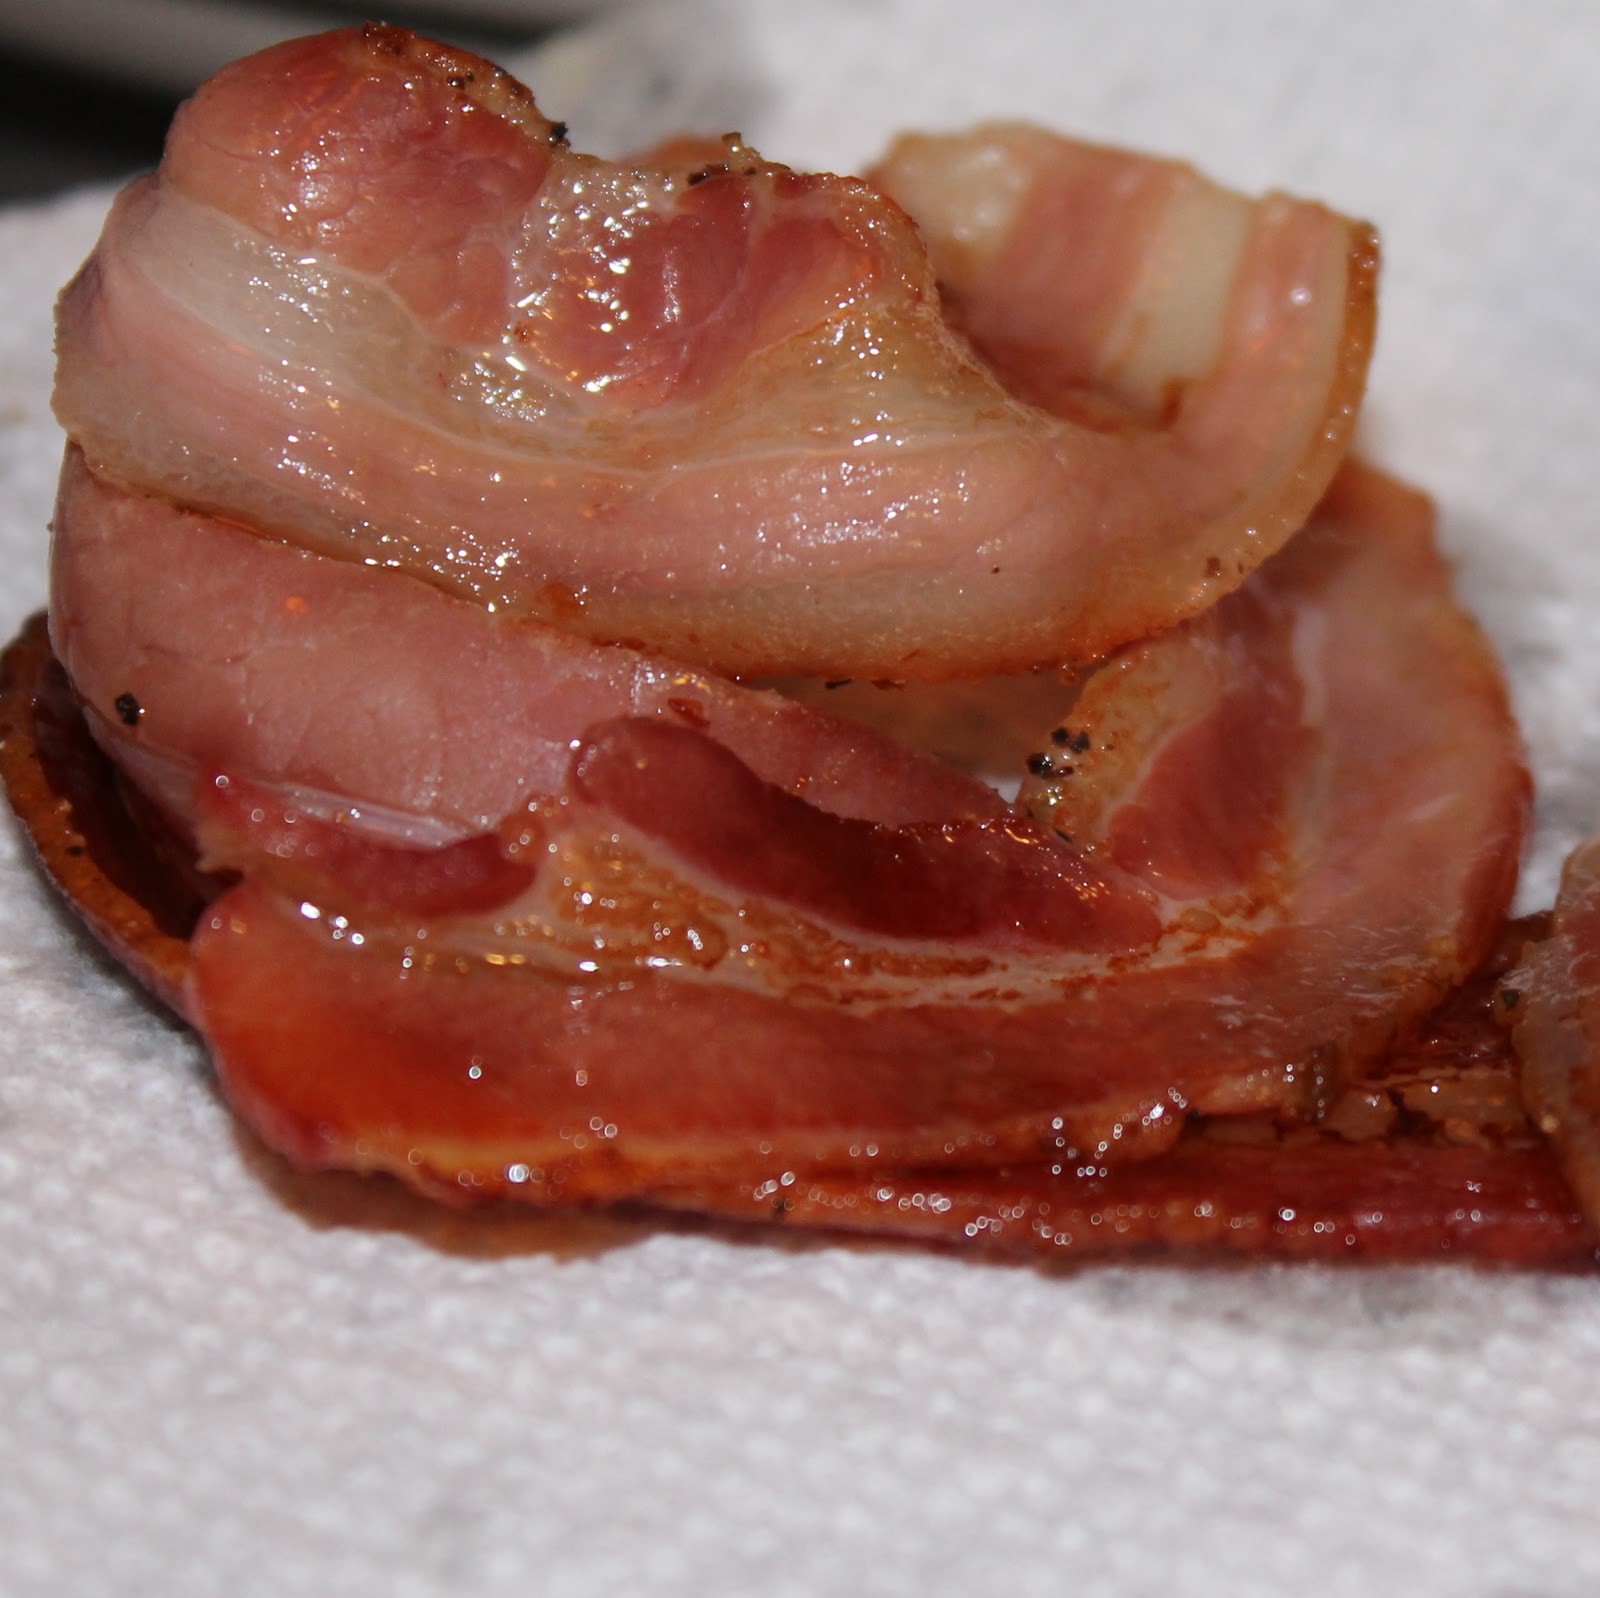
Preheat your oven to 450 degrees. Arrange the pancetta slices on a cookie sheet lined with tin foil.
Cook the pancetta in the oven for 8 to 10 minutes or until crisp.
Transfer the pancetta to a paper towel and allow to sit for 10 minutes.
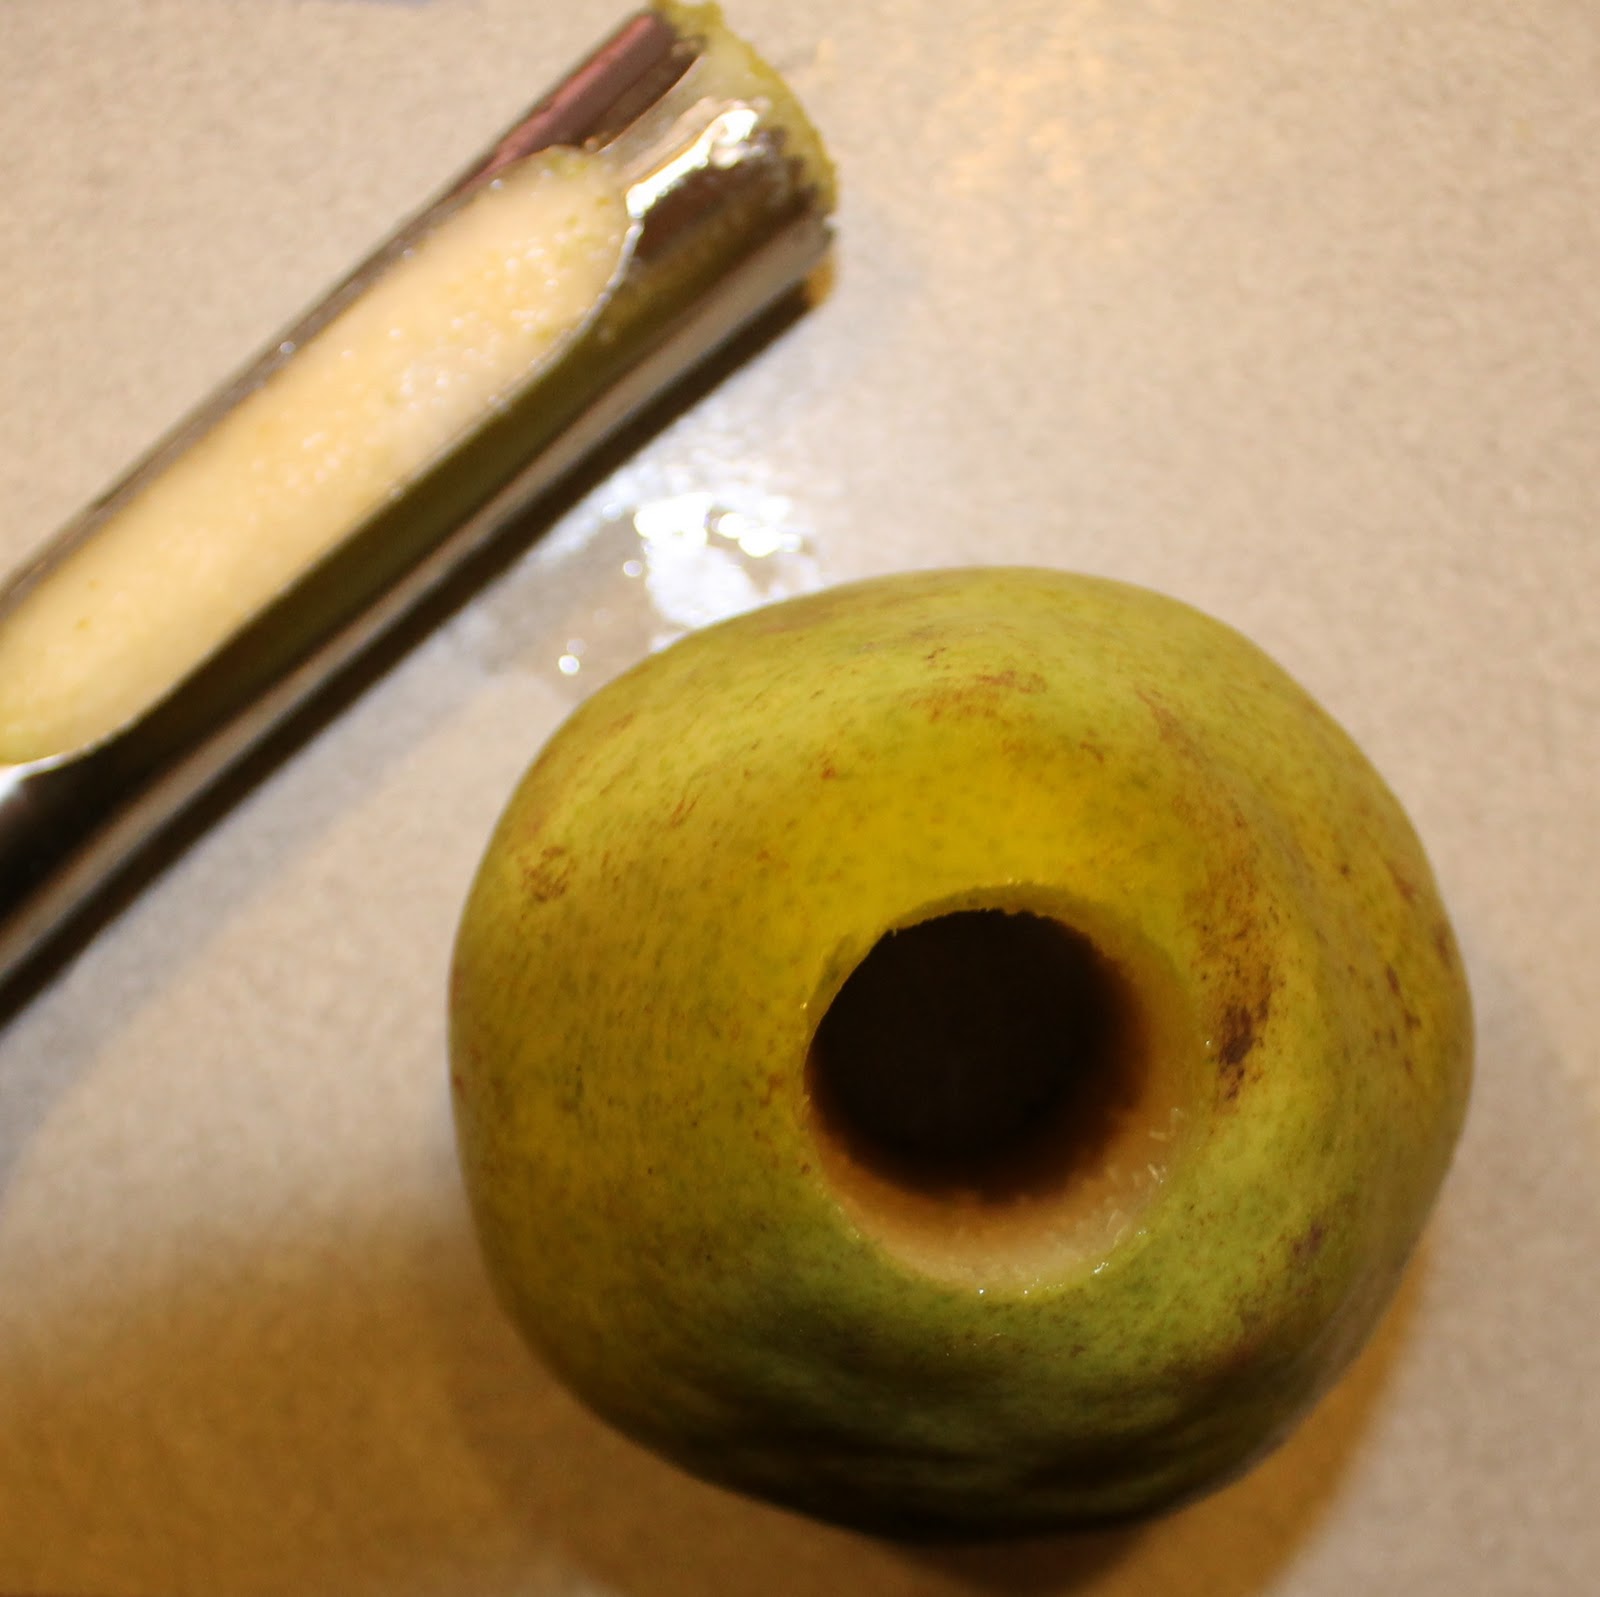
Use an apple corer to core your pear. This was surprisingly easy (I have no clue why I thought this would be a battle).
Slice the pear into equal sized slices. I got 6 slices, plus the top and bottom of the pear.
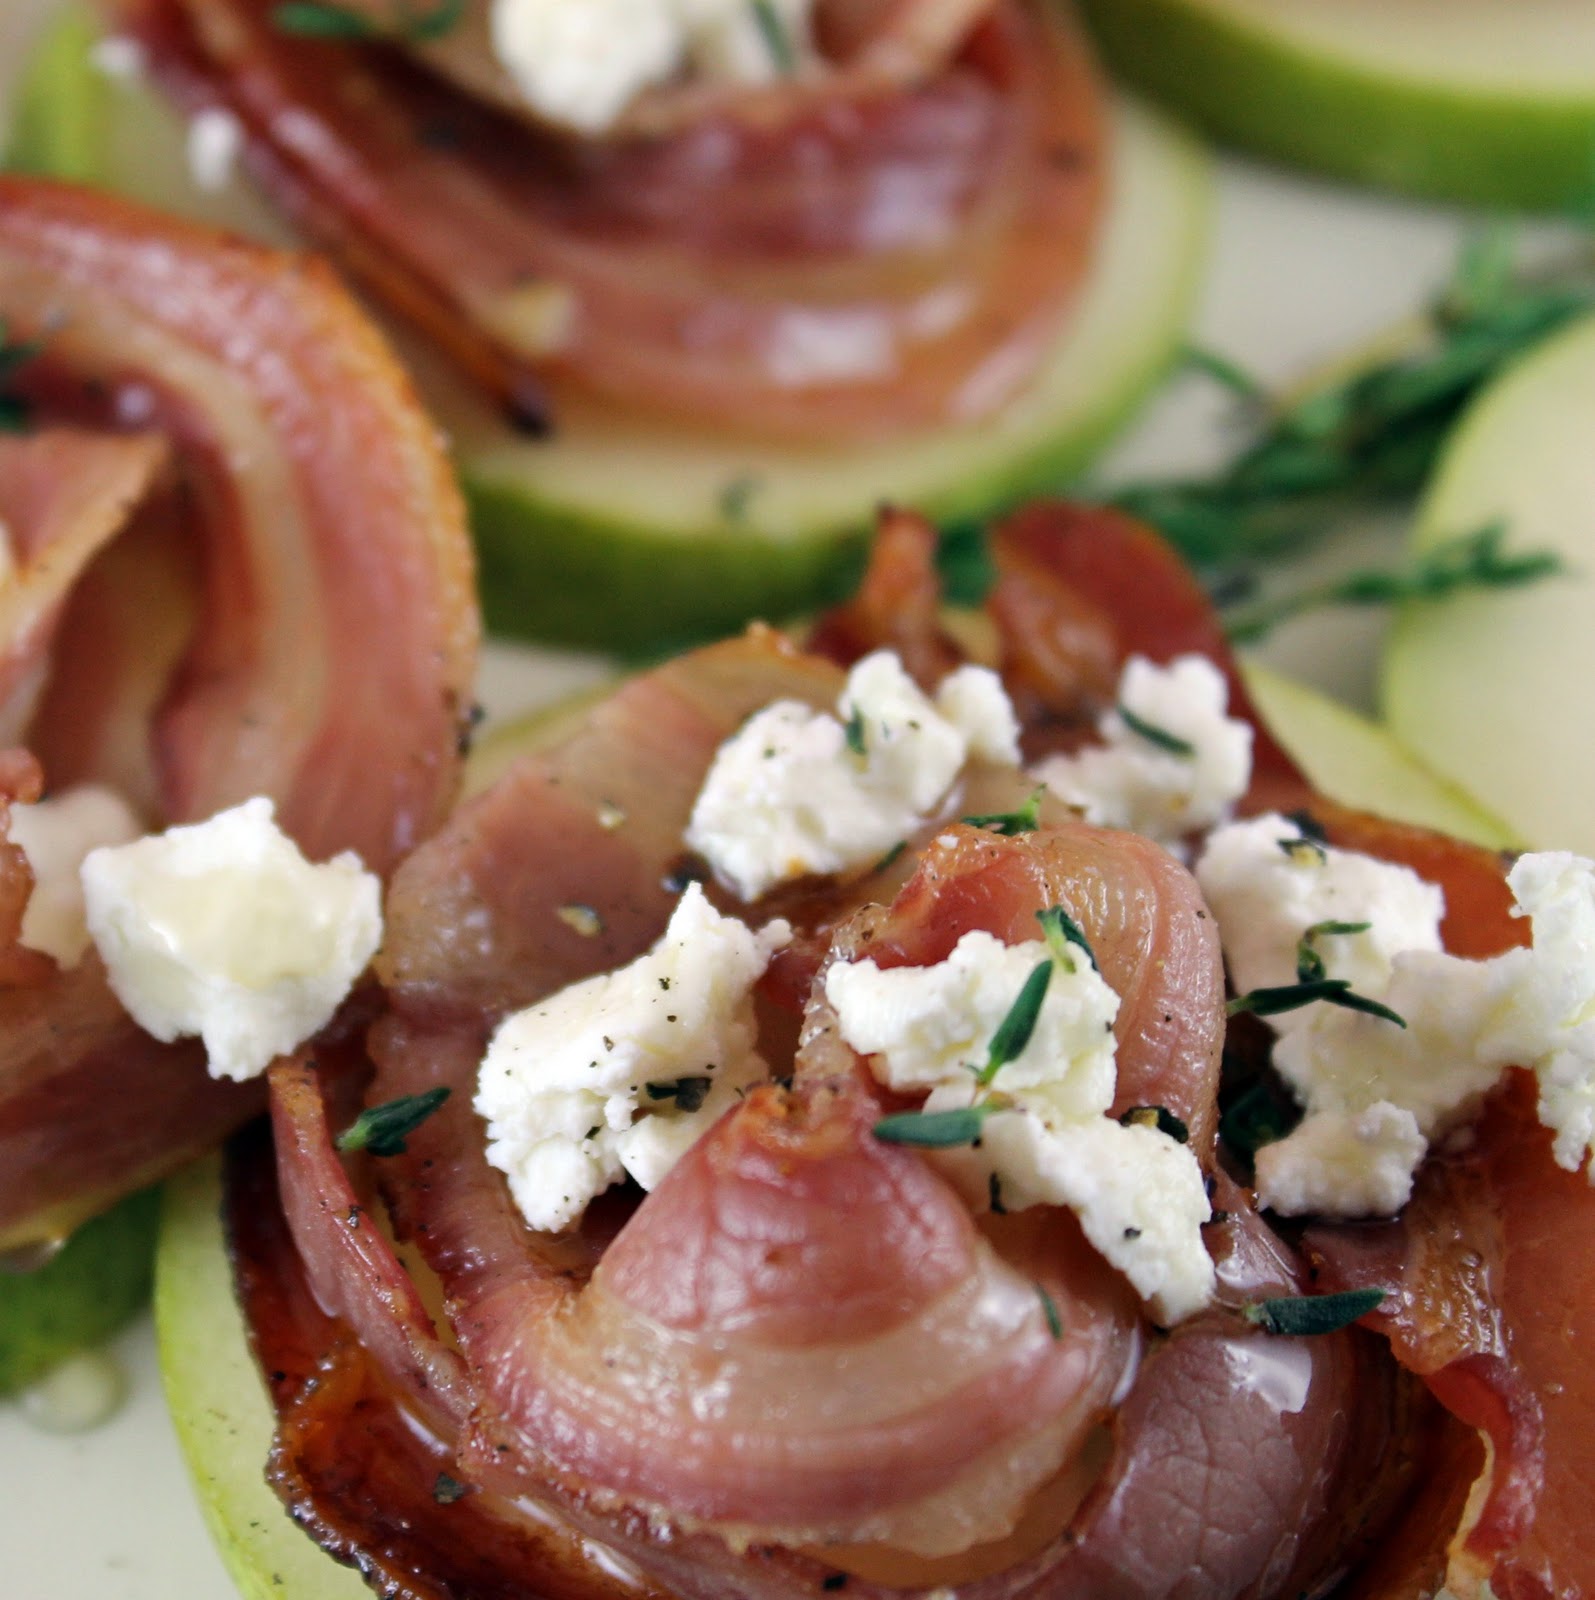
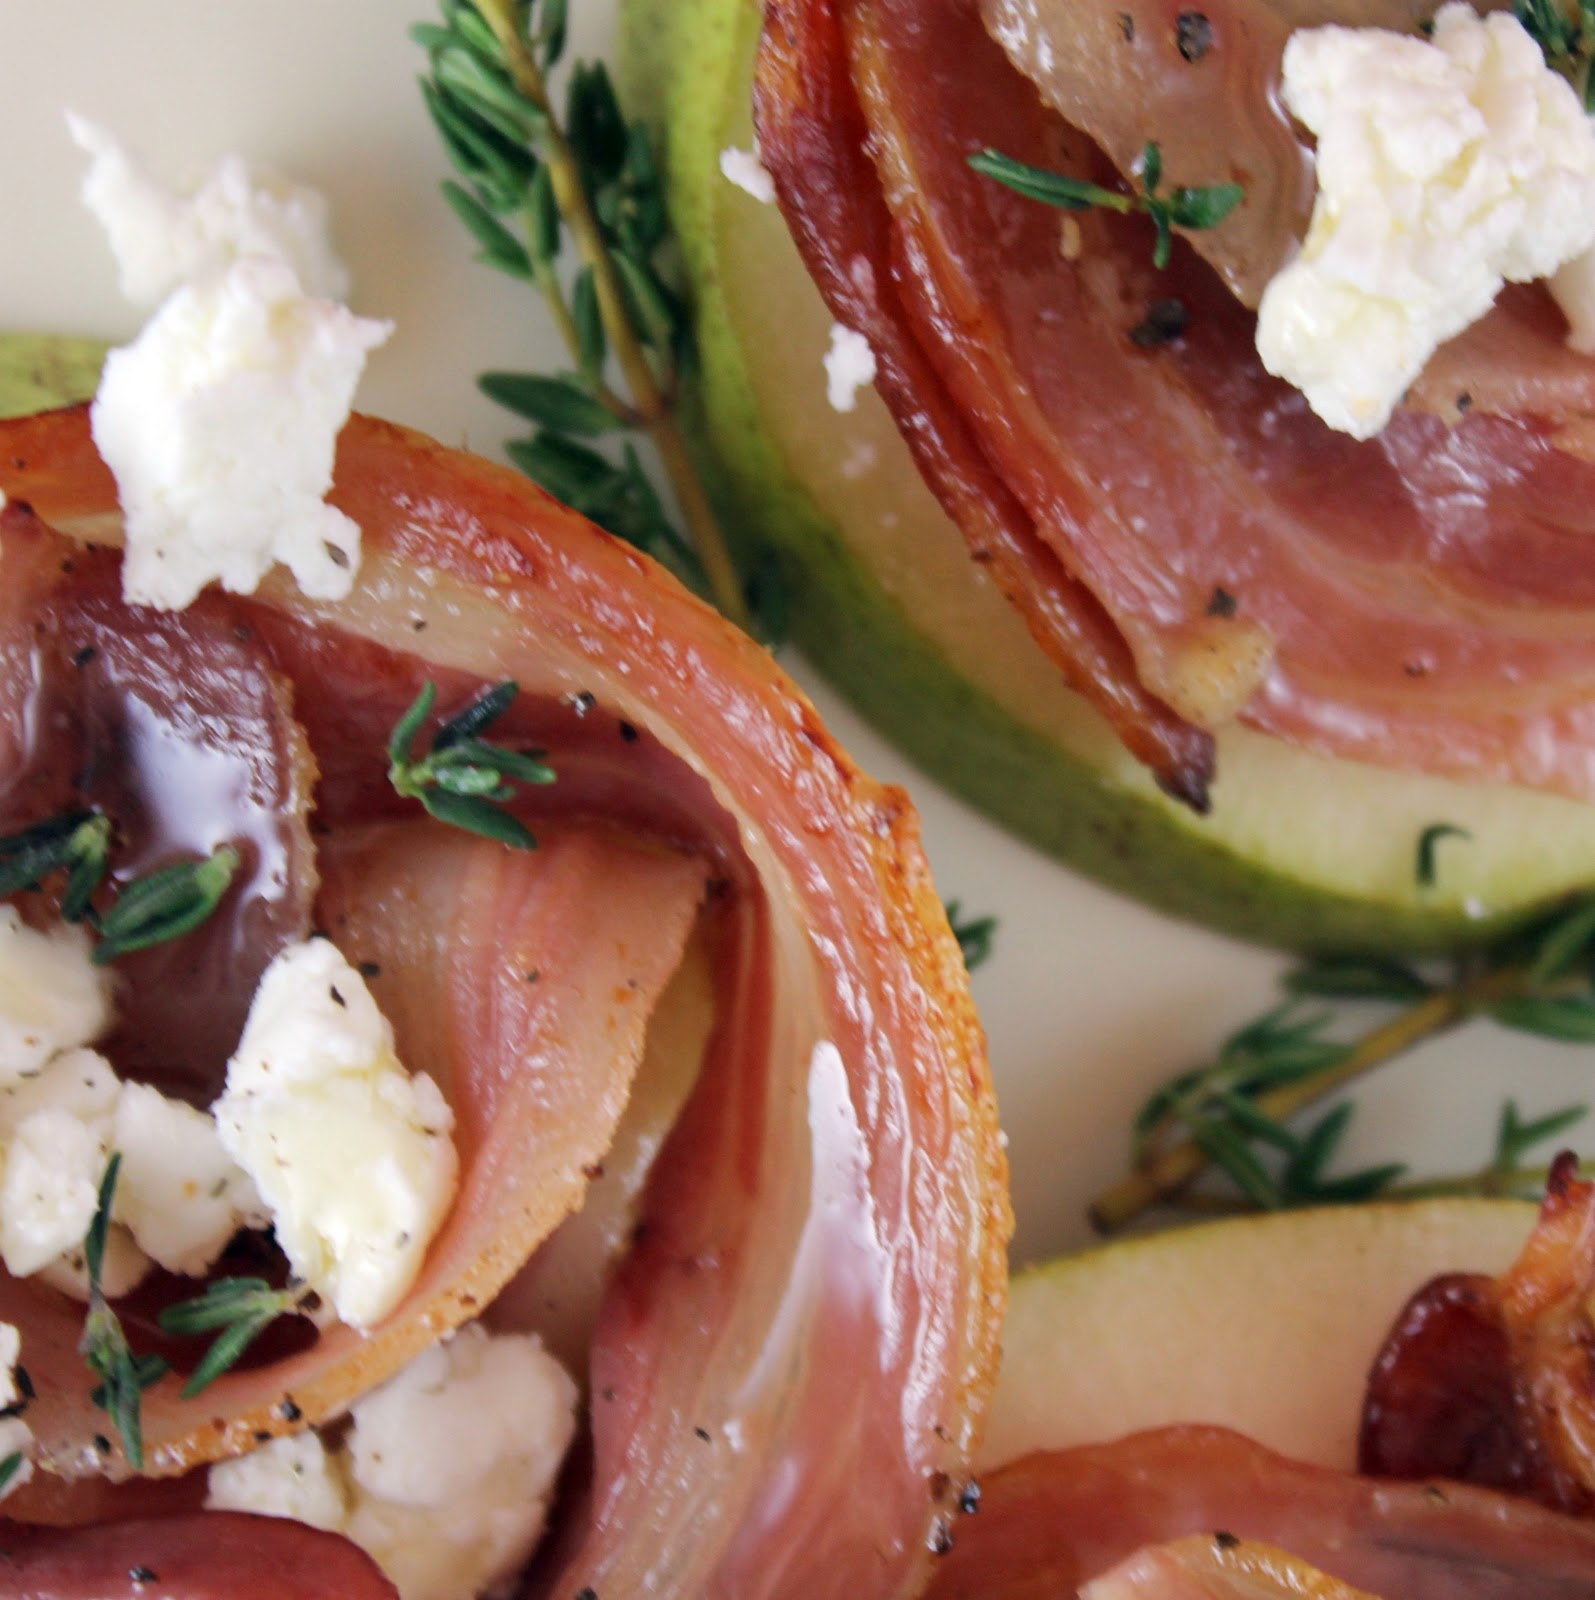
Add the pancetta on top of the pear. Top with crumbled goat cheese. Sprinkle with pepper and some chopped thyme. This is where you can stop and pop these in the fridge if you are making them ahead. Right before serving, drizzle with a bit of honey.
It’s quite pretty, isn’t it?
But… how does it taste? I actually really liked this! It’s flavorful, different, and easy to eat with one hand (crucial for a get together where most are walking and mingling).
The pancetta was a wonderfully salty contrast to the sweetness of the pear and honey, the goat cheese added a nice creaminess and the thyme added little pops of flavor that brought the whole appetizer together.
There were some awesome textures in this as well. Overall, a definite keeper!
This year has flown by. I can’t believe we are about two weeks away from Christmas already! Which means I have a weekend of celebrations upon me, it’s my birthday!
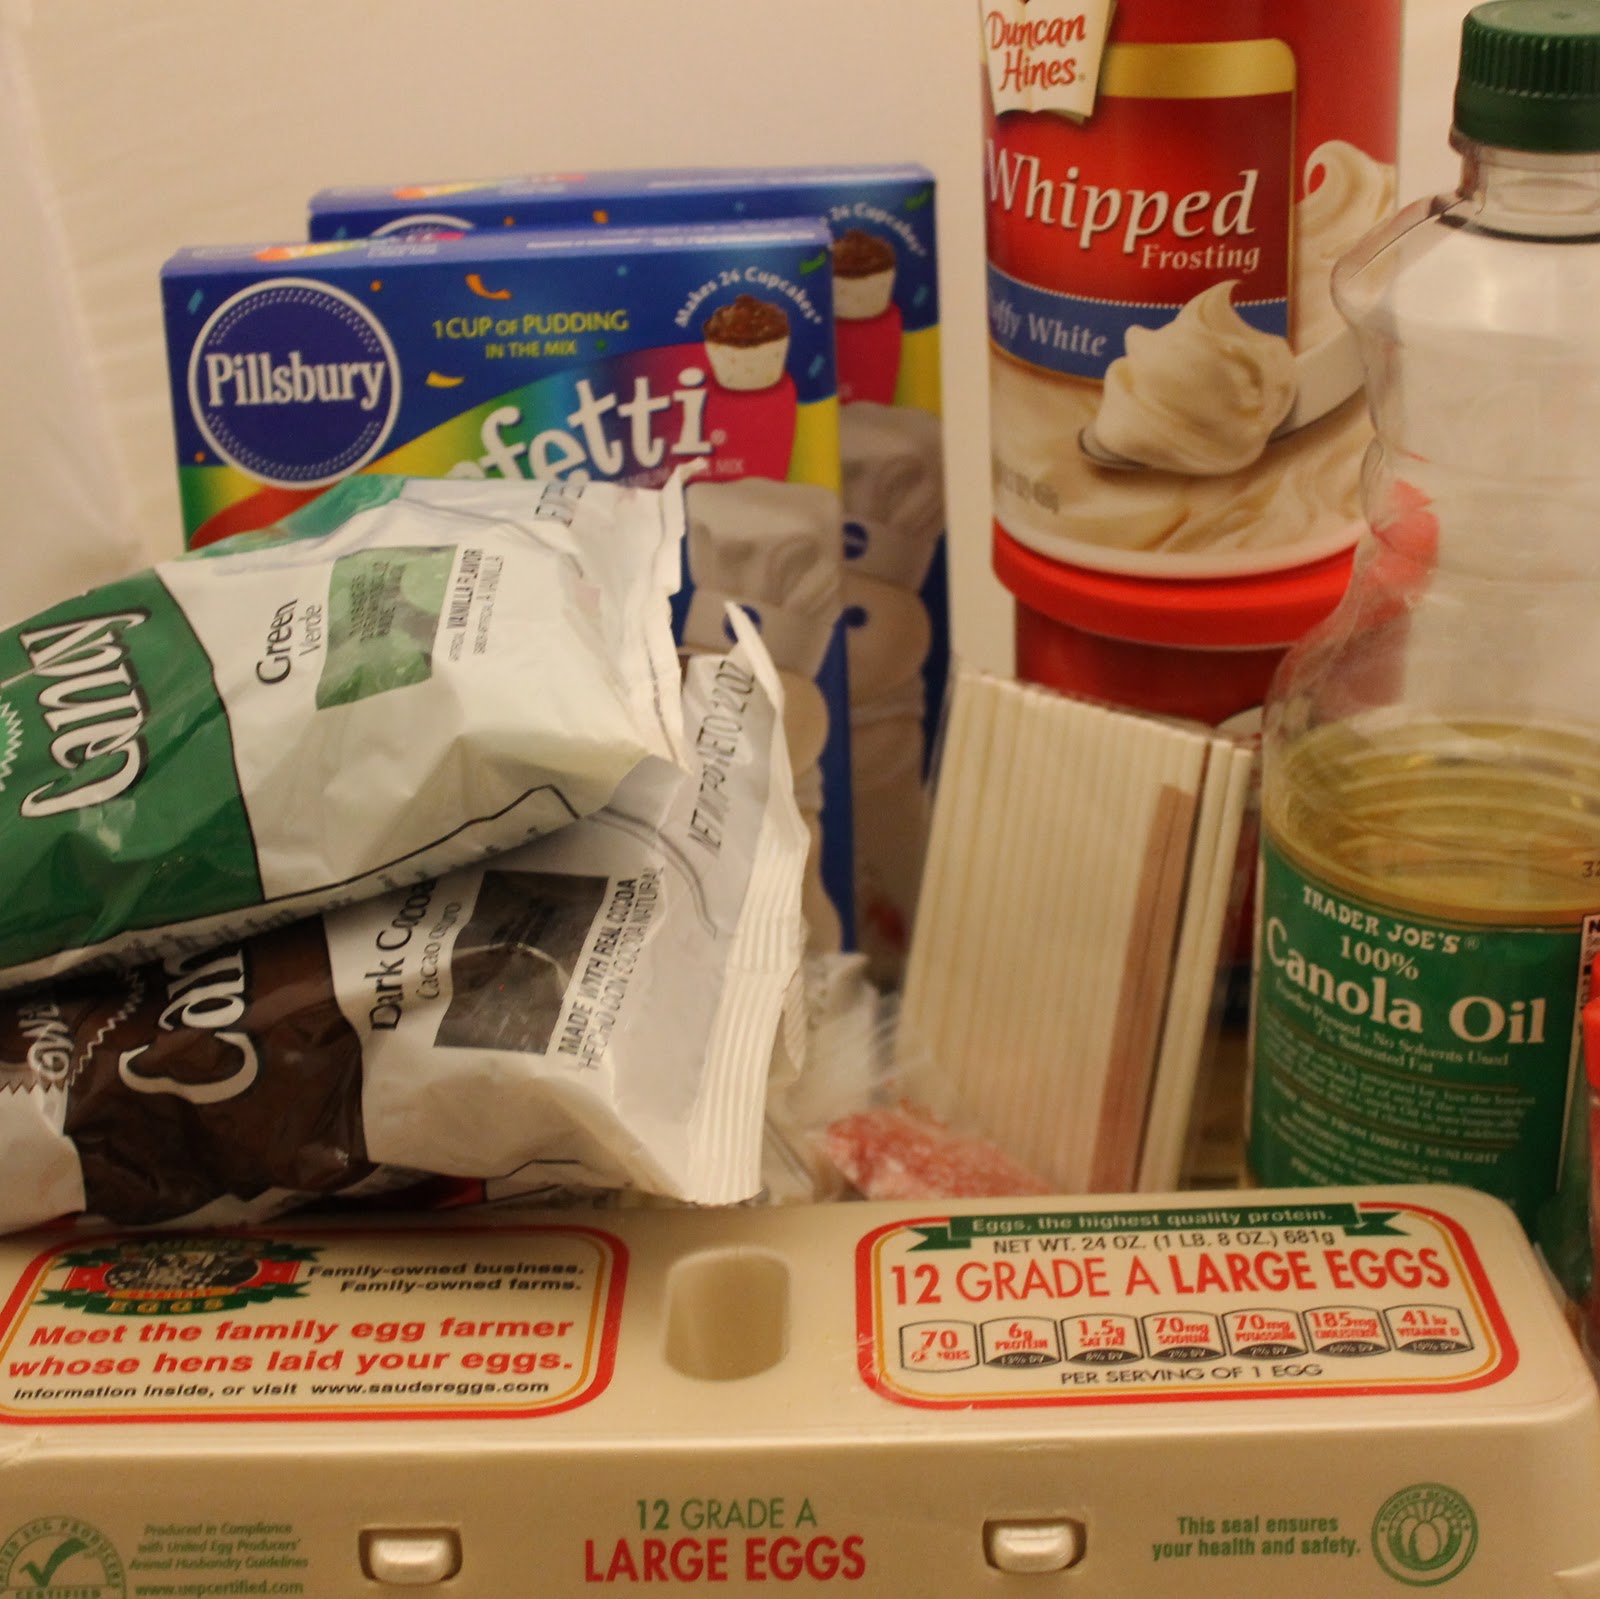
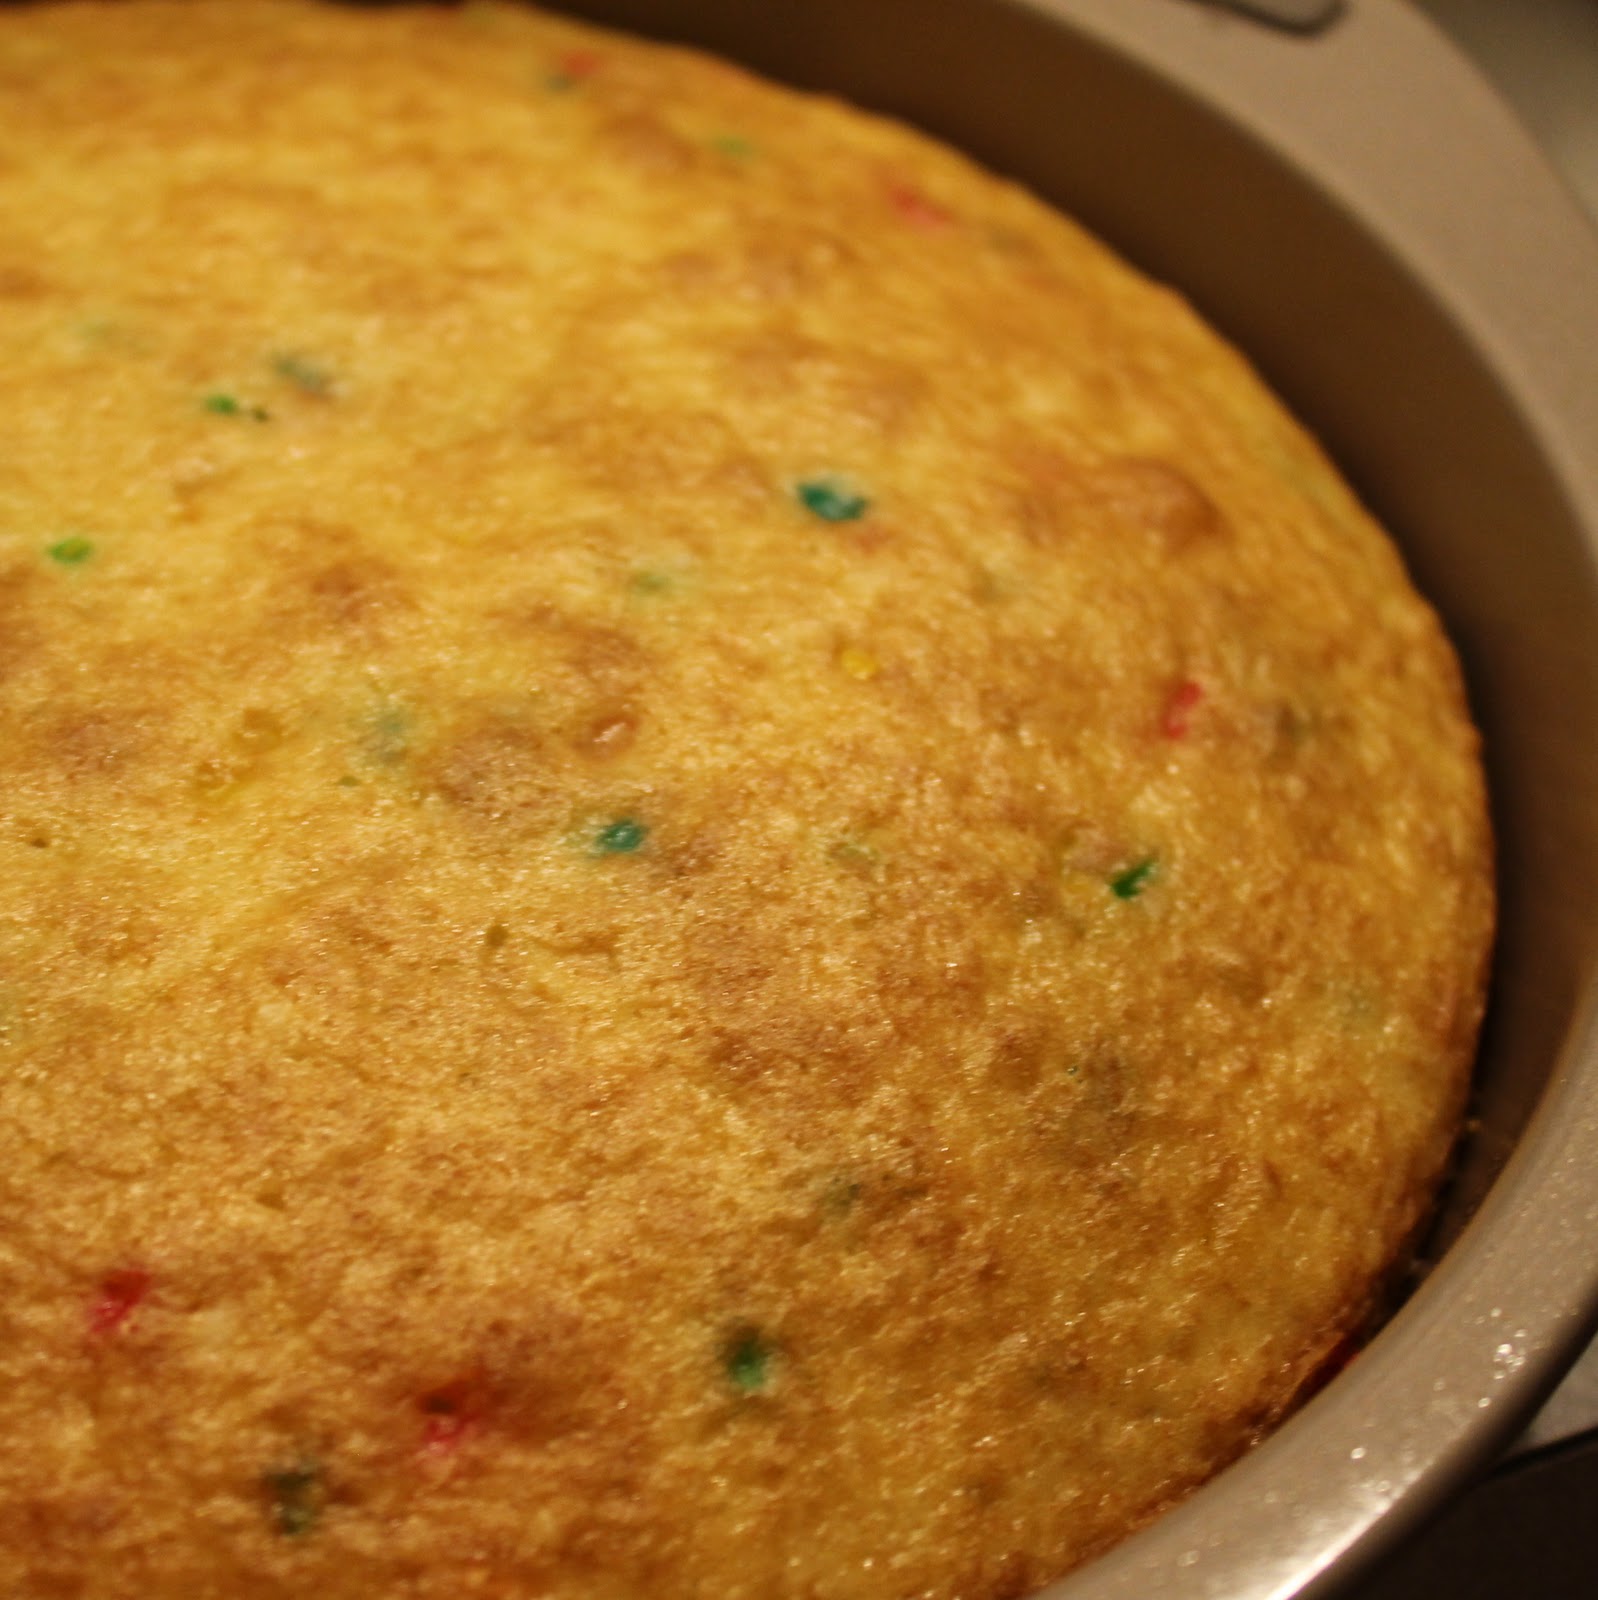
I have been intrigued by cake pops for a while now. I have no idea how a little ball of cake could keep my interest, but I have been looking for an excuse to try these out. I wanted to focus on making the actual cake pop so I used the best from-the-box cake mix there is: Funfetti of course!
Ingredients:
Cake Mix
Eggs
Water
Vegetable oil
12 oz frosting
Assorted candy coatings
Wax paper
Lollipop sticks
Styrofoam, or a pop stand
Assorted sprinkles
Bake the cake according to box directions. Allow to cool. While its cooling, prepare to make the cake pops. Set out two cookie sheets lined with wax paper. Gather the lollipop sticks and place near the cookie sheets. Set out a large mixing bowl.
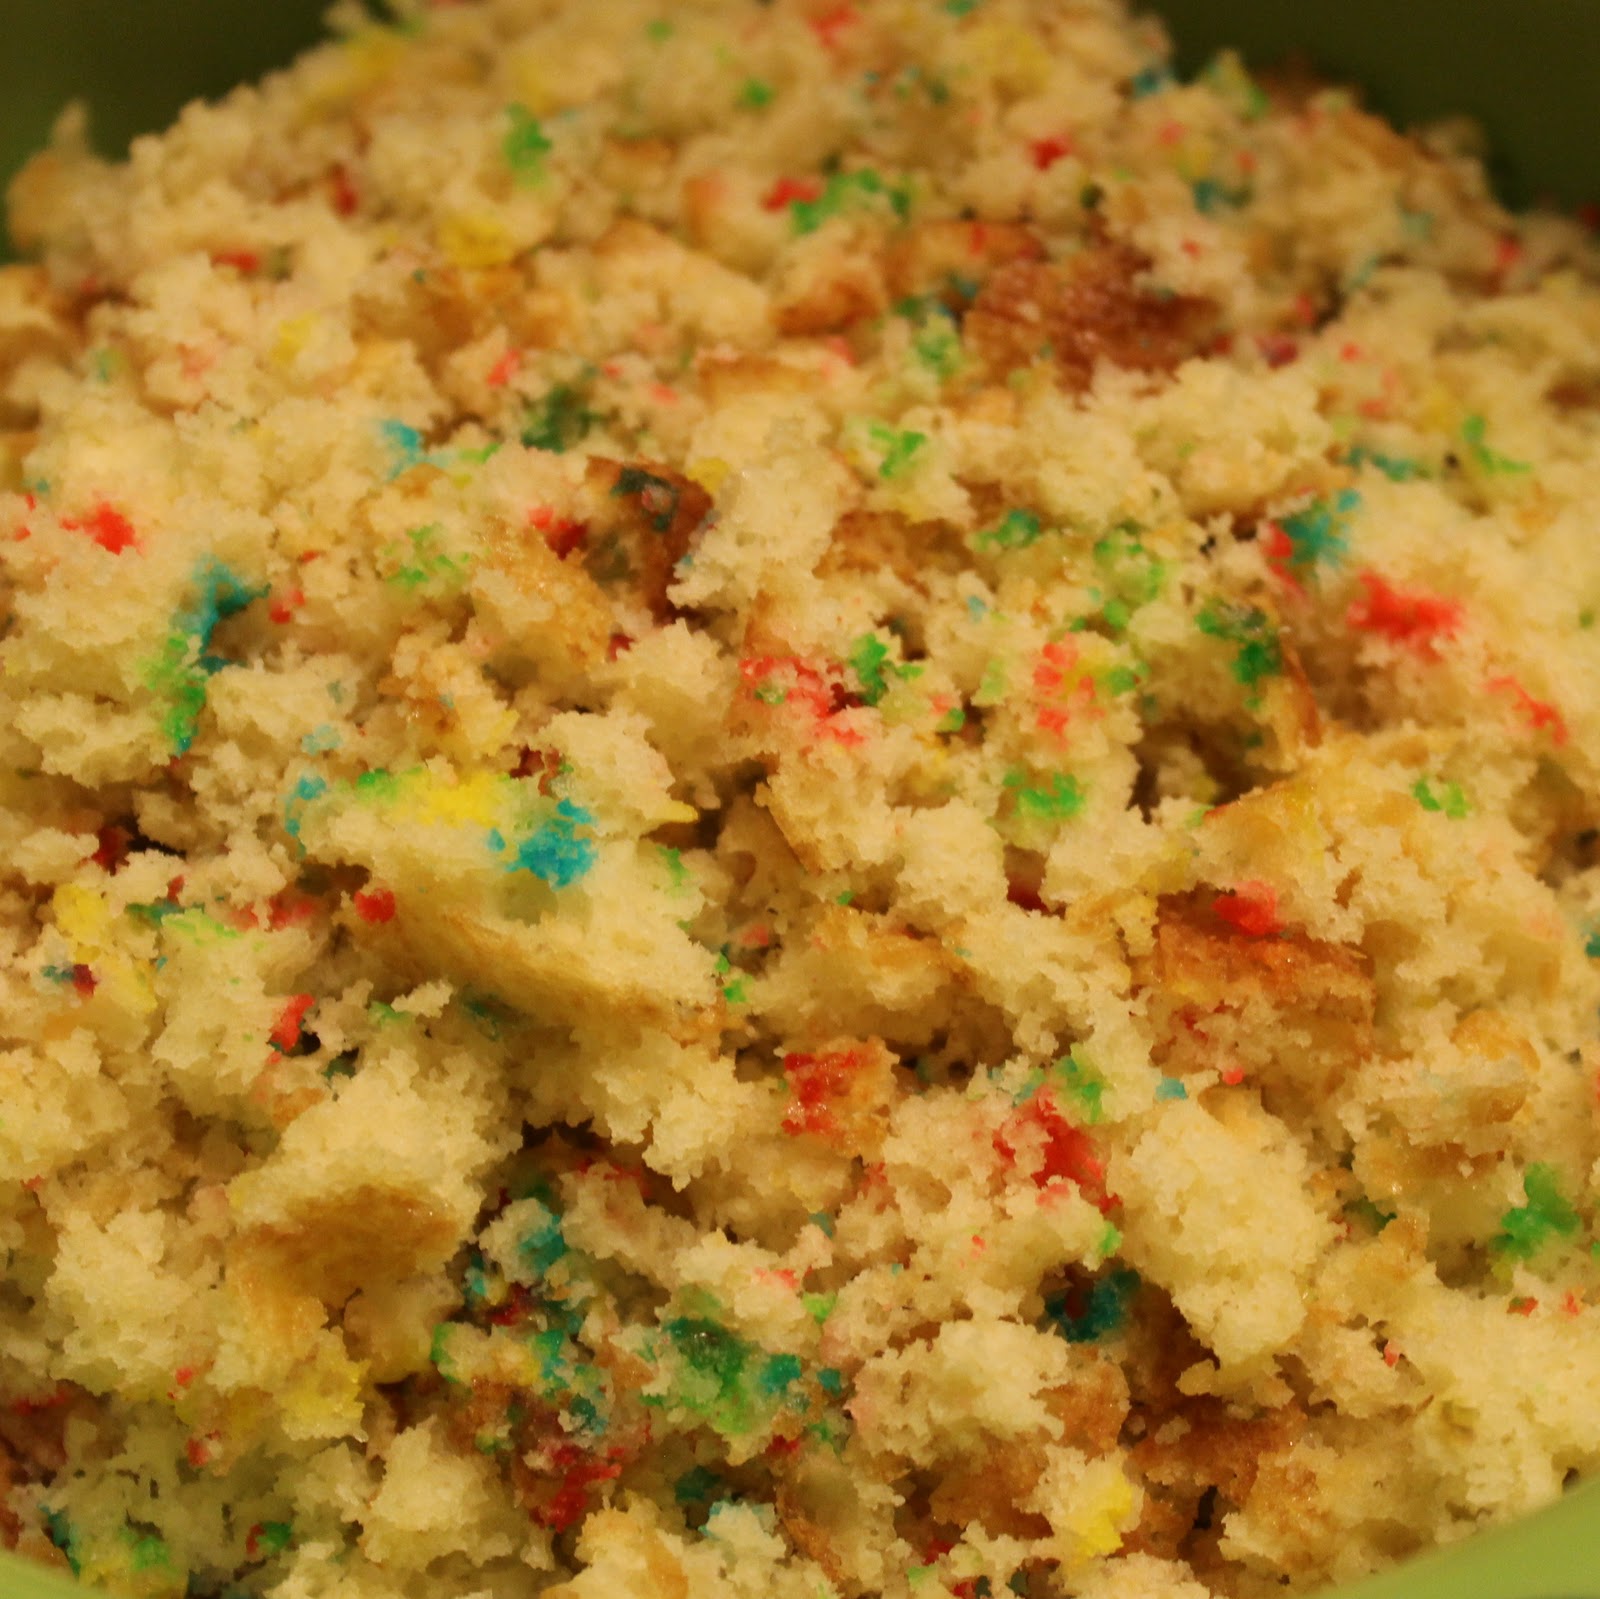
Finely crumble the cake in a large mixing bowl.
Add the frosting to the crumbled cake and mix to combine (This gets realllly messy, which is why I don’t have a photo). Roll the cake into balls and place on the wax paper. I got I think 28 cake balls from one box of candy, but I think I made them a bit big. Oops.
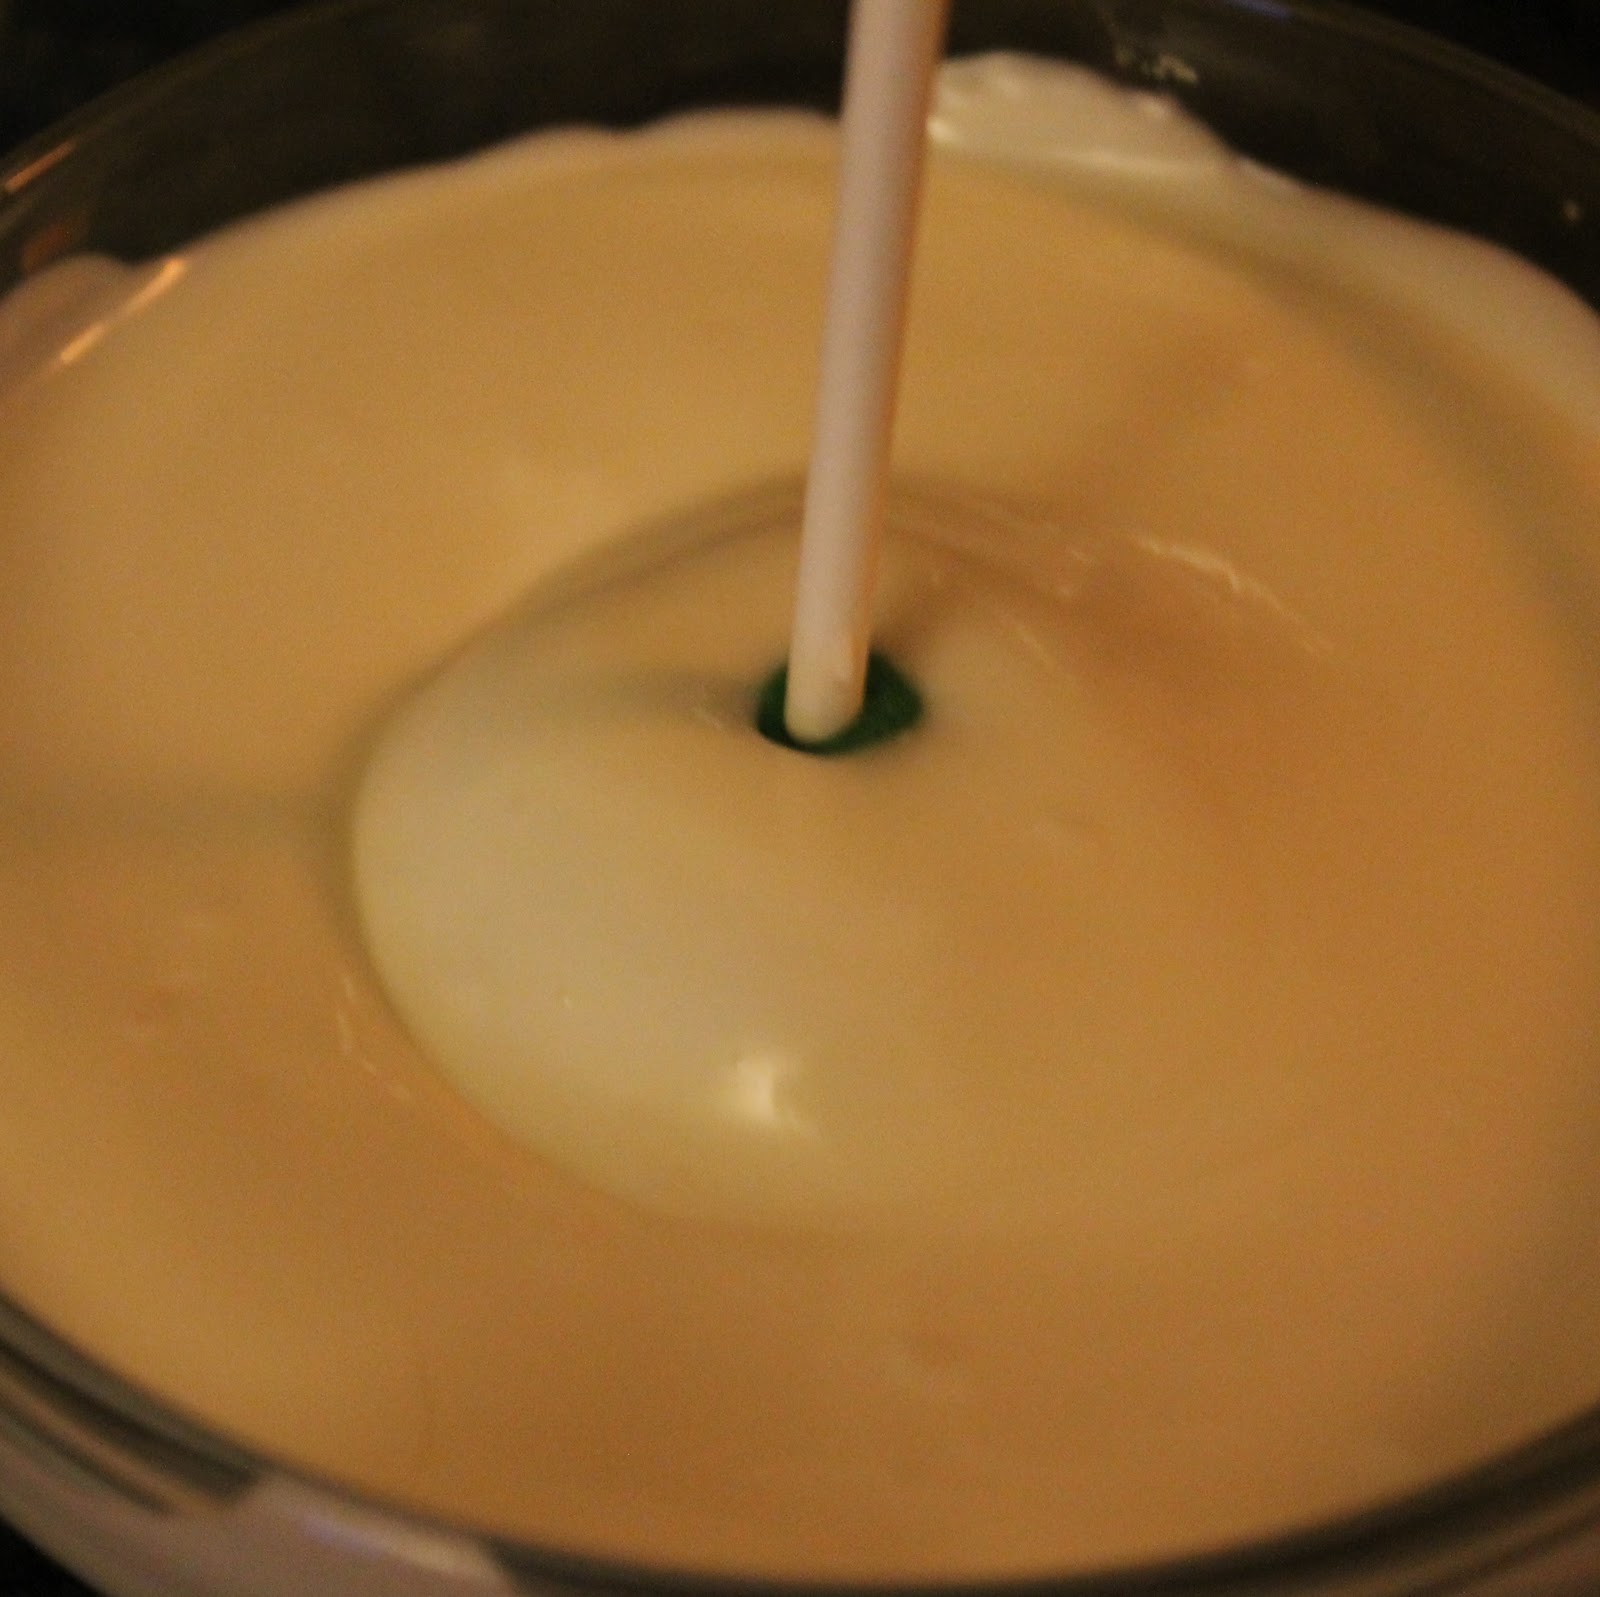
Pop in the refrigerator overnight, or for a few hours. To decorate, melt the candy coating according to directions in the microwave. (This was surprisingly more difficult than I expected. I managed to burn one of the batches!) Be sure to use somewhat deep bowls. You want enough melted candies so that you can completely submerge each cake pop in it.
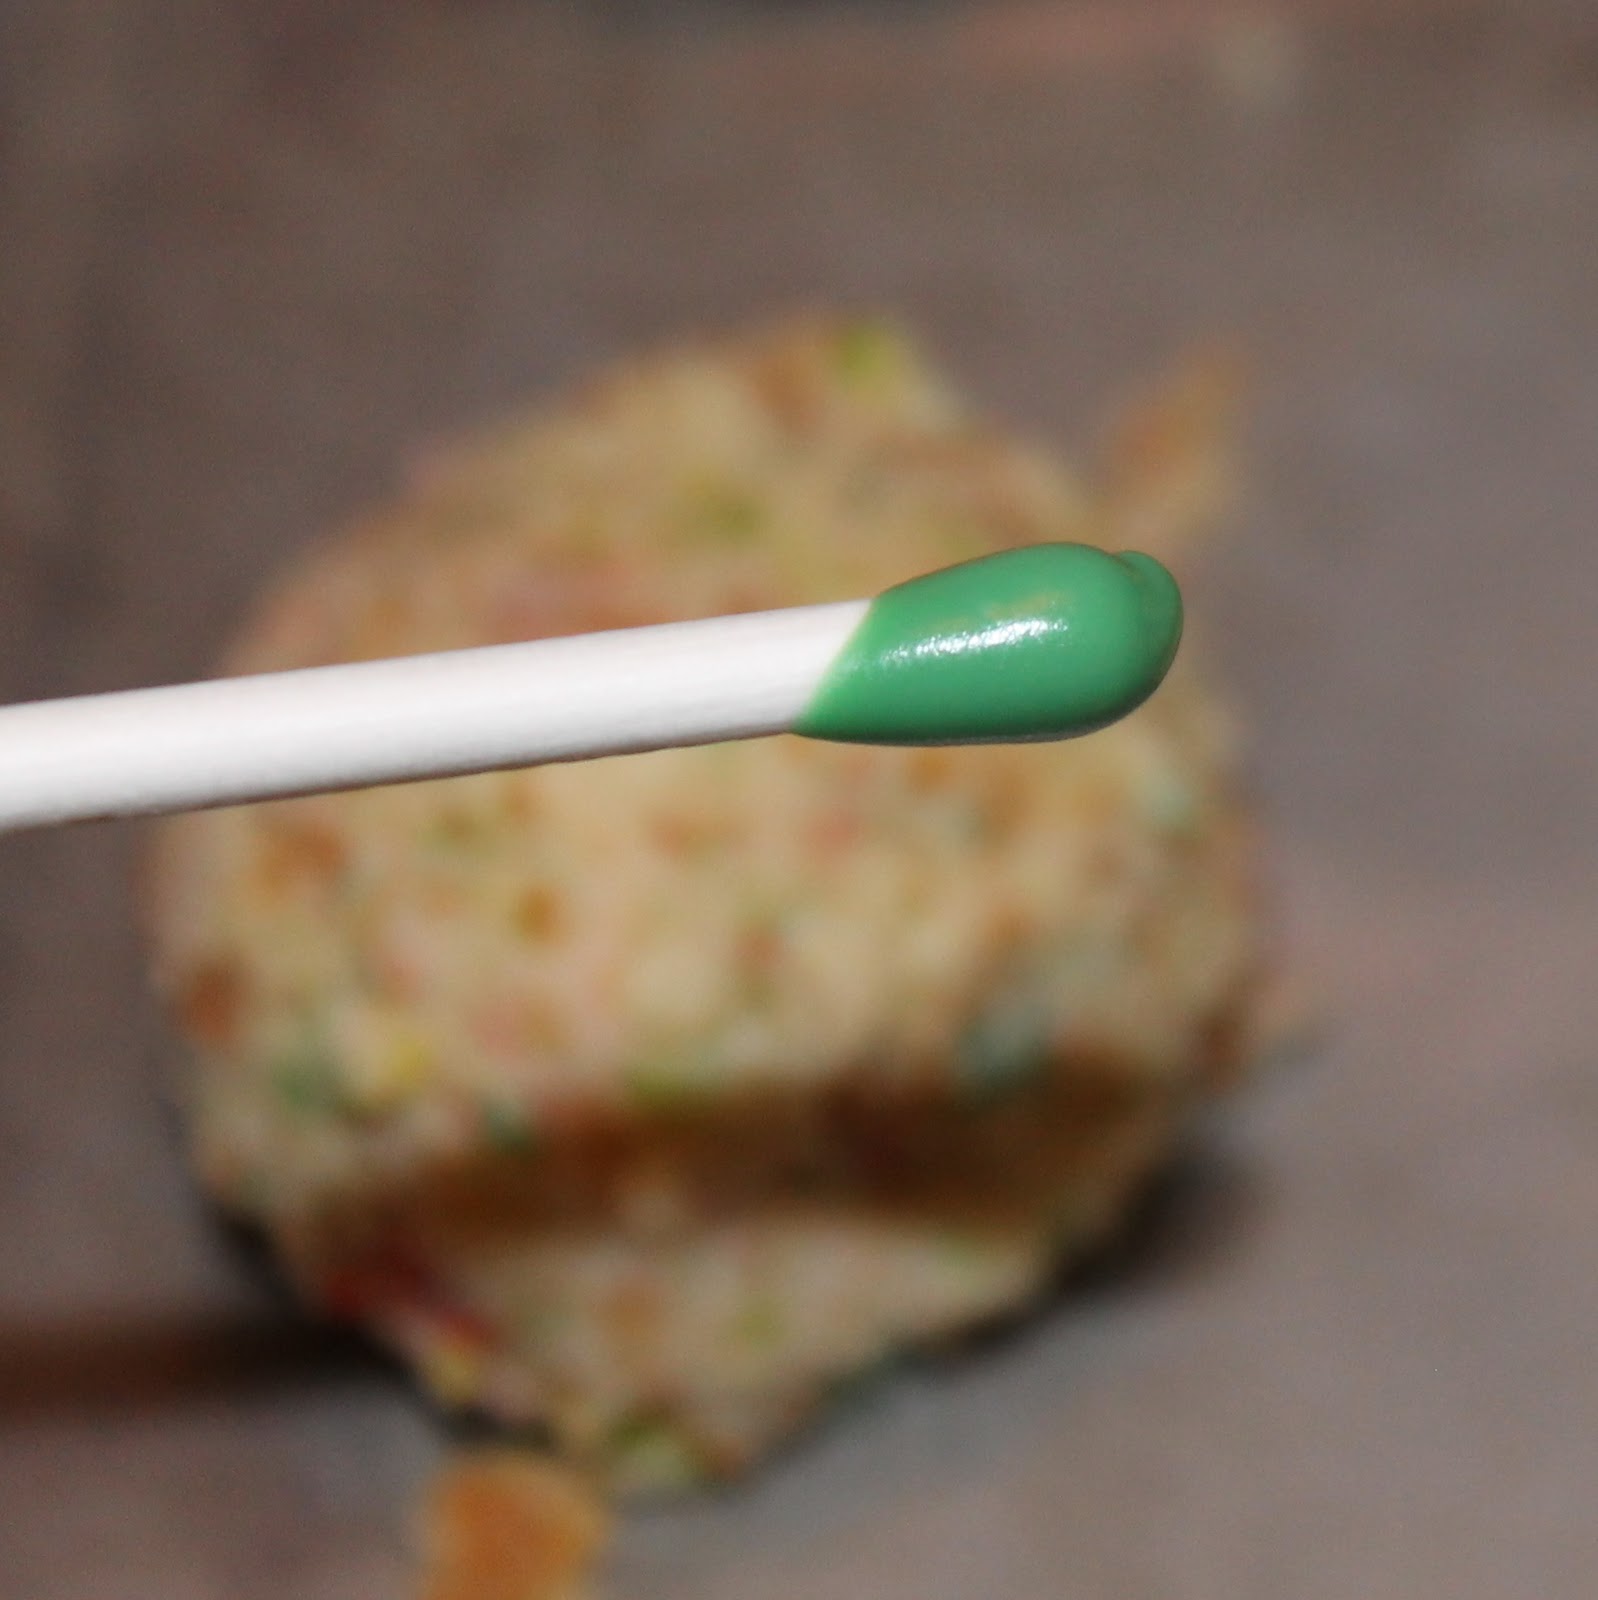
When the candies are smooth, take out a few cake pops. Dip the tip of a lollipop stick into the candy coating.
This will work as a glue to keep the cake pop in place. Stick the lollipop stick into a cake ball Repeat with remaining cake balls. Allow to set (I left mine overnight, but if you return it to the fridge for maybe 30 minutes I think that would be just fine).
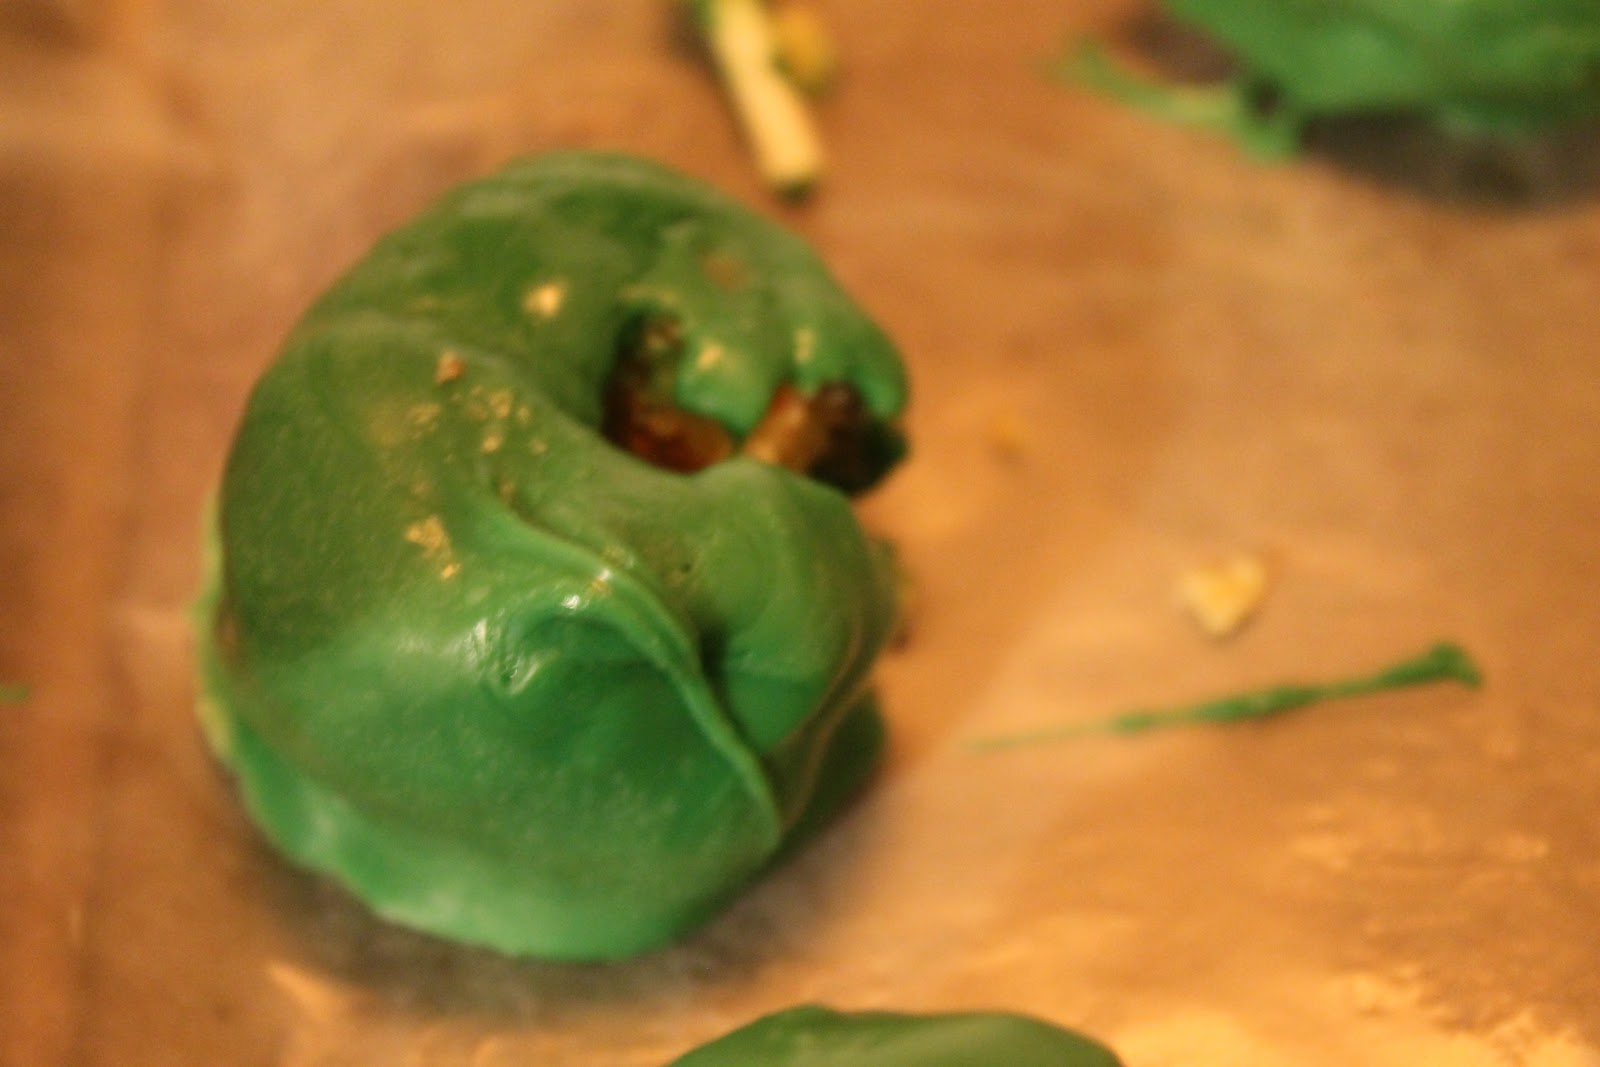
Take a cake pop and submerge in the melted candy coating. Do not swirl the cake pop, or they might fall off!
boooooo
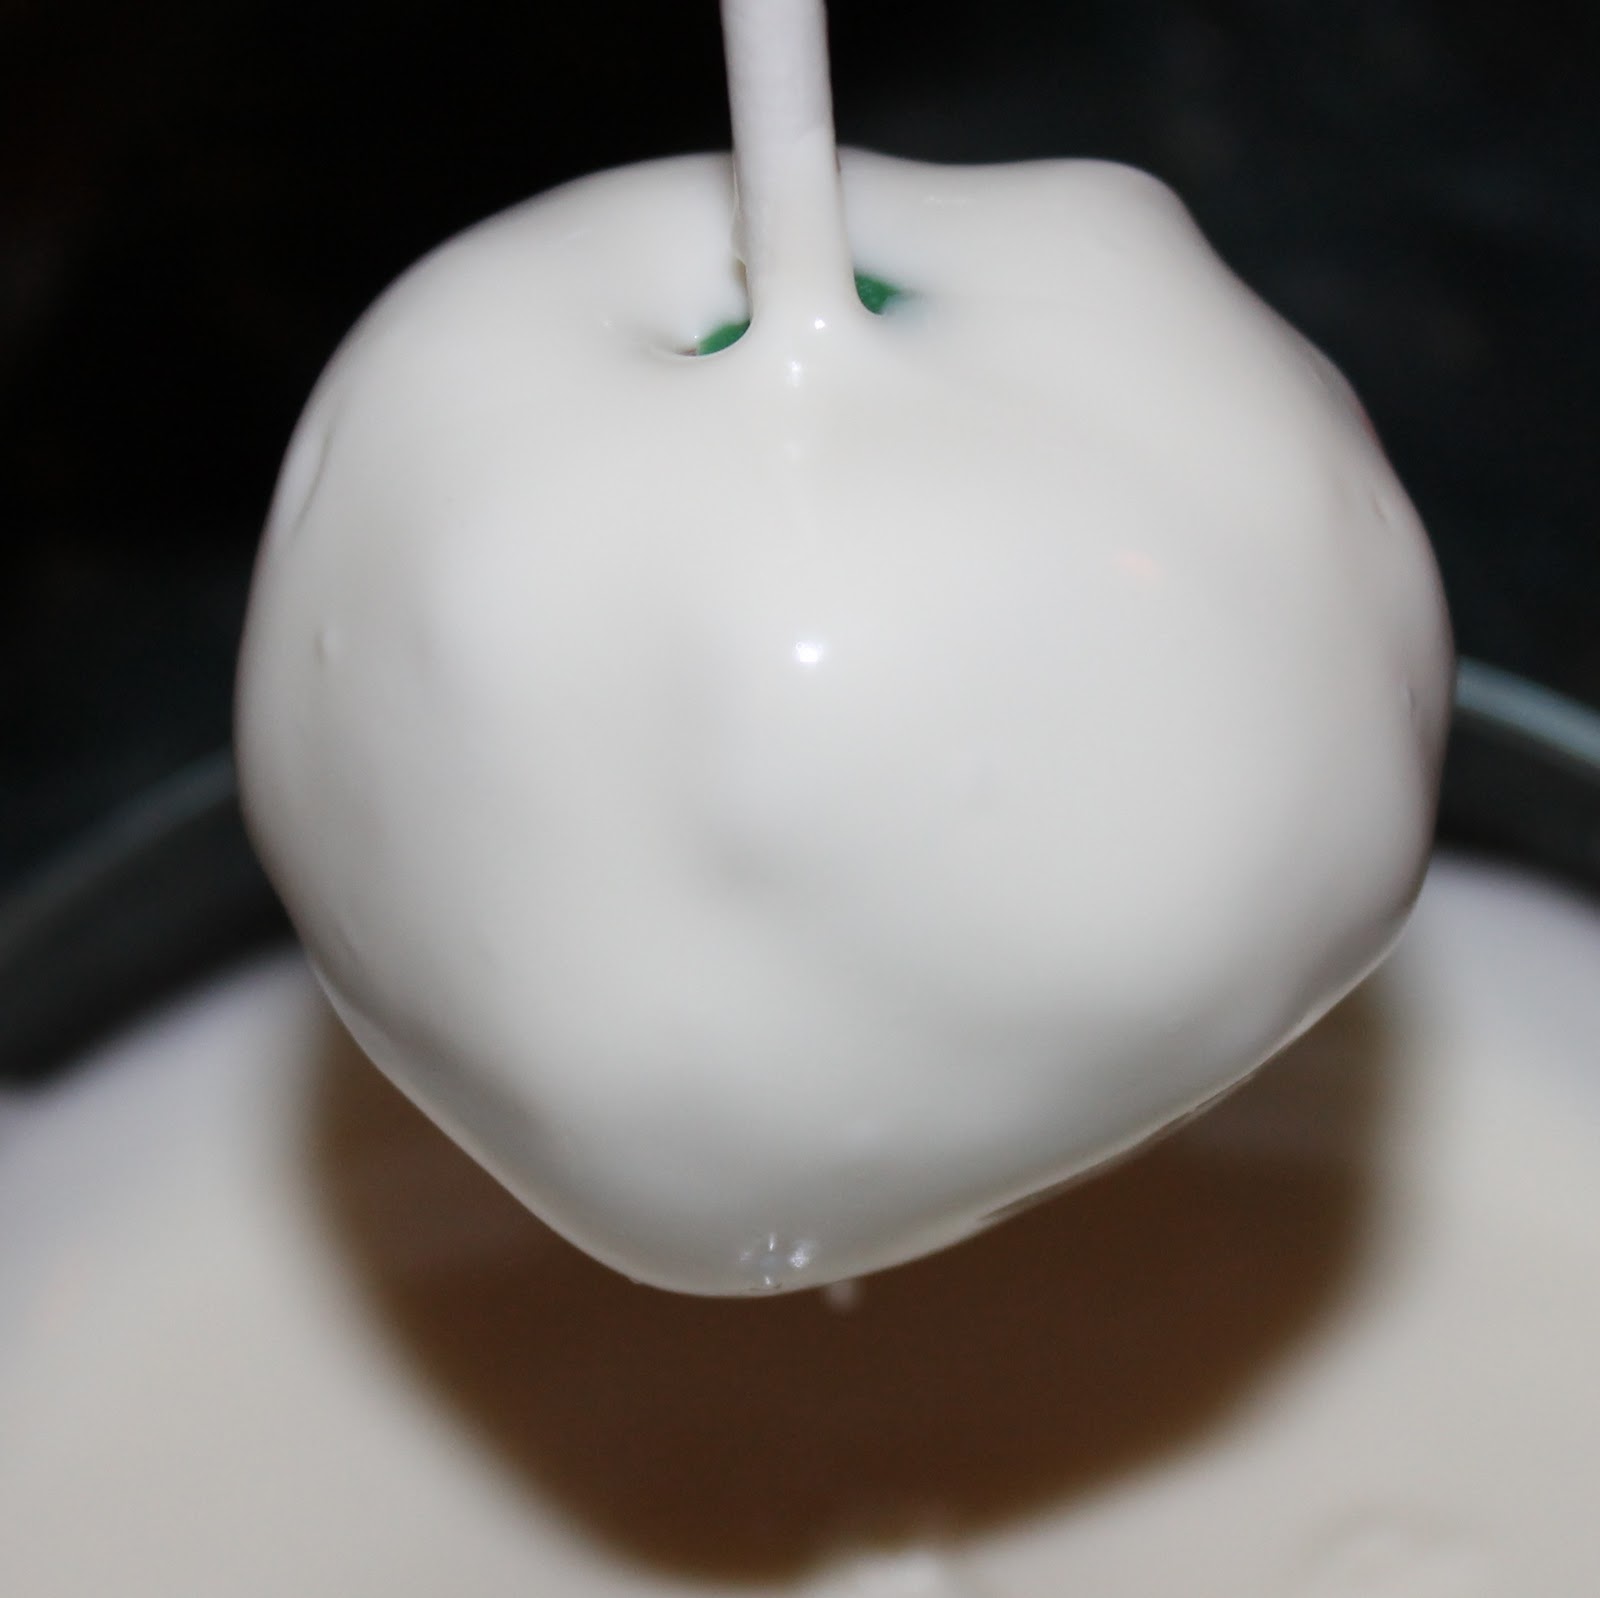
Be sure to coat the entire cake ball. Remove from the candy coating by pulling straight up.
To remove excess candy coating, hold the cake pop over the bowl and tap the wrist holding the cake pop gently until some of the coating falls off. Place the completed cake pop into a cake pop stand or into some Styrofoam to set.
You now have a cake pop! If you want, you can add sprinkles or other decorations.
Soo… mine turned out so lumpy; and drippy. They are more like cake lumps, not cake balls. Who cares? They were delicious!
Here’s some of my “birthday-themed” cake pops:
and here’s some of my Christmas-y cake pops.
These cake pops take quite a bit of time, but I was pretty giddy with the results!
I made these over three days because I was making them during the week, so you can most certainly make these ahead of time. Just place the dried and finished cake pops in an air tight container or back in the fridge.
My goodness, this week turned out to be so much more busy than I was expecting! I have really been slacking on posting. Luckily, Blog Content Guild contacted me about posting a delicious sounding Butternut Squash Soup, so I actually have something to share with you. Check out their recipe below!
Ah, the holidays. A time for gift-wrapping, tree-decorating, and overindulgence. Instead of packing on the pounds this season, why not enjoy a healthy, seasonal meal instead? A seasonal ingredient like butternut squash is chock full of fiber, minerals, vitamins, and antioxidants and can be used to make a deliciously creamy soup (without the cream!). So, write down these ingredients on your healthy grocery list and brace yourself for a delectably guiltless holiday meal.
Ingredients
1 onion, peeled and quartered through the stem
1 3/4 butternut squash, halved and seeded
2 shiitake mushrooms, stemmed, caps wiped clean
1 garlic clove, peeled
1/2 cup olive oil
Course salt and freshly ground pepper
5 cups homemade or store-bought low-sodium vegetable stock
1 teaspoon nutmeg
Step one
Preheat oven to 400-450 degrees. Cut butternut squash into about 2 inch pieces. Throw the squash, mushrooms, garlic, and onion on a baking sheet, adding oil and 2 teaspoons of salt. Coat veggies in oil, spread on a single layer, and roast until pumpkin is nice and tender (about 30 minutes). Toss veggies after about 15 minutes and pop them back in the oven until they’re cooked. Don’t forget to remove the skins after the veggies are cooled.
Step two
Transfer into a medium saucepan, heated over medium. Pour in 2 cups of stock and puree with immersion blender until smooth. Continue running the blender, adding remaining stock. The soup should have a smooth texture by the time you’re done pureeing. If you don’t have an immersion blender, try using a blender in batches, and then adding pureed veggies into saucepan. Bring soup to a simmer, remove from heat. Season with nutmeg, salt, and pepper. You can even add some chives, if you like.
This high-density soup will leave you feeling full and fulfilled, without the guilt. Just try to steer clear of pecan pie for dessert!
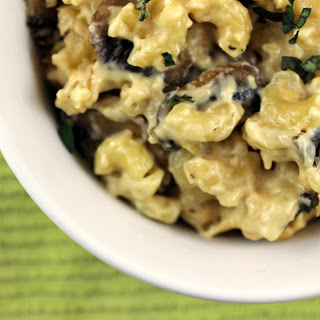
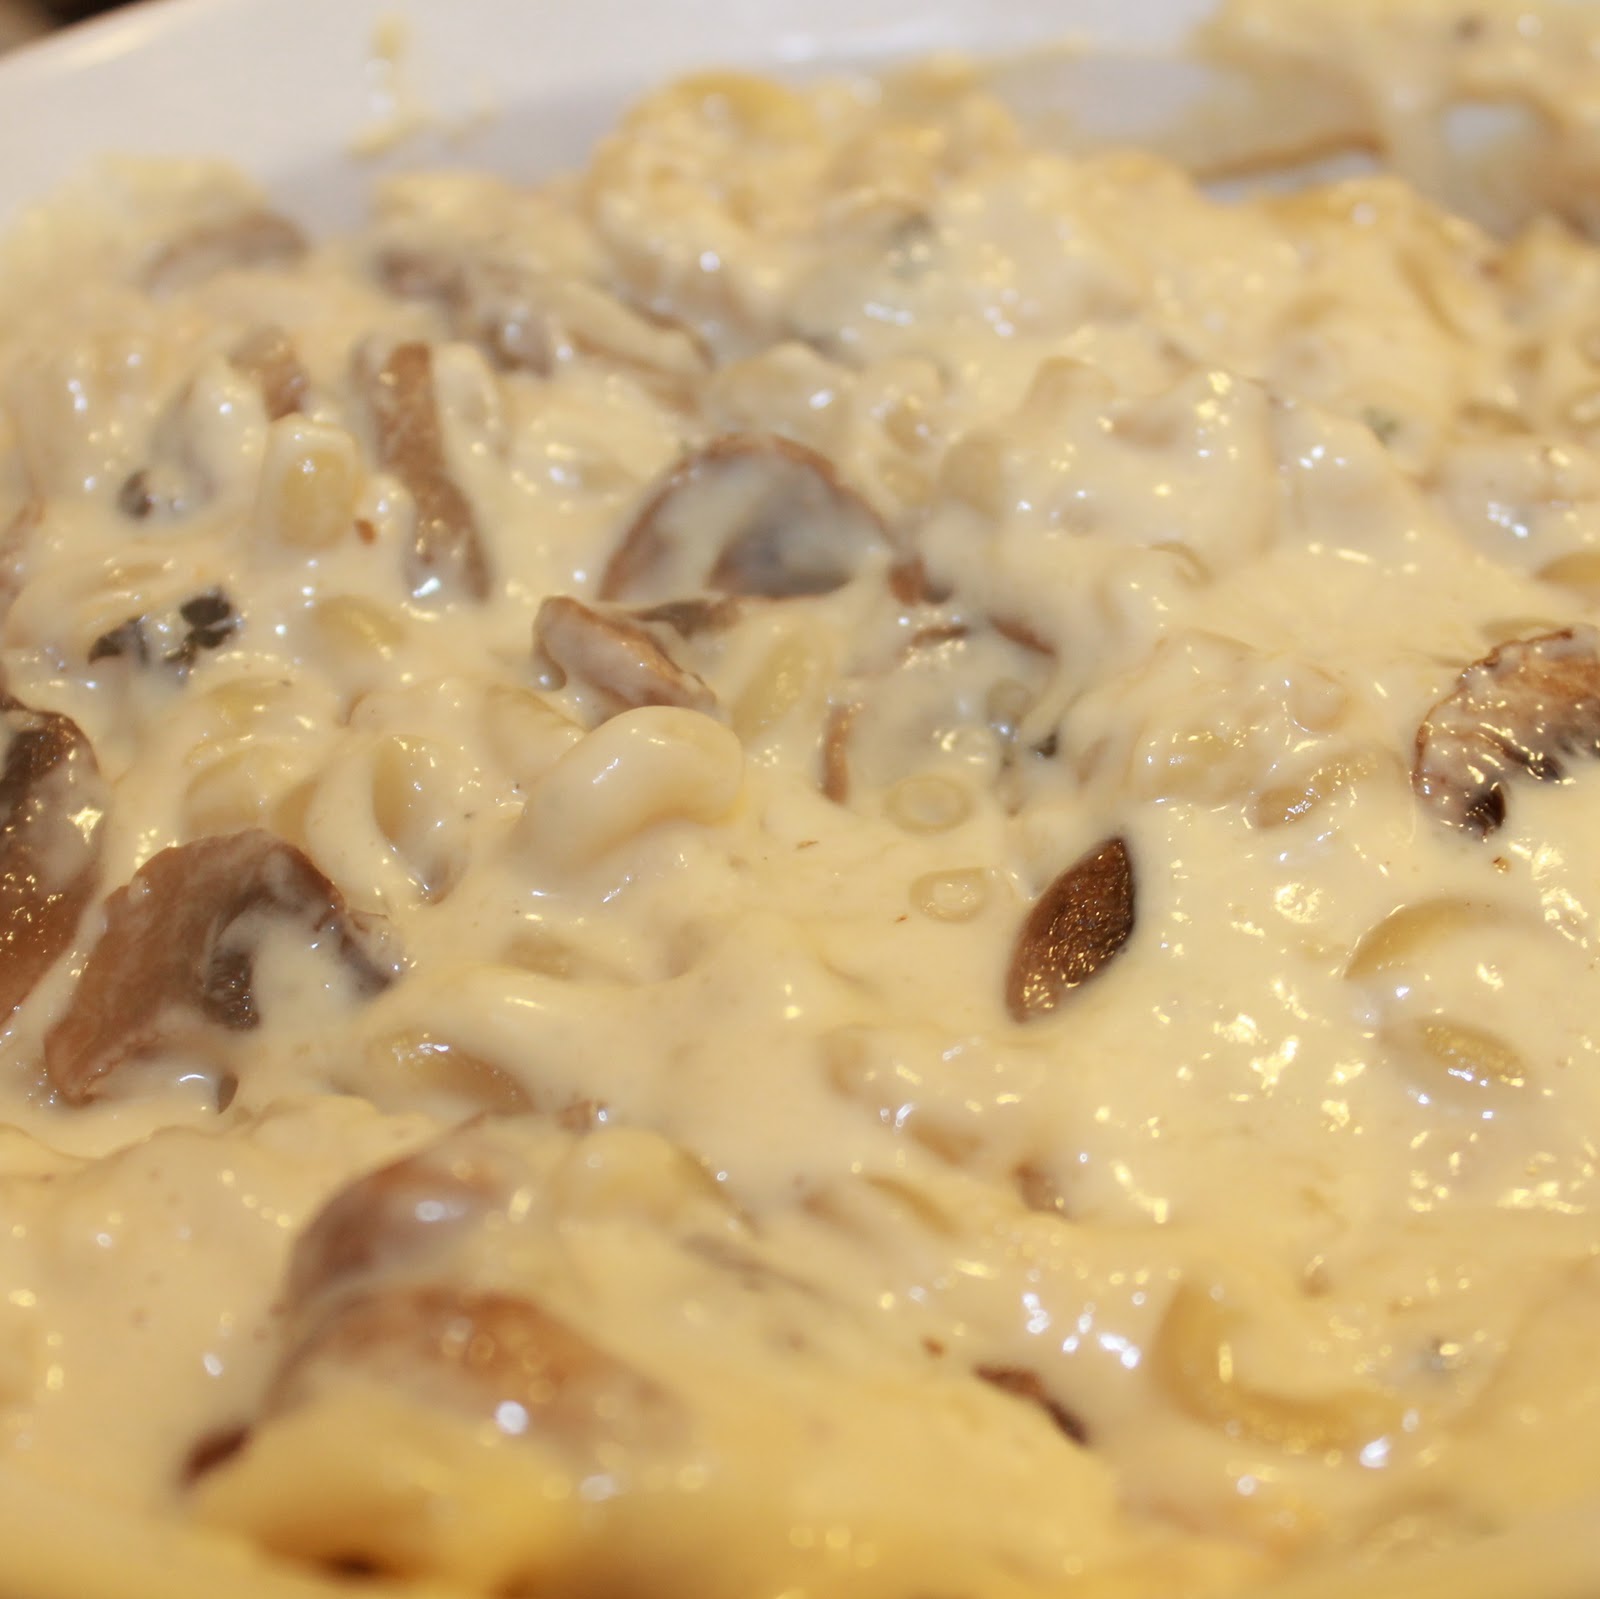
I grew up in a mac & cheese from the box household. You know, the kind with the powered stuff that you add to the macaroni, plus butter and milk. My mom (inexplicably) referred to this as baked macaroni and cheese, so I didn’t even realize that baked mac & cheese was the actual way it was supposed to be cooked until much later in life. As absolutely delicious as I assume traditional baked mac and cheese is, I can’t justify taking all that time to make it (maybe on a weekend some day). Apparently I’m not alone on that thought, because Cooking Light Fresh Foods Superfast cookbook had a somewhat sped up version. This version adds in some mushrooms to make a hearty Mushroom Mac and Cheese.
Ingredients:
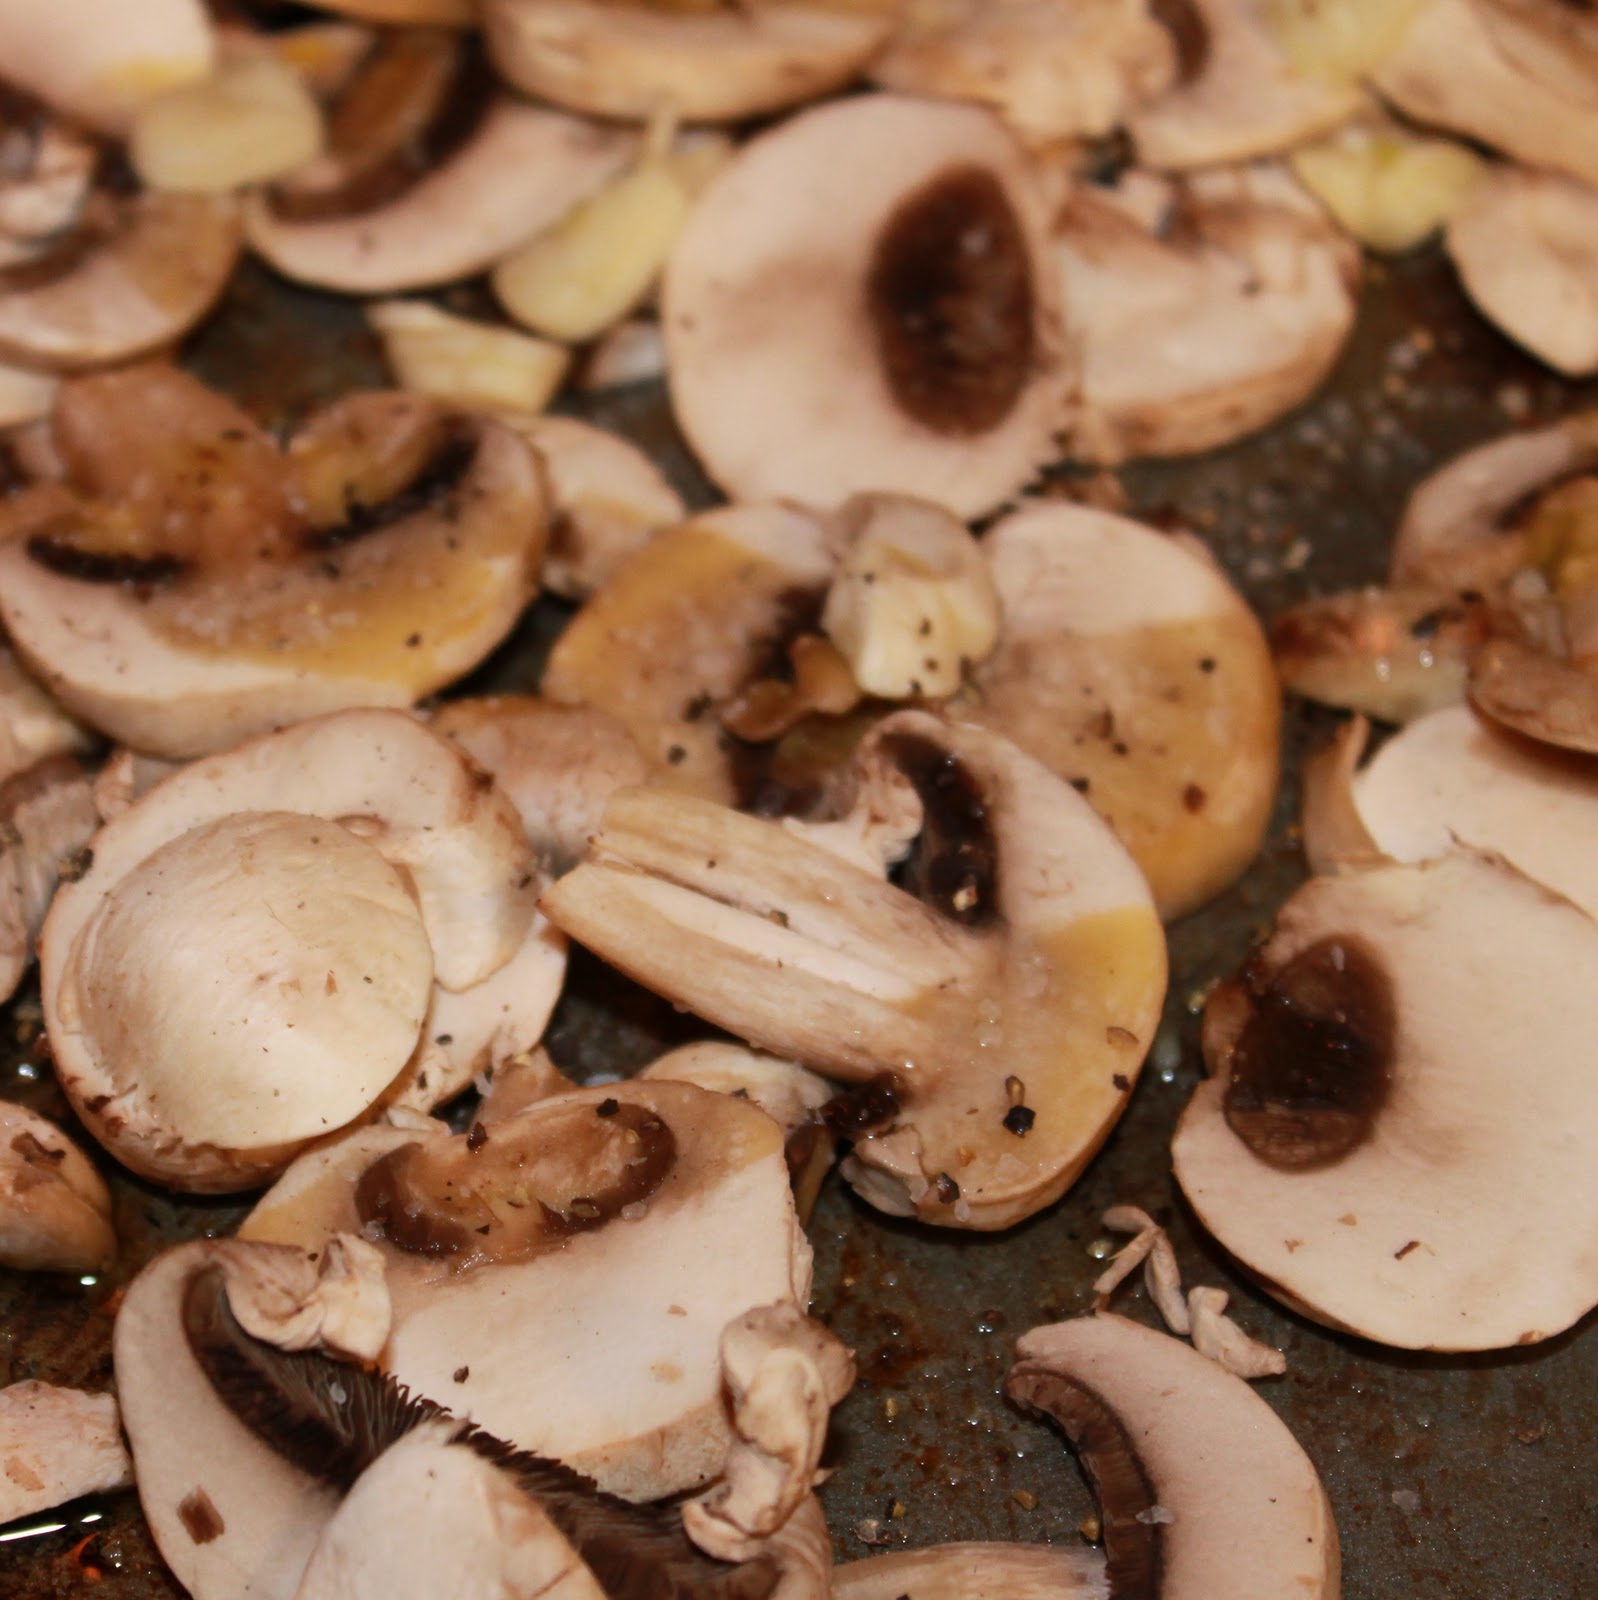
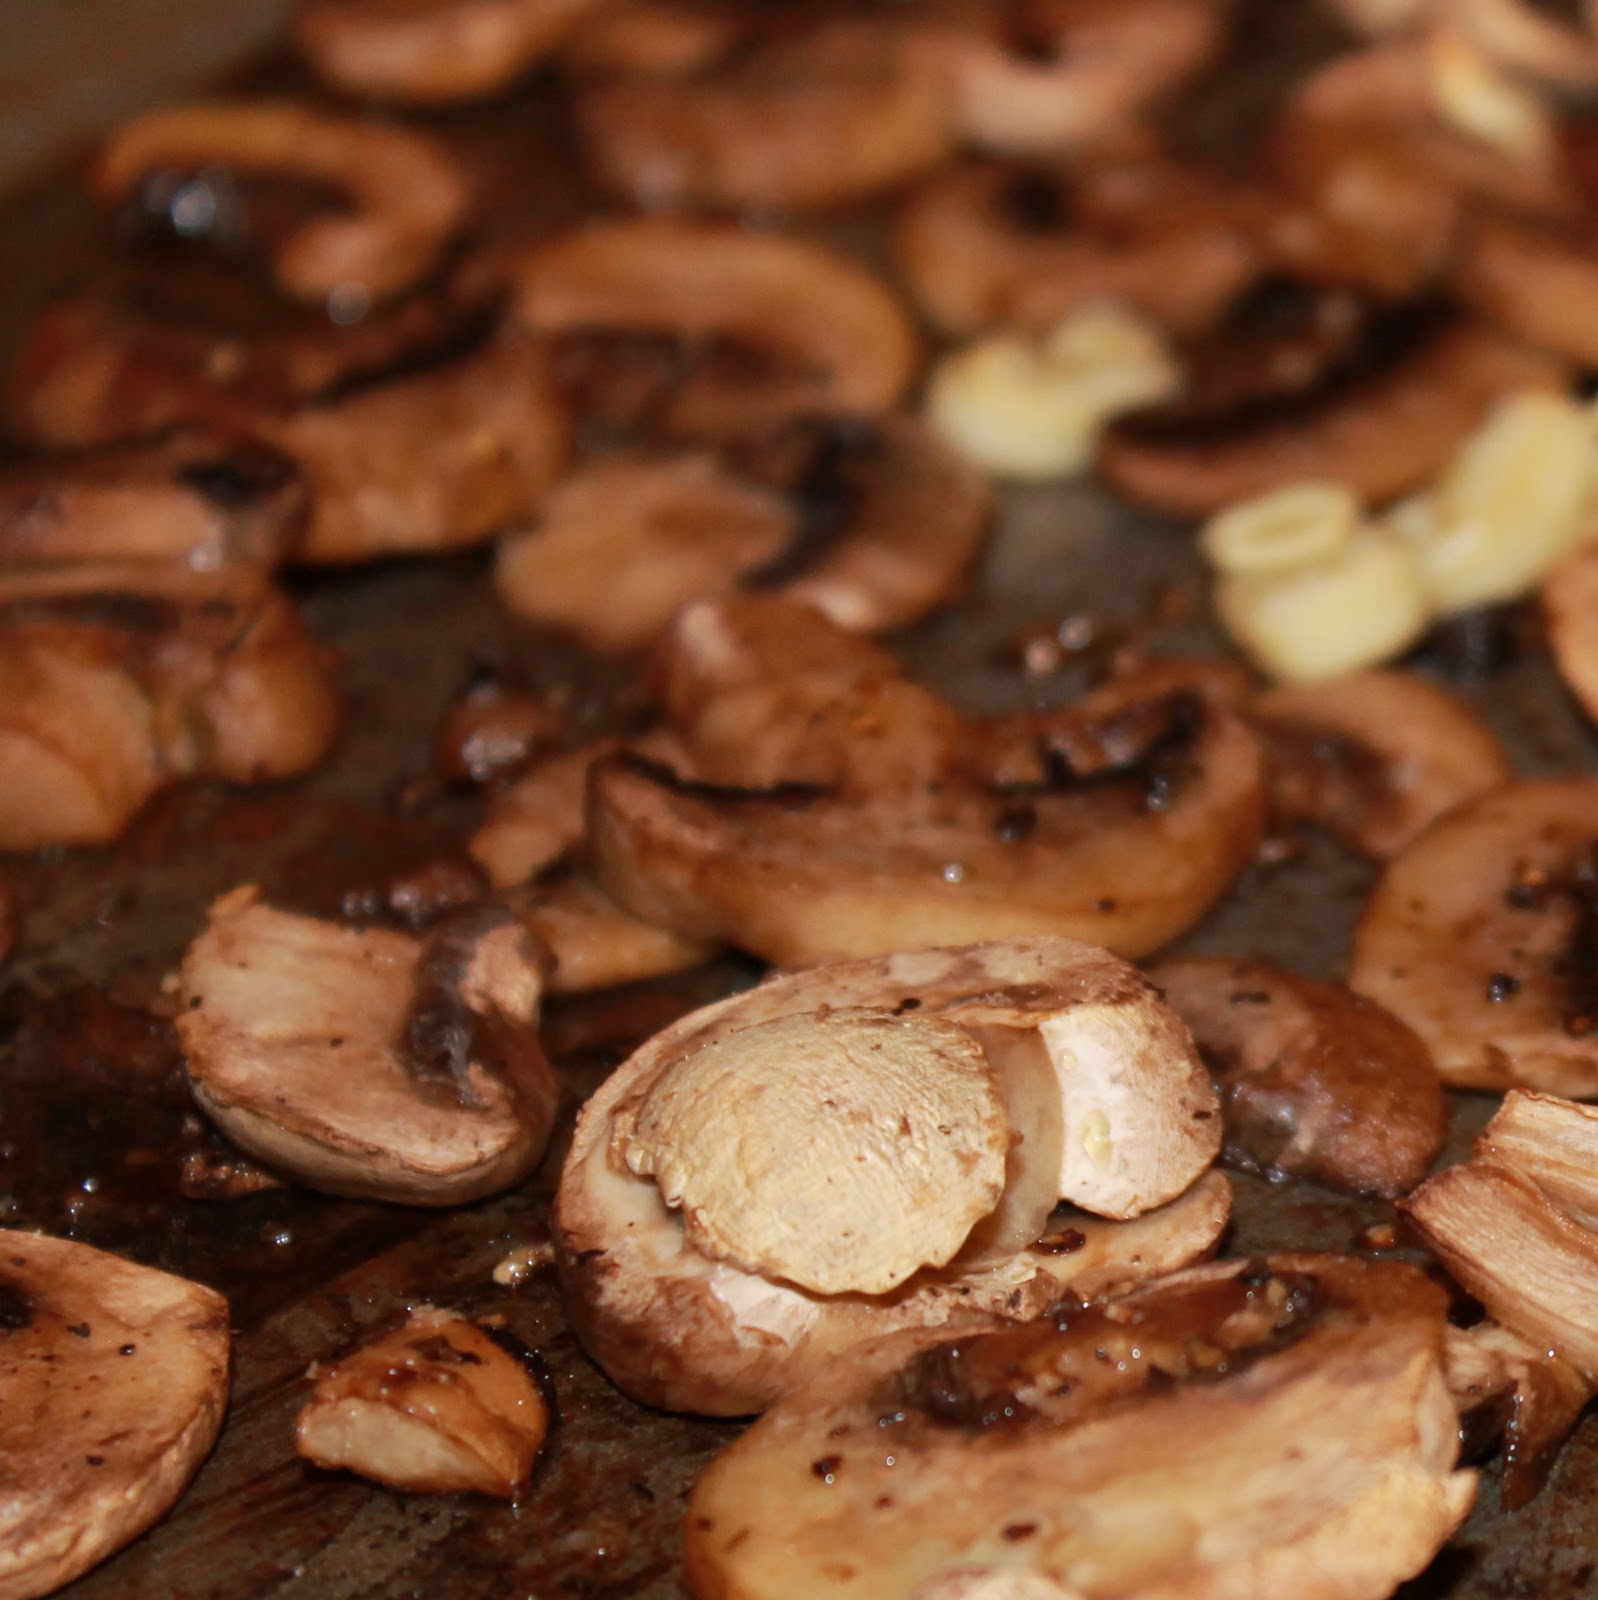
Sherry-Roasted Mushrooms
1 package cremini mushrooms
1 tablespoon olive oil
Salt and pepper, to taste
2 garlic cloves, thinly sliced
Cooking Spray
2 tablespoons dry sherry
2 teaspoons chopped fresh oregano
8 ounces (half a box) uncooked elbow macaroni
1/4 cup all-purpose flour
1 small can of evaporated milk
1 cup (4 ounces) shredded fontina cheese
Fresh oregano leaves, for garnish
Preheat the oven to 450 degrees. Combine the mushrooms, olive oil and garlic cloves on a baking sheet coated with cooking spray. Season with salt and pepper.
Bake at 450 degrees for 15 to 20 minutes or until browned. While the mushrooms are cooking, bring a pot of water to a boil. Add the macaroni and cook according to package directions. Drain and set aside.
When the mushrooms are finished cooking, add to a small bowl. Stir in the sherry and oregano. Reserve. Keep the oven on but lower the temperature to 400 degrees.
Add flour to a large pan and gradually add the evaporated milk, stirring with a whisk. Cook over medium heat for 6 minutes or until thick and bubbly, continue to stir constantly. Add the cheese and season with salt and pepper. I must have been all sorts of lazy this day because I didn’t even feel like shredding the cheese. I instead tore off small pieces and added it to the milk mixture, this ended up working out just fine.
Remove from heat and stir in the mushroom mixture and the pasta.
Add the pasta mixture to a 2 quart baking dish that’s been sprayed with cooking spray. Bake the pasta at 400 degrees for 25 minutes, or until it bubbles. Sprinkle with oregano leaves and serve.
Oh happy creamy deliciousness. I loved this pasta, especially when I got some of the crunchy baked parts in a bite. In retrospect, I really wish I added a light layer of panko on top, just to add more crunch to the dish. But even without that extra crunch, this mac & cheese was really good!
I think this method can be applied to many versions of mac & cheese to make it quicker. Use Gruyere or Cheddar instead of fontina. Add sage instead of oregano, or use truffles/truffle oil, the possibilities are endless!
Preheat the oven to 450 degrees. Combine the mushrooms, olive oil and garlic cloves on a baking sheet coated with cooking spray. Season with salt and pepper.
Bake at 450 degrees for 15 to 20 minutes or until browned. While the mushrooms are cooking, bring a pot of water to a boil. Add the macaroni and cook according to package directions. Drain and set aside.
When the mushrooms are finished cooking, add to a small bowl. Stir in the sherry and oregano. Reserve. Keep the oven on but lower the temperature to 400 degrees.
Add flour to a large pan and gradually add the evaporated milk, stirring with a whisk. Cook over medium heat for 6 minutes or until thick and bubbly, continue to stir constantly. Add the cheese and season with salt and pepper. I must have been all sorts of lazy this day because I didn’t even feel like shredding the cheese. I instead tore off small pieces and added it to the milk mixture, this ended up working out just fine.
Remove from heat and stir in the mushroom mixture and the pasta.
Add the pasta mixture to a 2 quart baking dish that’s been sprayed with cooking spray. Bake the pasta at 400 degrees for 25 minutes, or until it bubbles. Sprinkle with oregano leaves and serve.
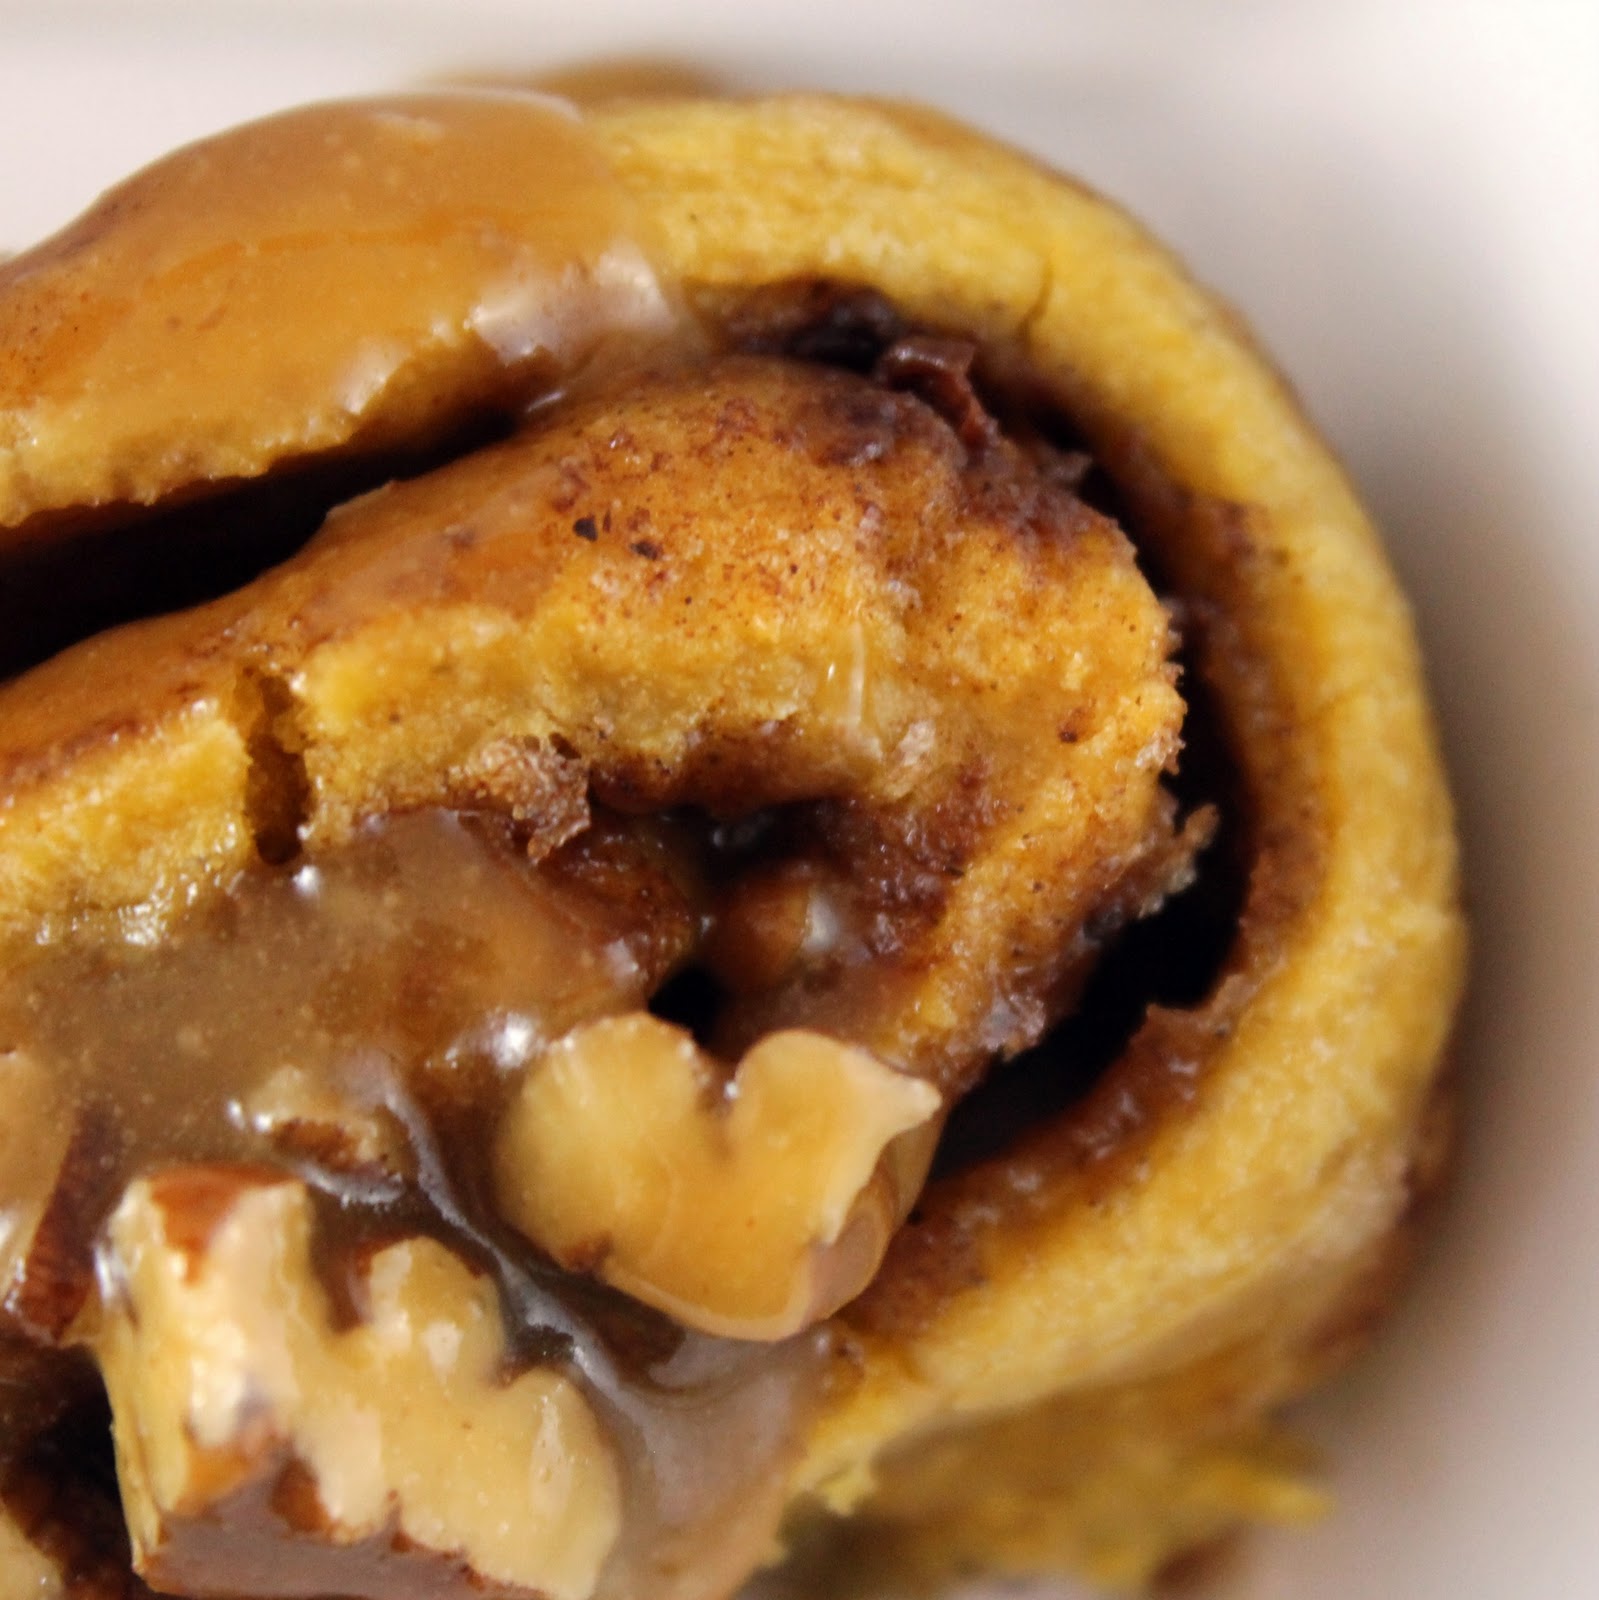
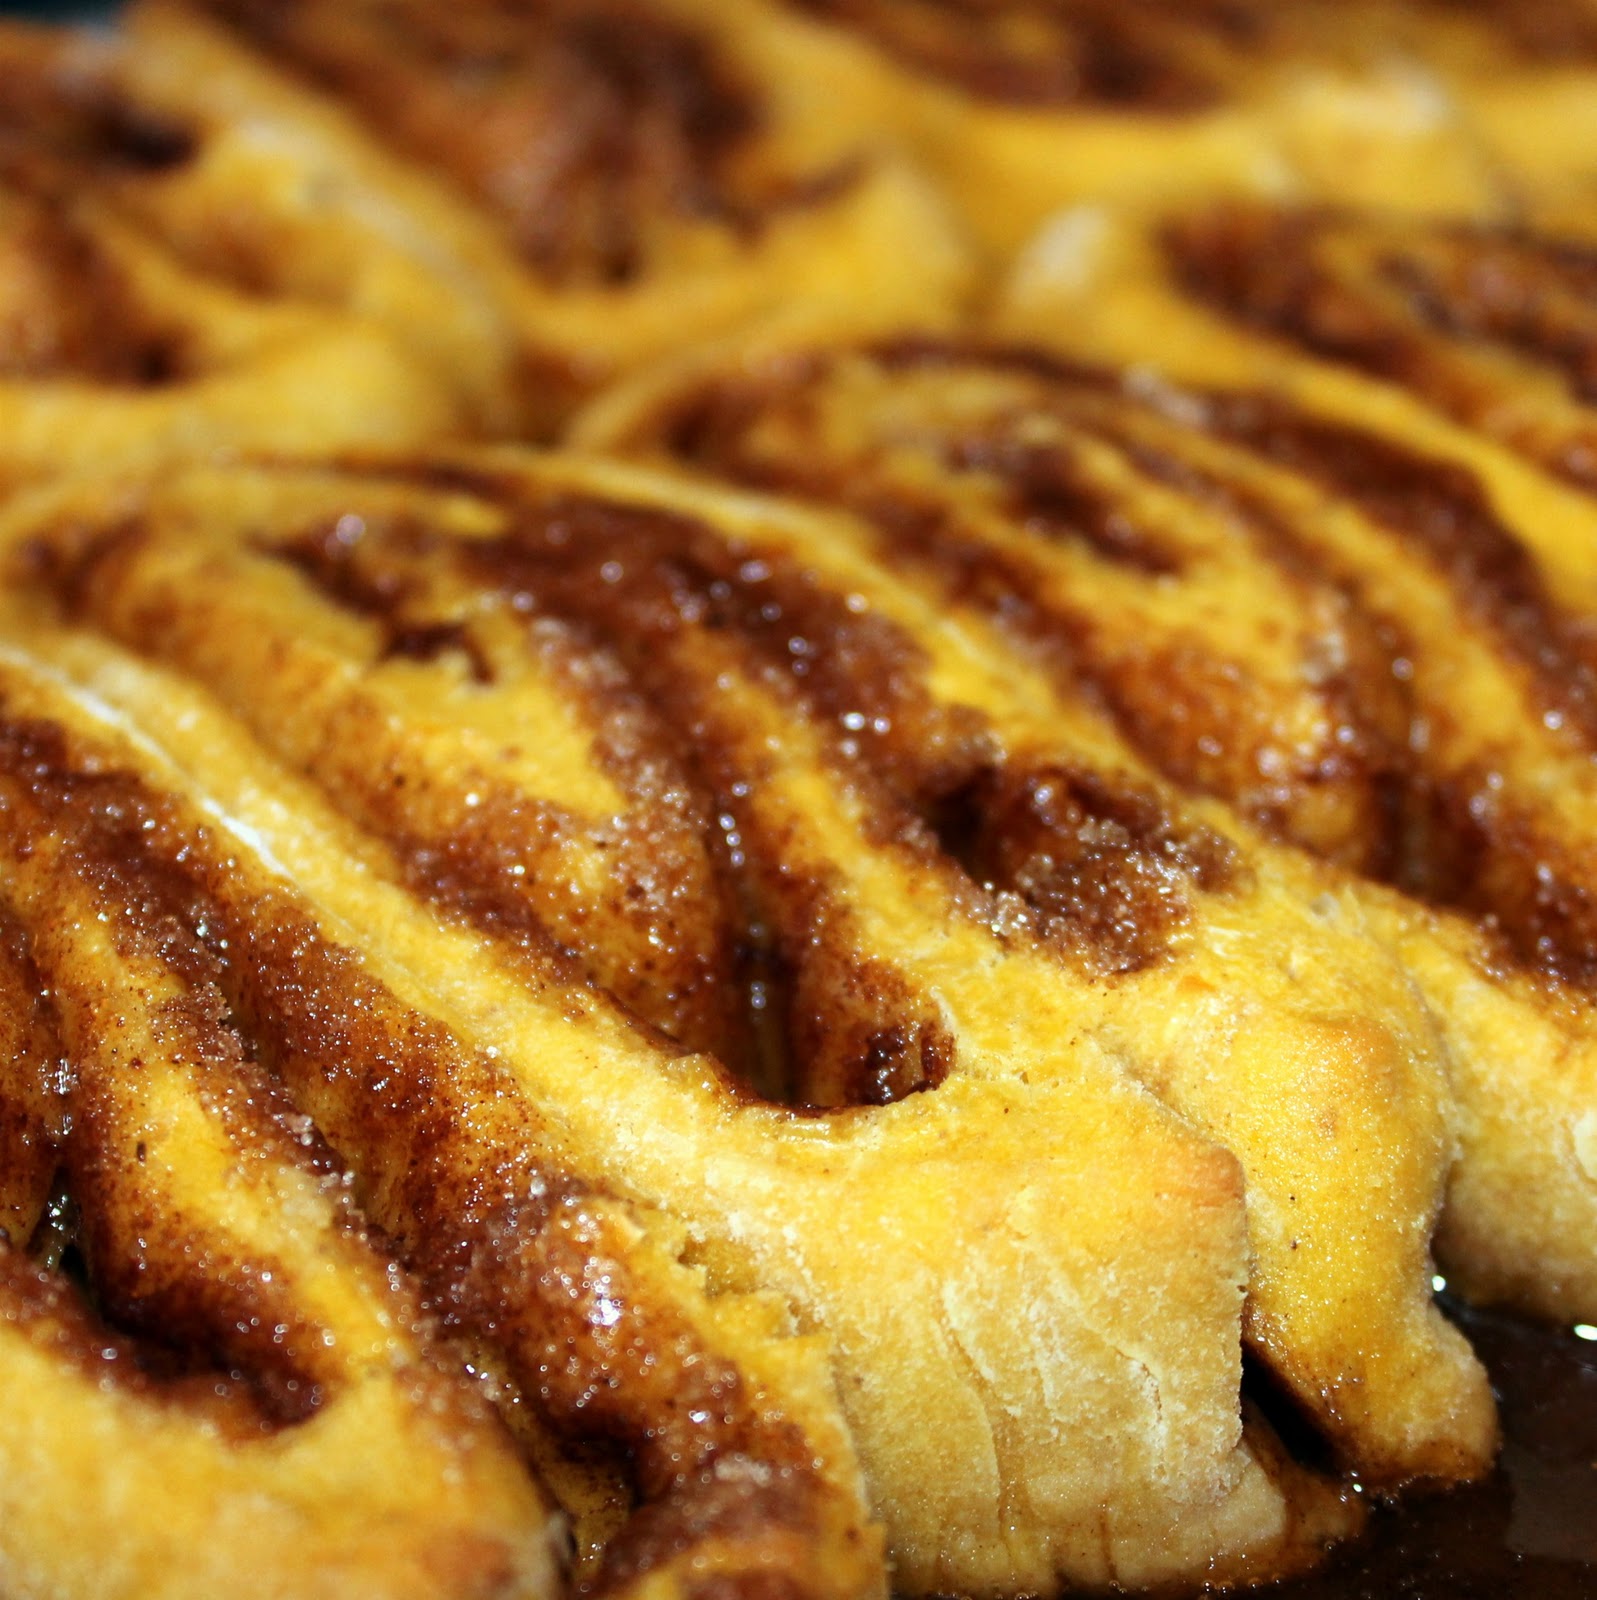
Today I wrote my first guest post over at A Culinary Journey with Chef Dennis. His page is truly stunning so I am honored to be the guest post this week. Stop on by Chef Dennis’ blog to see my post on Pumpkin Sticky Buns with Caramel-Pecan drizzle!
I think you are well aware of my pumpkin obsession by now (I have twelve other posts on here using pumpkin!) so I really wanted to do something special to round out my bakers dozen of pumpkin recipes. The recipe does take some time, so this would definitely be a weekend choice. But you can refrigerate the dough or even freeze it once it is shaped into the sticky buns. I hope you enjoy my post!
I love a good gyro. I never considered even trying to make one because, this may come as a surprise, but I don’t have a spit in my tiny apartment. I know, a huge oversight. So I was really excited to find this recipe for Lamb Wraps with Tzatziki Sauce, (no spit required), especially because it takes 25 minutes to make. Woo hoo! (If I haven’t convinced you to pick up the Cooking Light Fresh Foods Superfast cookbook yet, you must not be reading my posts this week).
Ingredients:
Lamb Wrap:
Cooking spray
2 lamb sausages (or 1/2 lb ground lamb)
1/2 cup chopped onions
Pepper and salt, to taste
1 cup shredded romaine lettuce
2 pocketless pitas or other flat bread
Tzatziki sauce:
1/4 cup plain reduced fat Greek yogurt
1/2 a cucumber, seeded, peeled, and finely chopped
Tostada normally refers to any meal in which a tortilla is deep fried or toasted. They were originally in response to tortillas that had started to get stale but could still be eaten. The toasted or fried tortilla is topped with beans, cheese, sour cream, lettuce, onions, salsa and then topped off with chicken or pork. Today, you can find all types of tostadas: seafood, vegetarian, vegan, etc.I found a recipe for a quick tostada in the Cooking Light Fresh Foods Superfast cookbook and altered it a bit to remove most pre-made products (I don’t usually get to supermarkets). The result was still a quick and really delicious weeknight meal.
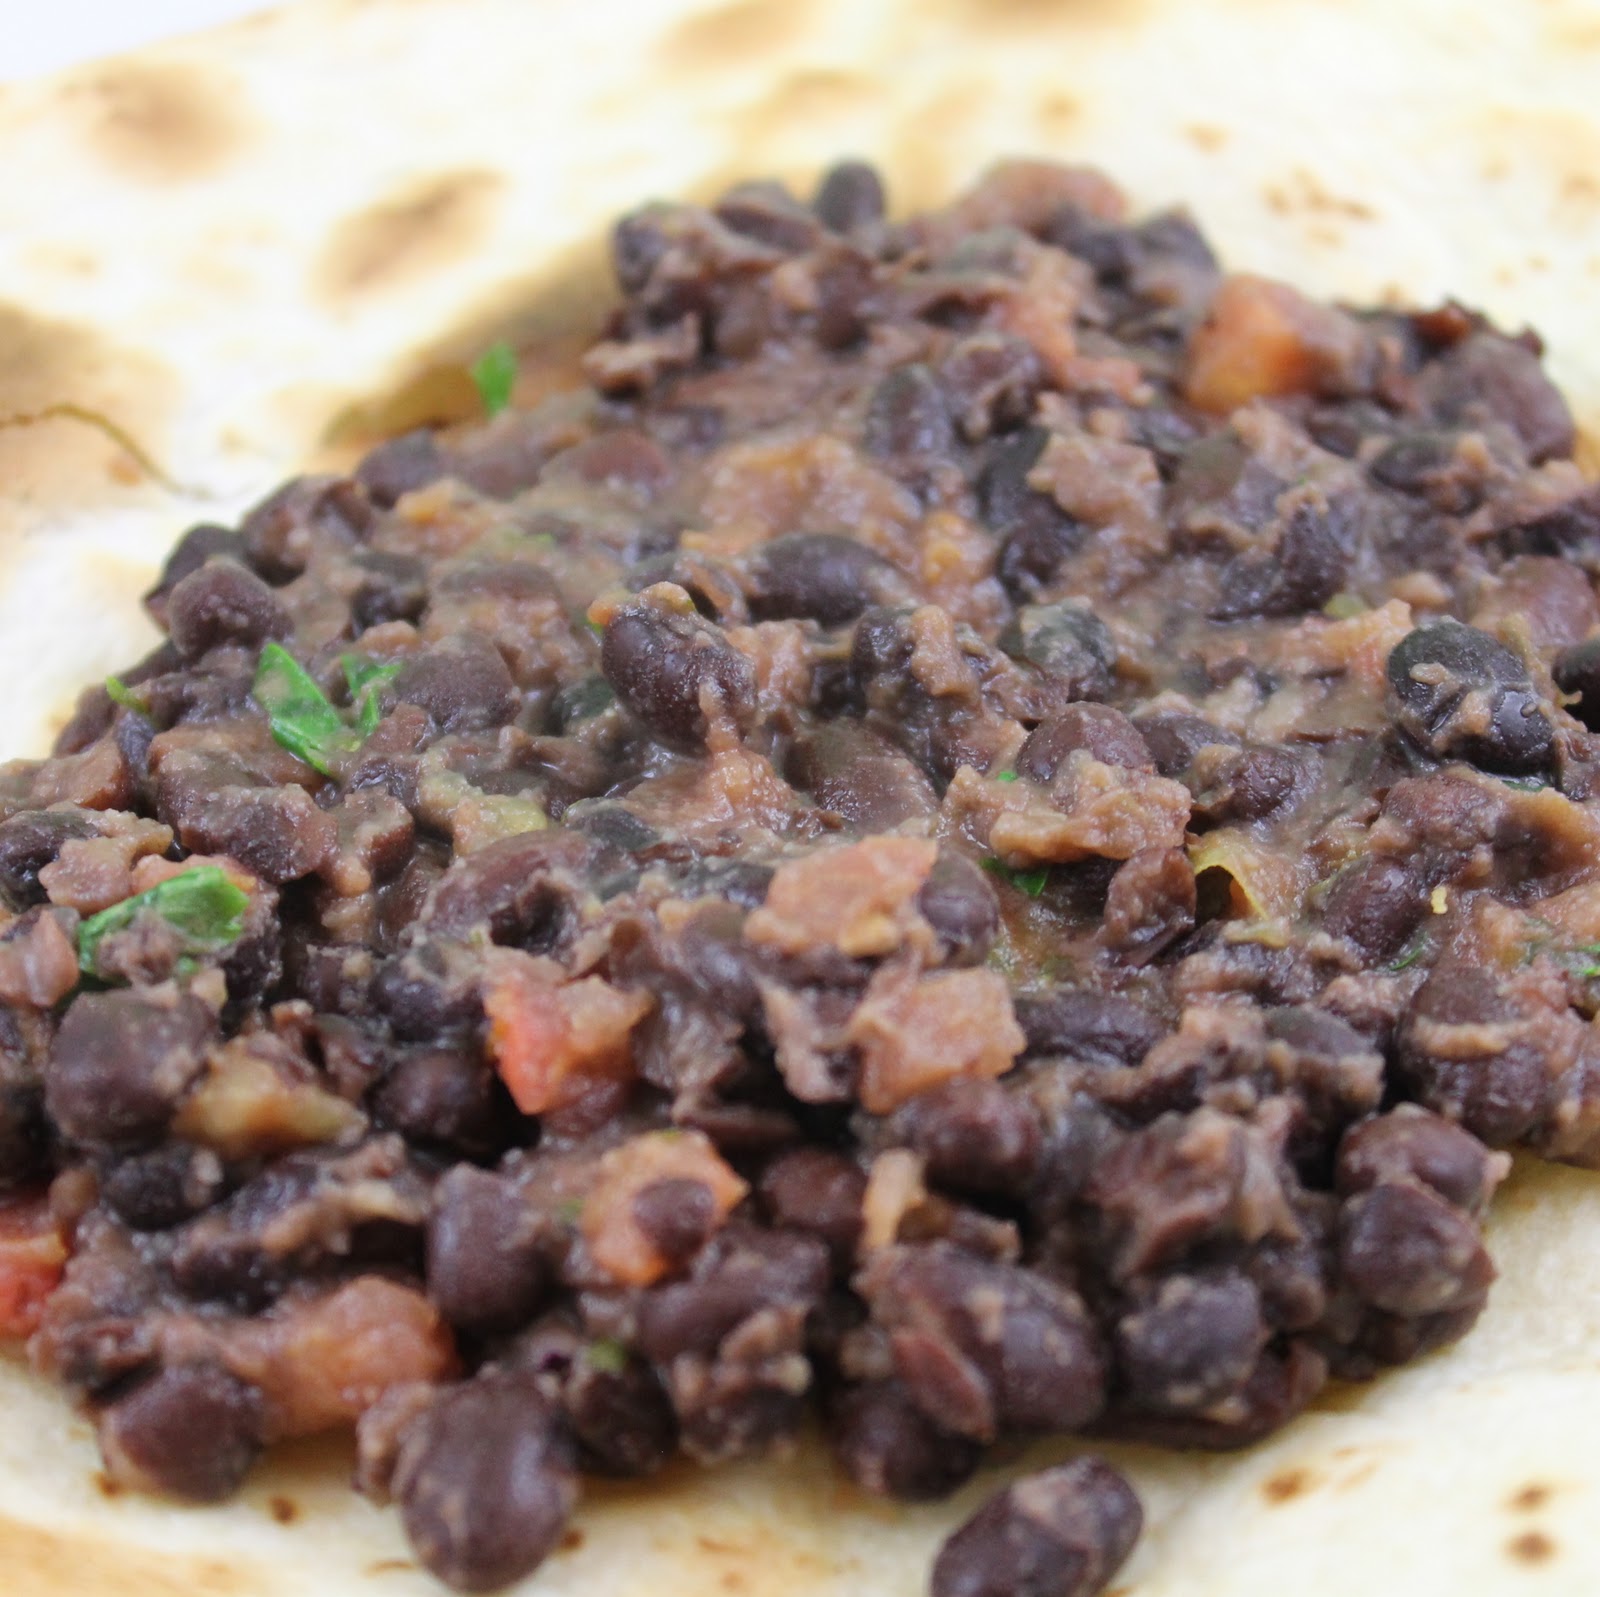
Drain and rinse the black beans. Add to a saute pan coated in cooking spray. Heat on medium heat, pressing on the black beans so they mush a bit.
Add the salsa. If you do not have time to make your own salsa, you can pick up fresh salsa at the supermarket or specialty grocery stores. Add the chopped cilantro and stir.
Cook for 2 minutes until heated through. Remove from heat. Combine the sour cream, cilantro, water and pepper in a separate bowl.
Shred the lettuce and slice the avocado.
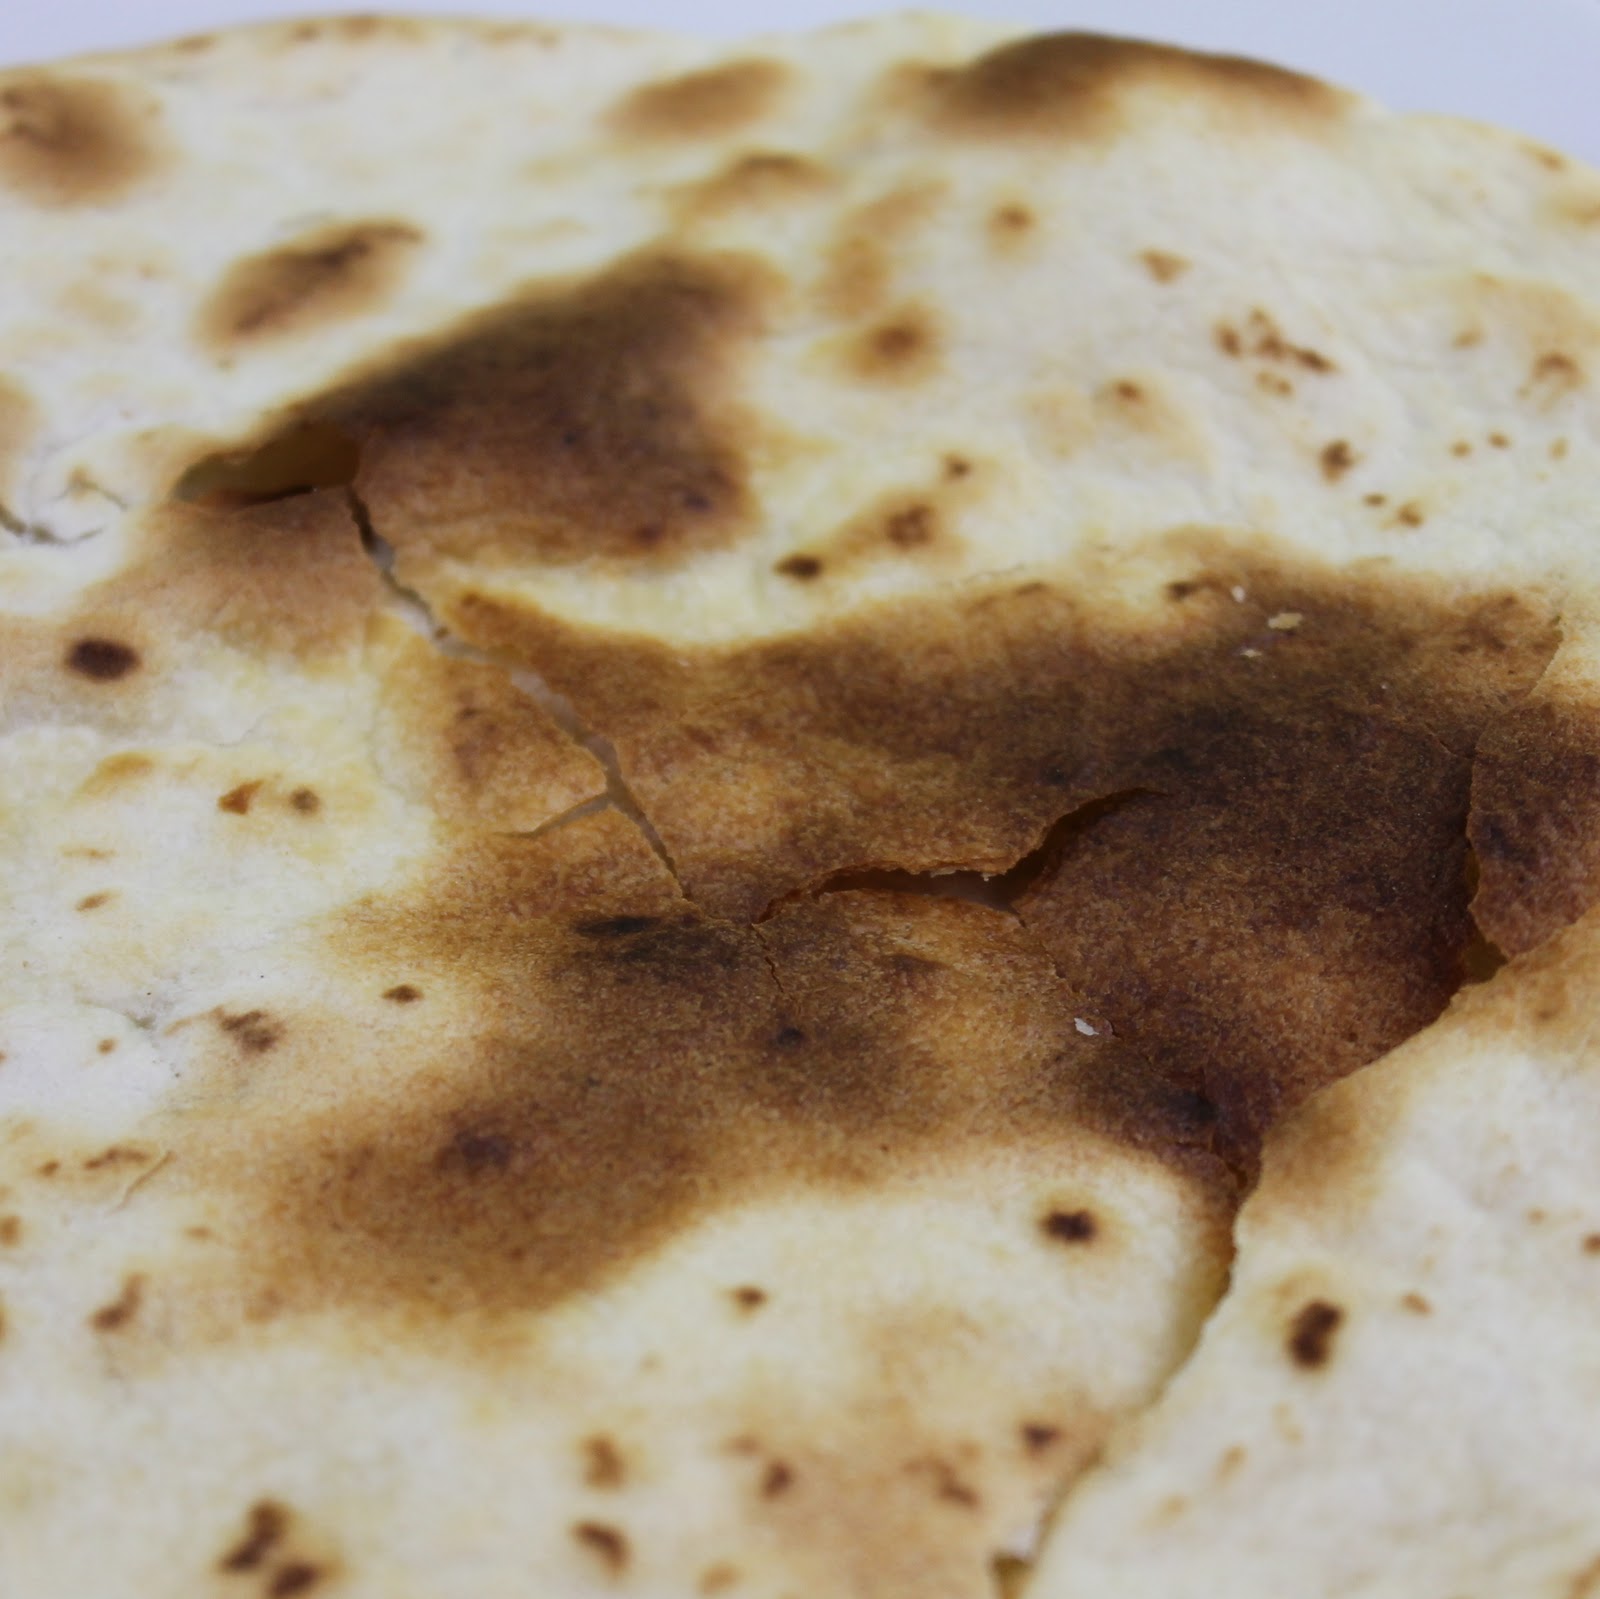
When the broiler is preheated. Spray the tortillas on each side with cooking spray and add two tortillas to a cookie sheet. Broil for two minutes or until charred. Mine puffed up a bit in the oven, so I just pushed down the center to make room for the beans.
Add the beans evenly to each tortilla.
Top with lettuce.
Drizzle with the sour cream mixture.
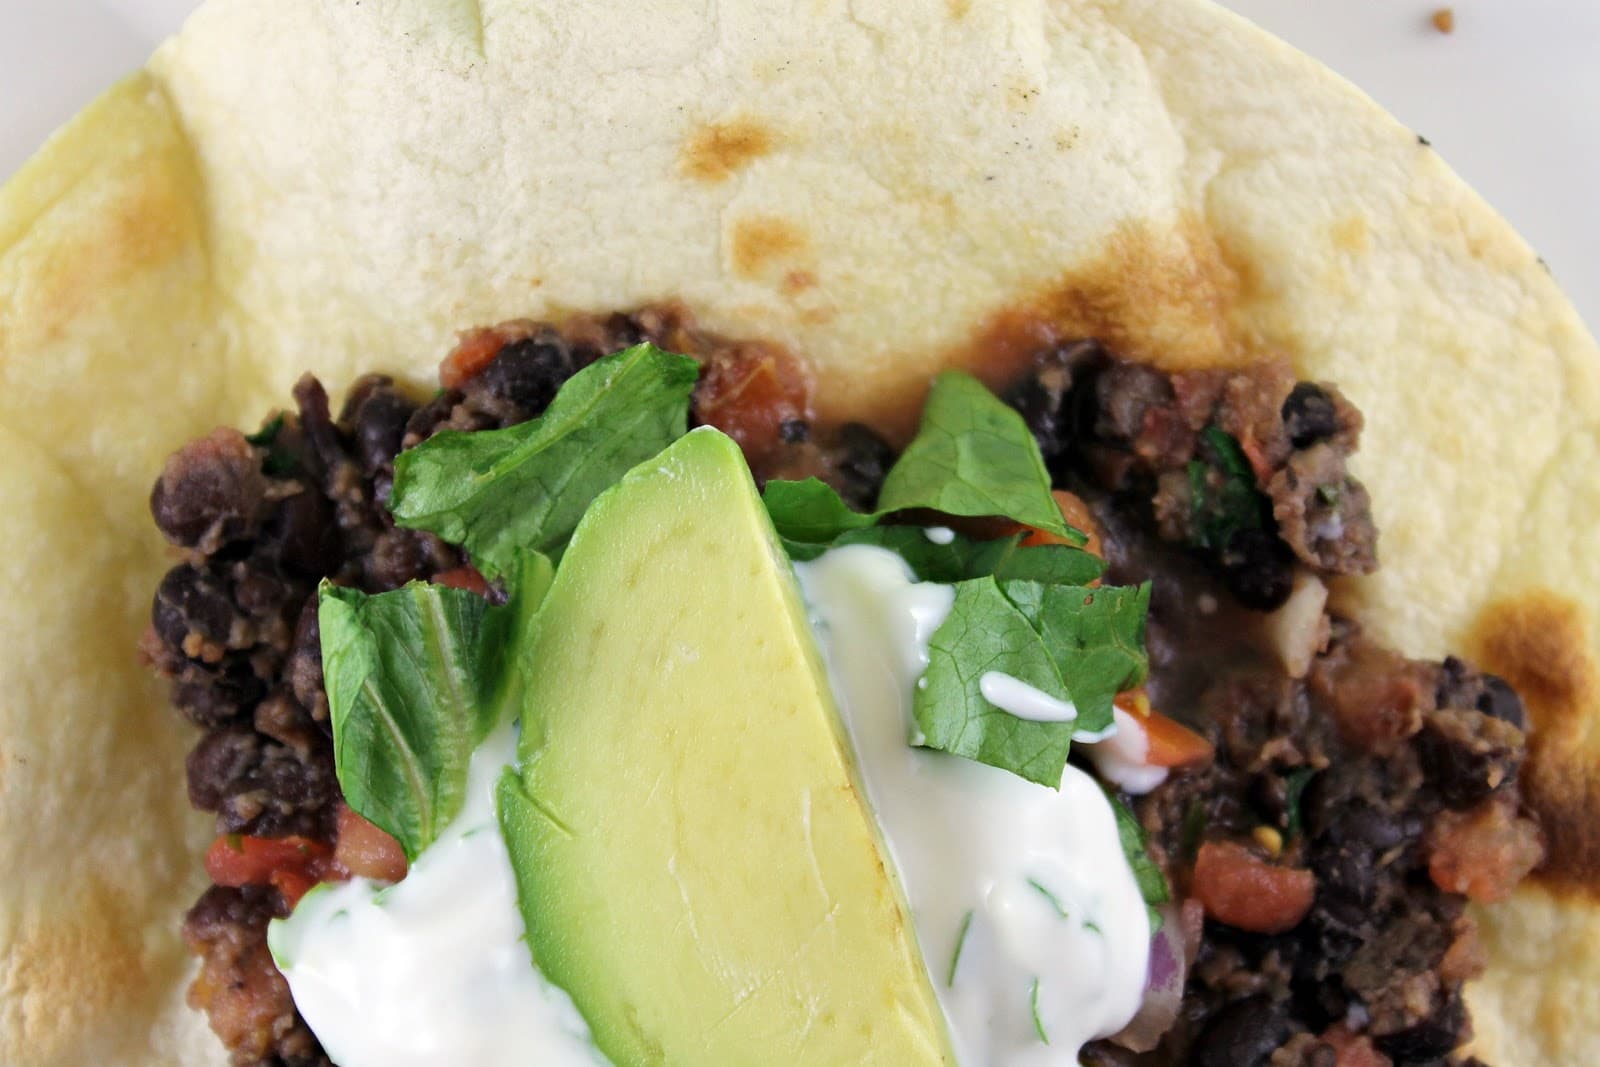
Top with avocado.
This was so satisfying! I loved the crunch of the tortilla to contrast the creaminess of the filling.
If the salsa is pre-made or store bought, this is a really quick meal, about 15-20 minutes from start to finish.
I loved the flavor, but this could certainly handle a little bit of heat, maybe some chopped jalapeno mixed in with the salsa.
After a bite or two, I went back to the salsa and added another tablespoon to my tostada to give it a bit more flavor. If you like salsa, I suggest doing this.
This could easily be altered to use chopped beef or sauteed chicken if you’d like. However, it was absolutely delicious with the black beans.
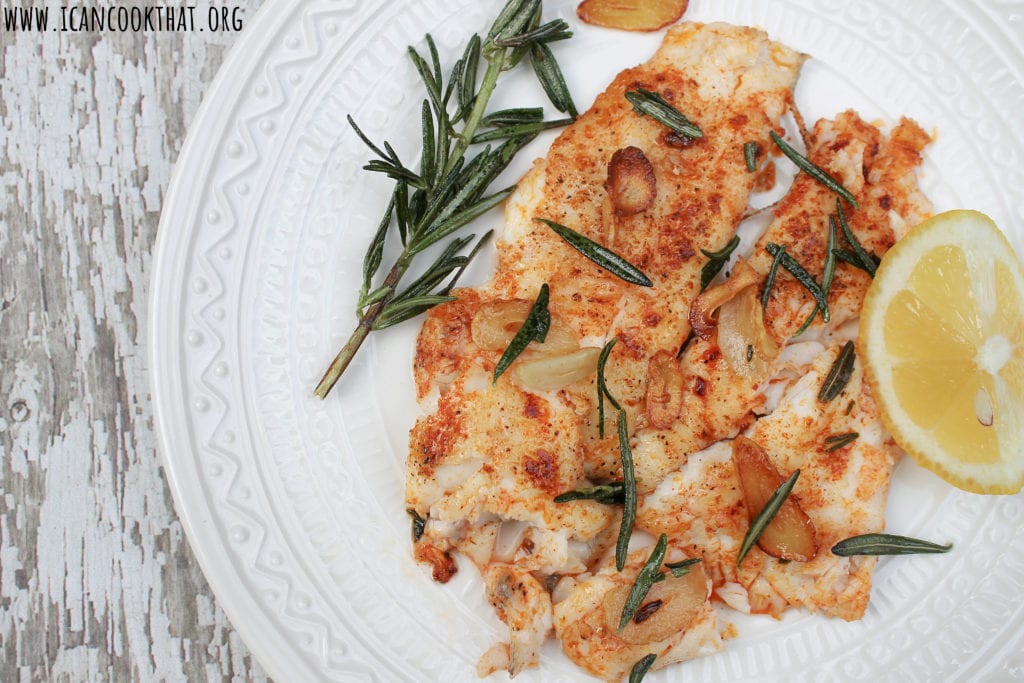
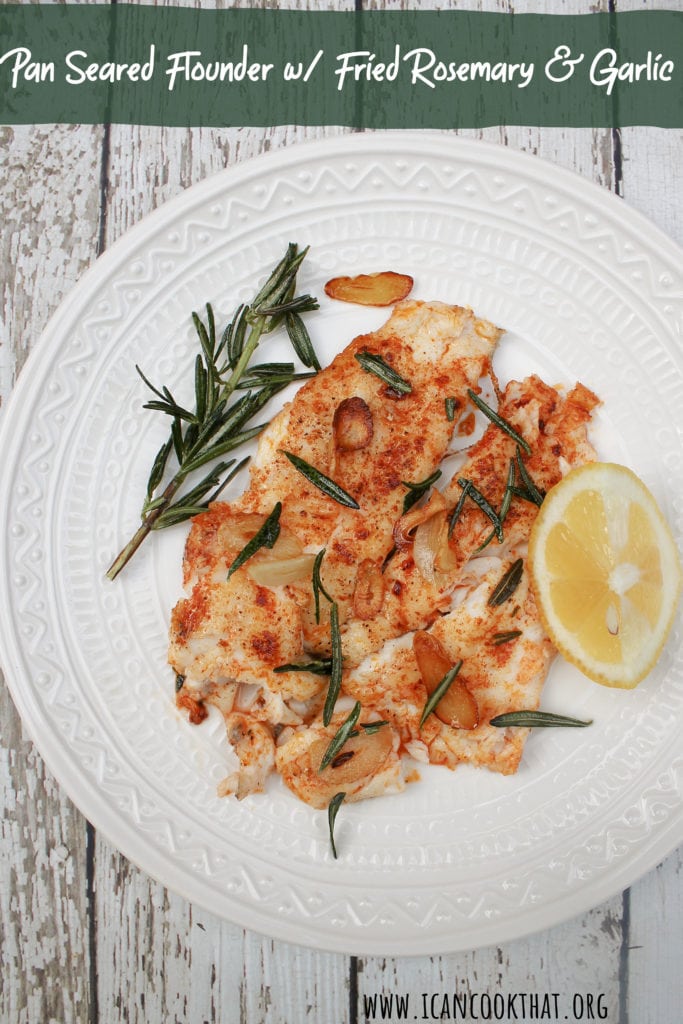
In an effort to eat more fish, I have been in search of recipes that call for fish other than salmon, my main seafood staple. I’ve made flounder once before and loved how quick it cooked up and how delicious it tasted.
So when I found this recipe for Pan Seared Flounder with Fried Rosemary and Garlic in Cooking Light’s Fresh Food Fast cookbook, I knew I had to try it.
I’ve had the Cooking Light Fresh Foods Superfast cookbook for a while now and just finally opened it. I found so many delicious recipes that I can’t wait to try!