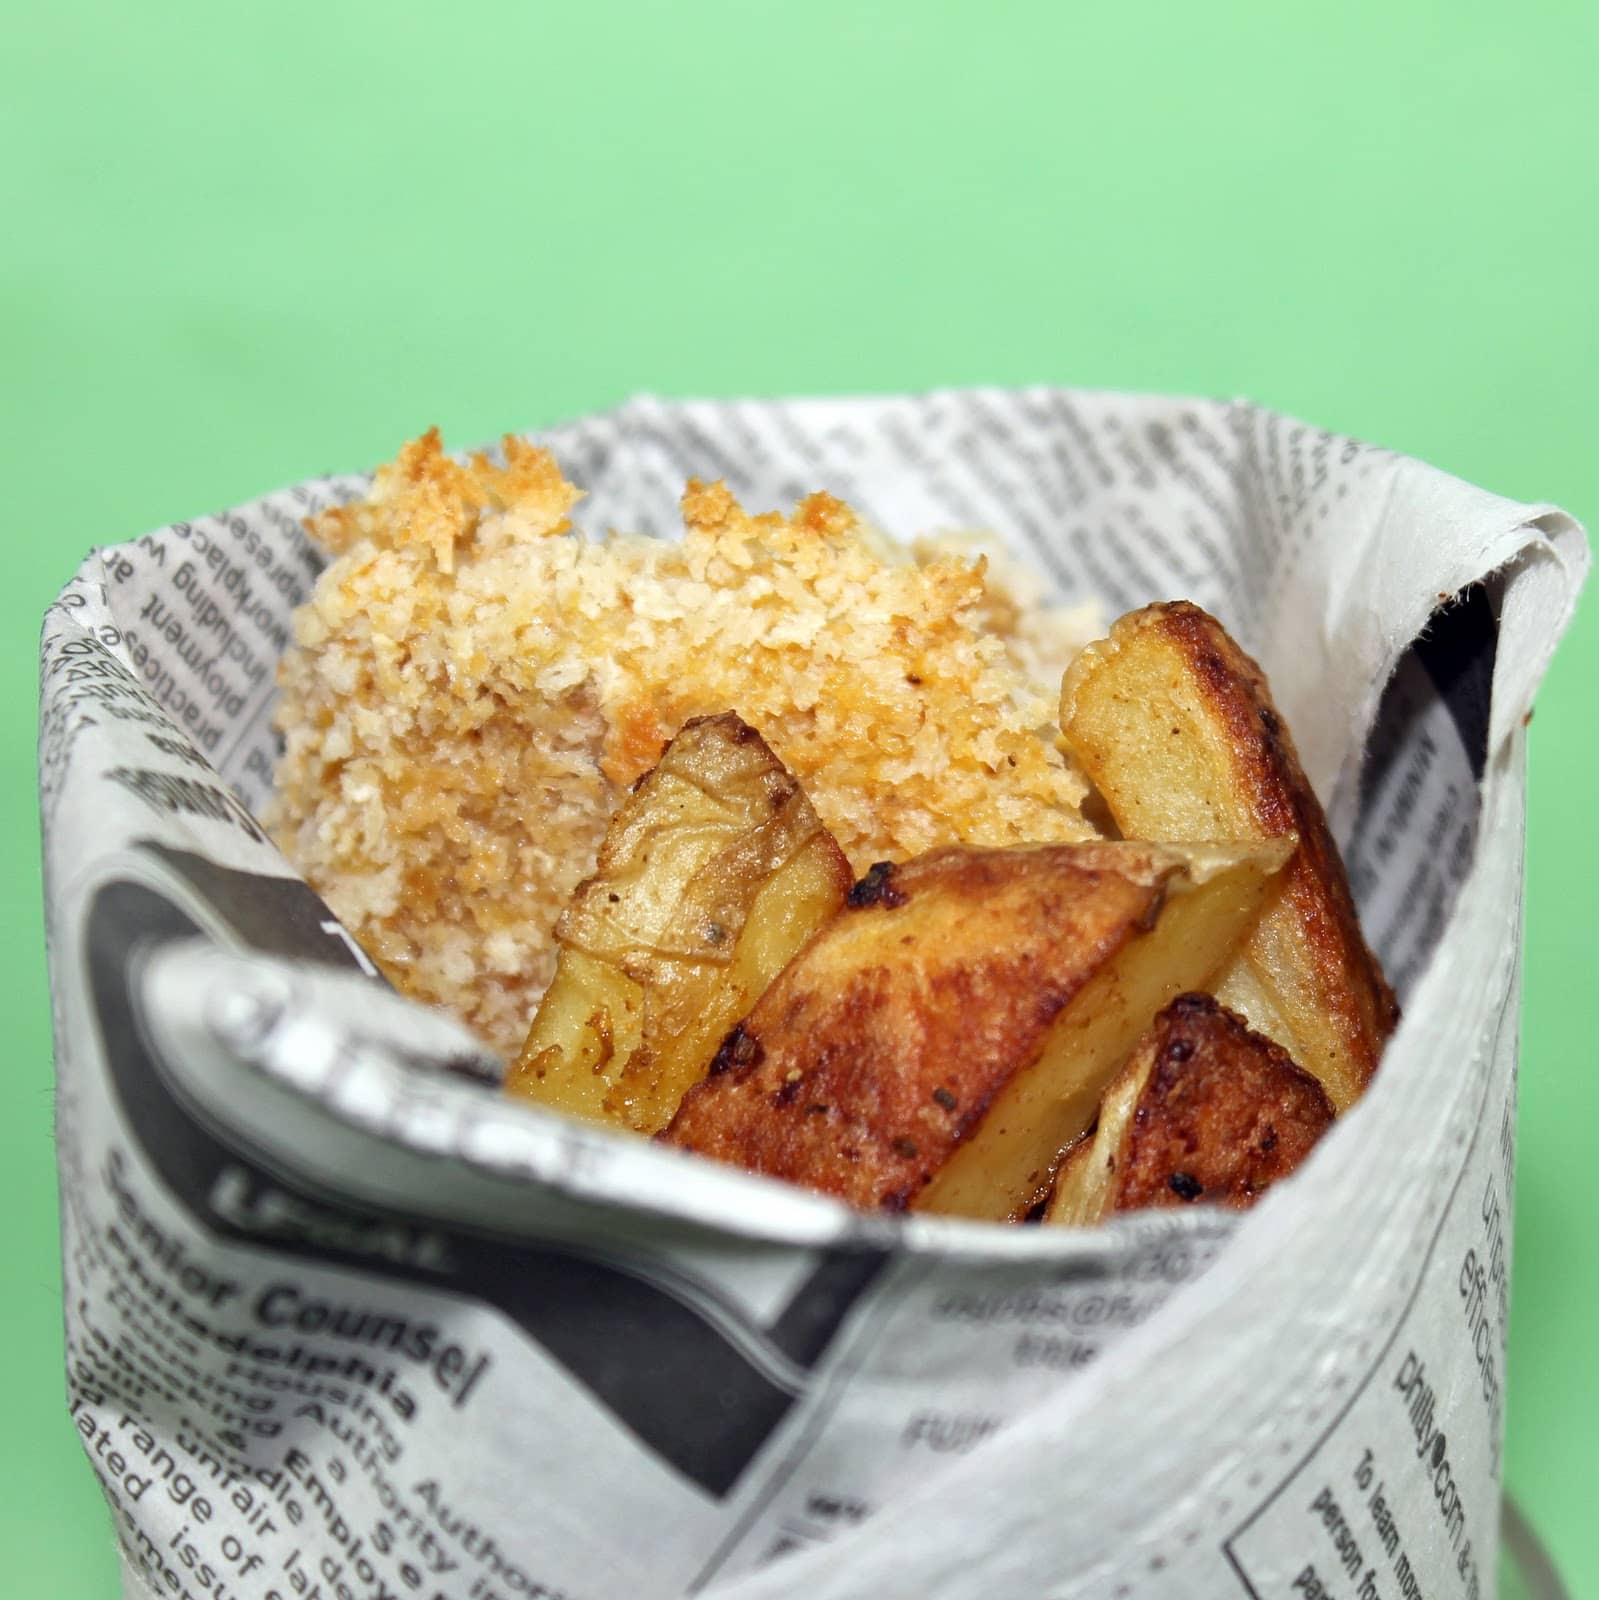
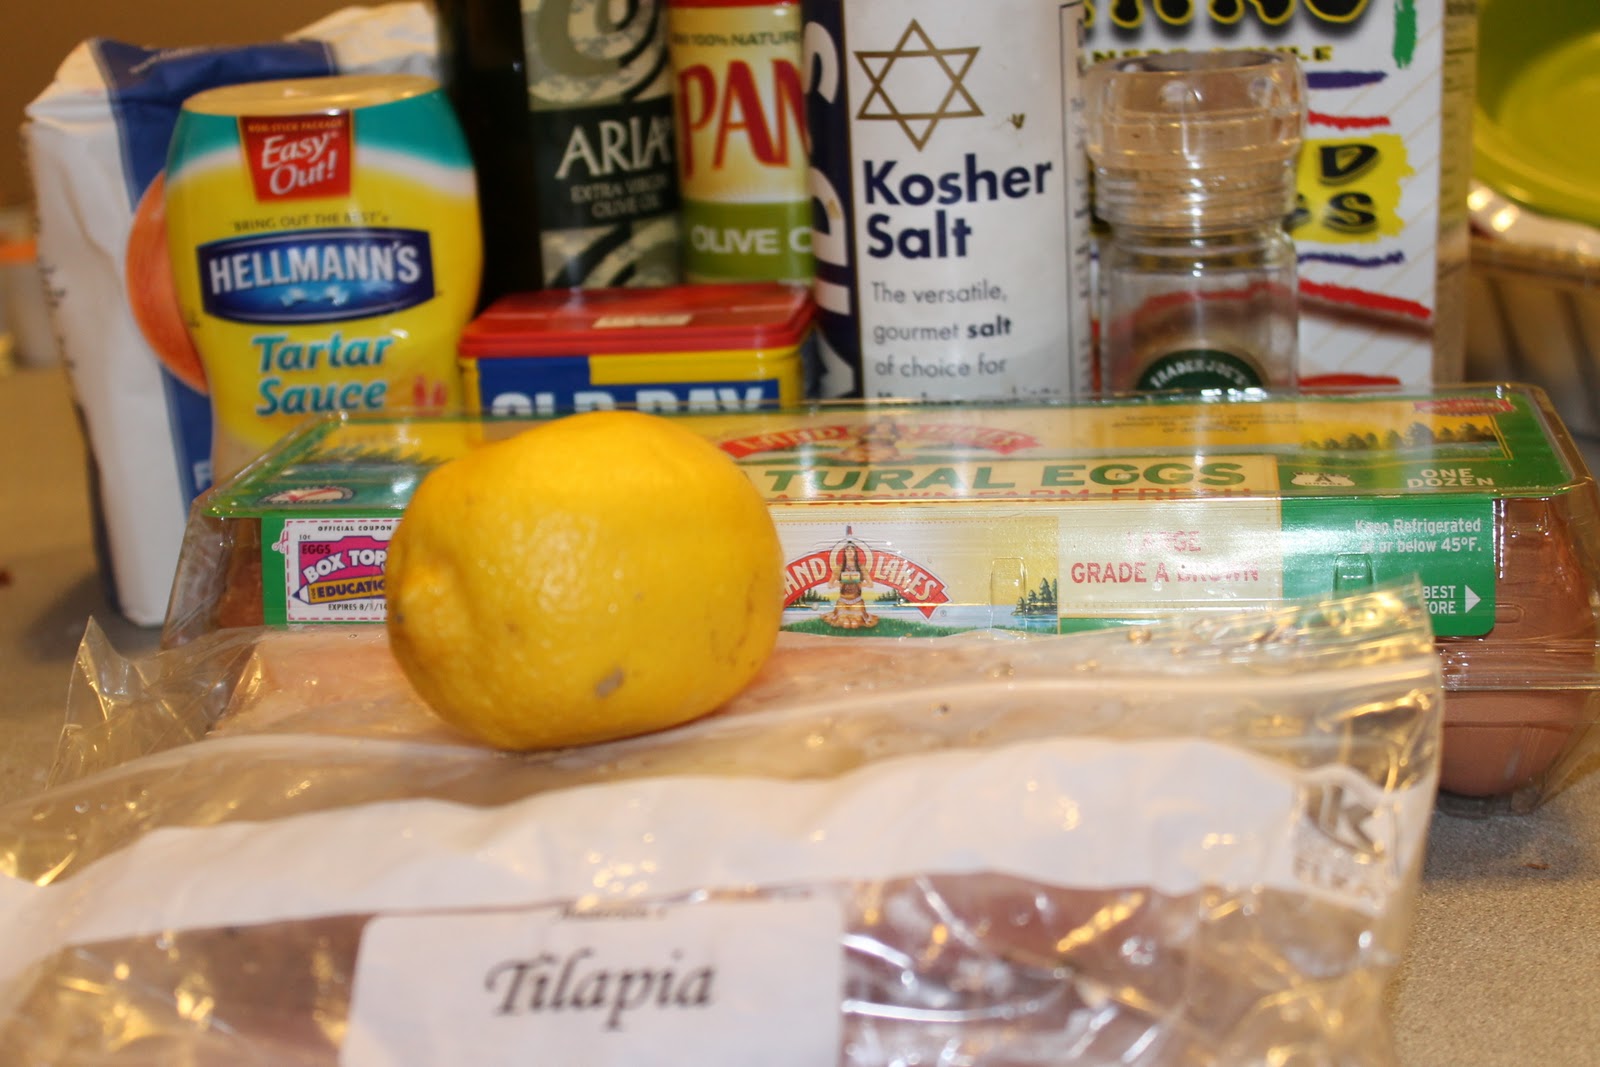
There is something so comforting and delicious about fish and chips. Traditionally a big take-away (take out/ to go) meal, cod, halibut, tilapia or another firm whitefish is typically battered, fried, and served with chips, or to us Americans, fries. I absolutely love fish and chips, but I don’t exactly love the whole frying component (I mean, I do. It’s delicious. But it kind of negates the point of eating fish). I wanted to try to make a baked version that would hopefully keep its crunch. I decided to give it some slight American flair and added Old Bay seasoning to the batter and on the fries.
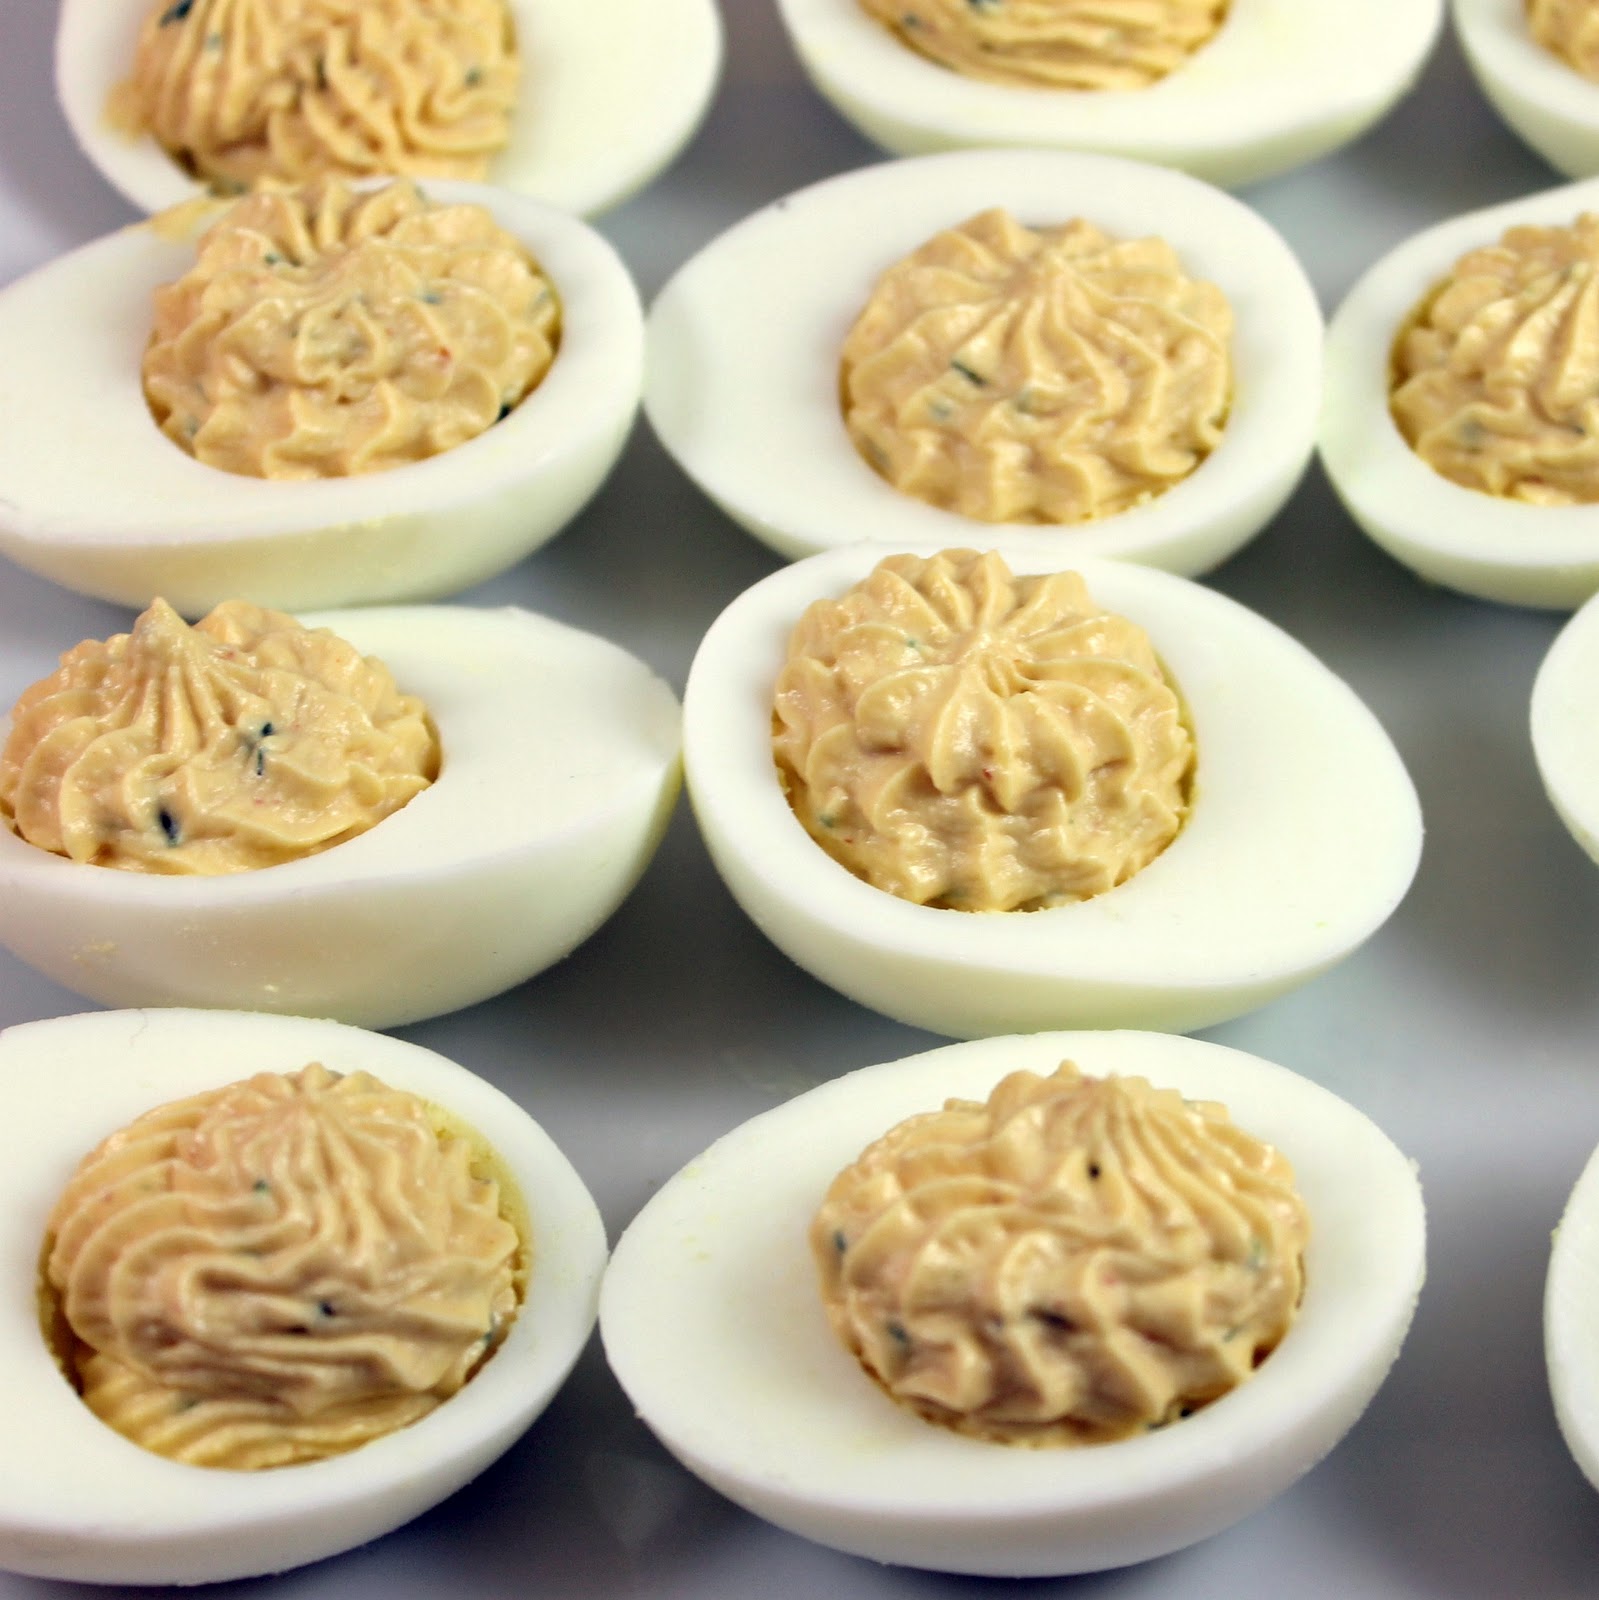
My little sister loves deviled eggs. She loves them to such an extreme, that we chose a restaurant (Supper in Philadelphia) during Restaurant Week solely because they were known for their amazing deviled eggs of the day. (The rest of their food is awesome too, definitely worth checking out). During Restaurant Week, they were offering their Sriracha Deviled Eggs, which my sister devoured. So when I was offered to try Land O’Lakes eggs through the Foodbuzz Tastemaker Program, I knew I wanted to make them for her. Luckily, Supper took the guesswork out for me and shared their recipe with Meal Ticket a few years back.
Land O’Lakes eggs come from hens that are fed an all-vegetable, whole-grain diet with no animal by-products.
Courtesy of Land O’Lakes
Although I primarily use eggs for baking or as an ingredient in a larger dish, I wanted to highlight the eggs for this recipe.
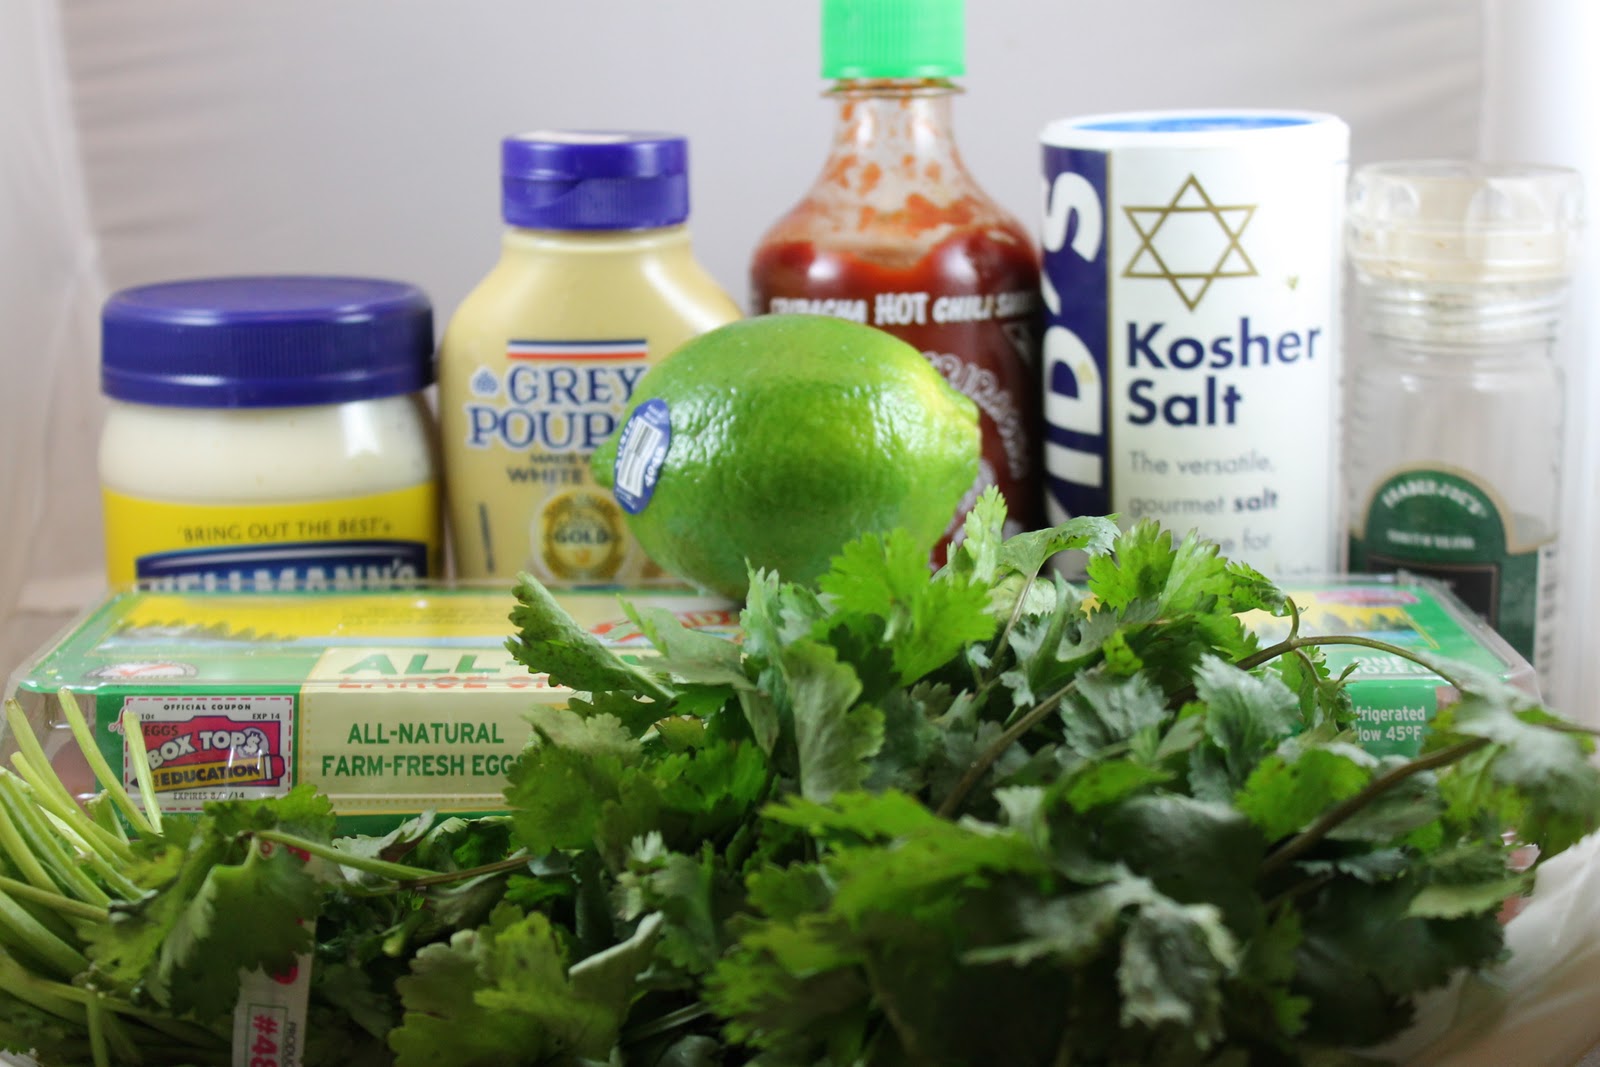
Ingredients:
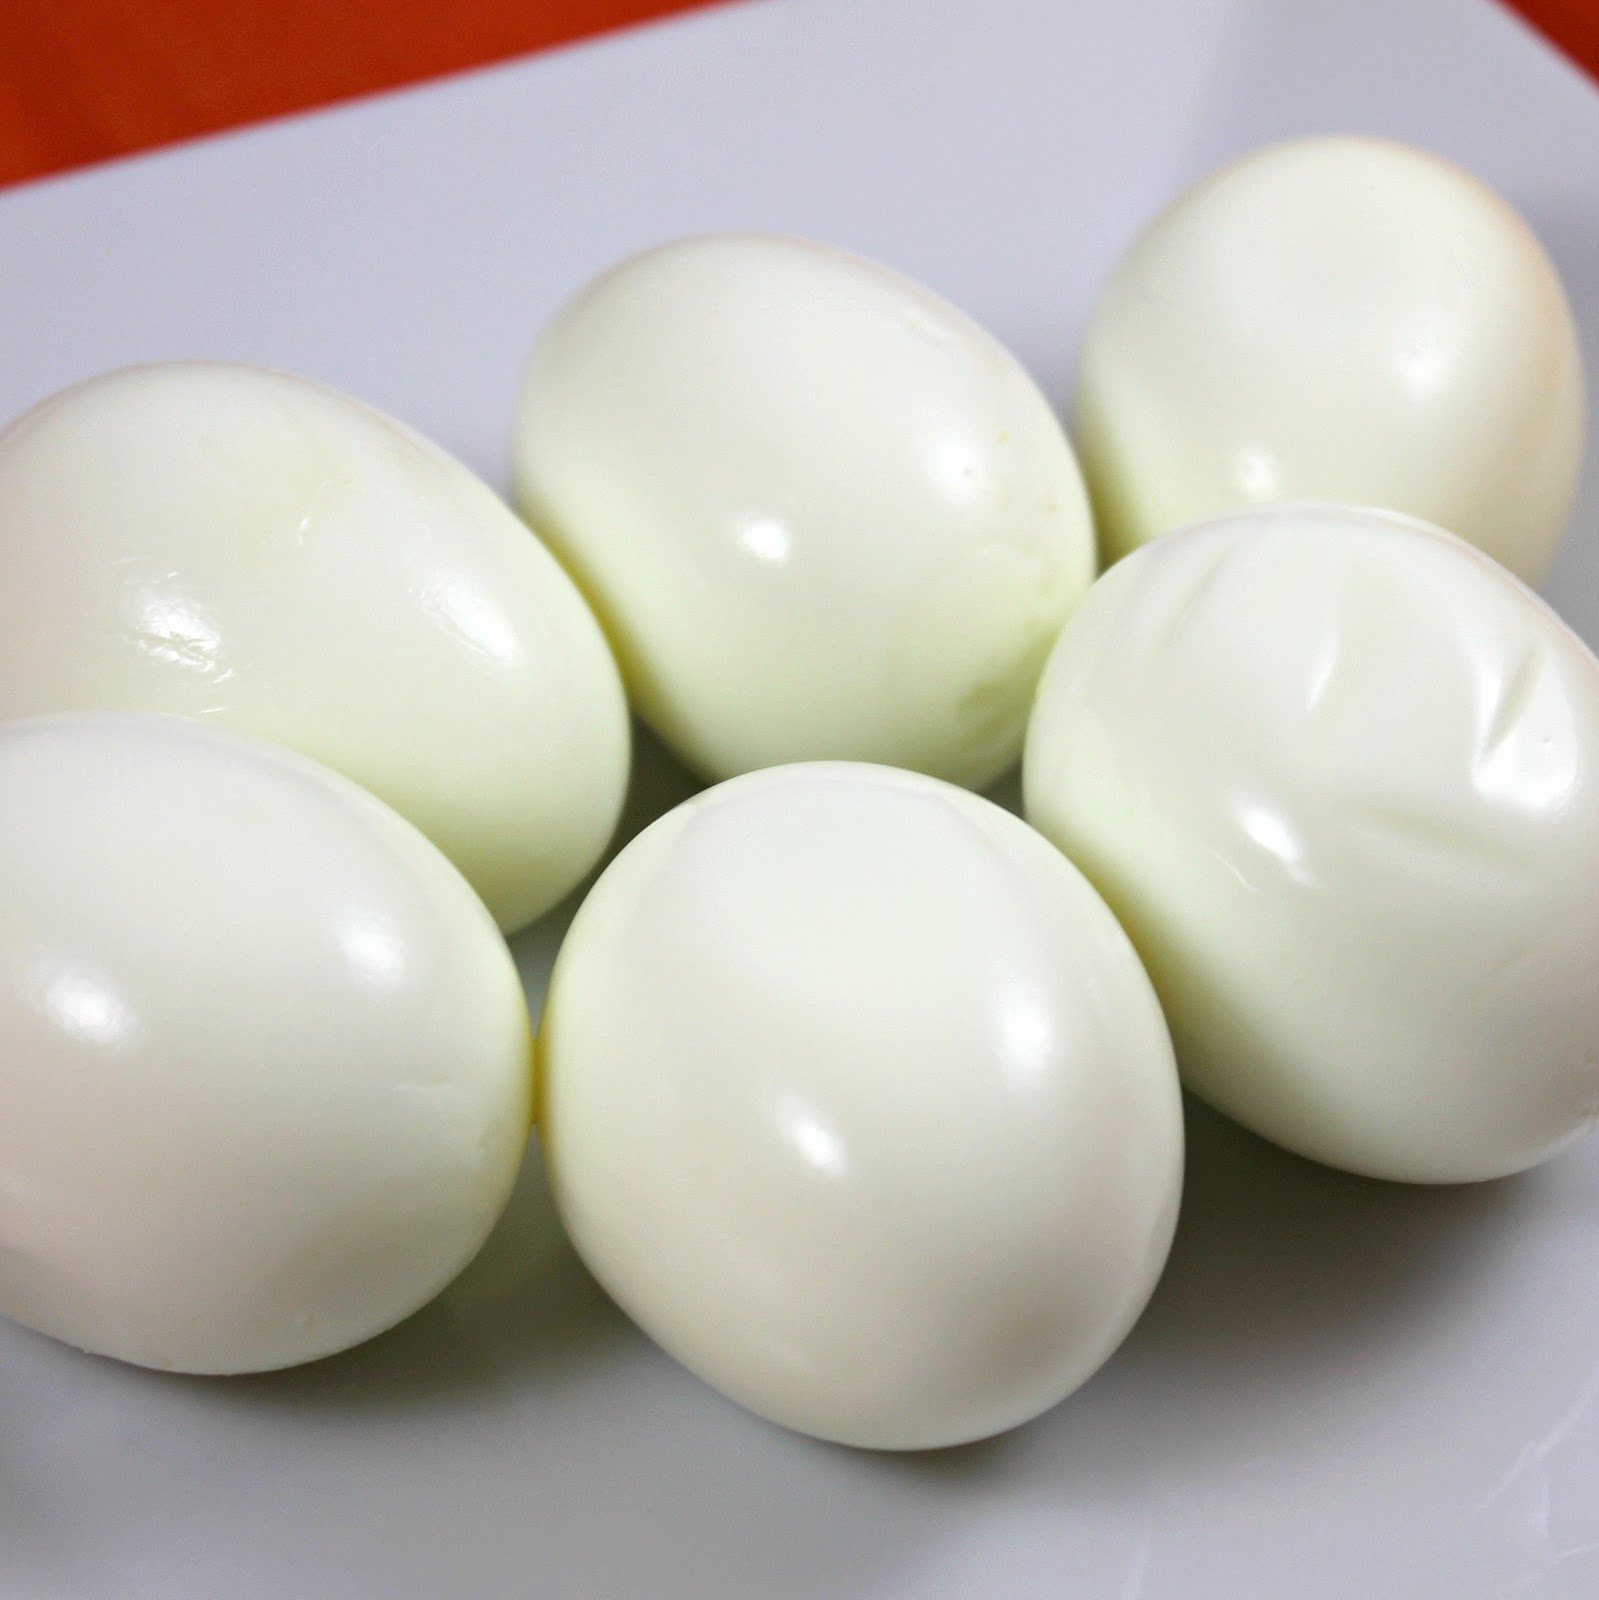
6 Land O’Lakes eggs, hard boiled and halved
3 tablespoons mayonnaise
1 teaspoon Dijon
2 teaspoons Sriracha
The juice from 1/2 a lime
The zest from 1/2 a lime
1 teaspoon chopped cilantro
Fill a large bowl with ice water. To hard-boil the eggs, add 6 eggs to a large pasta pot. Cover with 1 inch of water and bring to a boil. Boil for 8 minutes uncovered. Remove with a slotted spoon and add to the iced water for 30 seconds and remove. To crack the eggs, roll back and forth on the counter and peel the shell off of the egg.
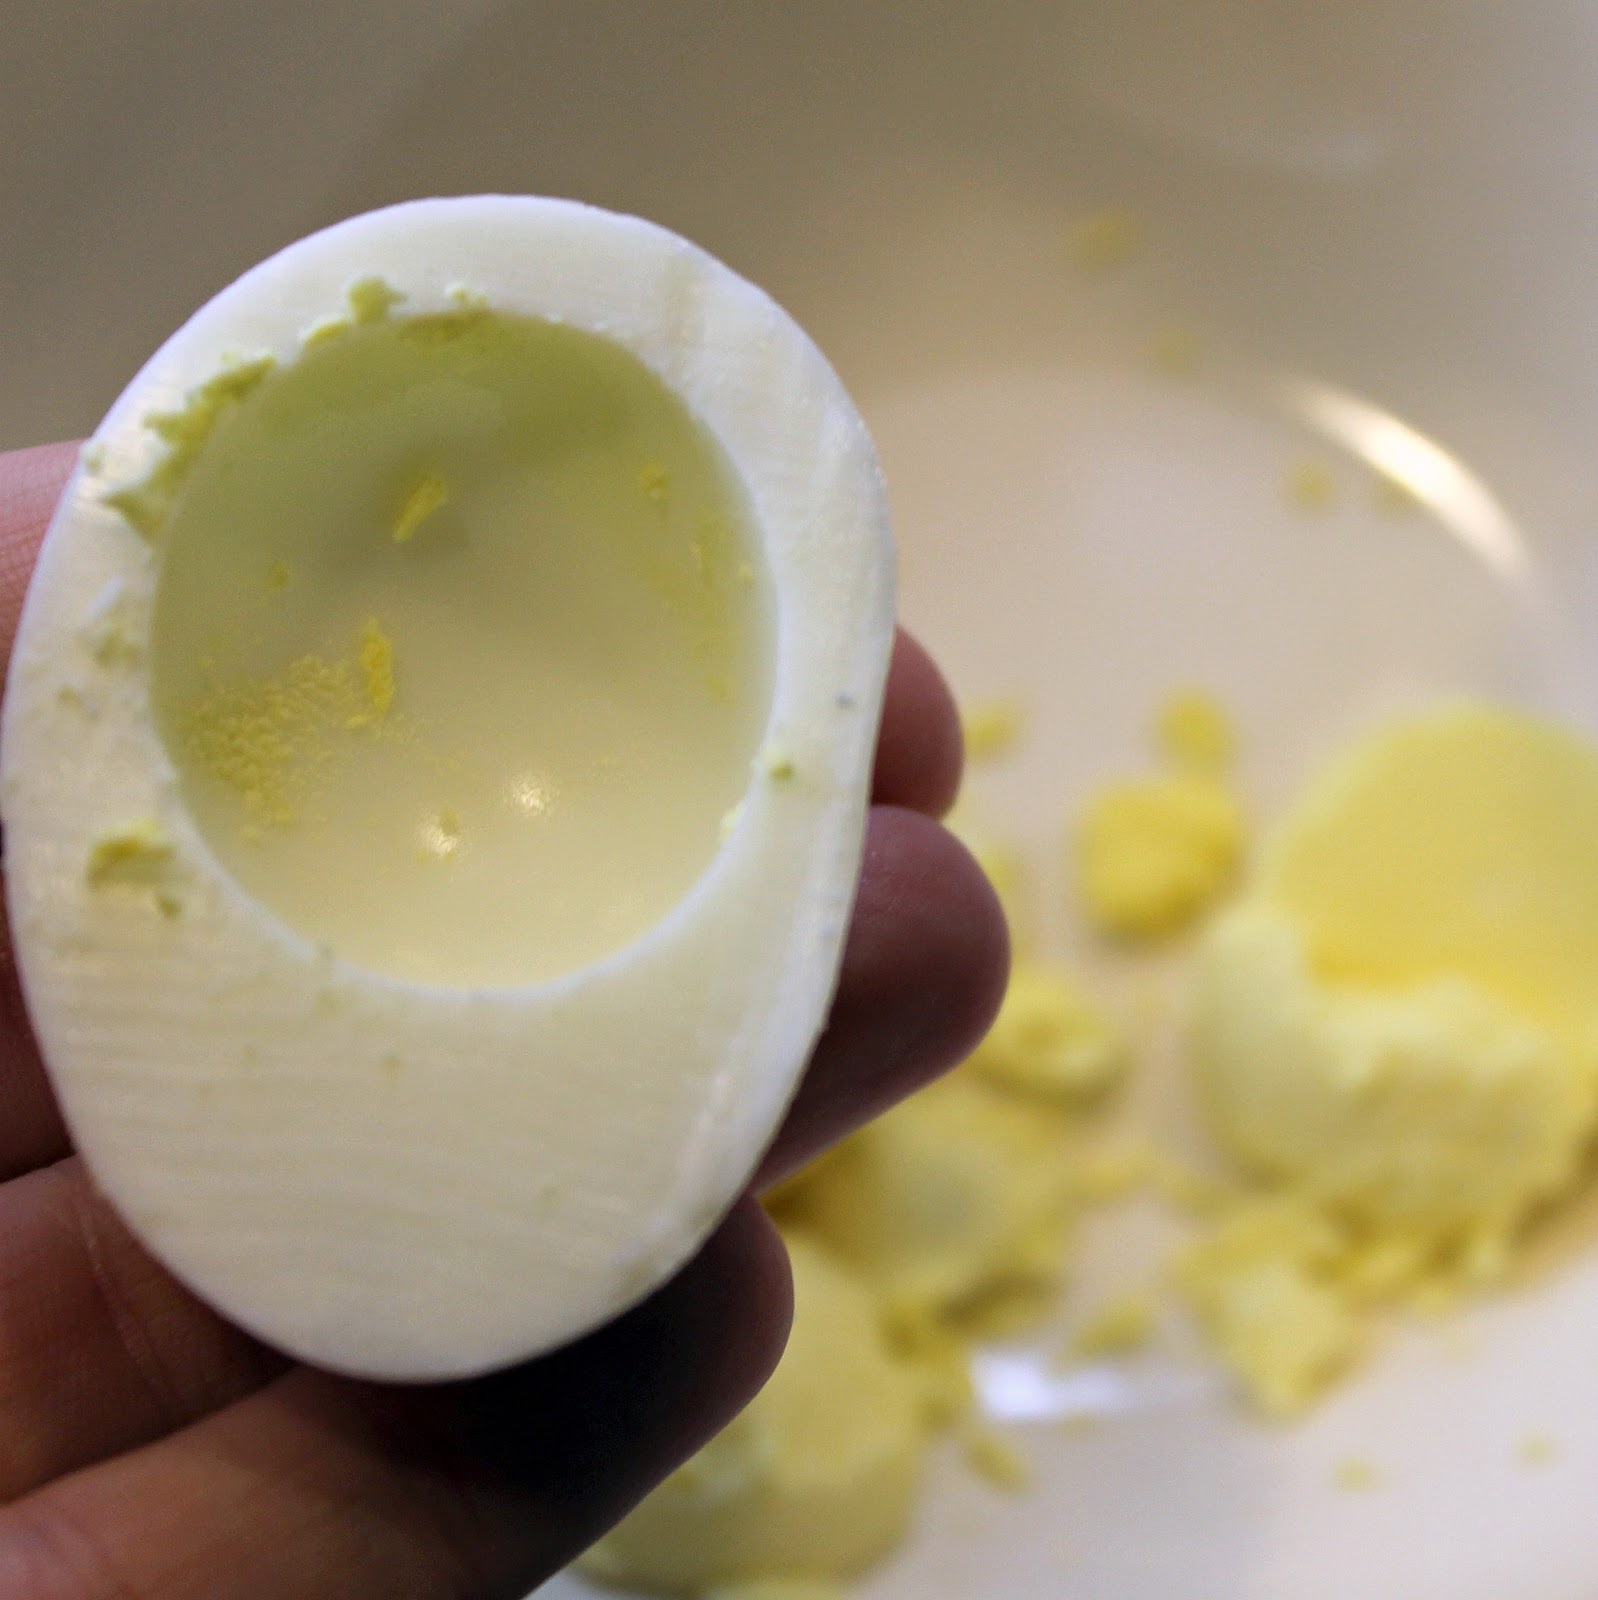
Halve the eggs.
Scoop out the yolks and transfer them to a bowl. I used a half teaspoon so that the spoon was smaller than the yolks. They are pretty easy to kind of pop out.
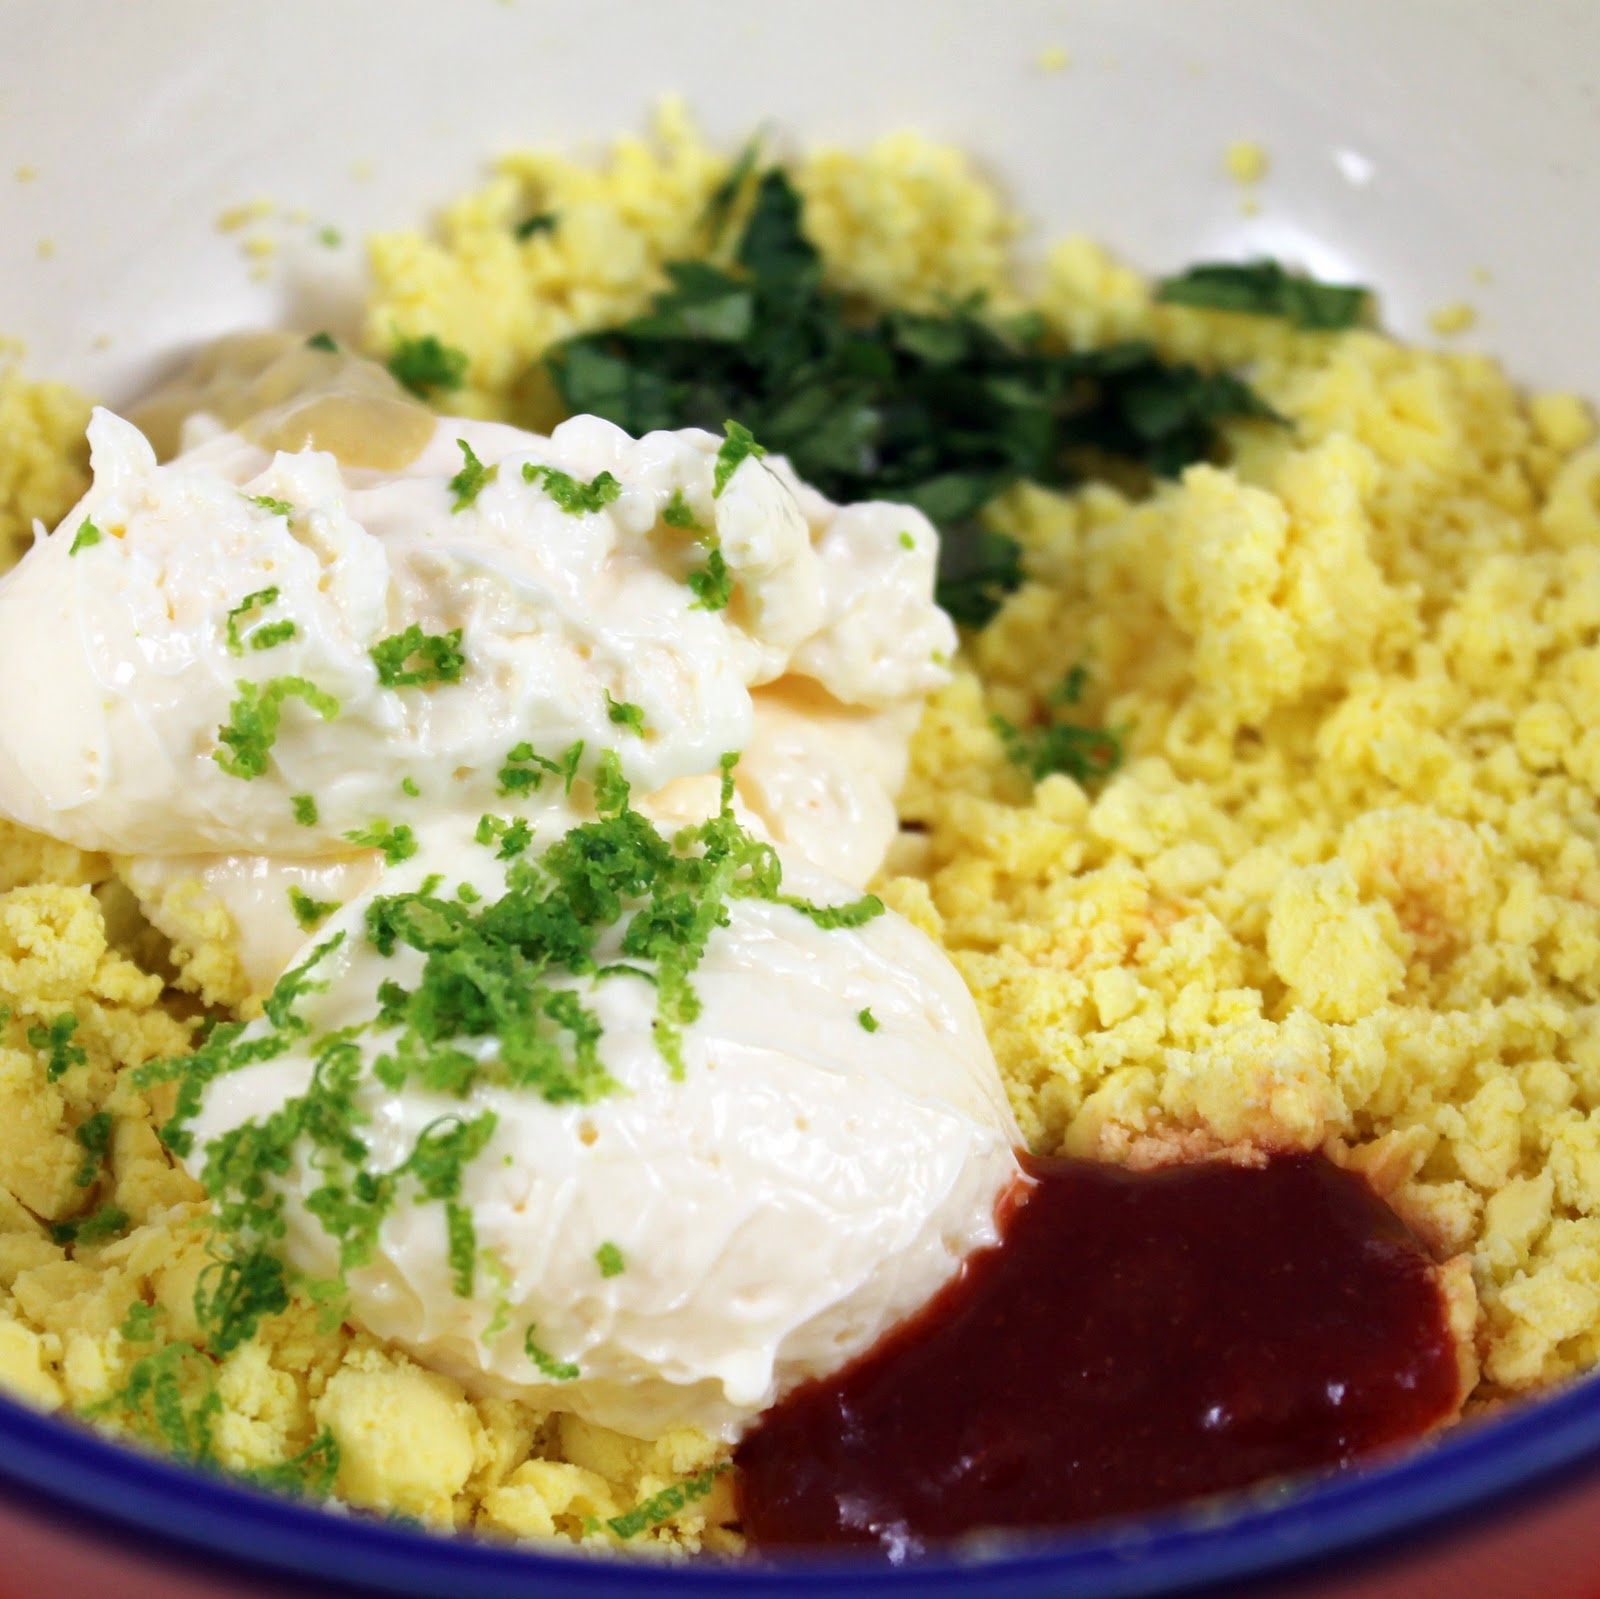
Use a fork to mash the yolks. Add the mayo, Dijon, Sriracha, lime juice, zest, and cilantro to the yolks.
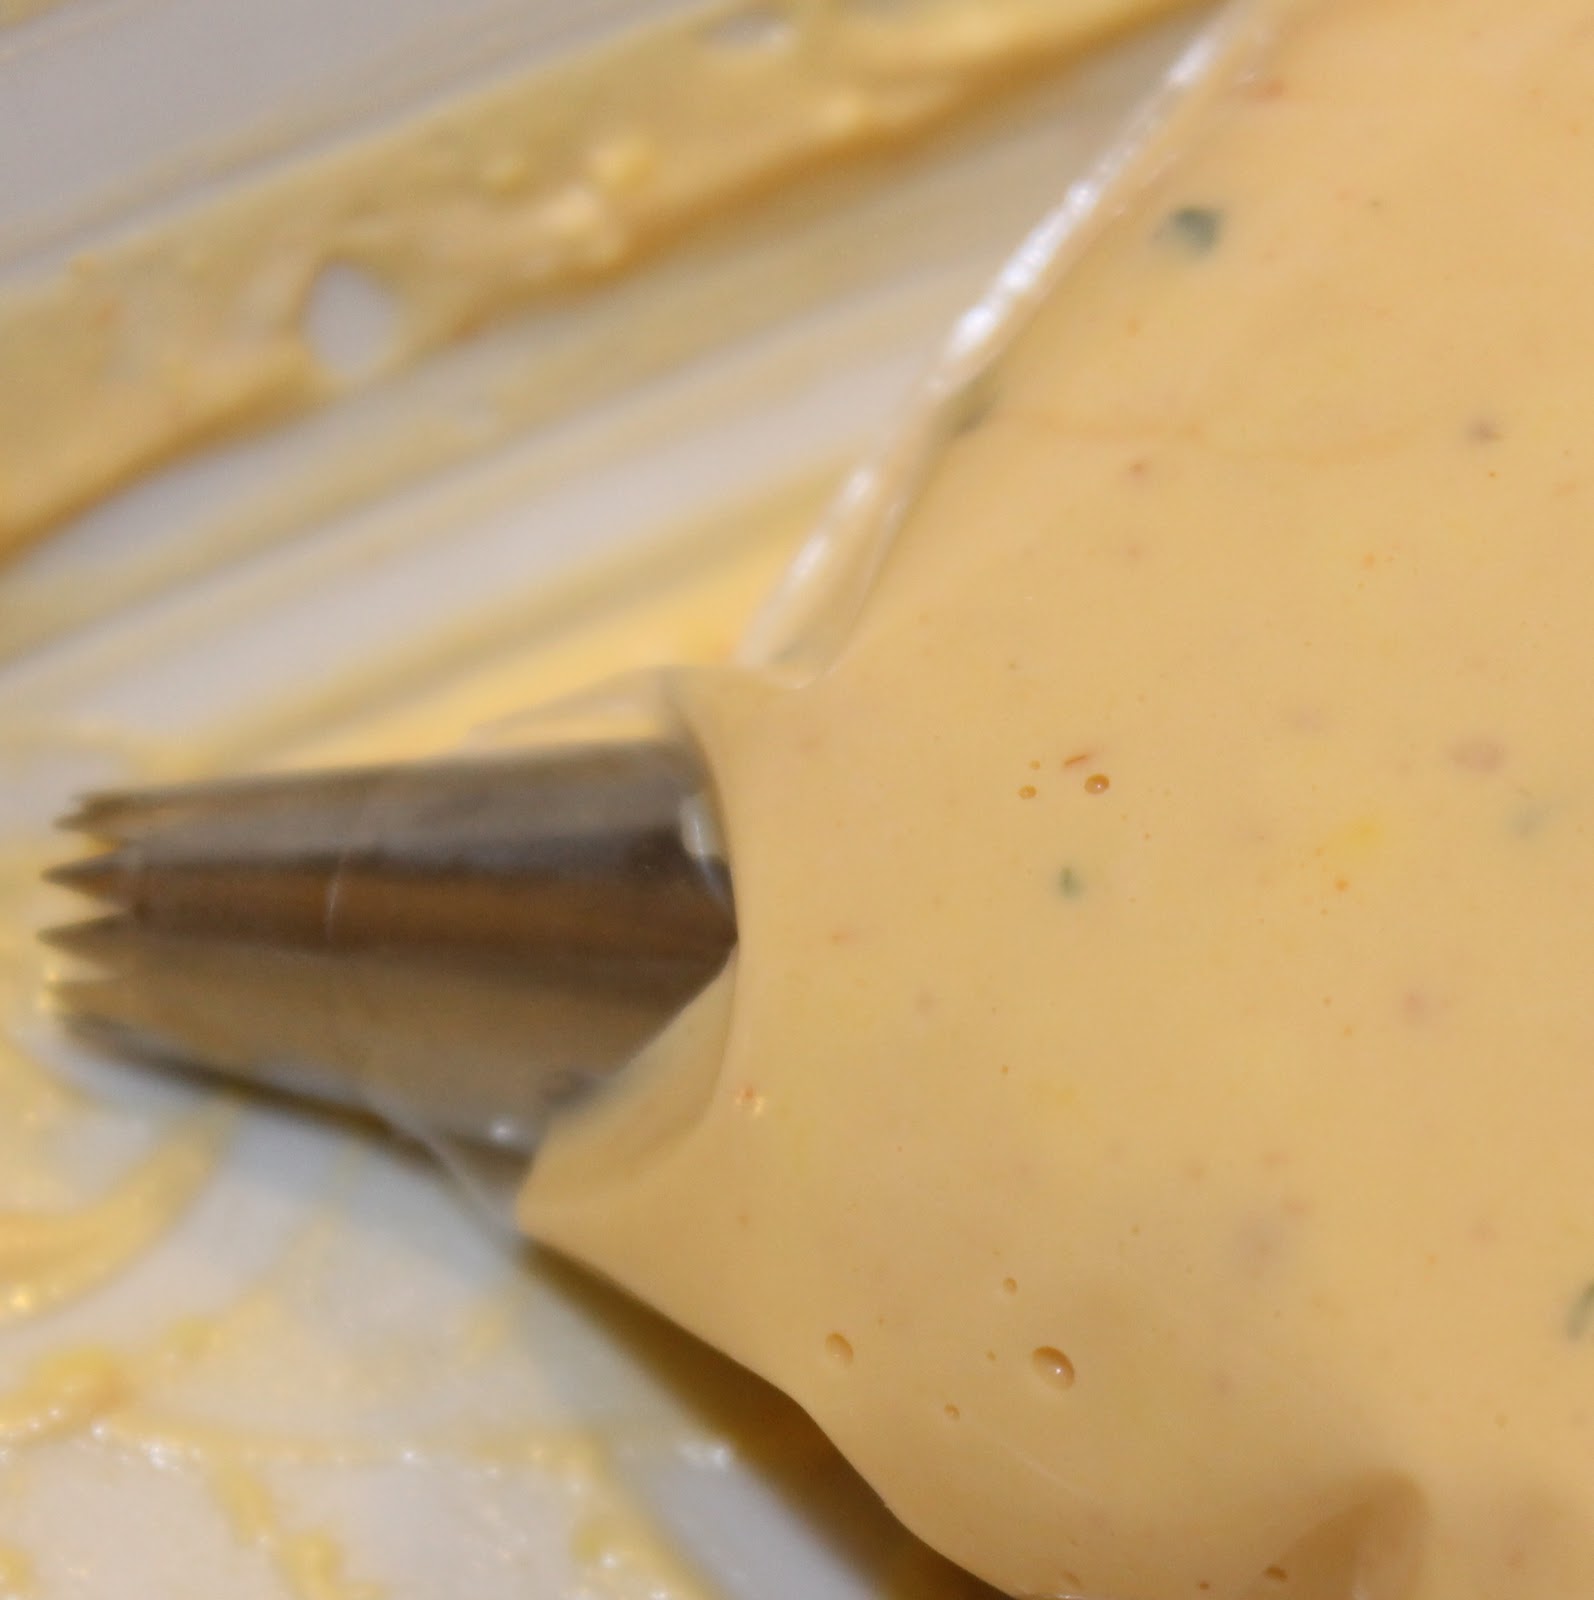
Mix to combine, try to work out any chunks that may remain, you want it as smooth as possible. Add the mixture to a ziplock bag. If you have a pastry tip, feel free to use it. If not, just cut off one of the corners and squeeze the mixture into each egg white.
Garnish with chopped cilantro and a sprinkle of paprika.
I’m not a huge fan of hard-boiled eggs, so I let my sister and friends be the judge of these eggs. When I asked my sister what needed to be changed, she told me nothing, she loved them just the way they were.
My friends managed to eat a dozen deviled eggs within minutes! Some even said they were some of the best deviled eggs they’ve had –they clearly haven’t been to Supper yet. 🙂
The Sriracha adds some heat to the eggs but is not too spicy. The lime flavor does shine through, so if you are not a fan of lime, cut out the zest (the original recipe did not have zest in it).
Fill a large bowl with ice water. To hard-boil the eggs, add 6 eggs to a large pasta pot. Cover with 1 inch of water and bring to a boil. Boil for 8 minutes uncovered. Remove with a slotted spoon and add to the iced water for 30 seconds and remove. To crack the eggs, roll back and forth on the counter and peel the shell off of the egg.
Halve the eggs.
Scoop out the yolks and transfer them to a bowl. I used a half teaspoon so that the spoon was smaller than the yolks. They are pretty easy to kind of pop out.
Use a fork to mash the yolks. Add the mayo, Dijon, Sriracha, lime juice, zest, and cilantro to the yolks.
Mix to combine, try to work out any chunks that may remain, you want it as smooth as possible. Add the mixture to a ziplock bag. If you have a pastry tip, feel free to use it. If not, just cut off one of the corners and squeeze the mixture into each egg white.
Garnish with chopped cilantro and a sprinkle of paprika.
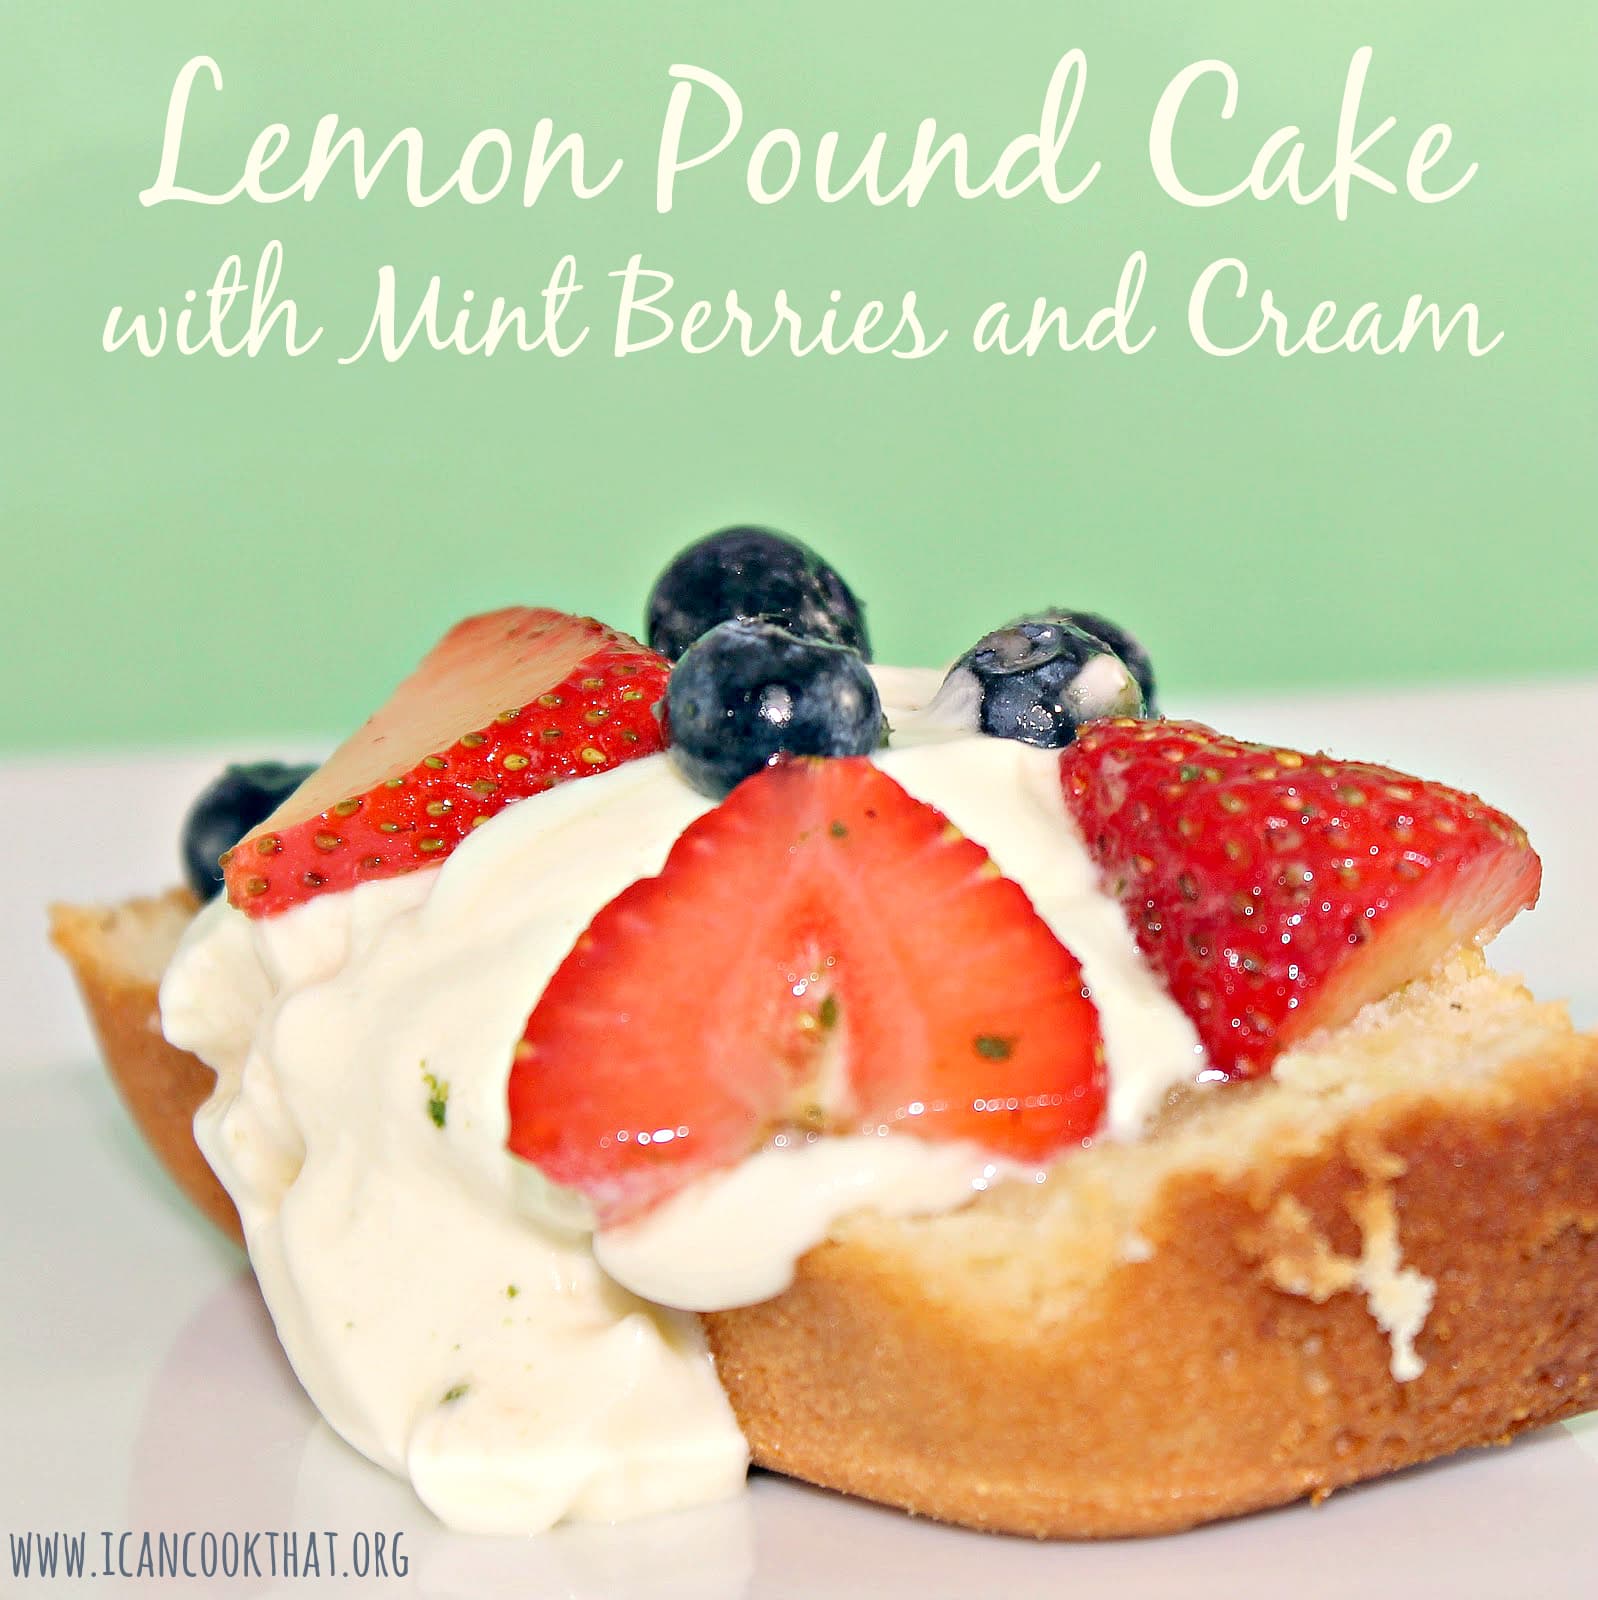
I thought I’d step away from cookies and cupcakes for the moment to make… pound cake. I don’t know why I am on such a baking kick, but at least I have the chance to try a bunch of different new recipes! I found this recipe through MyRecipes.com, originally from Southern Living. The recipe sounded absolutely fantastic so I stuck to it for the most part, but I added blueberries because, well, I like blueberries!
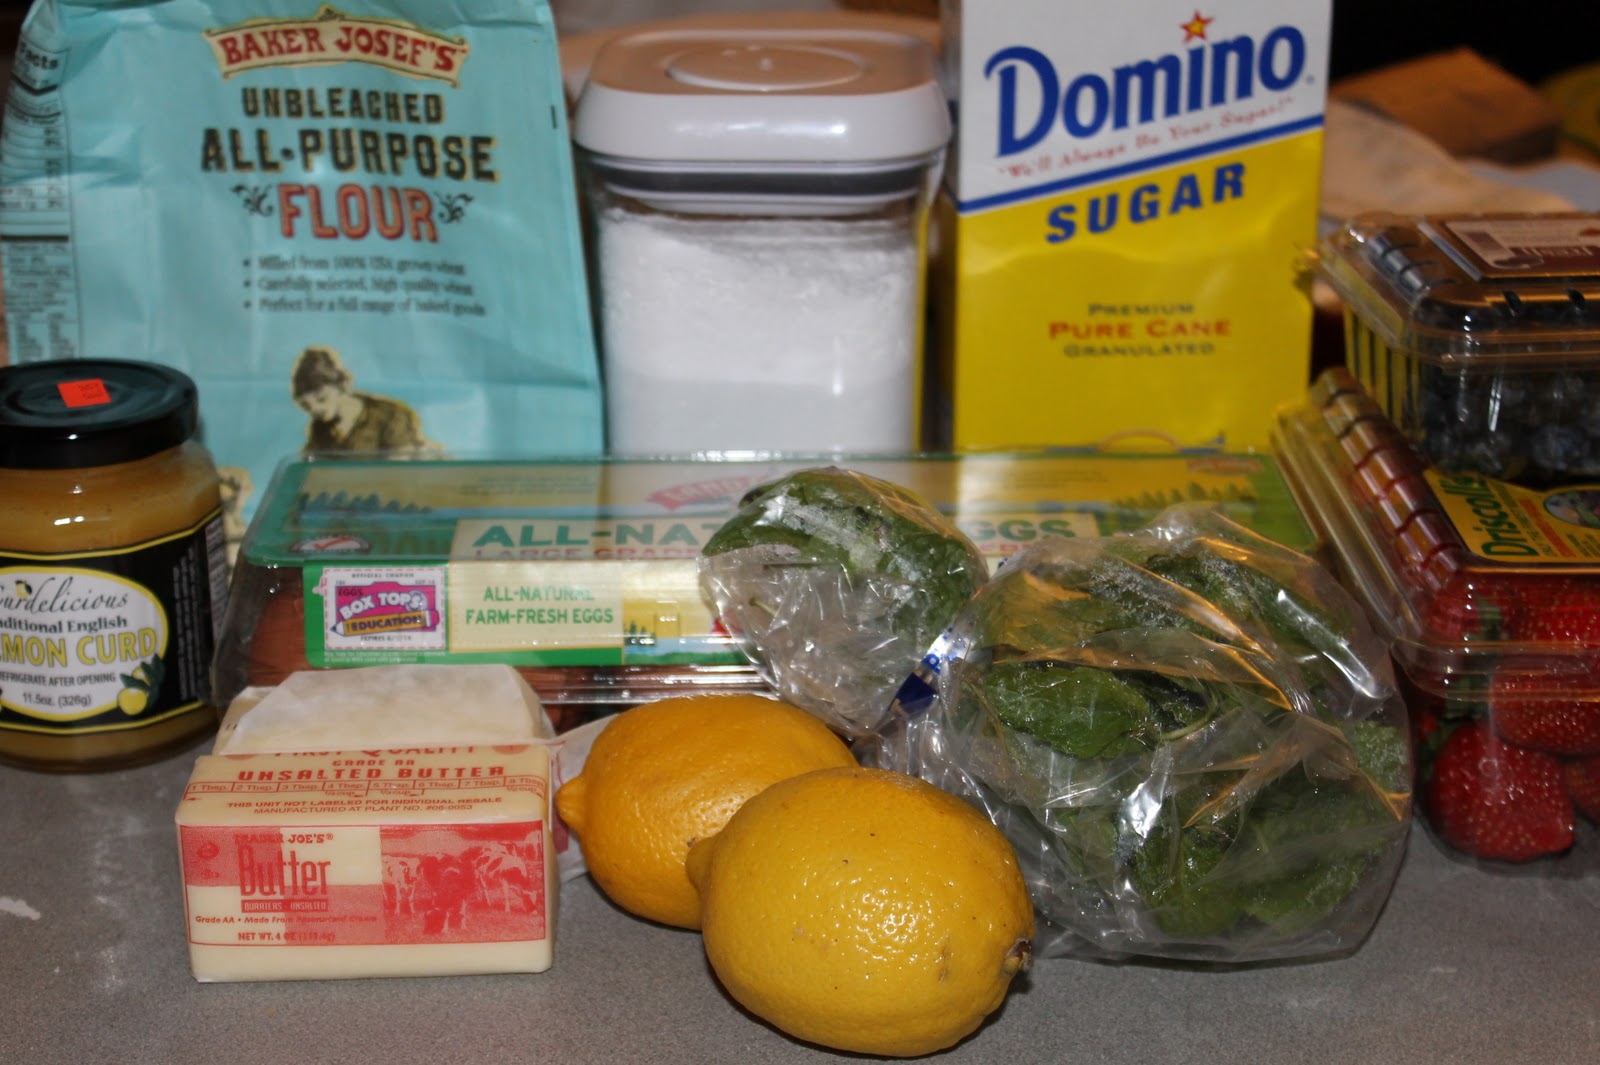
Ingredients:
1/4 cup sugar
1/4 cup loosely packed mint leaves
3/4 cup butter, softened
3 cups powdered sugar, divided
3 large eggs
1 1/2 cups all-purpose flour
2 1/2 cups whipping cream, divided
2 teaspoons grated lemon rind
2 tablespoons fresh lemon juice
1 (12-ounce) jar lemon curd
1 quart fresh strawberries, sliced
1 pint fresh blueberries
It has been one year and almost 170 posts after I quietly began my blog. I cannot believe I have been doing this for 365 days. I initially started the blog as my own personal inventory of recipes I enjoyed and to have a place to record my evolution into (hopefully) someone that could cook. I never imagined it would become such a source of enjoyment for me, or that anyone would ever look at it!
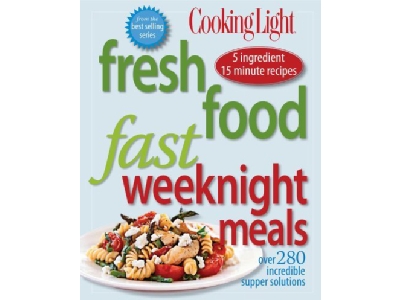
I am so lucky to have progressed this much in one year’s time, and I want to thank all of you who check in on my blog from time to time. What better way to thank you than with a giveaway? As you’ve probably noticed, Cooking Light has been a huge part of my culinary development. I have them to thank for helping me realize that I could indeed learn how to cook. The magazine makes it easy to whip up a delicious and healthy meal while staying within a budget. Each month contains so many recipes that can be made in 40 minutes or less, (perfect for week nights) and because the magazine comes out monthly, it’s easy to take advantage of seasonal produce in your cooking.
Photo courtesy of Cooking Light
So I am giving away not one, but two one-year subscriptions to Cooking Light, so that you can get as much joy out of the magazine as I have!
Note: This contest is now closed. Congratulations to Julie from Sugarfoot Eats who won both a subscription to Cooking Light AND the Weeknight Meals cookbook! Congratulations also go to Claire from The Realistic Nutritionist who also won a subscription to Cooking Light! I hope you two enjoy it as much as I have!!
How to enter:
Write a comment below letting me know which cookbook you’d like if you win the first subscription.
To receive additional entries, you can also:
Like my facebook page and leave comment below telling me you did so
Like Cooking Light’s facebook page and leave comment below telling me you did so
Follow me on twitter and leave a comment below telling me you did so
Tweet about this giveaway: “Enter to win @icancookthat’s Cooking Light Magazine subscription giveaway! https://tinyurl.com/7uud8ua #giveaway” and leave a comment below saying you did so.
Rules: This is open to U.S. residents only (sorry). Please be sure to include your e-mail address so that I can contact you if you win. The giveaway will run until Thanksgiving, Thursday, November 24 at 11:59pm ET. Two winners will be chosen at random using Random.org from all eligible entries. Each reader has up to five chances to win (be sure to leave a separate comment for each entry). The winners will be notified through e-mail on Friday, November 25.
Note: If you already have a subscription to Cooking Light but would like to be entered to win just one of the cookbooks, please just let me know that in your first comment.
I am having way too much fun trying out all these new meats through Arganica. This week I thought I’d try to conquer elk. Elk has a similar taste to beef and is low in both fat and cholesterol. I thought it was another perfect excuse to use my slow cooker, and to invent my own barbecue sauce! I decided to make a Chipotle-Guinness barbecue sauce.
Ingredients:
1 tablespoon olive oil
1 medium sized yellow onion, chopped
3 garlic cloves, minced
1 (~12 oz) bottle of Guinness
1 (14.5 oz) can tomato puree
1/4 cup molasses
1/4 cup cider vinegar
1/4 teaspoon red pepper flakes
1 tablespoon brown sugar
1 tablespoon Worcestershire sauce
1 tablespoon of the sauce from a can of chipotle peppers in adobo
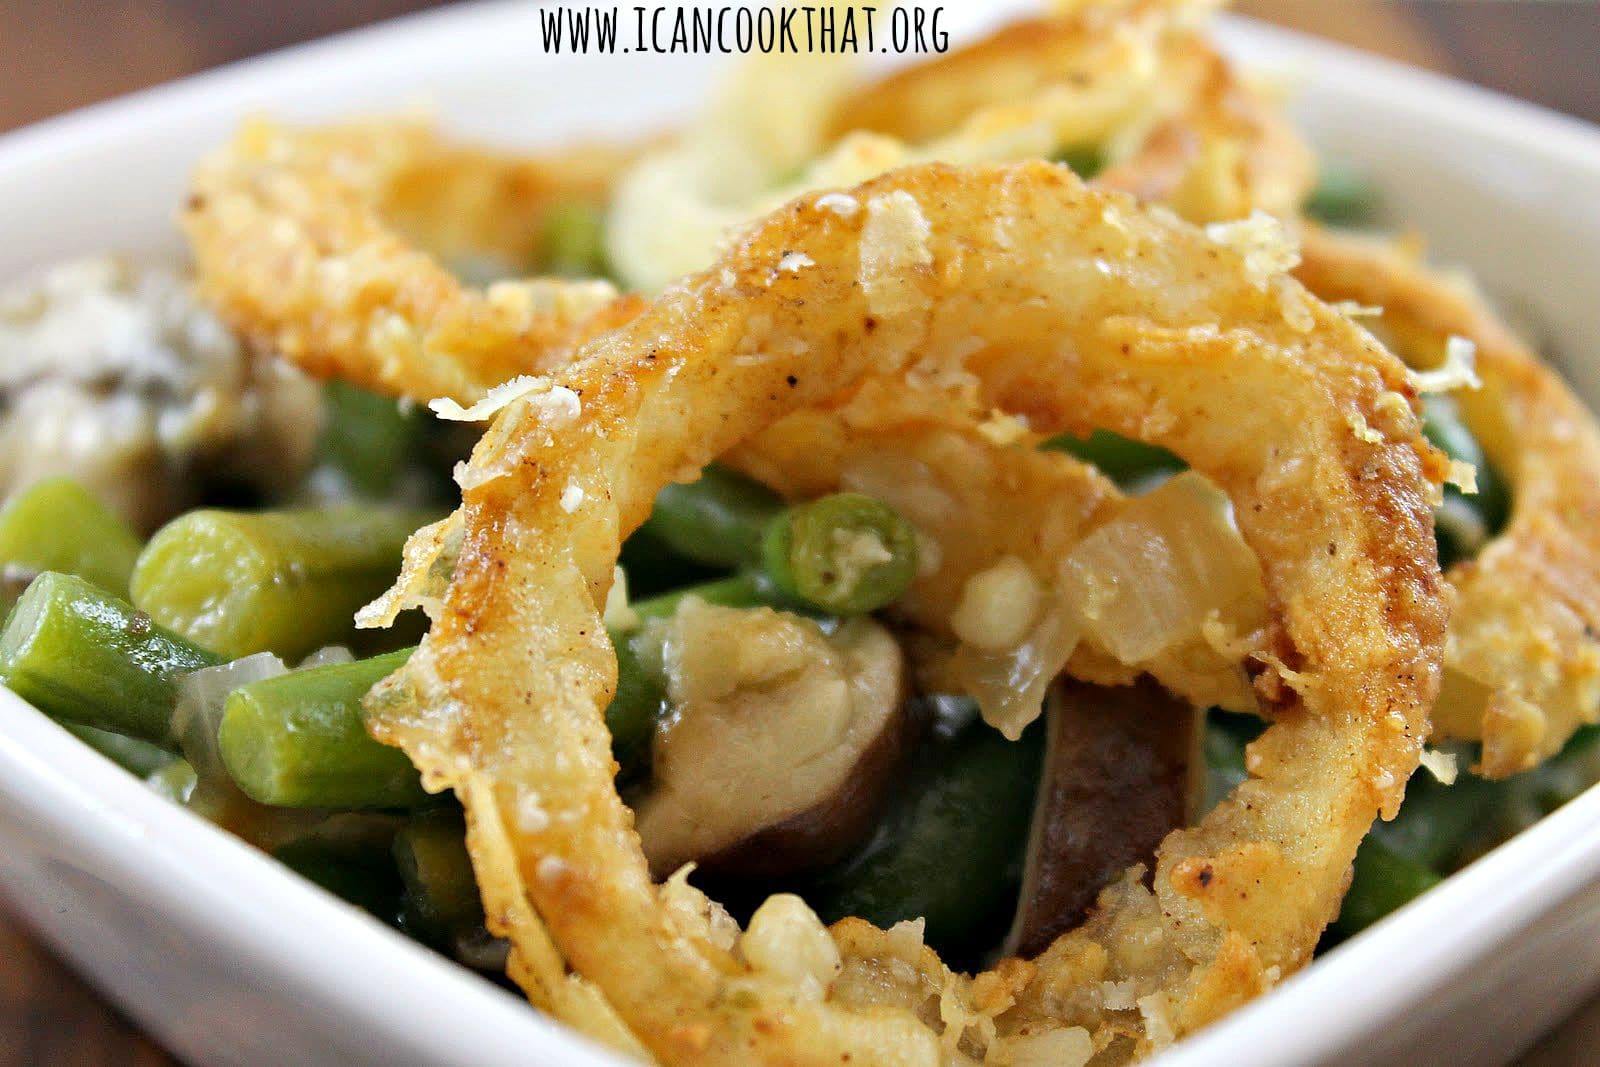
My goodness, can you really believe that Thanksgiving is in ten days? Thanksgiving is (not surprisingly) my favorite holiday of the year: it’s about coming together with the people you love for one absolutely fantastic meal. I do love turkey, but I always find the sides to be the best part of any Thanksgiving meal. In case you’re like me and you’ve begun testing recipes for the big day, I wanted to share this lightened up version of Green Bean Casserole with Mushrooms from Cooking Light. Although usually made with cream of mushroom soup, this version packs enough flavor that you won’t miss the lack of cream. And don’t worry, the fried onions are still there.
Ingredients
For the fried onions:
1 medium sized yellow onion, thinly sliced
1 cup flour
1 teaspoon paprika
Salt & Pepper to taste
1/2 cup milk
Canola Oil
For Green Beans:
1 1/2 pounds green beans, trimmed and halved crosswise
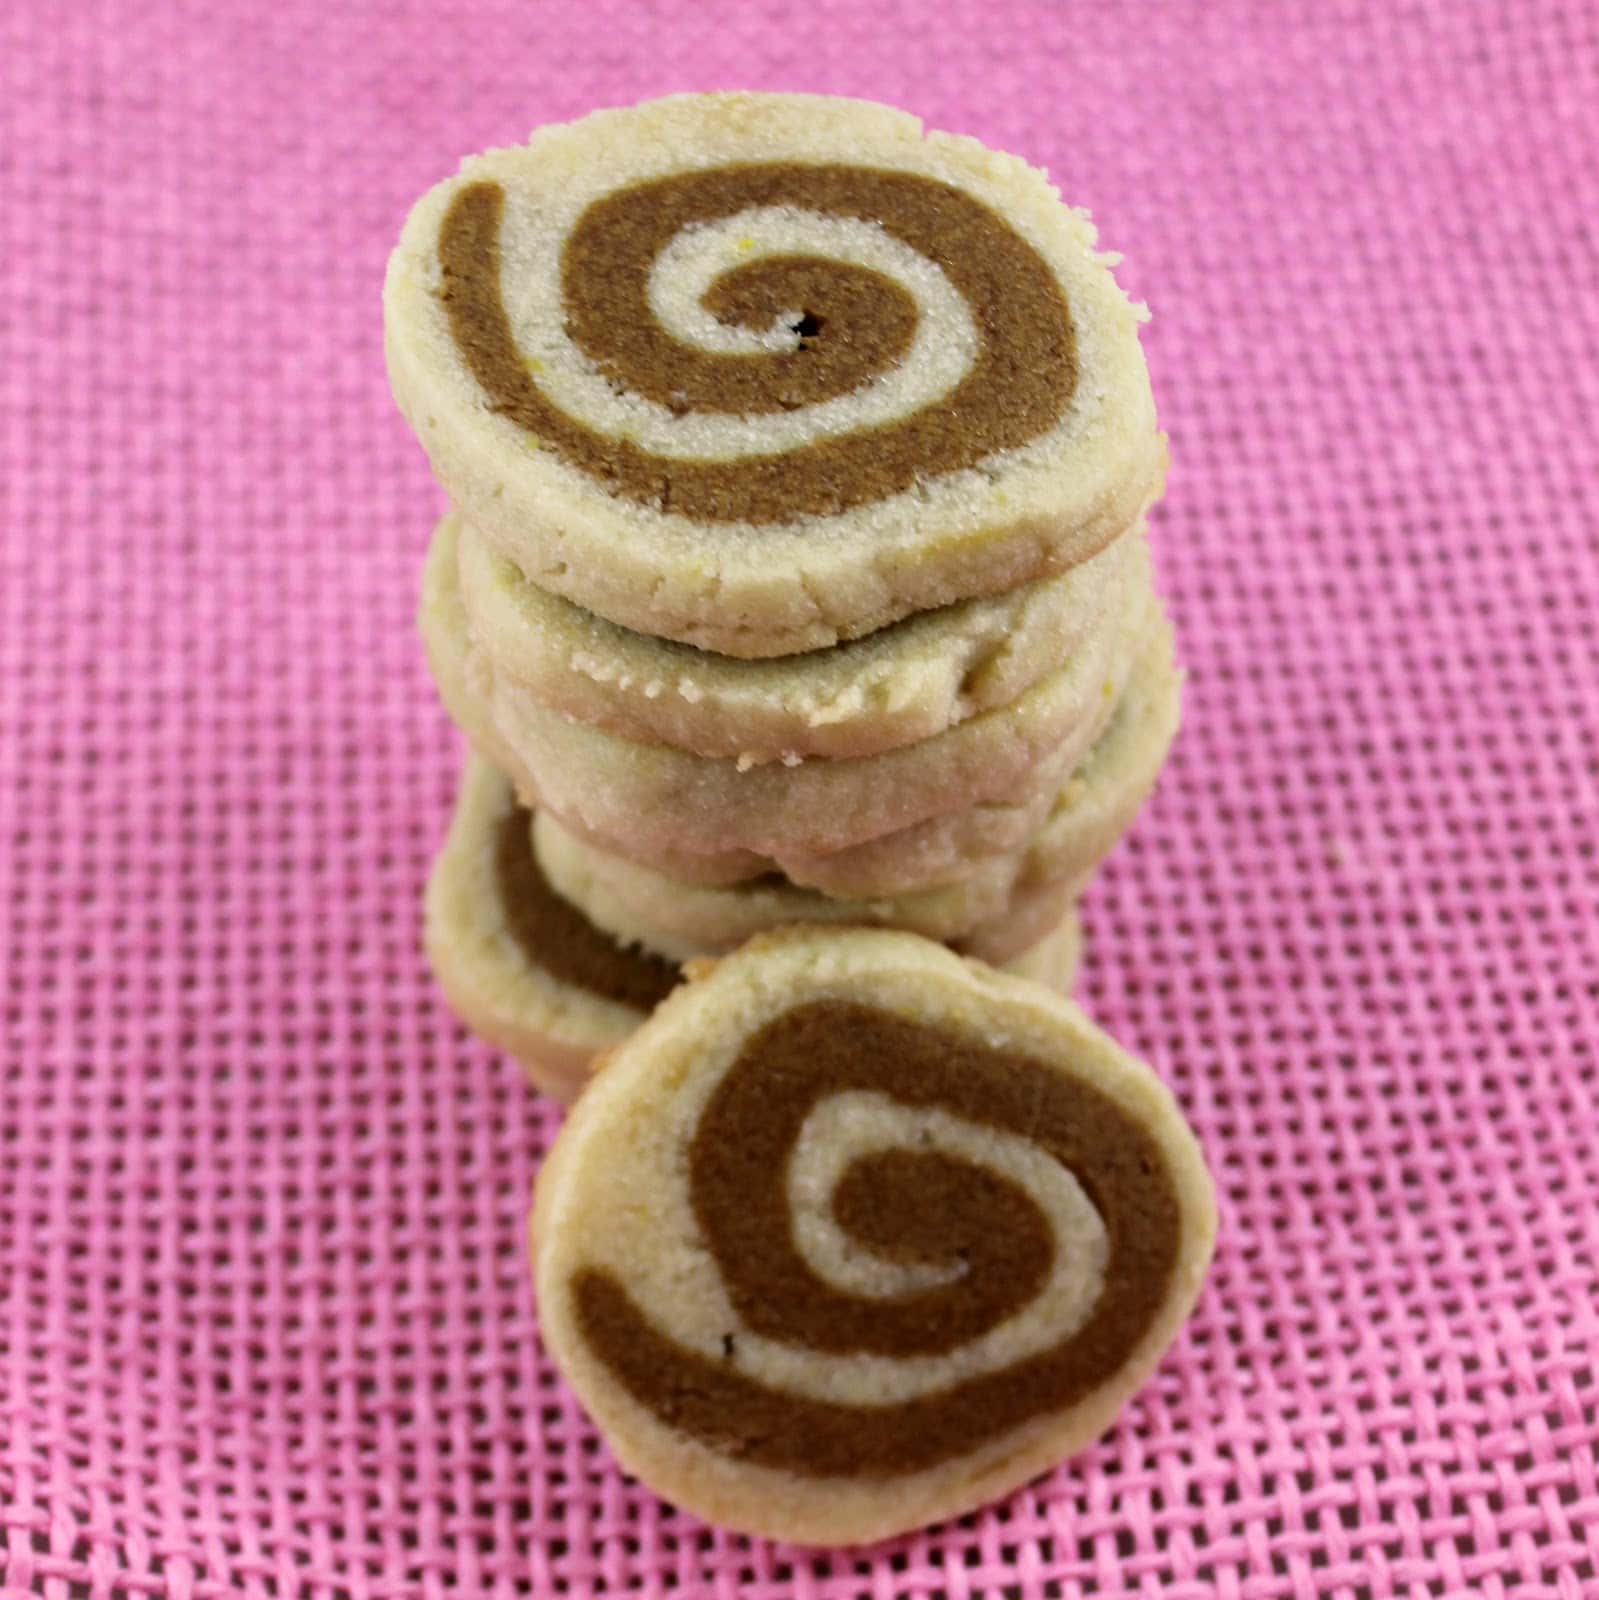
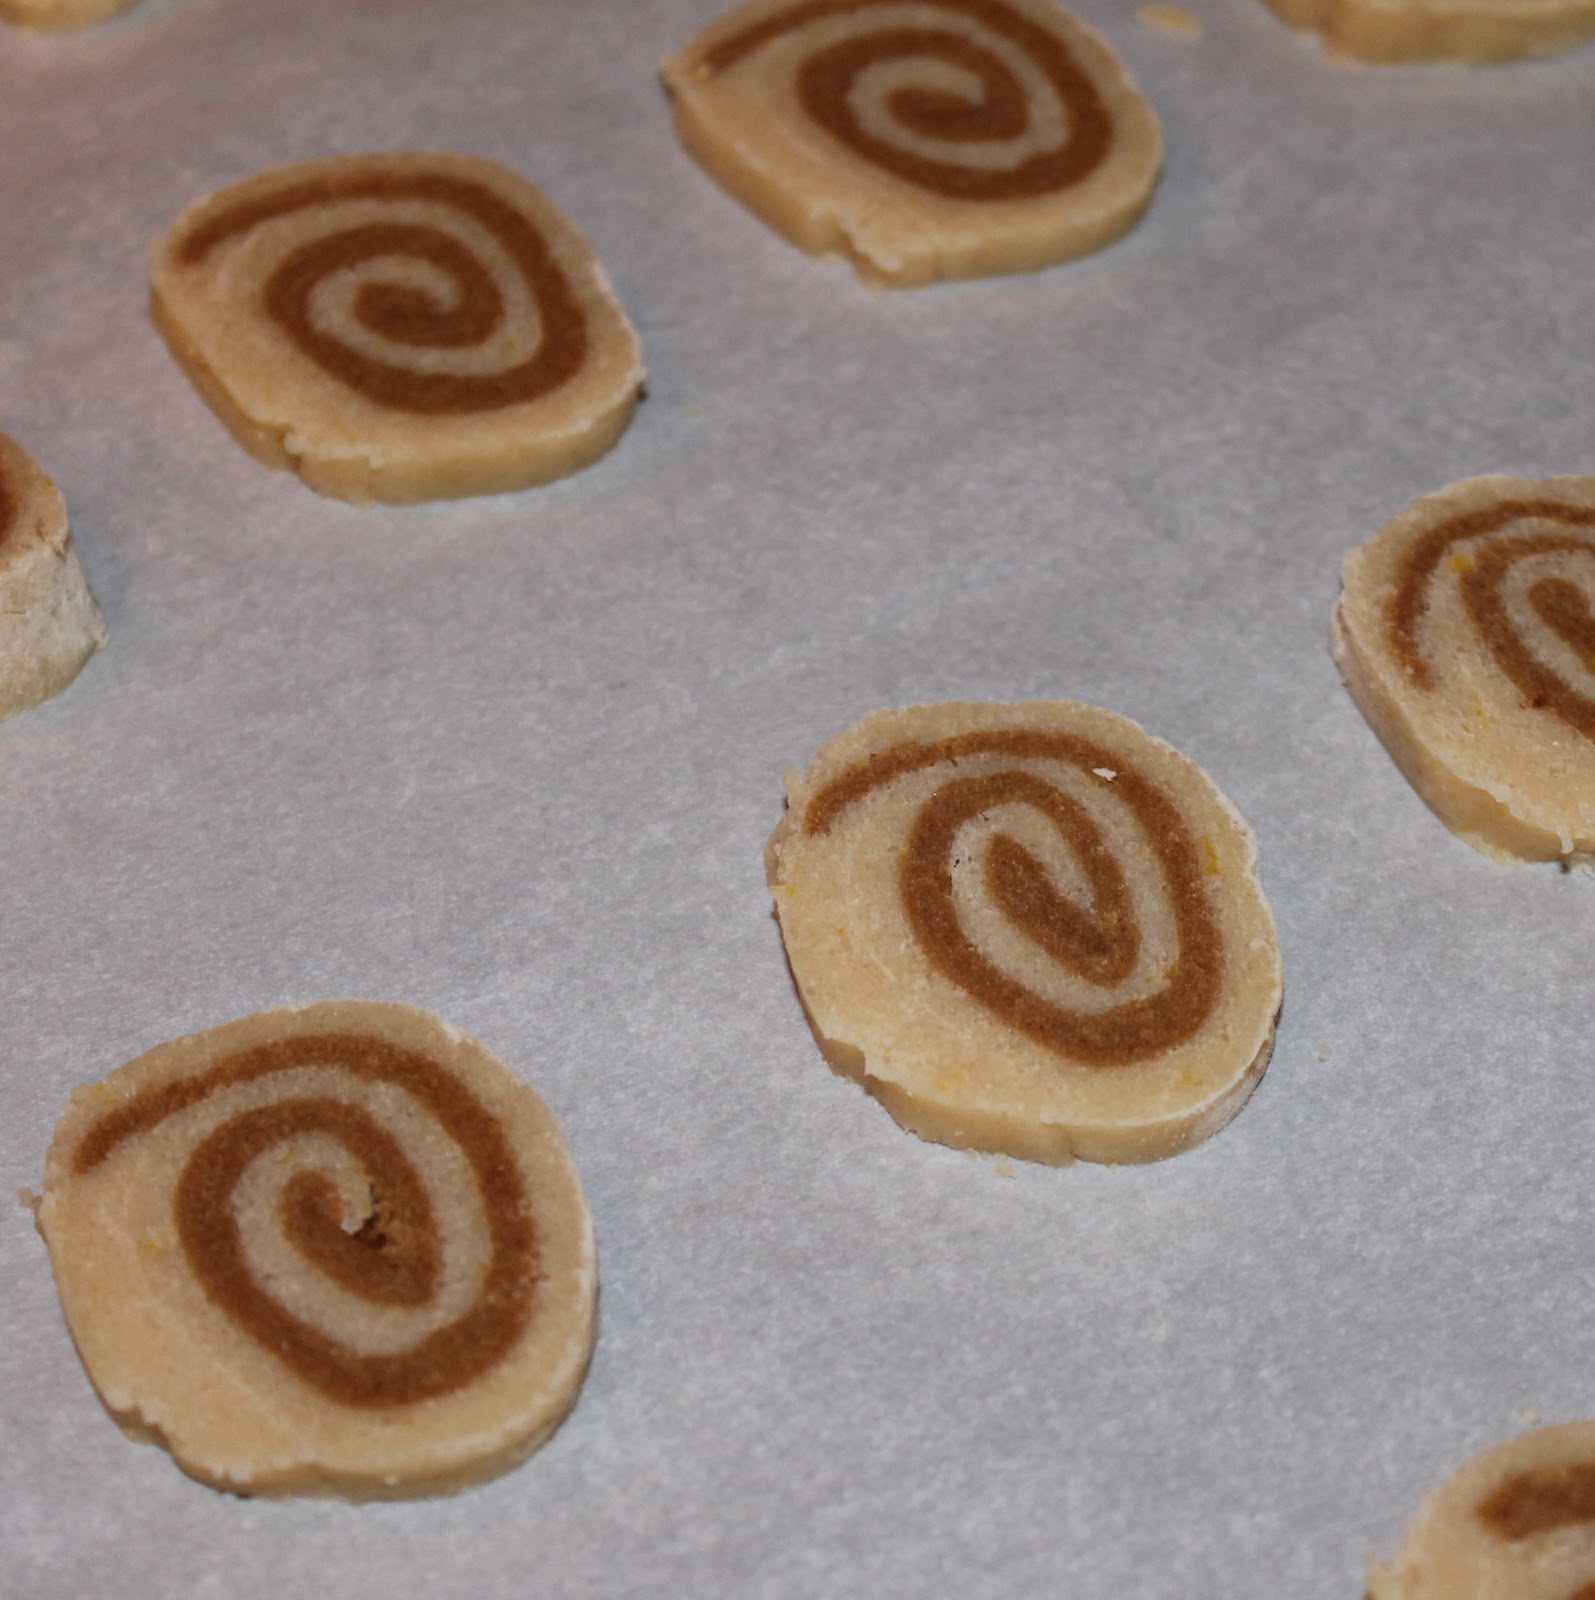
I promise I’ll stop my cookie binge after this post. I was looking for a somewhat “adult” cookie for a bake sale at work and I came across this recipe for Ginger Lemon Pinwheel Cookies. Ginger and lemon cookies? Hmm. This recipe takes a long time (a lot of refrigerating, freezing, etc.) so if you plan on making these Ginger Lemon Pinwheel Cookies, make sure you have a good chunk of time, around 2 hours.
but they are so pretty it’s worth it!
Ingredients
Ginger dough:
1/4 cup unsalted butter, softened
1/3 cup packed dark brown sugar
1/4 cup molasses
1 large egg yolk
1 1/3 cups all-purpose flour
3/4 teaspoon ground ginger
3/4 teaspoon ground cinnamon
1/4 teaspoon salt
1/8 teaspoon ground nutmeg
Dash of ground allspice
Lemon dough:
5 tablespoons unsalted butter, softened
2/3 cup granulated sugar
1 large egg white
the zest of 2 lemons
1/2 teaspoon lemon juice
3/4 teaspoon vanilla extract
1 1/3 cups all-purpose flour
1/4 teaspoon salt
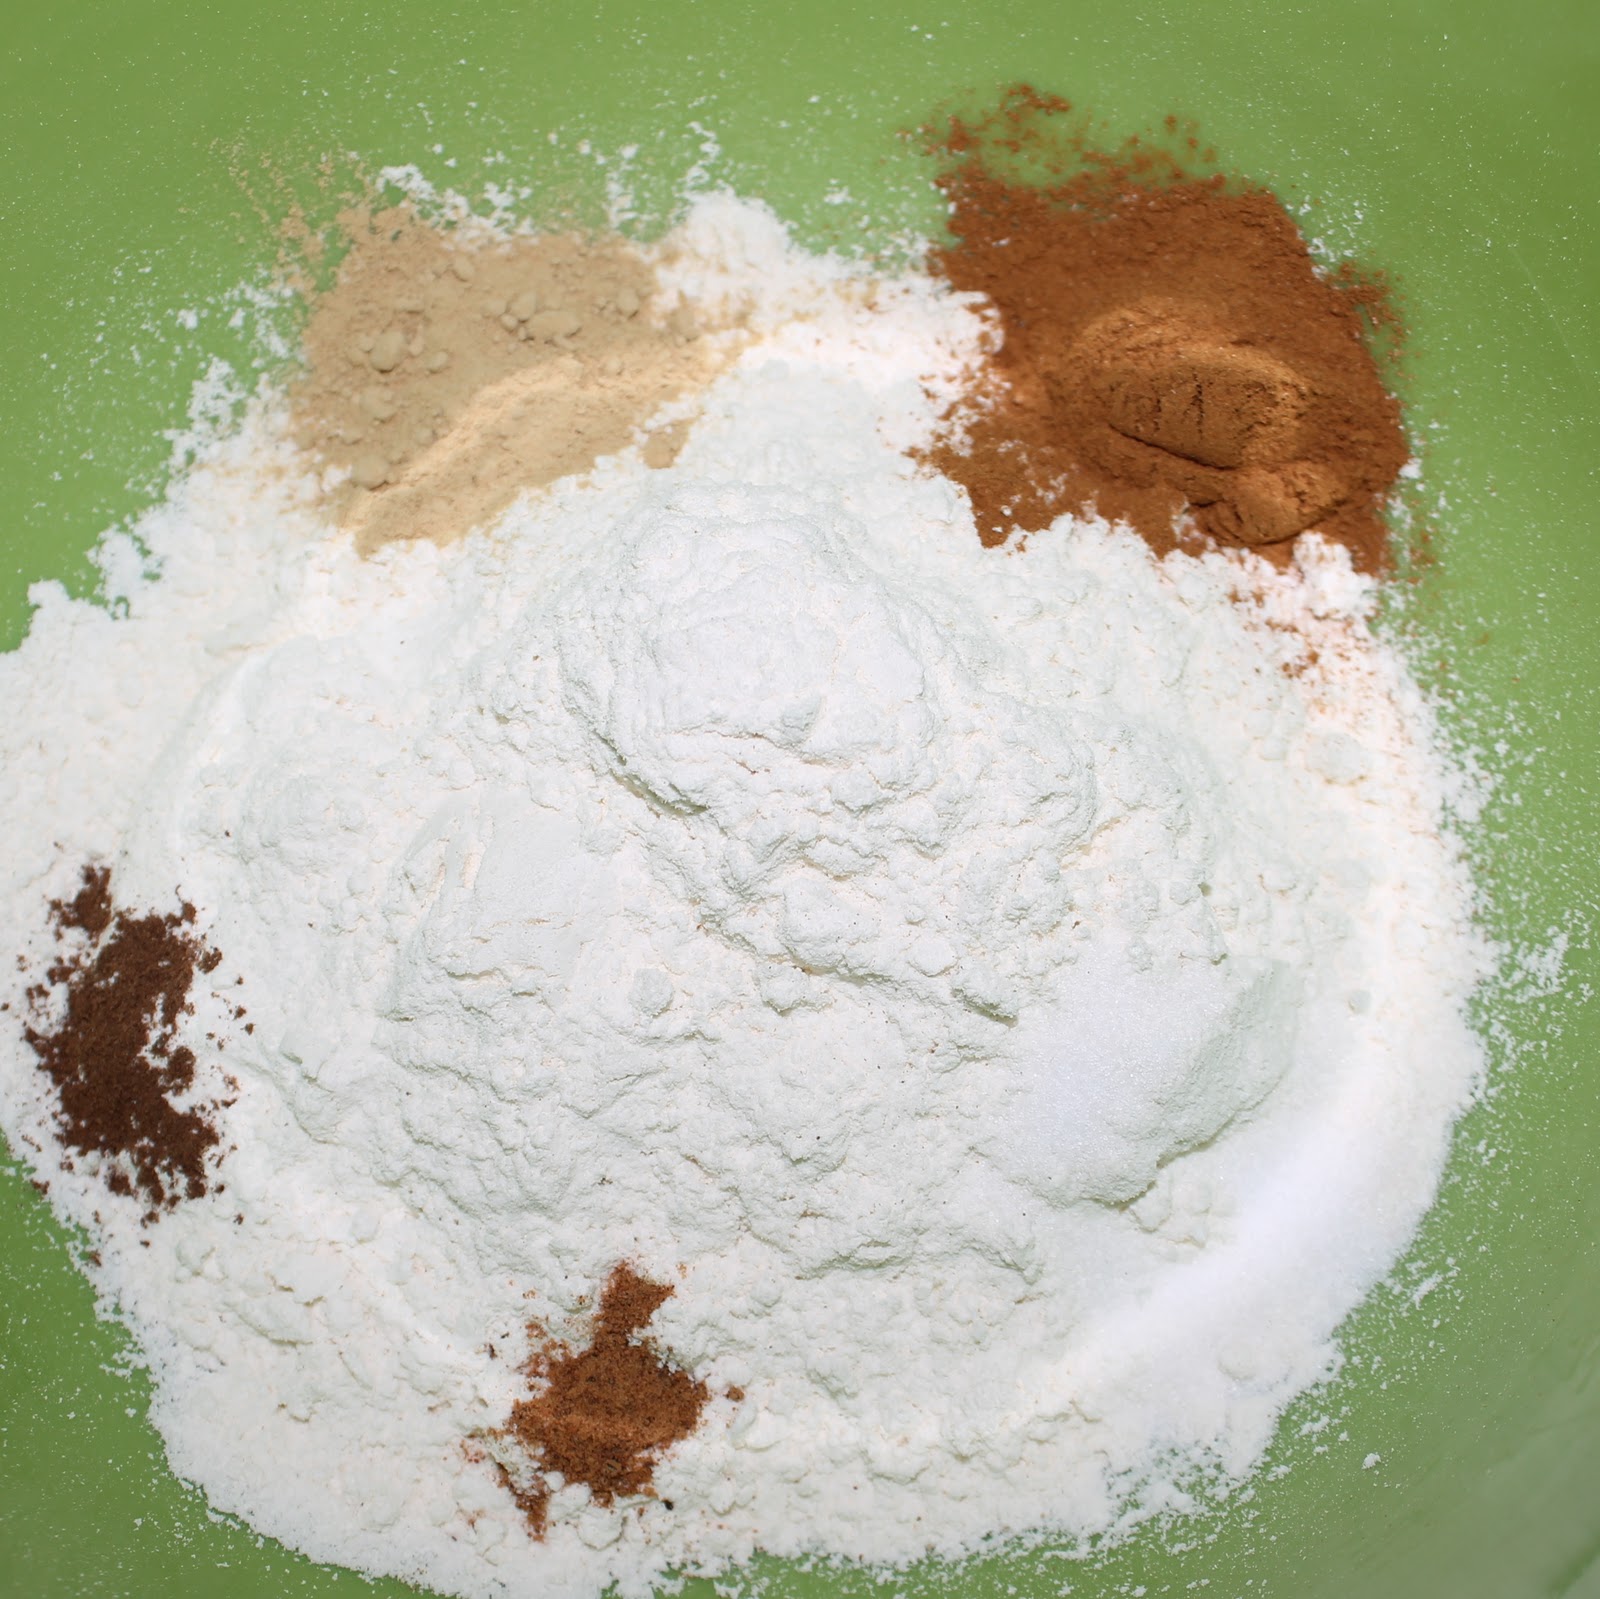
To make the Ginger Lemon Pinwheel Cookies, begin by making the ginger dough. In a medium bowl, add the flour, ginger, cinnamon, salt, nutmeg and allspice, stir with a whisk to combine.
Add 1/4 cup butter and the brown sugar to a large bowl. Beat with a mixer on medium until well combined.
You will end up using an entire egg in this recipe. To remove the yolk from the egg white, crack the egg over a bowl carefully. Split the two ends of the egg and move the egg from shell piece to shell piece until the white falls into the bowl and the yolk is left in the shell. Reserve the egg white for the lemon dough.
Add molasses and egg yolk to the sugar and butter. Beat until well blended.
Add flour mixture to butter mixture; beat at low speed just until combined.
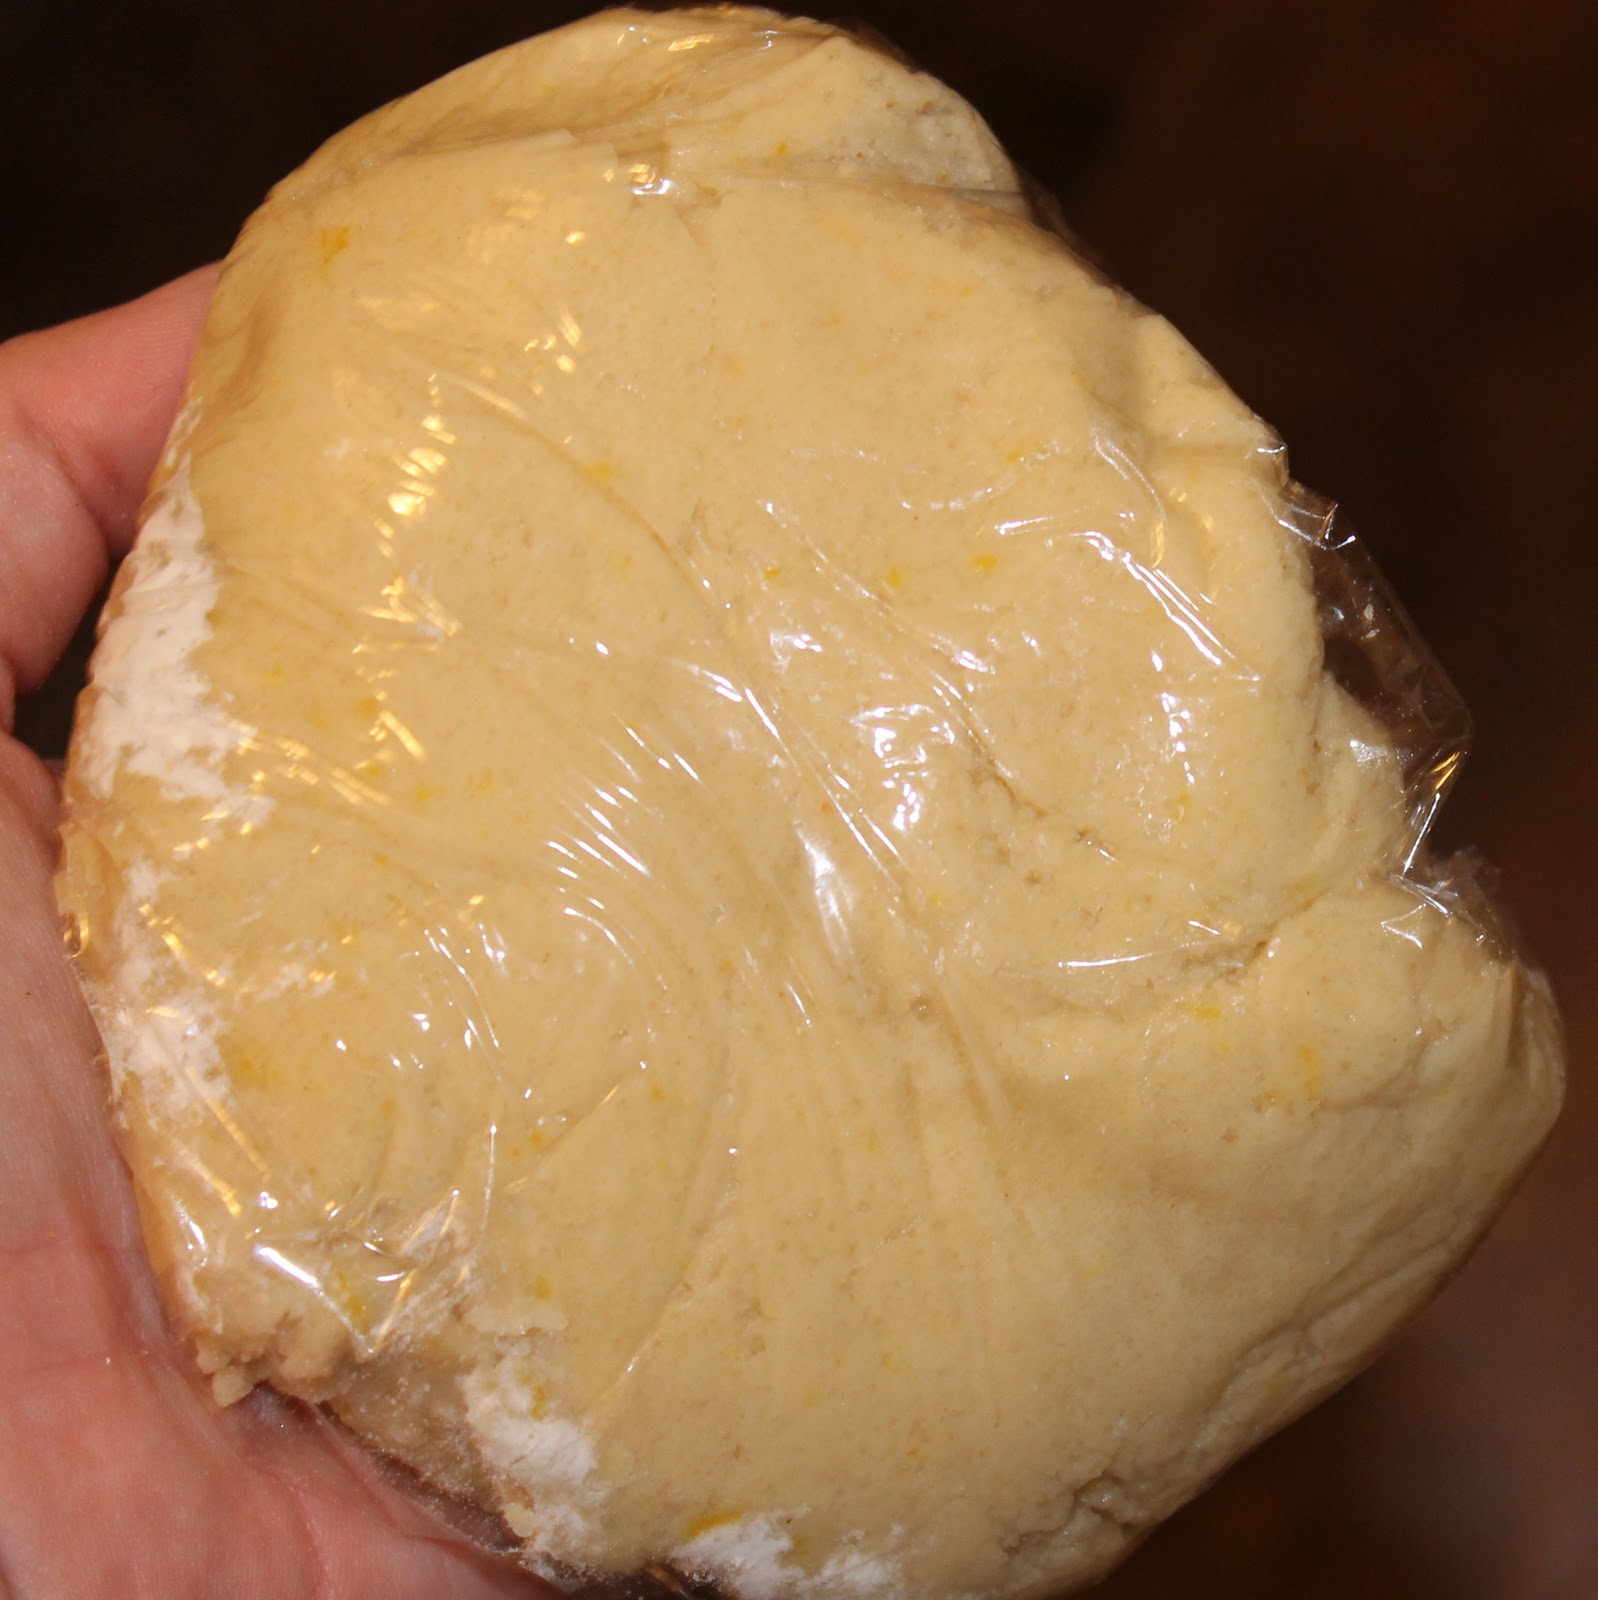
Wrap dough in plastic wrap and refrigerate for 30 minutes.
To make the lemon dough, add 5 tablespoons softened butter and the sugar in a large bowl. Mix at medium speed until blended. Add the egg white and beat until combined.
Add lemon rind, 1/2 teaspoon lemon juice, and vanilla using a mixer to blend.
In a medium sized bowl, combine the flour and salt. Add flour mixture to butter mixture and beat at low speed just until combined. Wrap dough in plastic wrap; chill 30 minutes.
Unwrap ginger dough. Roll ginger dough between sheets of plastic wrap into a 13 x 8 1/2–inch rectangle (3/16 inch thick). (I honestly just eyeballed this). Chill 10 minutes.
Unwrap lemon dough. Roll lemon dough between sheets of plastic wrap into a 13 x 9–inch rectangle (3/16 inch thick). Basically I just tried to make it slightly thinner than the ginger dough. It doesn’t have to be perfect. Chill 10 minutes.
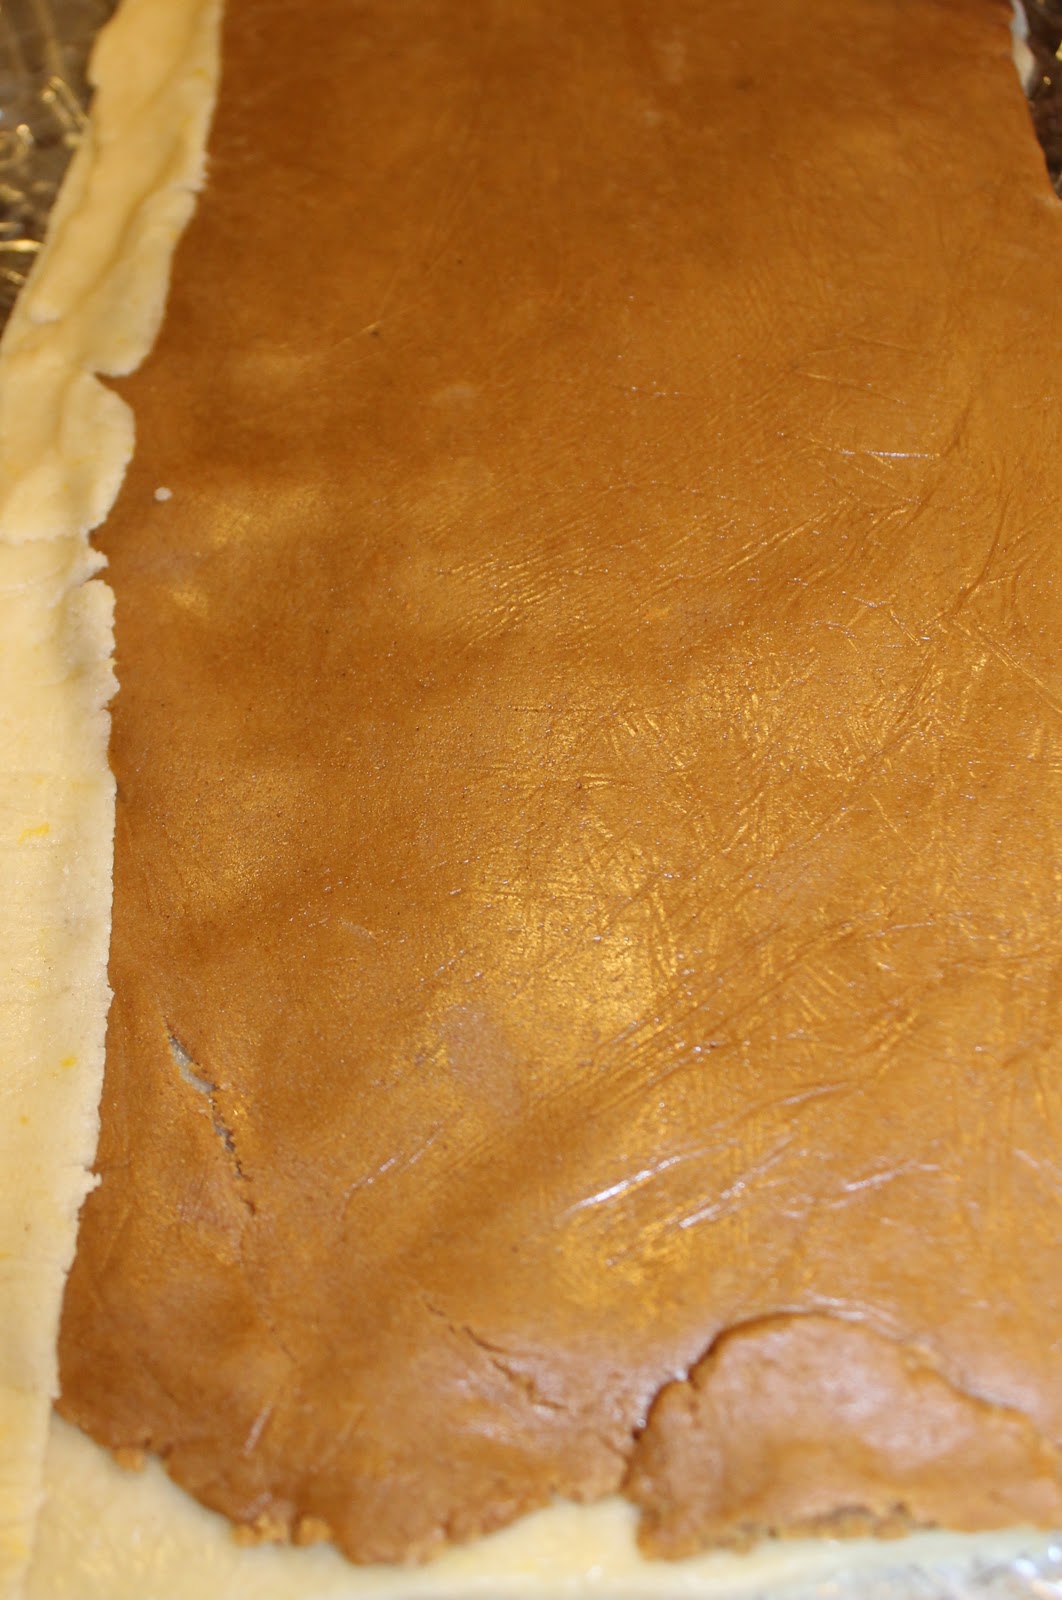
Carefully stack ginger dough on top of lemon dough, leaving a 1/2-inch border along one long edge.
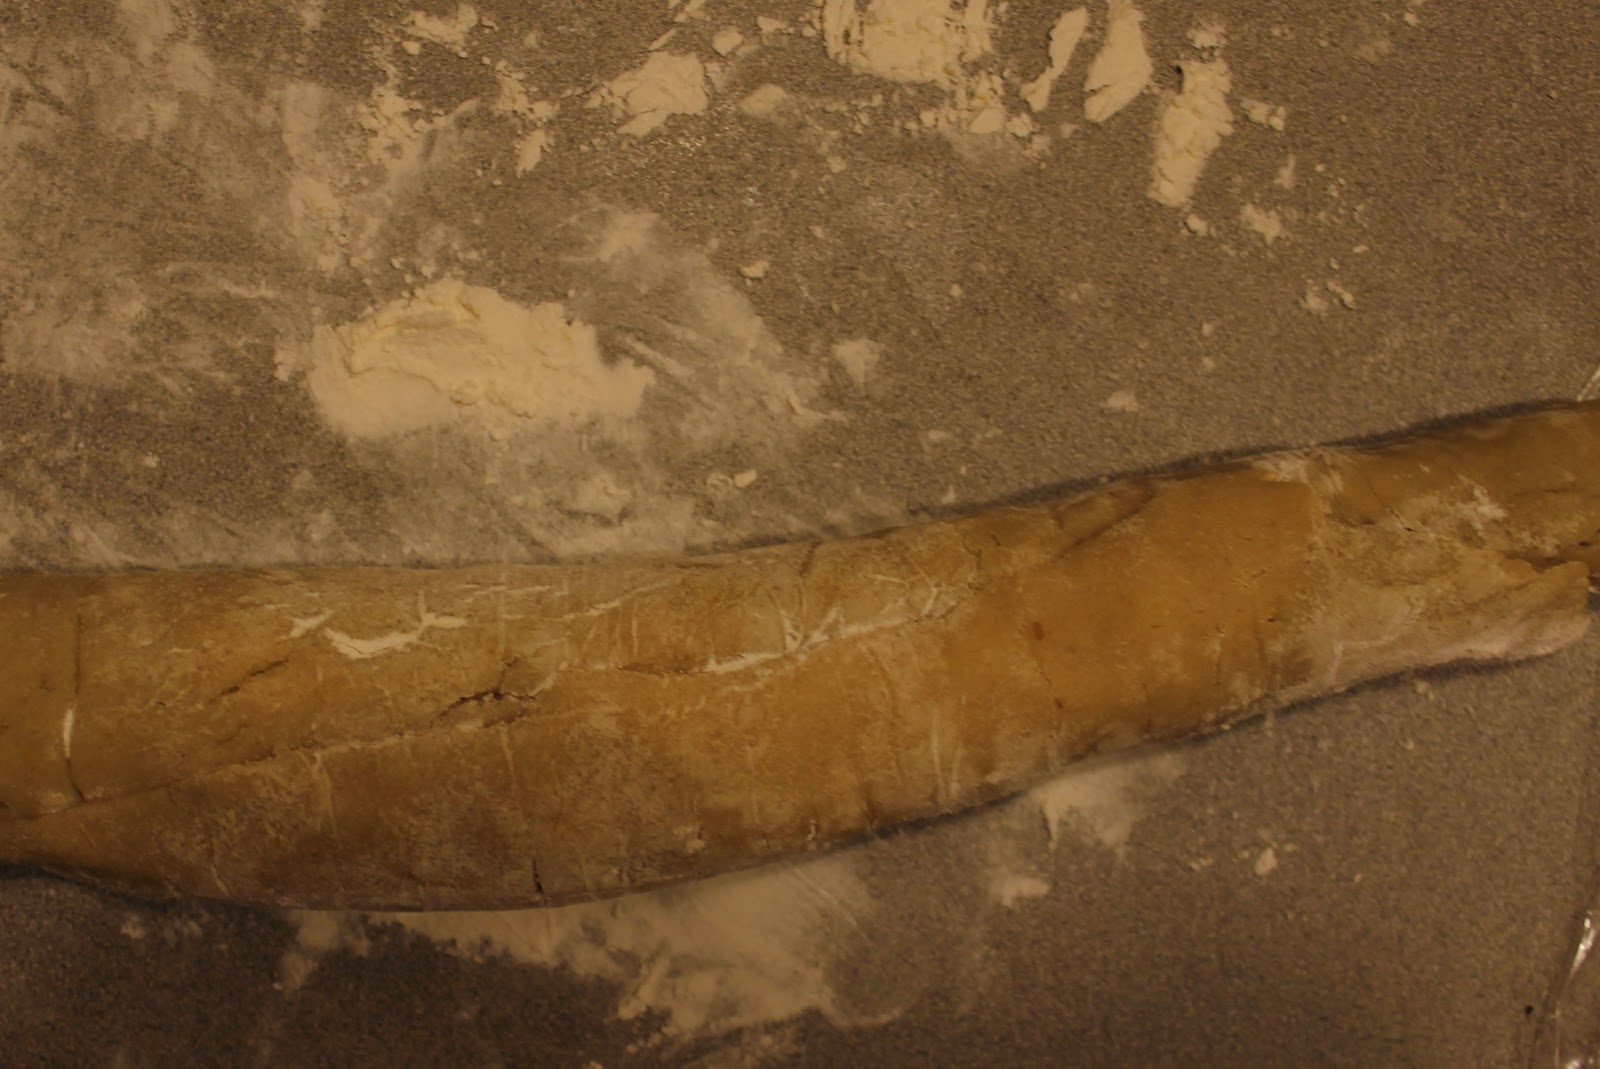
Starting with the long side without a border, roll up dough, jelly-roll fashion. Seal edges (do not seal ends of roll). Cover with plastic wrap; freeze 30 minutes.
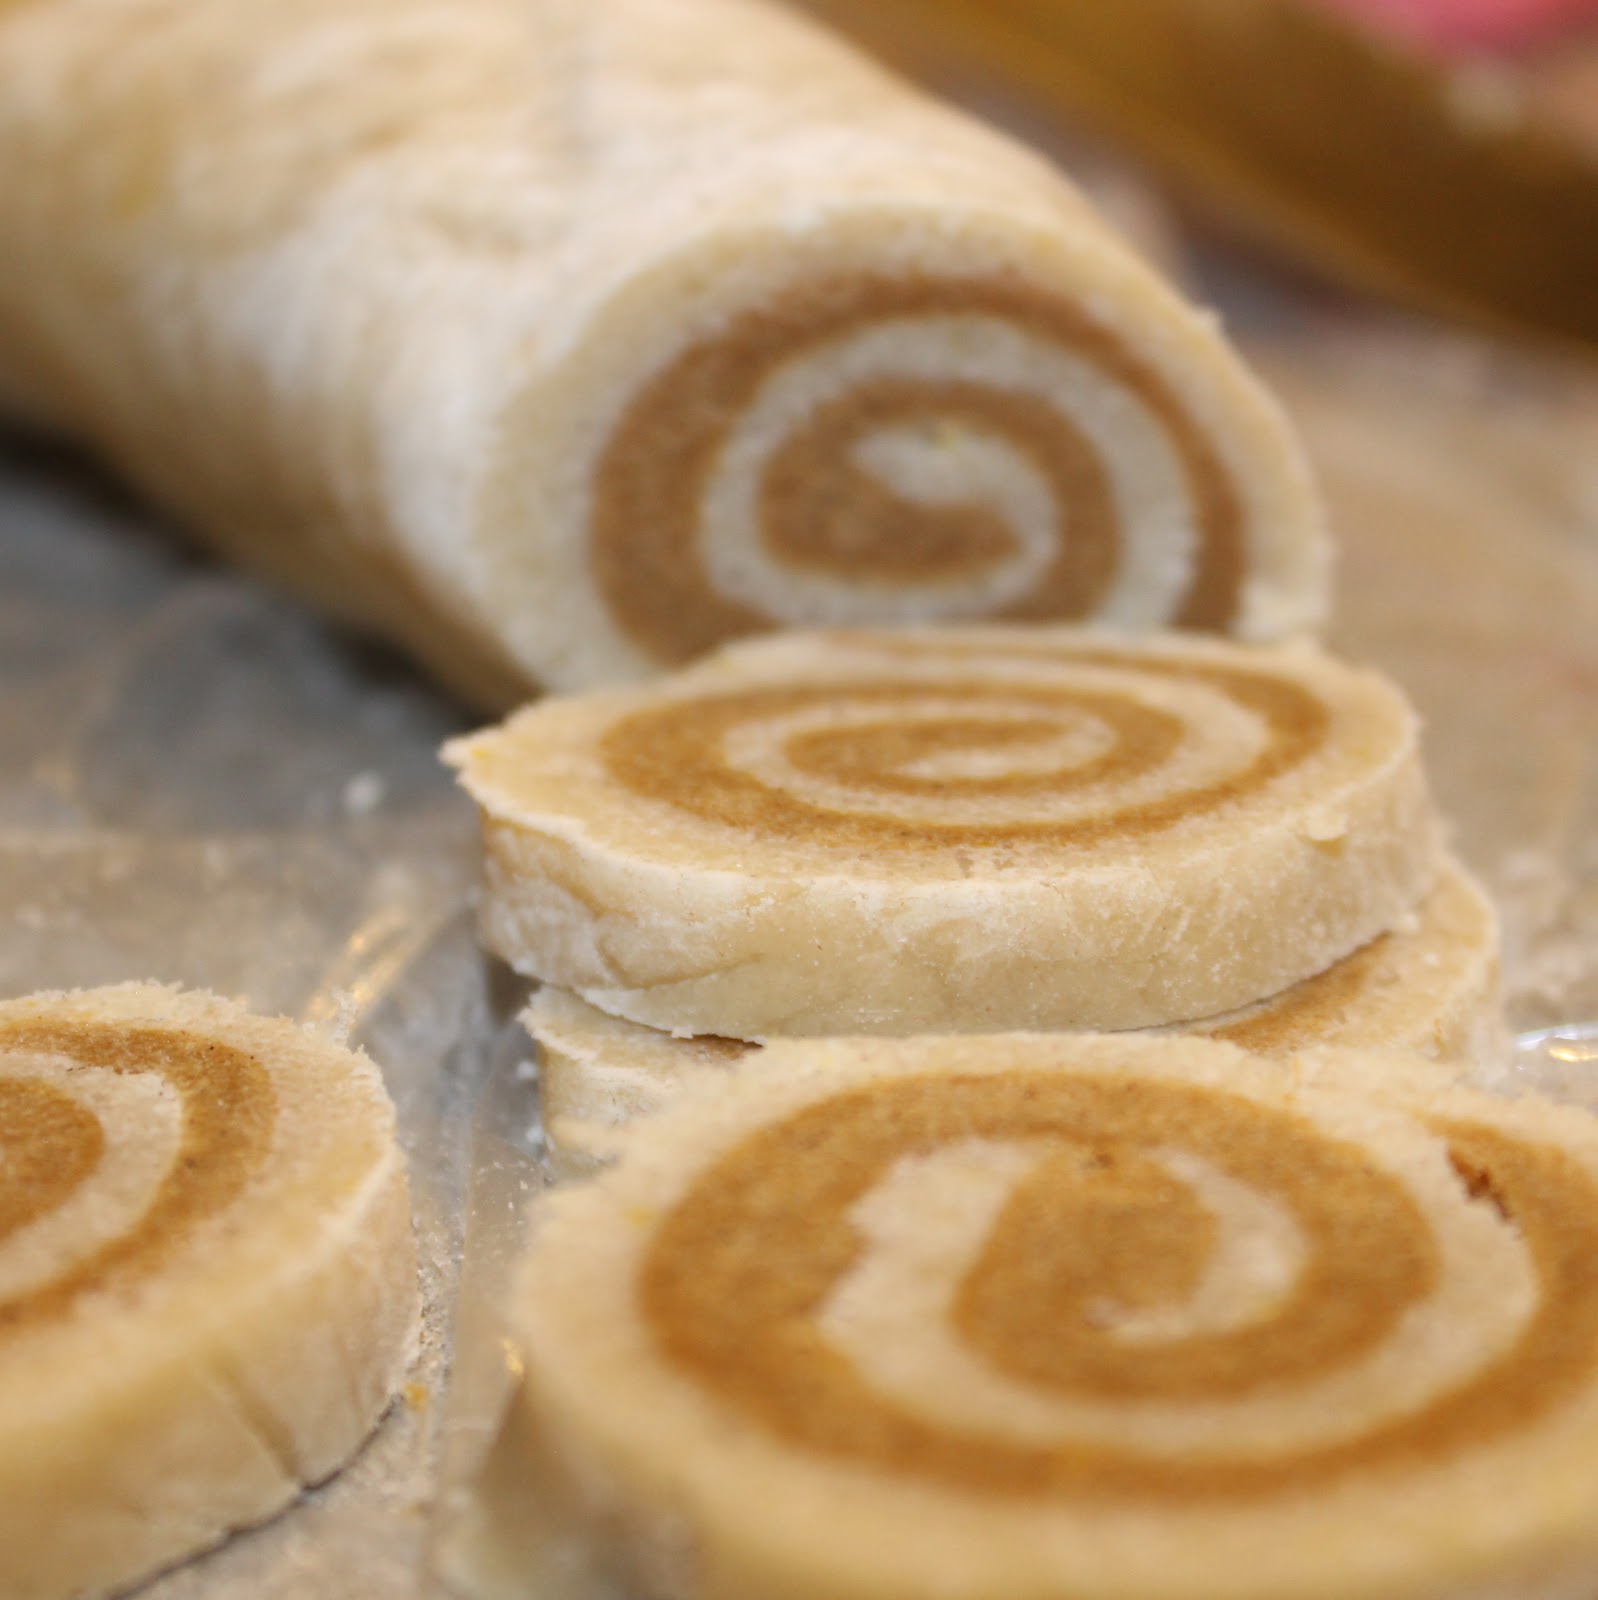
Remove the dough from the freezer. Preheat your oven to 350 degrees. Unwrap dough. Cut with a sharp knife into 40 slices (I got 39 out of mine, so close!)
Arrange slices 1 inch apart on baking sheets lined with parchment paper.
Bake one batch at a time for 9 minutes. Cool on wire racks.
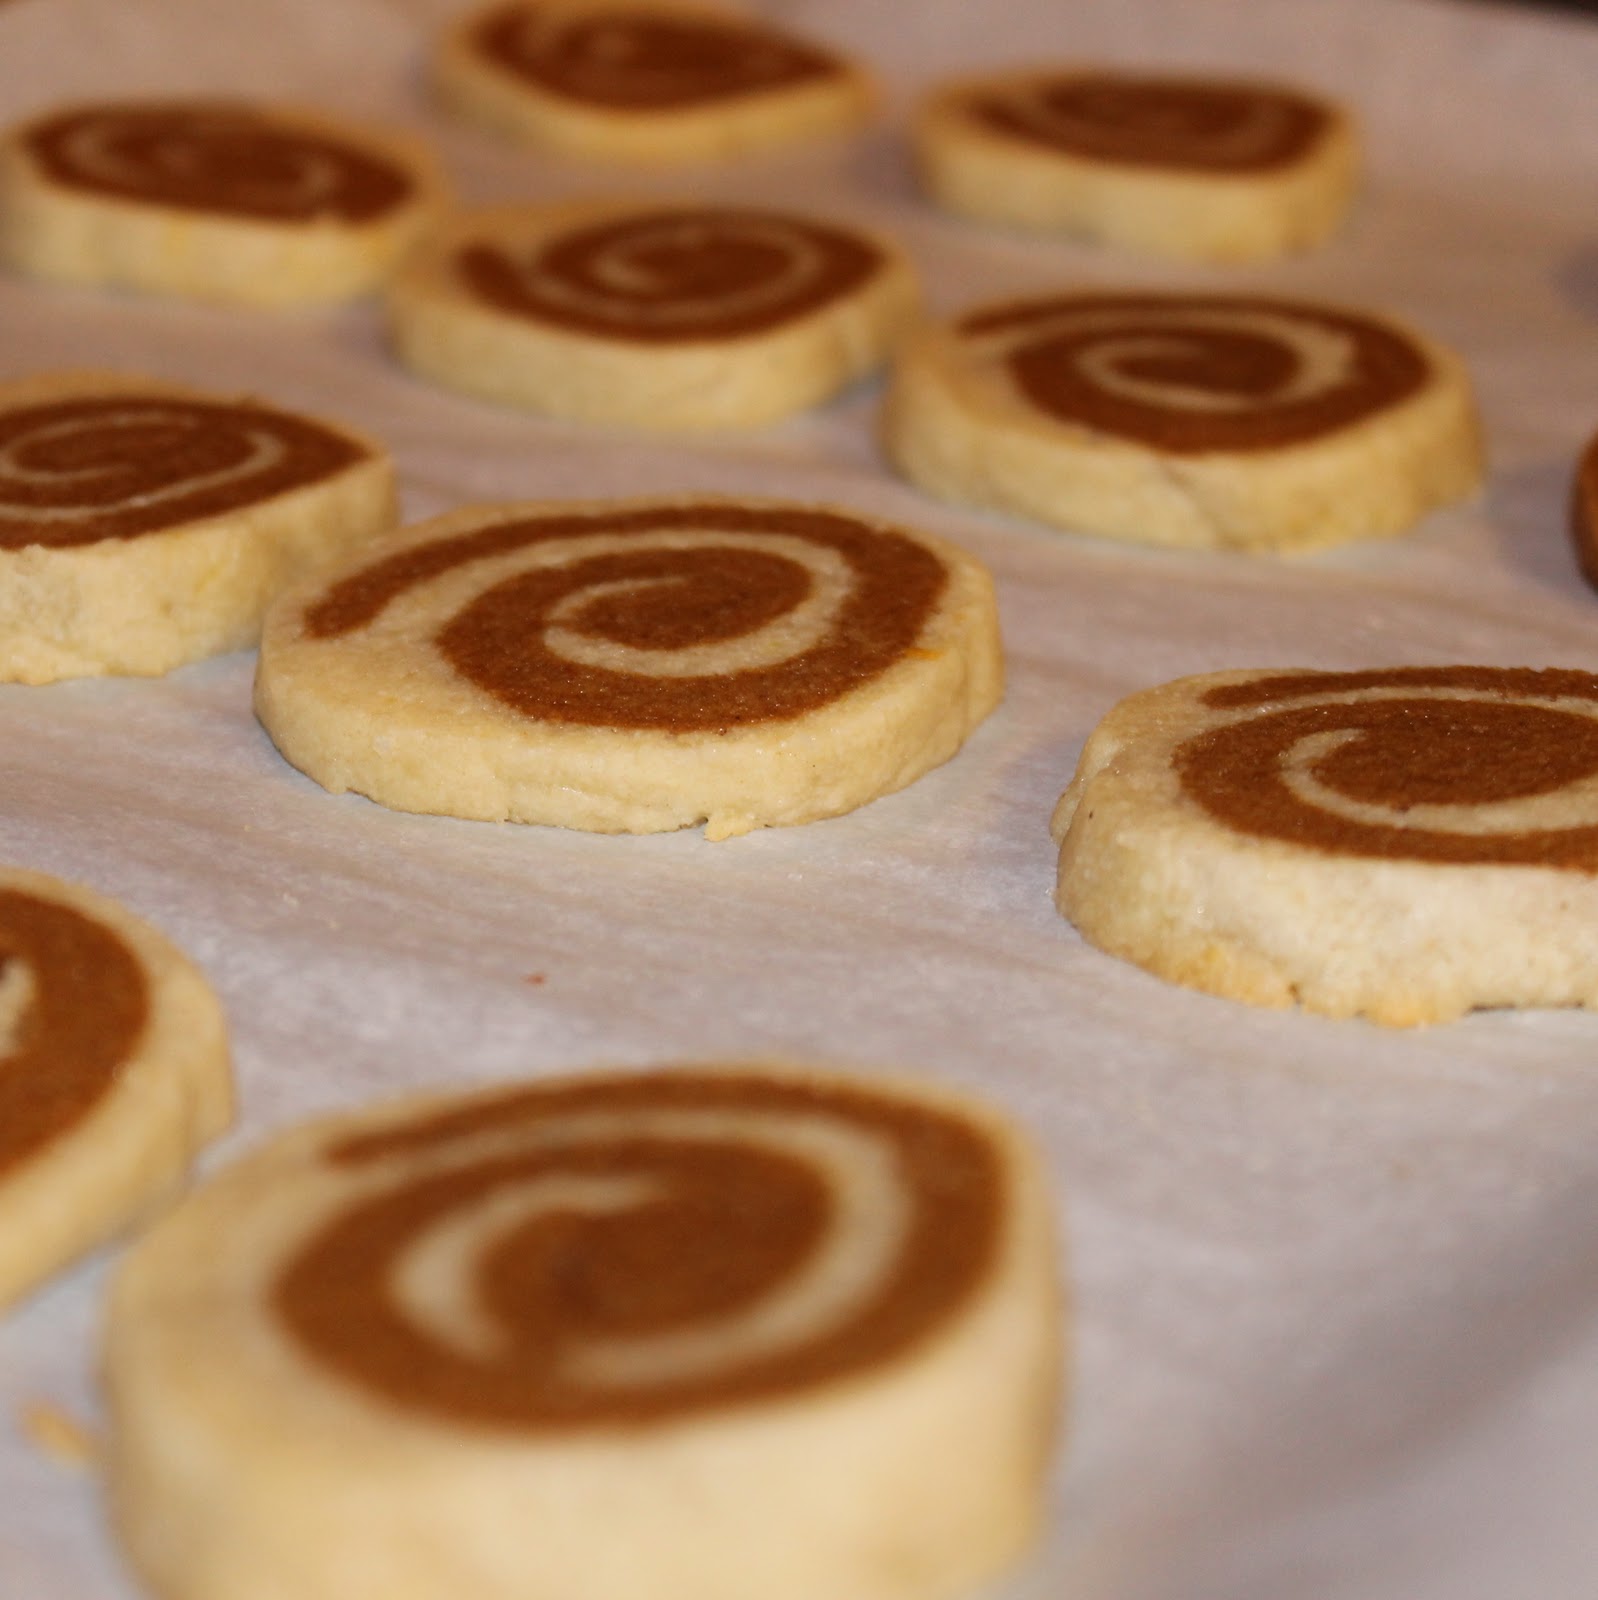
So I can’t lie, this Ginger Lemon Pinwheel Cookies recipe has to be one of the most time consuming and difficult cookie recipes I’ve ever made. But the result is pretty awesome. I was so proud of myself when they turned out looking like pinwheels!
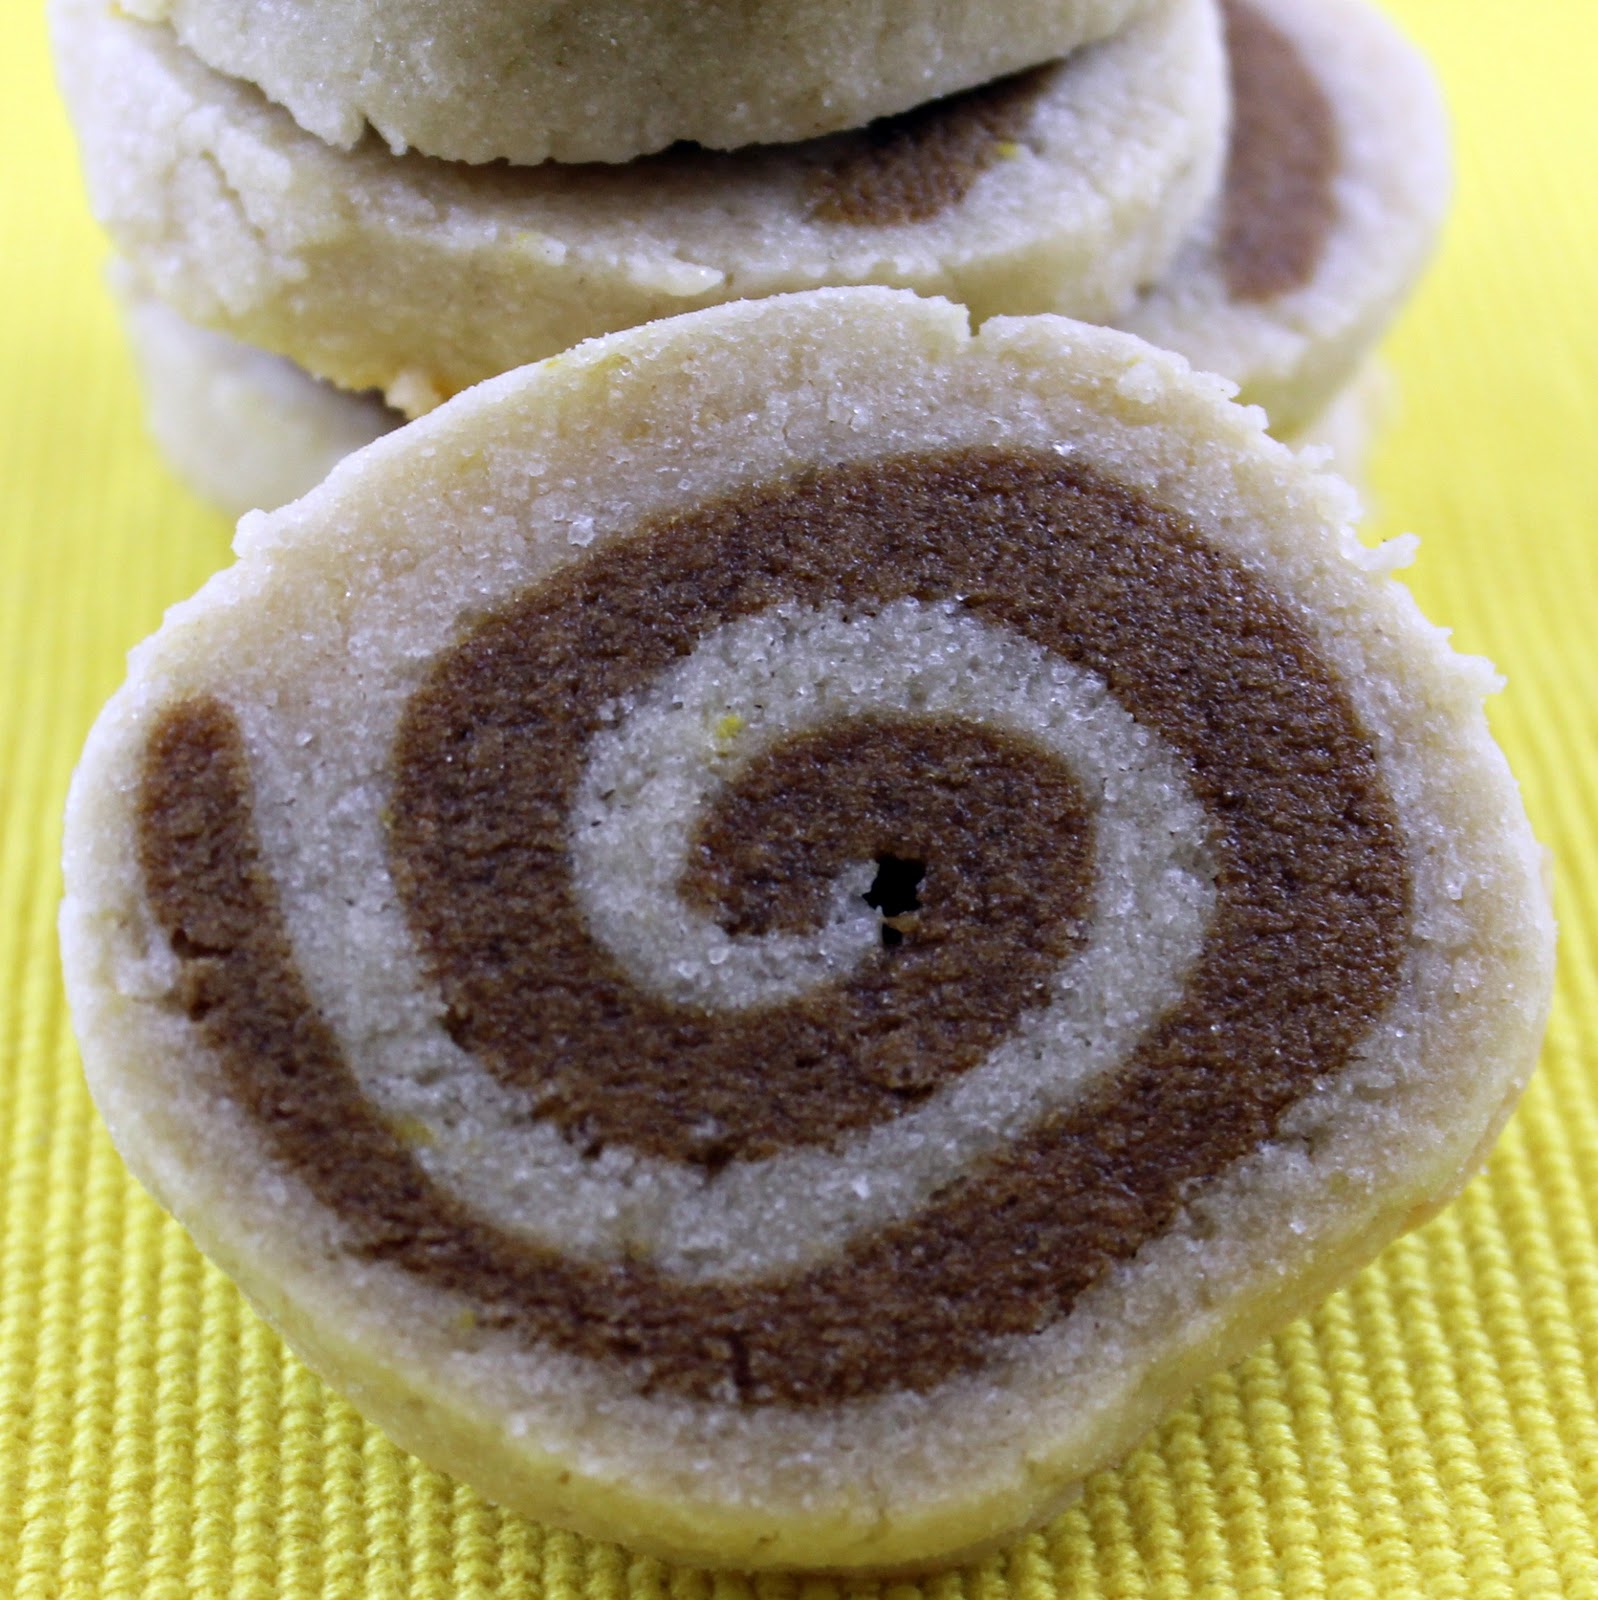
You primarily taste the gingerbread, but the aftertaste is a light lemony flavor.
I thought these two flavors might compete with each other, but they end up being quite complimentary. Who knew?
Also, these Ginger Lemon Pinwheel Cookies are pretty snazzy looking aren’t they? 🙂
These Ginger Lemon Pinwheel Cookies are not soft chewy cookies (like a chocolate chip), they are more firm than that. They would probably be awesome dipped into some tea. Yum!
Two cookie recipes rolled together to create these yummy ginger and lemon pinwheel cookies!
Course Dessert
Keyword Cookies, Ginger, Lemon, Pinwheel
Prep Time 20 minutesminutes
Cook Time 20 minutesminutes
Chill Time 1 hourhour20 minutesminutes
Total Time 2 hourshours
Servings 40cookies
Ingredients
Ginger dough:
1/4cupunsalted buttersoftened
1/3cuppacked dark brown sugar
1/4cupmolasses
1large egg yolk
1 1/3cupsall-purpose flour
3/4teaspoonground ginger
3/4teaspoonground cinnamon
1/4teaspoonsalt
1/8teaspoonground nutmeg
Dash of ground allspice
Lemon dough:
5tablespoonsunsalted buttersoftened
2/3cupgranulated sugar
1large egg white
the zest of 2 lemons
1/2teaspoonlemon juice
3/4teaspoonvanilla extract
1 1/3cupsall-purpose flour
1/4teaspoonsalt
Instructions
Begin by making the ginger dough. In a medium bowl, add the flour, ginger, cinnamon, salt, nutmeg and allspice, stir with a whisk to combine.
Add 1/4 cup butter and the brown sugar to a large bowl. Beat with a mixer on medium until well combined.
You will end up using an entire egg in this recipe. To remove the yolk from the egg white, crack the egg over a bowl carefully. Split the two ends of the egg and move the egg from shell piece to shell piece until the white falls into the bowl and the yolk is left in the shell. Reserve the egg white for the lemon dough.
Add molasses and egg yolk to the sugar and butter. Beat until well blended.
Add flour mixture to butter mixture; beat at low speed just until combined.
Wrap dough in plastic wrap and refrigerate for 30 minutes.
To make the lemon dough, add 5 tablespoons softened butter and the sugar in a large bowl. Mix at medium speed until blended. Add the egg white and beat until combined.
Add lemon rind, 1/2 teaspoon lemon juice, and vanilla using a mixer to blend.
In a medium sized bowl, combine the flour and salt. Add flour mixture to butter mixture and beat at low speed just until combined. Wrap dough in plastic wrap; chill 30 minutes.
Unwrap ginger dough. Roll ginger dough between sheets of plastic wrap into a 13 x 8 1/2–inch rectangle (3/16 inch thick). (I honestly just eyeballed this). Chill 10 minutes.
Unwrap lemon dough. Roll lemon dough between sheets of plastic wrap into a 13 x 9–inch rectangle (3/16 inch thick). Basically I just tried to make it slightly thinner than the ginger dough. It doesn’t have to be perfect. Chill 10 minutes.
Carefully stack ginger dough on top of lemon dough, leaving a 1/2-inch border along one long edge.
Starting with the long side without a border, roll up dough, jelly-roll fashion. Seal edges (do not seal ends of roll). Cover with plastic wrap; freeze 30 minutes.
Remove the dough from the freezer. Preheat your oven to 350 degrees. Unwrap dough. Cut with a sharp knife into 40 slices.
Arrange slices 1 inch apart on baking sheets lined with parchment paper.
Bake one batch at a time for 9 minutes. Cool on wire racks.
Notes
If you make this recipe, share a photo on Instagram and tag me @icancookthat!
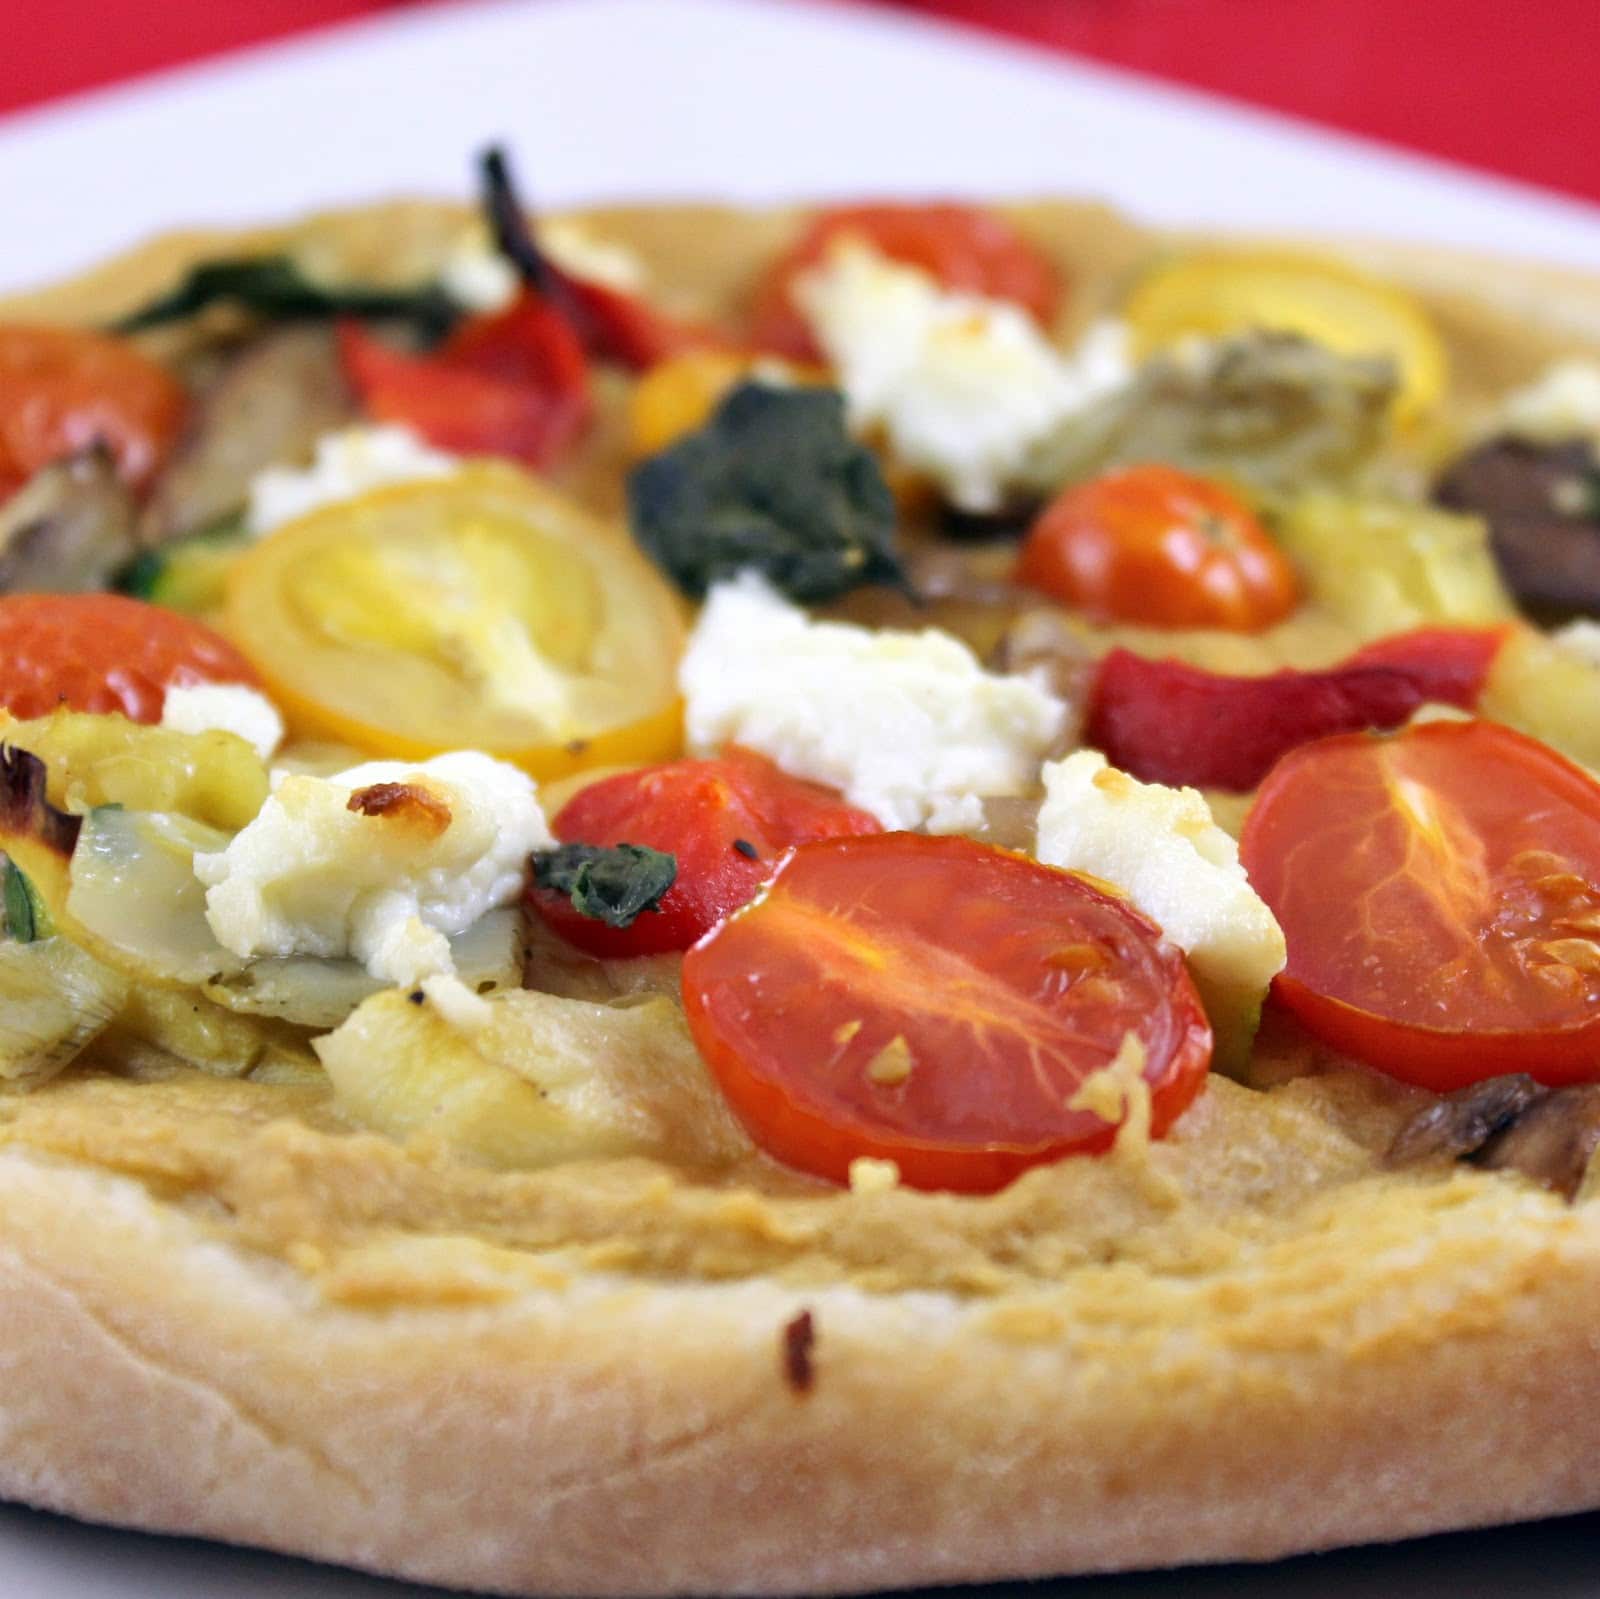
It’s no secret that I love hummus. I’ve made quite a few different versions on this blog. So I was really excited when I was given the chance to sample some hummus through the Foodbuzz Tastemakers program. I was allowed to choose any hummus my little hummus-loving heart desired. But, I’ve actually tried them all before. And I’ve loved them all (some more than others, obviously). I decided instead to incorporate the classic hummus into a meal. A coworker gave me an awesome idea: hummus pizza. Brilliant!
Ingredients:
Pizza dough (I used Trader Joes)
Classic Hummus
1 zucchini
1 yellow squash
1 package of sliced baby bella mushrooms
1 small onion, chopped (I used red because that’s what I had)
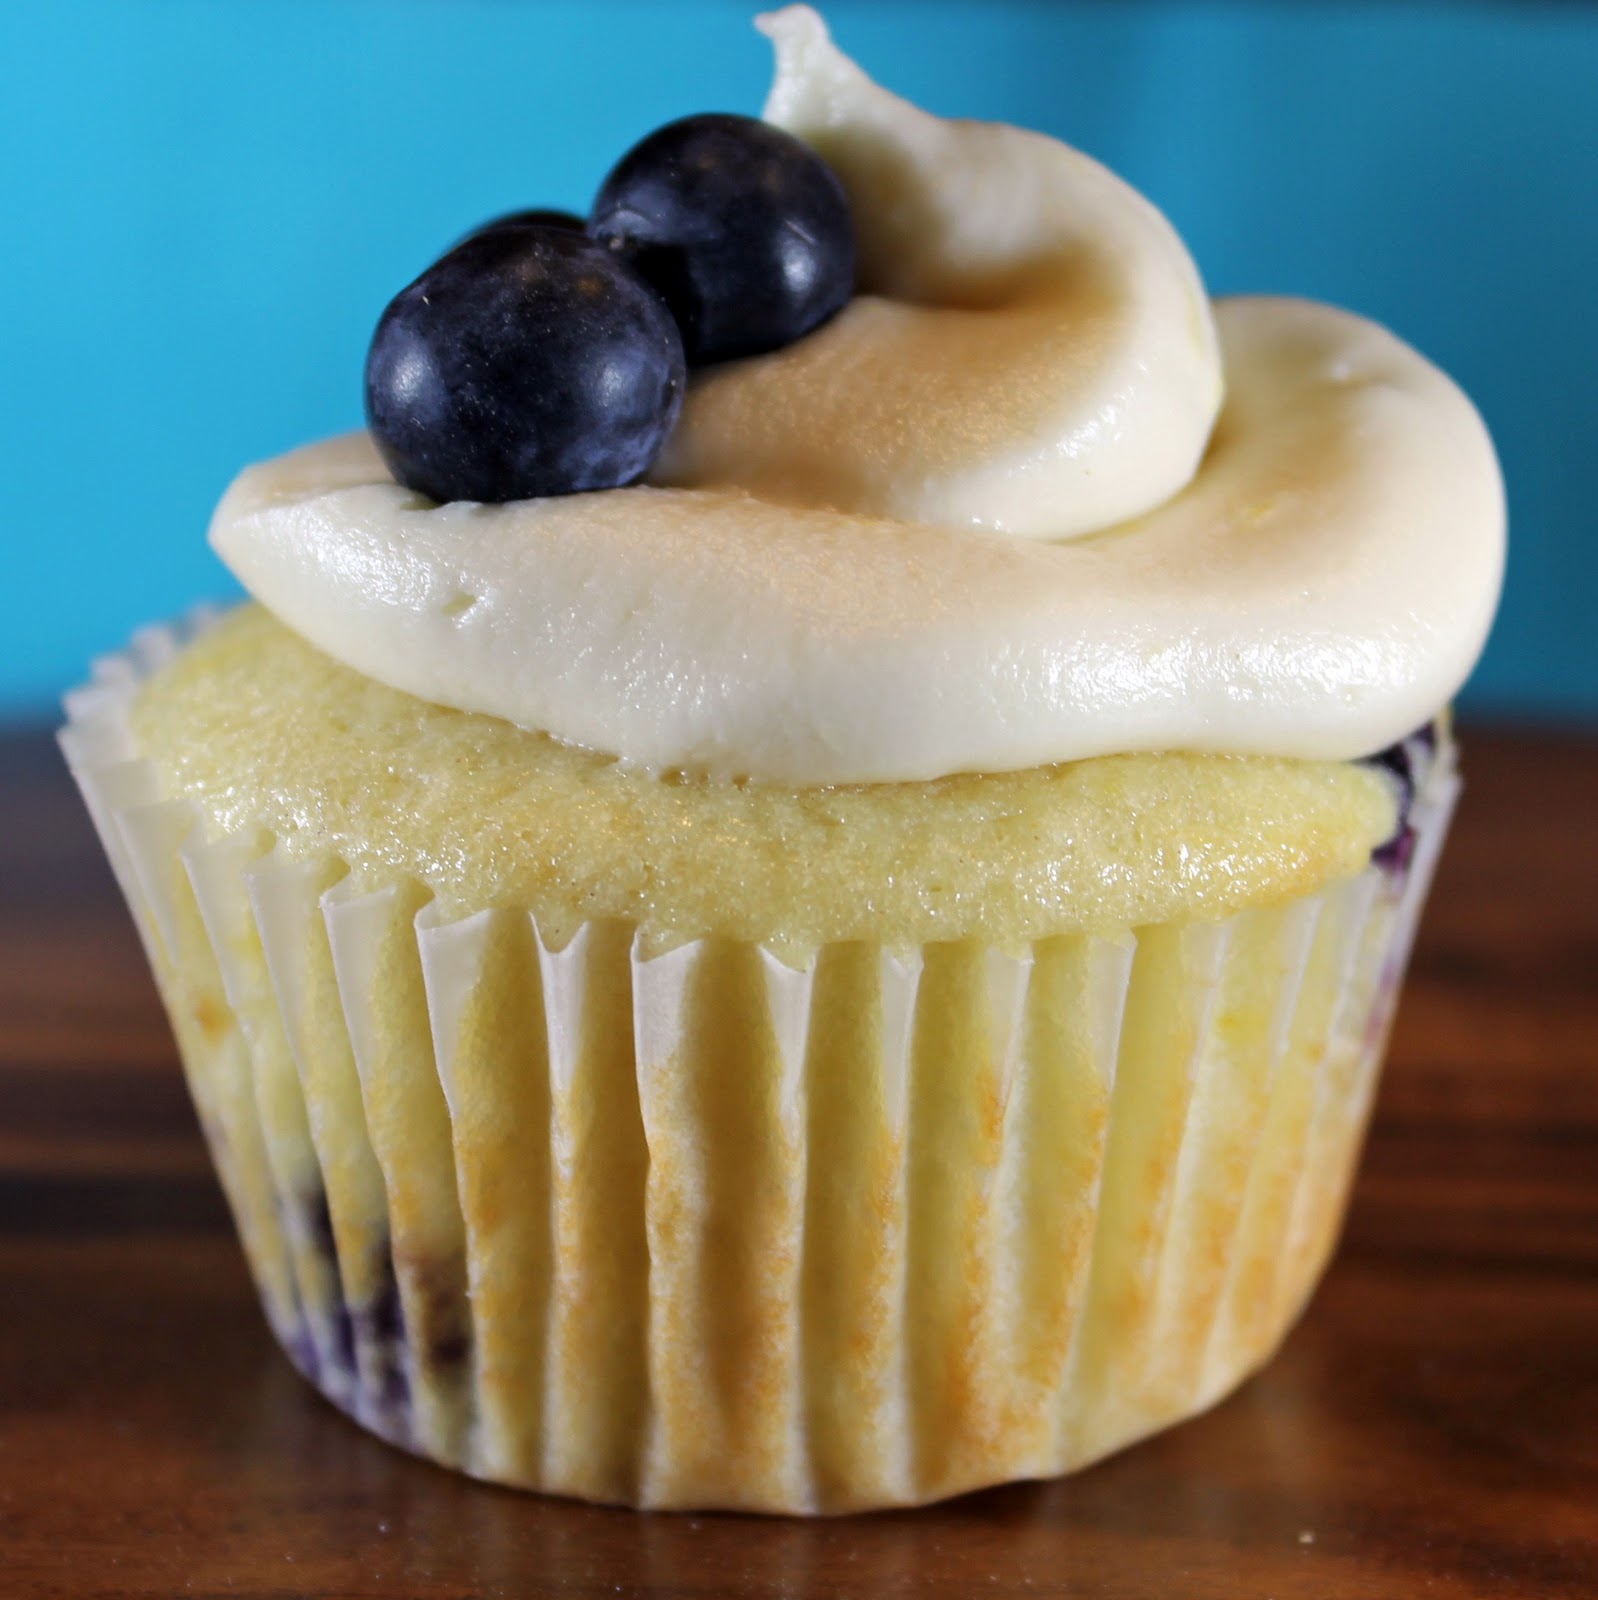
My work is hosting a bake sale this week, so I am using it as the perfect opportunity to try out these cupcakes from Cooking Light that caught my eye a while back. How fantastic do Lemon Scented Blueberry Cupcakes sound?
Ingredients:
Cupcakes:
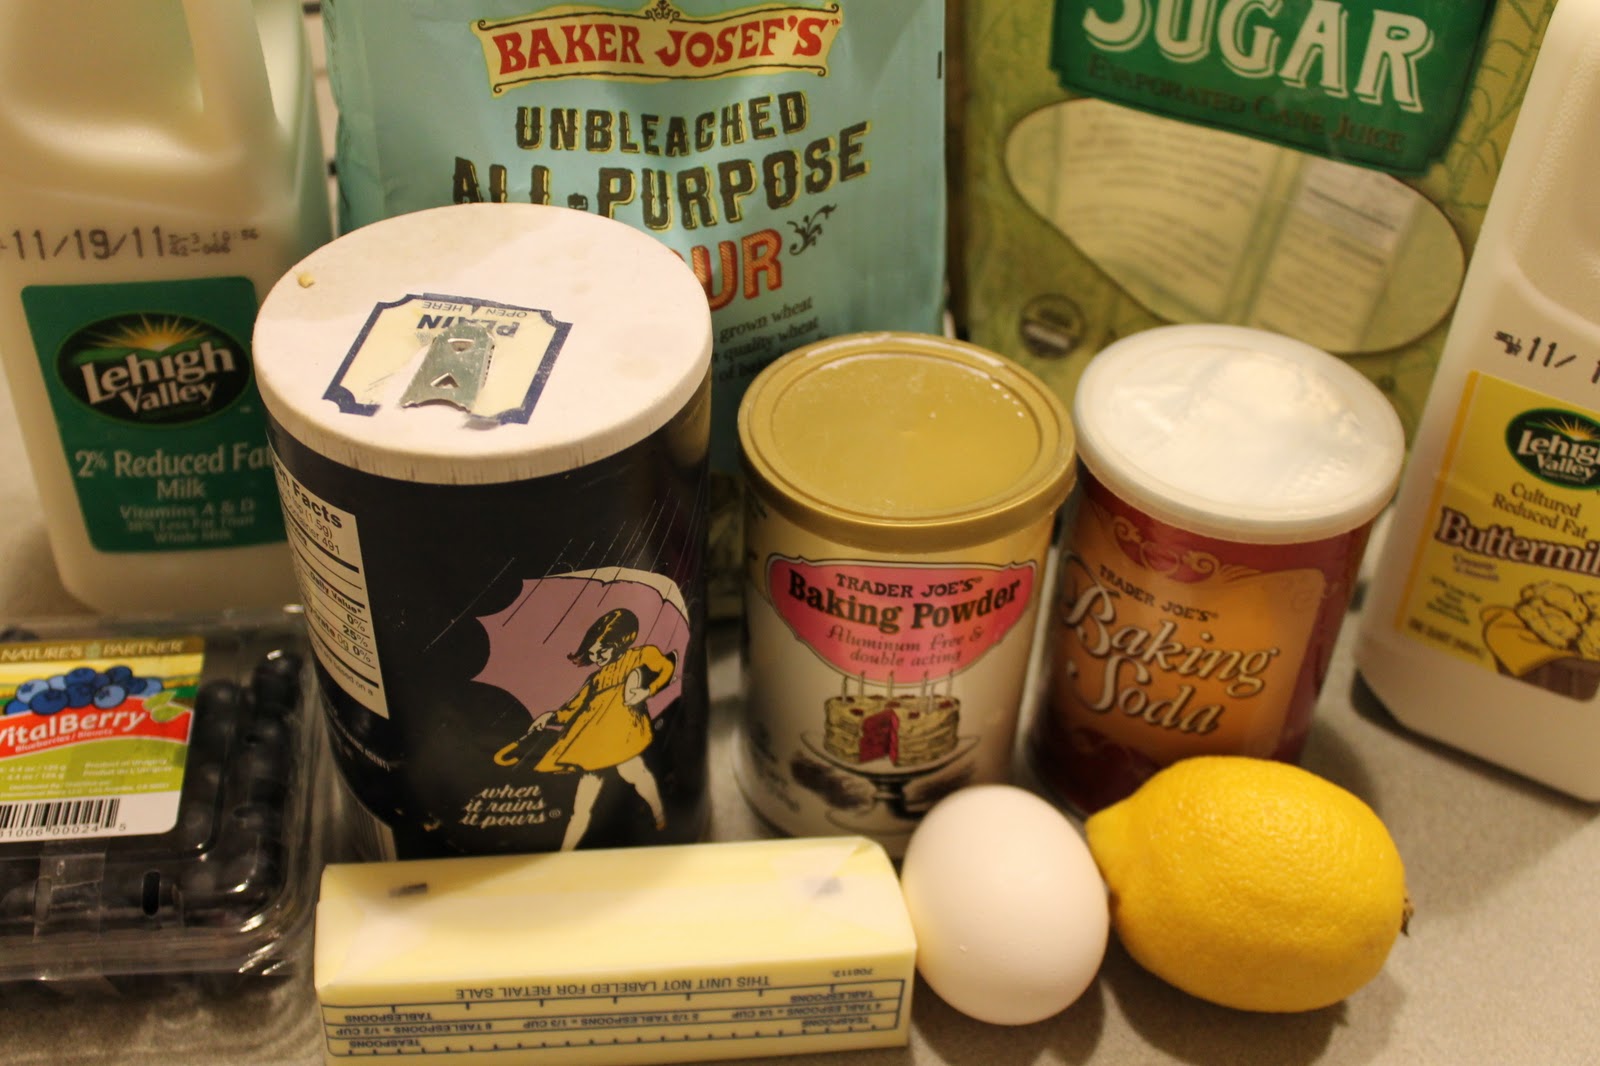
1 1/2 cups (about 6 3/4 ounces) plus 2 tablespoons all-purpose flour, divided
10 tablespoons granulated sugar
1 1/2 teaspoons baking powder
1/4 teaspoon salt
1/8 teaspoon baking soda
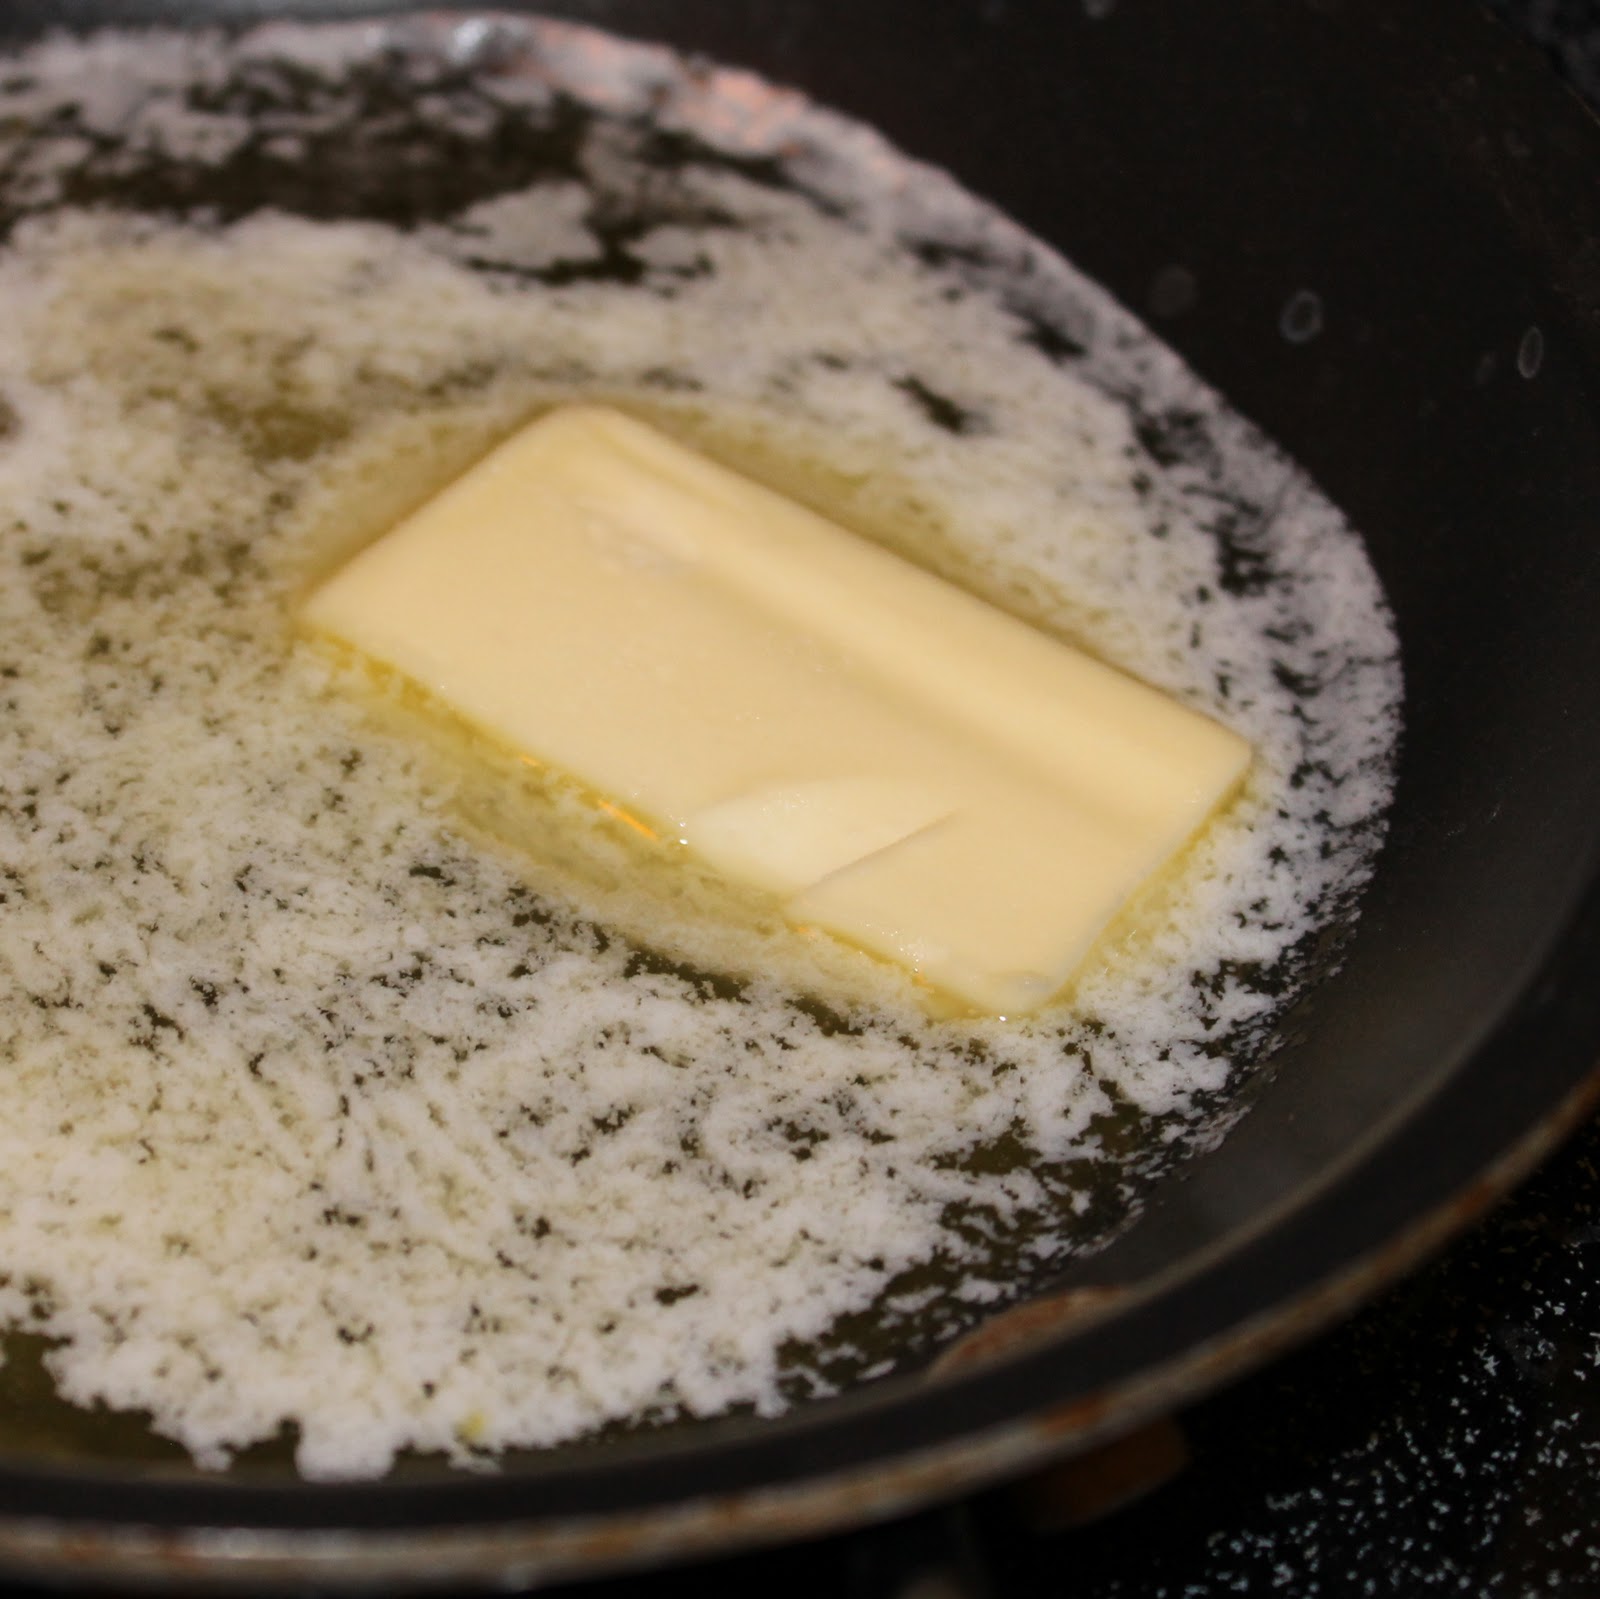
1/4 cup butter, melted
1 large egg
1/2 cup low-fat buttermilk
1/2 cup 2% reduced-fat milk
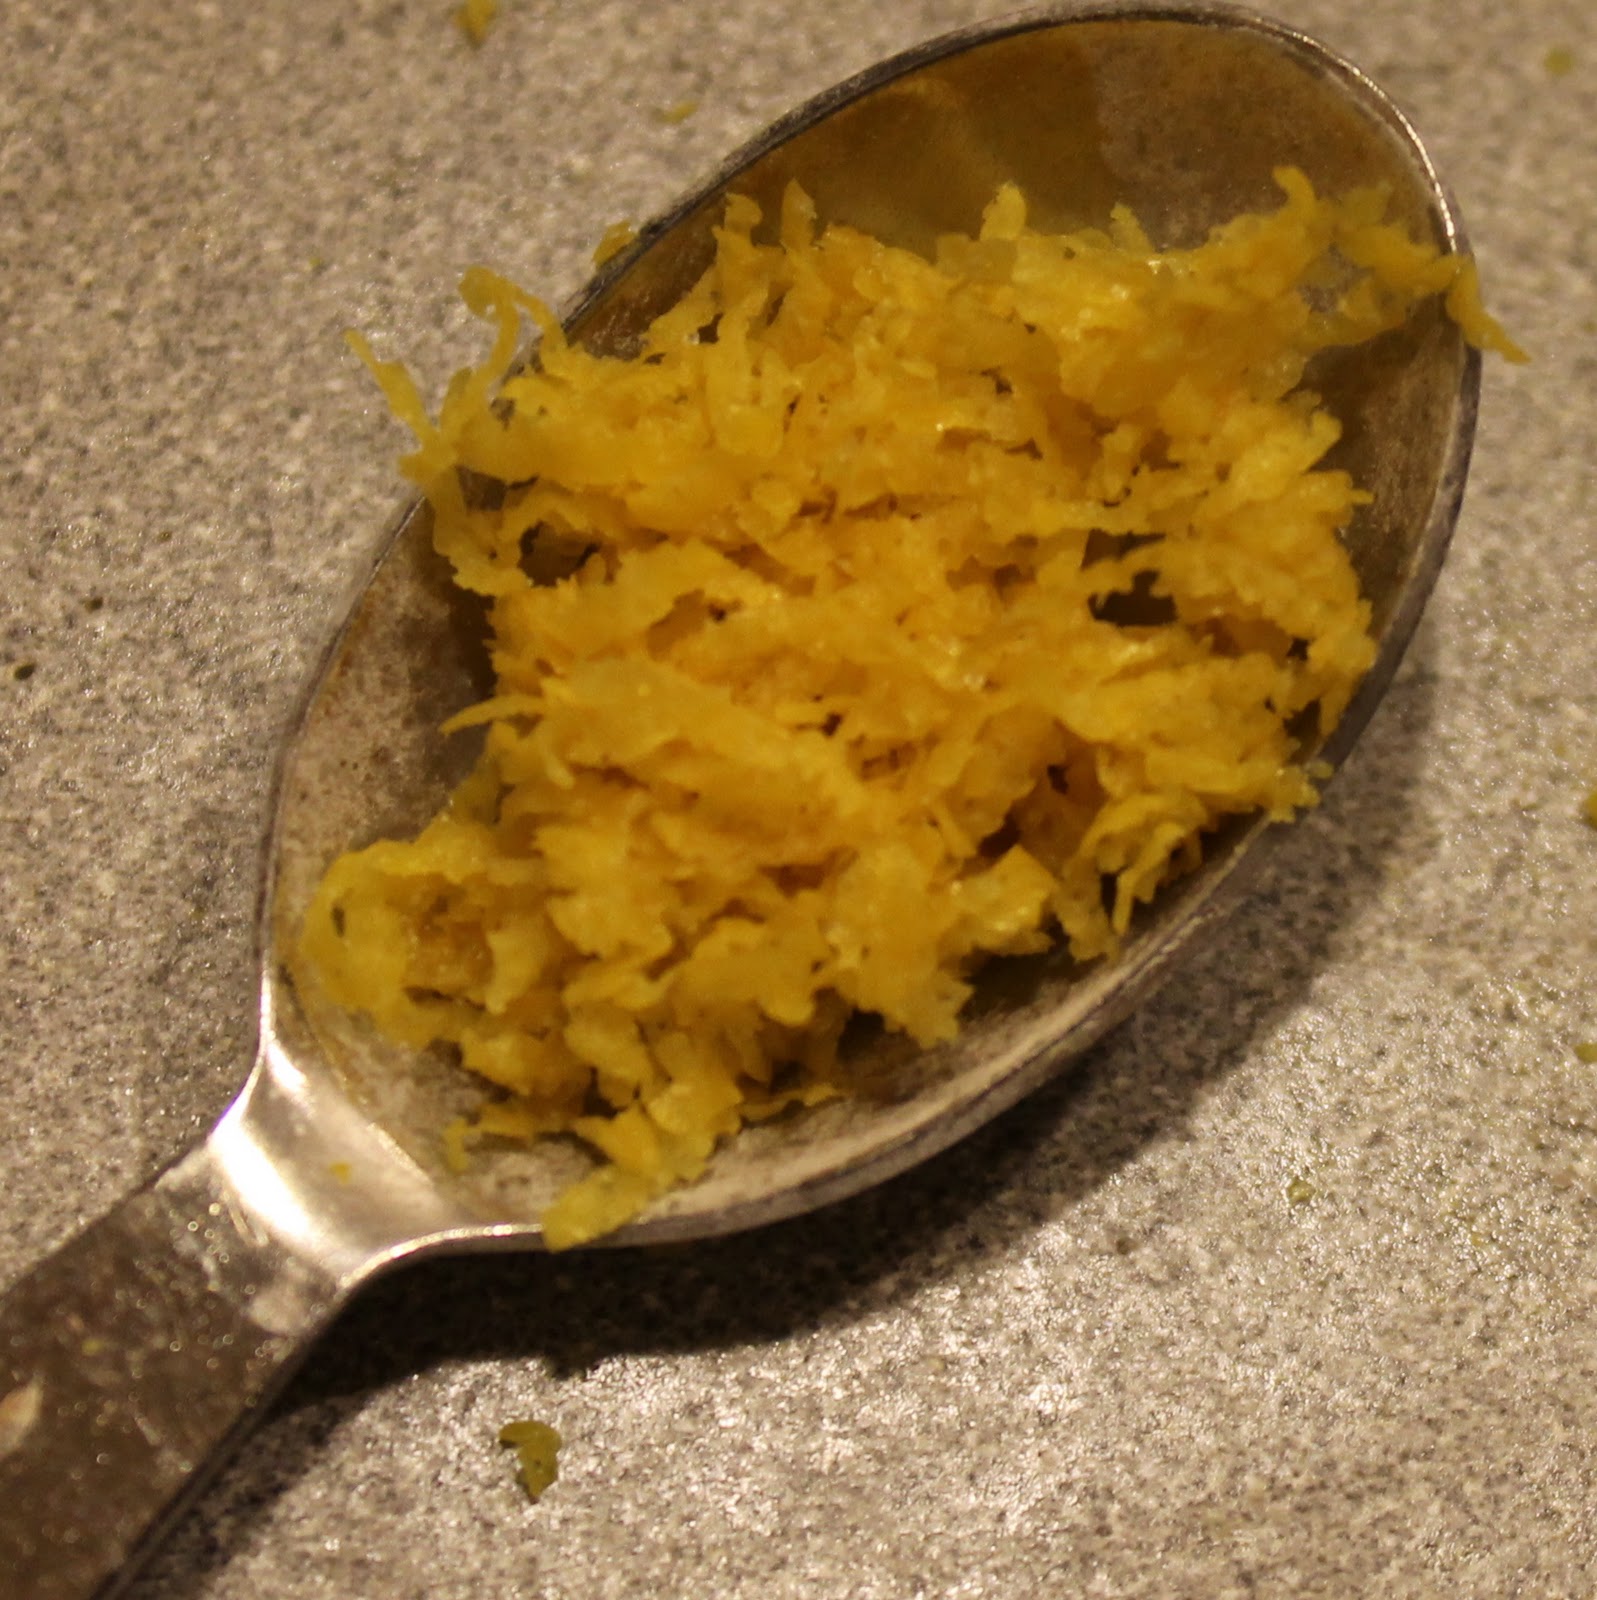
1 teaspoon grated lemon rind
3/4 cup fresh or frozen blueberries, thawed
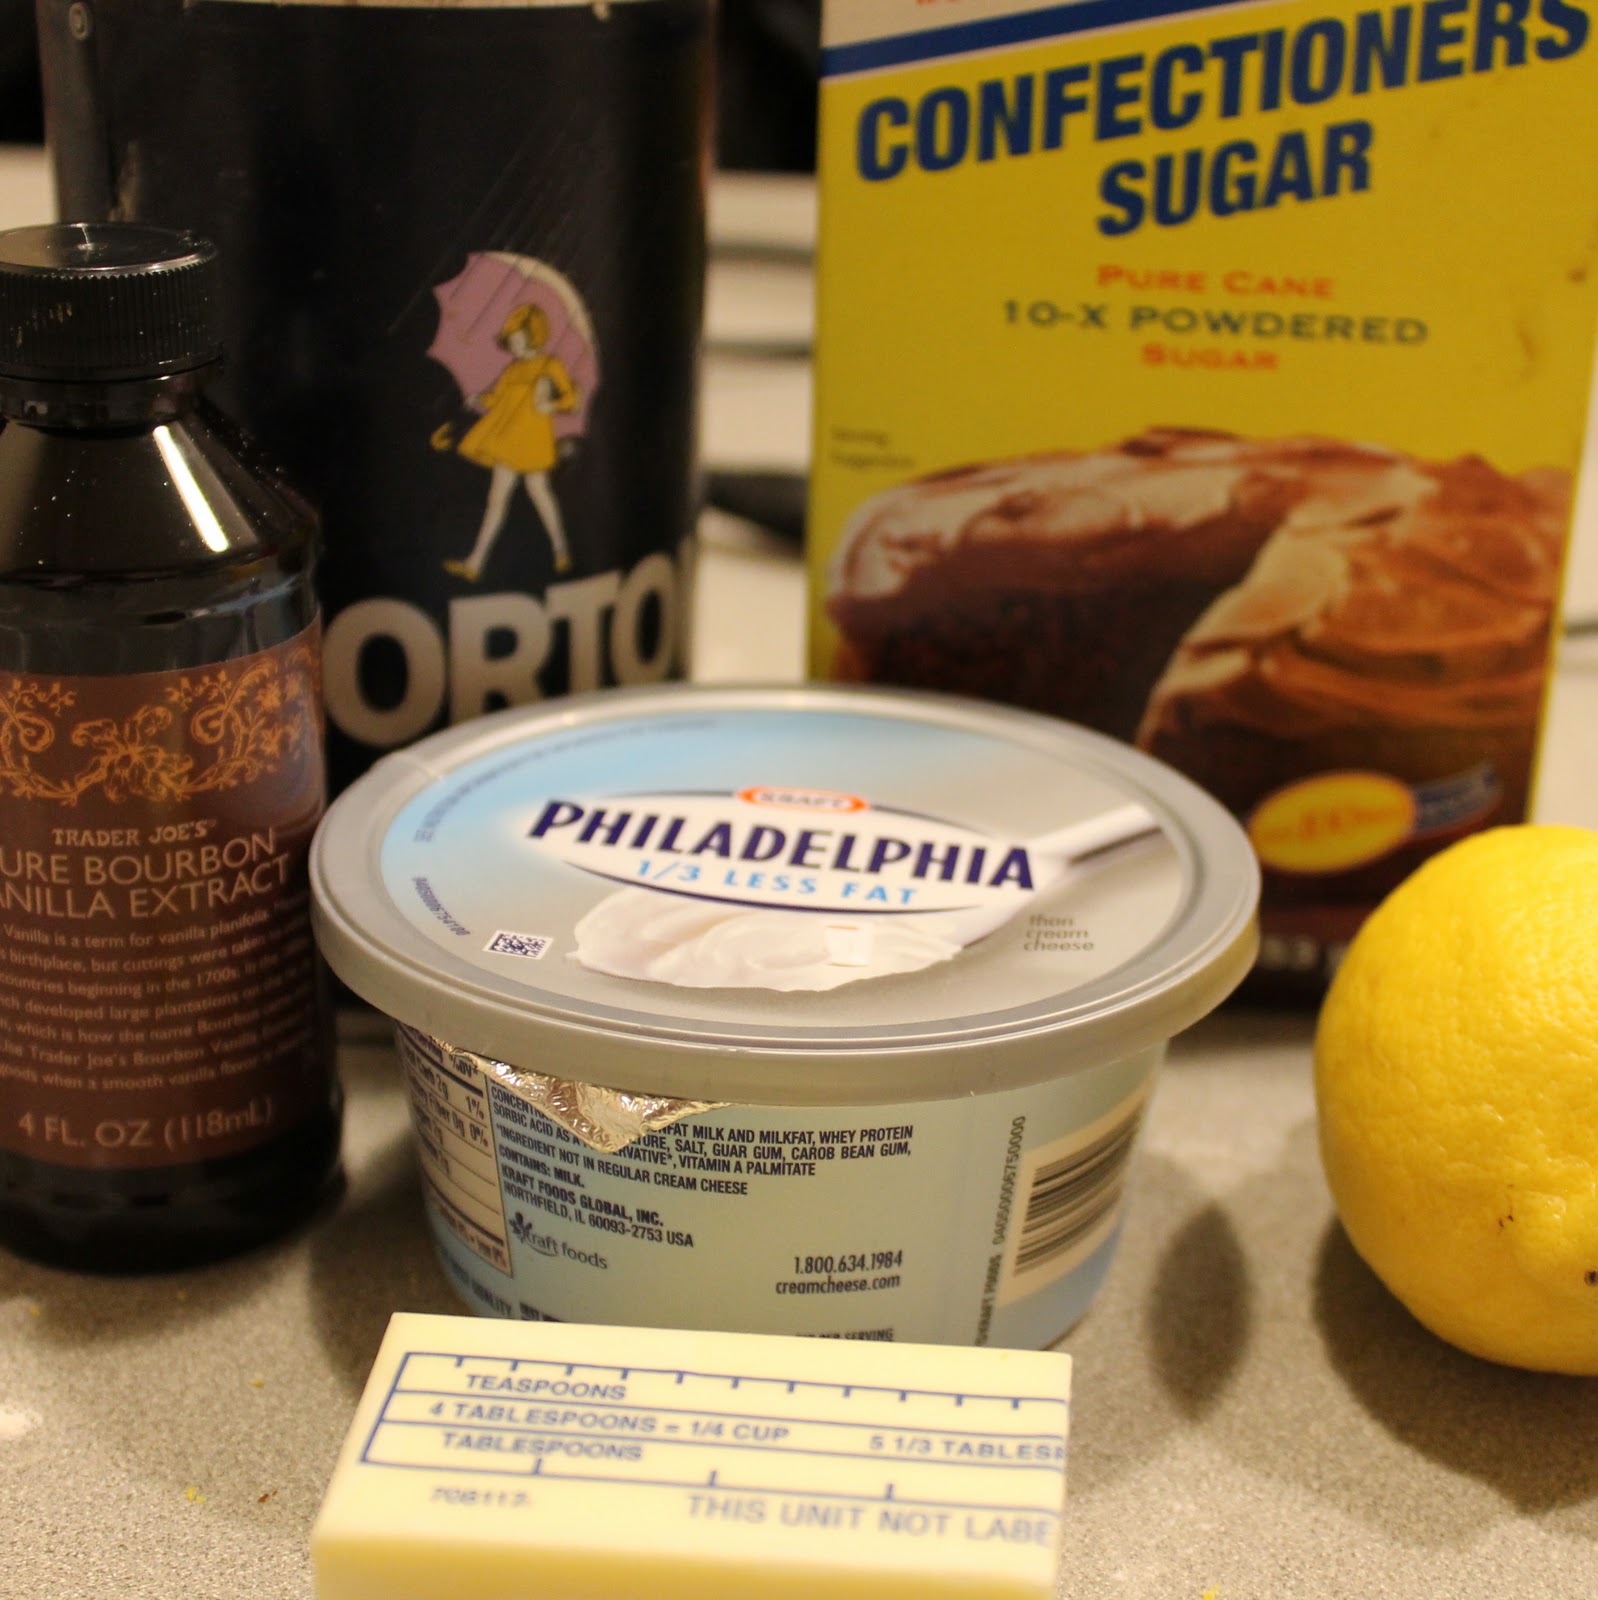
Frosting:
1/4 cup (2 ounces) 1/3-less-fat cream cheese, softened
2 tablespoons butter, softened
1 teaspoon grated lemon rind plus more for garnish
1 teaspoon vanilla extract
1/8 teaspoon salt
1 1/2 cups powdered sugar, sifted
2 teaspoons fresh lemon juice
Fresh blueberries (optional)
Preheat the oven to 350 degrees. Place paper cupcake liners into the muffin cups. Melt 1/4 cup butter over medium low heat. Zest the lemon.
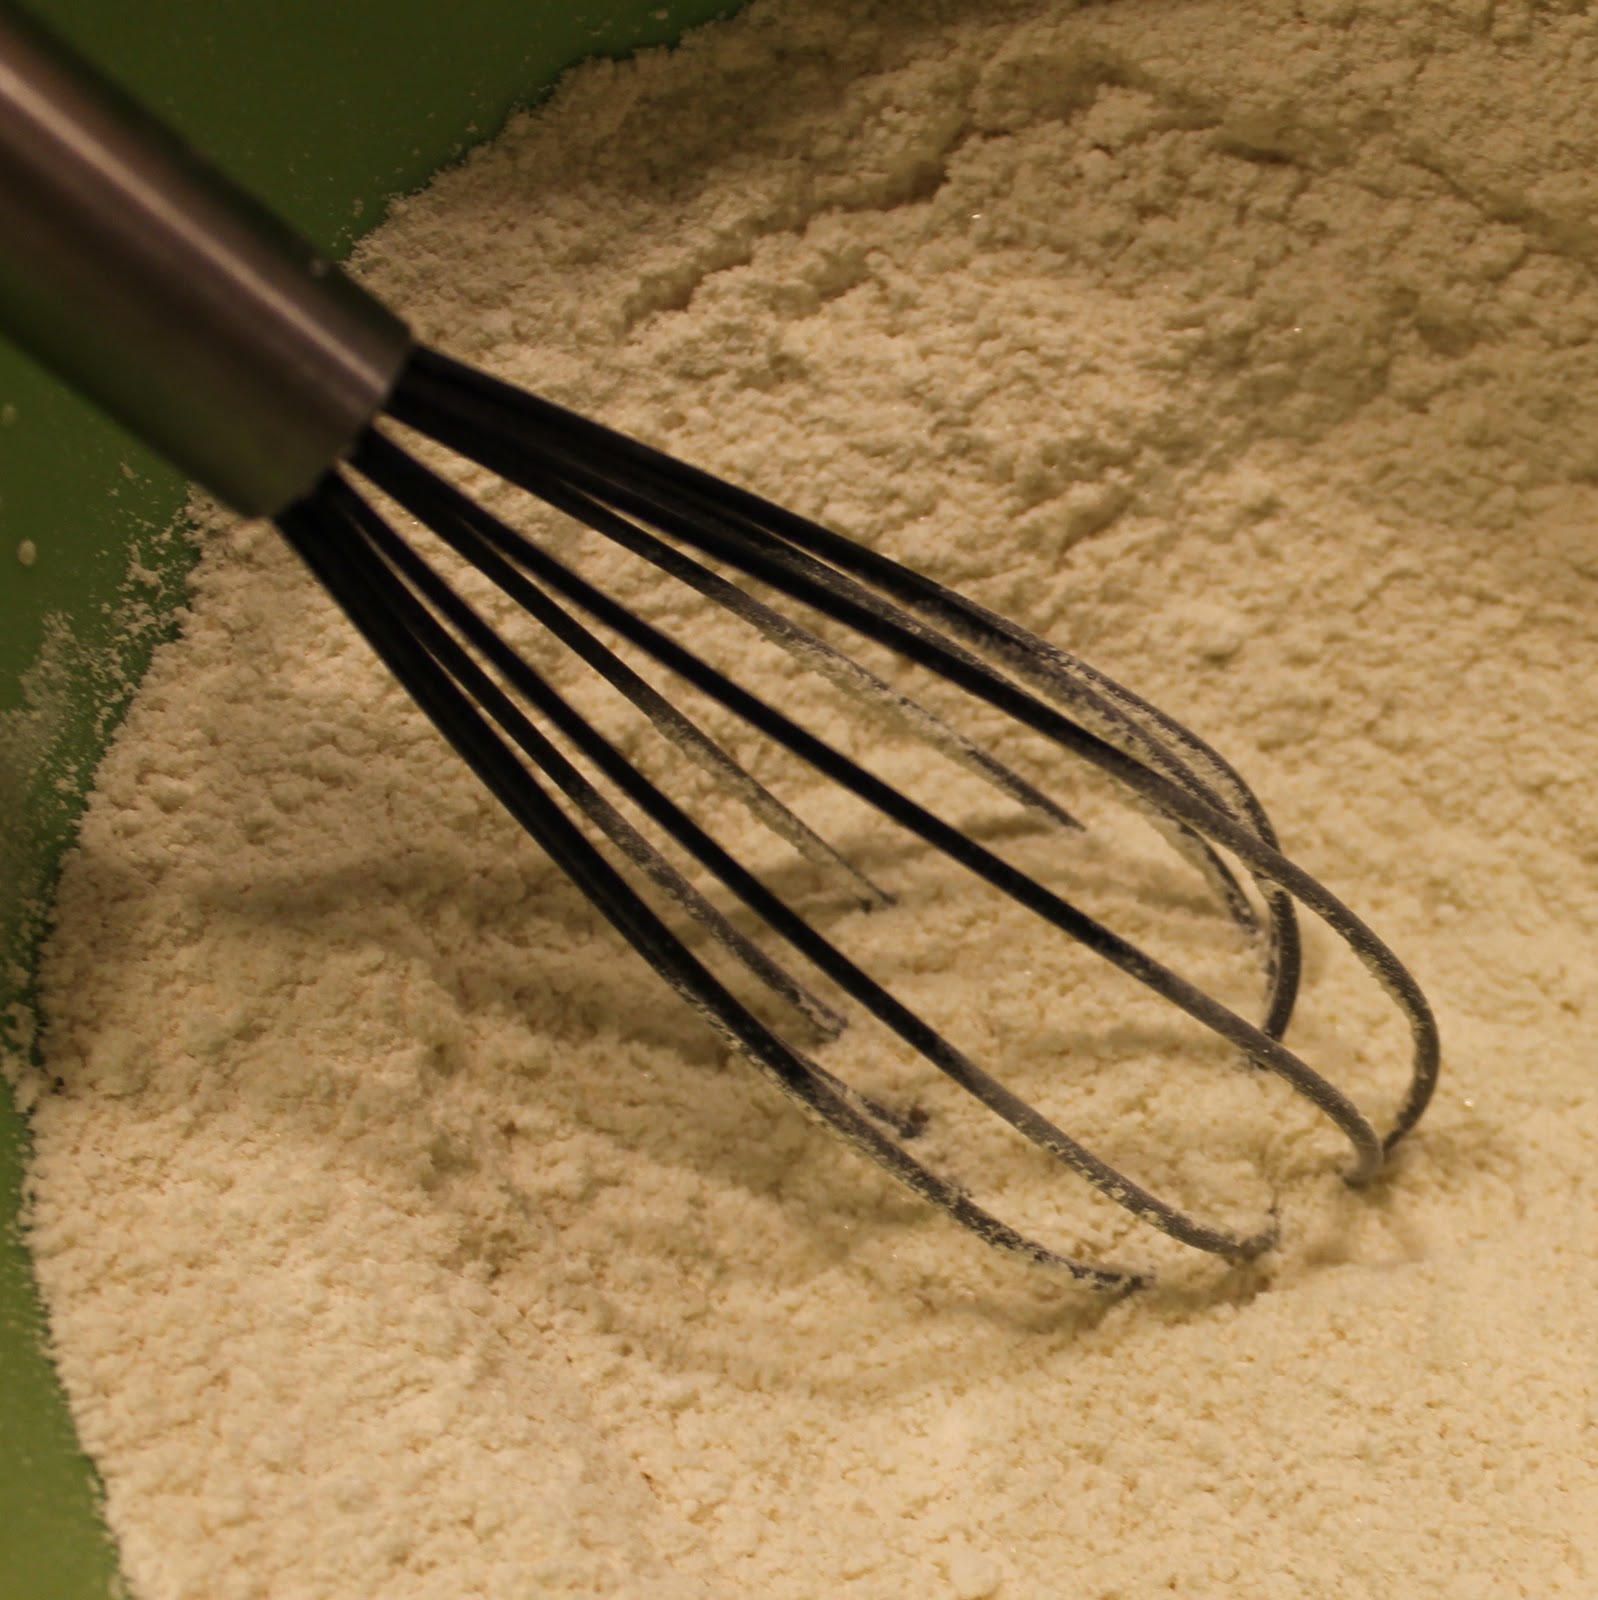
Add 1 1/2 cups flour plus 1 tablespoon to a medium sized bowl. (I suggest springing for cake flour if you can find it, if not all purpose flour works just fine). Add the granulated sugar, baking powder, salt, and baking soda. Stir to combine.
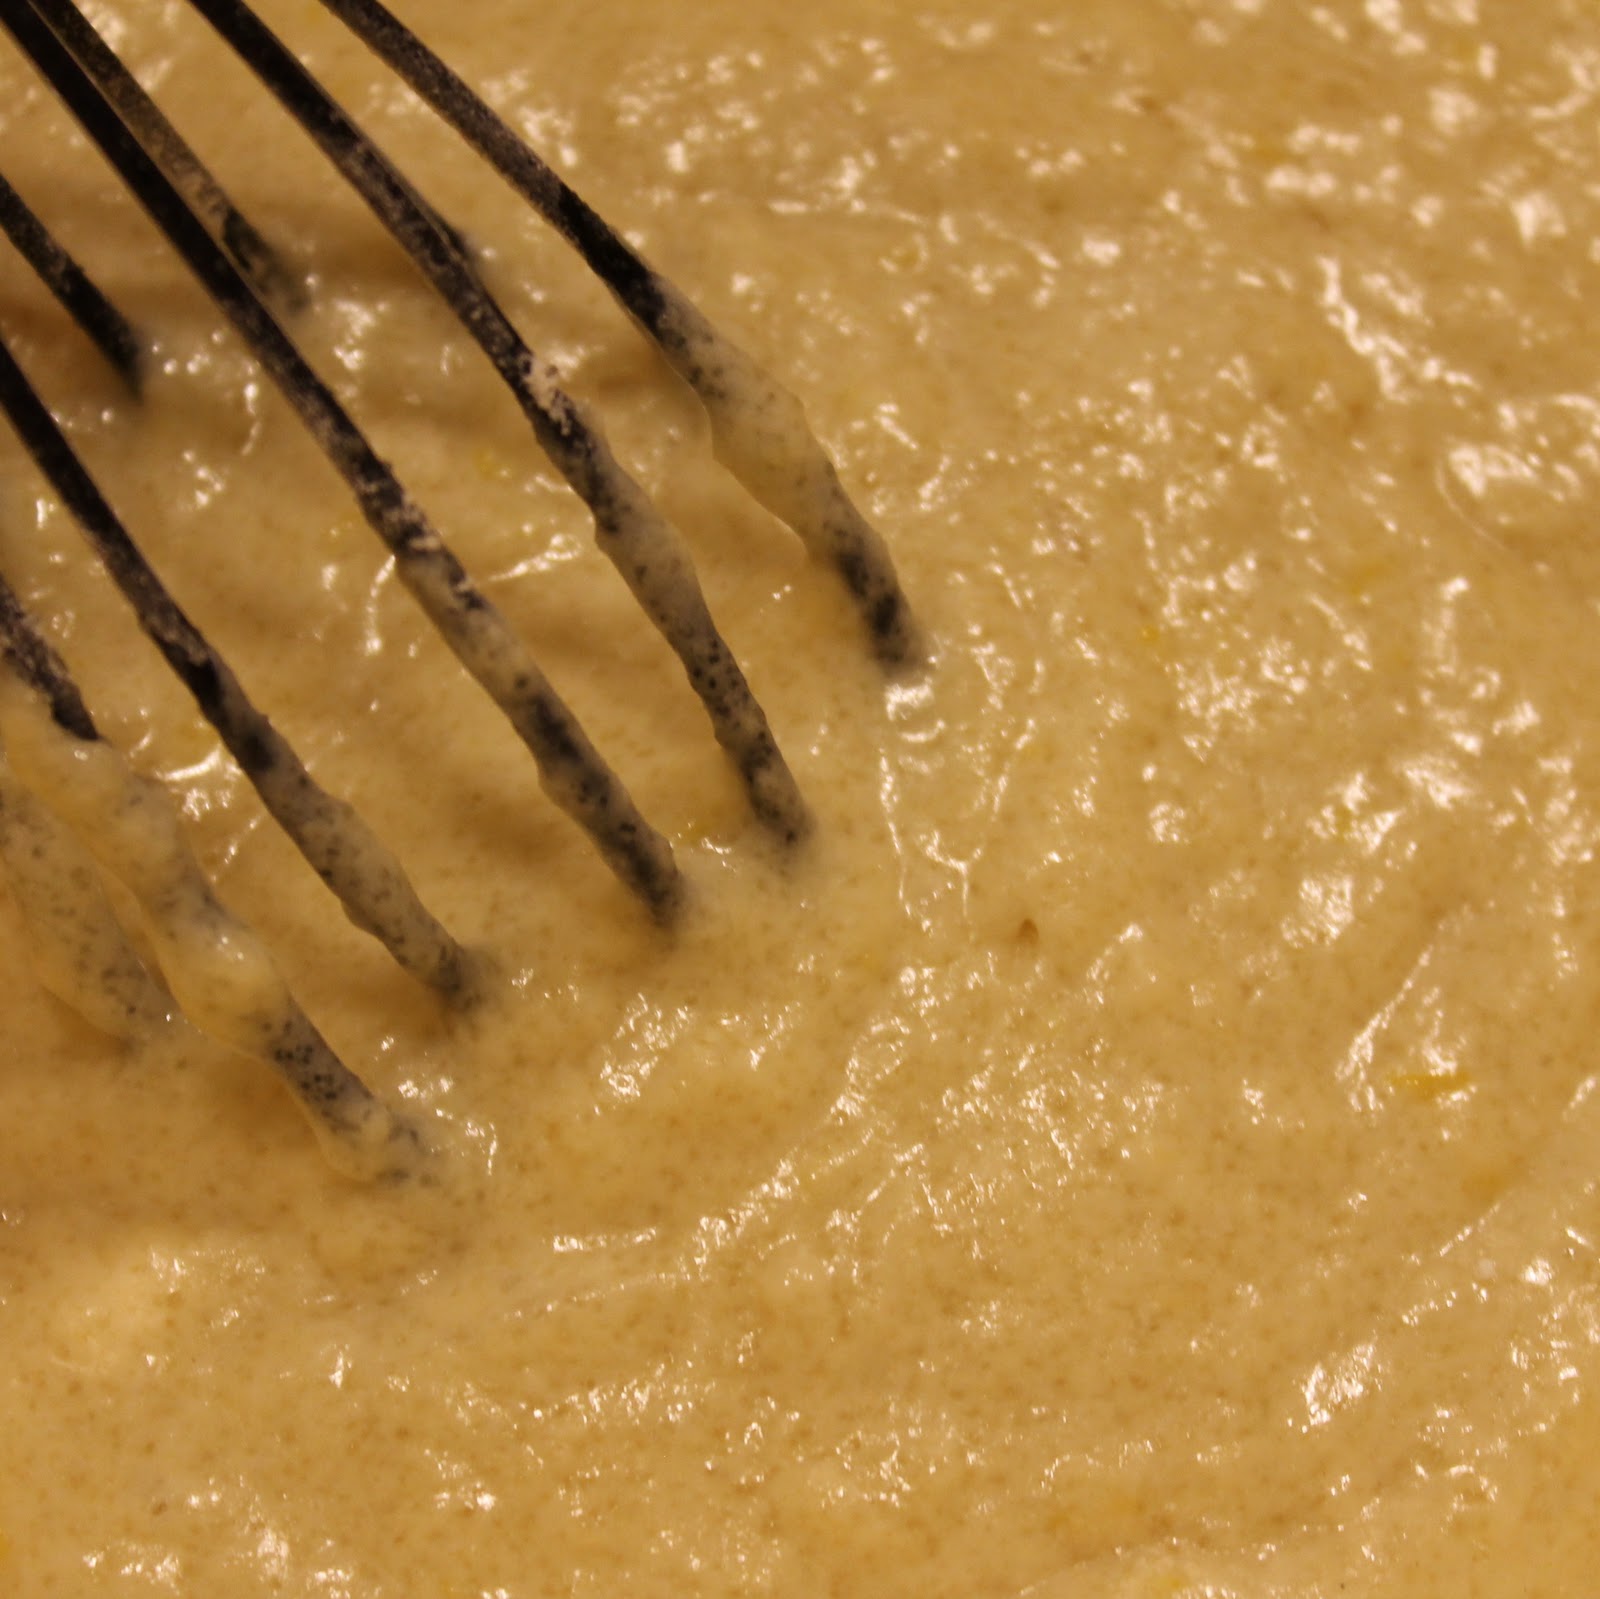
Add melted butter and egg to a large bowl. Stir with a whisk to combine.
Add buttermilk, milk, and 1 teaspoon lemon rind to butter mixture (I used zest from 1 lemon), stirring with a whisk to combine.
Add the flour mixture to the buttermilk mixture, stirring until just combined.
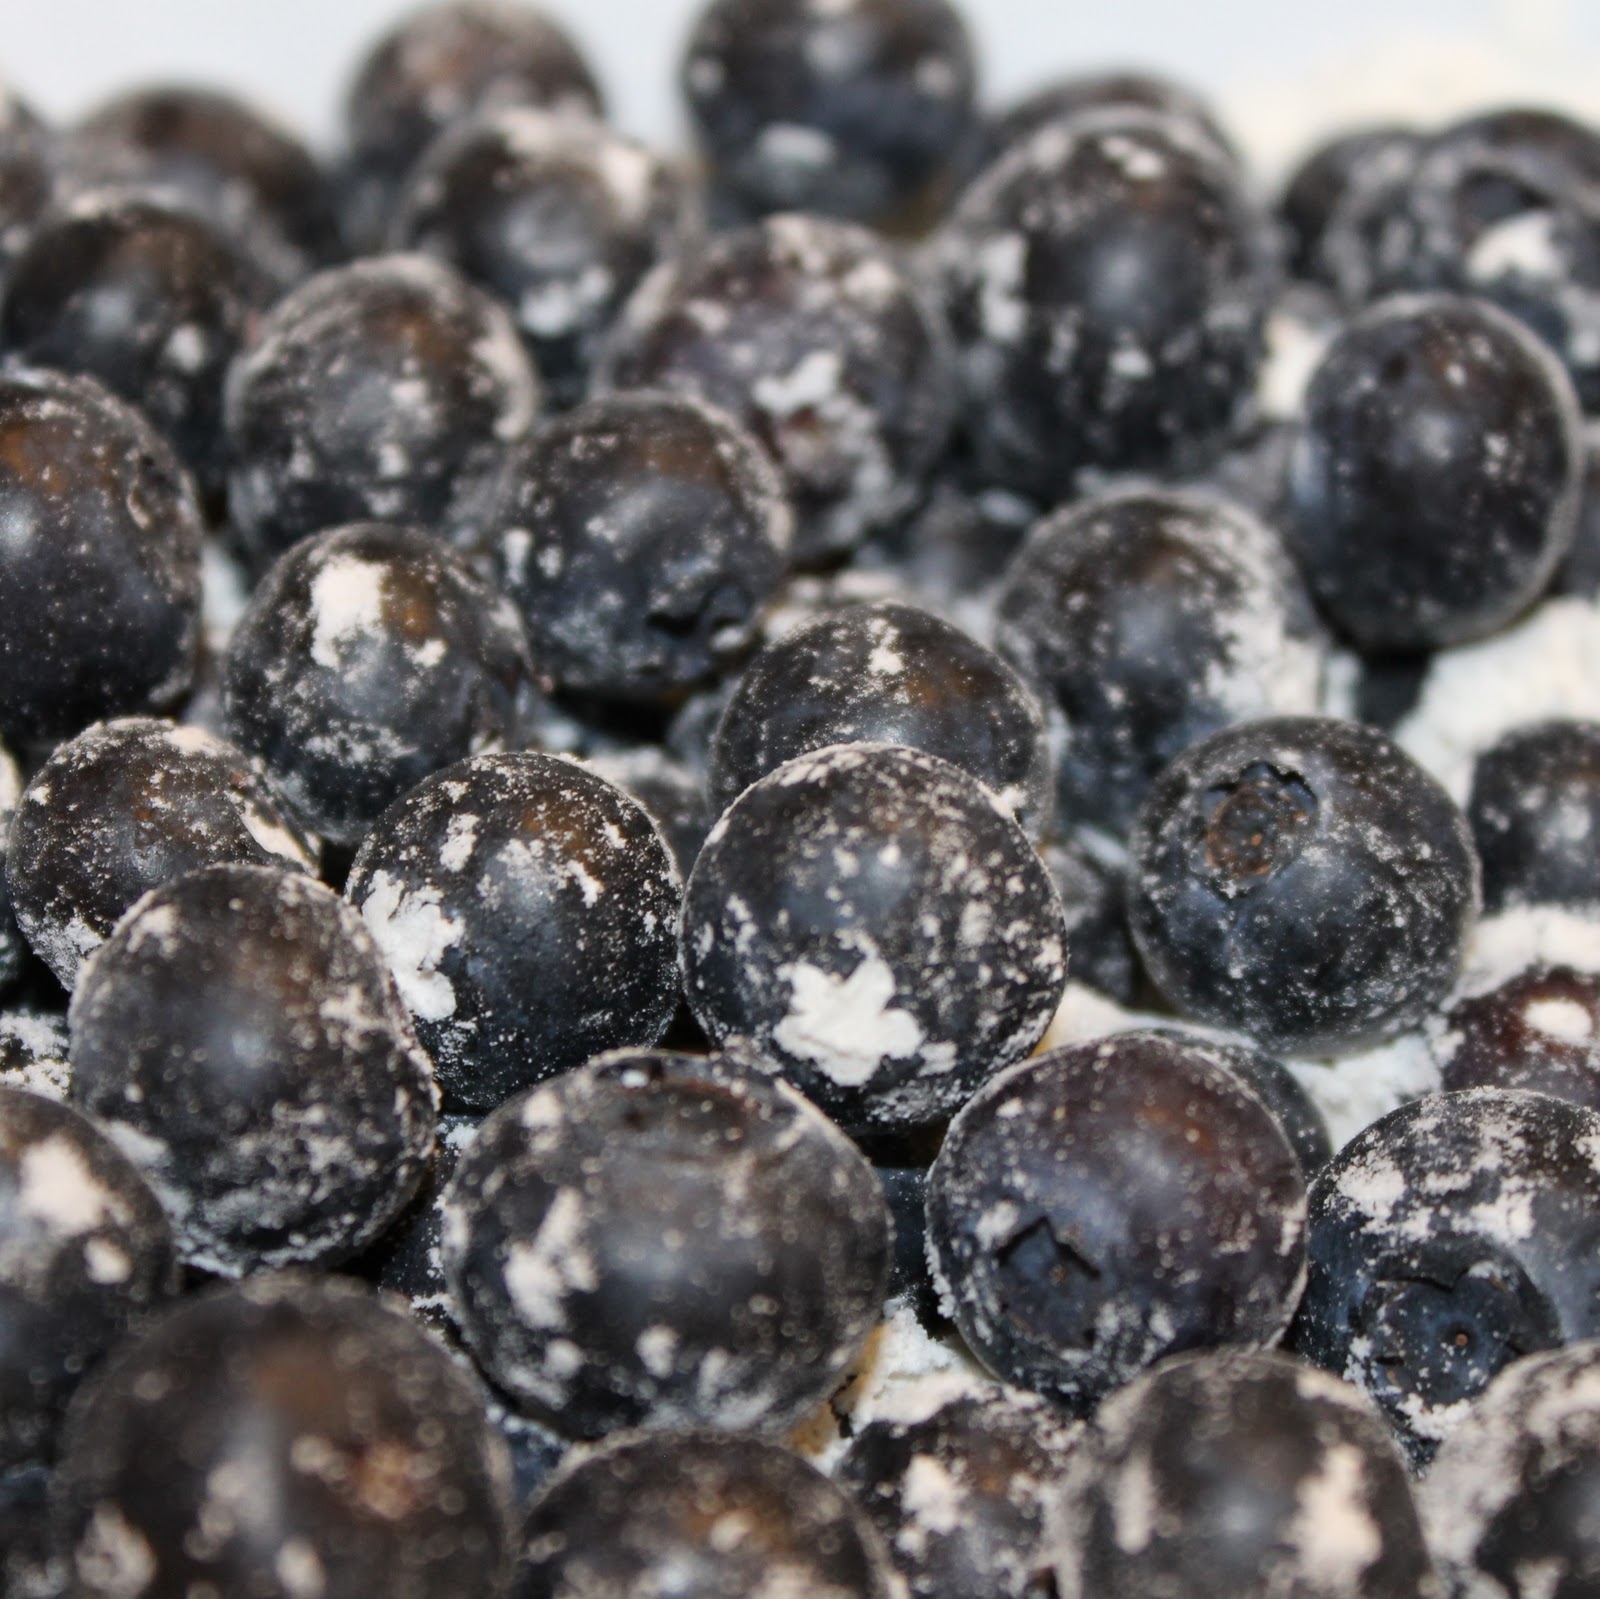
In a small bowl, toss the blueberries with 1 tablespoon flour.
Add the blueberries to the batter, stirring until just combined.
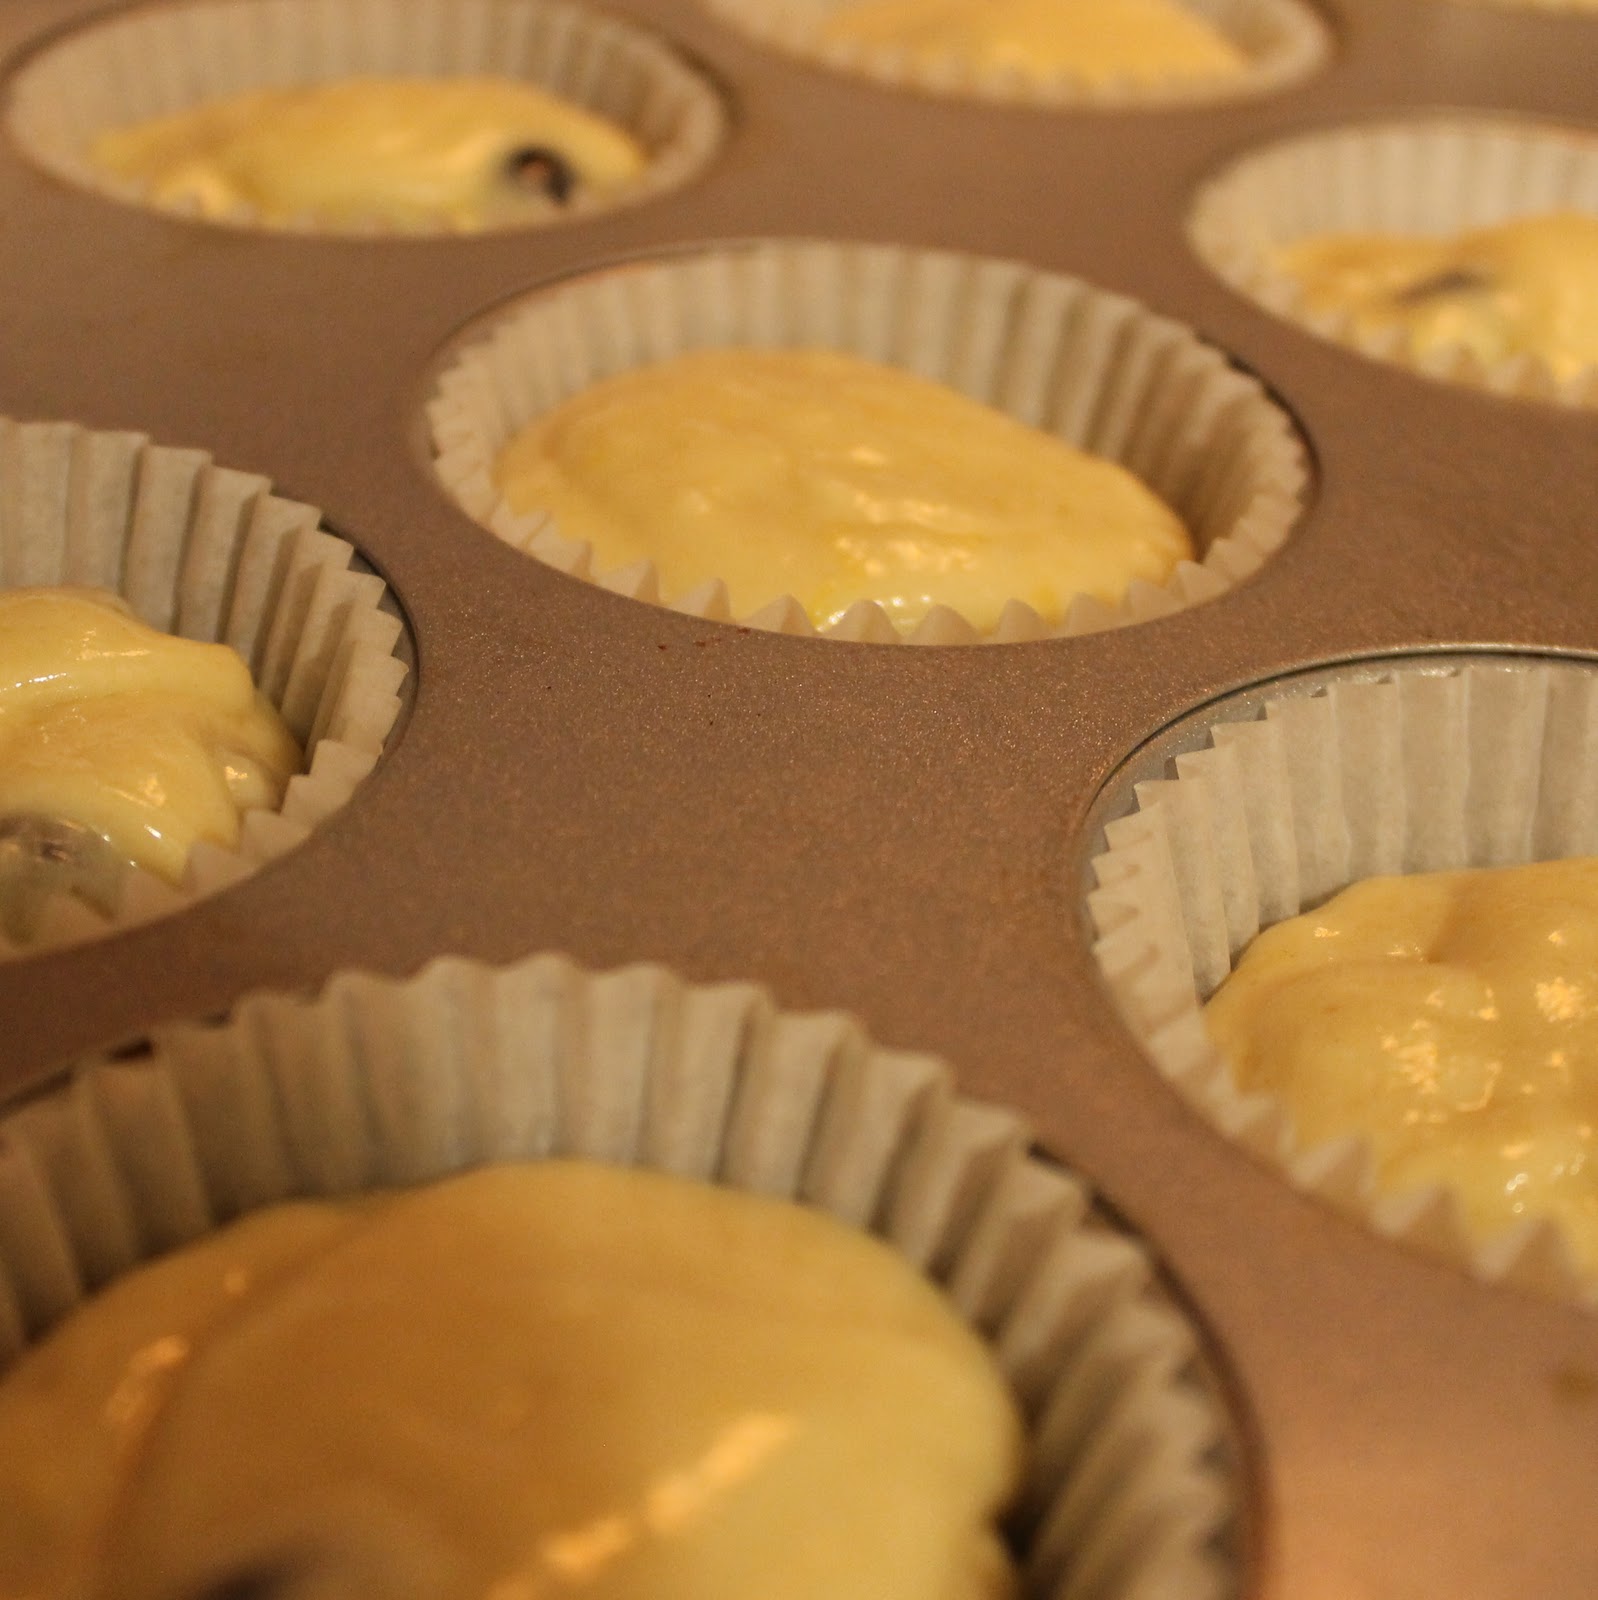
Spoon batter into the muffin cups. I use an ice cream scoop to get evenly portioned cupcakes.
Bake for 25 minutes or until a pick inserted into the center comes out clean. Cool for 5 minutes in the pan, then remove and allow to finish cooling on a wire rack.
Prepare the frosting while the cupcakes are cooling. Add cream cheese, 2 tablespoons butter, 1 teaspoon lemon rind, vanilla, and 1/8 teaspoon salt to a bowl. Using an electric mixer, beat on medium speed until just blended.
Gradually add powdered sugar mixing until just combined. Stir in lemon juice.
Add the frosting to a ziplock bag. Cut off one of the bottom corners.
Squeeze the icing on top of the cooled cupcakes. Top with blueberries and lemon zest if desired.
I absolutely loved these cupcakes. The lemon zest added great flavor to the sweet blueberry cupcake.
I am having a bit of a problem with the idea of giving these away. I want to keep them all for myself! But that is terribly selfish of me so I guess I should share their deliciousness.
Remember to refrigerate the cupcakes, the icing is part cream cheese.
1/4 cup (2 ounces) 1/3-less-fat cream cheese, softened
2 tablespoons butter, softened
1 teaspoon grated lemon rind plus more for garnish
1 teaspoon vanilla extract
1/8 teaspoon salt
1 1/2 cups powdered sugar, sifted
2 teaspoons fresh lemon juice
Fresh blueberries (optional)
Instructions
Preheat the oven to 350 degrees. Place paper cupcake liners into the muffin cups. Melt 1/4 cup butter over medium low heat. Zest the lemon.
Add 1 1/2 cups flour plus 1 tablespoon to a medium sized bowl. (I suggest springing for cake flour if you can find it, if not all purpose flour works just fine). Add the granulated sugar, baking powder, salt, and baking soda. Stir to combine.
Add melted butter and egg to a large bowl. Stir with a whisk to combine.
Add buttermilk, milk, and 1 teaspoon lemon rind to butter mixture (I used zest from 1 lemon), stirring with a whisk to combine.
Add the flour mixture to the buttermilk mixture, stirring until just combined.
In a small bowl, toss the blueberries with 1 tablespoon flour.
Add the blueberries to the batter, stirring until just combined.
Spoon batter into the muffin cups. I use an ice cream scoop to get evenly portioned cupcakes.
Bake for 25 minutes or until a pick inserted into the center comes out clean. Cool for 5 minutes in the pan, then remove and allow to finish cooling on a wire rack.
Prepare the frosting while the cupcakes are cooling. Add cream cheese, 2 tablespoons butter, 1 teaspoon lemon rind, vanilla, and 1/8 teaspoon salt to a bowl. Using an electric mixer, beat on medium speed until just blended.
Gradually add powdered sugar mixing until just combined. Stir in lemon juice.
Add the frosting to a ziplock bag. Cut off one of the bottom corners.
Squeeze the icing on top of the cooled cupcakes. Top with blueberries and lemon zest if desired.
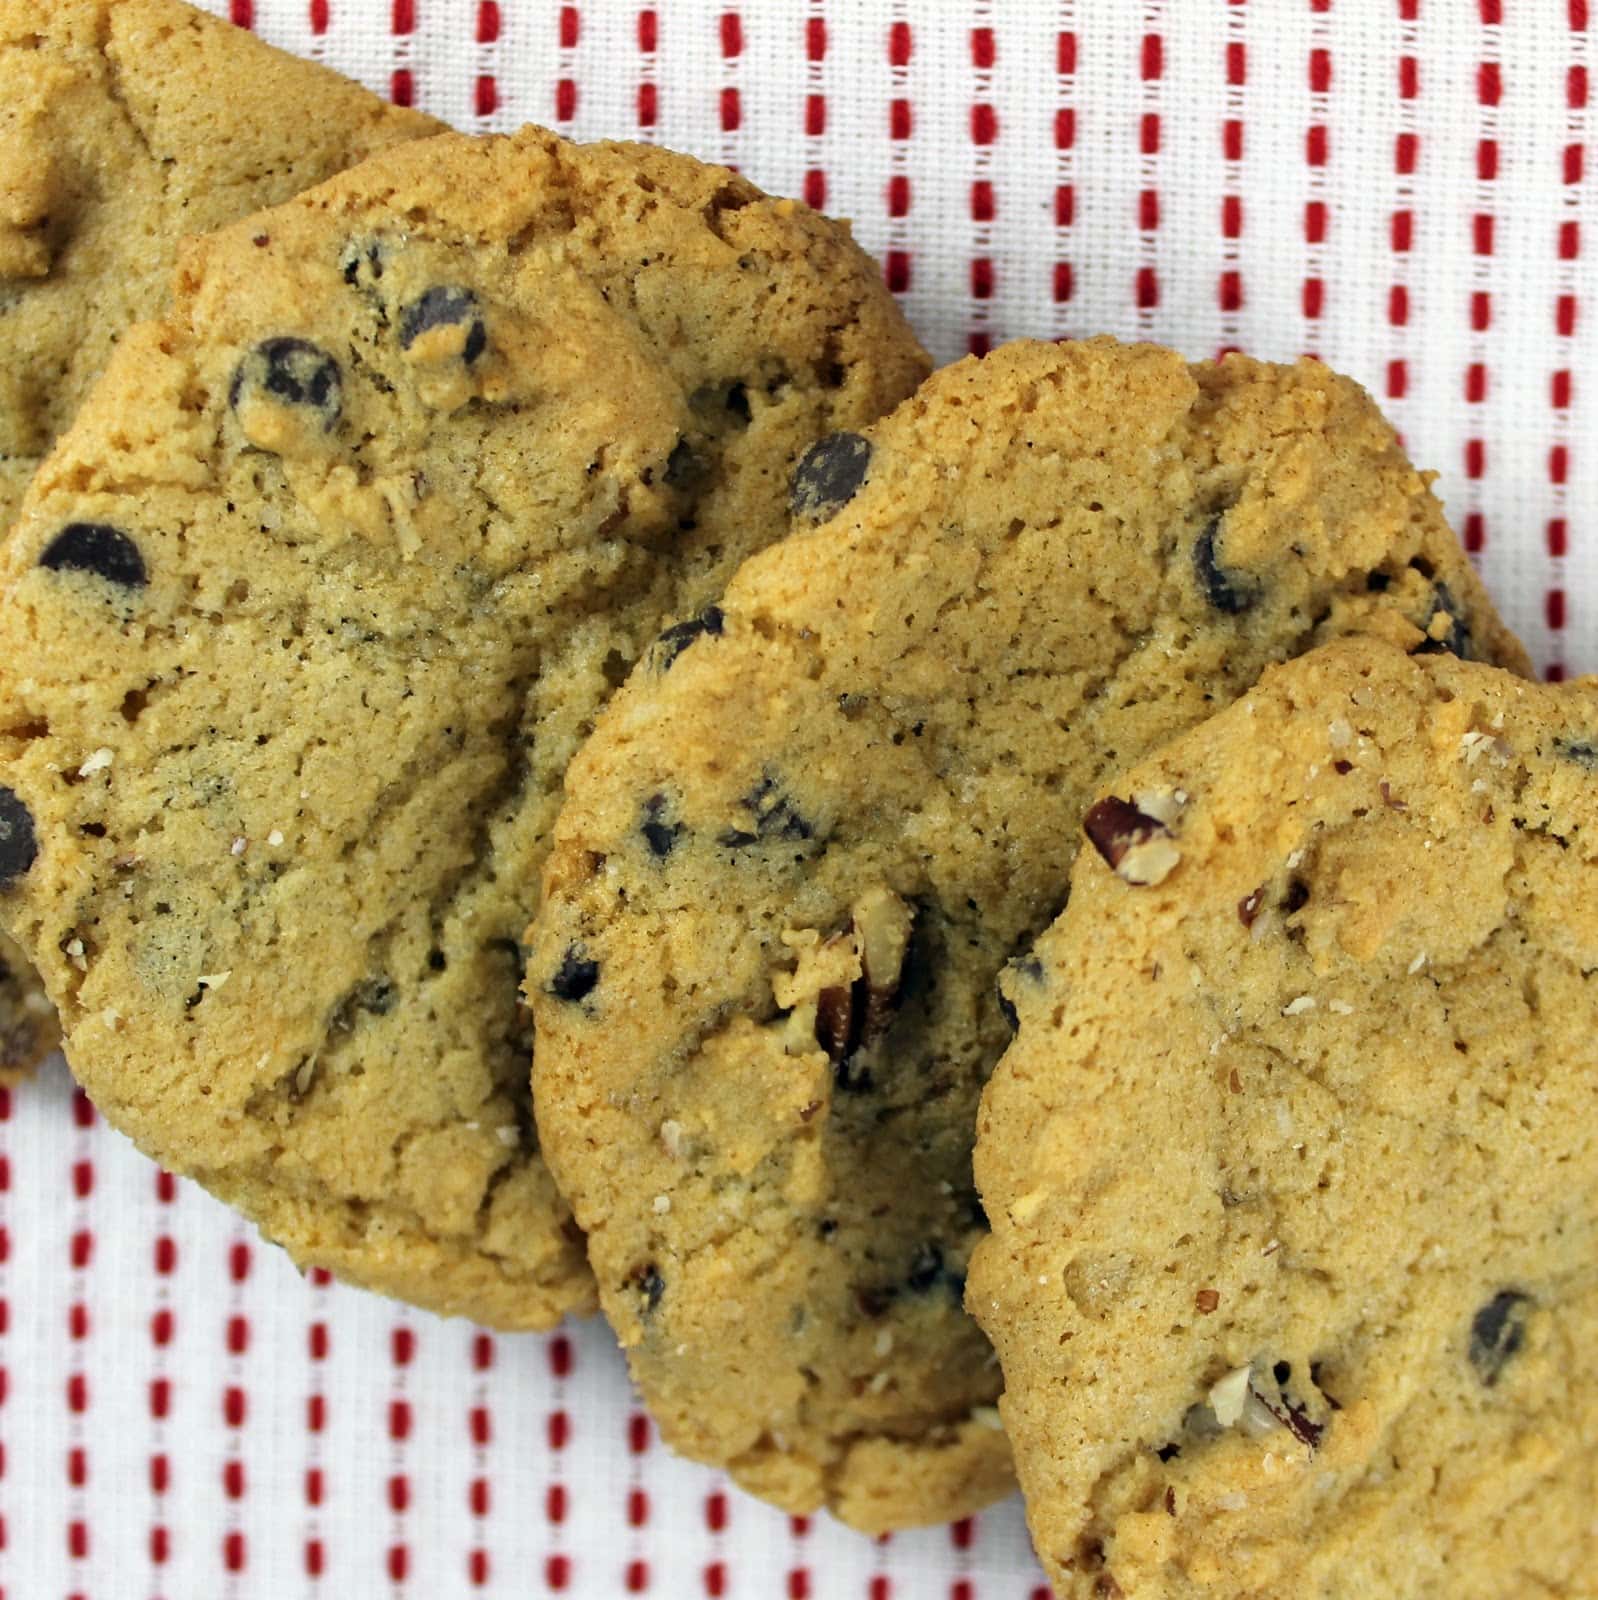
I am on a bit of a cookie kick at the moment. I’m blaming the particularly brisk weather. I also realized that Christmas is only 7 weeks away so it’s time to test out cookies that I can give away near the holidays. Cooking Light always has really delicious sounding recipes, and this one was no exception. The original used peanuts instead of walnuts, but I happened to have walnuts on hand.
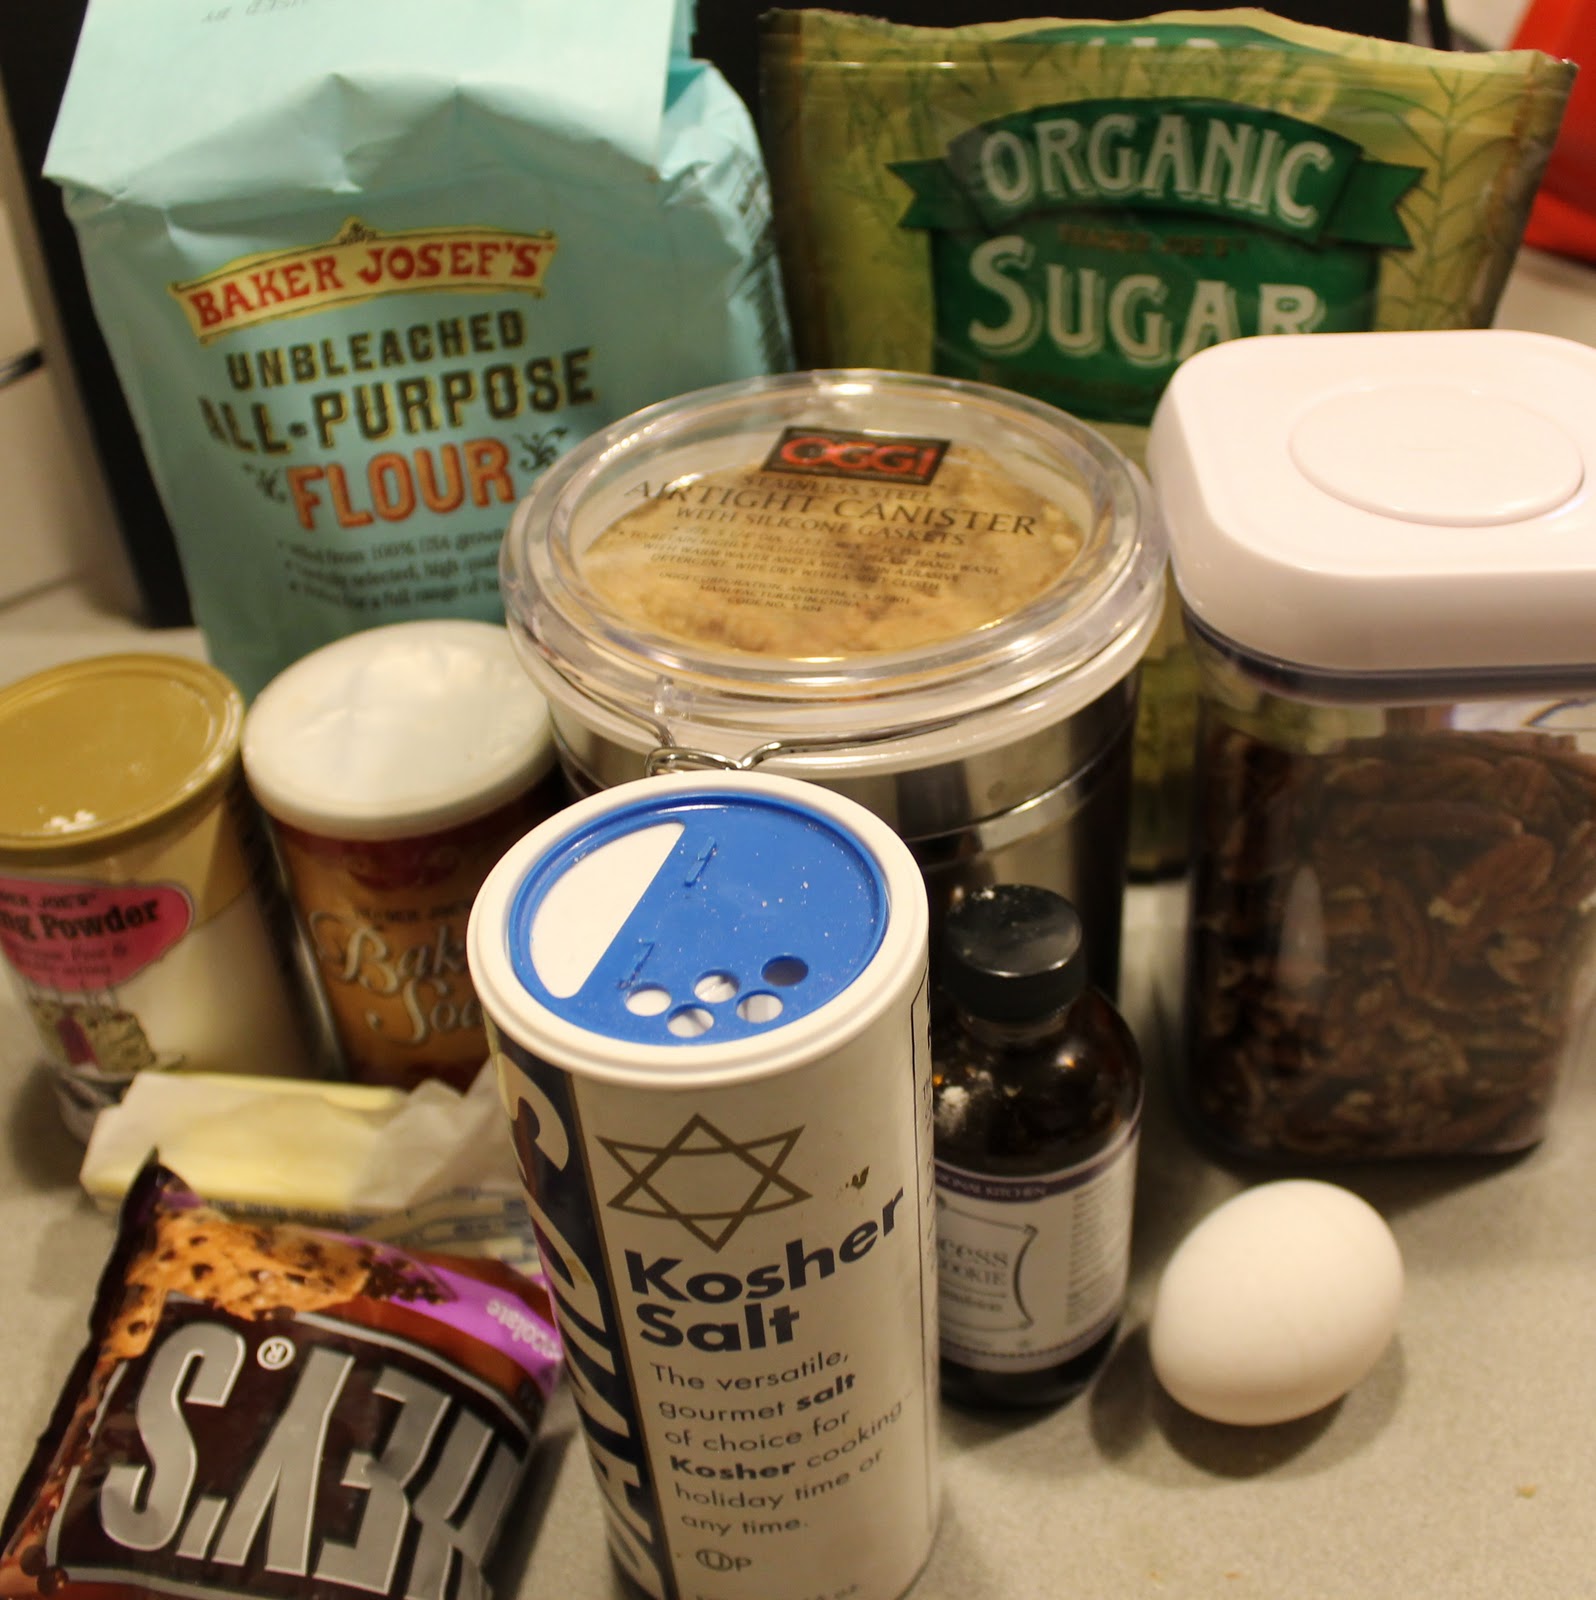
Ingredients
1/3 cup coarsely chopped walnuts
1 cup all-purpose flour (about 4 1/2 ounces)
1/2 teaspoon baking powder
1/4 teaspoon baking soda
1/2 cup granulated sugar
1/2 cup packed brown sugar
1/4 cup unsalted butter, softened
1 teaspoon vanilla extract
1 large egg
1/3 cup semisweet chocolate chips
1/2 teaspoon coarse sea salt
Parchment paper
Preheat the oven to 350 degrees. Add the flour, baking powder and baking soda in a medium sized bowl. Stir to combine.
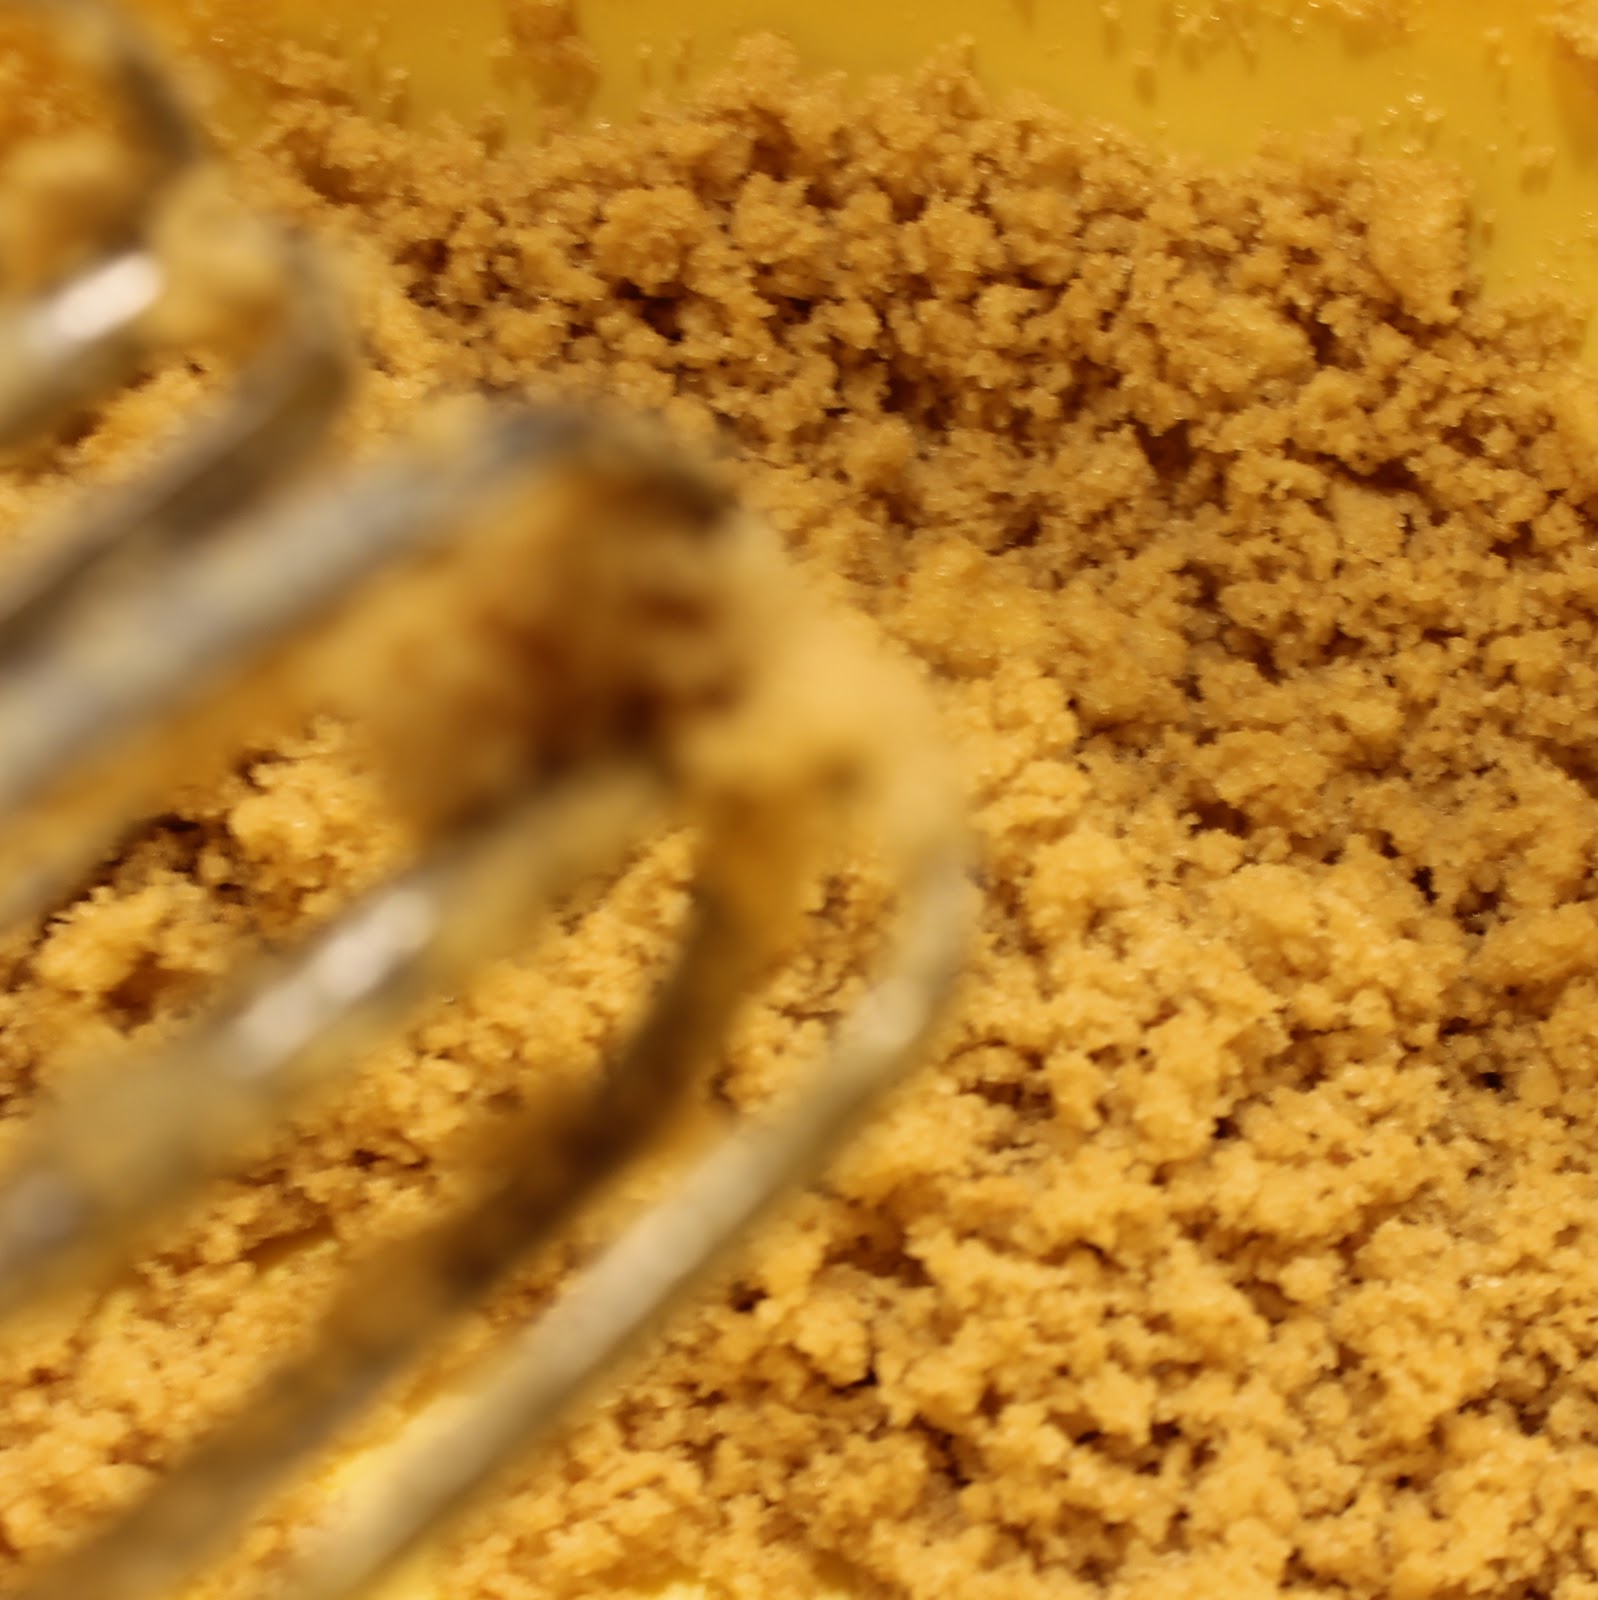
Add sugar, brown sugar, and butter to a large bowl. Beat with a mixer until well blended (about 2 minutes)
Add vanilla and egg and beat until well combined.
Add the flour mixture to the wet mixture. Beat on low until blended. Stir in the walnuts, salt and chocolate chips.
Add the dough to a cookie sheet lined with parchment paper, about one teaspoon per cookie. Keep them 2 inches apart so they don’t run together while baking.
Bake for 12 minutes and cool on pan for 5 minutes. Allow to cool completely on wire racks.
I cooked mine for 14 minutes, and I found them to be a tad too cooked, so I suggest trying 12 minutes. You can always pop them in for a minute or two longer if need be.
I loved the random burst of salt that just enhanced the chocolate chip flavor.
I wanted a bit more walnuts though, so I’d suggest bumping the walnuts from 1/3 cup to 1/2 cup.
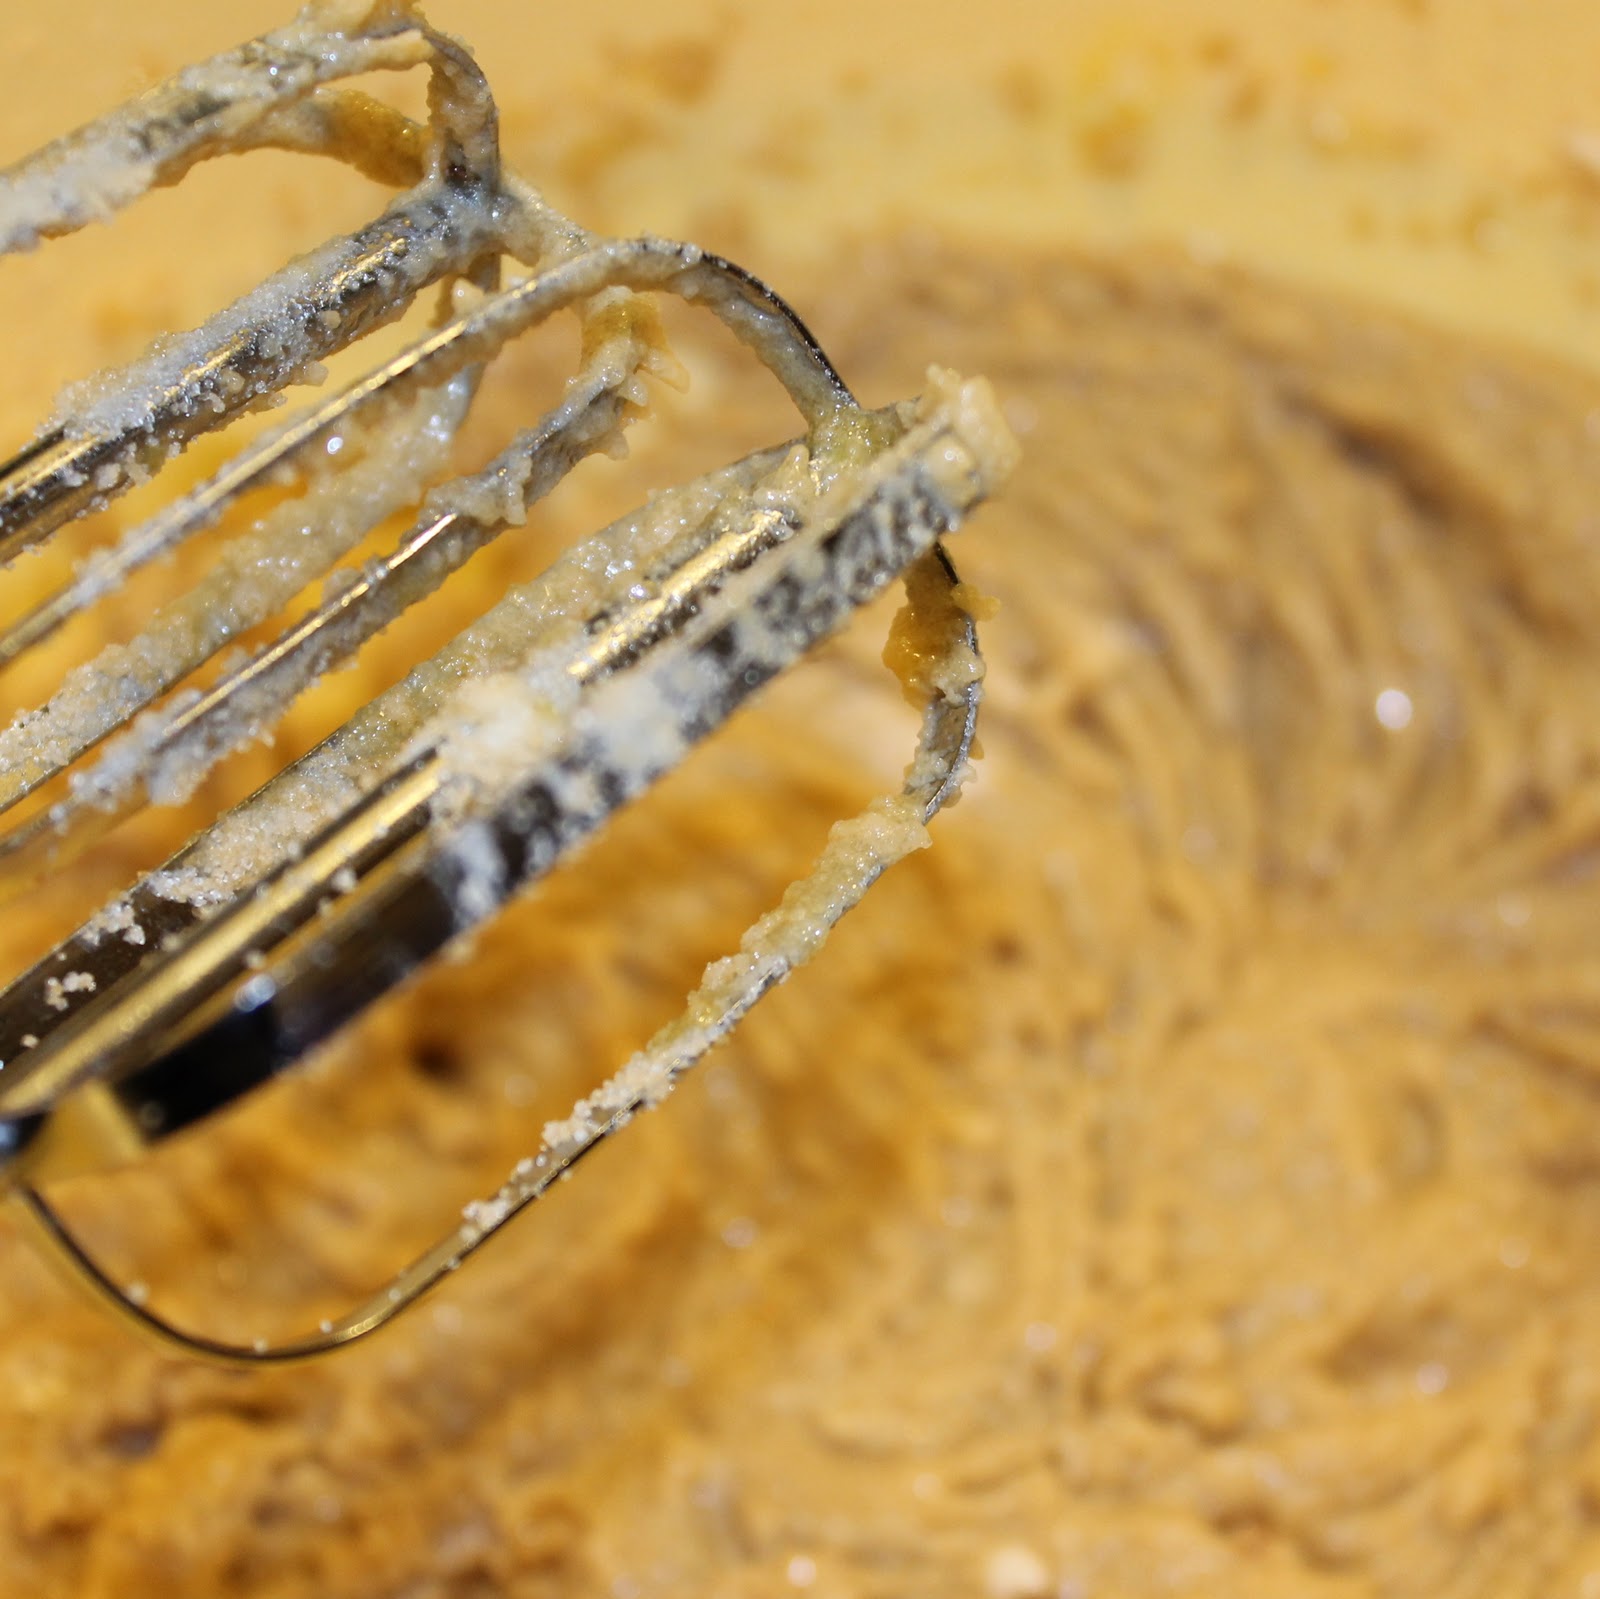
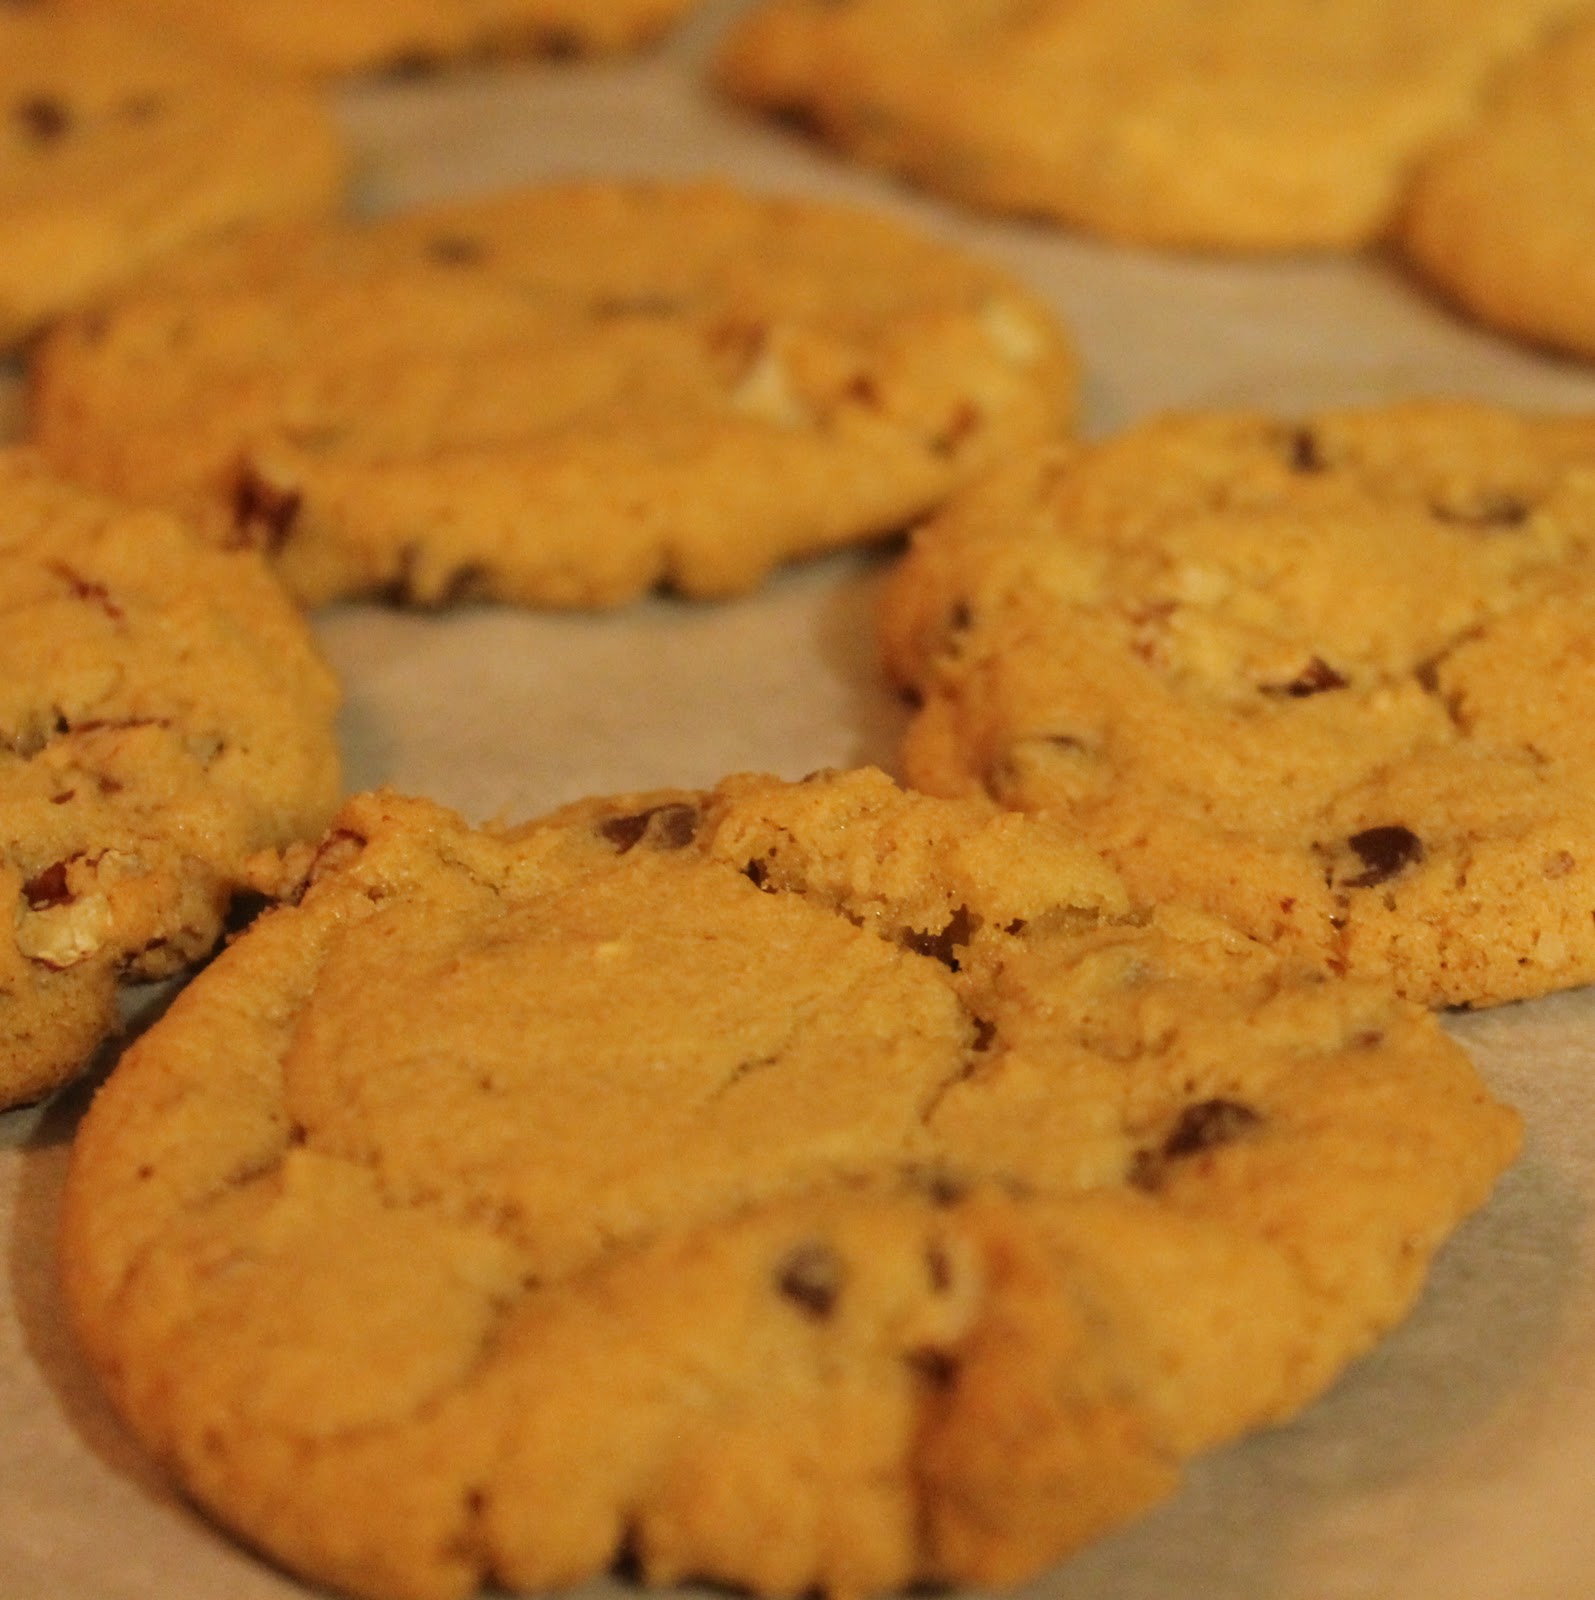
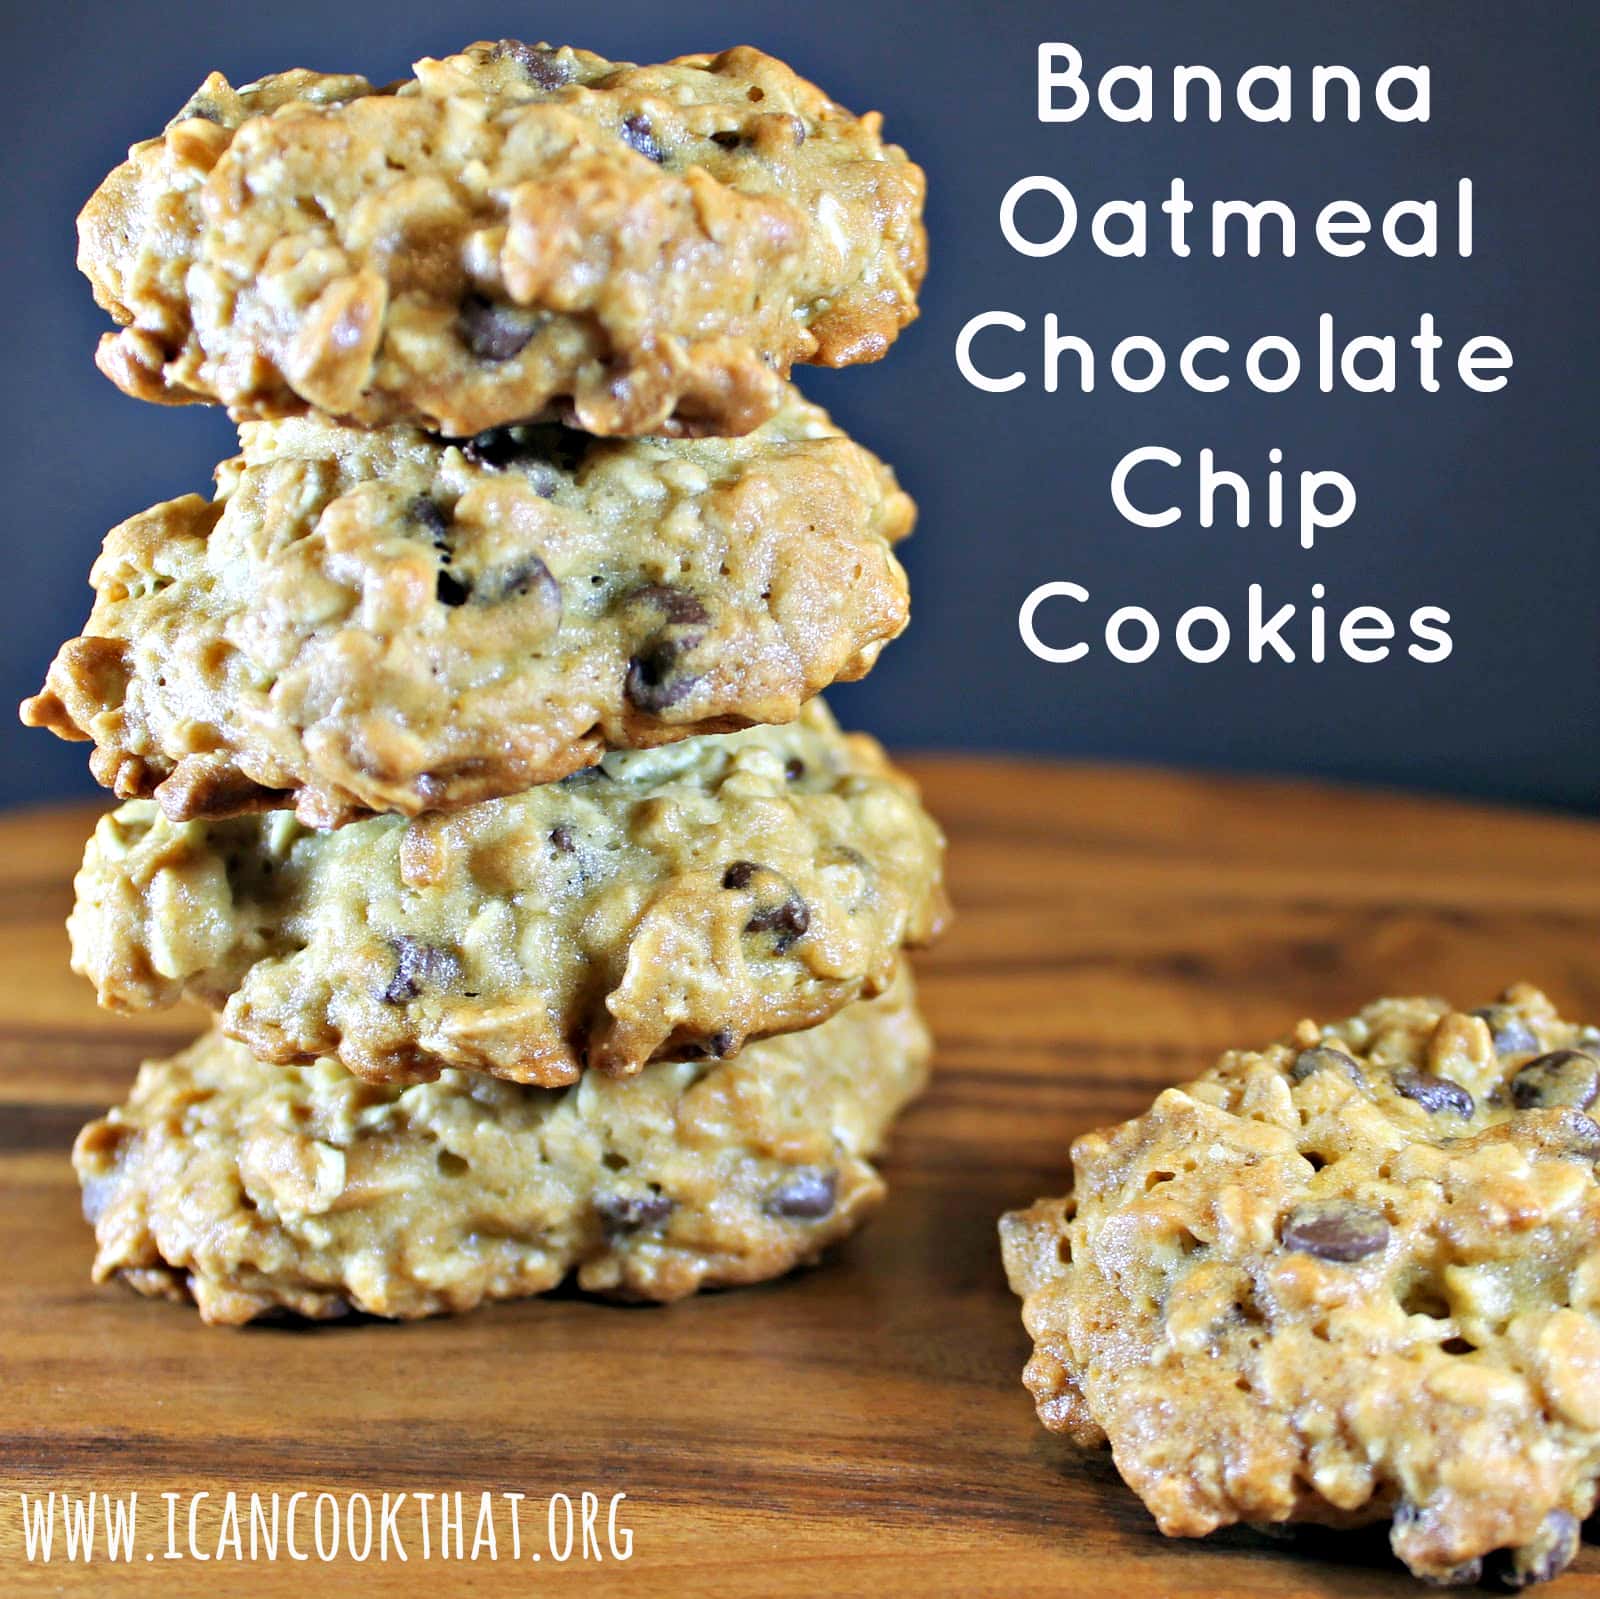
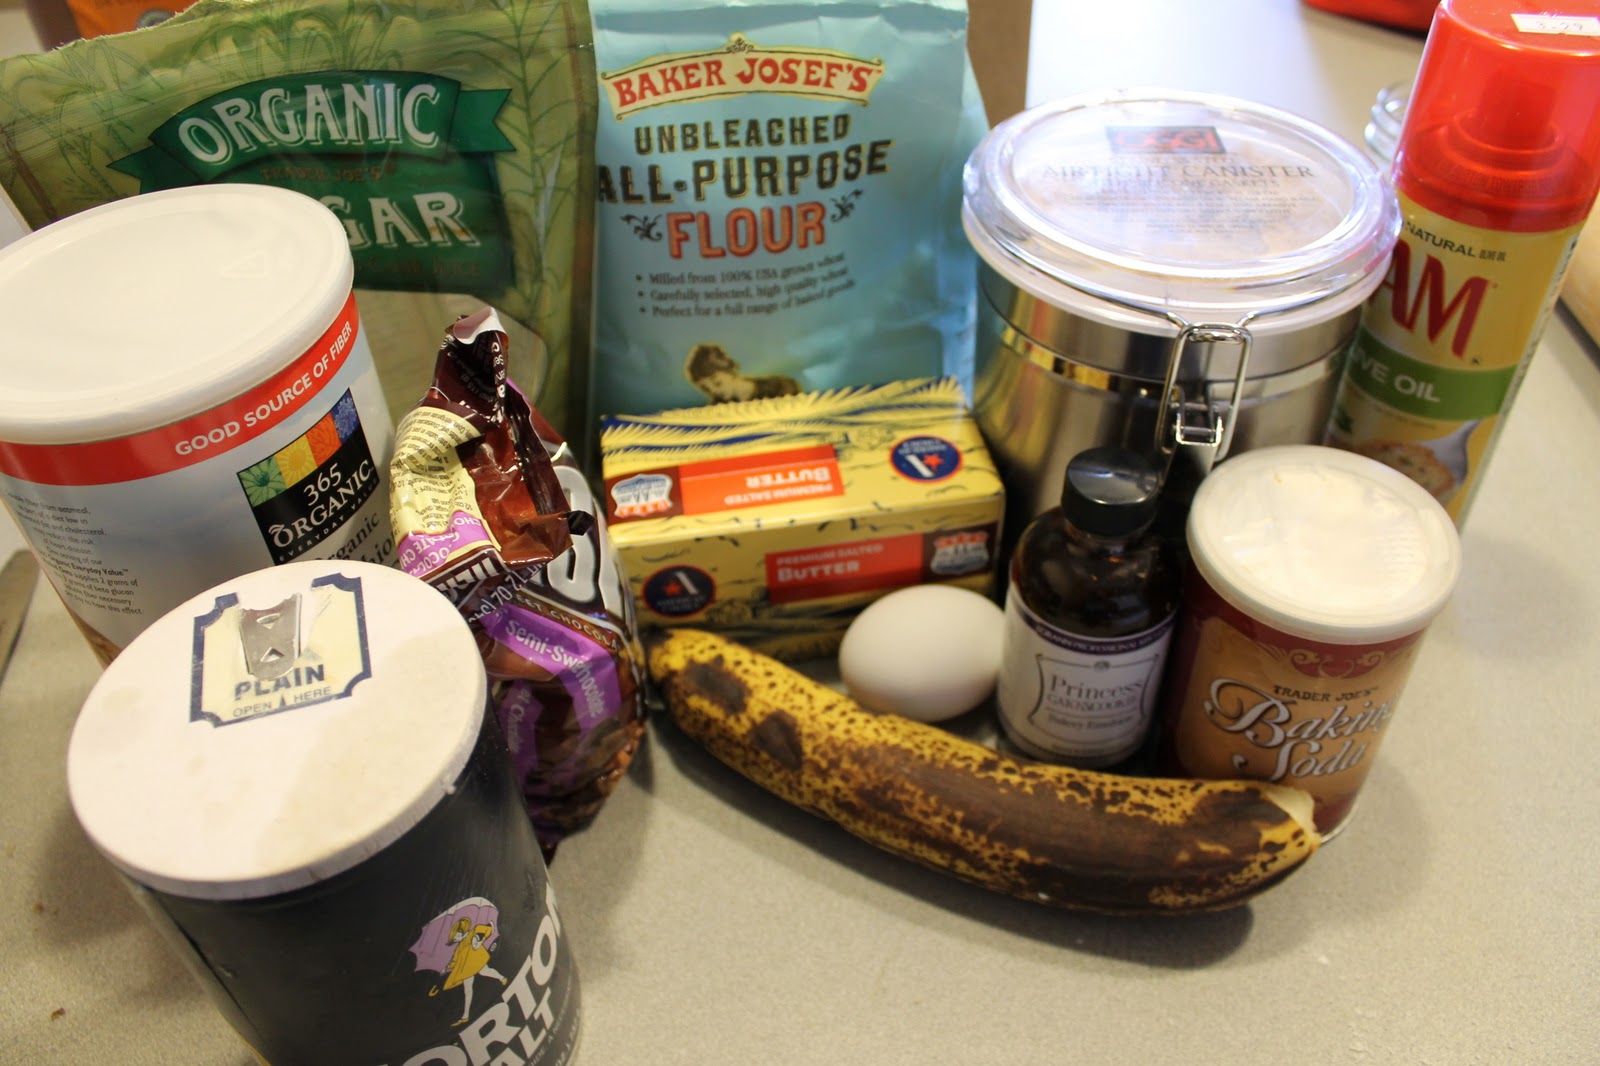
I never seem to eat all my bananas before they get too ripe. I know the go-to saver for over ripe bananas is banana bread, but I wanted to use them for something a little different. Cooking Light had a great cookie recipe that used ripe bananas, so I tried it out.
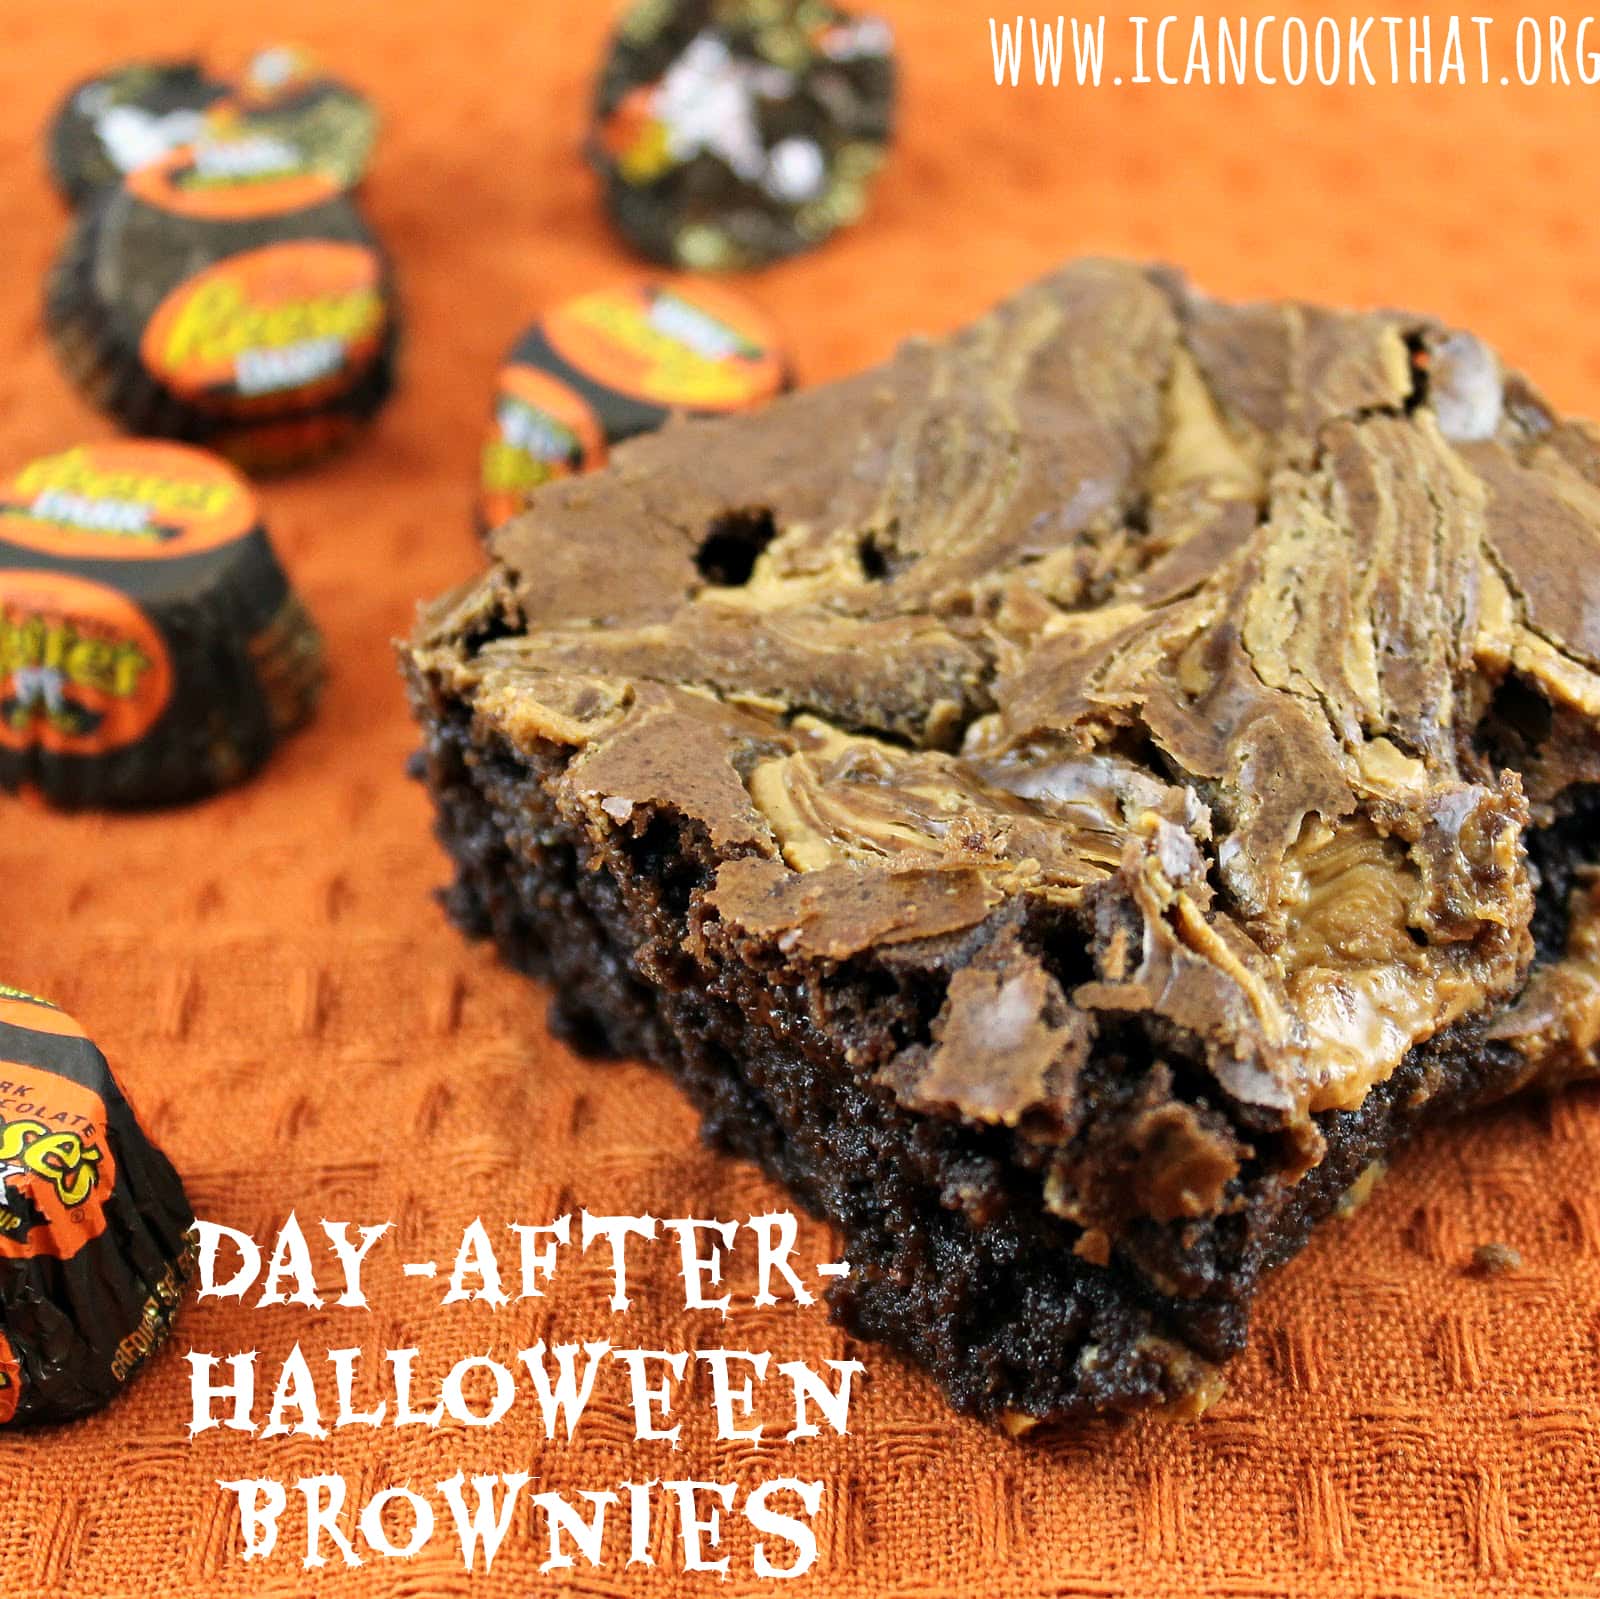
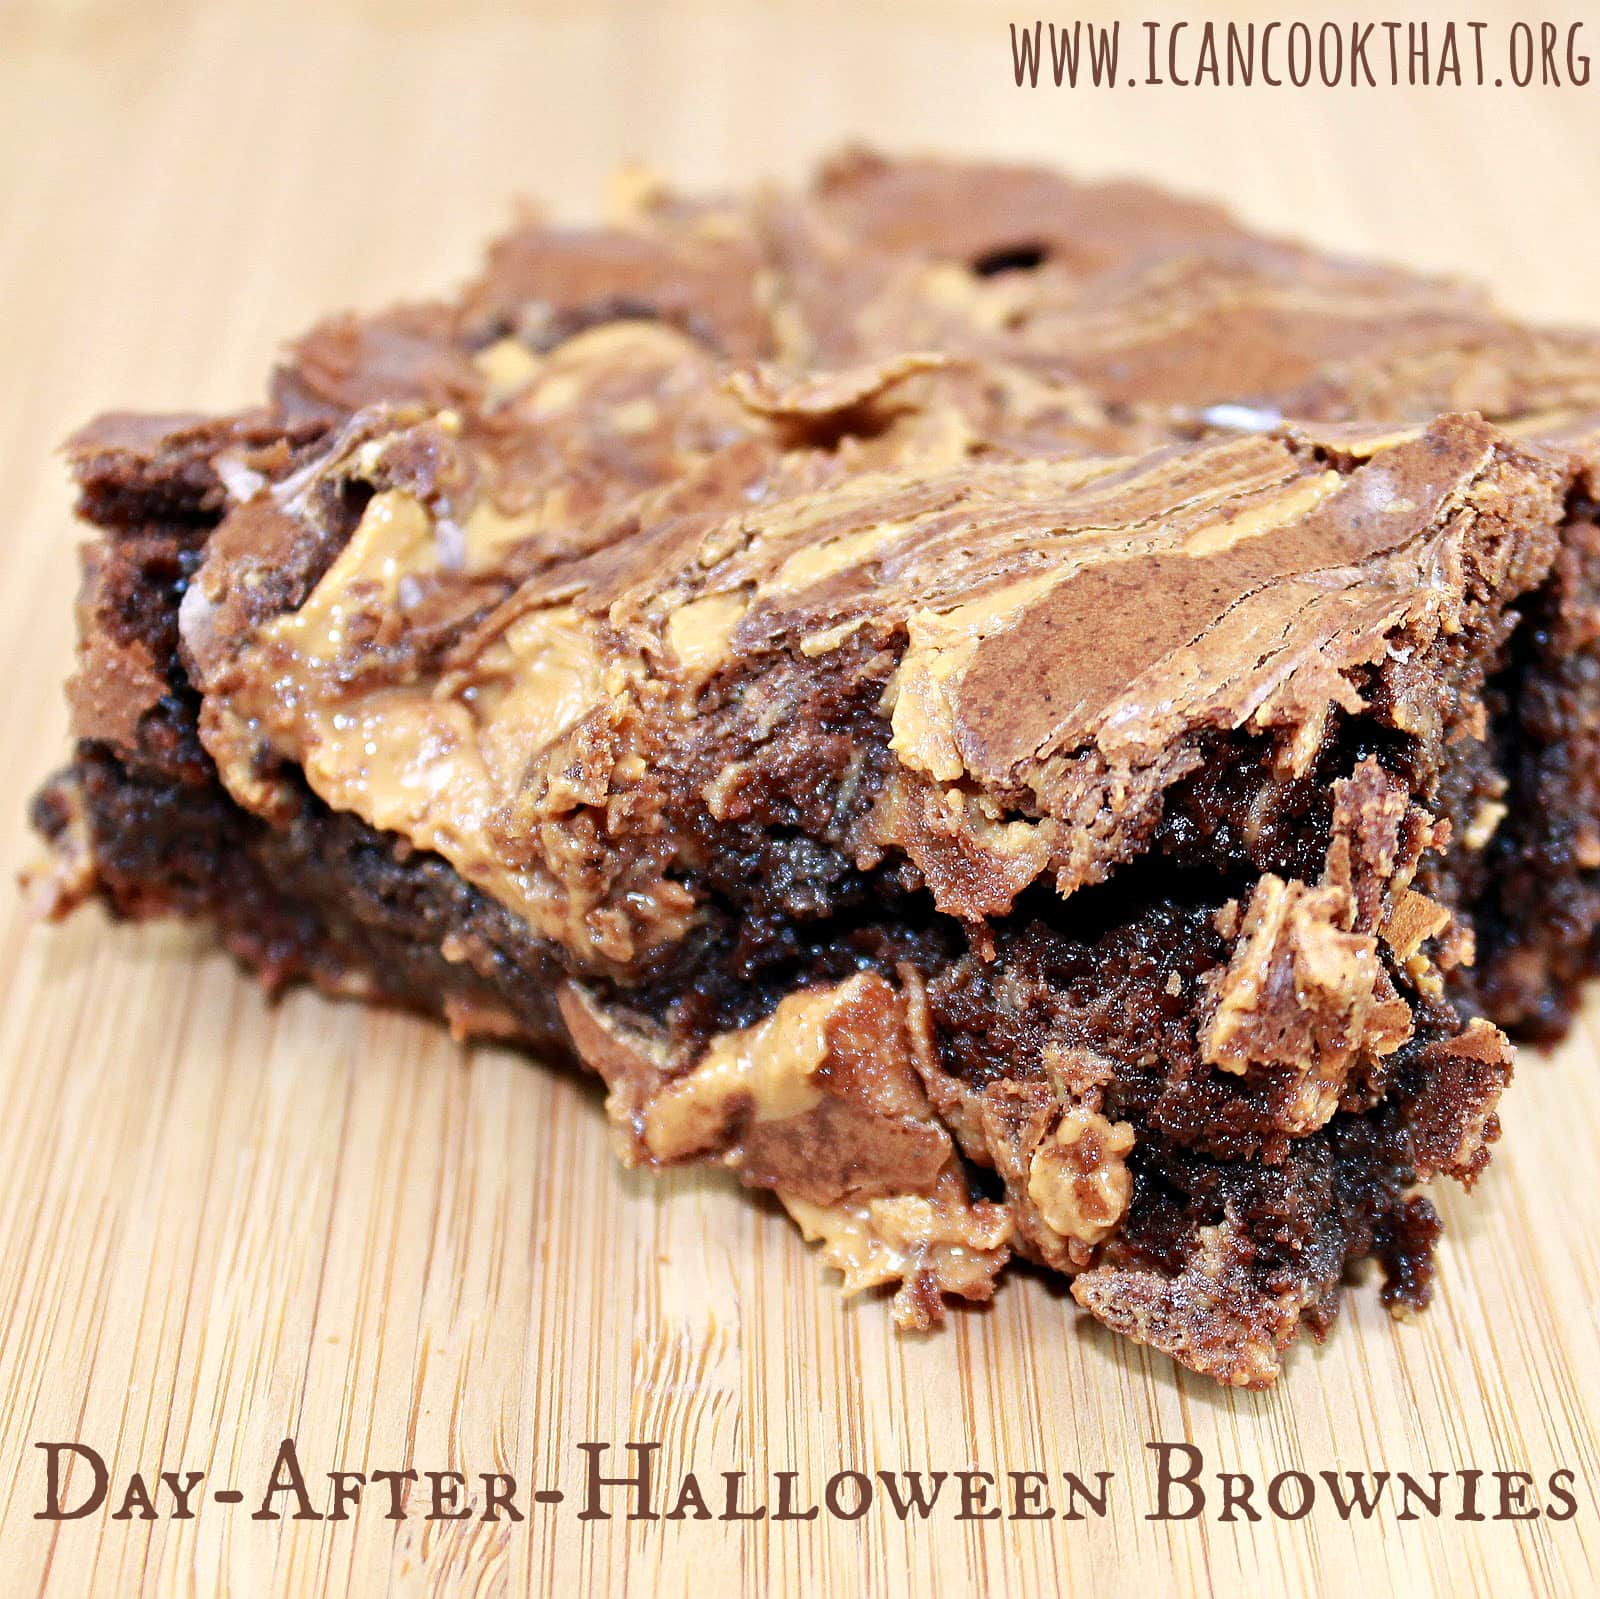
If you’re like every other American adult the day after Halloween, you have a whole lot of random candy sitting in your house. My guess is you either 1. want to get rid of it ASAP or 2. consume it all in one sitting. Well friends, I have a recipe to satisfy both ends of the spectrum. Two Peas and Their Pod had a wonderful Peanut Butter Snickers Brownies recipe on their site that got me thinking. Any chocolately goodness could be thrown in these brownies to make a yummy dessert! So I used Dark Chocolate Reese’s and Peanut Butter M&M’s to make these Day After Halloween Brownies! Past that, the recipe is the same as Two Peas and Their Pod, so thank you very much for posting this great idea!
Feel free to use whatever chocolate you have lying around the house. Just be sure to end up with about 1 1/2 cups of candy to make the recipe consistent.
Ingredients:
1 cup butter
2 cups granulated sugar
2 teaspoons vanilla extract
4 large eggs
3/4 cup dutch processed cocoa
1 cup all-purpose flour
1/2 teaspoon baking powder
1/4 teaspoon salt
1 1/2 cups chopped candy (I used about a dozen Reese’s Cups and a bag of Peanut M&Ms)
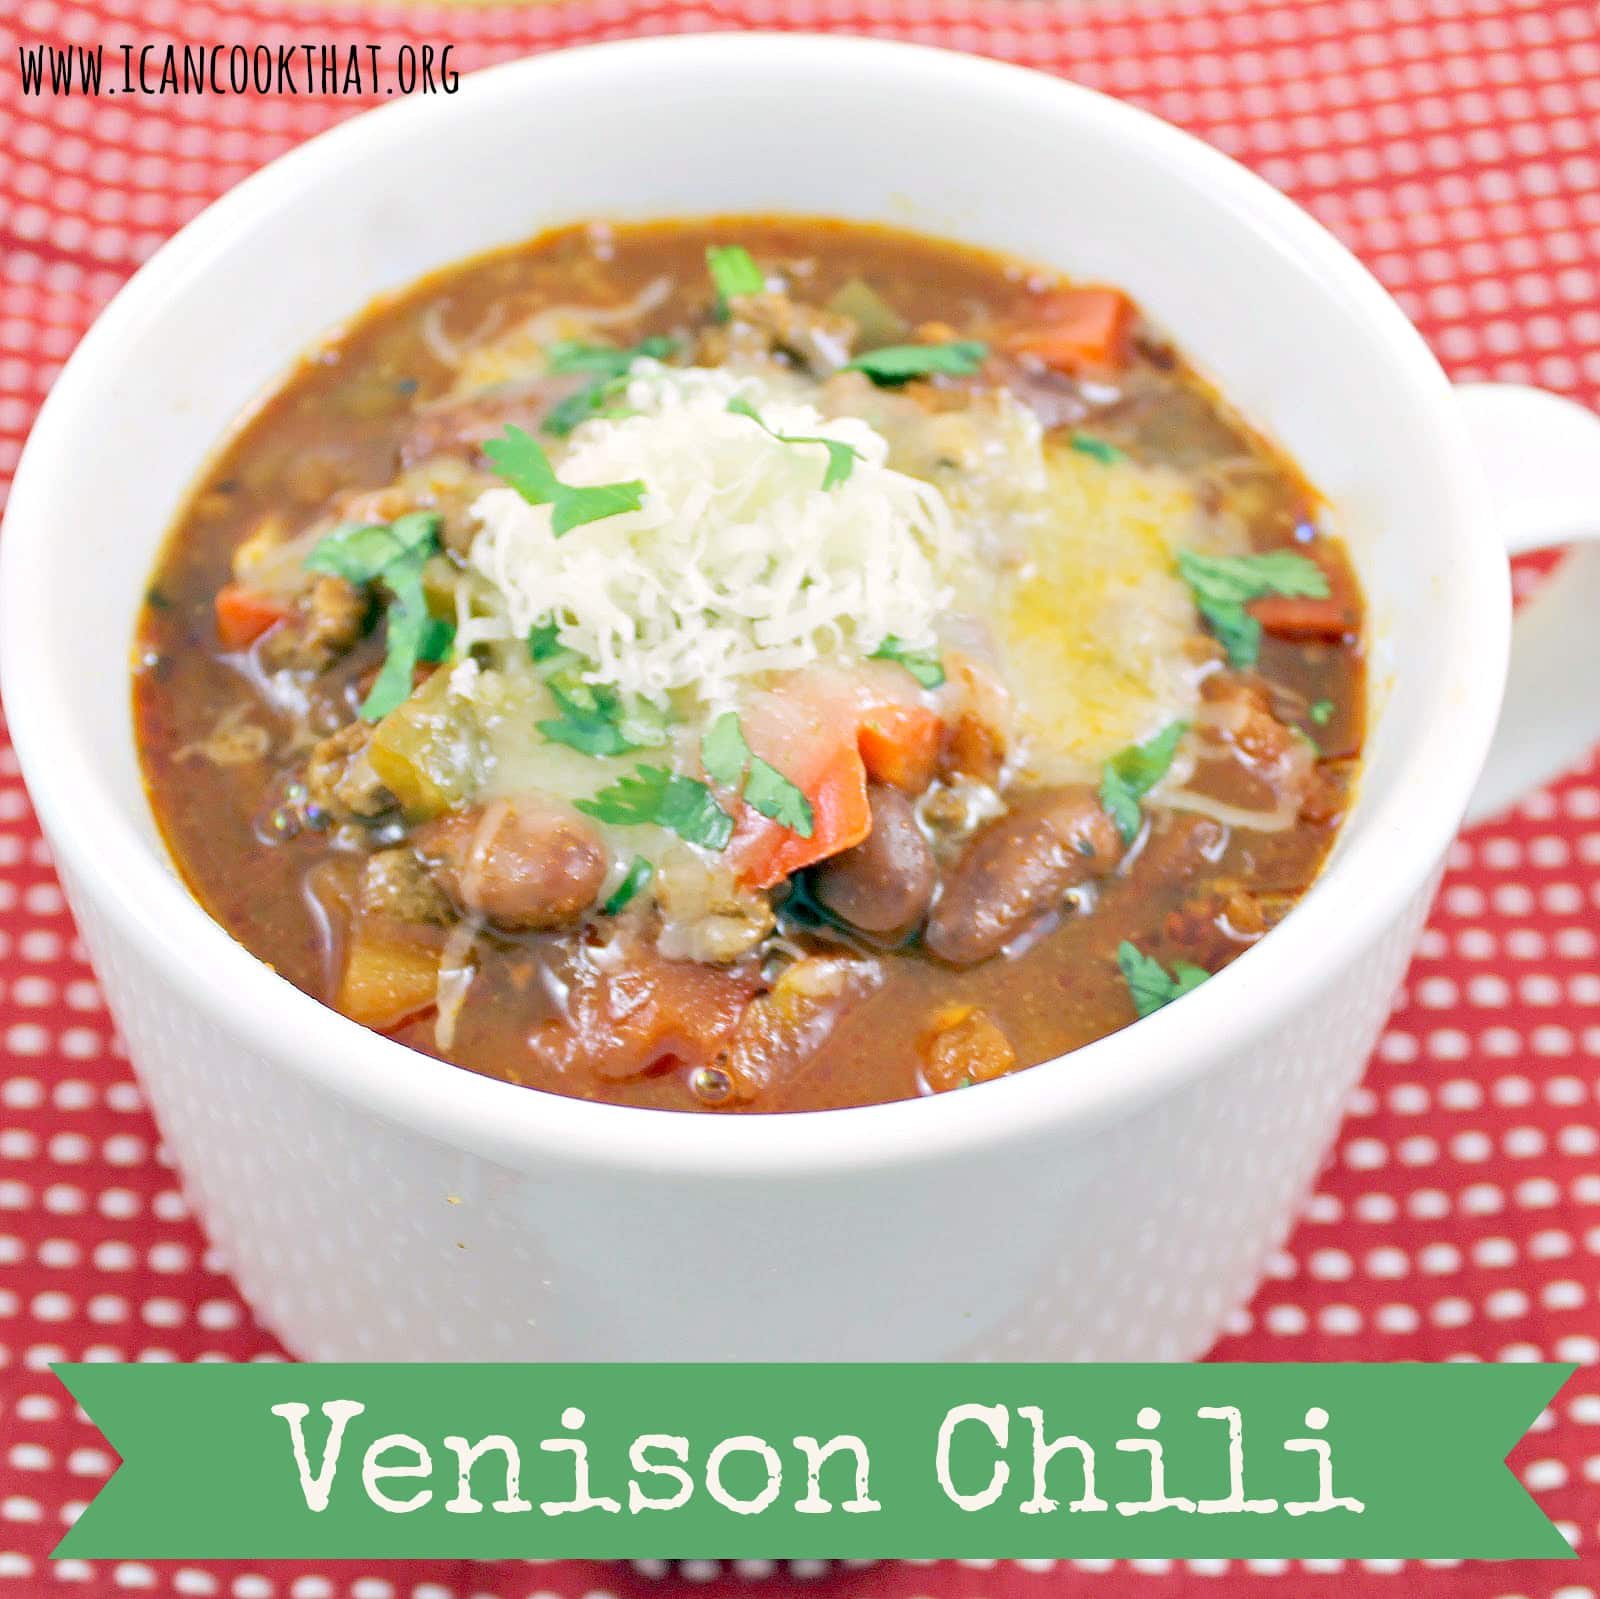
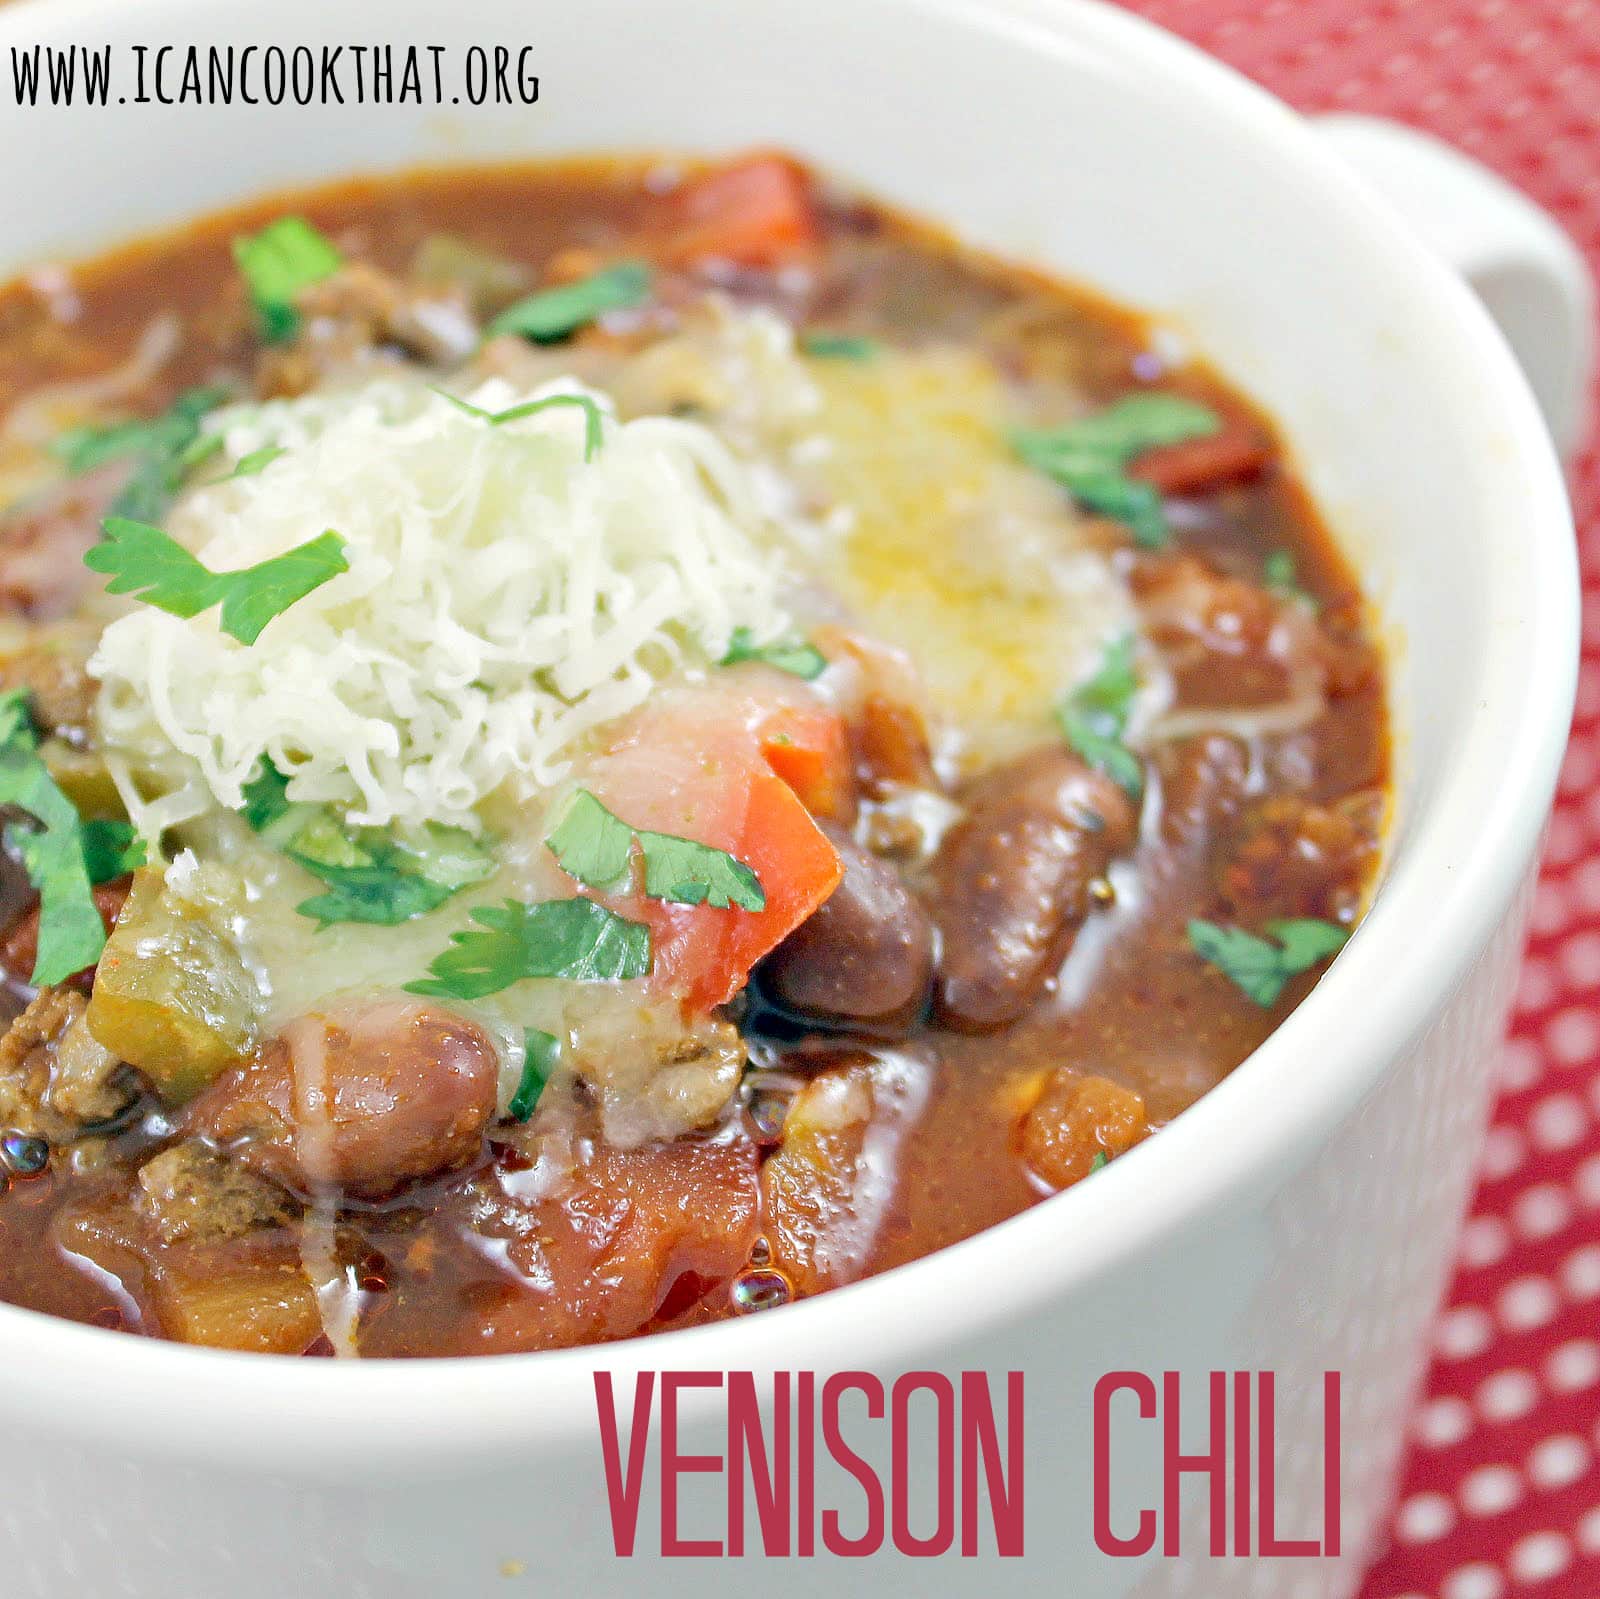
I spent most of Saturday in the car driving to/from North Jersey in a freak Nor’easter snowfall that really made the ride quite an experience. After yesterday, it is clear that winter is (sadly) not too far away, so I better get started on some of my favorite cold weather foods. First up, chili.
I just joined a new farm club called Arganica, that just started delivering to Philadelphia. I actually joined it because my CSA share is ending and I still wanted to receive different vegetables during the winter months. However, as I was looking over their offerings, their meat and fish section is what really caught my eye. I decided to take a chance on a new type of meat I’ve never cooked with before: venison. When I mentioned I was planning on making venison chili to my boyfriend, his eyes lit up. Here’s hoping my chili can live up to whatever high expectation he has for this meal! To go along with the chili, I also made pepper Jack corn bread muffins.
For those a bit wary about venison, the meat is actually quite lean; venison is lower in fat, calories and cholesterol than beef, pork, or lamb.
Ingredients:
2 tablespoons butter
2 tablespoons oil
2 lbs ground venison
4 strips of bacon
2 cans red kidney beans, drained
1 can tomato sauce
2 tablespoons tomato paste
1 can diced tomatoes
1 teaspoon hot sauce
2 tablespoons Worcestershire sauce
1 tablespoon honey
1 tablespoon ground chili
1 teaspoon cumin
1/2 tablespoon dried parsley
1/2 tablespoon dried basil
1/2 teaspoon cayenne
1 red bell pepper, chopped
1 green bell pepper, chopped
5 garlic cloves, minced
1 sweet onion, chopped
1 jalapeno (or similar) pepper, seeds removed and chopped
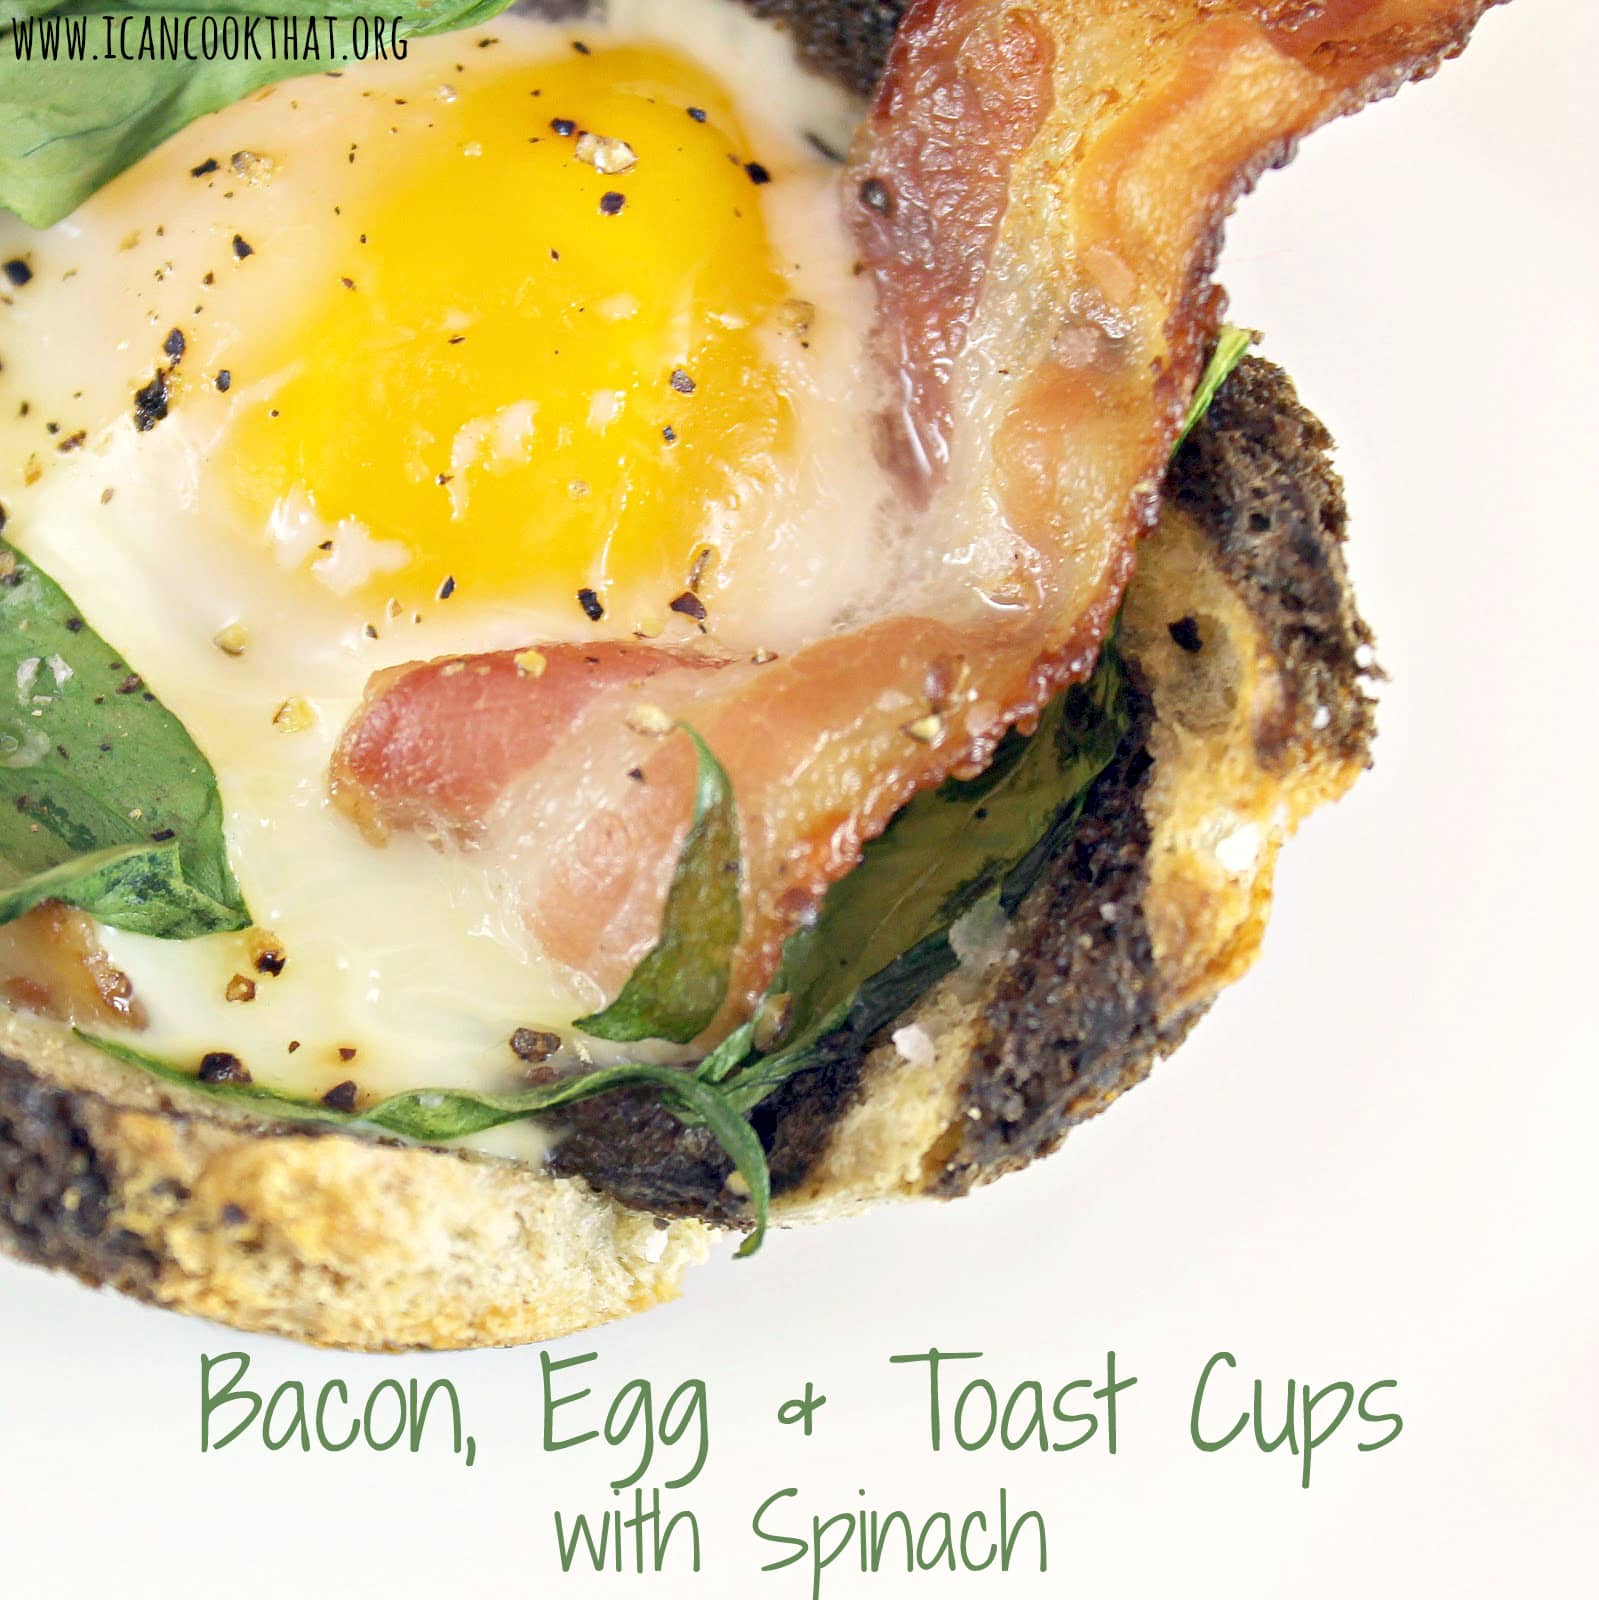
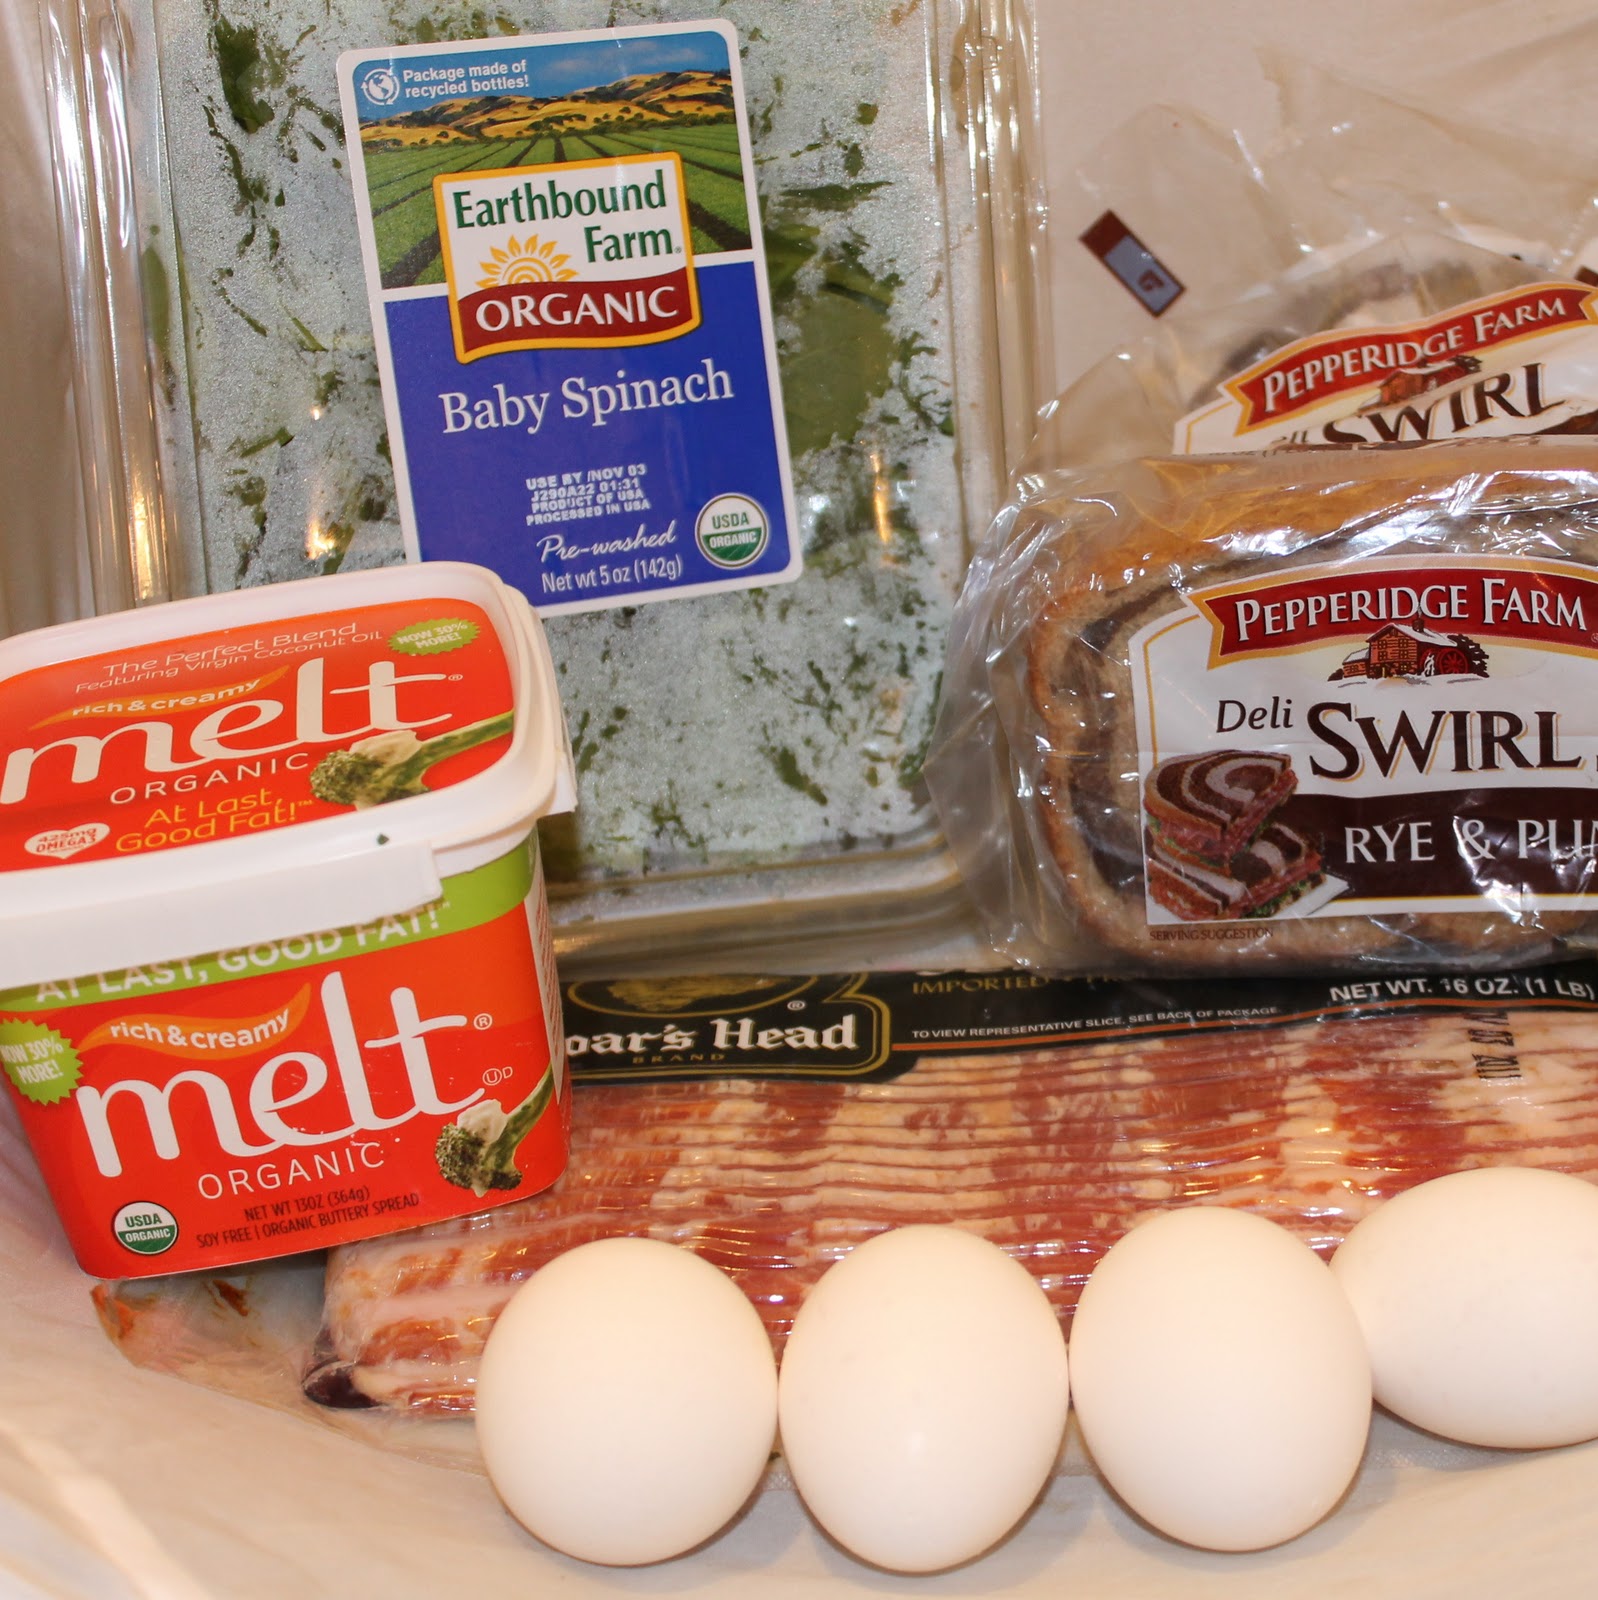
I came across this Martha Stewart recipe this week and was kind of mad at myself for not thinking of it first. It’s brilliant. I love the idea of an entire breakfast within one little “muffin”. This would be a wonderful idea for a breakfast with guests: they look wonderful and really don’t take much time or preparation at all.
Ingredients: (makes 4)
2 tablespoons unsalted butter, melted
6 slices sandwich bread (I strongly suggest the Rye-Pumpernickel Swirl bread)
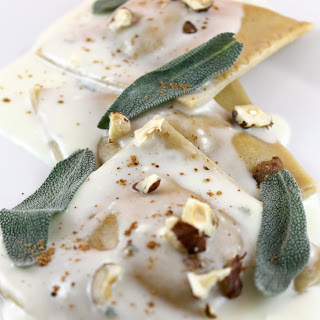
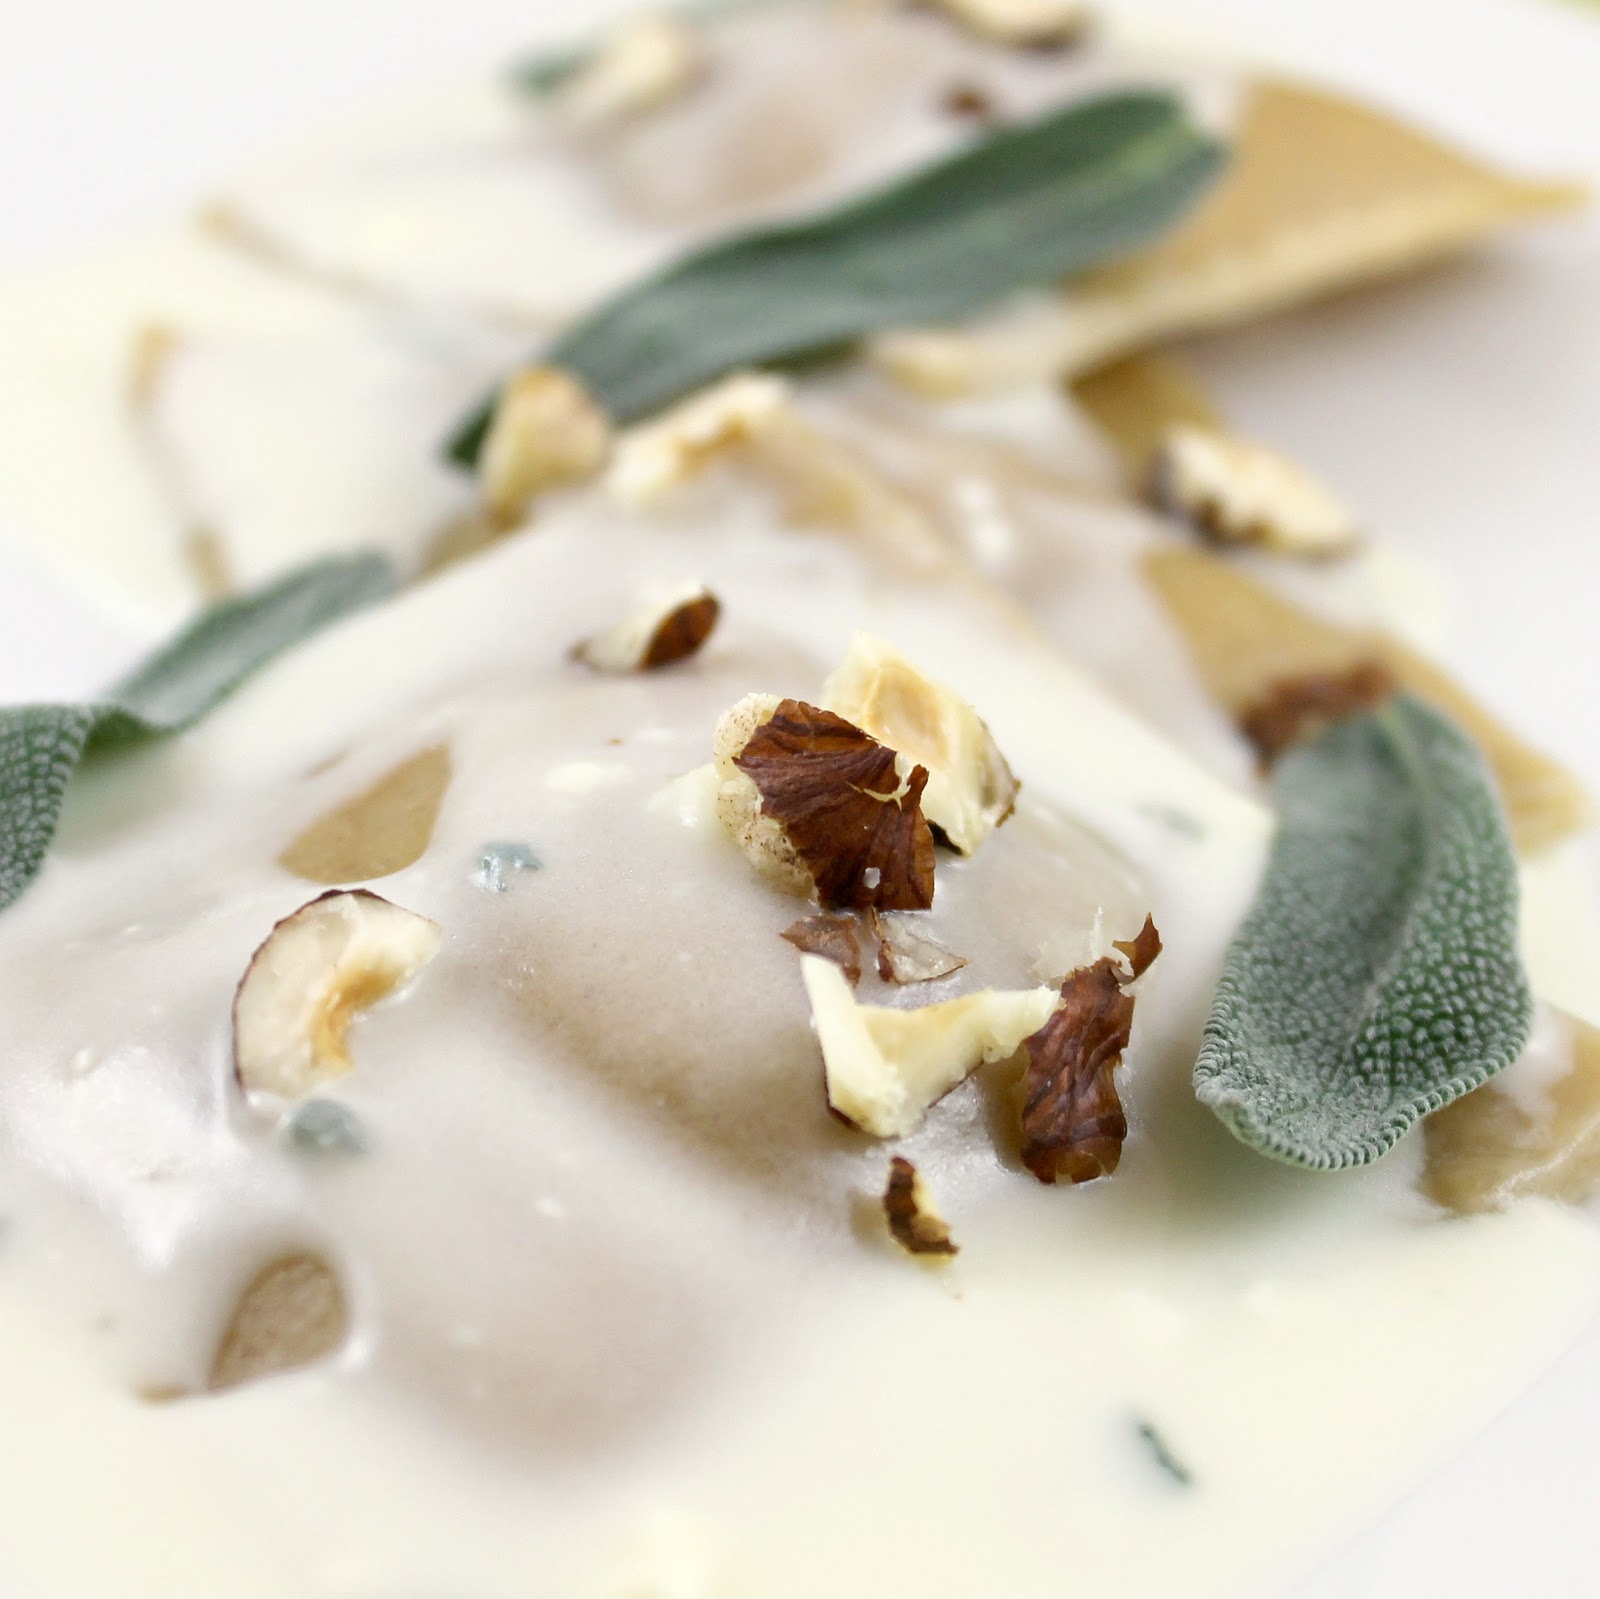
Are you getting sick of my pumpkin recipes? I think this recipe for Pumpkin Ravioli with Gorgonzola Sauce actually brings me to over a dozen posts on pumpkin-flavored desserts/meals. I wasn’t lying when I said I was pumpkin obsessed! Anyways, I’ve been trying to make this recipe for Pumpkin Ravioli with Gorgonzola Sauce from Cooking Light for almost 2 weeks, but for the life of me could not find wonton wrappers. I finally just adapted the recipe to use fresh pasta sheets from By George in Reading Terminal.
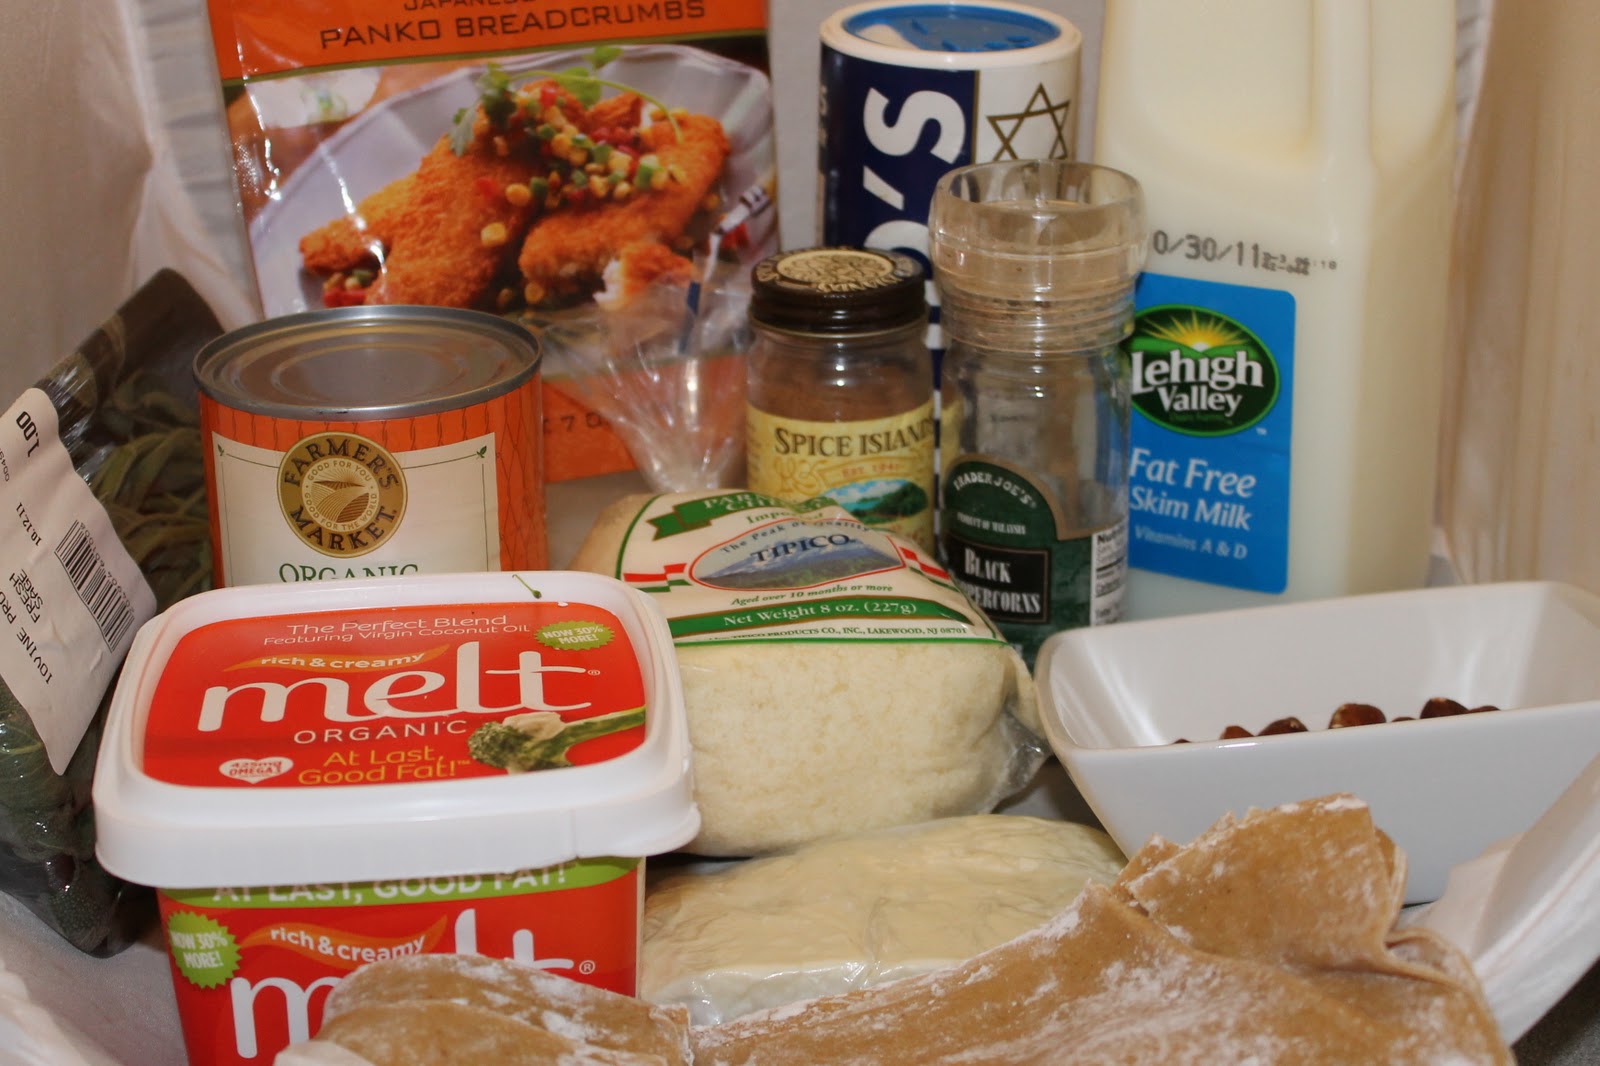
Ingredients (makes 3 servings):
1 1/4 cups canned pumpkin
2 tablespoons panko breadcrumbs
2 tablespoons fresh grated Parmesan cheese
1/2 teaspoon salt
3/4 teaspoon minced fresh sage
1/4 teaspoon freshly ground black pepper
1/4 teaspoon ground nutmeg, divided
6 pieces of fresh pasta lasagna sheets, rolled thinner if desired (I used pumpkin pasta, no surprise there!) – about 1 lb.
1 cup fat-free milk
1 tablespoon all-purpose flour
1 1/2 tablespoons butter
1/2 cup (2 ounces) crumbled Gorgonzola cheese
1 tablespoon egg substitute or one egg, mixed
3 tablespoons hazelnuts, chopped
Fresh sage leaves for garnish
Note: It would be super helpful to have a ravioli stamp, (or ideally, to have a ravioli maker!) but you can get the same results by pressing firmly and separating using a knife.
To make the Pumpkin Ravioli with Gorgonzola Sauce, add a salted pot of water to your stove over high heat. Bring to a boil.
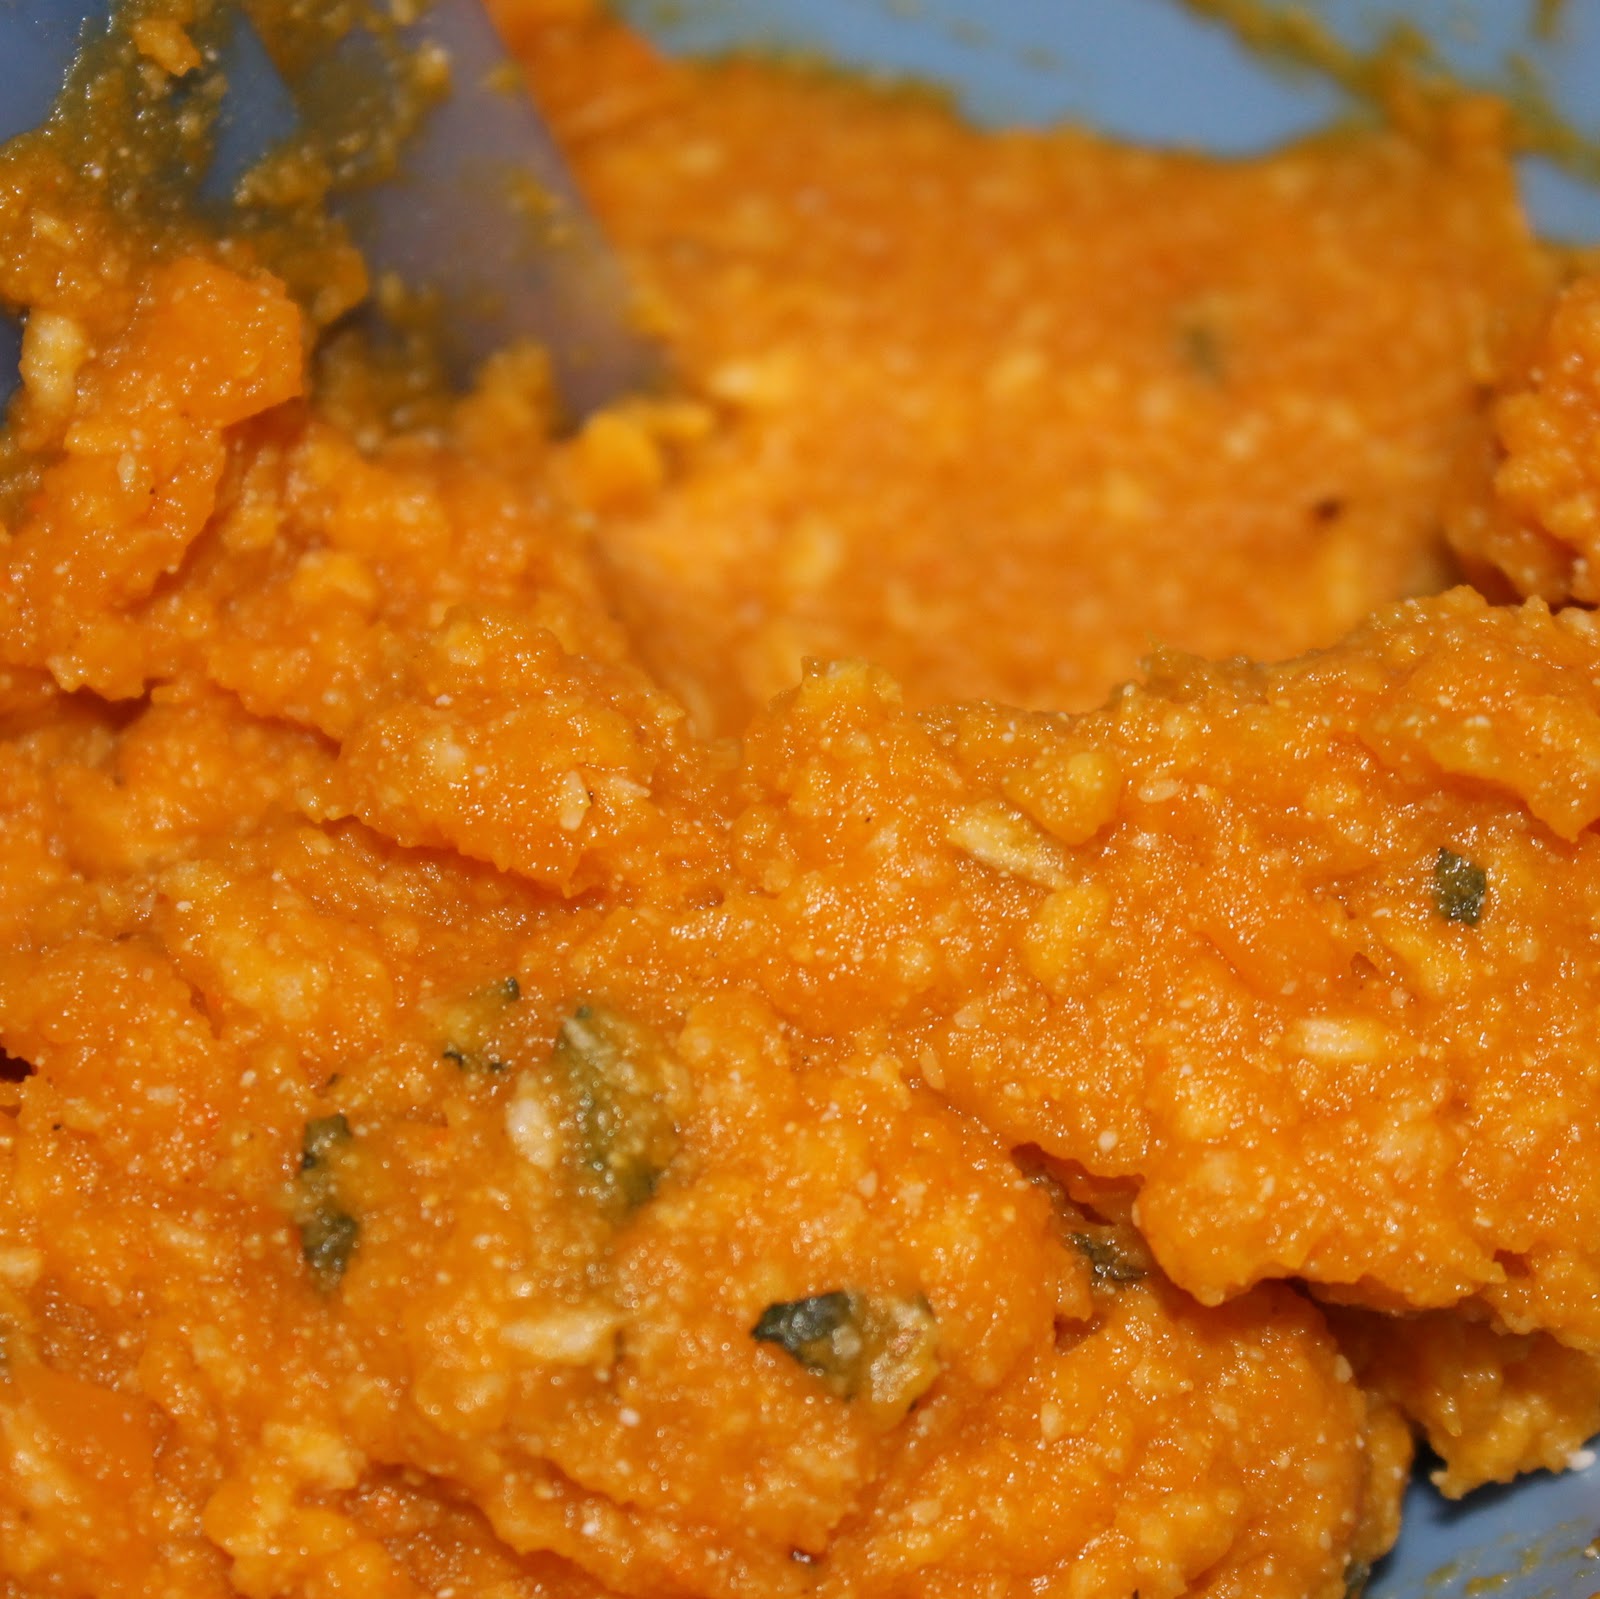
Begin by making the ravioli stuffing. Add the pumpkin, panko, Parmesan, minced sage, salt, pepper, and 1/8 teaspoon nutmeg to a bowl. Mix to combine.
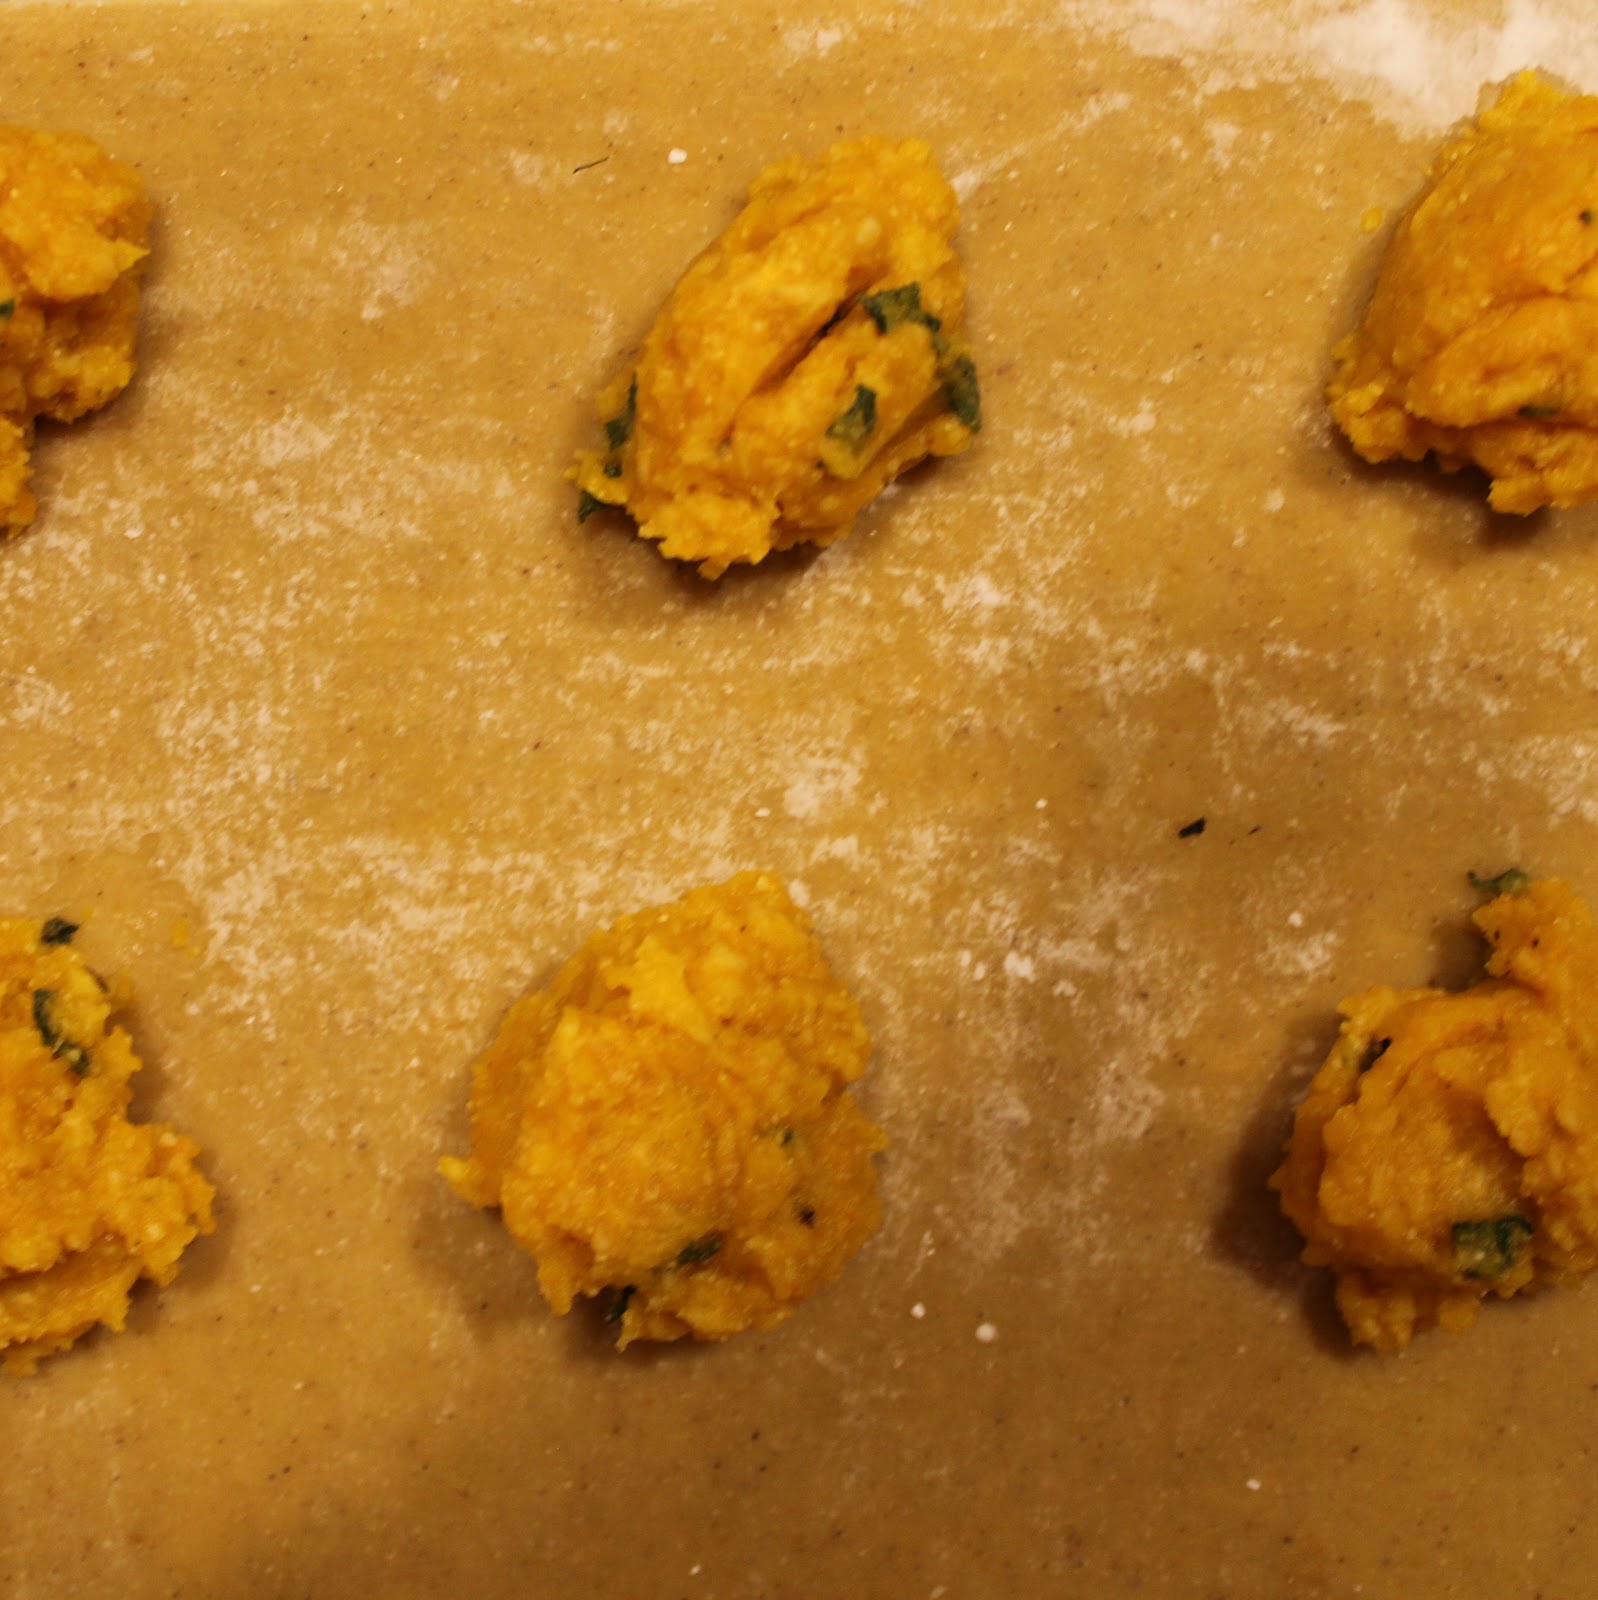
If you’d prefer to make the pasta as thin as possible, use a rolling pin to roll out the dough even more. Place a generous teaspoon of the pumpkin mixture on one sheet of pasta, evenly spaced (I used my stamp as a guide). My sheets were able to hold about 6 teaspoons of the pumpkin mixture.
Using a brush, surround the pumpkin mixture with a thin layer of eggwash. This will help hold the pasta pieces together.
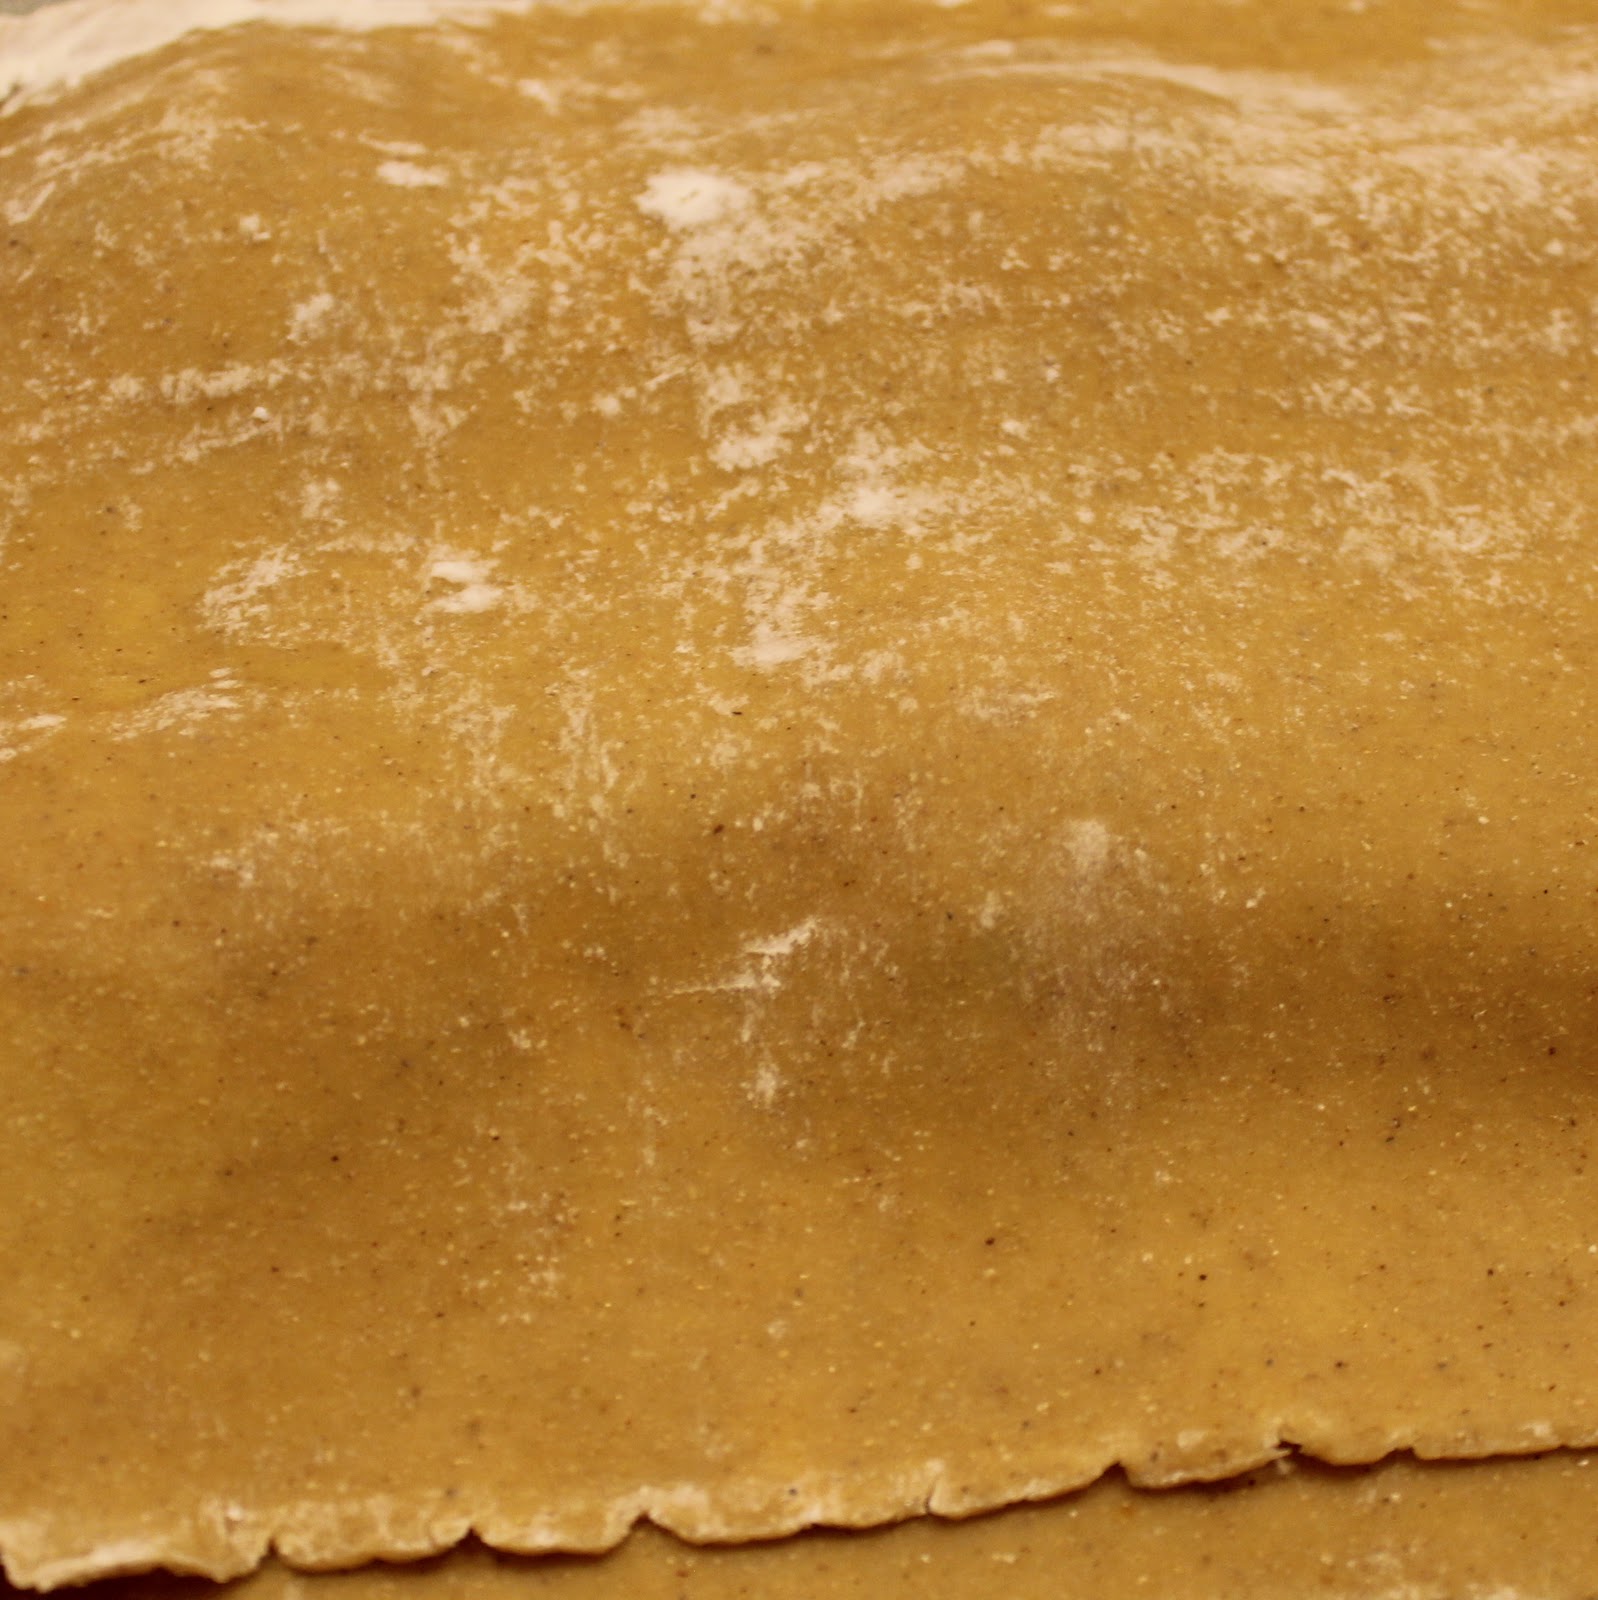
Place another lasagna sheet on top of the original sheet, covering the pumpkin mixture.
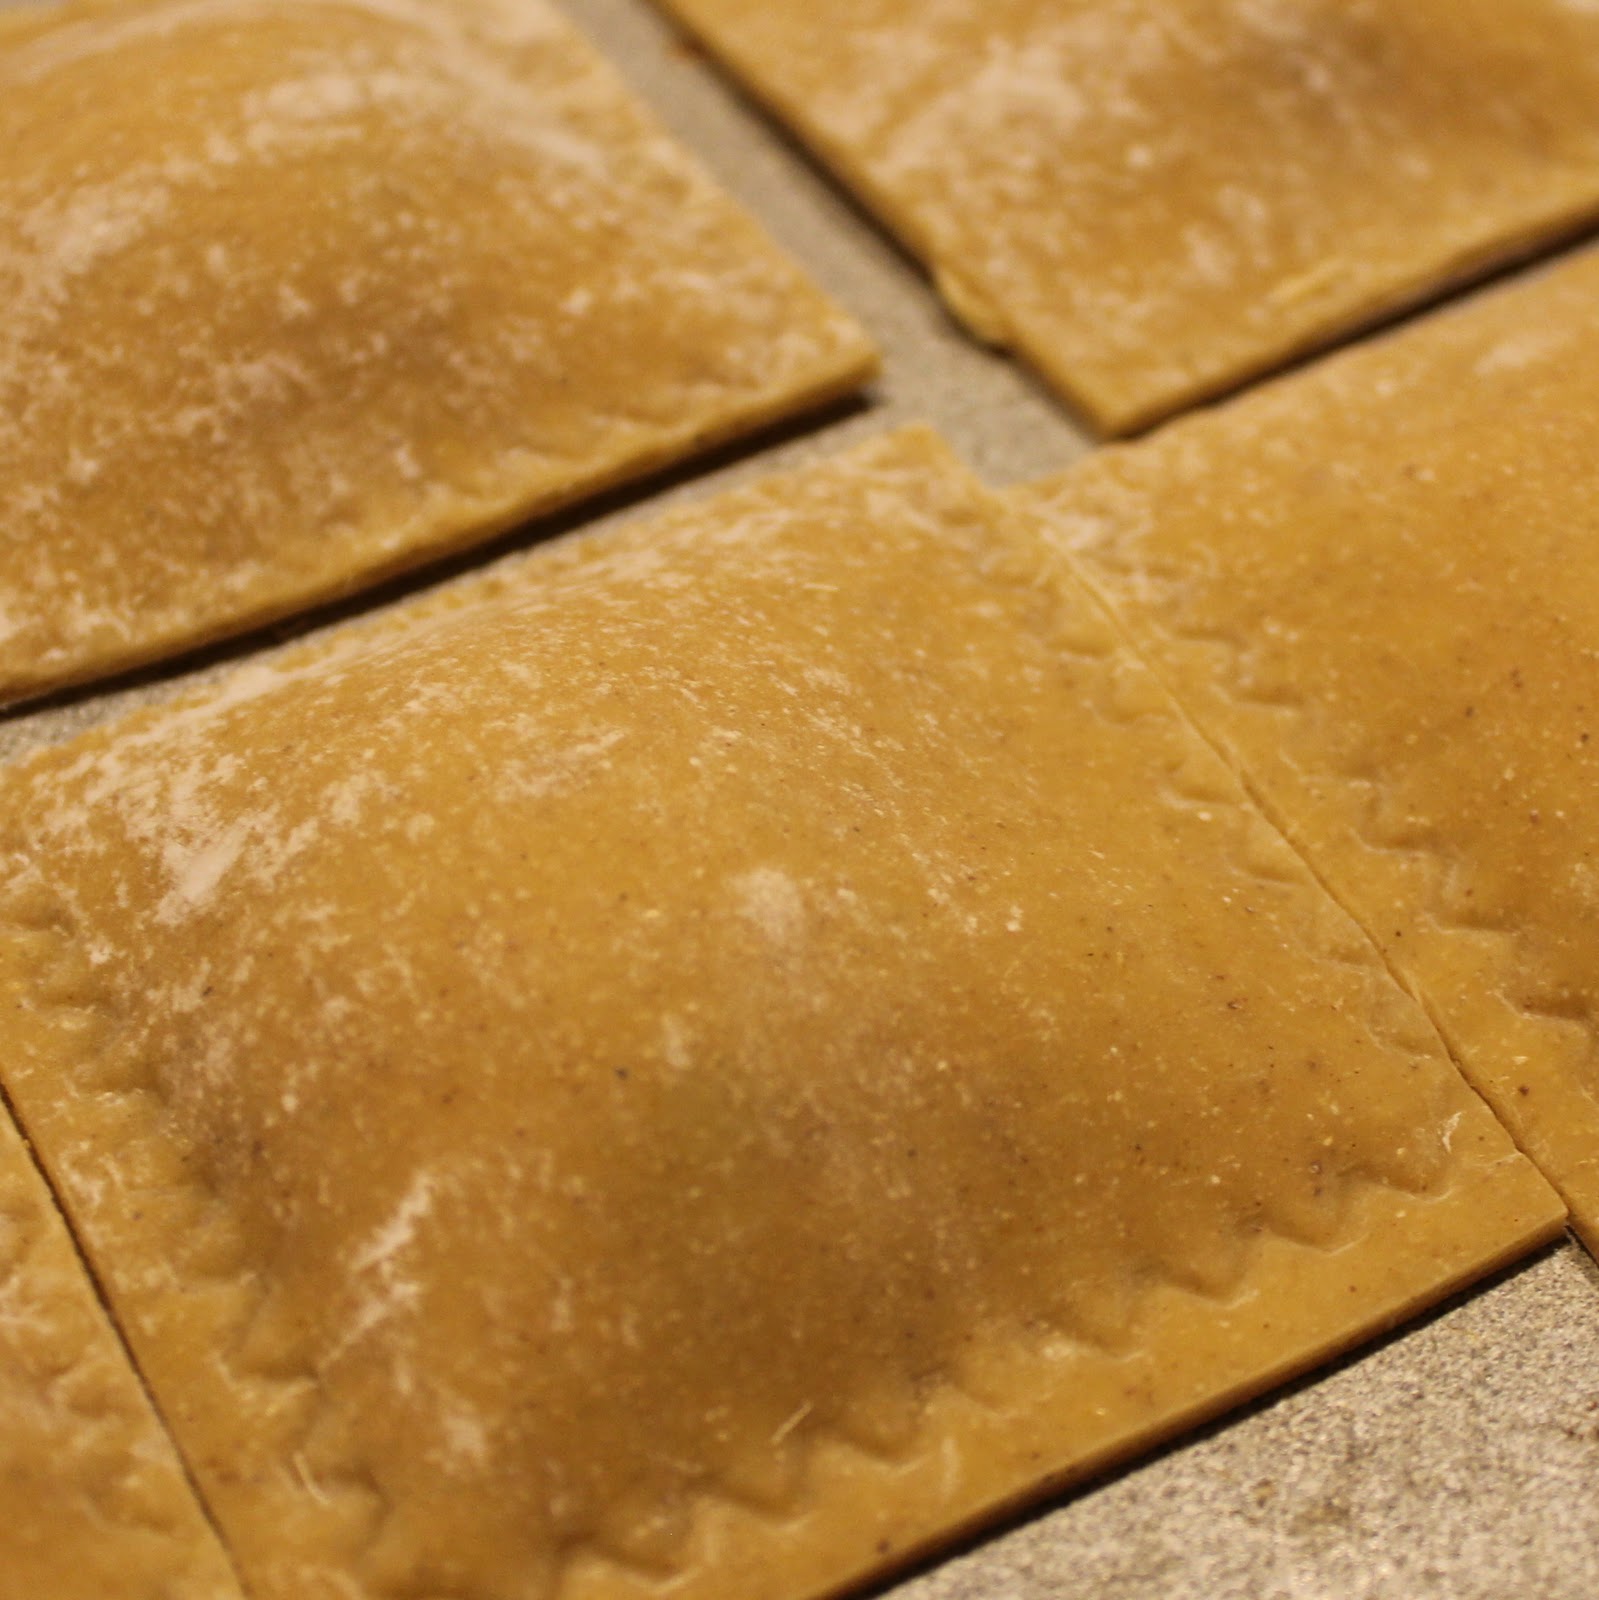
Using the ravioli stamp, press firmly around each pocket of pumpkin mixture. If you do not have a ravioli stamp, just use your hands.
Using a knife or a pizza cutter, cut the ravioli into individual pieces. Repeat with remaining pumpkin mixture and lasagna sheets.
Your pot should now be boiling. Add half of the ravioli to the pot. Cook for about six minutes or until the ravioli begins to rise to the top.
While waiting for the past to cook, make your sauce. Add the milk and flour to a saucepan, stirring with a whisk. Bring to a boil and cook for one minute until it thinks slightly.
Remove from heat. Add the butter, stirring until it fully melts. Stir in the crumbled Gorgonzola. Add more minced sage leaves if you’d like.
Add 6 ravioli each to three plates. Drizzle with 3 tablespoons of the Gorgonzola sauce. Add a teaspoon of chopped hazelnuts, a few sage leaves, and a sprinkle of nutmeg.
This Pumpkin Ravioli with Gorgonzola Saucewas pretty darn good. I think it could handle a boost in nutmeg though; there was something missing from the overall flavor of the dish.
I strongly suggest adding a lot of sage leaves to the plate, a bite of fresh sage with every forkful was delicious!
I liked using fresh pasta instead of wontons; wontons tend to break apart in the cooking process, especially with a heavier filling like pumpkin.
I wish I knew what ingredient would really kick this recipe up from good to great; please feel free to leave suggestions in the comments!