Artichoke, Spinach, and Feta Stuffed Shells

I have been making a bunch of freezer-friendly meals lately. You never know when you will come home and just be too exhausted to cook, and frozen meals can really save the night. This one also happens to be vegetarian. I found this recipe in an old Cooking Light. I absolutely love artichokes and spinach so I knew I’d like this!
Ingredients:
(makes 5 servings. serving size 4 shells)
1 teaspoon dried oregano
1/4 cup chopped pepperoncini peppers (they come in a jar)
1 (28-ounce) can fire-roasted crushed tomatoes, undrained
1 (8-ounce) can no-salt-added tomato sauce
1 cup (4 ounces) shredded provolone/mozzarella cheese, divided
1 cup (4 ounces) crumbled feta cheese
1/2 cup (4 ounces) fat-free cream cheese, softened
1/4 teaspoon freshly ground black pepper
1 (9-ounce) can artichoke hearts, chopped
1/2 (10-ounce) package frozen chopped spinach, thawed, drained, and squeezed dry
2 garlic cloves, minced
20 cooked jumbo shell pasta (about 8 ounces uncooked pasta)
Cooking spray

Cook the shell pasta according to directions on the box. Drain and set aside on a cookie sheet lined with tin foil so they don’t stick together. Take a 13×9 cooking dish and spray it with cooking spray.
Preheat your oven to 375 degrees. Add the oregano, pepperoncini peppers, crushed tomatoes, and tomato sauce to a medium saucepan over medium heat. Cook for 12 minutes, stirring occasionally. Remove from heat and set aside.
In a medium bowl, combine 1/2 cup provolone/mozzarella (I used “pizza” cheese) and the feta, cream cheese, black pepper, artichokes, spinach, and garlic.
To make it easier to fill the shells, add the mixture to a ziplock bag. Close the bag, and snip off one of the bottom corners.
Pipe the mixture into the shells. (Note: some of the artichokes might get stuck a bit while doing this so be careful you don’t end up with more mixture than you want coming out!) Add the stuffed shells to a 13×9 baking dish coated with cooking spray.
Spoon the tomato mixture over the shells.
Sprinkle with the remaining 1/2 cup shredded cheese. Bake at 375 degrees for 25 minutes or until thoroughly heated and cheese melts.
You can freeze them after stuffing the shells, freezing the tomato mixture separately and doing the last few steps later. I personally prefer frozen meals that can just be popped into the microwave or oven and the only additional step is that I have to consume the meal.
This is really an awesome recipe. I usually only have plain stuffed shells with tomato sauce and cheese so I liked the addition of the spinach and artichokes. The peppers added a little bit of pizazz to the dish without making them really spicy. (You can leave them out if you don’t want a little heat).
I did, however, crave a little bit of extra sauce (I love love sauce), so I’d suggest adding another can of puree to the mix. Past that, a good solid recipe!

Winter Lentil Soup

Philadelphia is about to have a full week of weather in the 70s. I think there’s even an 80 degree day thrown in In March! I’m so excited, but I feel a bit stressed because I didn’t get to make all of my winter soups and stews. But who says you need to eat these in freezing weather? So I decided to make this Winter Lentil Stew for lunches in my office when they crank up the AC and I feel like it’s winter.
Ingredients:

4 leeks, white and light green parts only
1 bunch kale  (mine was huge, so I ended up using half)
1 tablespoon olive oil
1 28-ounce can whole tomatoes, undrained
6 cups water
2 sweet potatoes, peeled and cut
1/2 cup brown lentils
1 tablespoon fresh thyme leaves
1 teaspoon kosher salt
1/4 teaspoon black pepper


Prepare all your ingredients. Slice each leek in half lengthwise and then slice into 1/4 inch thick half-moons. You want about 2 cups of half moons.

Add to a large bowl filled with cold water and swish to remove any grit. Drain and pay dry. Lay on a paper towel.

Remove the stems from the kale and then thinly slice the leaves. You want about 3 cups of leaves.

Peel and chop your sweet potatoes. You want them to be bite sized or smaller. Measure out the lentils, prepare your thyme leaves, and open your can of diced tomatoes.

Add a large saucepan to the stove over medium heat. Add the oil and heat.  Add the leeks and cook for three minutes, stirring occasionally. Add the tomatoes and cook for 5 minutes.

Add the water and bring to a boil.

Stir in the kale, sweet potatoes, lentils, thyme, salt, and pepper. Cover, lower the heat, and simmer for 30 minutes or until the lentils are tender.

If freezing, you can spoon into individual containers, let cool, and freeze at this point.

If enjoying immediately, eat as is, or sprinkle with some grated Parmesan cheese.

I can’t wait to enjoy this on my “colder” days in the office!

Chunky Vegetarian Chili

I love chili, and with the warm winter we’ve been having, I didn’t have nearly enough of it. So before spring is truly here, I wanted to make another batch. This meatless chili has so many different beans and flavor, you won’t even miss the meat! I adapted this recipe from Cooking Light, using more peppers, diced tomatoes instead of stewed, and a bit of vegetable broth to thin it out a little.
Ingredients

1 tablespoon olive oil
2 cups chopped onion
1 chopped yellow bell pepper
1  chopped red bell pepper
1 chopped orange bell pepper
2 garlic cloves, minced
1 tablespoon brown sugar
1 1/2 tablespoons chili powder
1 teaspoon ground cumin
1 teaspoon dried oregano
1/2 teaspoon salt
1/2 teaspoon black pepper
1 (28-ounce) can diced tomatoes, undrained
2 (15-ounce) cans black beans, rinsed and drained
1 (15-ounce) can kidney beans, rinsed and drained
1 (15-ounce) can pinto beans, rinsed and drained
1 cup vegetable broth


To make, heat a large pot or a Dutch oven over medium- high heat. Add the olive oil. Add the onion, peppers and garlic.

Cook, stirring occasionally, until tender, about 5 minutes.

Add the sugar, chili powder, cumin, oregano, salt and pepper. Mix to combine. Add the tomatoes, beans, and broth.

Bring to a boil, cover, reduce heat, and simmer for 30 minutes.

That’s it!

A delicious, hearty, meatless meal in 40 minutes.

Serve with corn bread if desired.

I love the colors in this! Look at all those different tones!

The chili looked a little too chunky without the vegetable broth, but if you like it that way, feel free to omit the broth.


Reuben with Homemade Sauerkraut

What do you do with left over Corned Beef and Cabbage? Make Reubens of course!
Because we still had some of the Creamy Horseradish Dijon sauce from the Corned Beef and Cabbage, I substituted that for thousand island dressing. Past that, this recipe is pretty traditional.
I still had half a cabbage left so I decided to make my own sauerkraut using a “fast” method so I could enjoy a Reuben with Homemade Sauerkraut today instead of waiting days for the sauerkraut to be ready.
Ingredients:
Sauerkraut:
  • 1 tablespoon olive oil
  • 1/2 a small onion, chopped
  • 1/2 a head of cabbage, roughly chopped
  • 1/3 cup cider vinegar
  • 1/4 cup apple juice
  • 1/4 cup water
  • 1/2 teaspoon salt
  • 1/4 teaspoon caraway seeds

Reuben:

  • 2 tablespoons butter, divided
  • Left over corned beef, thinly sliced
  • Sauerkraut (recipe above)
  • Rye bread
  • Swiss cheese
  • Creamy Horseradish Dijion (recipe here), or thousand island dressing

Continue reading Reuben with Homemade Sauerkraut

Slow Cooker Corned Beef and Cabbage

St. Patrick’s Day is right around the corner, which means Americans nationwide are gearing up for a corned beef and cabbage feast. Despite being Irish-American myself, I’ve never eaten this St. Patrick’s Day staple before. My boyfriend, a huge corned beef fan, was really looking forward to having some, so I finally decided it was time to try to make it. I choose to adapt this recipe from Food Network for Slow Cooker Corned Beef and Cabbage so that I could use my slow cooker and not have to watch over it for hours.

Ingredients:
  • 4 pounds raw corned beef brisket
  • Pickling Spice (included with brisket)
  • 1 medium rutabaga, halved, peeled and cut into wedges
  • 5 large carrots, cut into 4-inch pieces
  • 1 bag red potatoes
  • 1 yellow onion, chopped
  • 1 leek, white and light-green parts only, sliced
  • 1/2 head cabbage, roughly chopped
  • 1/3 cup Dijon mustard with horseradish
  • 1/3 cup crème fraiche or sour cream

Irish Potato Candy

I am Irish, on my father’s side. So, more appropriately, I’m Irish American (among other things). Even more specifically, I am Irish Philadelphian. (Yes, I may have made that phrase up. But there are a bunch of us so I think the phrase should exist.)

Now I’m sure you were very interested in what my heritage is, but there is a reason I’m telling you this. Philadelphia has this… candy? dessert? … we will go with “treat”… called an Irish Potato Candy.

Irish Potato Candy is a mixture of cream cheese, powdered sugar, vanilla extract, and coconut rolled into a little ball and coated in cinnamon. So it ends up looking kind of like a potato, hence the name.

A super cute potato, that is

I’m under the impression Irish Potato Candy is essentially a Philadelphia-only thing. Friends from New York and D.C. both look at me like I’m crazy when I bring these up. But they are delicious and an integral part of every St. Patrick’s Day for me, so I needed to share them!


Ingredients:
  • 4 tablespoons butter, softened
  • 4 ounces cream cheese, softened
  • 2 teaspoons vanilla extract
  • 3 cups powdered sugar
  • 2 cups sweetened coconut, lightly packed
  • 1 tablespoon plus 1 teaspoon cinnamon

Guest Post: Gourmet Turkey Burger with Island Slaw from Positively Cooking

I have another amazing guest post for you today! Adrienne, from Positively Cooking, agreed to share one of her delicious recipes with us. Positively Cooking is chock full of delicious and nutritious meals that use easy to find ingredients. Her Gourmet Turkey Burger with Island Slaw is not only beautiful (I mean, look at these photos) but it is a healthy and delicious meal as well. Check out her recipe below and be sure to pop over to Positively Cooking to see all of the other mouth watering recipes her blog has to offer!
 A savory, juicy burger is pretty hard to beat. When that burger is full of nutrients, easy on your waistline, easy on your budget, and needless to say tastes delicious, a burger is near impossible to beat.  Using ingredients you probably already have in your kitchen, I have developed my Gourmet Turkey Burger w Island Slaw from my own personal cravings for a filling, tasty meal.
You don’t need to wait until sweet summertime to enjoy burgers from the grill. Since I am an Ohio girl (and stuck inside during the winter months… ugh), I grilled mine stovetop on a griddle and also tried it on my George Foreman – both will leave your burgers beautifully cooked through and juicy. That being said, I am already looking forward to enjoying this recipe with some Sangria this weekend because hey, enjoying refreshing dishes like this helps an Ohio girl like me get through the winter!Enjoy!

Gourmet Turkey Burgers 
1 lb. ground turkey
1 bell pepper, chopped and seeded
3 cloves garlic, crushed
2 cups spinach, roughly chopped
1 egg, beaten
½ cup breadcrumbs
¼ cup Parmesan cheese
1 tbsp. chili powder
1 tsp. salt
Honey Mustard, to garnish
Avocado, to garnish
Cheese slices, to garnish
Whole wheat buns
In a medium-size mixing bowl, place your ground turkey. Add in all ingredients [OTHER than garnishes – Honey Mustard, Avocado, and Cheese] Combine thoroughly.
With meat-mixture, form into one big “ball” and divide into 4-6 even sections. Form each section into a burger patty. [Tip: make the center of your patty thinner than the rim, to ensure it is cooked through.]
Grilling? Place patties on foil, and grill at medium-high heat for about 8 minutes on each side. Remember, your George Foreman counts!
Cooking stovetop?Lightly coat skillet with cooking spray. Cook patties over medium-high heat for 8-10 minutes, turning once.
Serve your burgers with desired toppings [As mentioned before, I suggest honey mustard, avocado, cheese, and of course Island Slaw]
Tips: Sub ground beef for the ground turkey if that is what you prefer.
Island Slaw
1 bag shredded cabbage
¾ cup All-Natural Light Coleslaw Dressing OR Light Poppyseed Dressing
1 can pineapple tidbits, drained
1 can mandarin oranges, drained
½ cup walnuts, crumbled
In a medium bowl, combine all ingredients for coleslaw. Mix thoroughly. Refrigerate until ready to serve.
Tips: I encourage you to enjoy the Island Slaw right on top of your Gourmet Turkey Burger
Doesn’t this sound like the perfect way to make you feel like warmer weather really is just around the corner? The Island Slaw has such beautiful colors in it; pineapple, mandarin oranges and walnuts together must be heavenly! And that is one snazzy looking burger; I love that it has spinach as well as chili powder to add some extra flavor. 
Many thanks to Adrienne for sharing this recipe! Don’t forget to stop over at Positively Cooking to say hello and check out all the other yummy meals Adrienne has cooked up! (Some of my personal favorites include Blackberry Salmon, Skinny and Spiced Jalapeno Poppers, and Coconut French Toast with Sauteed Peaches)

Risotto Balls with Marinara Dipping Sauce

I love when you can incorporate leftovers from one meal into a new dinner the next night. I am a huge fan of risotto, but it can get a little old eating reheated risotto after a few nights. Risotto balls are the perfect way to still use those leftovers but have a completely different meal. I used my leftover Mushroom Risotto for this recipe, but feel free to use whatever you might have.
Ingredients:
1 cup risotto
1/2 cup Italian bread crumbs
1 large egg
6 fresh mozzarella balls
1 tablespoon fresh basil, roughly chopped
1 shallot, minced
2 garlic cloves, minced
1/2 cup marinara sauce (I used Pomi Tomato Basil sauce)
Oil, for frying

Add the risotto, 1/4 cup bread crumbs, basil, and the egg to a small bowl. Mix to combine.
Form the risotto into palm sized balls, adding a mozzarella ball in the center and forming the risotto around the mozzarella ball. (It should make 6 risotto balls)
Add the remaining bread crumbs to a plate. Roll the balls in the bread crumbs and place on a cookie sheet lined with parchment paper. Refrigerate for 30 minutes. (This will help the risotto balls keep their shape when you fry them.)
While waiting for the 30 minutes to pass, chop the shallot and garlic. Add 1 teaspoon olive oil to a saute pan over medium high heat. Add the shallot and garlic.
Cook for 2 minutes. Add 1/2 cup marinara sauce and simmer on low for 10-15 minutes. Keep warm.
Heat the oil to 350 to 375 degrees. (I was a bit low on canola oil so I actually only ended up putting about an inch depth of oil in the pot. It still turned out fine, but having enough to cover the risotto balls would make this easier/quicker to make.) Add the risotto balls two at a time.
Cook until cooked, turning to cook evenly (about 3-5 minutes). Transfer to a paper towel. Serve while still hot with the marinara sauce.
These are crunchy little balls of deliciousness. I didn’t know risotto could taste better than it already did until now!
The risotto was so yummy I completely forgot about the mozzarella ball in the center, but was more than happy to come upon it!
It didn’t melt all the way, which I would have preferred, but it was still delicious. The marinara sauce was the perfect dipping accompaniment. I love the Pomi Tomato Basil sauce because it really doesn’t need anything to make it taste awesome. (I’ve written two posts in the past about all the positives of Pomi. Check them out here and here)
Is it bad that I might put some risotto to the side from now on just so I can have these the next day?

Lemon Pepper Chicken with Creamy Artichoke & Sun Dried Tomato Pasta

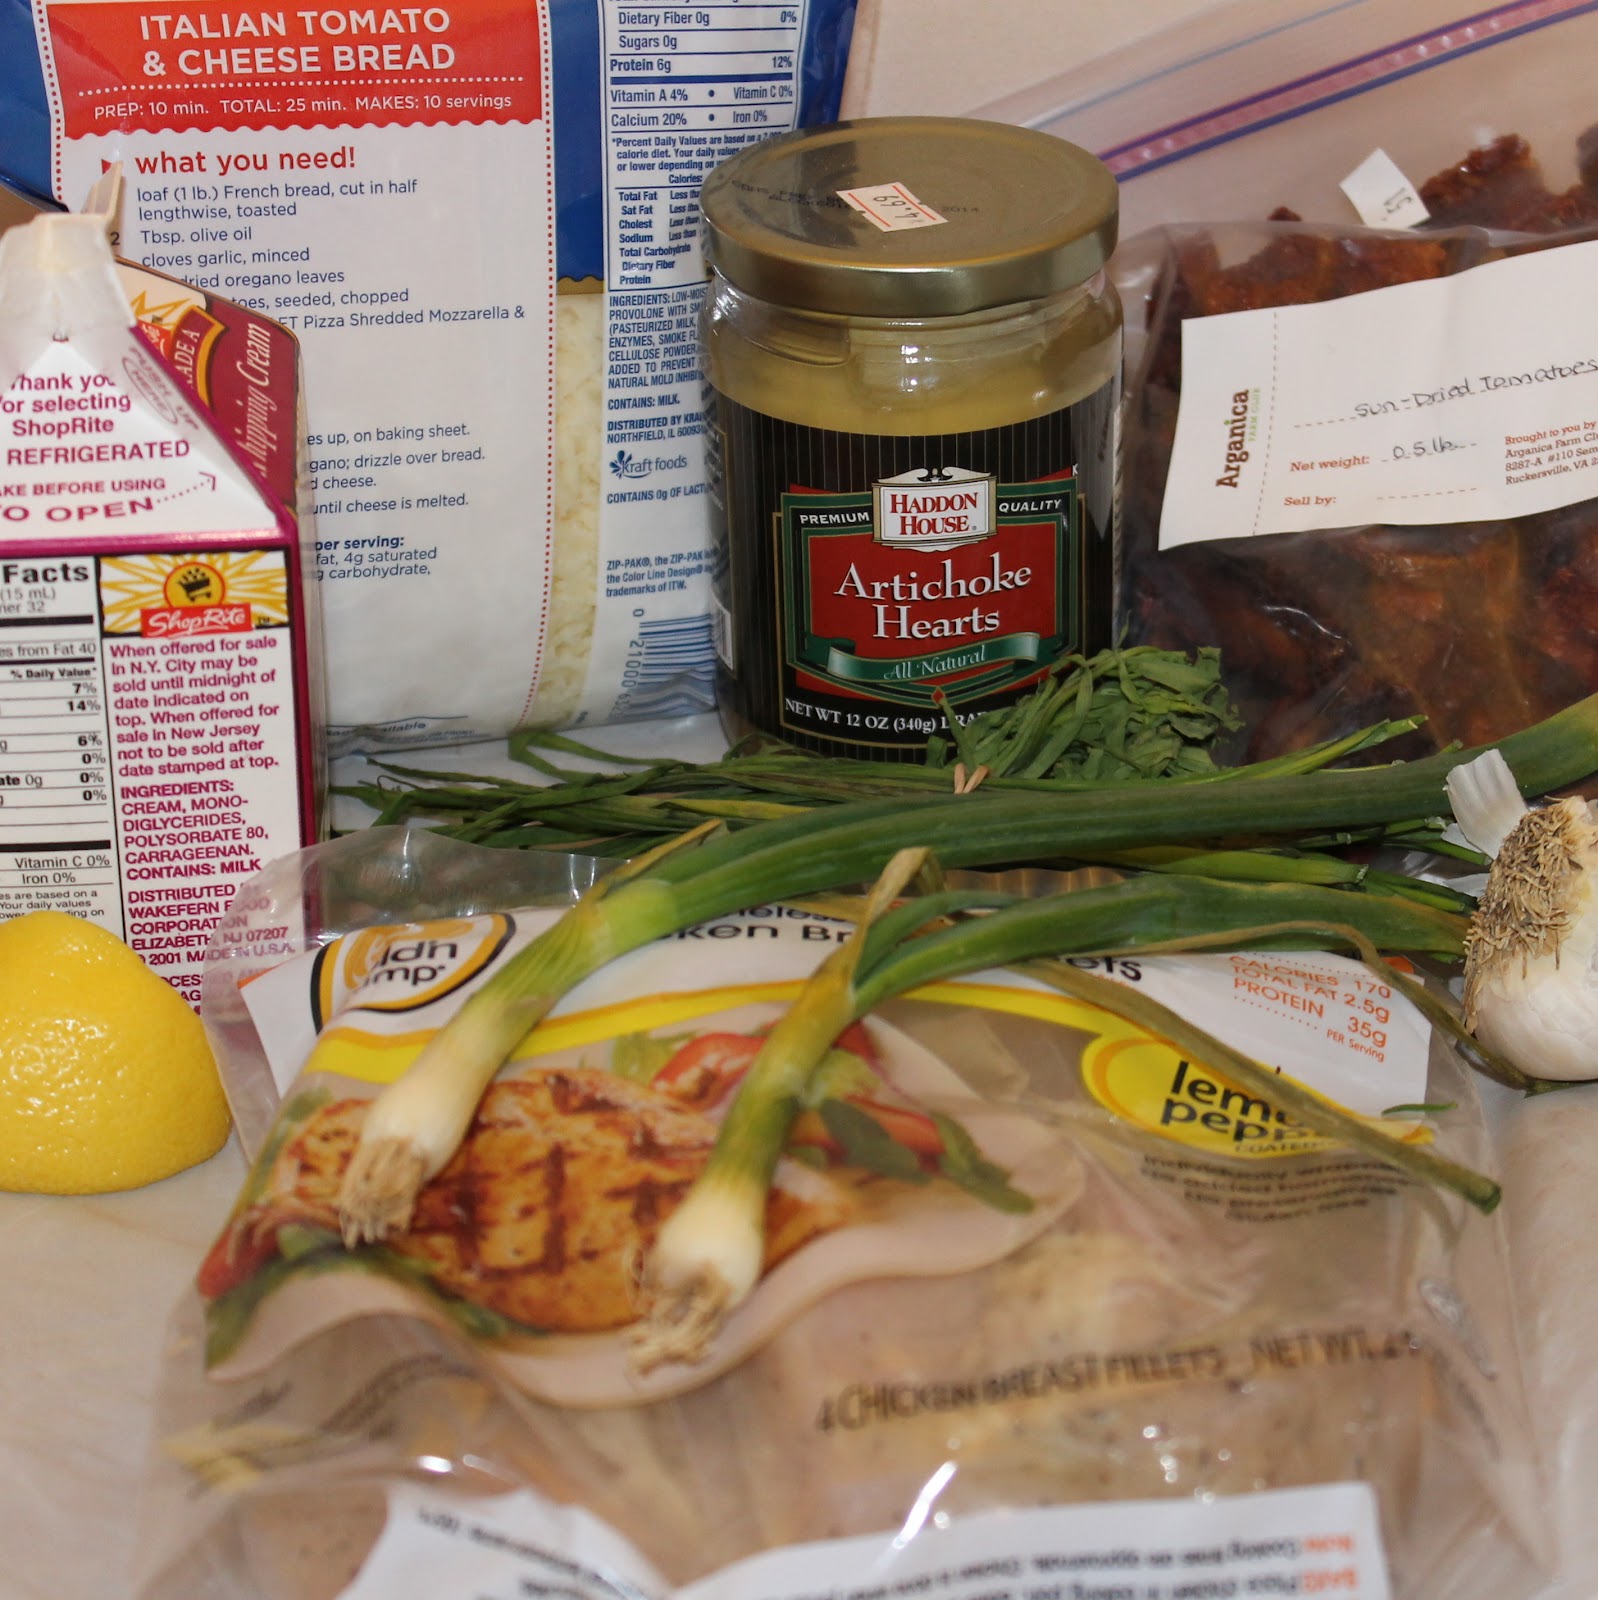
Well, that’s quite a long title for a dish. I don’t really know what else to call it though, this recipe was a result of me trying to make a meal with what I had on hand. I was send some chicken from 
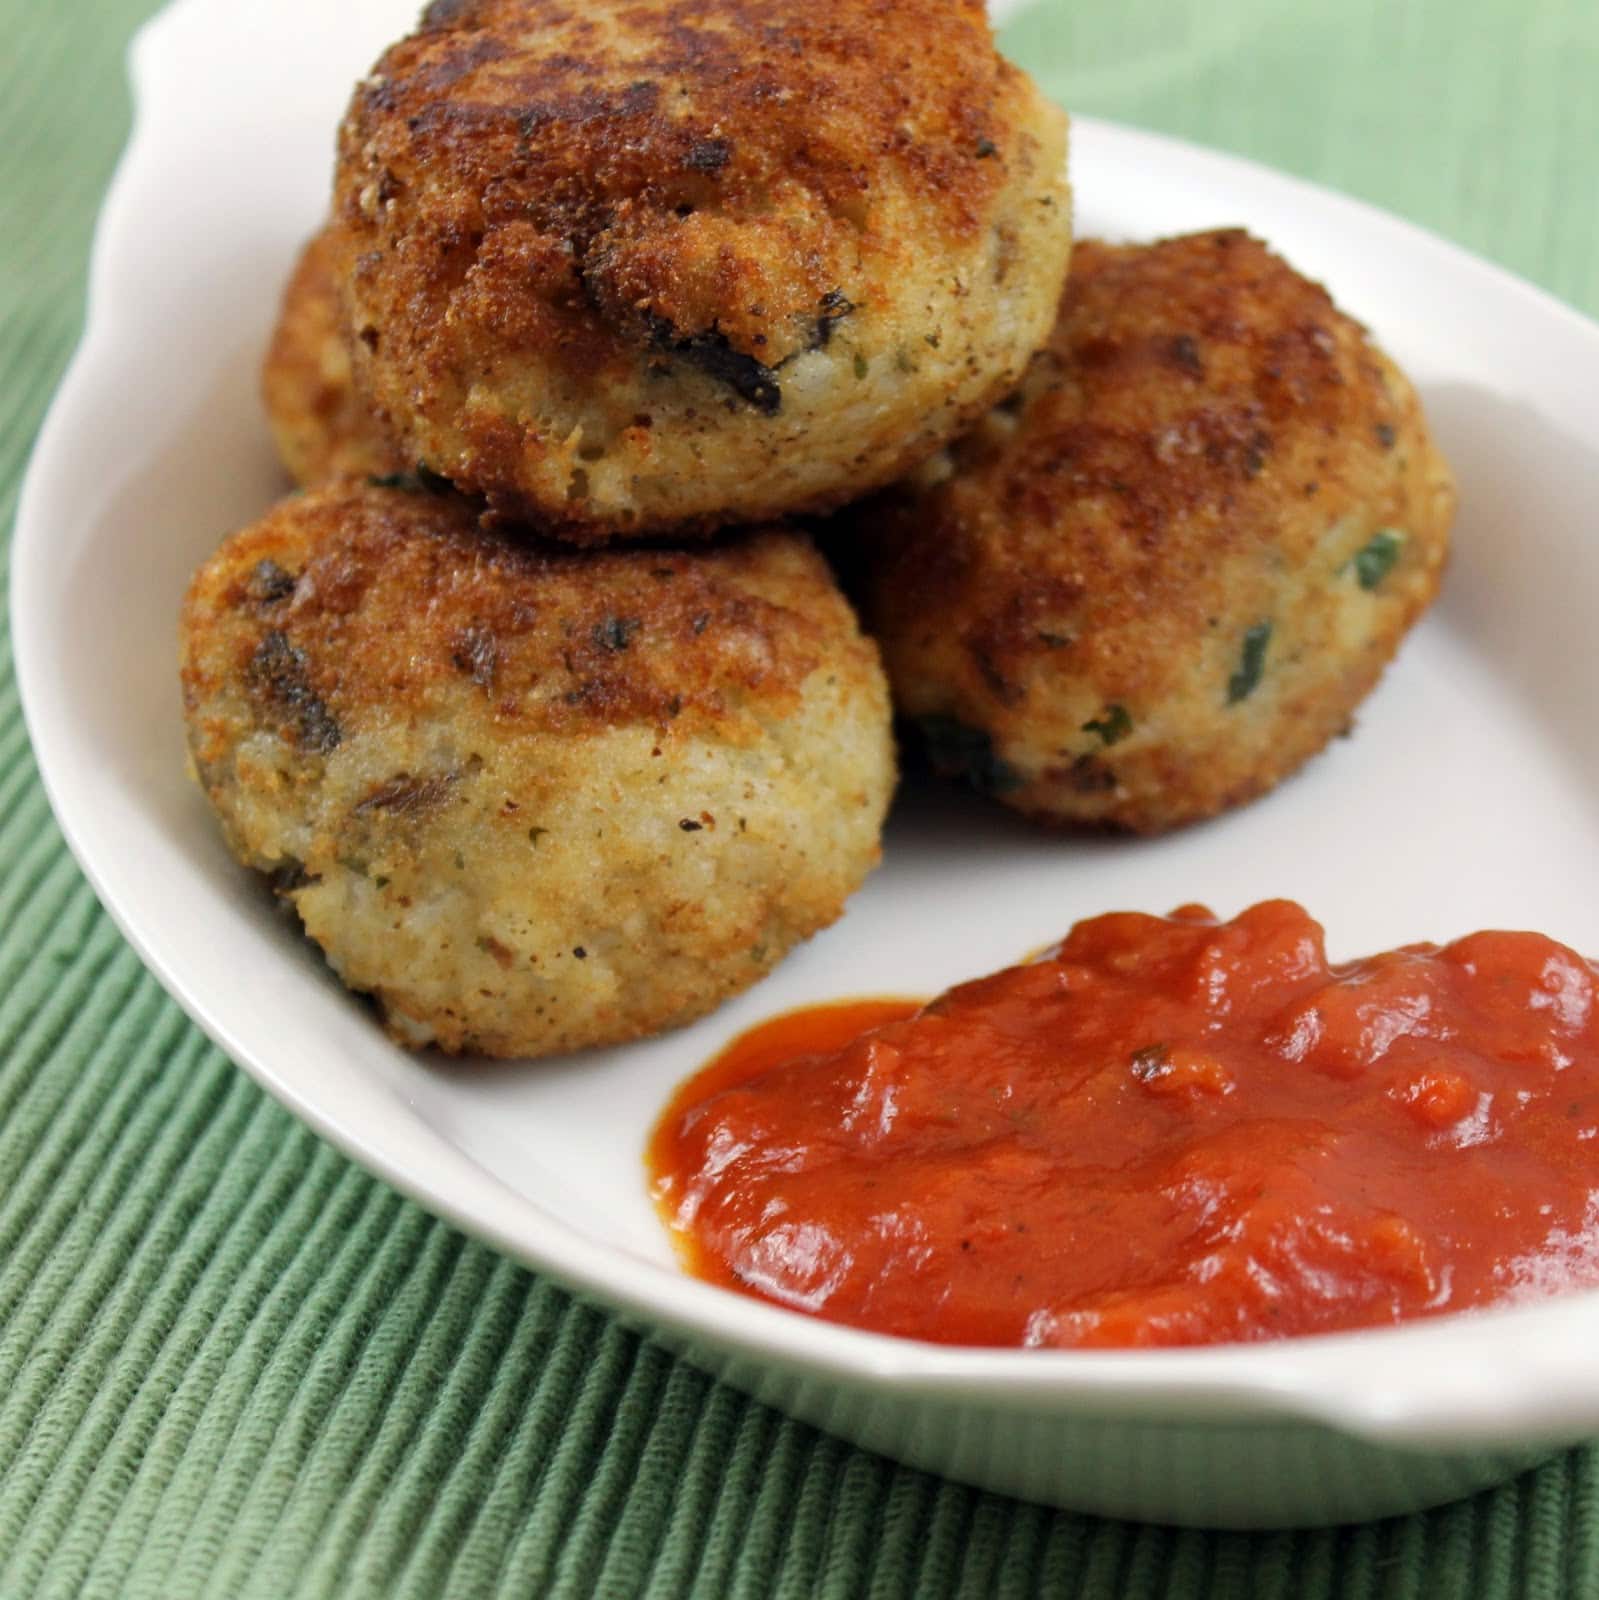
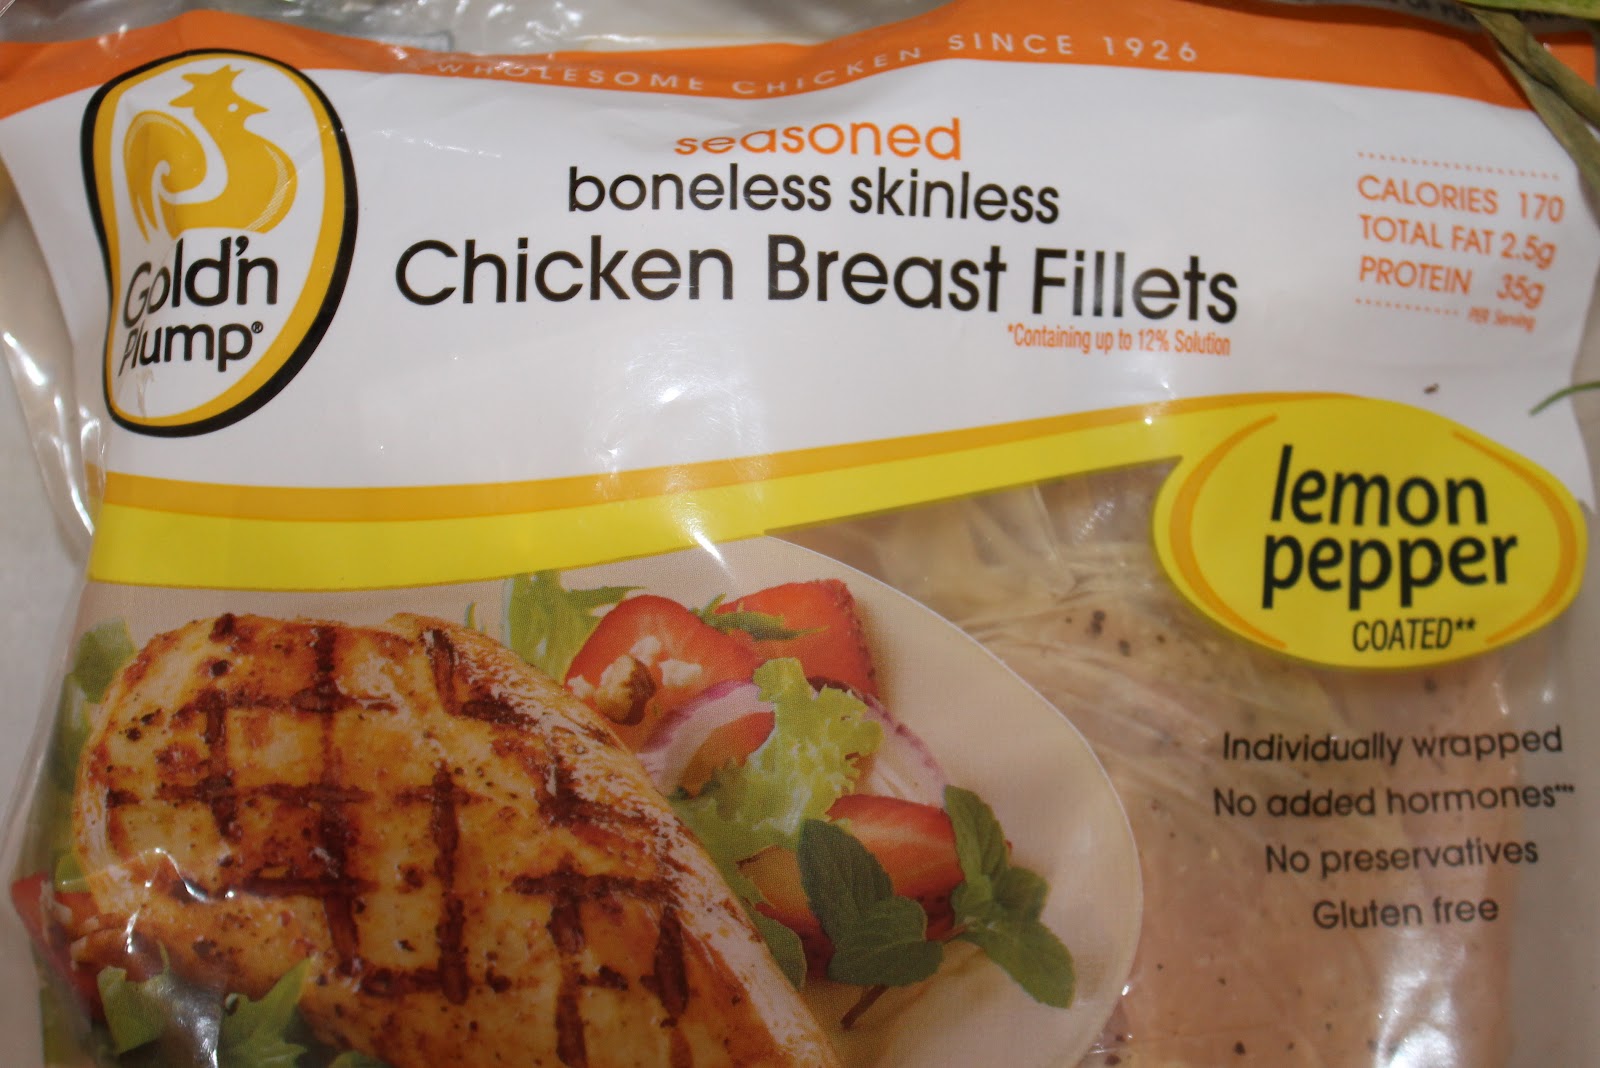
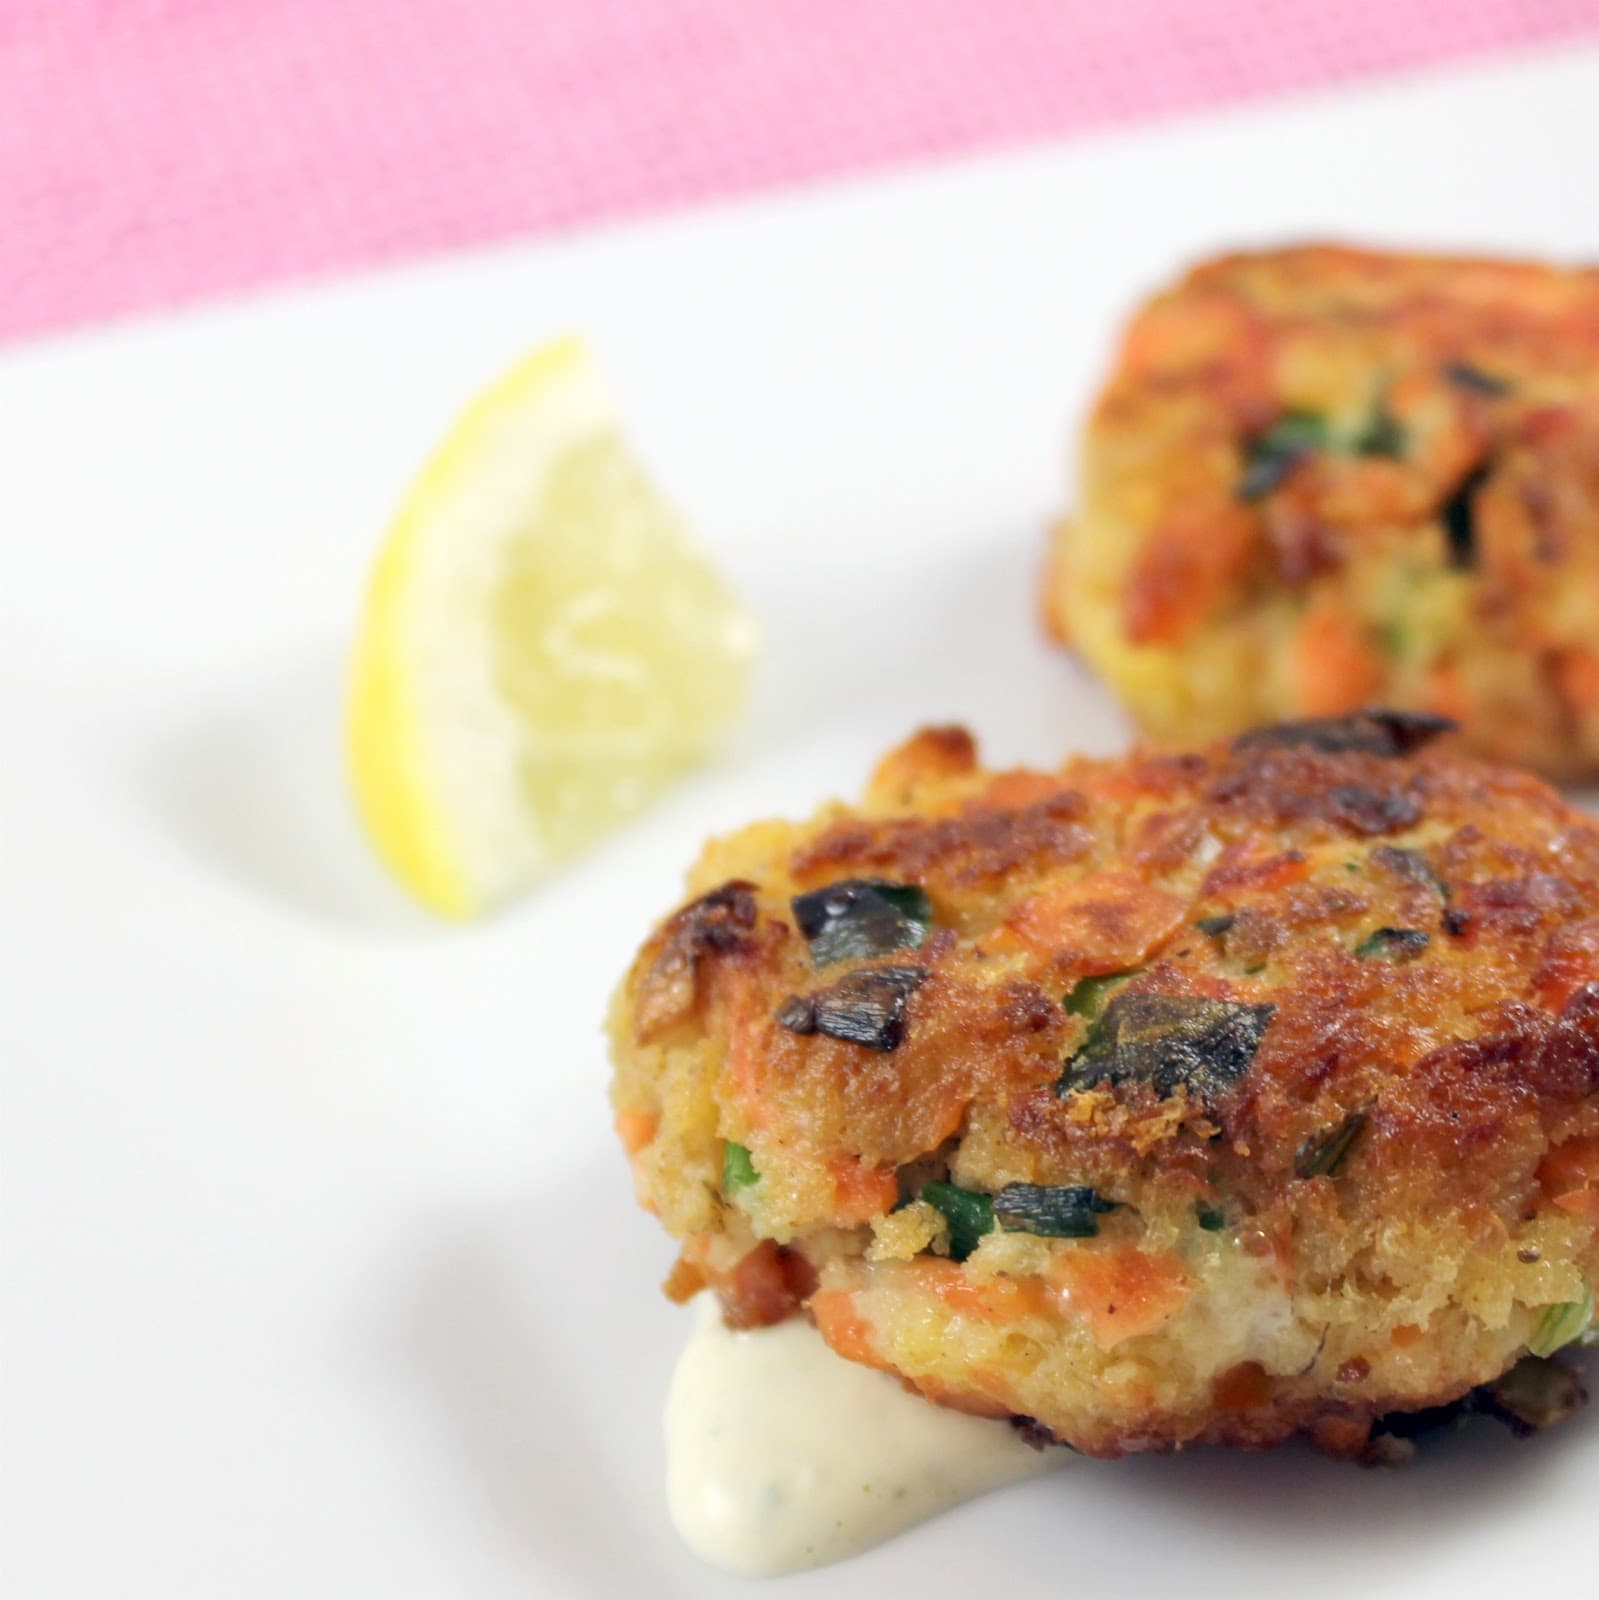
Gold’n Plump, and one of the options was  Lemon Pepper Seasoned Boneless Skinless Breast Fillets. I had some tarragon left over from my 
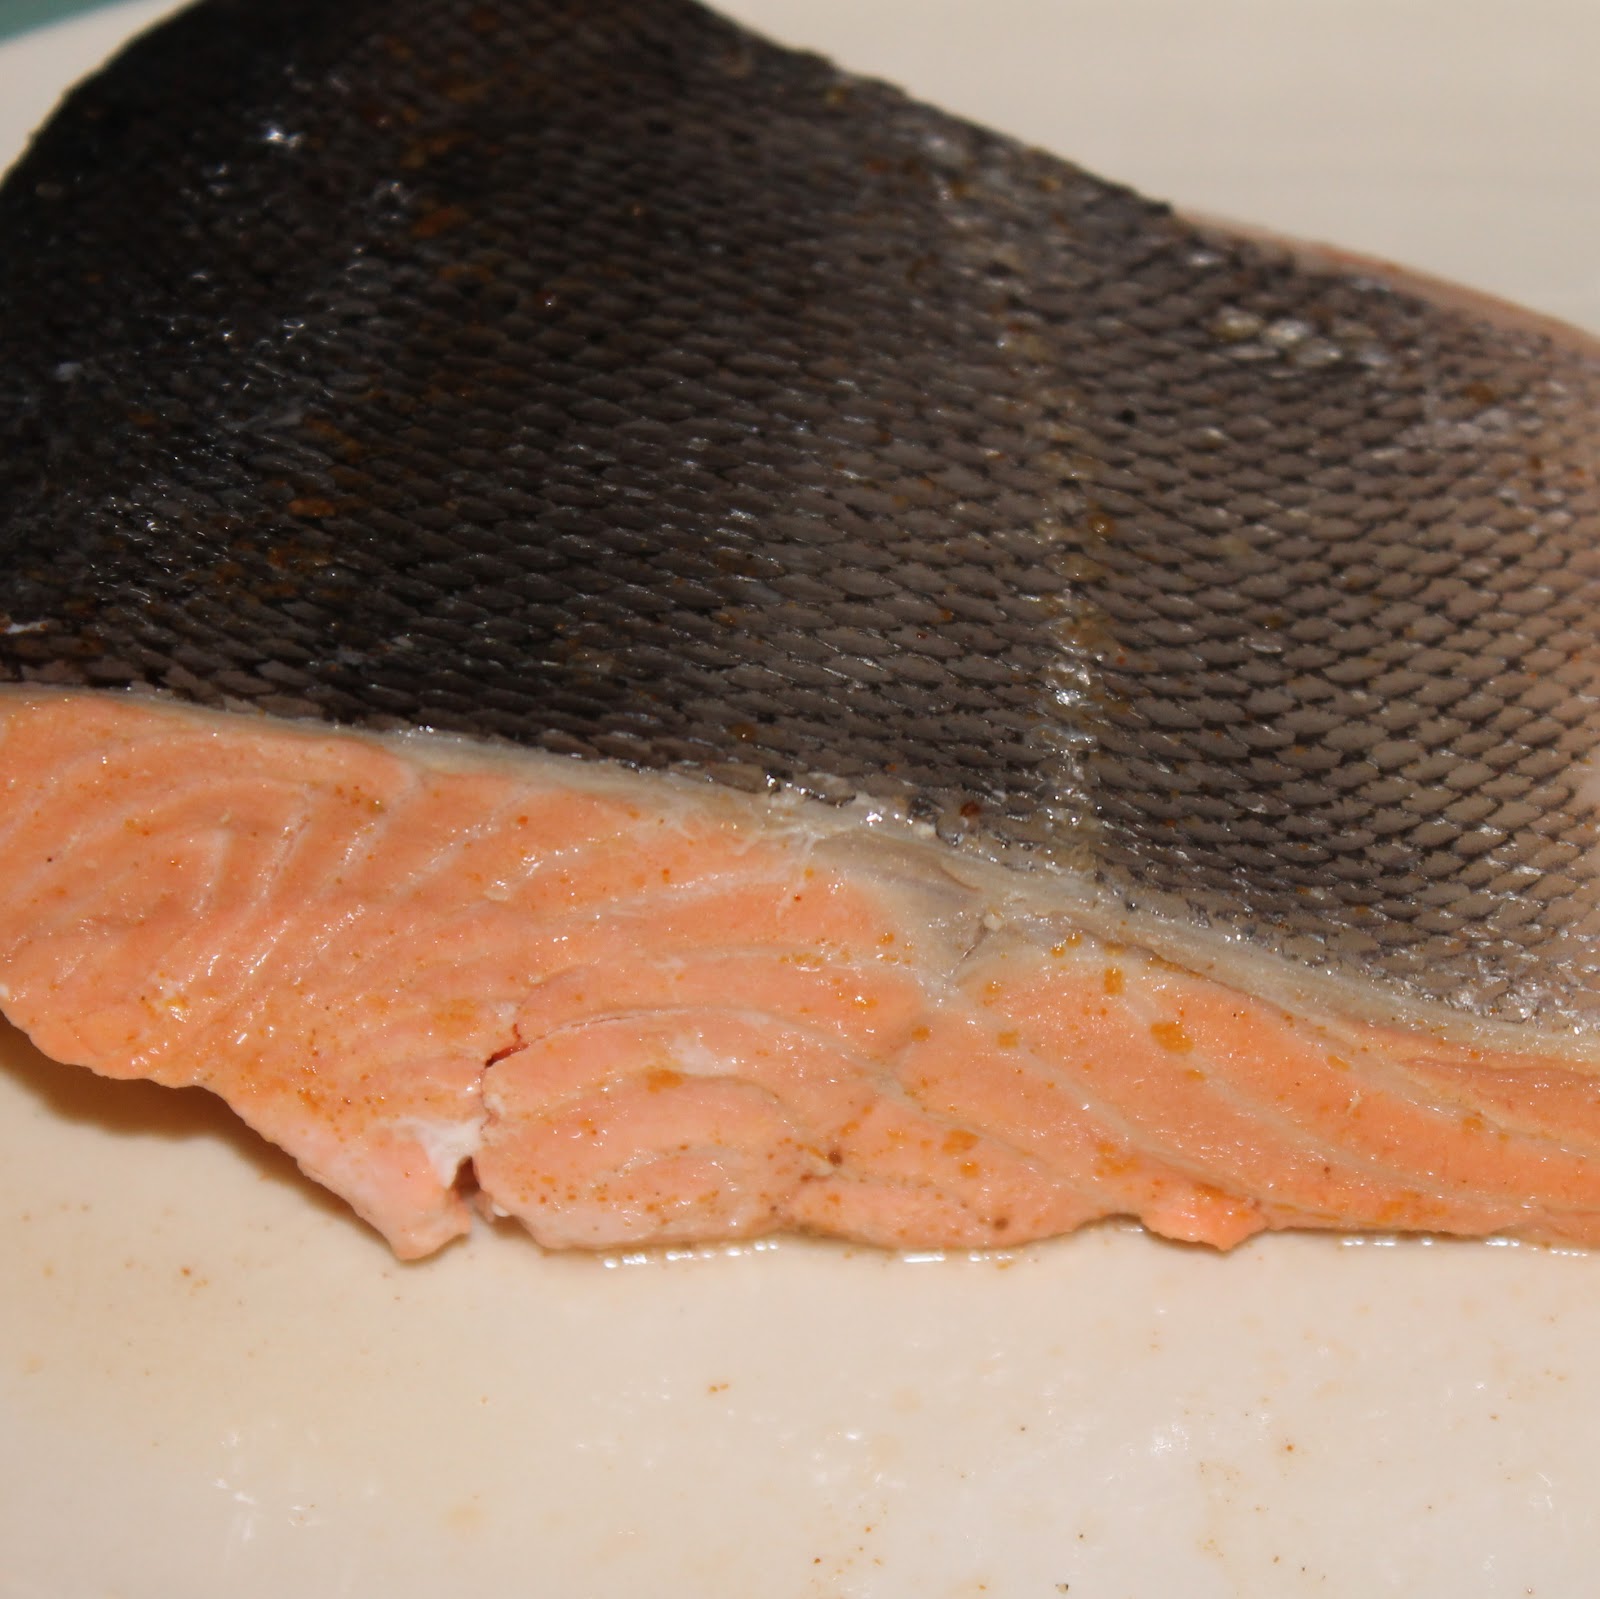
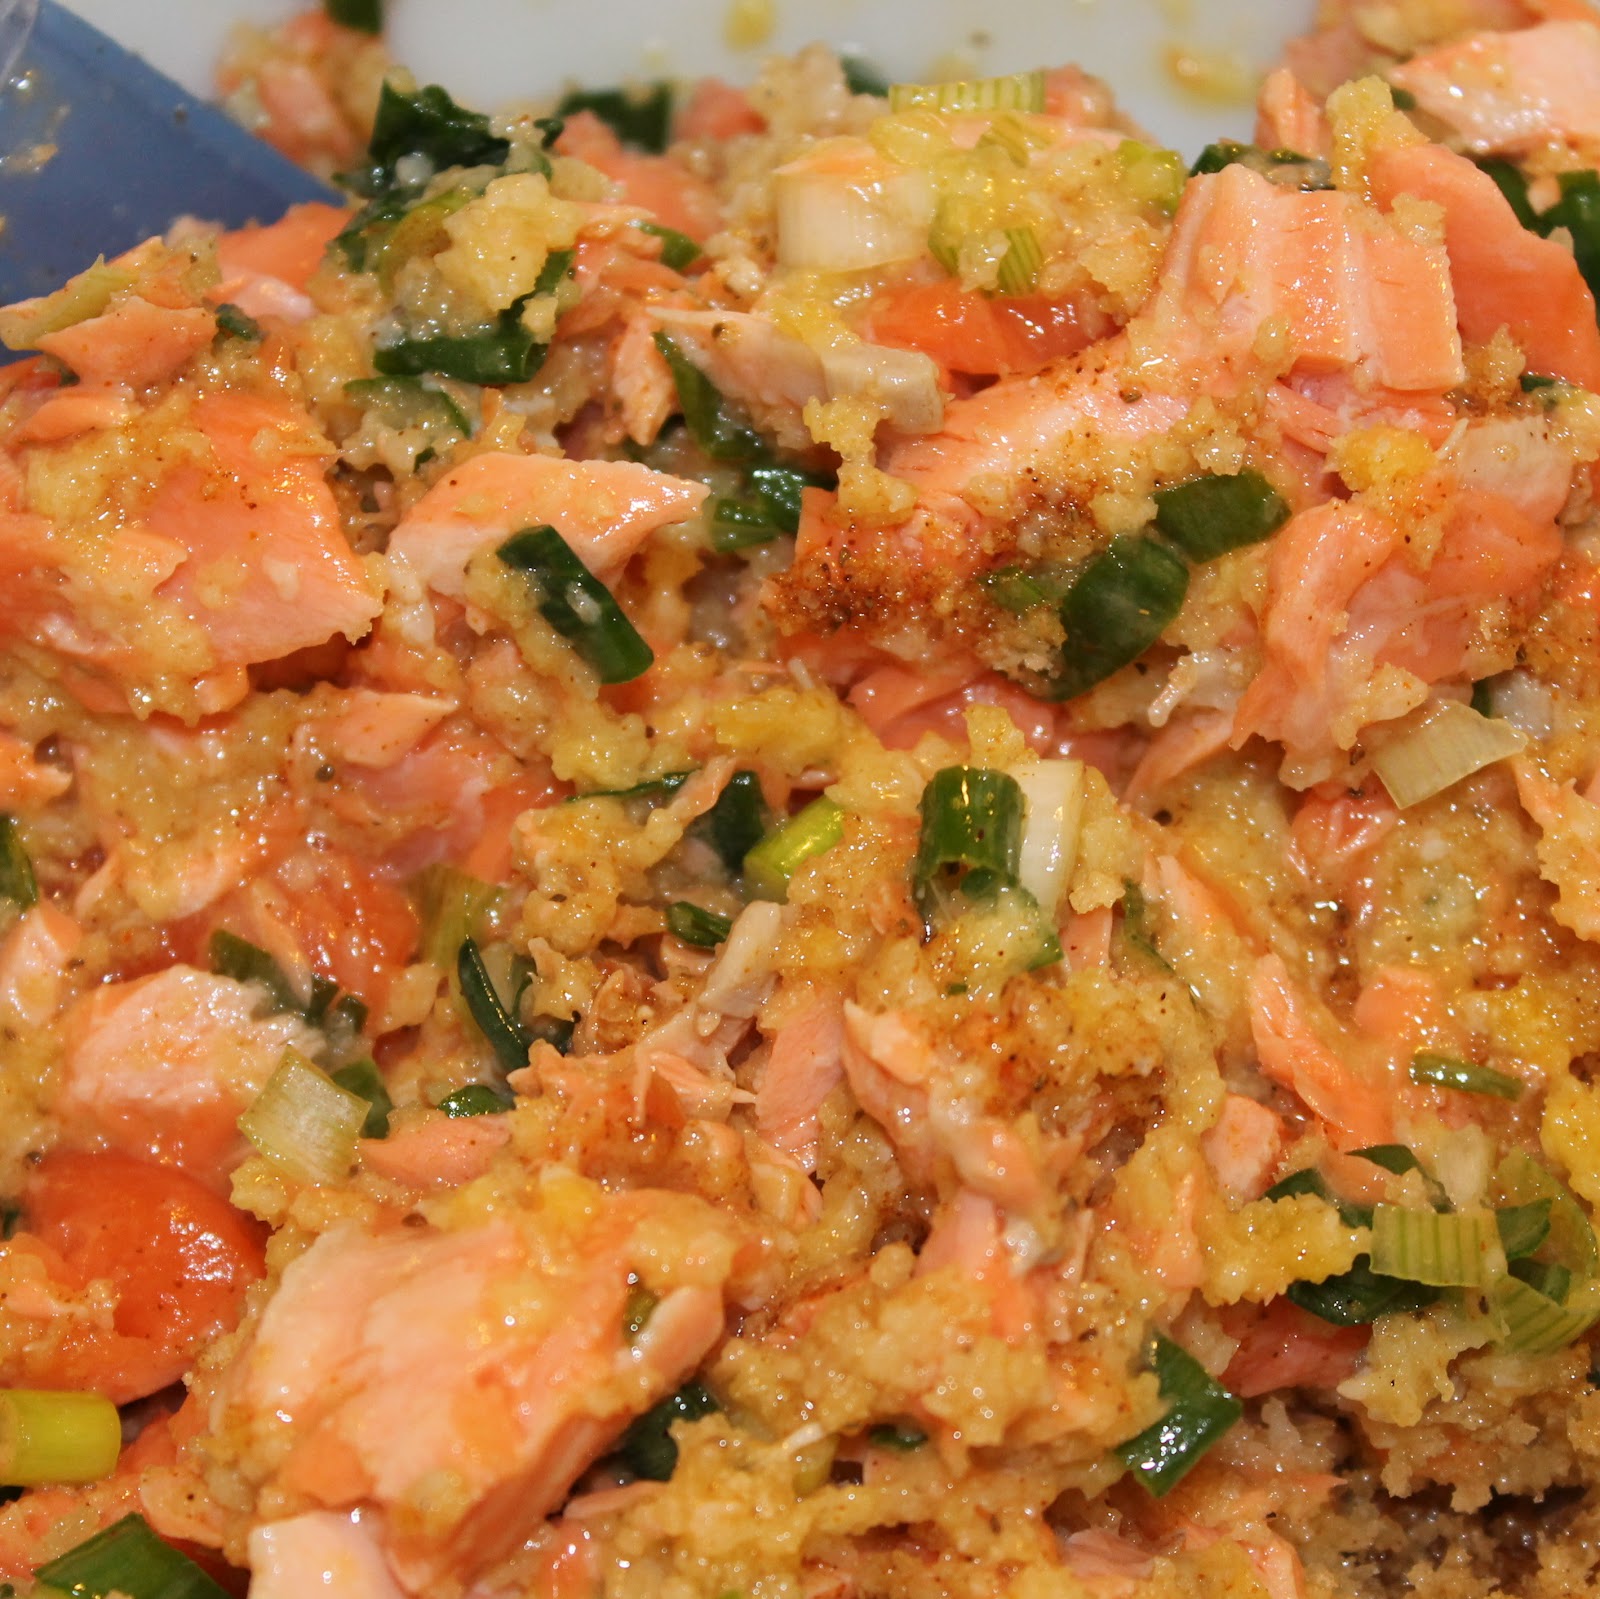
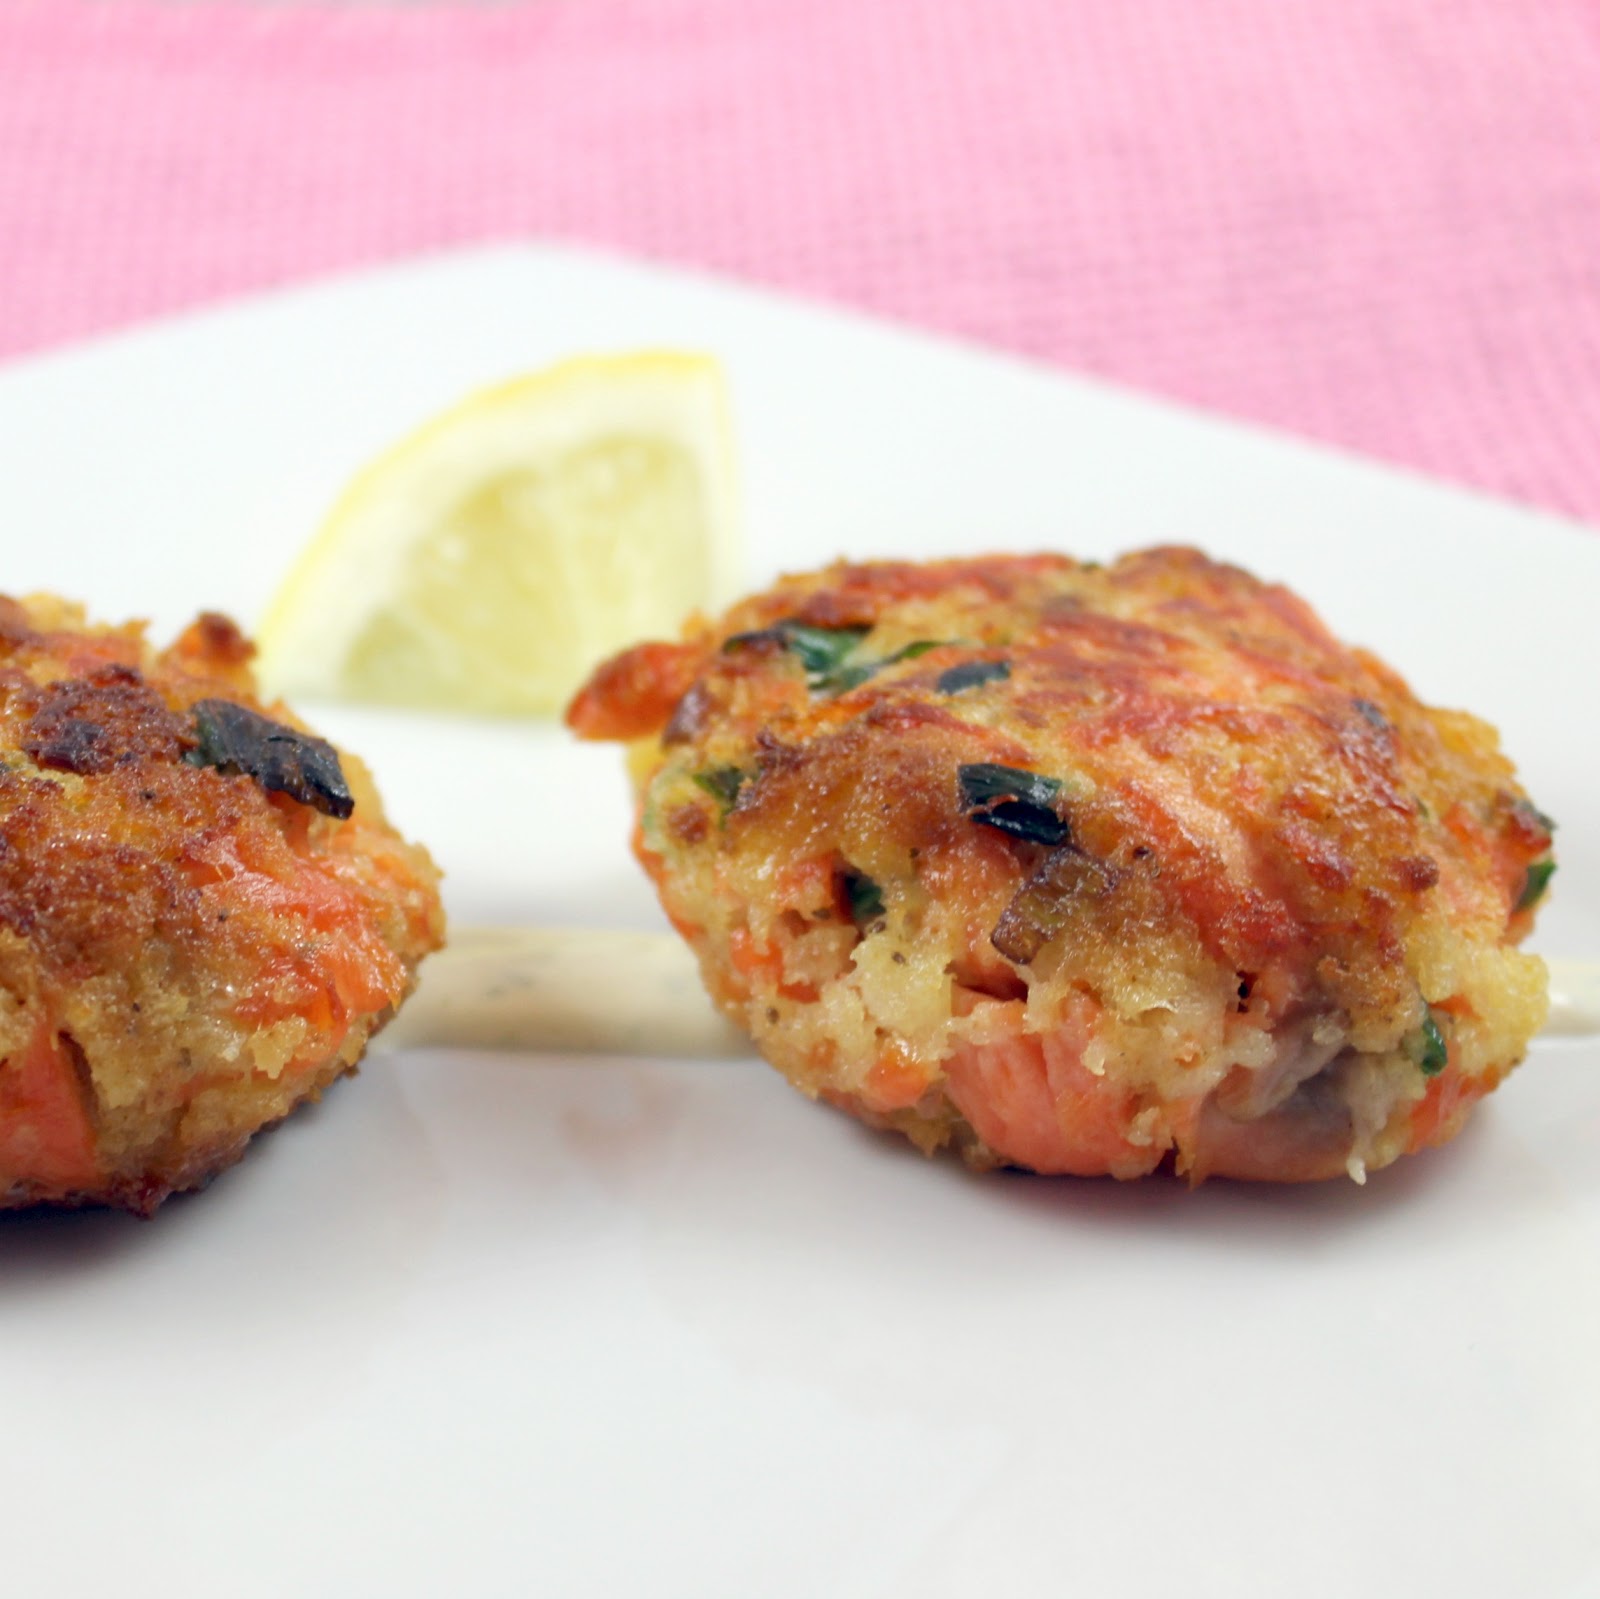
Salmon Croquettes and I thought the lemon pepper seasoning would go perfectly with that, along with some sun dried tomatoes and artichoke hearts.
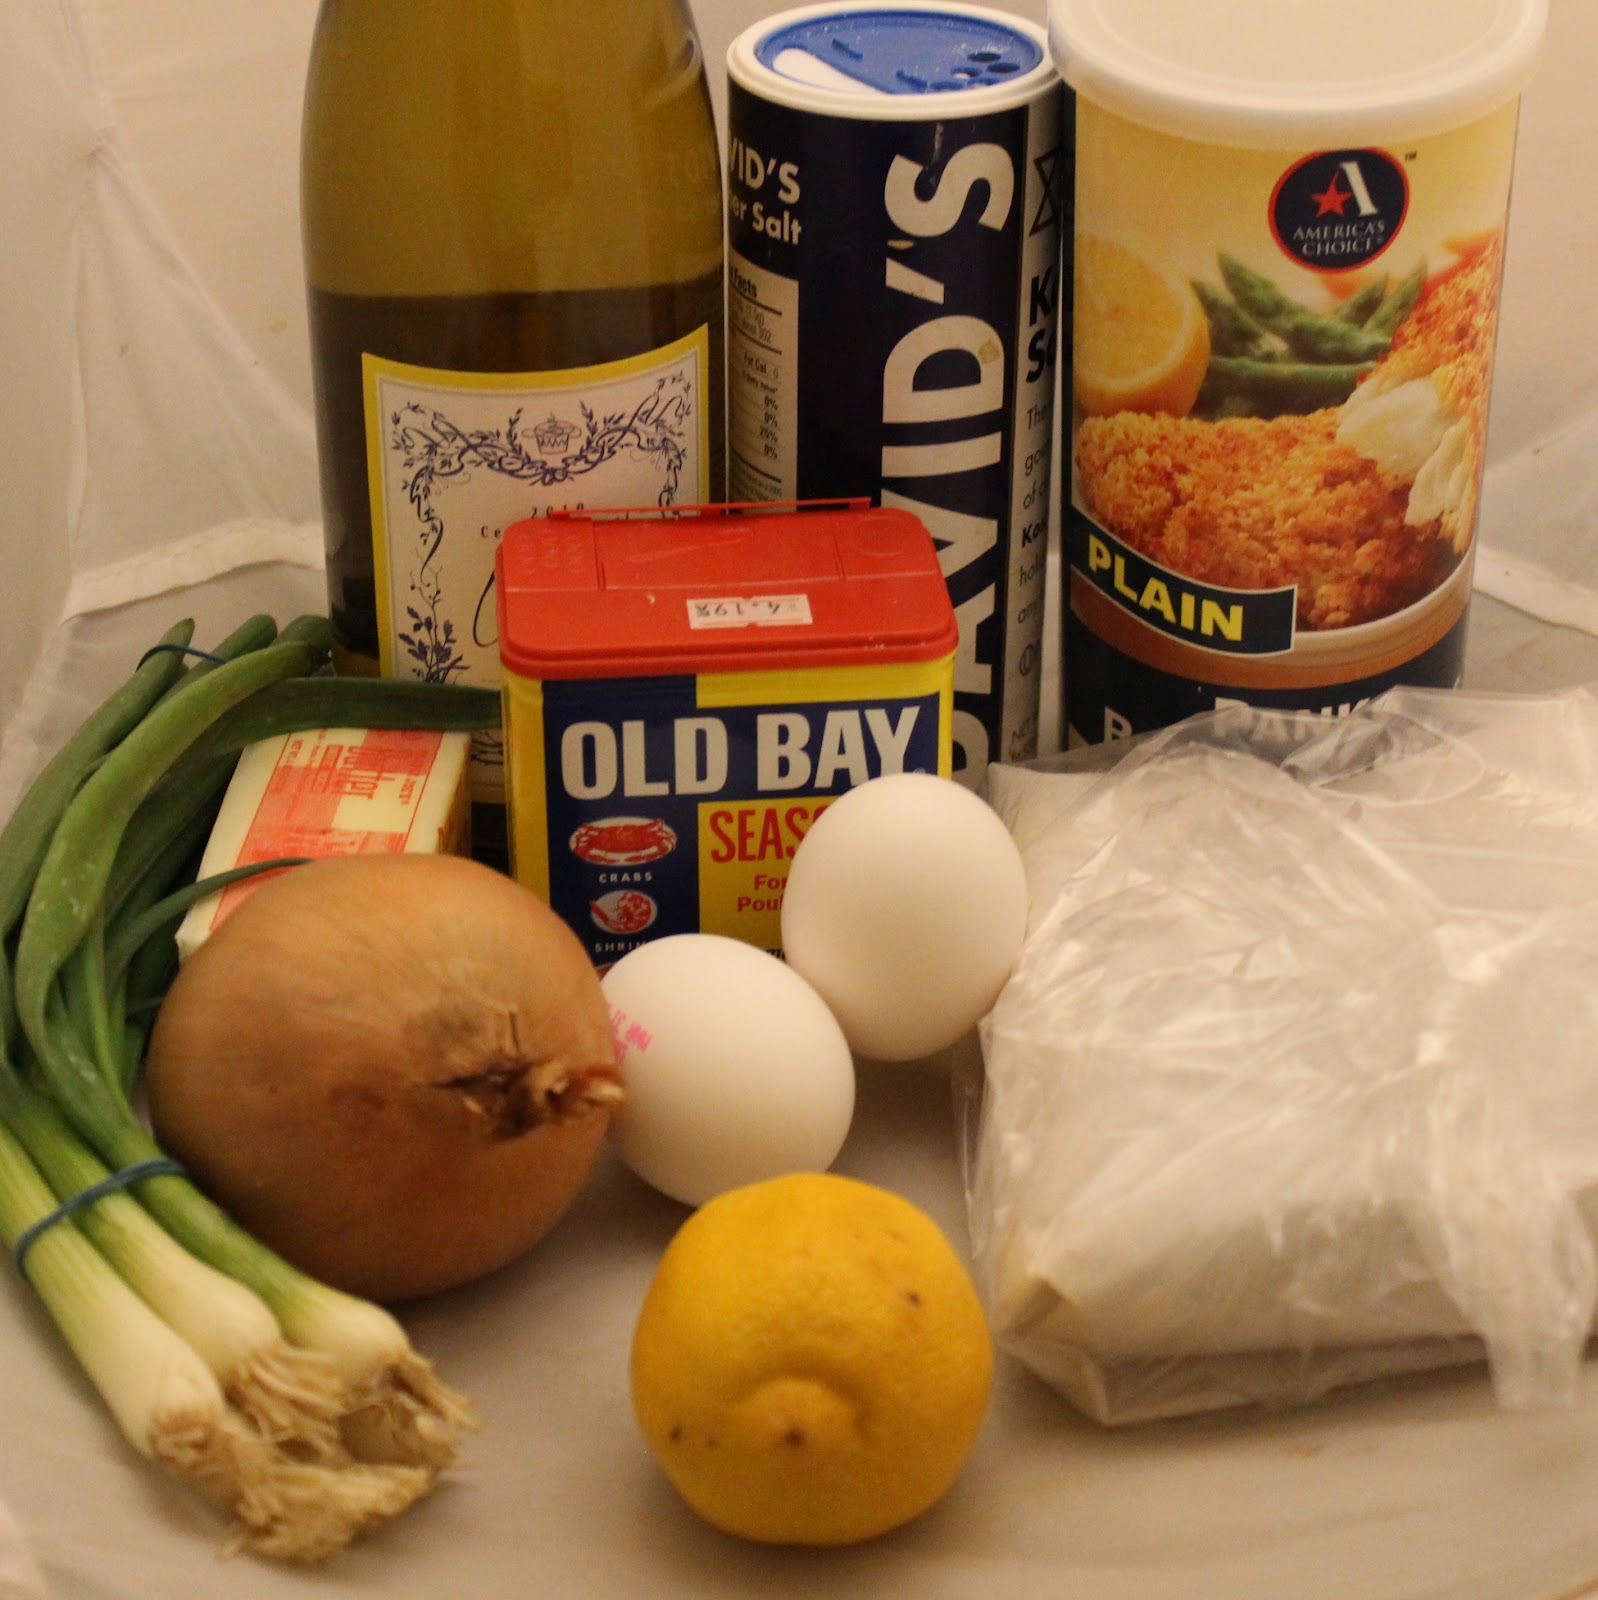
Ingredients (this makes two servings):
2 lemon pepper seasoned boneless skinless breast fillets
1/2 box pasta of your choice (I used fusilli)
1 teaspoon olive oil
3 garlic cloves, minced
2 green onions, thinly sliced
1/2 cup cream
4 artichoke hearts, quartered
1/3 cup sun dried tomatoes, roughly chopped
1 tablespoon chopped tarragon
salt and pepper, to taste
1/3 cup shredded mozzarella cheese
the juice of one lemon

Gold’n Plump’s chicken is individually packaged, which is awesome for people who live alone or do not have a family of four. I tend to not buy chicken because I never manage to finish the four fillets usually included in one package. The individual servings allow me to take what I need and freeze the rest for later use.
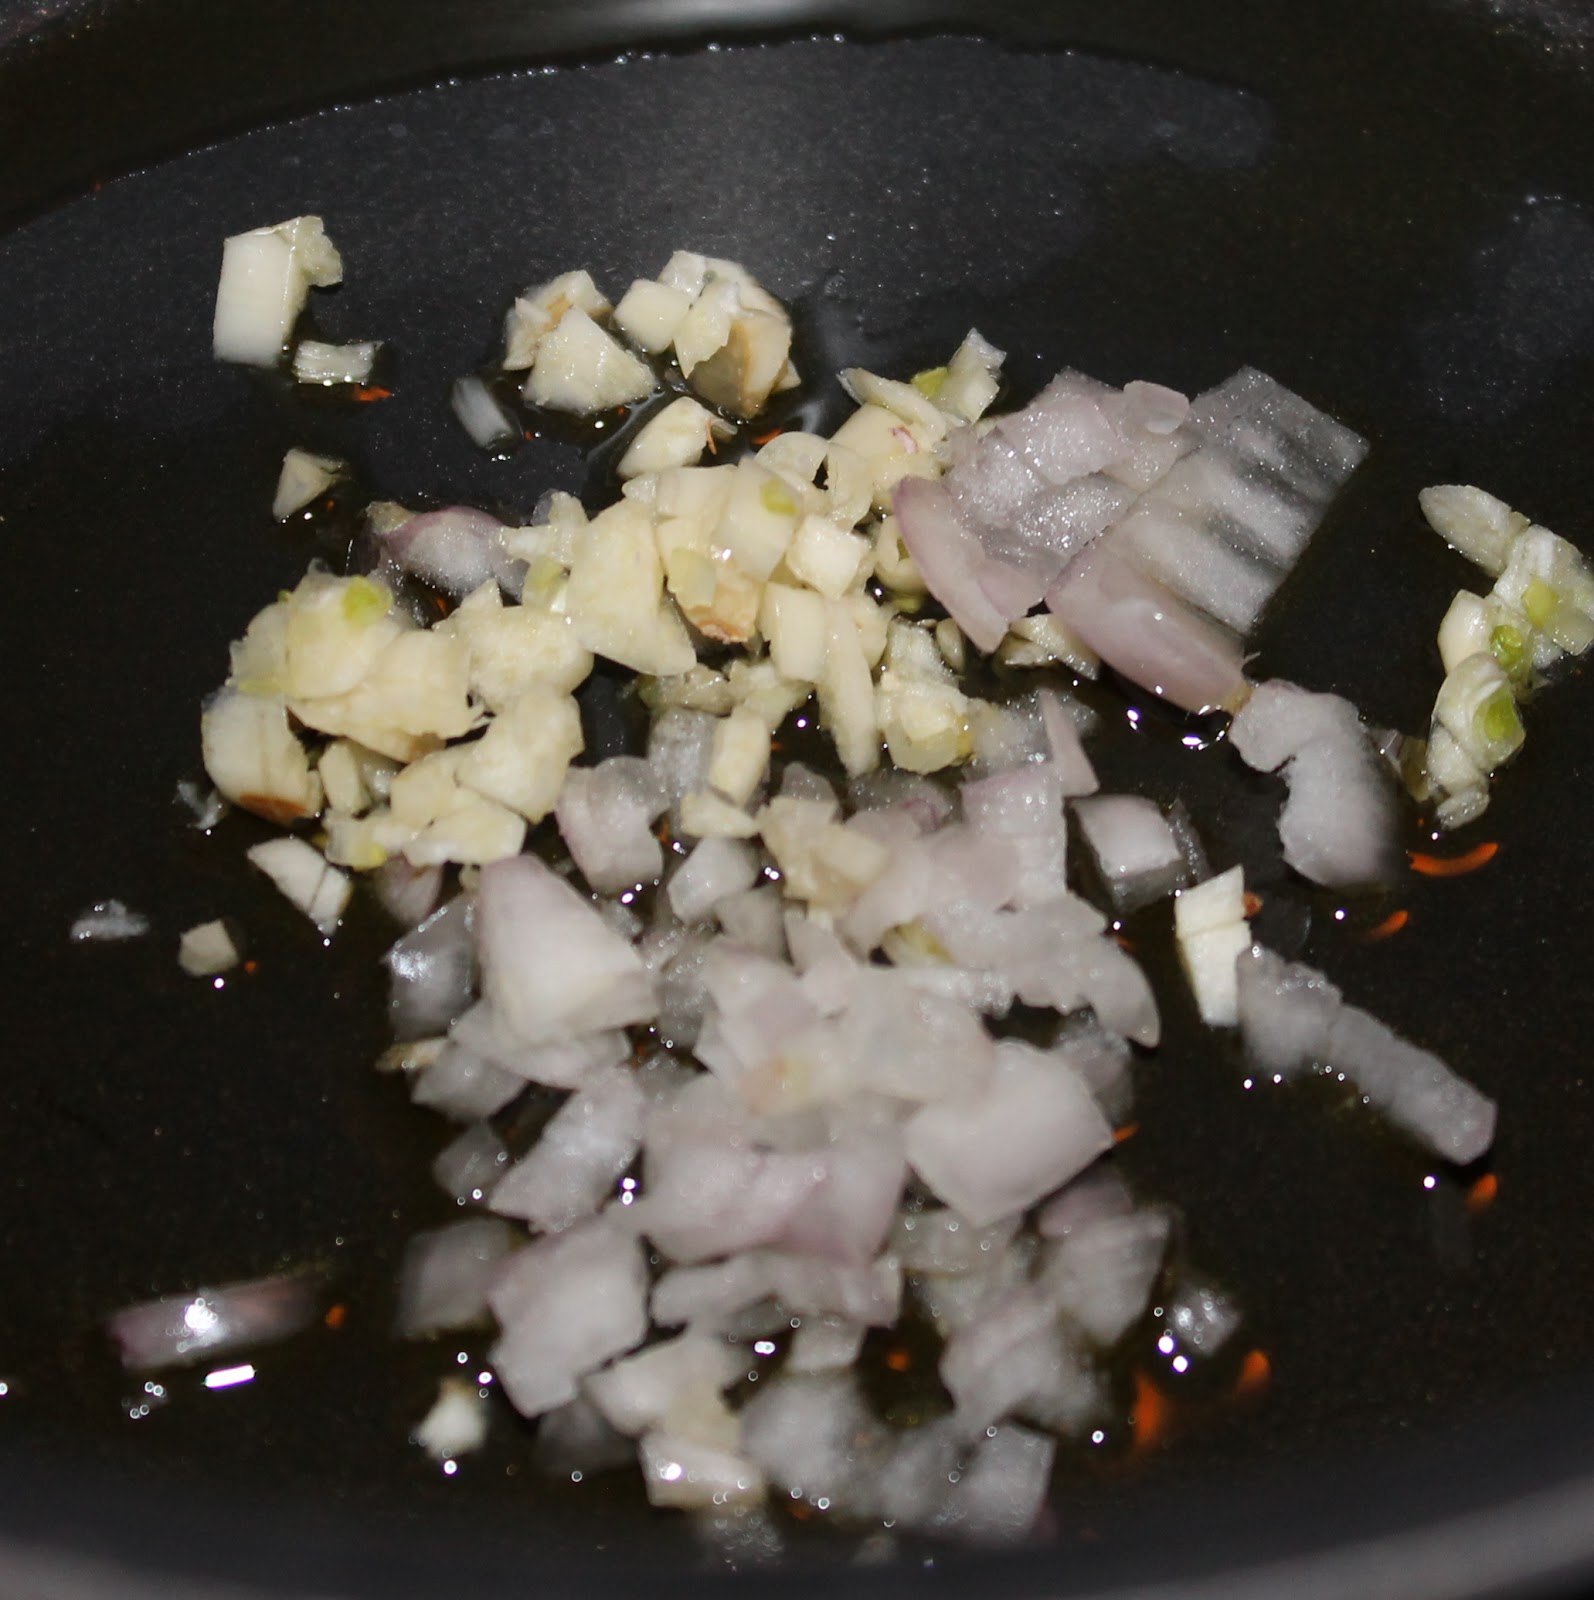
Bring a pot of water to boil. Add the pasta and cook according to package directions. Drain and set aside. While the pasta is cooking, add the olive oil to a saute pan over medium heat. Add the garlic and the green onions, and cook for 2-3 minutes.
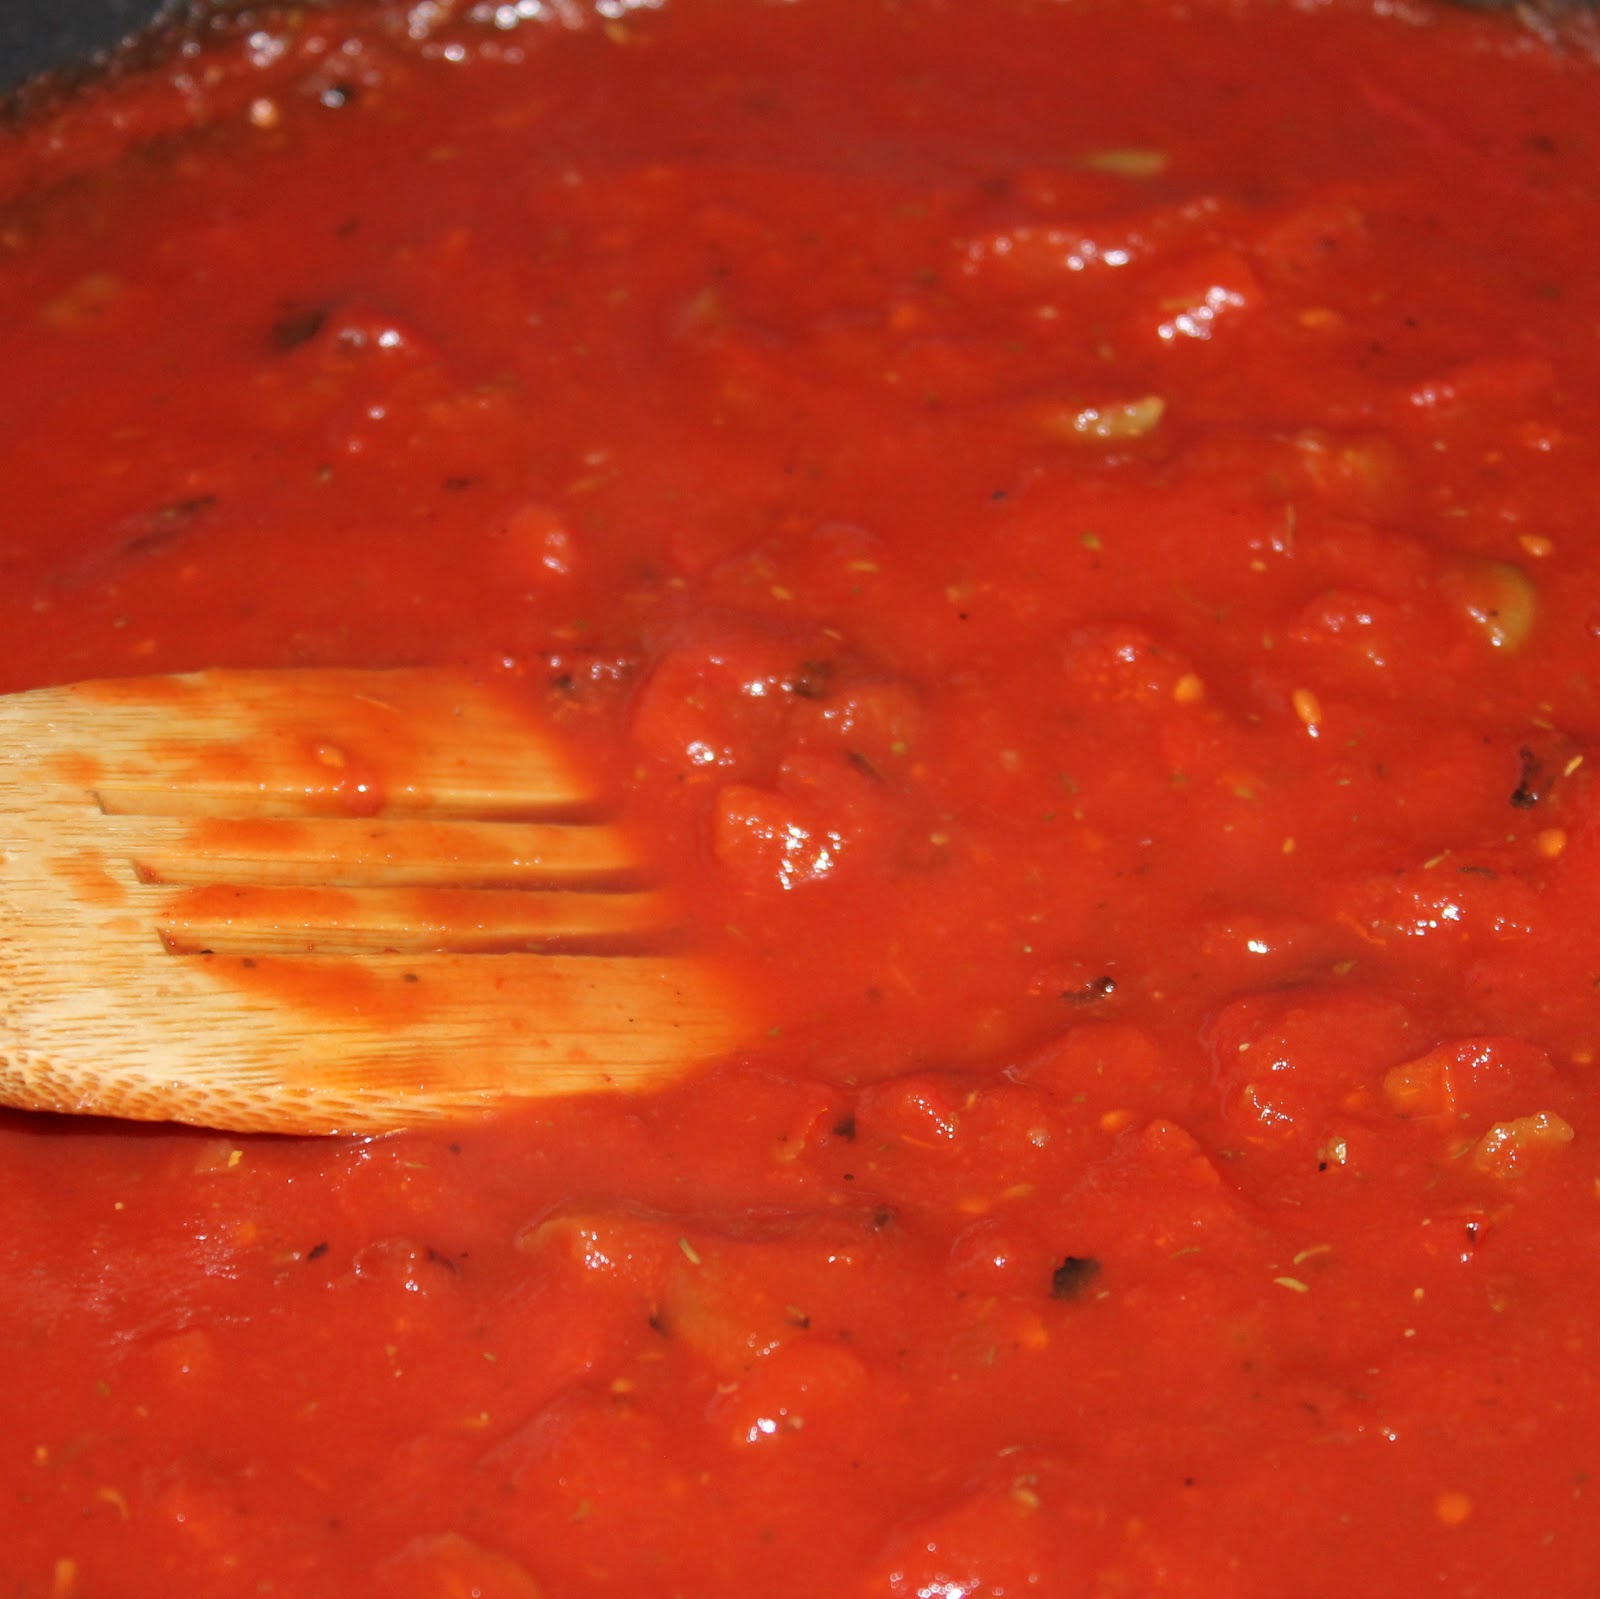
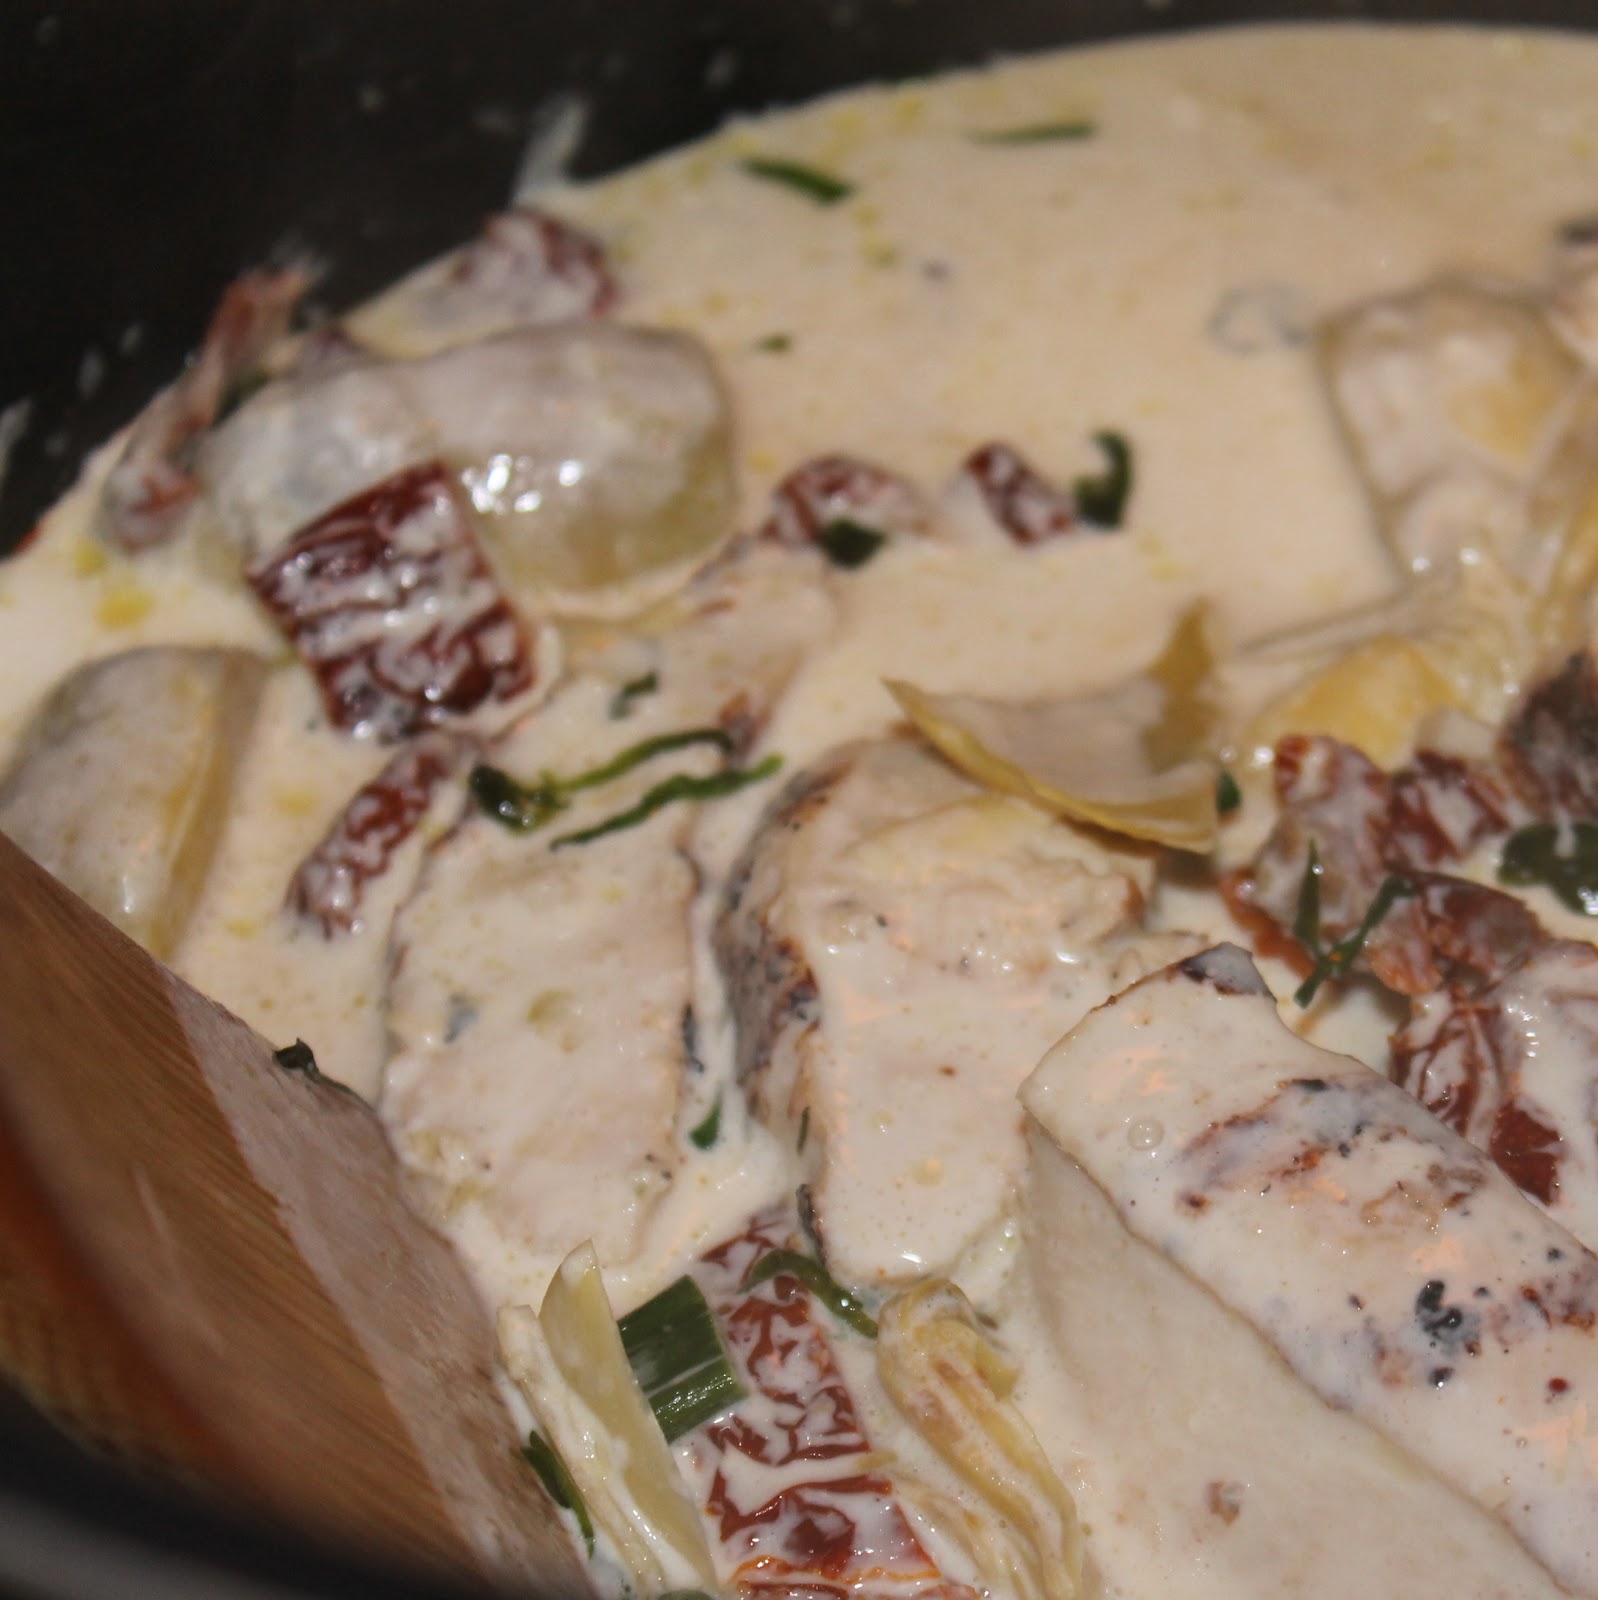
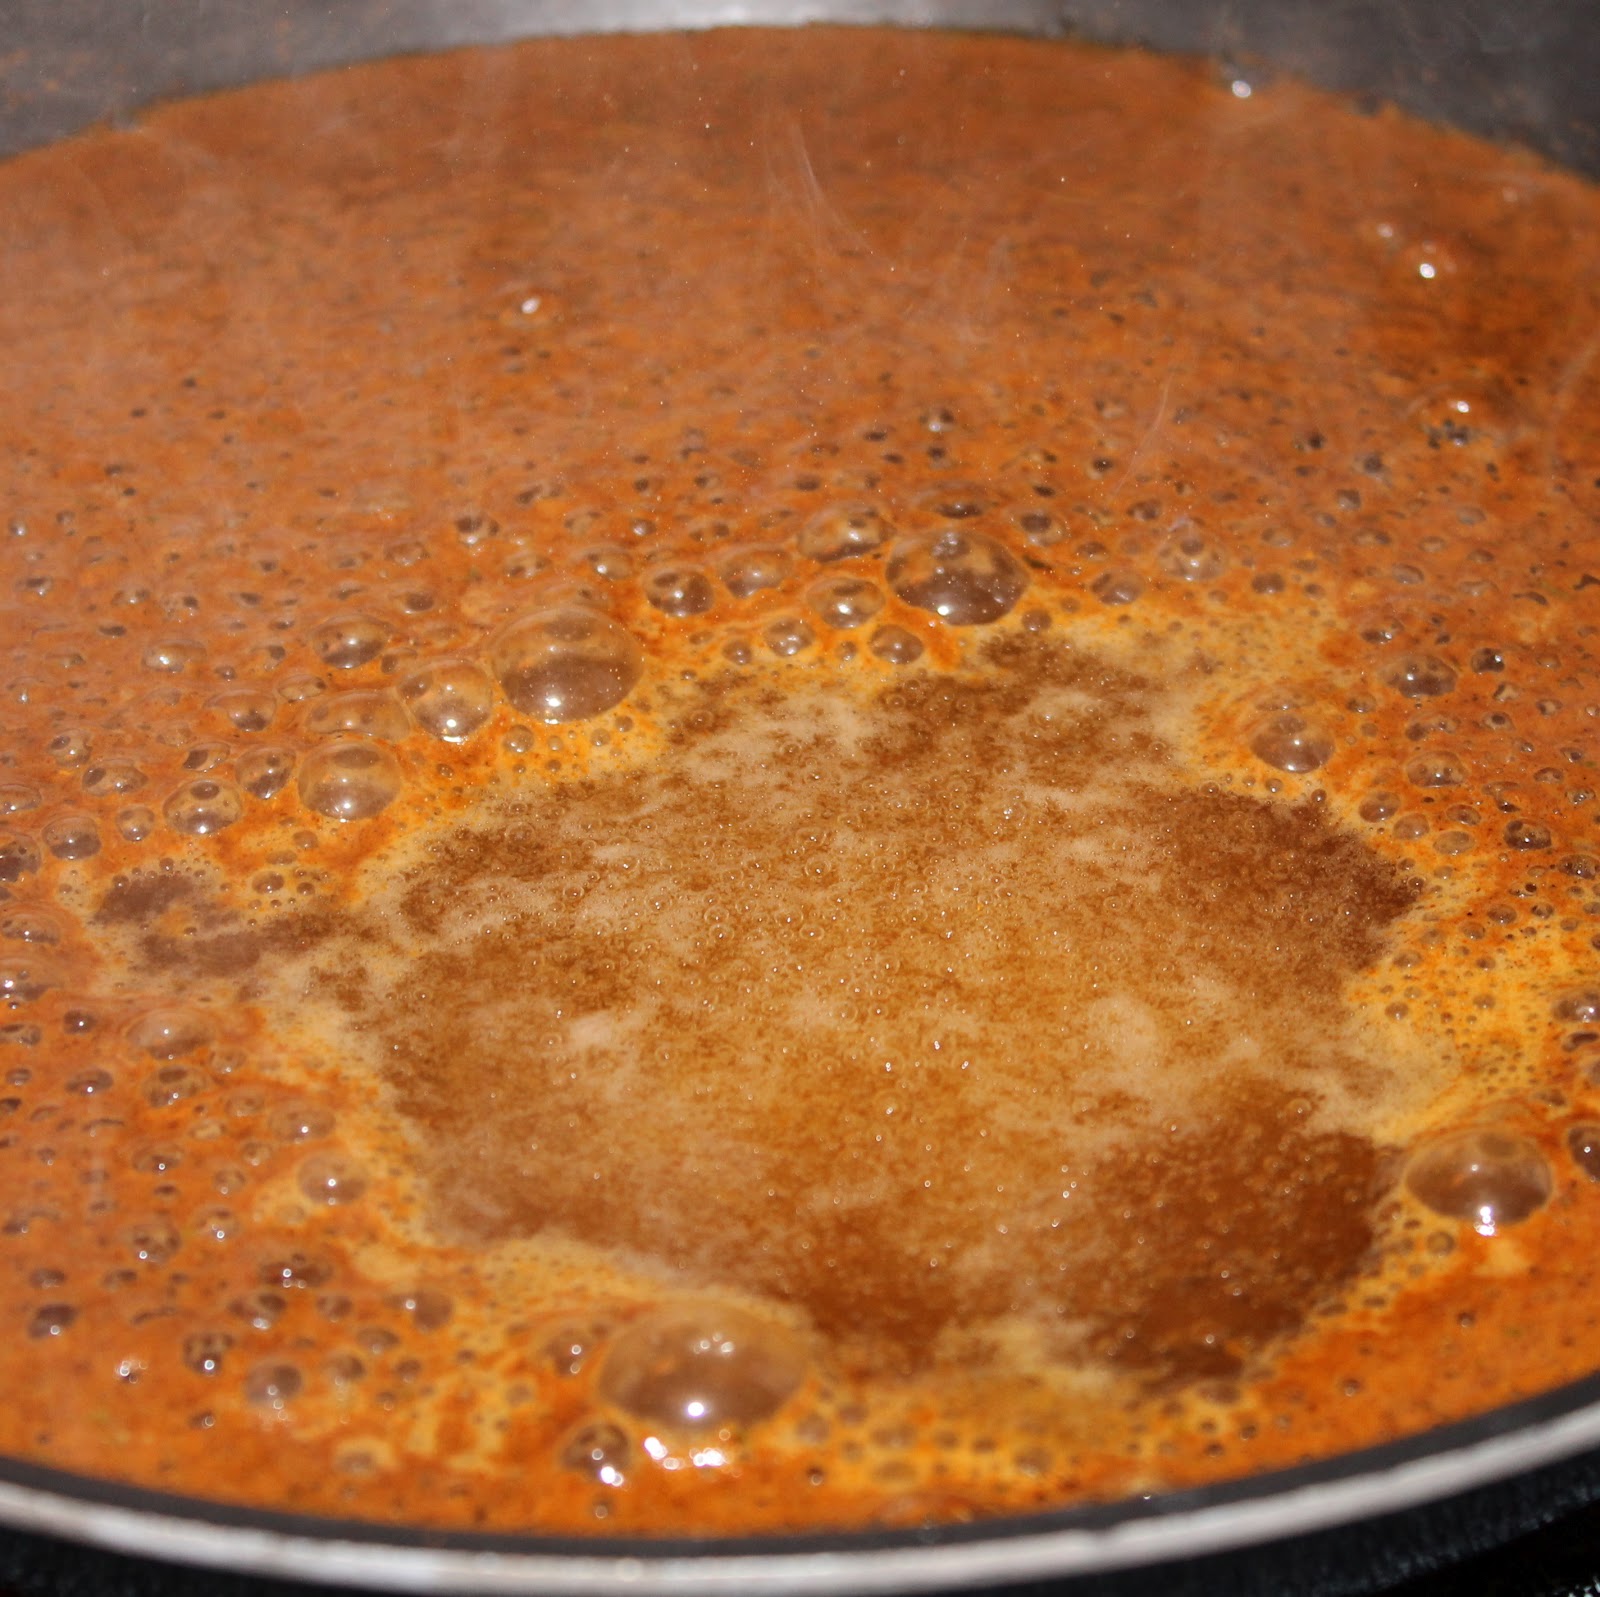
Add the cream, sun dried tomatoes, tarragon, and artichoke hearts.
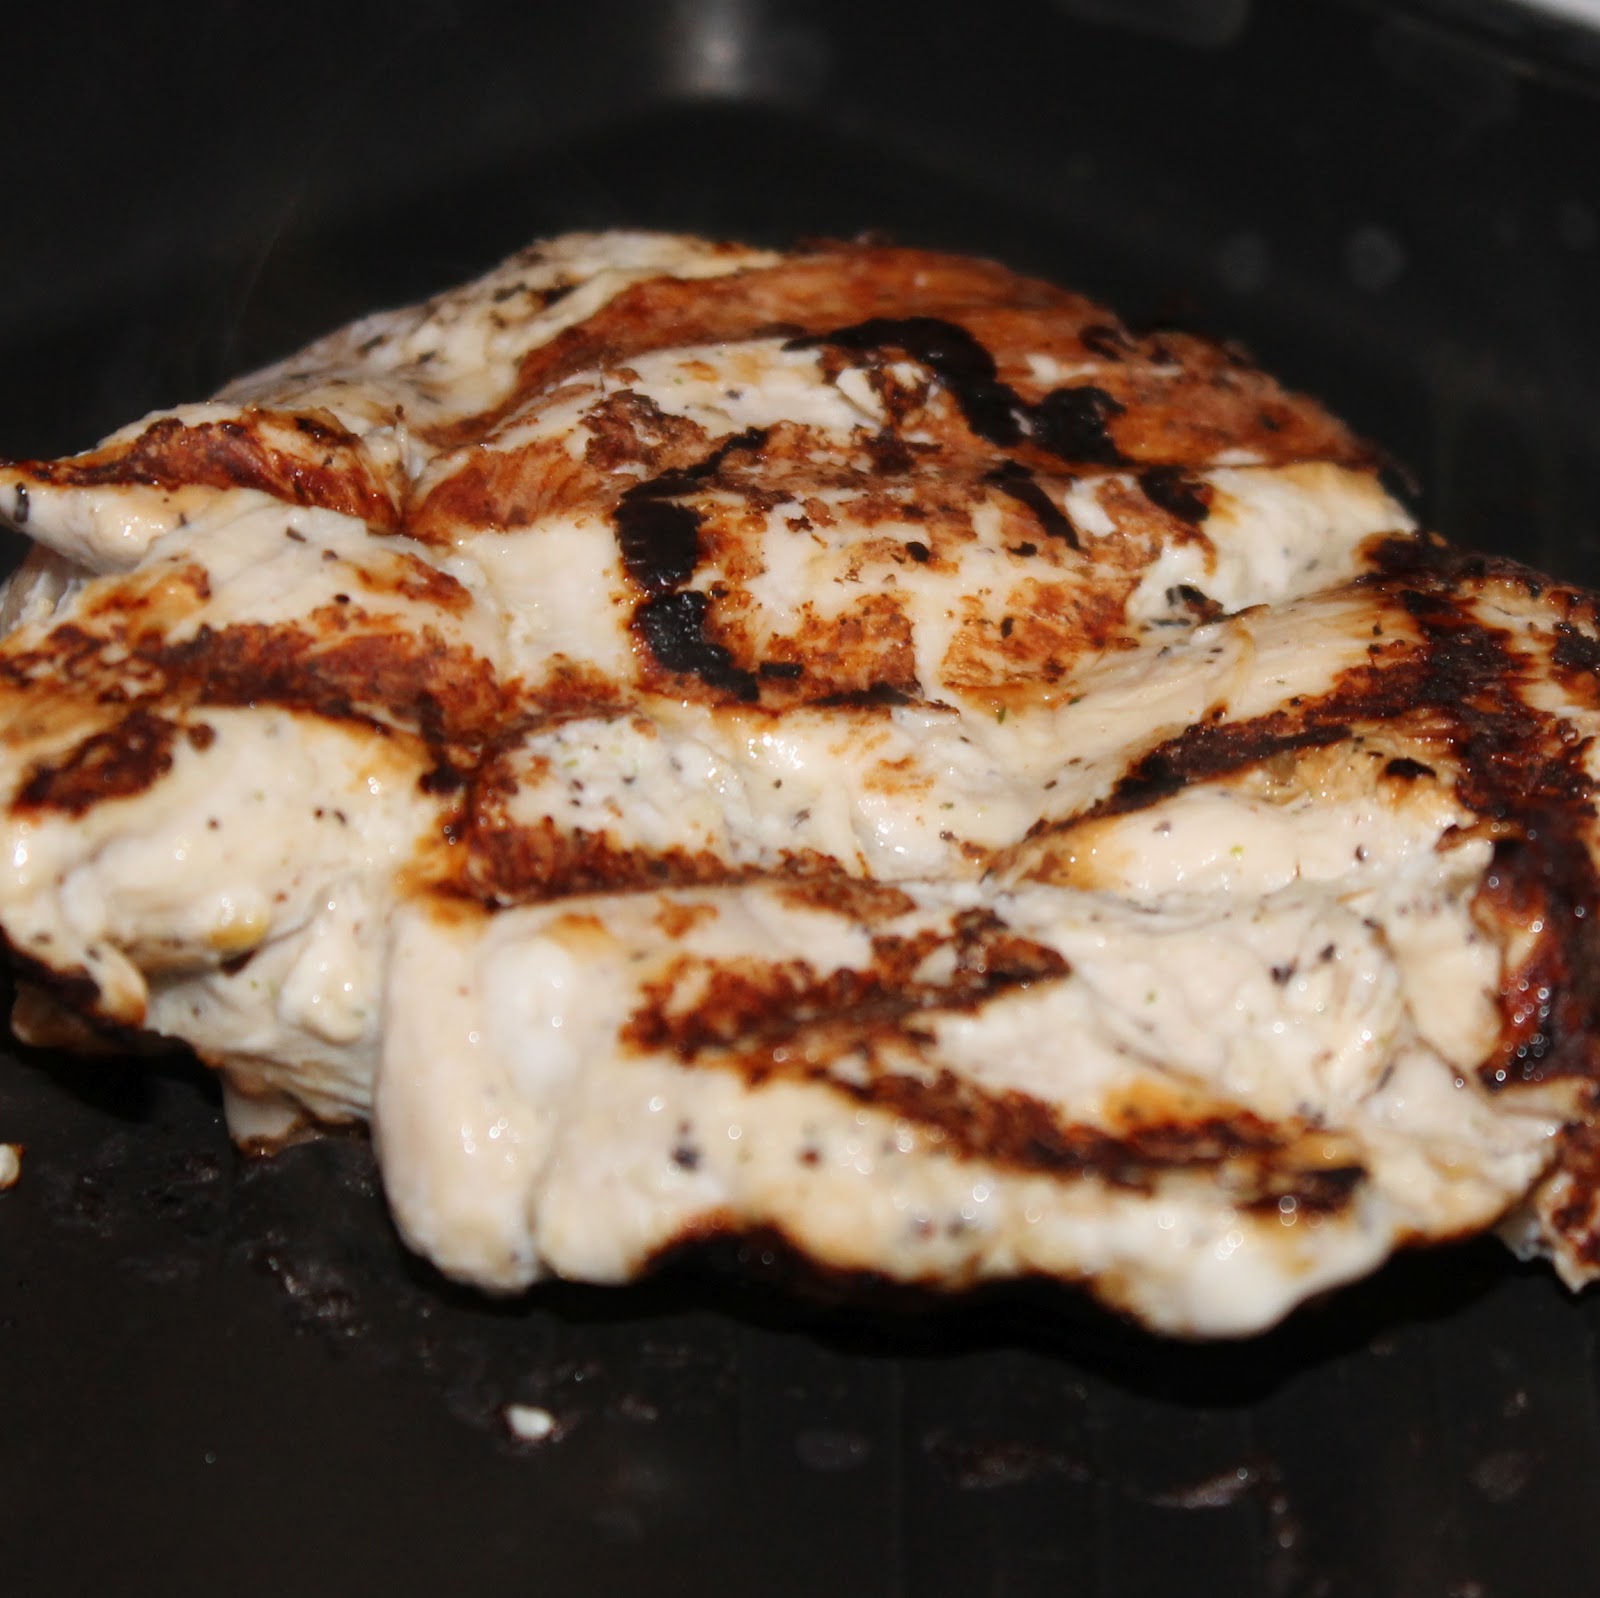
Cover and simmer on medium low for 5 minutes. Season with salt and pepper. While the cream mixture is simmering, heat a grill pan (or a saute pan if you don’t have a grill pan) over medium high heat. Add the chicken and sear on both sides, about 3 minutes per side.
The chicken will not be fully cooked through. Slice into thin strips and add to the cream mixture. Cover and cook for 10 minutes, or until the chicken is fully cooked.
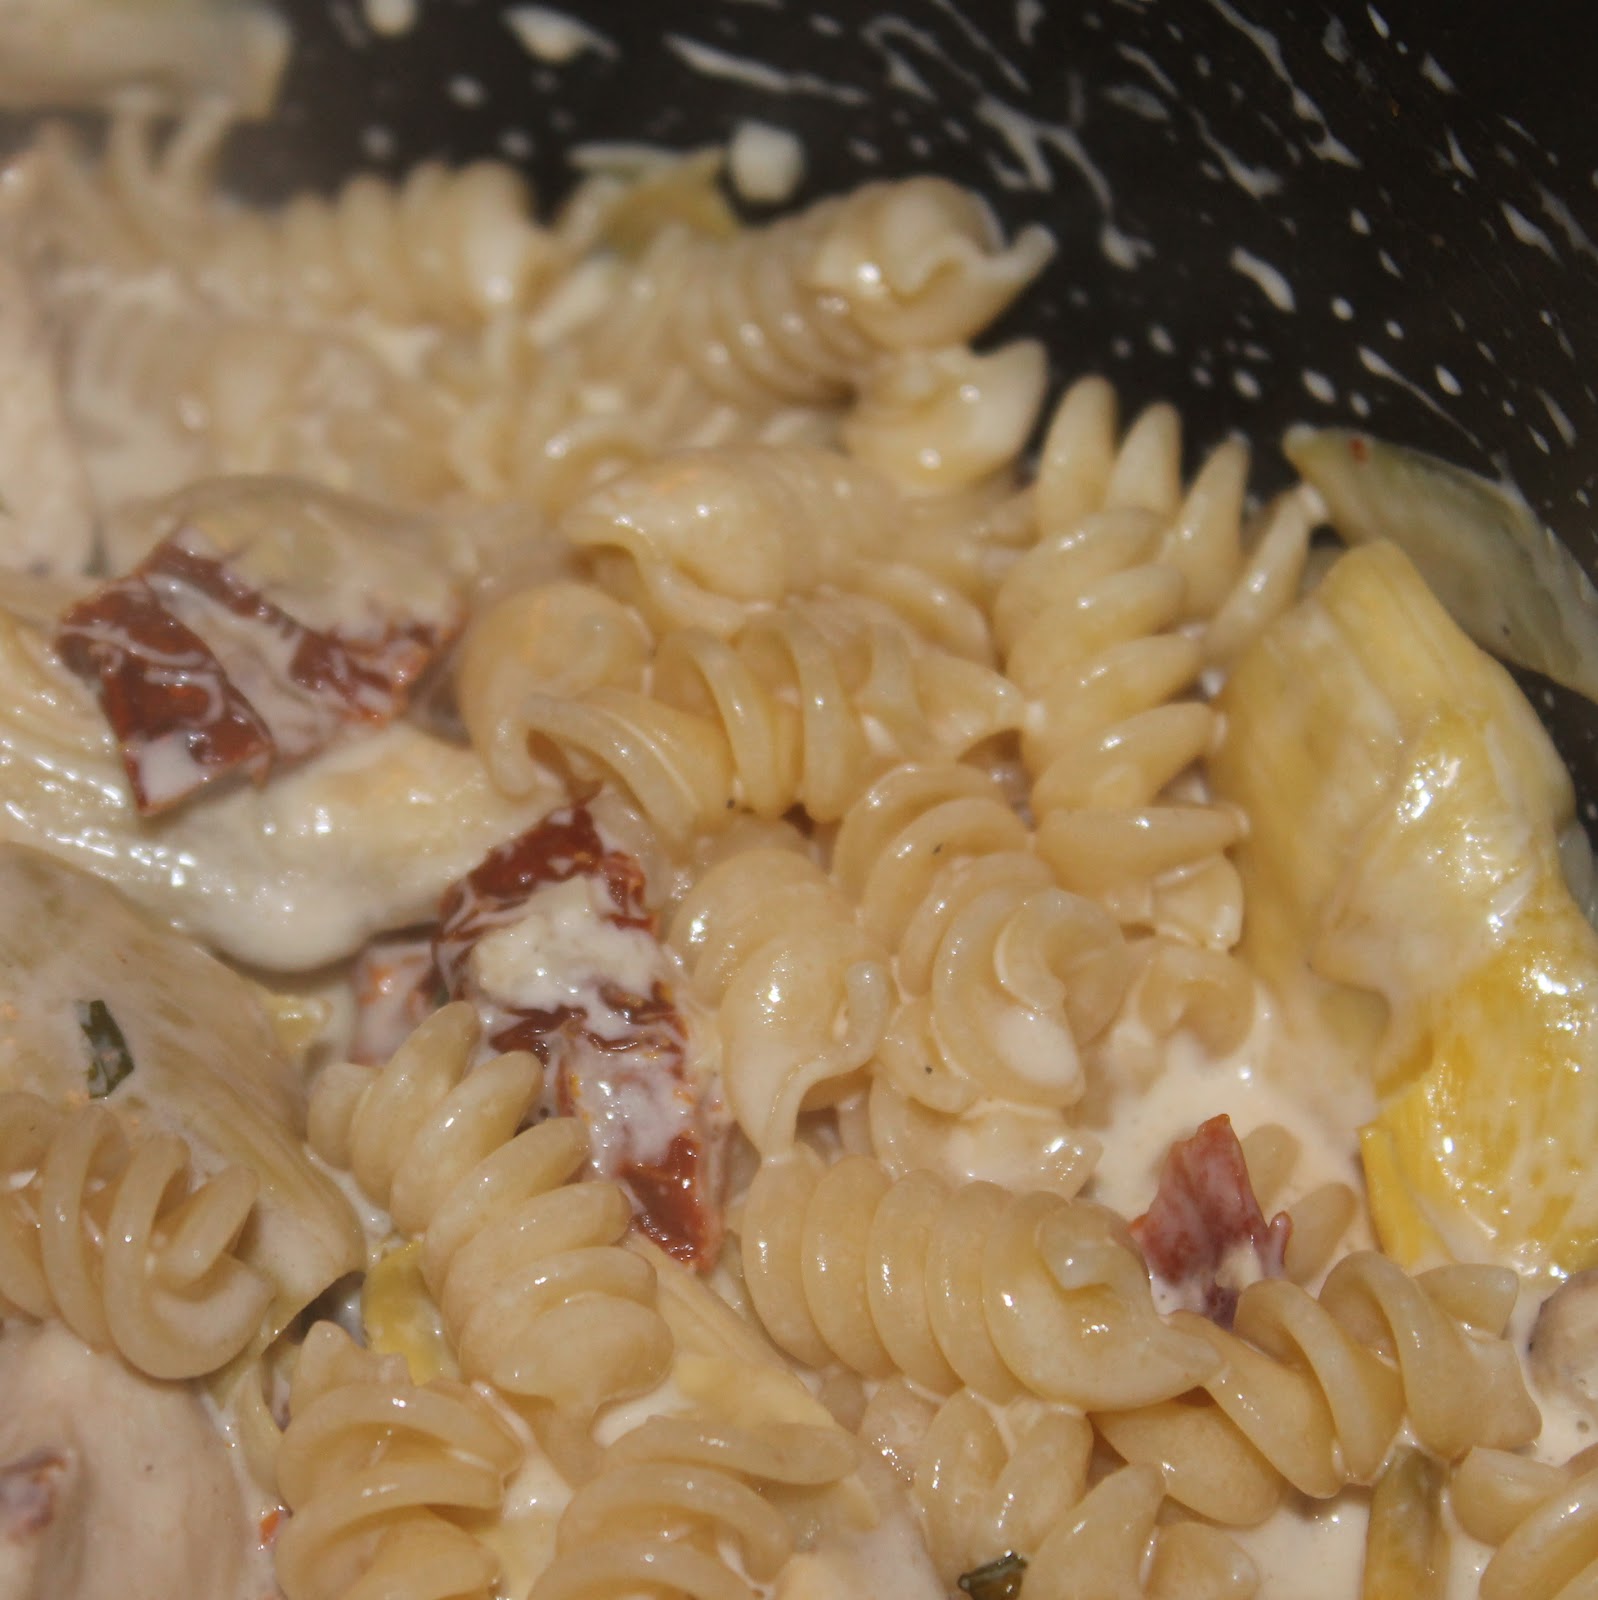
Add the pasta to the cream mixture and toss to coat.
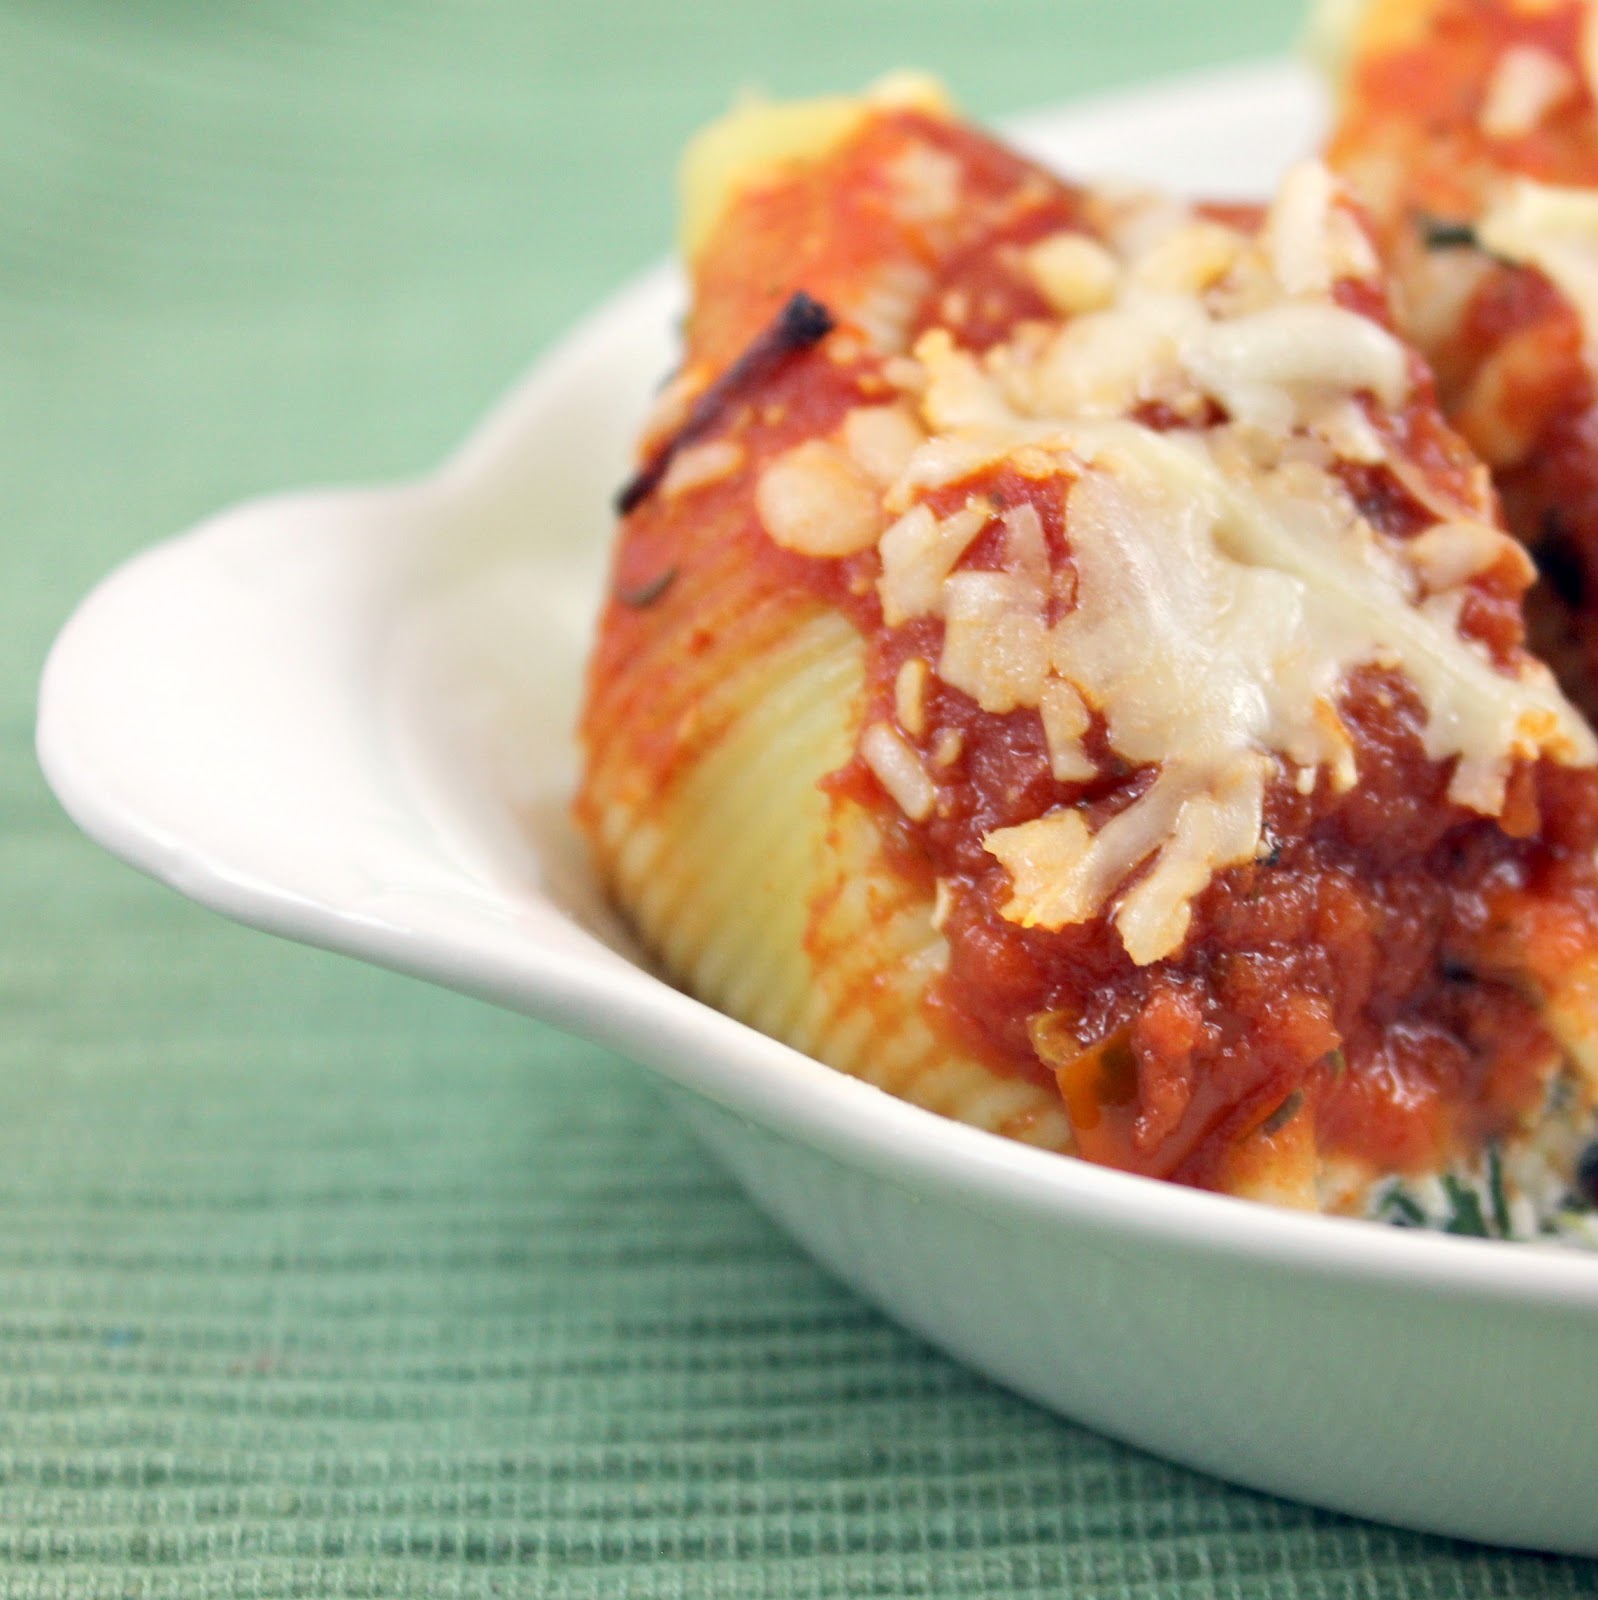
Add the mozzarella cheese. Cook for another 1-3 minutes to allow the pasta to absorb some of the sauce, and to let the cheese melt.
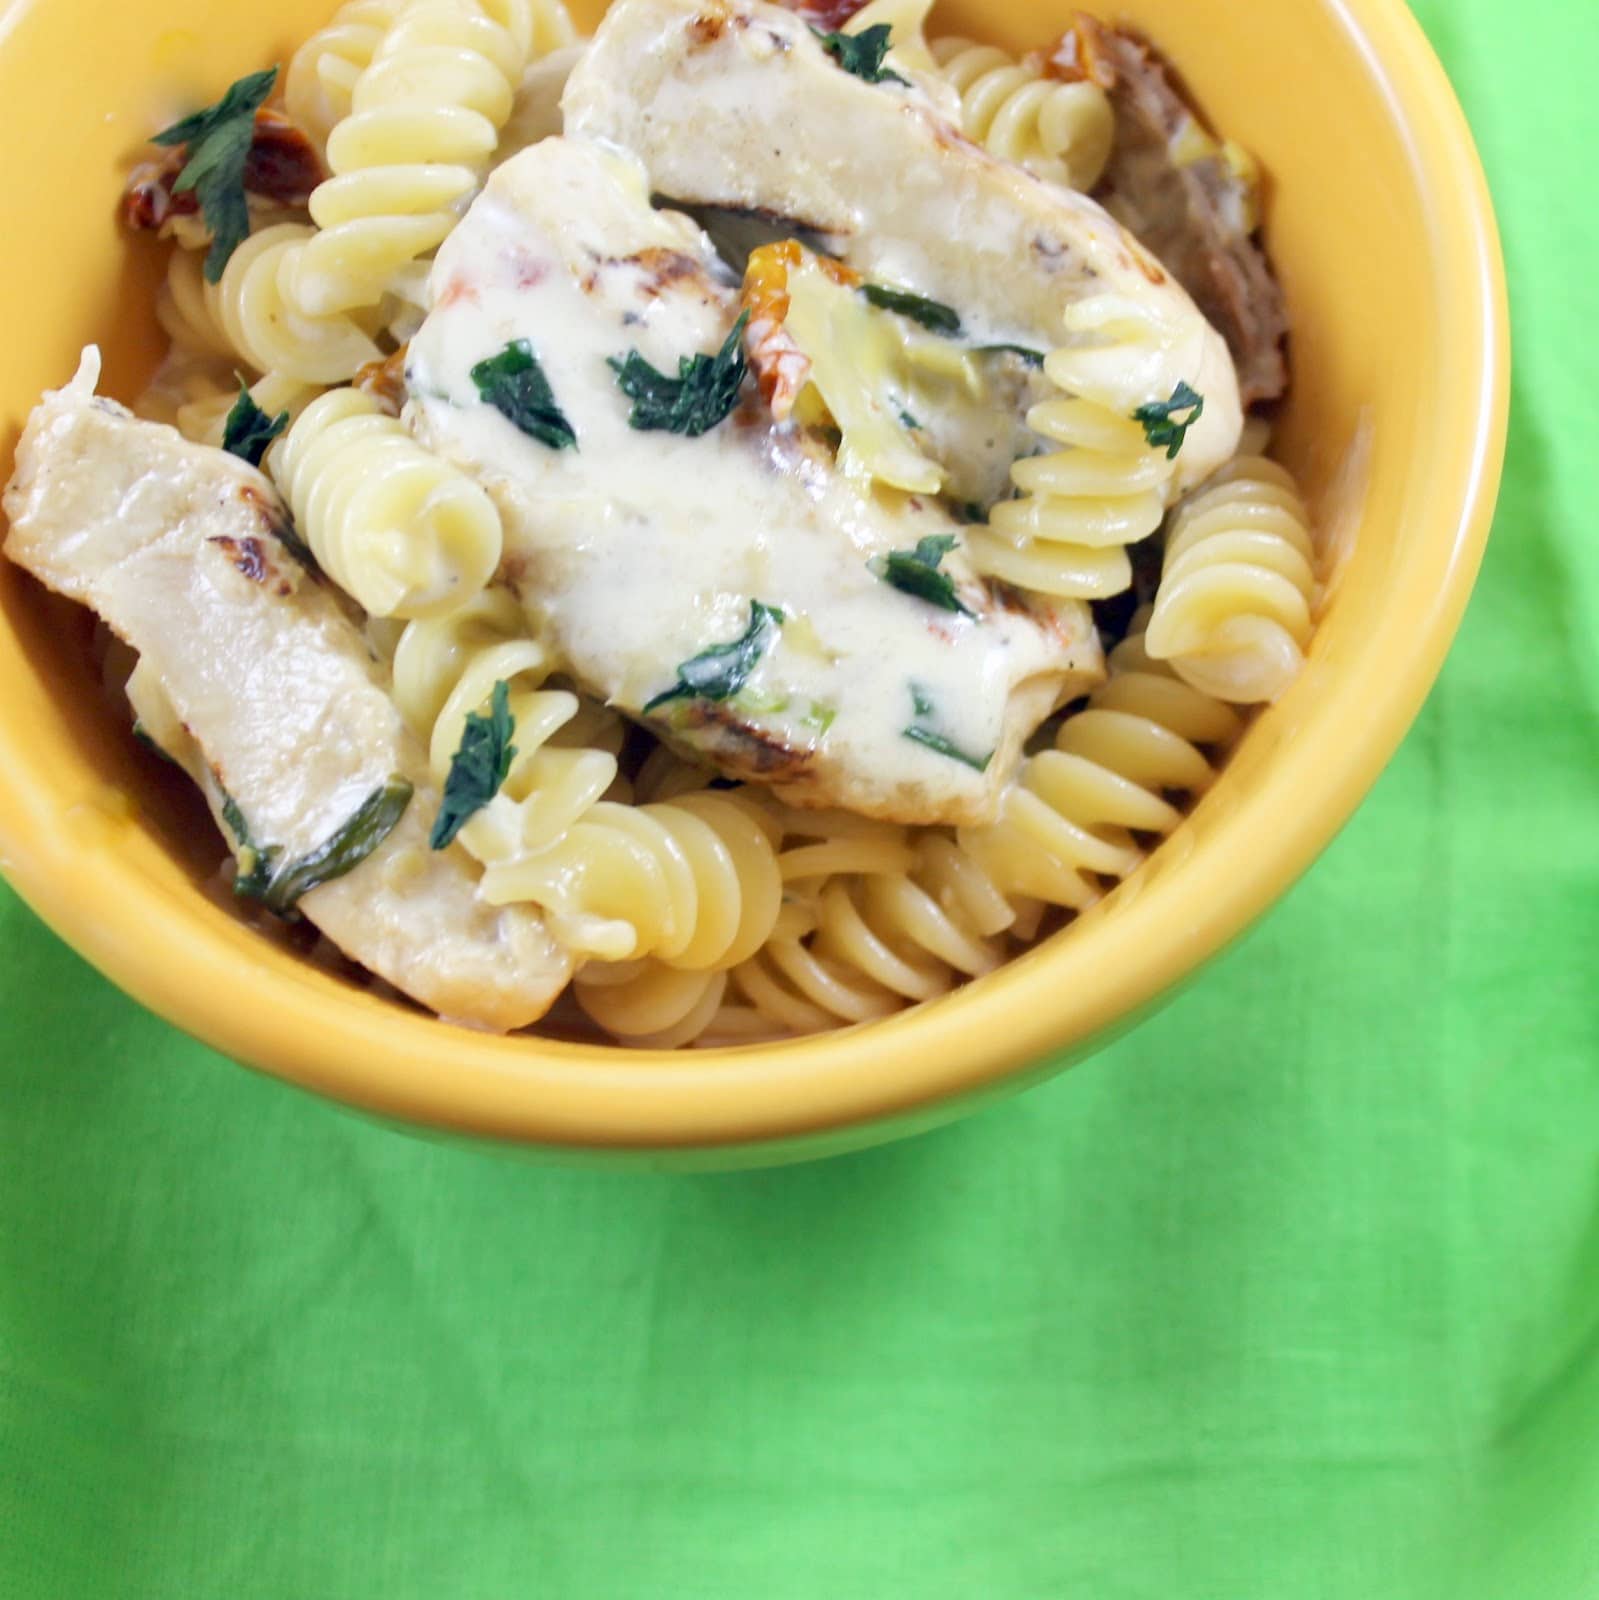
Remove from heat and squeeze the lemon juice in to the dish. Mix and serve.
Despite the cream, the flavor of the chicken still shone through, it was really nice! I loved having such a nice amount of flavor from the chicken without having to remember to marinate it beforehand.
Artichoke hearts, sundried tomatoes, and tarragon work so well together.
You could have this dish without the pasta, but I like it to soak up all of that yummy sauce.

Note: Although the Lemon Pepper Chicken is available in some markets, it is not available in the Philadelphia area. However, Targets in the area do carry the following Gold’n Plump products:

  • All Natural Boneless Skinless Breasts
  • Extra Tender Boneless Skinless Breasts
  • 90/10 Ground Chicken
  • All Natural Drumsticks
  • All Natural Whole Chicken
  • Extra Tender Tenders
  • All Natural Wings
  • All Natural Boneless Skinless Thighs

Alexia Waffle Cut Sweet Potato Fries

I love sweet potatoes, especially in fry form. I just cannot turn down a delicious sweet potato fry. So I was really excited when I was offered the chance to try an Alexia Food product of my choice through the Foodbuzz Tastemaker program. Not only did they send me a coupon for any food product my little heart desired, but they also send a spiffy apron and pot holder; thanks for all the fun new products!
Alexia Foods has plenty of great products, including appetizers, breads, french fries, and potato and vegetable sides.  I decided to try the Waffle Cut Sweet Potato Fries because it’s something I can’t make in my own kitchen. (I have, however, made pretty awesome traditional sweet potato fries in the past, if I do say so myself).
The fries can be found in the freezer section of the grocery store.The Waffle Cut fries have a seasoning of sea salt, garlic, onion, chili, black and red pepper. The fries can go straight from the freezer into a preheated oven and are ready in about 20 minutes.
I got a random normal fry in there. It was delicious as well 🙂
I decided to try mine with a Sriracha-mayo dip that I made for my sweet potato fries.
The fries came out of the oven slightly softer than I’d like, but crisped up after cooling off a bit. The seasoning on these fries is absolutely awesome. It was a pleasant surprise! I liked it so much I didn’t want to mask the taste with my dip and ended up eating most of them plain.

Alexia Food has a number of other types of fries: classic, rosemary and garlic, lemon parmesan, and sea salt sound the most intriguing to me. However, they are currently looking for a new Alexia fry flavor and need your help to choose. Now until March 30, visit the Alexia Foods Facebook page and click on the “Reinvent a Classic” tab to vote for one of four gourmet French Fry flavors.

Which one would you like to see, or which existing fry do you want to try? I think the Thai Spiced Sweet Potato fries sound amazing!

Salmon Croquettes with Lemon Tarragon Aioli

I am so excited to share this recipe with you. I loved it so much! I found this recipe from Saveur and knew I had to try it. This recipe is perfect for a Friday night meal, but I suggest making them ahead of time if you can. They need to be chilled for at least one hour so that they retain their shape when cooking.
Ingredients:
1/2 cup white wine
3 tbsp. Old Bay seasoning, divided
1 tbsp. plus 1 tsp. kosher salt, divided
1  1-lb. boneless salmon filet
1 1/2 cups panko bread crumbs
3 tbsp. unsalted butter, melted
4 scallions, finely chopped
2 eggs, beaten
Juice of 1 lemon
Canola oil for frying, or olive oil to pan fry

To make, add 4 cups water, wine, 2 tablespoons Old Bay, and 1 tablespoon salt in a large saute pan (make sure you have a top for the saute pan). Bring to a boil.
Add the salmon, skin side down.
Turn off the heat and cover the salmon. Let the salmon cook in the liquid for 10 minutes. Transfer the salmon to a plate skin side up and let cool. The salmon will not be fully cooked through.
Peel off the skin and discard. Break the salmon into small pieces and place in a bowl with the remaining Old Bay and salt as well as the bread crumbs, butter, scallions, eggs and lemon juice. Stir and refrigerate for 30 minutes.
Using a 1/3-cup measuring cup to evenly size the croquettes, form the 1/3 cup mixtures into patties with your hands.  Transfer to a parchment paper lined baking sheet. (I ended up with 8 patties plus one little baby patty).  Refrigerate for at least an hour (I refrigerated mine overnight).
You can fry the patties in canola oil in 1/2″ of oil at 325 degrees, but I decided to just pan fry mine in a little olive oil. Cook for 3 minutes on each side. Transfer to a paper towel to remove excess oil then serve.
Serve with a wedge of lemon and a lemon tarragon aioli. To make the aioli, add 1/2 cup mayo, 2 tablespoons chopped fresh tarragon, the juice of 1/2 a lemon, 1 minced garlic clove, and 1 teaspoon of Dijon mustard, and 1/4 teaspoon Old Bay in a food processor. Refrigerate for 30 minutes and serve.
I served three croquettes per person with 1 teaspoon aioli.
I loved the flavor of this so so much! The Old Bay comes through in the salmon croquette, and an extra squeeze of lemon on top brings this from good to great.
The aioli was really nice with it too! I had some tarragon in my fridge so I decided to make it and I was afraid tarragon wouldn’t go with the salmon. That wasn’t an issue at all; they worked great together!
This is a great quick night meal if you have the ability to plan ahead and prep the night before. If not, just make sure to give yourself a good 2-3 hours to make the whole thing which doesn’t make it very feasible for a weeknight.

Raspberry Creme Brulee

Last week, I was contacted by Walkers Shortbread about a recipe photo challenge they are hosting. Walkers asked a bunch of bloggers to make one of the recipes off their site and photograph the end result. They even offered to send me the Walkers ingredient needed to make the recipe. I came across their Raspberry Creme Brulee recipe and I knew I had to make it. It’s a traditional creme brulee, with a Walkers Shortbread crust and raspberries. How fantastic does that sound?


Ingredients:
2 cups whole milk
4 egg yolks
1/3 cup sugar
1/3 cup heavy cream
1/2 pint Raspberries (fresh)
1 pkg. (5.3 oz) Walkers Shortbread Fingers
light brown sugar, to taste

Preheat the oven to 300 degrees.  Add the milk to a medium saucepan and bring to a boil. While waiting for the milk to boil, add the egg yolks, sugar and heavy cream to a medium sized bowl. Whisk to combine.
Add 3/4 cup of the boiled milk to the egg mixture, whisking constantly. This tempers the eggs so that they don’t cook when you add the rest of the milk. Once incorporated, add the rest of the milk in a steady stream.
Take a box of Walkers Shortbread Fingers. Using a metal spoon, break the shortbread (while still in the plastic package) into fine crumbs.
Add the shortbread crumbs to the bottom of four ramekins. Add the raspberries to the ramekins.
Pour the custard (the egg and milk mixture) into the ramekins. Be sure to leave some room at the top.
Bake for 40 minutes at 300 degrees, or until a knife inserted into the center of the custard comes out clean.
Transfer to a rack and cool to room temperature. Chill the custard for at least two hours (I chilled mine overnight).
When ready to caramelize preheat your broiler to high. Sprinkle a thin coating of light brown sugar on each chilled custard. Place under the broiler for 2 minutes or until the sugar is melted and golden brown. (Check on the custard after 1 minute, the broiler works quickly!)
Remove and serve.
So.  I hated it.
Hehe. Of course I’m kidding. This dessert was absolutely awesome. I can’t stop thinking about it. Plus look how pretty it is!
This has everything that attracts you to a traditional creme brulee: creamy, sweet, and a nice crunch from the crust and the broiled top.
But it also has little delicious bursts of raspberry. Yum!
I loved the incorporation of the Walkers shortbread crust. I think every creme brulee needs to have one of these delicious cookie crusts.
This could easily be changed to incorporate other berries as well. What a great recipe!

Note: I was provided no compensation other than samples of Walkers Shortbread fingers. All opinions are my own.

Guest Post: Foil Cooked Salmon and Asparagus or Choice of Vegetables

Today I have another delicious guest post for you all from Gareth. He e-mailed me asking if he could post this salmon recipe, and I couldn’t say no! If you haven’t realized quite yet, I’m a big fan of salmon. Not only is this recipe easy and really quick to make, it’s also healthy and perfect for Friday meals in Lent. Let me turn it over to Gareth…
When it comes to quick and simple recipes that pack a powerful flavour this is one of my favourites. Salmon is very easy to cook well and has so much natural flavour you need to add very little to it to get an amazing tasting meal. This recipe can also be adapted for nearly any vegetables or fish too.
Ingredients
Chunky Salmon Fillet (partly smoked if you prefer)
Virgin Olive Oil
Salt and Pepper
Lemon (real lemon if you can)
Tomatoes, Asparagus, courgette, green beans or vegetables of your choice

Preheat your oven to 180 degrees (this is Celsius, so for Americans, preheat to 350 degrees Fahrenheit) while you prepare the food.
Cut off some tin foil that is big enough to wrap all your vegetables and fish in a parcel when done.
Put the salmon skin side down in the middle of your foil. Use a sharp knife to score the top of the skin. Add seasoning. A little salt and pepper works great but you can also add garlic or premixed herbs and spices if you wish. Now squeeze some lemon on top. The key flavour here is the salmon itself, you can get away with adding very little extra.
Cut up your choice of vegetables, personally I go for asparagus, small tomatoes chopped in half, and some green beans but you can cook nearly anything you like. The thing to remember is that the fish will take 15 minutes to cook so you want to make sure the vegetables are small enough to cook in that time.
Curl up the edges of the tinfoil to stop oil going everywhere. Drizzle some good quality oil over the top, you just need enough for it all to cook in.
Wrap it all up in a parcel so nothing leaks out and stick it in the middle shelf of the oven for around 15minutes depending on the size of the fish.
You will know when the fish is done because it will be lighter in colour and starting to flake off. Open a corner of the parcel and drain off the excess oil. Plate up and enjoy.

How beautiful is that dish? With minimal effort too! I agree, I love salmon with asparagus or green beans. Another favorite is wilted spinach or a couscous salad. Many thanks to Gareth for sharing this recipe!
Gareth is a writer and marketer who has a keen interest in food. Cotswold Fayre let you buy wholesale food as a retailer in the UK.

Black and Tan Brownies

I mentioned these delicious brownies in my “A Taste of Ireland” post over the weekend. They were so yummy that I thought they deserved their own post. Also, because it’s technically two brownie recipes together, I thought step-by-step photos might prove helpful. Enjoy!
Ingredients:

   Tan Brownies:

  • 6 tablespoons butter, softened
  • 1 1/2 cups packed brown sugar
  • 2 large eggs
  • 1 teaspoon vanilla extract
  • 4 1/2 ounces all-purpose flour (about 1 cup)
  • 1 teaspoon baking powder
  • 1/4 teaspoon salt
  • 1/2 cup chopped pecans
  • Cooking spray

Black Brownies:

  • 3 ounces unsweetened chocolate, finely chopped
  • 4 tablespoons butter
  • 1 cup granulated sugar
  • 2 large eggs
  • 1 teaspoon vanilla extract
  • 1 cup Guinness Stout
  • 4 1/2 ounces all-purpose flour (about 1 cup)
  • 1/4 teaspoon salt

A Taste of Ireland

With St. Patrick’s Day fast approaching I have been thinking back to my trip to Ireland quite a bit. I had such a great time that I wanted to relive a little piece of it, through food of course! I was chosen to be a part of Foodbuzz’s 24×24 for March so I thought it was the perfect opportunity to make some Irish treats. I invited my Dad, boyfriend and Aunt who all came on the trip with me to Ireland as well as my grandpa, who grew up in Enniskillen, County Fermanagh in Northern Ireland, and my mom, who didn’t get to do the trip with us. I honestly was a bit nervous about this undertaking, I didn’t want to disappoint my grandpa or mess up a traditional meal!
We began with a mini traditional Irish breakfast for an appetizer. An Irish breakfast consists of black and white pudding, bangers (sausage), rashers (bacon), a fried egg, baked beans, and a fried tomato. Because this was just an appetizer, I used quail eggs instead of traditional eggs. I found the black and white pudding, bangers and rashers on foodireland.com, a great website for Irish food products.
A traditional Irish breakfast is quite the meal. In my grandfather’s words “you should eat a good breakfast, because you don’t know when you’ll eat again.” My appetizer version still included all parts of an Irish breakfast in much smaller portions. I personally am not a fan of black pudding or bangers, but I love the rest of an Irish breakfast and was so happy to have this as an appetizer.
The main course was a beef stew. I used my Irish stew recipe I made last year, but substituted beef instead of lamb and omitted the peas.
The Guinness adds such a nice flavor to this stew. I suggest making this ahead of time and freezing it. Stew always tastes better when the broth has had time to thicken.
I also made some Brown Soda Bread to eat with the Irish breakfast and the stew. Soda bread contains flour, baking soda, baking powder, sugar, butter and buttermilk. My version also had raisins and caraway seeds for extra flavor.
Soda bread is traditionally served with Irish butter and/or jam (I’m a fan of black currant jam, yum!)
We were pretty darn full from the stew and Irish breakfast but there was still dessert to be had. I went off of the traditional for dessert, making a Black and Tan brownie based off of a Cooking Light recipe, but made them in a 9×9 pan and cooked them for 45 minutes. I also cut them into huge pieces, making 9 total.
They were served with a scoop of ice cream and some Irish coffee and tea. The phrase Black and Tan comes from the nickname given to English soldiers that came to Ireland to suppress the 1916 Easter Rising, which eventually became the name of a half Guinness and half Bass beer in America. Black and Tans really aren’t popular in Ireland, but they still make a cute idea for a brownie! (I decided these yummy brownies needed their own post. Check it out here)
My family seemed to really enjoy the meal. The Irish breakfast was a big hit but I think the Irish soda bread was the real star of the night. My grandpa even requested to take some home with him. I am glad we were given the chance to sit down, enjoy some Irish food, and talk about Ireland again. Now, to plan our next trip over there…
Exit mobile version