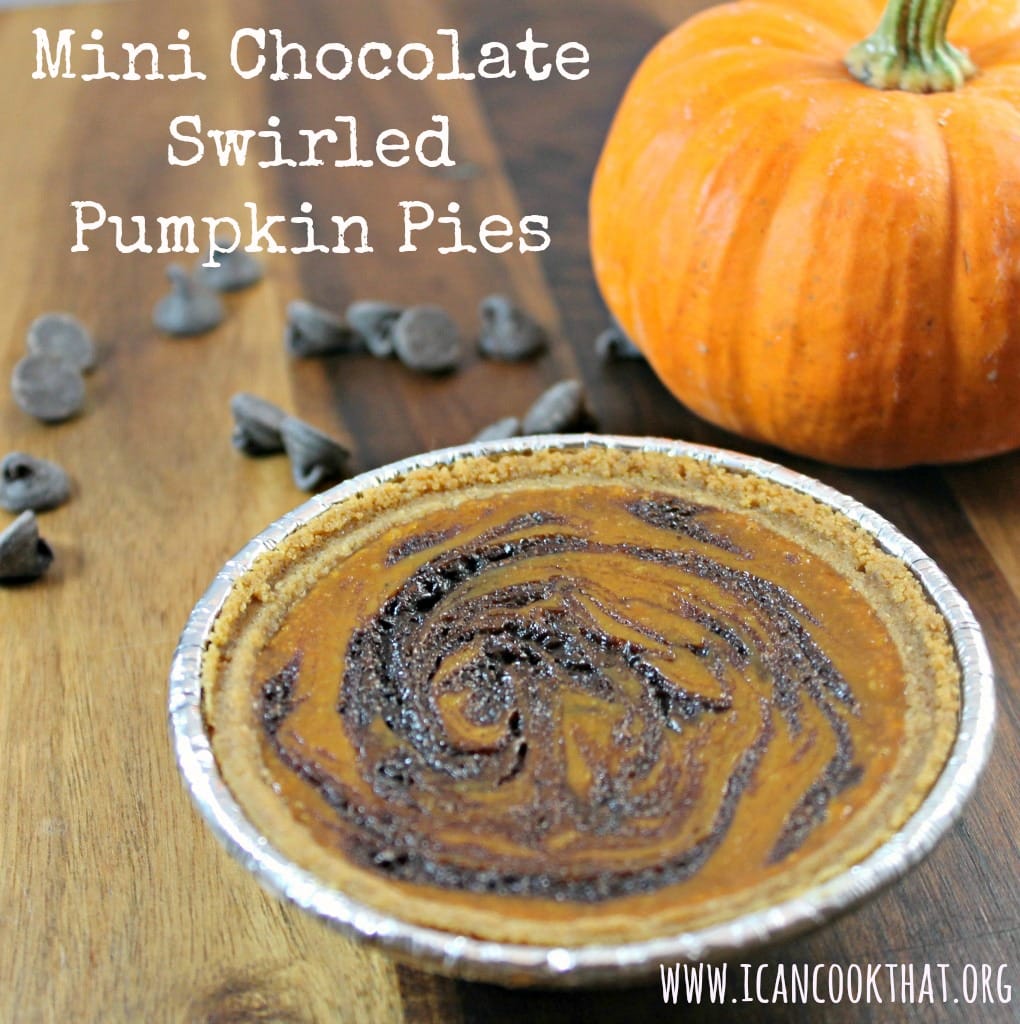
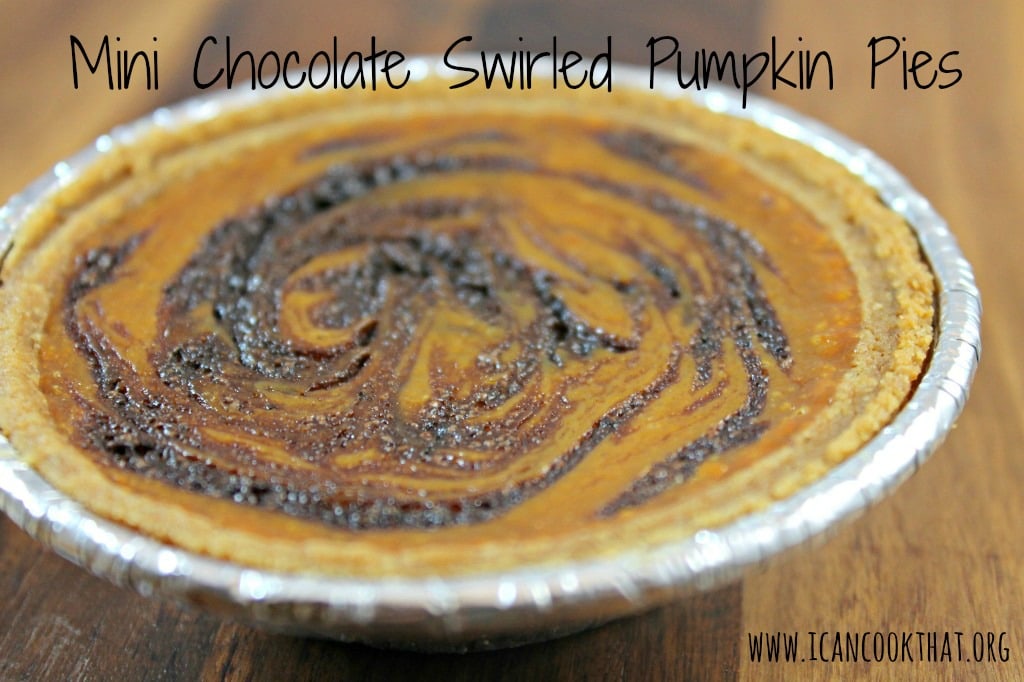
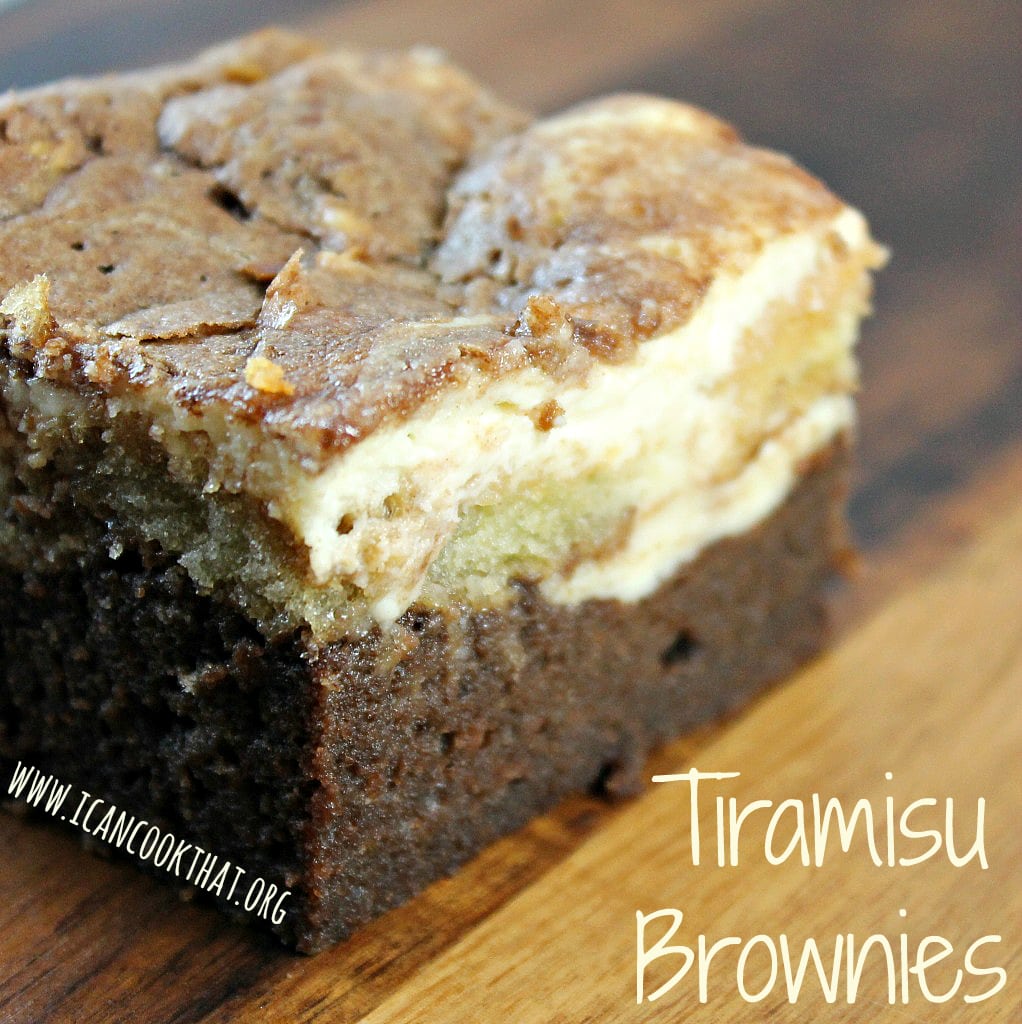
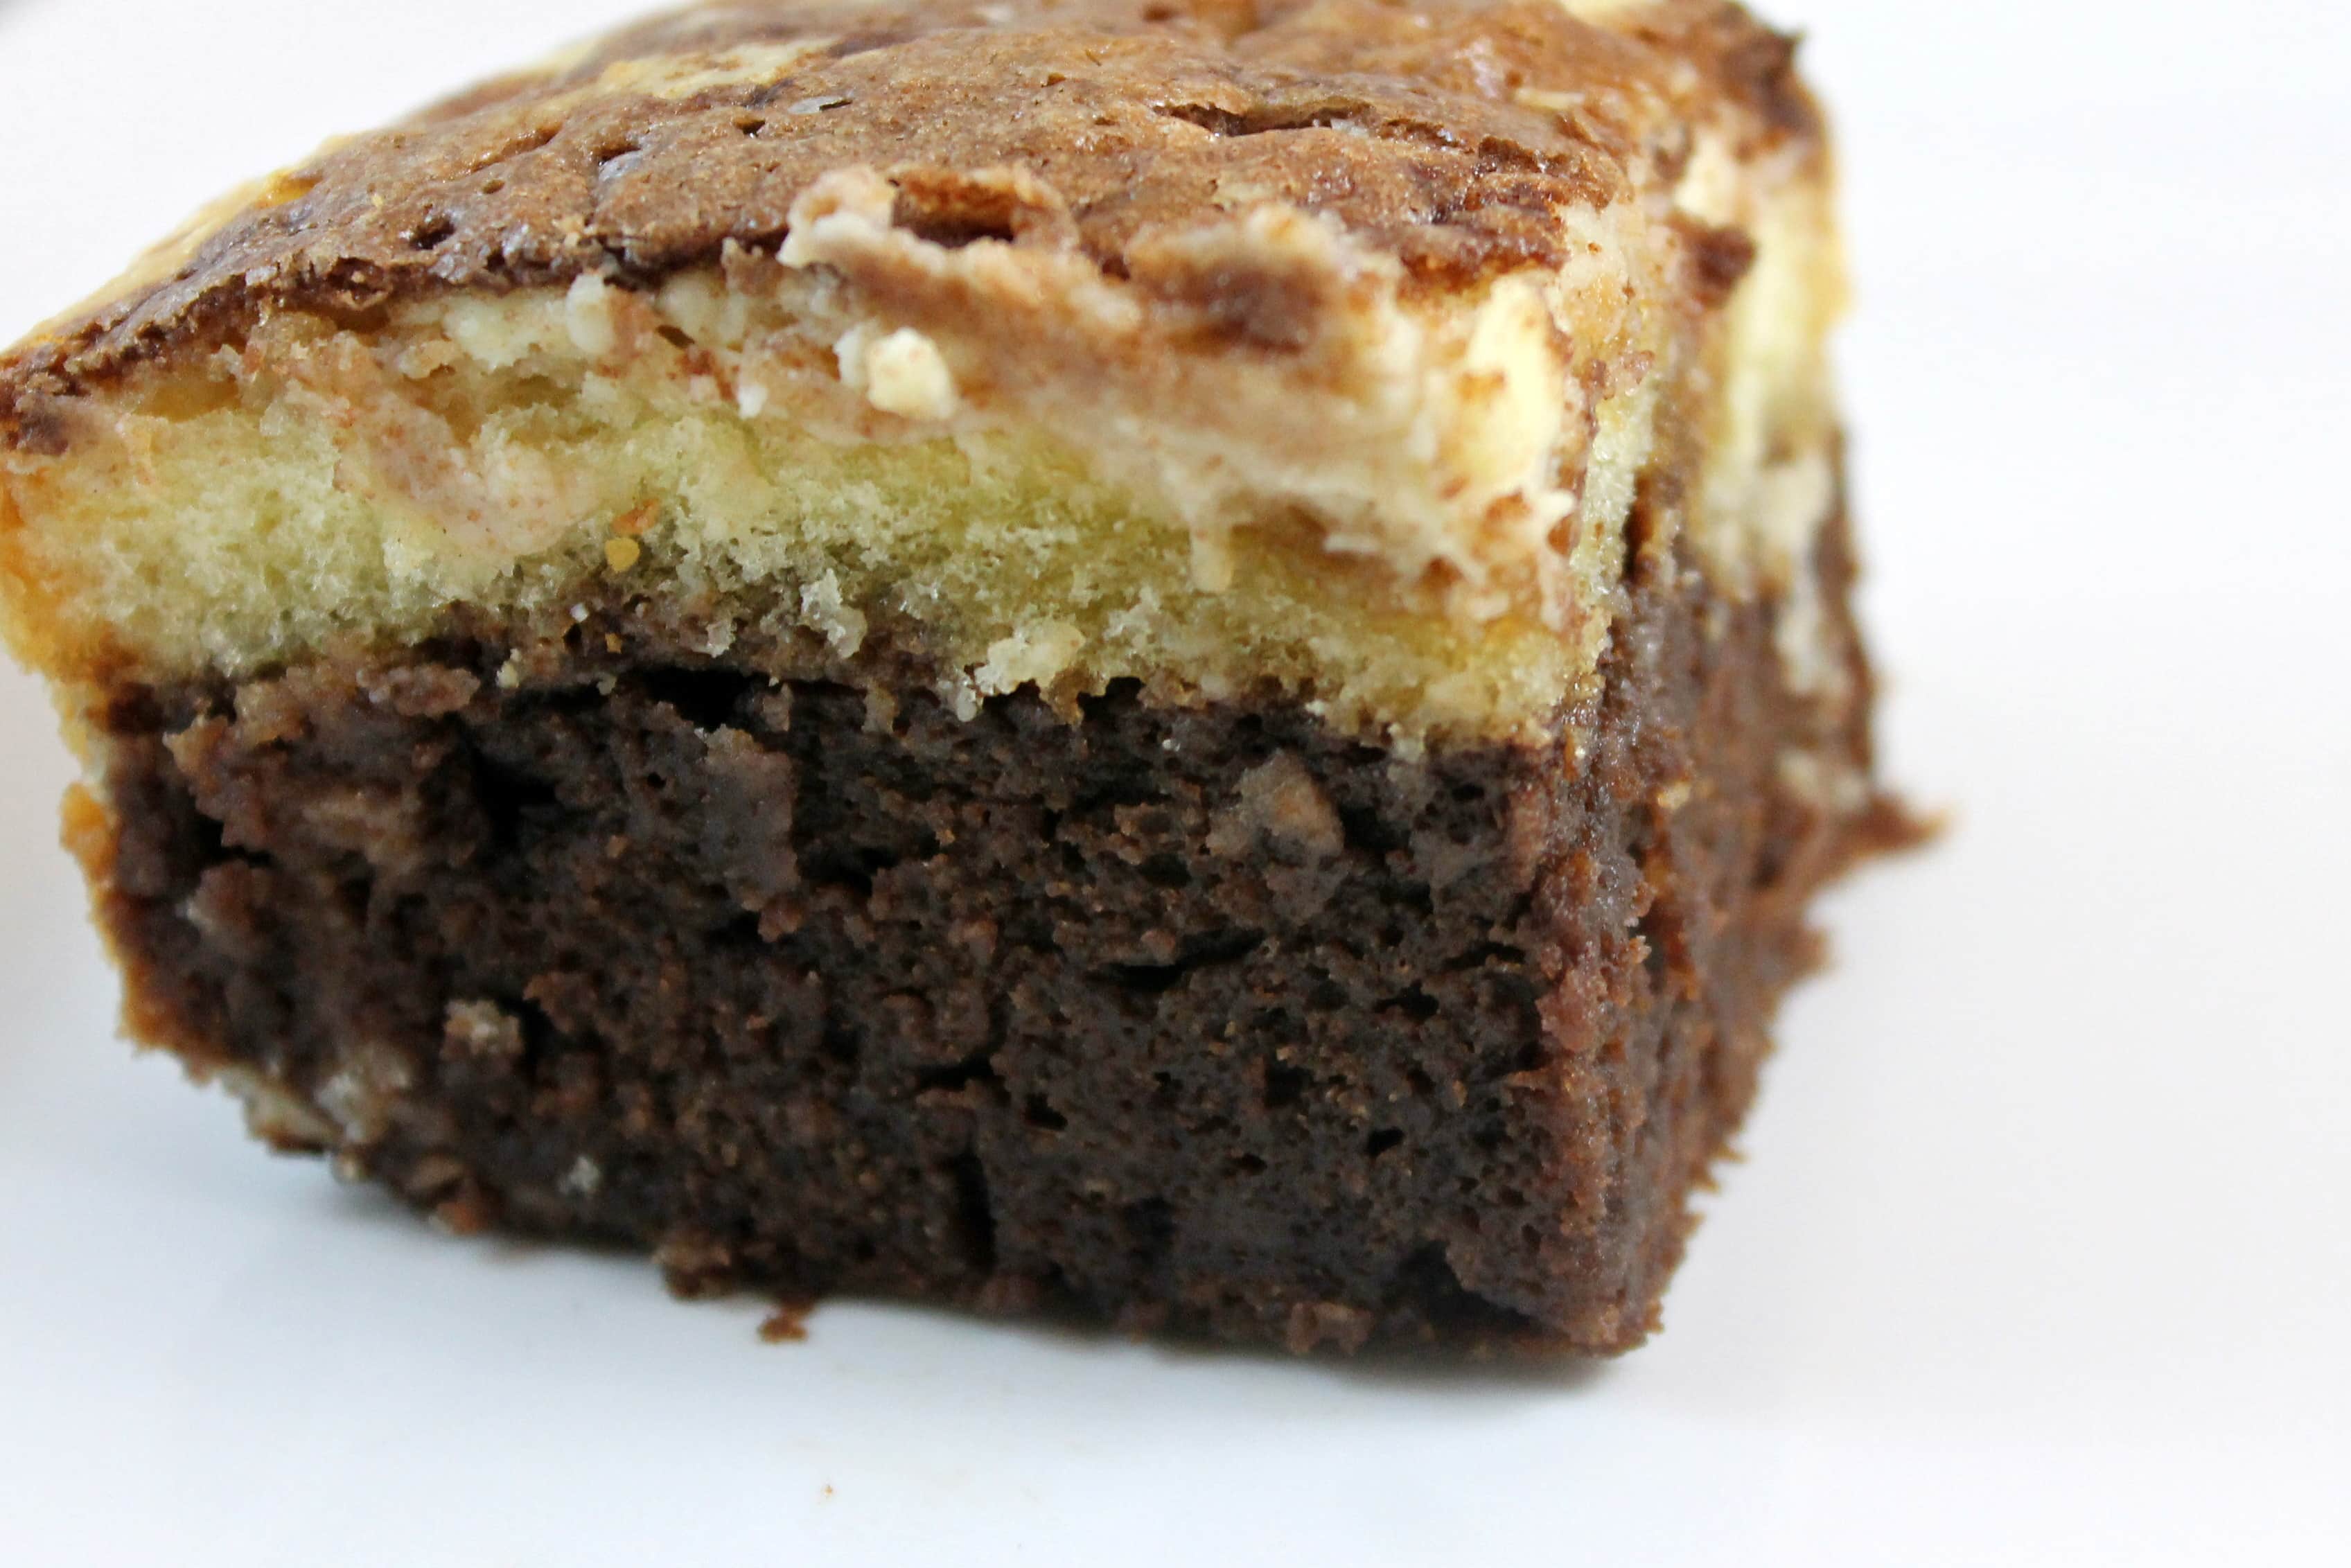
I am a huge fan of coffee and coffee-related foods, so tiramisu is obviously a favorite of mine. When the concept of Tiramisu Brownies was mentioned, I was immediately excited. What a fantastic combination of desserts!
Barista Prima Coffeehouse® K-Cup® (paid link) packs are four dark, rich coffee blends that really deliver an intense flavor that are more bold and robust than other K-Cup offerings. The four flavors offered are: Colombia, House Blend, Italian Roast, and French Roast. I’ve had a Keurig for years now (I just had to retire my original Keurig and buy a replacement, sniffle) and am always really pleased with the coffee choices that can be found in K-Cup form. I tend to use coffee grounds in a bunch of recipes, especially ones that use chocolate, to really up the flavor.
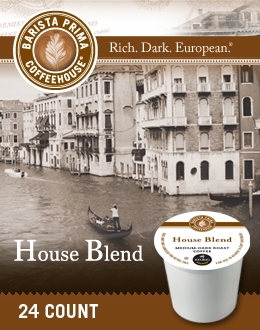
Barista Prima was nice enough to send me a box of their House Blend K-Cups so I naturally wanted to make a dish that used these delicious grounds as well as a dessert that would be perfect paired with a cup of House Blend coffee. Many thanks to Barista Prima for also sending me this mouthwatering recipe!
Ingredients:
- 12 oz. chocolate chips
- 1 cup butter, softened
- 1 cup sugar
- 4 whole eggs
- 4 egg whites
- 1 cup cake flour (or normal flour if you can’t find it)
- Brewed House Blend coffee grounds, to taste
- 8 oz. Mascarpone cheese, room temperature
- 8 oz. Cream Cheese, room temperature
- 1/4 cup sugar
- 4 egg whites
- 2 tsp. vanilla extract
- 1 Pkg. Soft Ladyfingers
- 1 cup of Barista Prima House Blend Coffee